Uncredited photos on this page taken by: Nathan Holth. Unless stated in a caption, all photos are Copyright with All Rights Reserved. Learn about reuse of our photos.
![]()


HDR Photos: Views beside bridge next to the bearing from southeast quadrant.
![]()


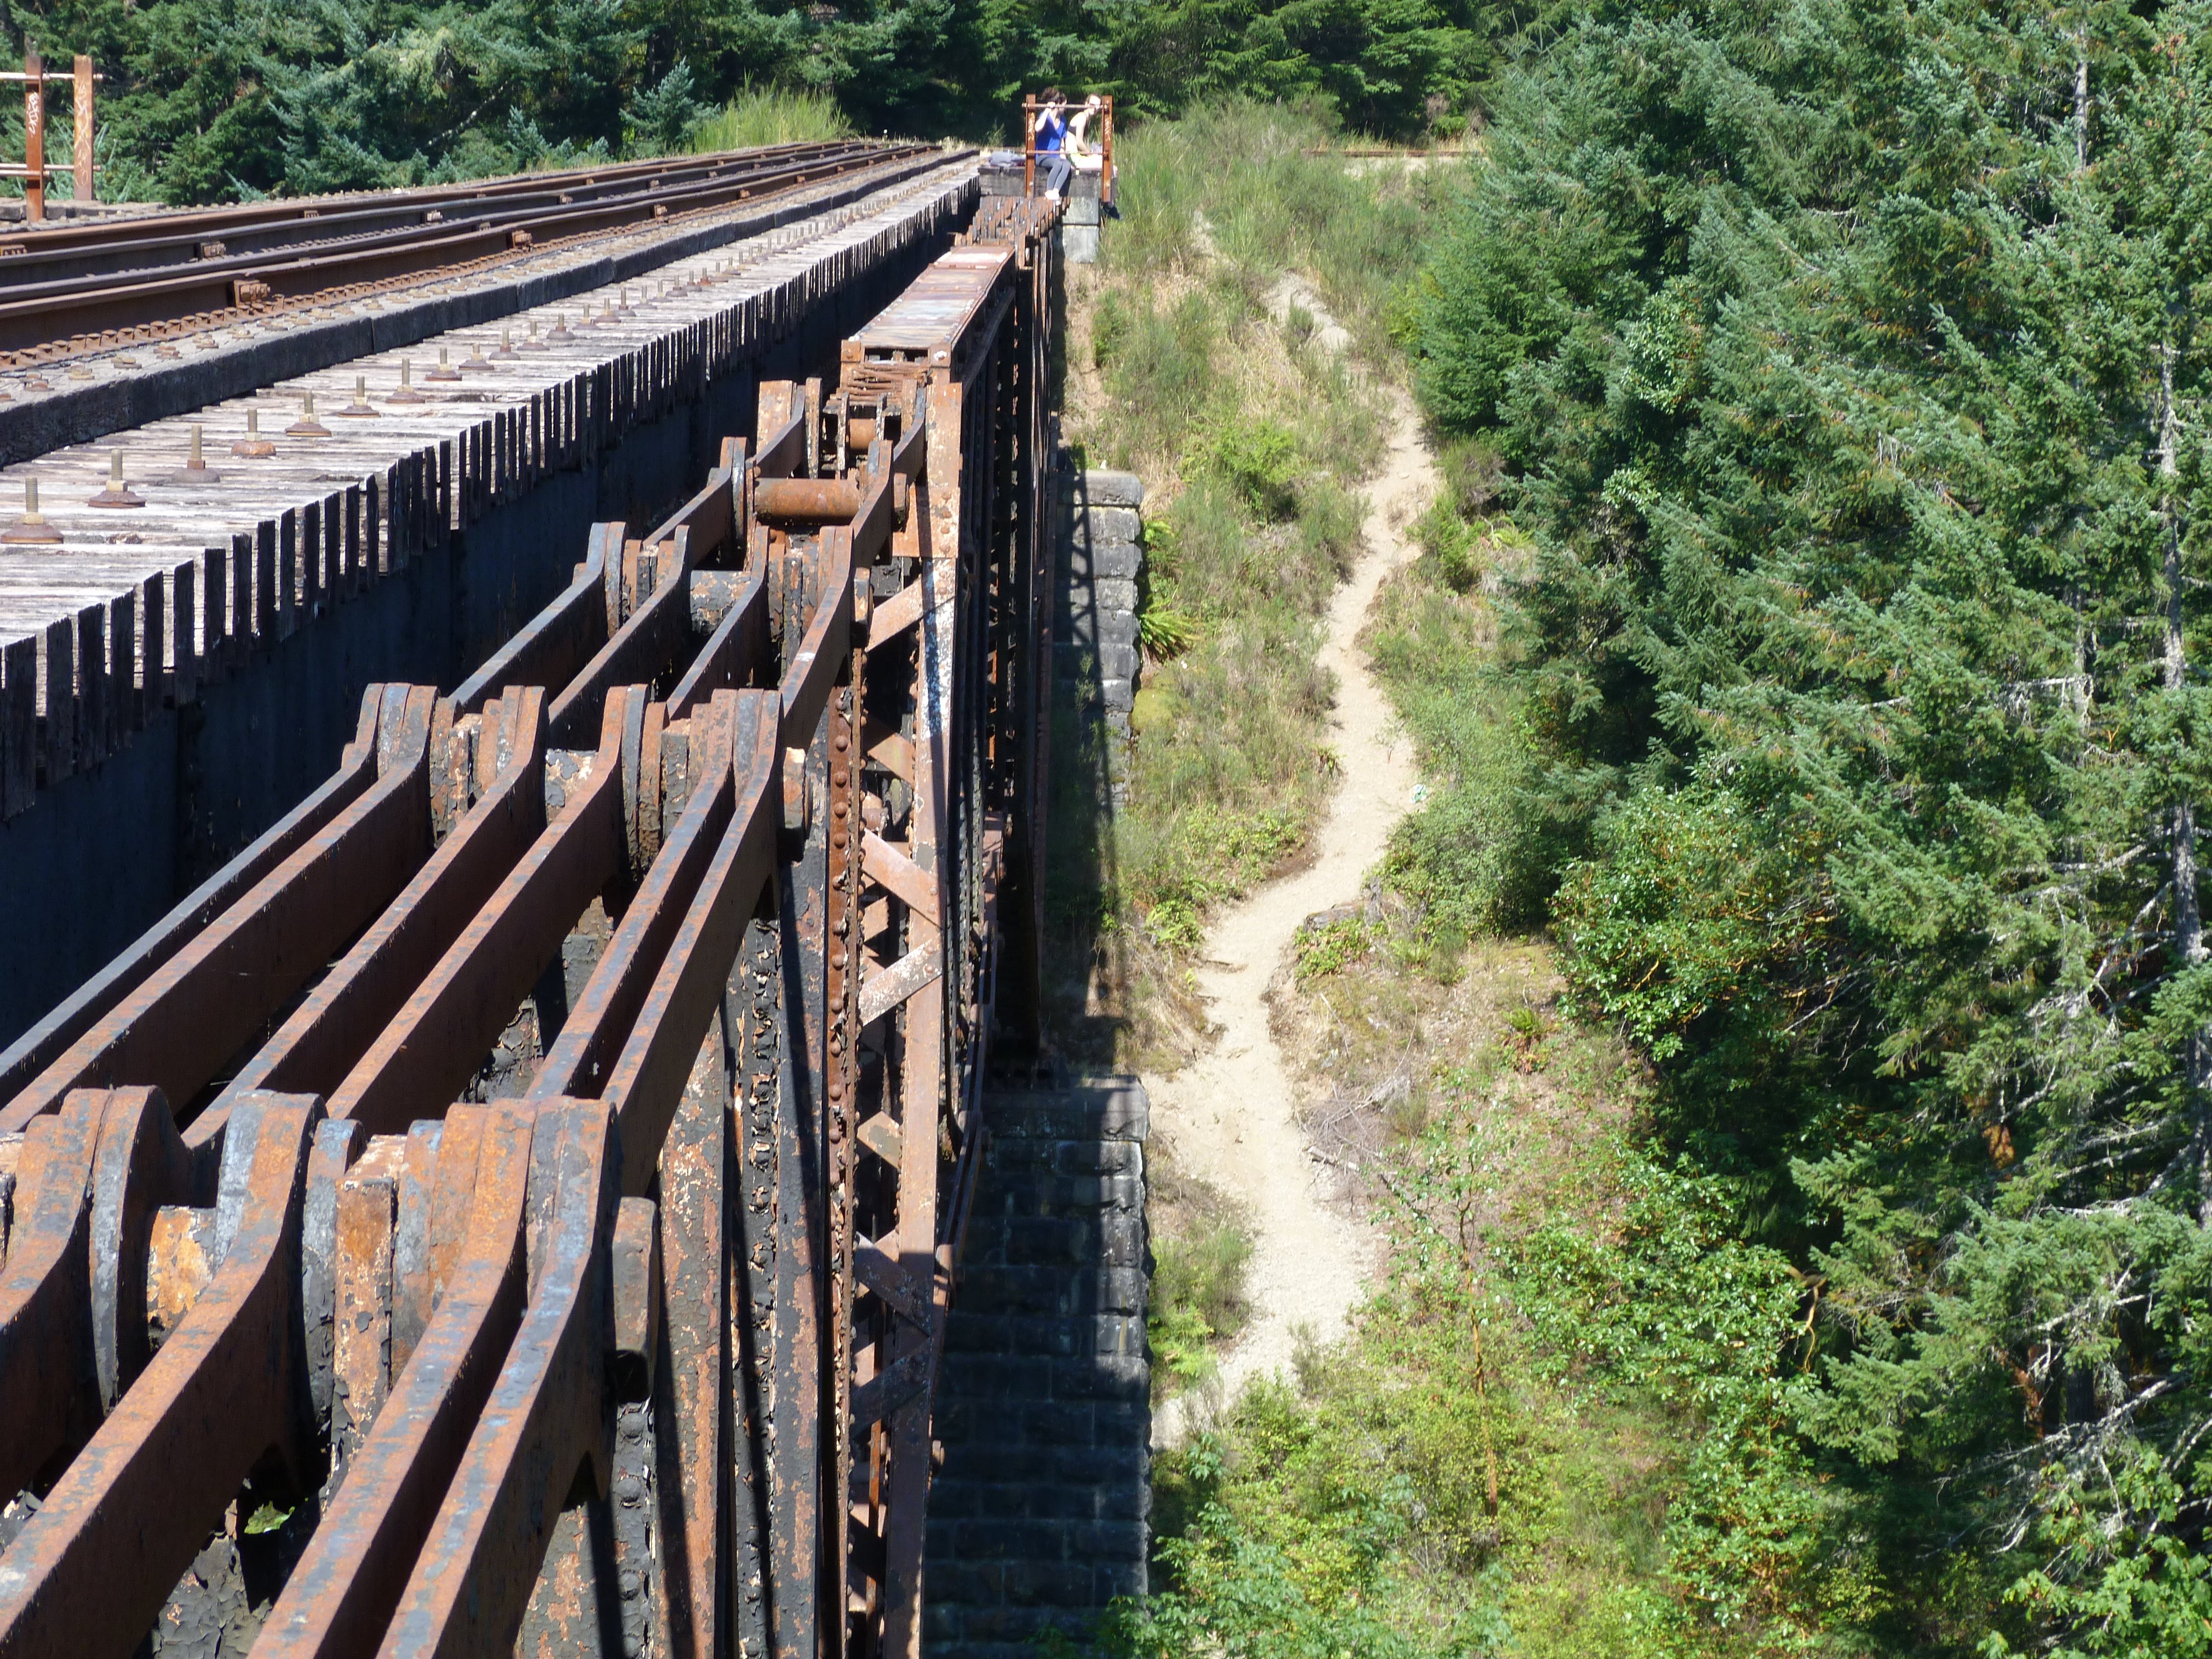
Views beside bridge next to the bearing from southeast quadrant.
![]()


HDR Photos: Views beside bridge from southeast quadrant.
![]()
Views beside bridge from southeast quadrant.
![]()


HDR Photos: Views beside bridge next to abutment from southeast quadrant.
![]()


Views beside bridge next to abutment from southeast quadrant.
![]()


HDR Photos: Views beside bridge from southwest quadrant.
![]()


Views beside bridge from southwest quadrant.
![]()

Views showing suspended span.
![]()


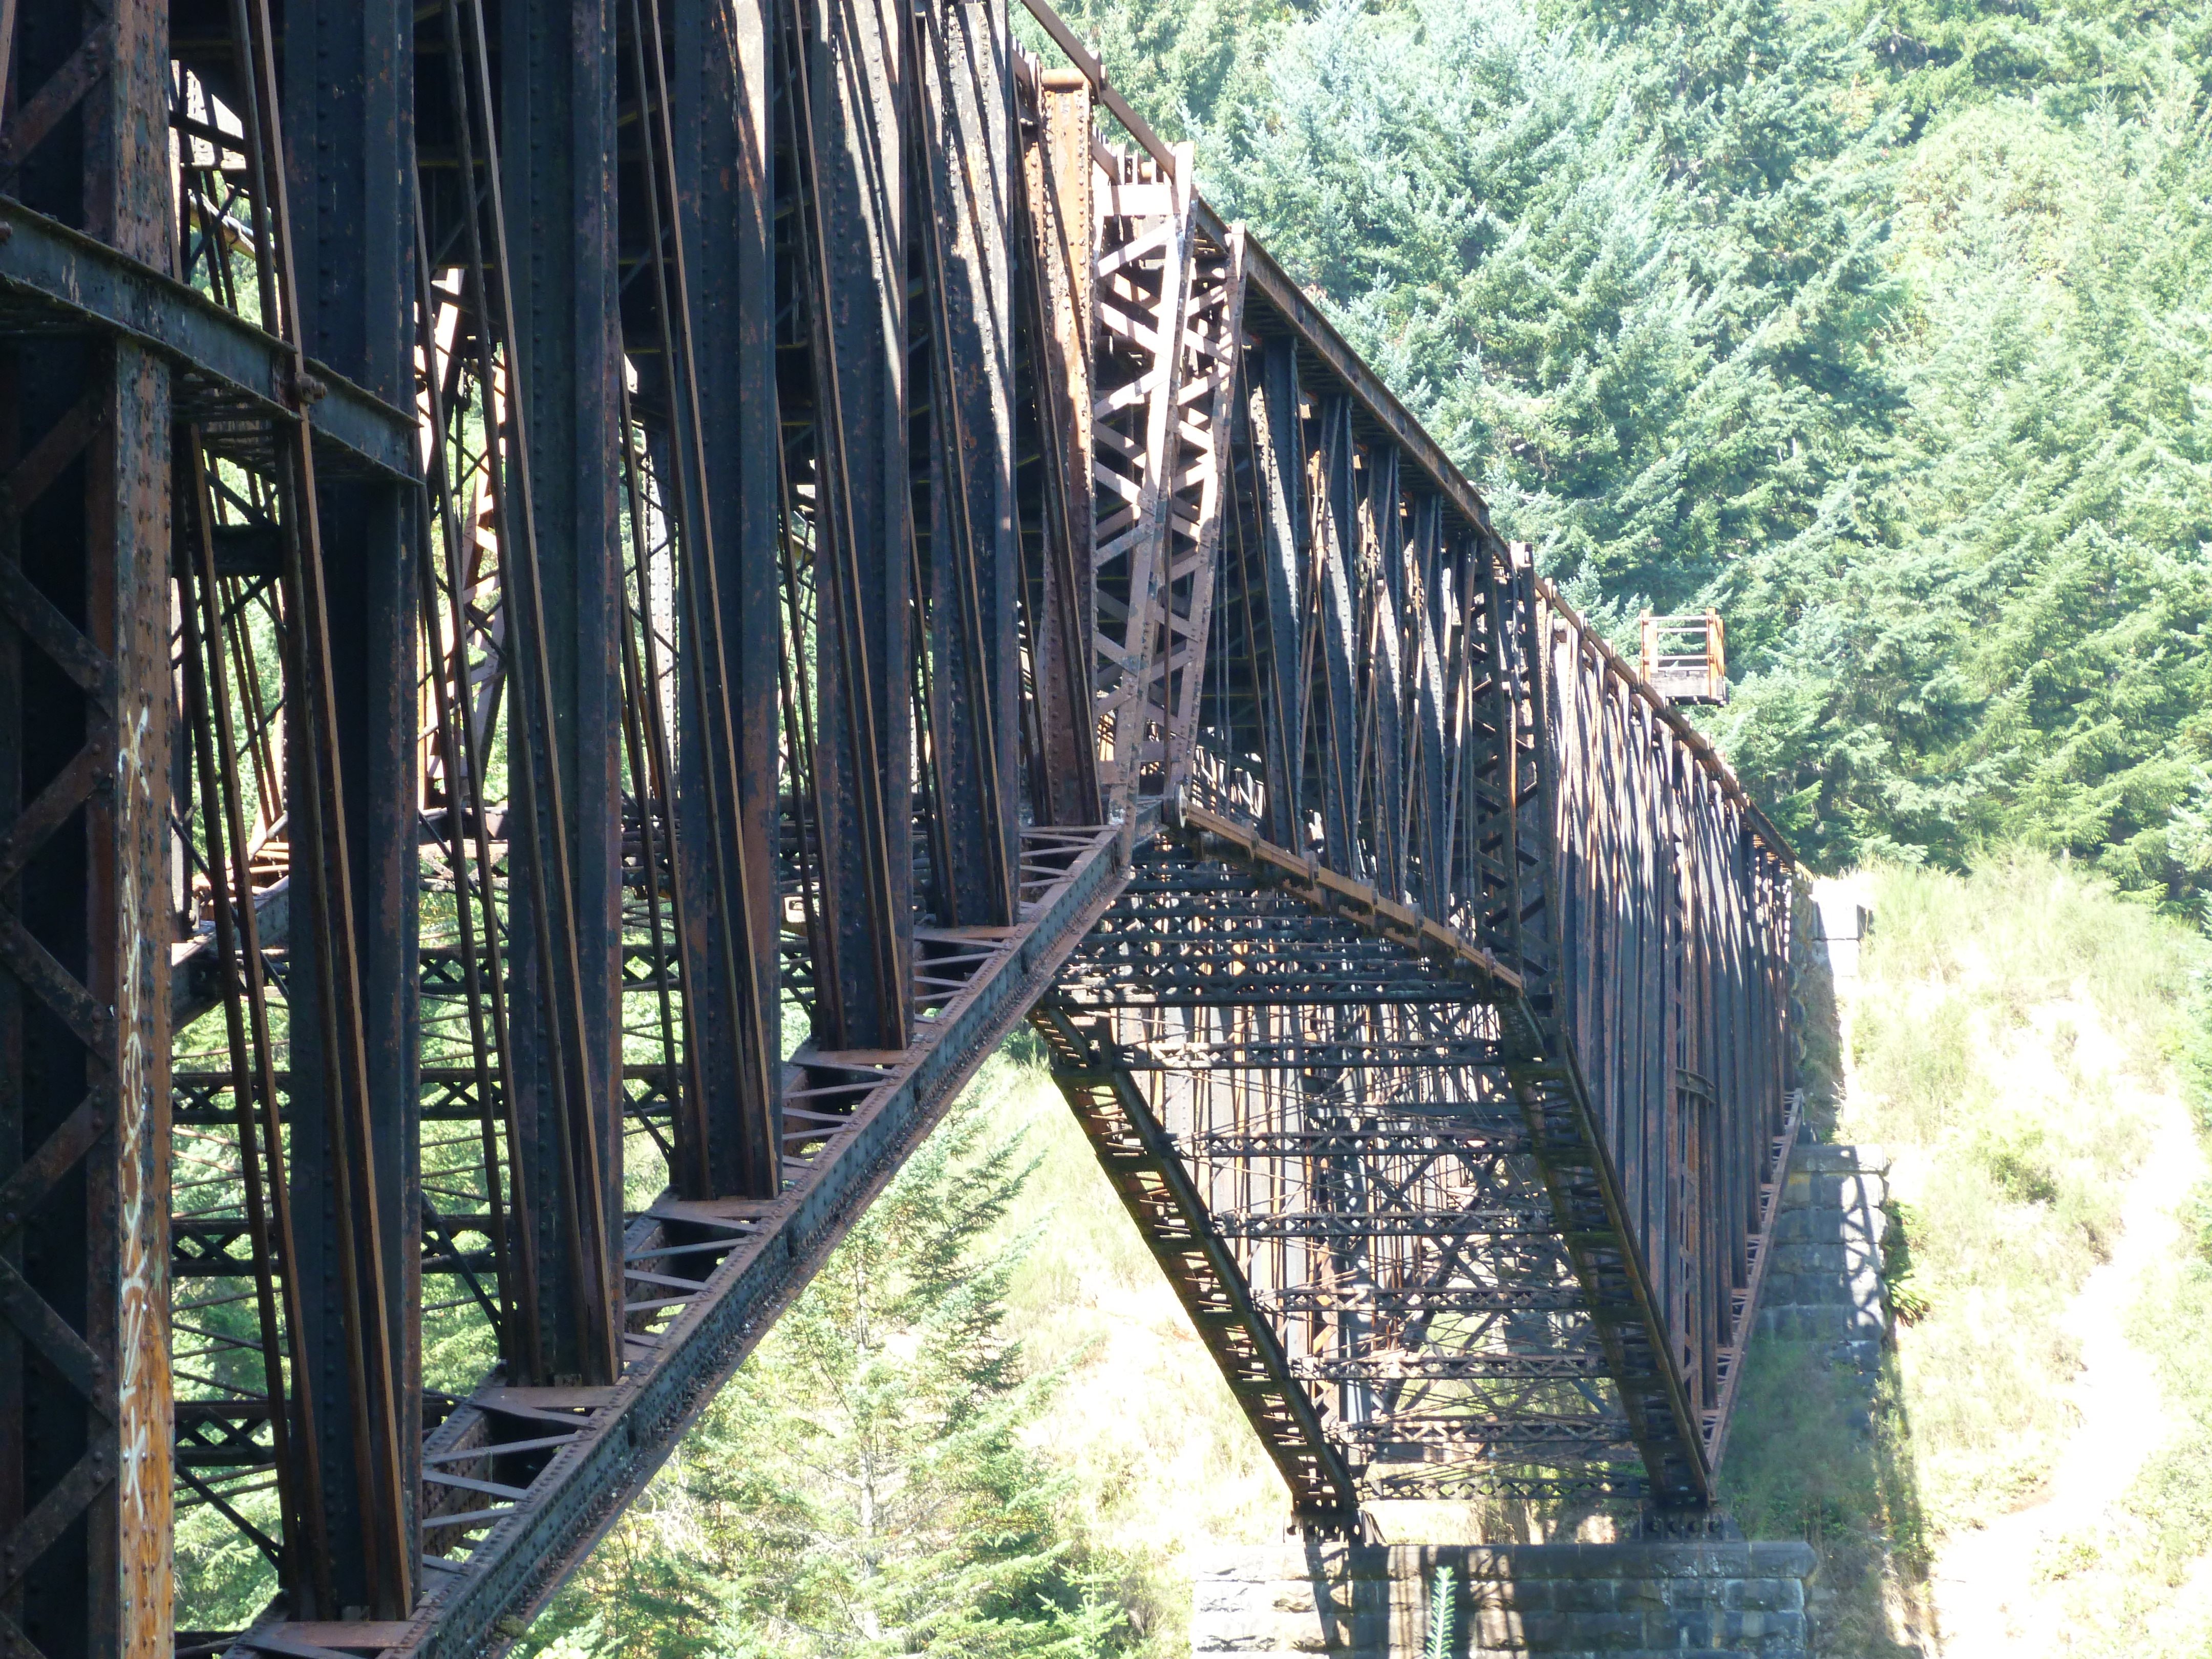
Elevation from southeast quadrant.
![]()


HDR Photos: Elevation from southeast quadrant.
![]()

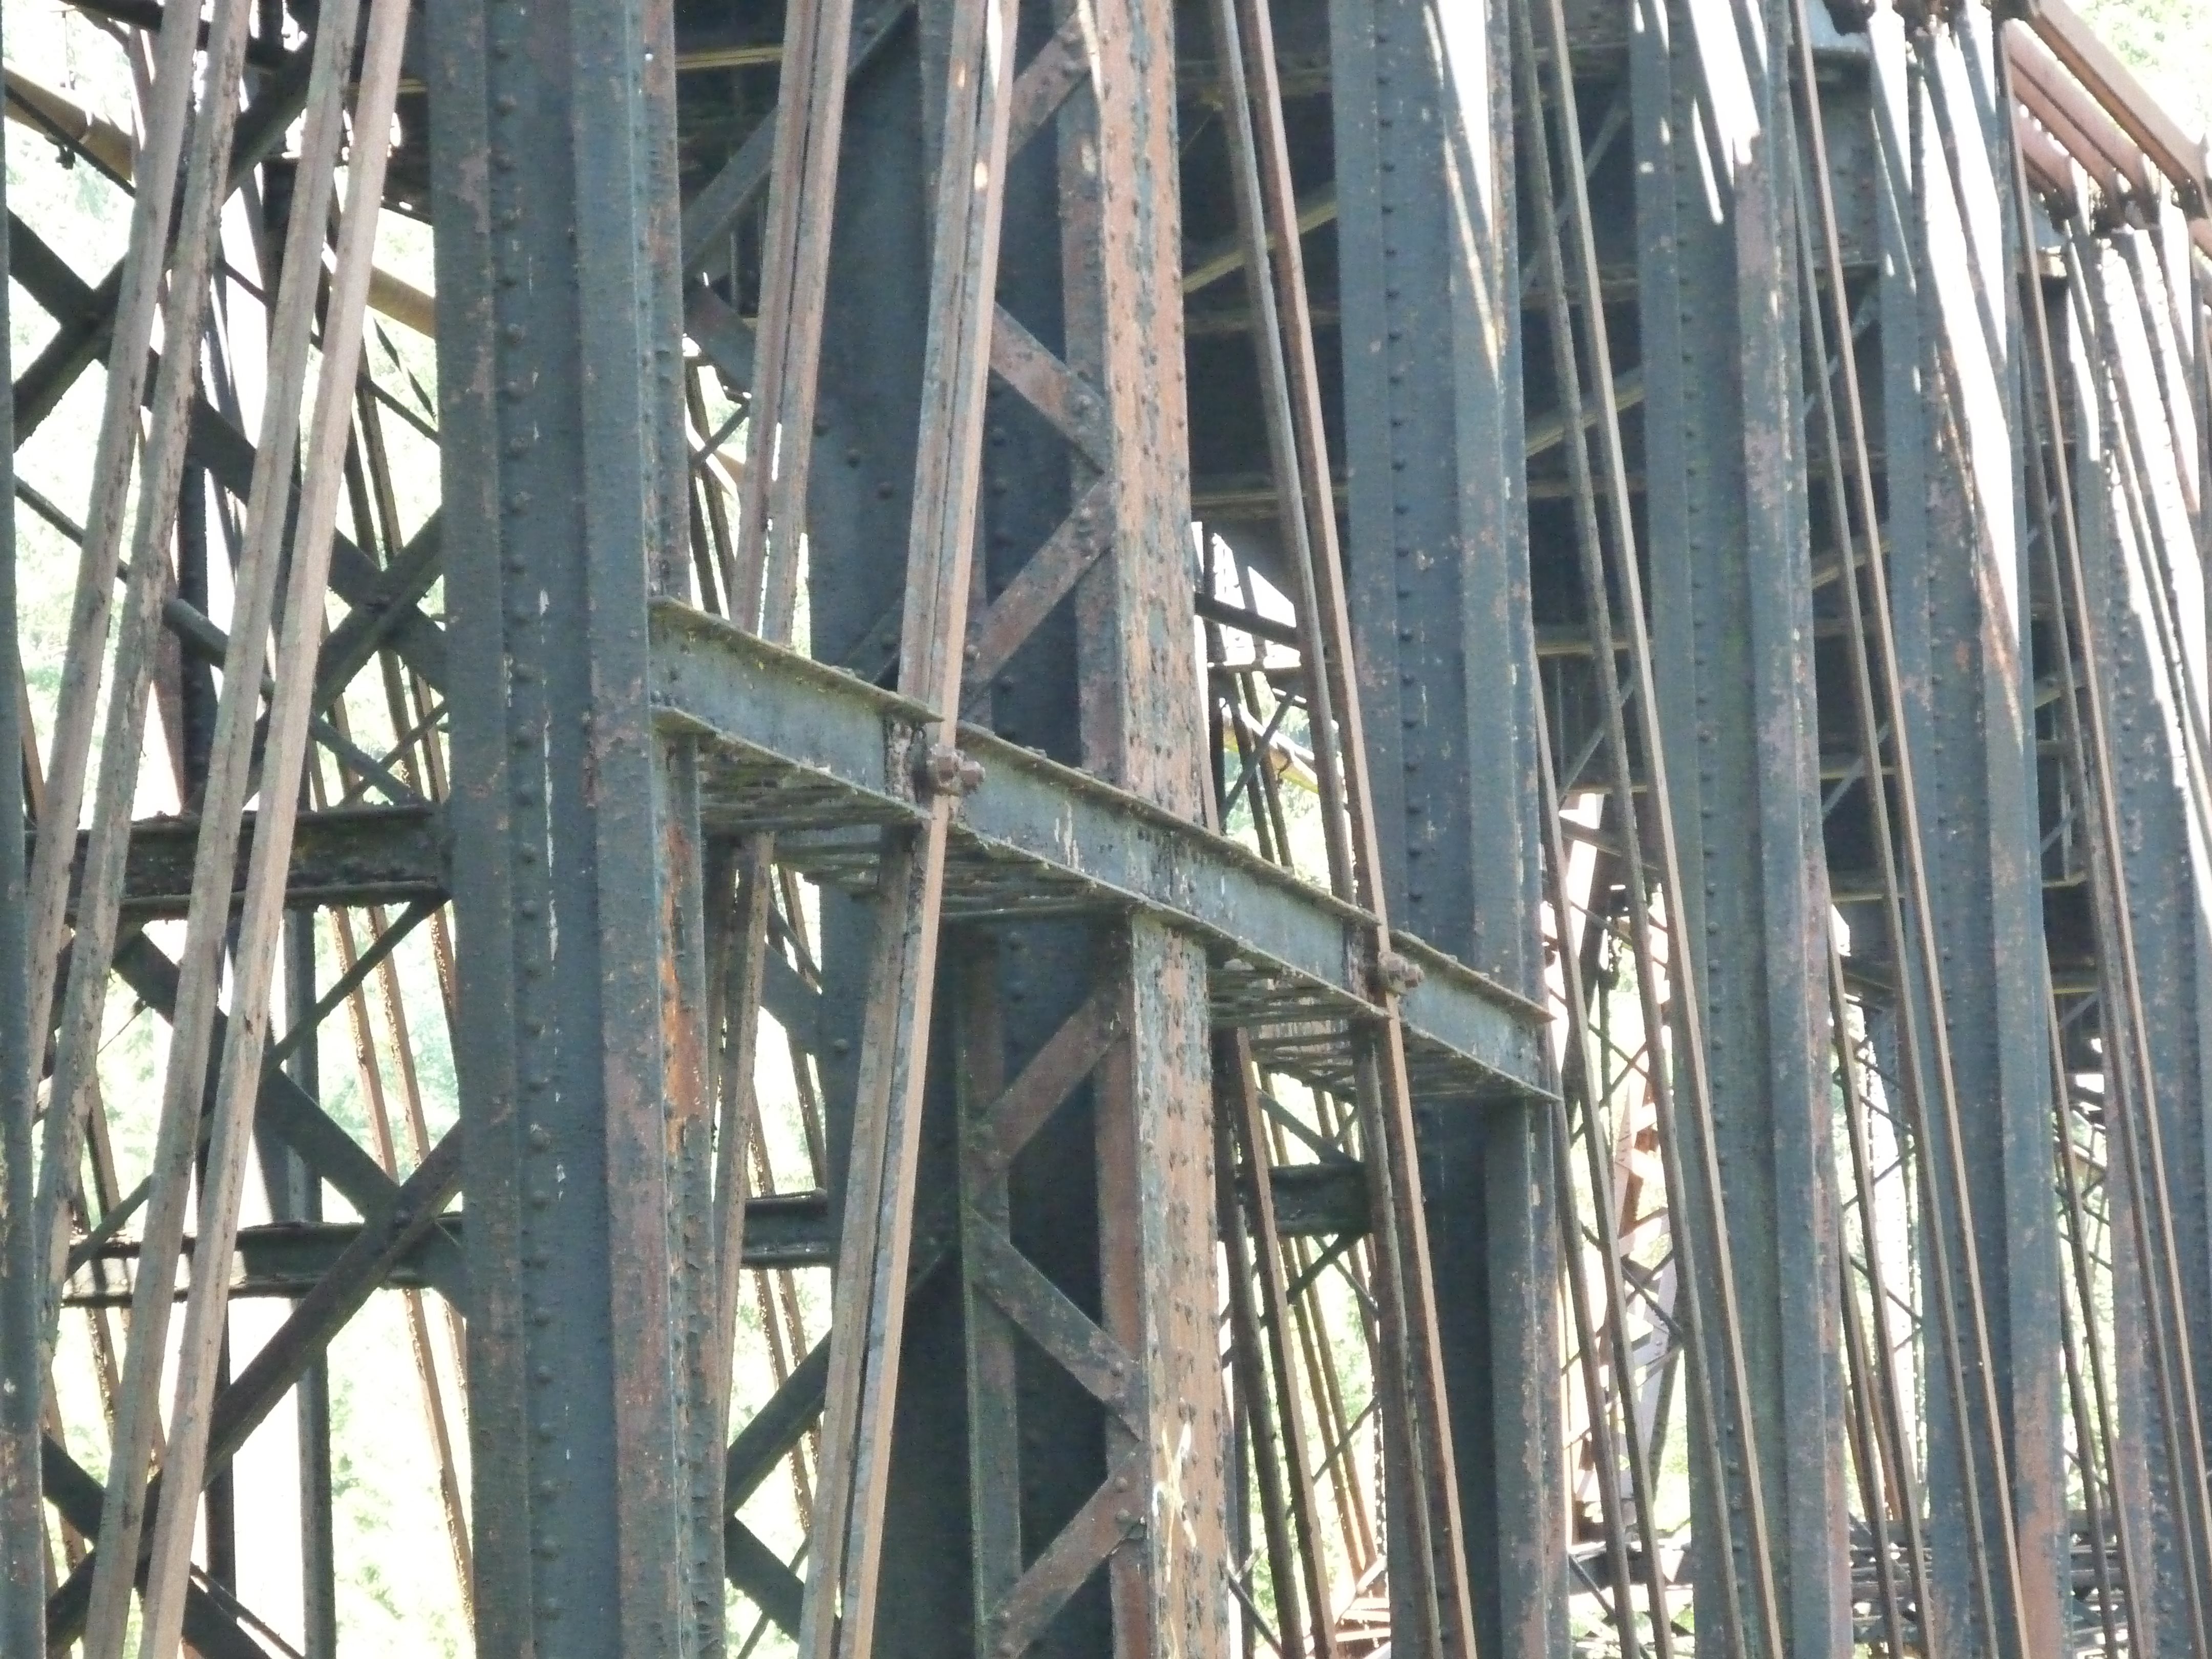
View of truss web from under bridge.
![]()


HDR Photos: View of truss web from under bridge.
![]()
Looking through trusses and bracing from under bridge.
![]()


HDR Photos: Looking through trusses and bracing from under bridge.
![]()

Photo Credit: Gerry, CC BY-SA 2.0 http://www.flickr.com/photos/tuchodi/2661345961/
View beside bridge.
![]()

Photo Credit: Gerry, CC BY-SA 2.0 http://www.flickr.com/photos/tuchodi/2661348403/
View beside bridge.
![]()

Photo Credit: Gerry, CC BY-SA 2.0 http://www.flickr.com/photos/tuchodi/2662166924/
Elevation.
![]()

Photo Credit: Gerry, CC BY-SA 2.0 http://www.flickr.com/photos/tuchodi/2661343819/
Anchor arm.
![]()

This little memorial sign was mounted on the bridge deck.
![]()

This is the waterfall, "Niagara Falls" not to be confused with the more famous ones in Ontario. If you are trying to reach the bridge and you are standing below the waterfall, you need to go back to the highway, walk along the shoulder over the creek, and then turn left to begin walking the trail back.
![]()
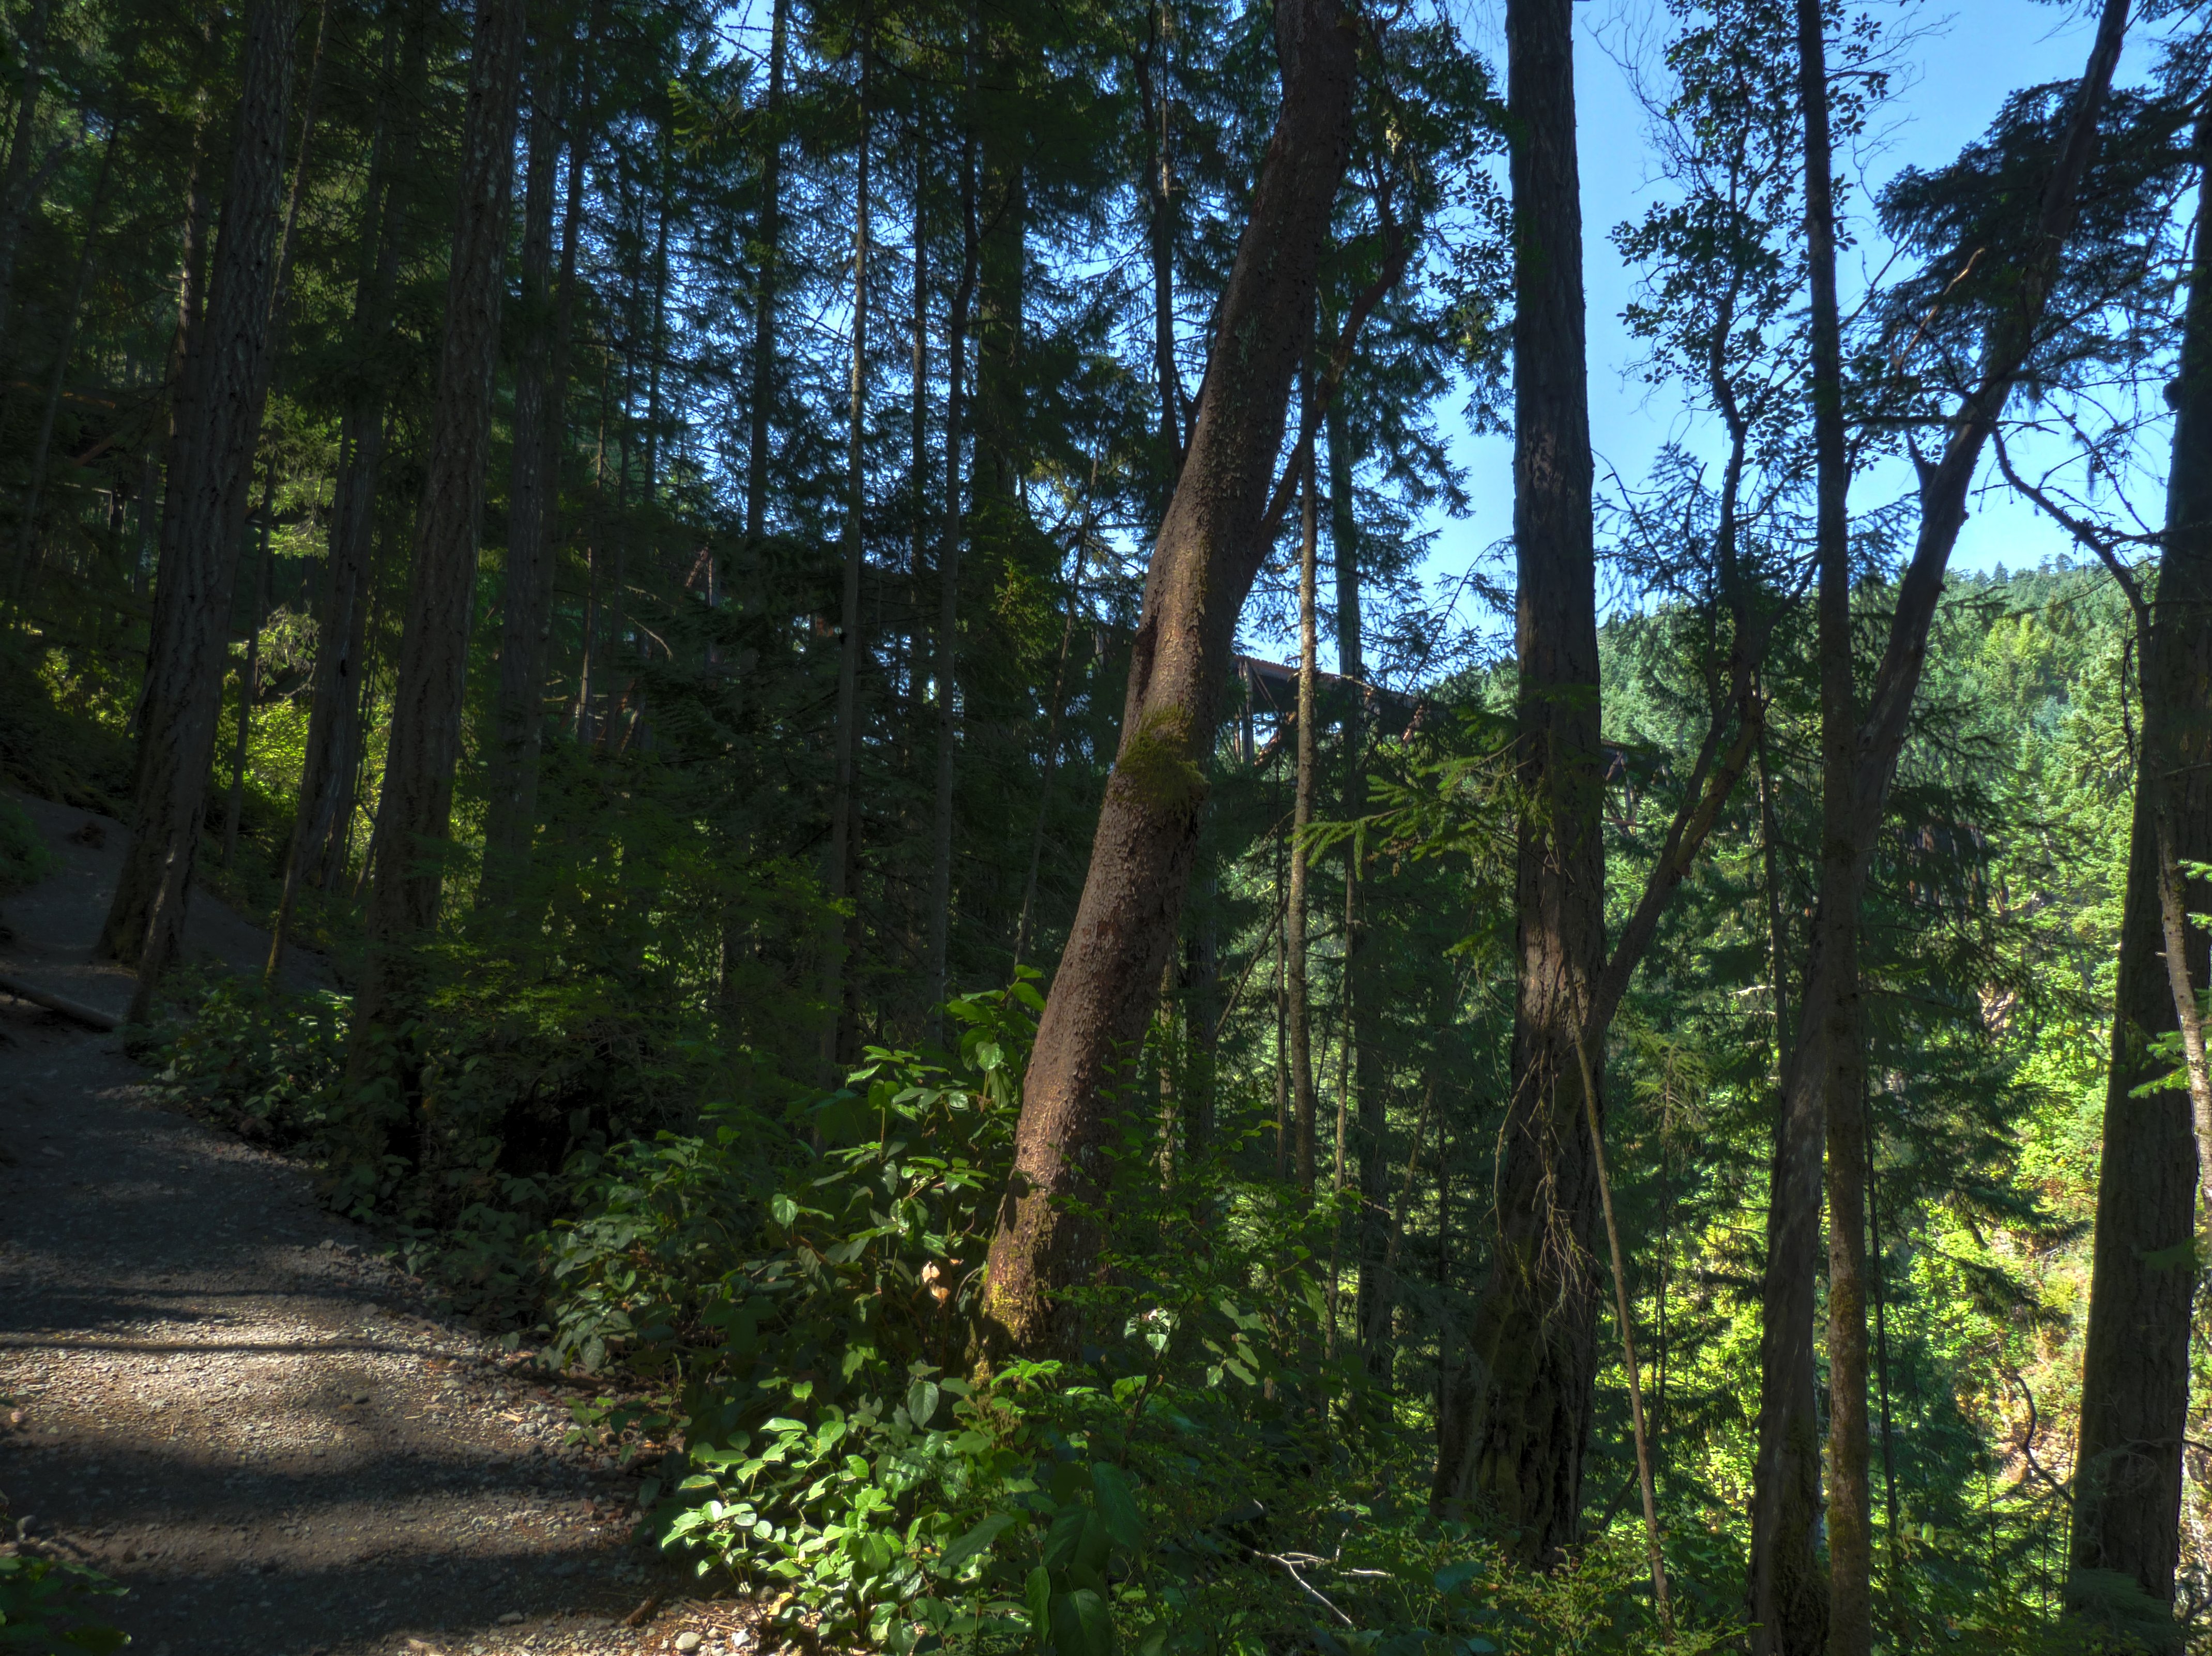
Scenery photos walking back to the bridge. As you can see from these photos the trail is at times very steep and rugged.
![]()
Views from bridge.
![]()


Views on bridge deck.
![]()
Top chord connections as viewed from beside bridge.
![]()
Top chord connections as viewed from on bridge.
![]()

Top chord connection with two pins as viewed from on bridge.
![]()
Top chord connection at end of suspended span as seen from on bridge.
![]()
Bottom chord connections as viewed from beside bridge.
![]()


Bottom chord connections as viewed from on bridge.
![]()


Bottom chord connections as viewed from under bridge.
![]()
Intermediate connections as viewed from beside bridge.
![]()


Top chord overview.
![]()

HDR Photo: Top chord overview.
![]()


Top chord details.
![]()
Bottom chord.
![]()


Turnbuckles.
![]()

Diagonal member.
![]()

Vertical member.
![]()

Horizontal member.
![]()


Rail detail indicating Algoma Steel, 1912.
![]()


Sway bracing.
![]()

Truss panels.
![]()


Floor beams.
![]()


Transverse strut running between the abutment bearings.
![]()

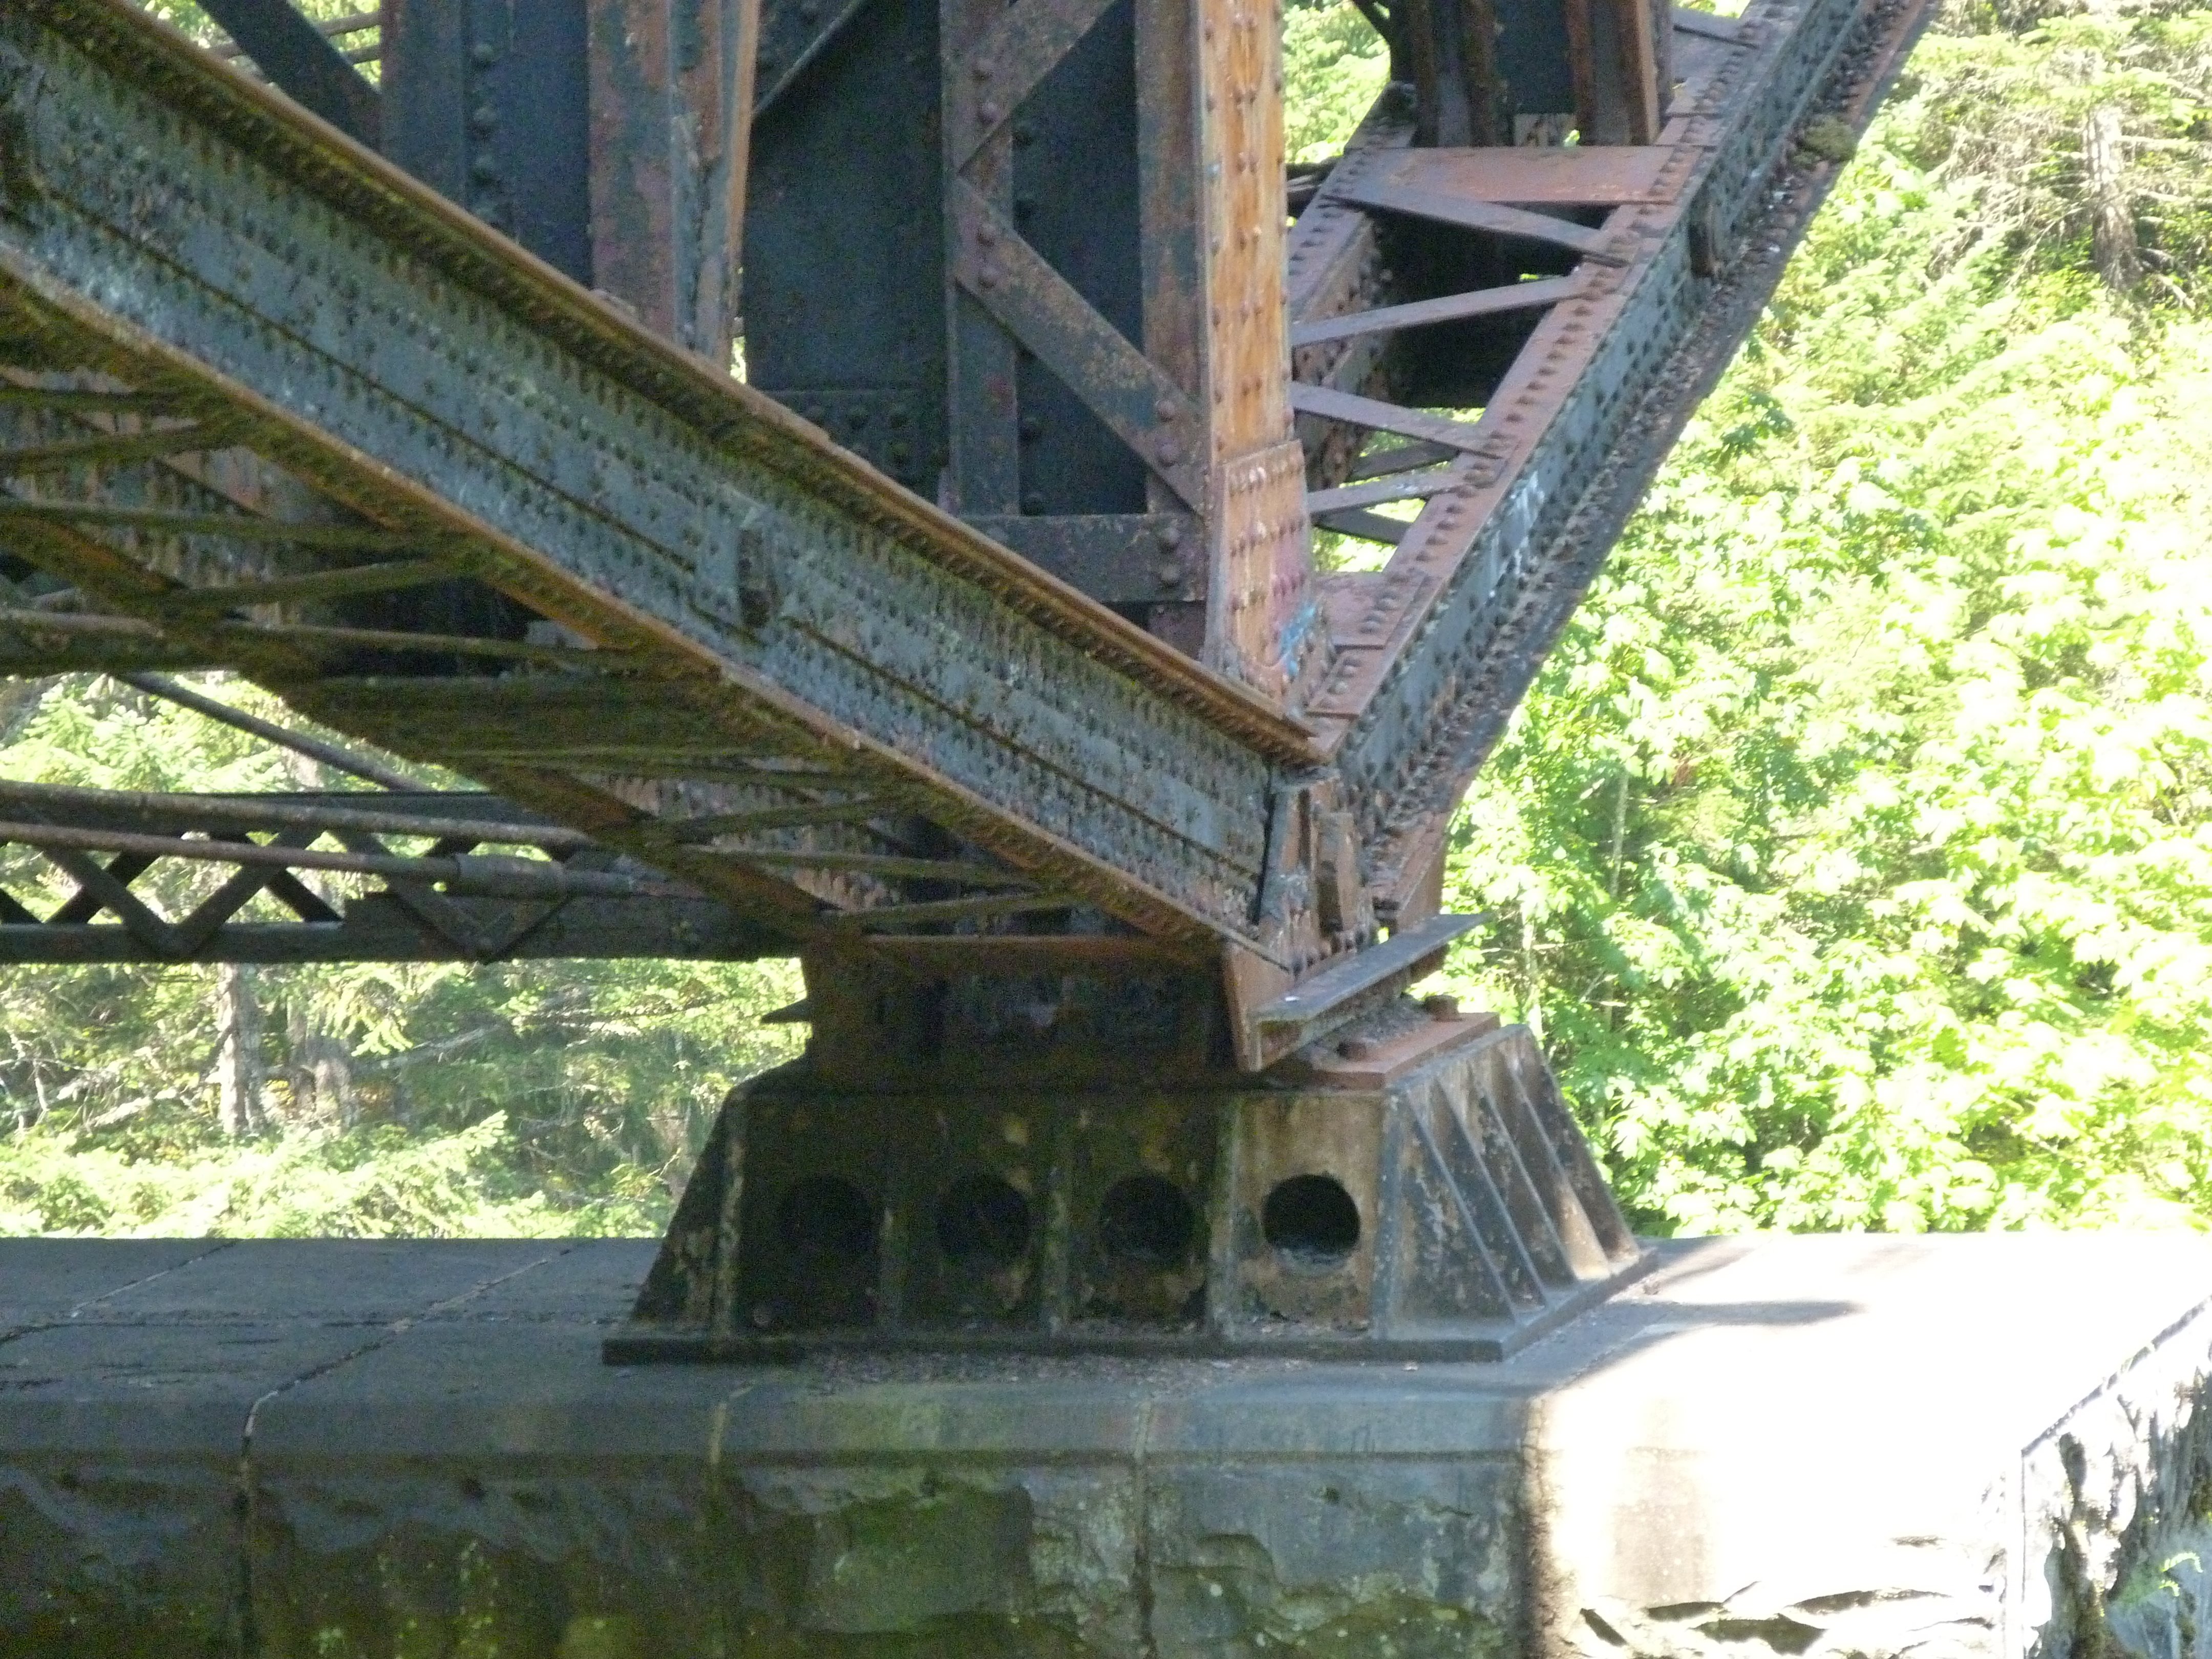
Bracing connection at abutment bearing.
![]()


Abutment bearing.
![]()


Pier.
![]()
Bearings at piers.
![]()

Bearings at abutment.
![]()


Abutment details.
![]()


Scenery driving to bridge.
![]()
![]()

![]()