
Uncredited photos on this page taken by: Nathan Holth and Rick McOmber. Unless stated in a caption, all photos are Copyright with All Rights Reserved. Learn about reuse of our photos.
![]()
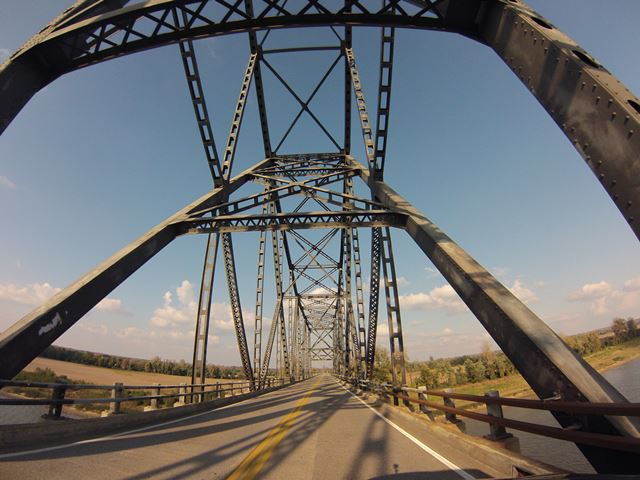
For clarity, descriptions assume an east-west alignment of bridge roadway.
![]()
View beside bridge from southwest quadrant.
![]()
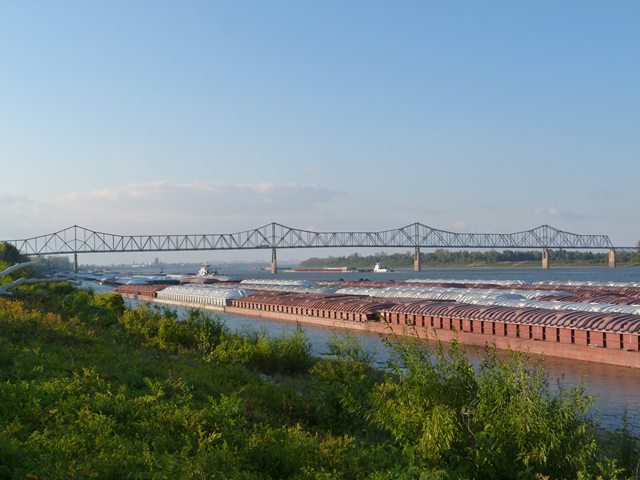
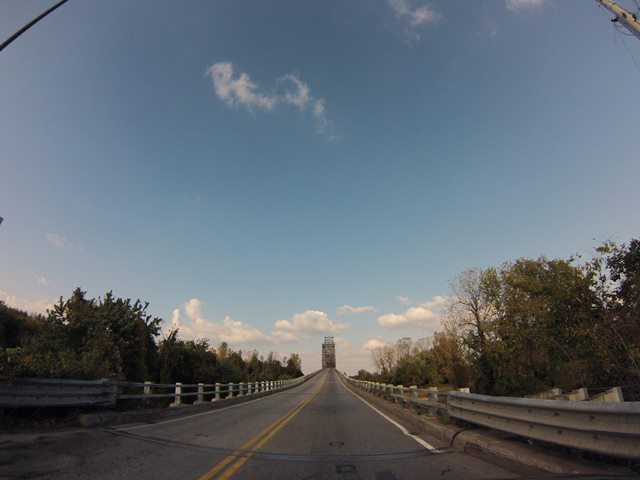
Distant elevation from southwest quadrant.
![]()


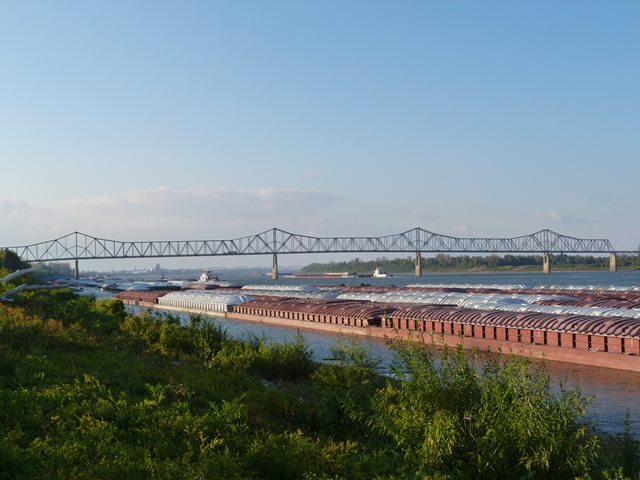
Elevation of individual spans from southwest quadrant.
![]()

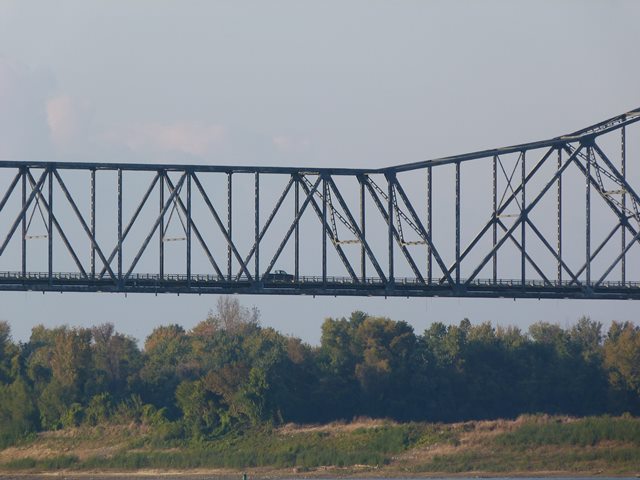

Distant views of truss web.
![]()


Distant elevation of deck truss spans.
![]()


North elevation of eastern approach spans.
![]()


HDR Photos: North elevation of eastern approach spans.
![]()


Photo Credit: C. Hanchey
Views beside main spans.
![]()

Photo Credit: C. Hanchey
View beside bridge approach spans.
![]()
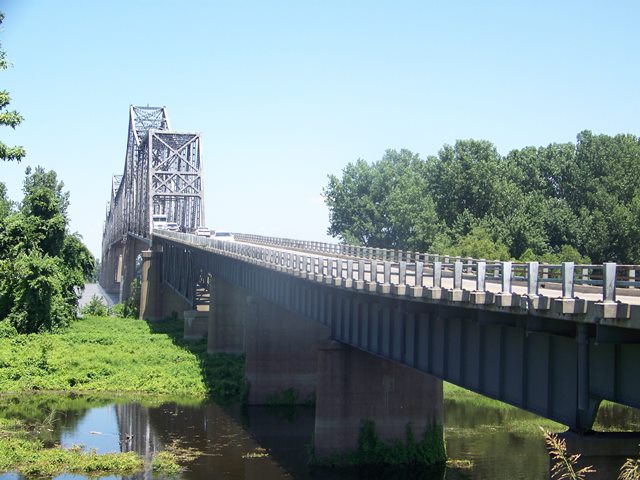


Photo Credit: KYTC
Views beside bridge.
![]()

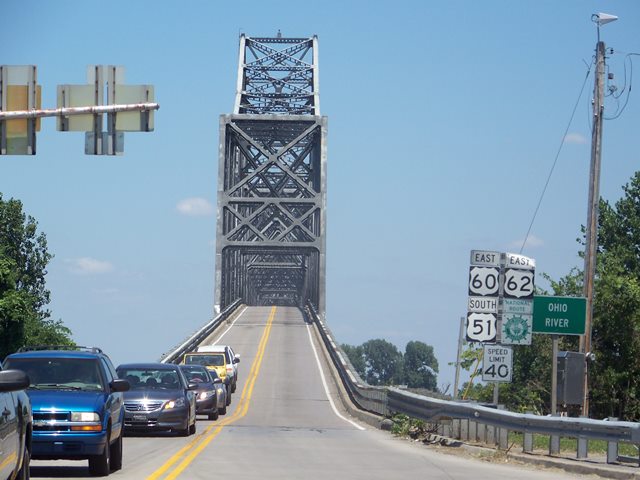


Photo Credit: KYTC
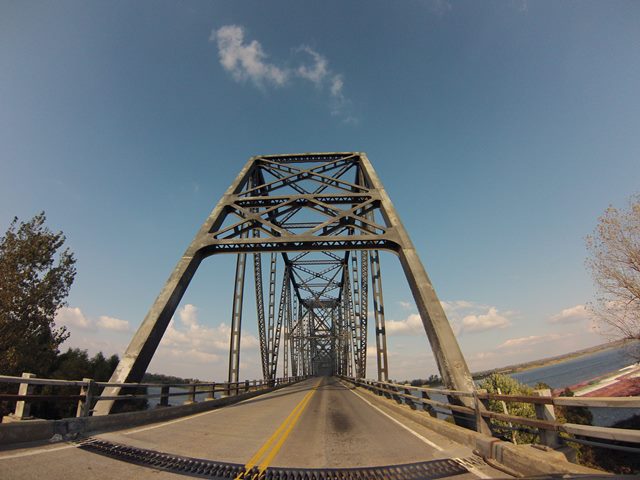
Distant portal views.
![]()
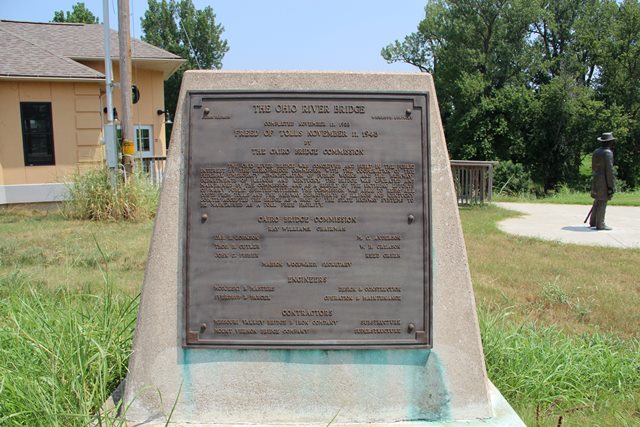
Photo Credit: C. Hanchey
Main plaque.
![]()

Photo Credit: C. Hanchey
Builder plaque.
![]()

Photo Credit: KYTC
Builder plaque.
![]()


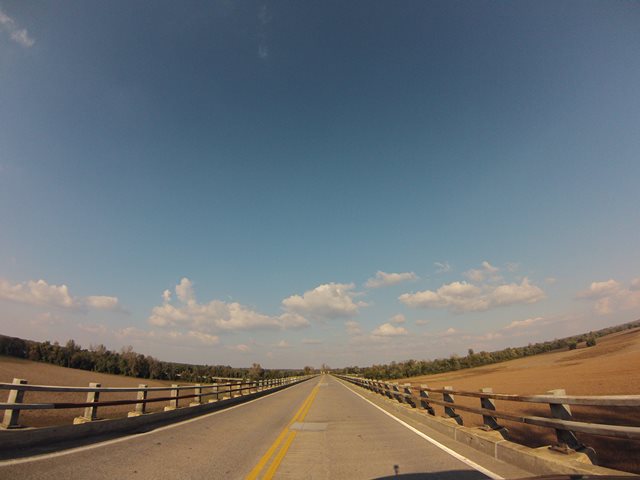
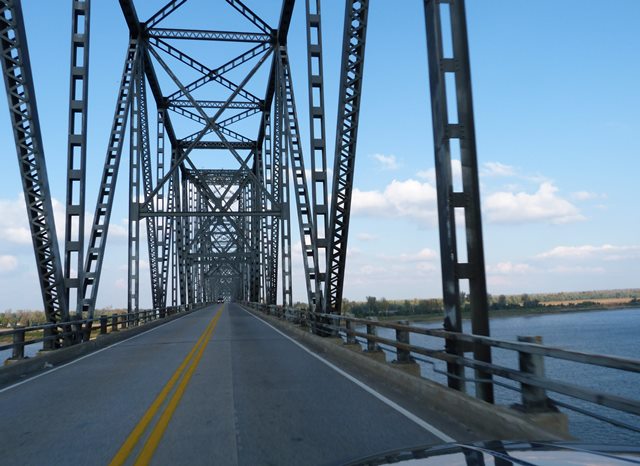
GoPro CarCam photos. Eastbound Crossing. Views on western approach spans.
![]()


GoPro CarCam photos. Eastbound Crossing. Views on western through truss spans.
![]()


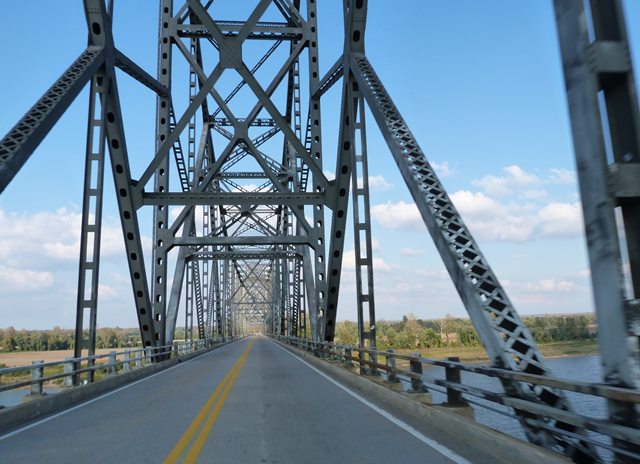
GoPro CarCam photos. Eastbound Crossing. Views on through truss spans towards the center of the bridge.
![]()


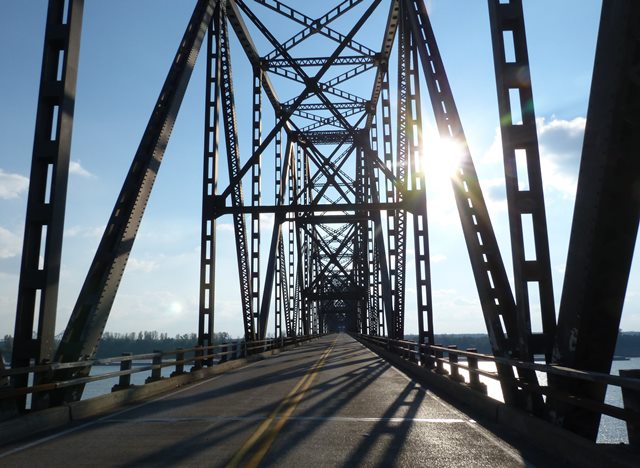
GoPro CarCam photos. Eastbound Crossing. Views on western eastern truss spans.
![]()


GoPro CarCam photos. Eastbound Crossing. Views on eastern approach spans.
![]()


GoPro CarCam photos. Westbound Crossing.
![]()


Former bridge toll house.
![]()


Main plaque.
![]()


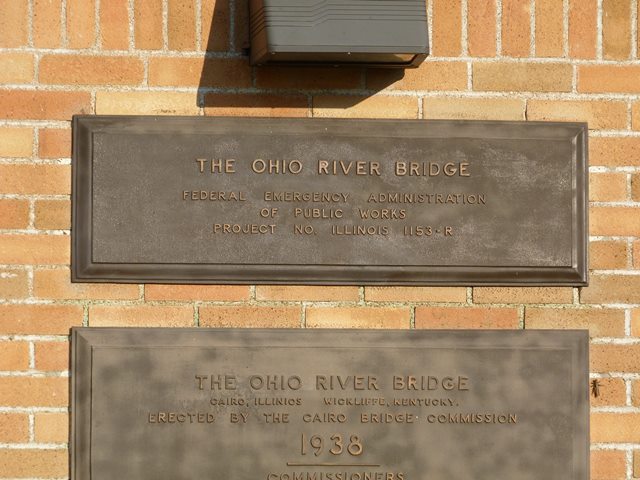
Public Works Administration plaques.
![]()

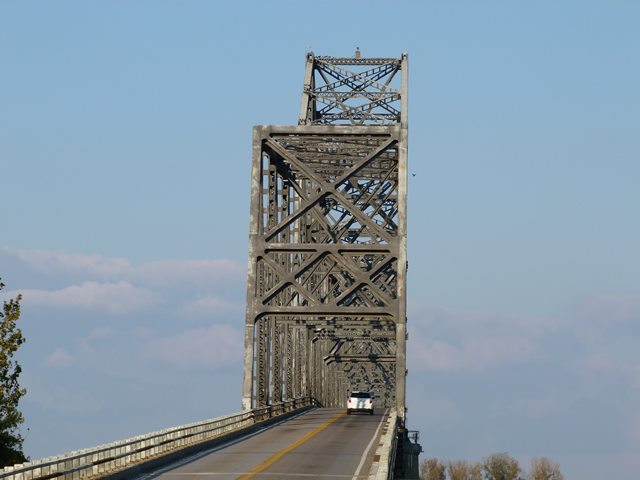
Distant portal view of truss spans, view facing east.
![]()


Eastbound crossing, views on western approach spans.
![]()


Eastbound crossing, views on through truss spans.
![]()


Westbound crossing, views on eastern approach spans.
![]()

Westbound crossing, views on through truss spans.
![]()


Top chord connections as viewed from beside bridge.
![]()


Portal bracing details.
![]()

End post for through truss span.
![]()


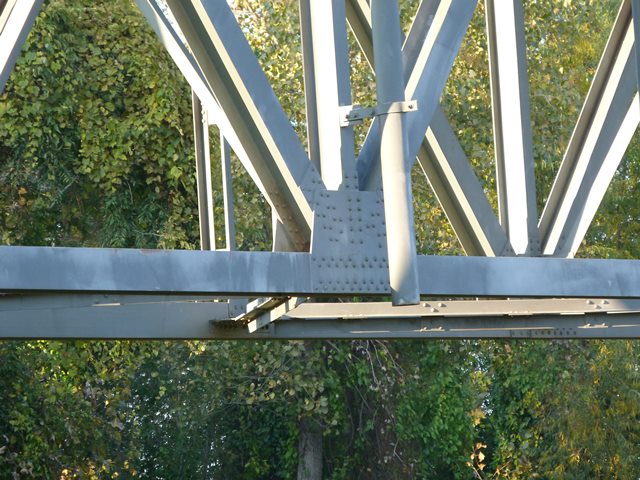
Deck truss top chord connections.
![]()


Deck truss bottom chord connections.
![]()

Deck truss bearing.
![]()


Photo Credit: KYTC
Pin connection at top chord at end of suspended span.
![]()

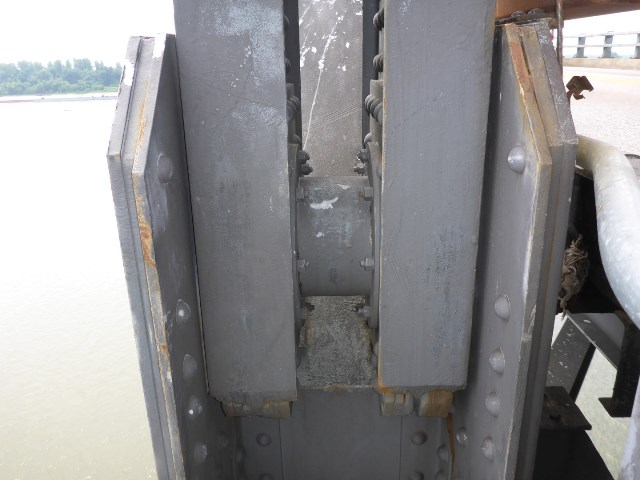
Photo Credit: KYTC
Bottom chord connection at end of suspended span.
![]()


Photo Credit: KYTC
Expansion joint.
![]()

Photo Credit: KYTC
Top chord.
![]()

Photo Credit: KYTC
Bottom chord.
![]()
Photo Credit: KYTC
Overhead bracing overview.
![]()

Photo Credit: KYTC
Lateral bracing.
![]()

Photo Credit: KYTC
Strut at main post.
![]()
Photo Credit: KYTC
Bearings.
![]()


Photo Credit: KYTC
Piers.
![]()
![]()
| Back |
| Home |
| Top |

![]()


