Uncredited photos on this page taken by: Nathan Holth. Unless stated in a caption, all photos are Copyright with All Rights Reserved. Learn about reuse of our photos.
![]()
Note: Directions given assume east-west bridge alignment.
![]()


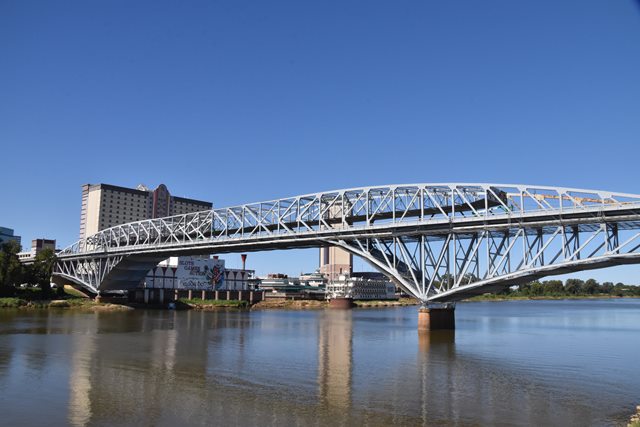


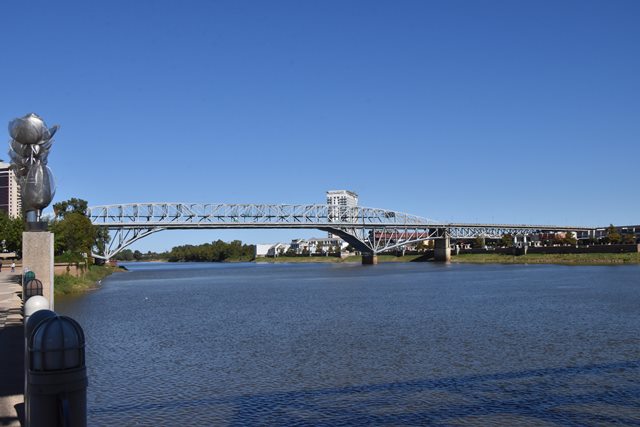
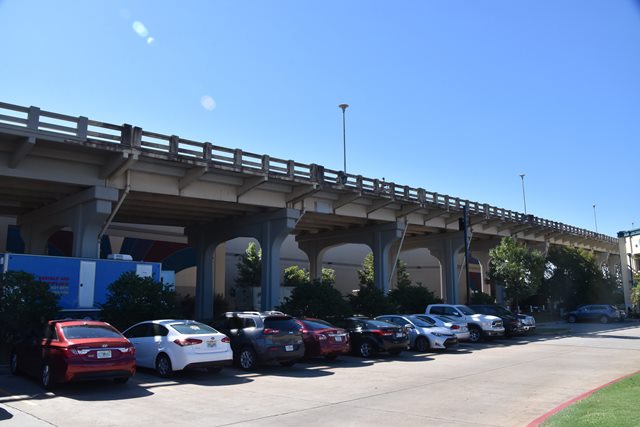
Elevation from southeast quadrant.
![]()
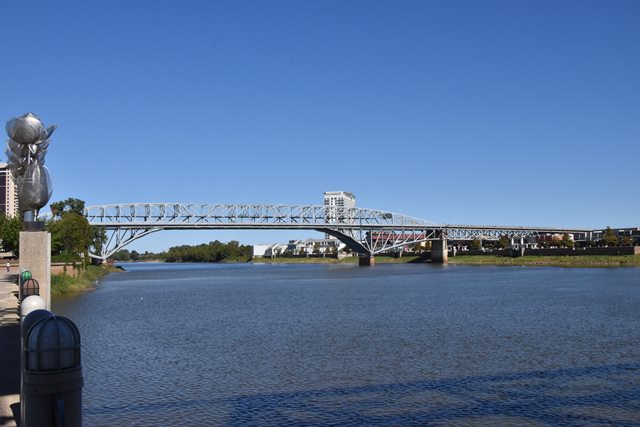


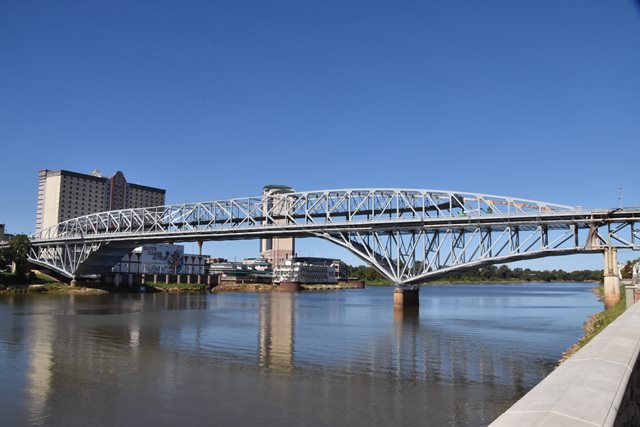
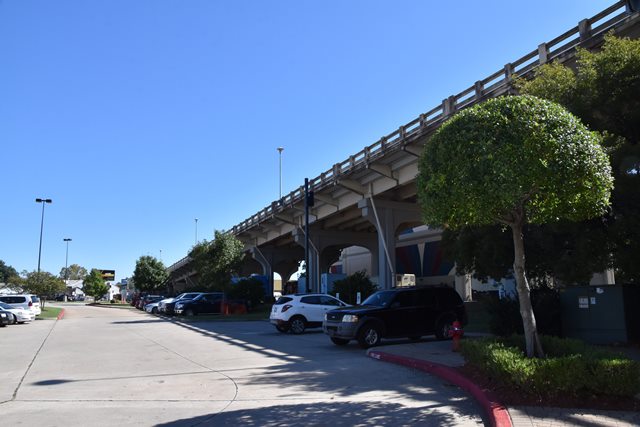
Elevation from southwest quadrant.
![]()
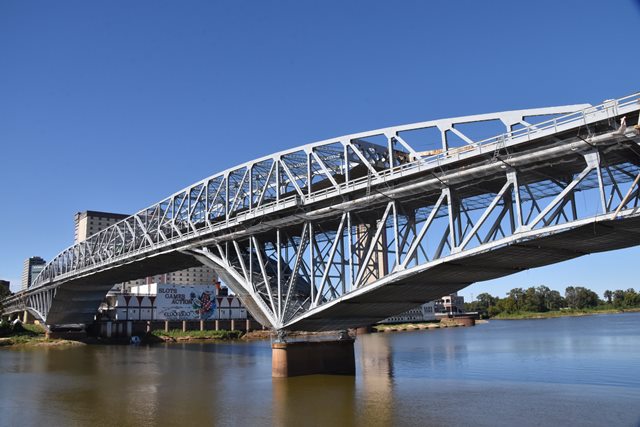
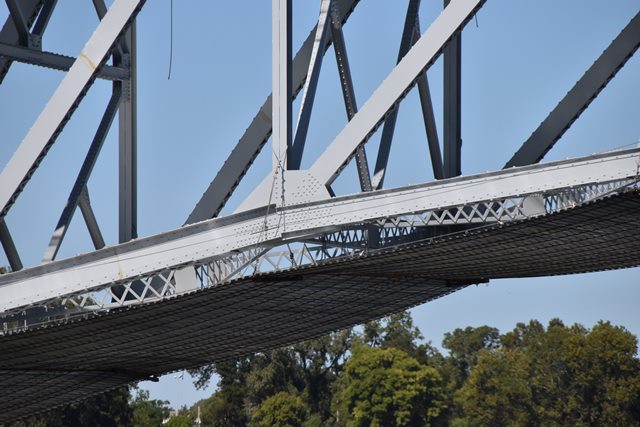
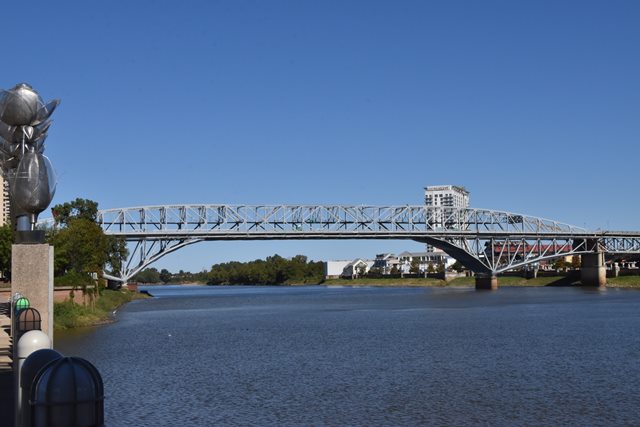
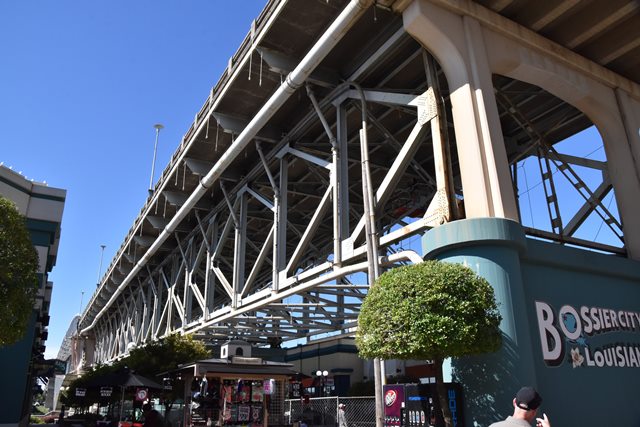
View beside main spans from southeast quadrant.
![]()

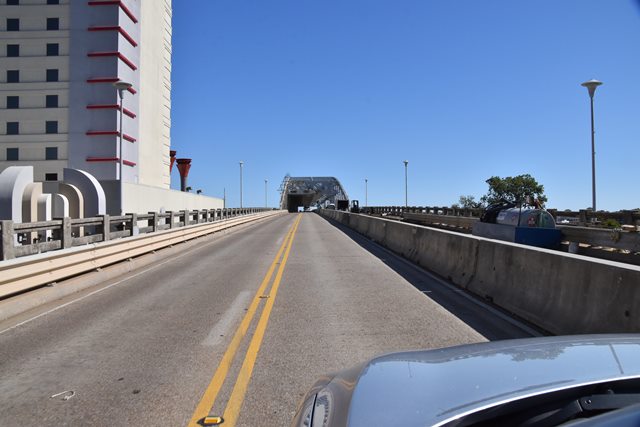
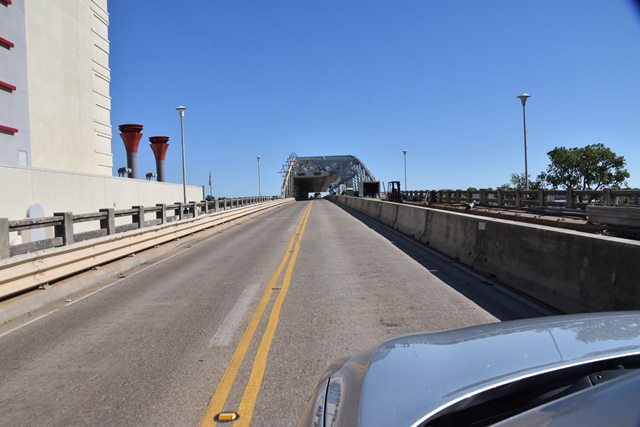
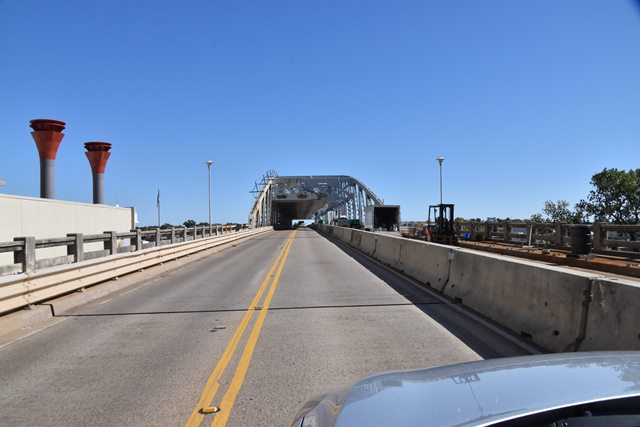
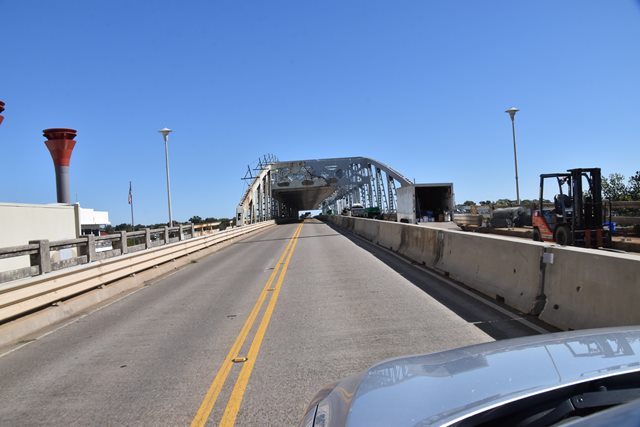

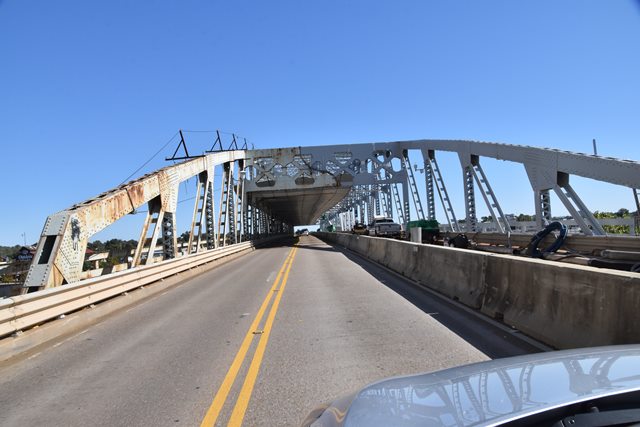
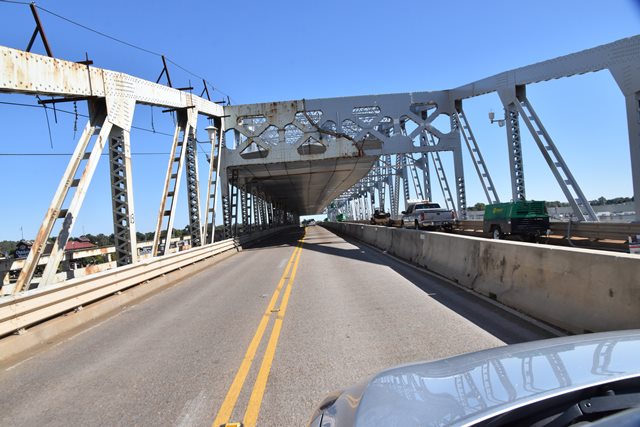
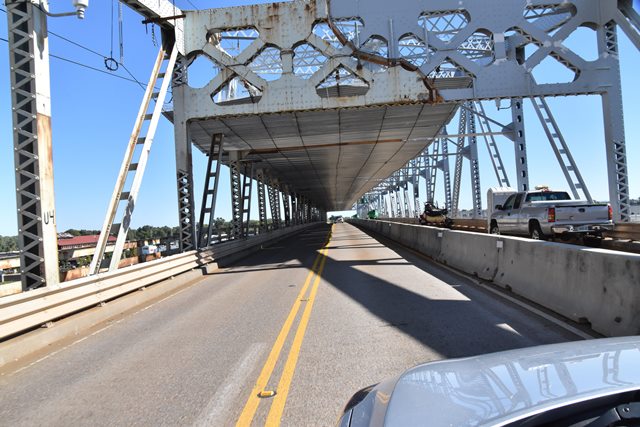
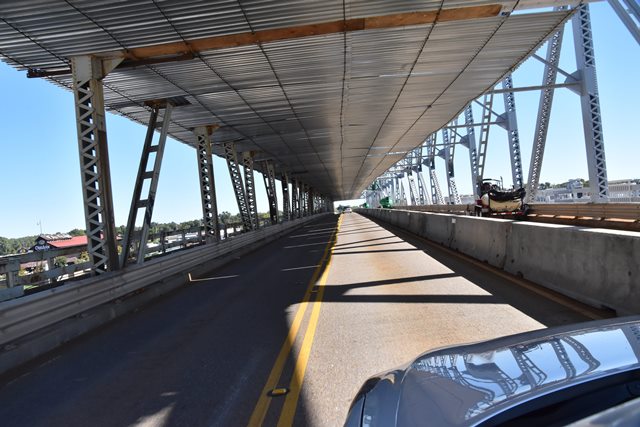


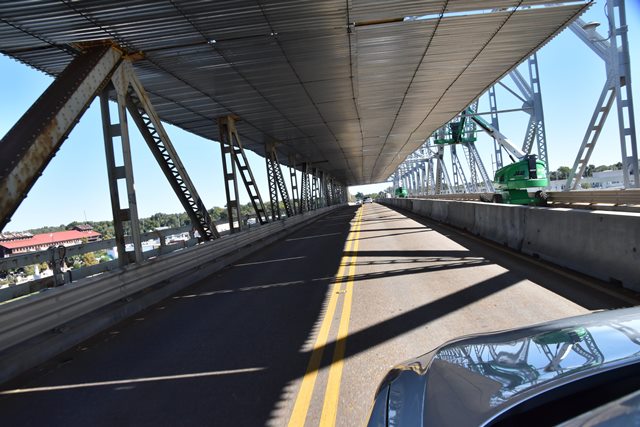

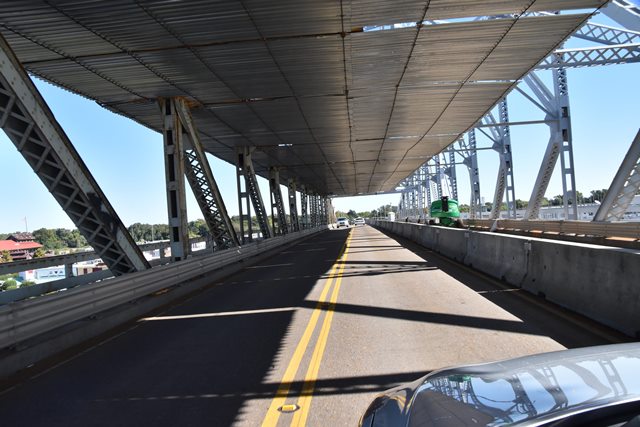


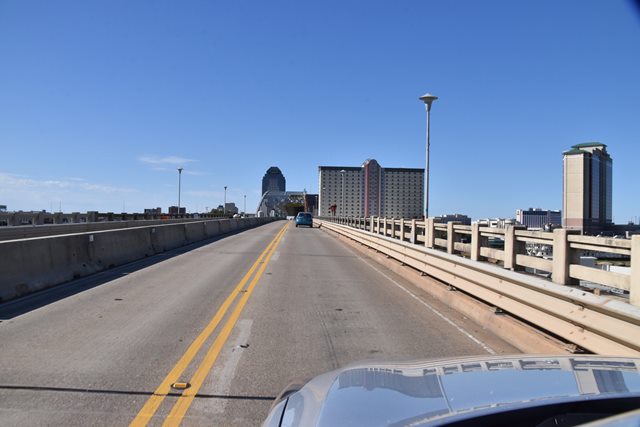
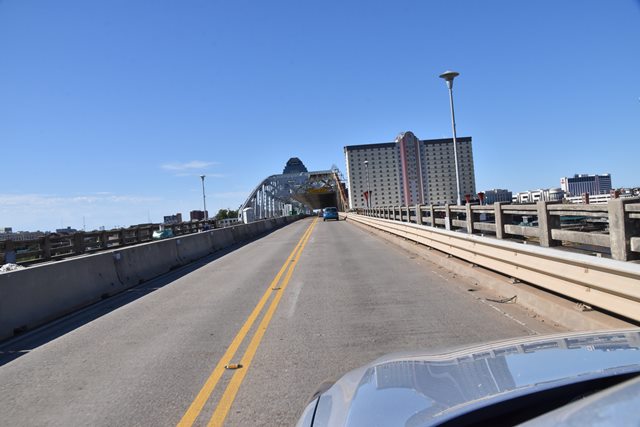
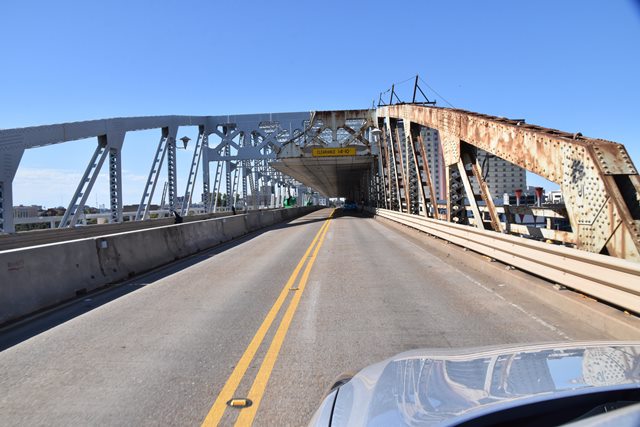
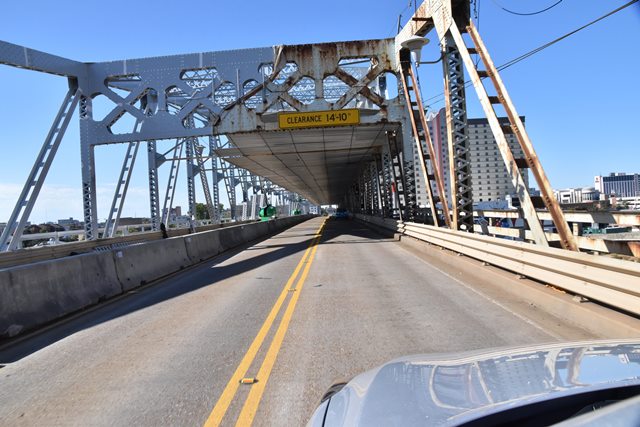
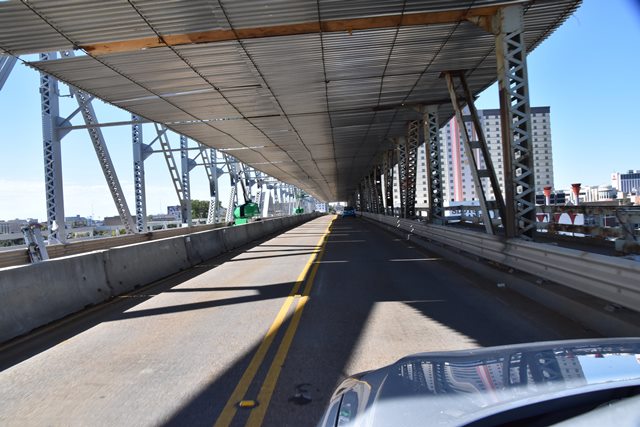
Driving eastbound over bridge.
![]()


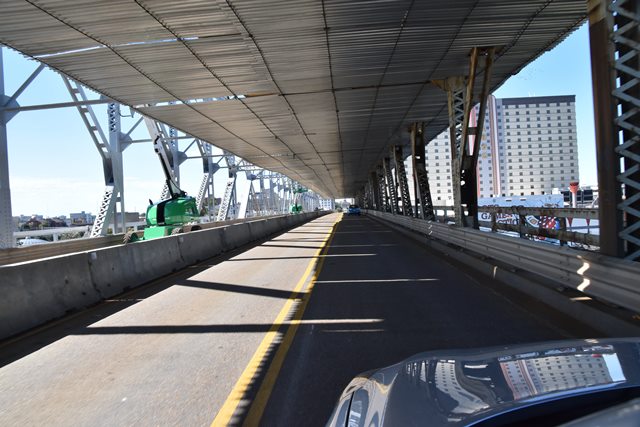

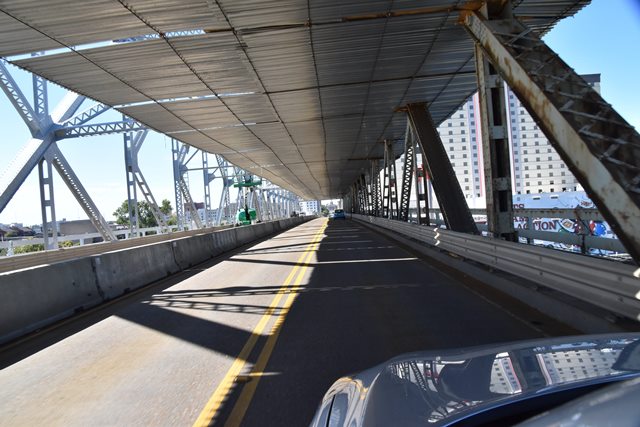


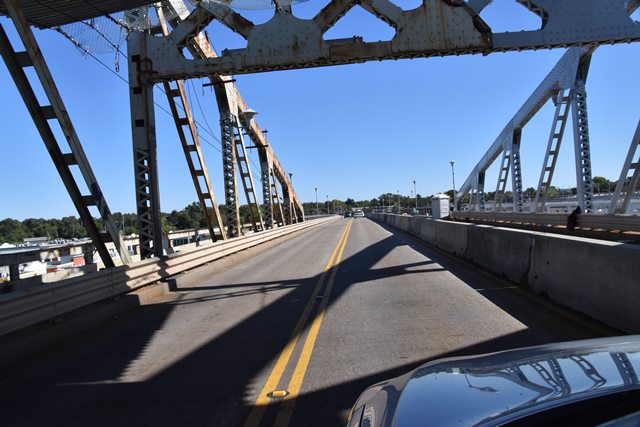
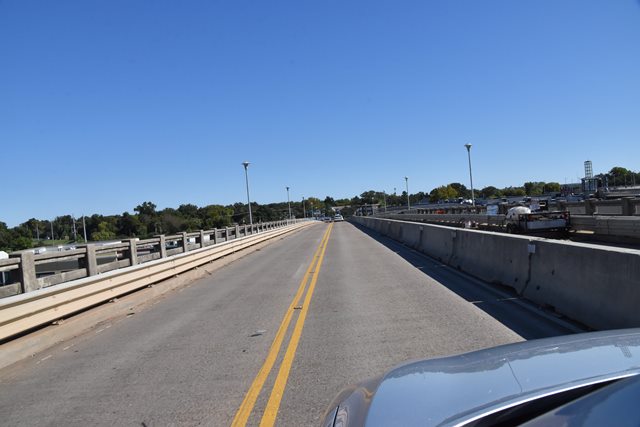
Driving westbound over bridge.
![]()


Views beside approach spans from southeast quadrant.
![]()

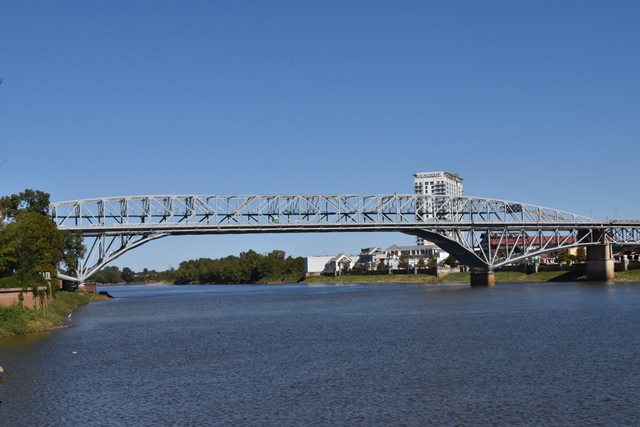
South elevation of anchor arm.
![]()

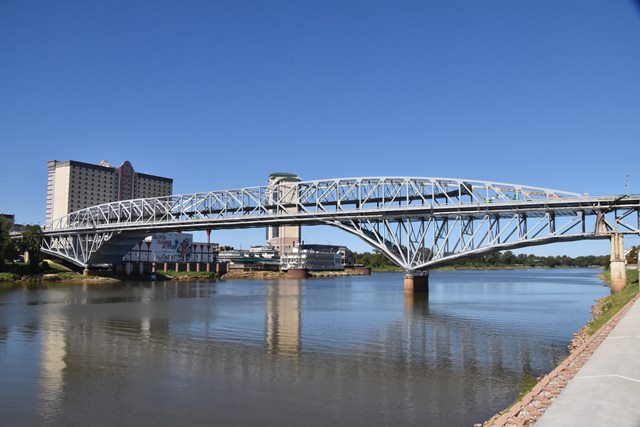
East approach span elevation from southwest quadrant.
![]()


South elevation of west approach span.
![]()


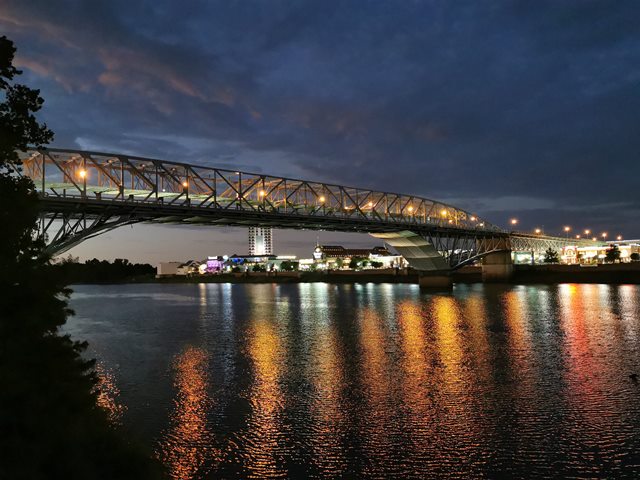
Photo Credit: Shreveport-Bossier Convention and Tourist Bureau, CC BY 2.0, flickr.com/photos/shreveportbossier/
Night elevation.
![]()

Photo Credit: Shreveport-Bossier Convention and Tourist Bureau, CC BY 2.0, flickr.com/photos/shreveportbossier/
Night portal view.
![]()


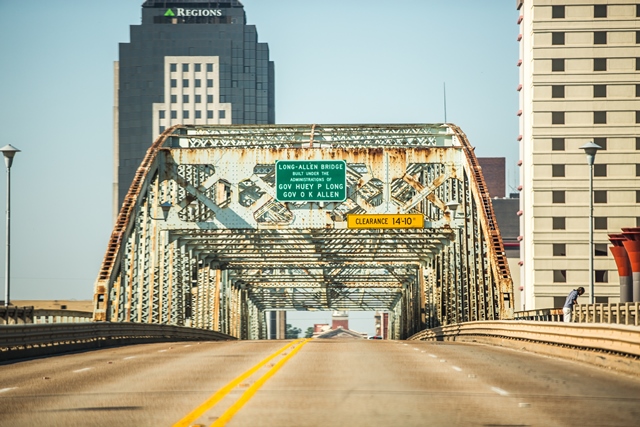
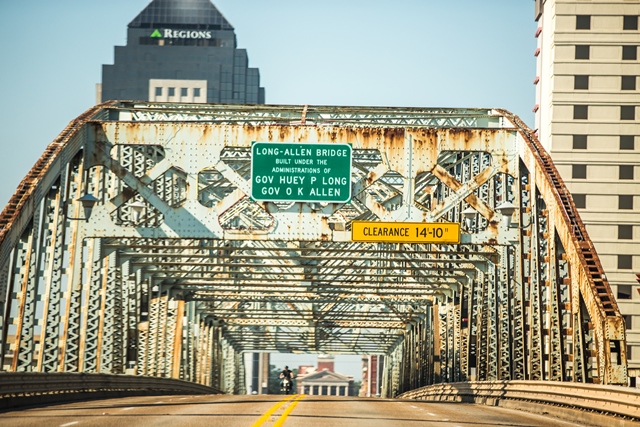
Photo Credit: Thomas Hawk, CC BY-NC 2.0, flickr.com/photos/thomashawk/
Portal views.
![]()

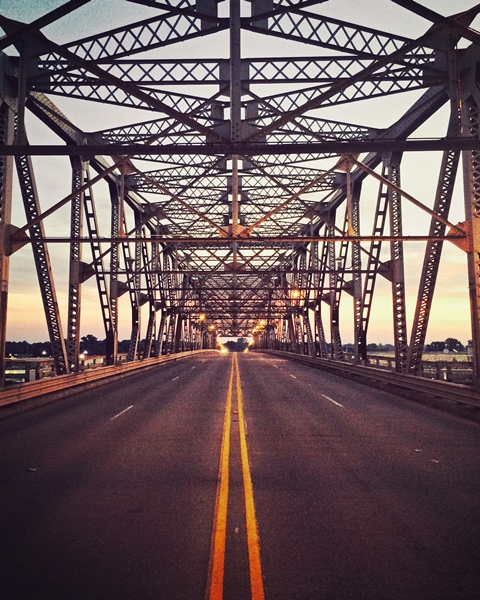
Photo Credit: Thomas Hawk, CC BY-NC 2.0, flickr.com/photos/thomashawk/
Portal views on bridge.
![]()


Photo Credit: Thomas Hawk, CC BY-NC 2.0, flickr.com/photos/thomashawk/
Portal views.
![]()


Night elevation from southwest quadrant.
![]()


Post at end of bridge with 1933 on it.
![]()


Unrelated plaque near bridge.
![]()
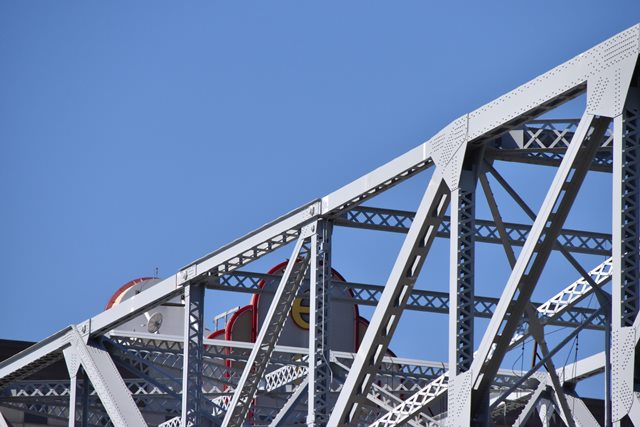


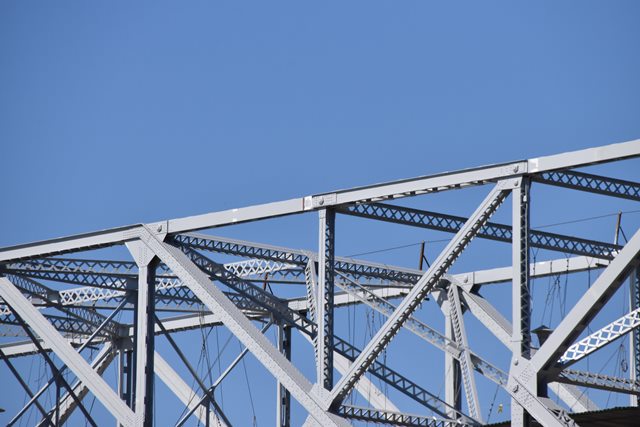

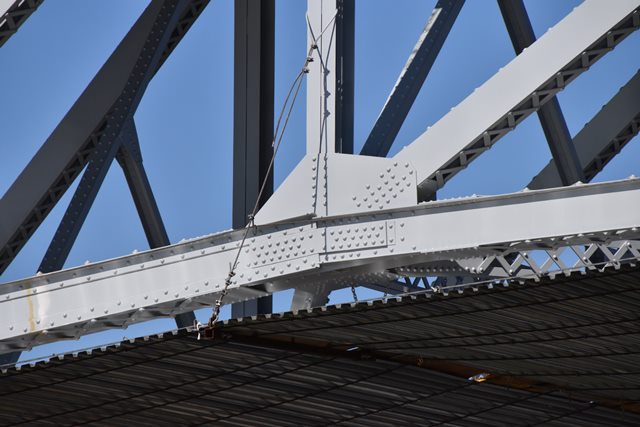
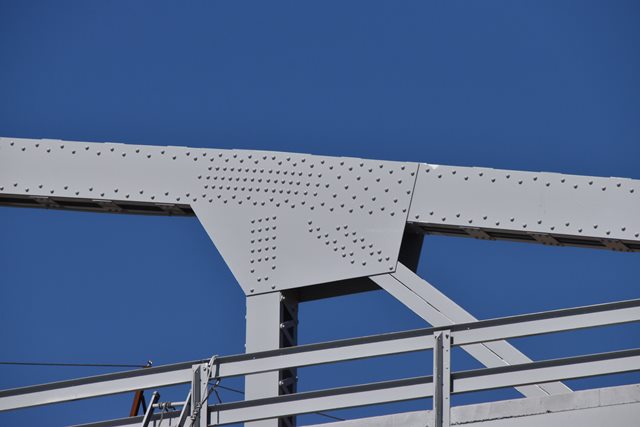
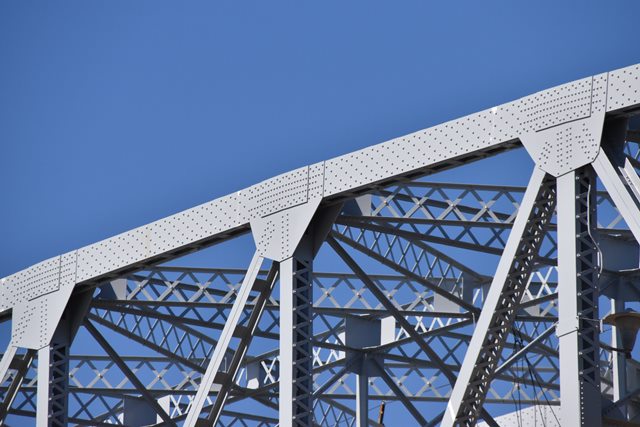
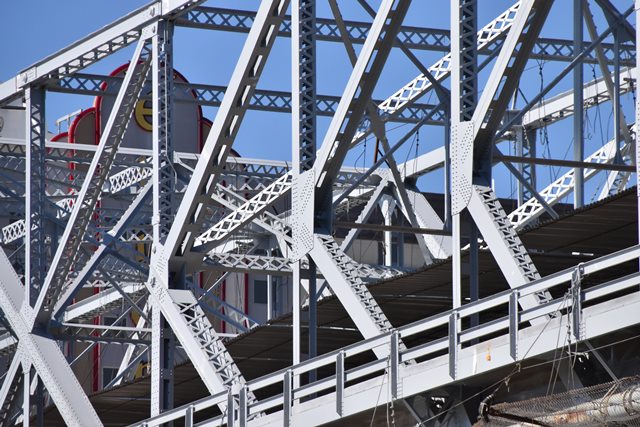
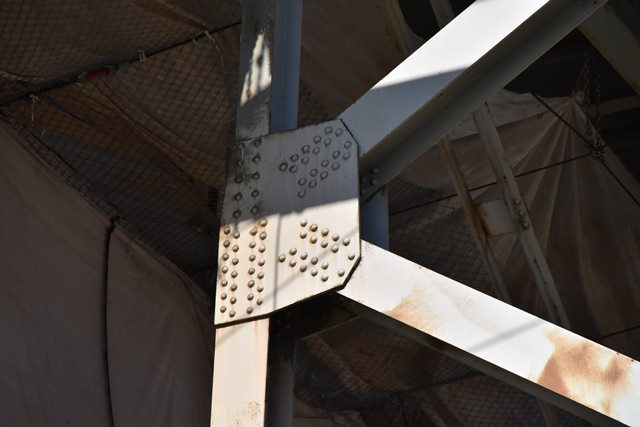
Main span top chord connections at transition from cantilever arm to suspended span.
![]()


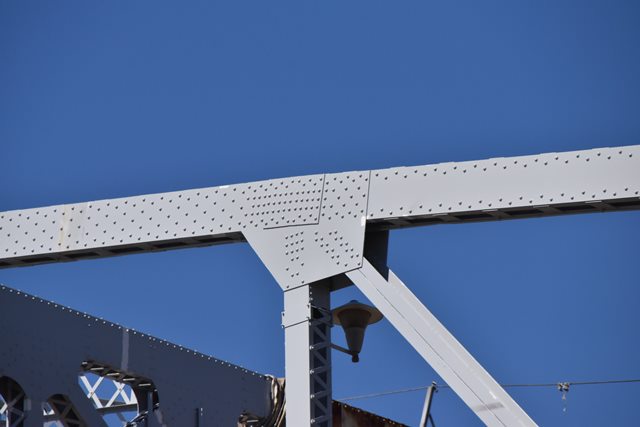

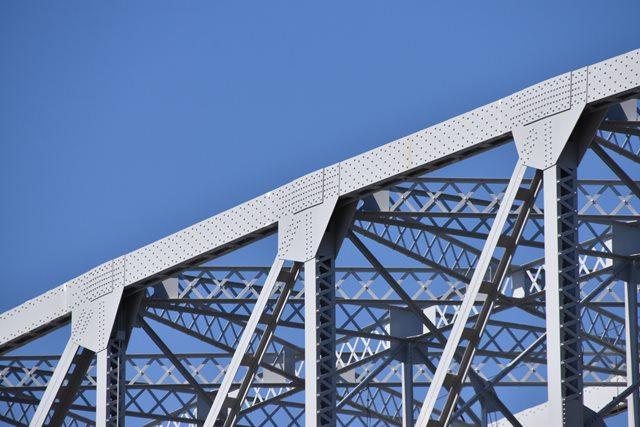


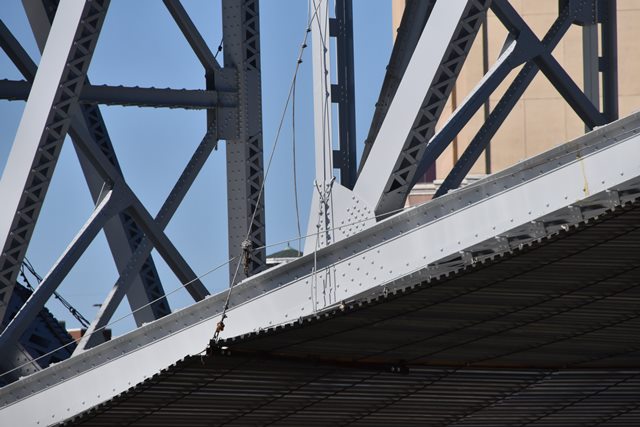
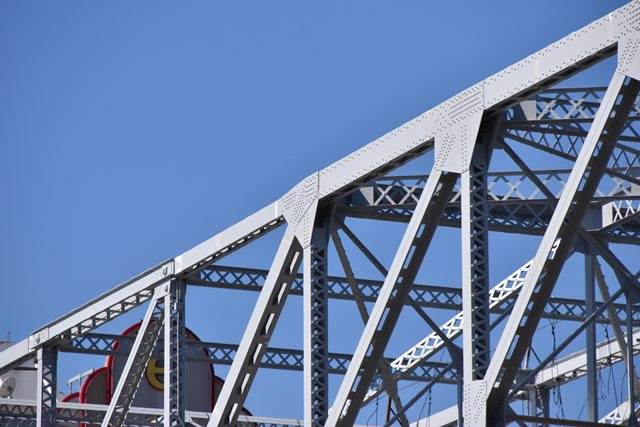
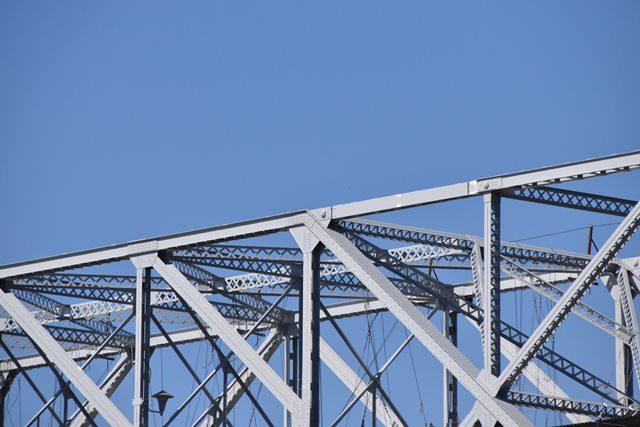
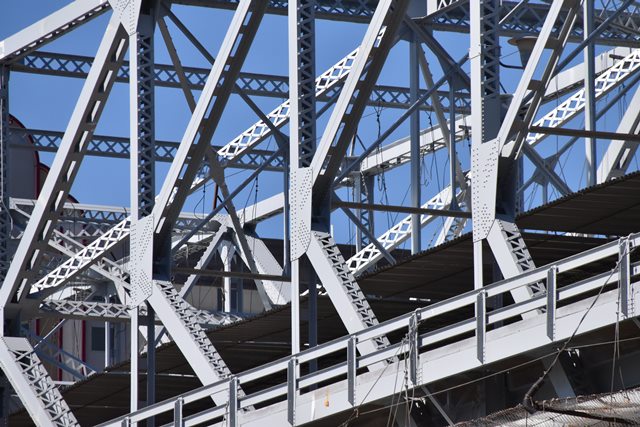
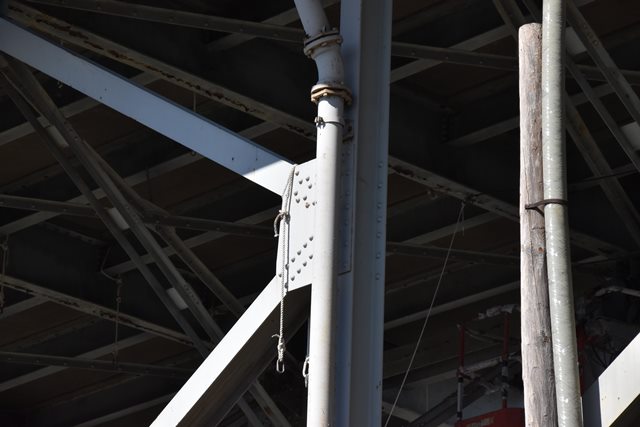
Main span top chord connections as viewed from beside bridge.
![]()
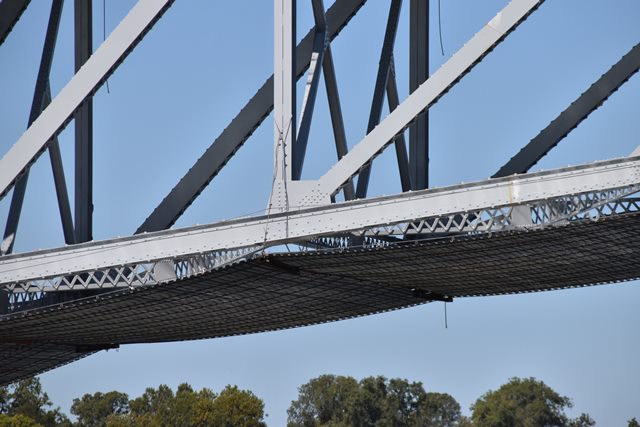
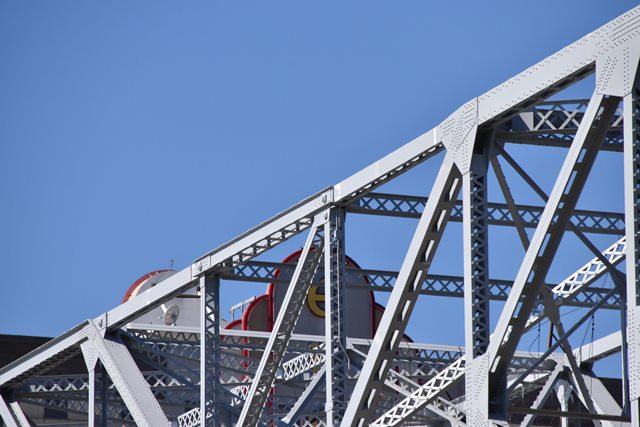
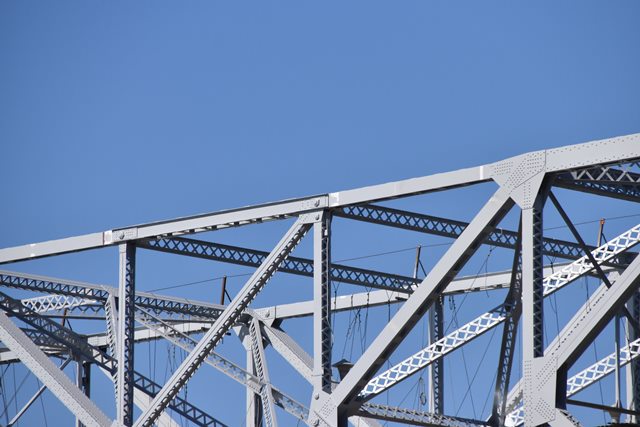
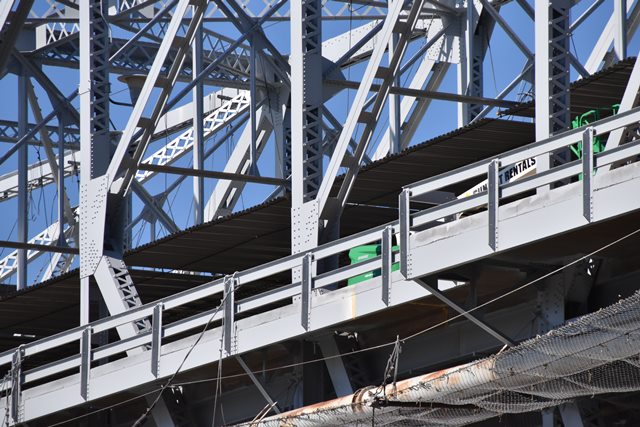
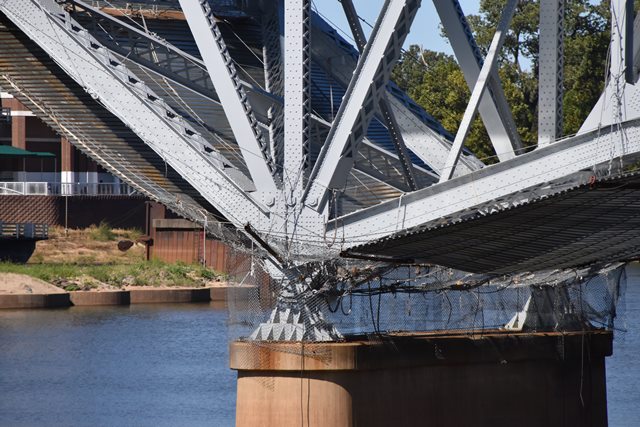
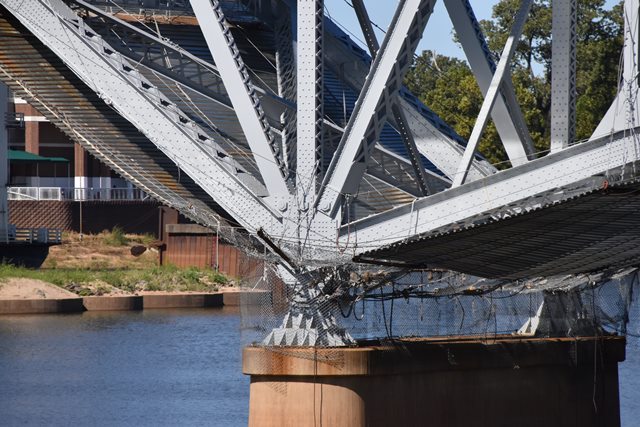
Main span bottom chord connections as viewed from beside bridge.
![]()
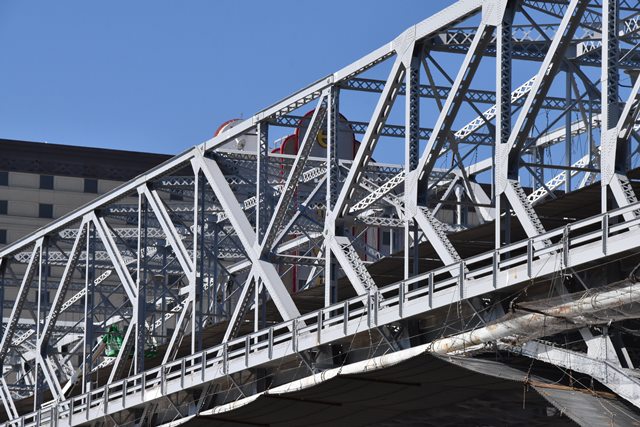


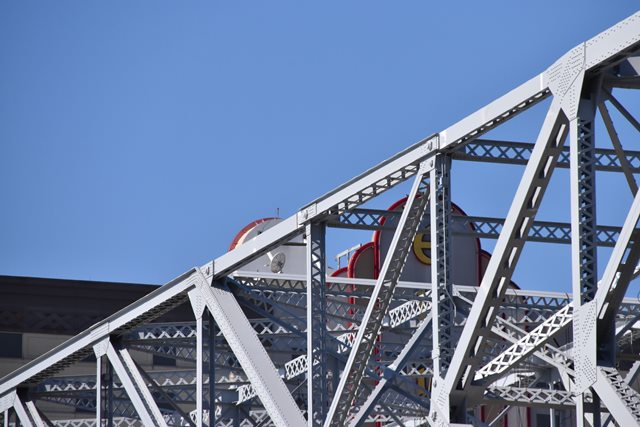
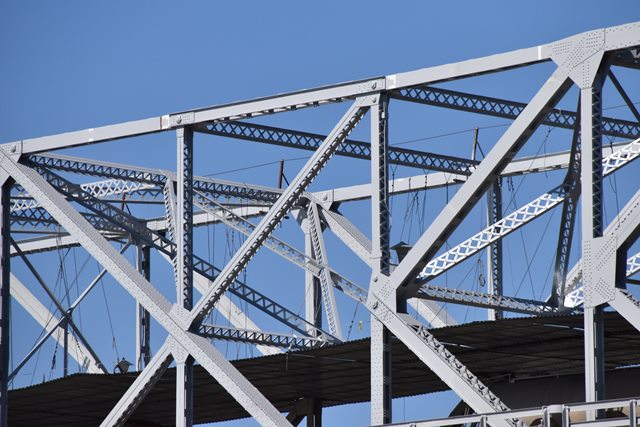
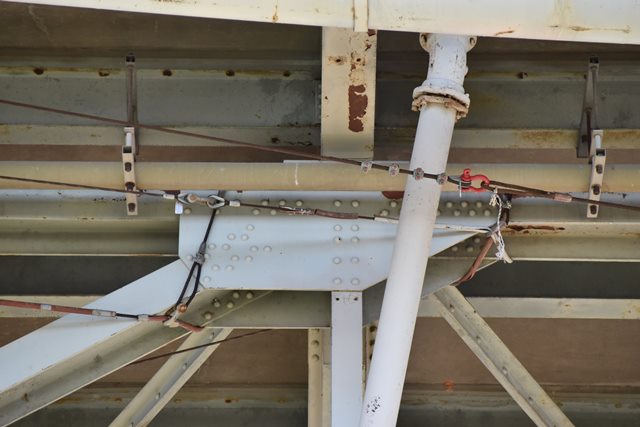
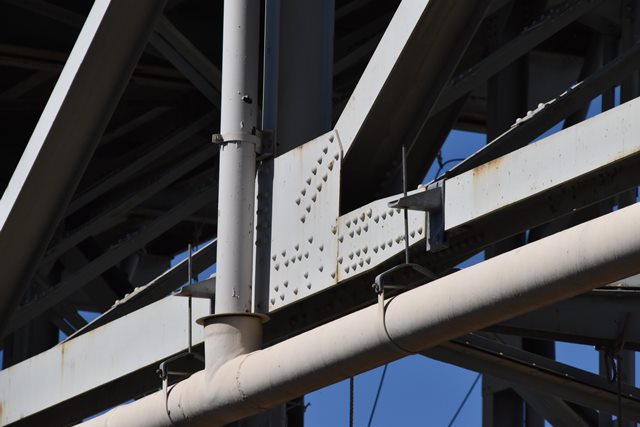
Main span intermediate connections as viewed from beside bridge.
![]()


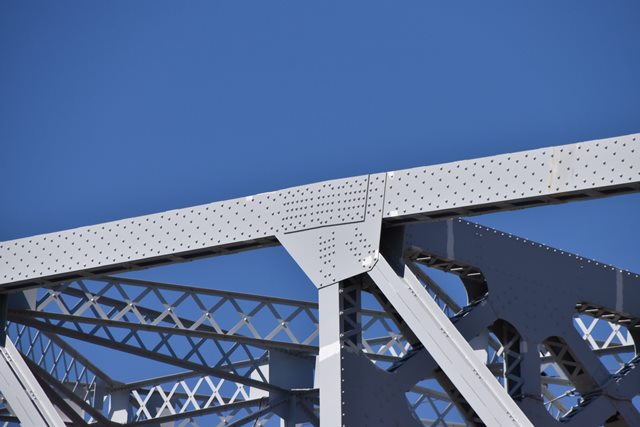
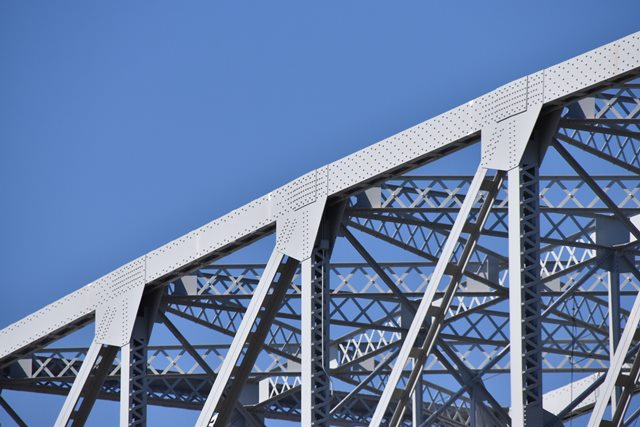
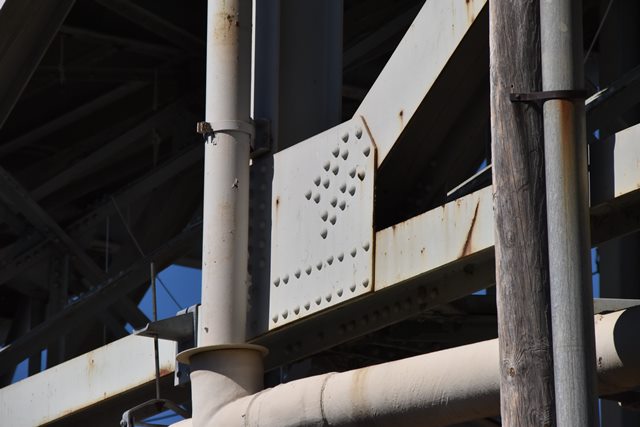
Approach span top chord connections as viewed from beside bridge.
![]()


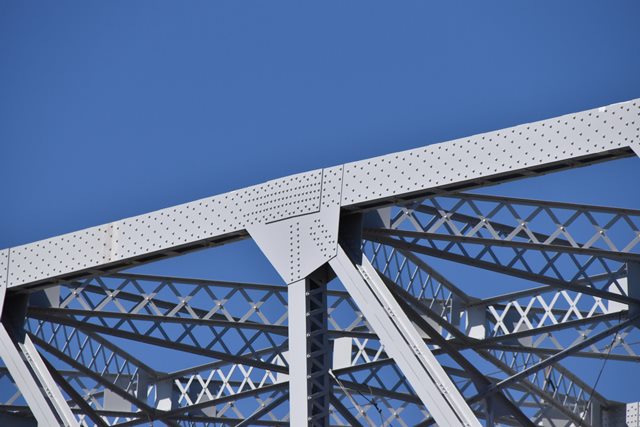
Approach span intermediate connections as viewed from beside bridge.
![]()

Approach span bottom chord connections as viewed from beside bridge.
![]()


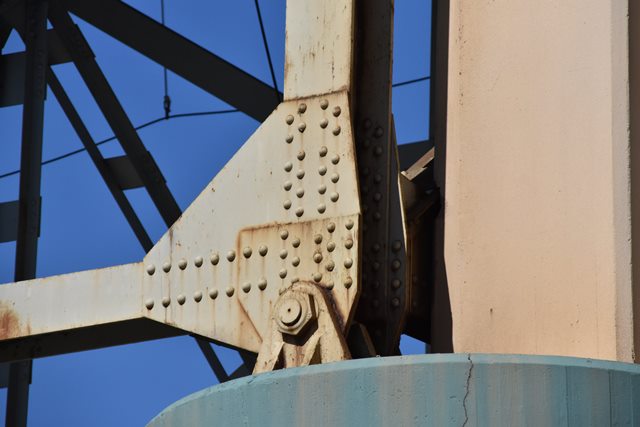
Anchor bearing.
![]()

Cantilever bearing.
![]()
Approach span bearing.
![]()

Approach pier.
![]()

Anchor pier.
![]()

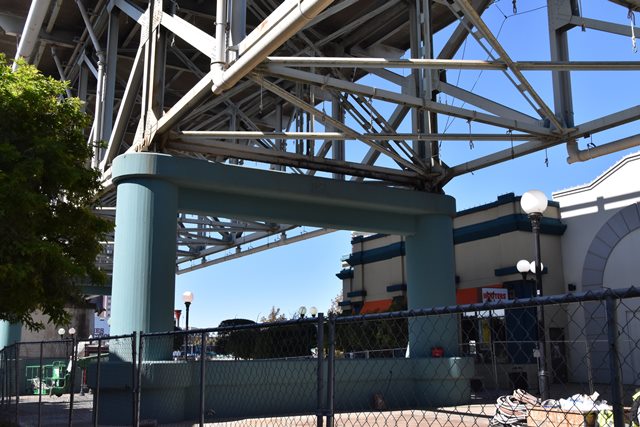
Eastern approach spans.
![]()
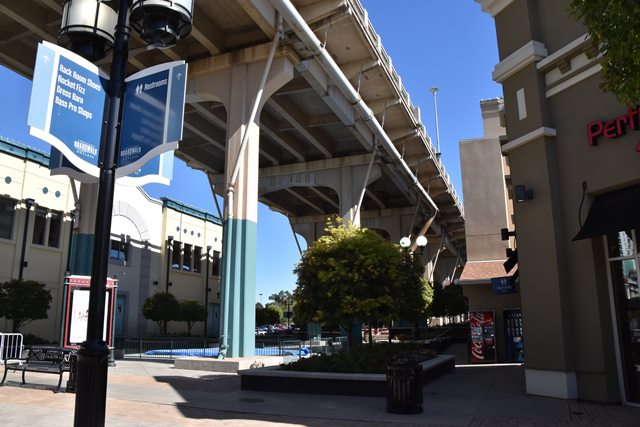

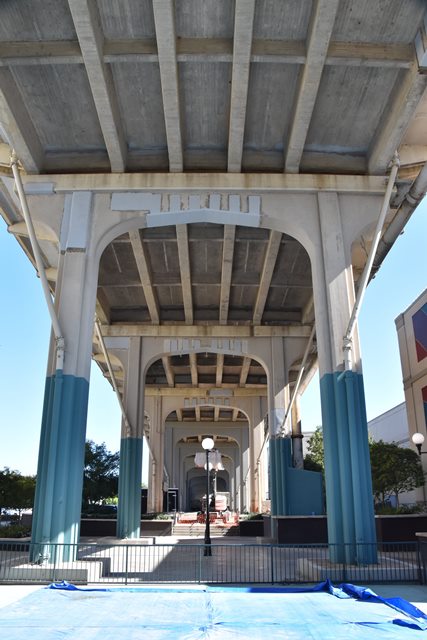
Views under eastern approach spans.
![]()
![]()
| Back |
| Home |
| Top |

![]()