
Uncredited photos on this page taken by: Nathan Holth. Unless stated in a caption, all photos are Copyright with All Rights Reserved. Learn about reuse of our photos.
![]()

![]()
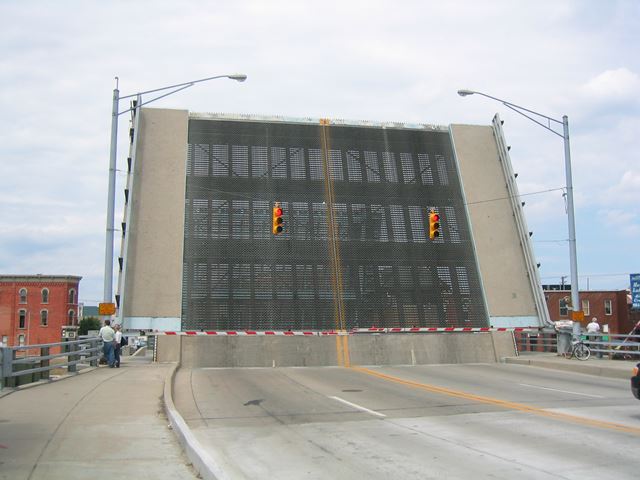
Portal view, bridge in raised position.
![]()


View beside bridge from southwest quadrant, bridge in raised position.
![]()

Elevation from northwest quadrant.
![]()

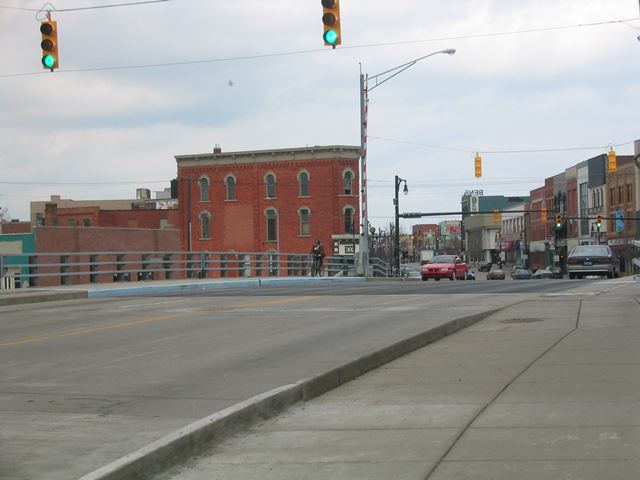
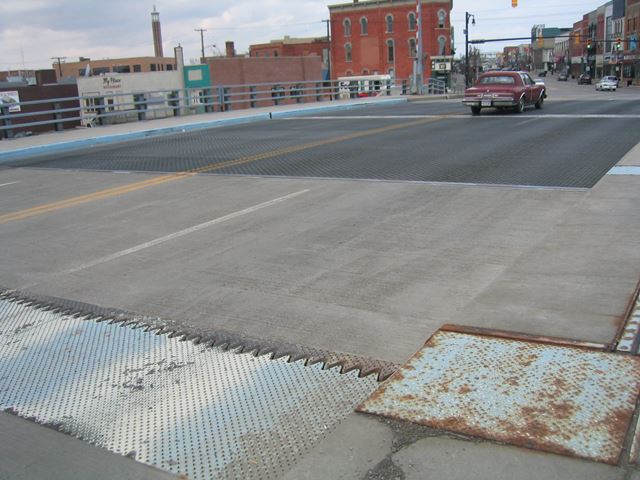
Deck and railing overview.
![]()


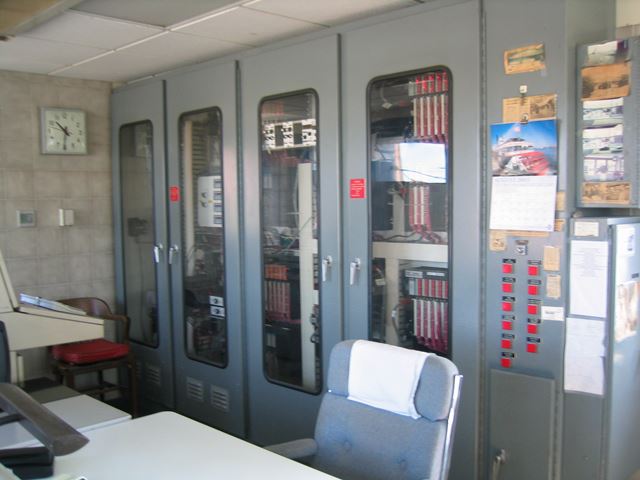
The massive control panel for the bridge. Although it has about three times as much buttons on it as the Seventh Street Bridge control panel, all that is necessary (under normal operation) to actually raise and lower the bridge is the push of two buttons. (One to raise and one to lower)
![]()

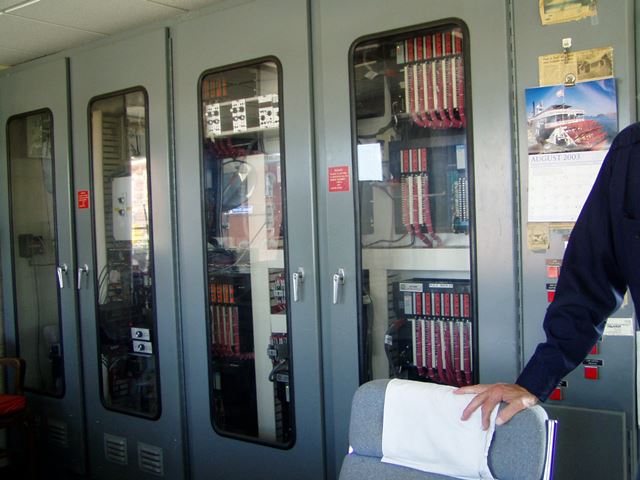
Detail of control panel. The knobs and levers on the left side are for raising the bridge manually, something that only needs to be done in the event the automated system is not working.
![]()

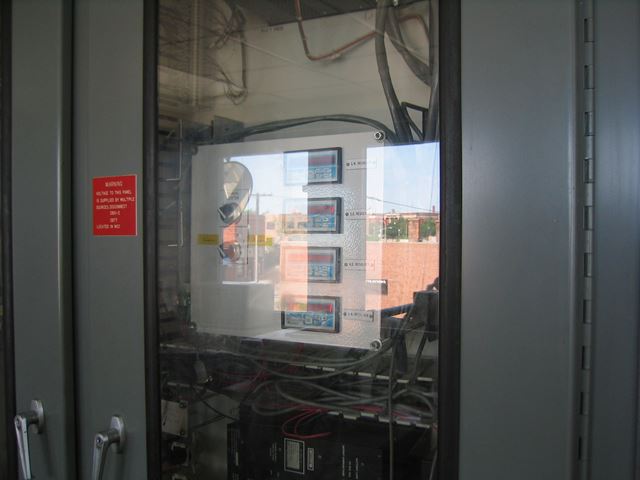
Gate Control. The controls for the north gates from the bridge are like Seventh Street: separate from the main control panel. This is probably so the bridge operator can ensure that the gates actually lower when the button is pushed.
![]()

View of the bridge just starting to go up. View from control room.
![]()
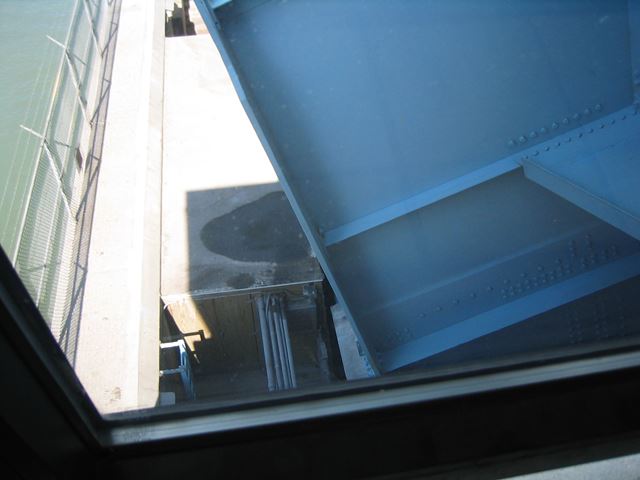

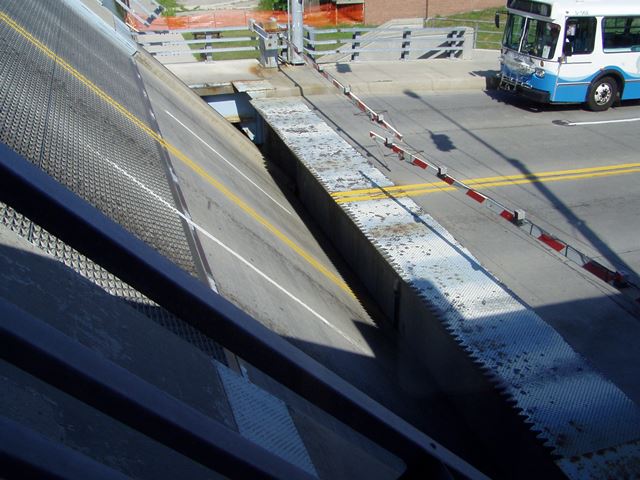
Bridge in raised position. Notice how you can see down below the bridge. Part of the tour will be from down there.
![]()

A wall of various electrical-related equipment in the control room.
![]()
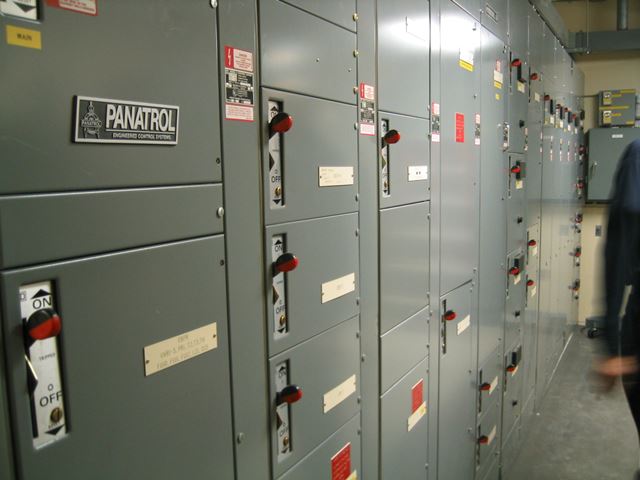
Directly below the control room is all of these switches for the electrical systems.
![]()
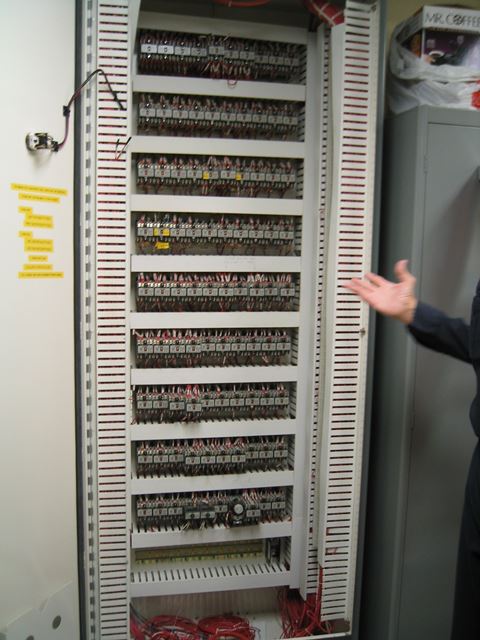

Additional electrical equipment below the control room.
![]()

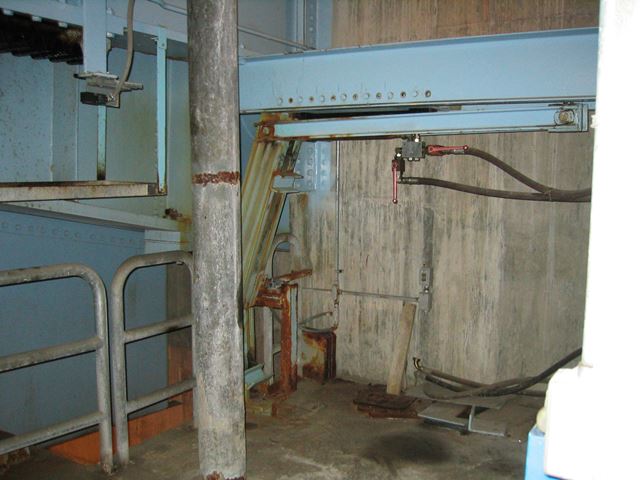
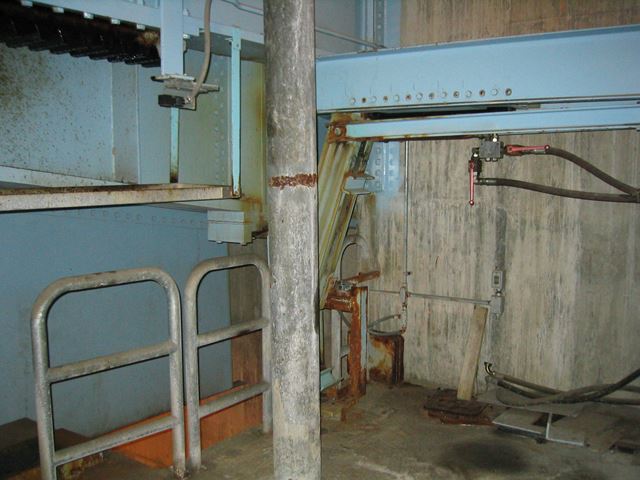
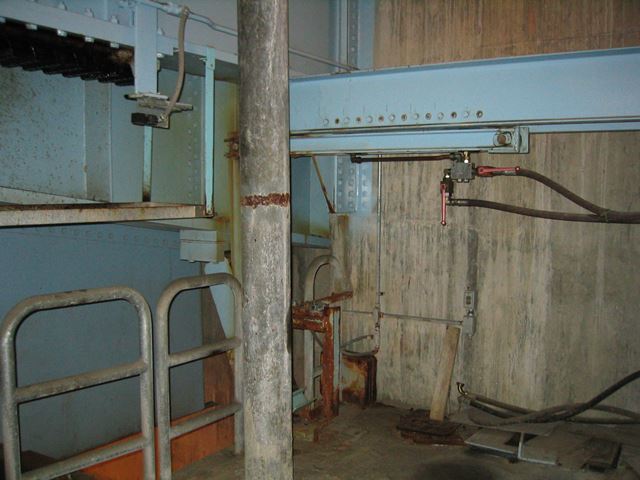
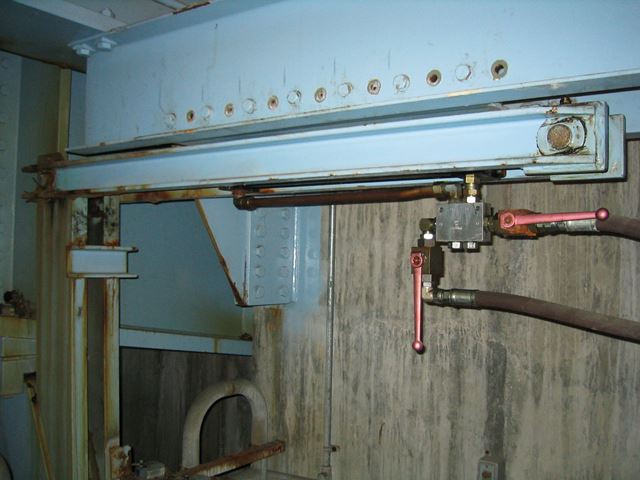
This is the hydraulic machine that works to raise the bridge. This is in a lower level called the machinery room.
![]()

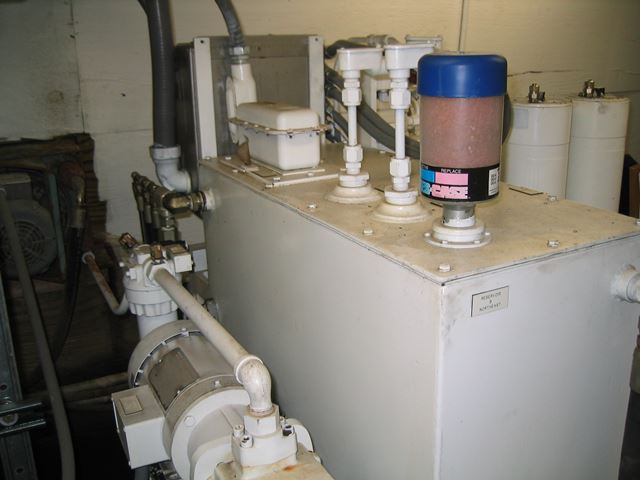


Details of the hydraulic equipment that works to raise the bridge.
![]()


Roller. Bridge lowered.
![]()


This is a sequence of images that show the bridge as it was going up. Notice how as the bridge goes up, the bridge moves along the track.
![]()


Roller. Bridge raised.
![]()

Bridge being lowered, looking toward tail lock. The tail lock is engaged in the last photo.
![]()


Tail lock.
![]()

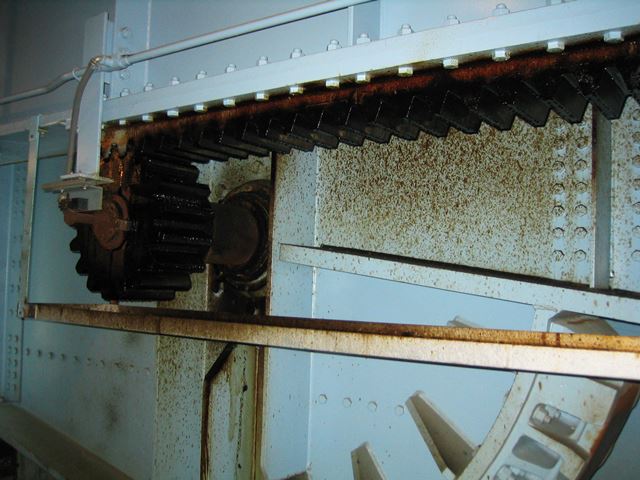
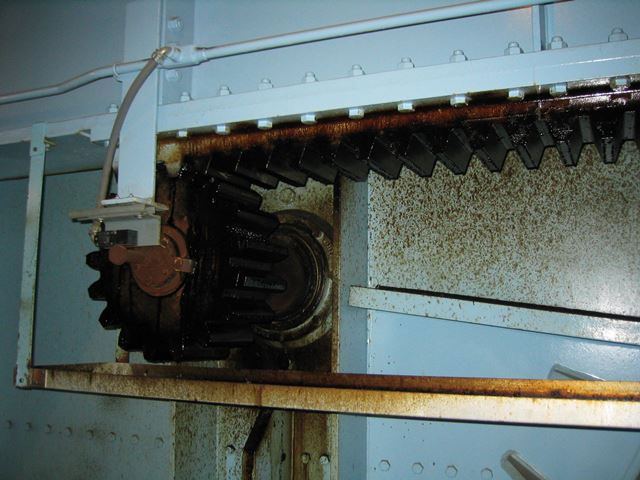

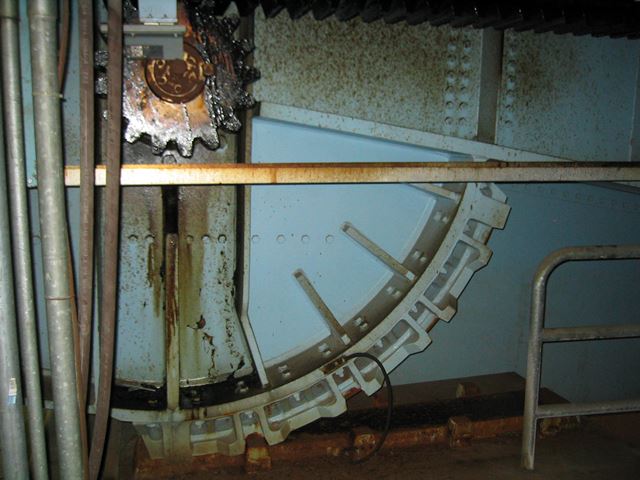
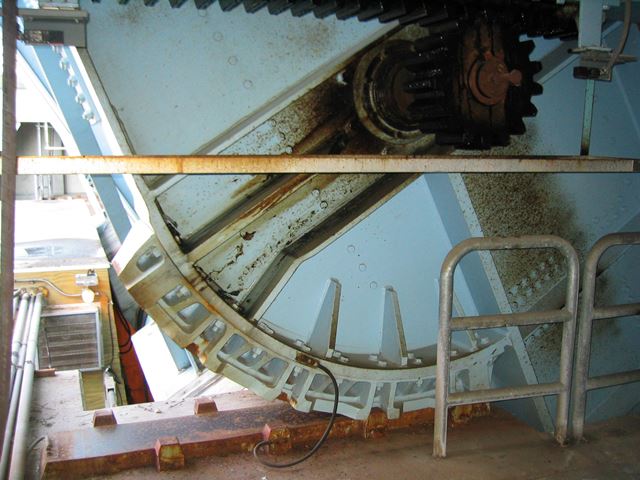
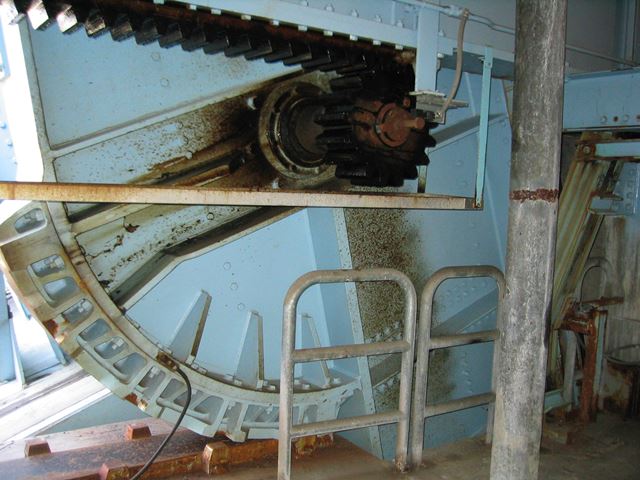
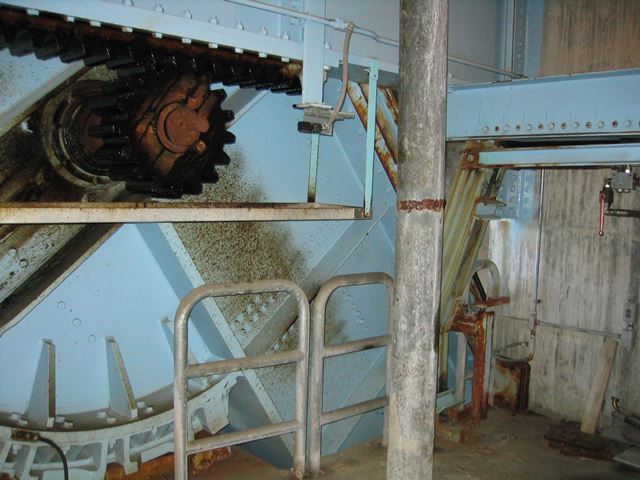
Rack and pinion. As the bridge opens or closes, the pinion moves along the rack.
![]()


View looking down into the tail pit. This is where the counterweight moves during operation of the bridge.
![]()
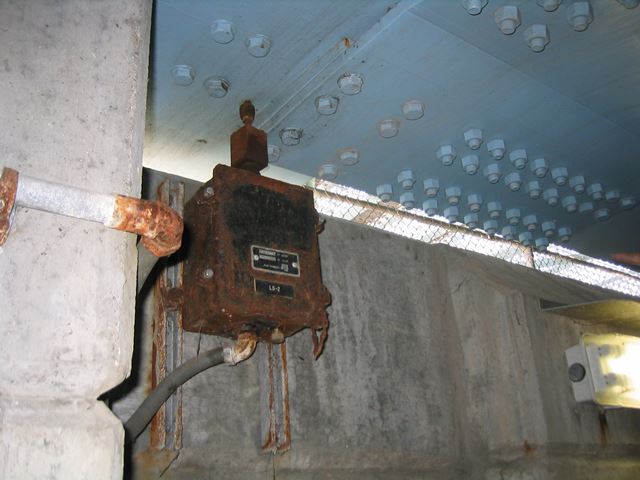
This rusty sensor appears to indicate when the bridge is fully closed.
![]()


A stairway from the machinery room leads to this space up in the superstructure of the bridge. It contains the operating pinion for the bridge.
![]()


Views of the end of the leaf.
![]()


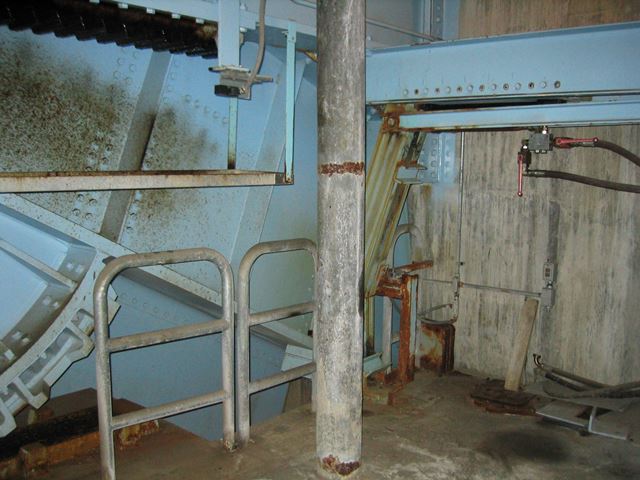
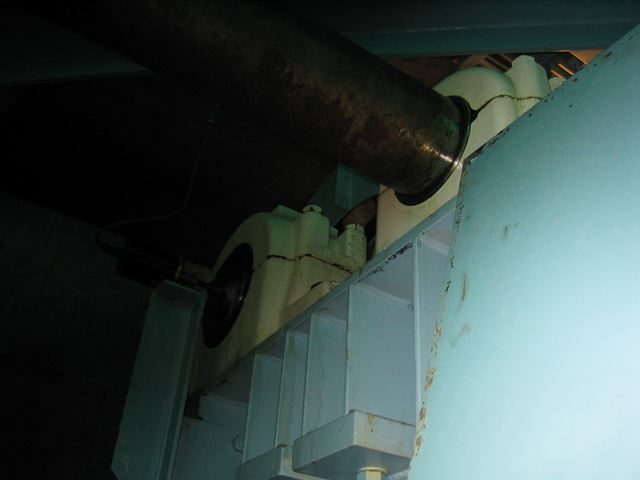
Superstructure details from machinery room.
![]()
![]()

![]()