Uncredited photos on this page taken by: Nathan Holth. Unless stated in a caption, all photos are Copyright with All Rights Reserved. Learn about reuse of our photos.
![]()
2015 Photos
![]()


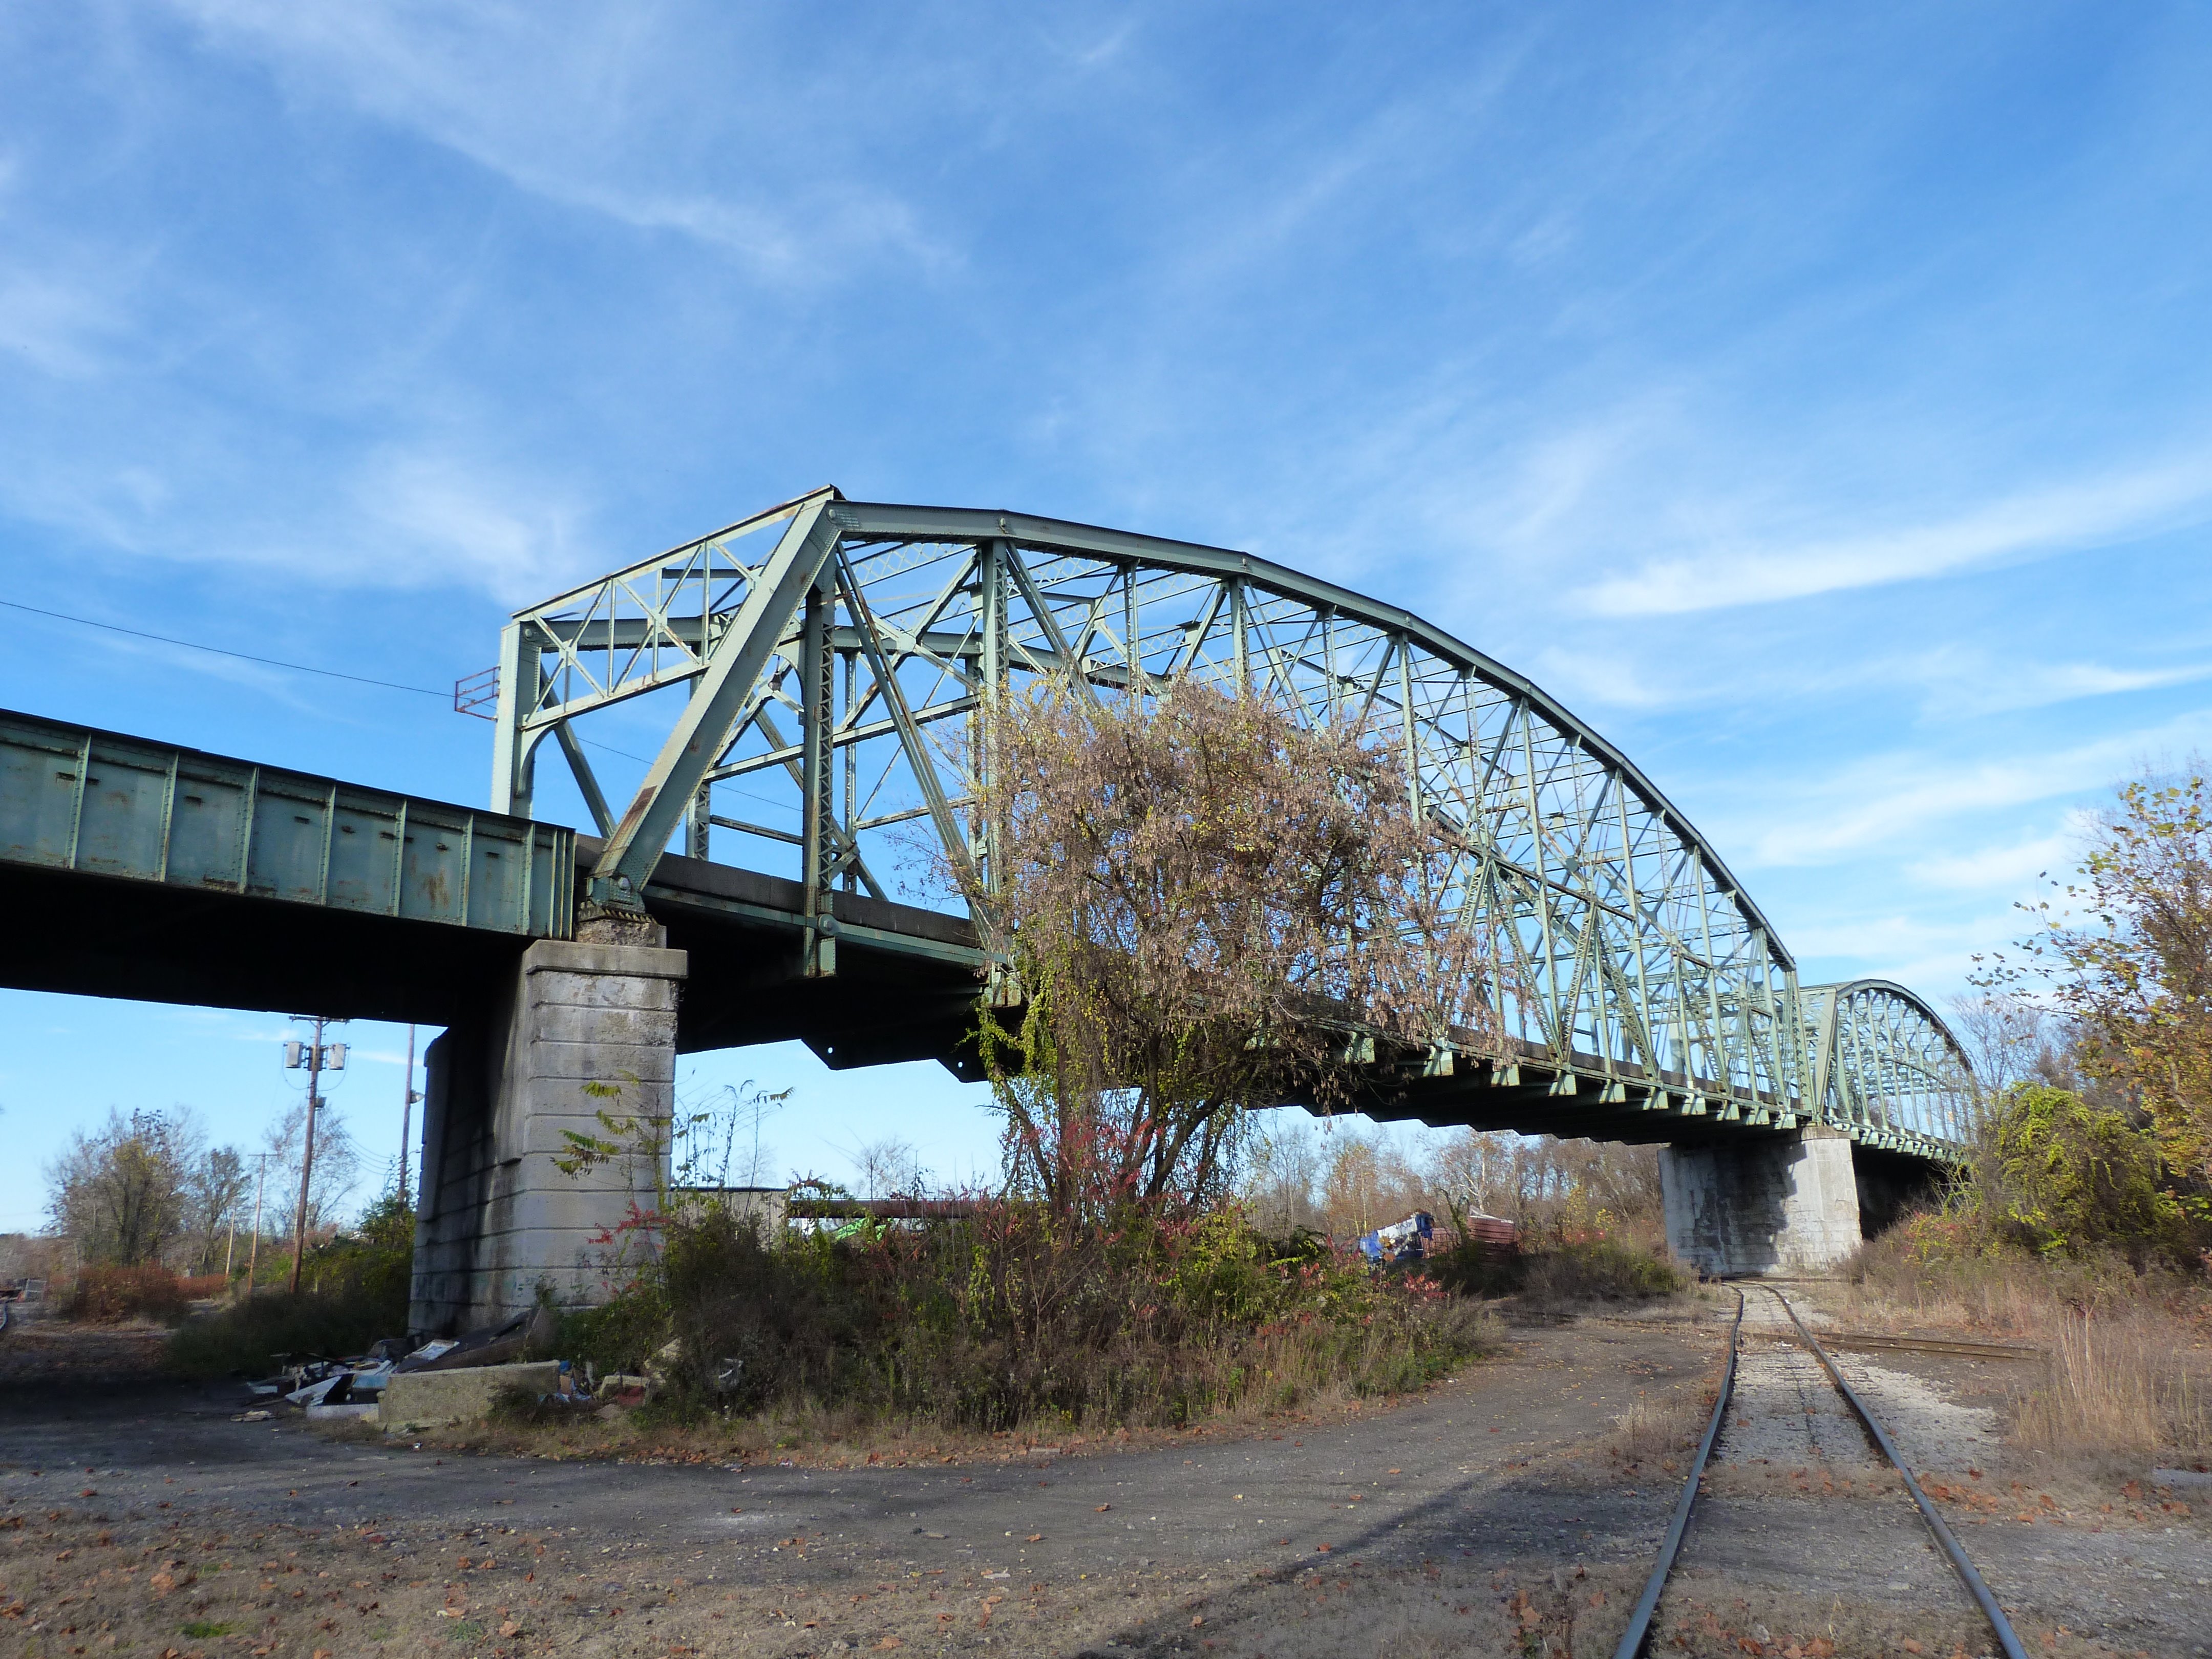
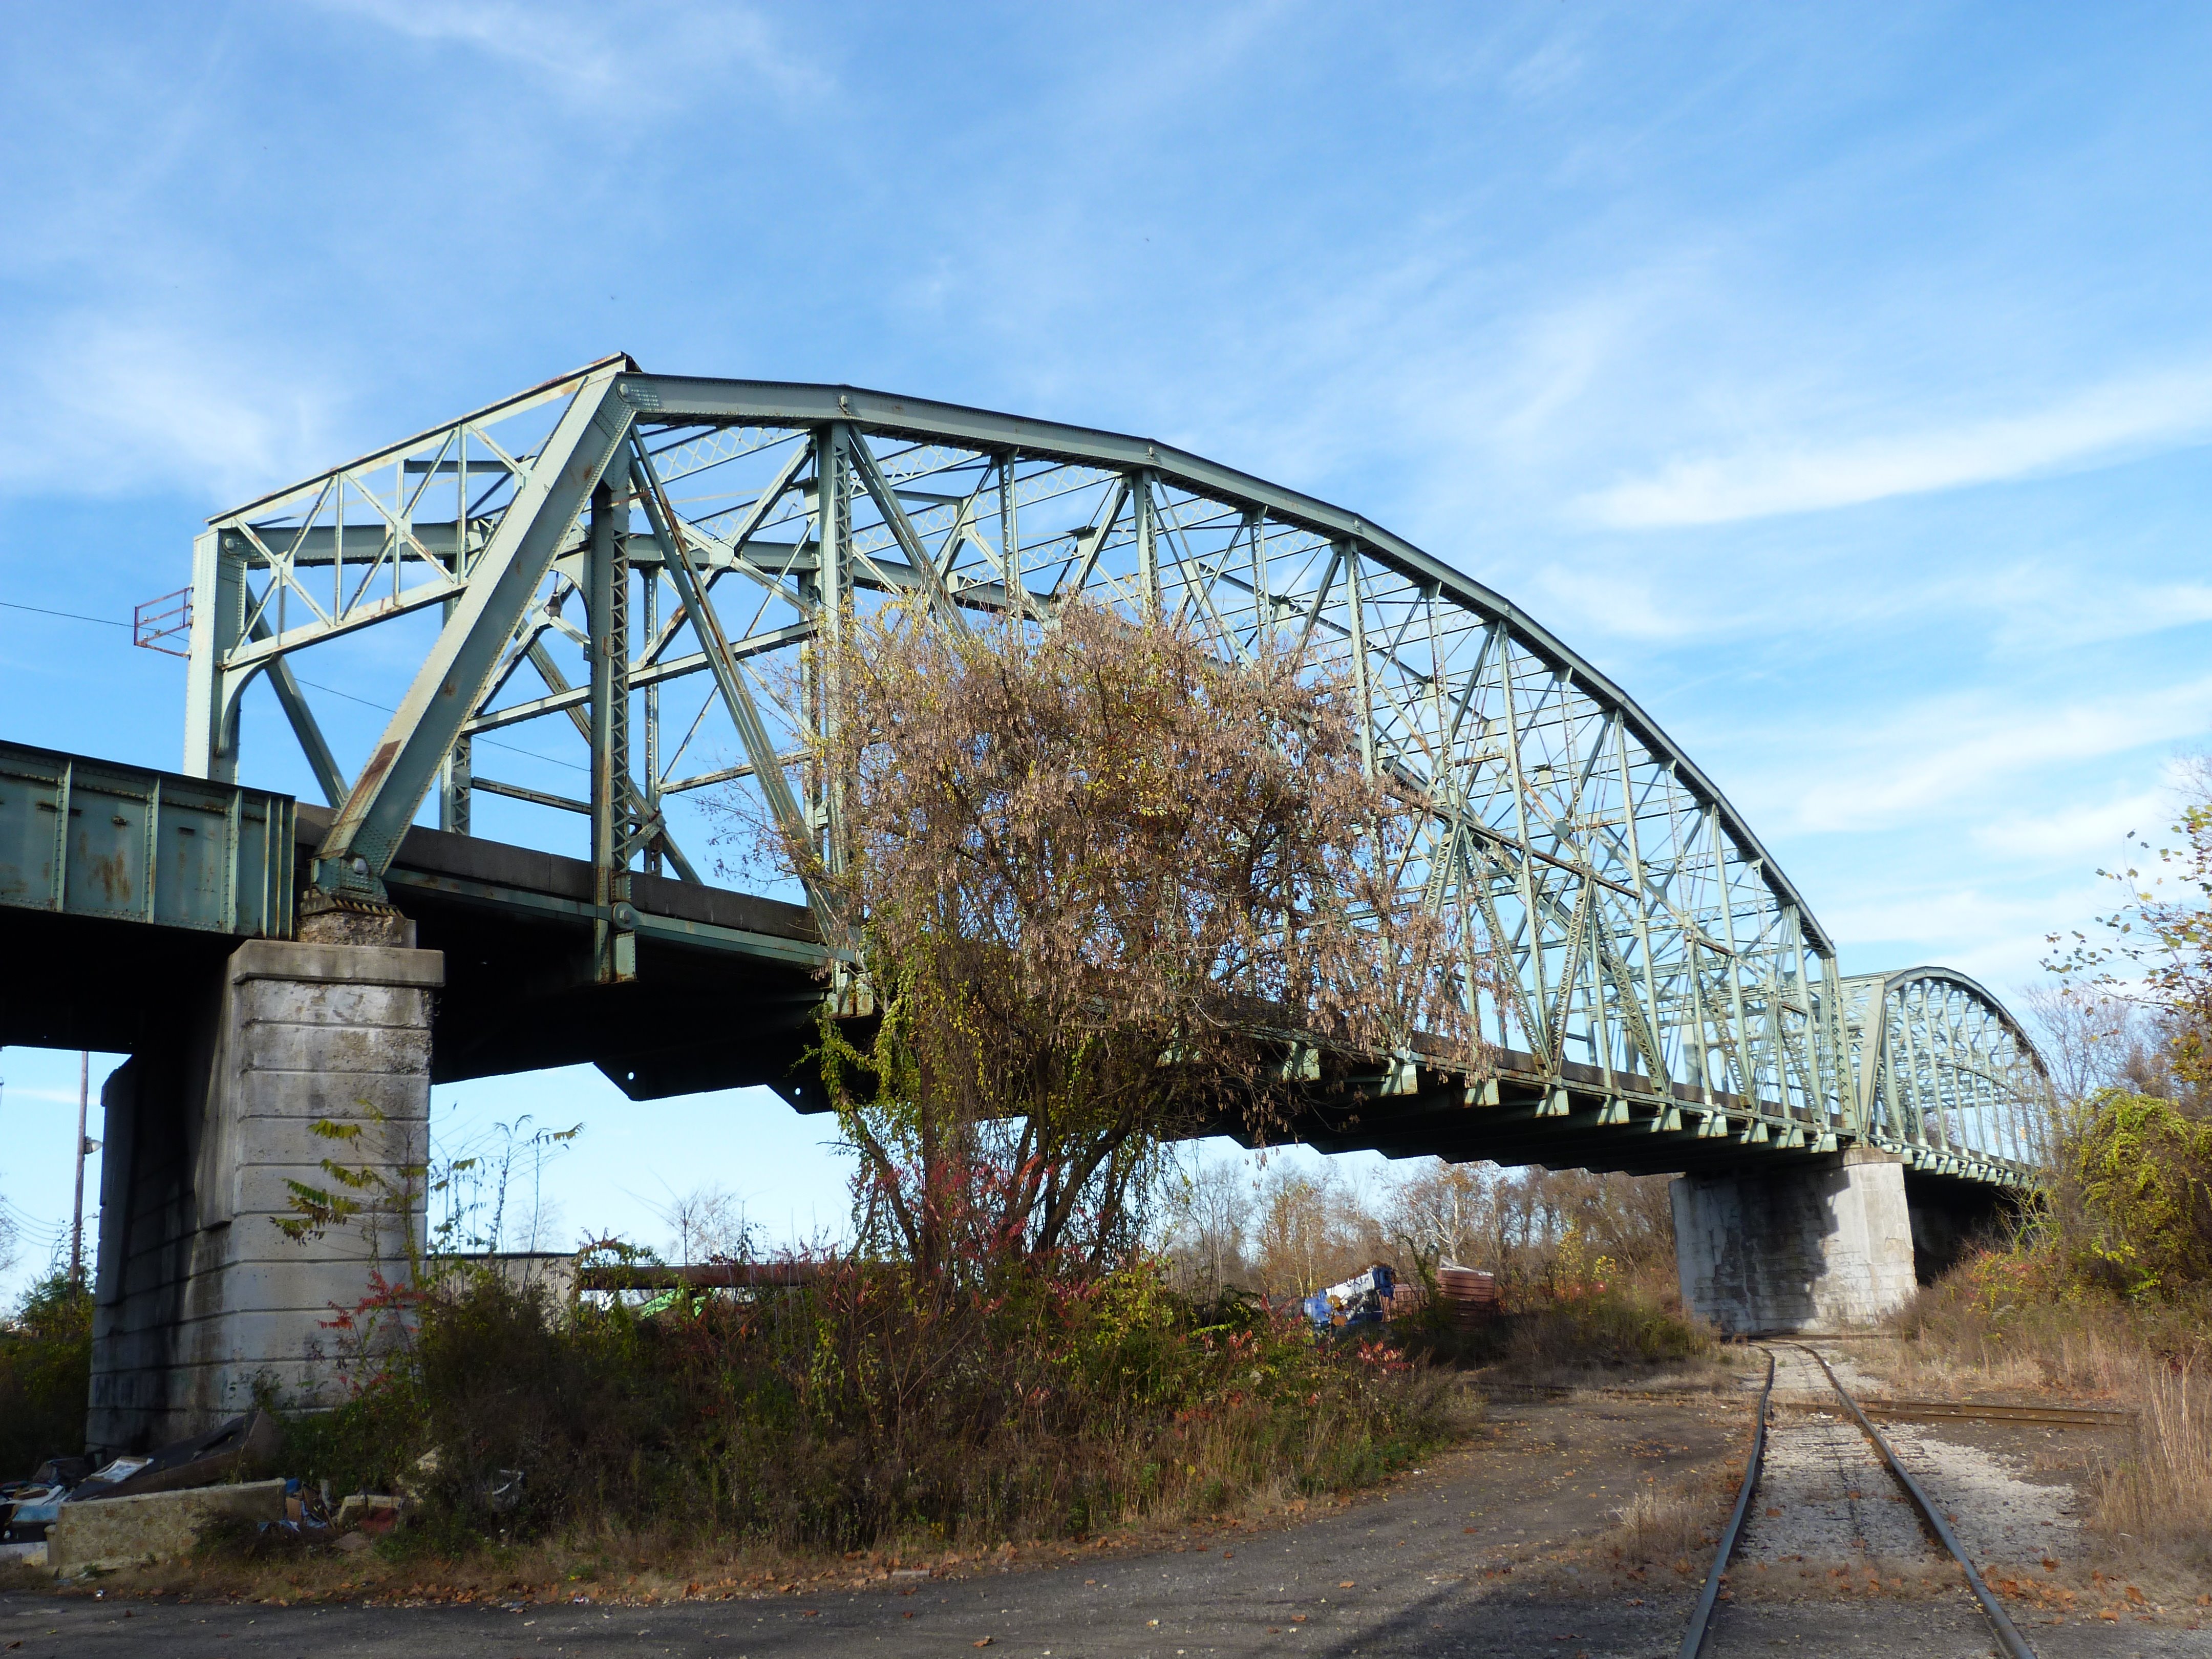
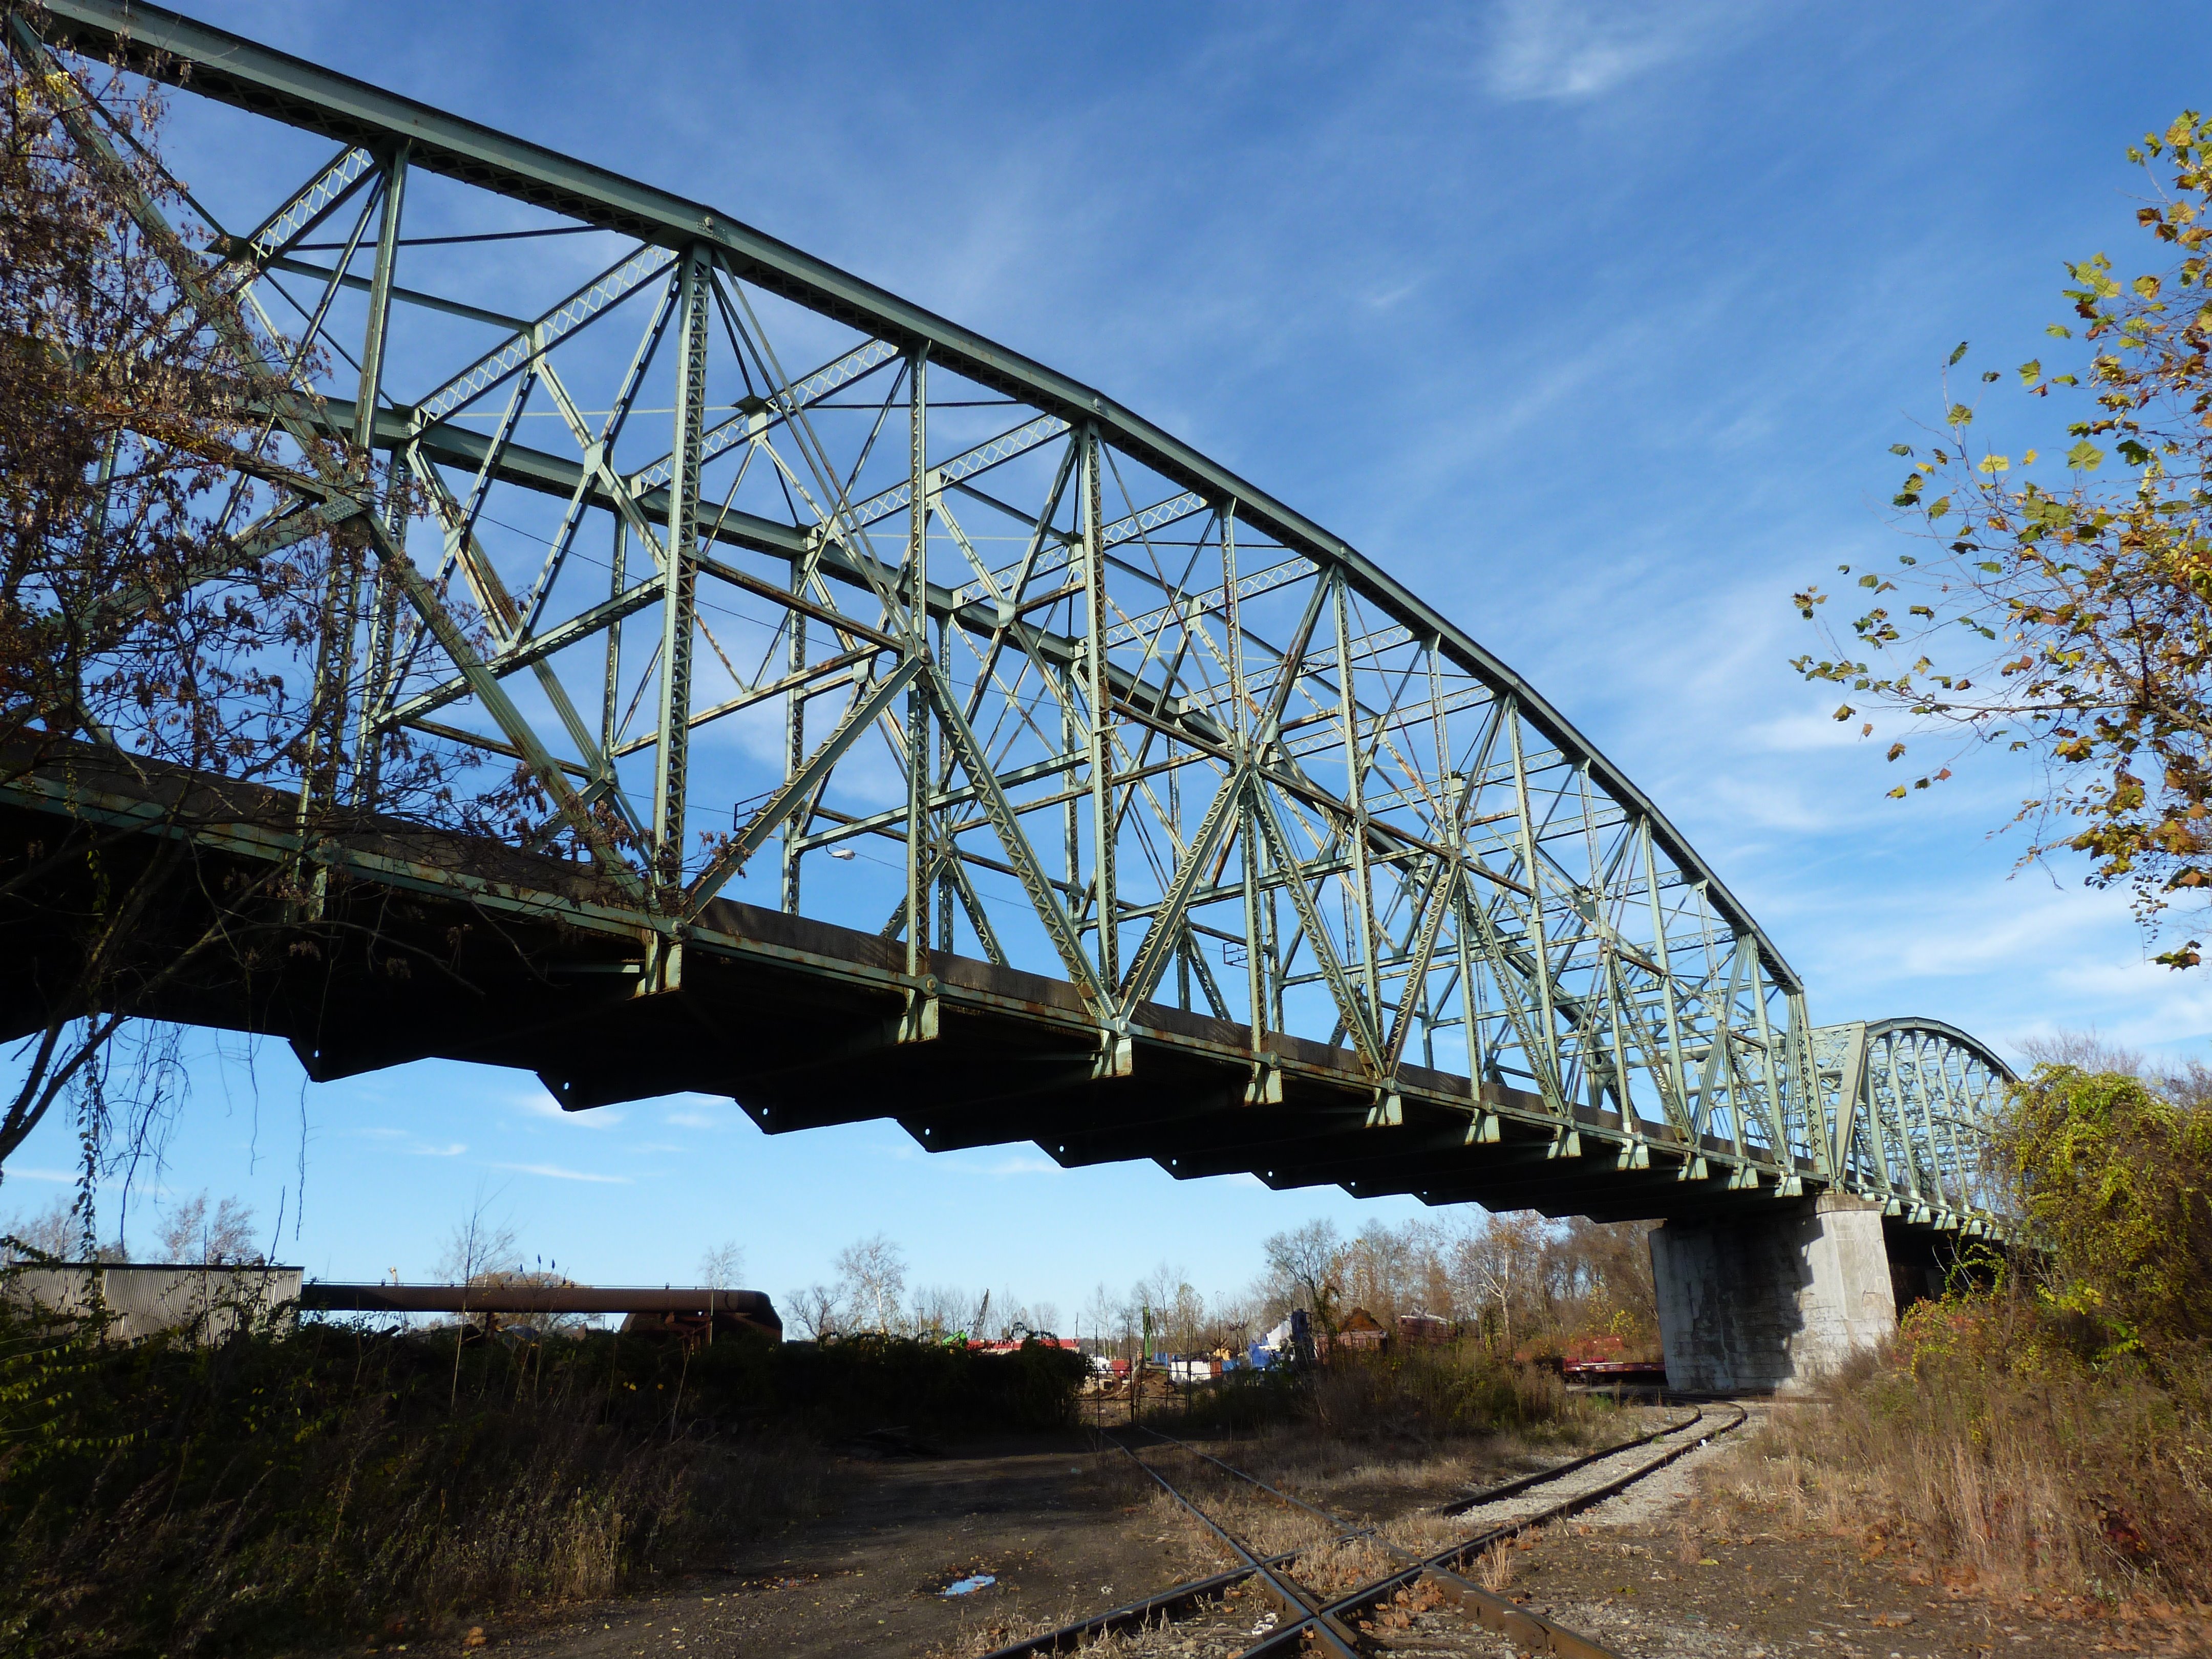
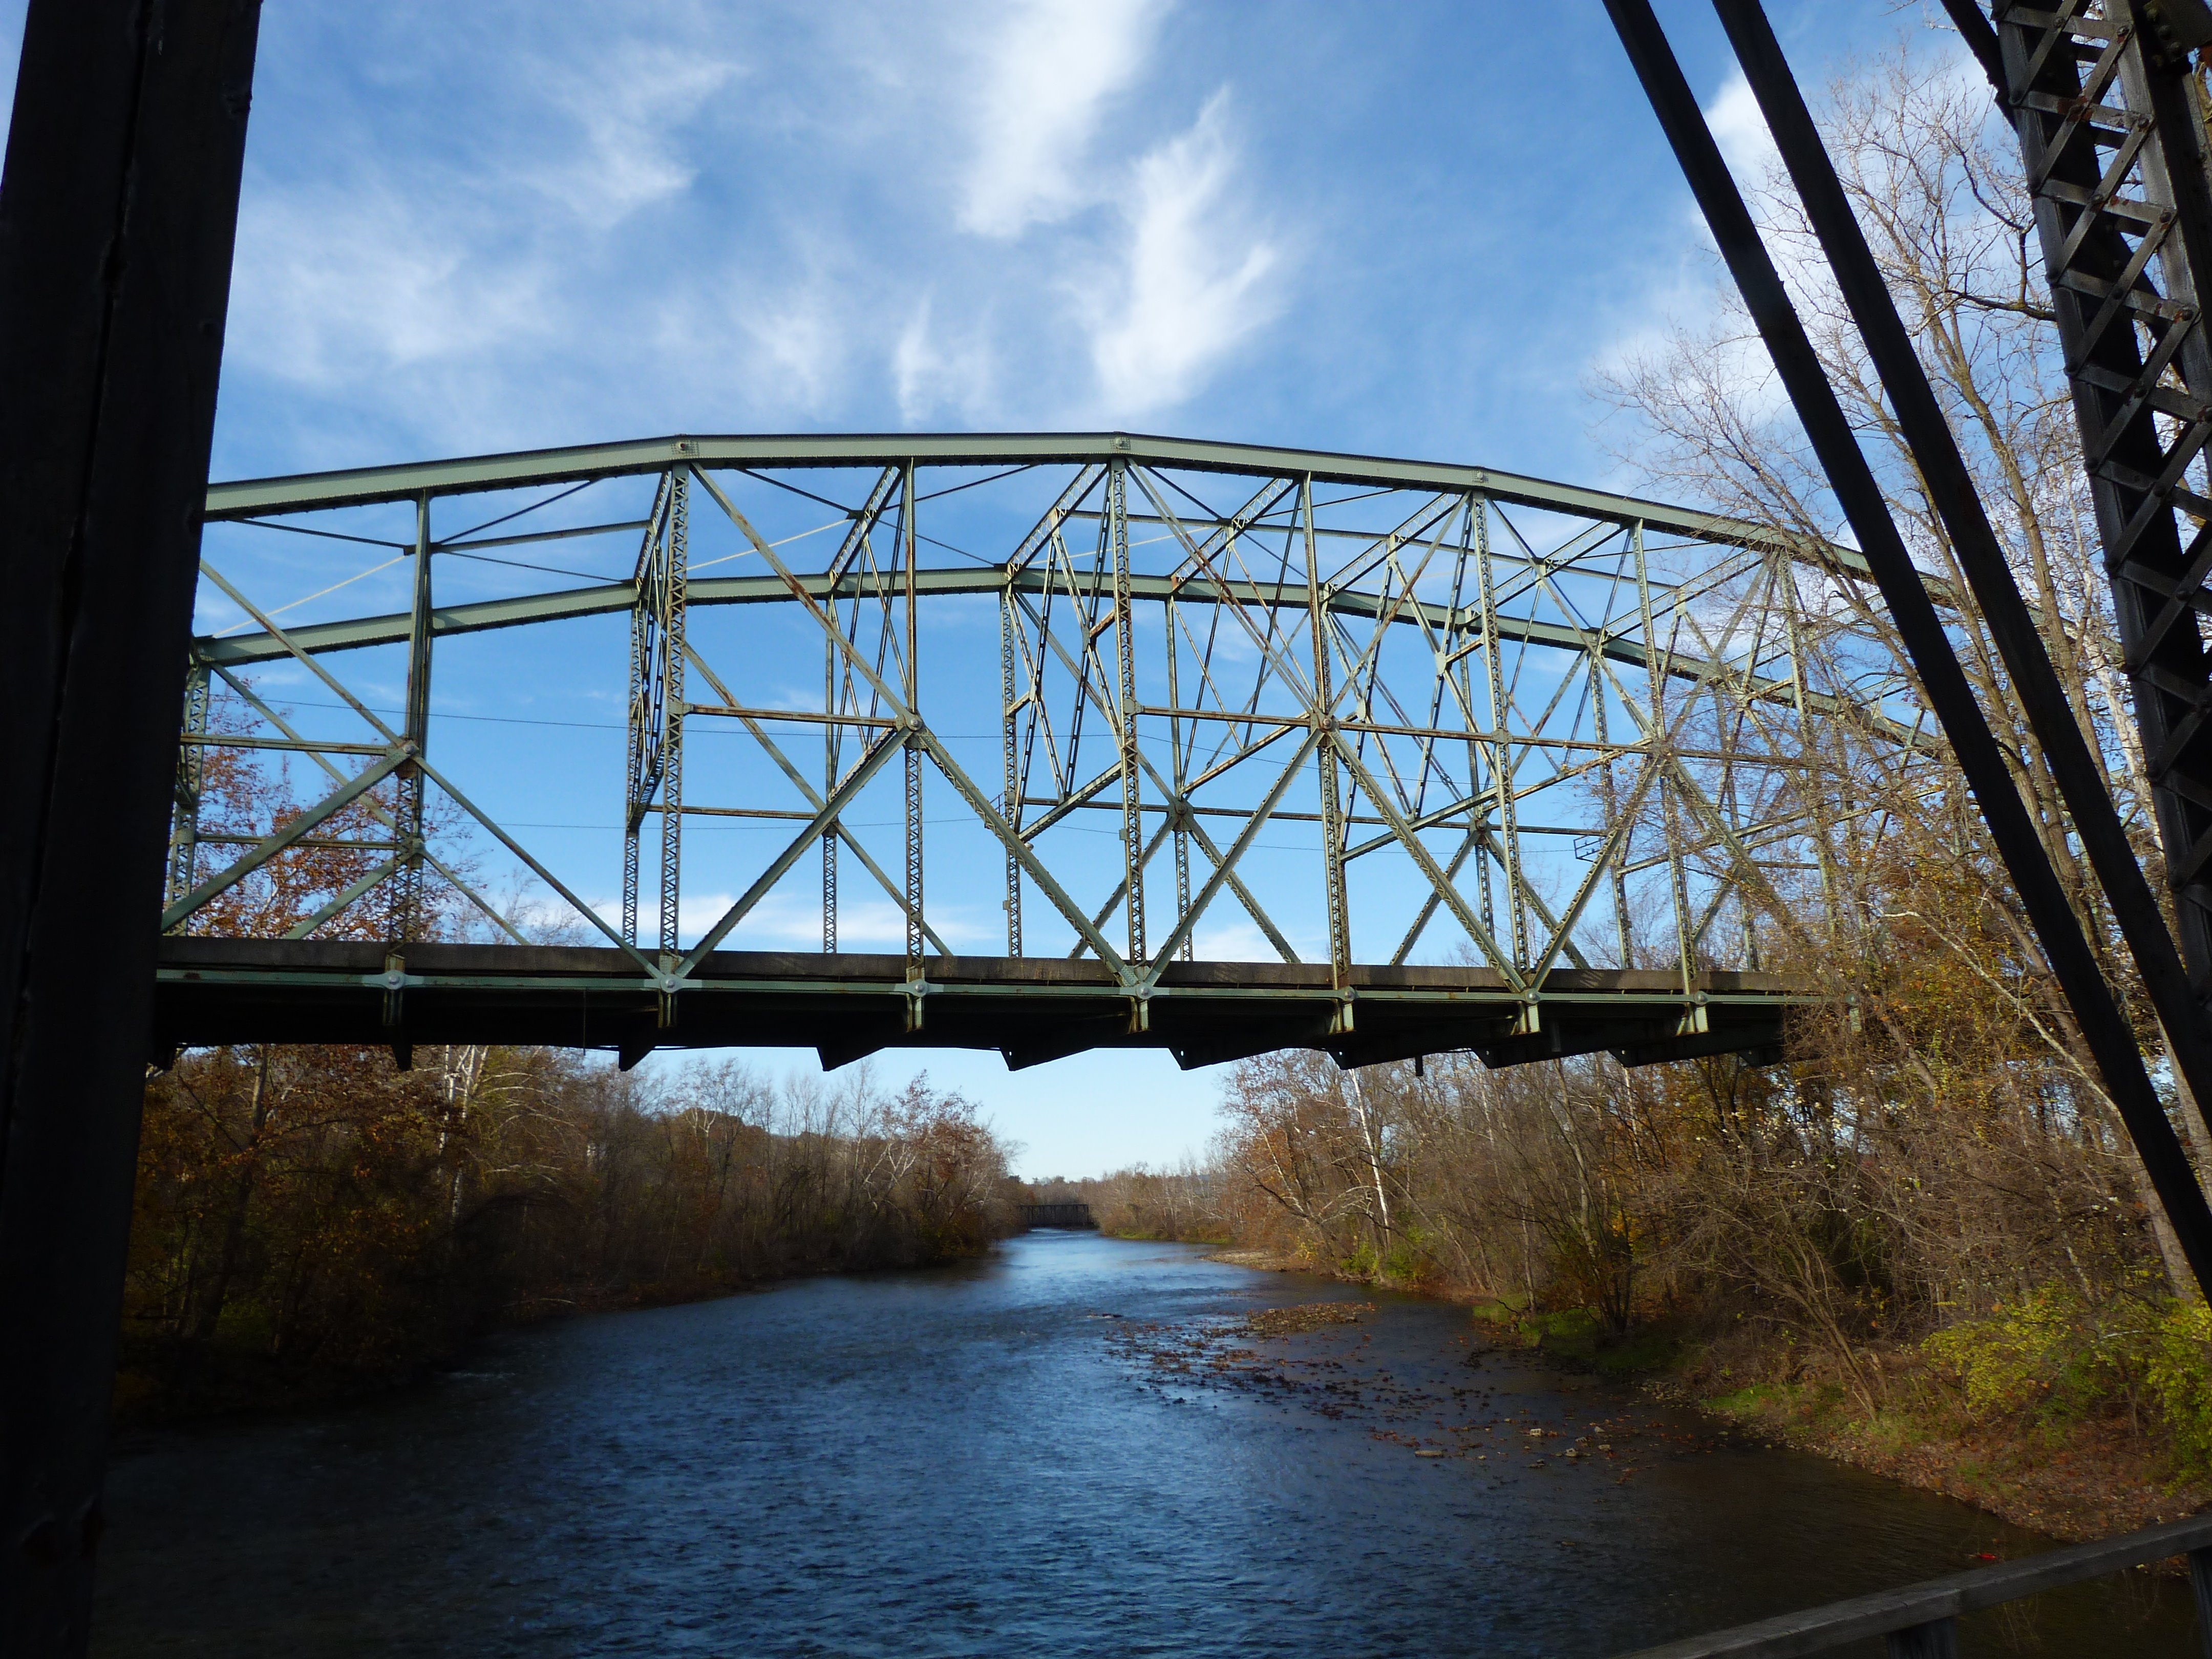
South elevation of river span.
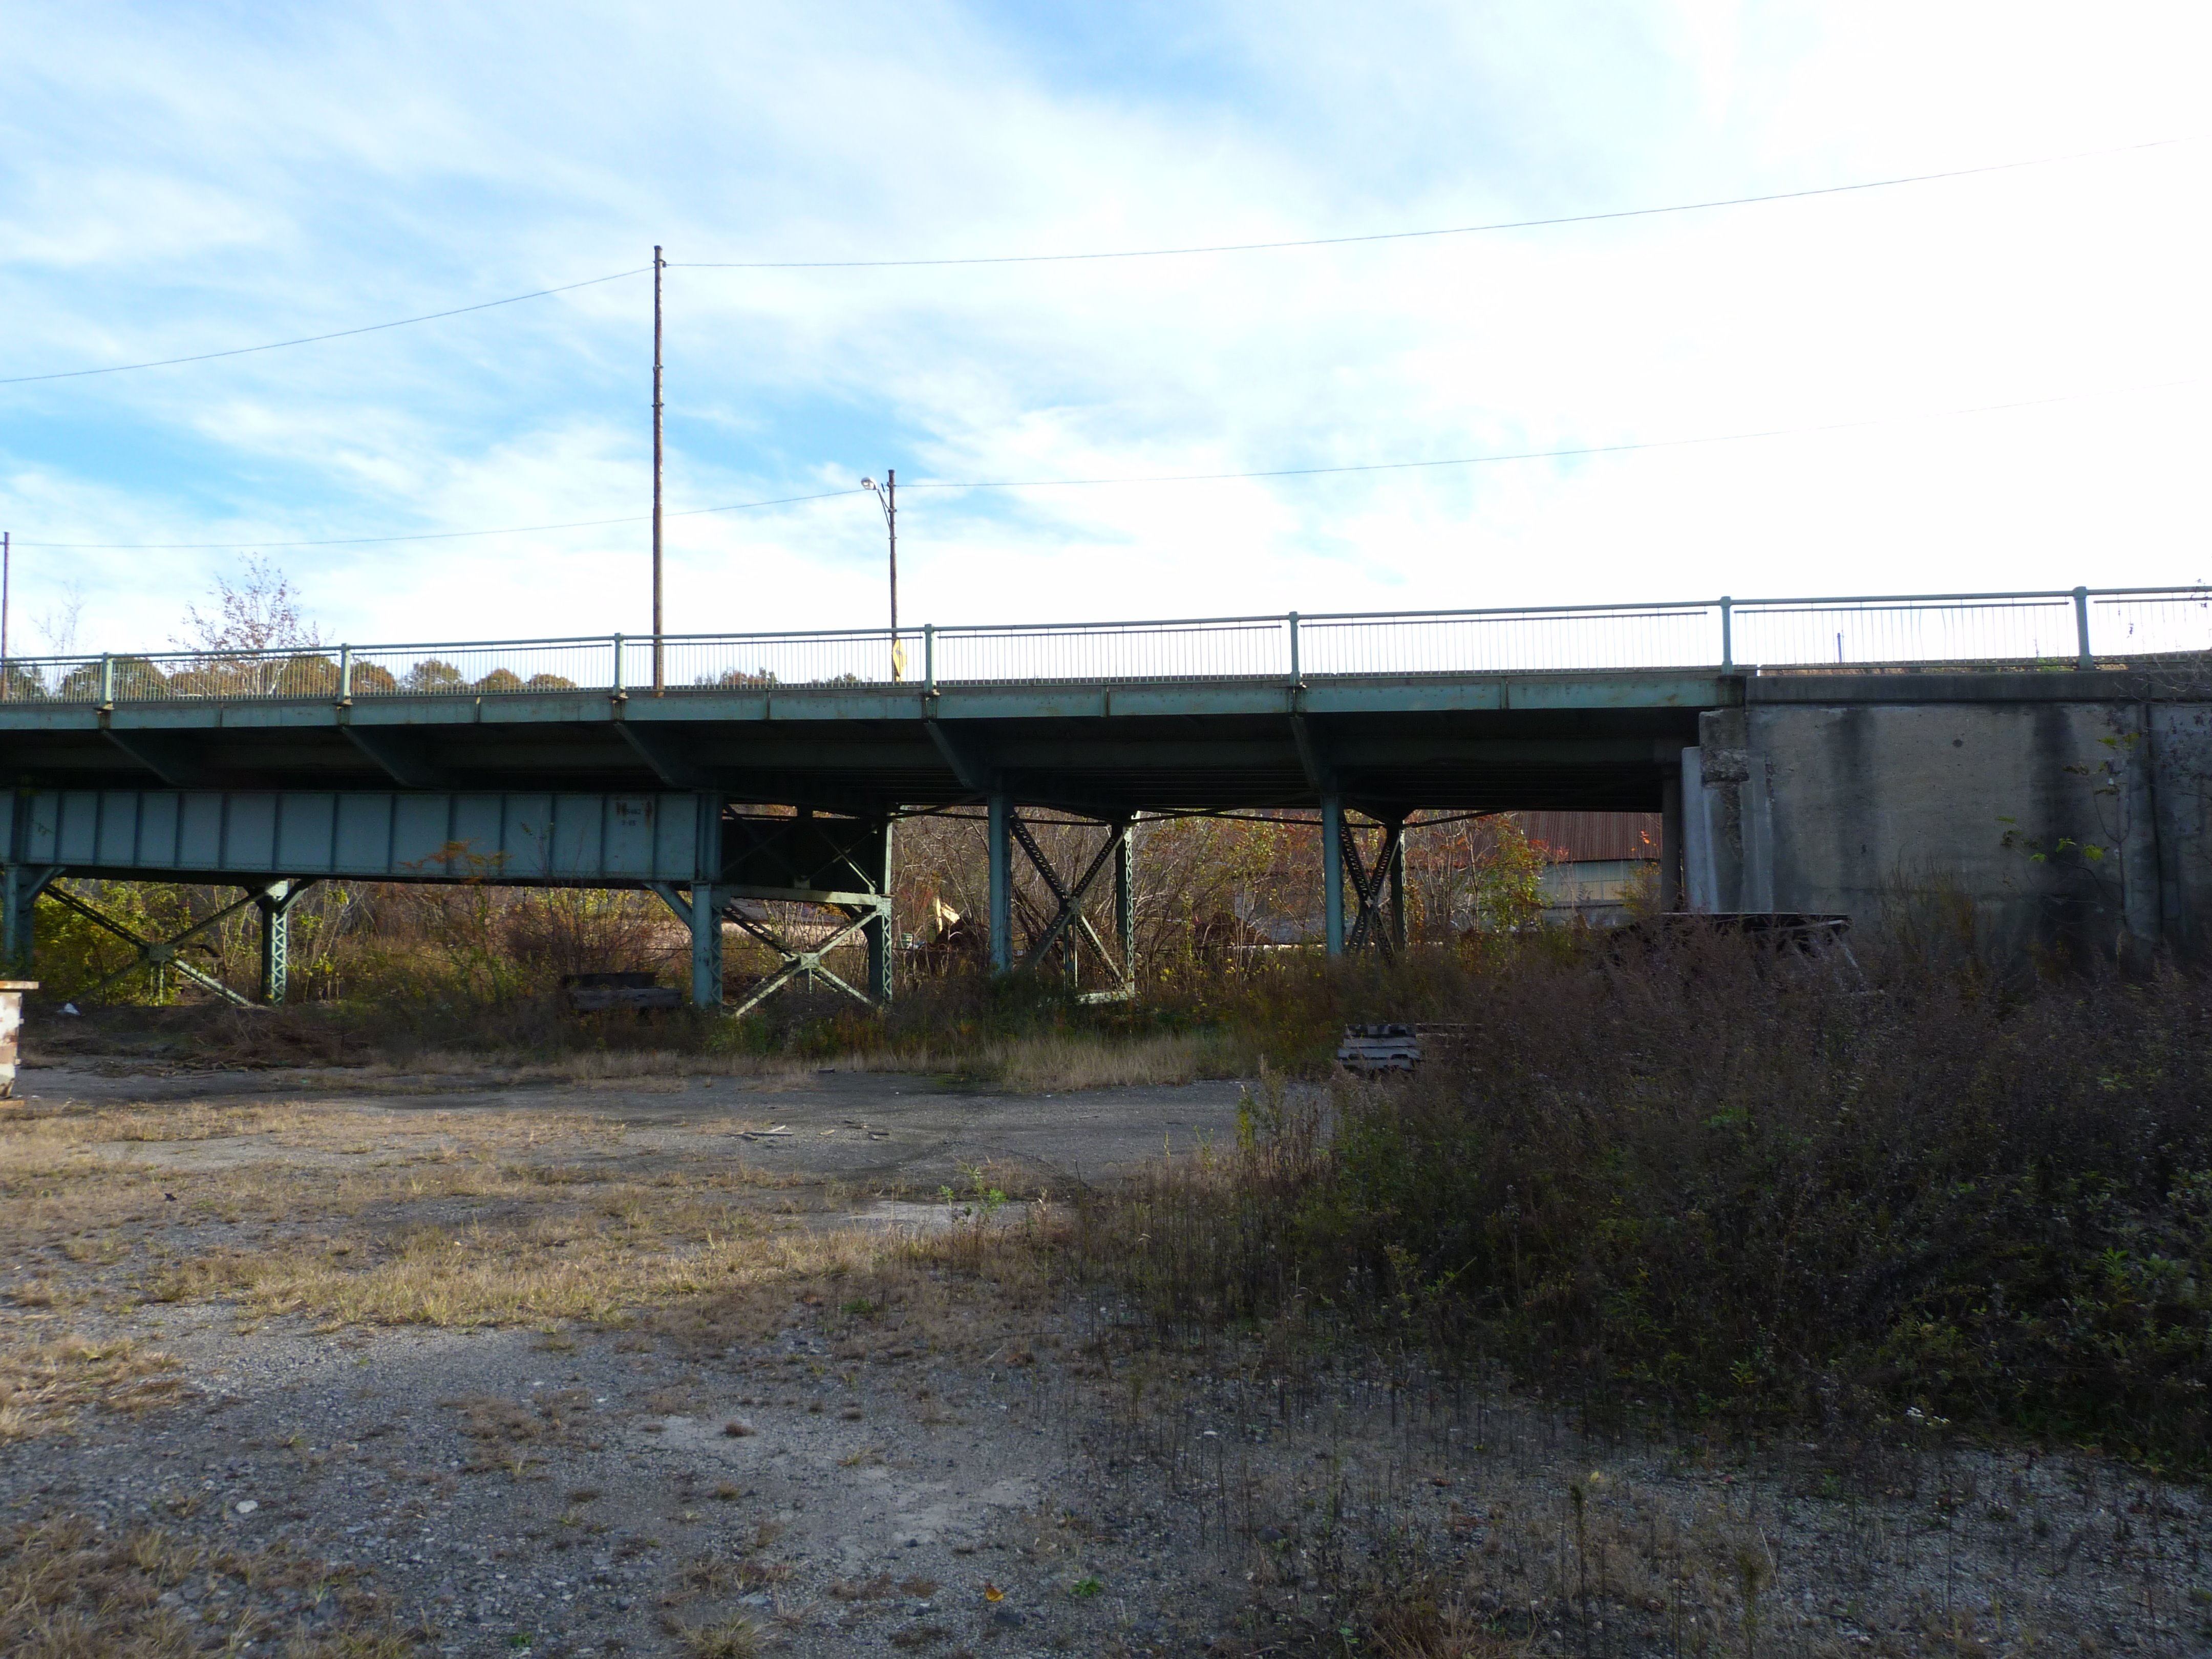
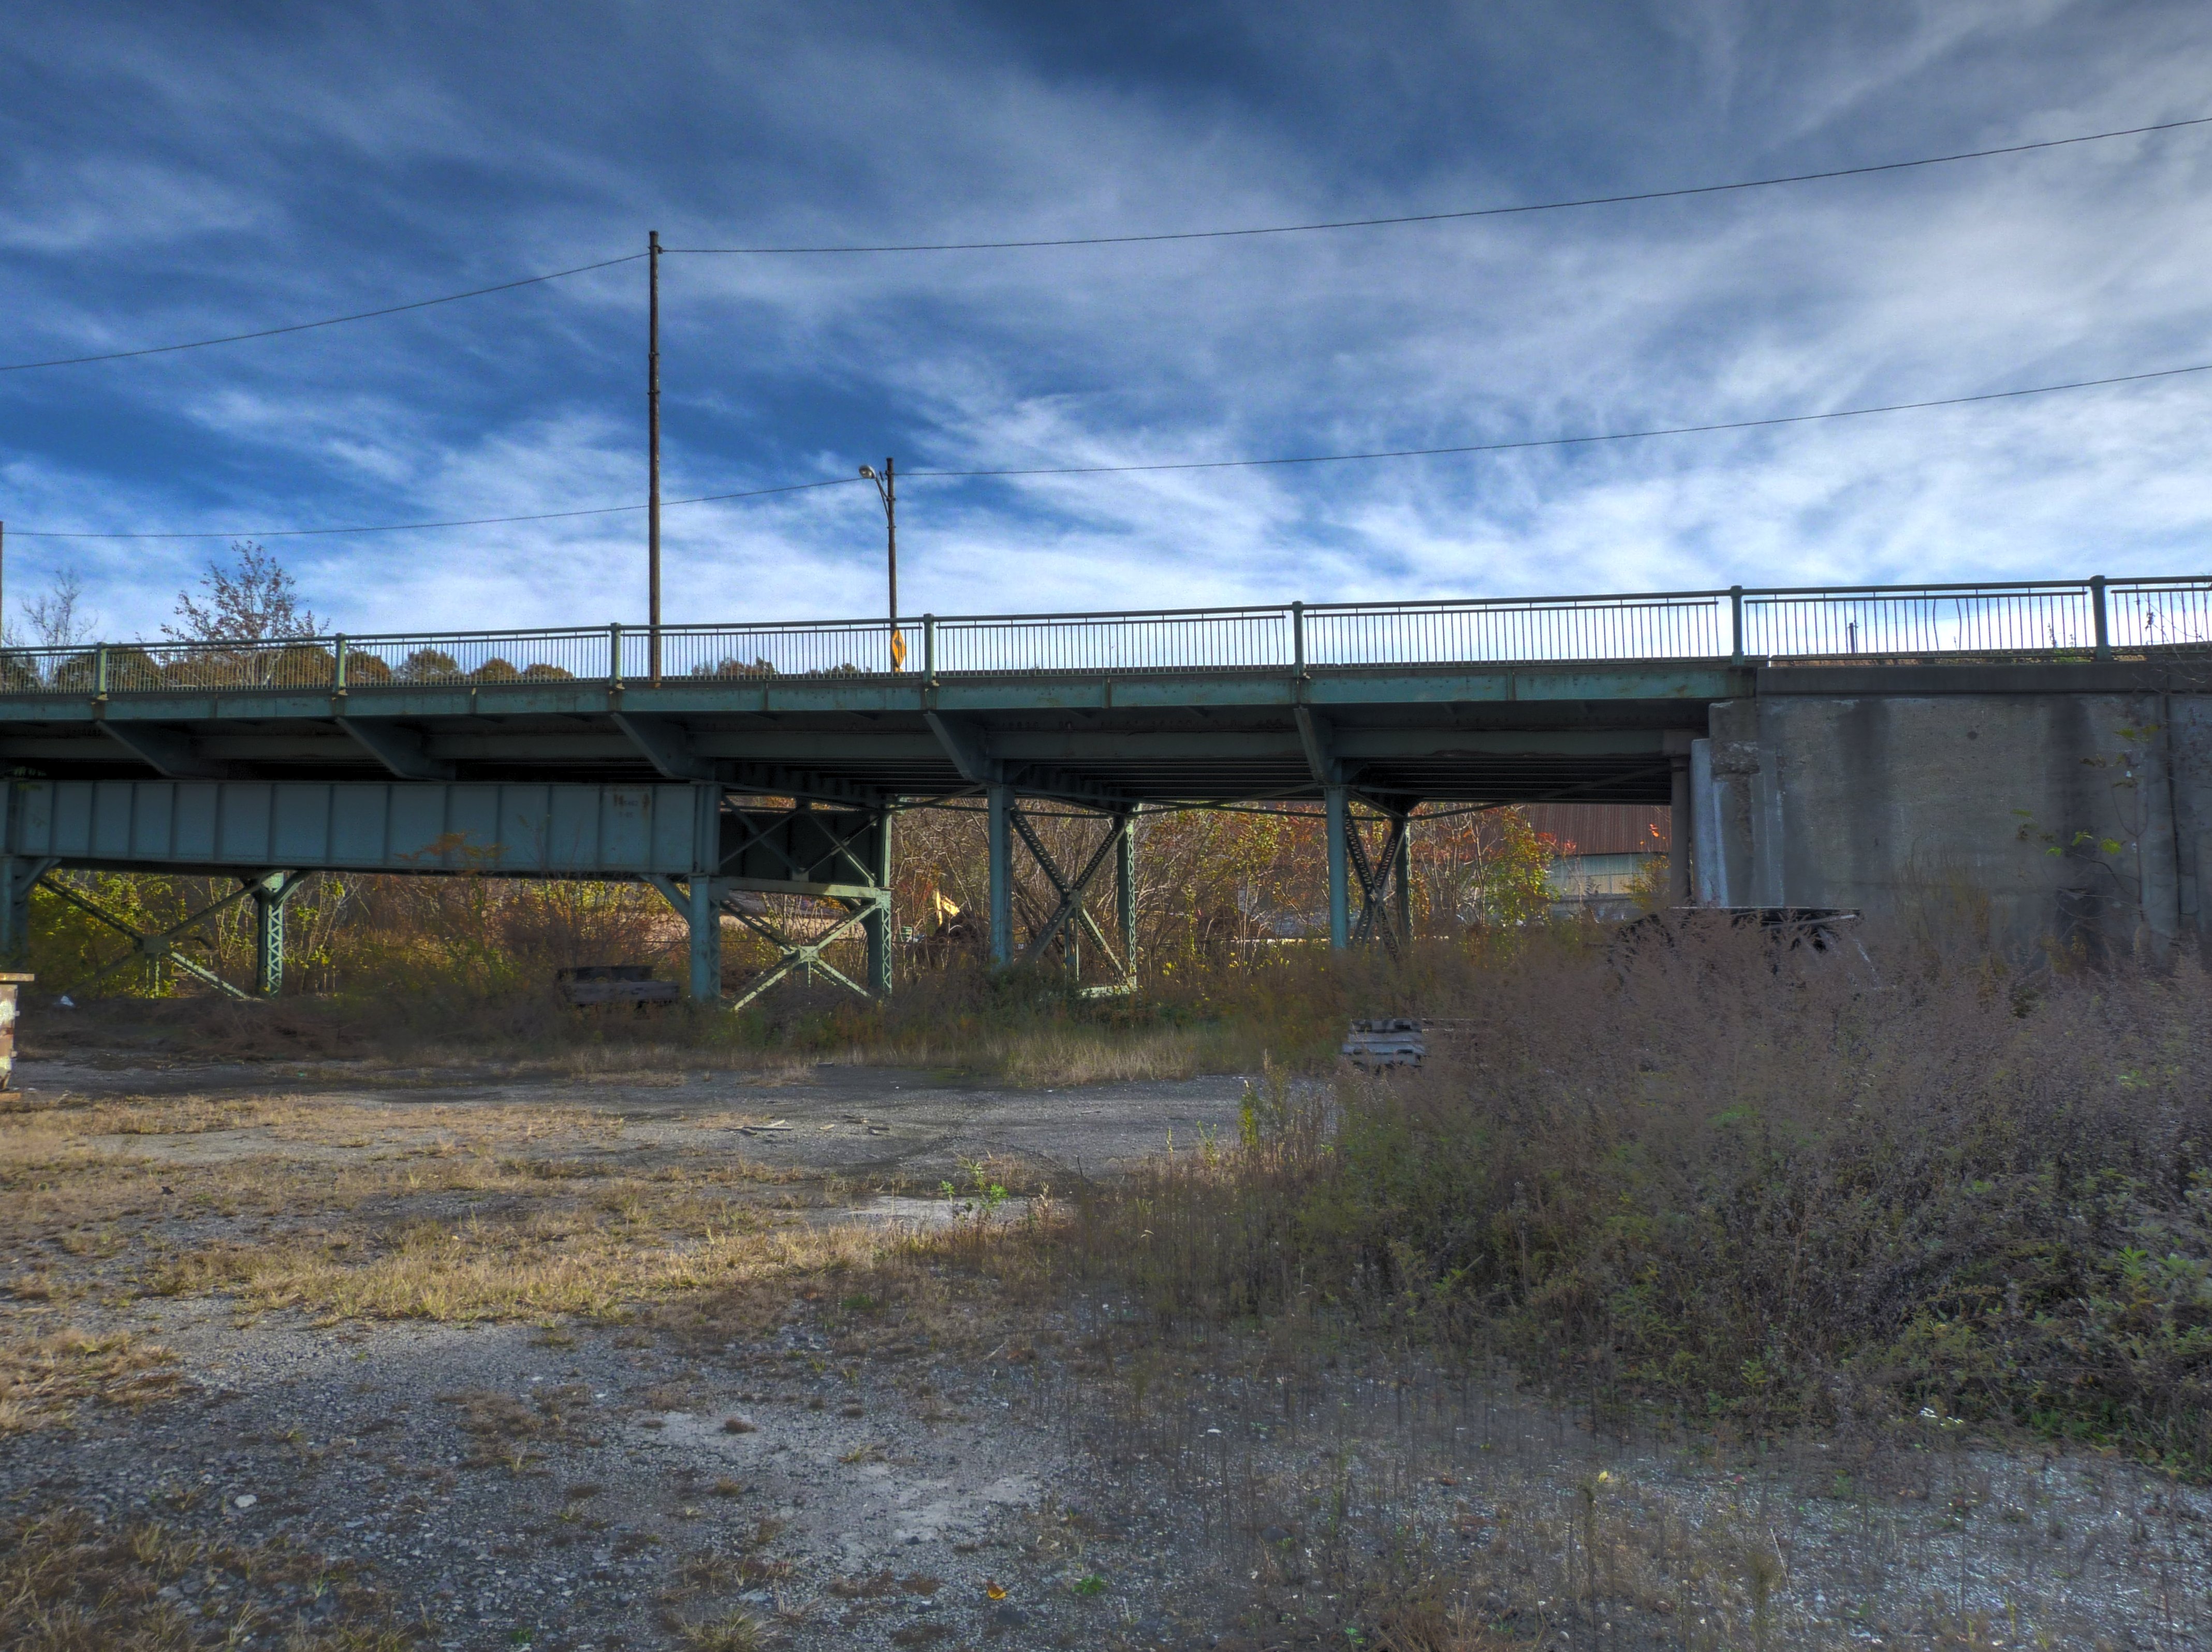
![]()


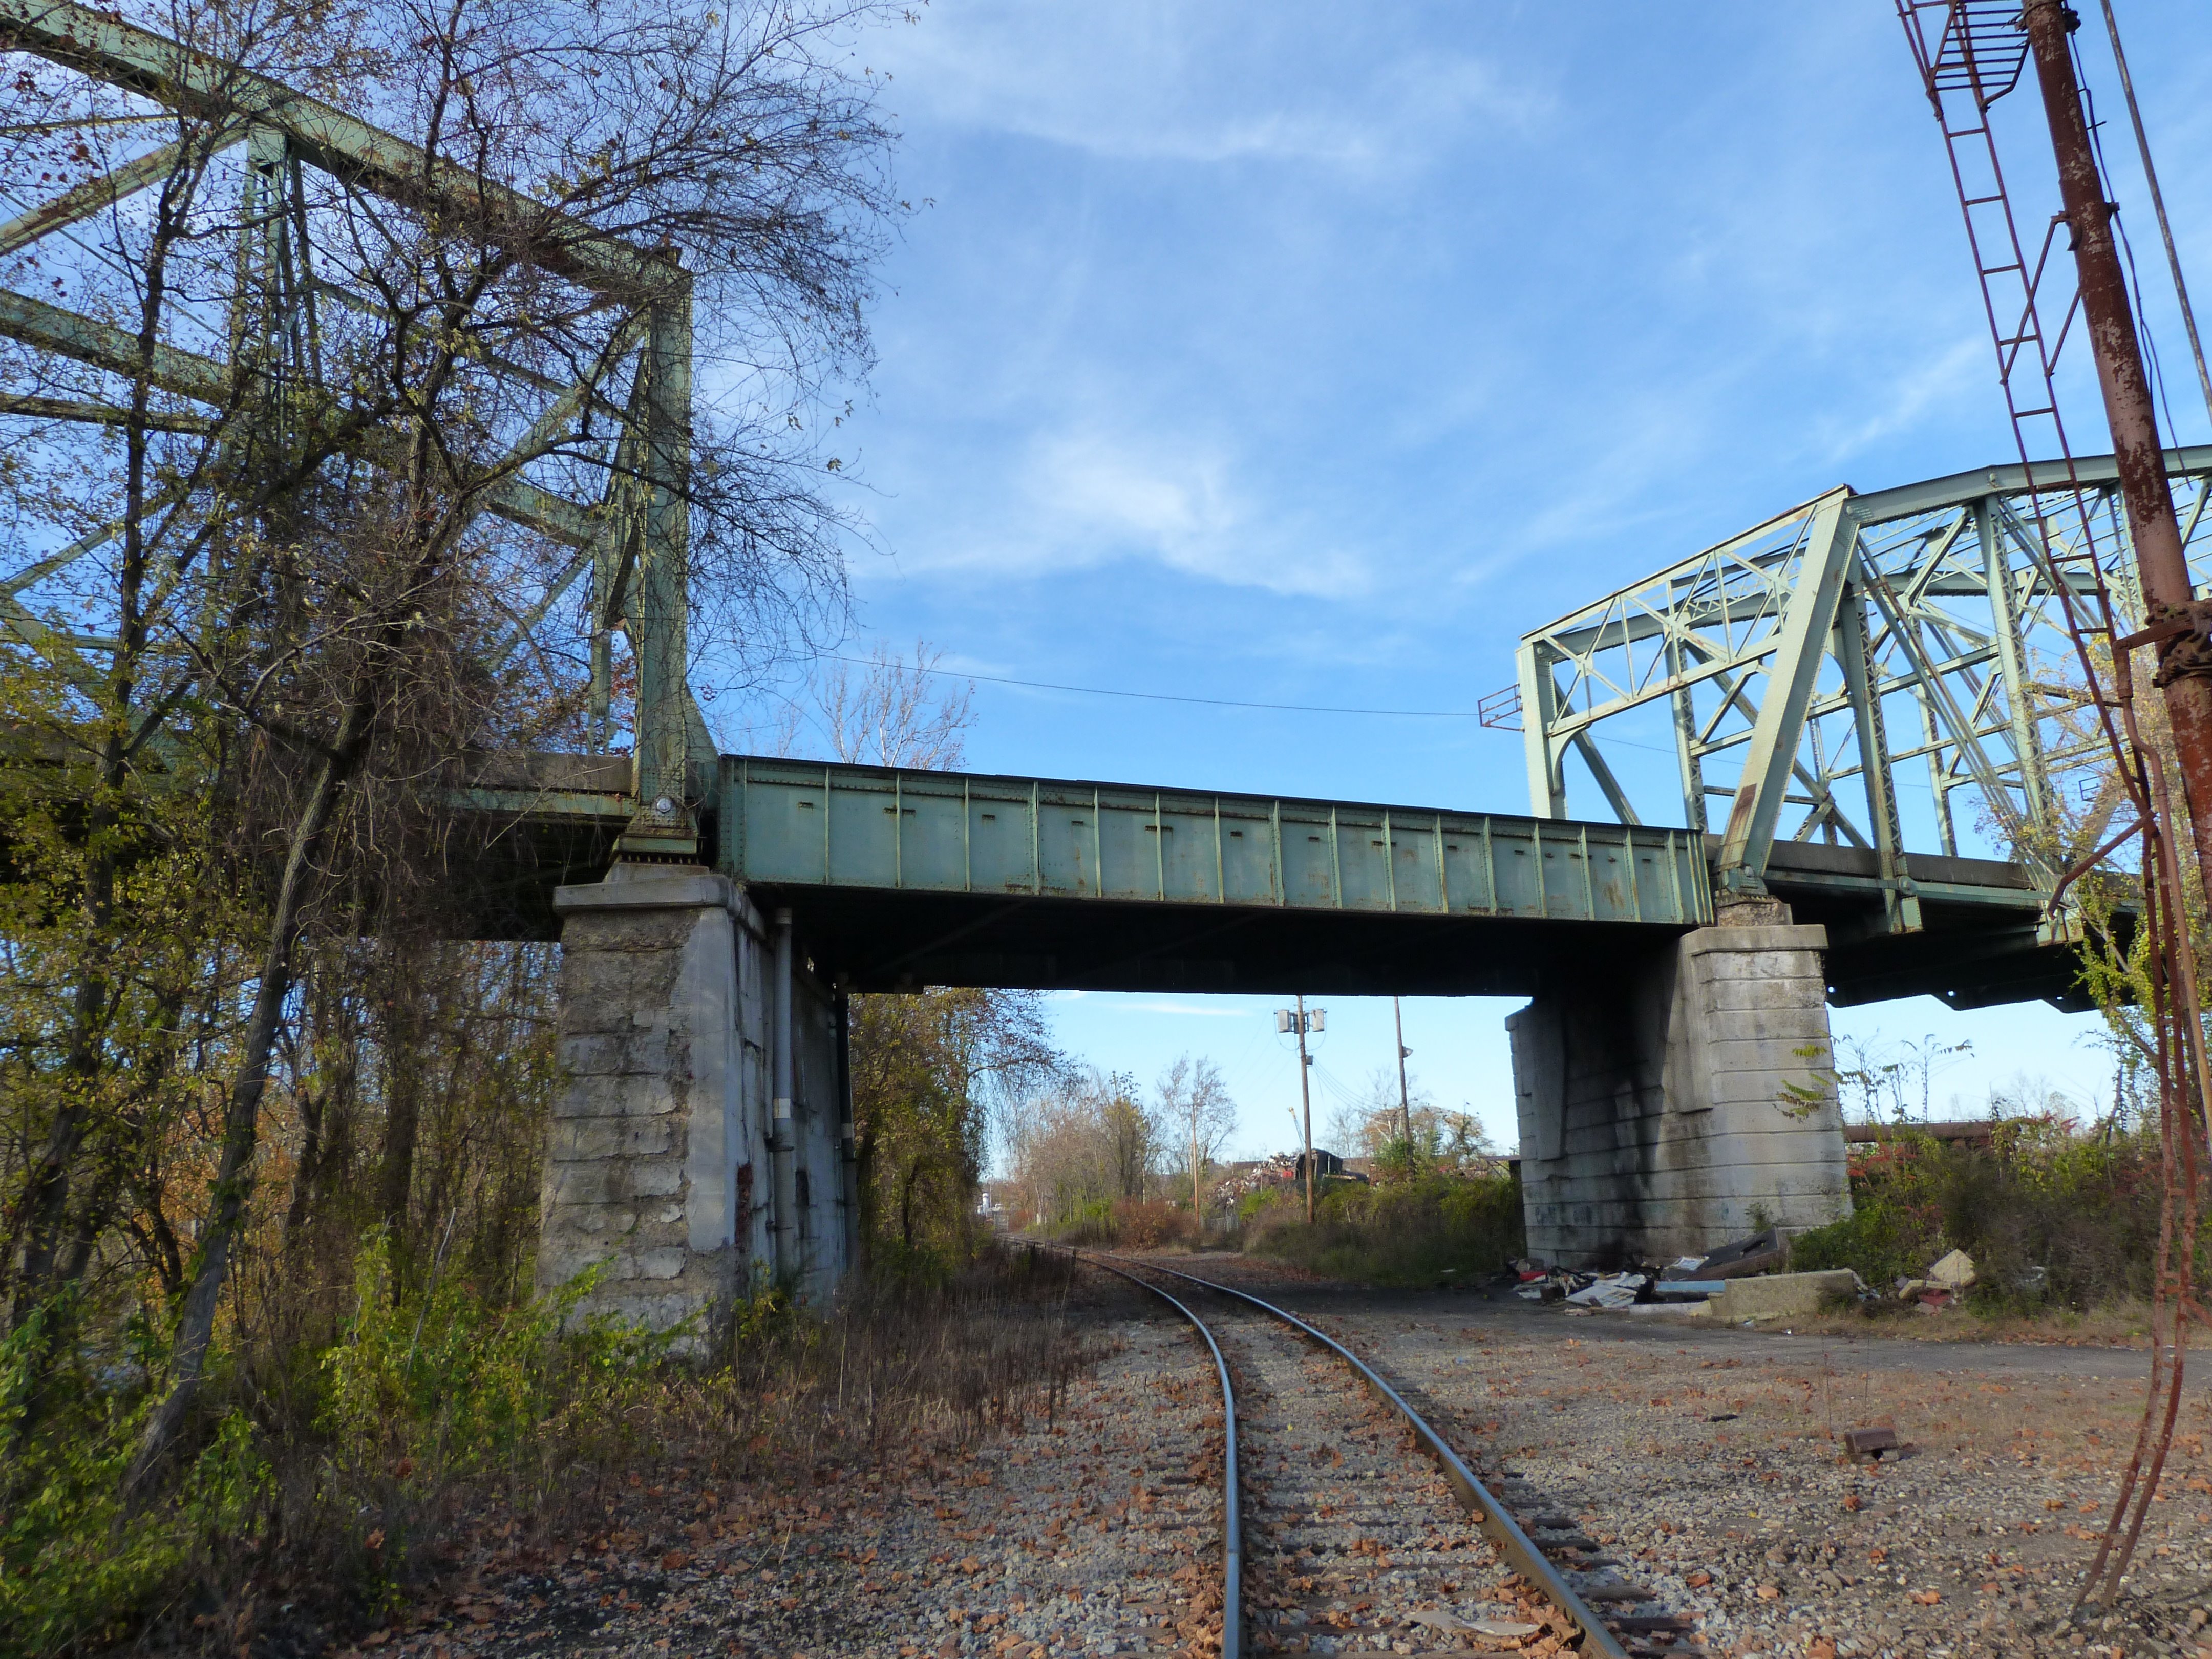
South elevation of spans over railroad tracks.
![]()
![]()

Panoramic south elevation of spans over railroad tracks.
![]()


South elevation of girder span over railroad tracks.
![]()


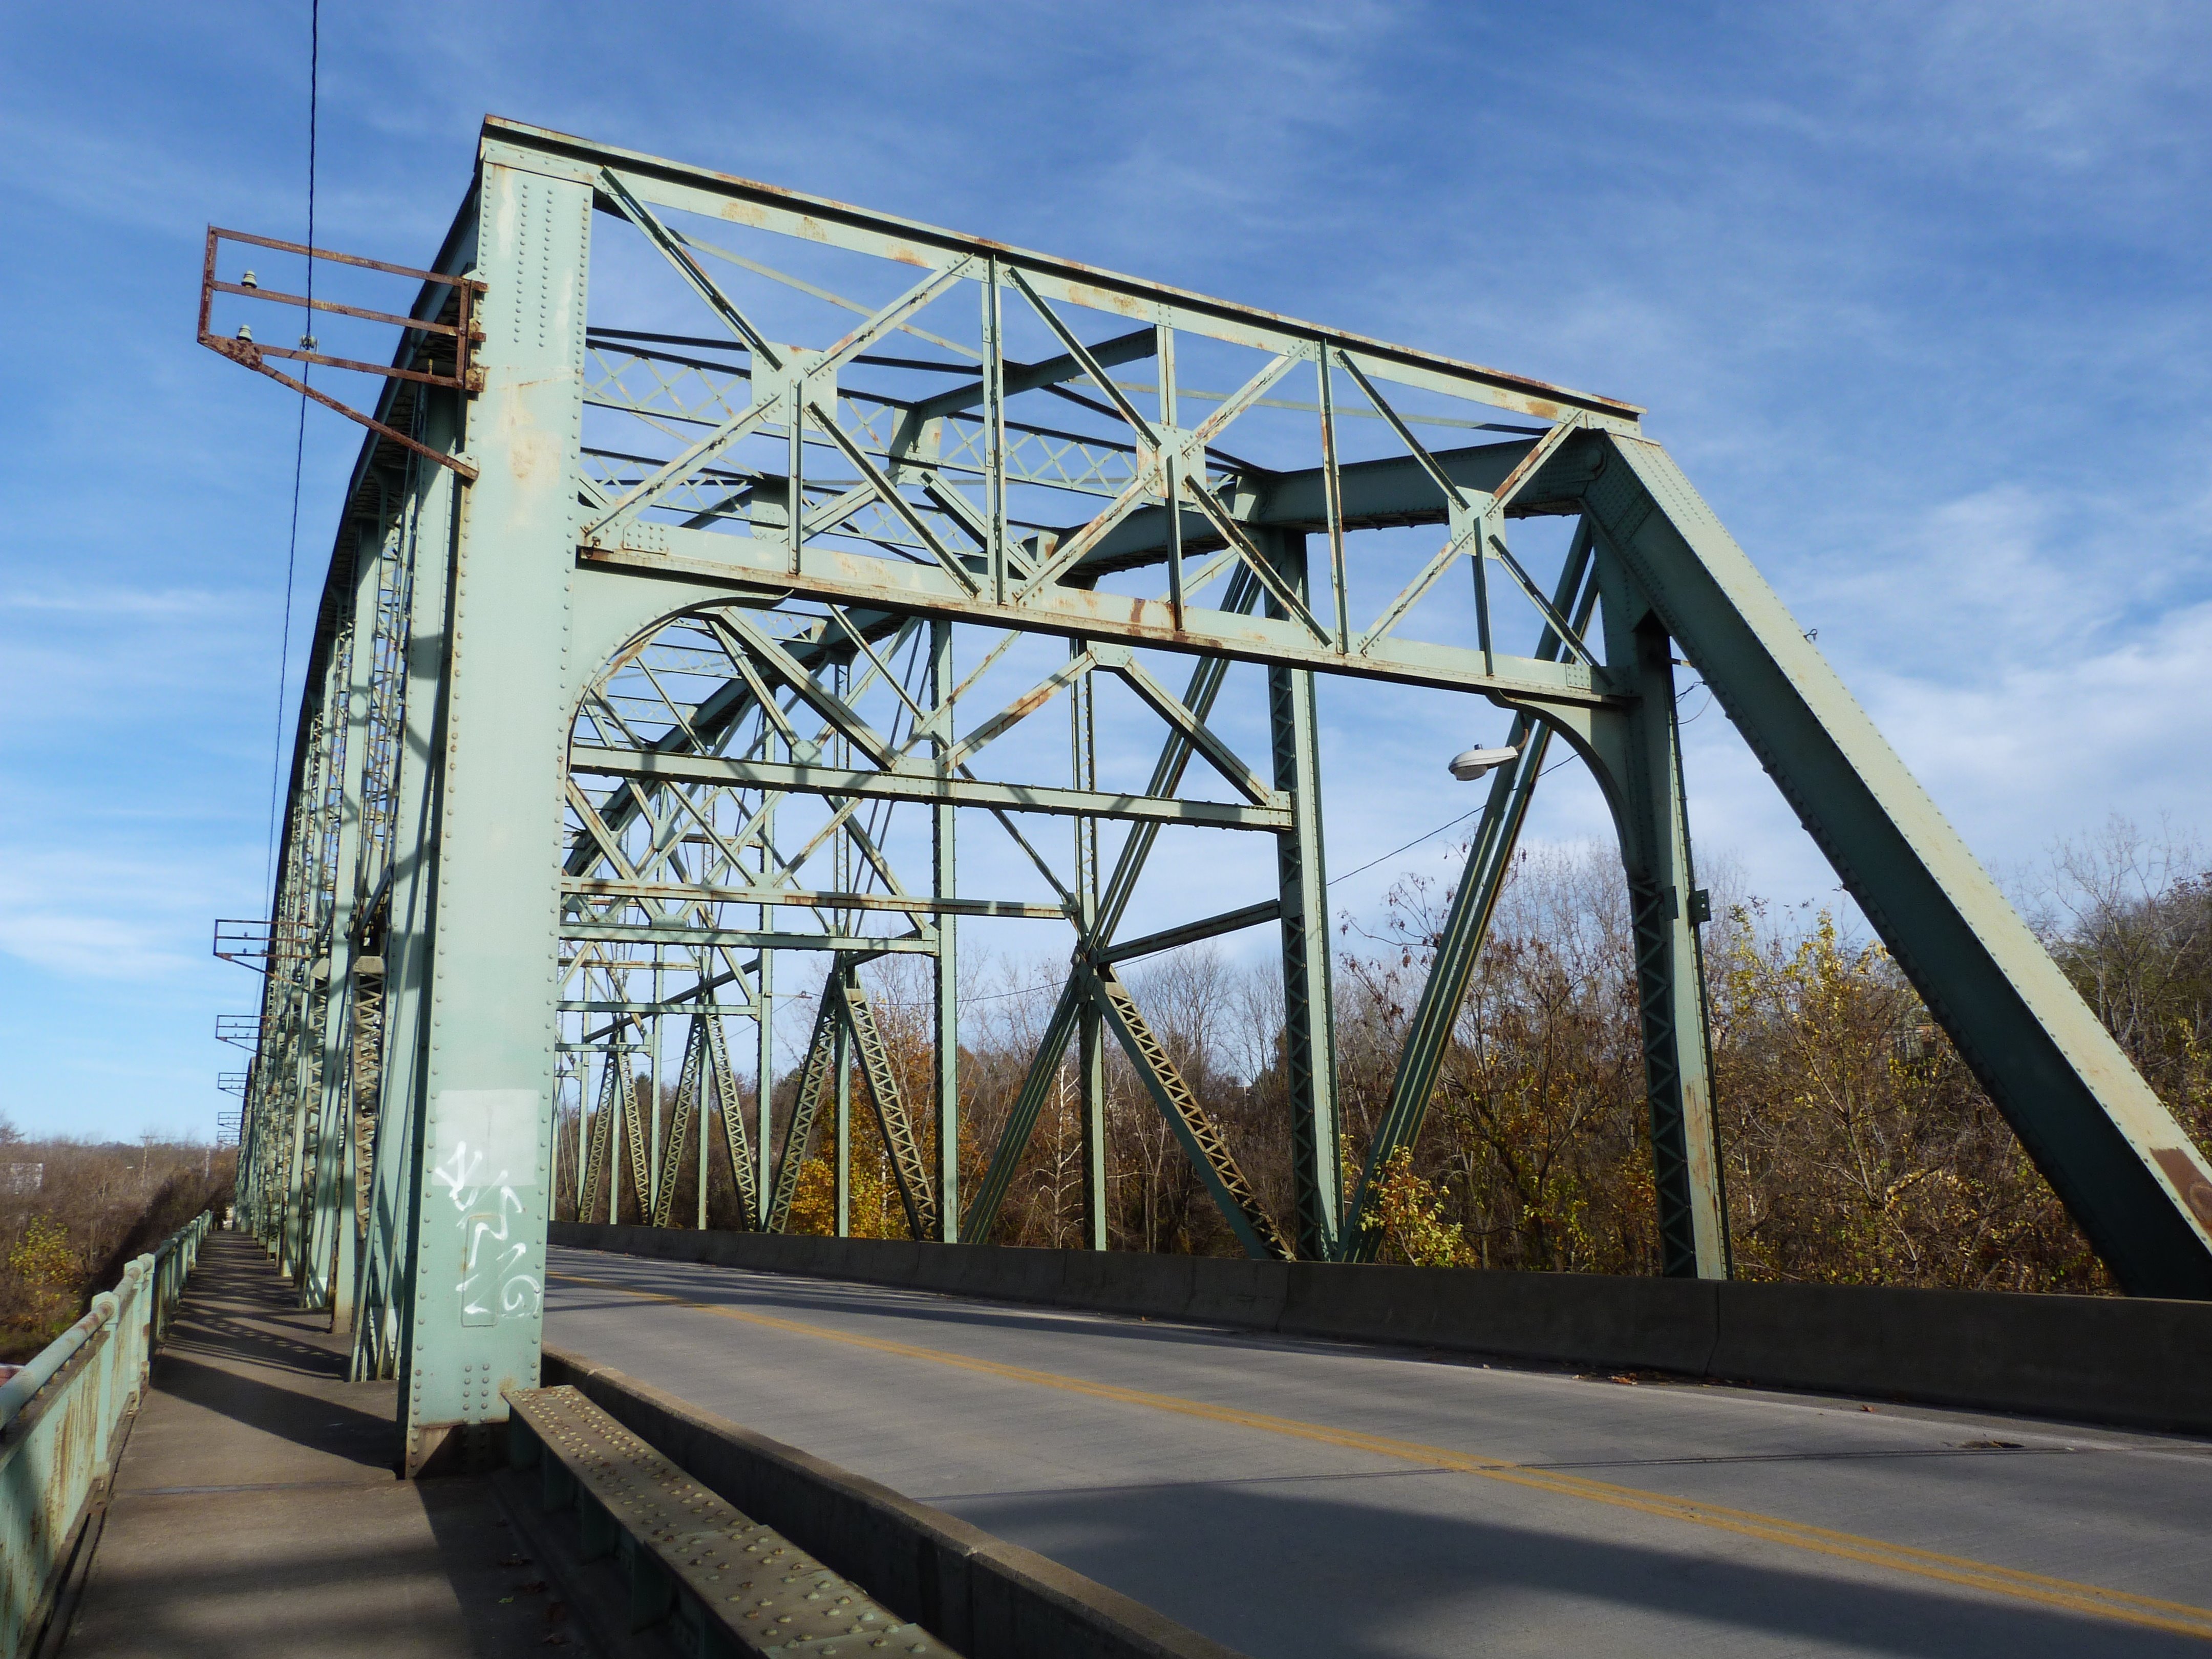
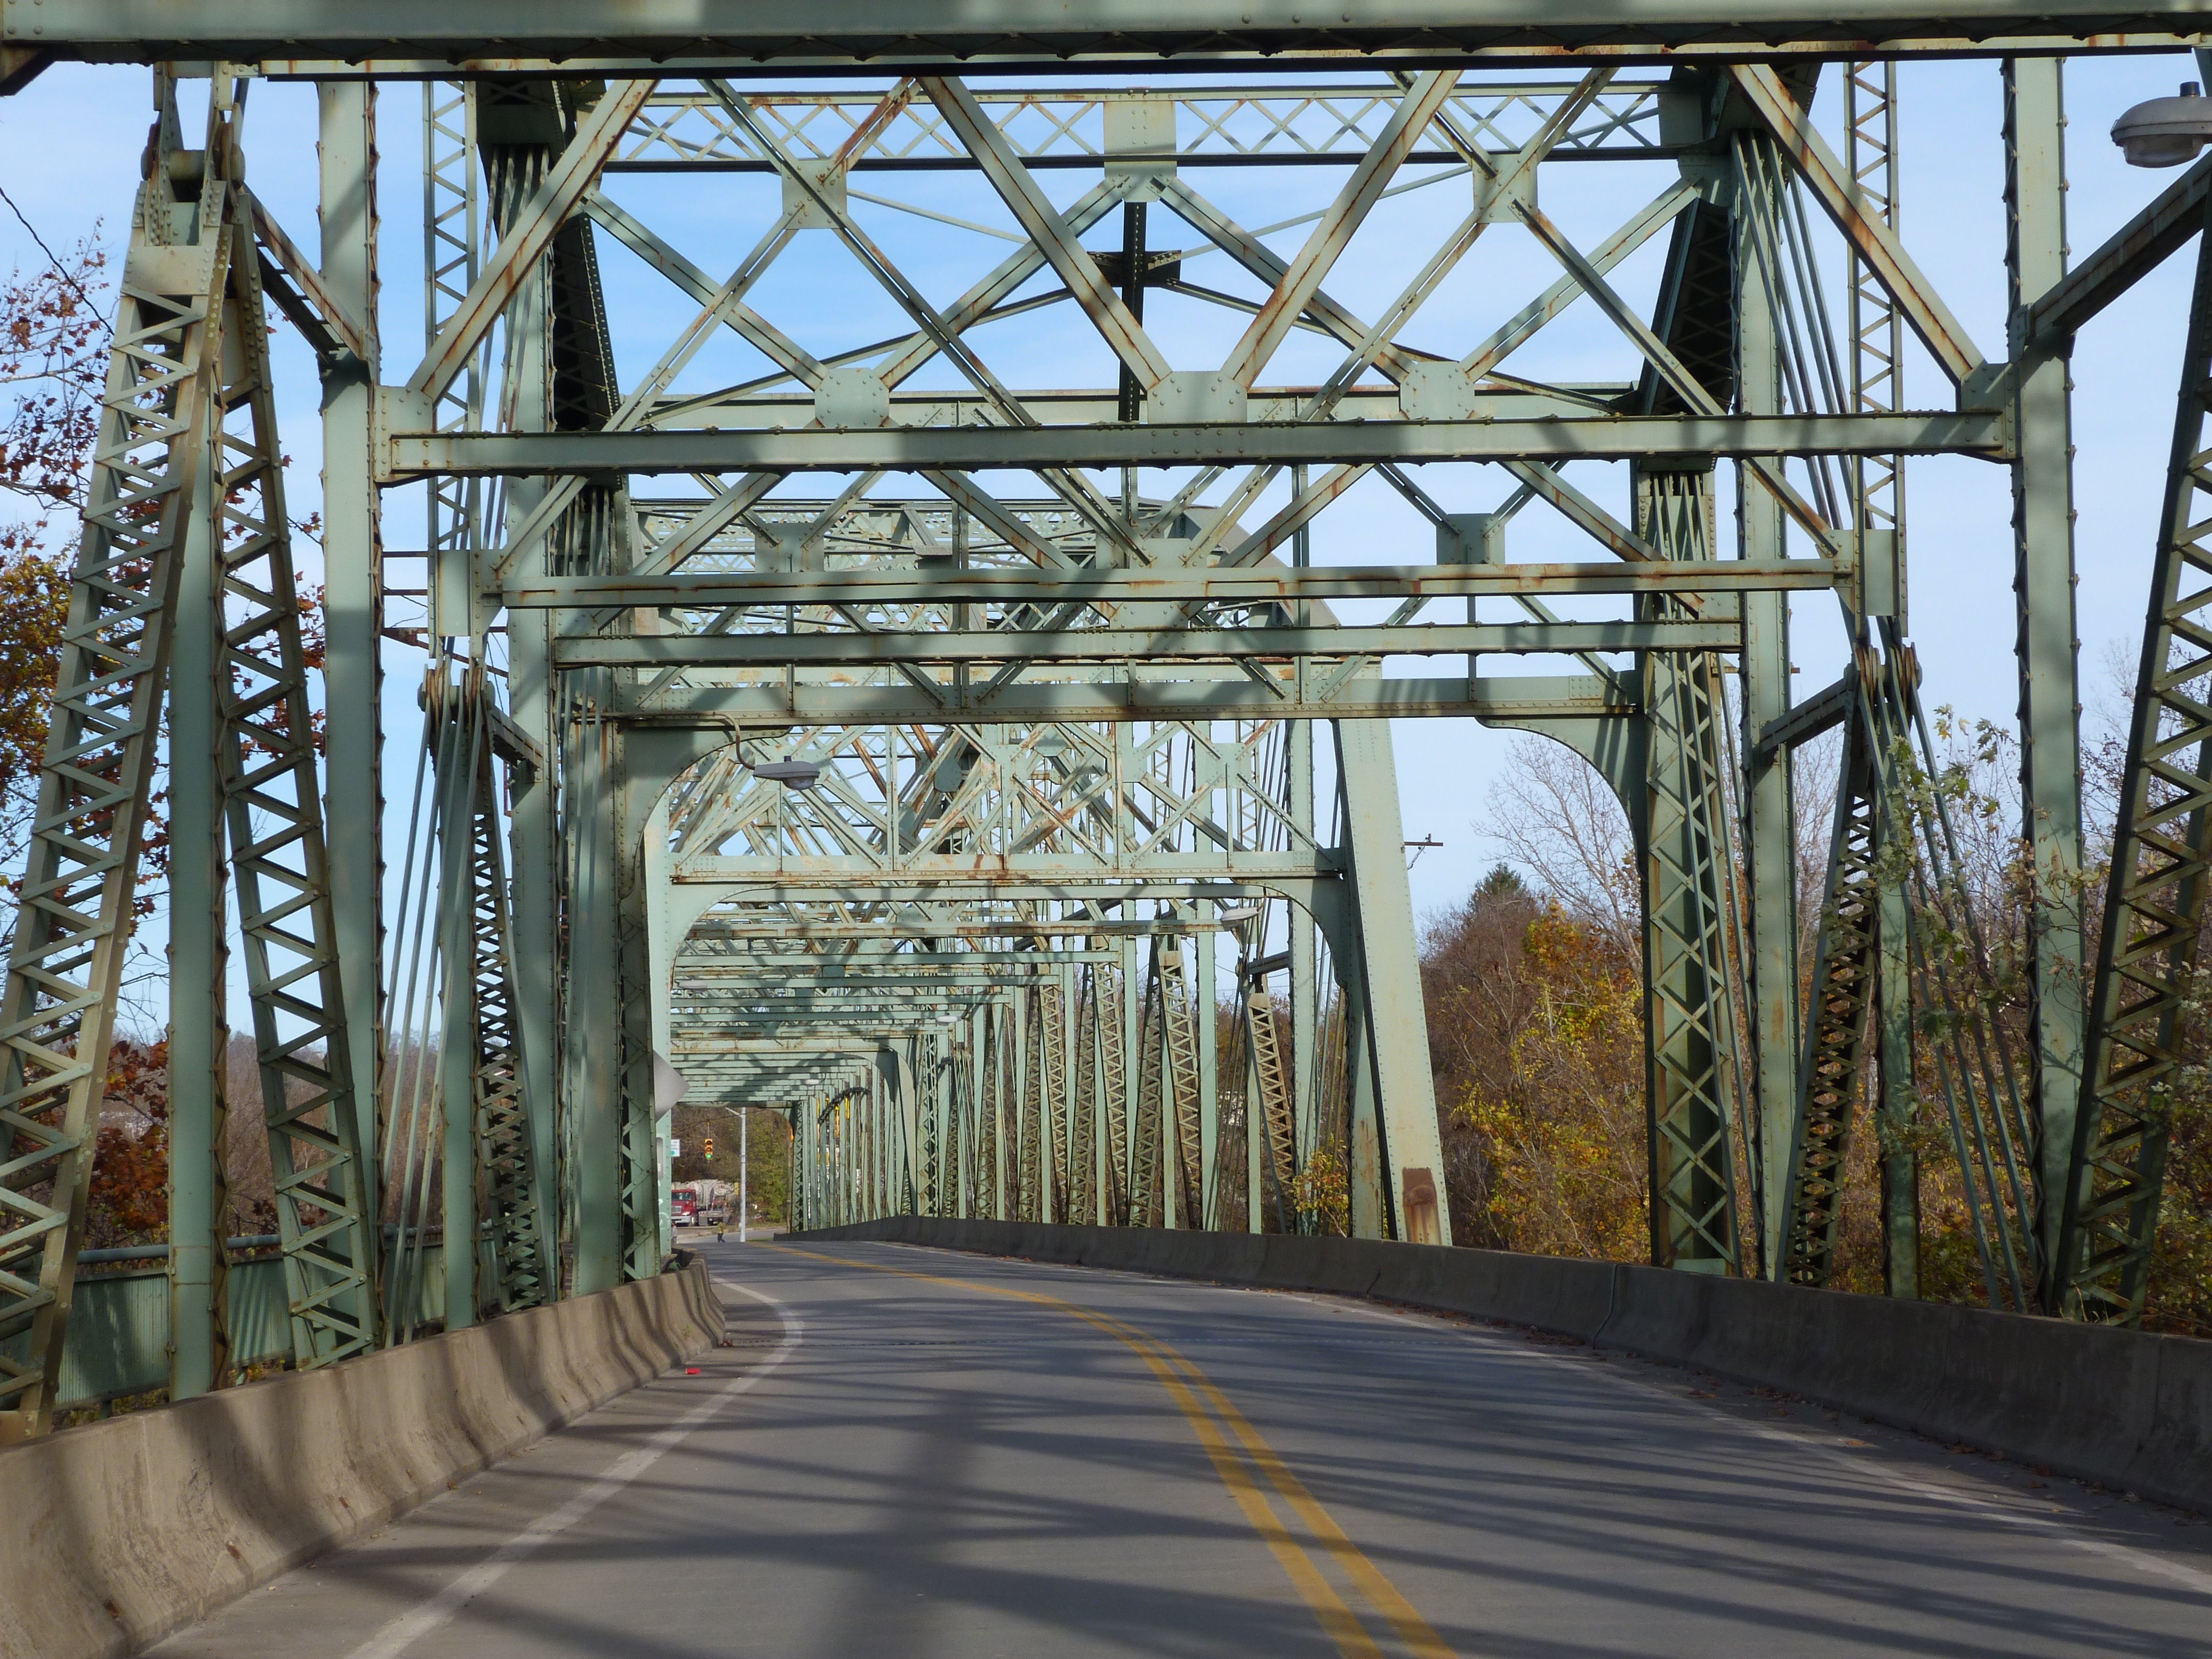
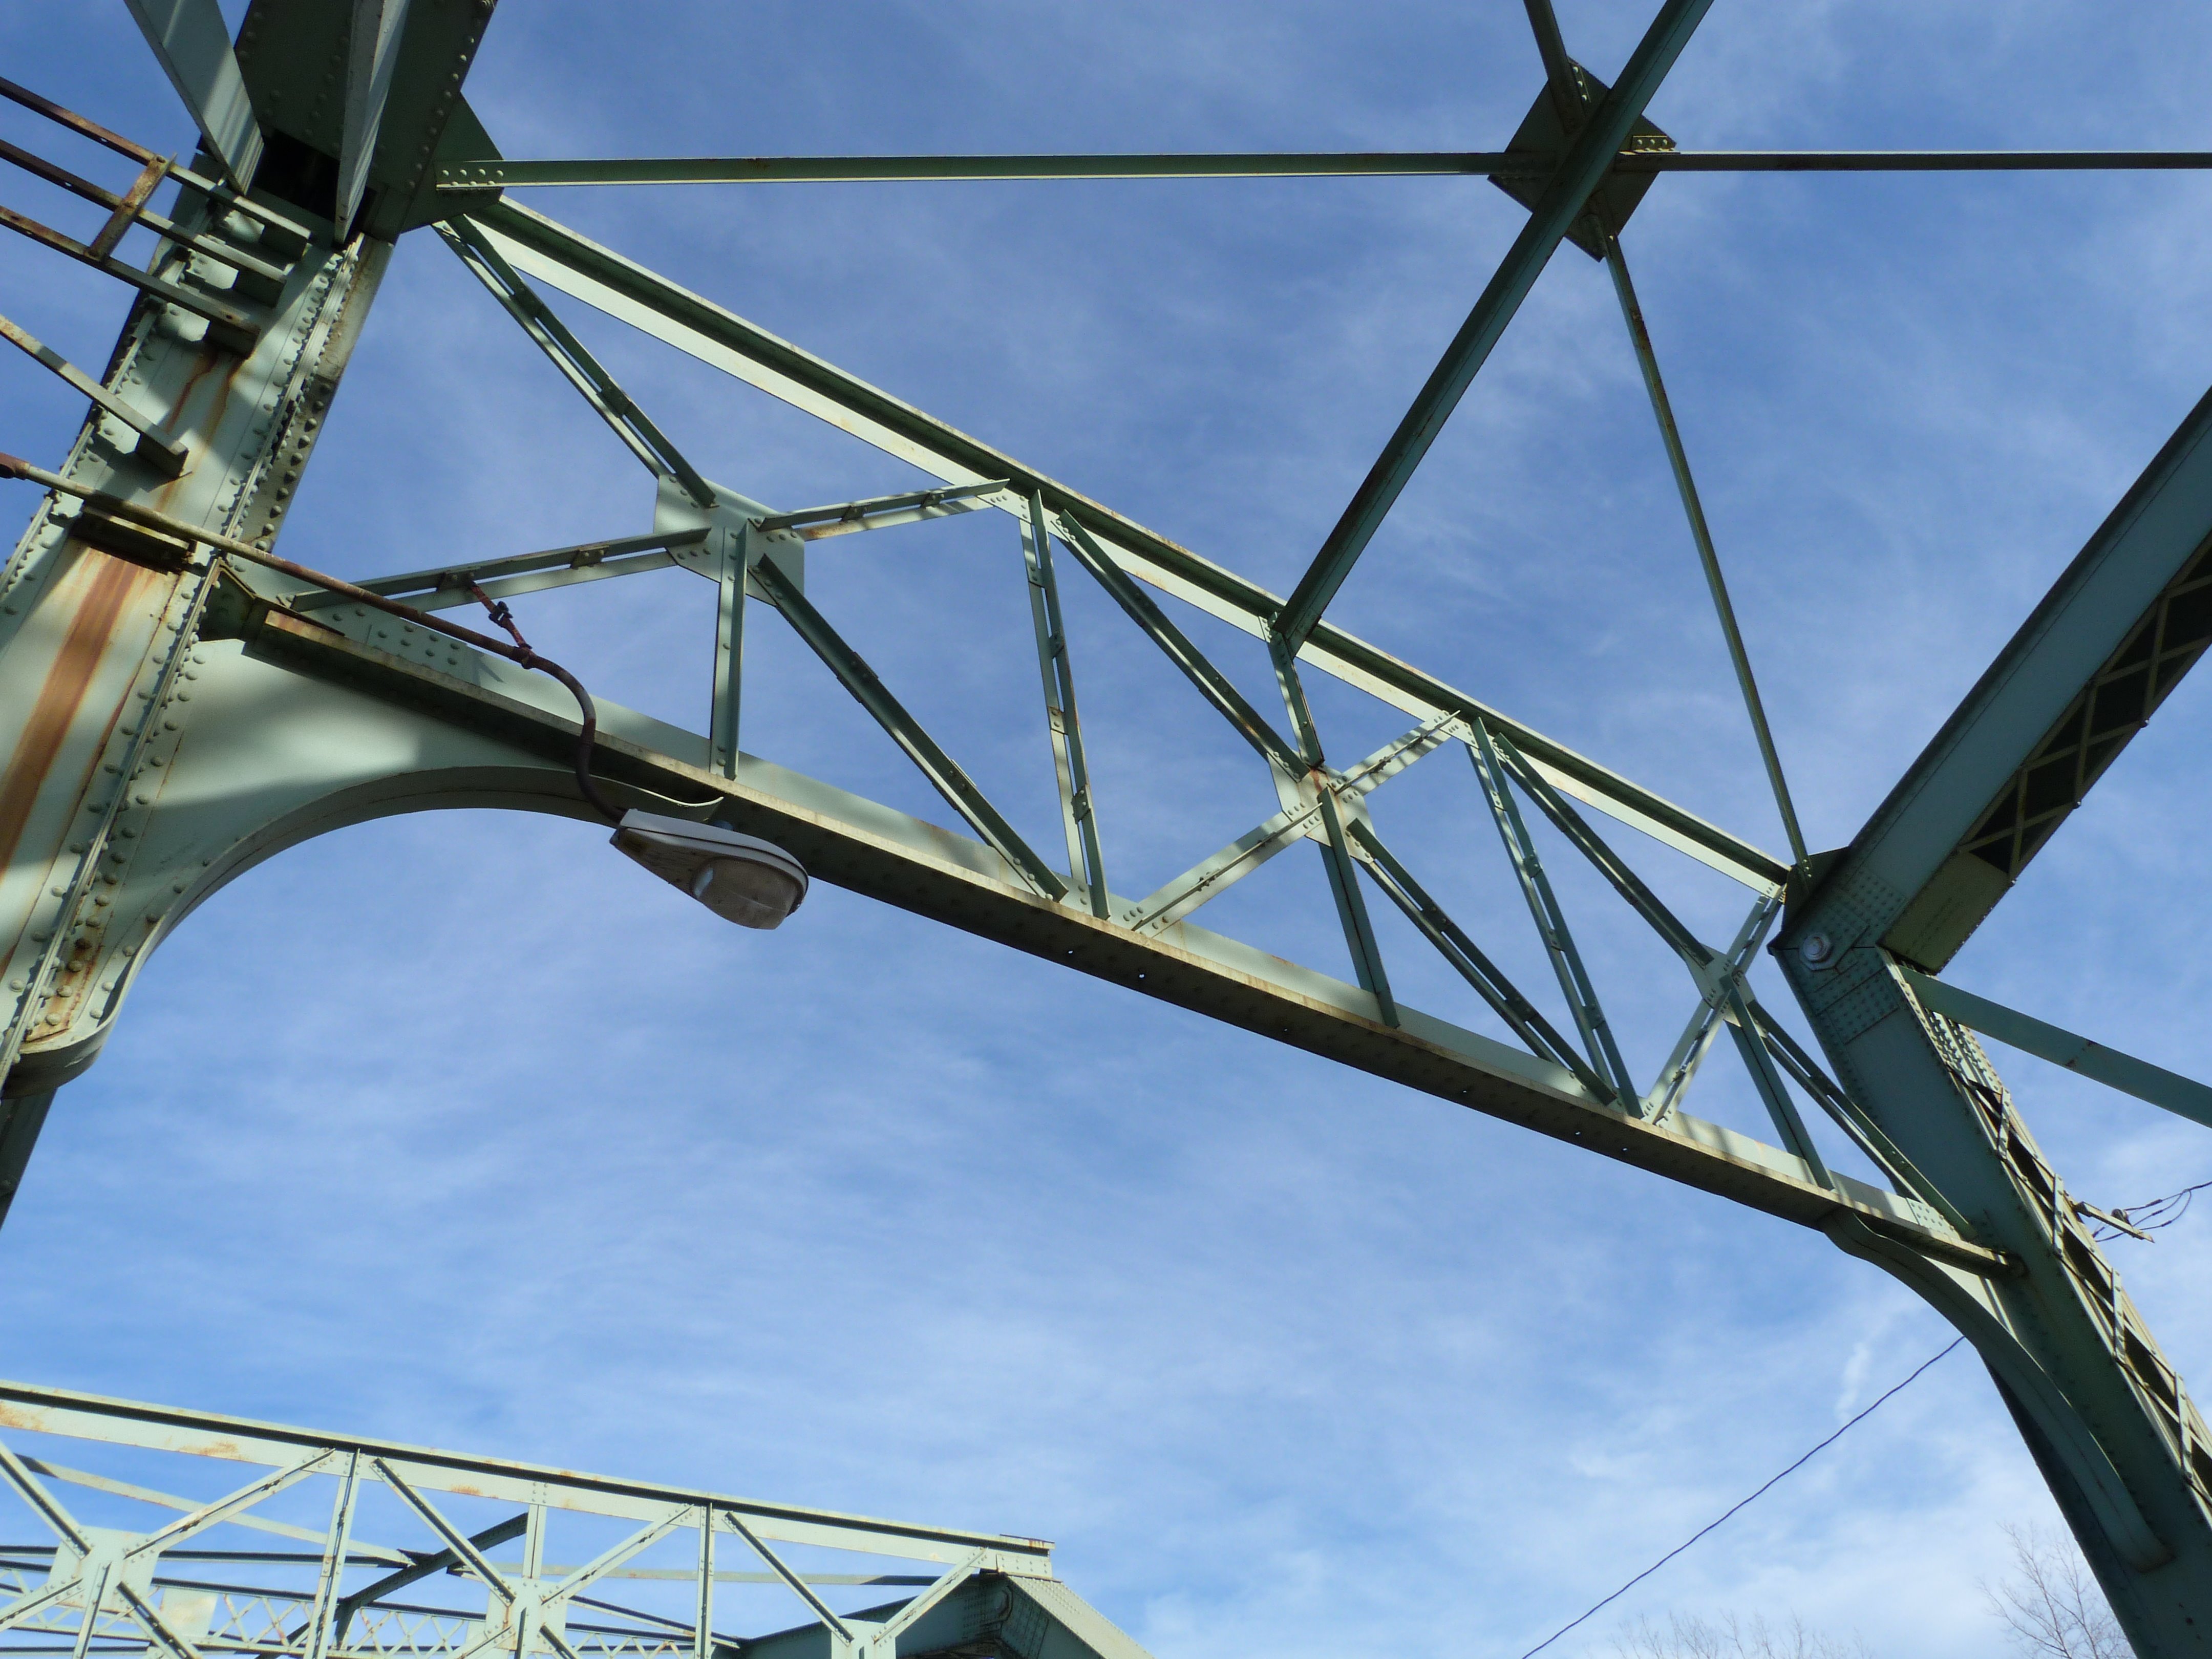
Views beside truss spans over railroad tracks. View facing northeast.
![]()
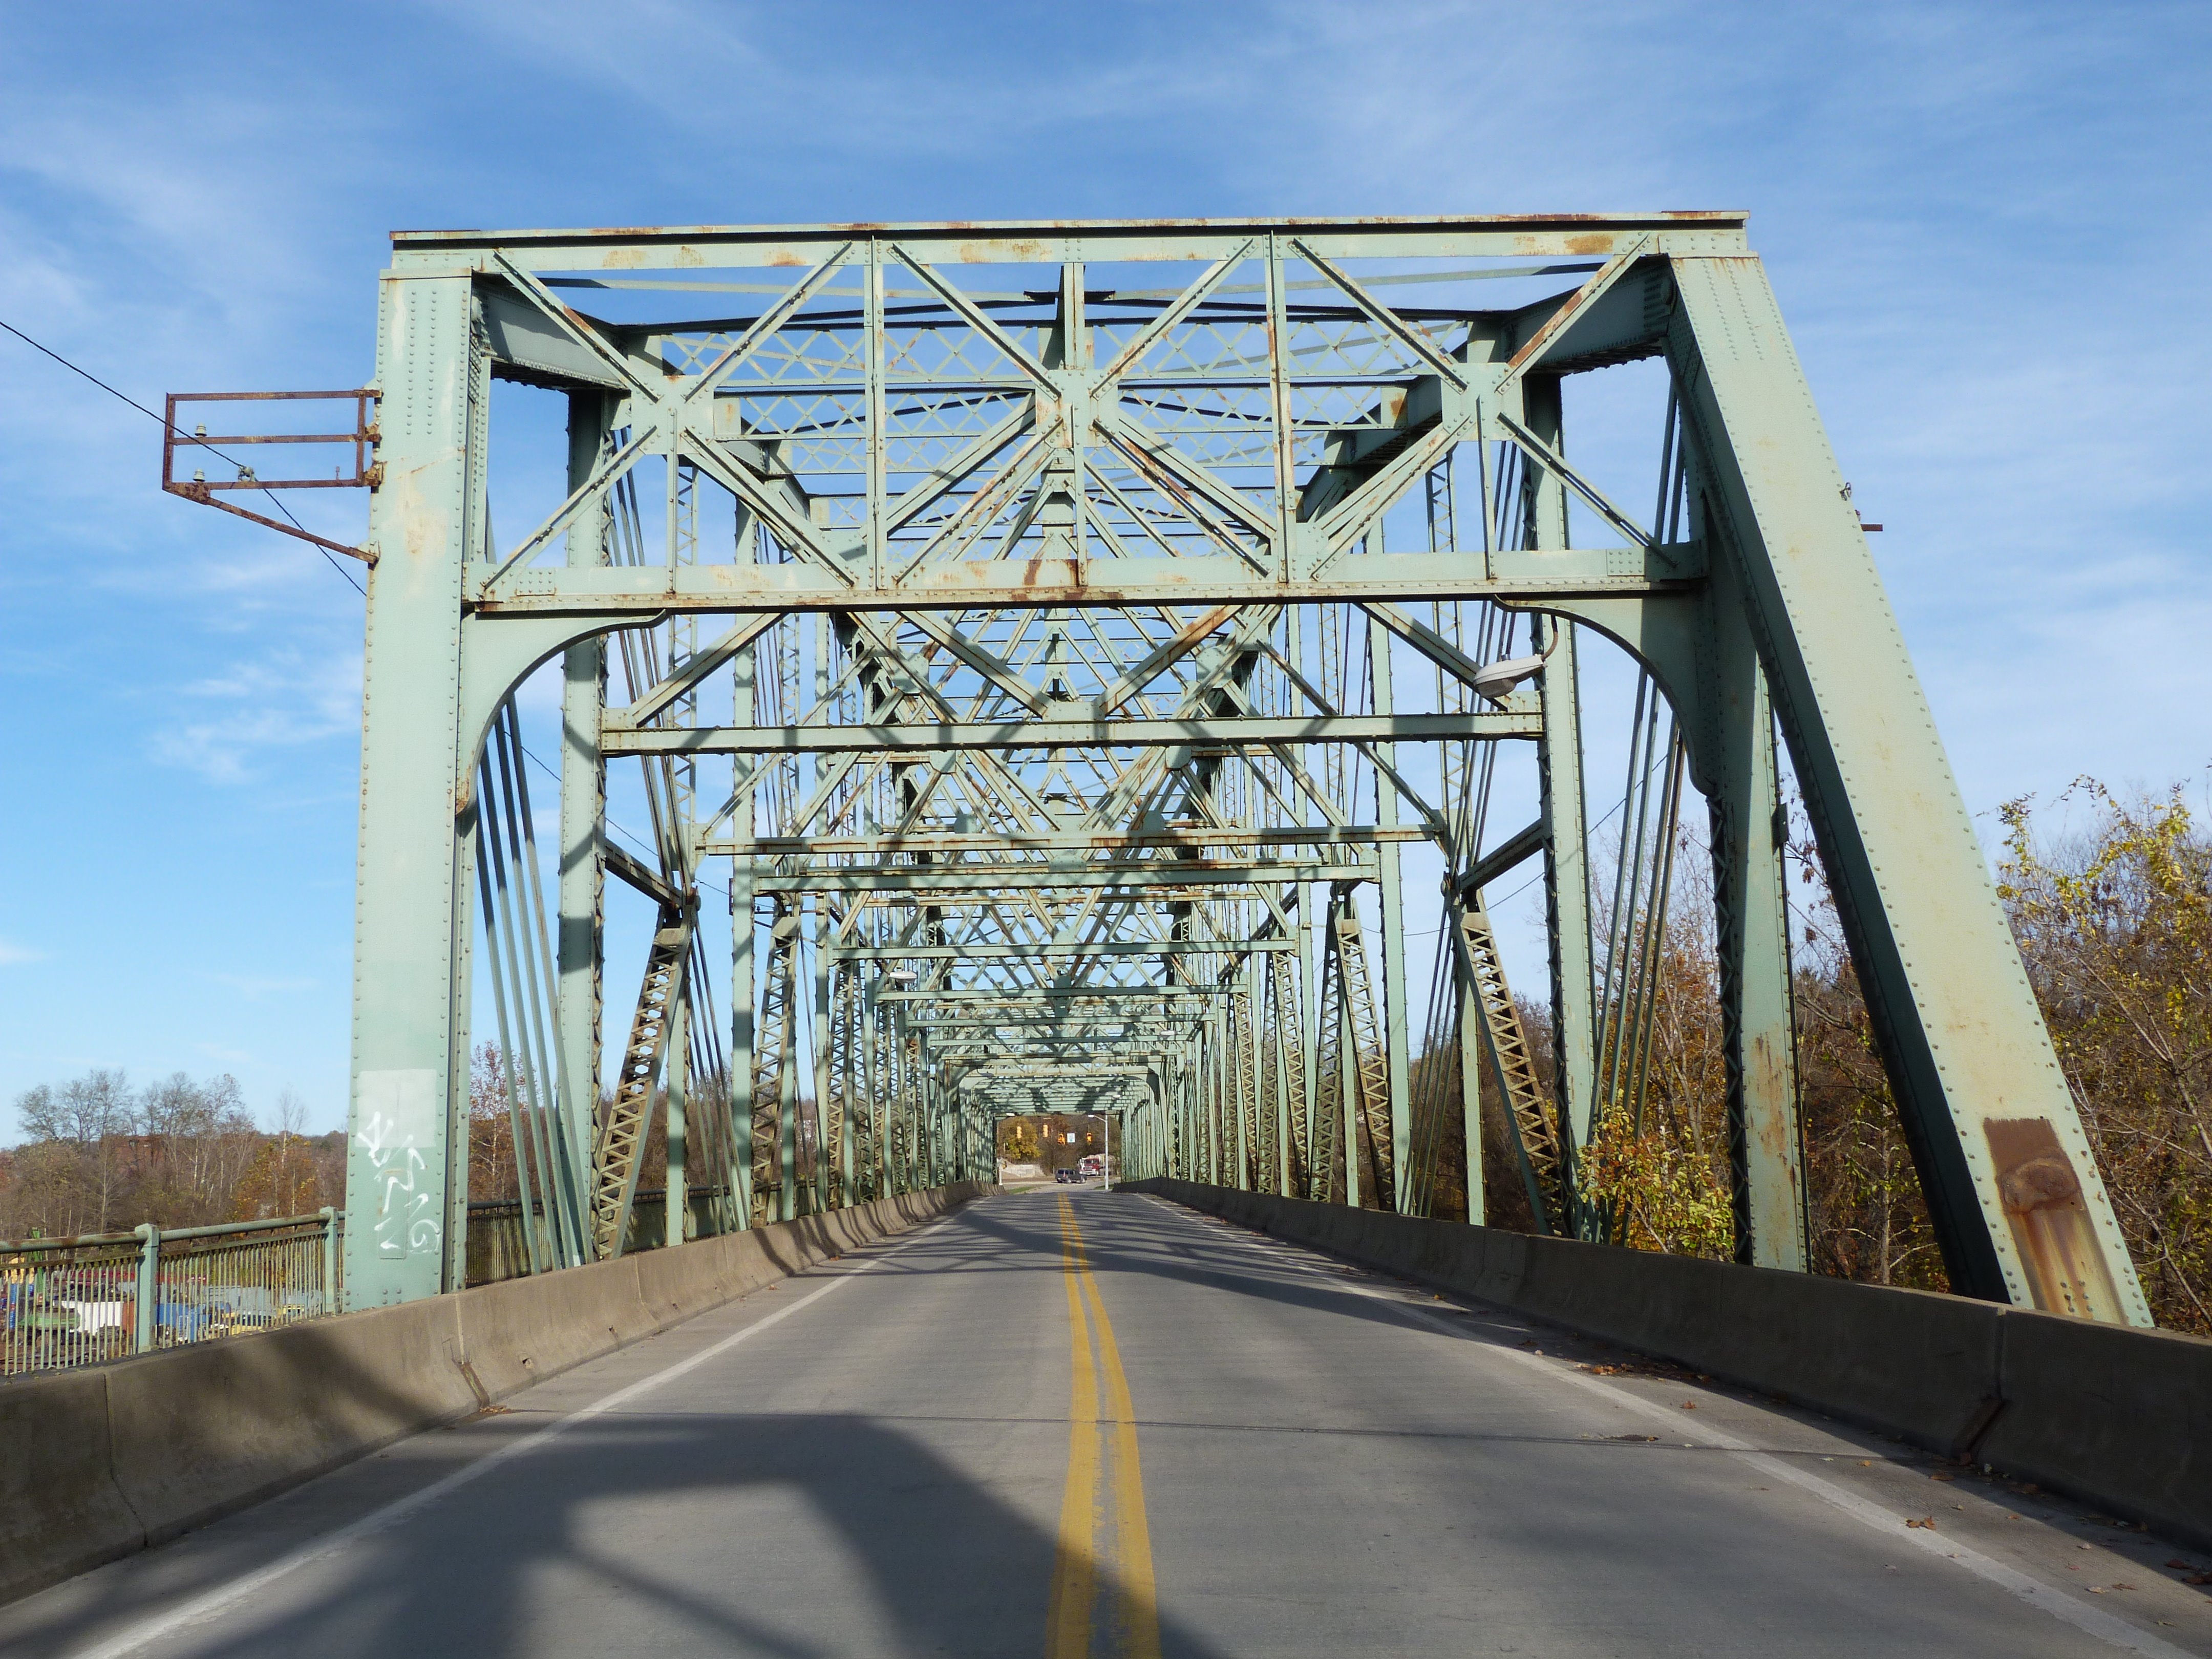

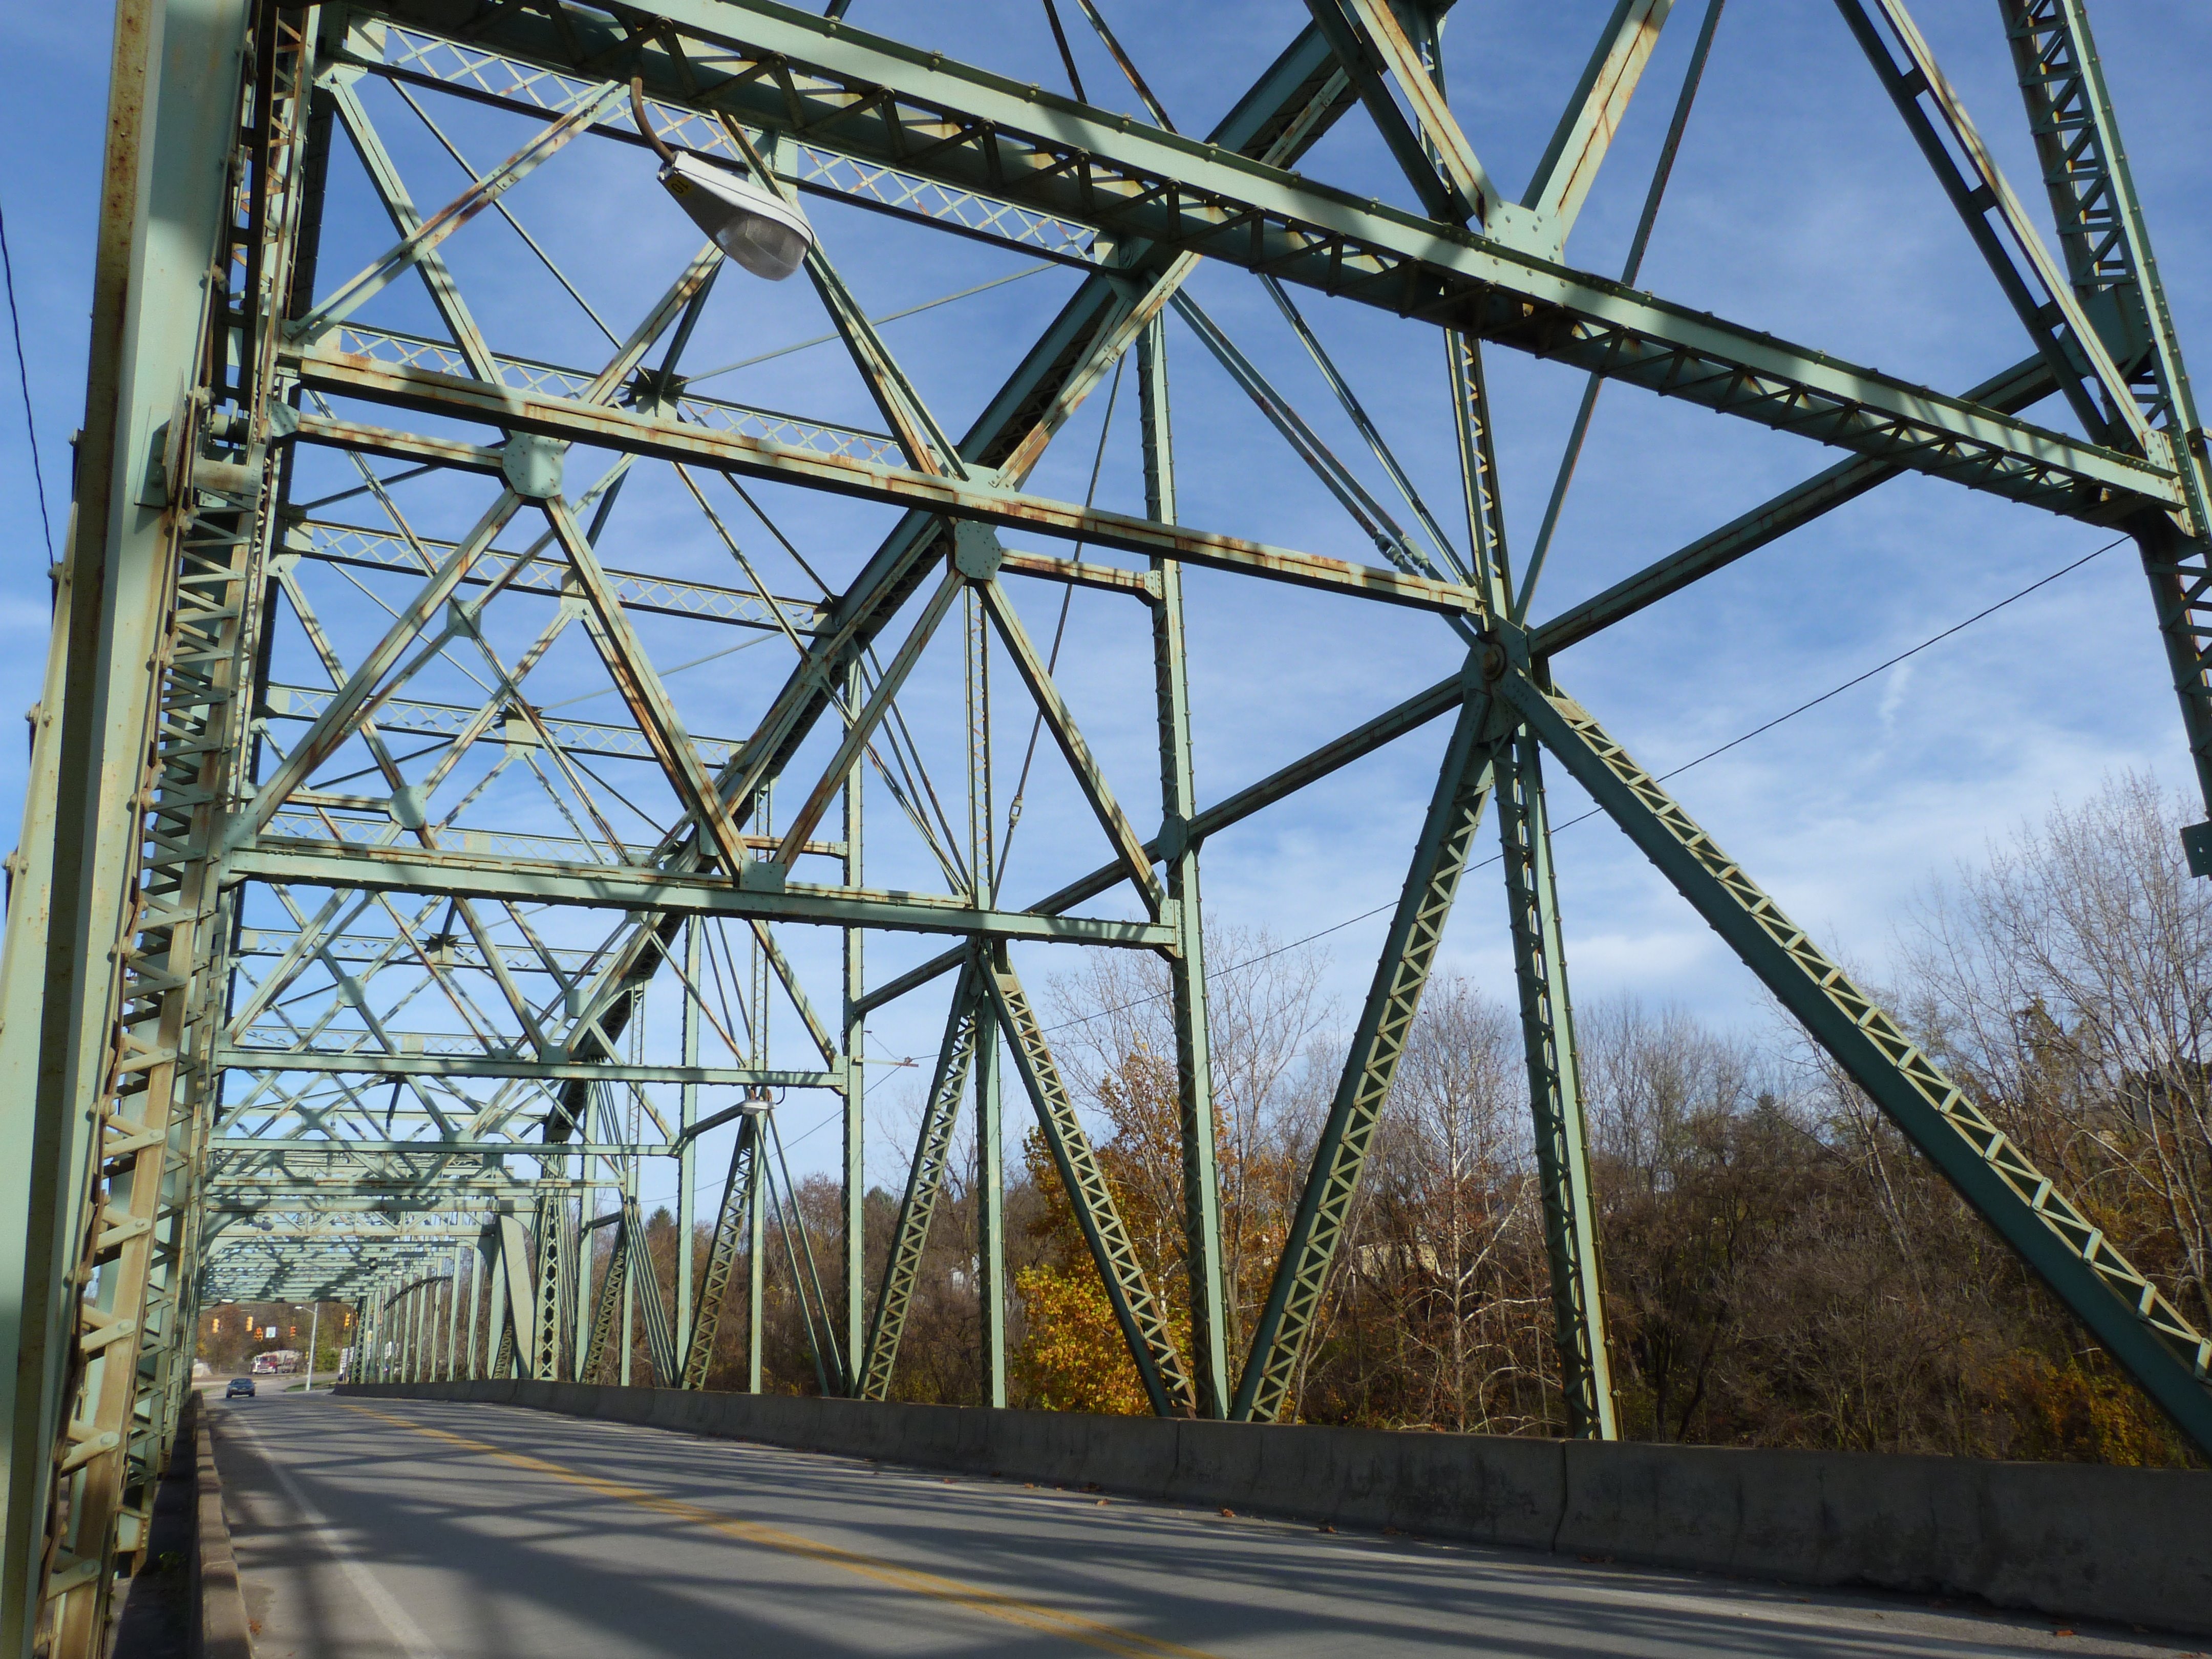
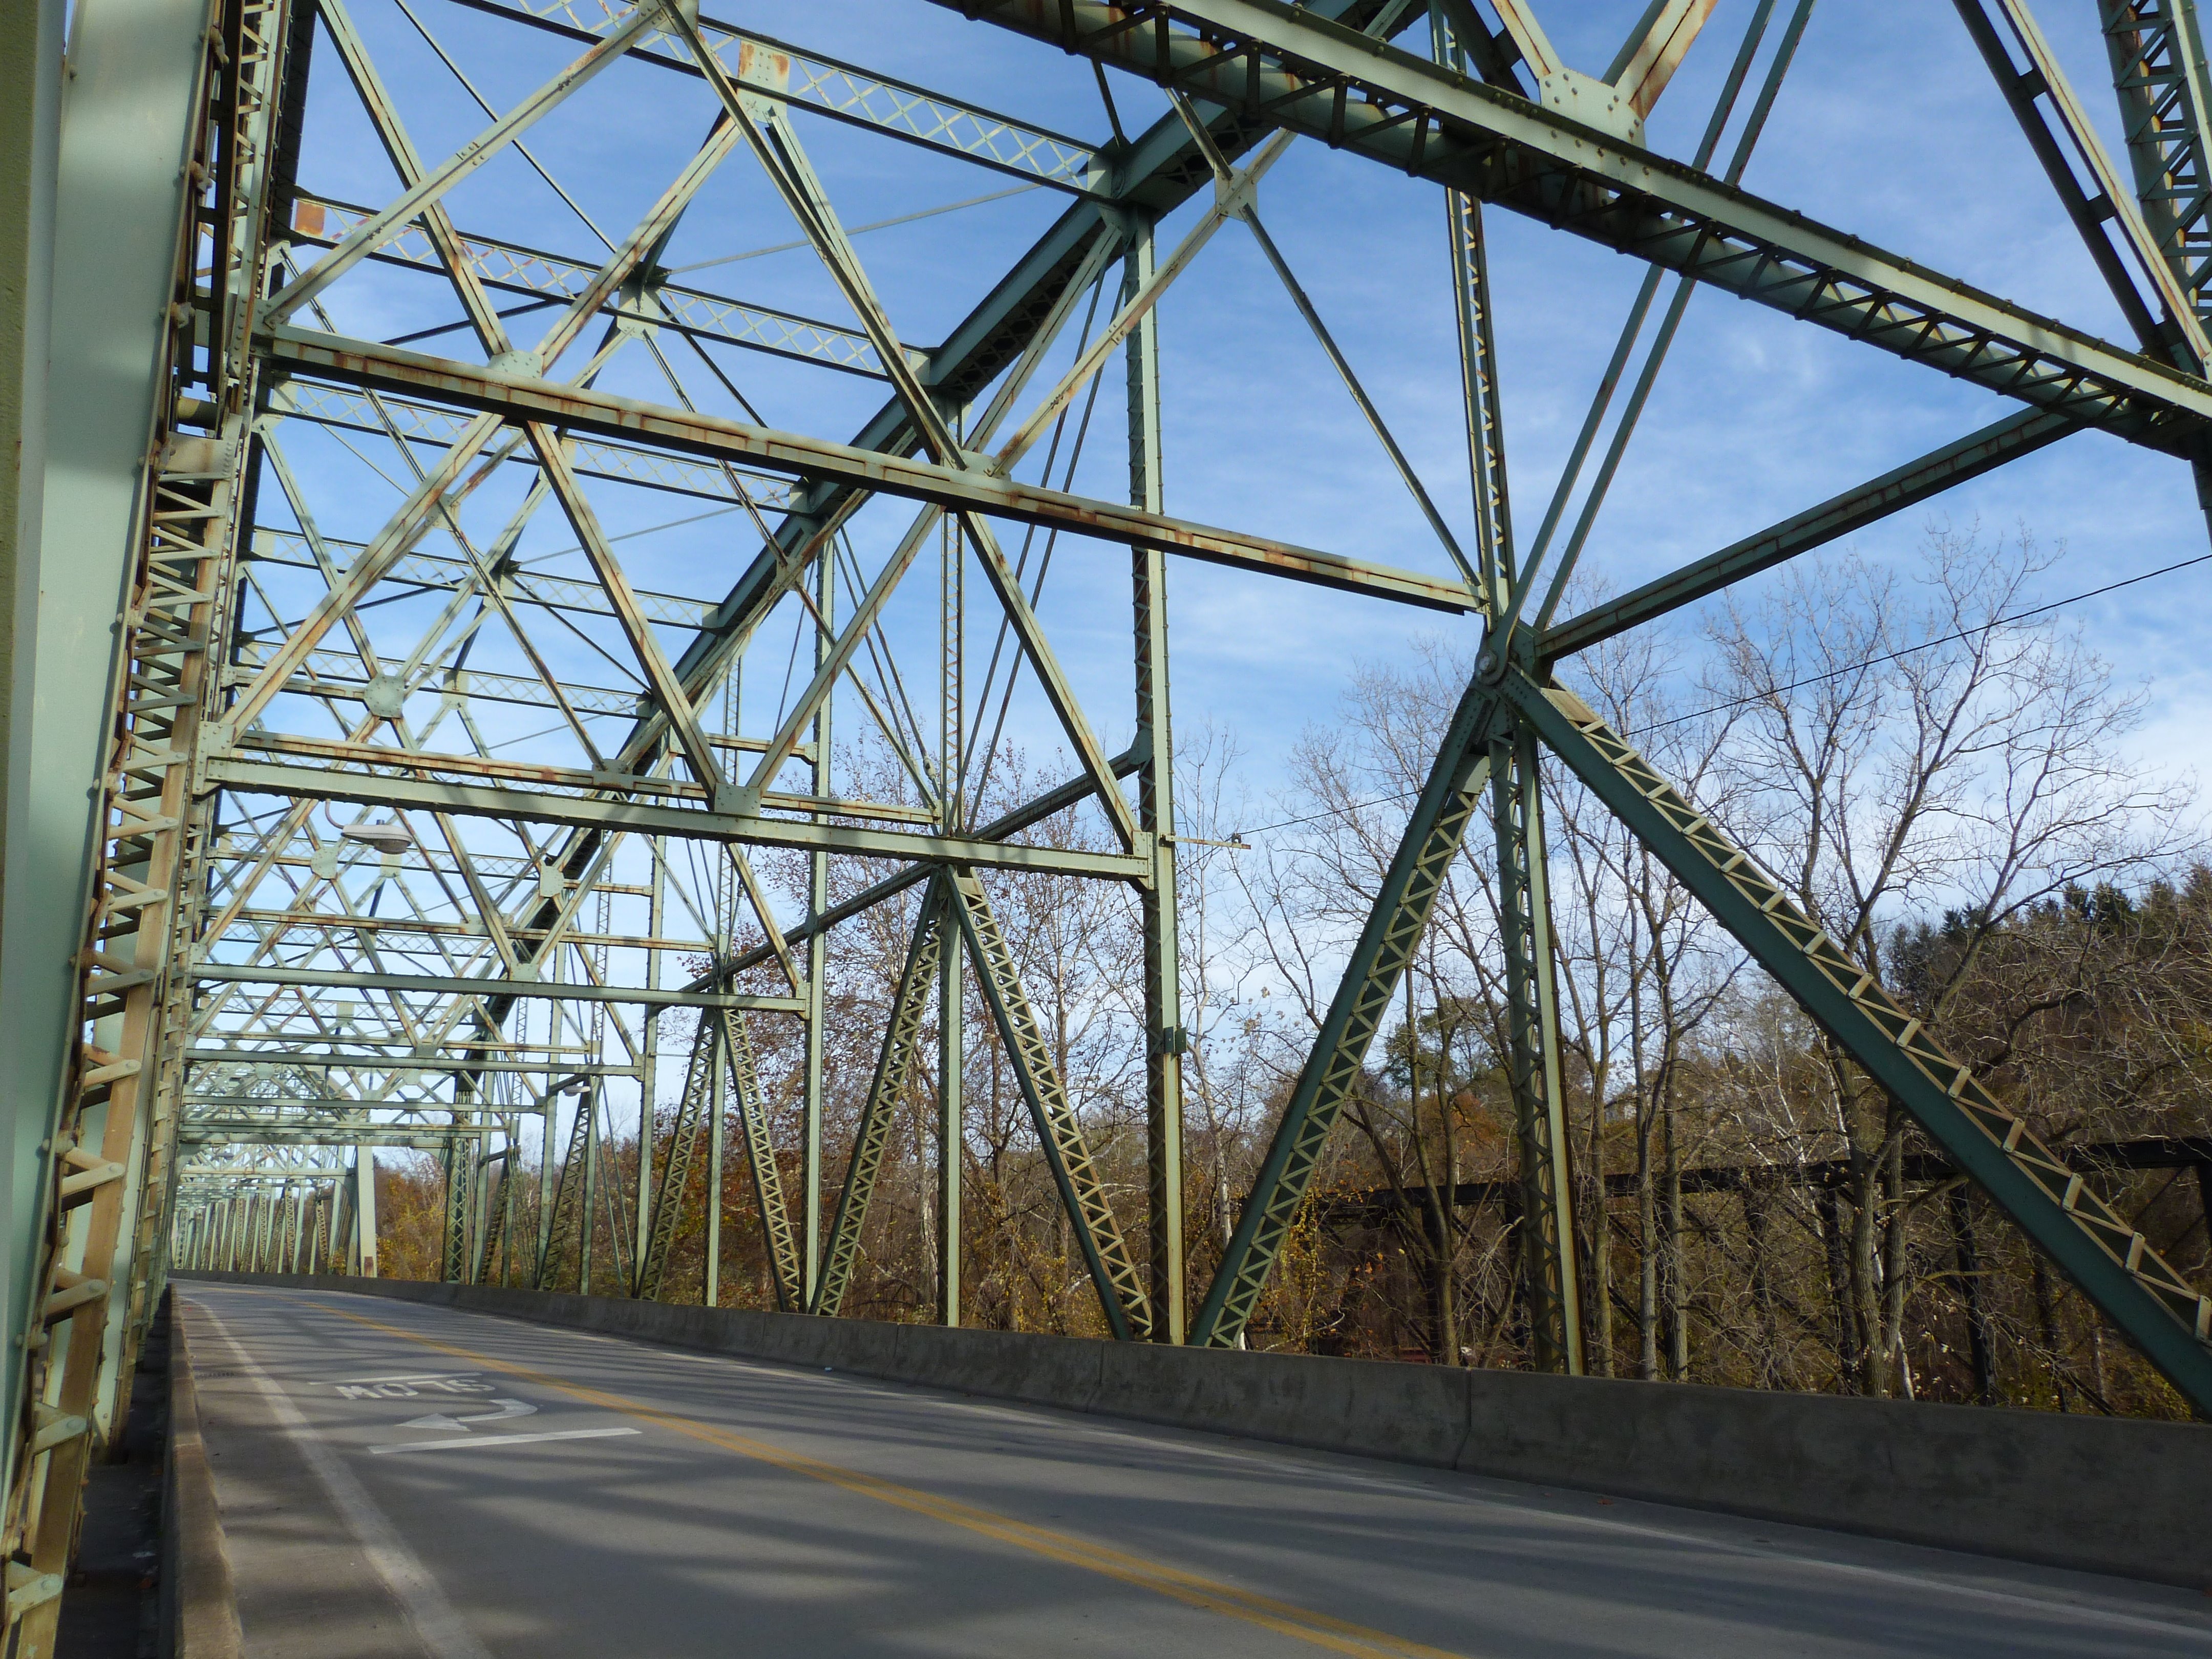
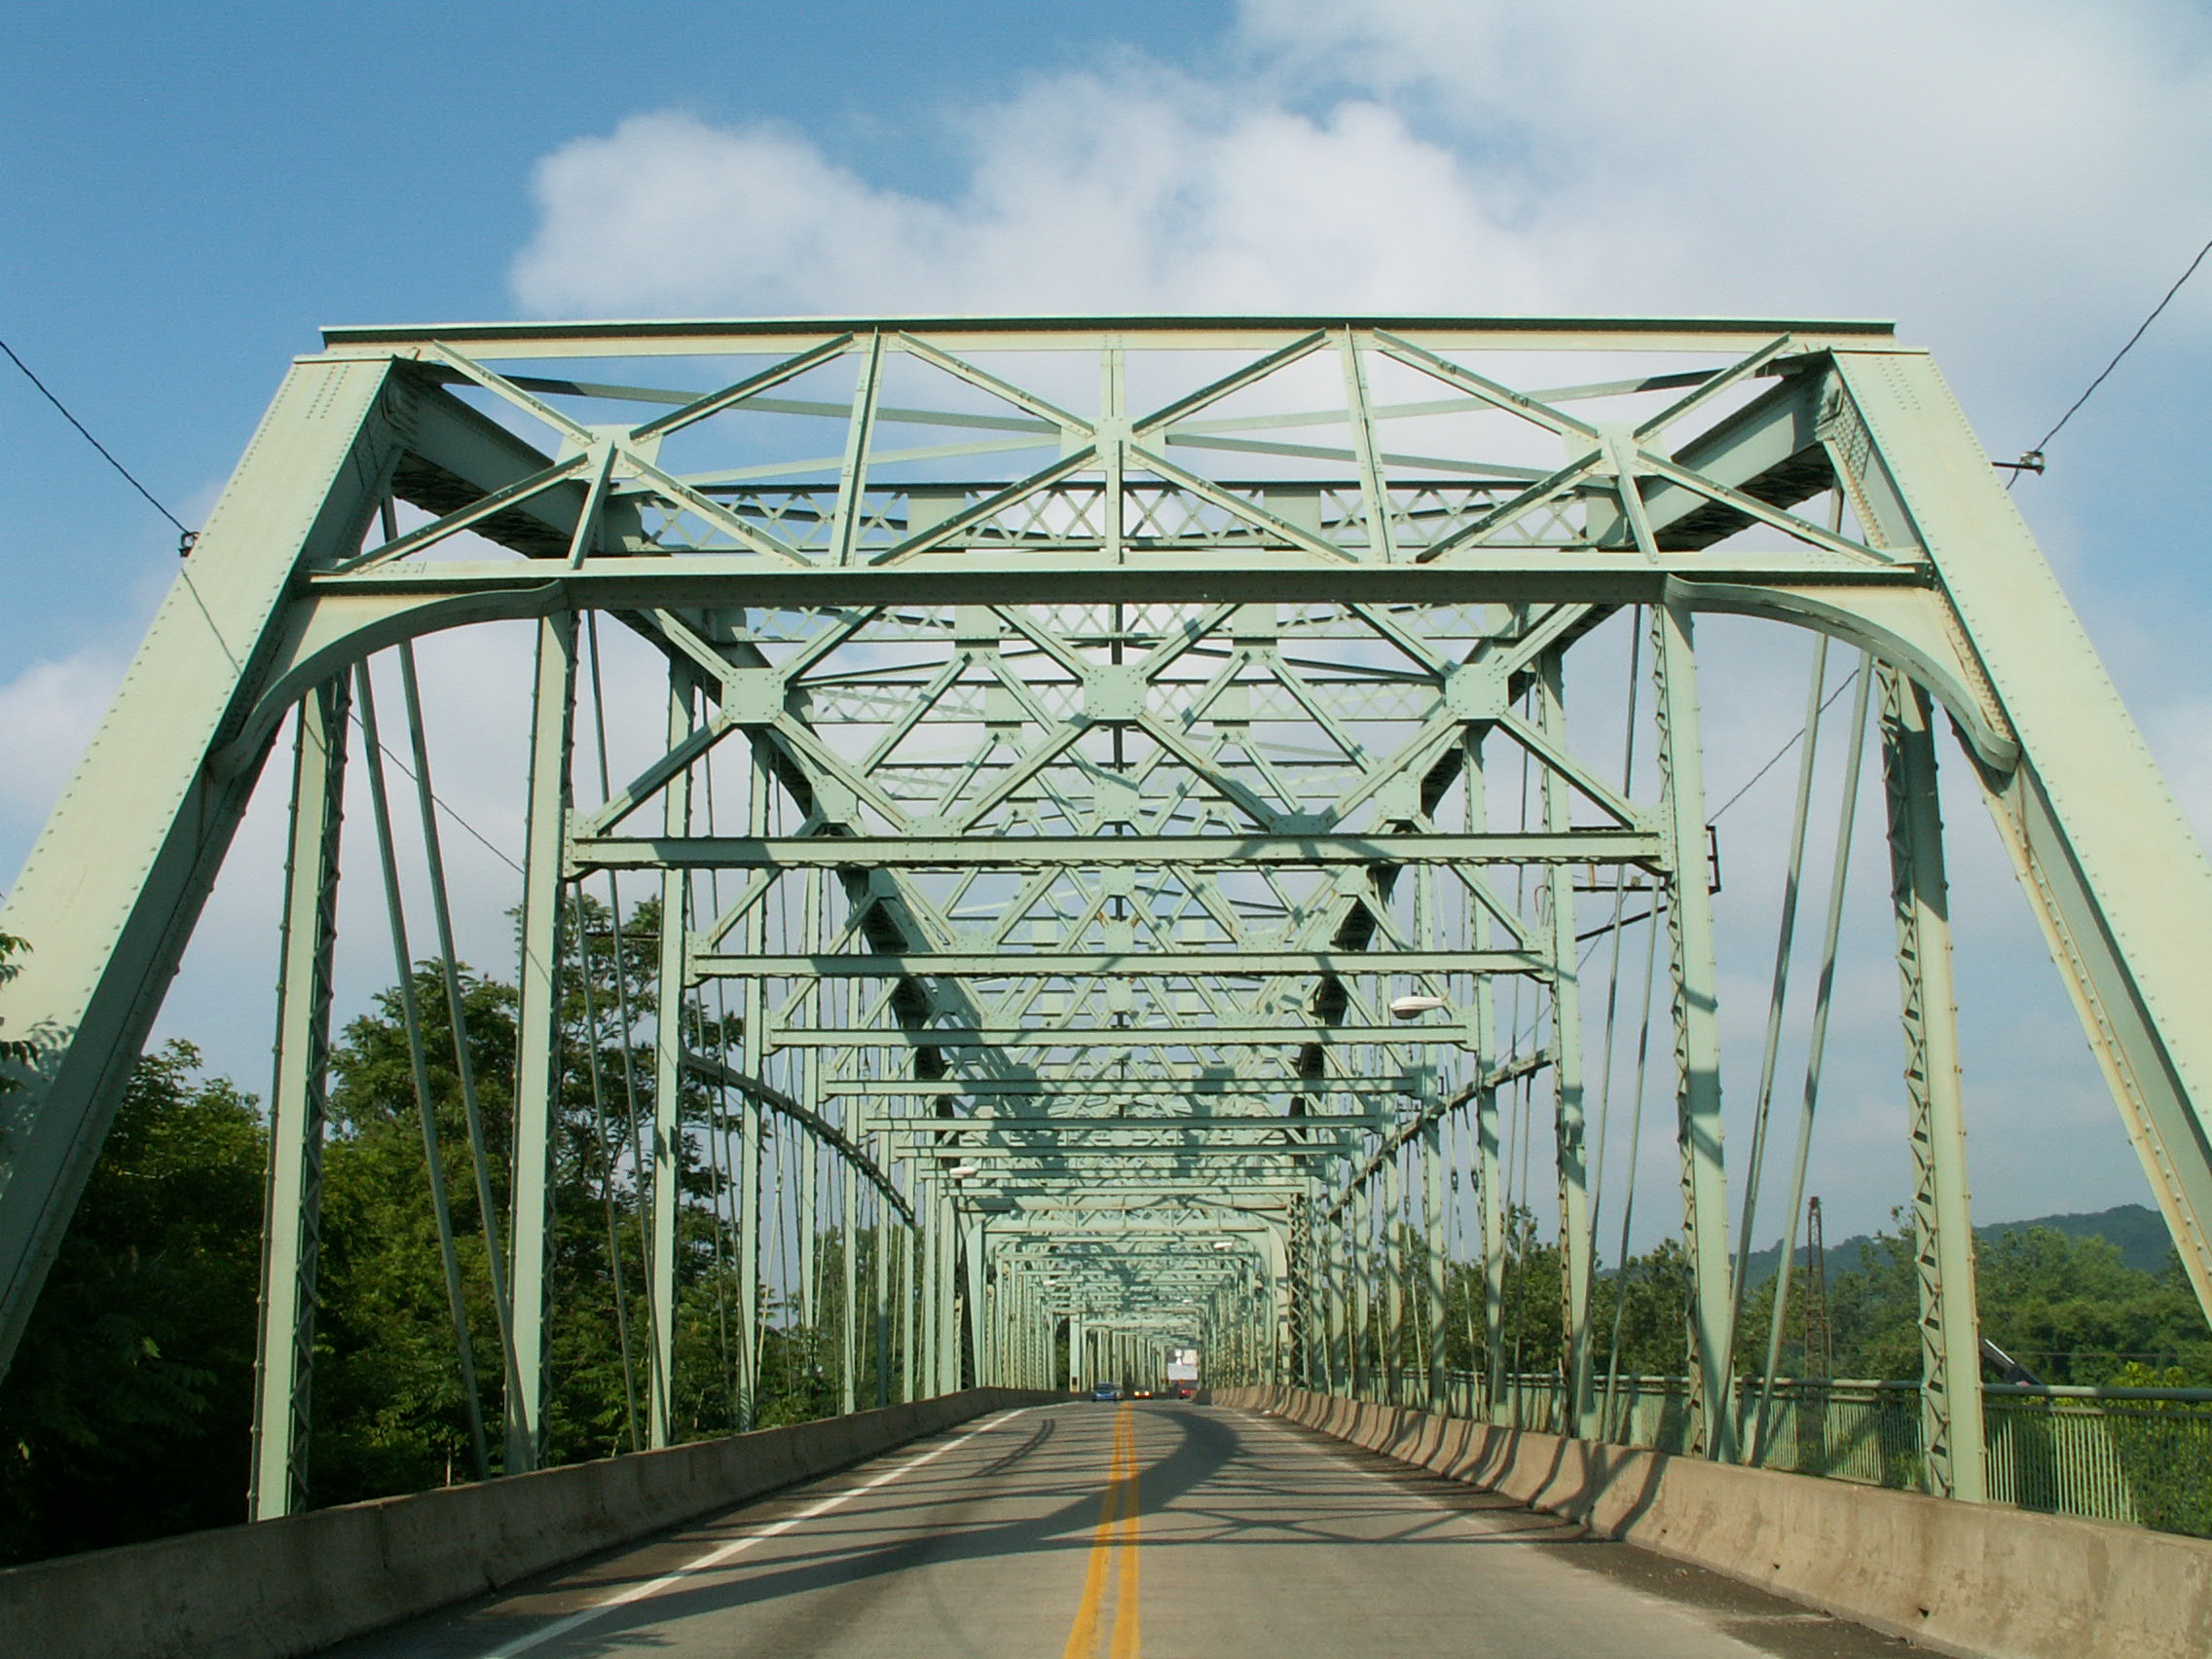
Portal views on bridge facing east in front of skewed span.
![]()


Views of skewed end of railroad overpass through truss span from sidewalk.
![]()


Views of skewed end of river-spanning through truss from sidewalk.
![]()
Views of truss web as seen from on bridge.
![]()


Views of truss web as seen from beside bridge.
![]()
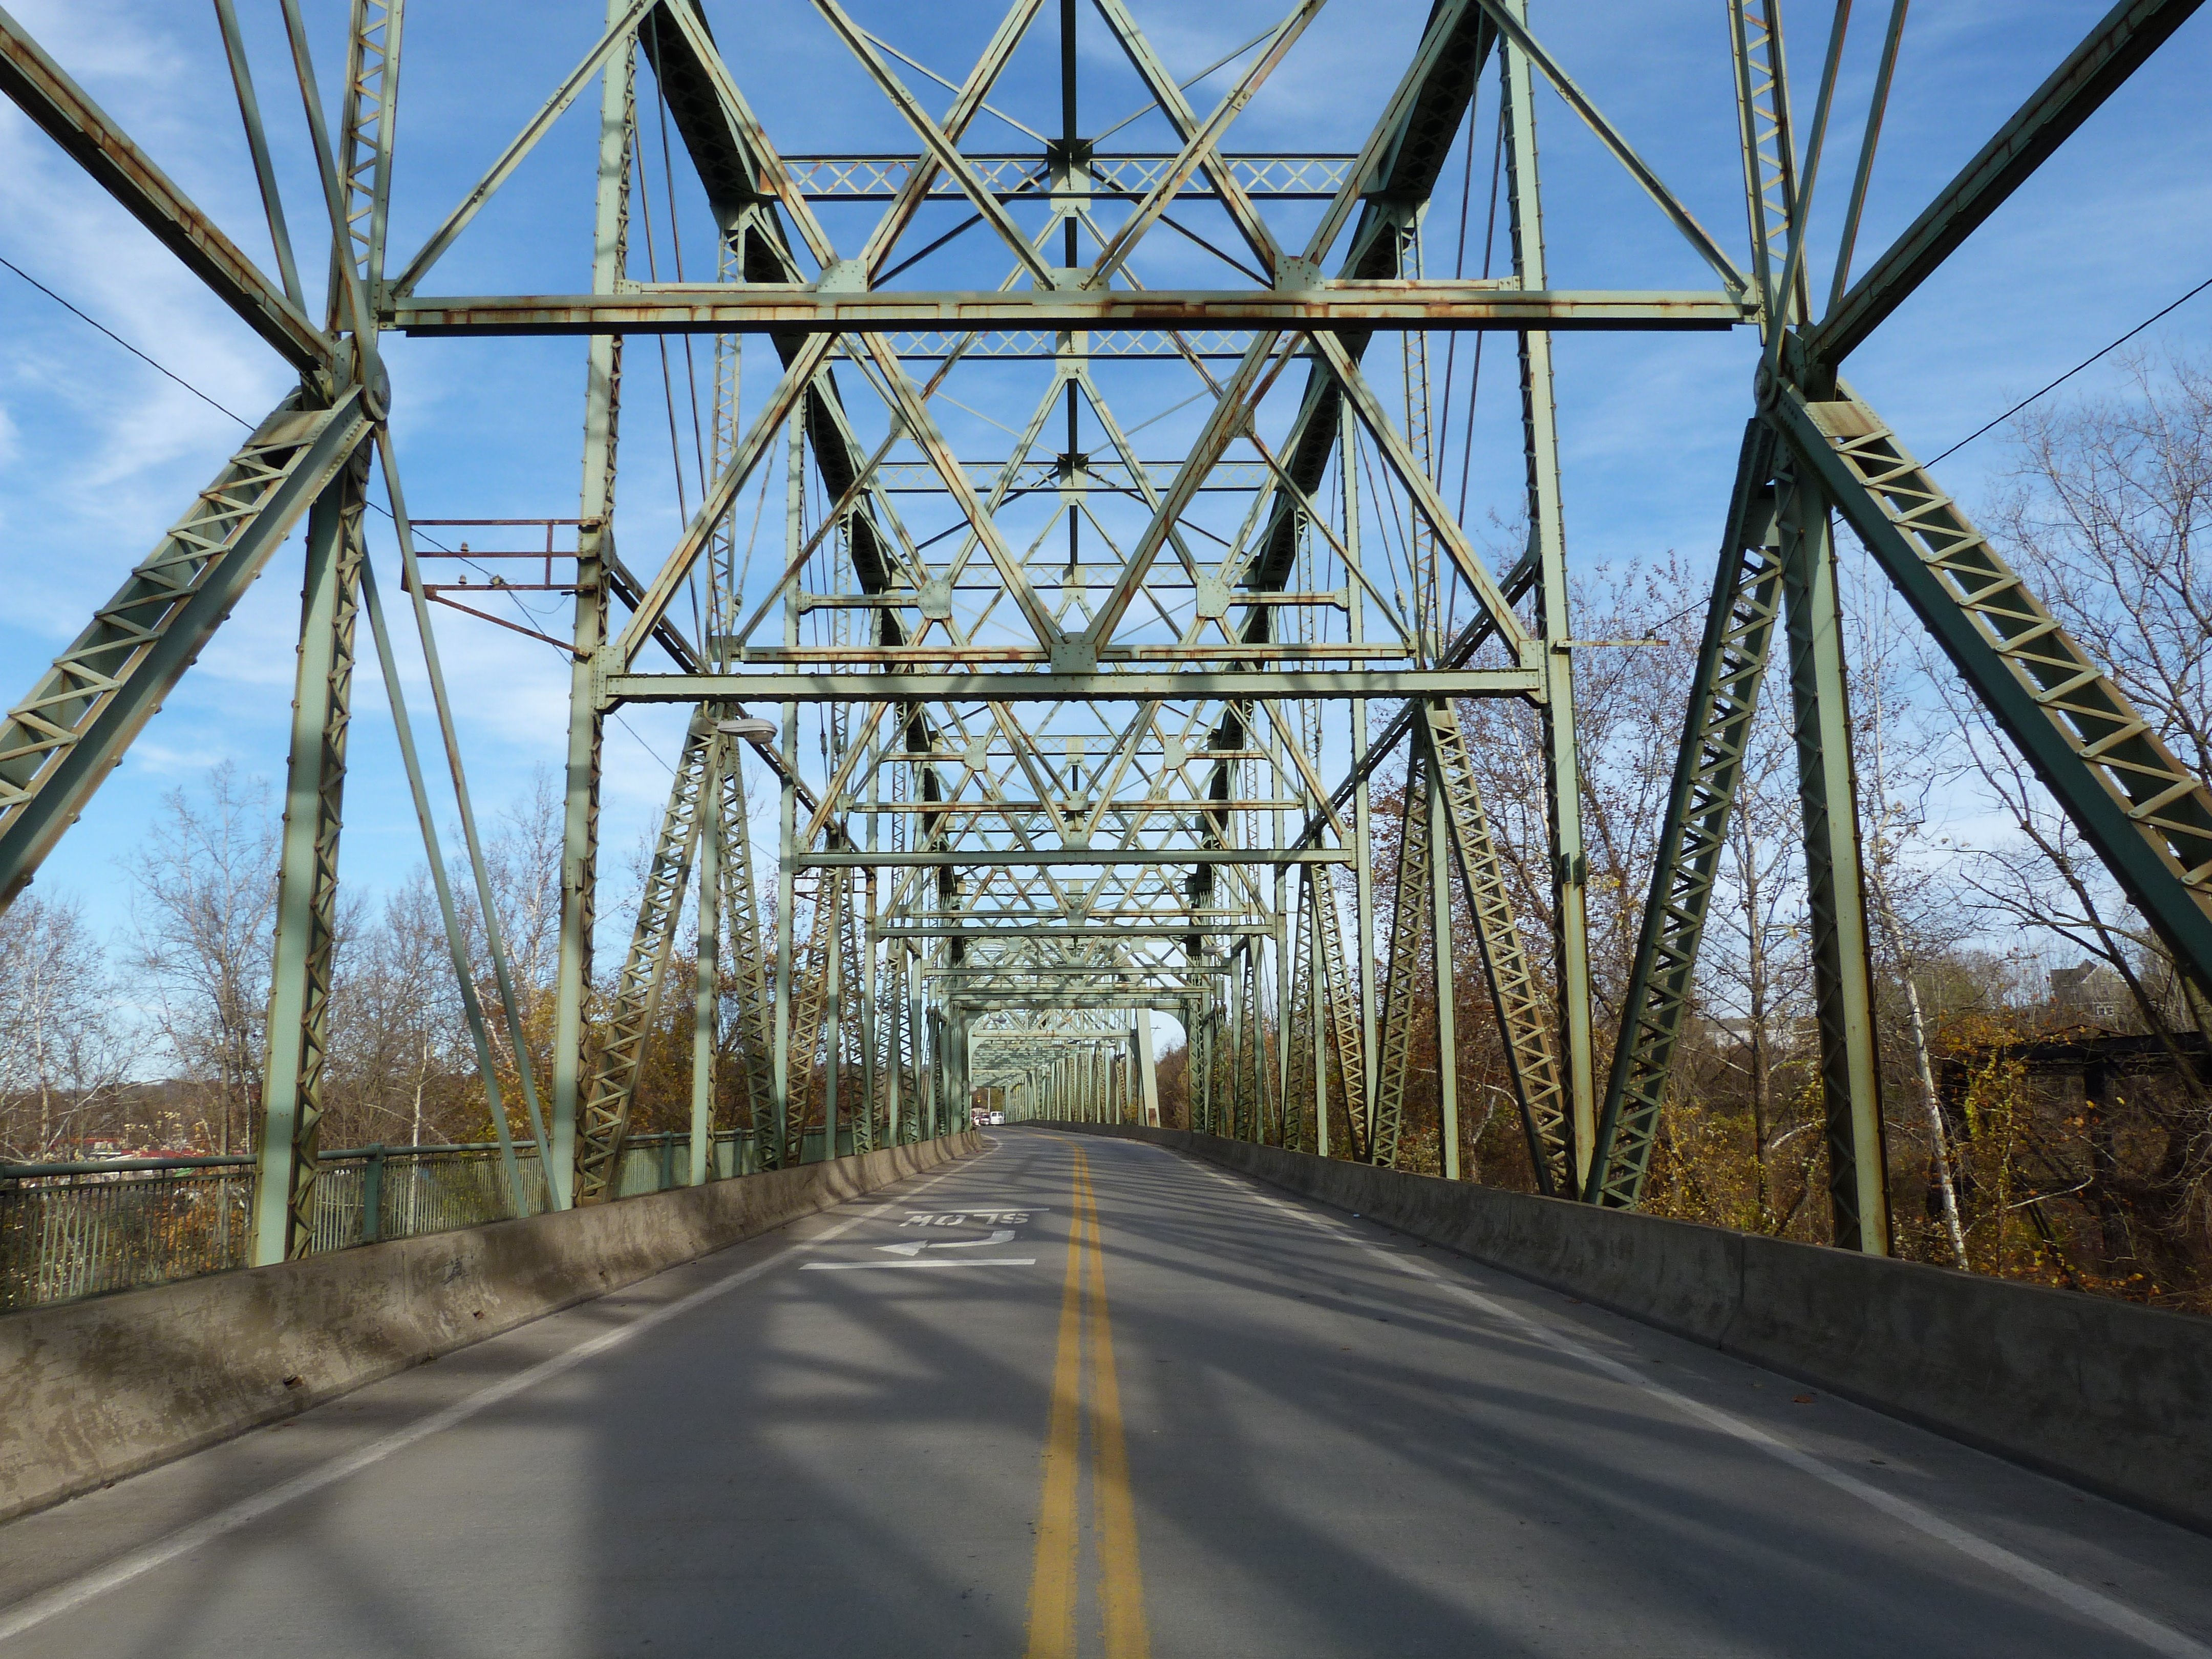
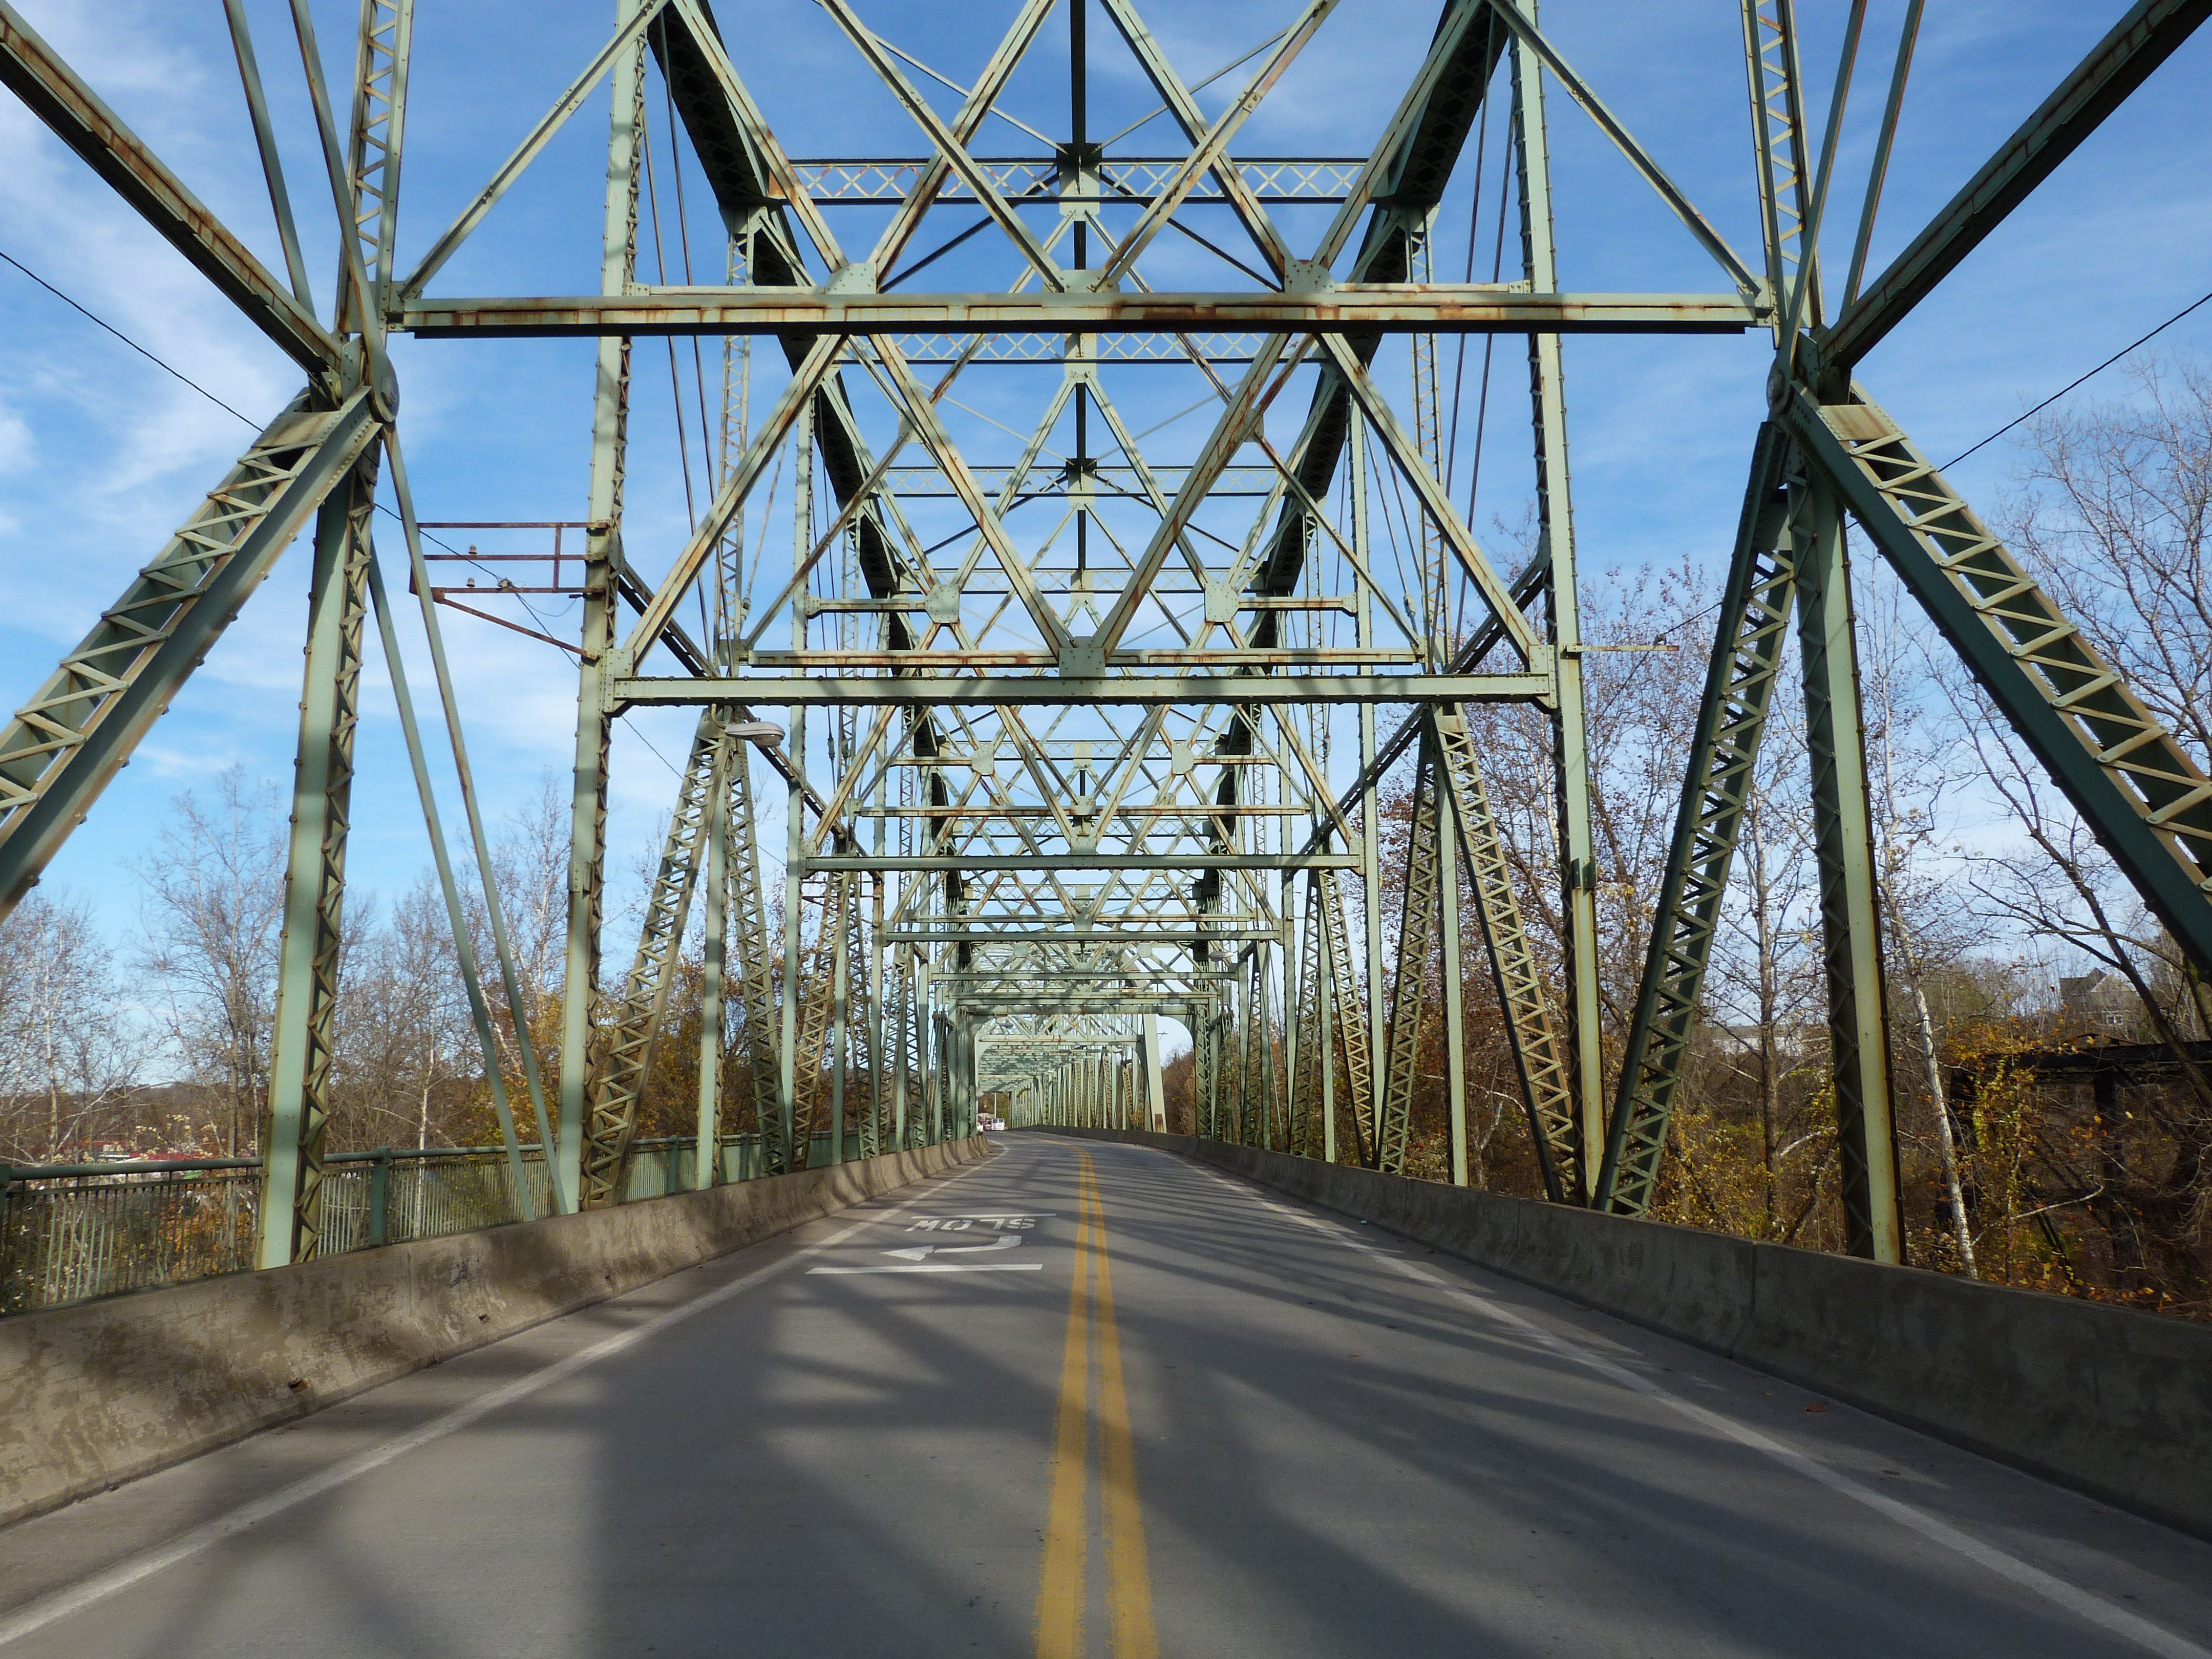


Portal views on bridge facing east. Note the bend in the bridge roadway in the distance.
![]()


North elevation of western approach spans.
![]()
![]()
![]()
![]()
![]()
![]()
![]()
Panoramic north elevation of western approach spans.
![]()


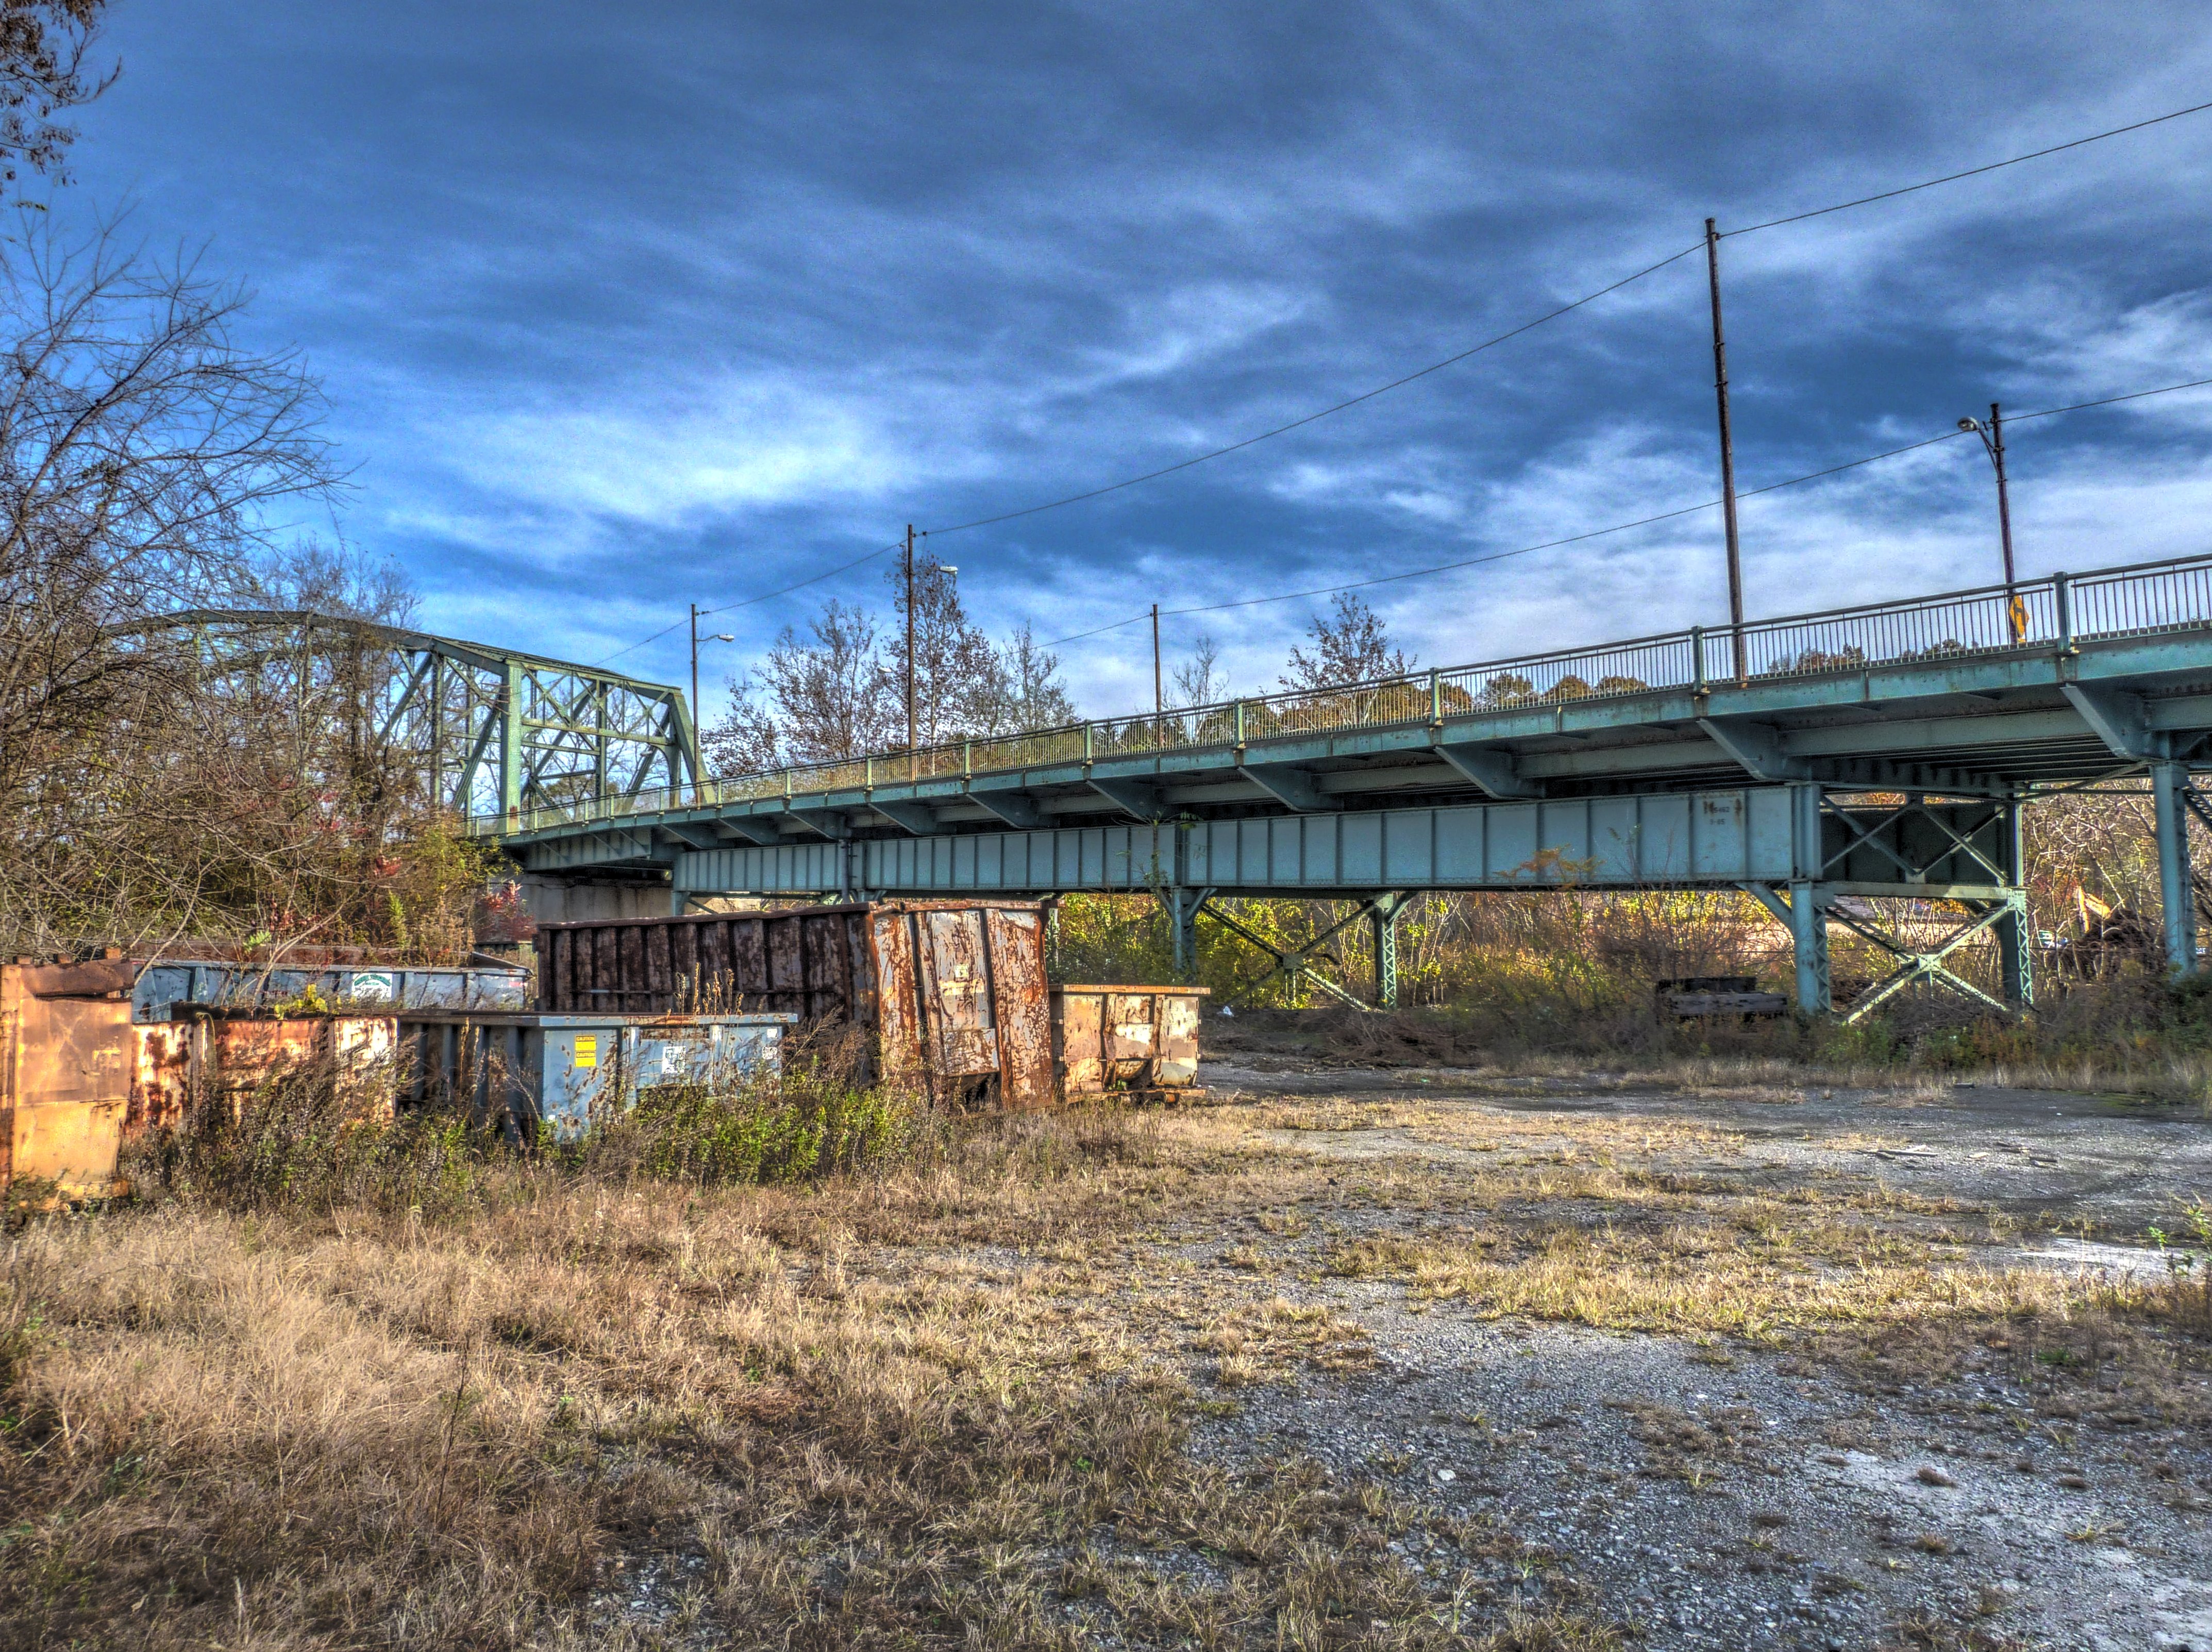
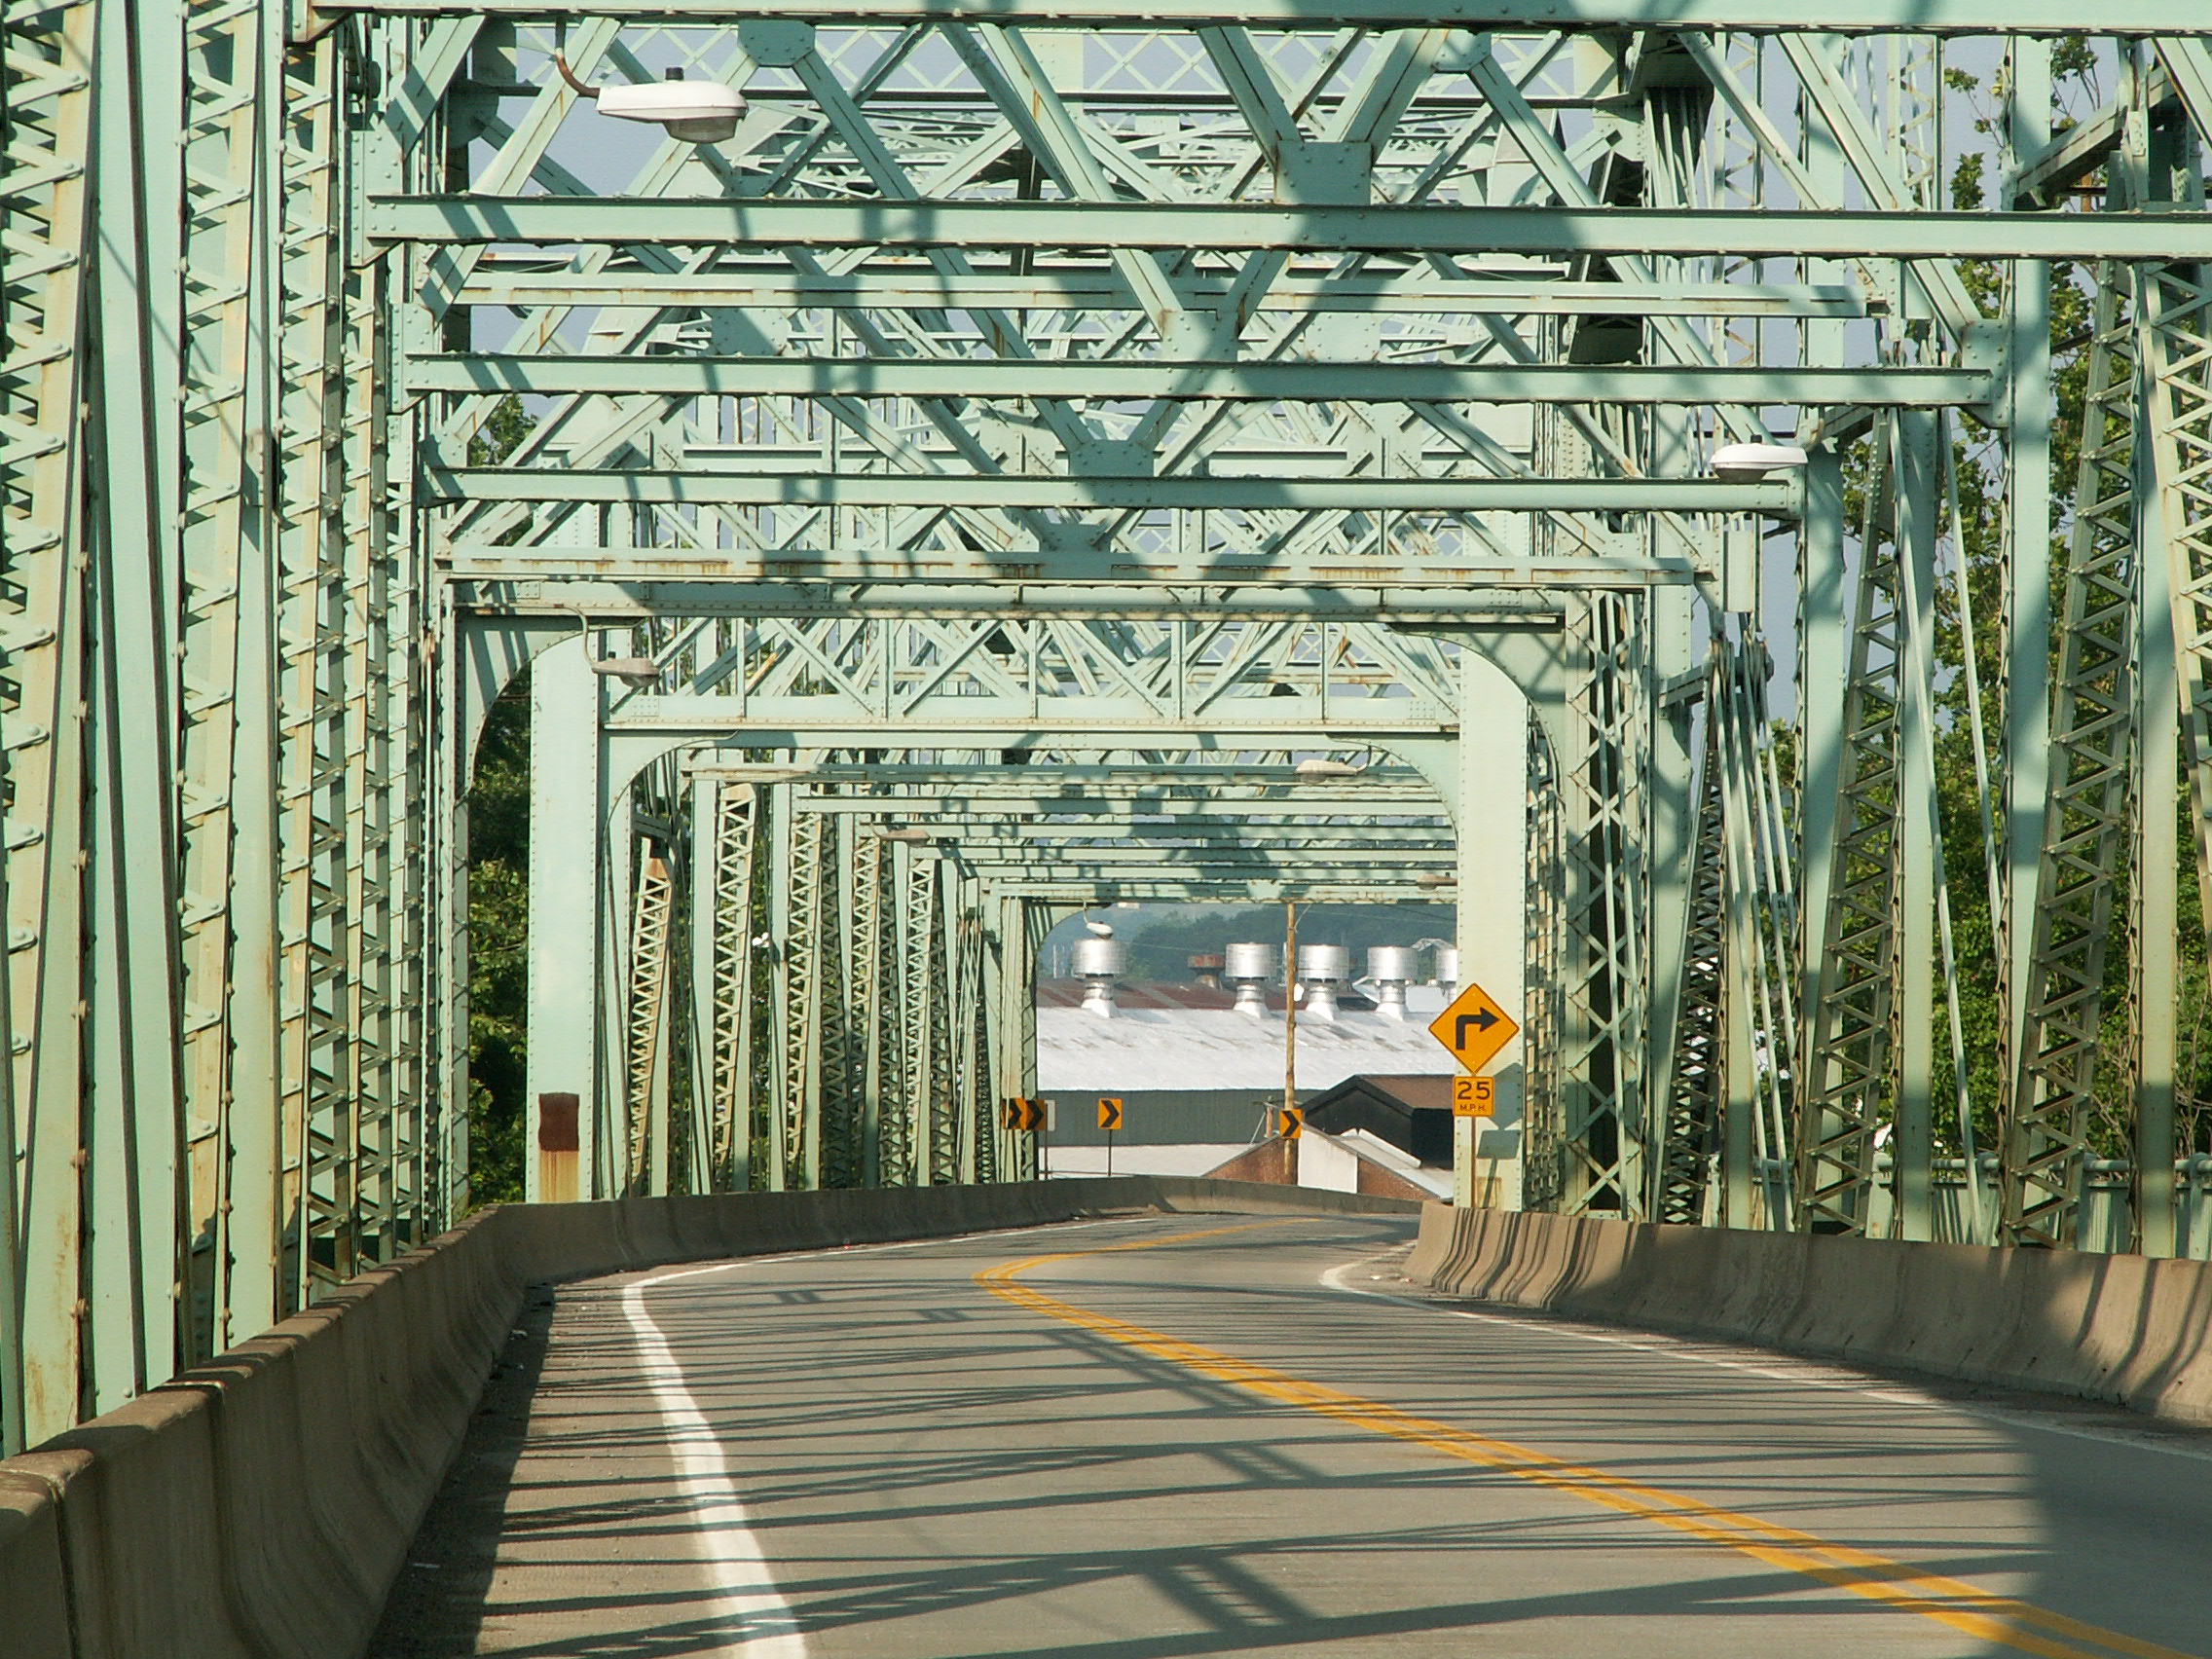
South elevation of western approach, showing a bend in the roadway.
![]()

View under western approach, showing a bend in the roadway.
![]()

View beside bridge from northwest quadrant.
![]()


Views on sidewalk.
![]()

View of western approach spans from sidewalk.
![]()
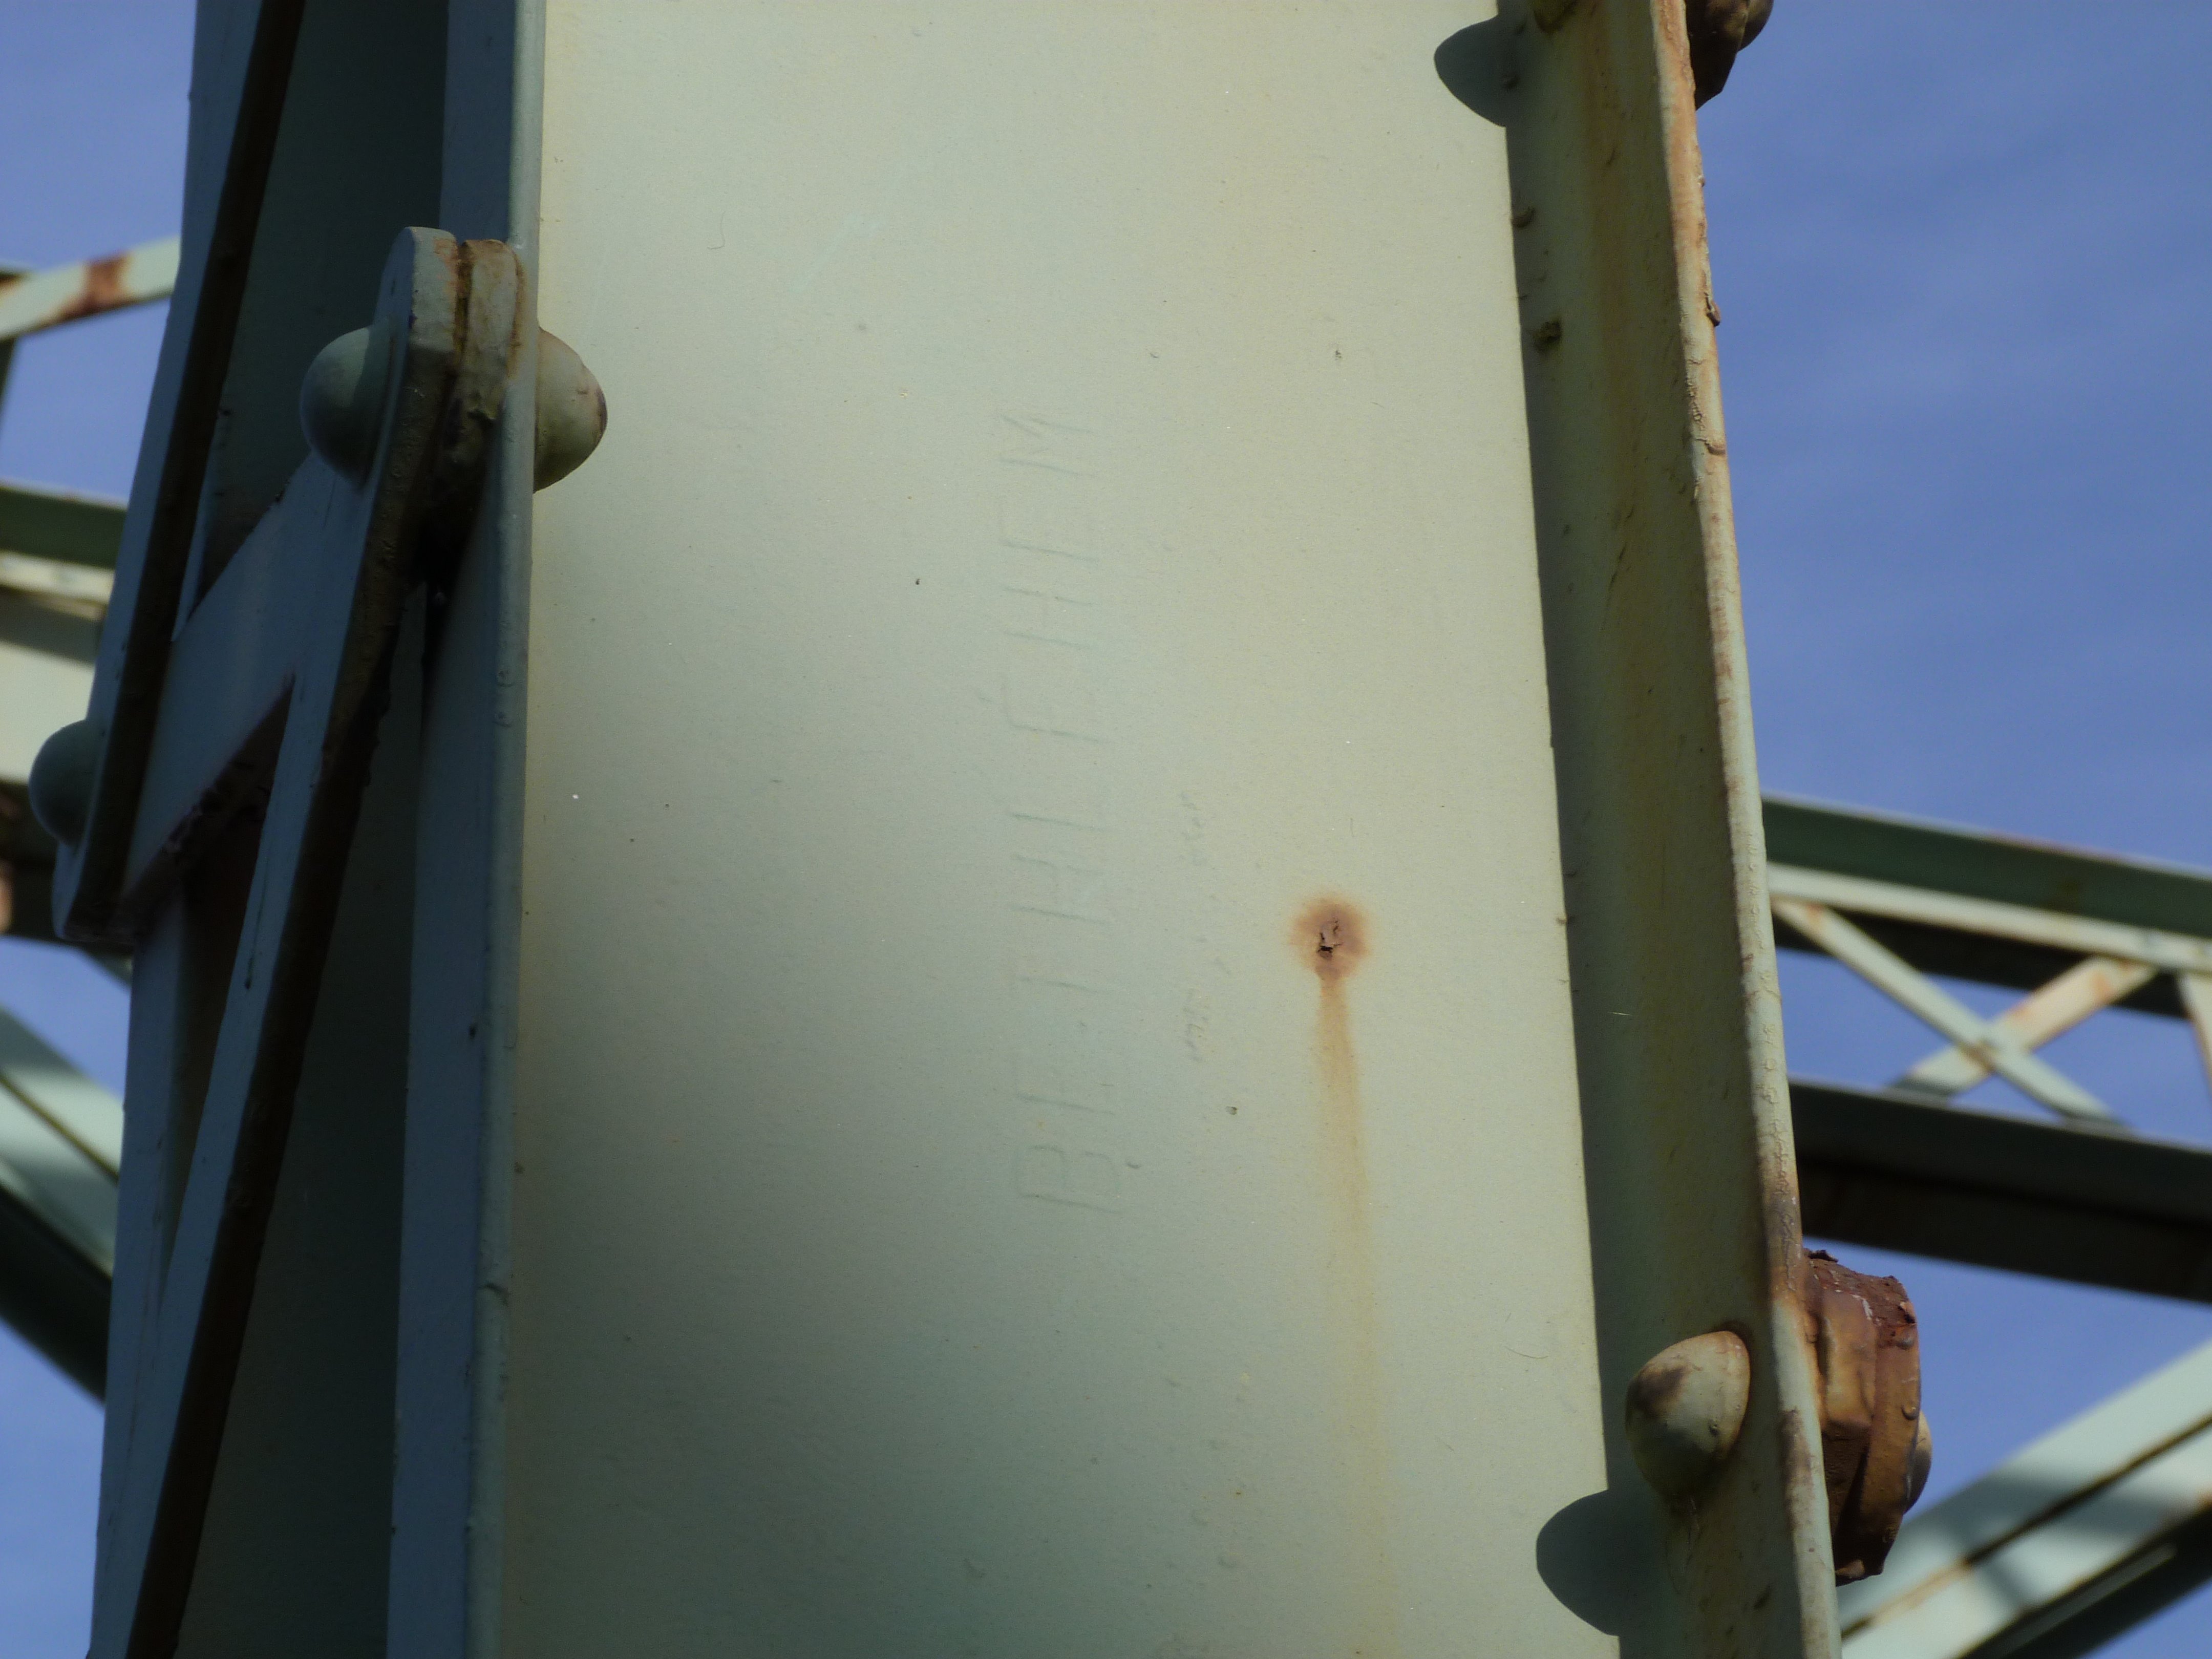

Bethlehem brand.
![]()


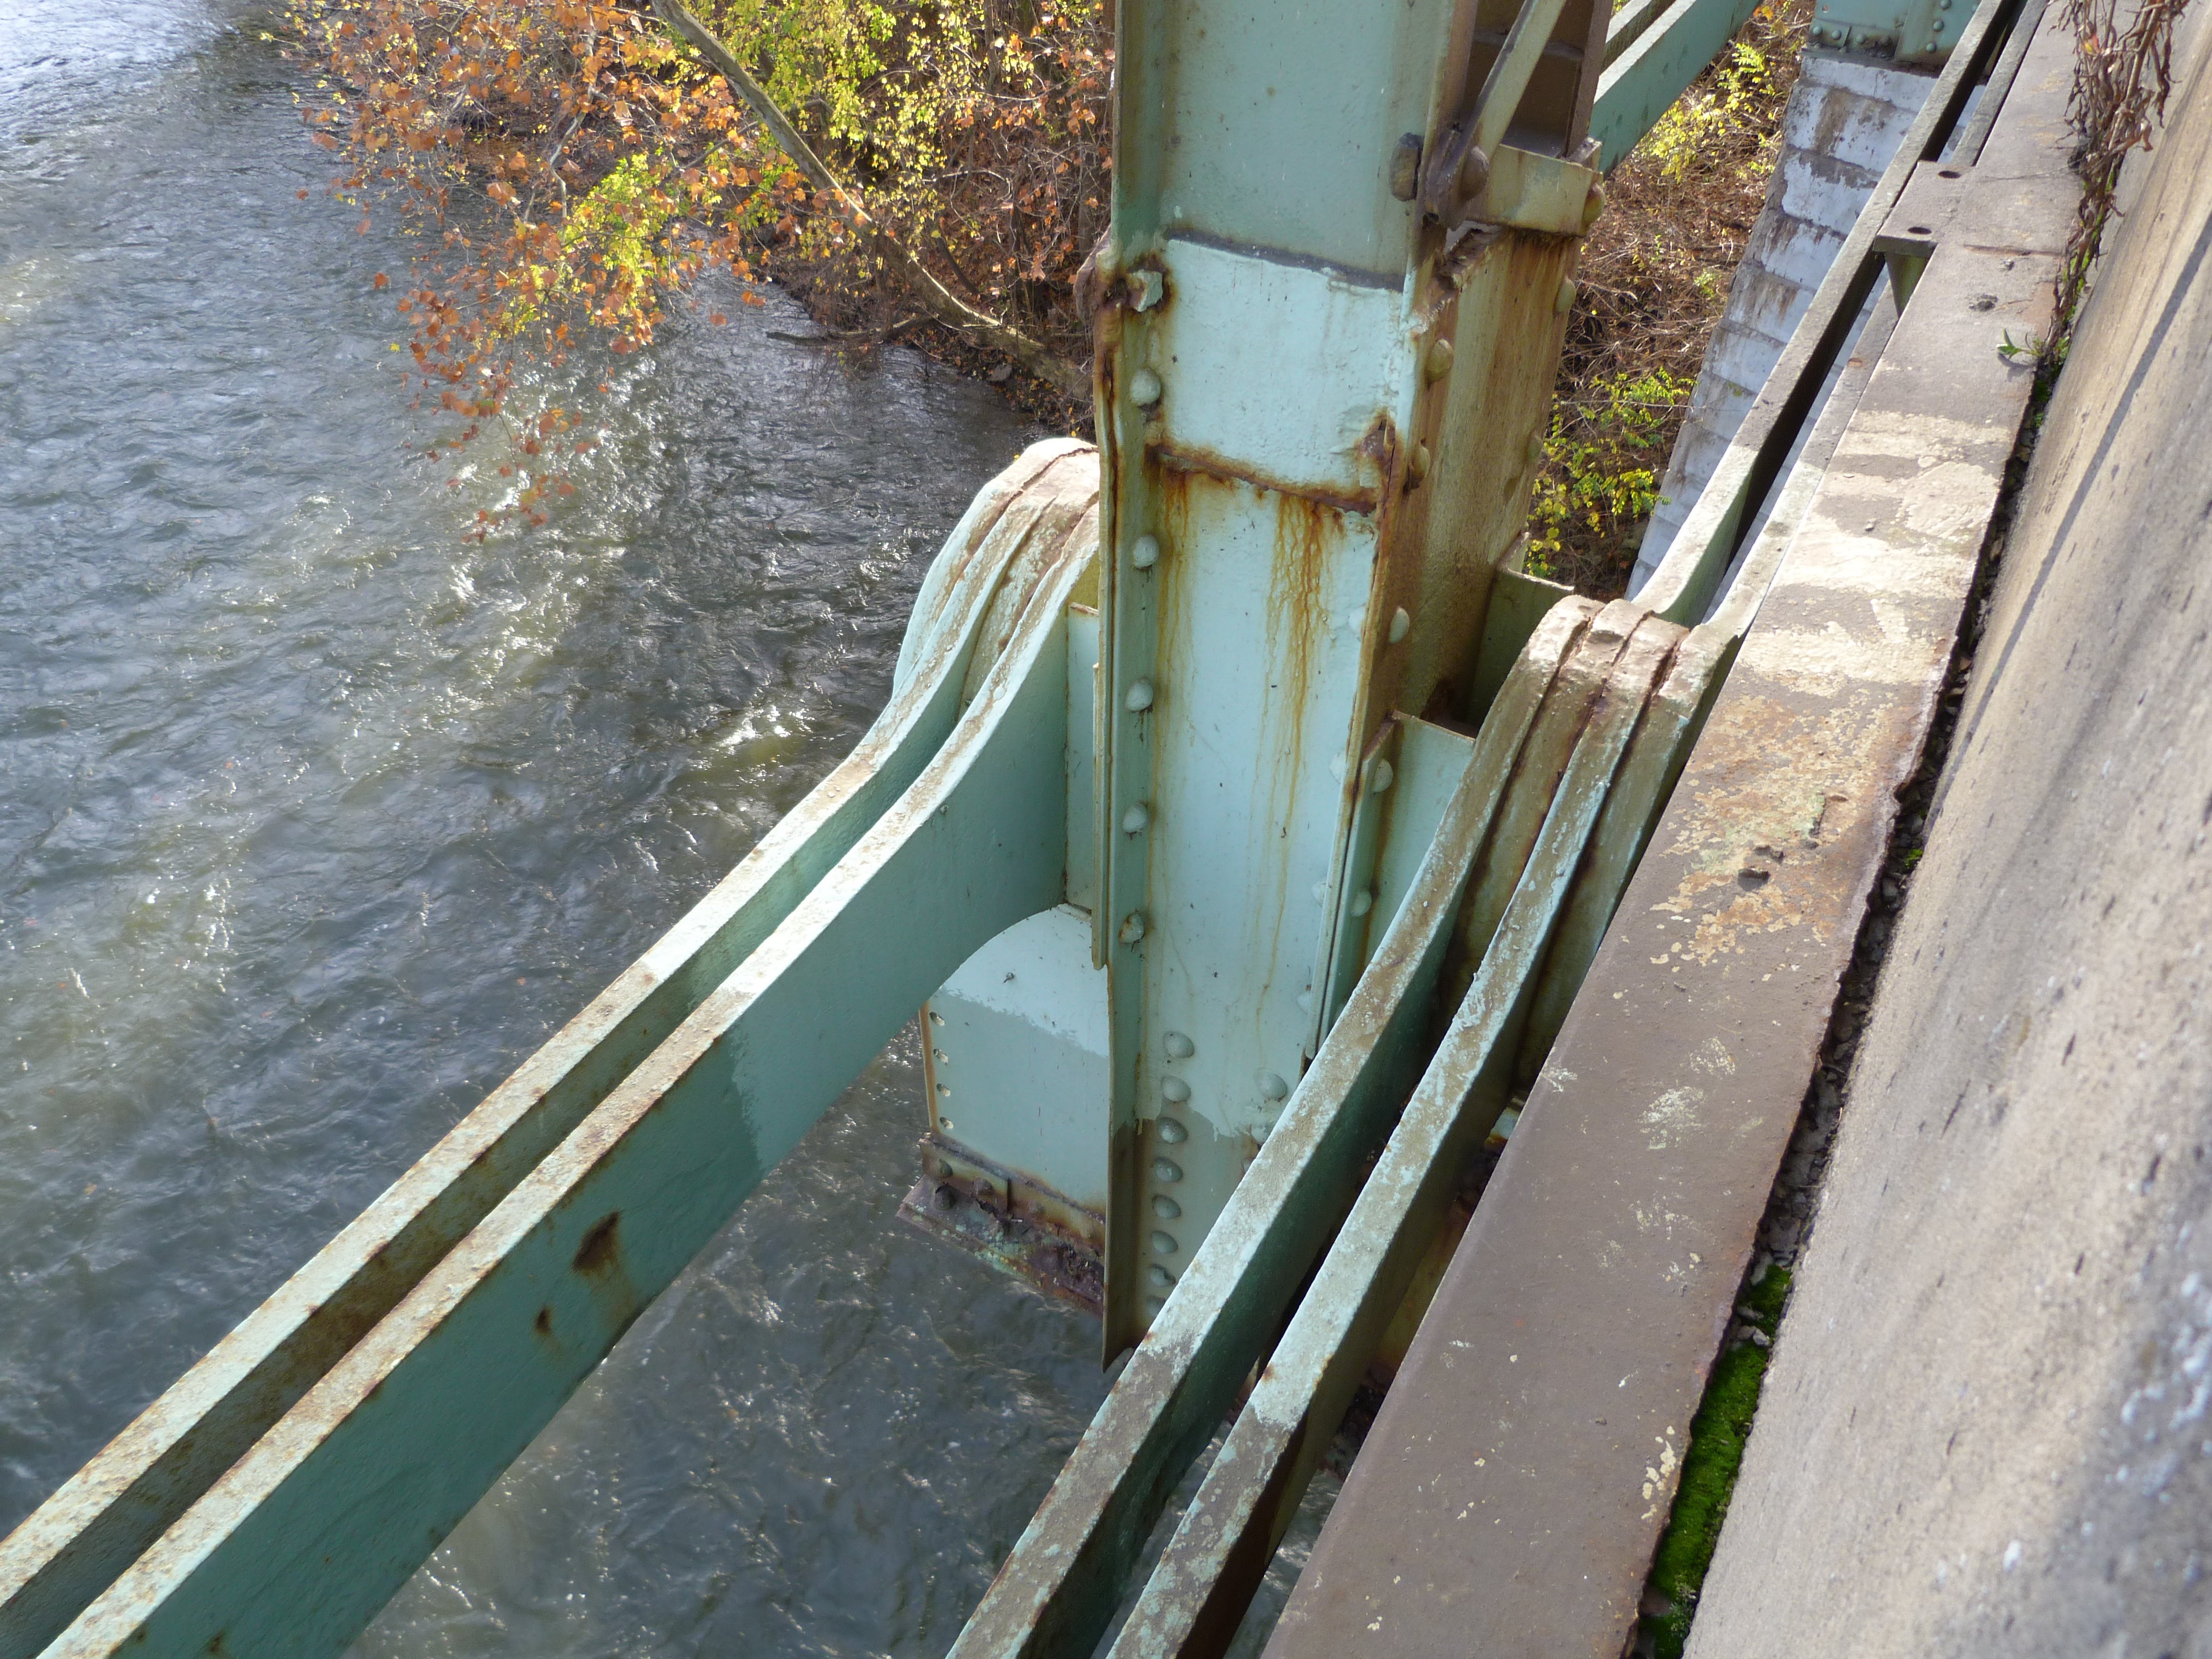
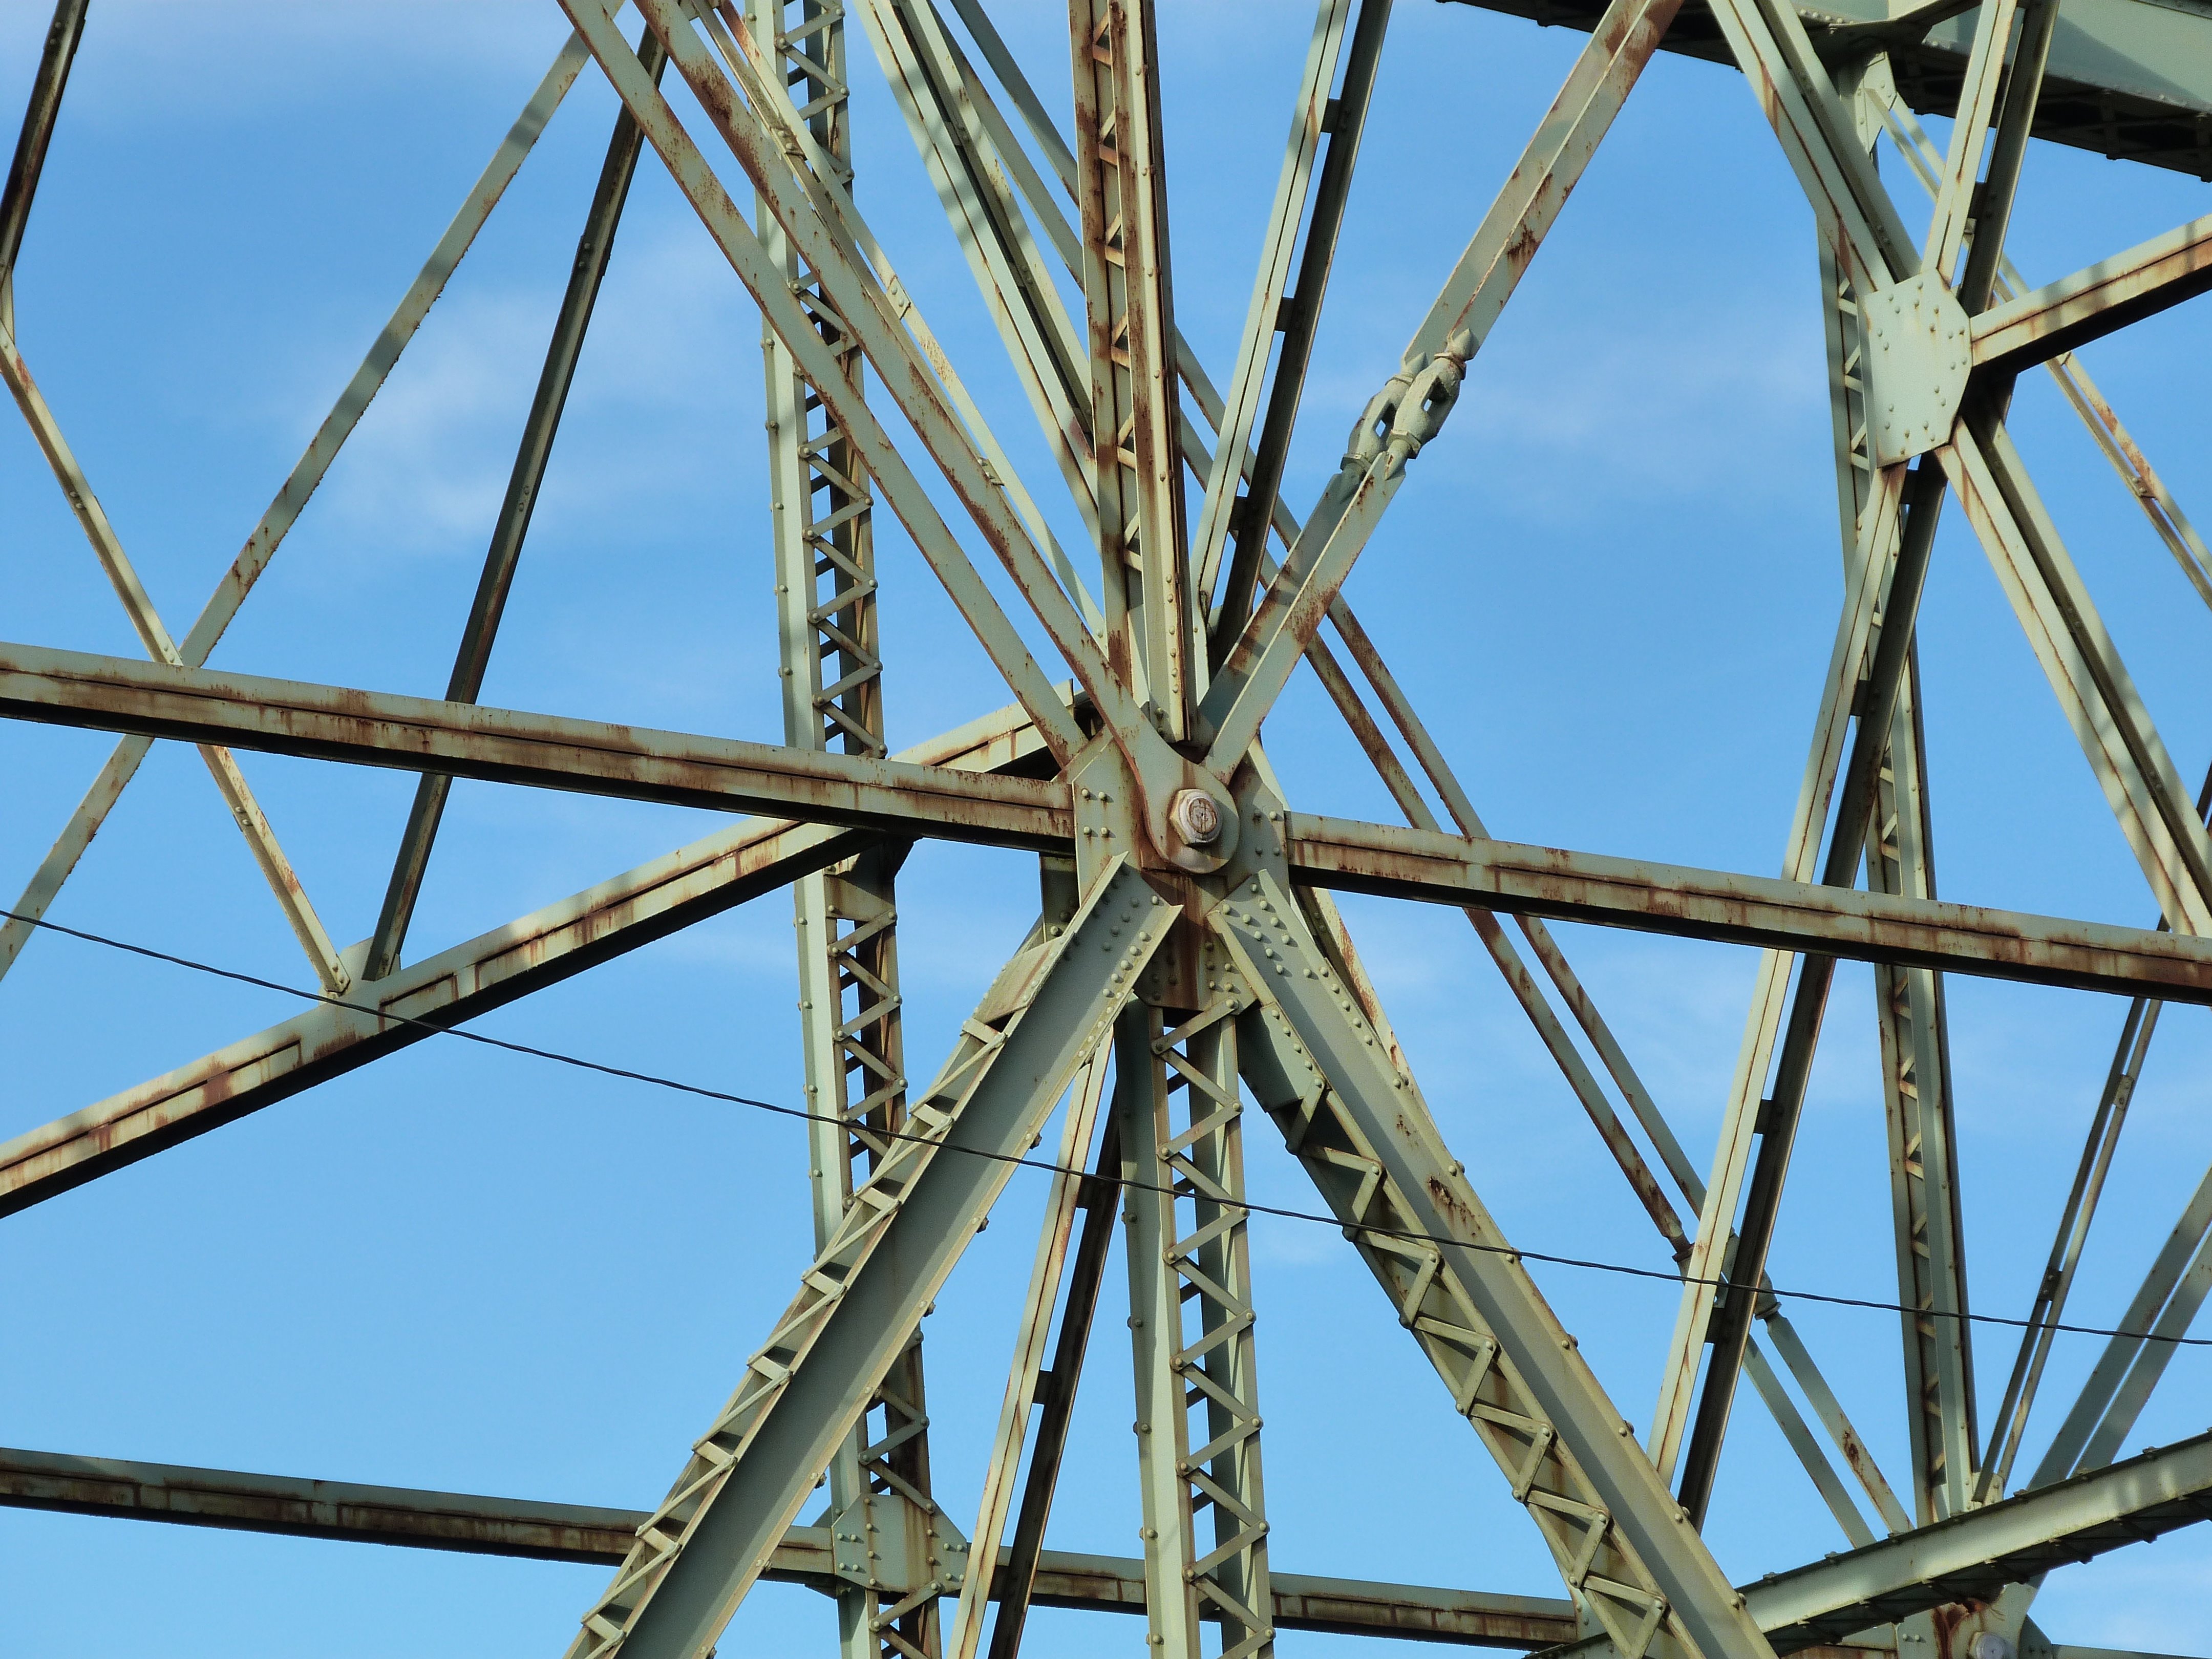
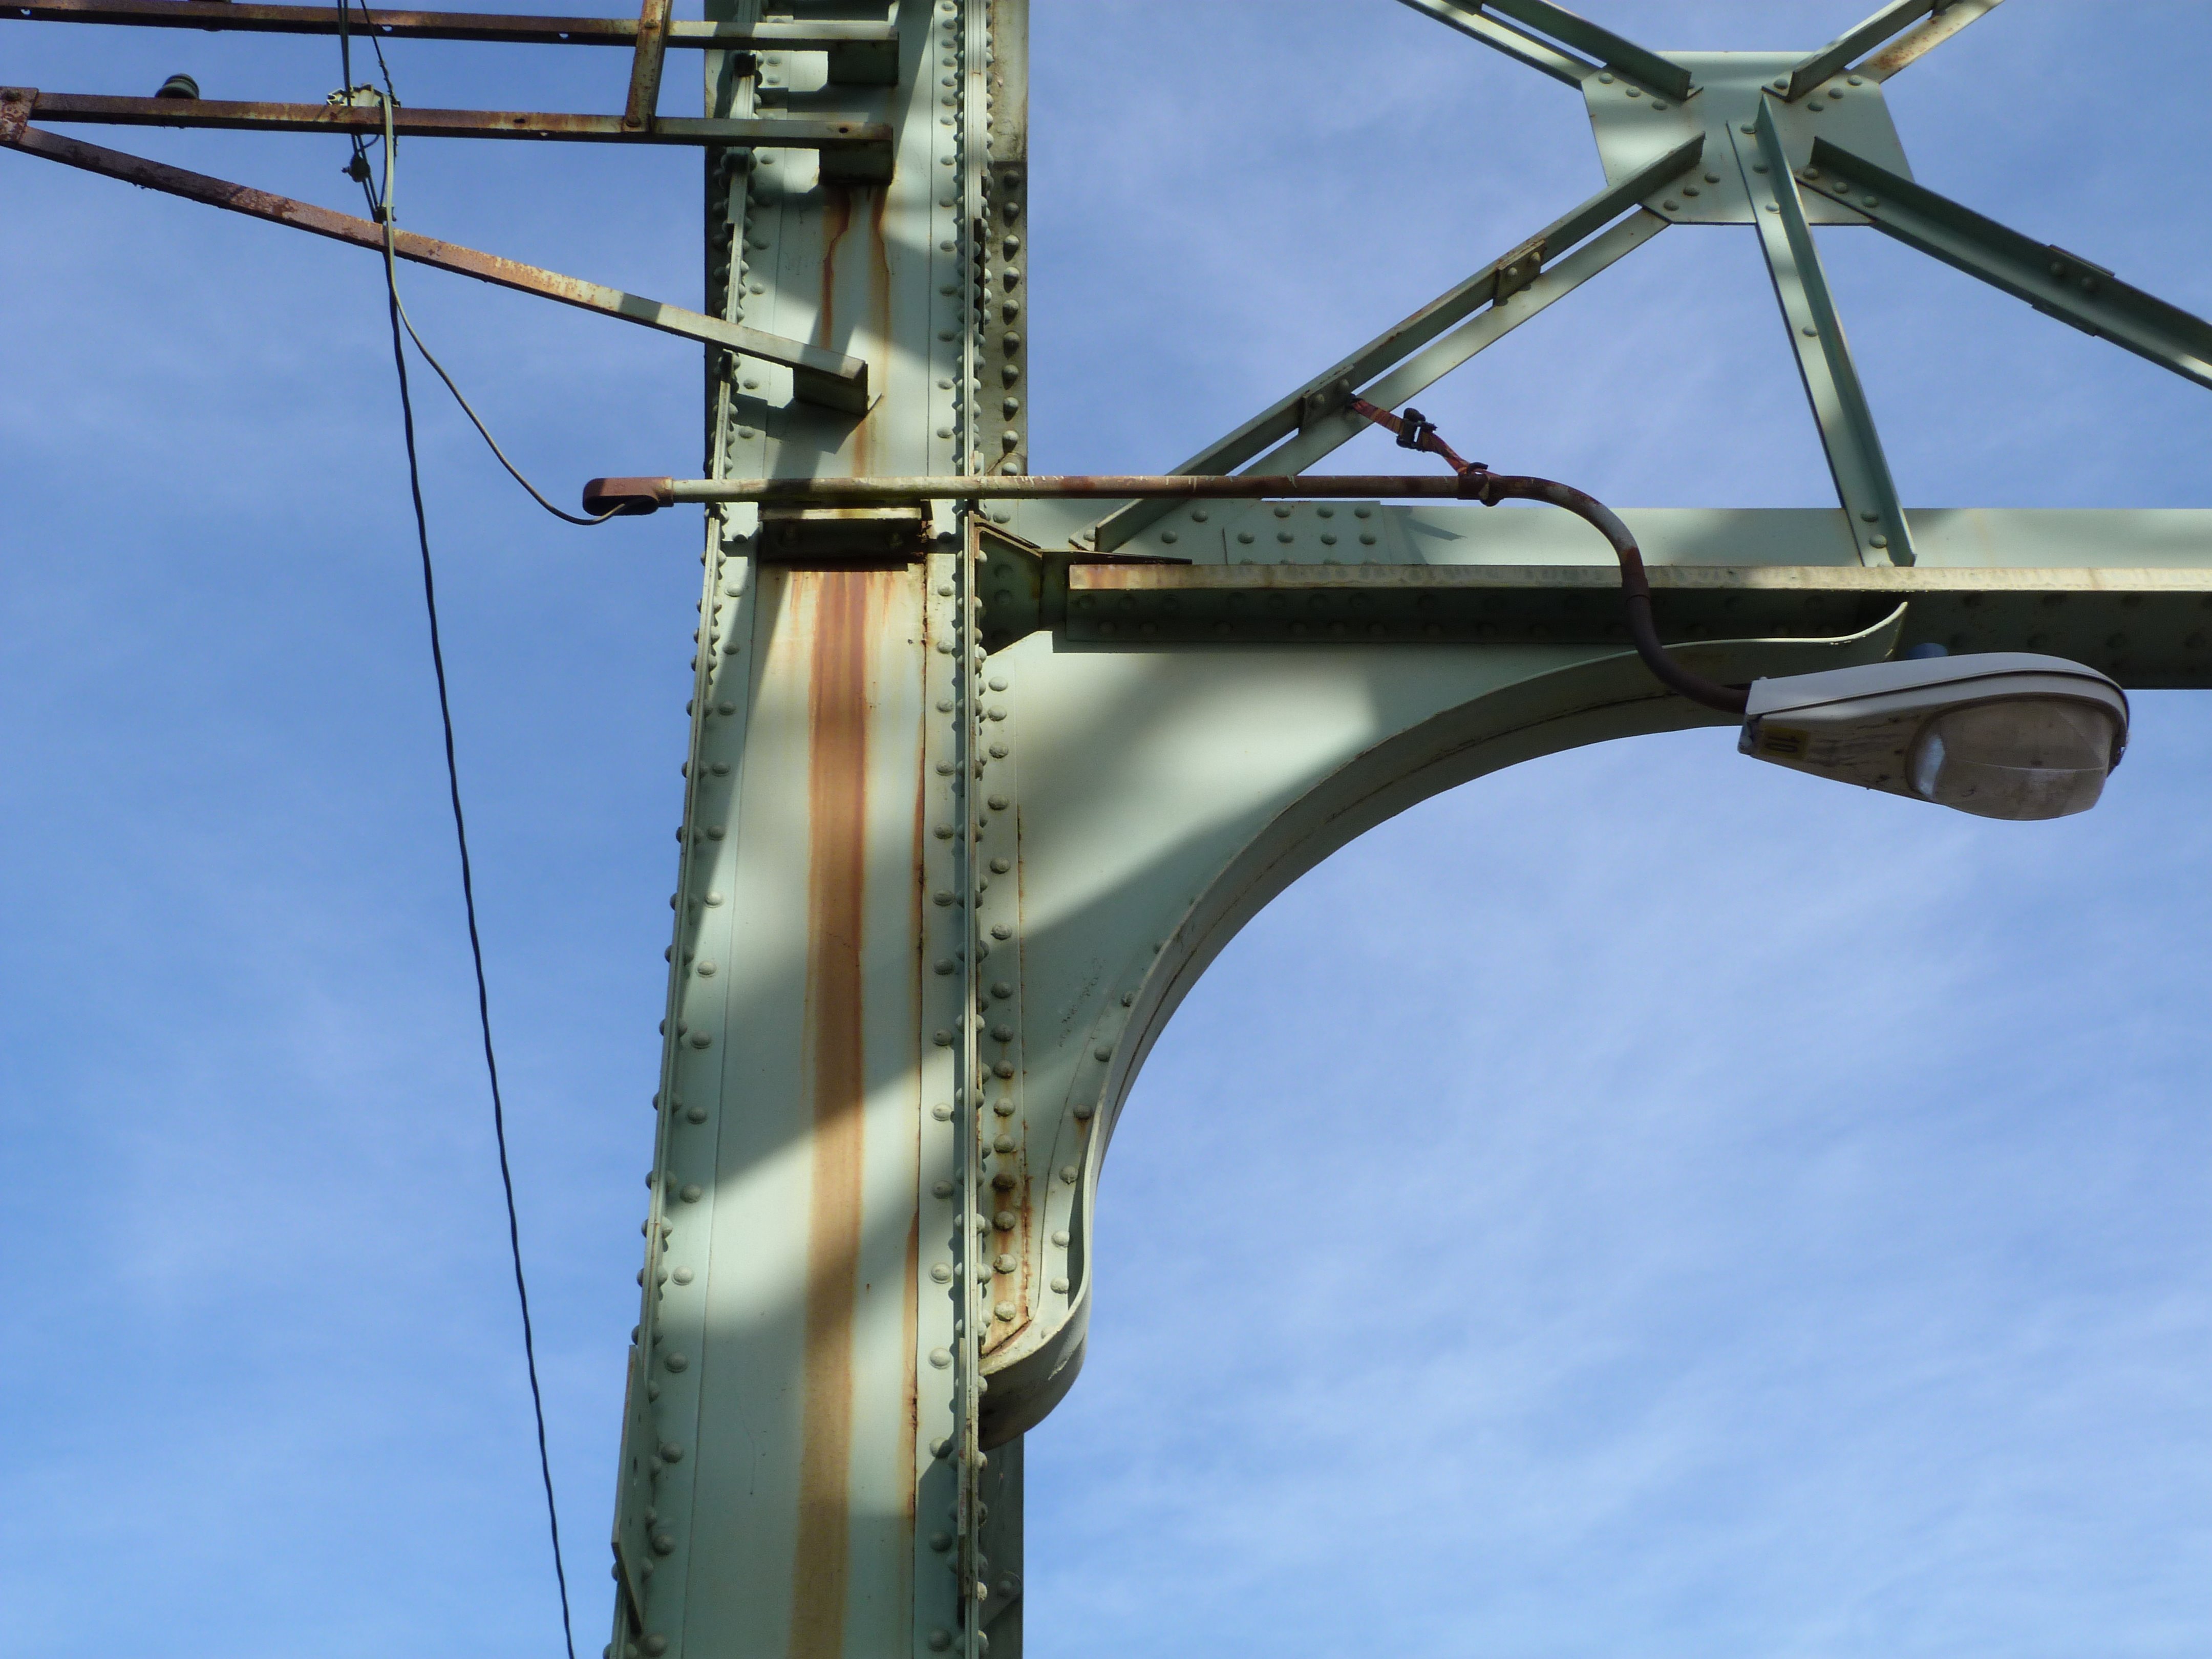
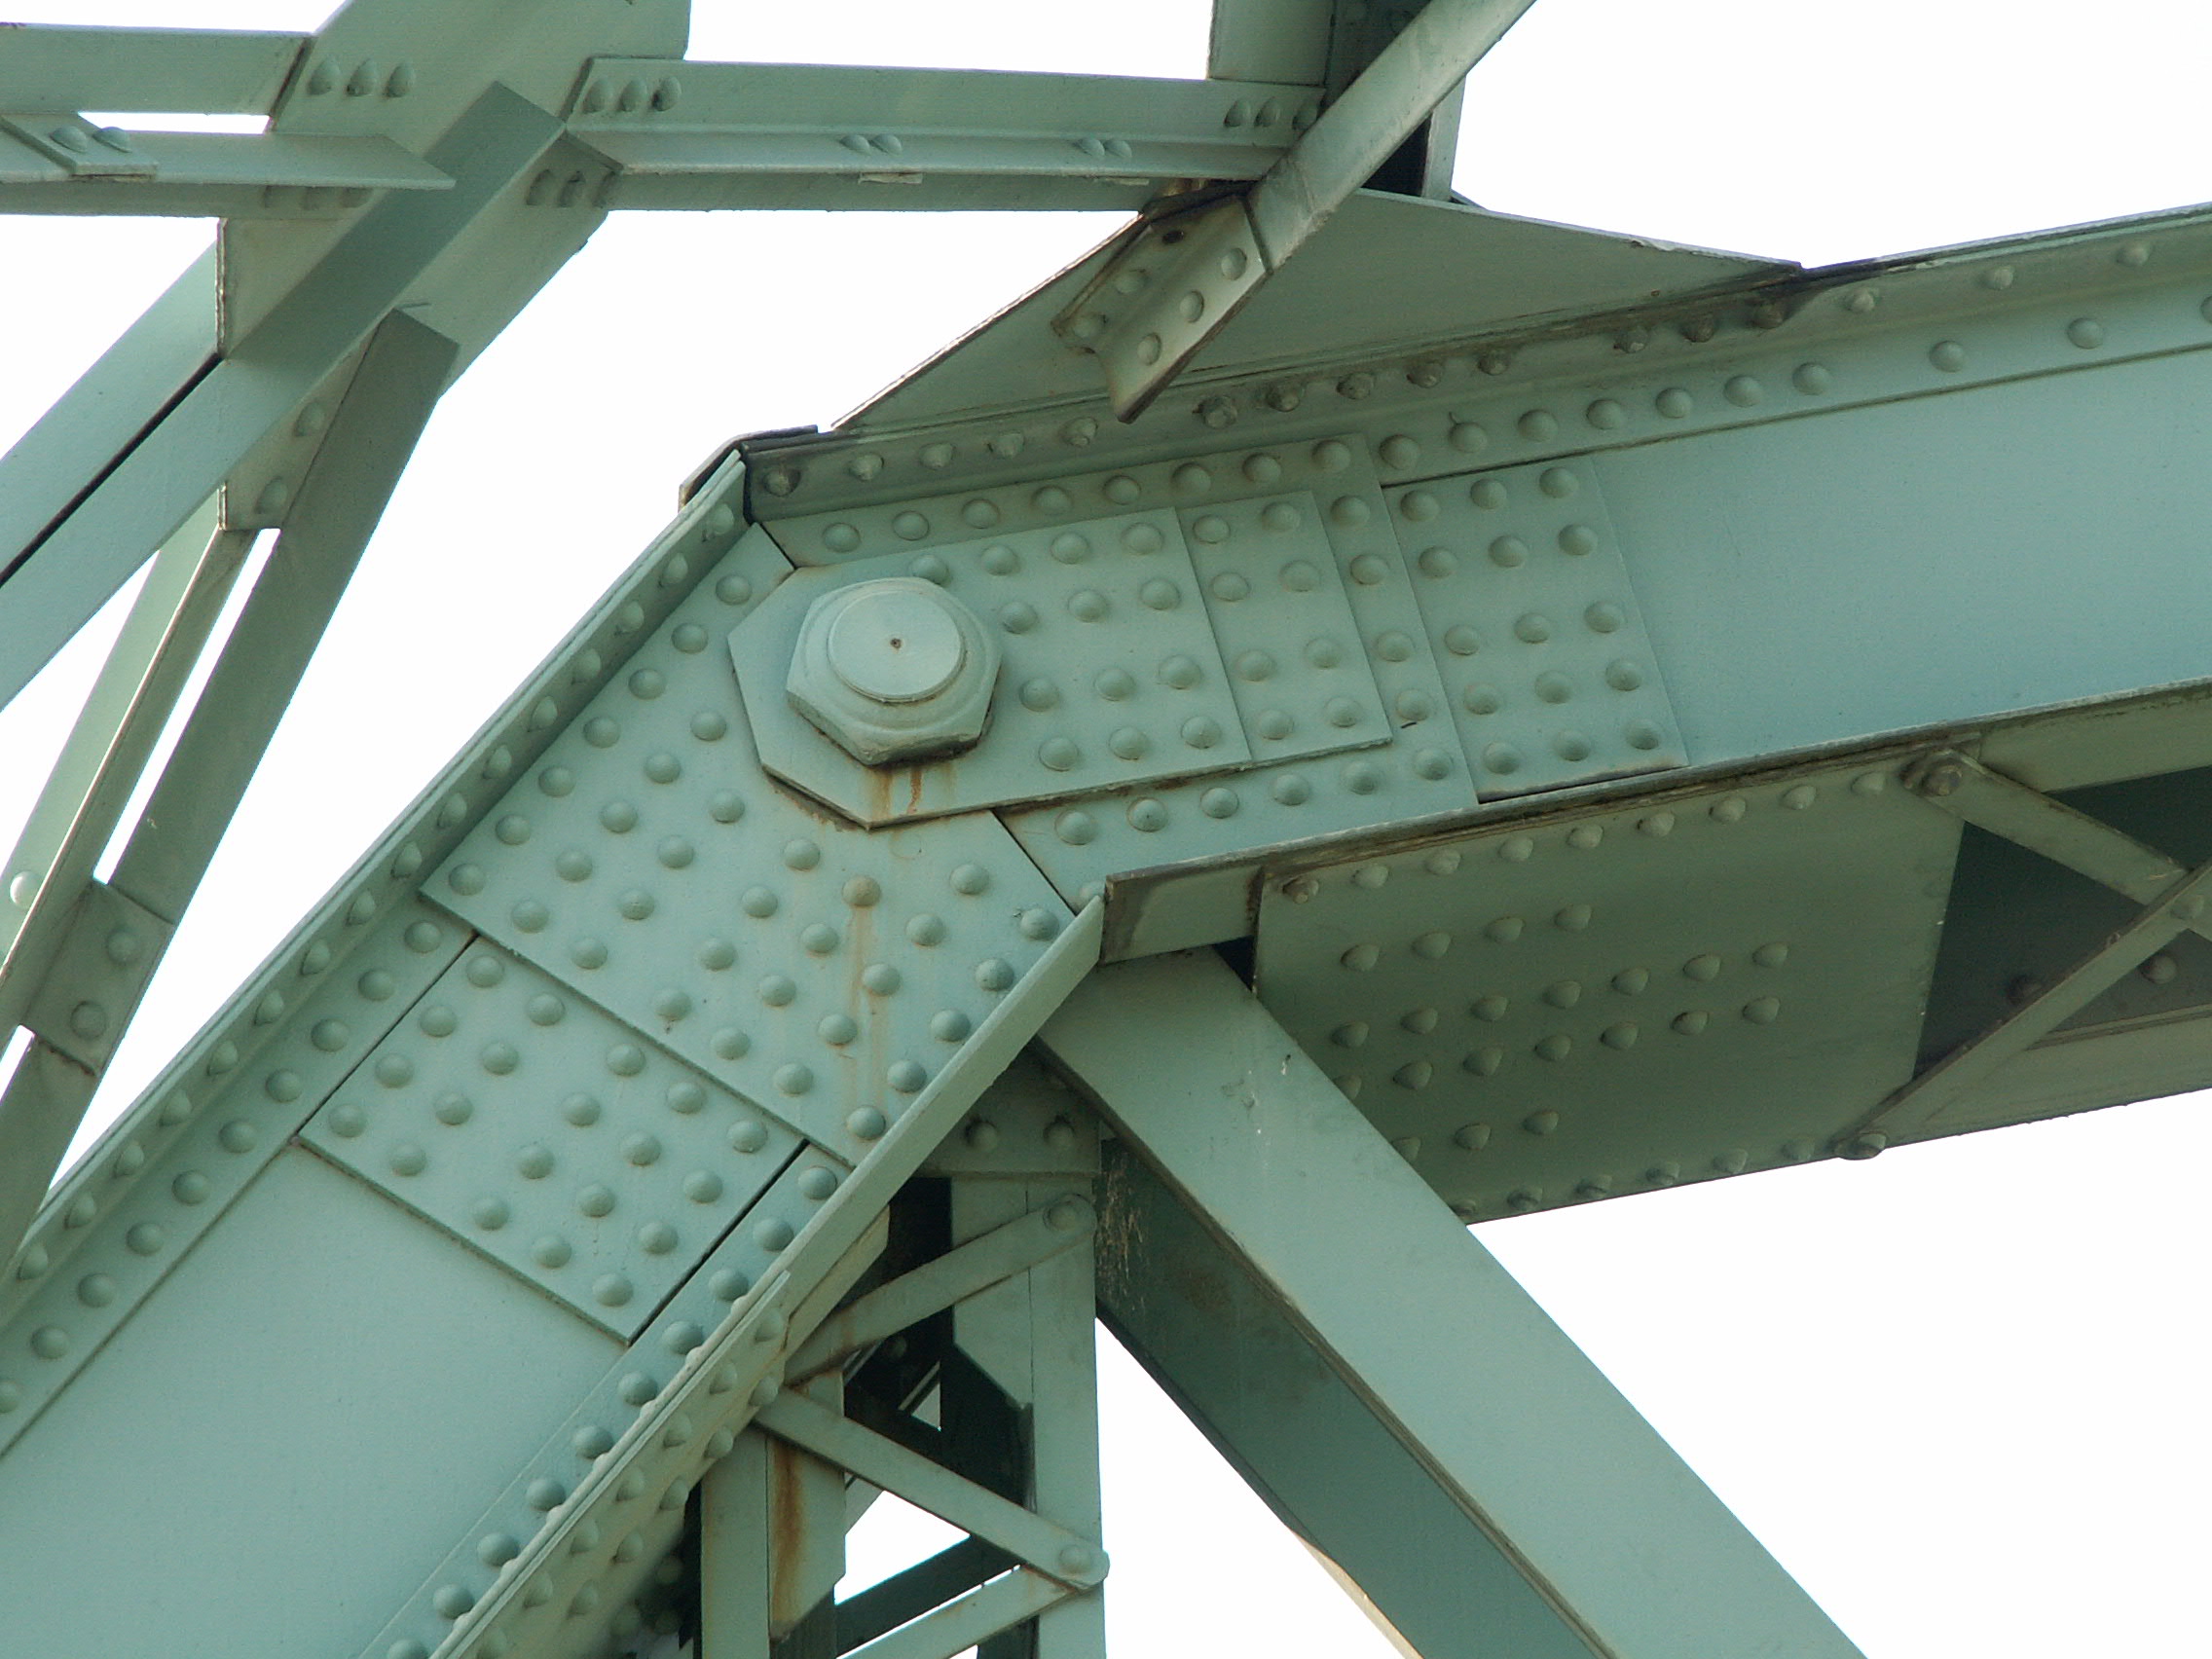
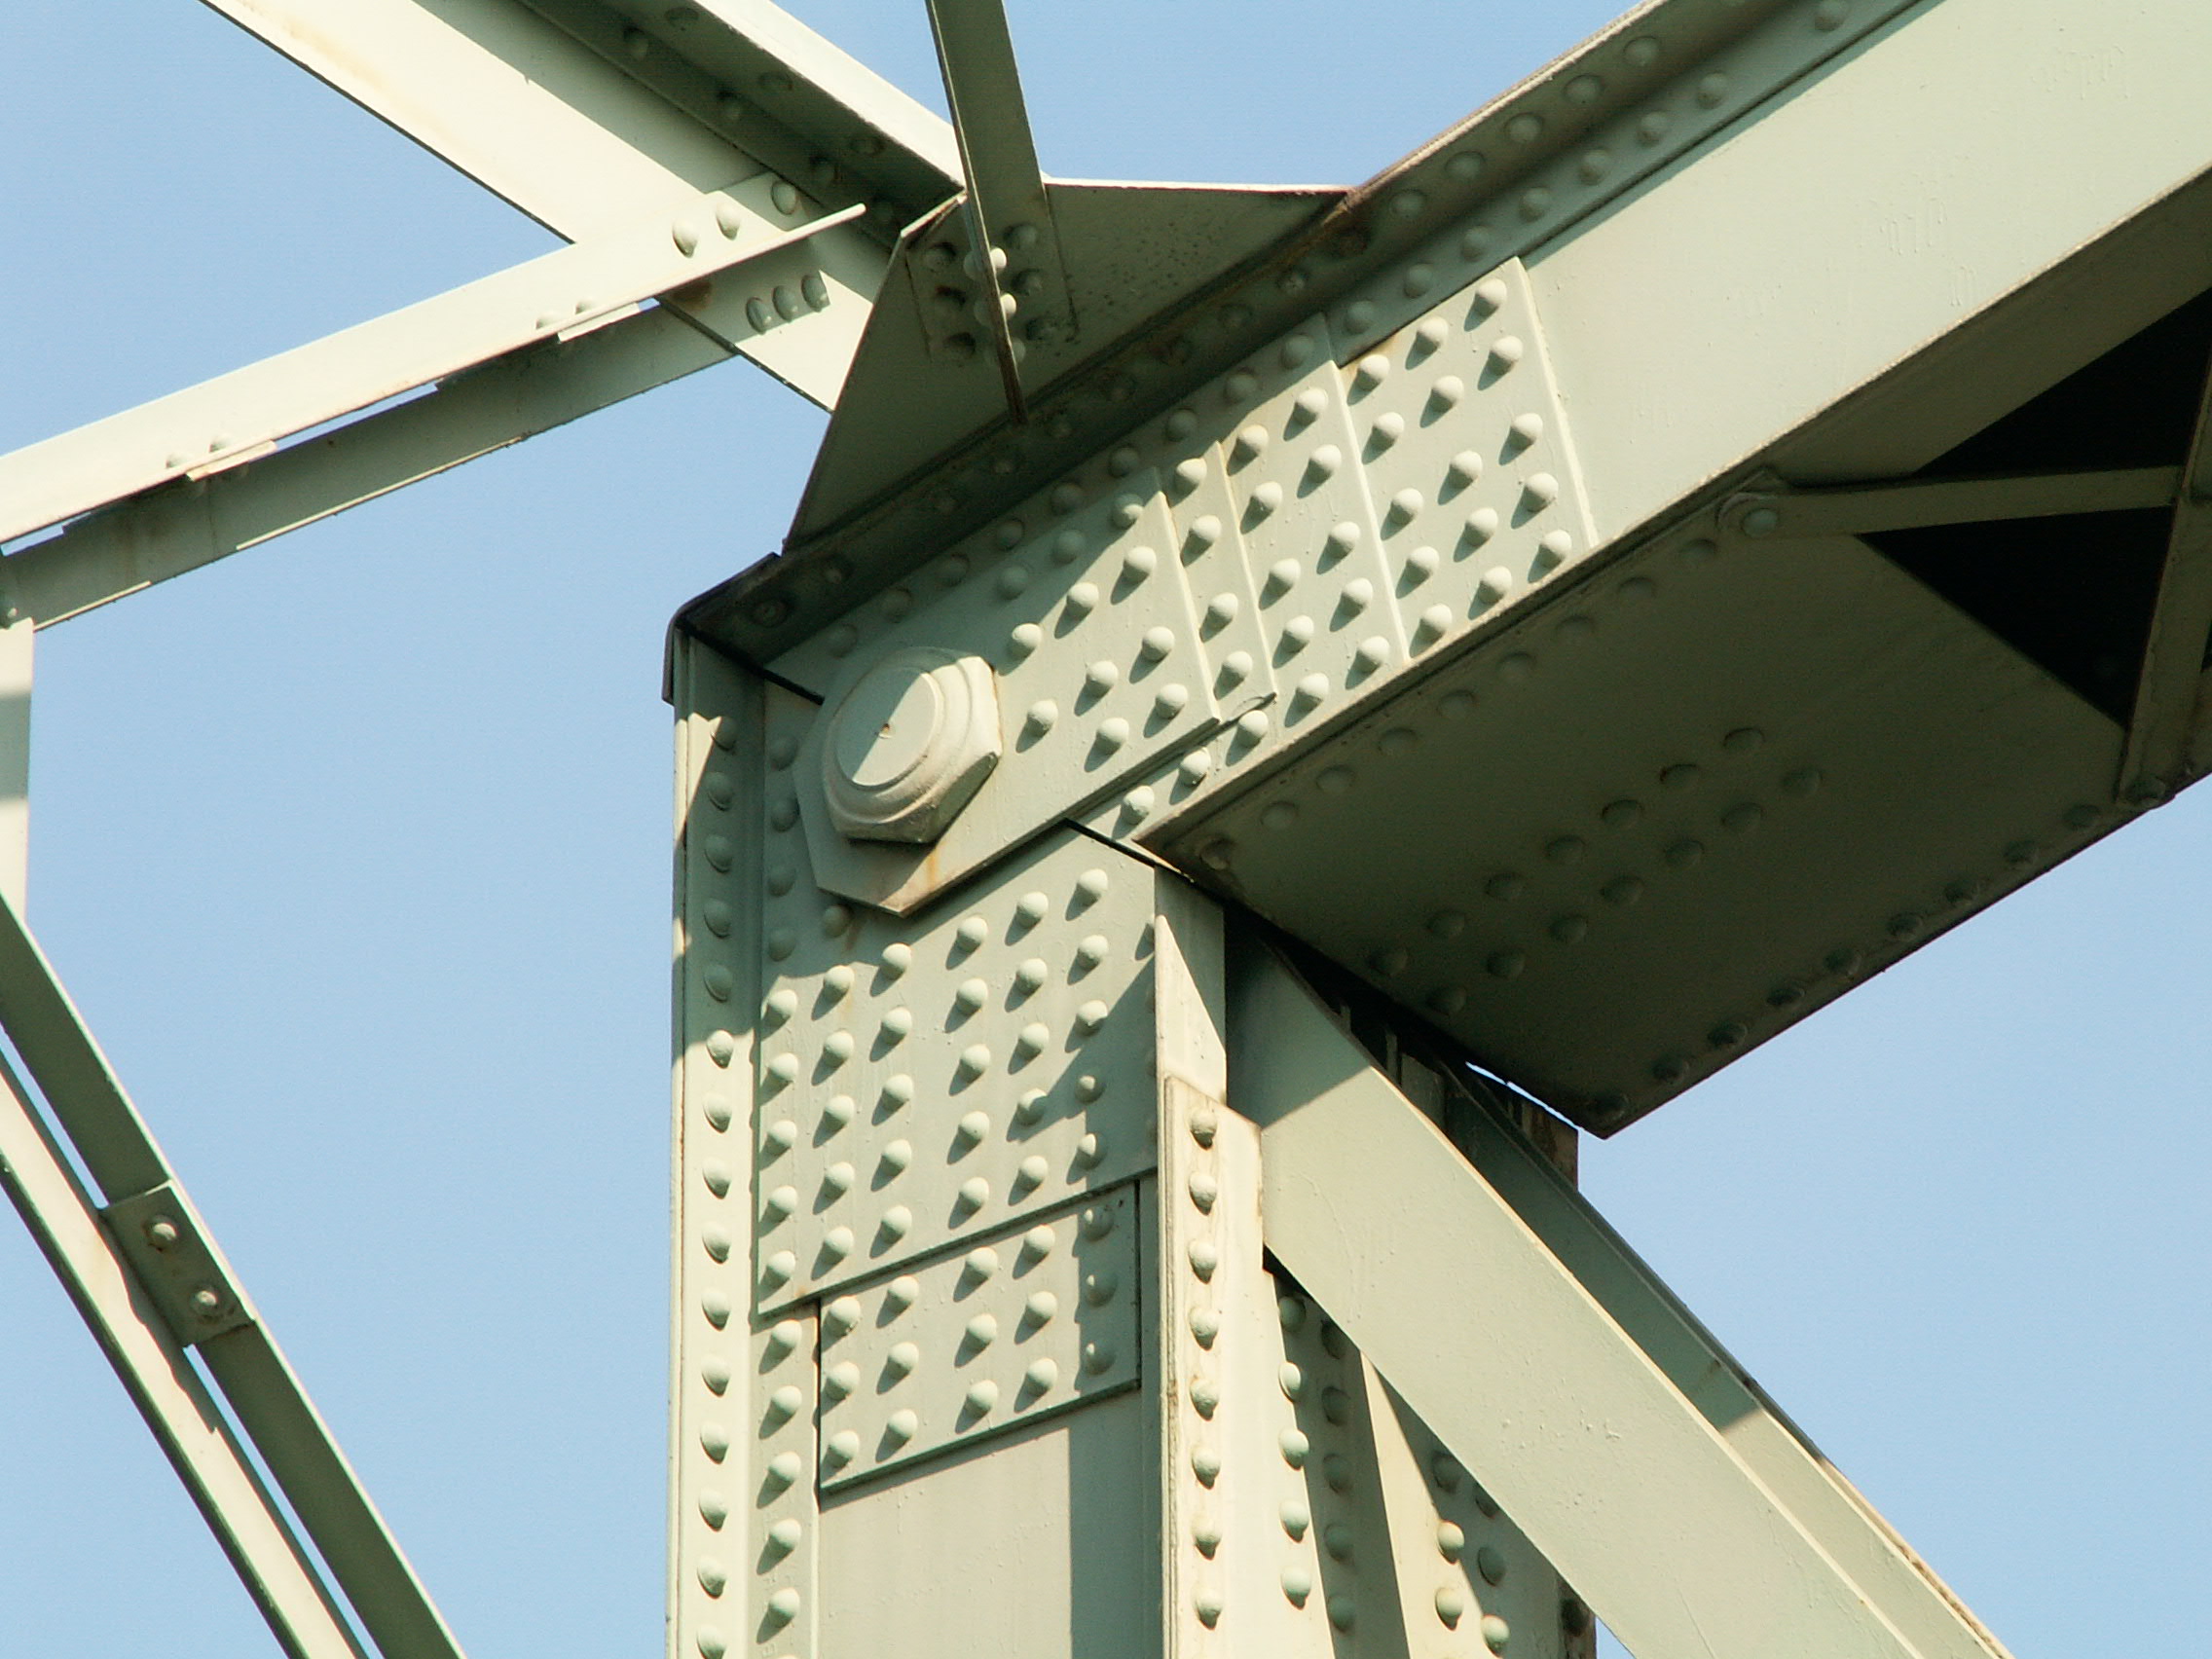
Top chord connections as viewed from beside bridge.
![]()


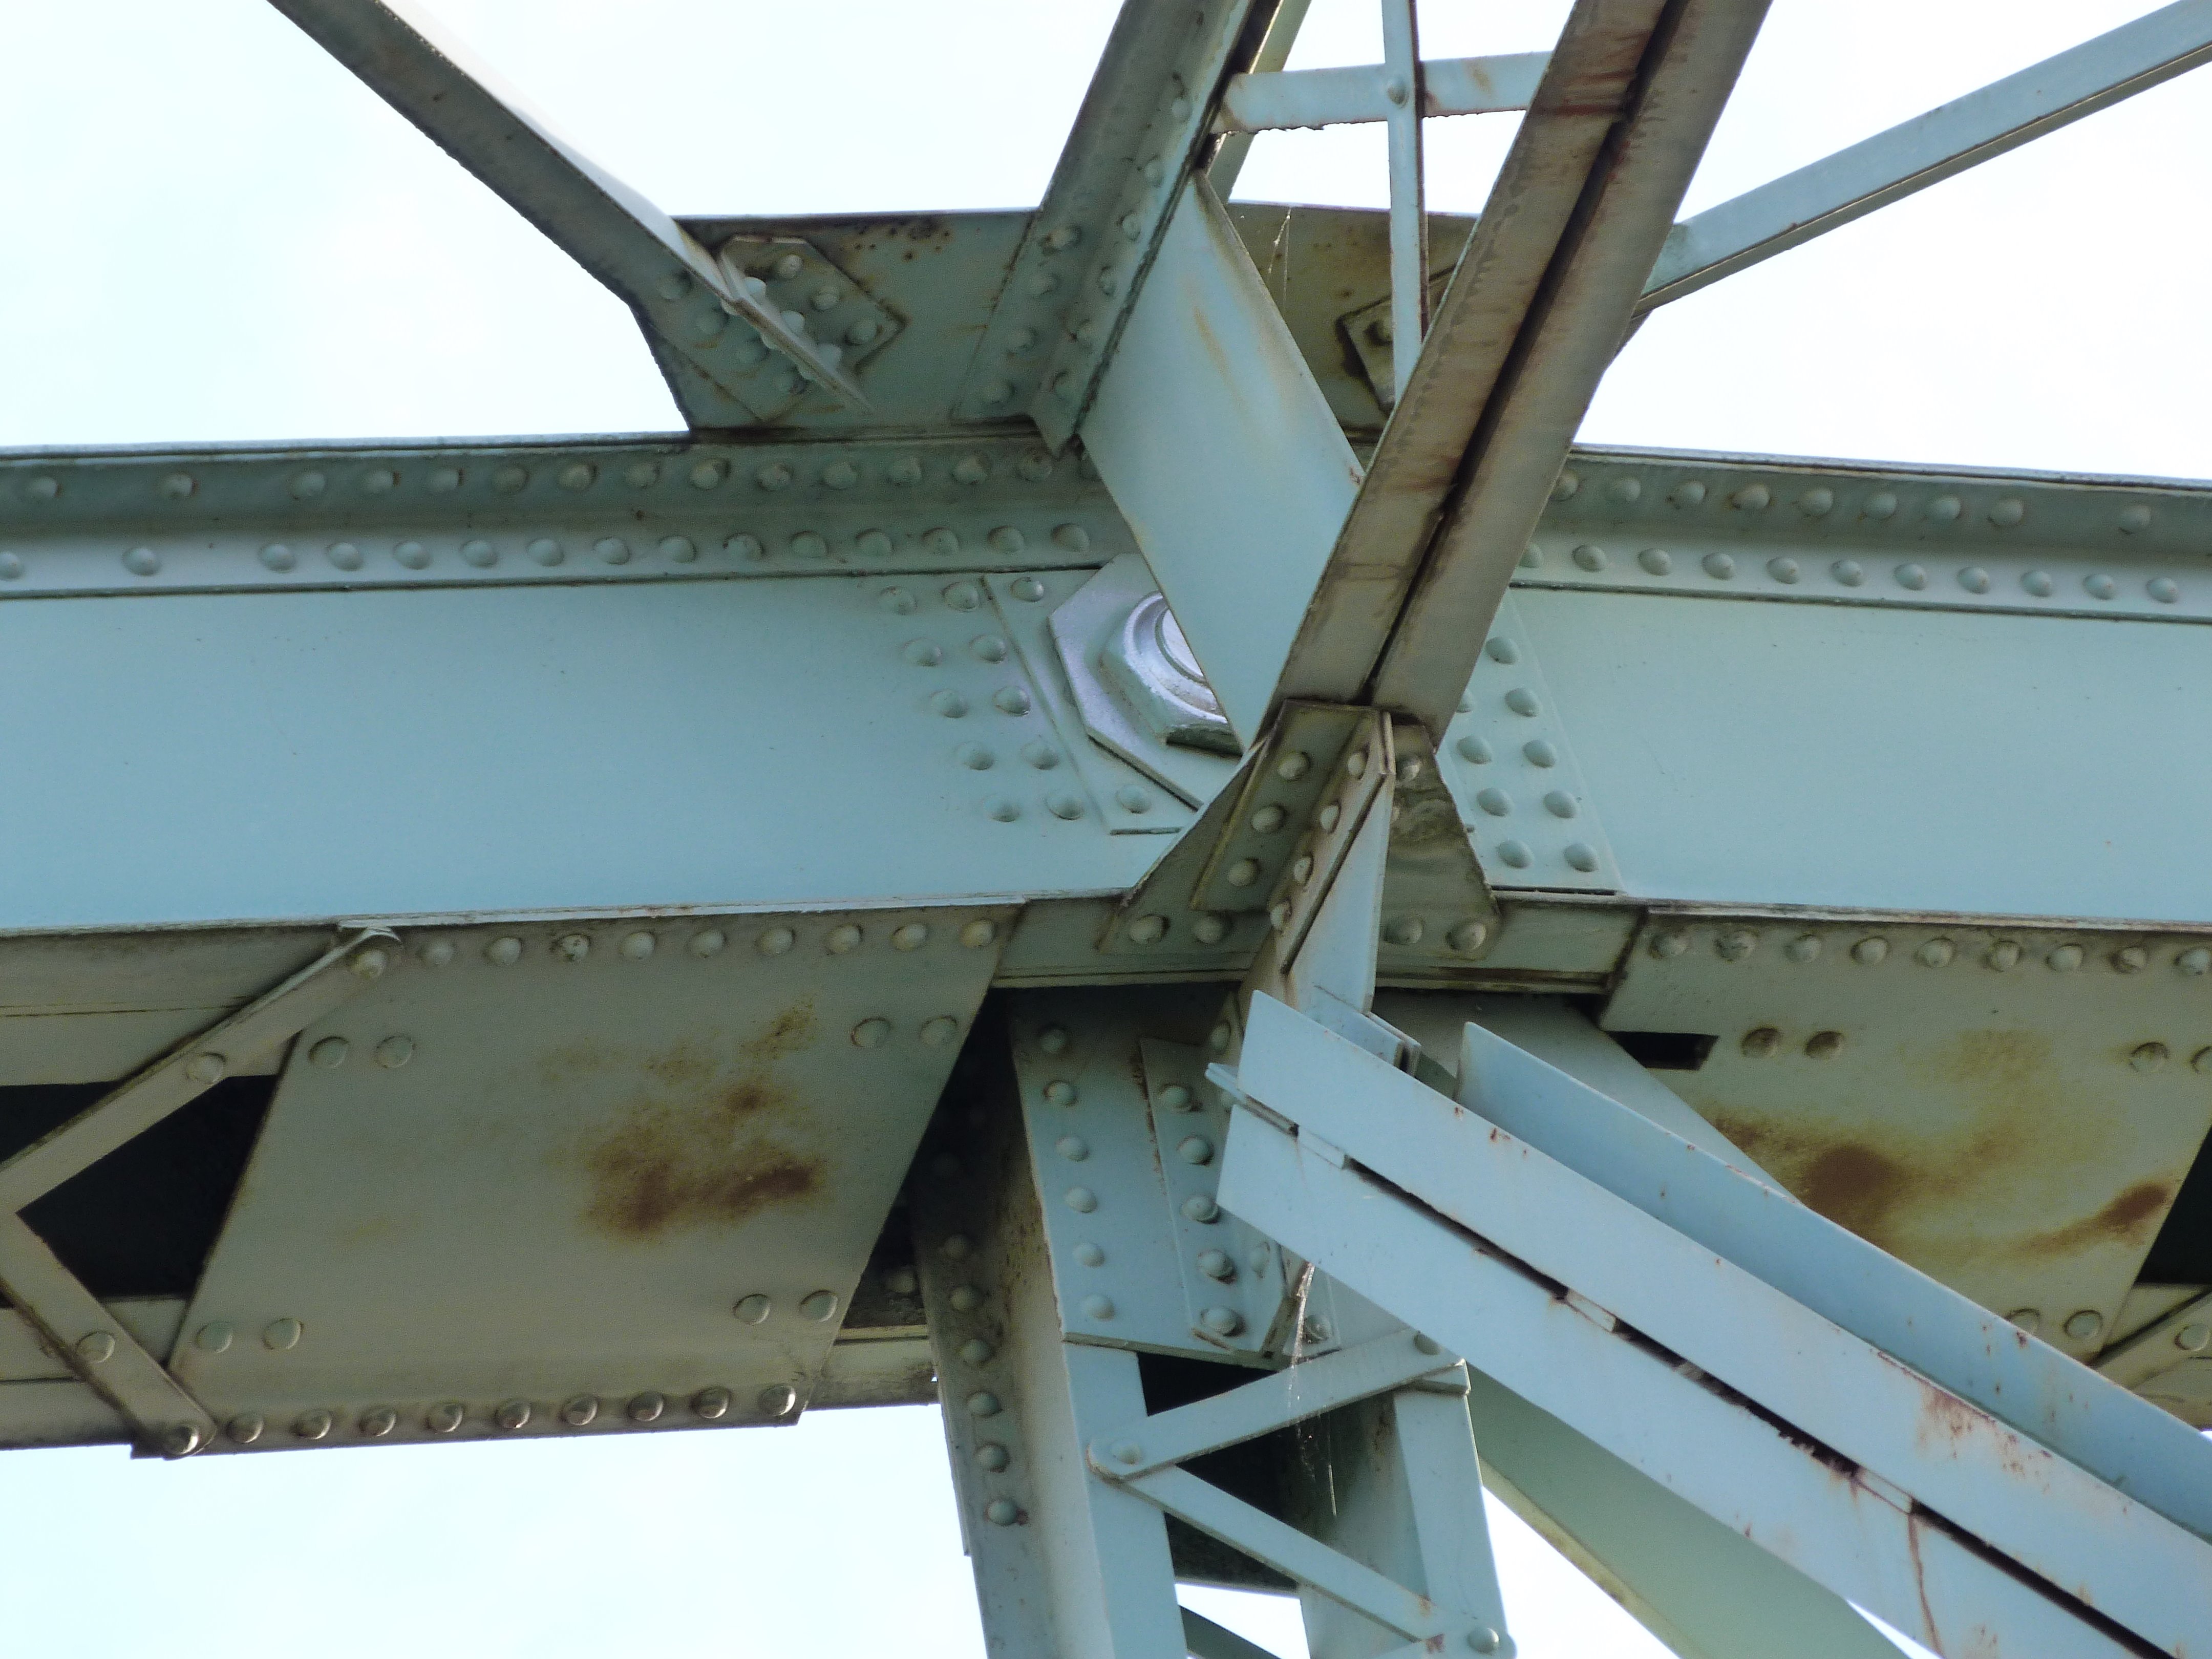

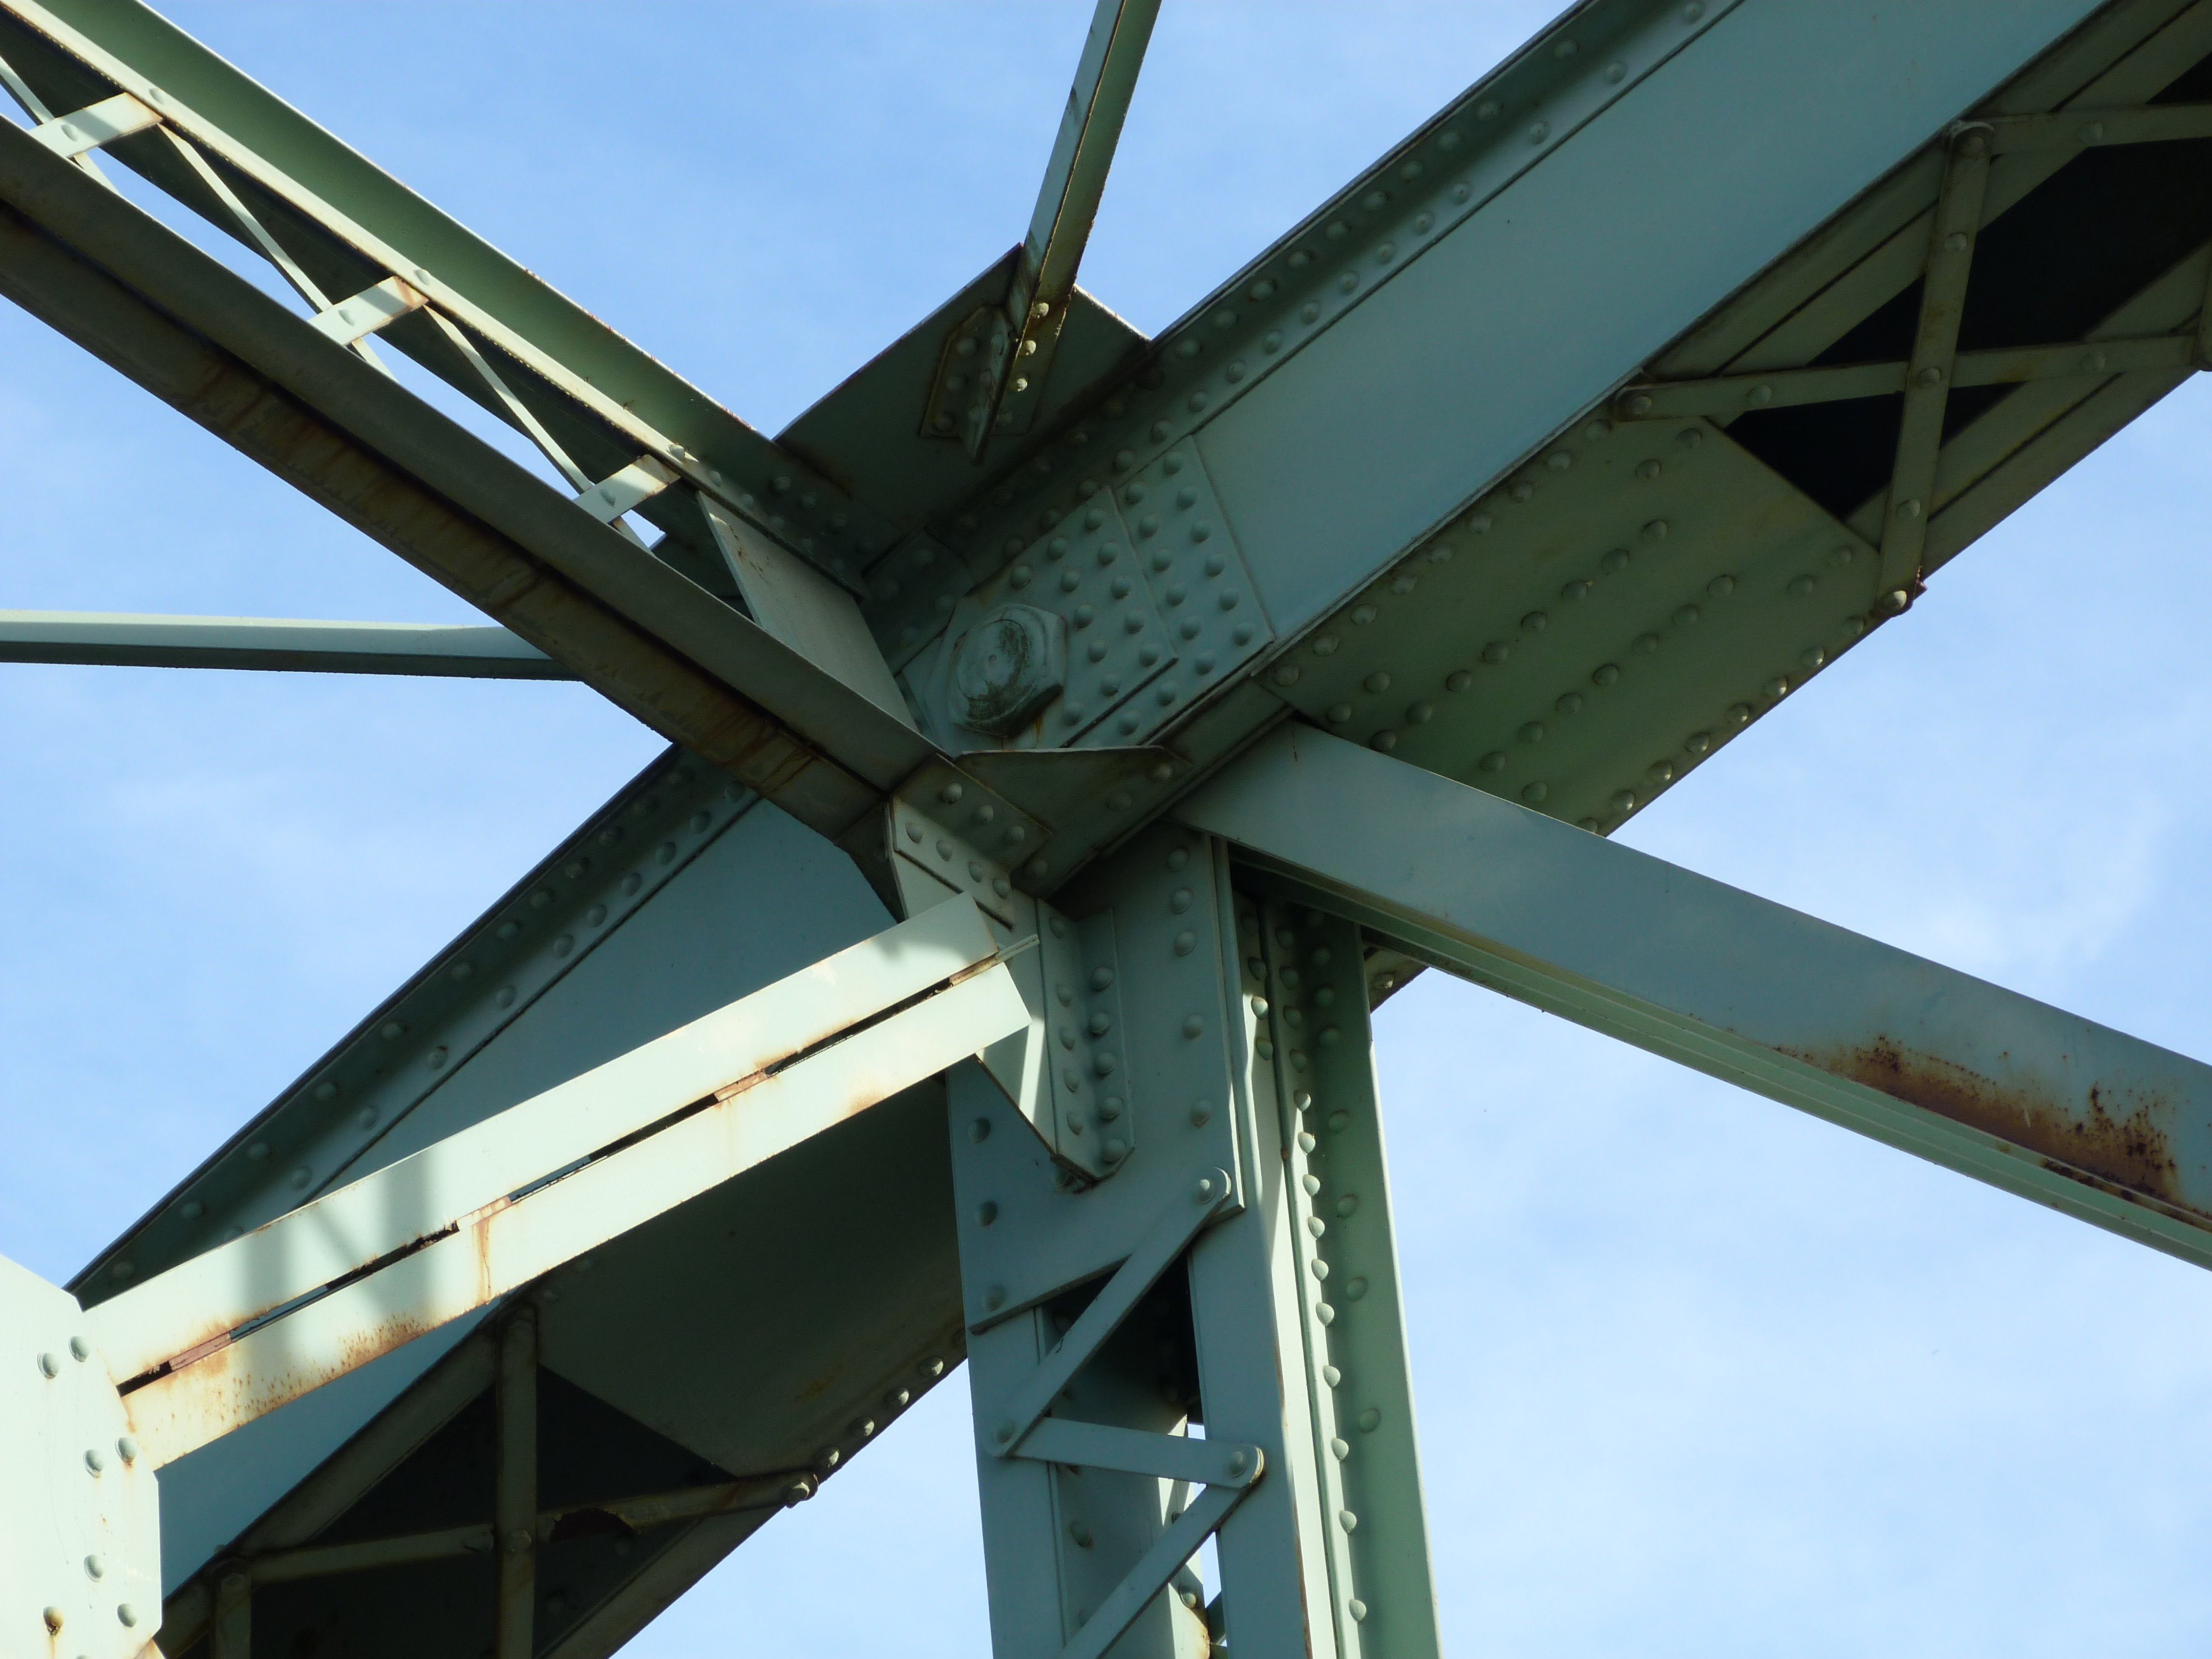

Top chord connections as viewed from on bridge.
![]()


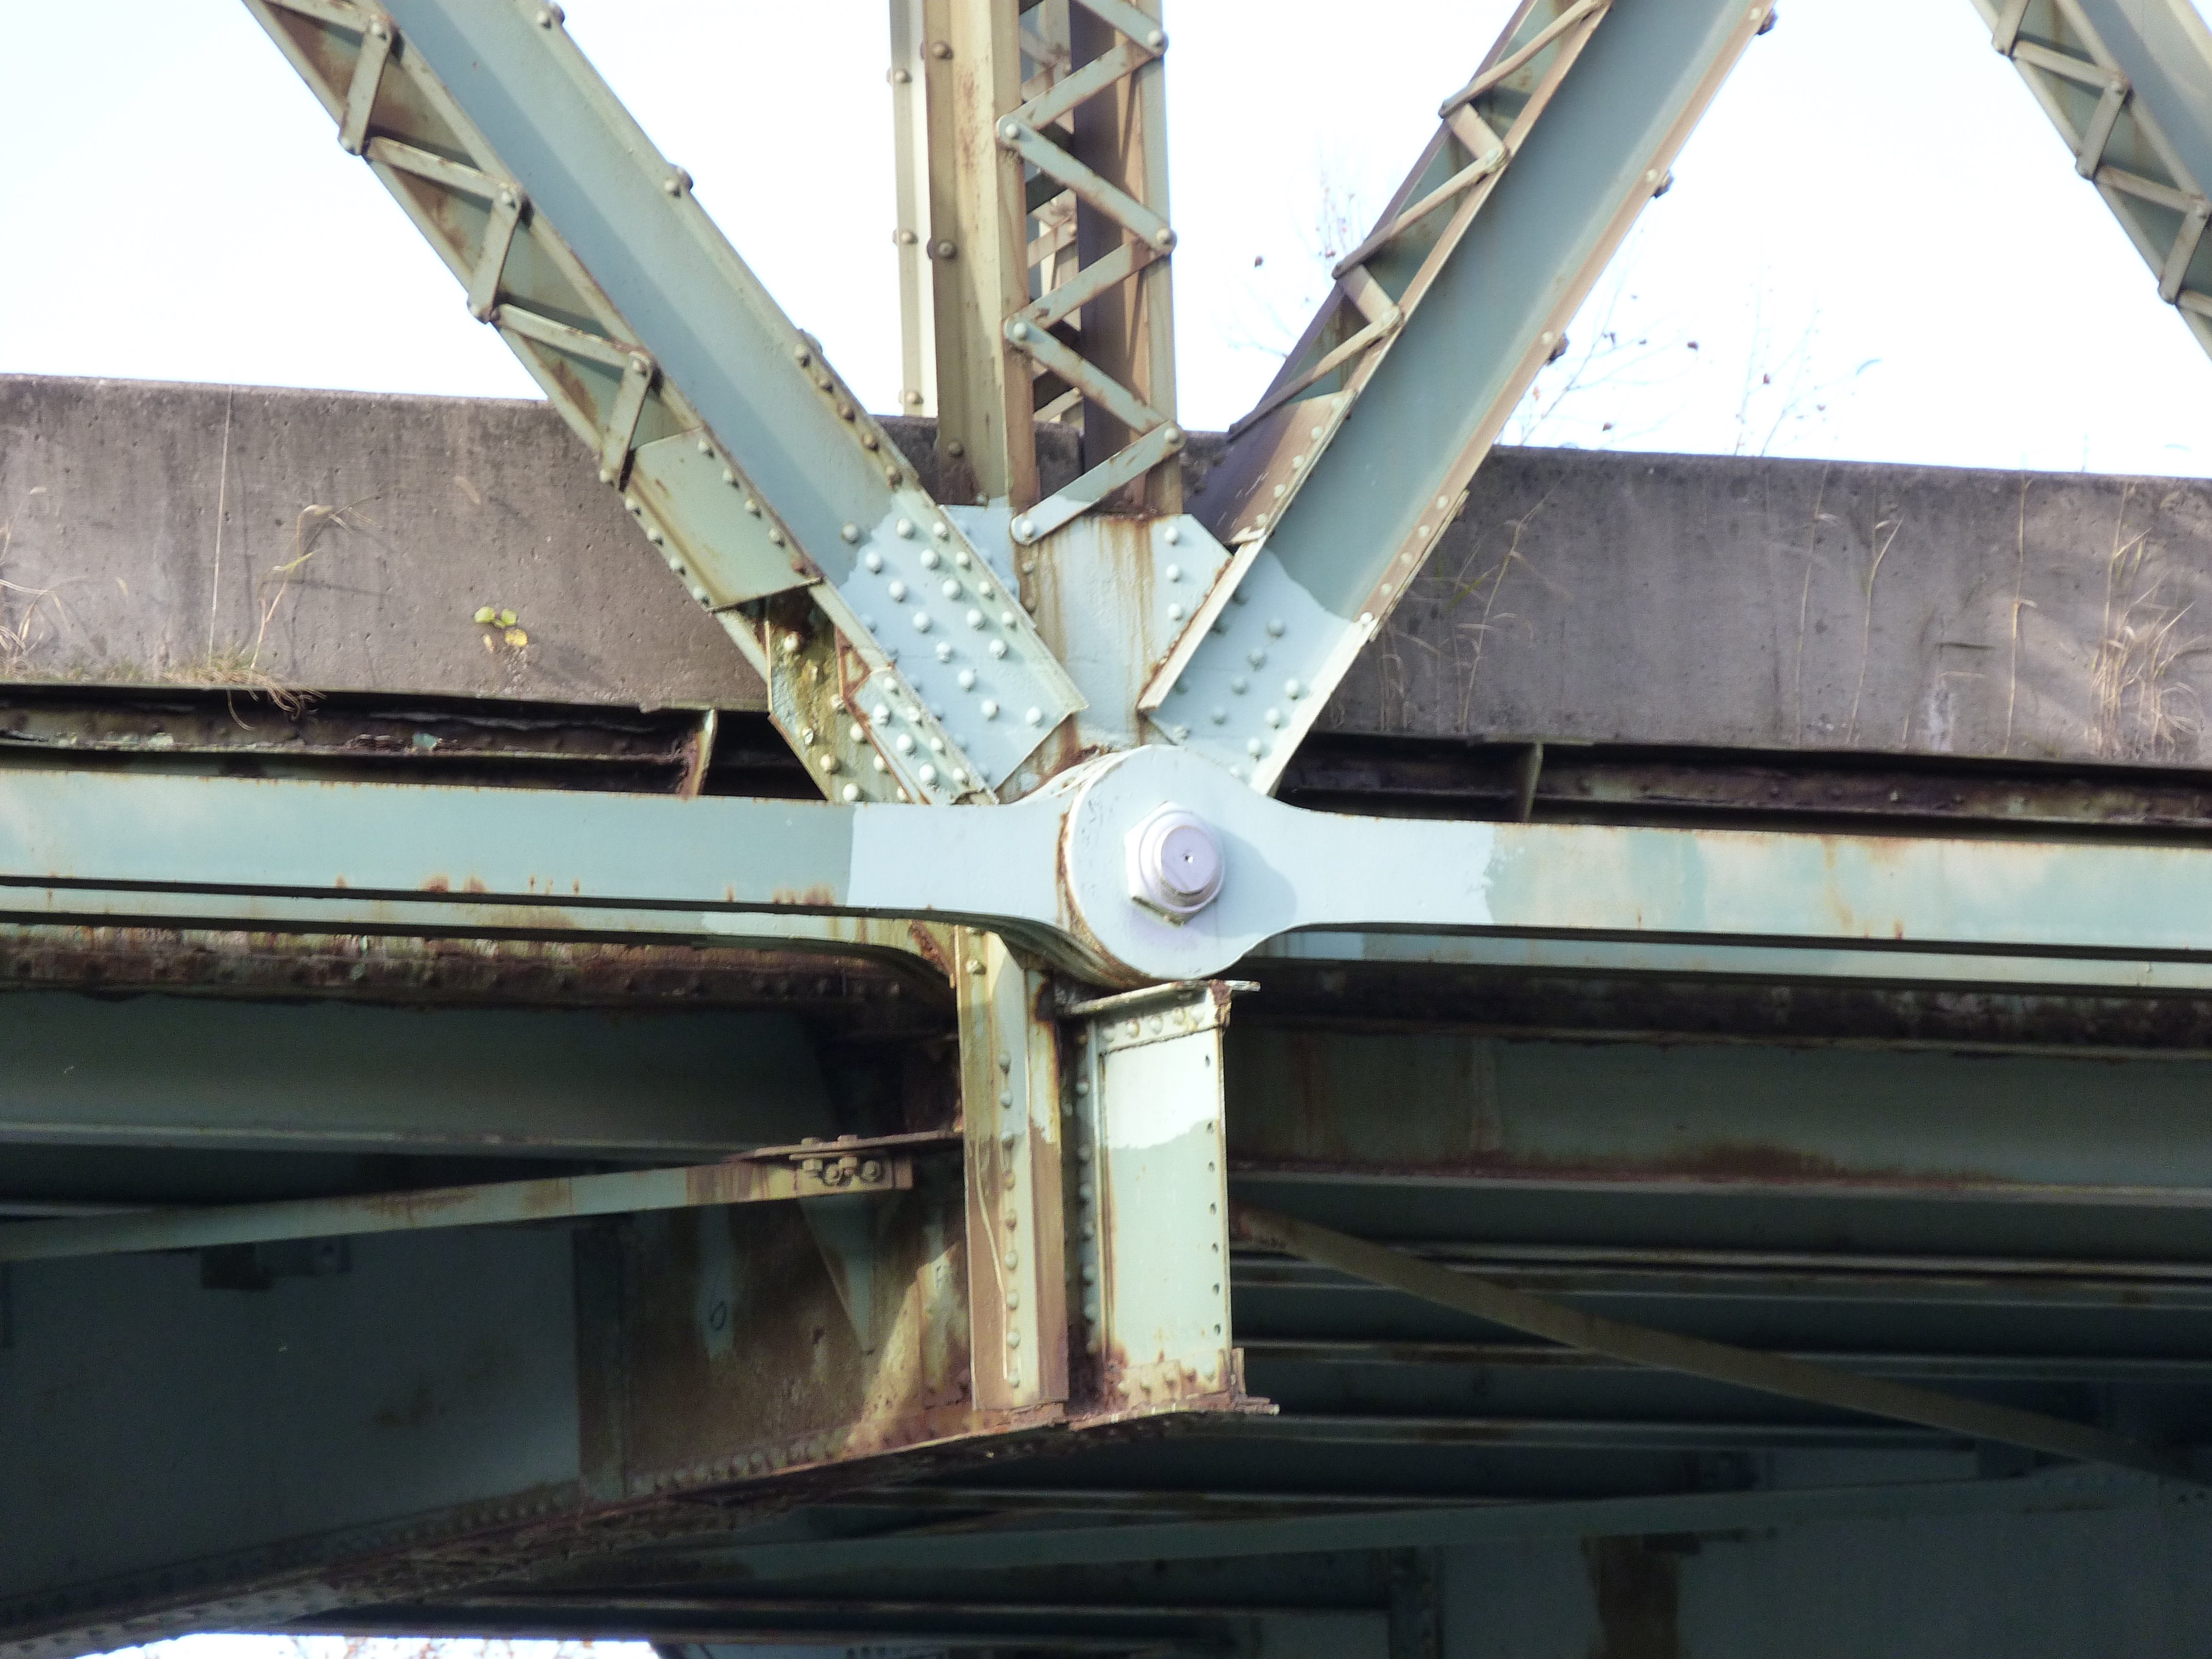
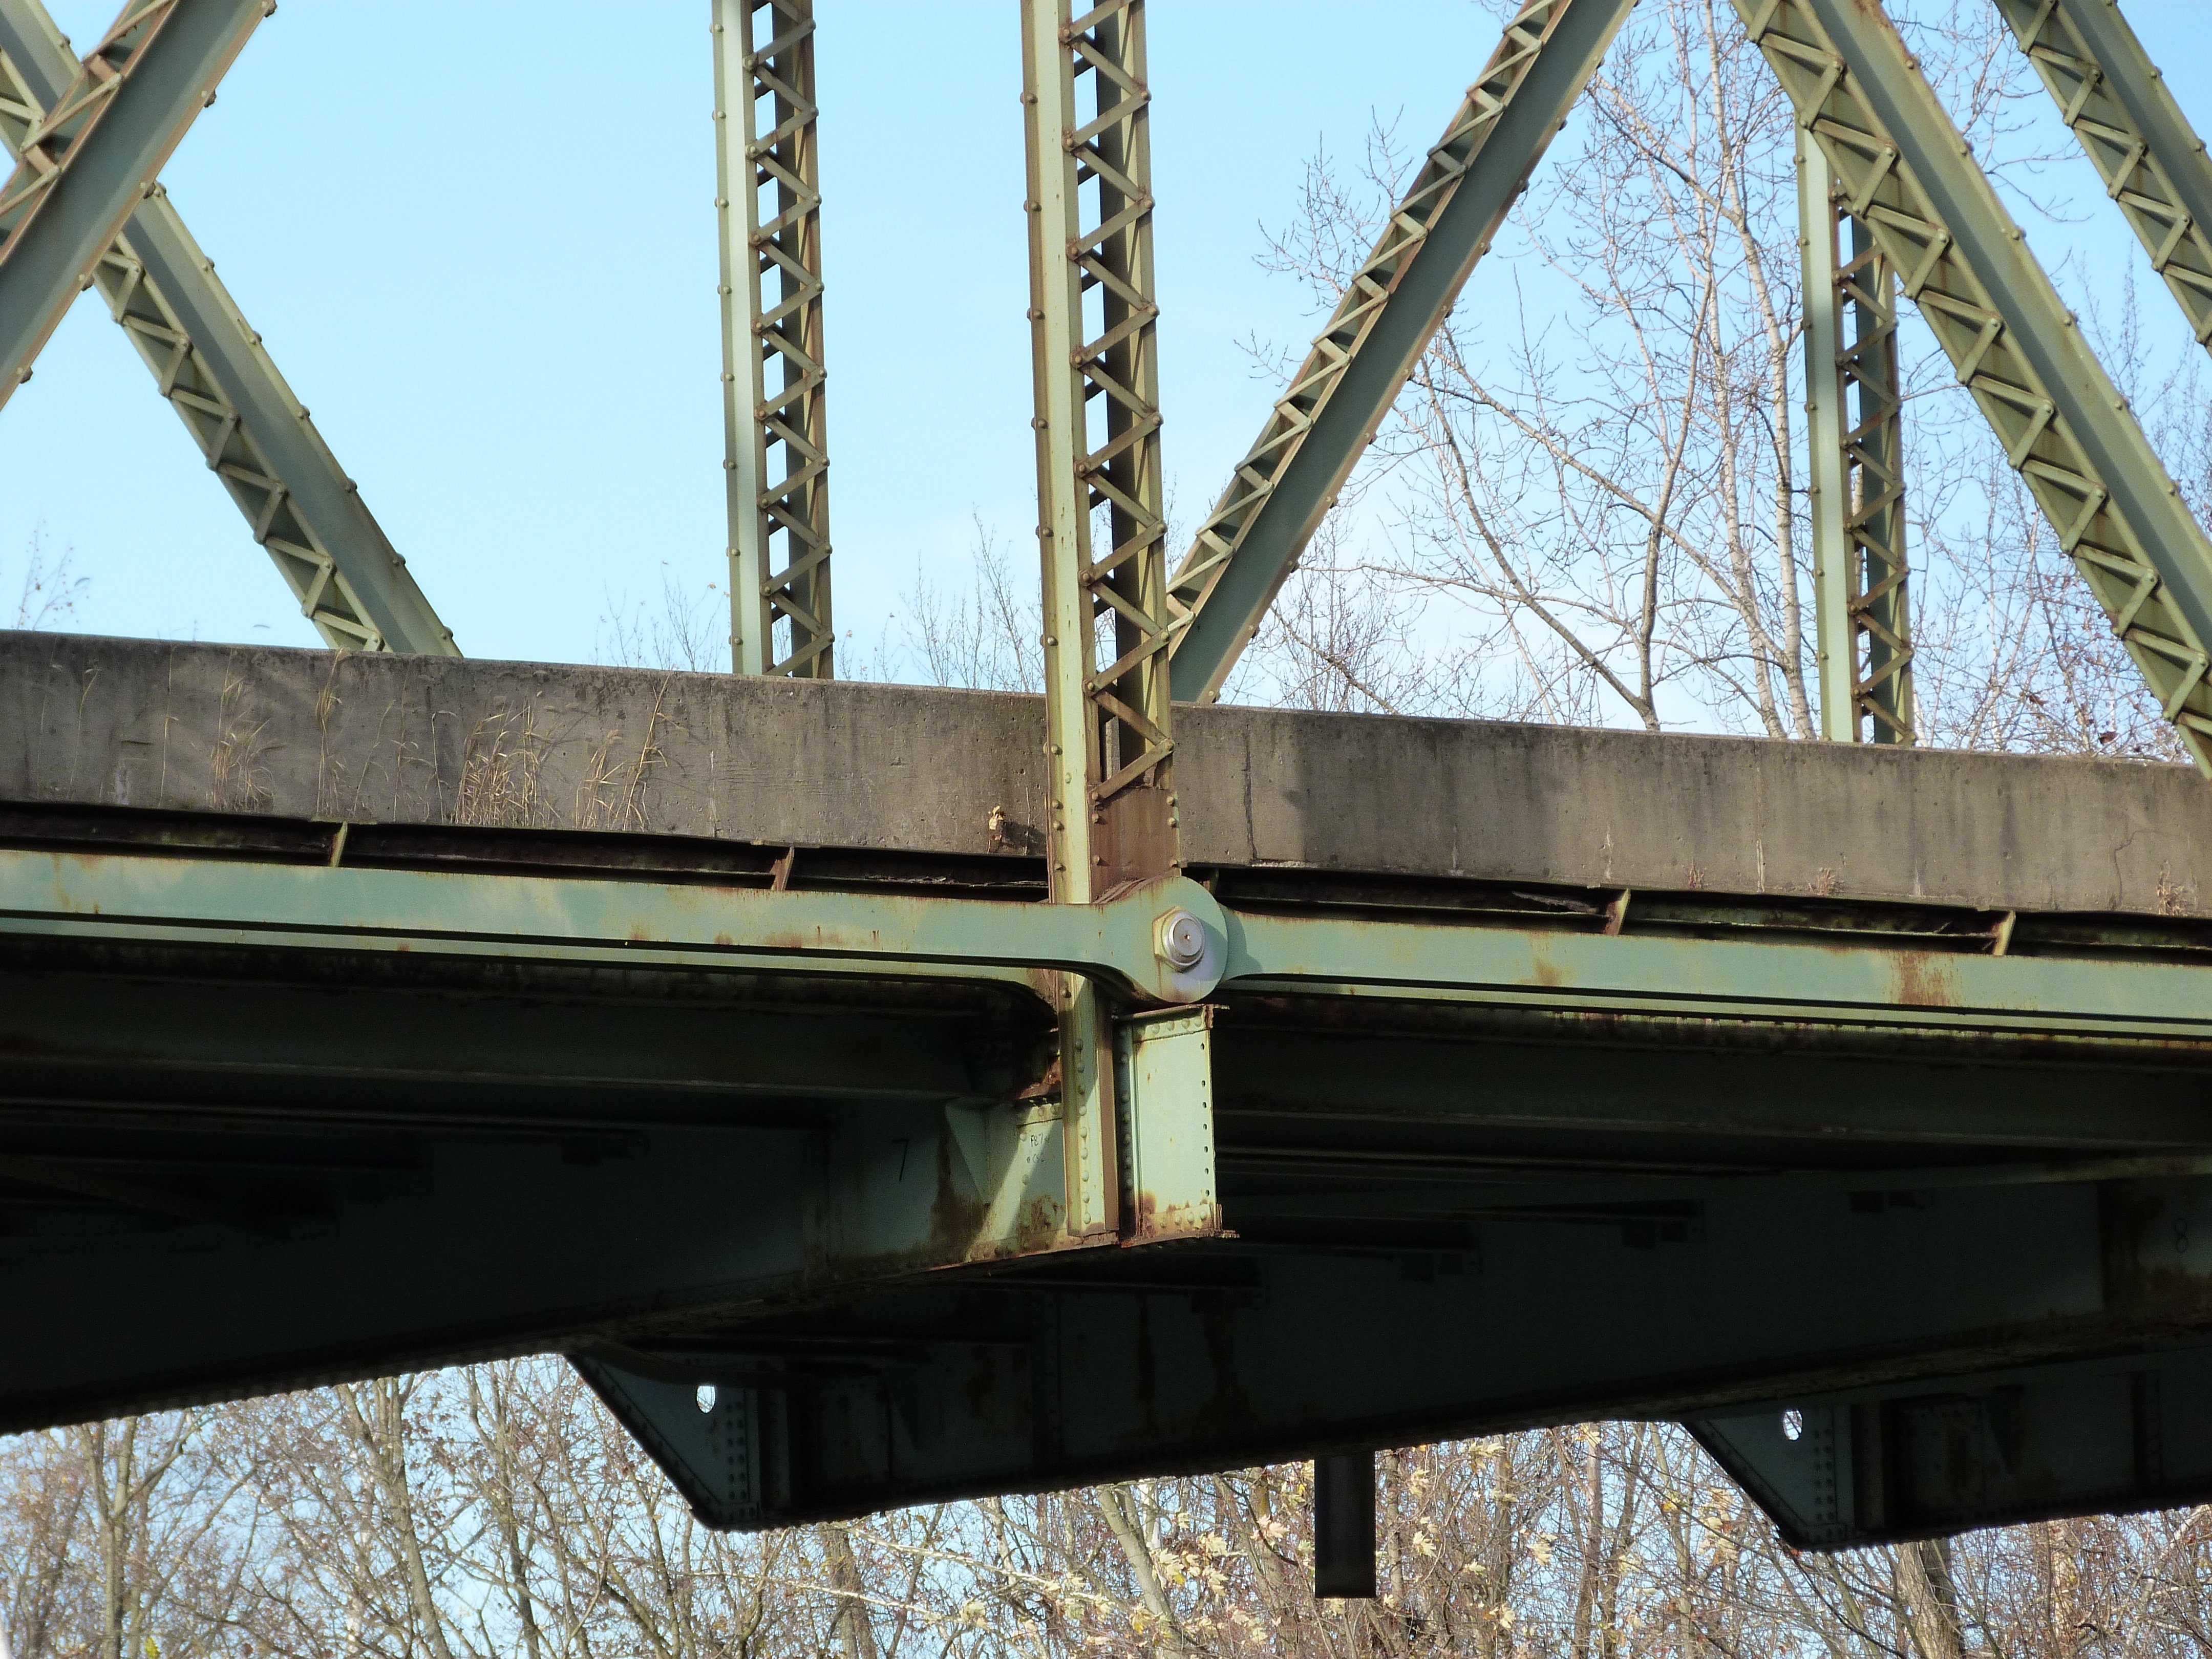

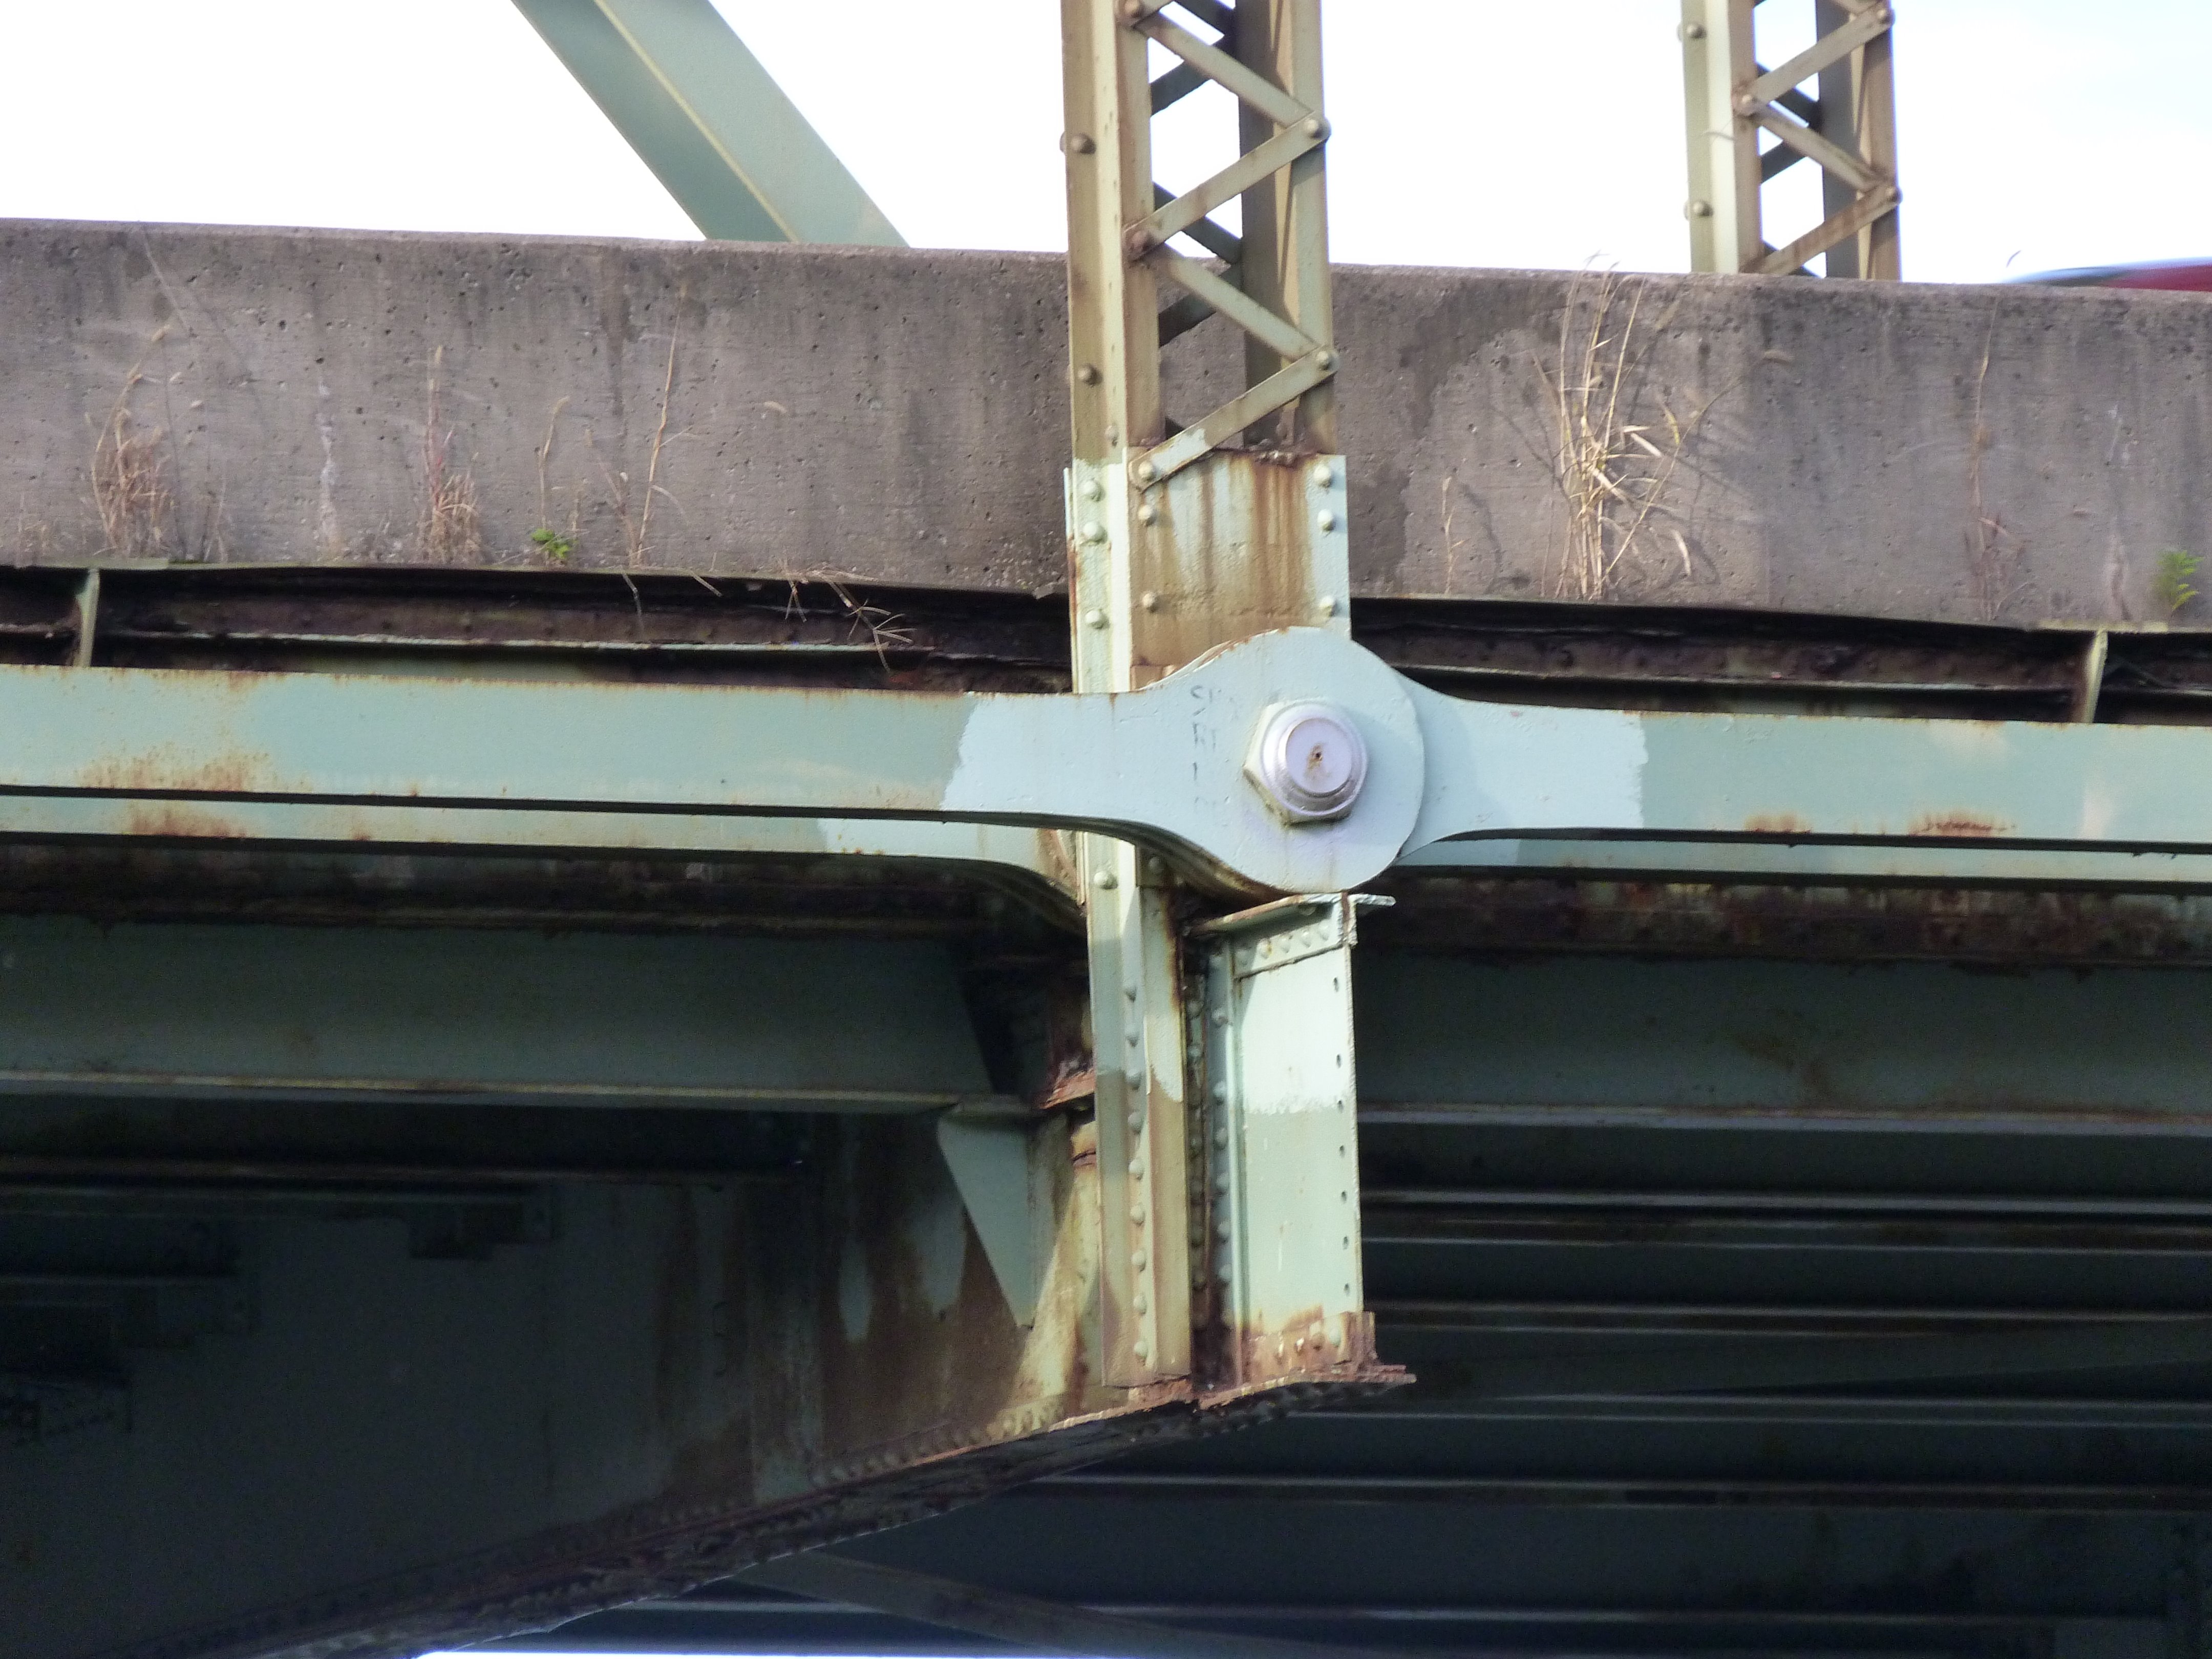


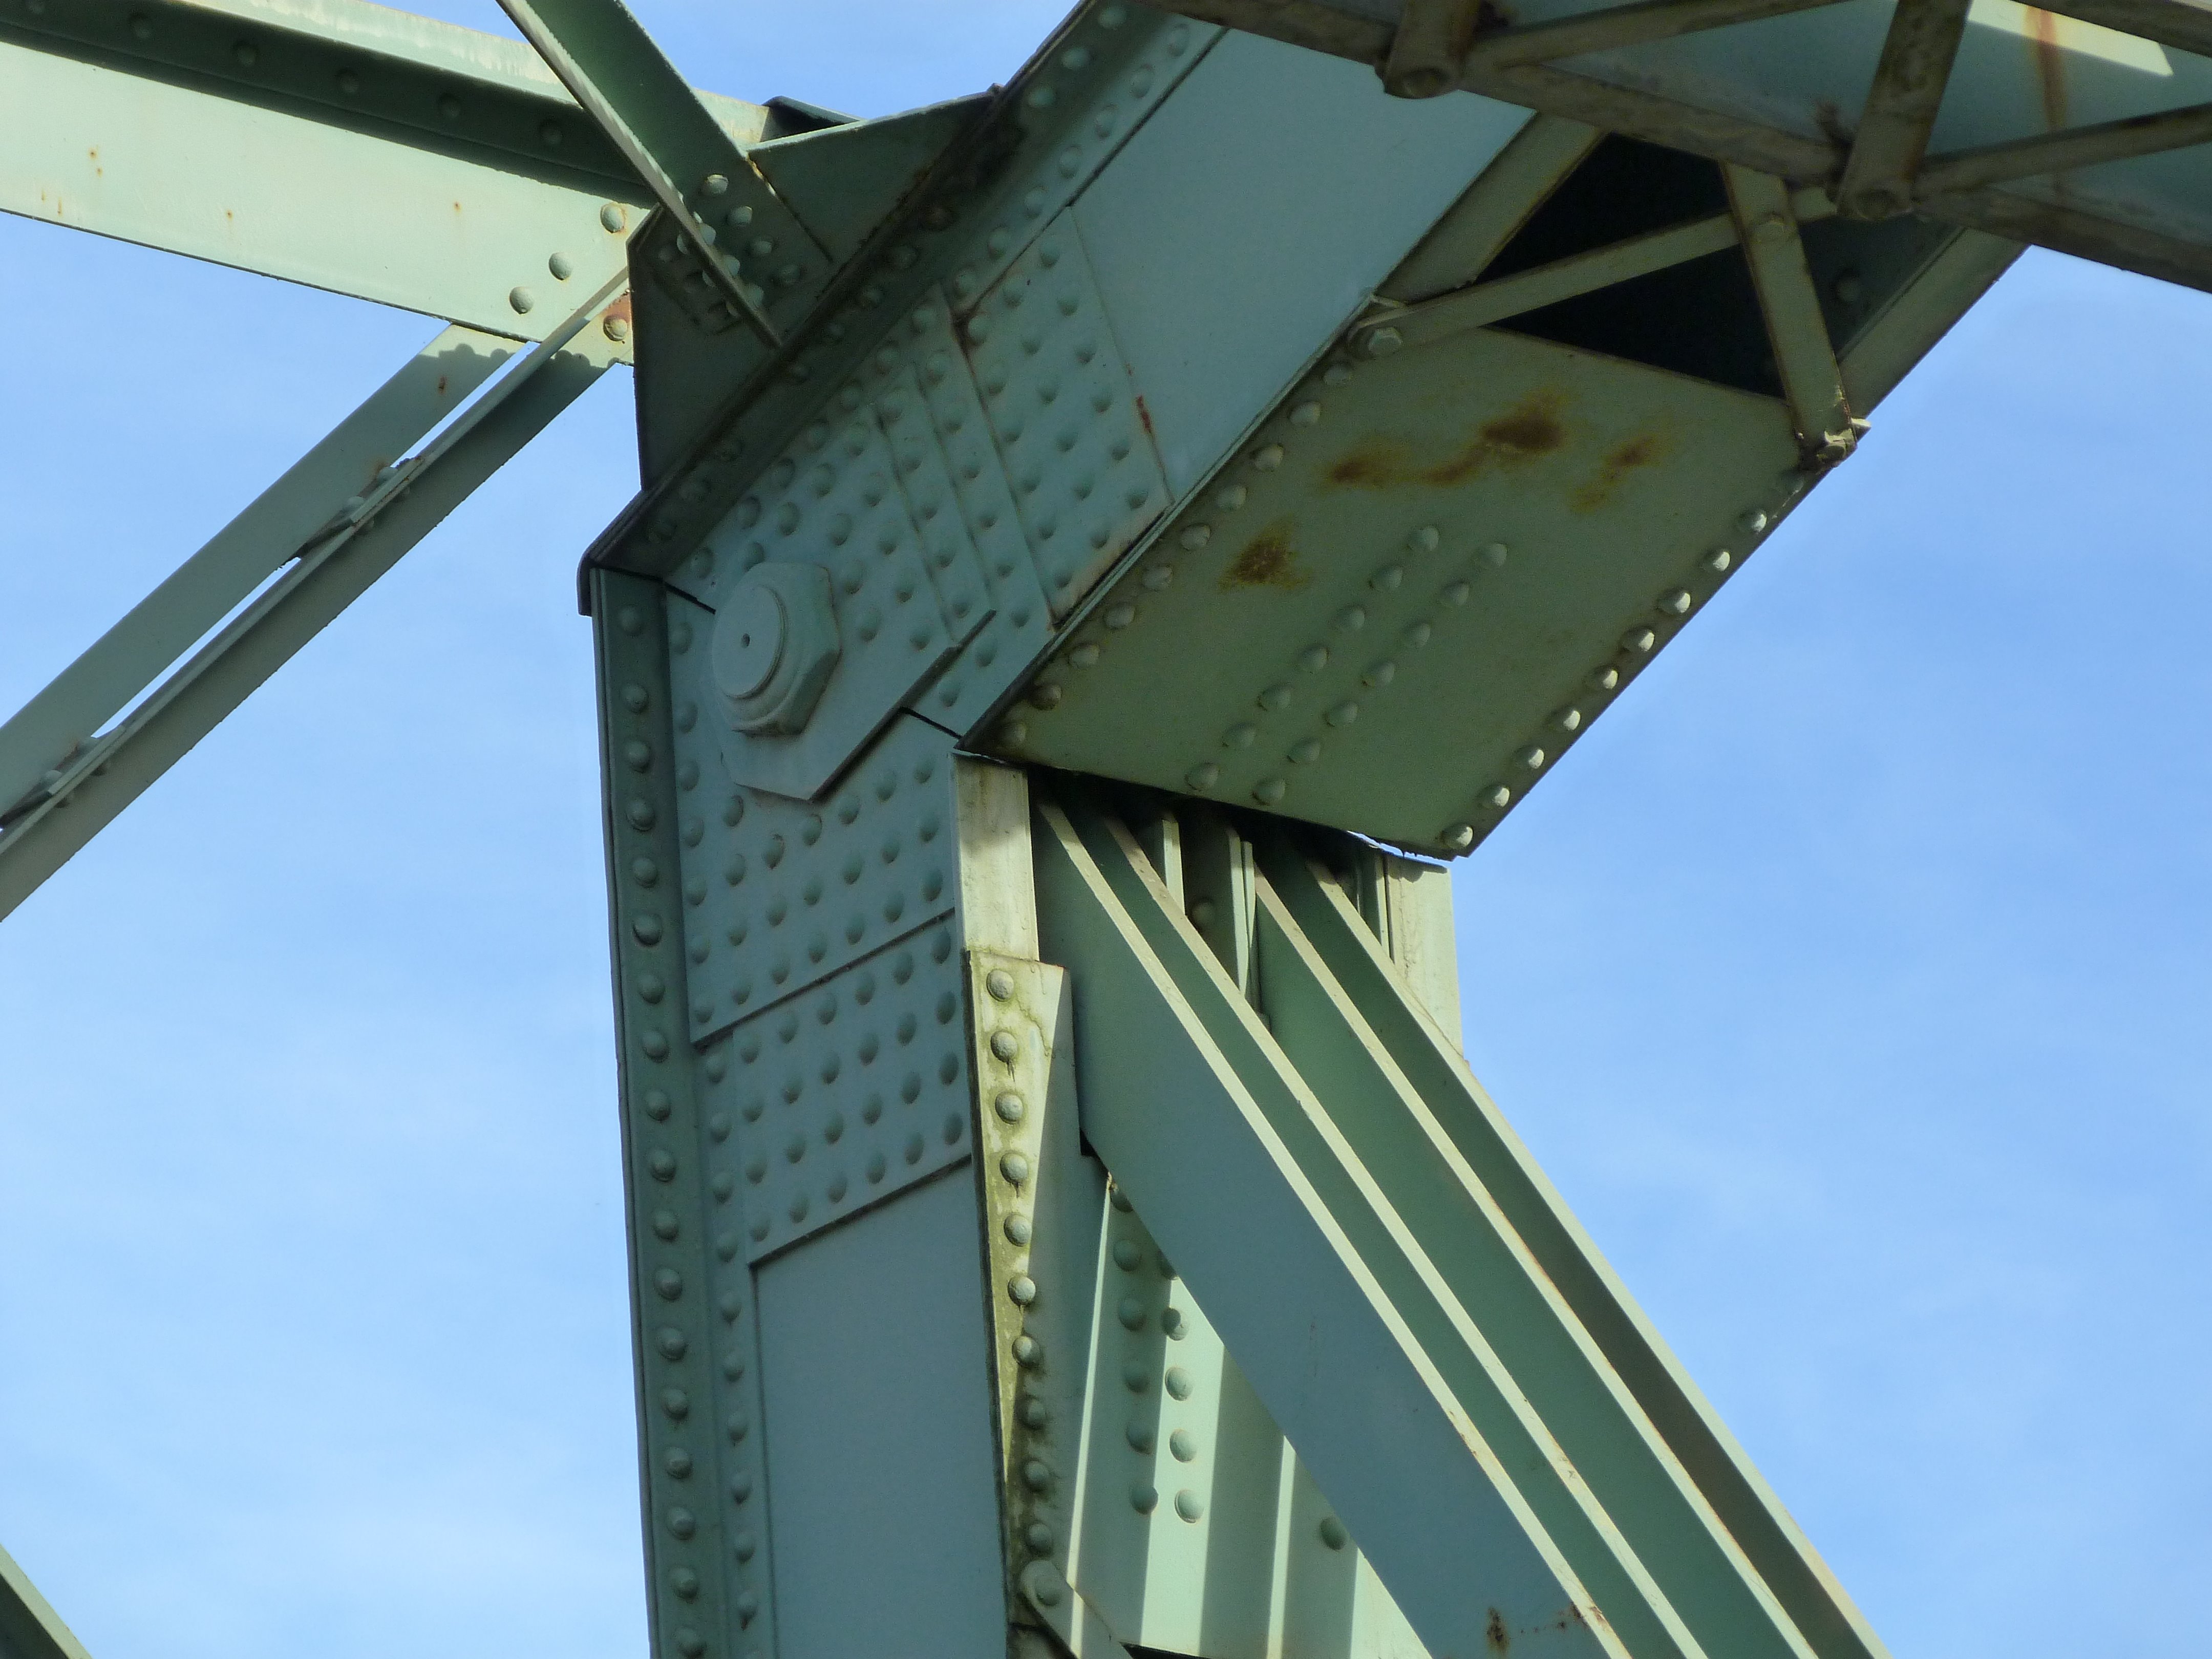
Bottom chord connections as viewed from beside bridge.
![]()
Bottom chord connections as viewed from on bridge.
![]()

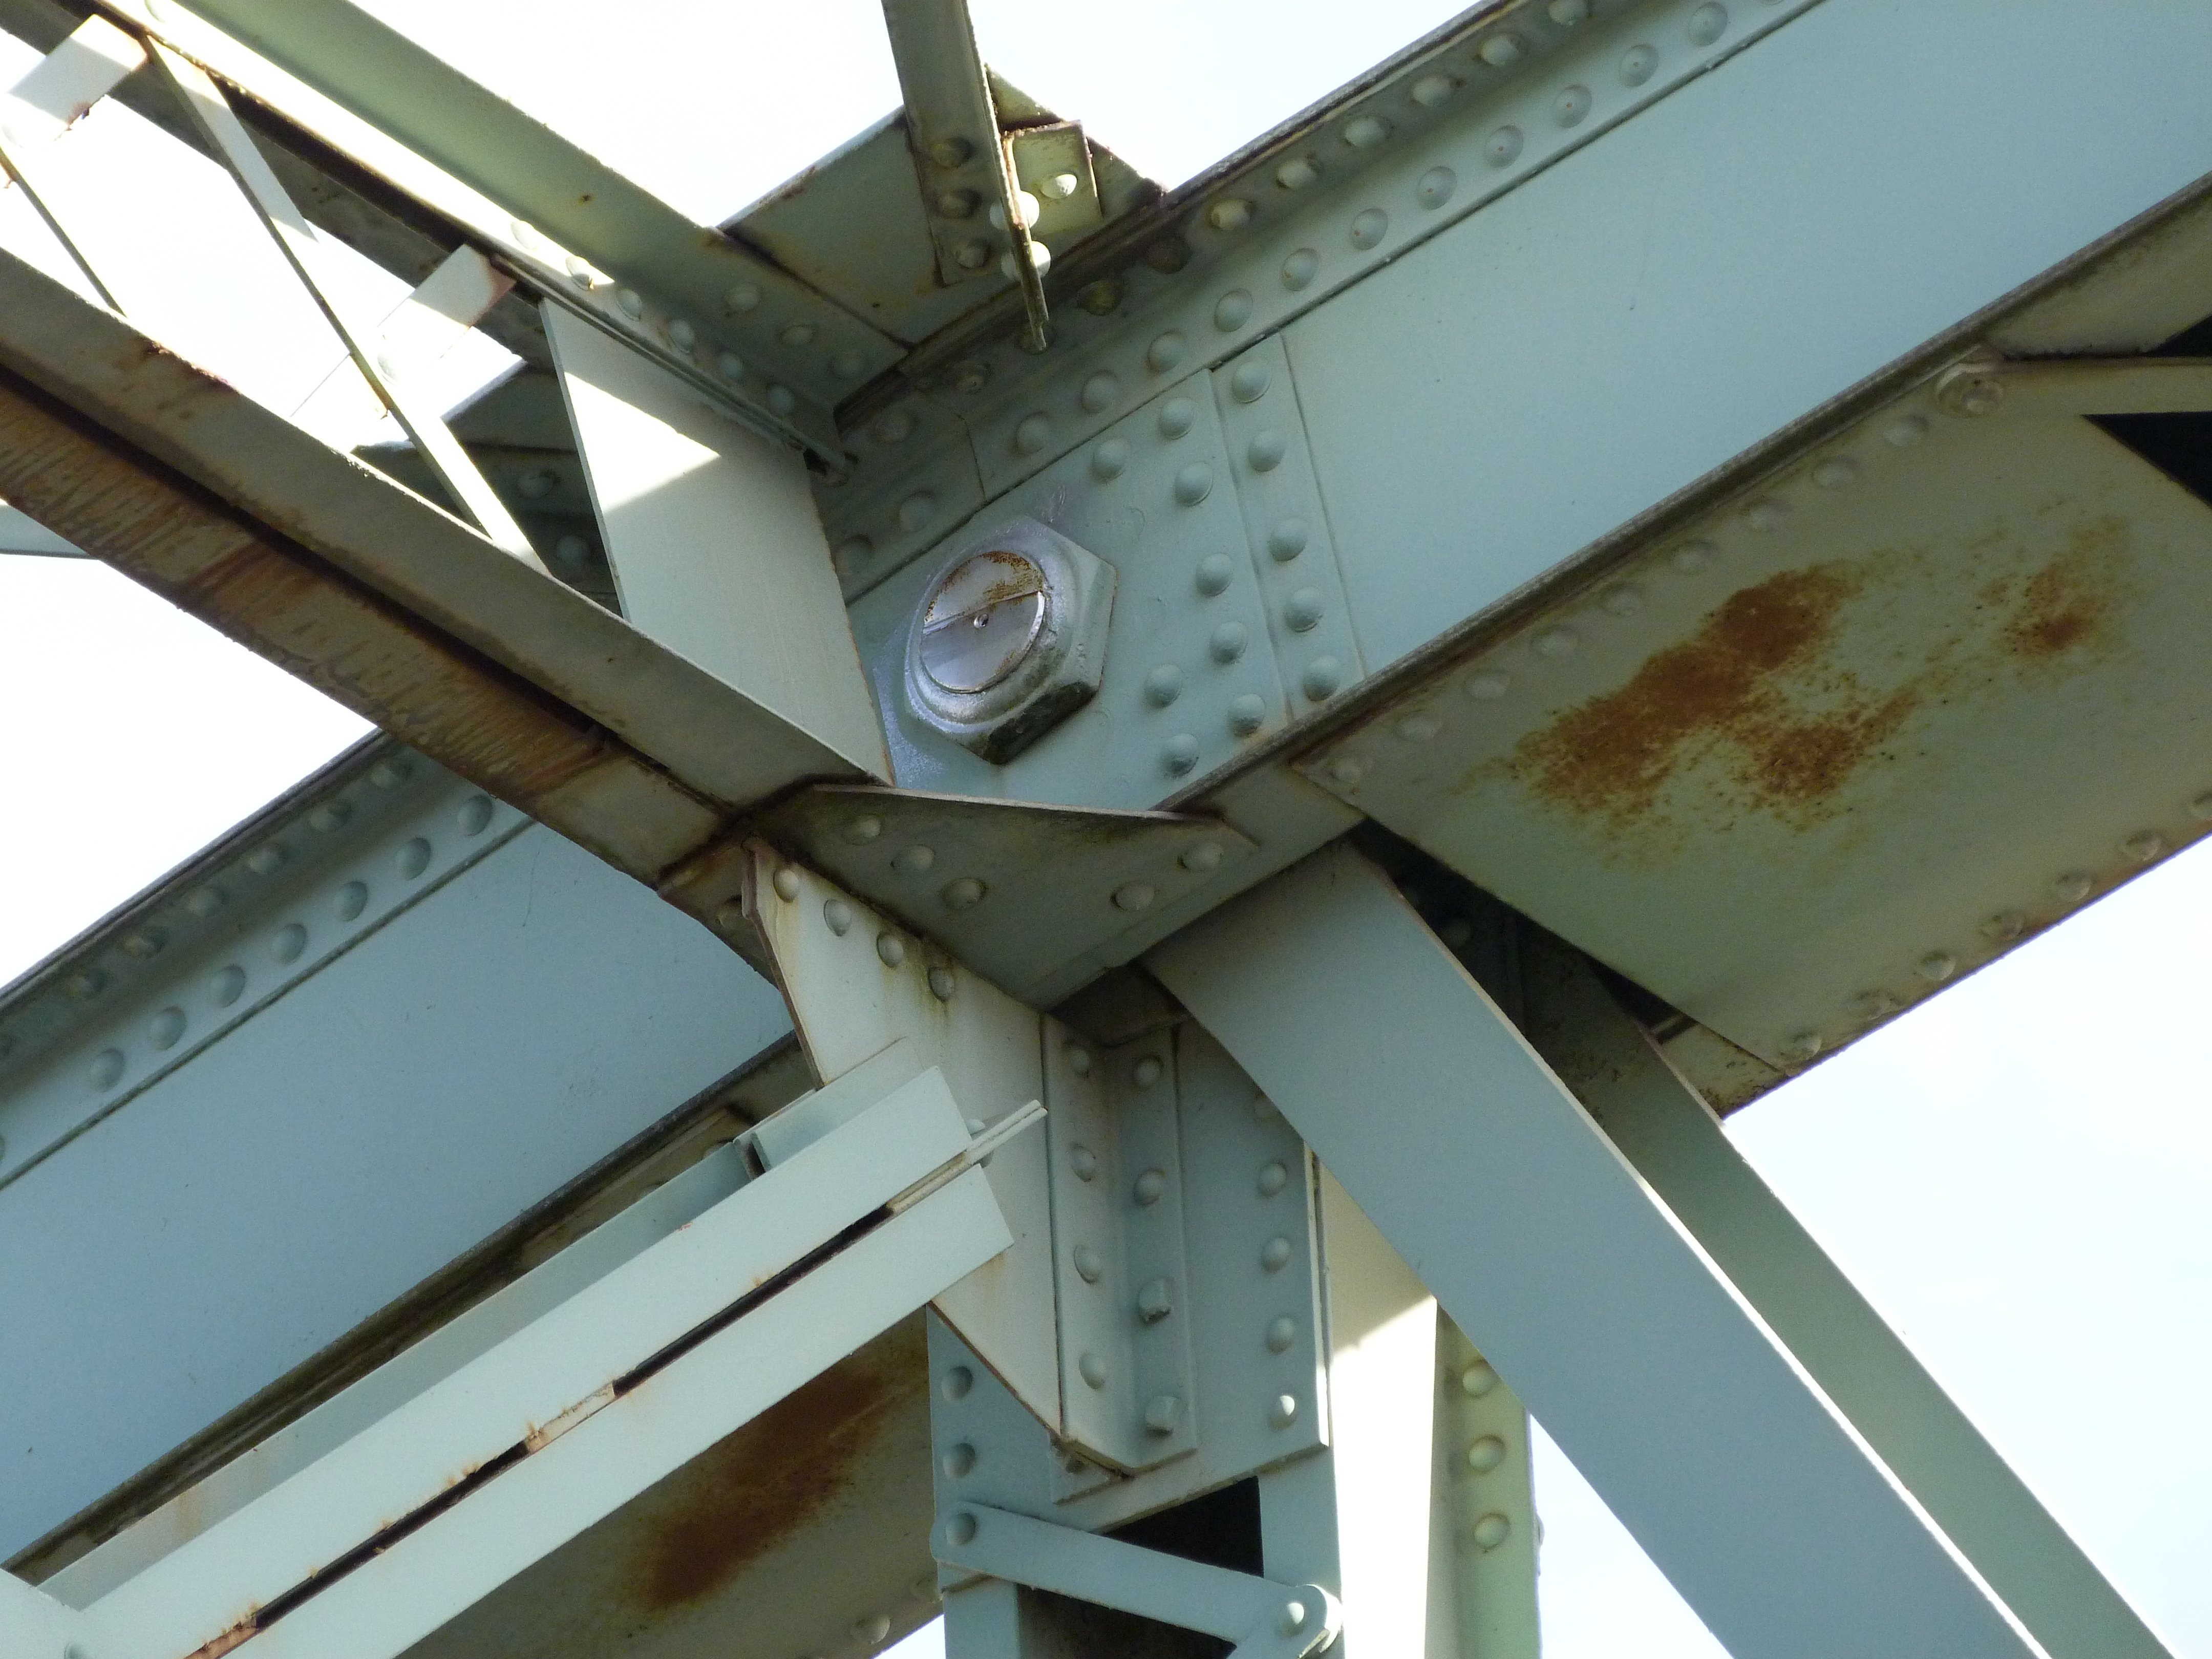
Intermediate connections as viewed from beside bridge.
![]()
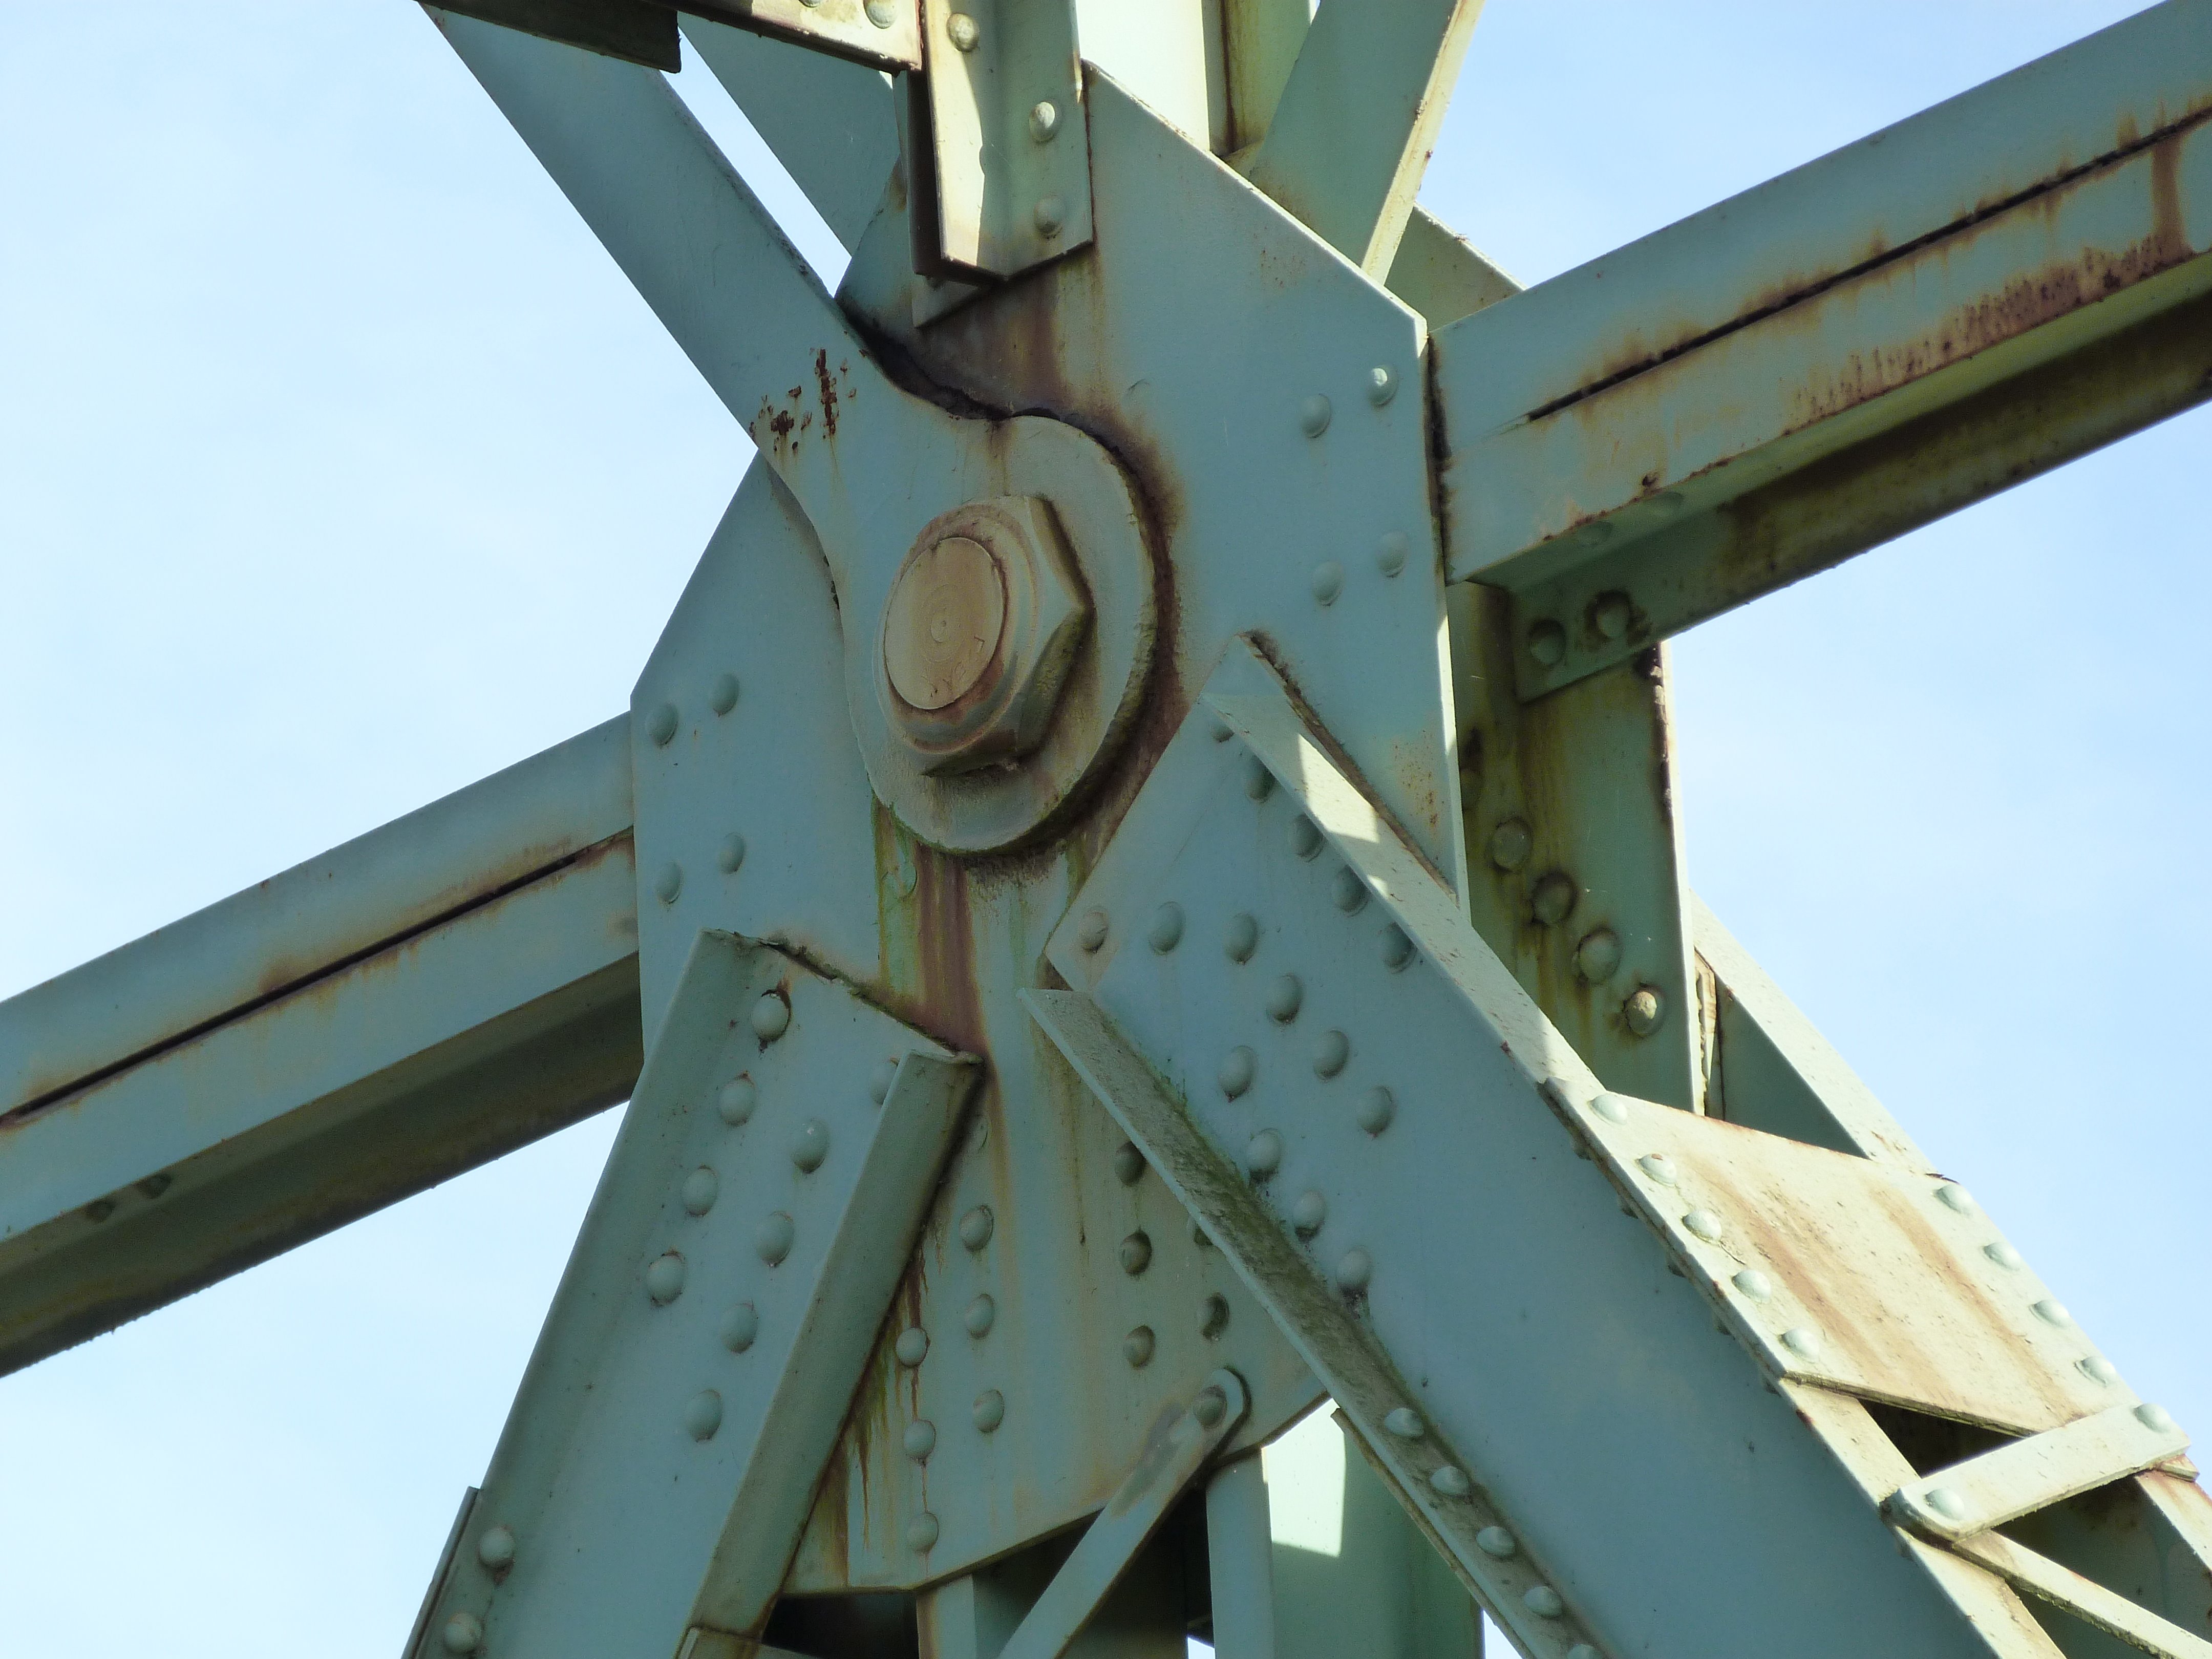


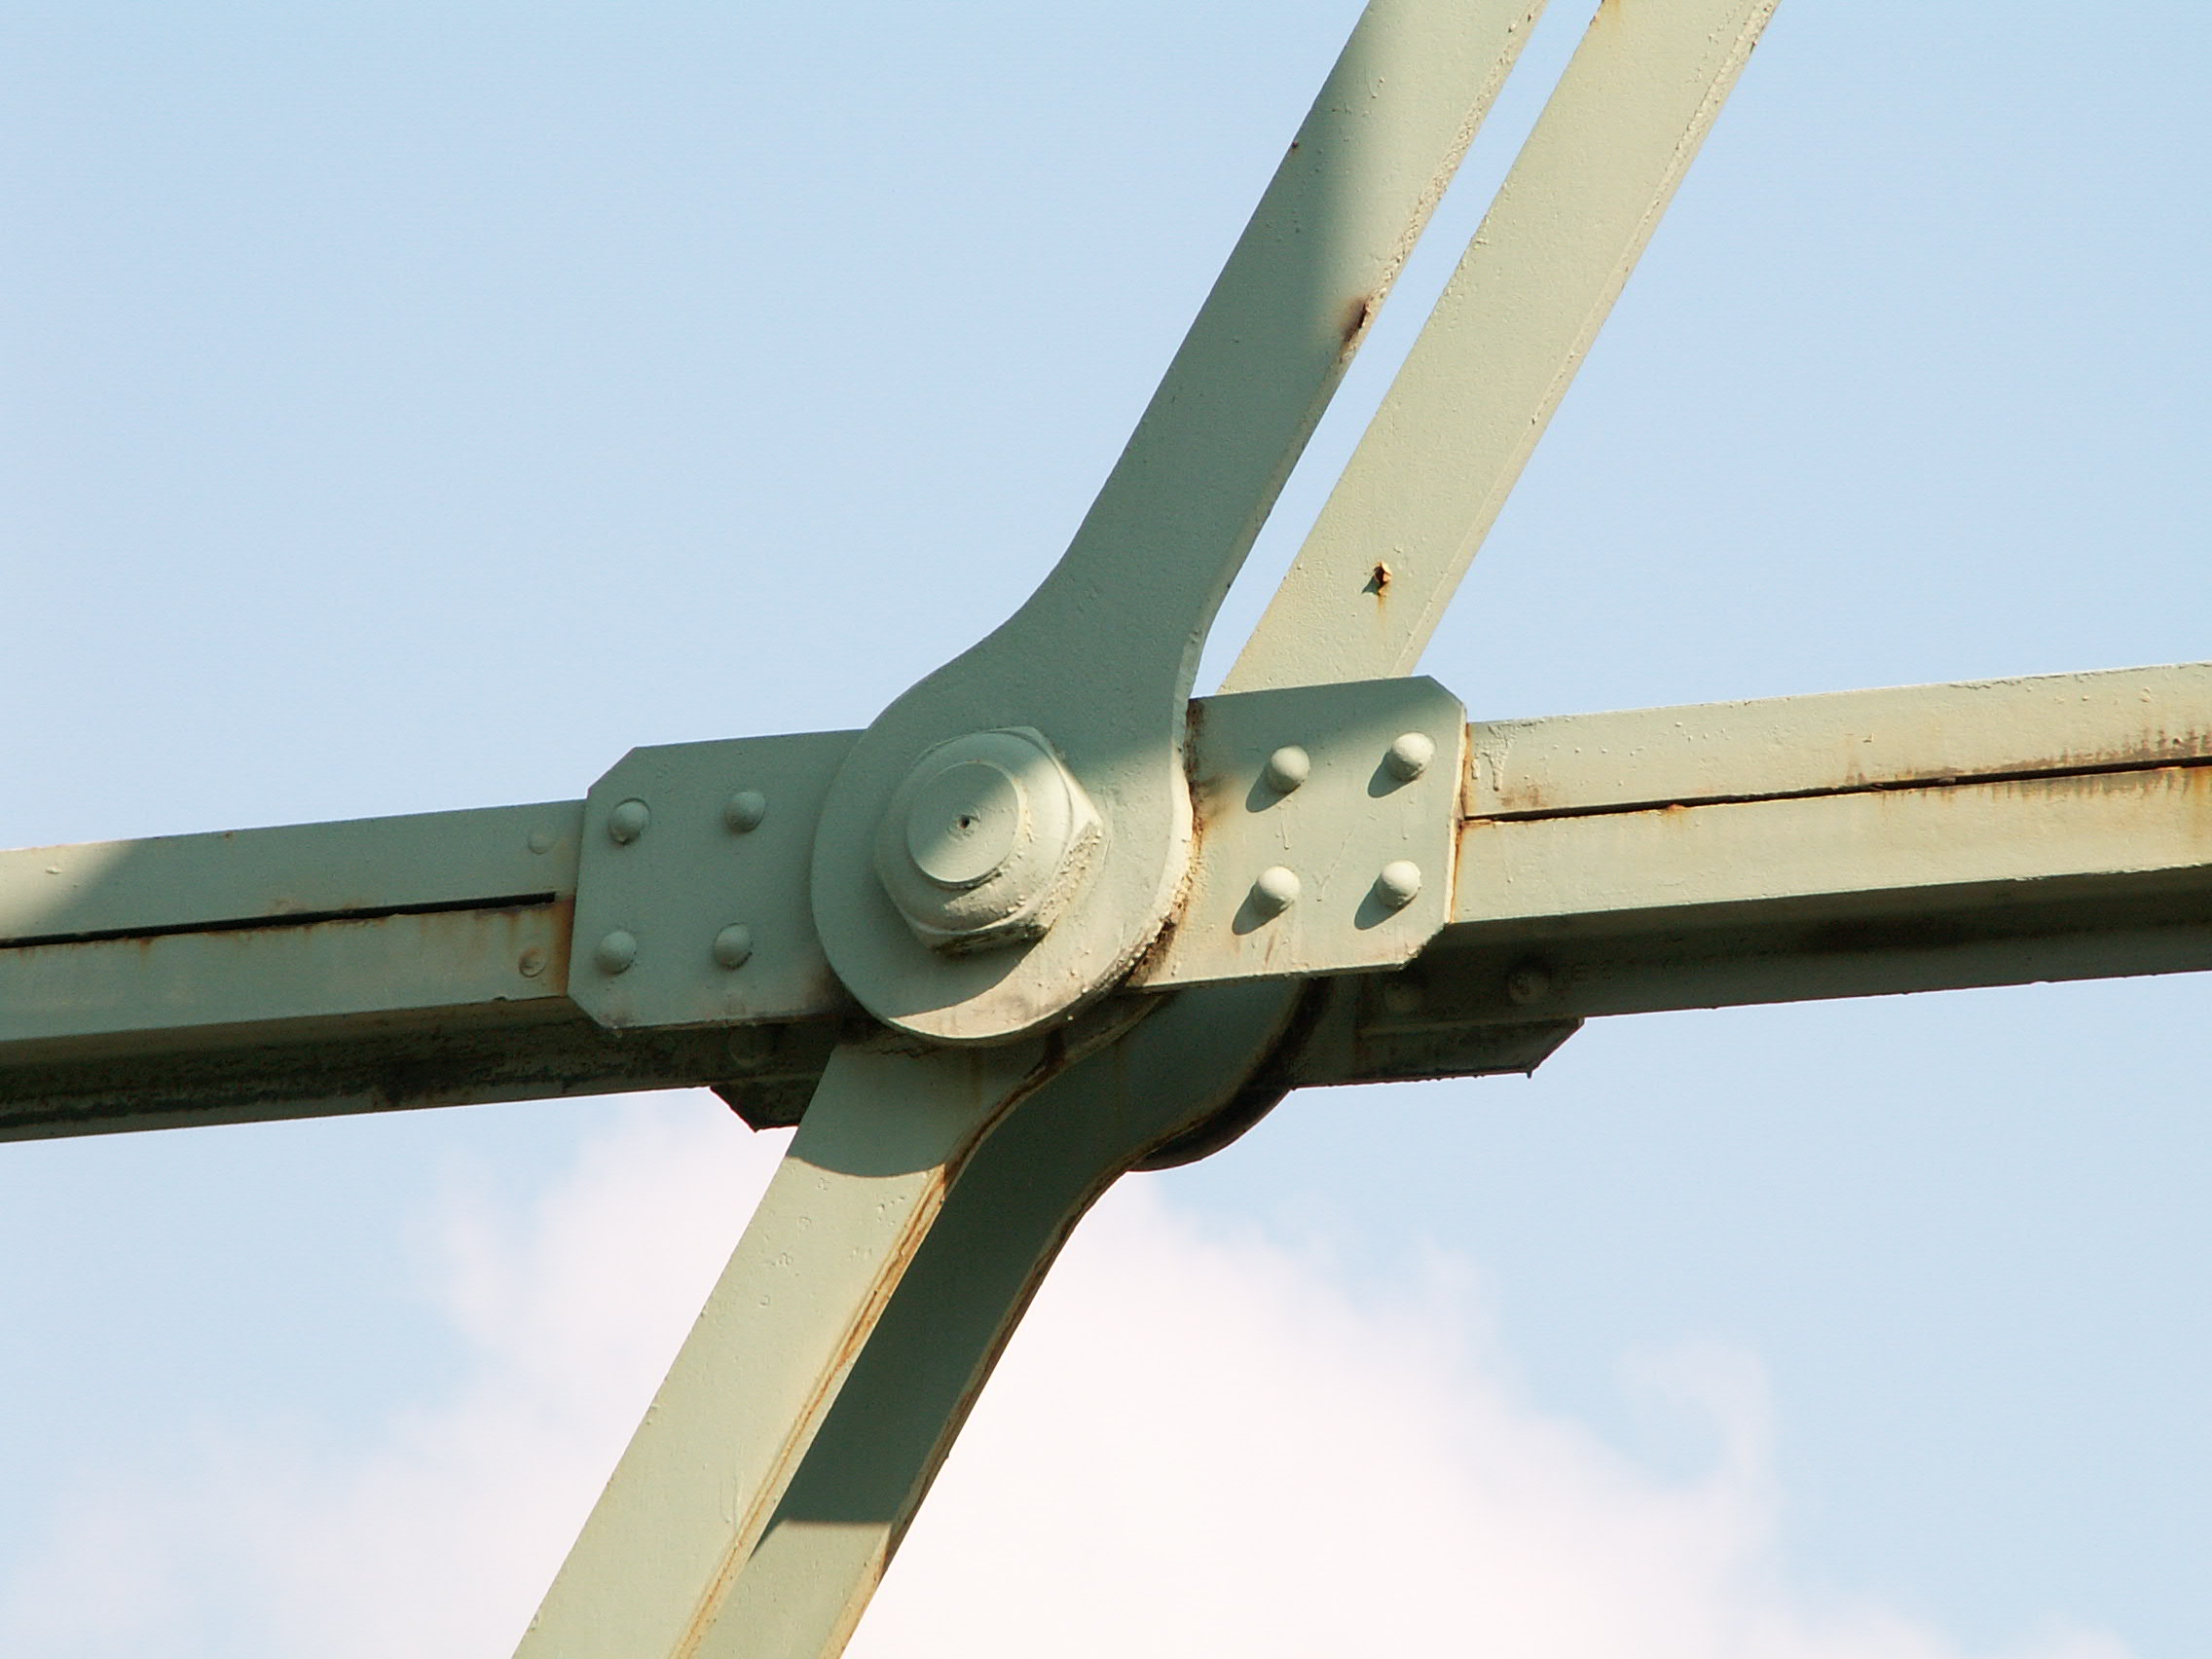
Intermediate connections as viewed from on bridge.
![]()

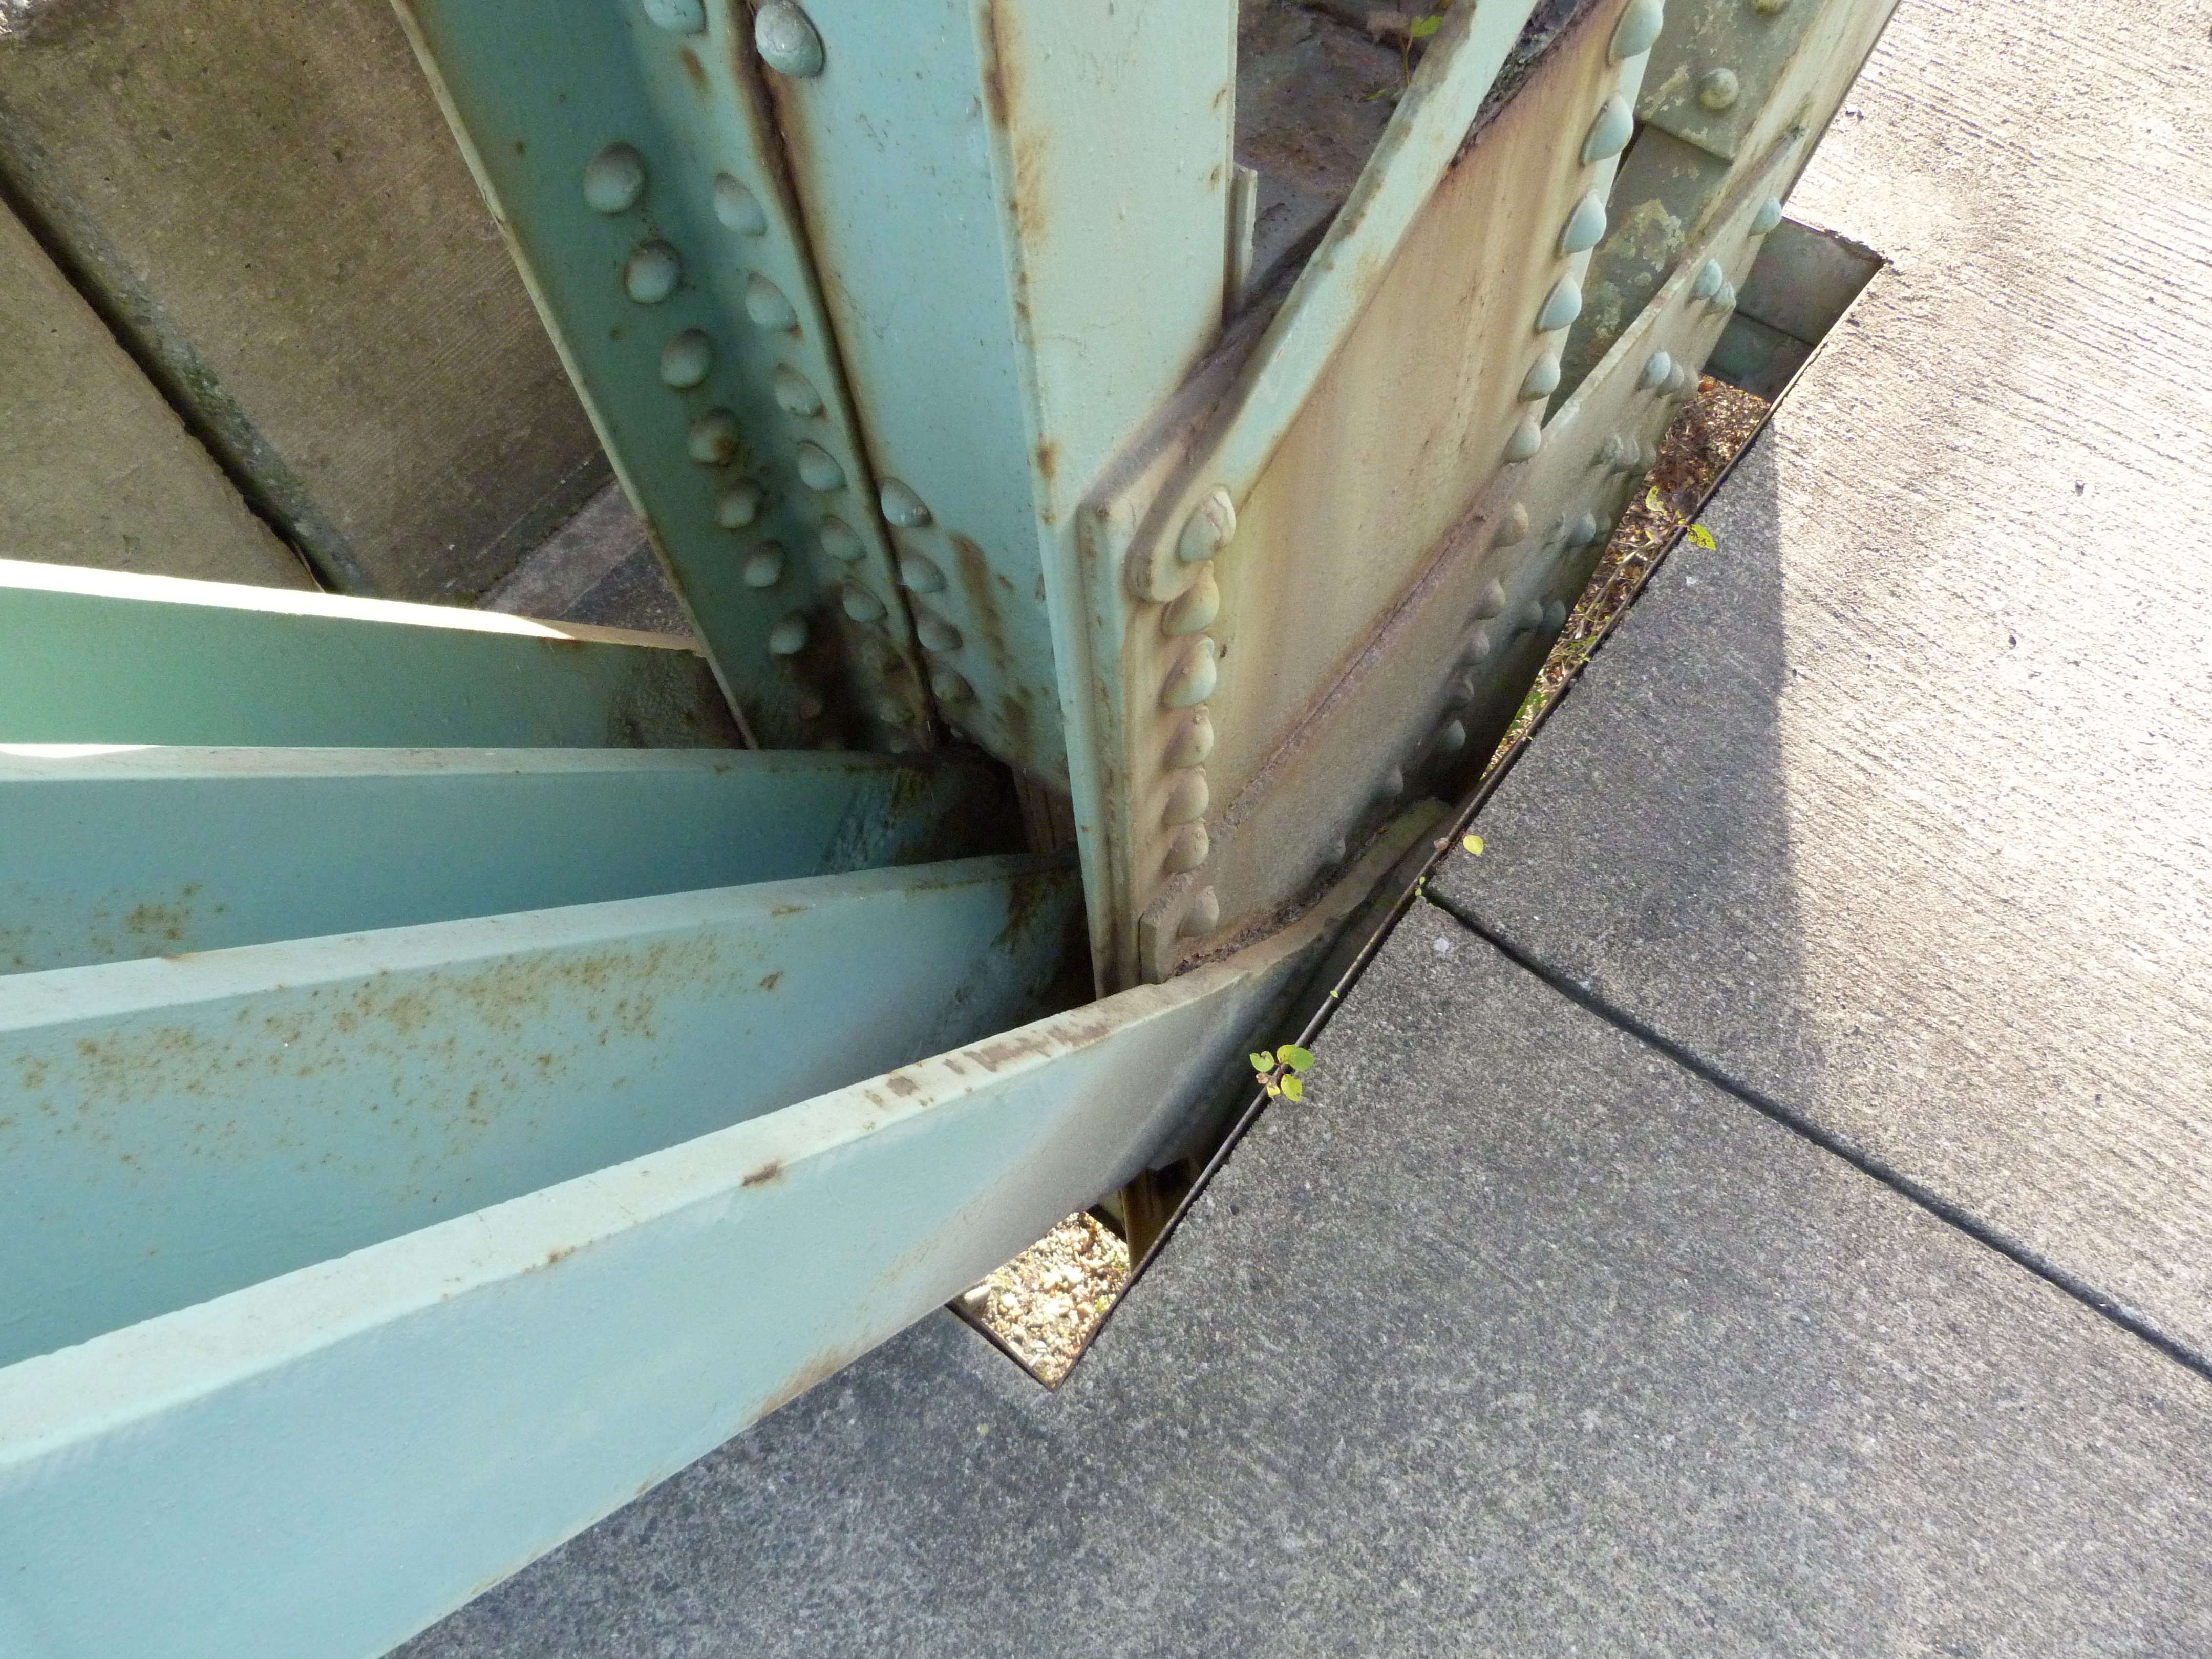
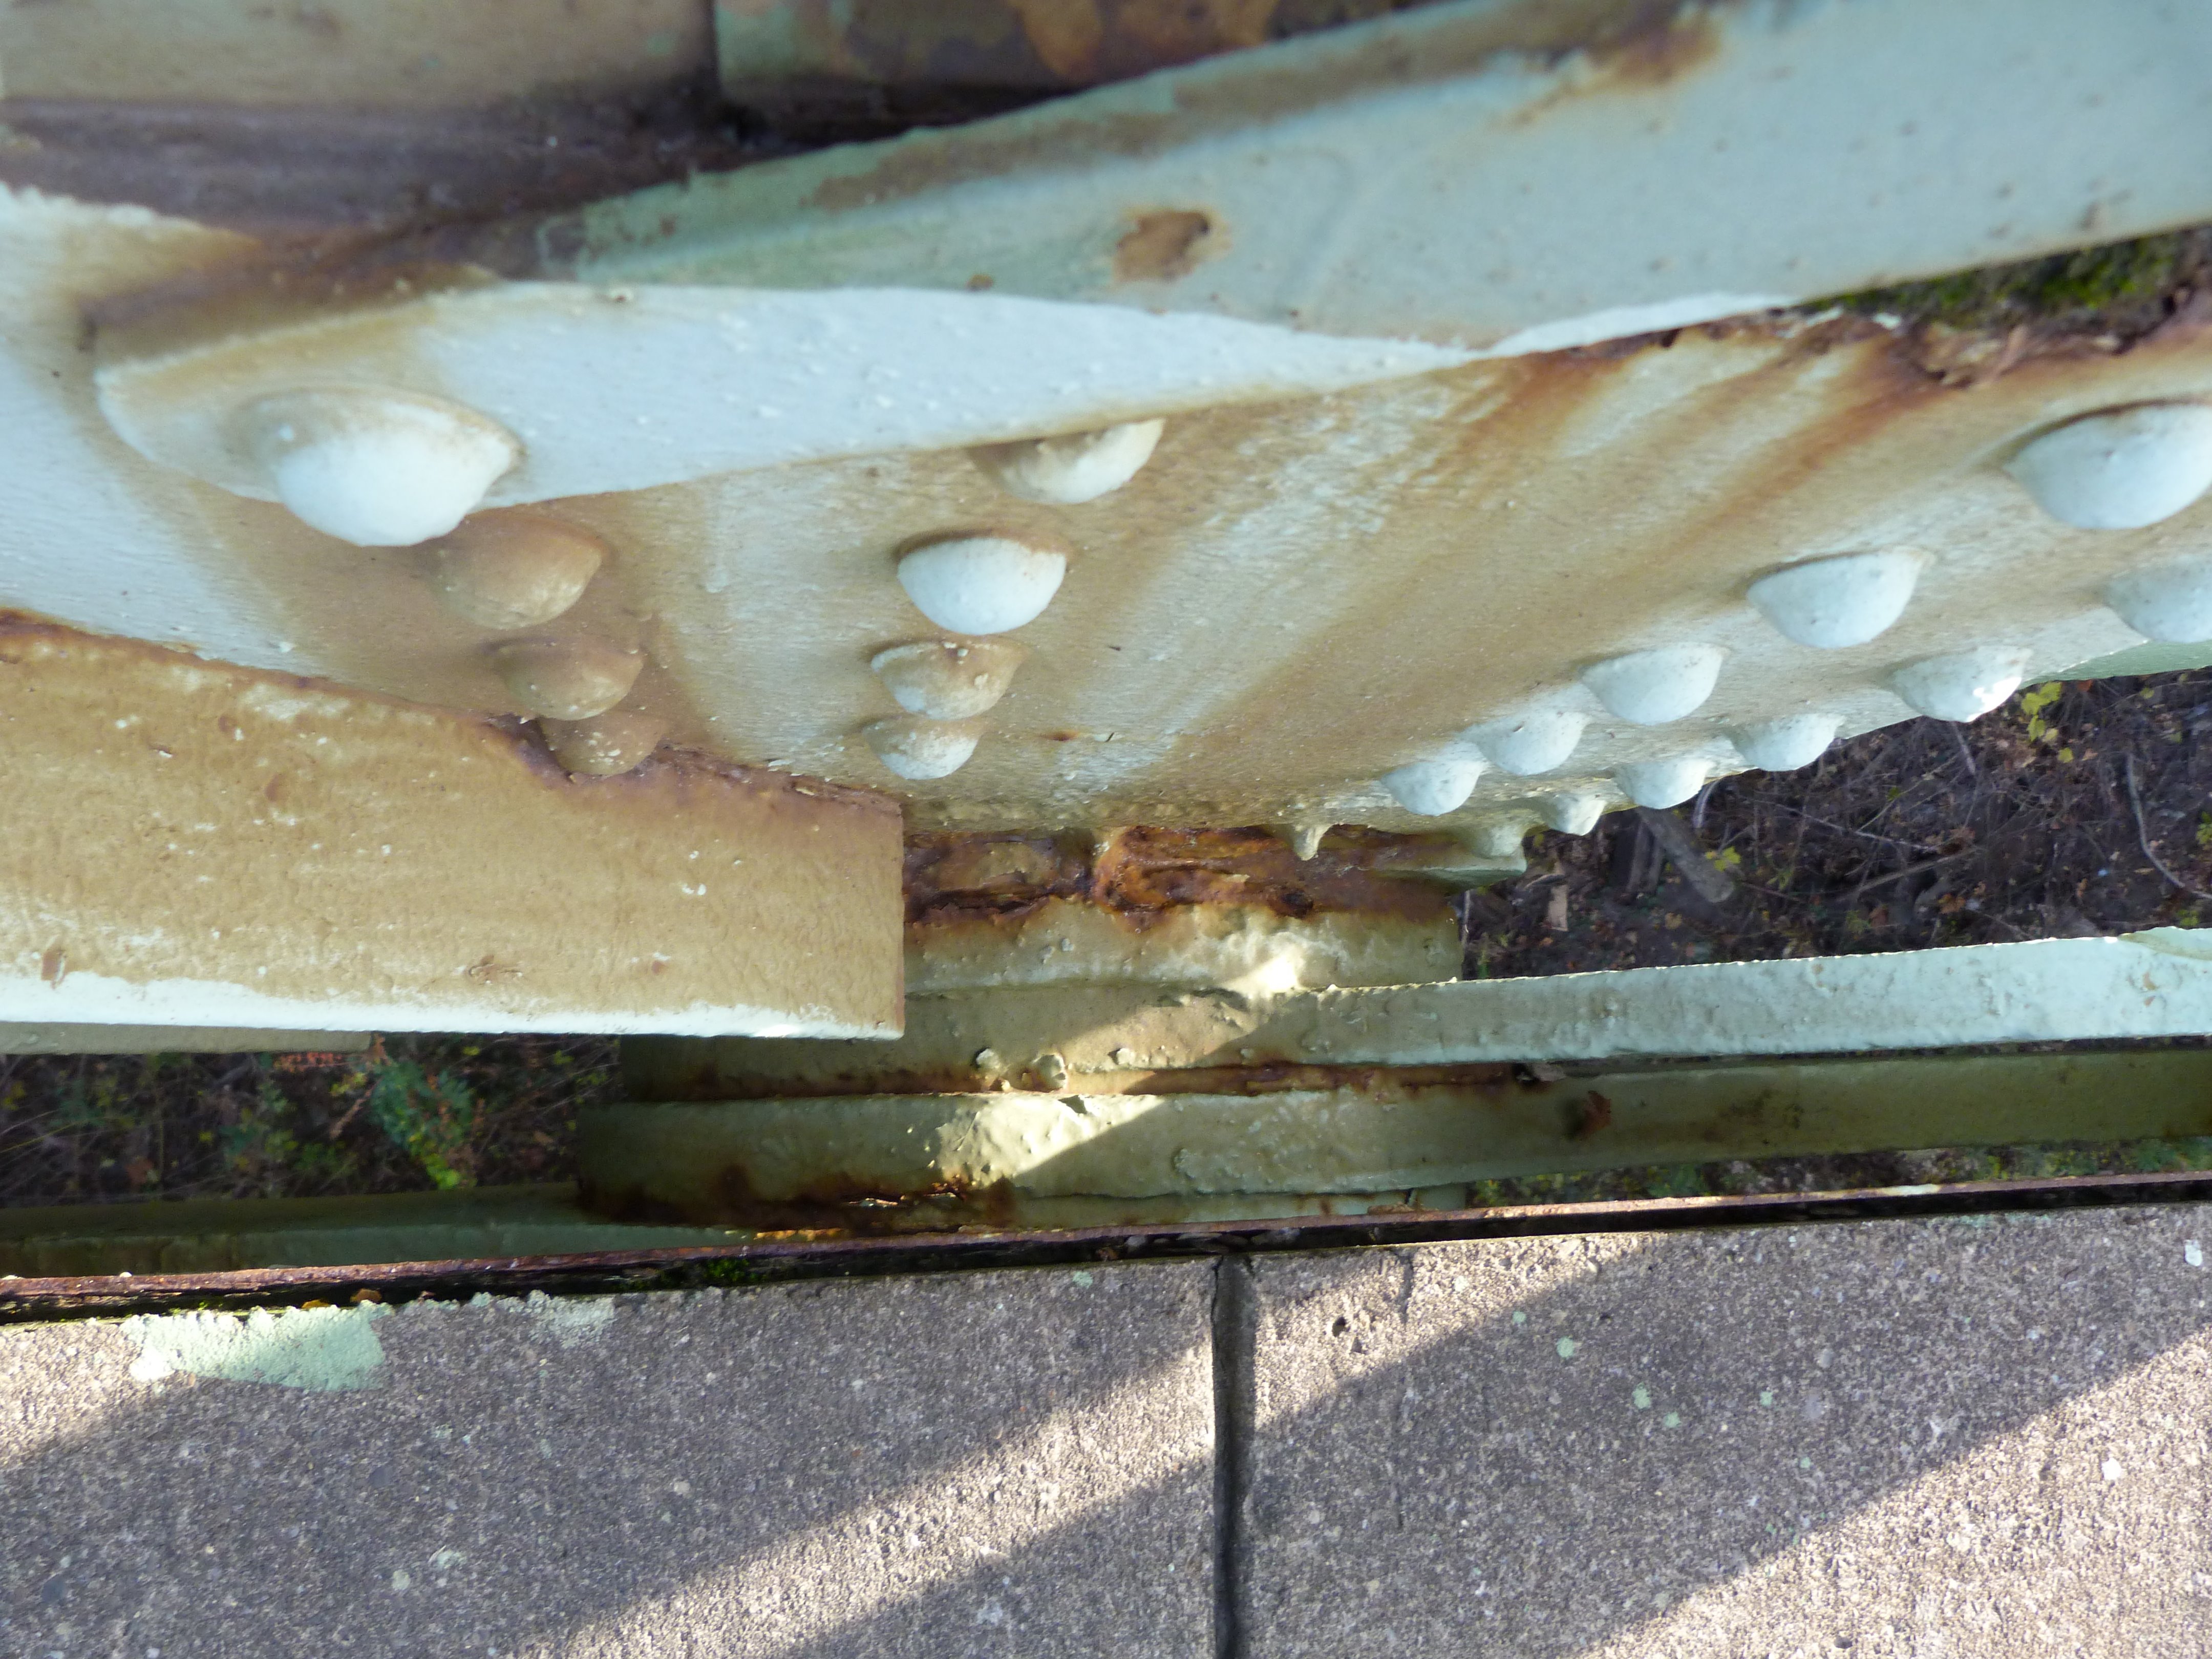
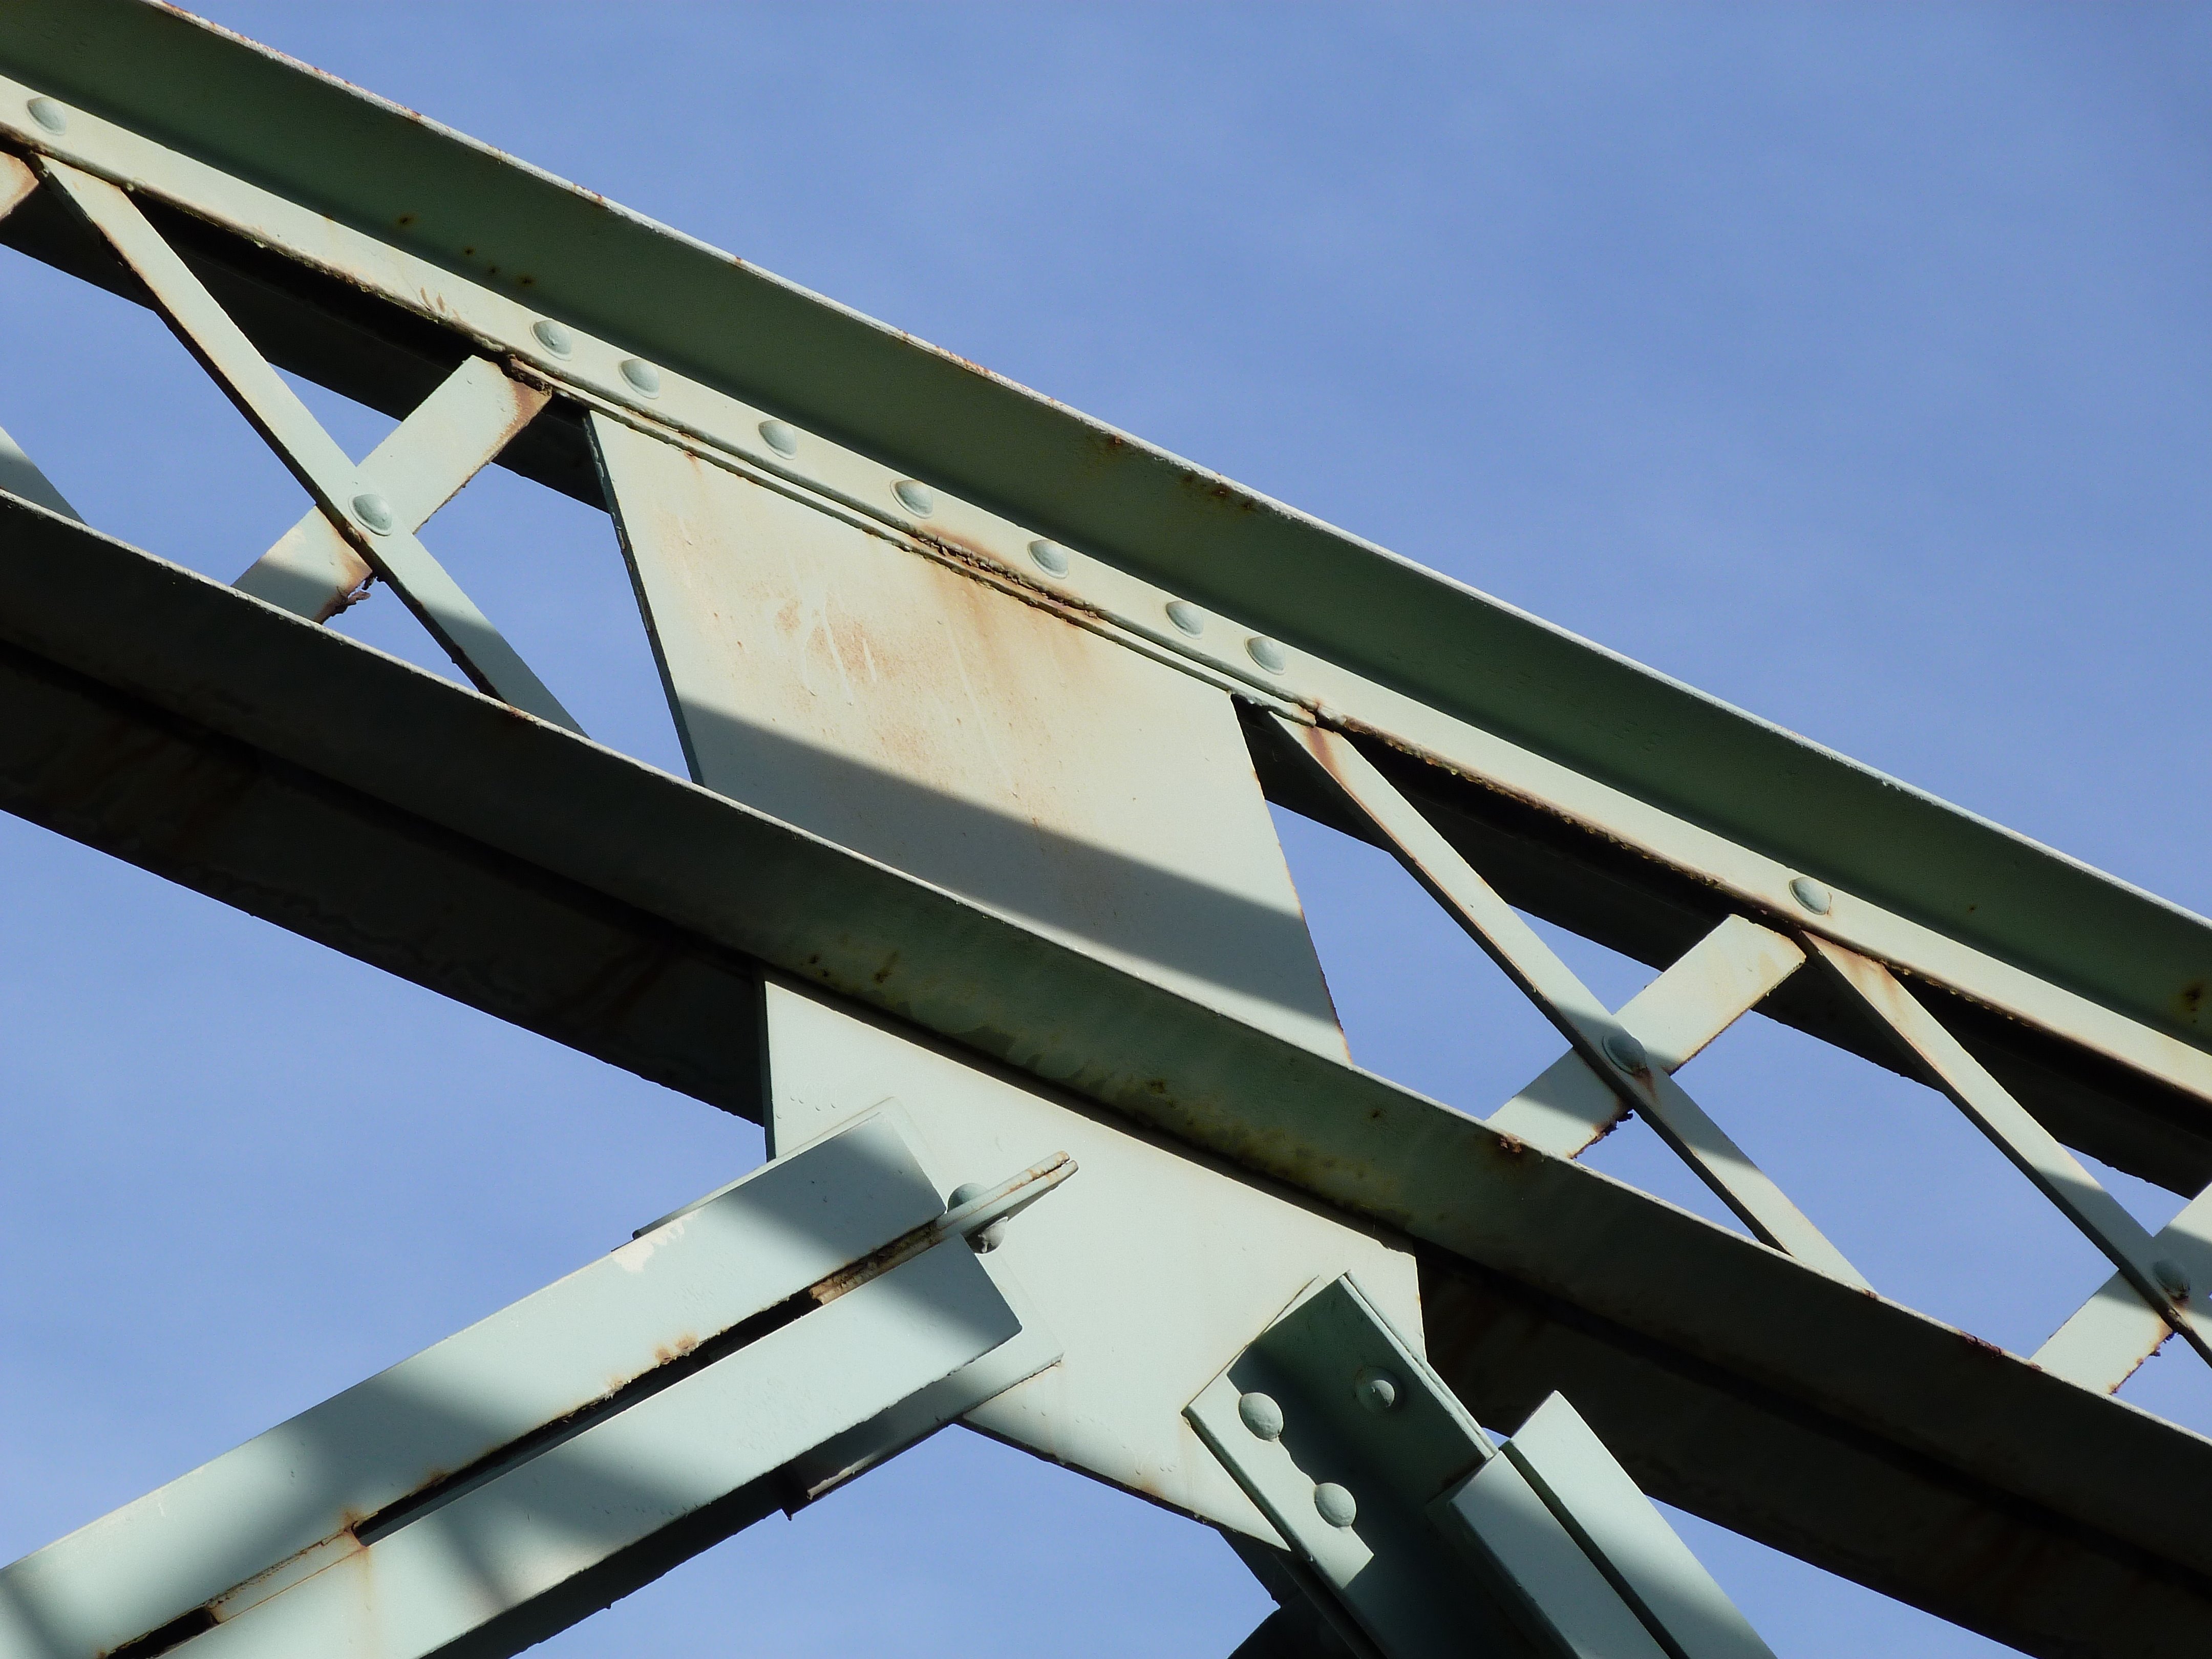
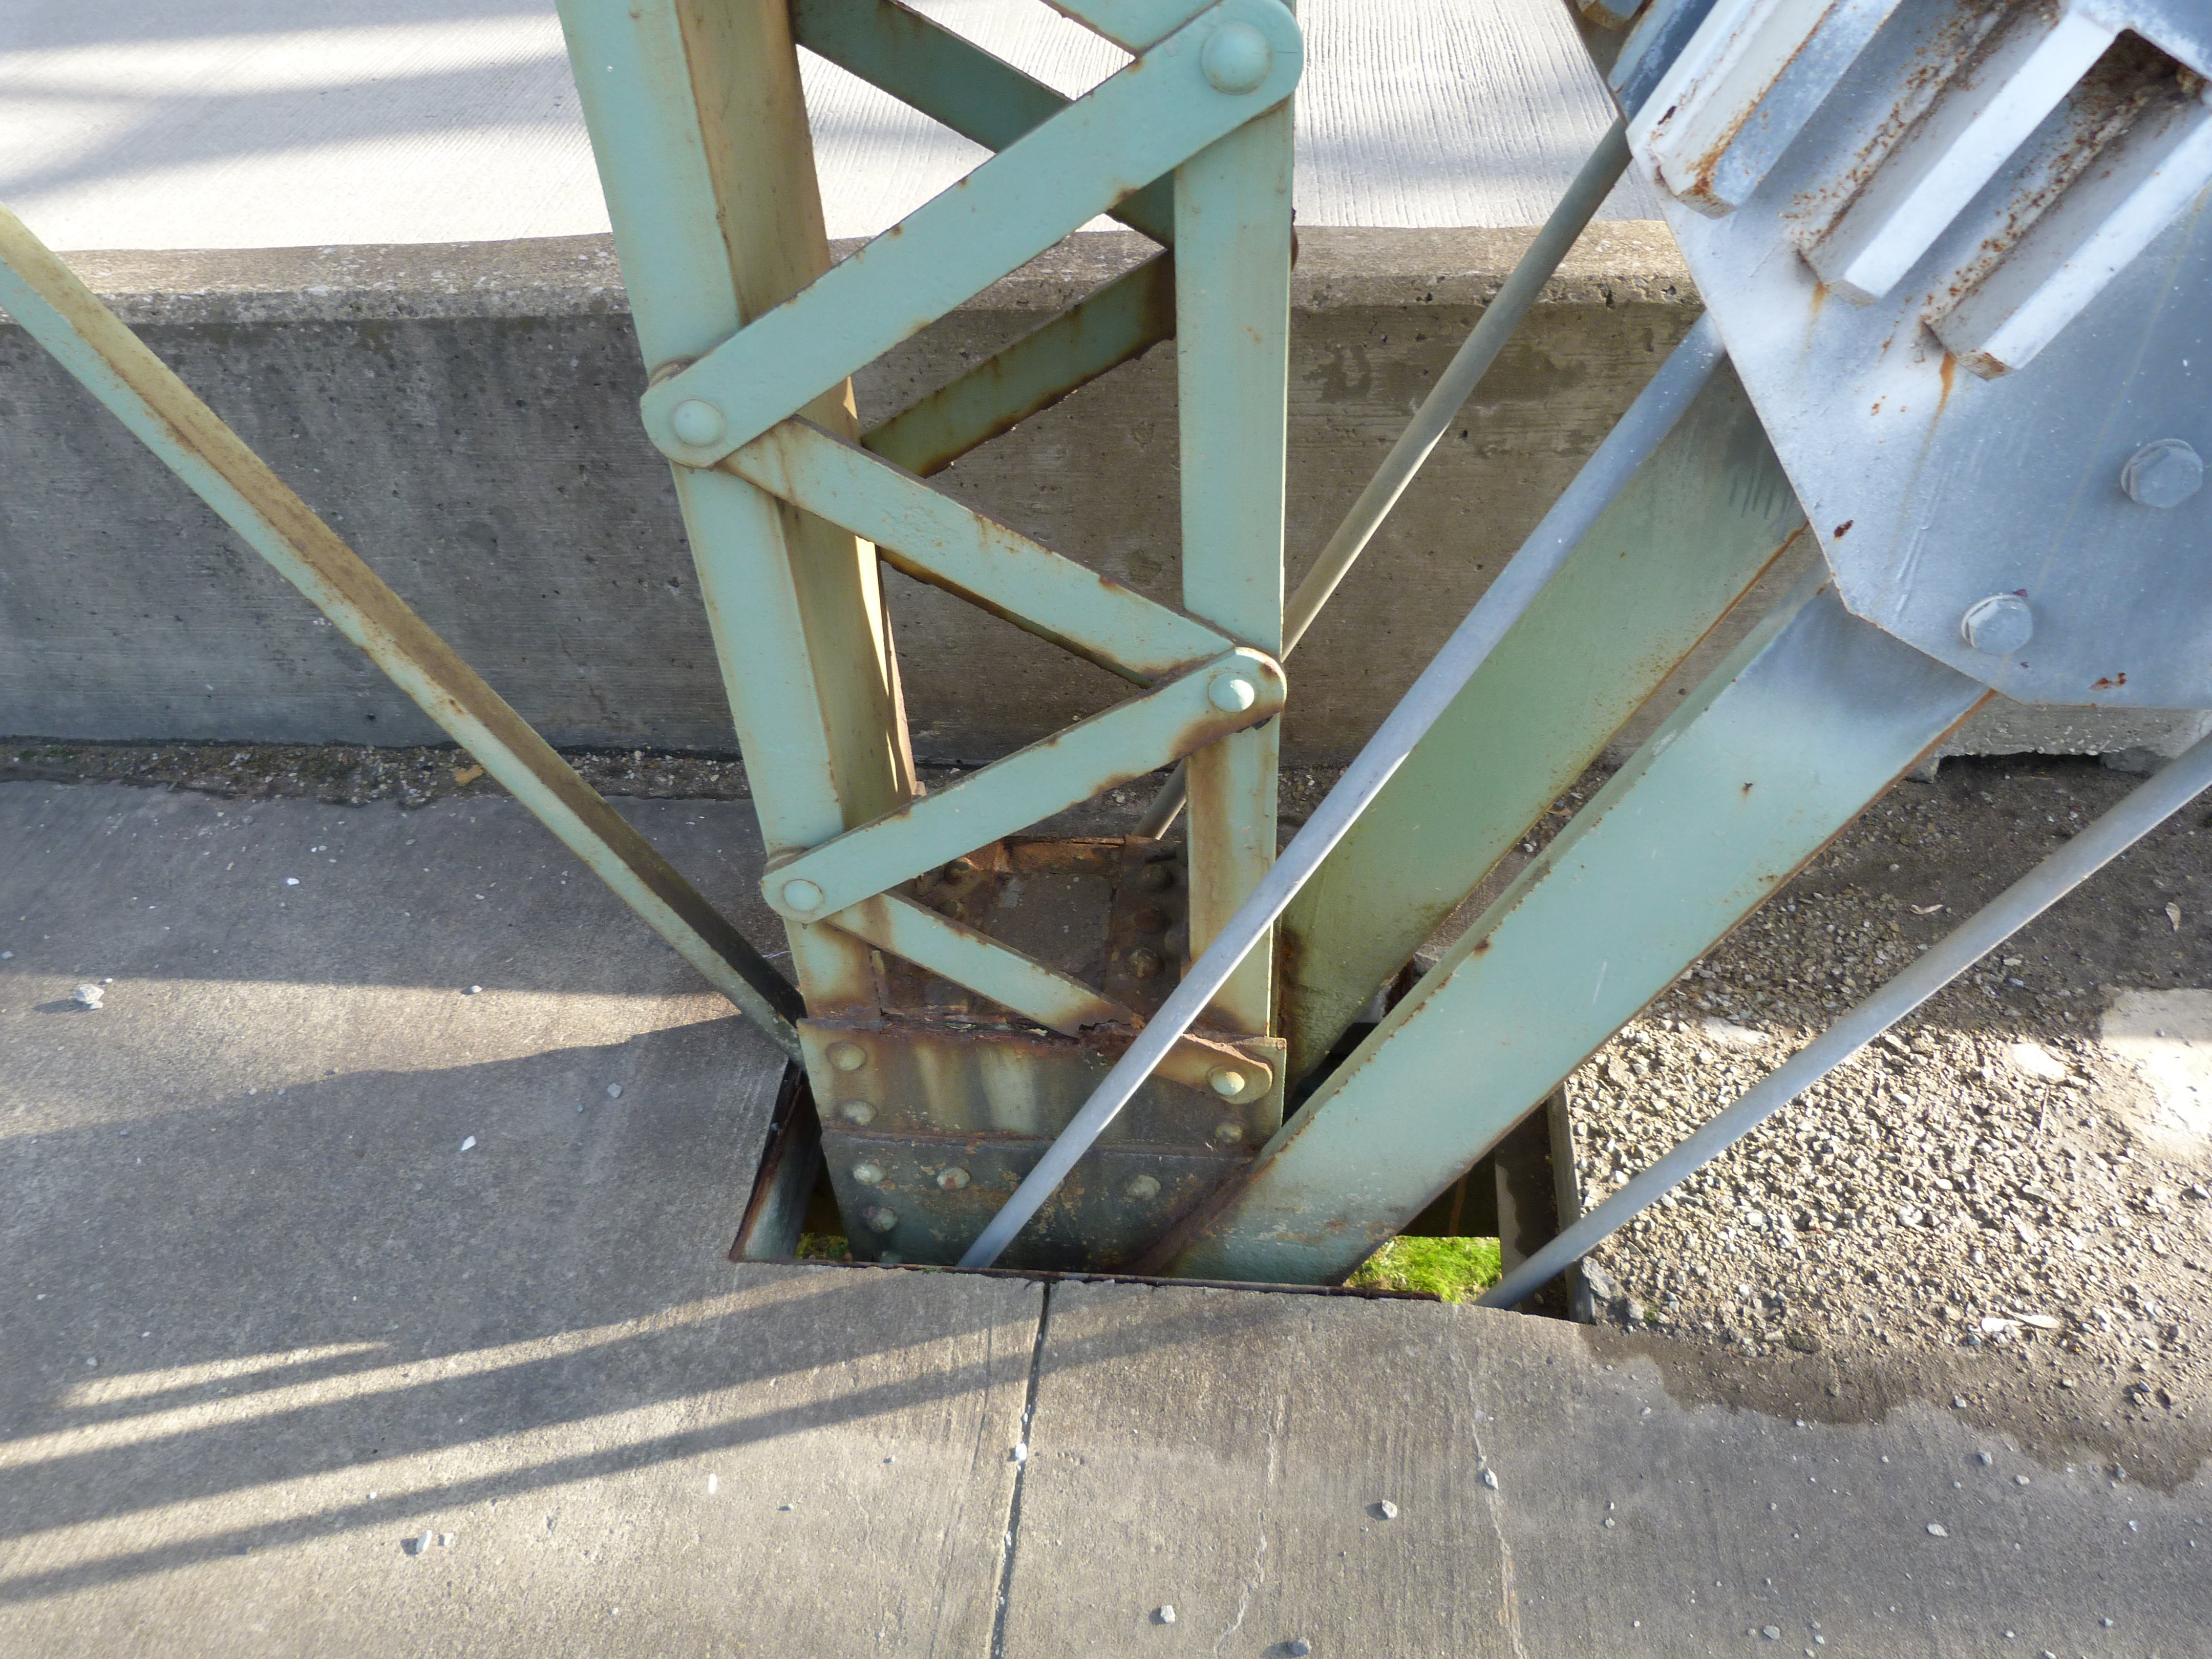
Empty rivet holes on floor beam end, suggesting a former cantilevered sidewalk used to be here.
![]()

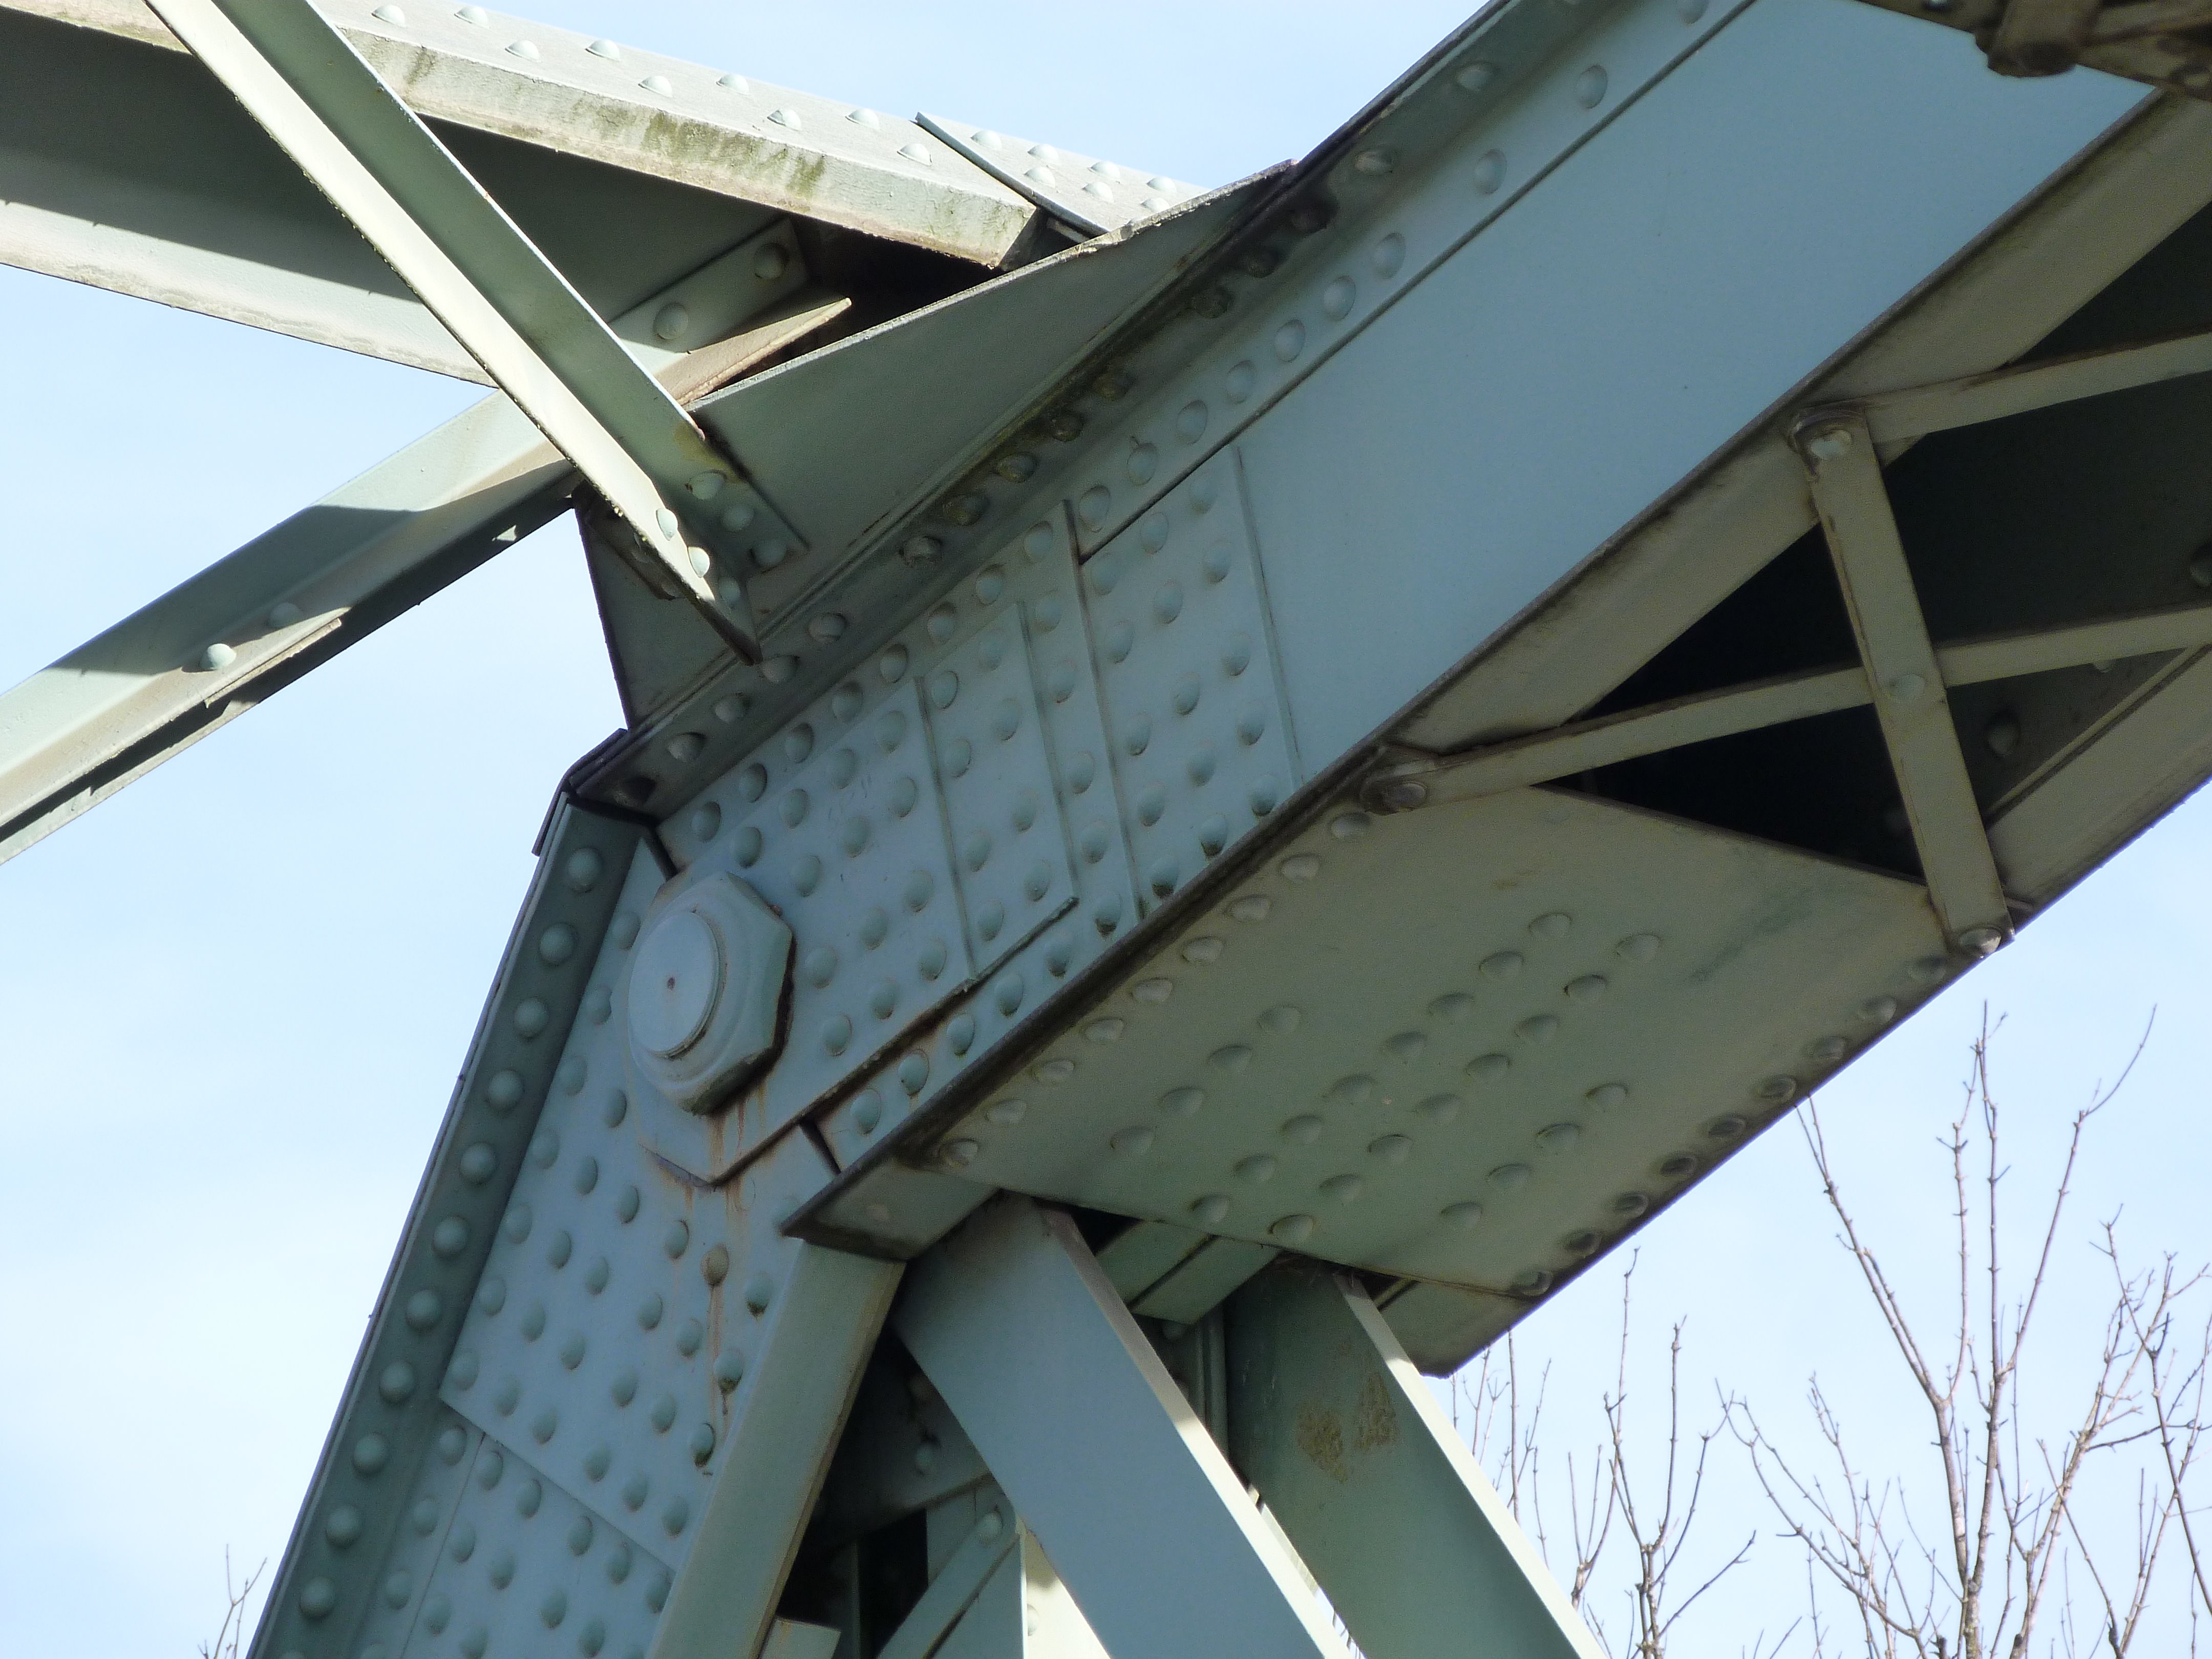
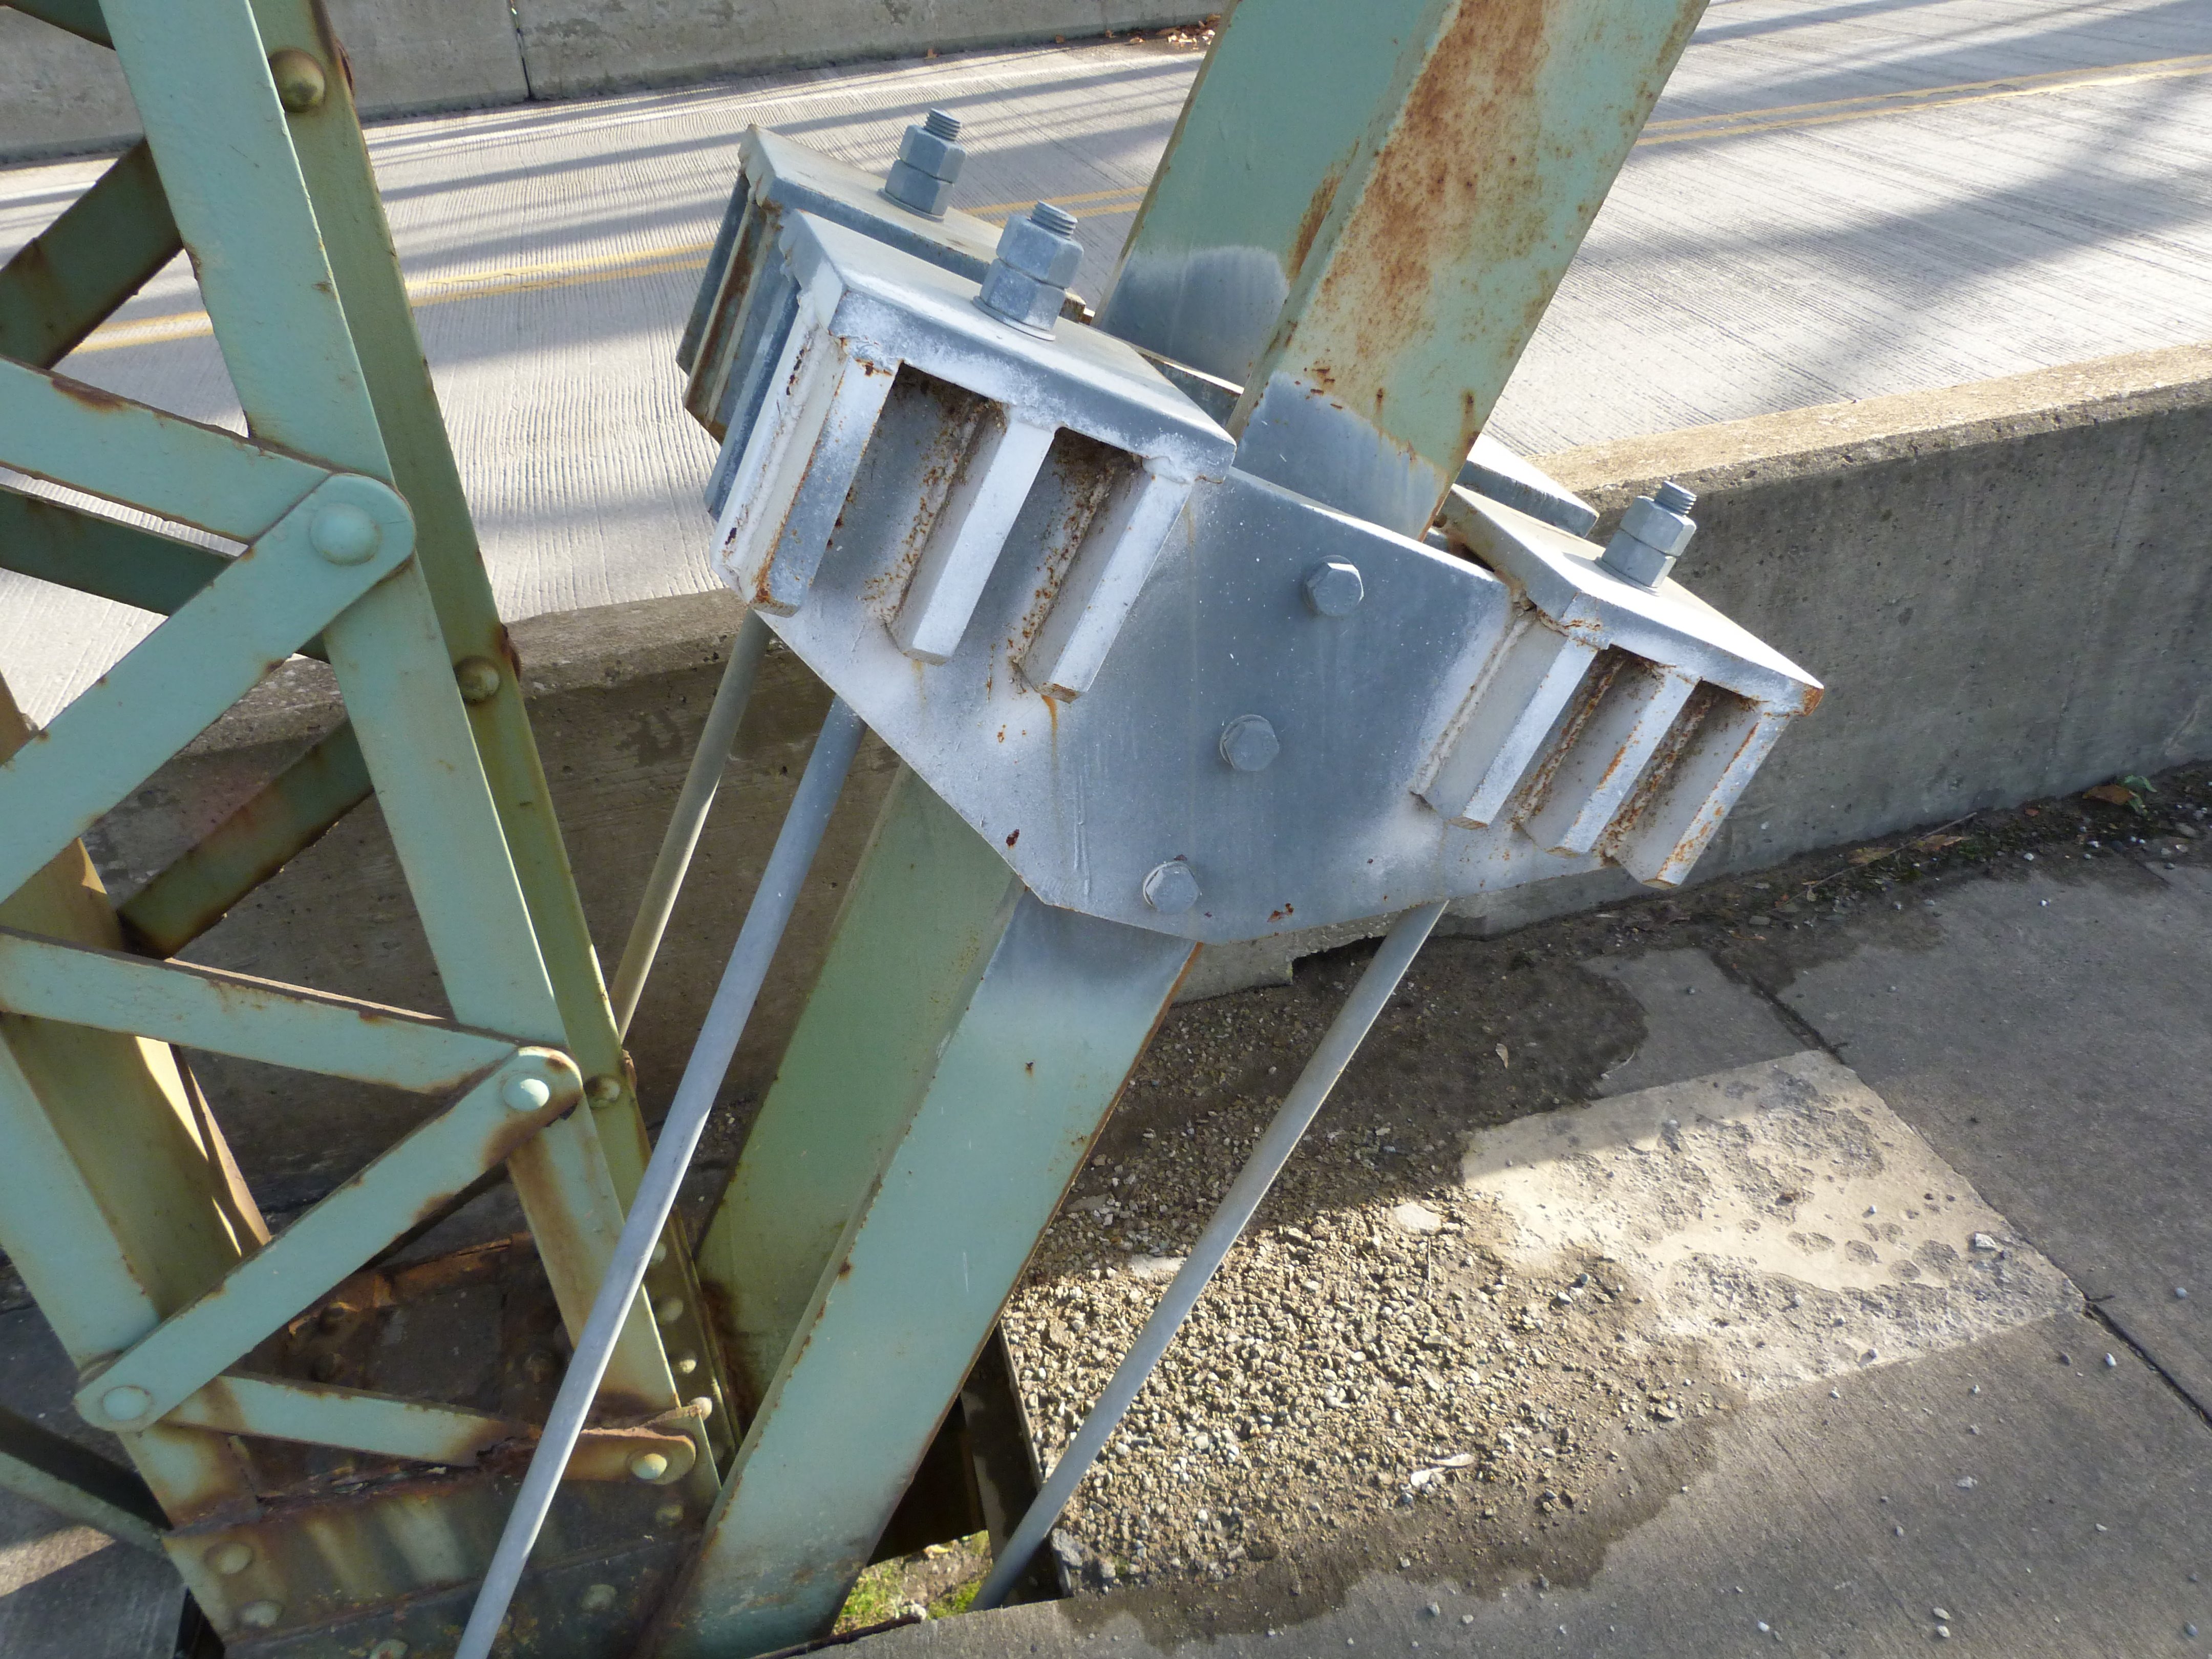
Lateral bracing connection.
![]()
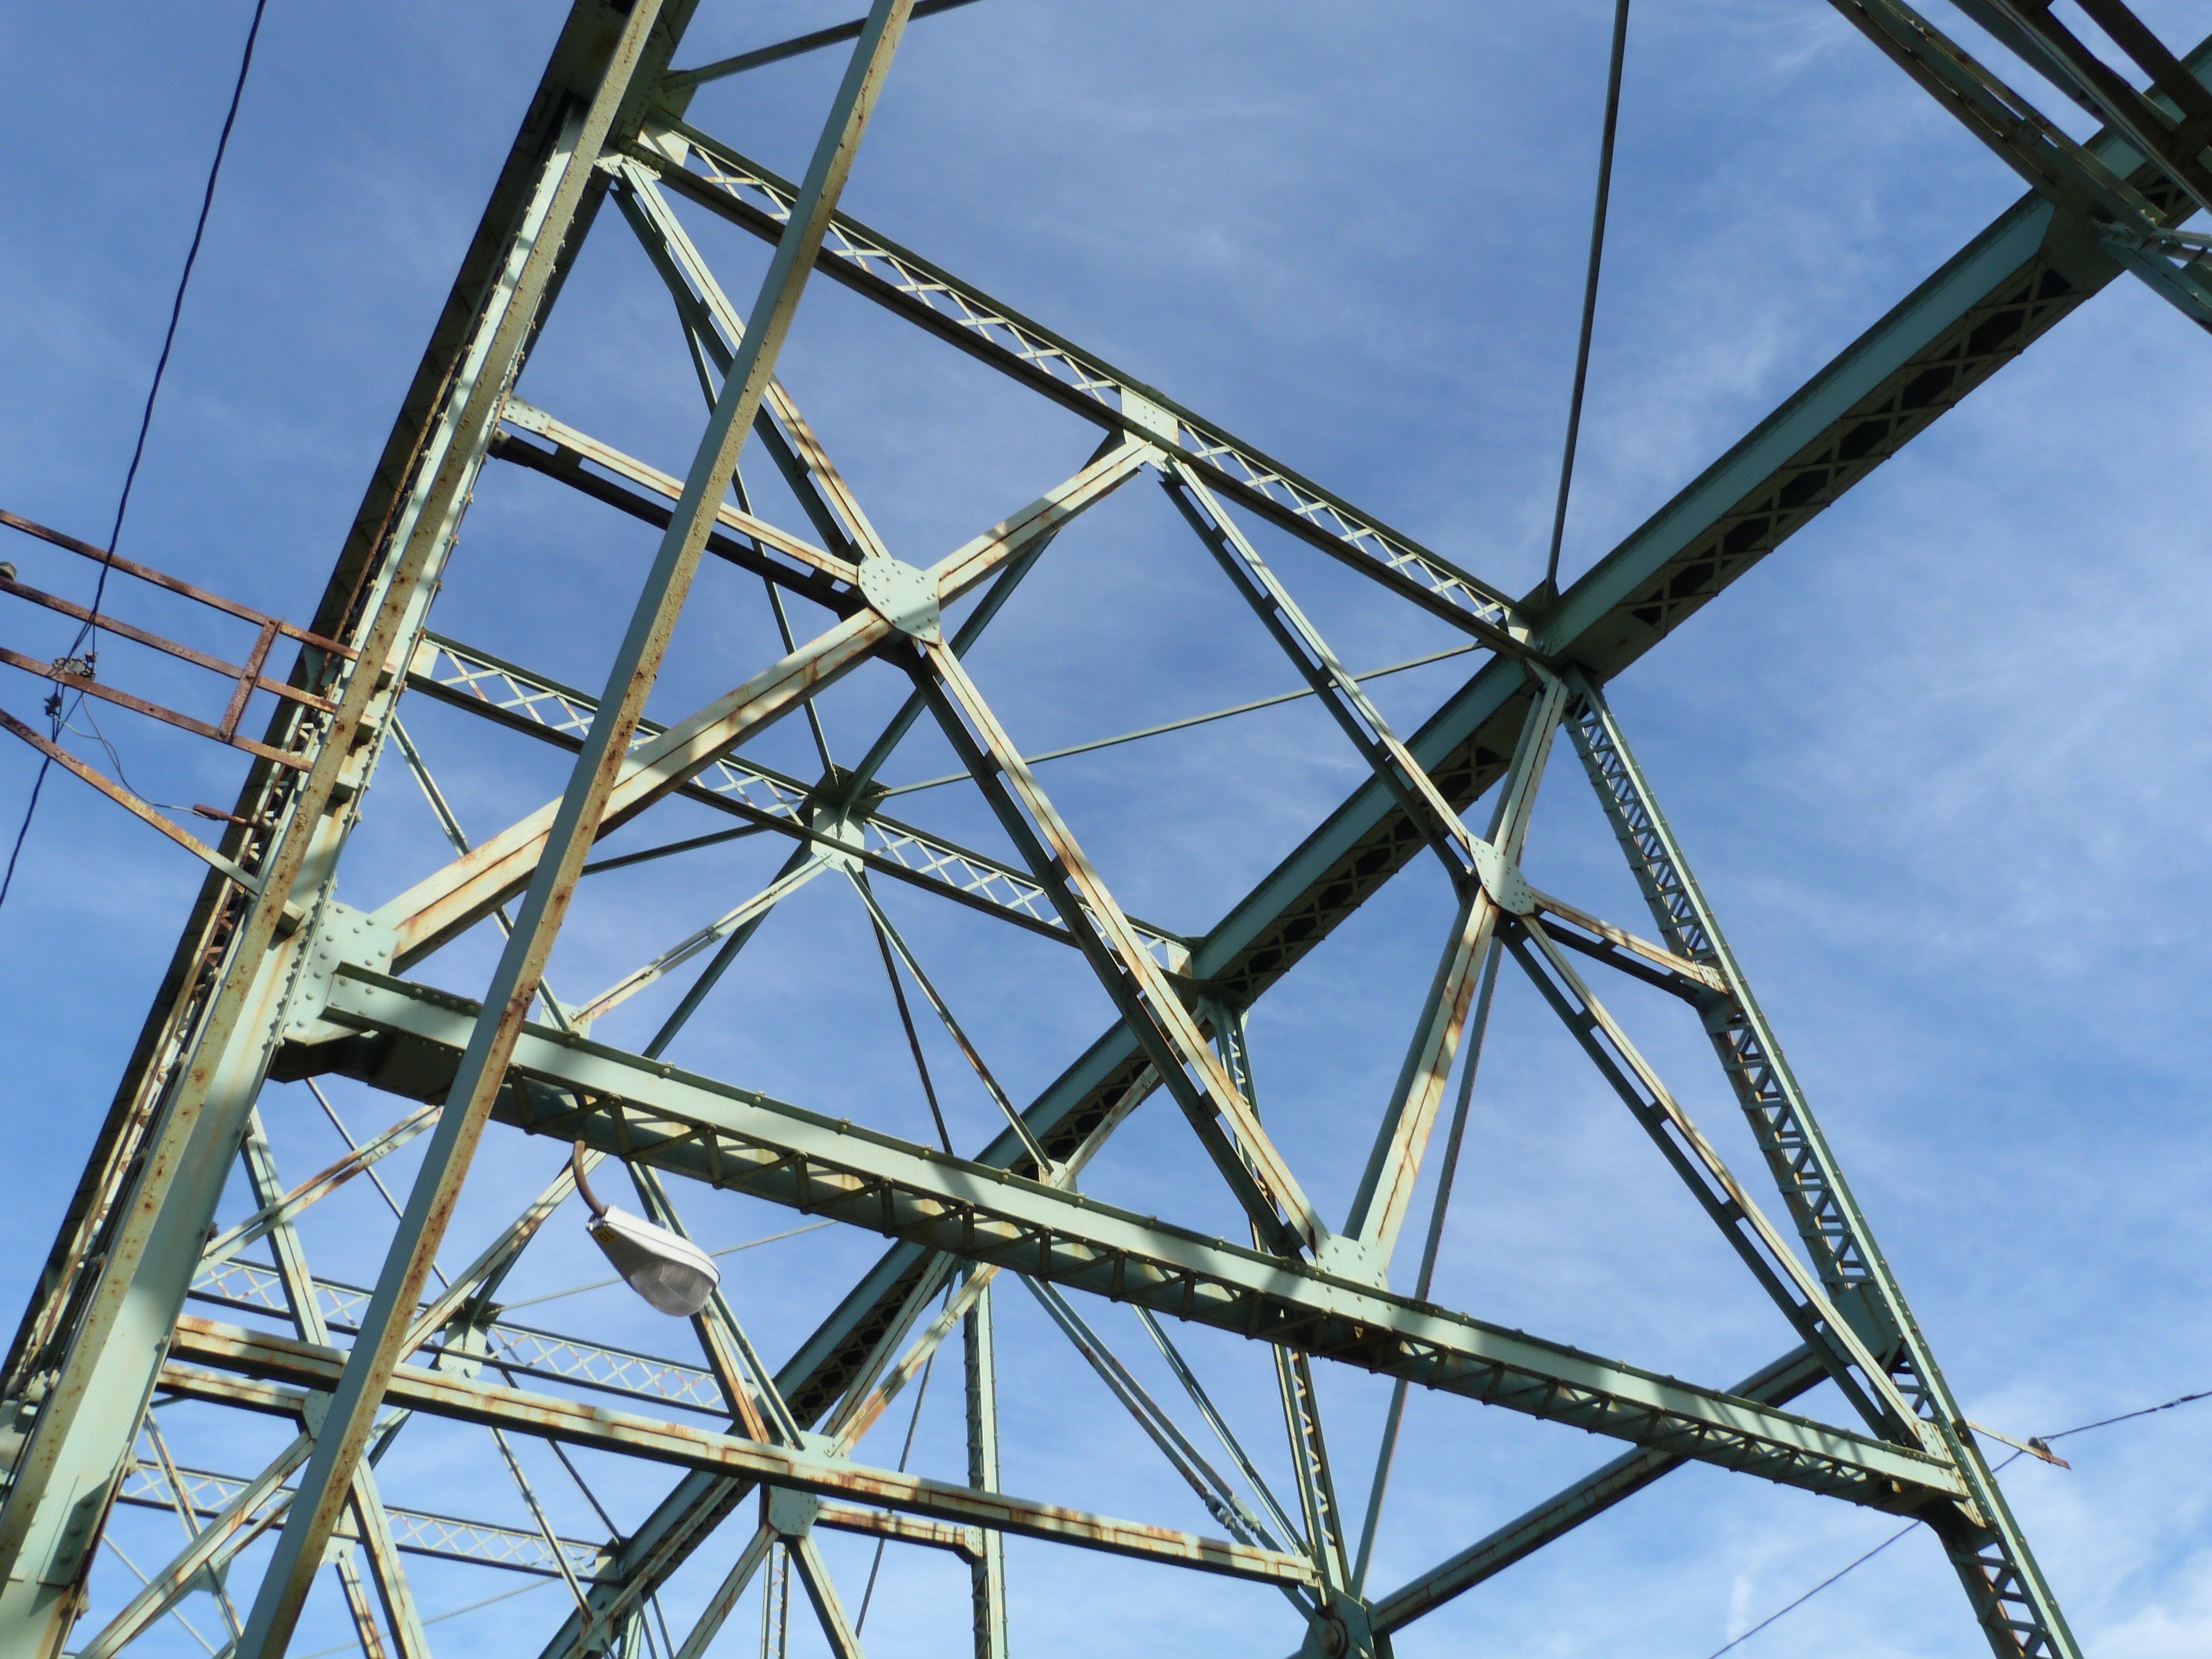
Sway bracing.
![]()


Sway bracing connections.
![]()

Portal bracing details.
![]()
Diagonal member alteration.
![]()
Railing.
![]()


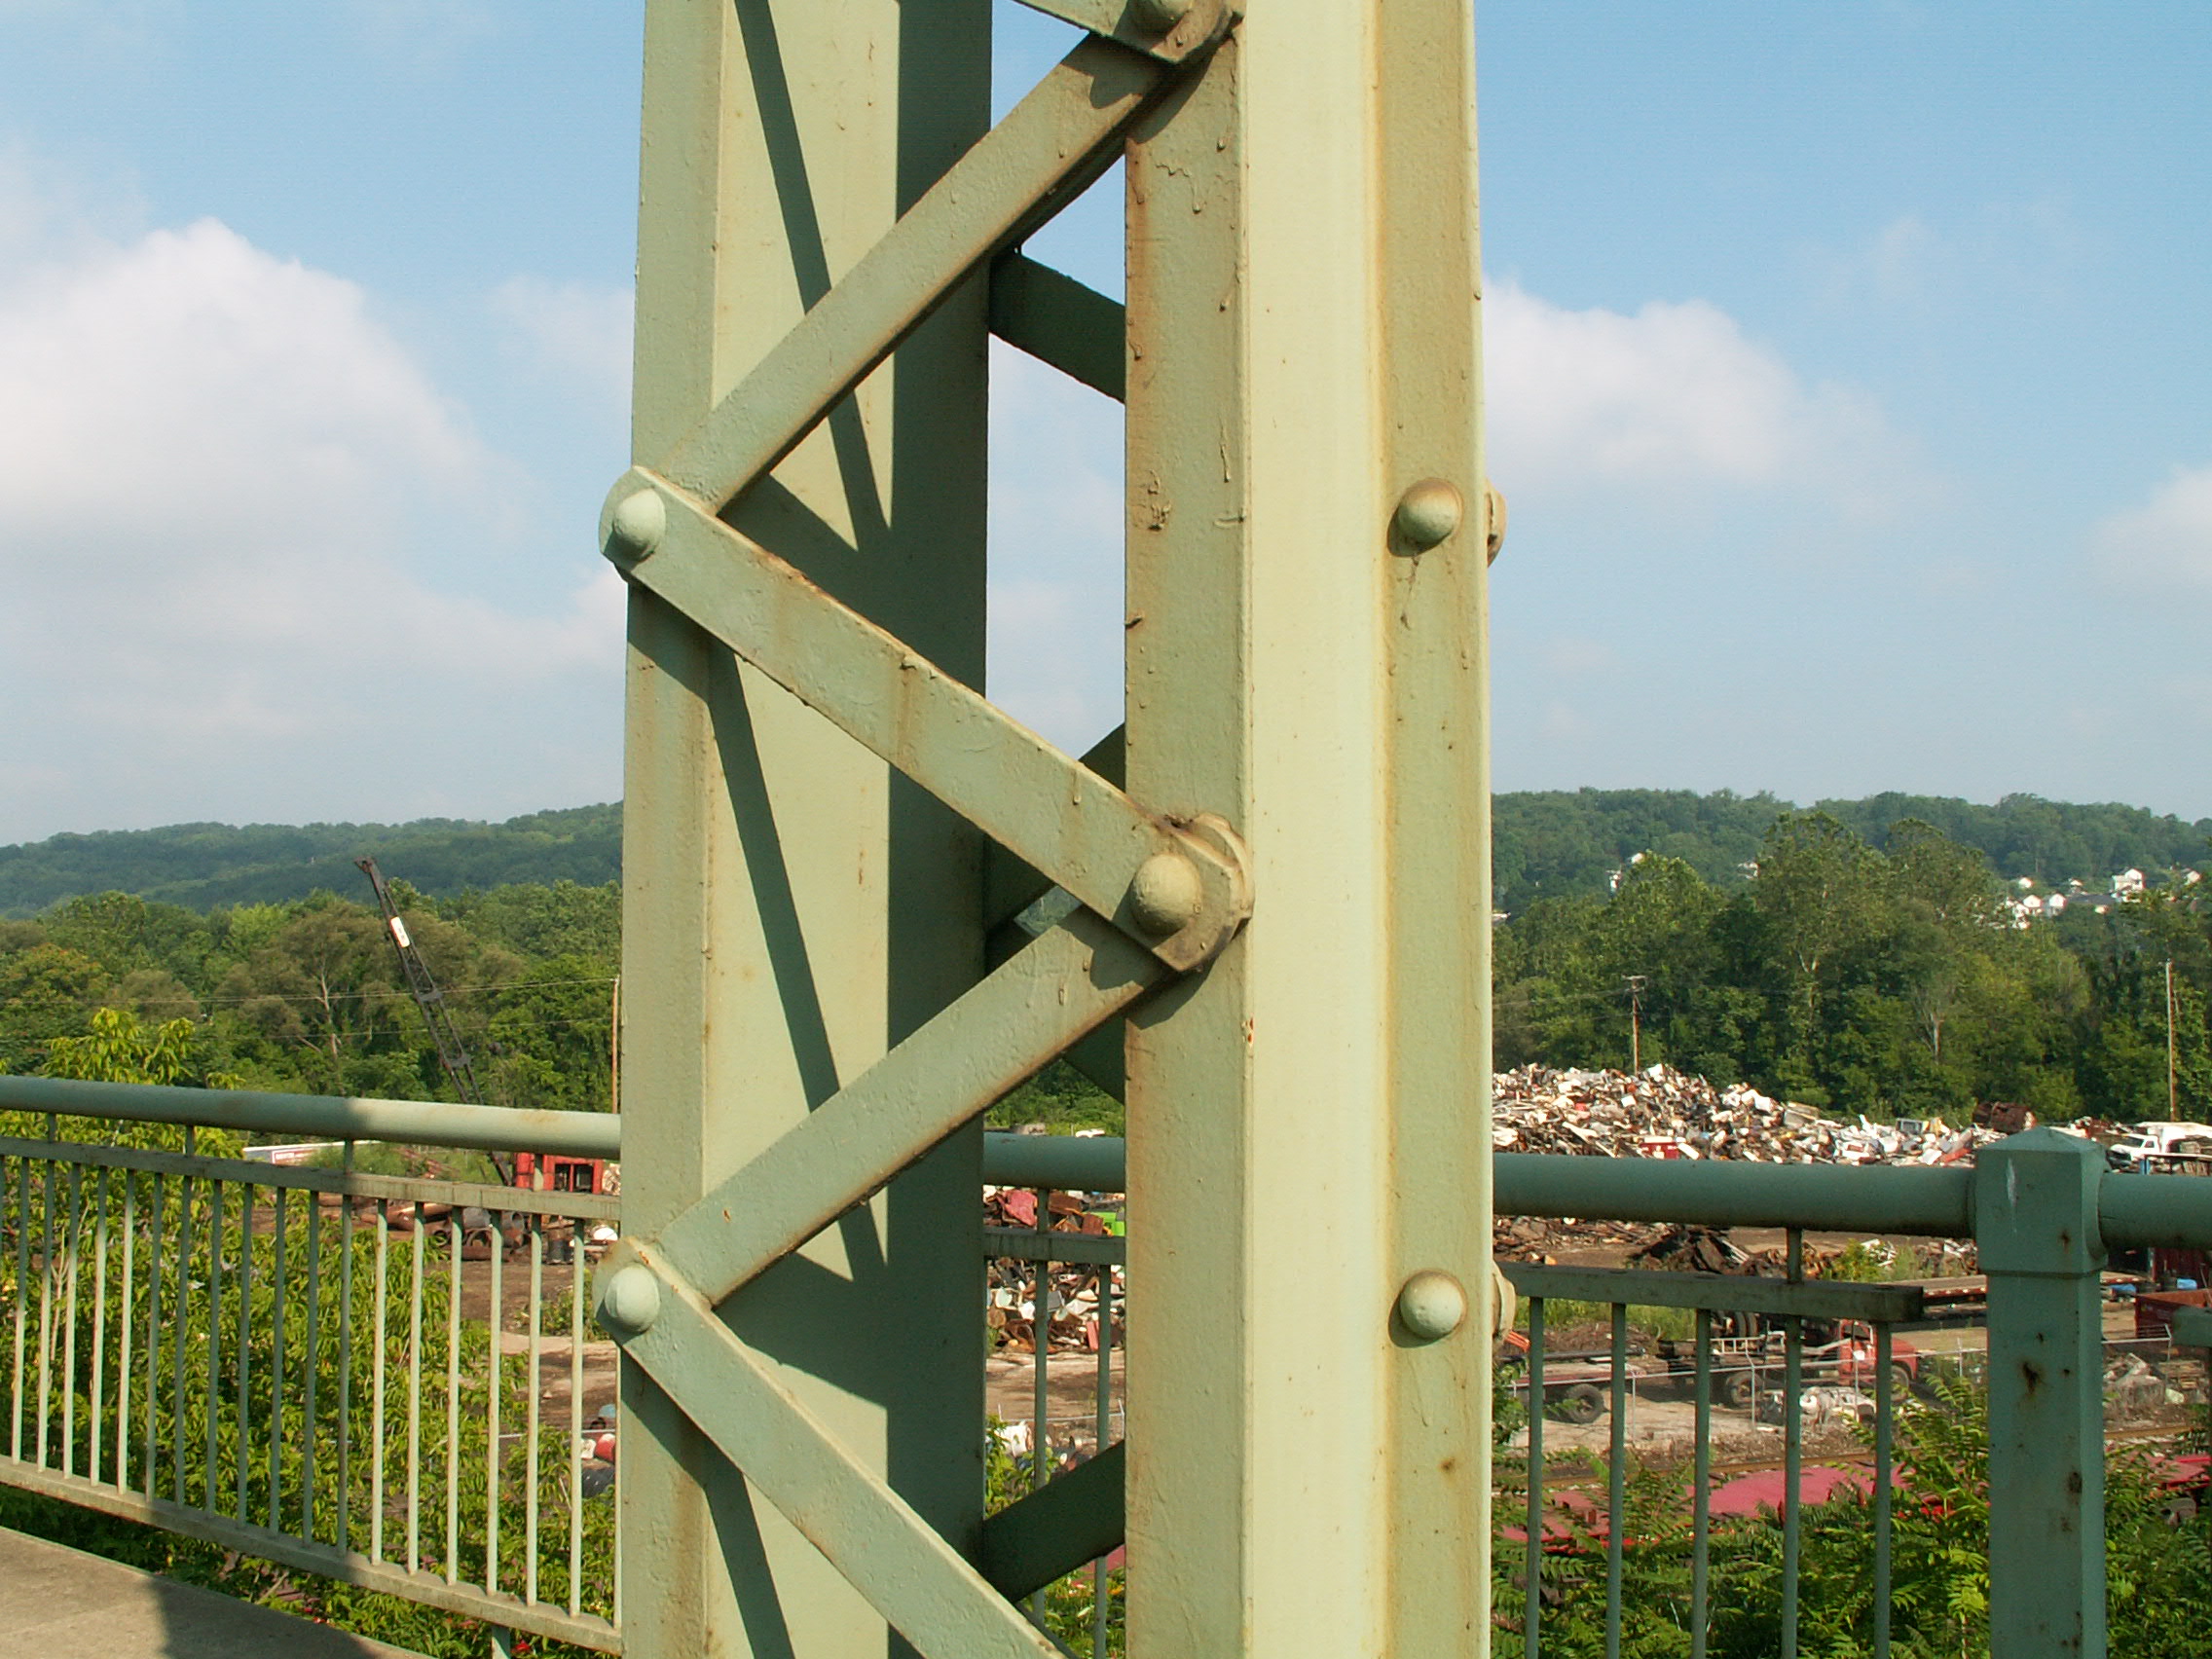
Vertical member.
![]()

Diagonal member.
![]()


Details of approach deck plate girder.
![]()
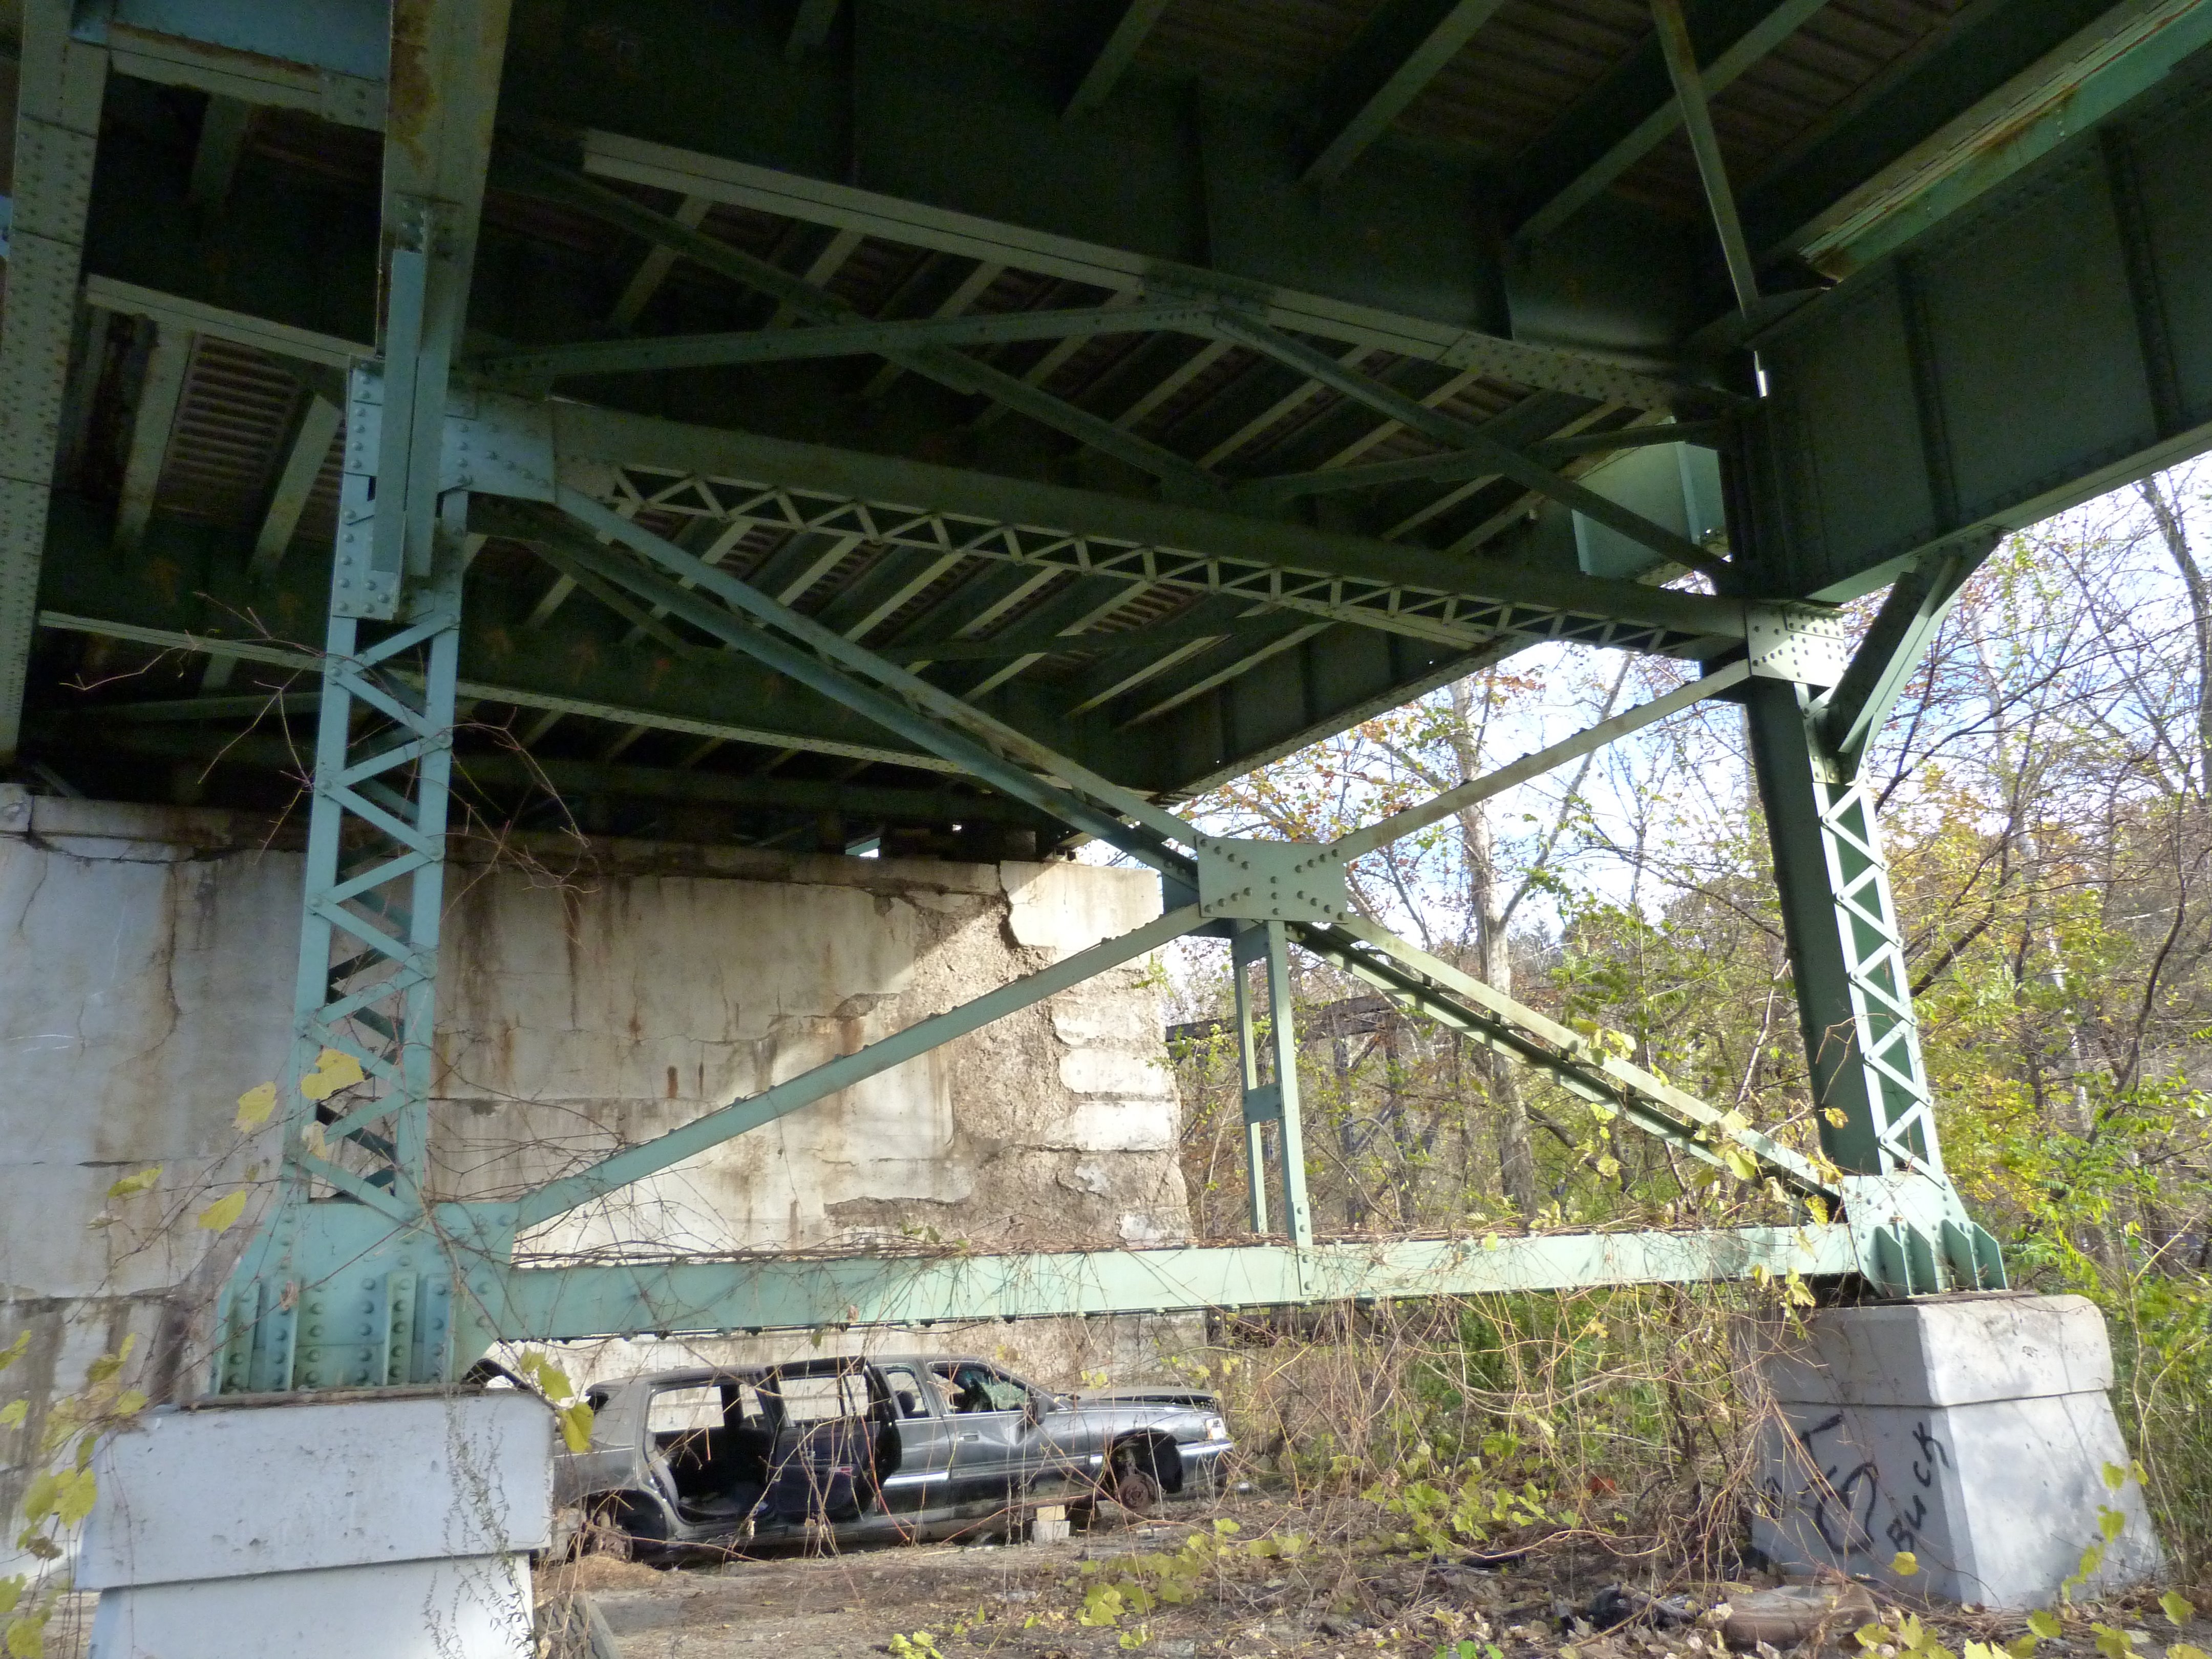
Steel bent for approach.
![]()
2006 Photos
![]()

Portal views.
![]()

Oblique view.
![]()


Views from beside roadway.
![]()


Portal views on bridge.
![]()

View of truss web.
![]()

Bethlehem brand.
![]()
Top chord connections.
![]()

Bottom chord connections.
![]()
Intermediate connection.
![]()


Sway bracing.
![]()
Vertical member.
![]()
![]()
| Back |
| Home |
| Top |

![]()