Uncredited photos on this page taken by: Nathan Holth. Unless stated in a caption, all photos are Copyright with All Rights Reserved. Learn about reuse of our photos.
![]()


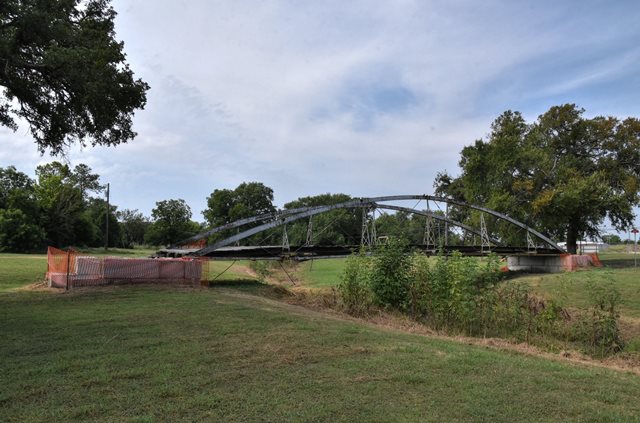

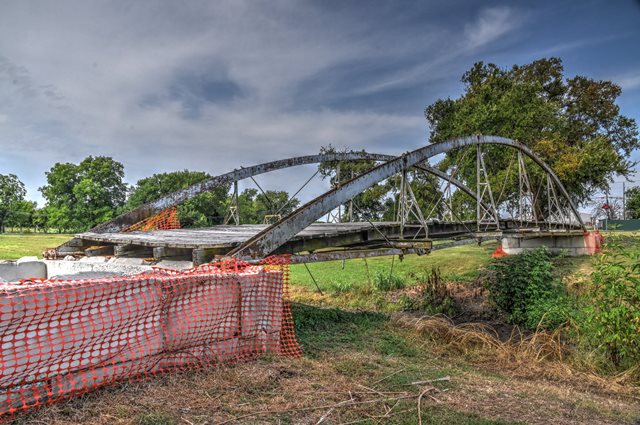
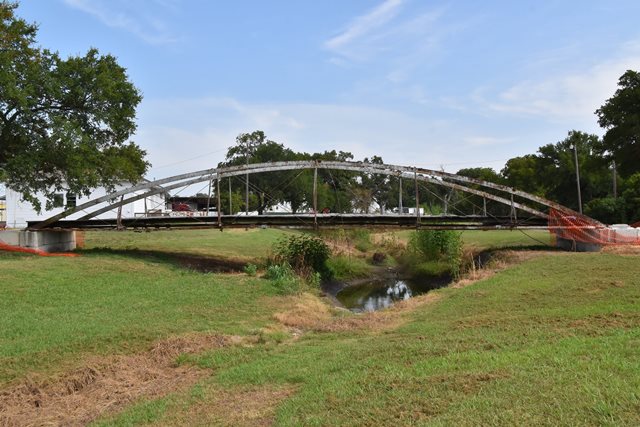
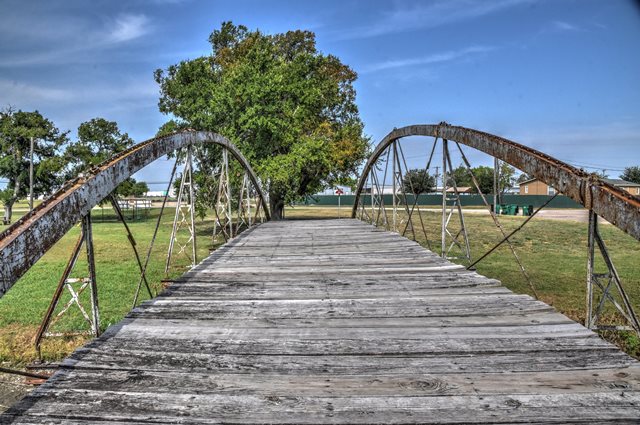
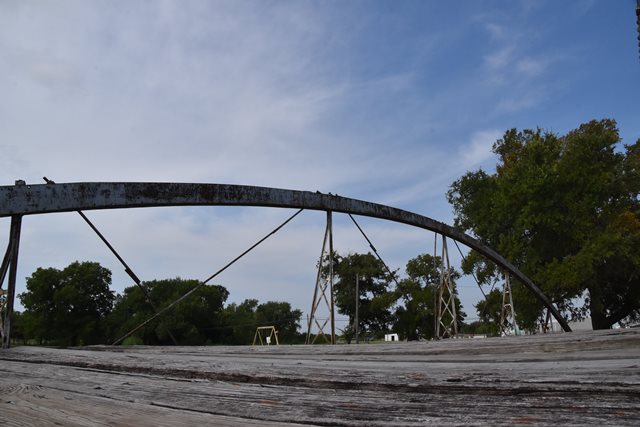
North elevation.
![]()


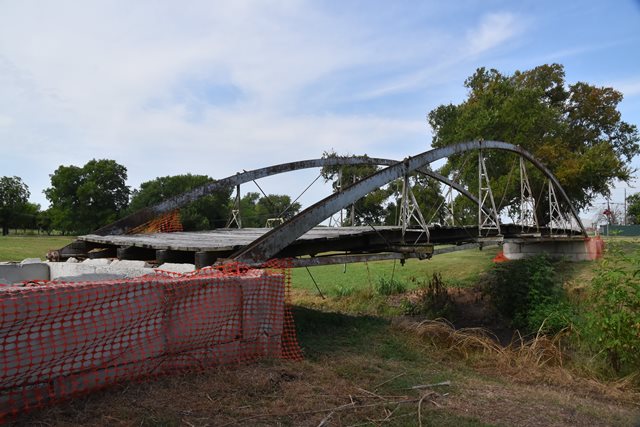
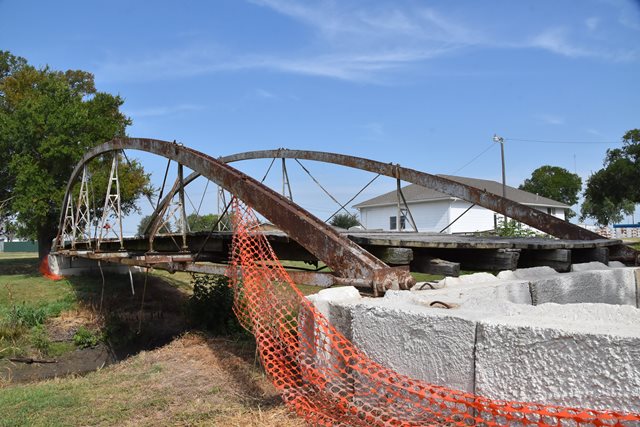
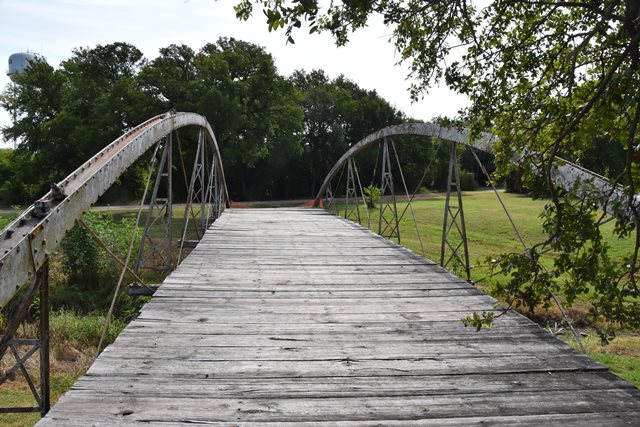
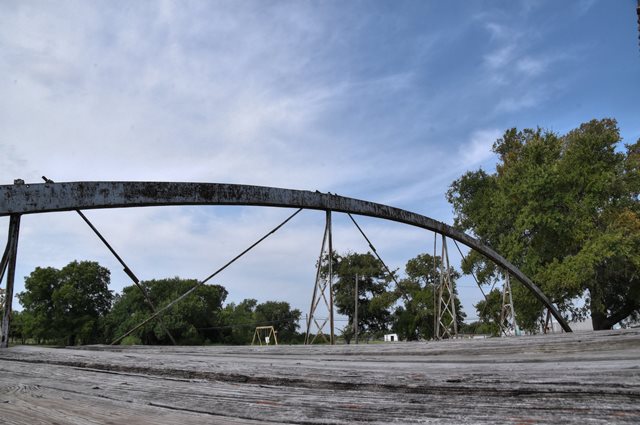
South elevation.
![]()
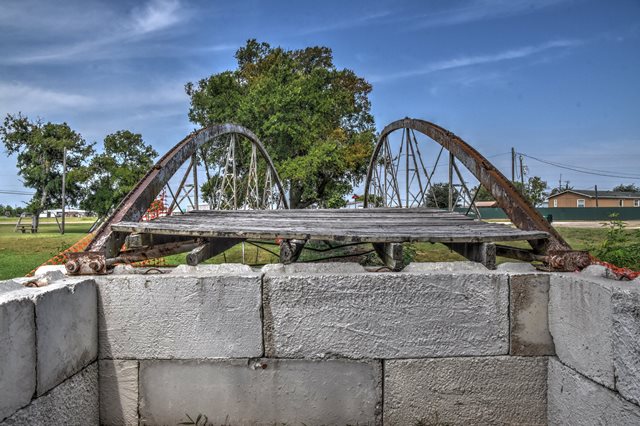
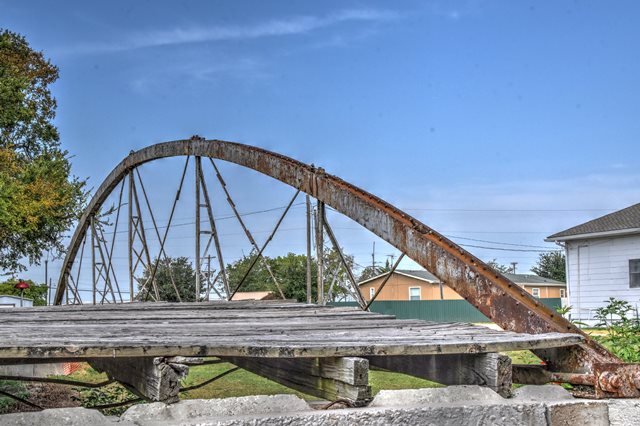
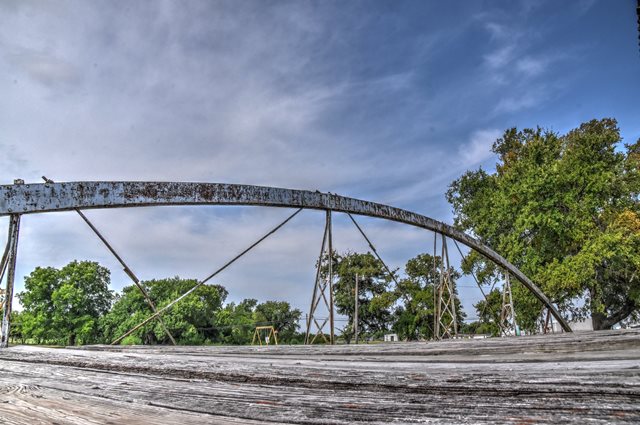
Oblique views from northeast quadrant.
![]()


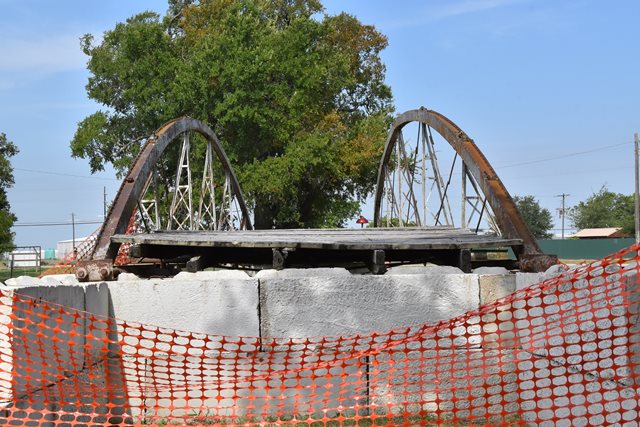
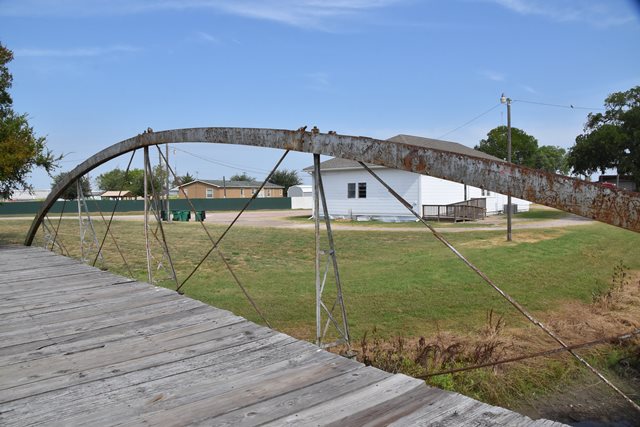
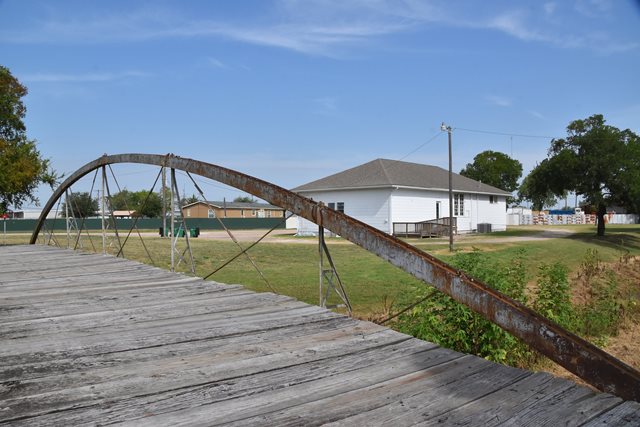
Oblique views from southeast quadrant.
![]()


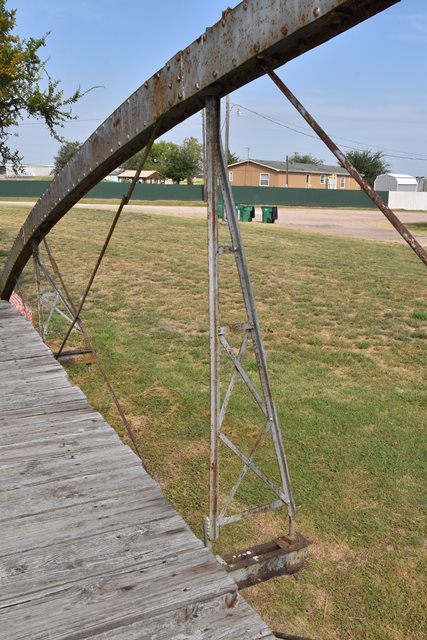
Portal views facing west.
![]()


Portal views on bridge facing west.
![]()

Portal views on bridge facing east.
![]()


Views beside bridge.
![]()


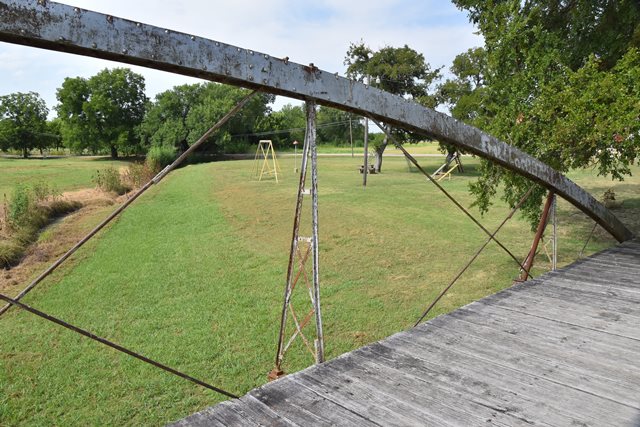


Views of truss web.
![]()


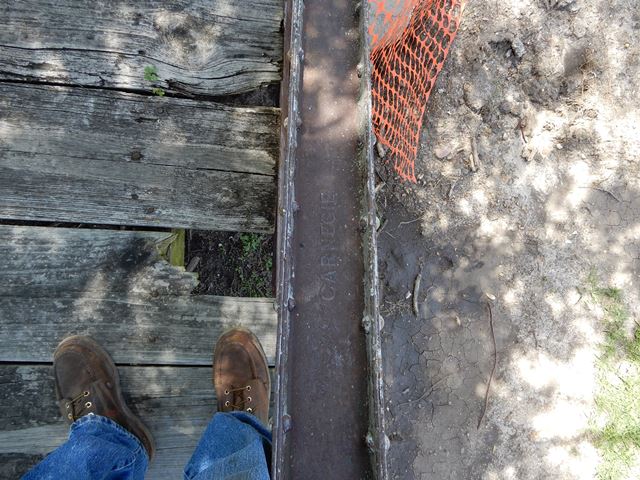
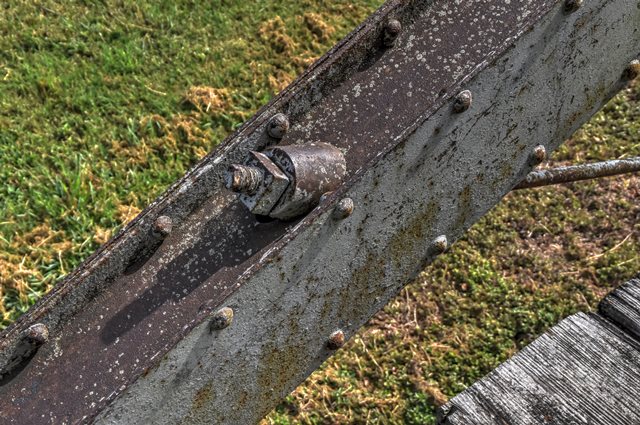
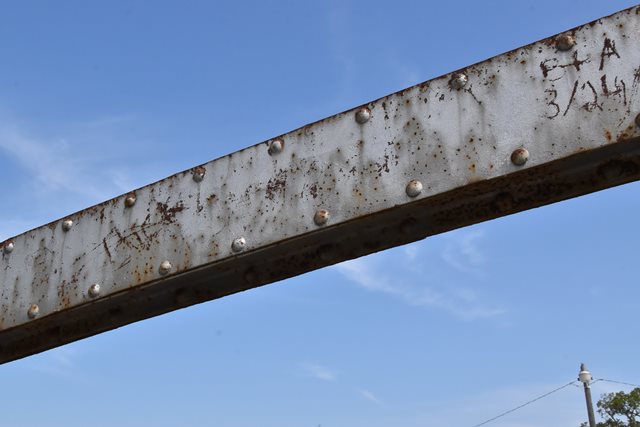
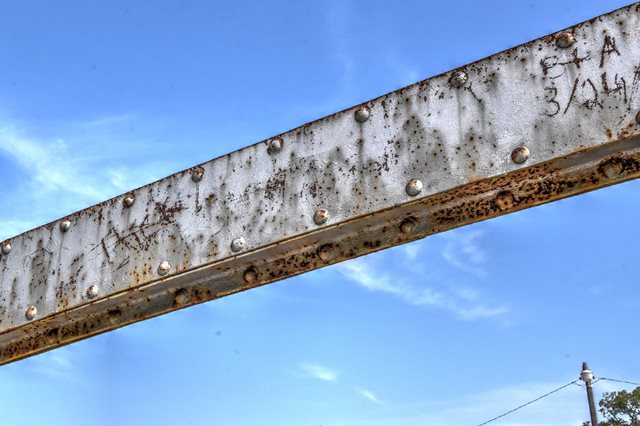
Carnegie brand on top chord.
![]()

Carnegie brand on floorbeam.
![]()


Top chord connections.
![]()


Bottom chord connections.
![]()


Bottom chord splice.
![]()


Bearing.
![]()
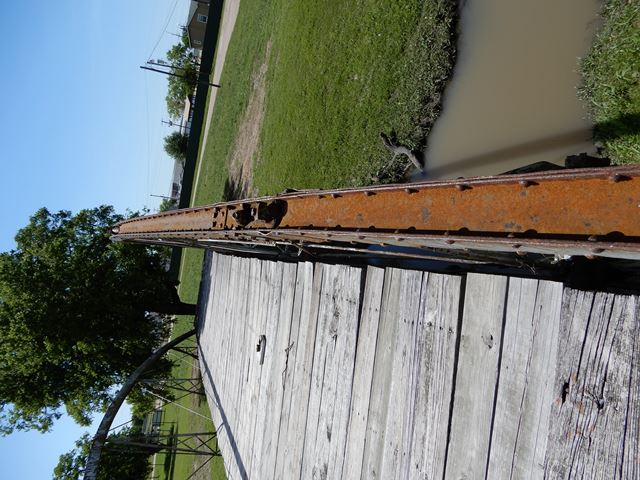
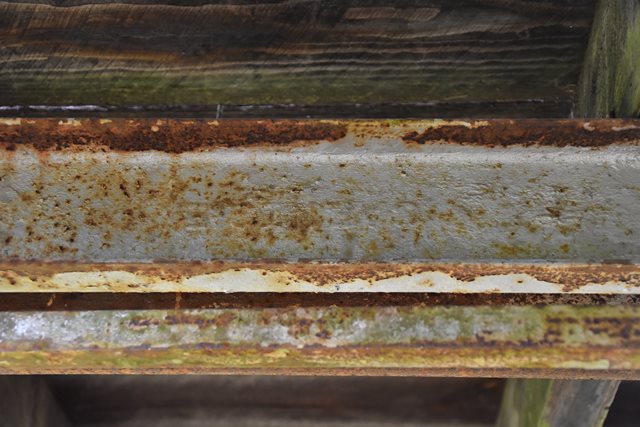
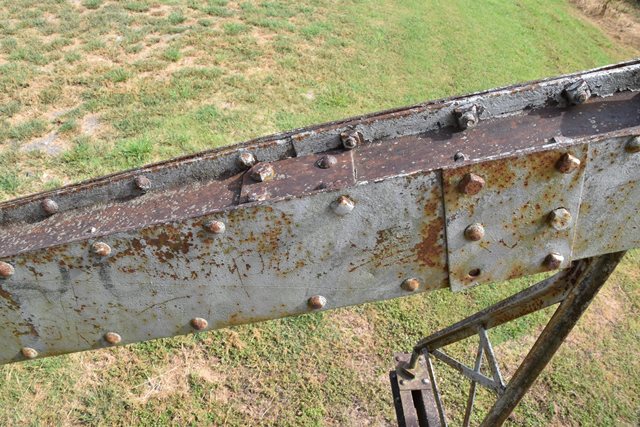
Top chord.
![]()
Top chord splice.
![]()


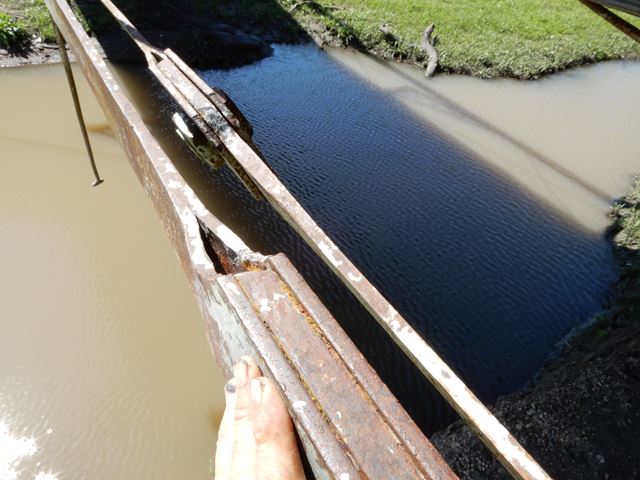
Bottom chord.
![]()

Diagonal members.
![]()


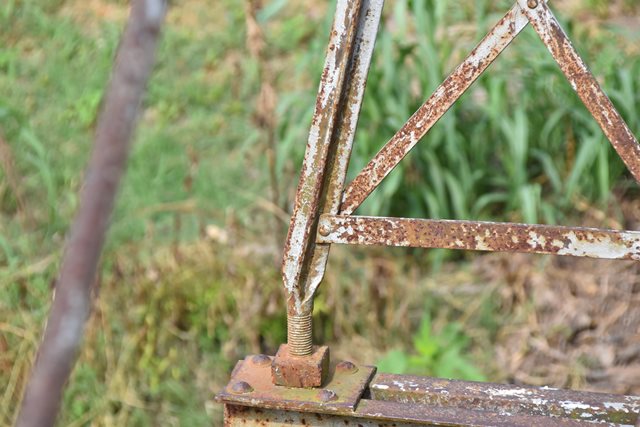
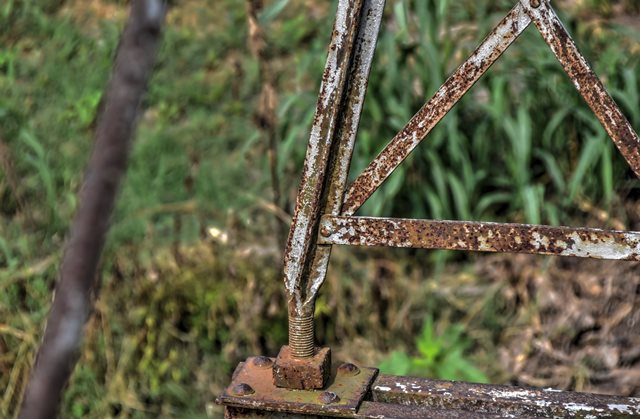

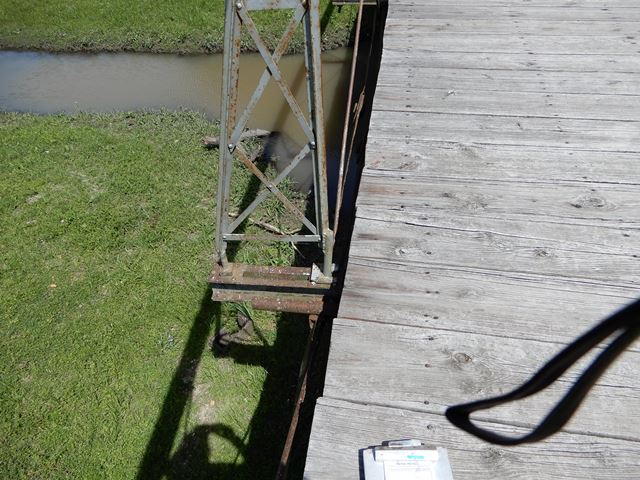
Verticals/outriggers.
![]()

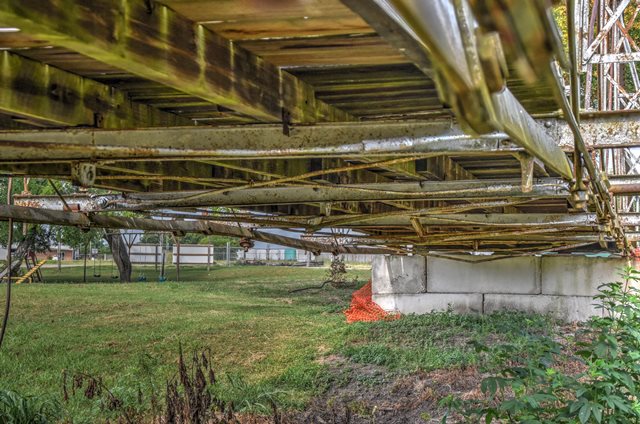

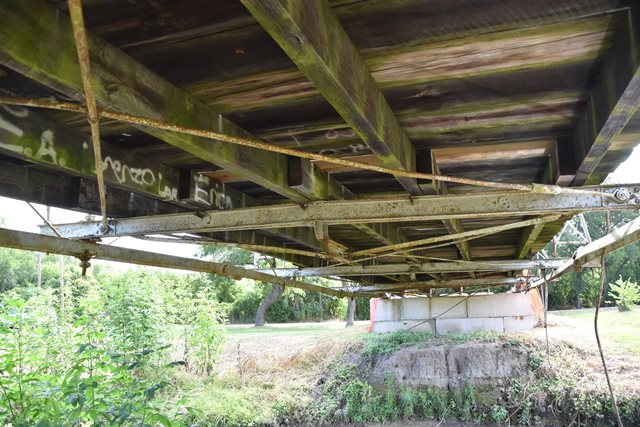


Views under bridge.
![]()


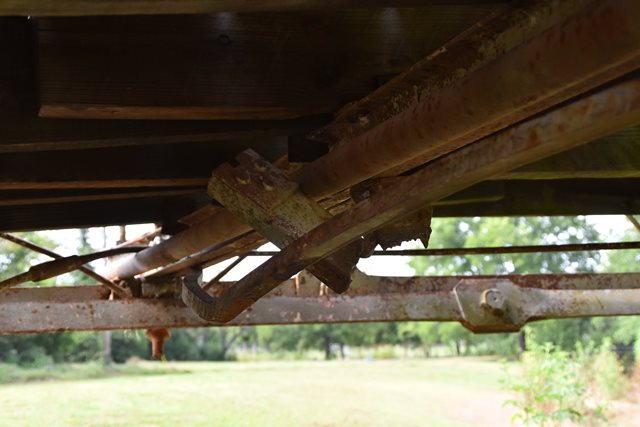


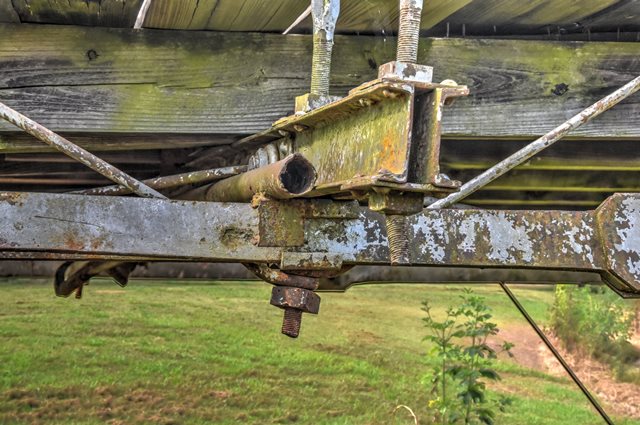
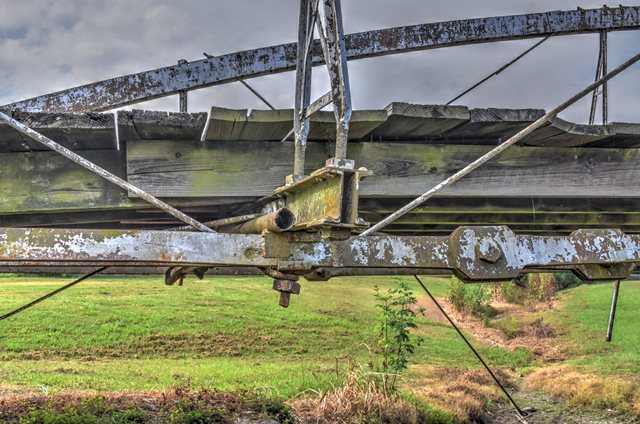
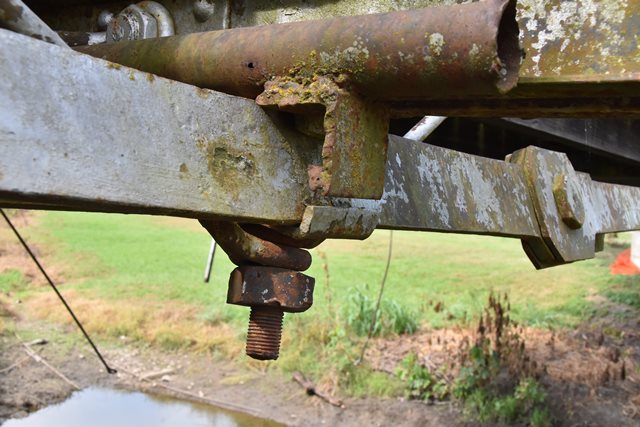
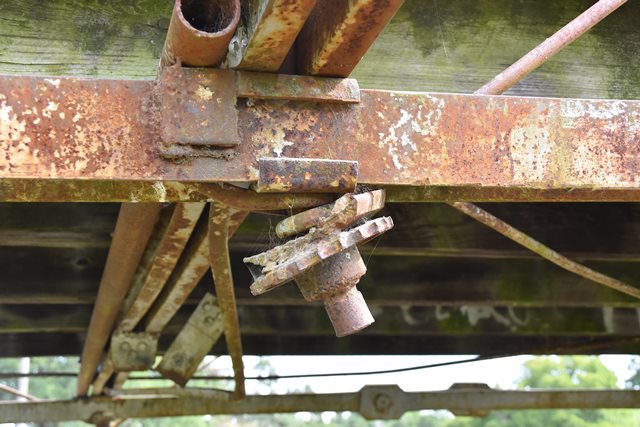
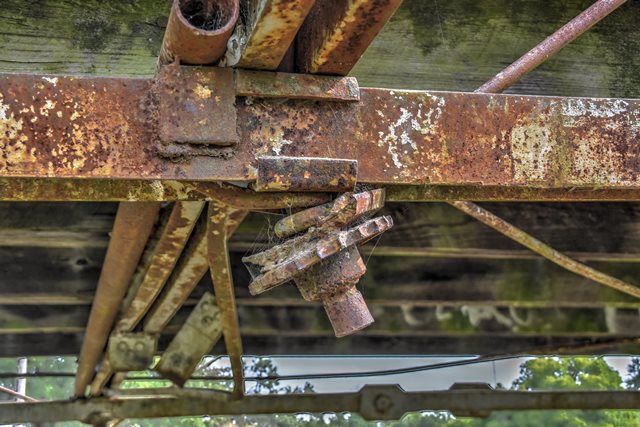
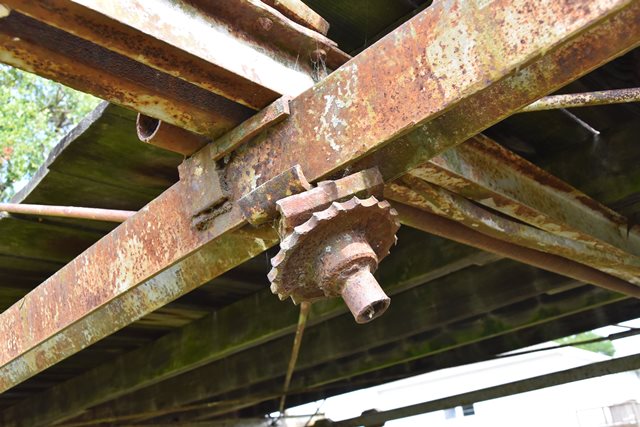
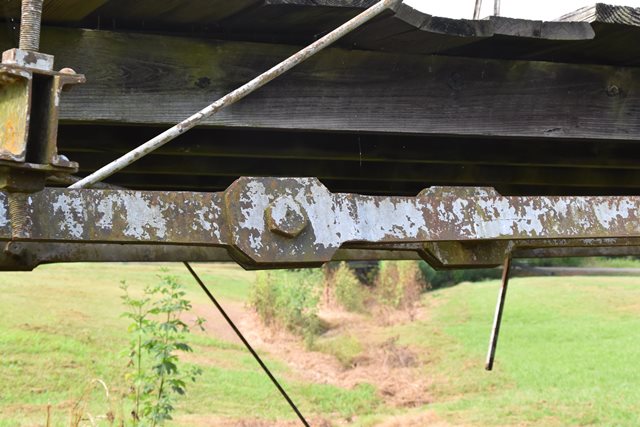
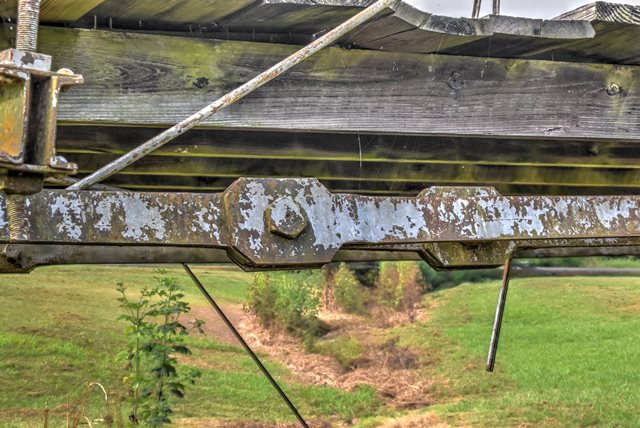
Floorbeams.
![]()
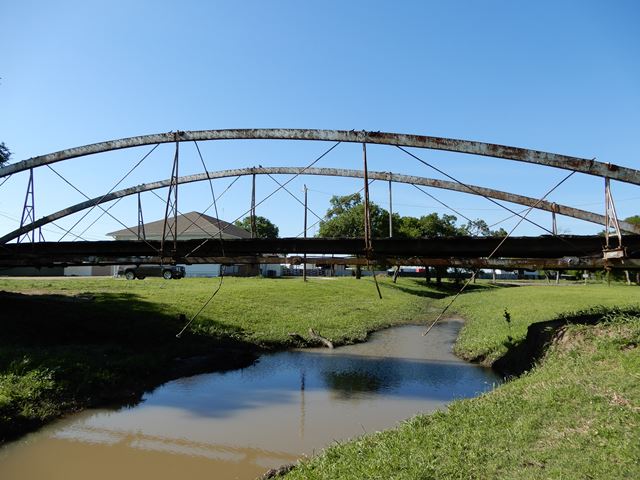


Photo Credit: Nels Raynor, Bach Steel
Elevation.
![]()
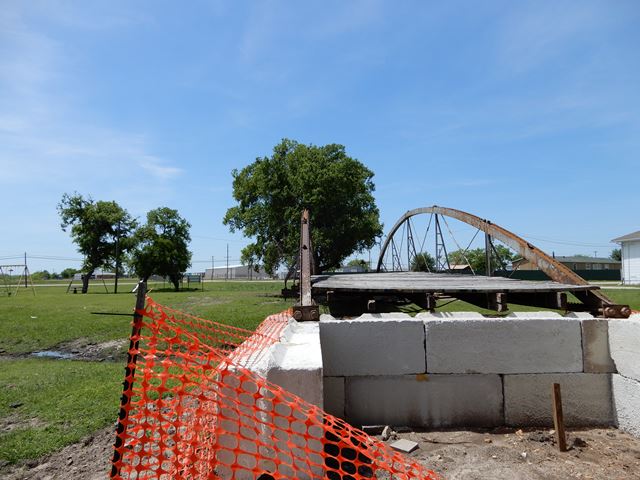
Photo Credit: Nels Raynor, Bach Steel
Portal view.
![]()
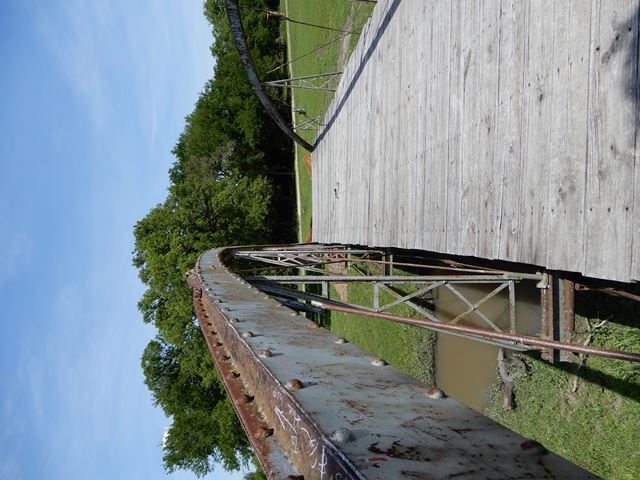

Photo Credit: Nels Raynor, Bach Steel
Portal views on bridge.
![]()


Photo Credit: Nels Raynor, Bach Steel
Oblique views.
![]()
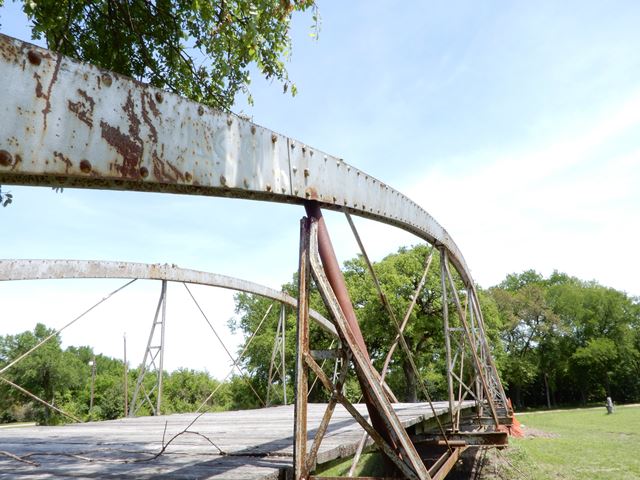
Photo Credit: Nels Raynor, Bach Steel
View beside bridge.
![]()
![]()
Photo Credit: Julie Bowers, Workin' Bridges
This photo shows the bridge being lifted out of the dirt and set onto the new abutments.
![]()
![]()
![]()
![]()
![]()
Photo Credit: Julie Bowers, Workin' Bridges
Elevation.
![]()
![]()
![]()
Photo Credit: Julie Bowers, Workin' Bridges
Portal views.
![]()
![]()
Photo Credit: Julie Bowers, Workin' Bridges
View beside bridge.
![]()


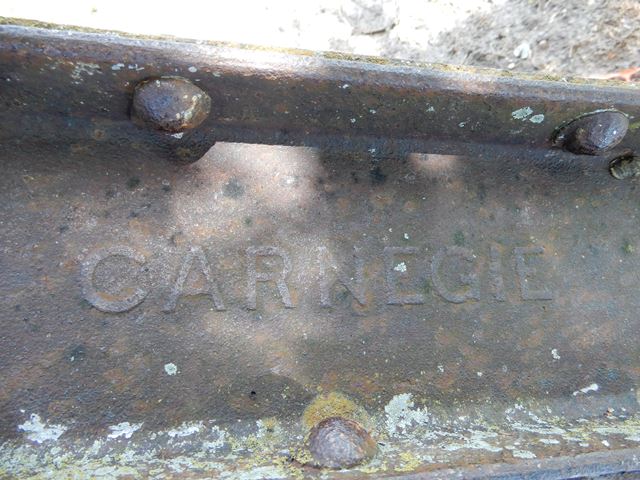


Photo Credit: Nels Raynor, Bach Steel
Carnegie brand.
![]()
Photo Credit: Nels Raynor, Bach Steel
Top chord.
![]()


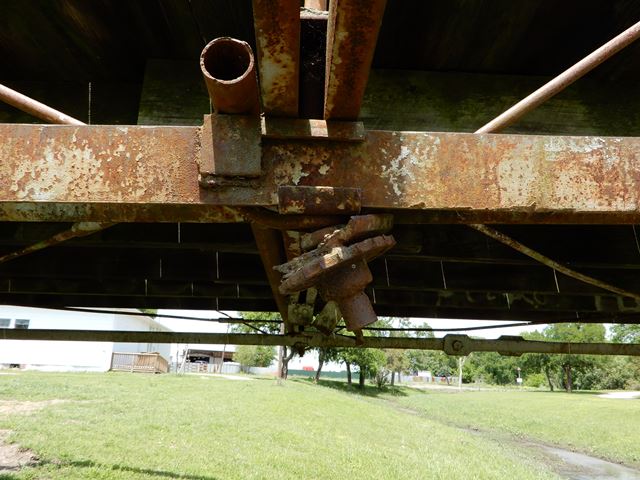
Photo Credit: Nels Raynor, Bach Steel
Bottom chord connections as viewed from beside bridge.
![]()
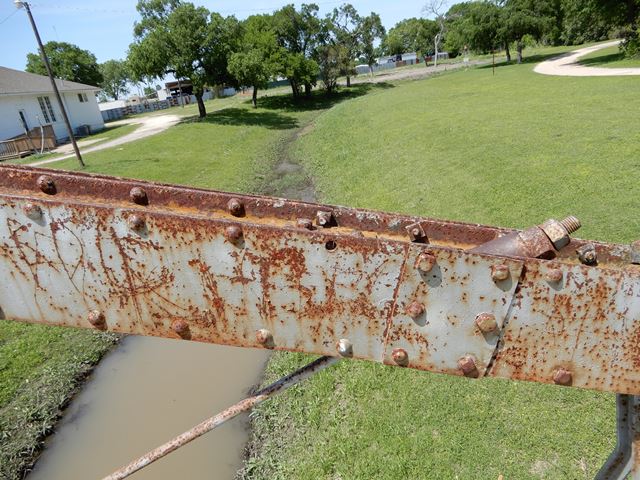


Photo Credit: Nels Raynor, Bach Steel
Top chord connections as viewed from on bridge.
![]()

Photo Credit: Nels Raynor, Bach Steel
Bottom chord.
![]()


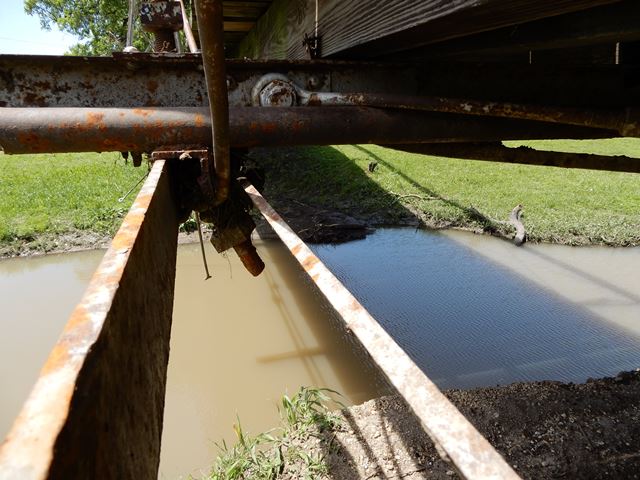


Photo Credit: Nels Raynor, Bach Steel
Bottom chord connections as viewed from under bridge.
![]()
Photo Credit: Nels Raynor, Bach Steel
Bottom chord connections as viewed from on bridge.
![]()


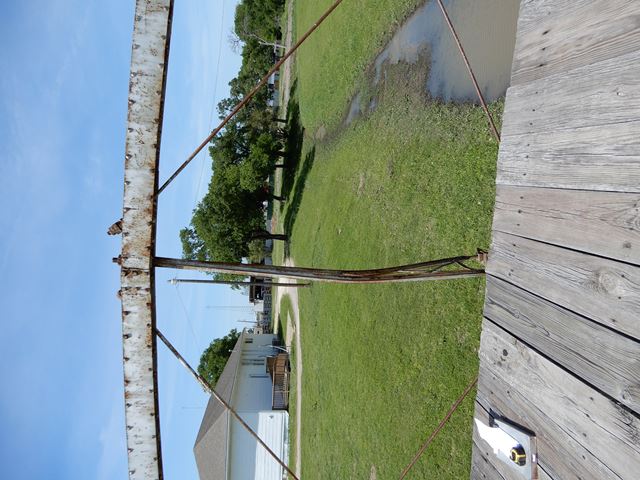
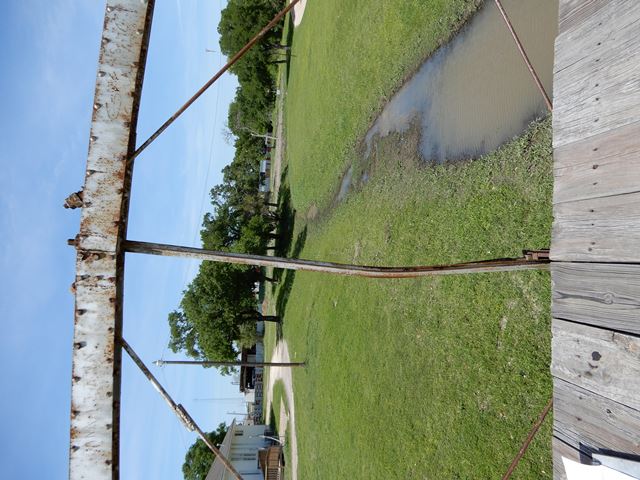
Photo Credit: Nels Raynor, Bach Steel
Vertical members.
![]()
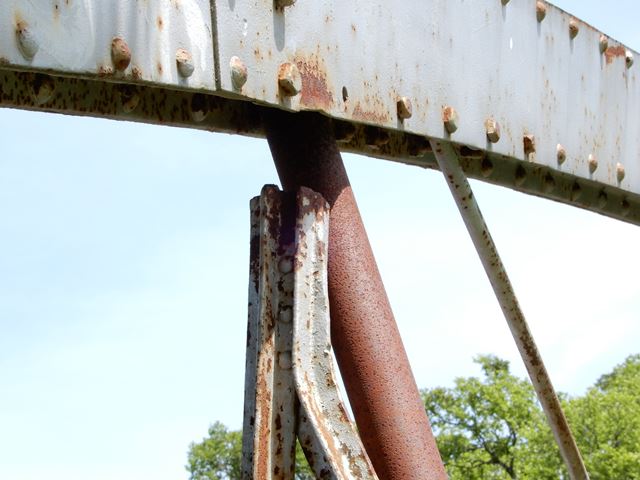

Photo Credit: Nels Raynor, Bach Steel
Broken vertical member.
![]()

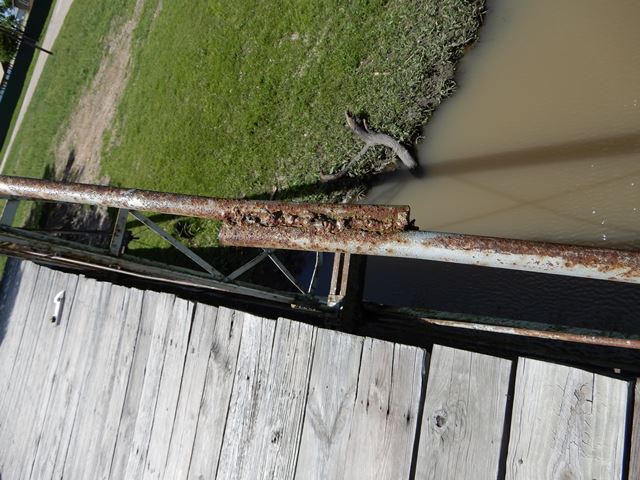
Photo Credit: Nels Raynor, Bach Steel
Welded alterations to diagonal members.
![]()
Photo Credit: Nels Raynor, Bach Steel
Bottom chord.
![]()
Photo Credit: Nels Raynor, Bach Steel
Bottom chord splice pin.
![]()


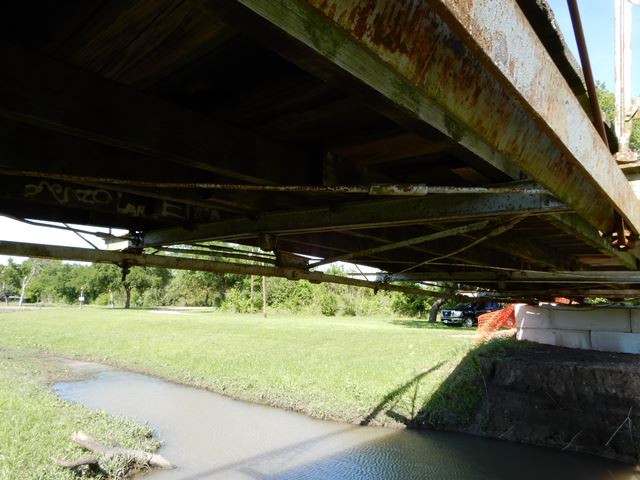

Photo Credit: Nels Raynor, Bach Steel
Views under bridge.
![]()
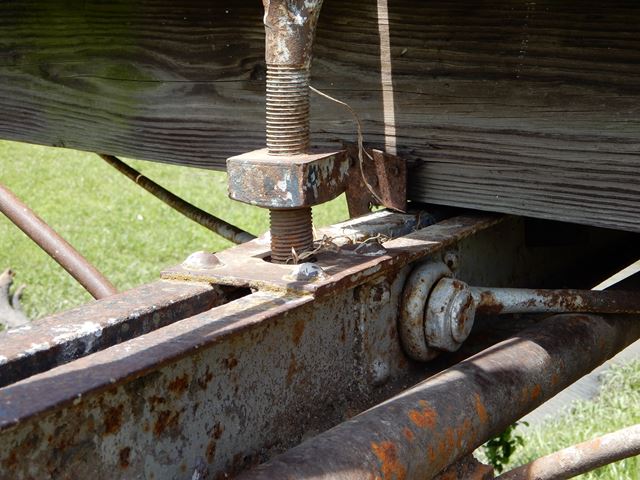
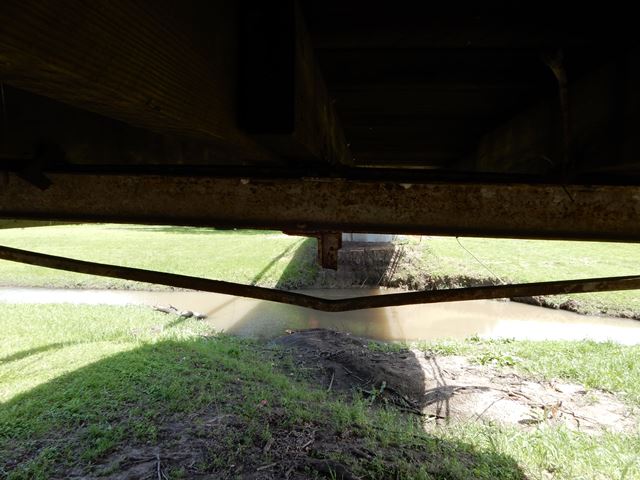

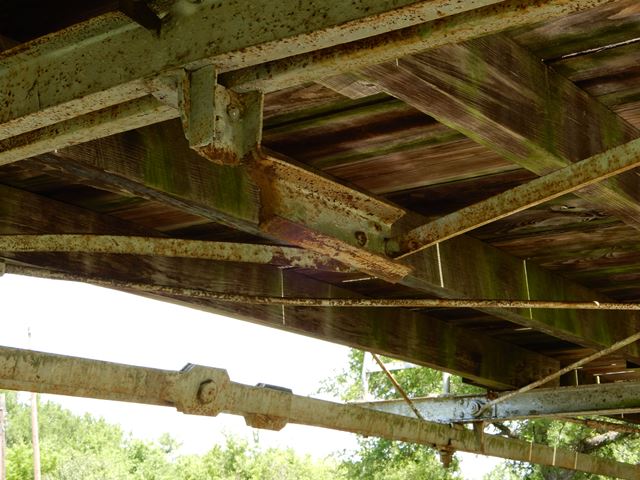


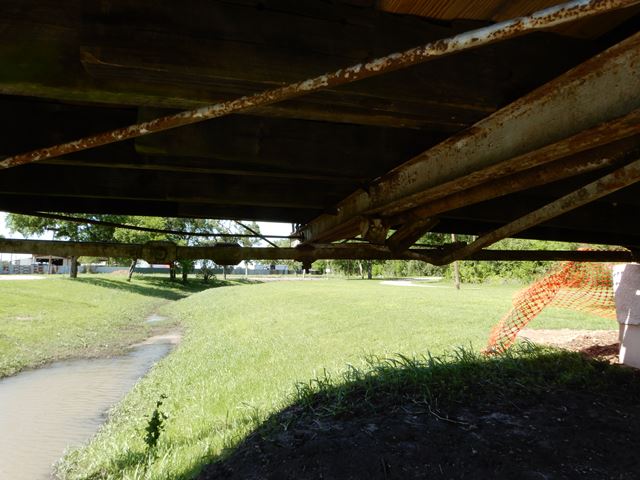
Photo Credit: Nels Raynor, Bach Steel
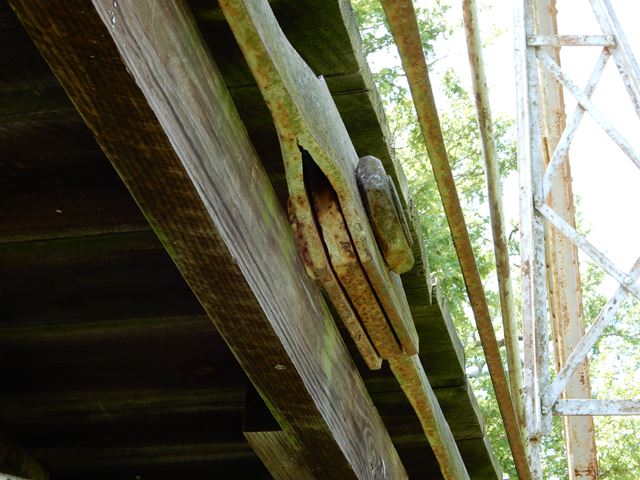
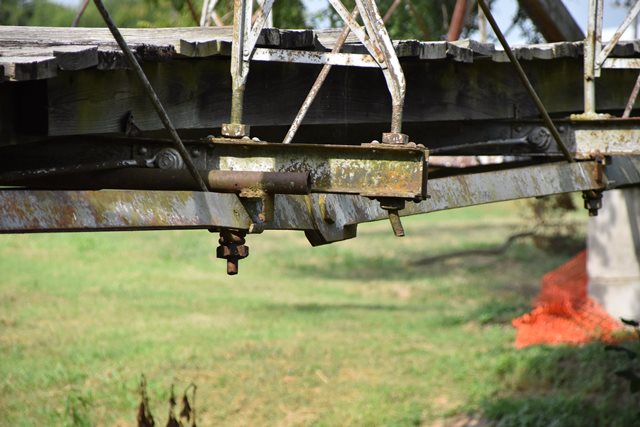
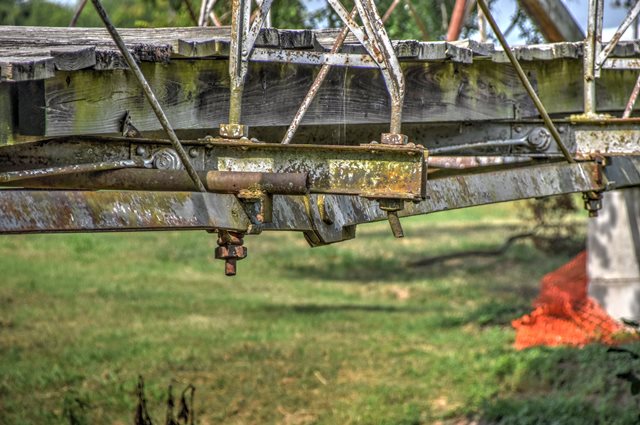
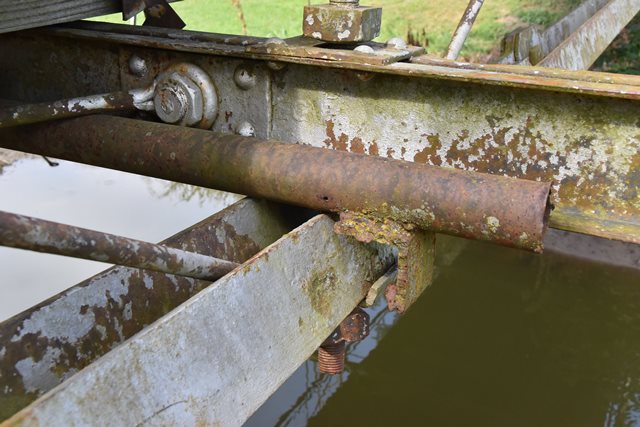
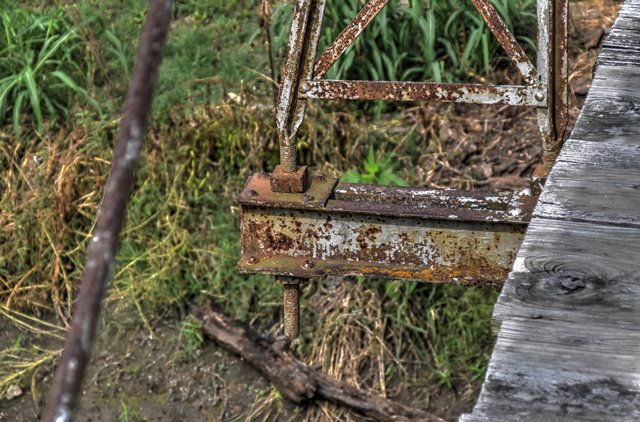
Floor beam. The pieces hanging from the main beam are the remains of the post-tension kingpost style detail that was part of the original floorbeam.
![]()
![]()
![]()
Photo Credit: Julie Bowers, Workin' Bridges
Bearing.
![]()
![]()
![]()
Photo Credit: Julie Bowers, Workin' Bridges
Views of truss web.
![]()
![]()
![]()
![]()
![]()
Photo Credit: Julie Bowers, Workin' Bridges
Top chord connections.
![]()
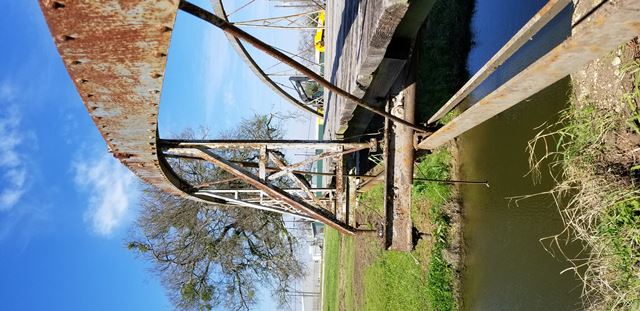
Photo Credit: Julie Bowers, Workin' Bridges
Vertical member.
![]()
![]()

![]()