Uncredited photos on this page taken by: Nathan Holth. Unless stated in a caption, all photos are Copyright with All Rights Reserved. Learn about reuse of our photos.
![]()
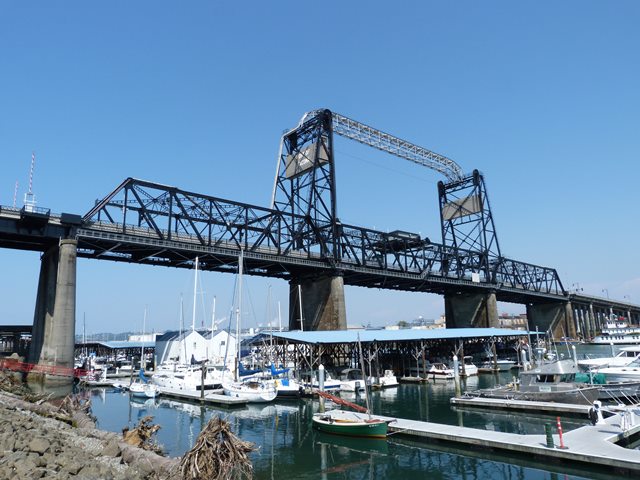
Elevation from southwest quadrant.
![]()
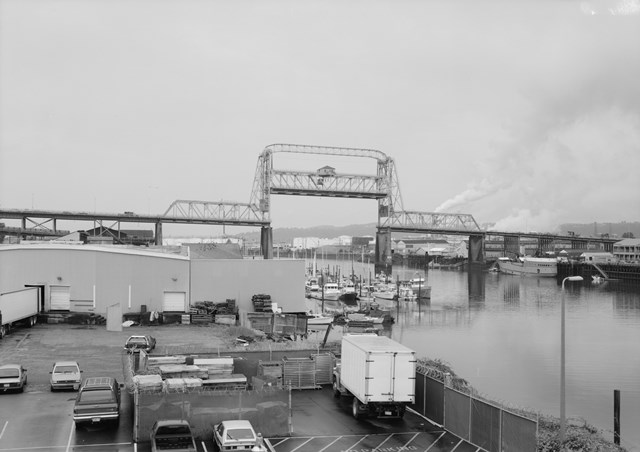
Photo Credit: Historic American Engineering Record
Elevation, bridge in raised position.
![]()


Photo Credit: Historic American Engineering Record
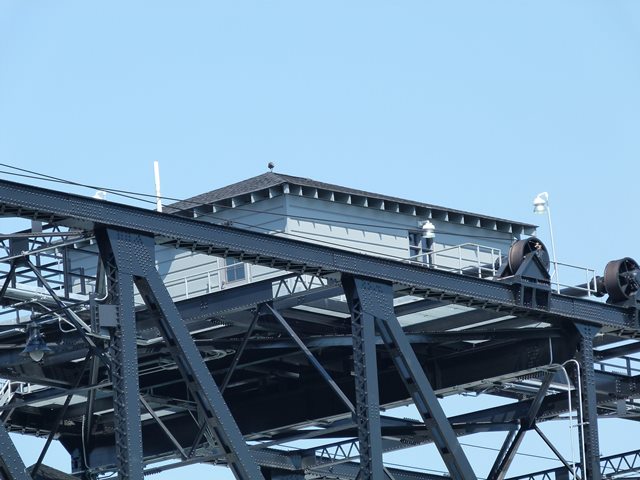
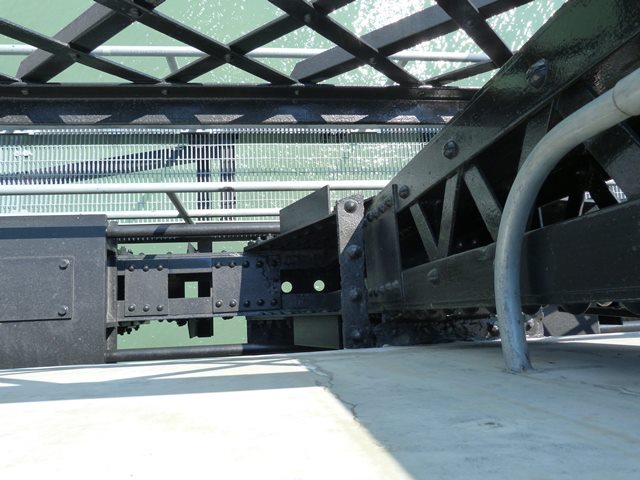
Views on top of lift span.
![]()

Photo Credit: Historic American Engineering Record
View inside machinery building.
![]()
Views beside bridge from northeast quadrant.
![]()

View beside bridge from southwest quadrant.
![]()


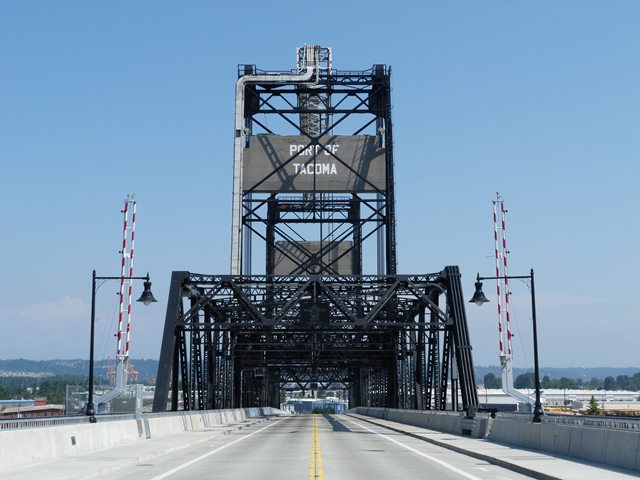
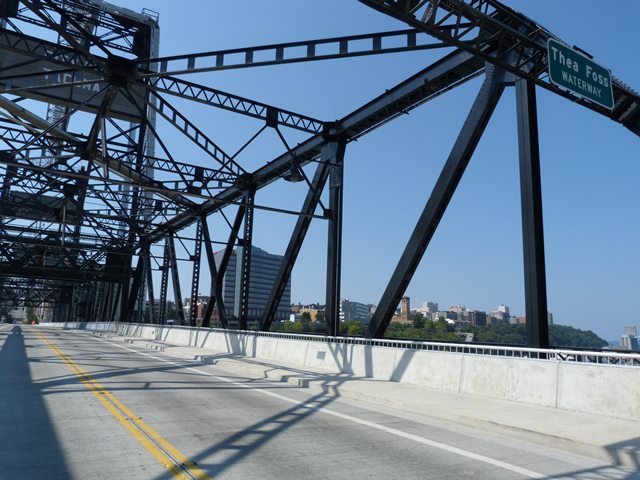
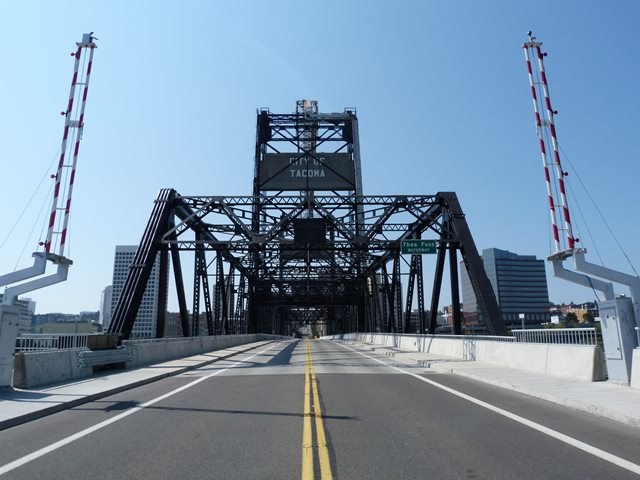
Portal views facing east.
![]()
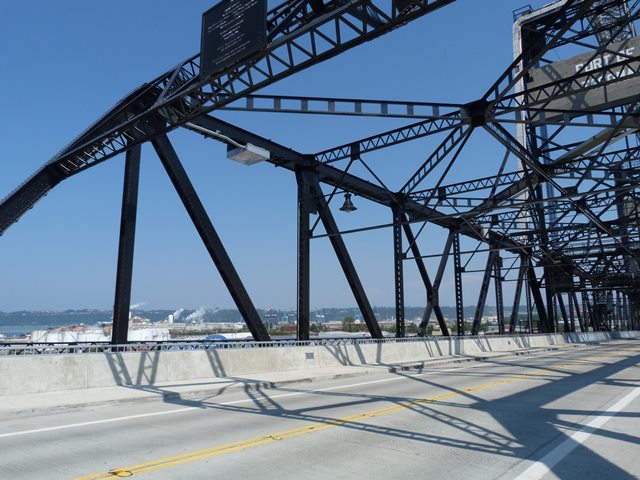
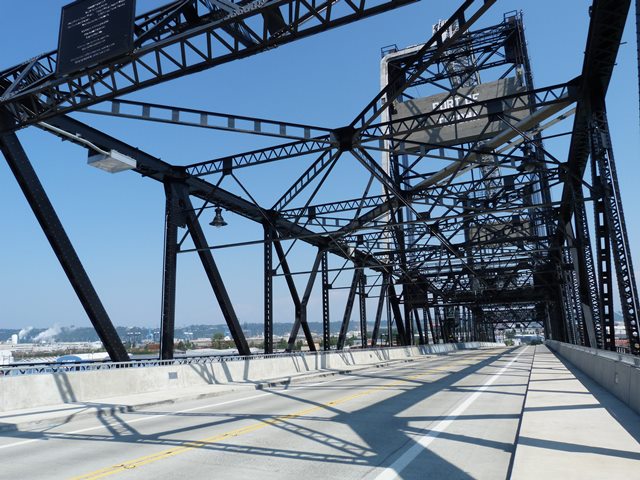
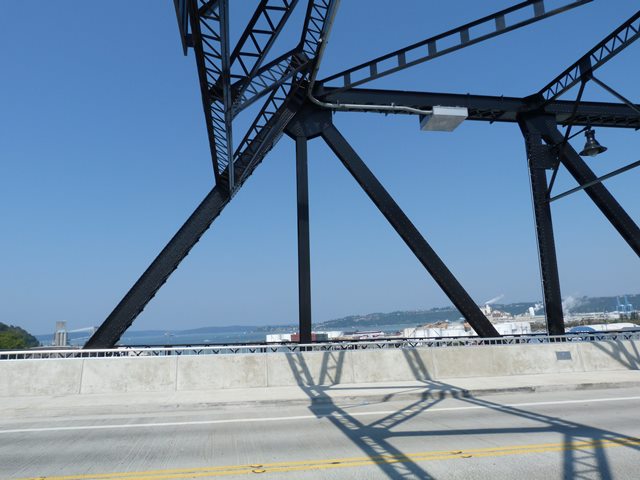
Portal views of truss spans facing east.
![]()


Portal views of truss spans facing west.
![]()


Portal views on bridge facing west.
![]()
Portal views on bridge facing east.
![]()
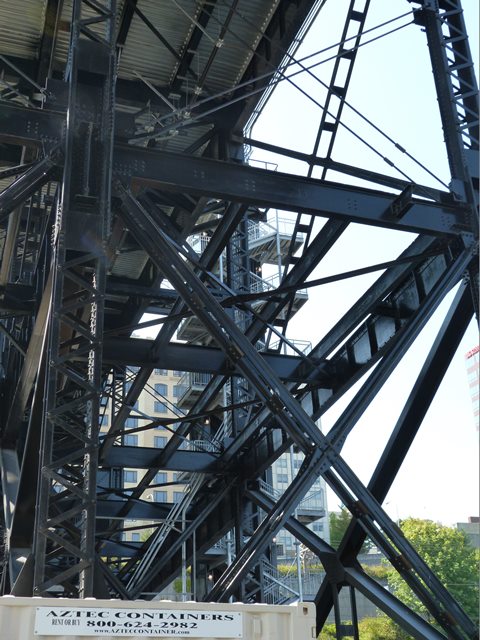
Views of truss web.
![]()
Views of truss panels.
![]()


South elevation of western approach.
![]()
South elevation of western approach showing unused ramps under main deck.
![]()


Main plaque.
![]()

Interpretive plaque.
![]()

Historic register plaque.
![]()

Illinois brand.
![]()


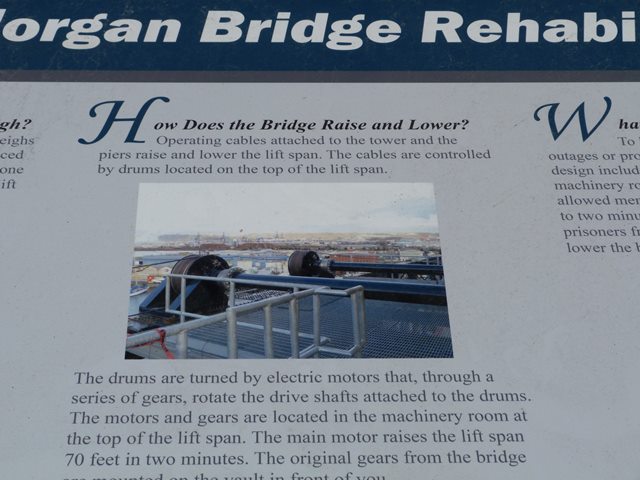

Interpretive sign.
![]()


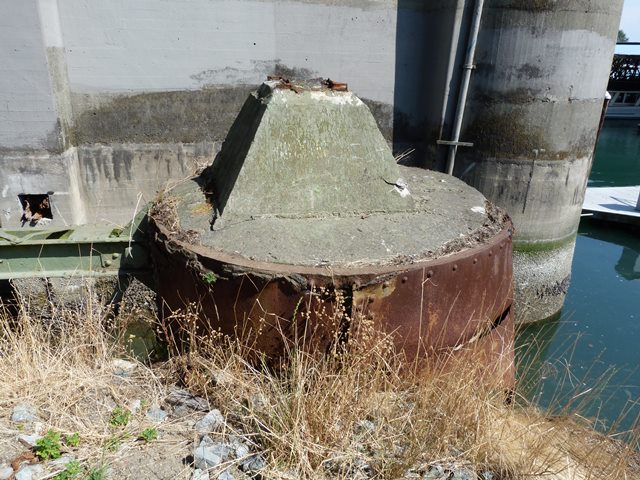
An original sheave that was replaced during rehab was put on display under the western approach.
![]()
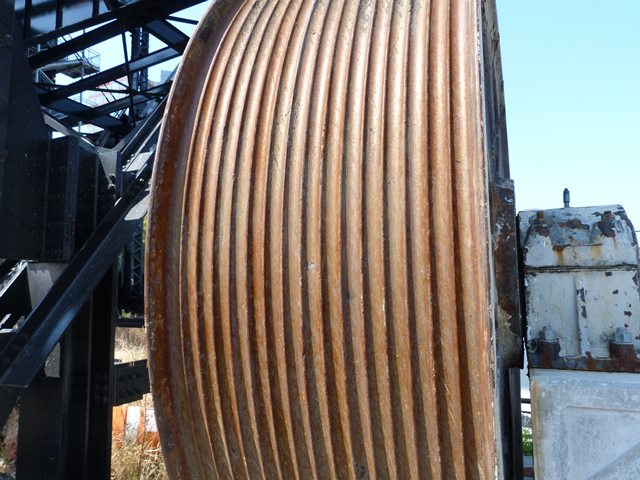


Details of the sheave on display. Note the teardrop shaped openings... these were traditional design found on other Waddell lift bridges... and if you look carefully the replacement sheaves on the bridge don't have the true teardrop shape.
![]()


Original machinery from the bridge that was replaced during rehab was put on display under the western approach.
![]()


Unused lattice railing salvaged from the bridge.
![]()

Overview of previous bridge remains, located at western bank.
![]()


Details of previous bridge remains.
![]()
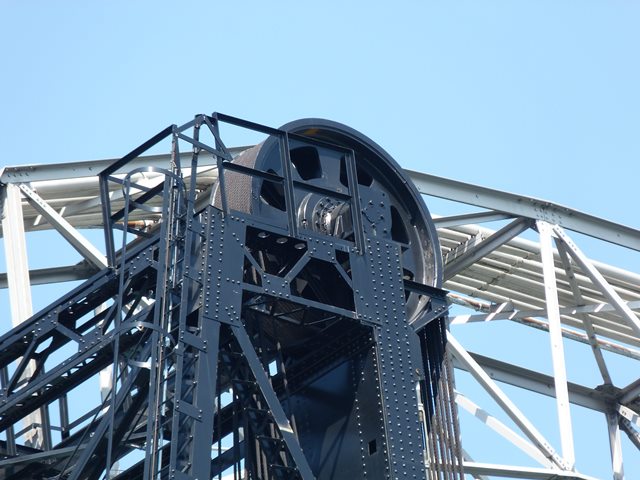
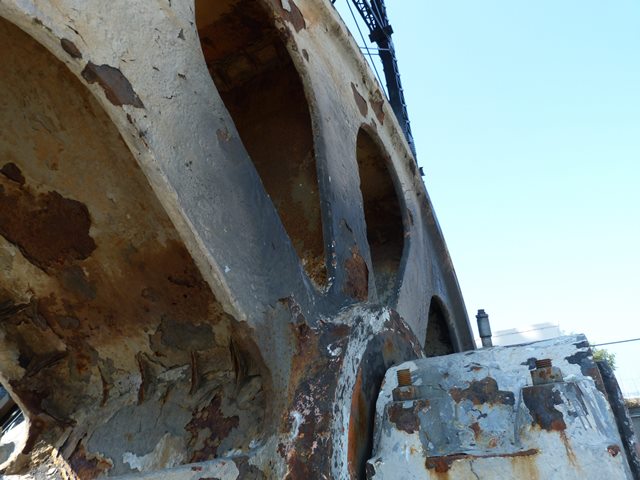
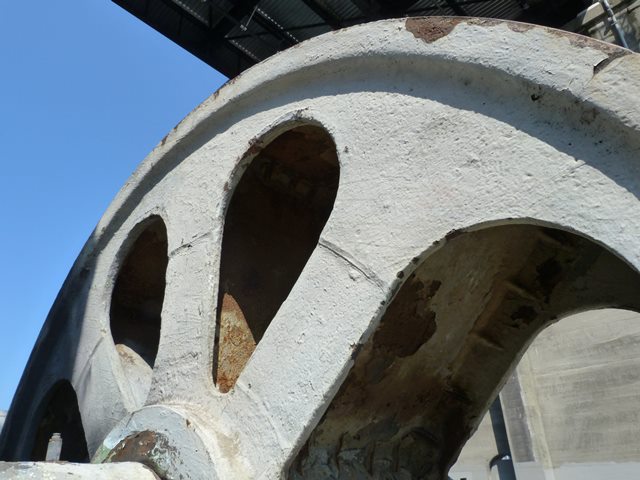
Various views showing main cable sheaves at the top of the towers.
![]()
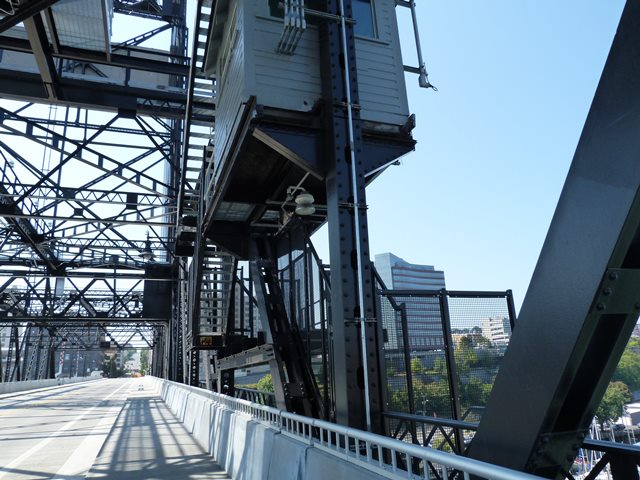
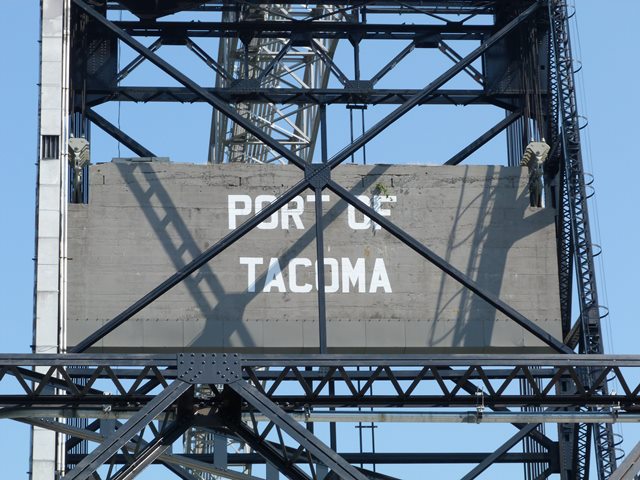
Bridge tender house.
![]()
Supports for bridge tender house.
![]()
Riveted stairway.
![]()

Ladder.
![]()
Machinery house.
![]()

Support for machinery house.
![]()

Cable drums that link the drive shaft from the machinery house to the cable system on the bridge.
![]()
Additional cable drums.
![]()
Counterweights.
![]()


Counterweight details.
![]()
Cable connection to counterweight.
![]()
Cable connection to lifting girder.
![]()

Looking up at cables, tower to the left, lifting girder to the right.
![]()

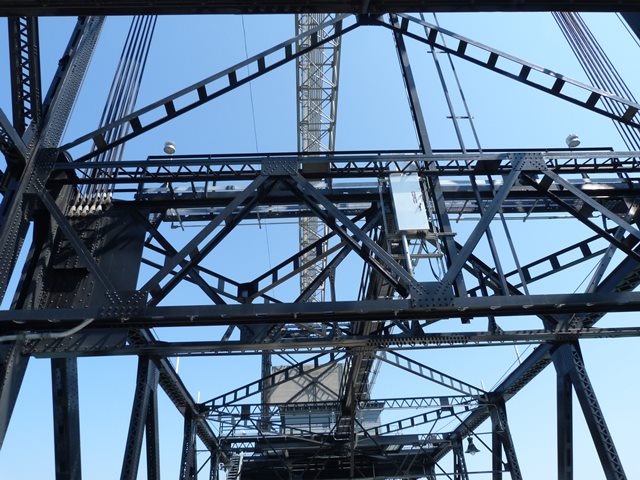
Looking up at towers.
![]()
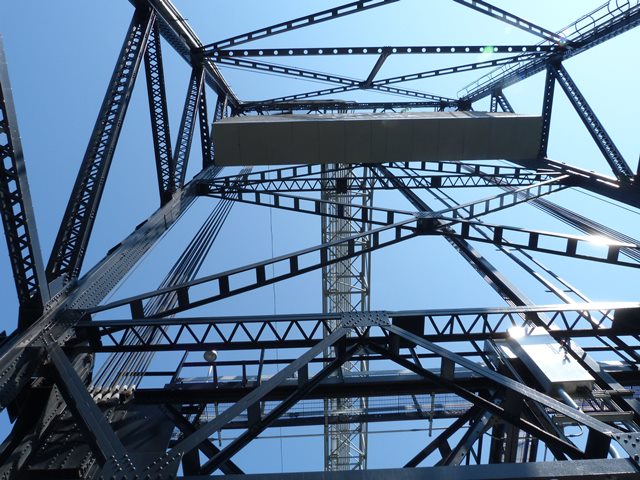


Looking up through the towers.
![]()
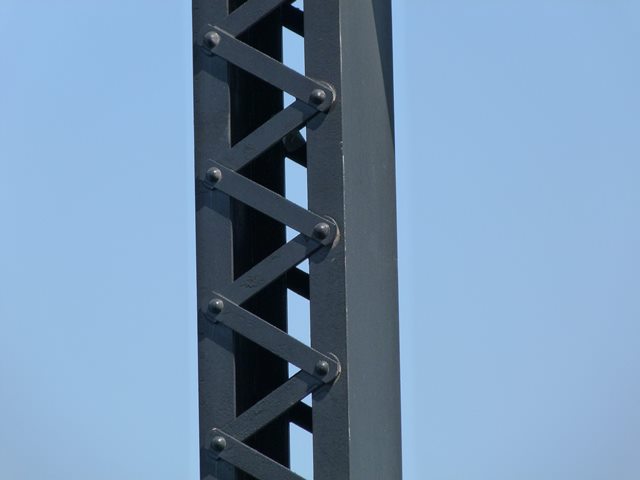
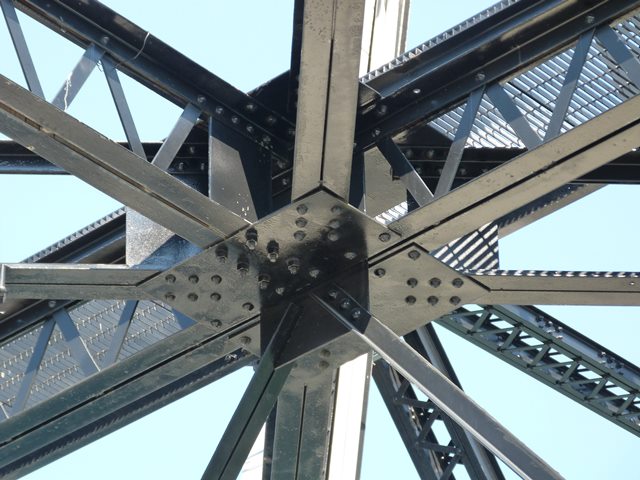
Tower bracing.
![]()


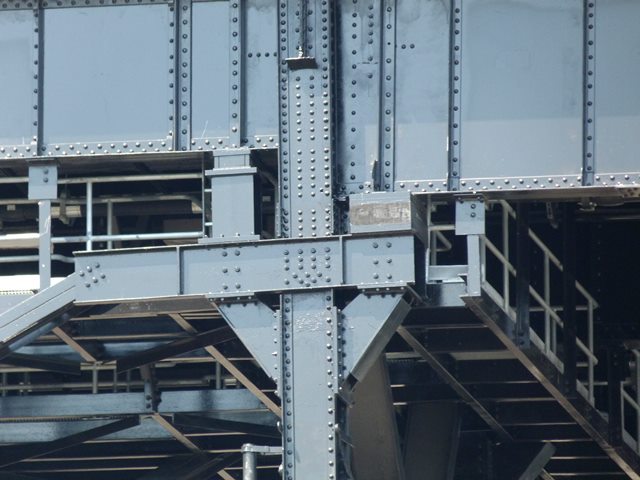
Top chord connections as viewed from beside bridge.
![]()


Top chord connections as viewed from on bridge.
![]()


Bottom chord connections as viewed from on bridge.
![]()

Intermediate connection as viewed from on bridge.
![]()
End posts.
![]()
Top chord.
![]()
Bottom chord.
![]()
Vertical members.
![]()
Diagonal members.
![]()


Overhead lateral bracing connections.
![]()

Sway bracing connection to vertical member.
![]()


Various bracing connections.
![]()


View showing cable that runs down to tower bearing.
![]()


Overhead pipeline truss span details.
![]()
Piers.
![]()
Views under western approach spans.
![]()
Looking up under western approach spans at sections of the unused ramp.
![]()


Details of girders for the unused western ramp.
![]()

Bents for western approach spans.
![]()


Details of bents for western approach spans.
![]()

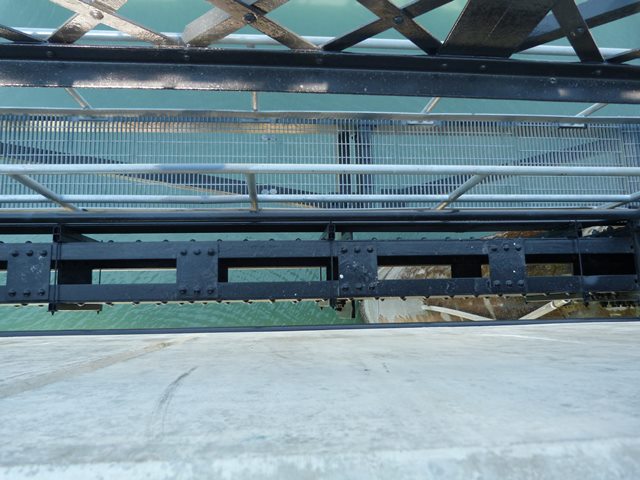
Expansion joint.
![]()
Railing.
![]()

Electrical equipment.
![]()

Elevator added to bridge.
![]()

Sign found near a stairway and elevator on bridge. "Public Property: No Trespassing" makes for a rather confusing sign.
![]()
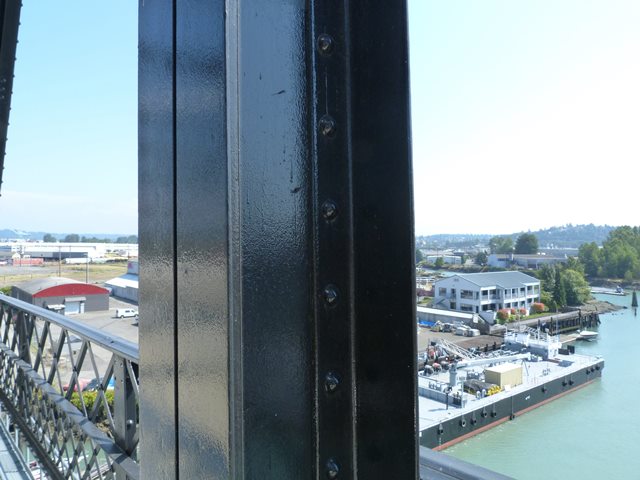
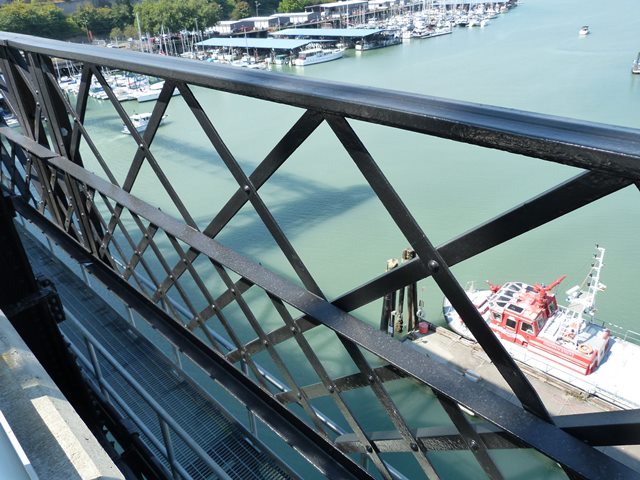
Views from bridge.
![]()

A seal was guarding the bridge.
![]()

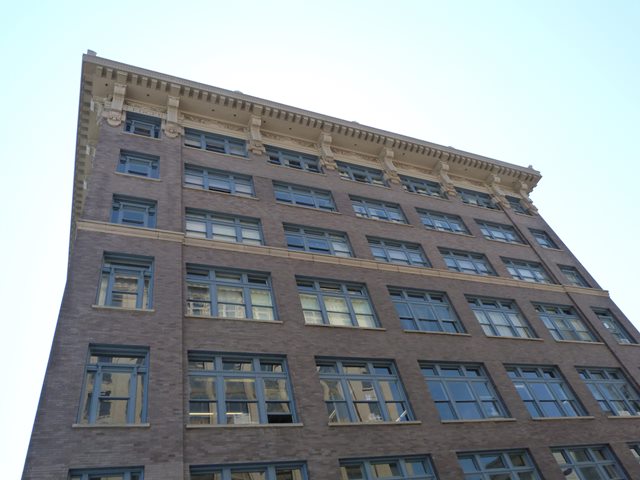


Downtown buildings that are next to the bridge.
![]()
![]()

![]()