
Uncredited photos on this page taken by: Nathan Holth. Unless stated in a caption, all photos are Copyright with All Rights Reserved. Learn about reuse of our photos.
![]()
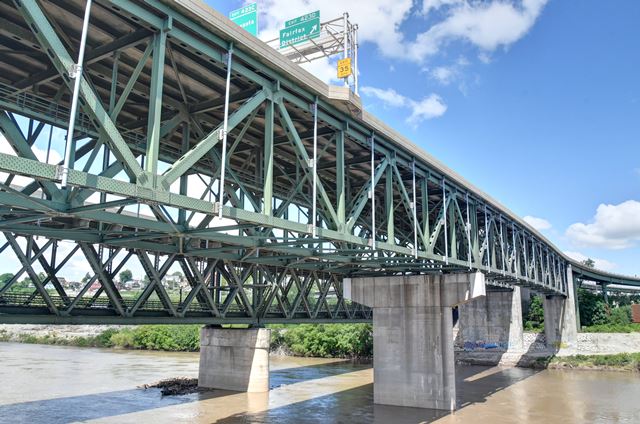
Directions assume a north-south alignment of bridge.
![]()


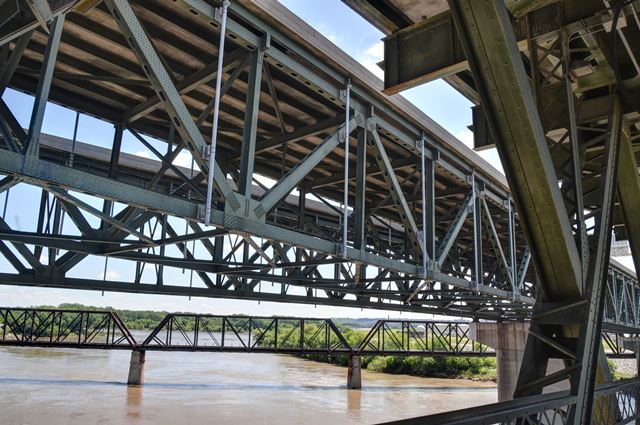
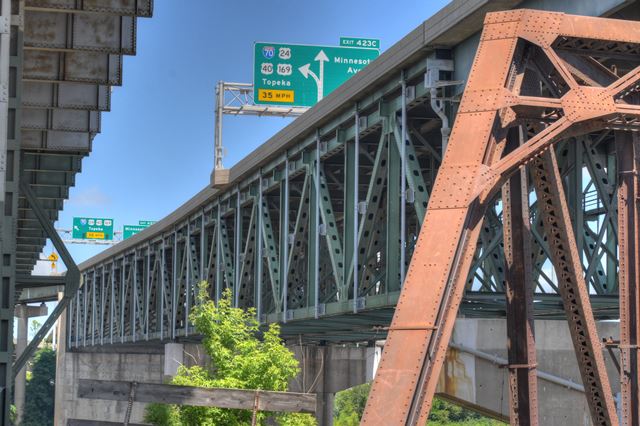
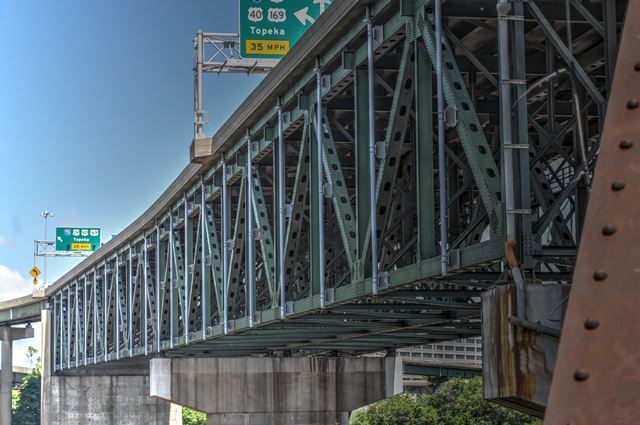
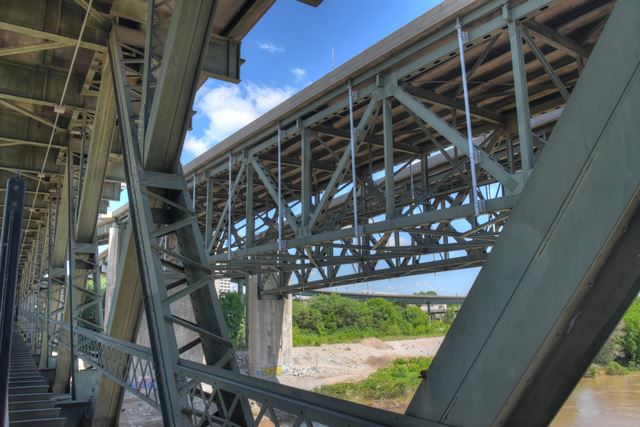
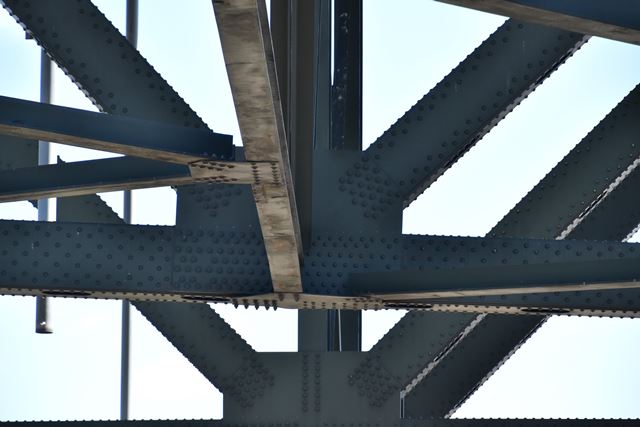
View looking up at bridge from southeast quadrant.
![]()


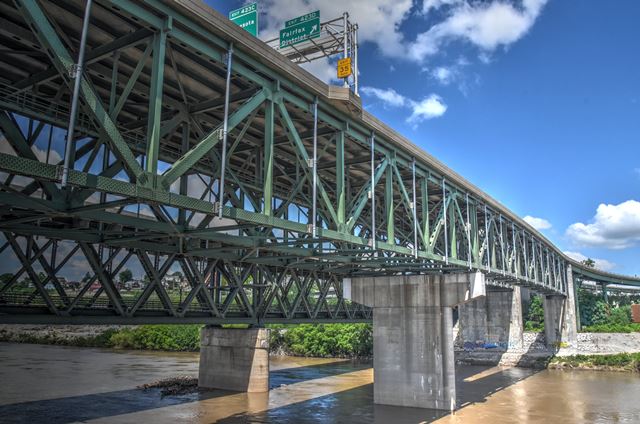


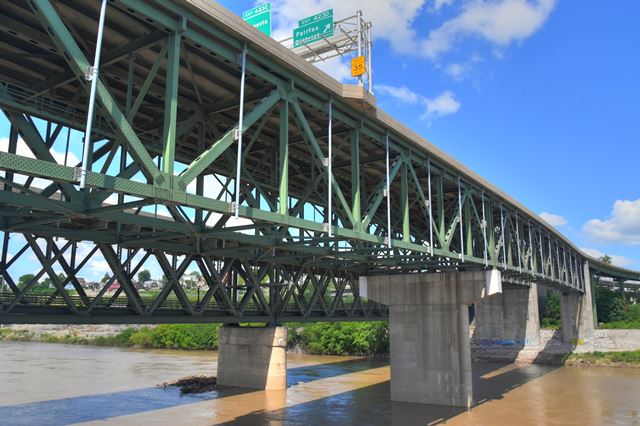

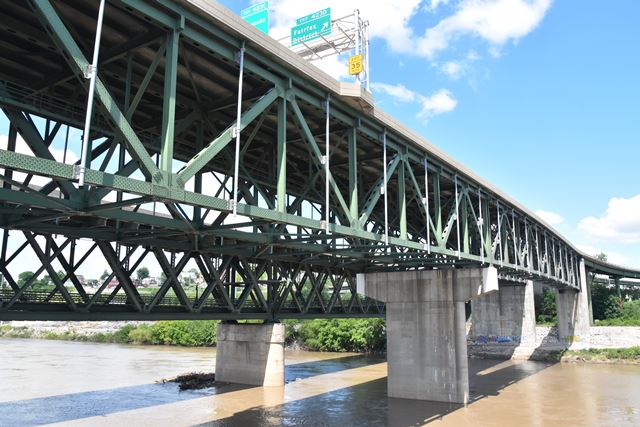
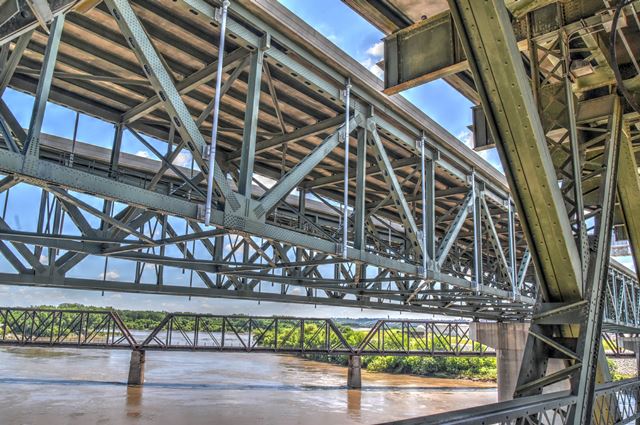
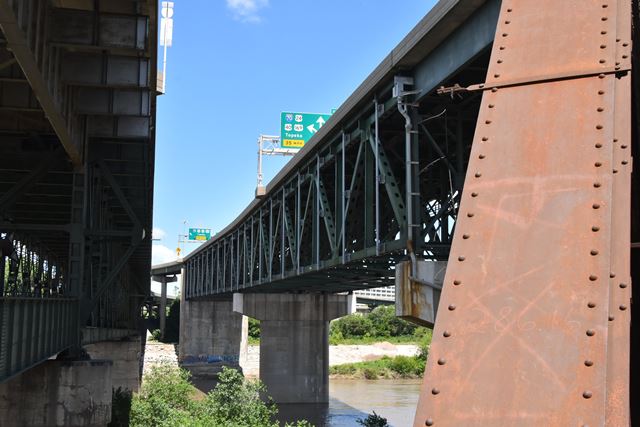
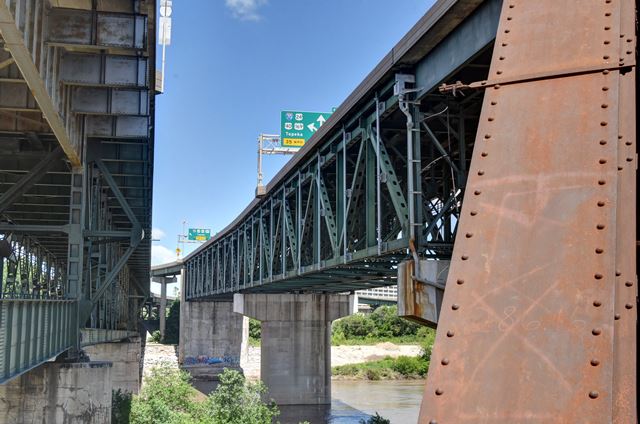
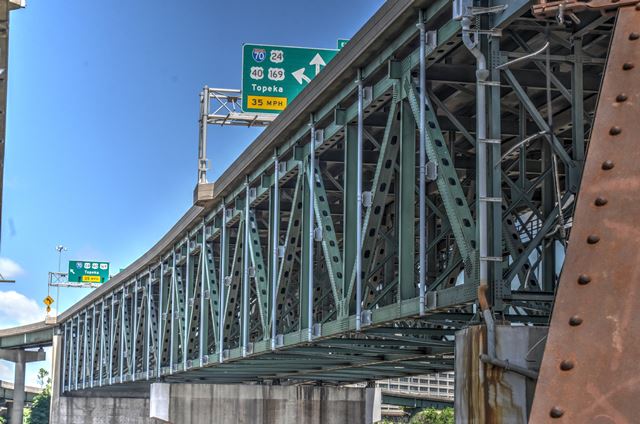
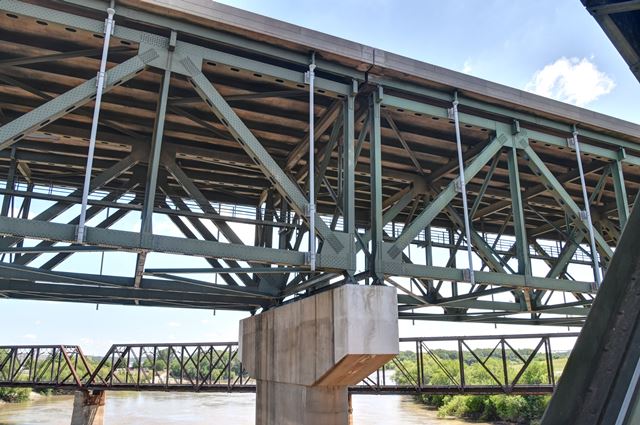
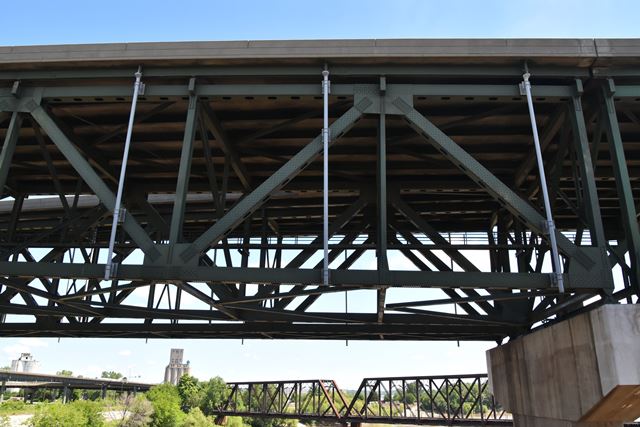
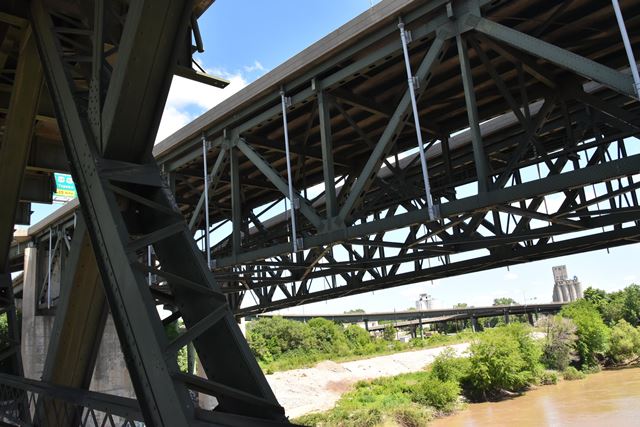
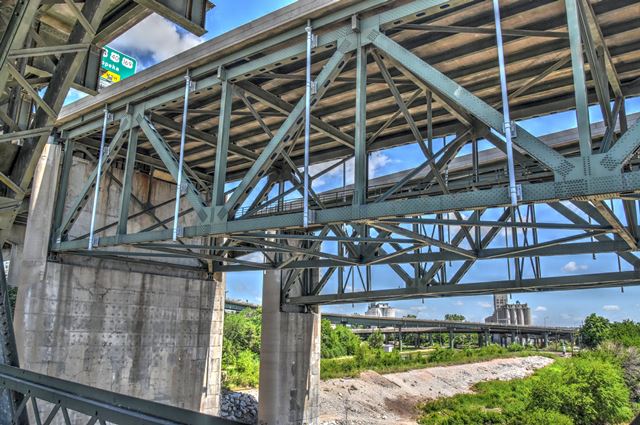
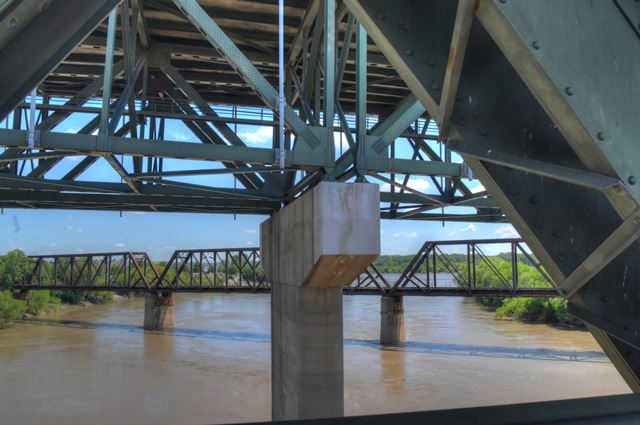
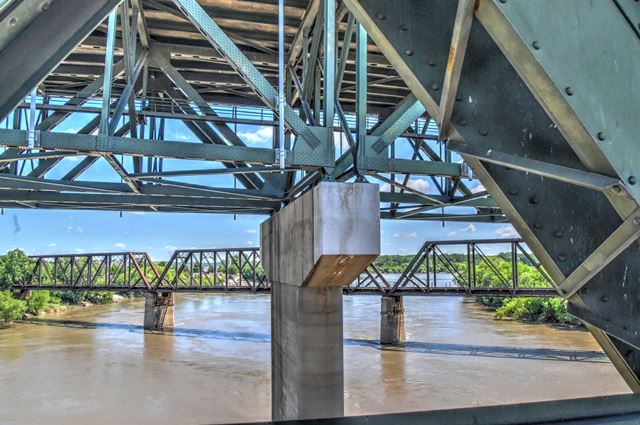
Views beside bridge from southeast quadrant.
![]()


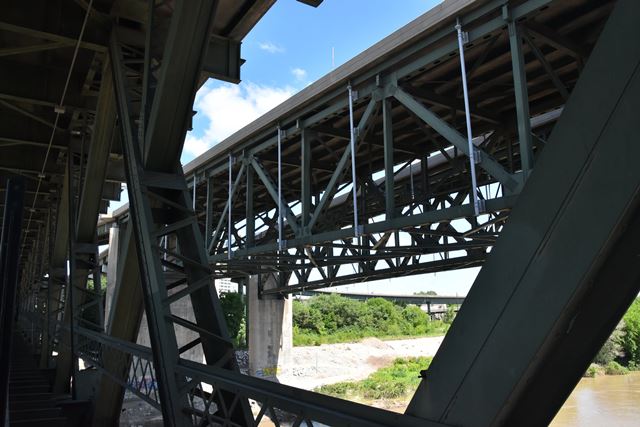
View of the Y span from the Intercity Viaduct, located immediately west of the bridge.
![]()


Views beside bridge from southwest quadrant.
![]()


Views between the two viaducts looking north.
![]()


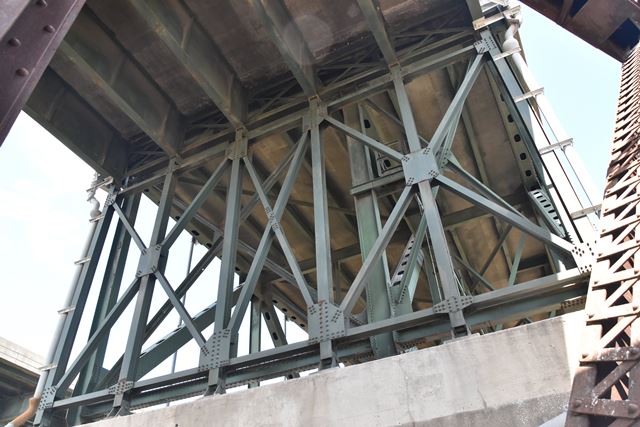
Views of truss web.
![]()


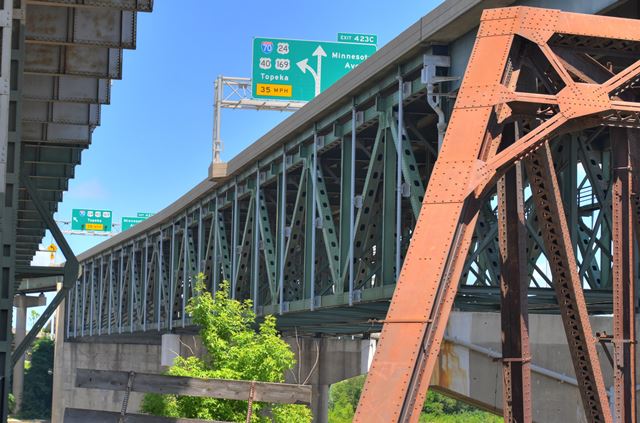
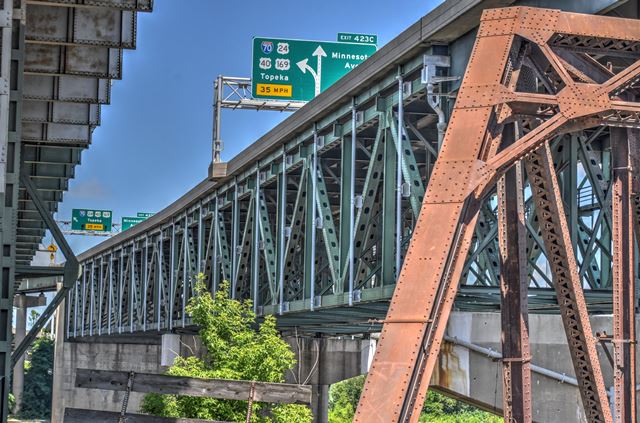
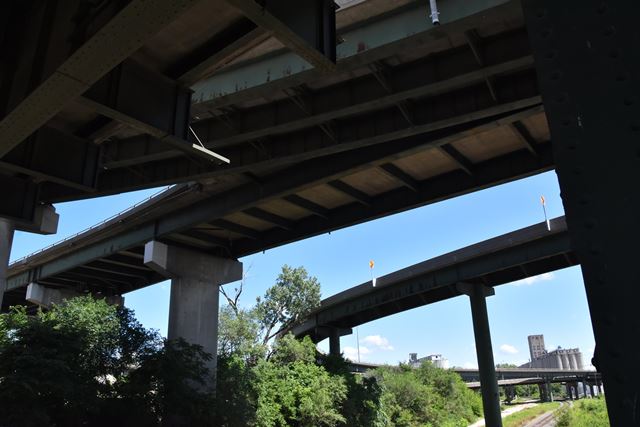
Views showing south approach spans.
![]()
Approach bent.
![]()


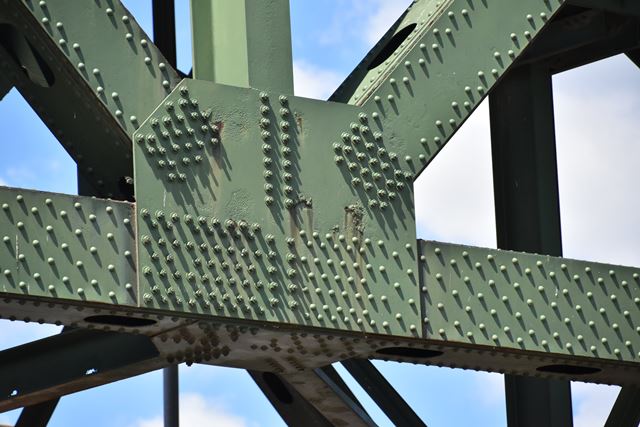
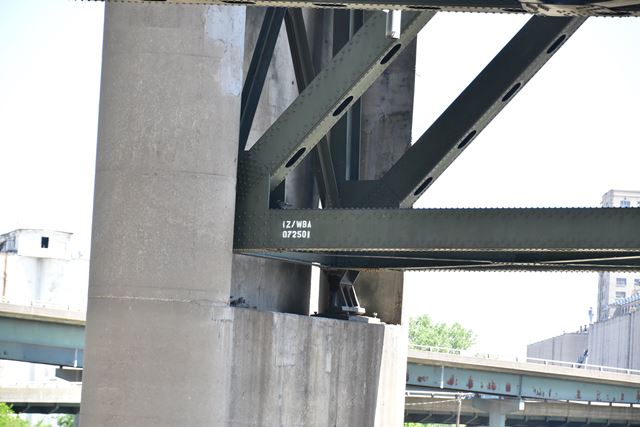
Top chord connections as viewed from beside bridge.
![]()


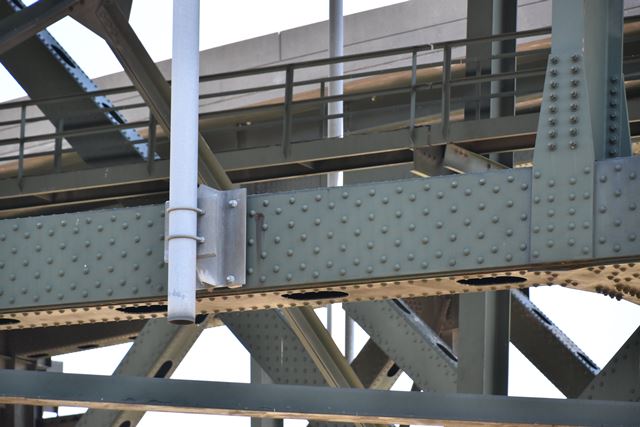
Bottom chord connections as viewed from beside bridge.
![]()

Piers.
![]()


Bearing.
![]()

Inspection catwalk.
![]()


Diagonal members.
![]()


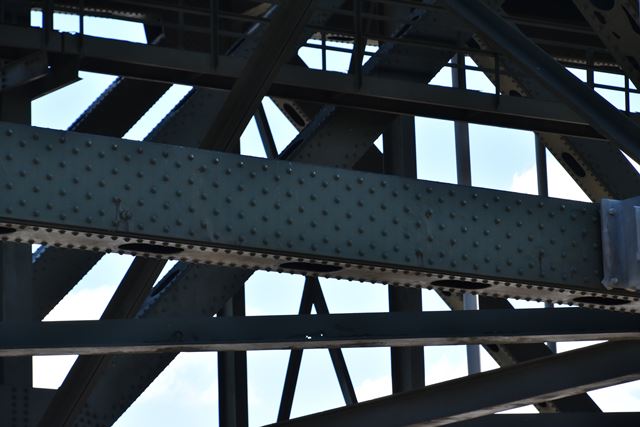
Bottom chord.
![]()
Ramps.
![]()
![]()
| Back |
| Home |
| Top |

![]()