Uncredited photos on this page taken by: Nathan Holth. Unless stated in a caption, all photos are Copyright with All Rights Reserved. Learn about reuse of our photos.
![]()

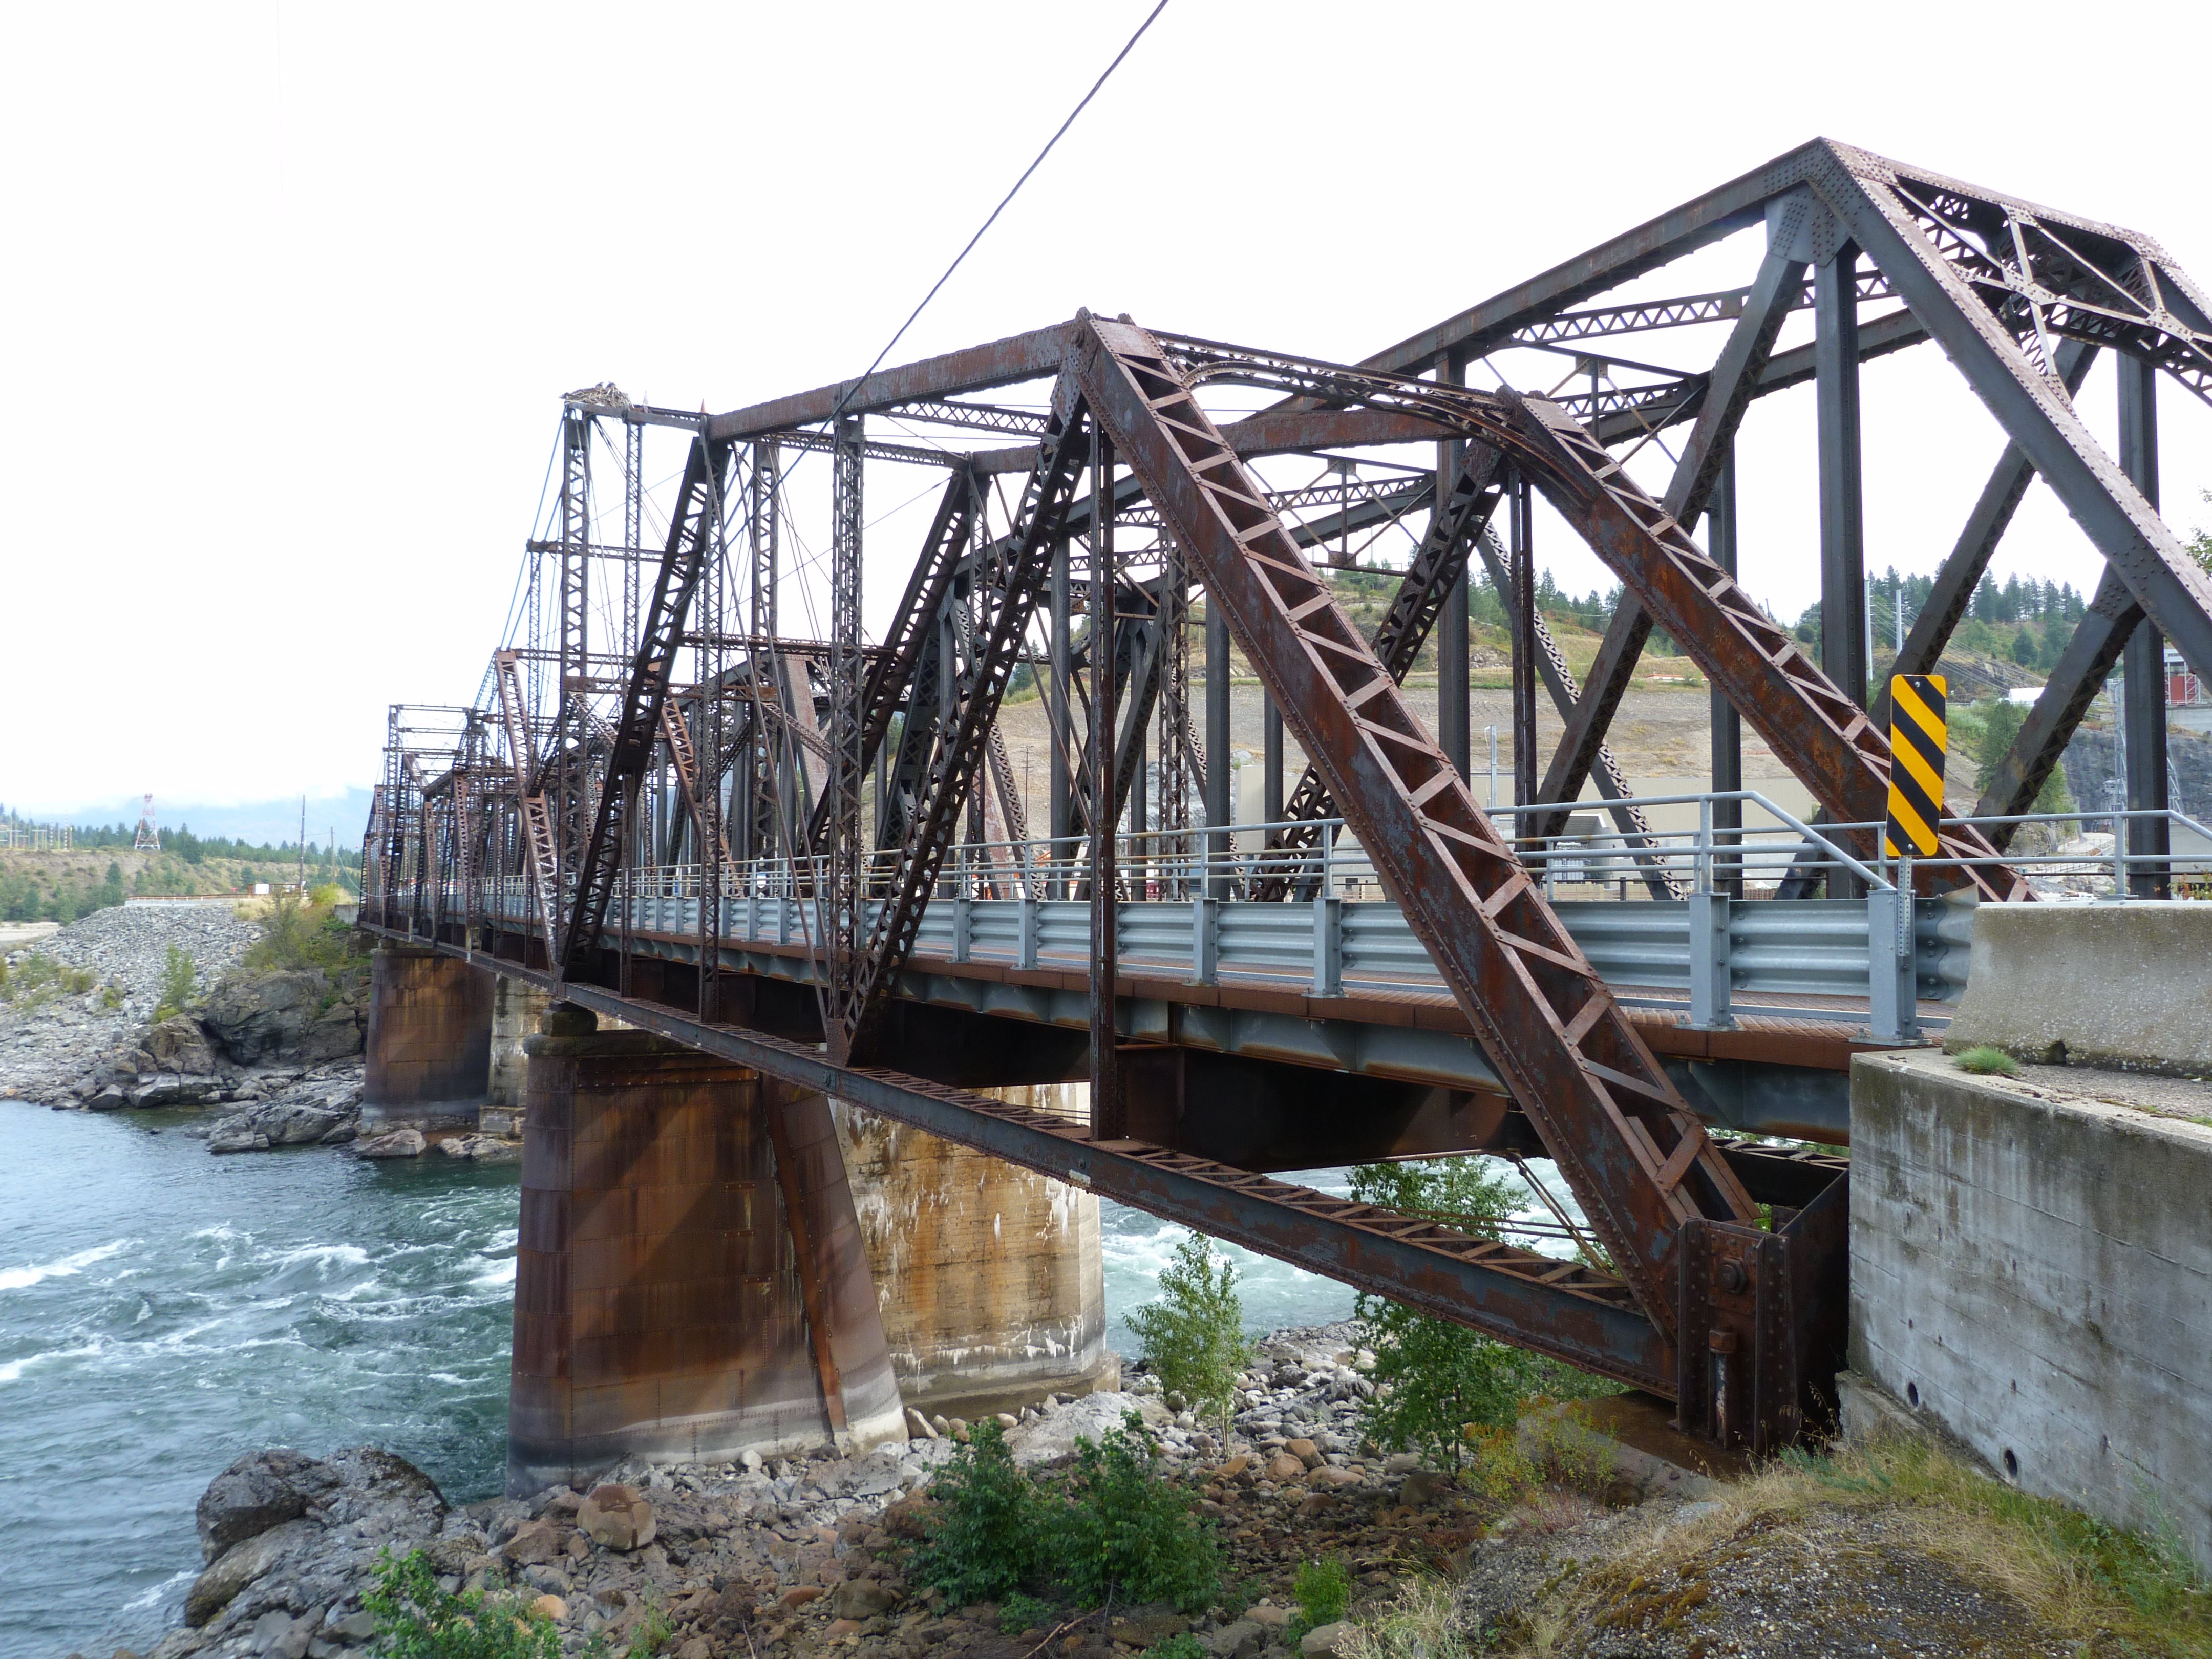
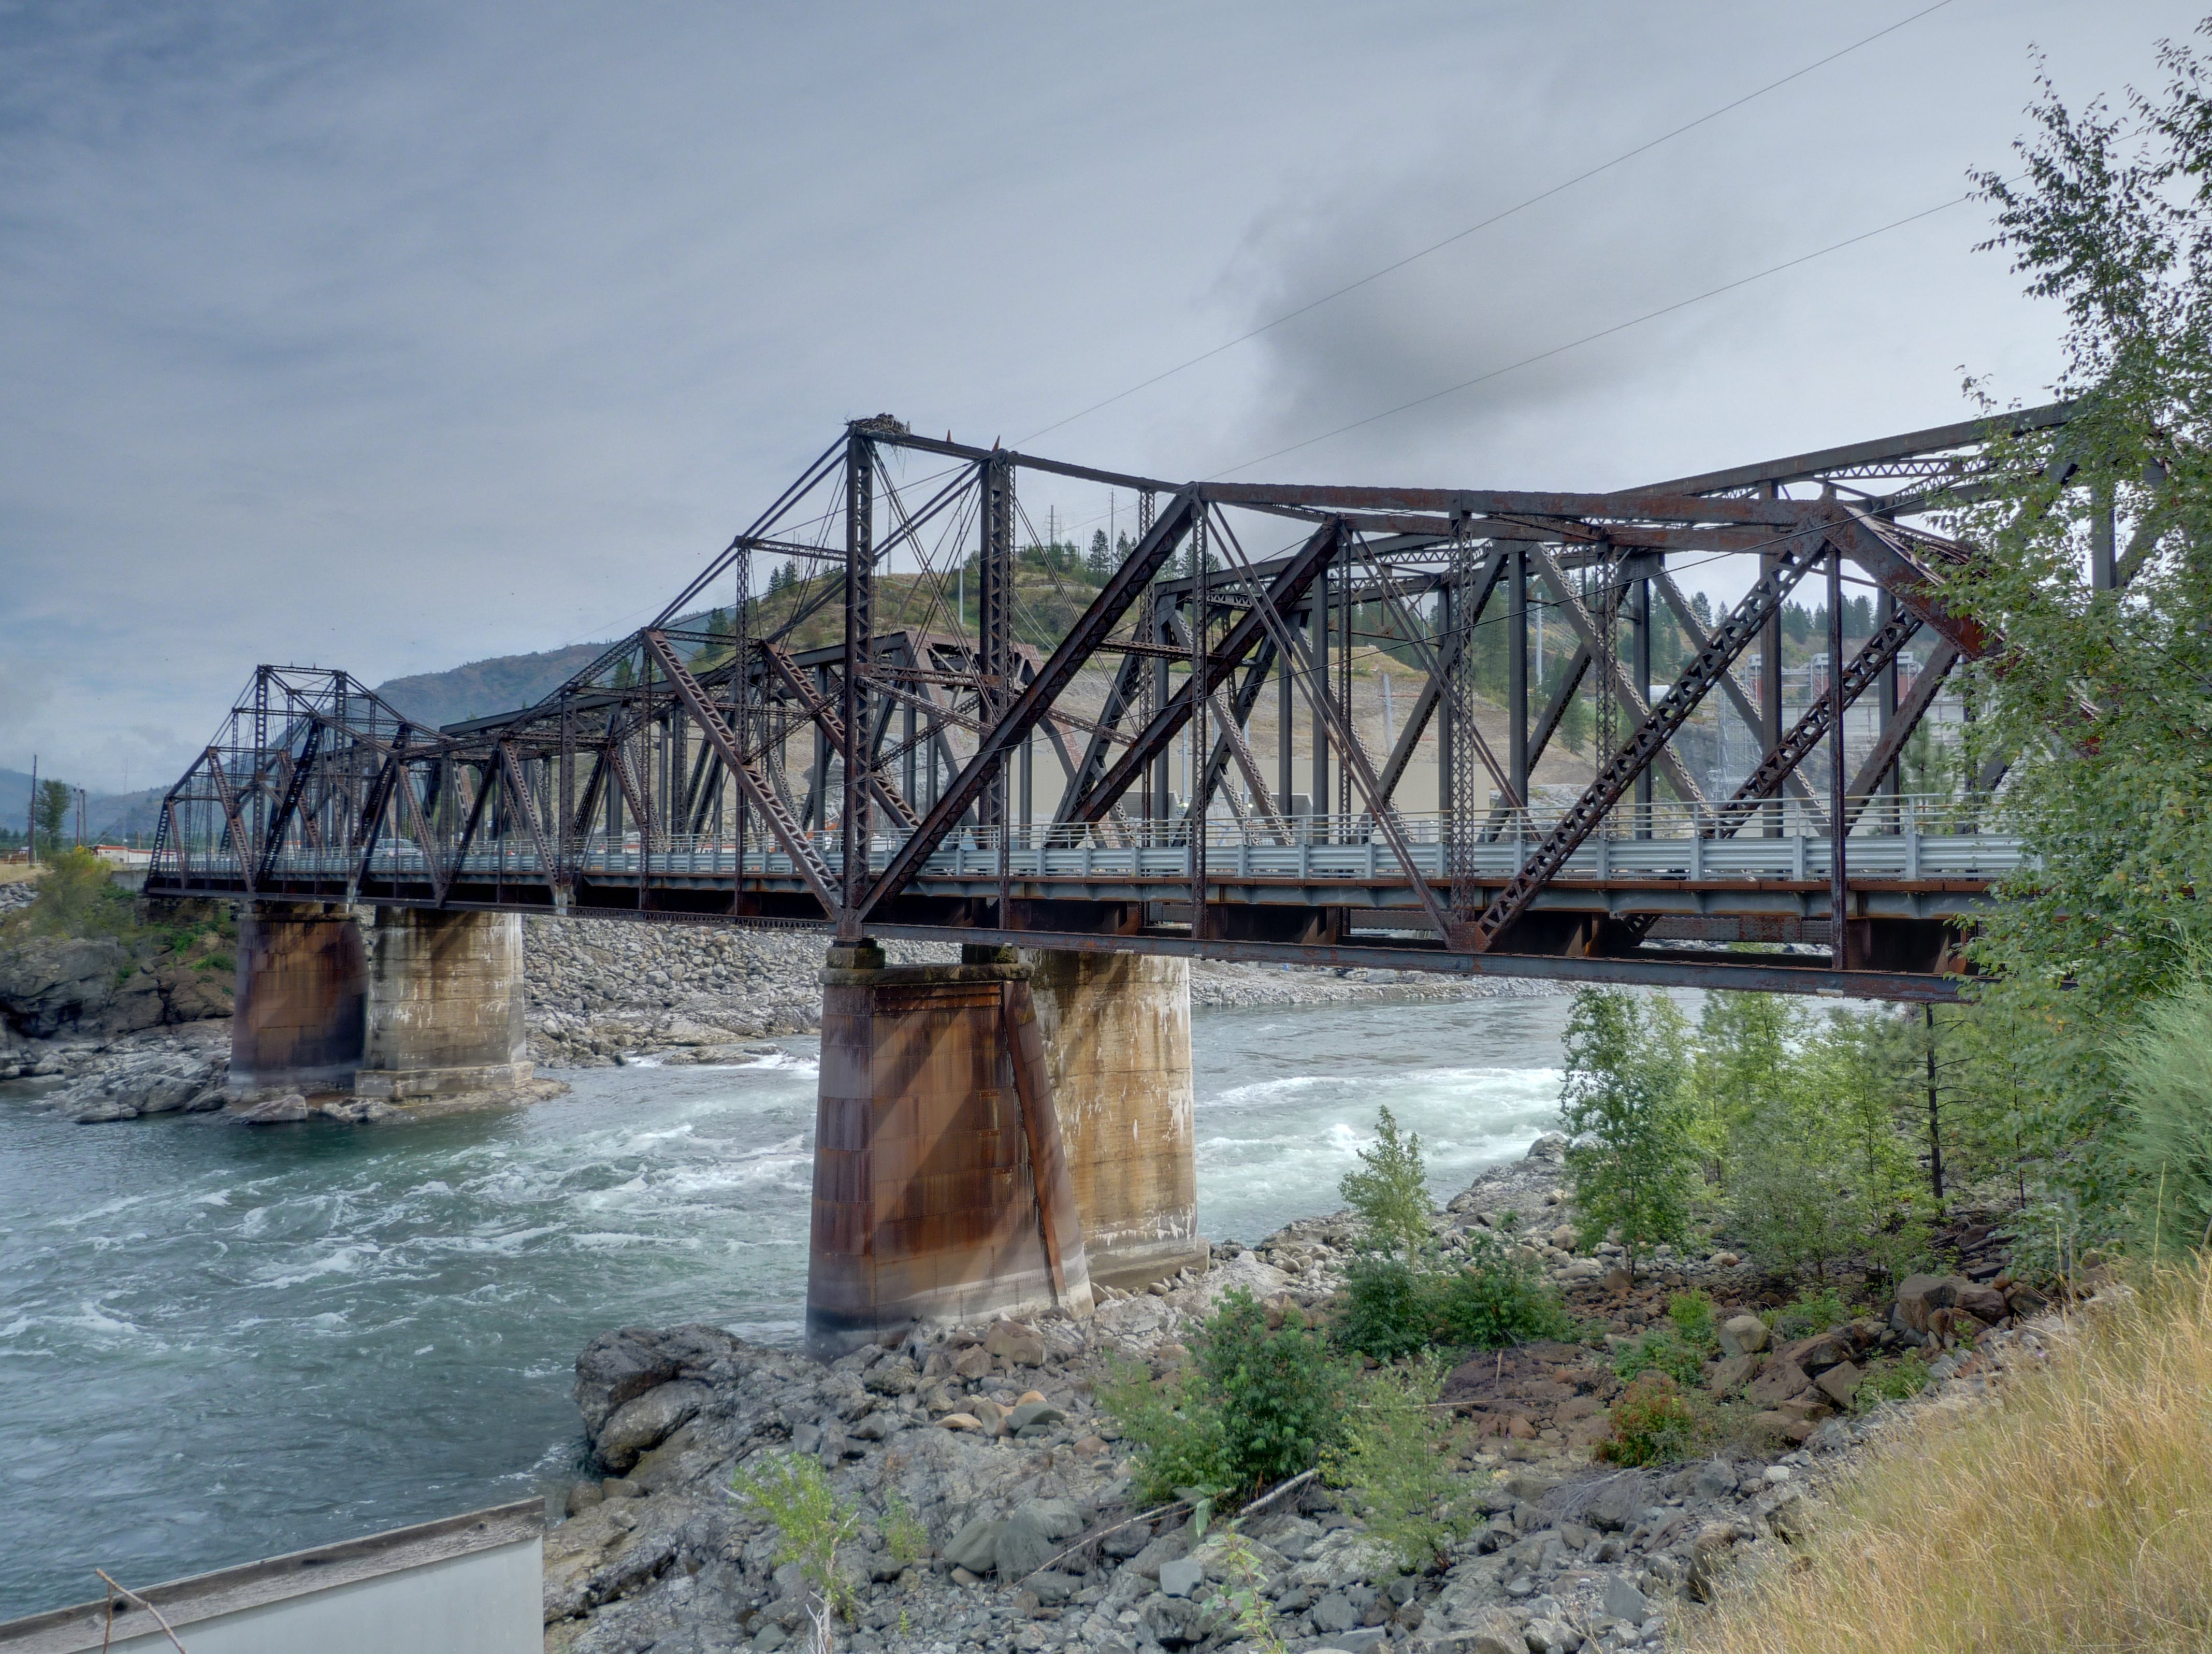
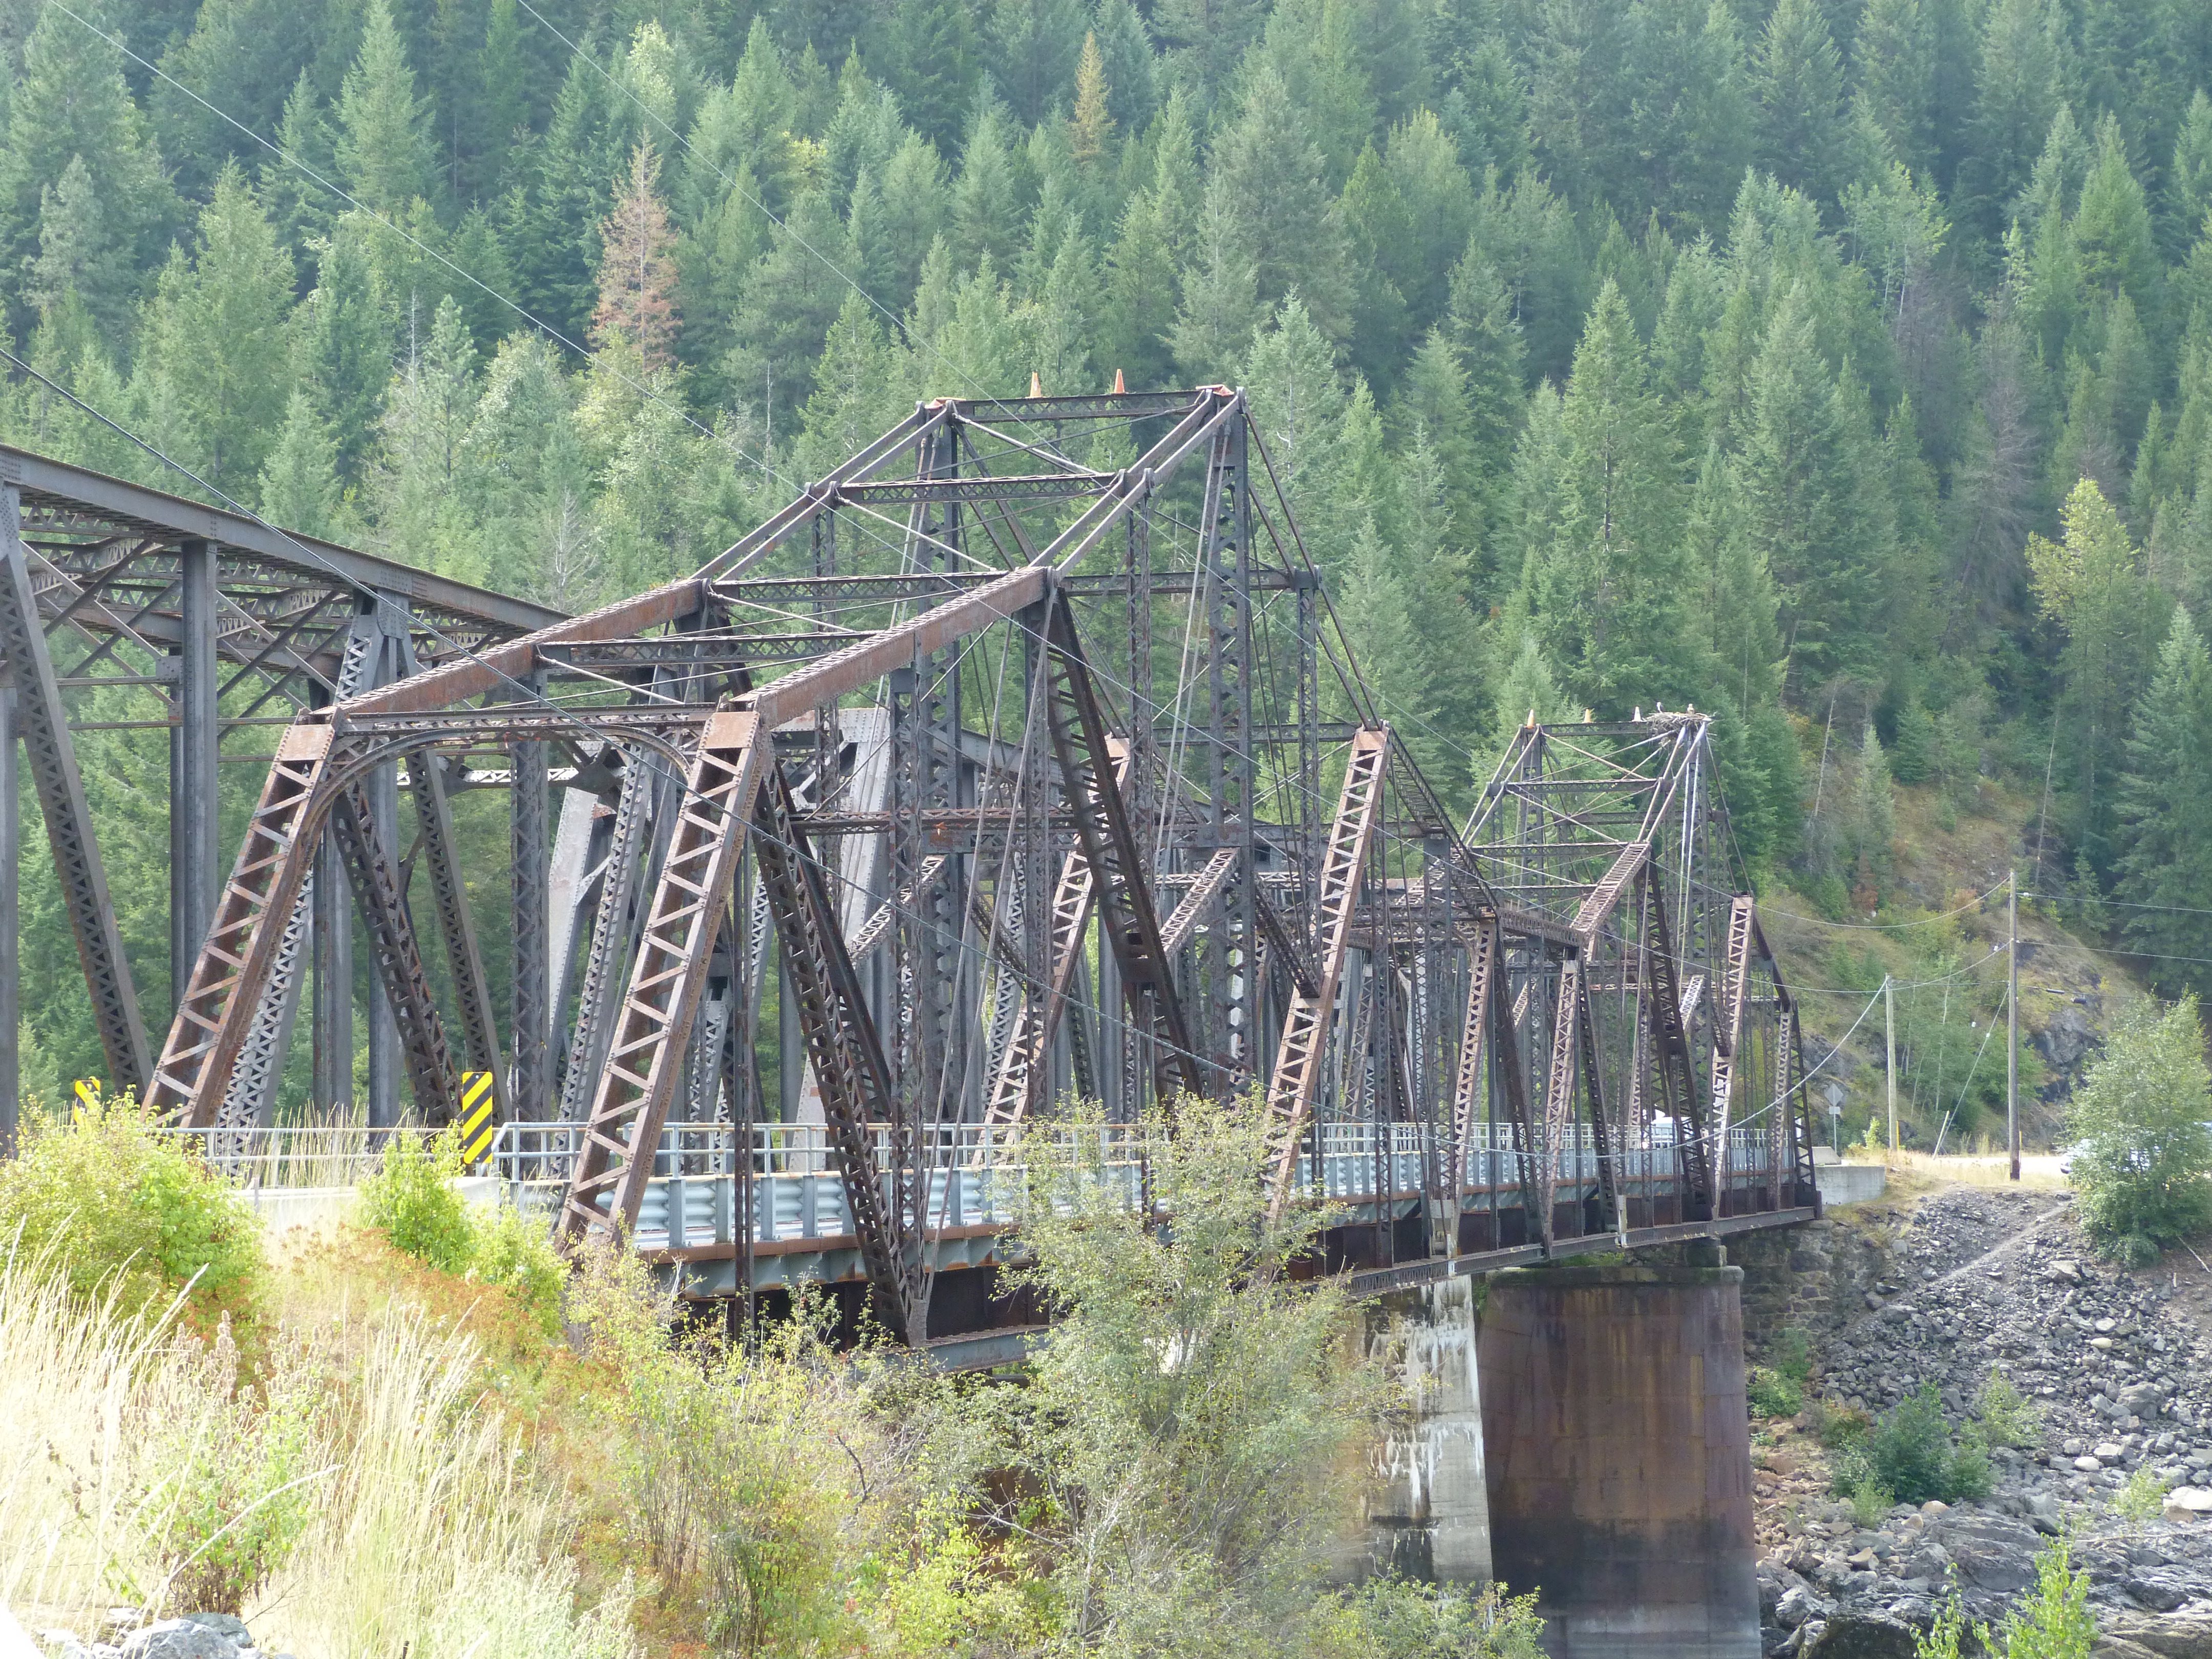
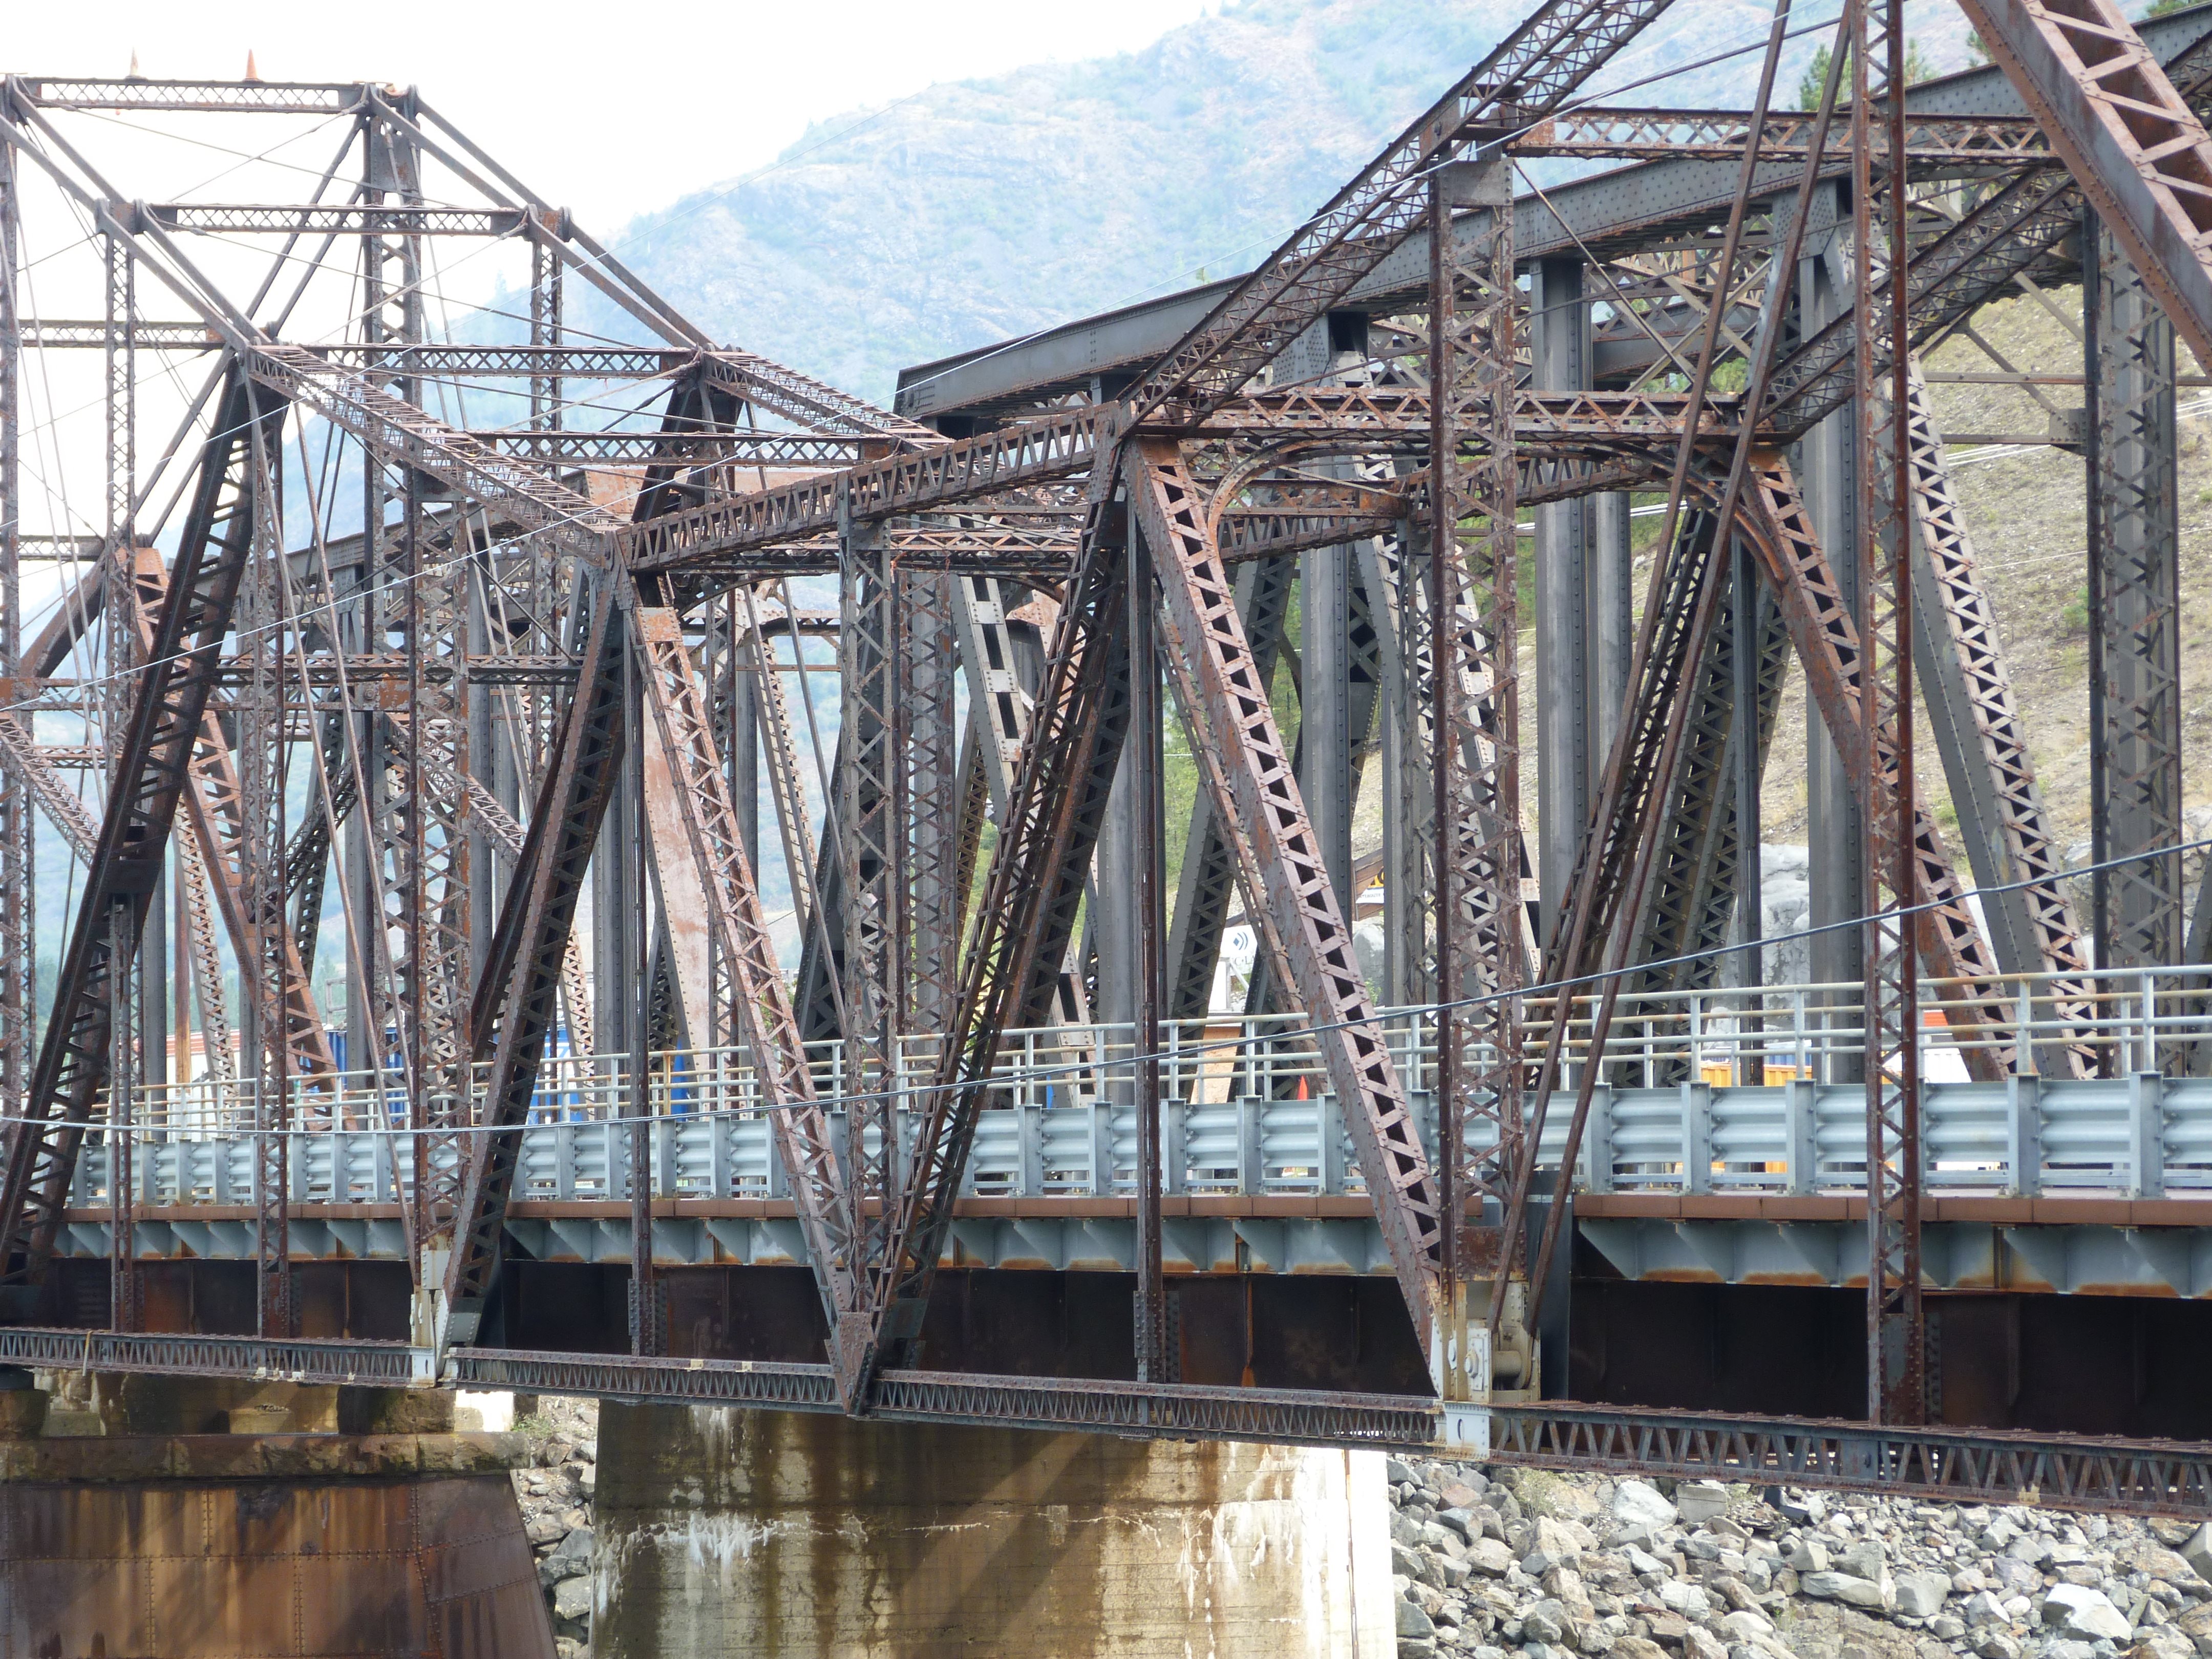
General view looking south showing both bridges. Cantilever bridge to the immediate west (right).
![]()

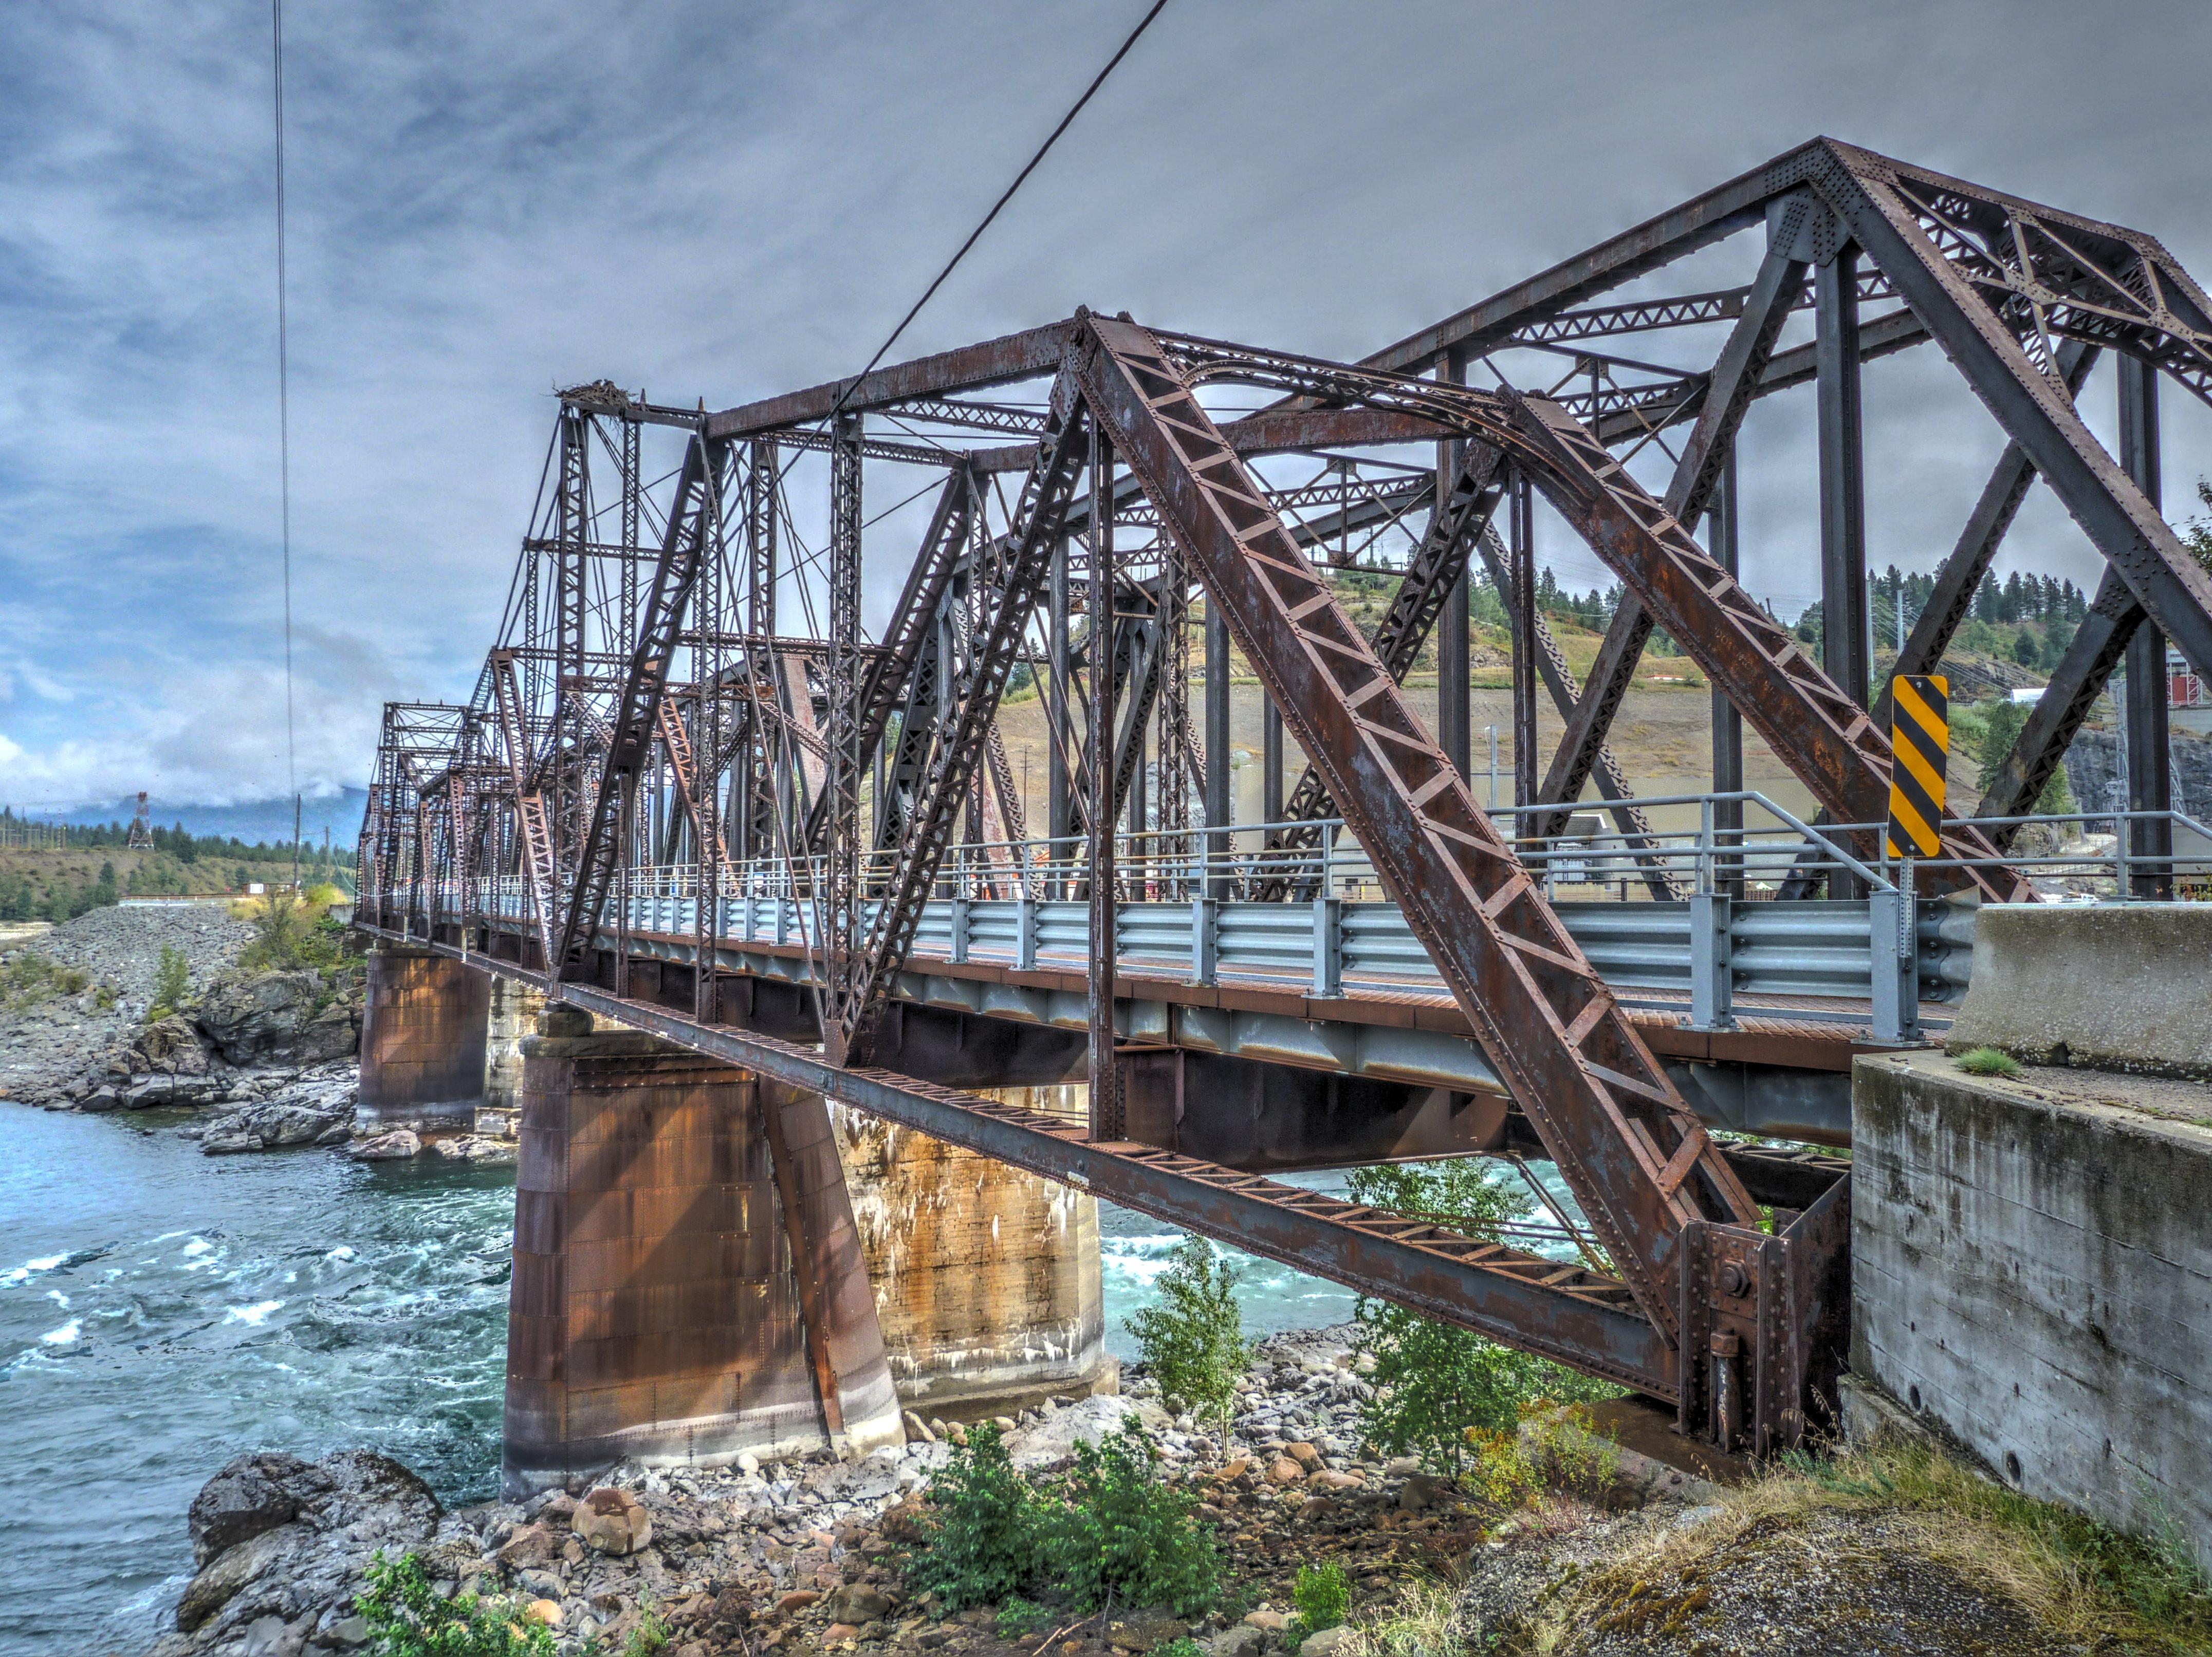
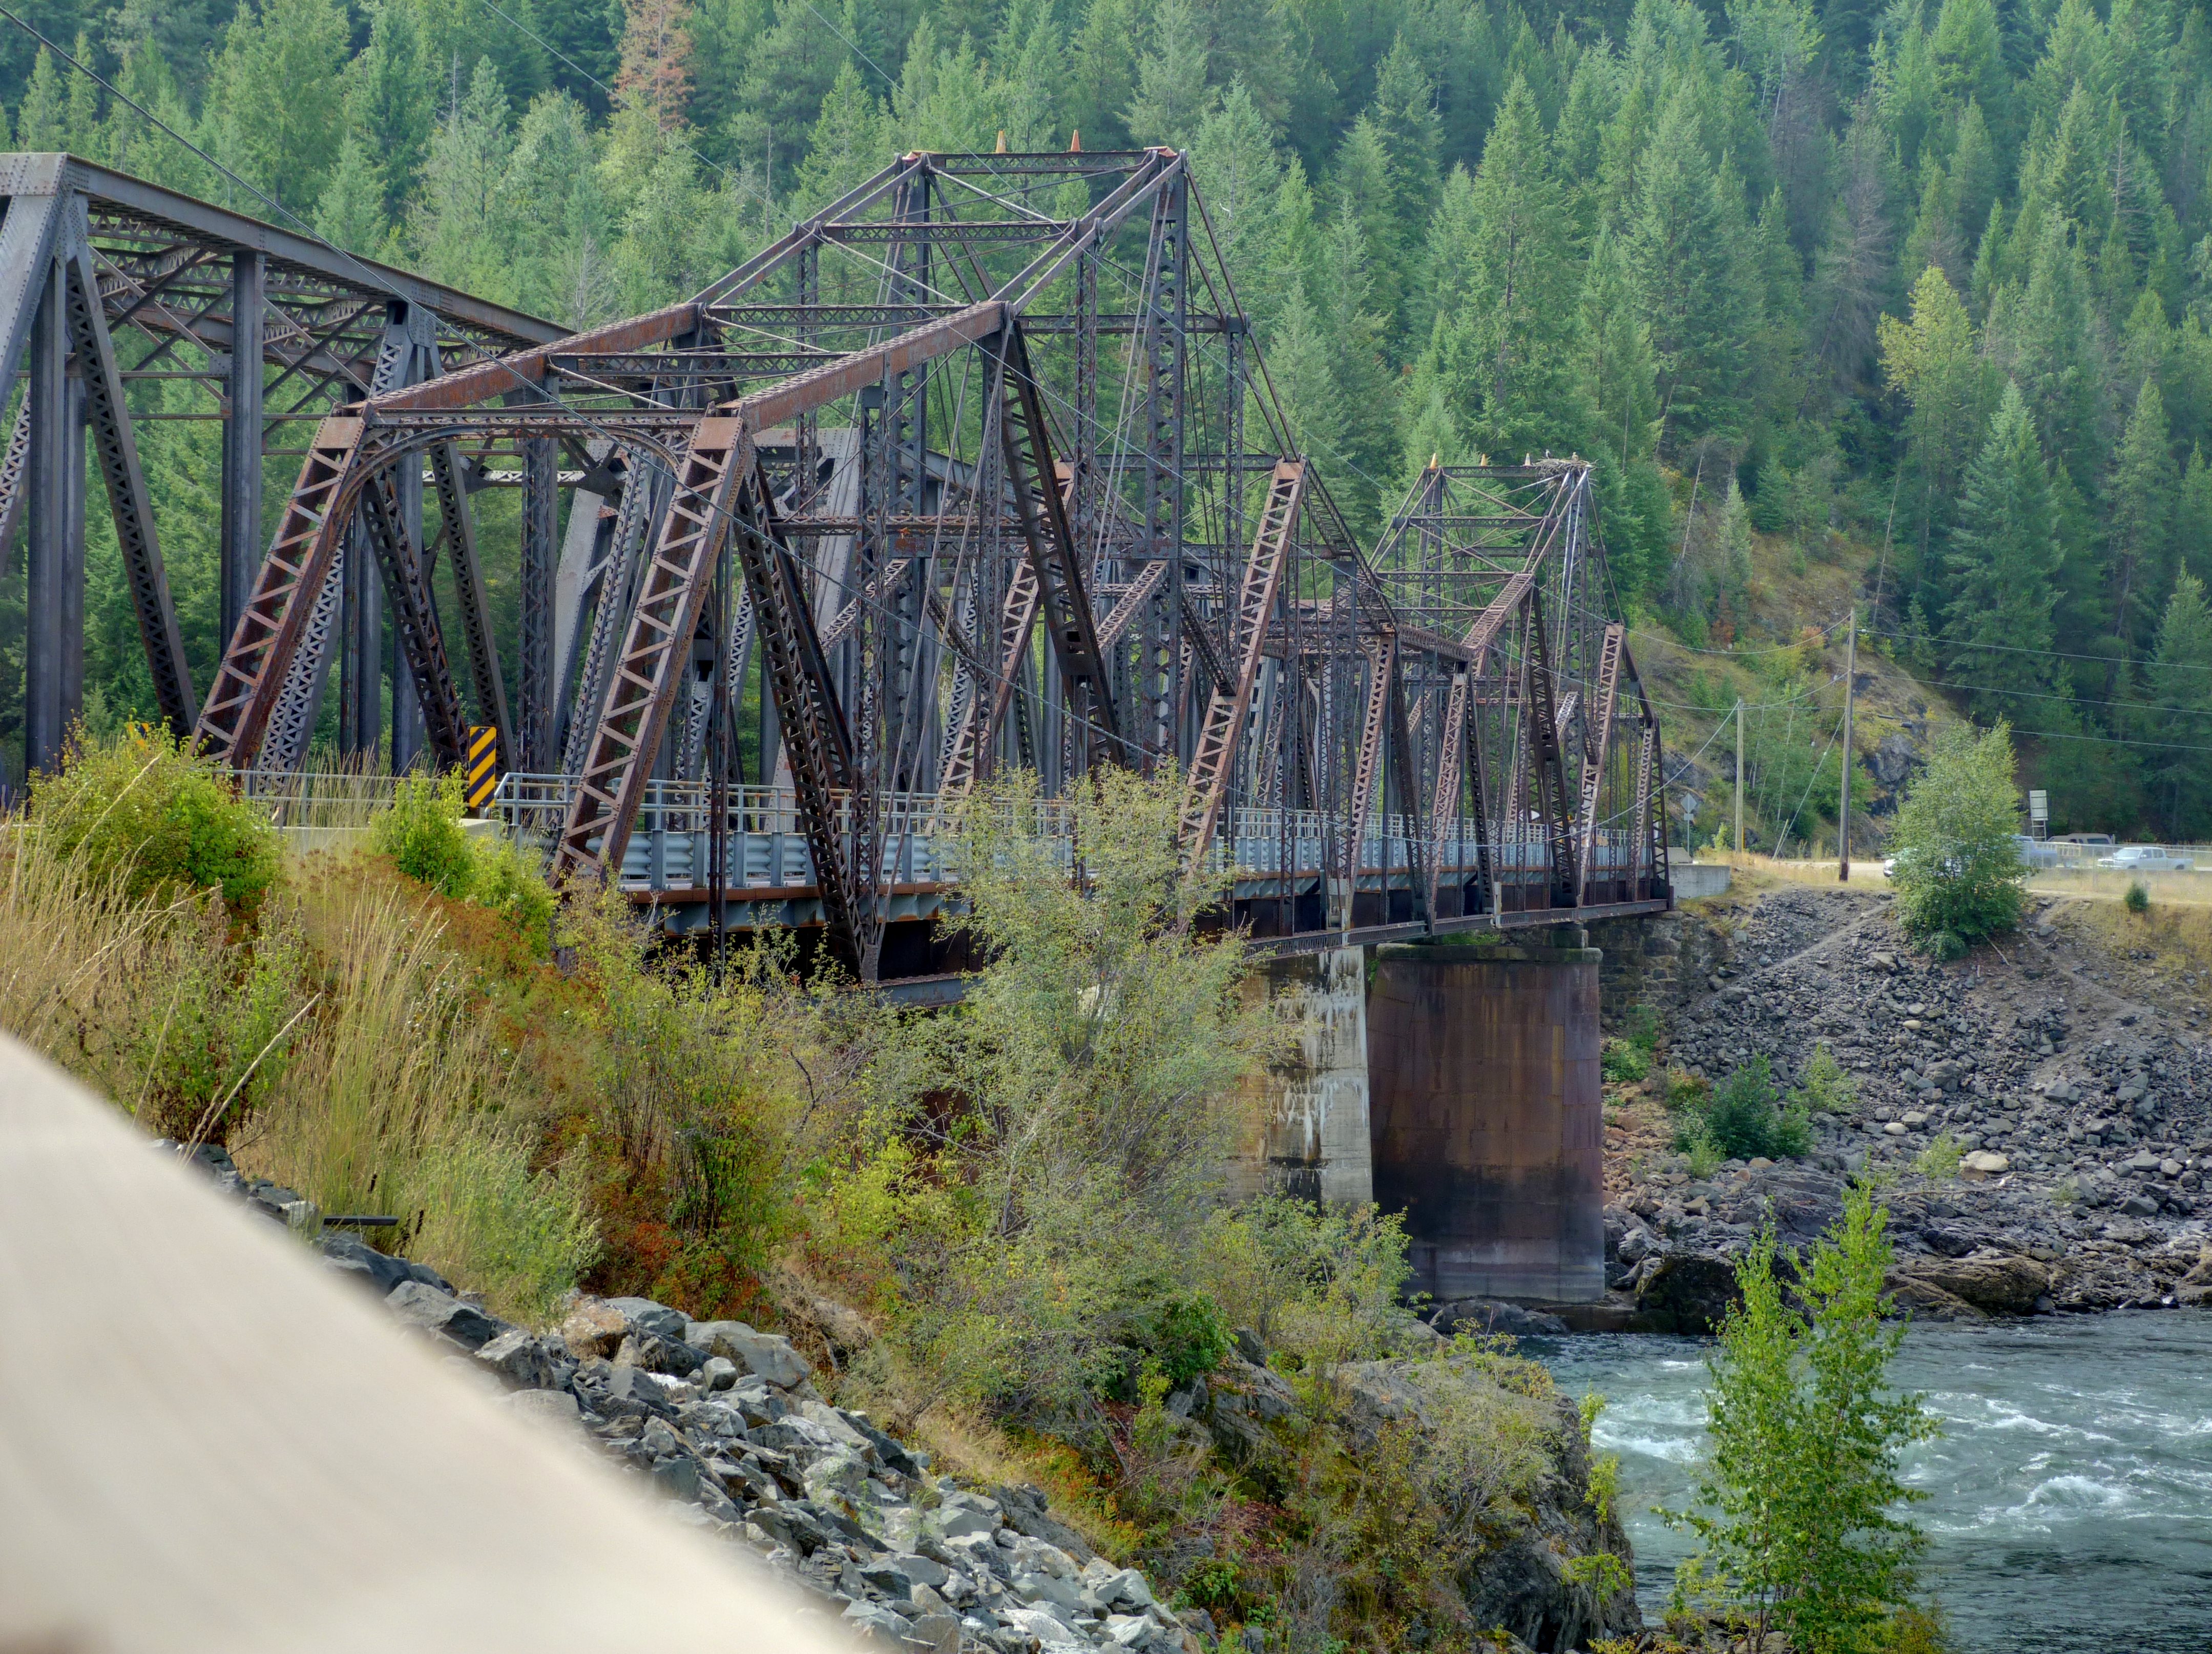
View beside bridge from southwest quadrant.
![]()


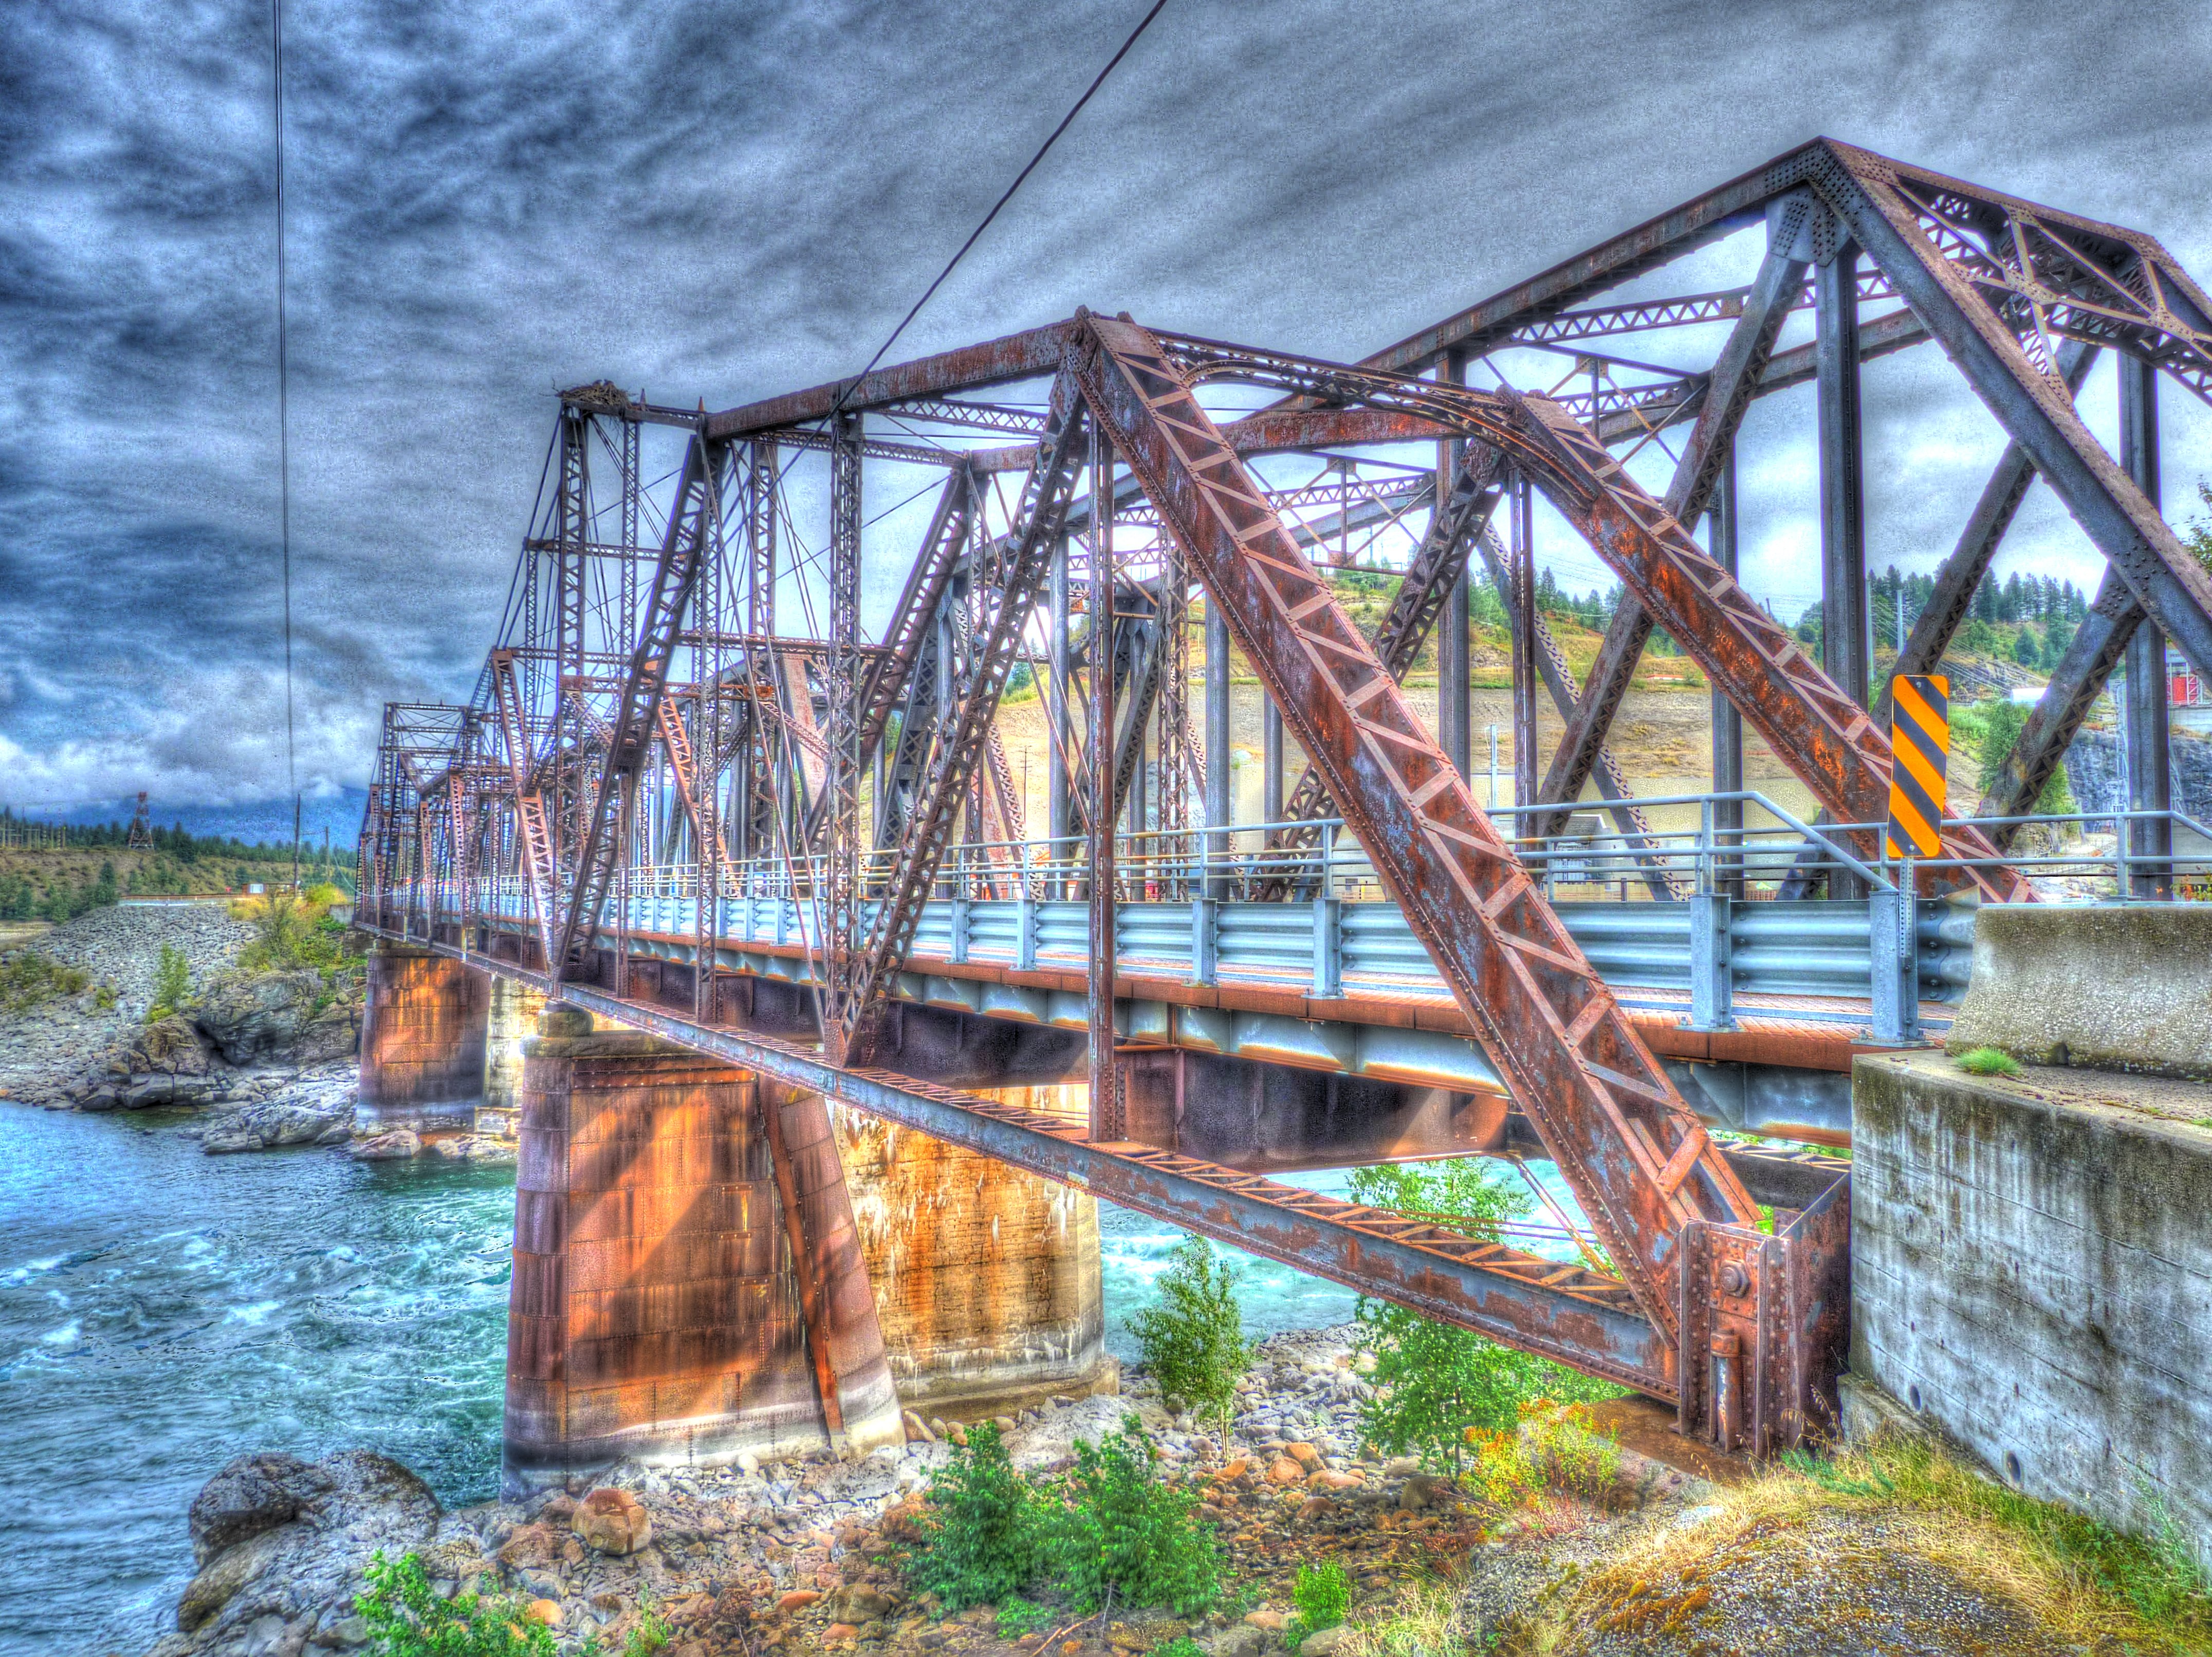
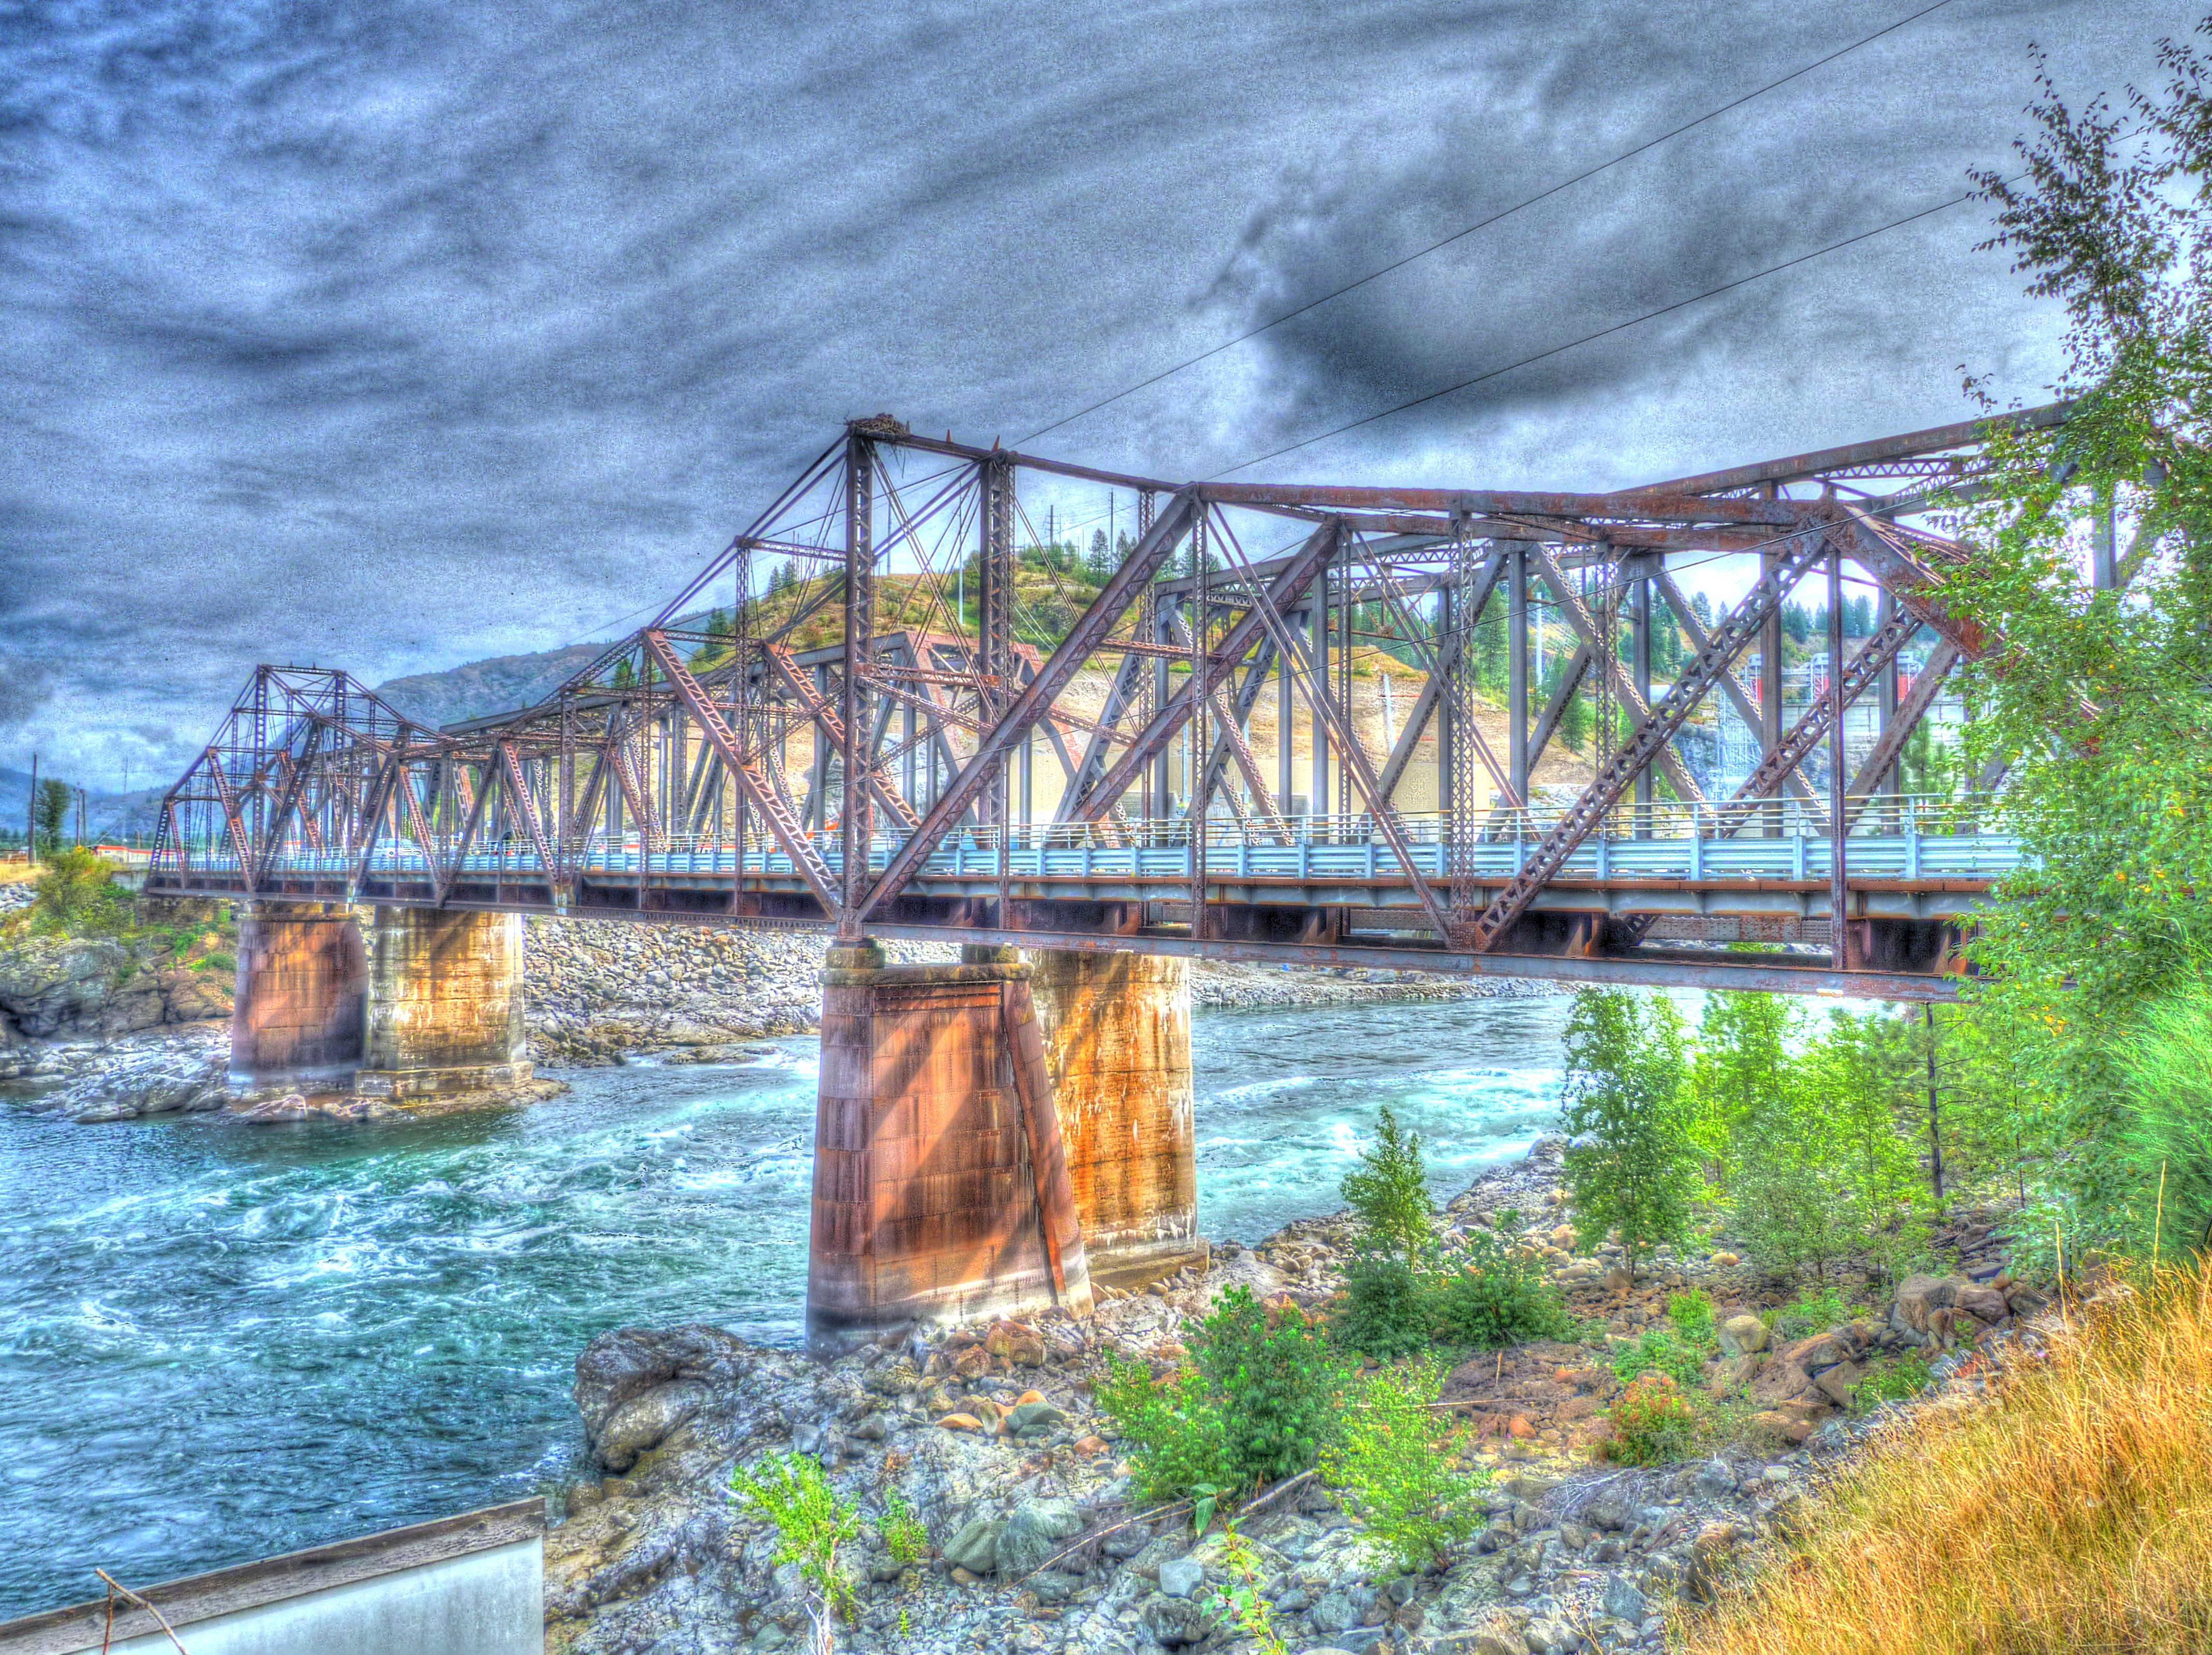
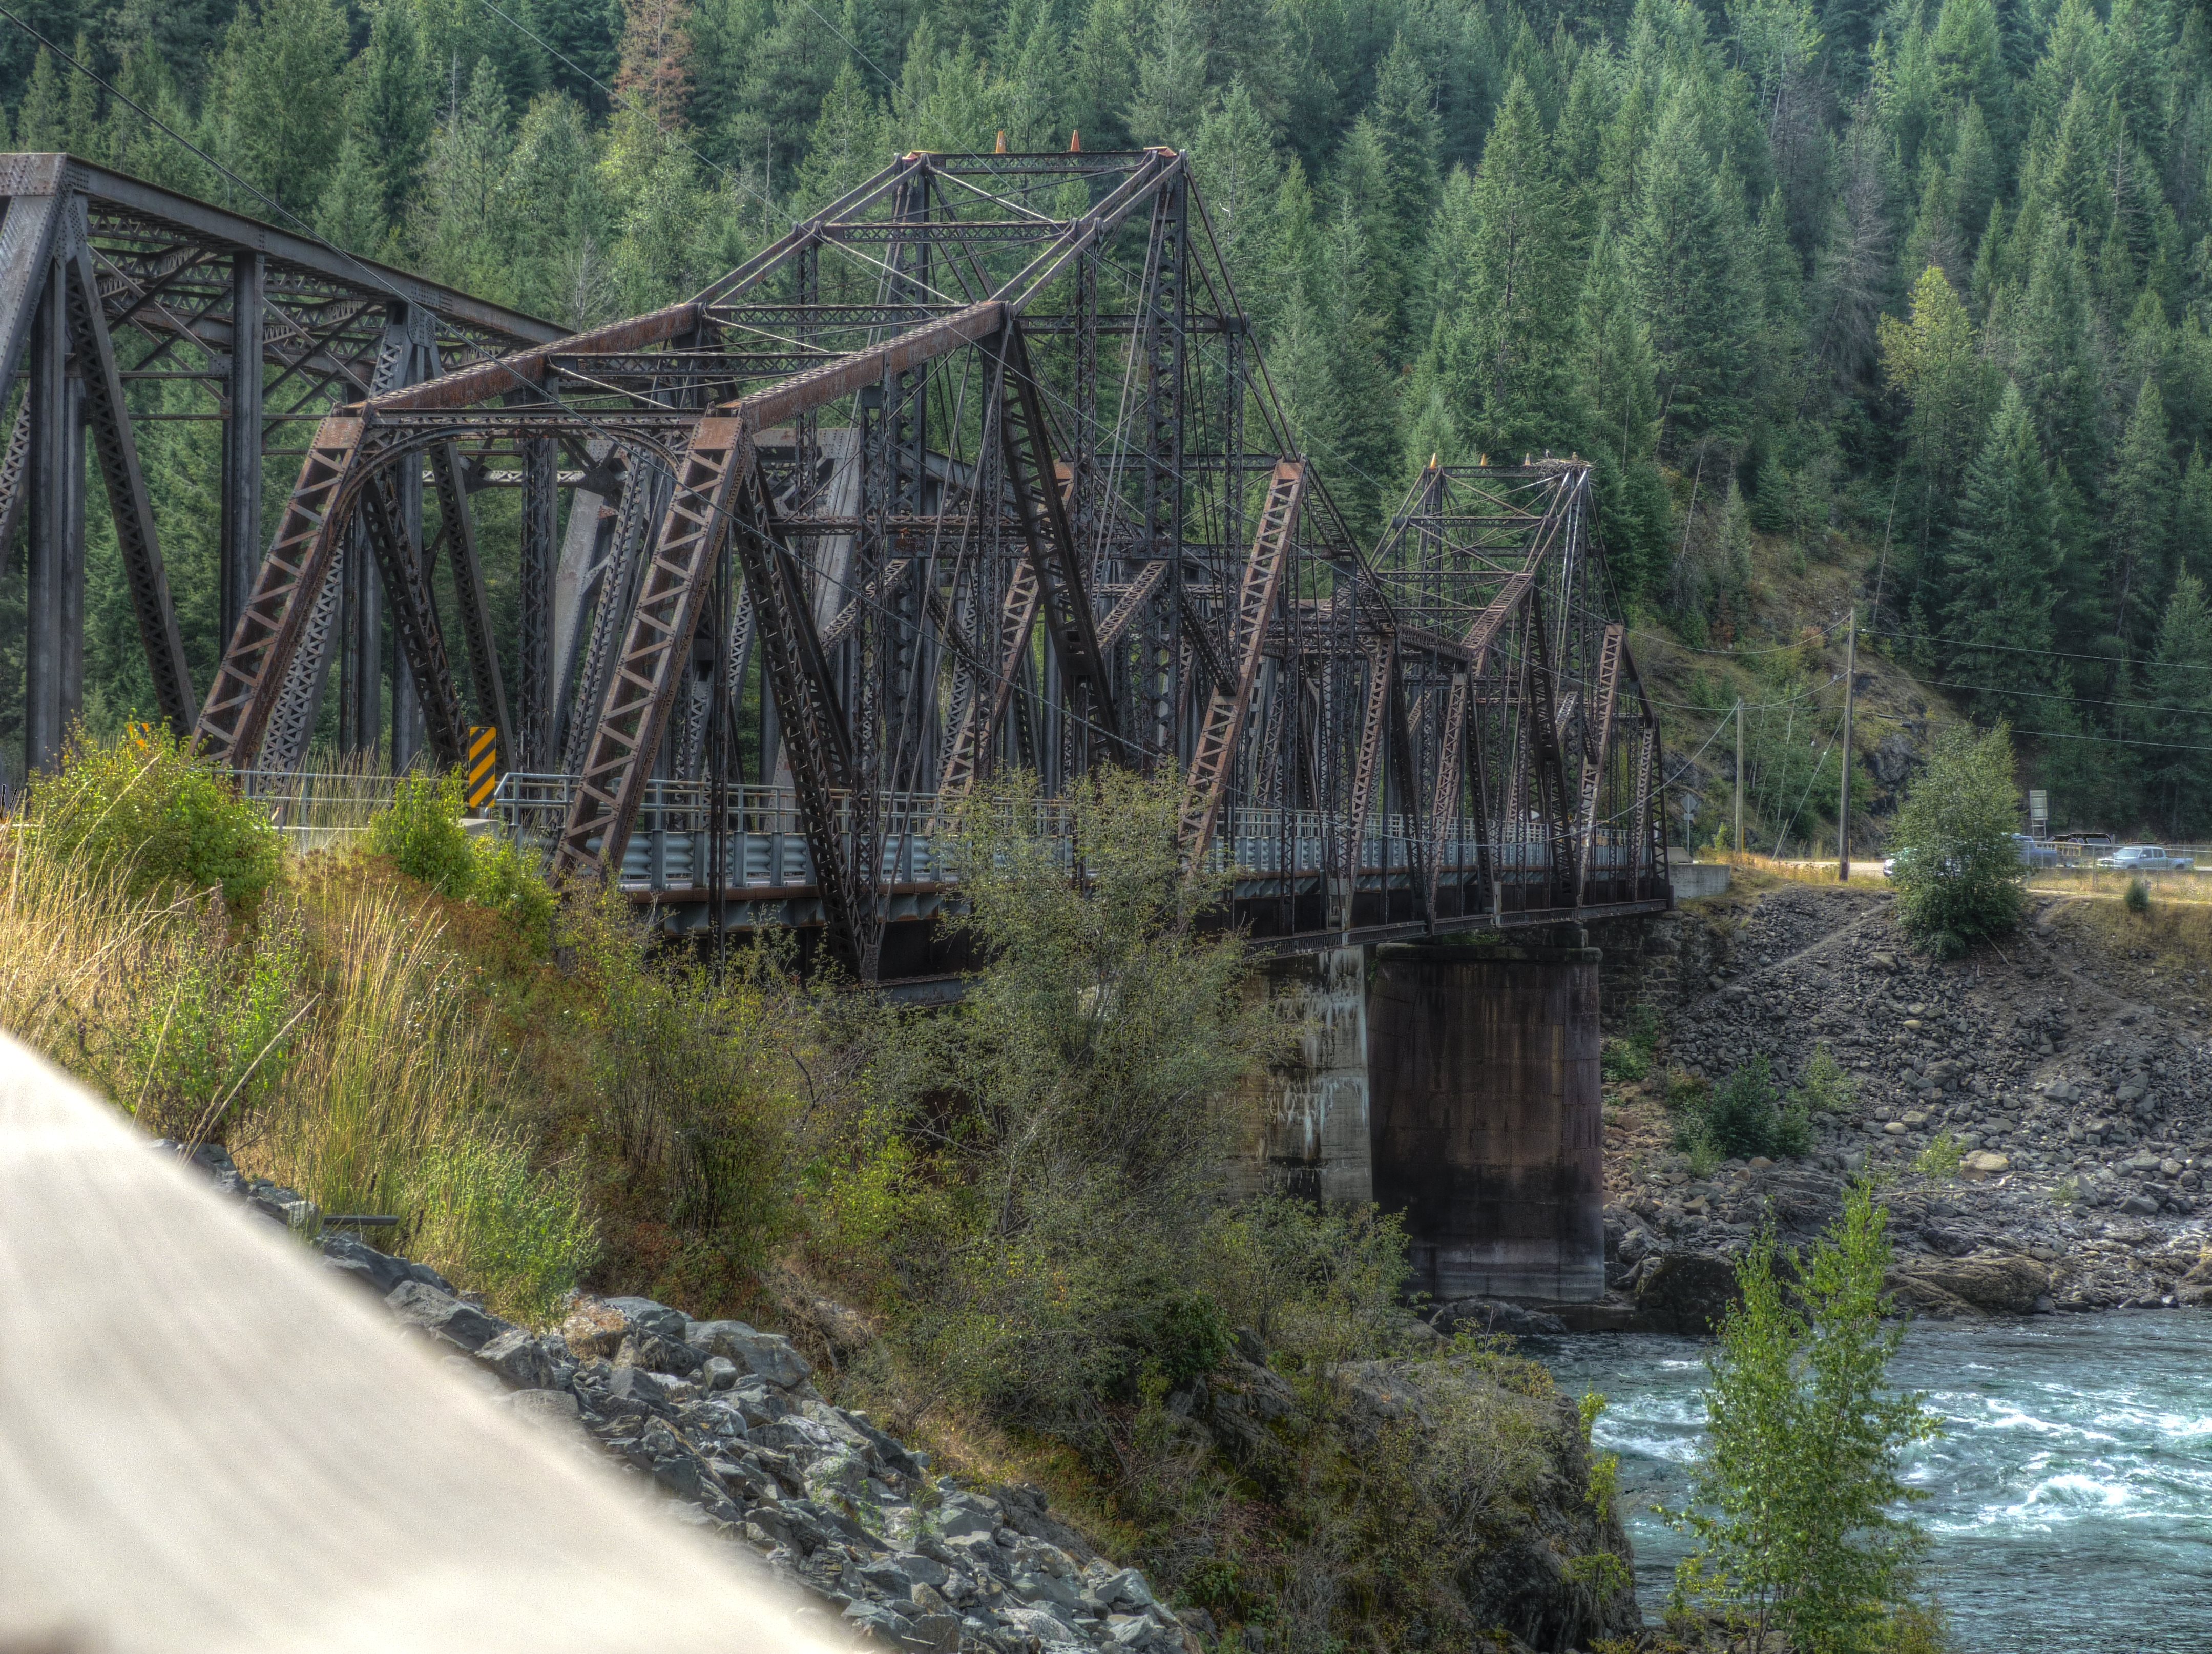
HDR Photos: View beside bridge from southwest quadrant.
![]()
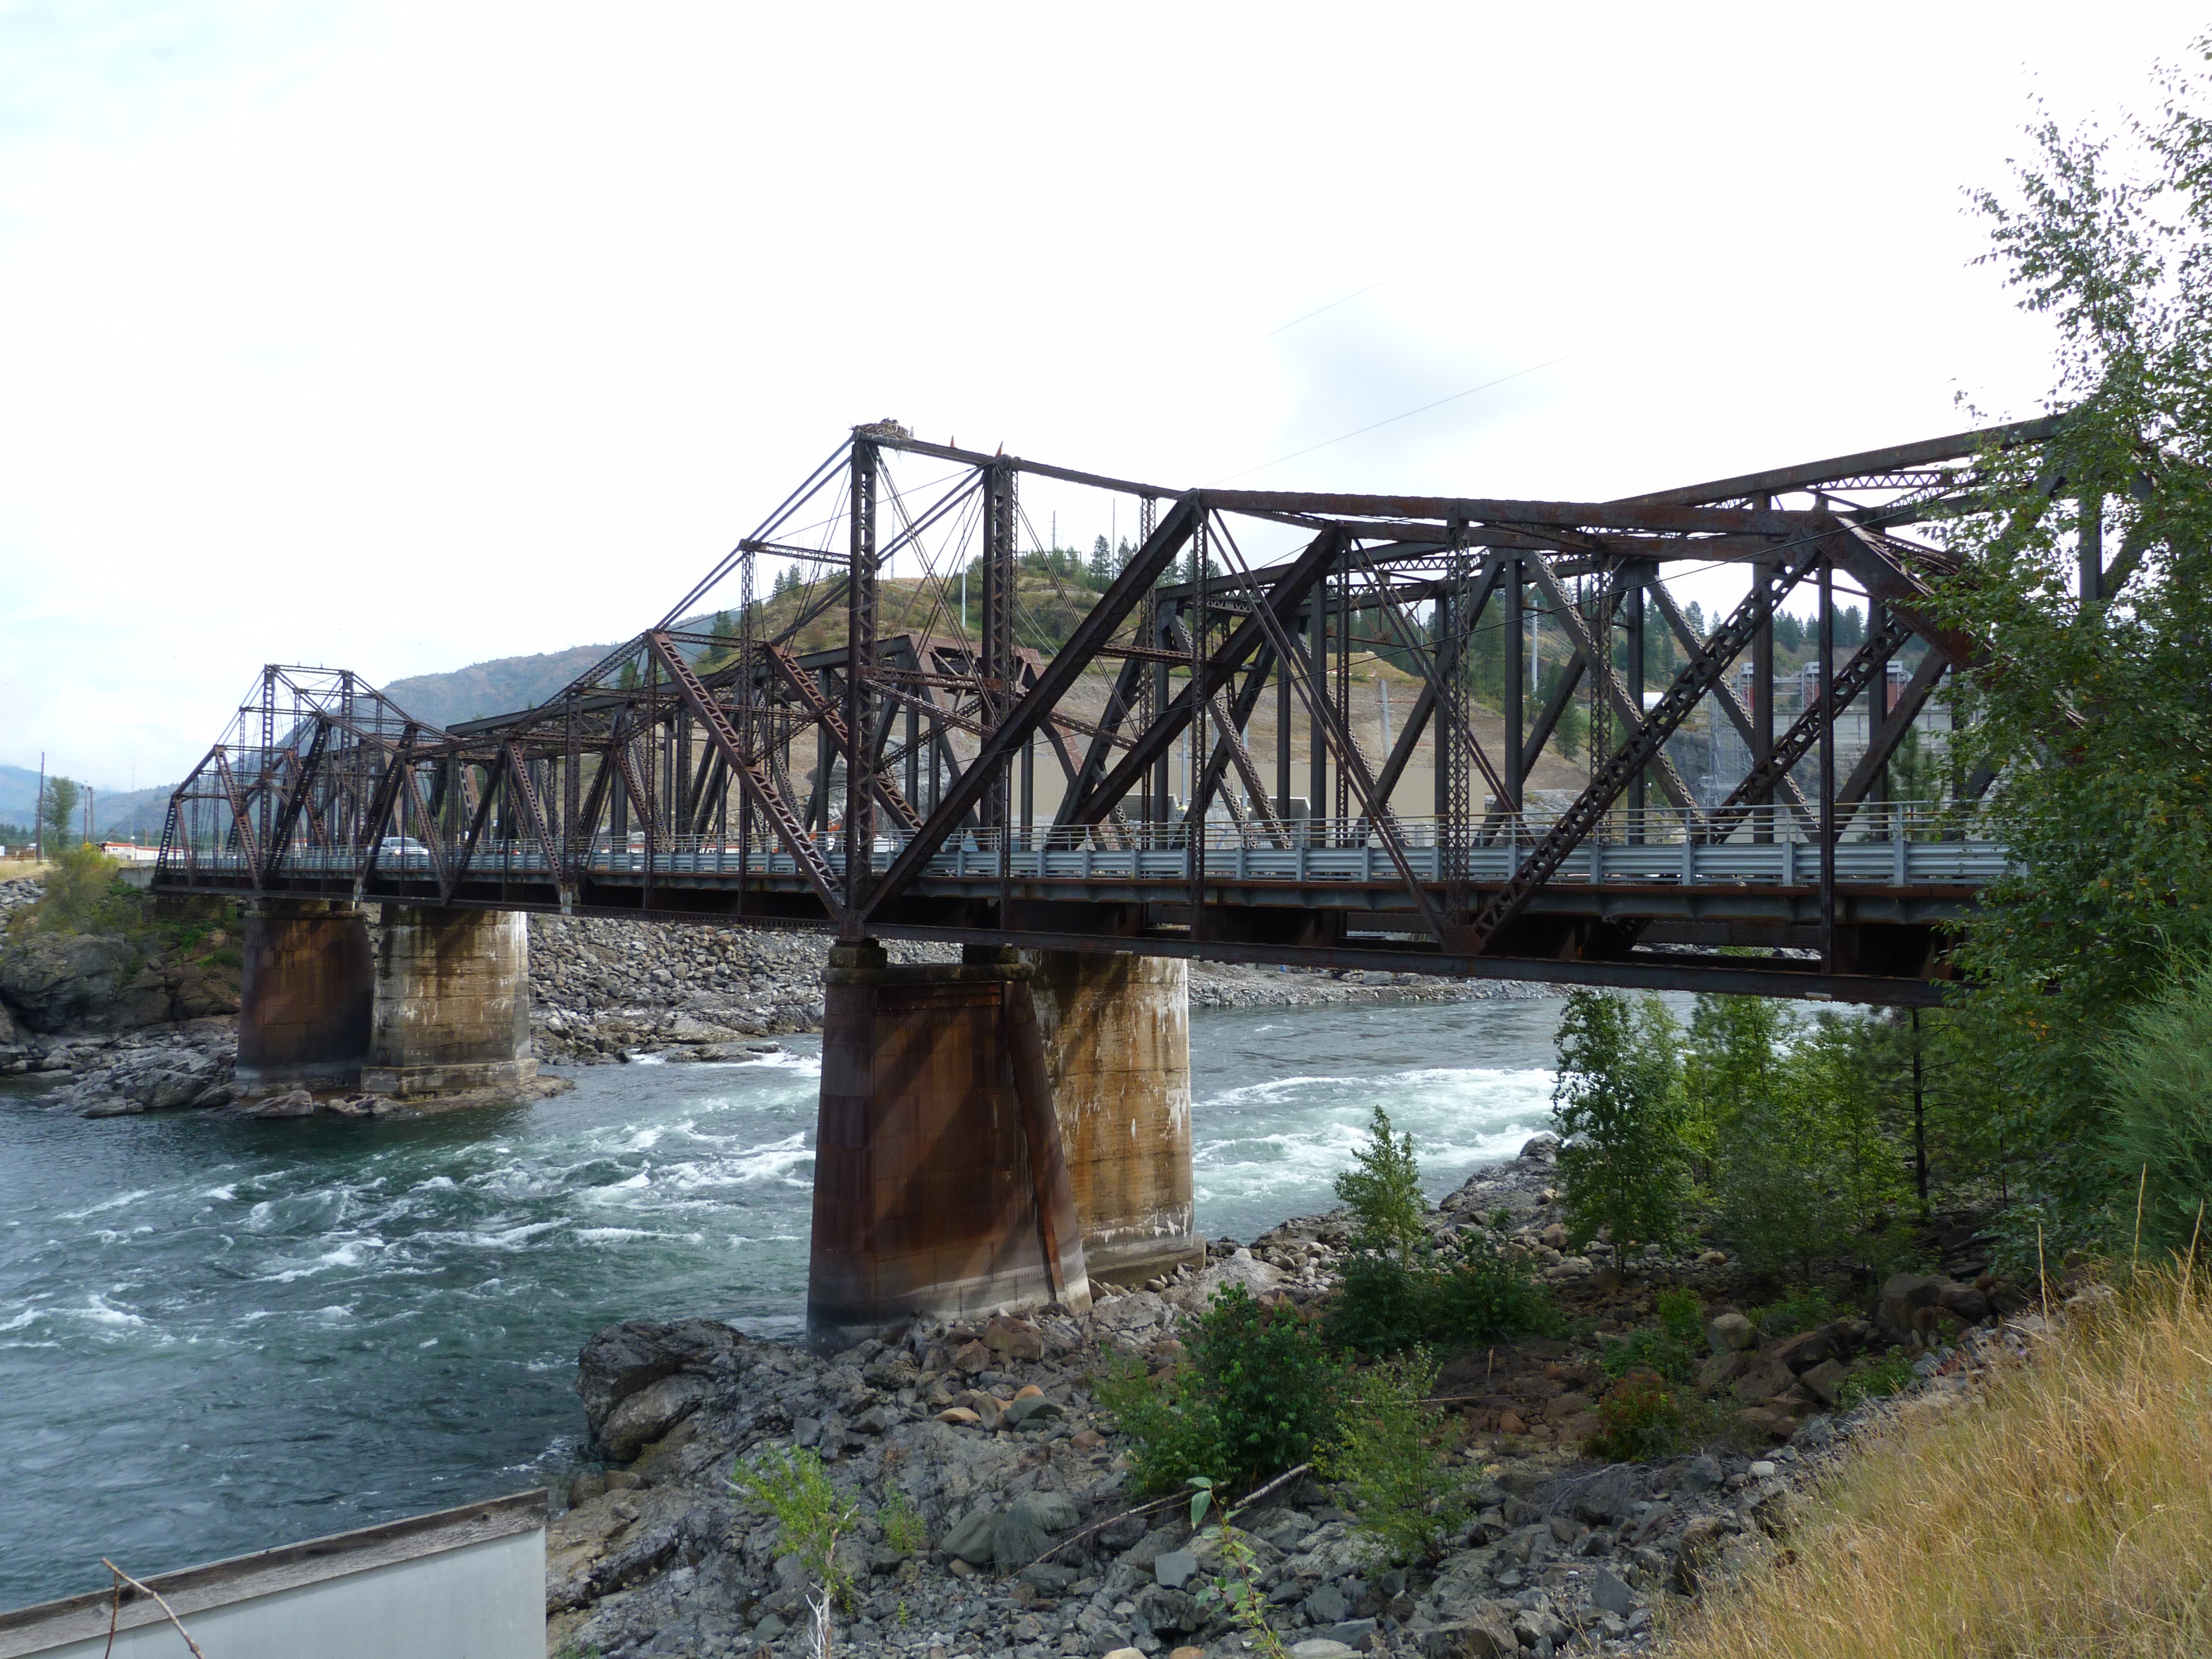
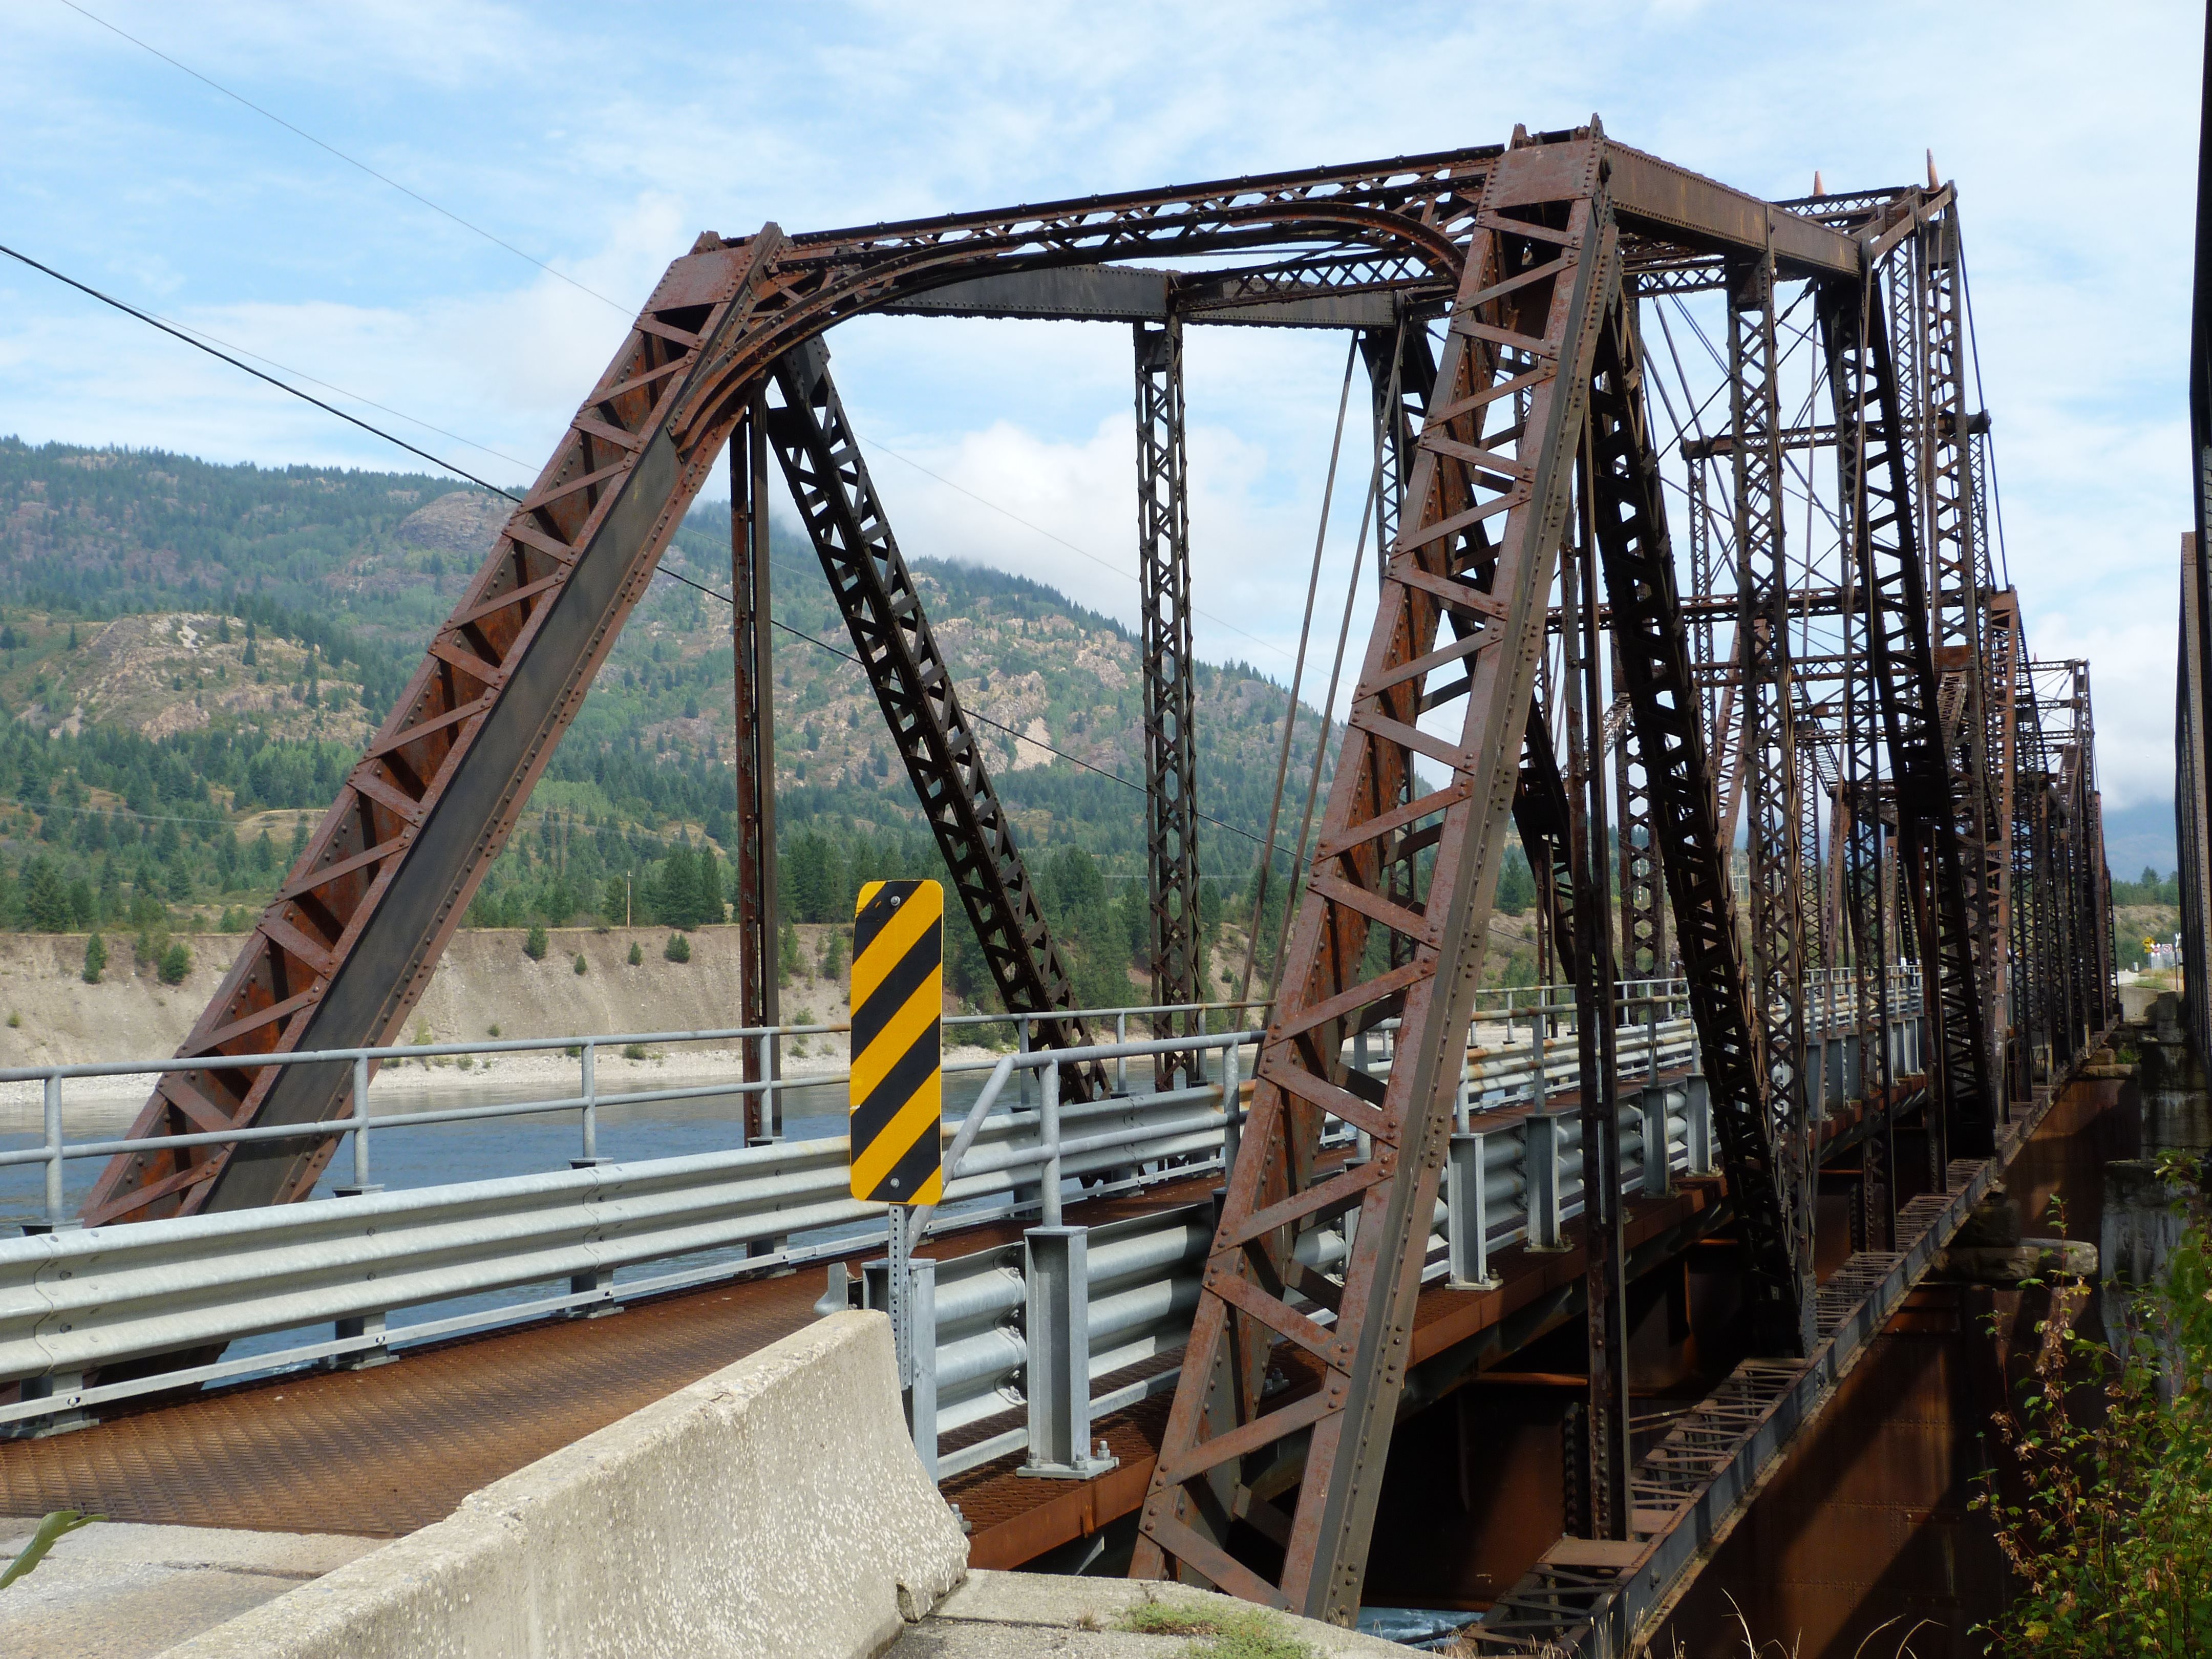
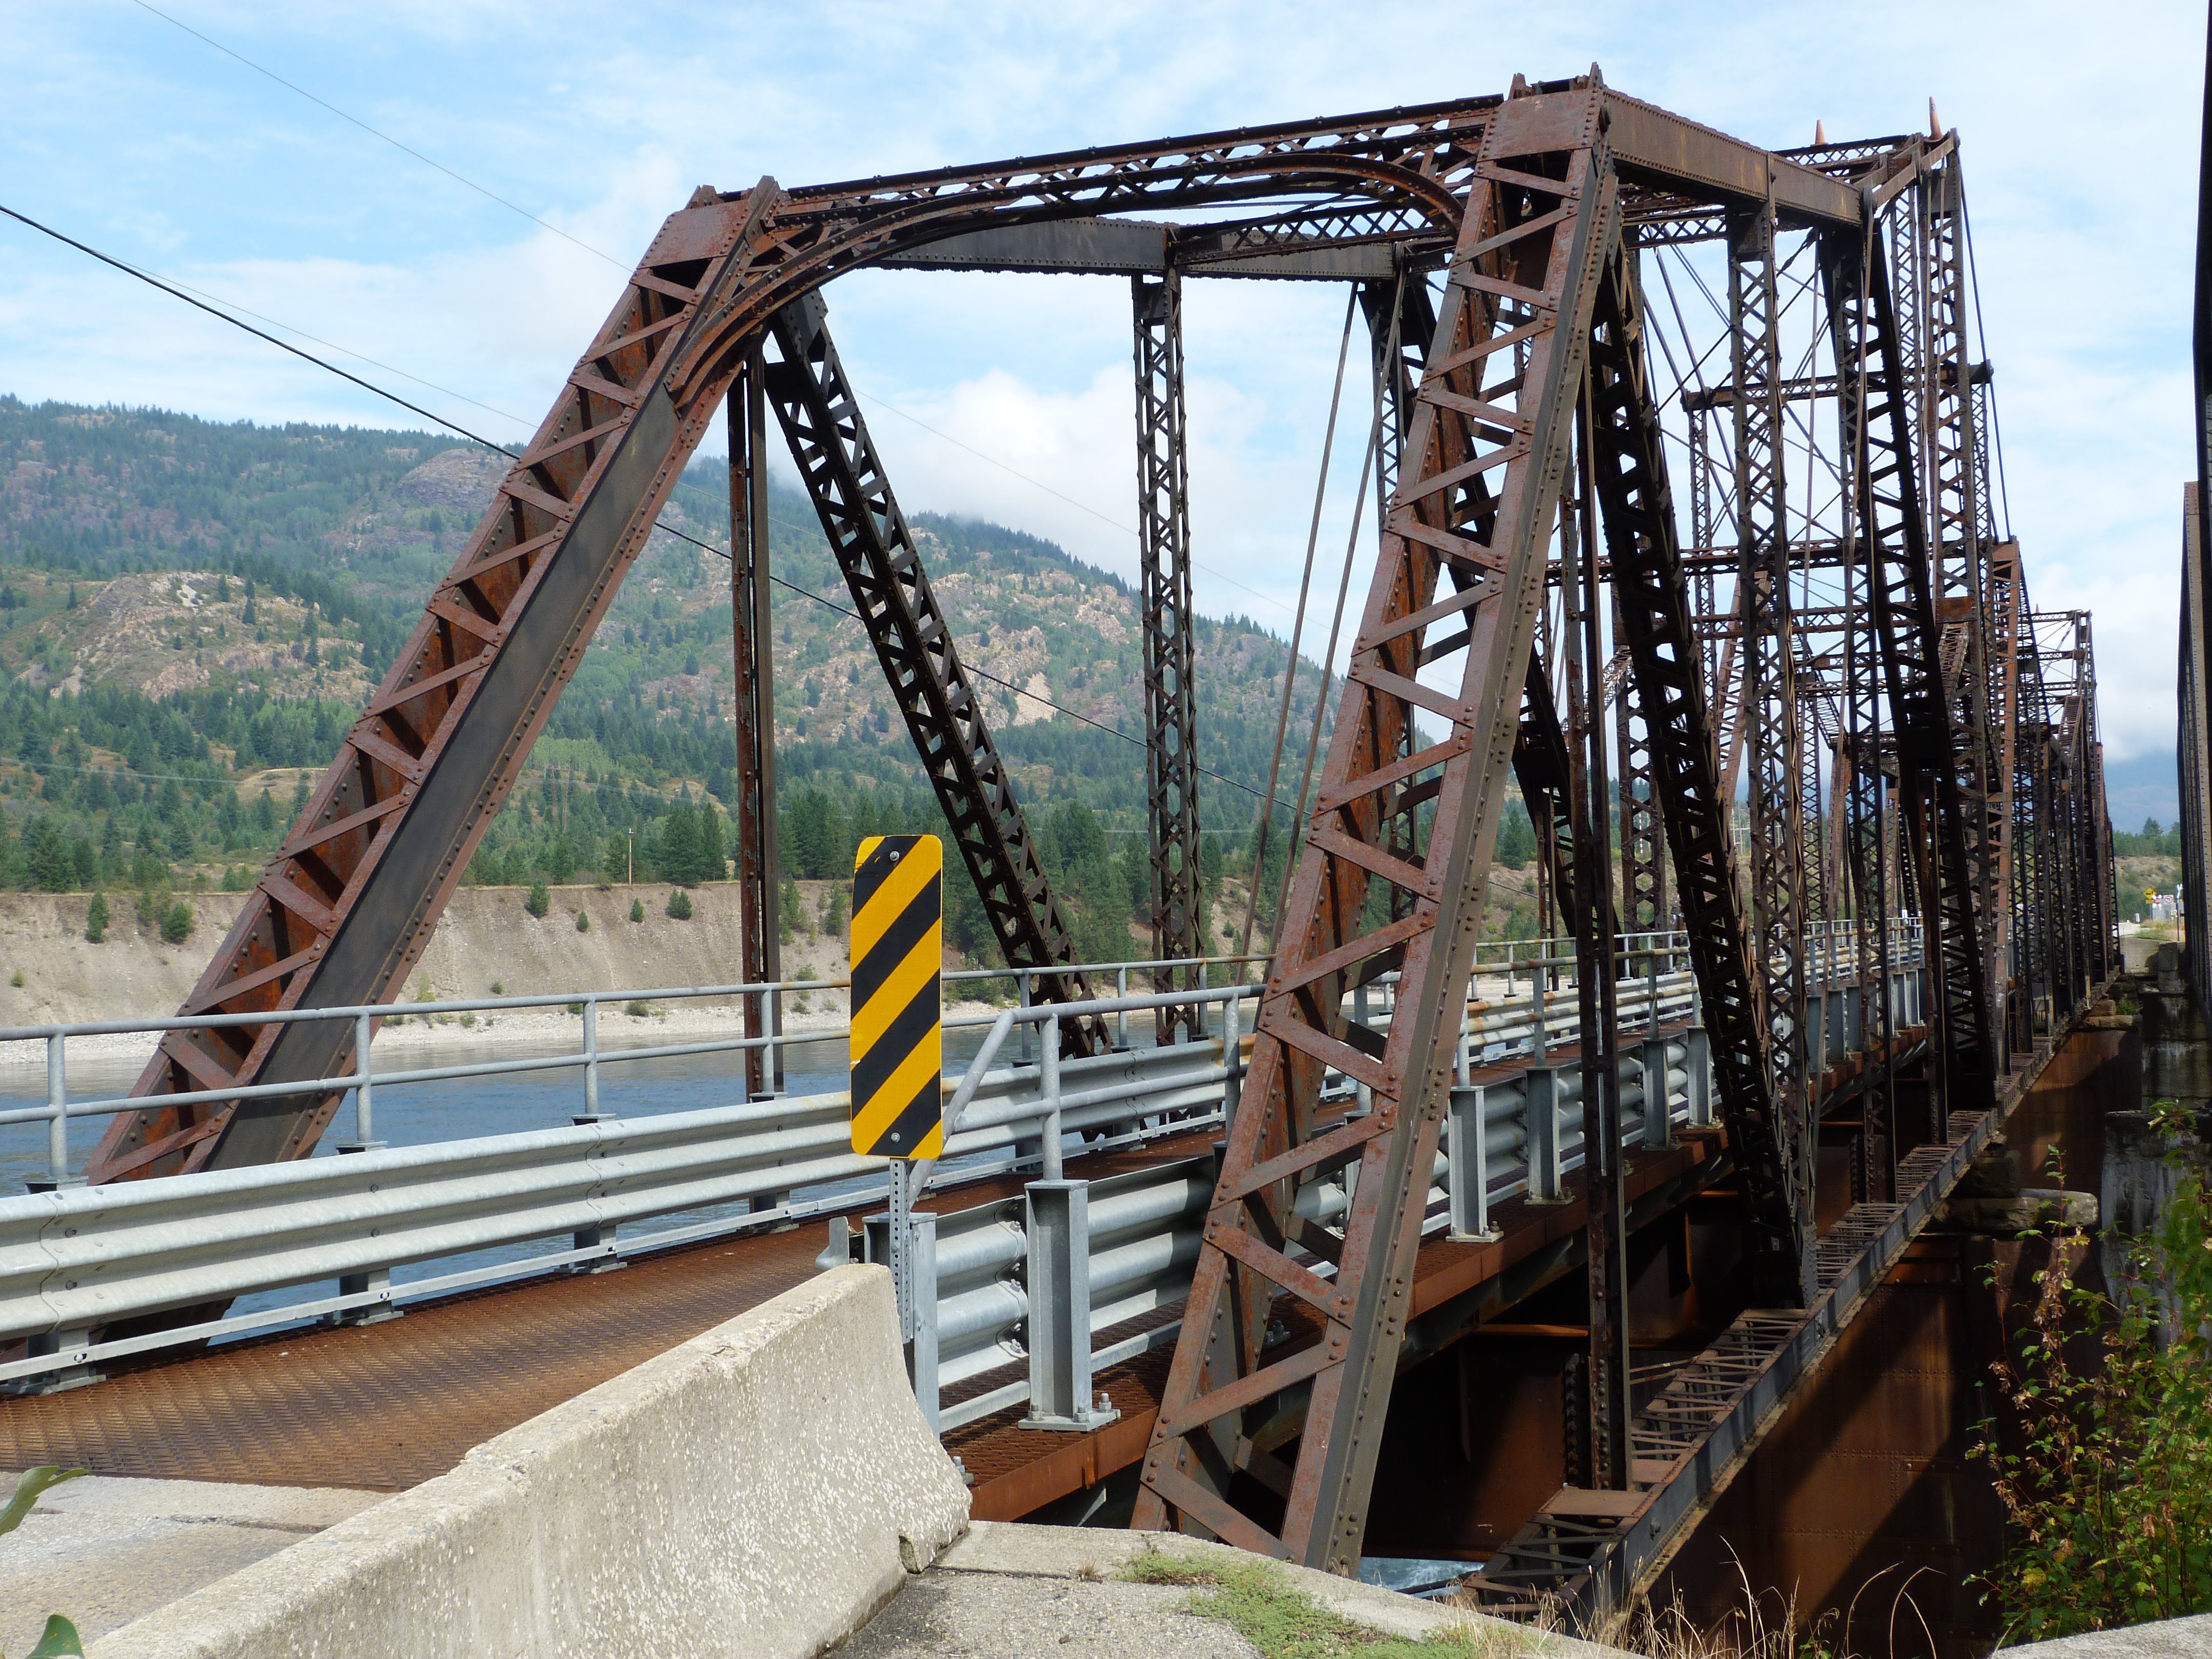
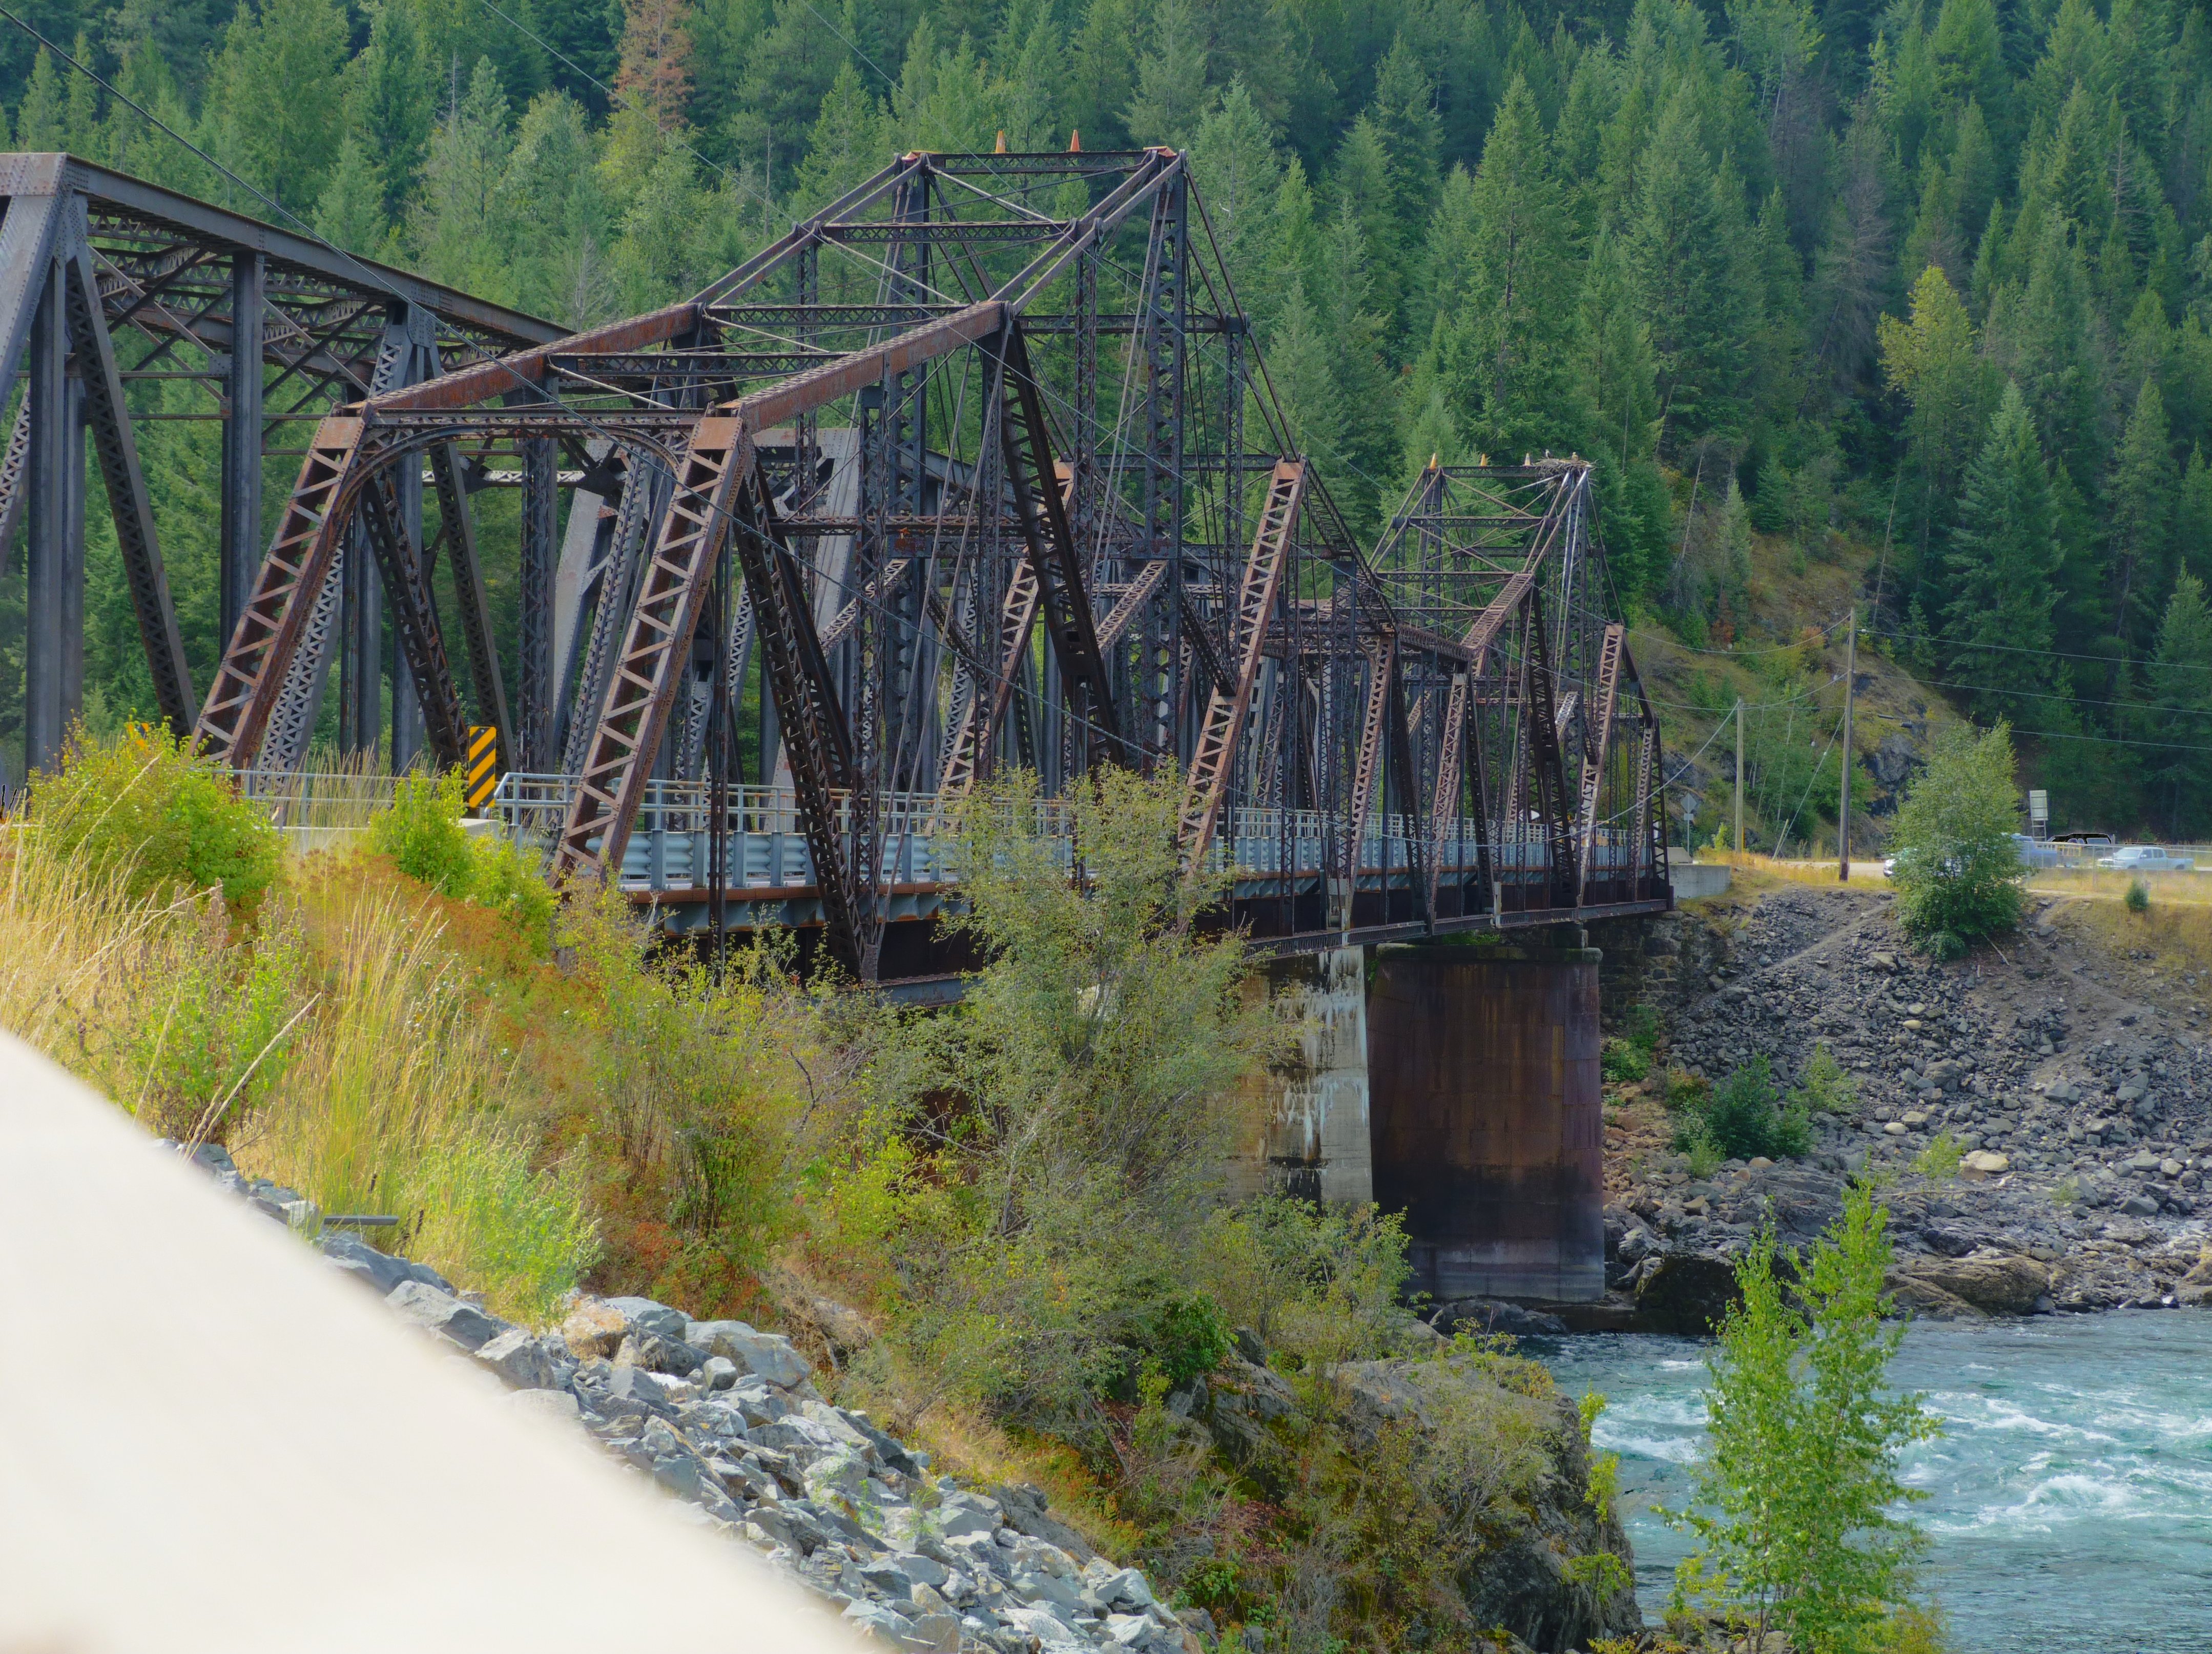
Oblique view from southwest quadrant.
![]()


HDR Photos: Oblique view from southwest quadrant.
![]()
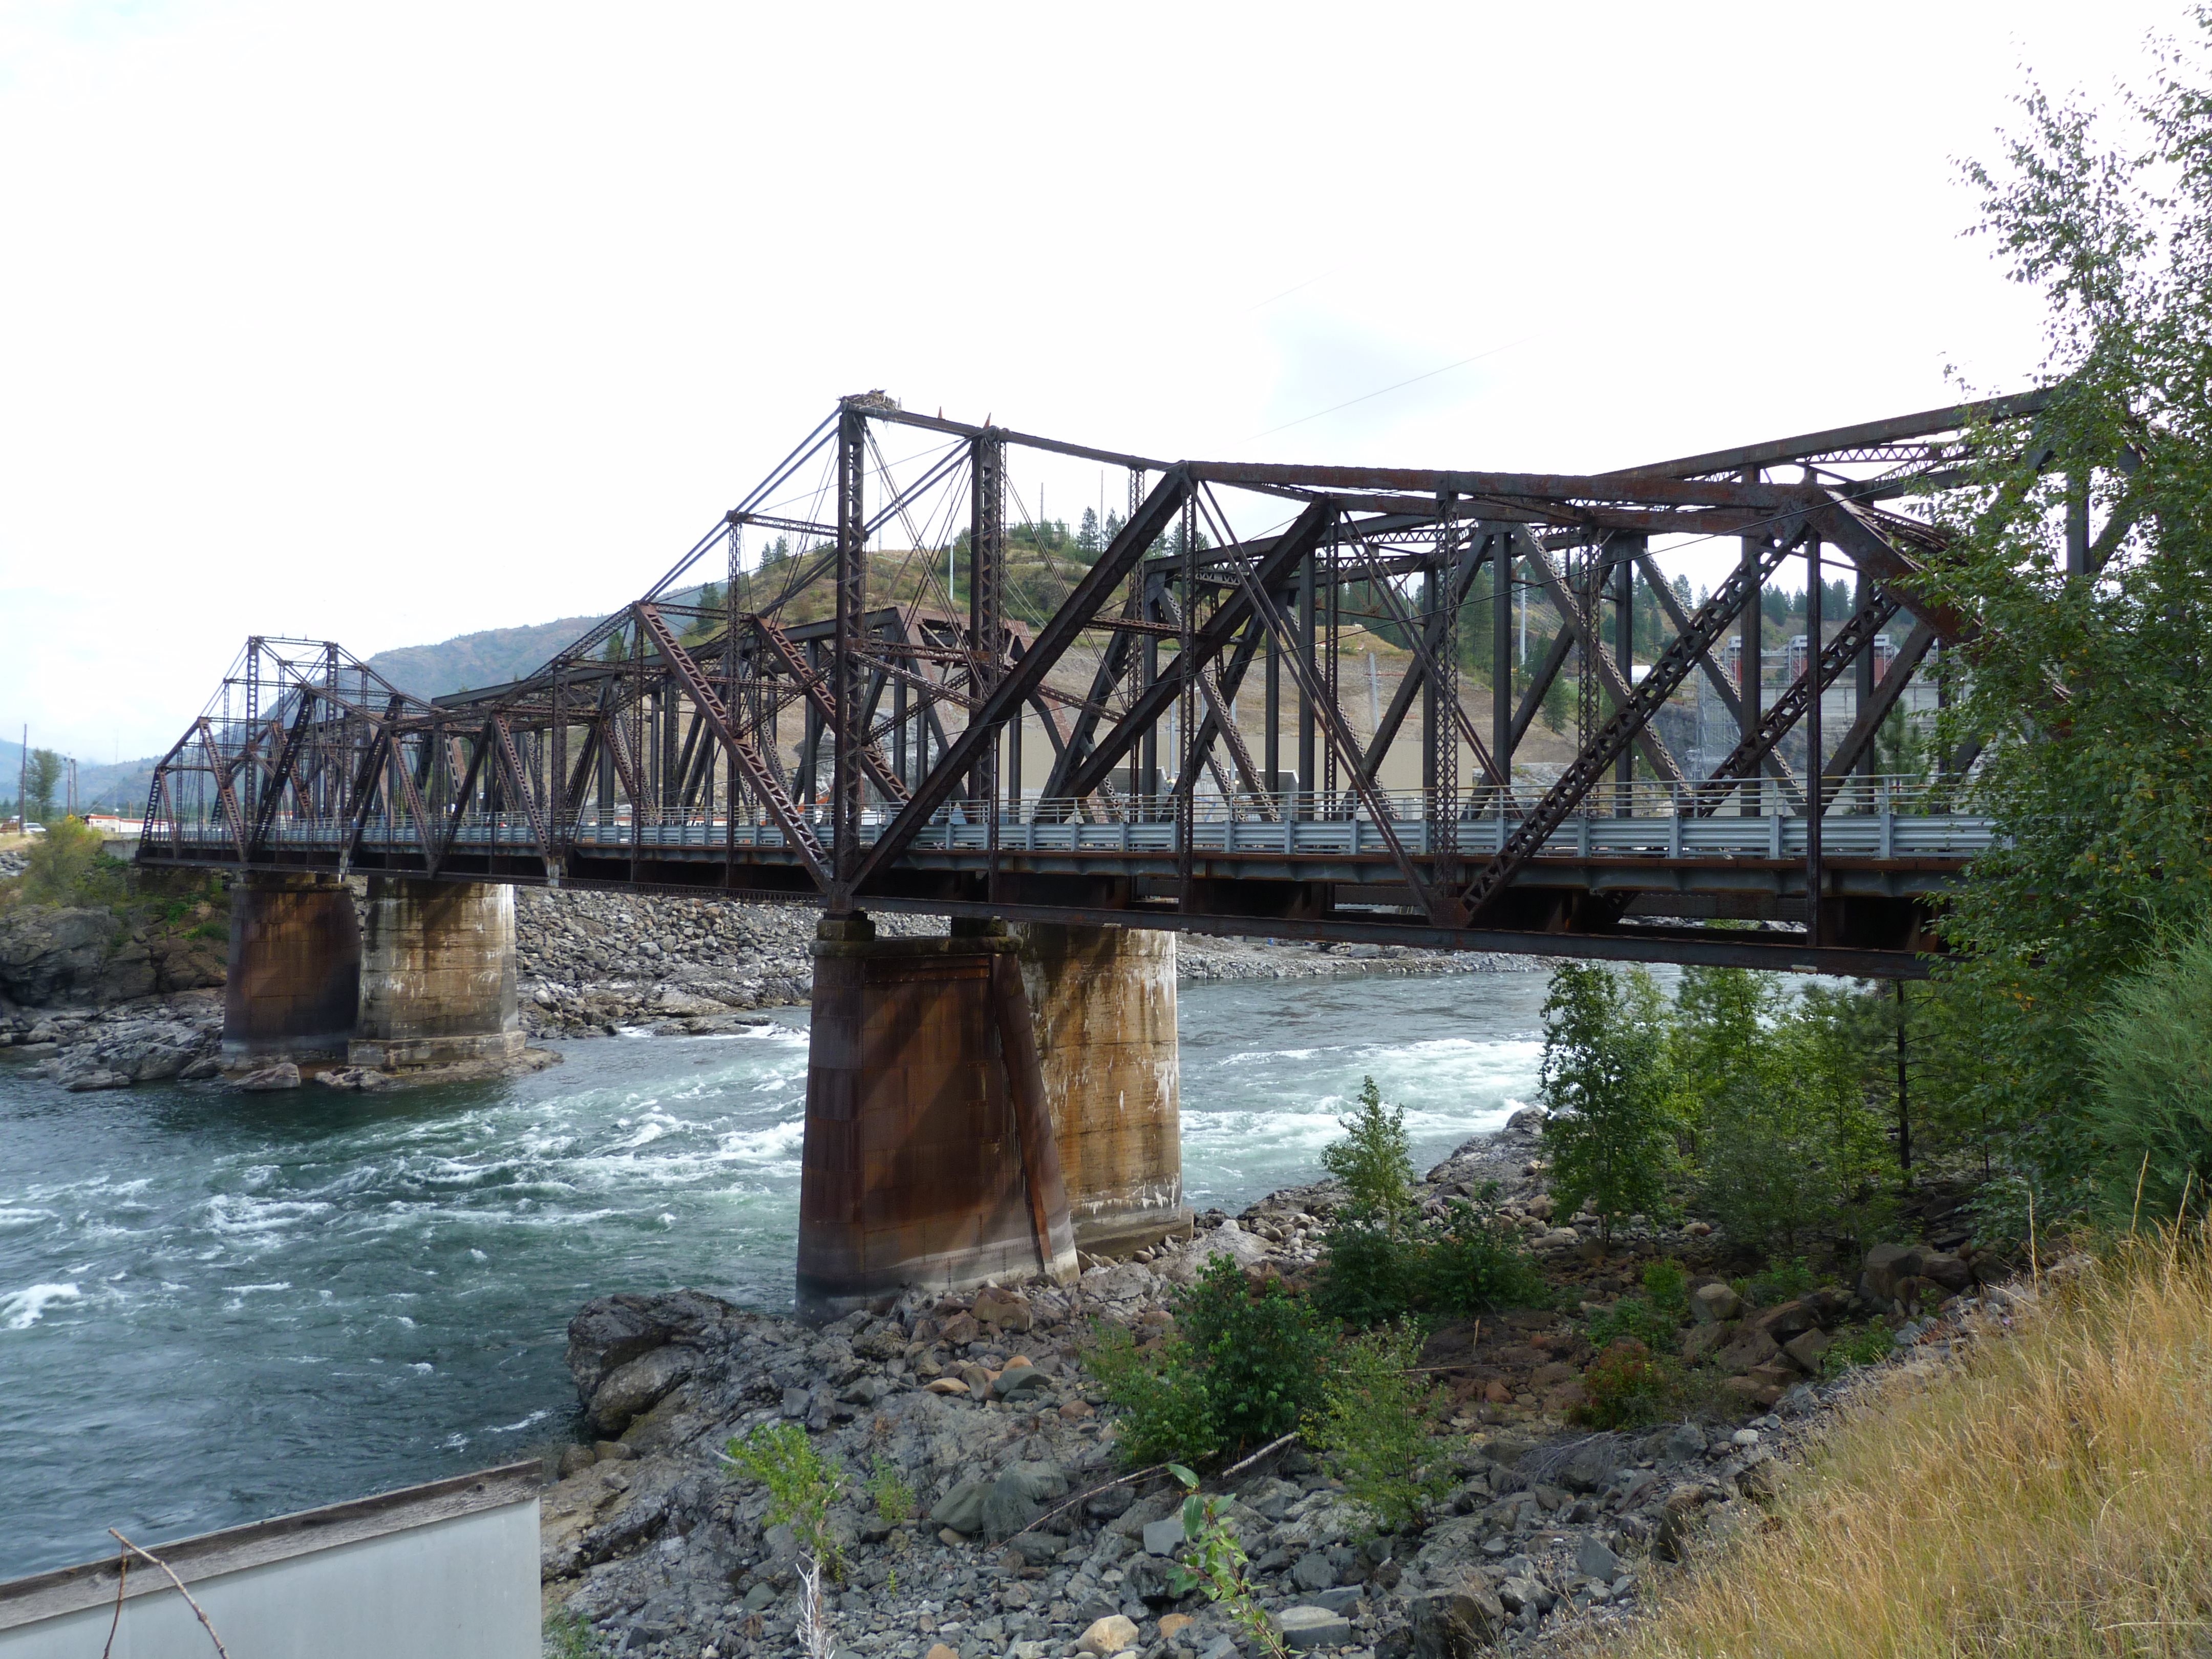


Elevation from southwest quadrant.
![]()


HDR Photos: Elevation from southwest quadrant.
![]()


Oblique views from southeast quadrant.
![]()
Oblique views from northeast quadrant.
![]()


Oblique views from northwest quadrant.
![]()
HDR Photos: Oblique views from northwest quadrant.
![]()

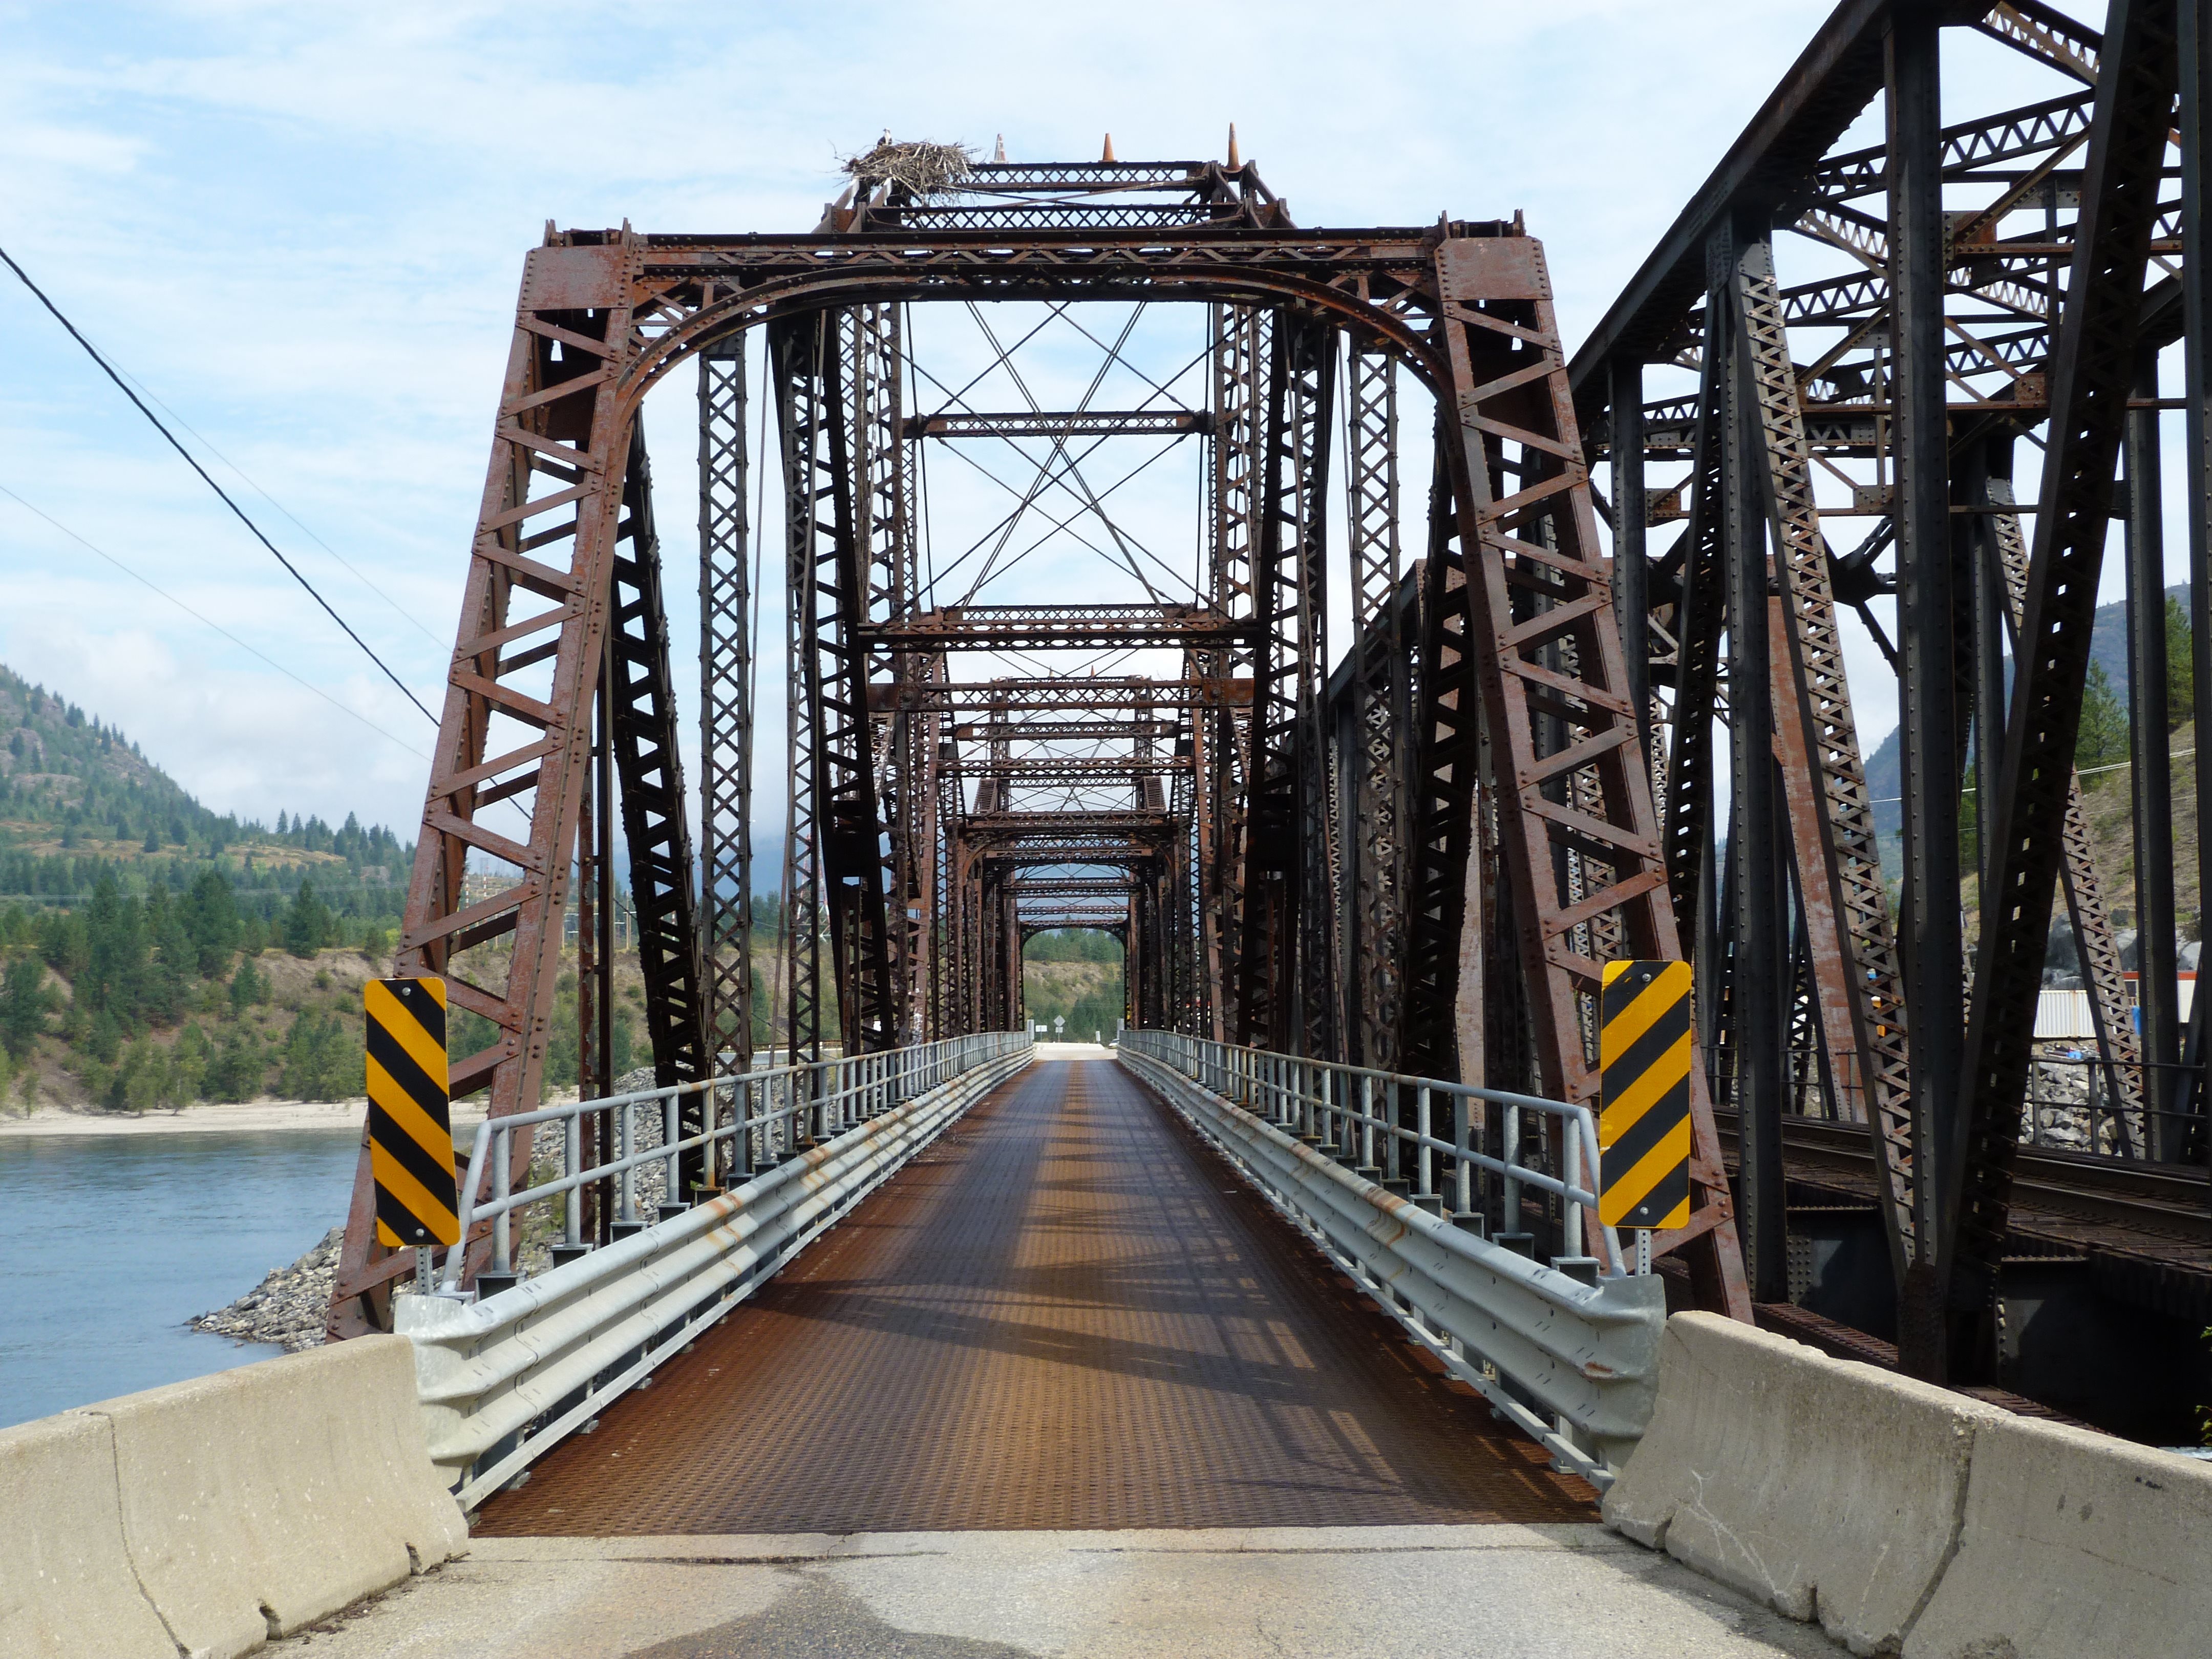


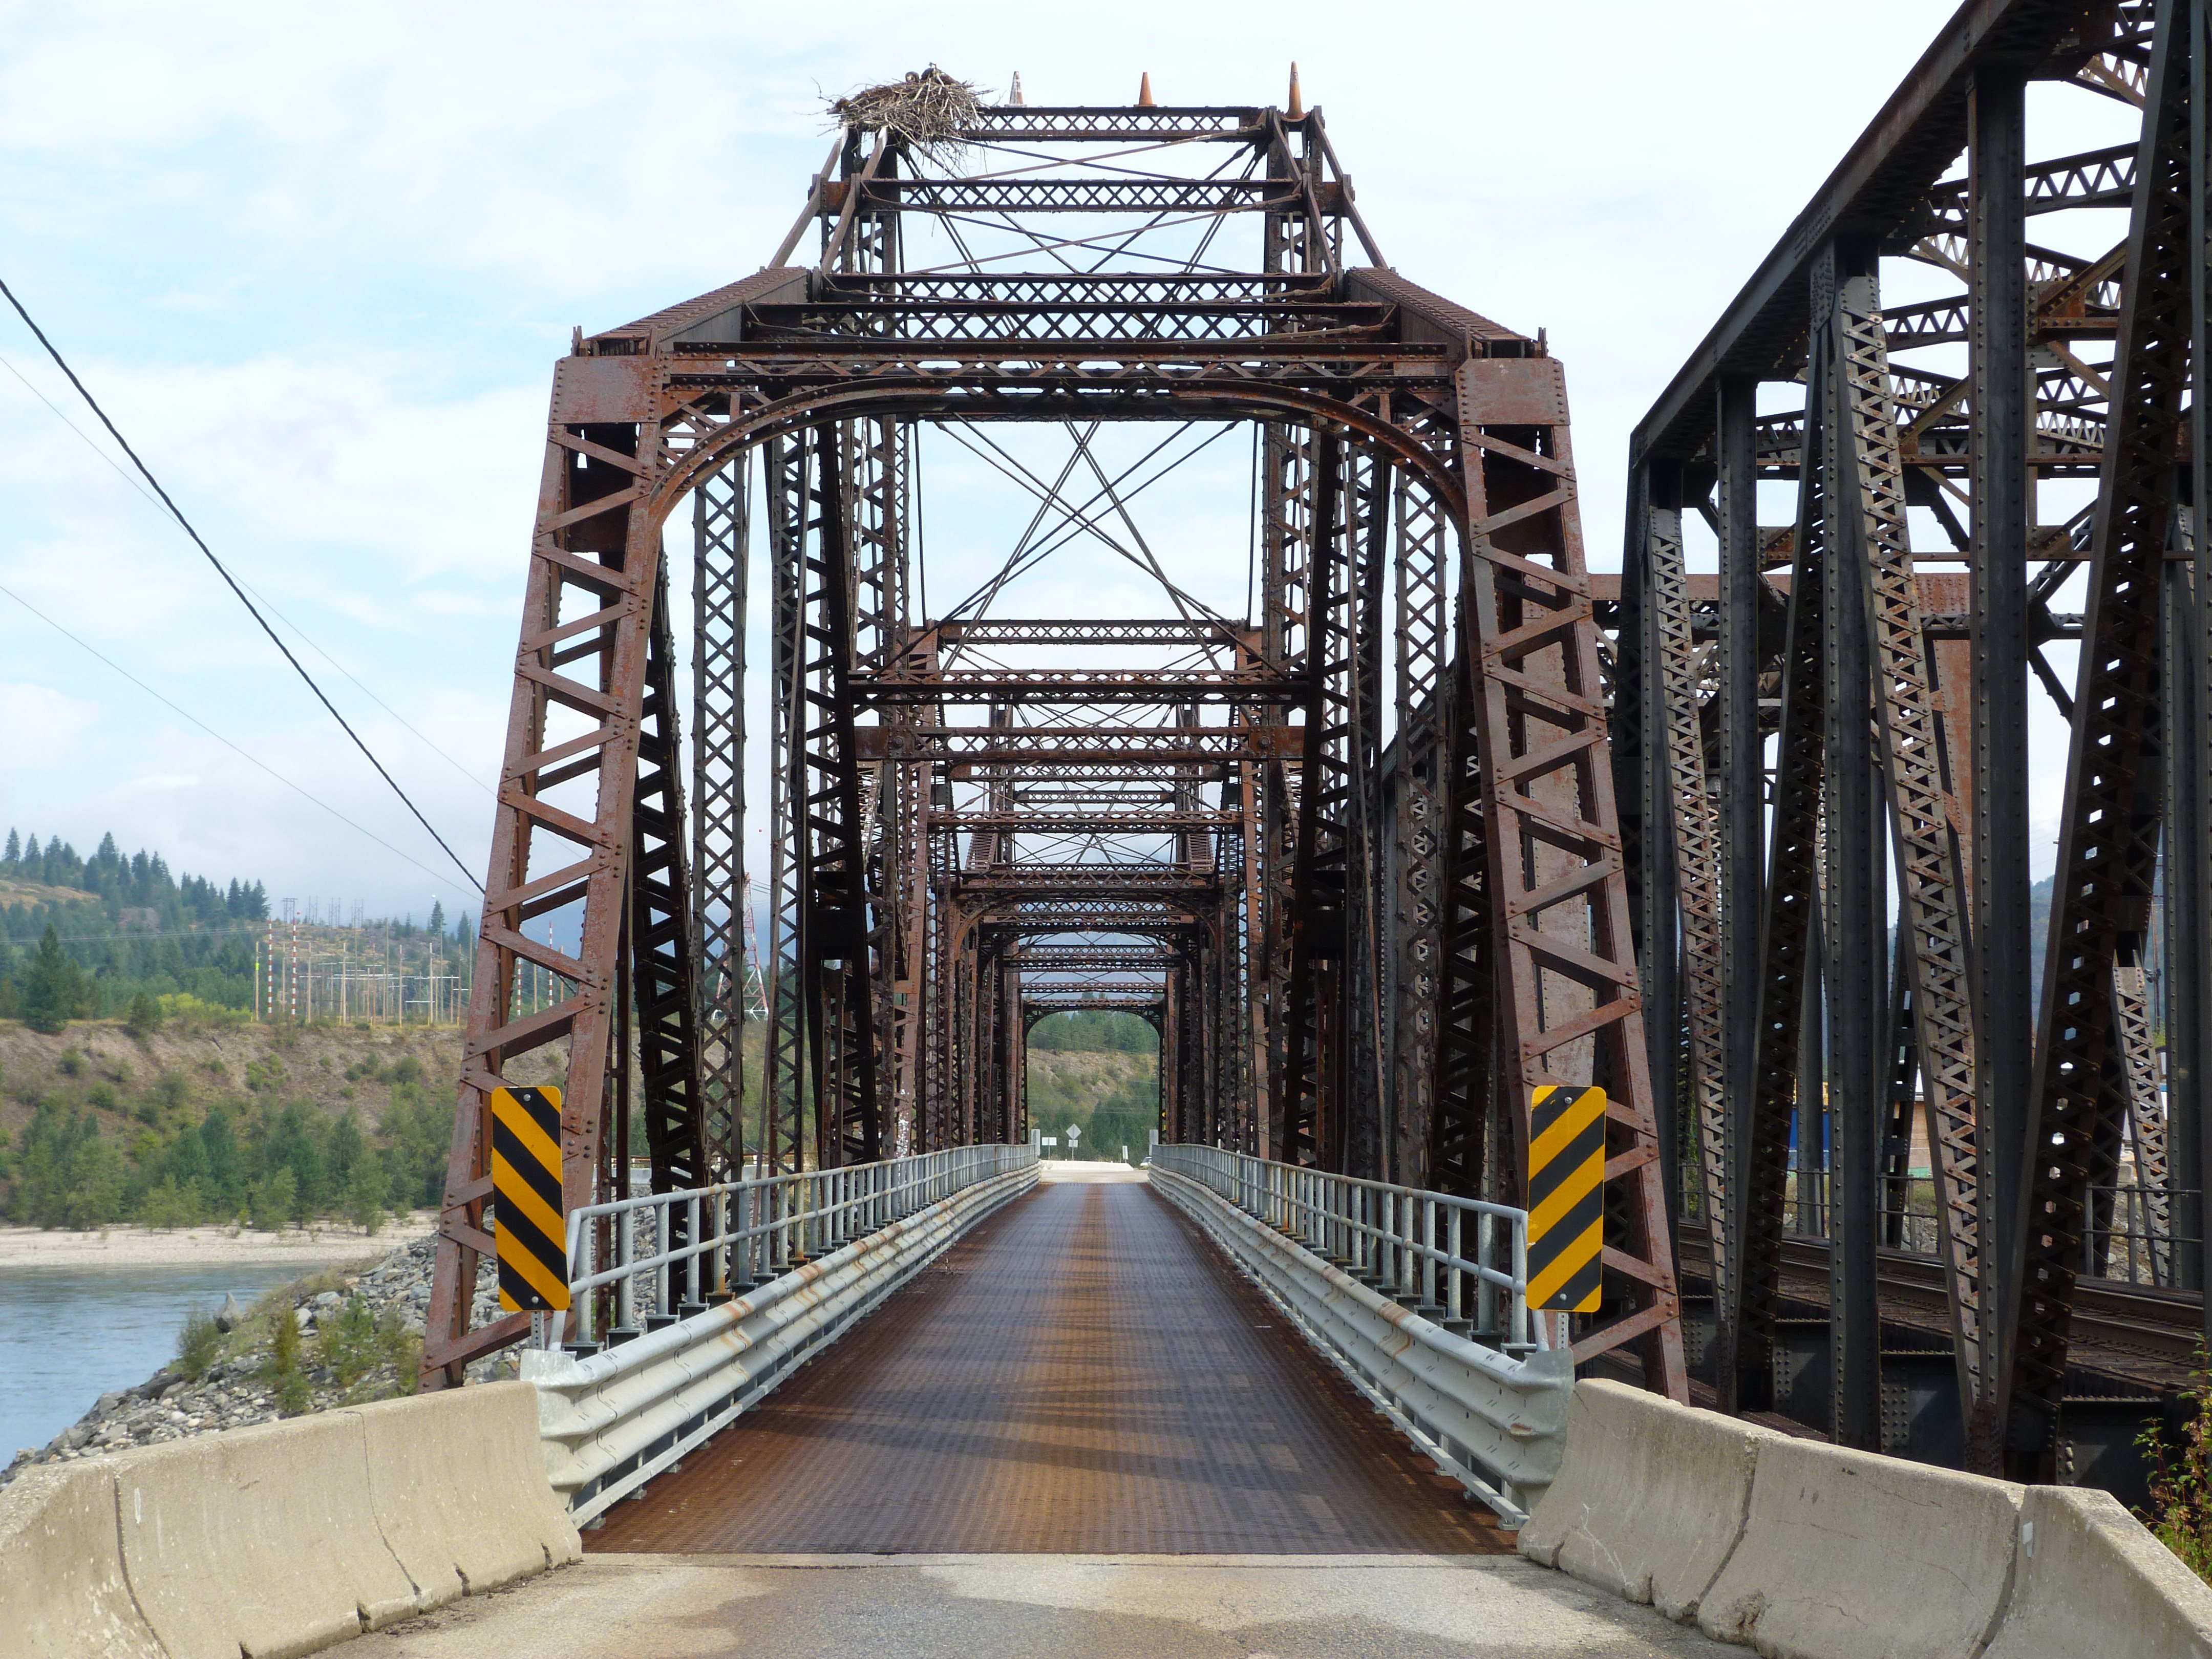

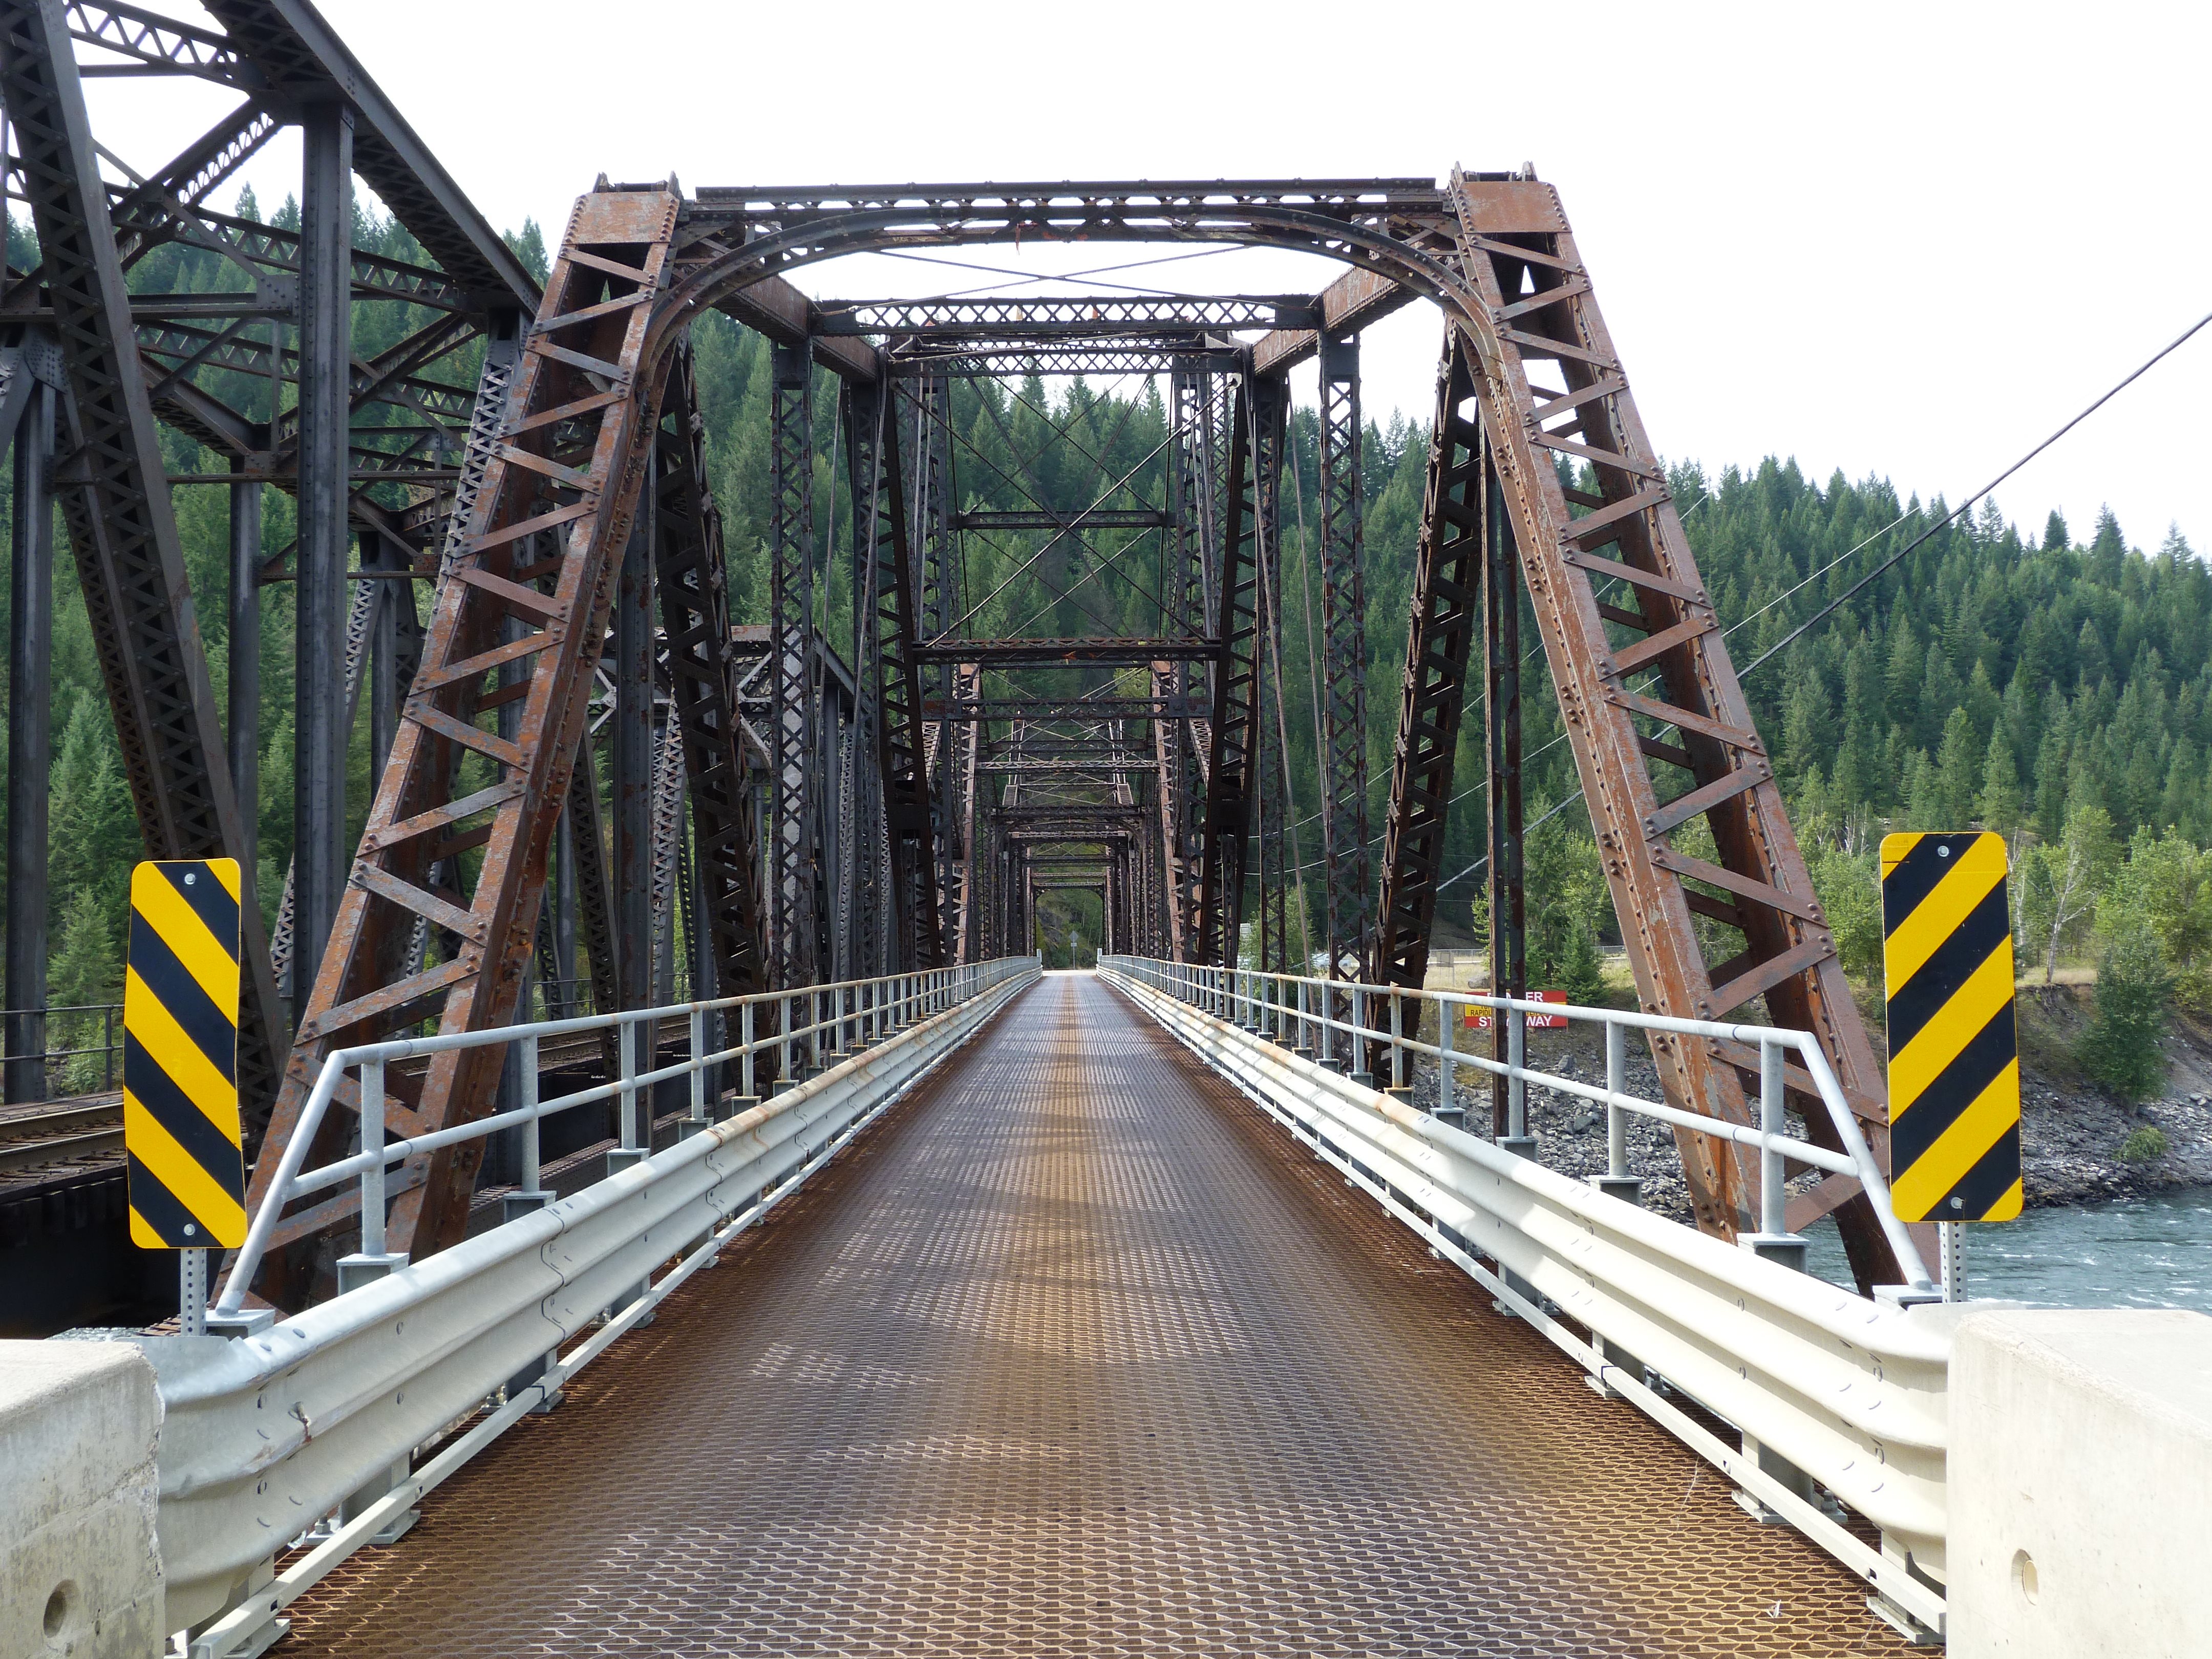
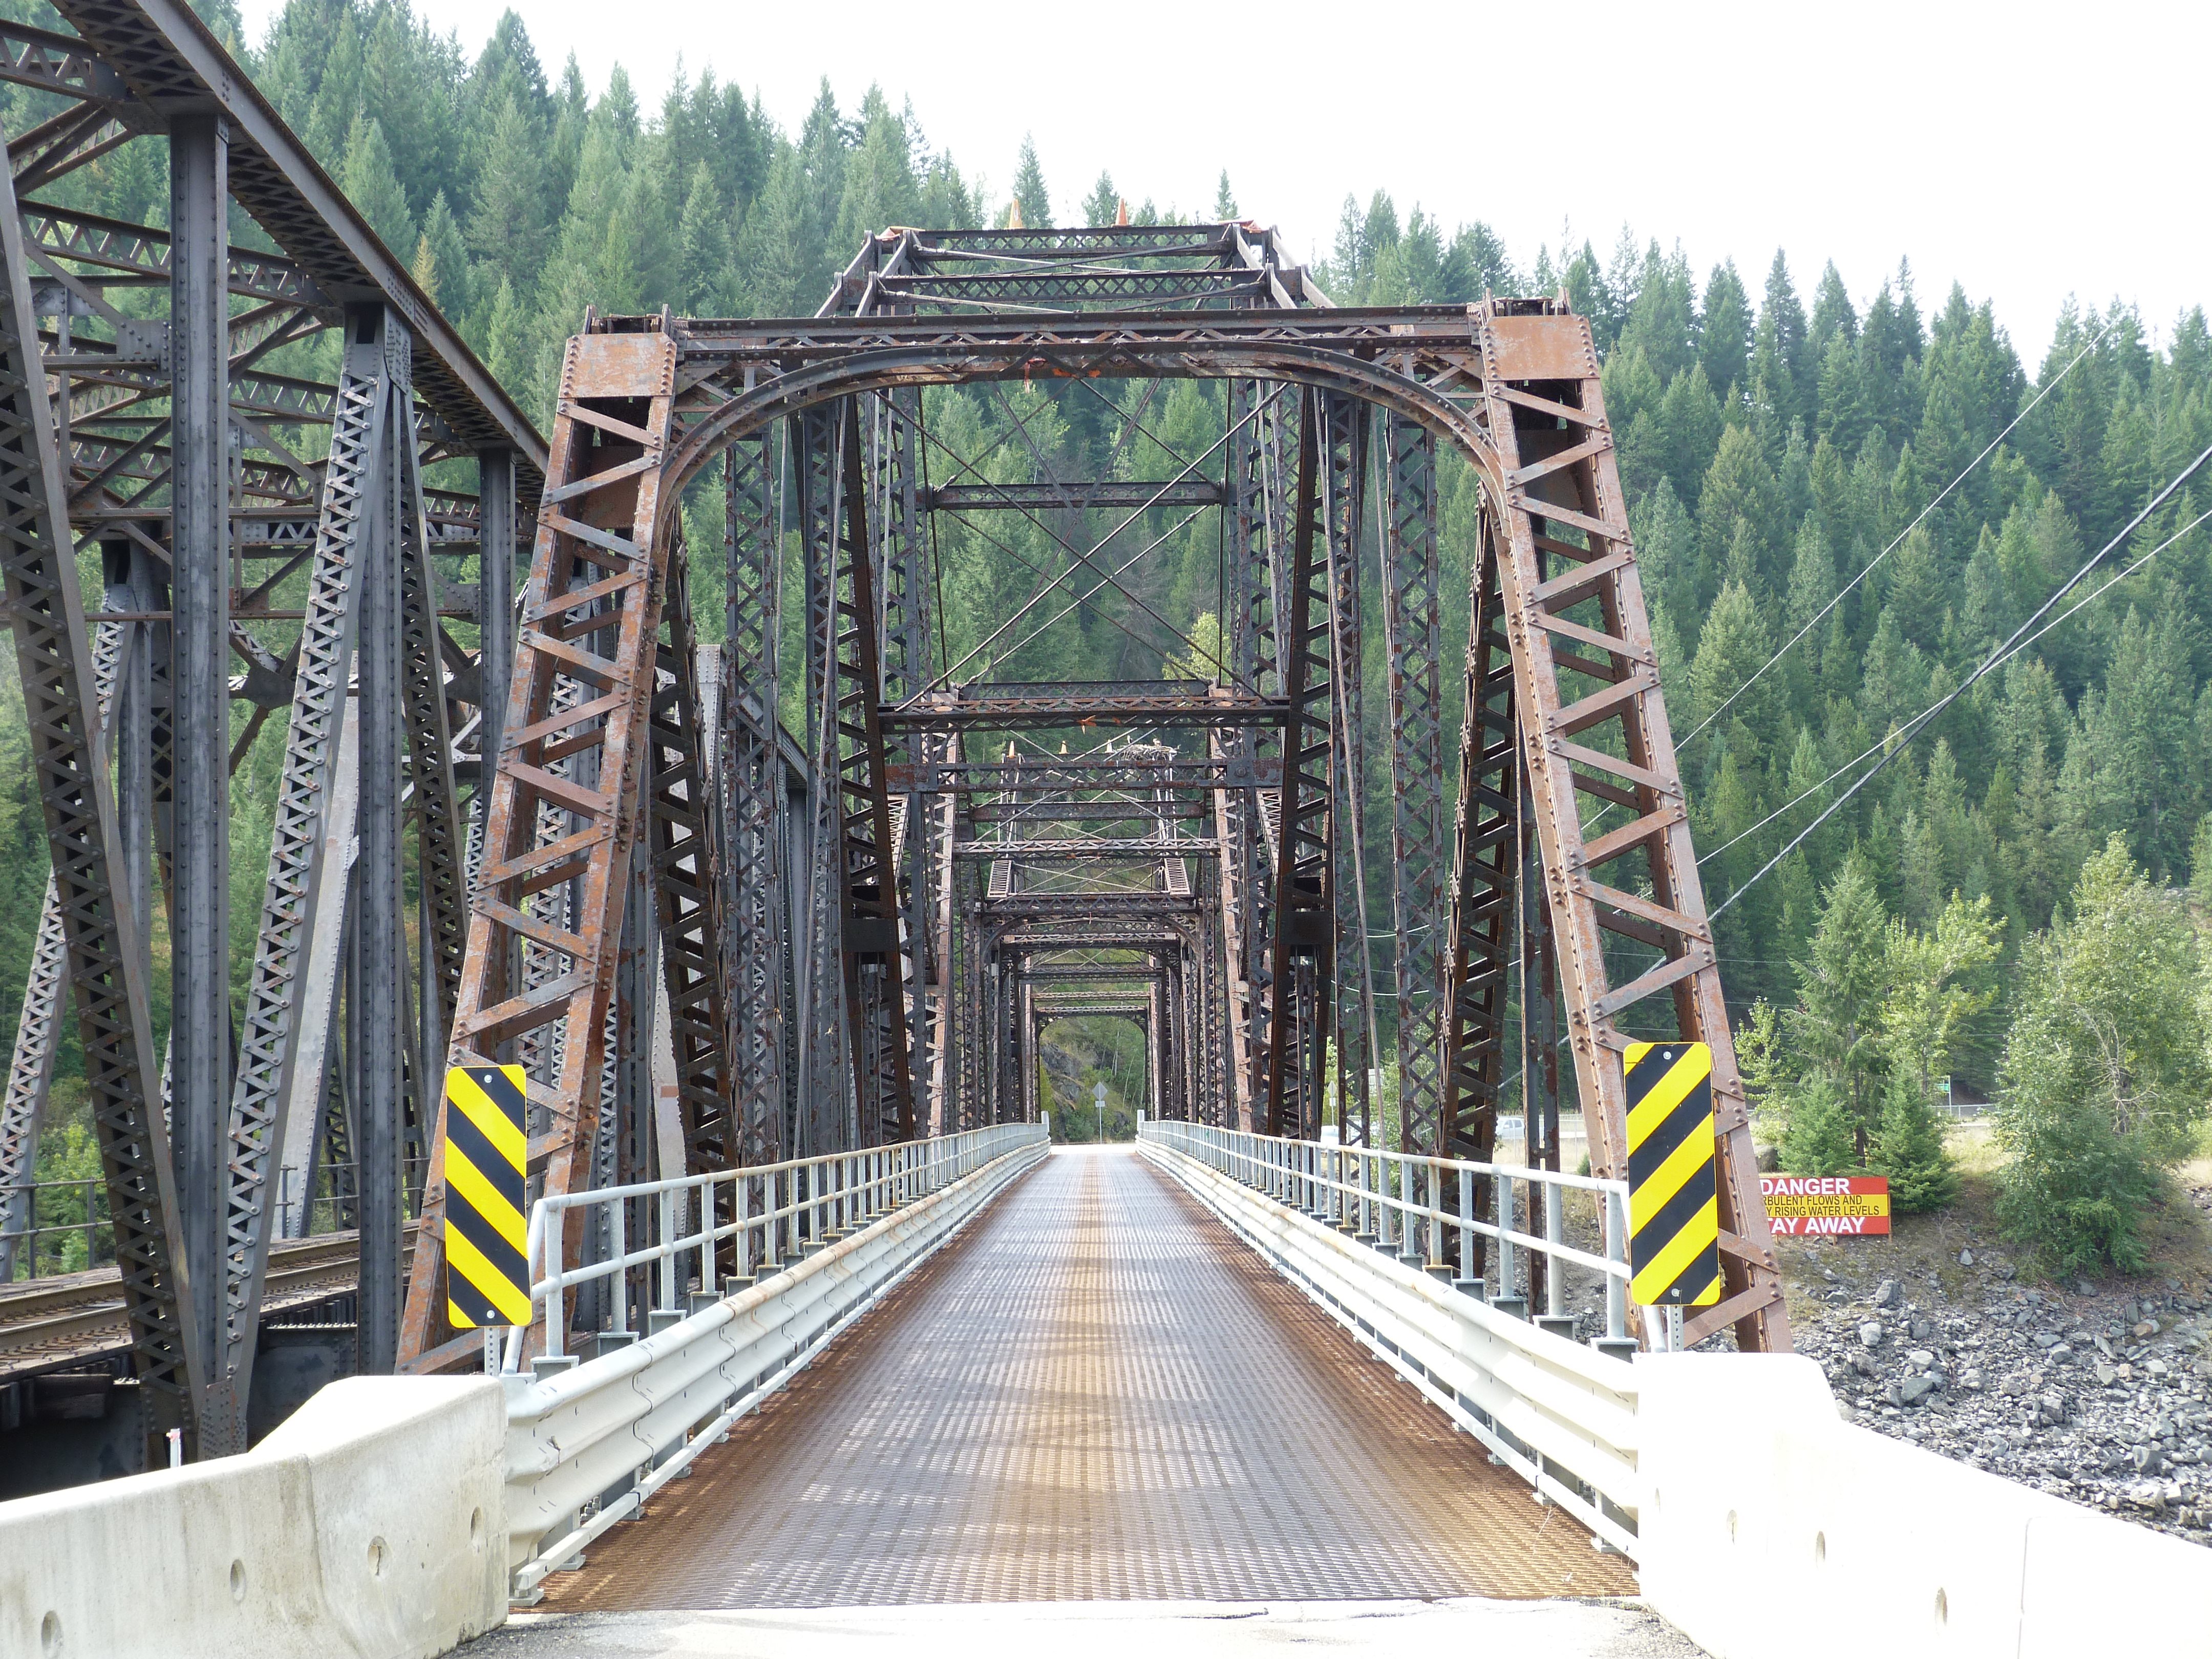
Portal views facing north.
![]()

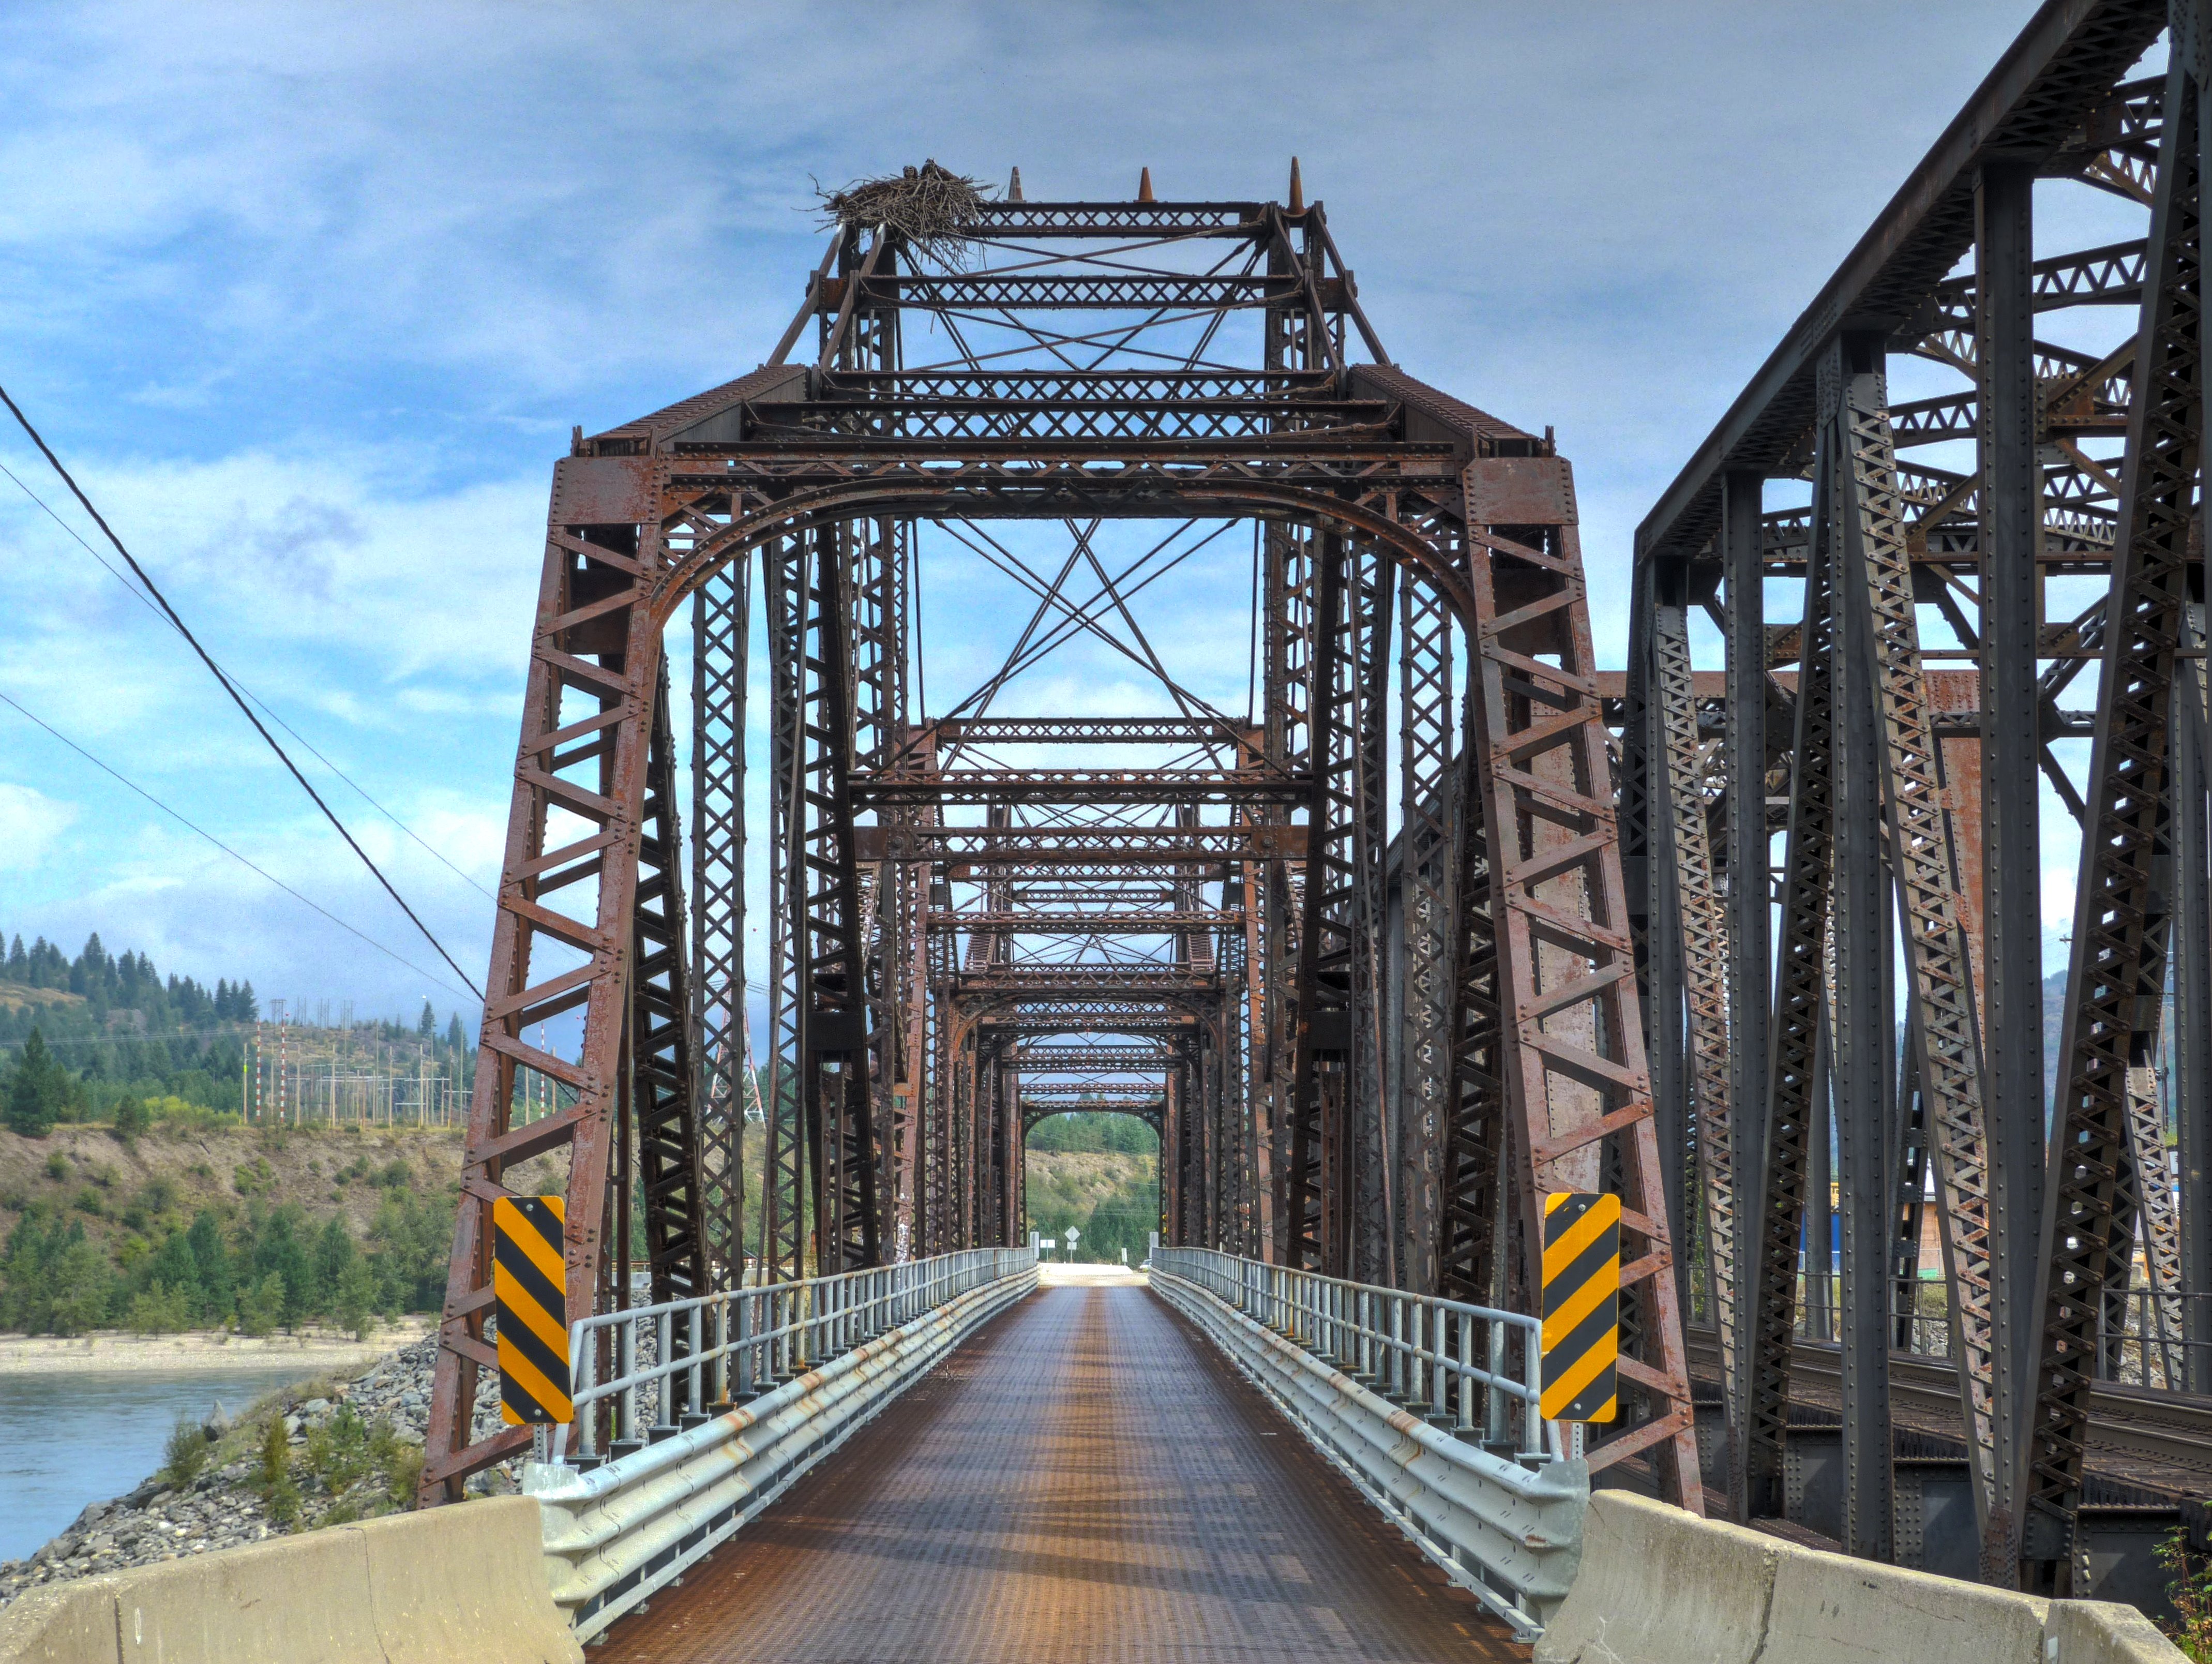

HDR Photos: Portal views facing north.
![]()
Portal views facing south.
![]()


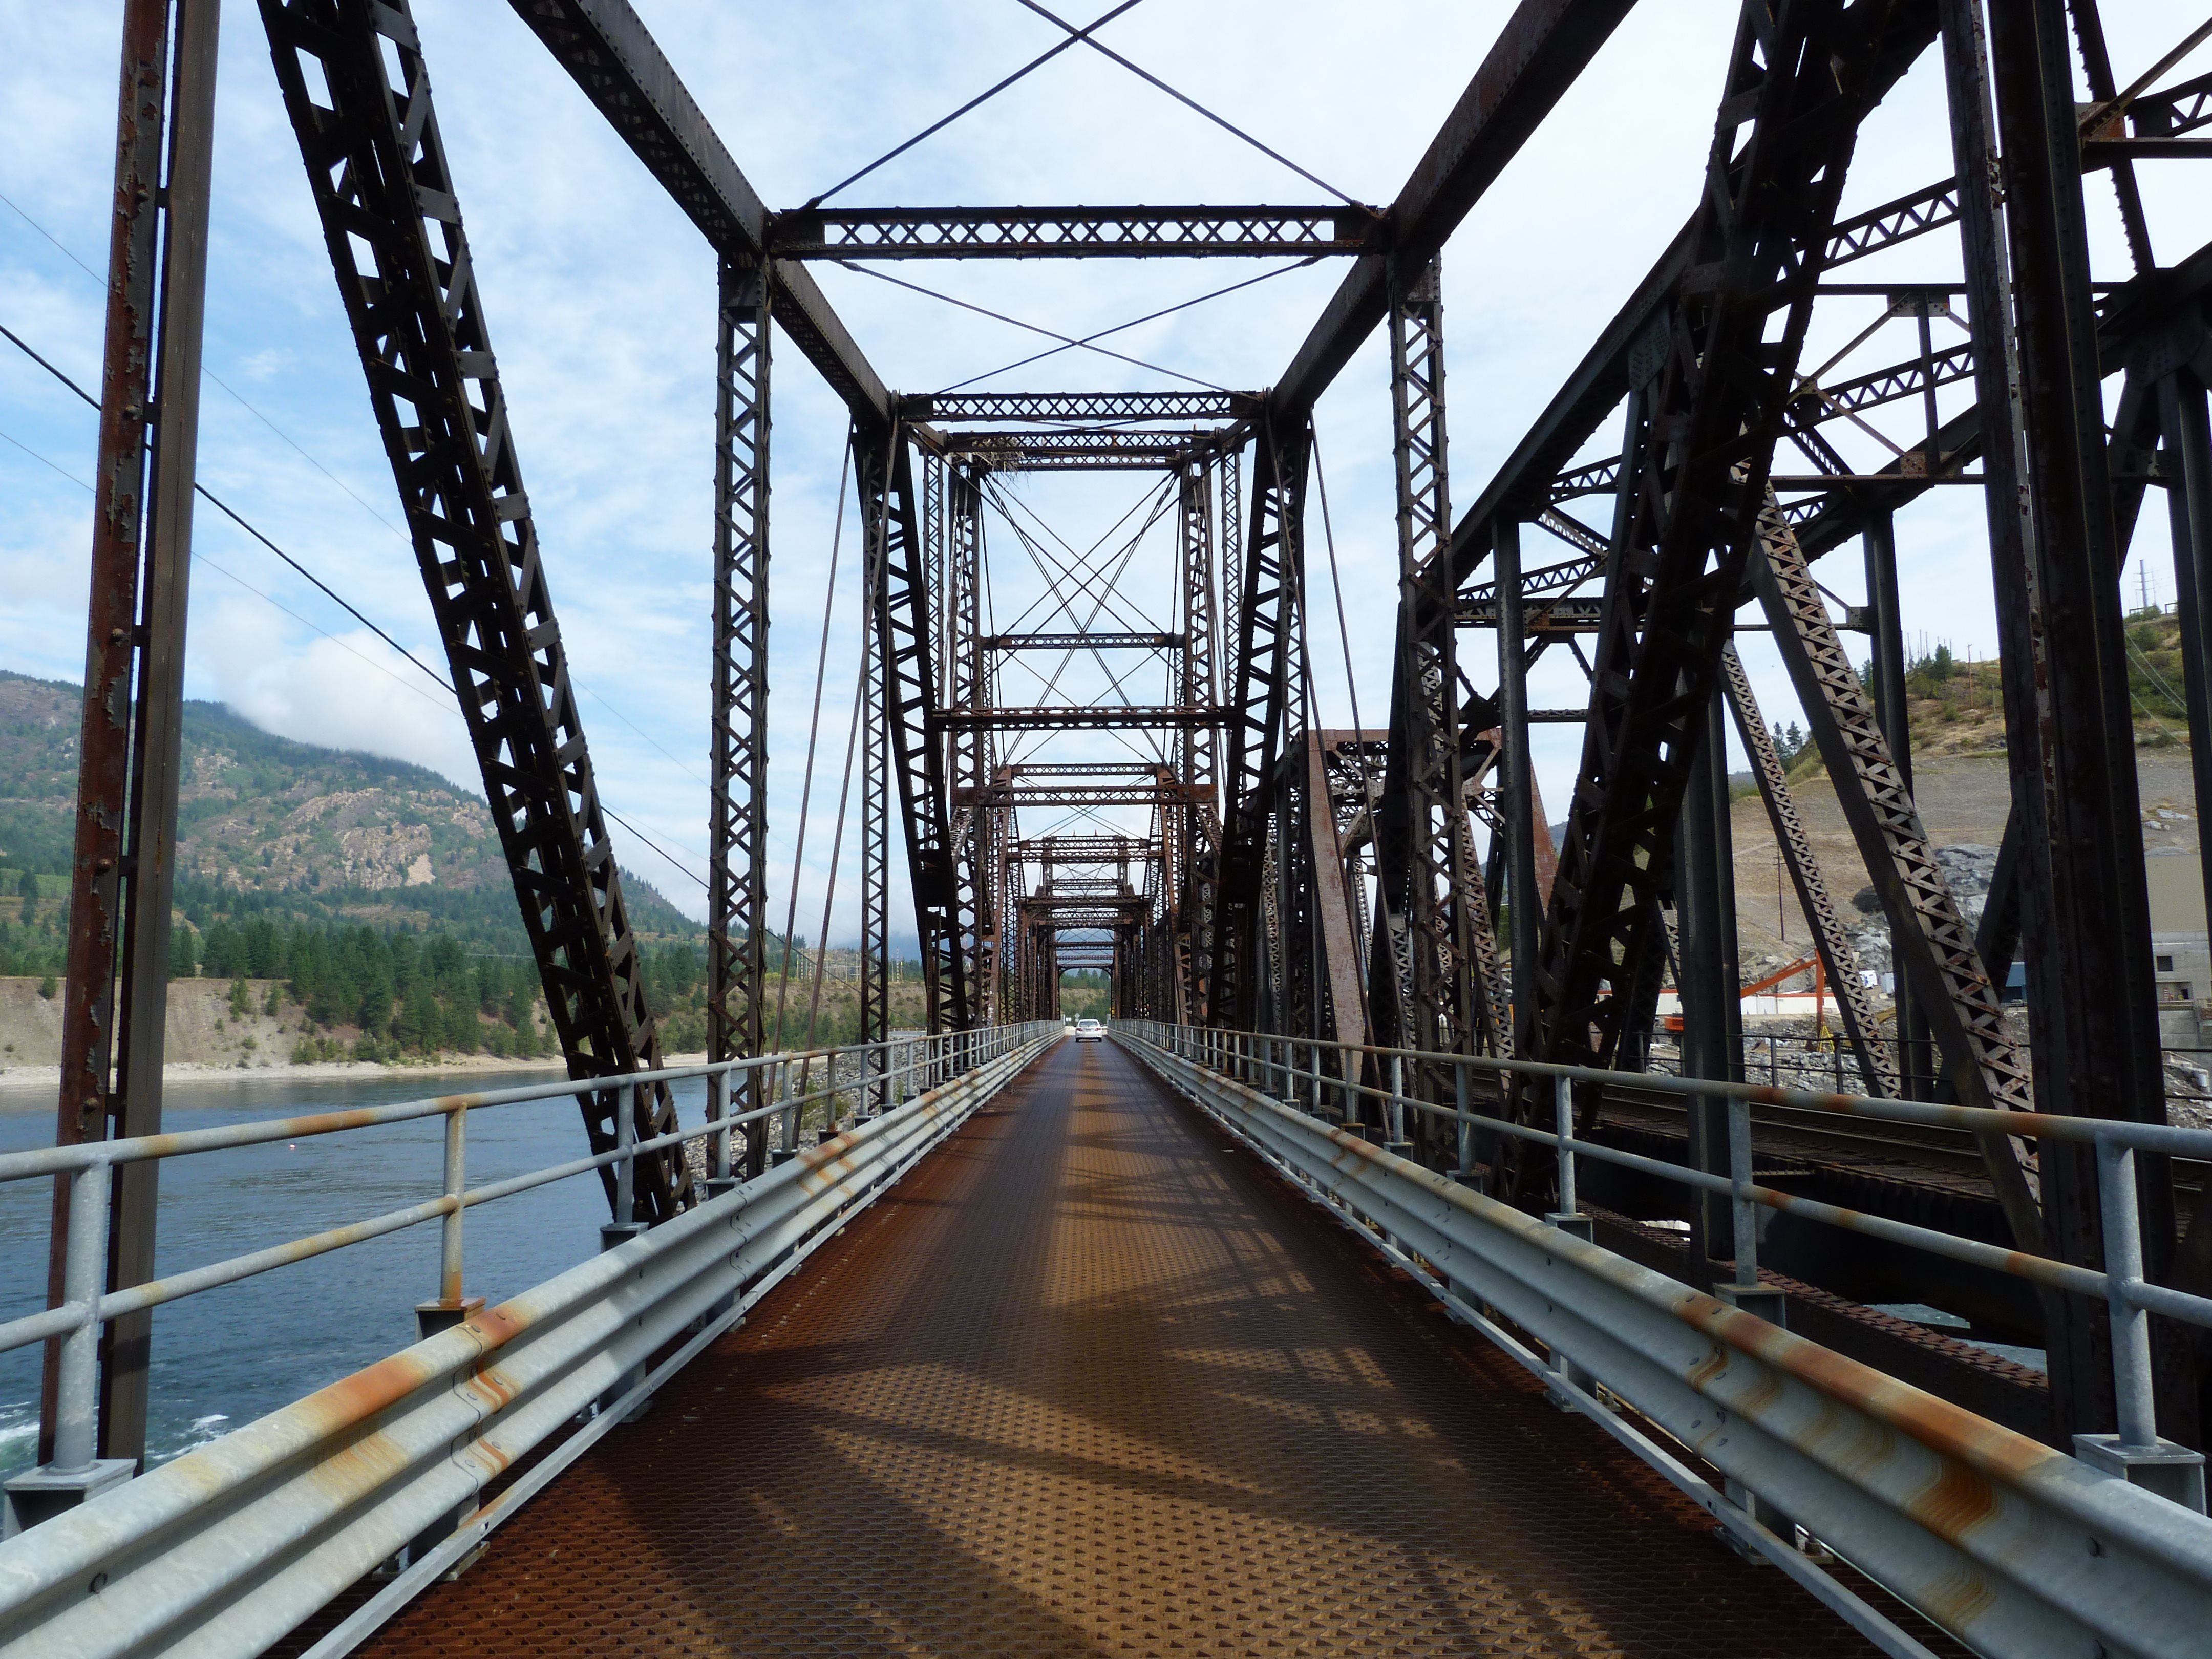

Portal views on bridge facing north.
![]()


Portal views on suspended span facing north.
![]()

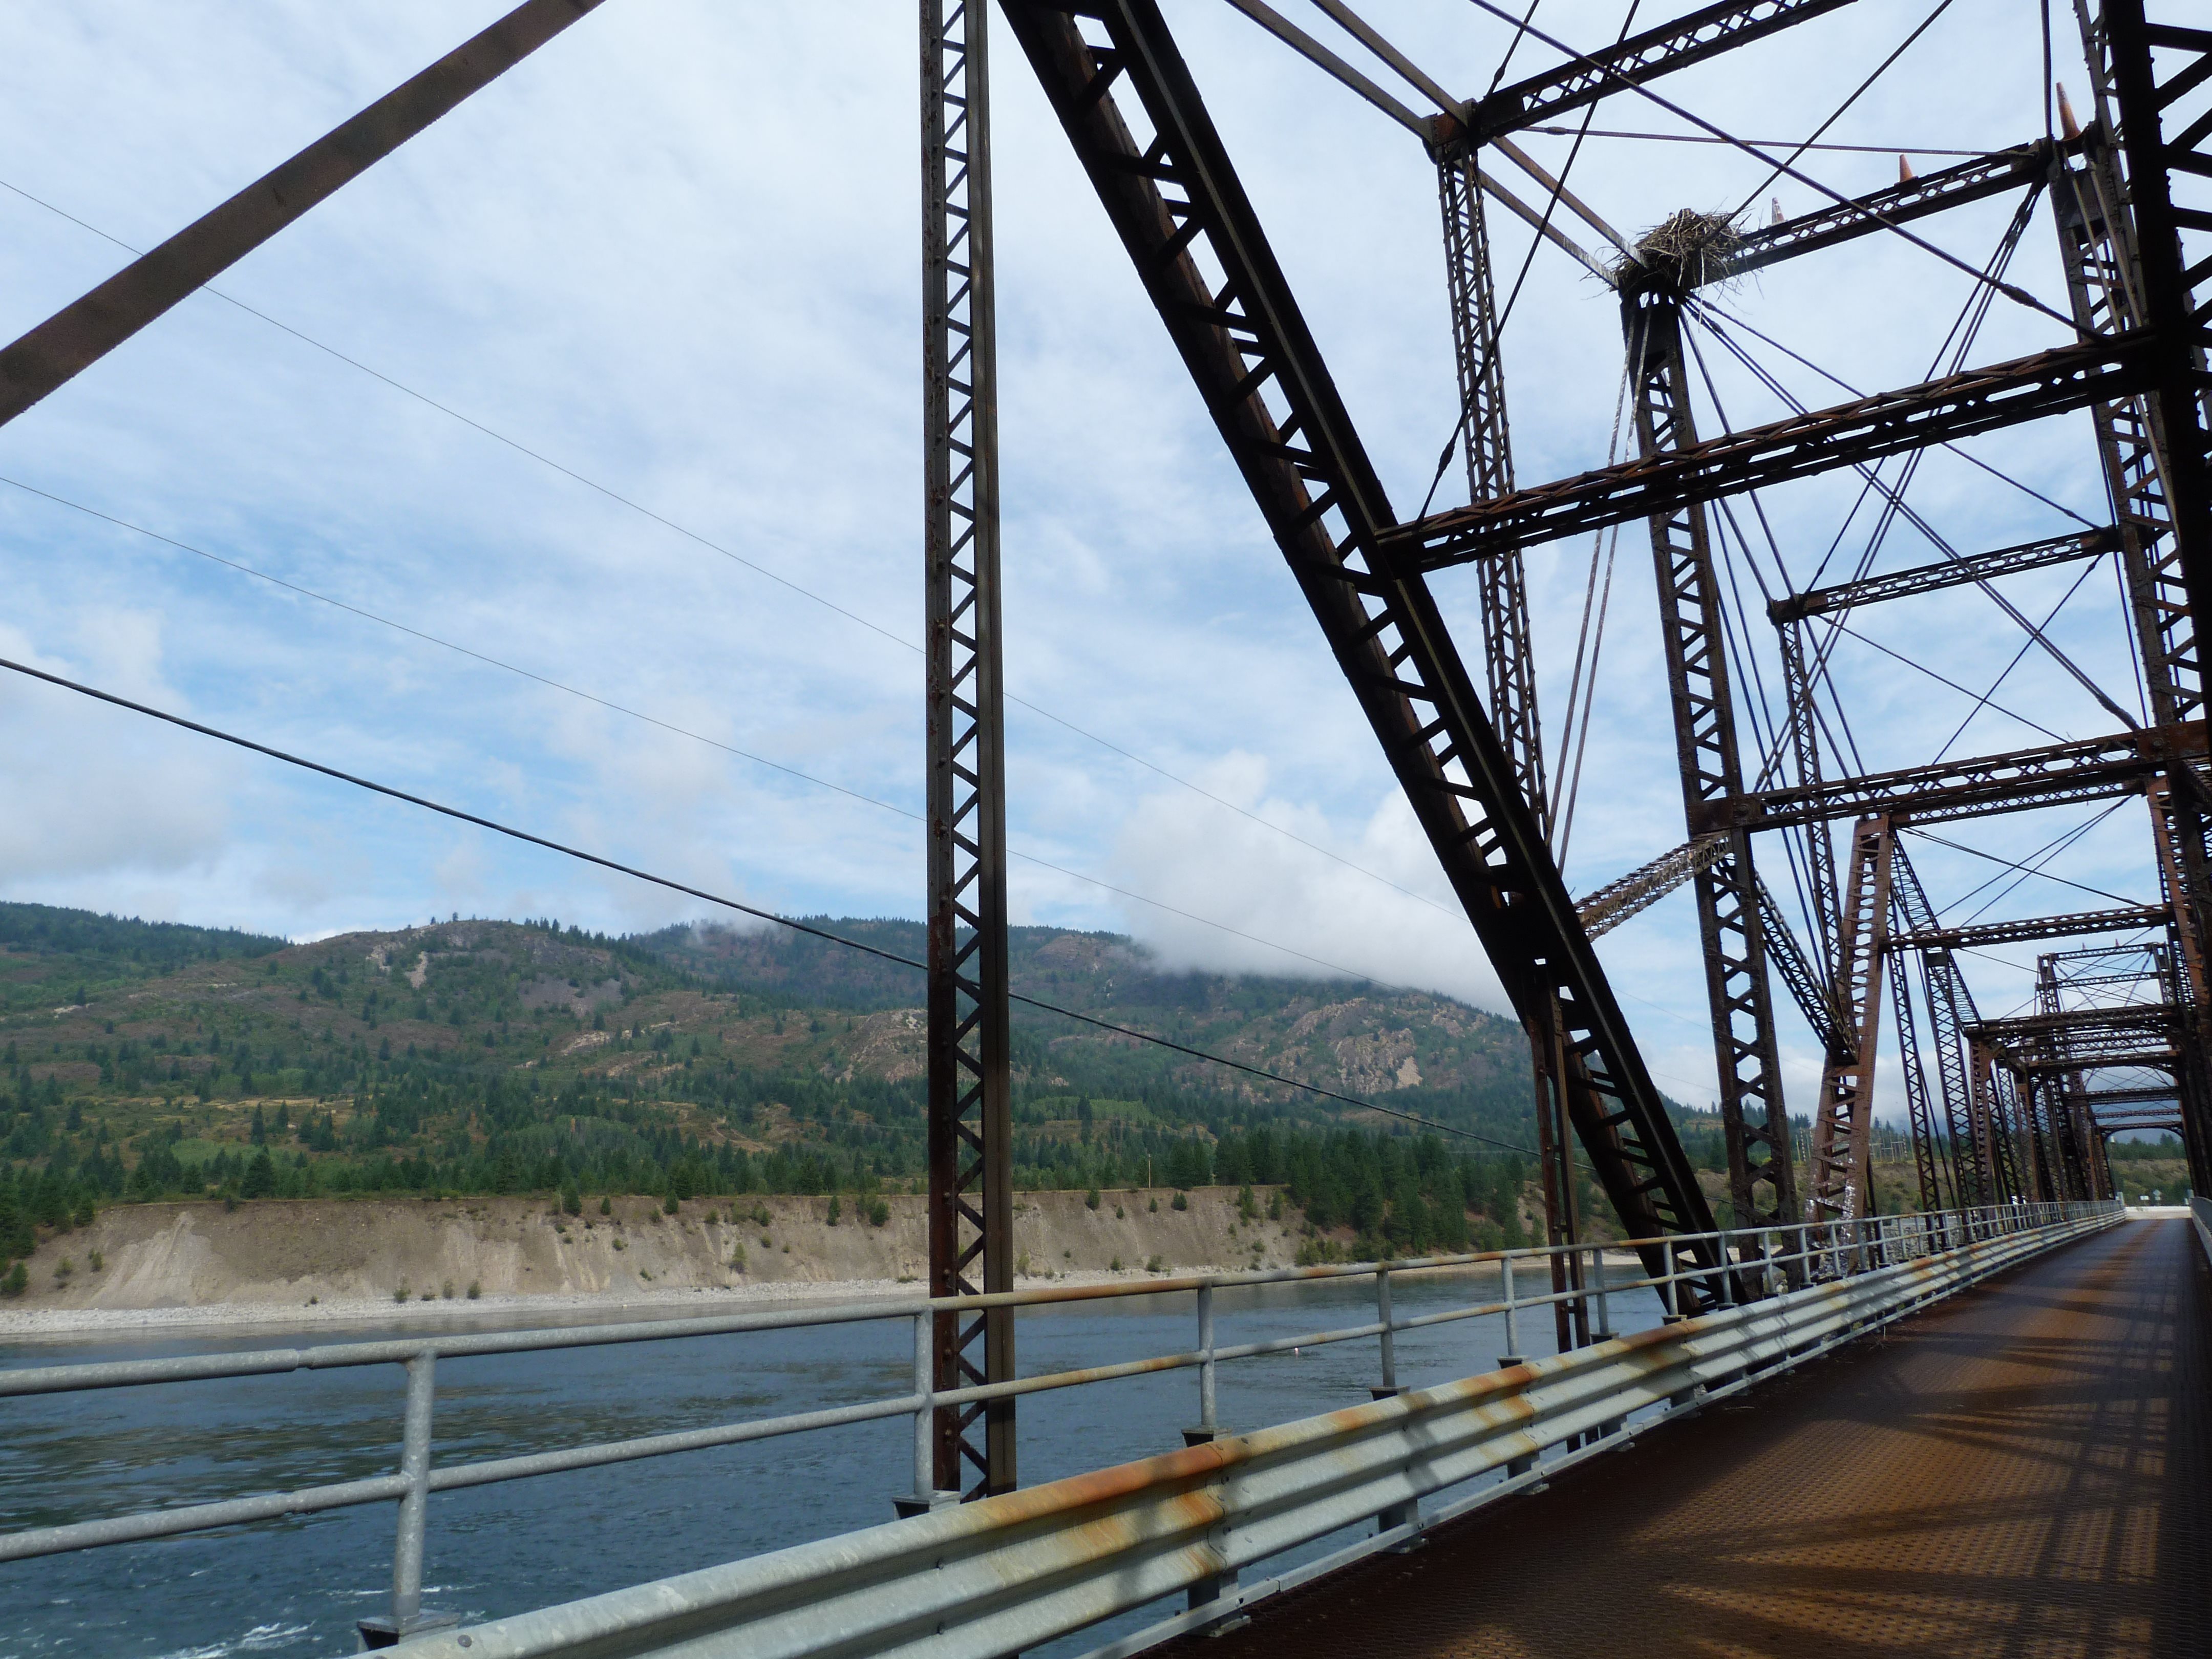
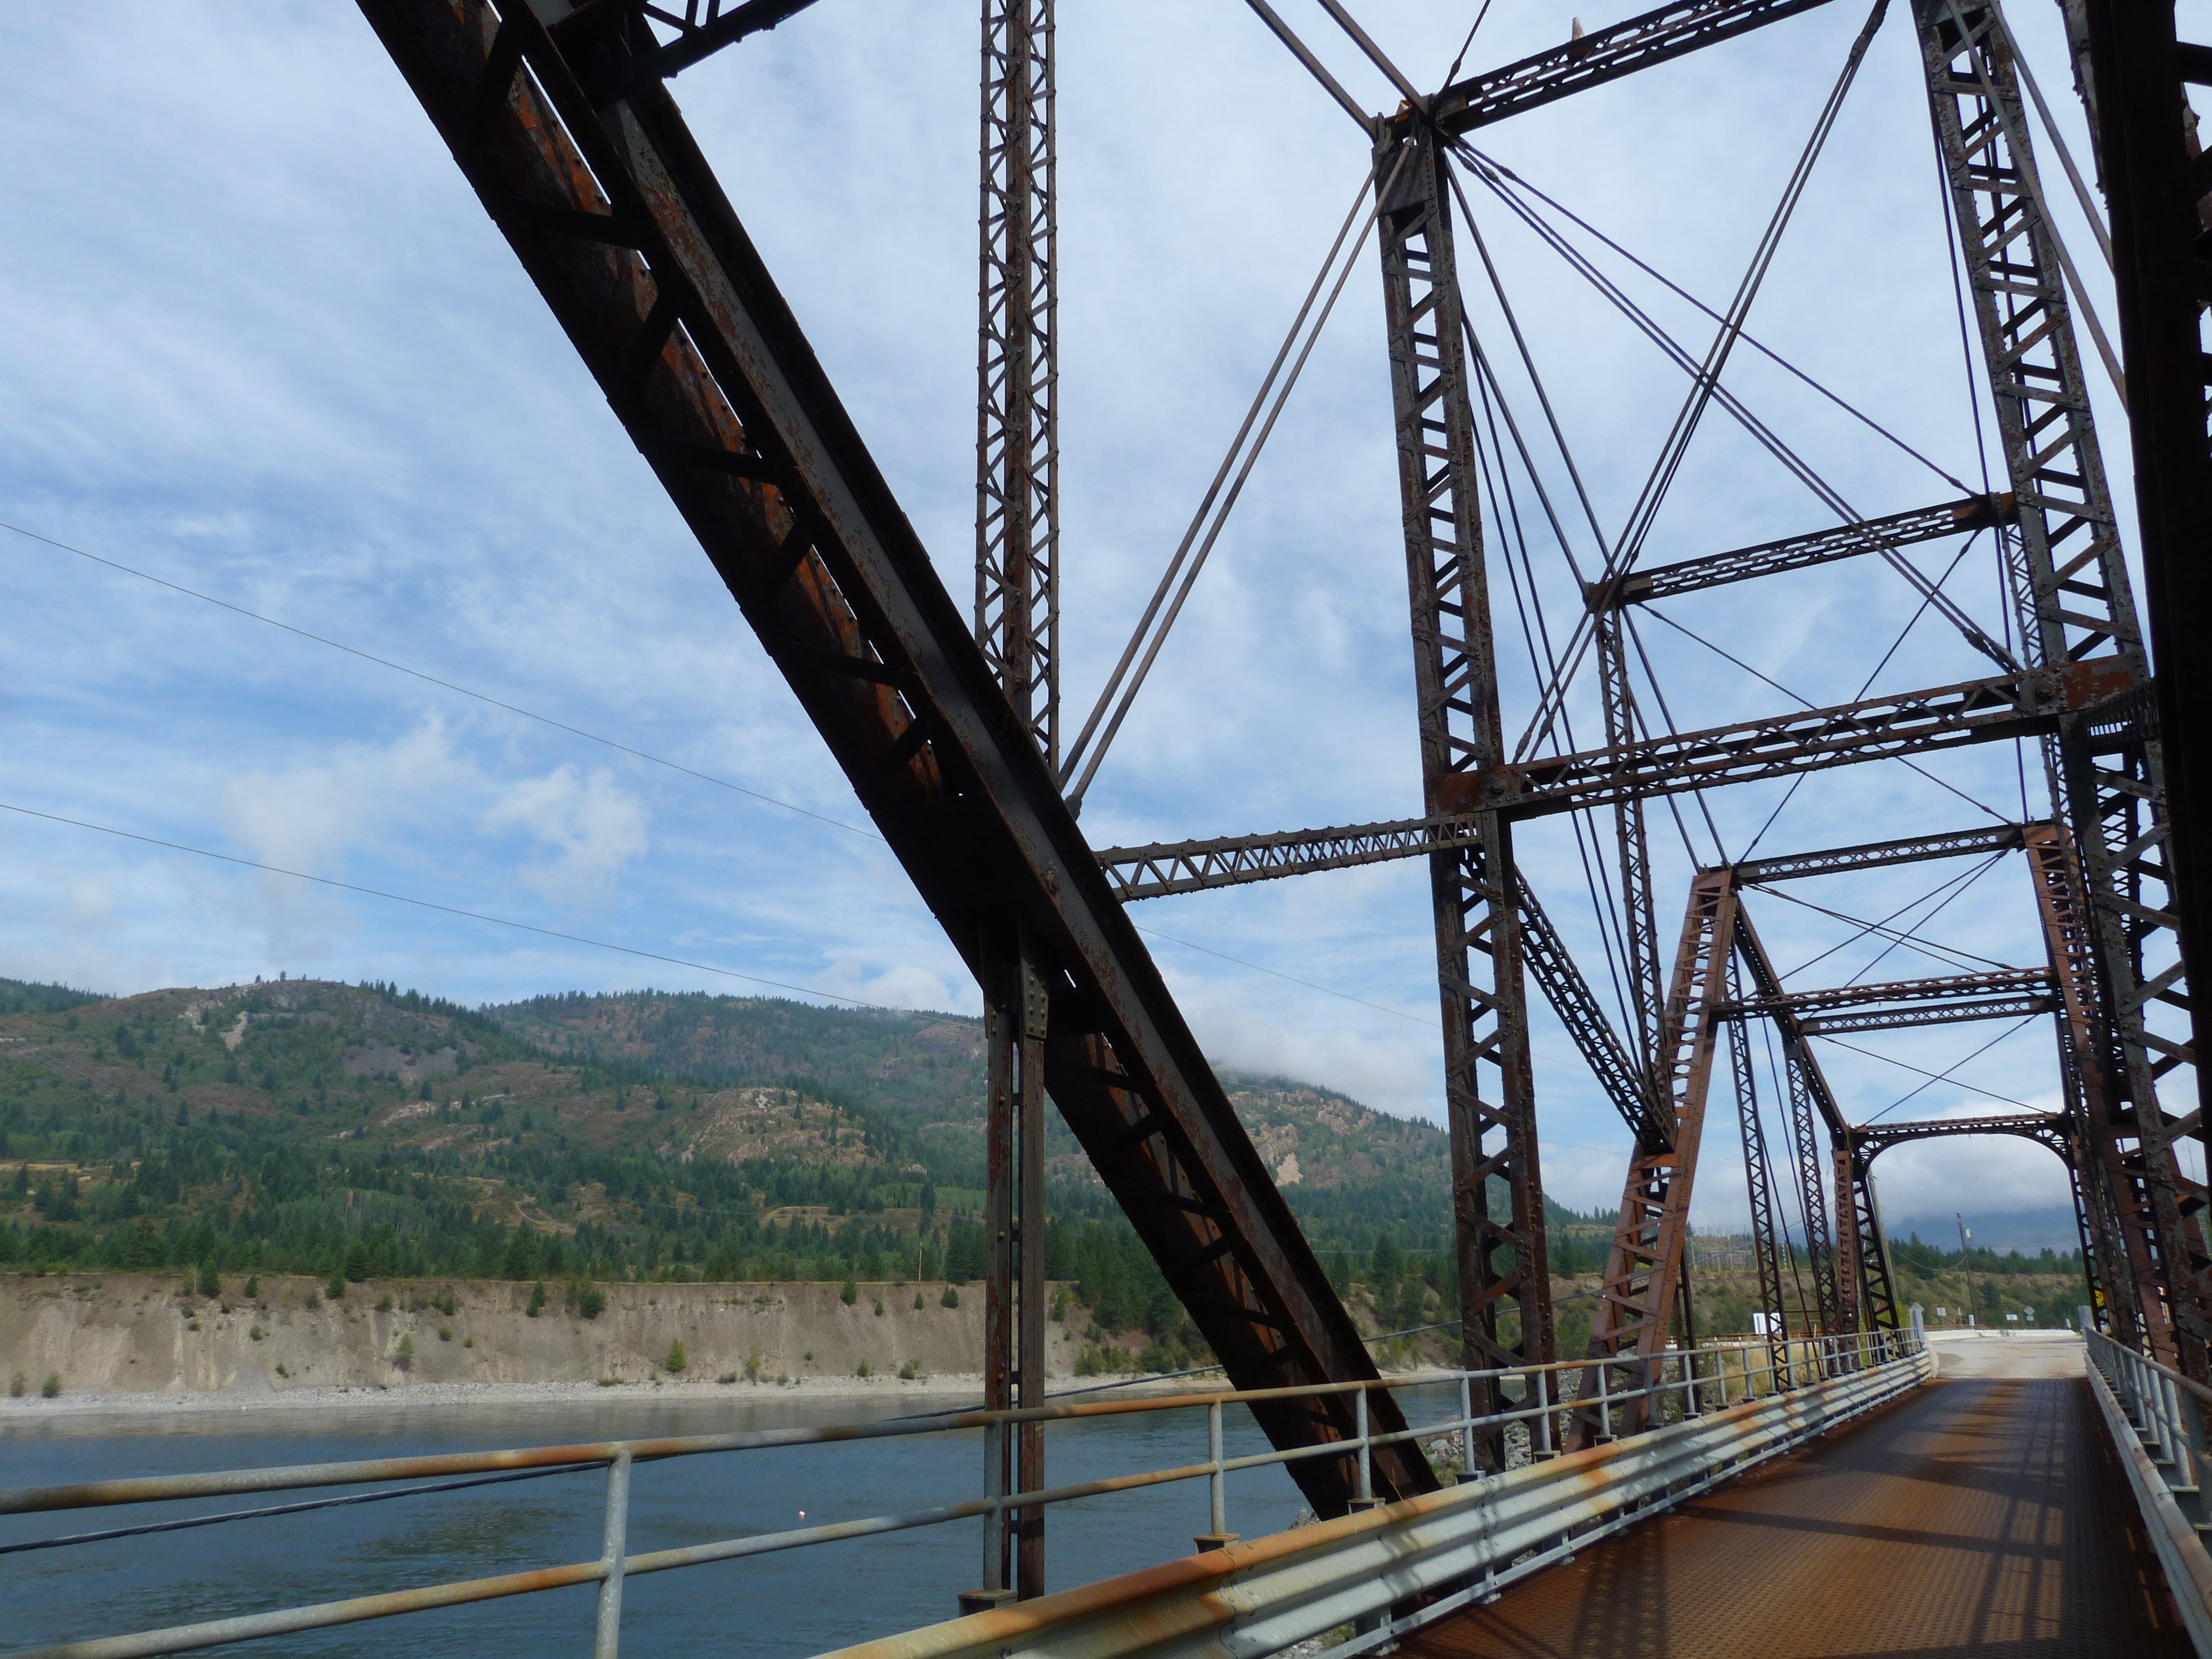
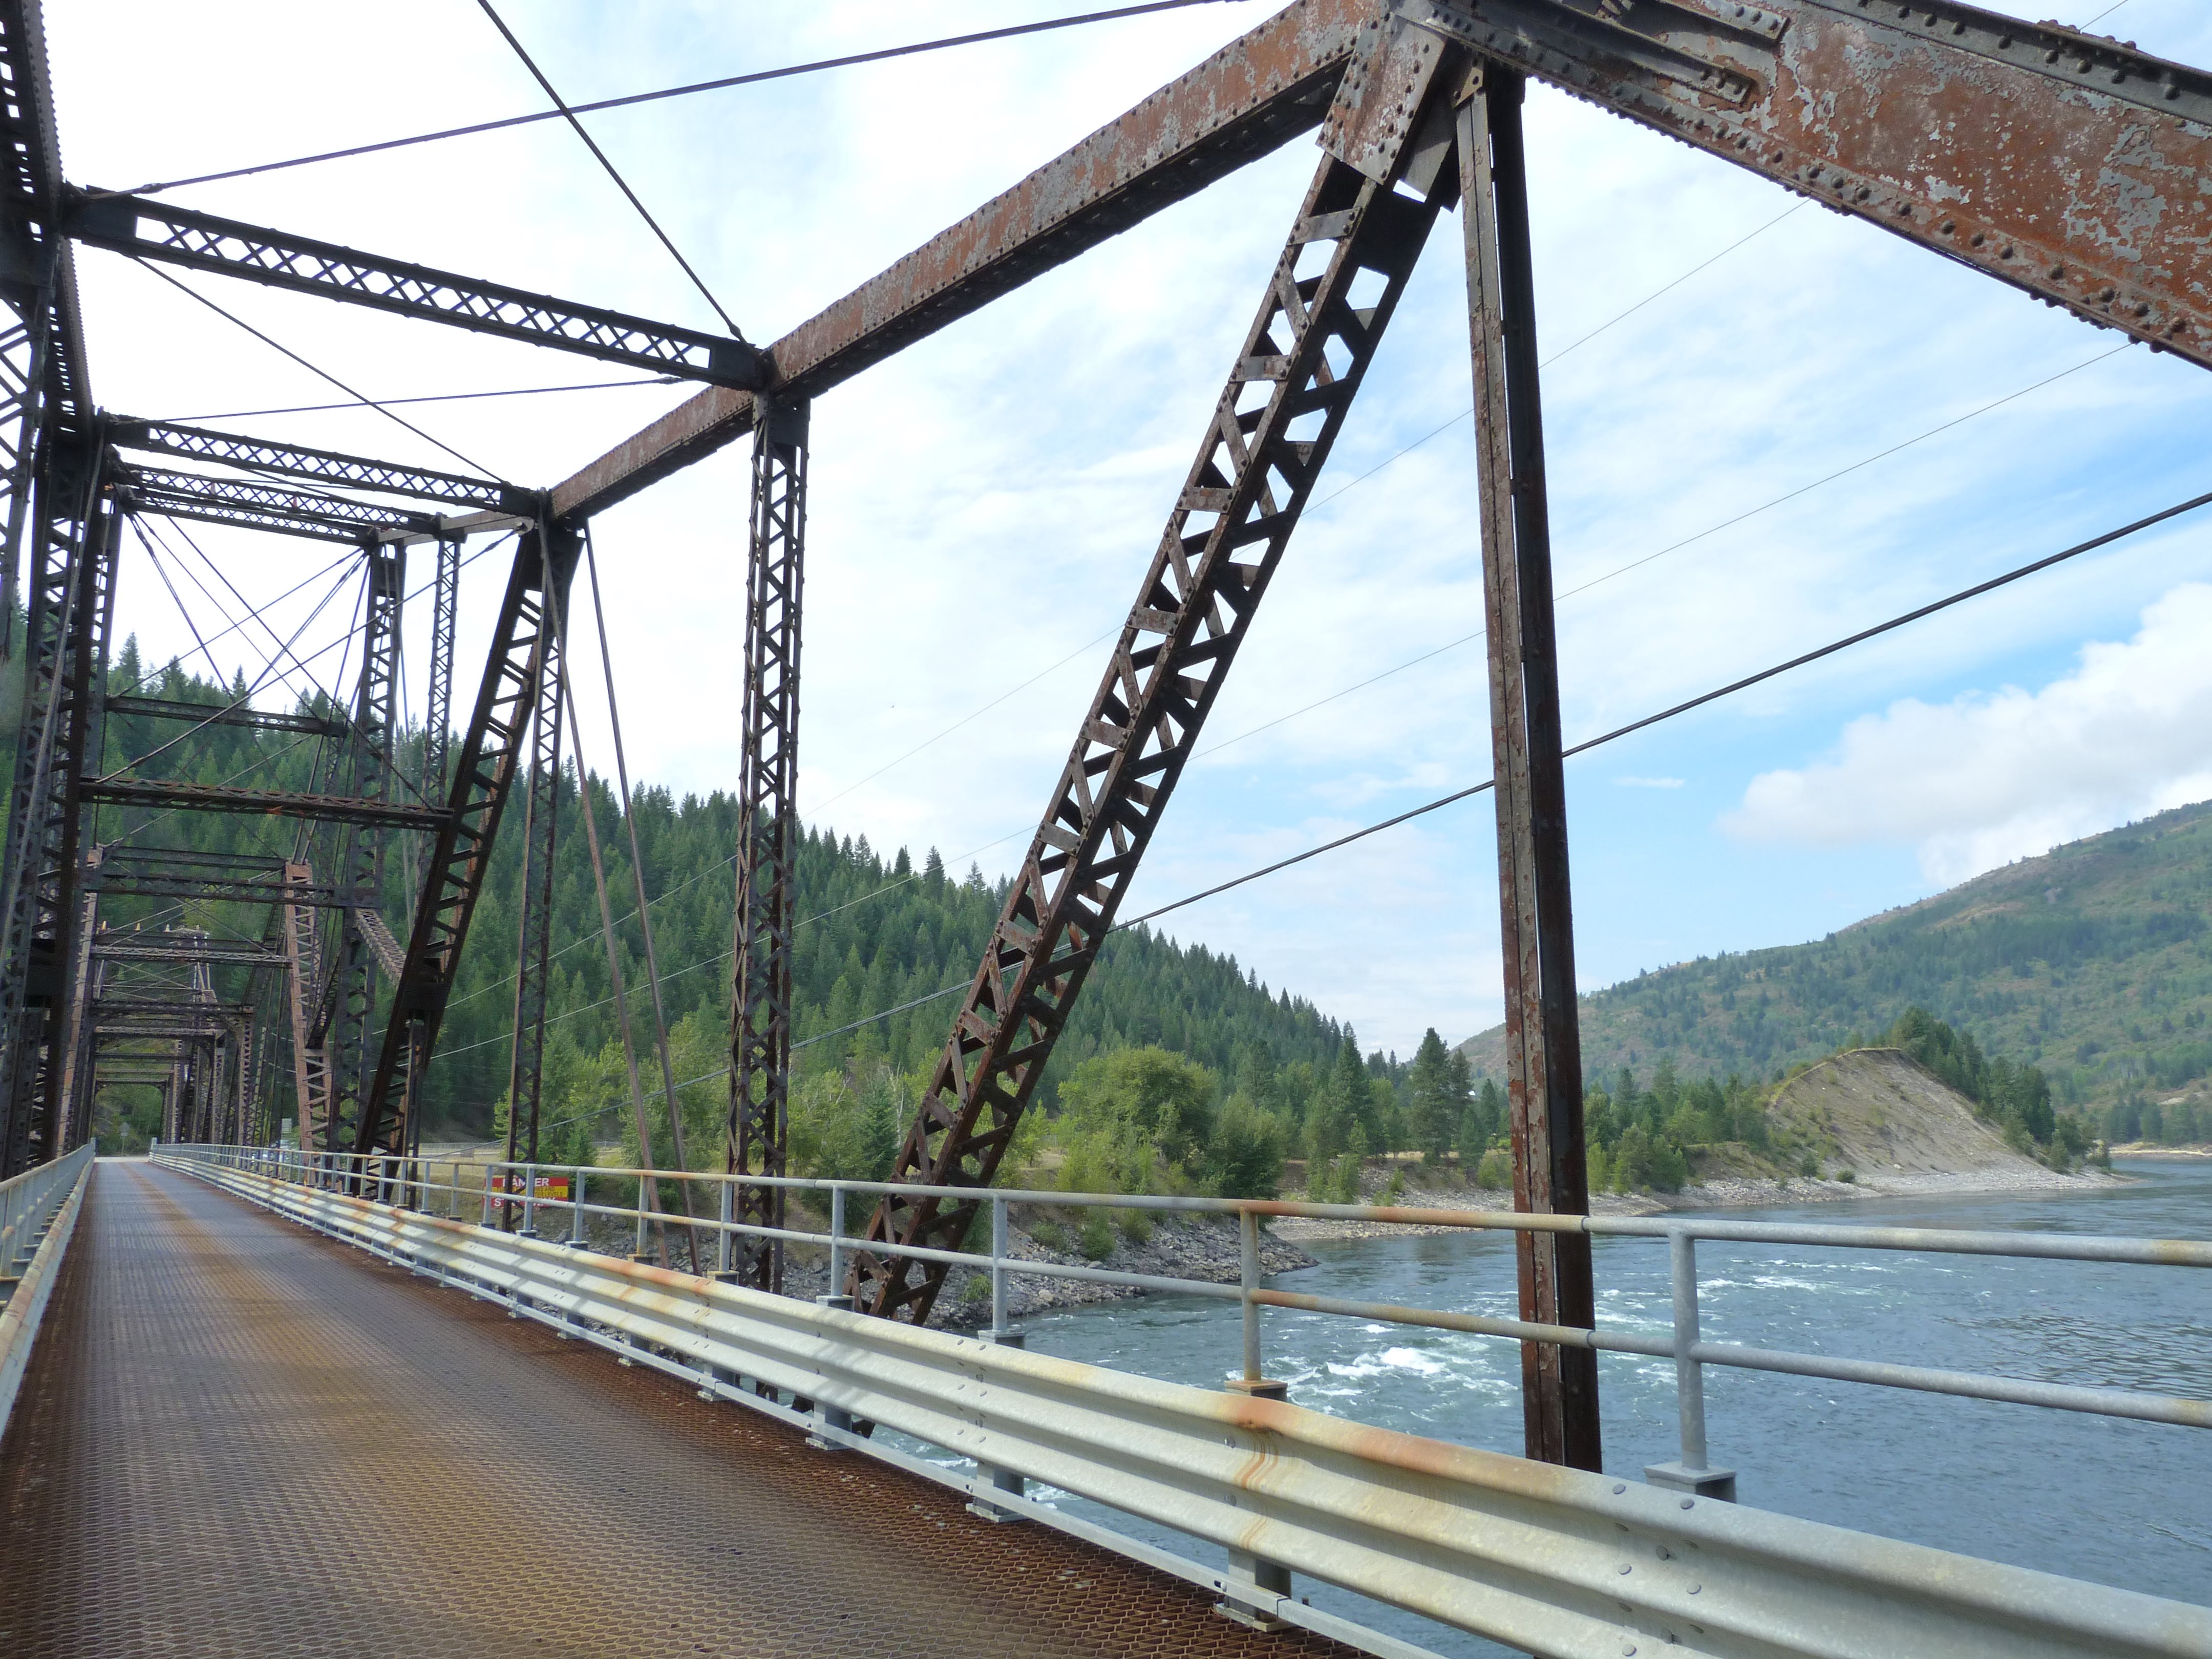
View on bridge at edge of roadway.
![]()

View between the two bridges.
![]()
Suspended span.
![]()
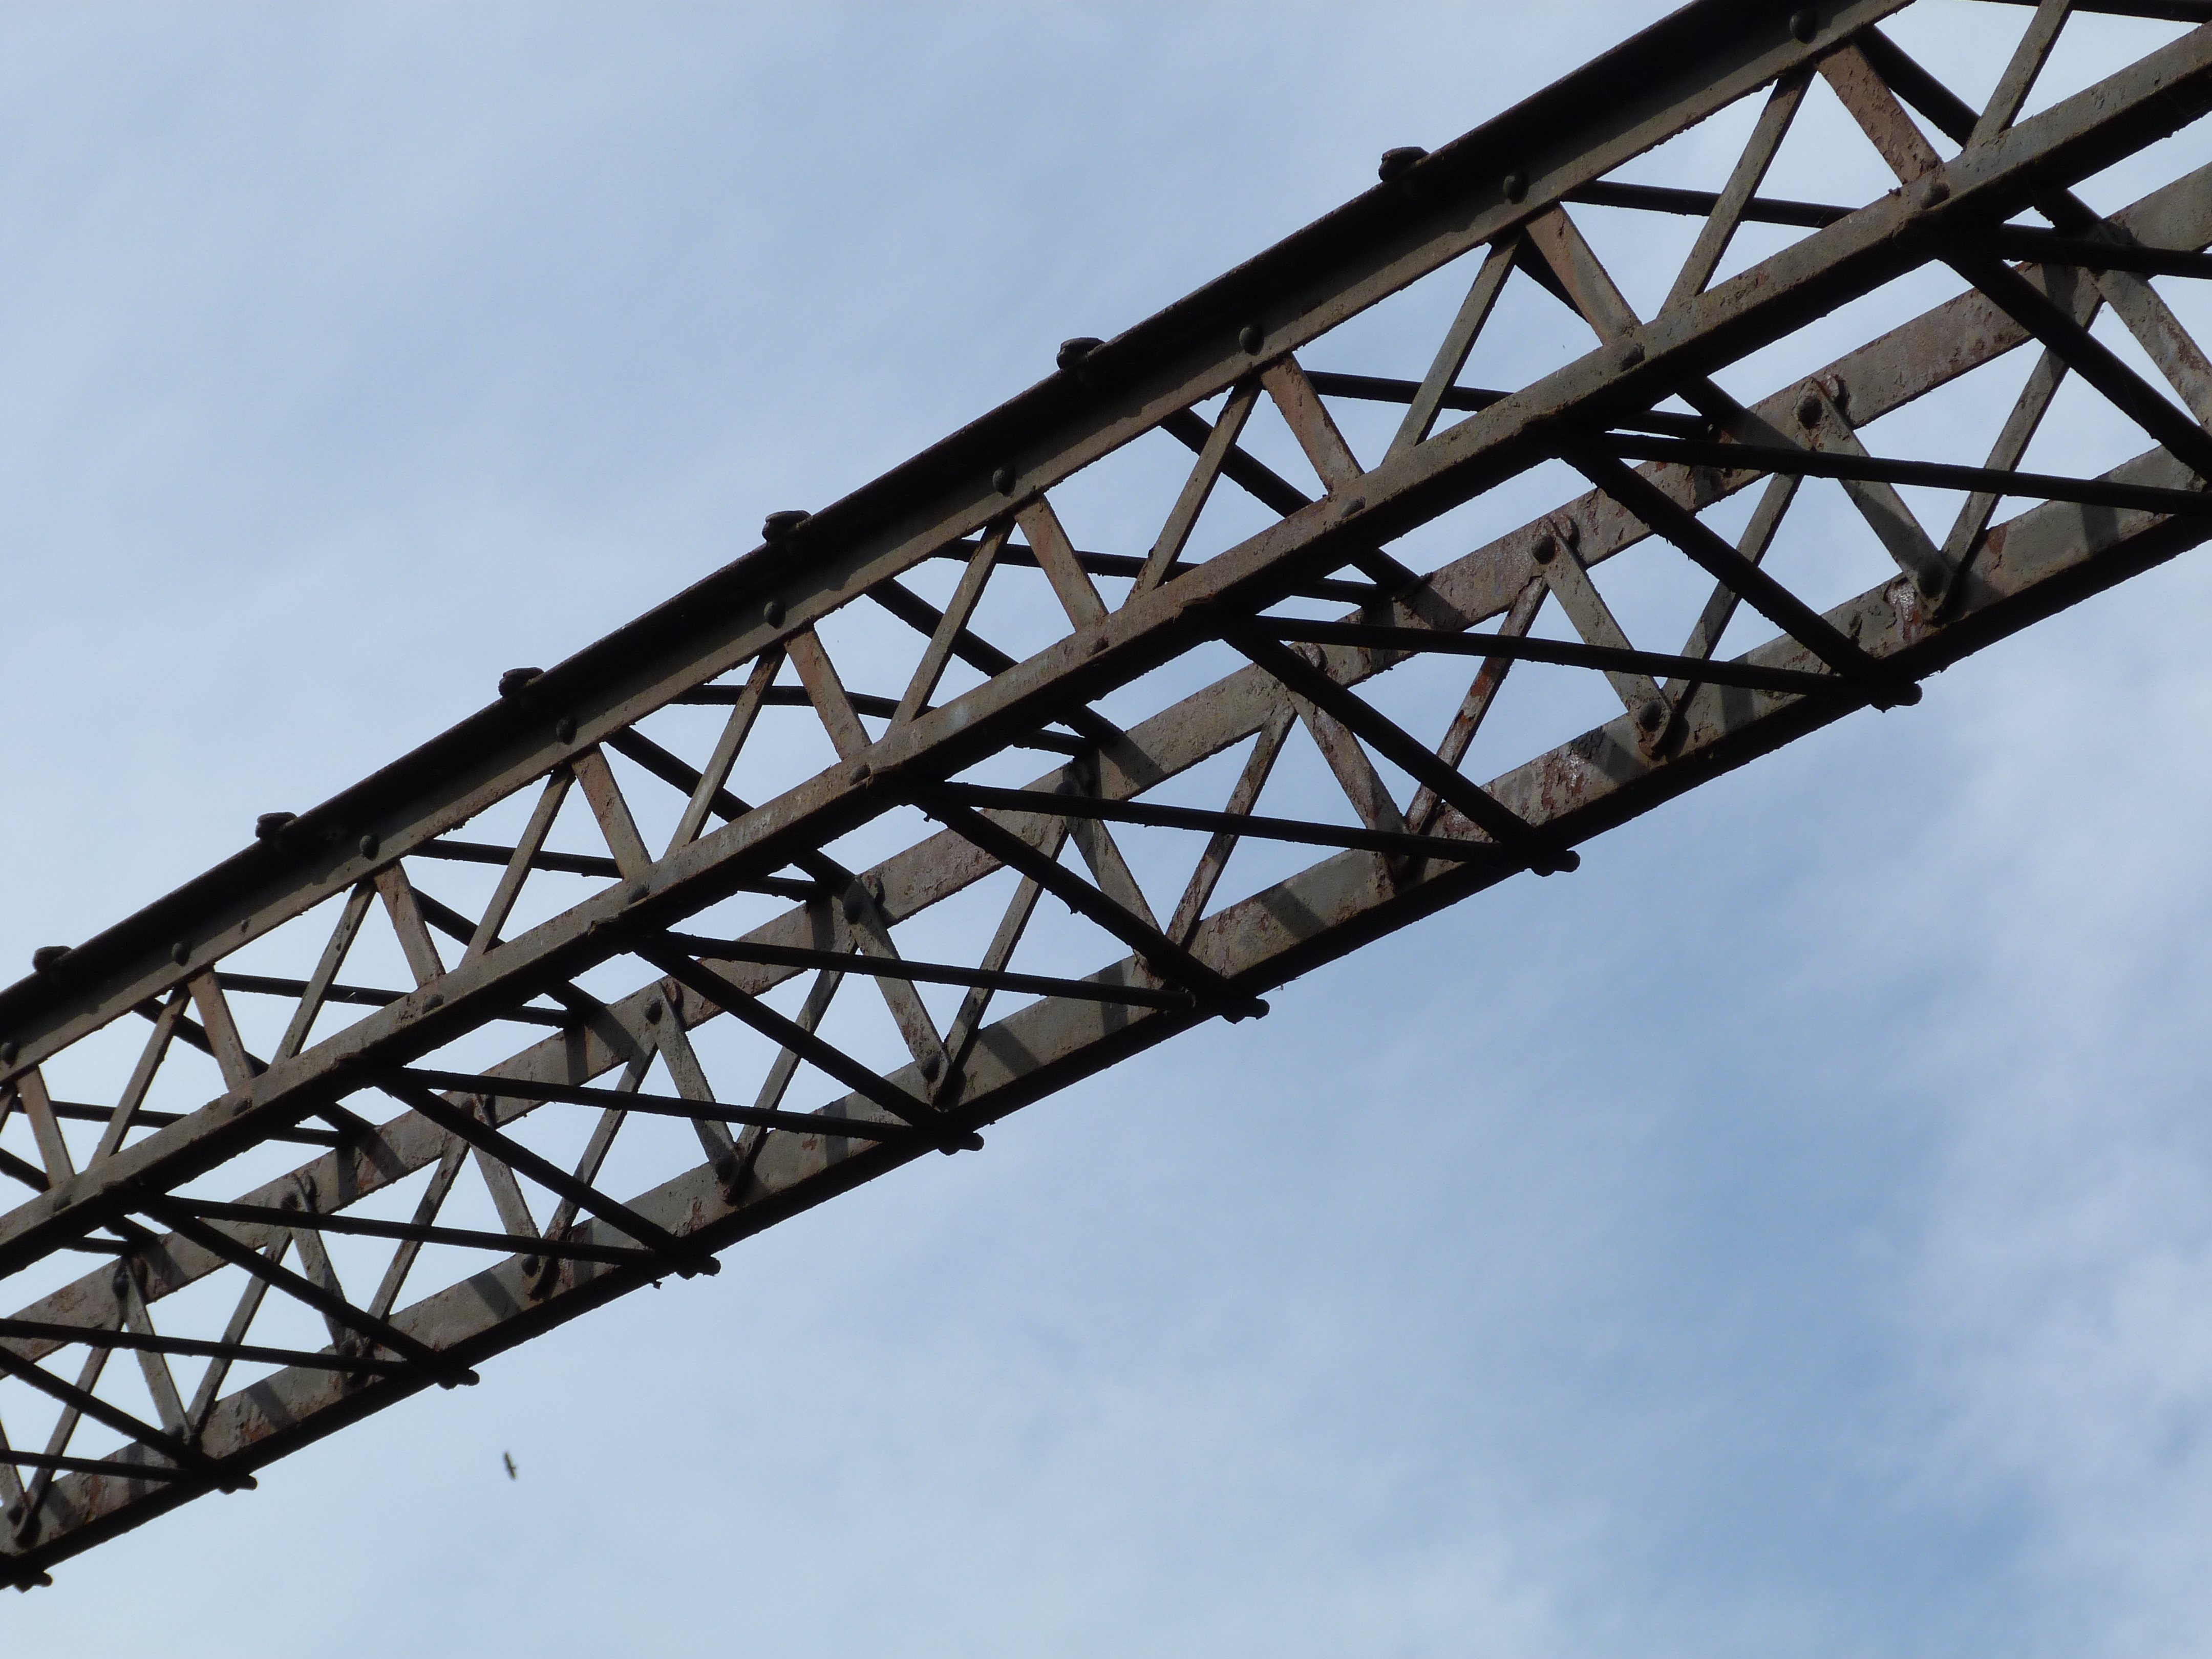
Views of truss web.
![]()


Views of truss web from on suspended span.
![]()

View of anchor arm truss web.
![]()
Anchor arm top chord connections as viewed from beside bridge.
![]()


Cantilever arm top chord connections as viewed from beside bridge.
![]()


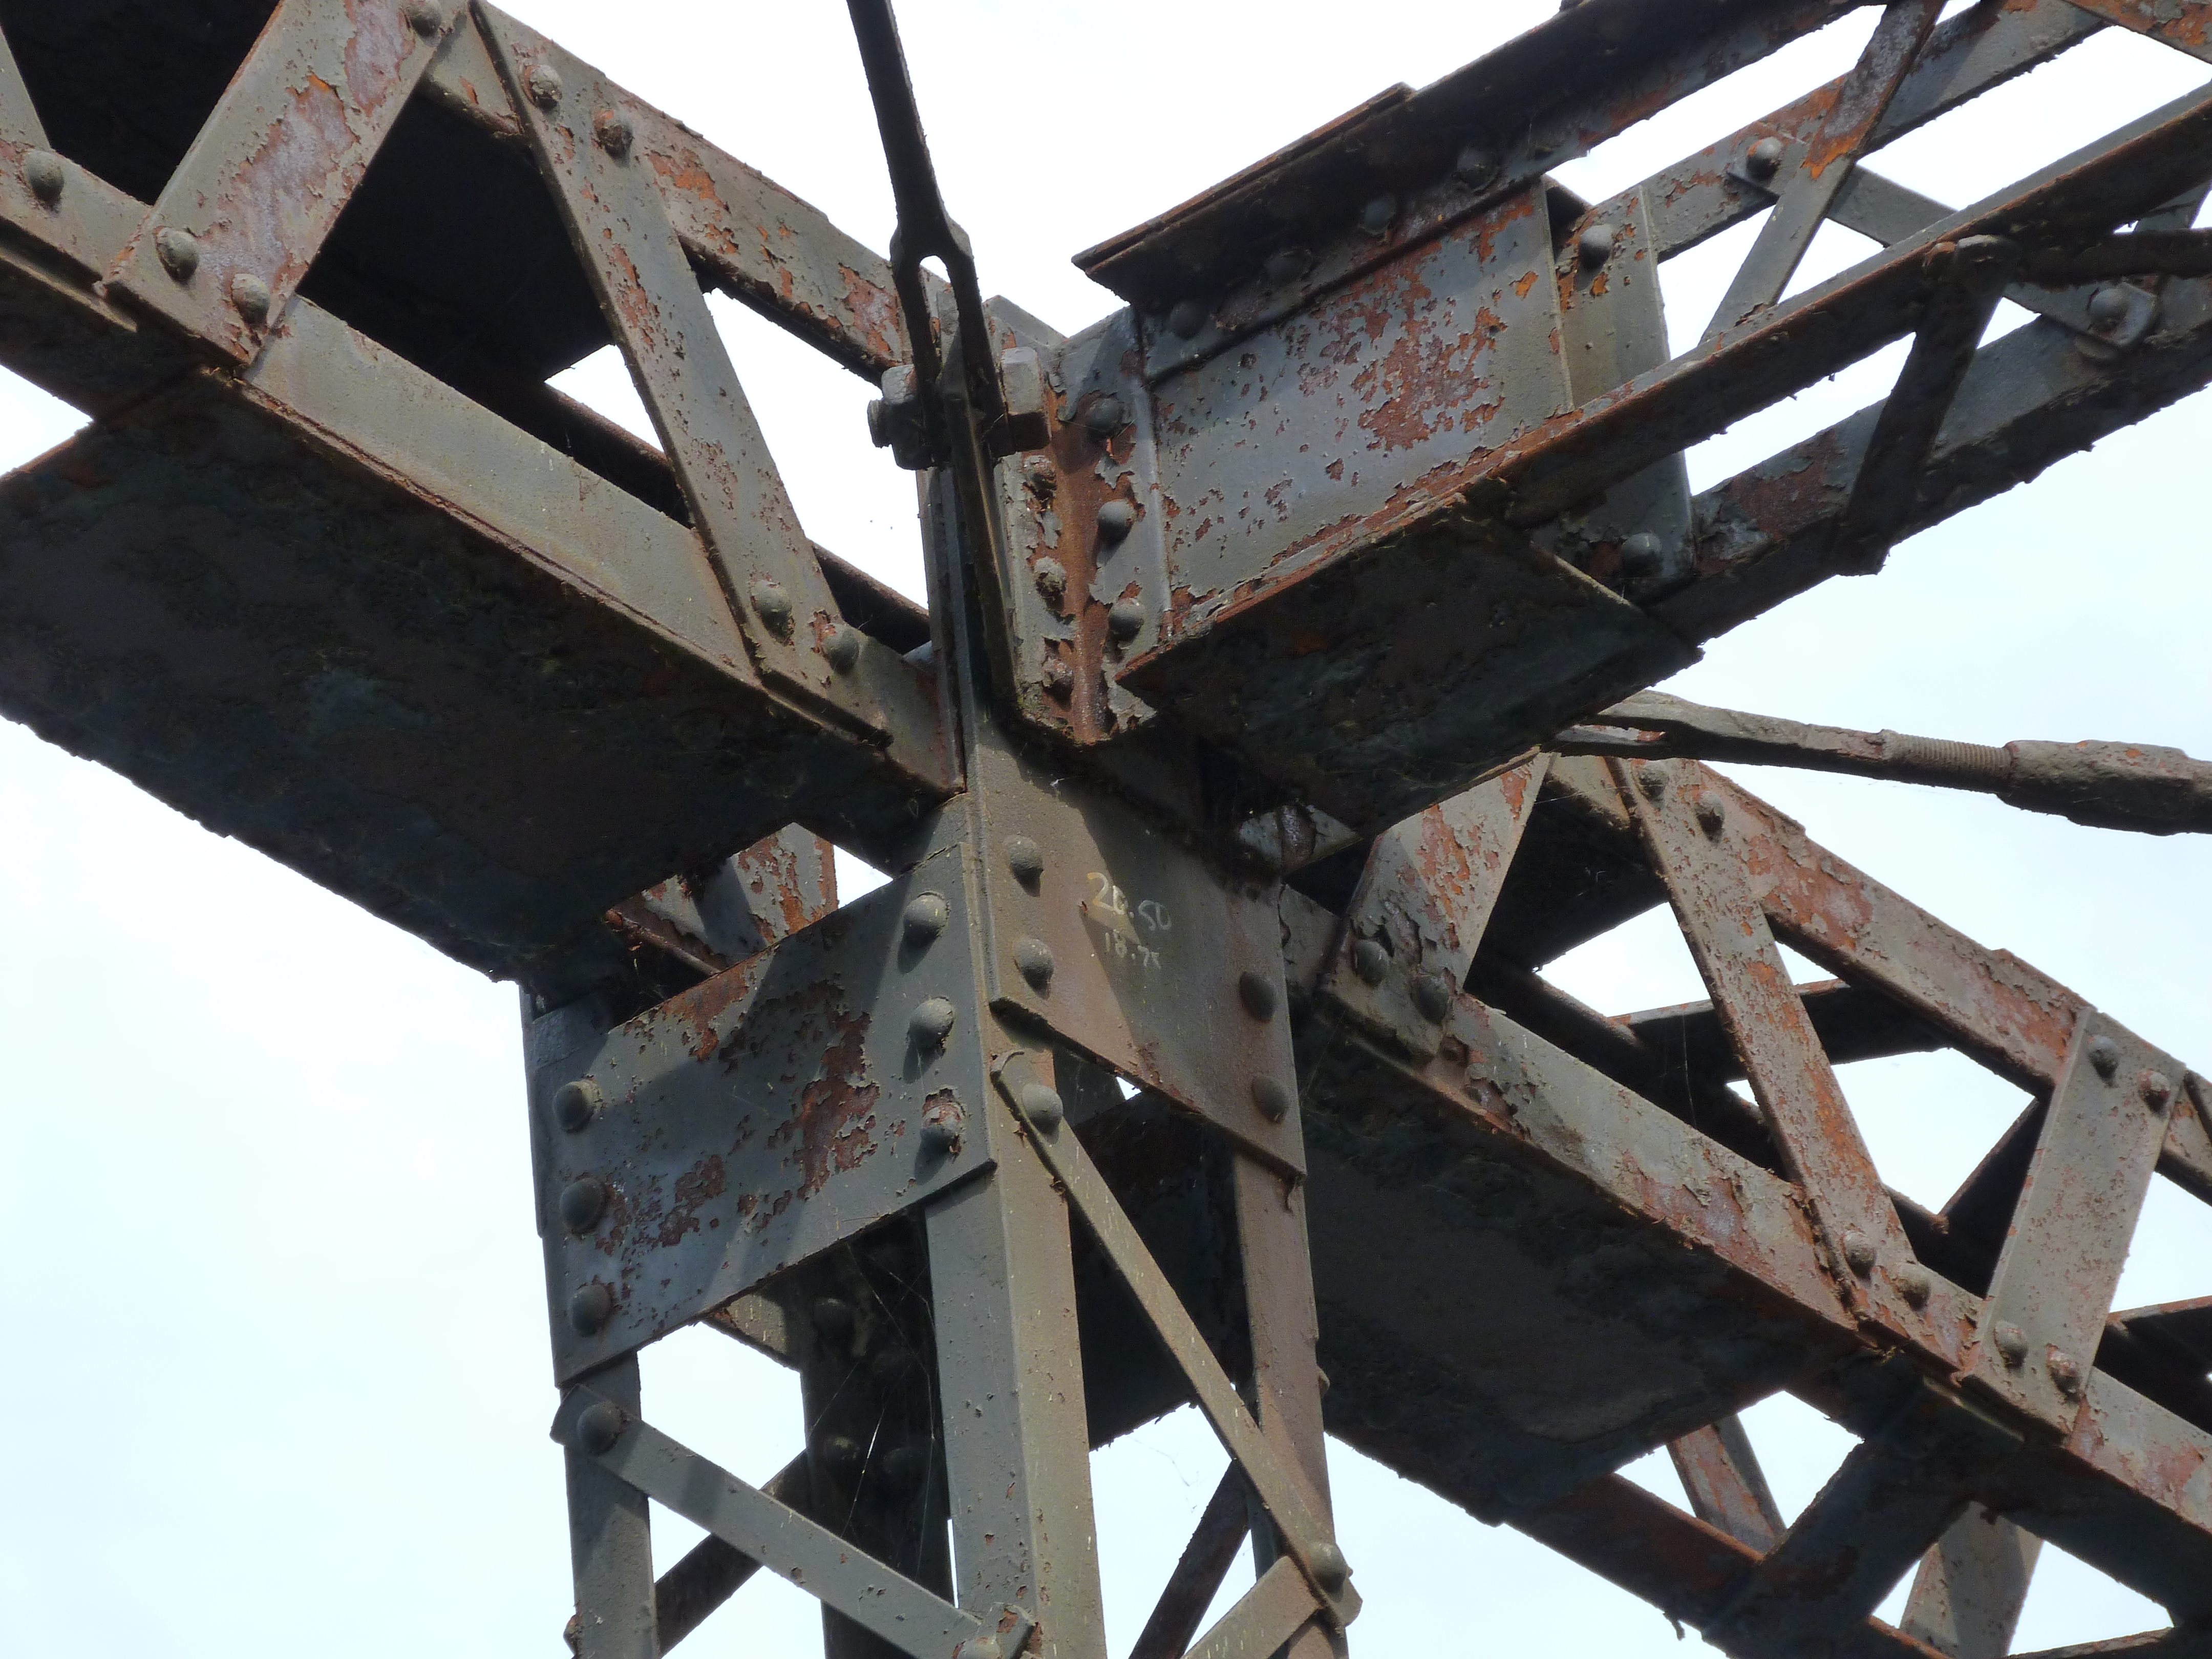


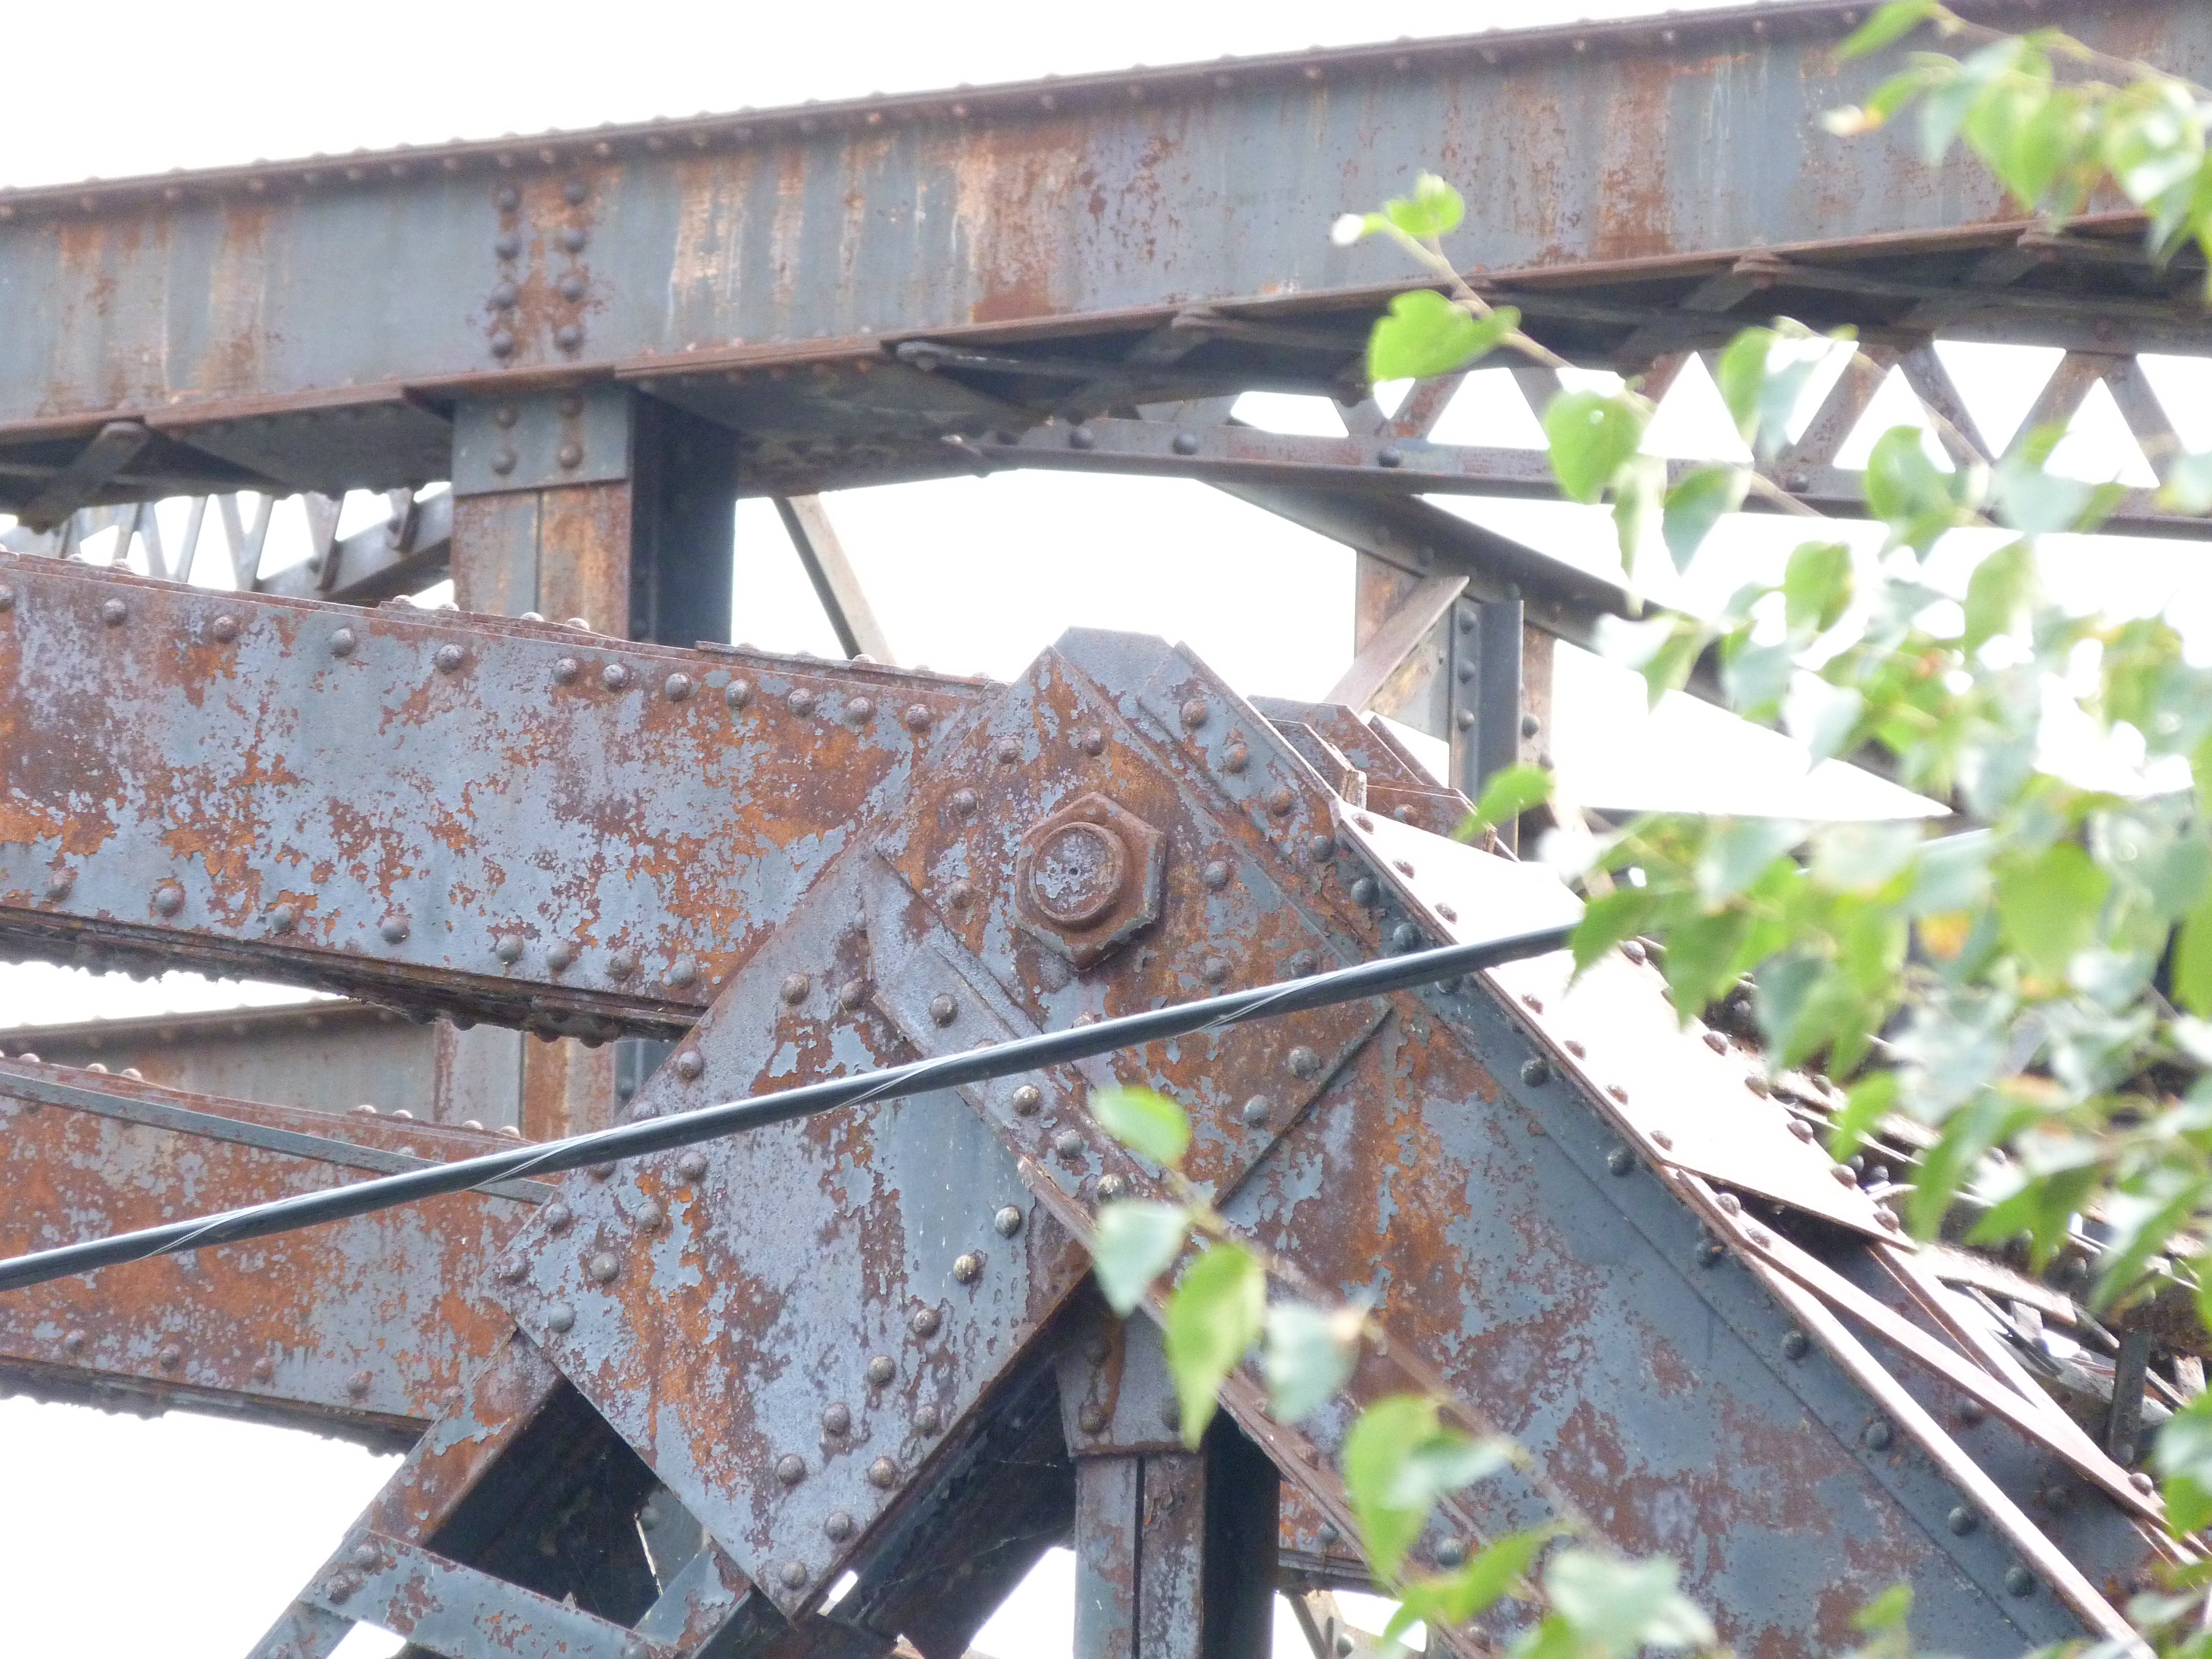
Top chord connections as viewed from on bridge.
![]()


Intermediate connections as viewed from on bridge.
![]()
Anchor arm bottom chord connections as viewed from beside bridge.
![]()
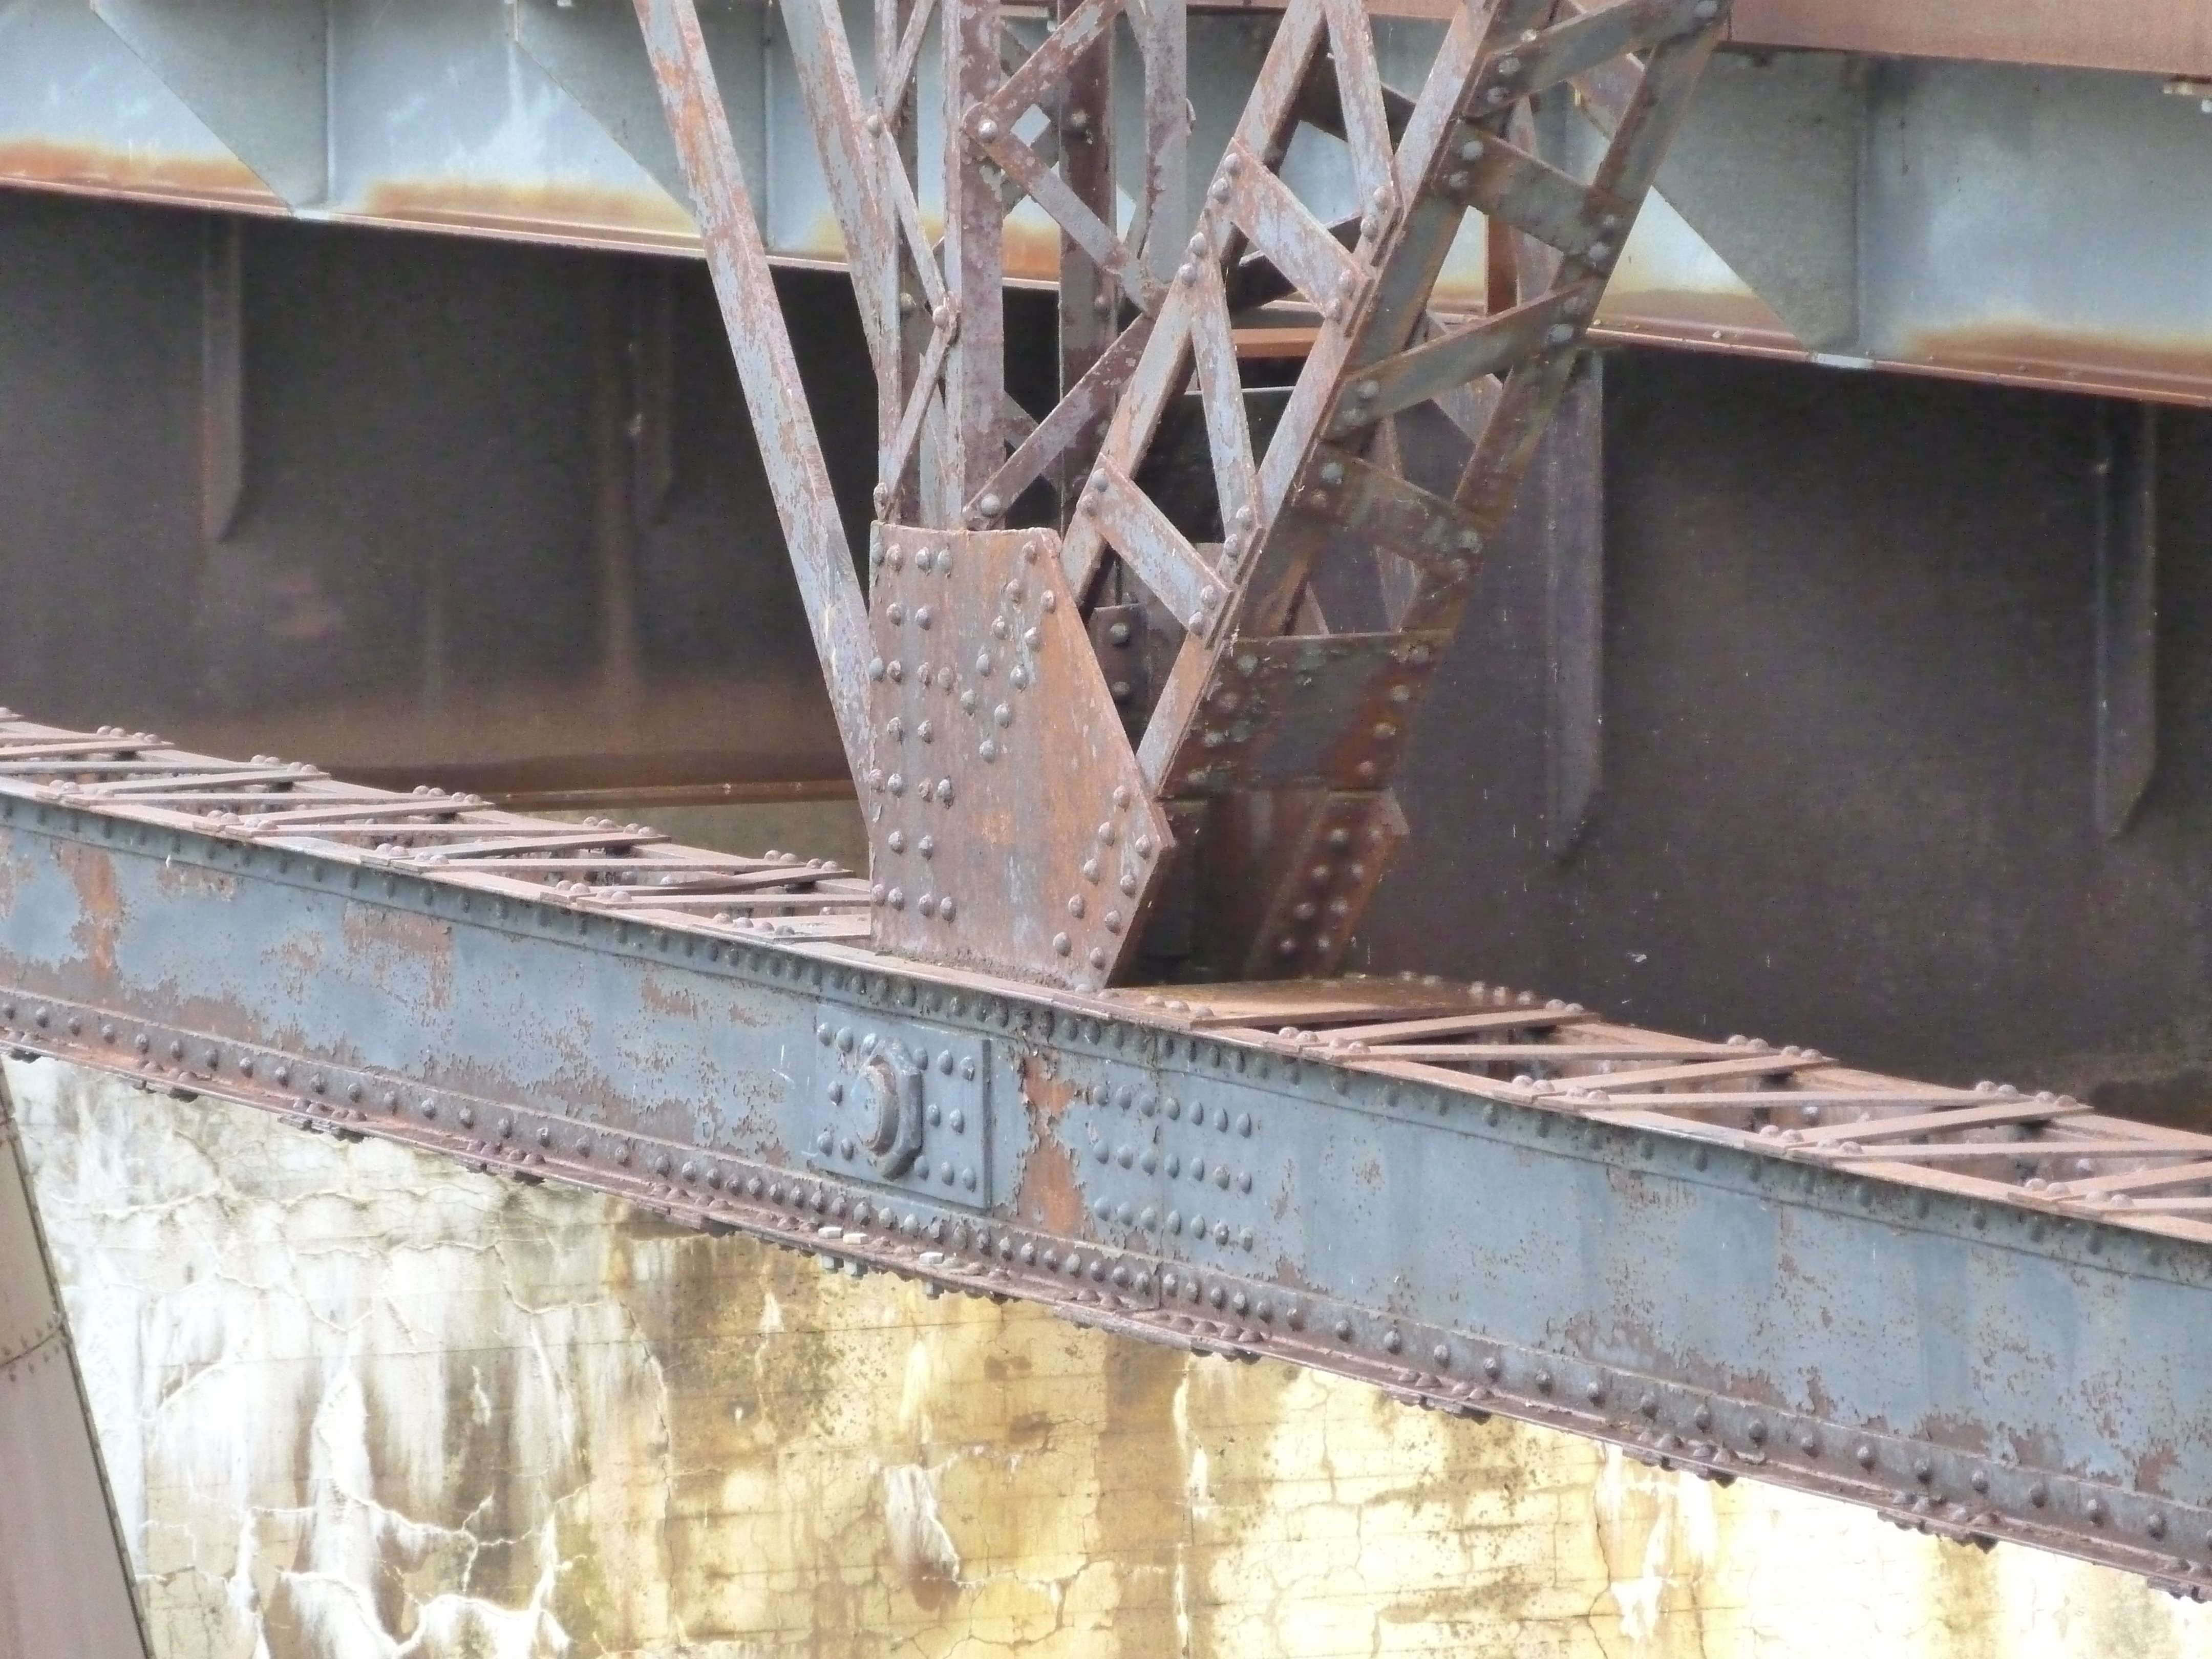
Bottom chord connections as viewed from on bridge.
![]()
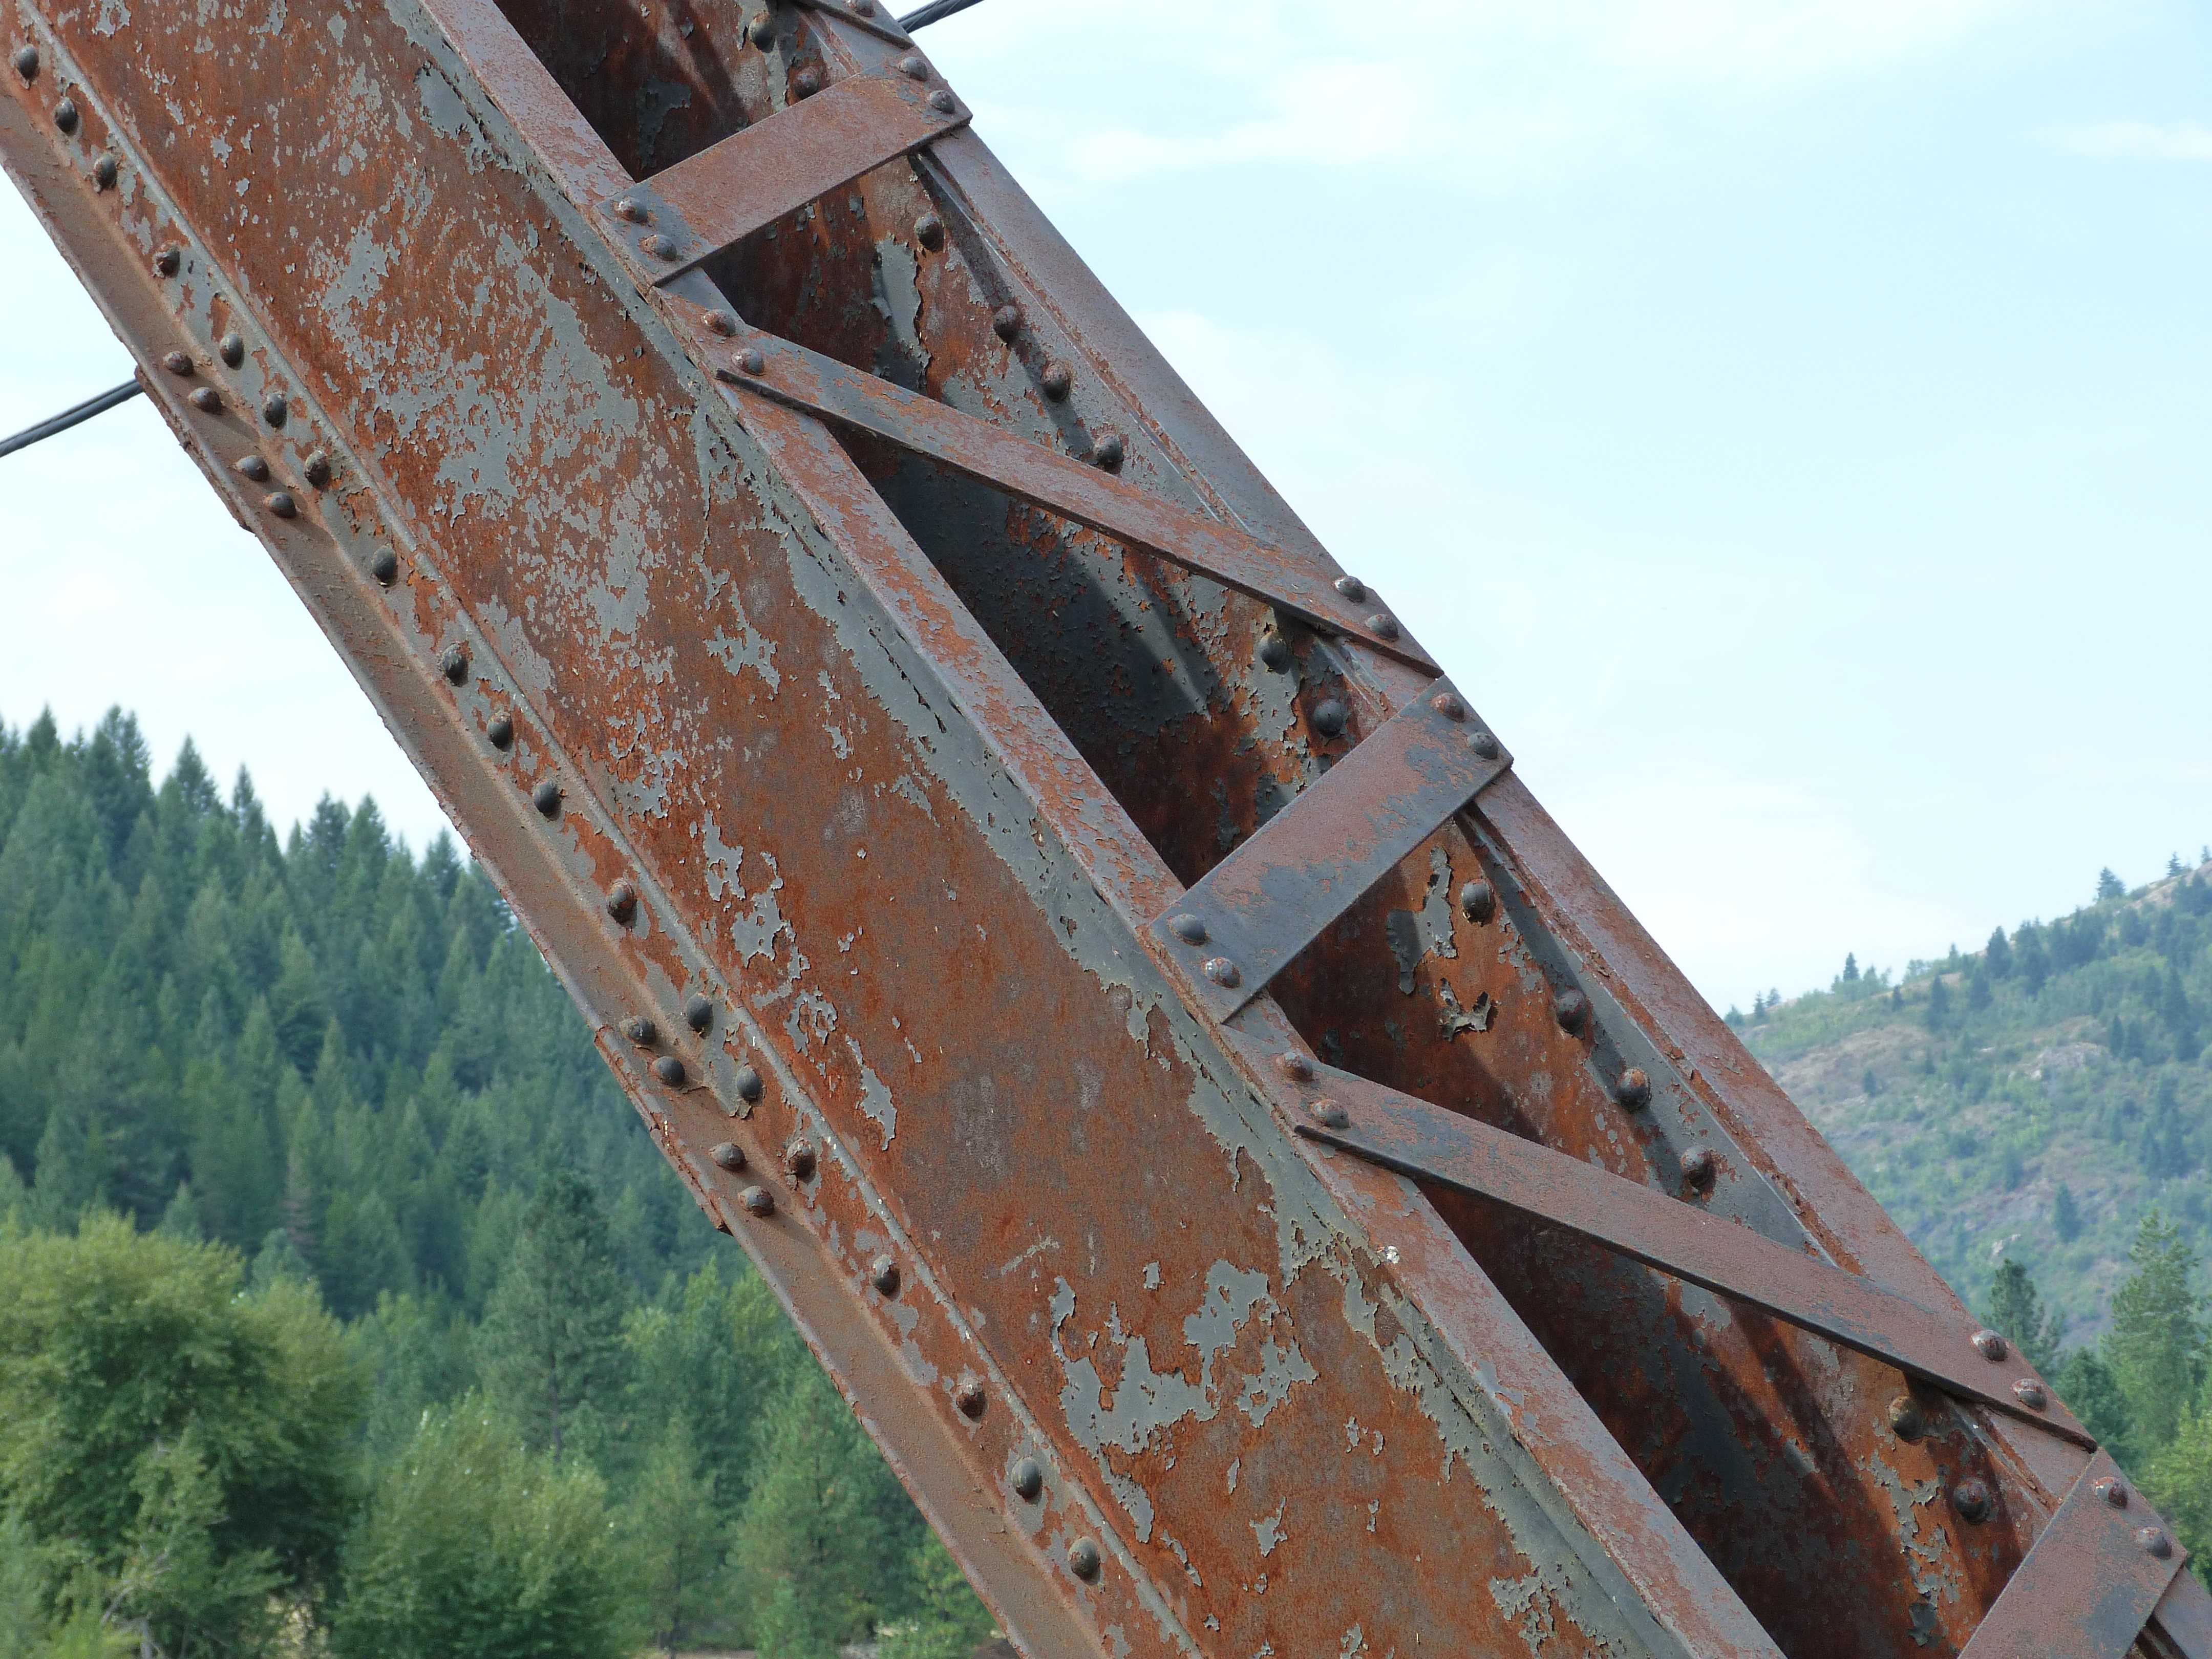
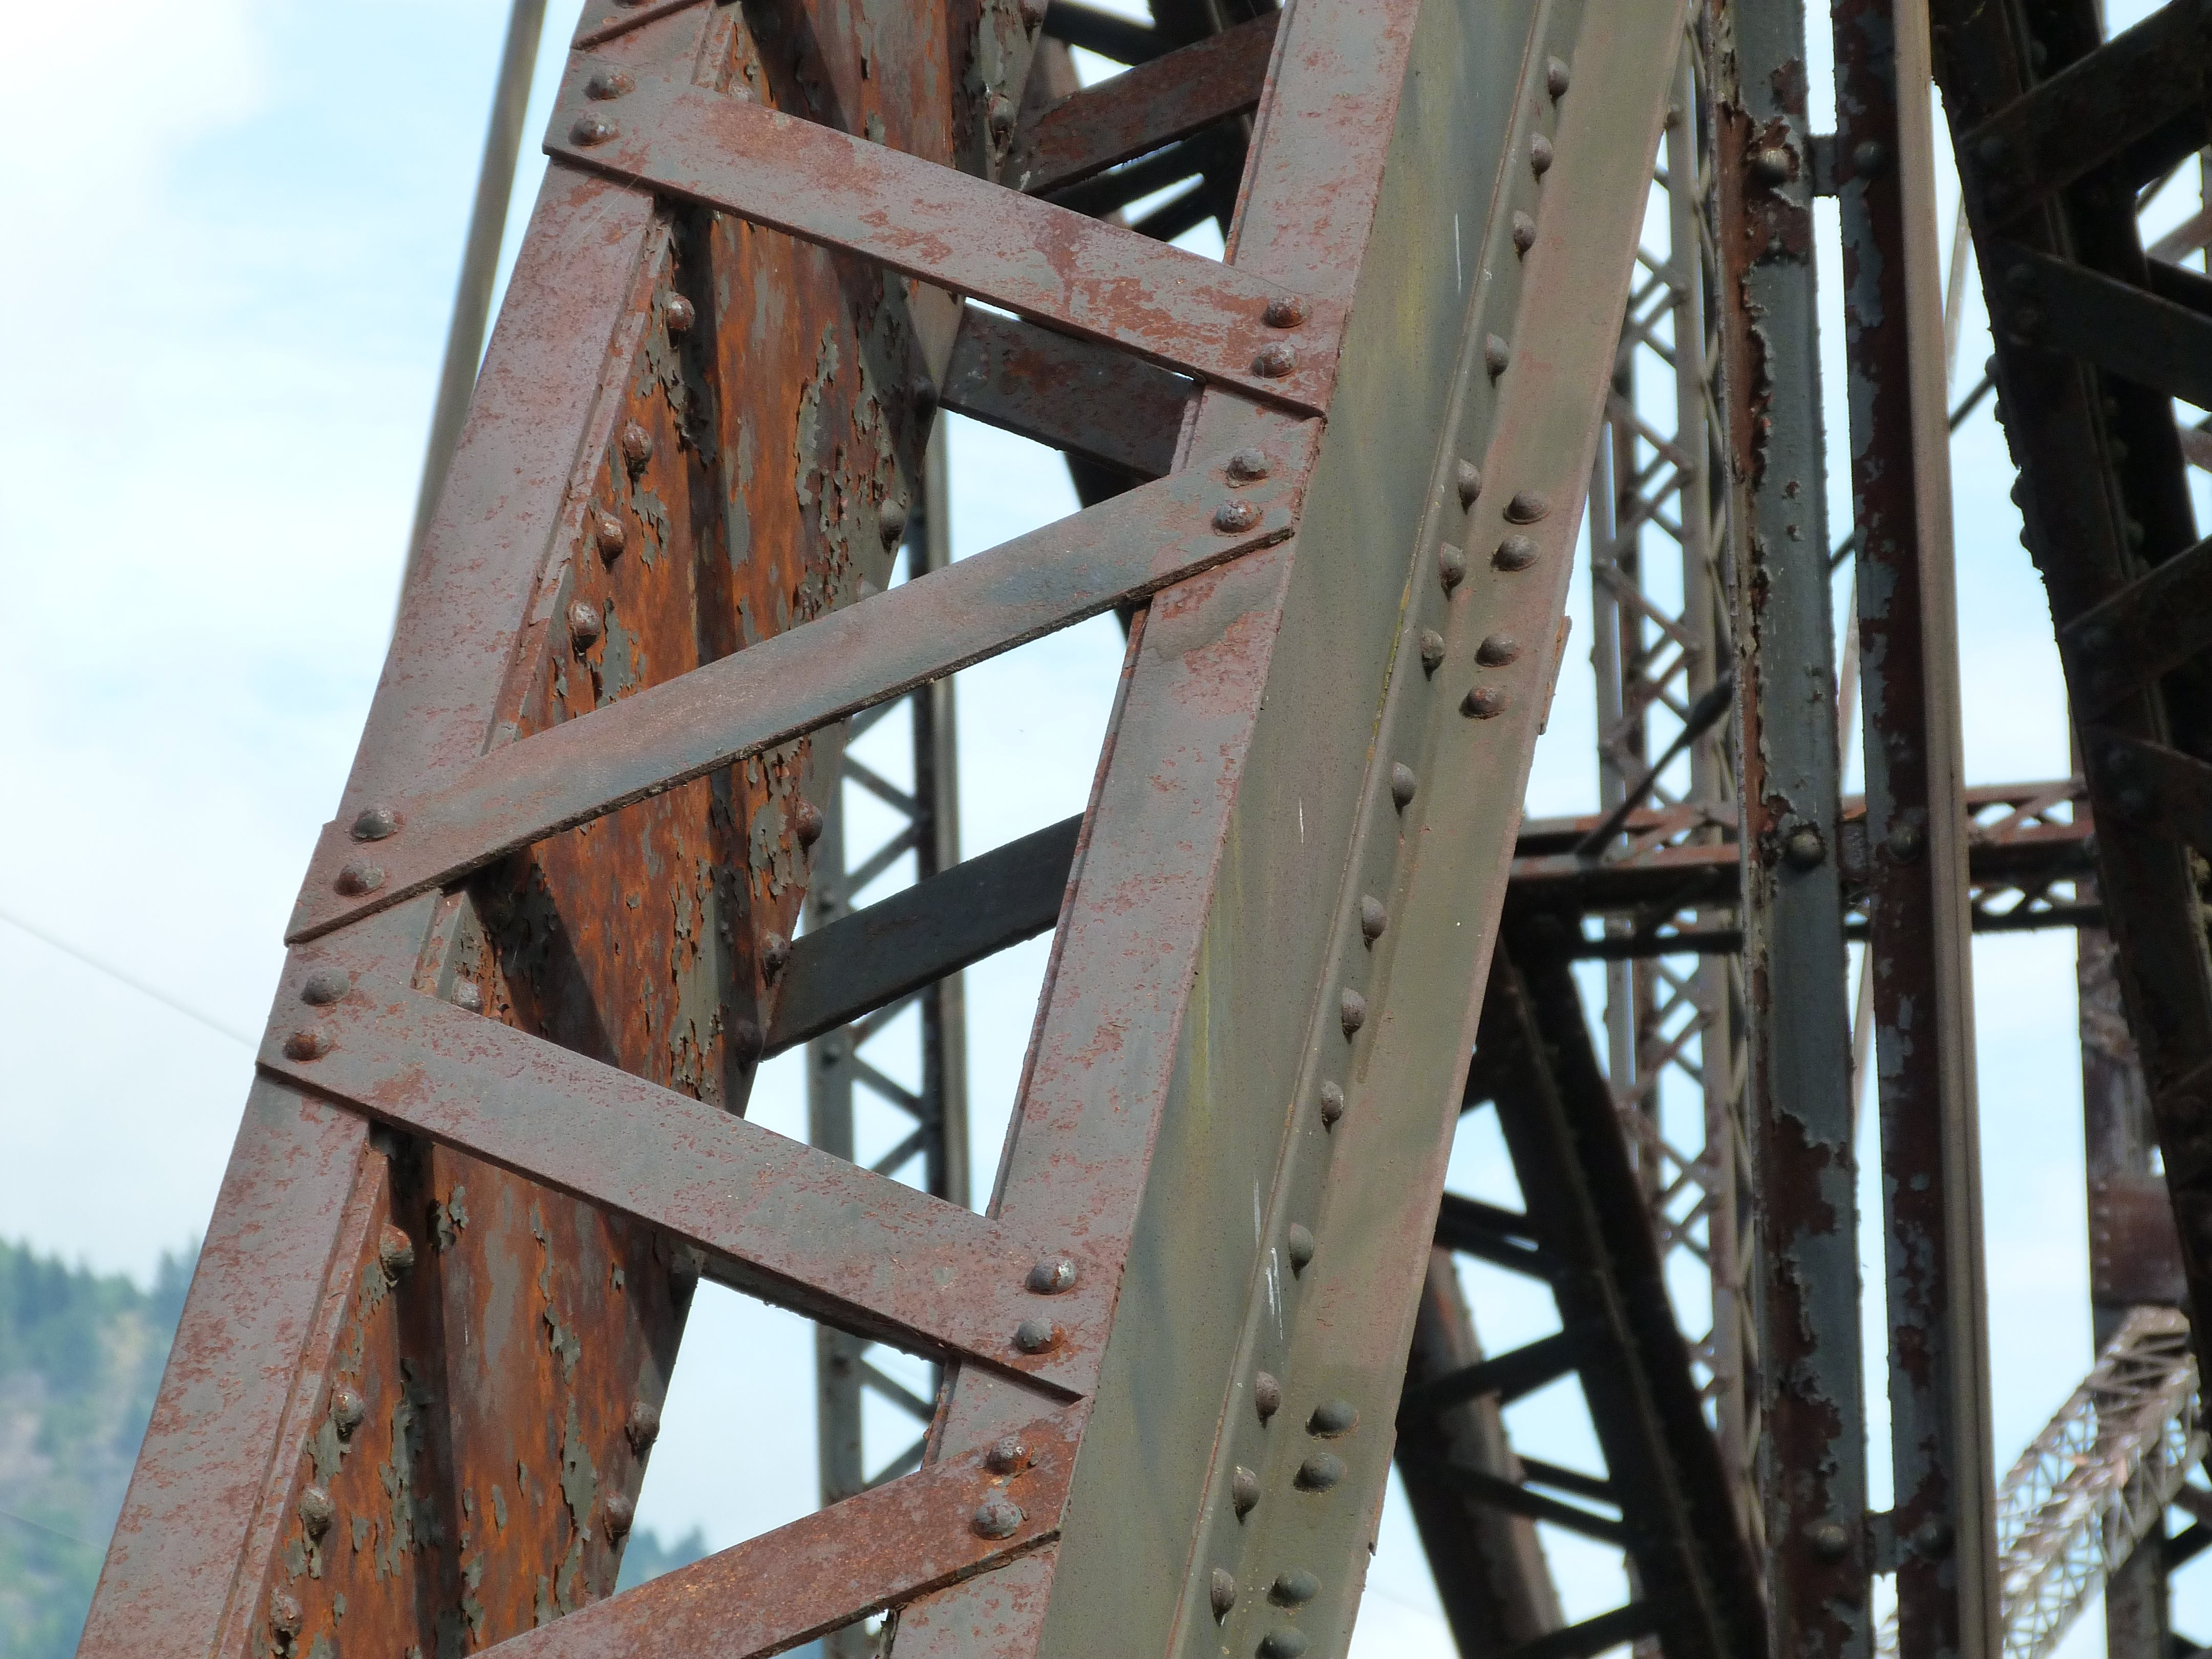
Diagonal members.
![]()


Vertical members.
![]()
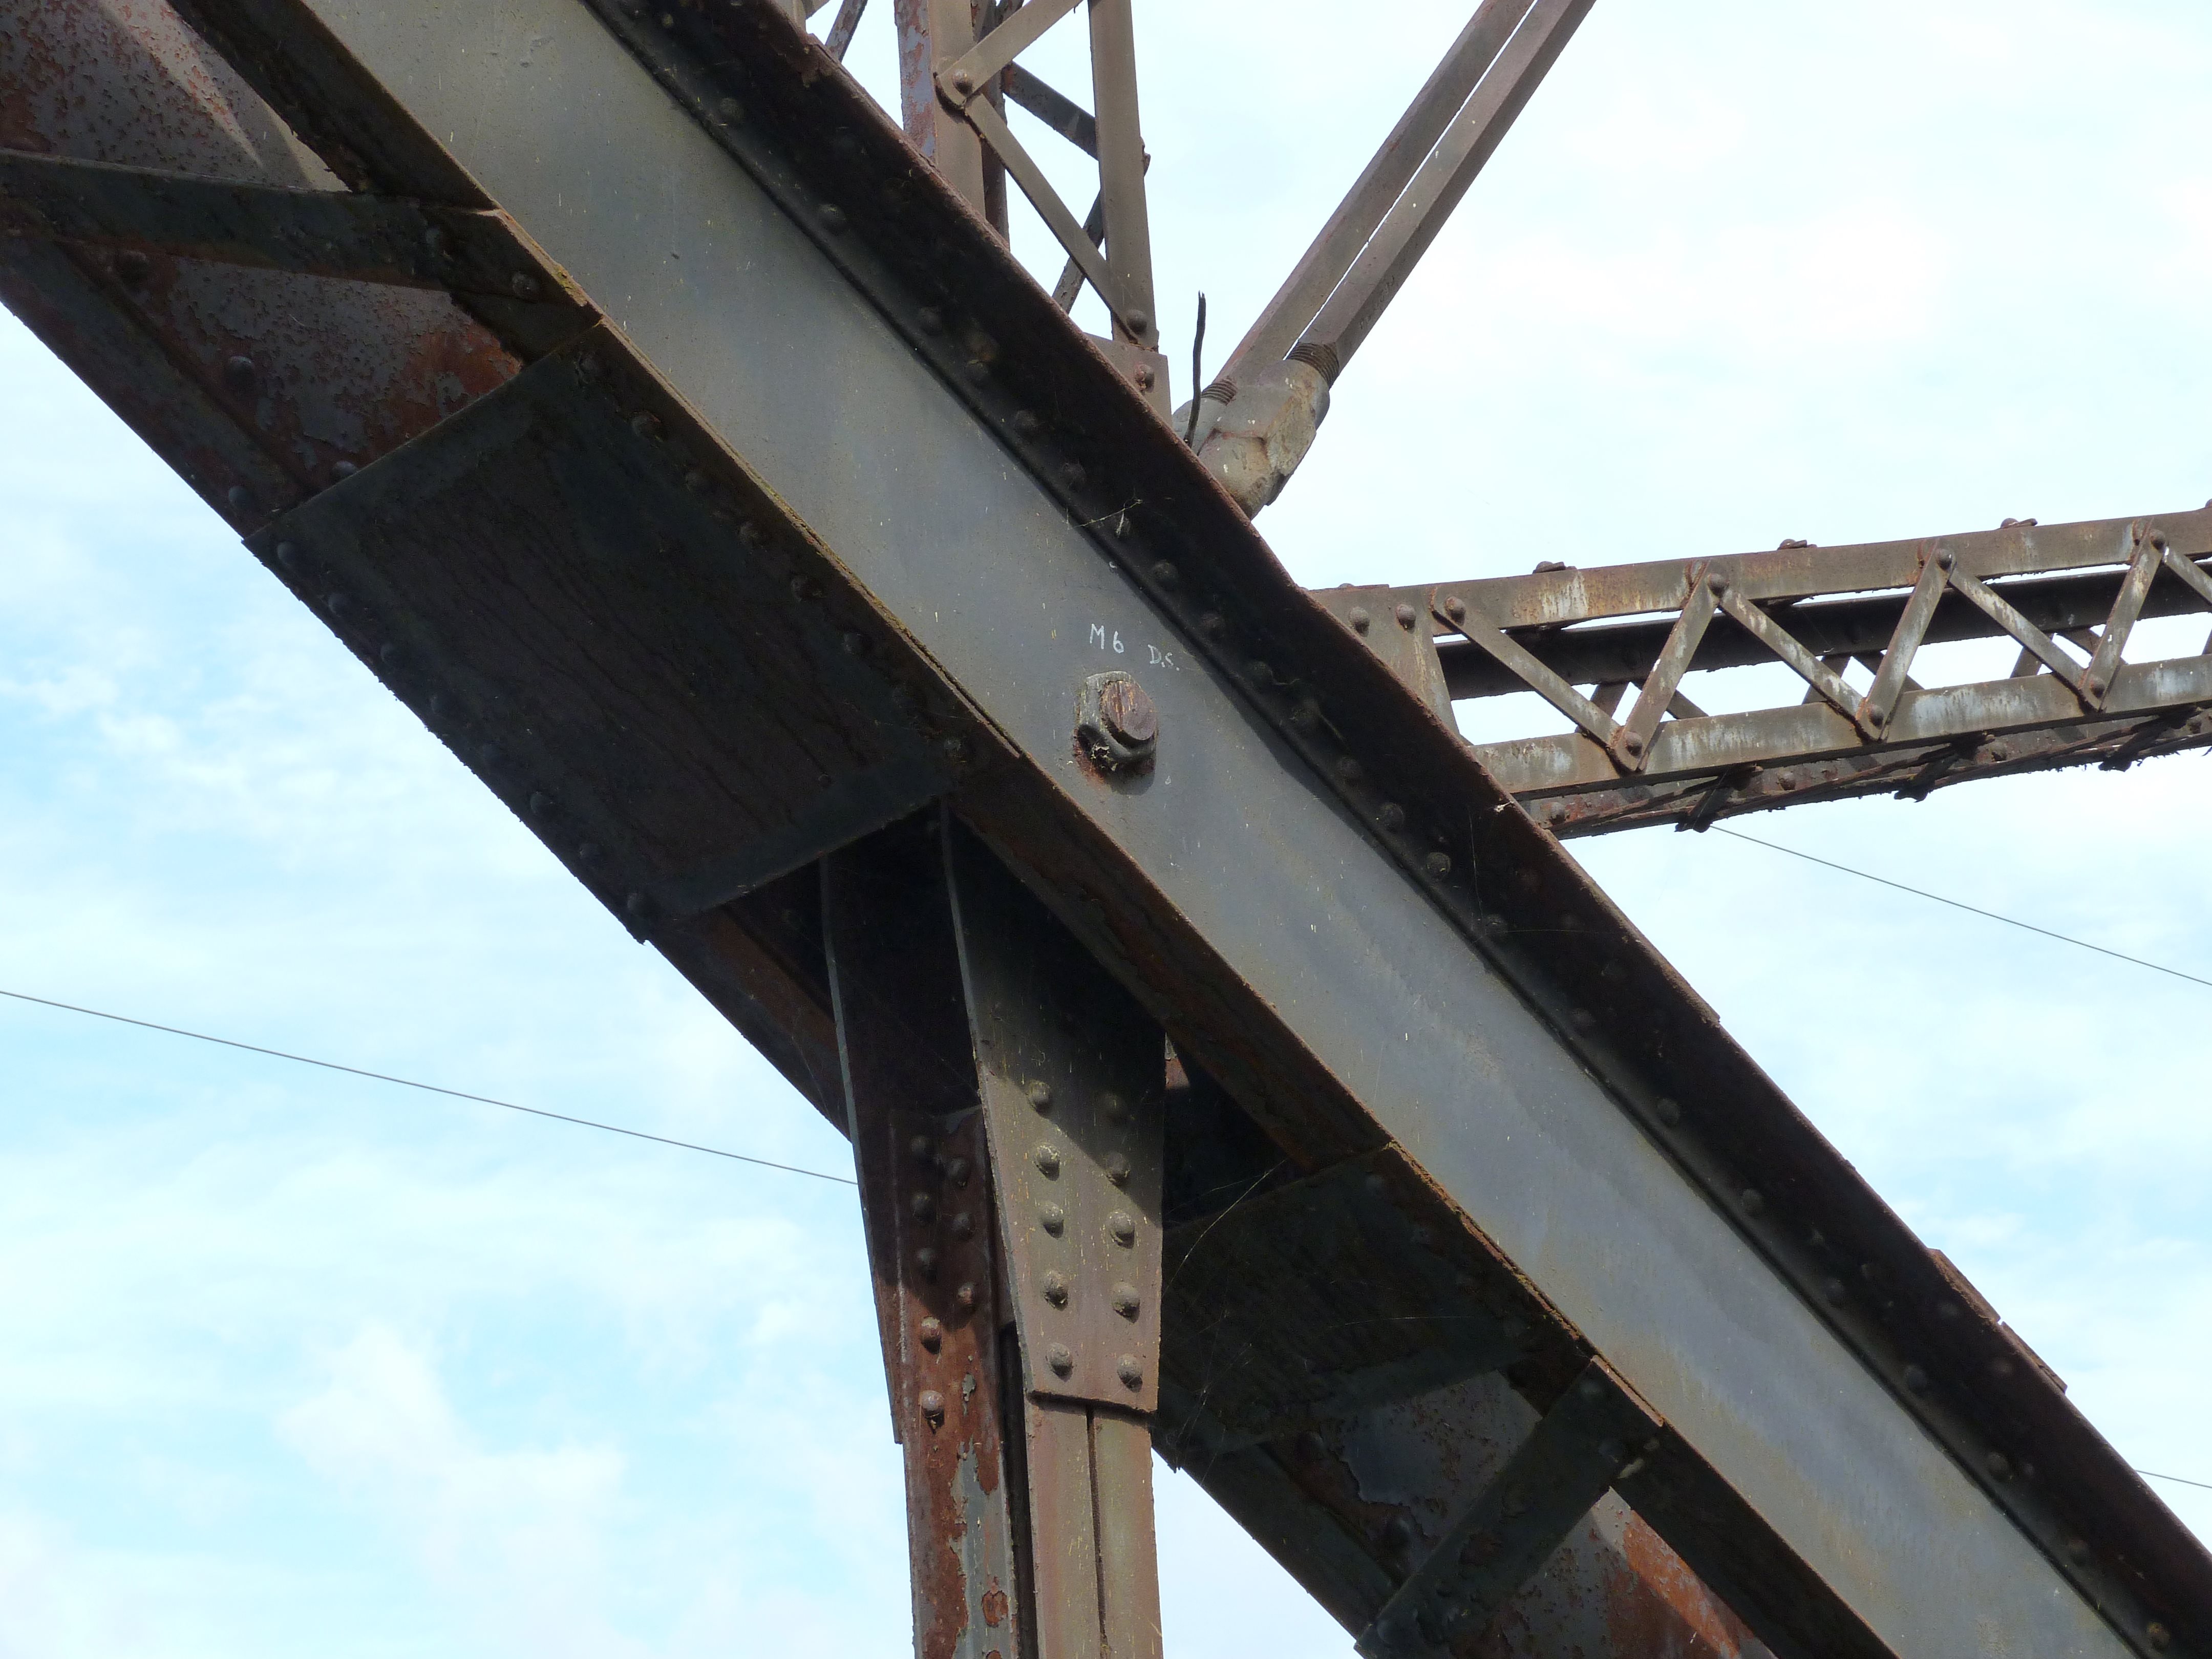
Top chord.
![]()
Bottom chord.
![]()
End post.
![]()
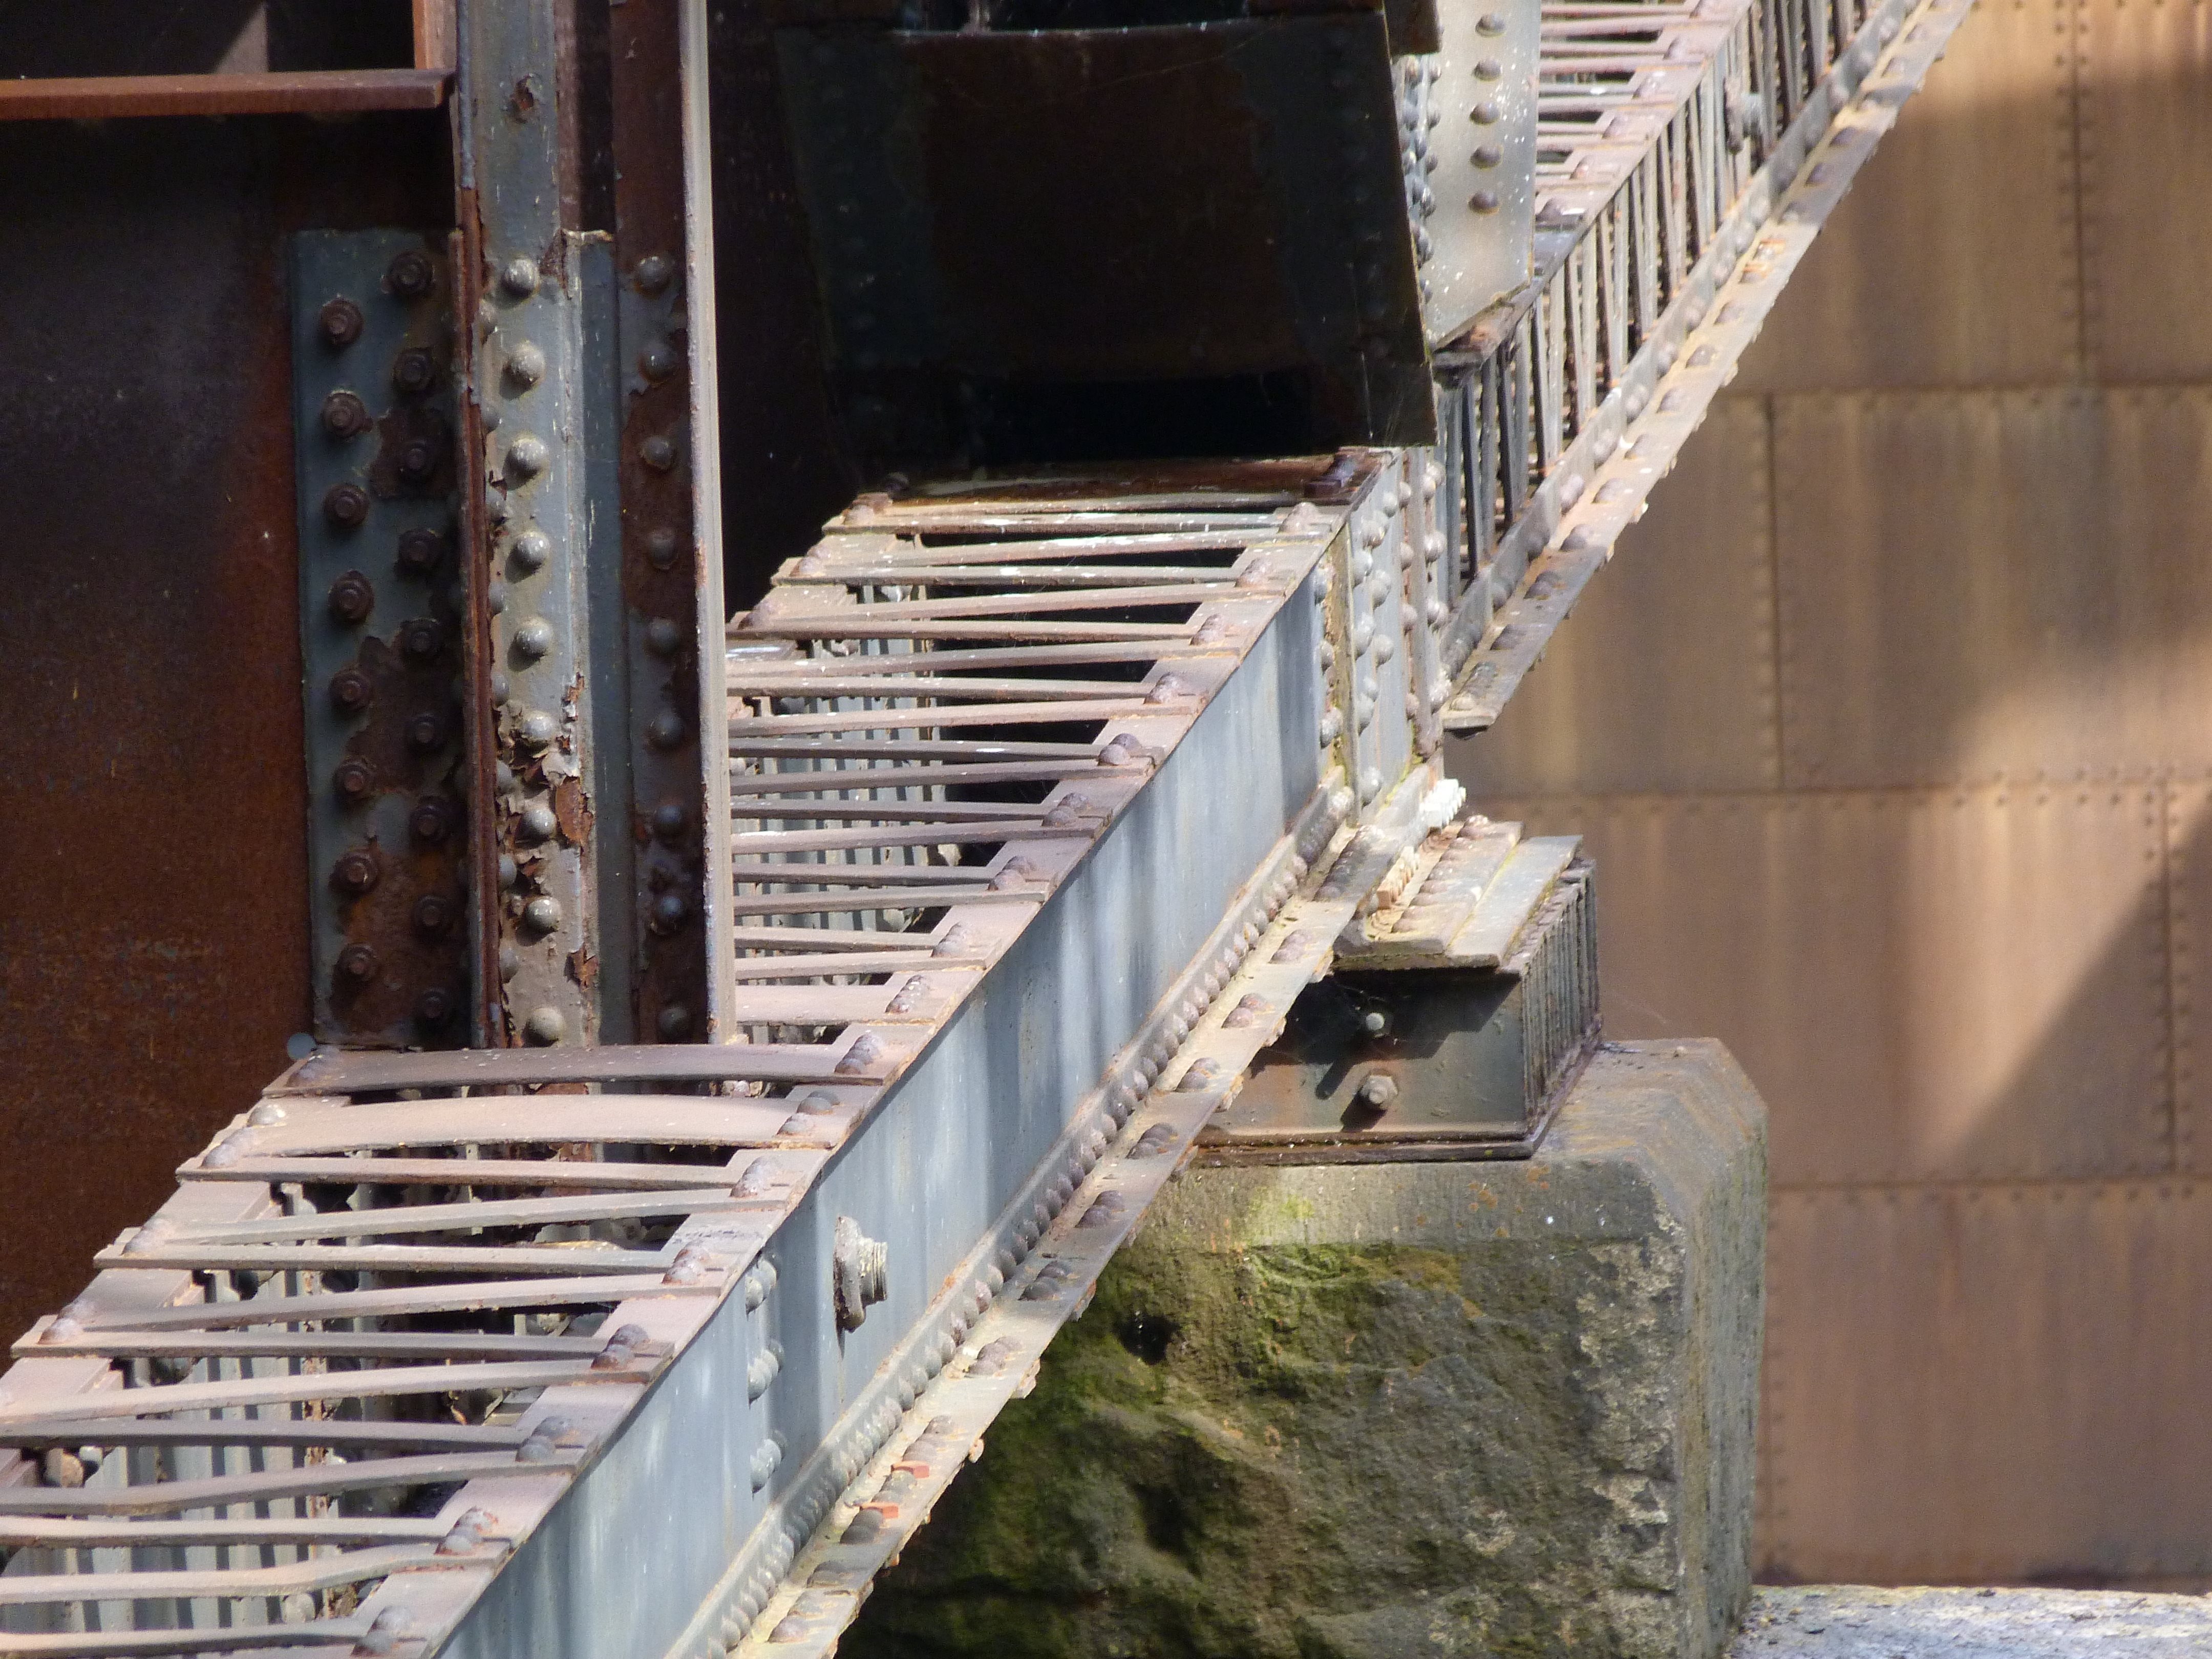
Bearing at end post.
![]()


Portal bracing.
![]()
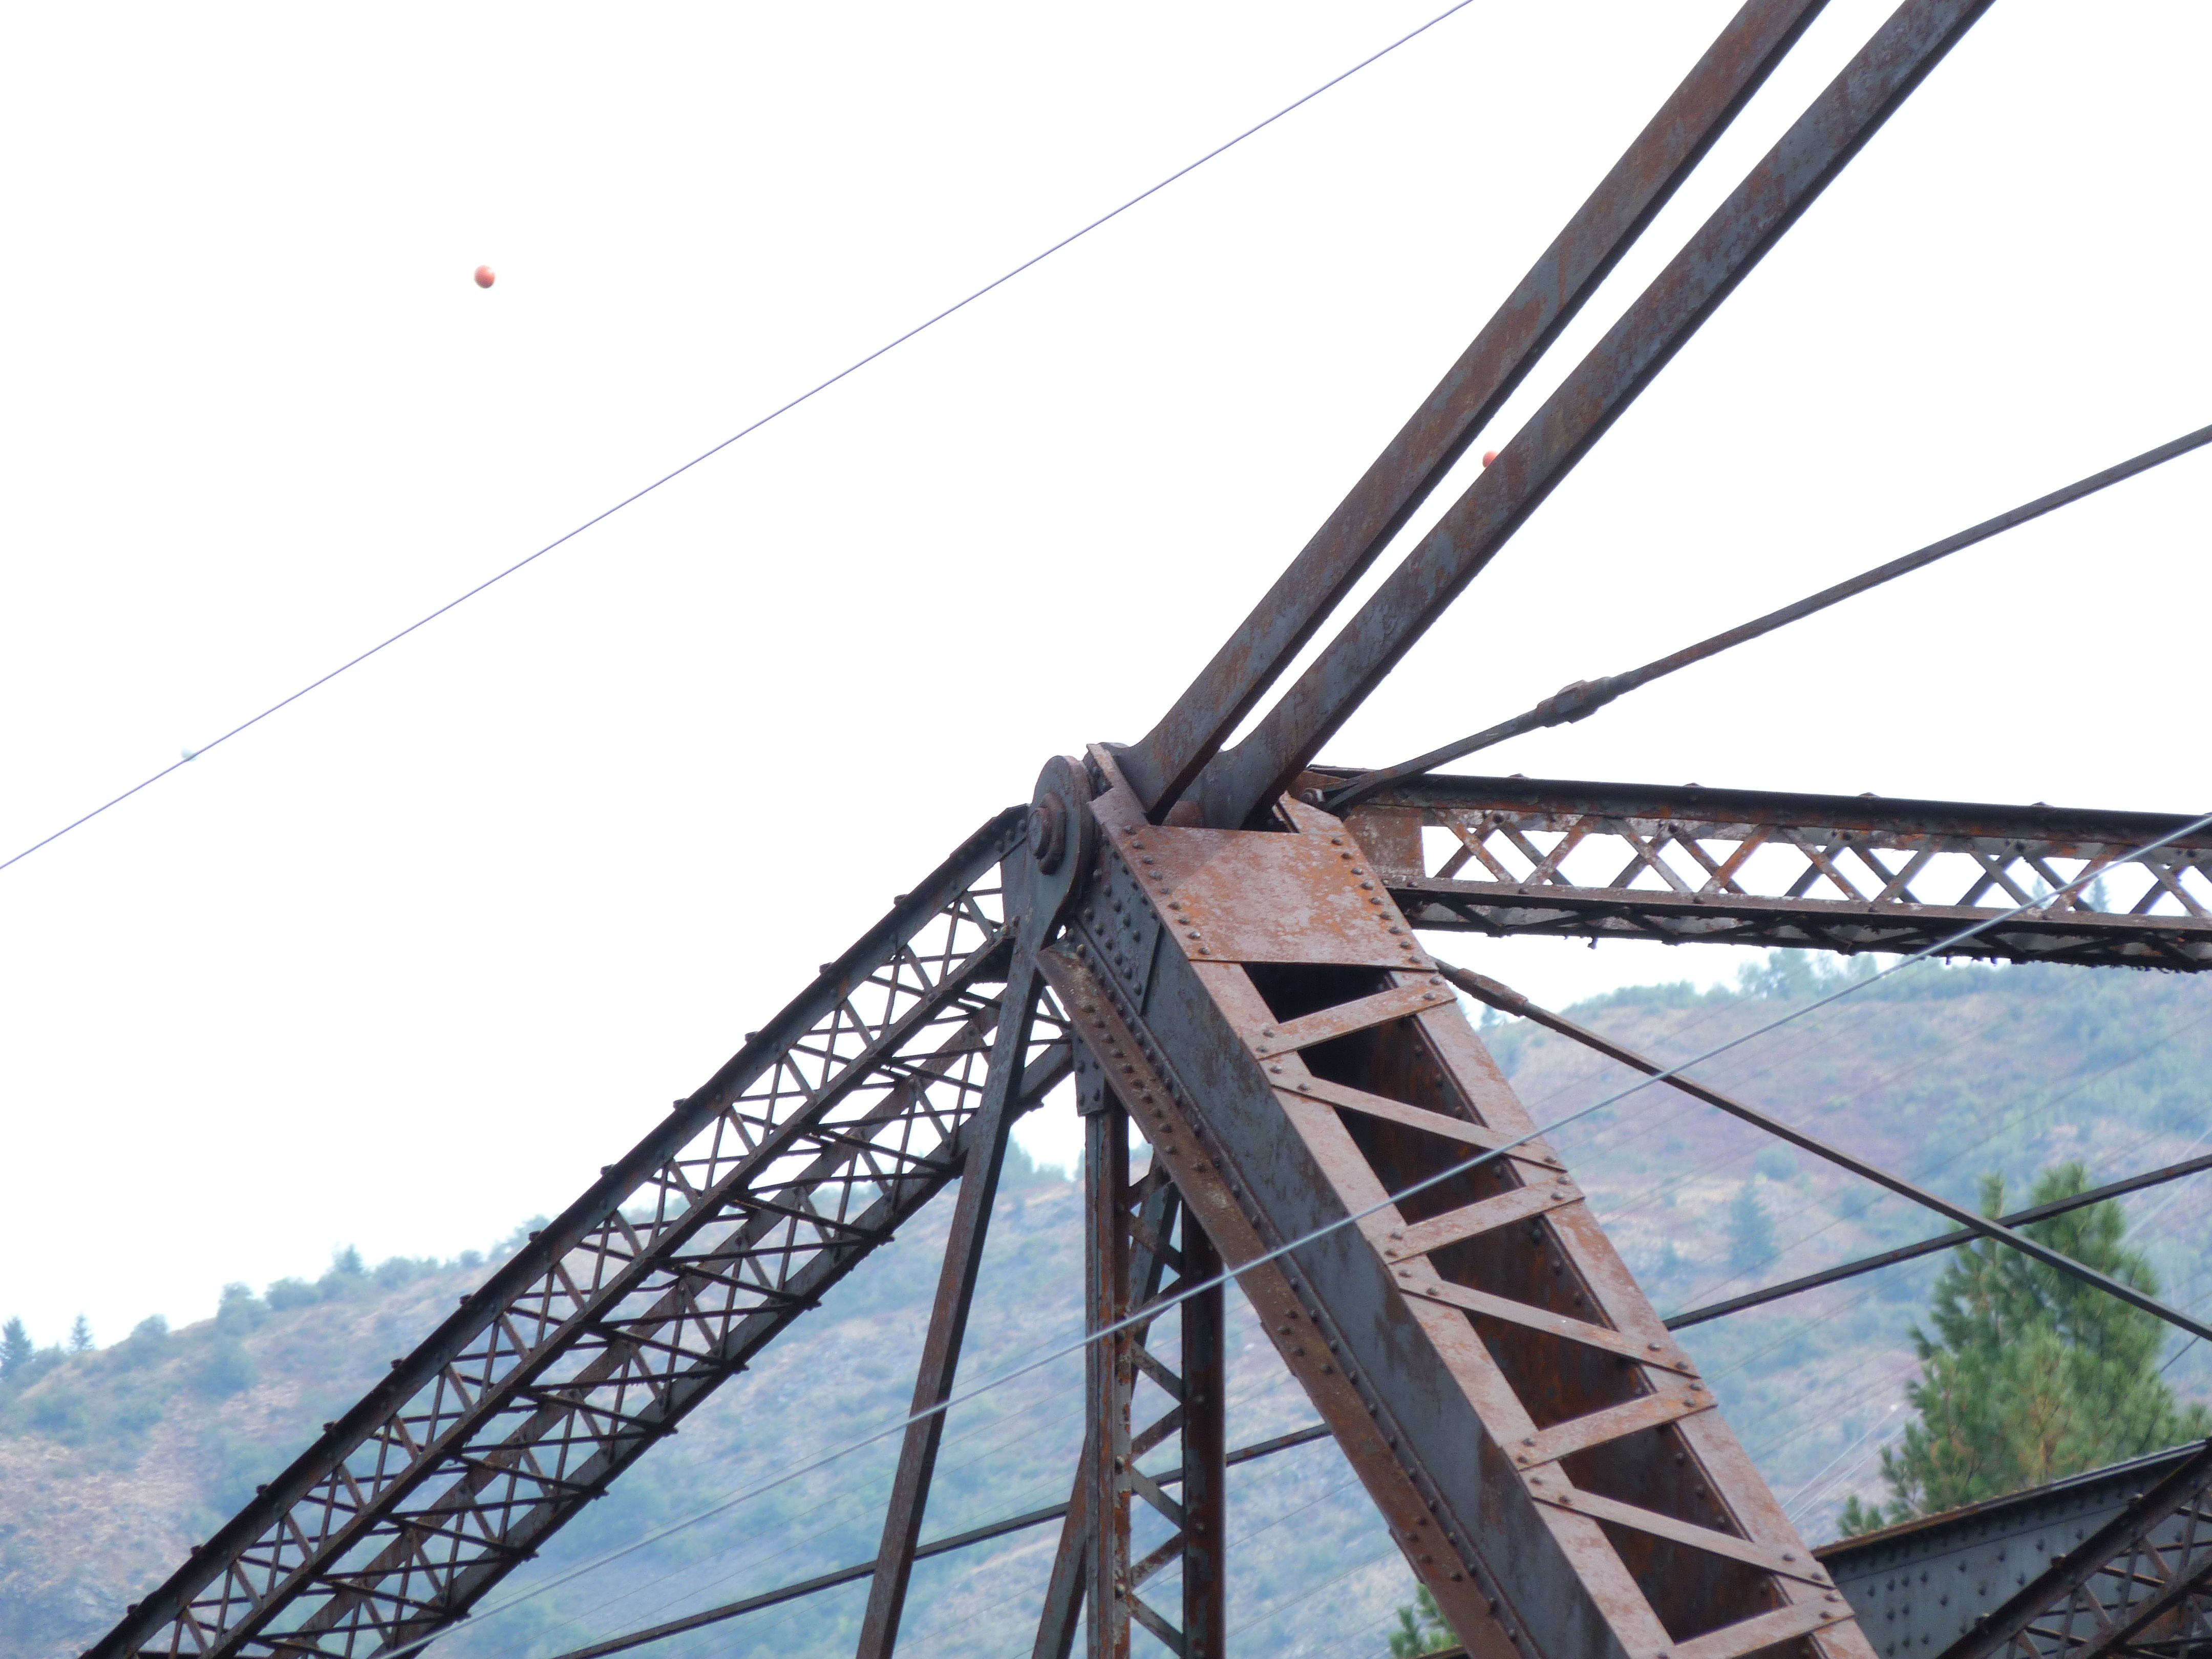
Views looking toward main post.
![]()
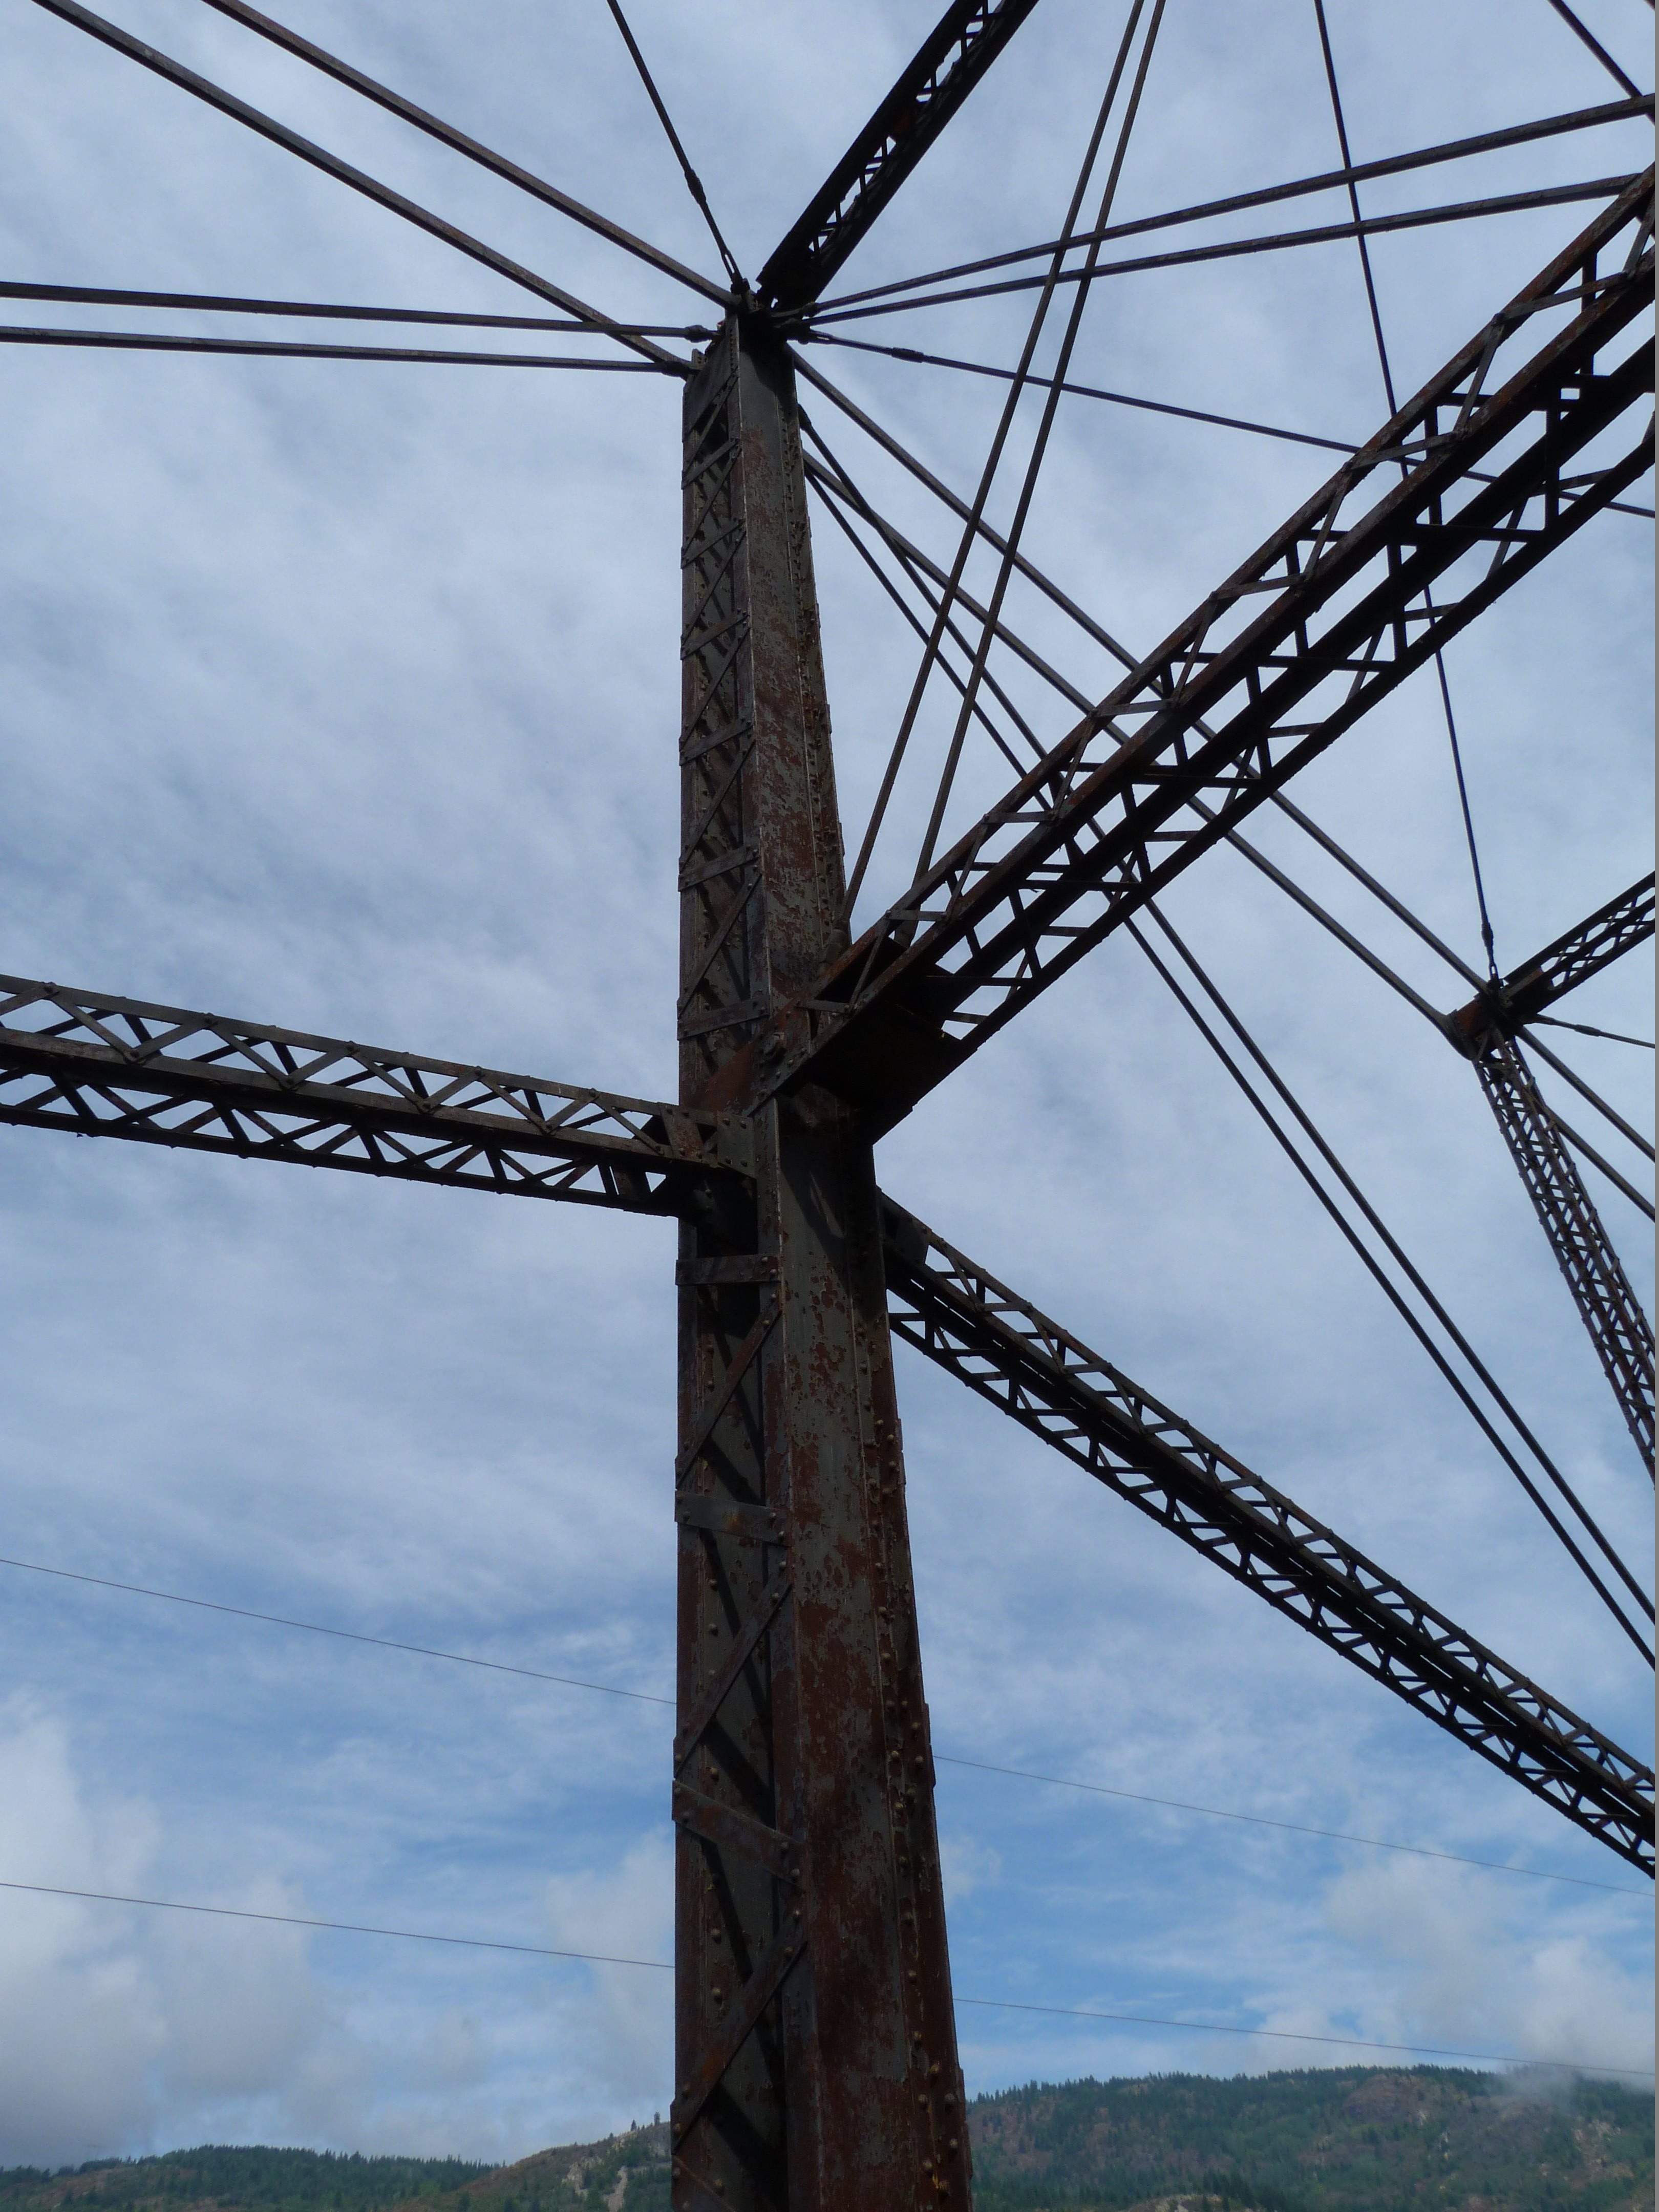
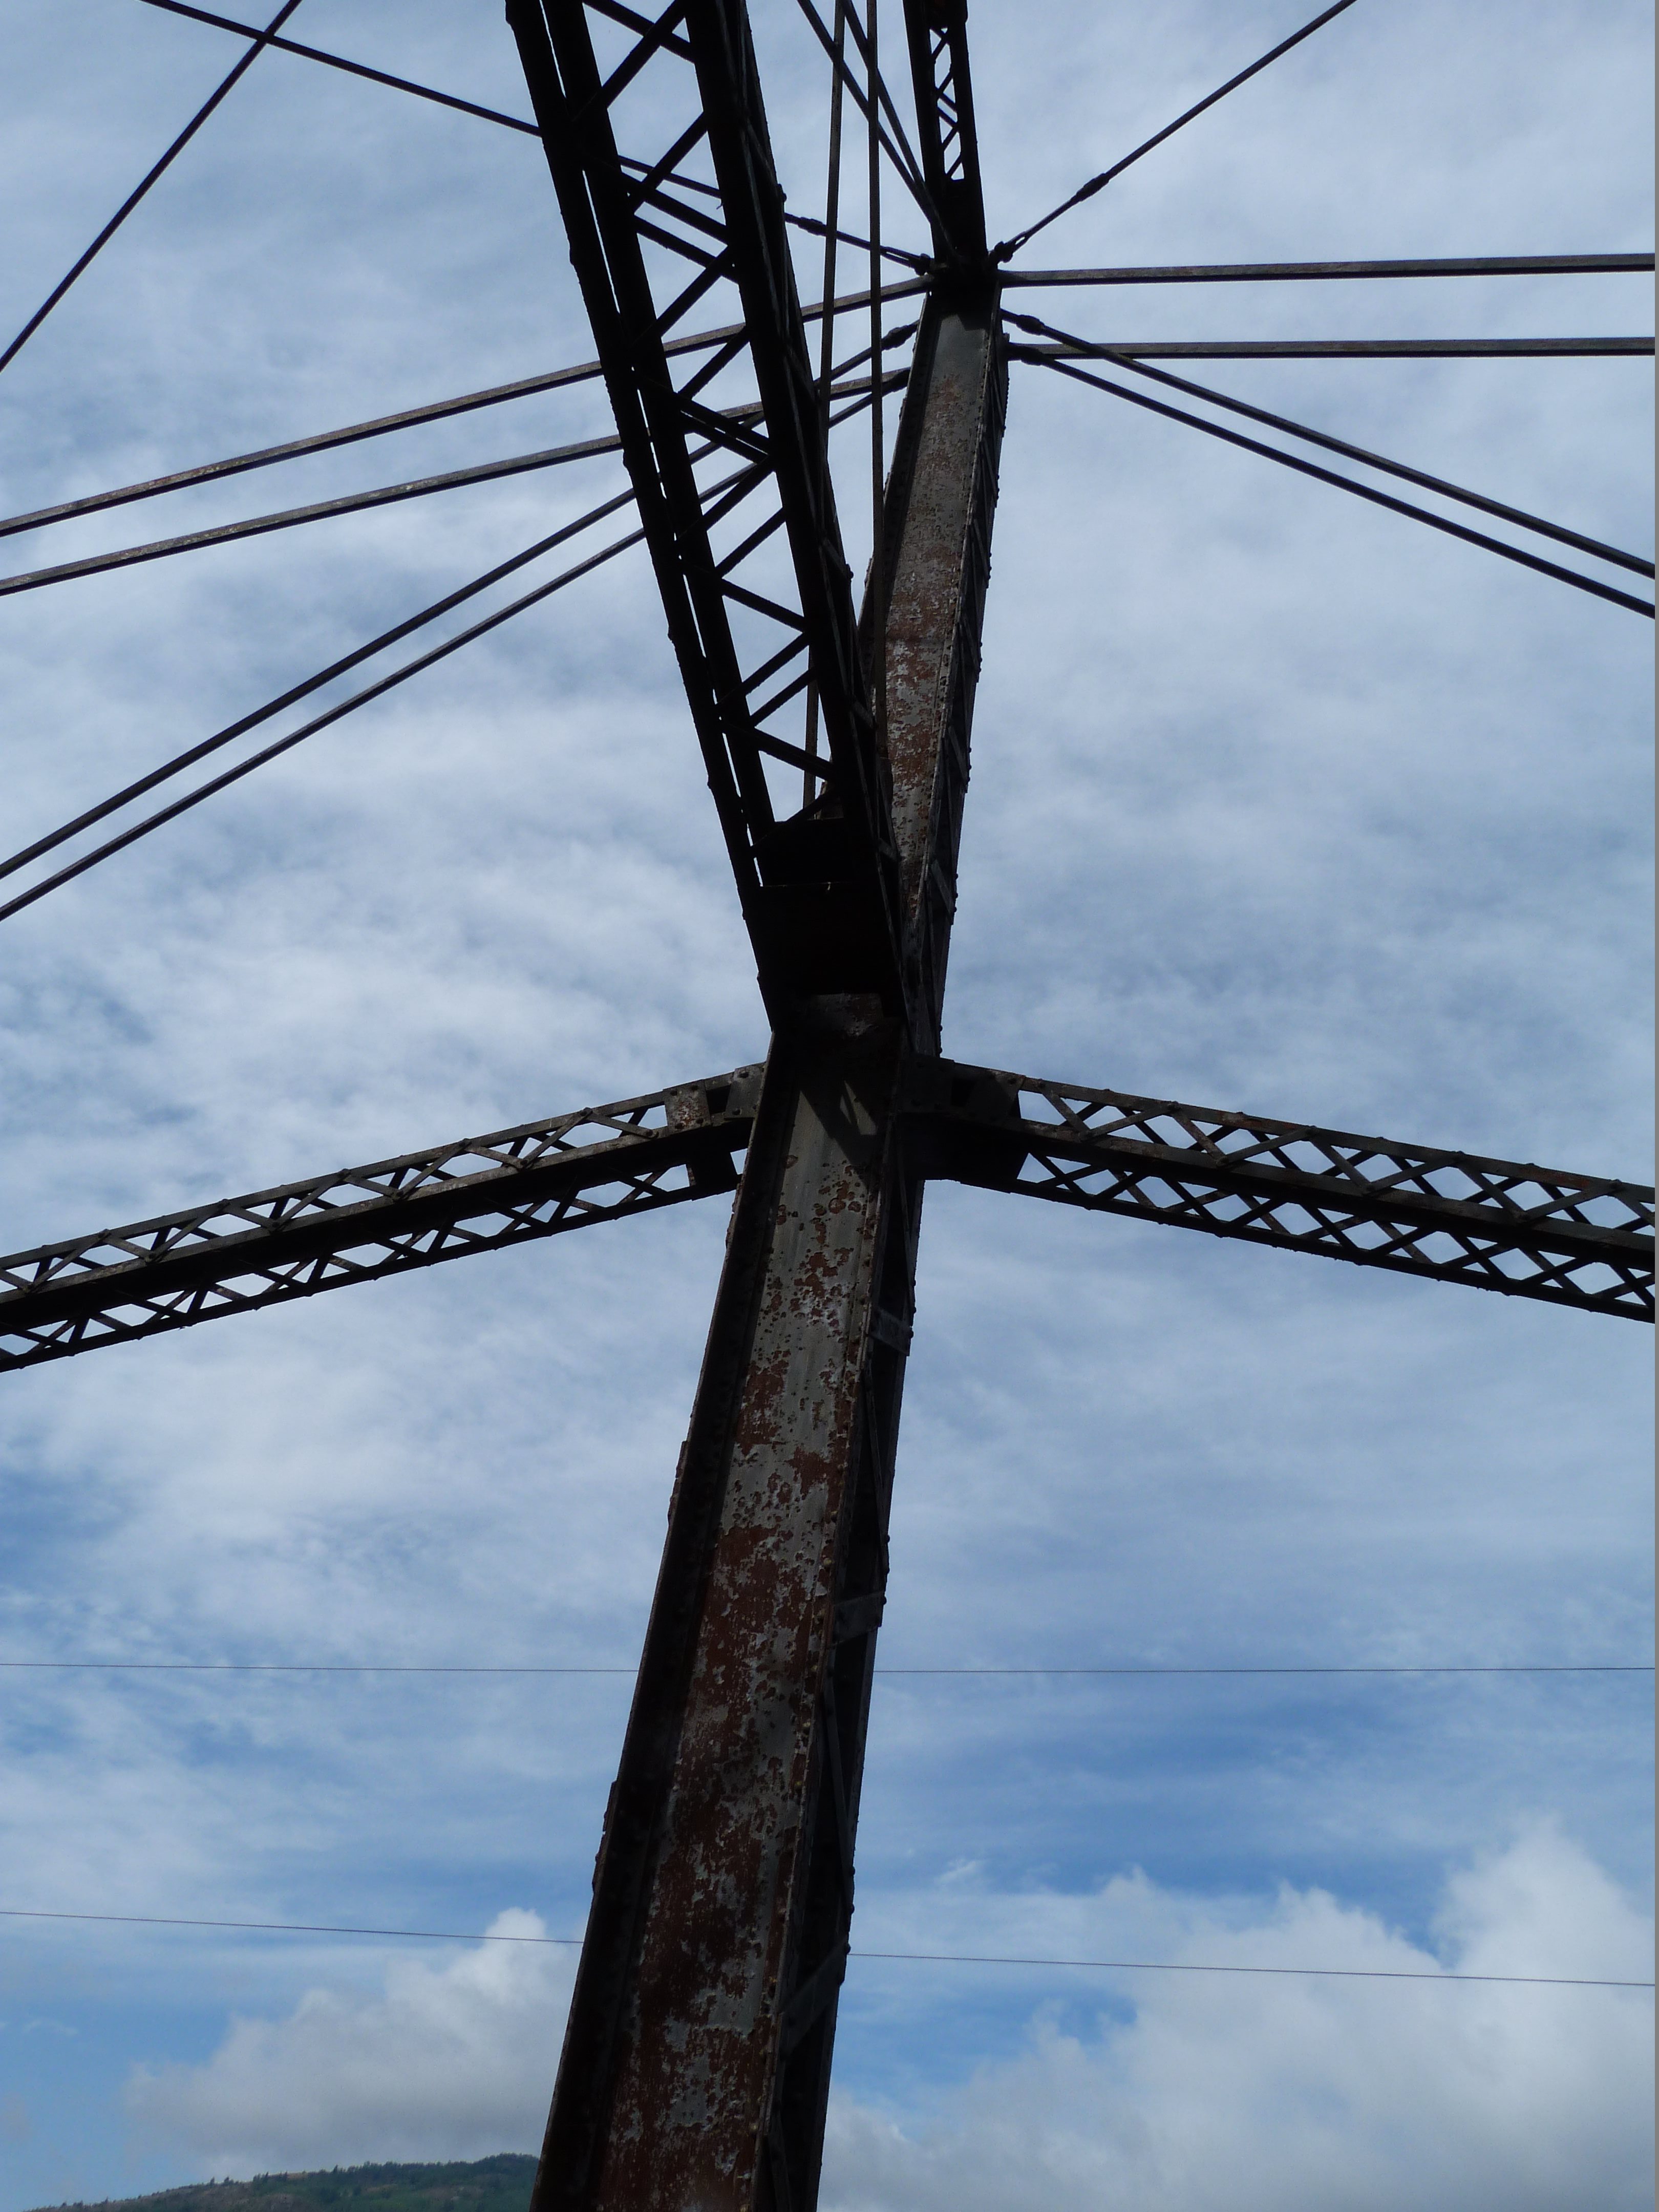
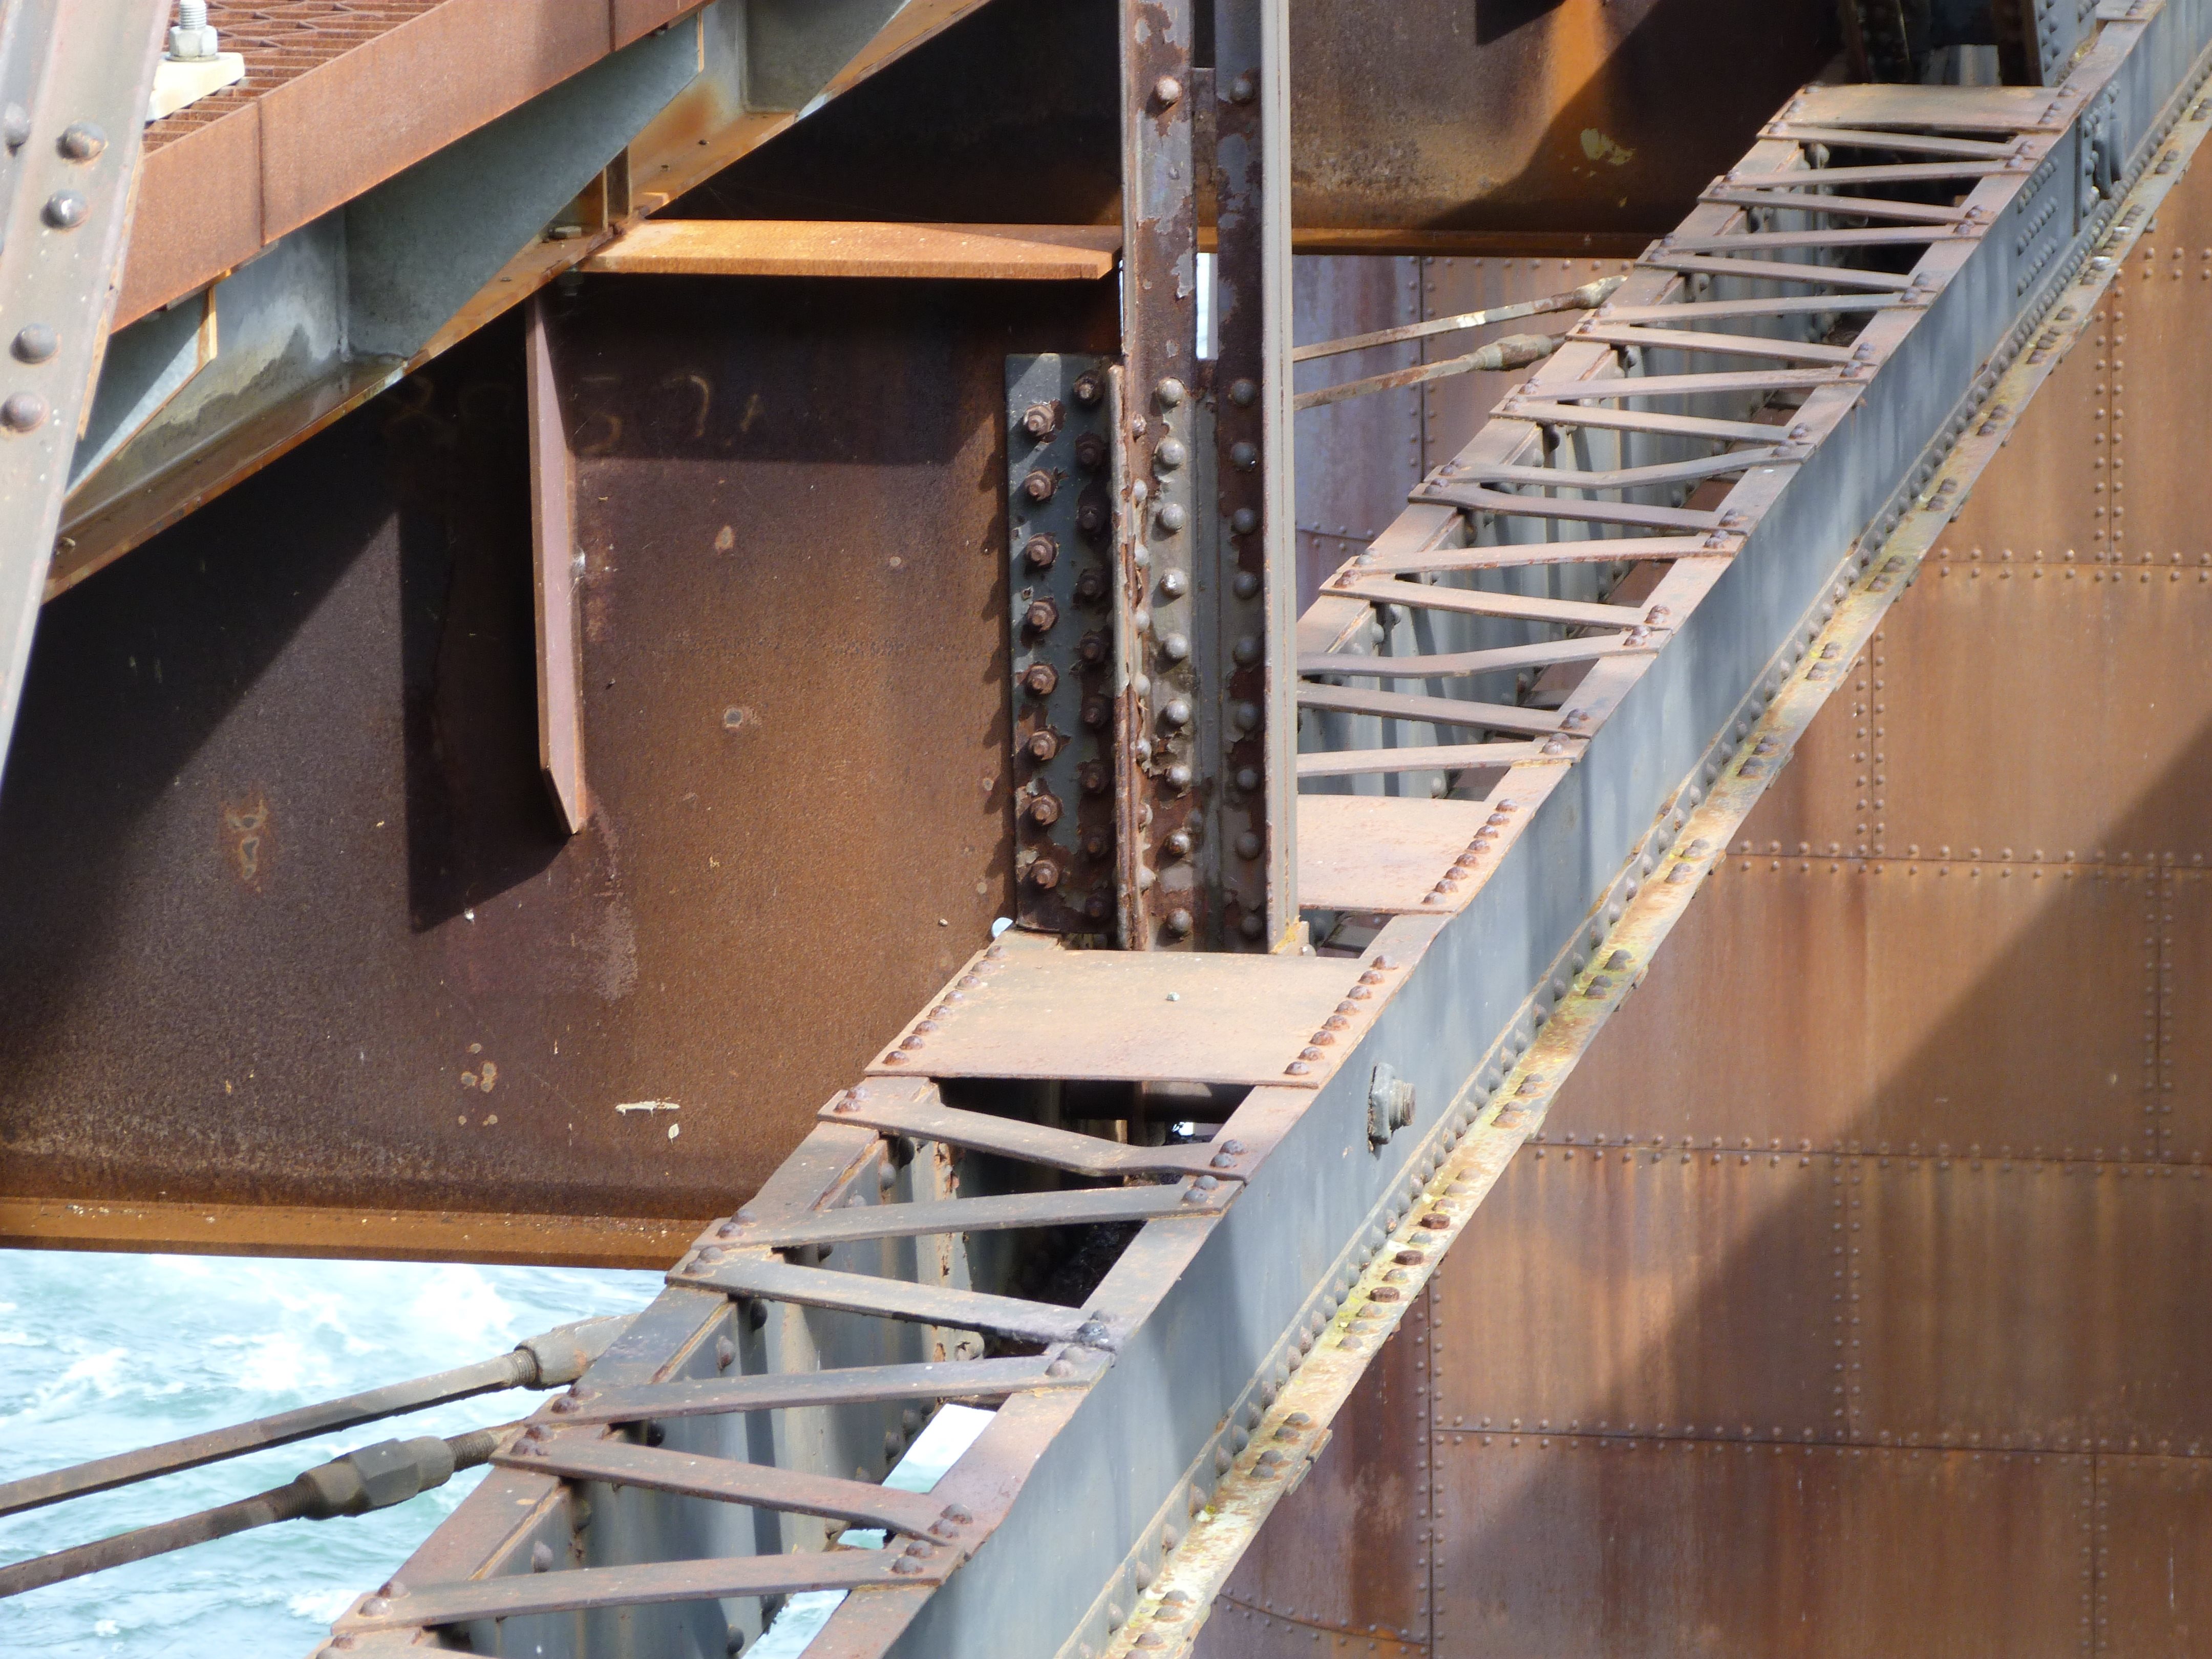
Main post.
![]()


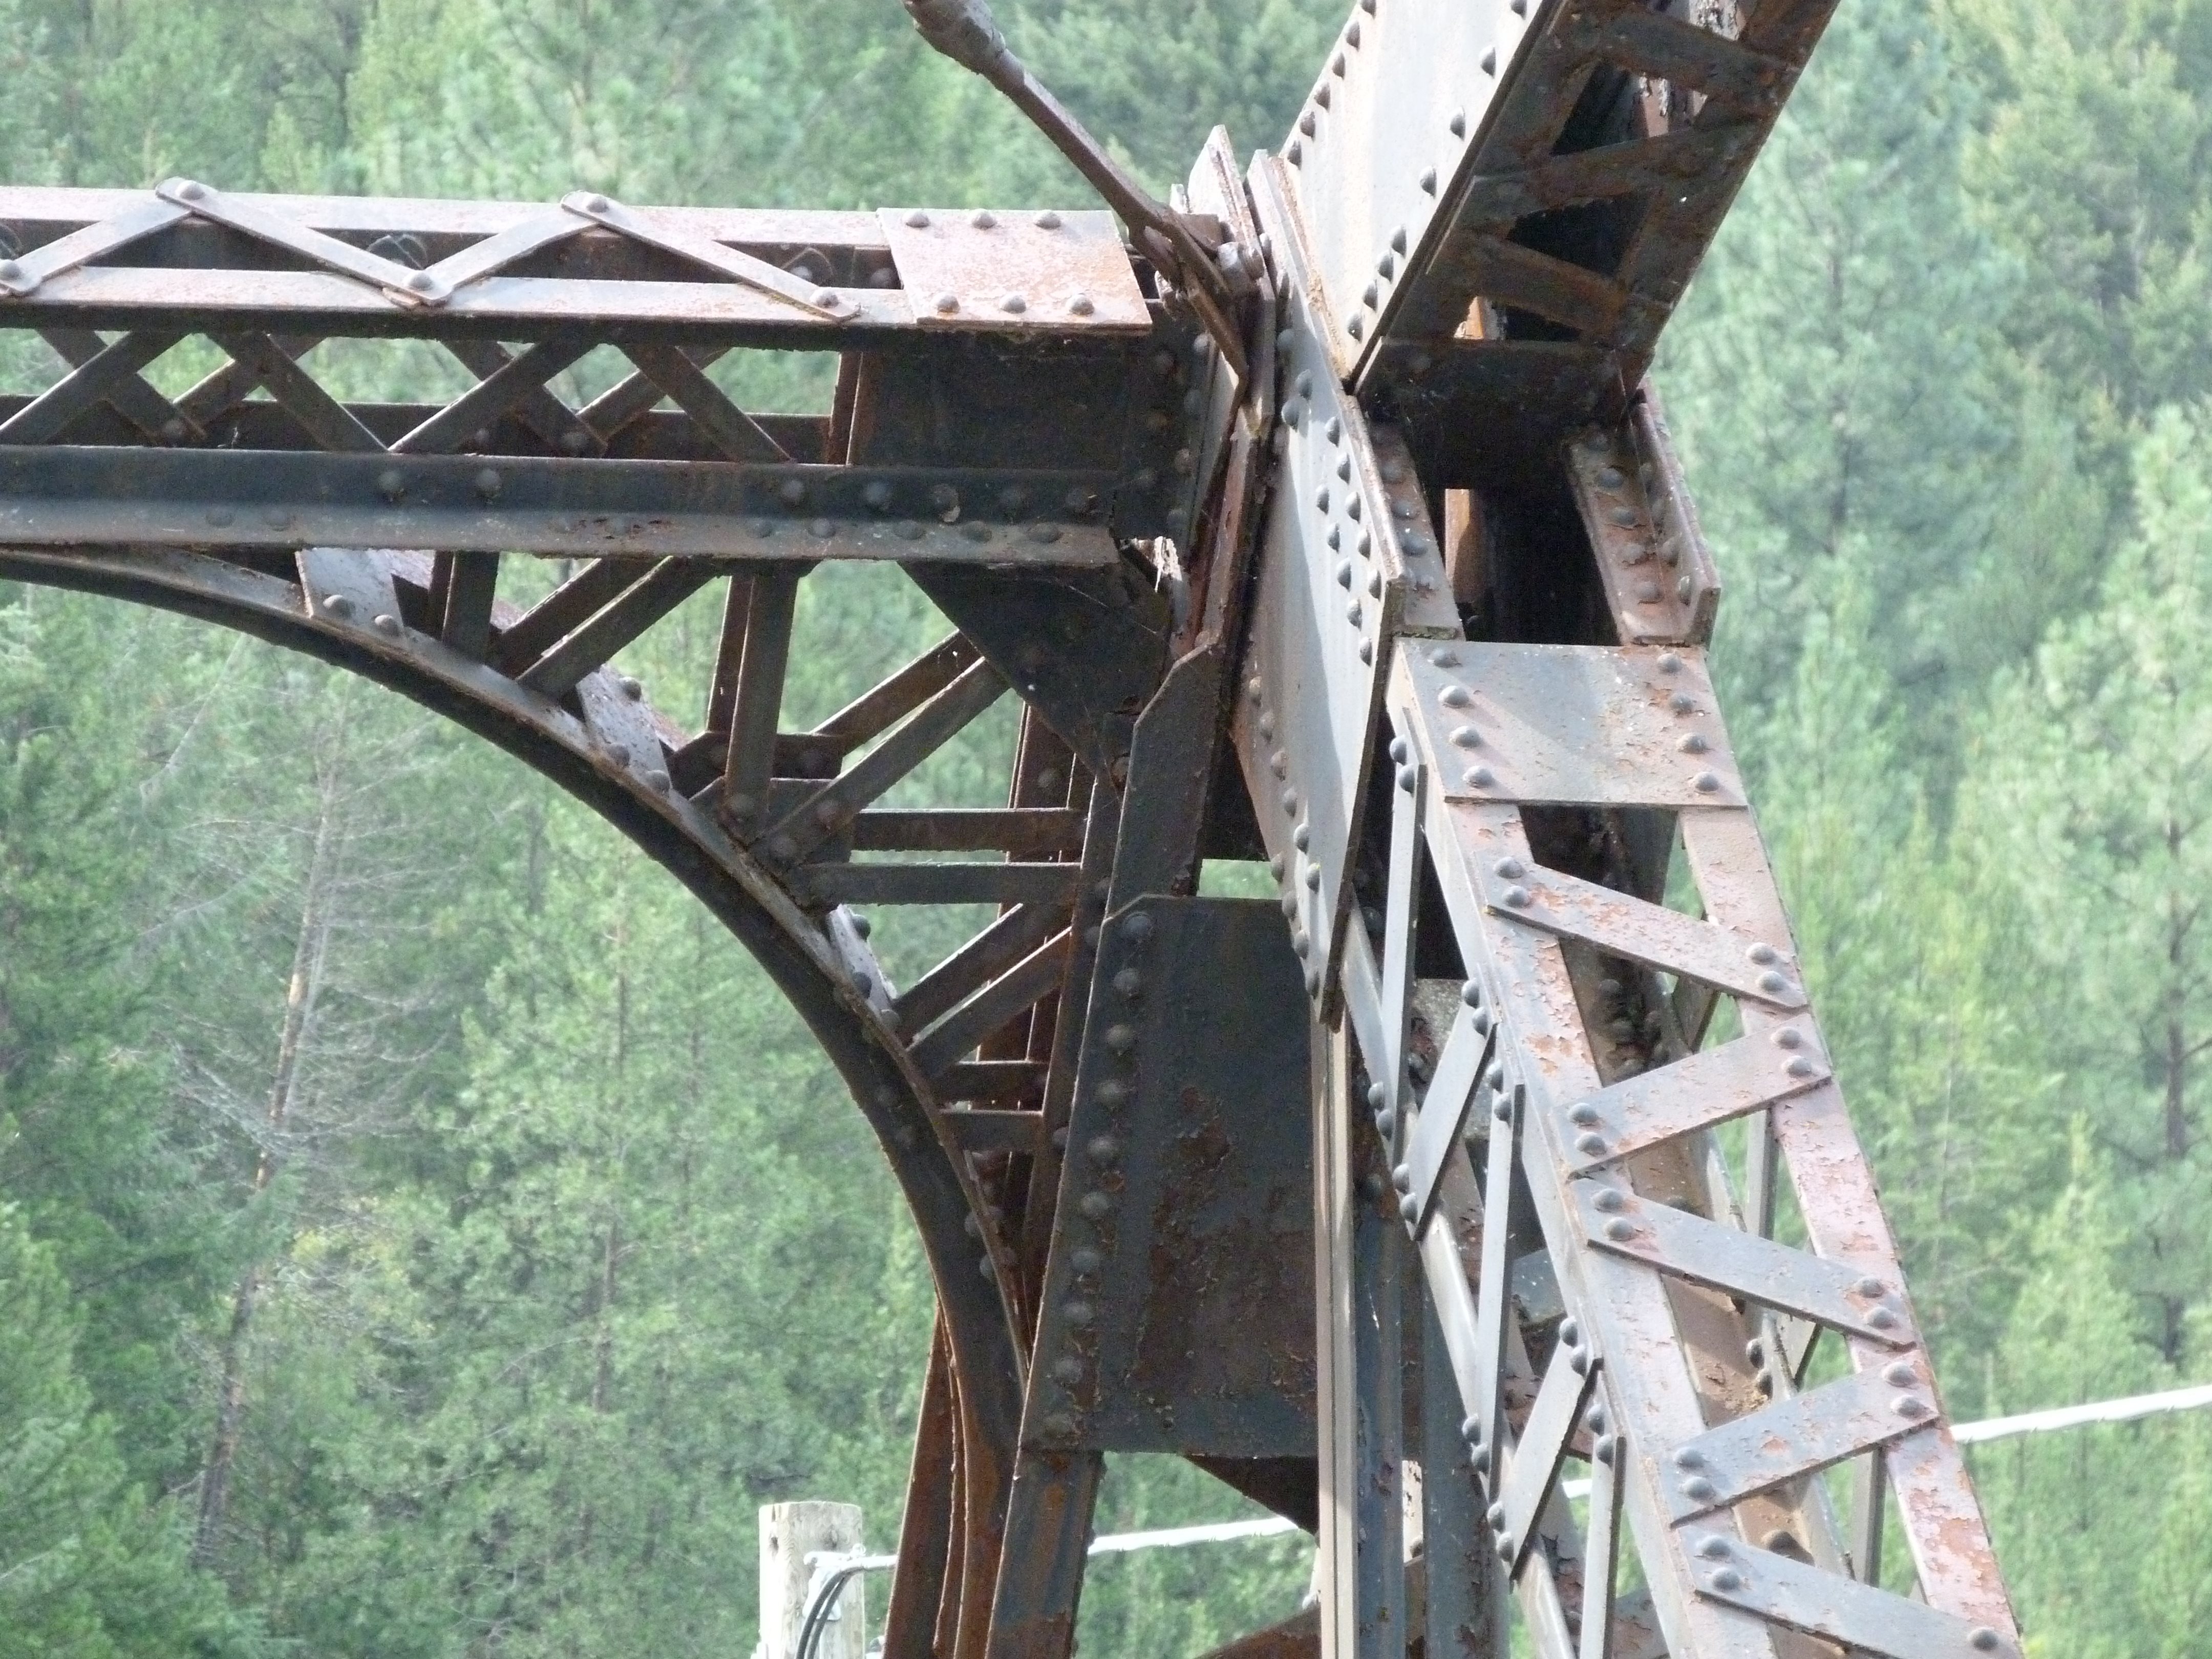
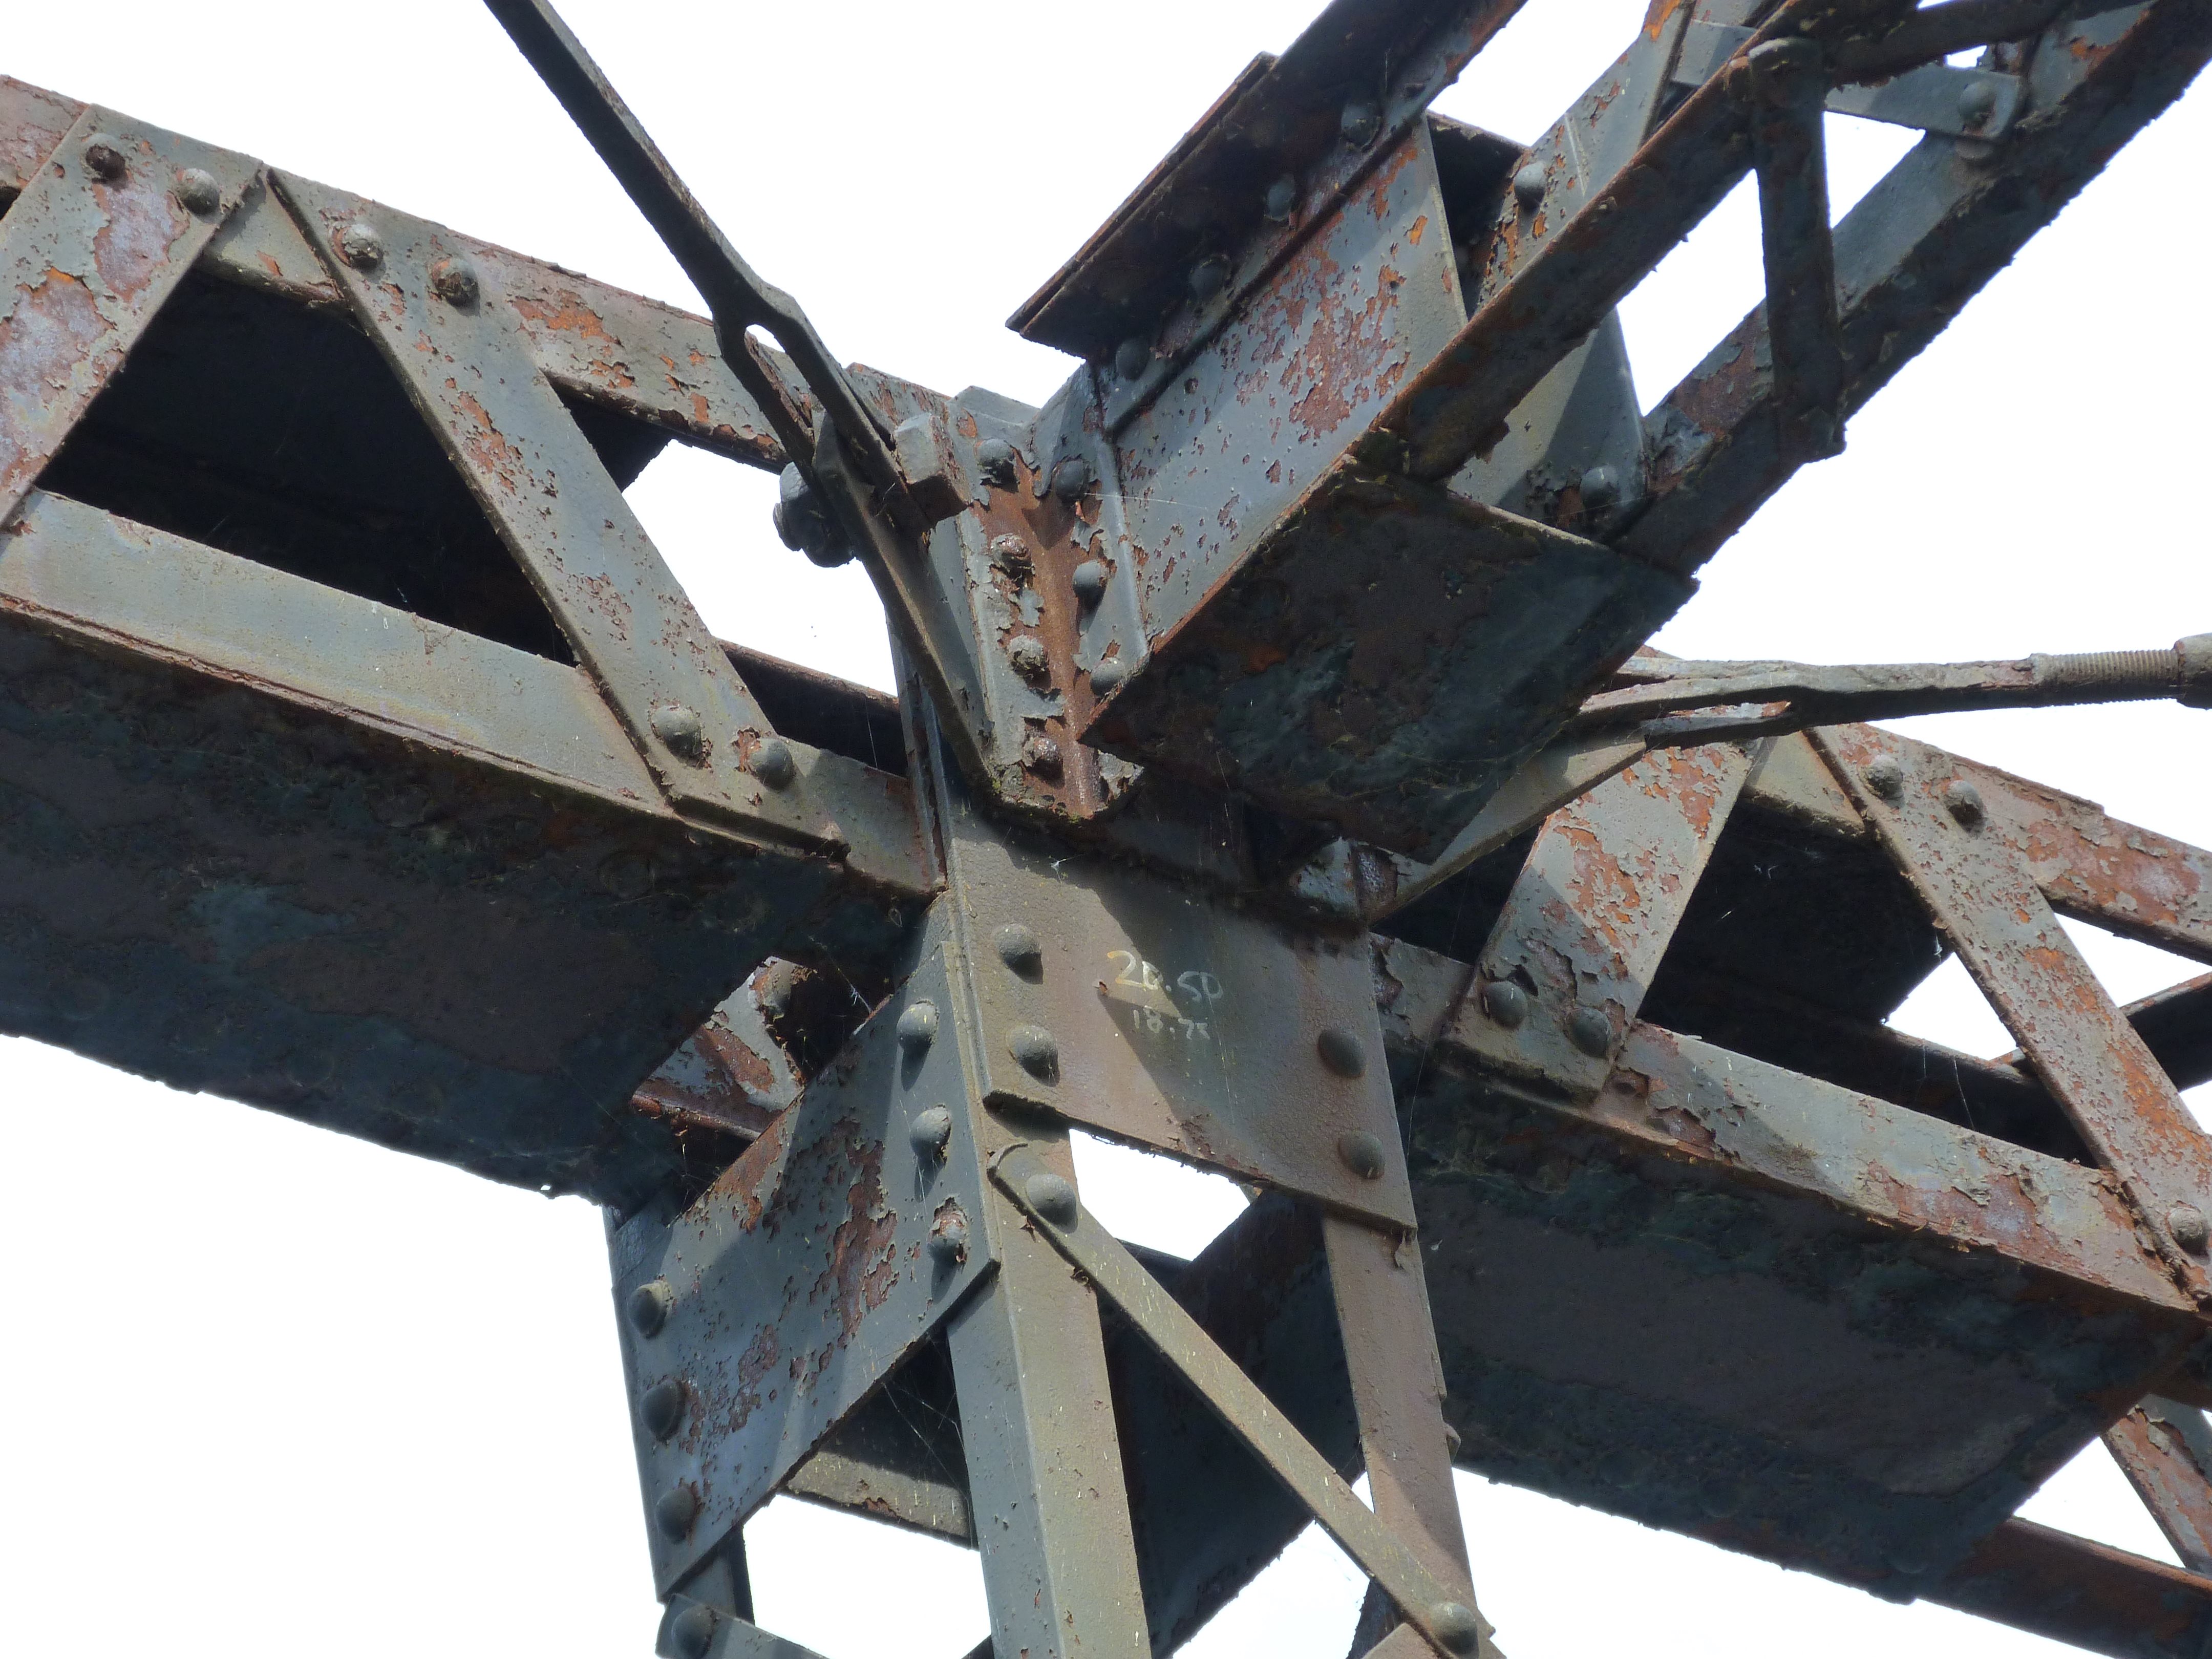
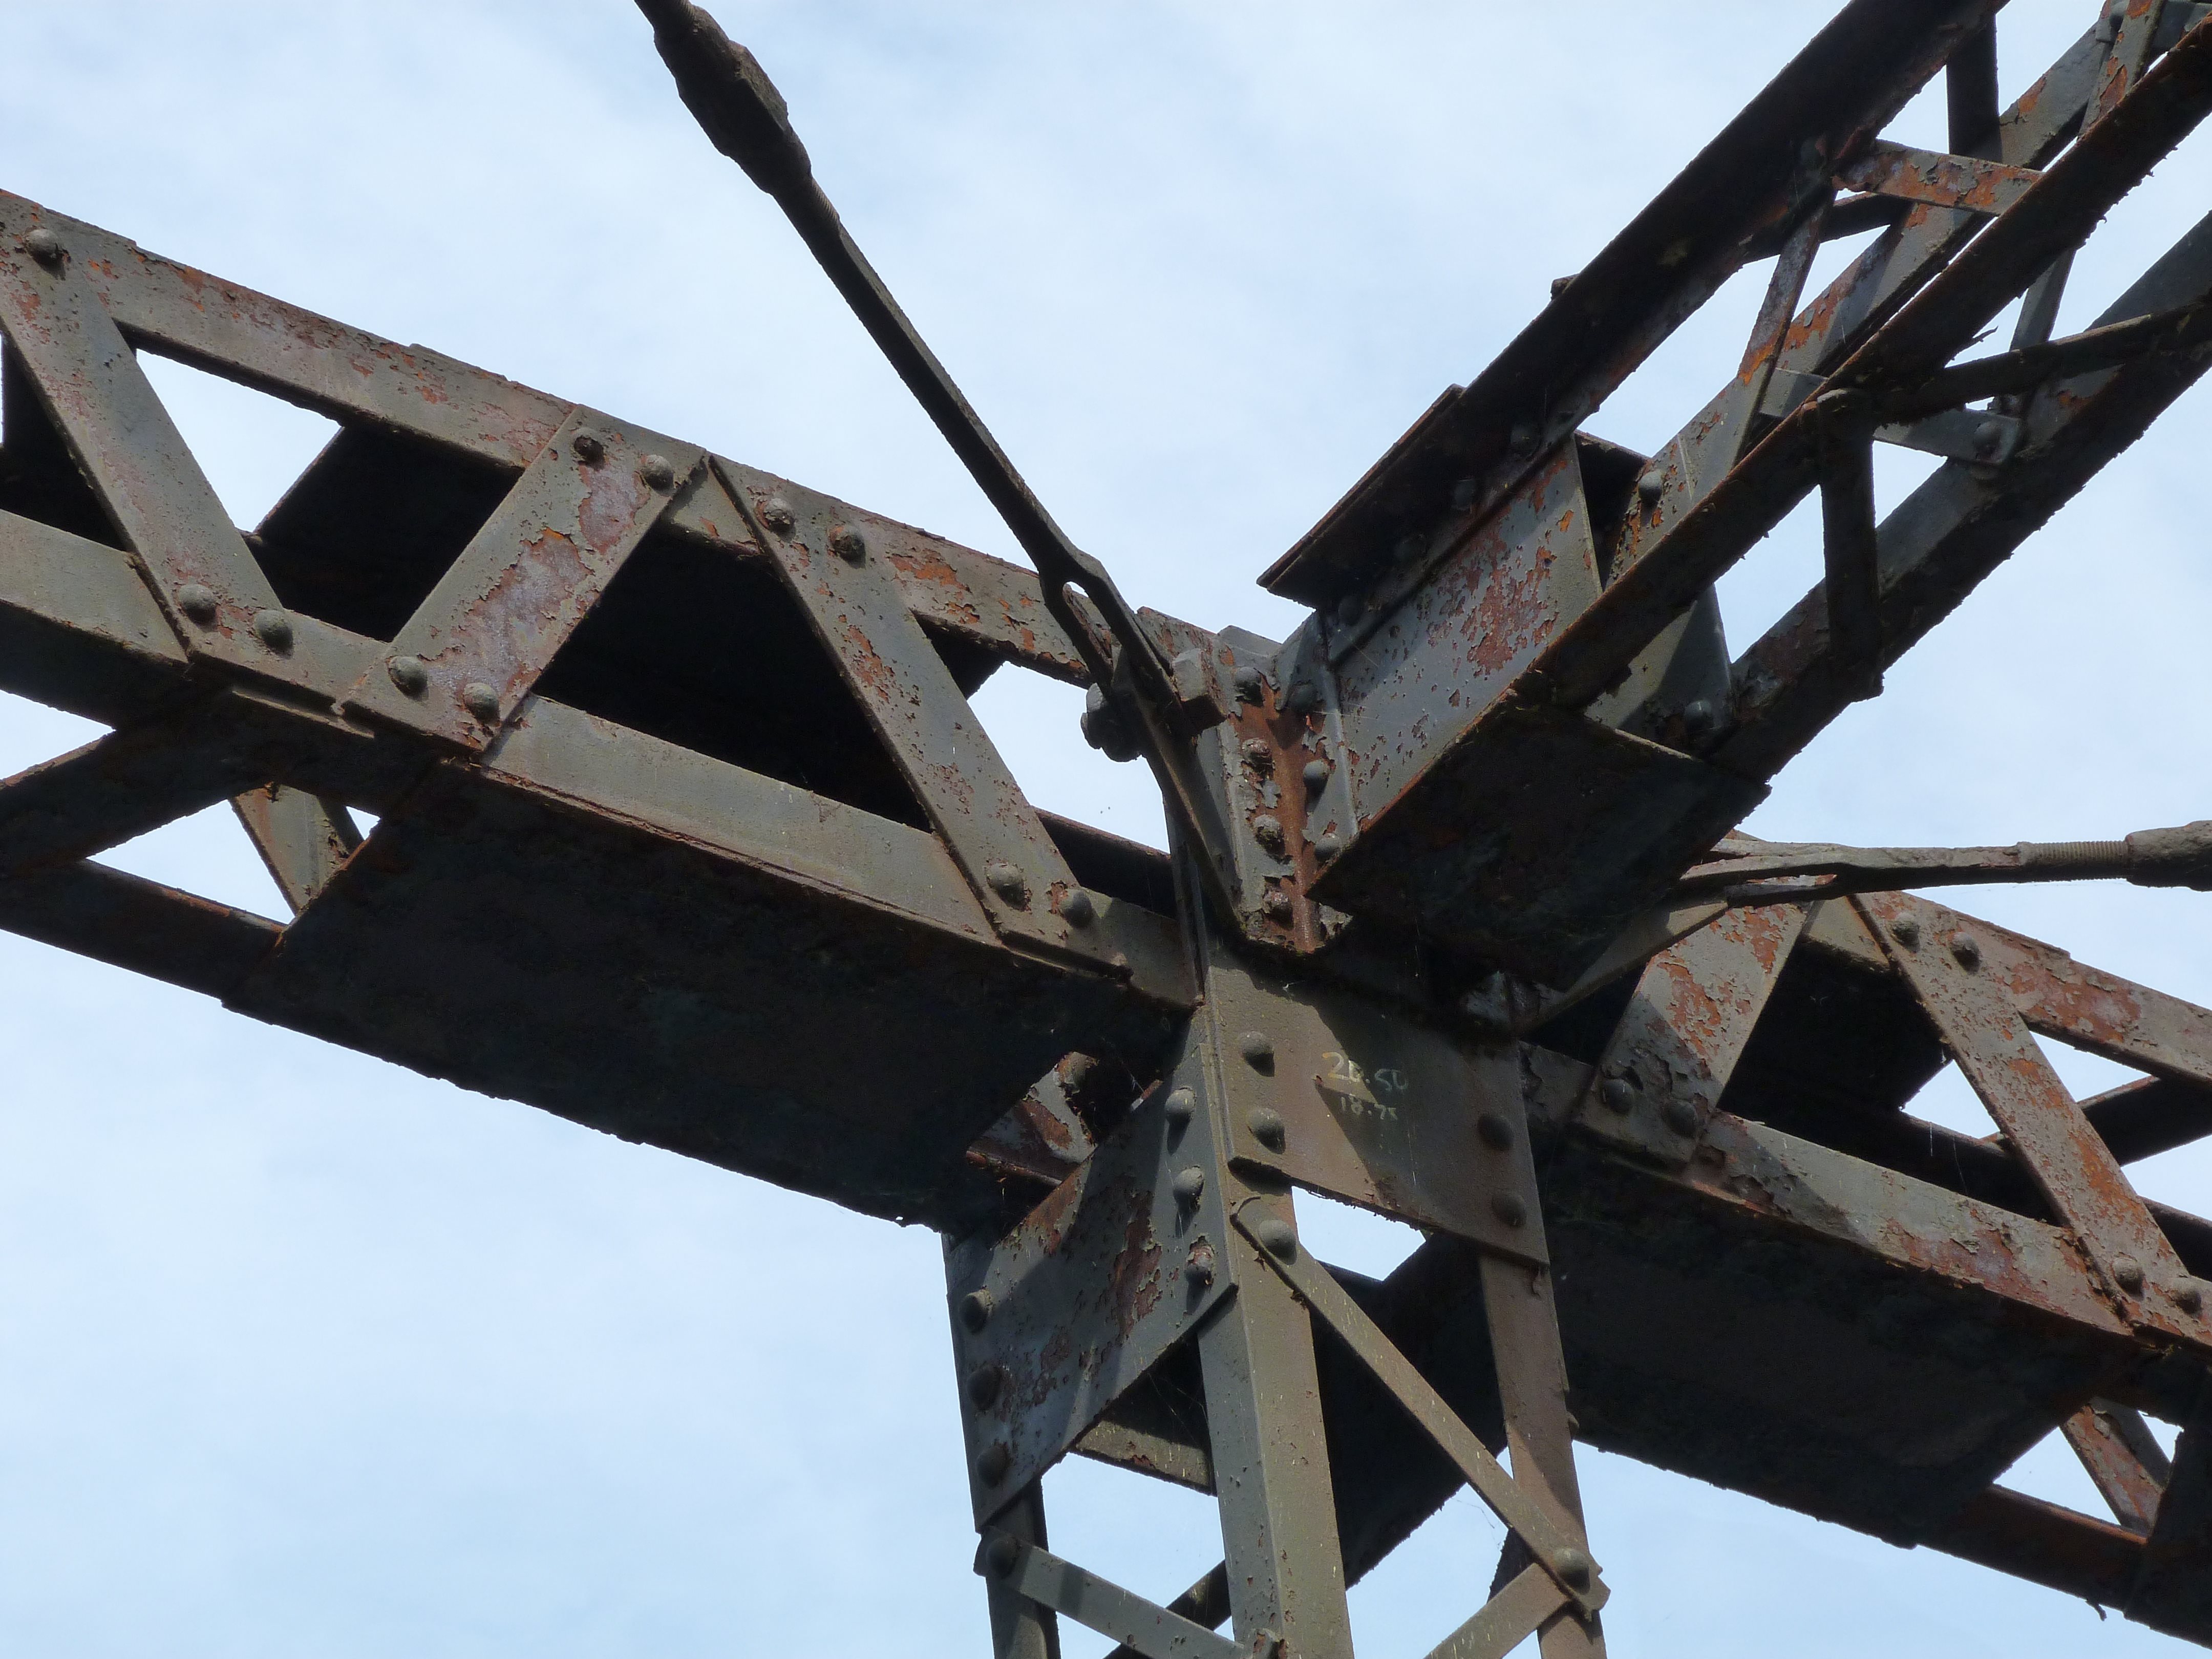
Bracing connections to main post.
![]()

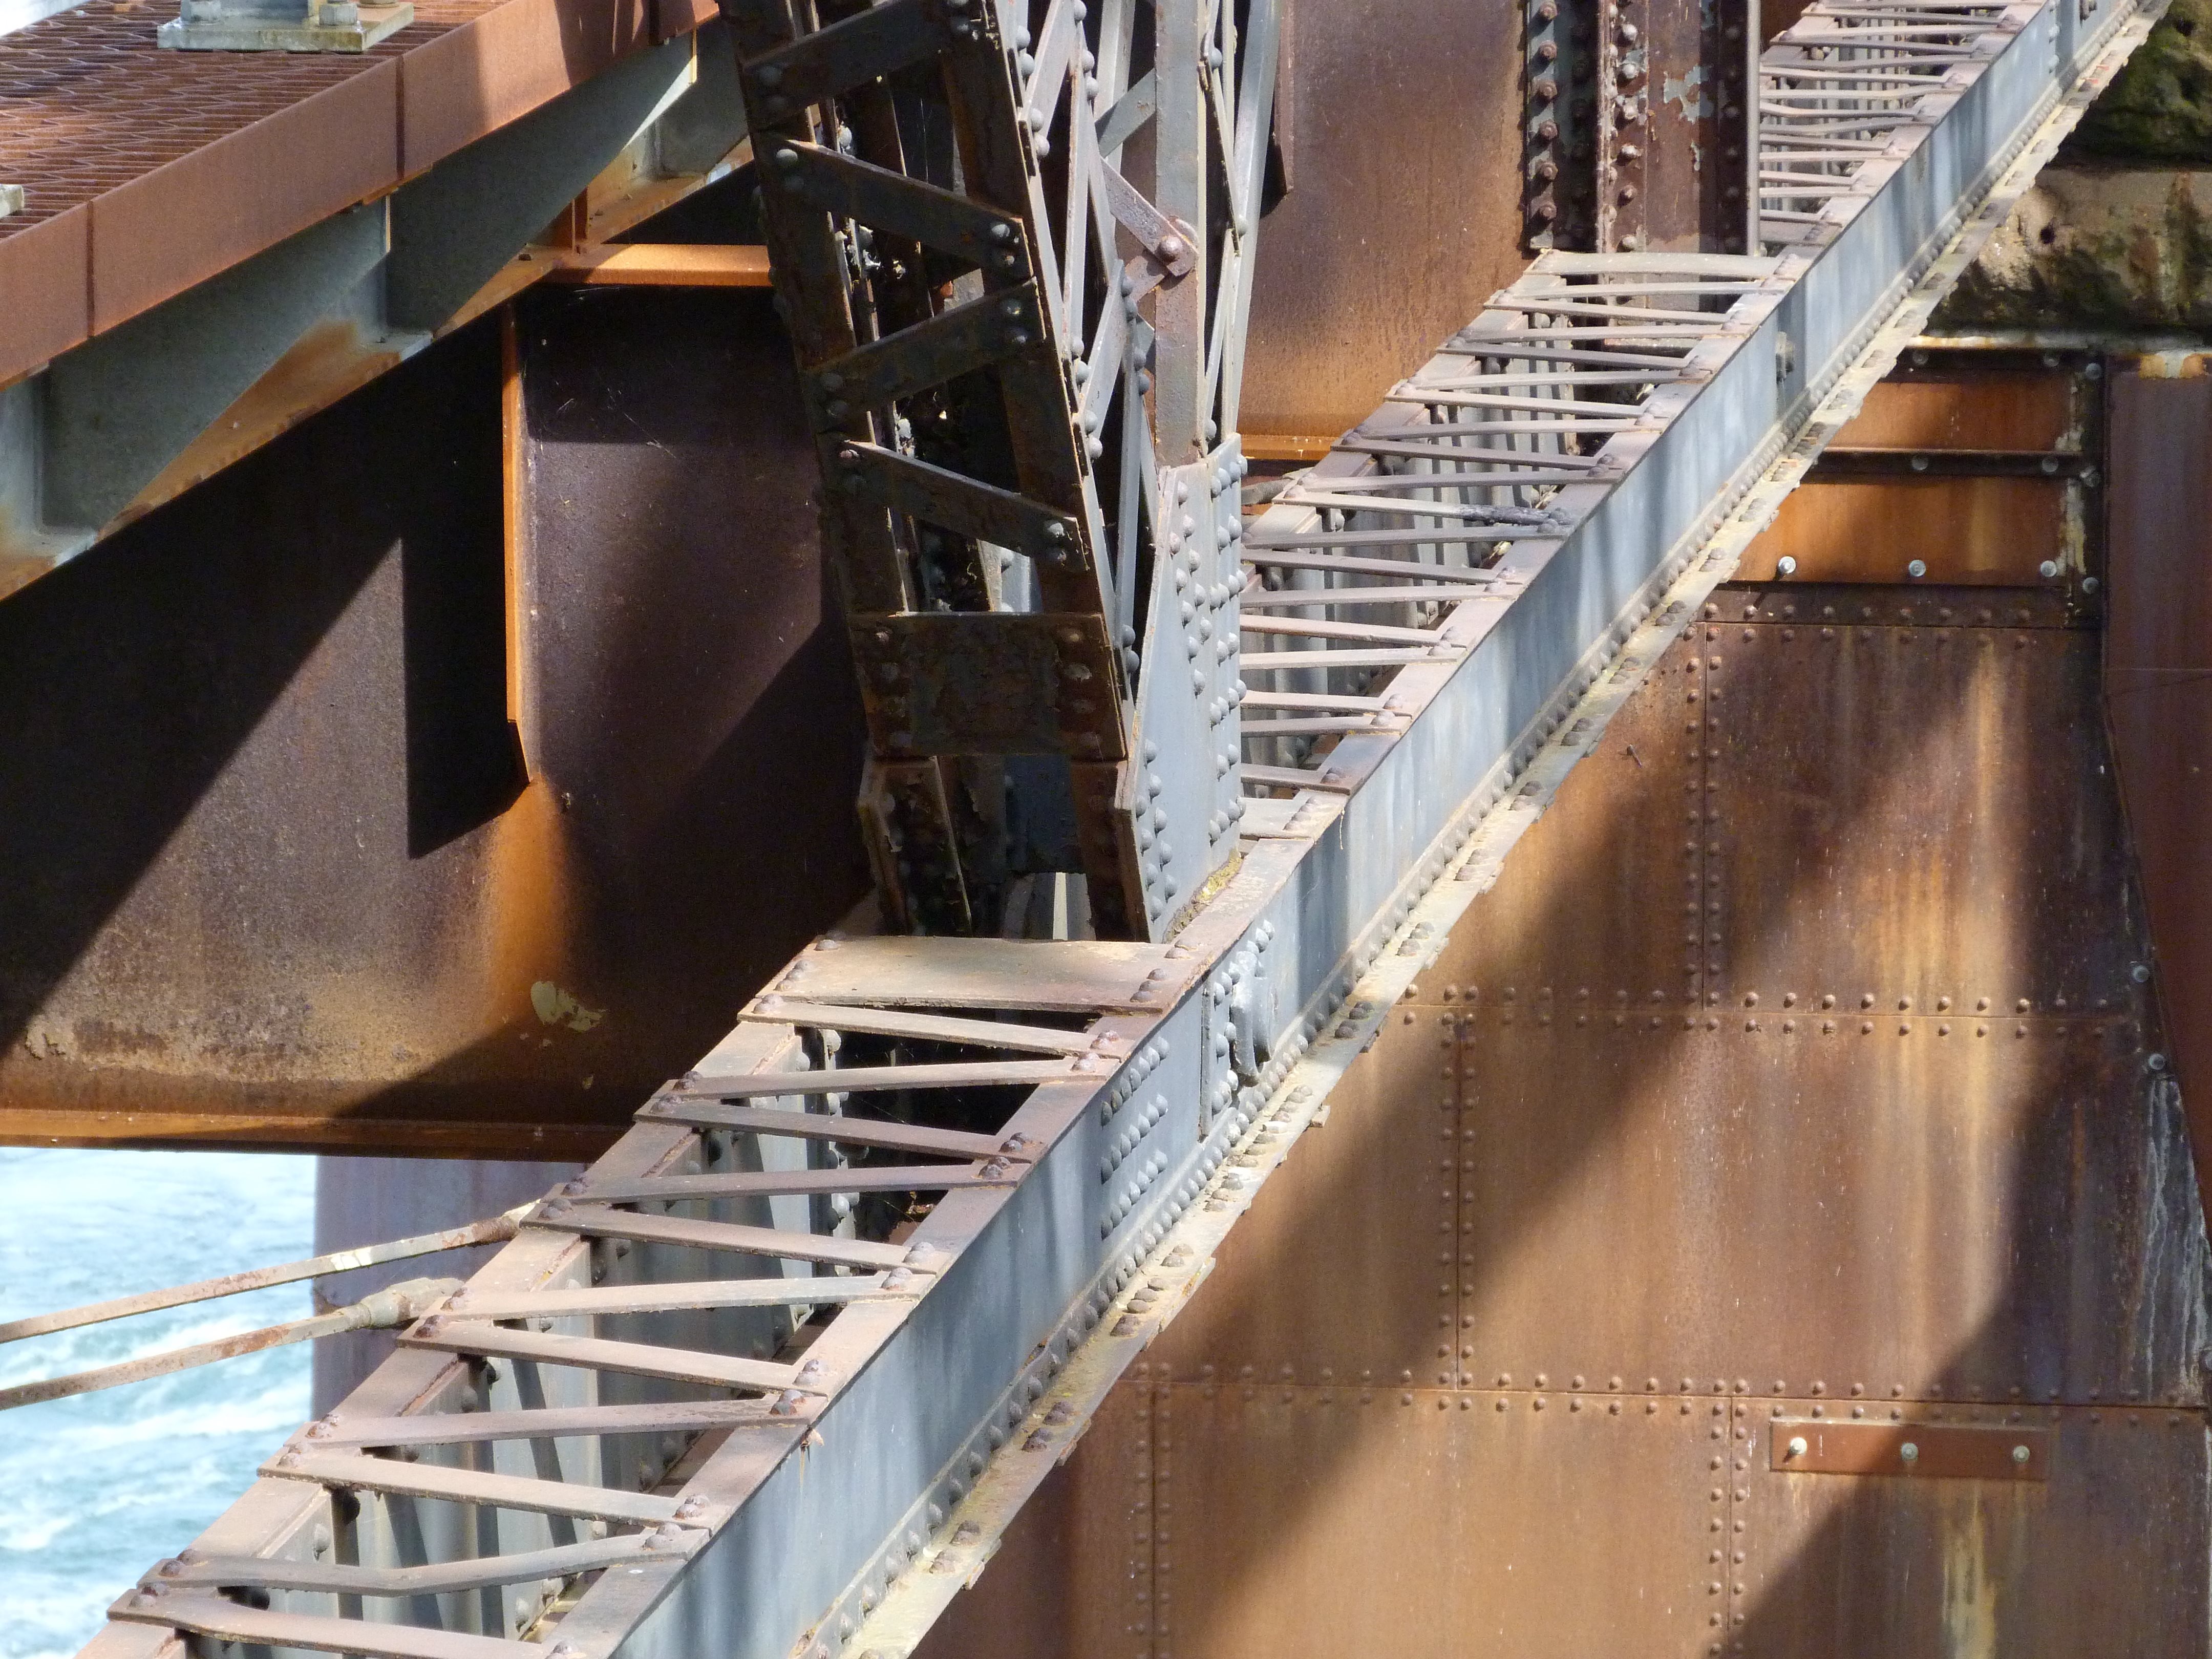
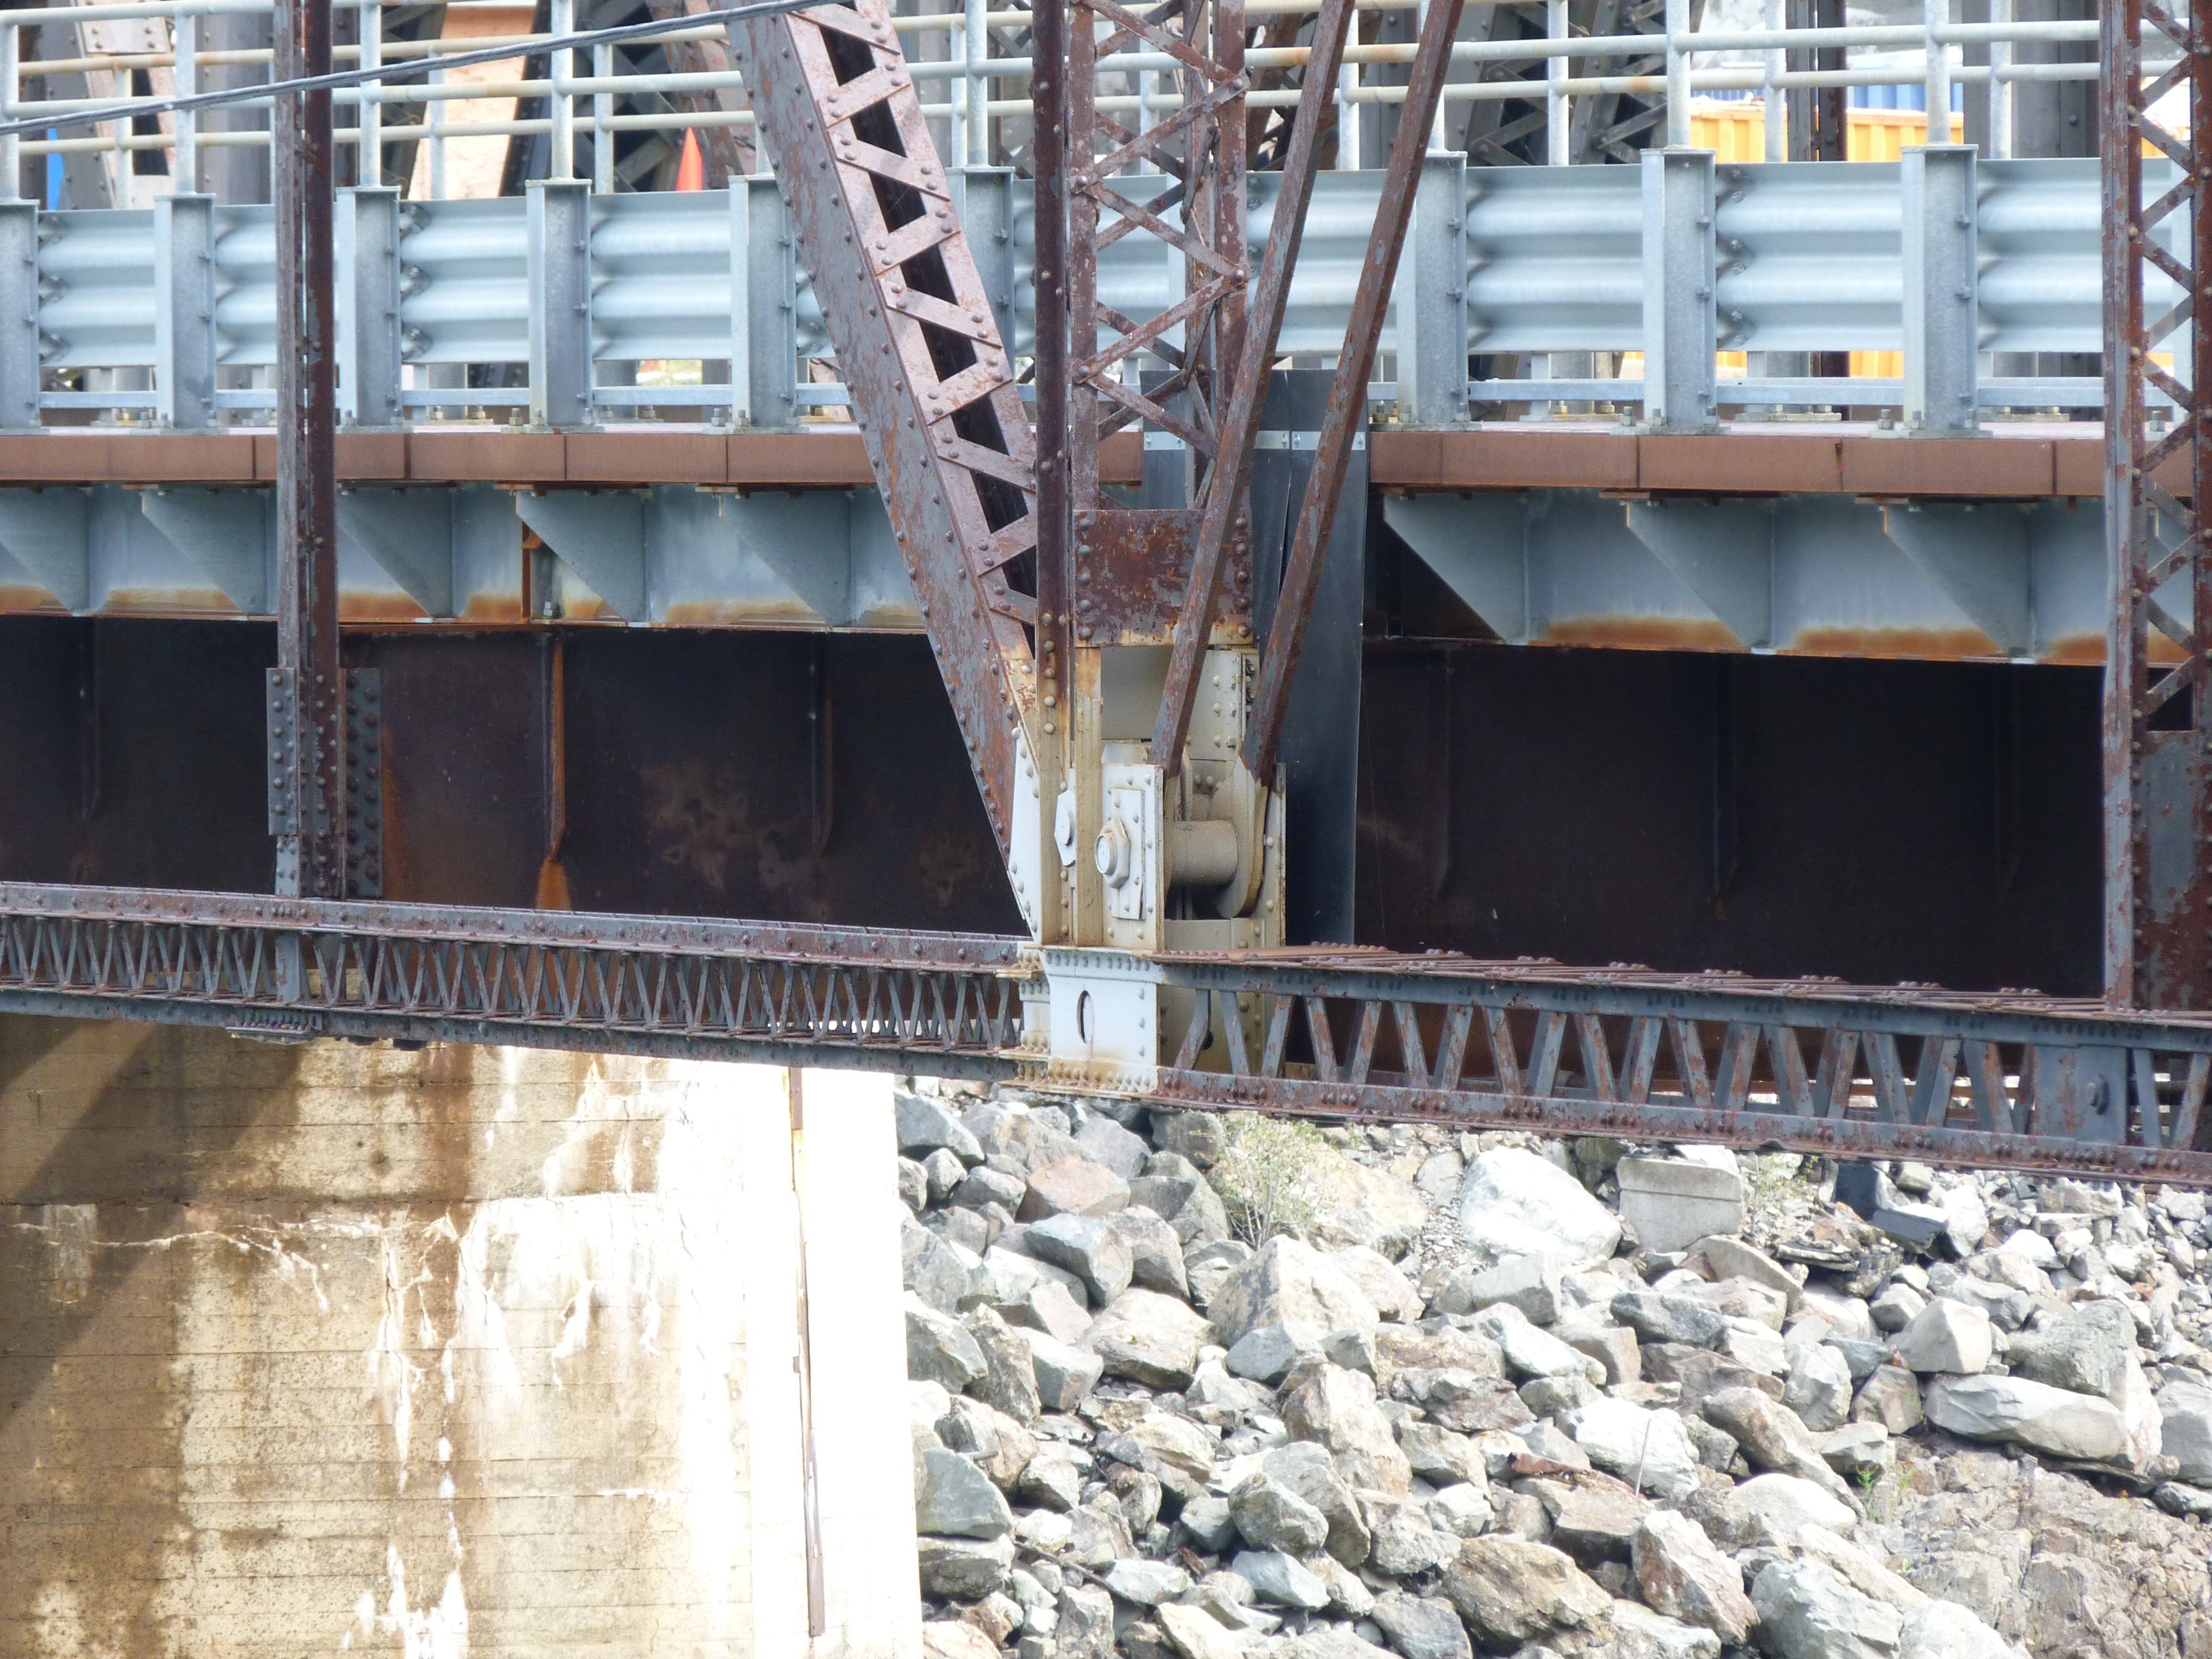
Bottom chord connection at main post.
![]()


Main post details.
![]()

Main post top chord connection as viewed from beside bridge.


Main post top chord connection as viewed from on bridge.
![]()

Bearing at main post.
![]()


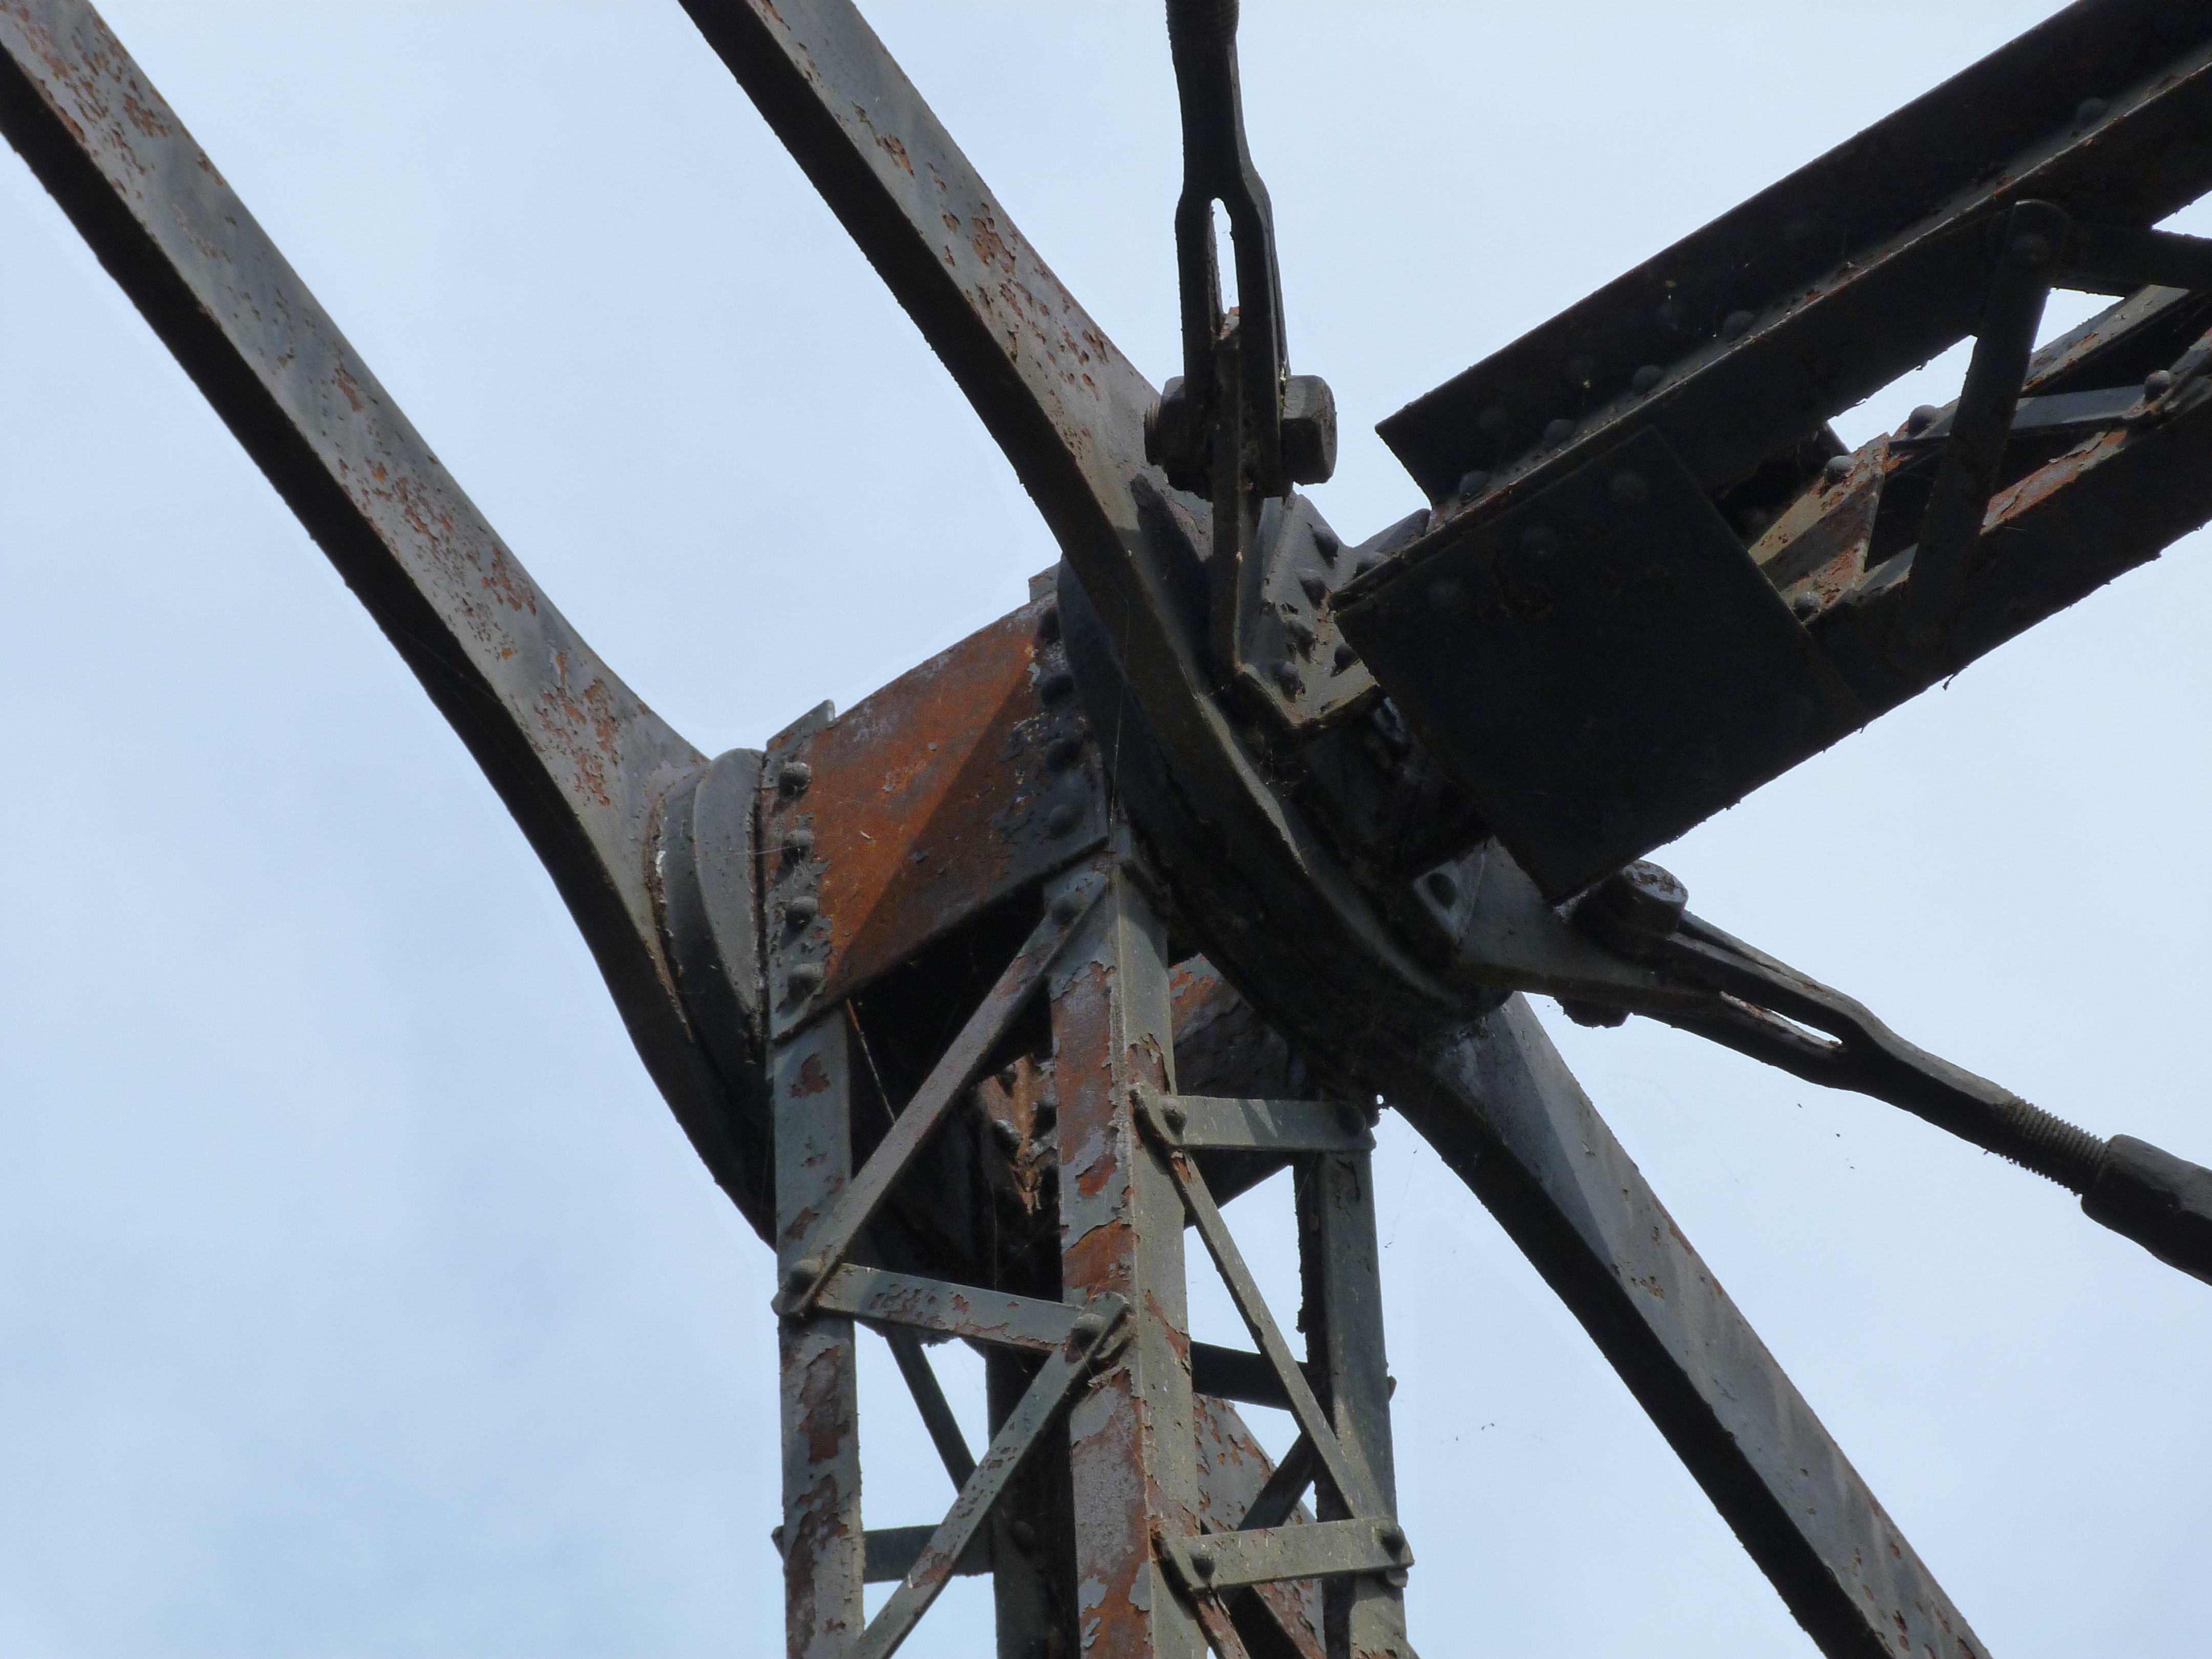
Suspended span hanger connection to bottom chord as viewed from on bridge.
![]()
Suspended span hanger connection to bottom chord as viewed from beside bridge.
![]()


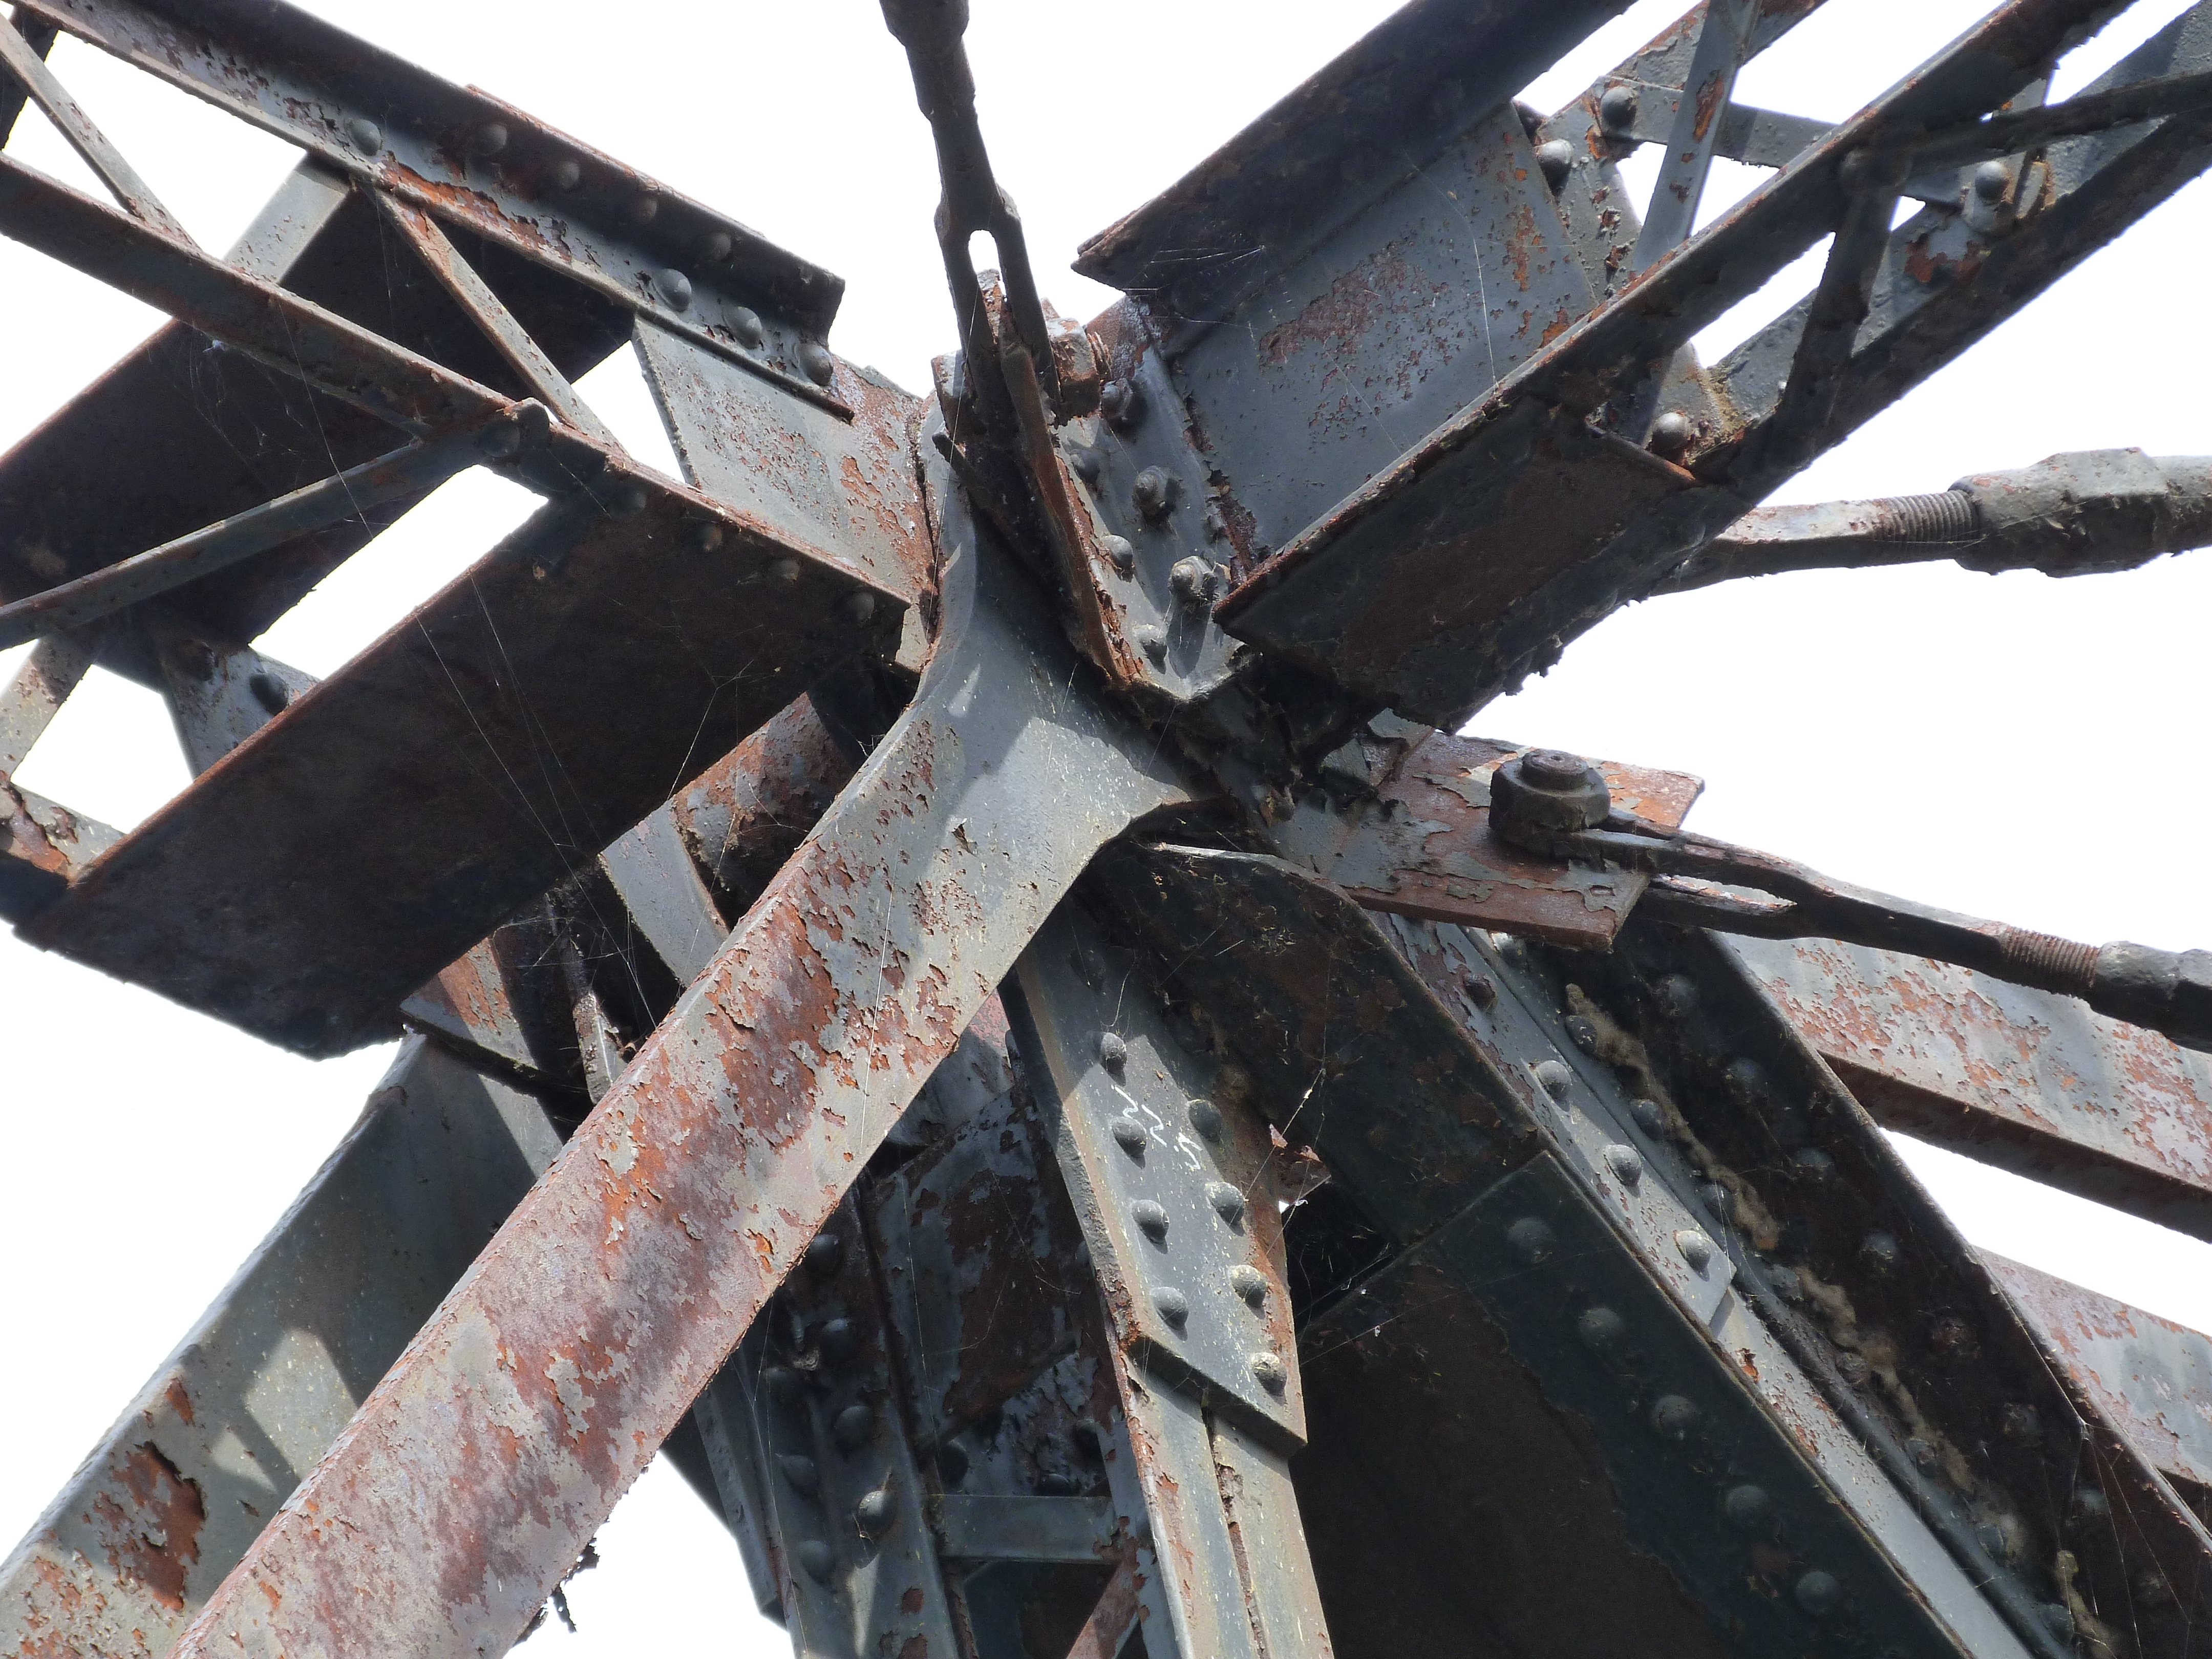
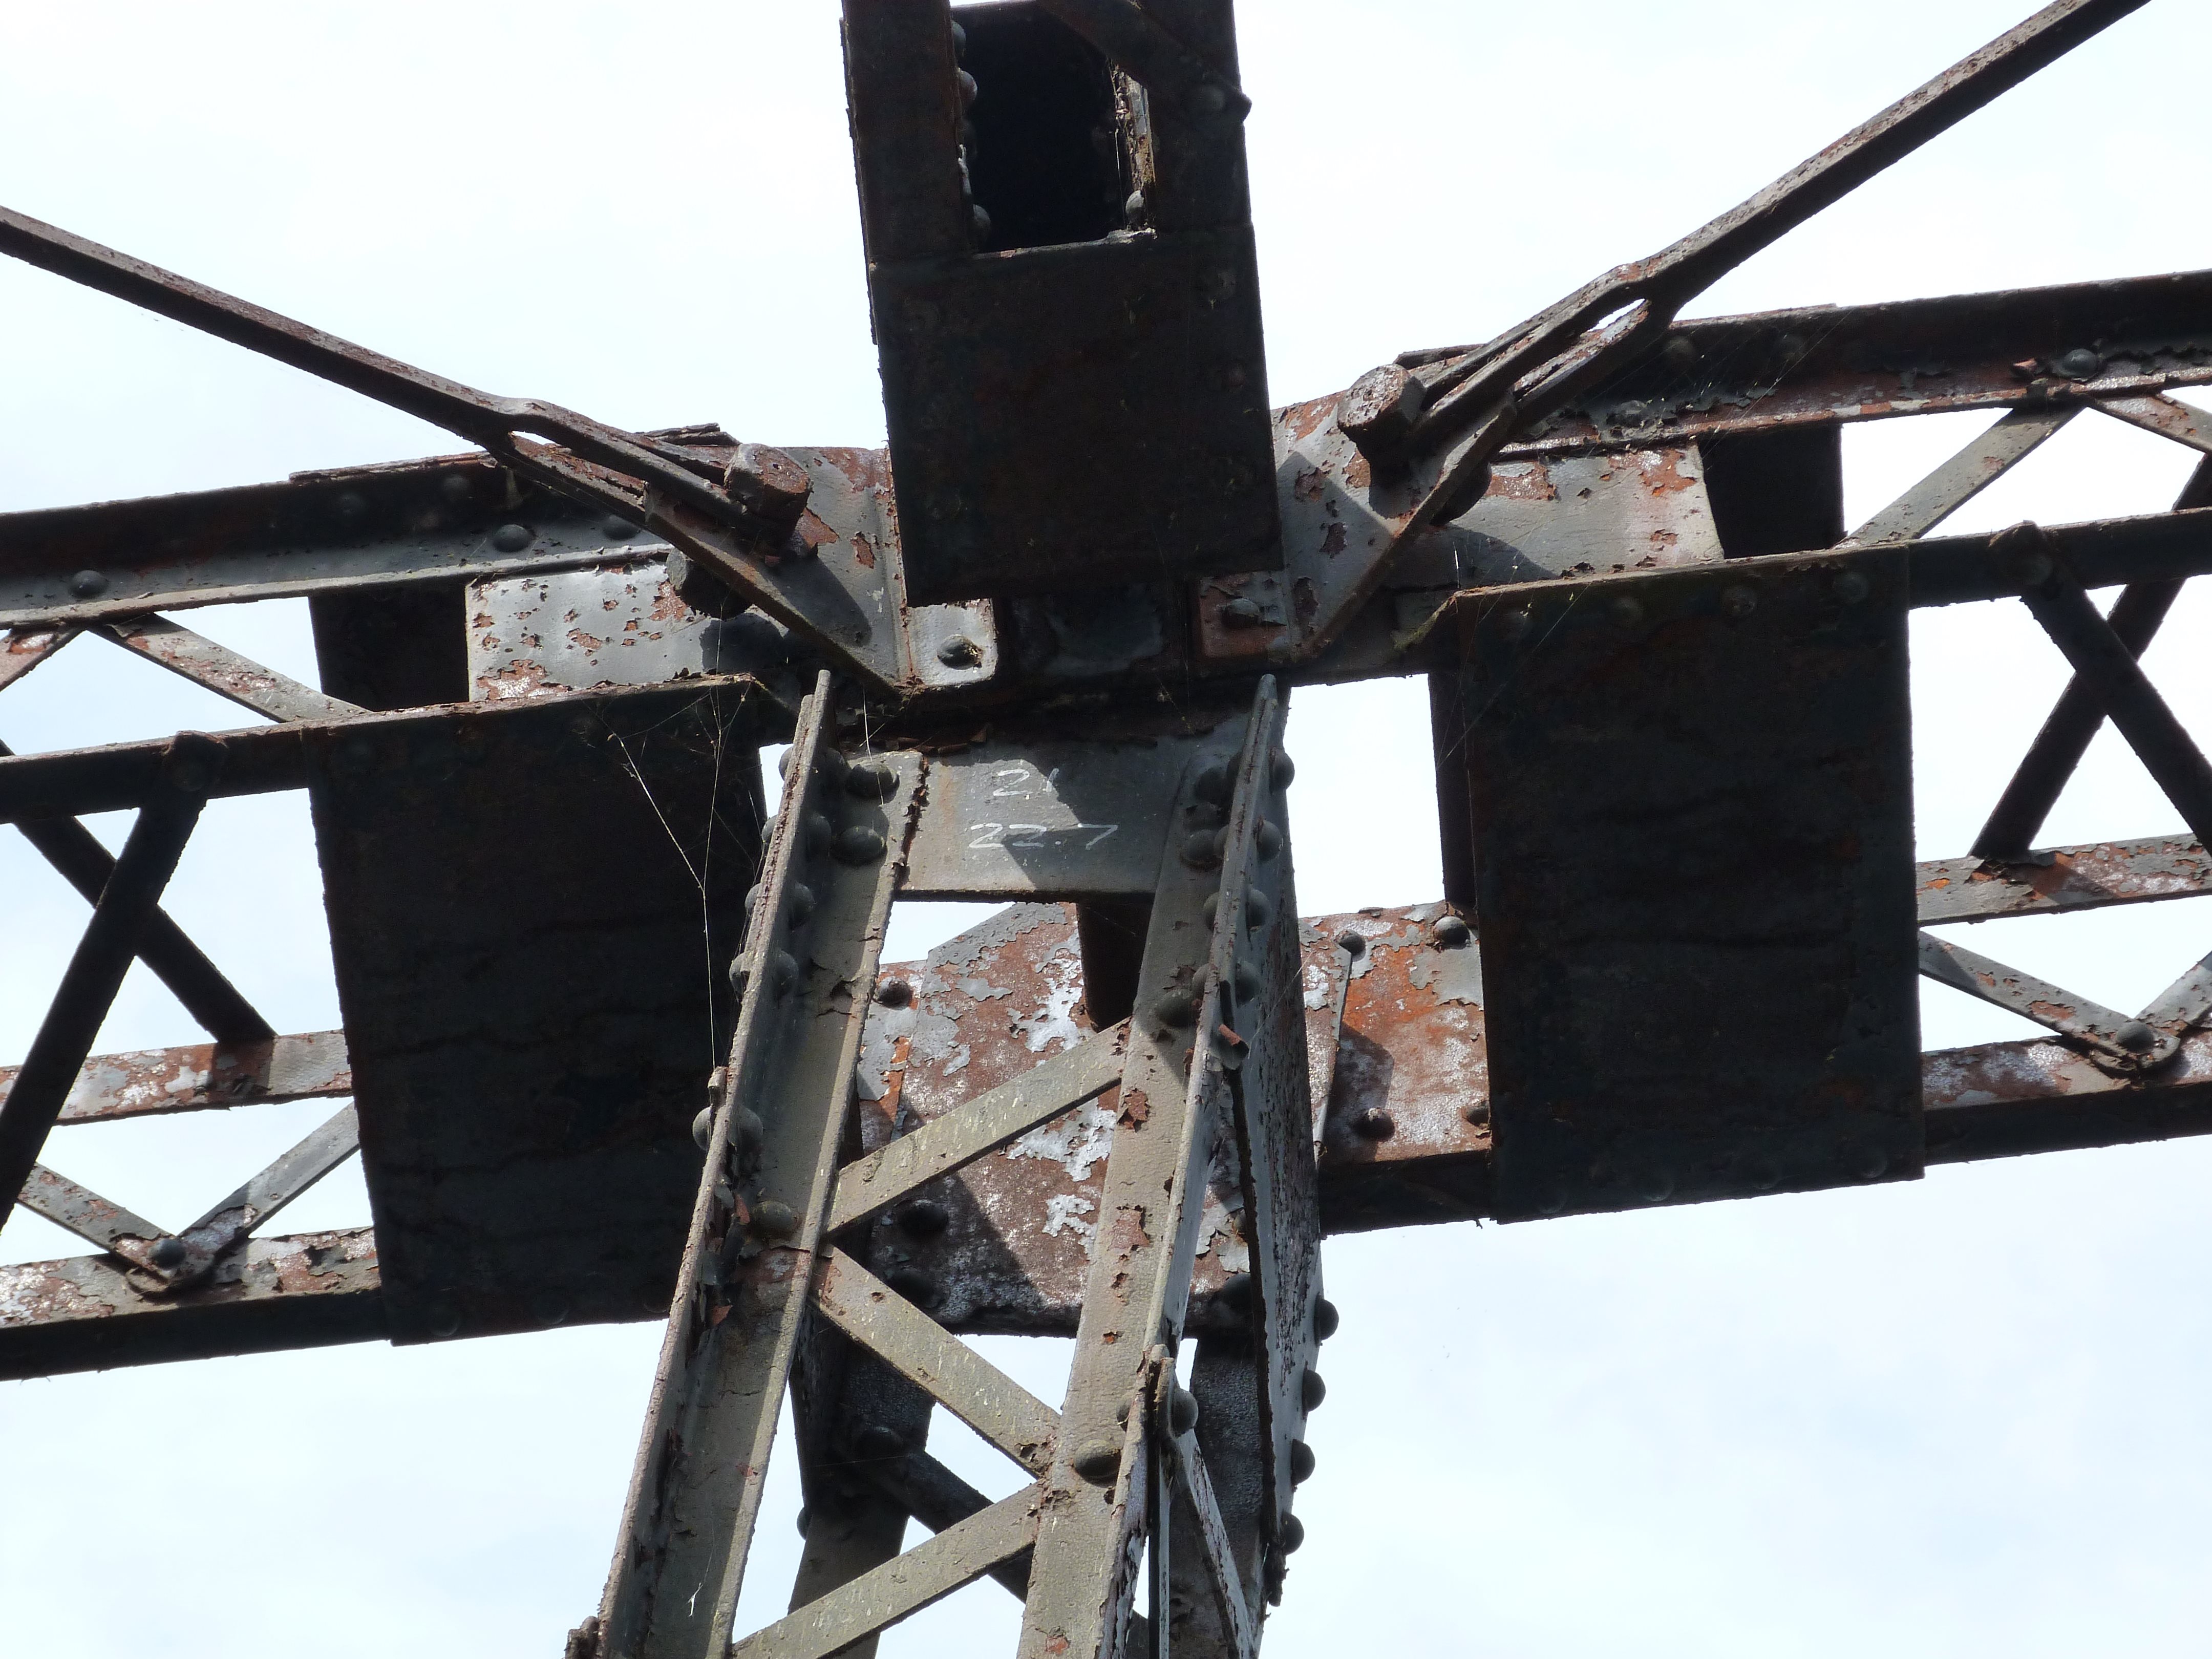
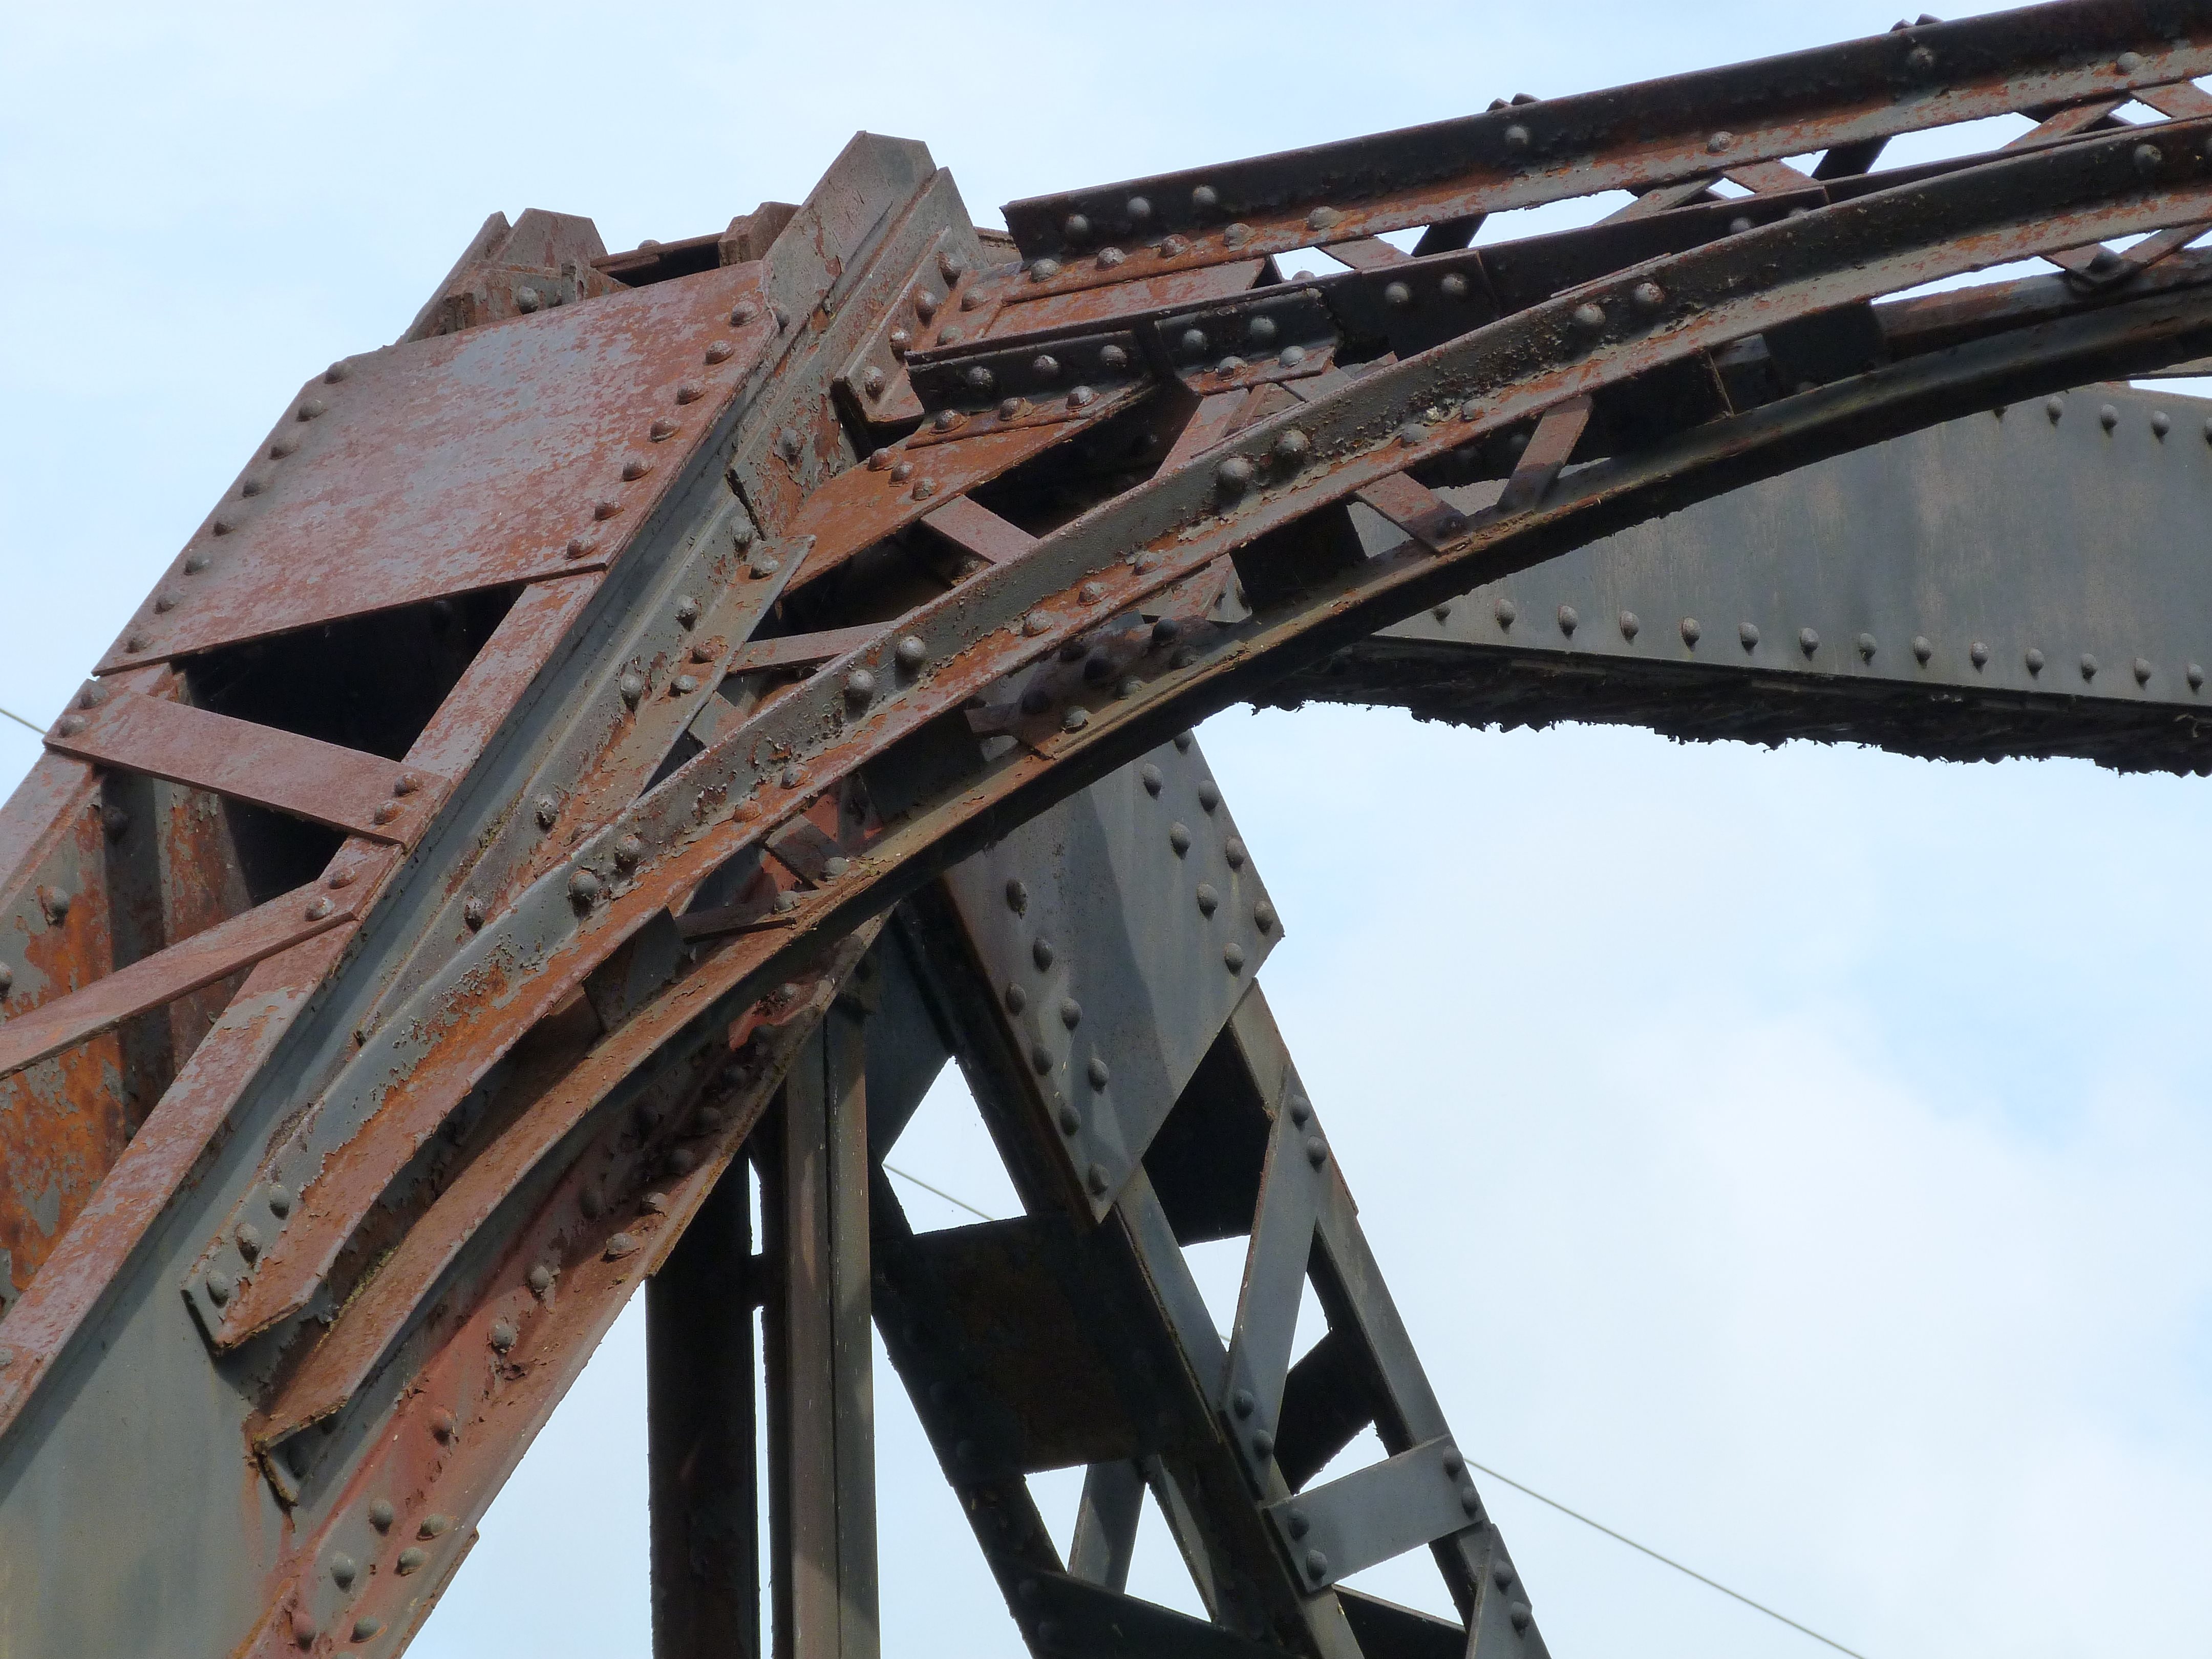
Suspended span top chord connections.
![]()

Suspended span top chord.
![]()

Suspended span vertical member.
![]()

Bracing between end post bearings.
![]()


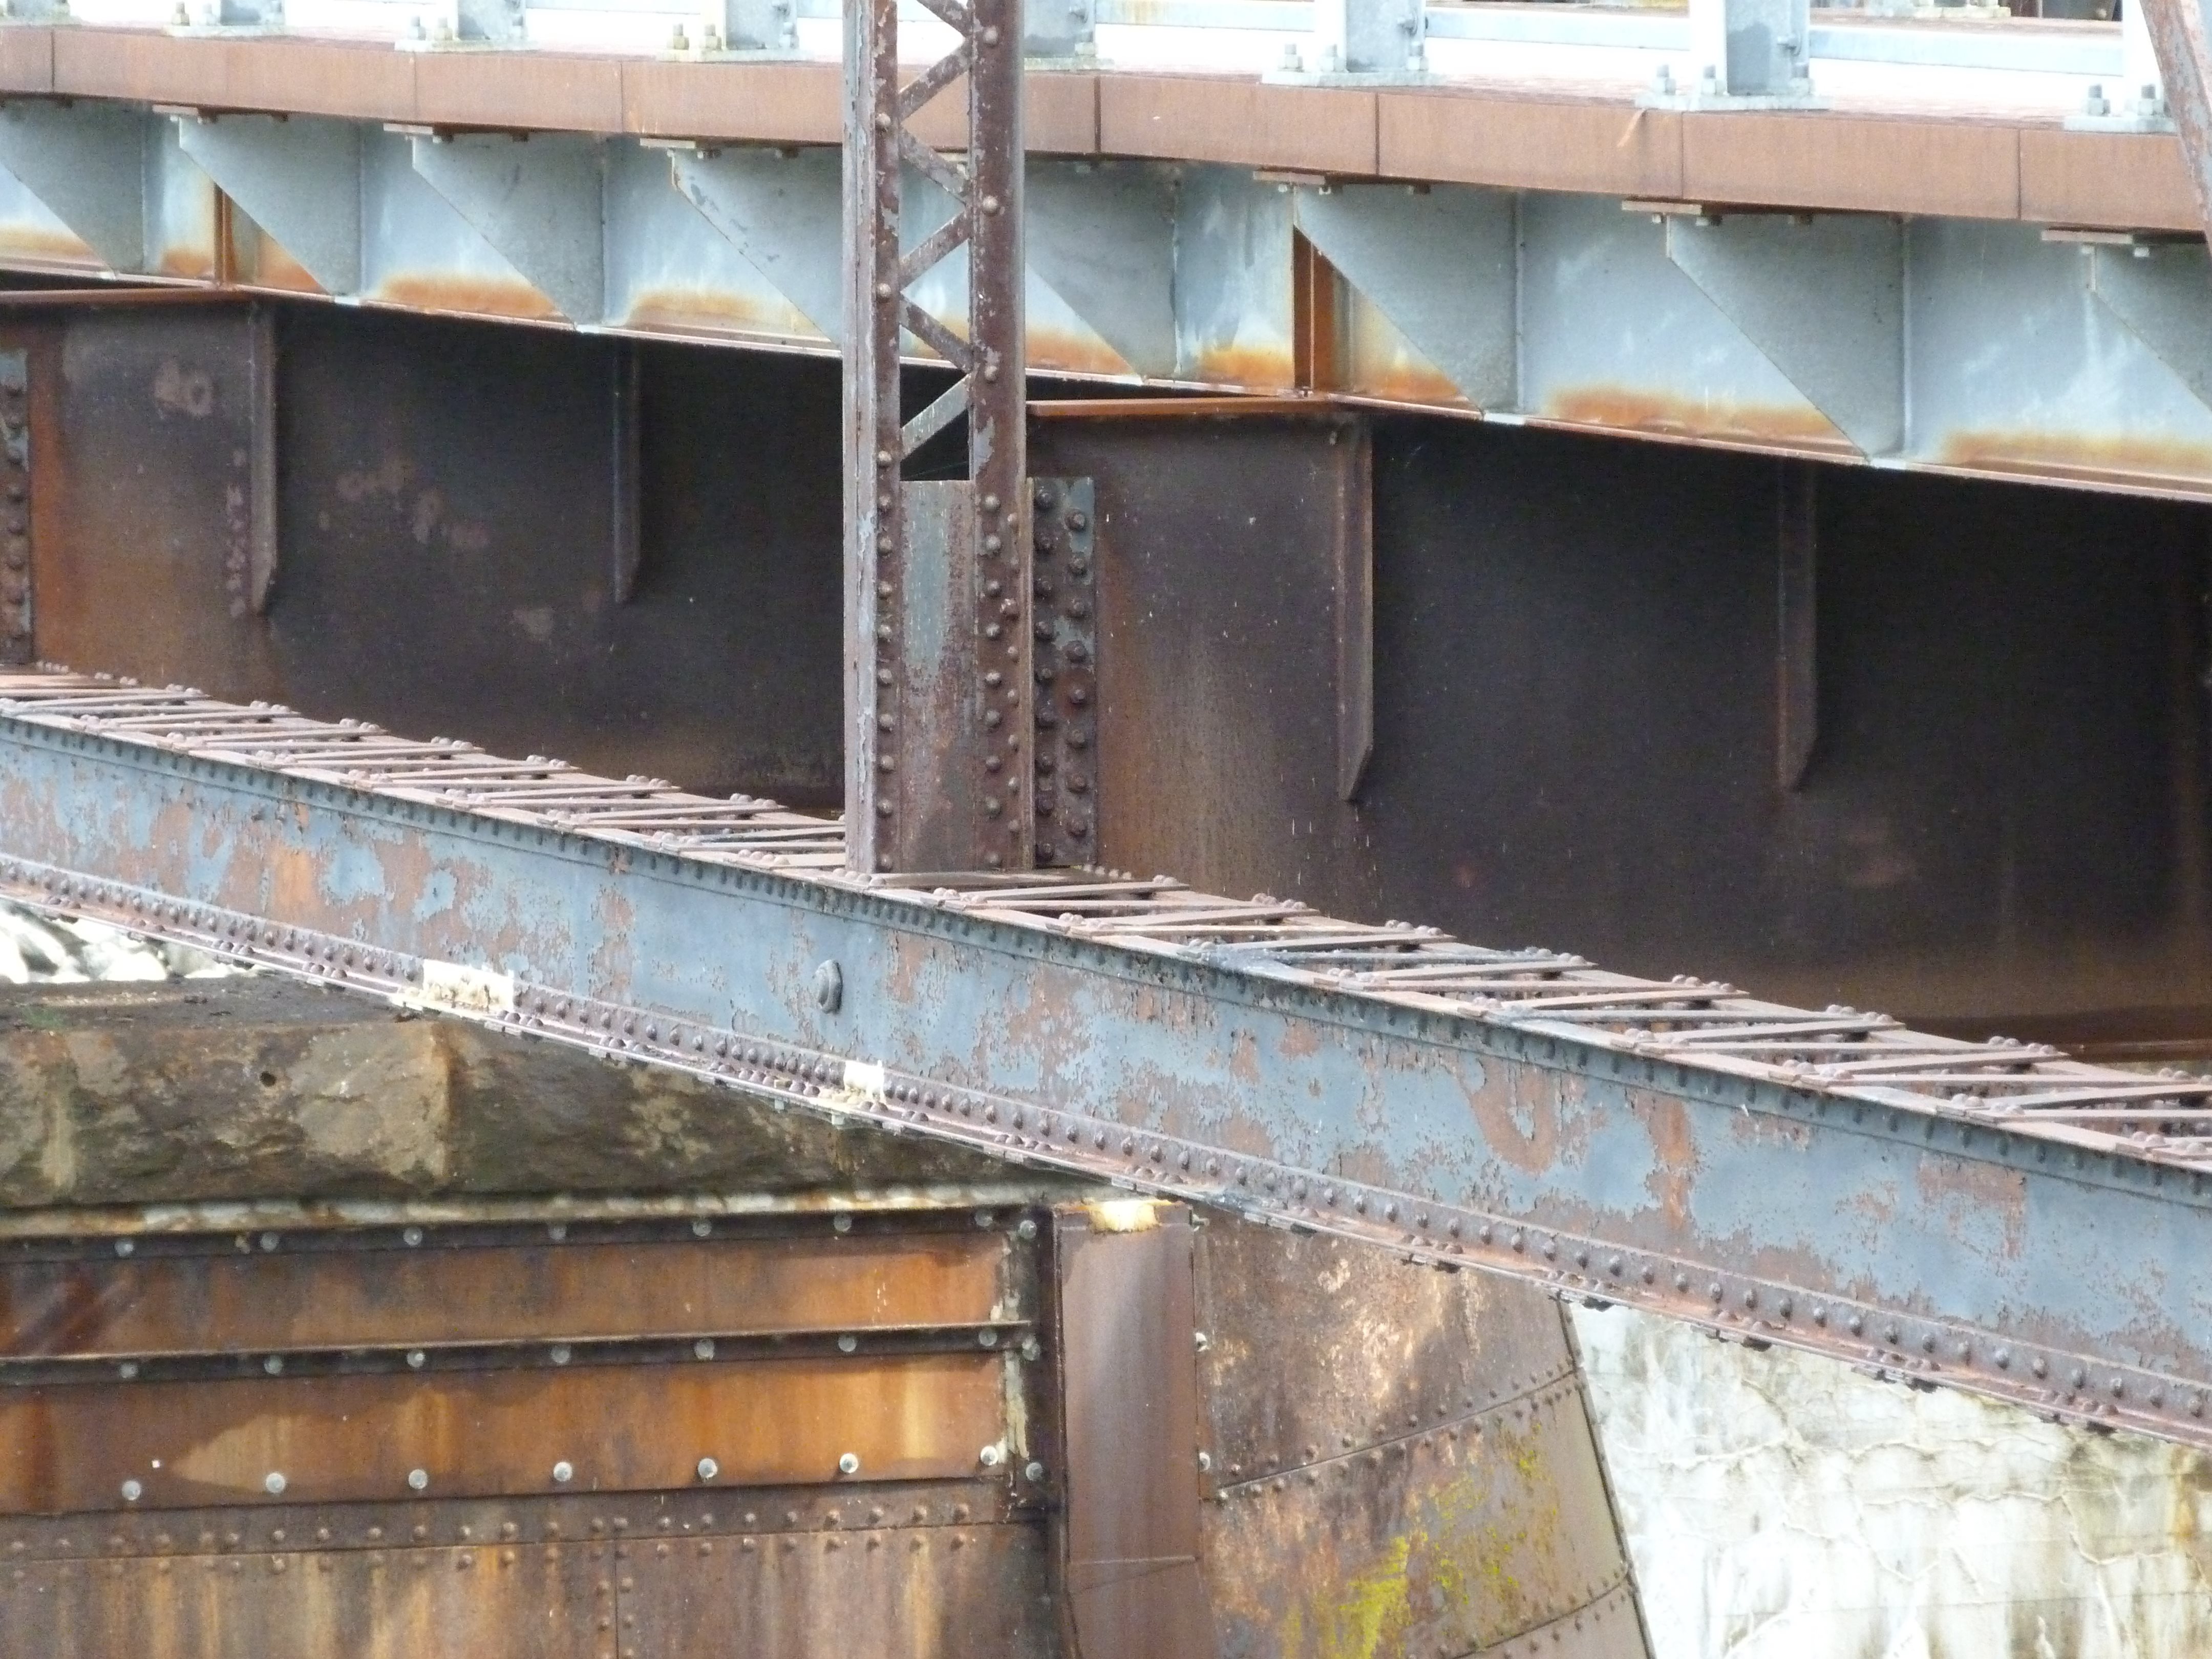
Views under bridge.
![]()

Floor beam.
![]()
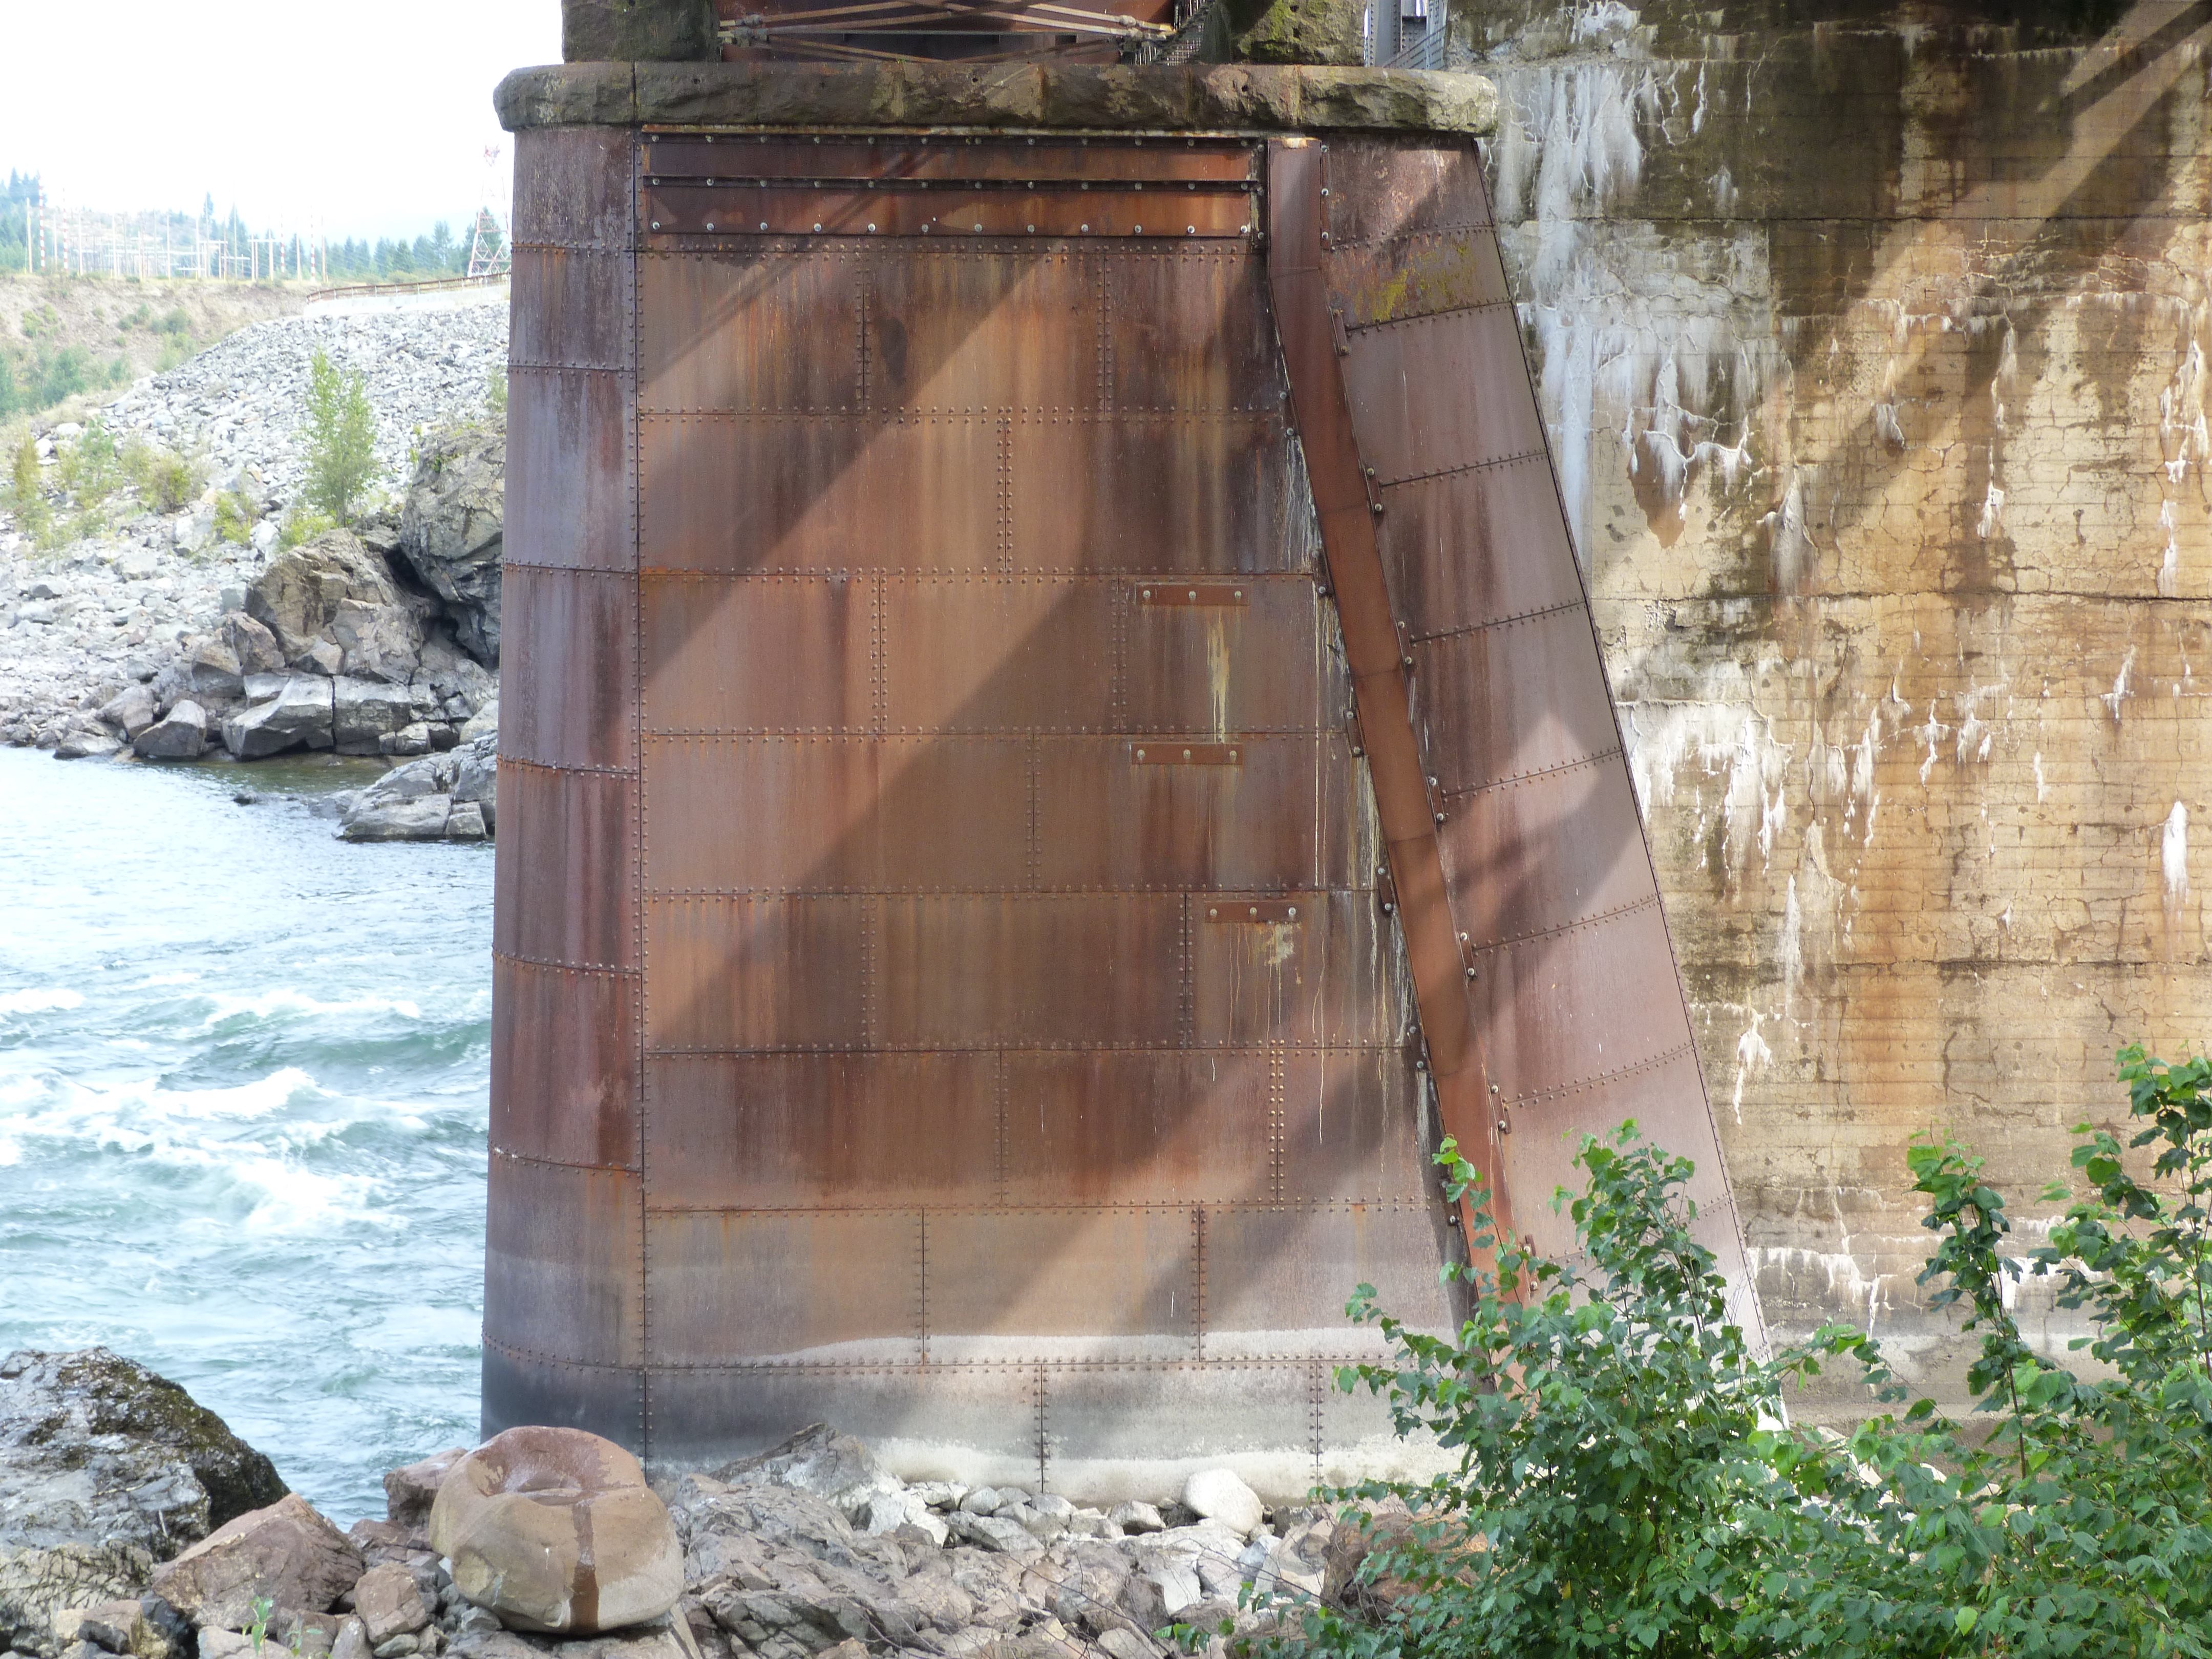

Pier.
![]()

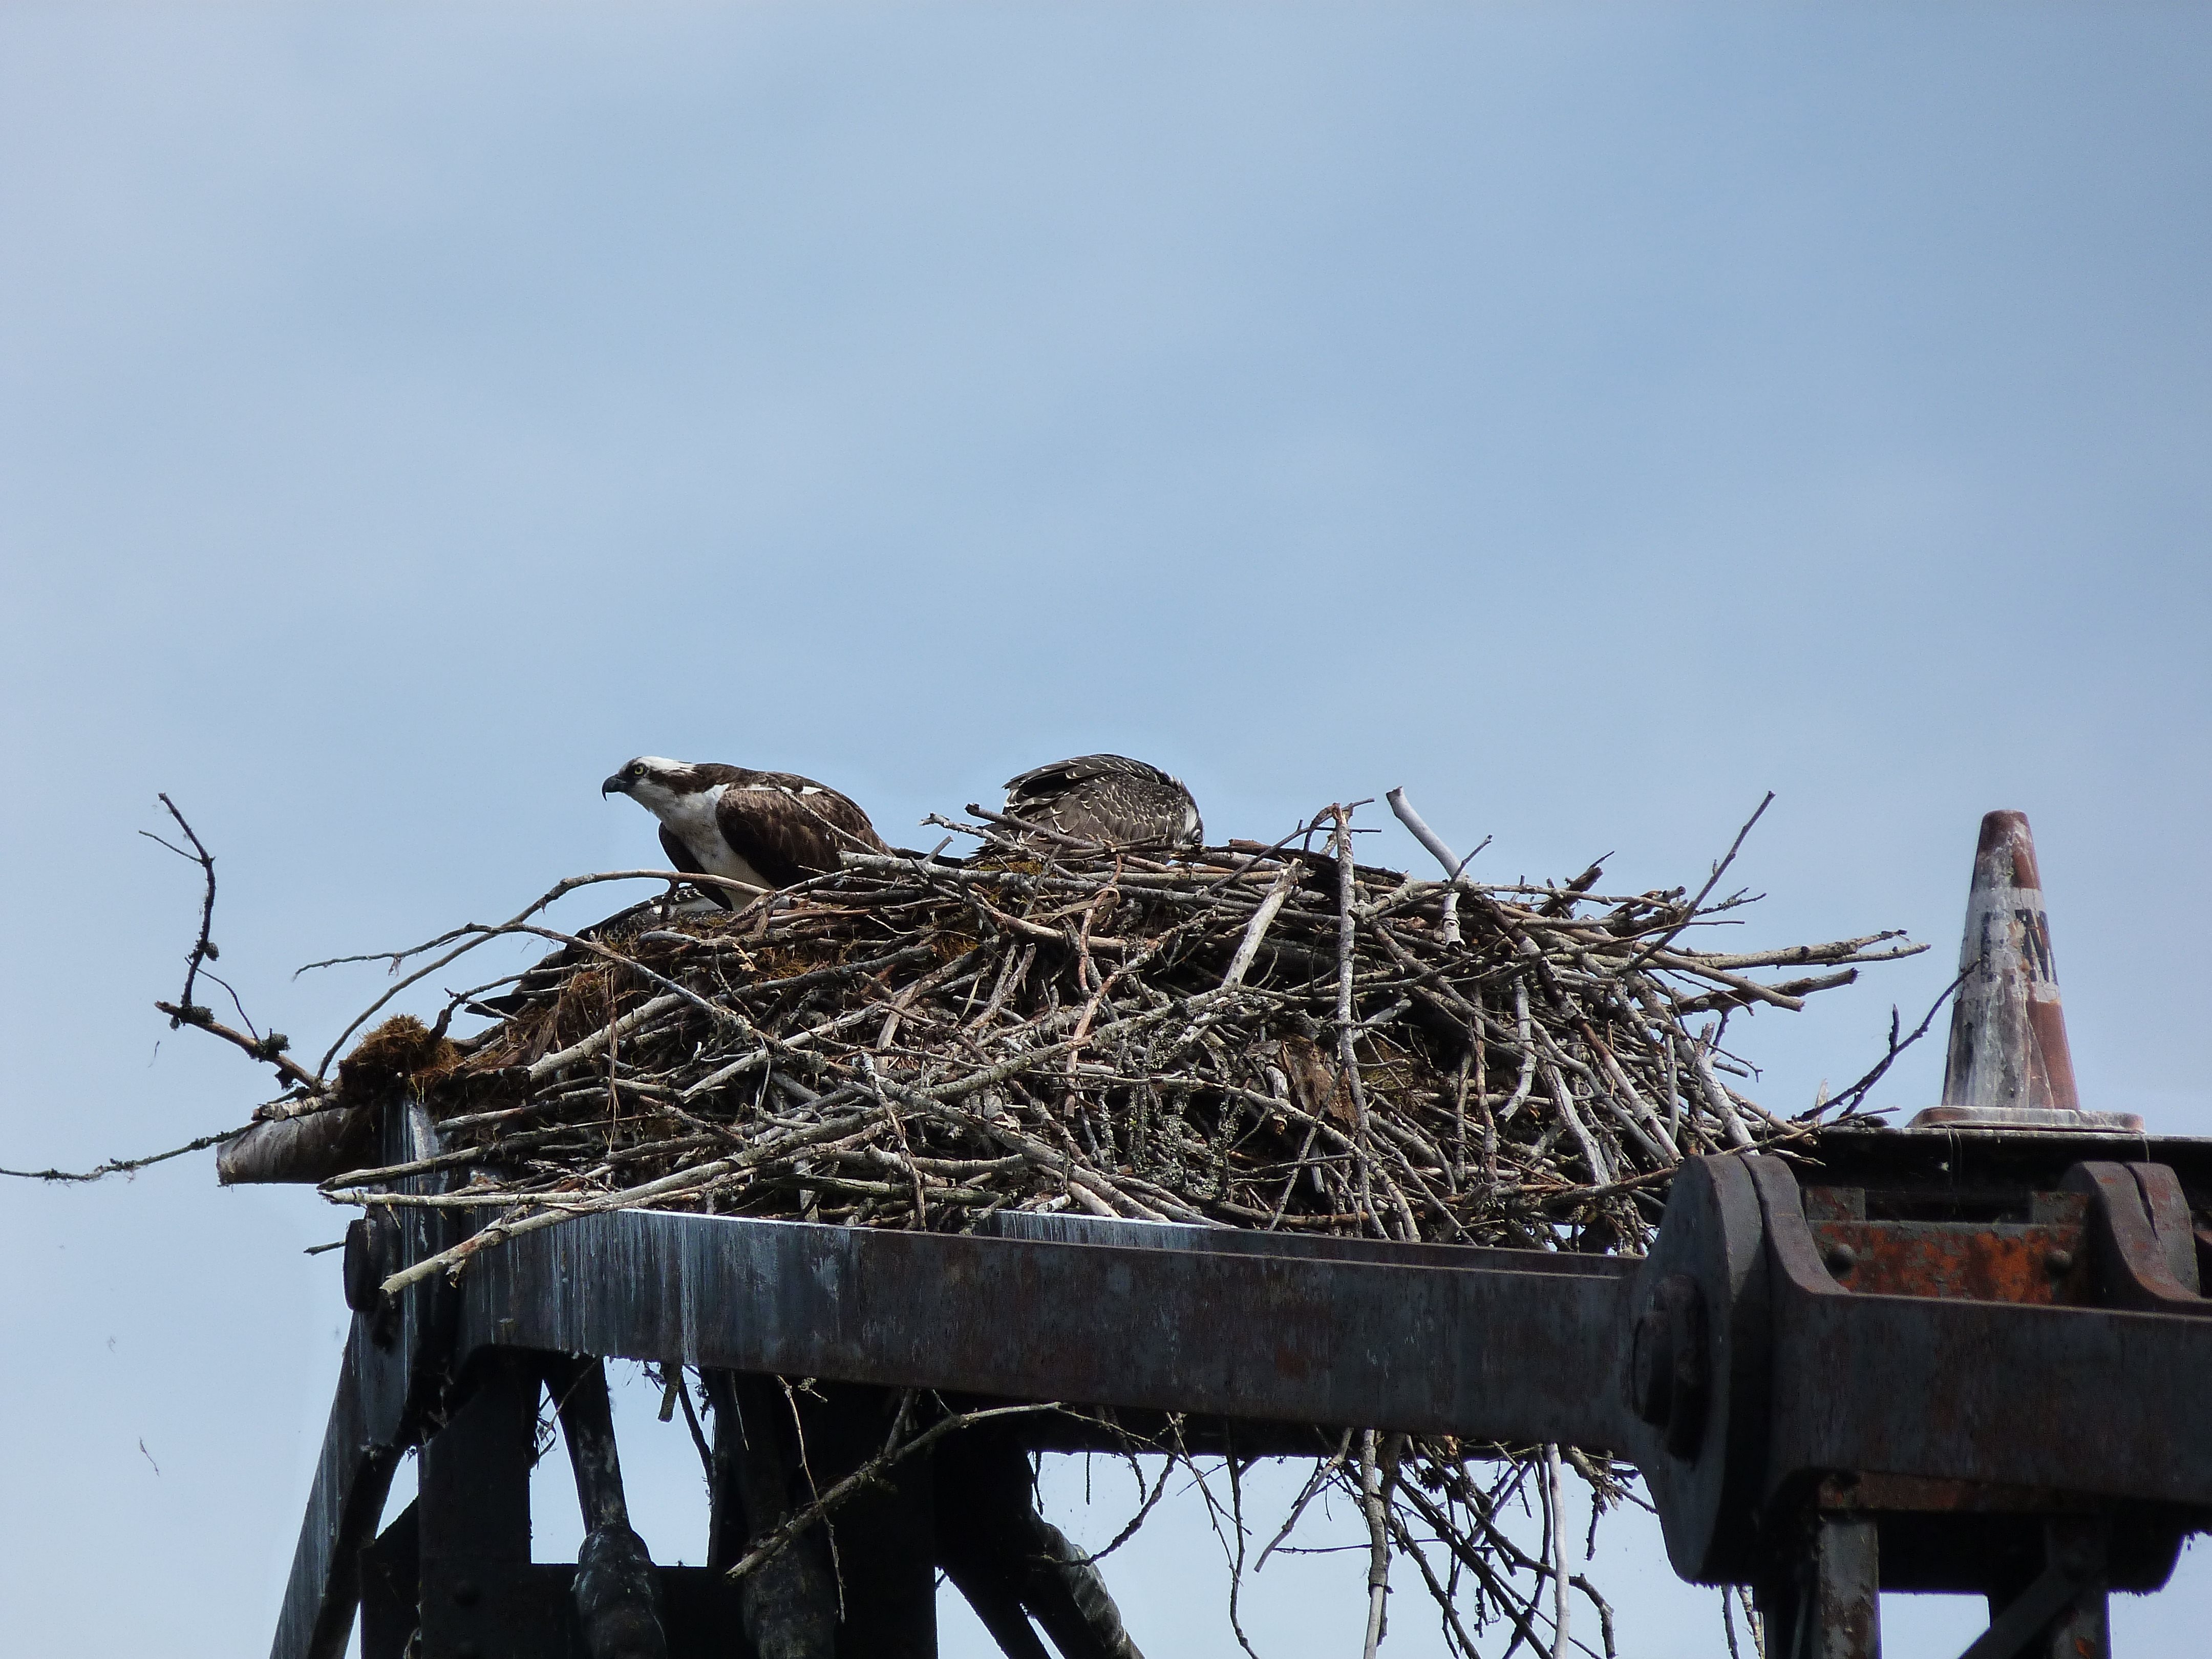
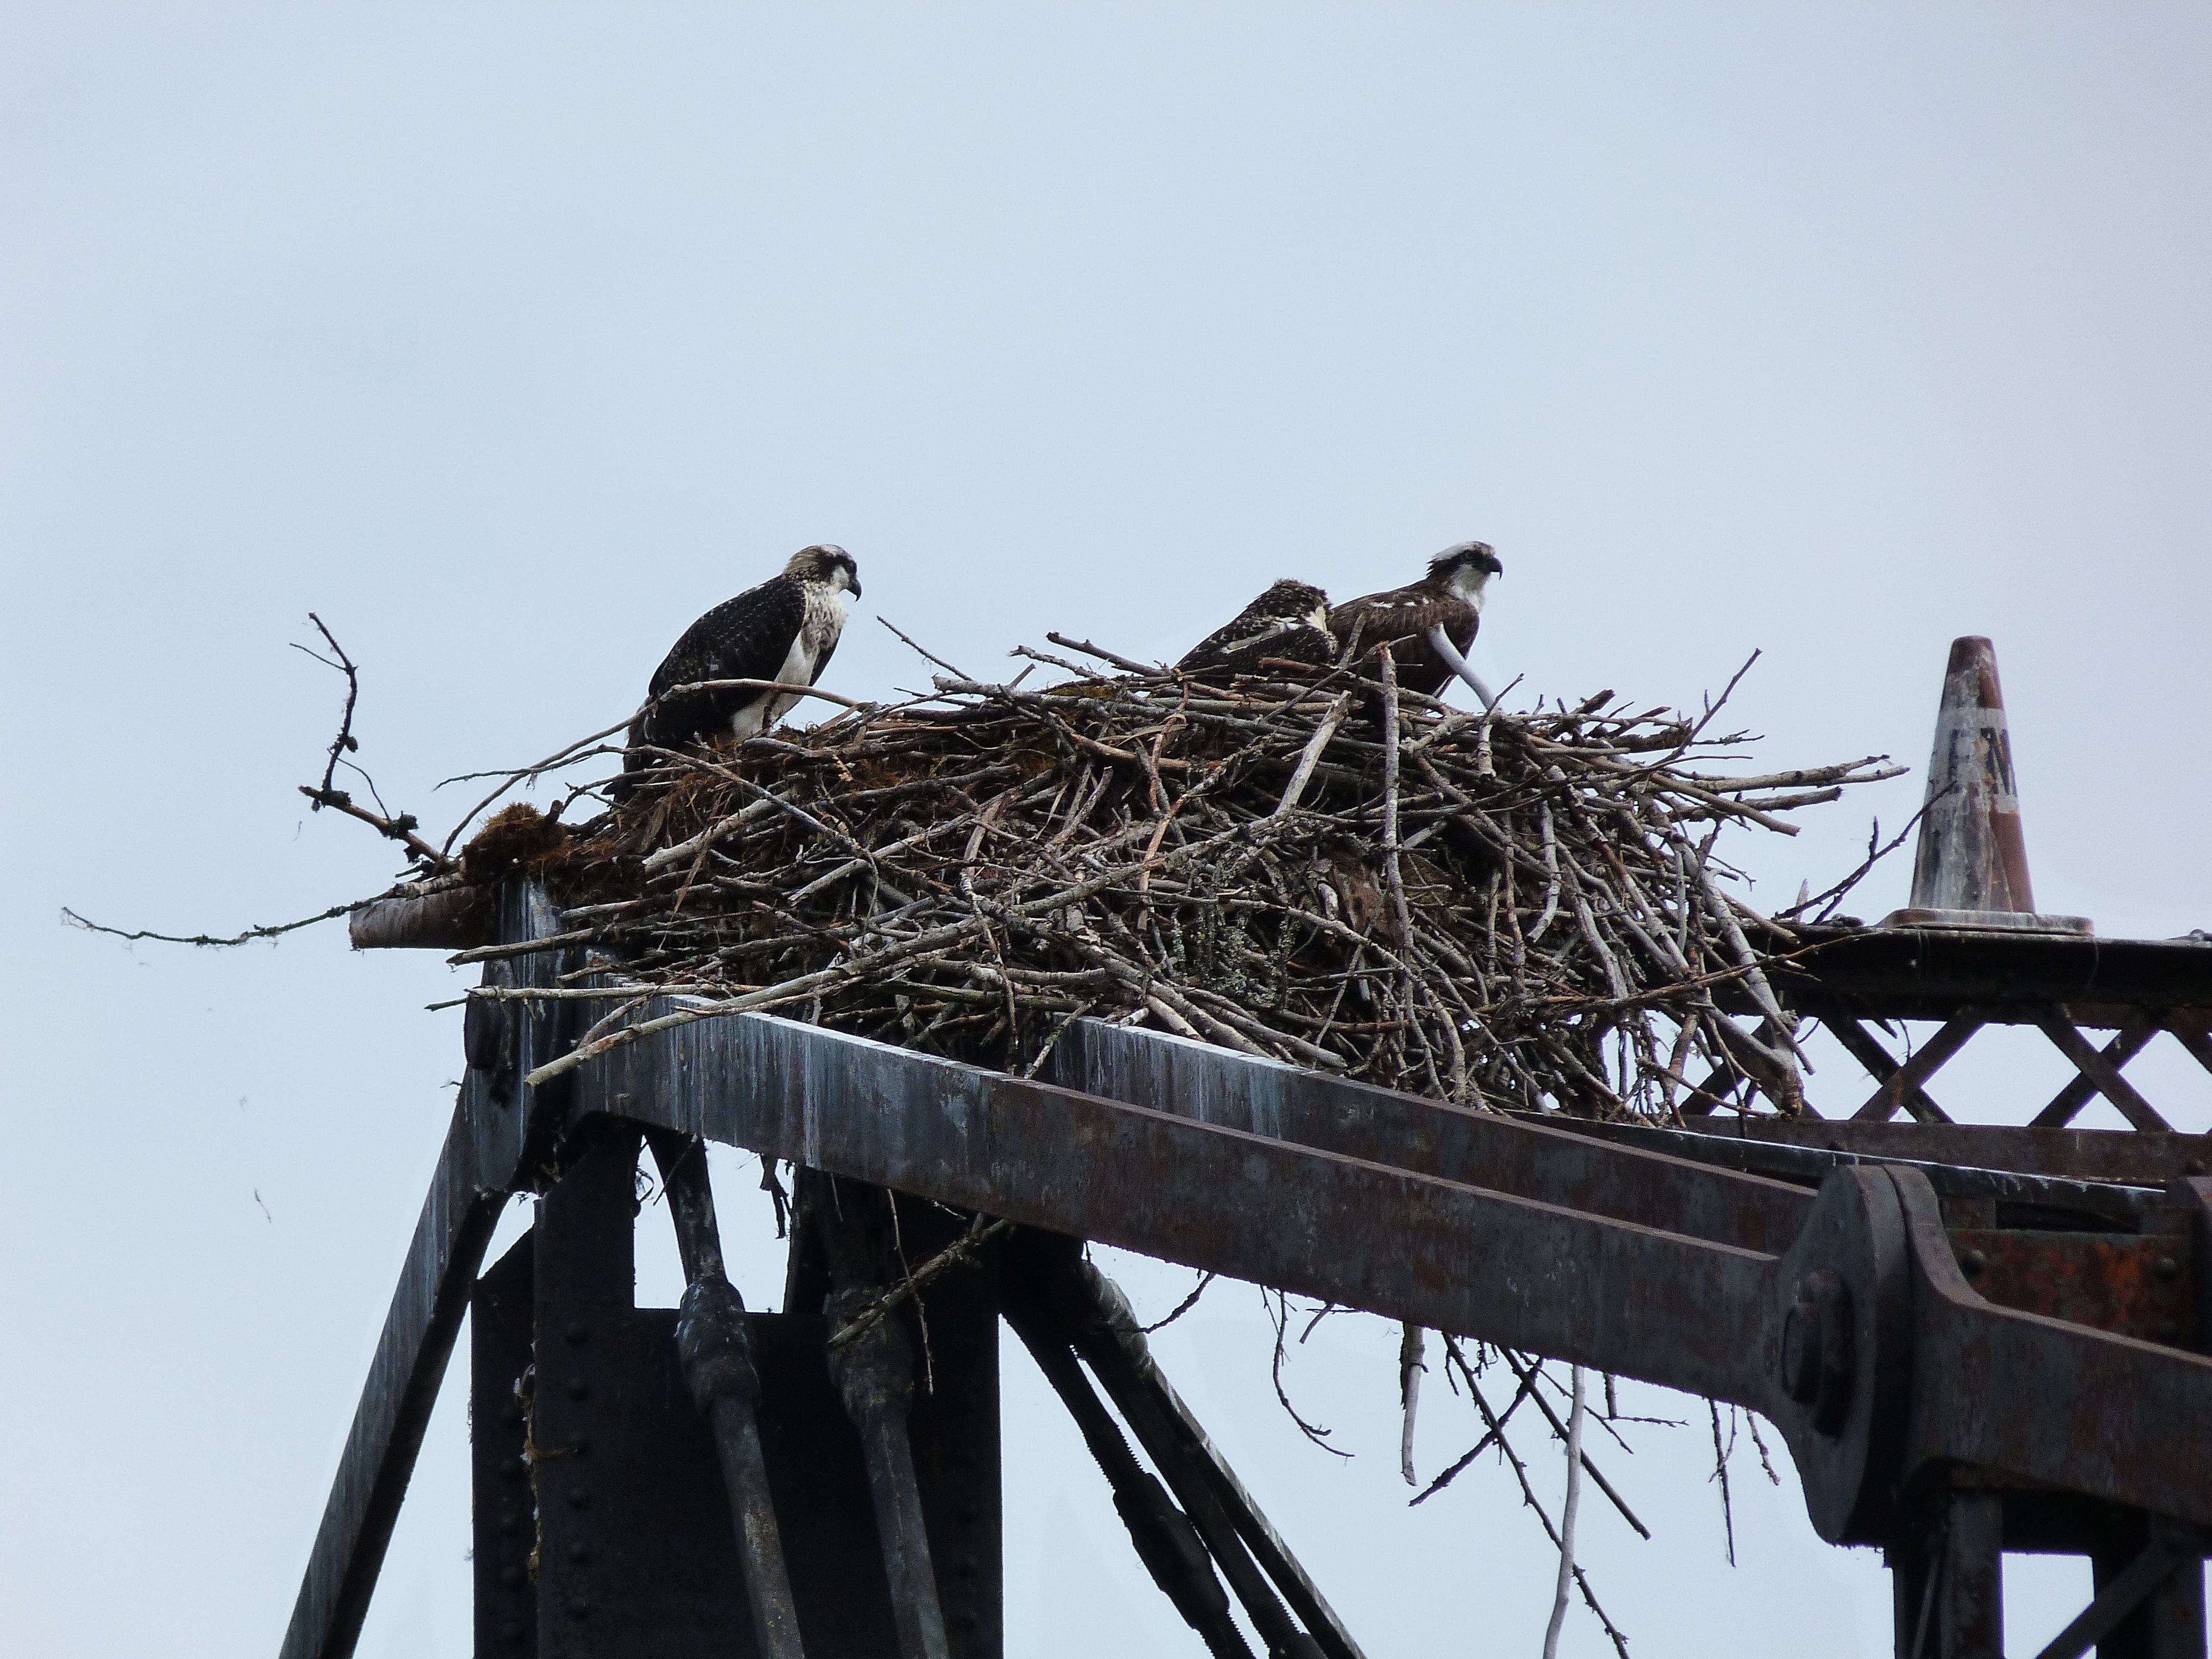
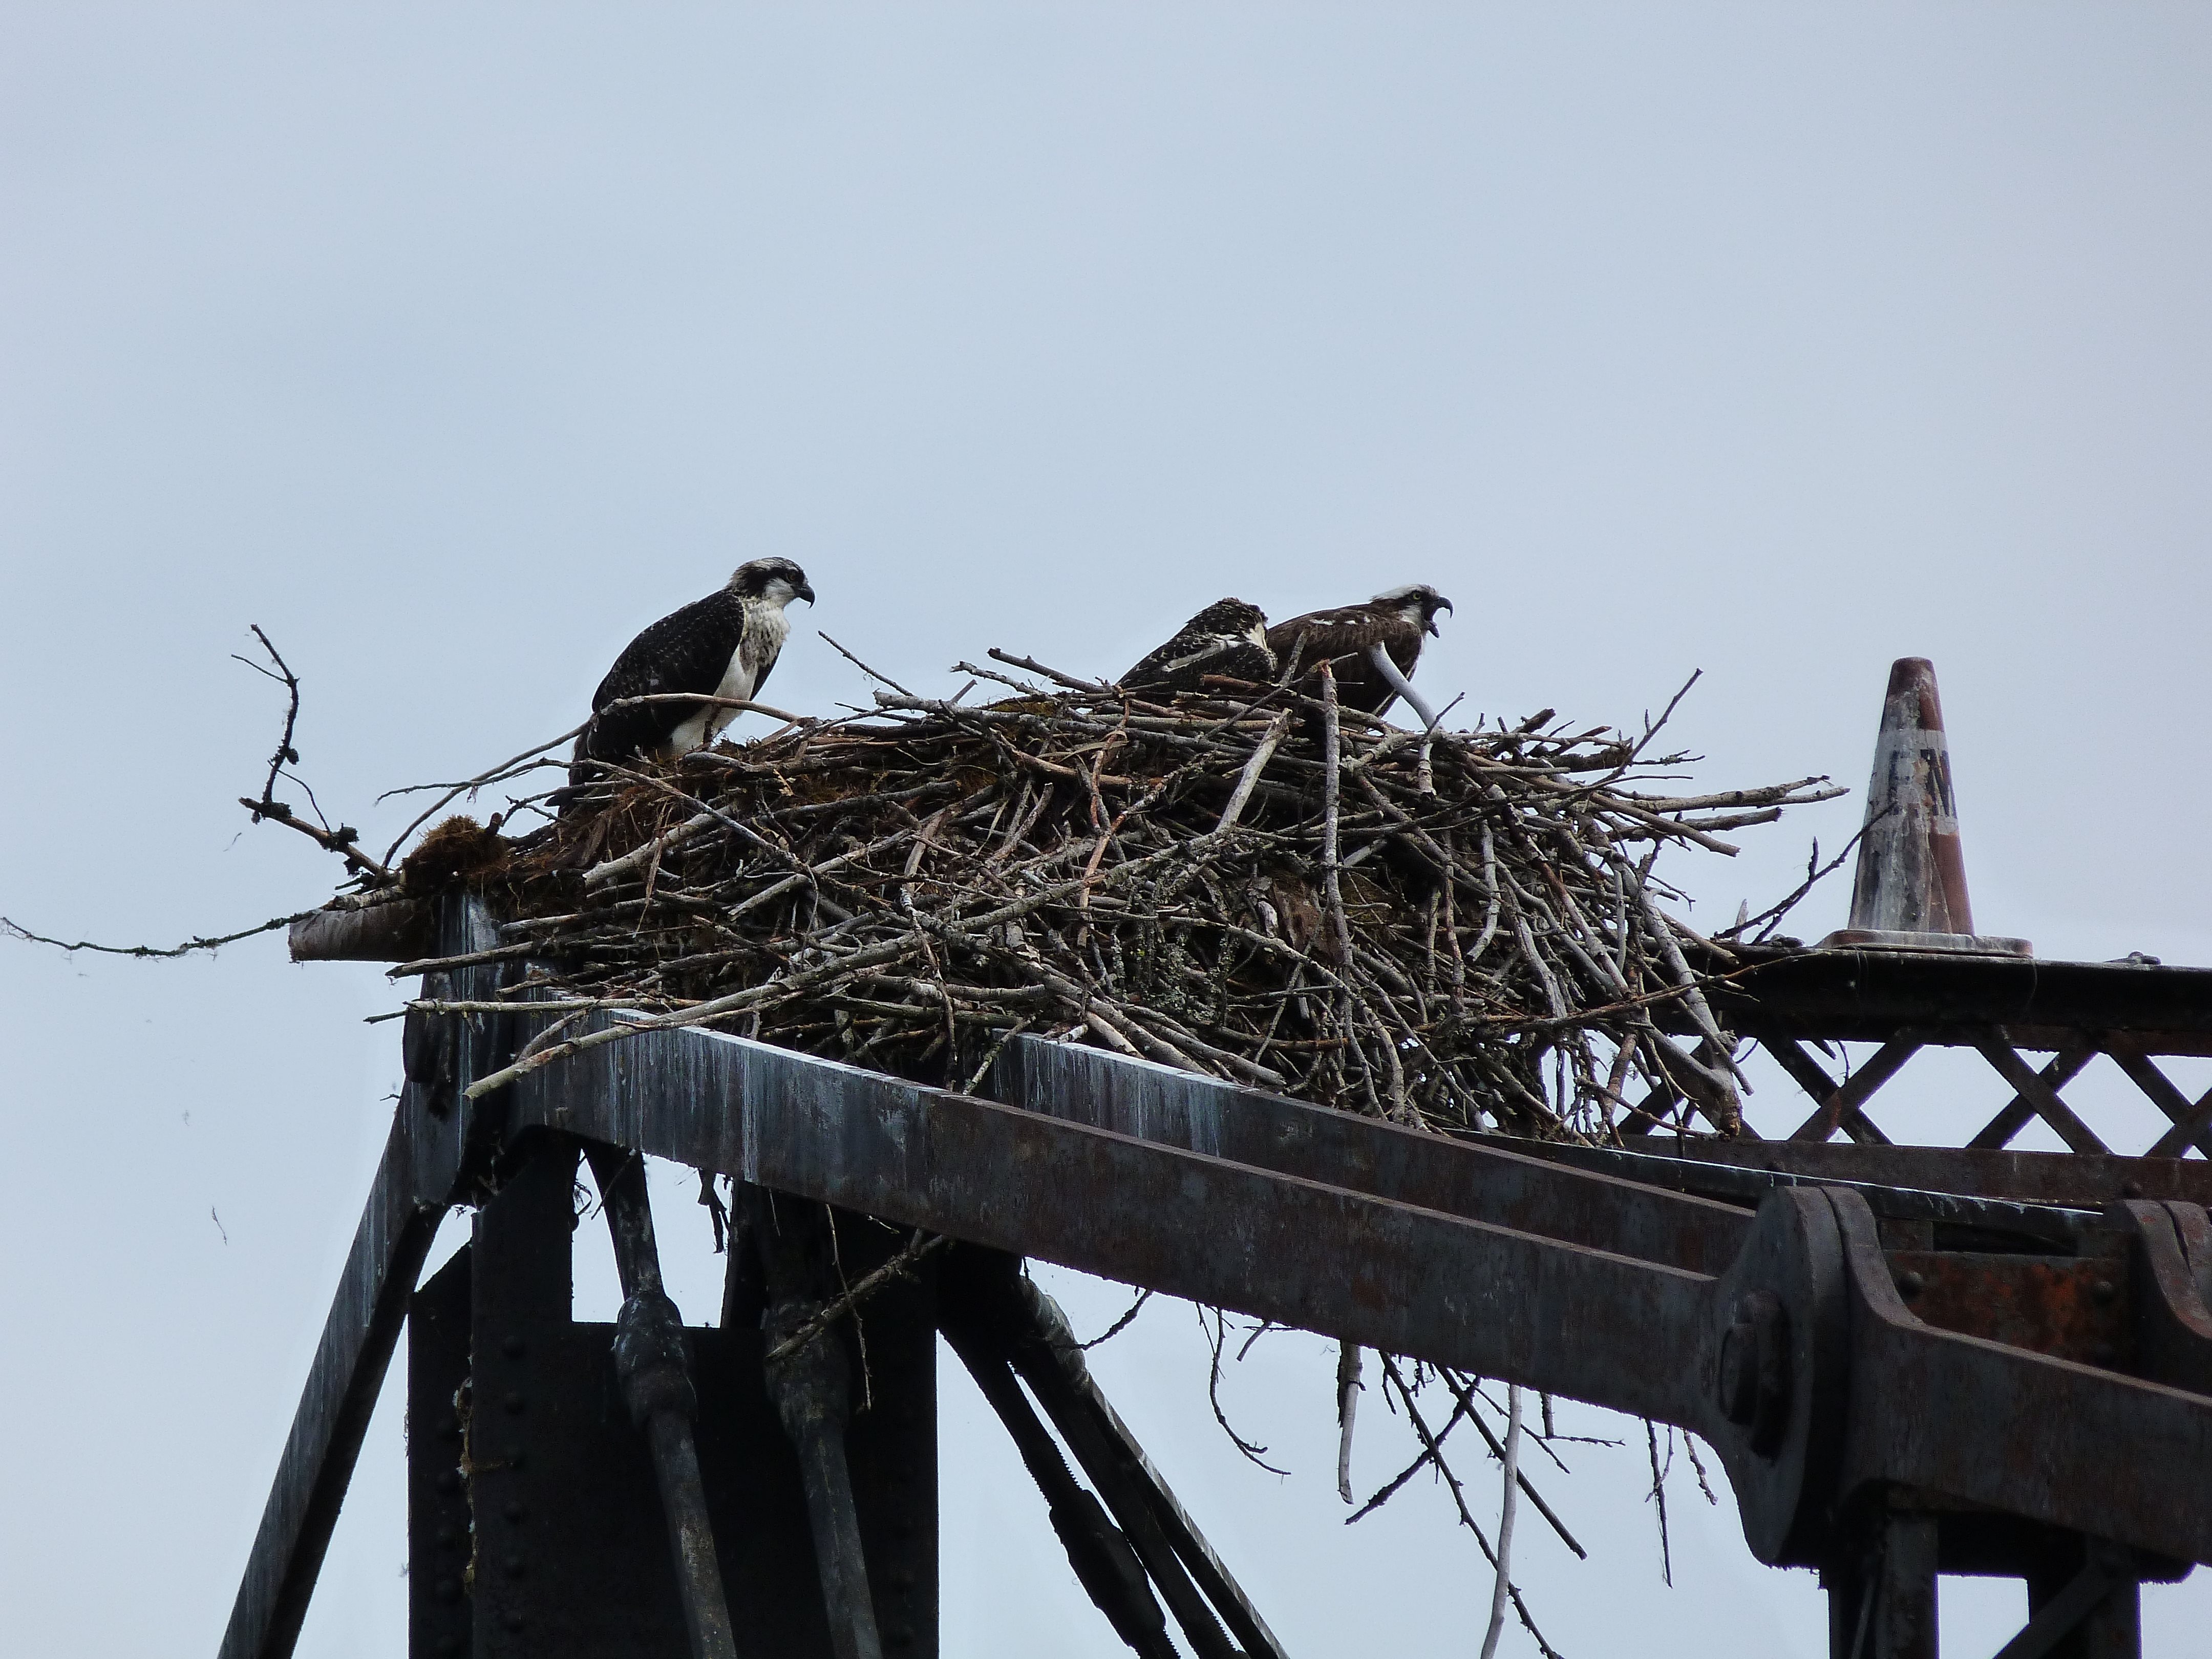
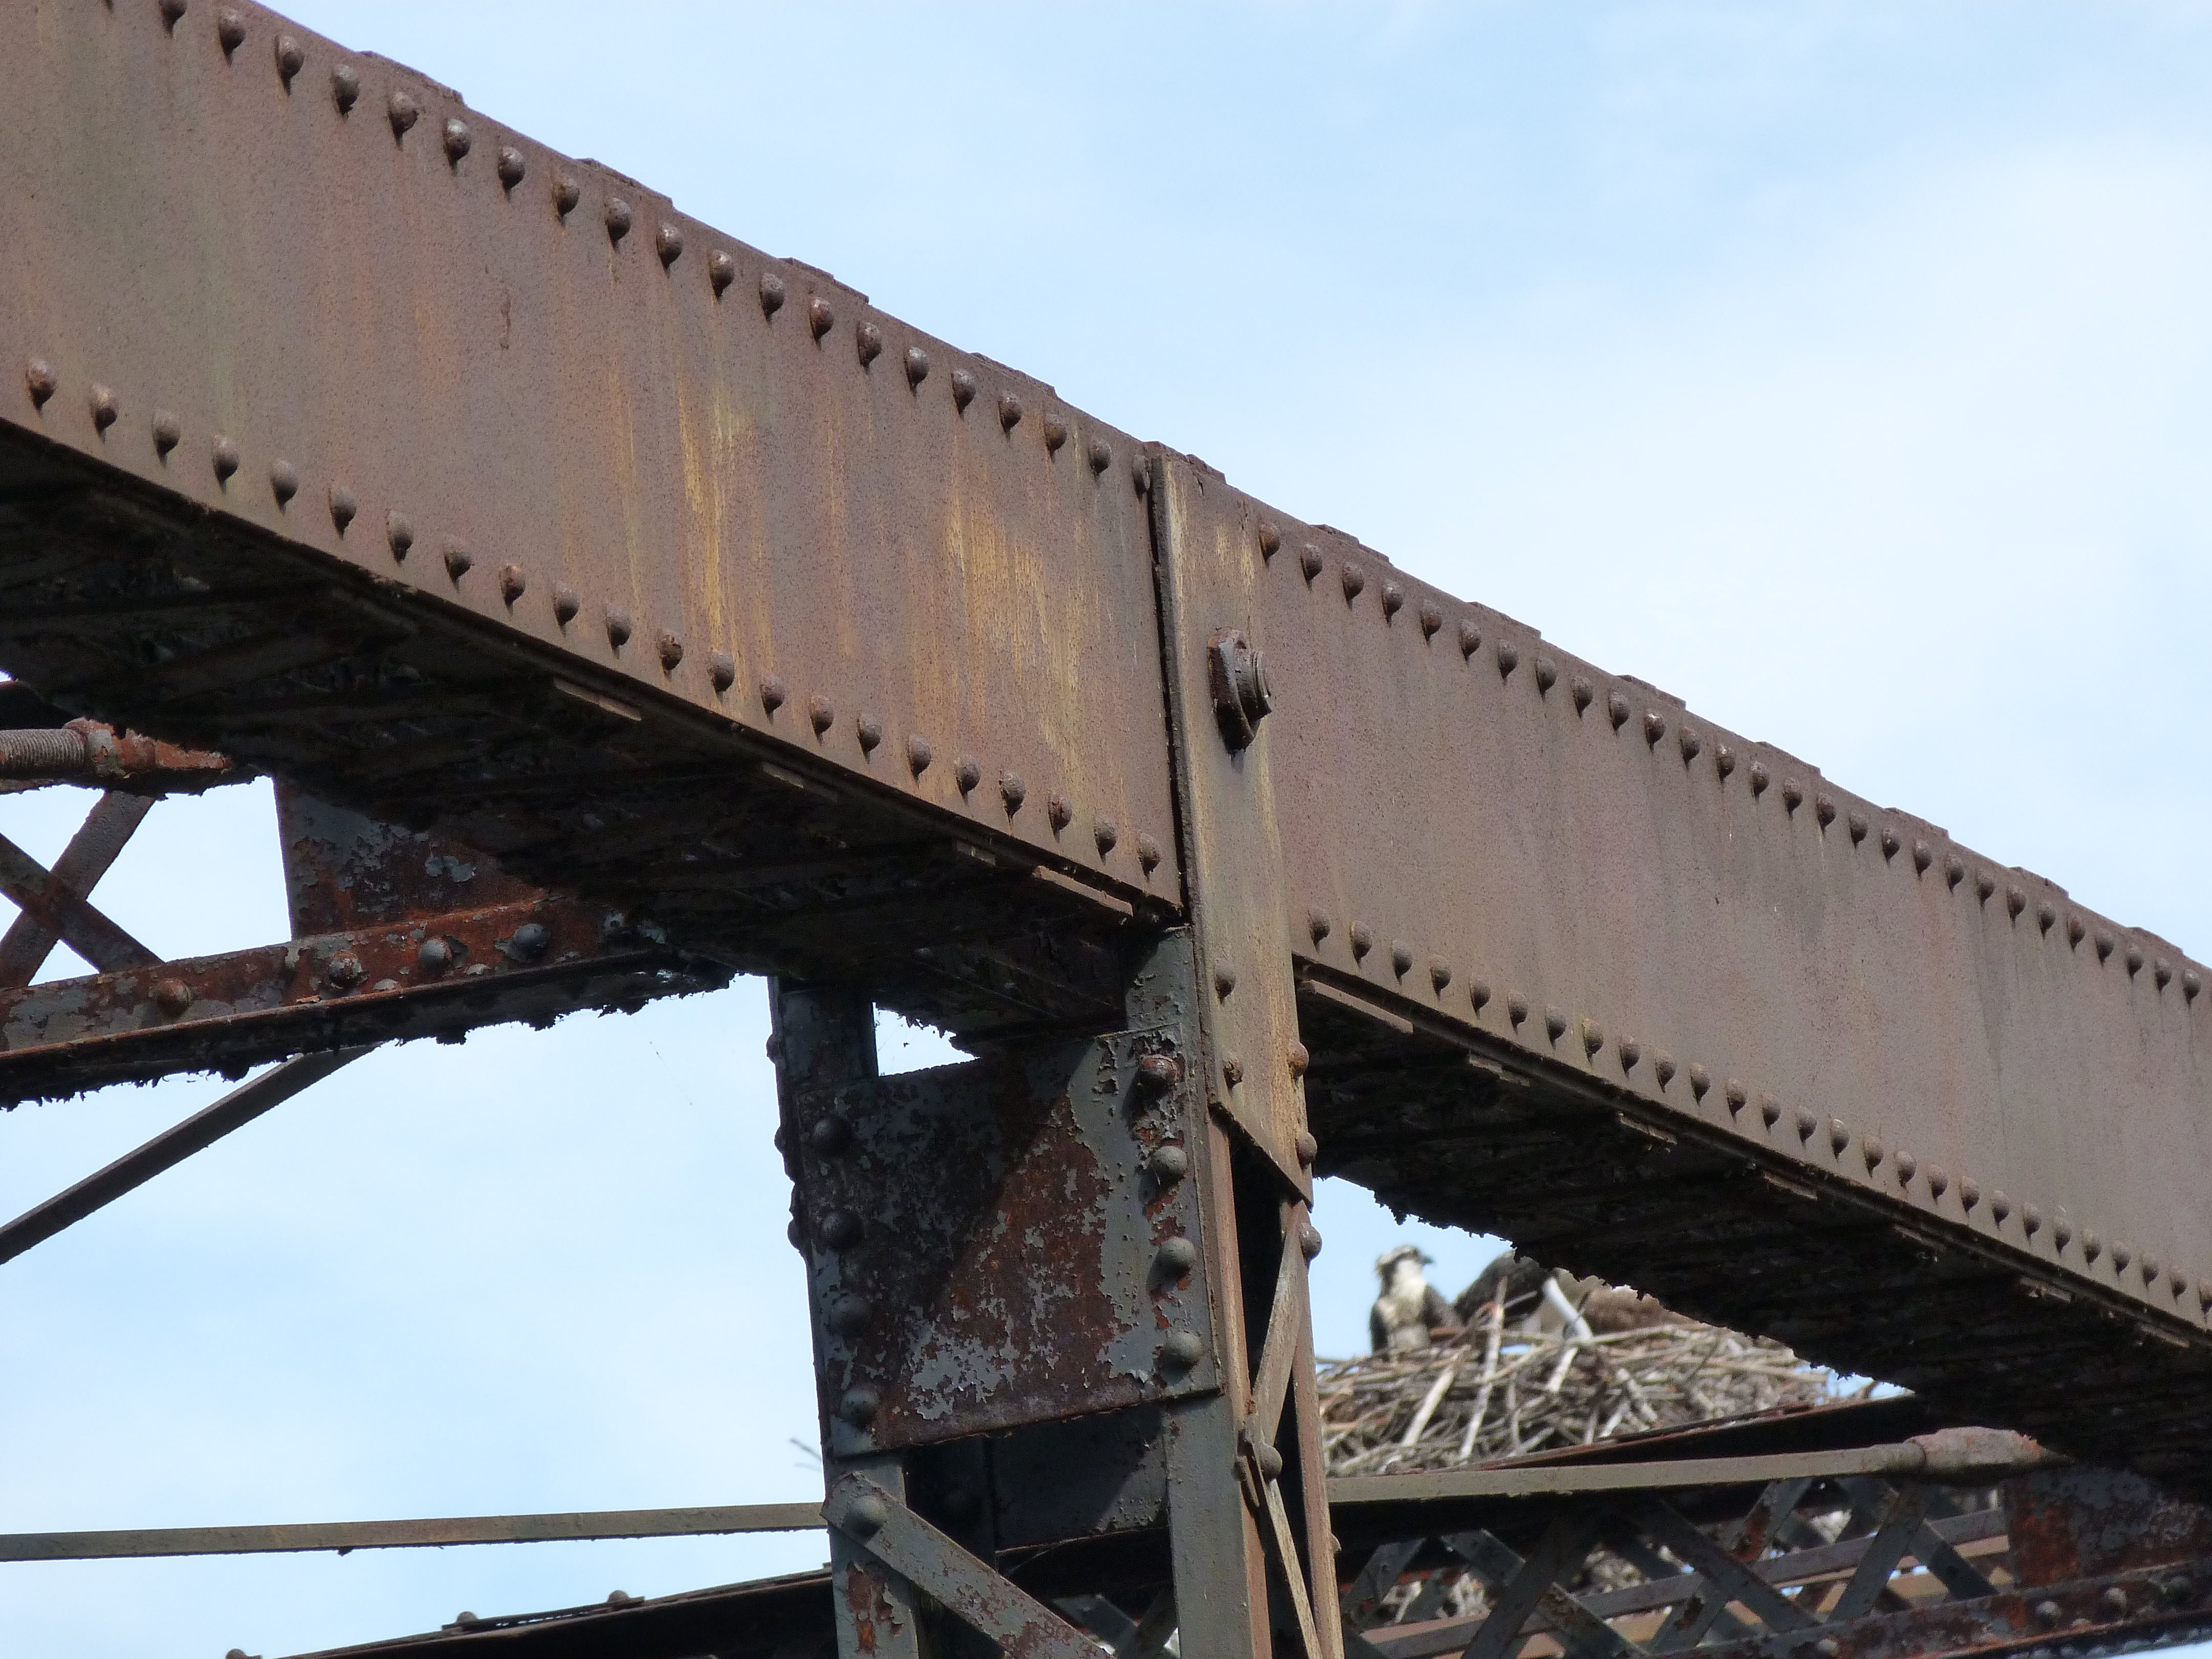
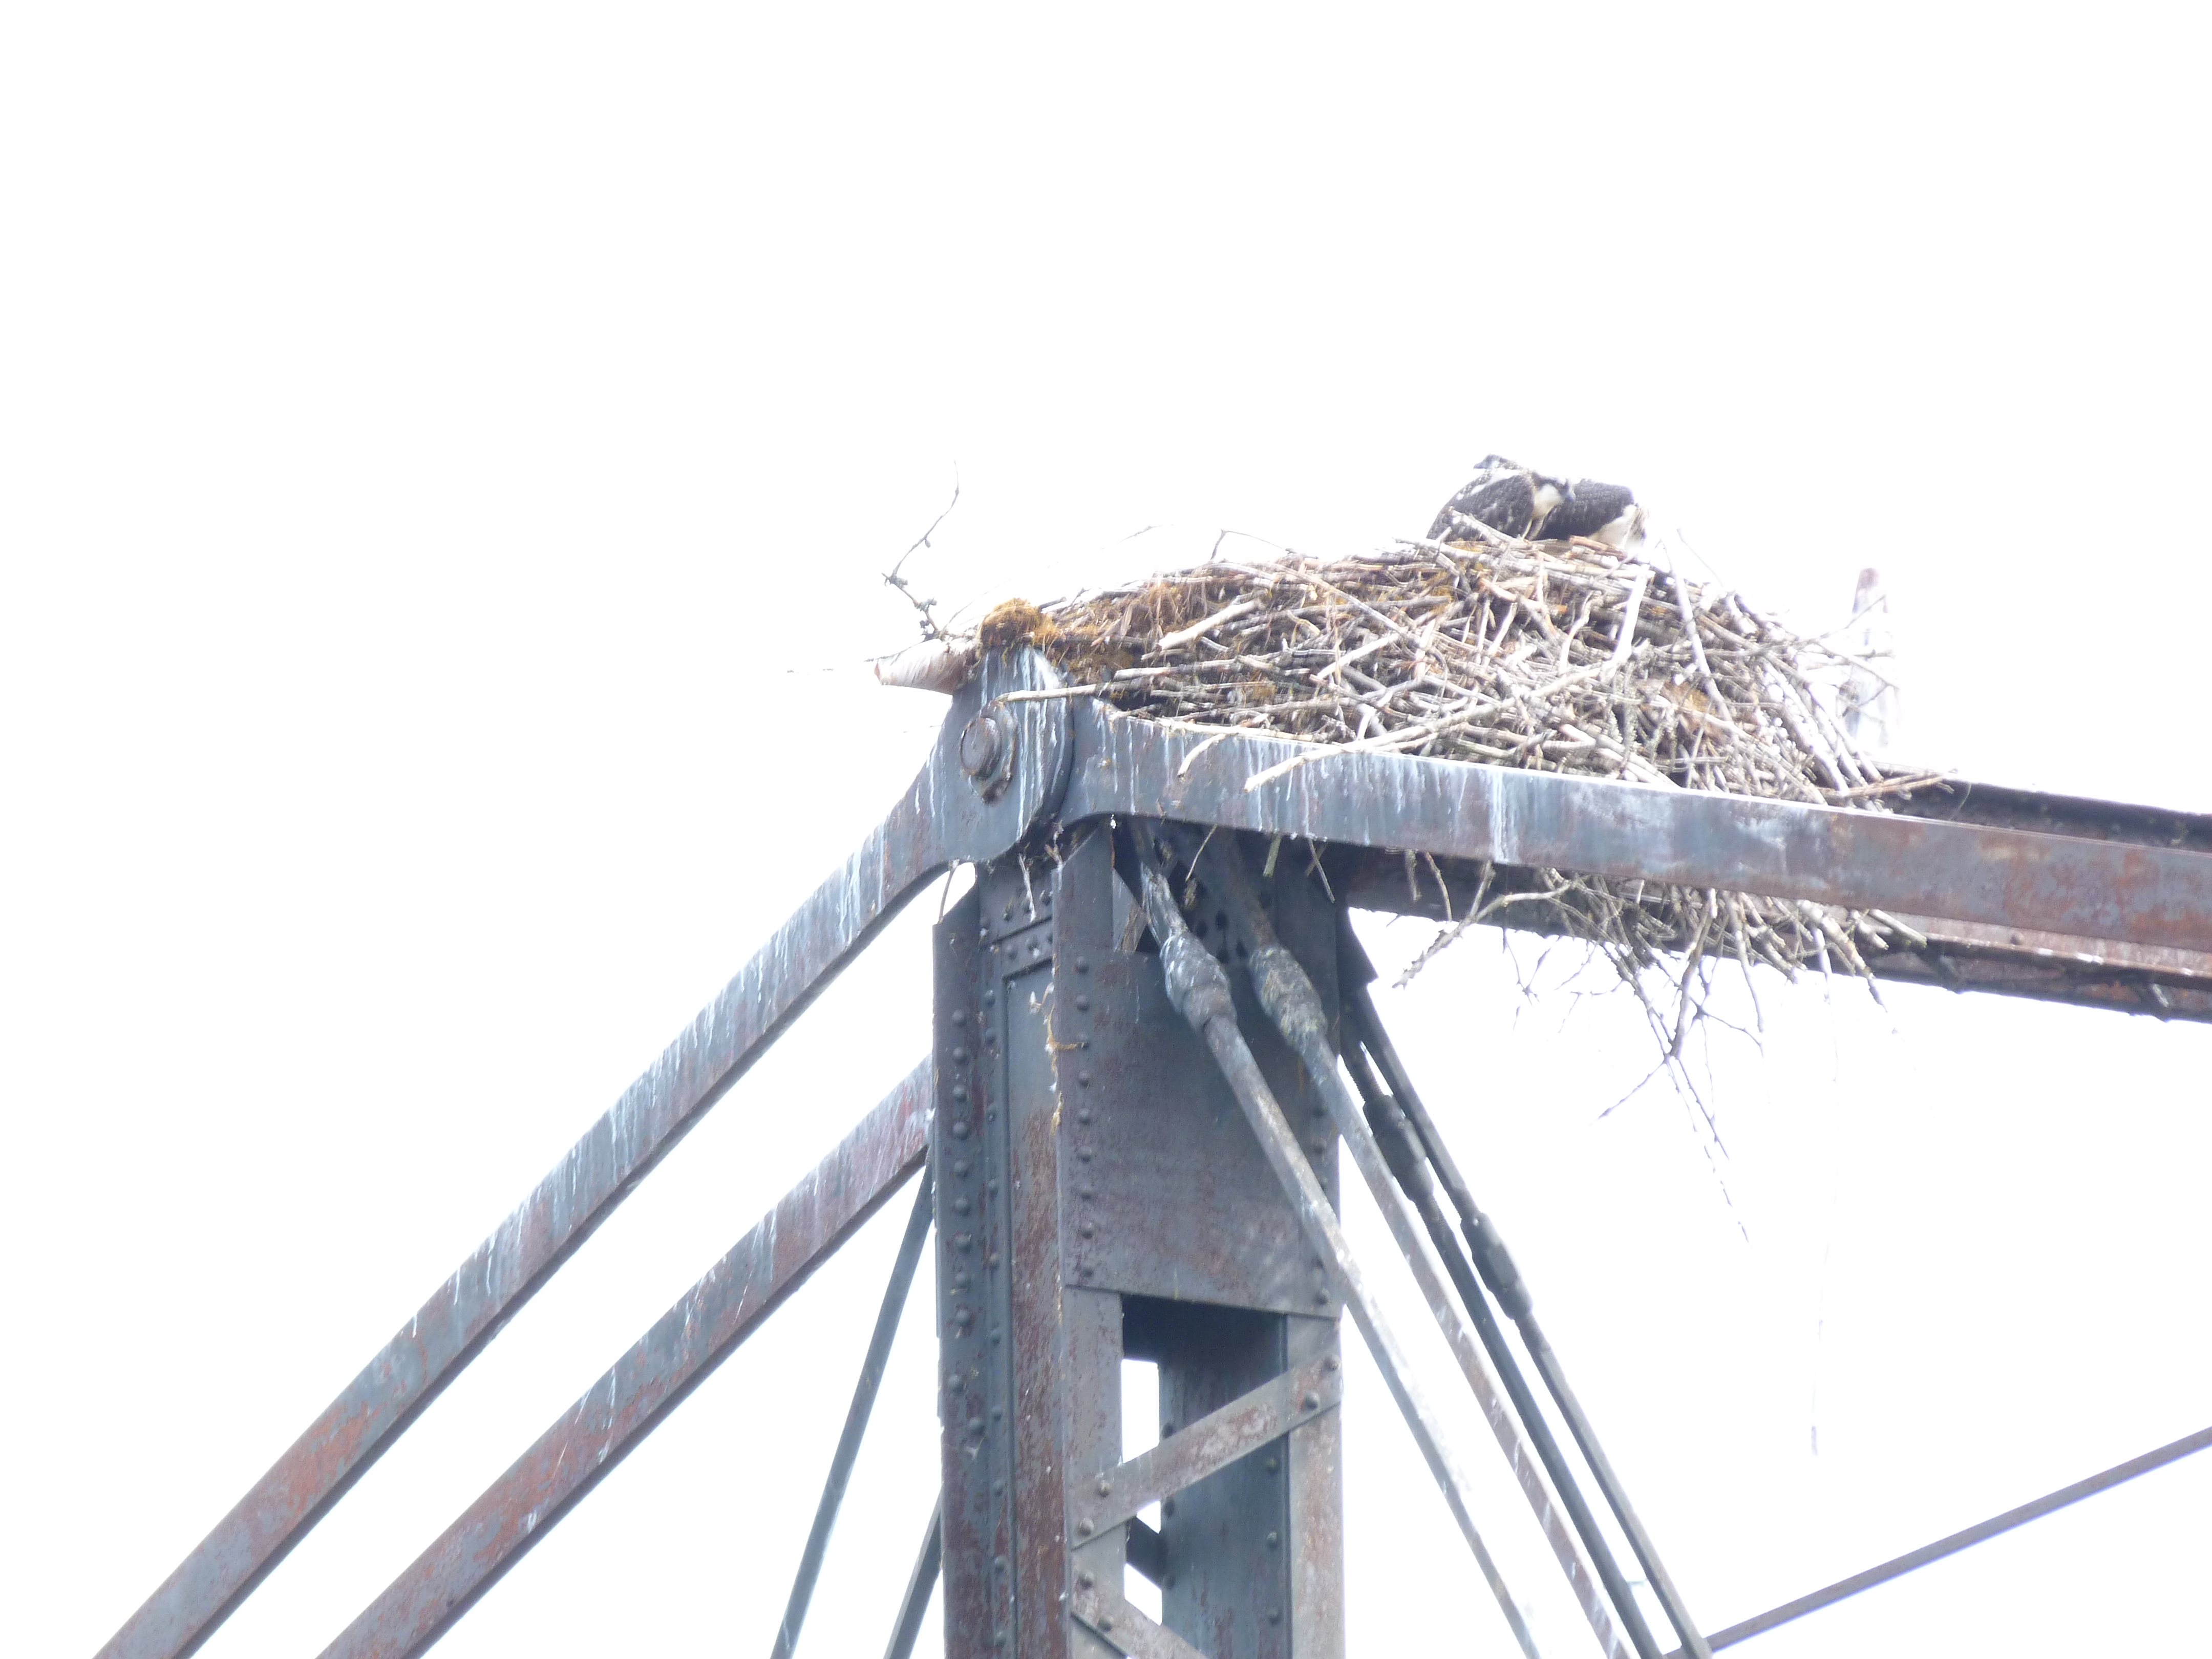
Ospreys on bridge.
![]()
![]()
| Back |
| Home |
| Top |

![]()