
Uncredited photos on this page taken by: Nathan Holth. Unless stated in a caption, all photos are Copyright with All Rights Reserved. Learn about reuse of our photos.
![]()
Special Thanks To David Grieshaber and Mike Koozmin of BayBridgeHouse.org for providing the photographs in this gallery.


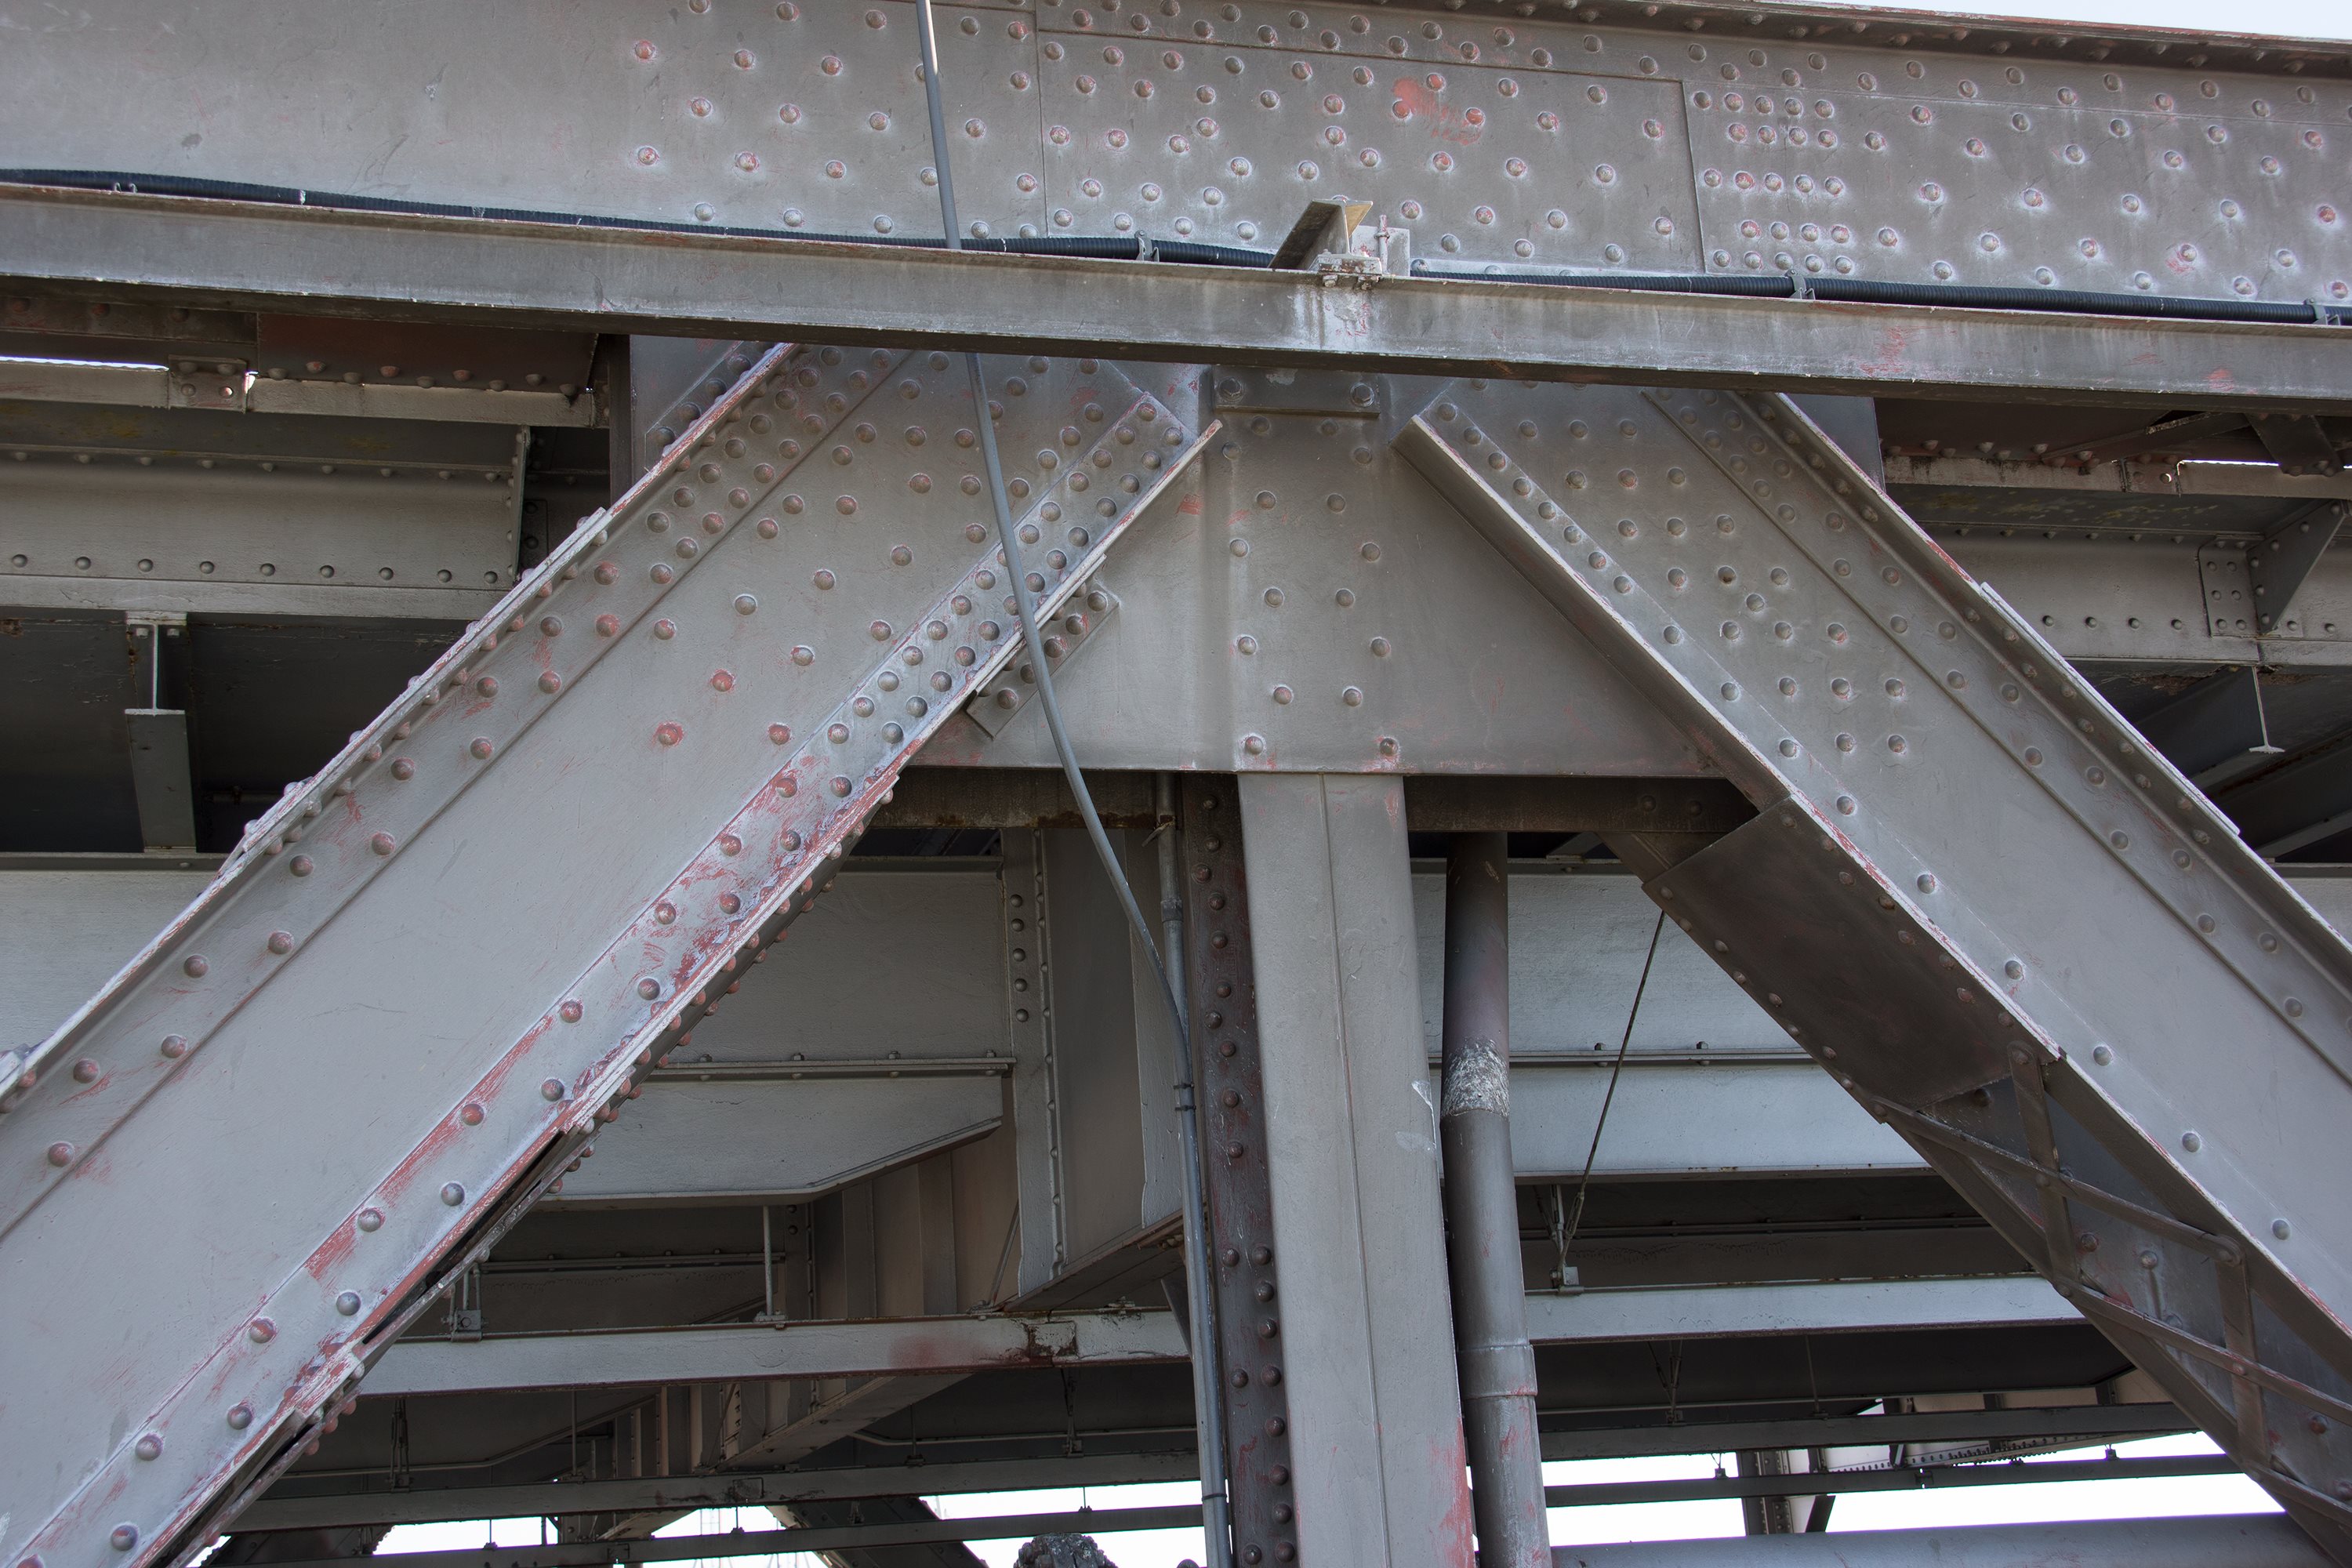
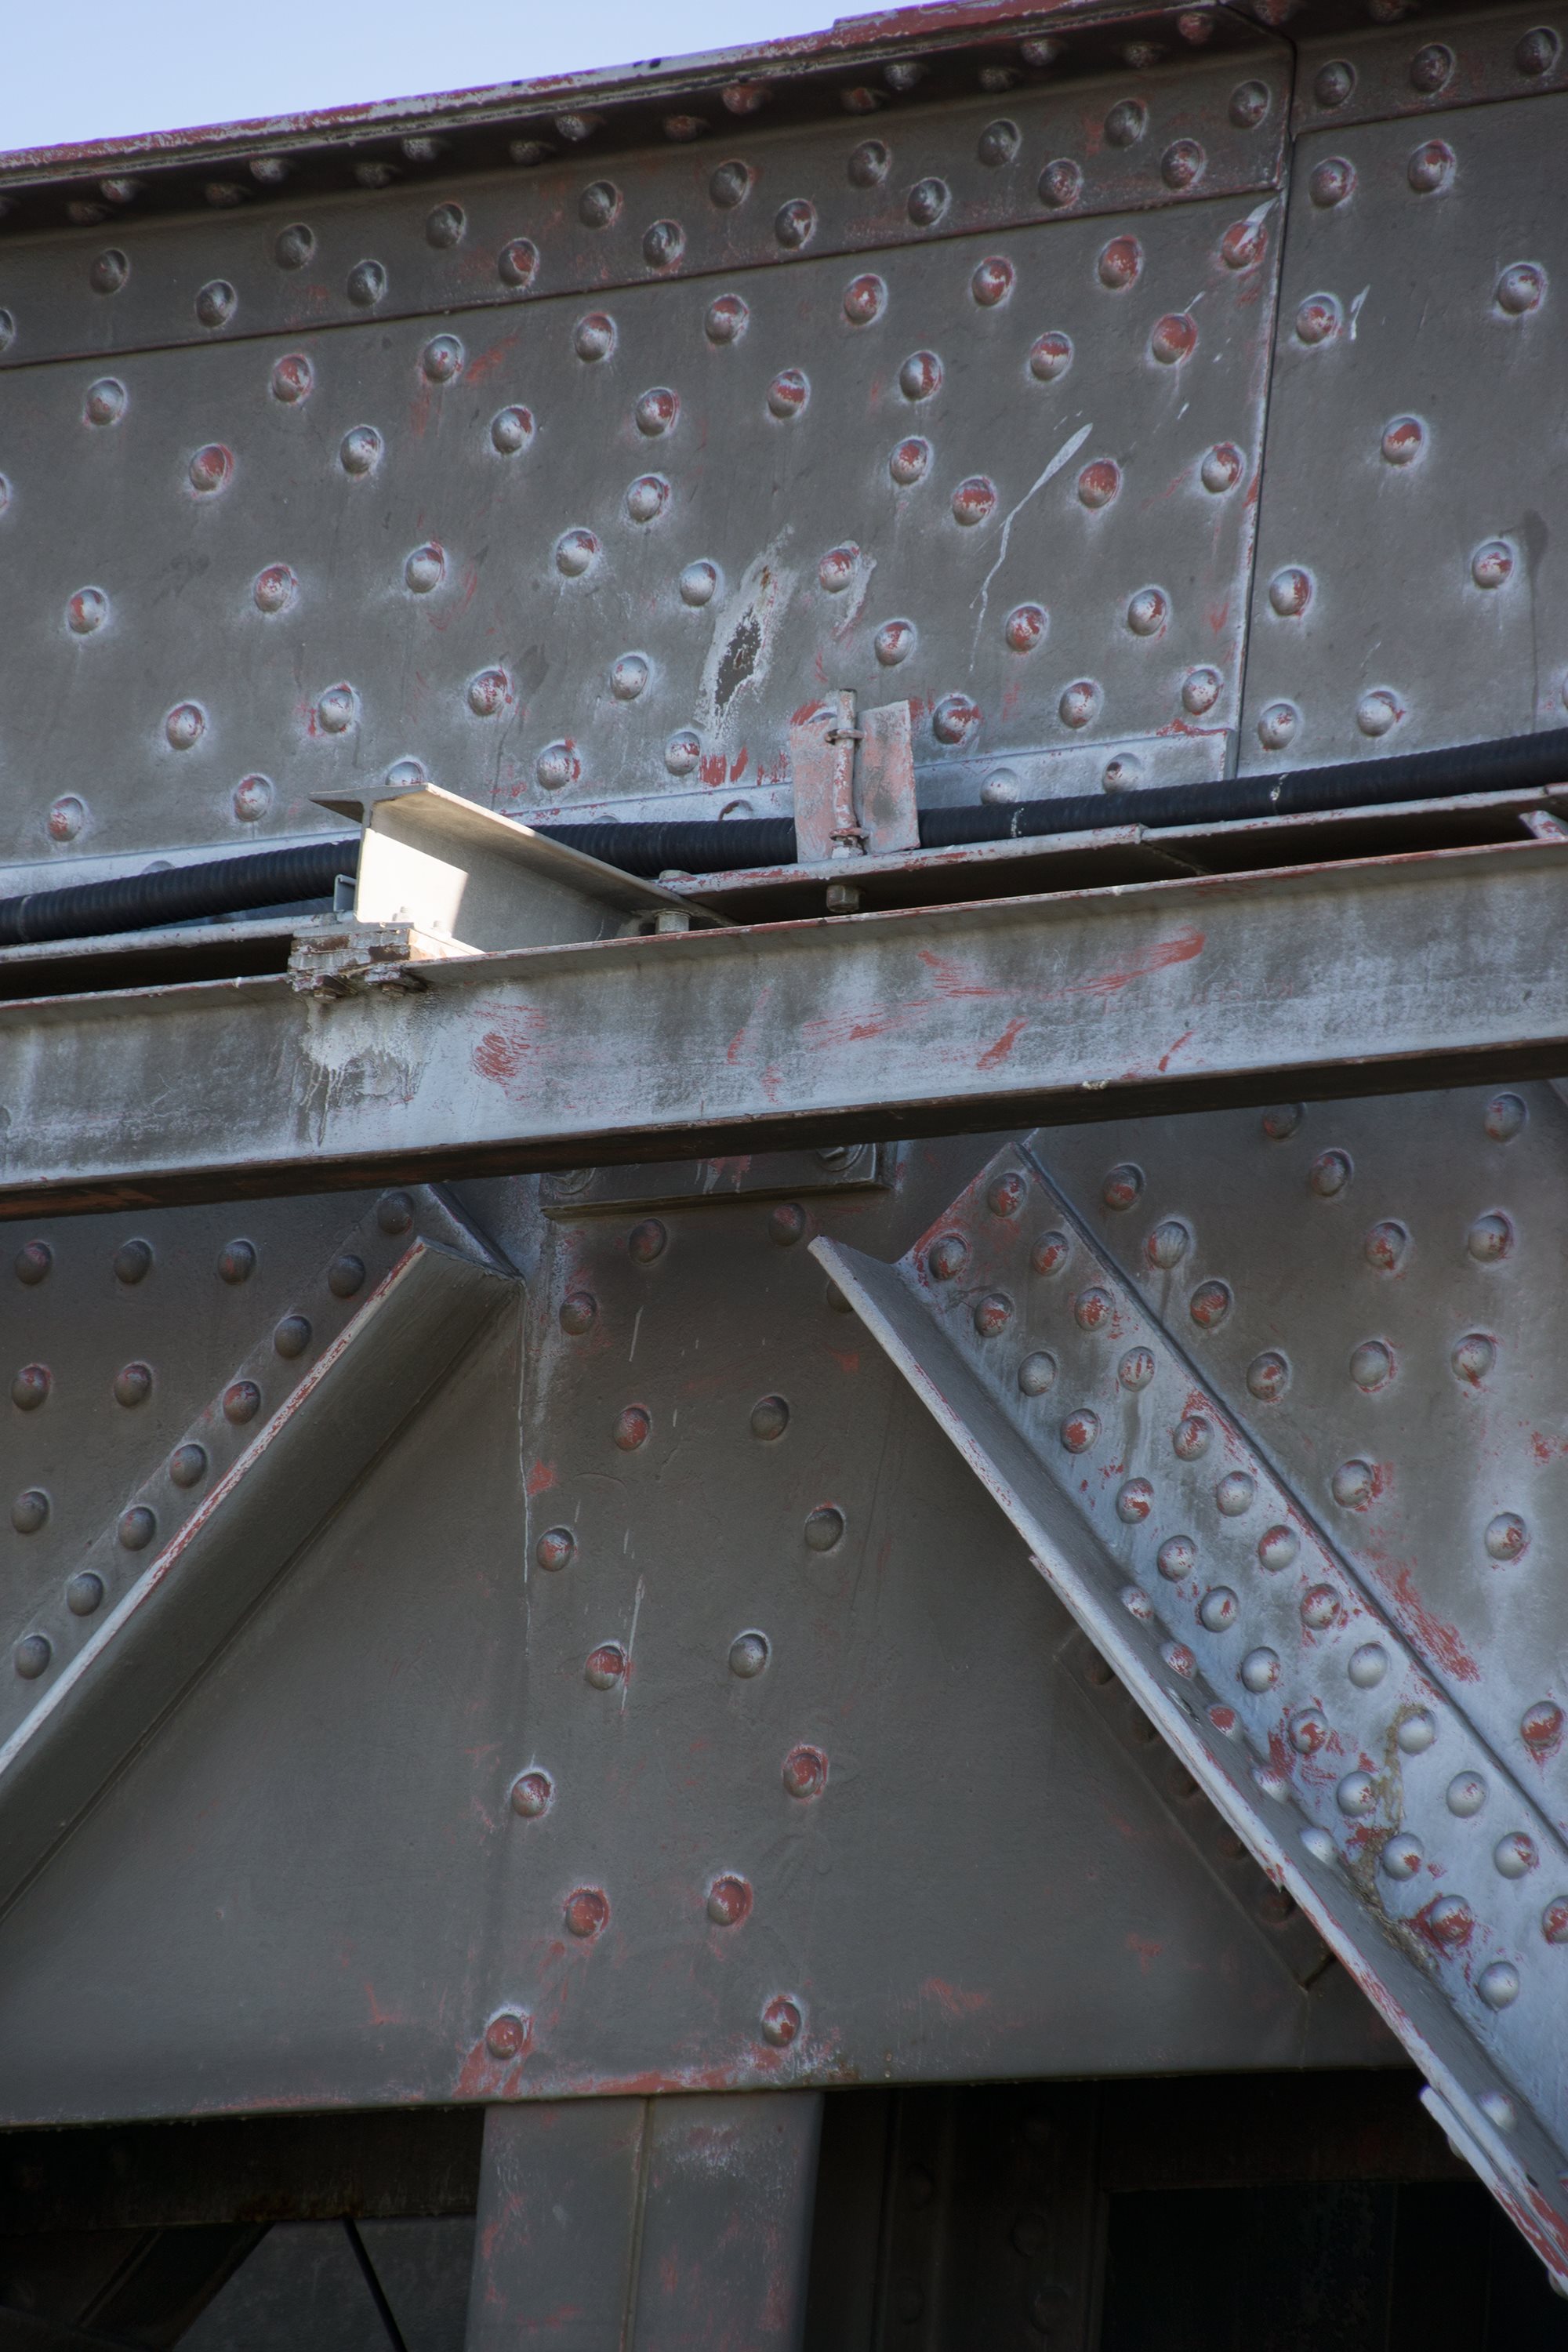
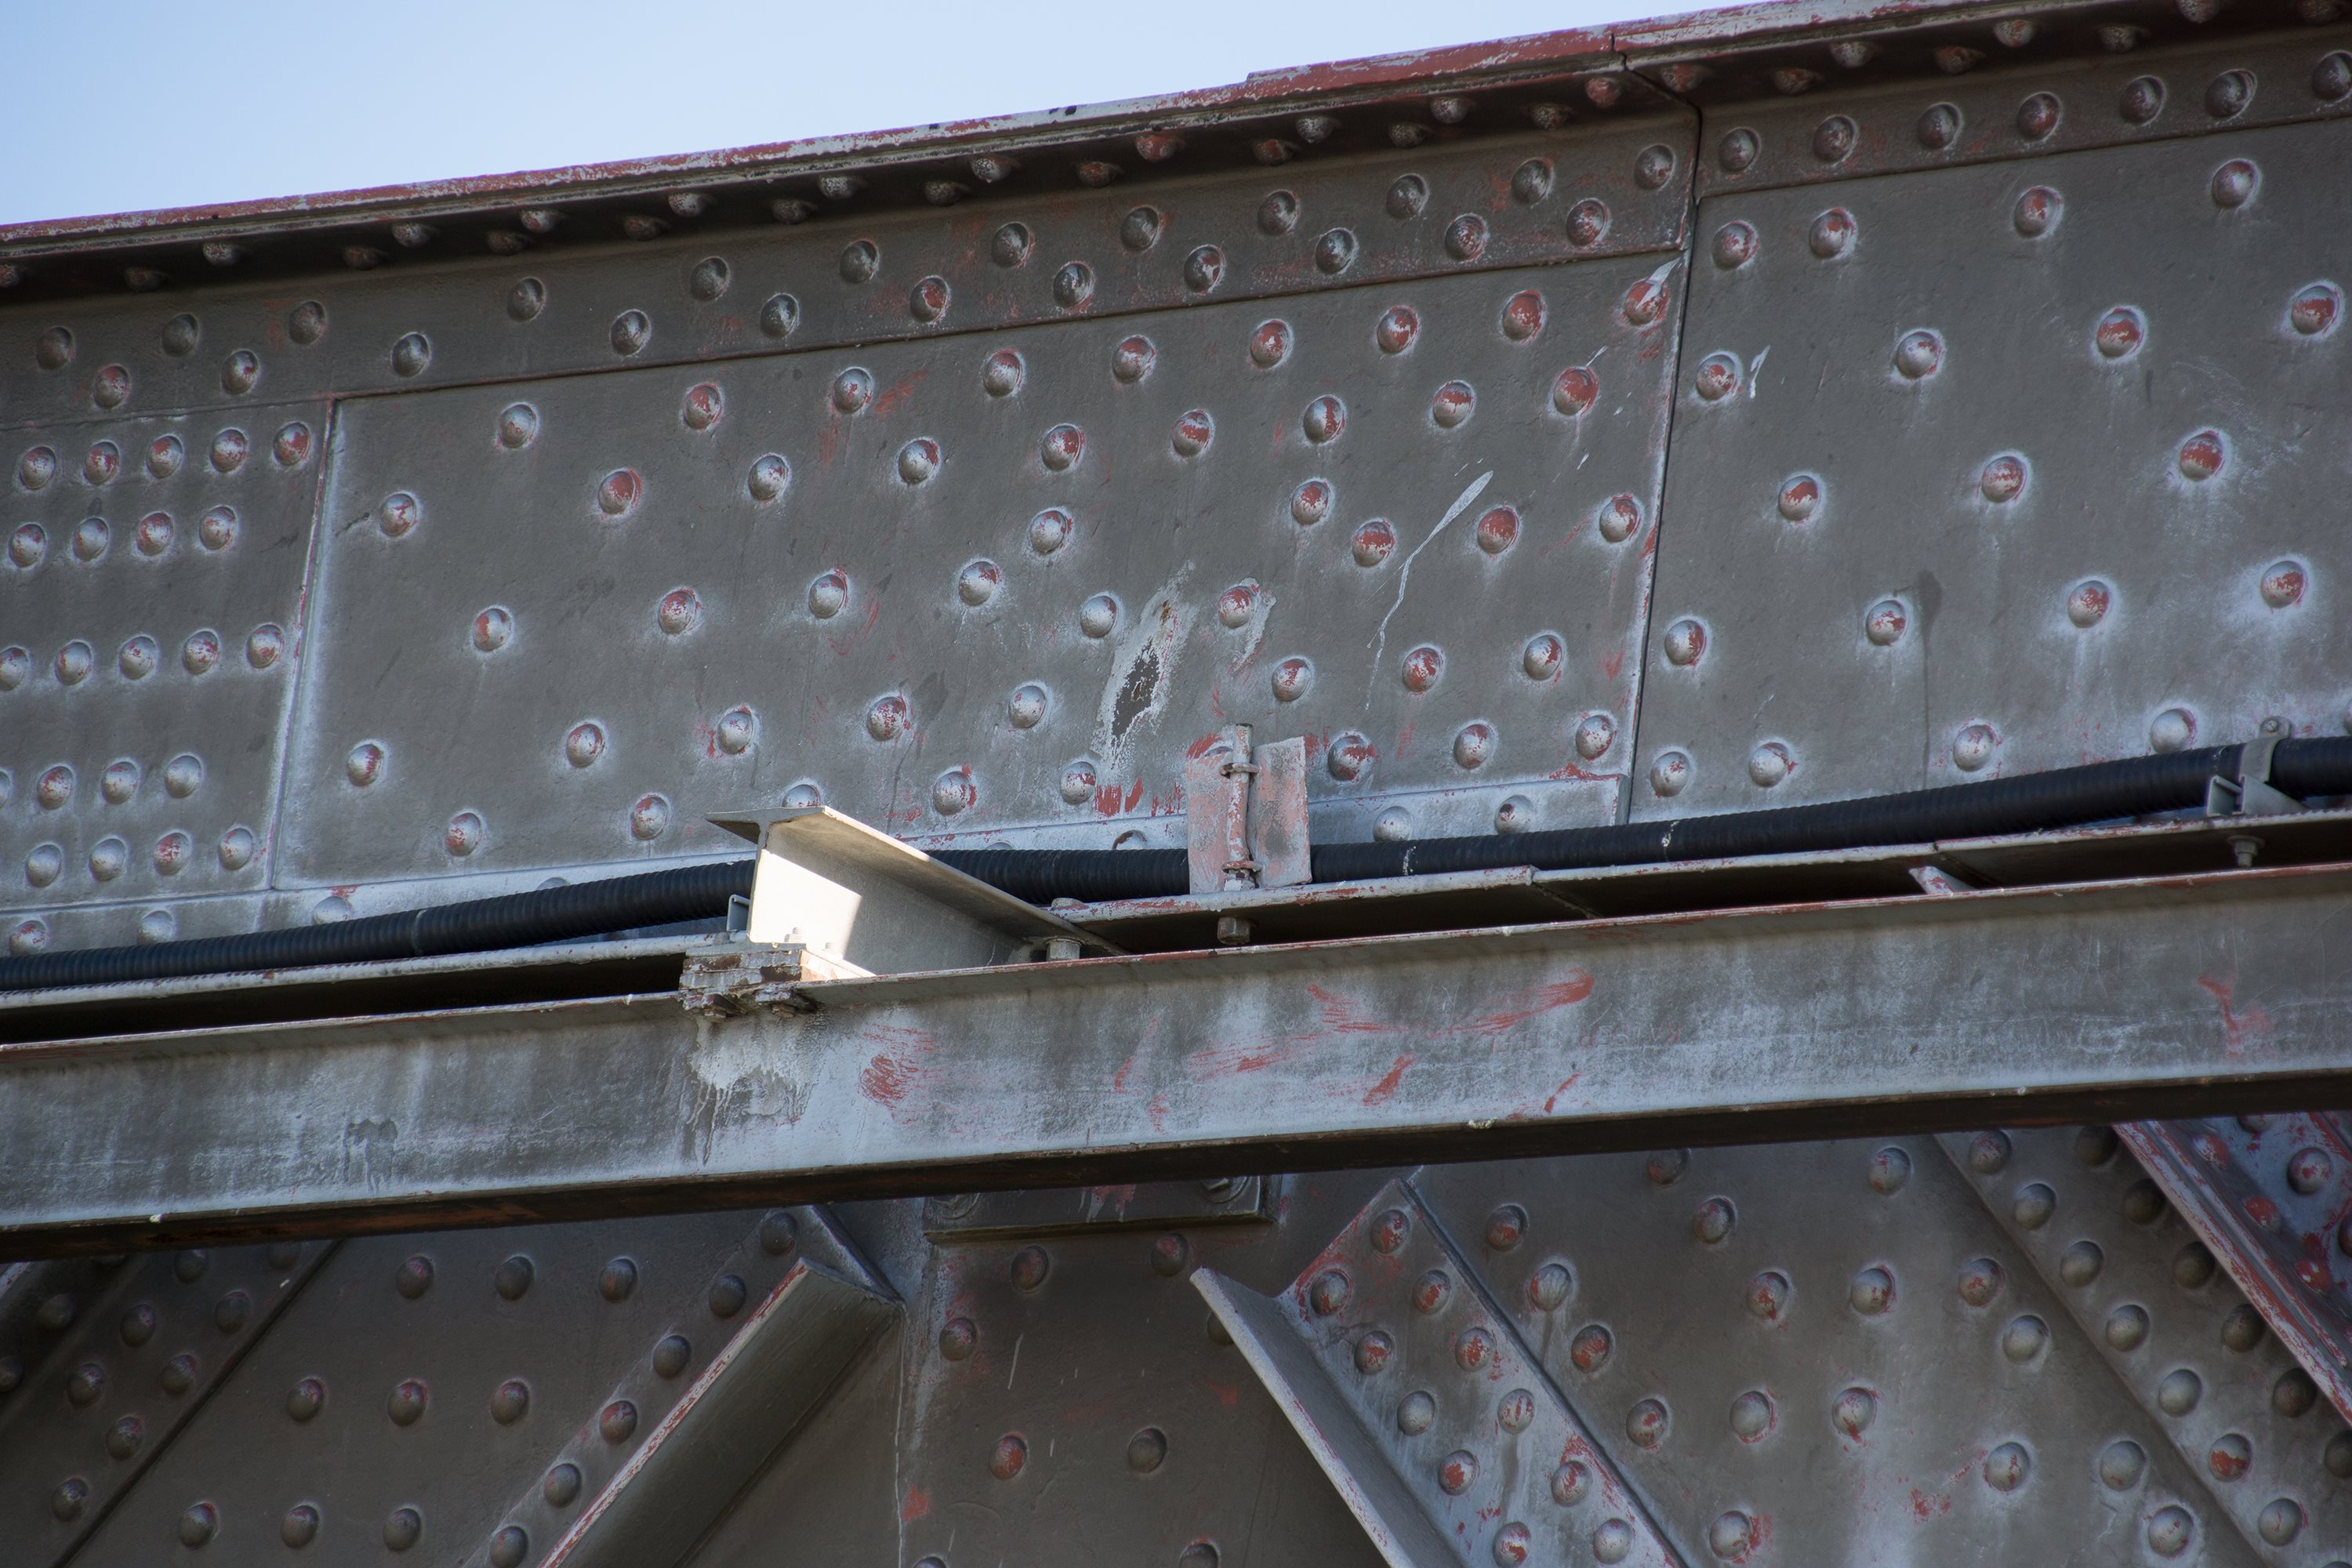
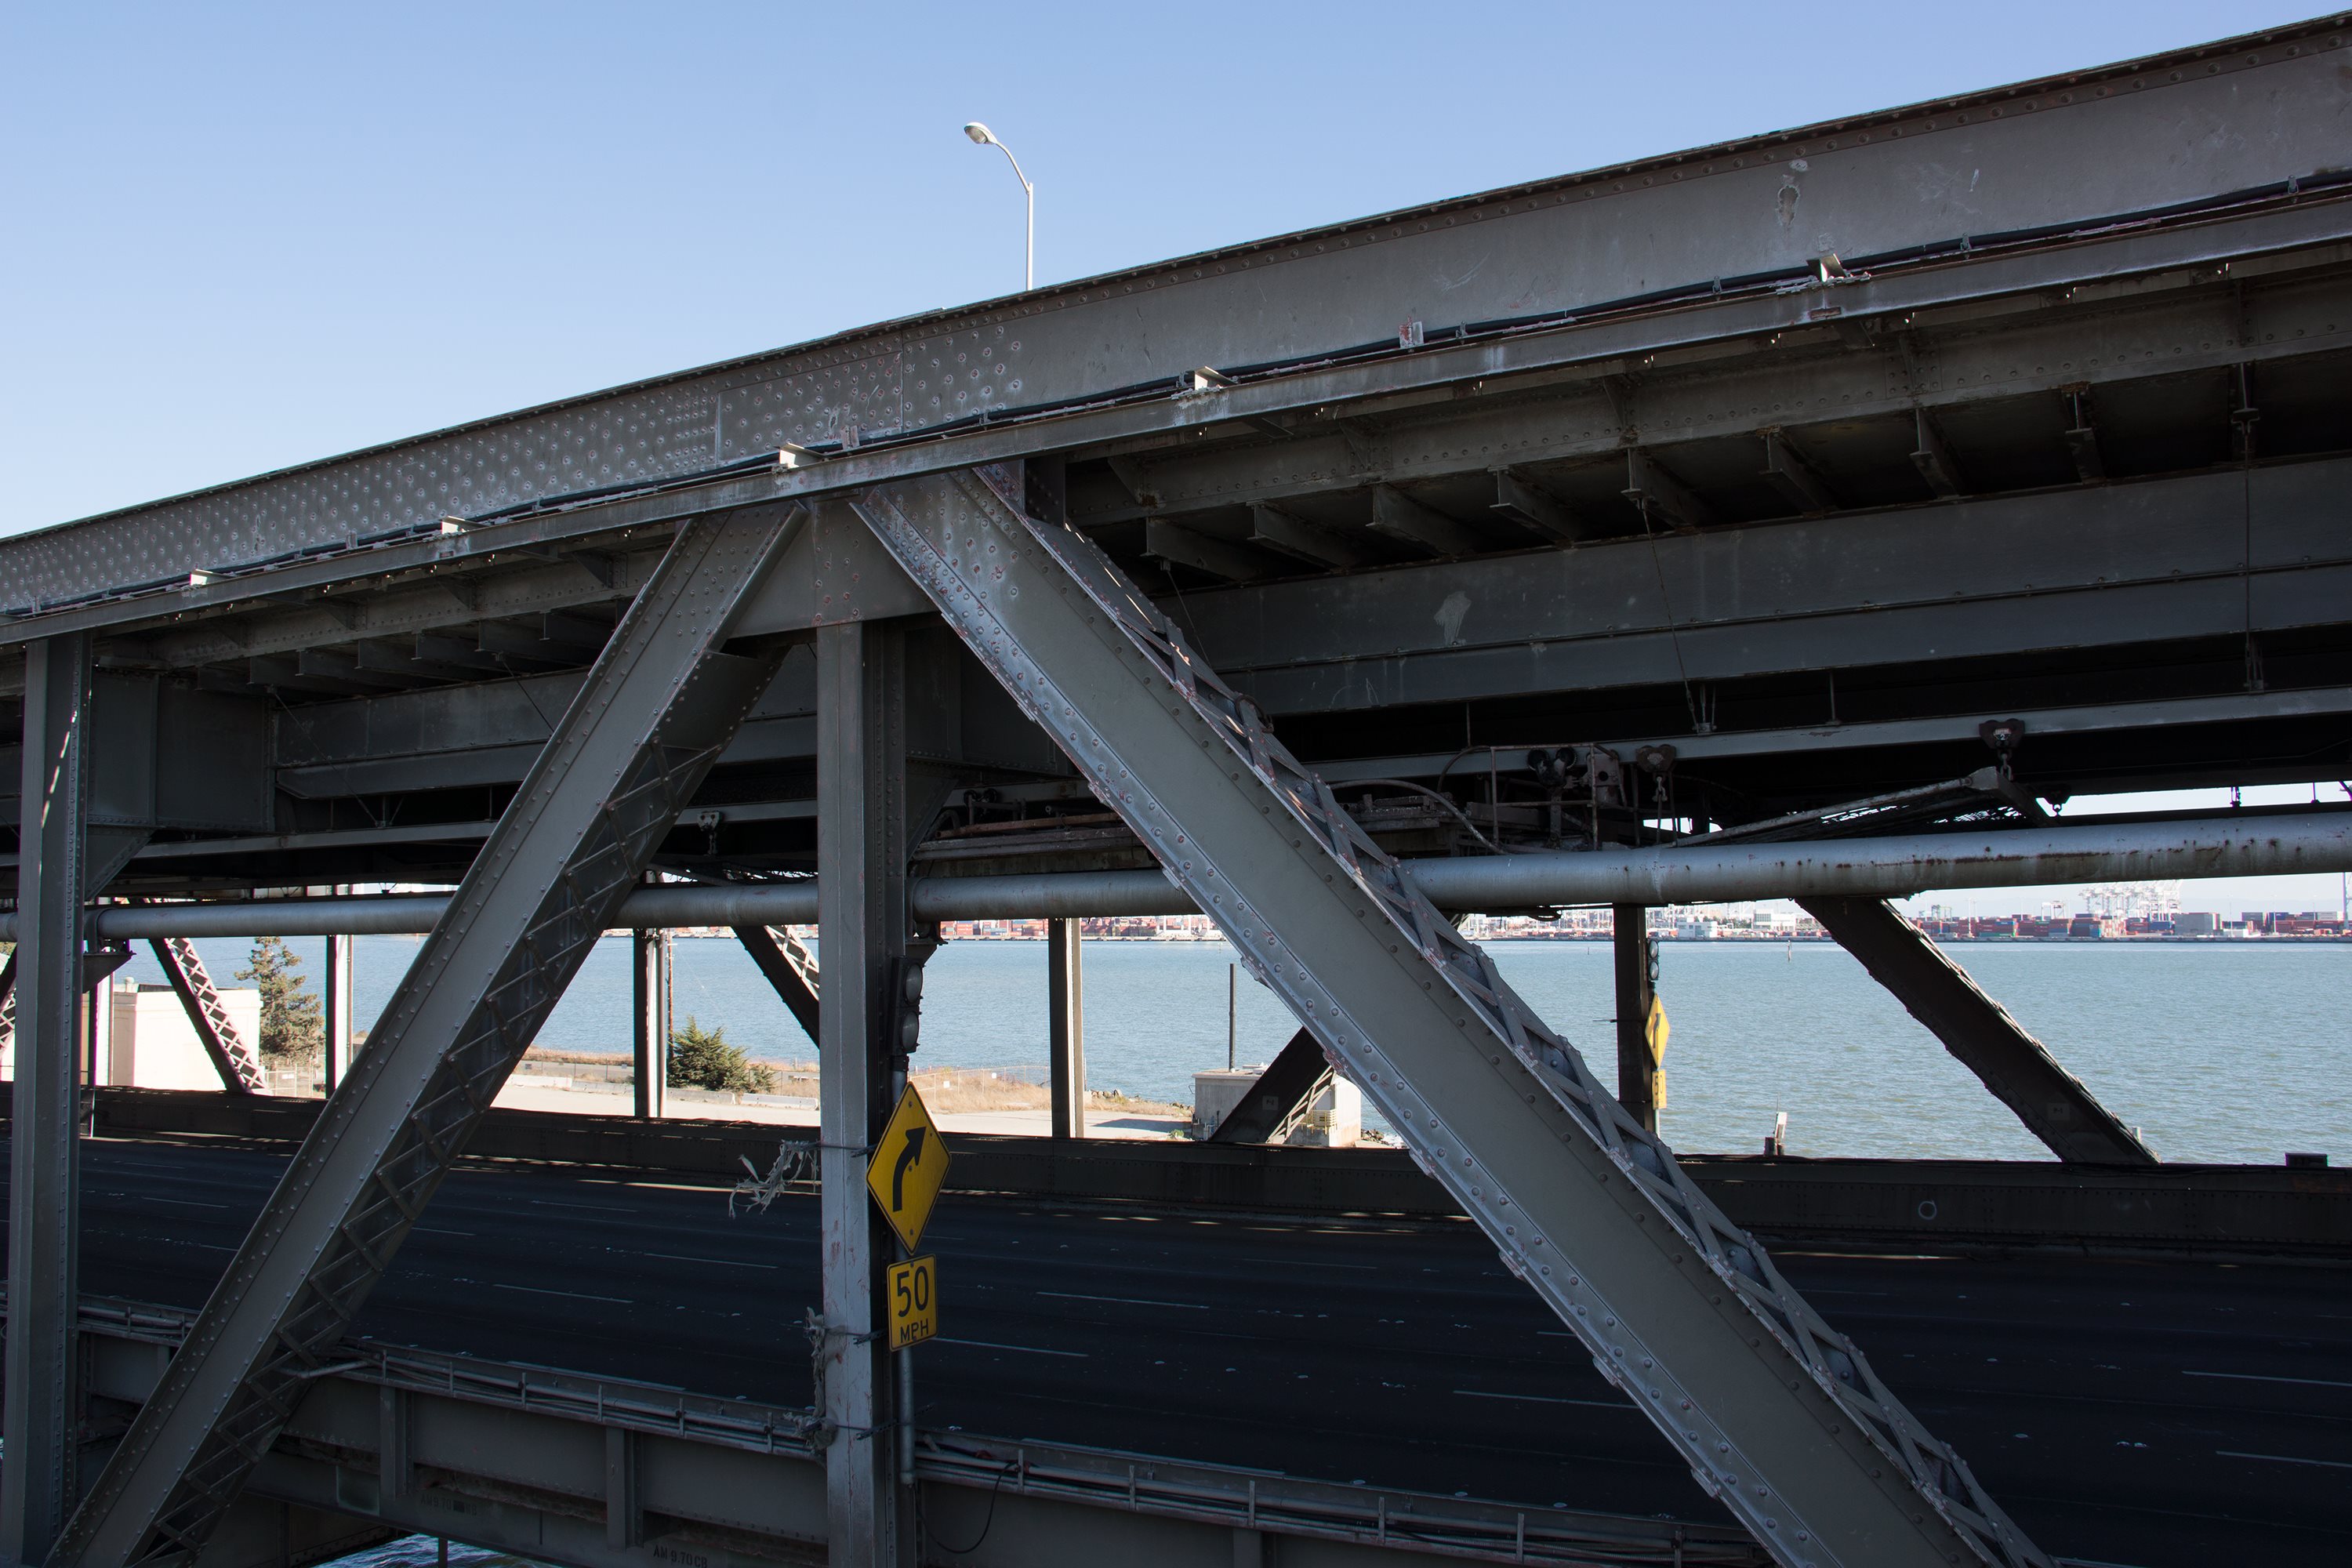


Photo Credit: David Grieshaber and Mike Koozmin
Deck truss top chord connections.
![]()
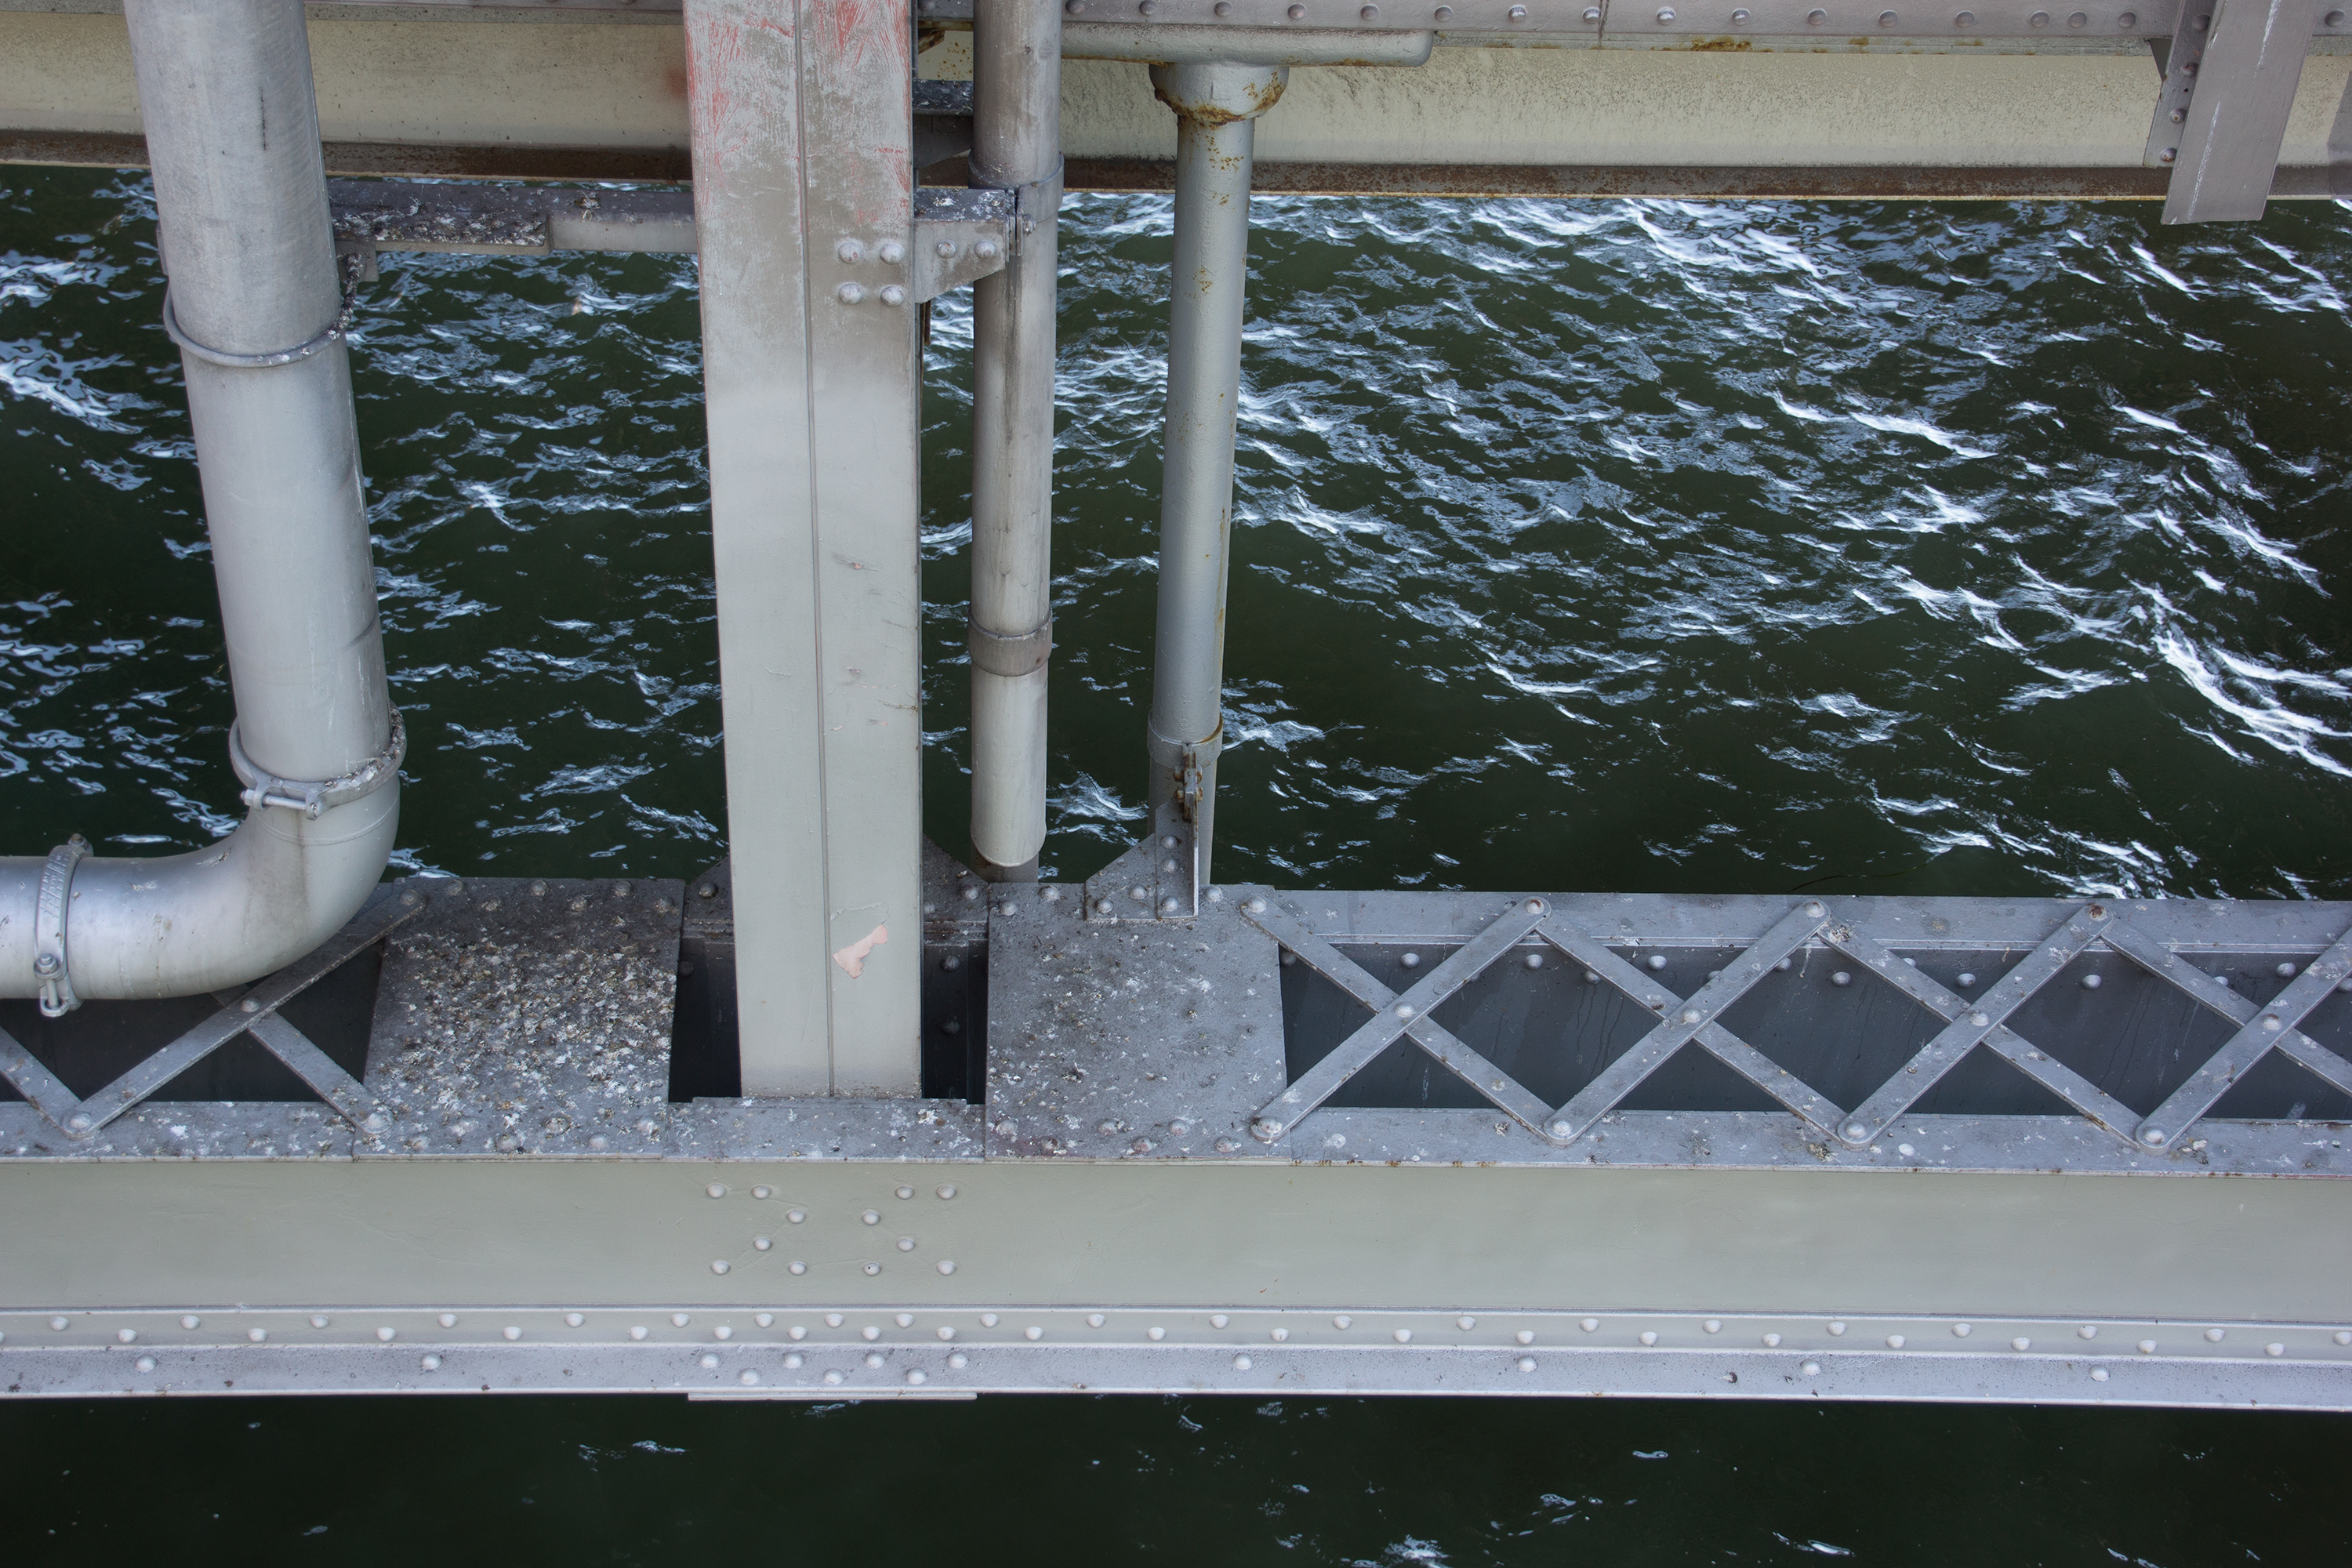


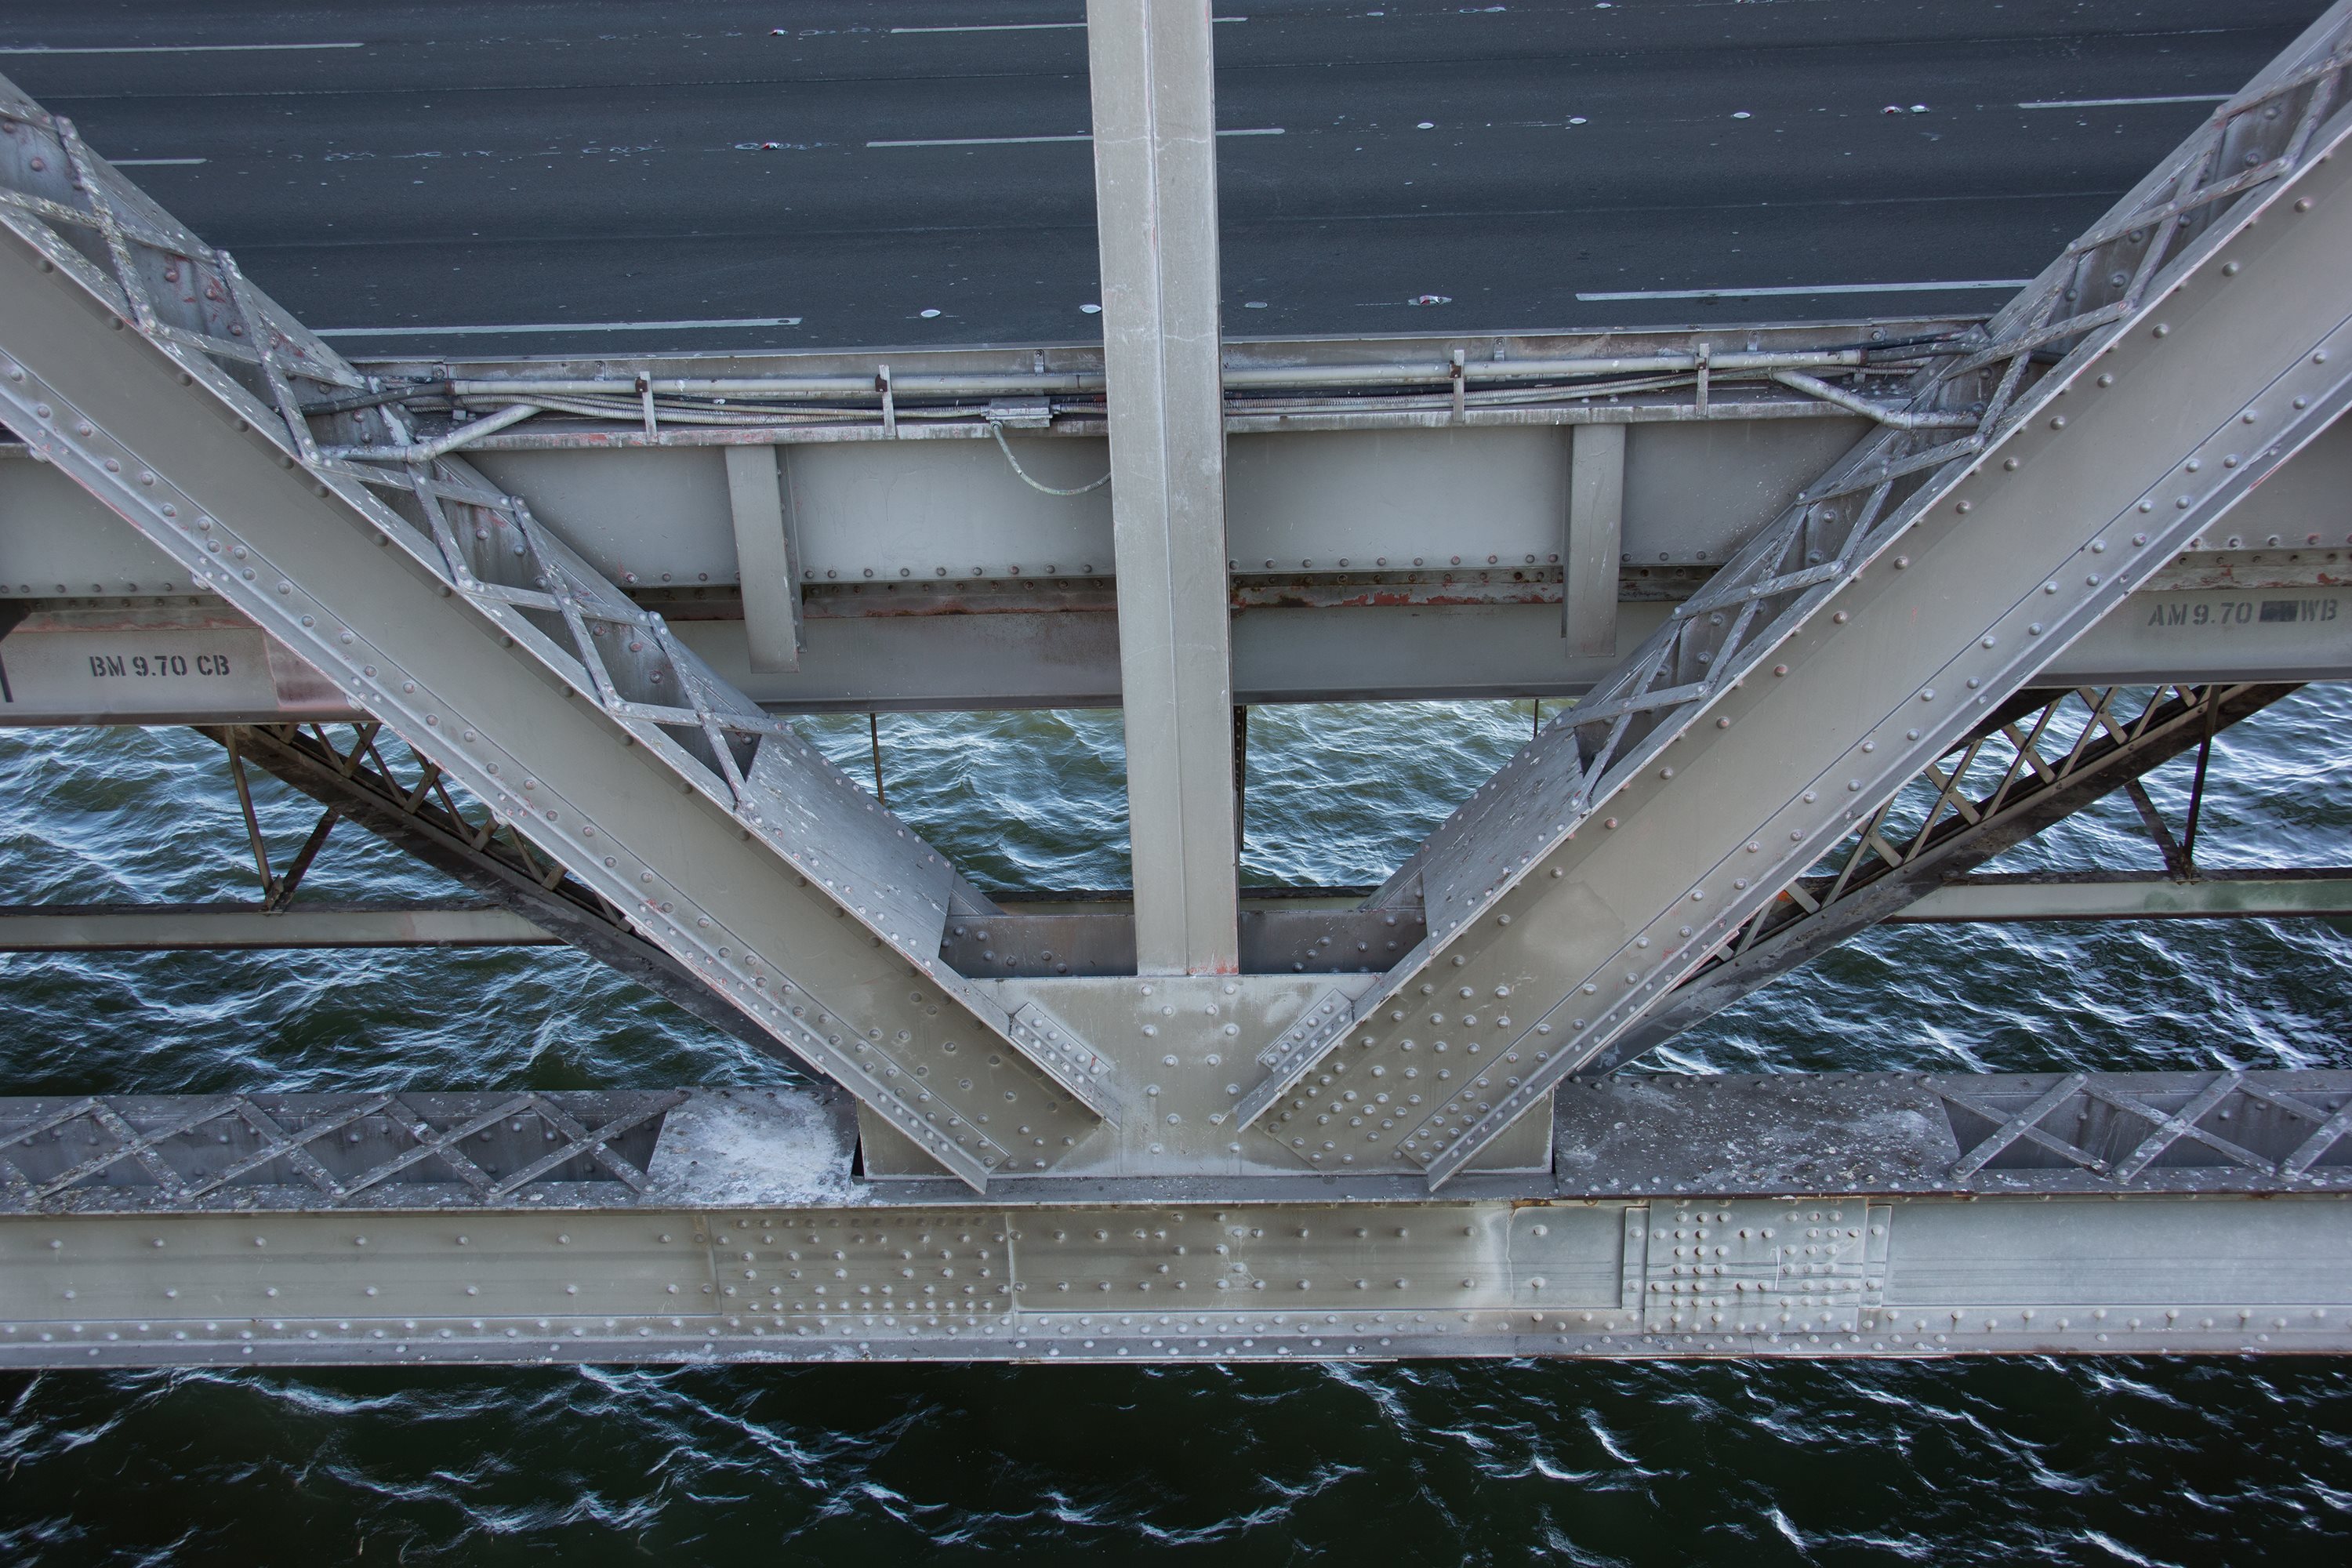


Photo Credit: David Grieshaber and Mike Koozmin
Deck truss bottom chord connections.
![]()


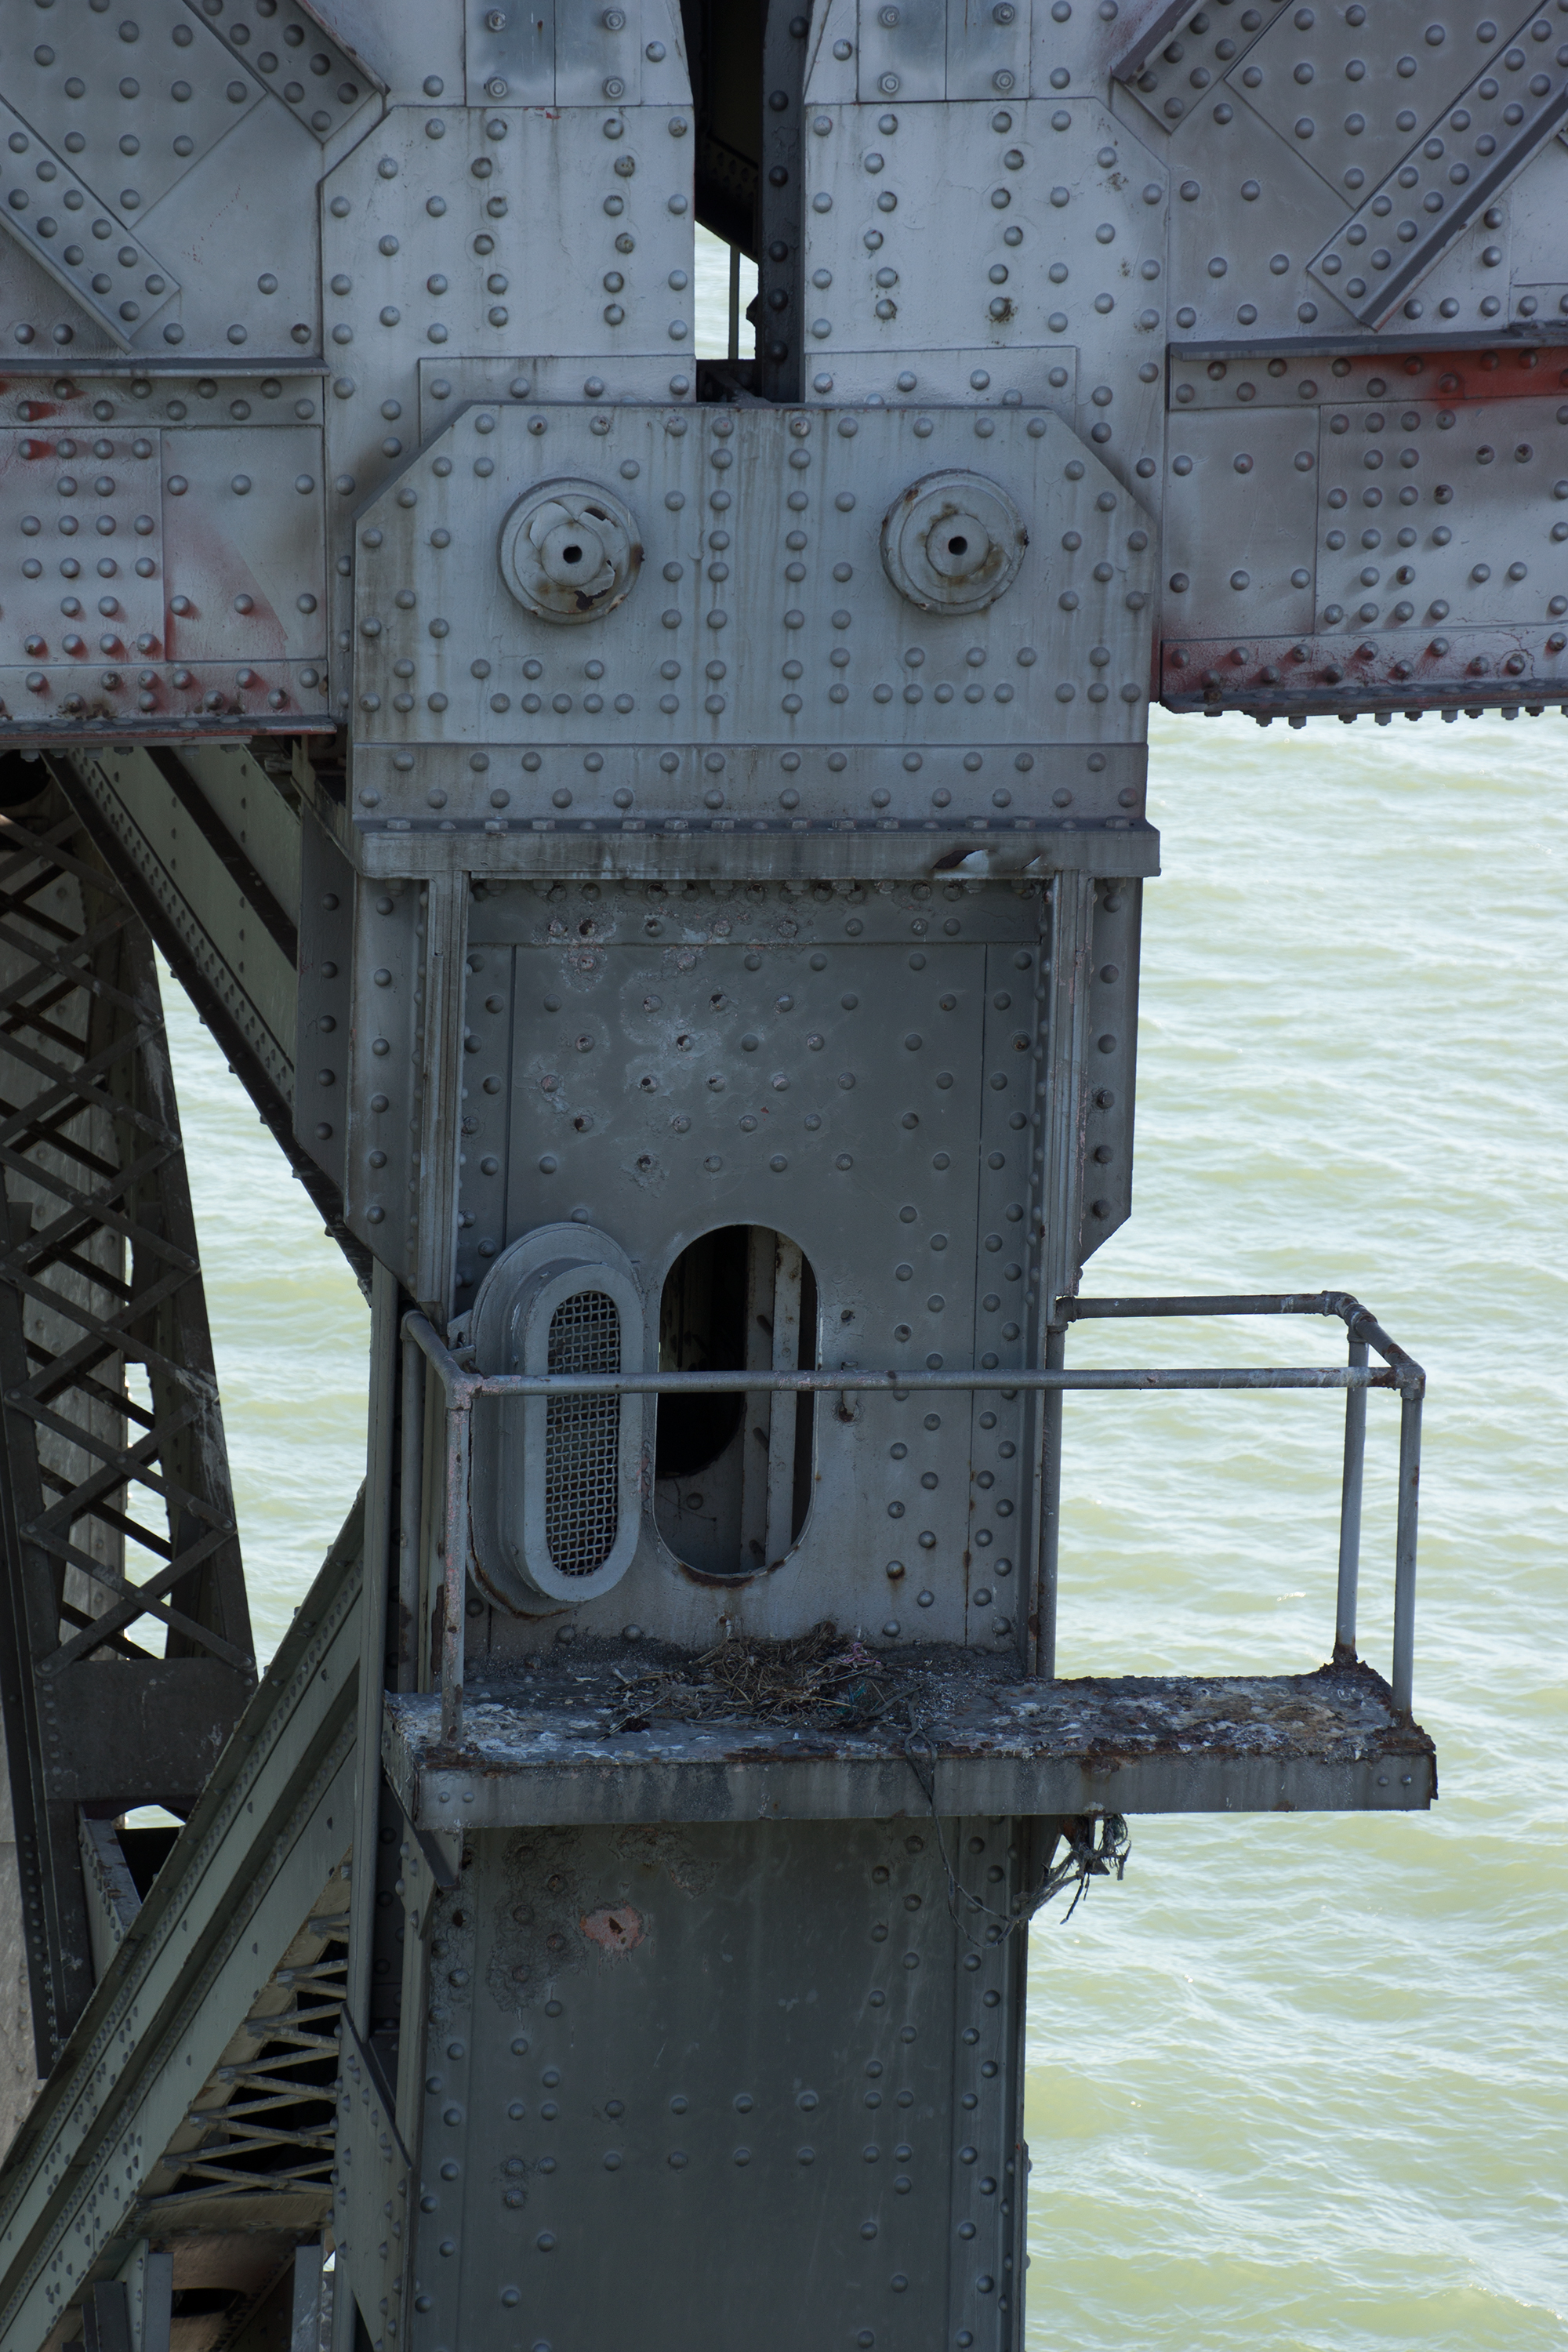

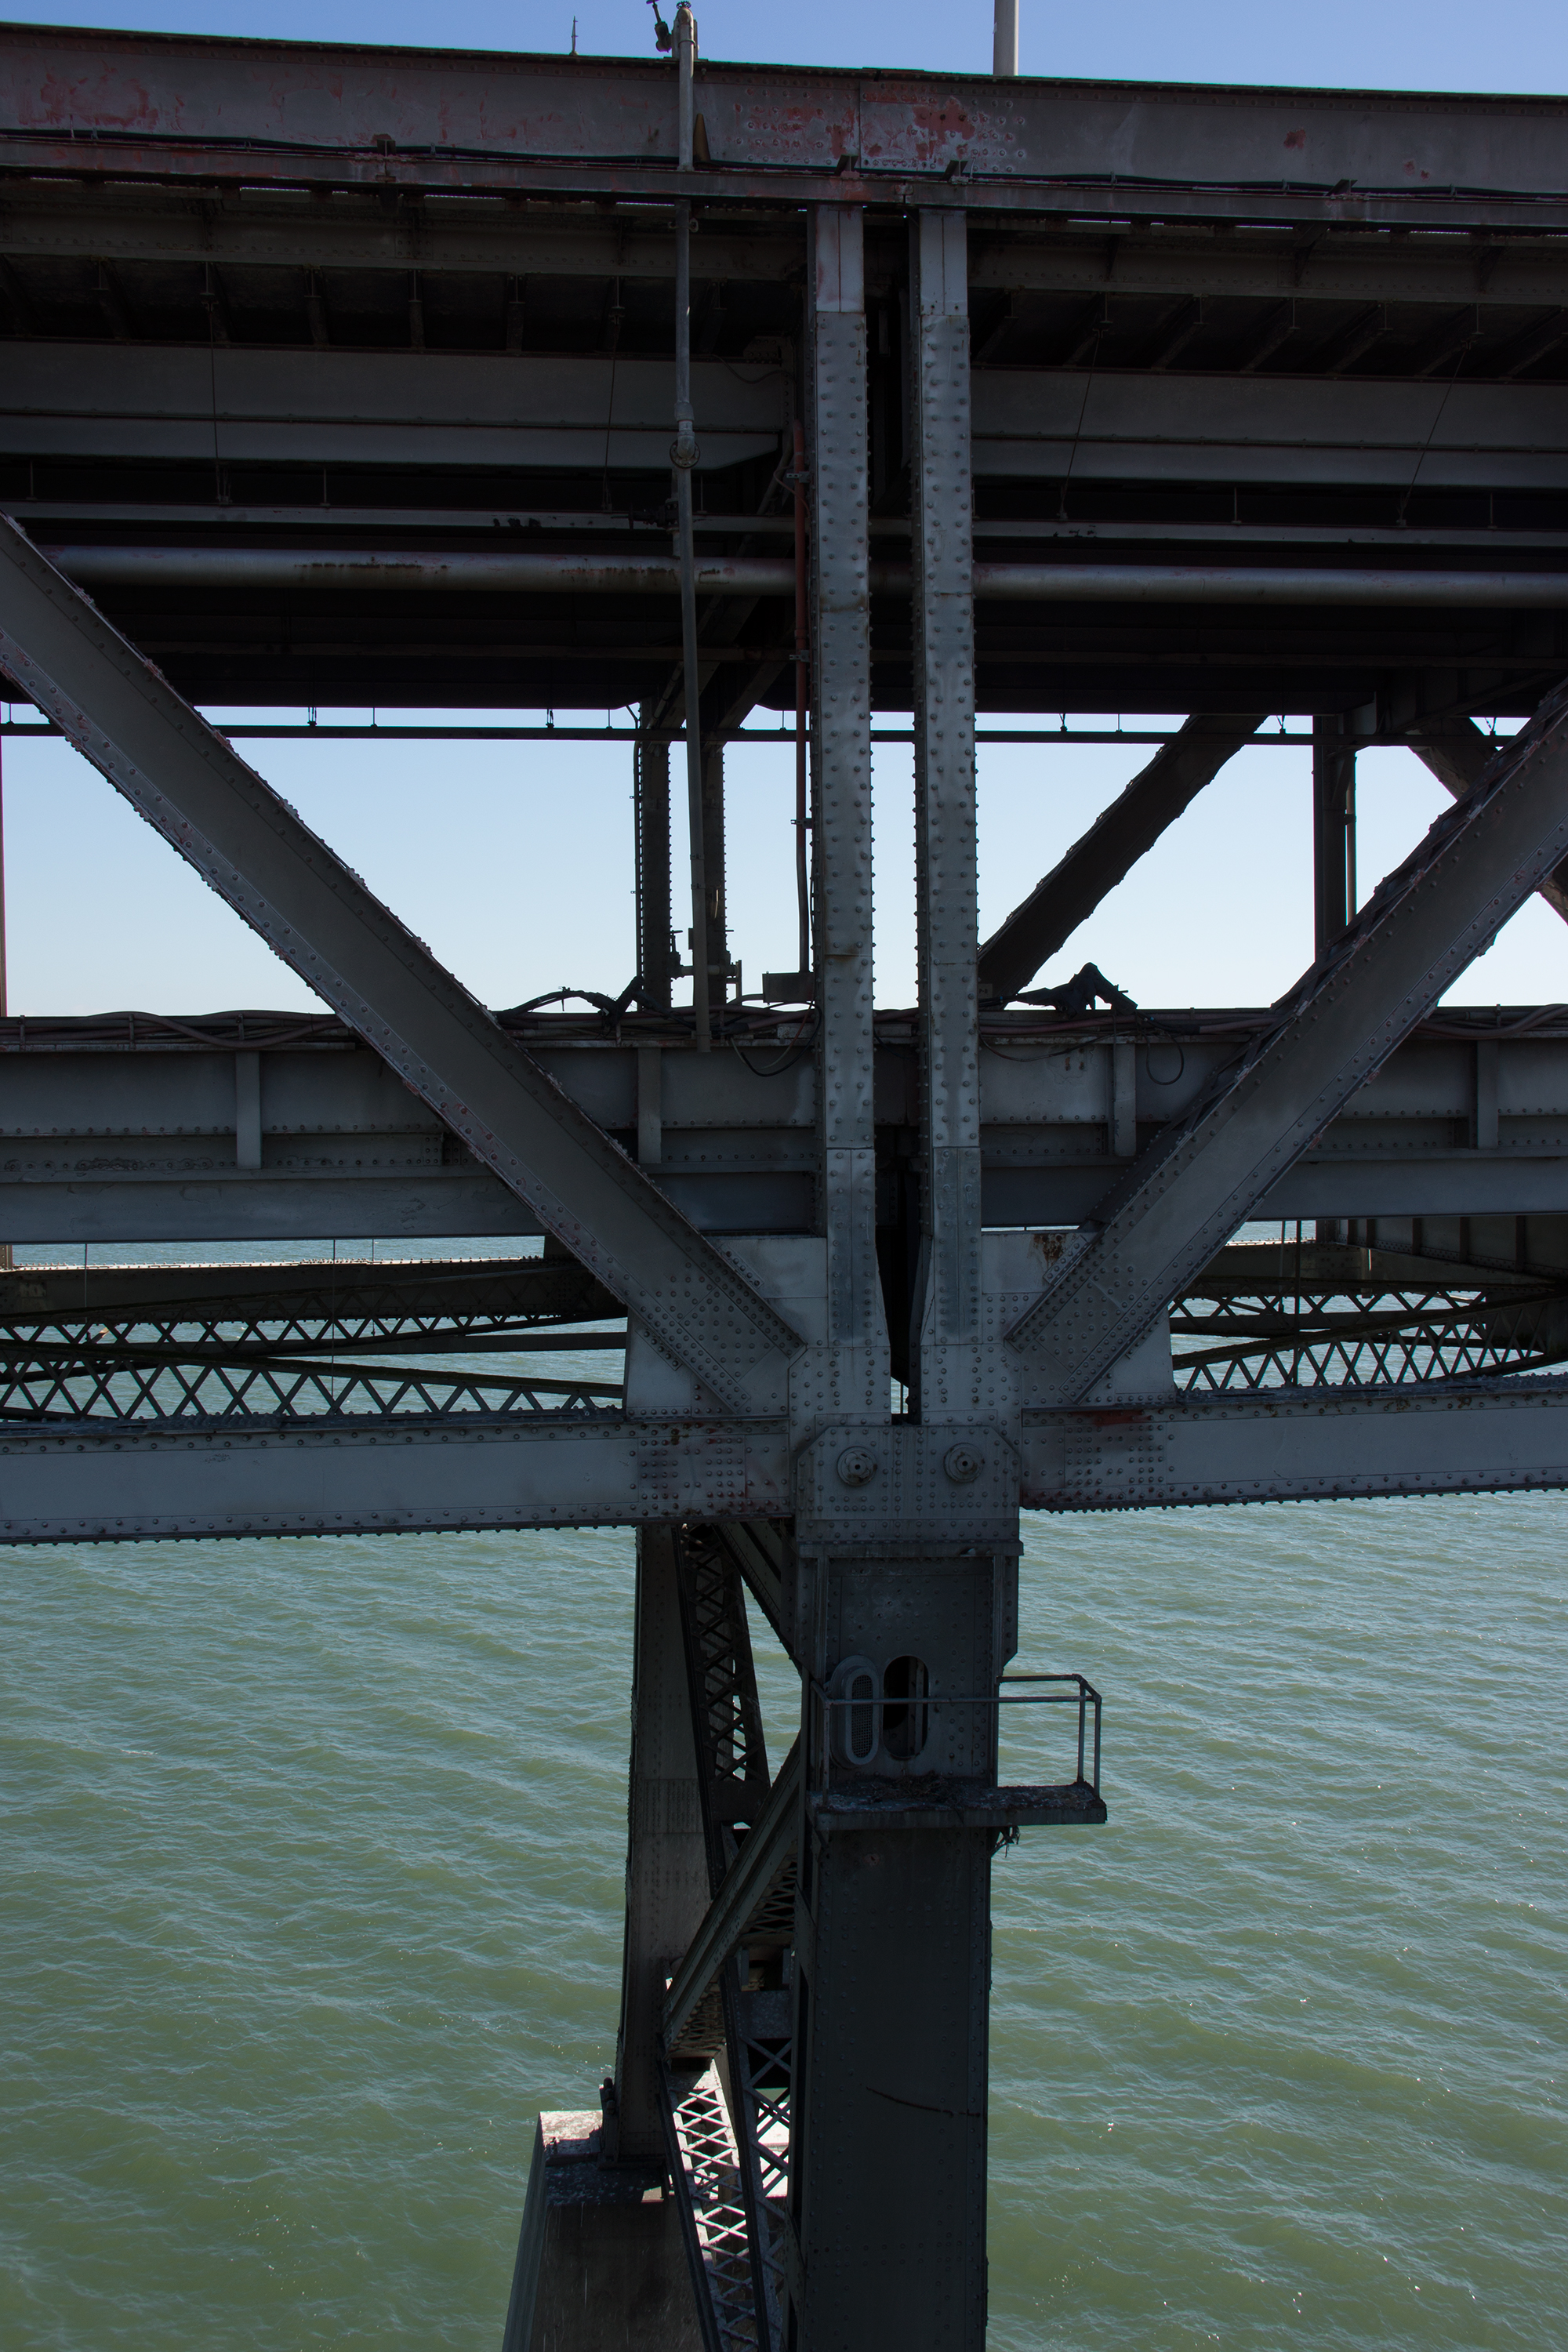


Photo Credit: David Grieshaber and Mike Koozmin
Deck truss bearings.
![]()

Photo Credit: David Grieshaber and Mike Koozmin
Deck truss end post.
![]()

Photo Credit: David Grieshaber and Mike Koozmin
Deck truss lateral bracing.
![]()

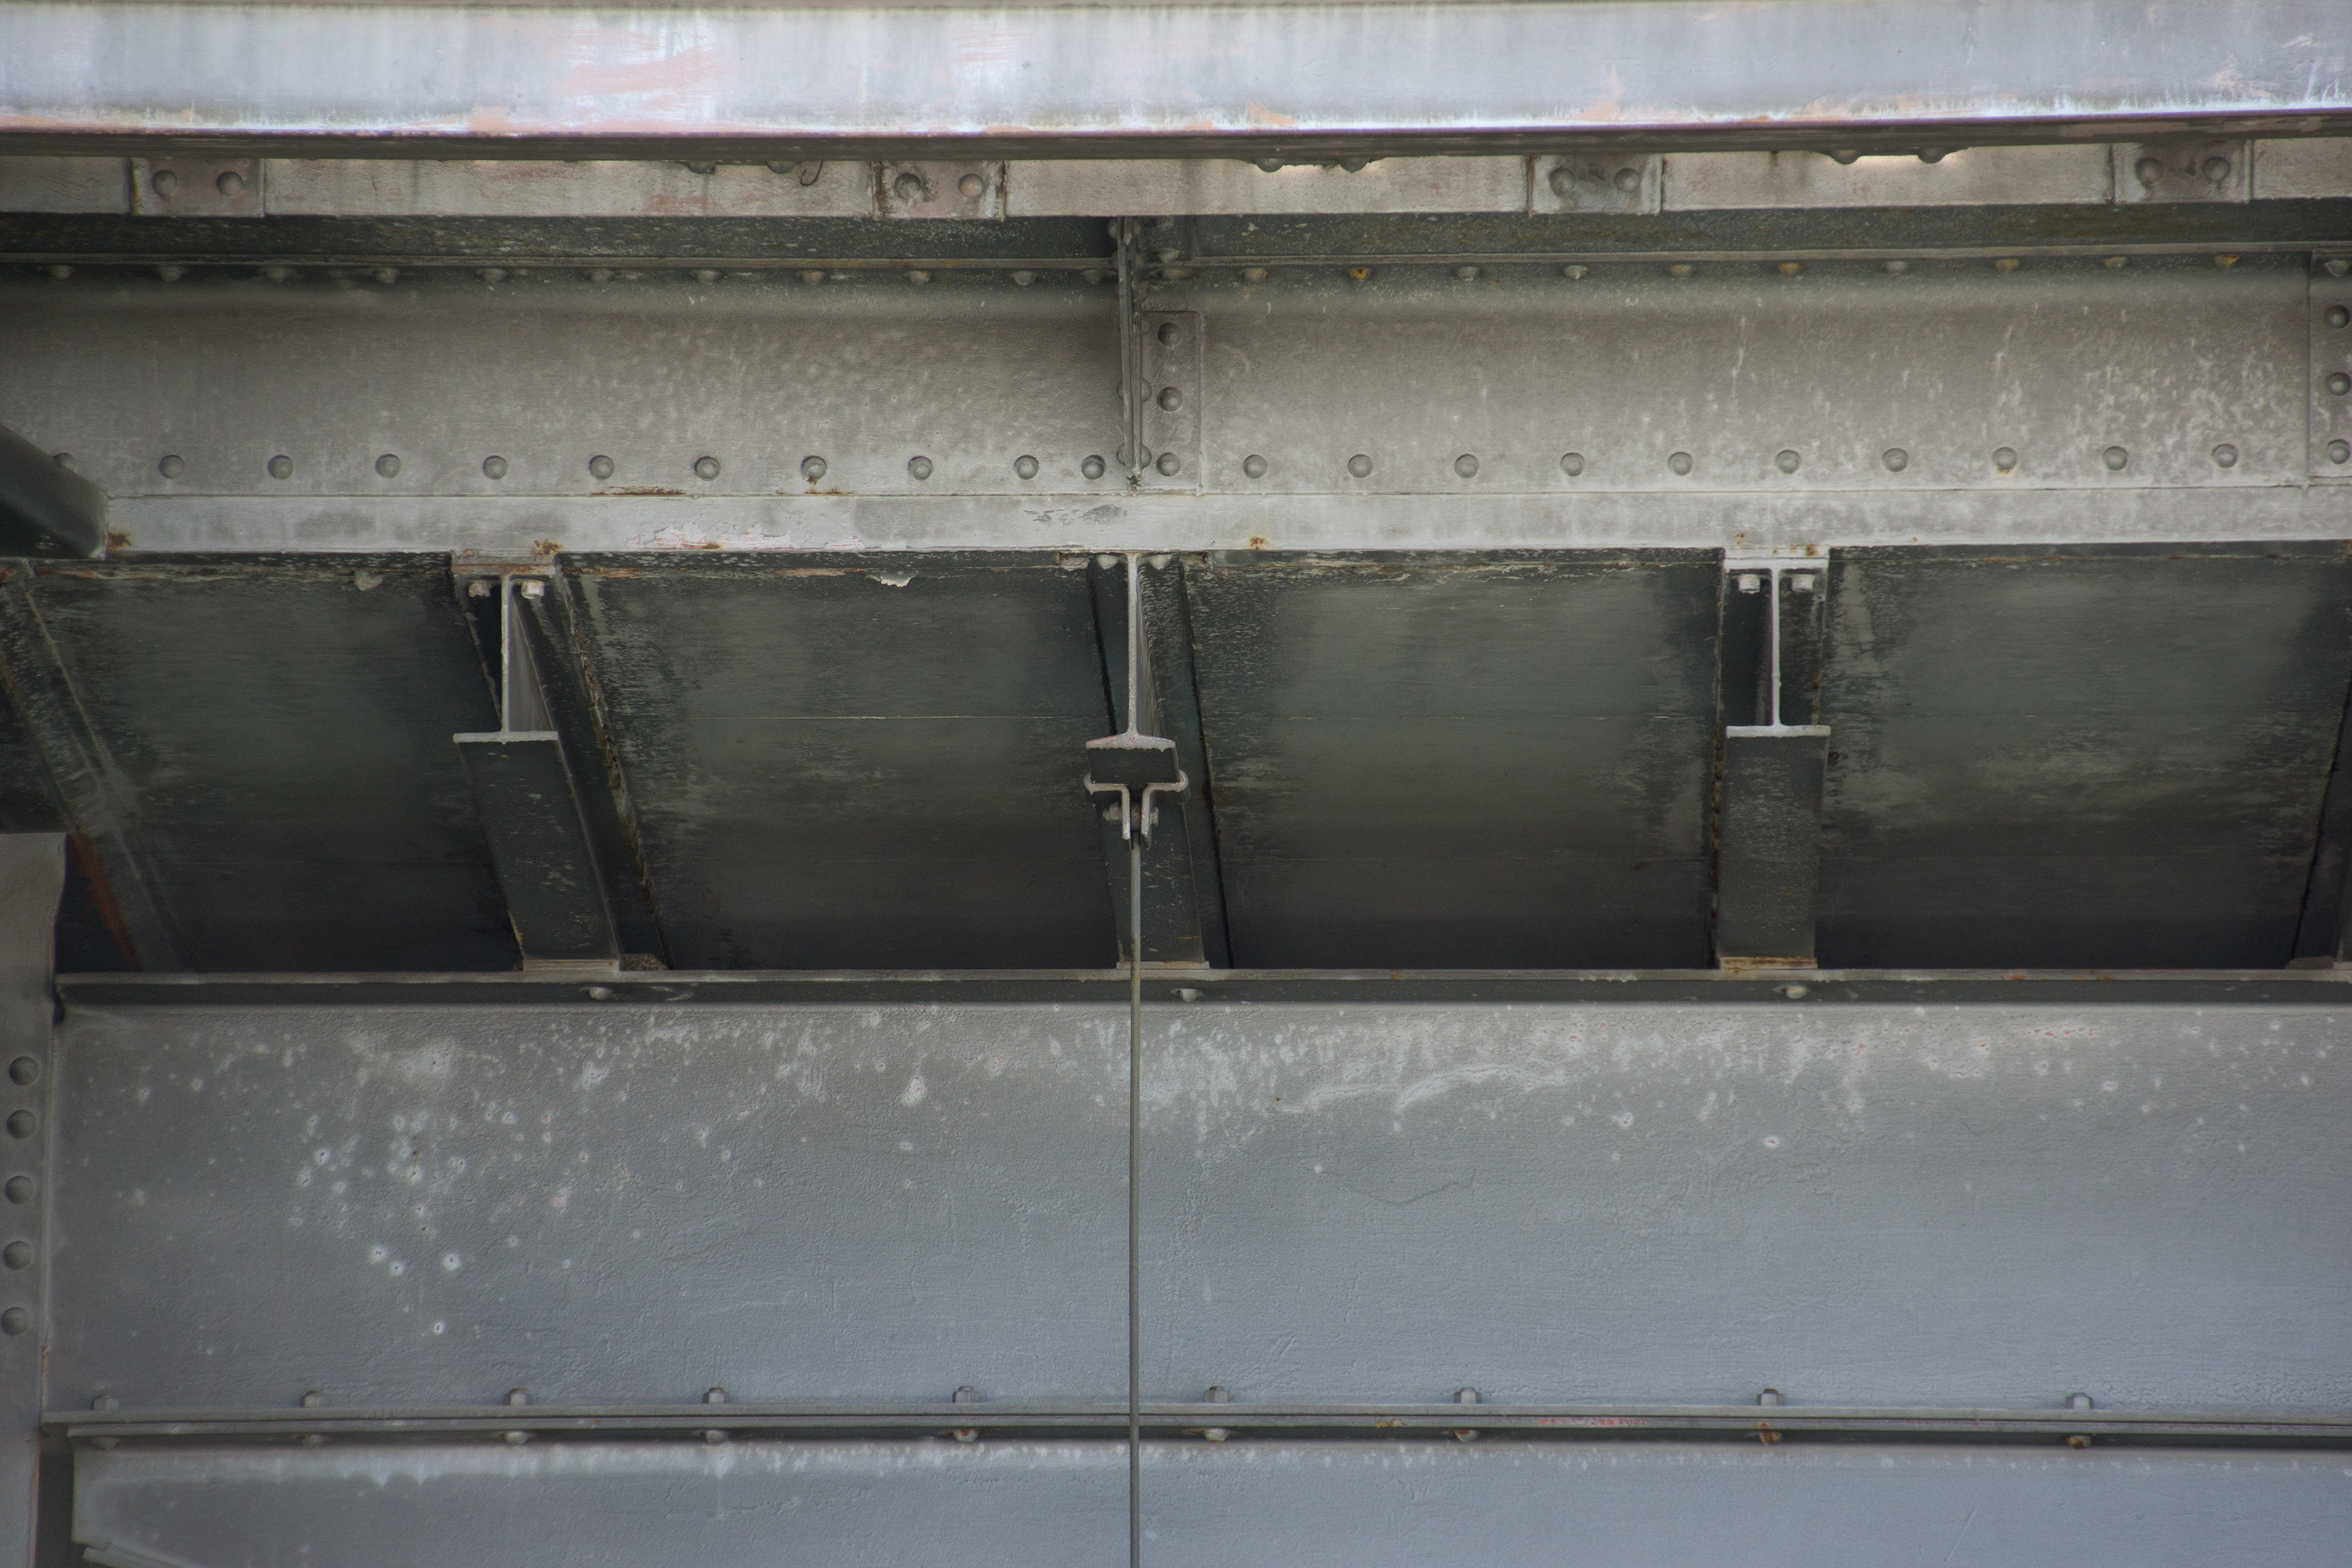

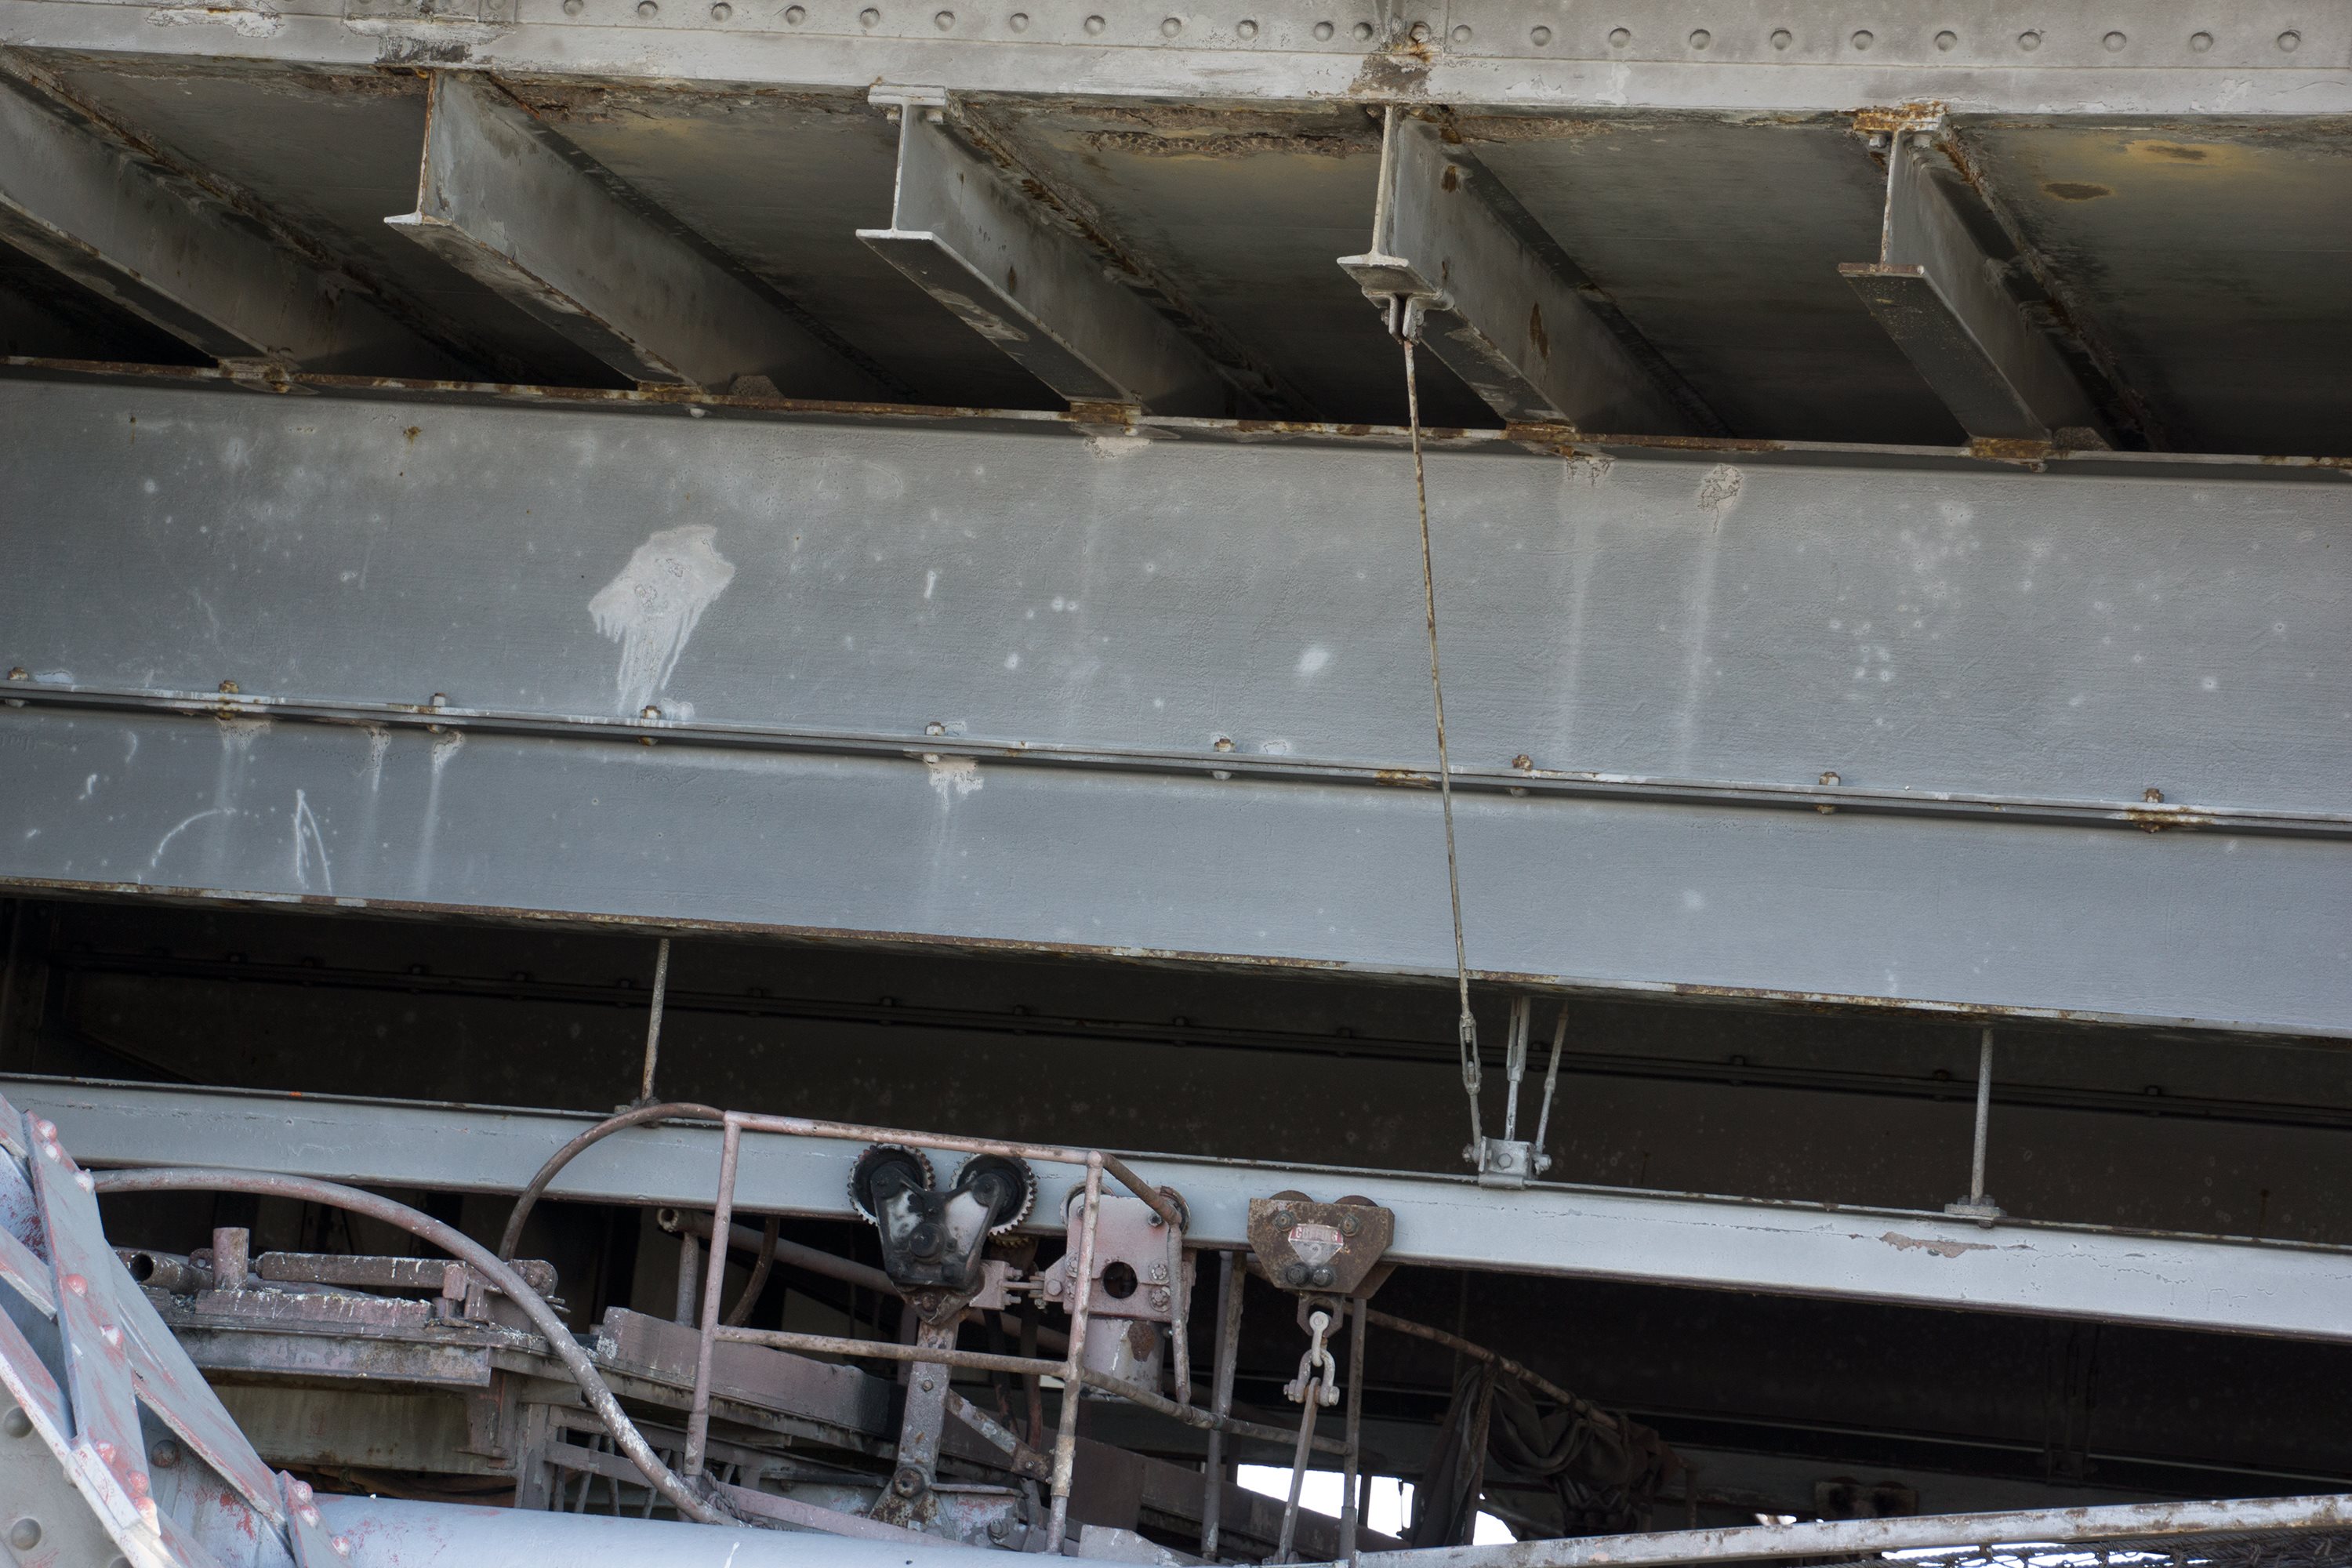

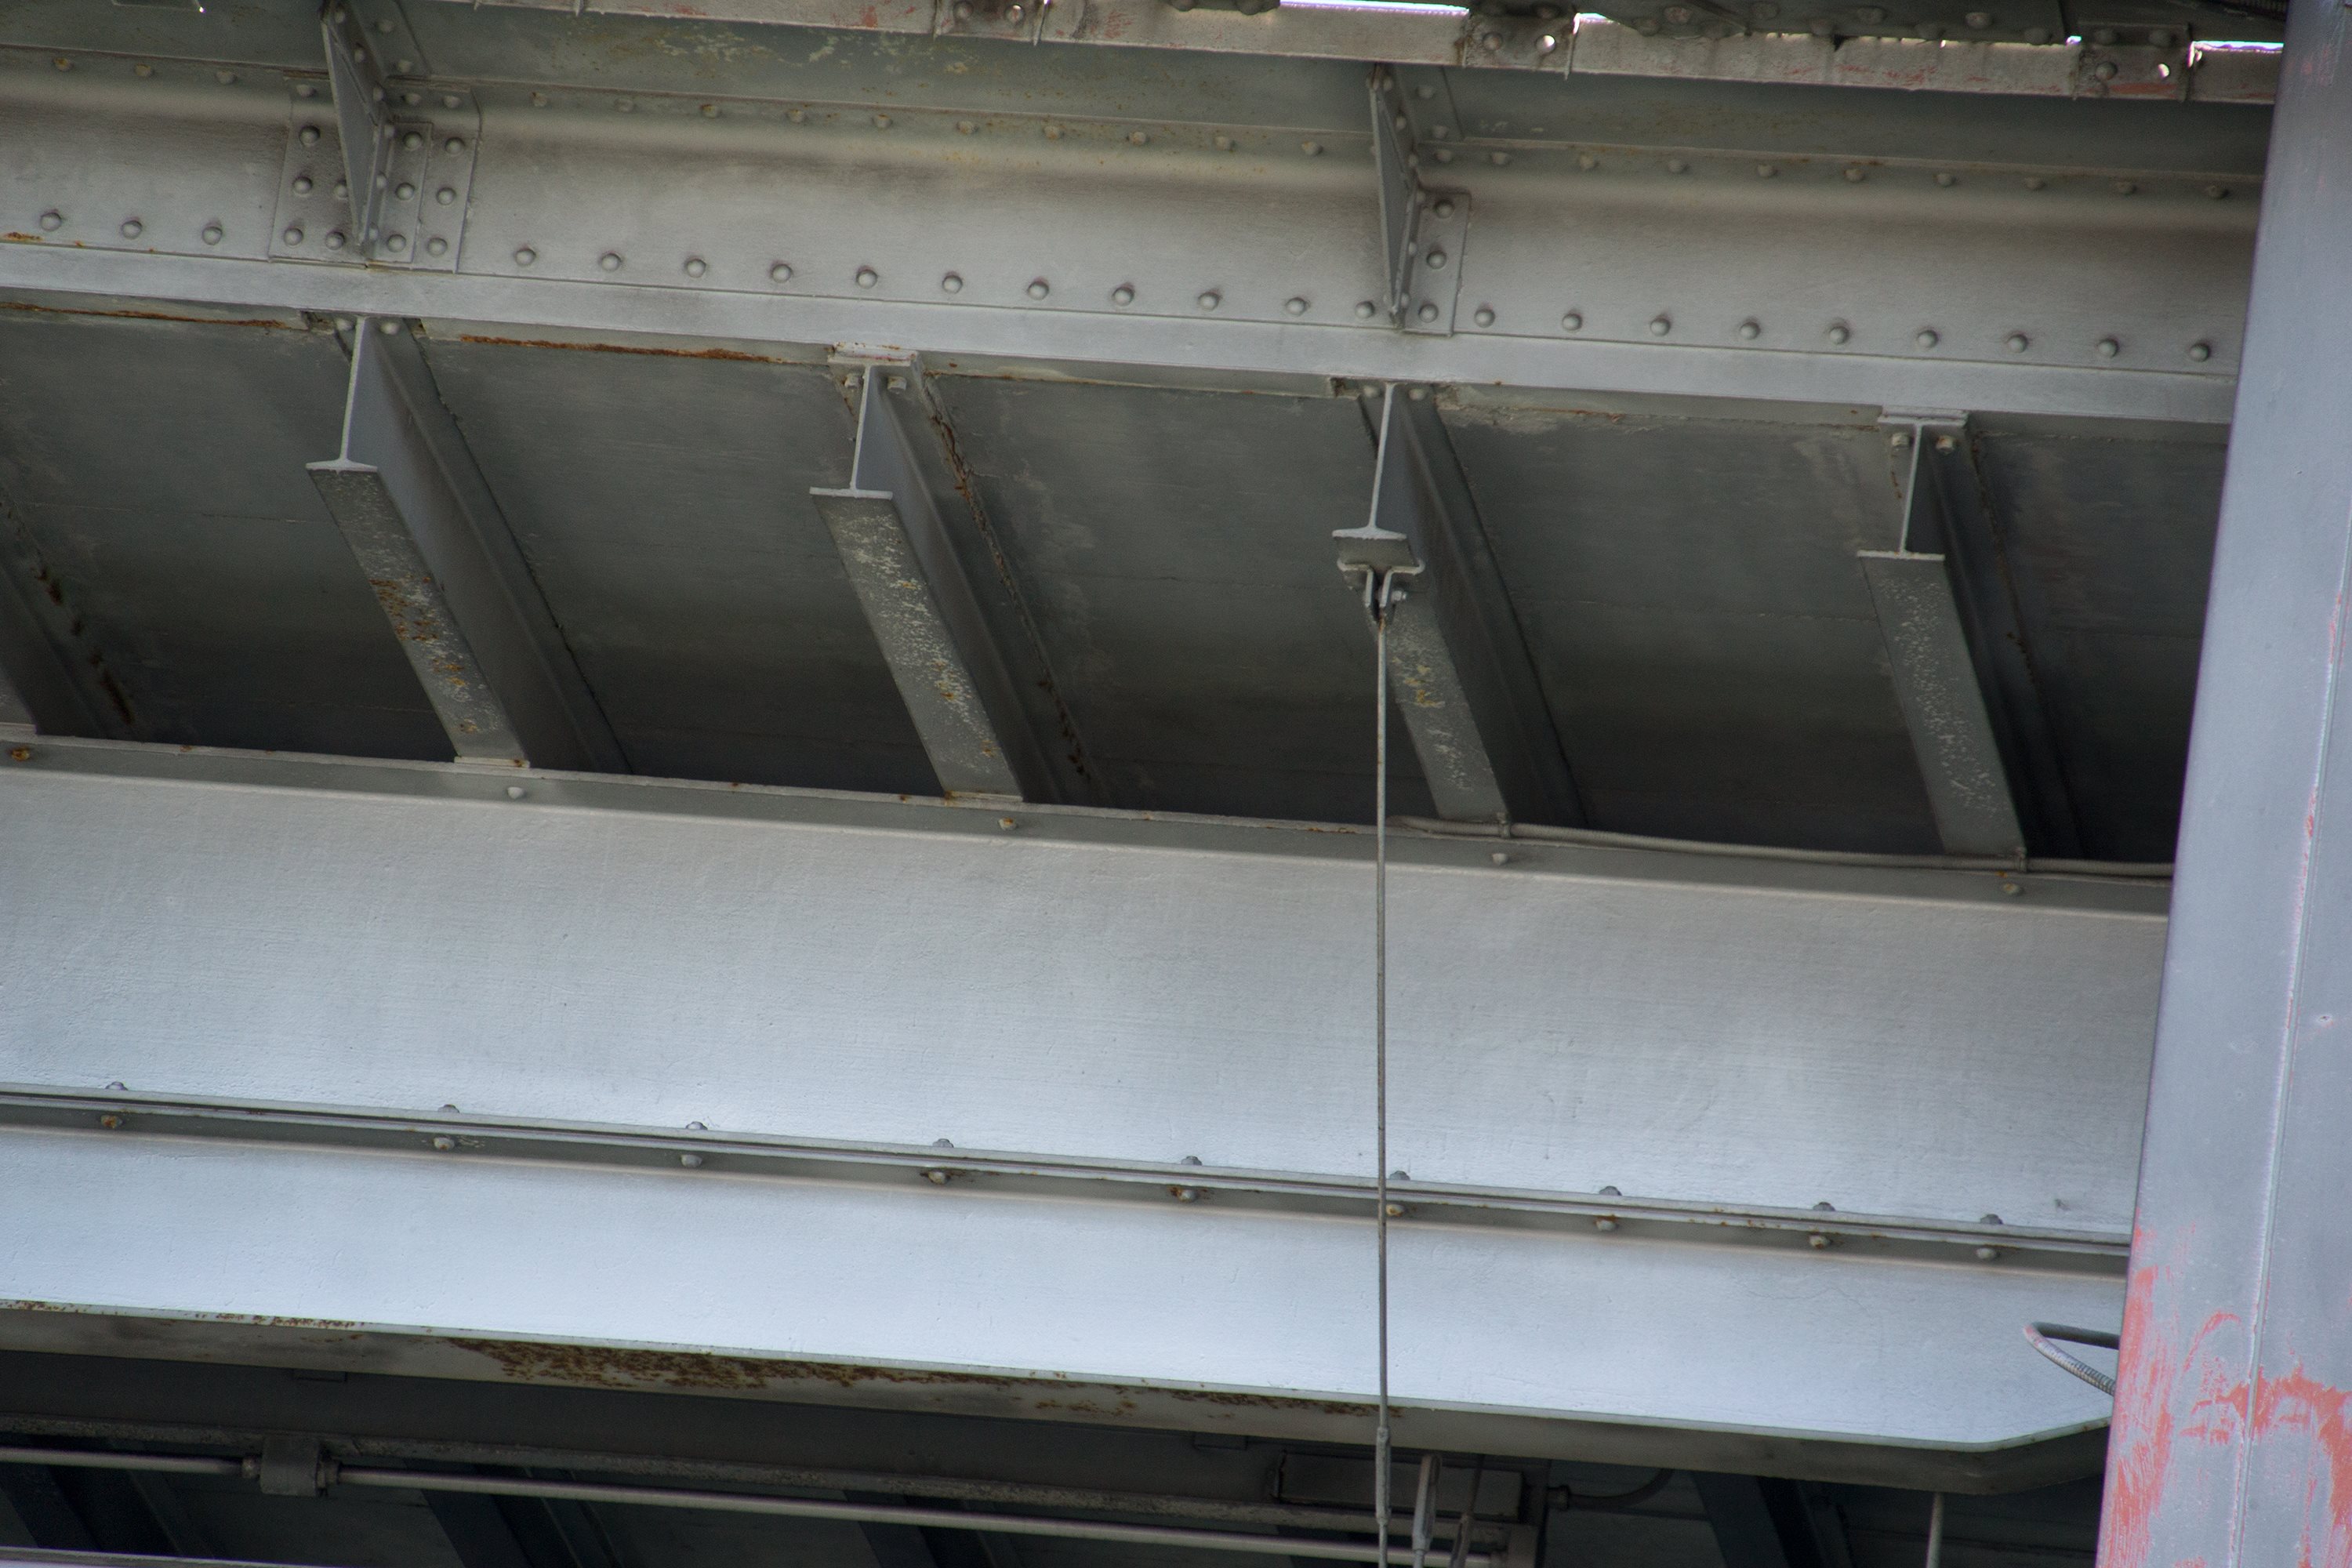


Photo Credit: David Grieshaber and Mike Koozmin
Flooring systems on deck truss spans.
![]()


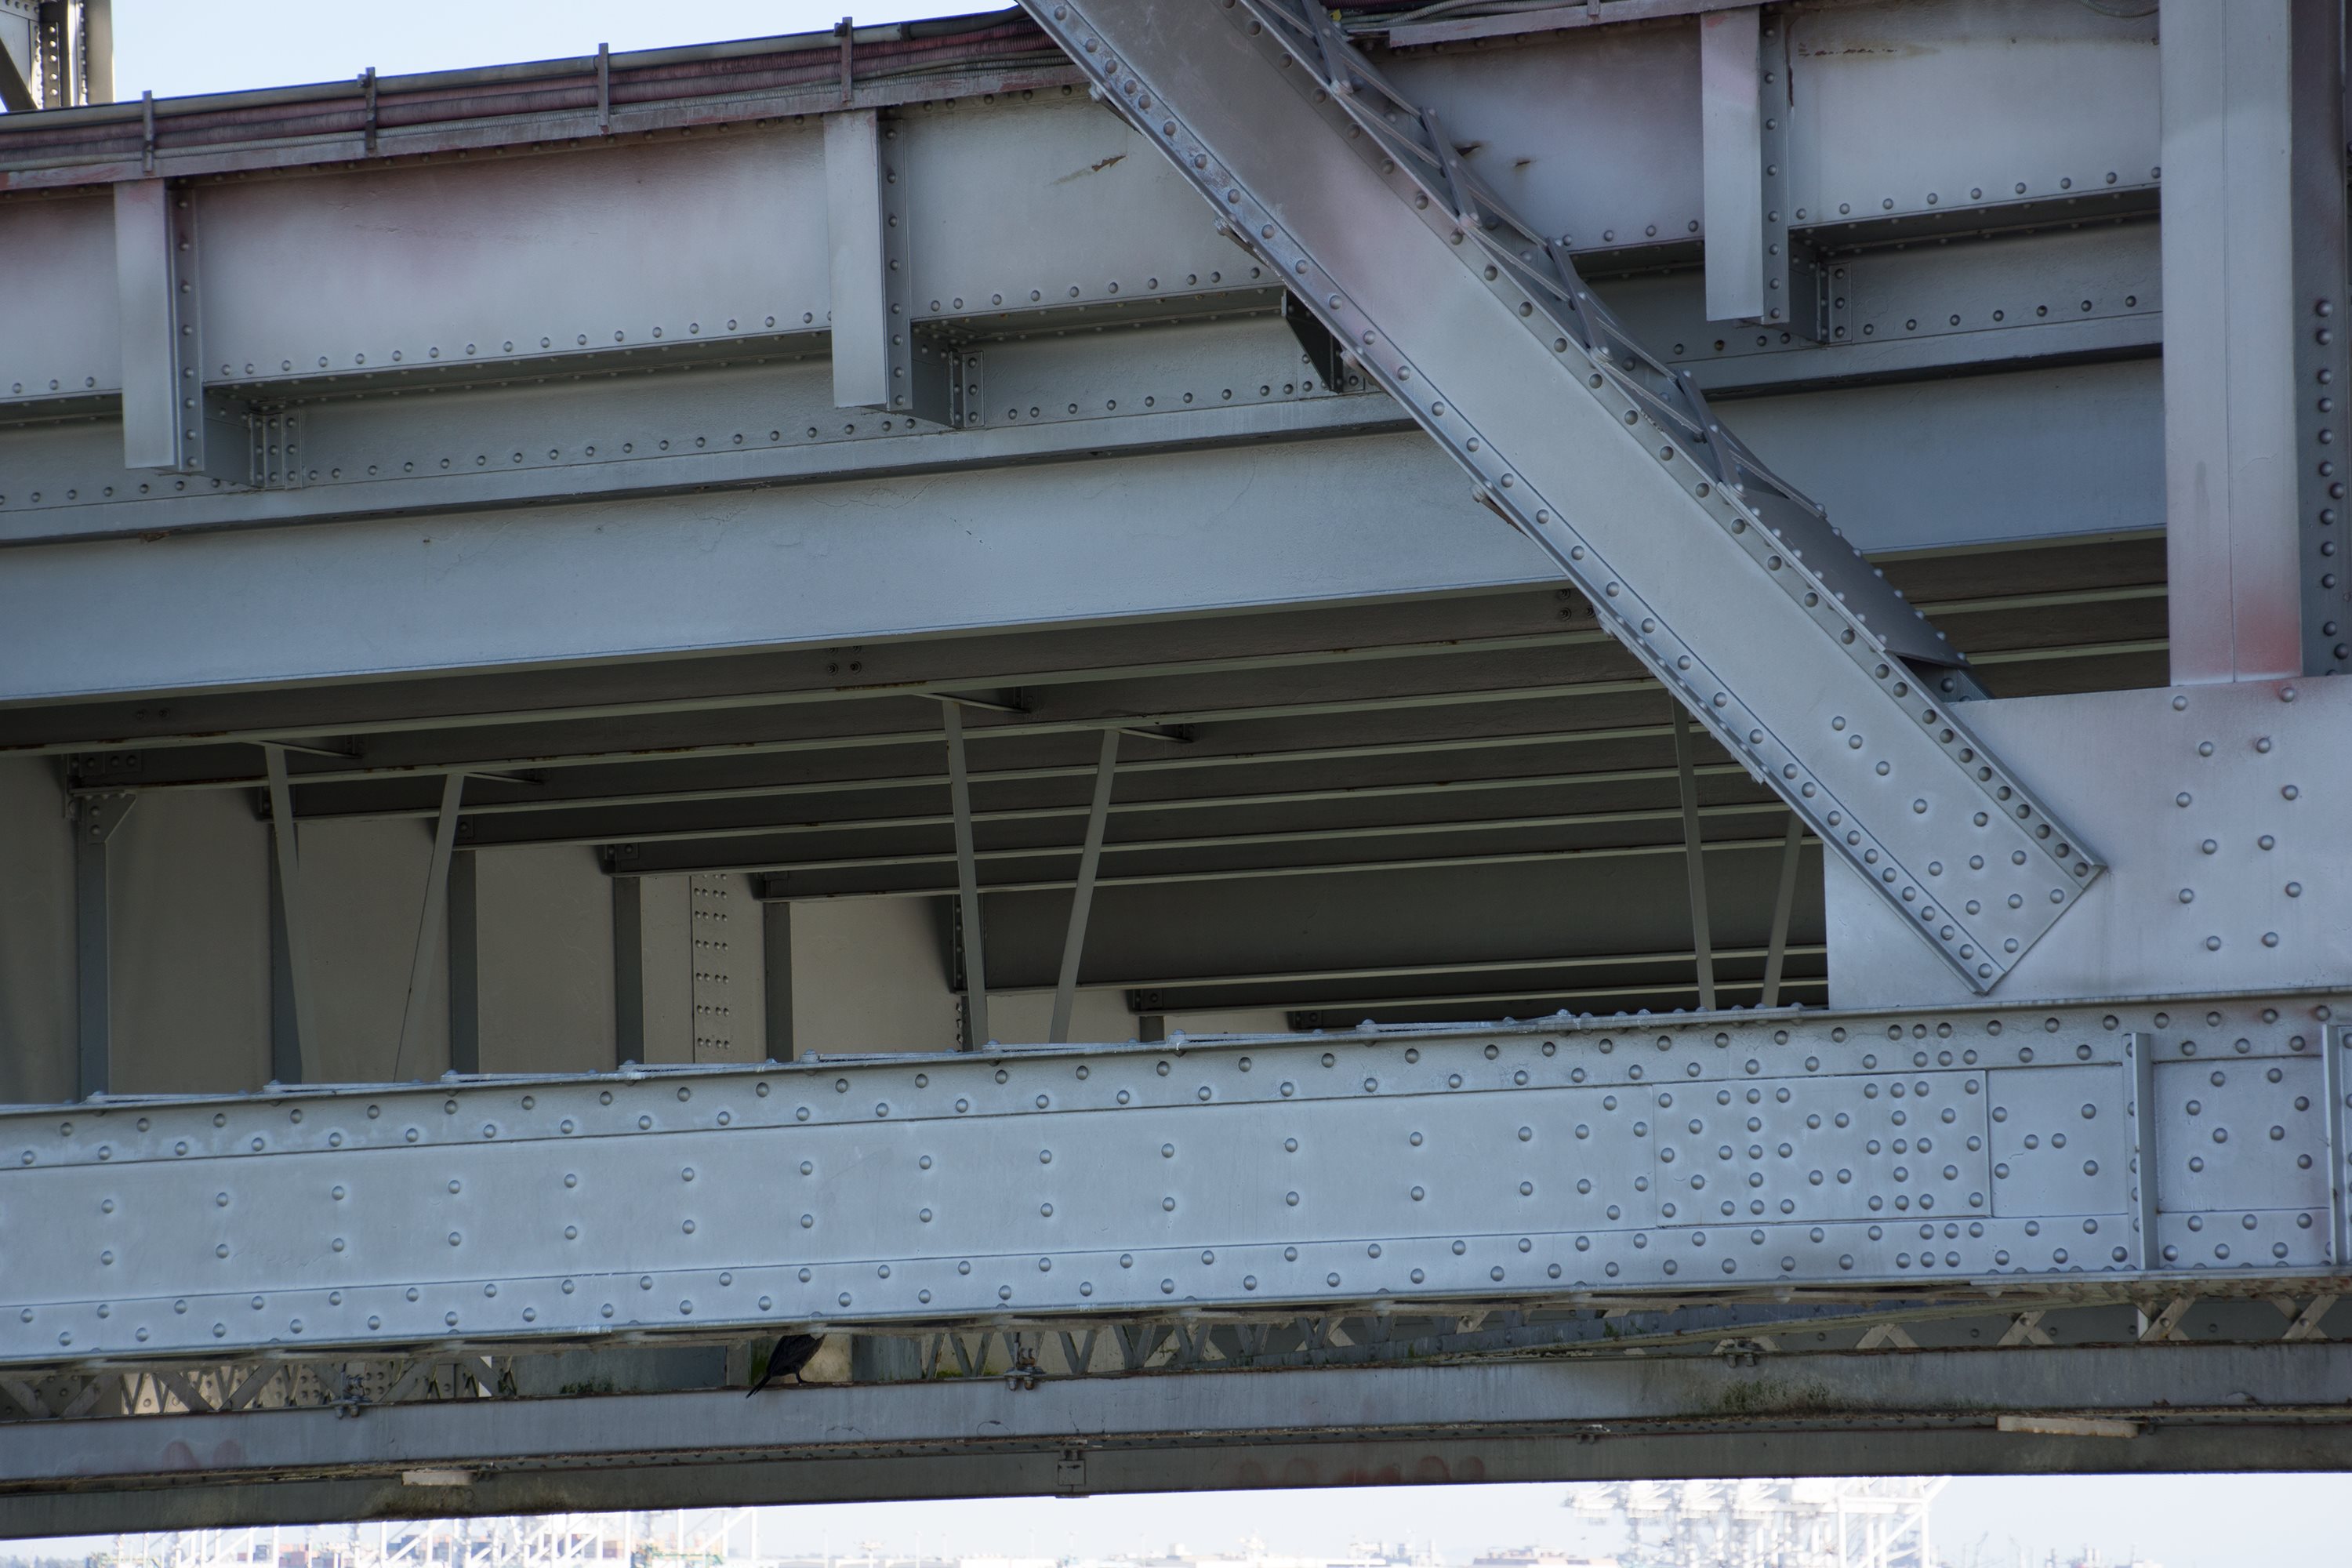

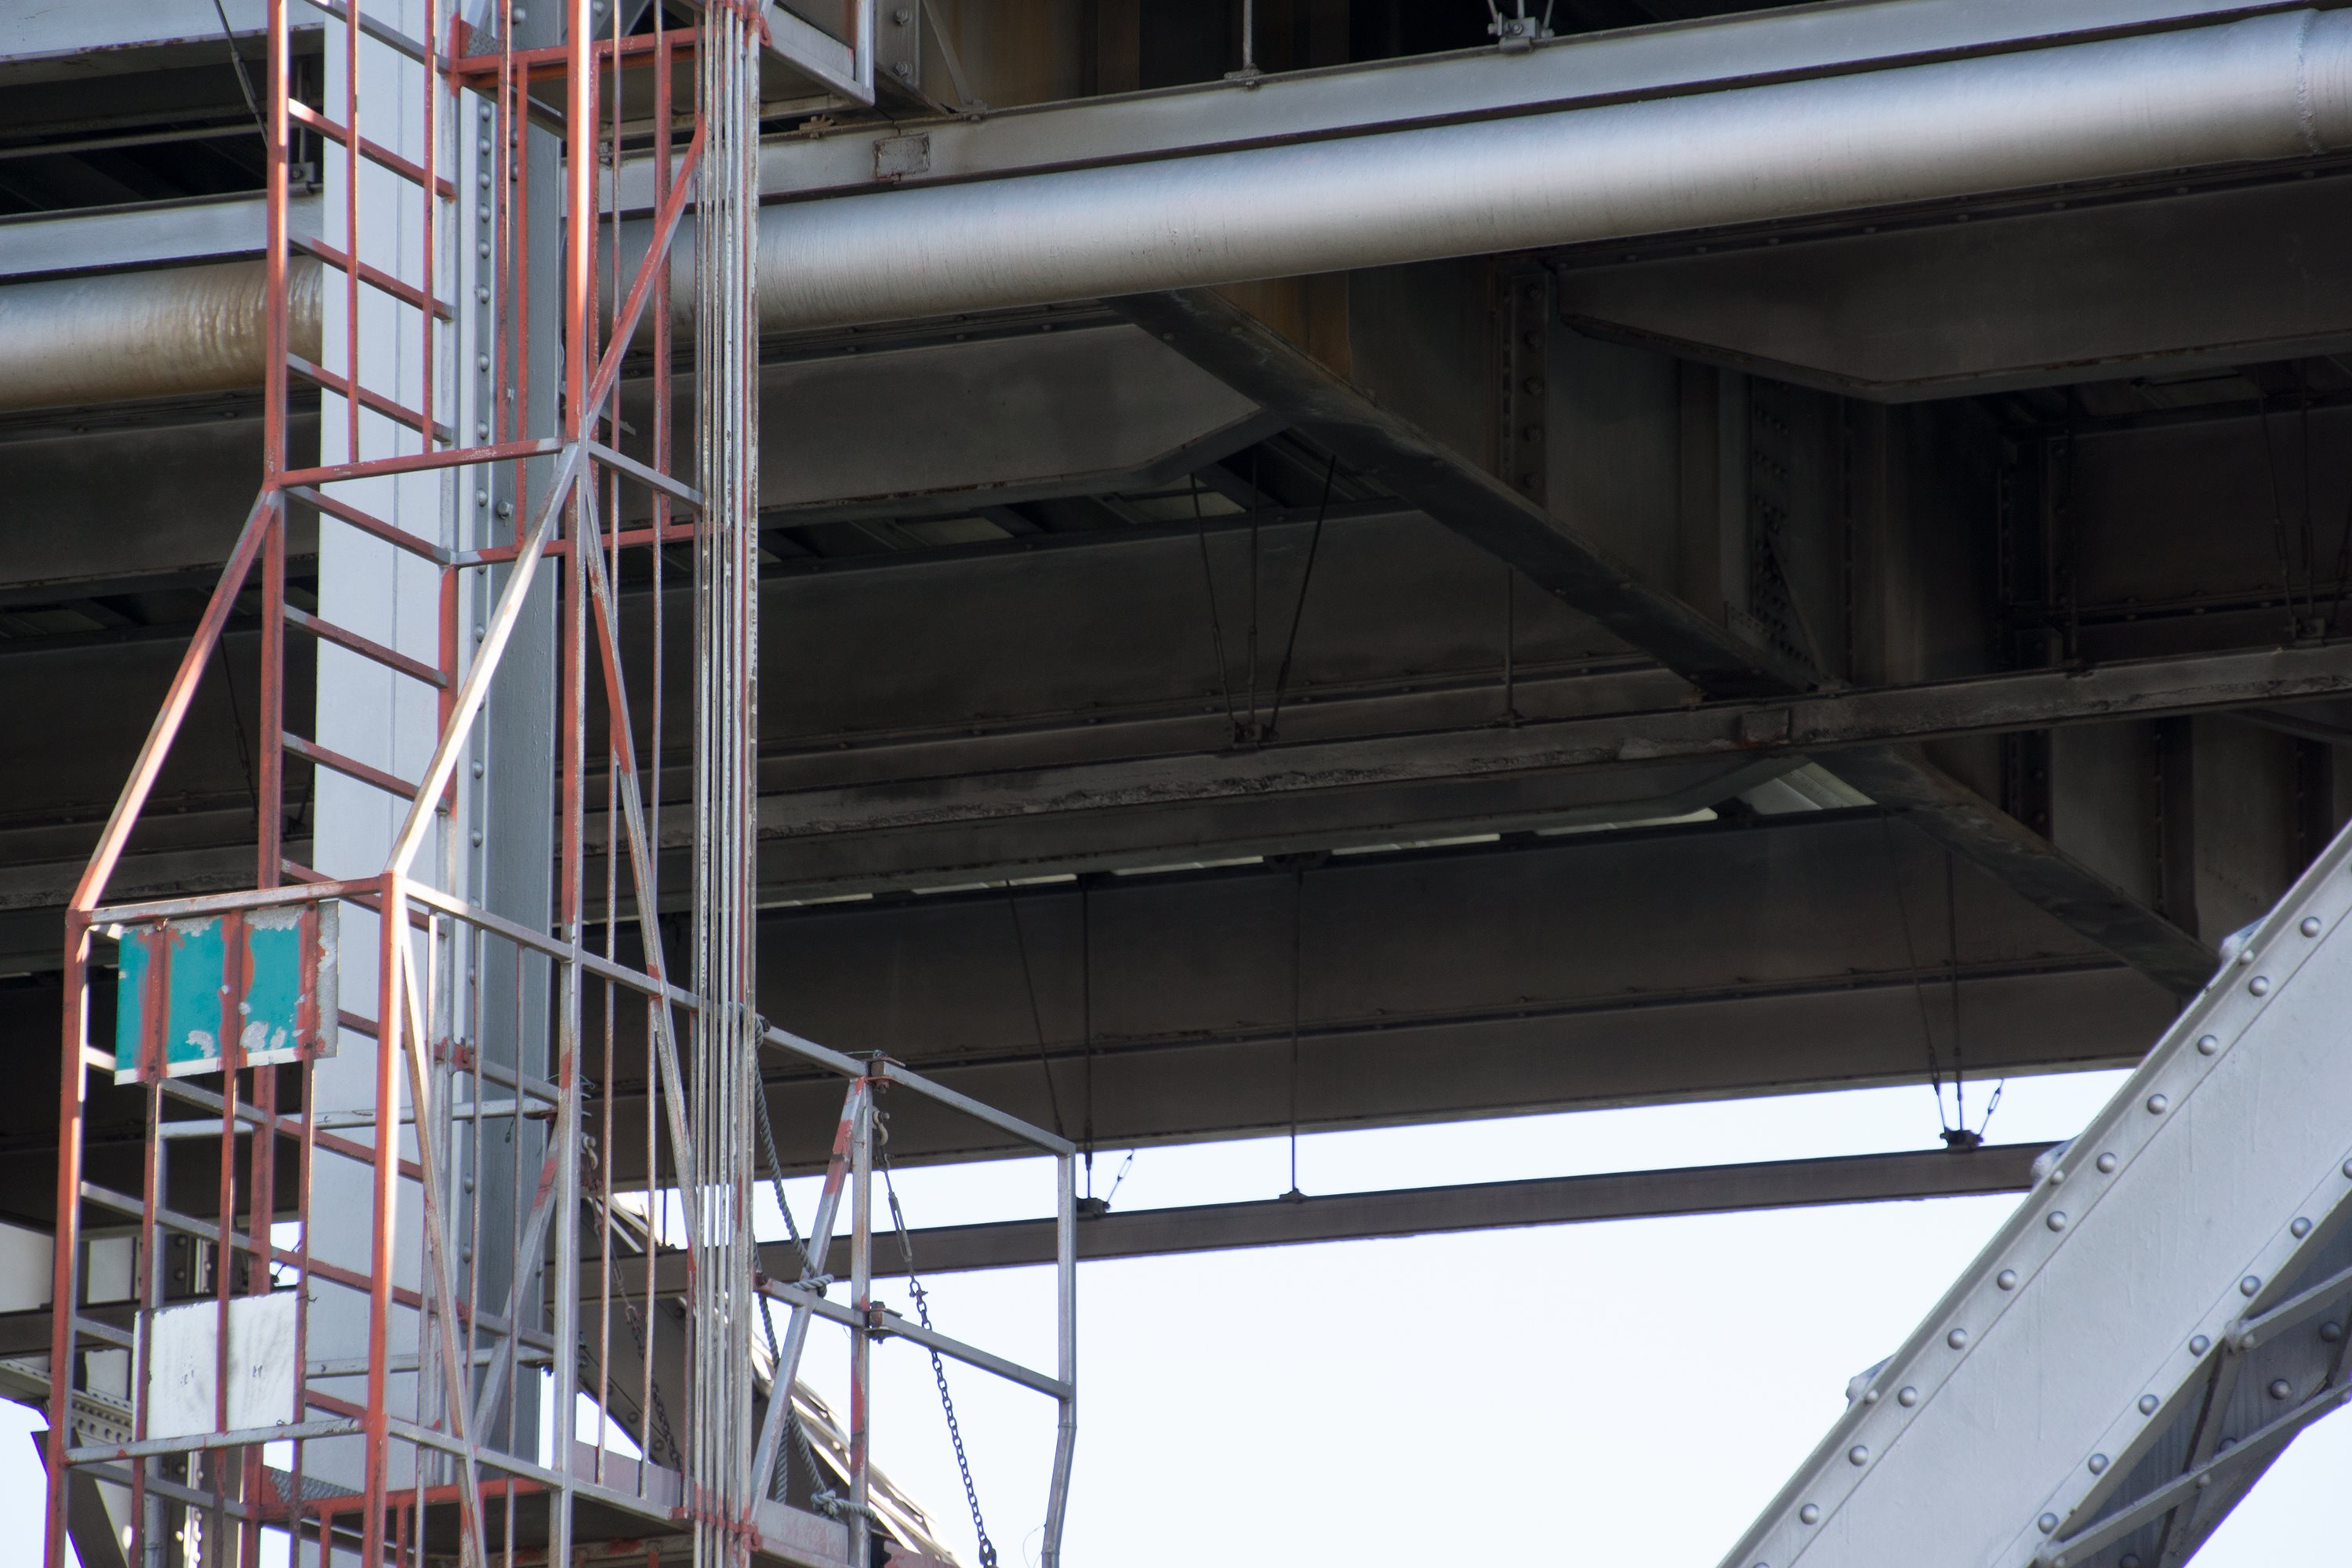

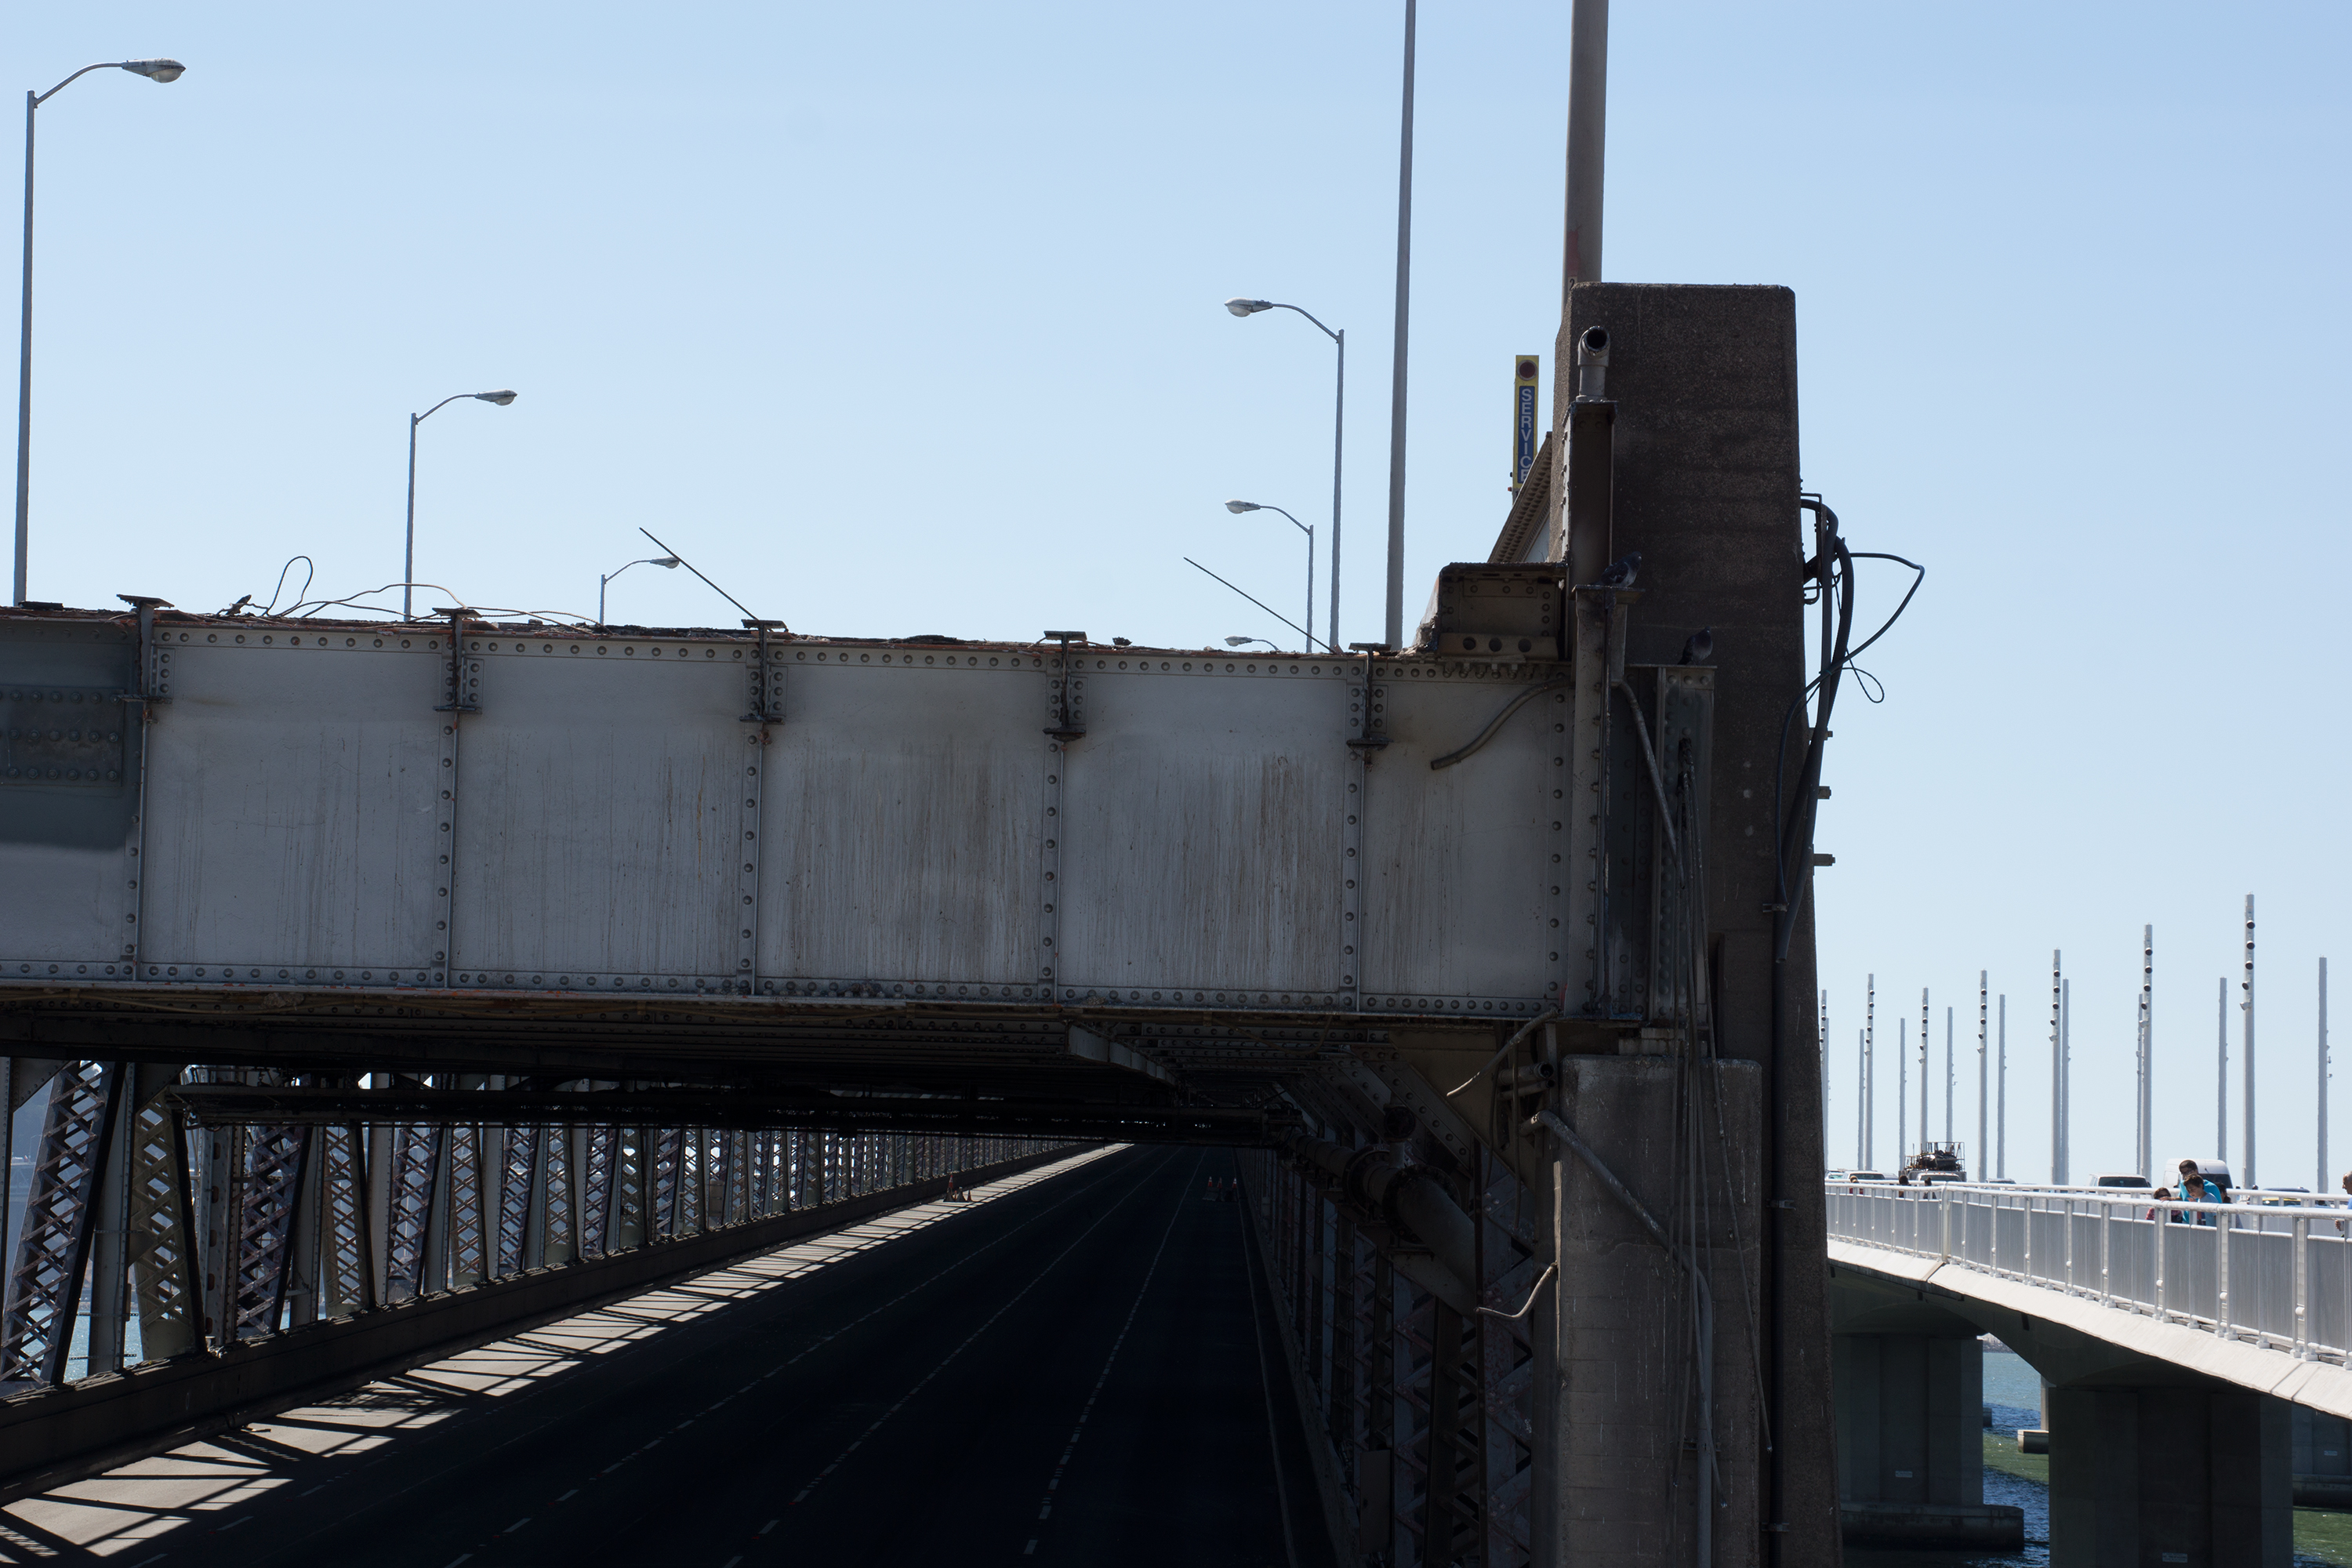
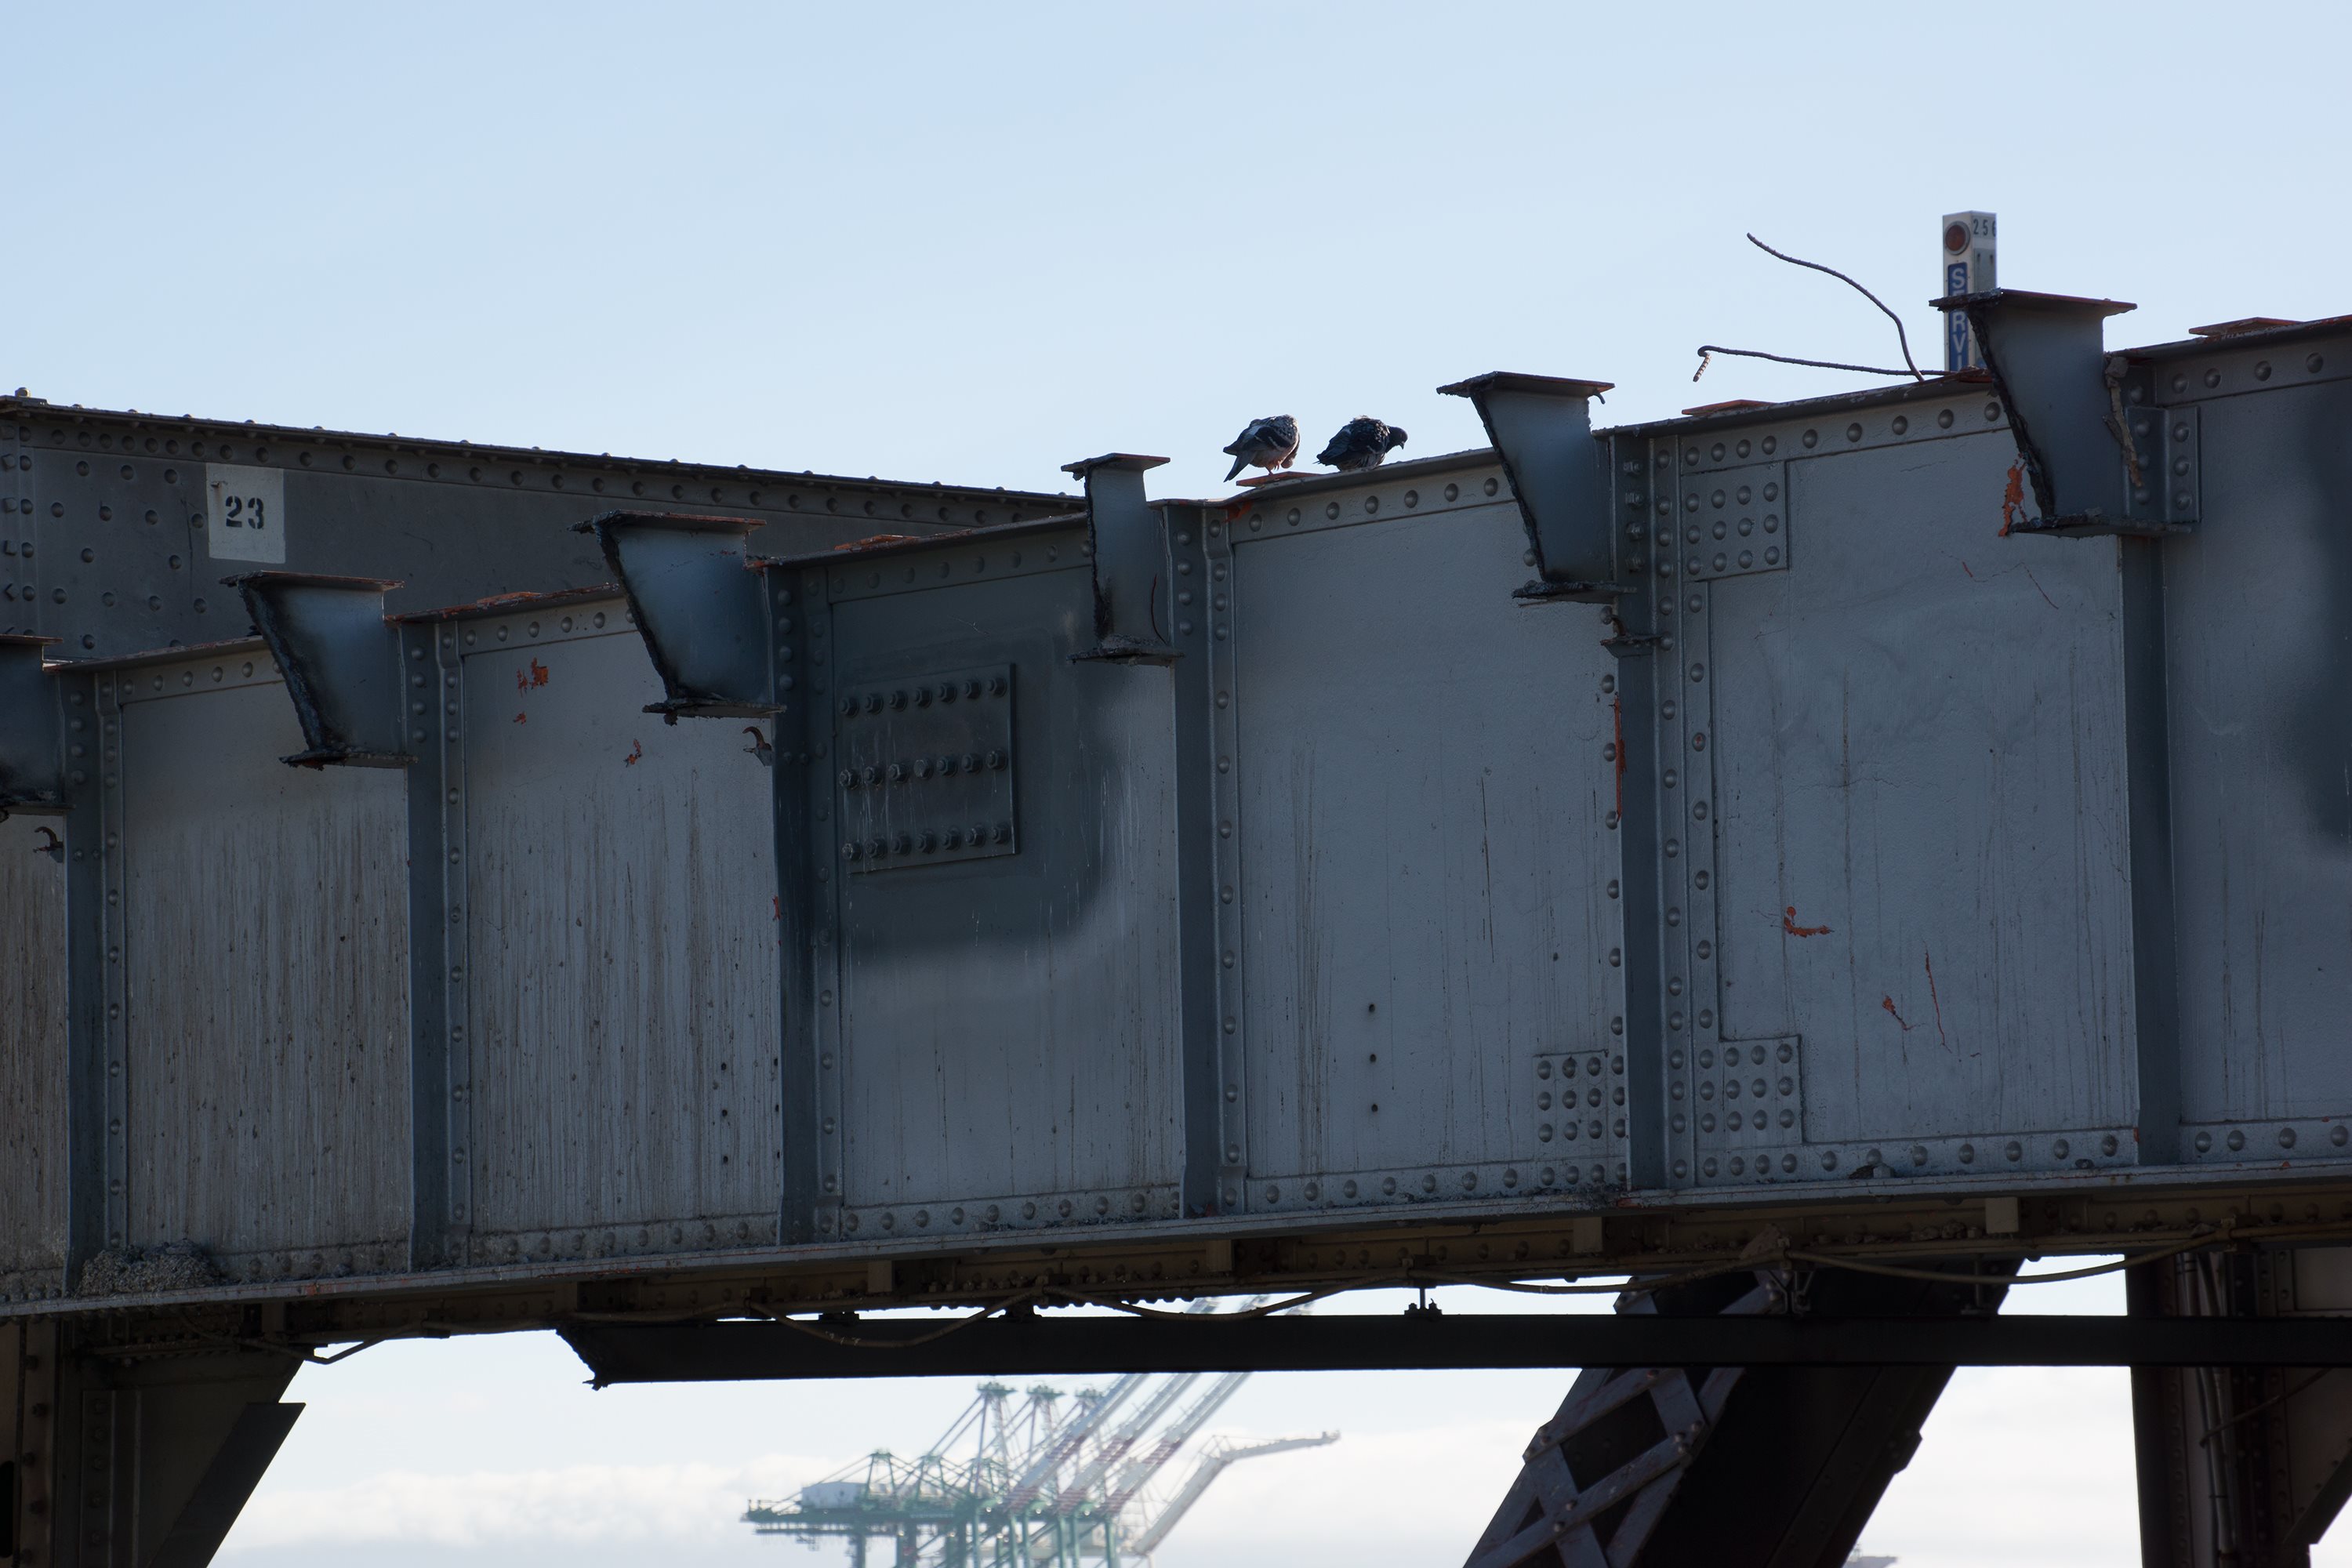

Photo Credit: David Grieshaber and Mike Koozmin
Views showing deck truss floor beams.
![]()

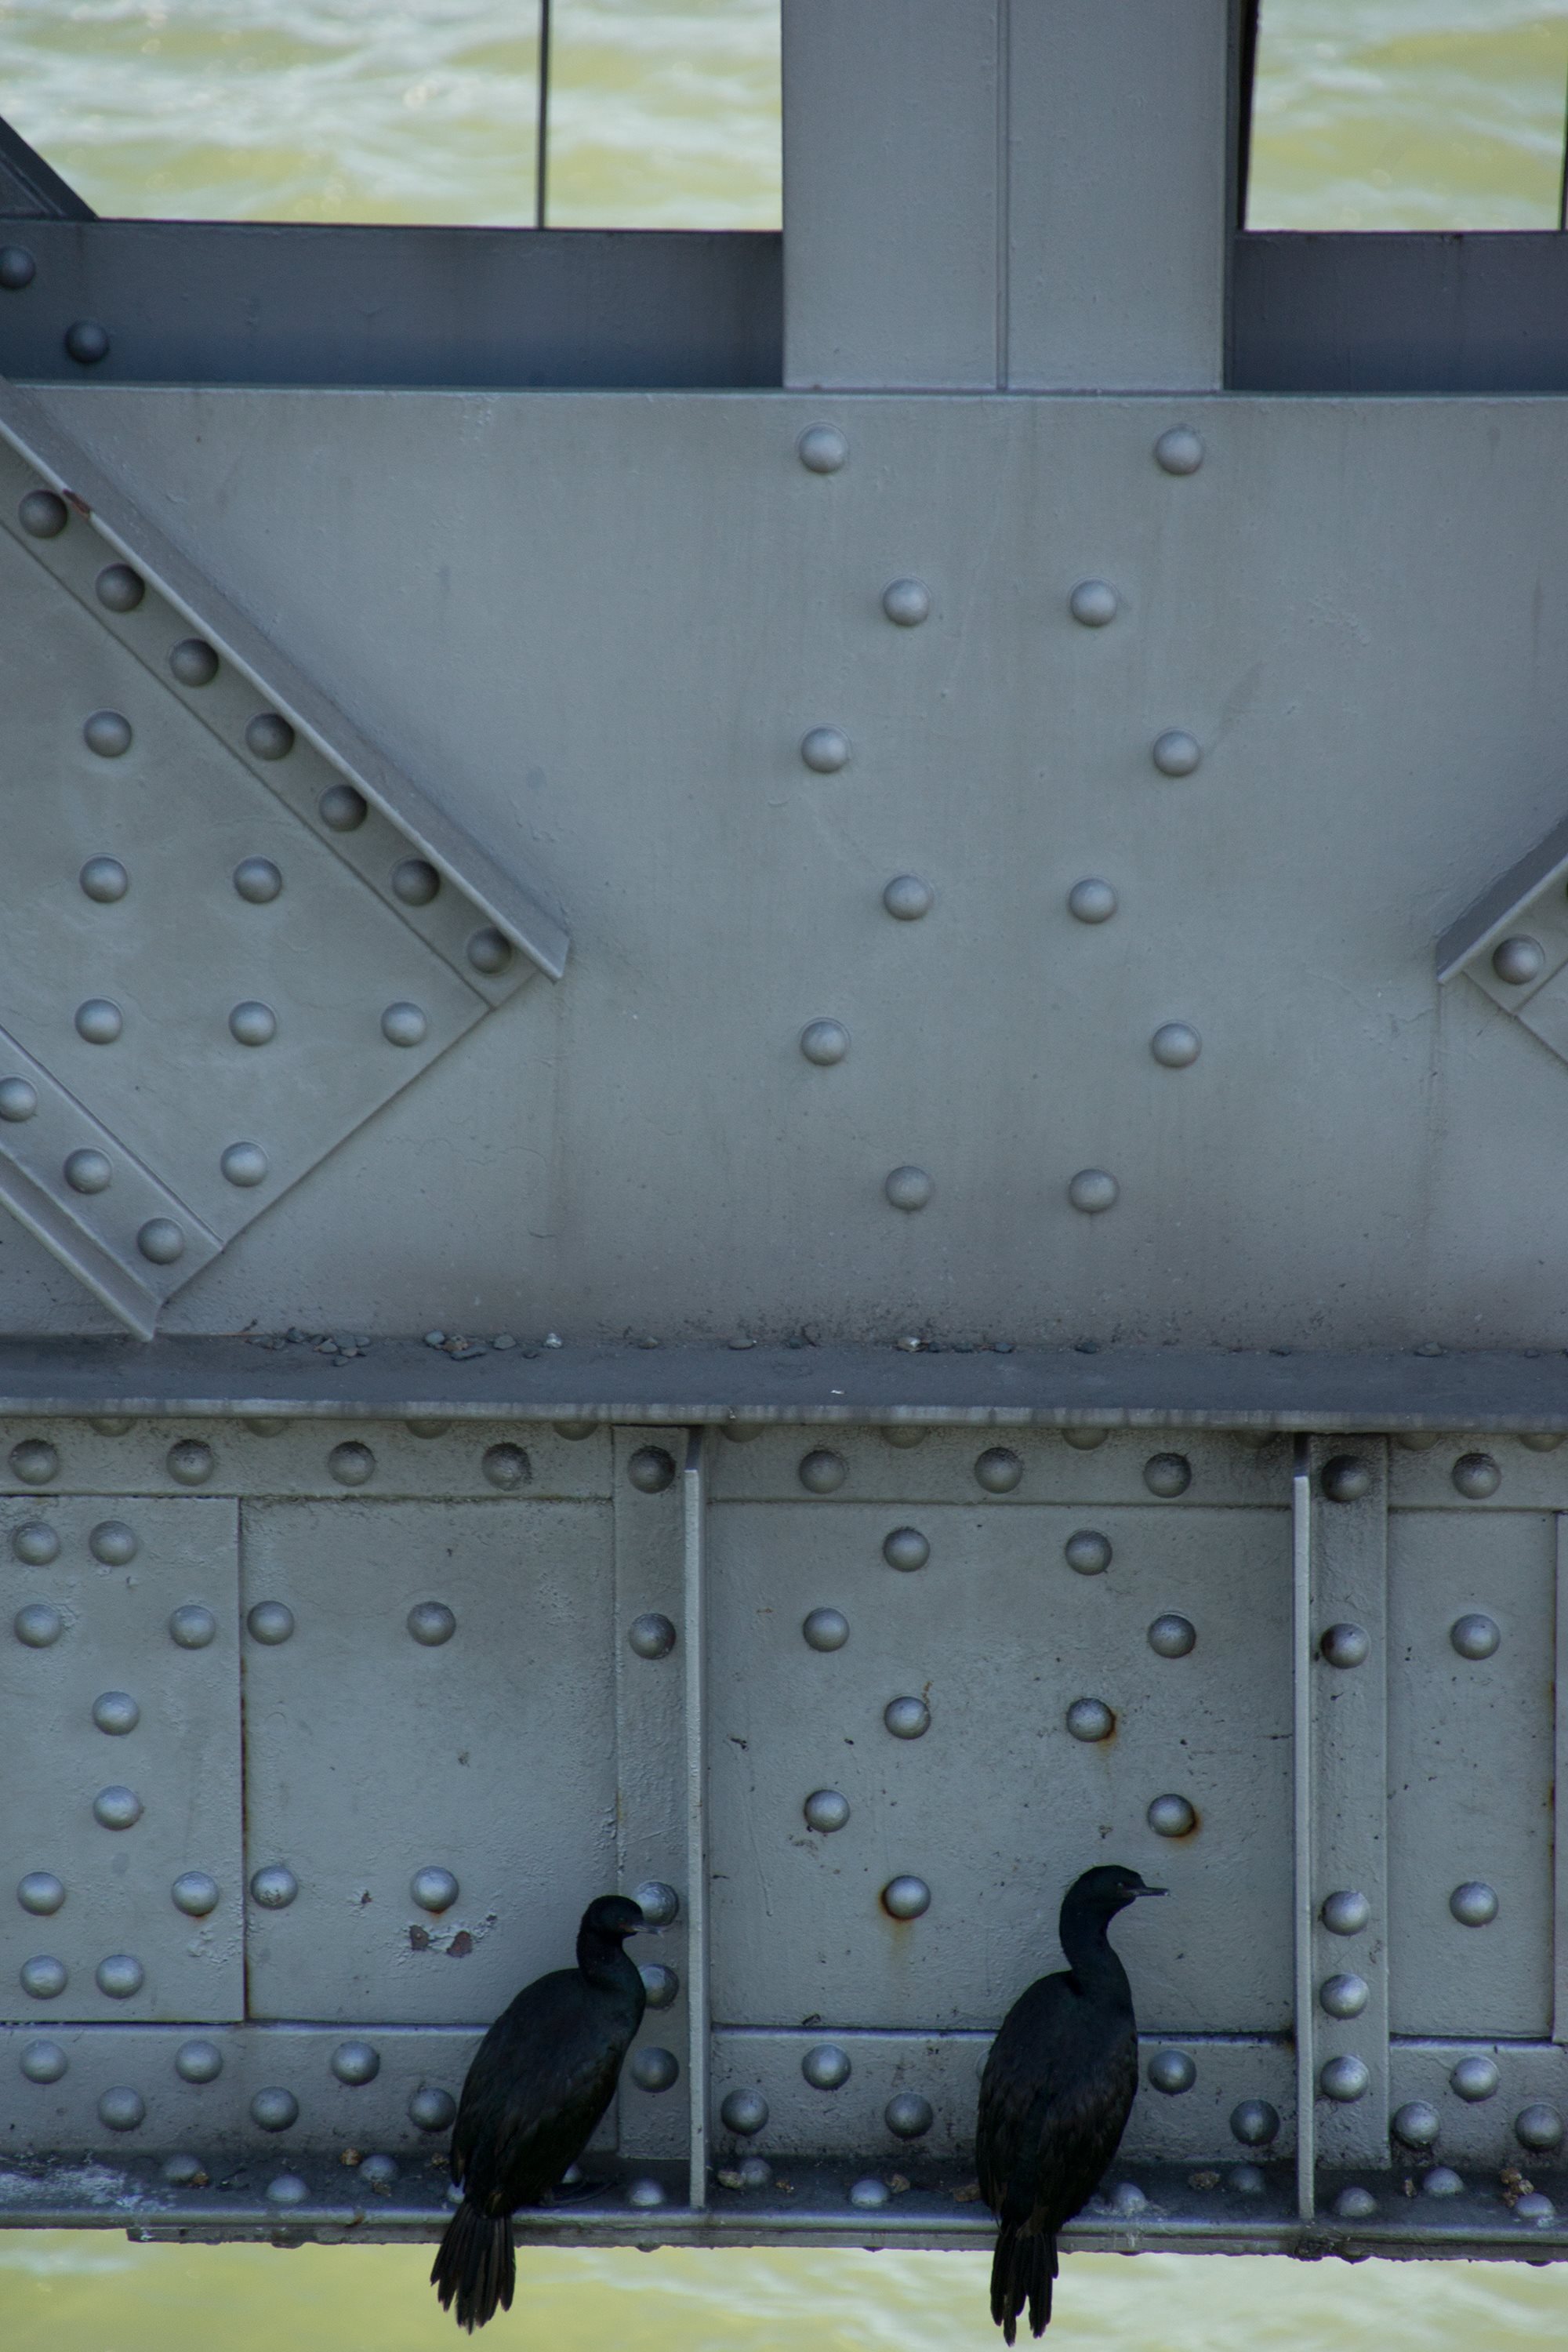
Photo Credit: David Grieshaber and Mike Koozmin
Deck truss bottom chord.
![]()


Photo Credit: David Grieshaber and Mike Koozmin
Deck truss top chord.
![]()


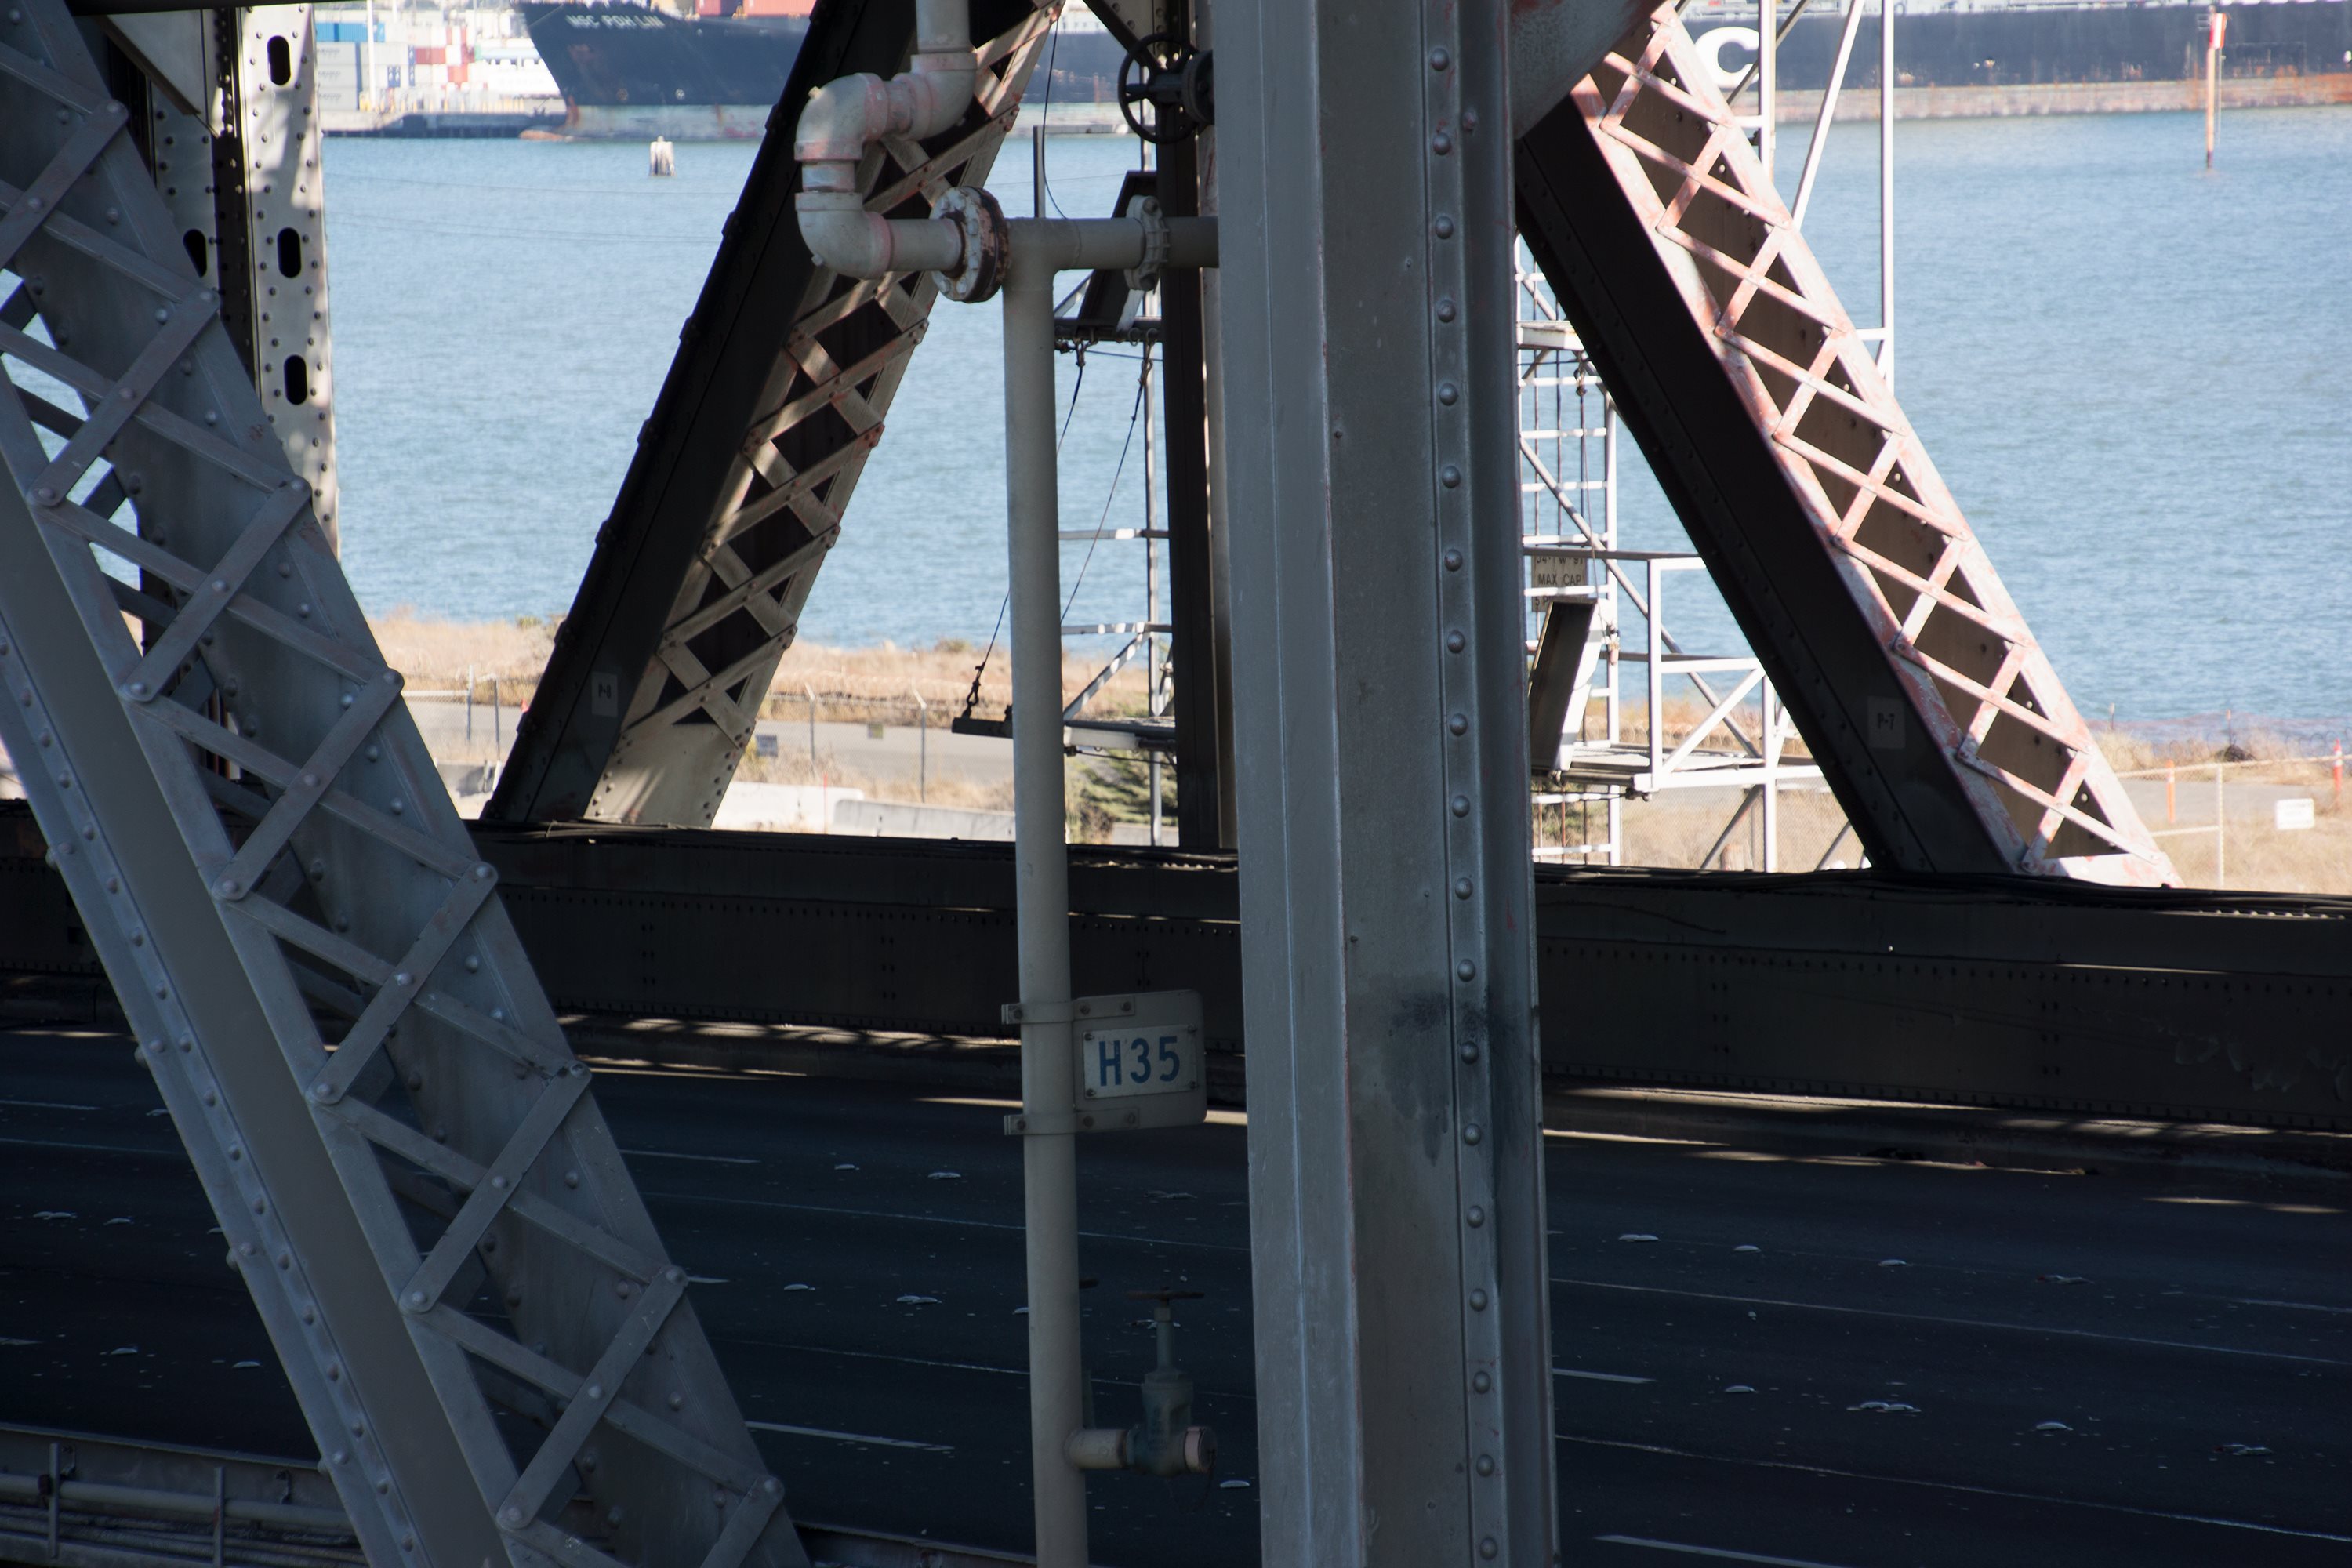


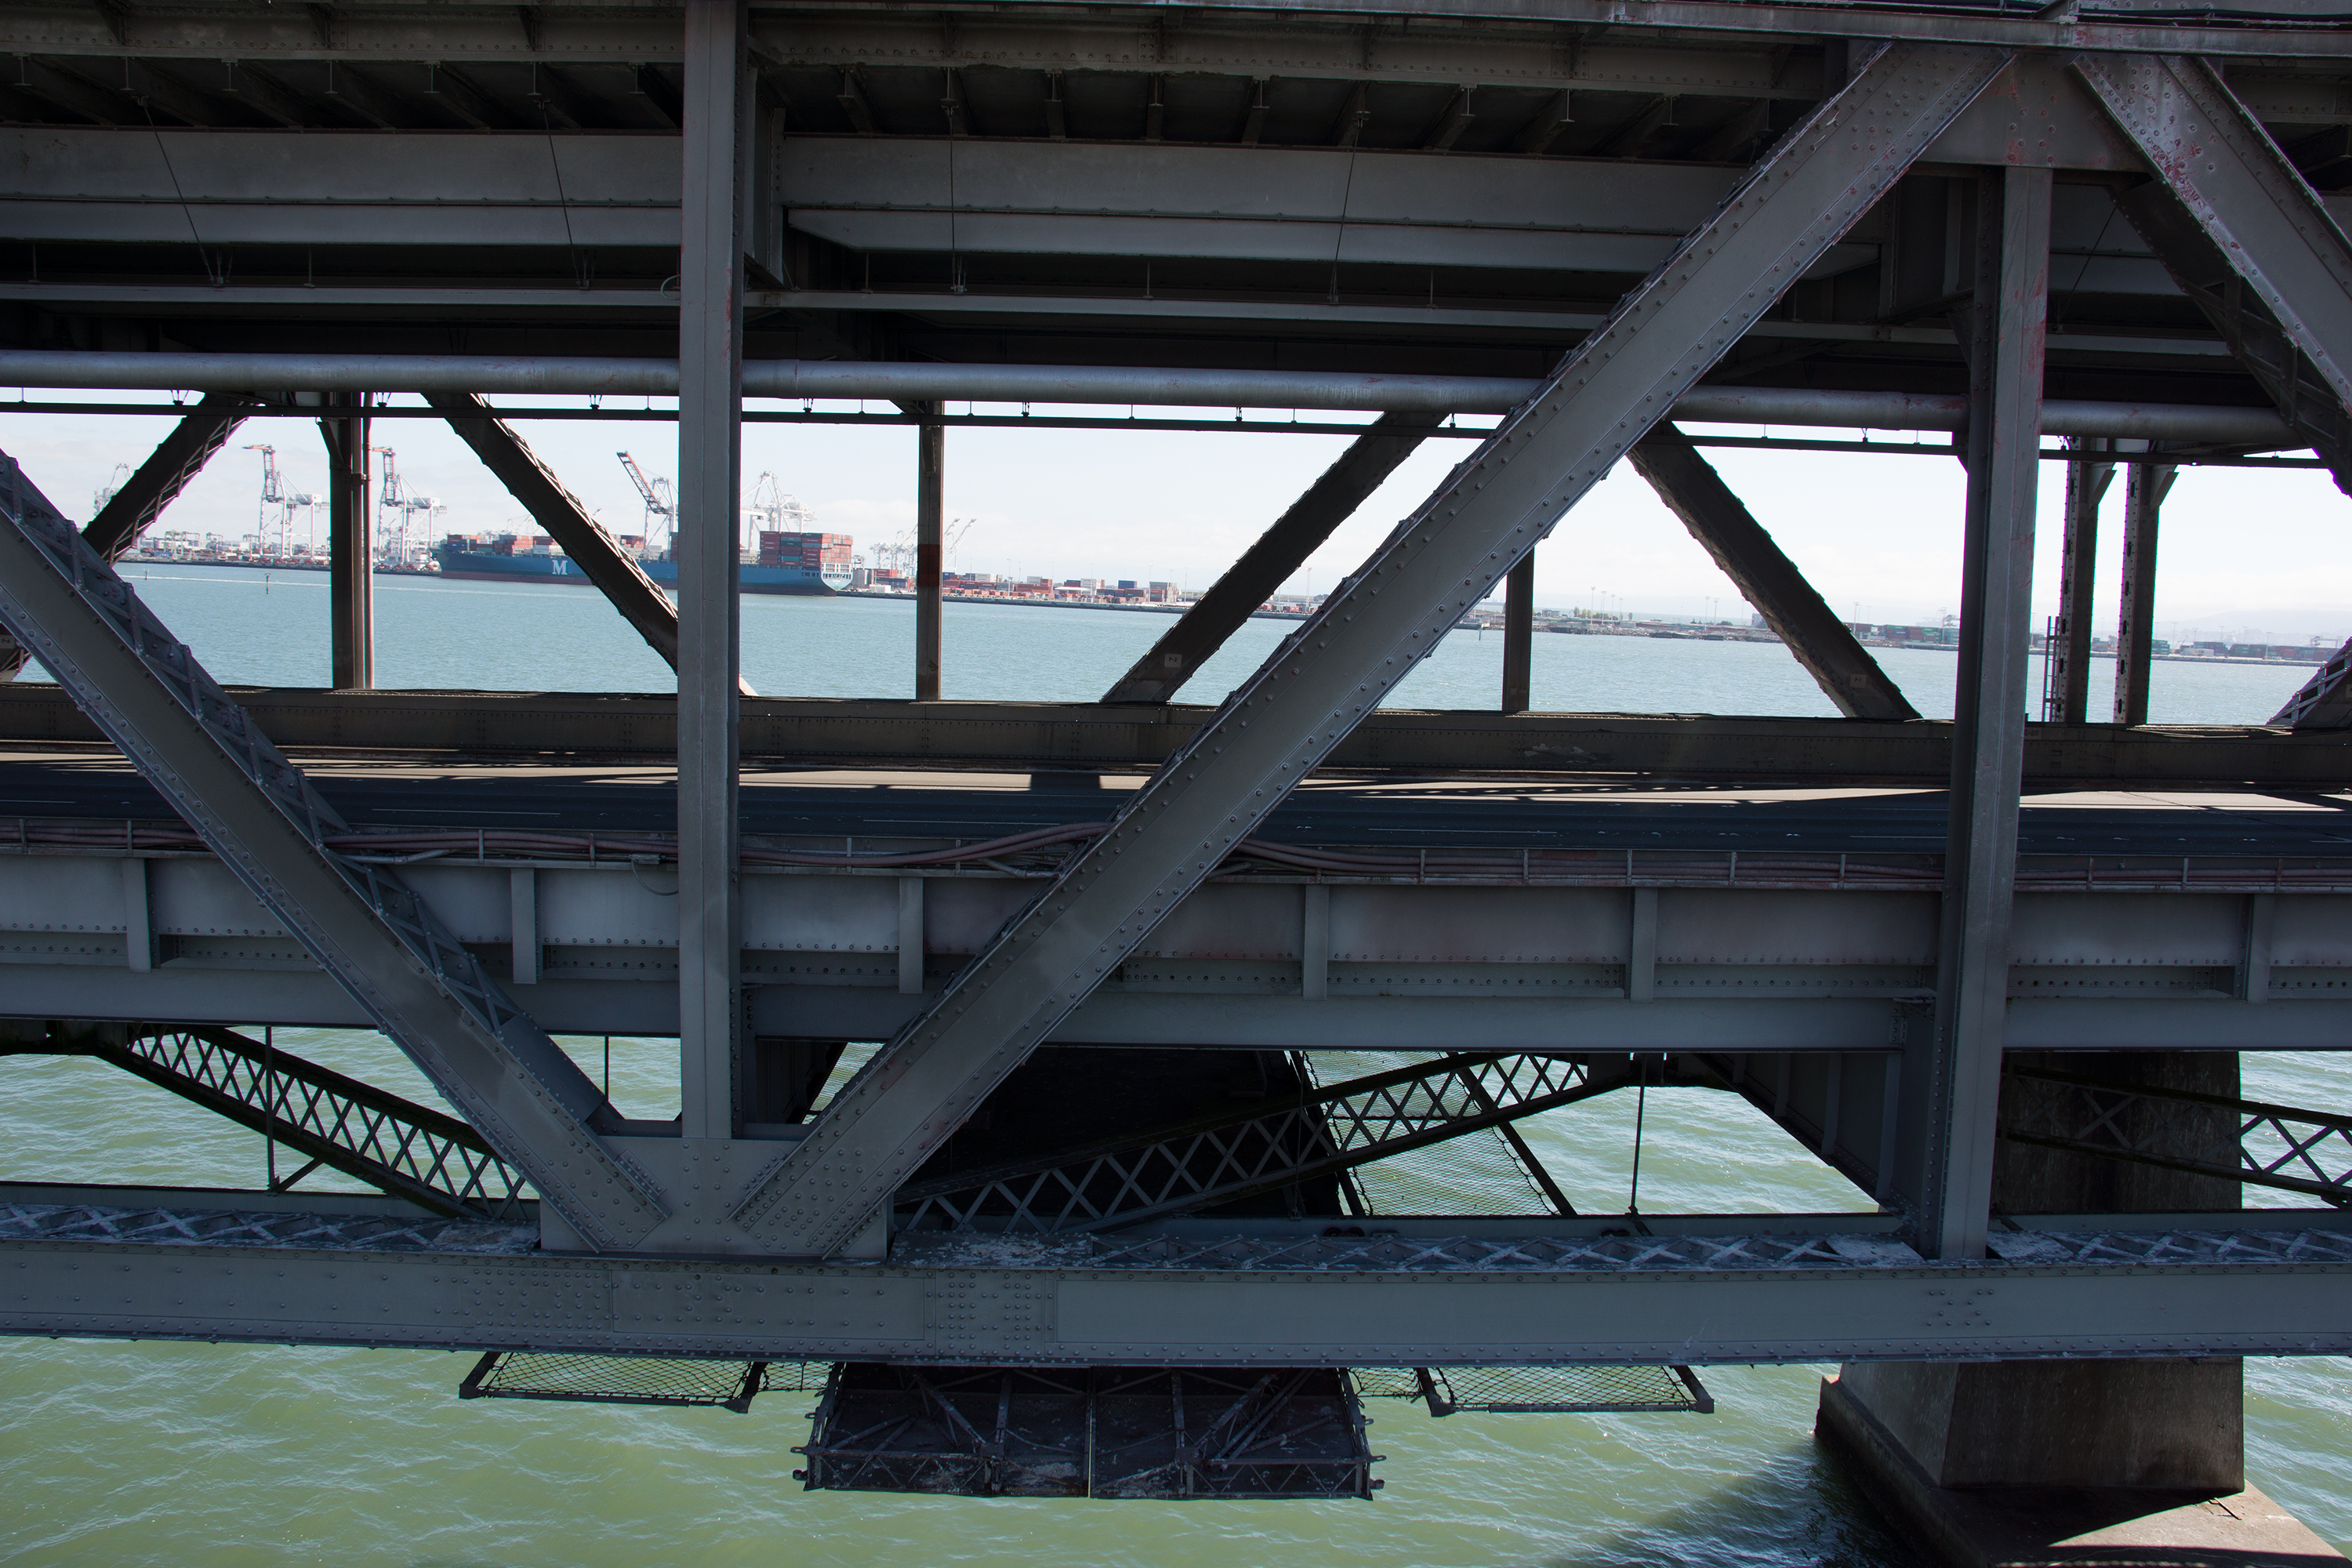

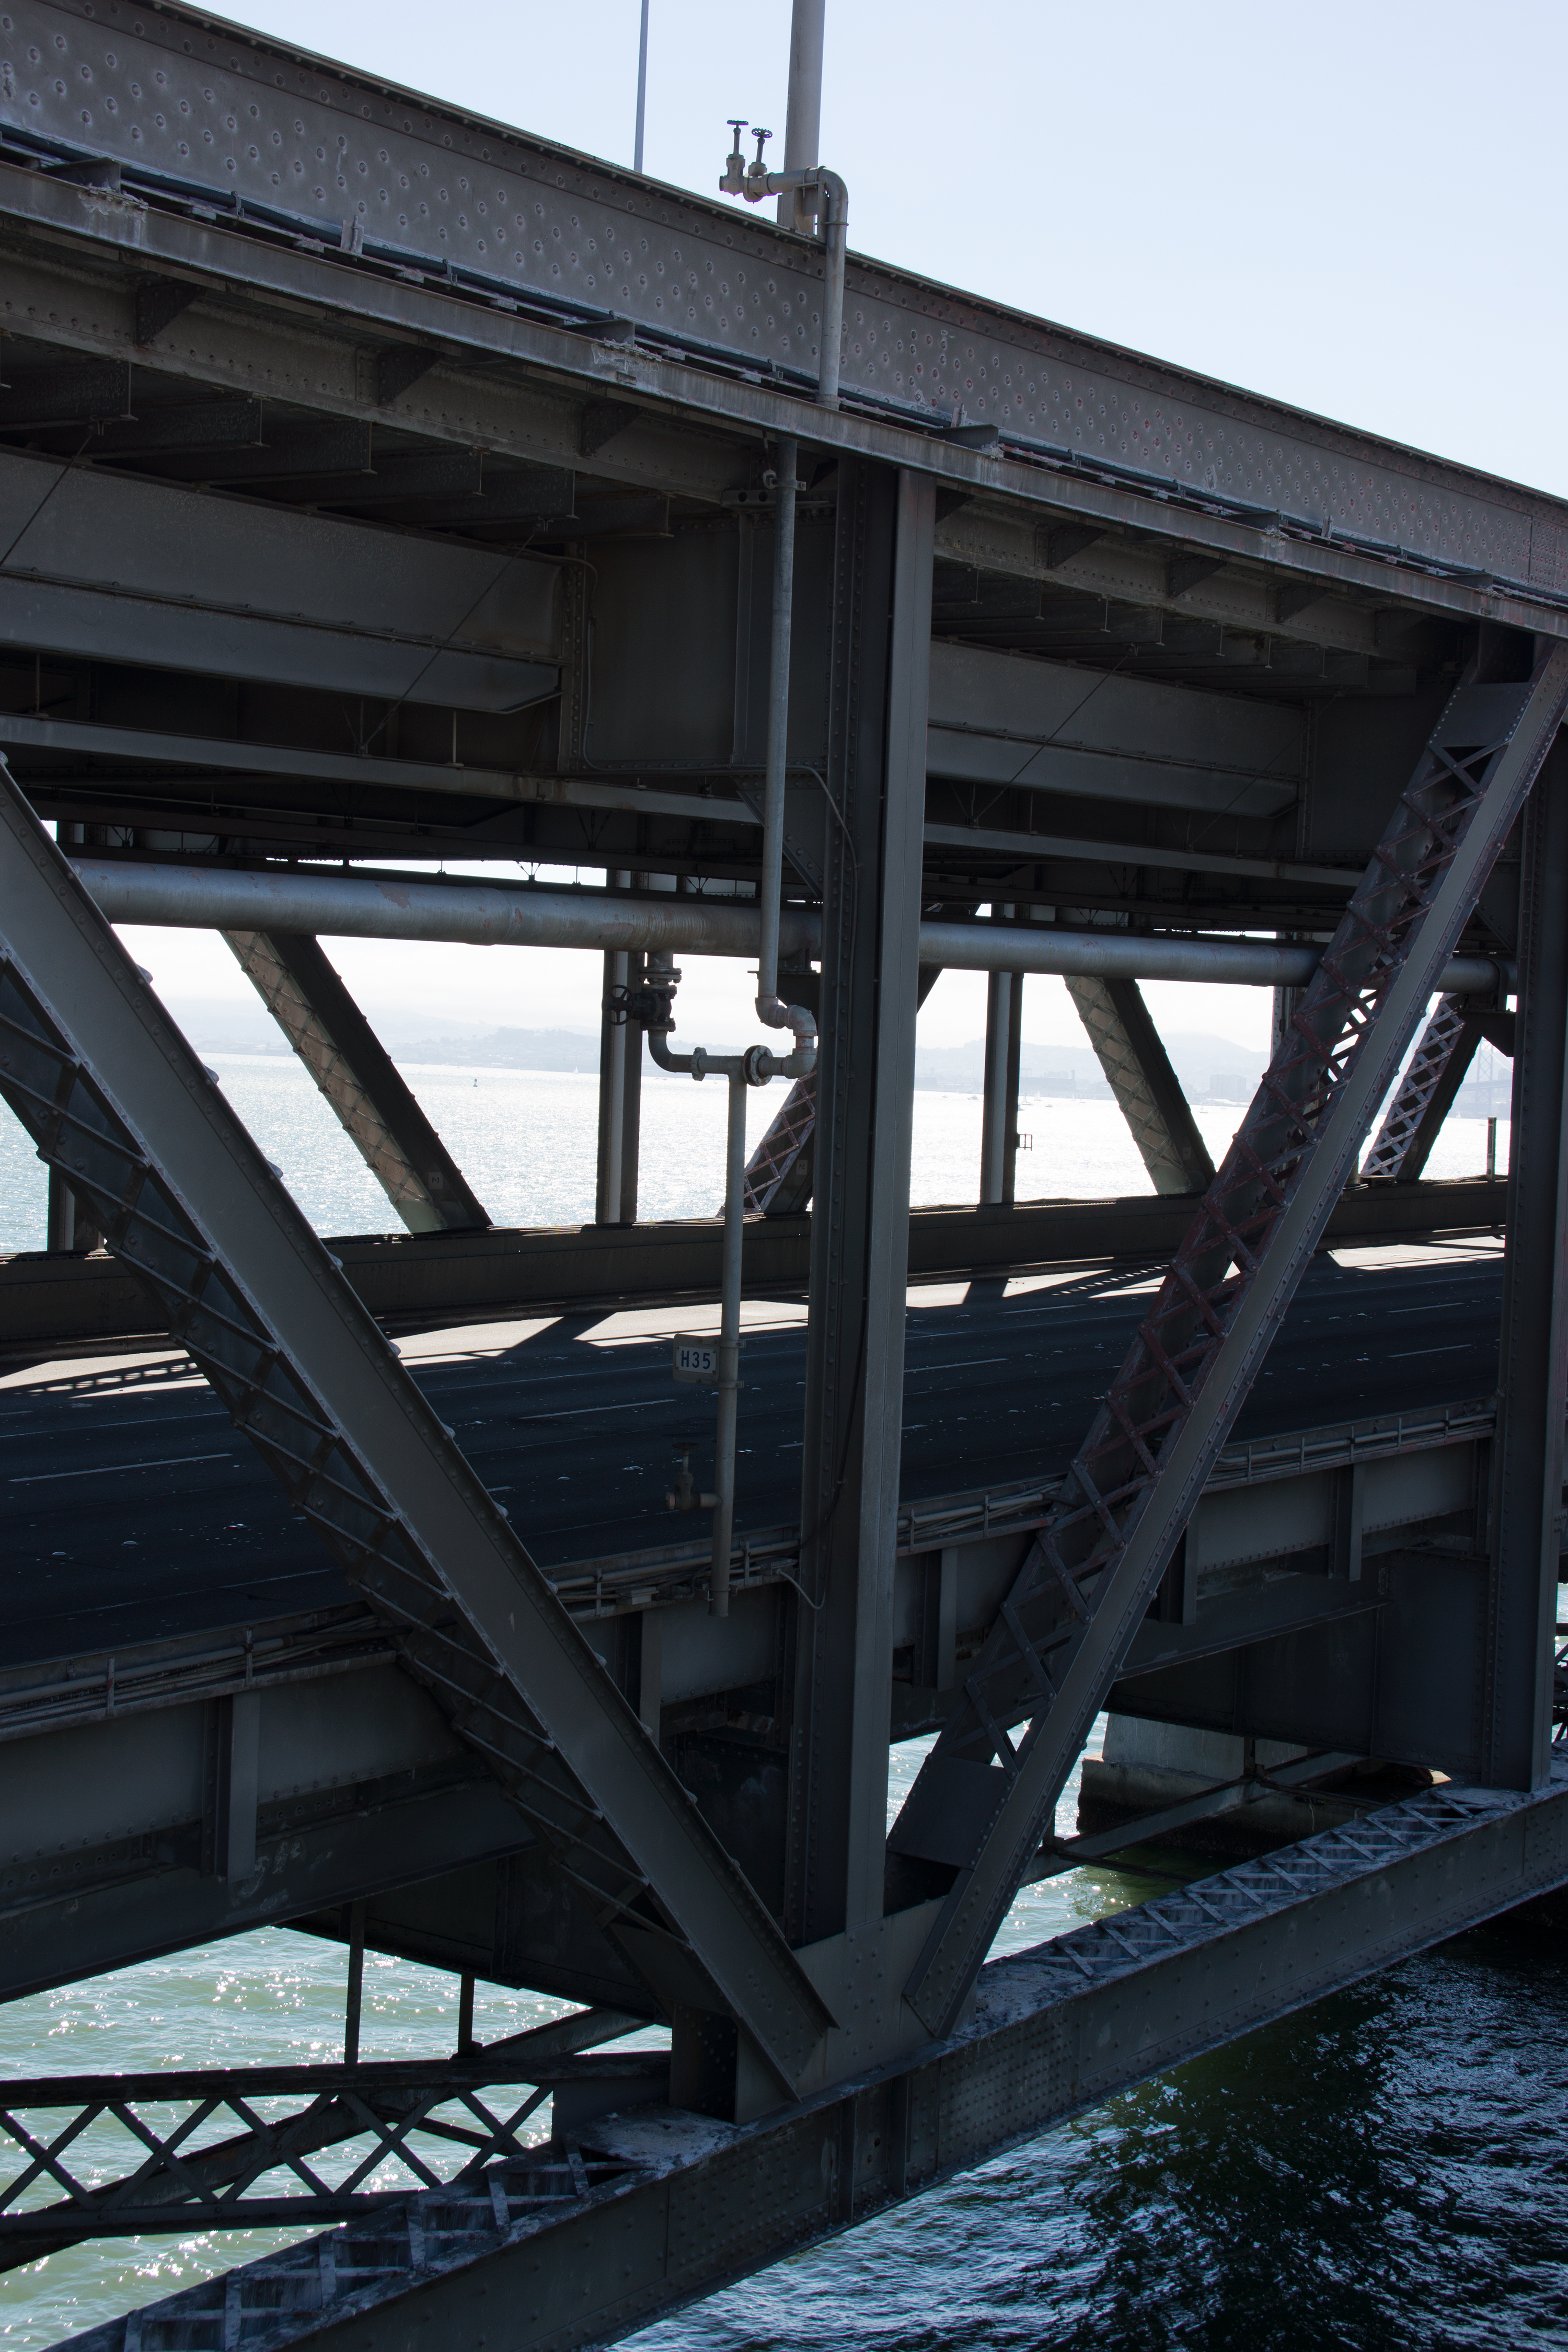


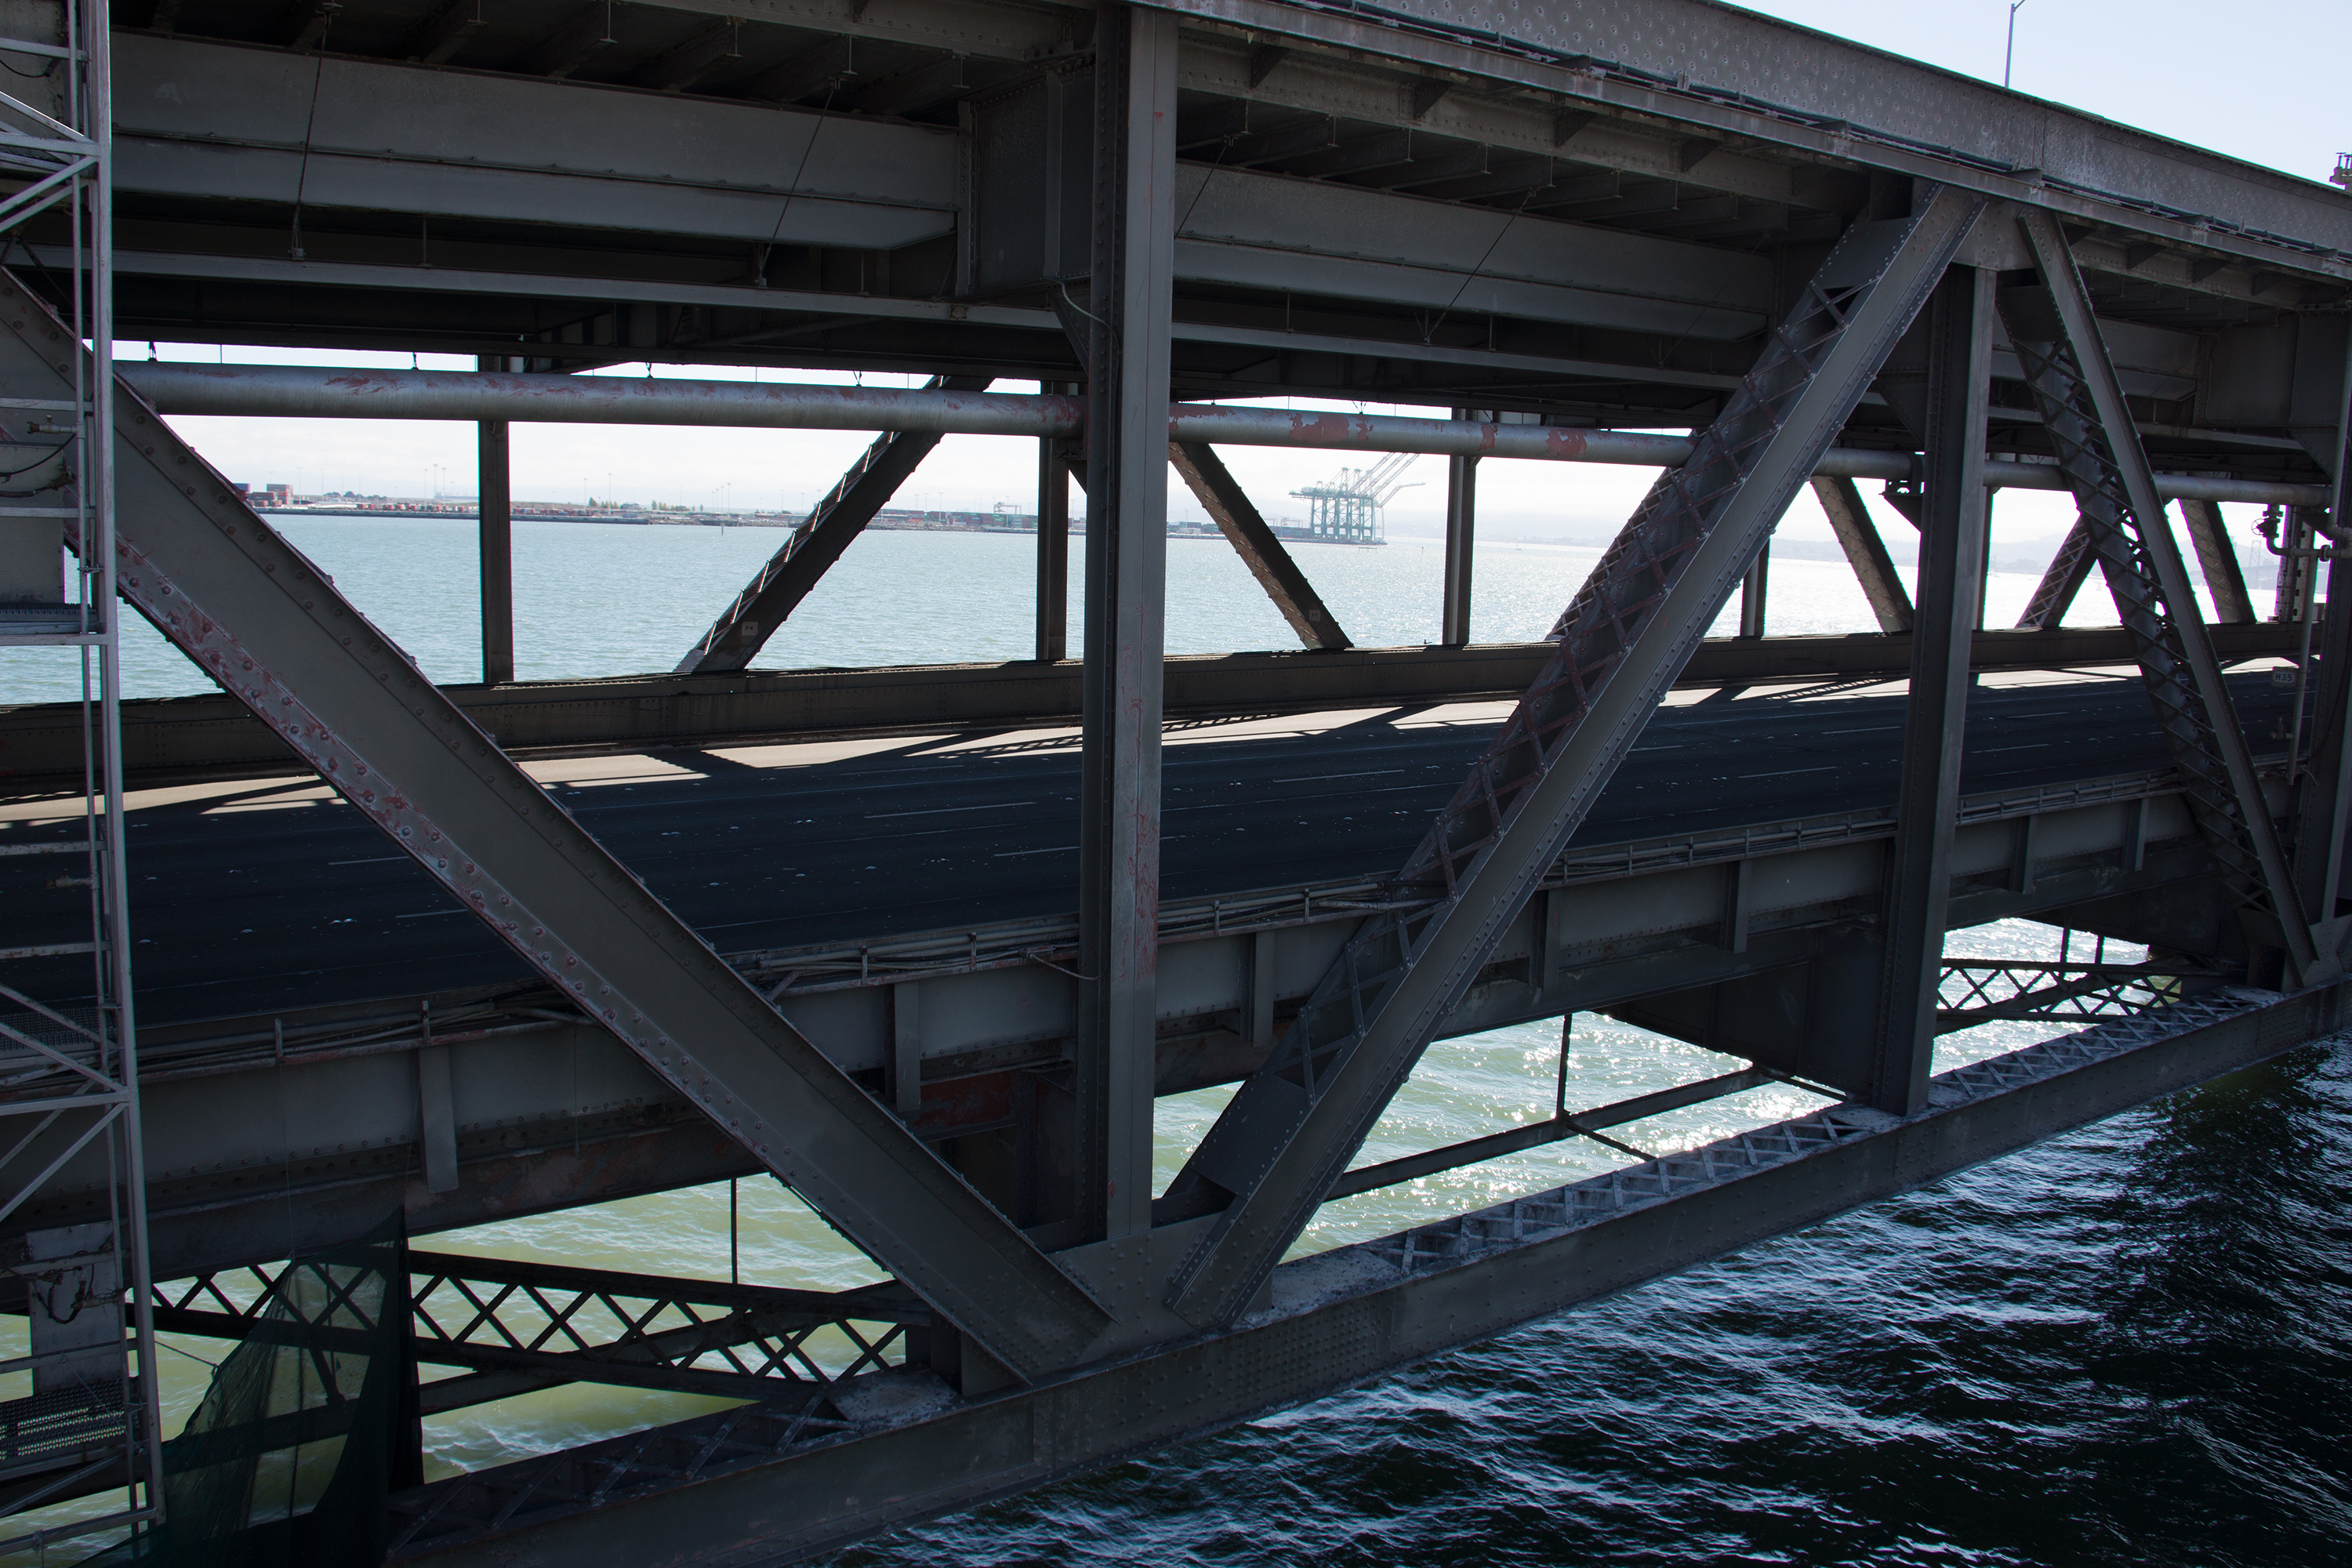


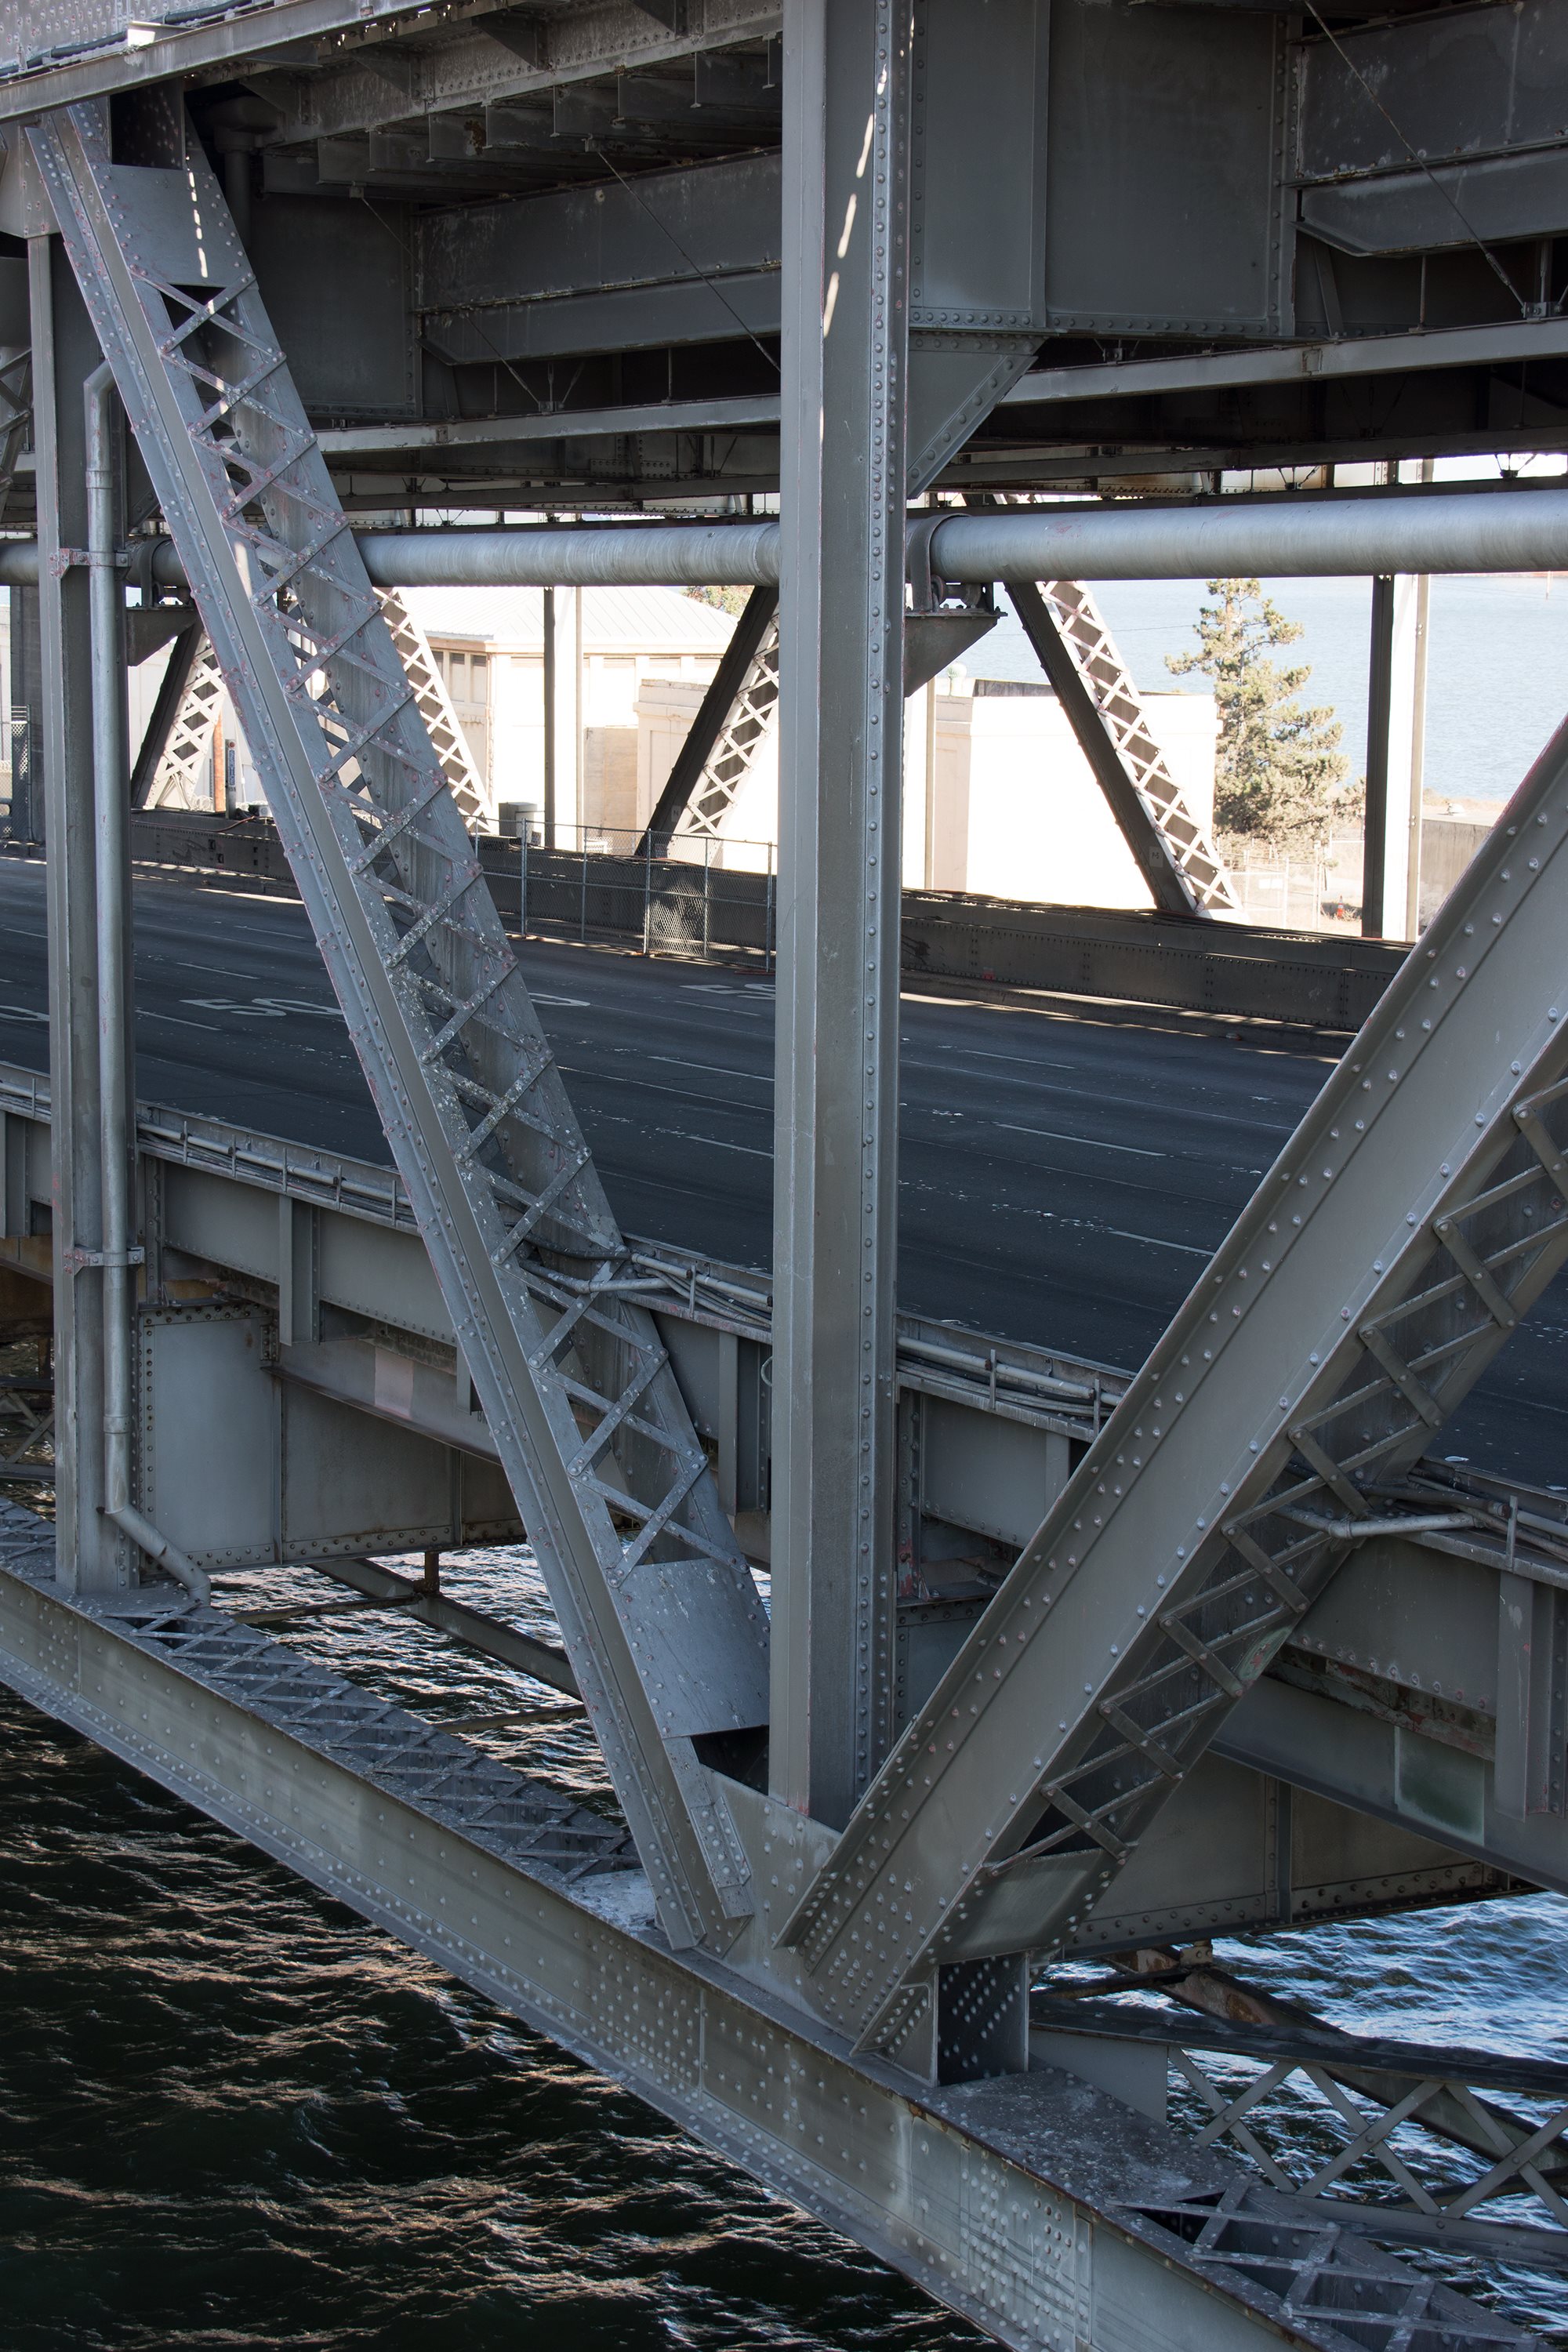
Photo Credit: David Grieshaber and Mike Koozmin
Deck truss vertical and diagonal members.
![]()


Photo Credit: David Grieshaber and Mike Koozmin
Bent at eastern end of deck truss spans.
![]()
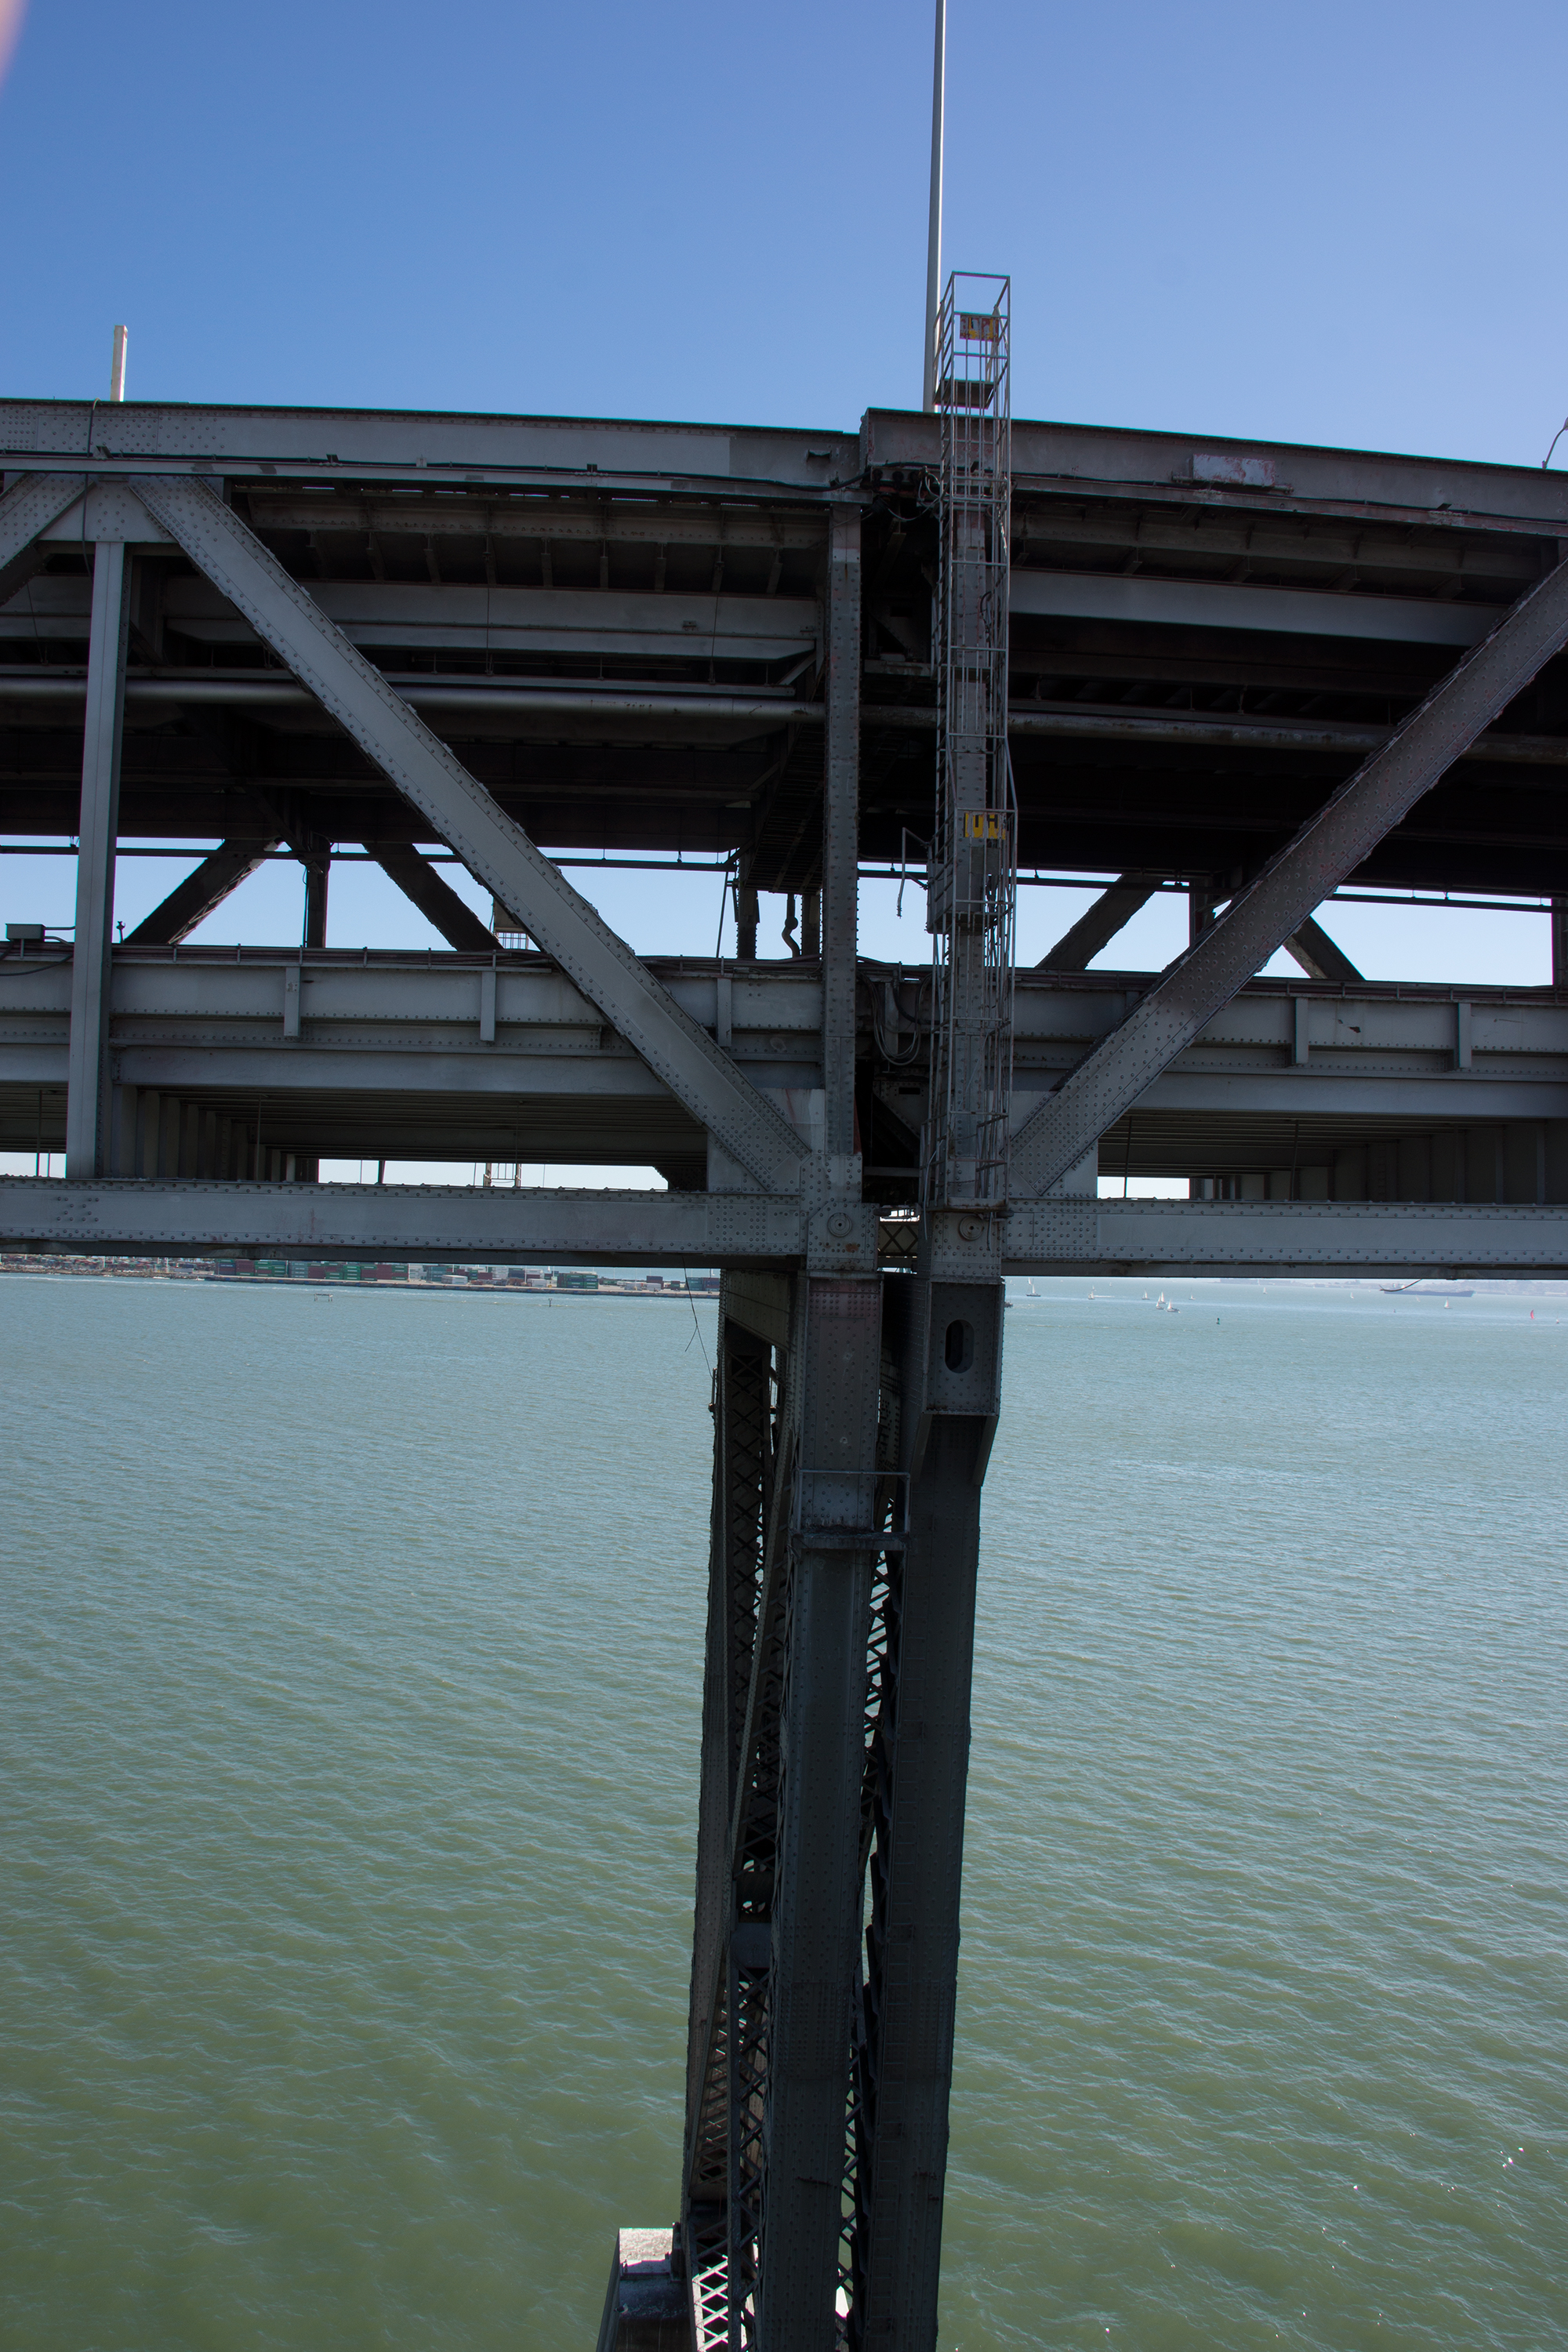

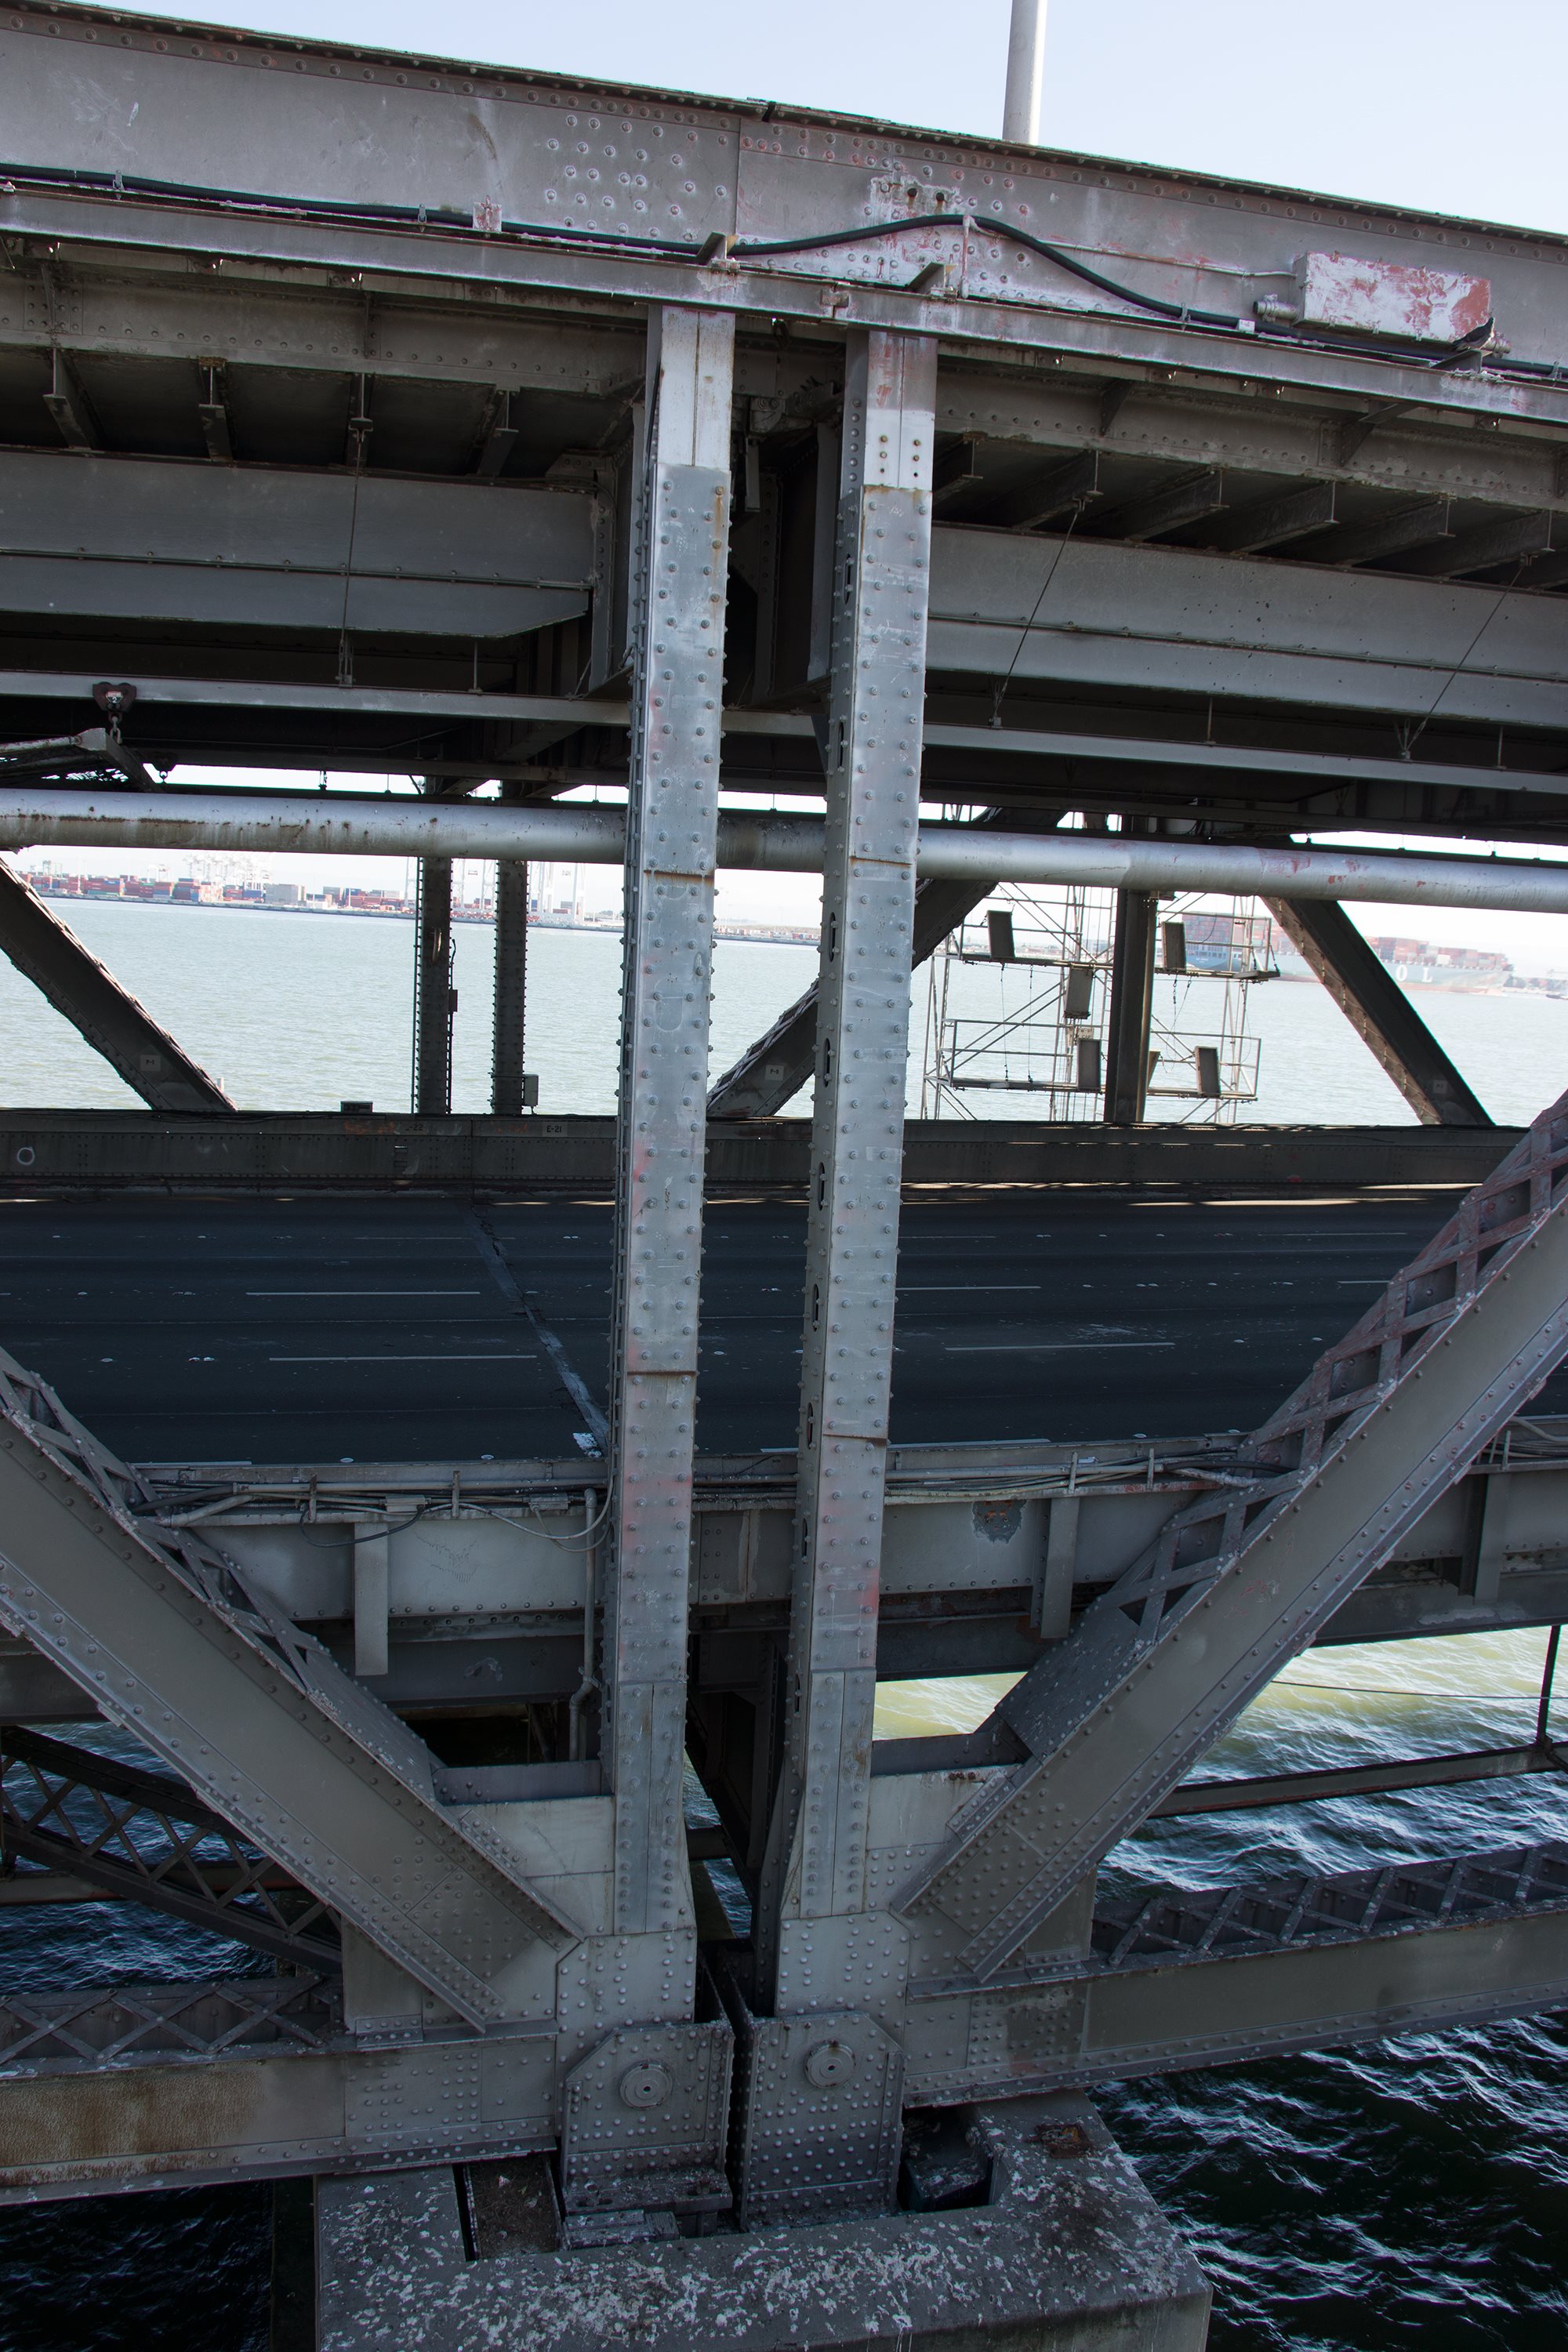

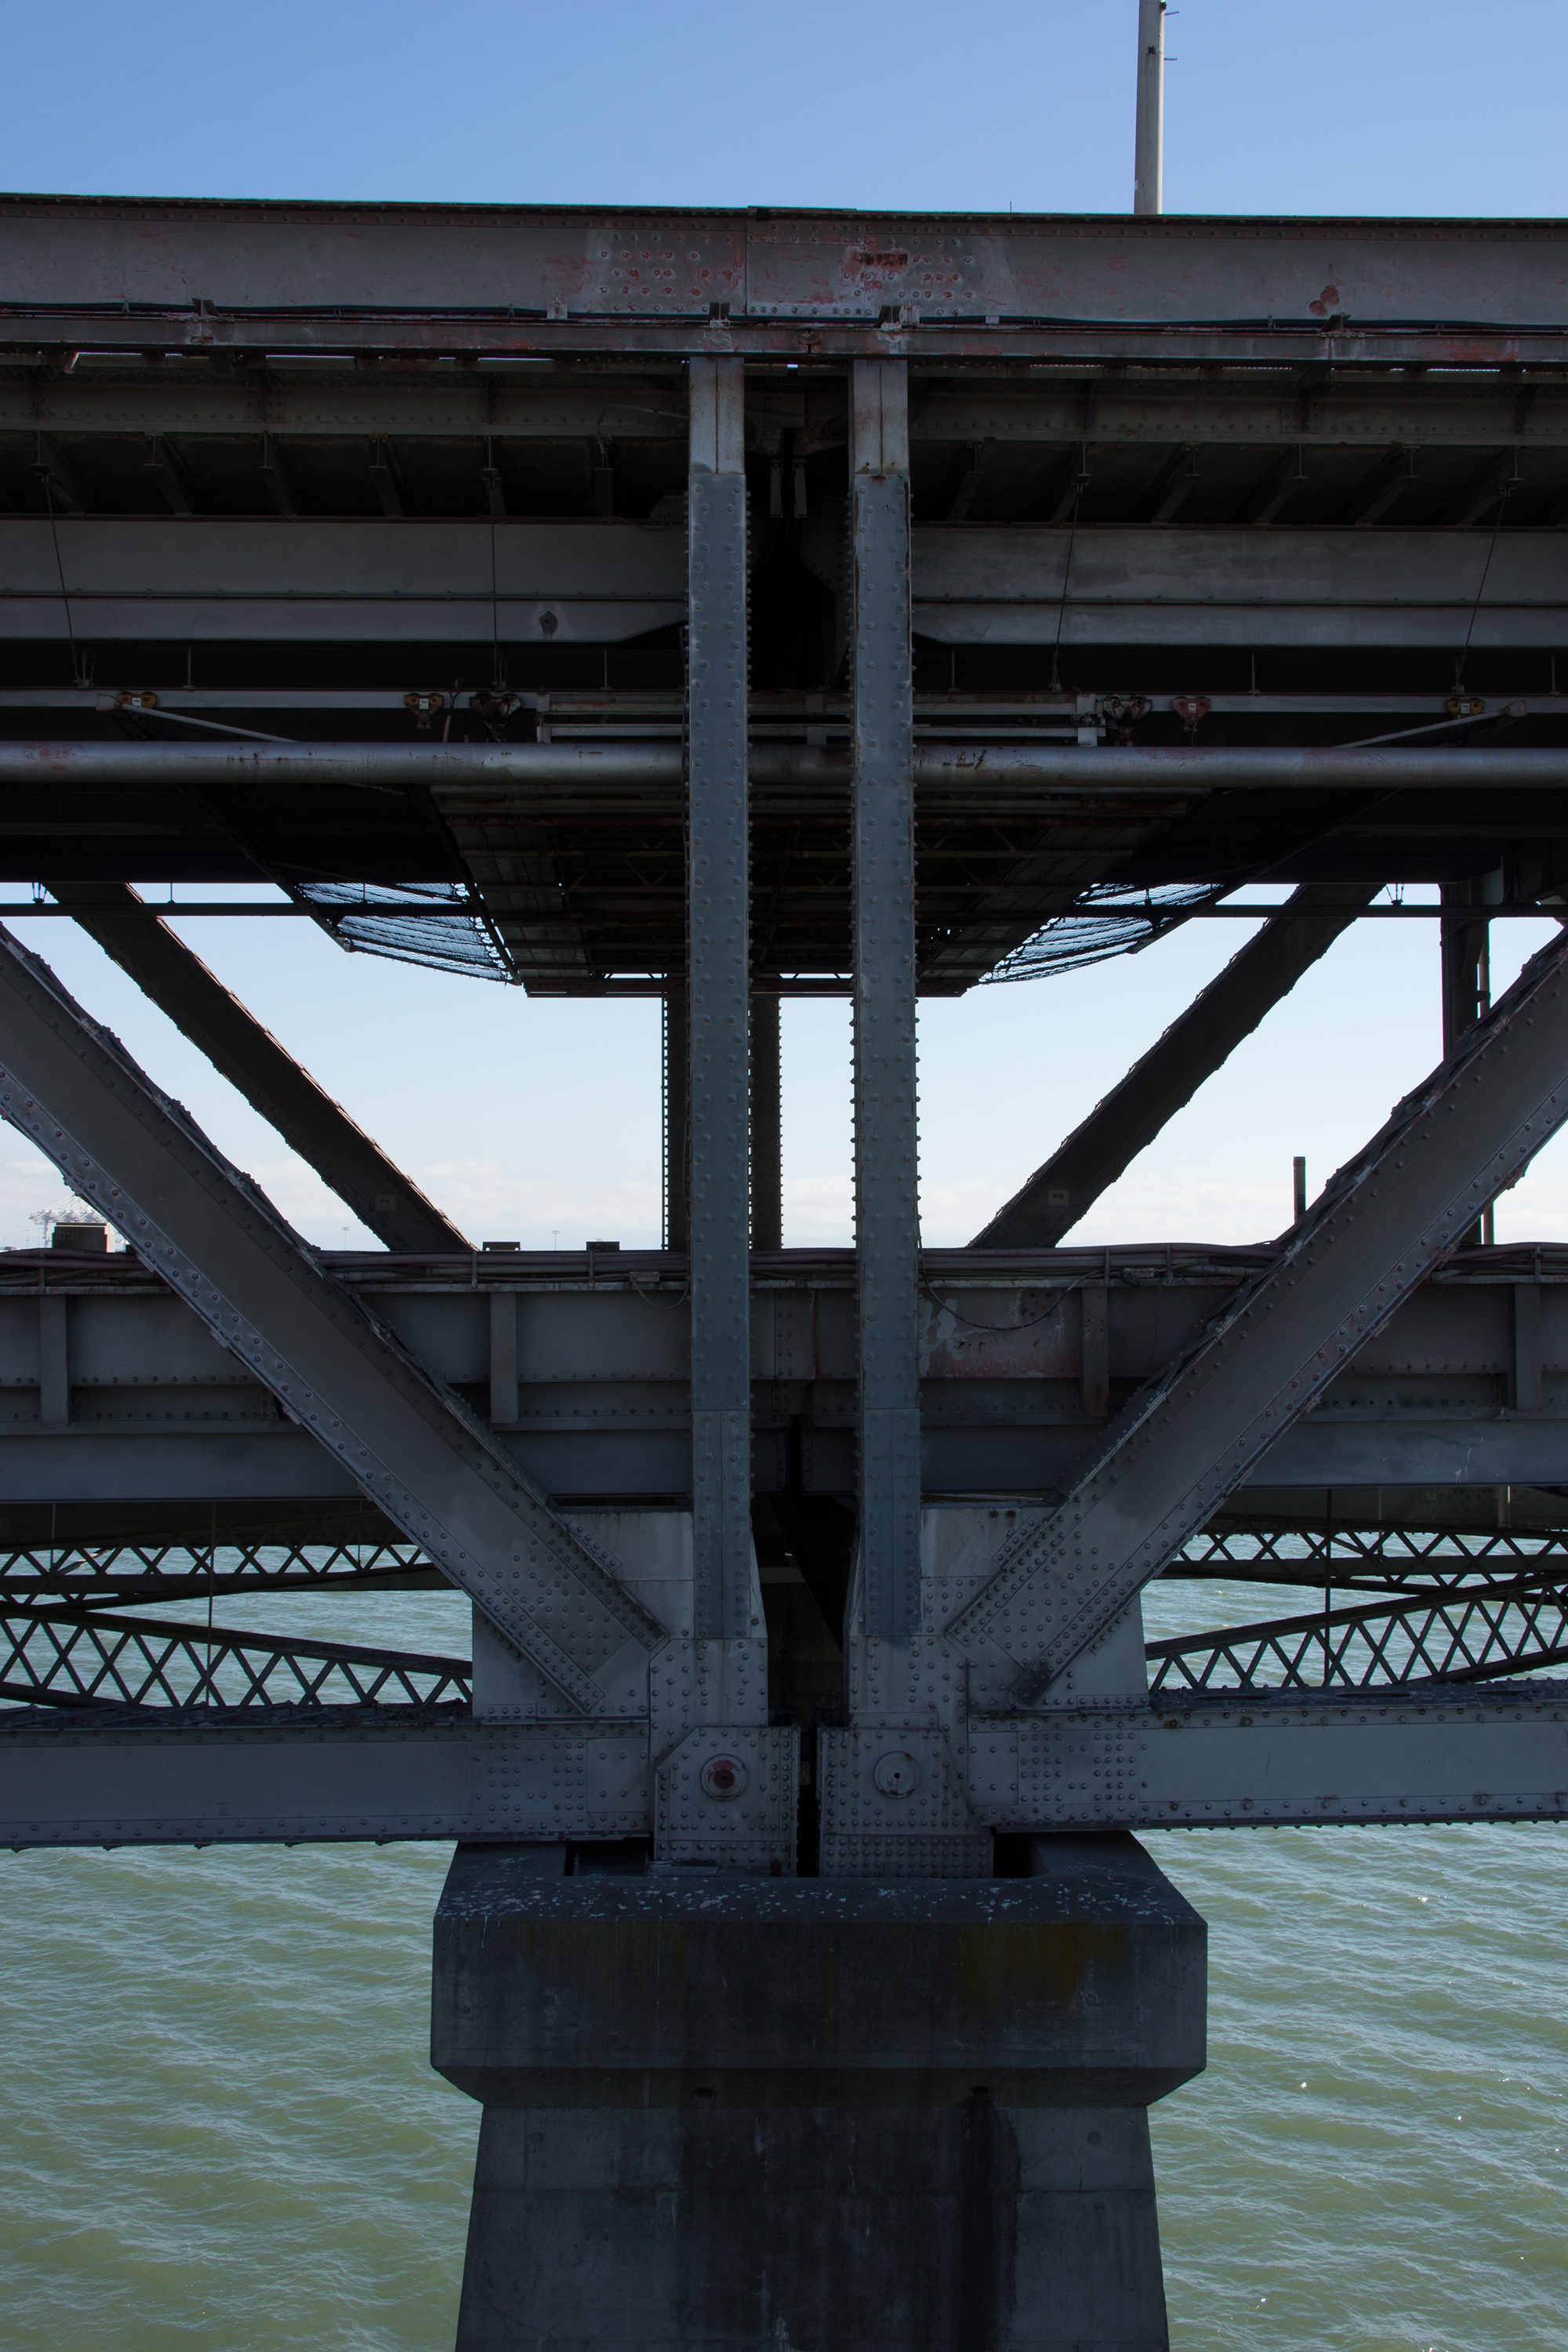
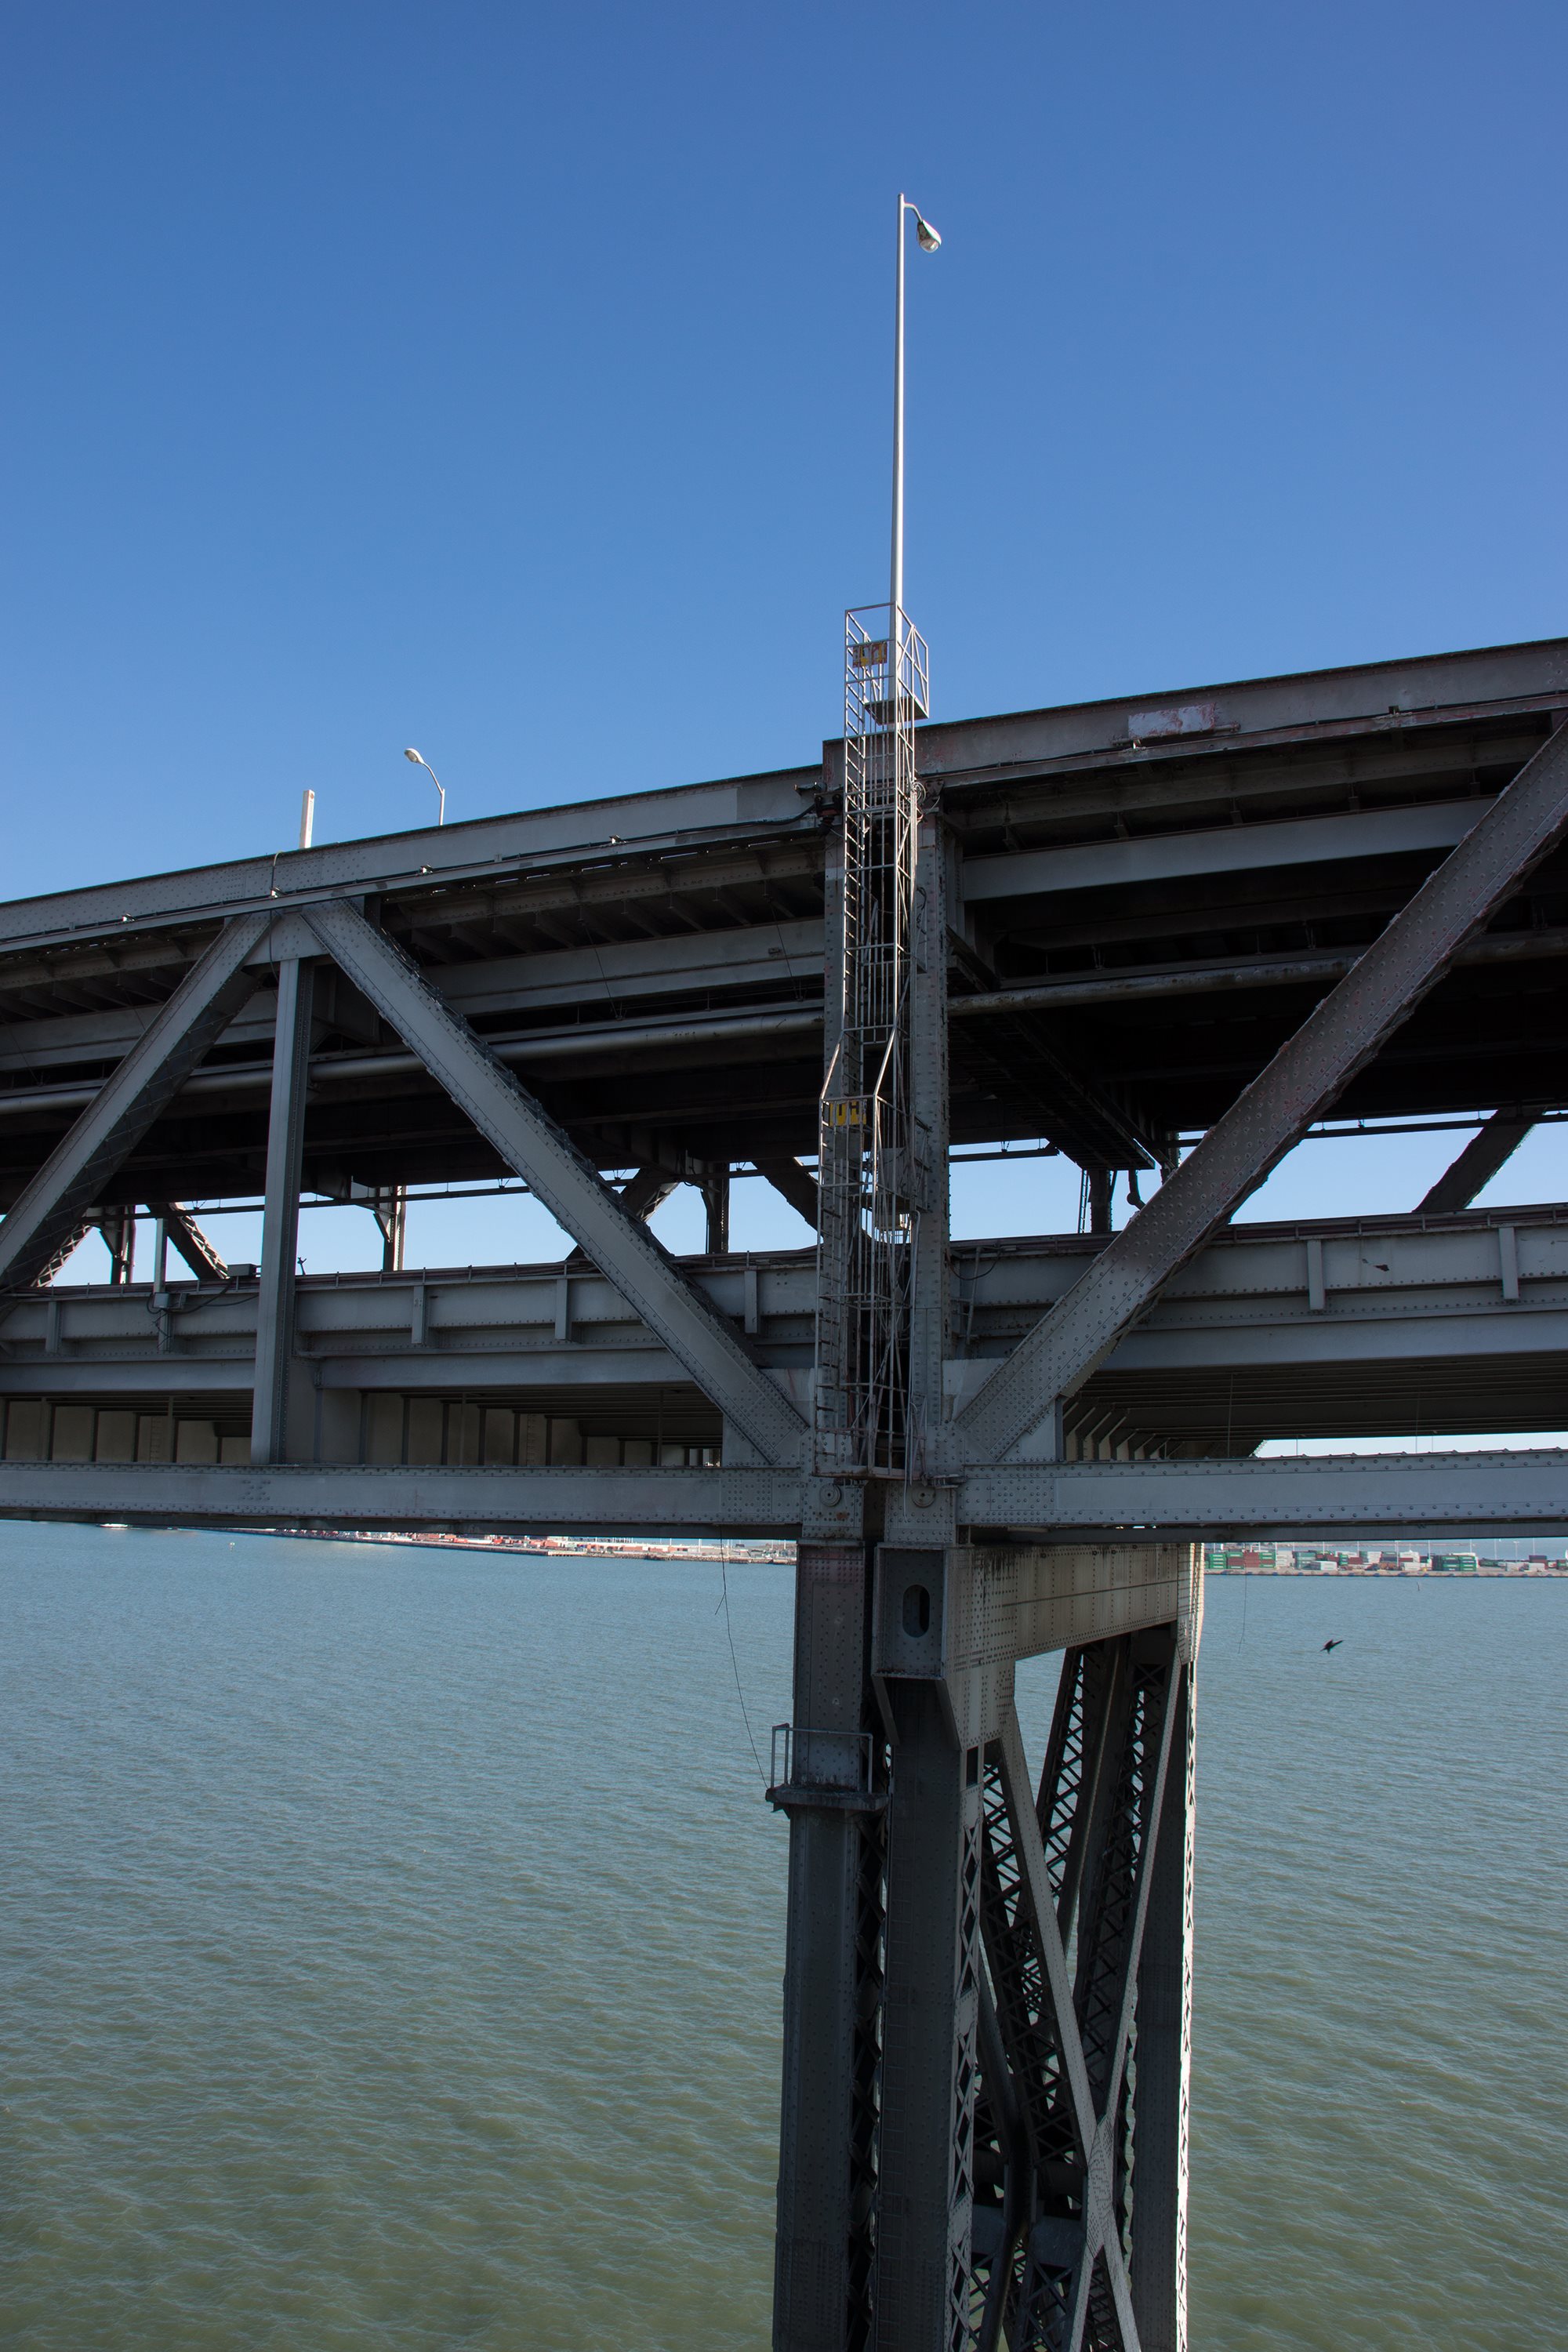
Photo Credit: David Grieshaber and Mike Koozmin
View at ends of deck truss spans.
![]()


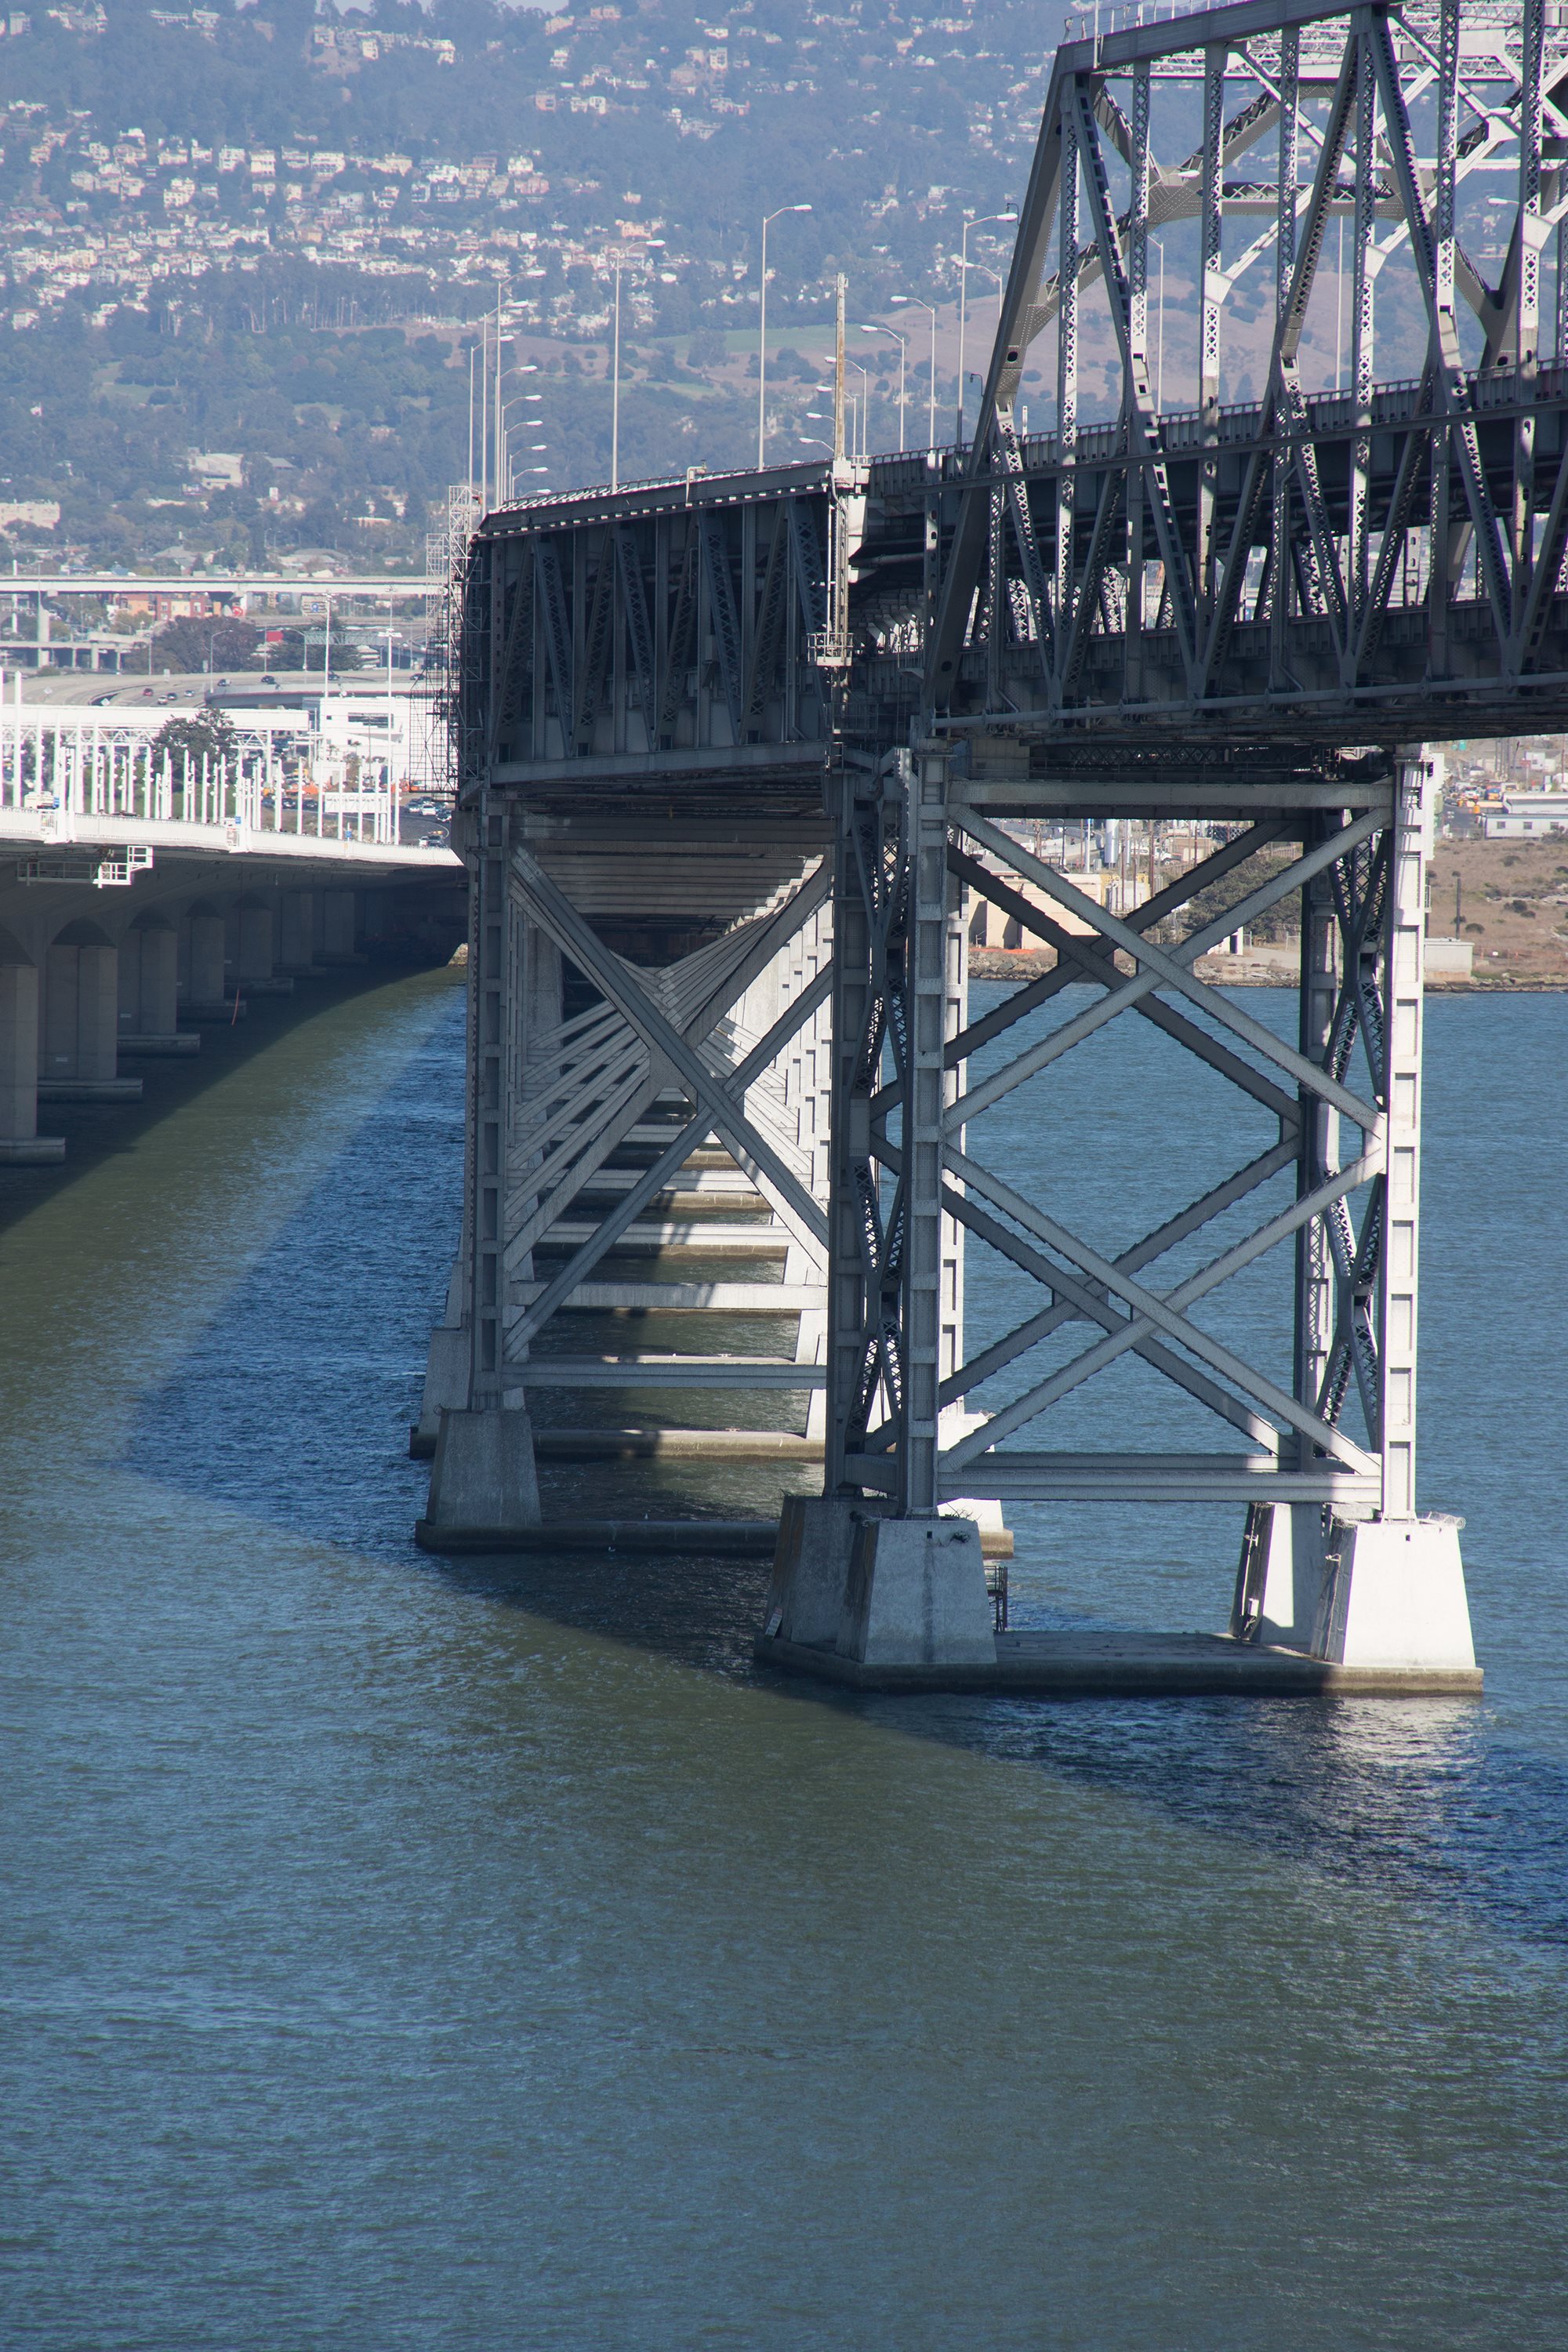
Photo Credit: David Grieshaber and Mike Koozmin
Overviews of bents for deck truss spans.
![]()
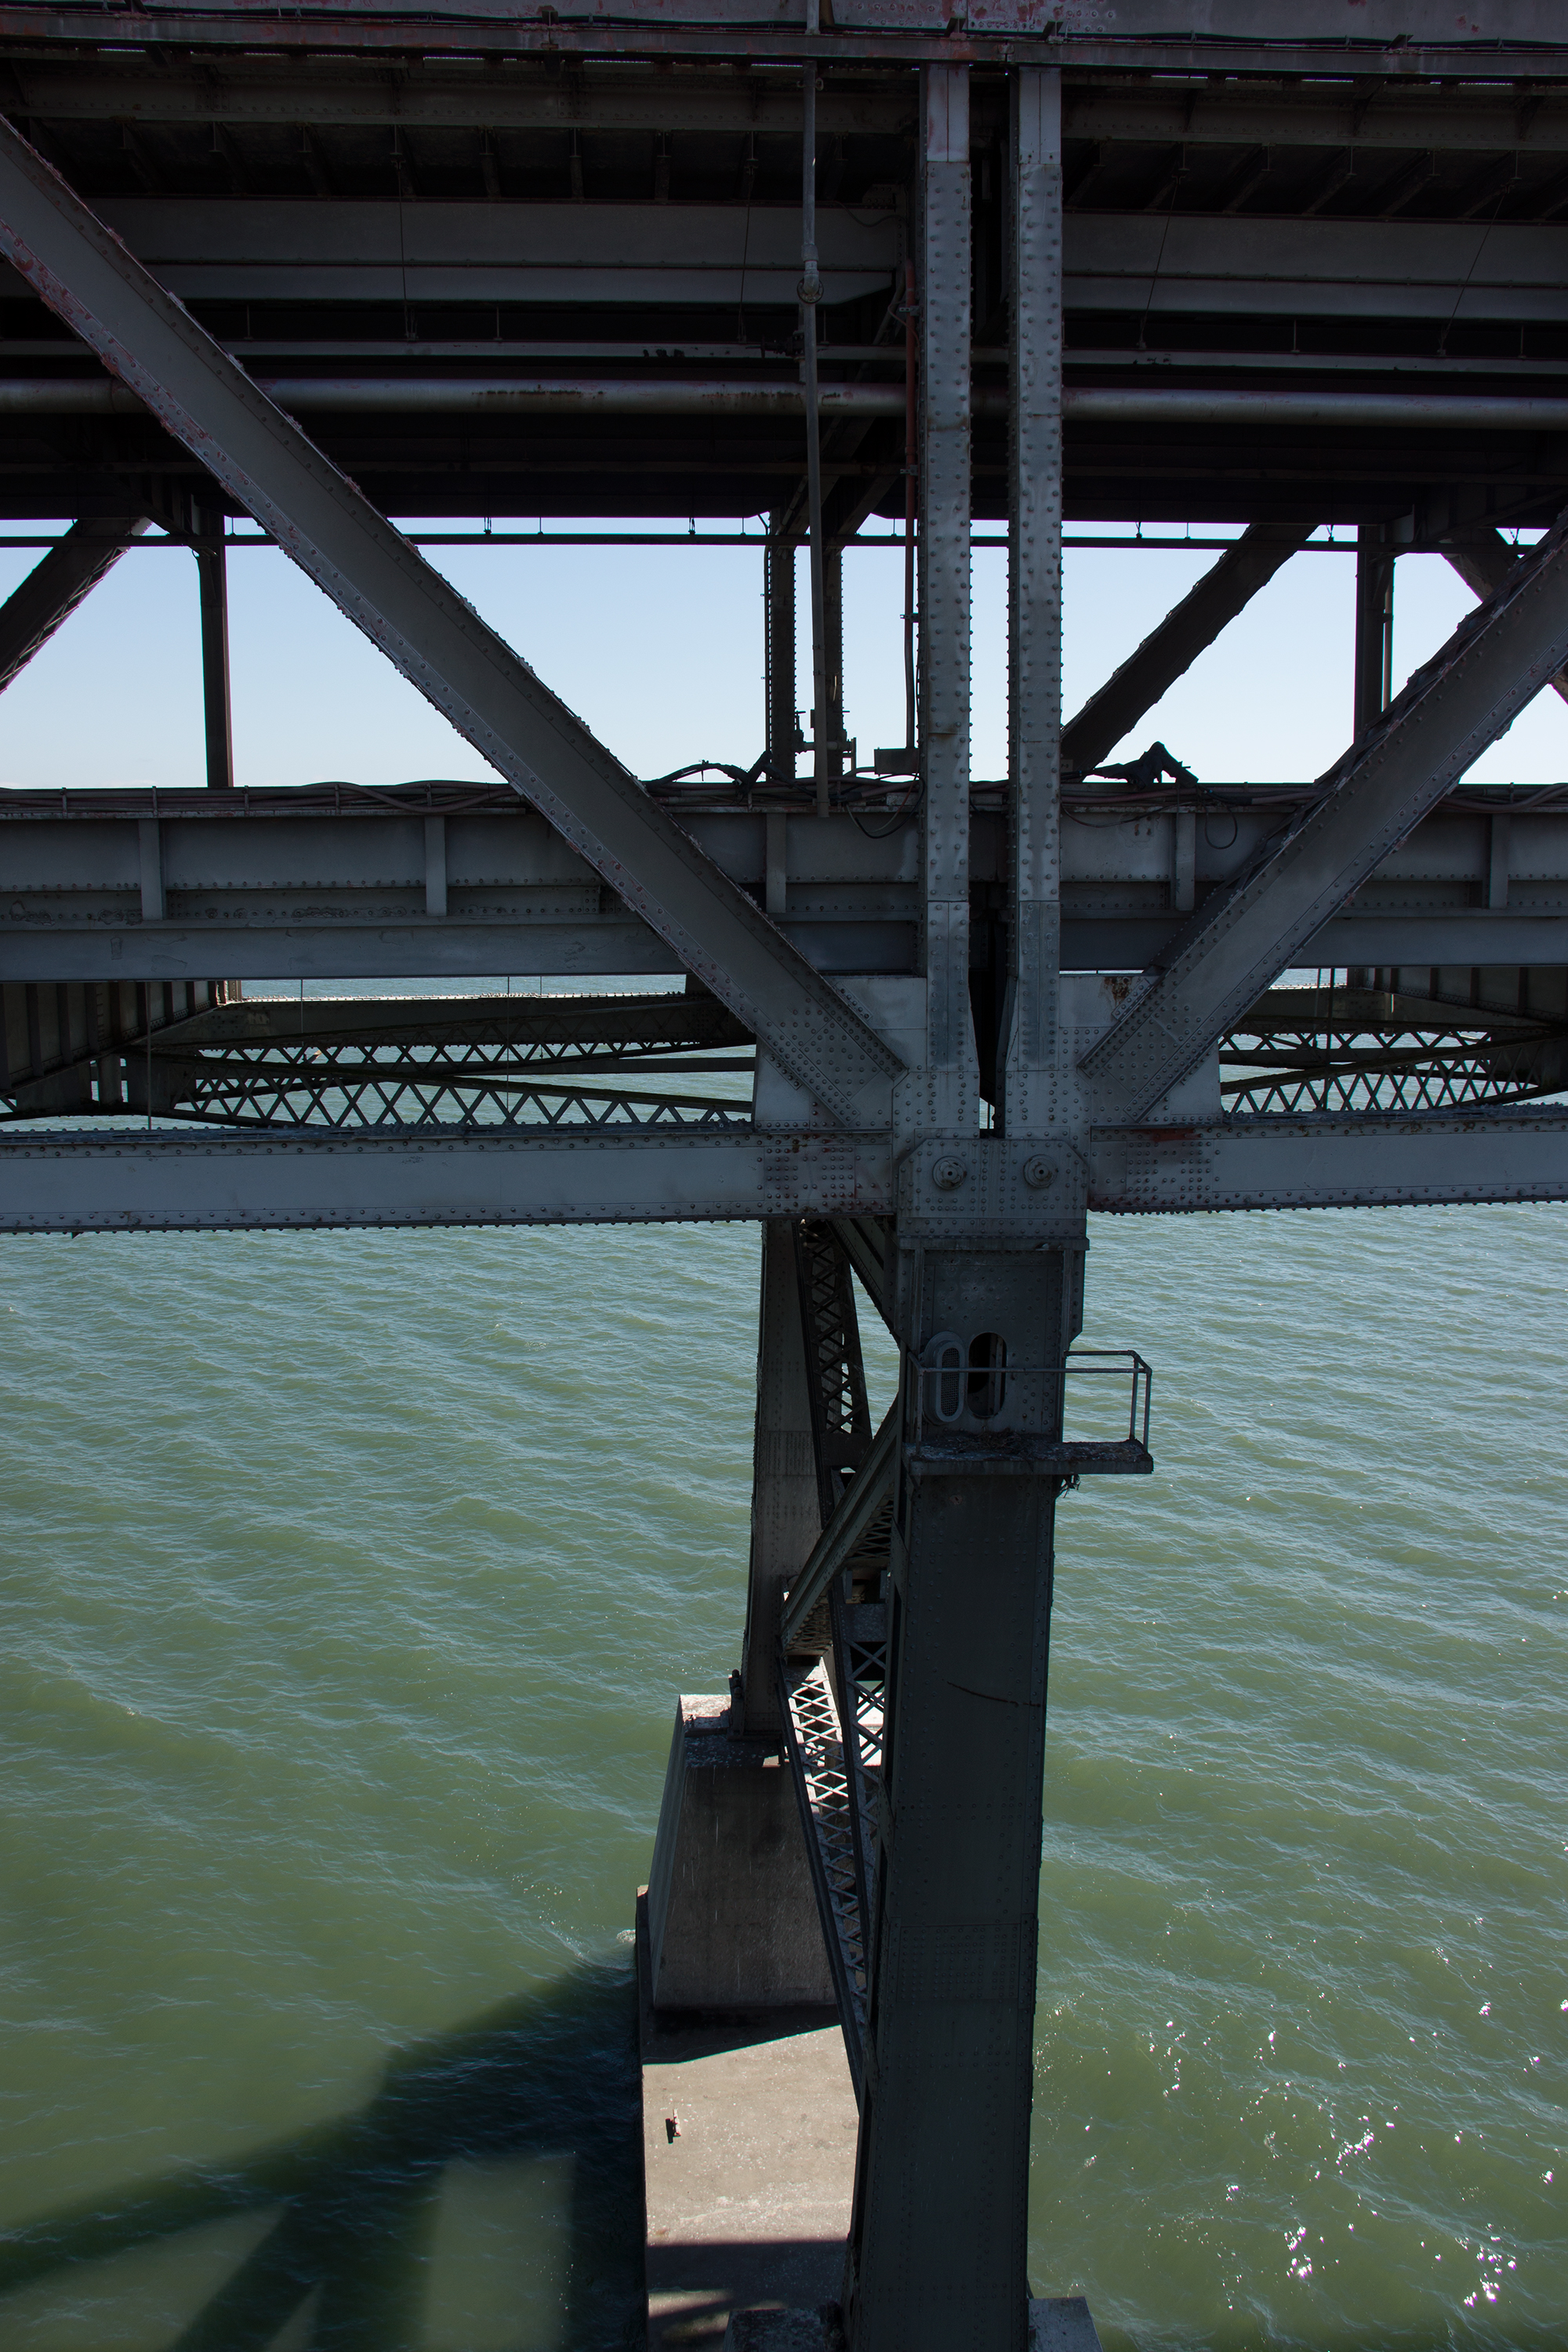

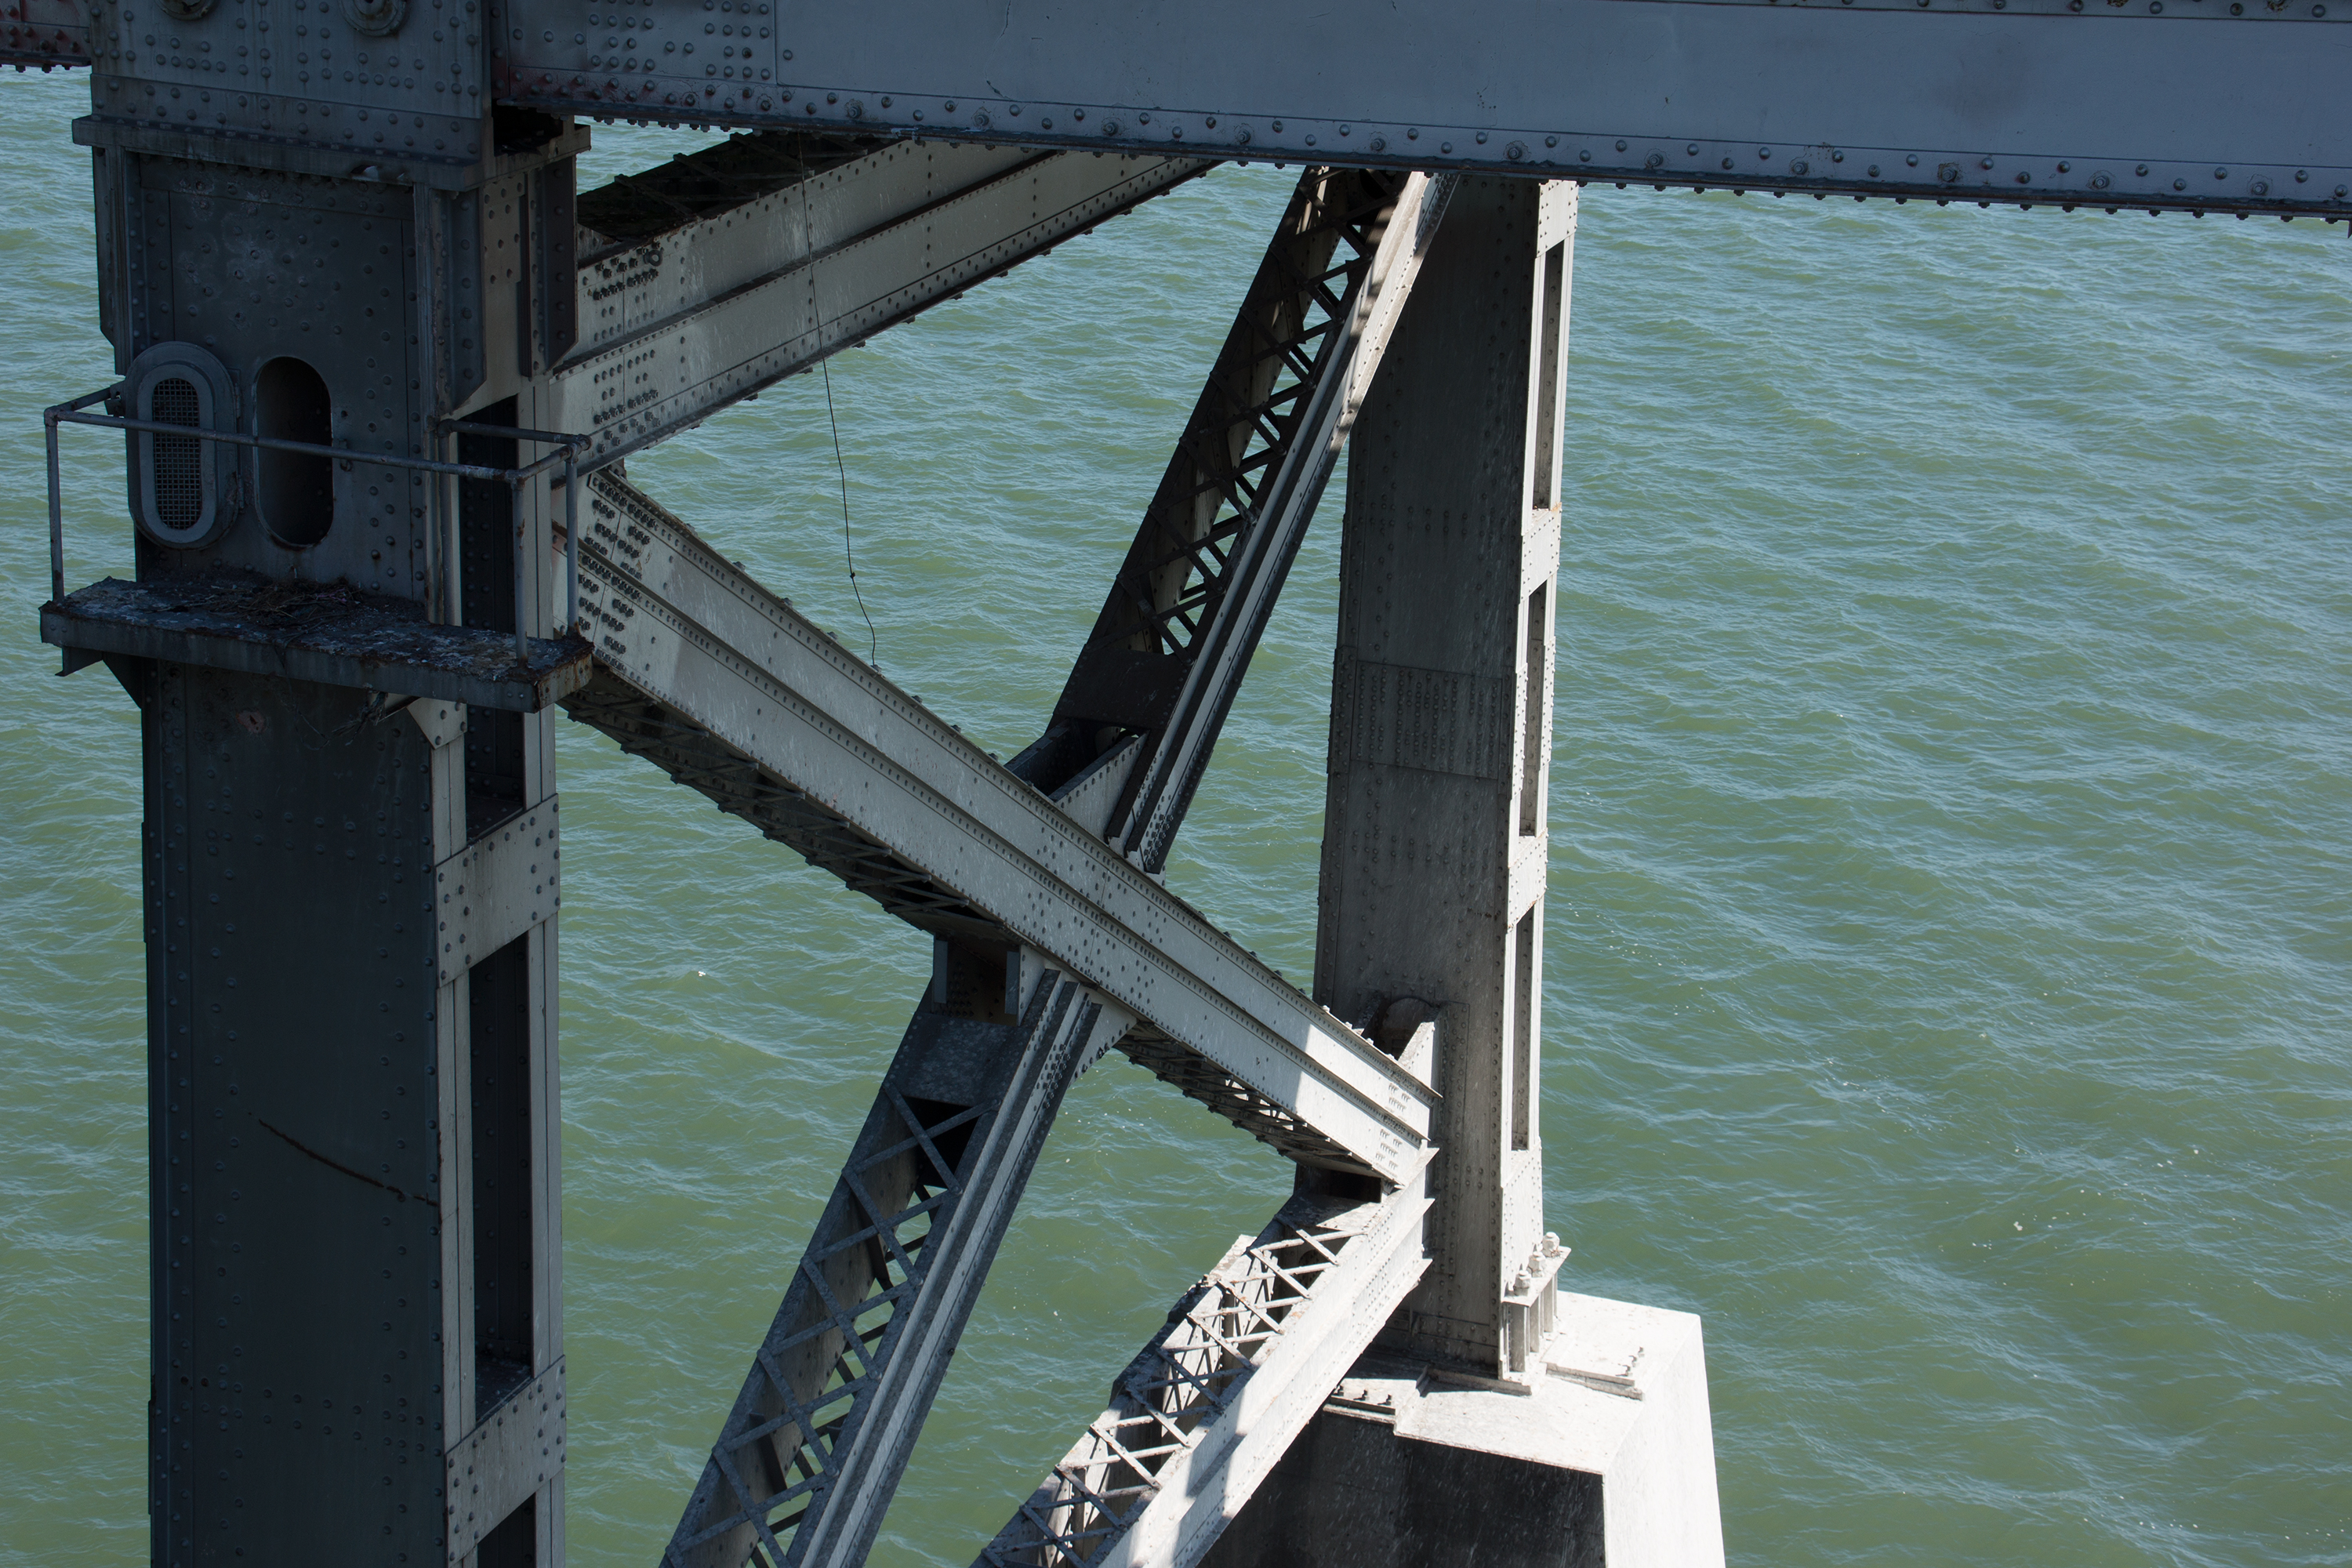


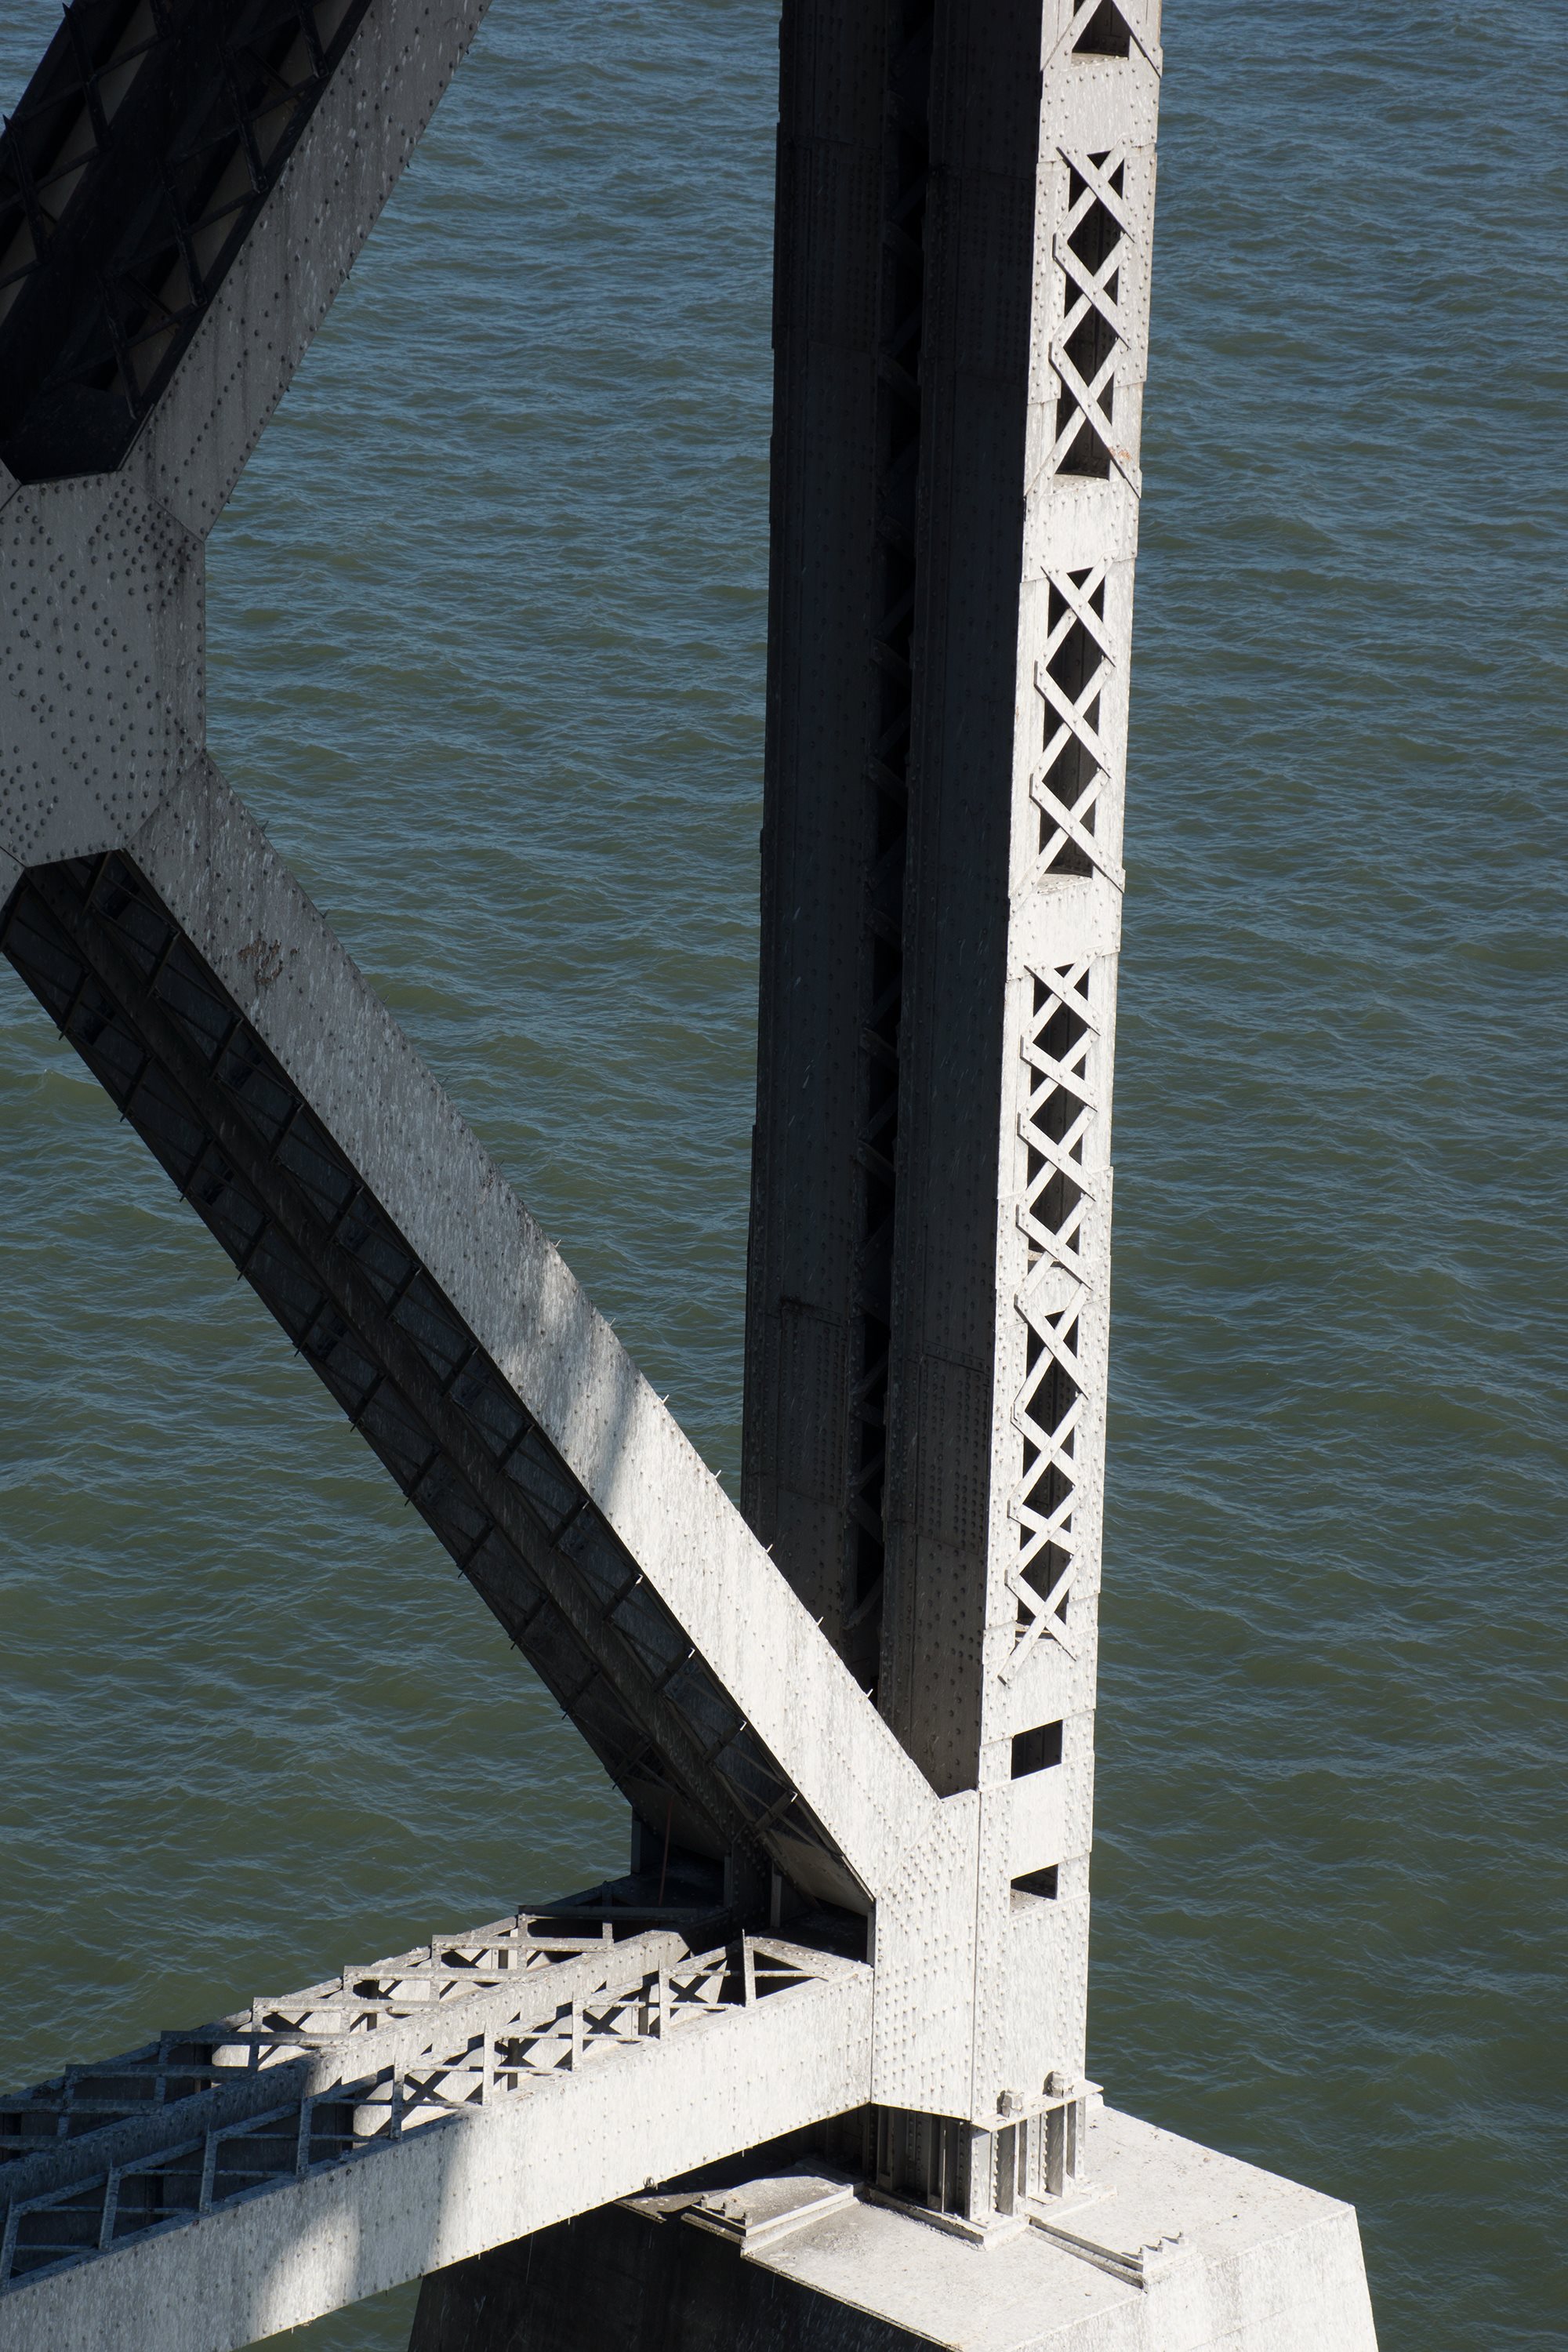
Photo Credit: David Grieshaber and Mike Koozmin
Details of bents.
![]()

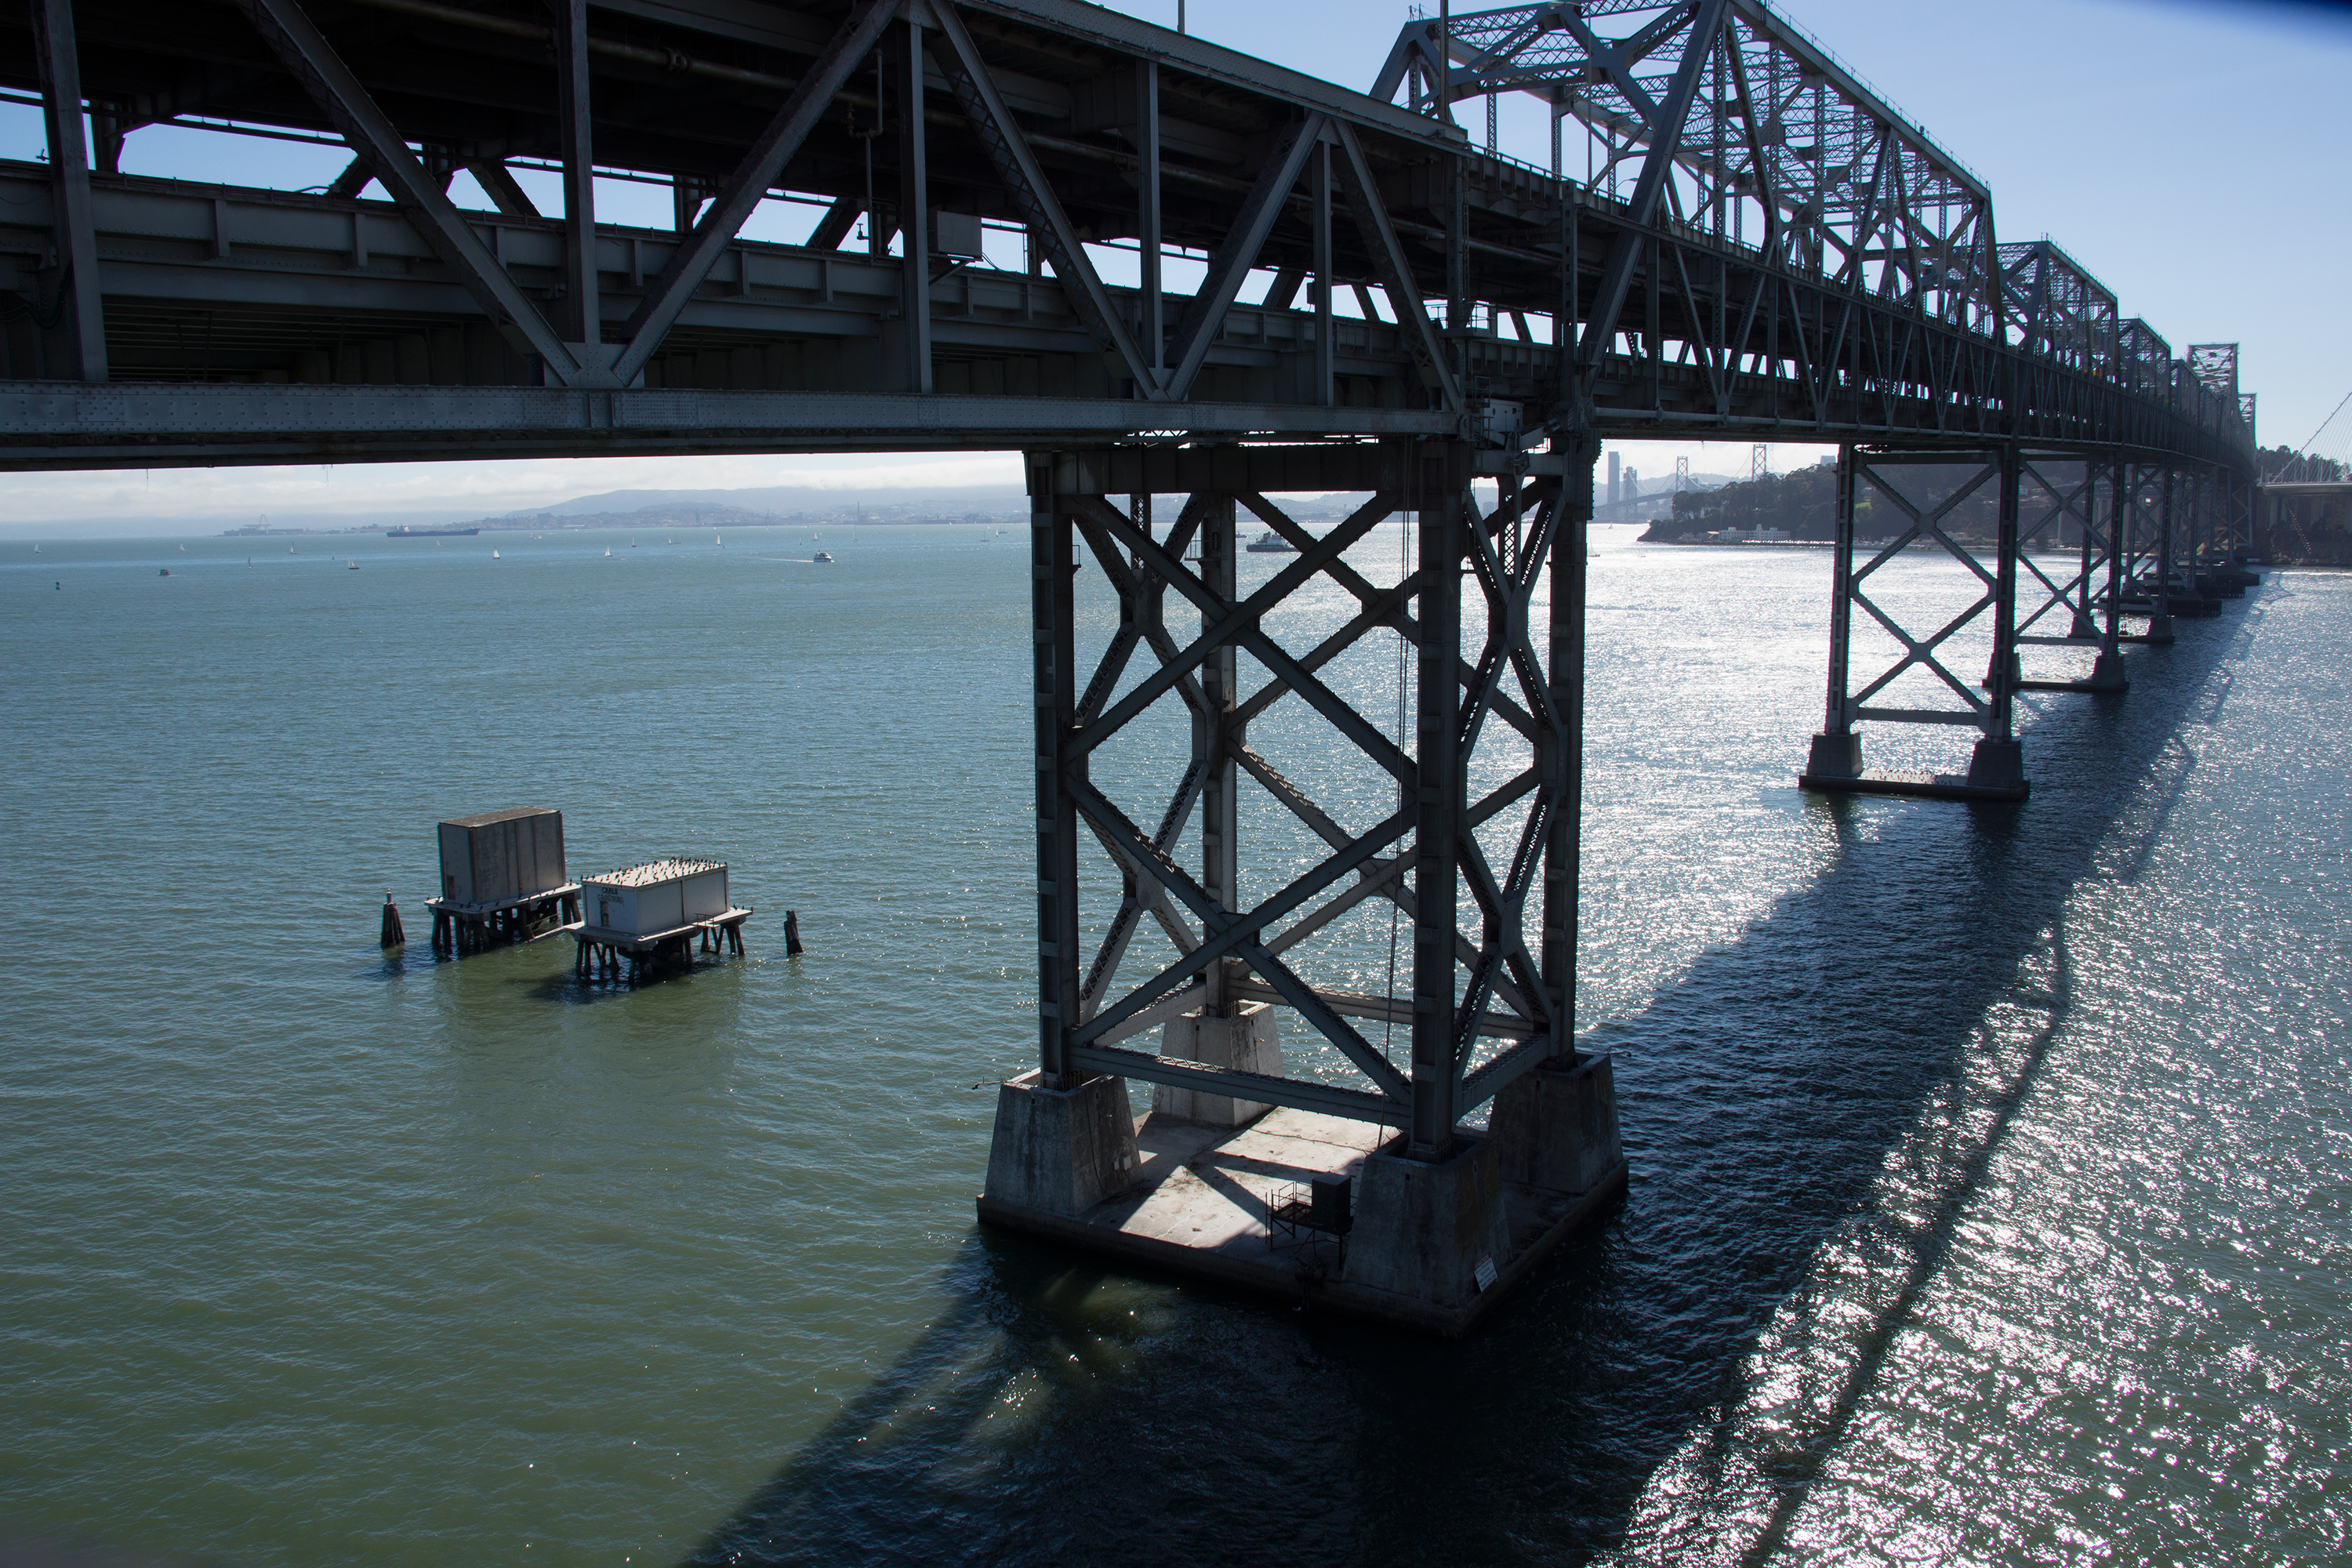


Photo Credit: David Grieshaber and Mike Koozmin
Bent at end of through truss spans.
![]()


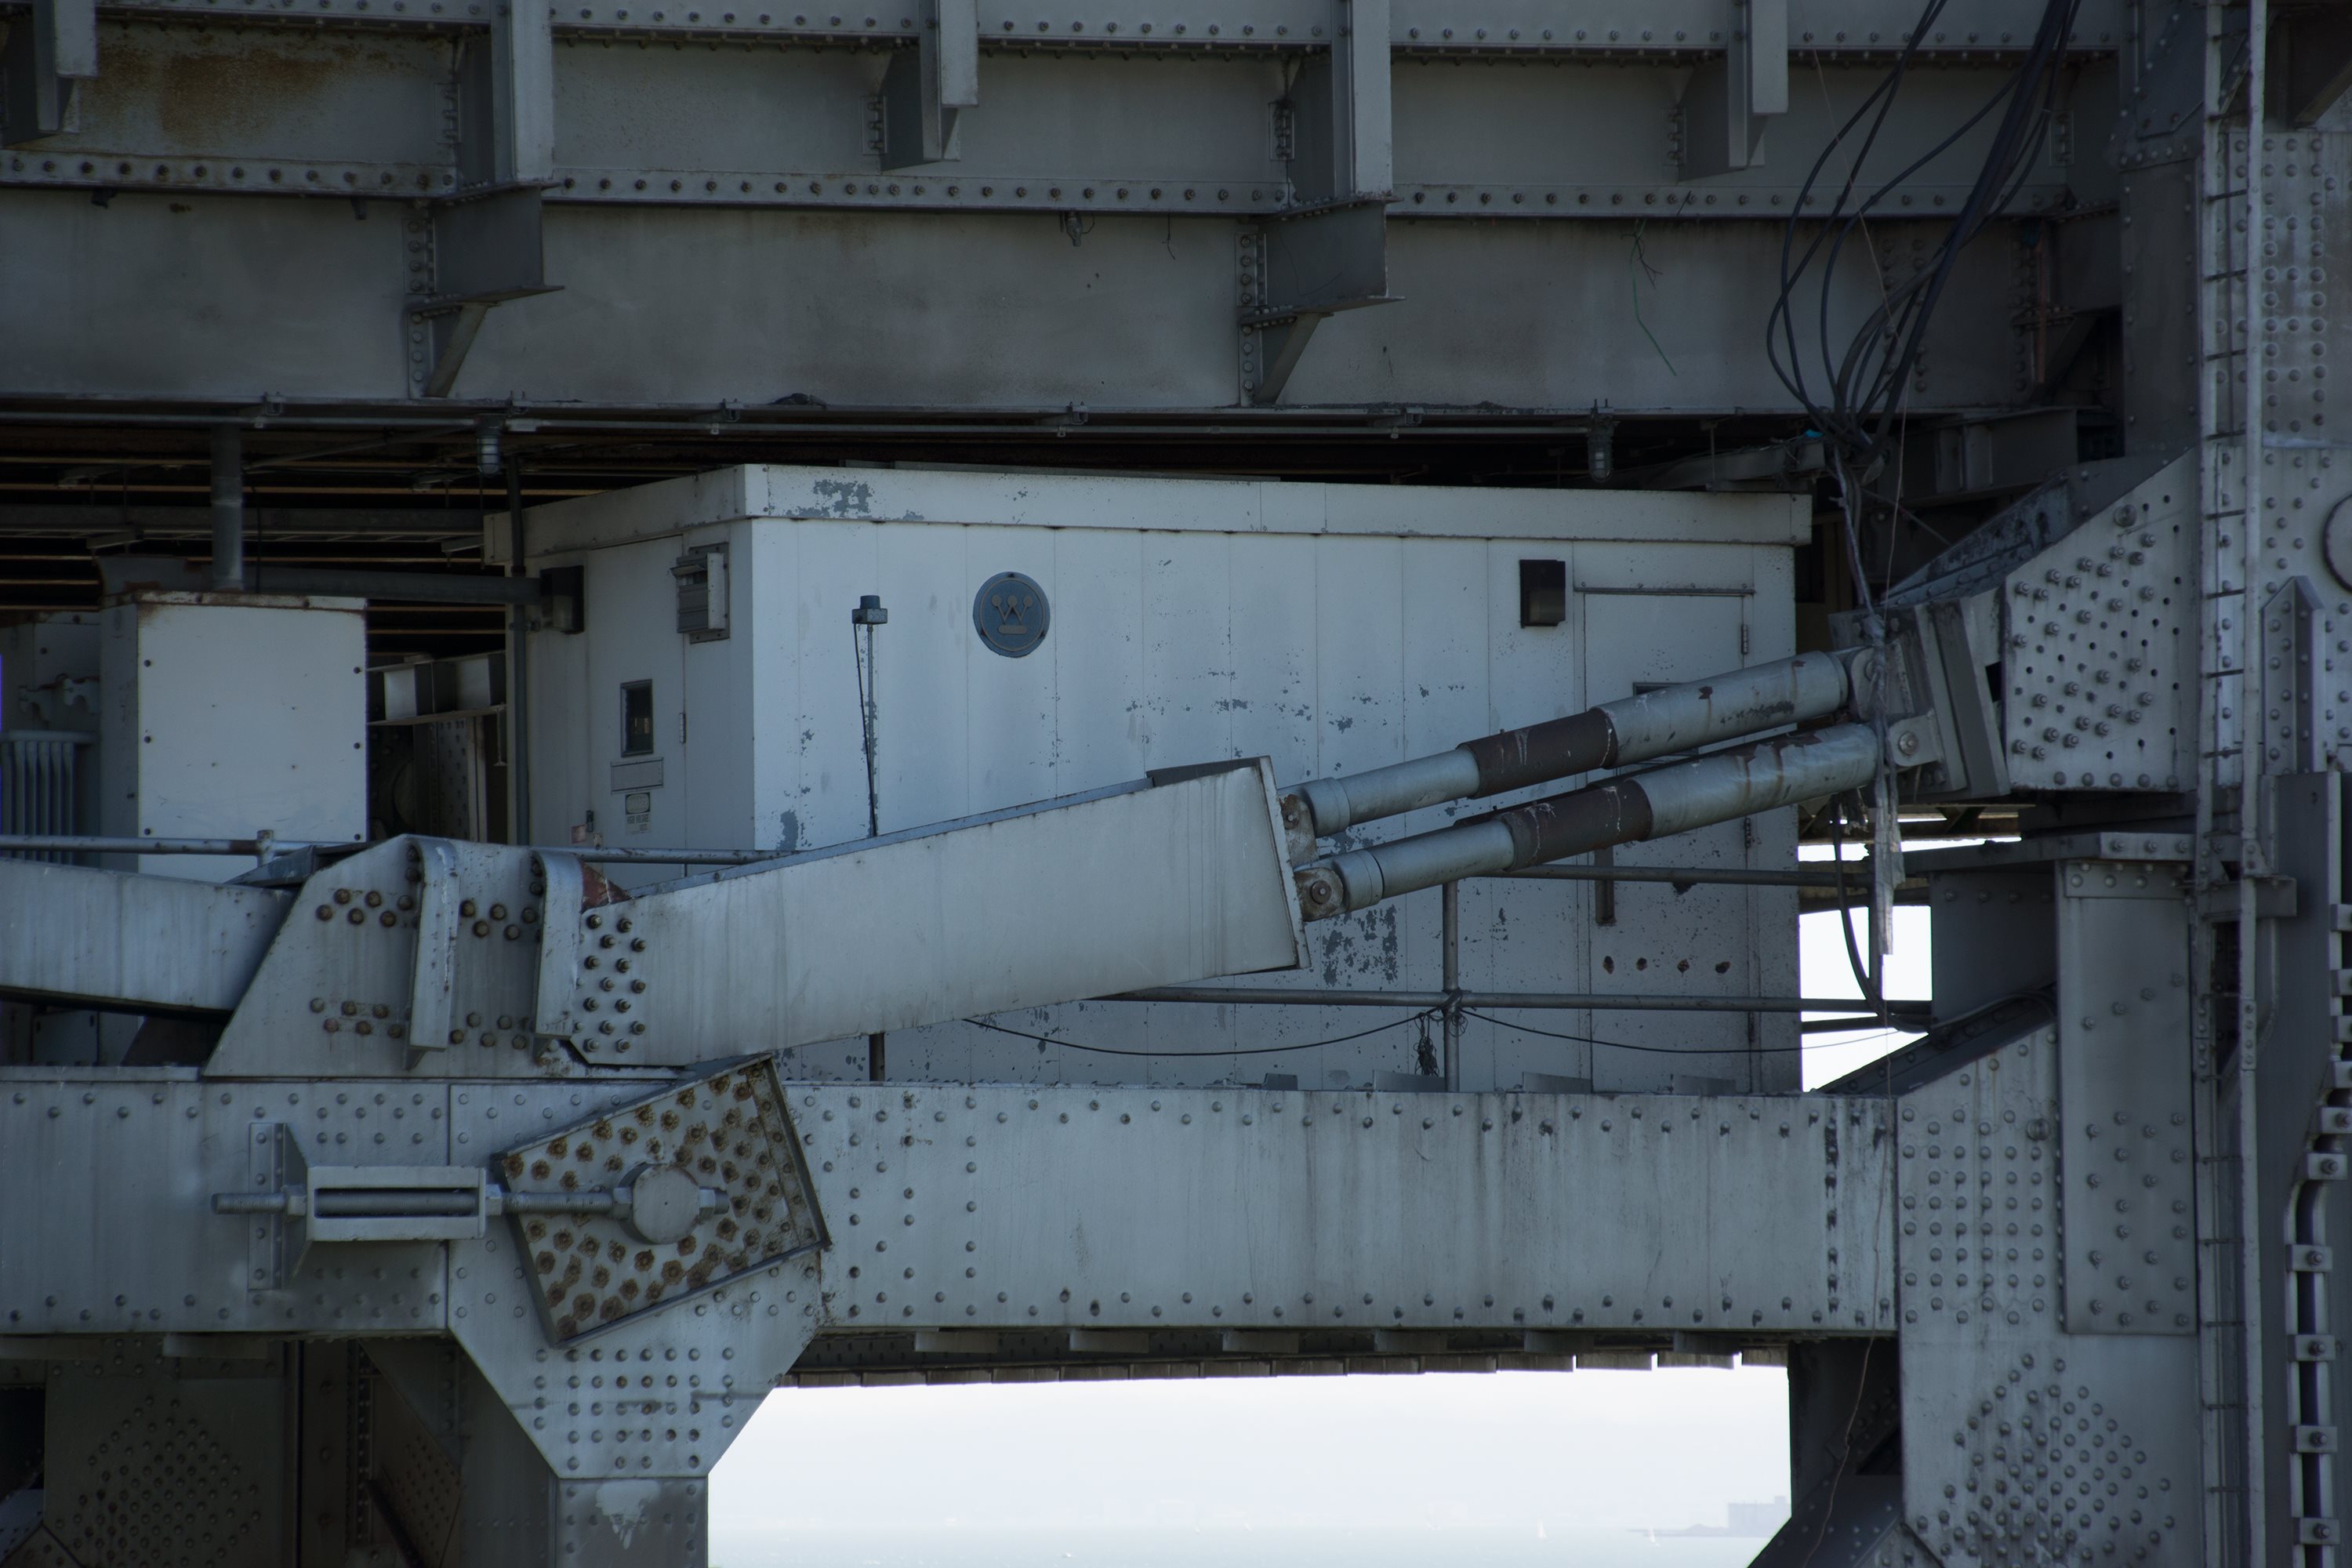

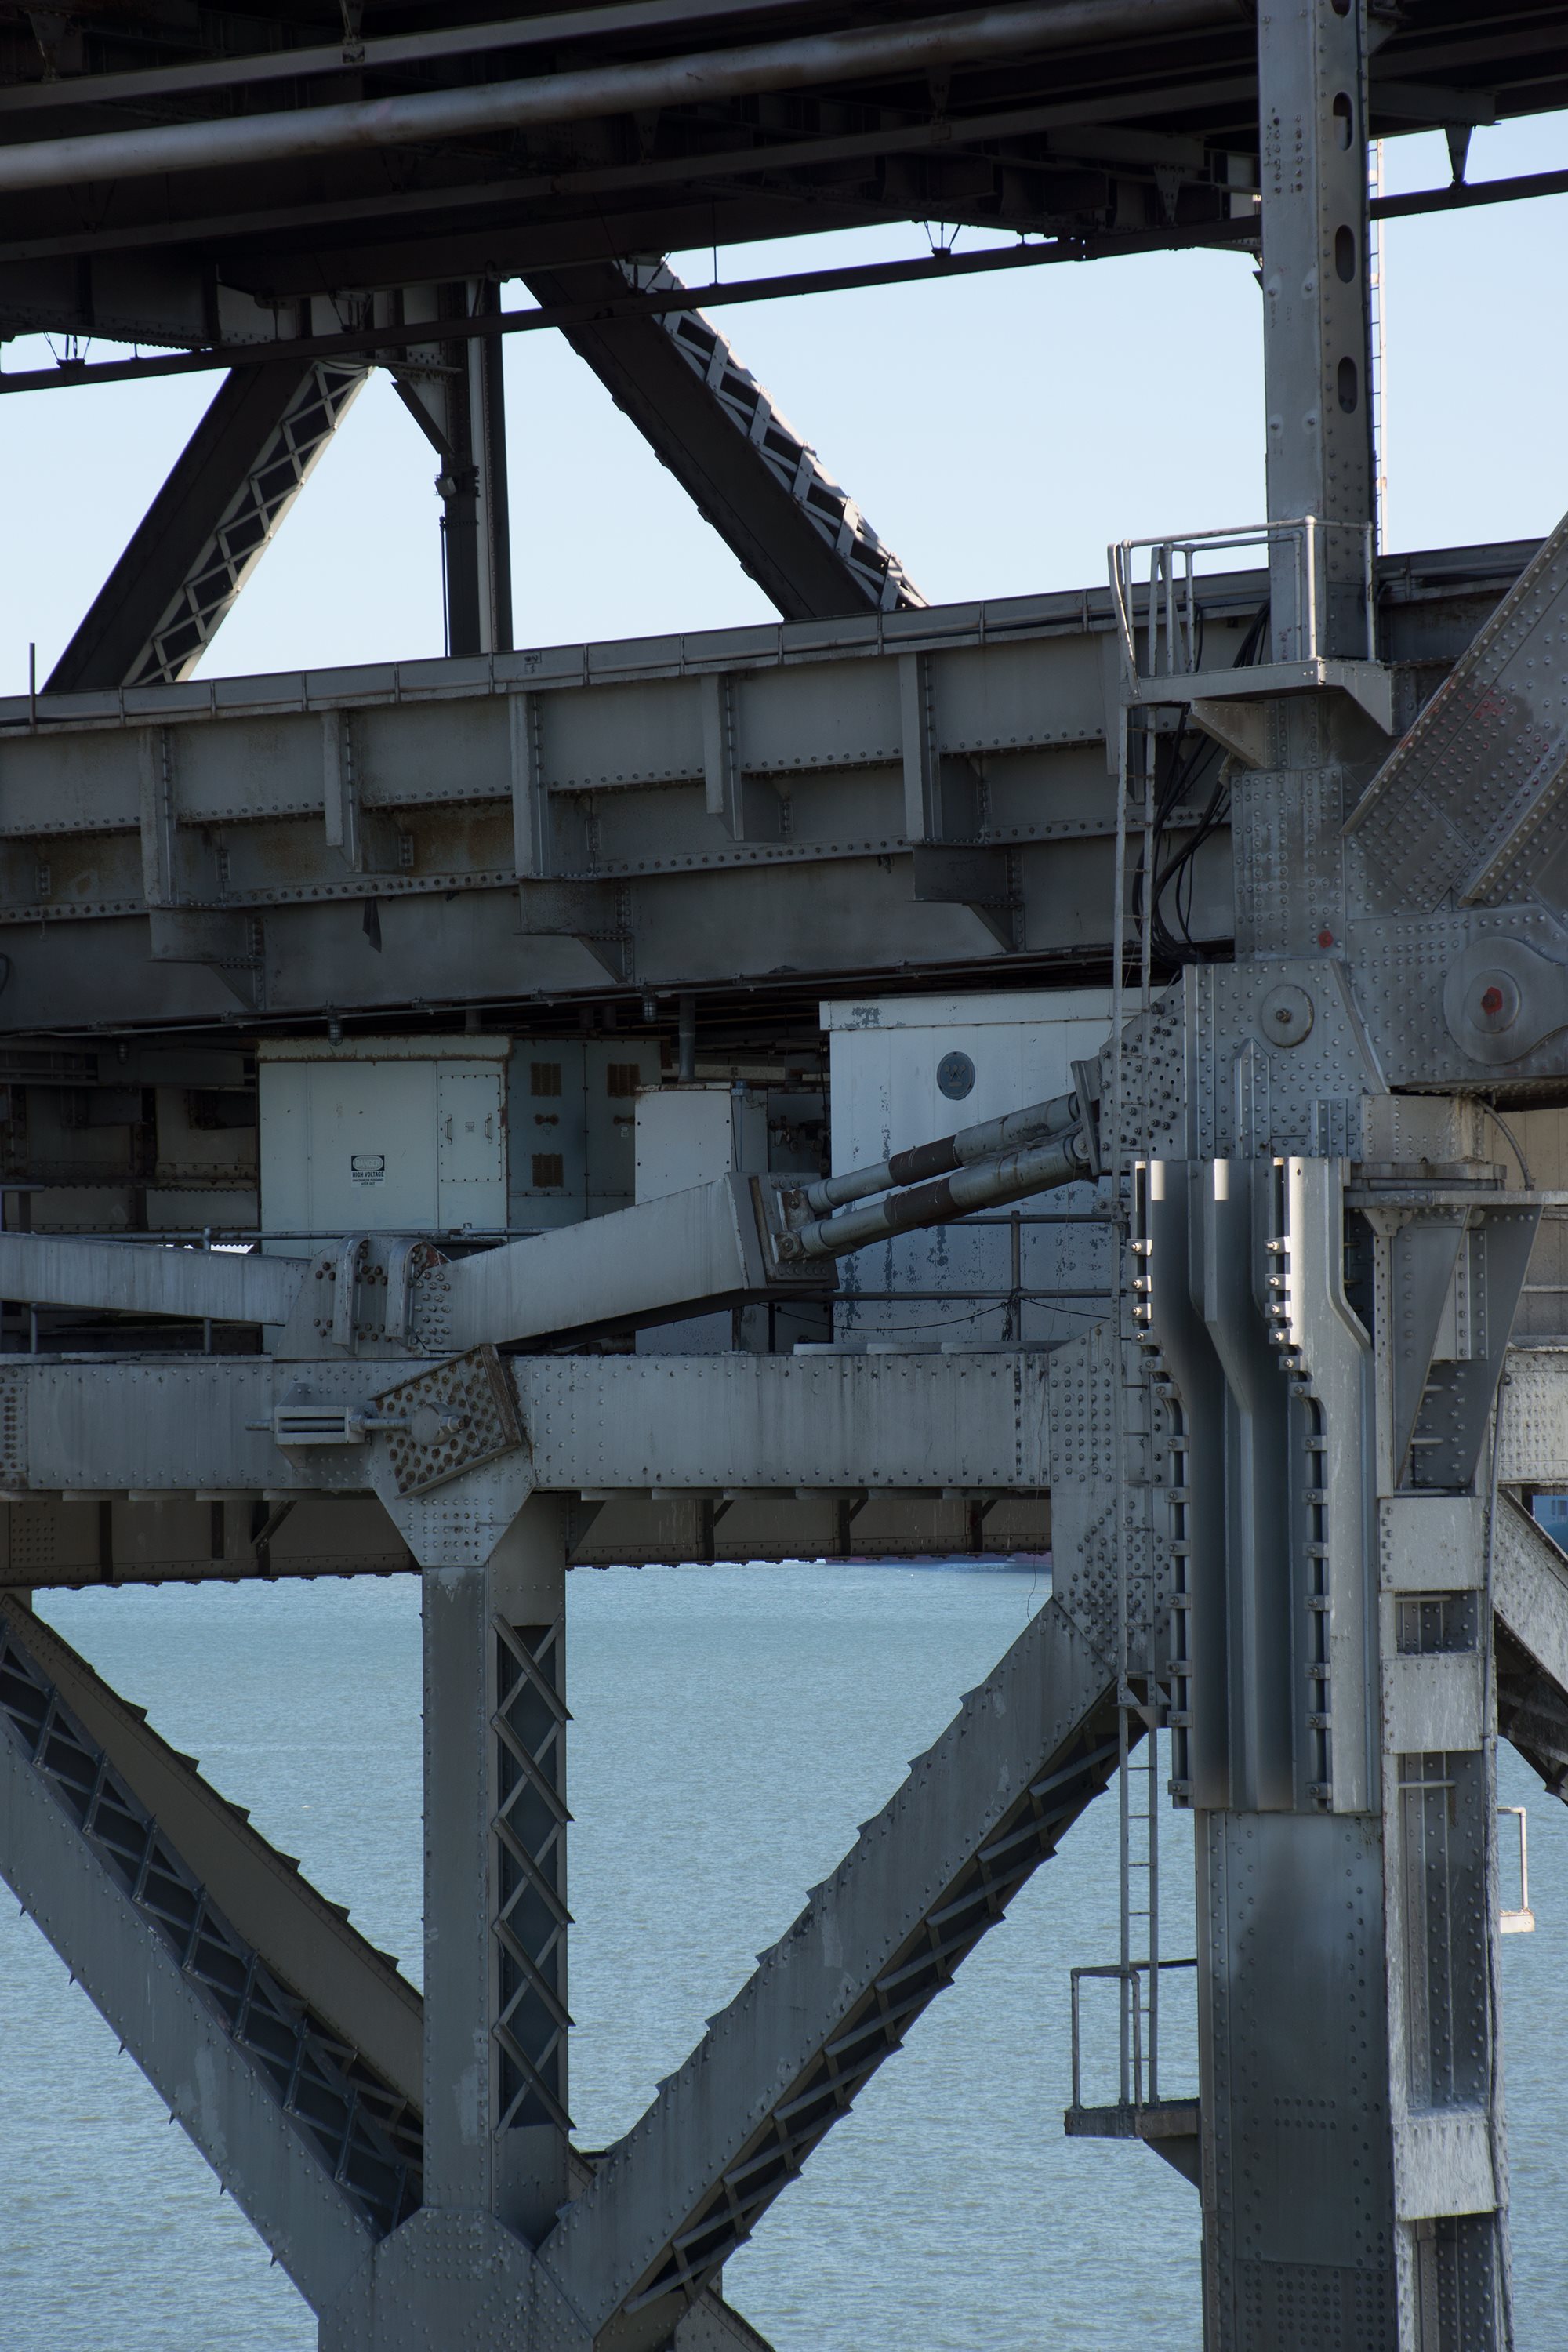


Photo Credit: David Grieshaber and Mike Koozmin
Details of bent at end of through truss spans.
![]()


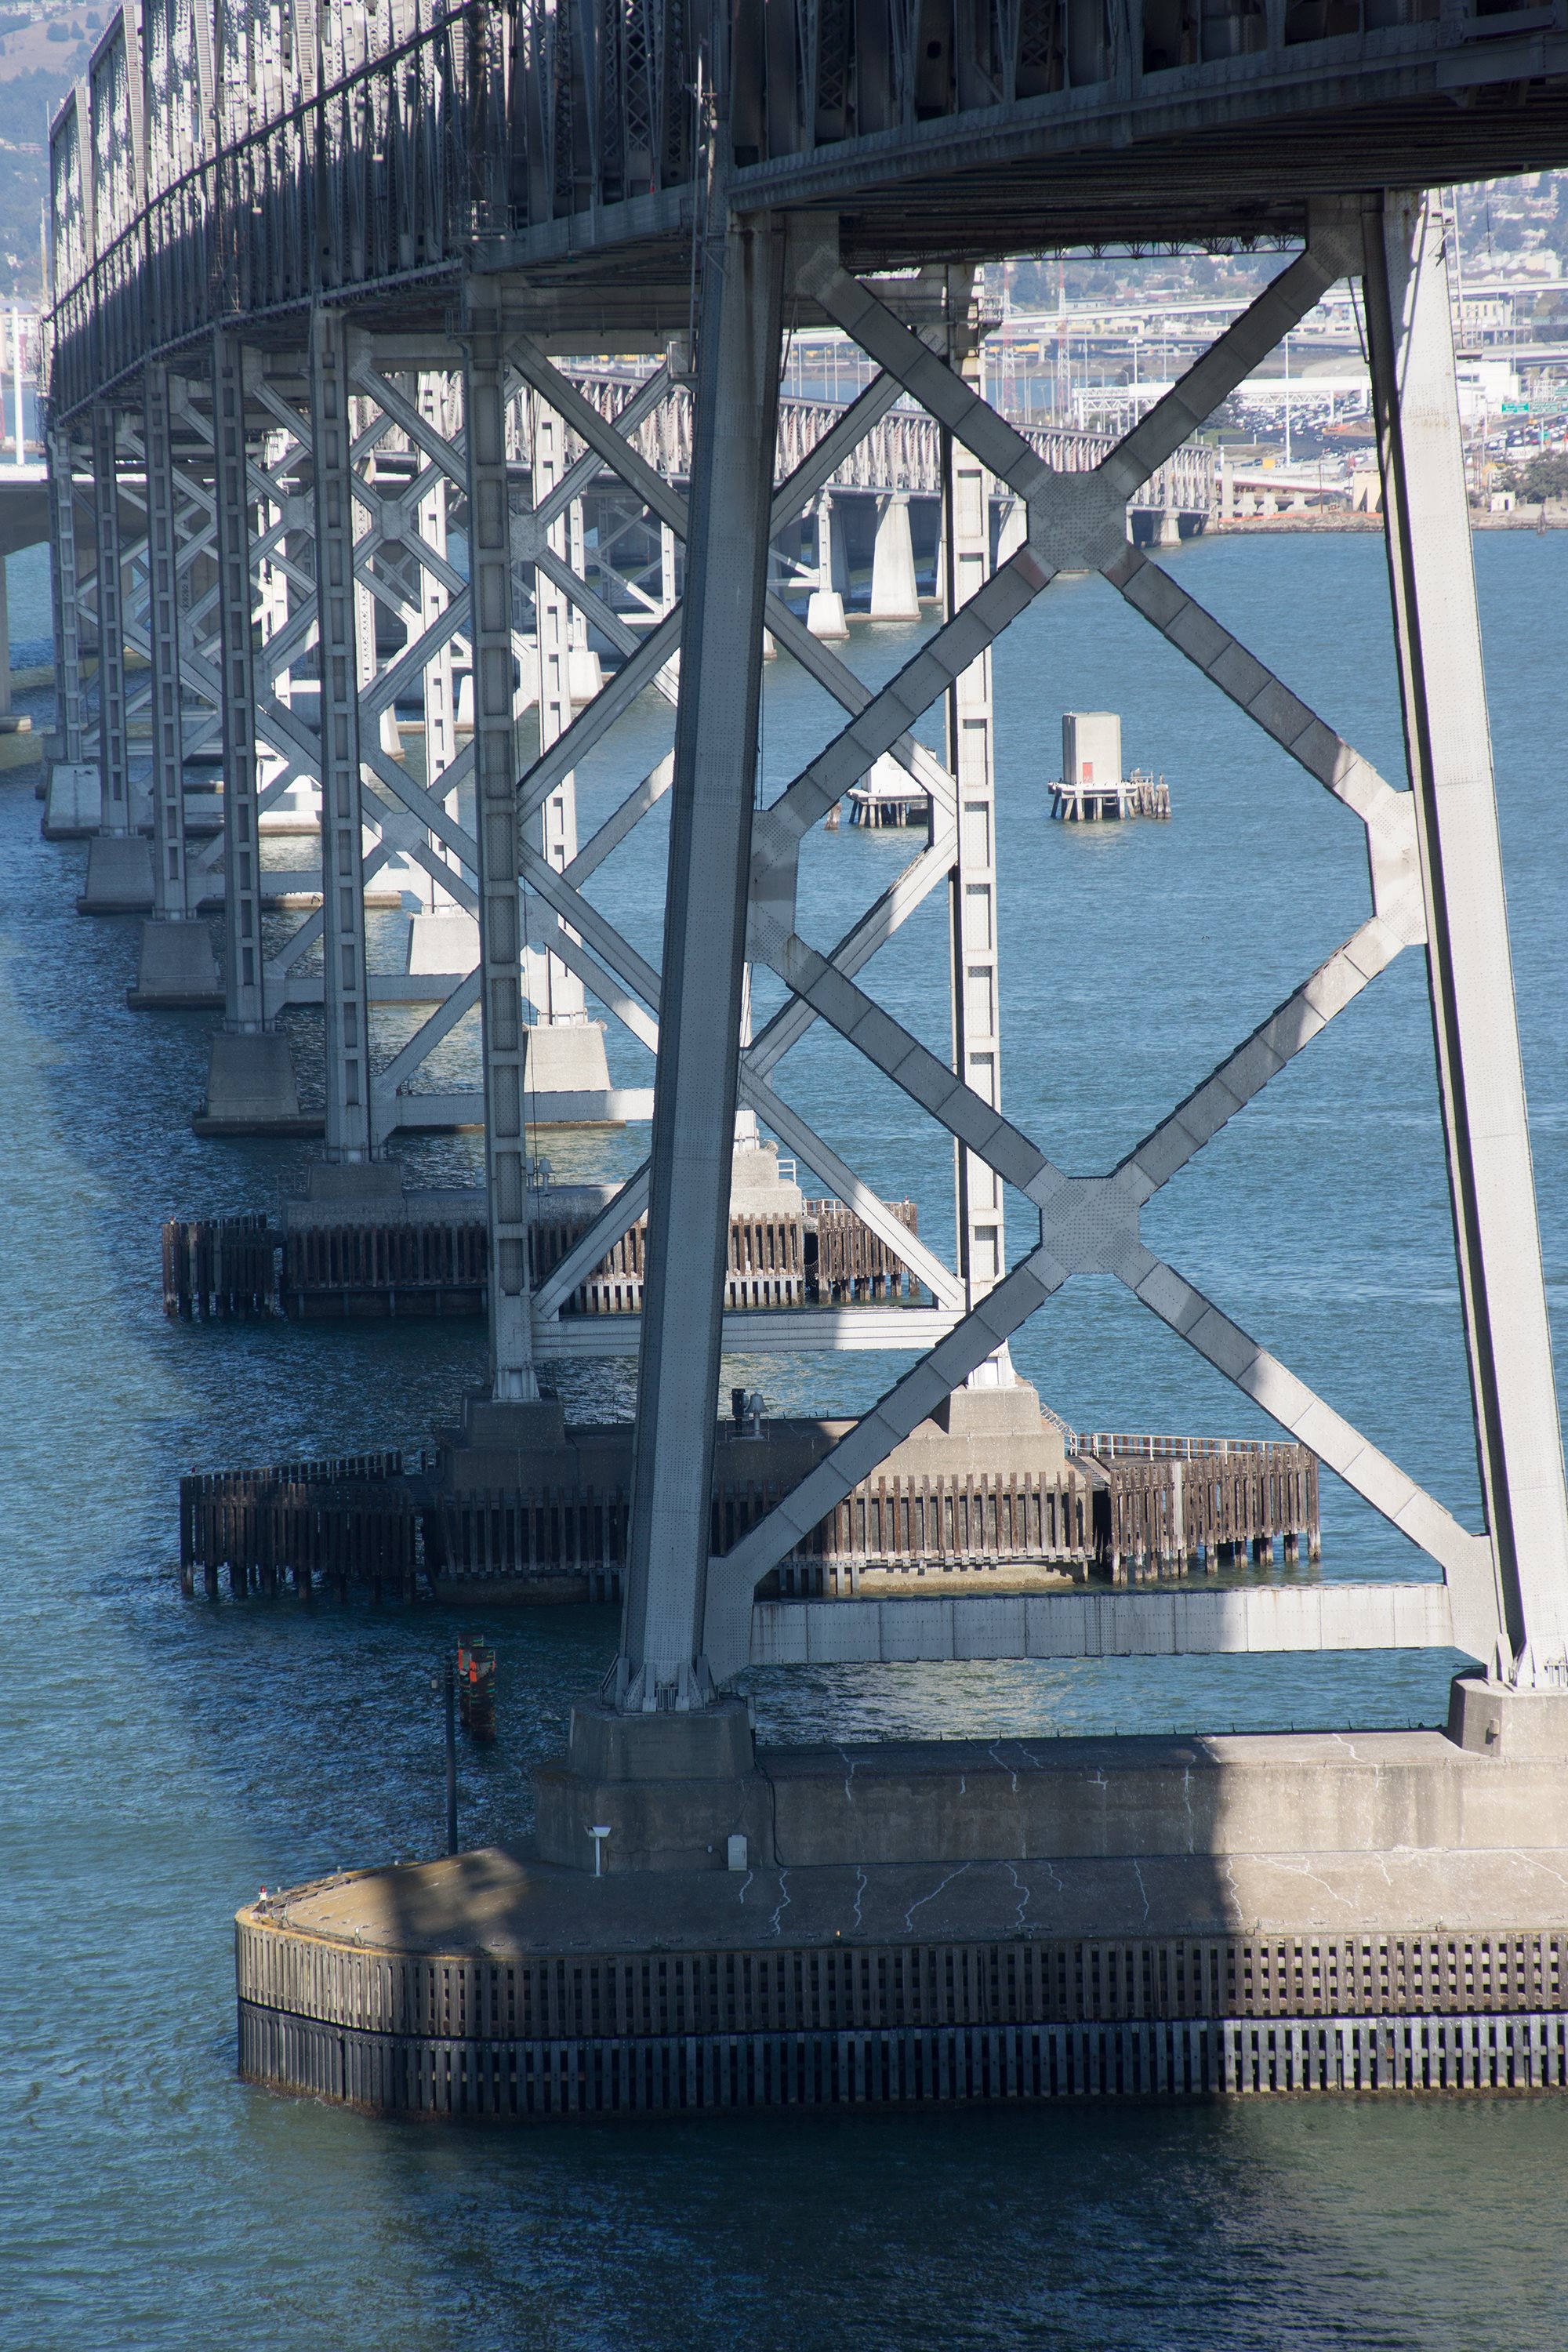
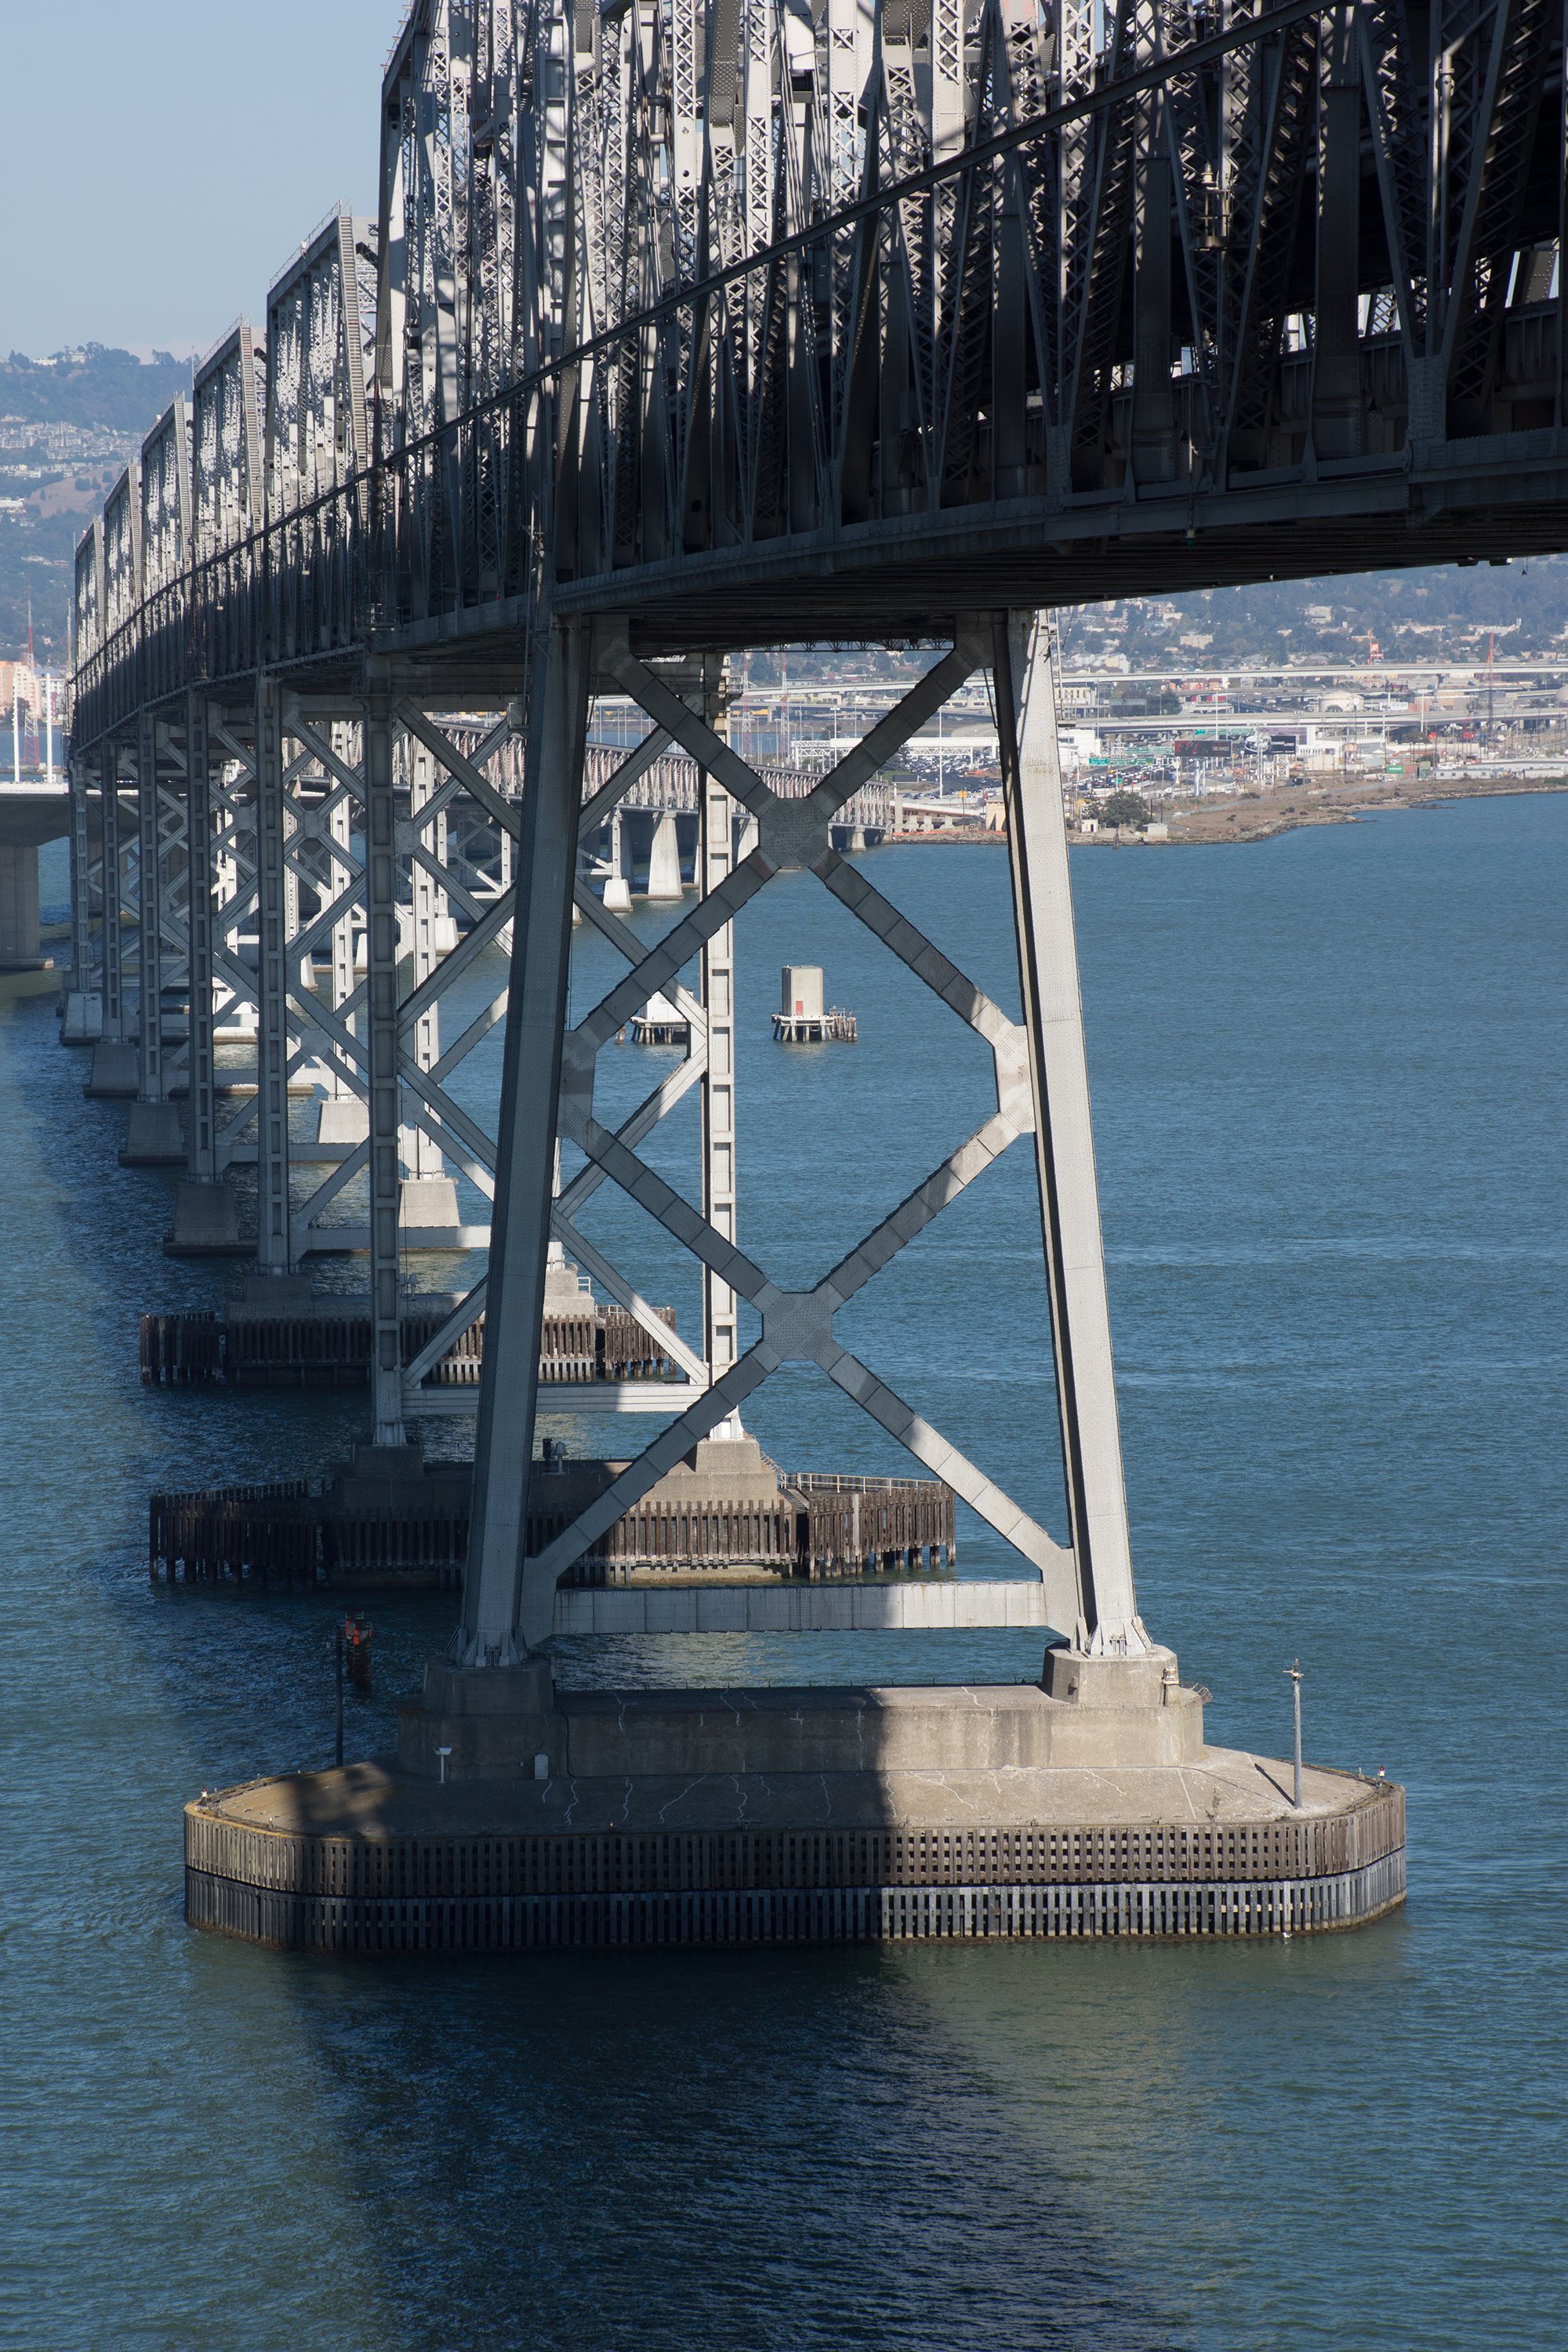

Photo Credit: David Grieshaber and Mike Koozmin
Bents for through truss spans.
![]()

Photo Credit: David Grieshaber and Mike Koozmin
Bearings for through truss spans.
![]()
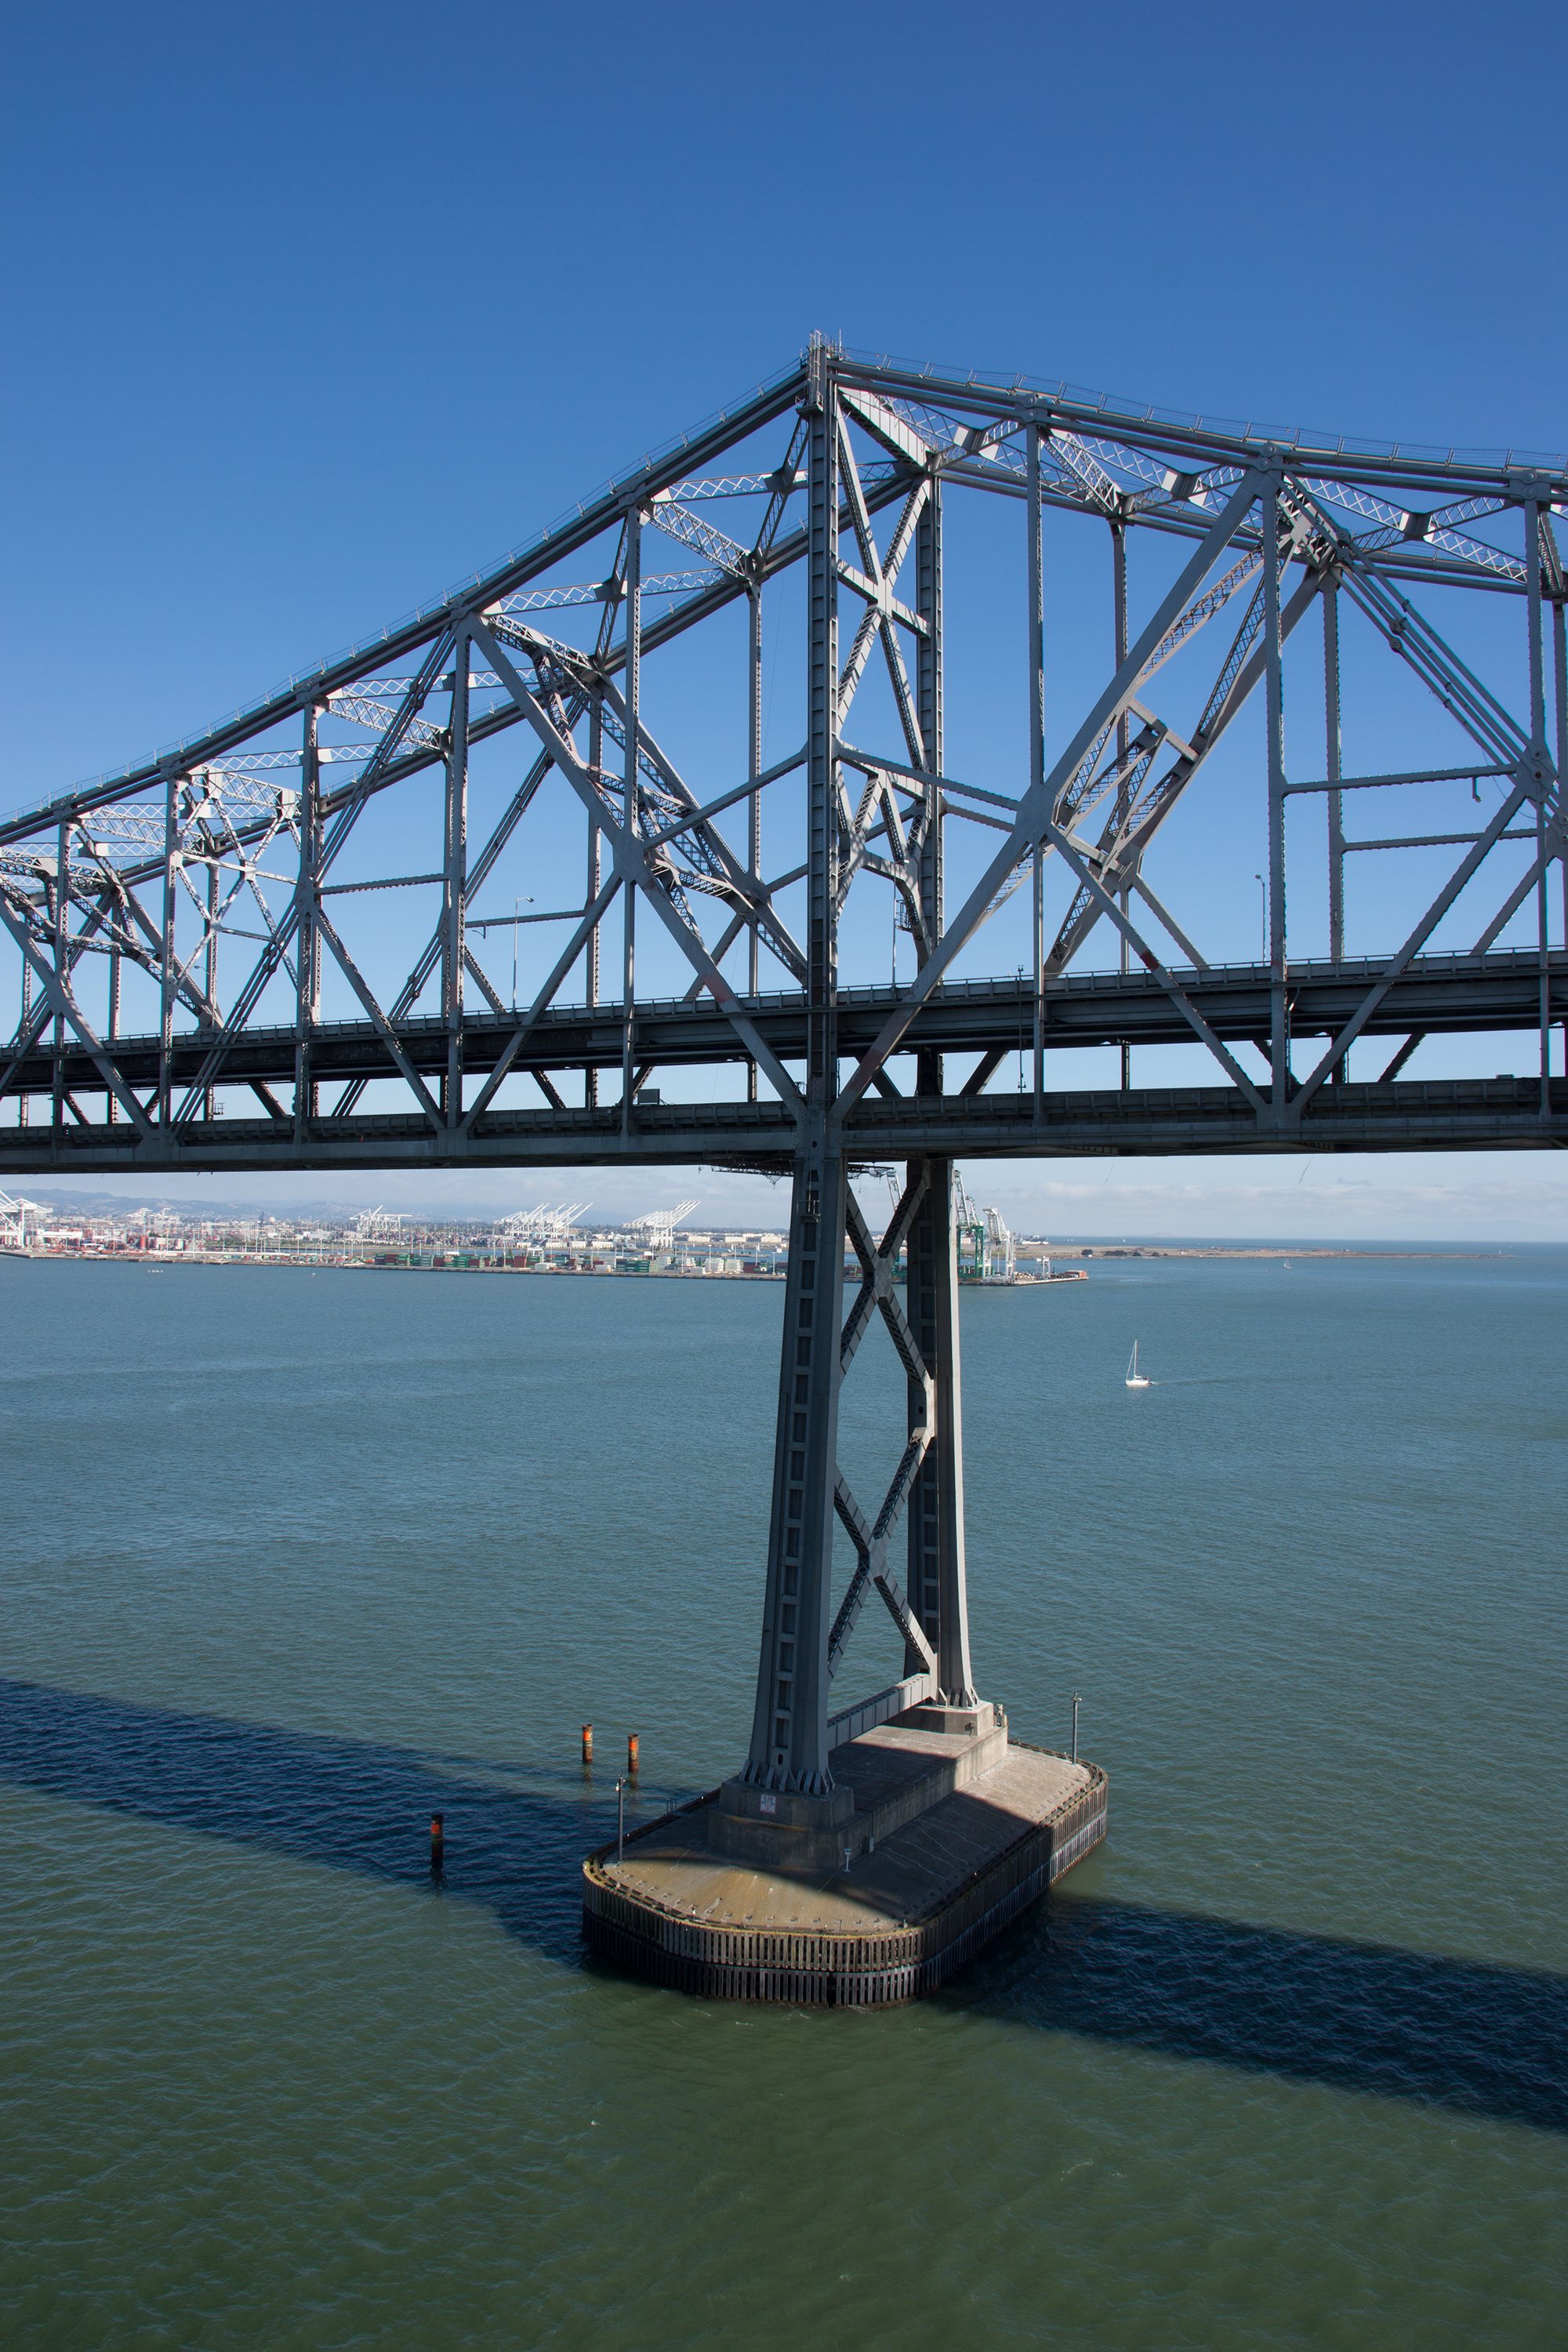

Photo Credit: David Grieshaber and Mike Koozmin
View showing cantilever tower and main post.
![]()


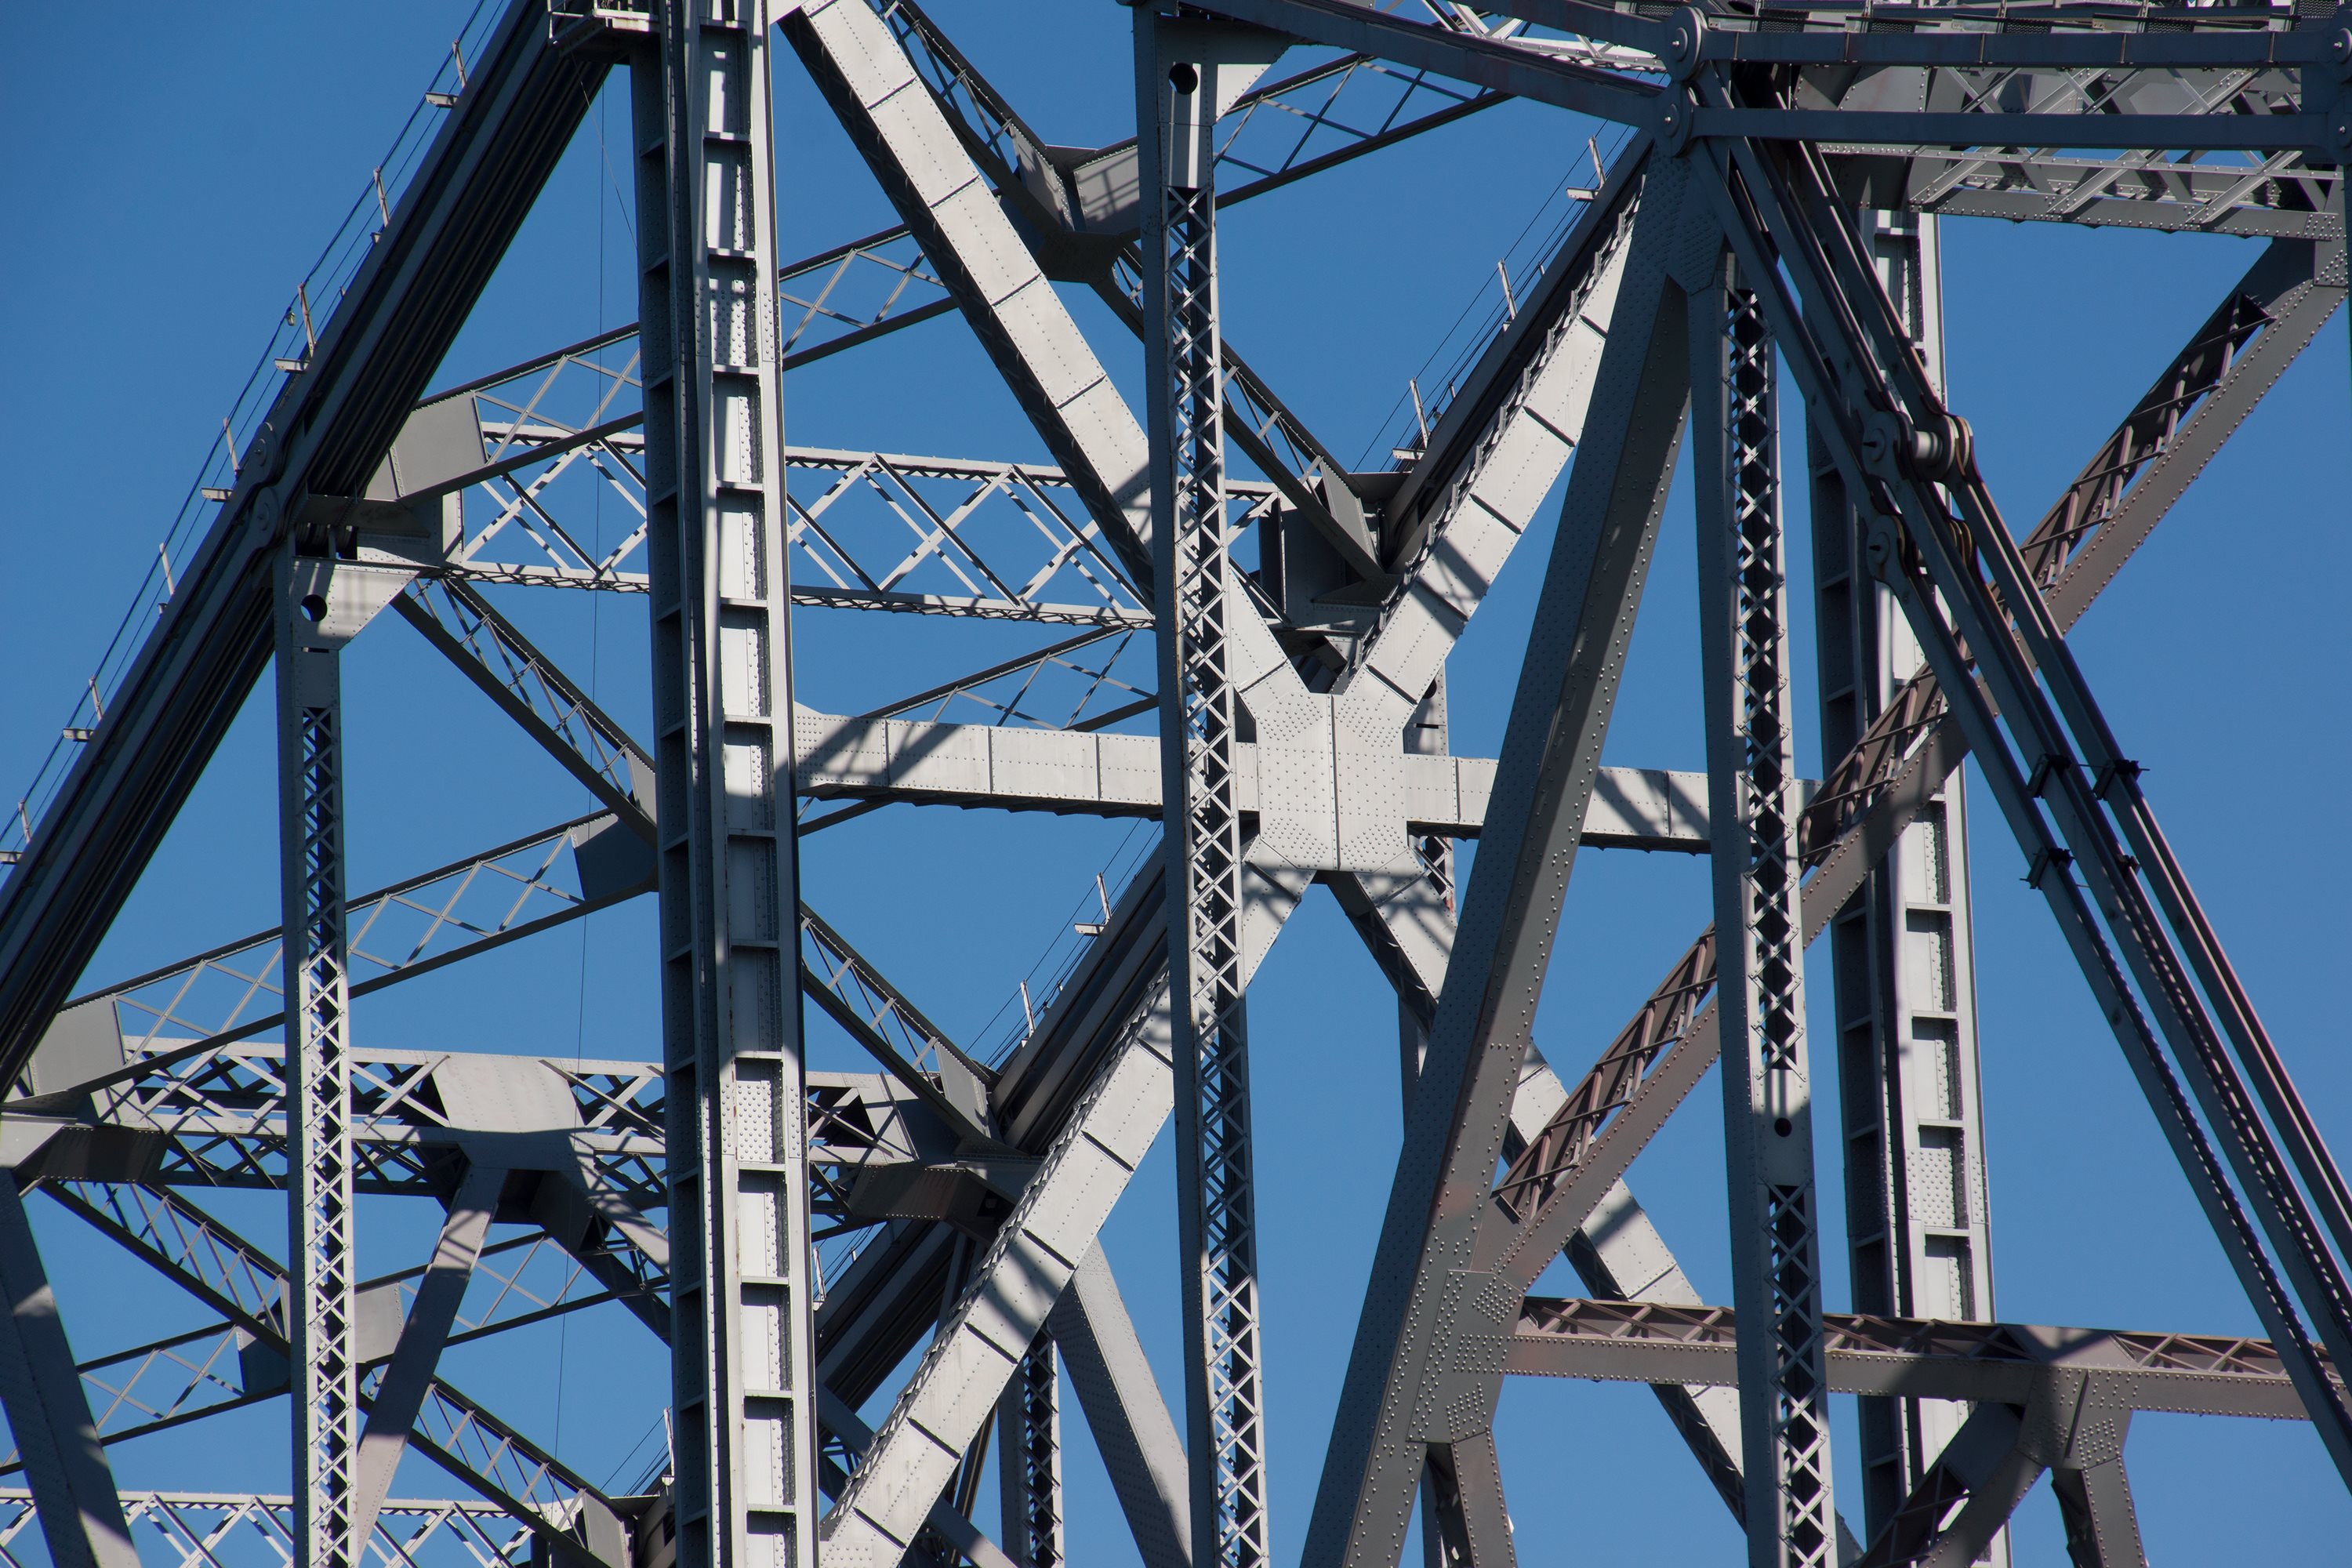

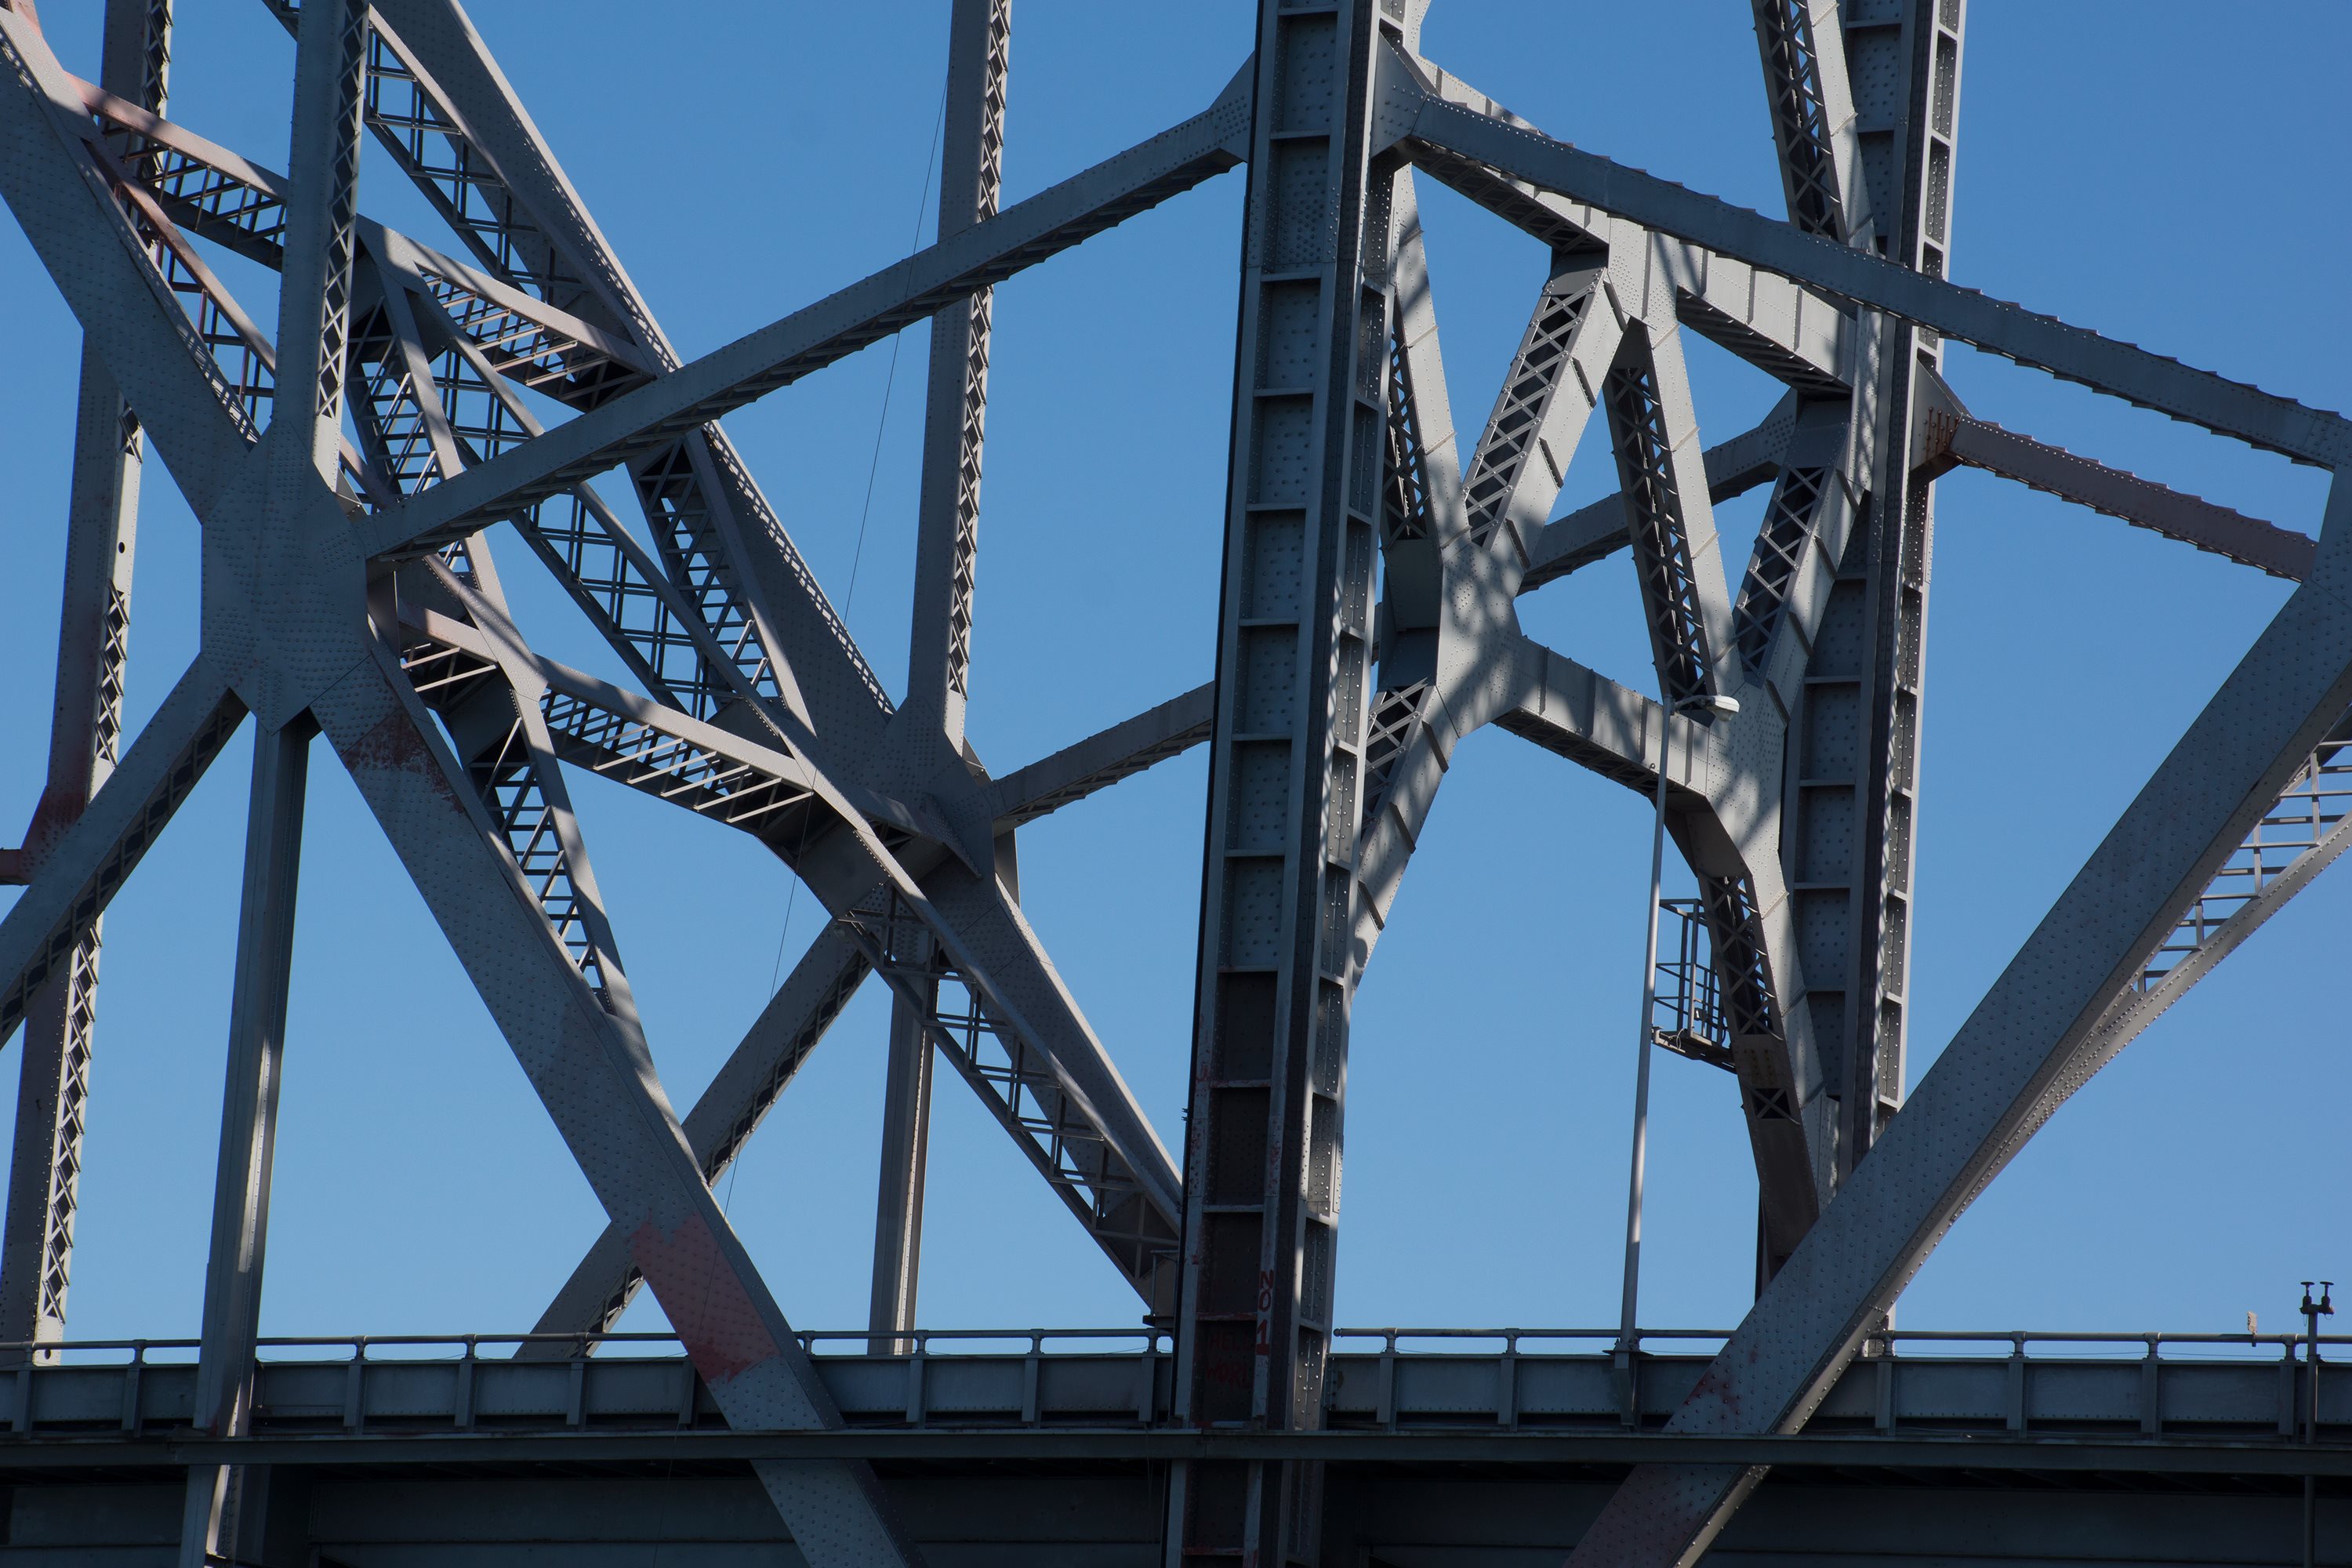
Photo Credit: David Grieshaber and Mike Koozmin
Details around cantilever truss main post.
![]()

Photo Credit: David Grieshaber and Mike Koozmin
Bent at cantilever truss main post.
![]()
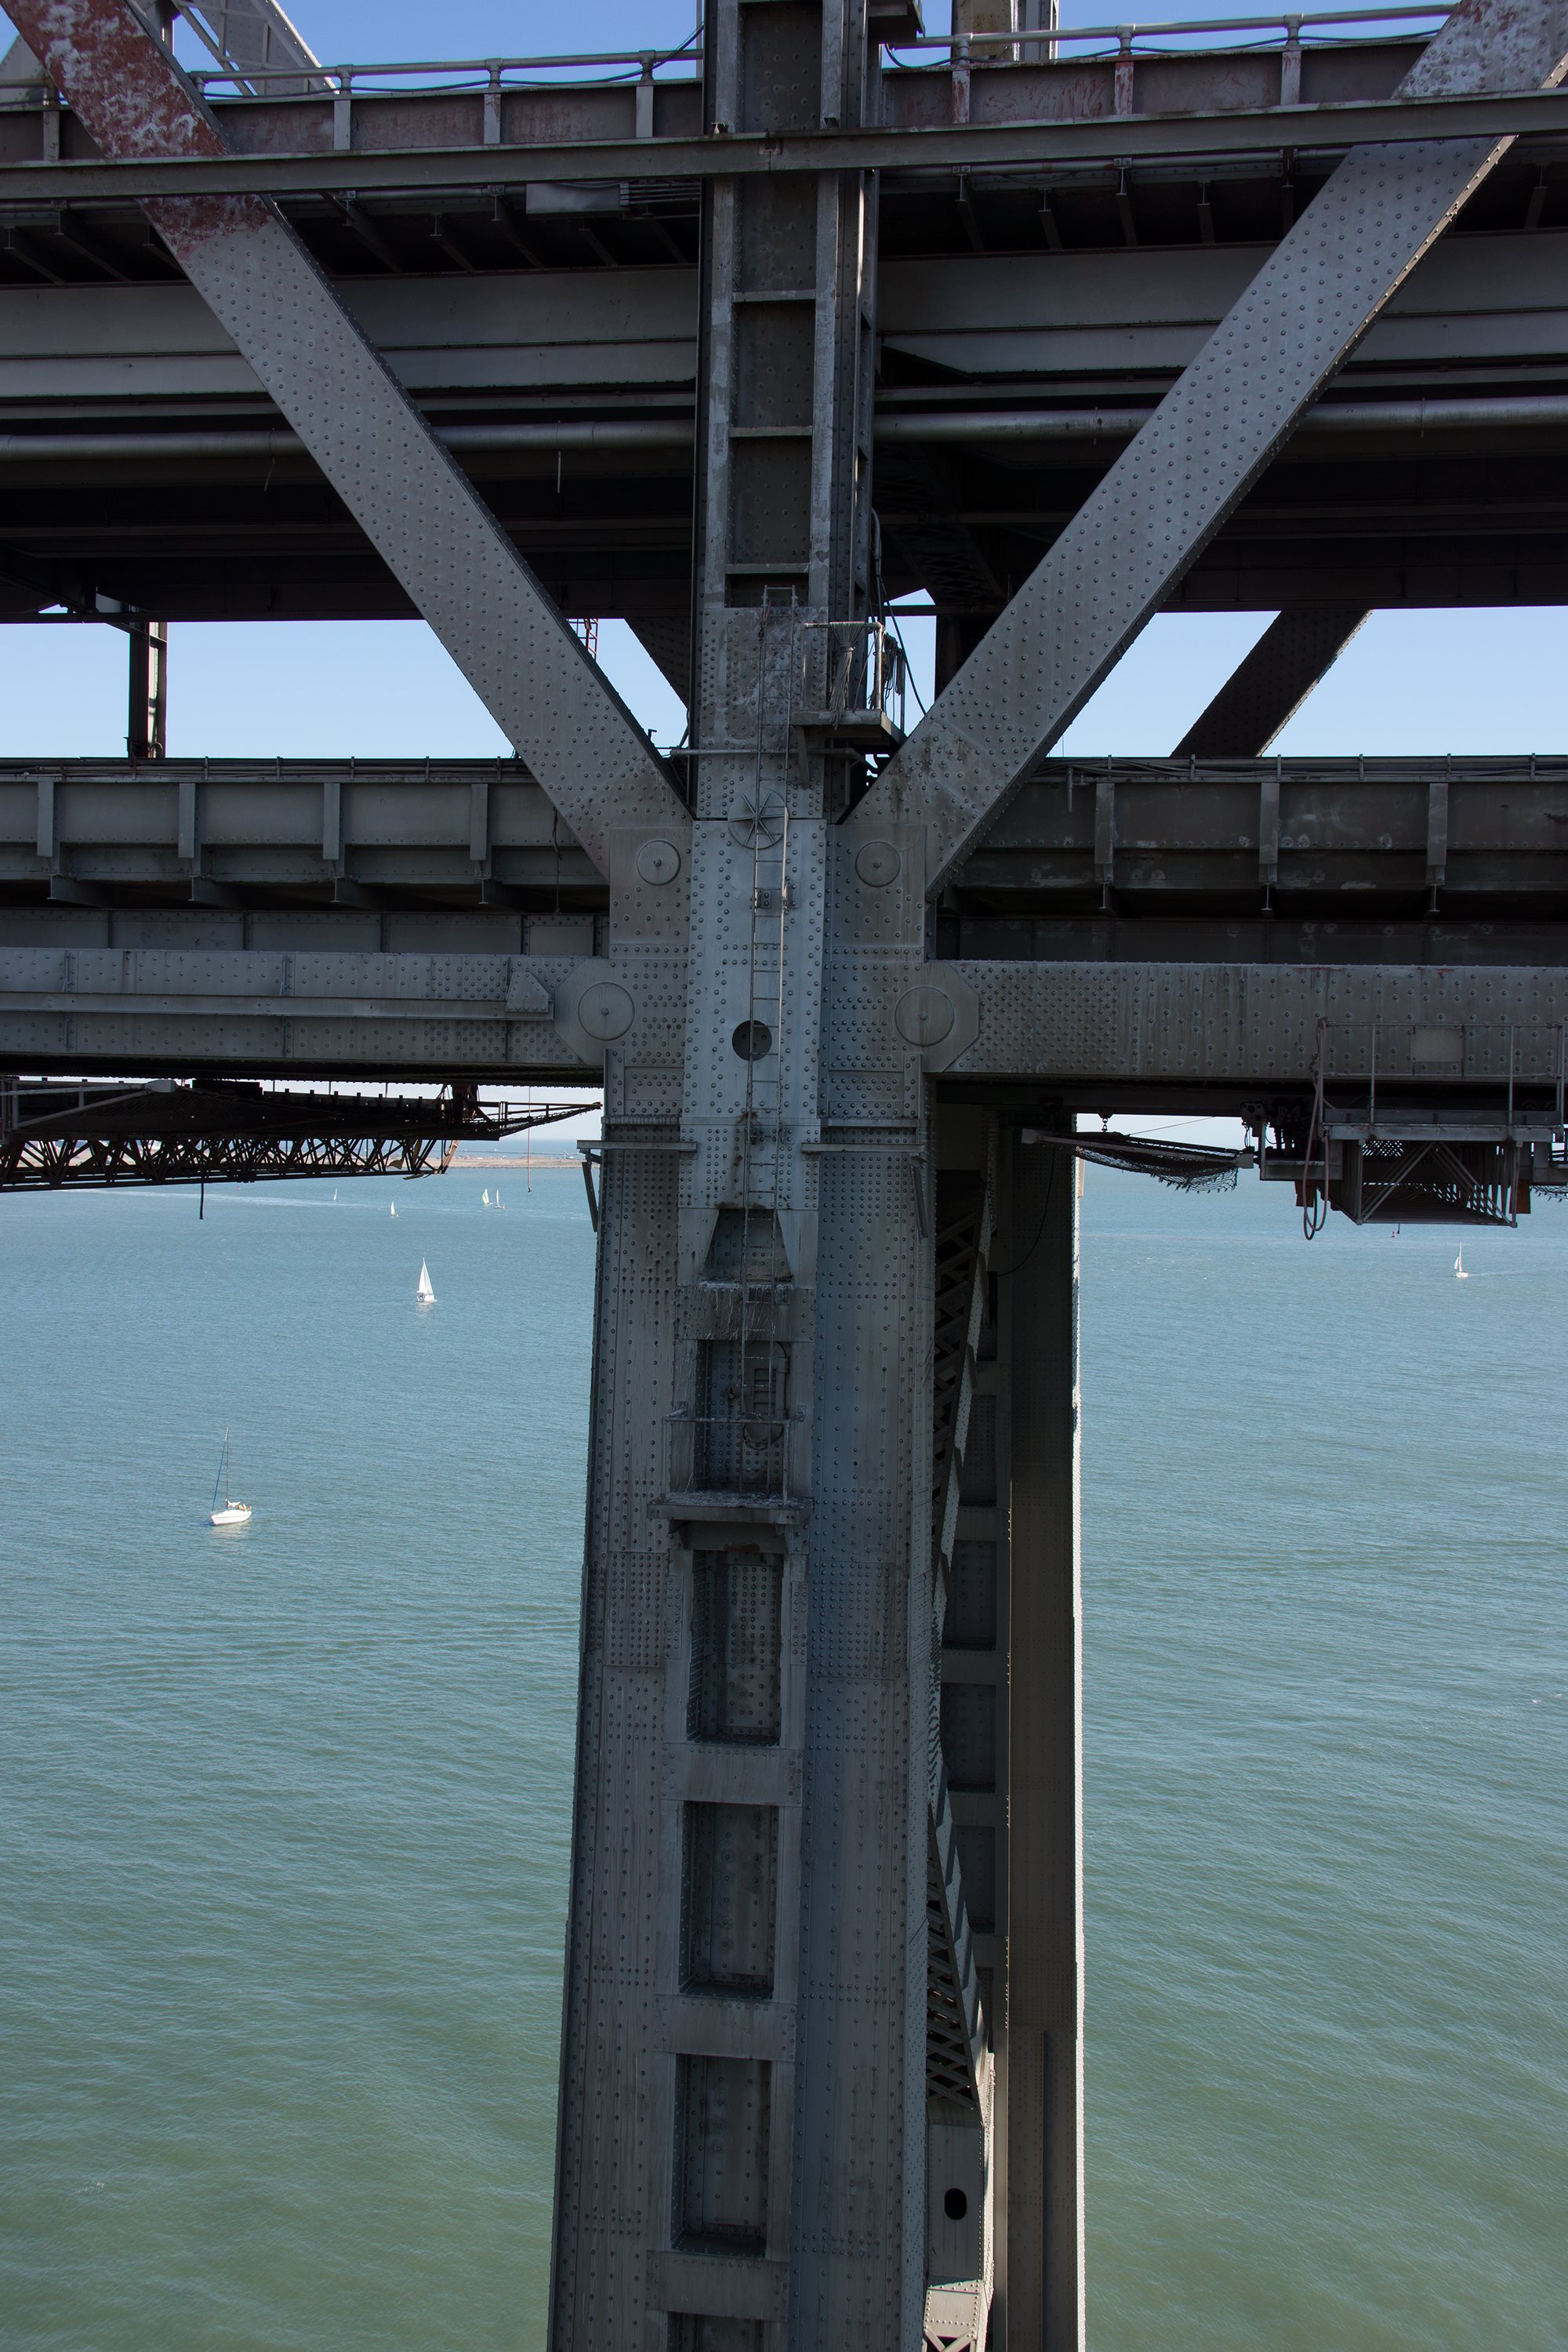


Photo Credit: David Grieshaber and Mike Koozmin
Details of bent at cantilever truss main post.
![]()
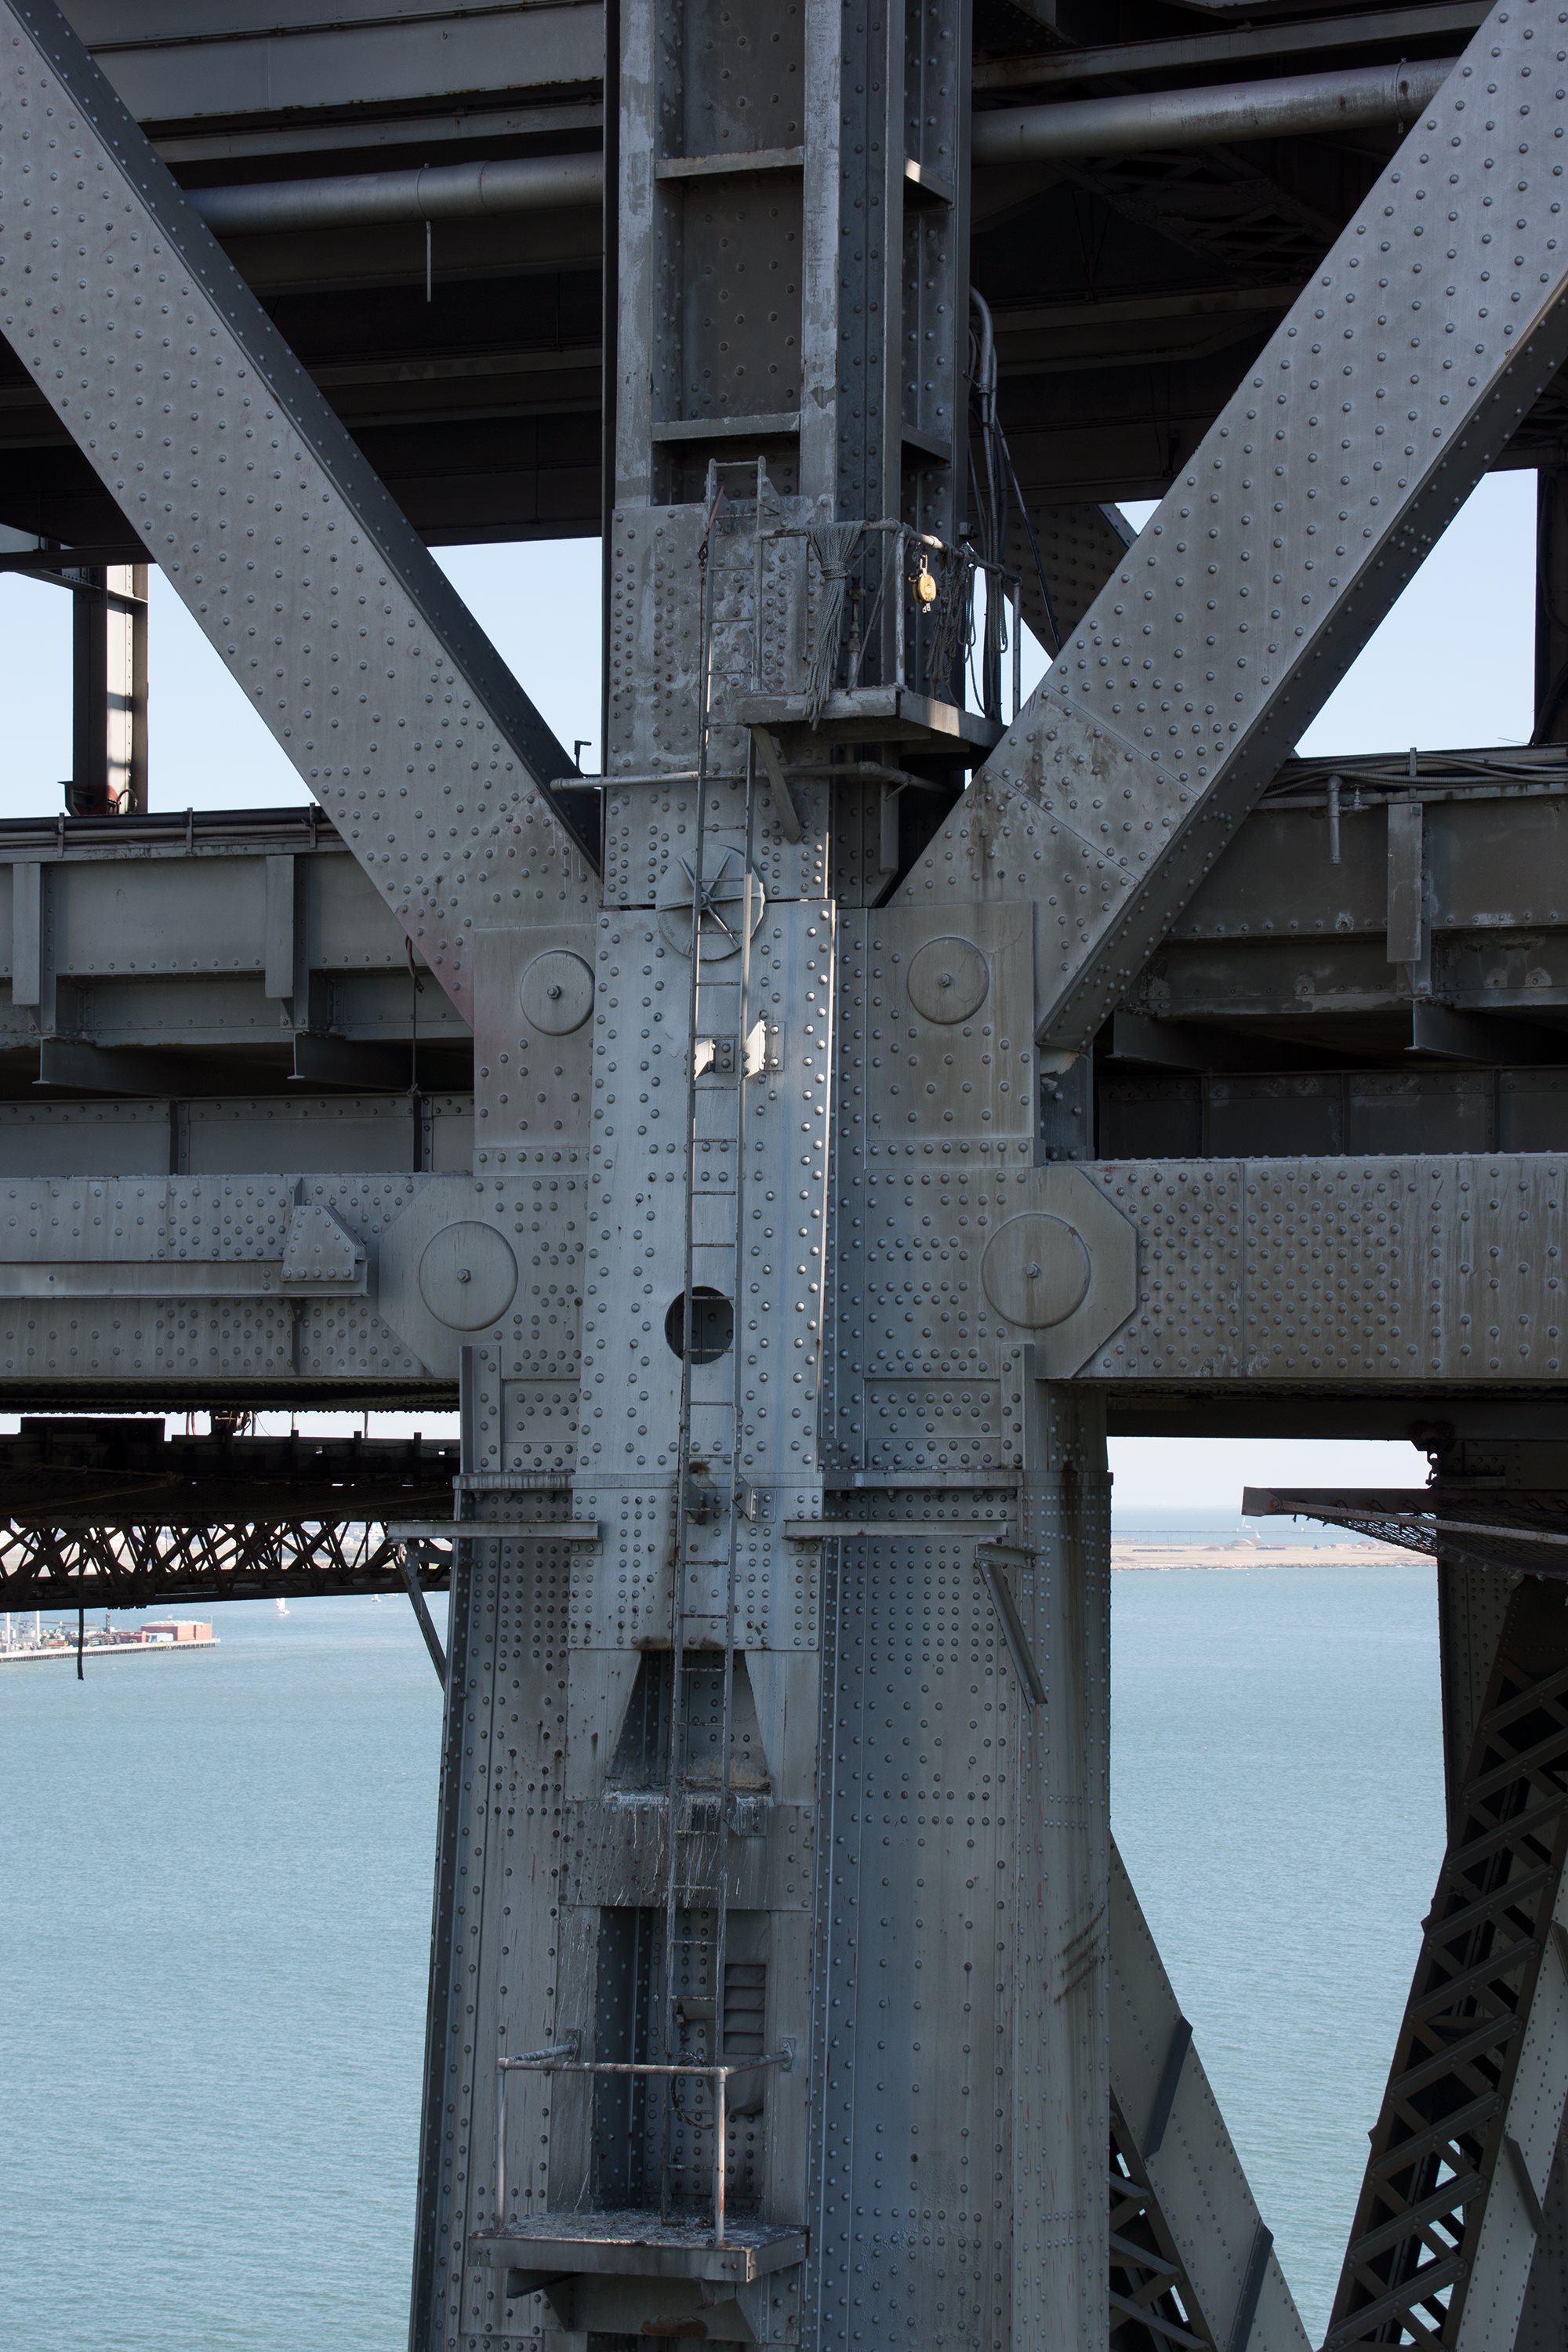

Photo Credit: David Grieshaber and Mike Koozmin
Cantilever truss main post link.
![]()


Photo Credit: David Grieshaber and Mike Koozmin
Cantilever truss bottom chord.
![]()

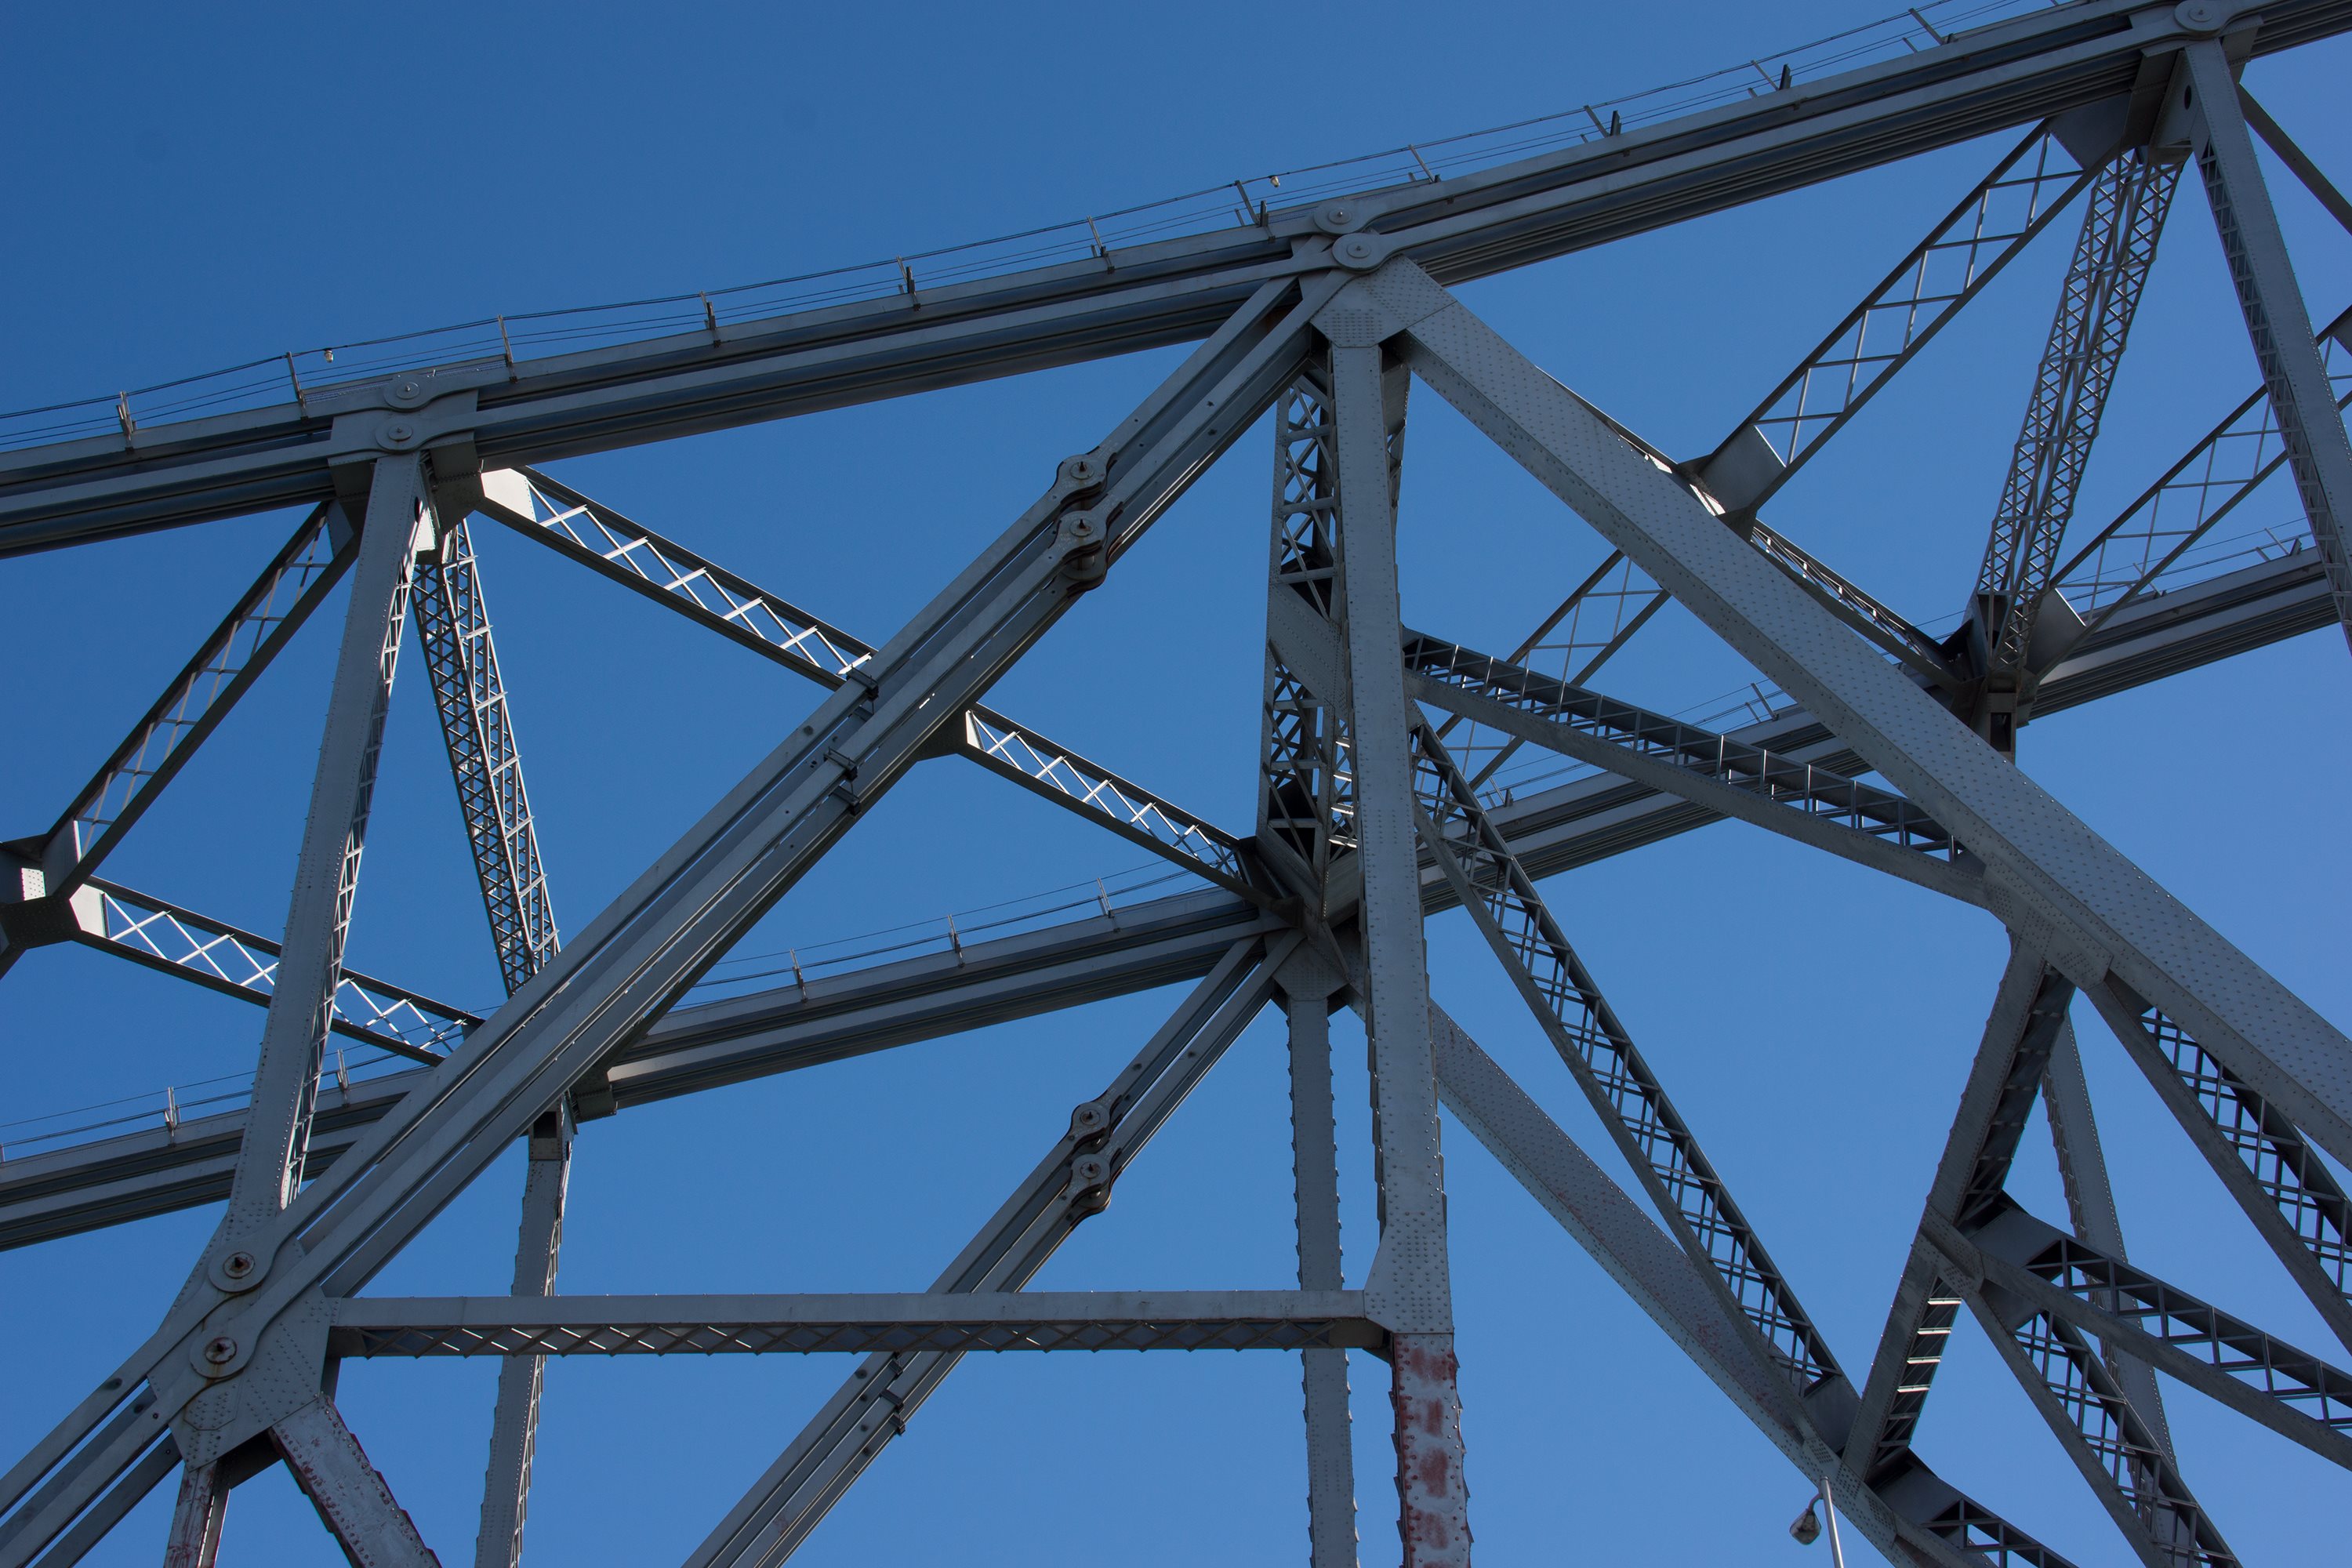


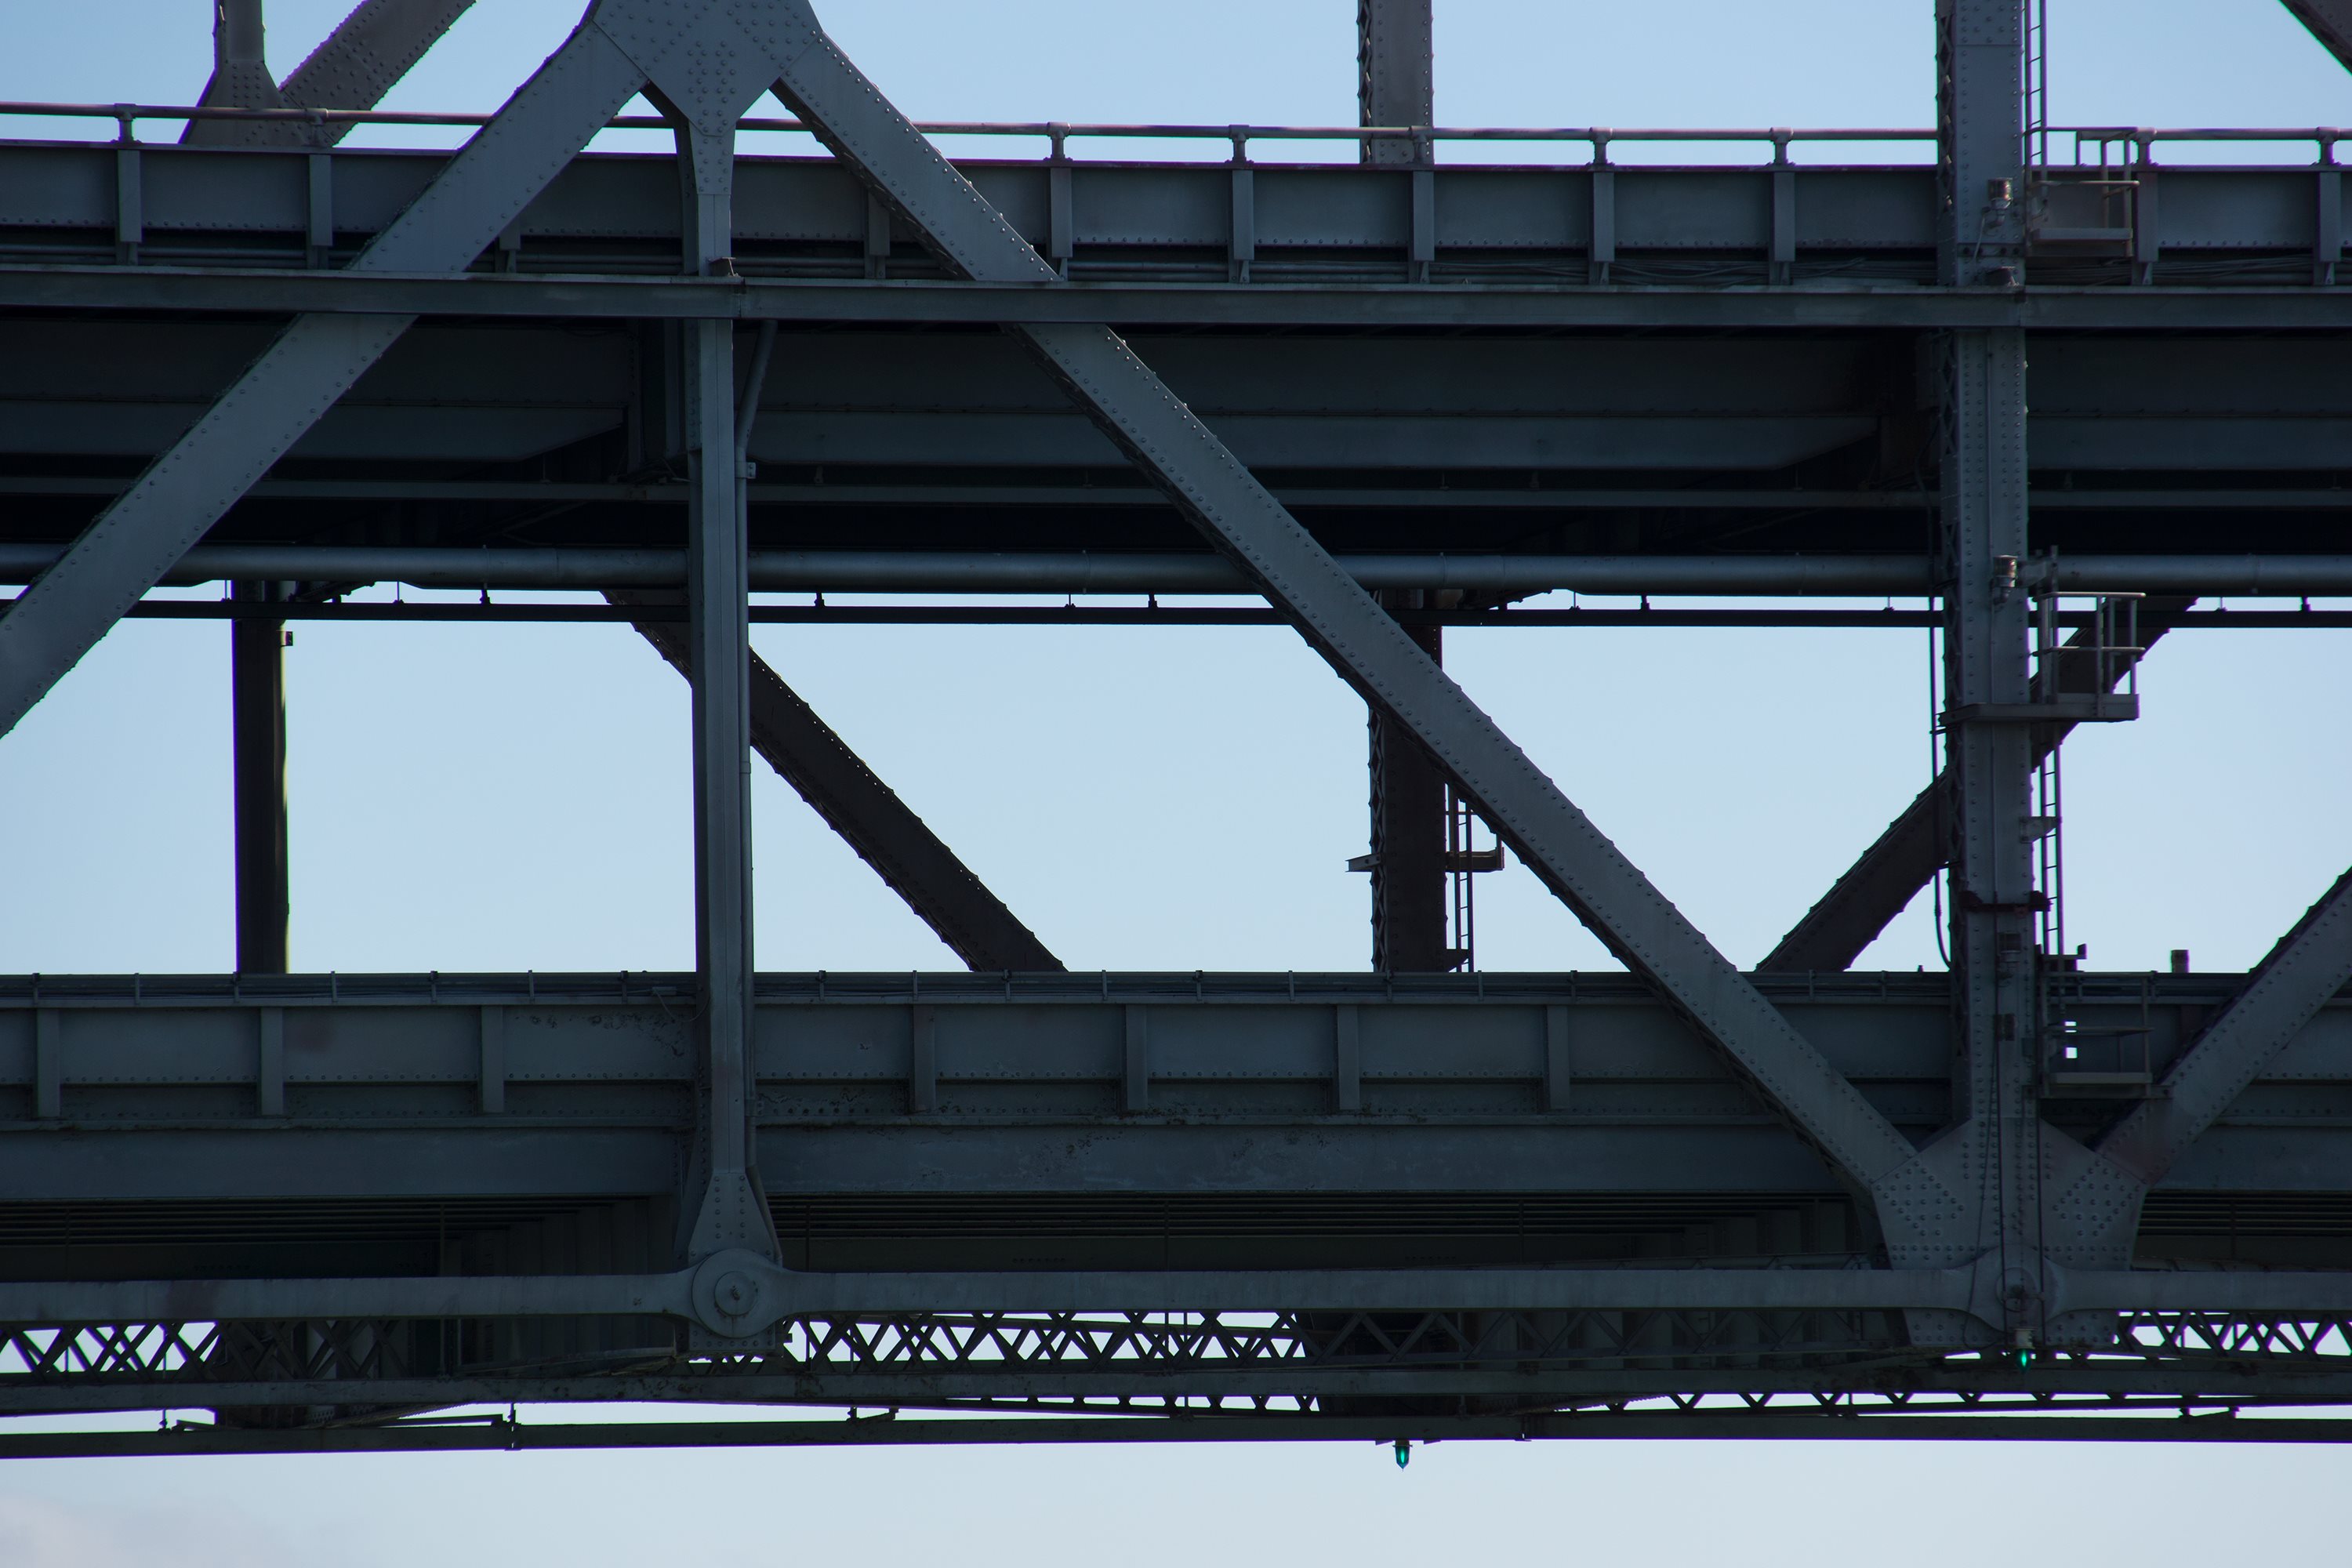

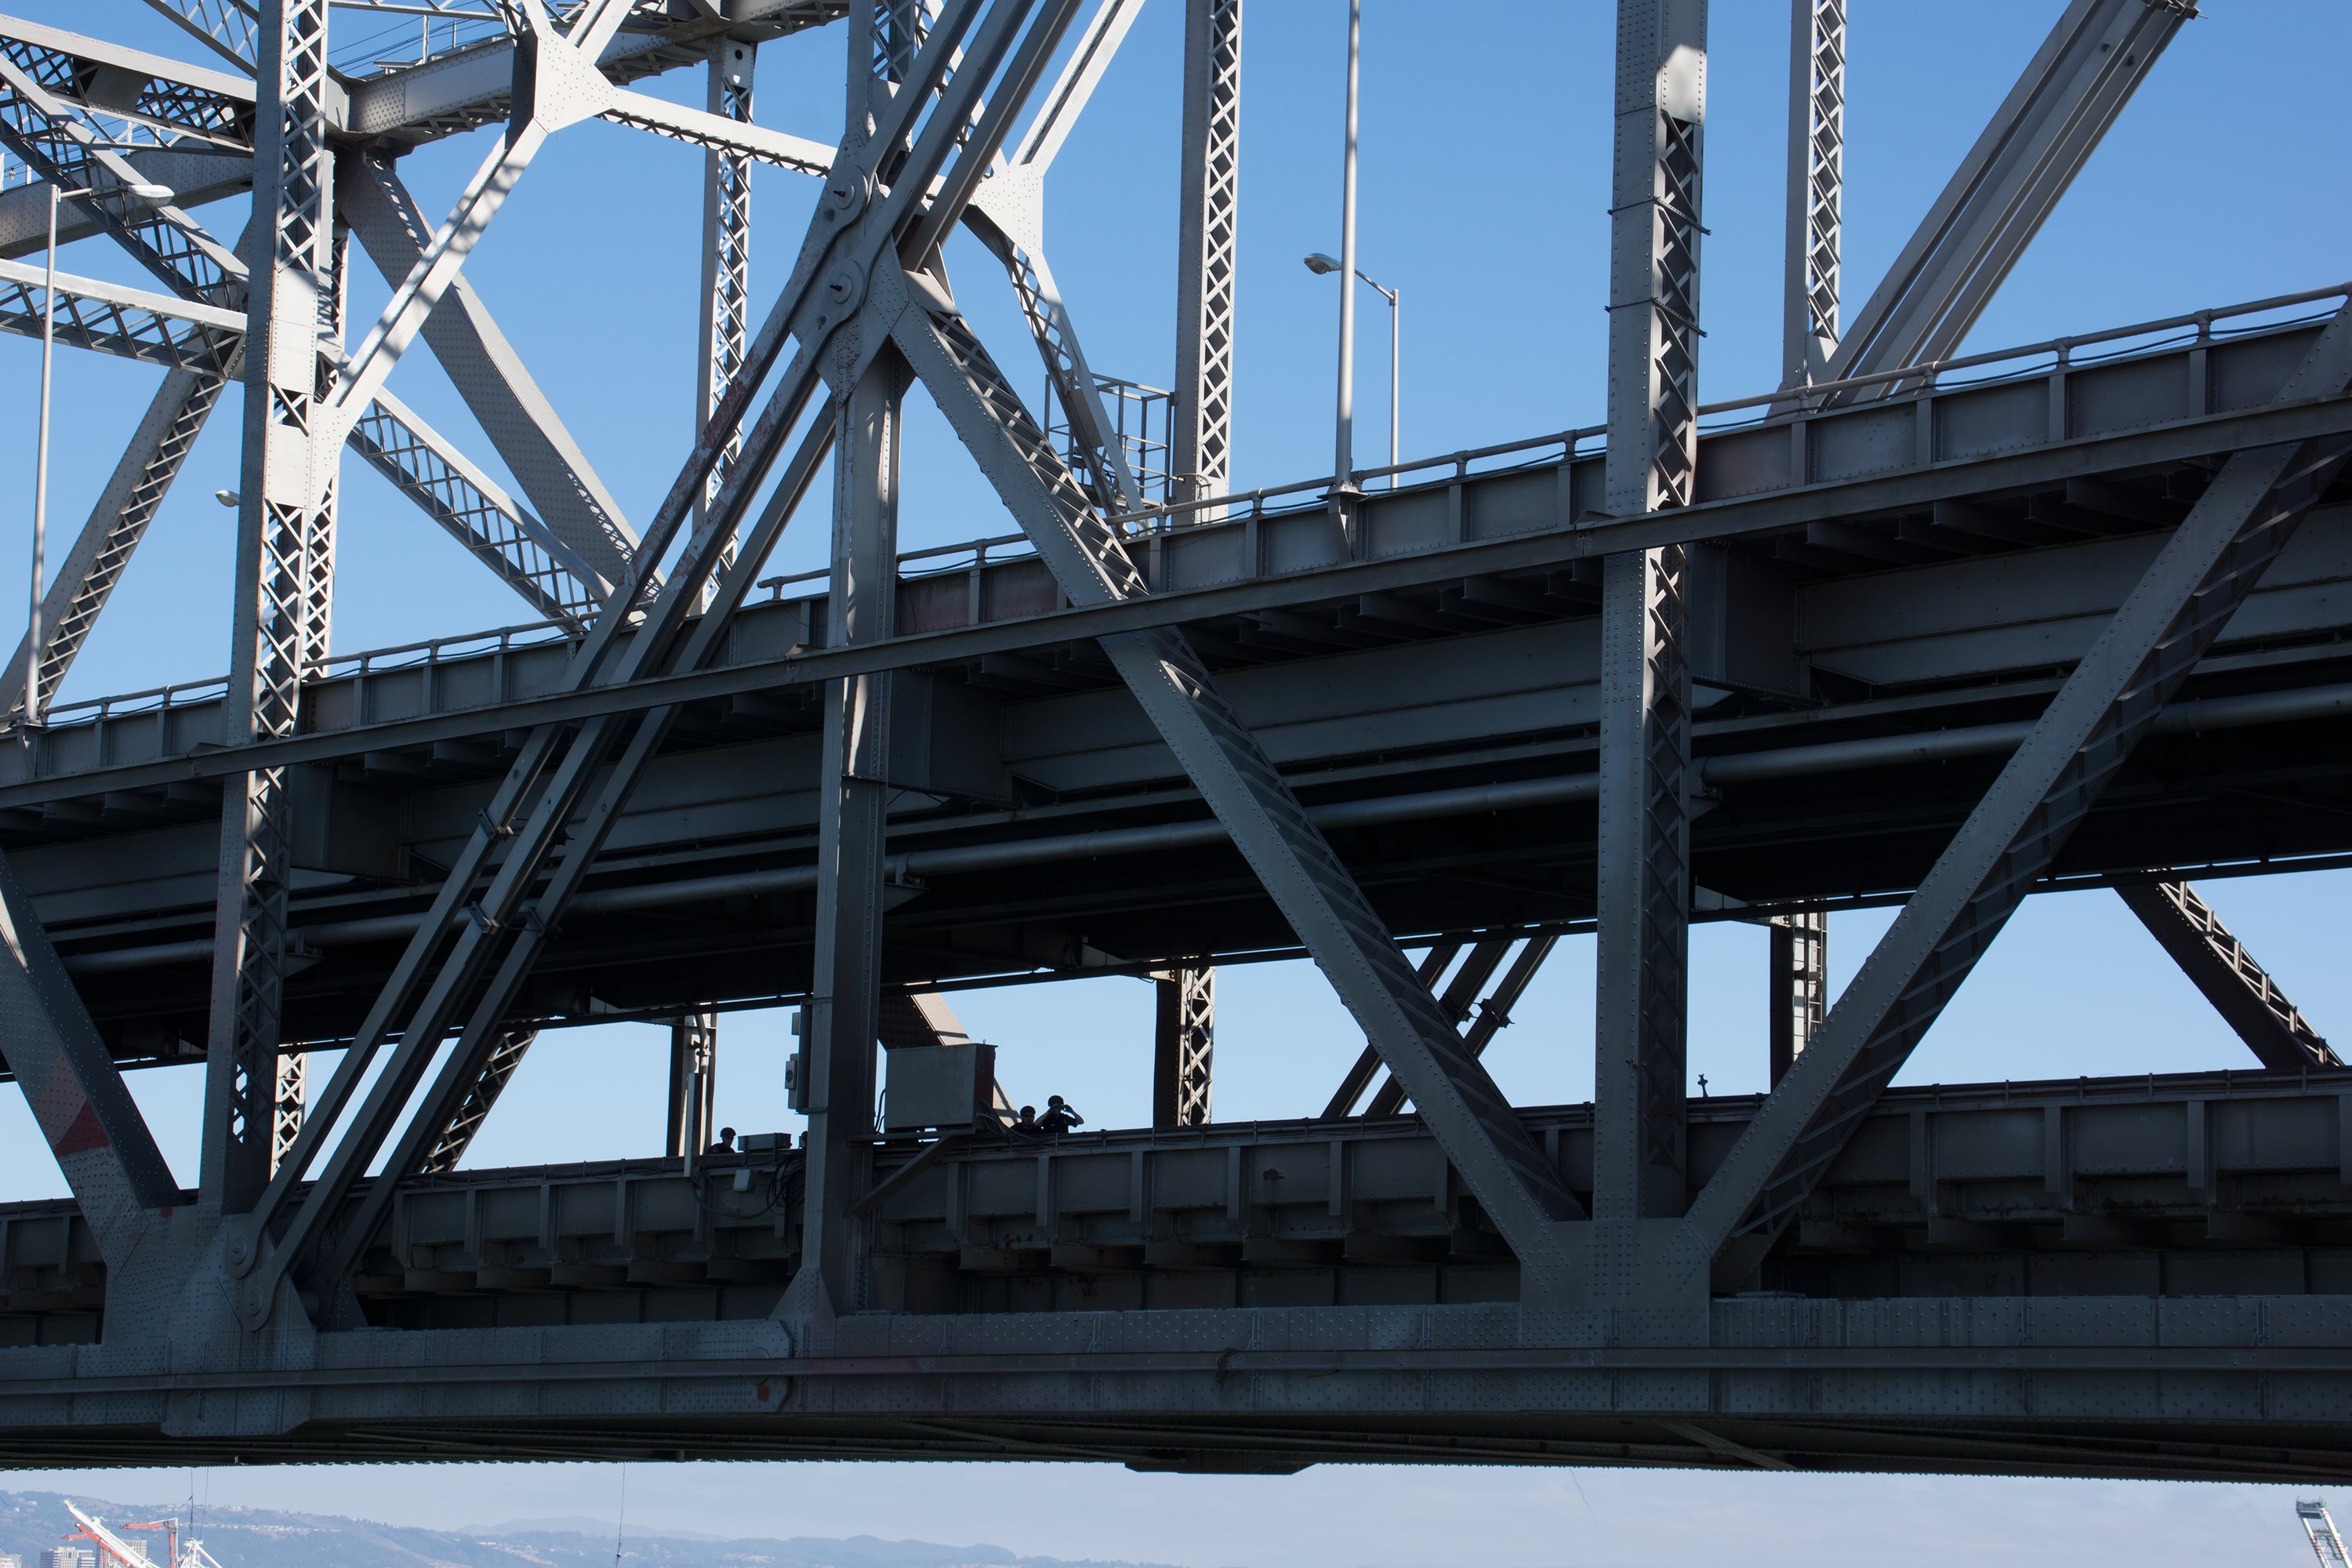

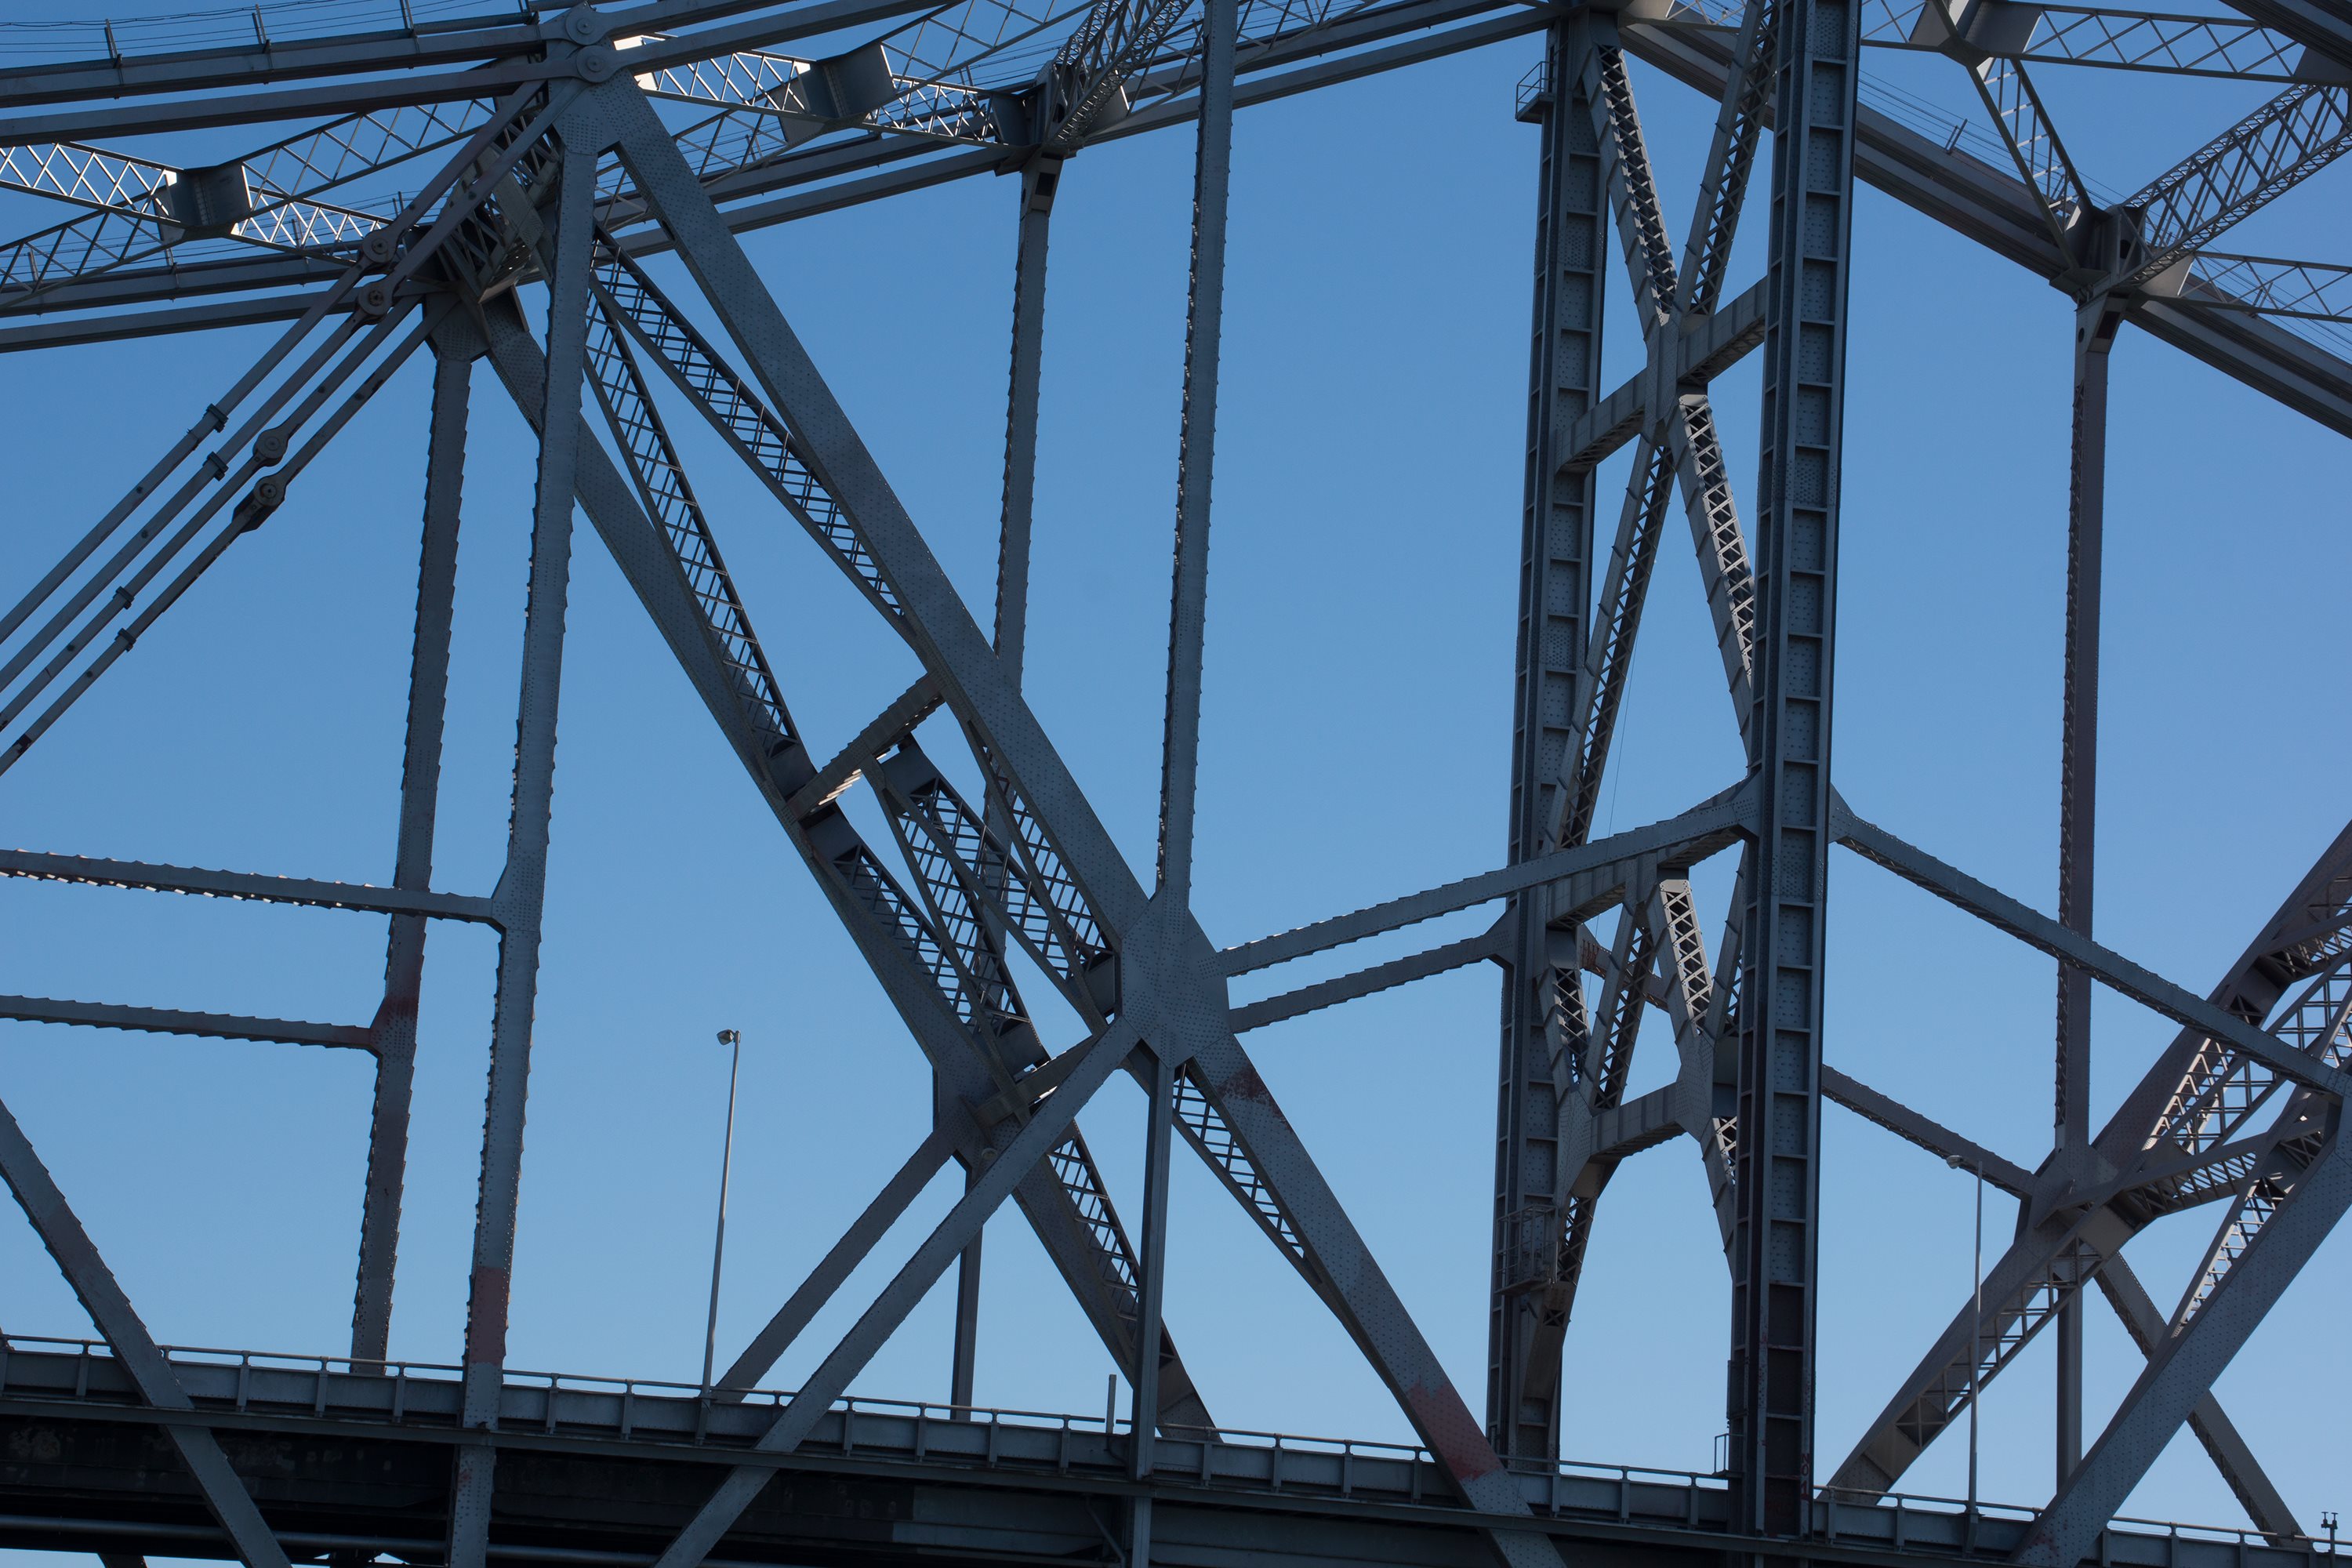


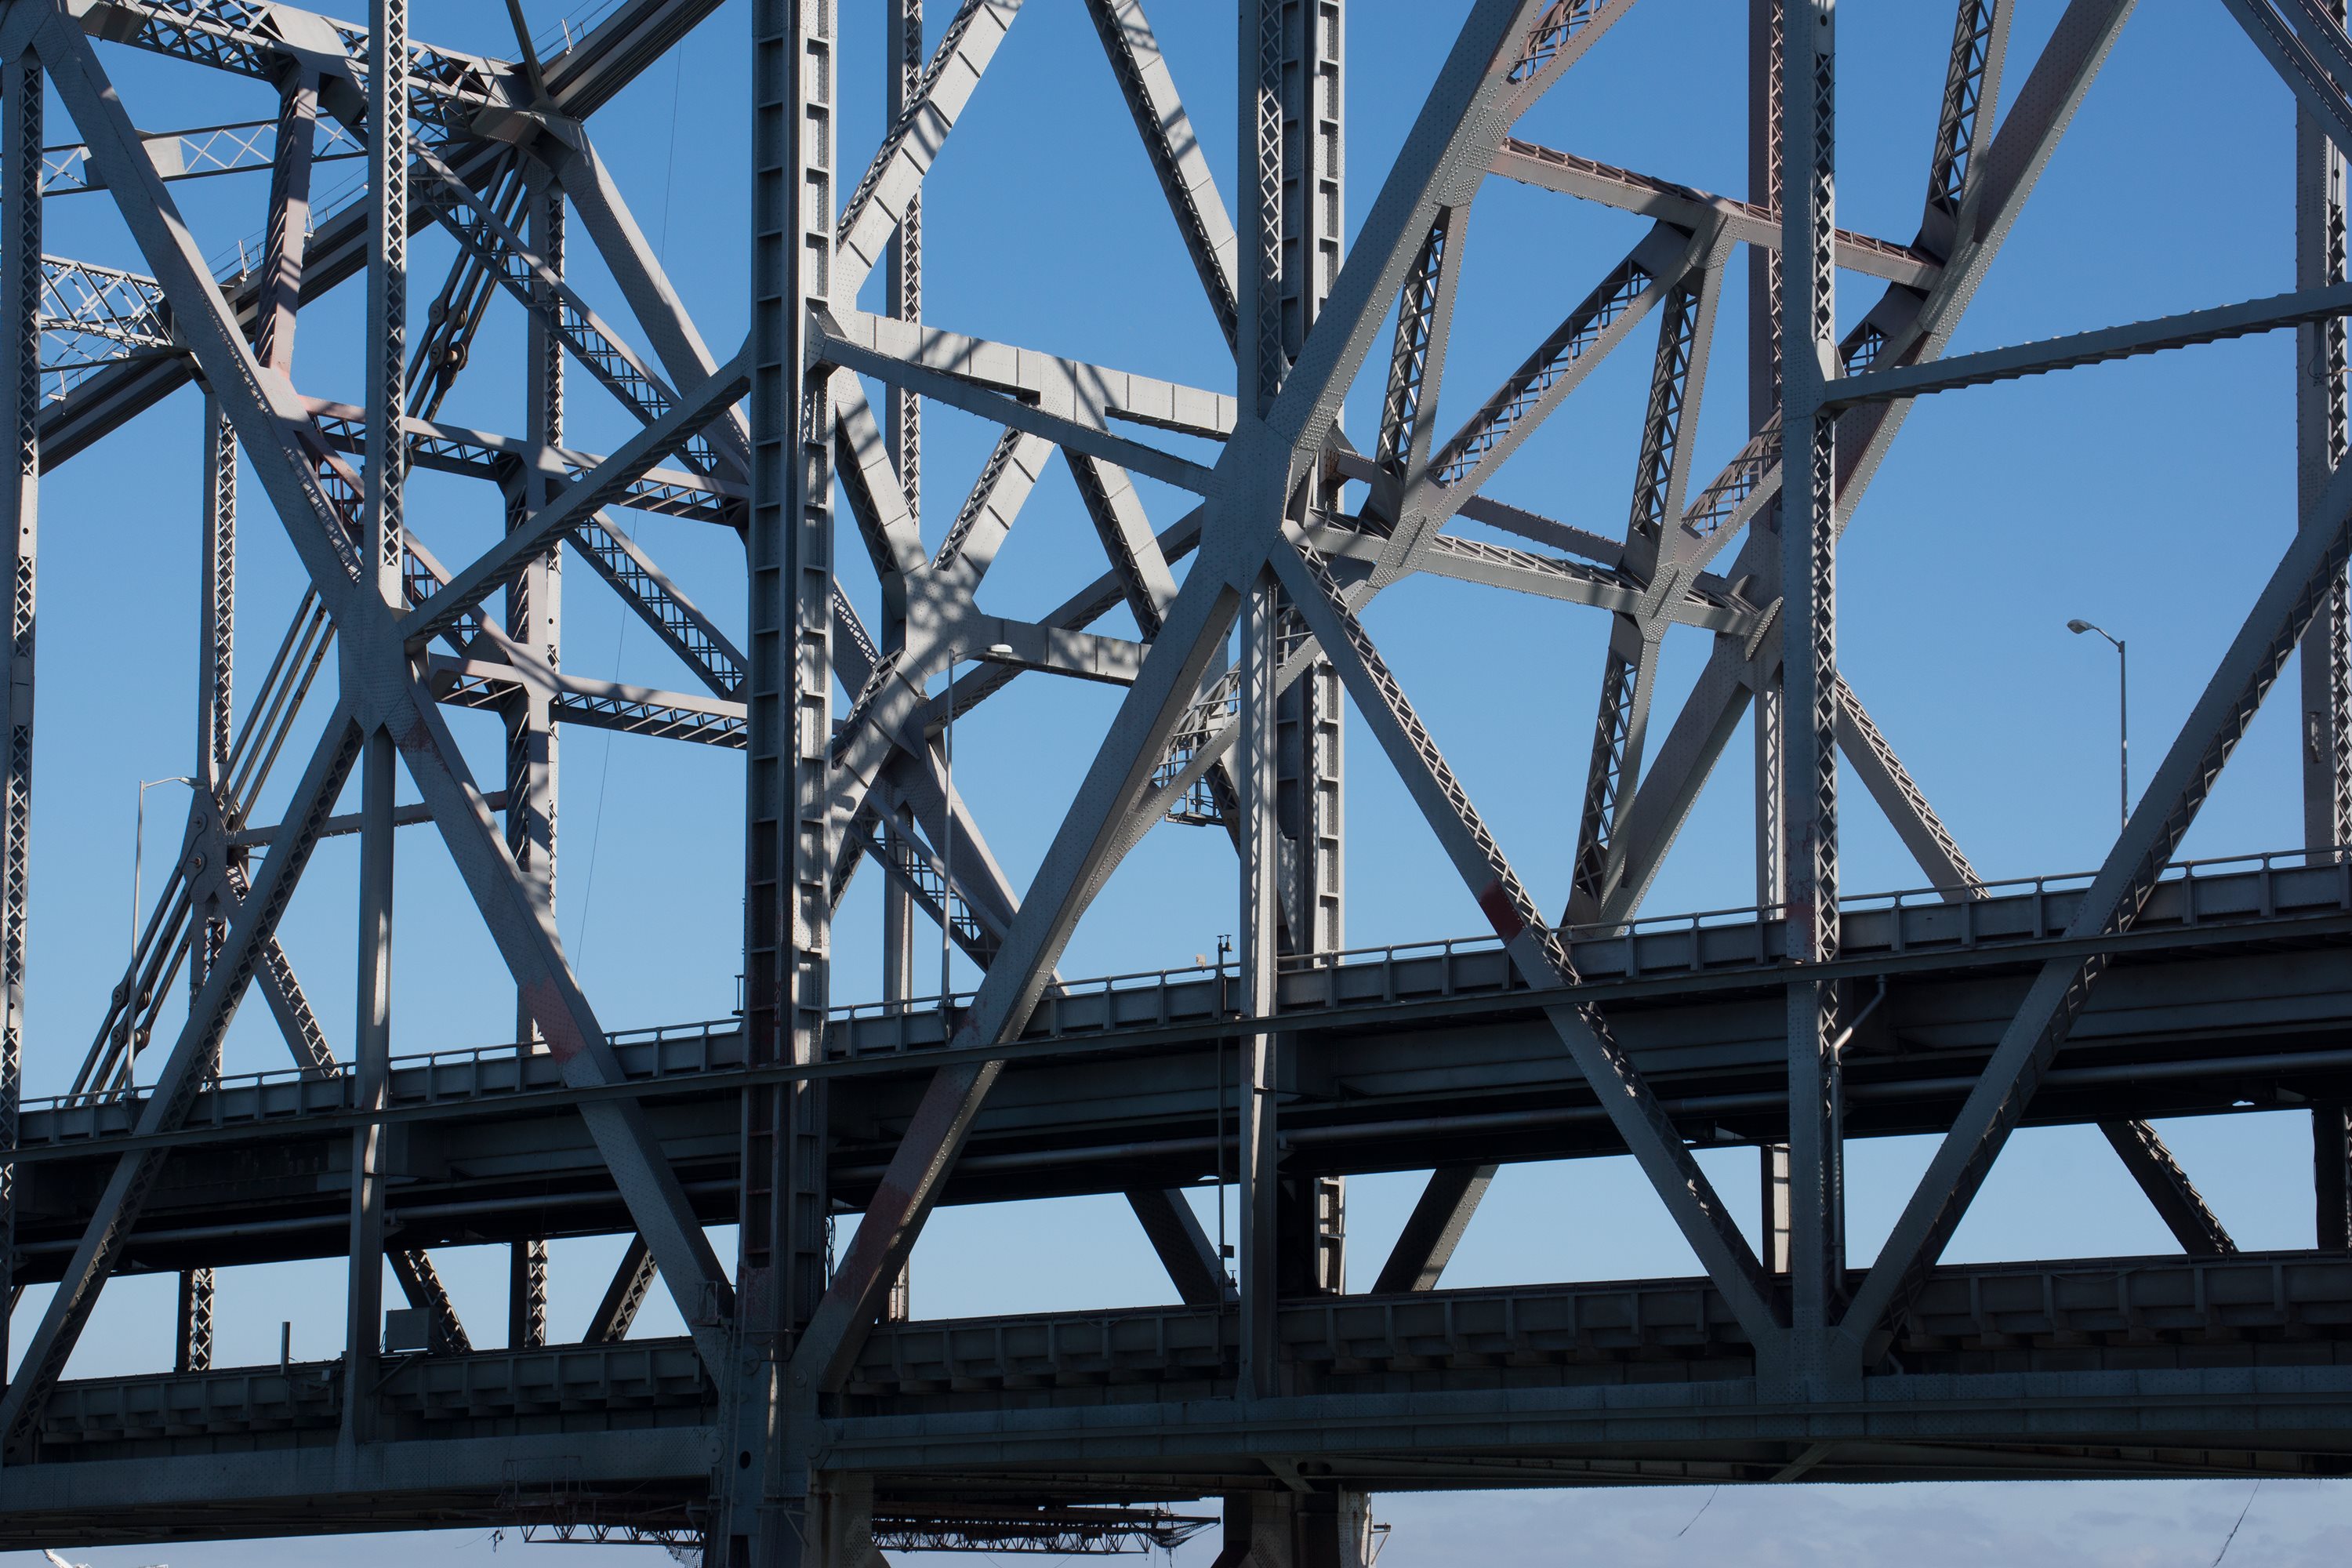

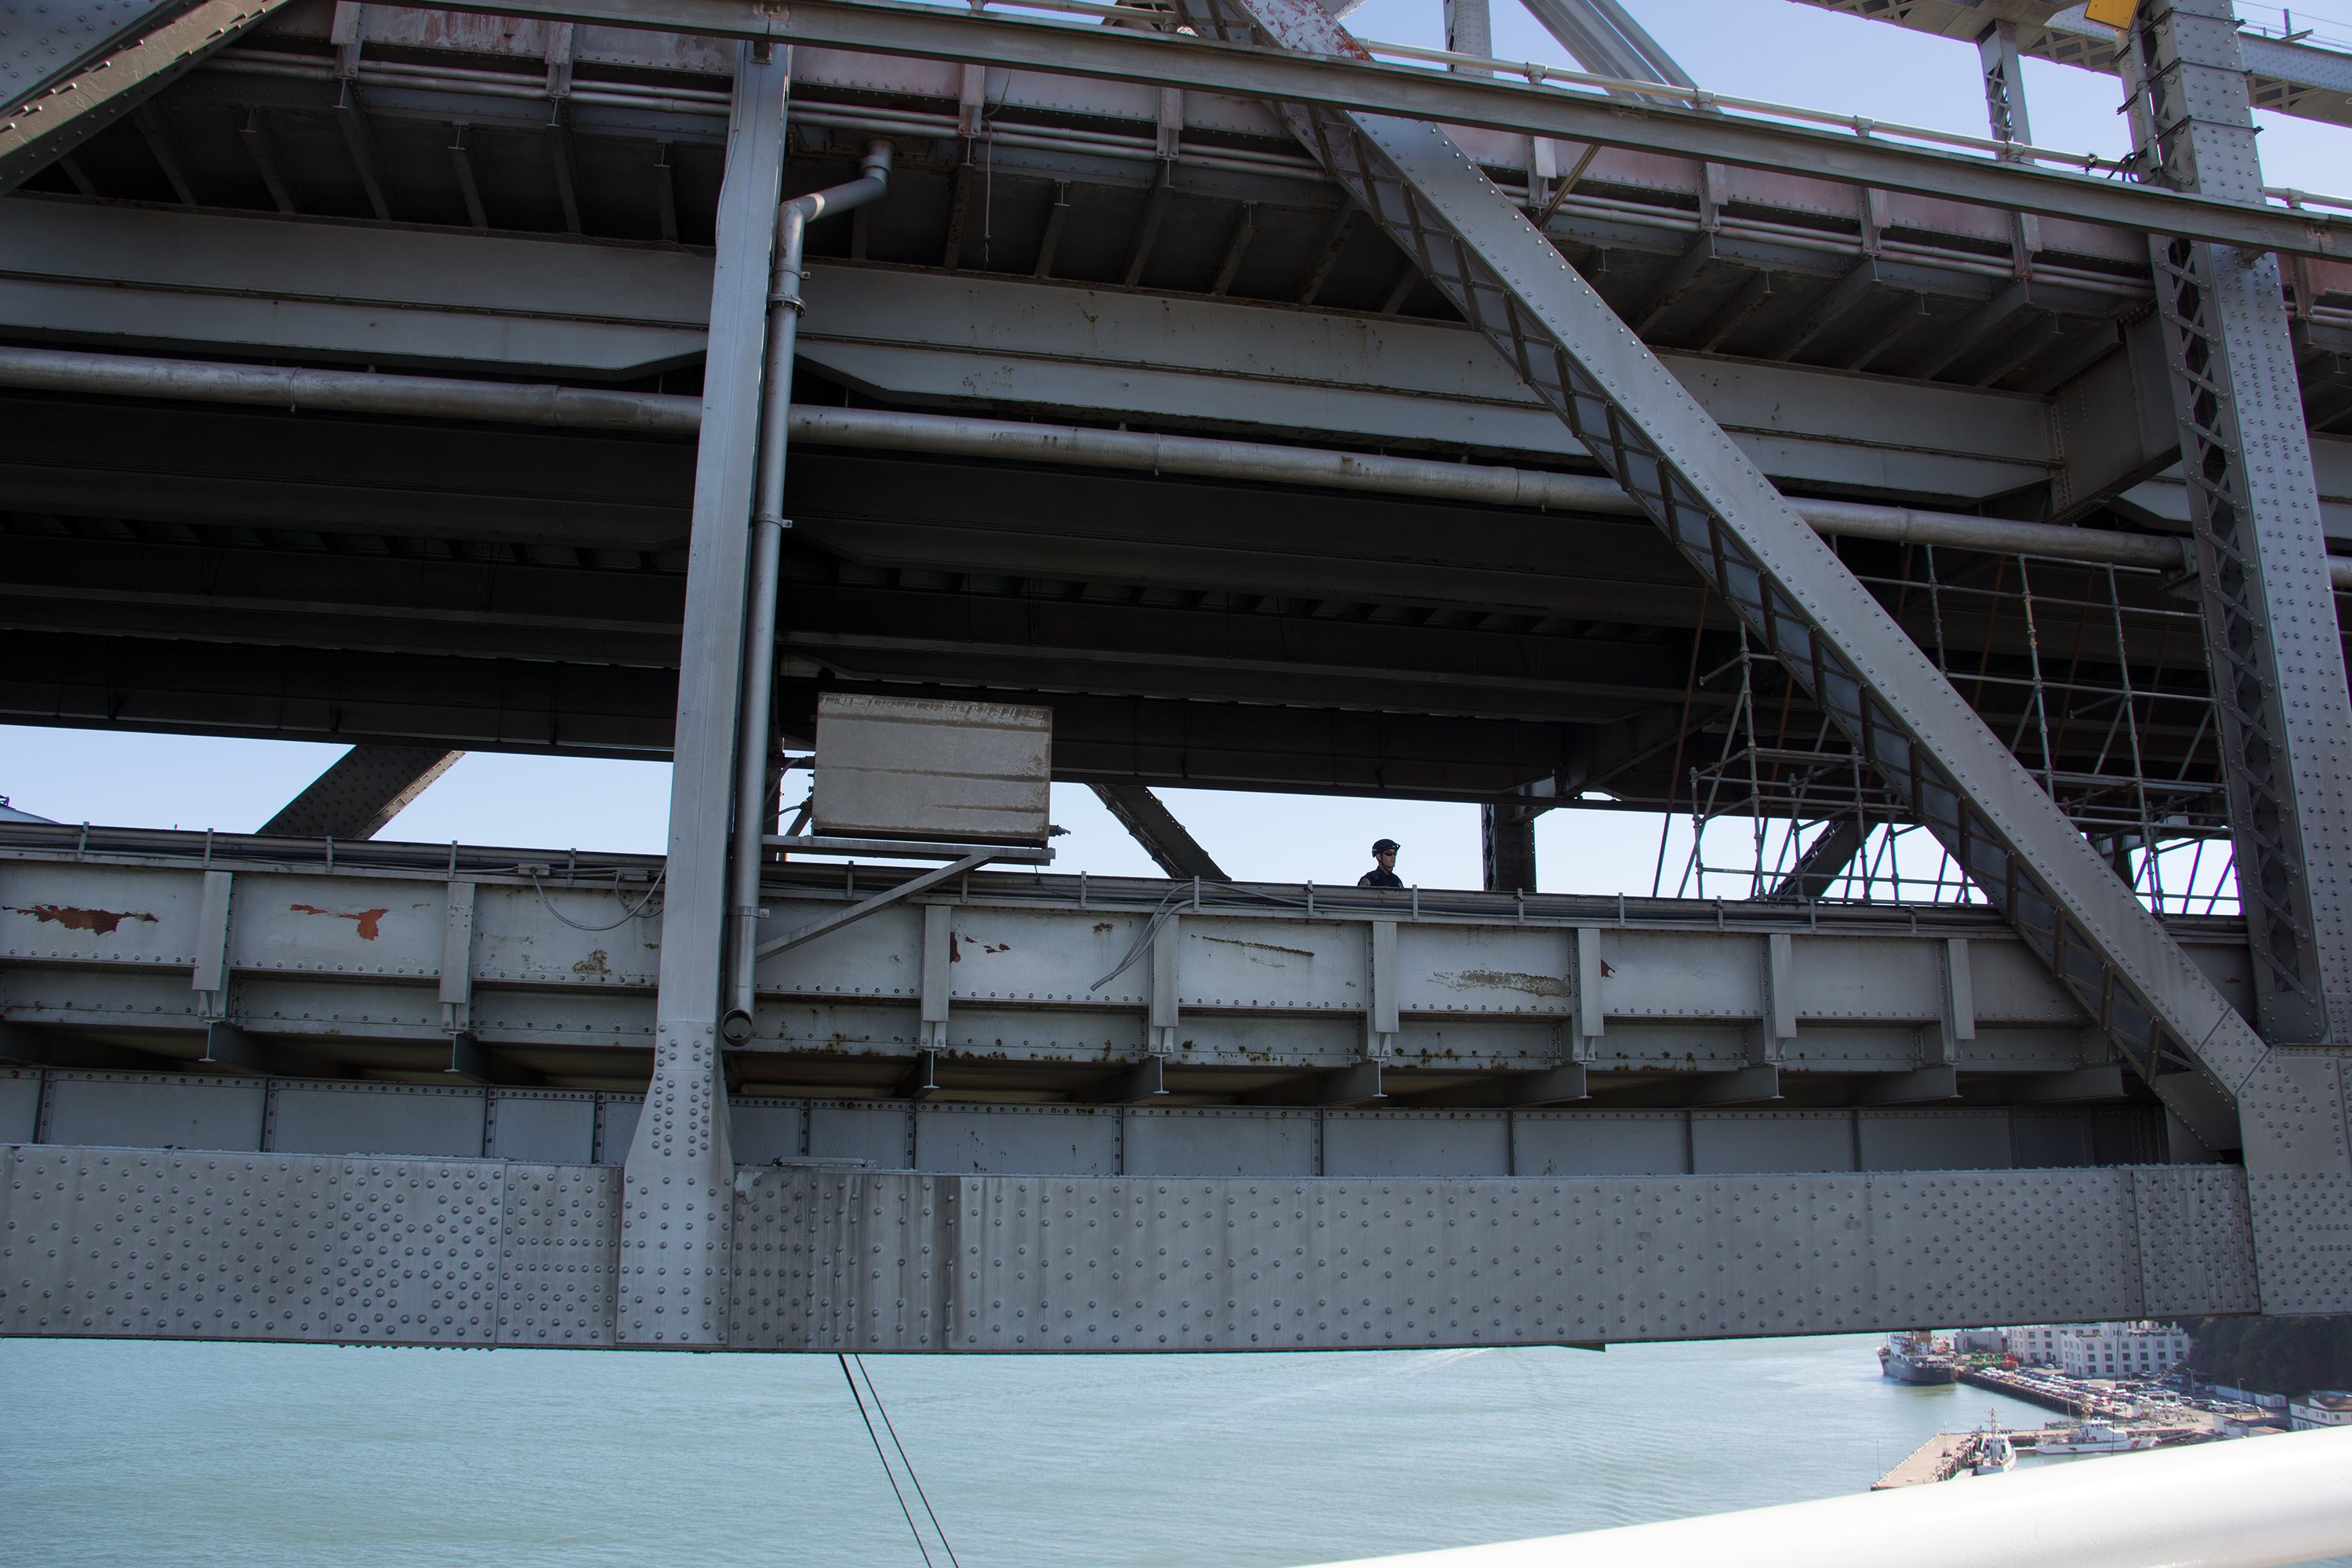
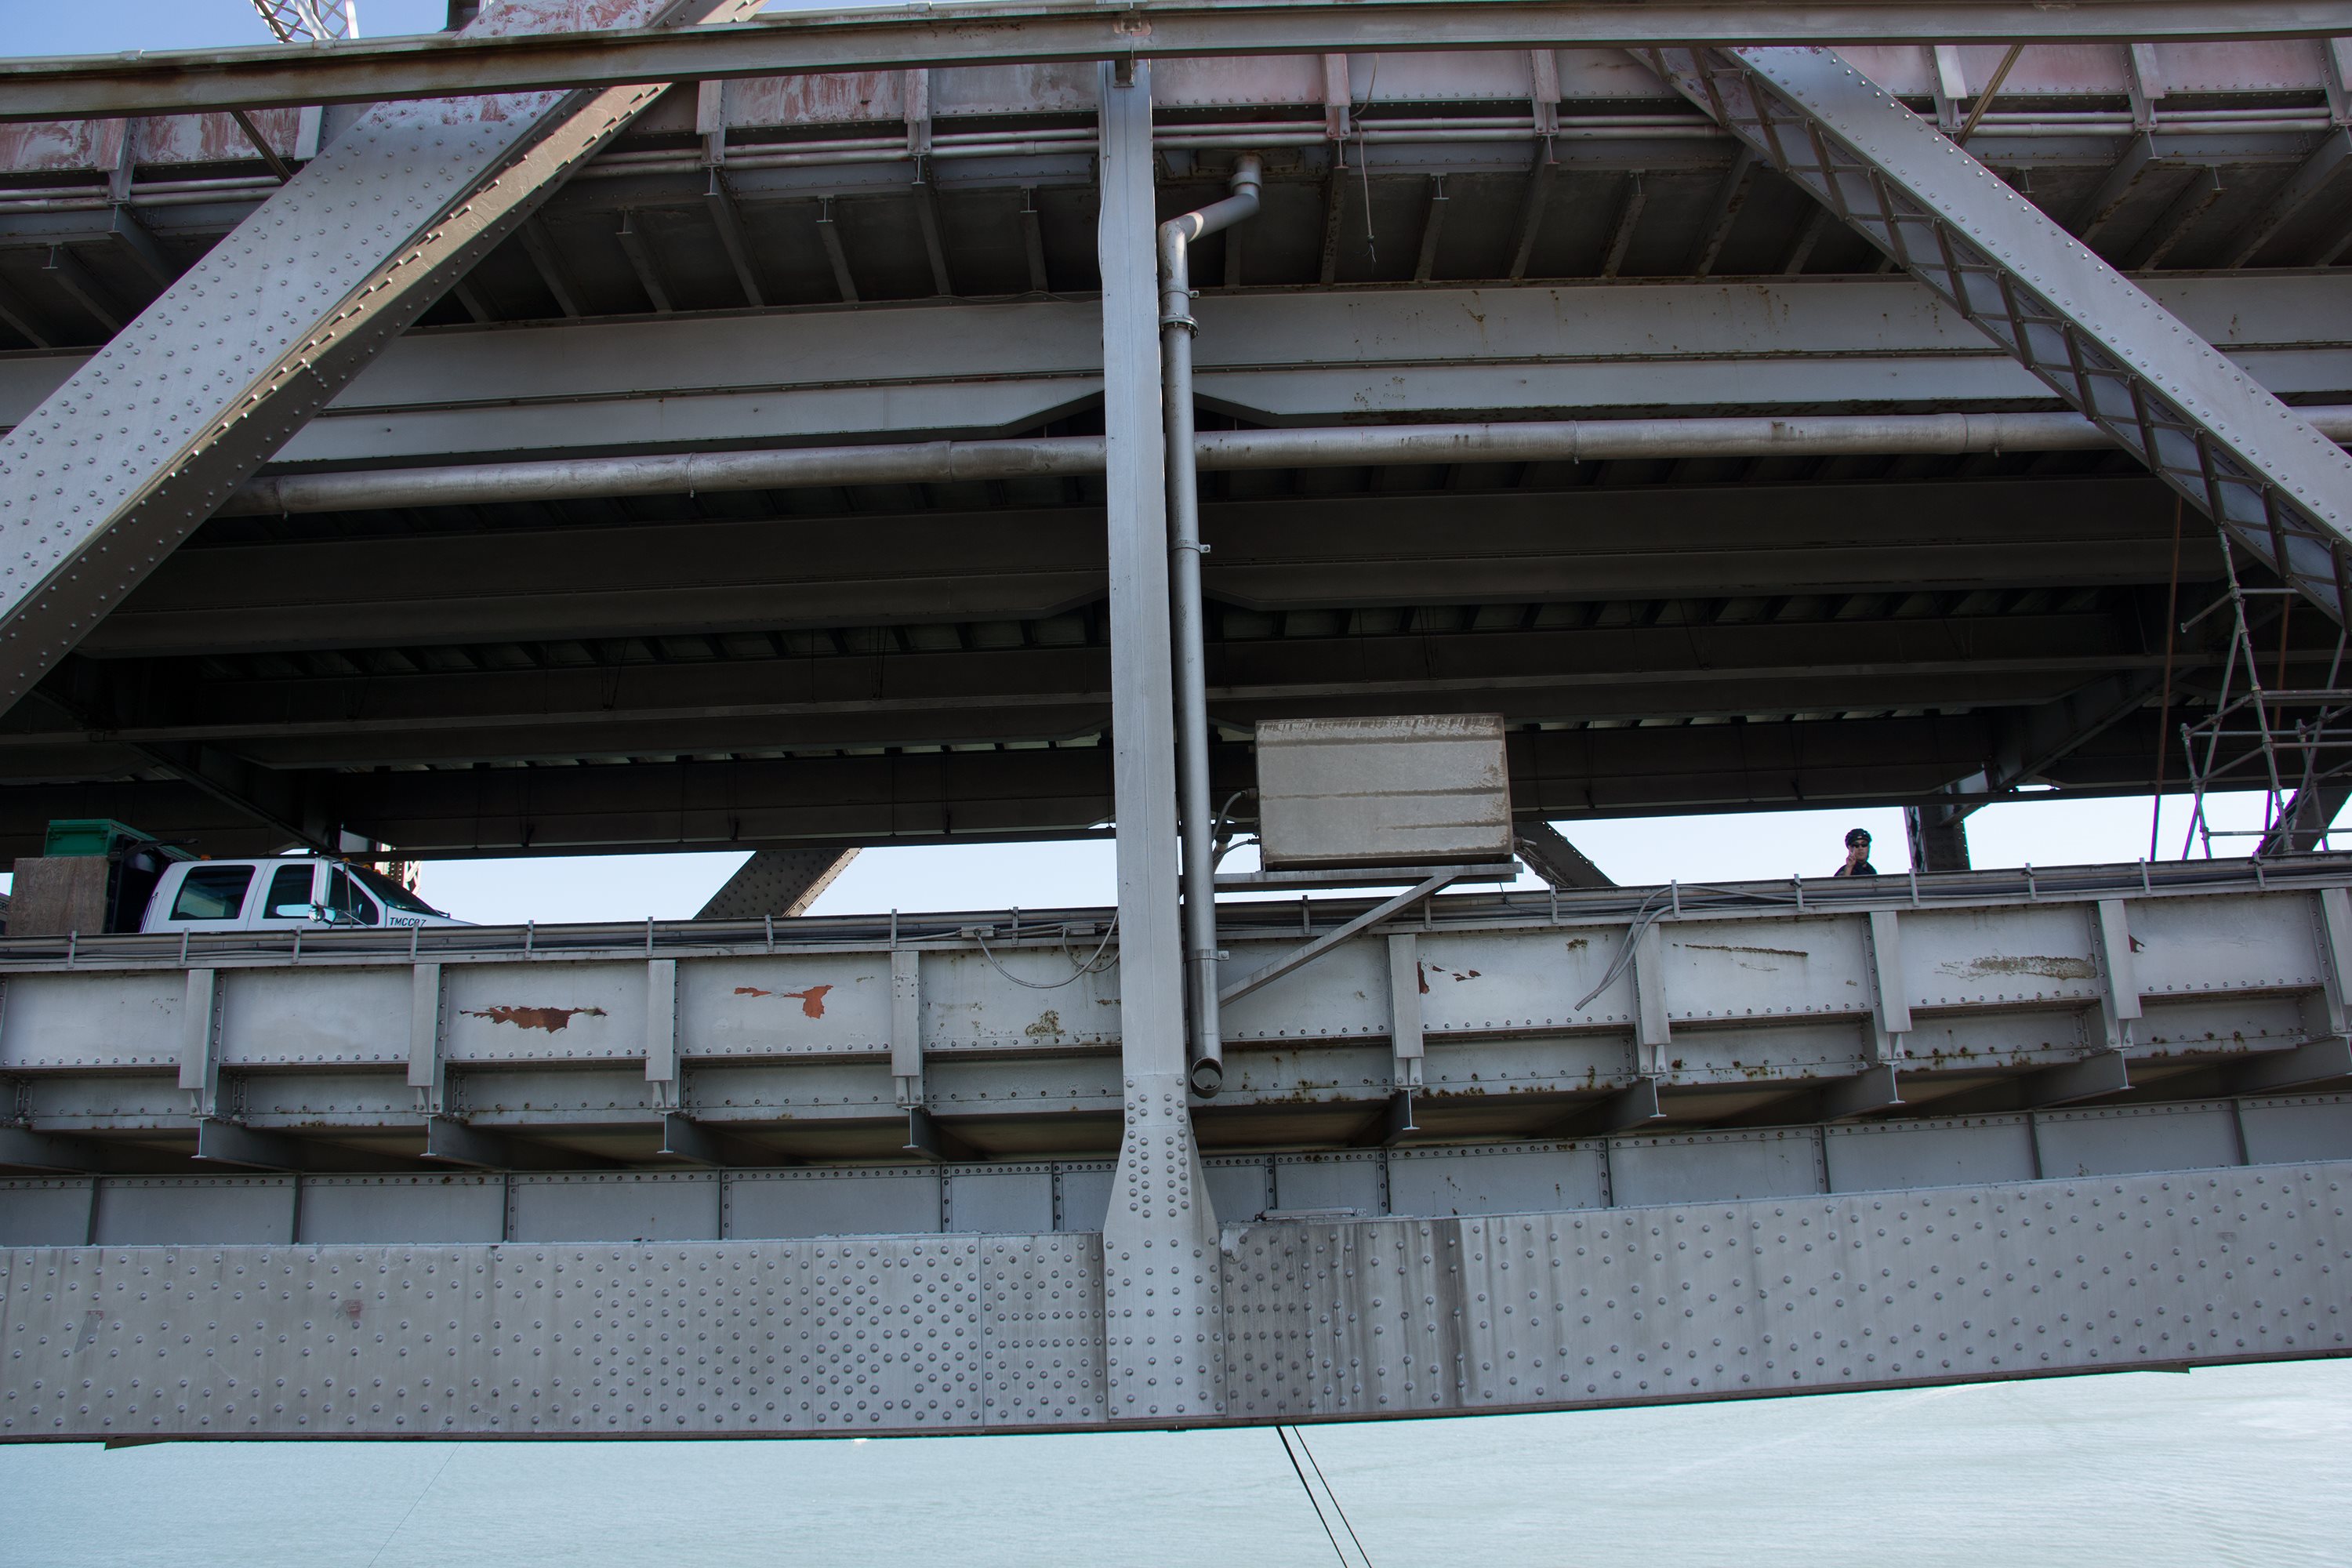

Photo Credit: David Grieshaber and Mike Koozmin
Cantilever truss members.
![]()
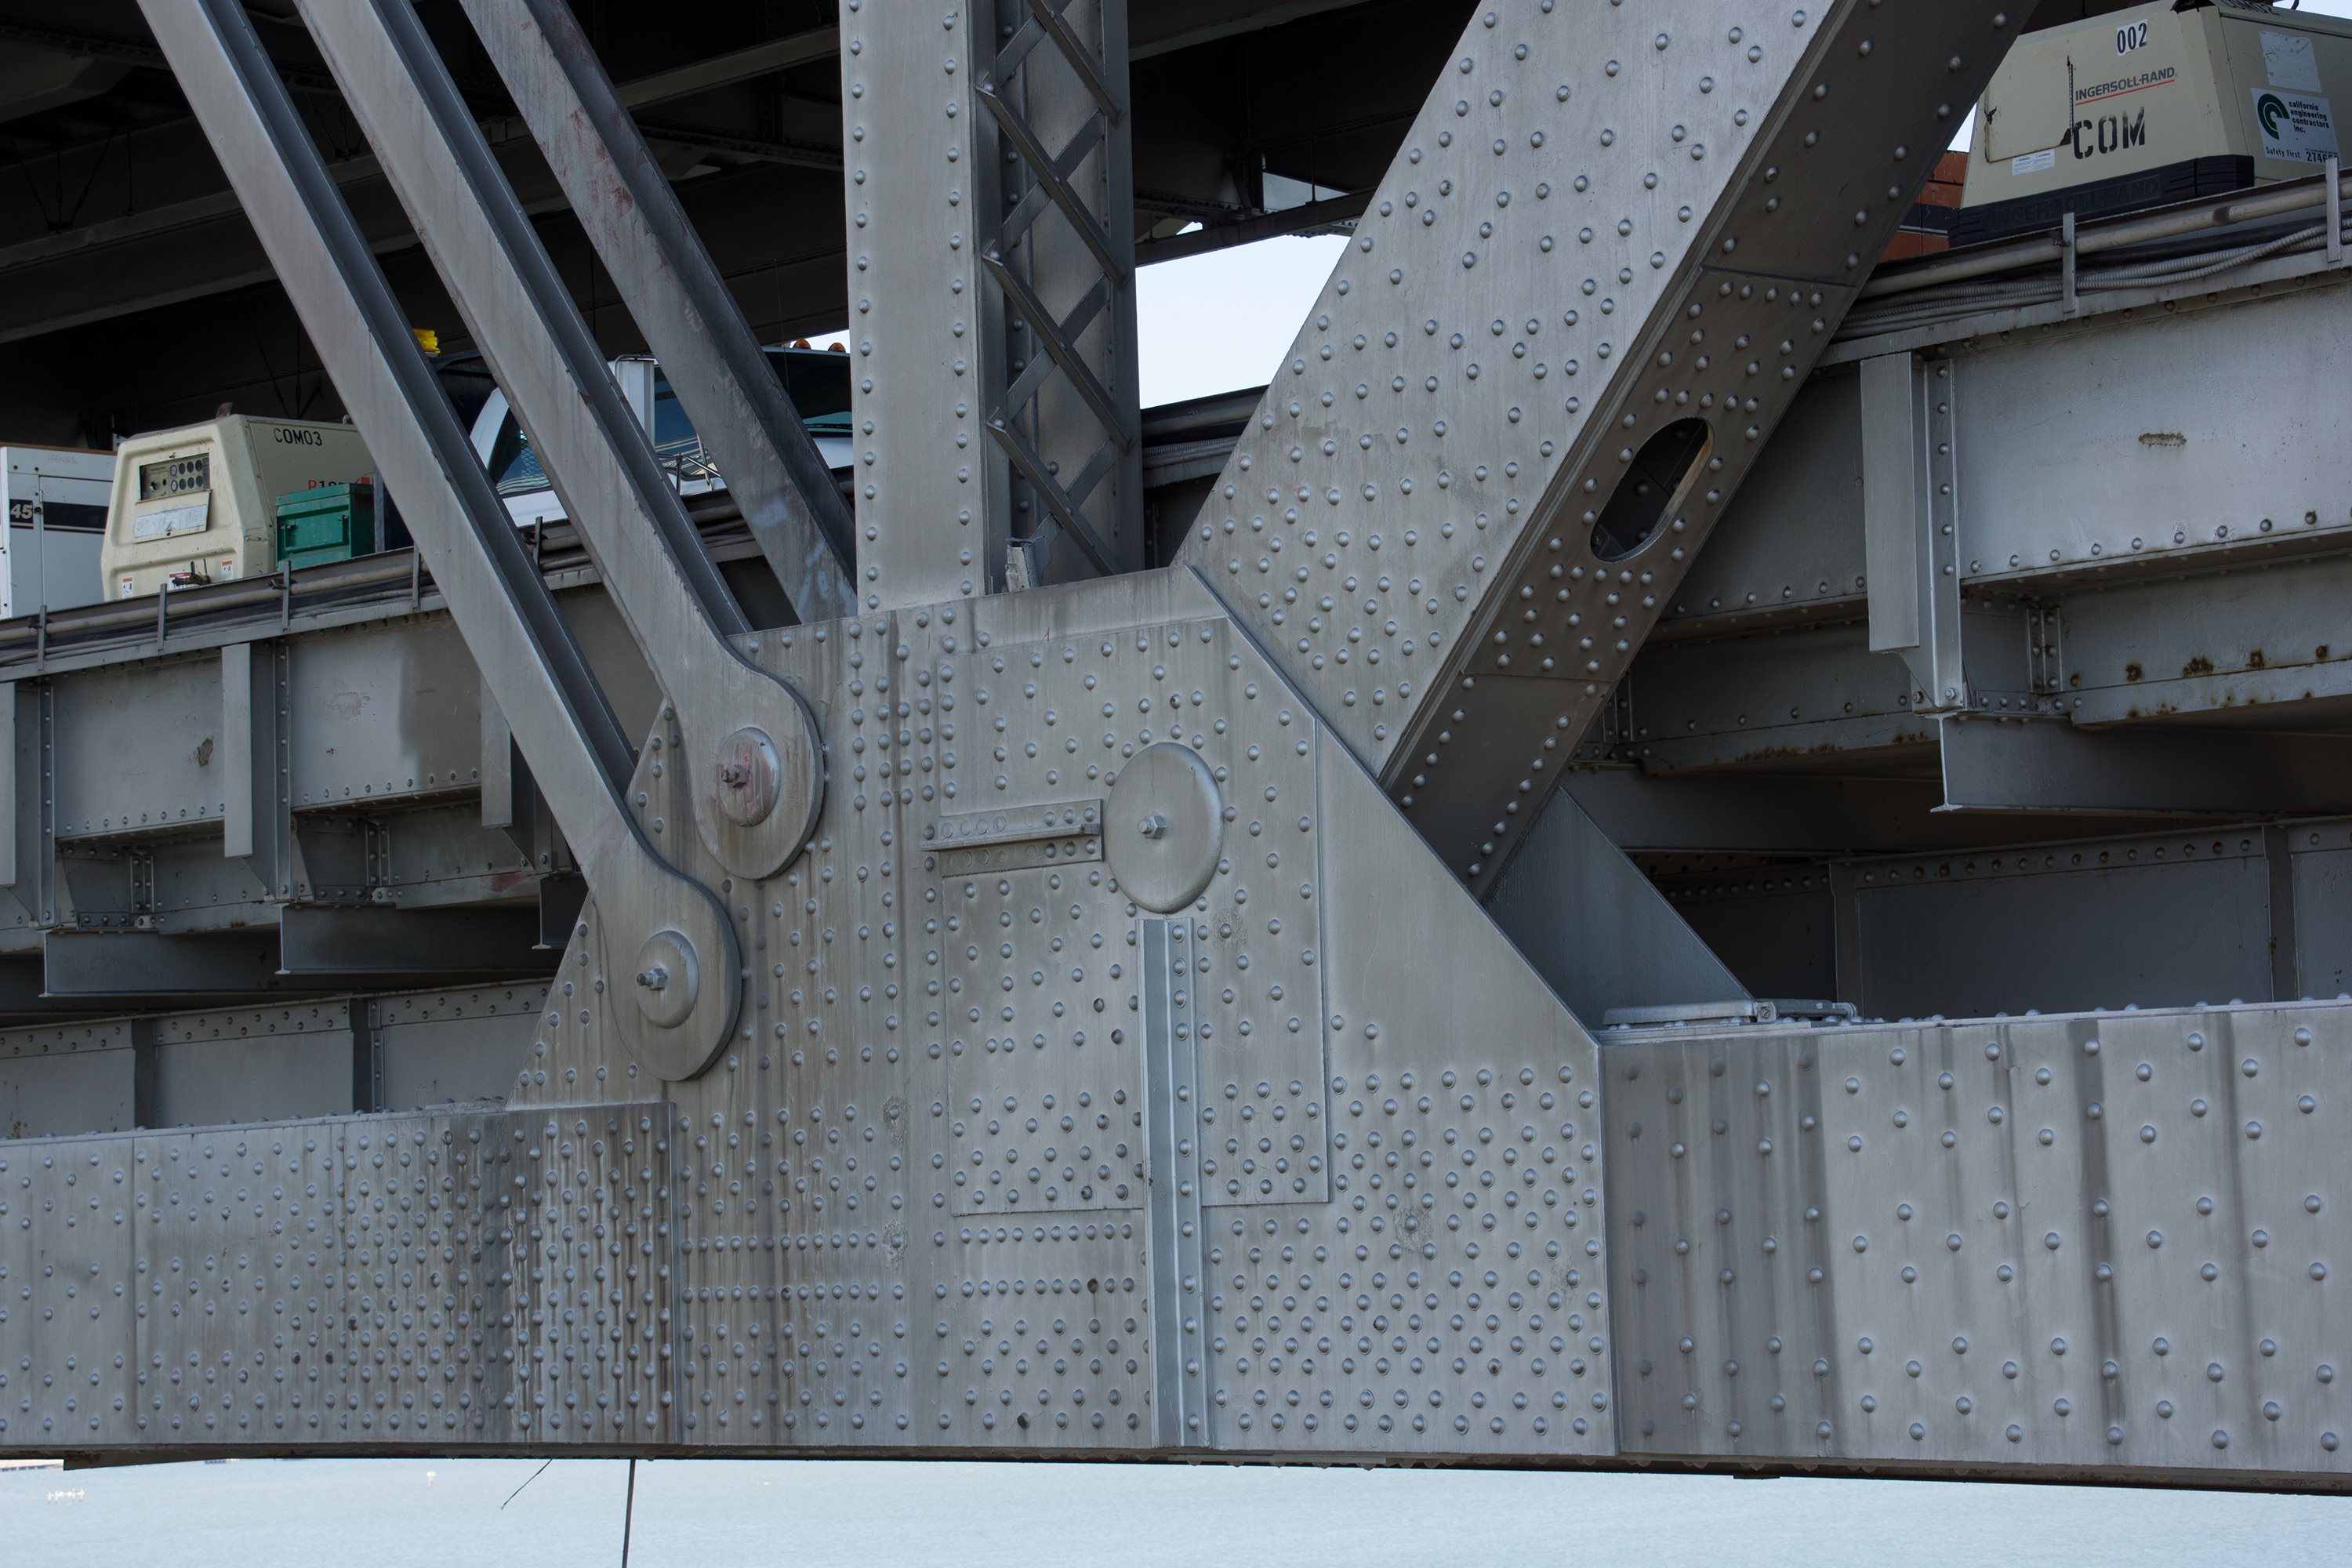
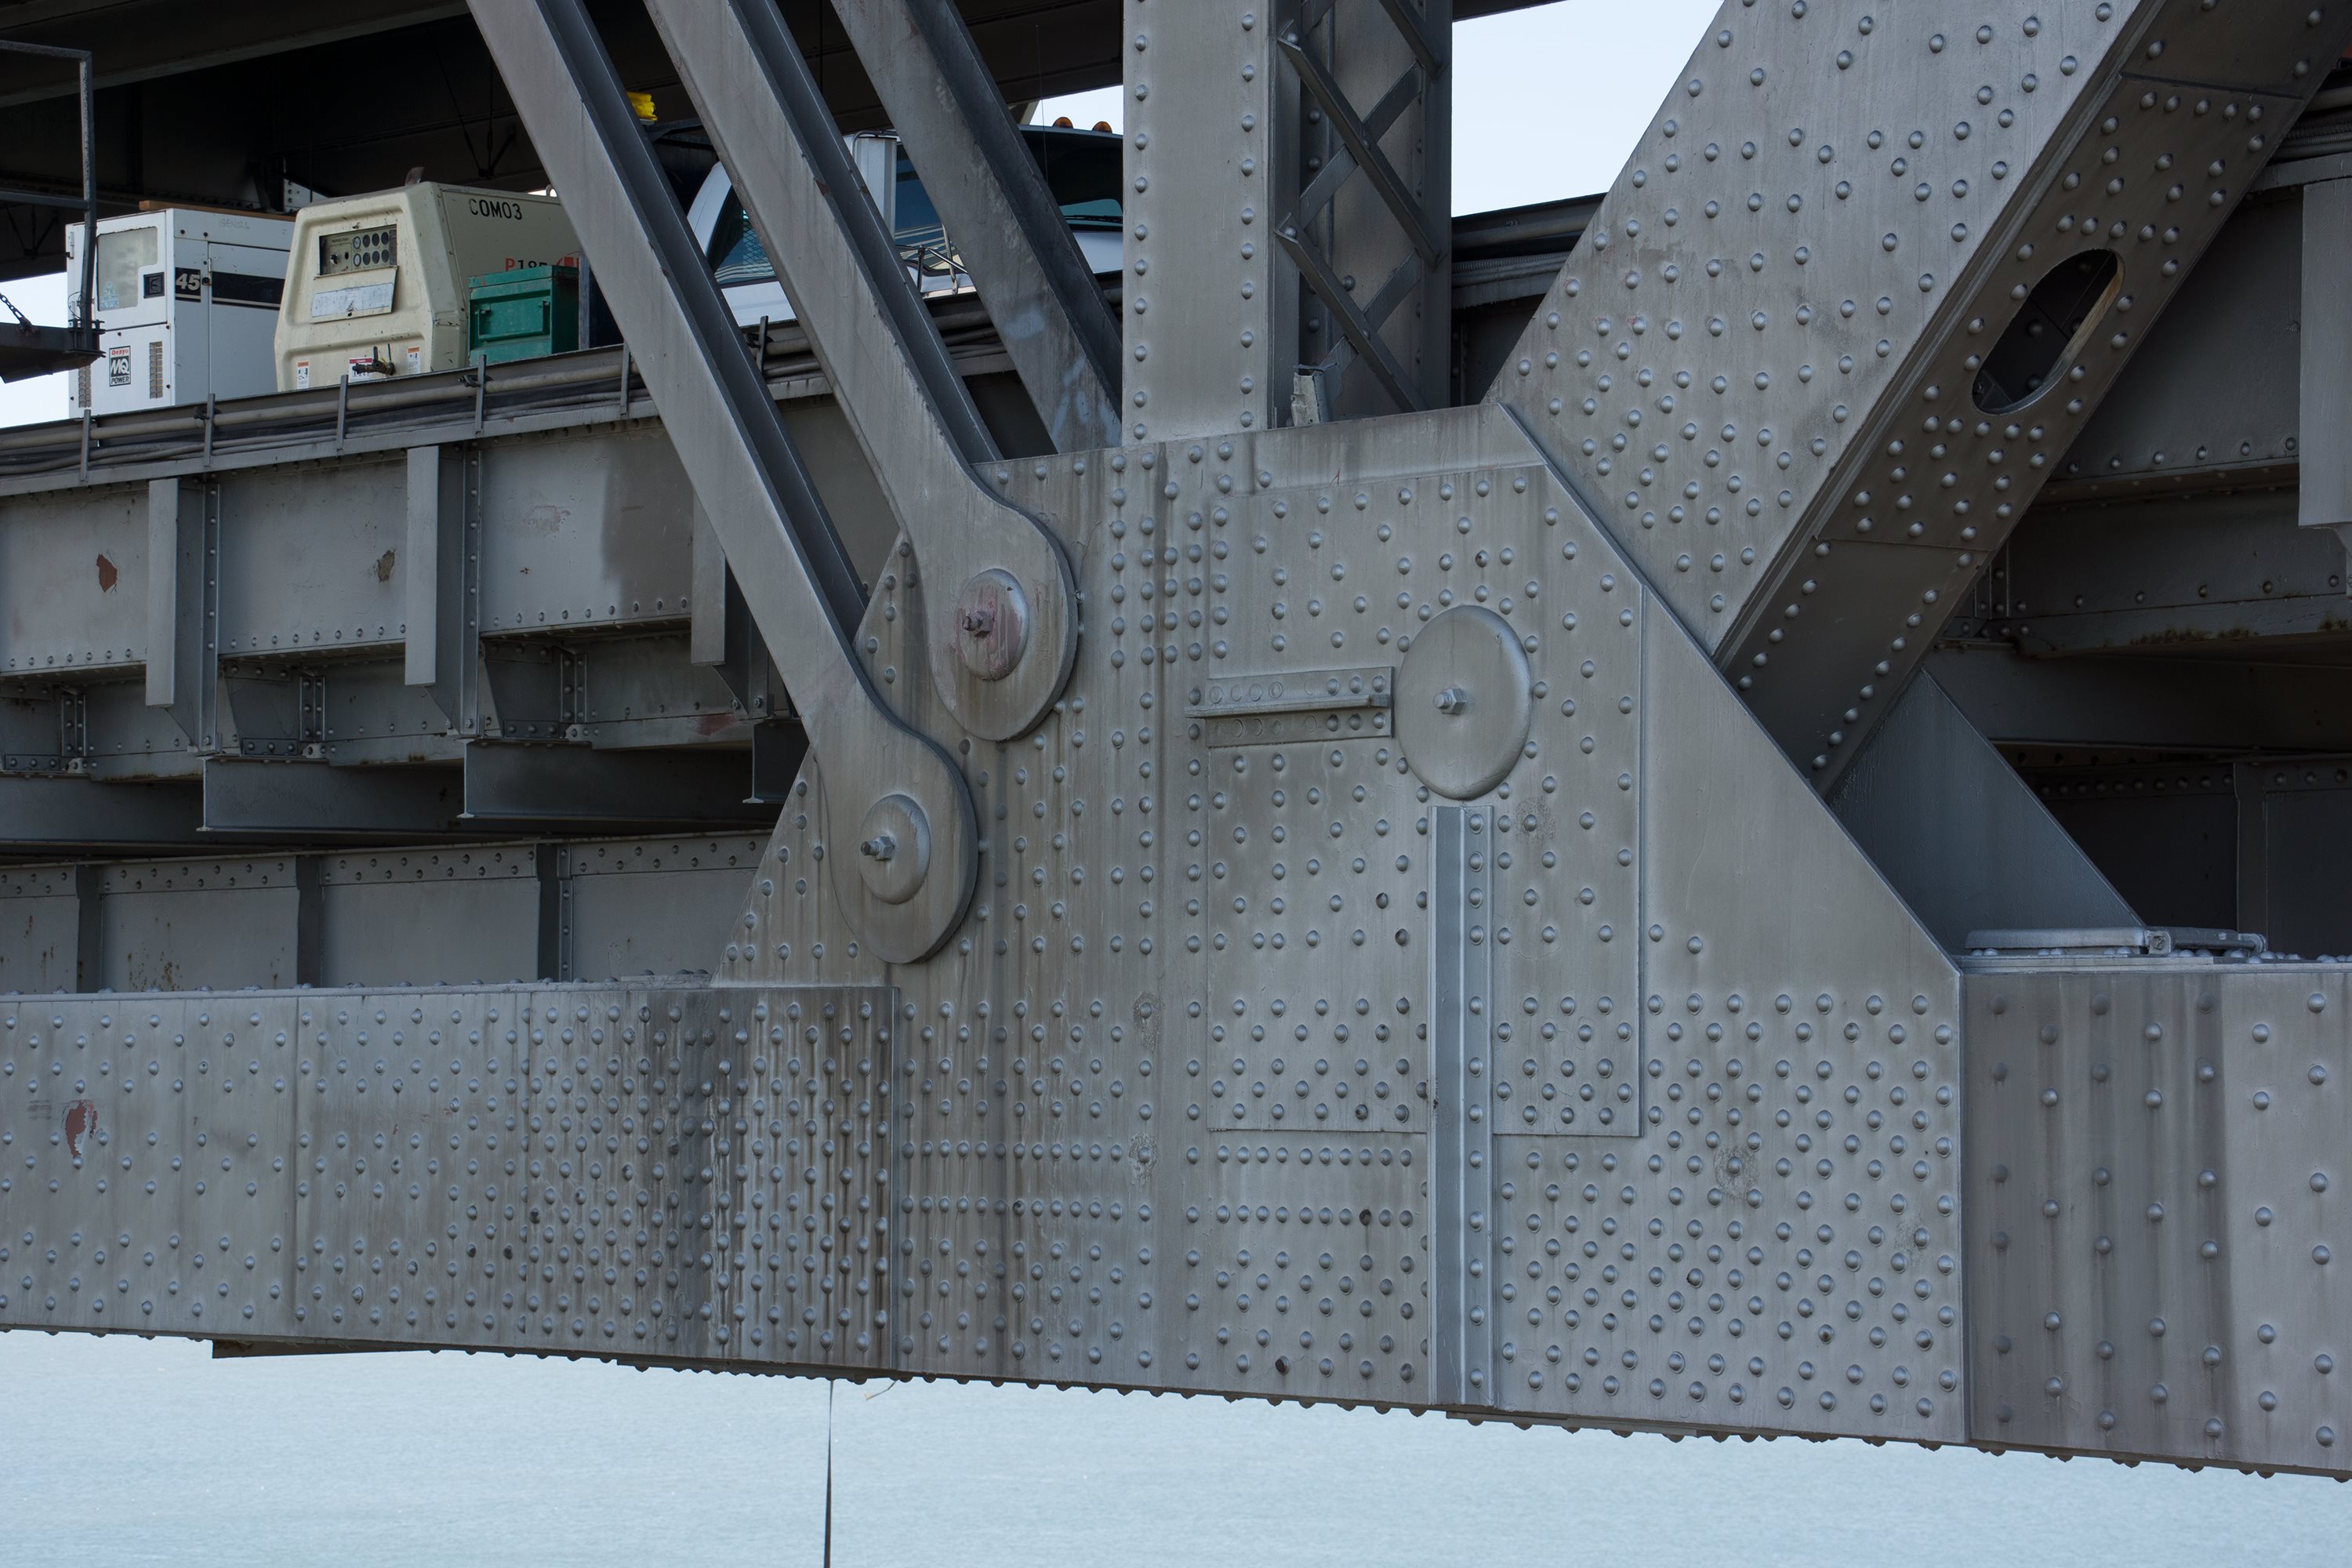
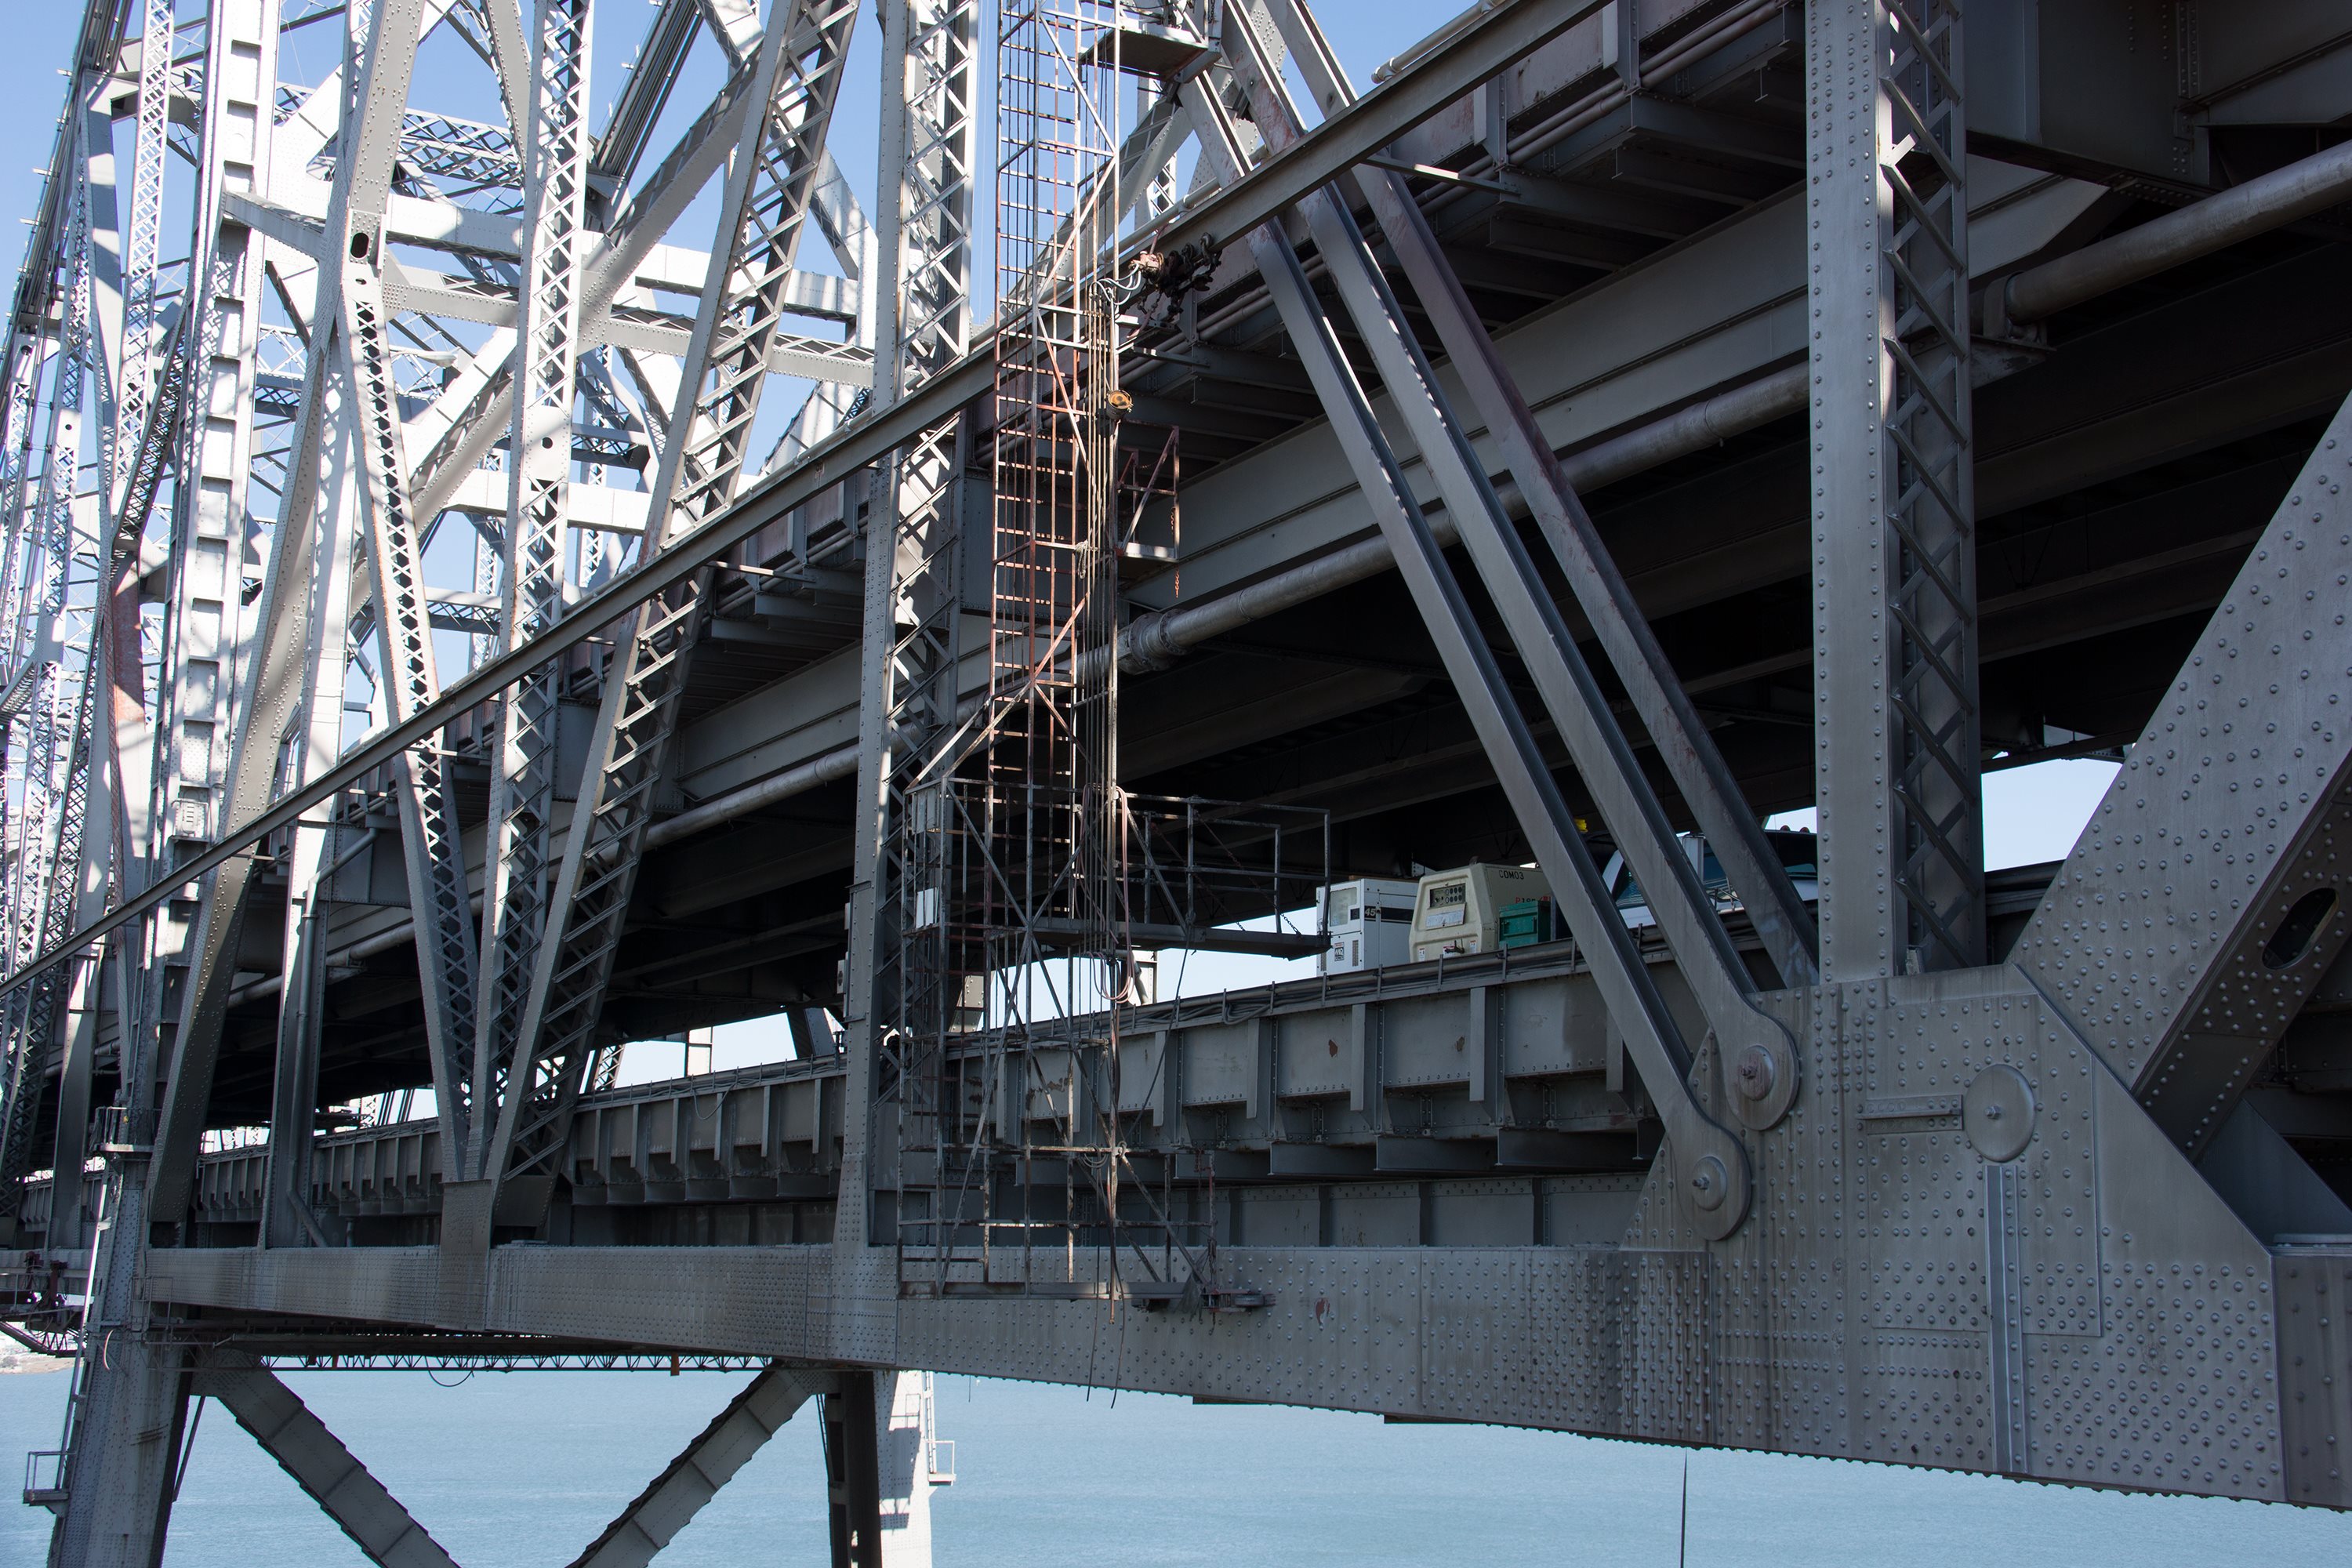
Photo Credit: David Grieshaber and Mike Koozmin
Cantilever truss bottom chord connections.
![]()

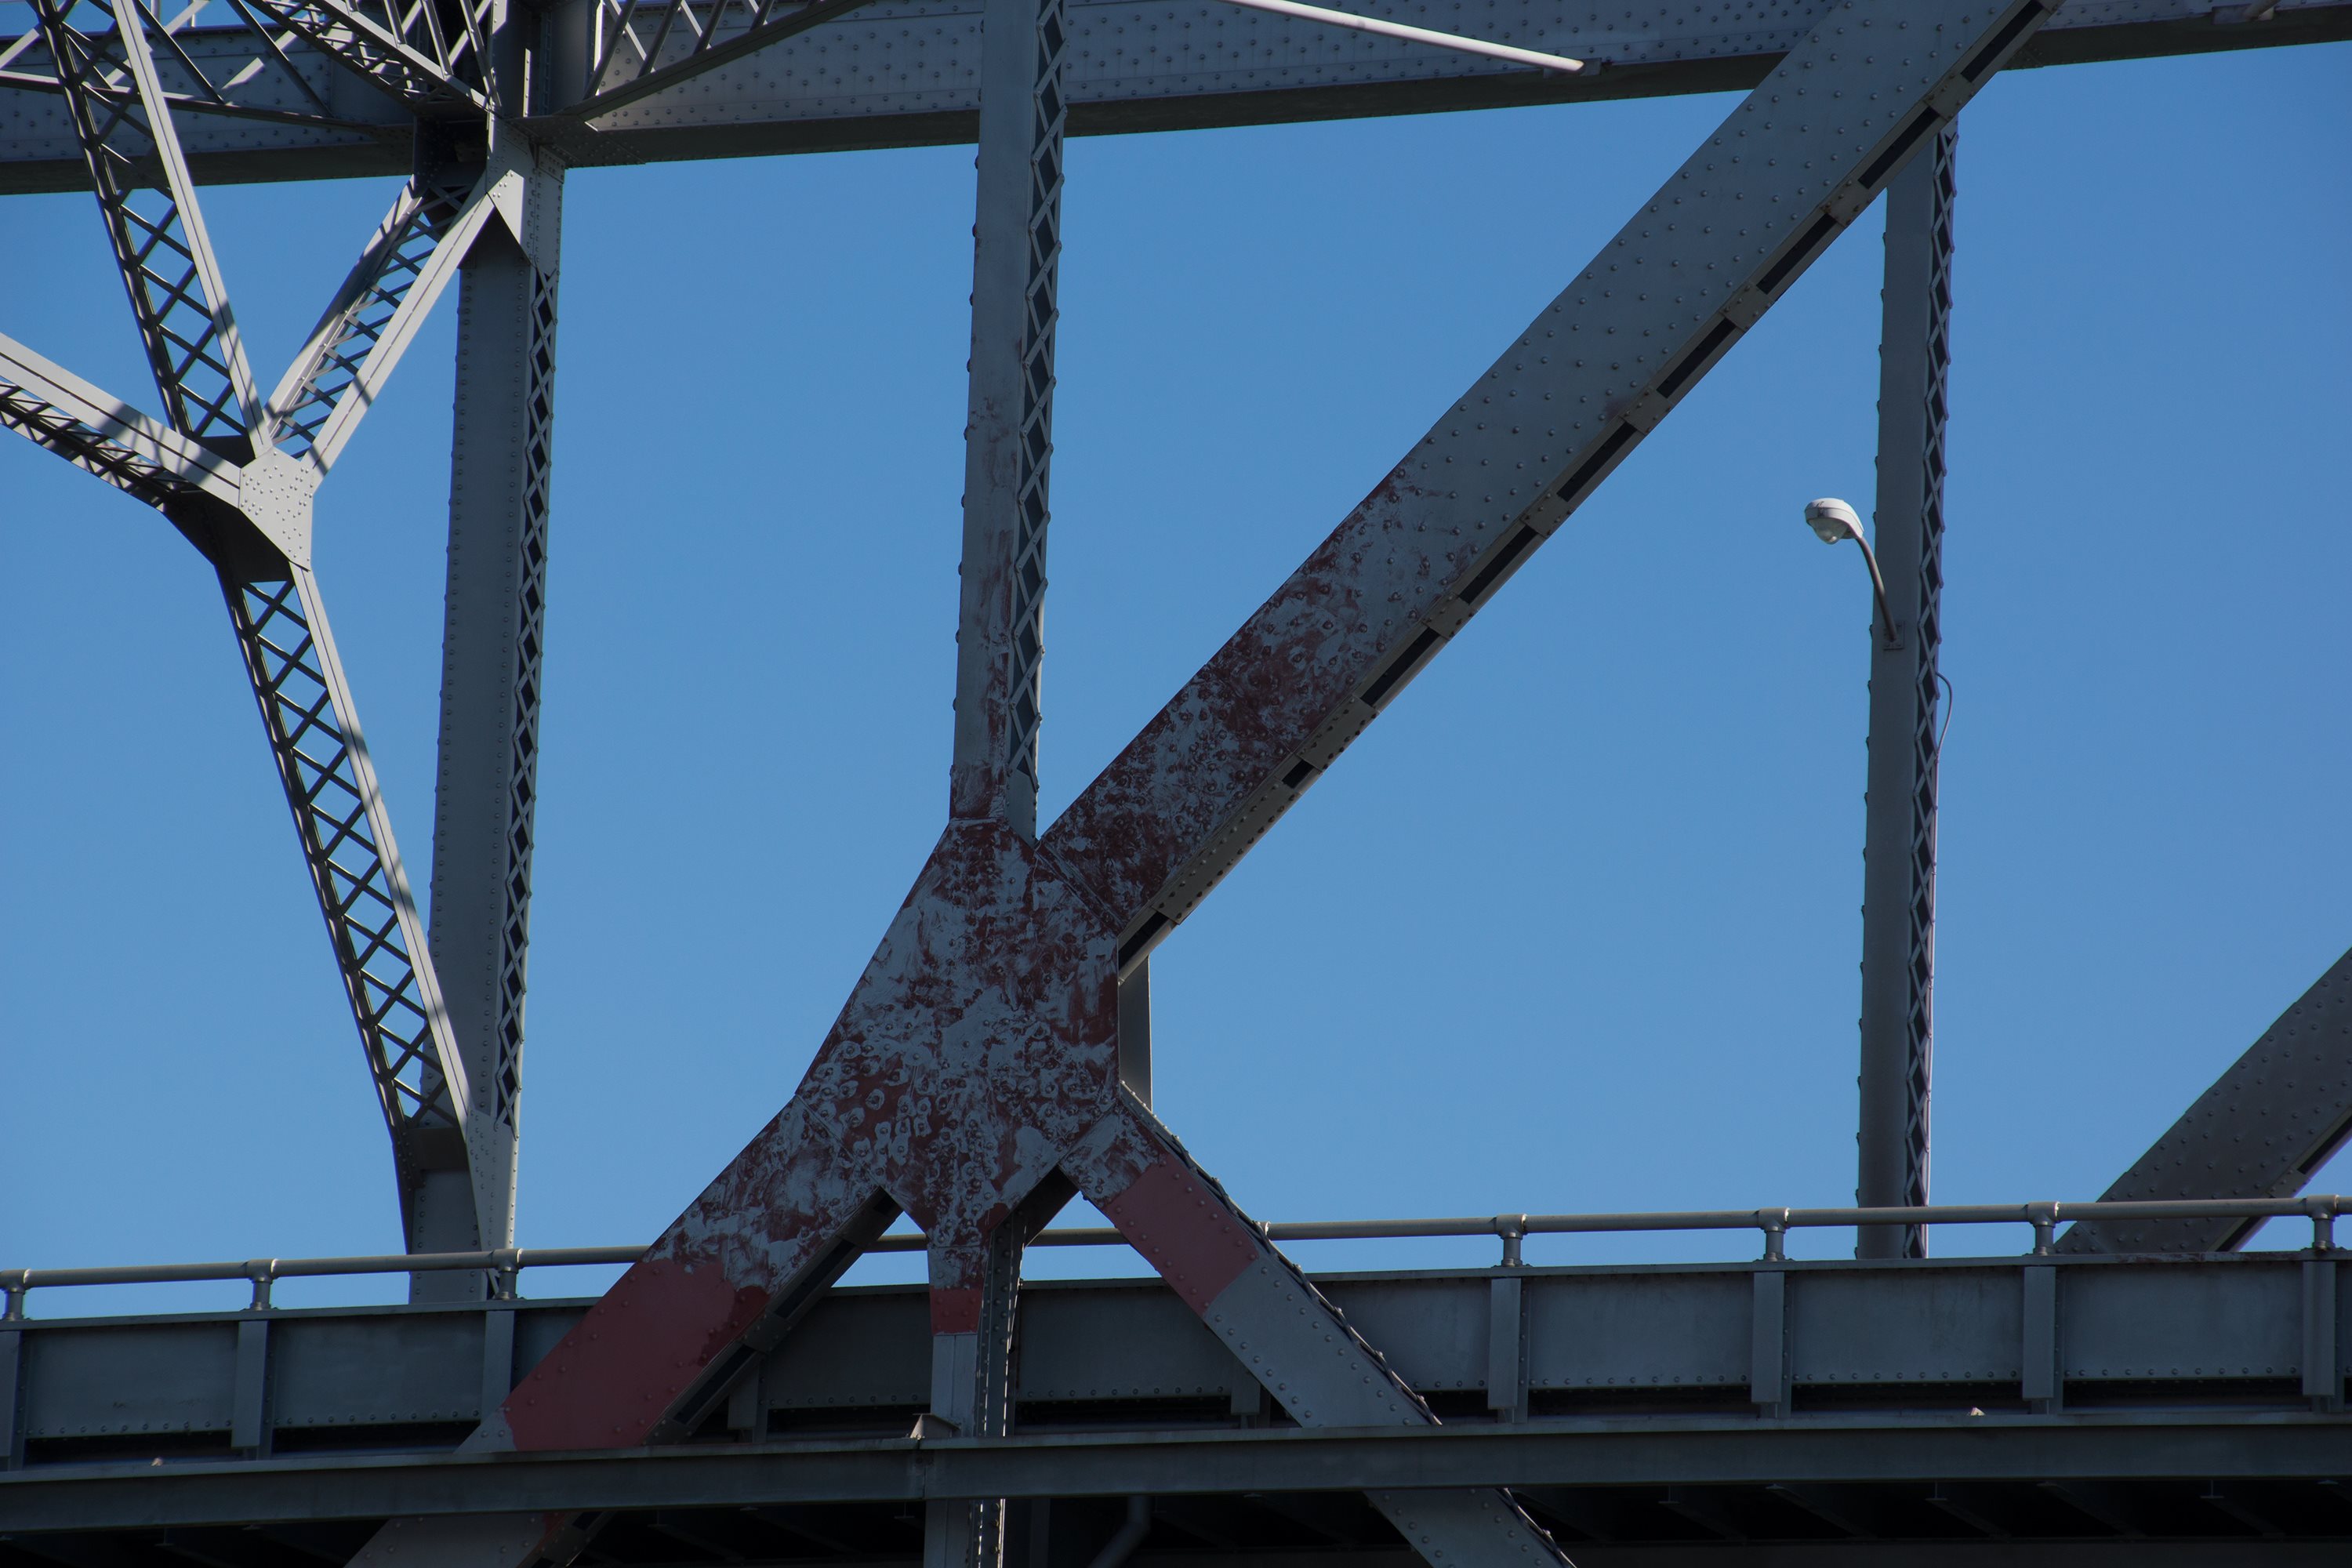

Photo Credit: David Grieshaber and Mike Koozmin
Cantilever truss intermediate connections.
![]()
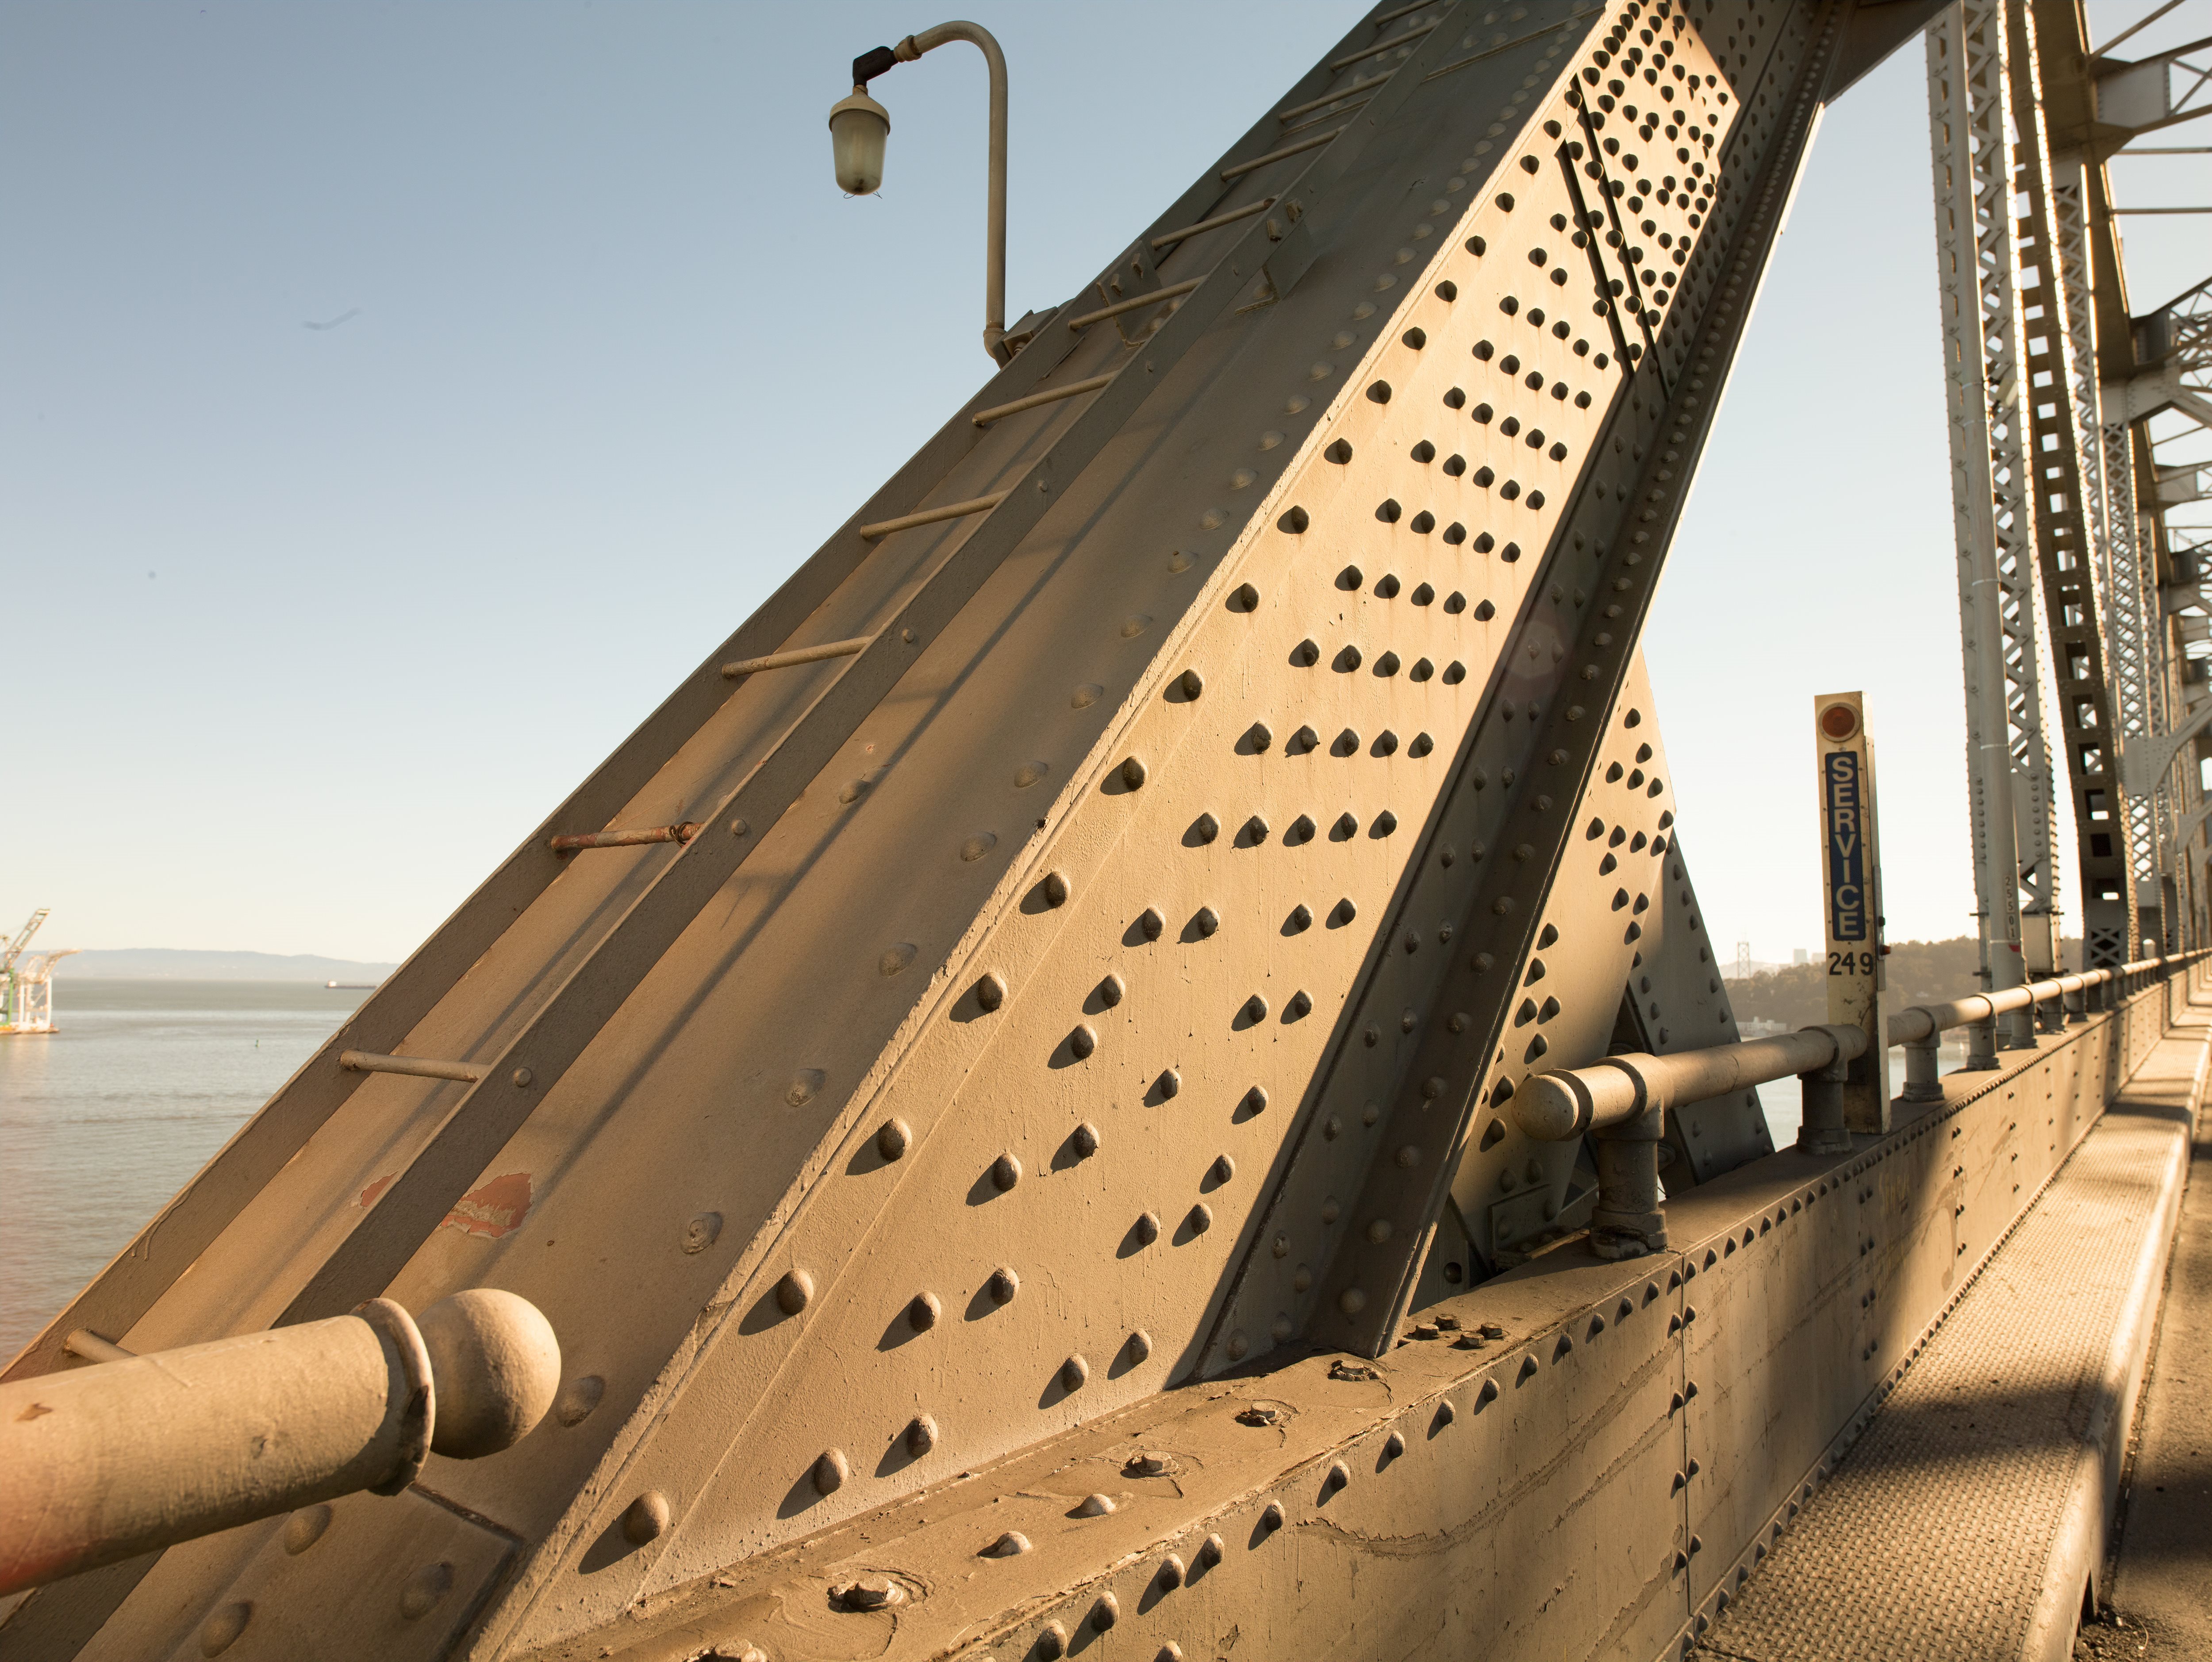


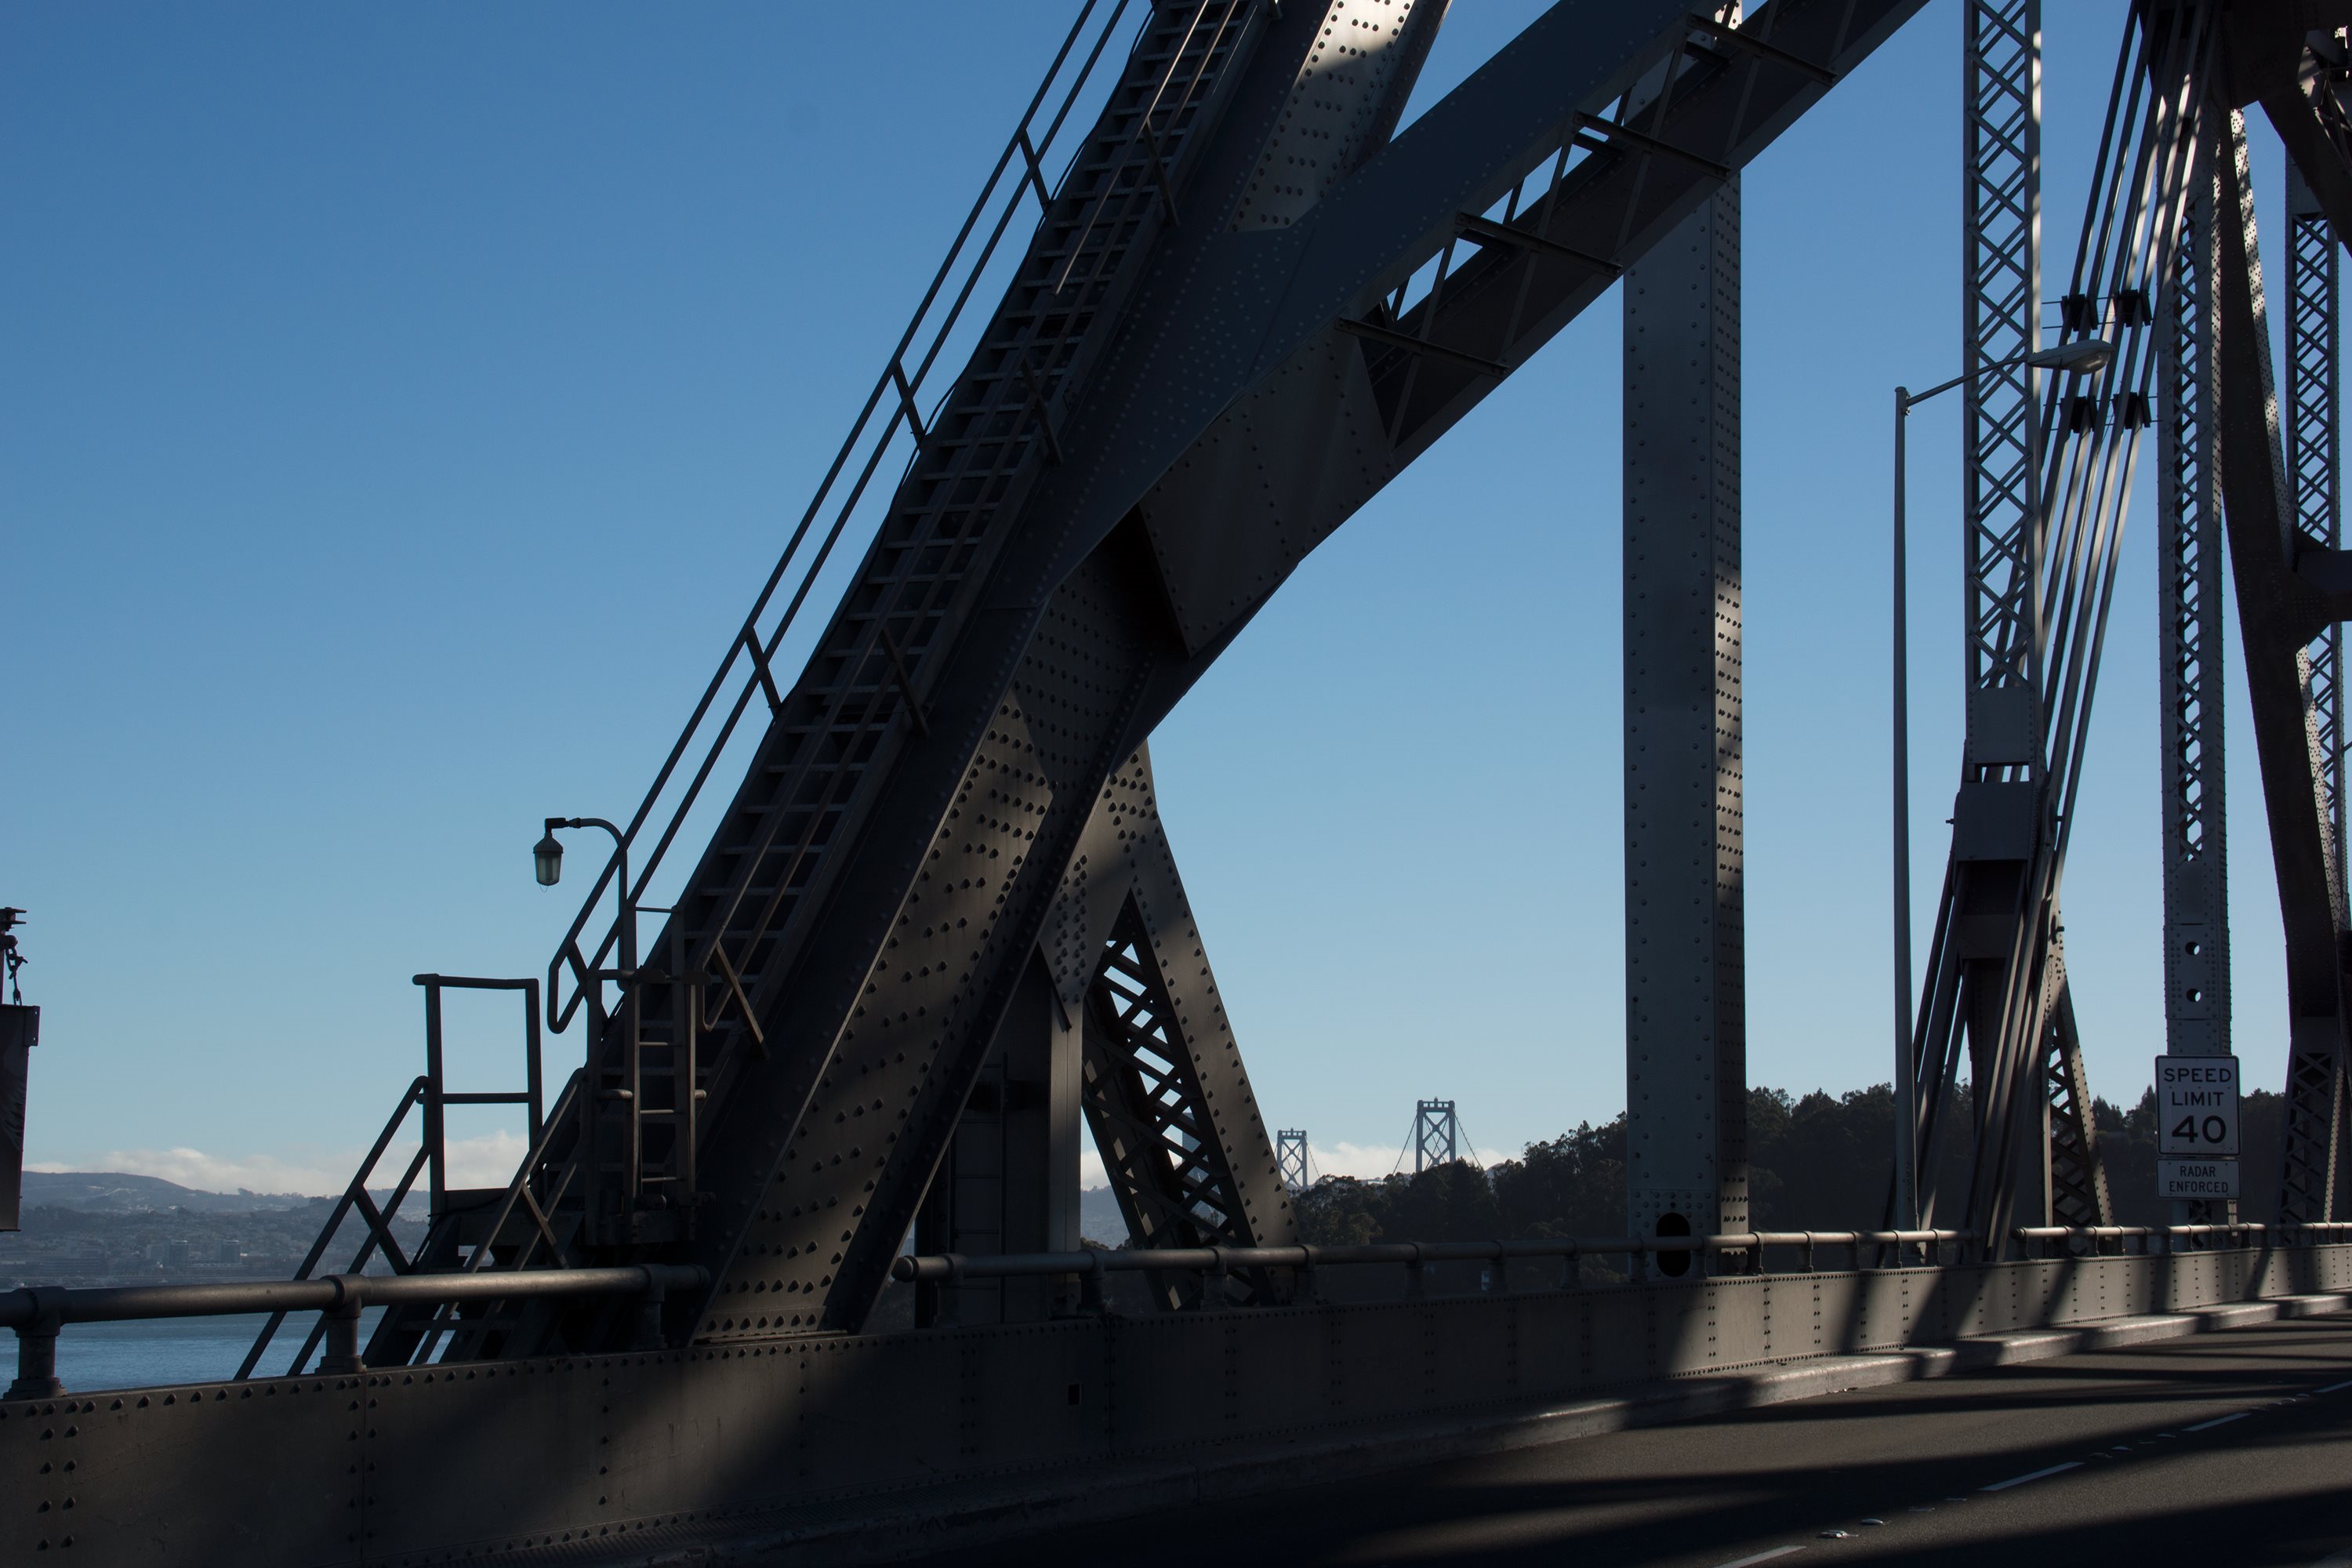


Photo Credit: David Grieshaber and Mike Koozmin
End posts for through truss and cantilever spans.
![]()


Photo Credit: David Grieshaber and Mike Koozmin
View of end panel of through truss spans with people for scale.
![]()

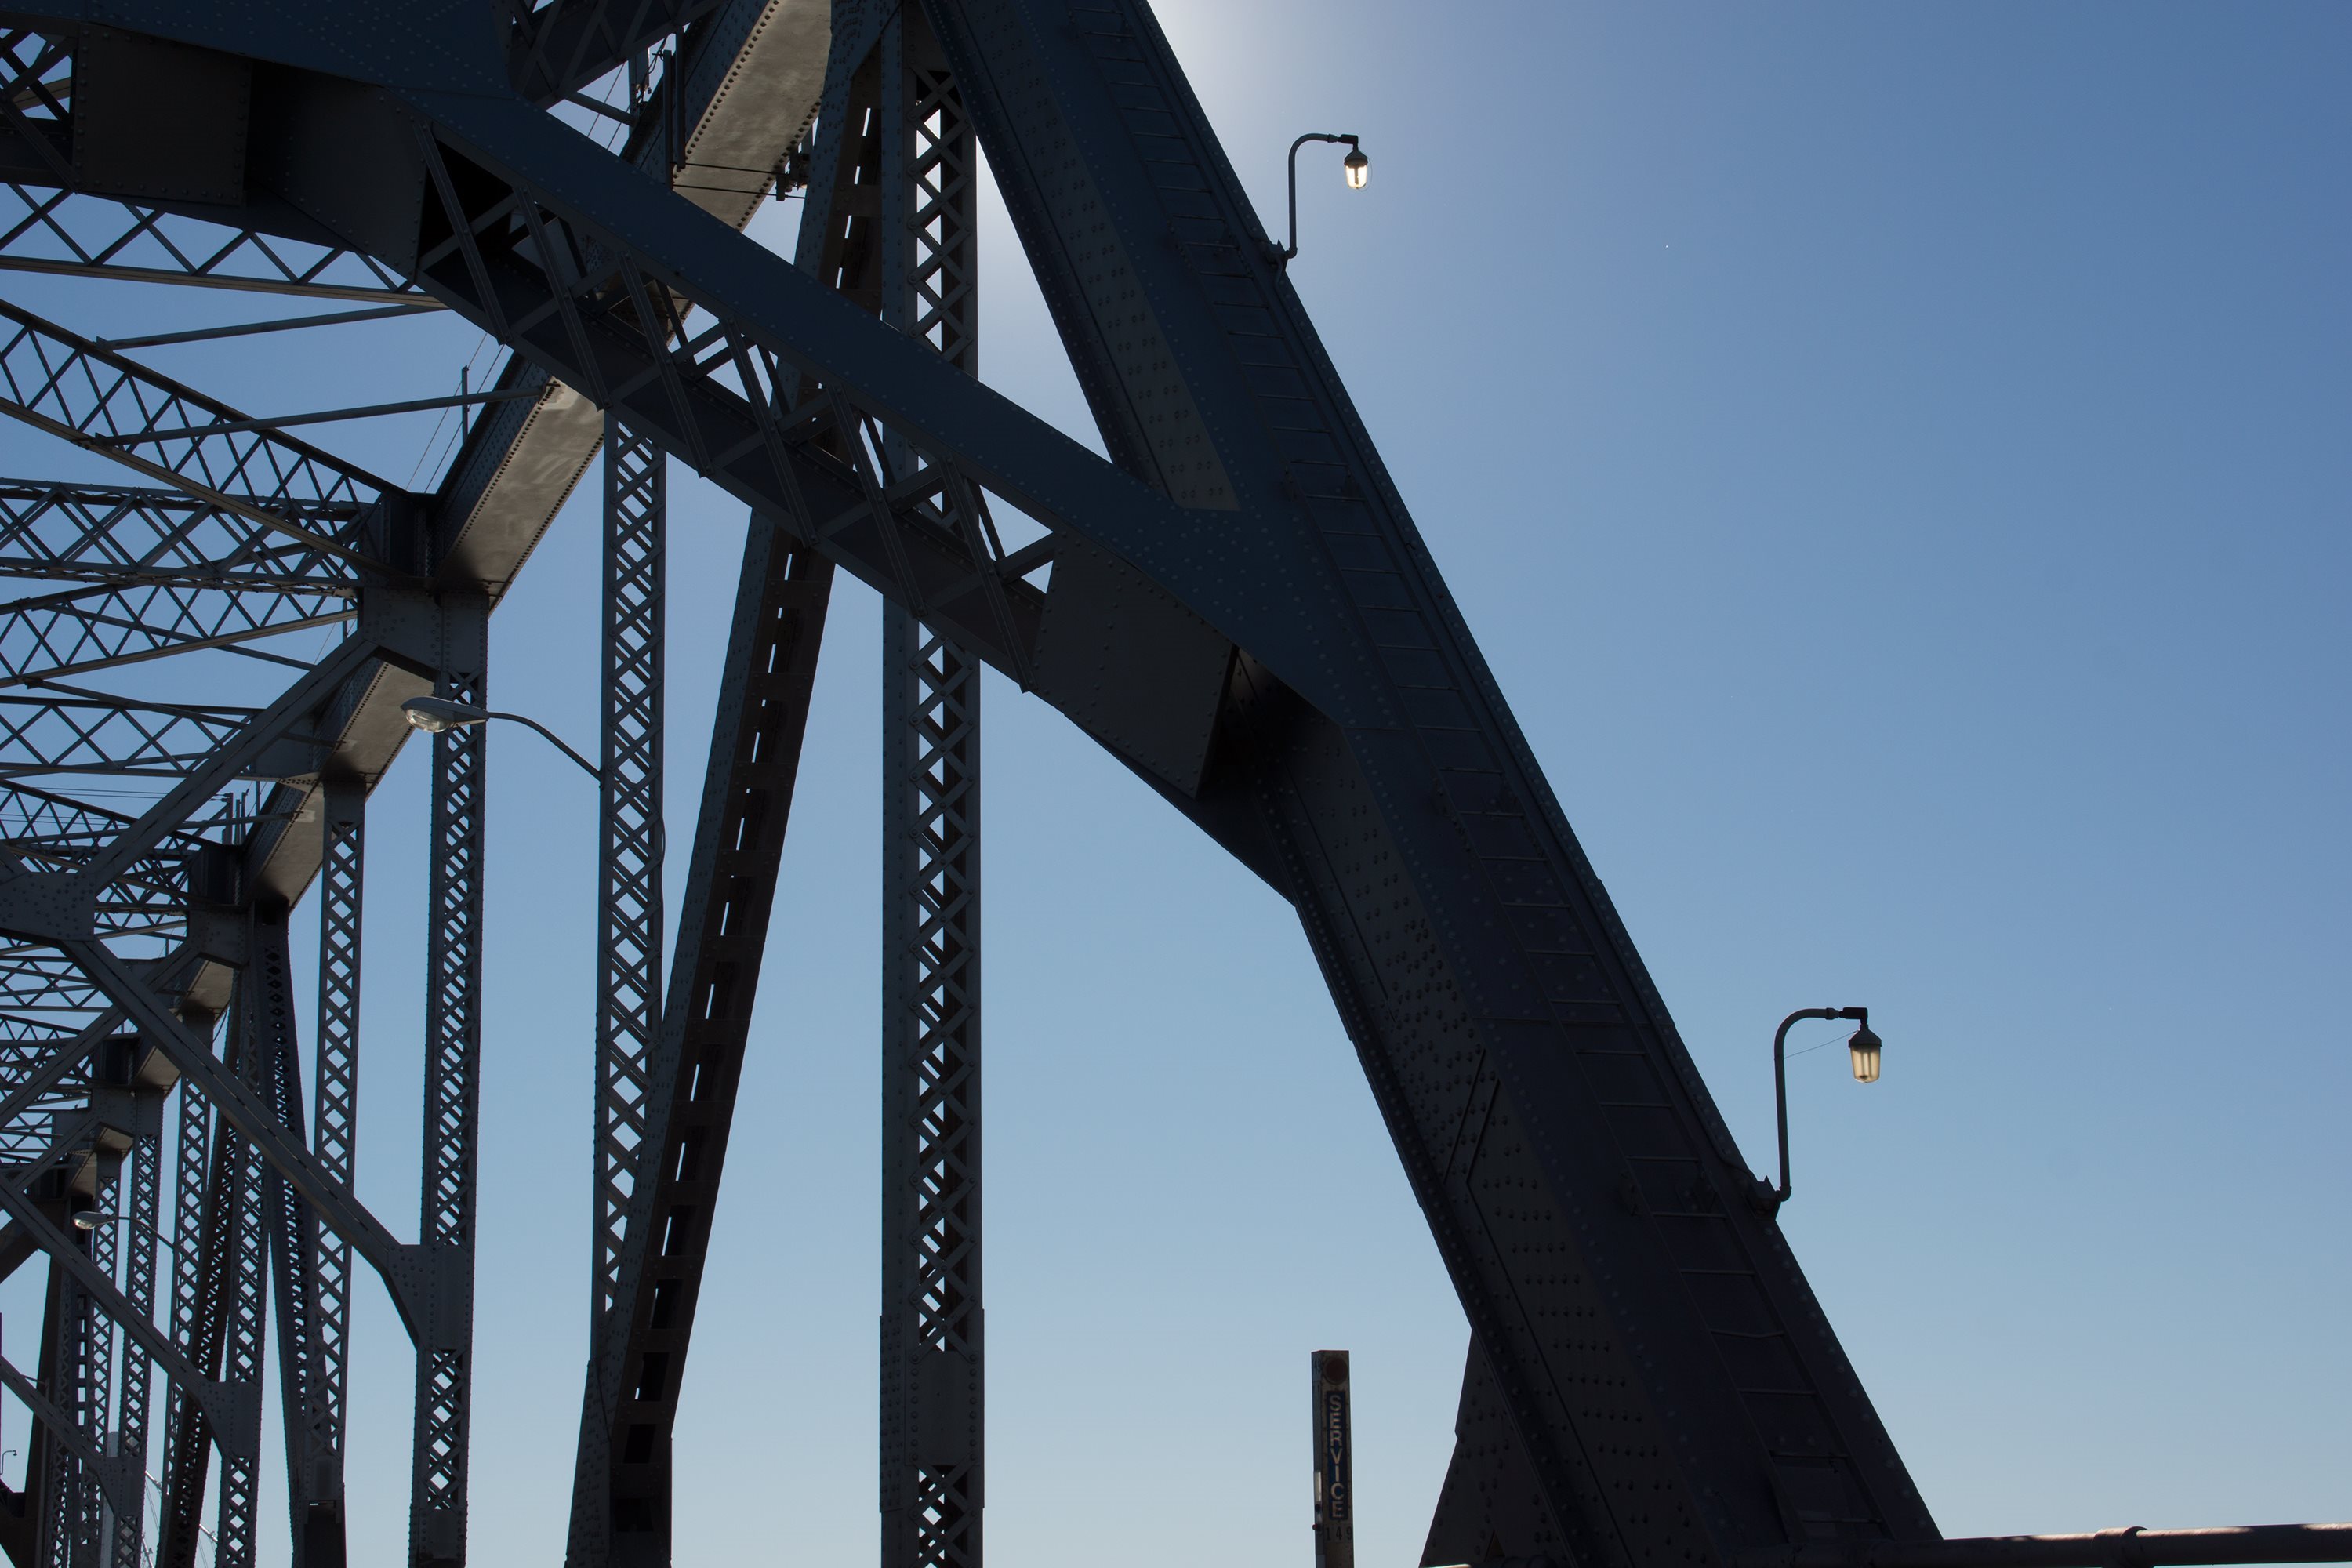
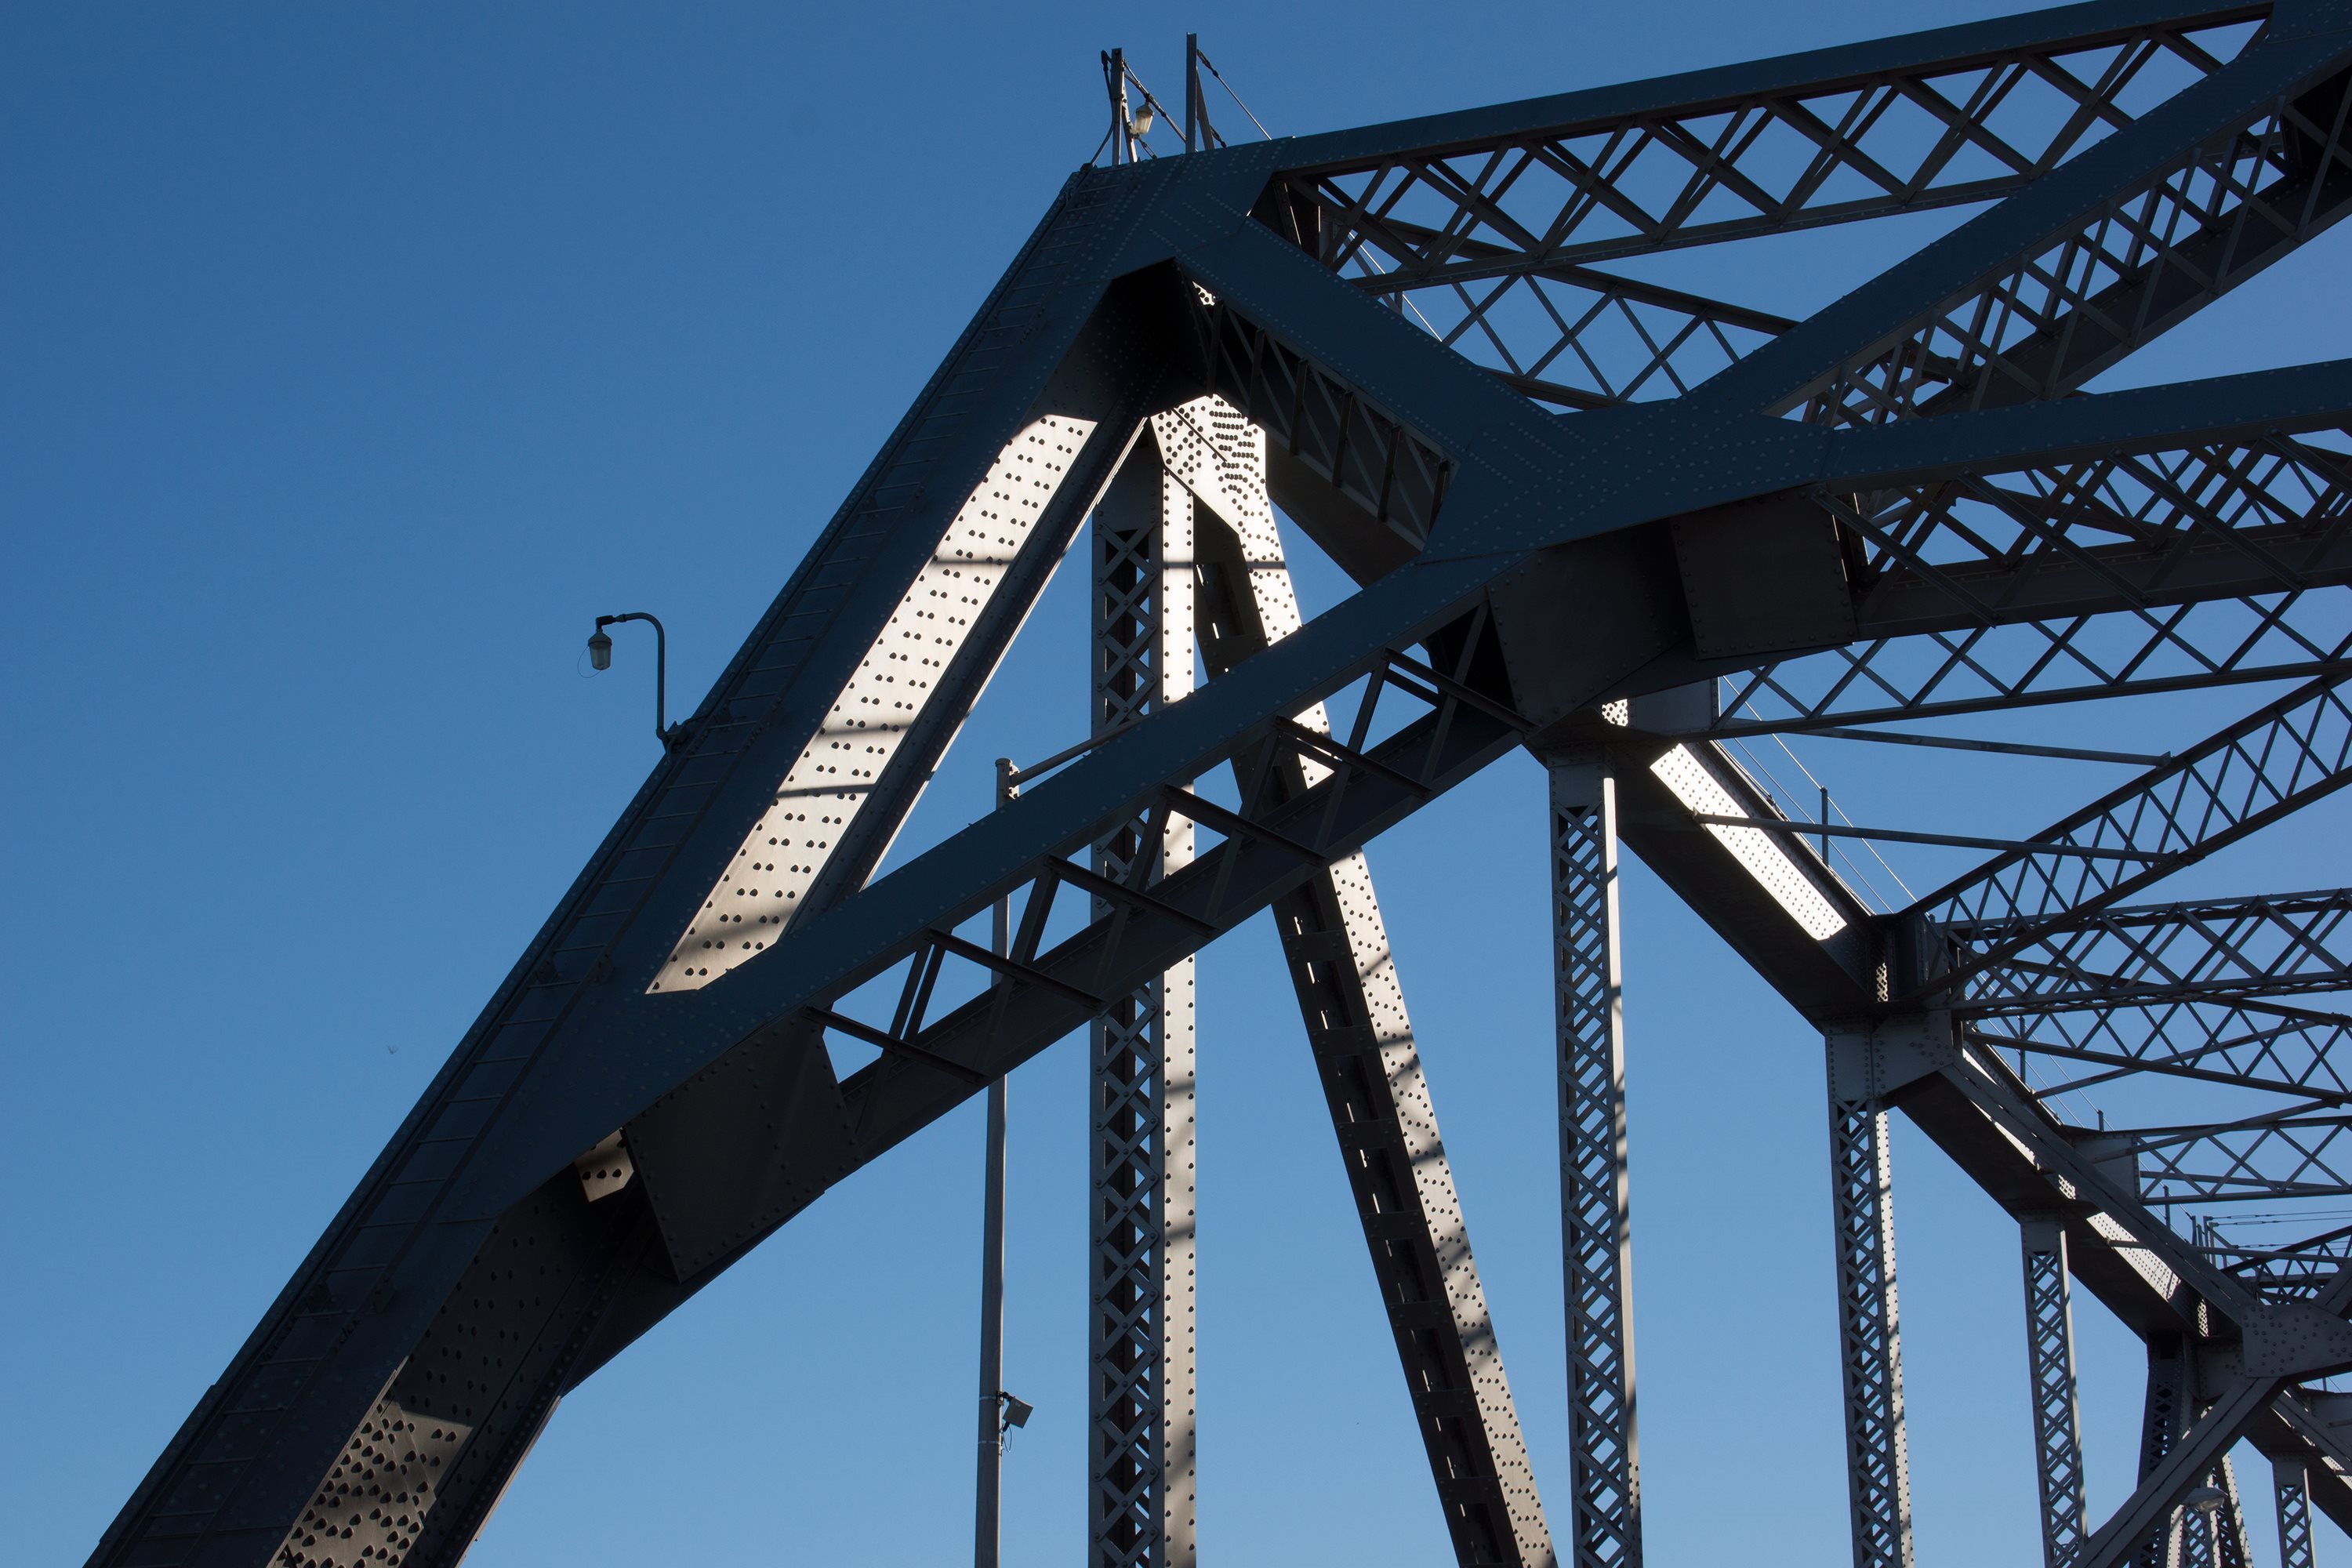

Photo Credit: David Grieshaber and Mike Koozmin
Portal bracing for cantilever and through truss spans.
![]()


Photo Credit: David Grieshaber and Mike Koozmin
Demolished portions of bridge.
![]()
![]()

![]()