
Uncredited photos on this page taken by: Nathan Holth. Unless stated in a caption, all photos are Copyright with All Rights Reserved. Learn about reuse of our photos.
![]()
 |
 |
 |
 |
 |
| Photo Credit: | Photo Credit: | Photo Credit: | Photo Credit: | Photo Credit: |
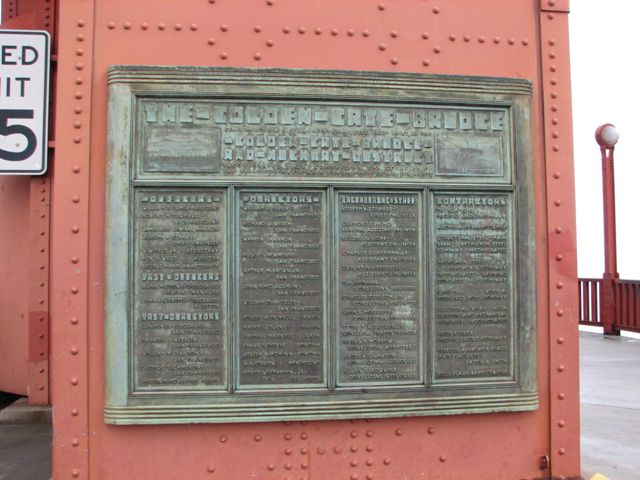
Main bridge plaque.
![]()
 |
 |
 |
 |
 |
 |
| Photo Credit: | Photo Credit: | Photo Credit: | Photo Credit: | Photo Credit: | Photo Credit: |
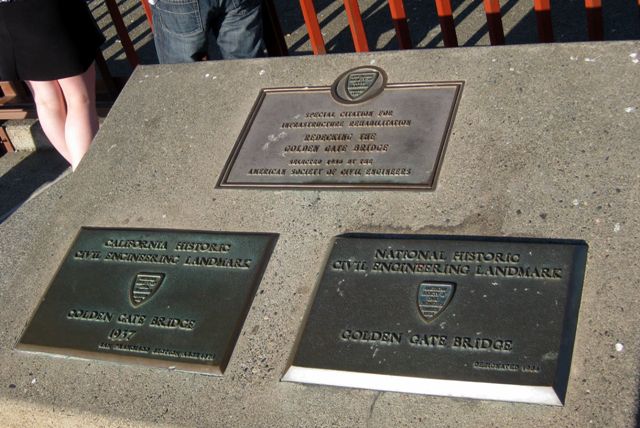
Other plaques relating to the bridge.
![]()
 |
 |
 |
| Photo Credit: | Photo Credit: | Photo Credit: |
Other plaques relating to the bridge.
![]()
 |
| Photo Credit: |
Joseph Strauss statue.
![]()
 |
 |
| Photo Credit: | Photo Credit: |
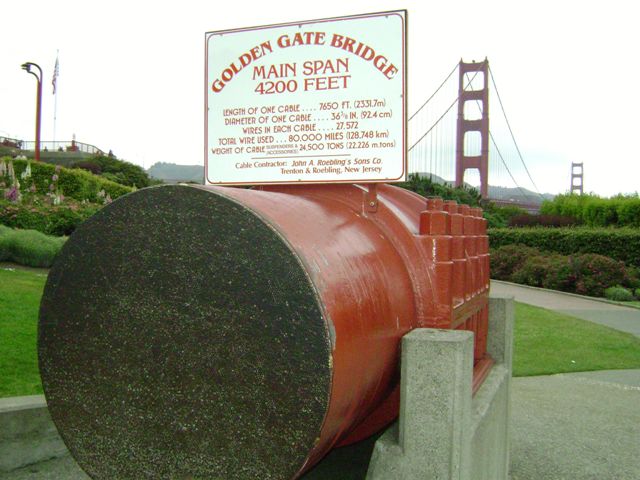
Interpretive sample of main cable.
![]()
 |
| Photo Credit: |
Bridge thermometer demonstrates the effect of temperature change on bridge position.
![]()
 |
 |
| Photo Credit: | Photo Credit: |
Approach spans elevation.
![]()
 |
 |
| Photo Credit: | Photo Credit: |
Views beside approach spans.
![]()
 |
 |
 |
| Photo Credit: | Photo Credit: | Photo Credit: |
Views under arch approach span.
![]()
 |
 |
 |
 |
| Photo Credit: | Photo Credit: | Photo Credit: | Photo Credit: |
Approach span details.
![]()
 |
 |
 |
 |
| Photo Credit: | Photo Credit: | Photo Credit: | Photo Credit: |
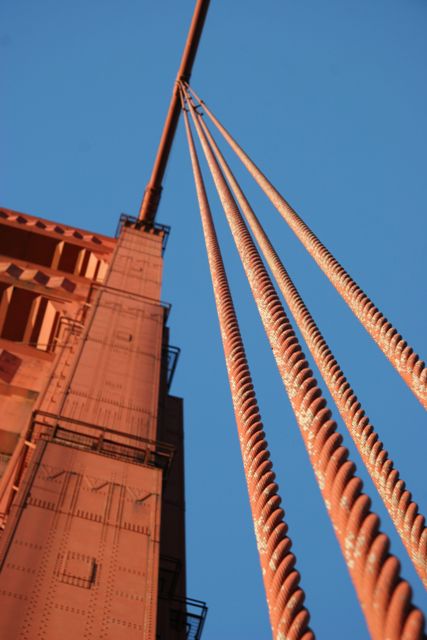
Cable details.
![]()
 |
| Photo Credit: |
Central suspended span detail.
![]()
 |
 |
 |
 |
| Photo Credit: | Photo Credit: | Photo Credit: | Photo Credit: |
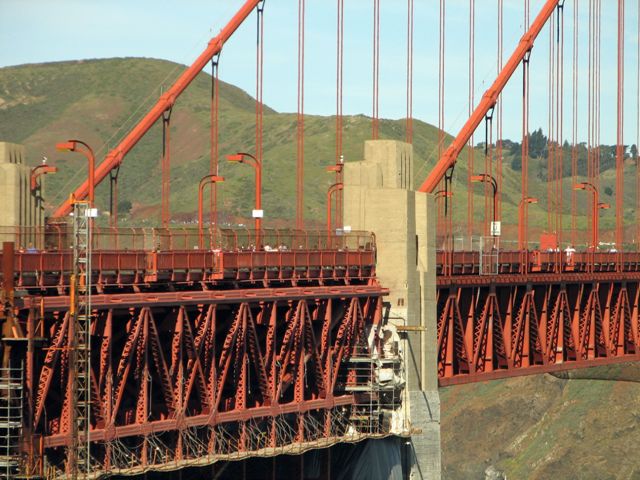
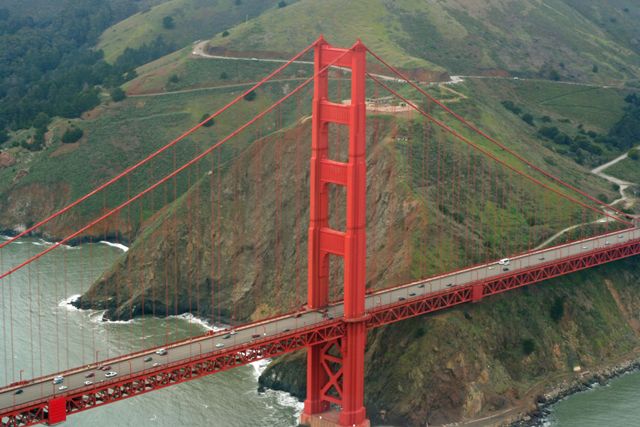
Tower overview.
![]()
 |
 |
 |
| Photo Credit: | Photo Credit: | Photo Credit: |
Tower details.
![]()
 |
 |
| Photo Credit: | Photo Credit: |
Views of tower at deck level.
![]()
 |
 |
 |
 |
 |
 |
 |
| Photo Credit: | Photo Credit: | Photo Credit: | Photo Credit: | Photo Credit: | Photo Credit: | Photo Credit: |
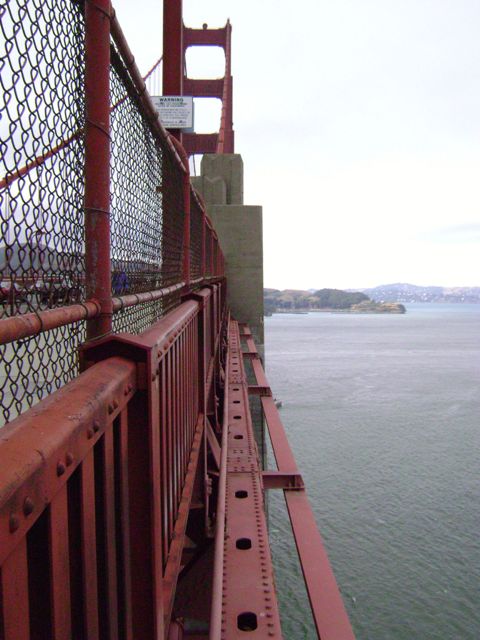
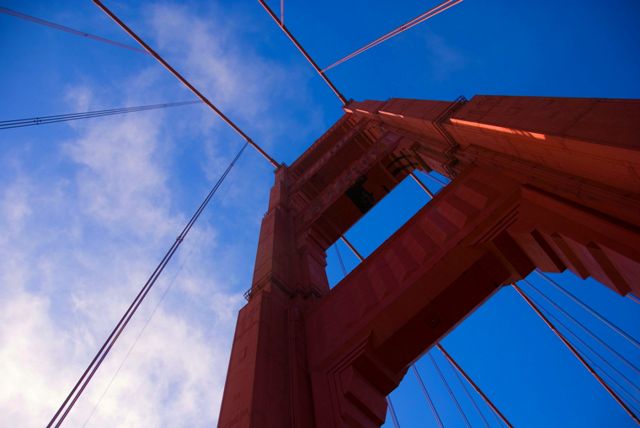
Looking up at tower faces.
![]()
 |
 |
 |
 |
| Photo Credit: | Photo Credit: | Photo Credit: | Photo Credit: |
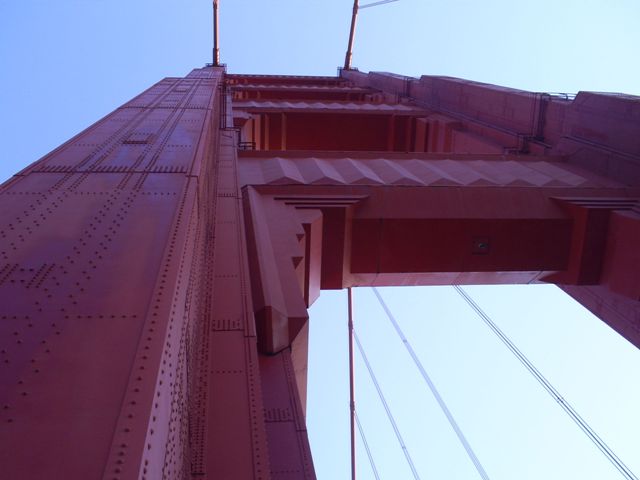
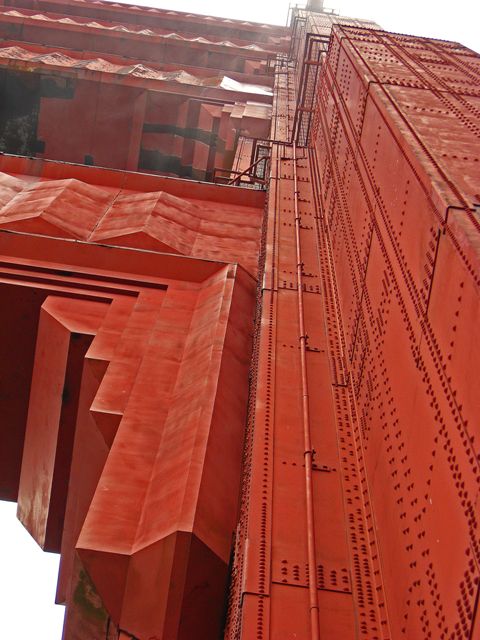
Looking up at tower sides.
![]()
 |
 |
 |
 |
 |
| Photo Credit: | Photo Credit: | Photo Credit: | Photo Credit: | Photo Credit: |
Other tower details.
![]()
 |
| Photo Credit: |
View under central suspension span.
![]()
![]()

![]()