
Uncredited photos on this page taken by: Nathan Holth. Unless stated in a caption, all photos are Copyright with All Rights Reserved. Learn about reuse of our photos.
![]()

Original / Full Size
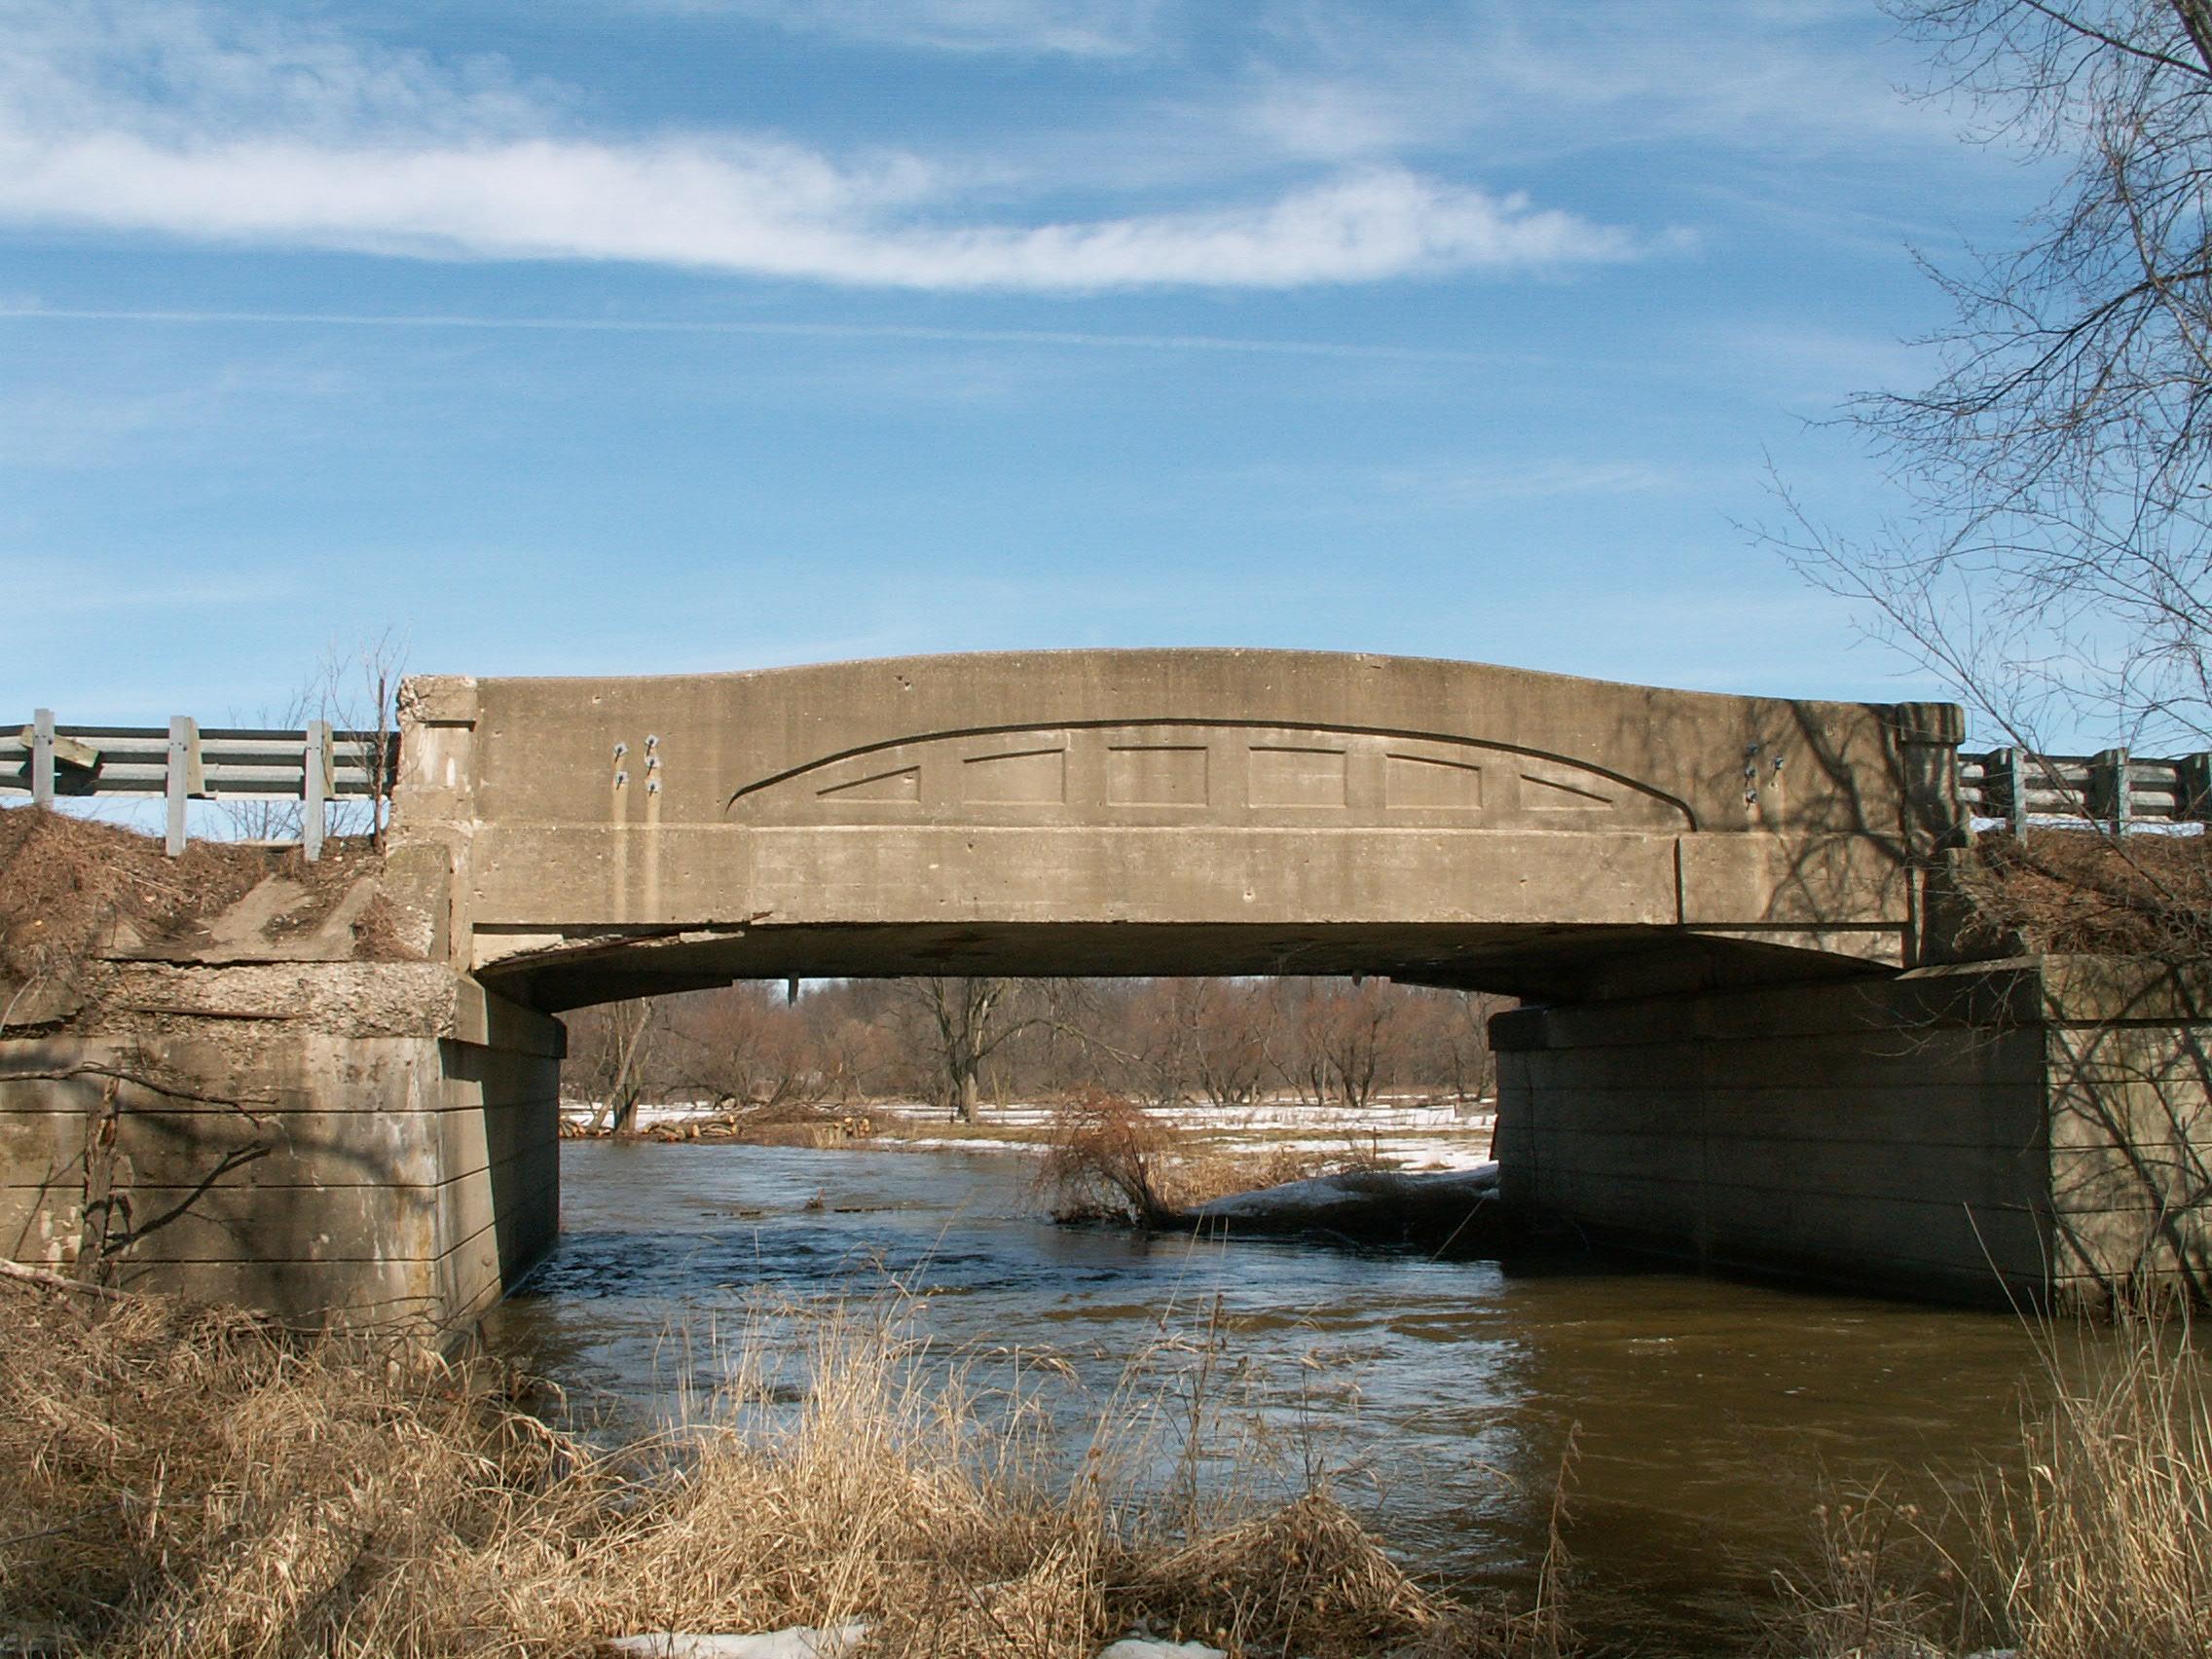
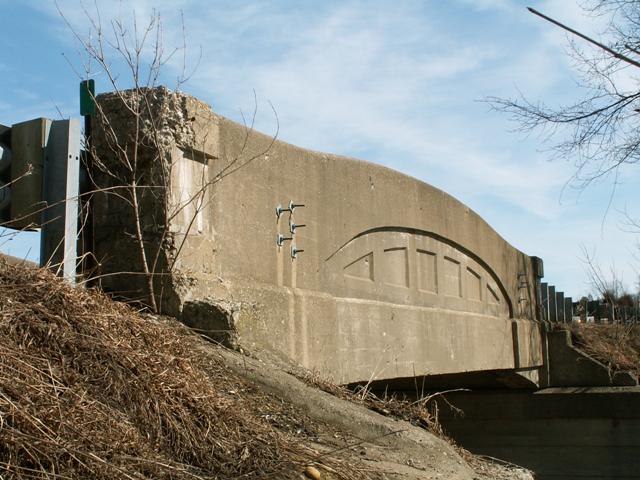
South elevation.
![]()


Original / Full Size
Views beside bridge from southwest quadrant.
![]()

Original / Full Size
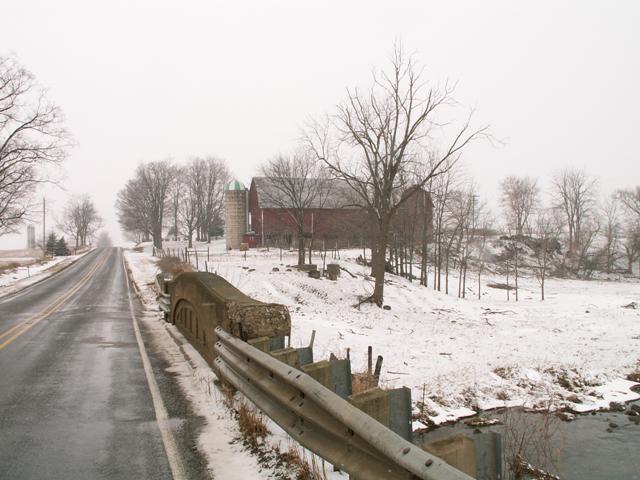
A wintry farm scene featuring a view beside the northern girder from the east approach.
![]()


Original / Full Size
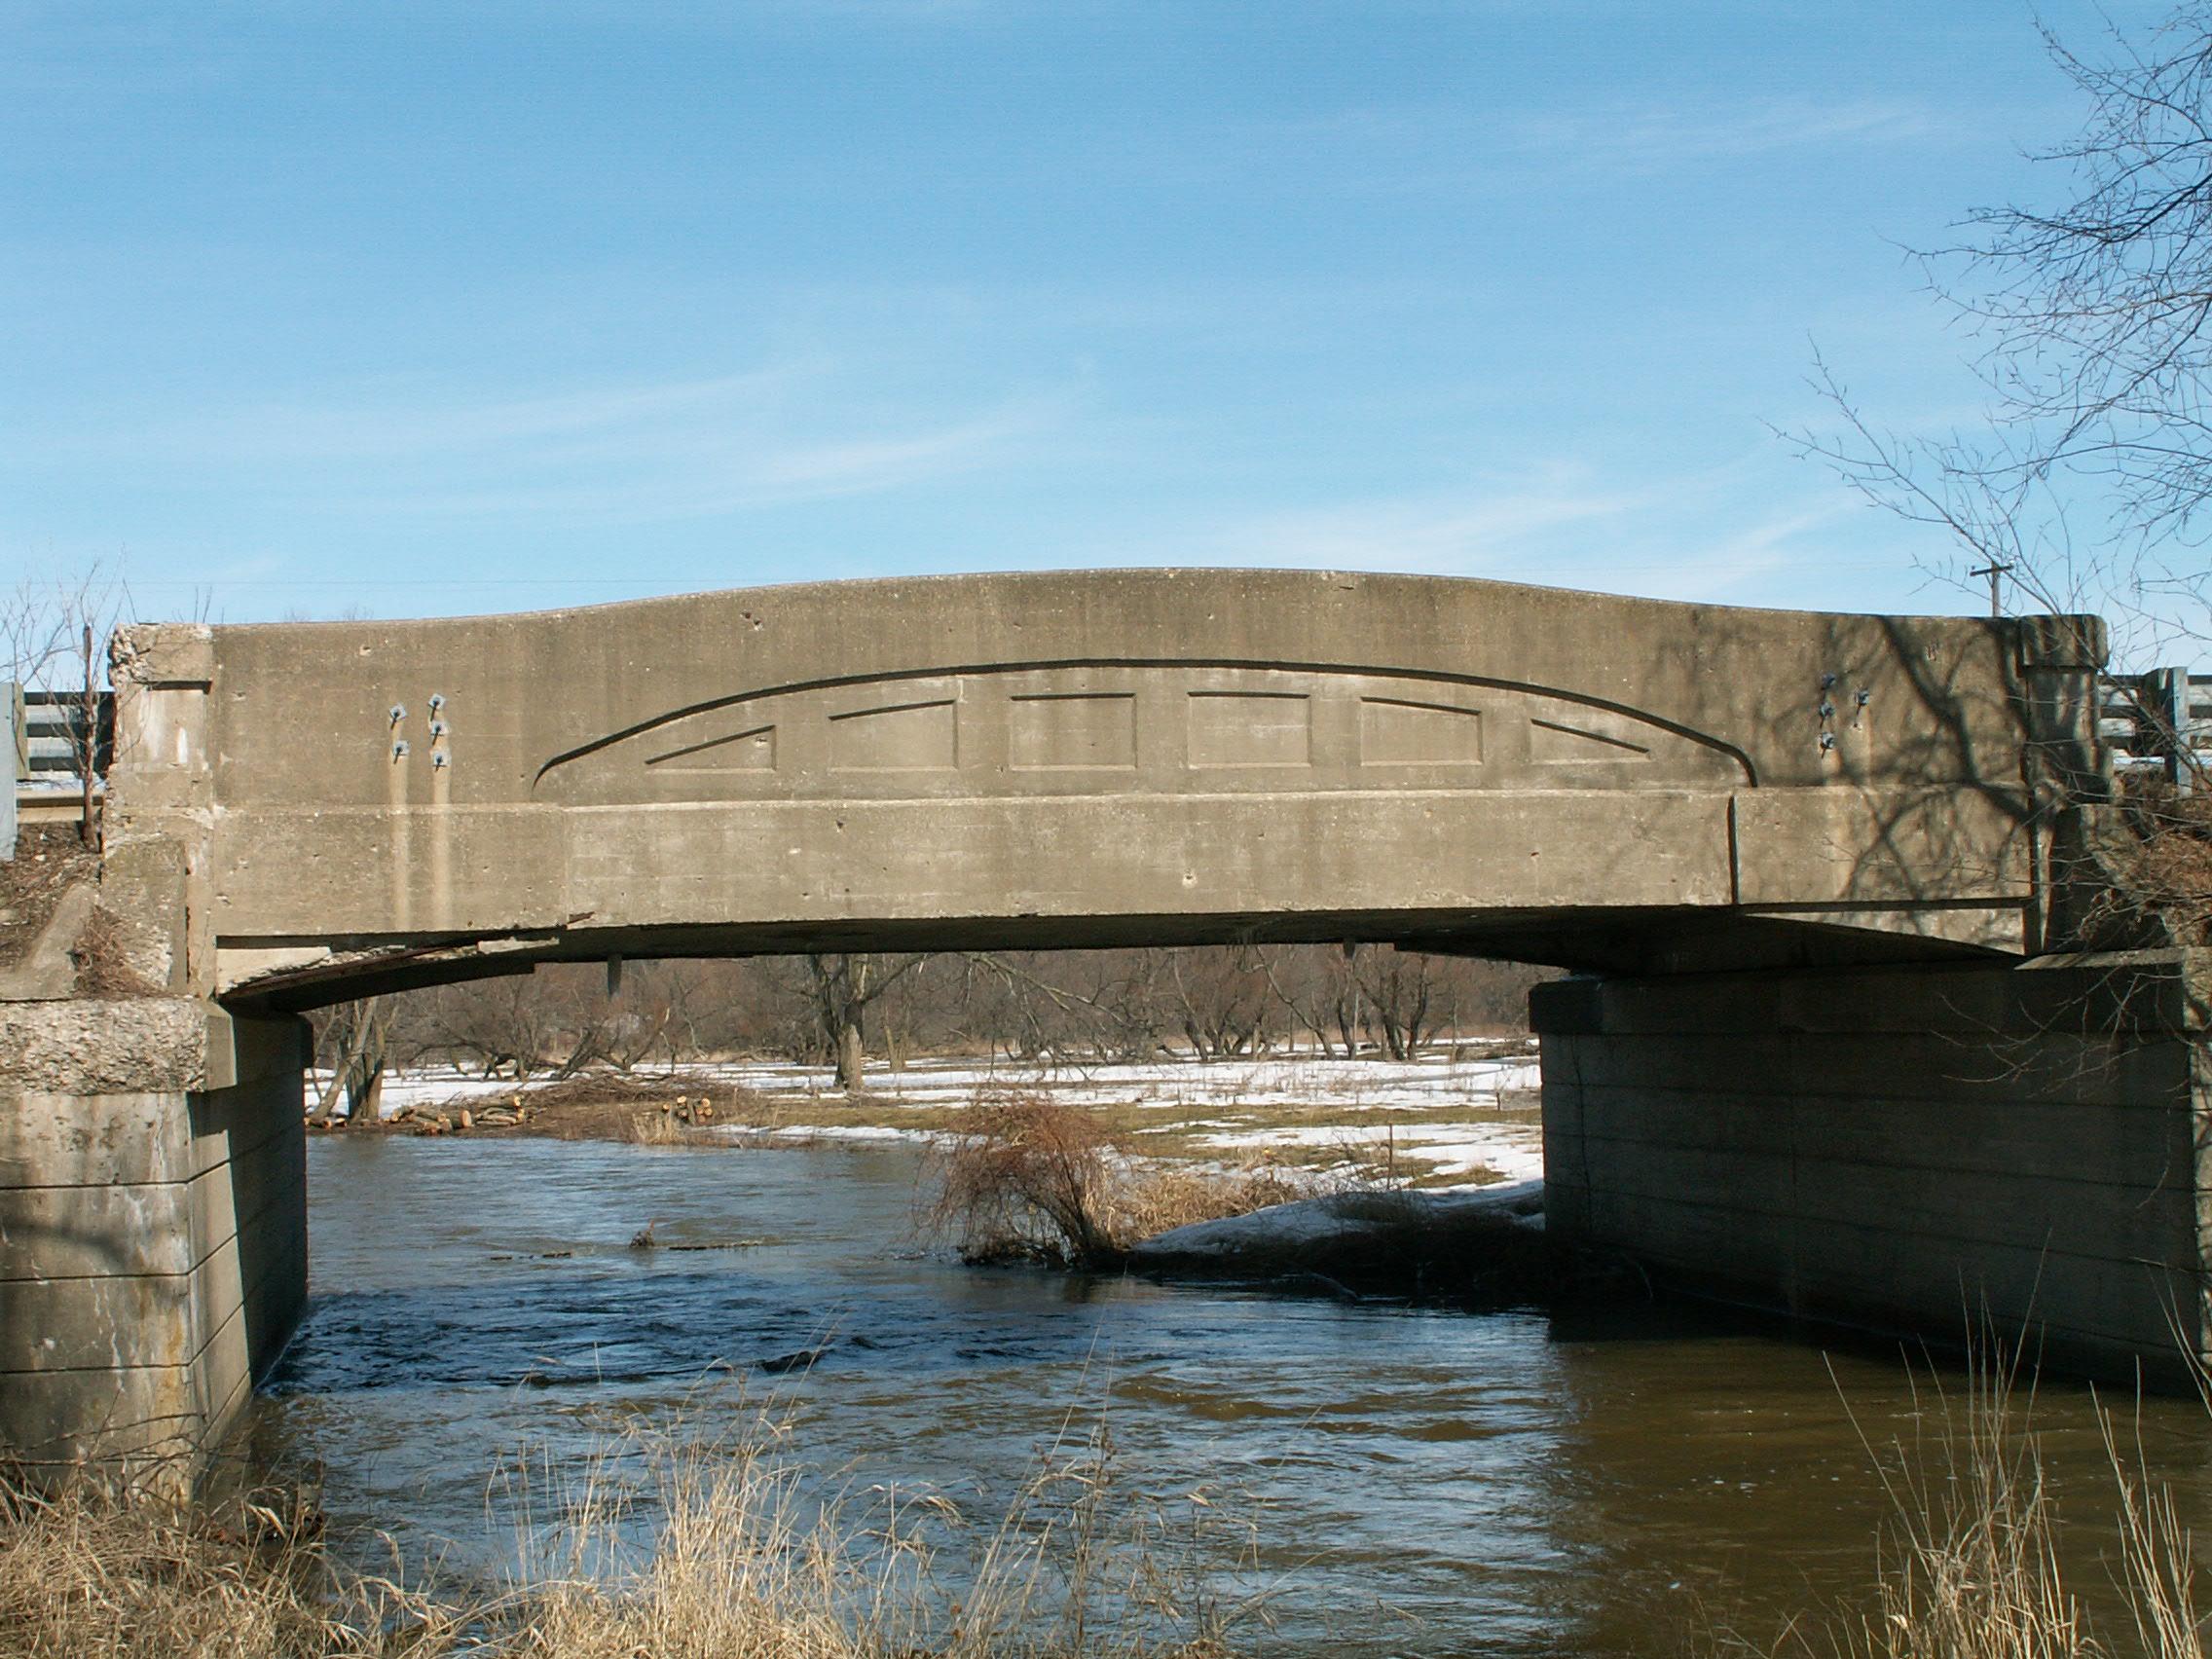
Views of northern girder.
![]()

Original / Full Size
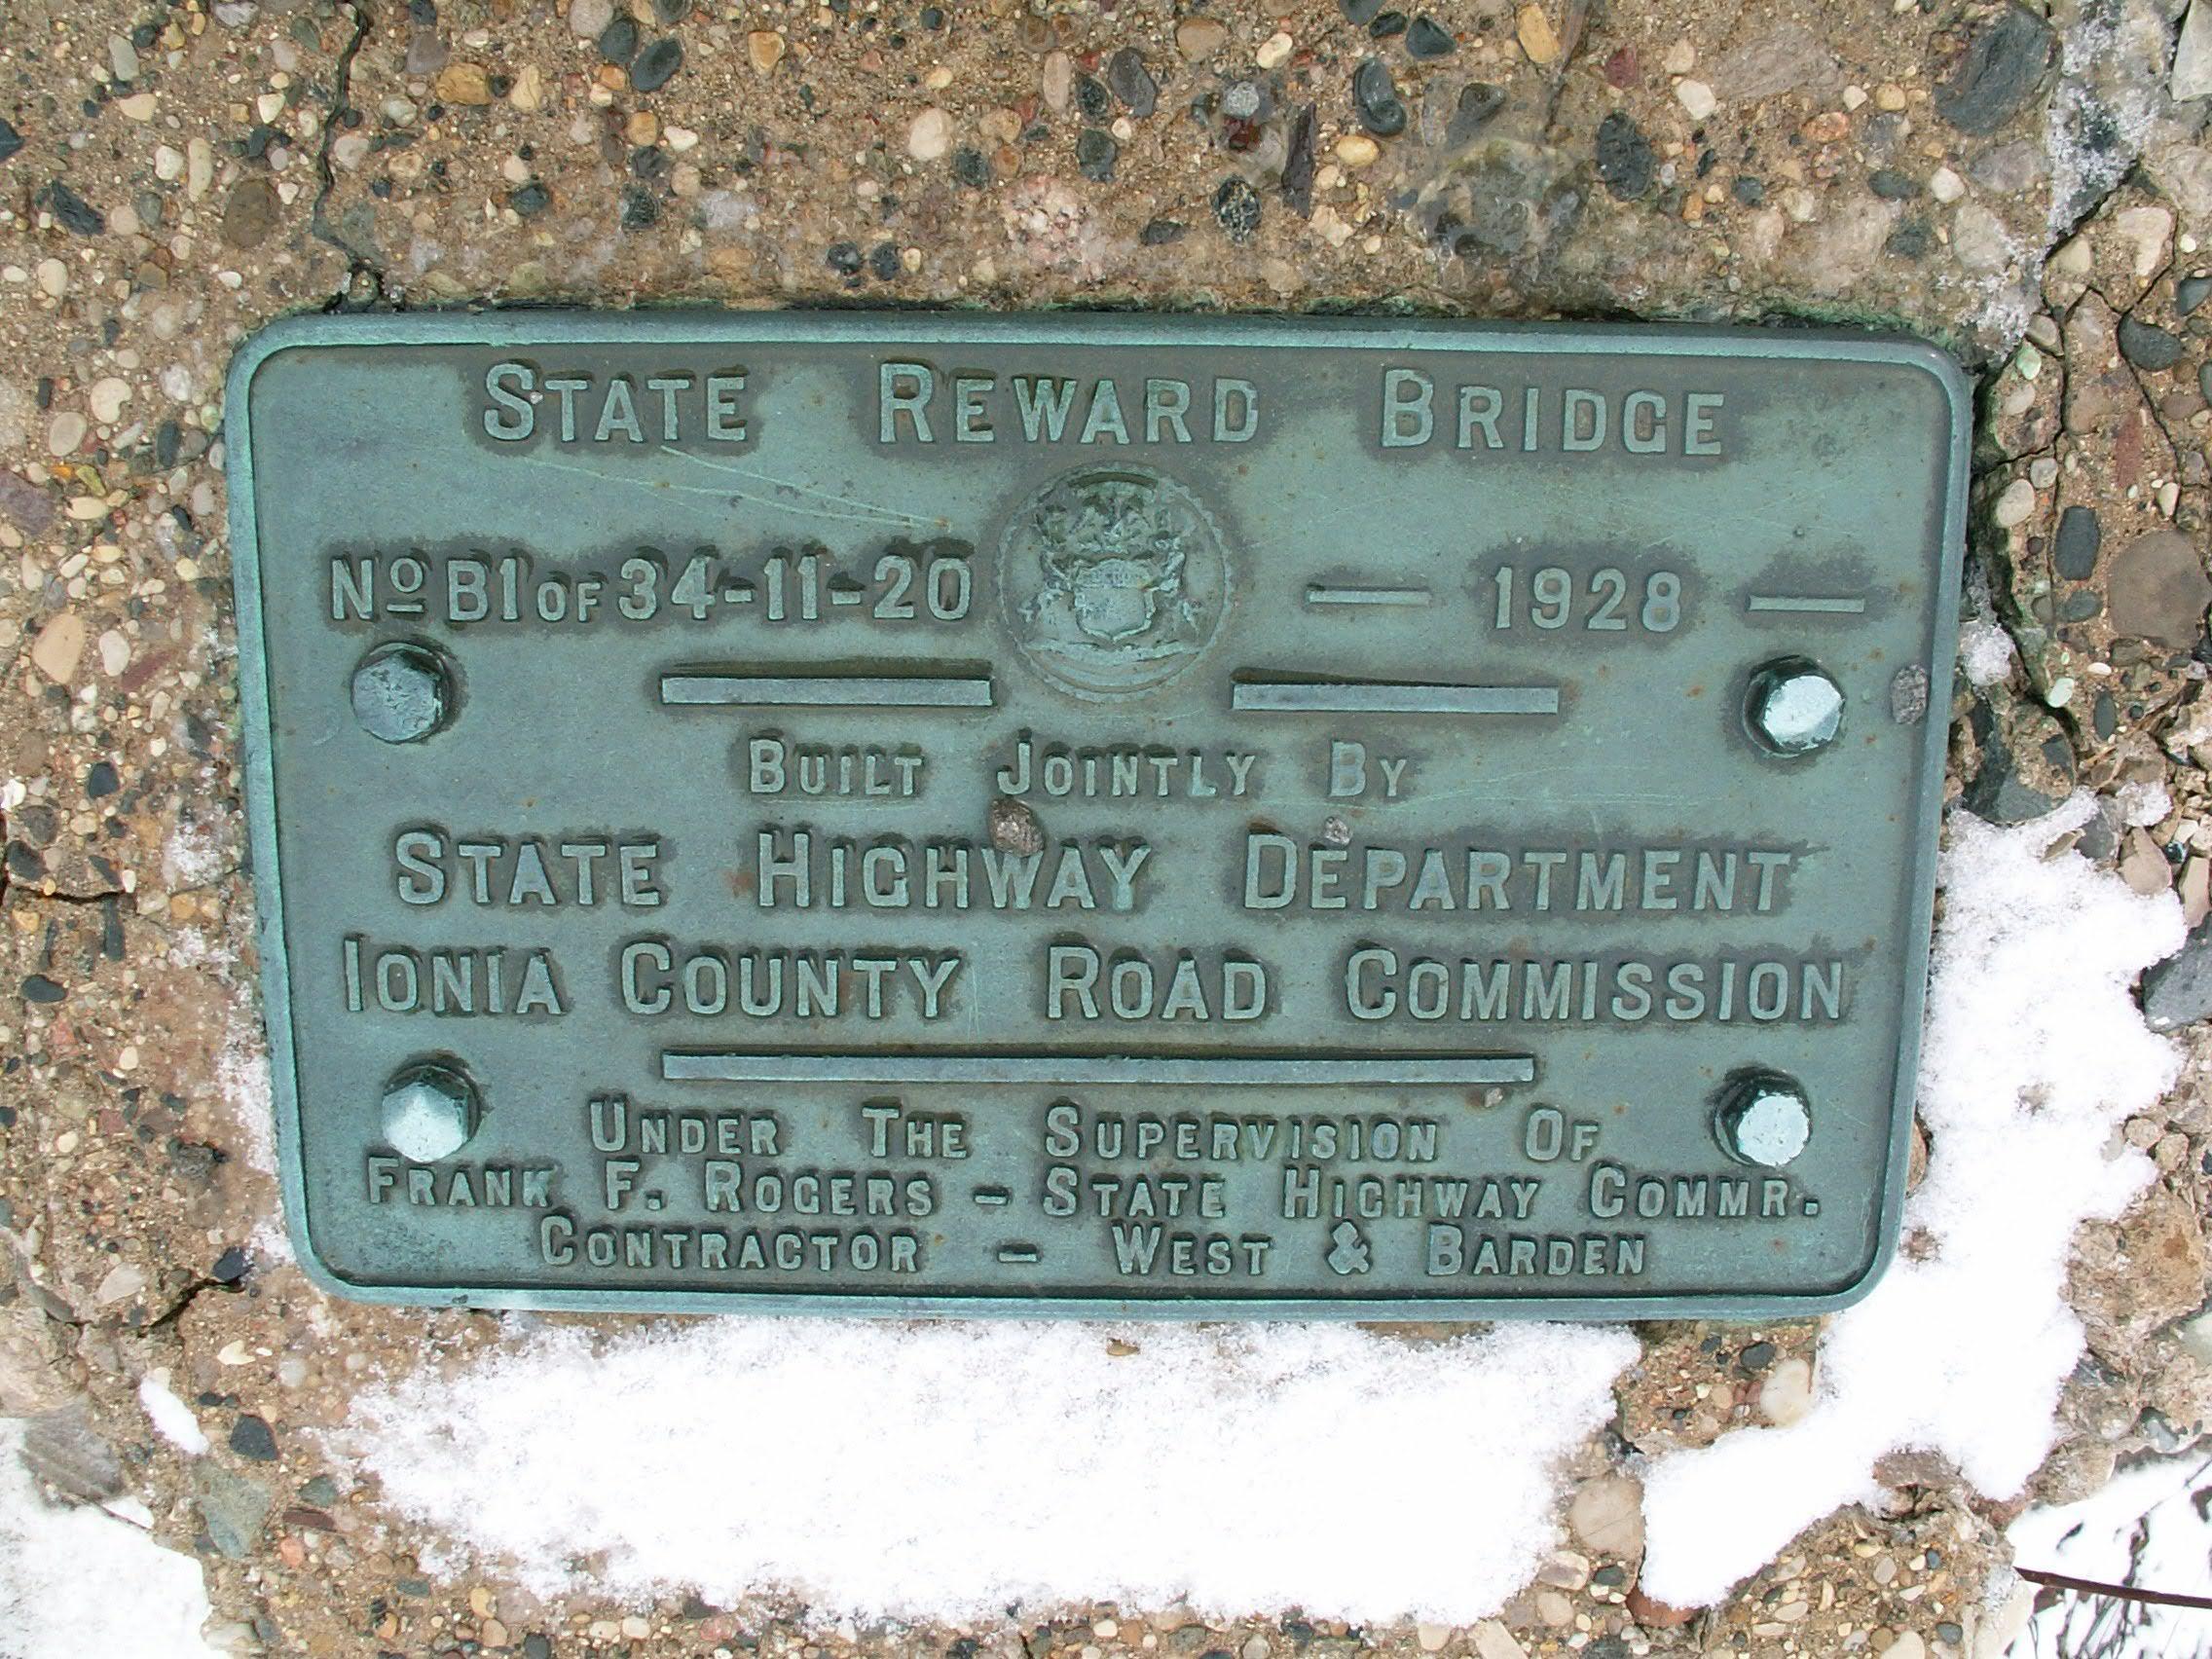
View of plaque on bridge.
![]()


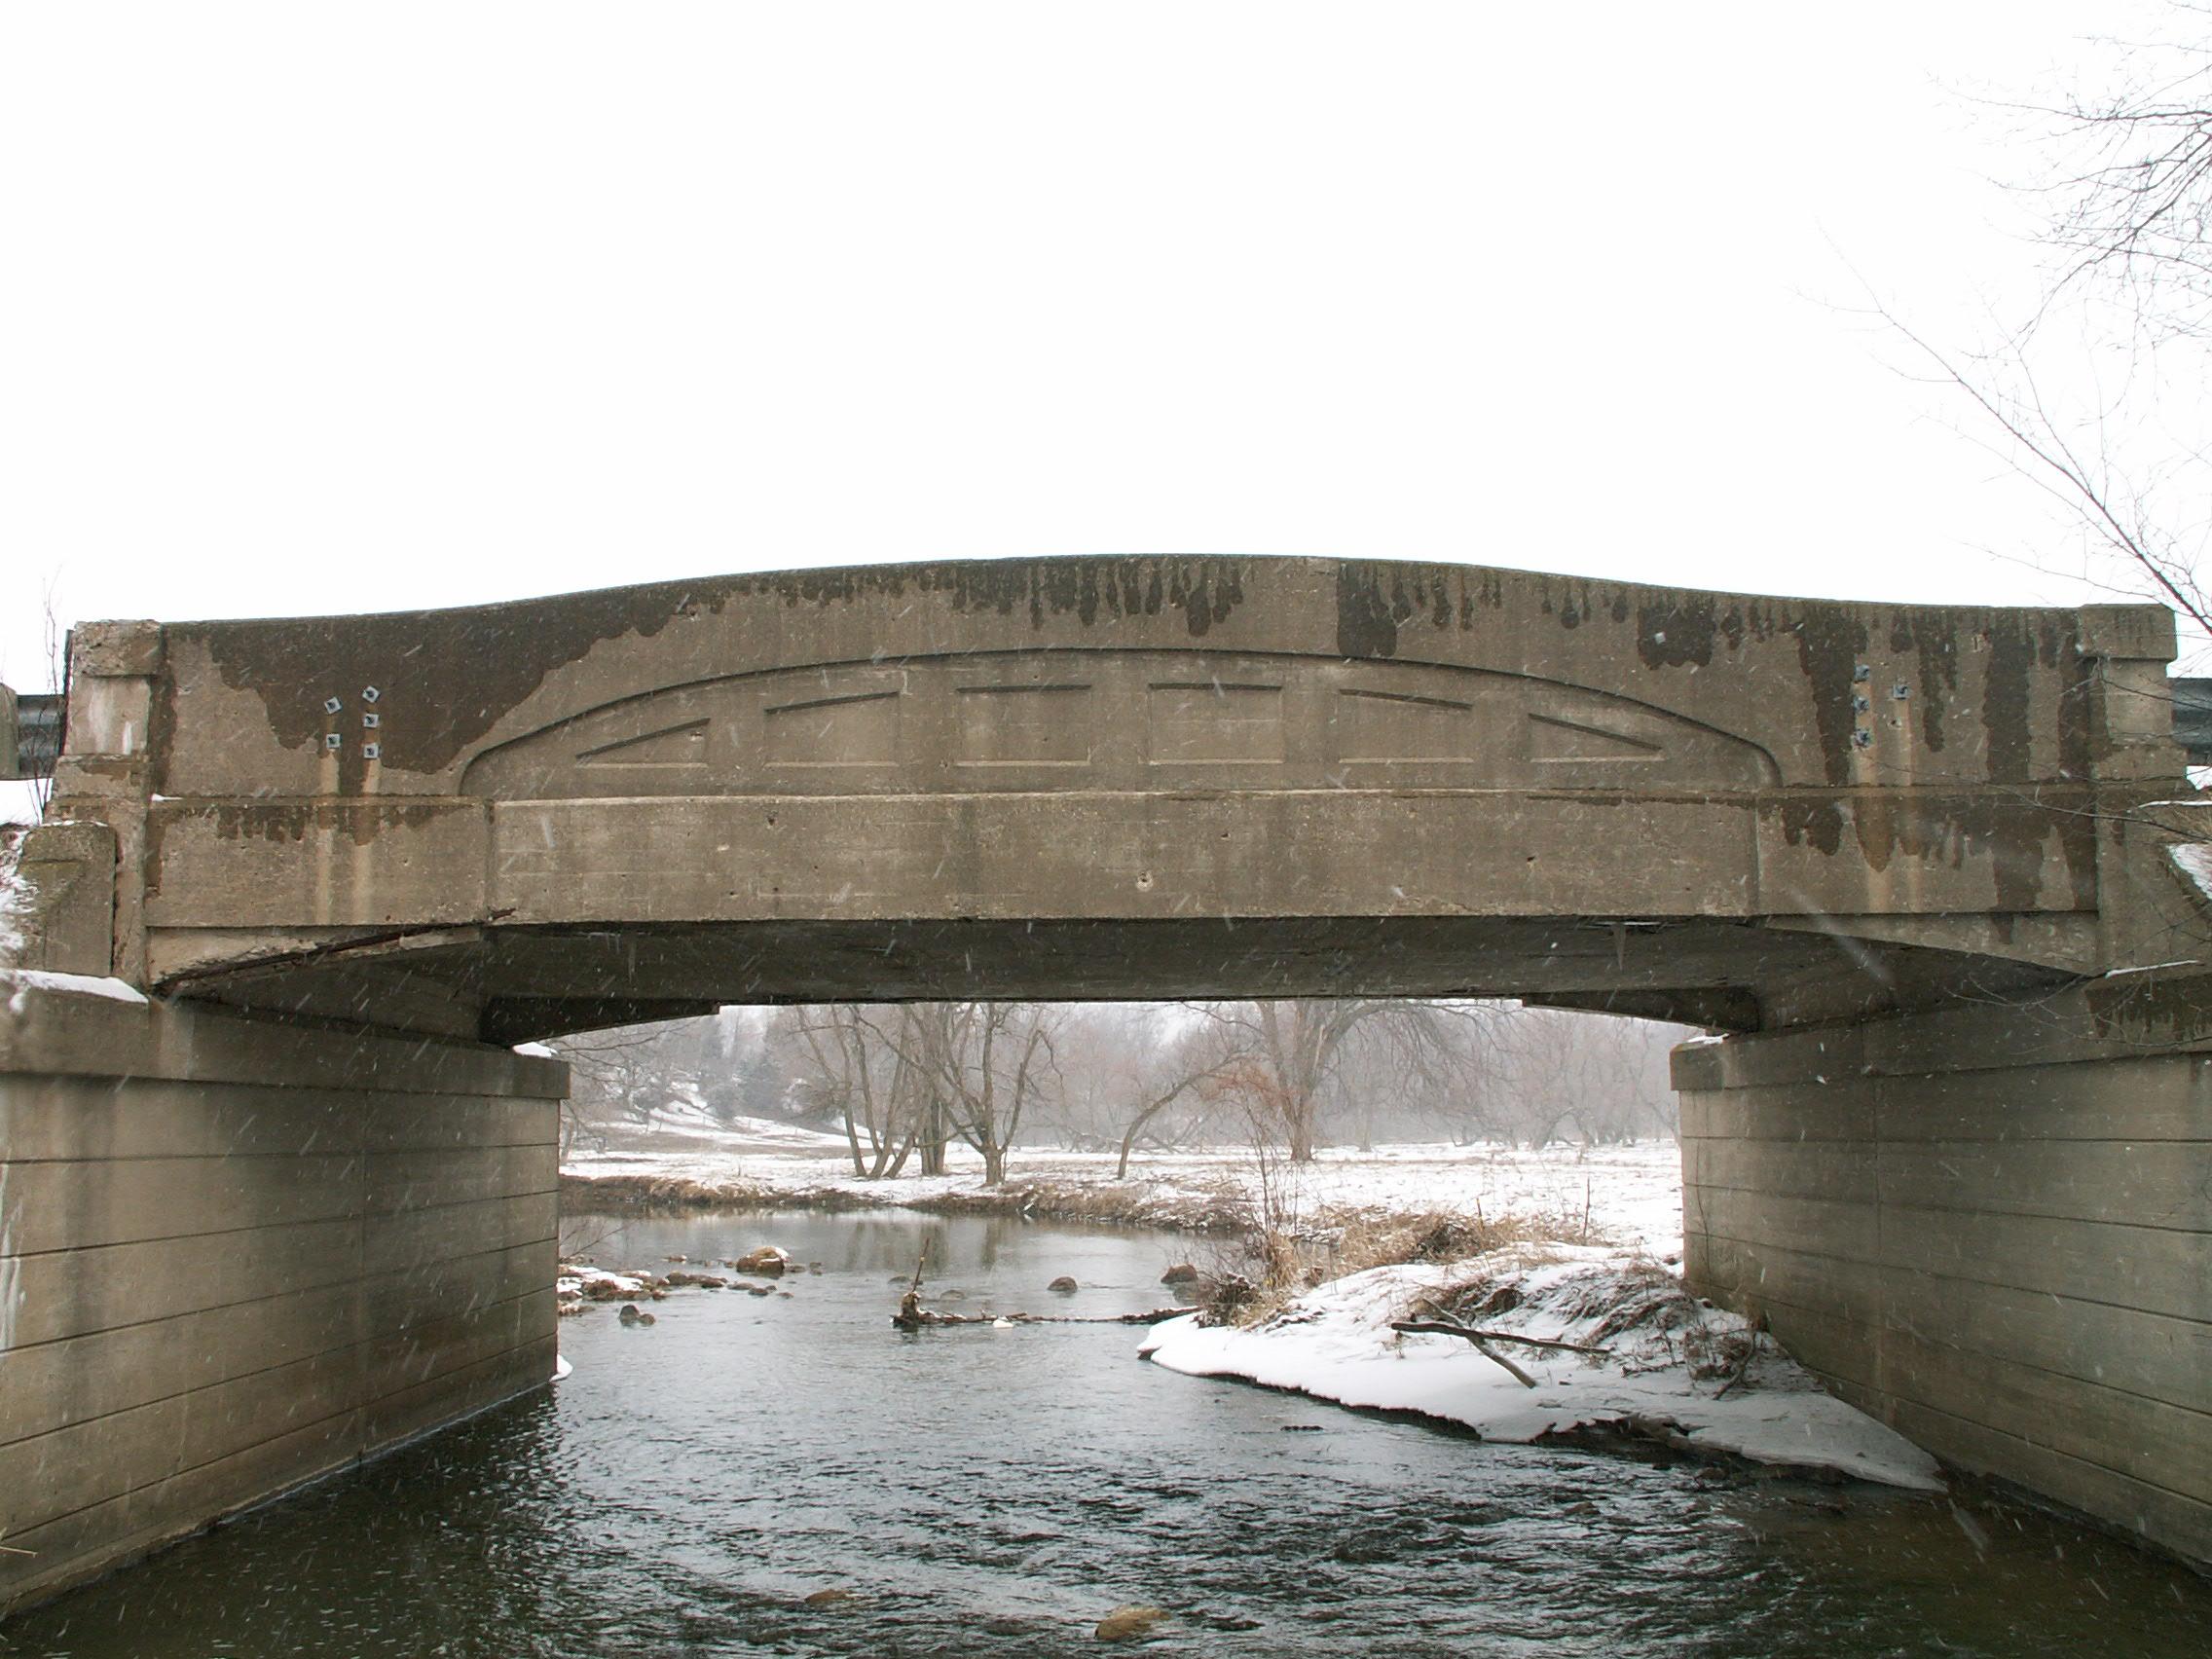
Views under bridge deck.
![]()
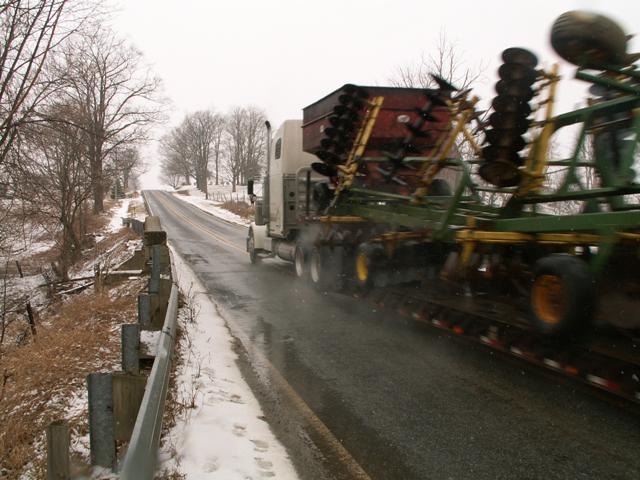
This photo shows the weight this bridge can still carry.
![]()


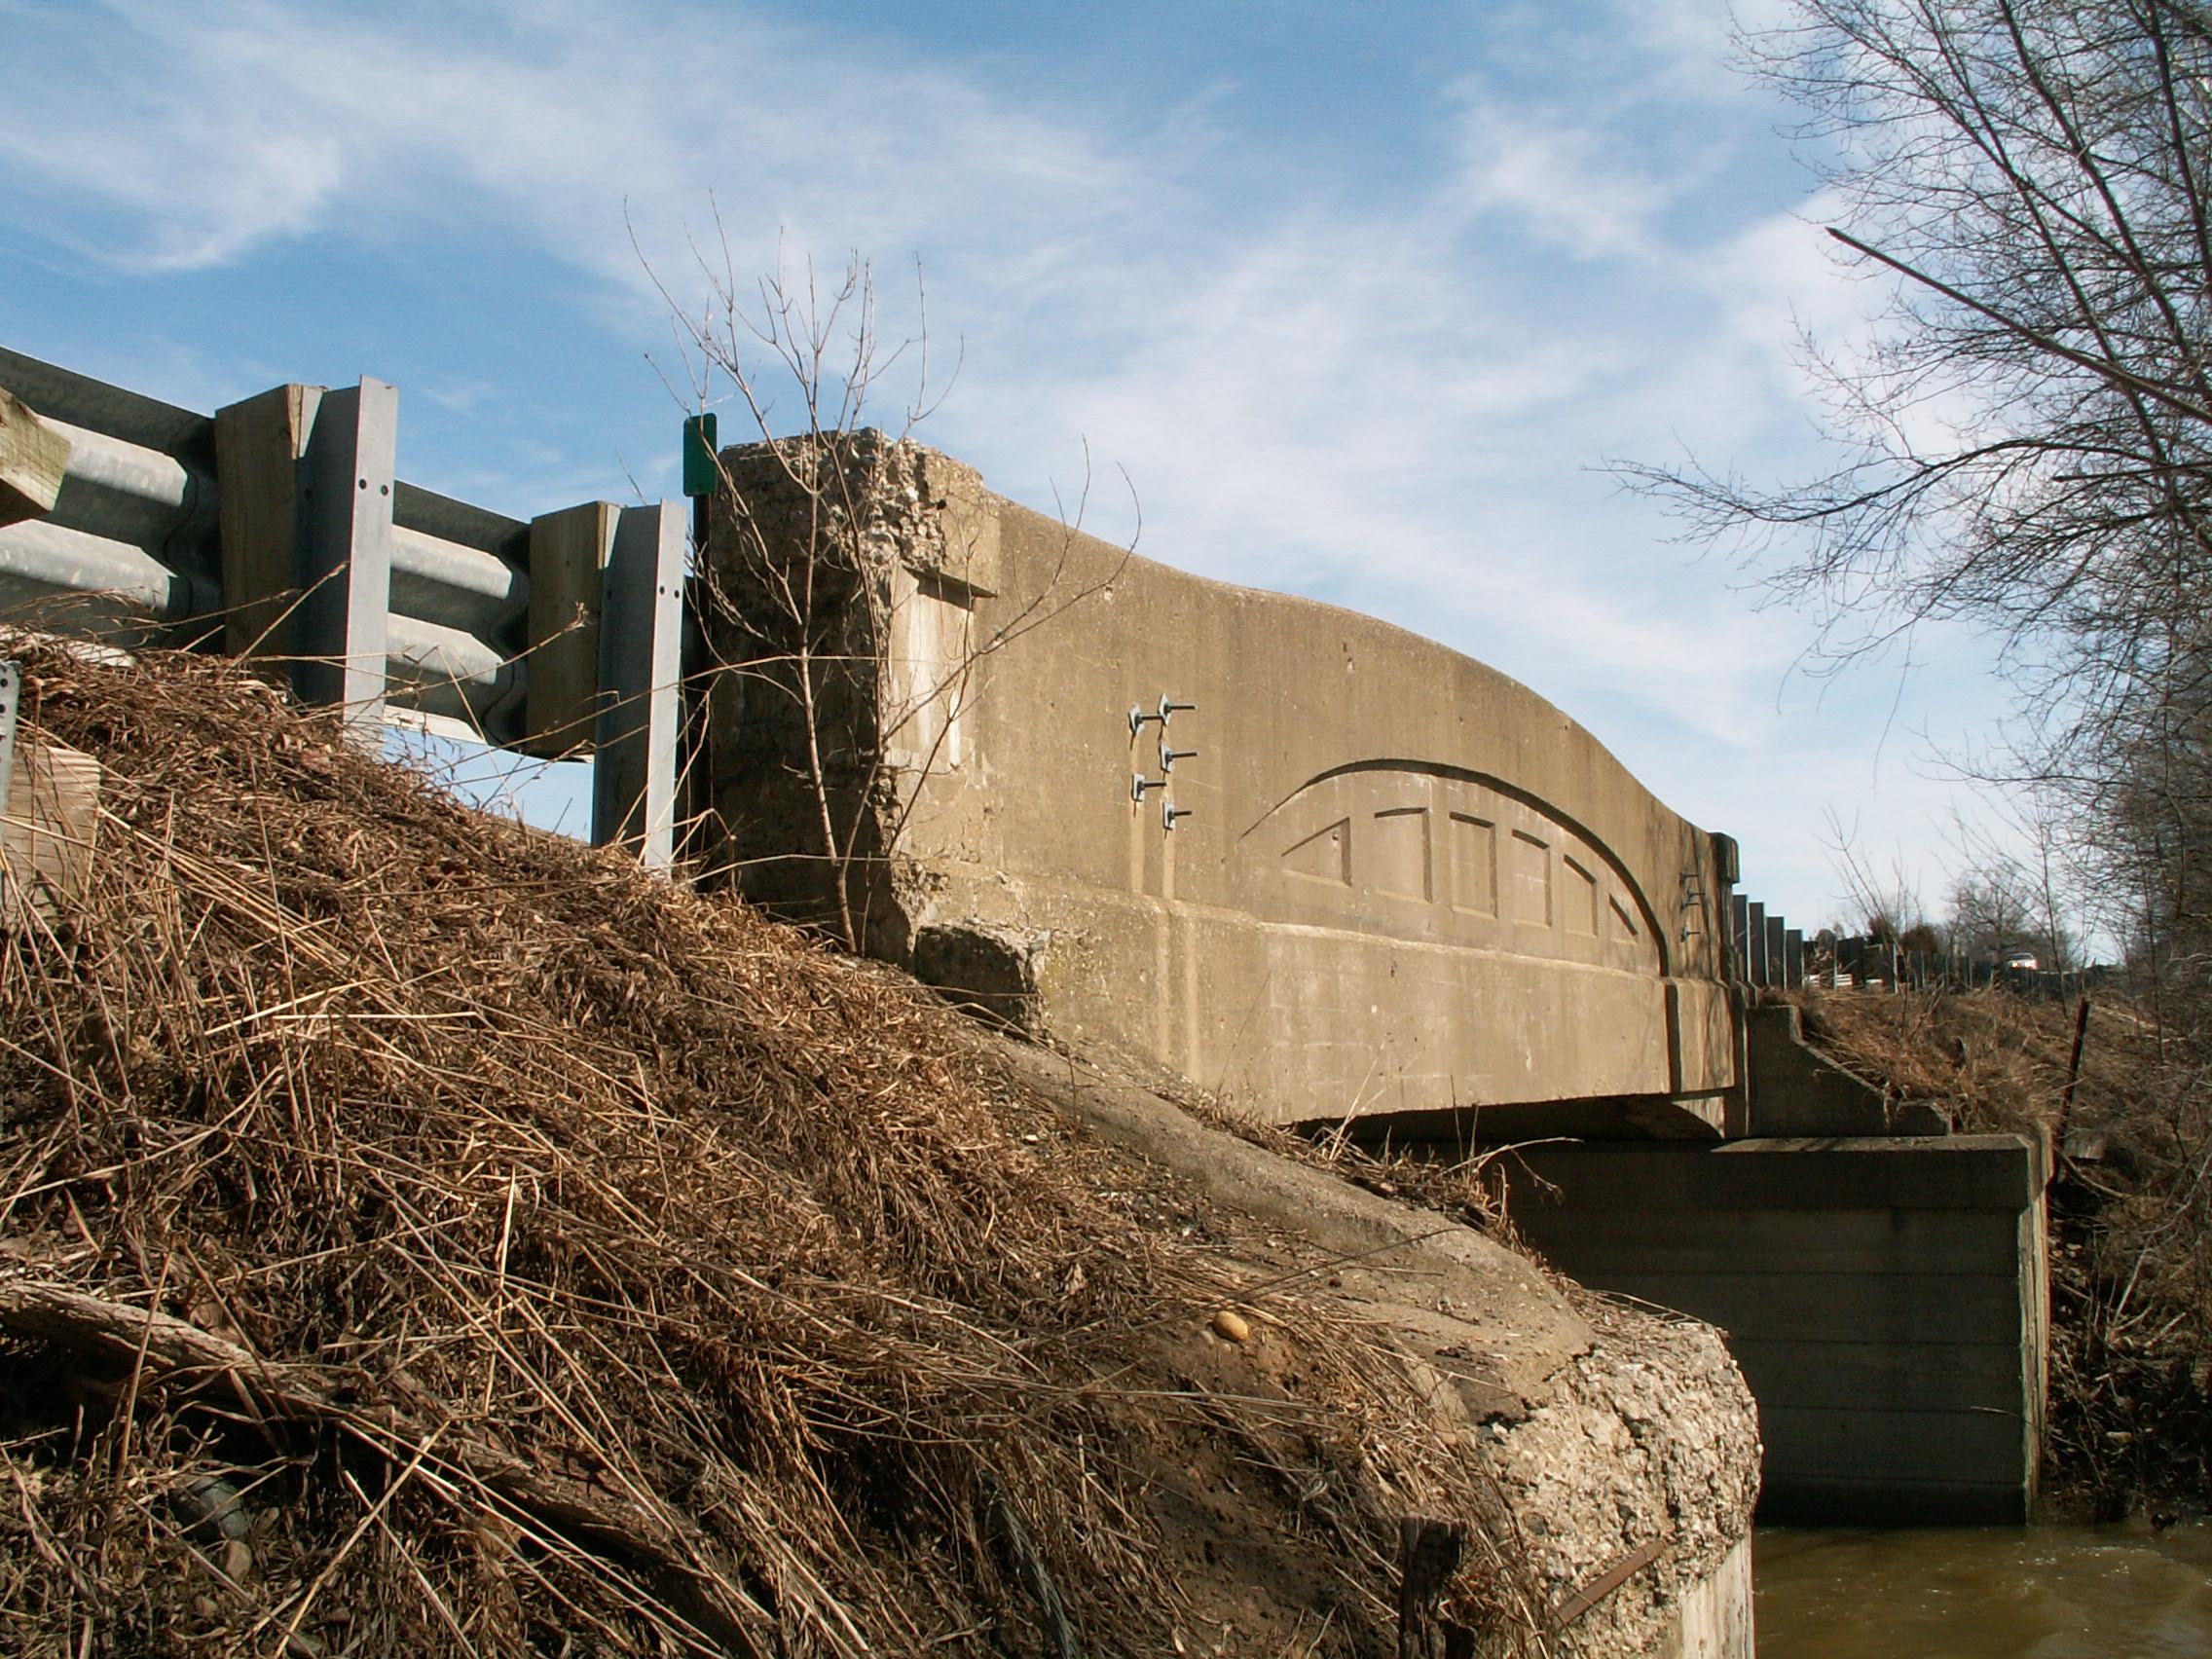
Views of the damage to the abutment.
![]()

This bracket was damaged somewhat also.
![]()
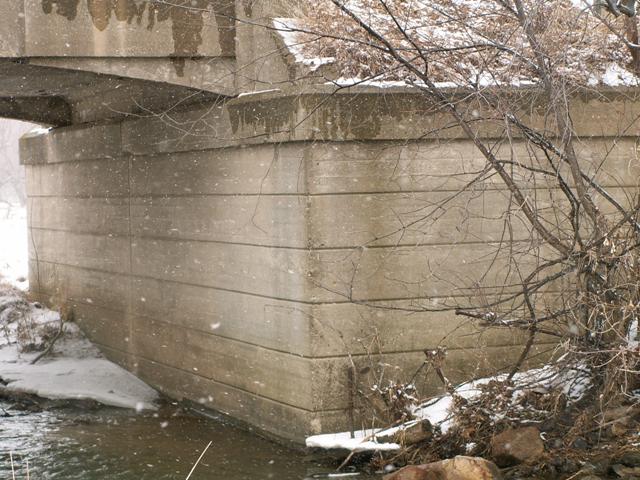
View of the north abutments showing the lines seen on the abutments.
![]()
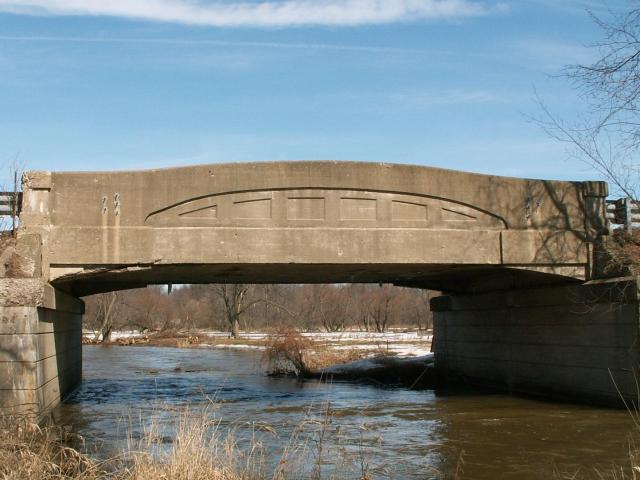


South elevation.
![]()


Views beside bridge from southwest quadrant.
![]()


Various views of the girders.
![]()
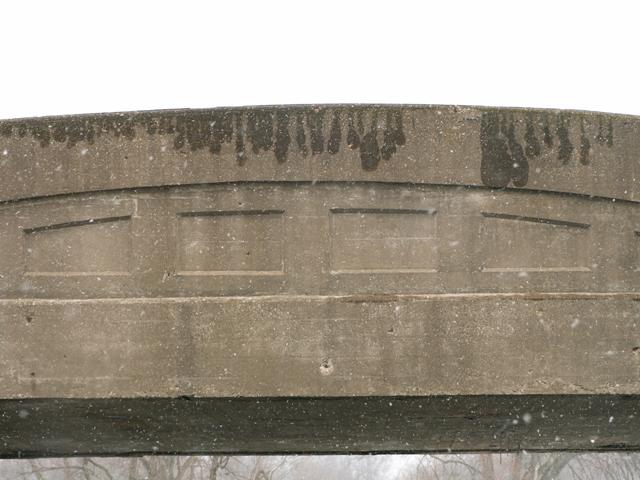
View of center of girder.
![]()


Views of end of girder.
![]()


Views of the plaque.
![]()

Overview of bridge location.
![]()
View beside girder.
![]()

Portal view.
![]()
![]()
| Back |
| Home |
| Top |

![]()