
Uncredited photos on this page taken by: Nathan Holth. Unless stated in a caption, all photos are Copyright with All Rights Reserved. Learn about reuse of our photos.
![]()

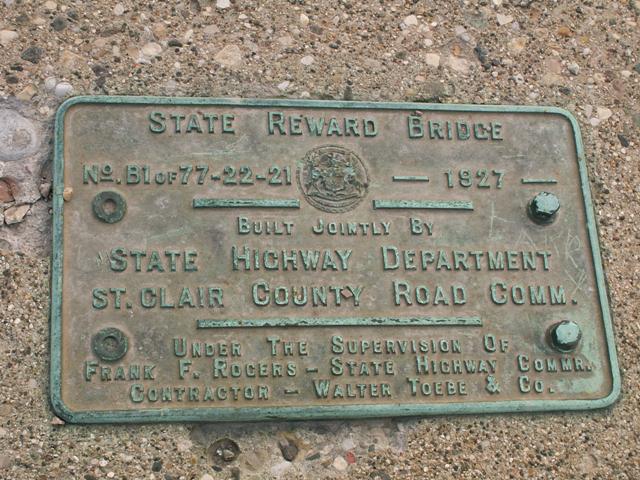

Views of plaque.
![]()


Overviews of deck.
![]()


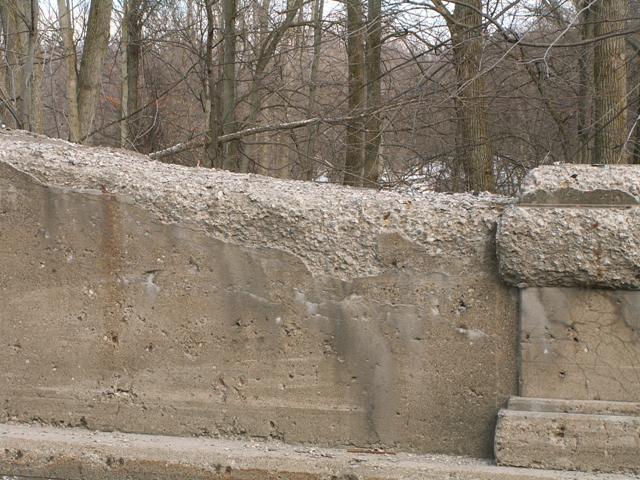
Views of various deck and substructure sections.
![]()


Details showing isolated deck deterioration.
![]()


Additional views under deck.
![]()


The pier is perhaps the area that shows the most visible section loss.
![]()


Various detail views of the girders.
![]()


The only other area where a fair amount of spalling was visible was the southern part of the northern span on the eastern girder.
![]()


In contrast, these photos detail the remarkably good condition of the remaining portions of the bridge.
![]()


Old right-of-way marker near bridge.
![]()


Other miscellaneous views.
![]()
![]()
| Back |
| Home |
| Top |

![]()