Uncredited photos on this page taken by: Nathan Holth. Unless stated in a caption, all photos are Copyright with All Rights Reserved. Learn about reuse of our photos.
![]()
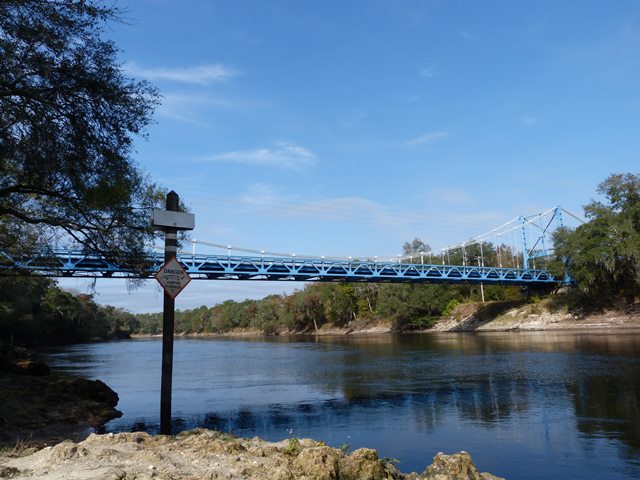
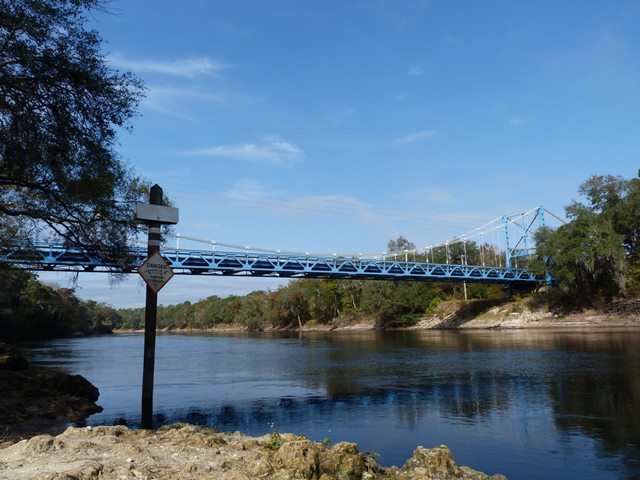

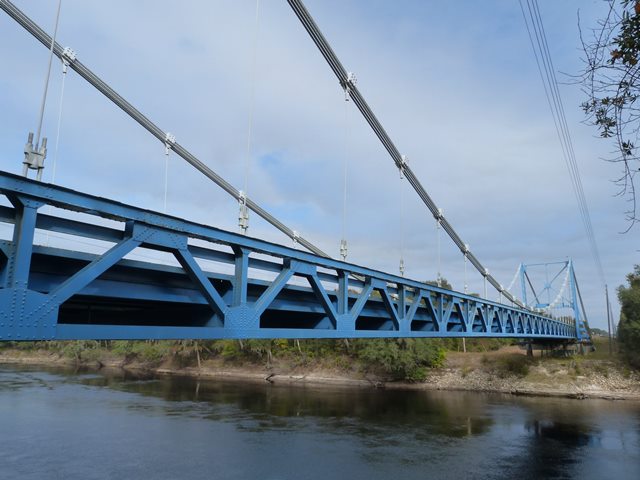
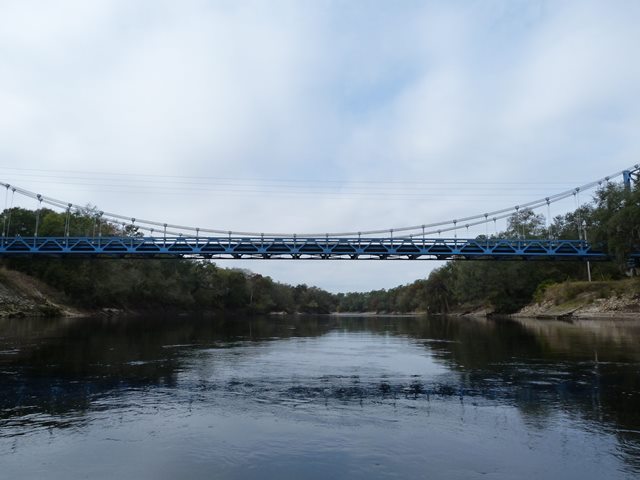
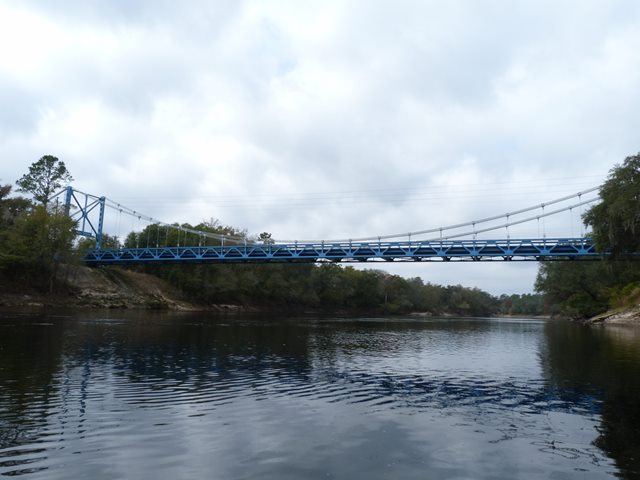
Elevation from southeast quadrant.
![]()
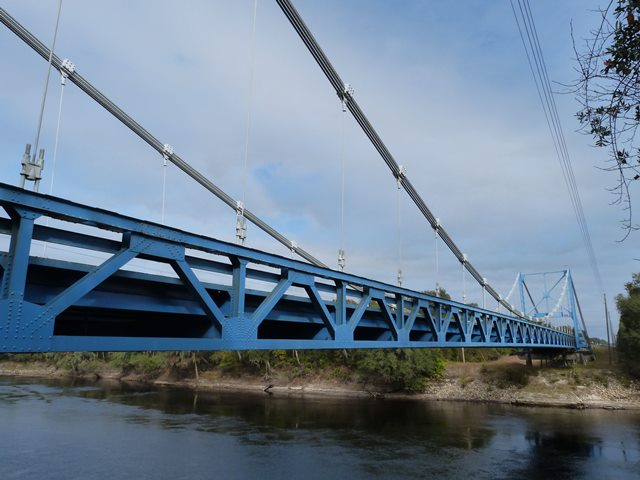
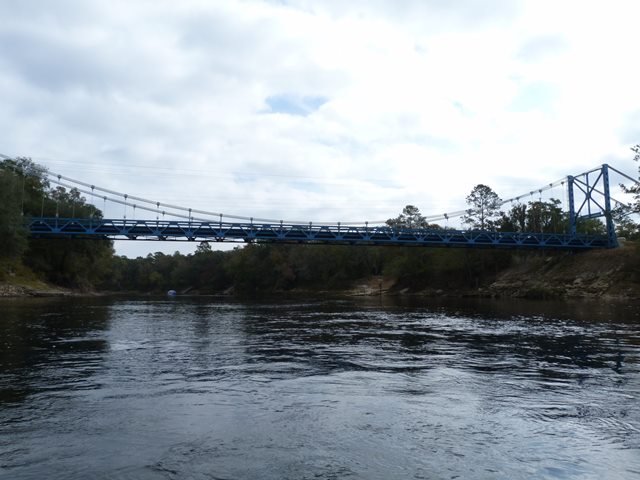
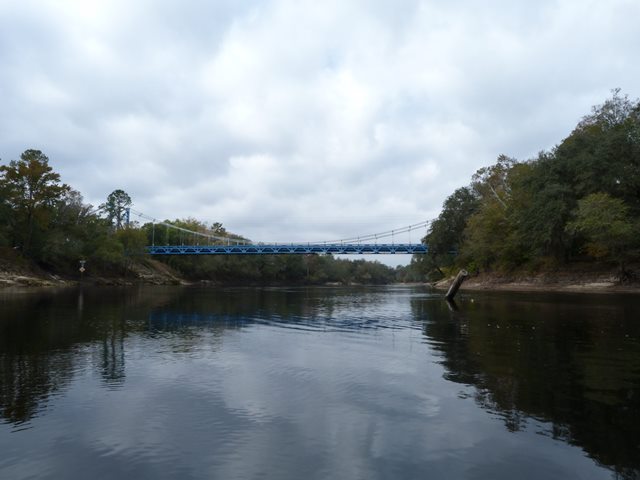
Oblique view from southeast quadrant.
![]()
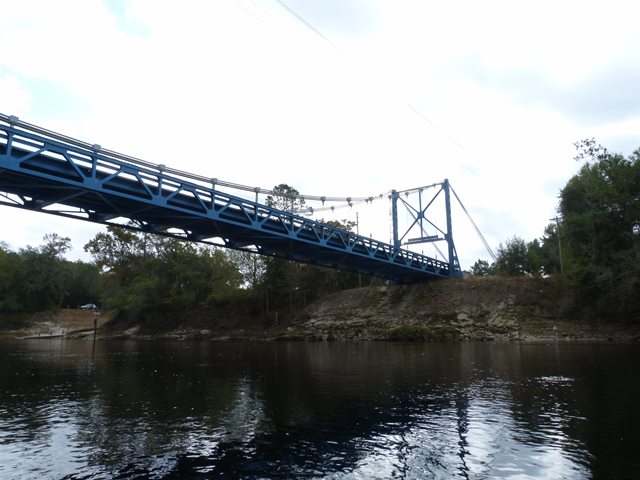
Views beside bridge from southeast quadrant.
![]()
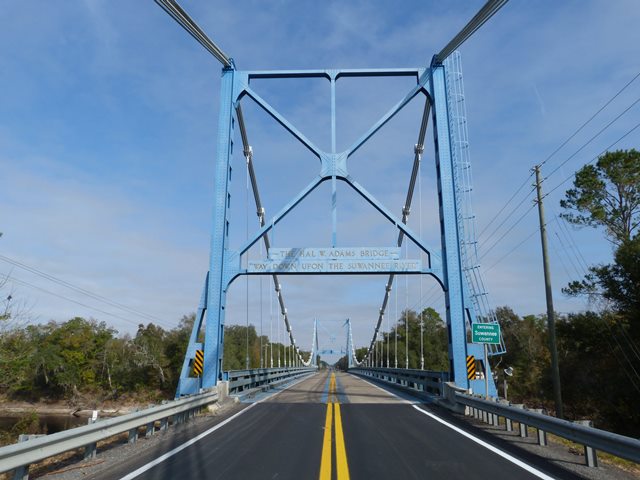


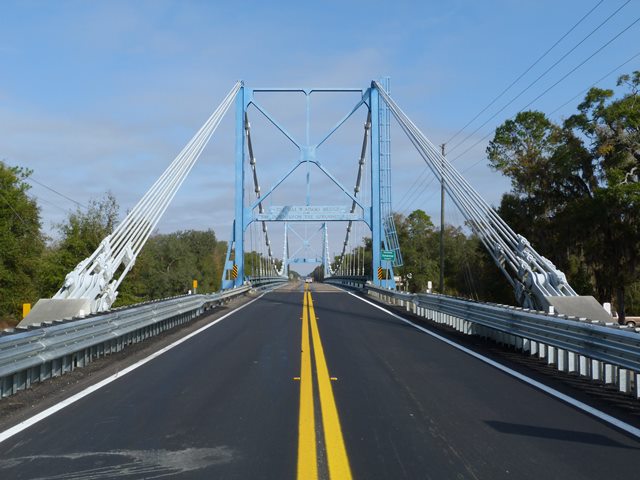


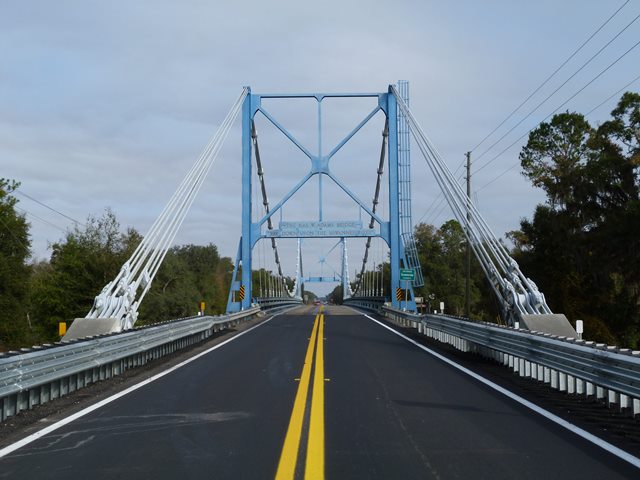


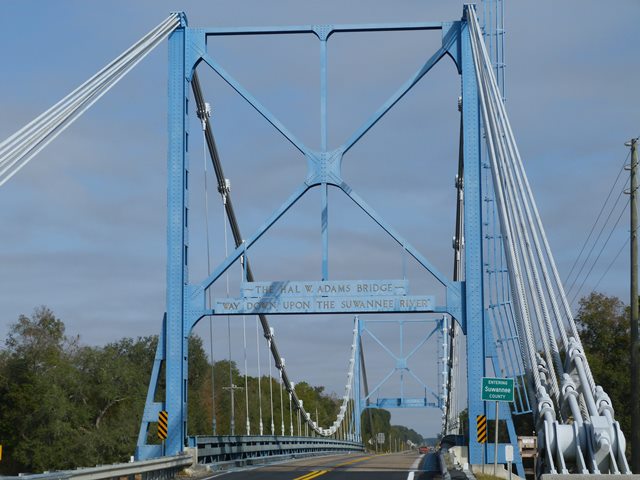
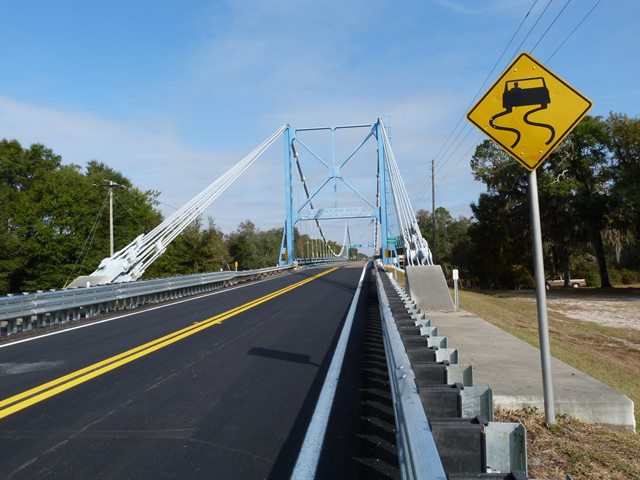
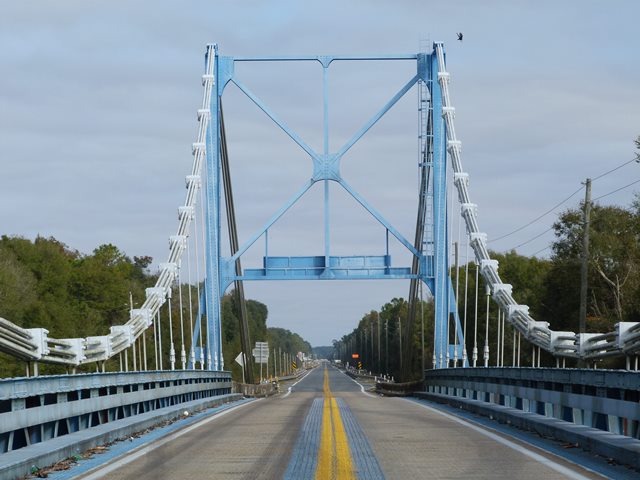
Portal views facing north.
![]()
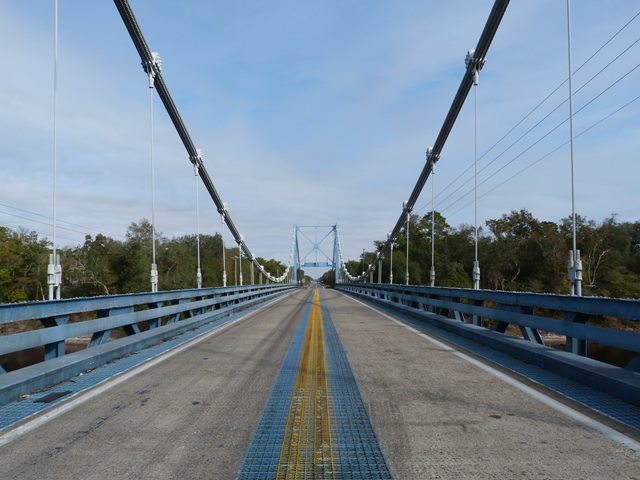


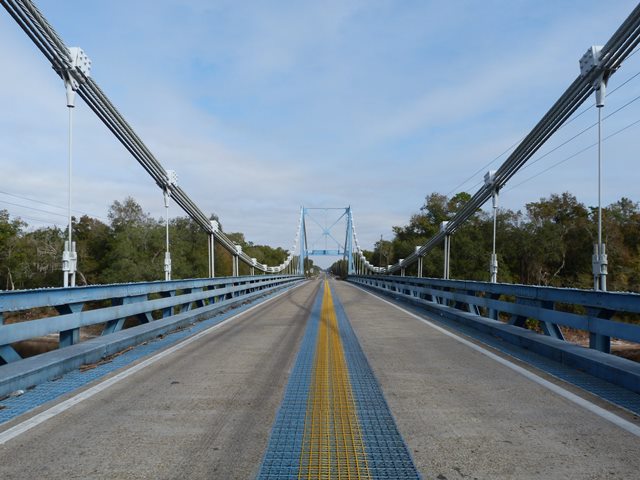

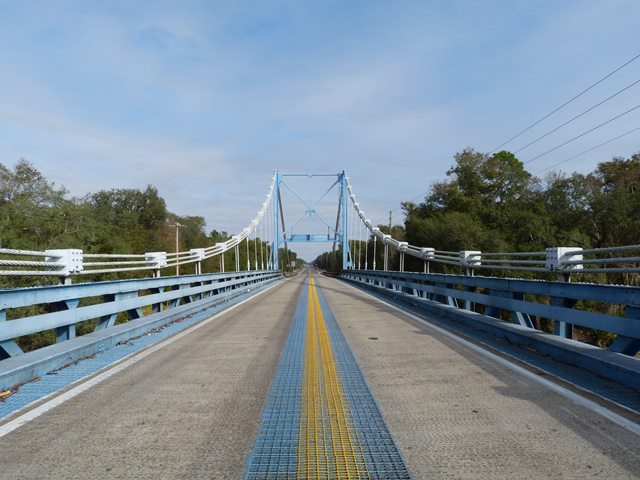


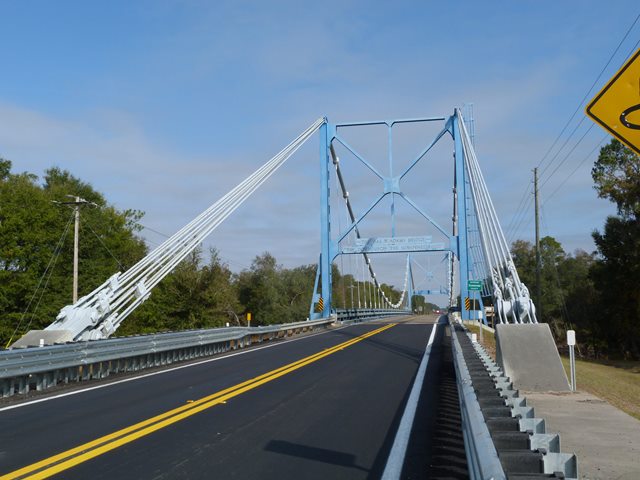
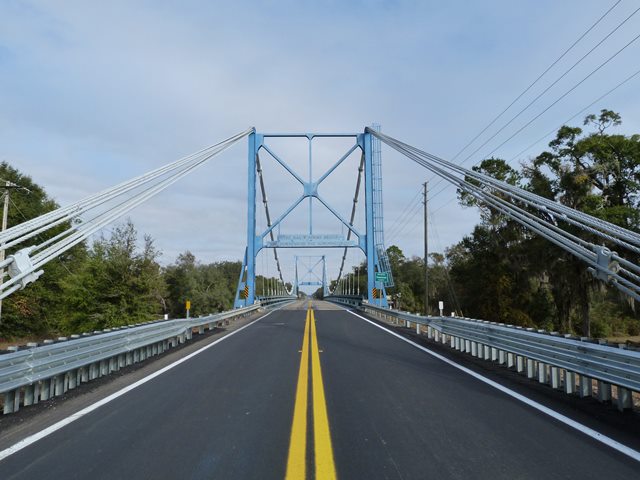
Portal views on bridge facing north.
![]()
Views from beside roadway from southeast quadrant.
![]()


West elevation.
![]()


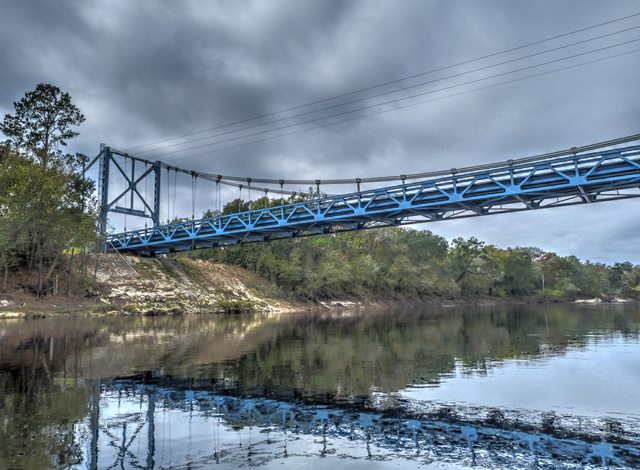
HDR Photos: West elevation.
![]()


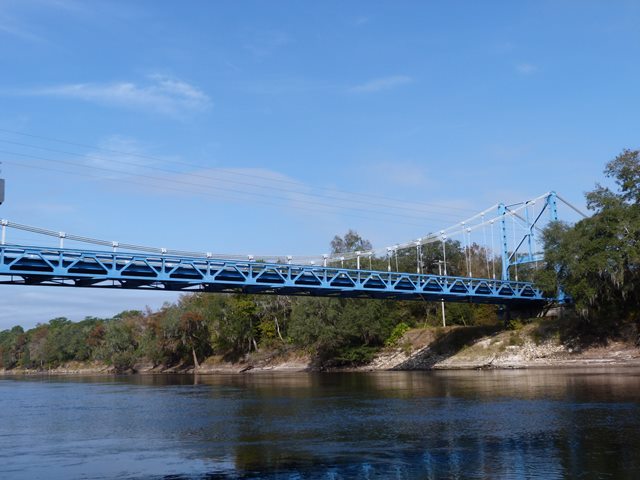
Views beside bridge from river.
![]()


HDR Photos: View beside bridge from river.
![]()


East elevation.
![]()


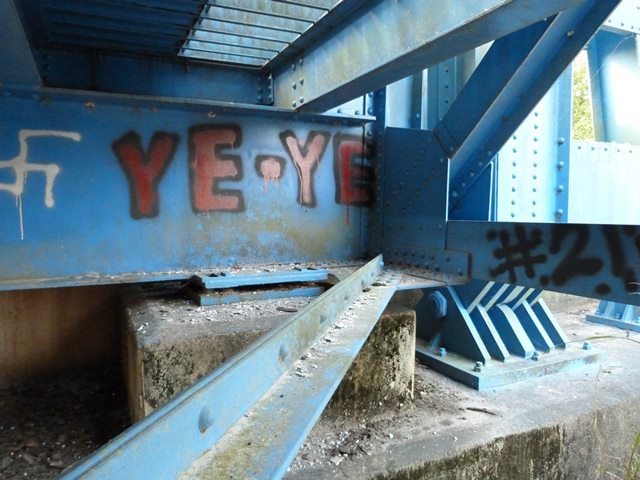
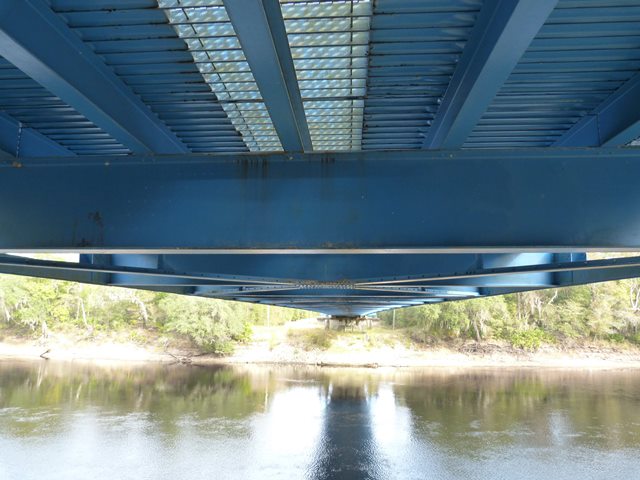
Views under bridge.
![]()
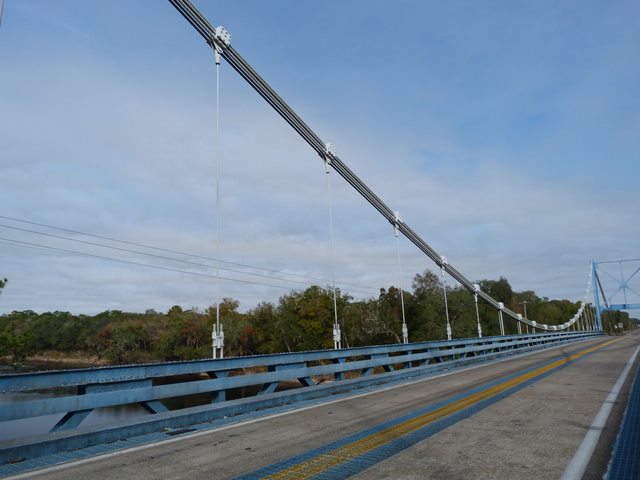
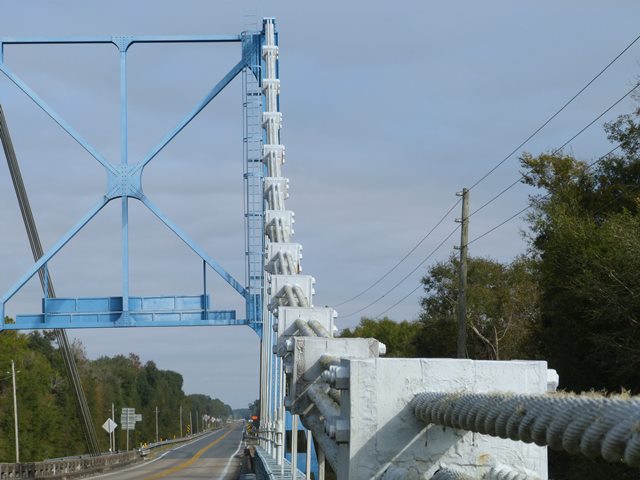
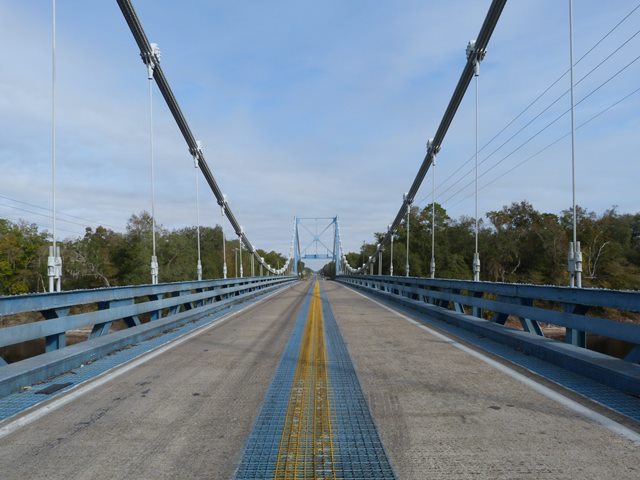
Overview of suspension structure.
![]()

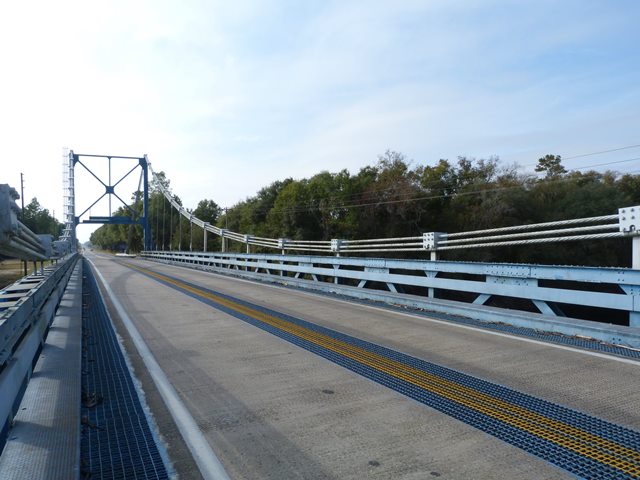
Looking toward northern approach spans.
![]()

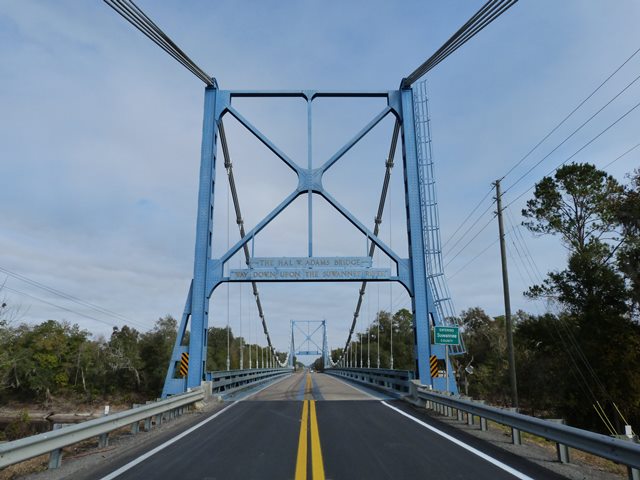
Sign on bridge.
![]()

Bridge number.
![]()

Survey marker.
![]()

Bridge date.
![]()
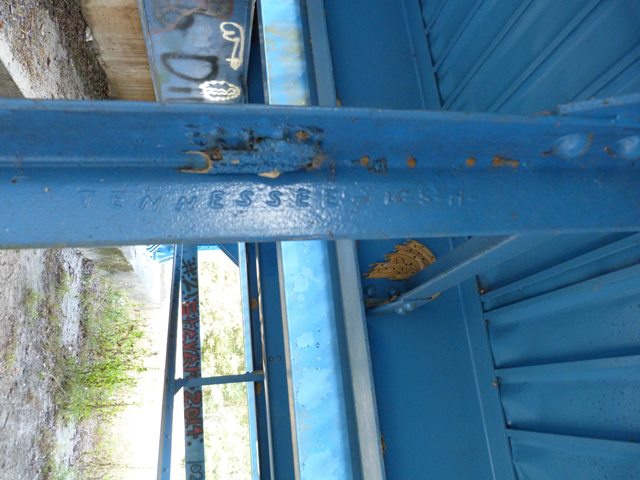
Tennessee brand.
![]()

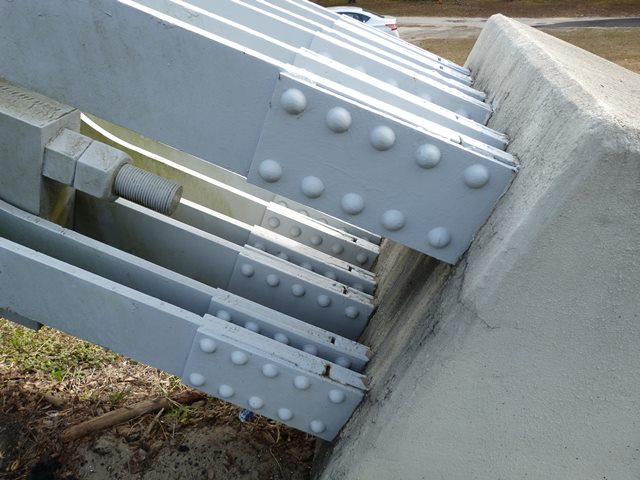
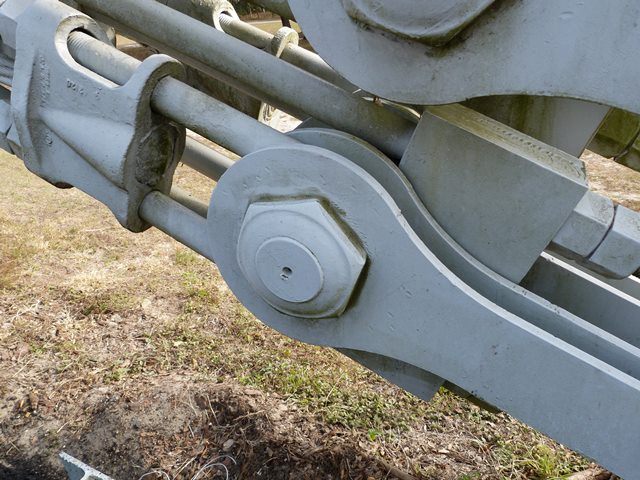
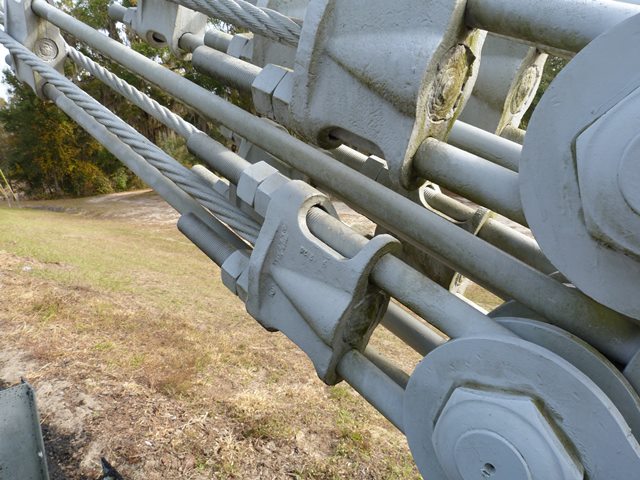


Details of anchorage eyebars.
![]()
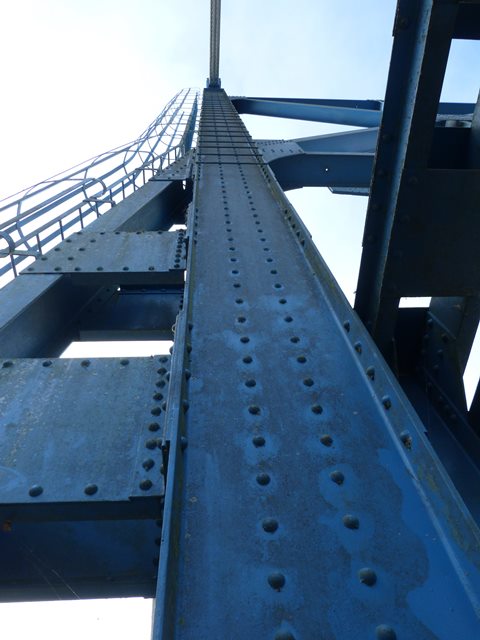
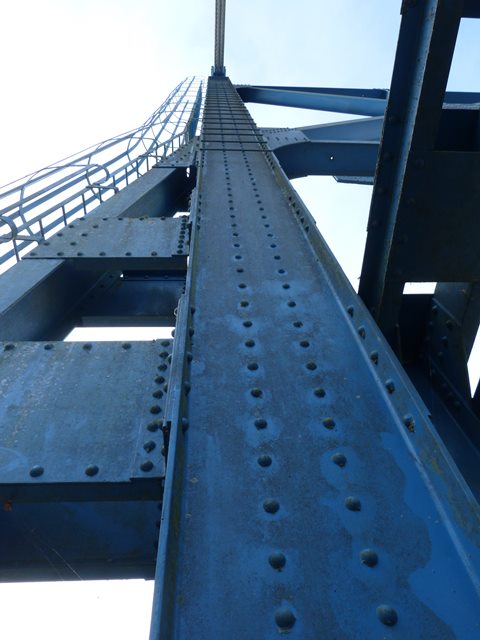
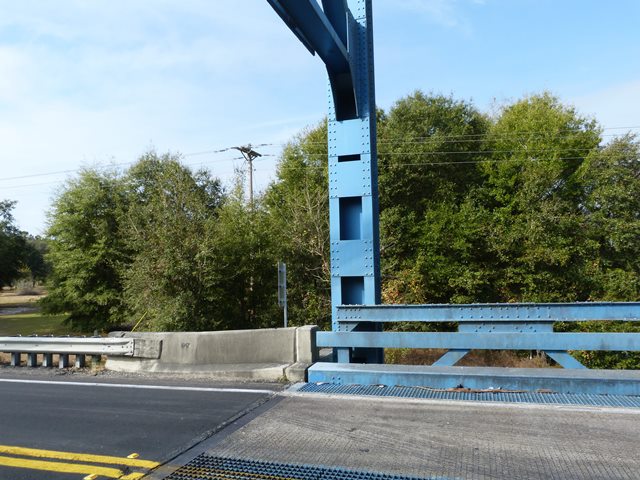
Looking up at tower posts.
![]()

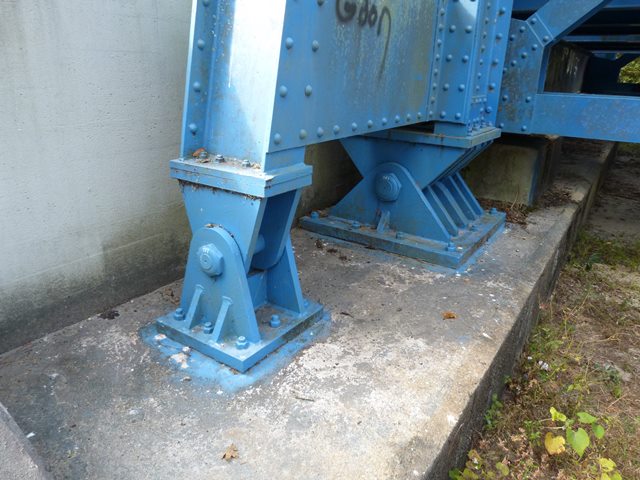


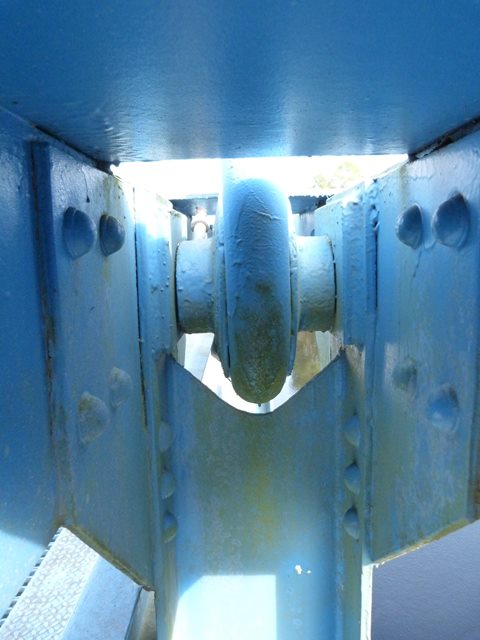
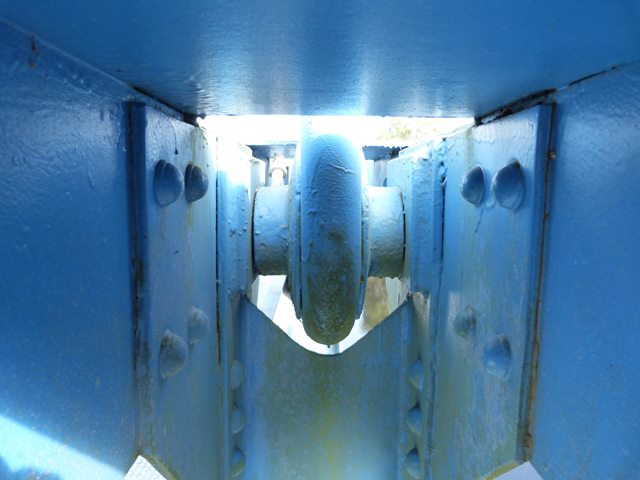
Tower bearings.
![]()
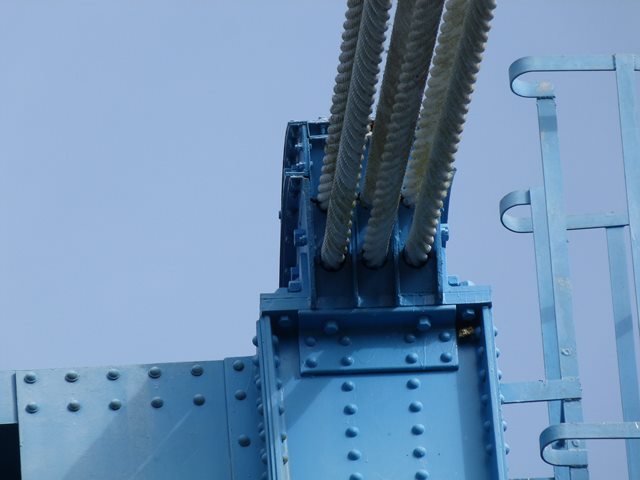
Cable saddle.
![]()
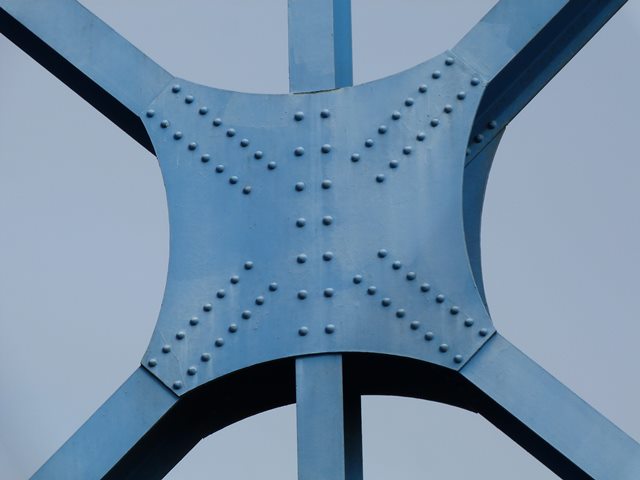


Tower bracing details.
![]()
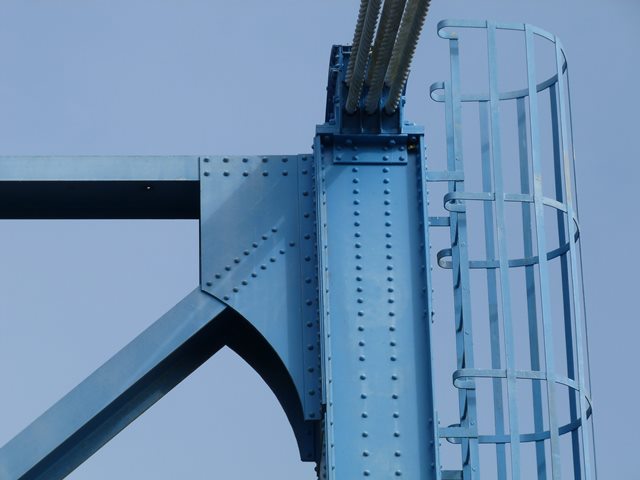
Tower post details.
![]()
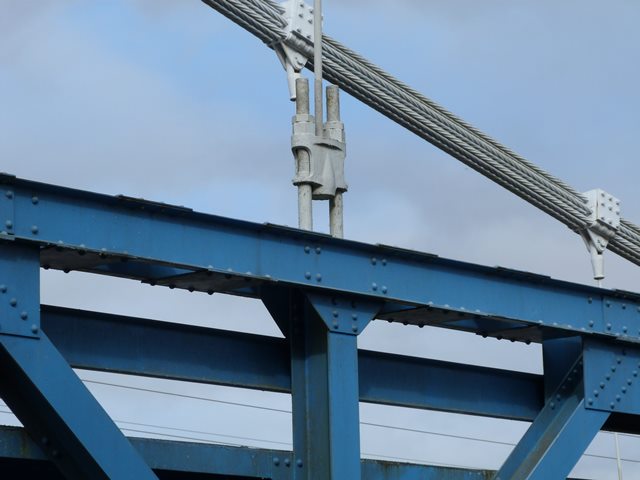
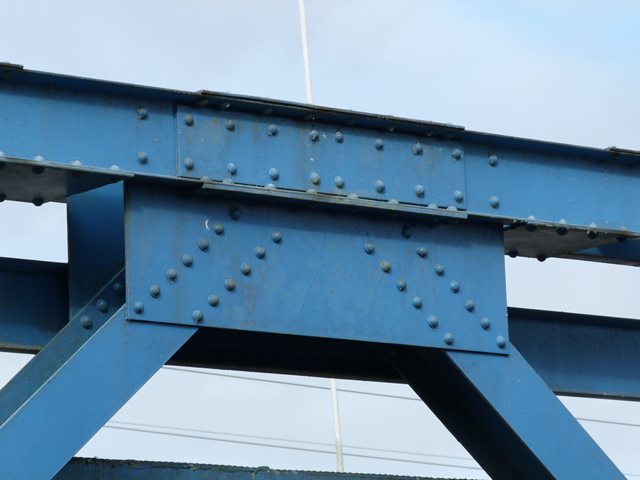
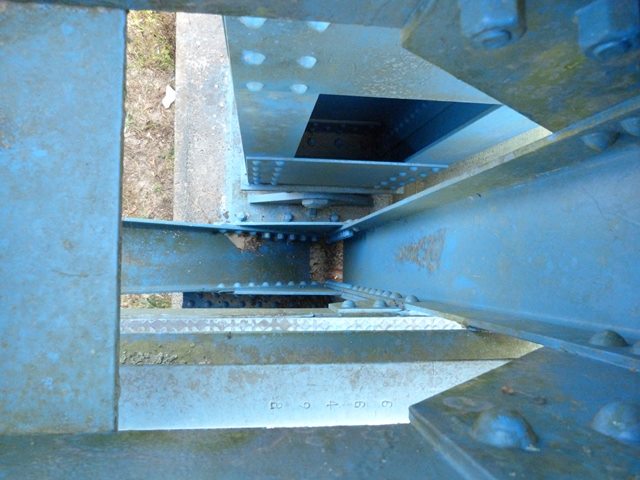
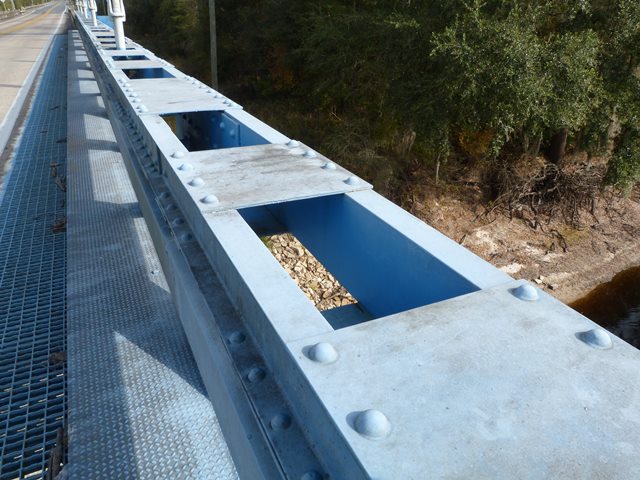
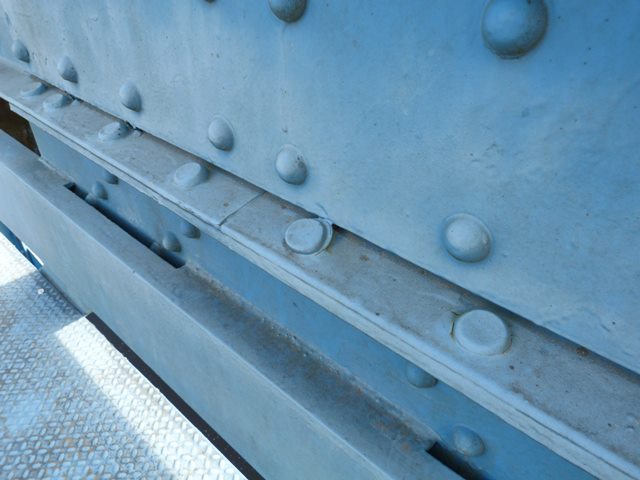
Stiffening truss top chord connections.
![]()
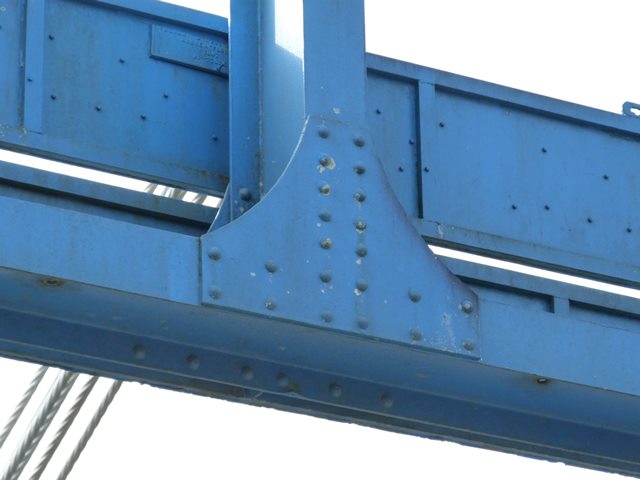
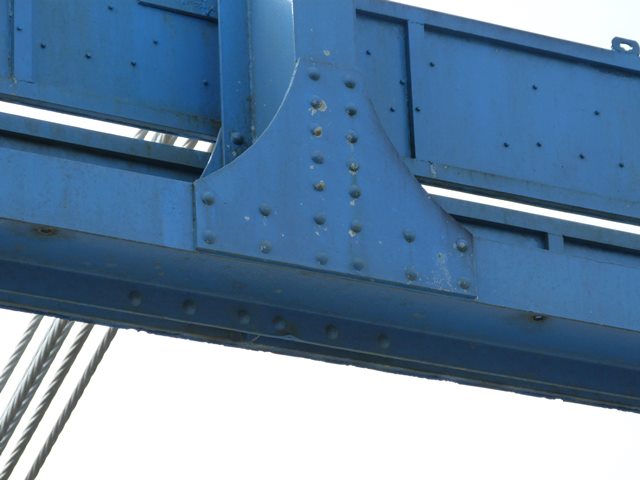
Stiffening truss bottom chord connections.
![]()
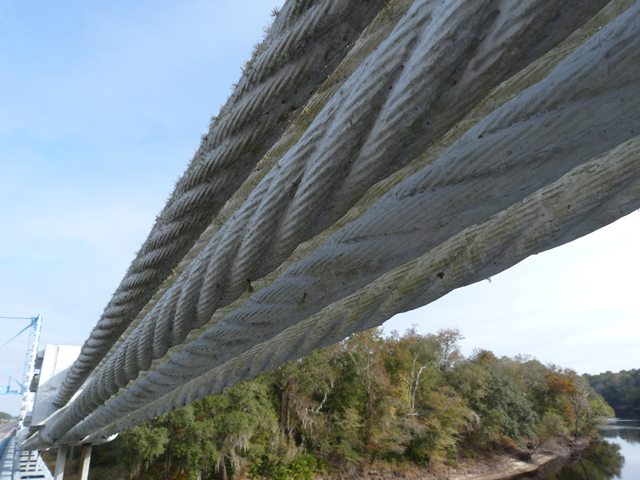
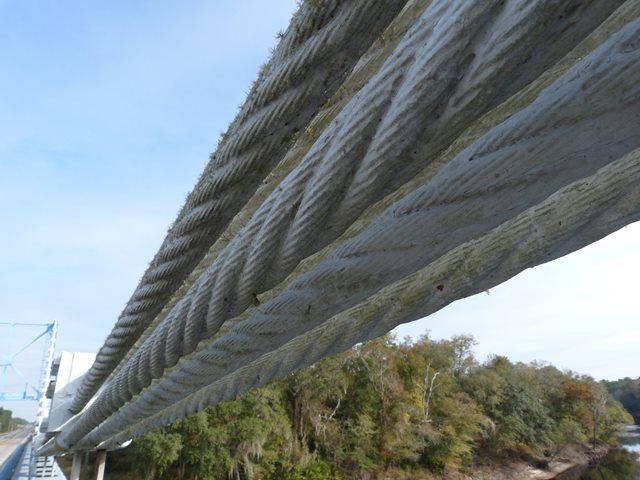
Main cable detail.
![]()


Suspenders using bar.
![]()

Suspenders using rod.
![]()
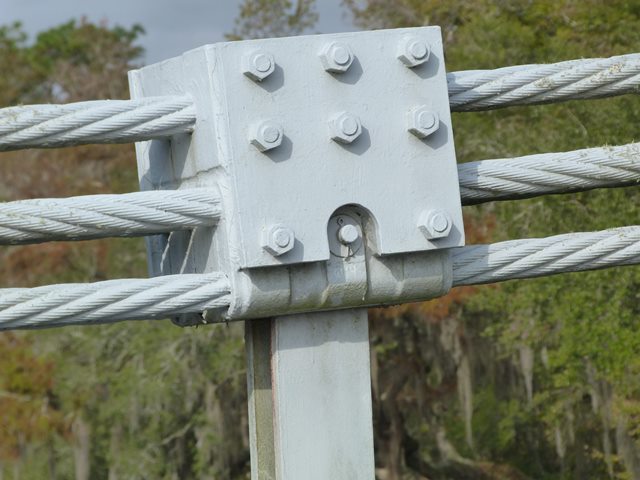
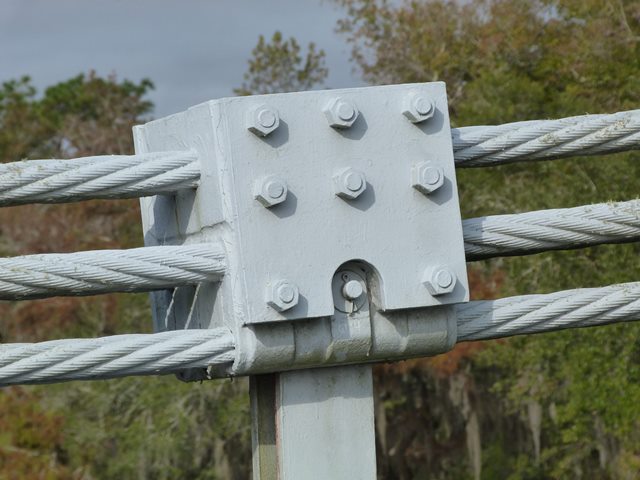
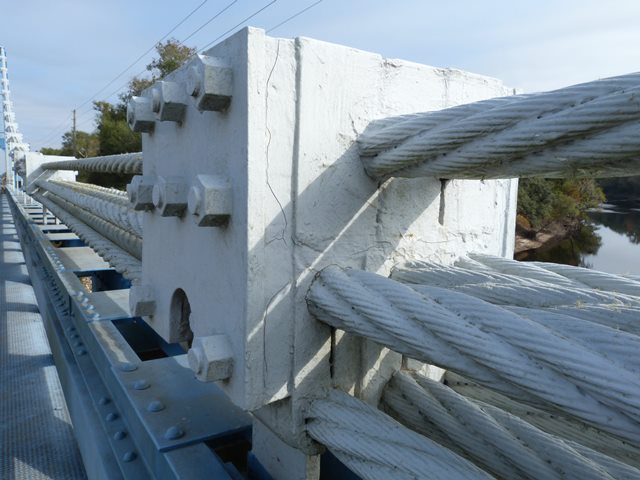
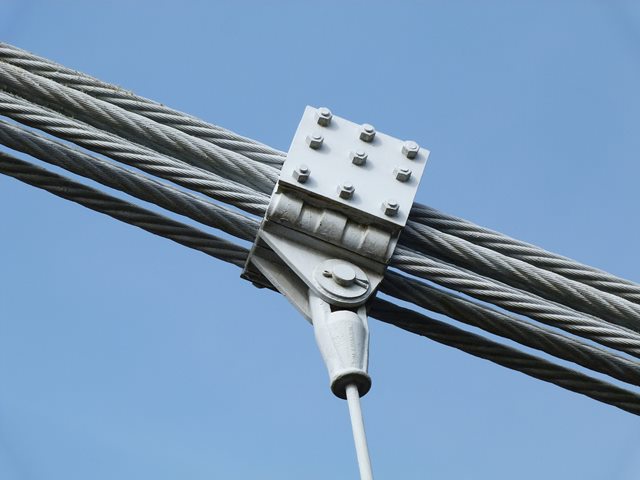
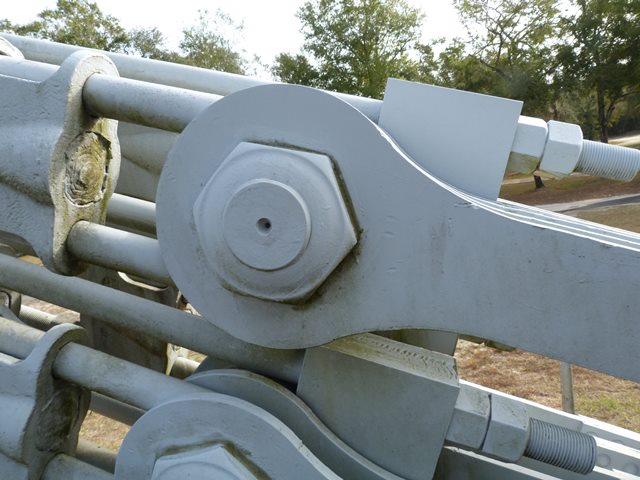
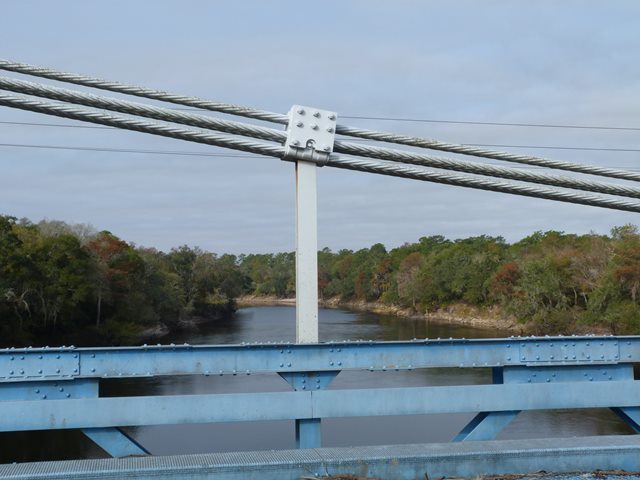
Main cable connection to bar suspenders.
![]()
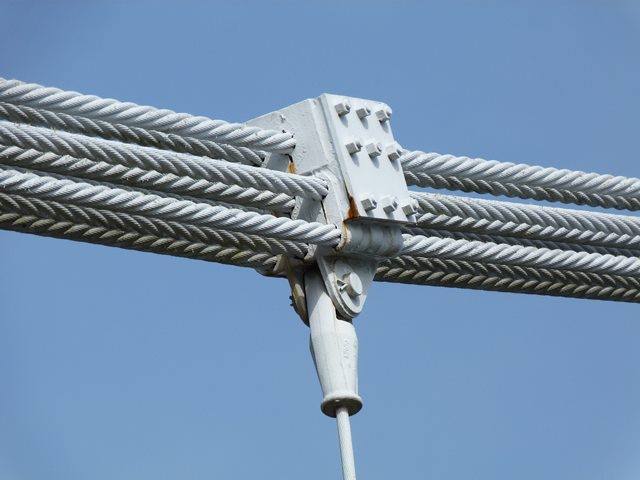
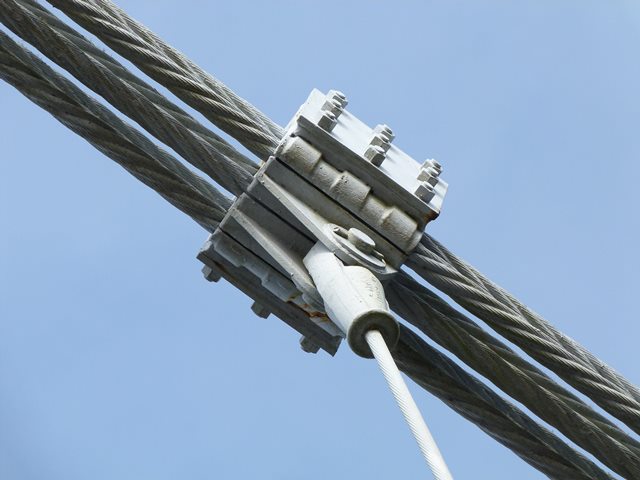
Main cable connection to rod suspenders.
![]()


Rod suspender connections to stiffening truss.
![]()

Bar suspender connections to stiffening truss.
![]()
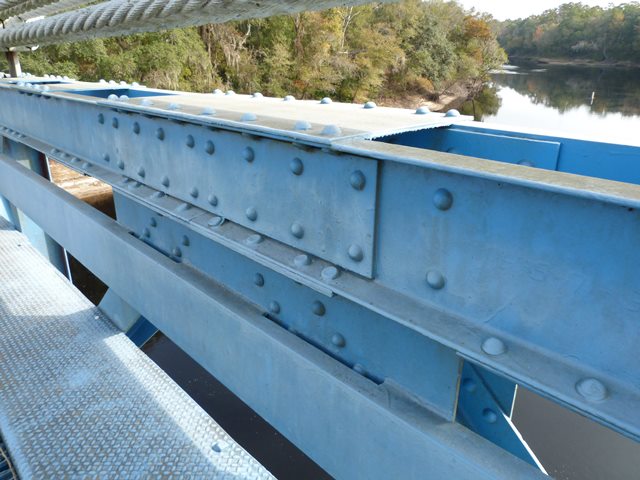
Stiffening truss top chord.
![]()

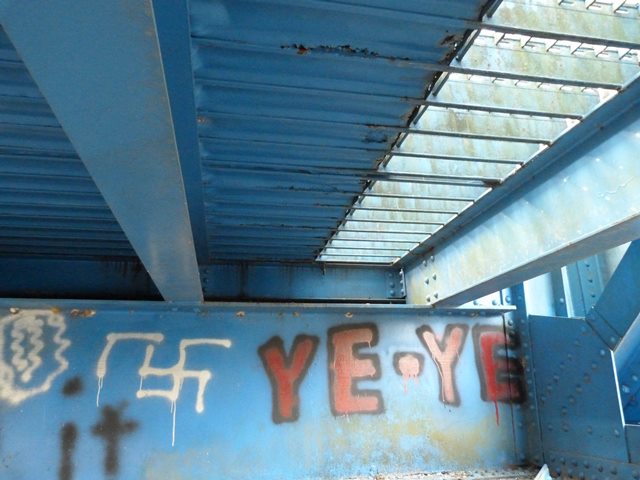
Views under bridge showing floor beams and deck stringers.
![]()

Floor beam connection detail.
![]()
Lateral bracing connections.
![]()
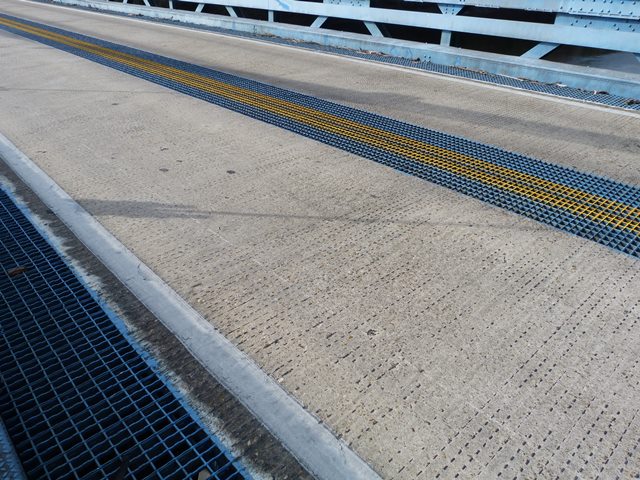
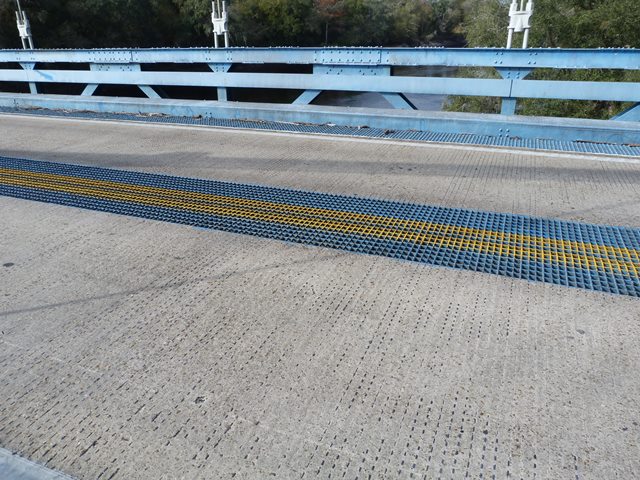
Deck.
![]()

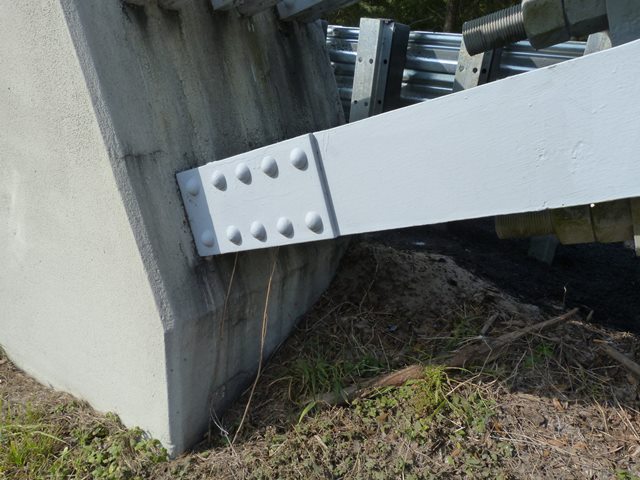
Abutment railing.
![]()
![]()
| Back |
| Home |
| Top |

![]()