Uncredited photos on this page taken by: Nathan Holth. Unless stated in a caption, all photos are Copyright with All Rights Reserved. Learn about reuse of our photos.
![]()


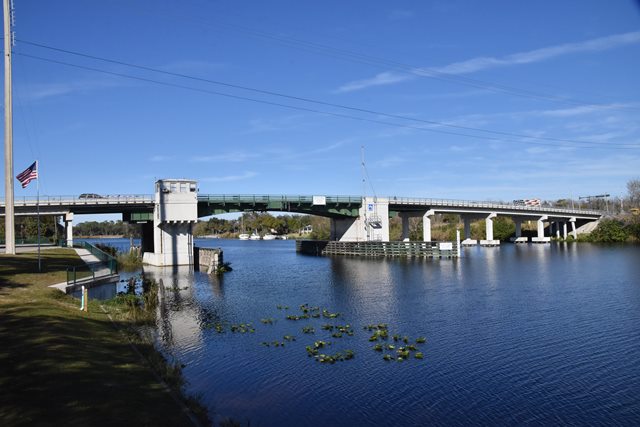
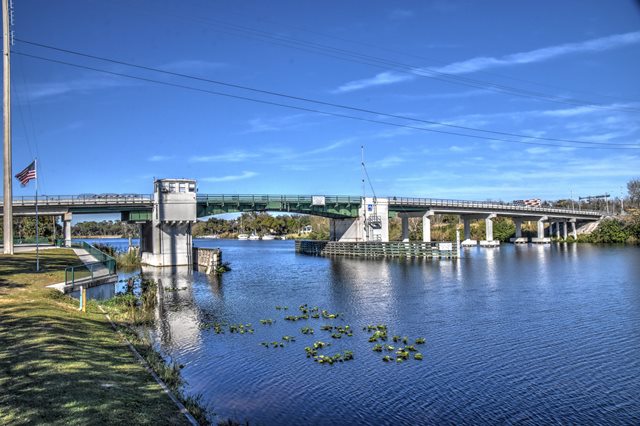


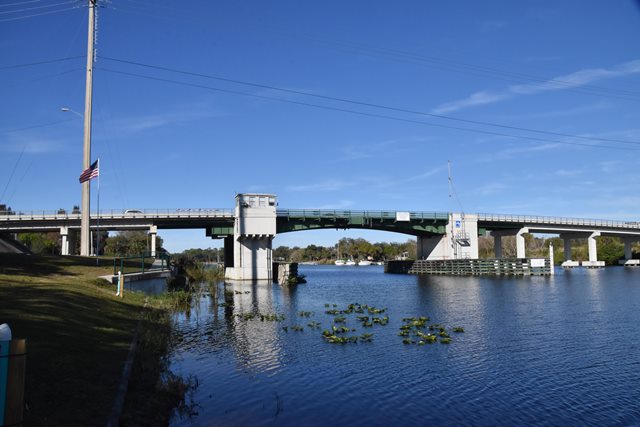


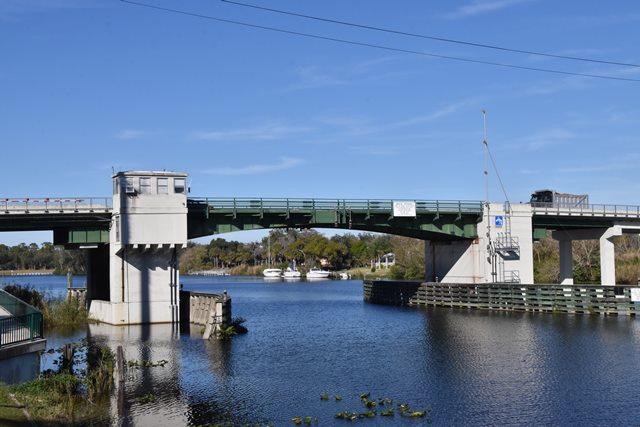
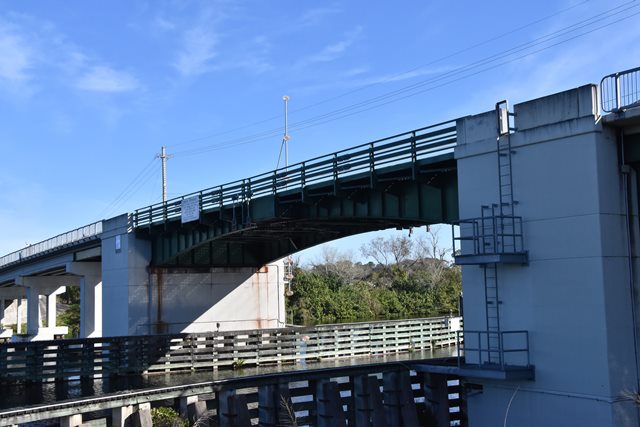
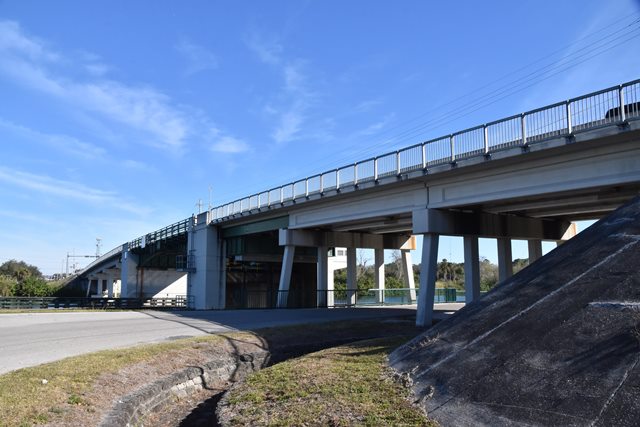
Elevation from southeast quadrant.
![]()
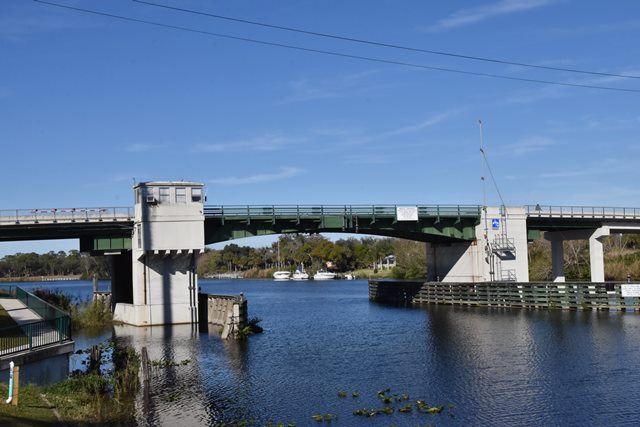


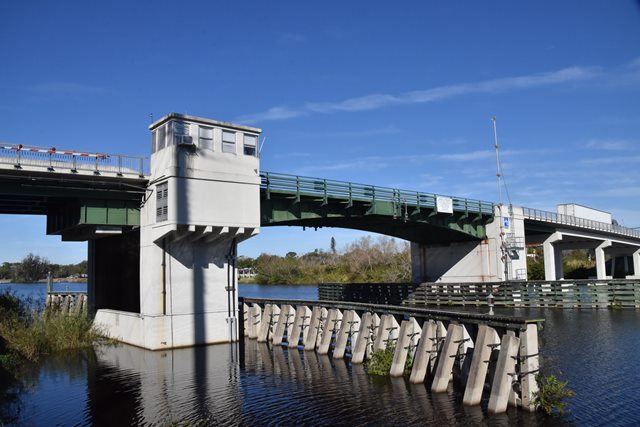
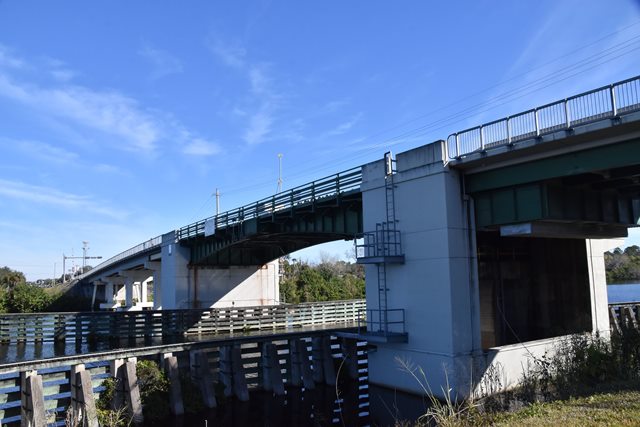
Bascule span elevation from southeast quadrant.
![]()


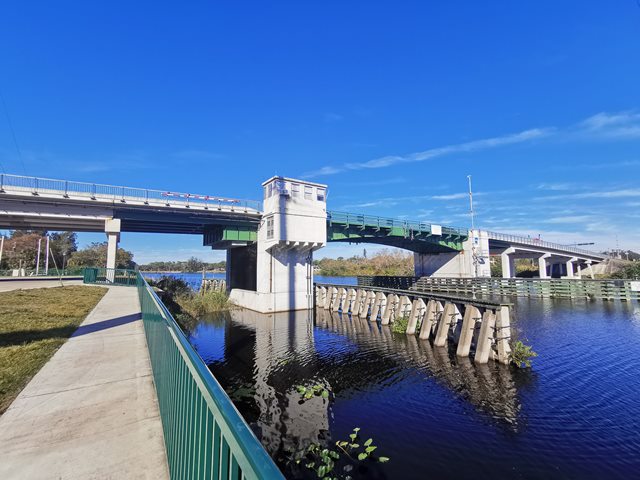
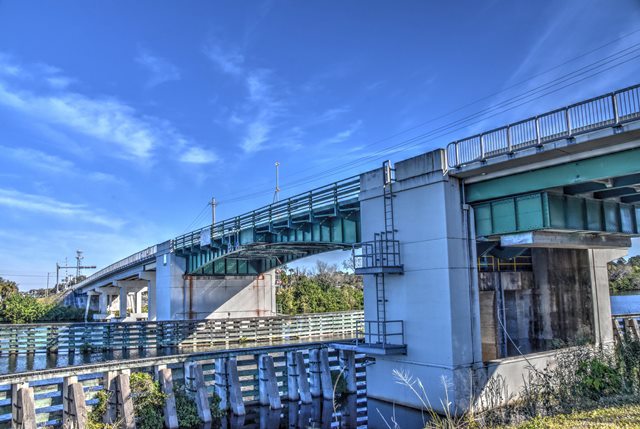
Views beside bridge from southeast quadrant.
![]()


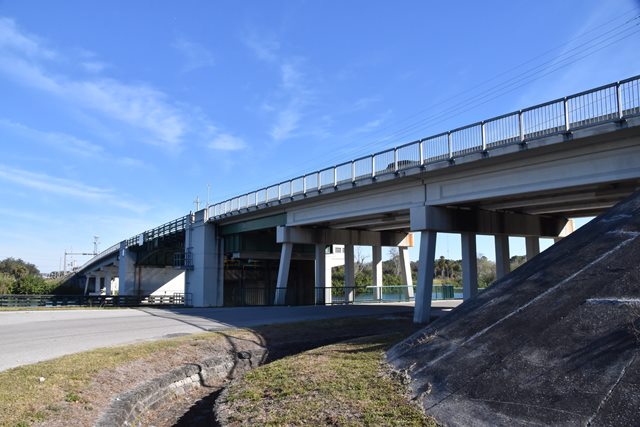


Views beside bridge from southwest quadrant.
![]()

Photo Credit: Marc Scotti
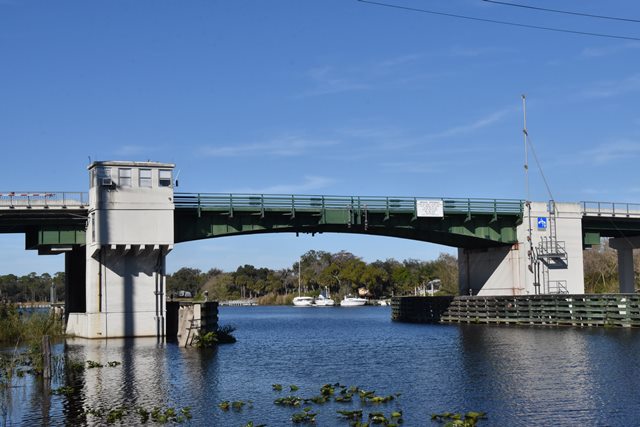
Elevation from southeast quadrant.
![]()

Photo Credit: Marc Scotti
Views beside bridge.
![]()


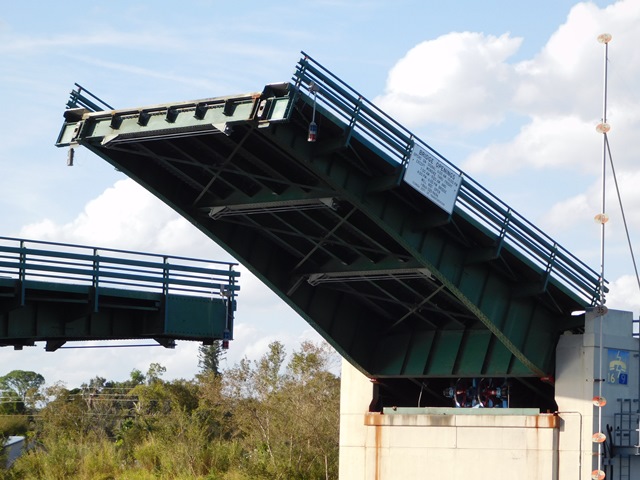


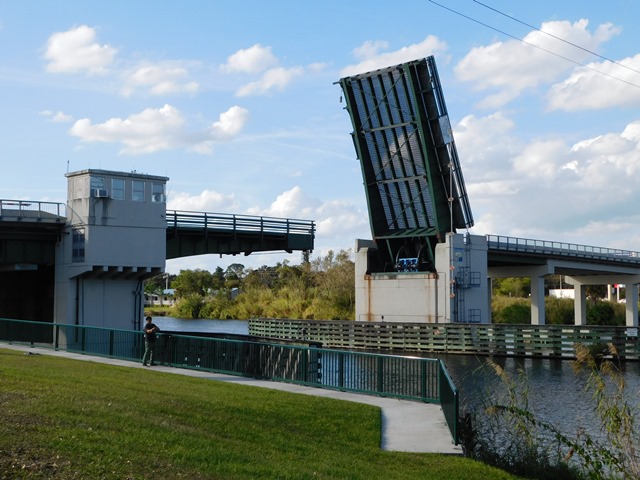
Photo Credit: Marc Scotti
Views of bridge showing one of the two leaves in raised position. Photo Credit: Marc Scotti.
![]()

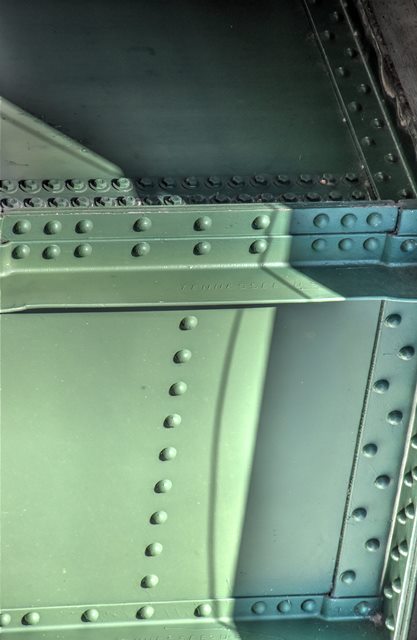
Tennessee brand.
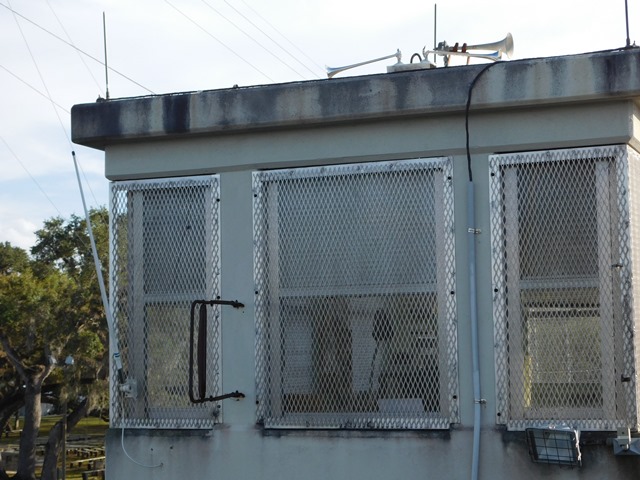
![]()

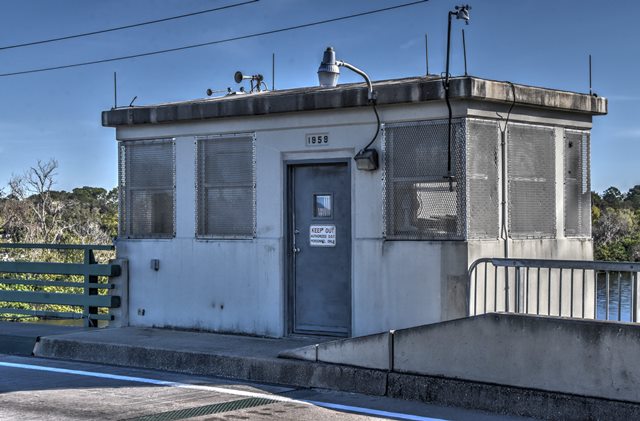
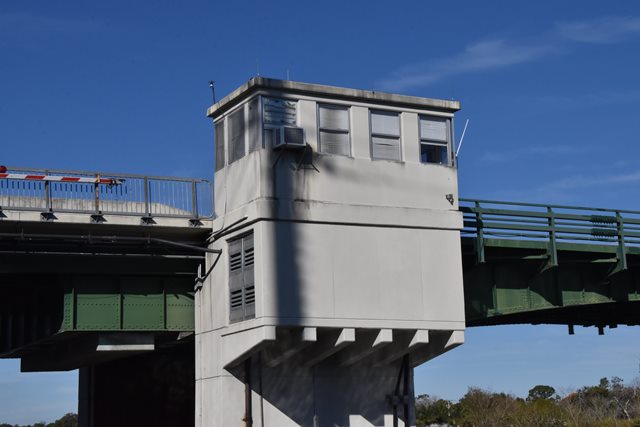


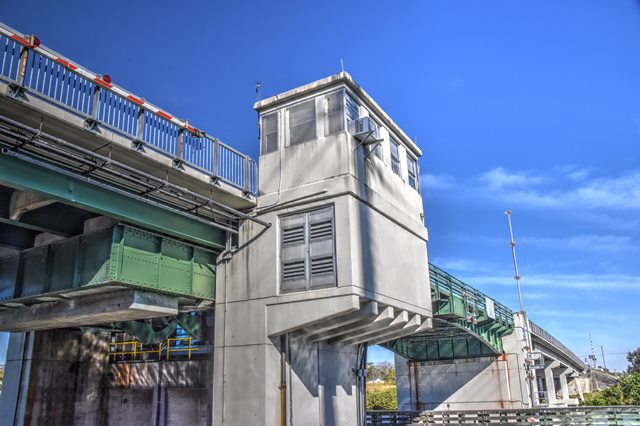
Bridgetender house.
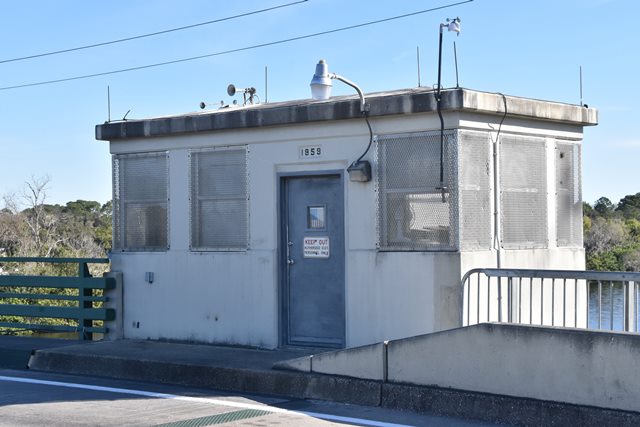
![]()
Photo Credit: Marc Scotti
Bridgetender house.
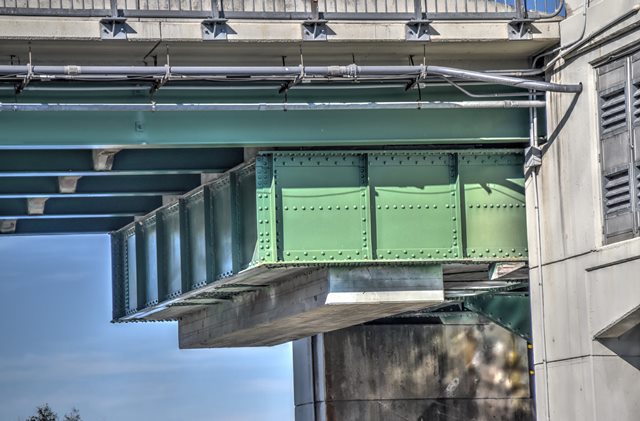
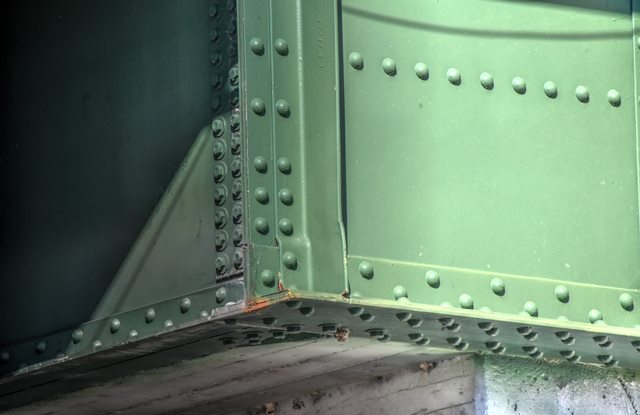
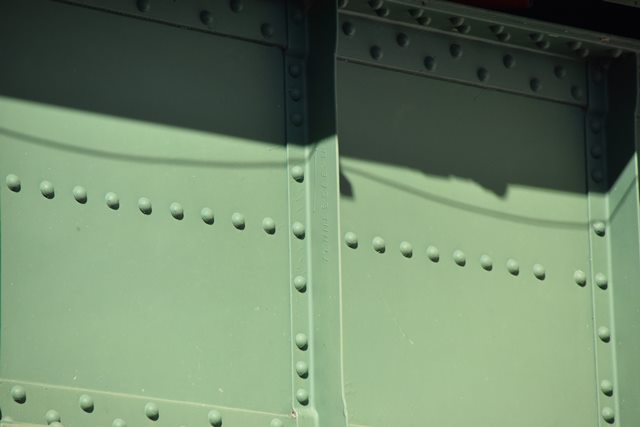
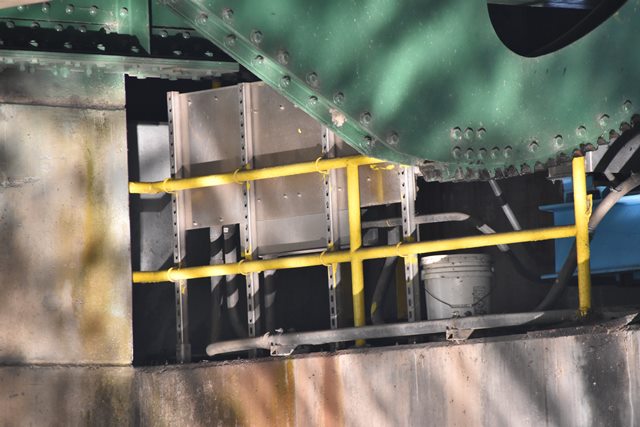
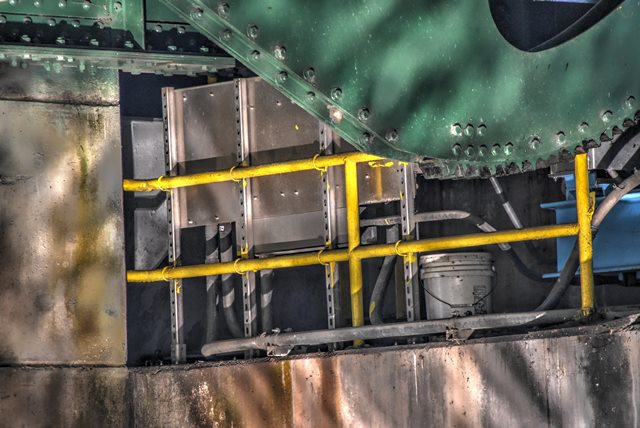
![]()
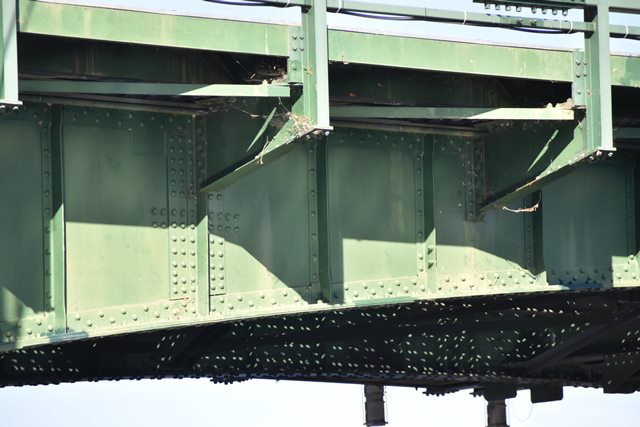


Bascule girder details.
![]()


Counterweight details.
![]()

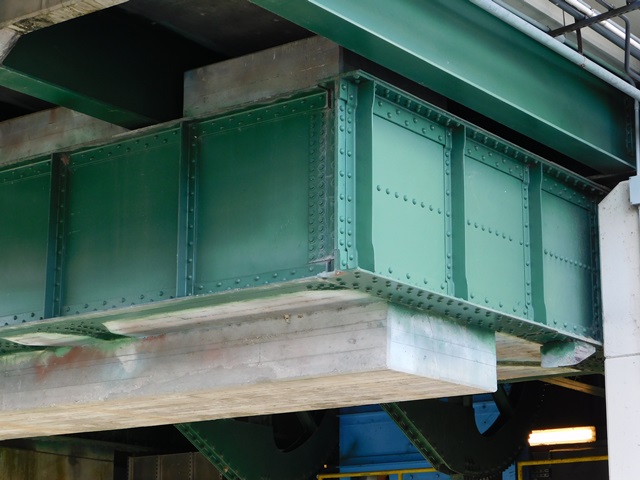
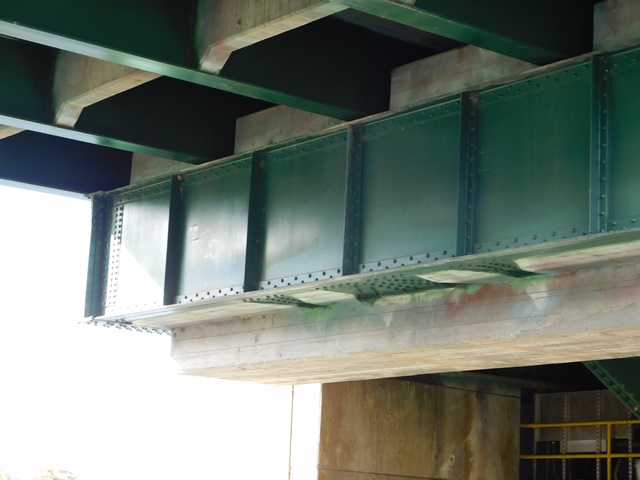
Photo Credit: Marc Scotti
Counterweight details.
![]()


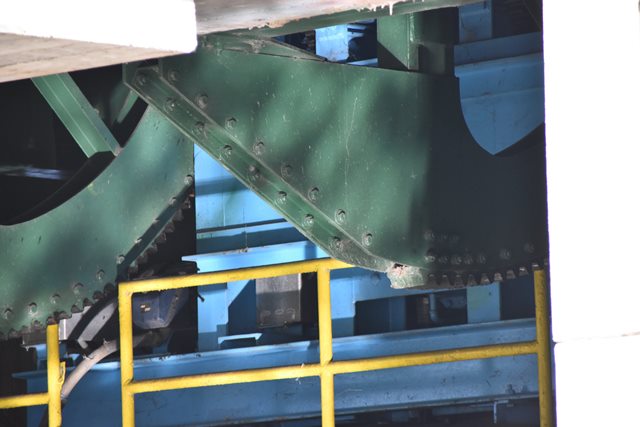


Views showing operating rack.
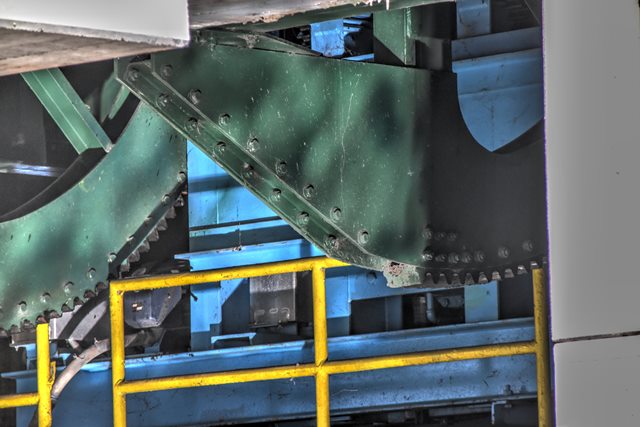
![]()
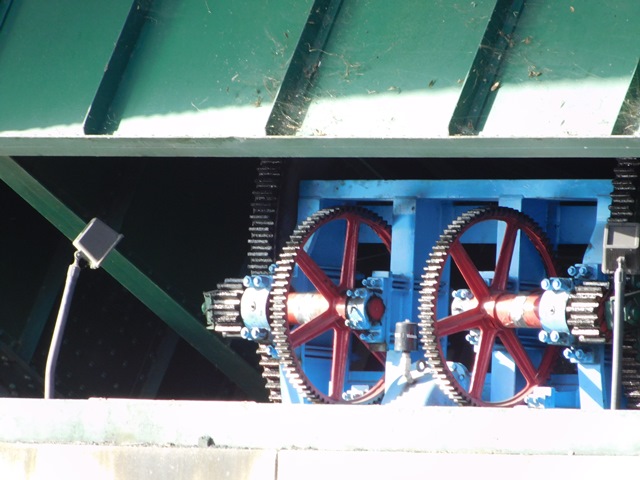
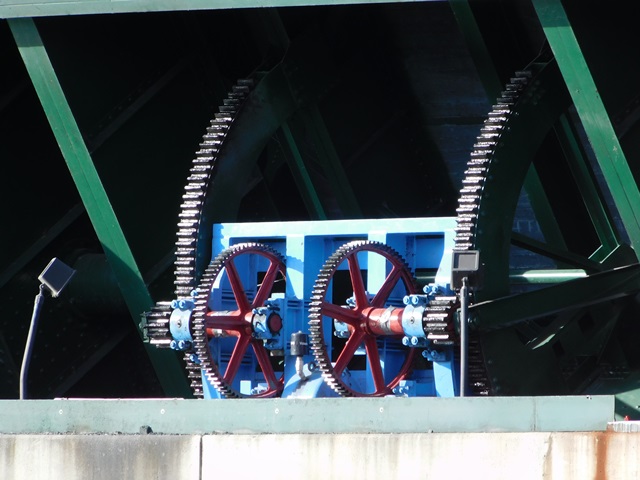

Photo Credit: Marc Scotti
Views showing operating rack and pinion.
![]()


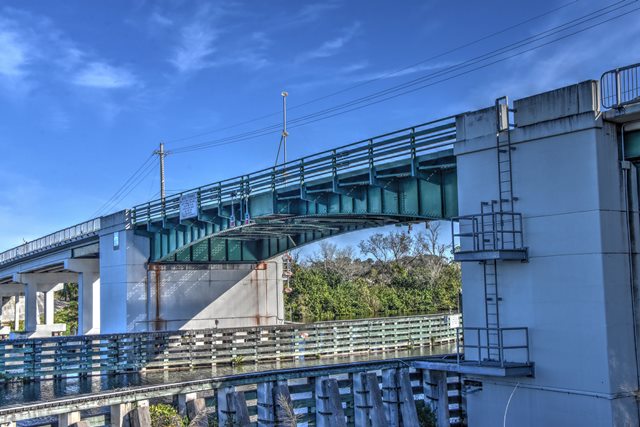
Deck and railing overview.
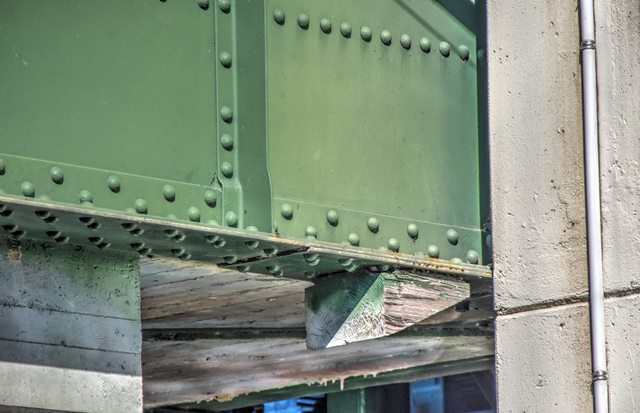
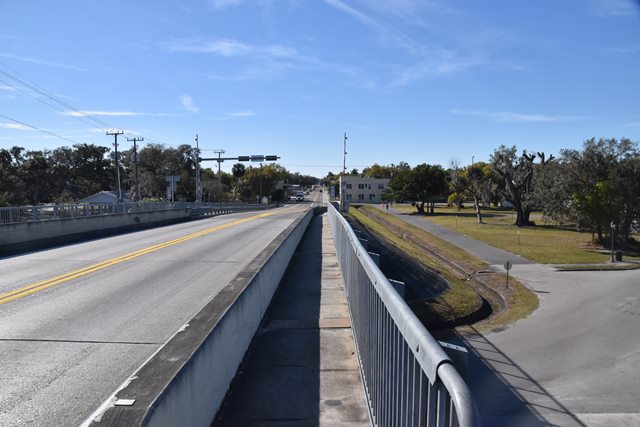
![]()
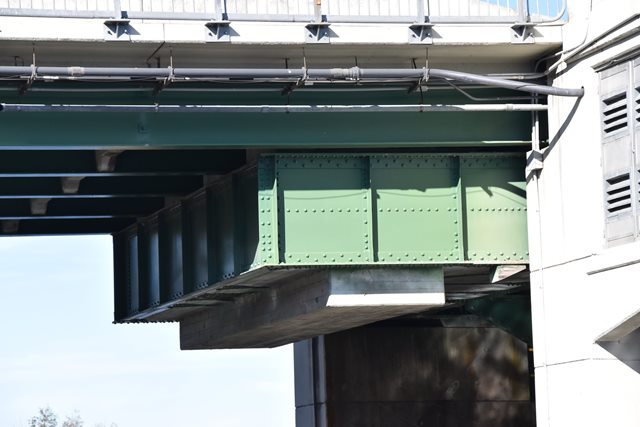
Approach span details.
![]()

Bent.
![]()


Abutment.
![]()
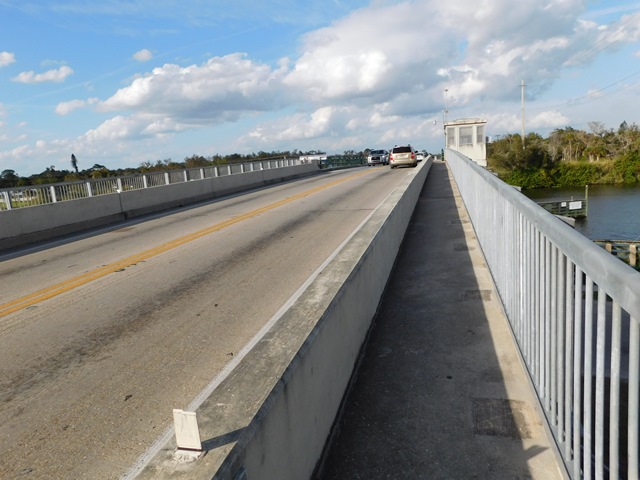


Photo Credit: Marc Scotti
Deck and railing overview.
![]()

Photo Credit: Marc Scotti
Sidewalk.
![]()

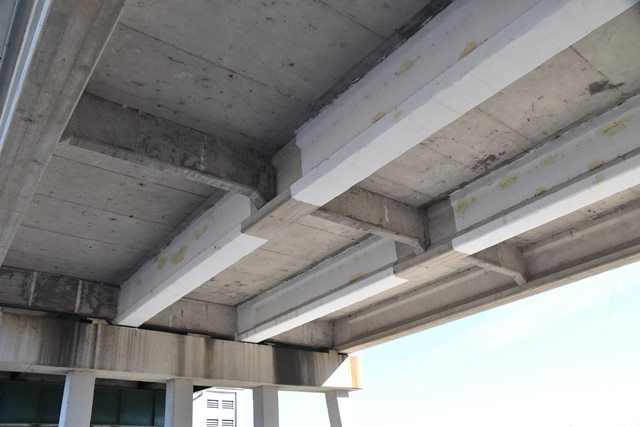
Photo Credit: Marc Scotti
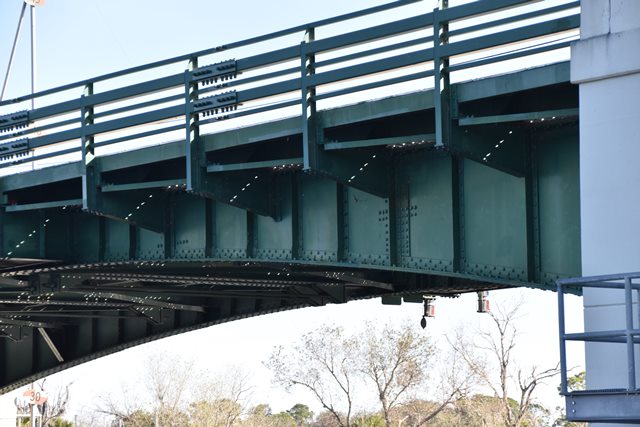
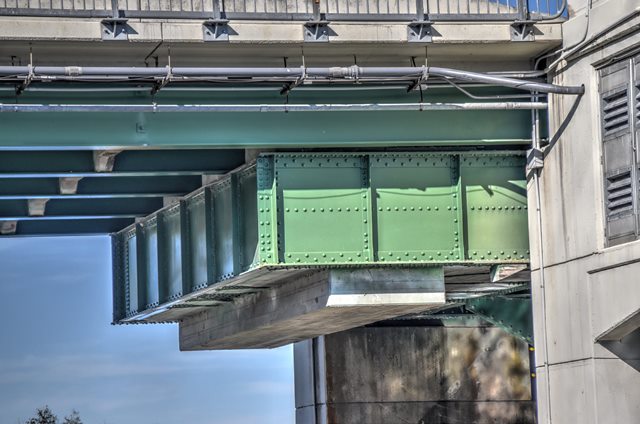
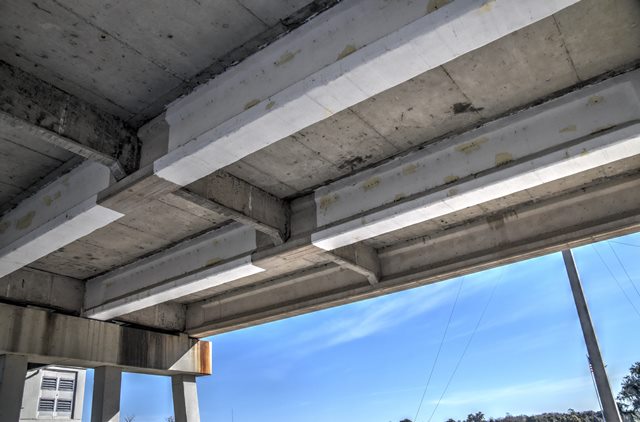
View under approach span.
![]()
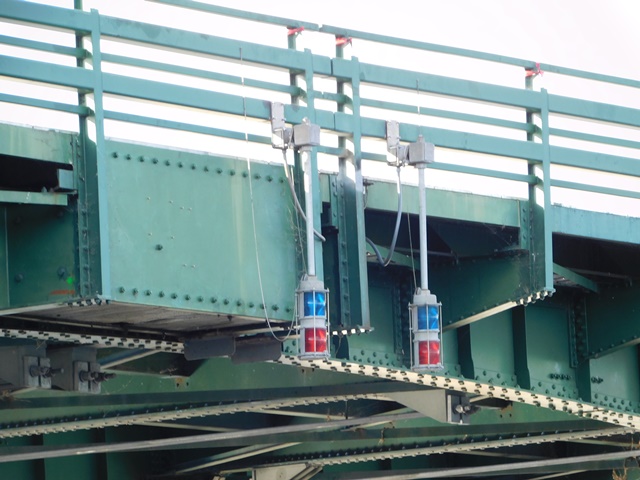


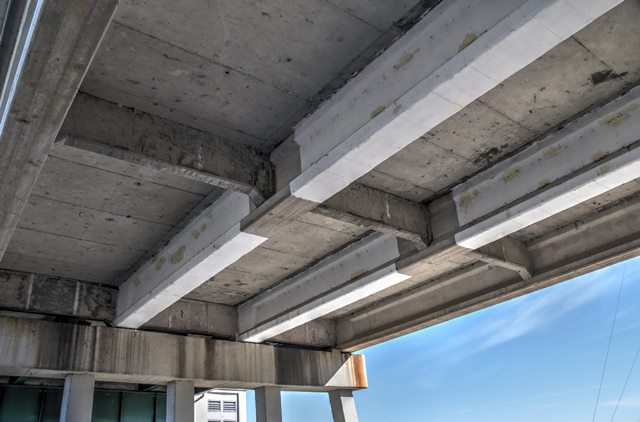
Photo Credit: Marc Scotti
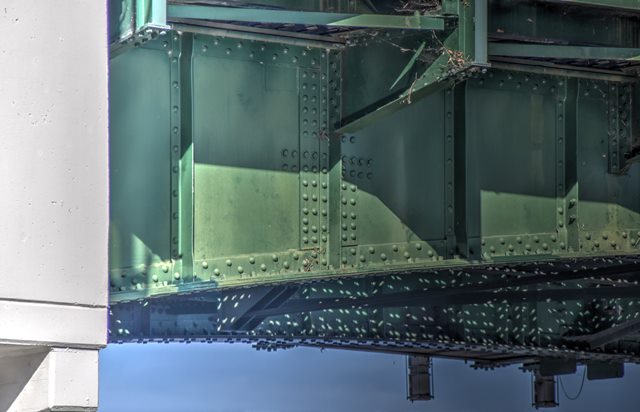
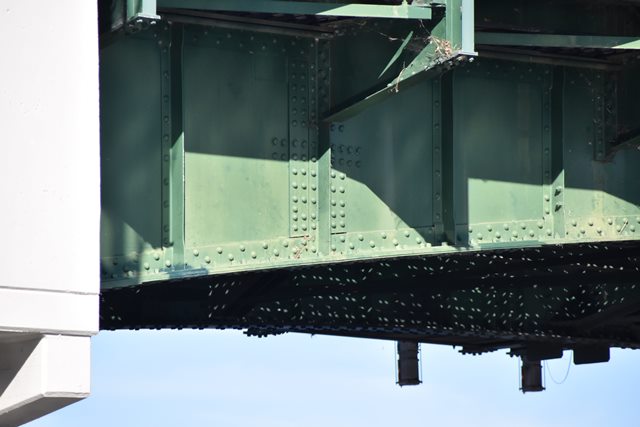
Bascule girder details.
![]()

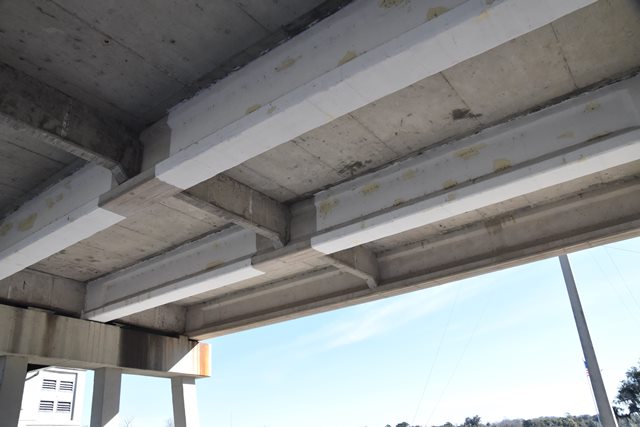
Photo Credit: Marc Scotti
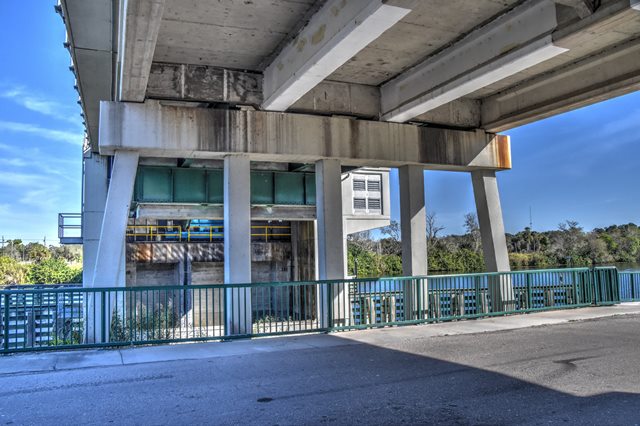
Bascule pier.
![]()


Photo Credit: Marc Scotti
Views on sidewalk.
![]()


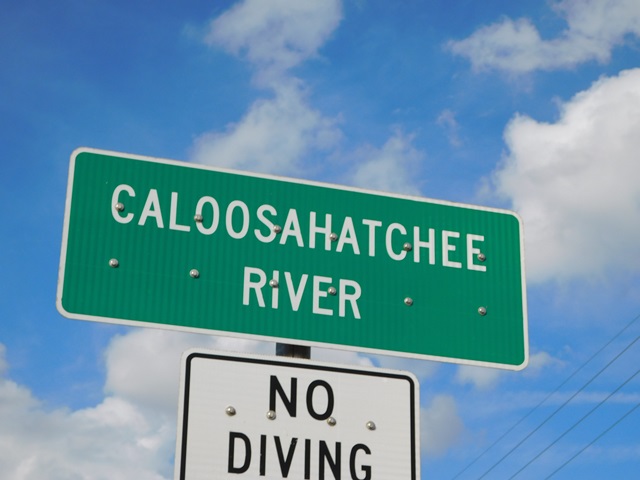
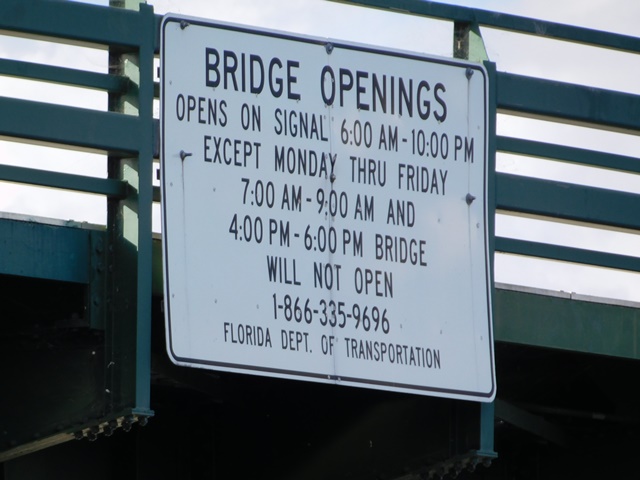
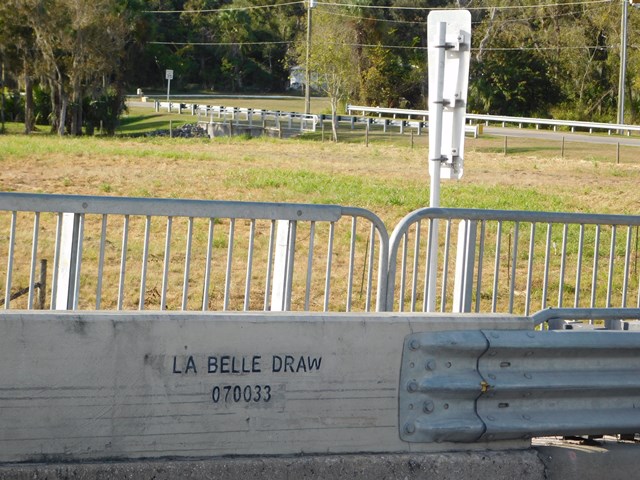
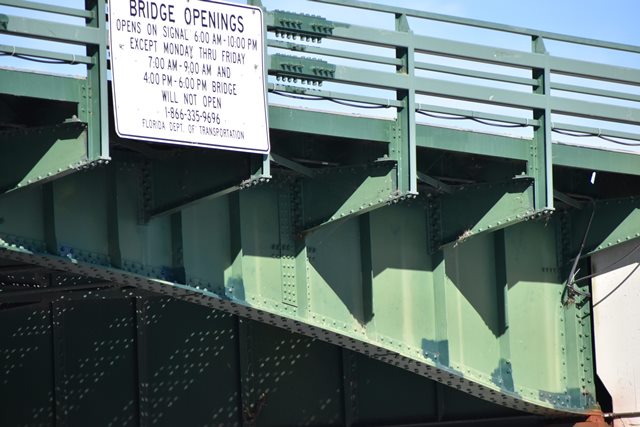
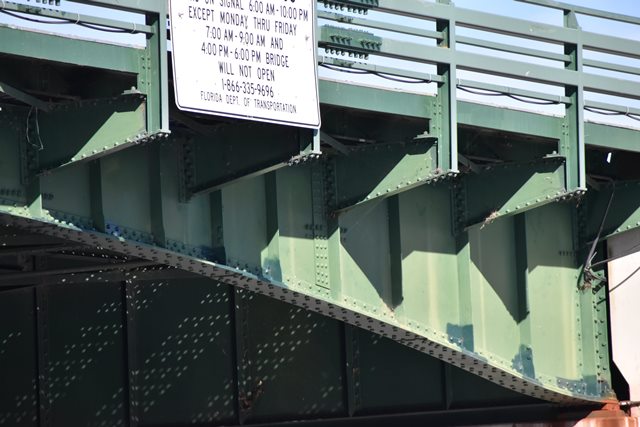
Signs around bridge.
![]()
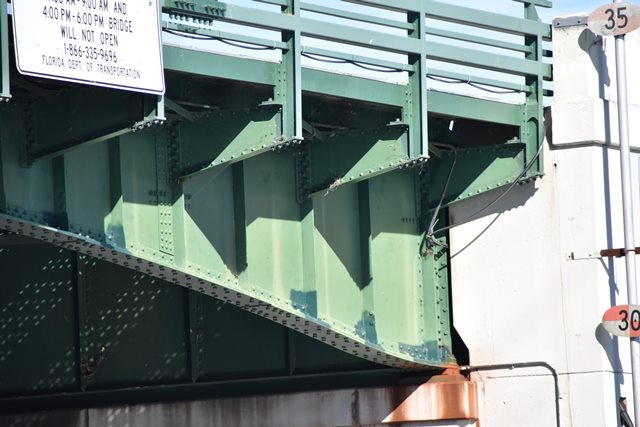
Photo Credit: Marc Scotti
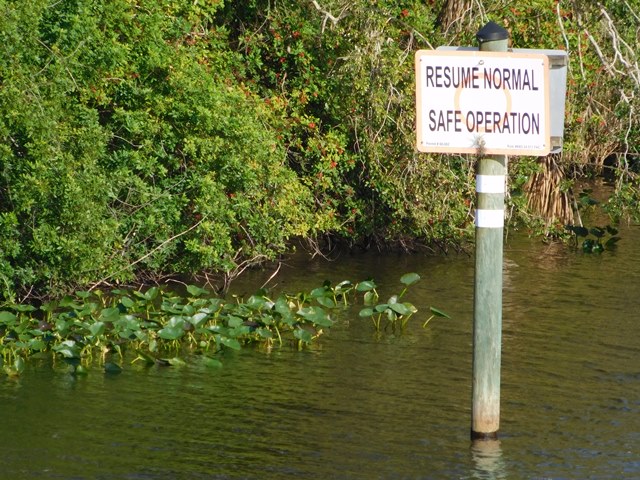
Signs on and around bridge.
![]()

Photo Credit: Marc Scotti
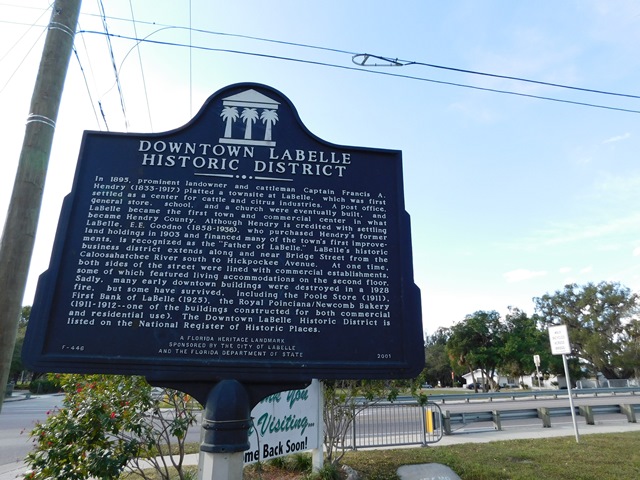
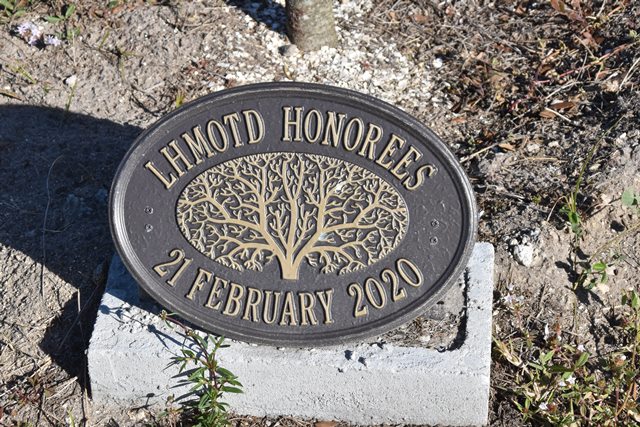
View from bridge.
![]()
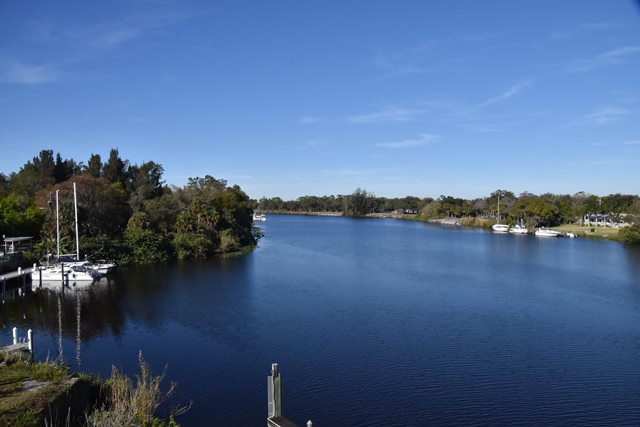

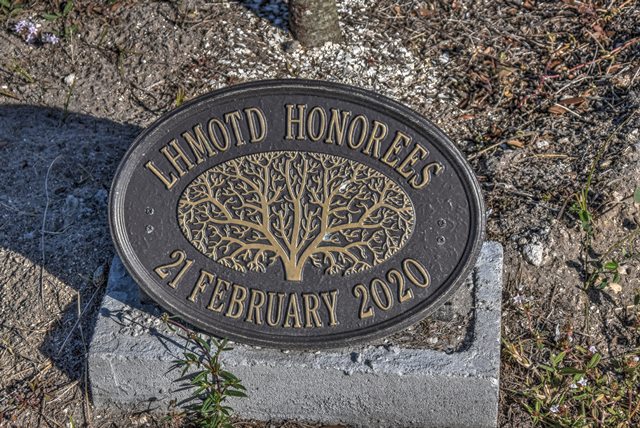
Views from bridge.
![]()
![]()
| Back |
| Home |
| Top |

![]()