Uncredited photos on this page taken by: Nathan Holth and Rick McOmber. Unless stated in a caption, all photos are Copyright with All Rights Reserved. Learn about reuse of our photos.
![]()


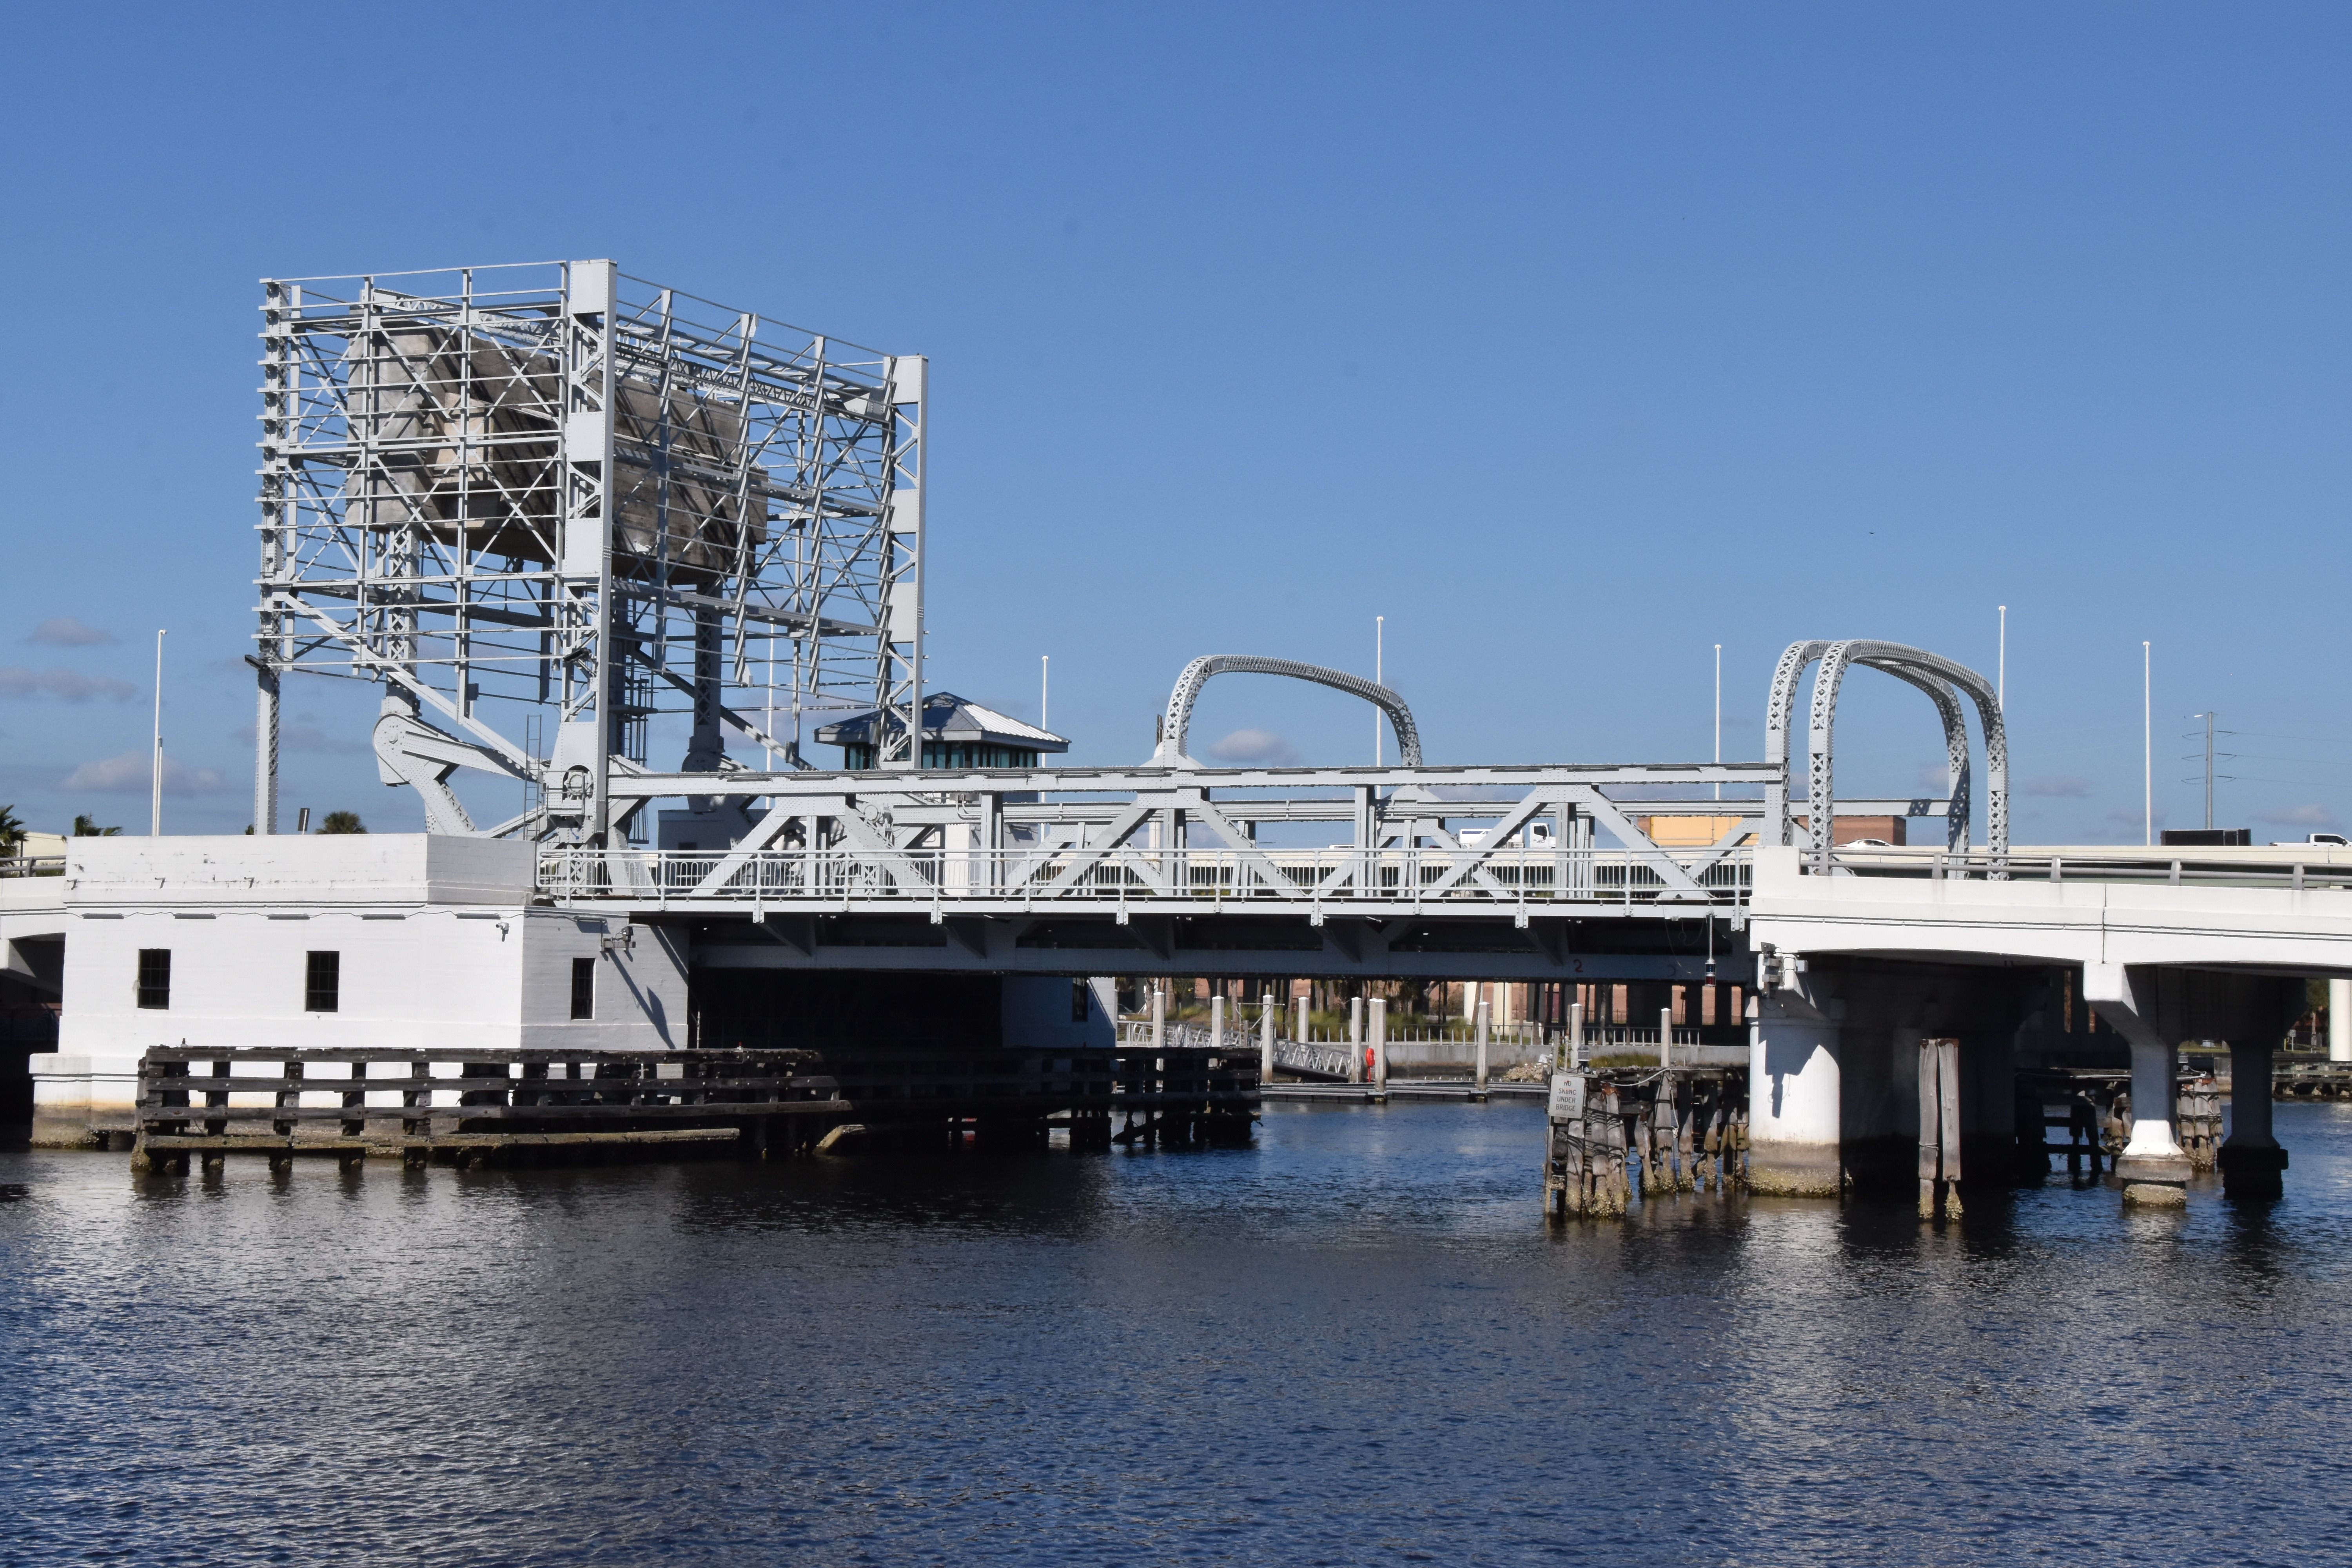


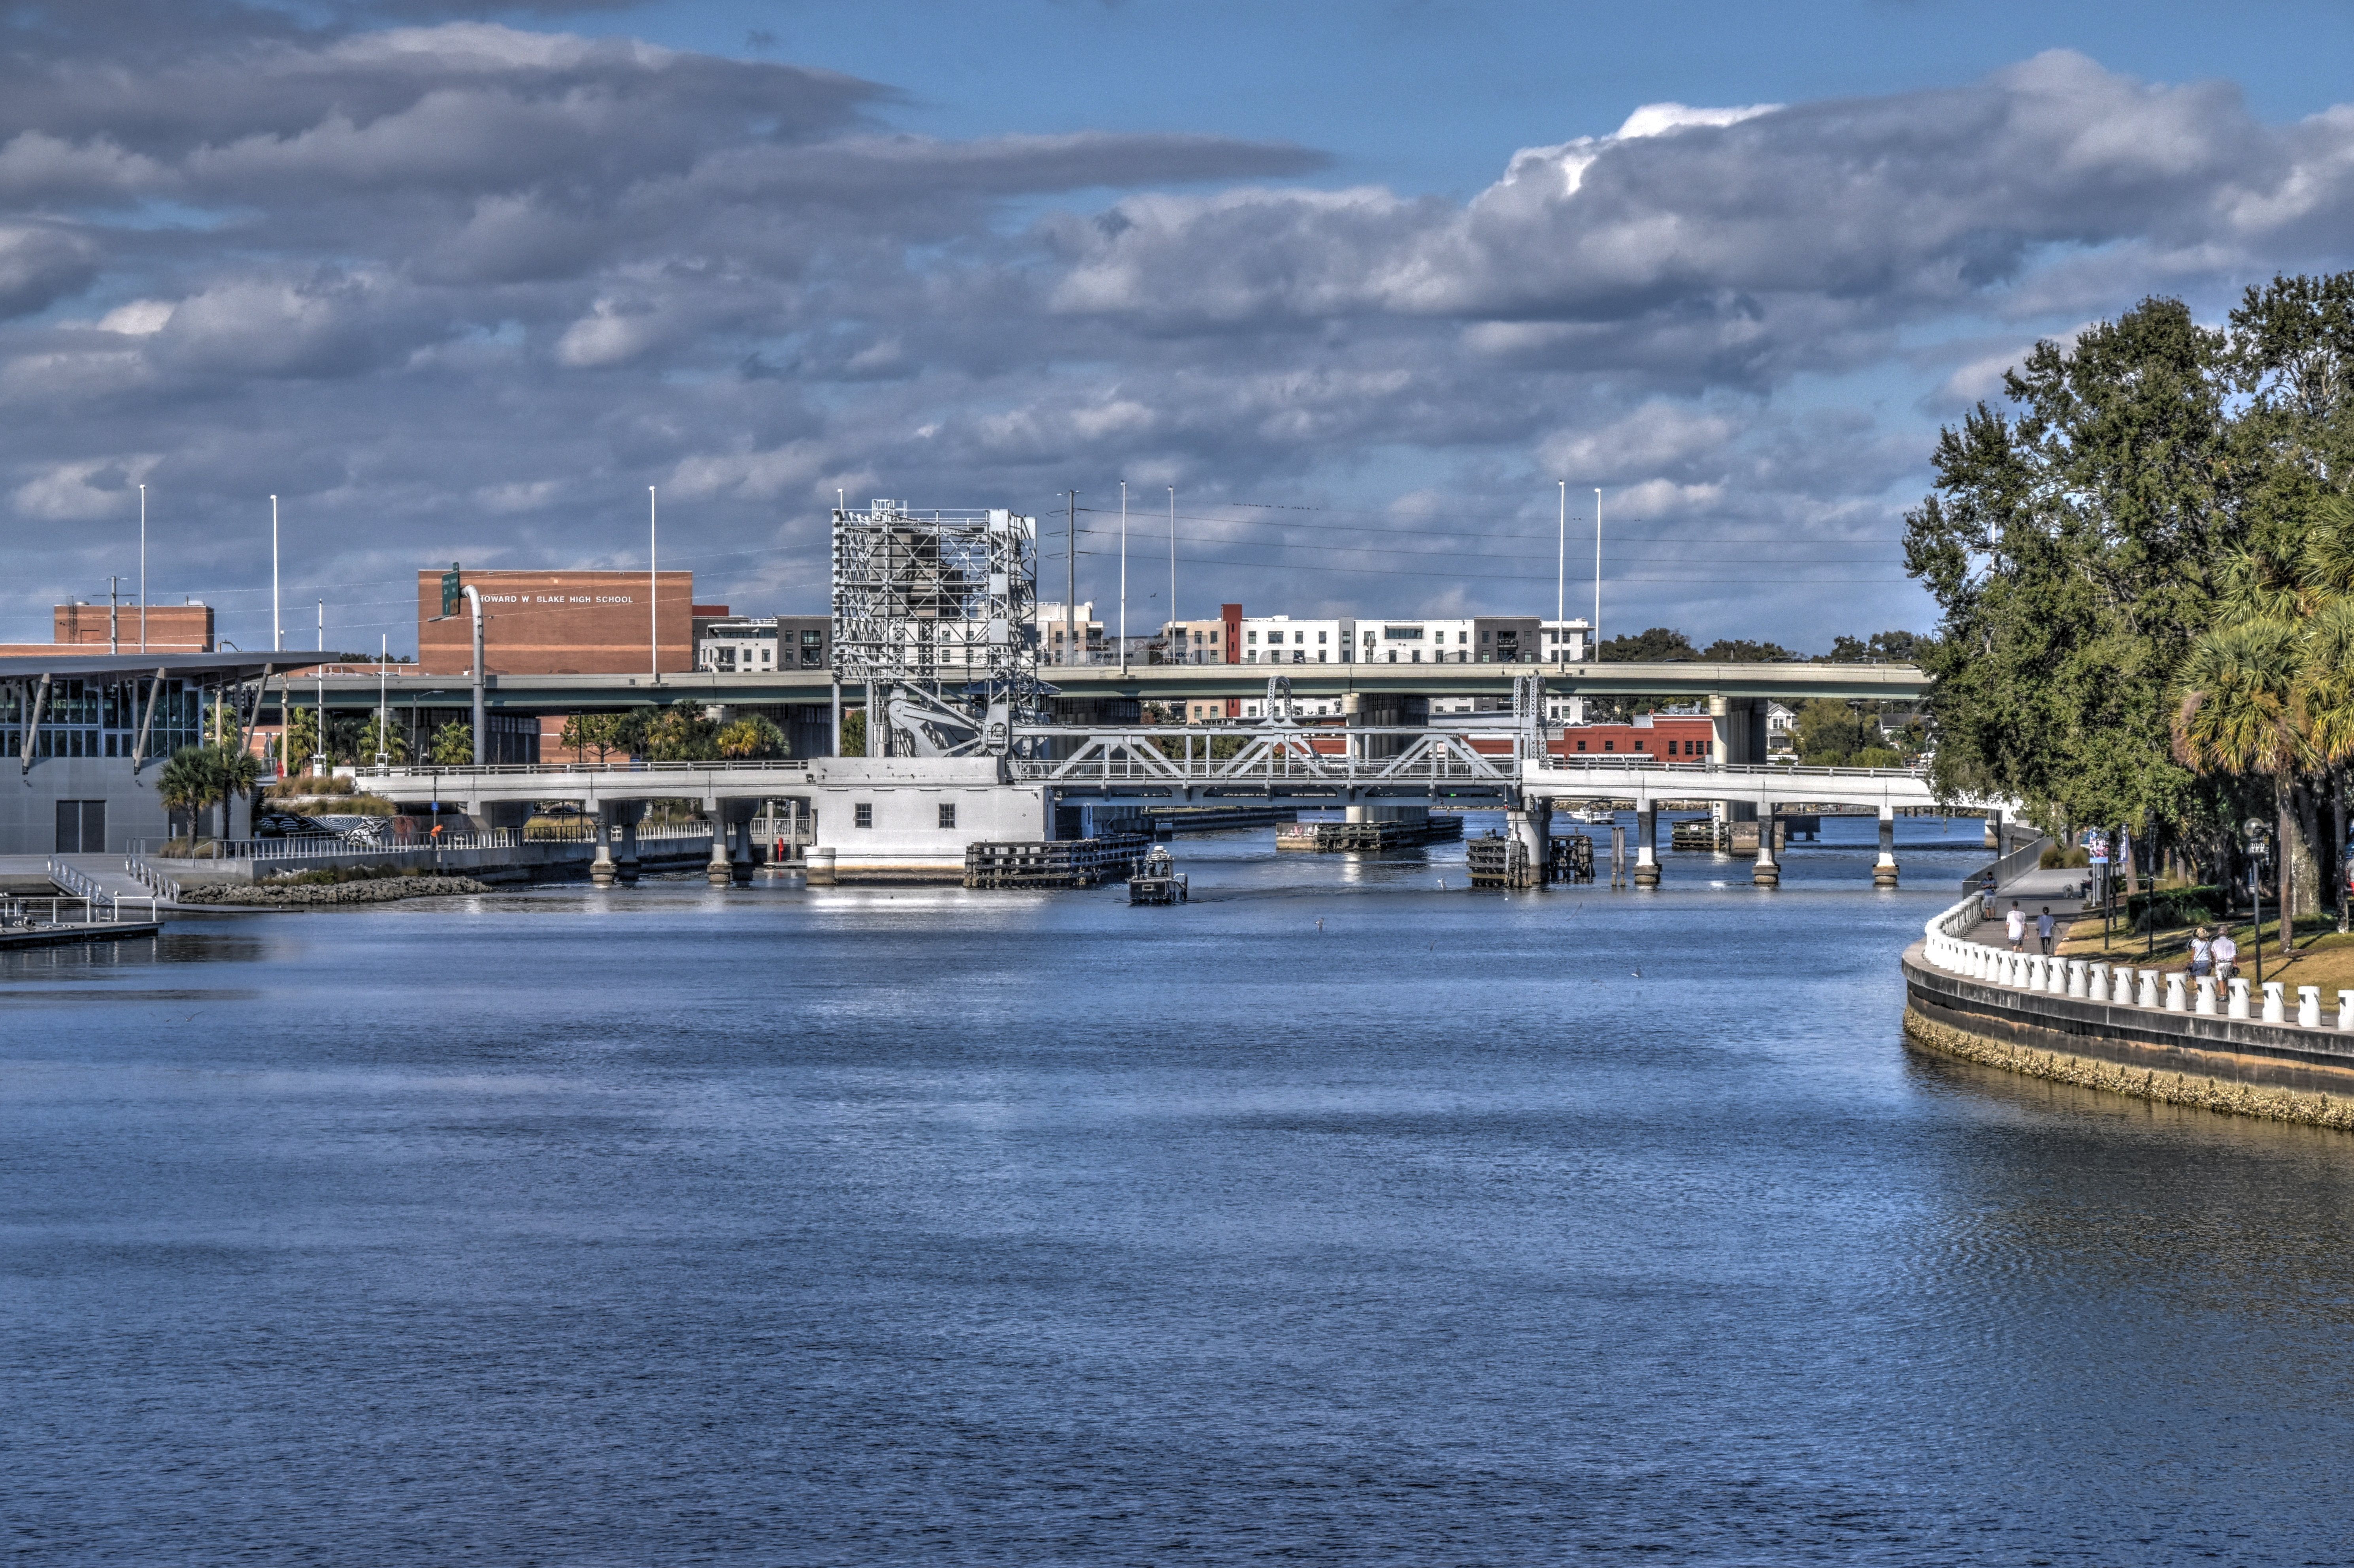
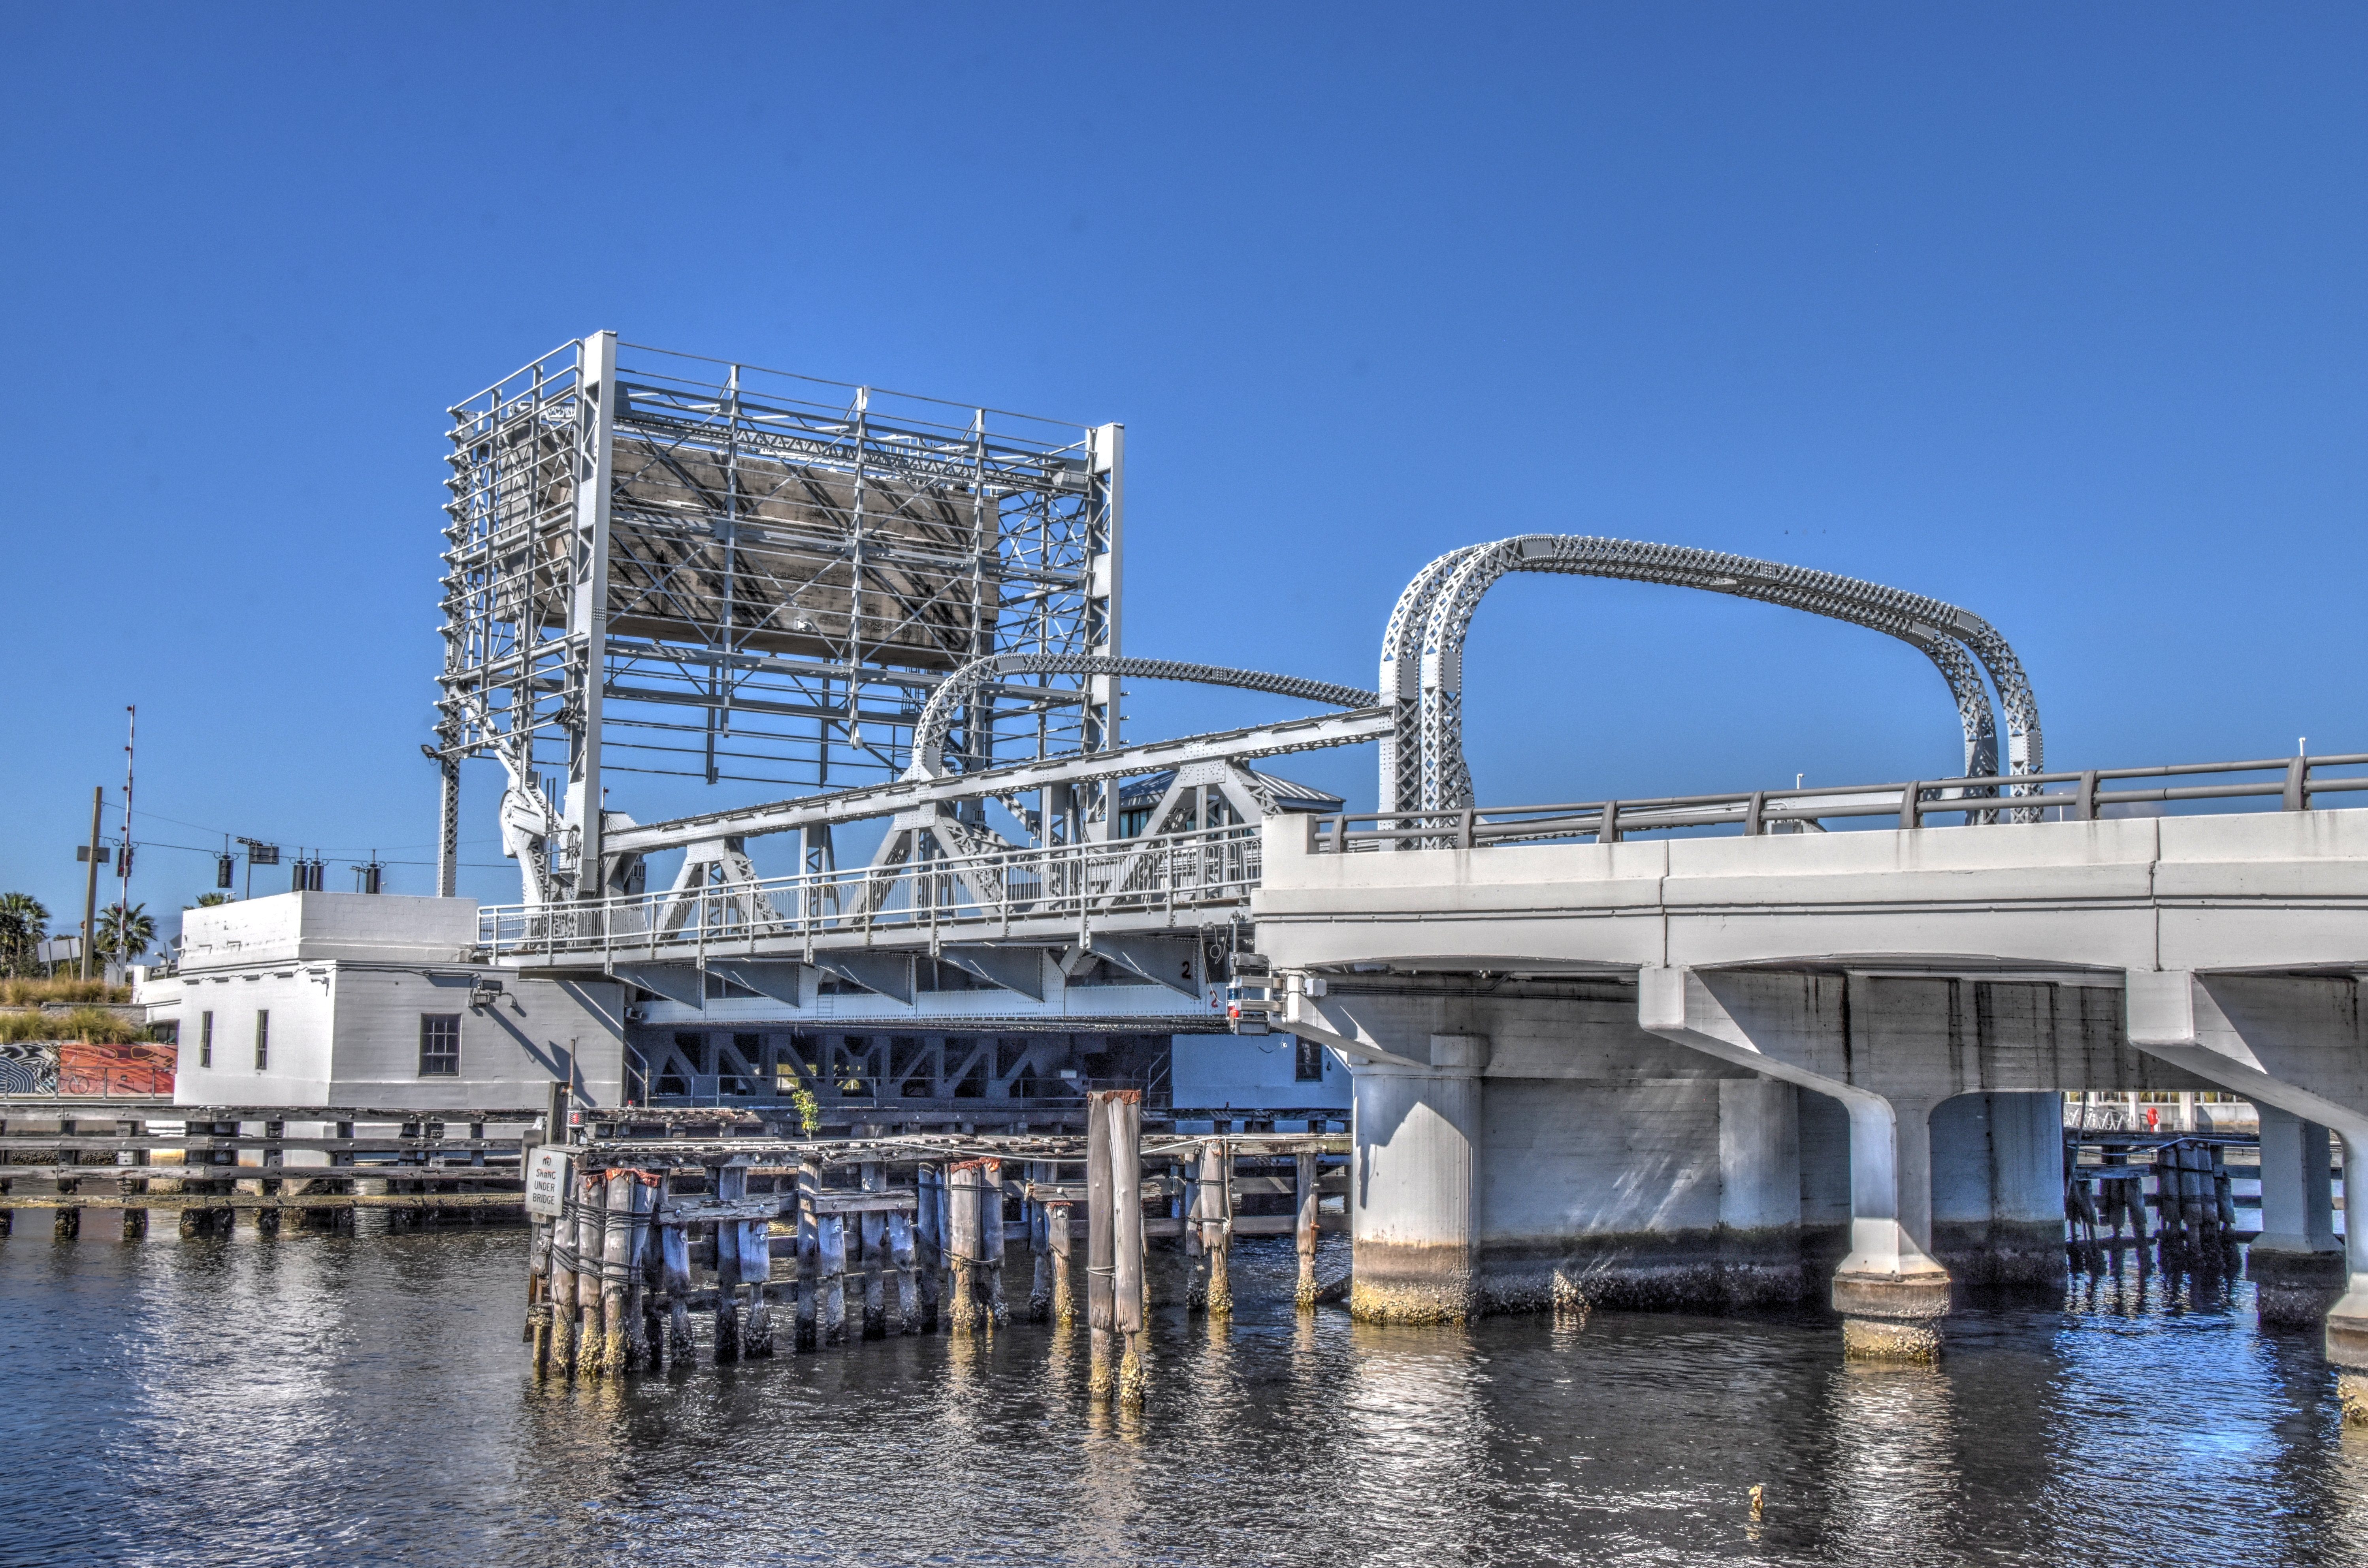
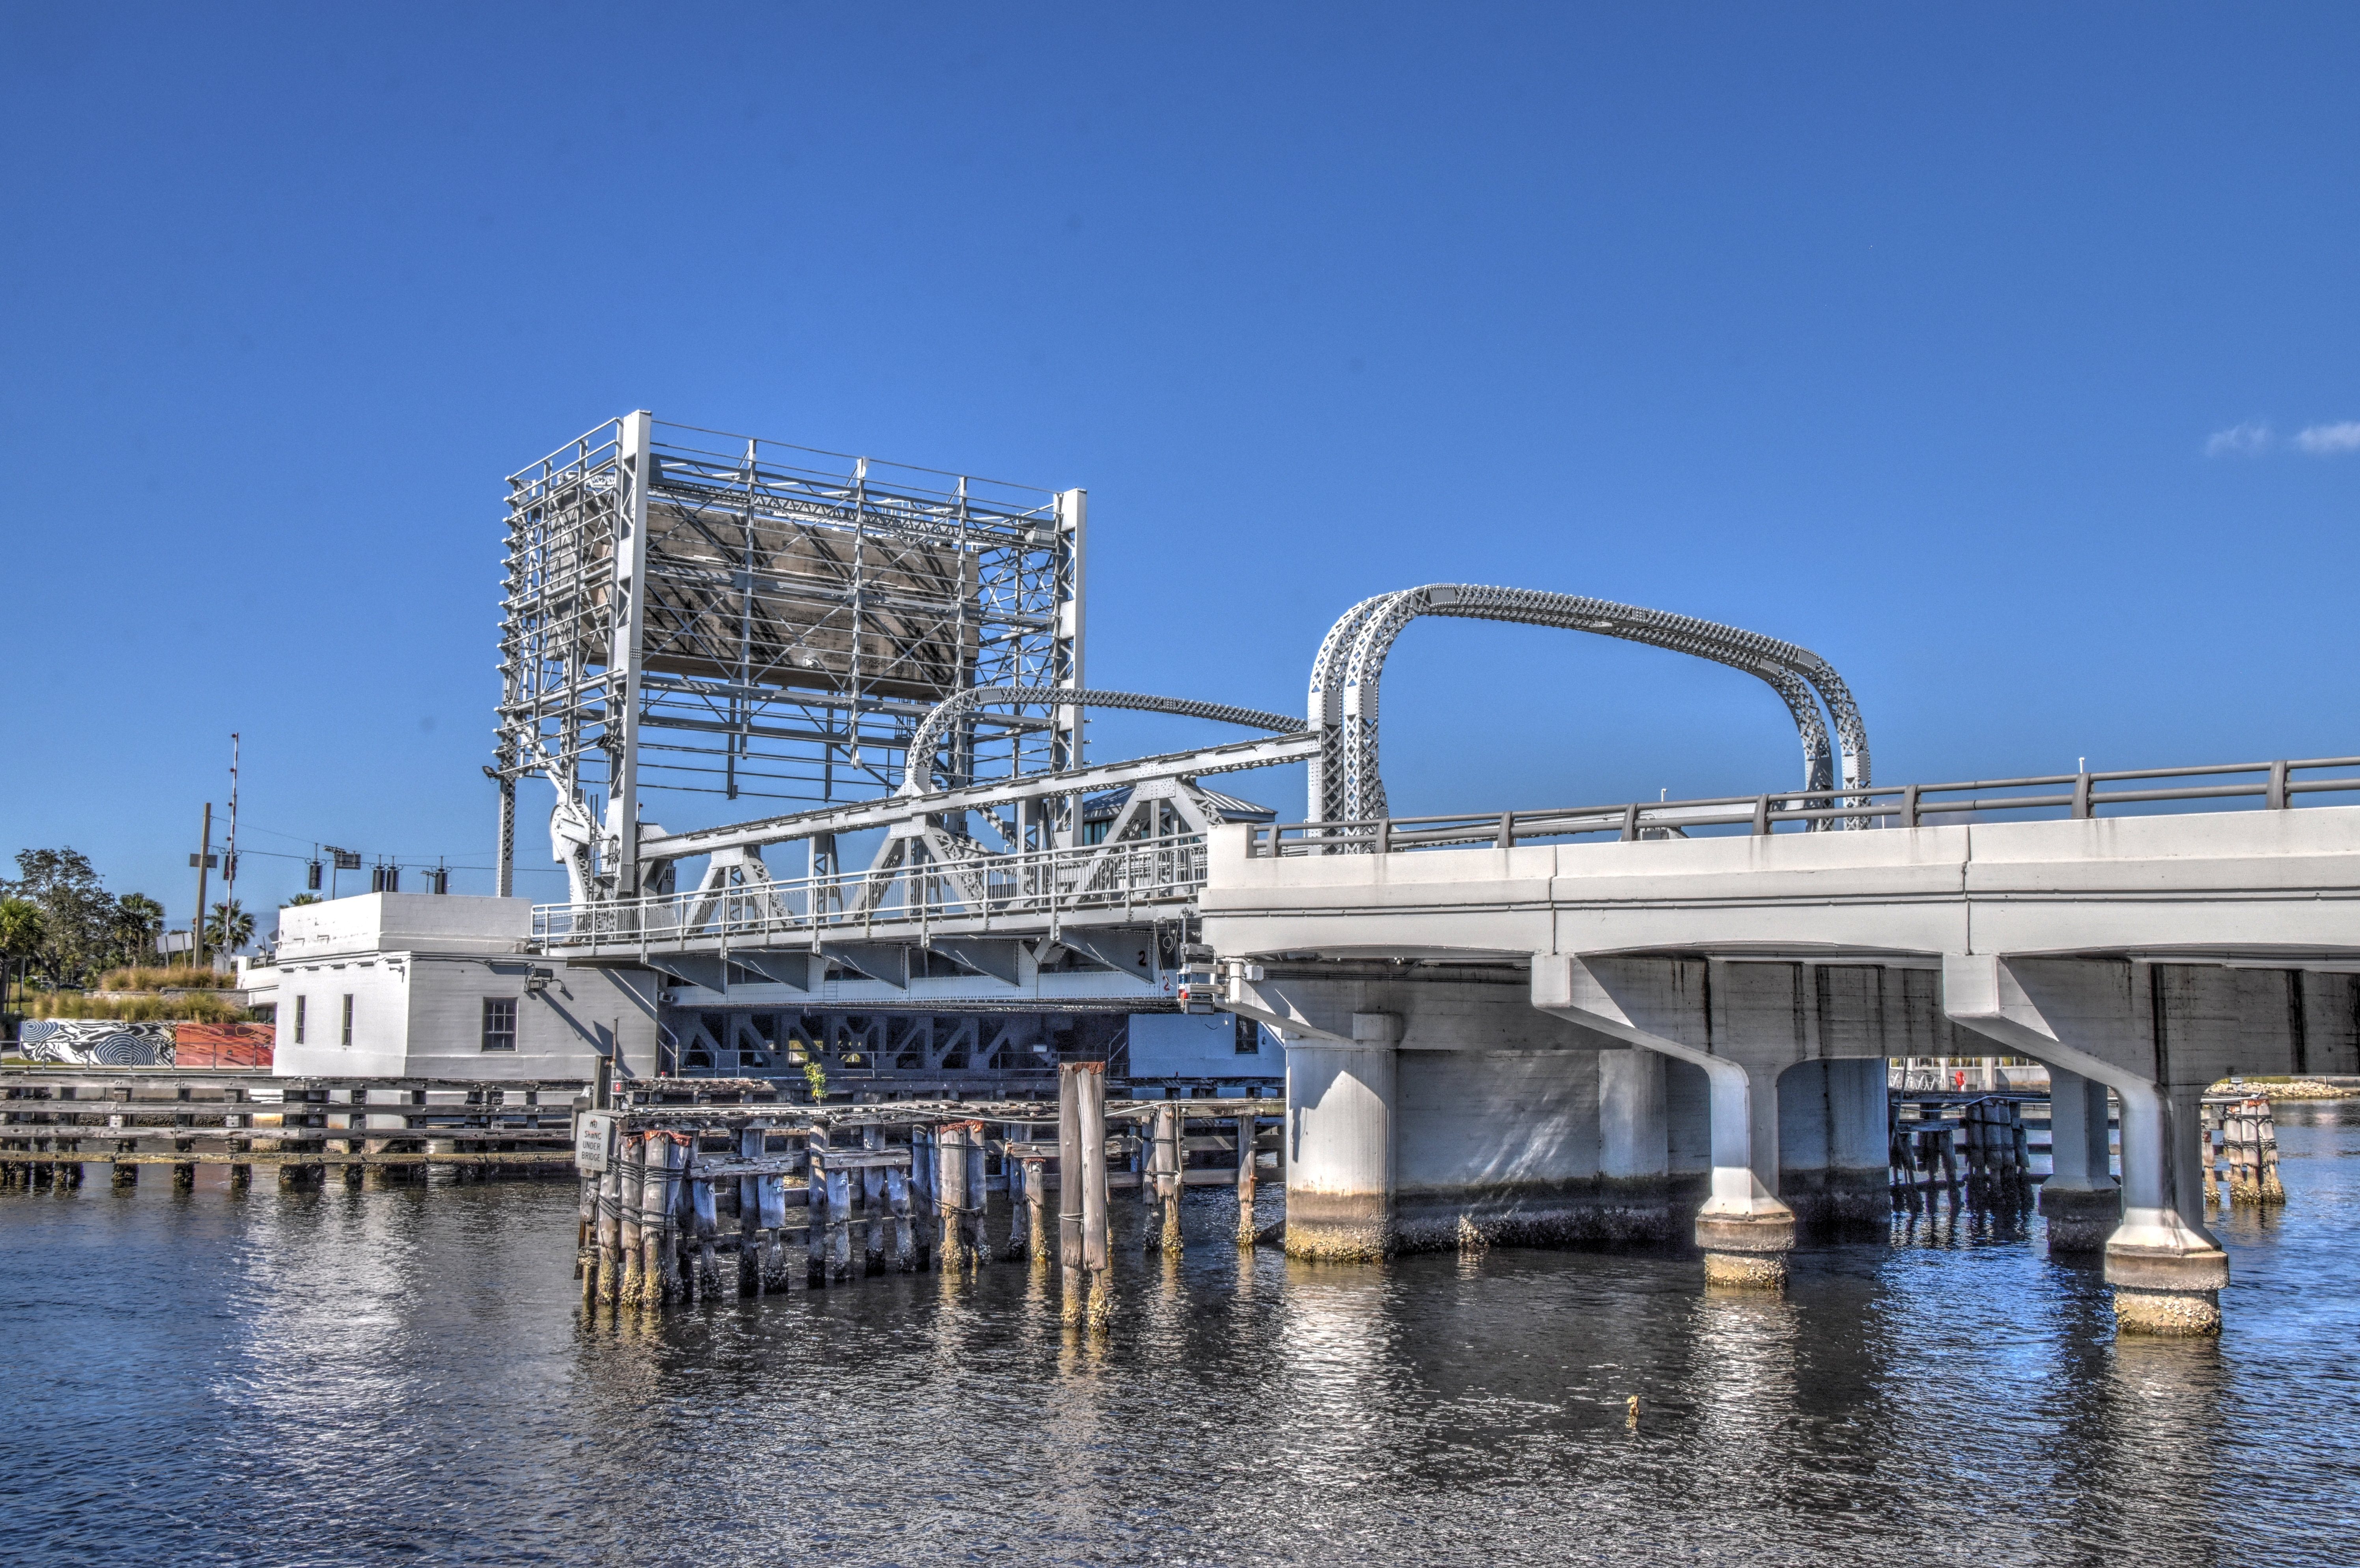
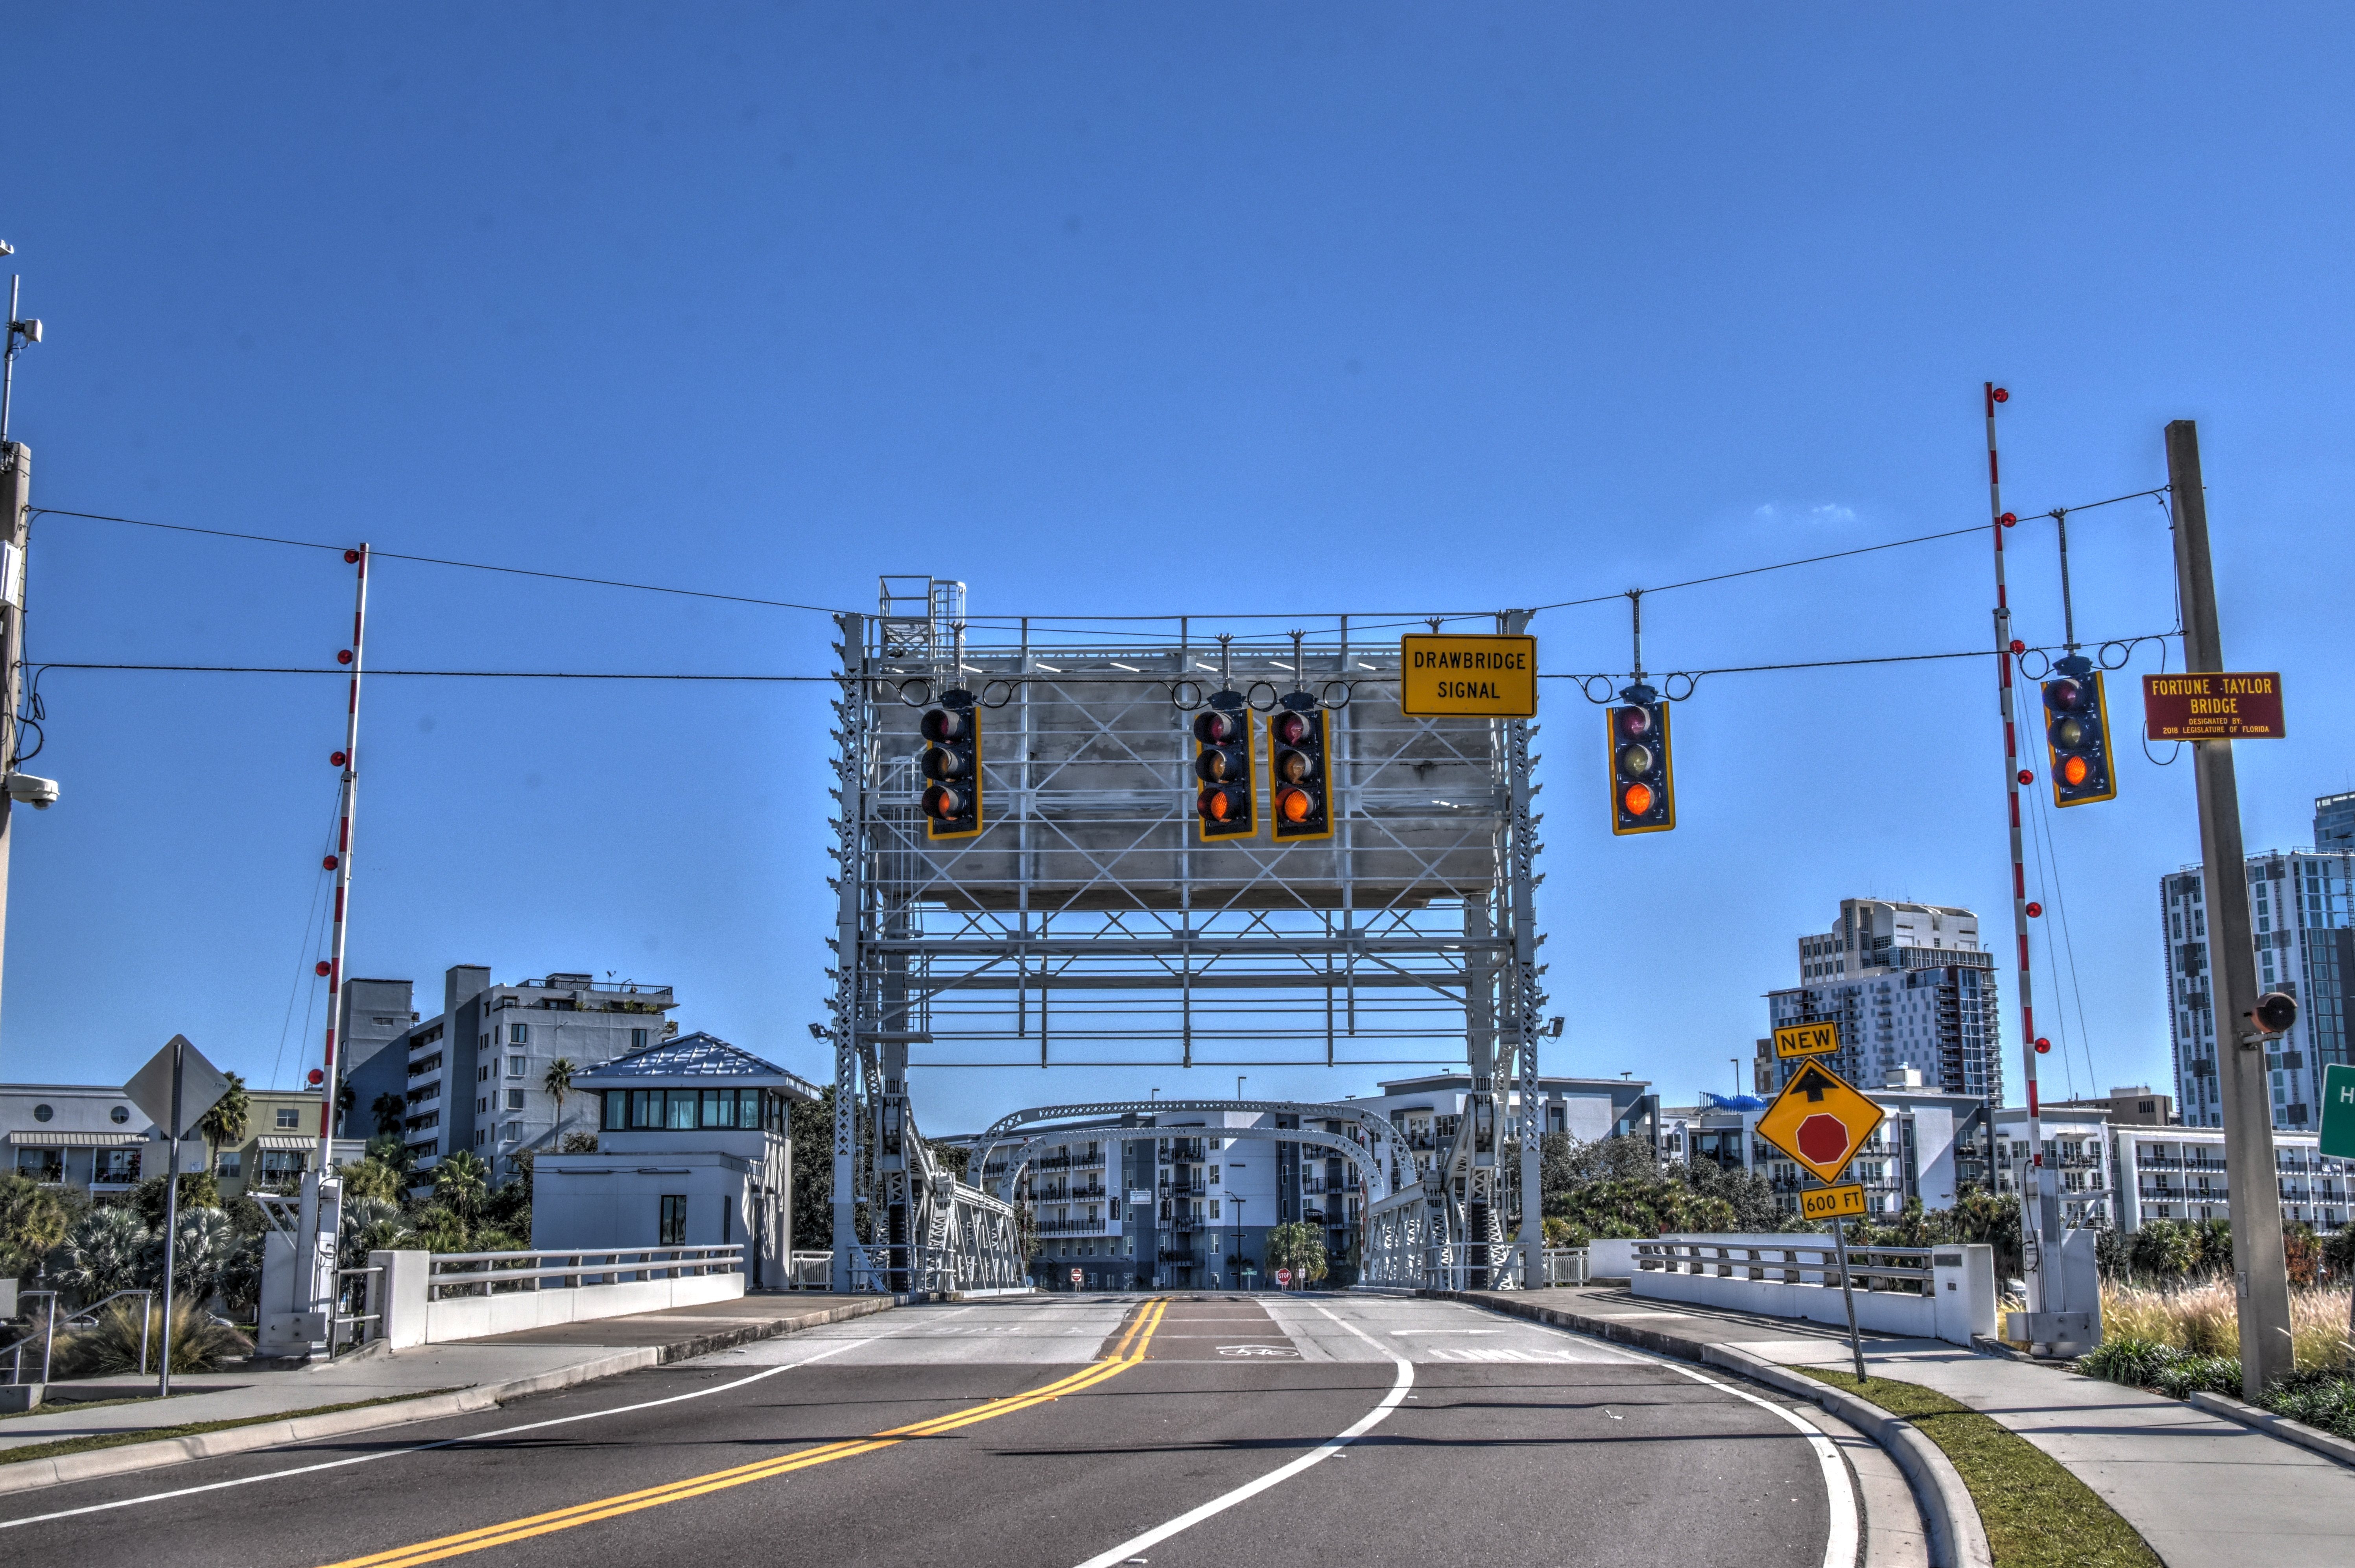
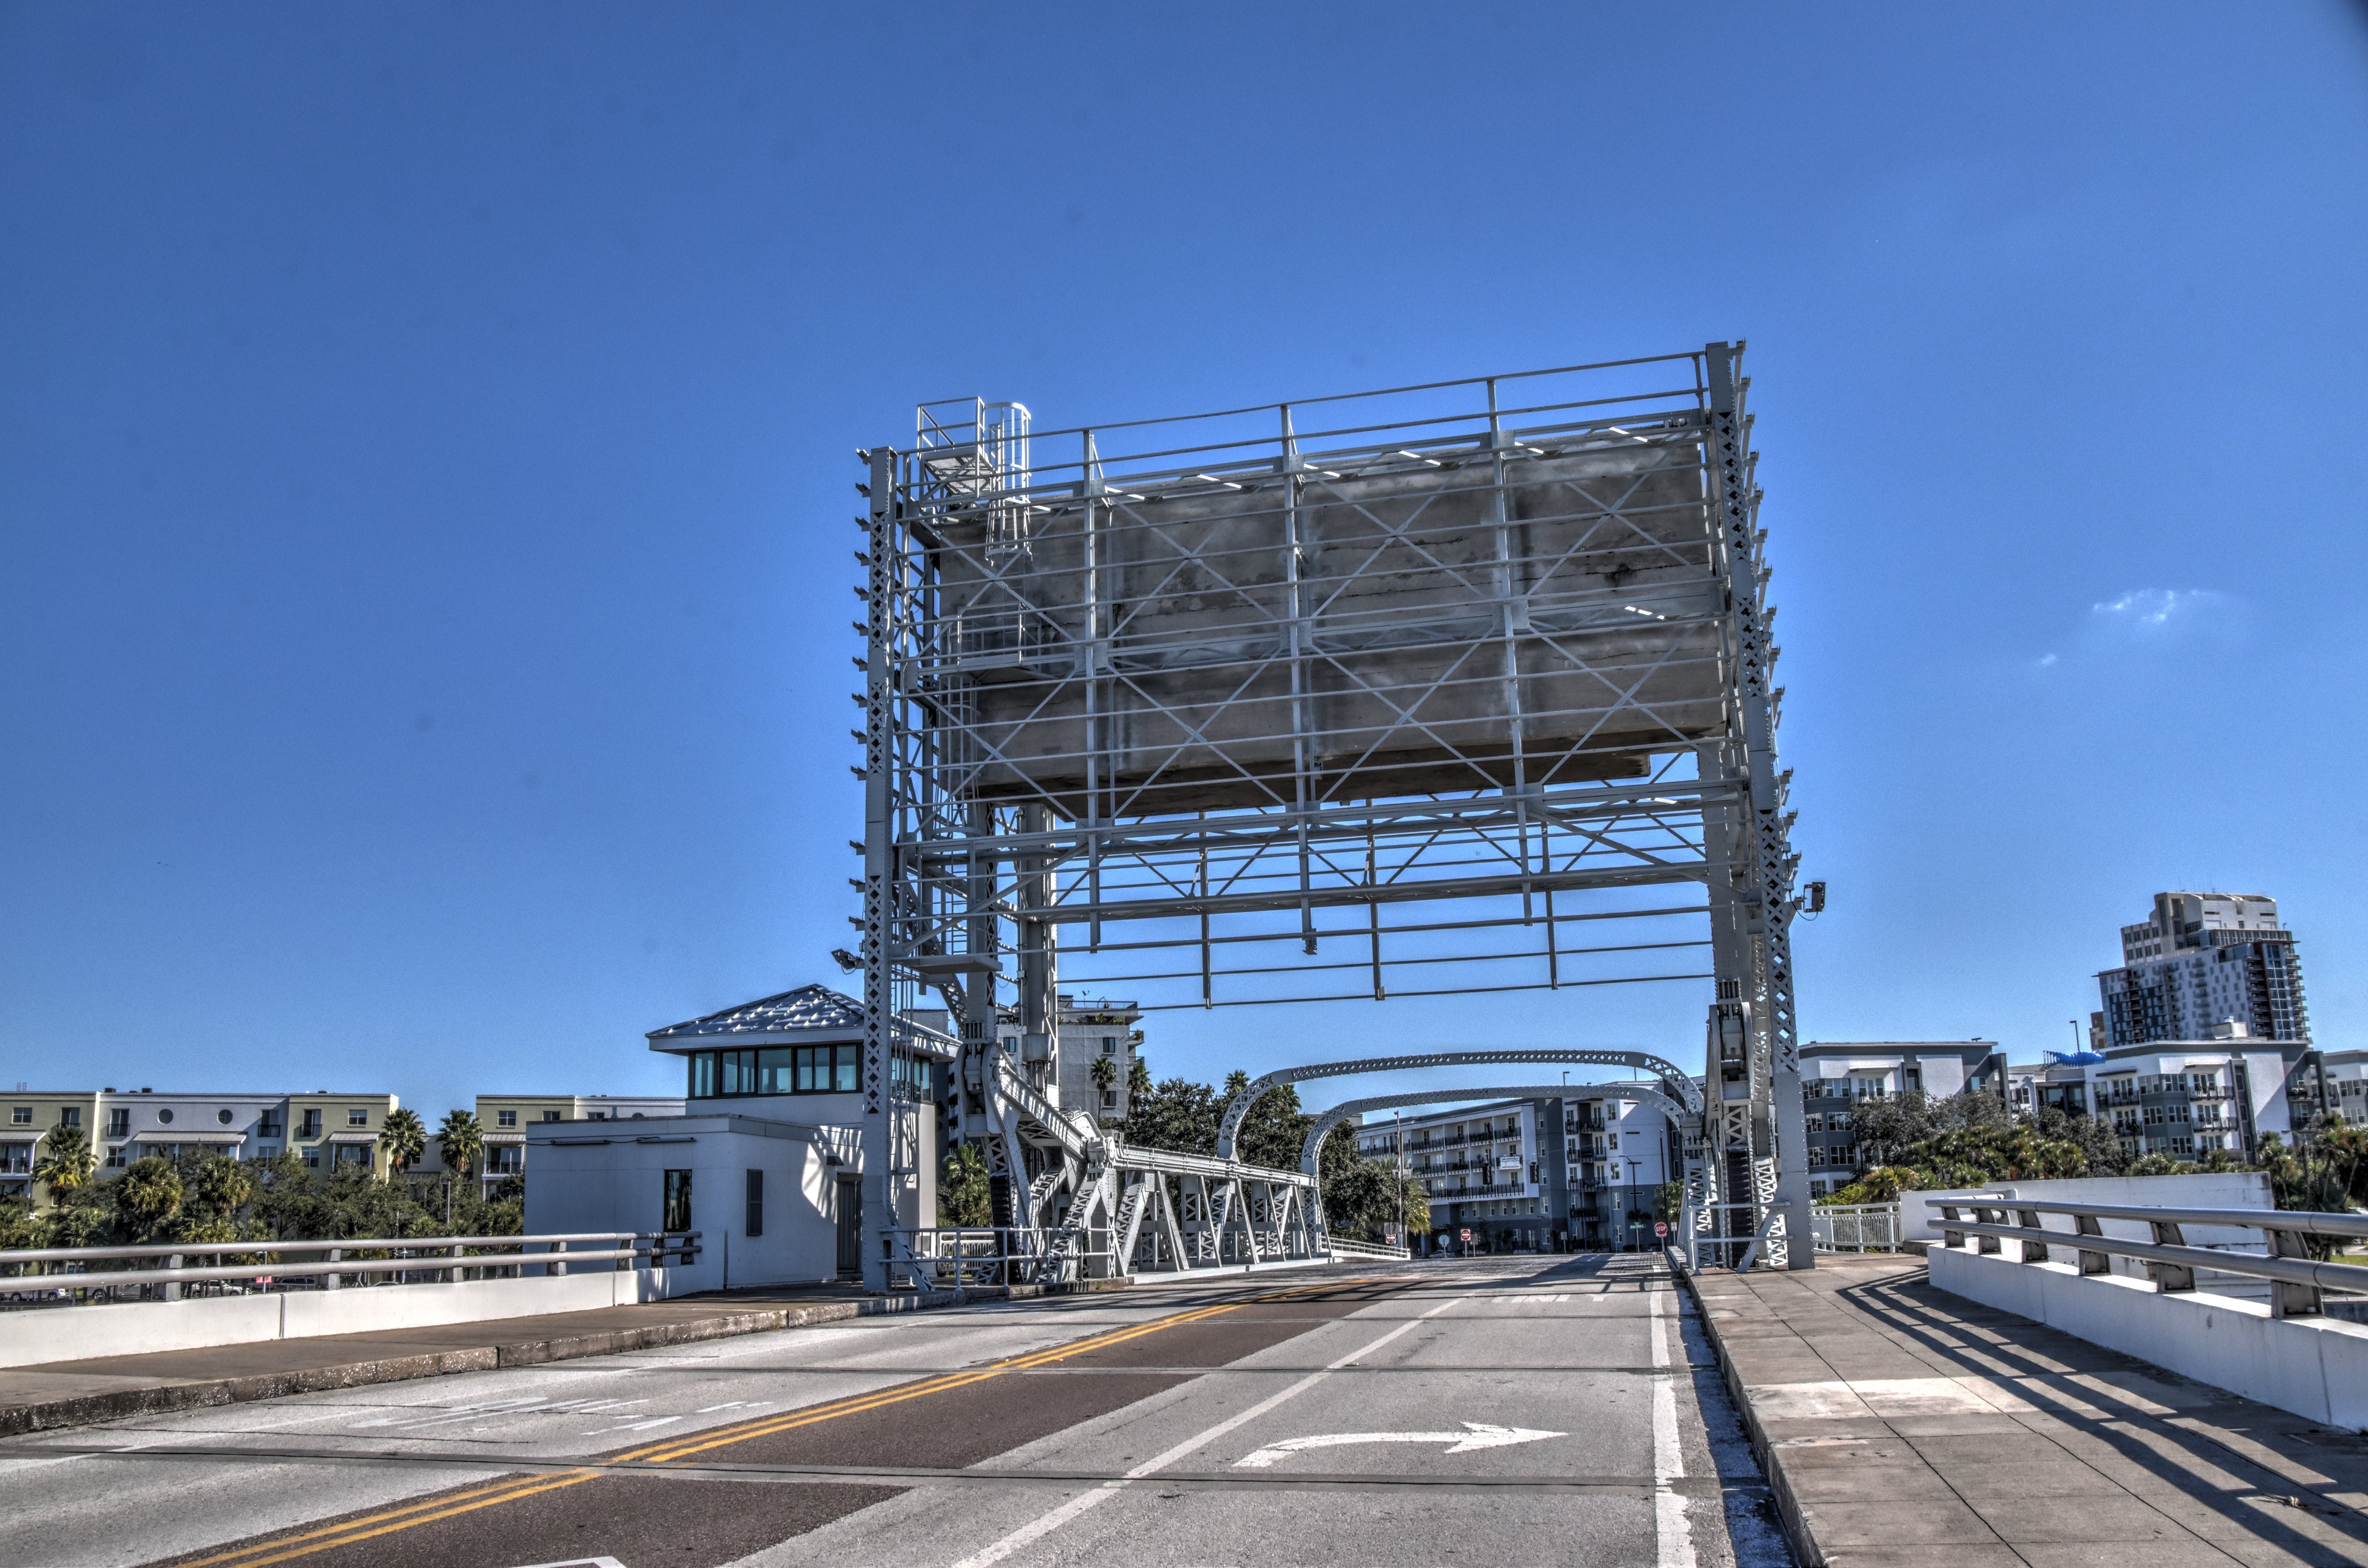
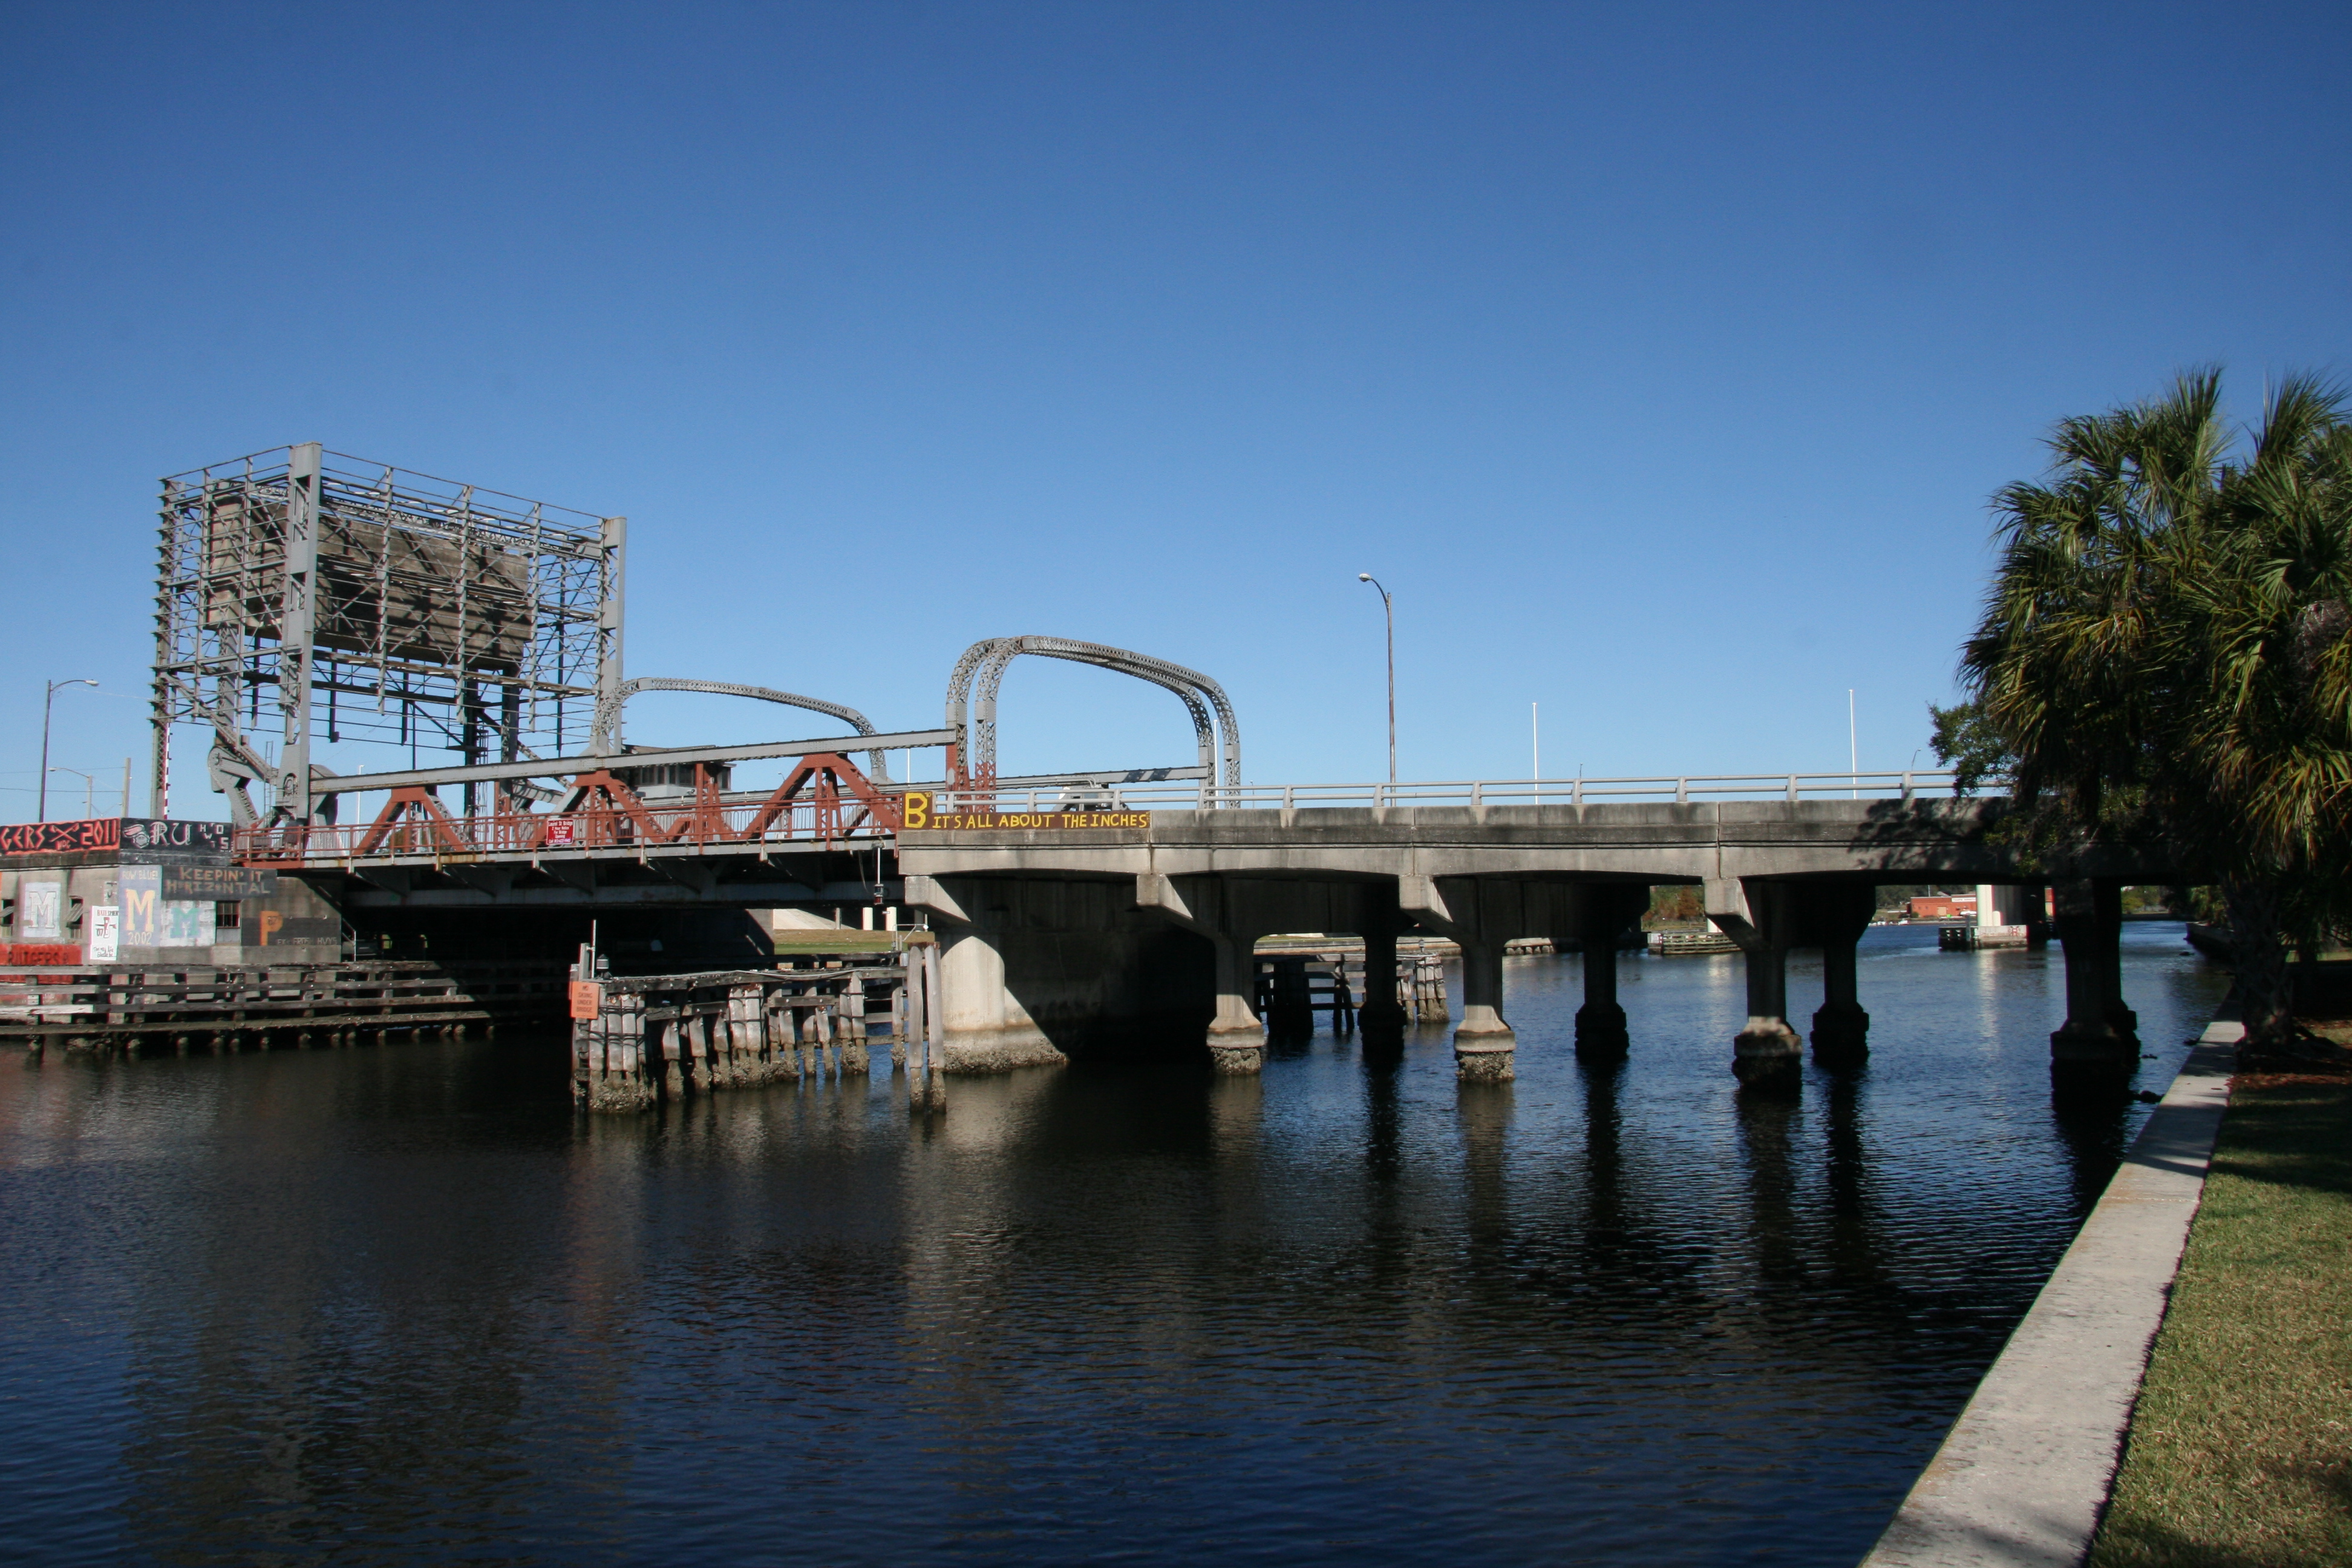
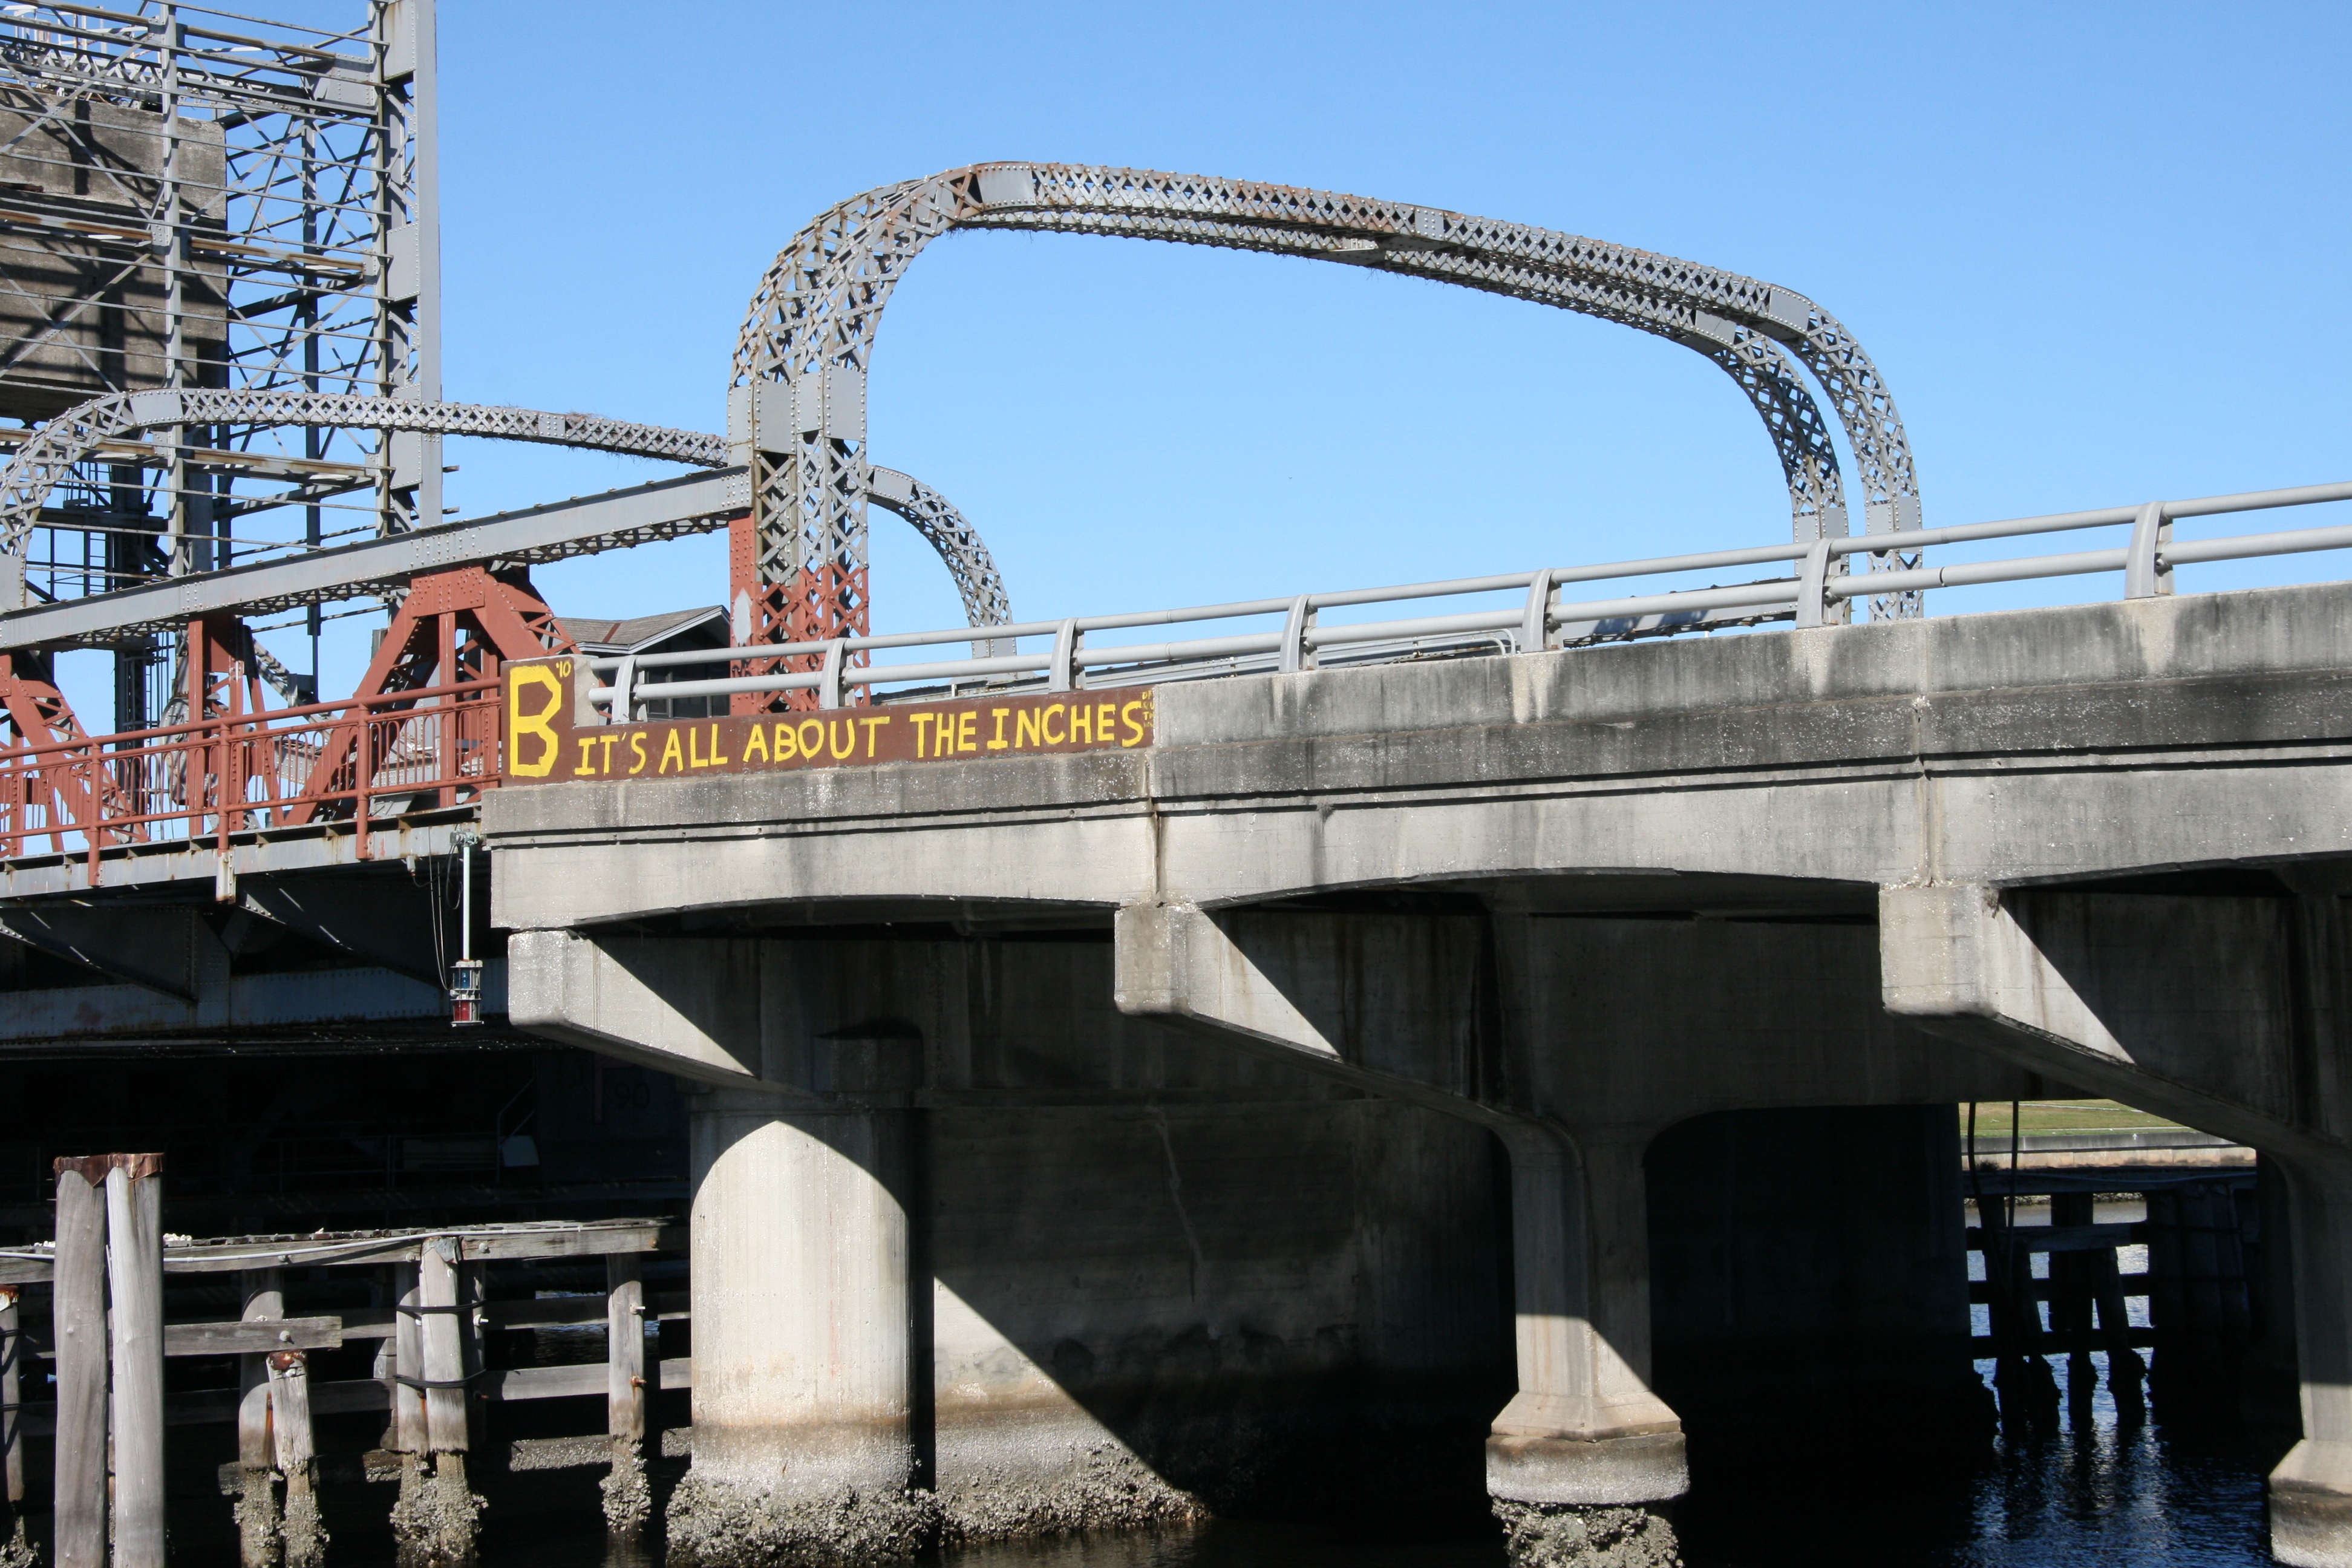
Elevation from southeast quadrant.
![]()


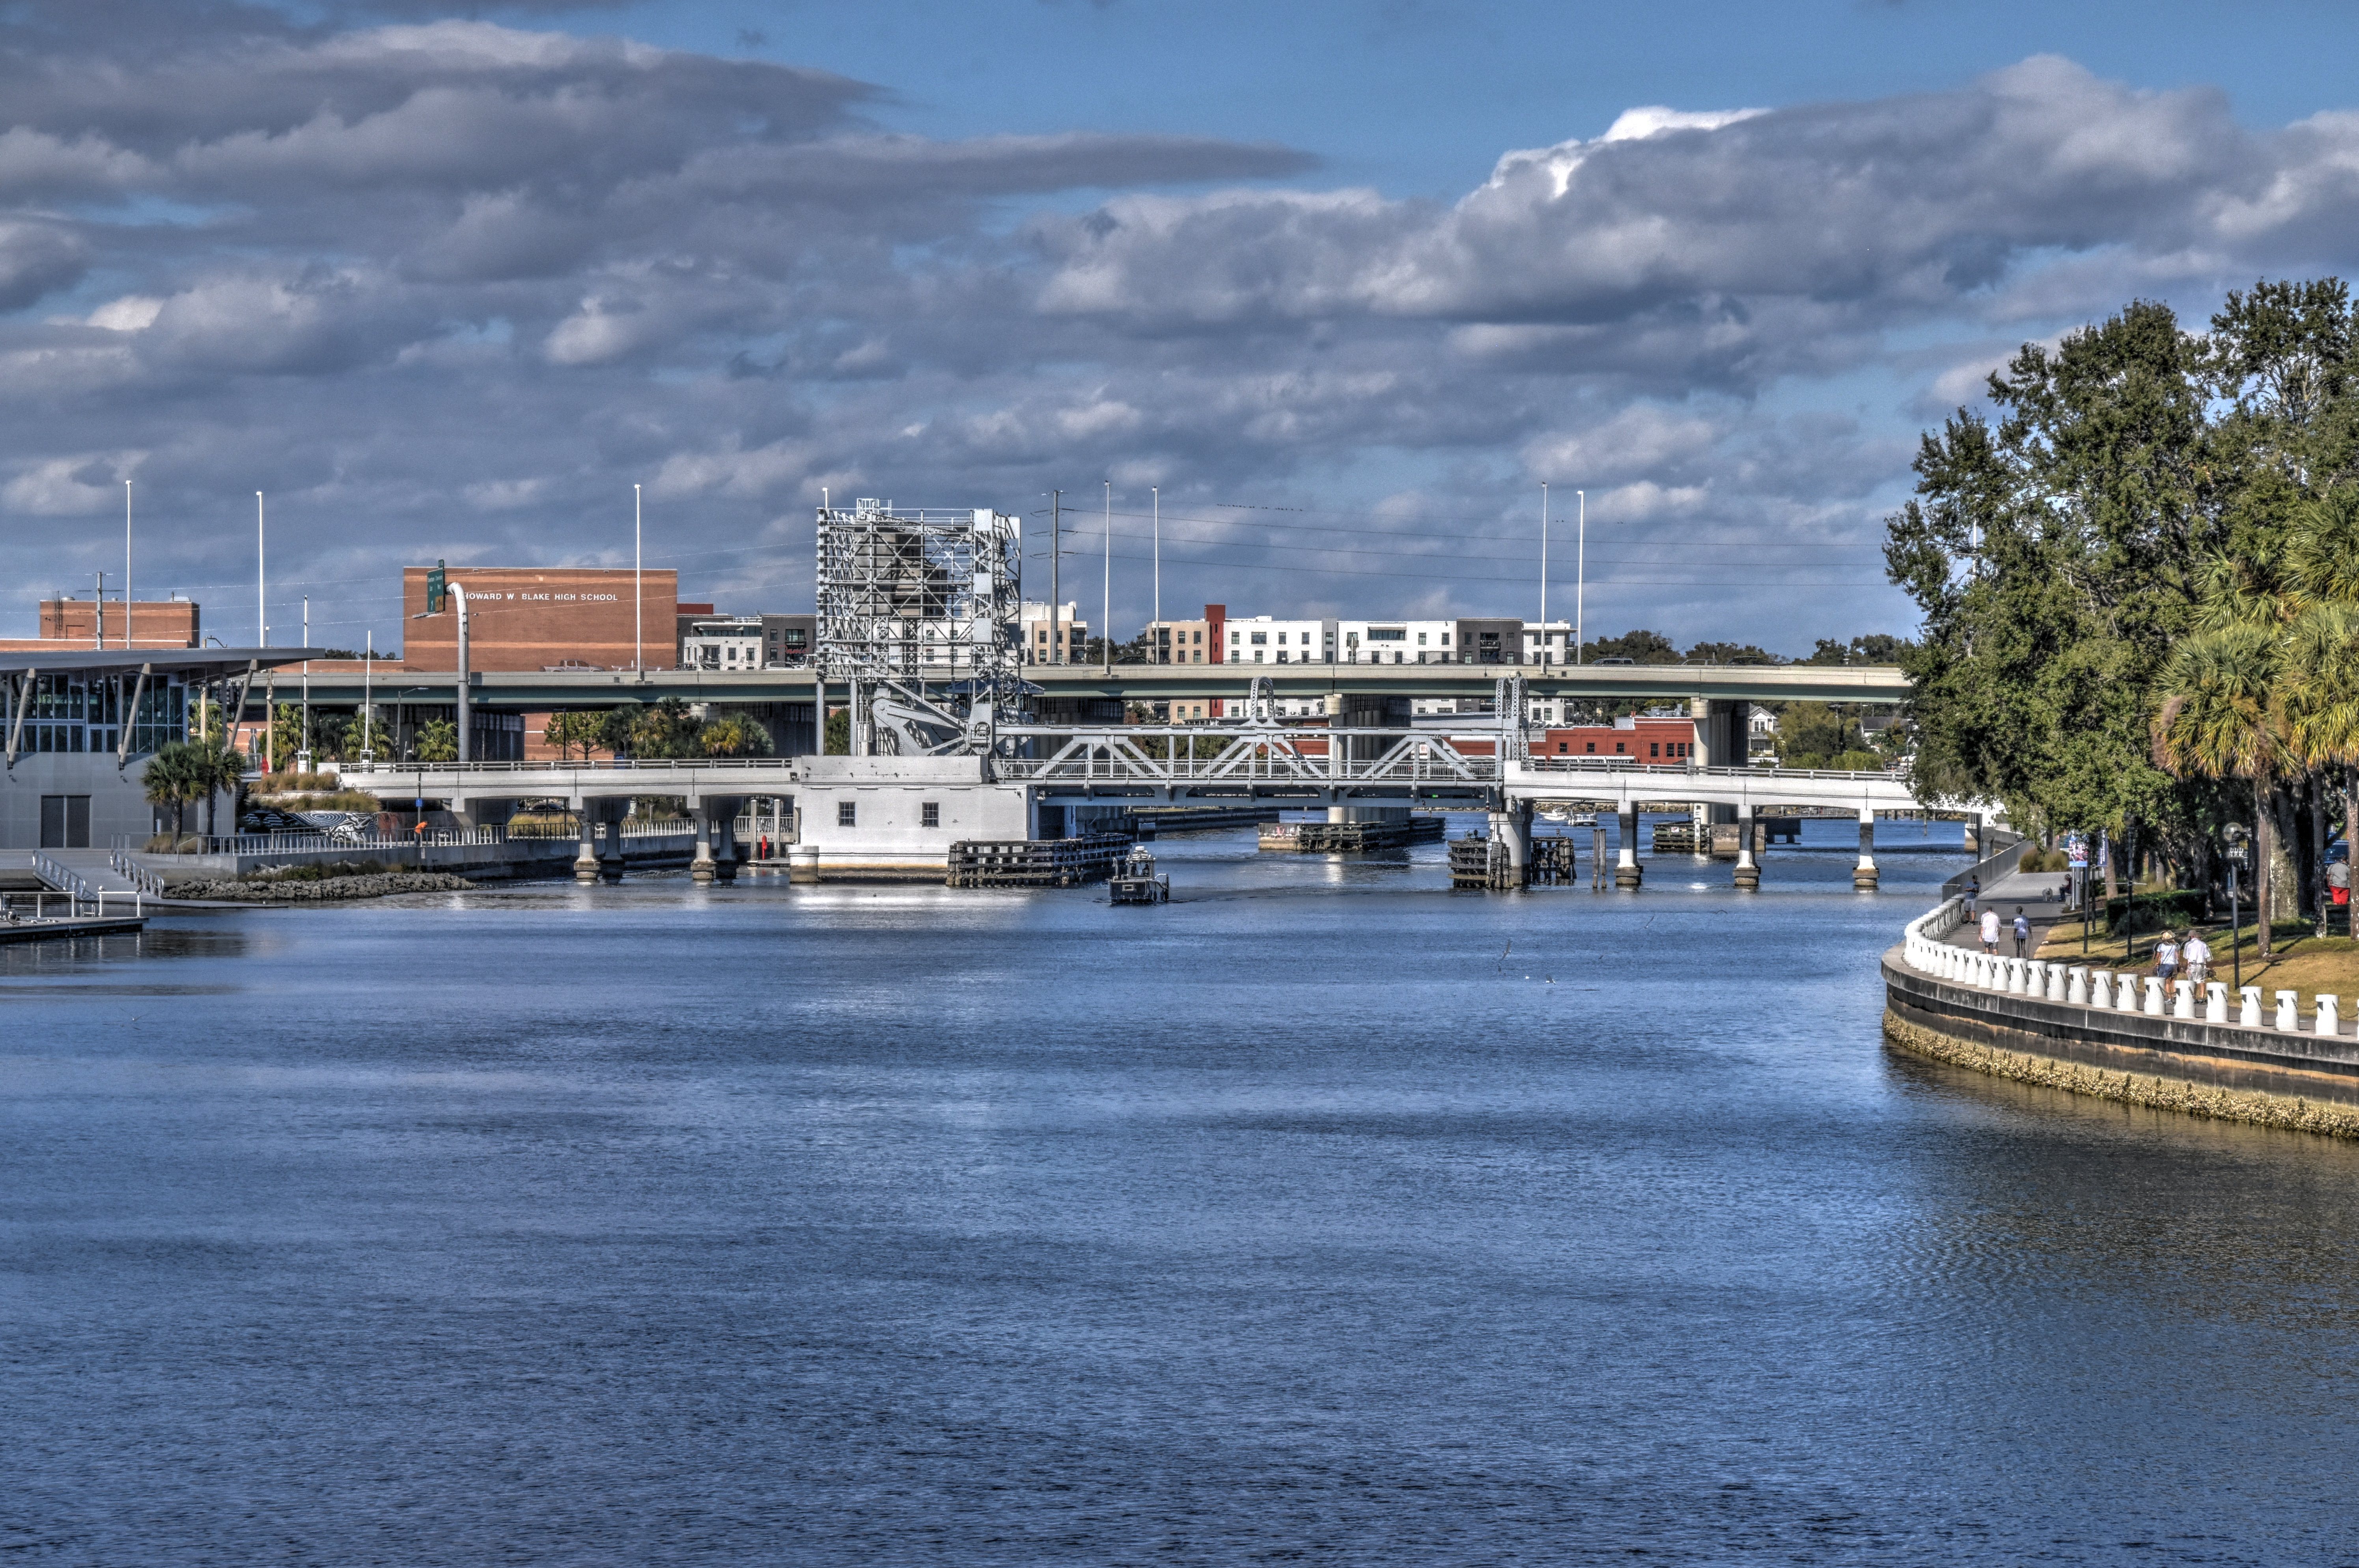
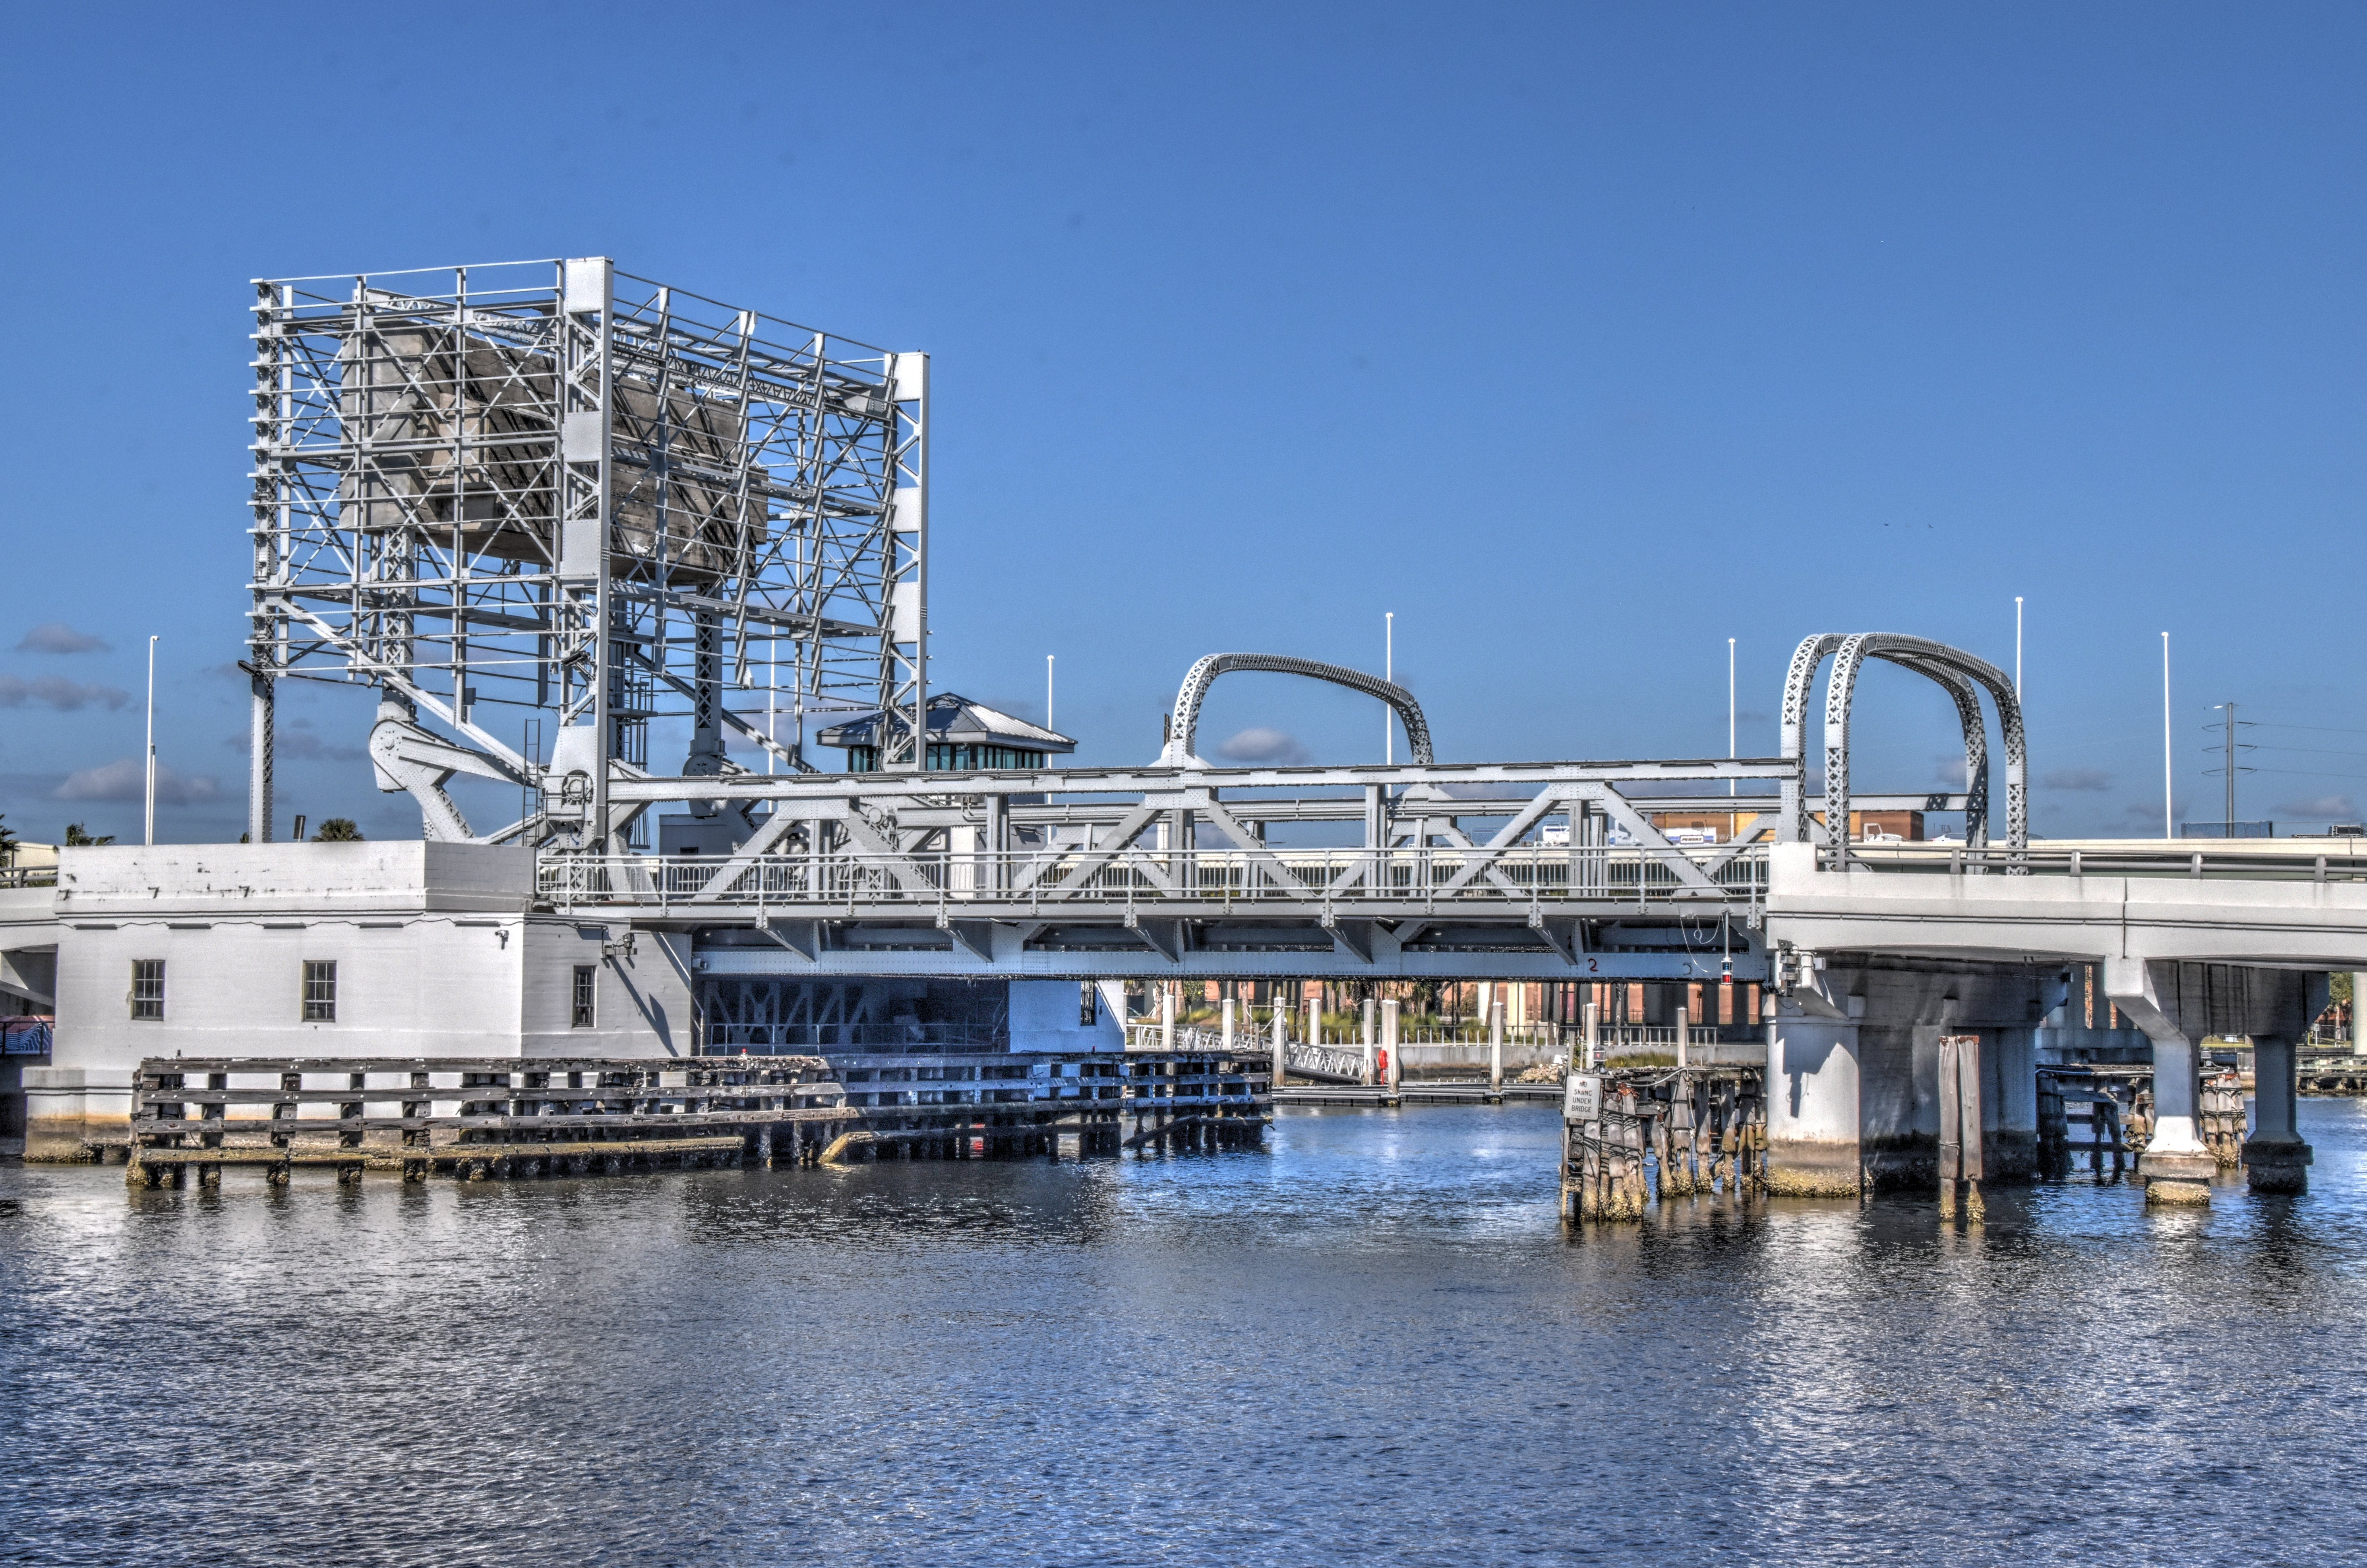
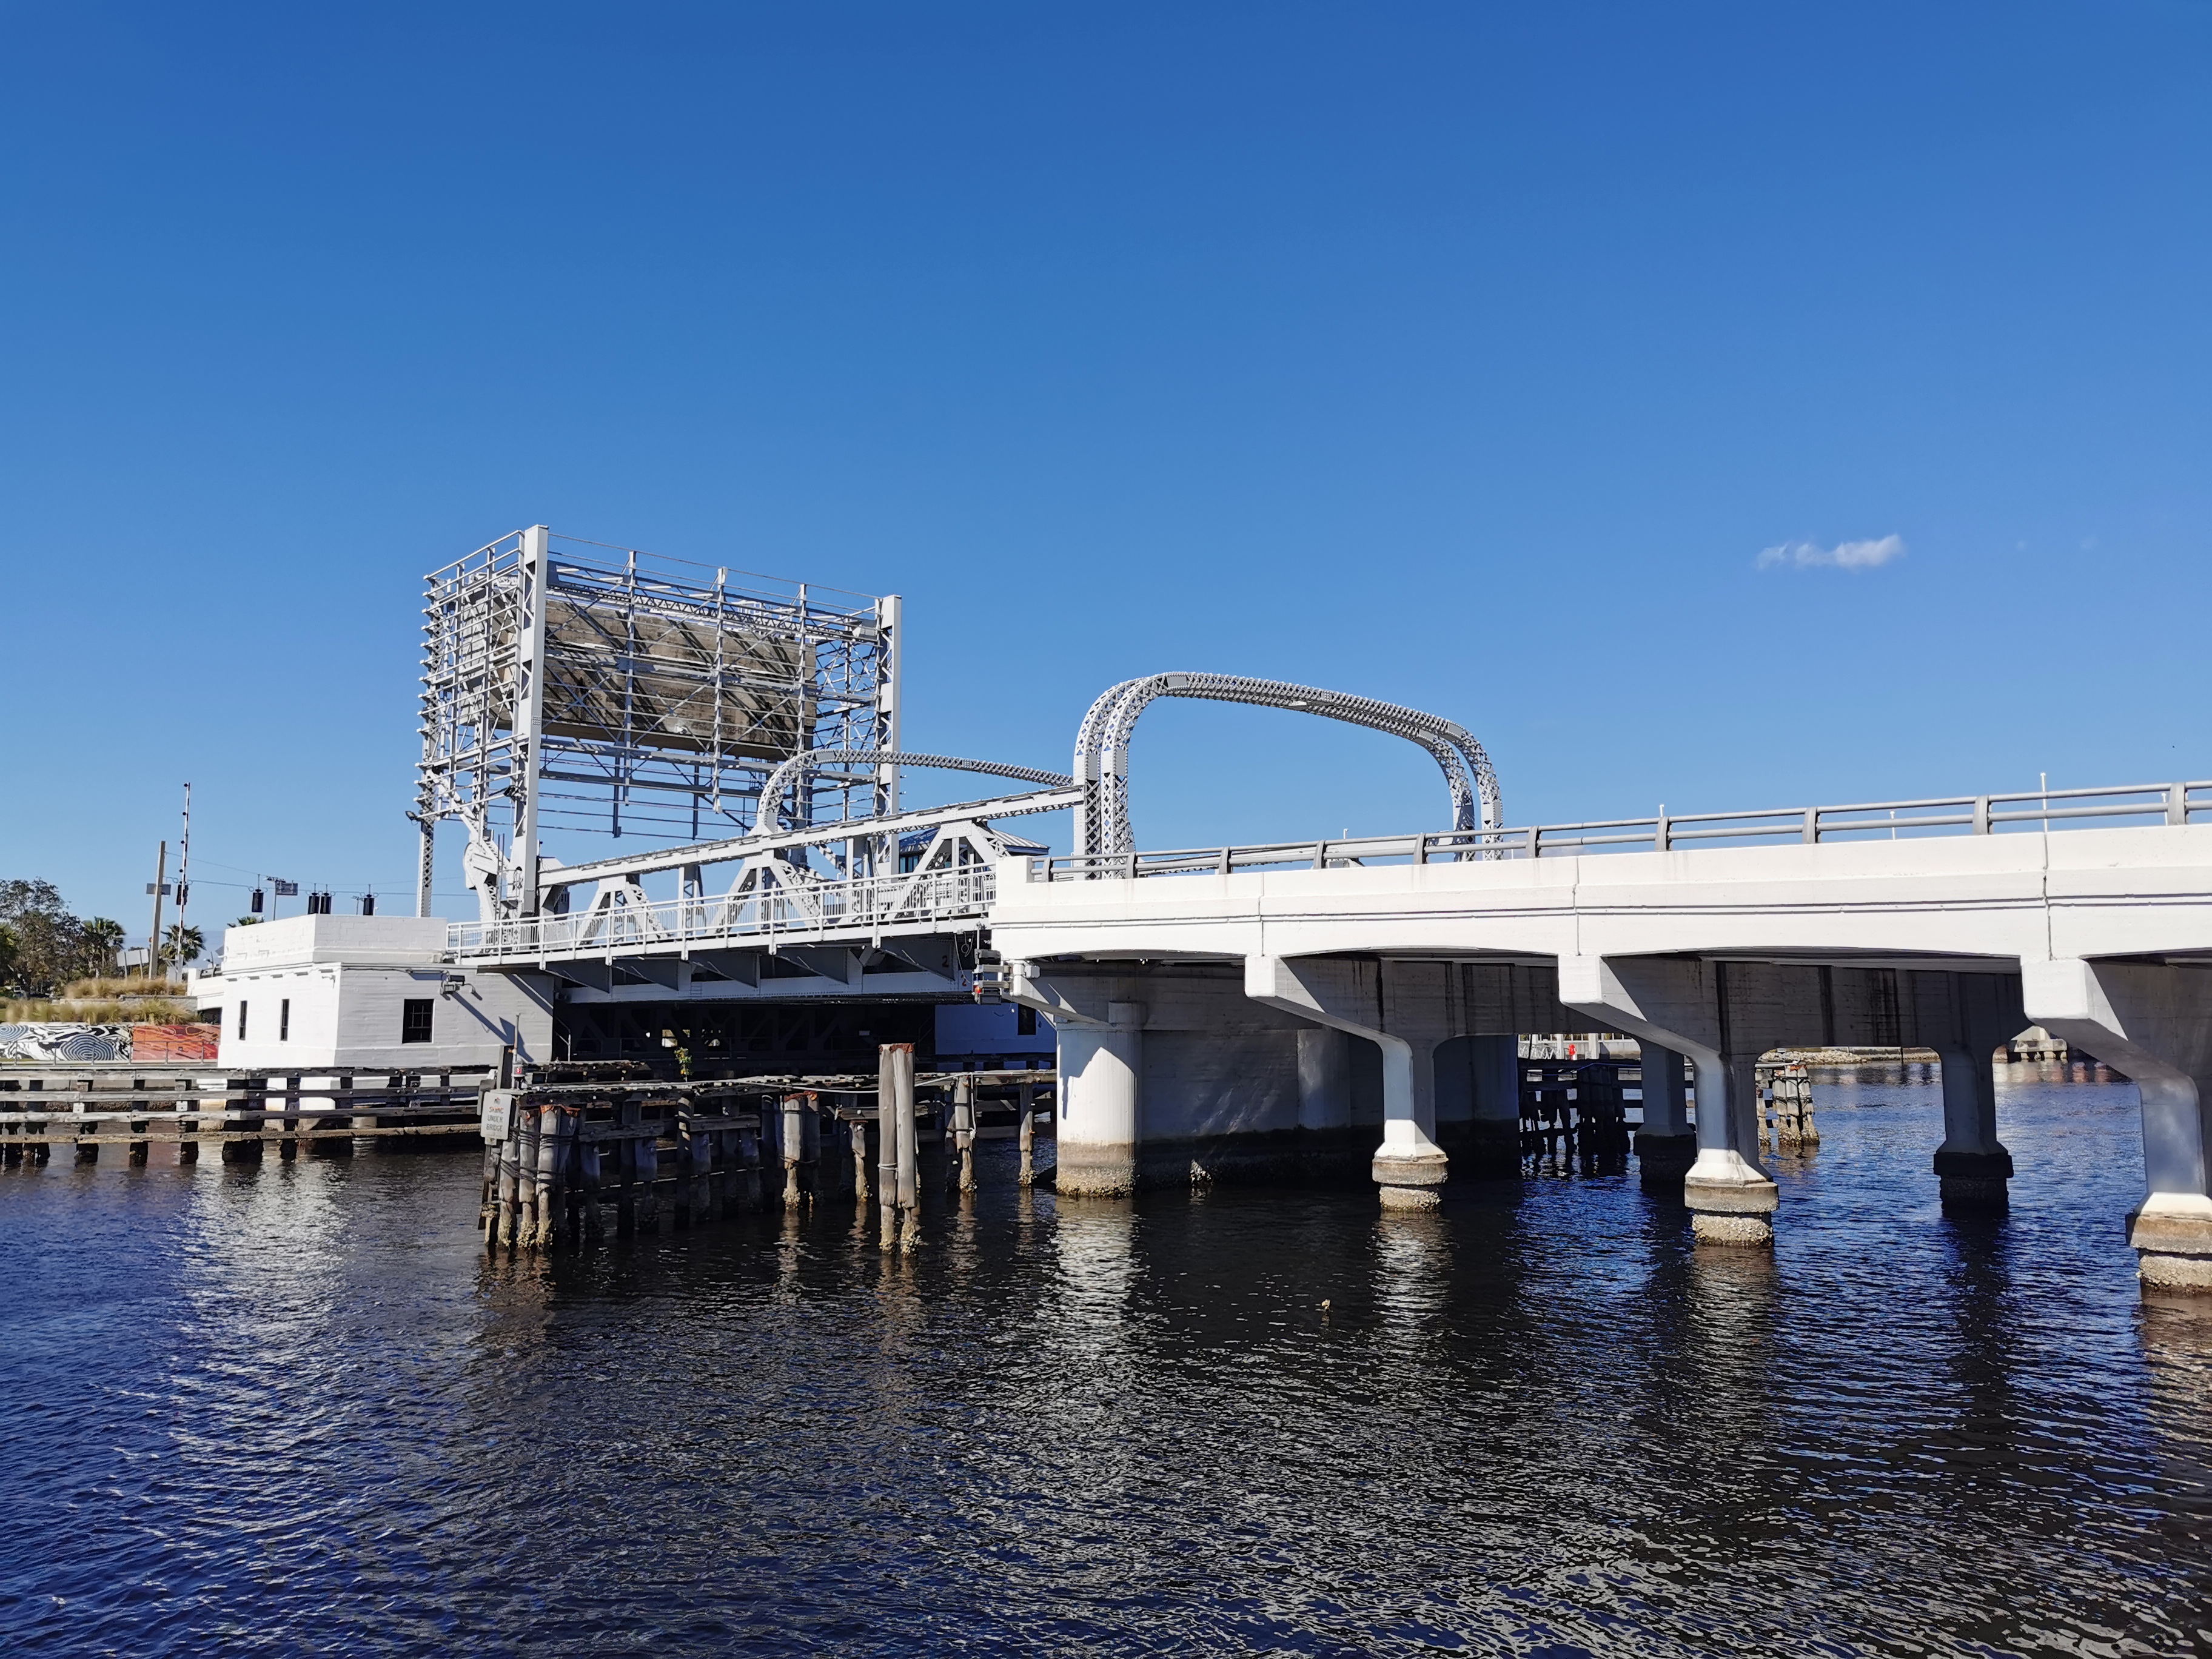
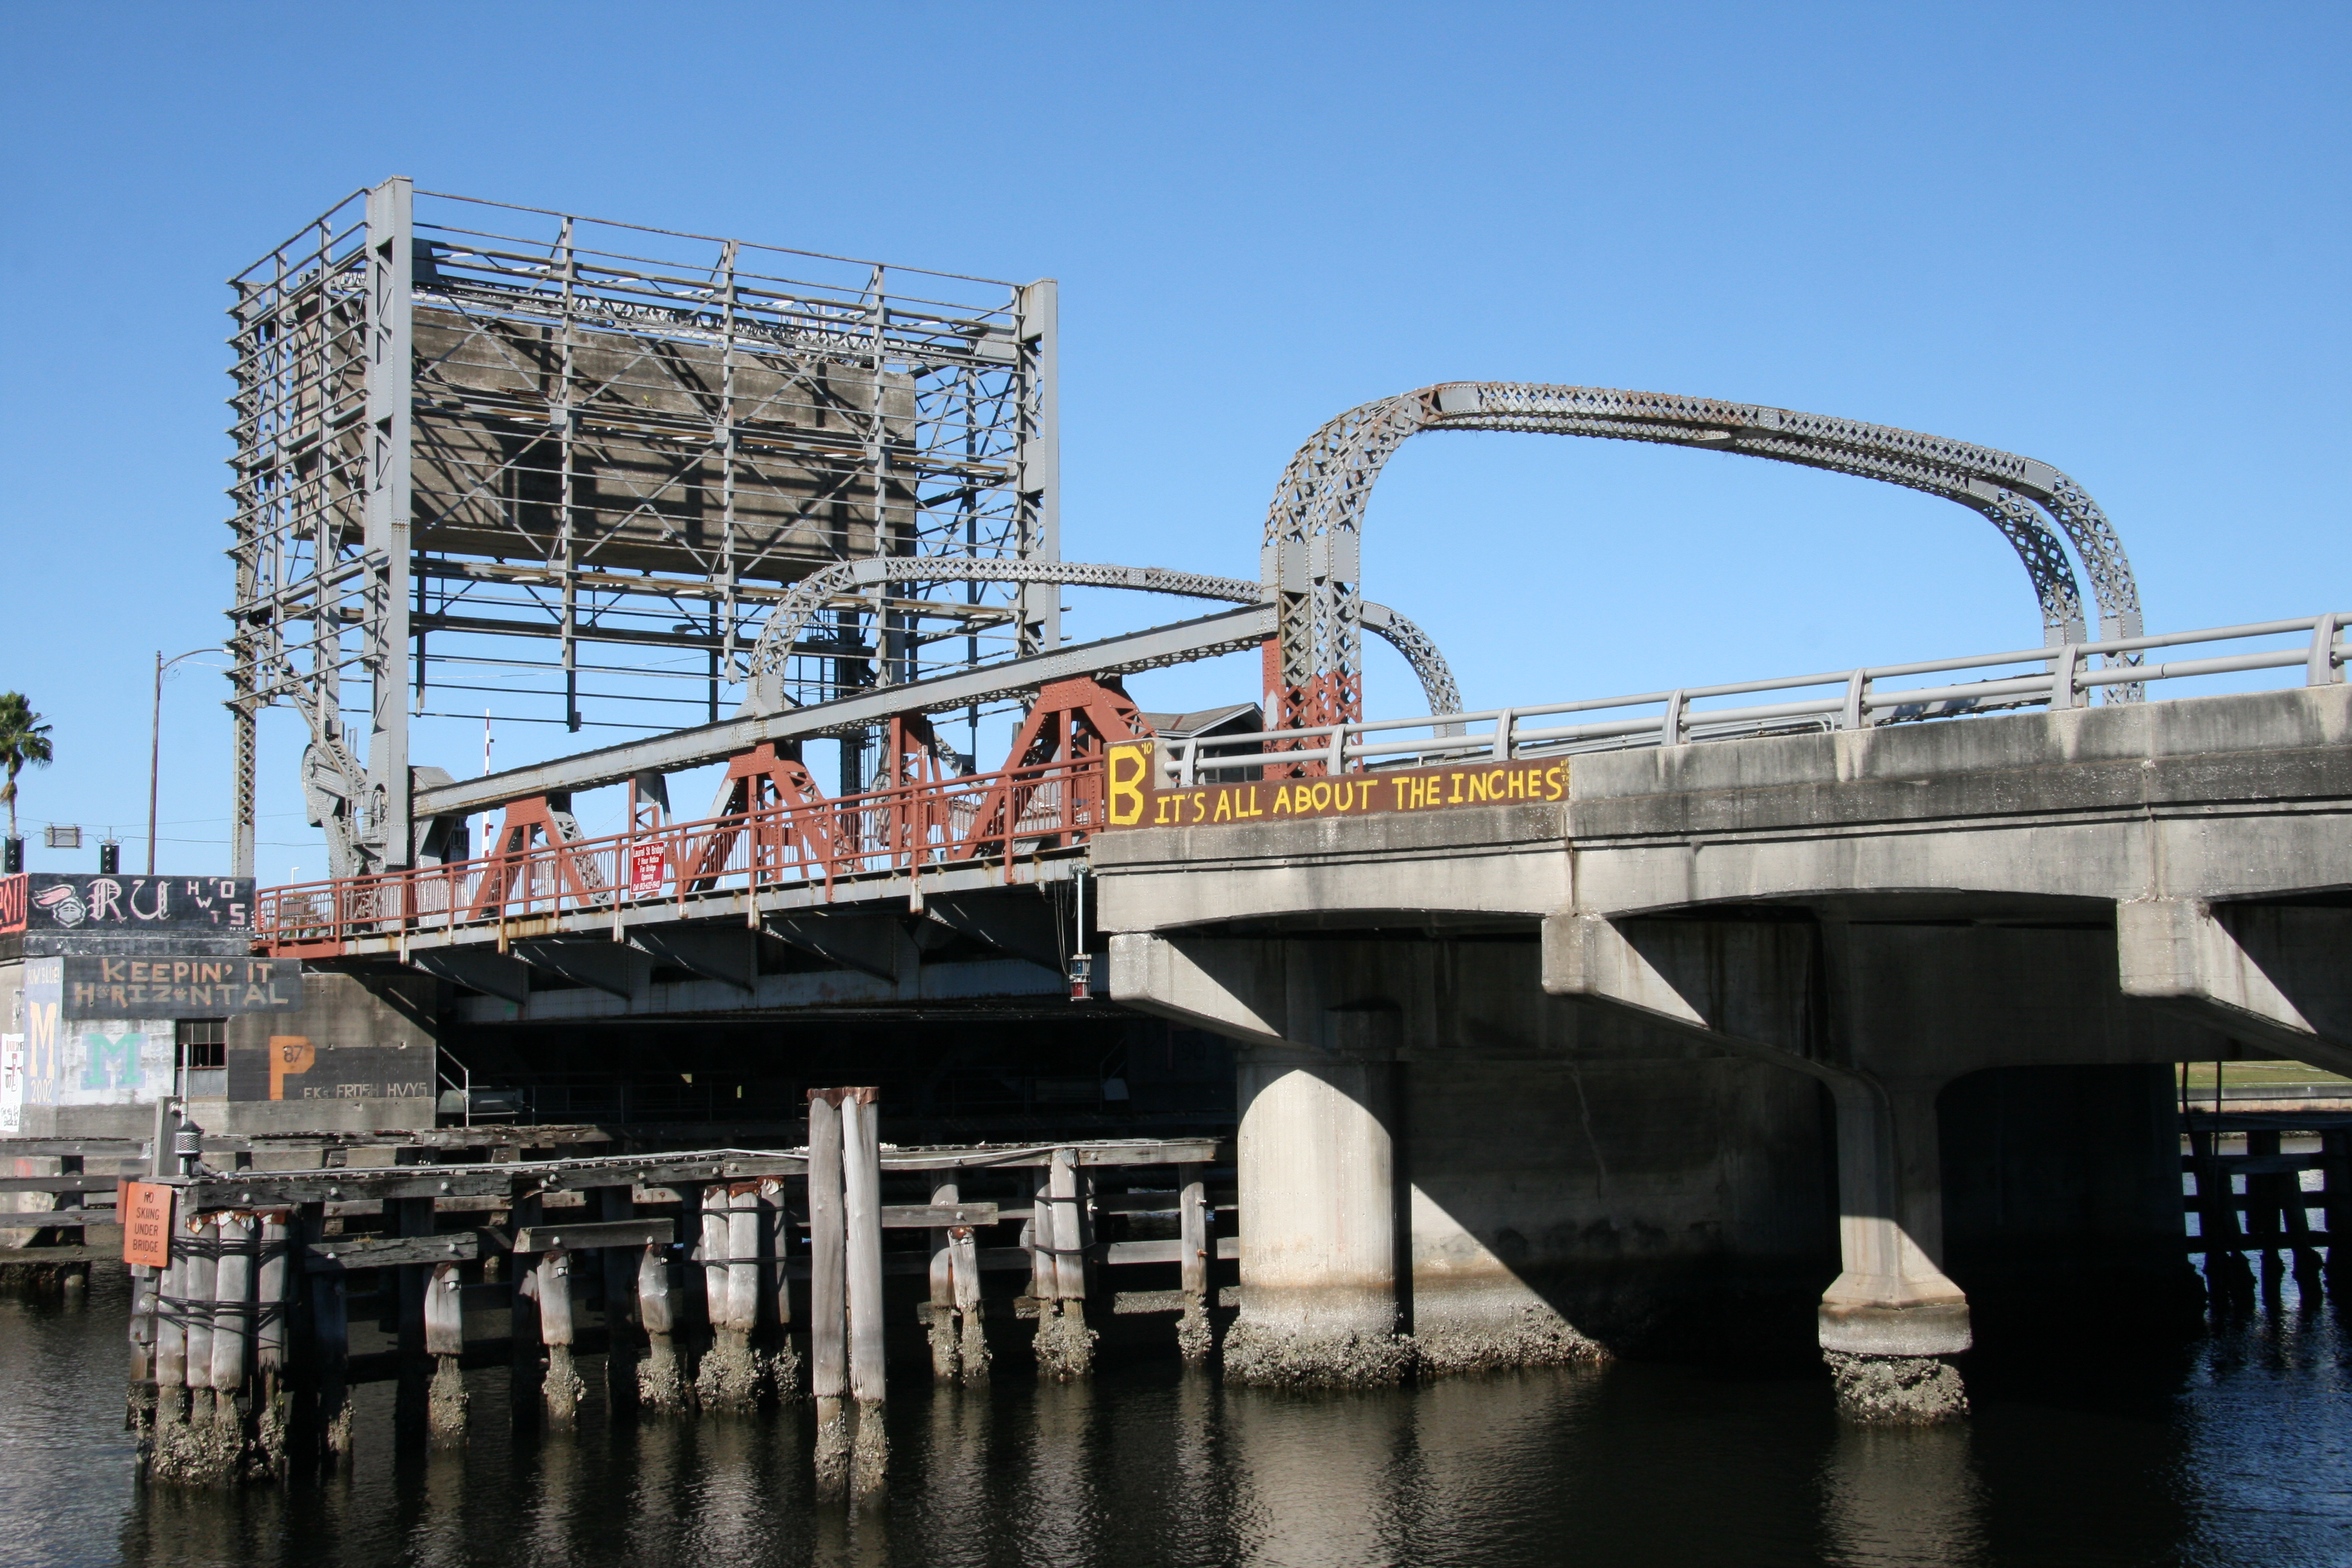
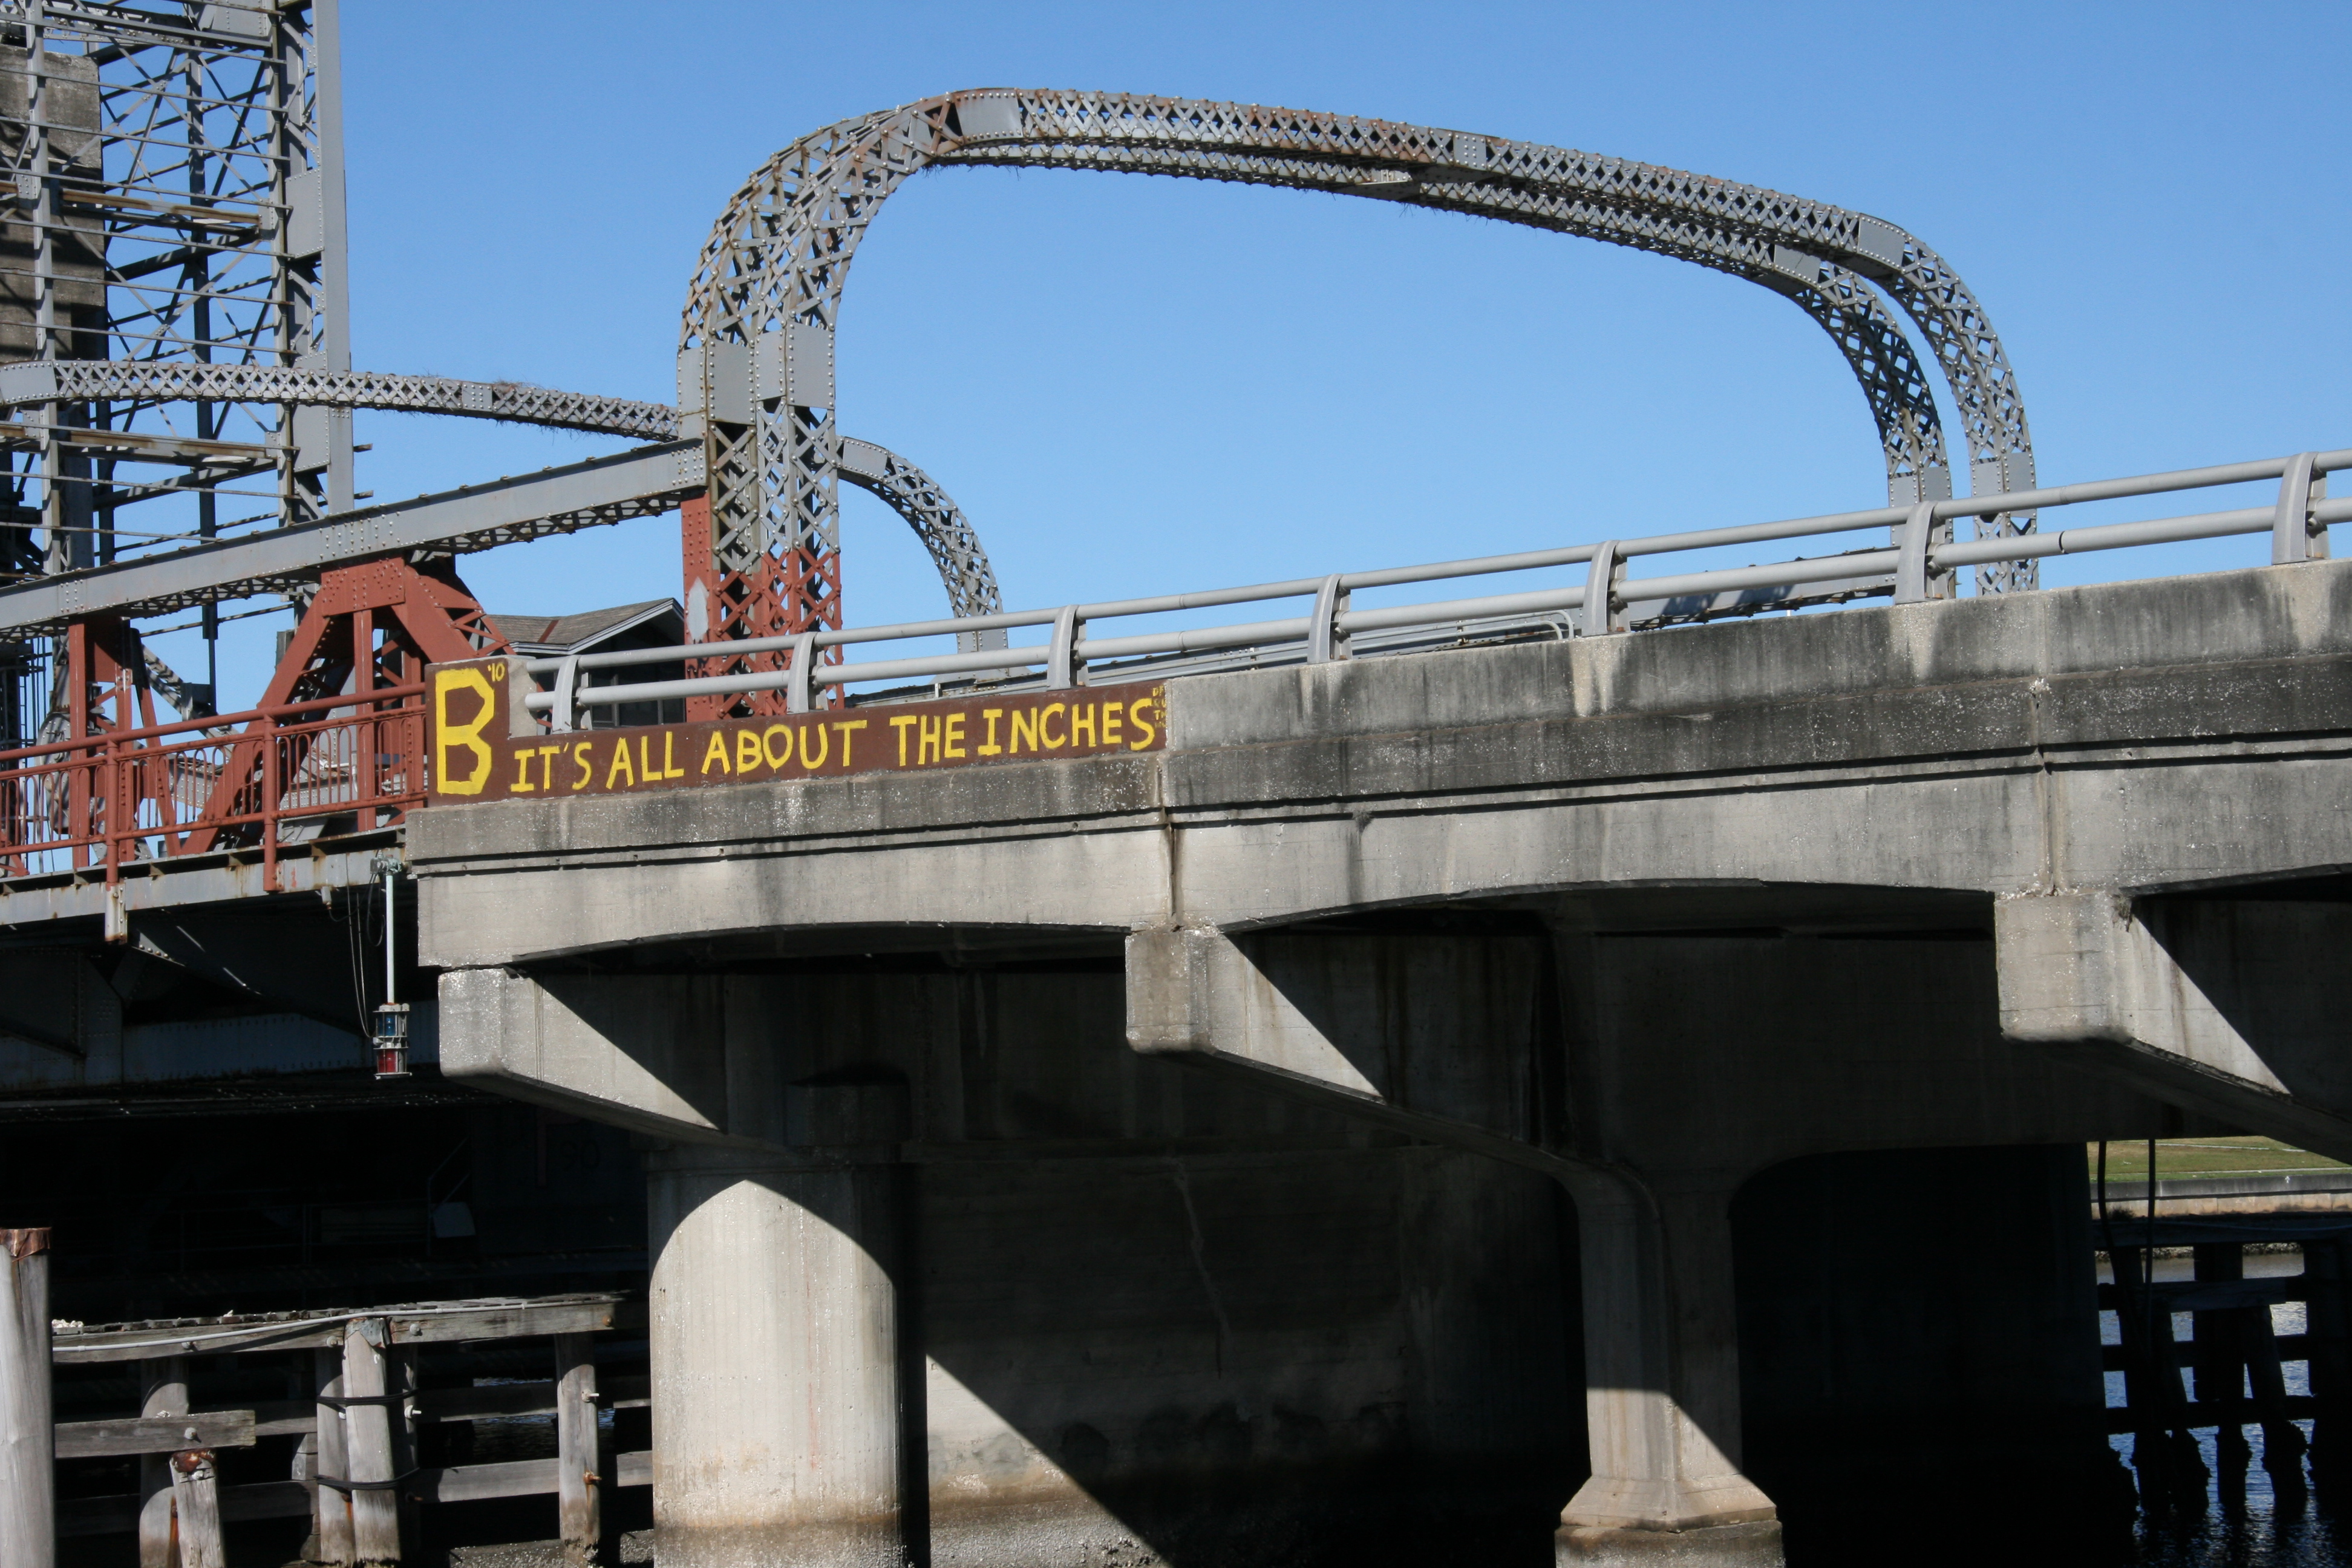
Distant south elevation.
![]()


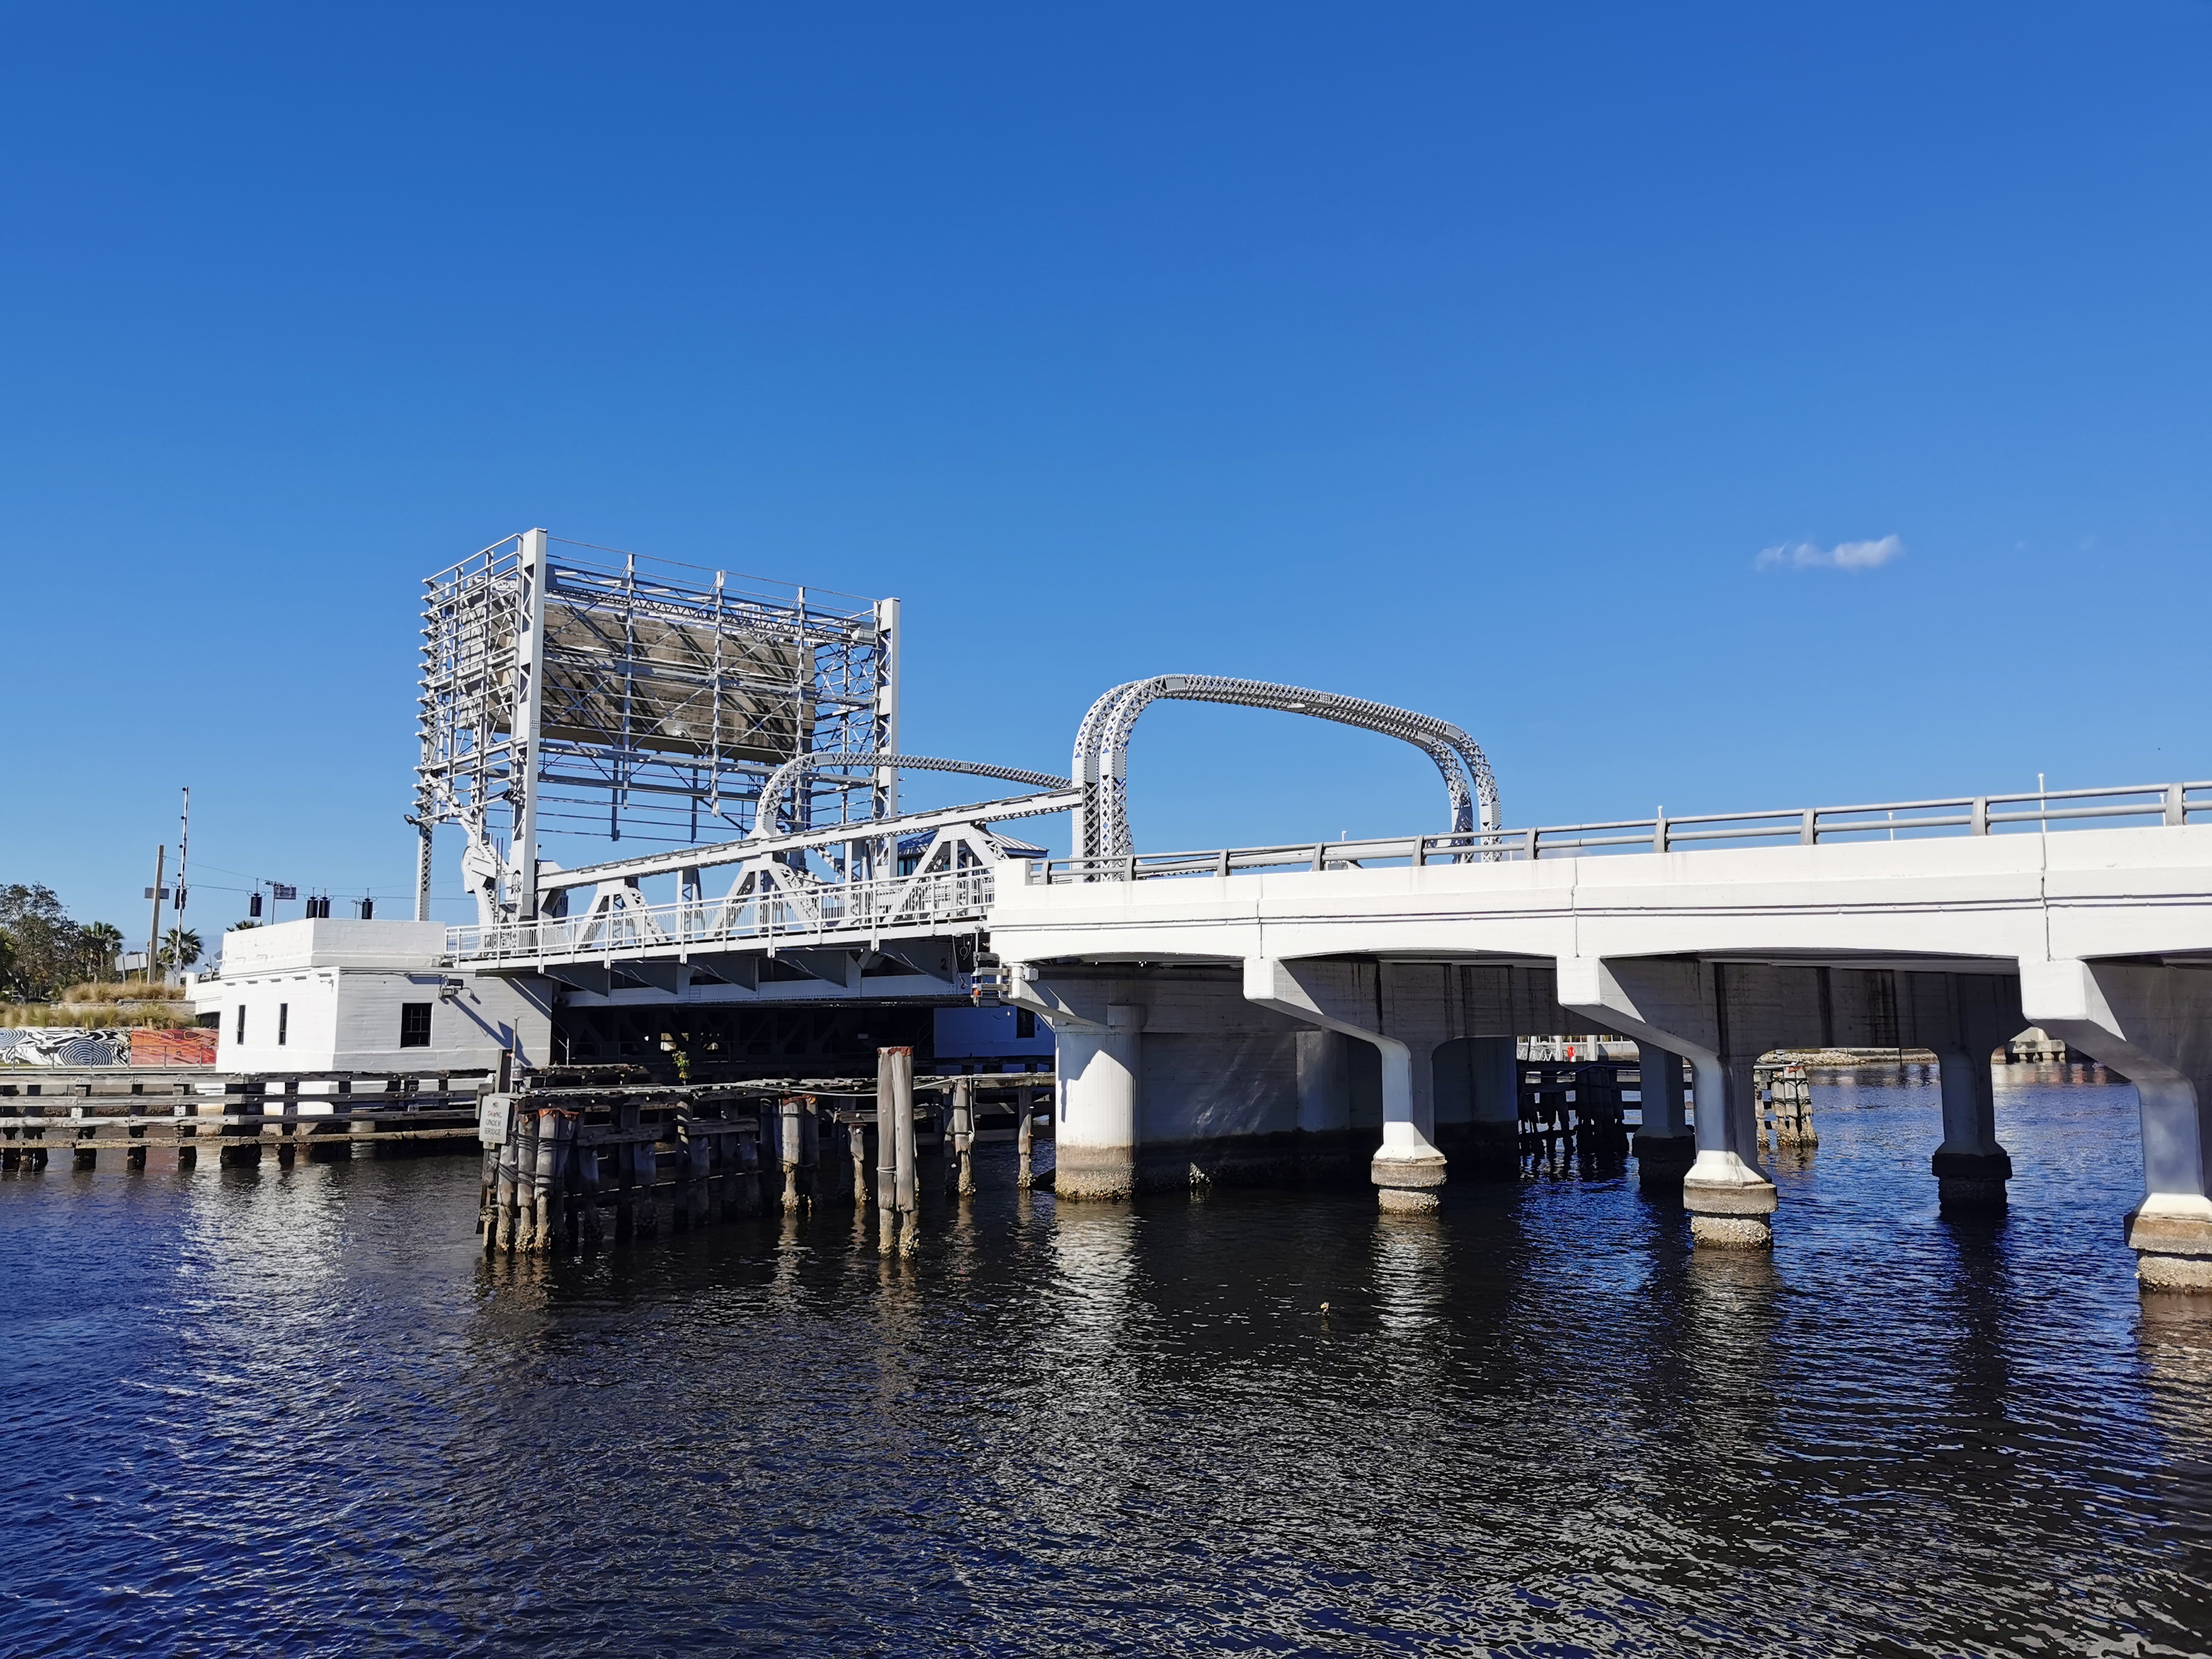
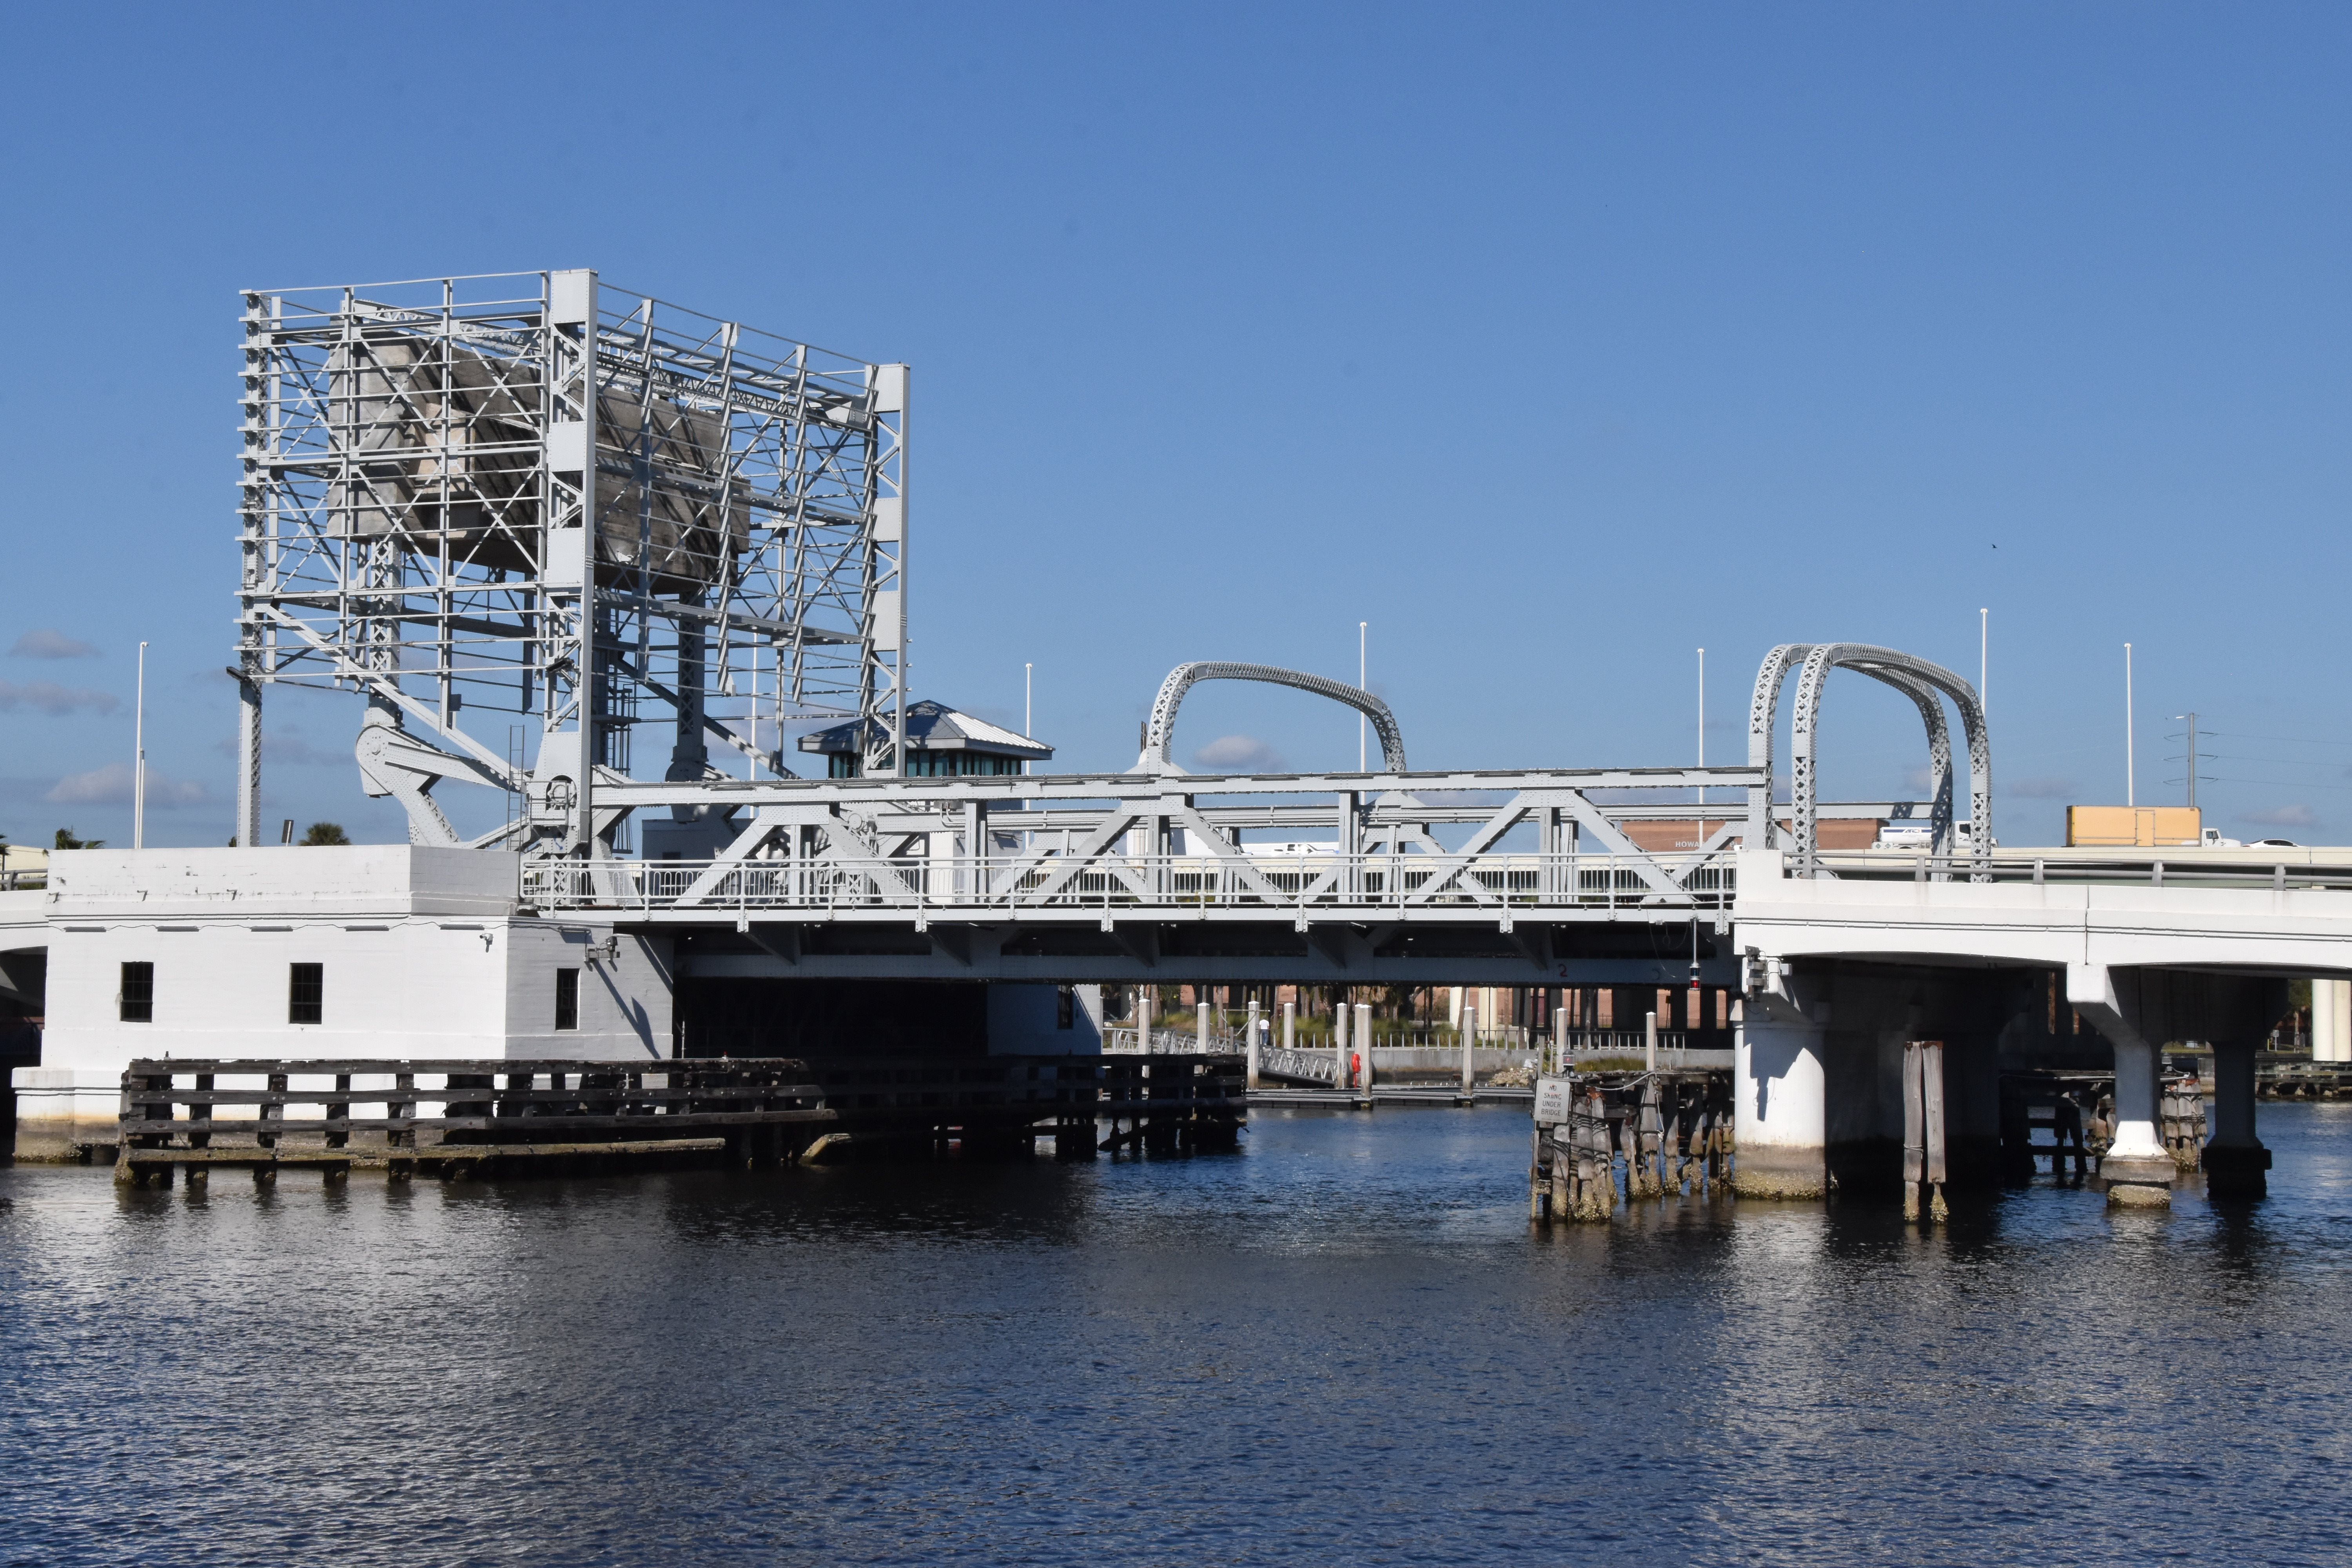
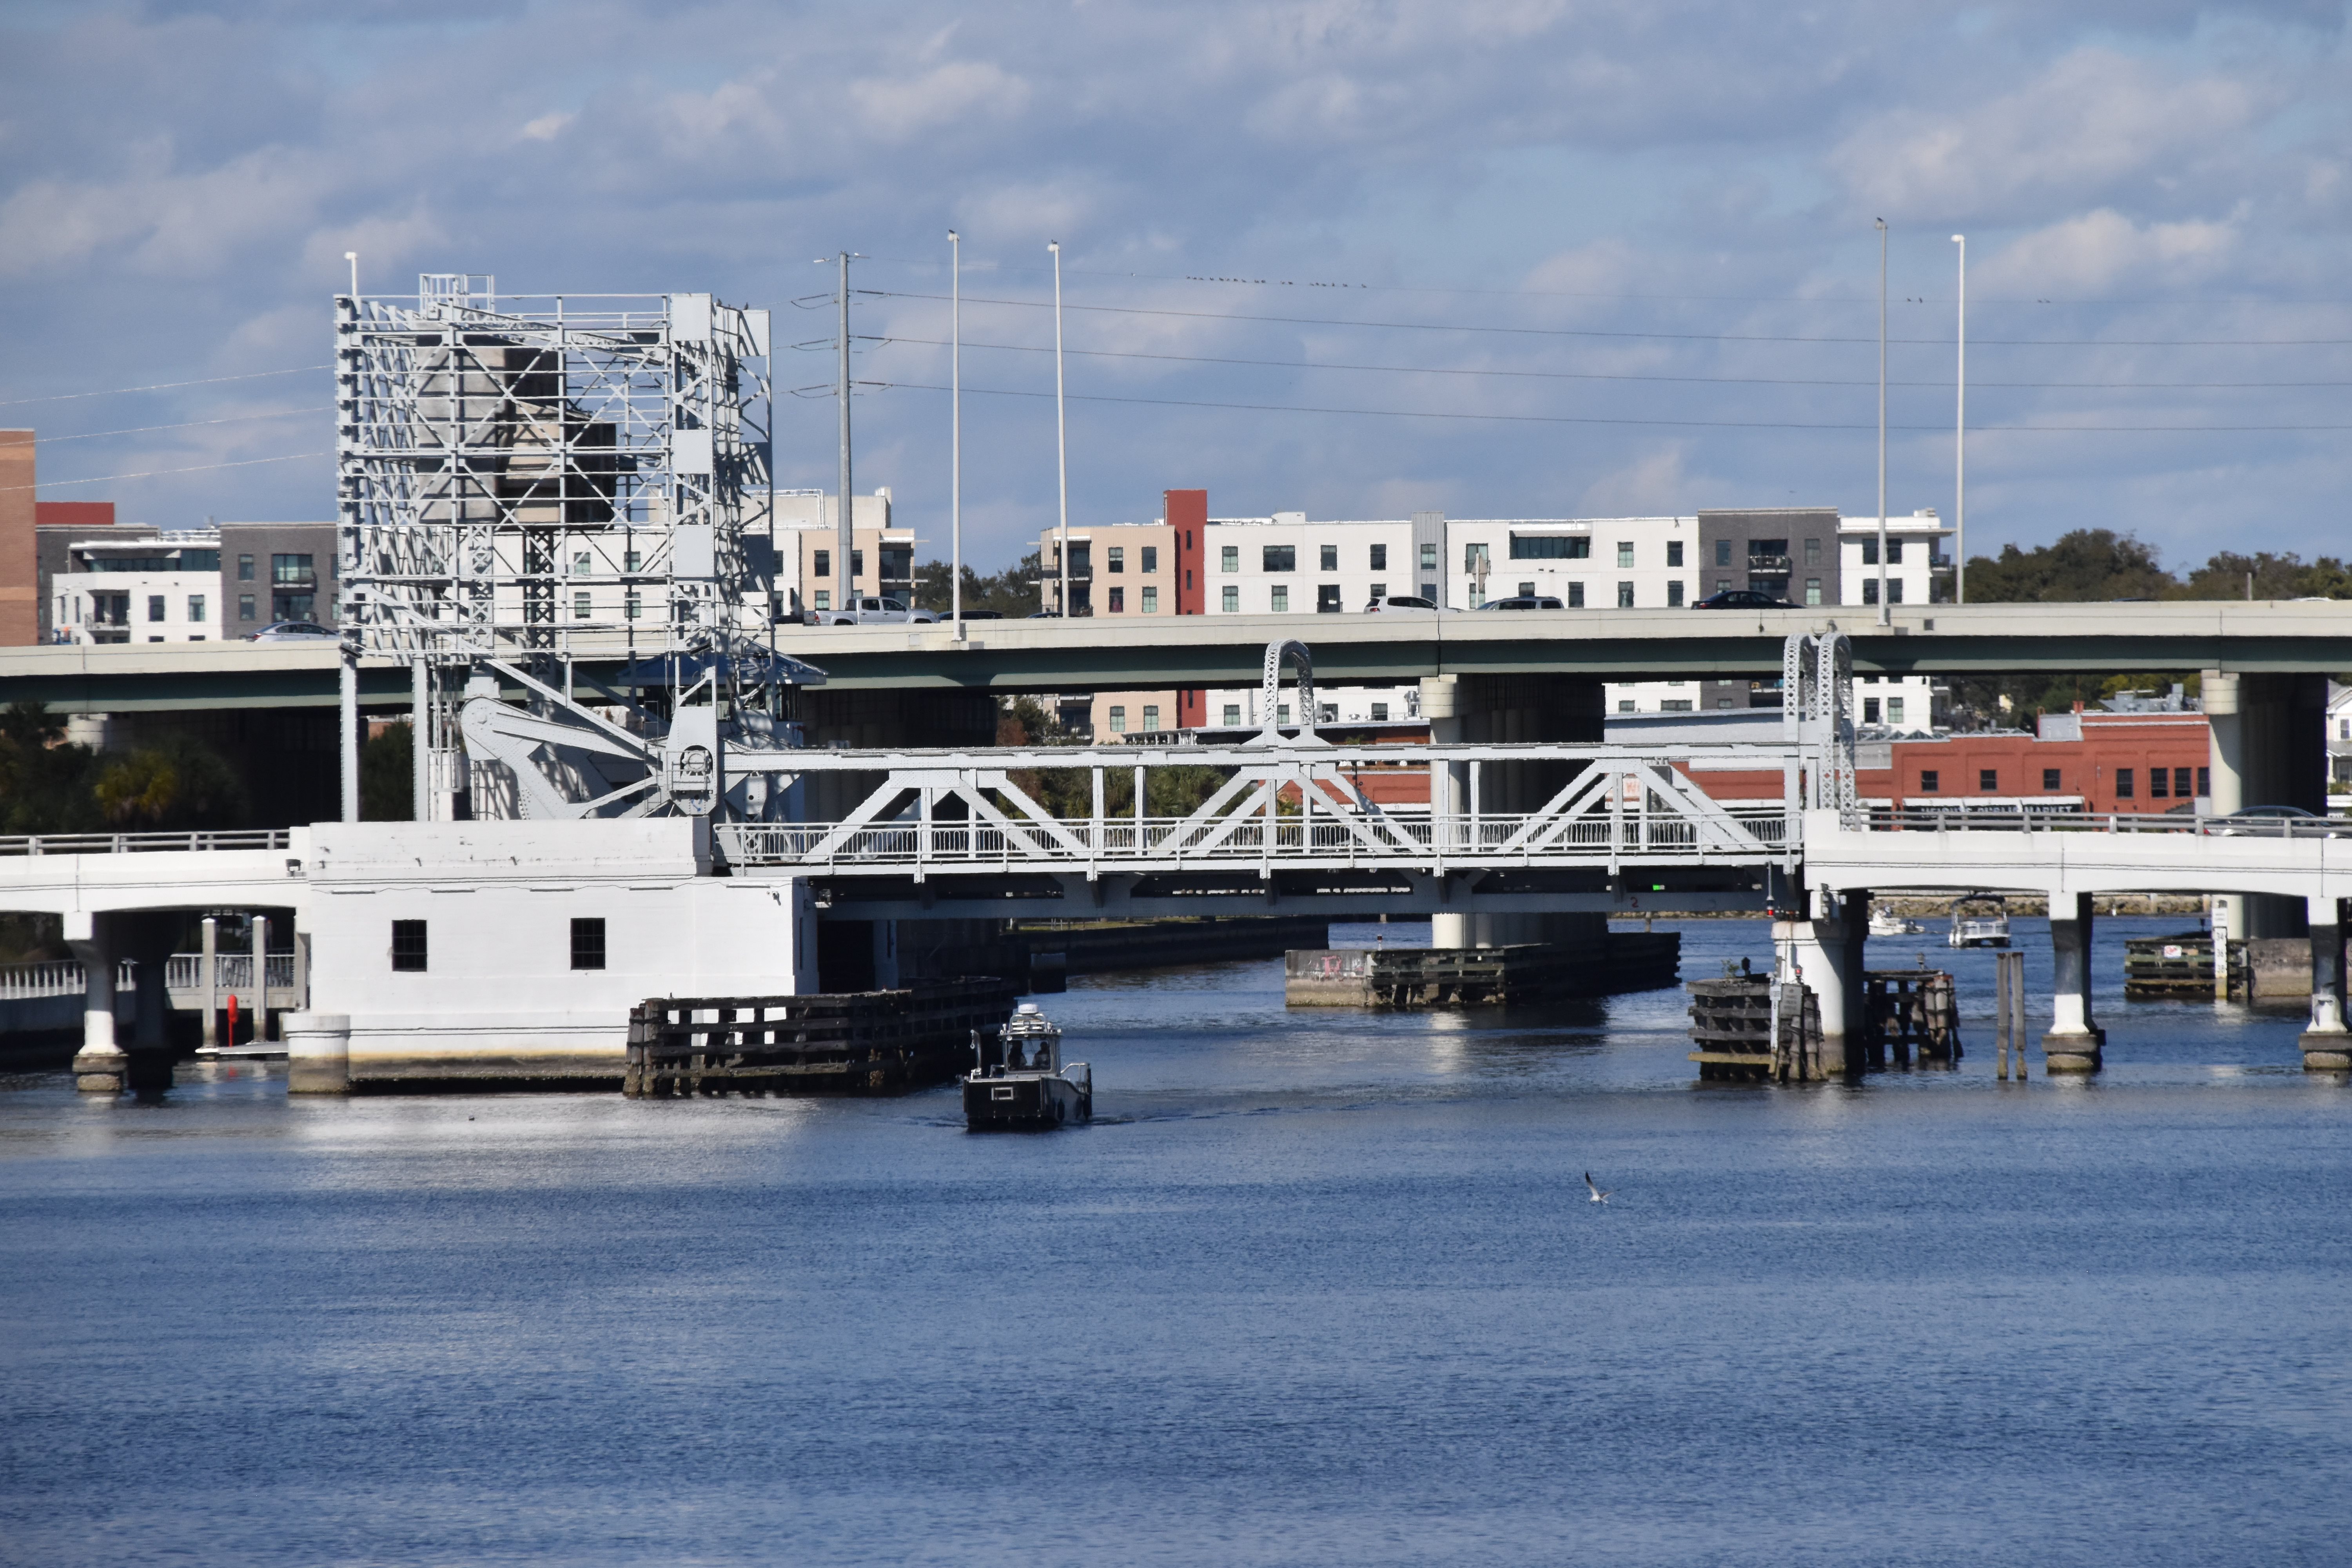
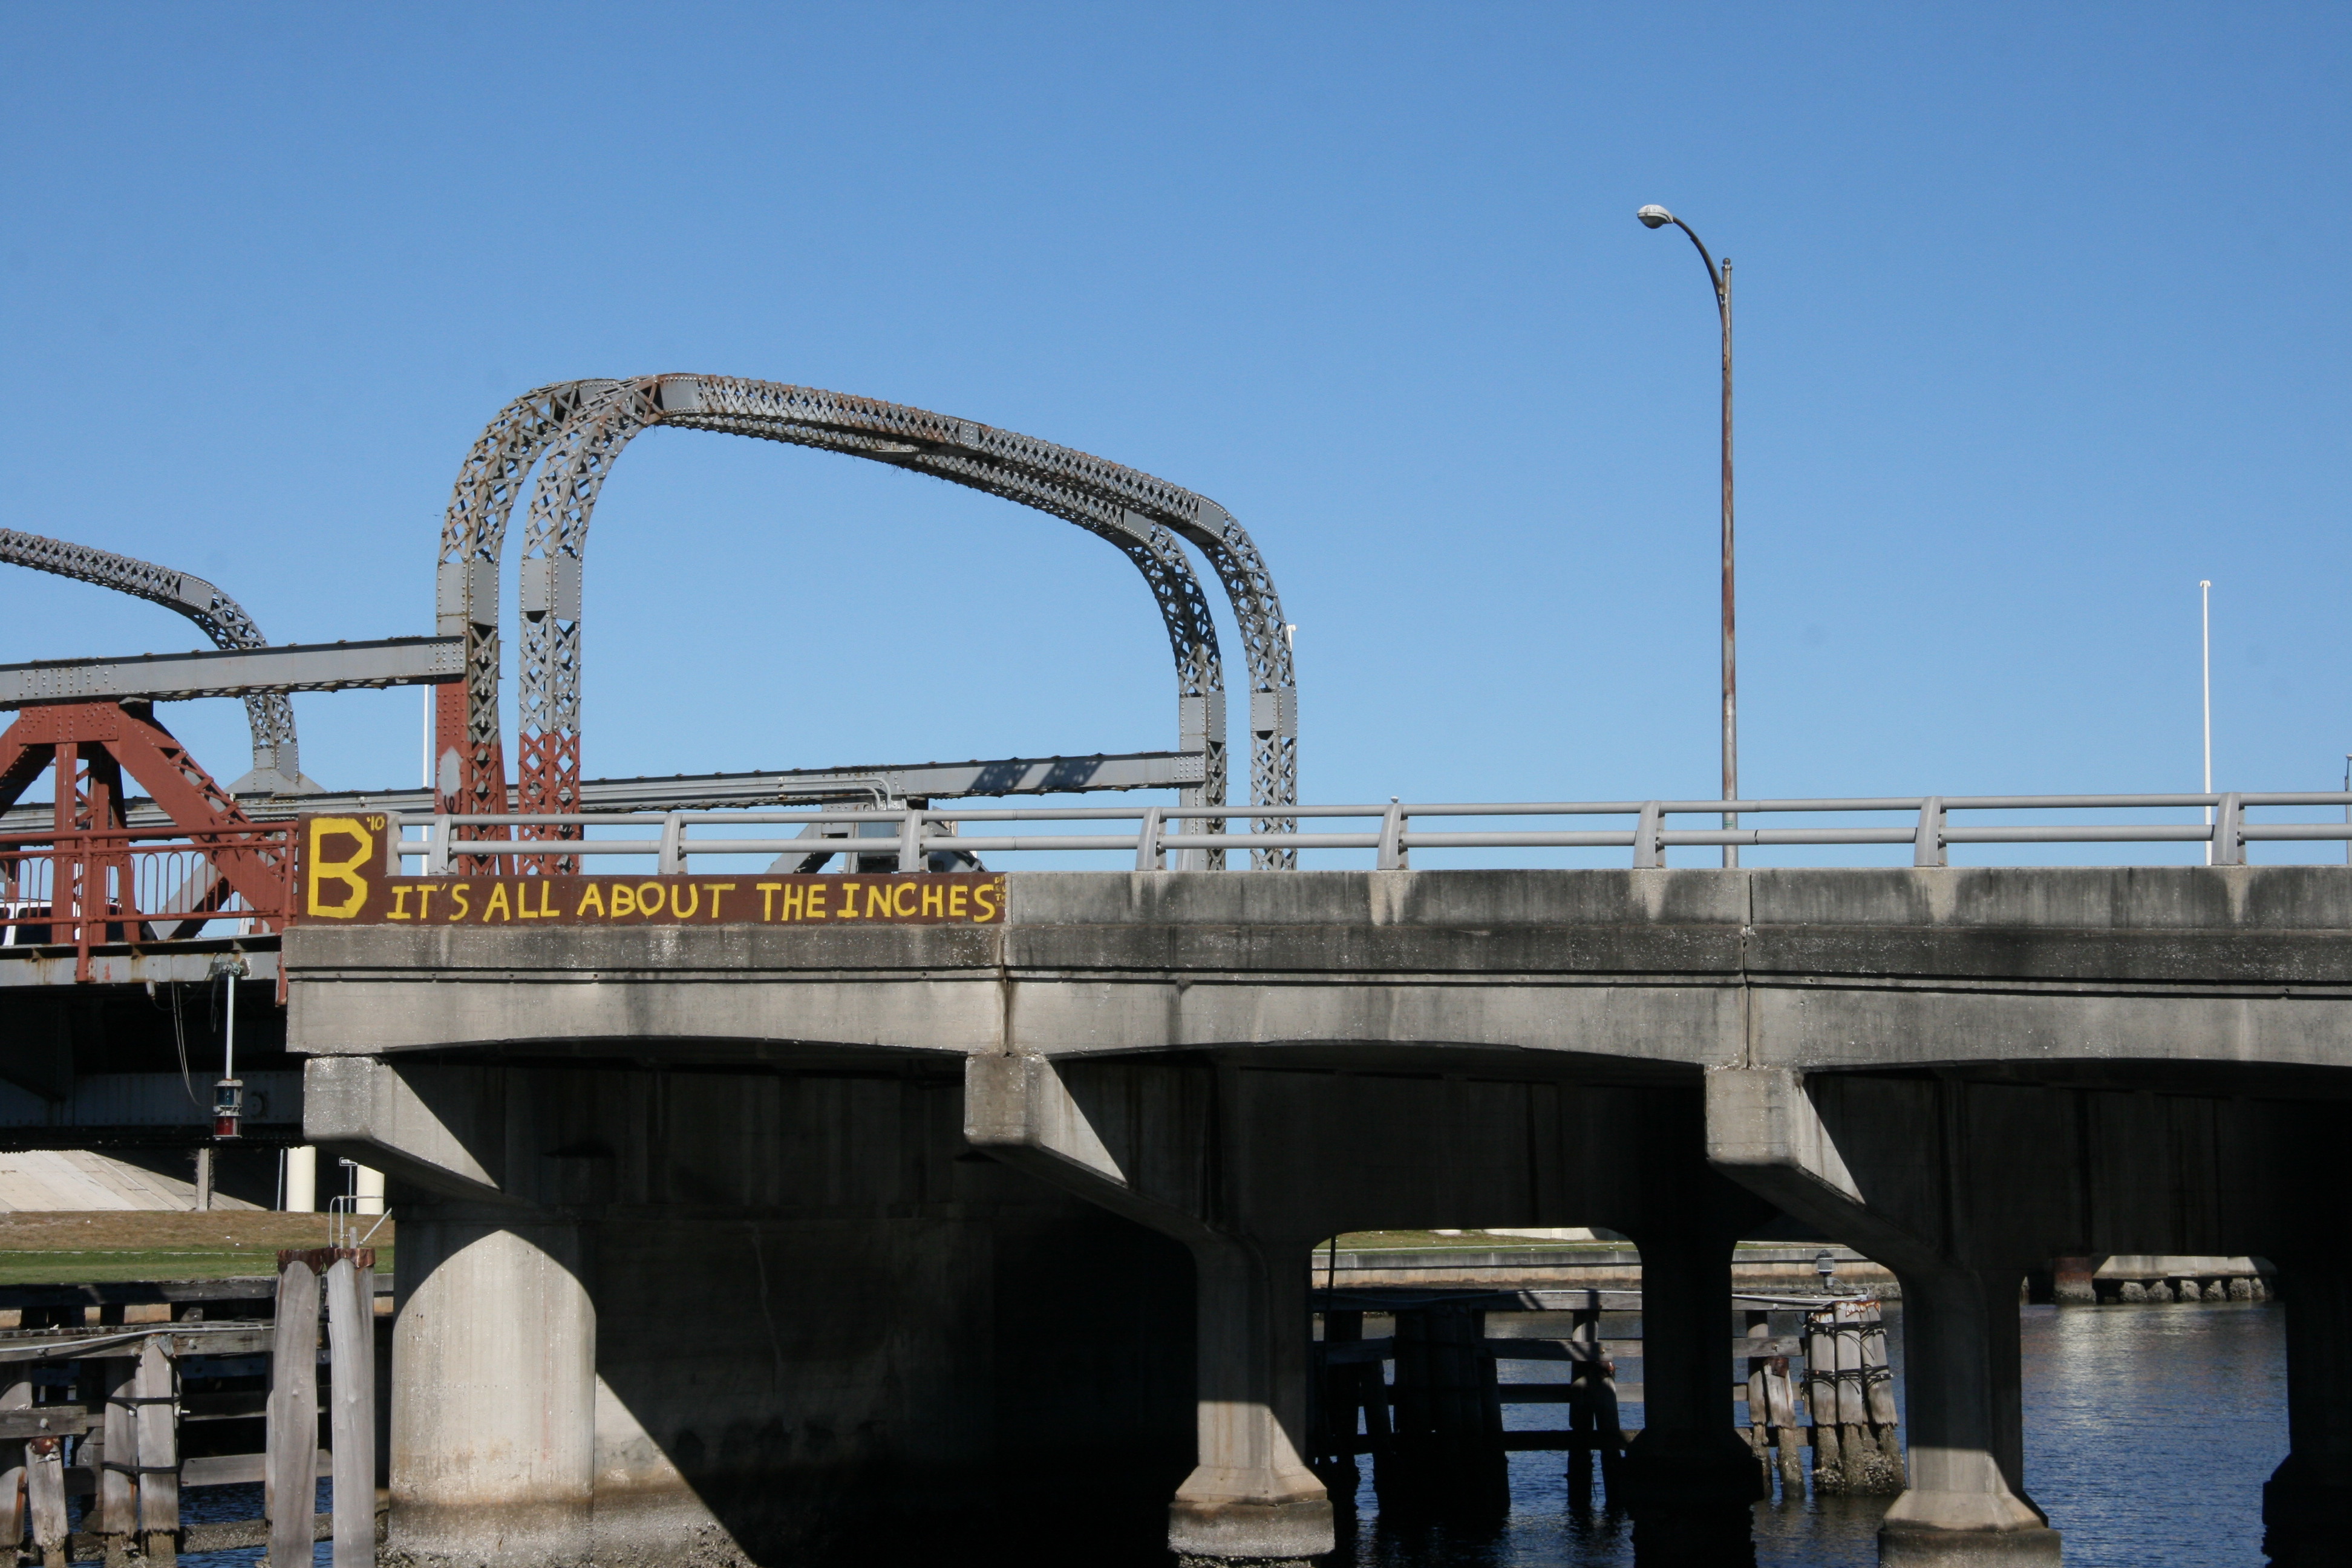
Views beside bridge from southeast quadrant.
![]()
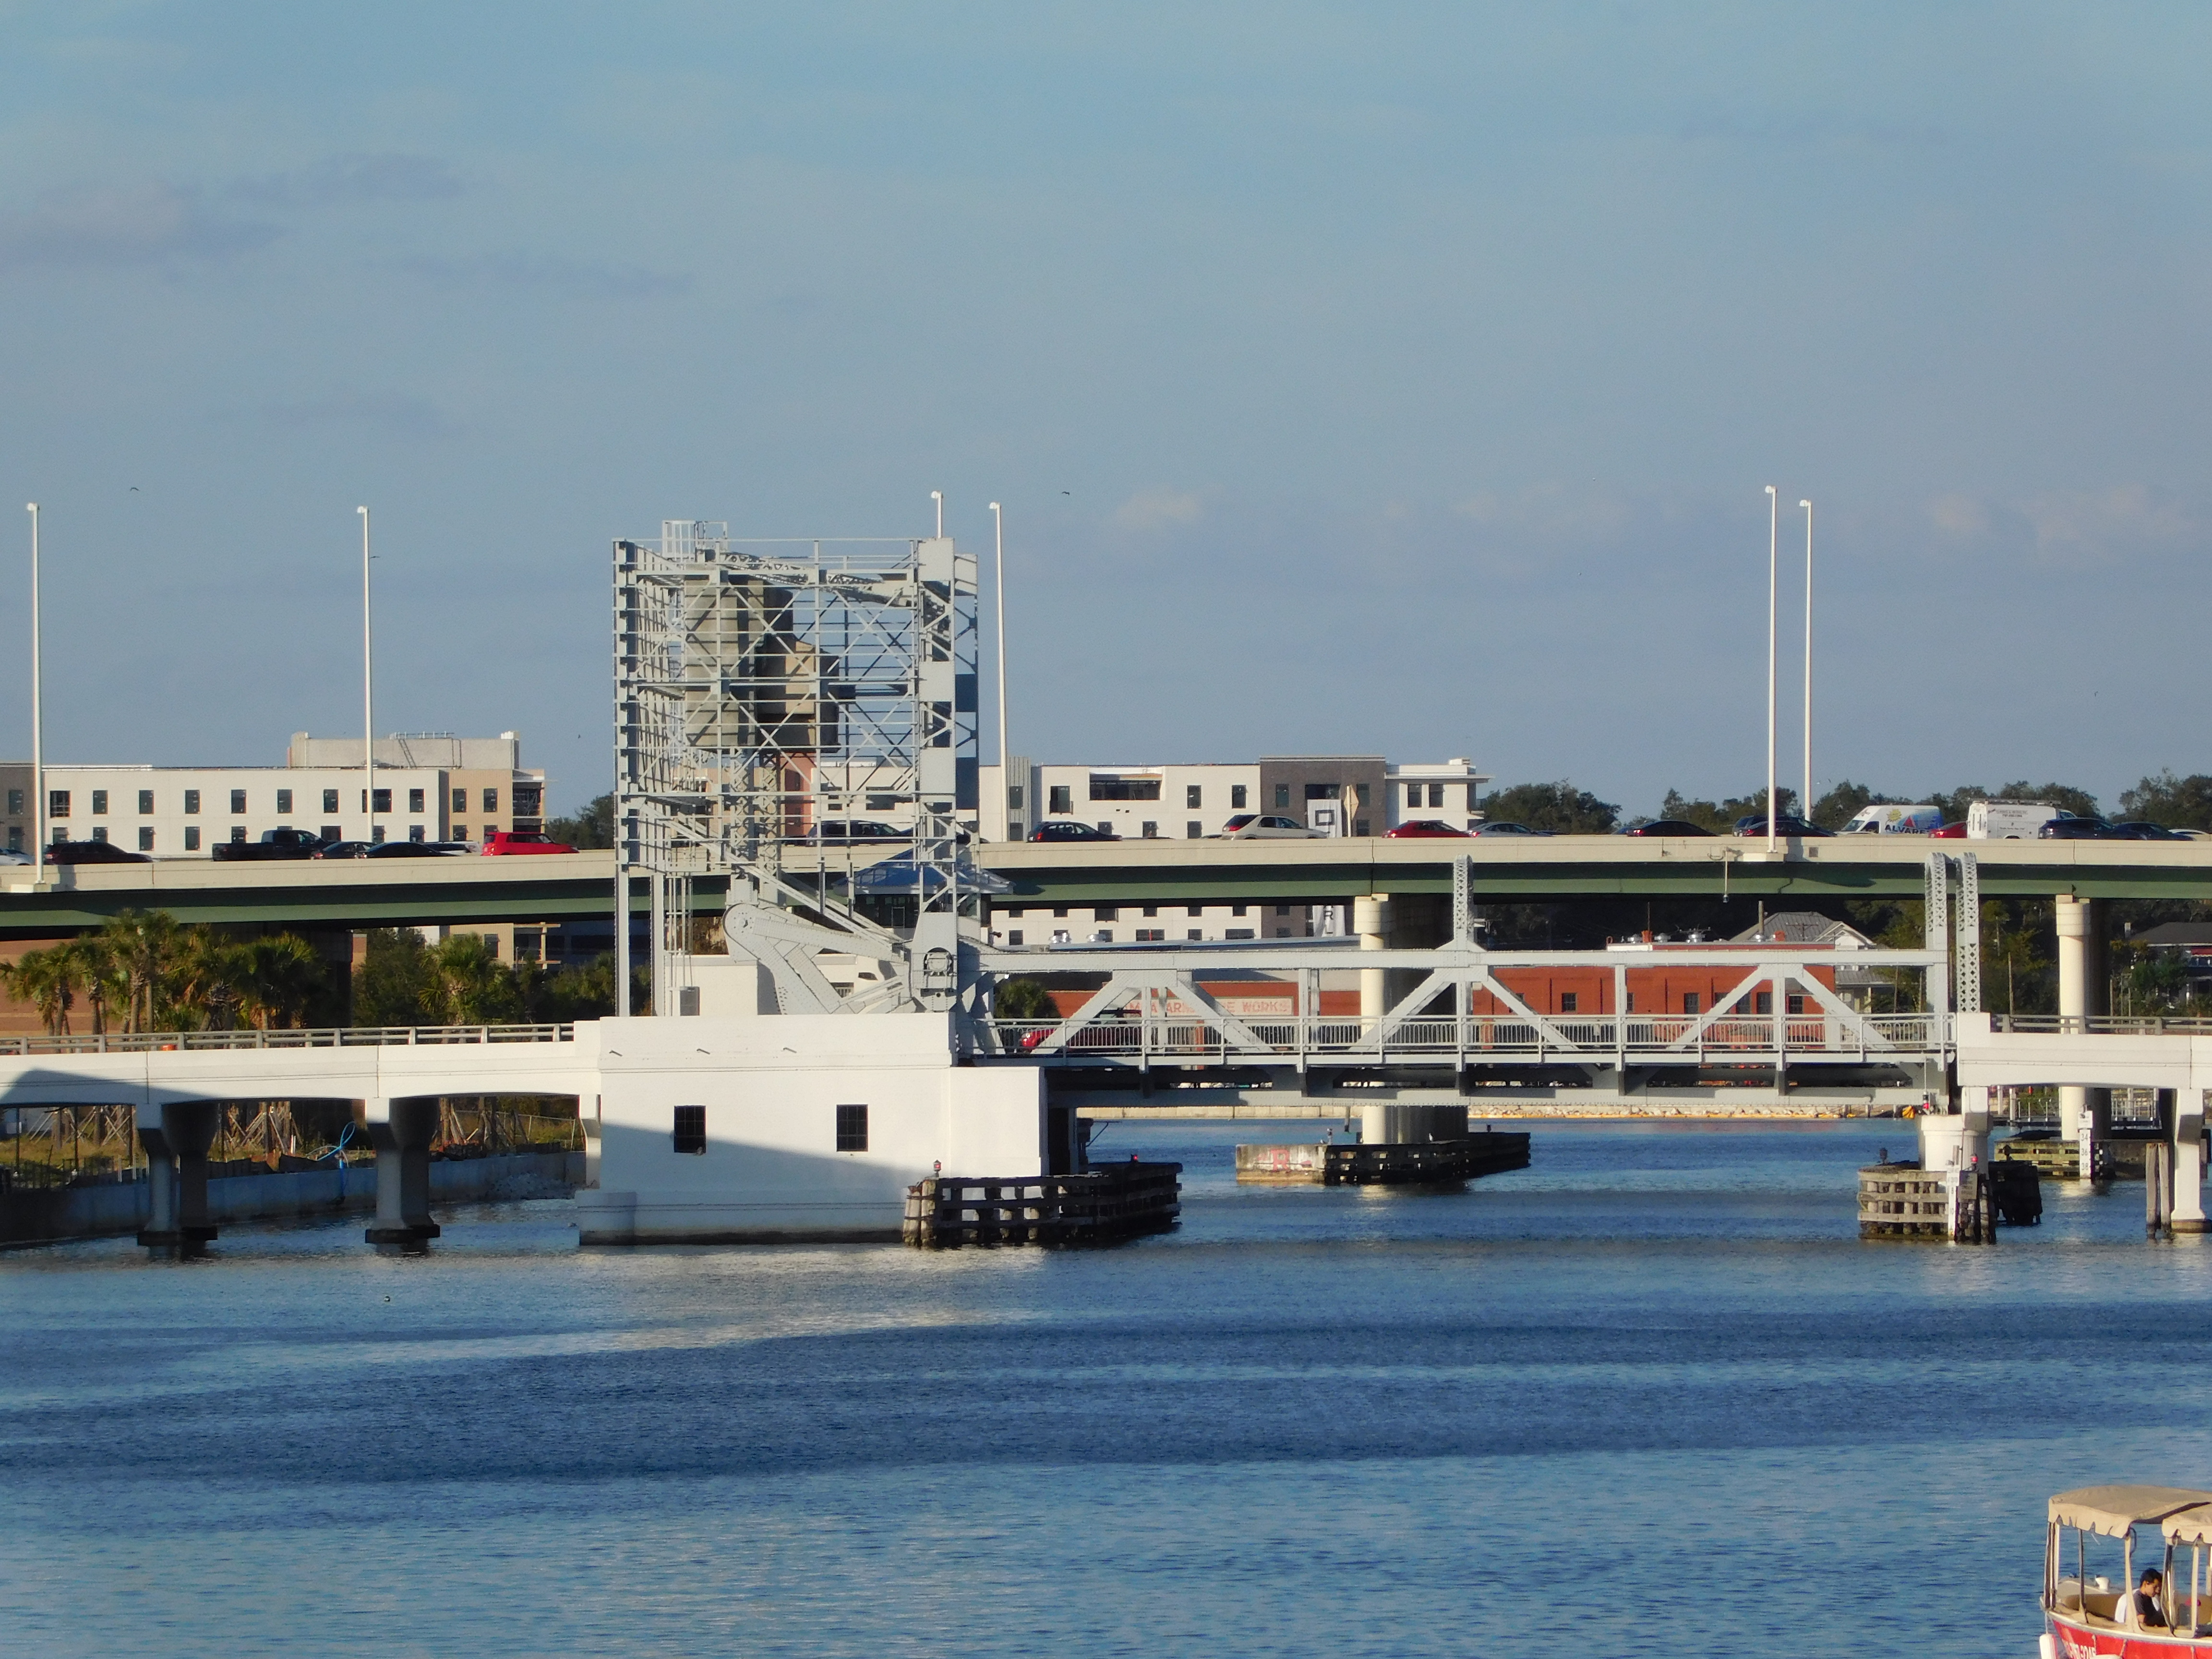
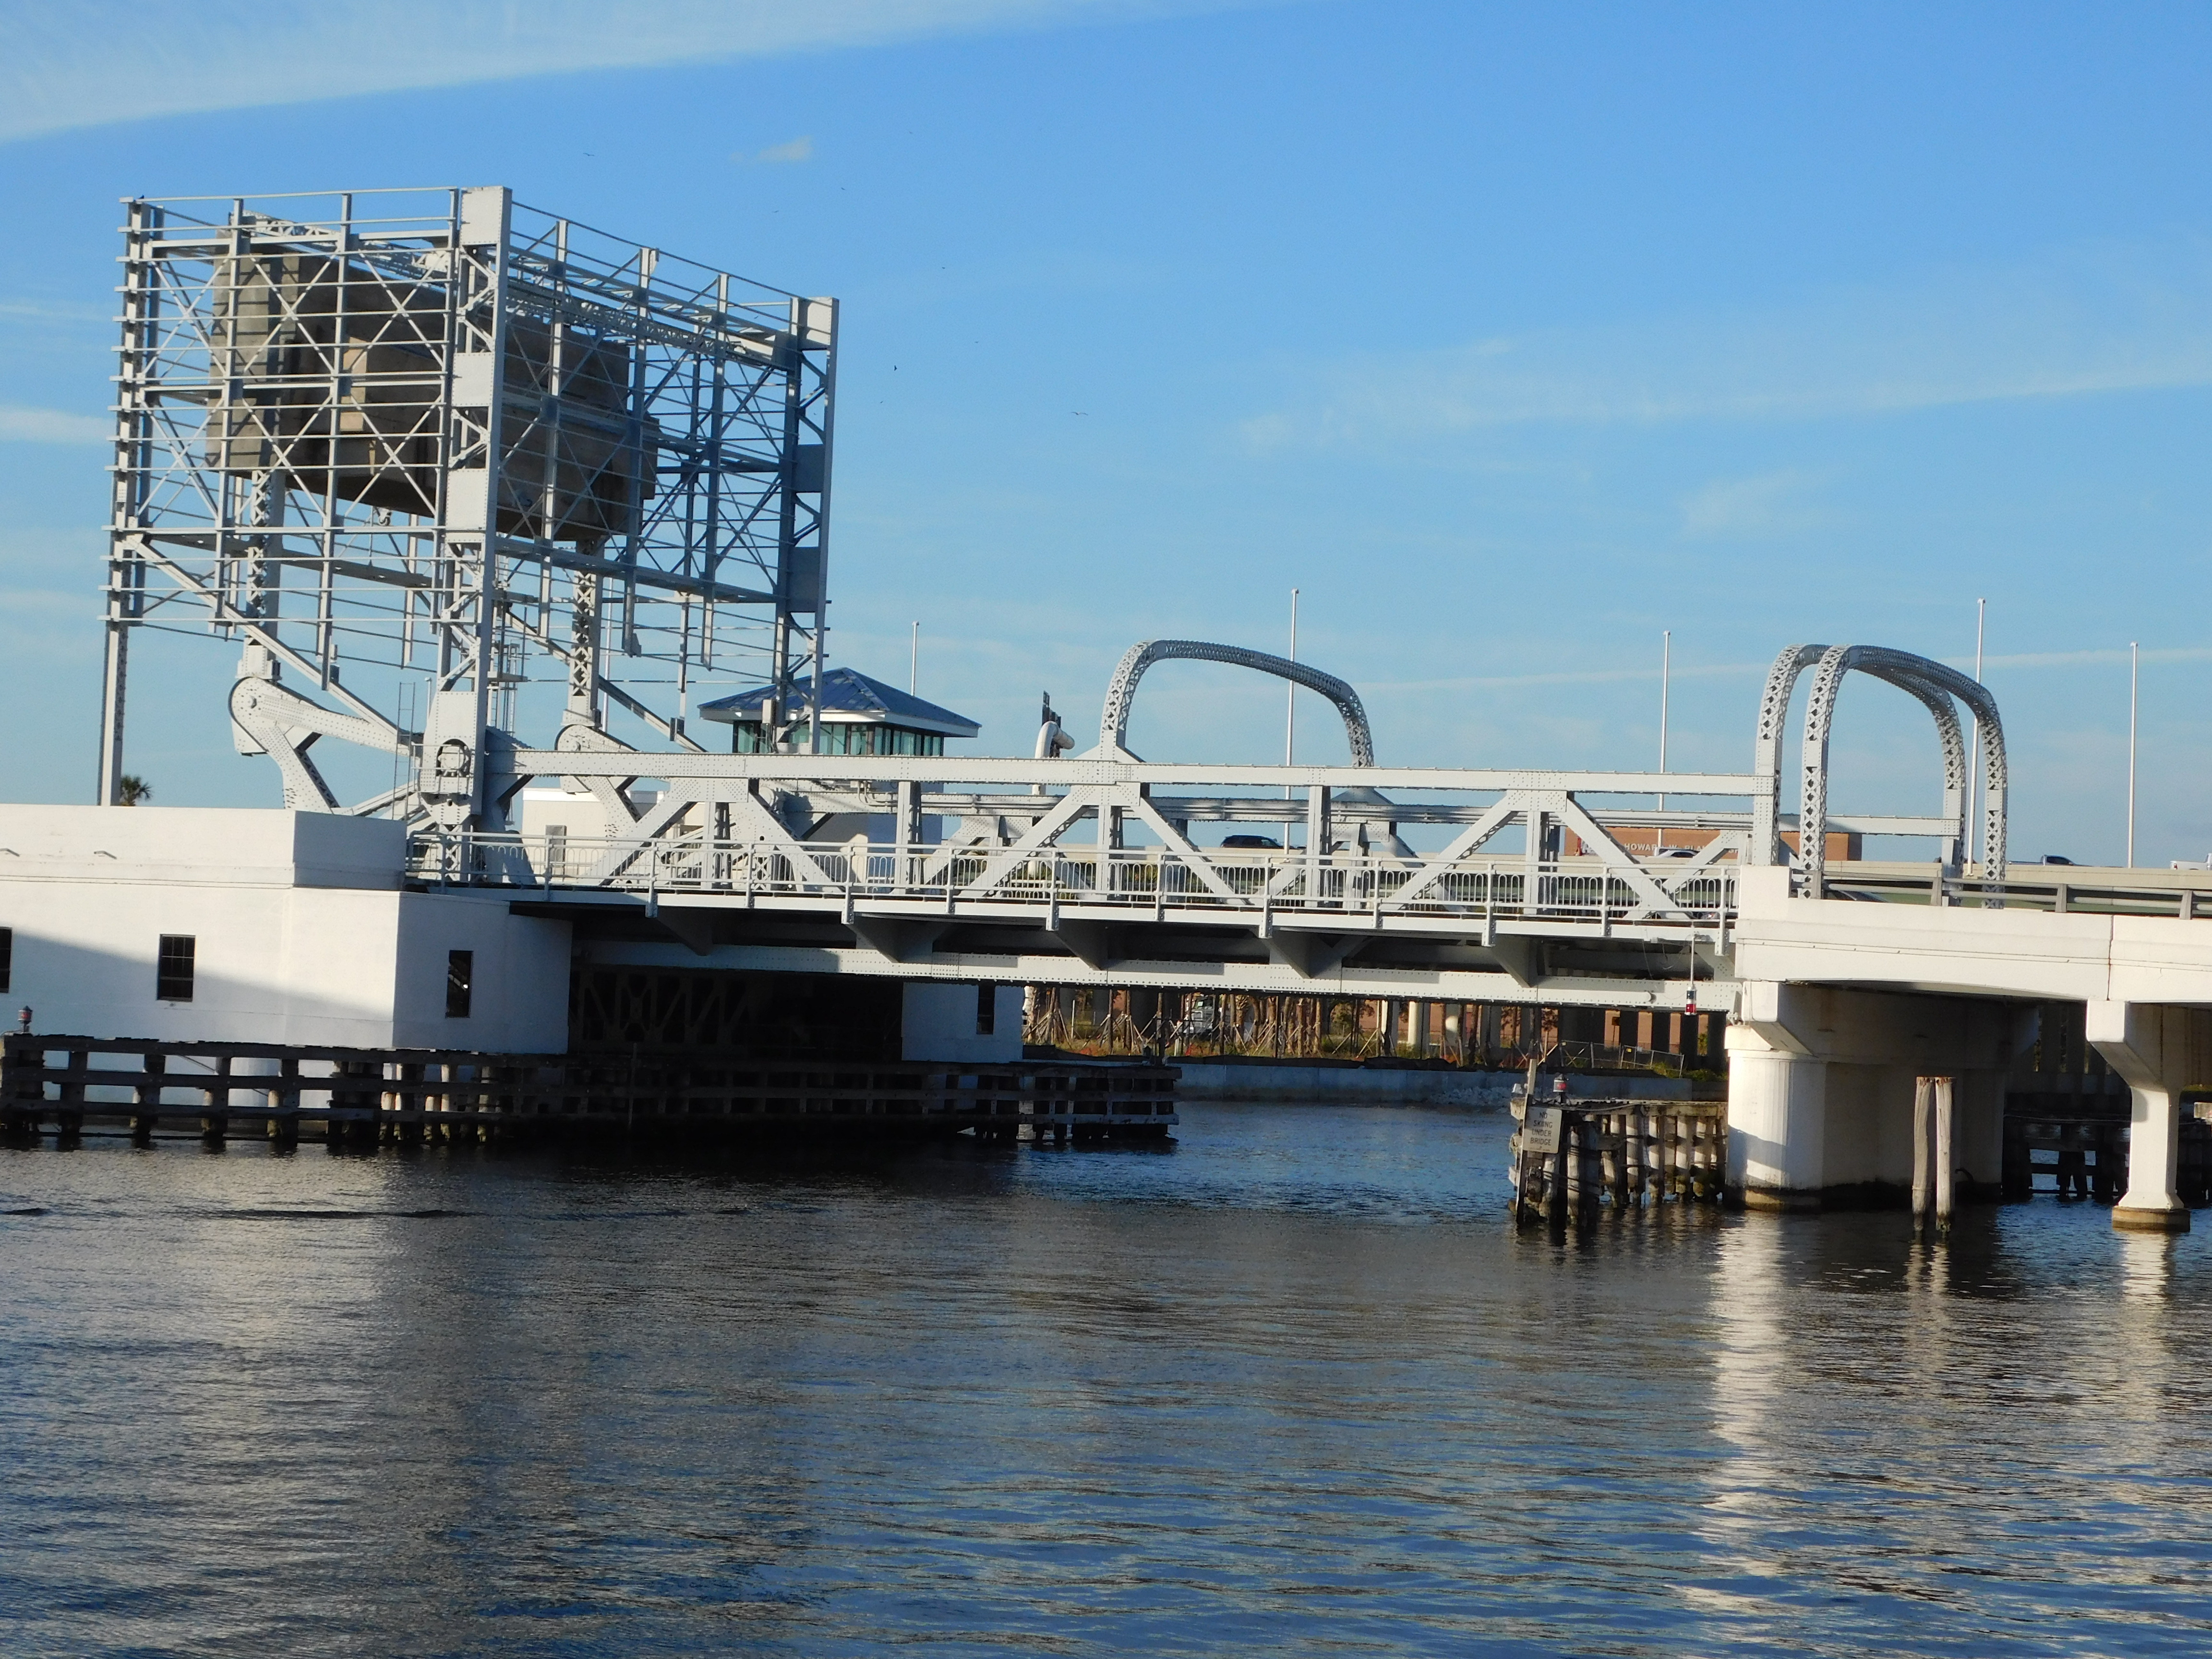

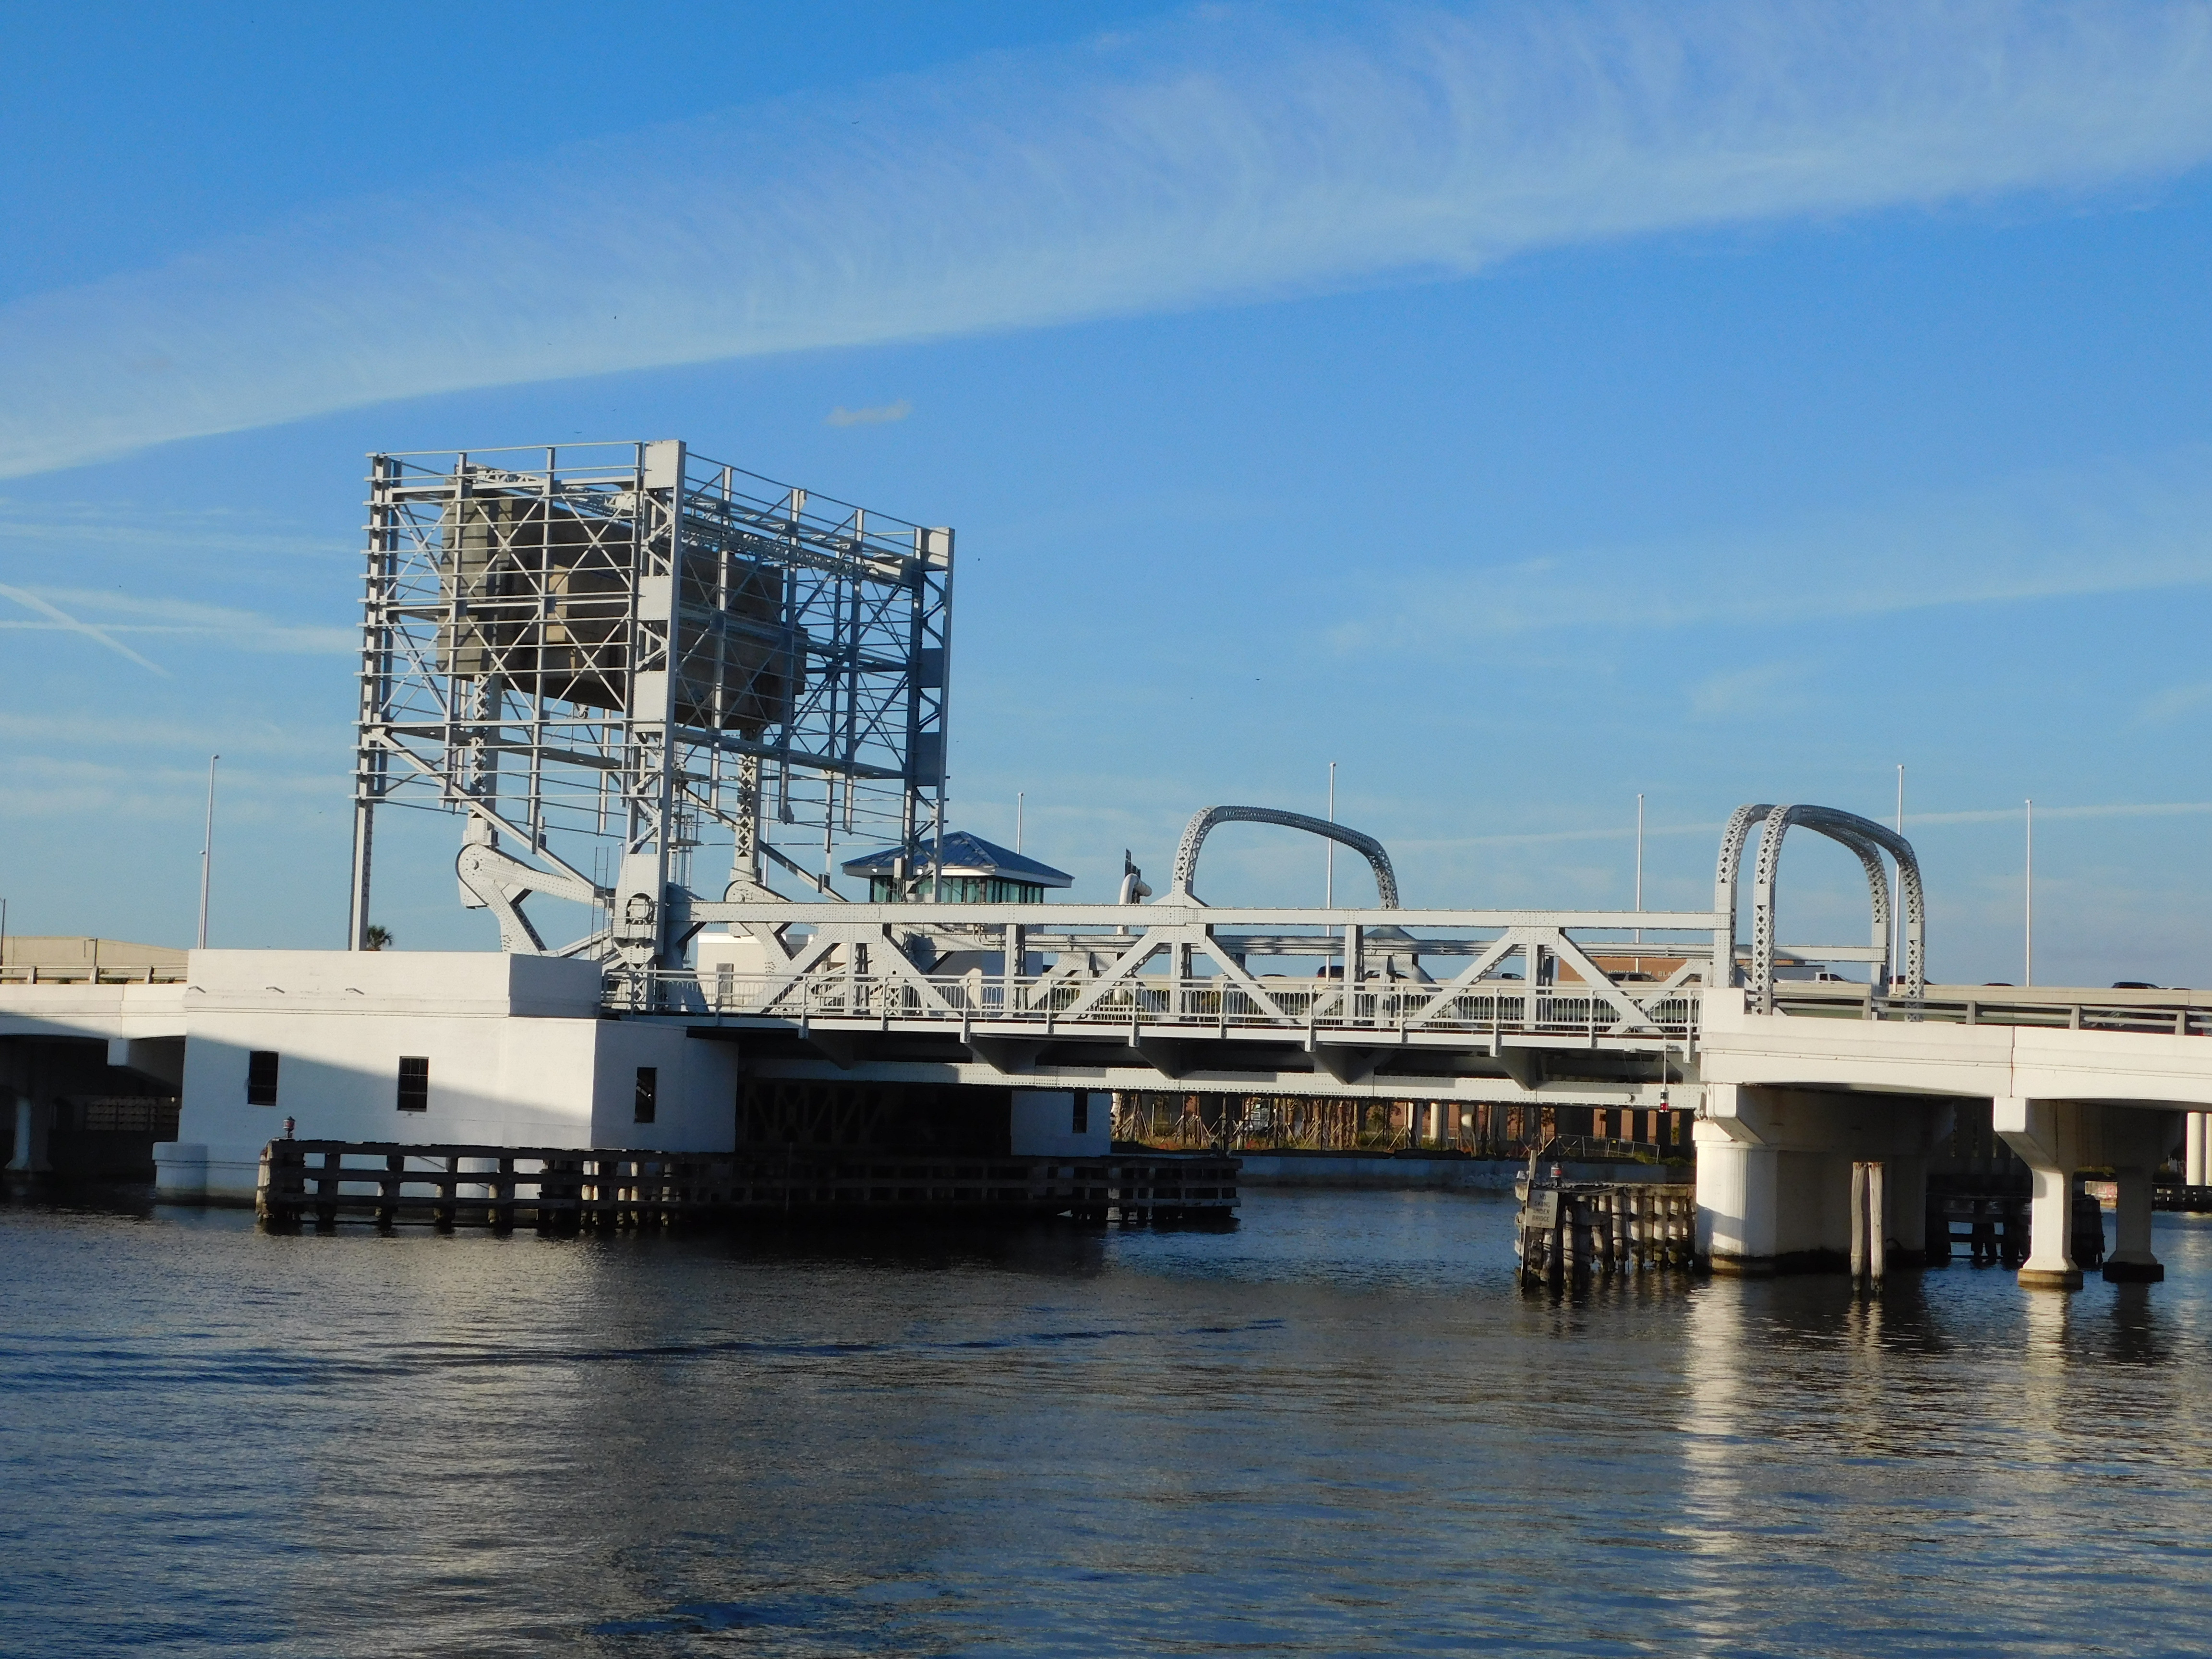
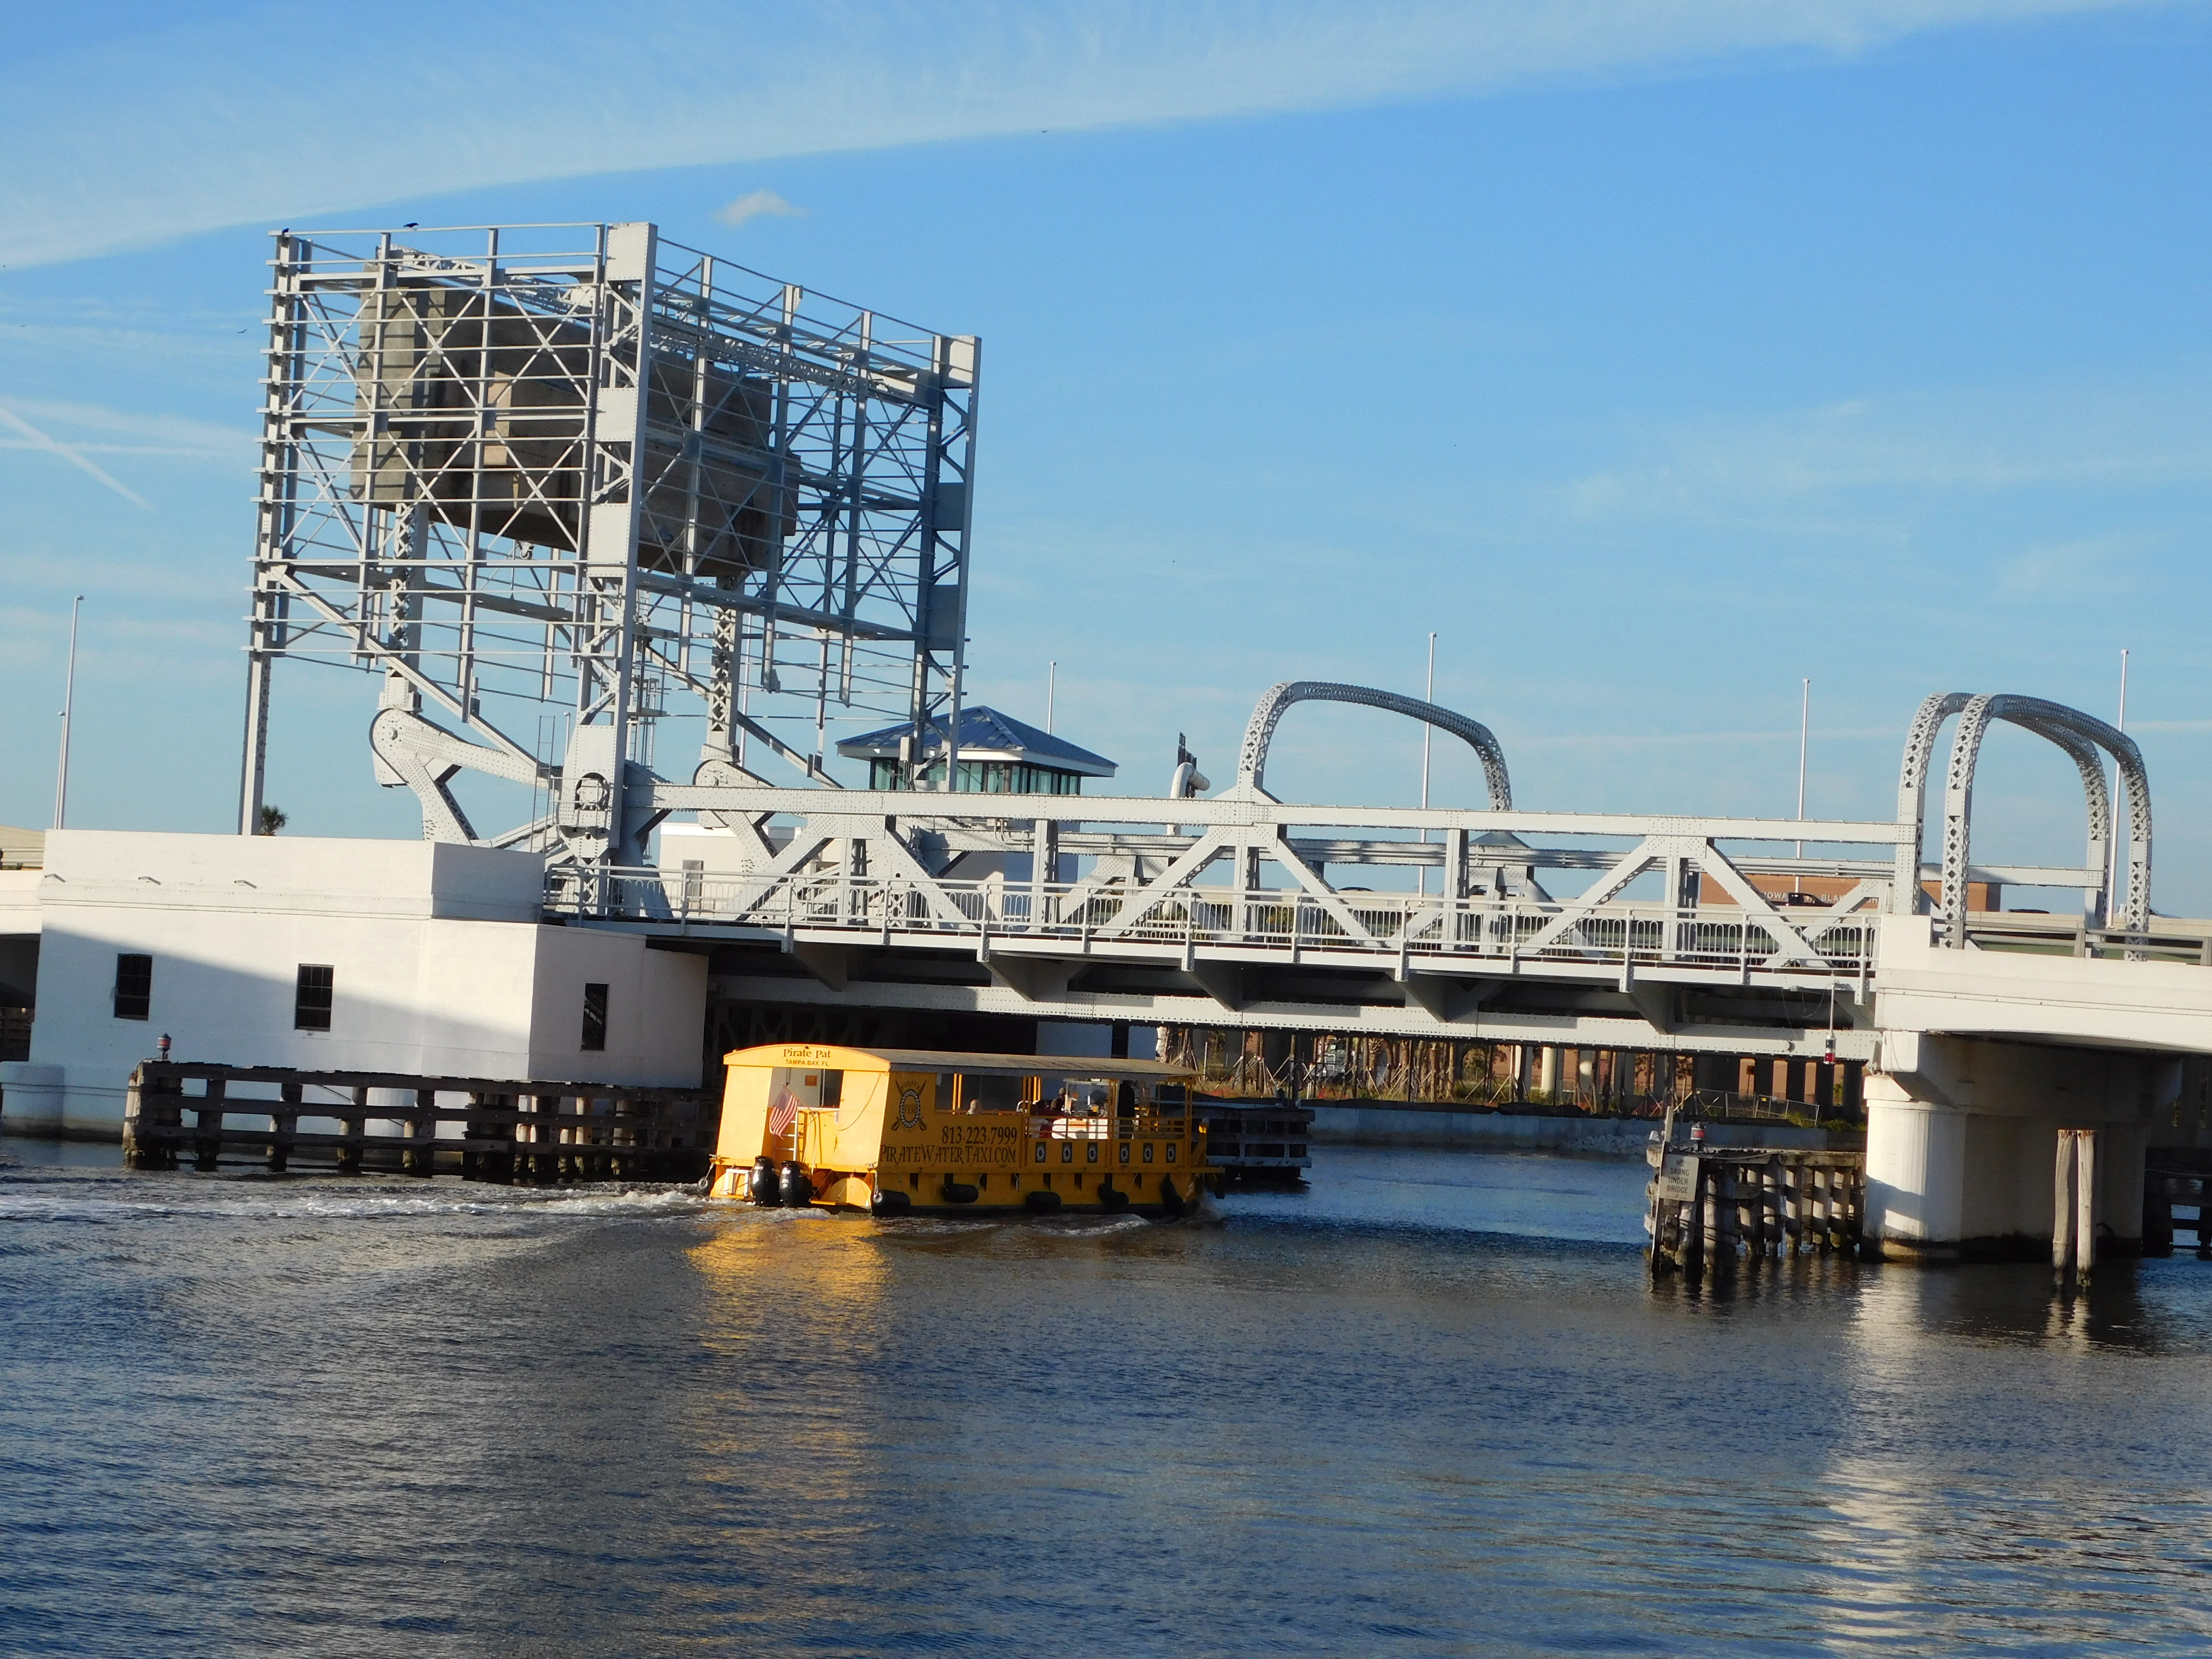
Photo Credit: Marc Scotti
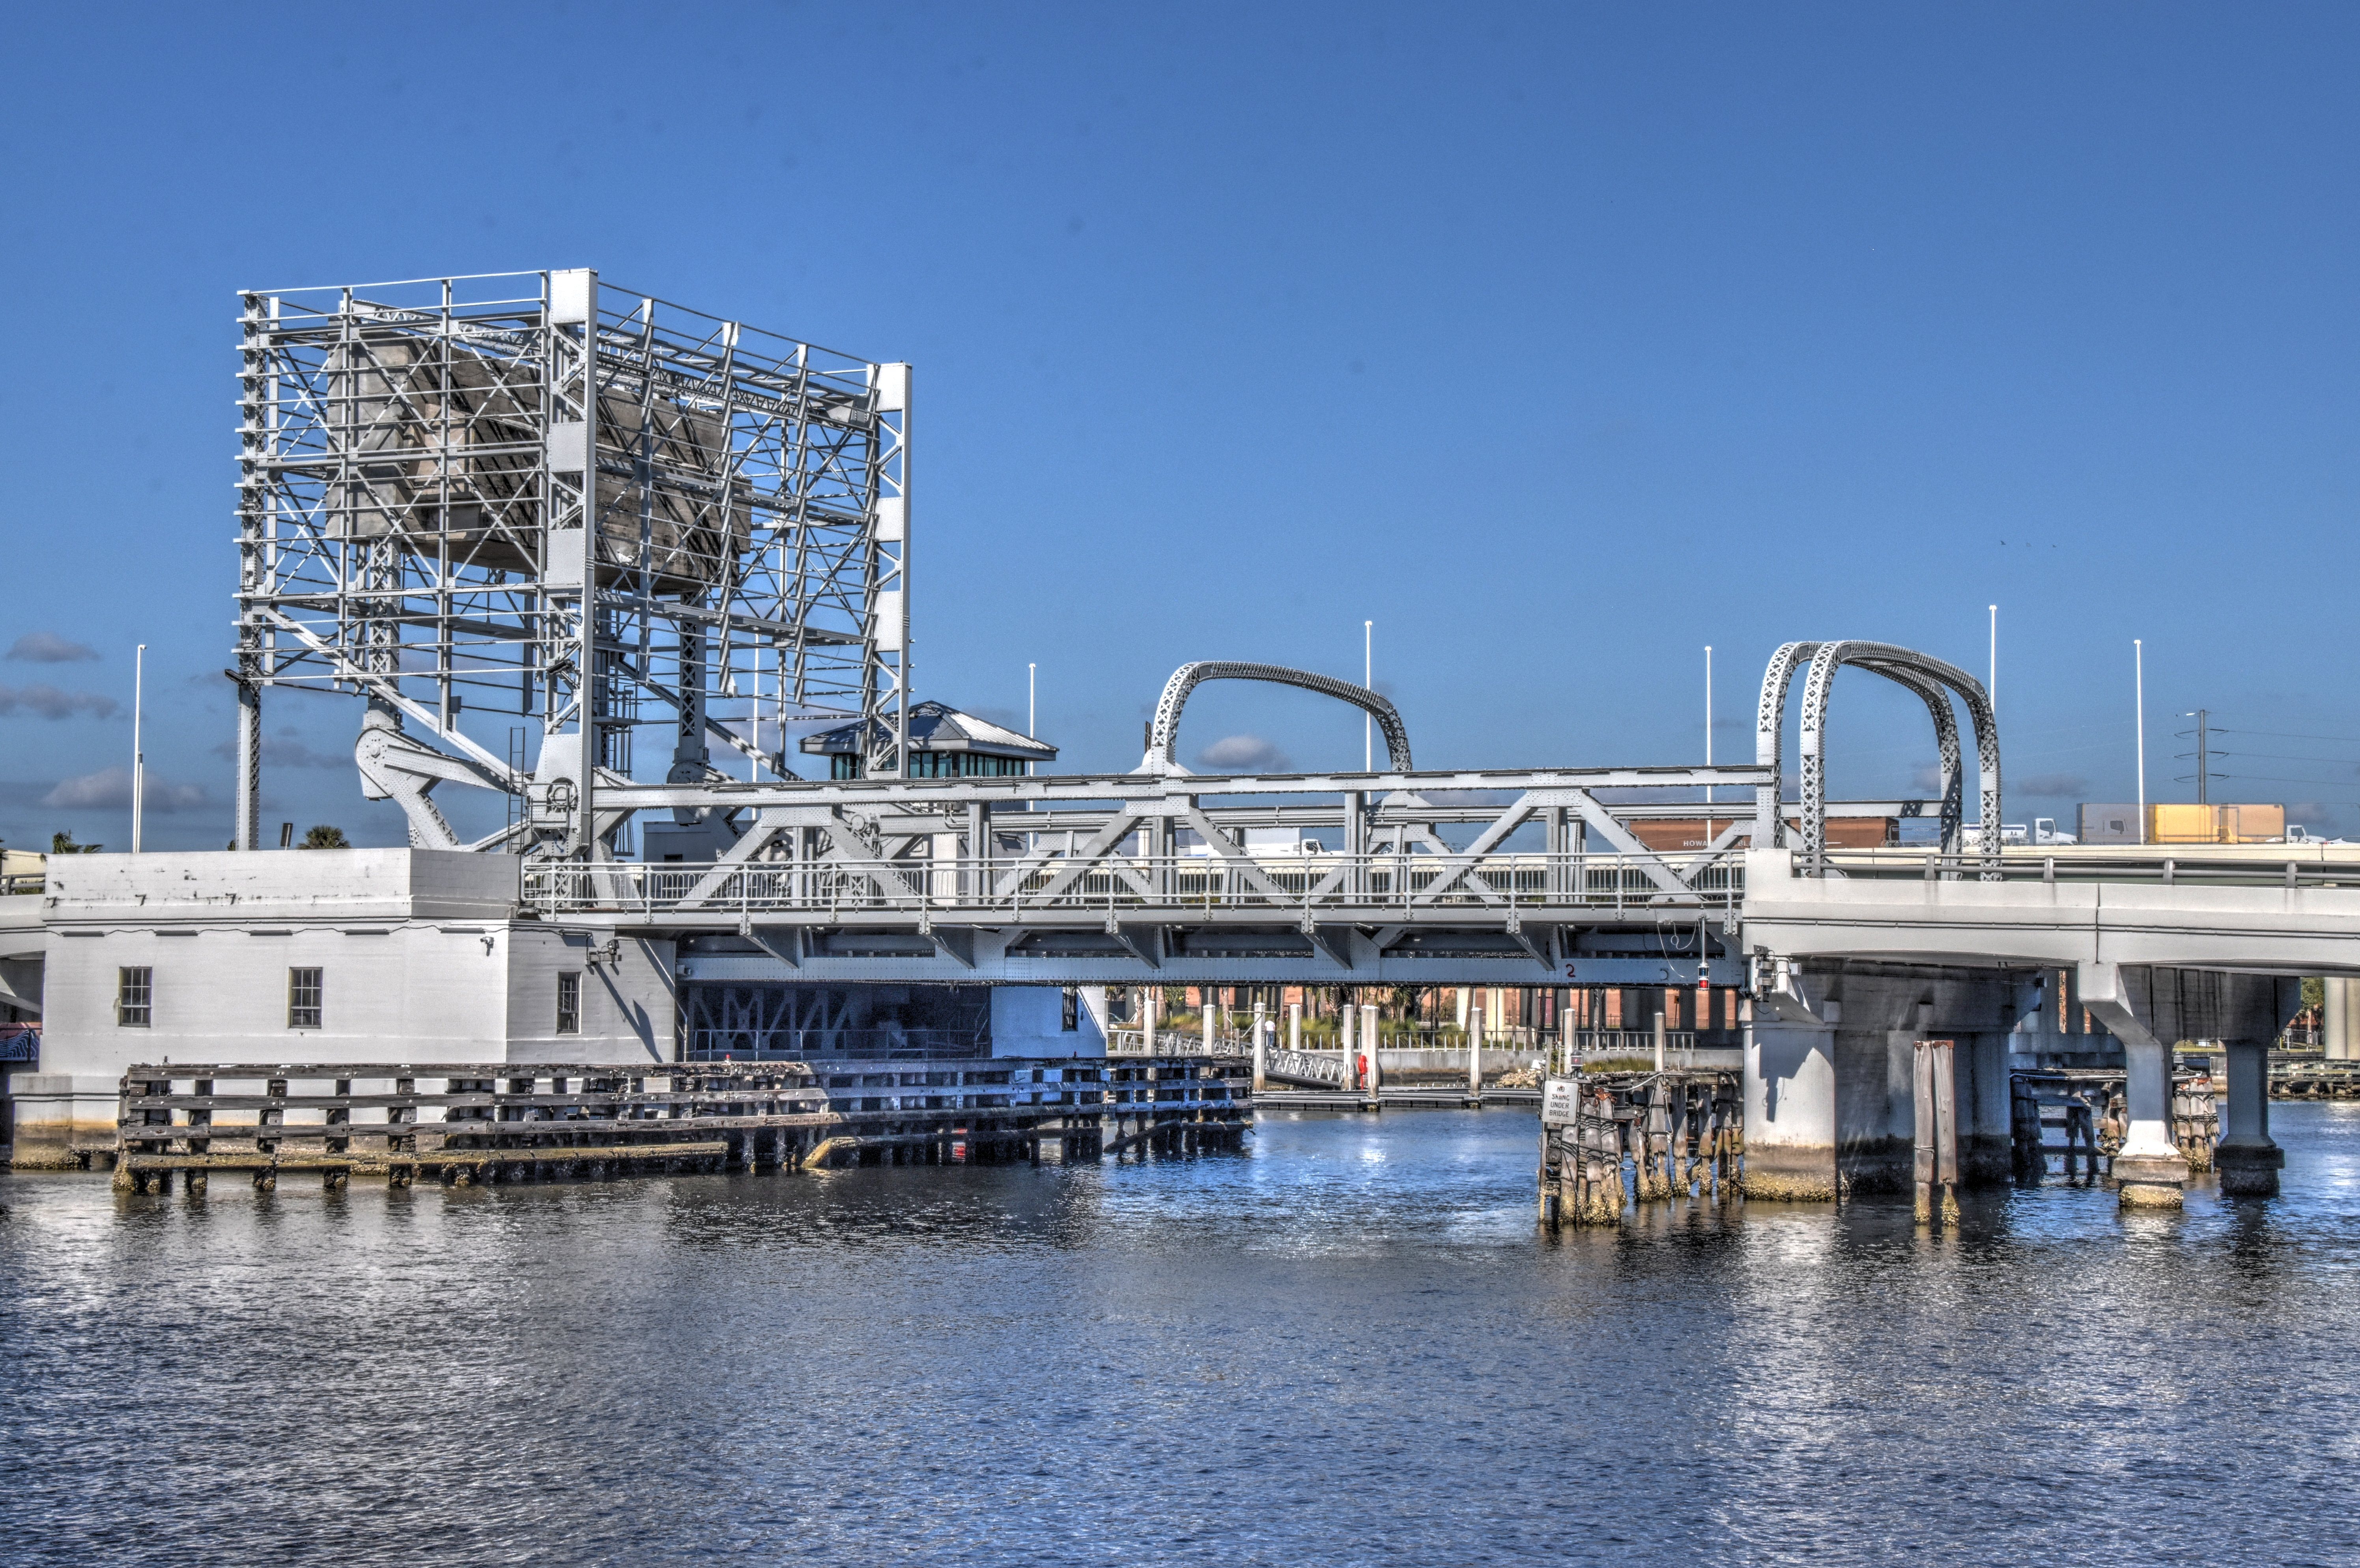
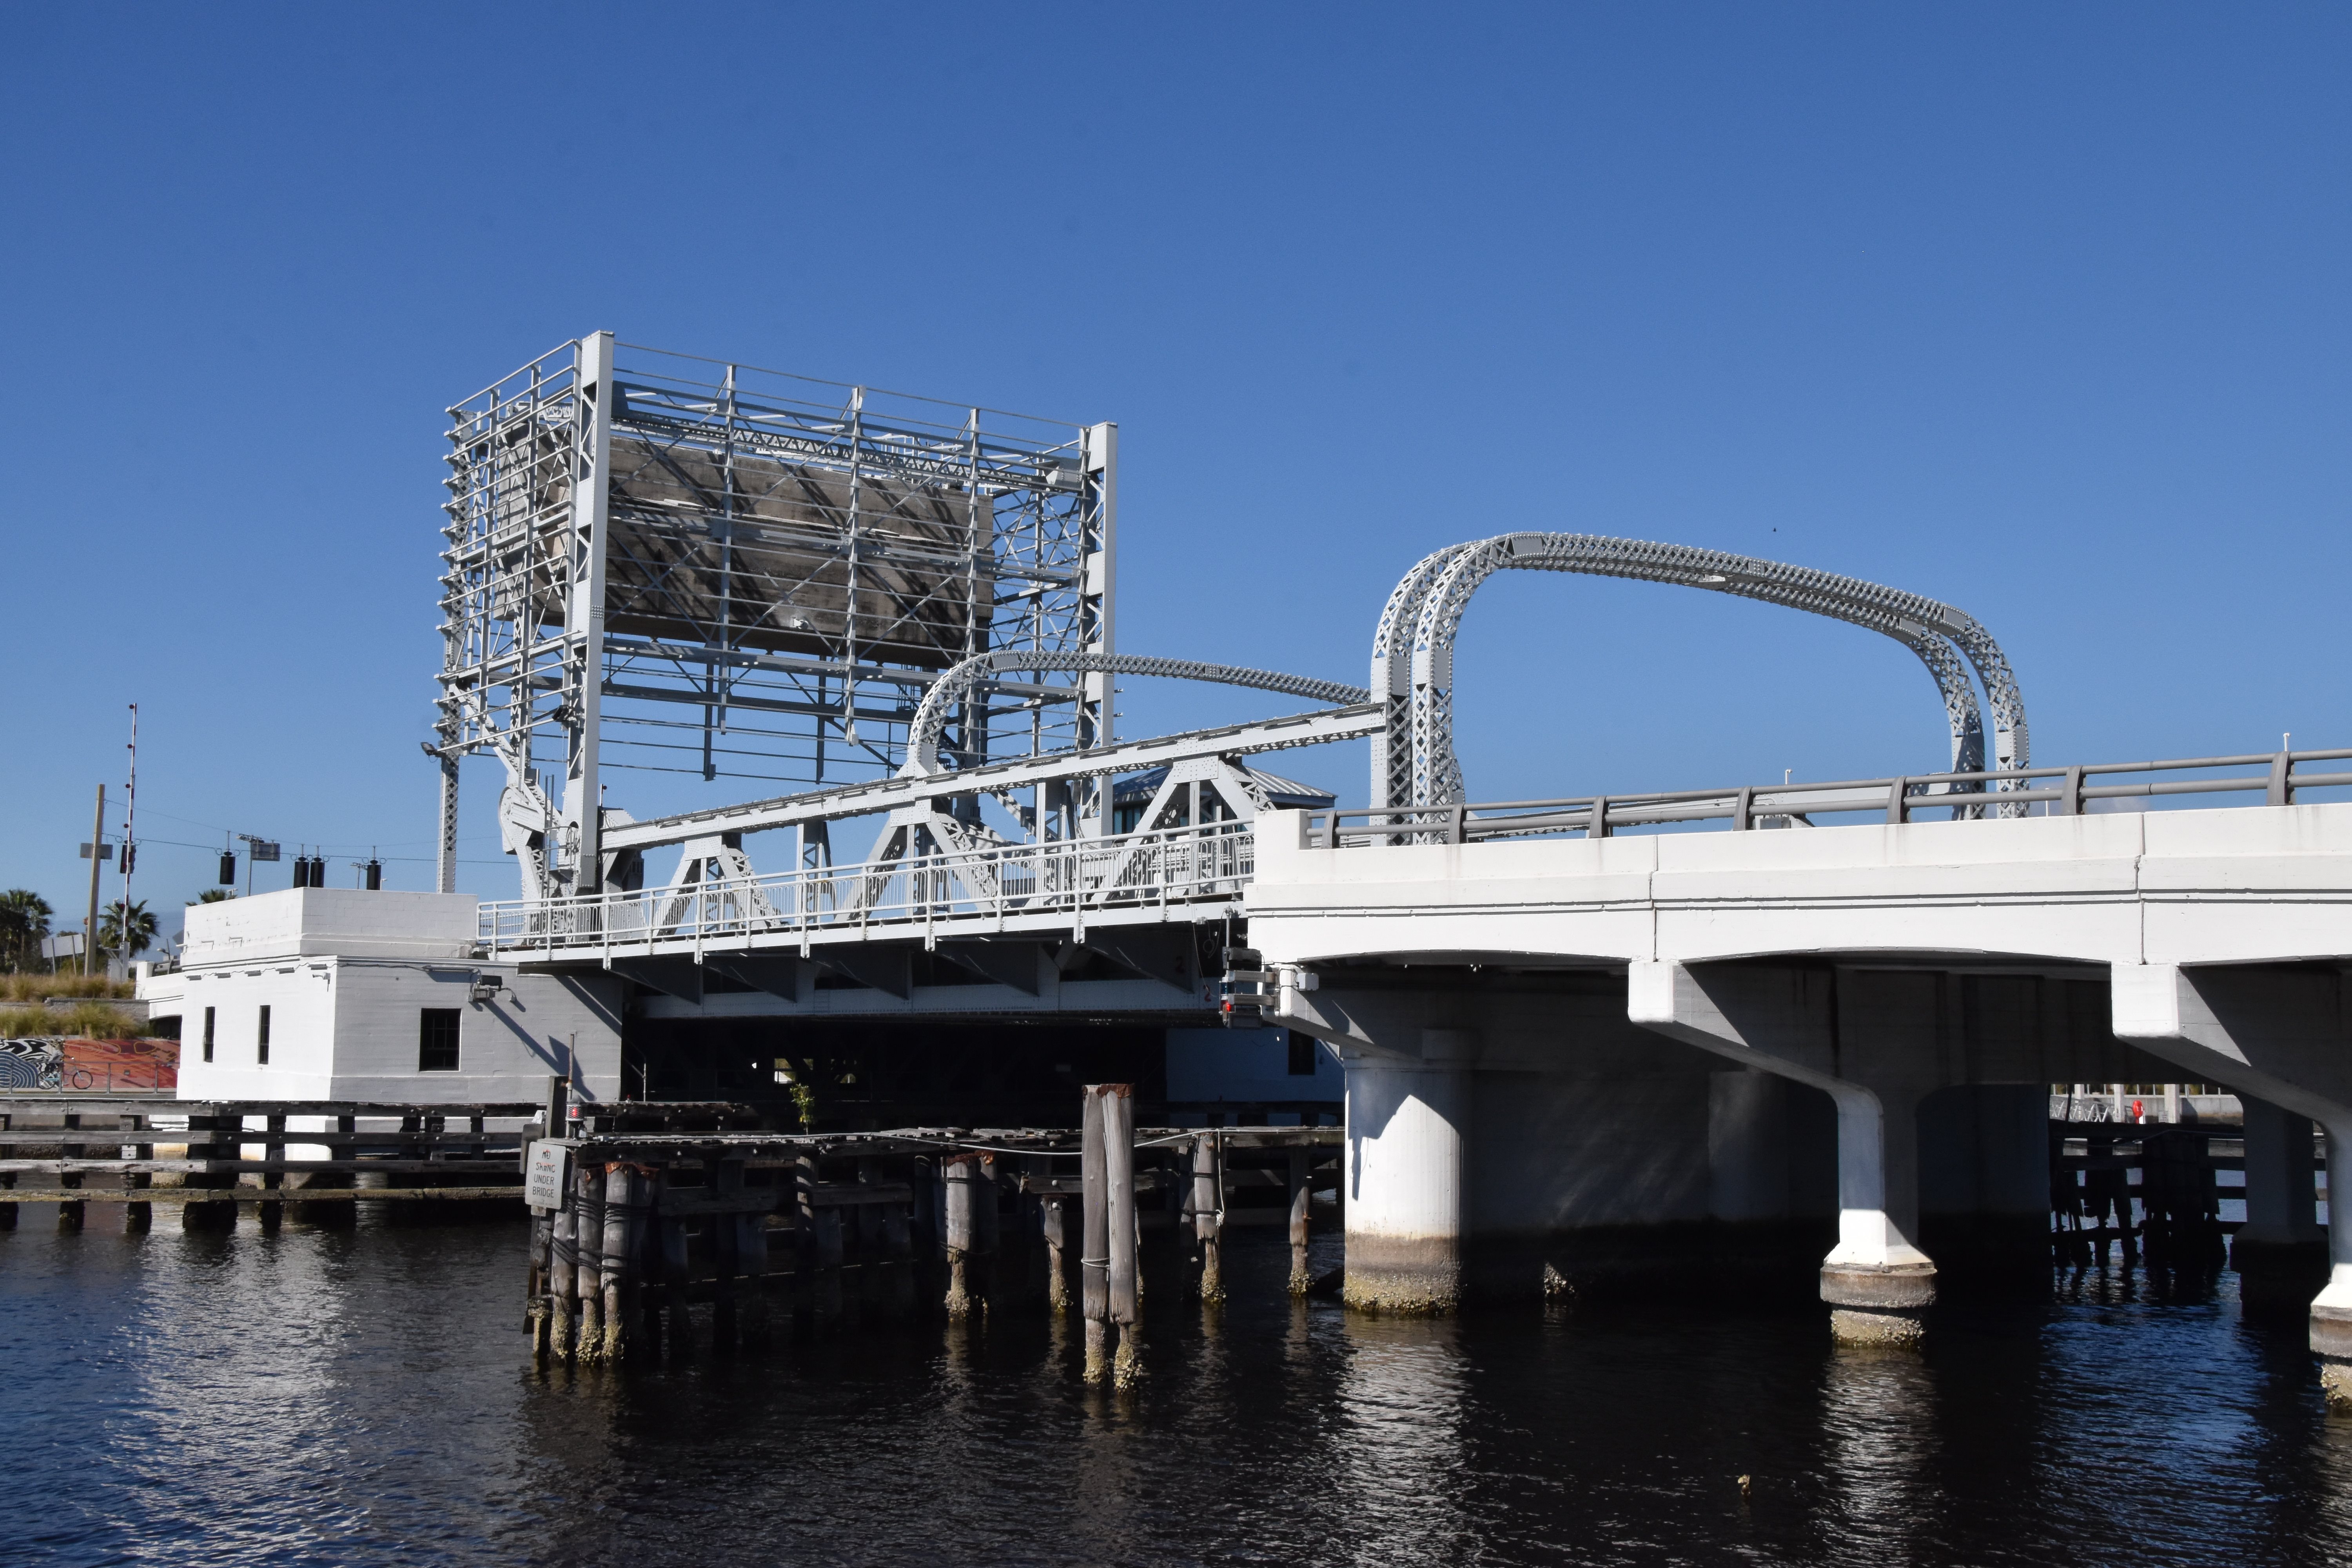
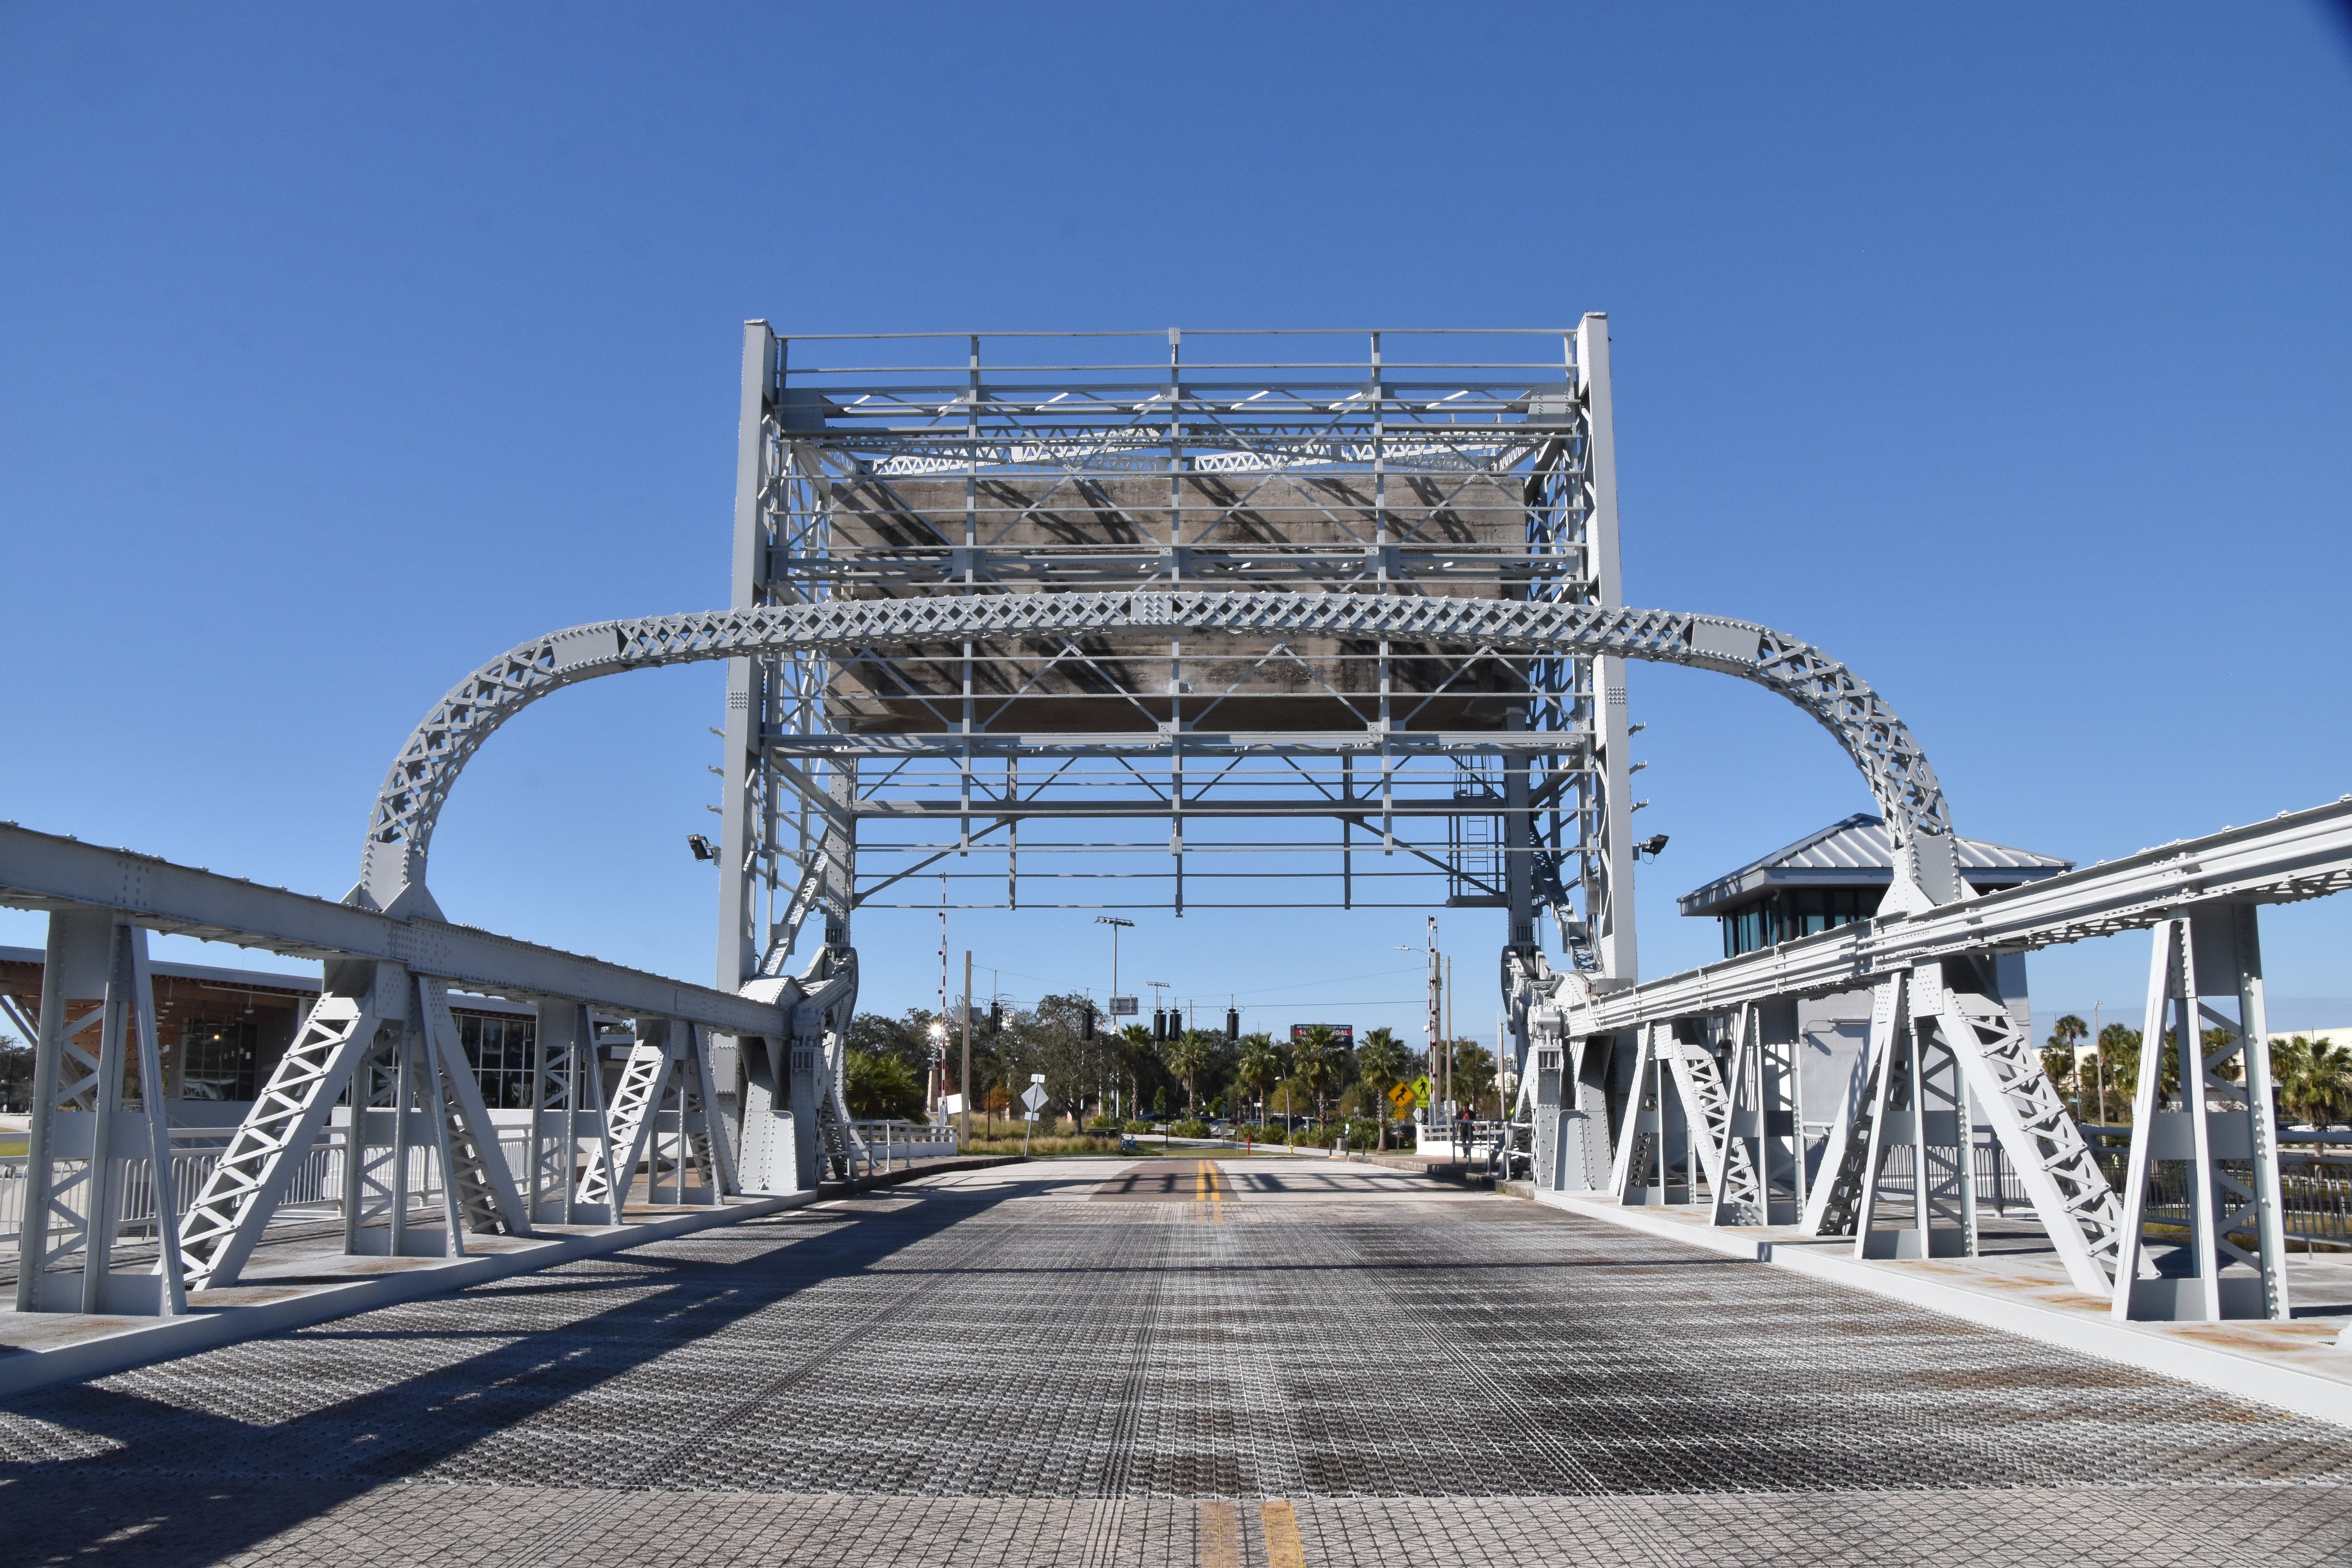
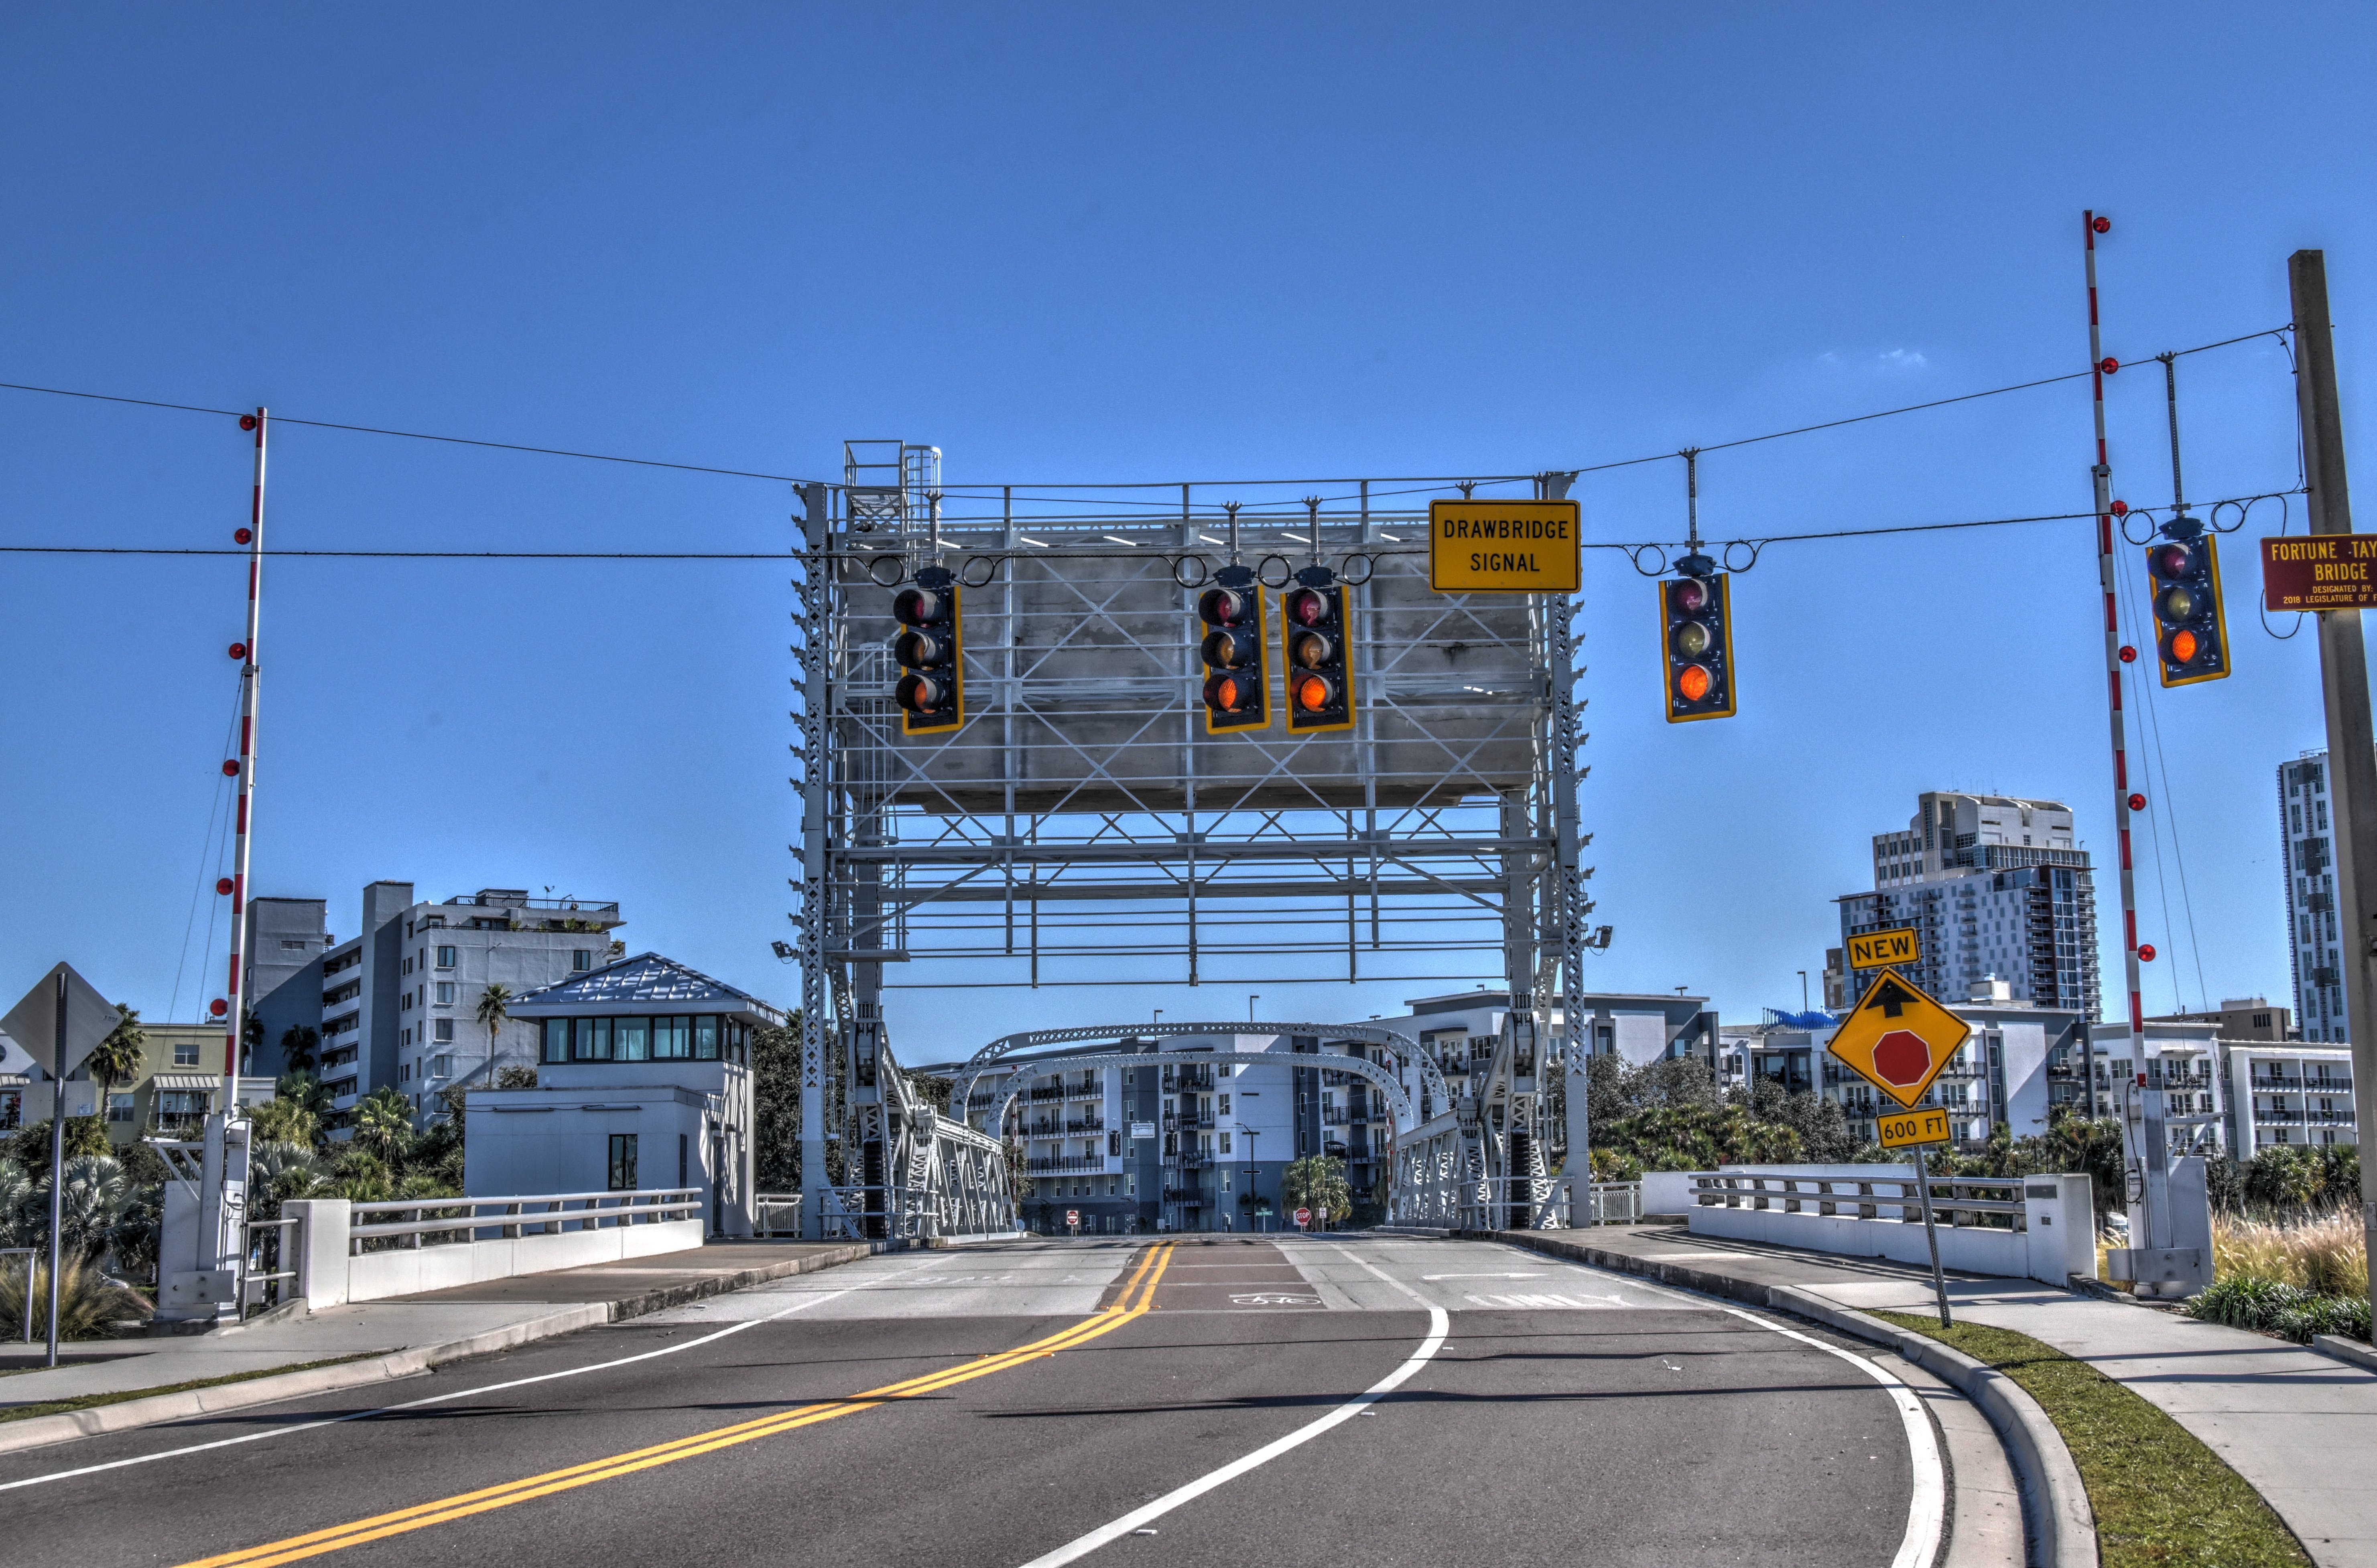
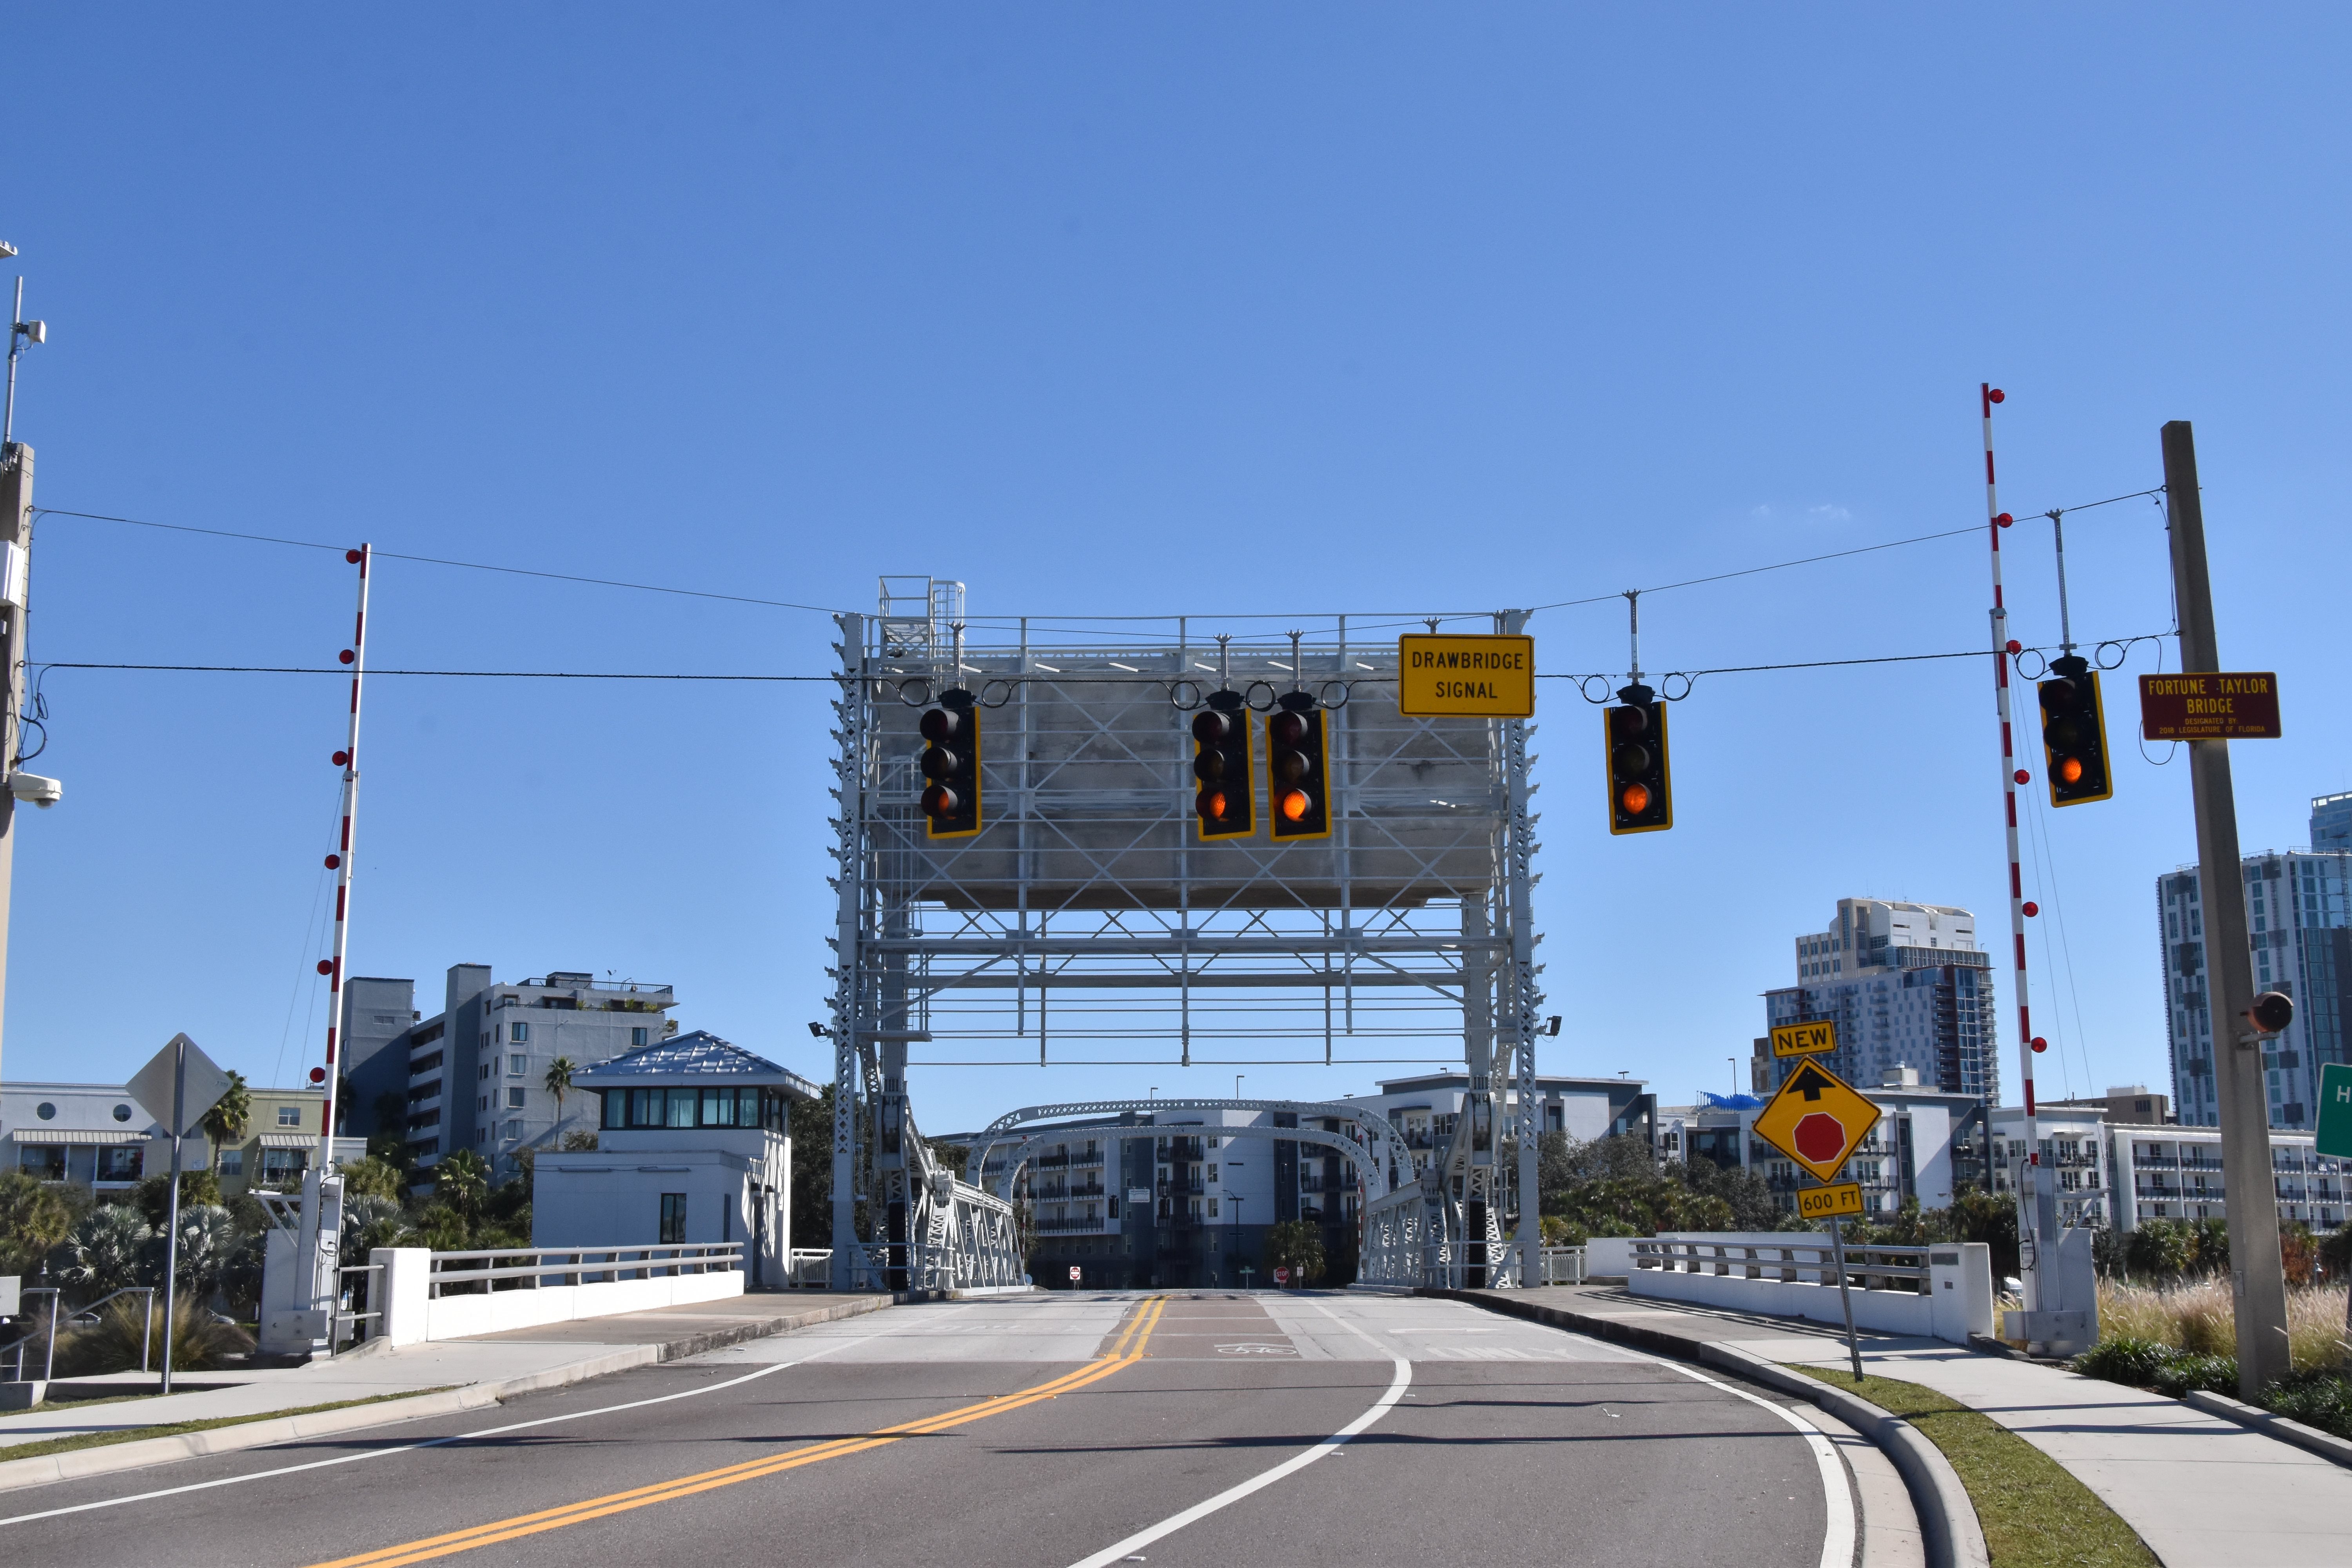
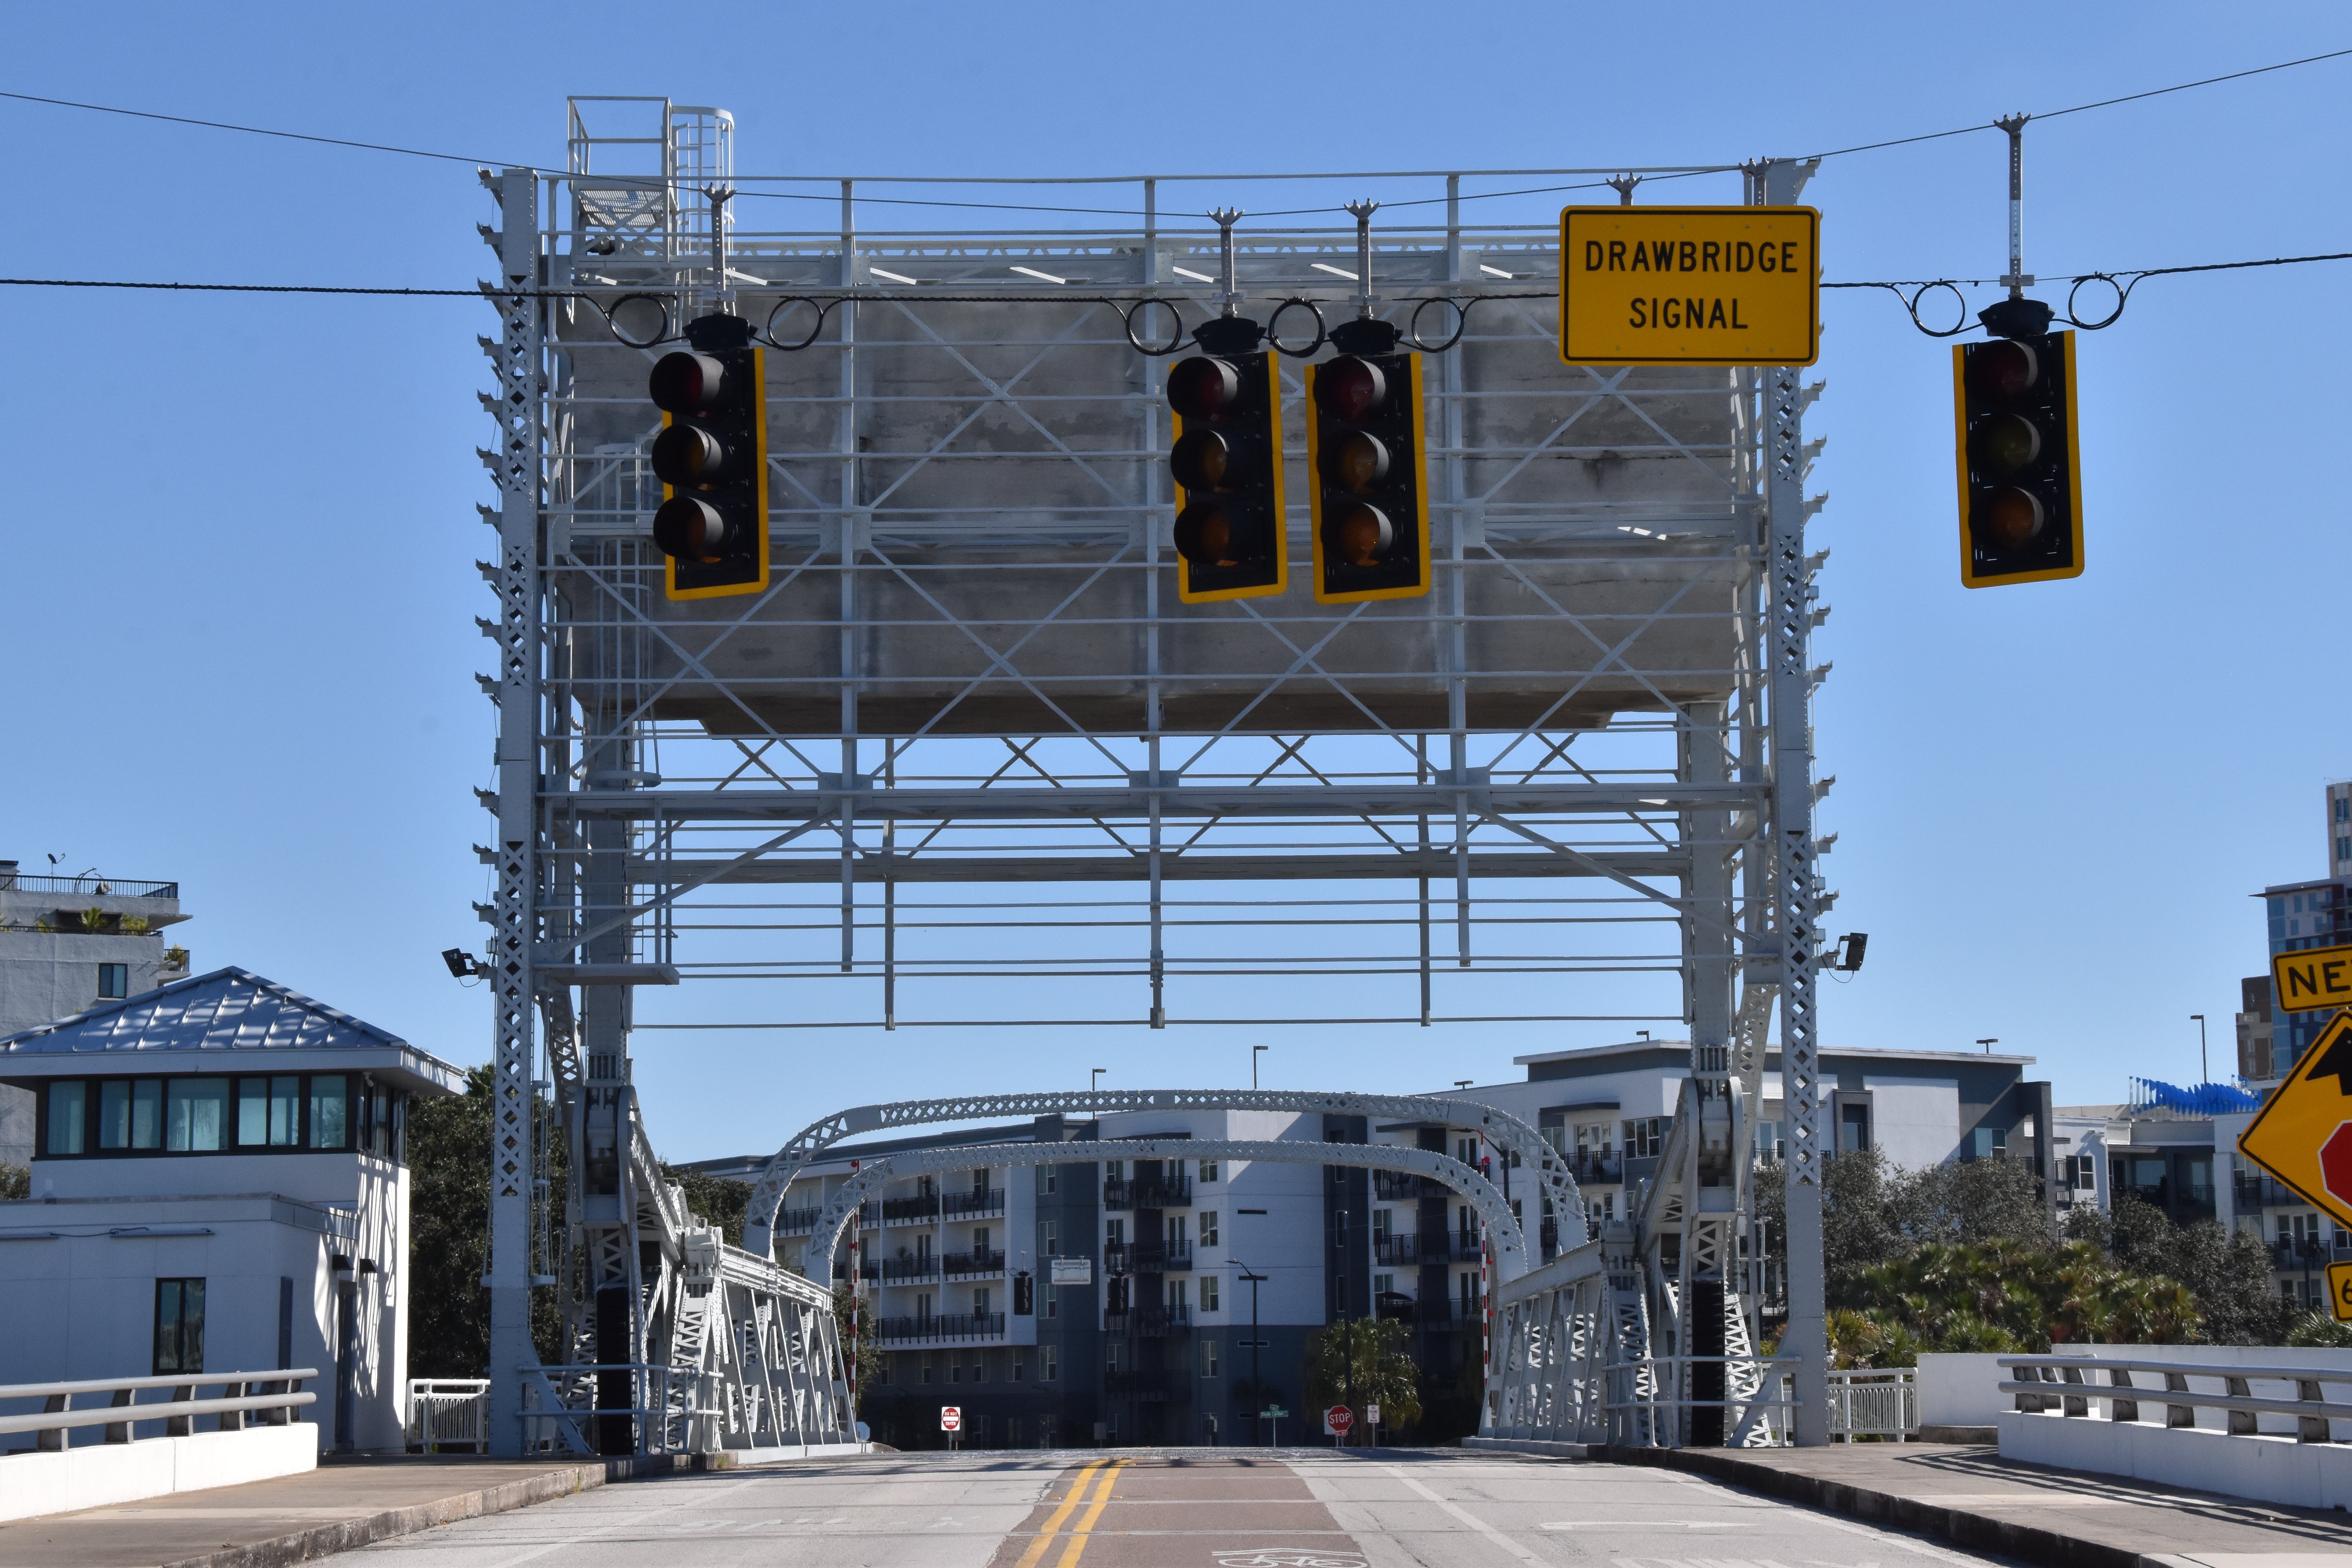
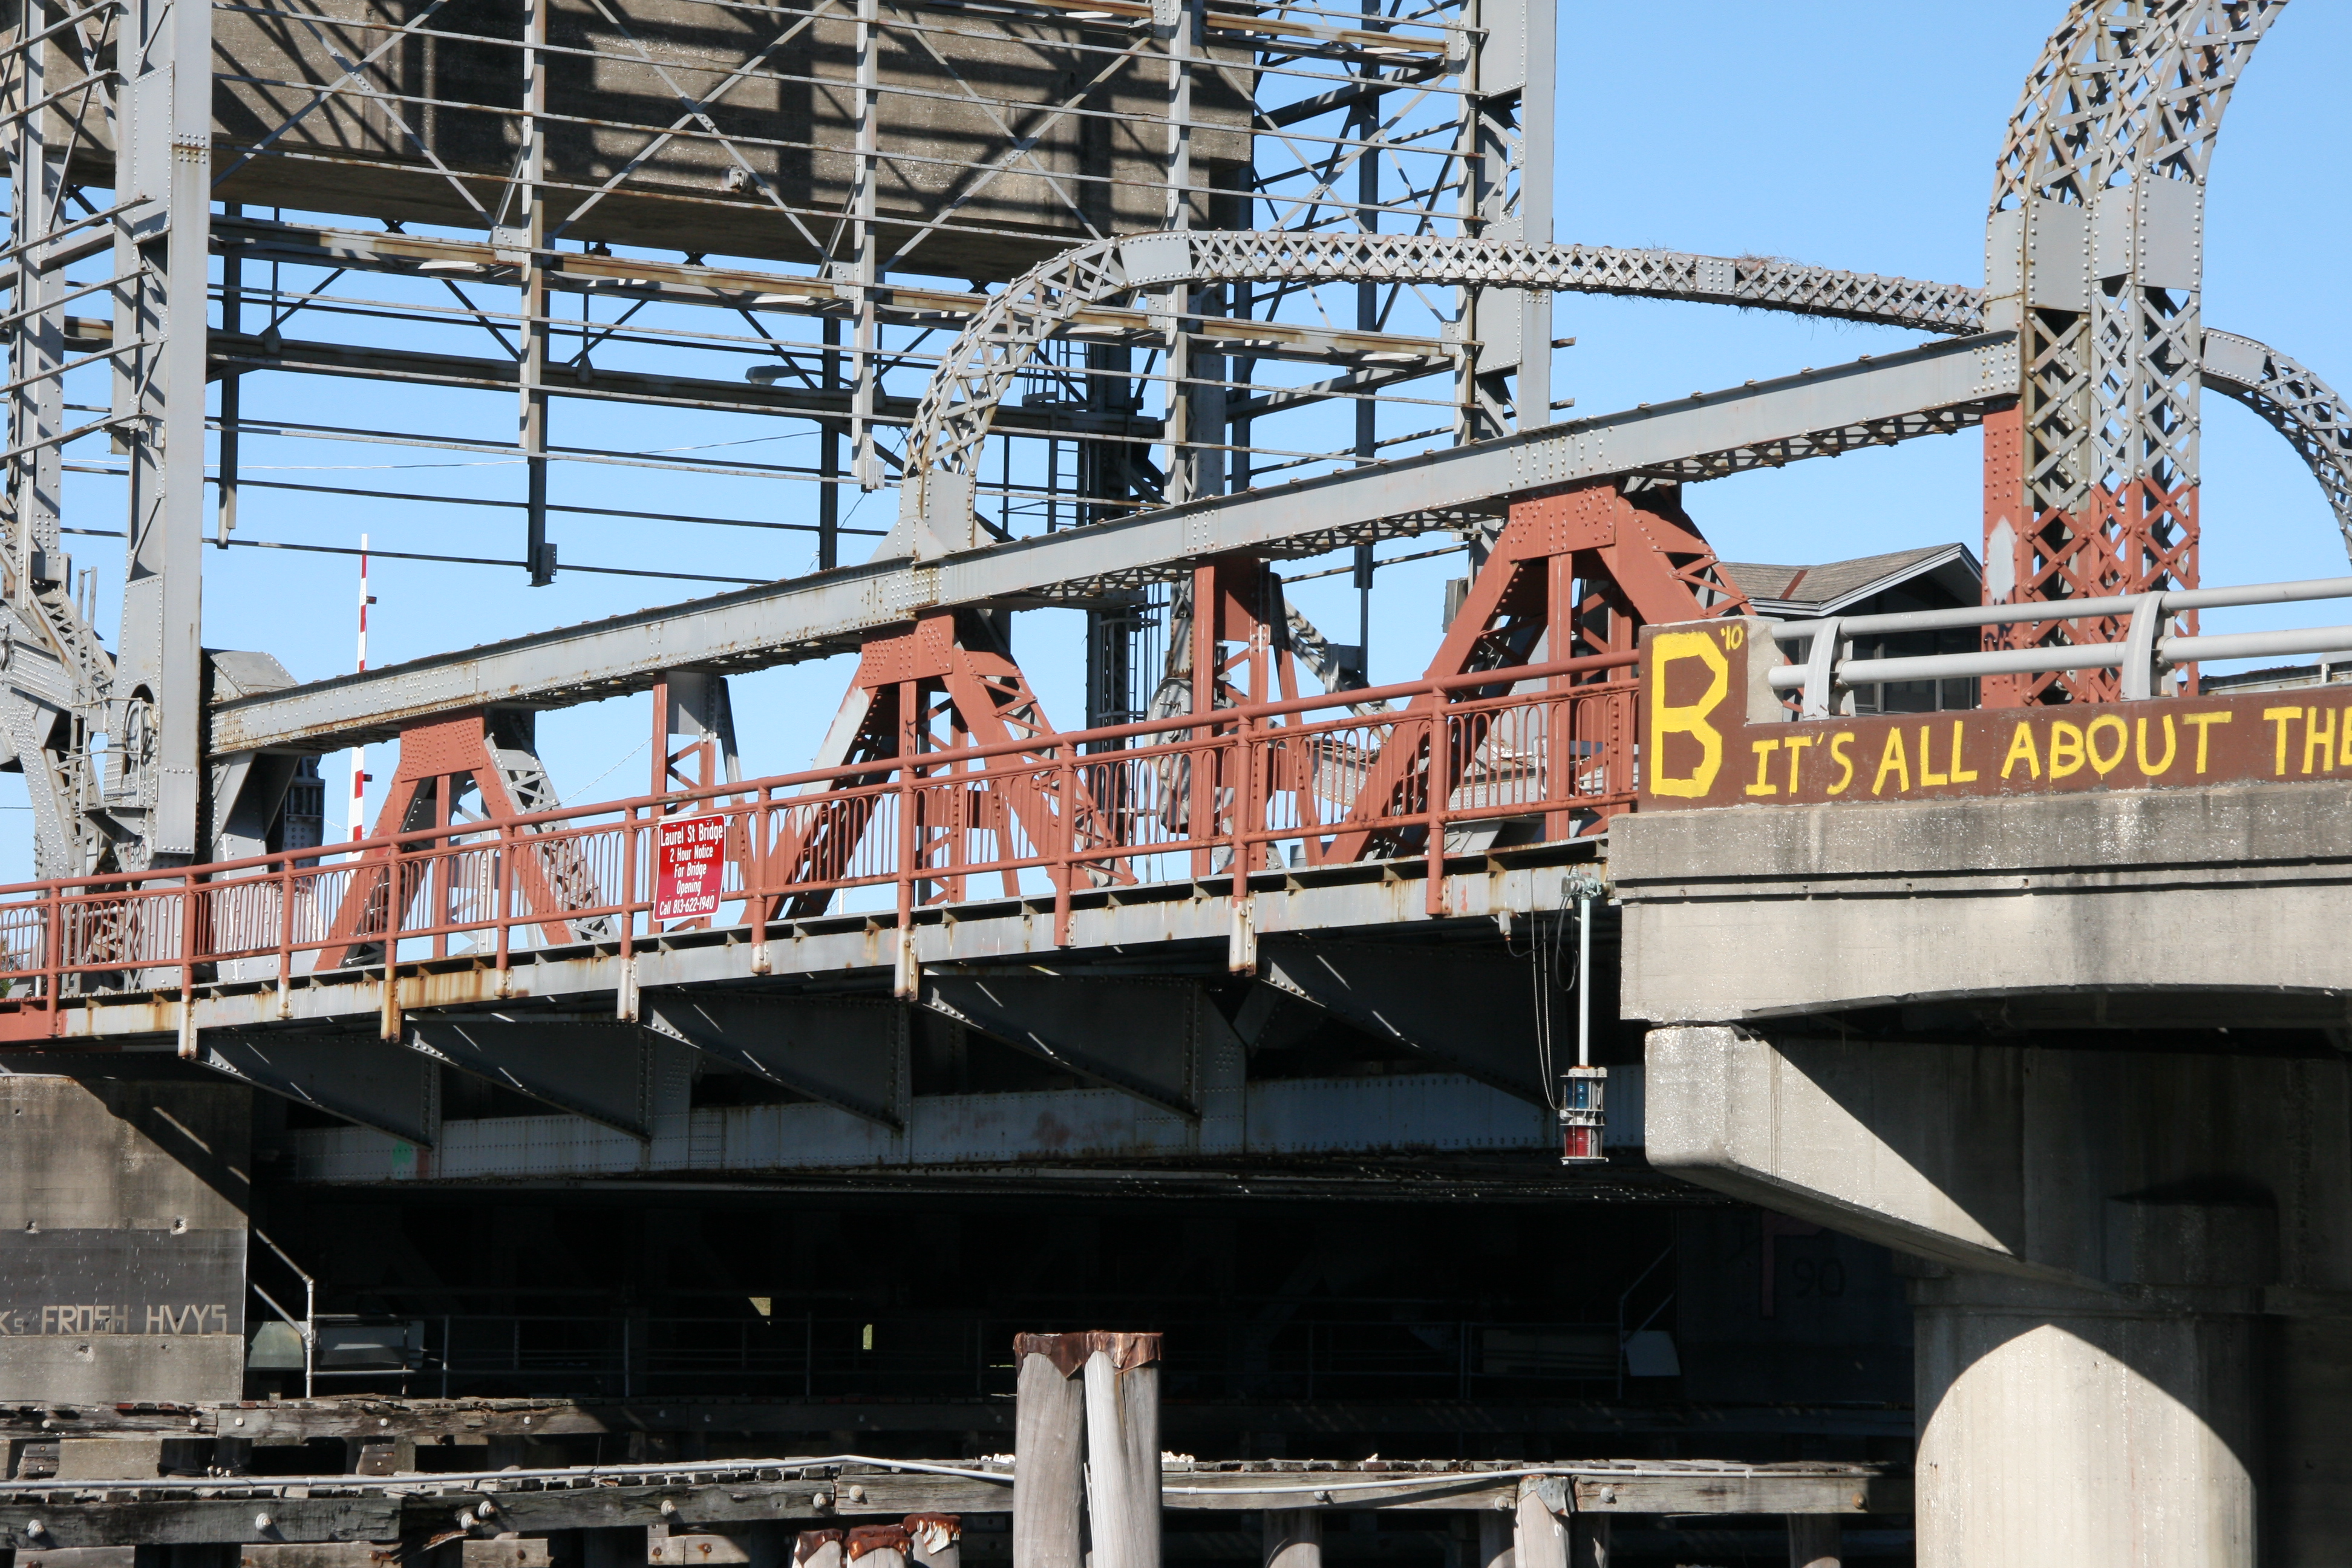
Elevation.
![]()
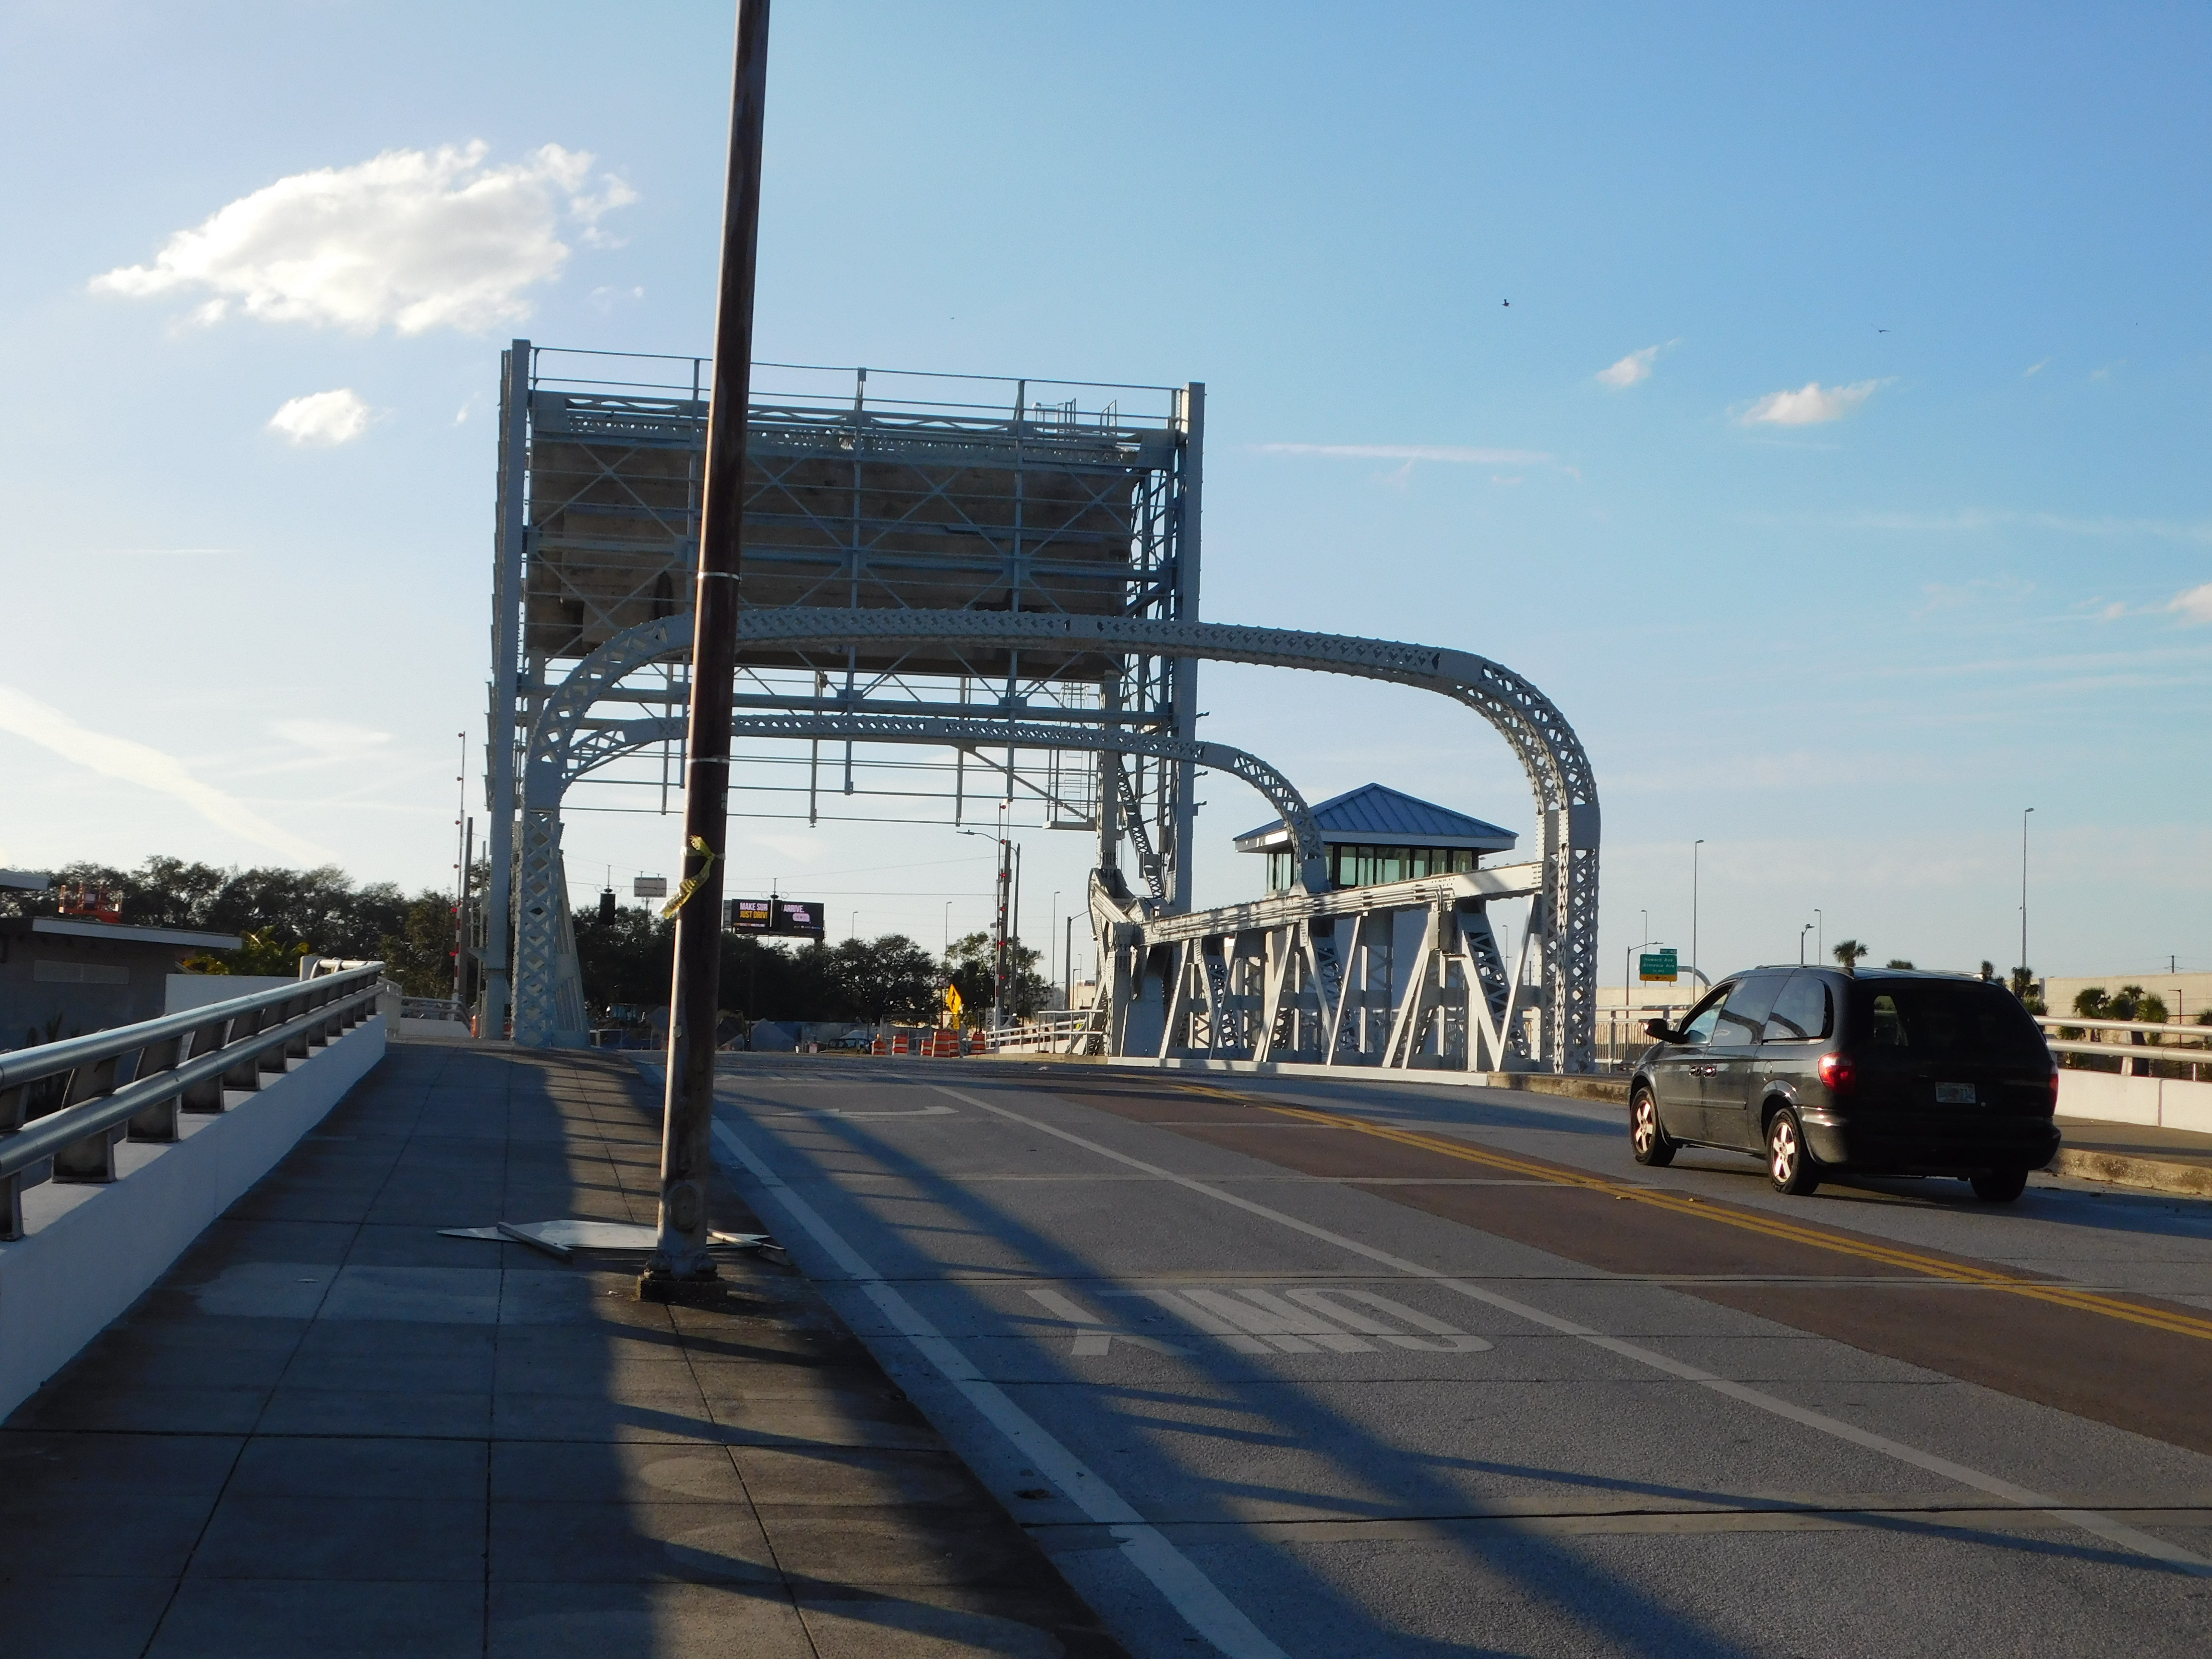
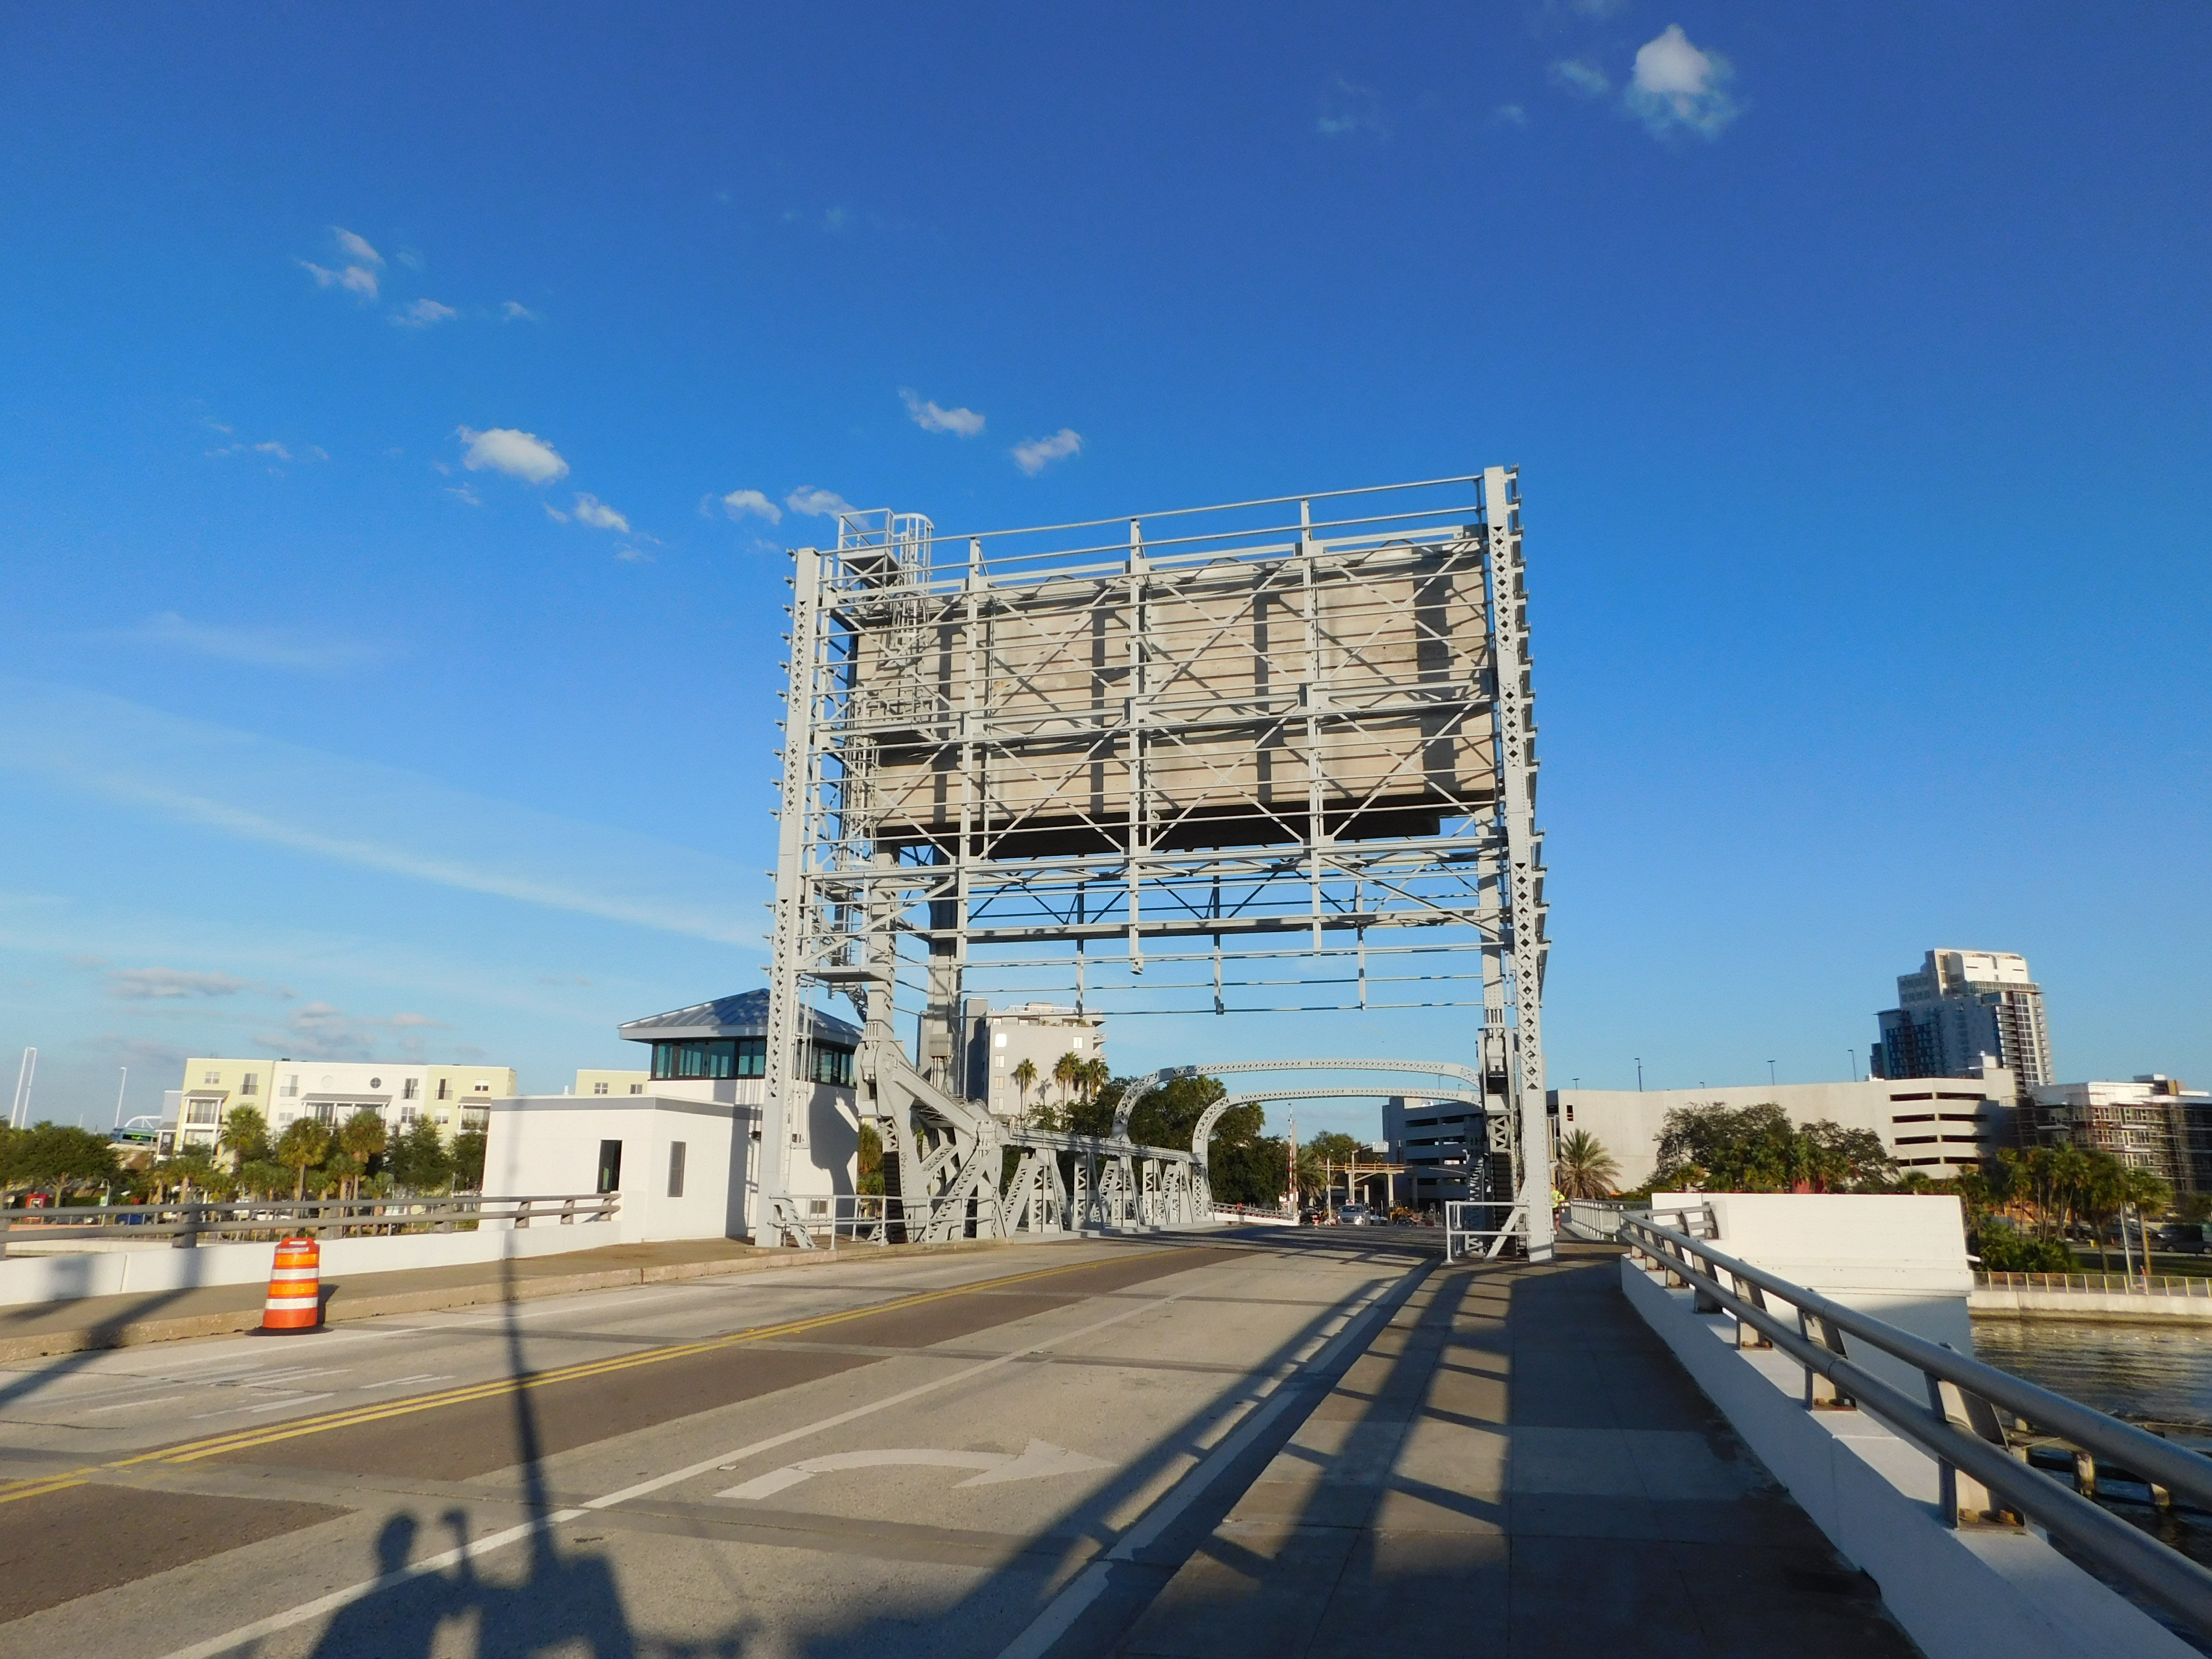
Photo Credit: Marc Scotti
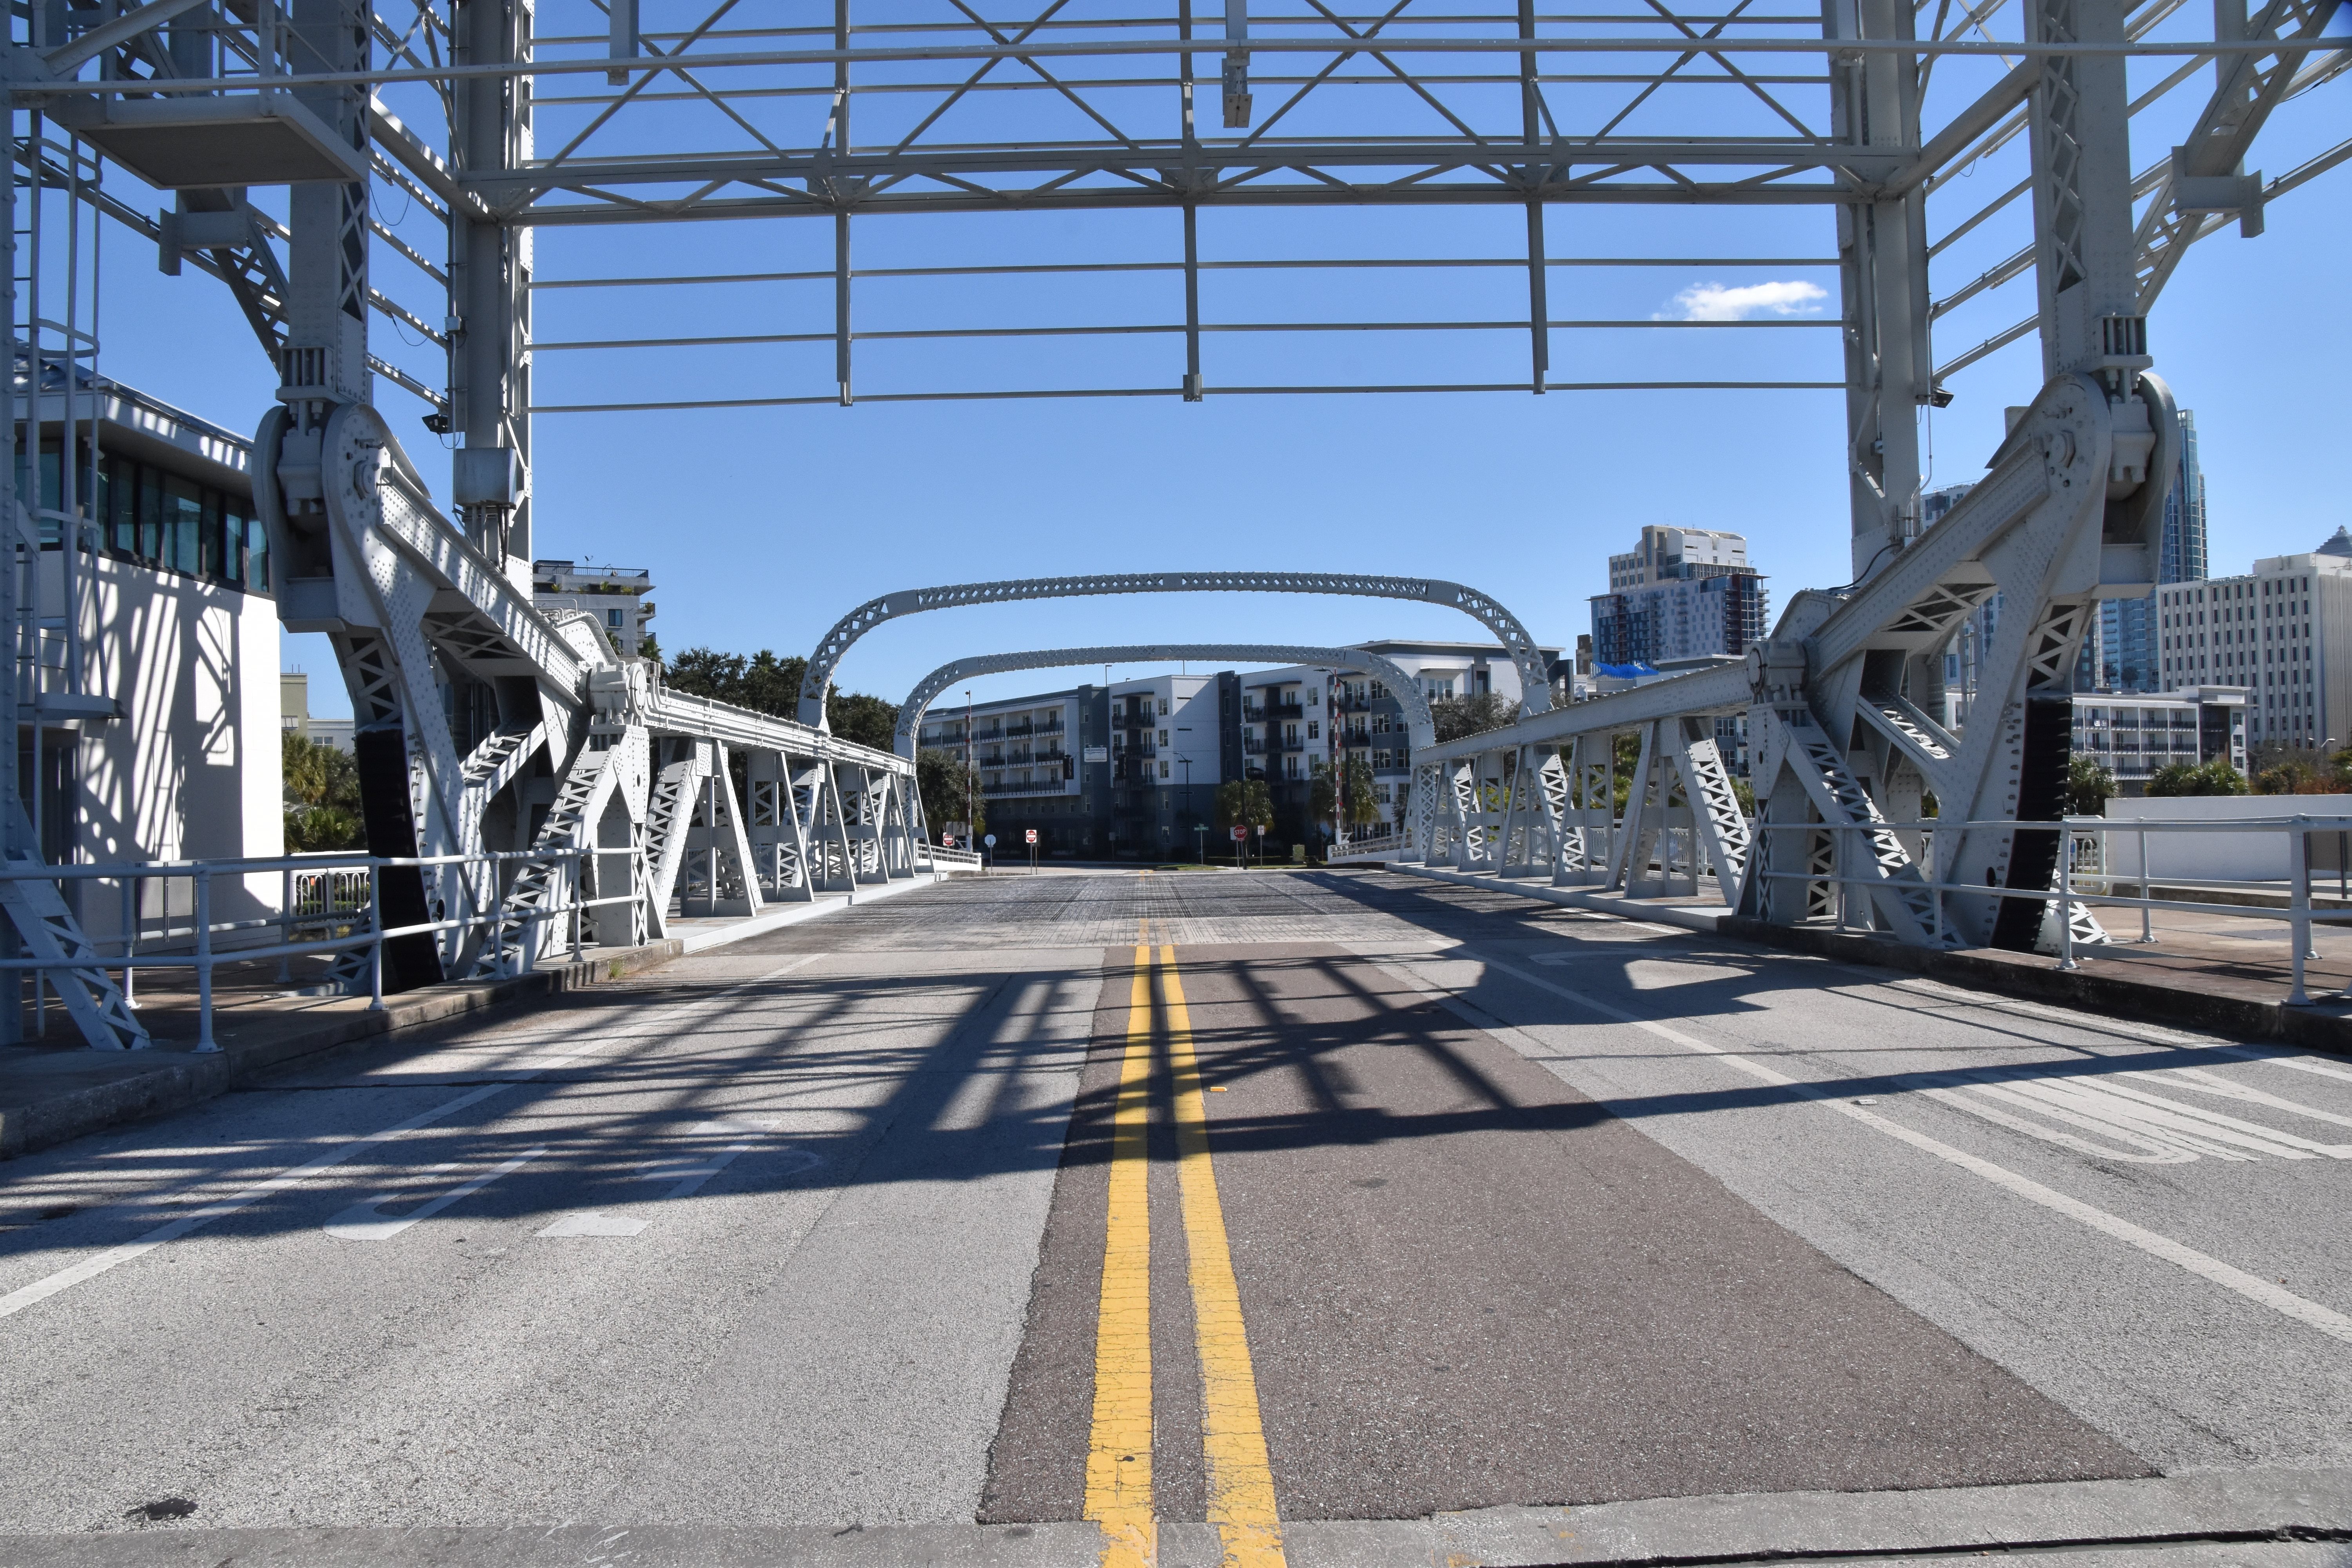
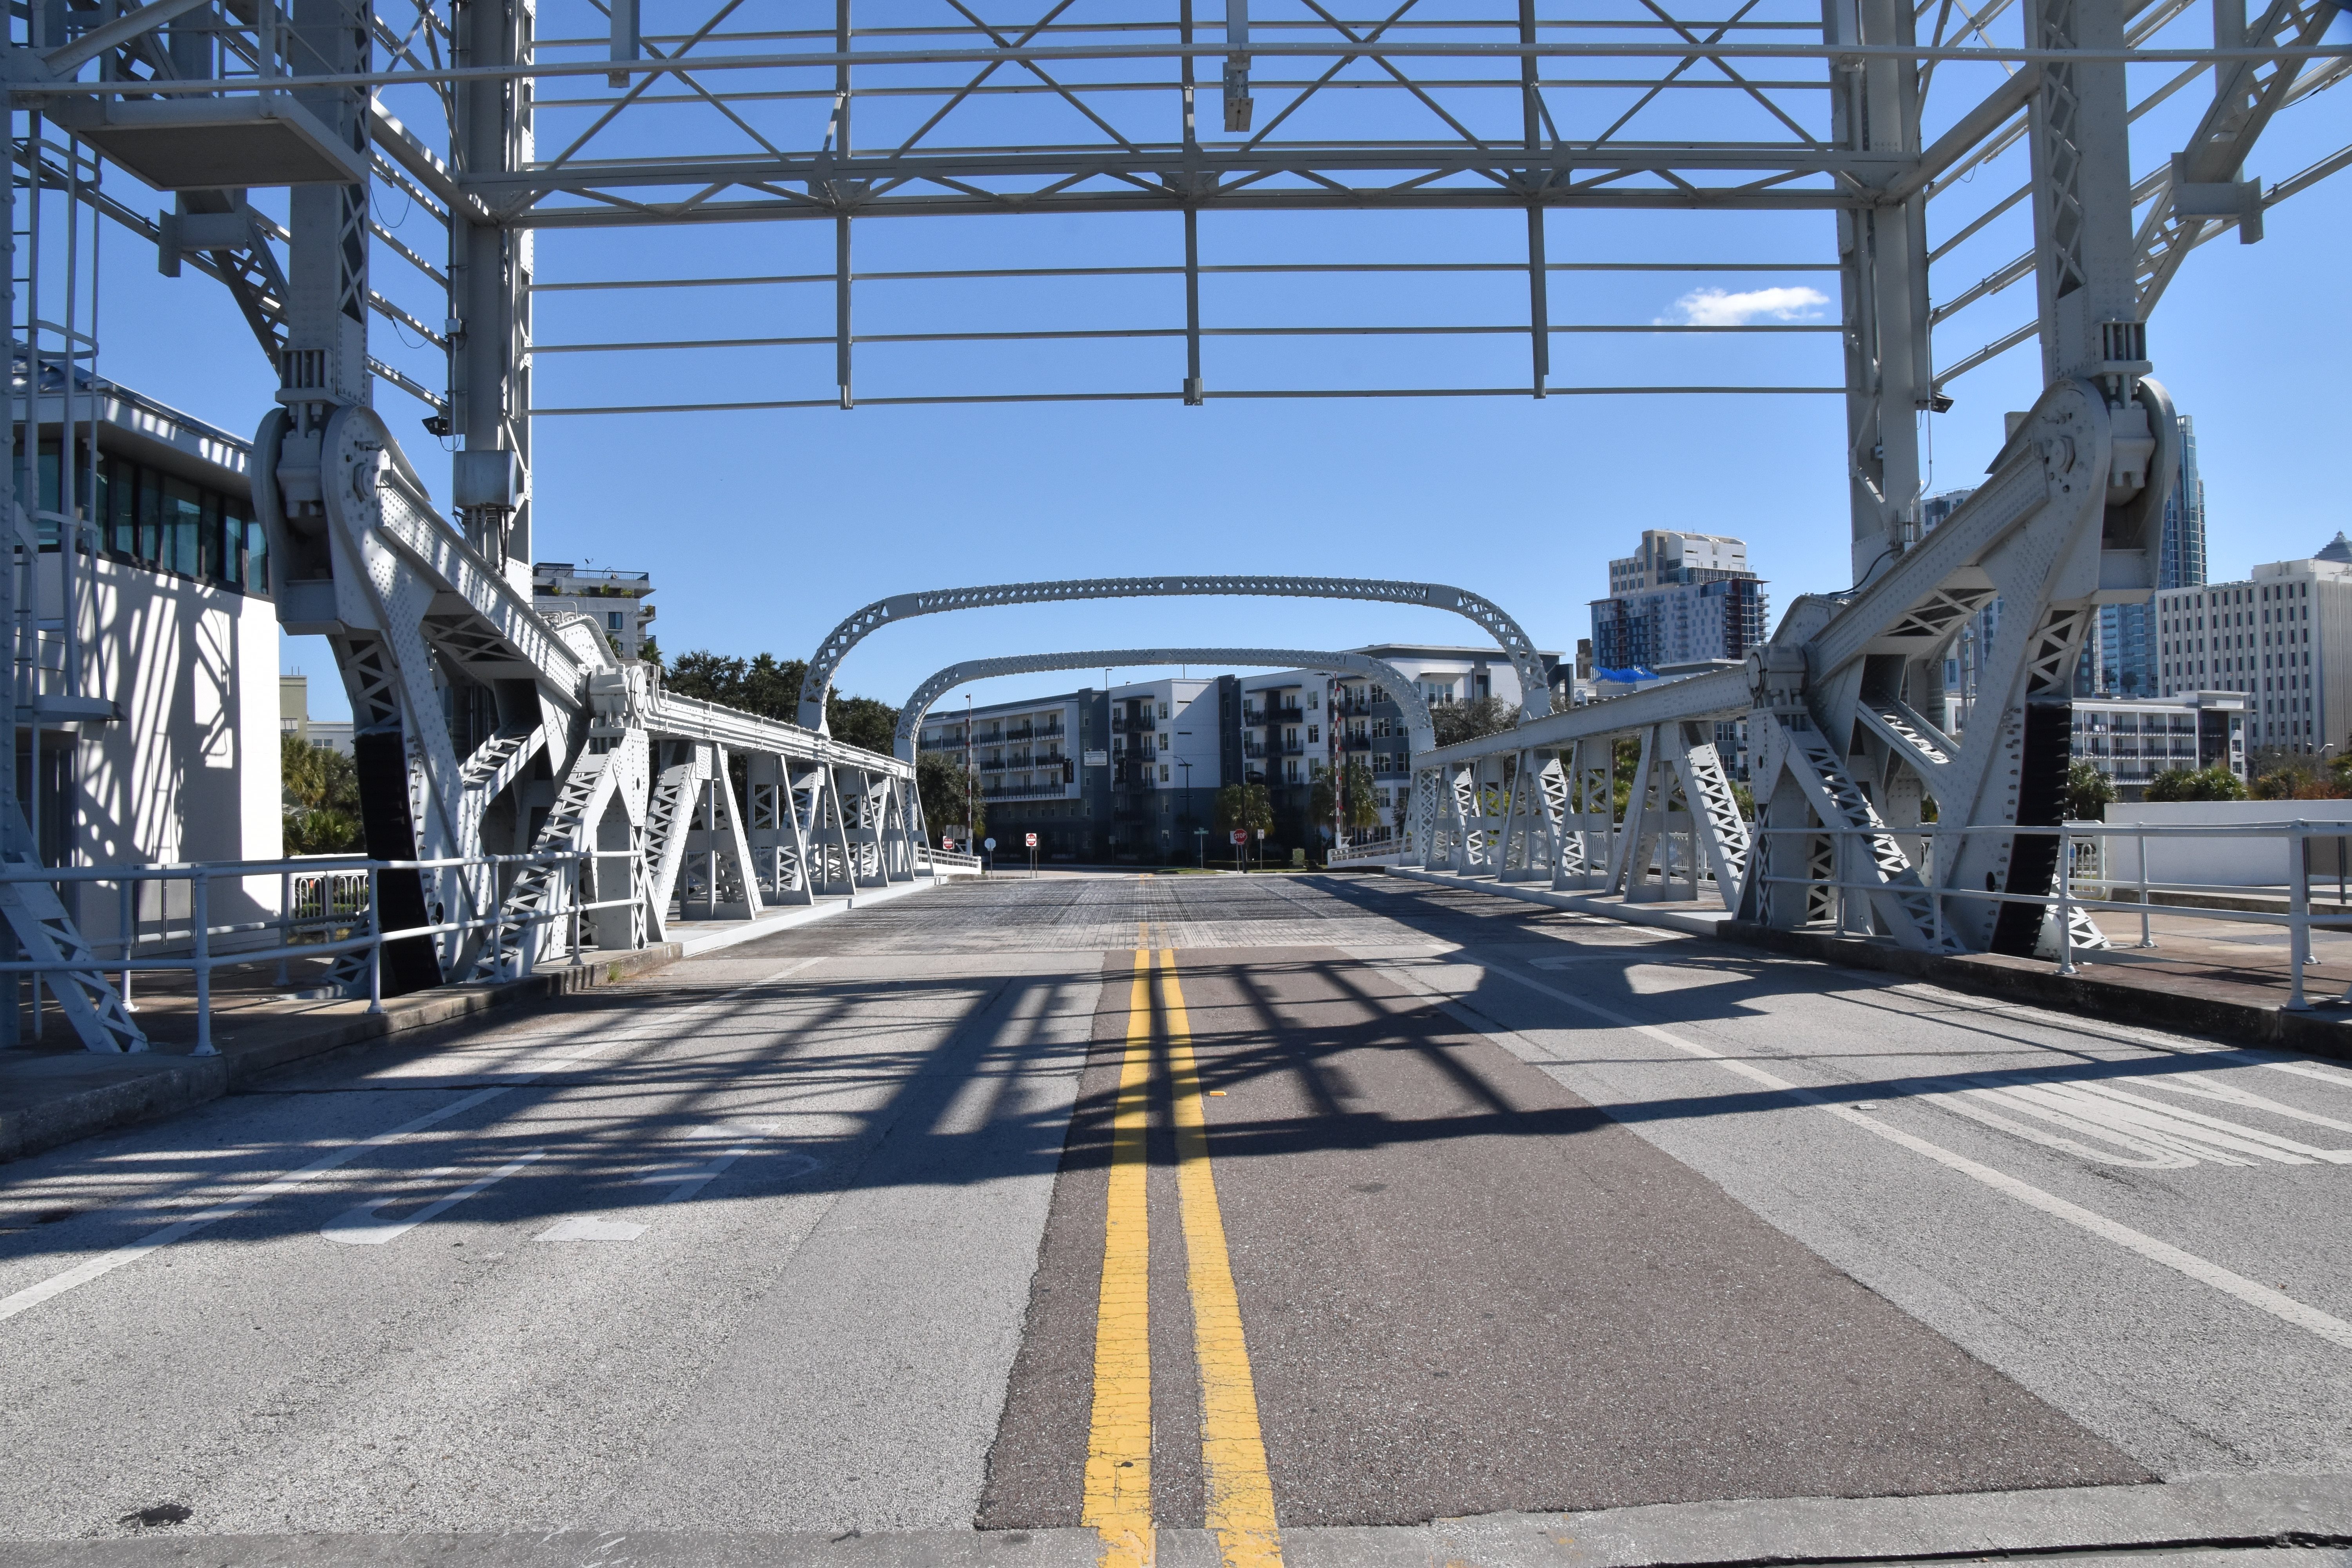
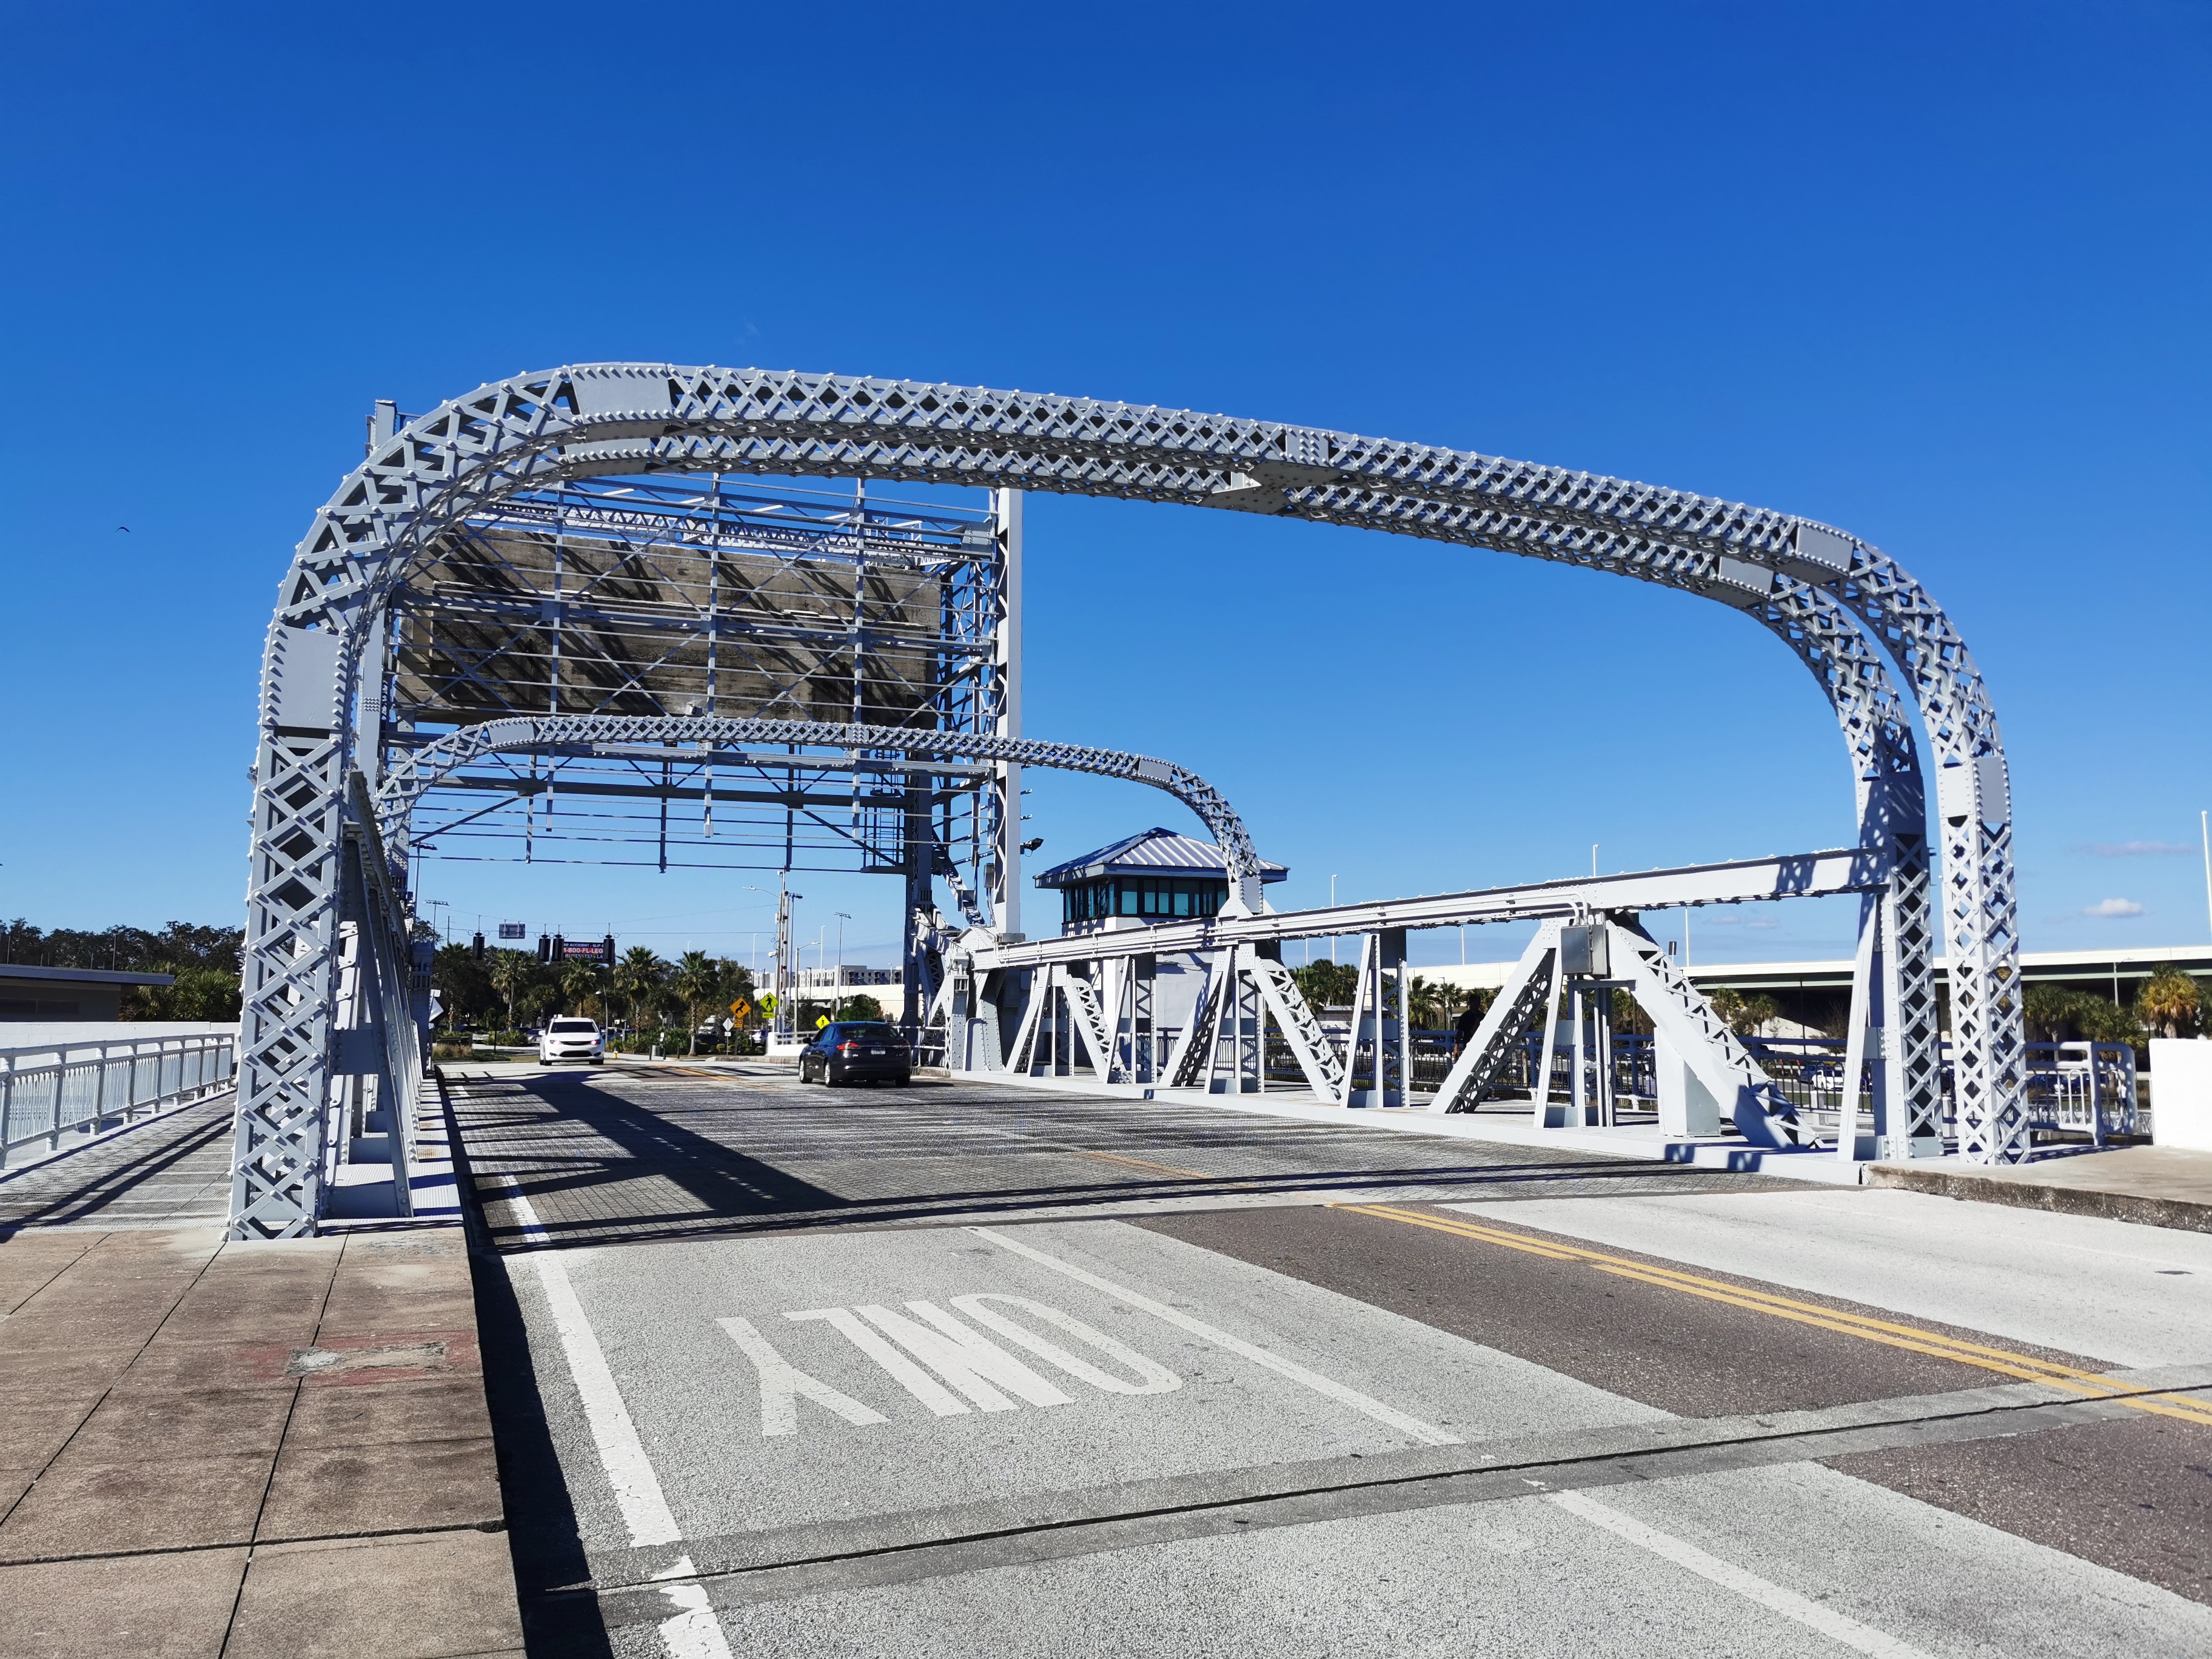
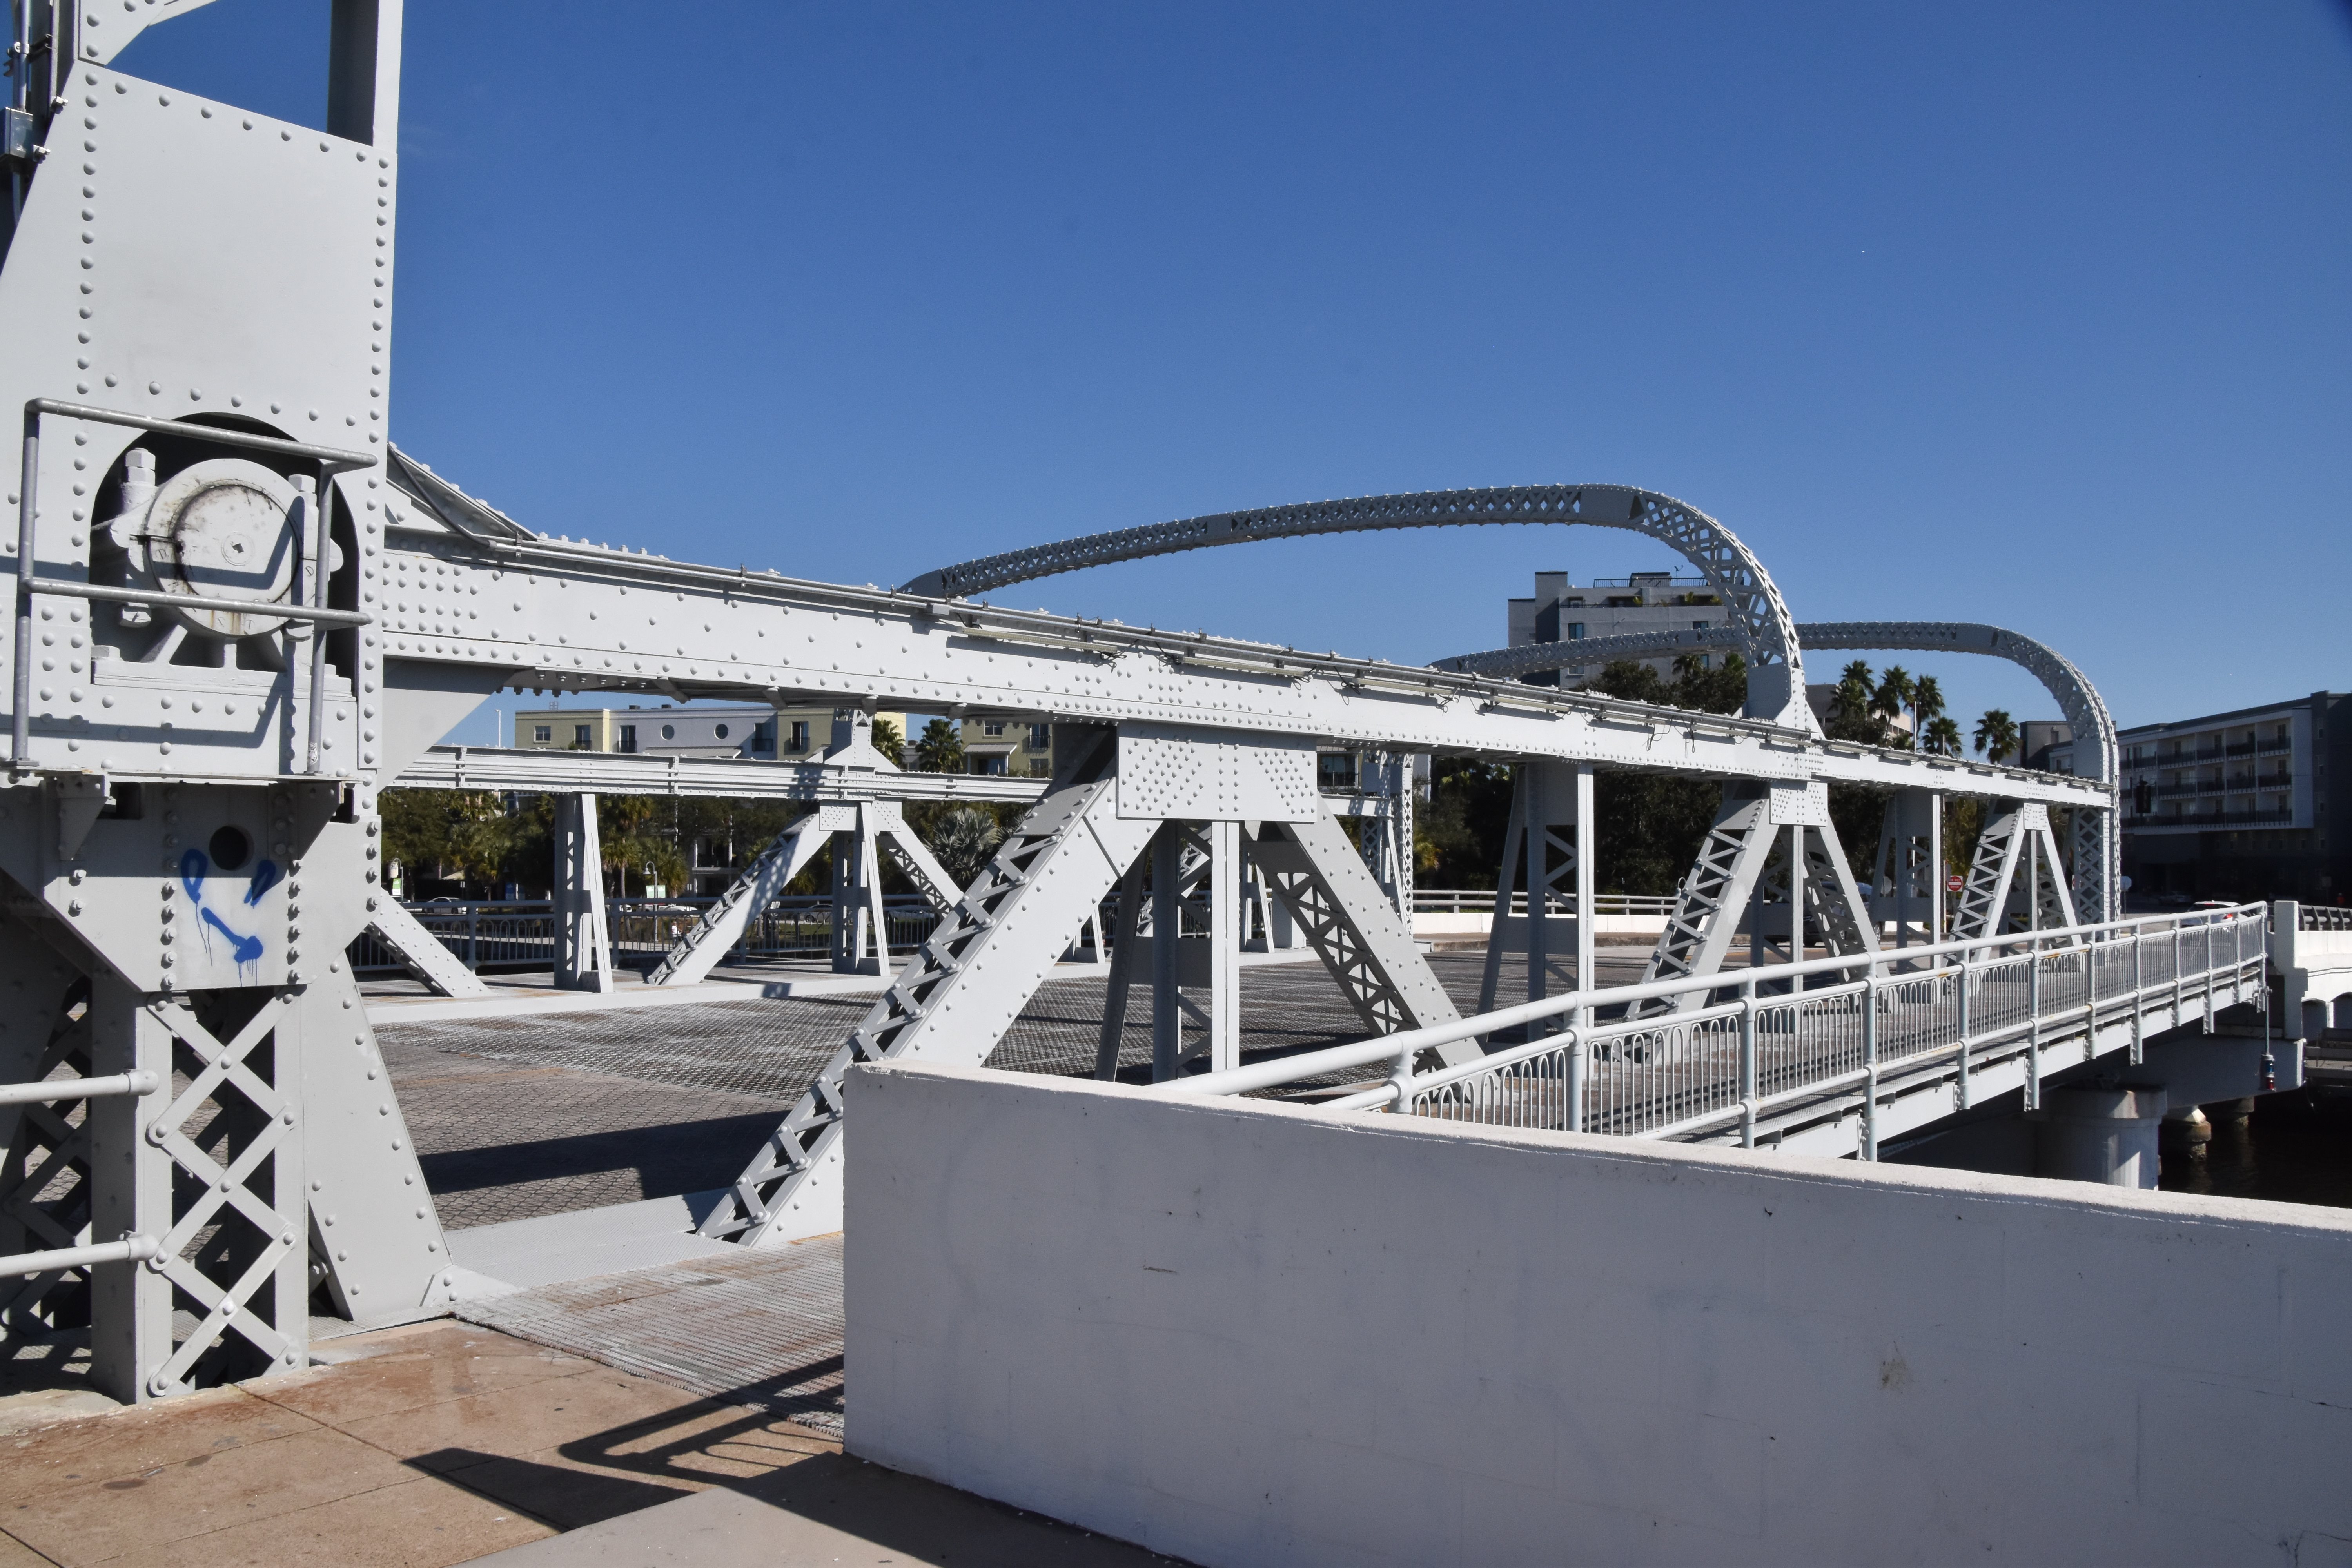
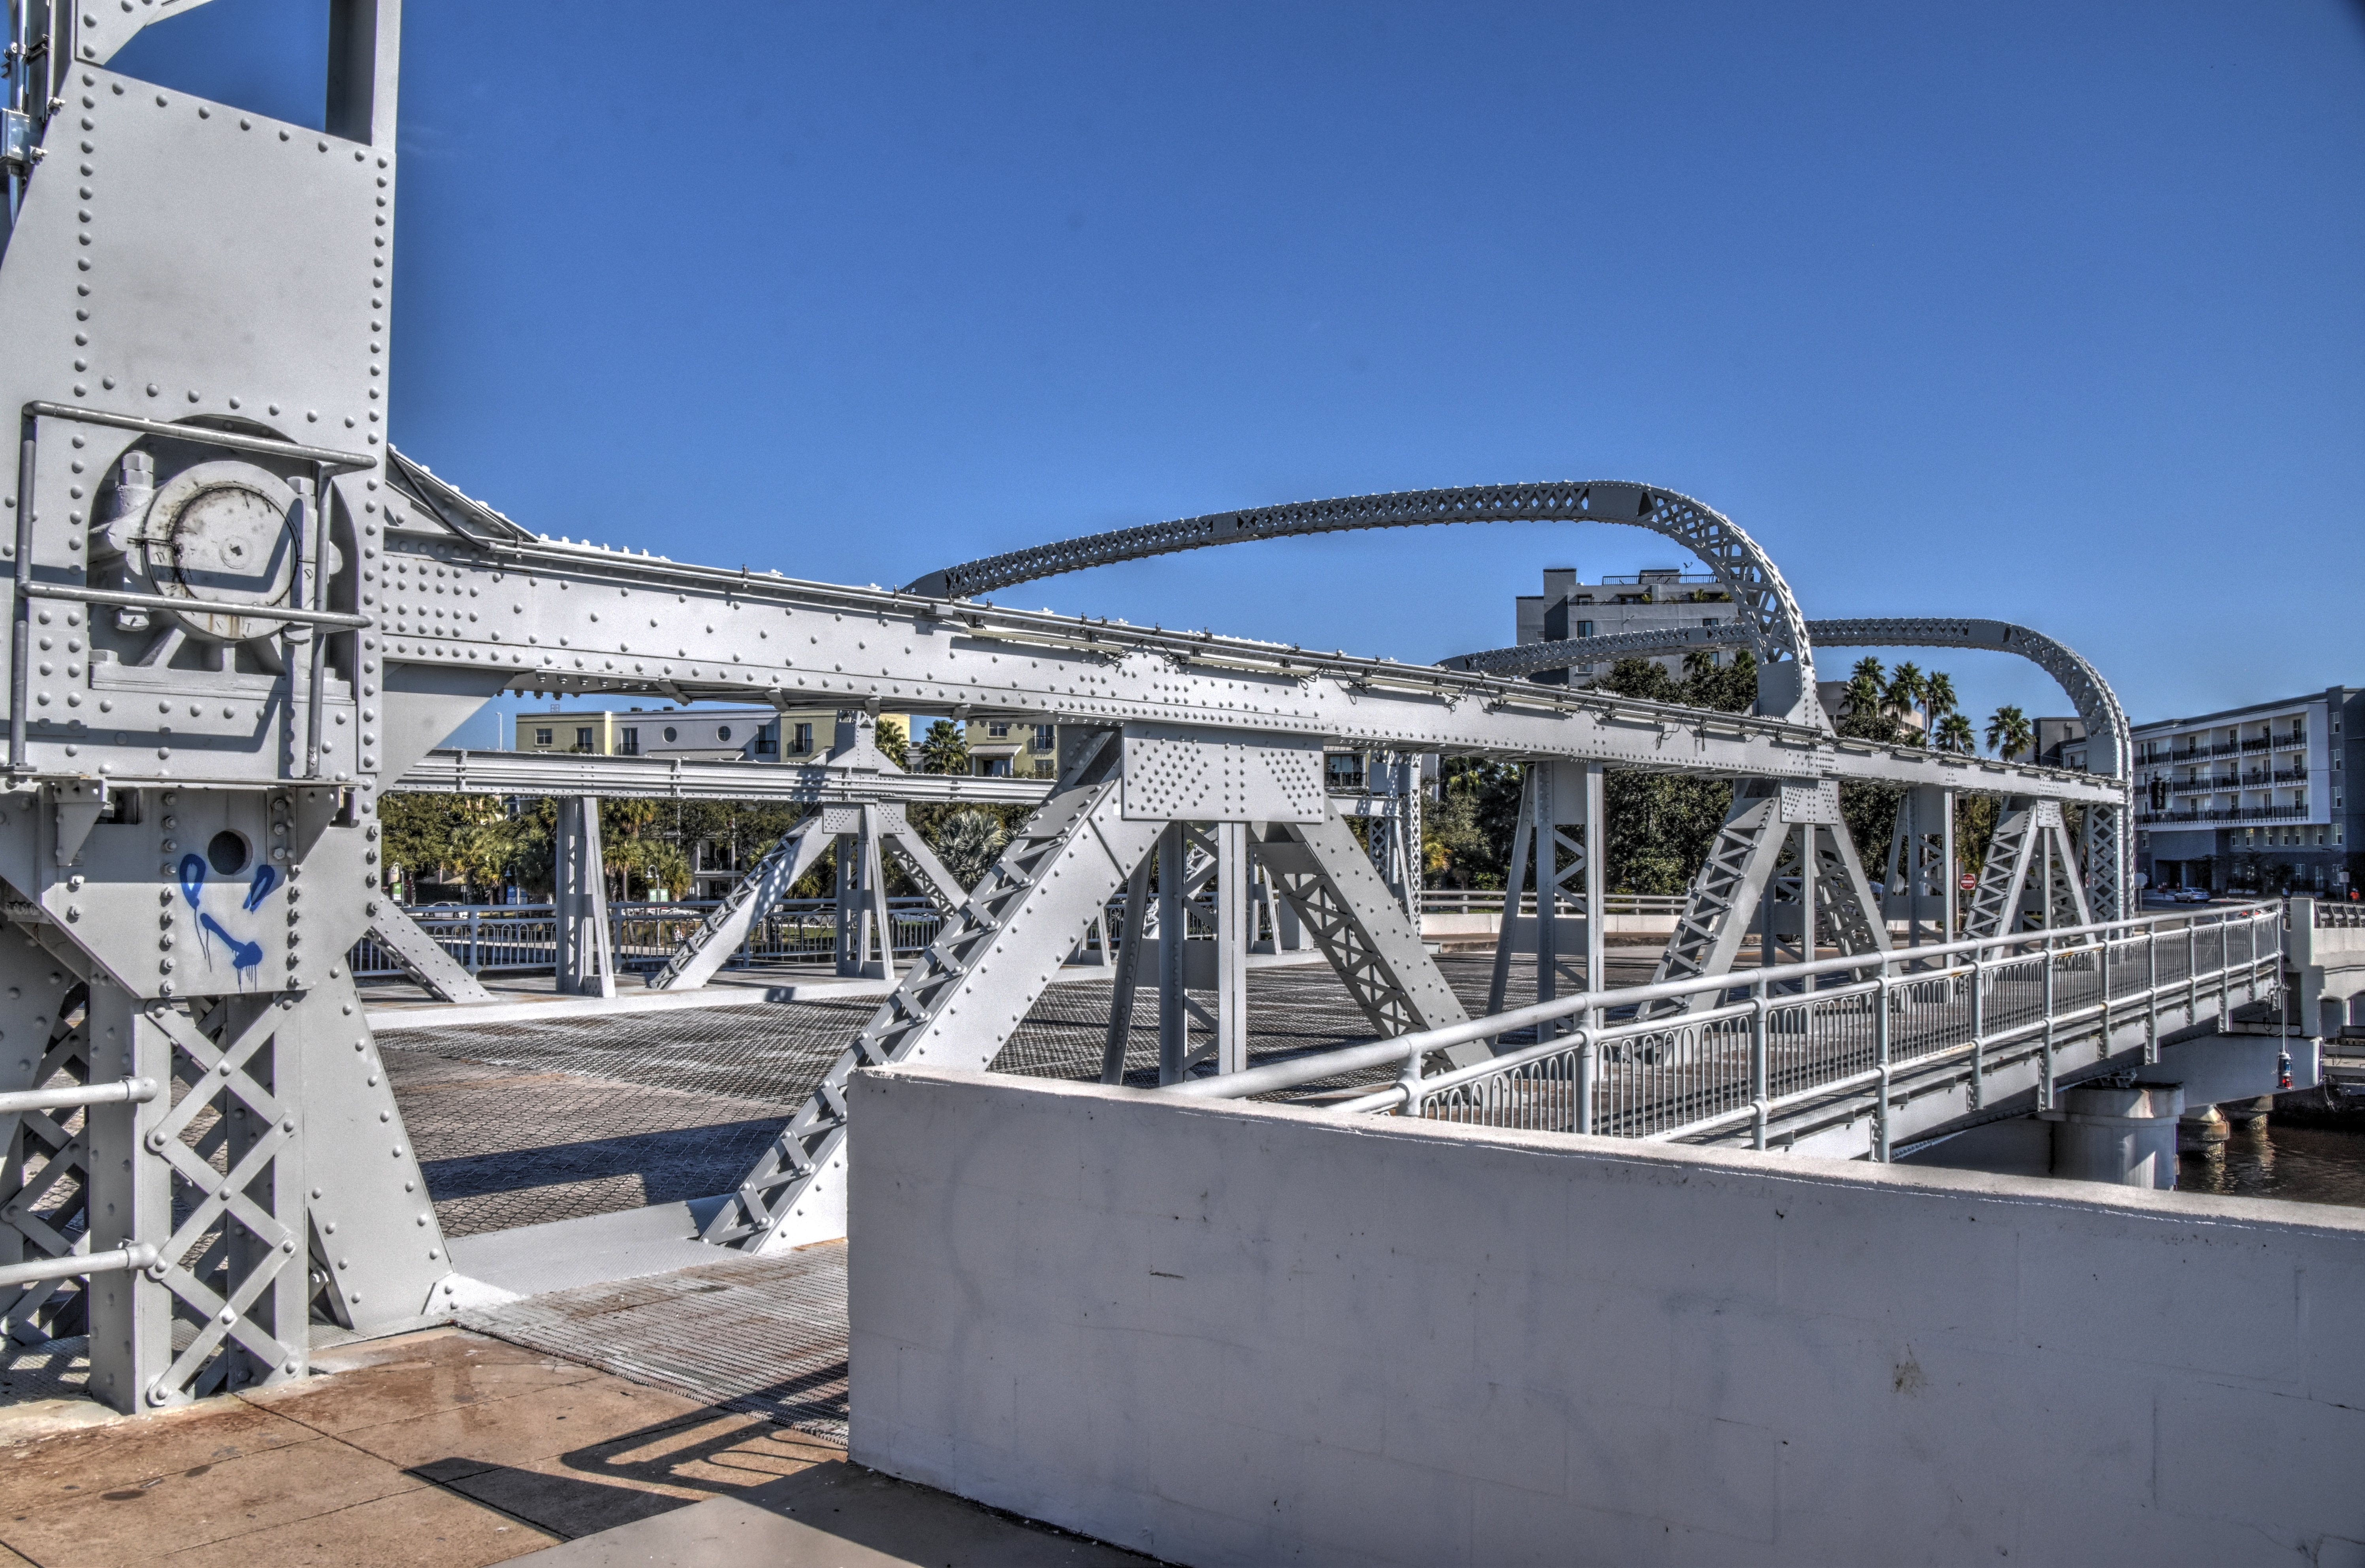
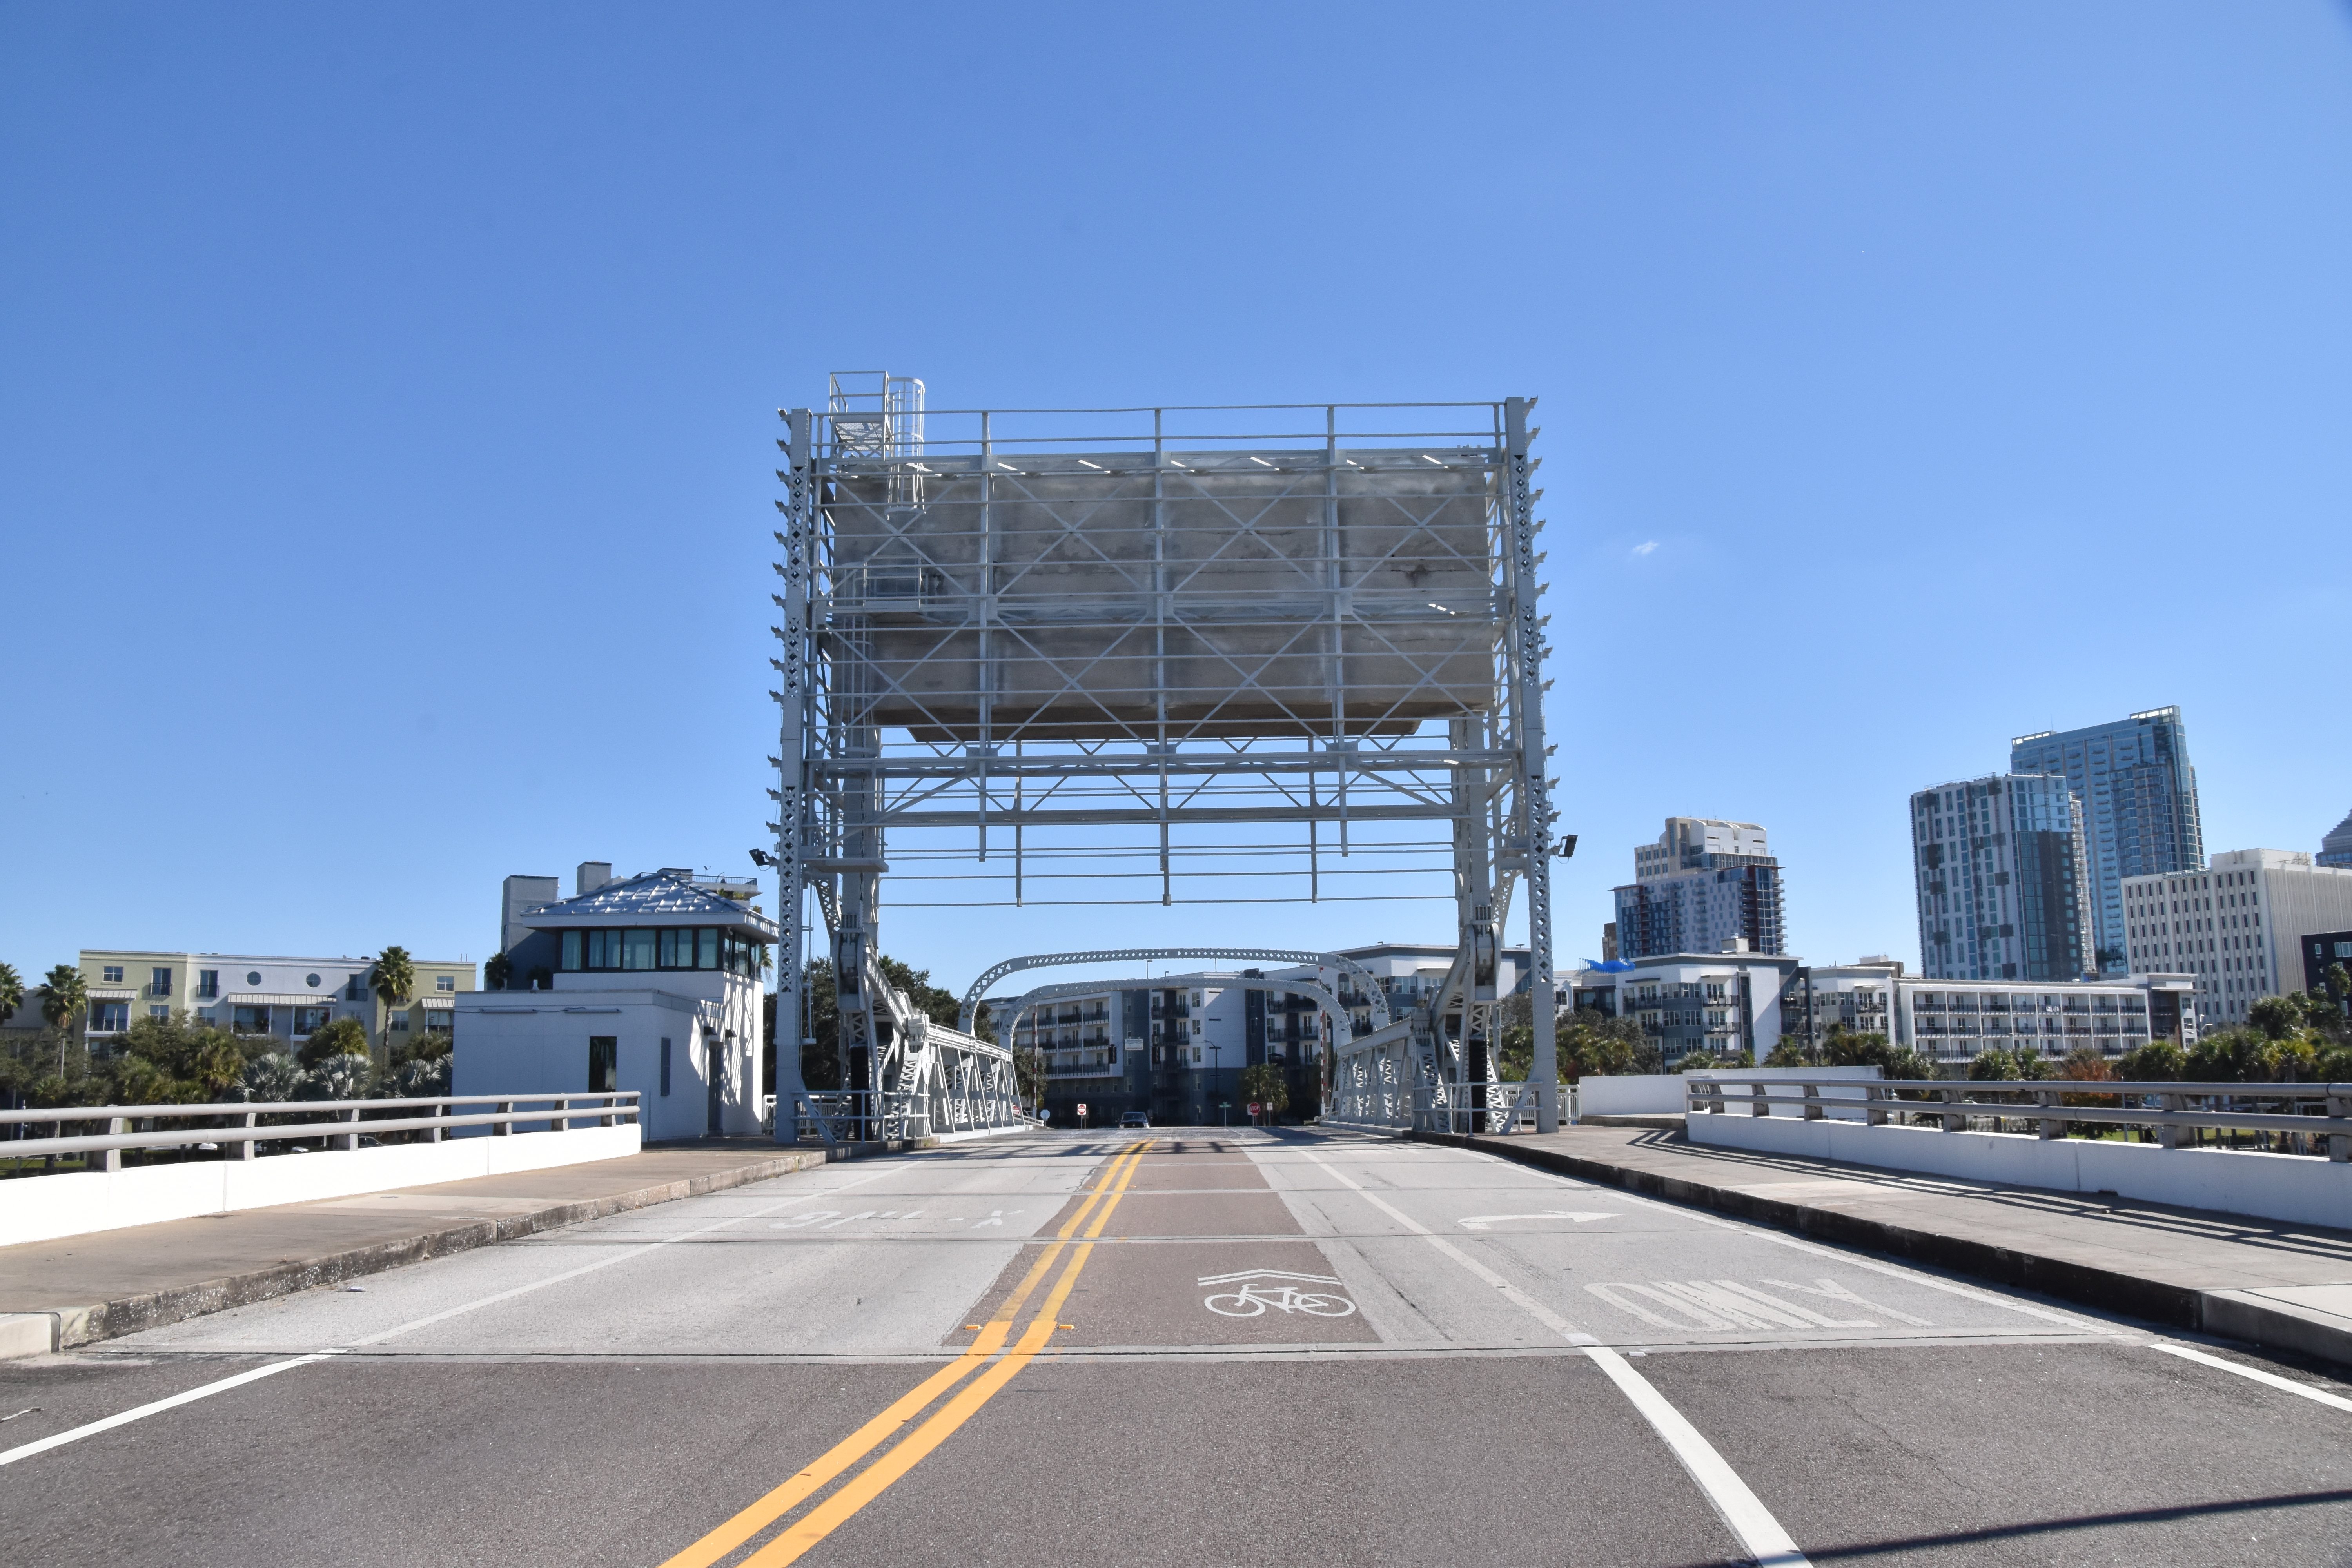
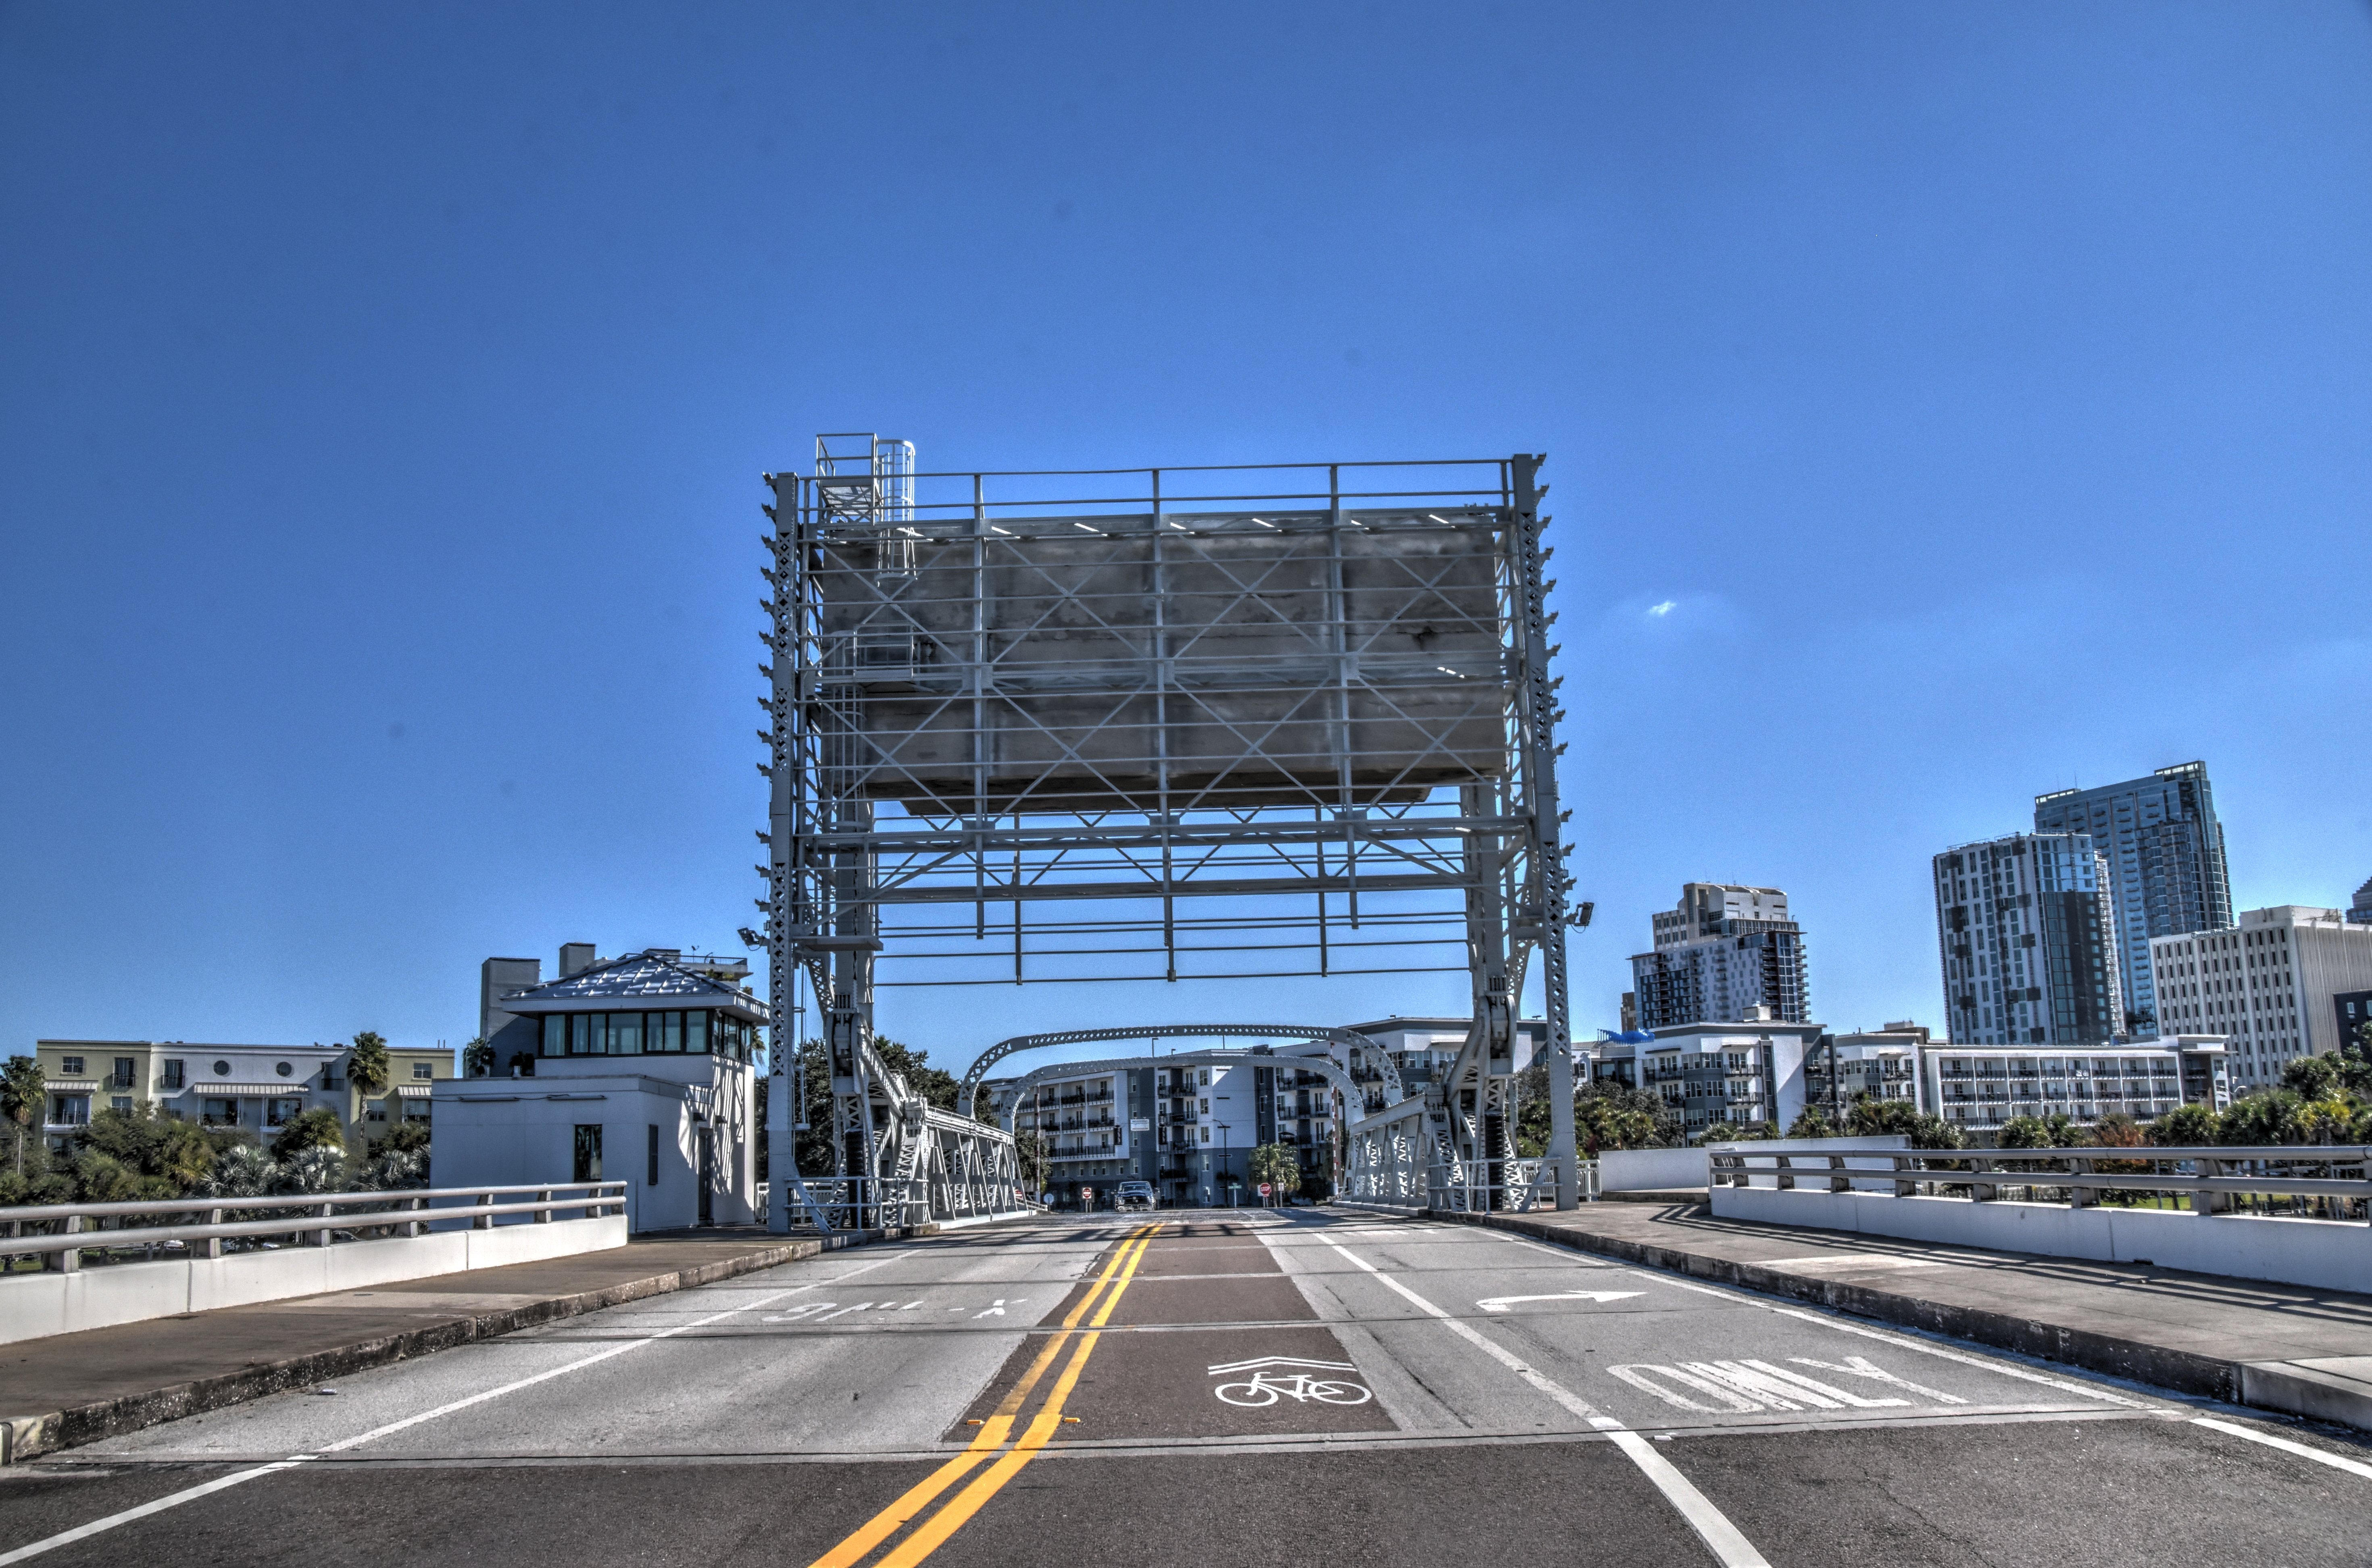
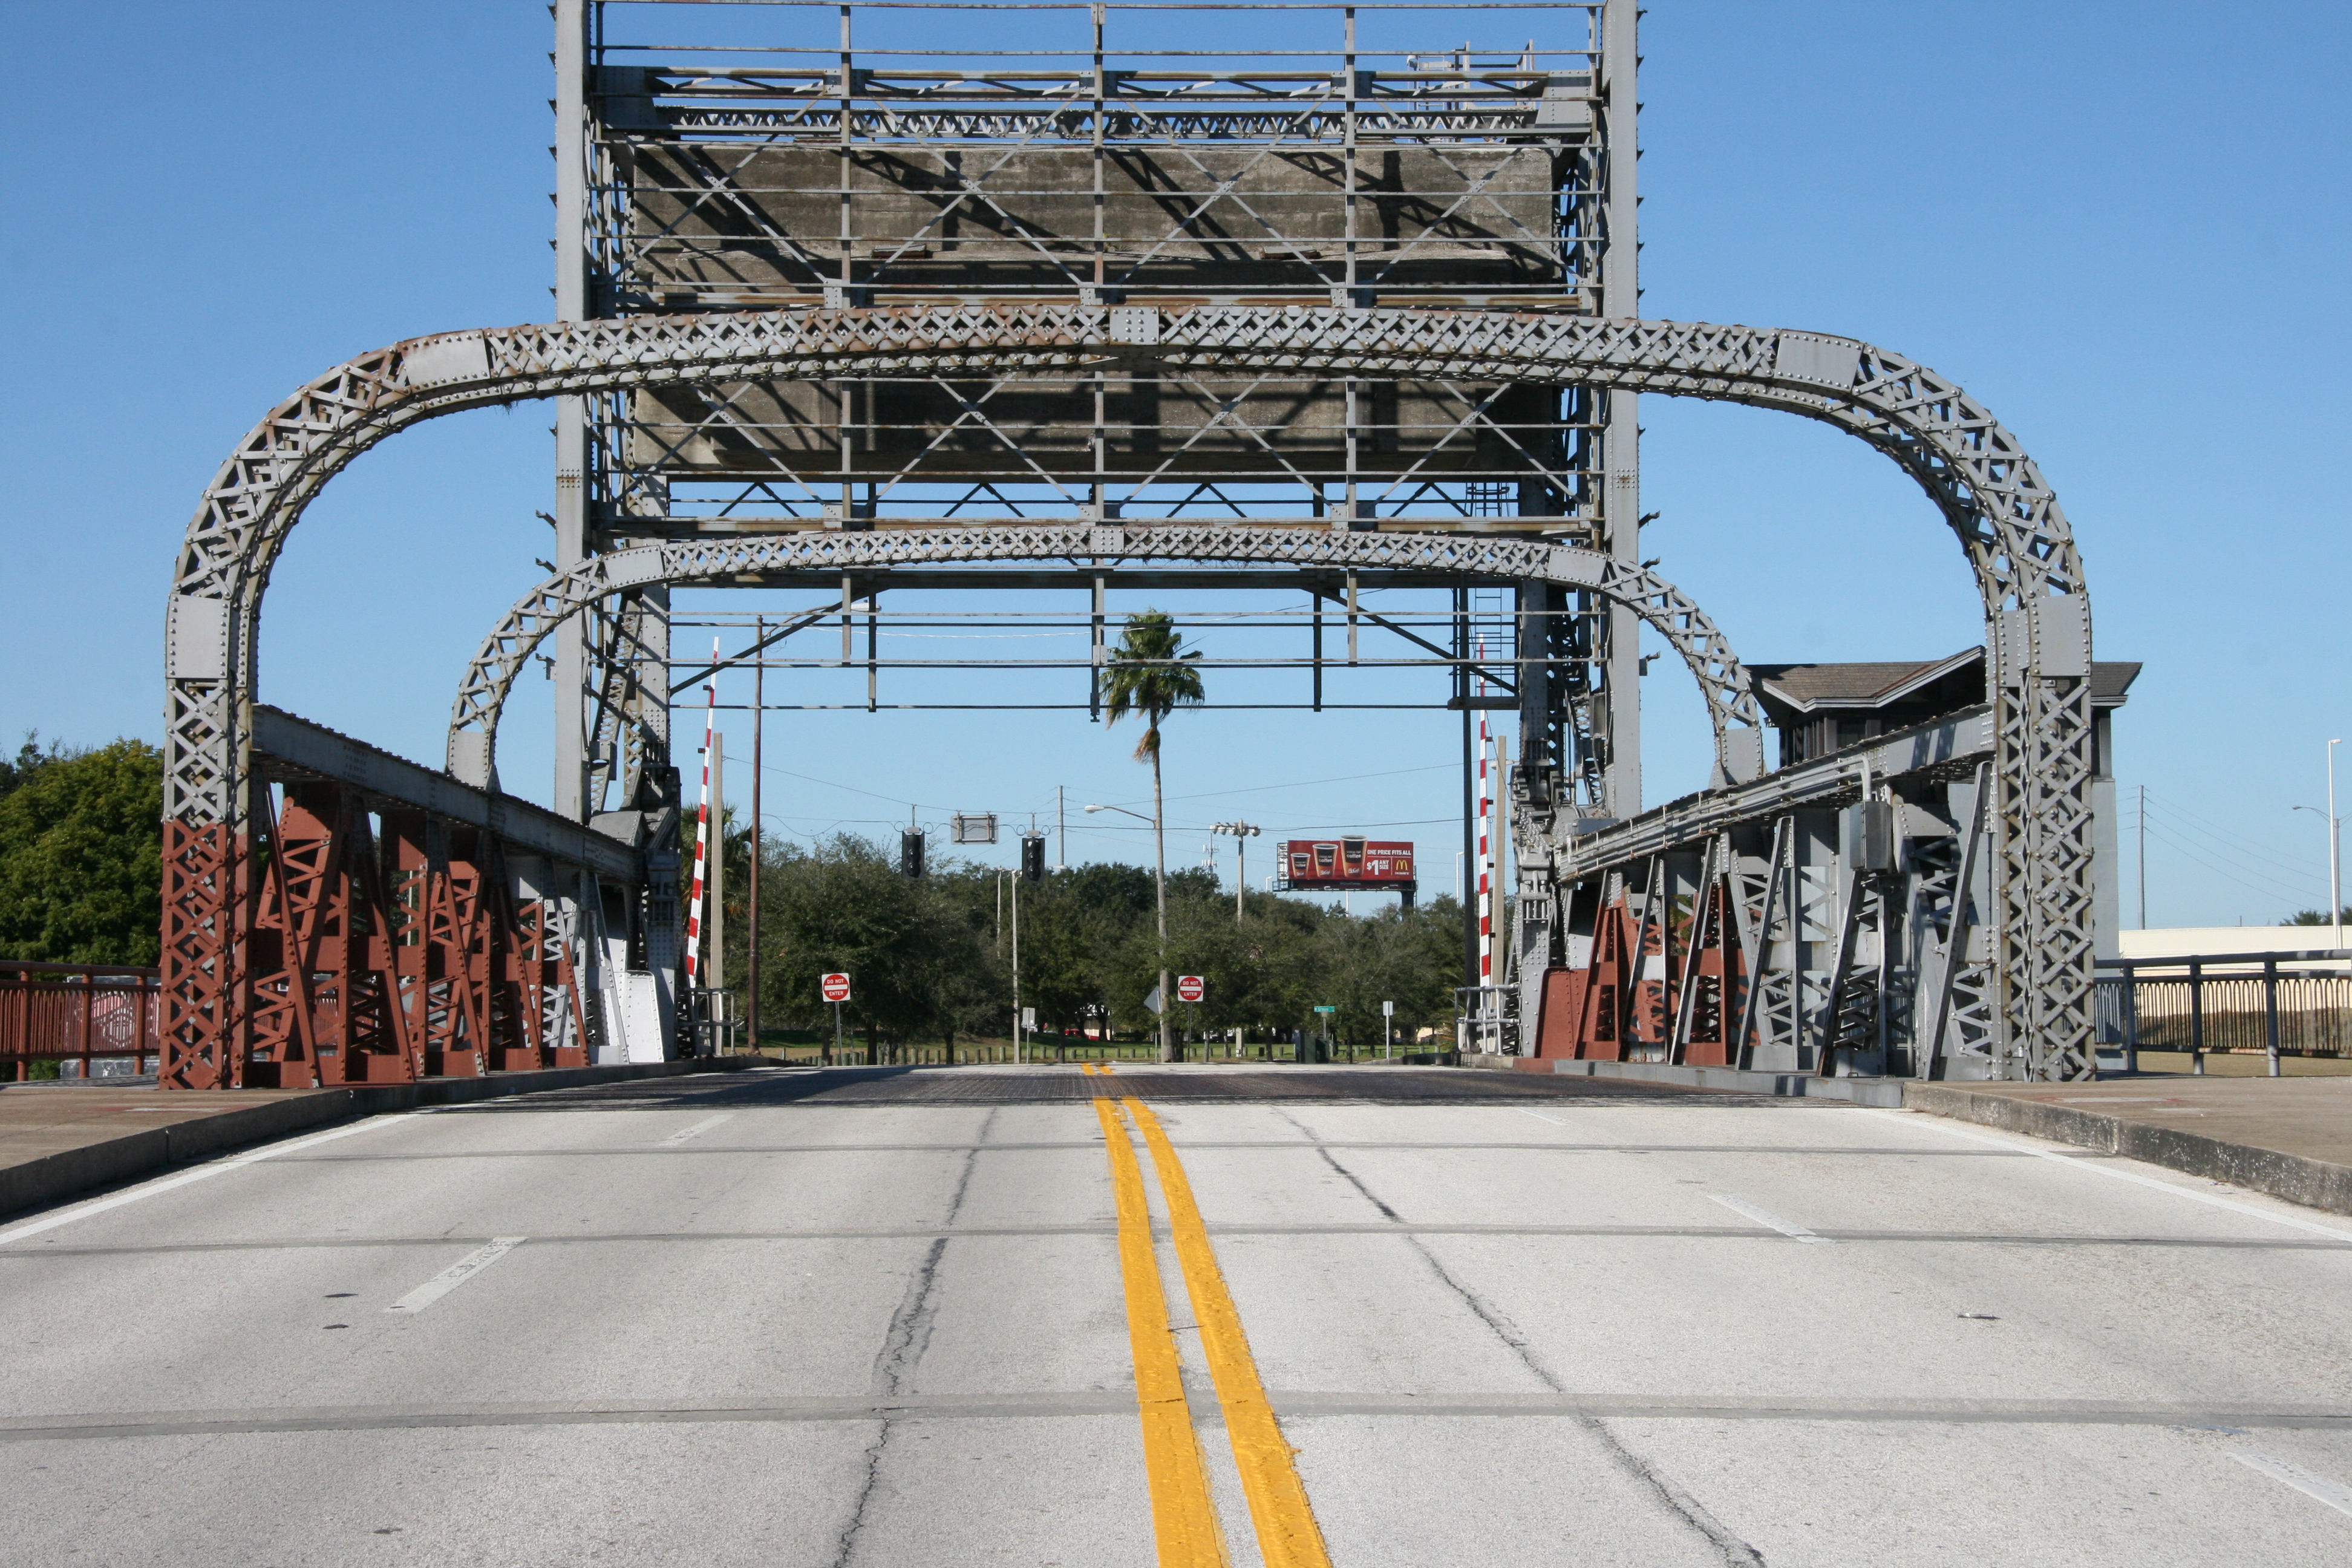
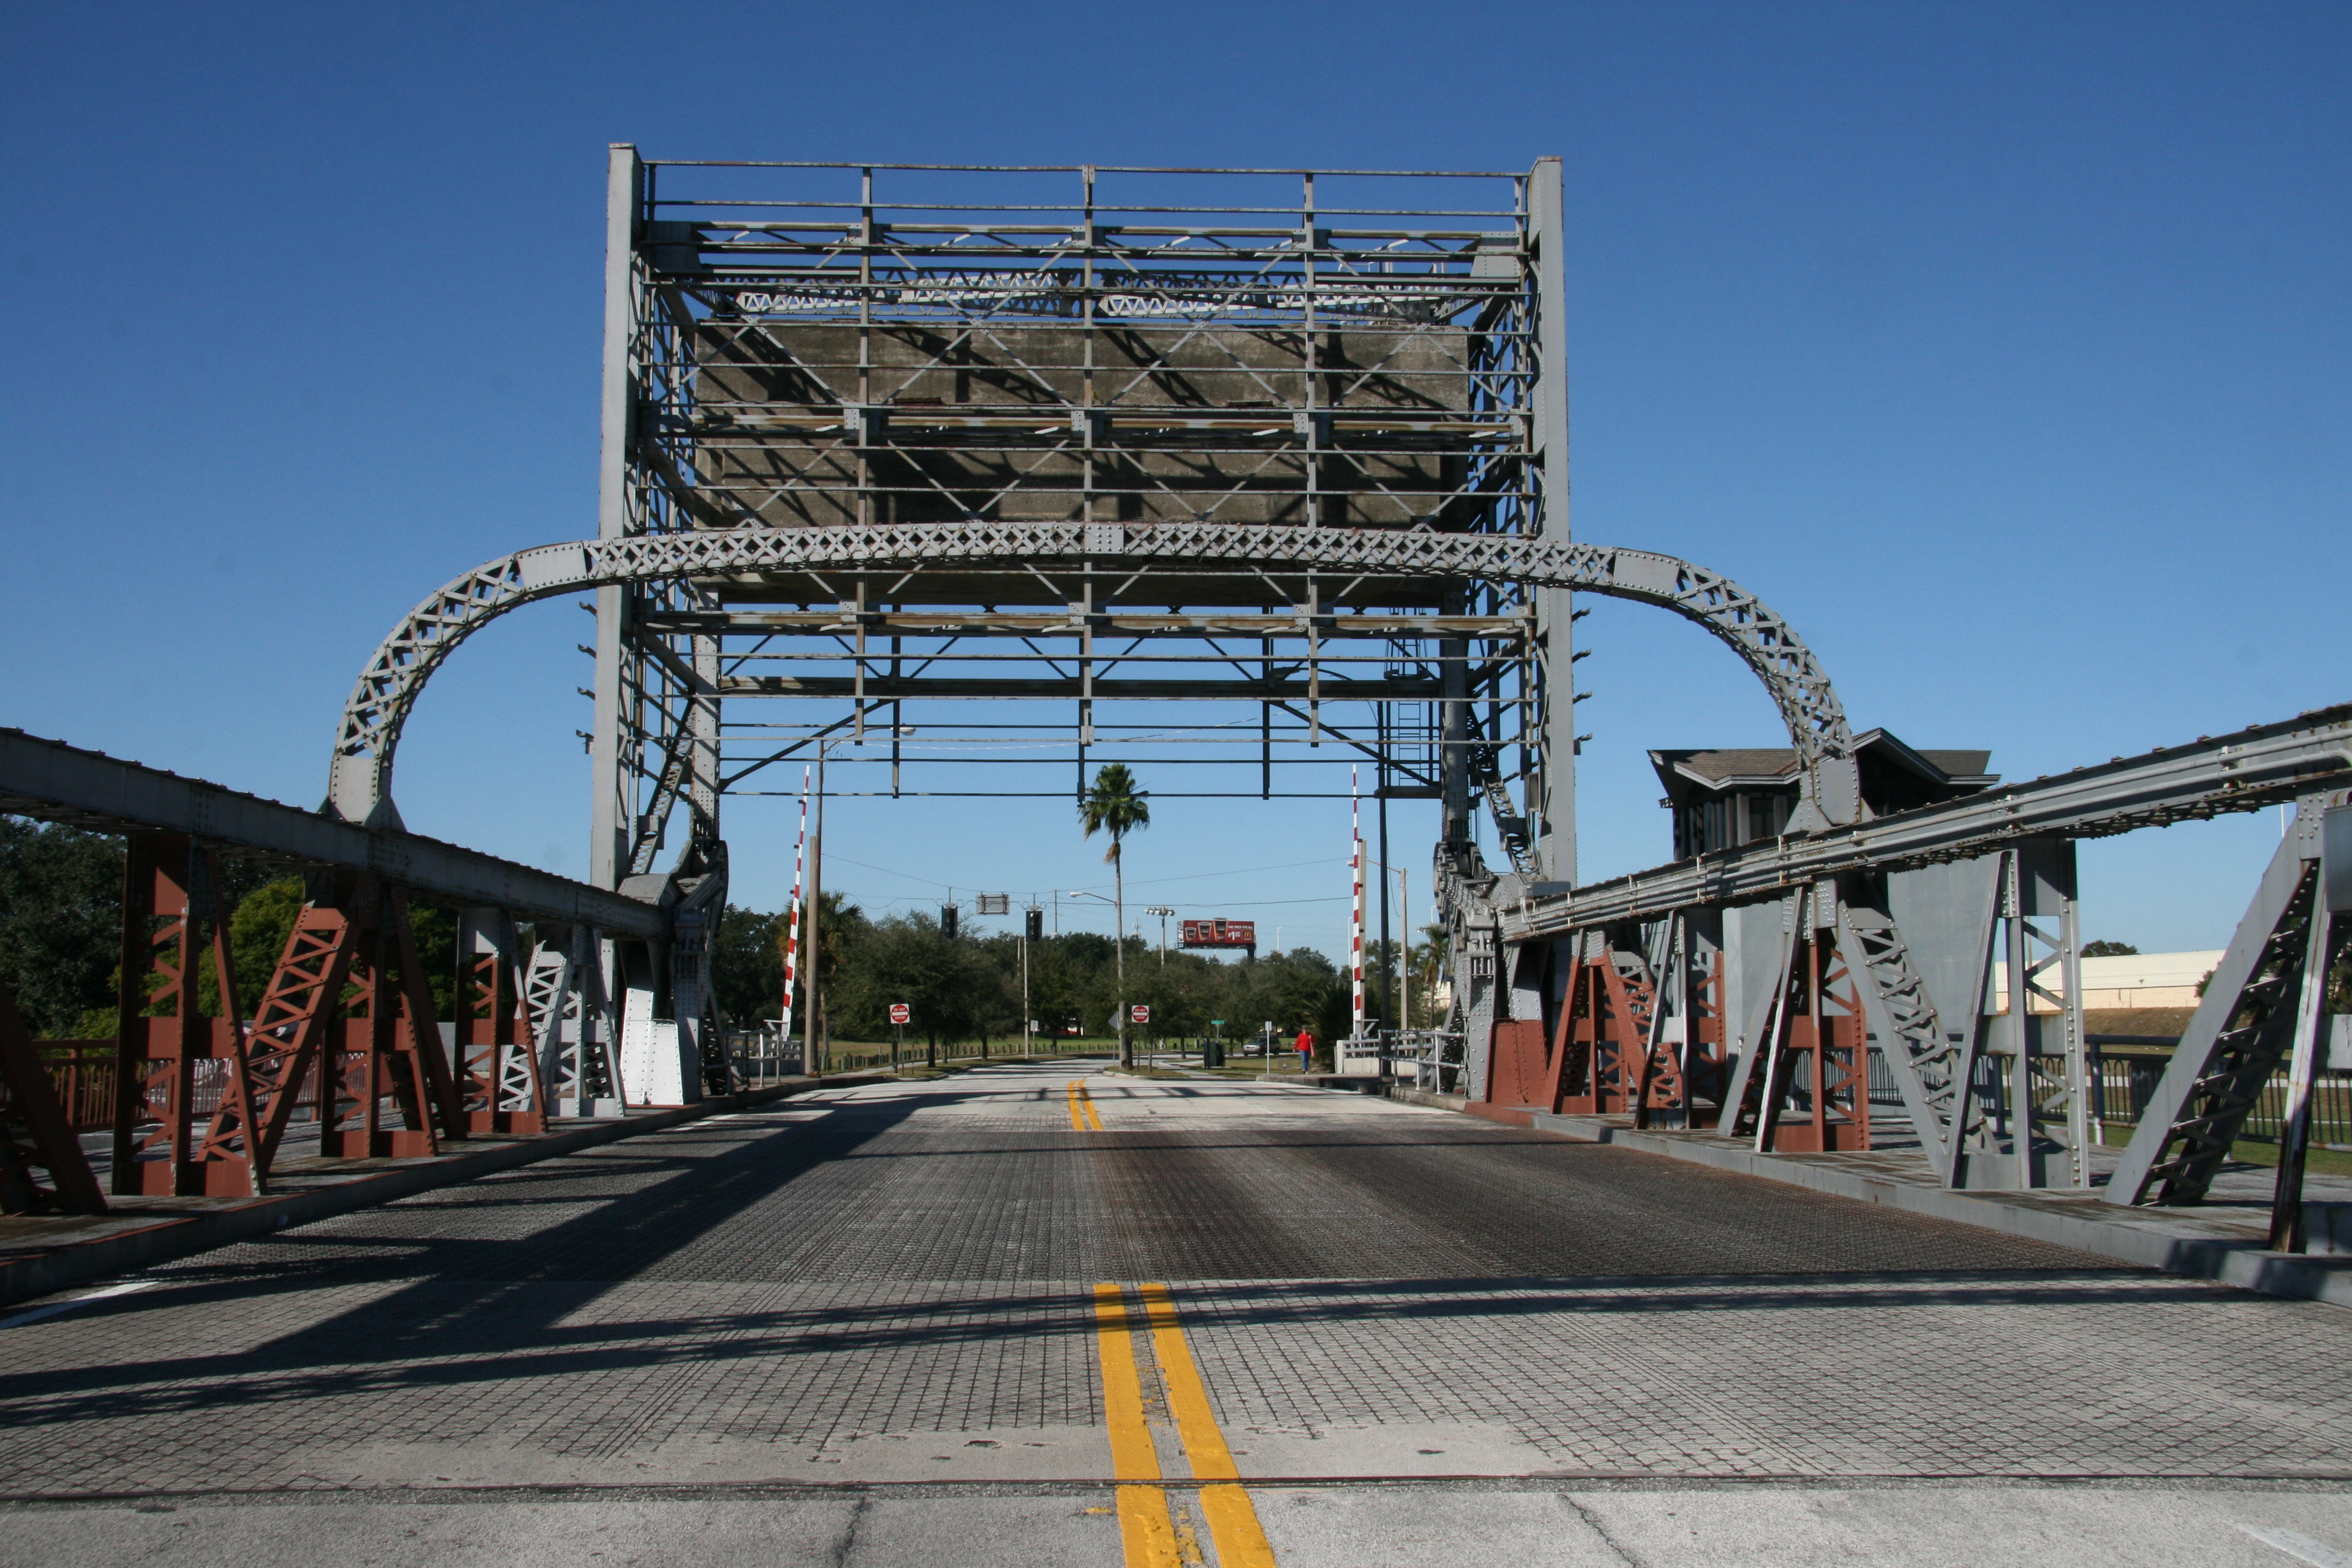
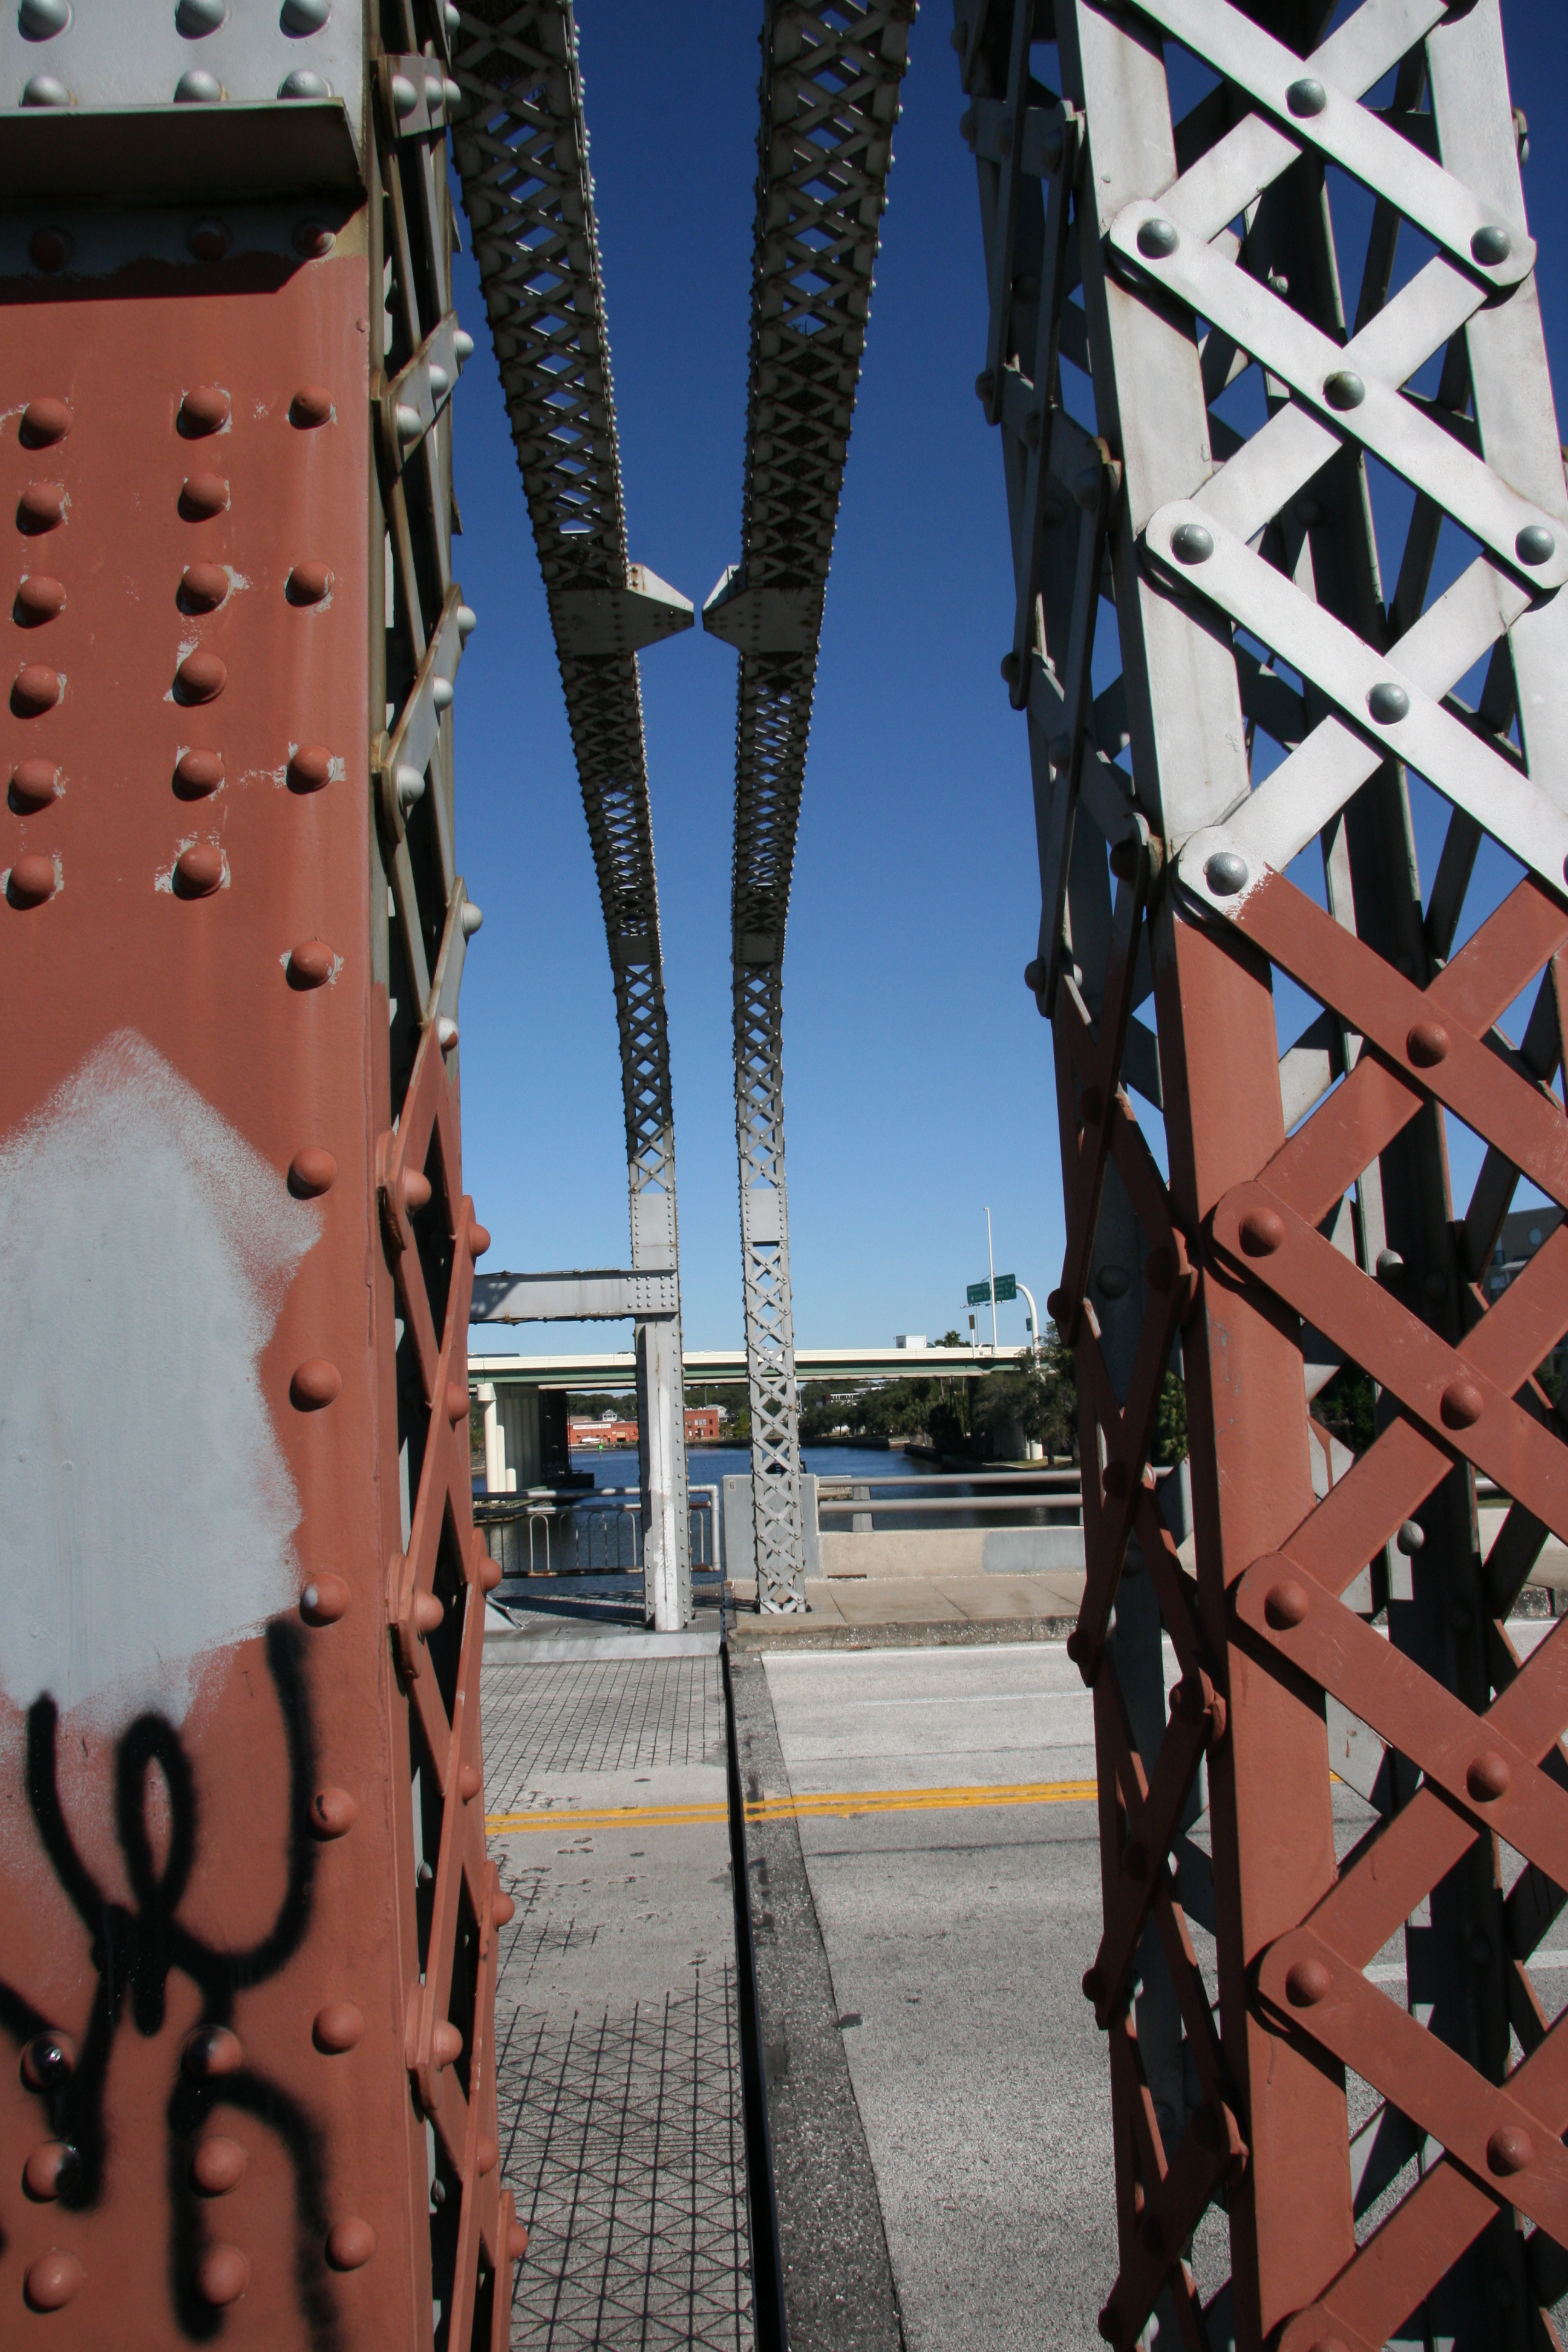
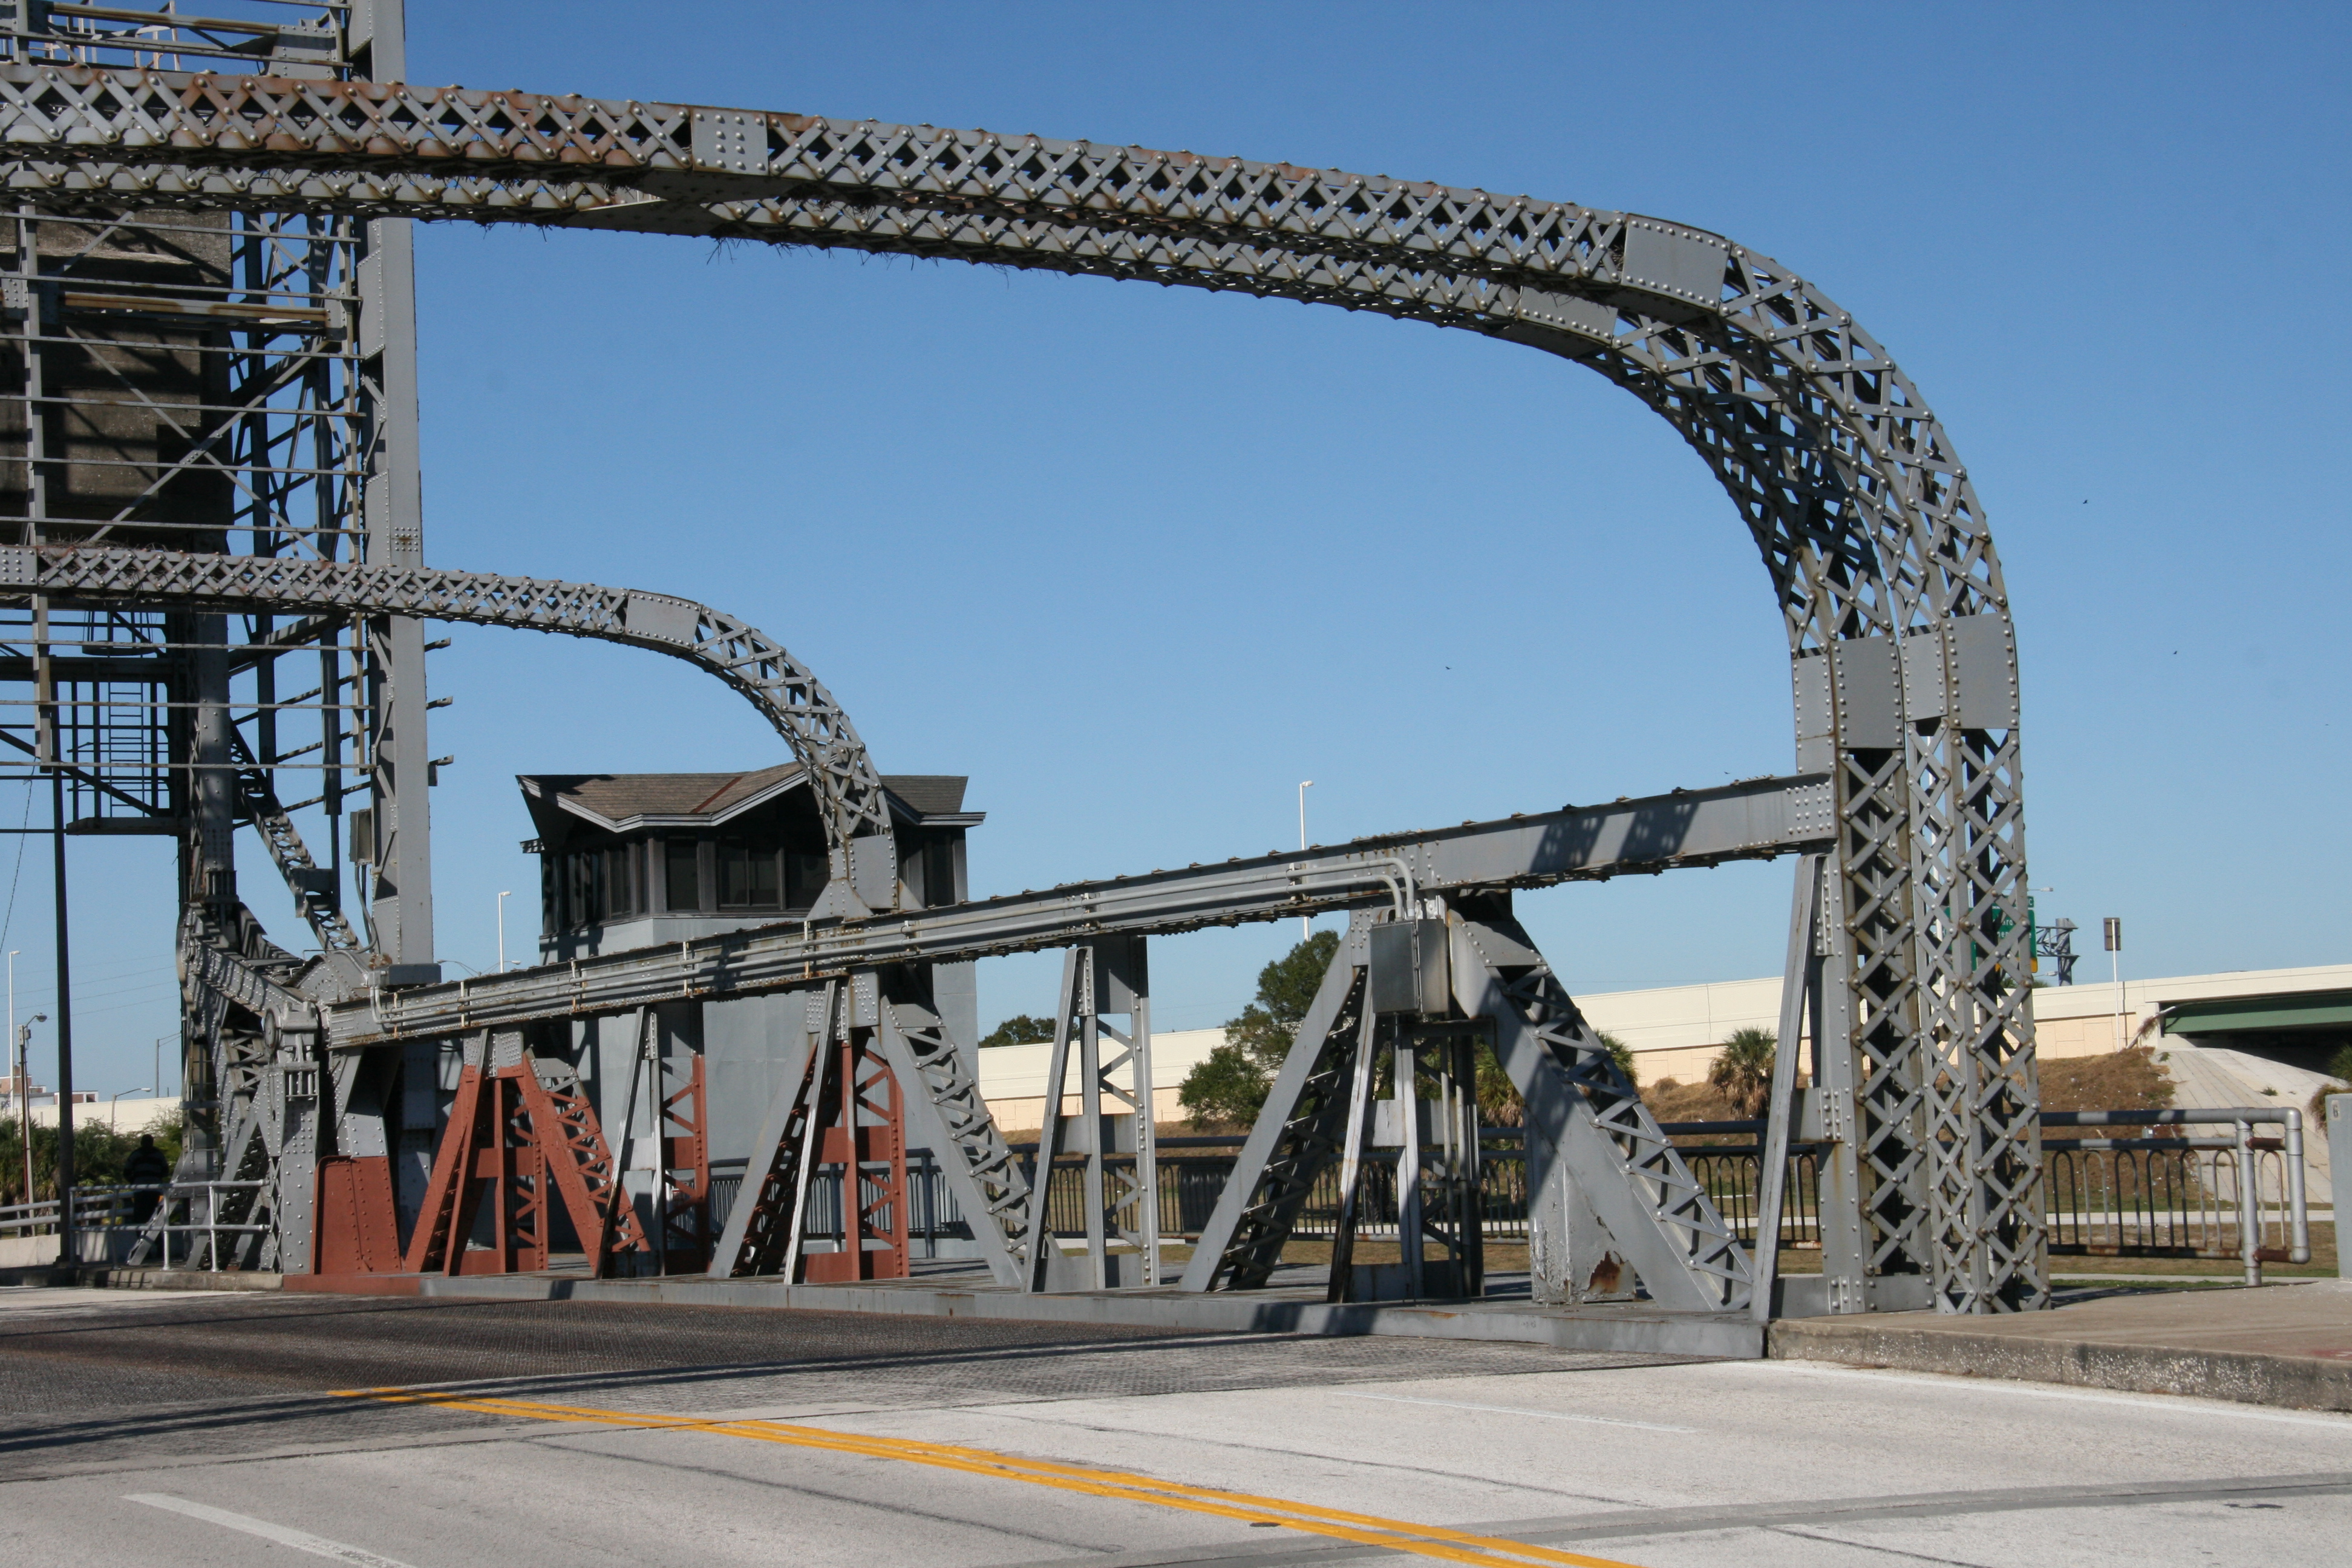
Portal views.
![]()
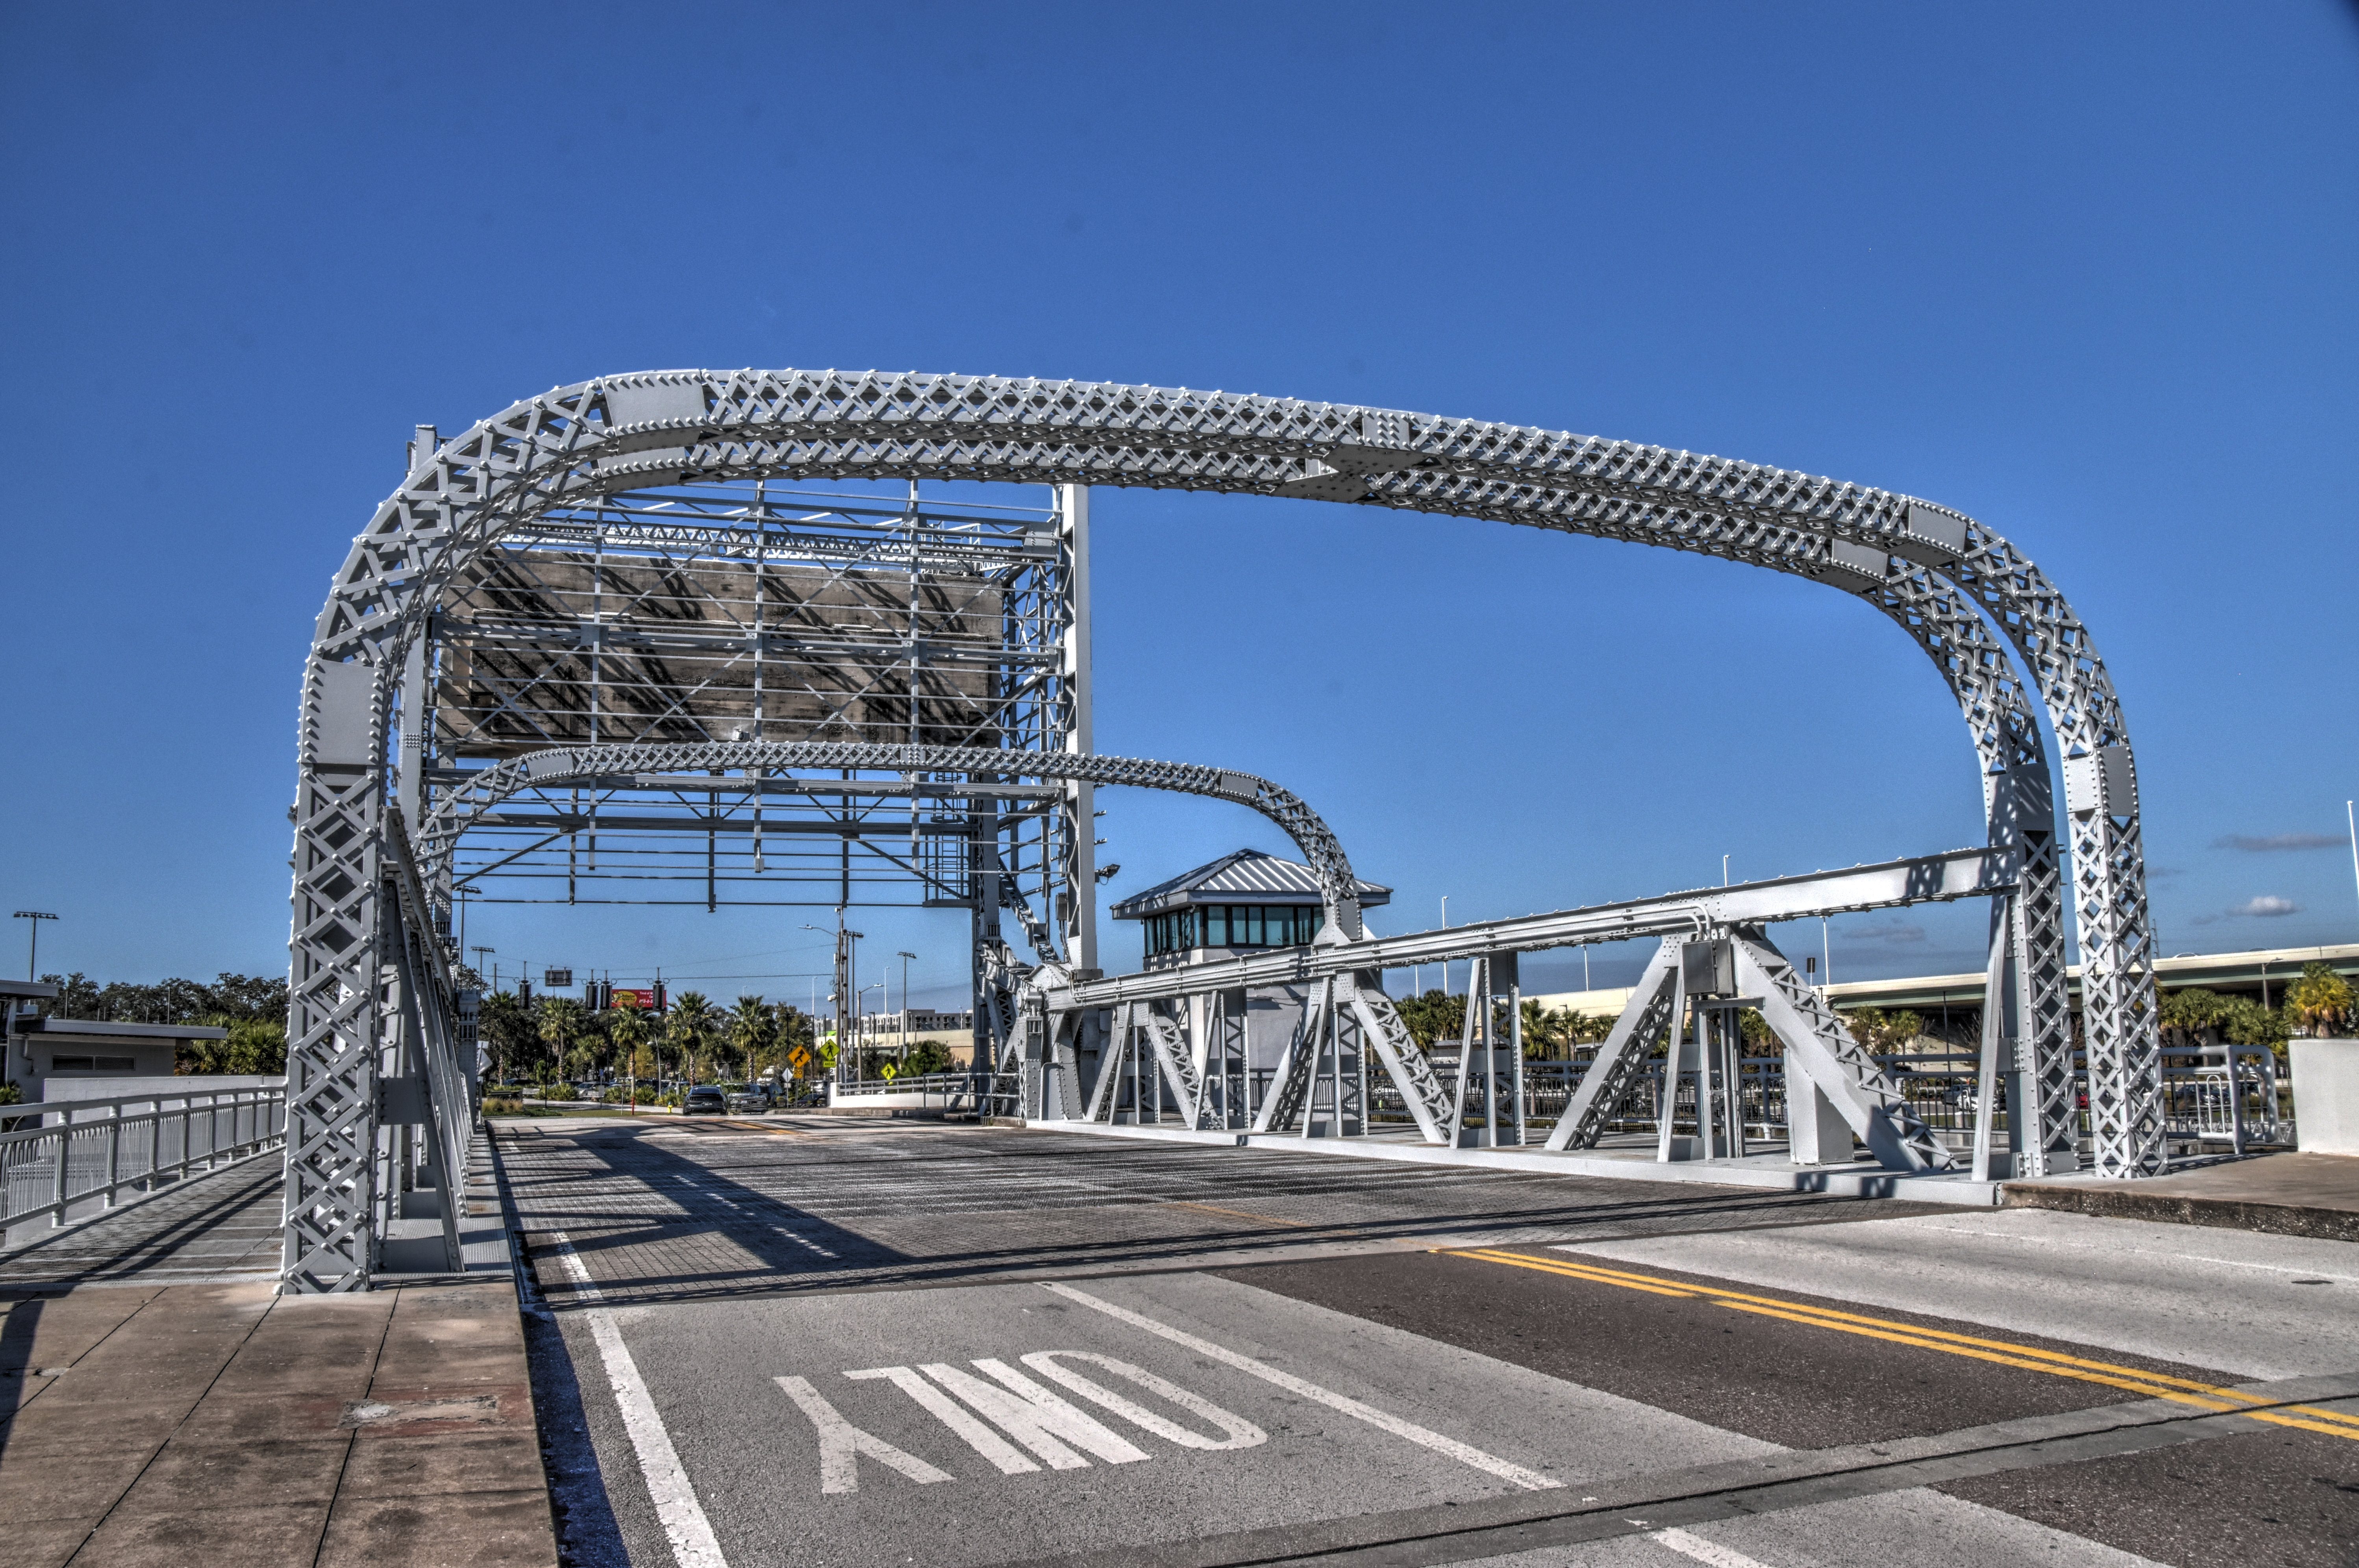
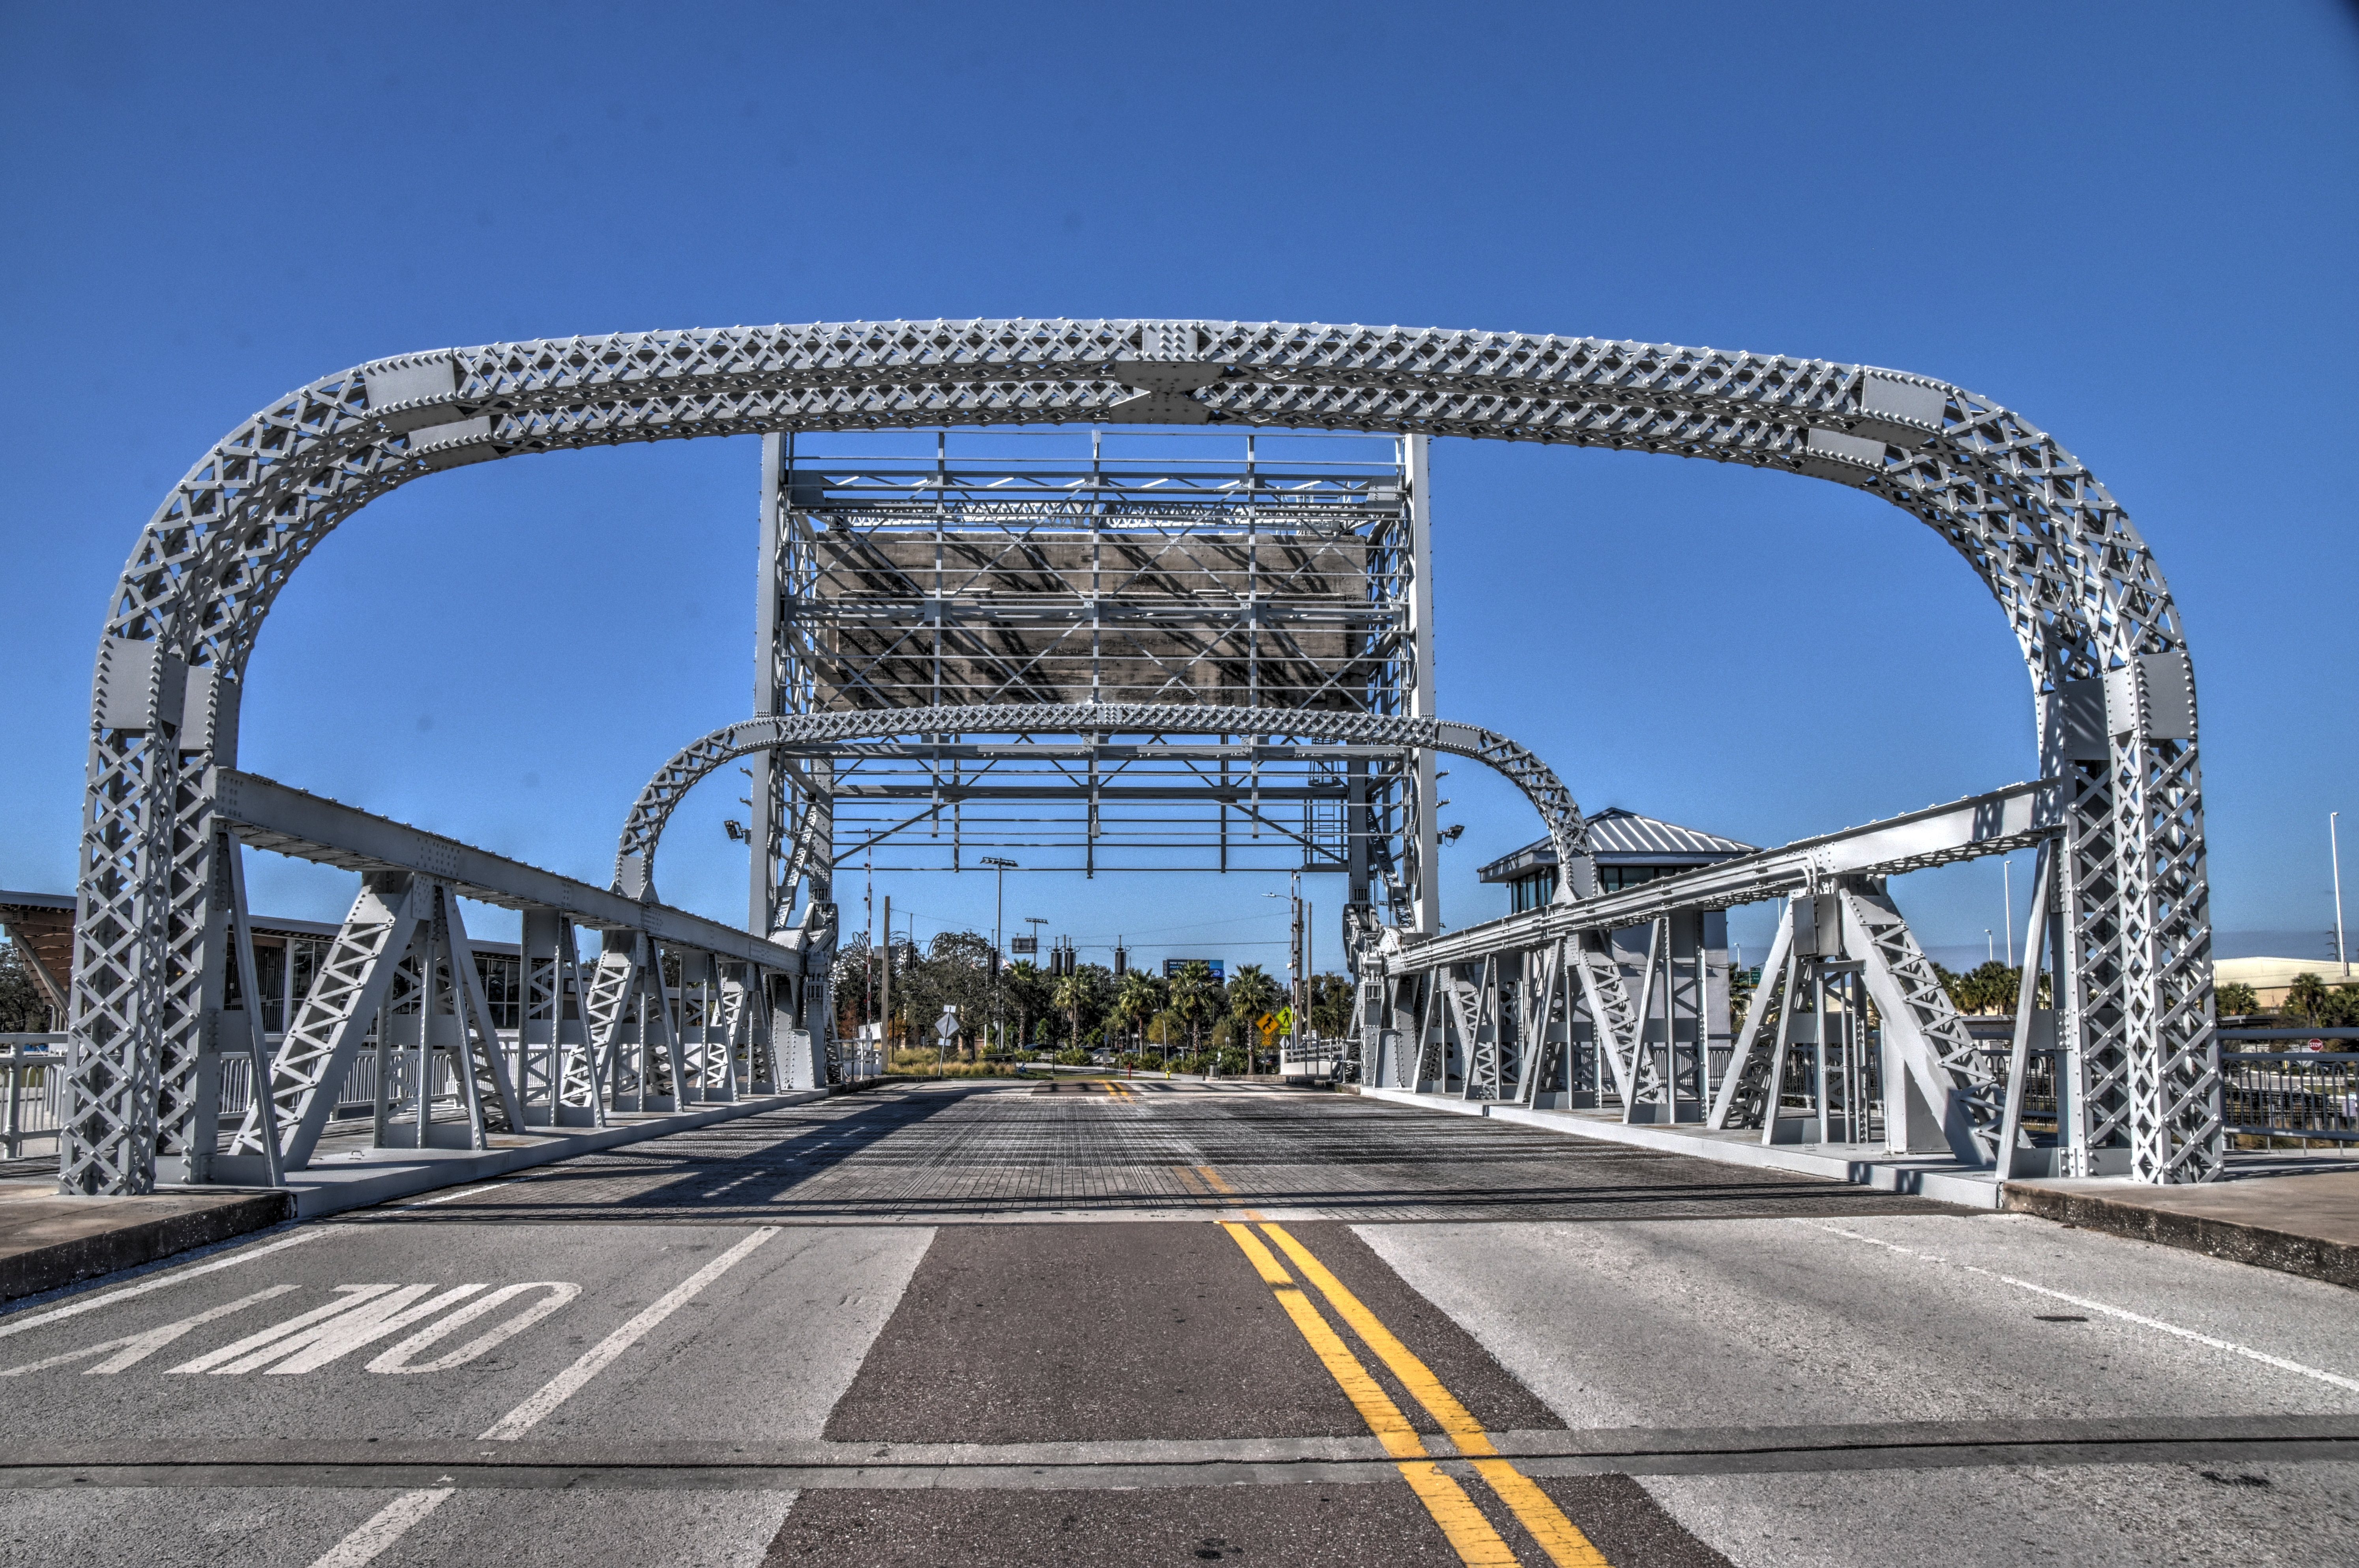

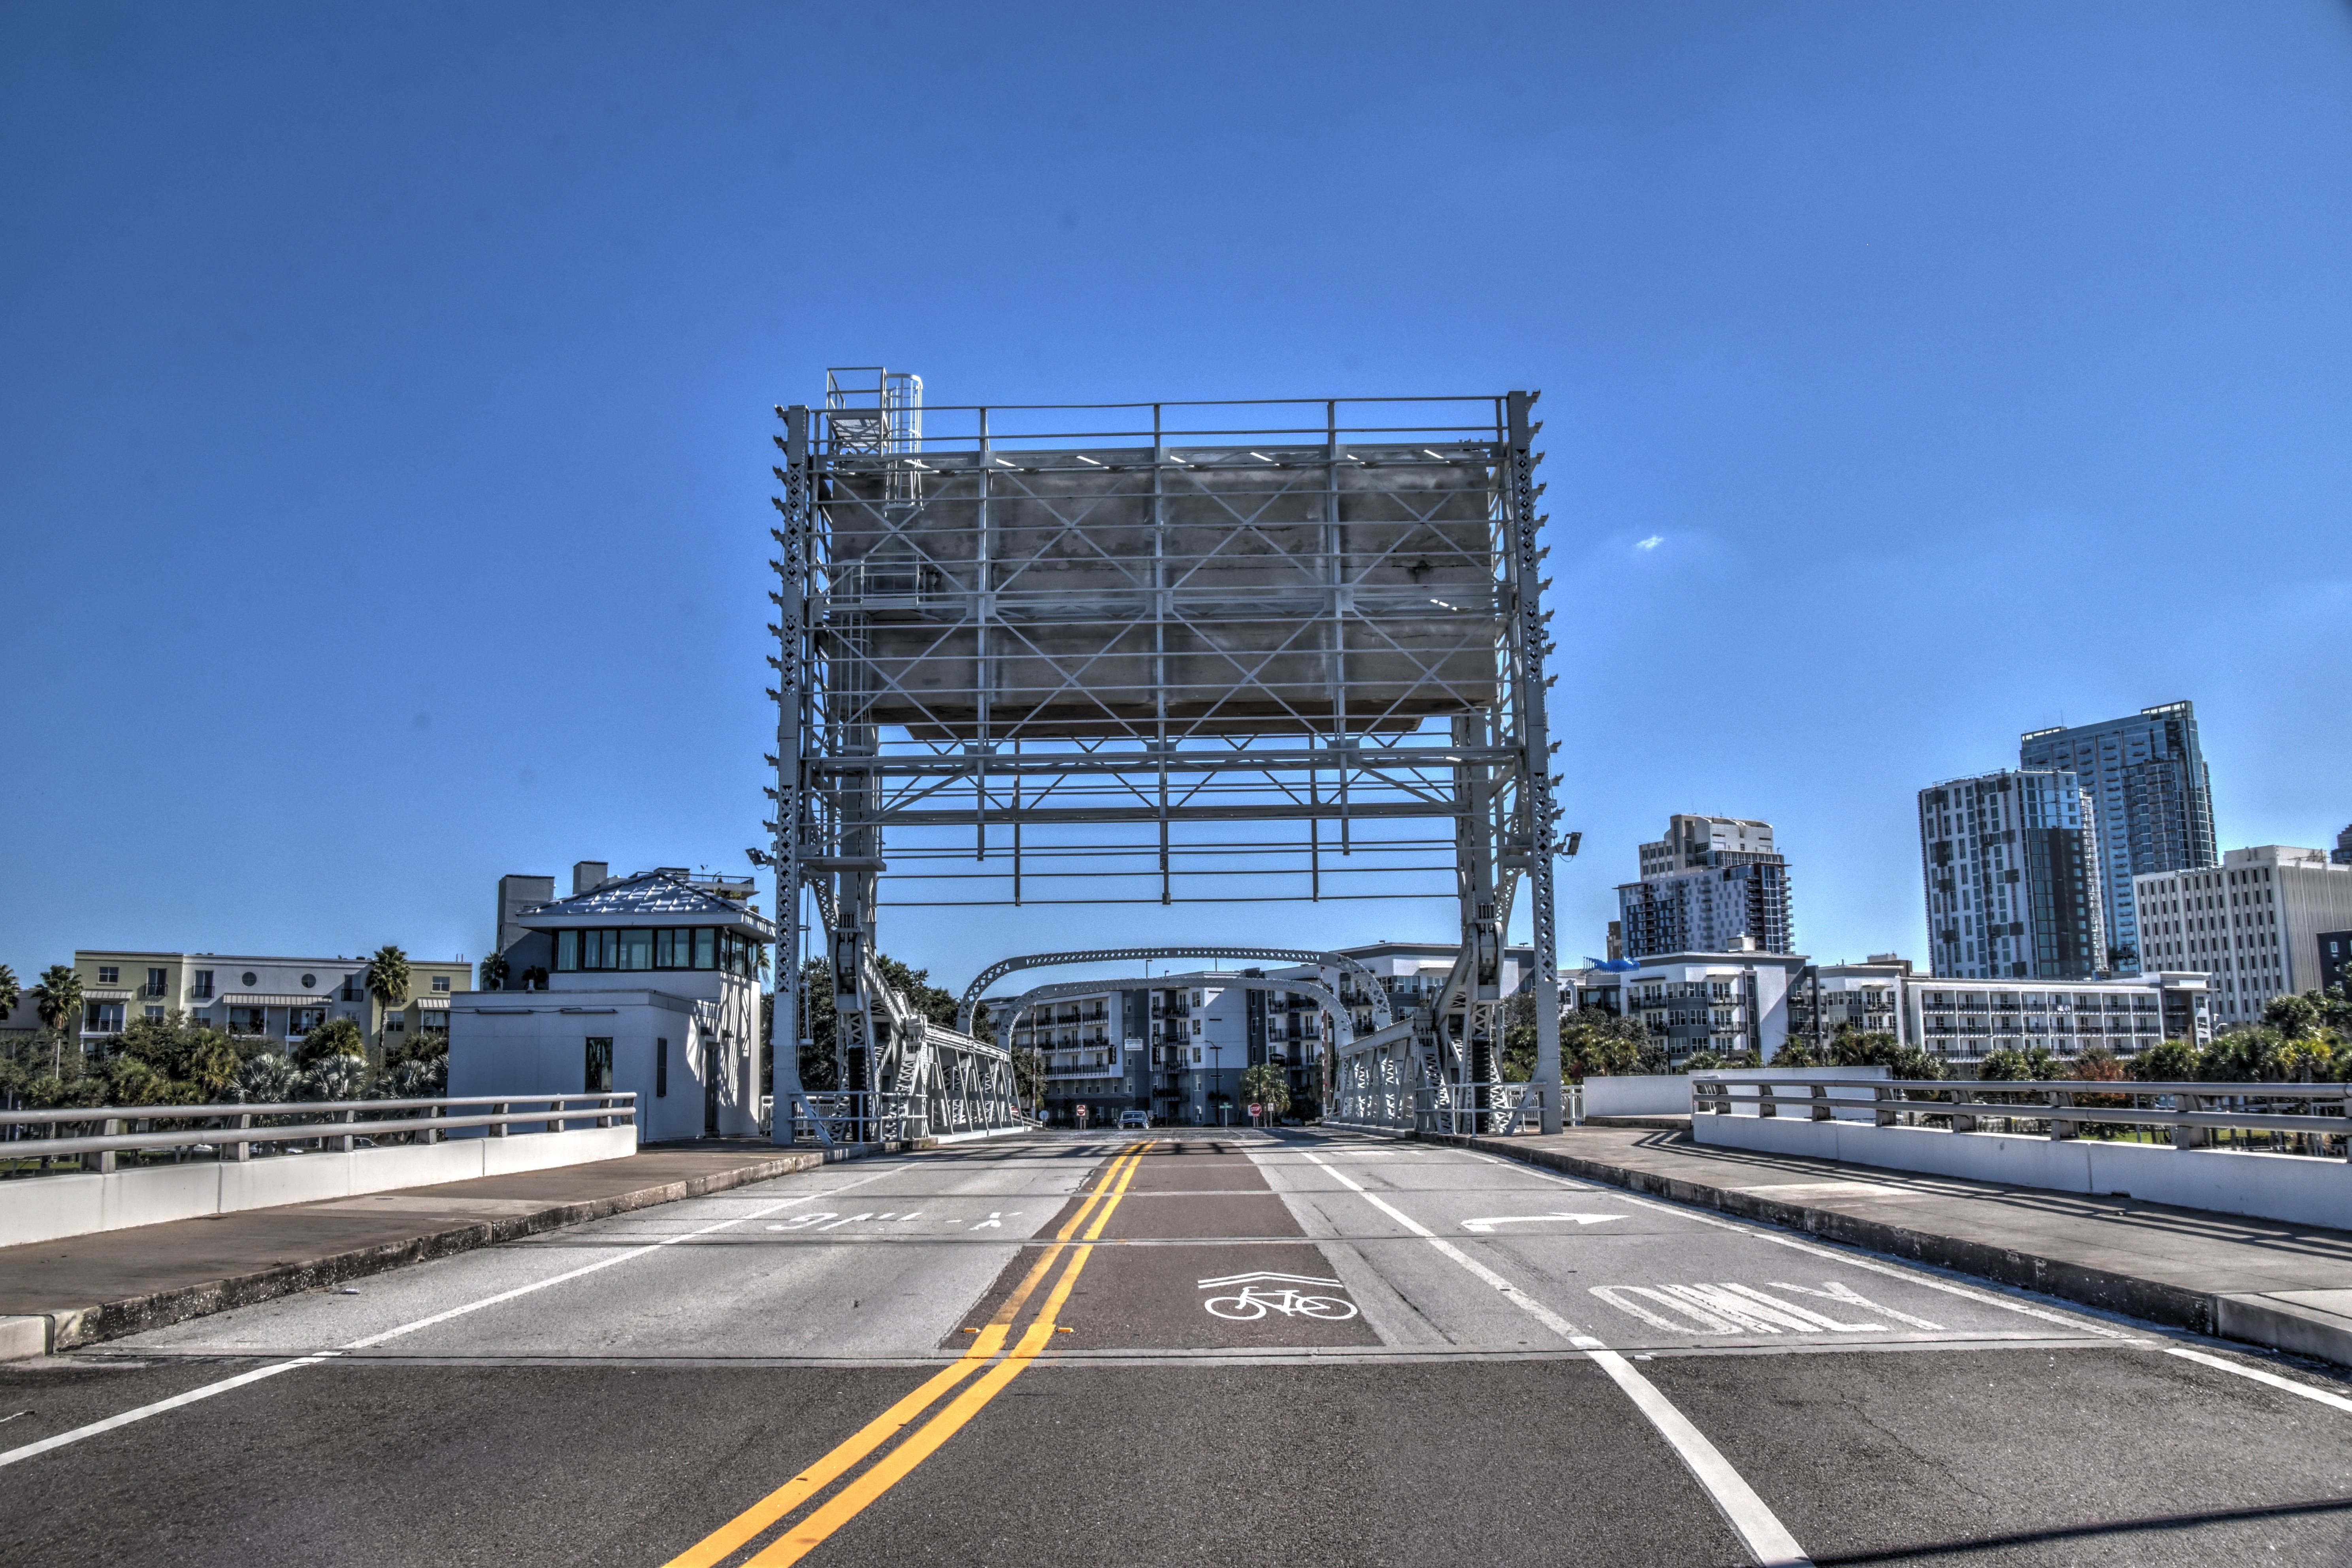
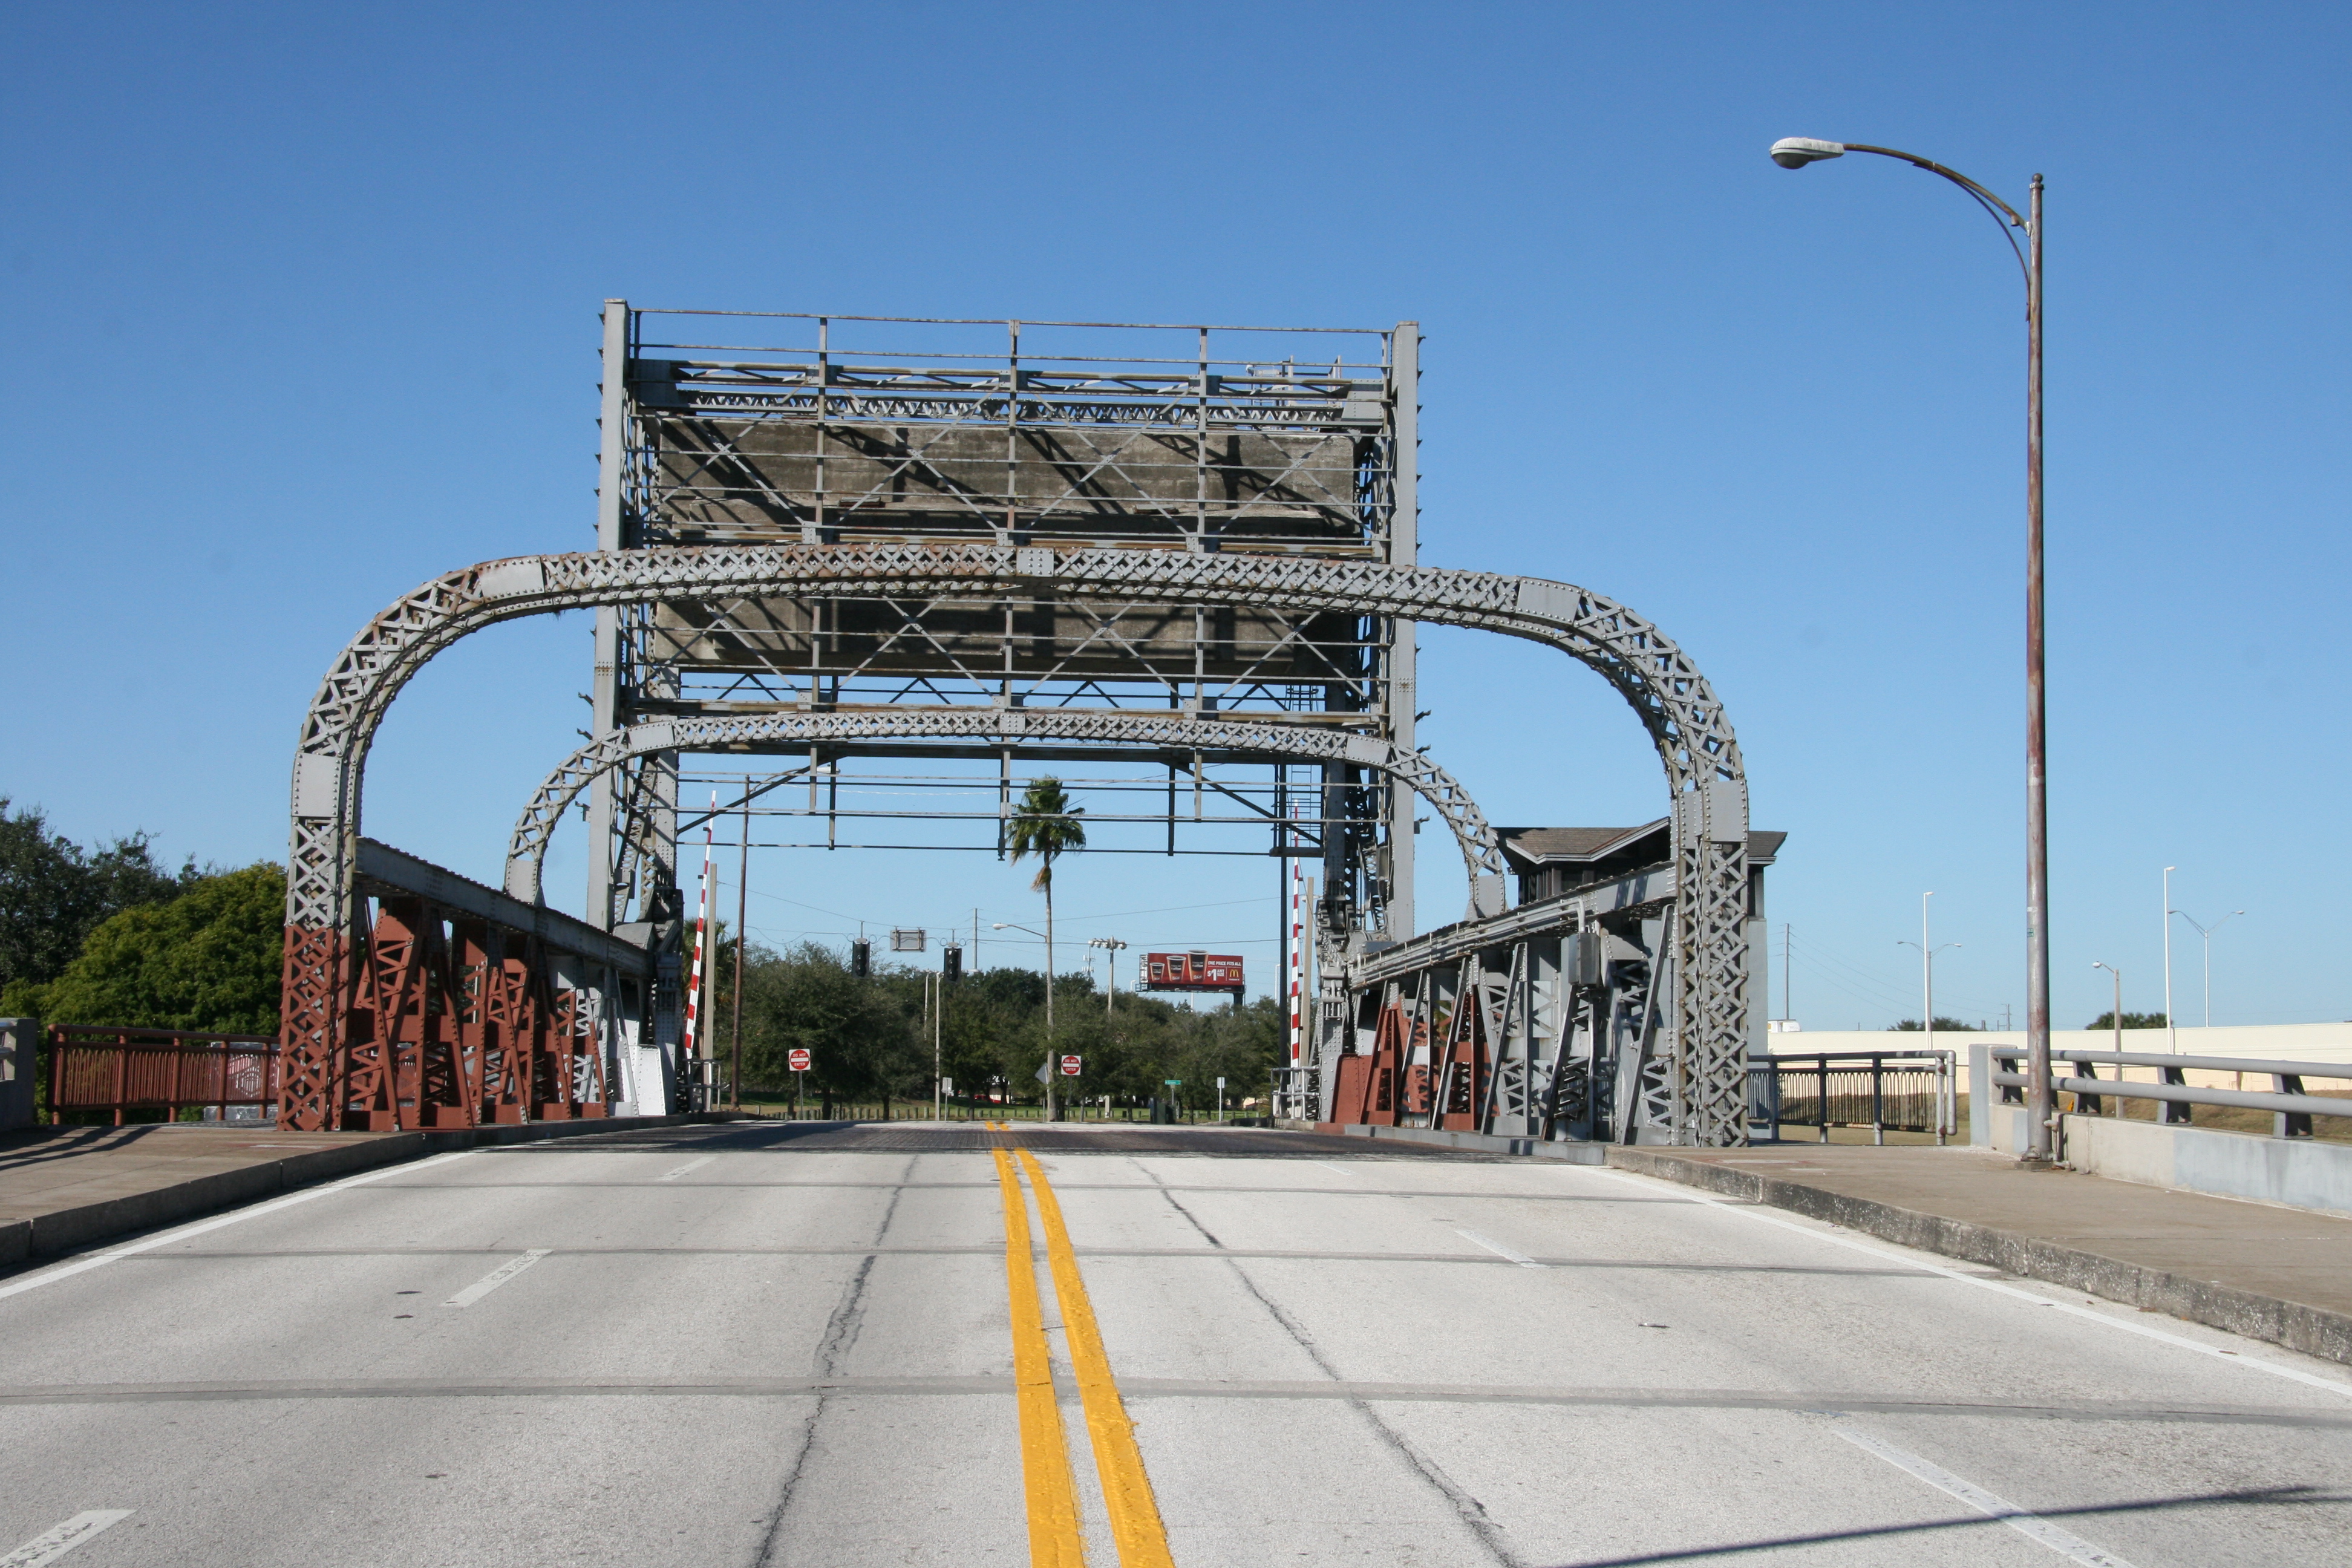
Portal views facing west.
![]()


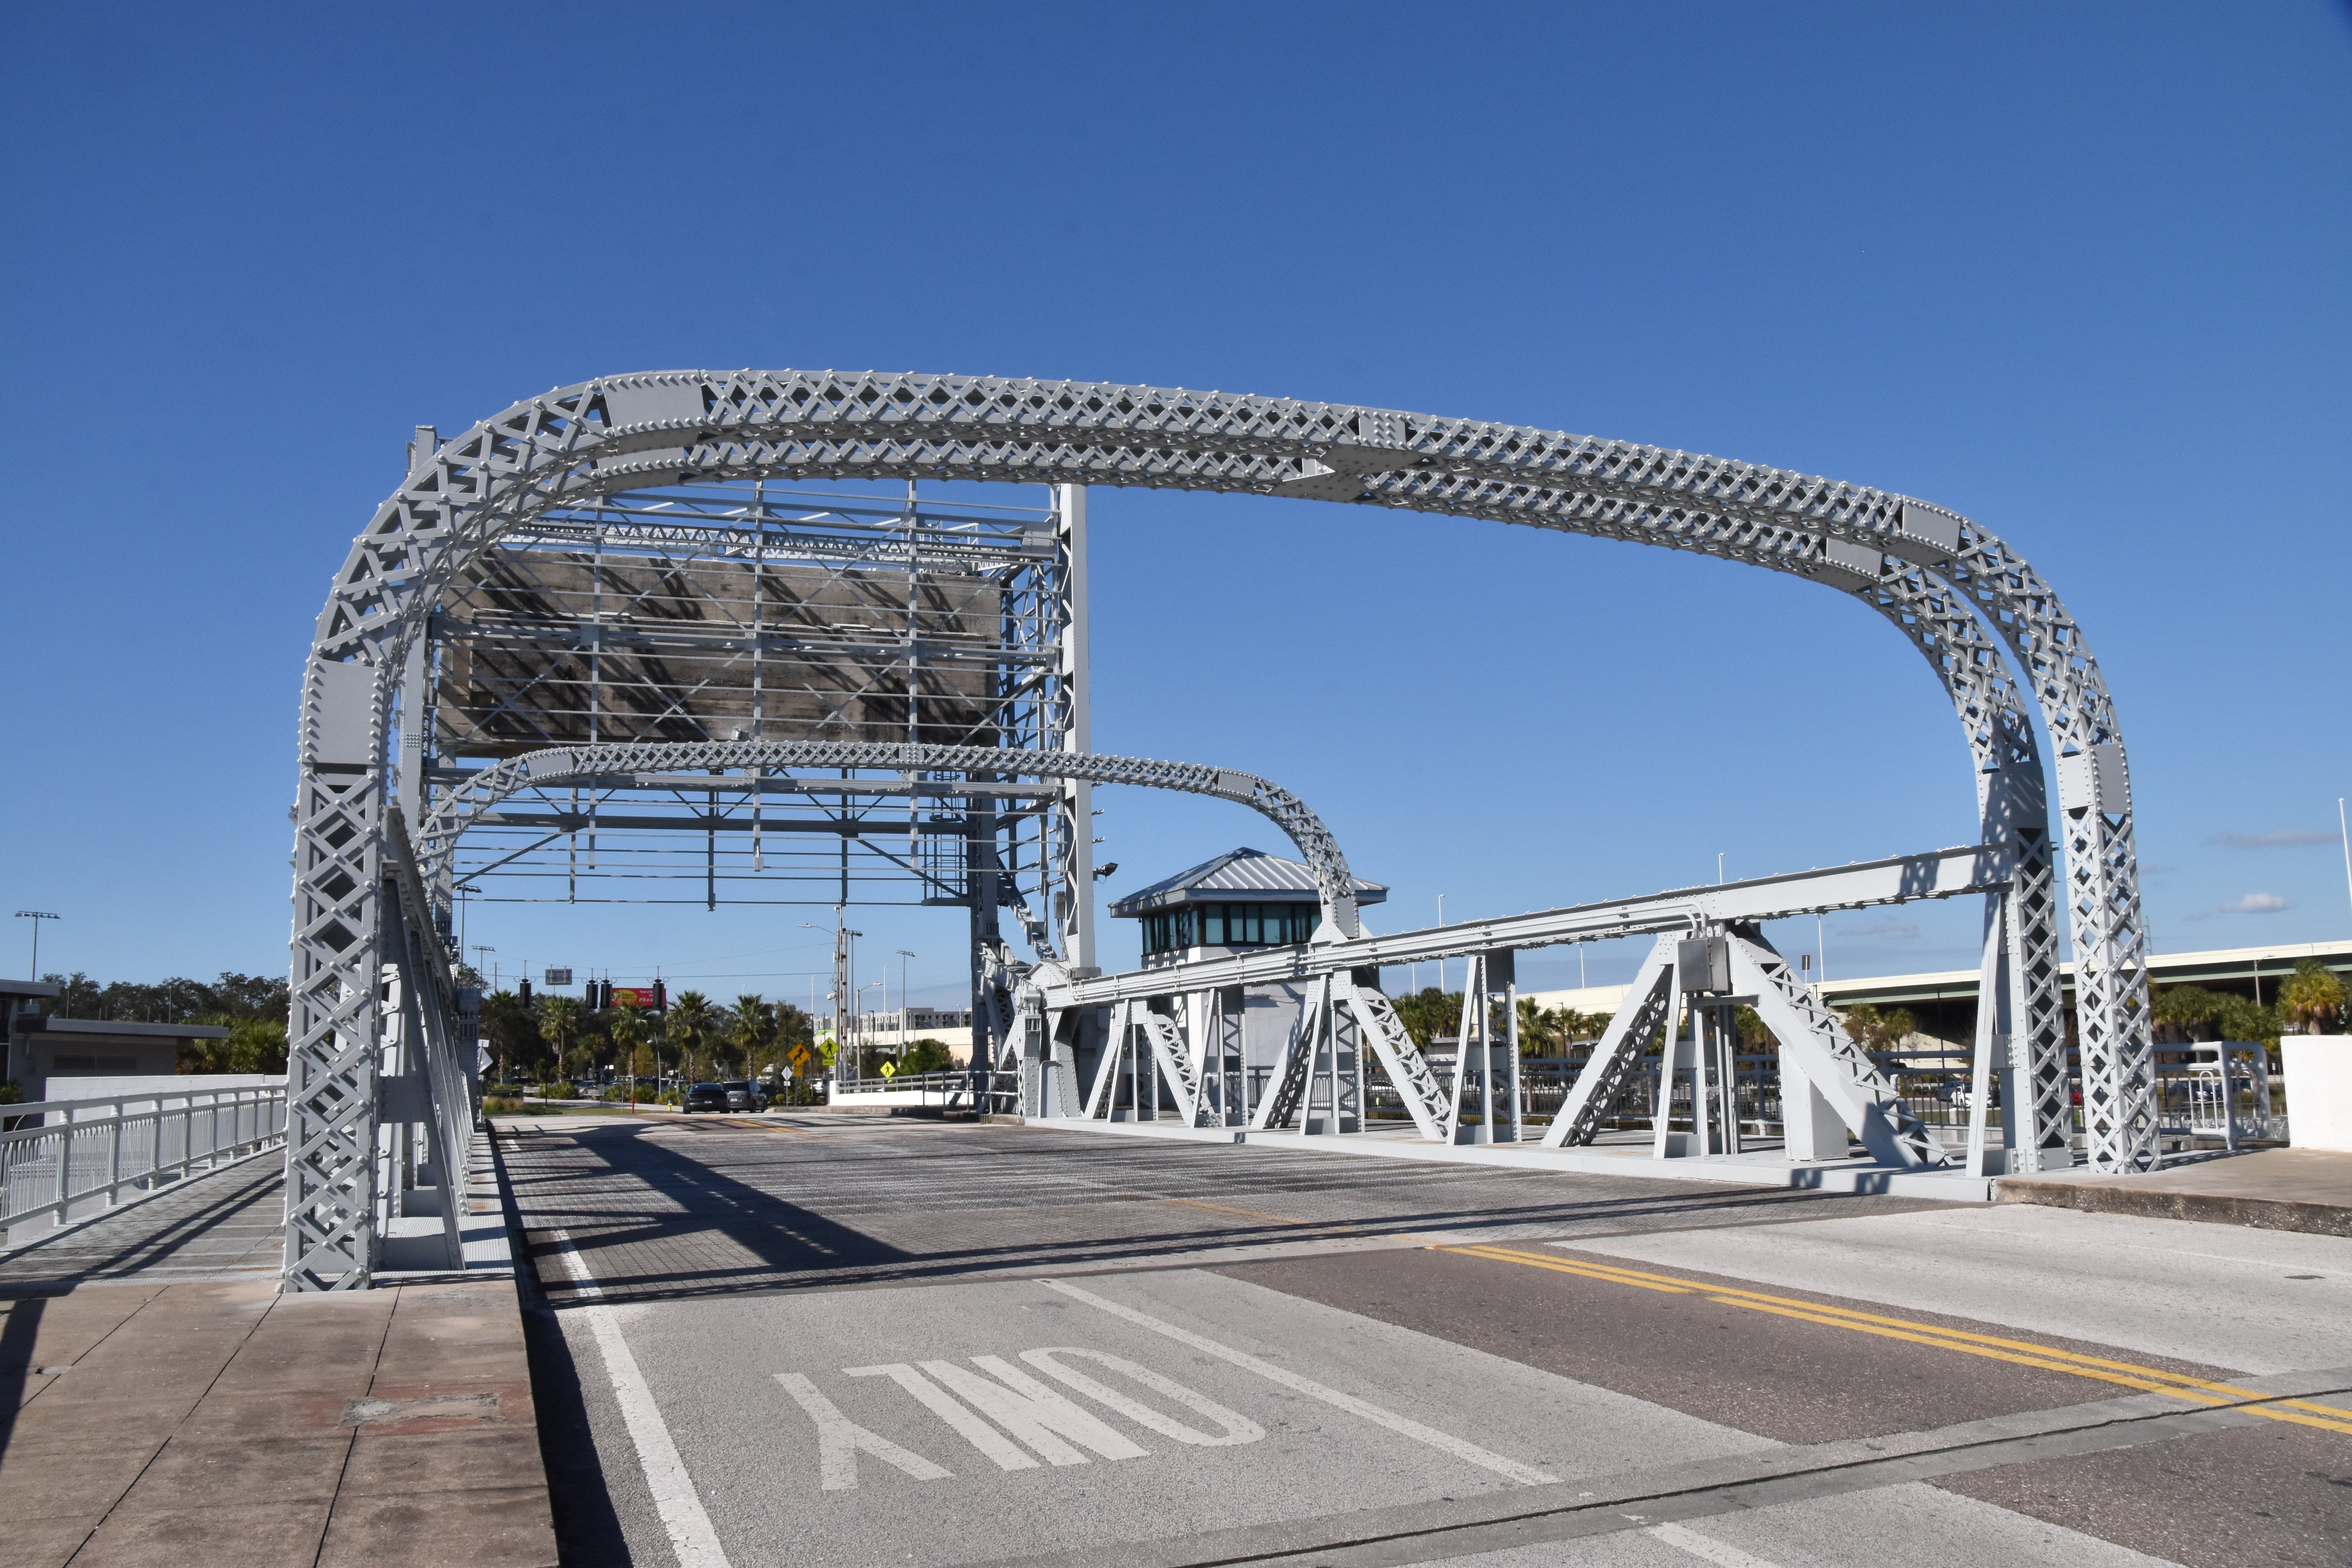
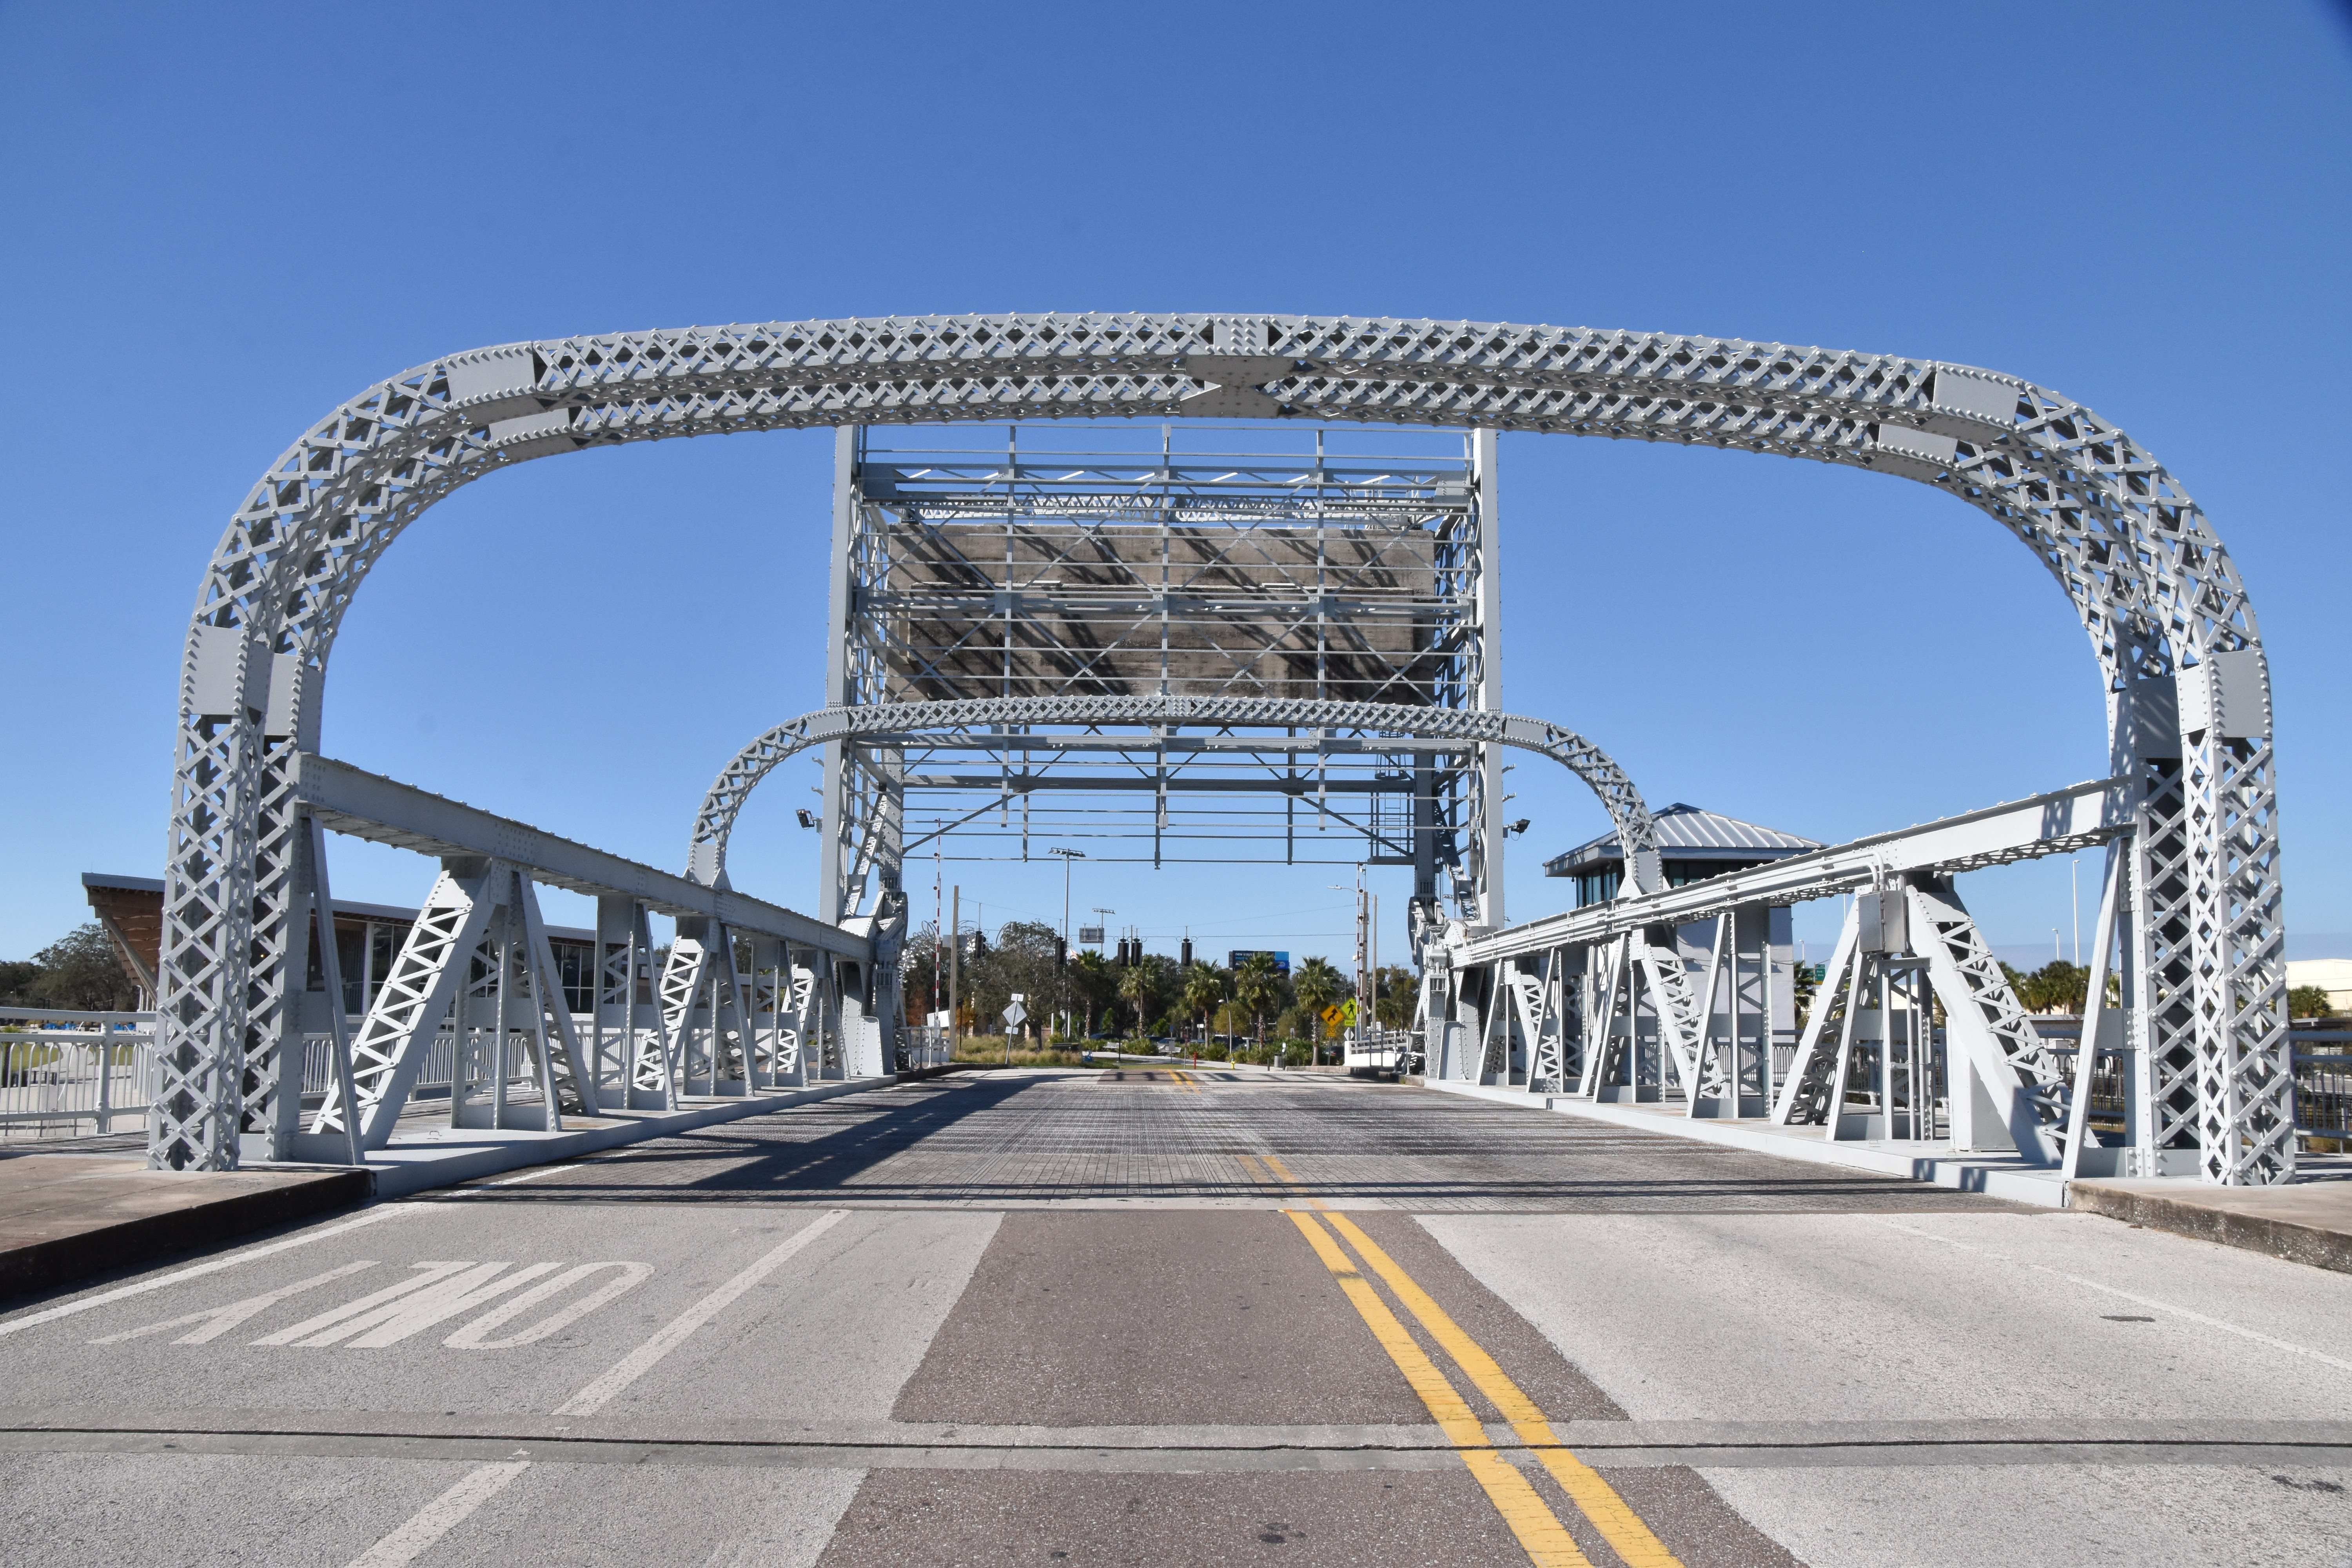
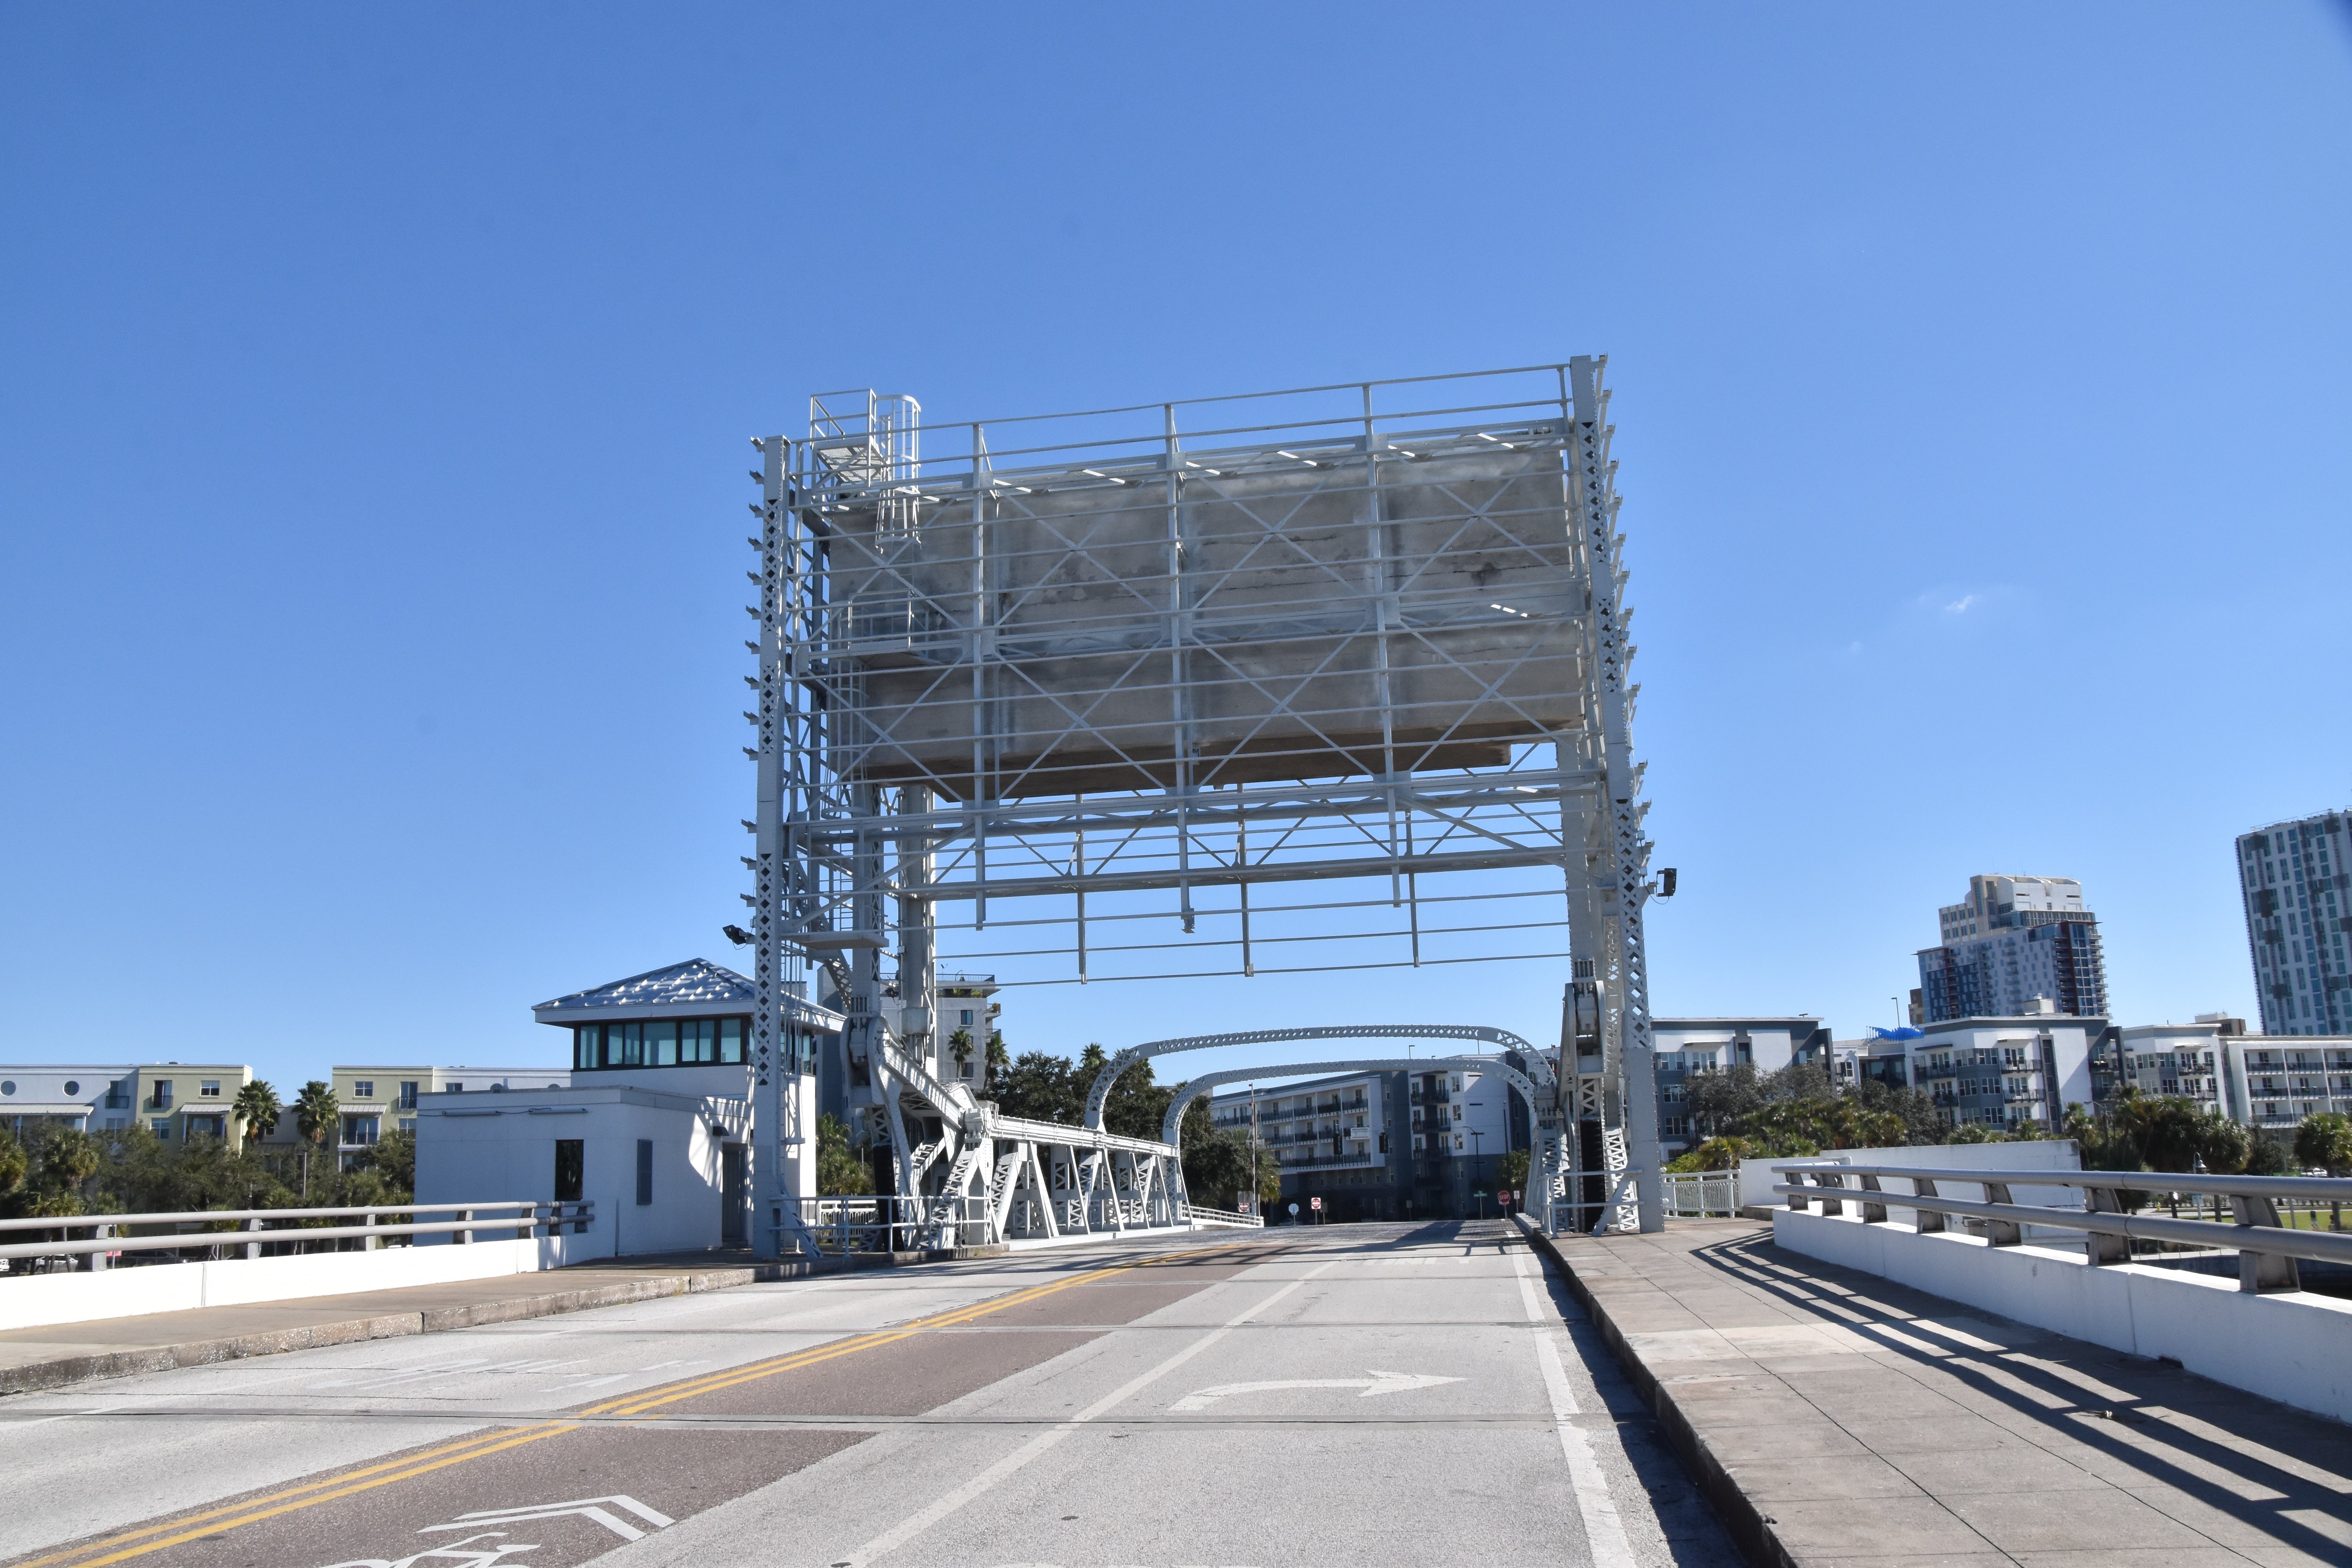
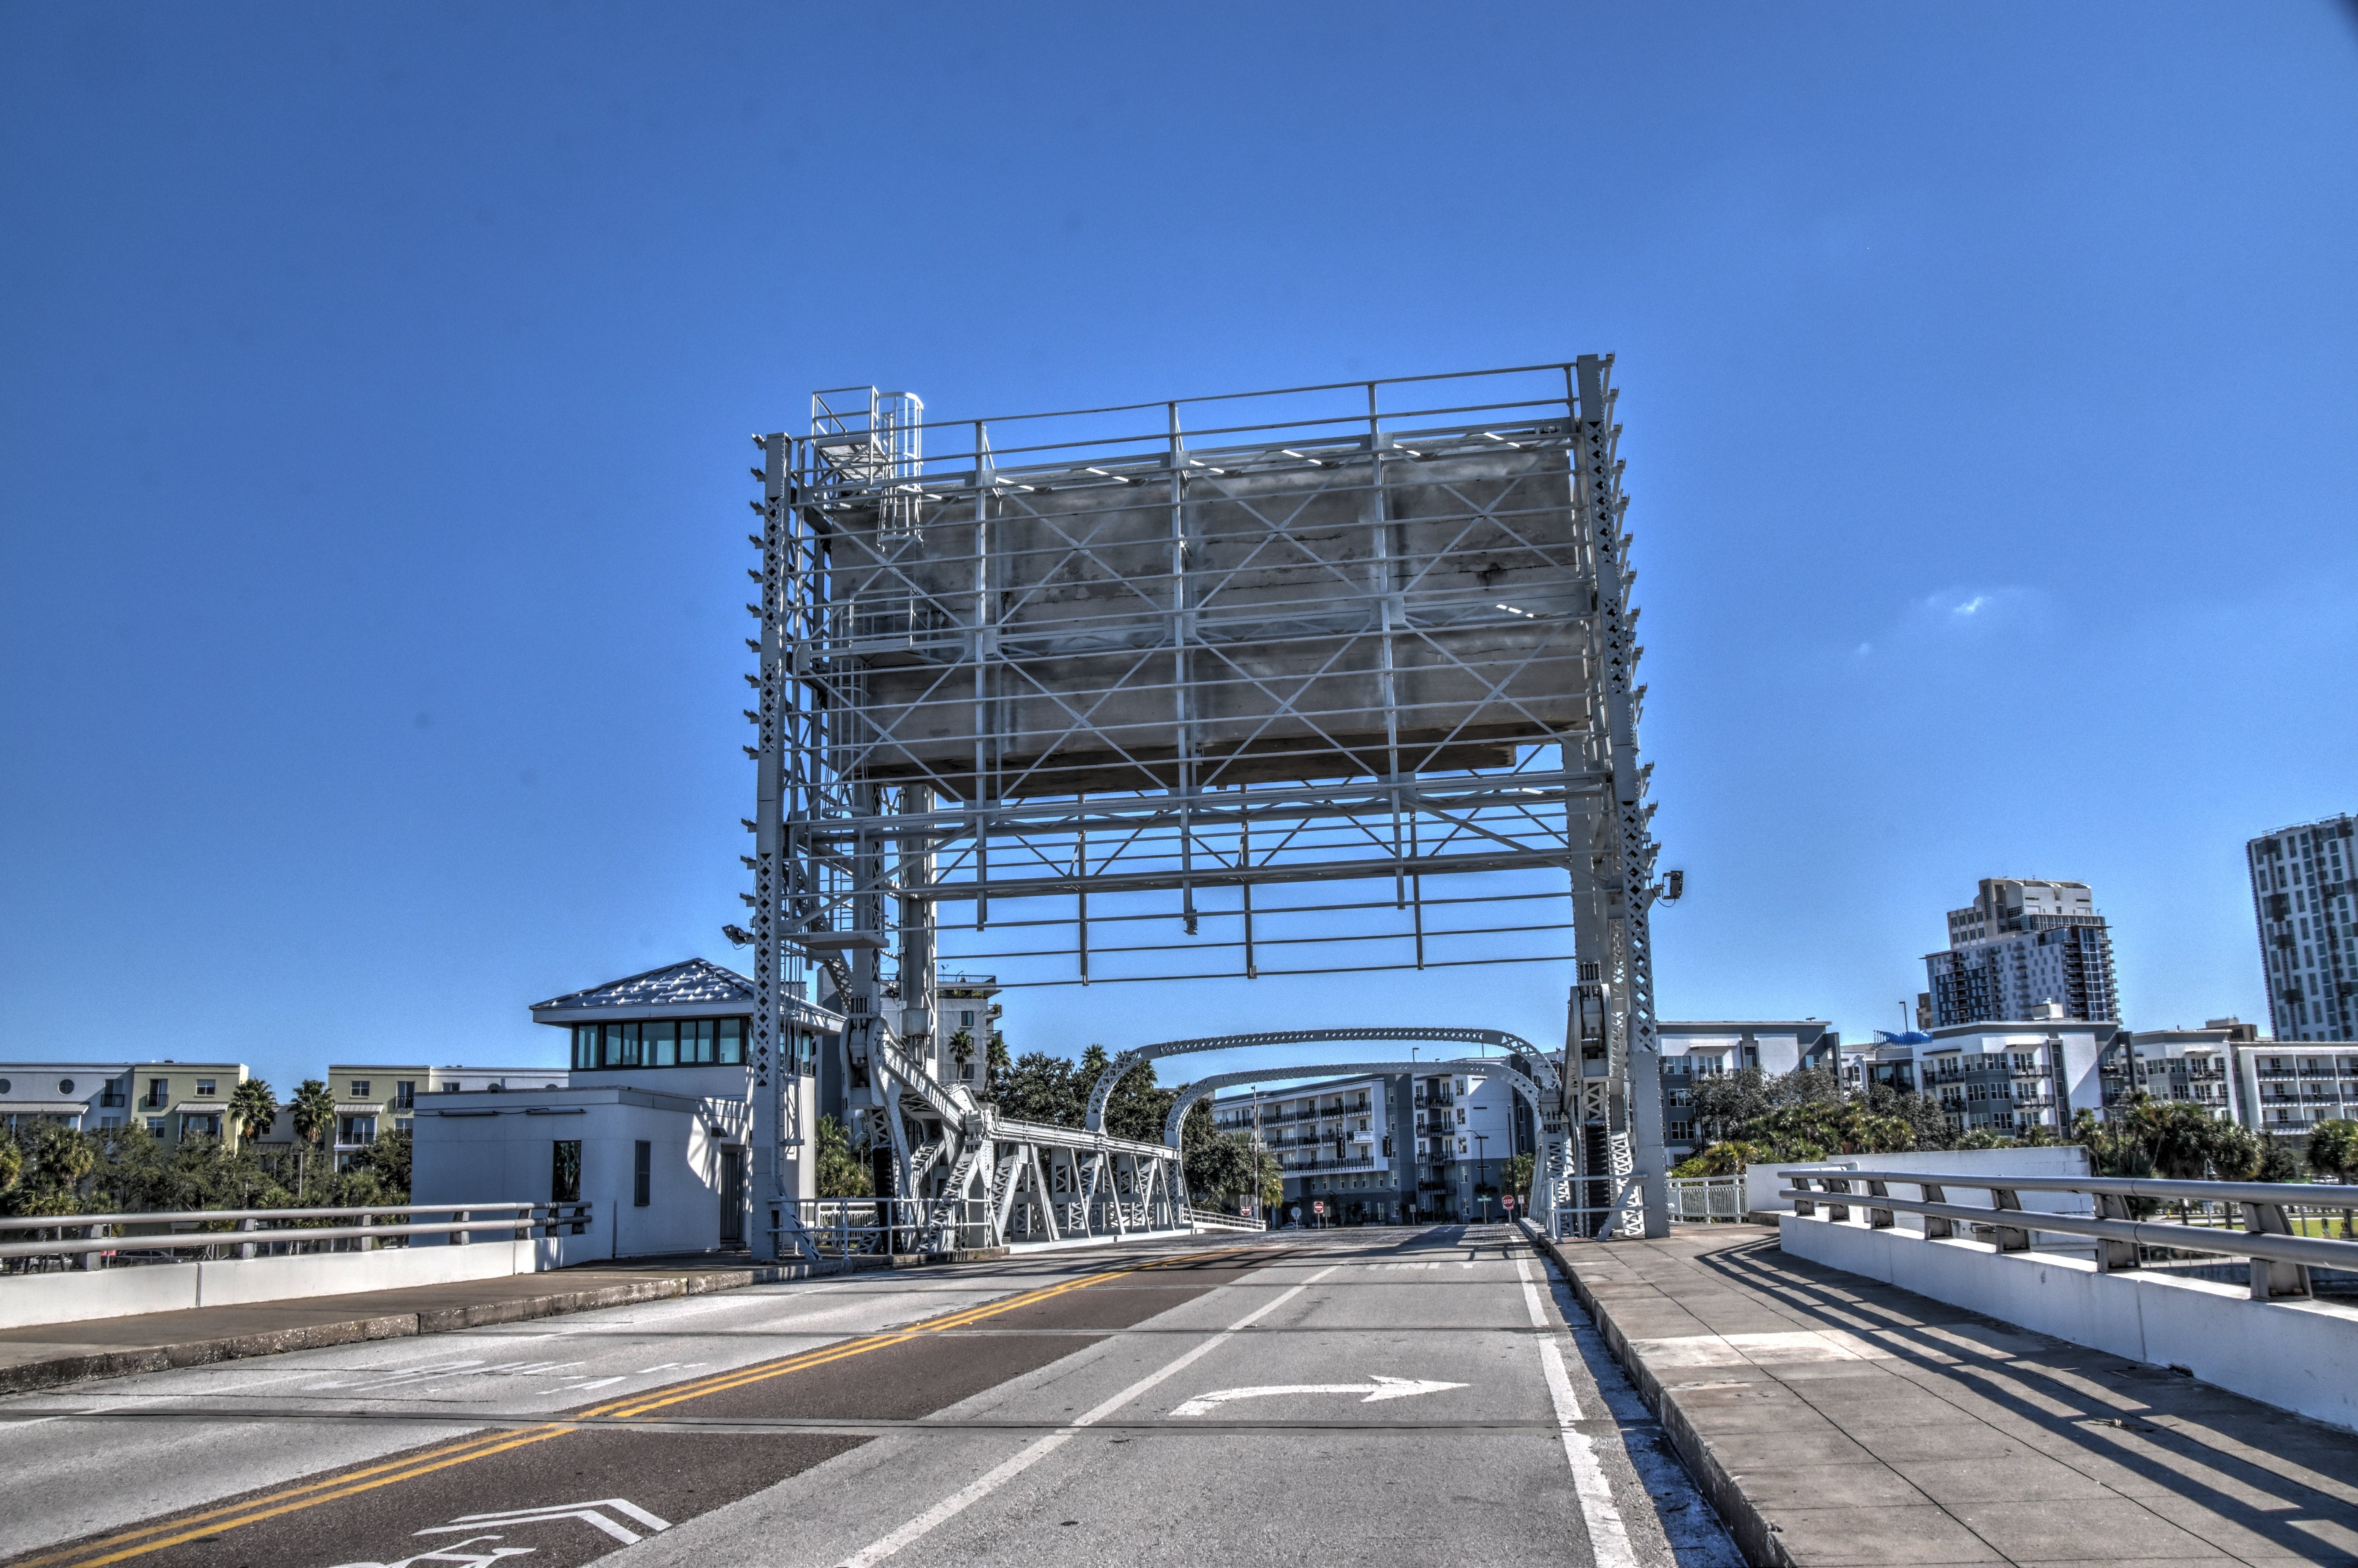
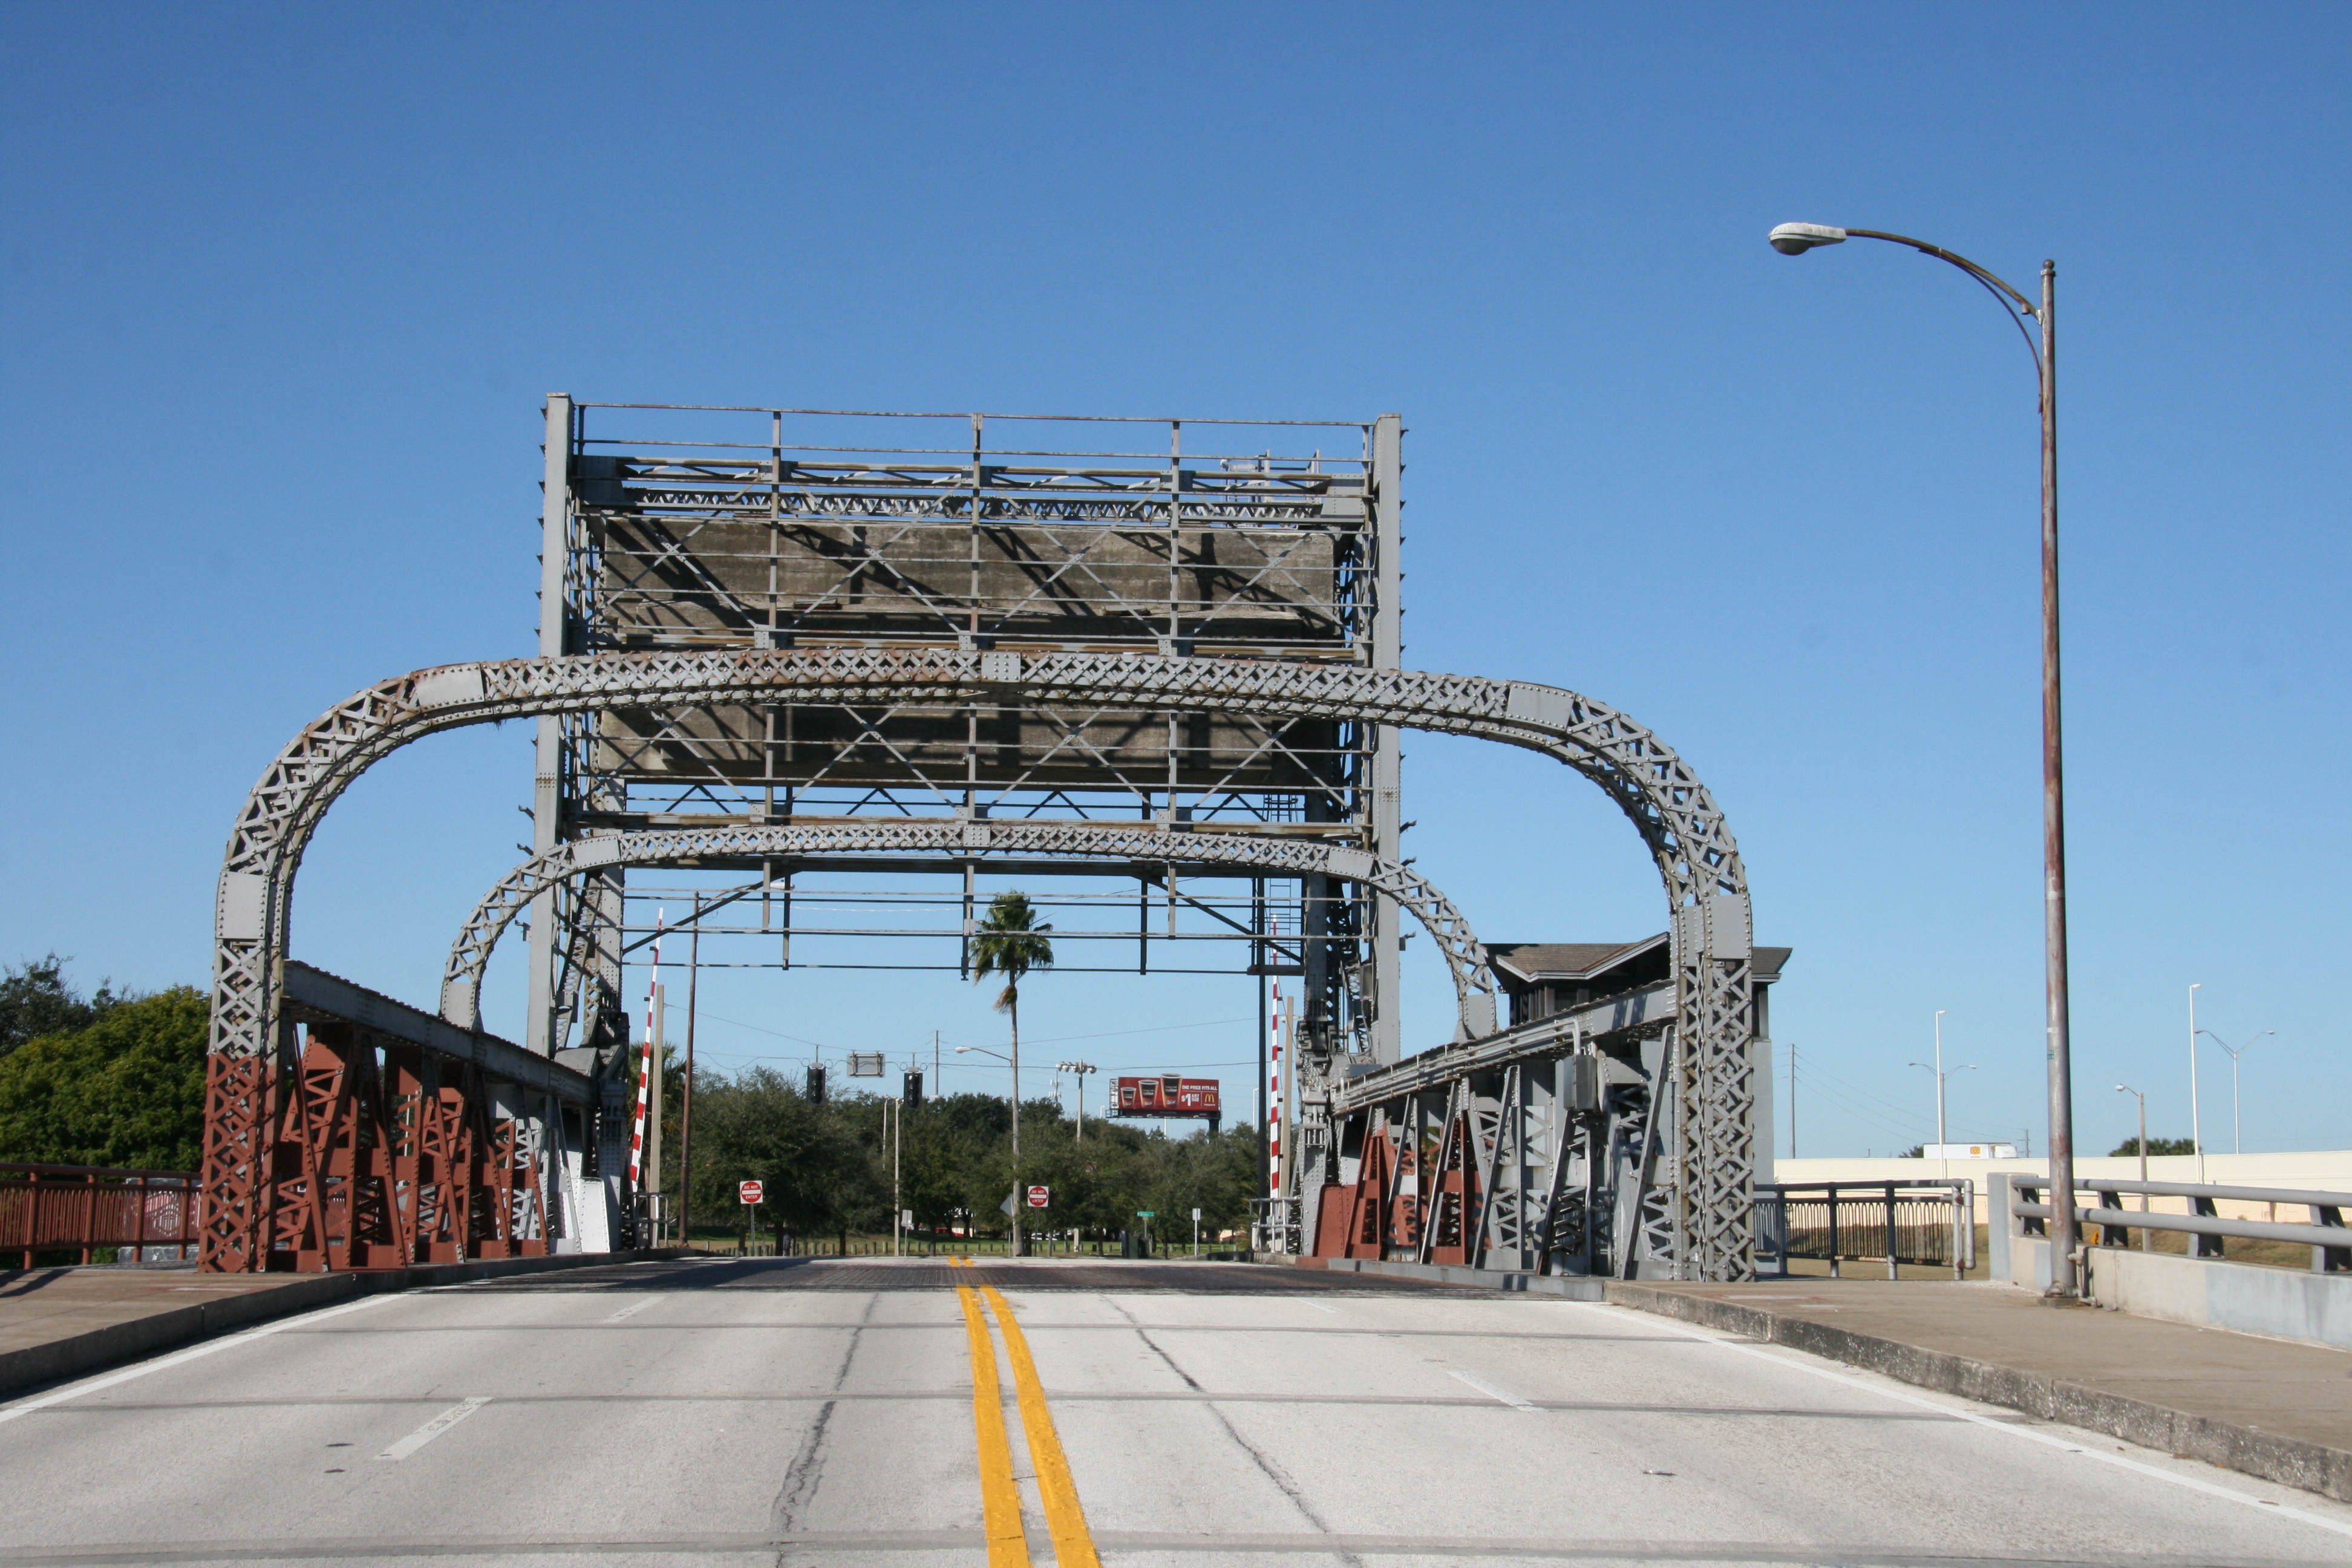
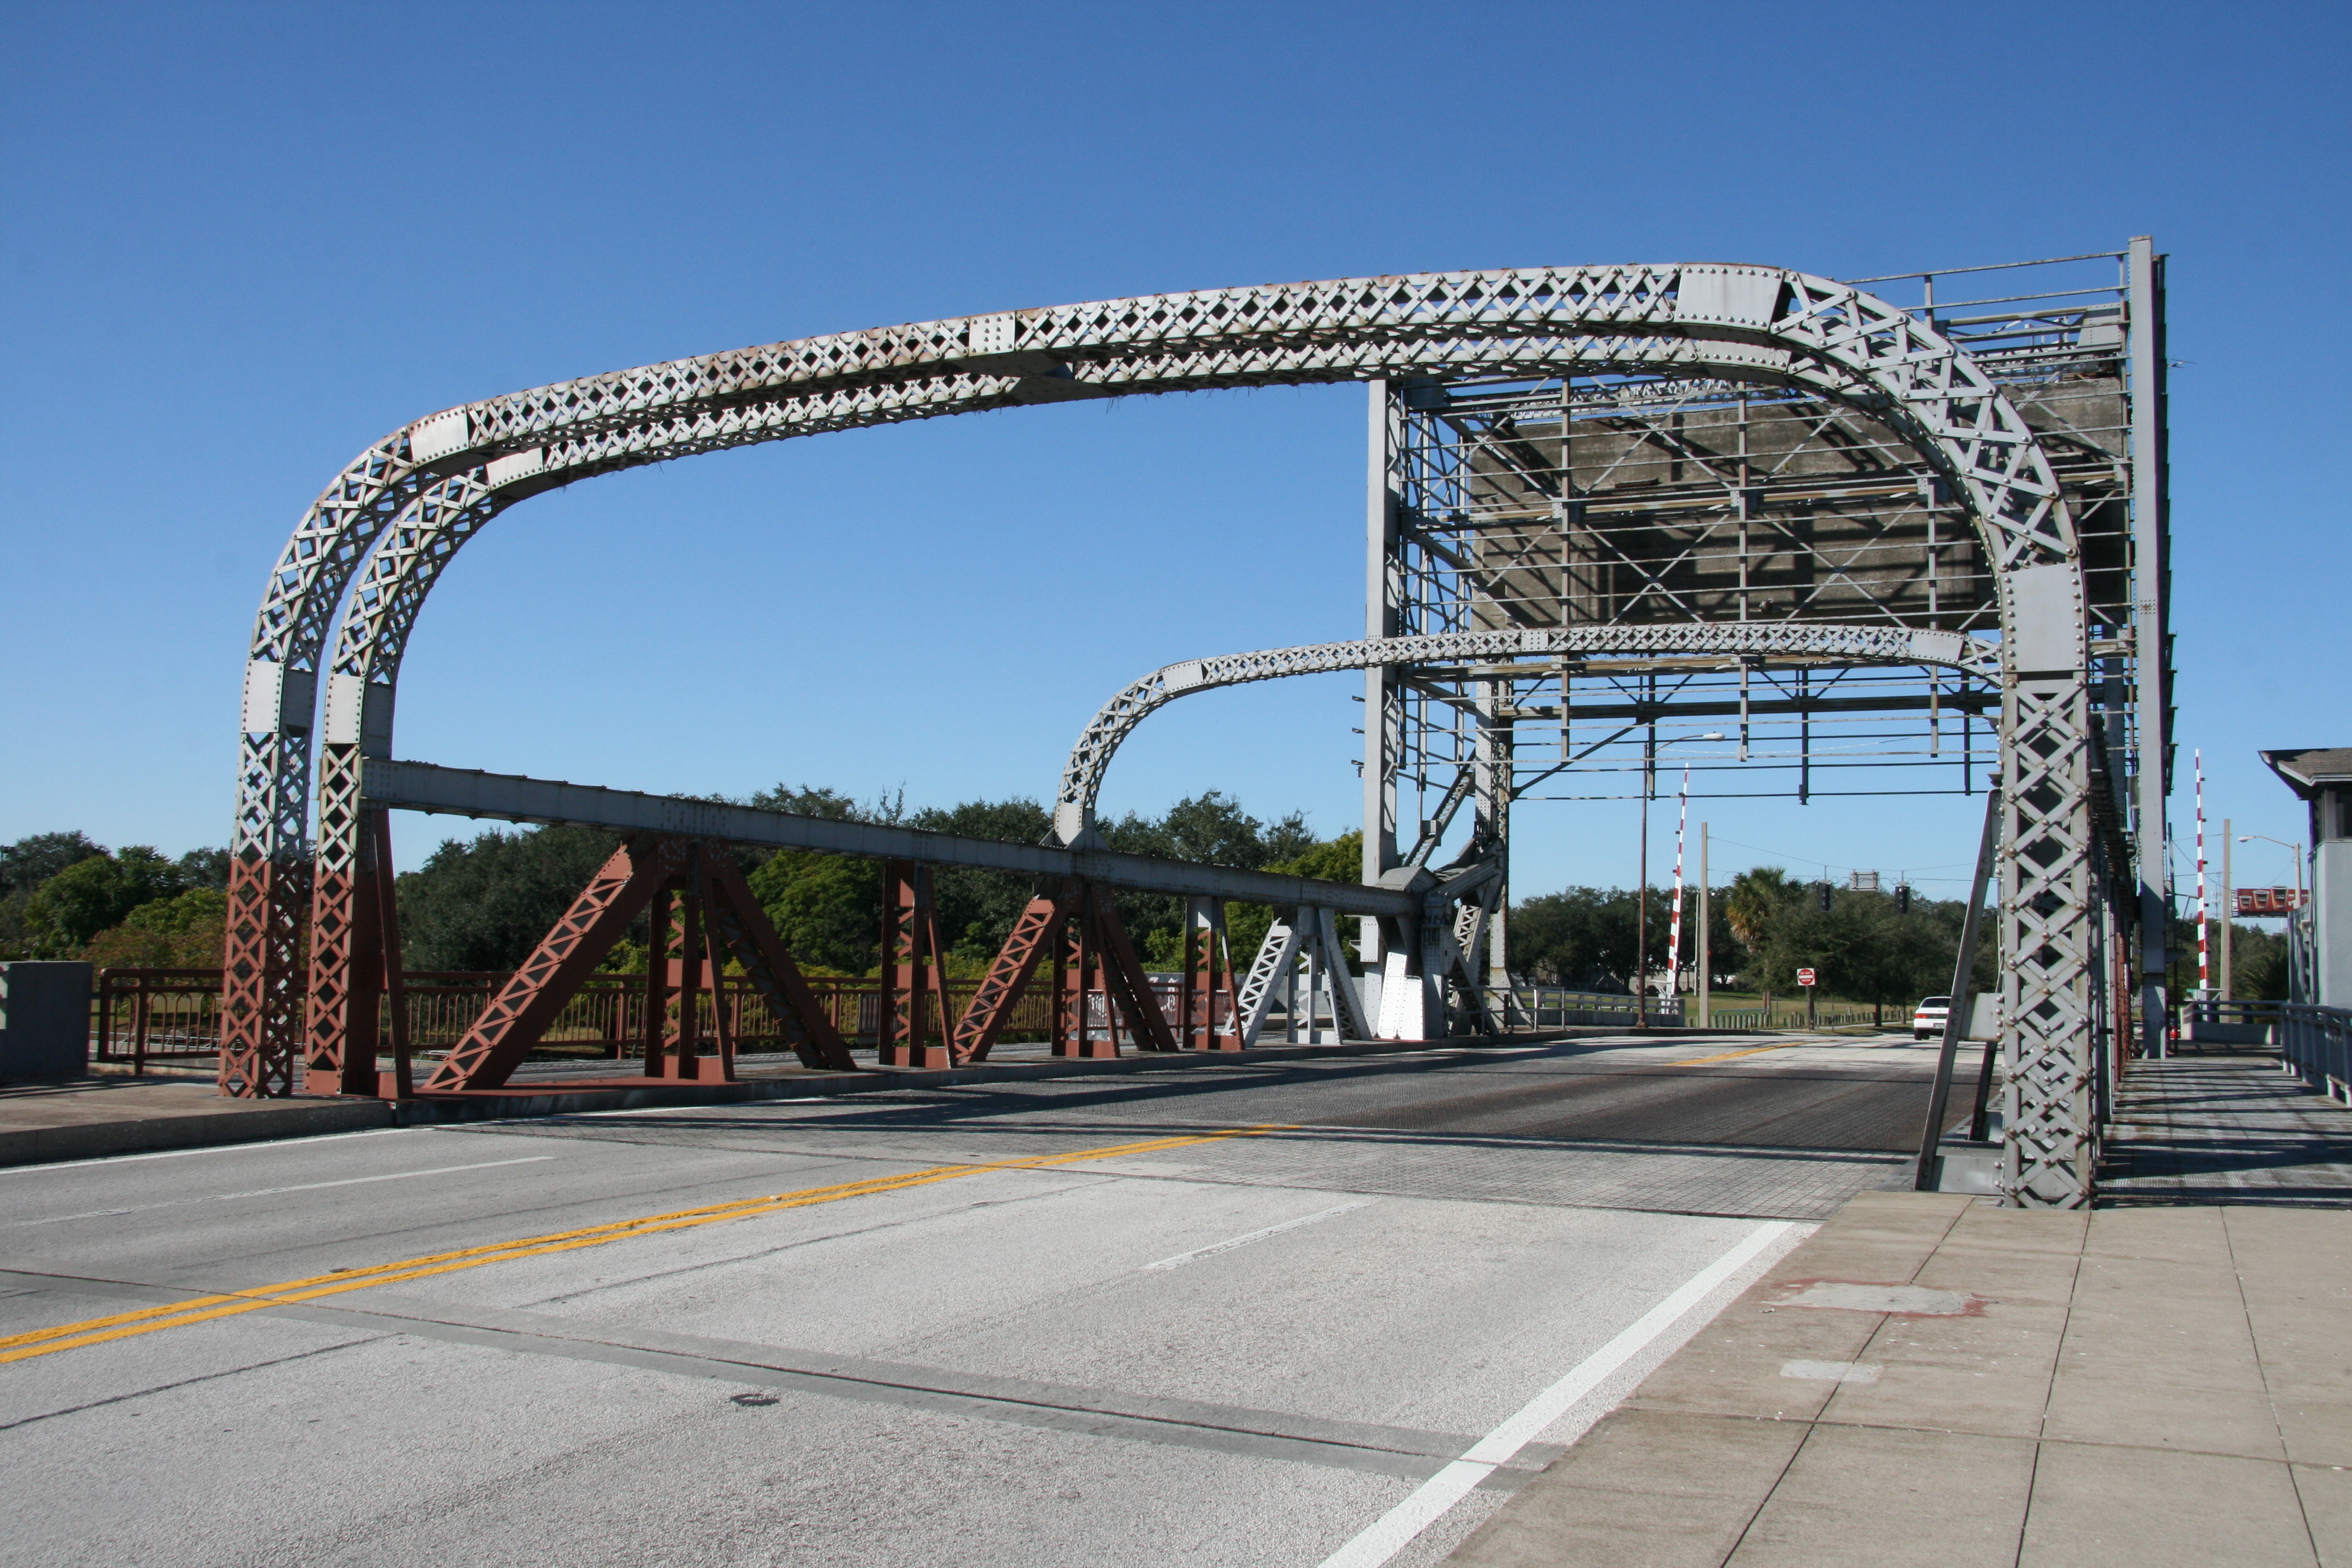
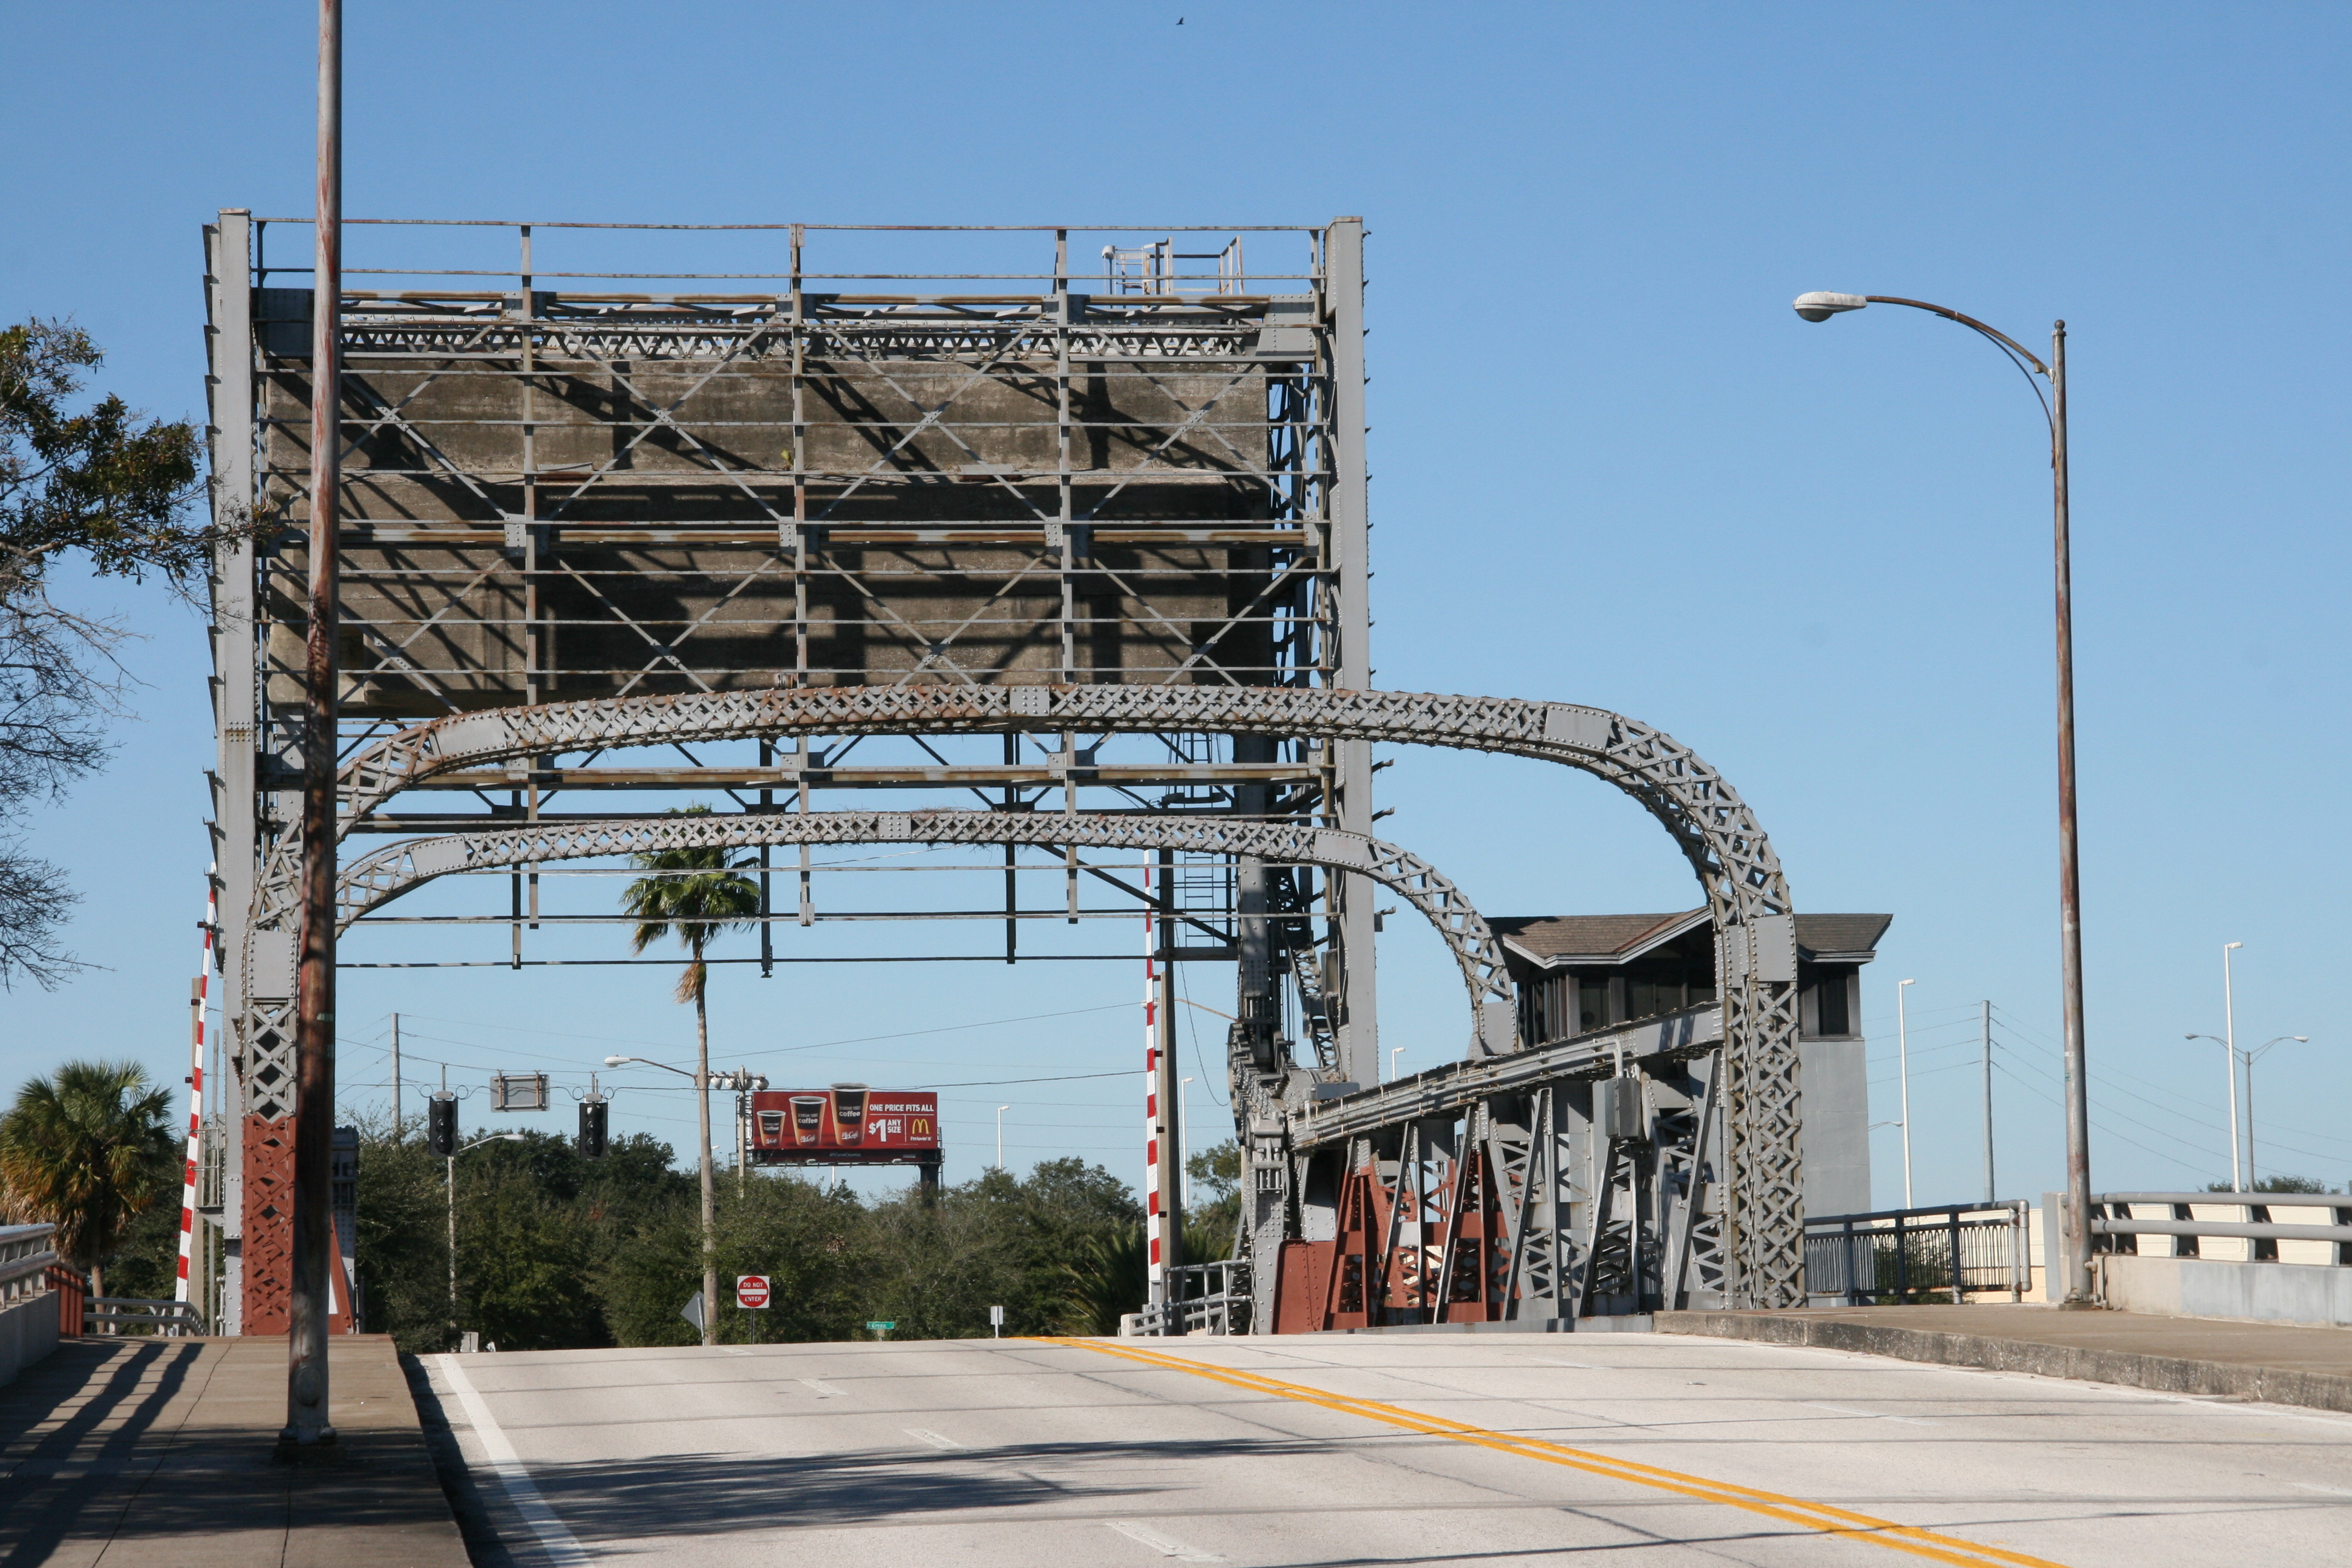
Portal views on bridge facing west.
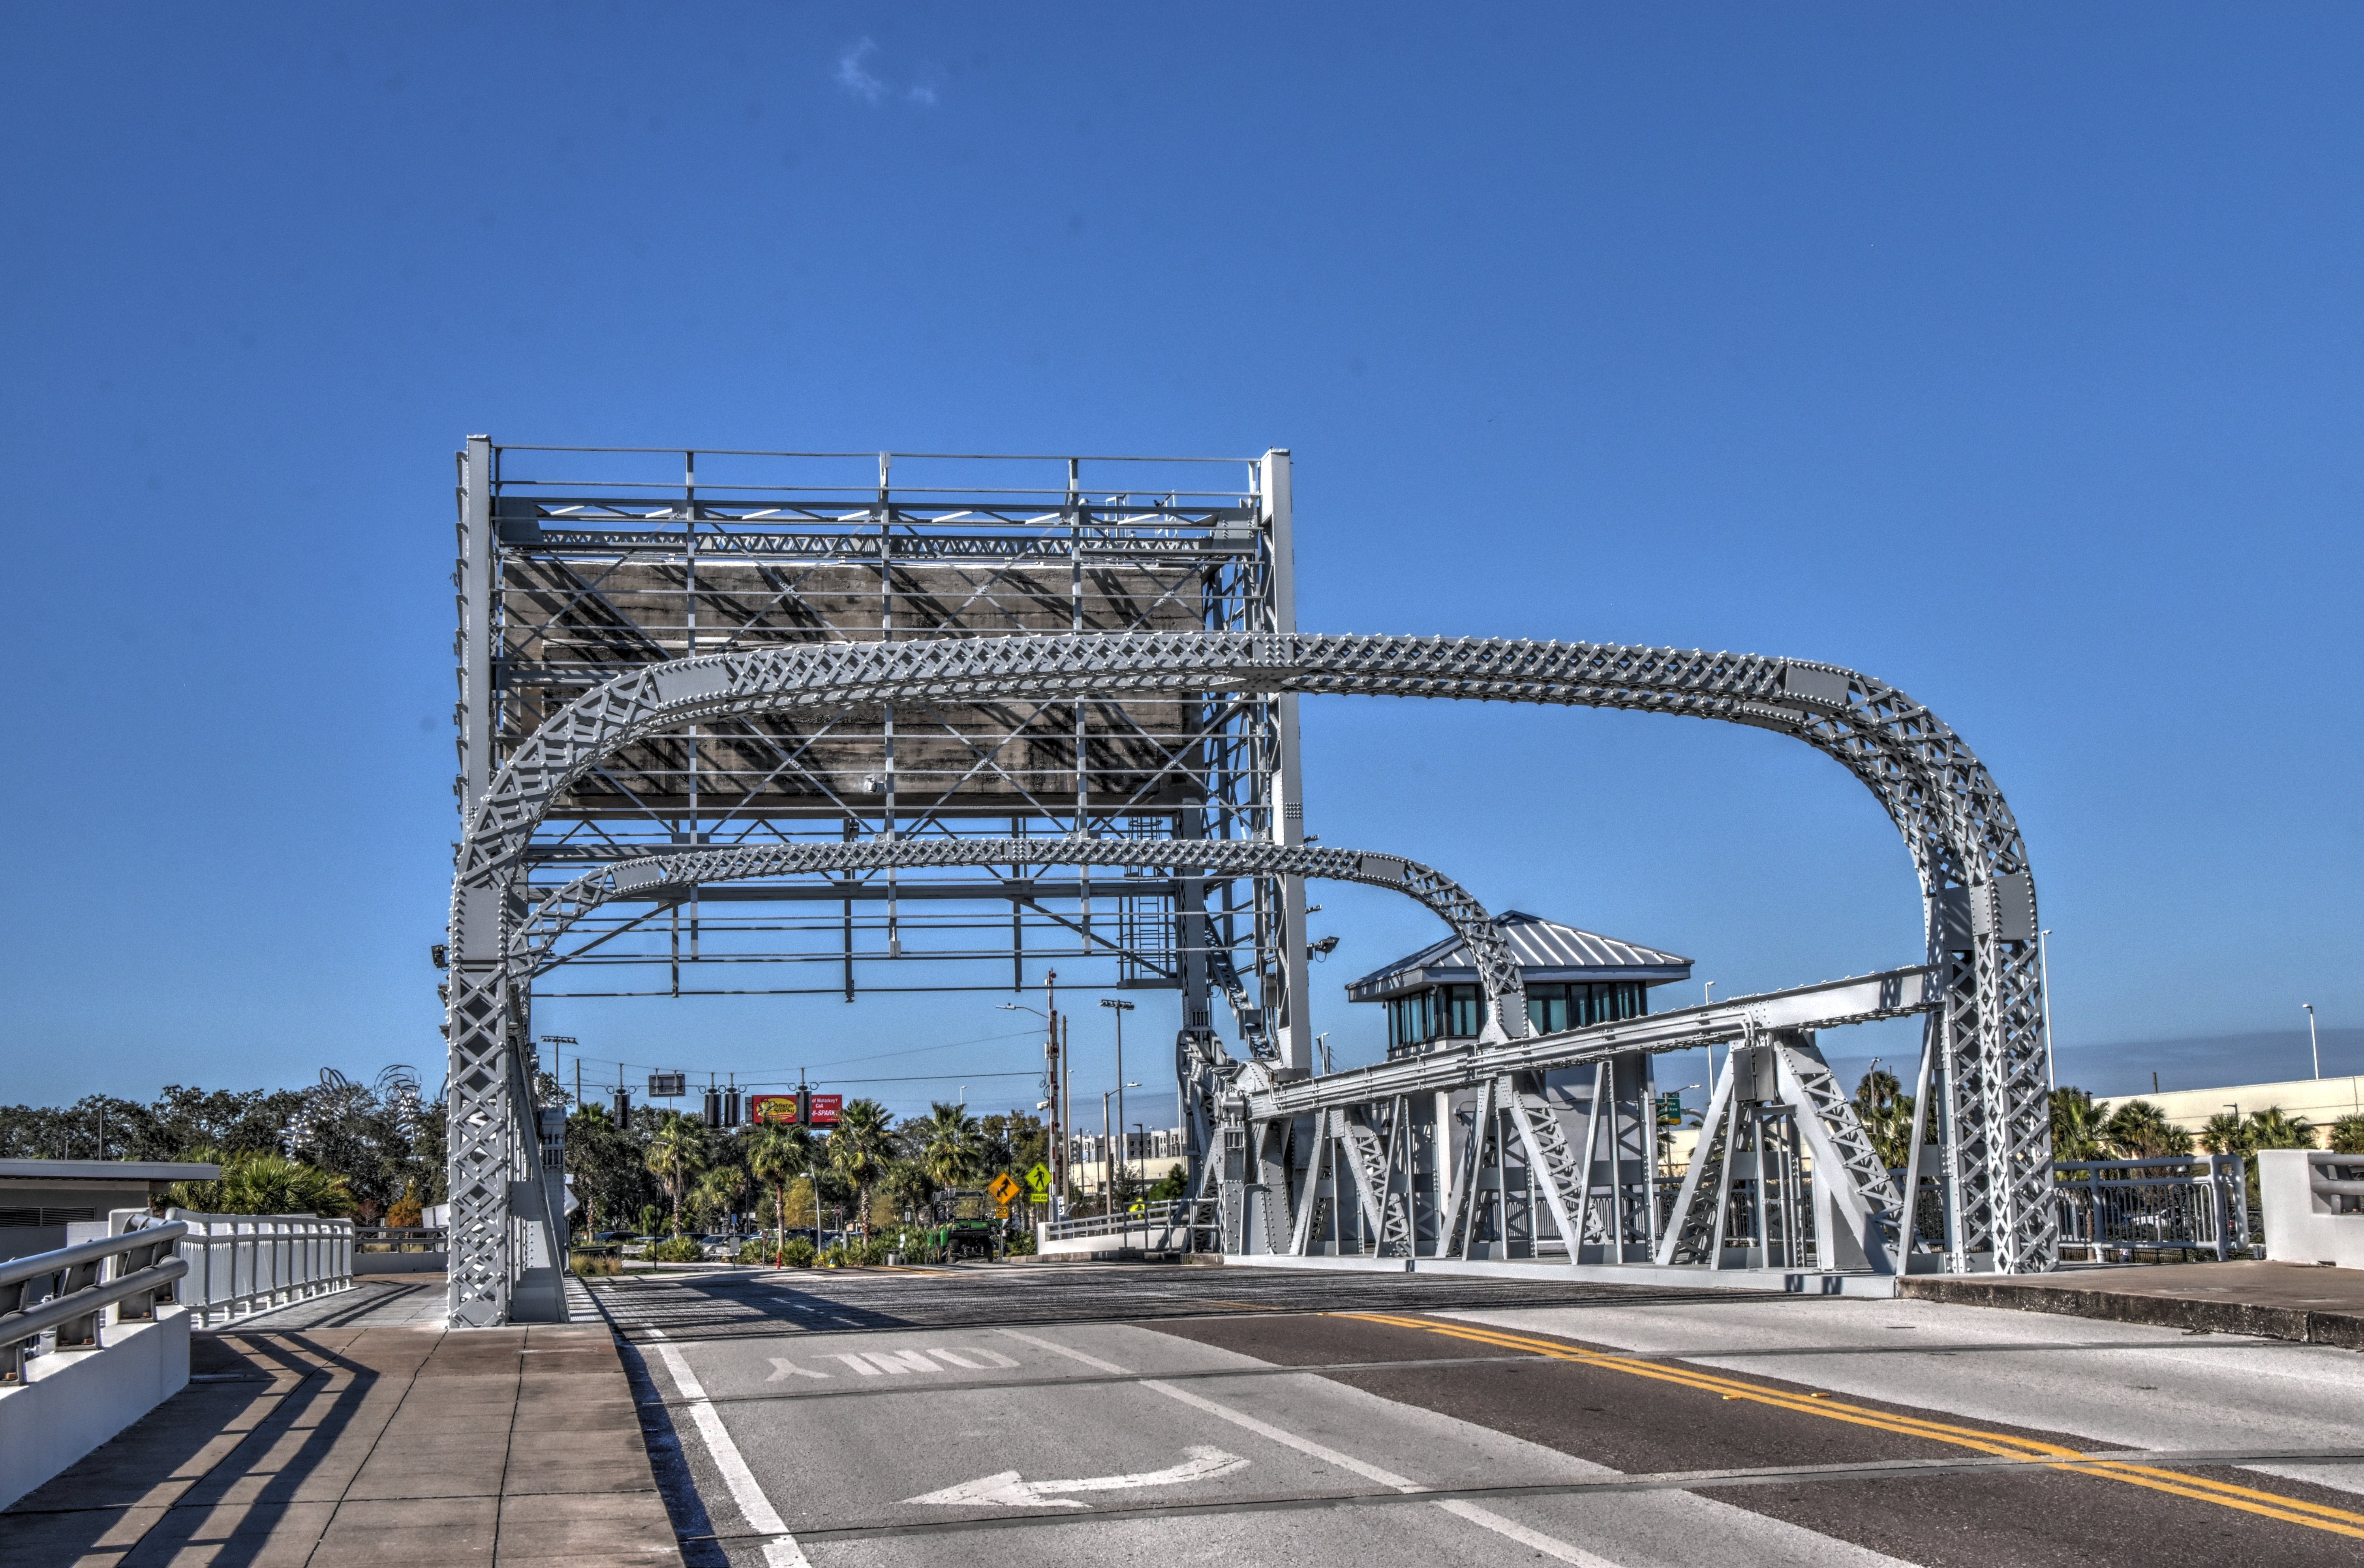
![]()


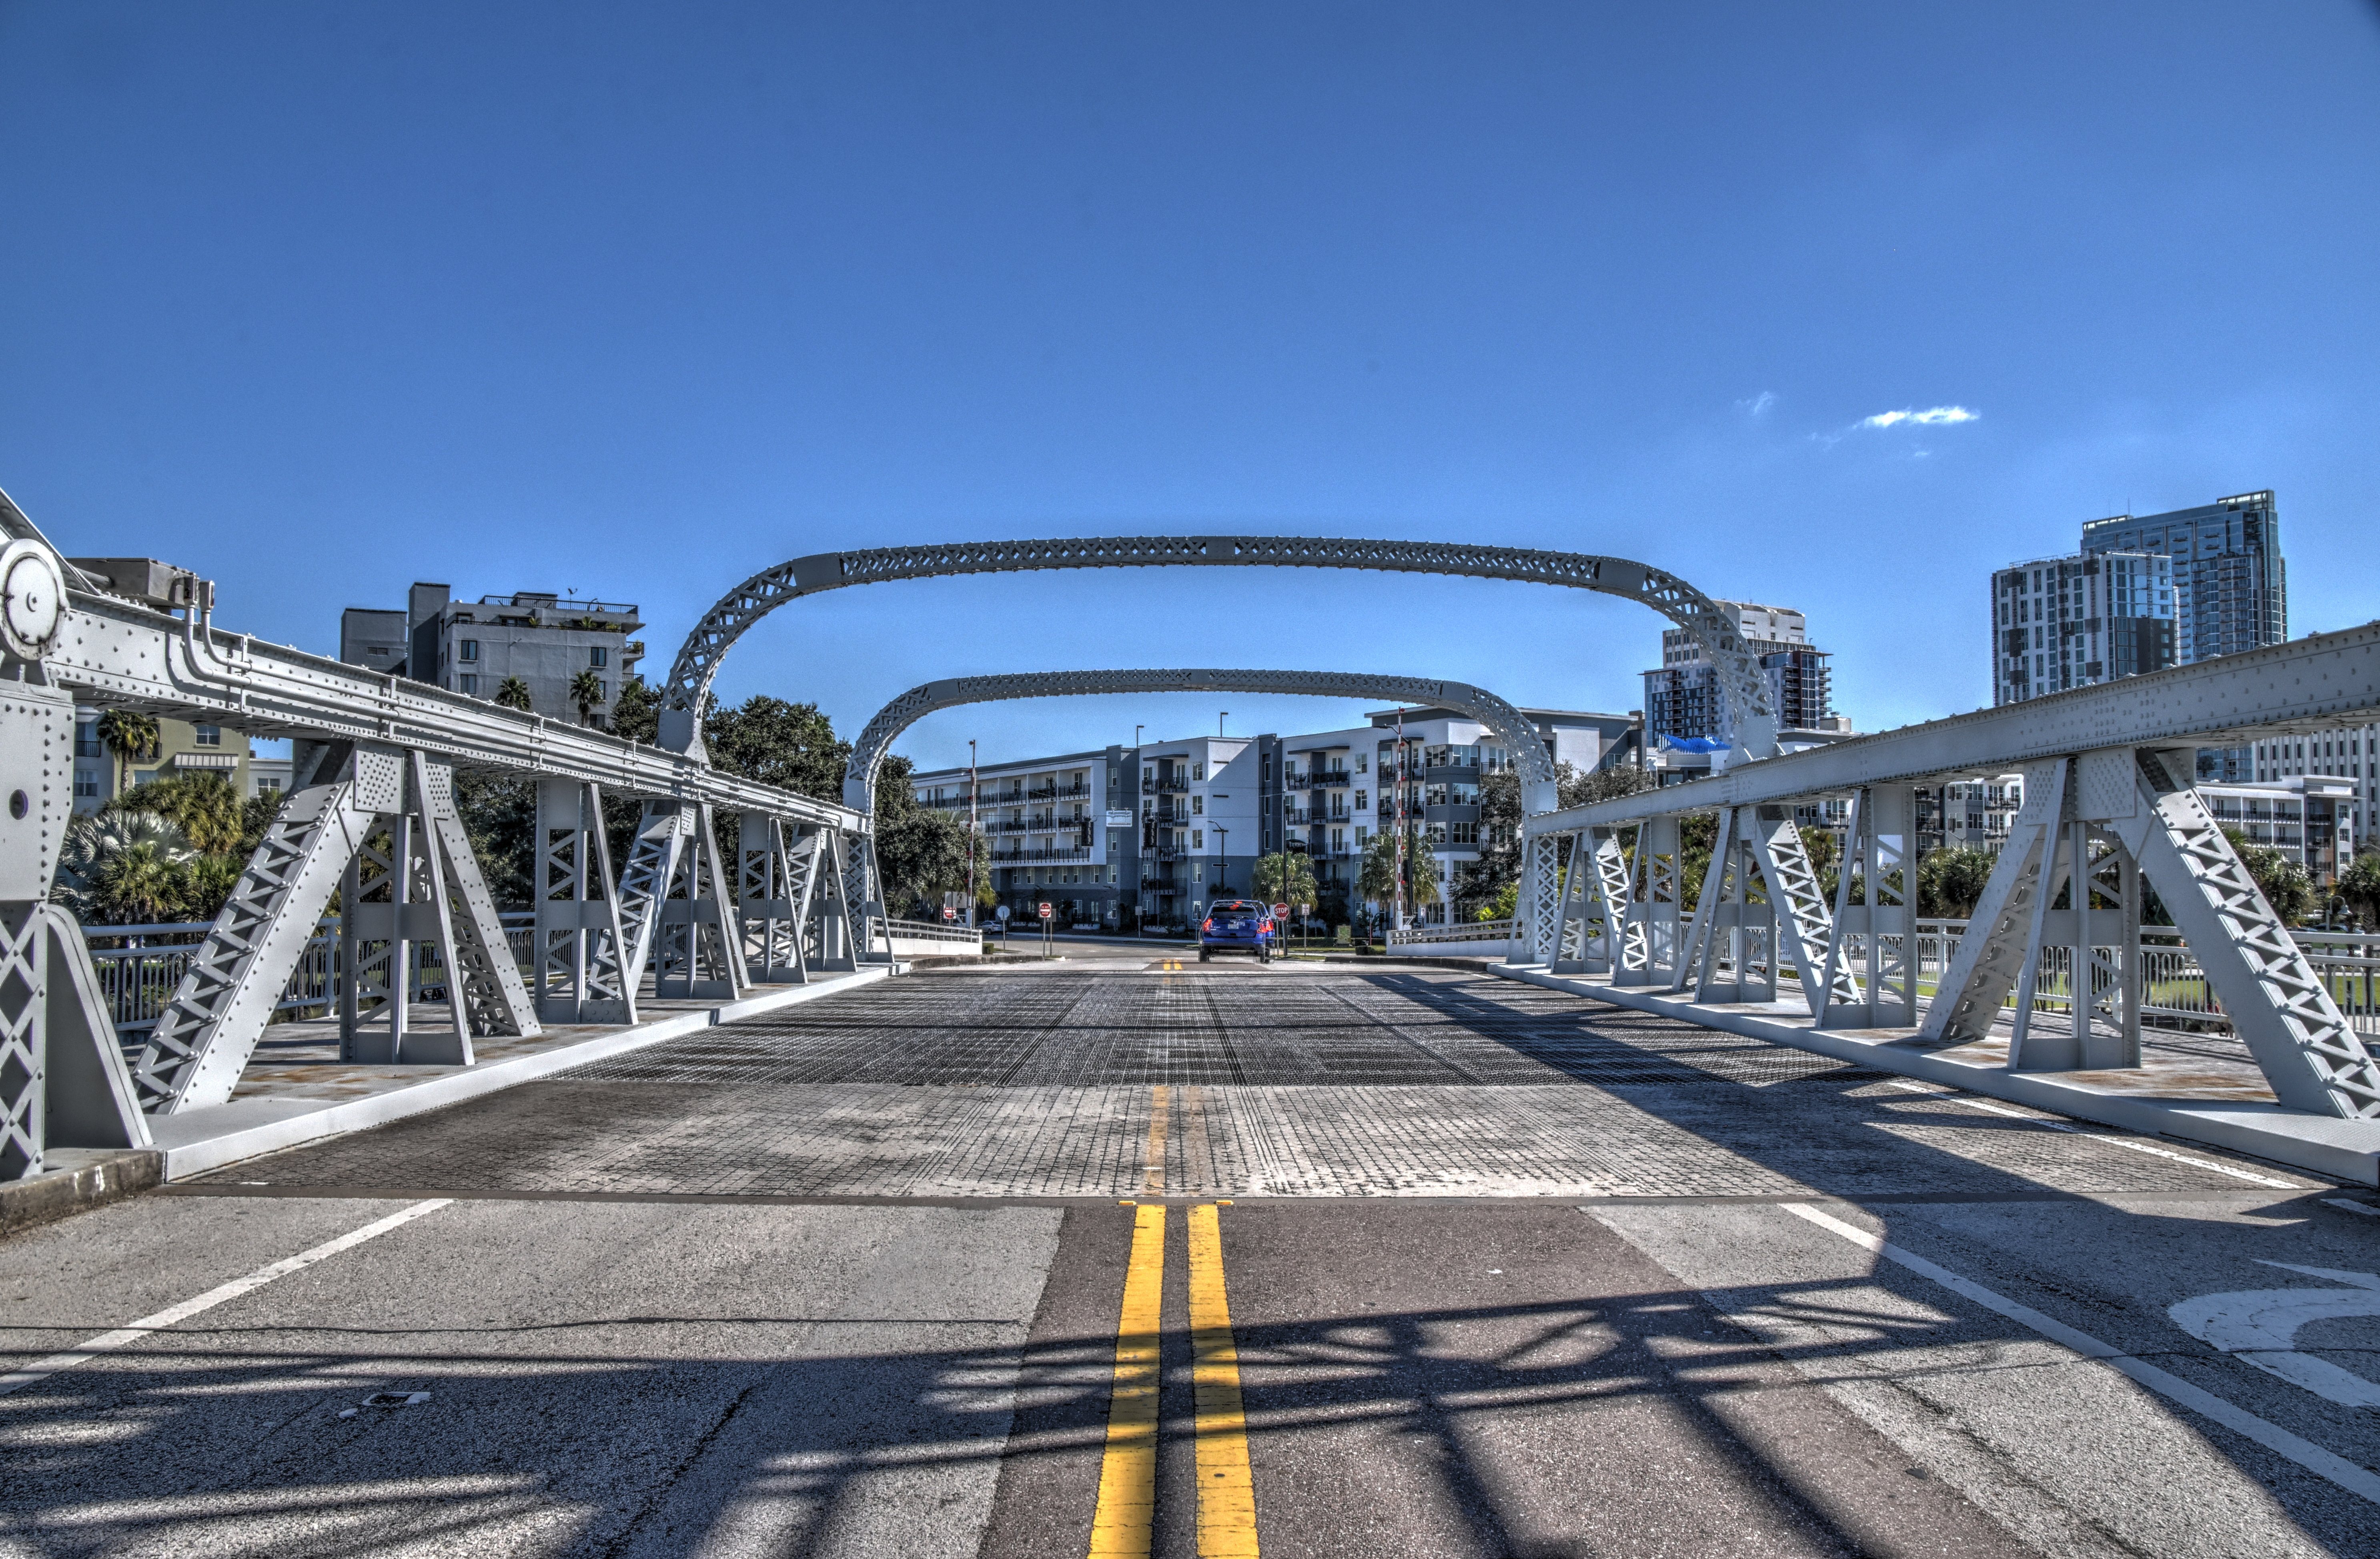
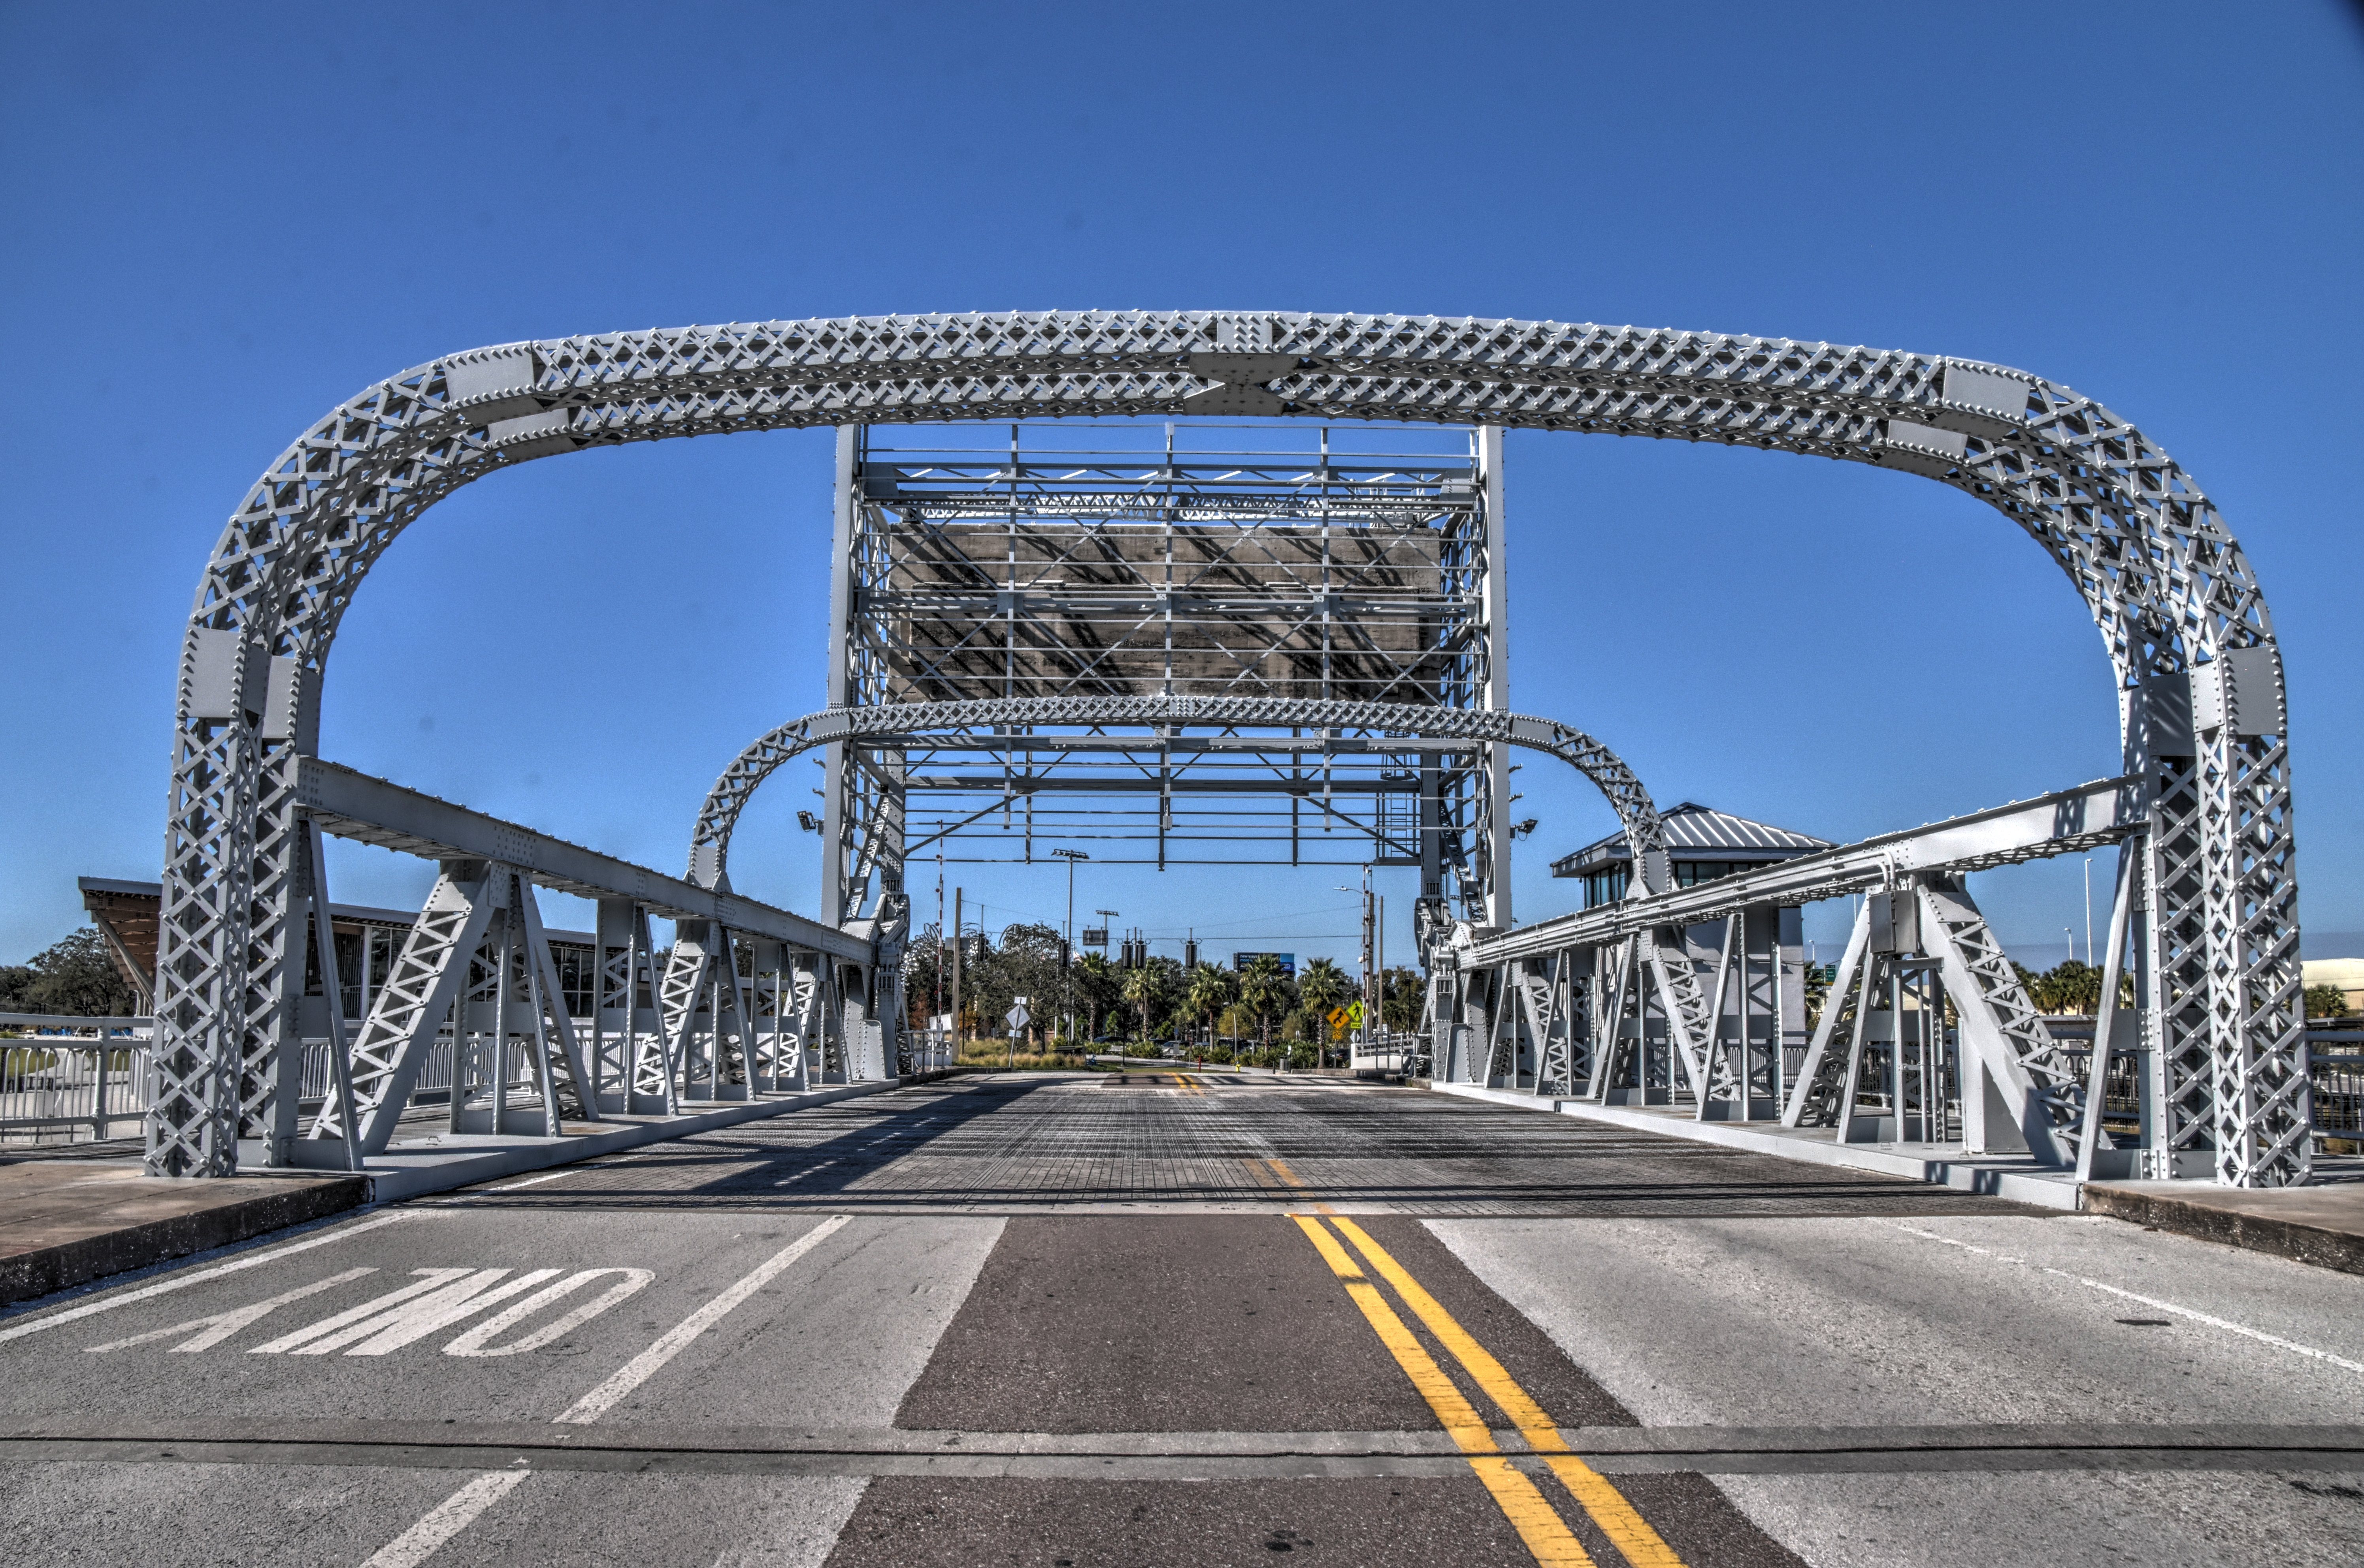
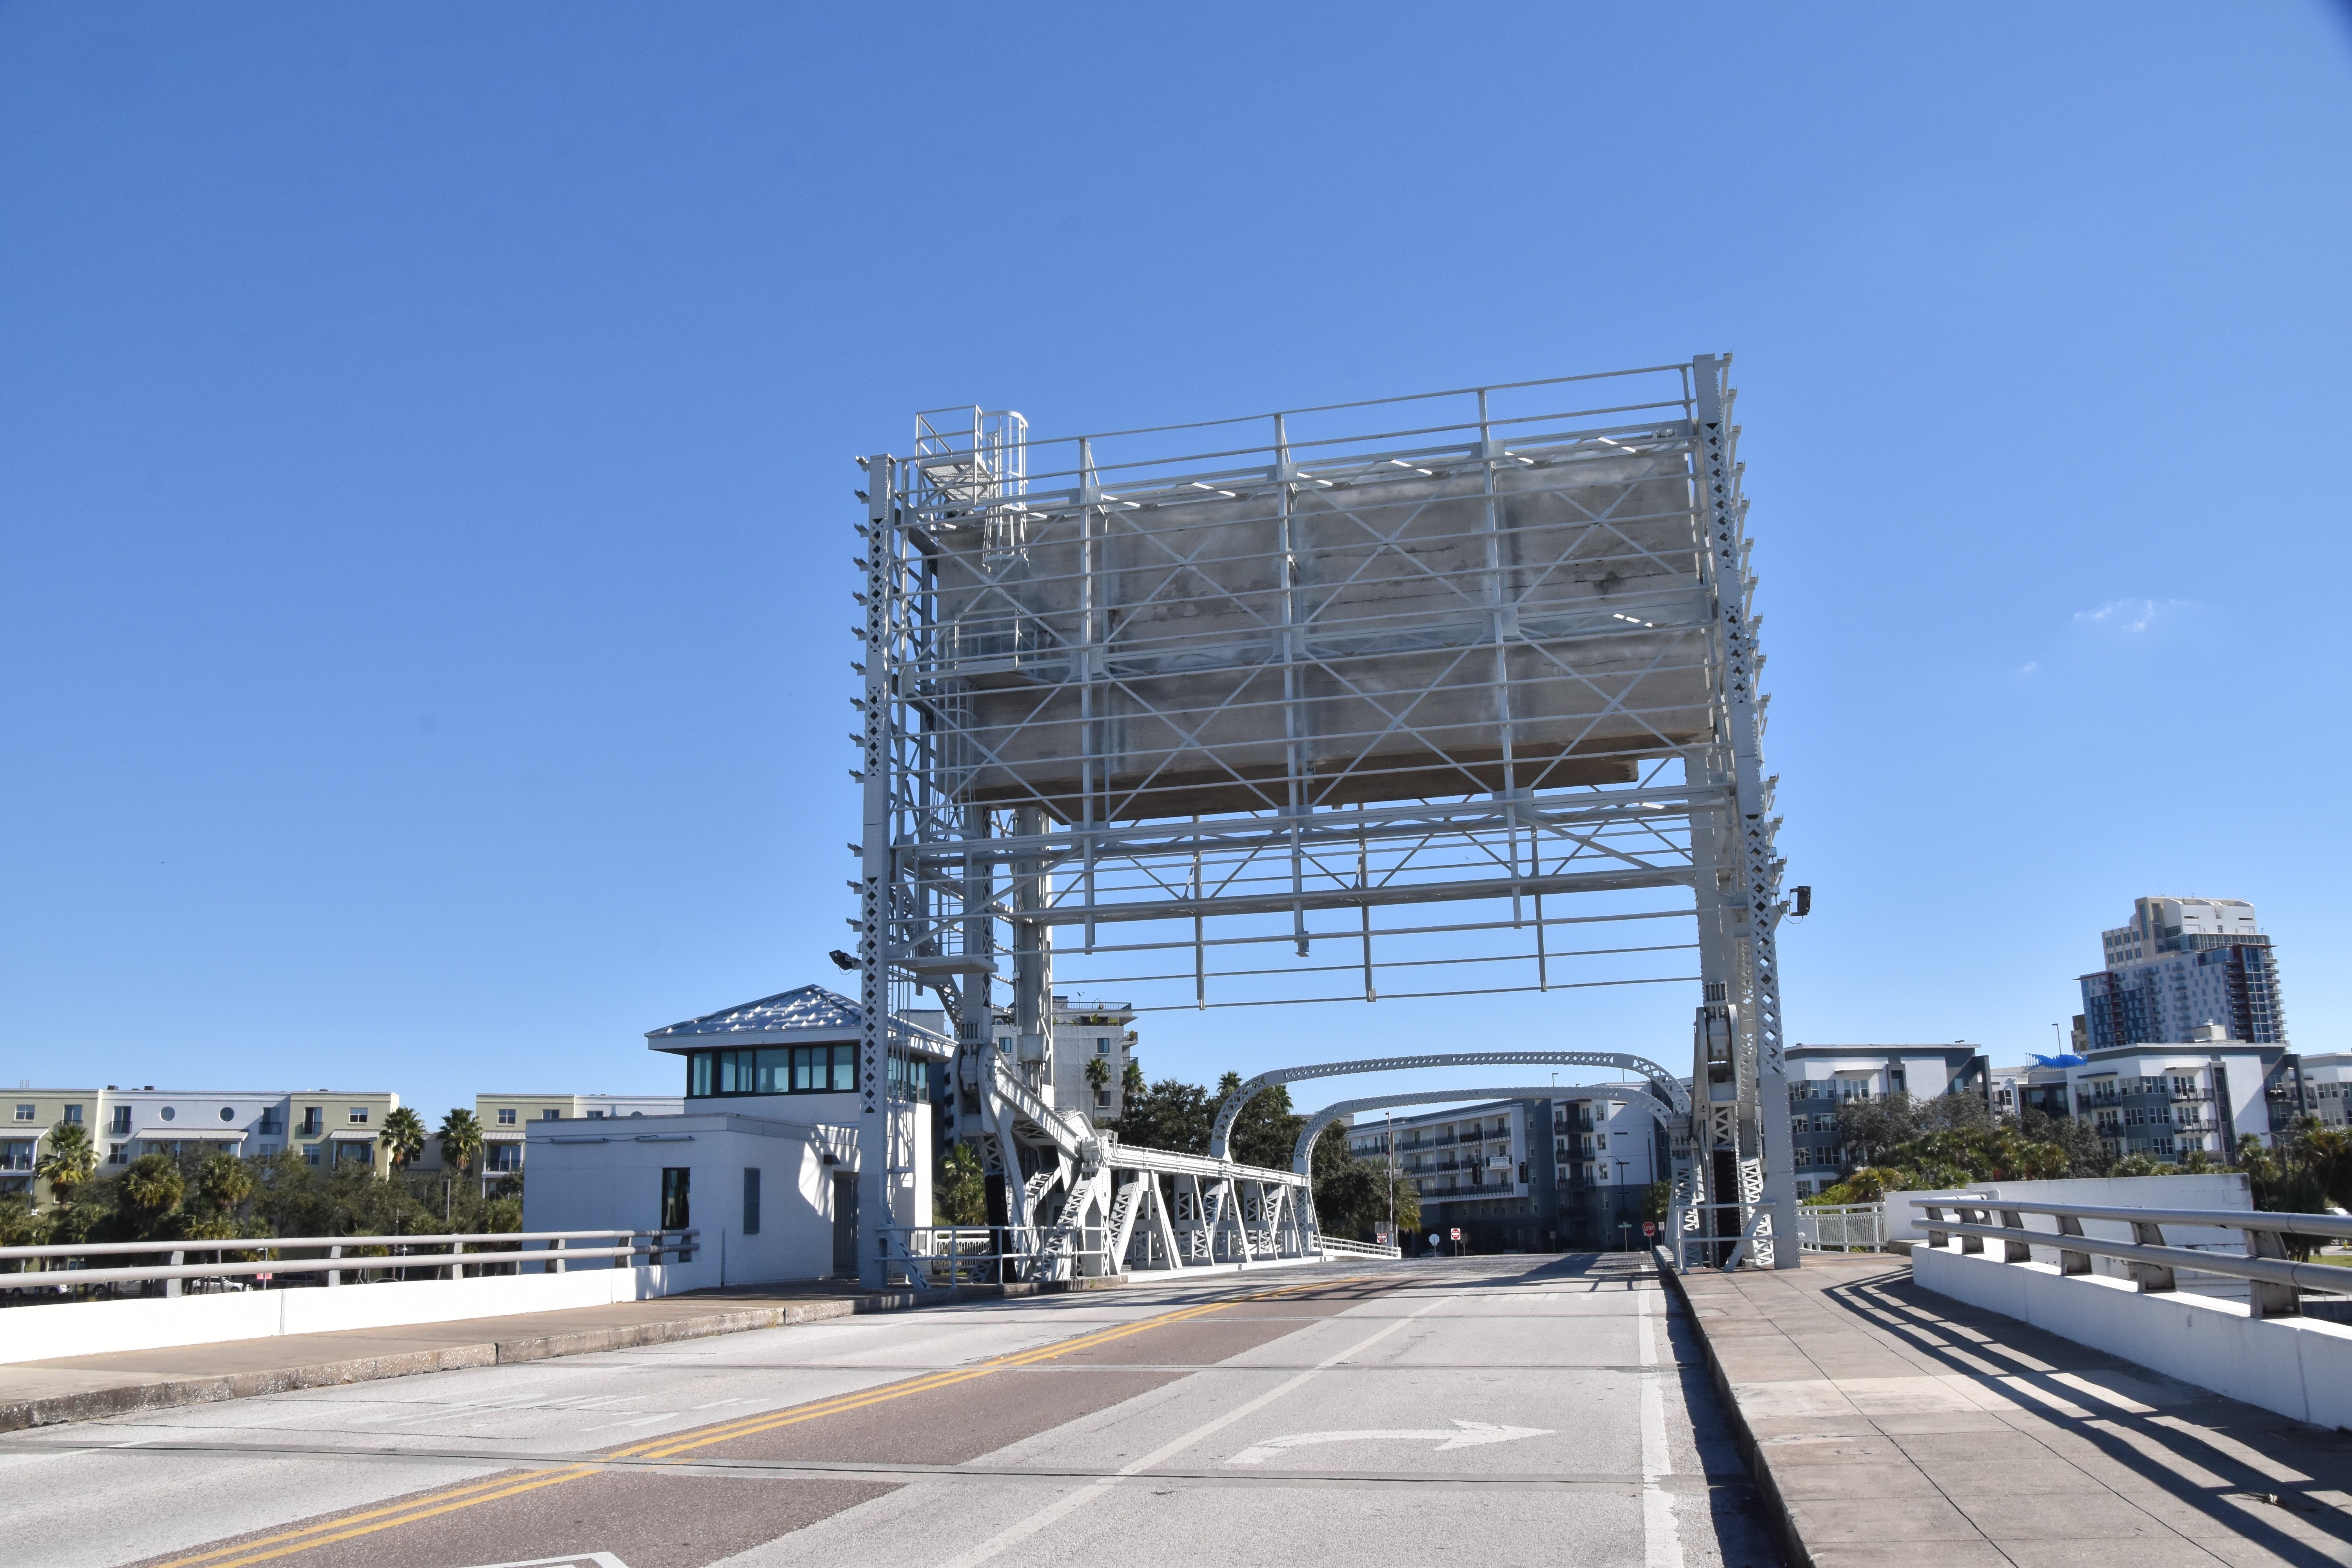
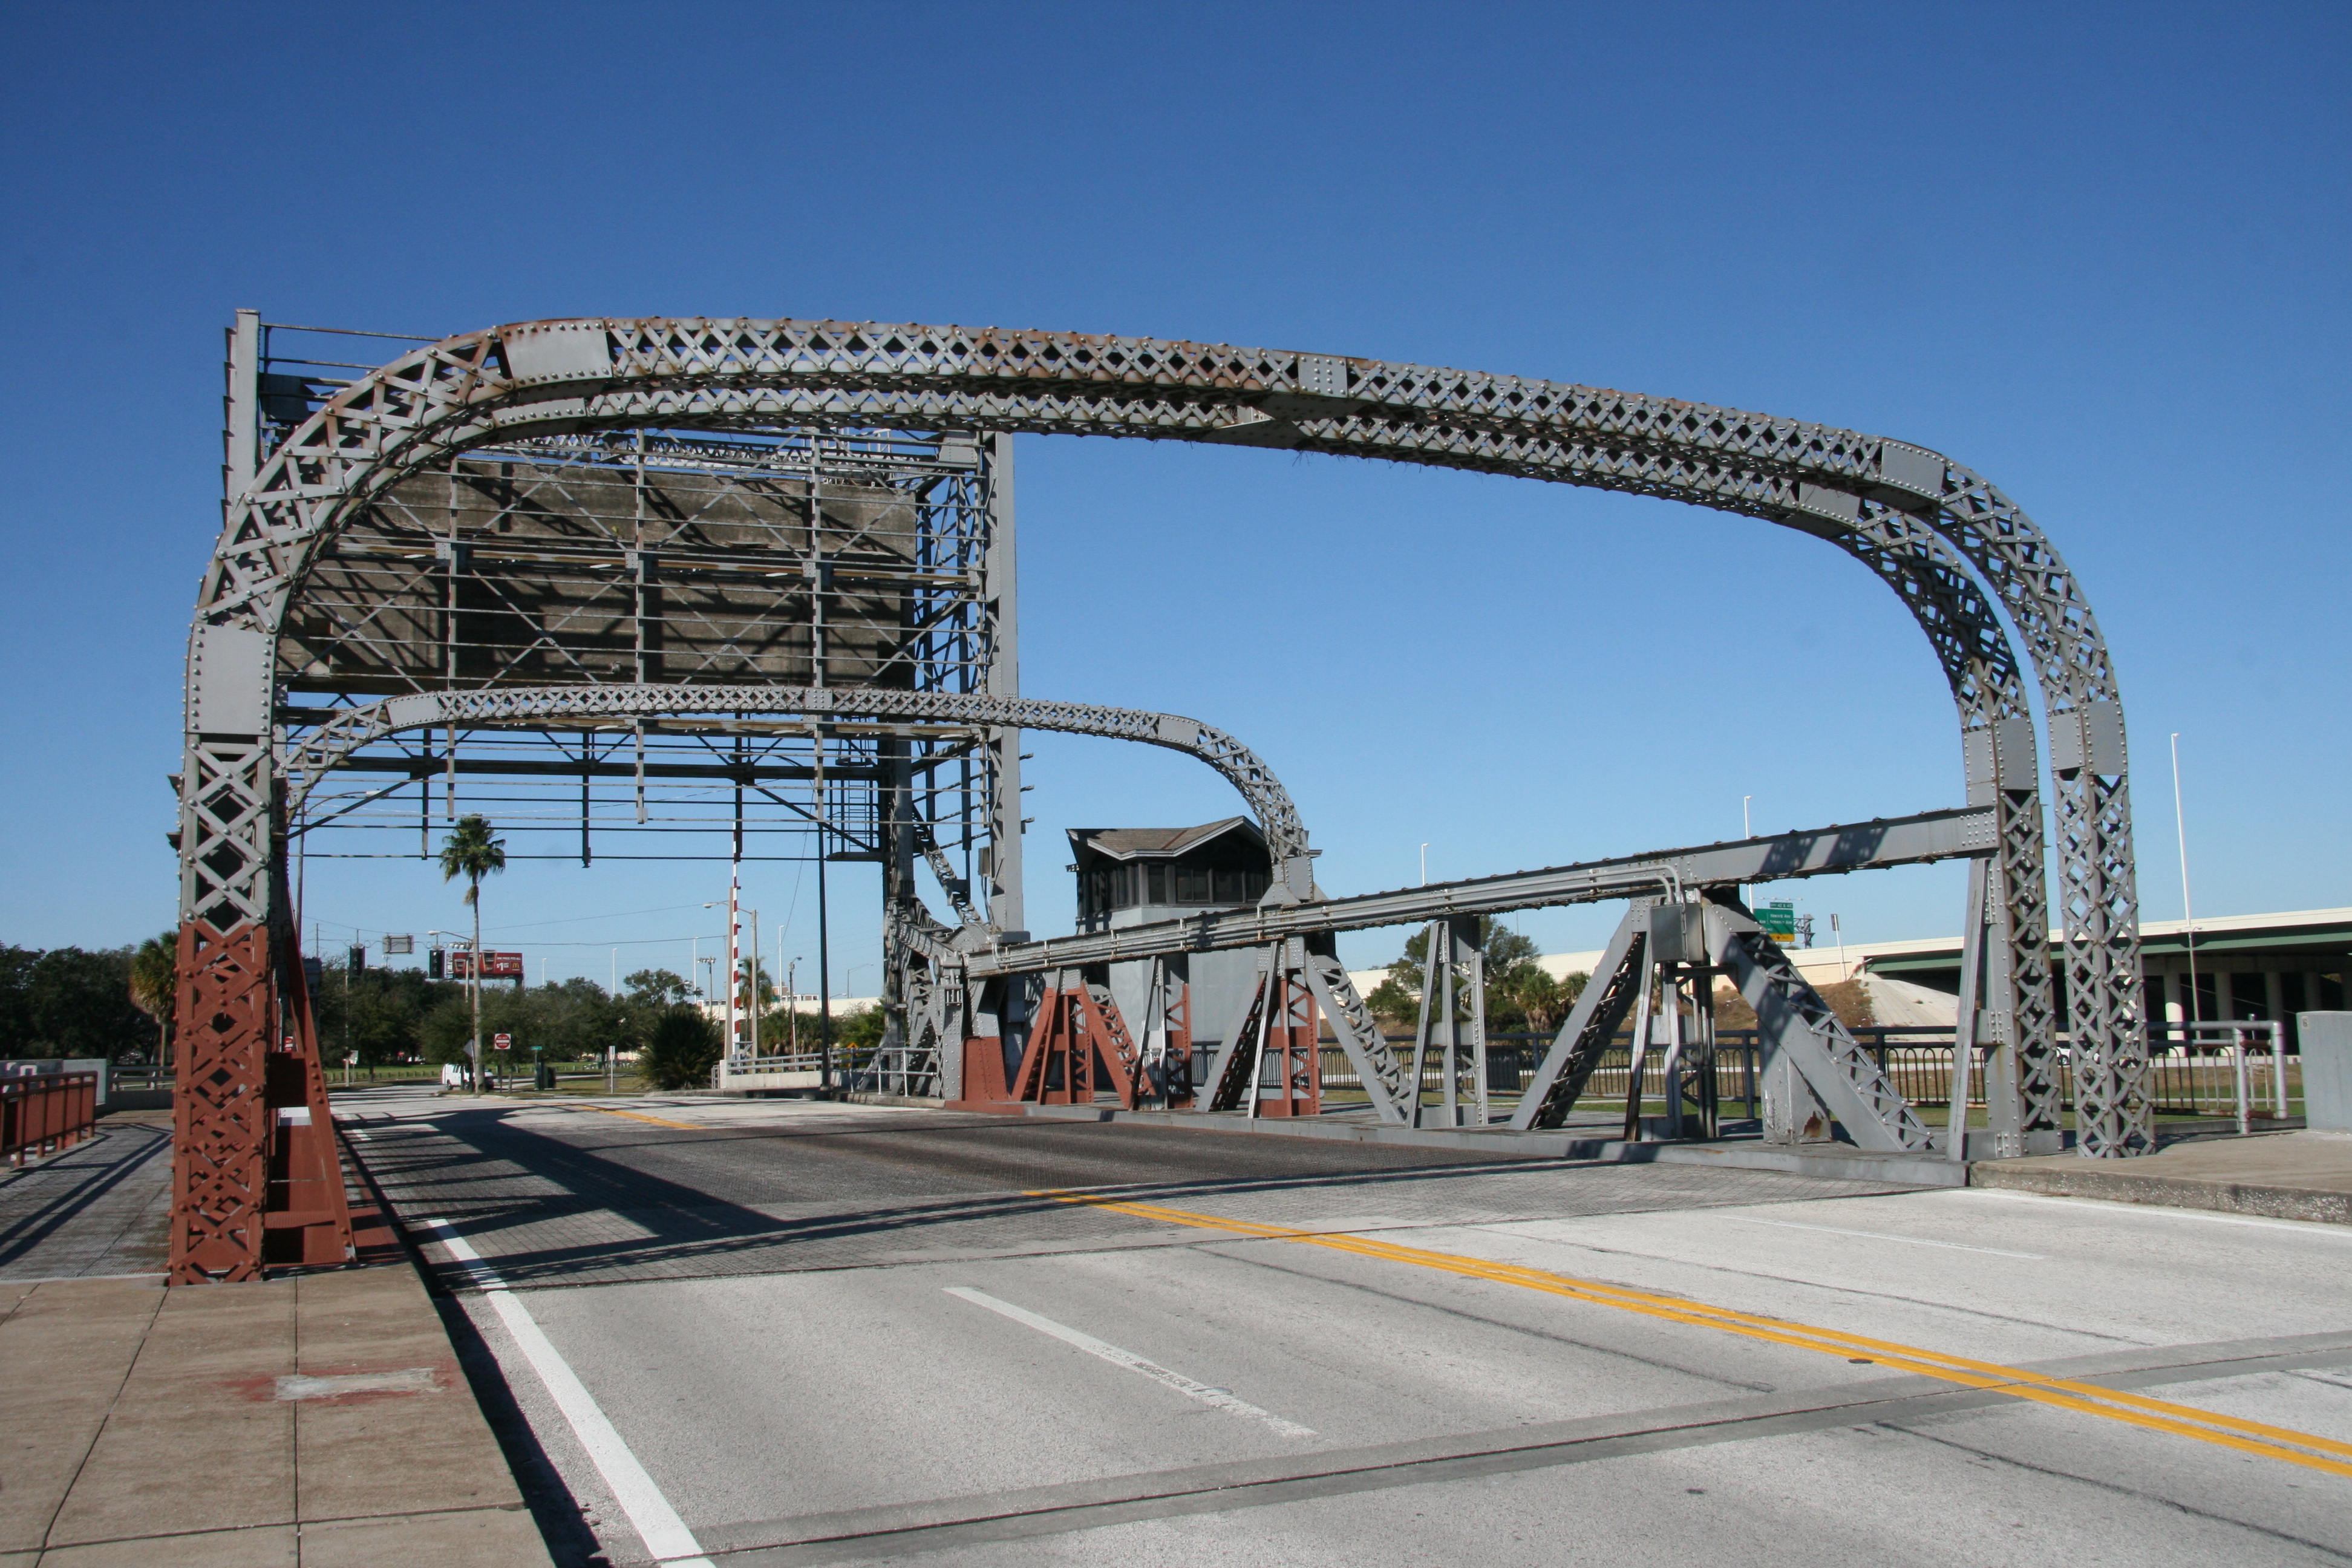
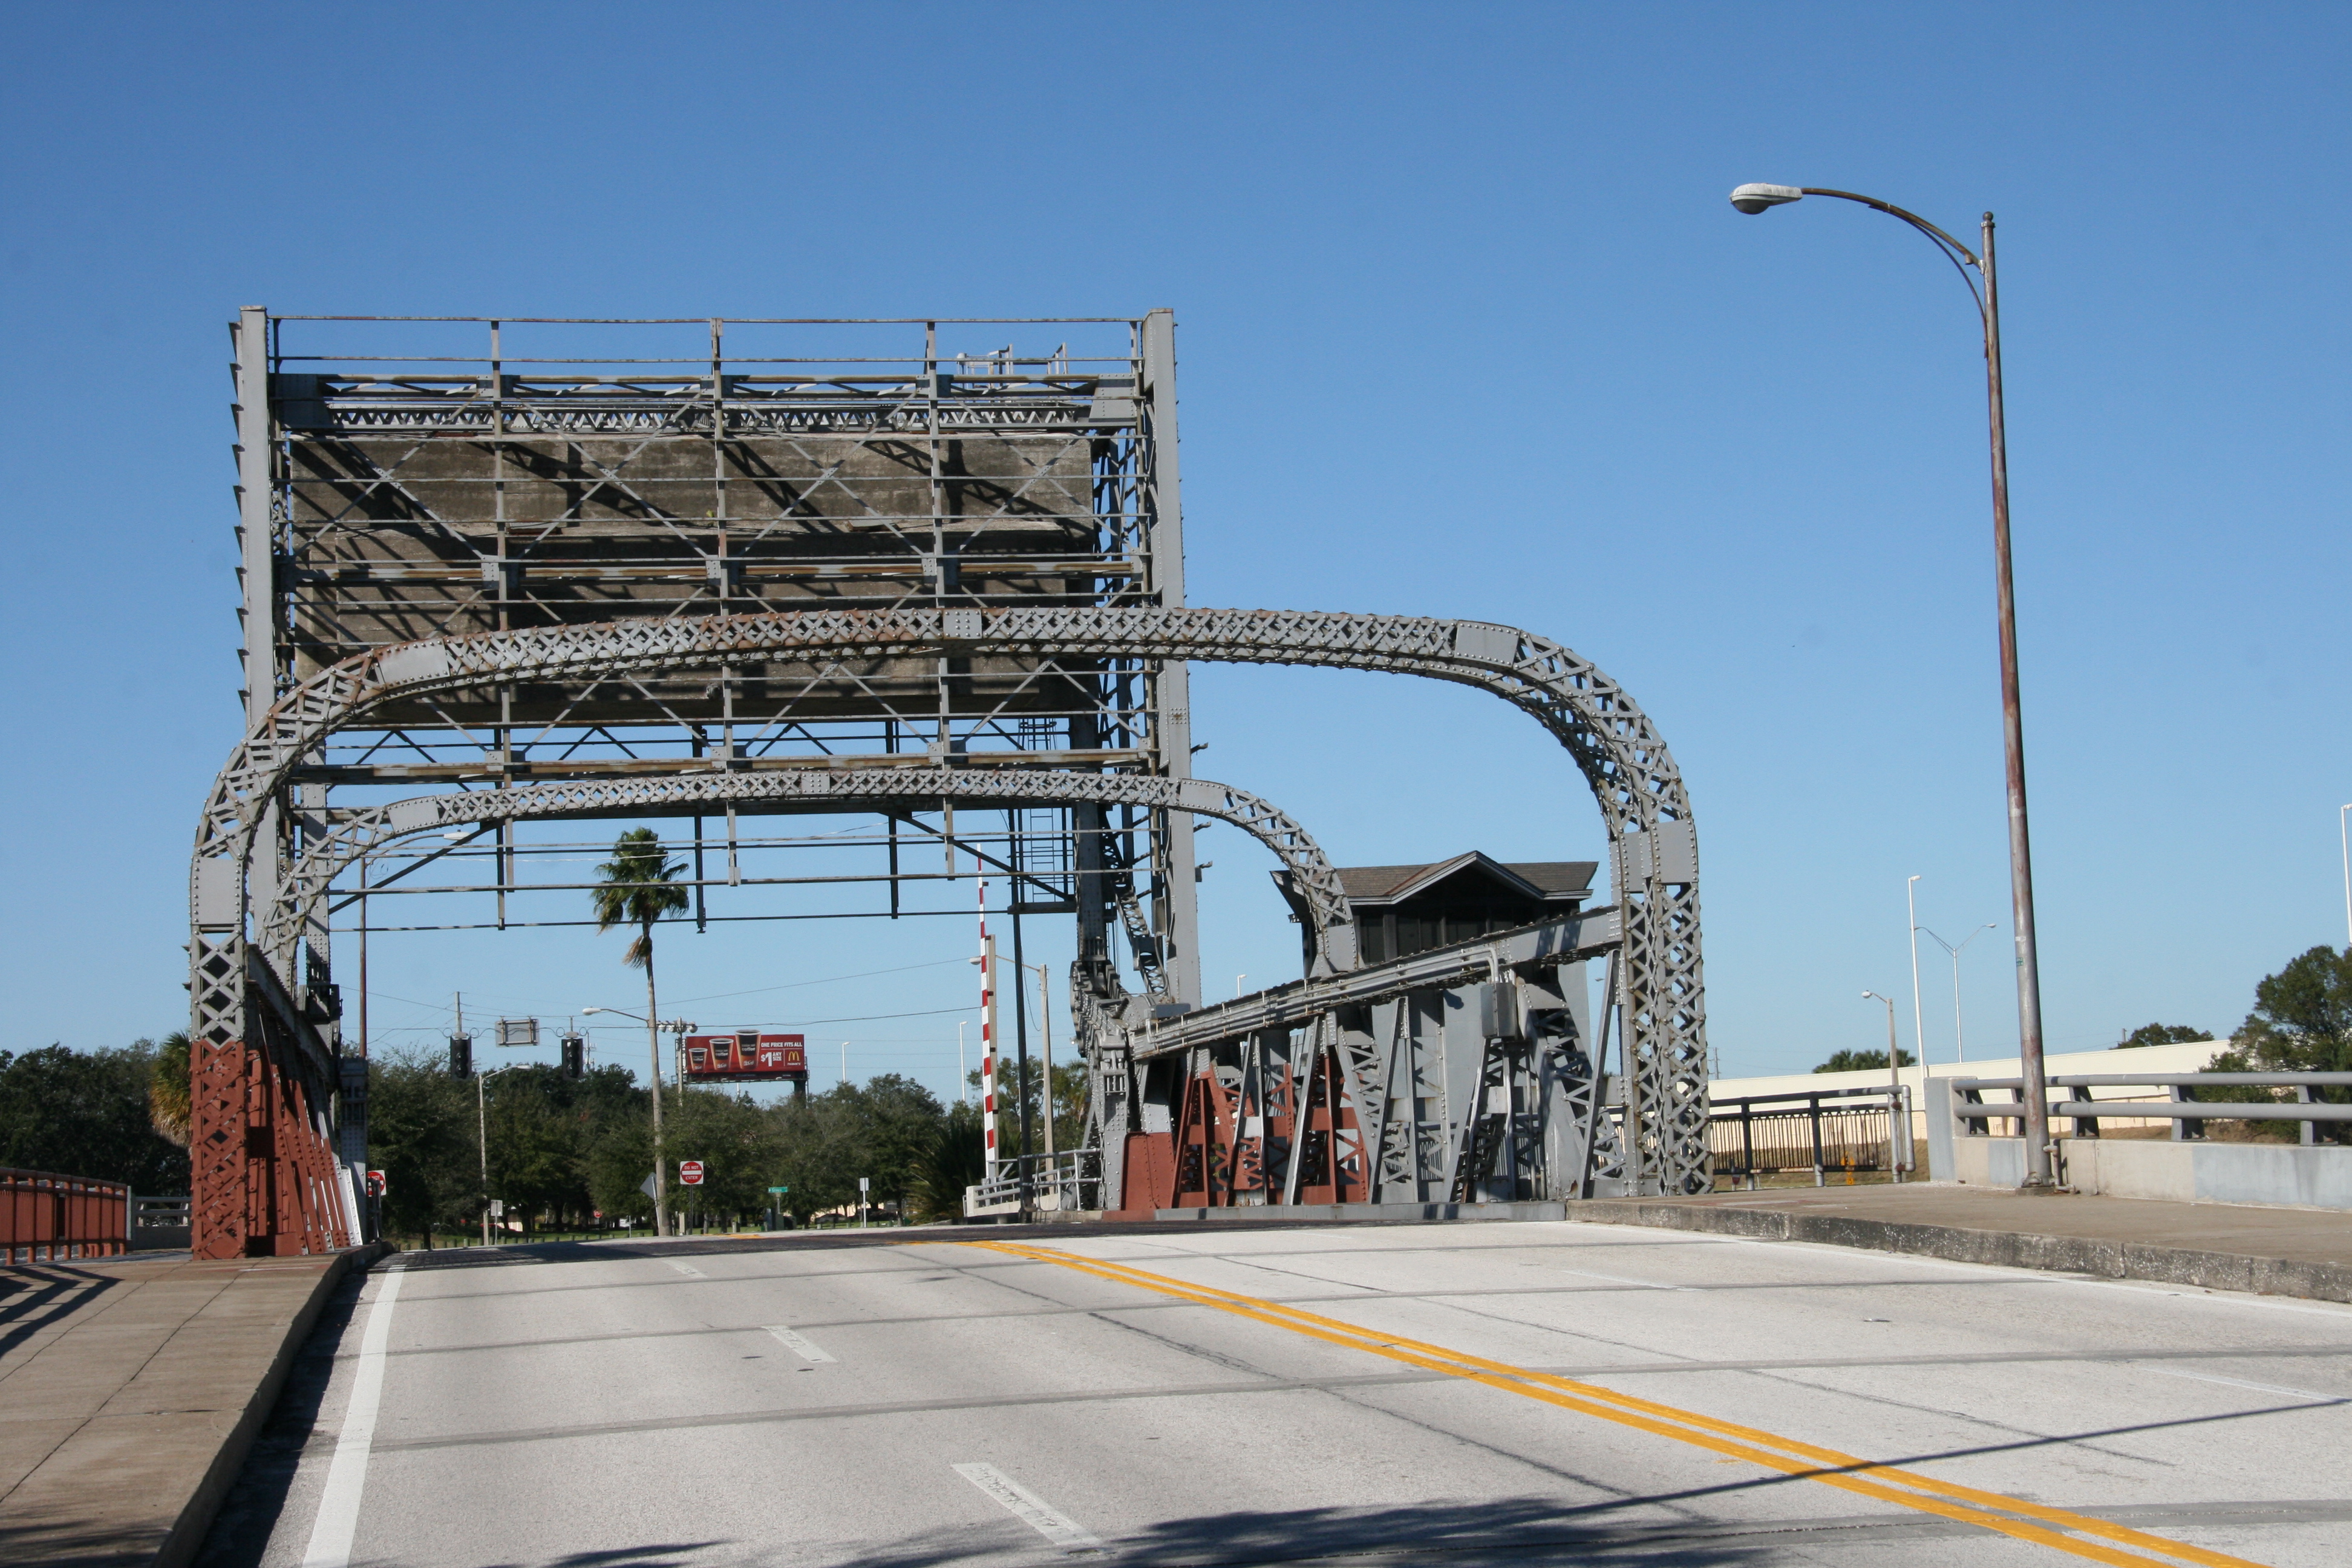
Portal views on bridge facing east.
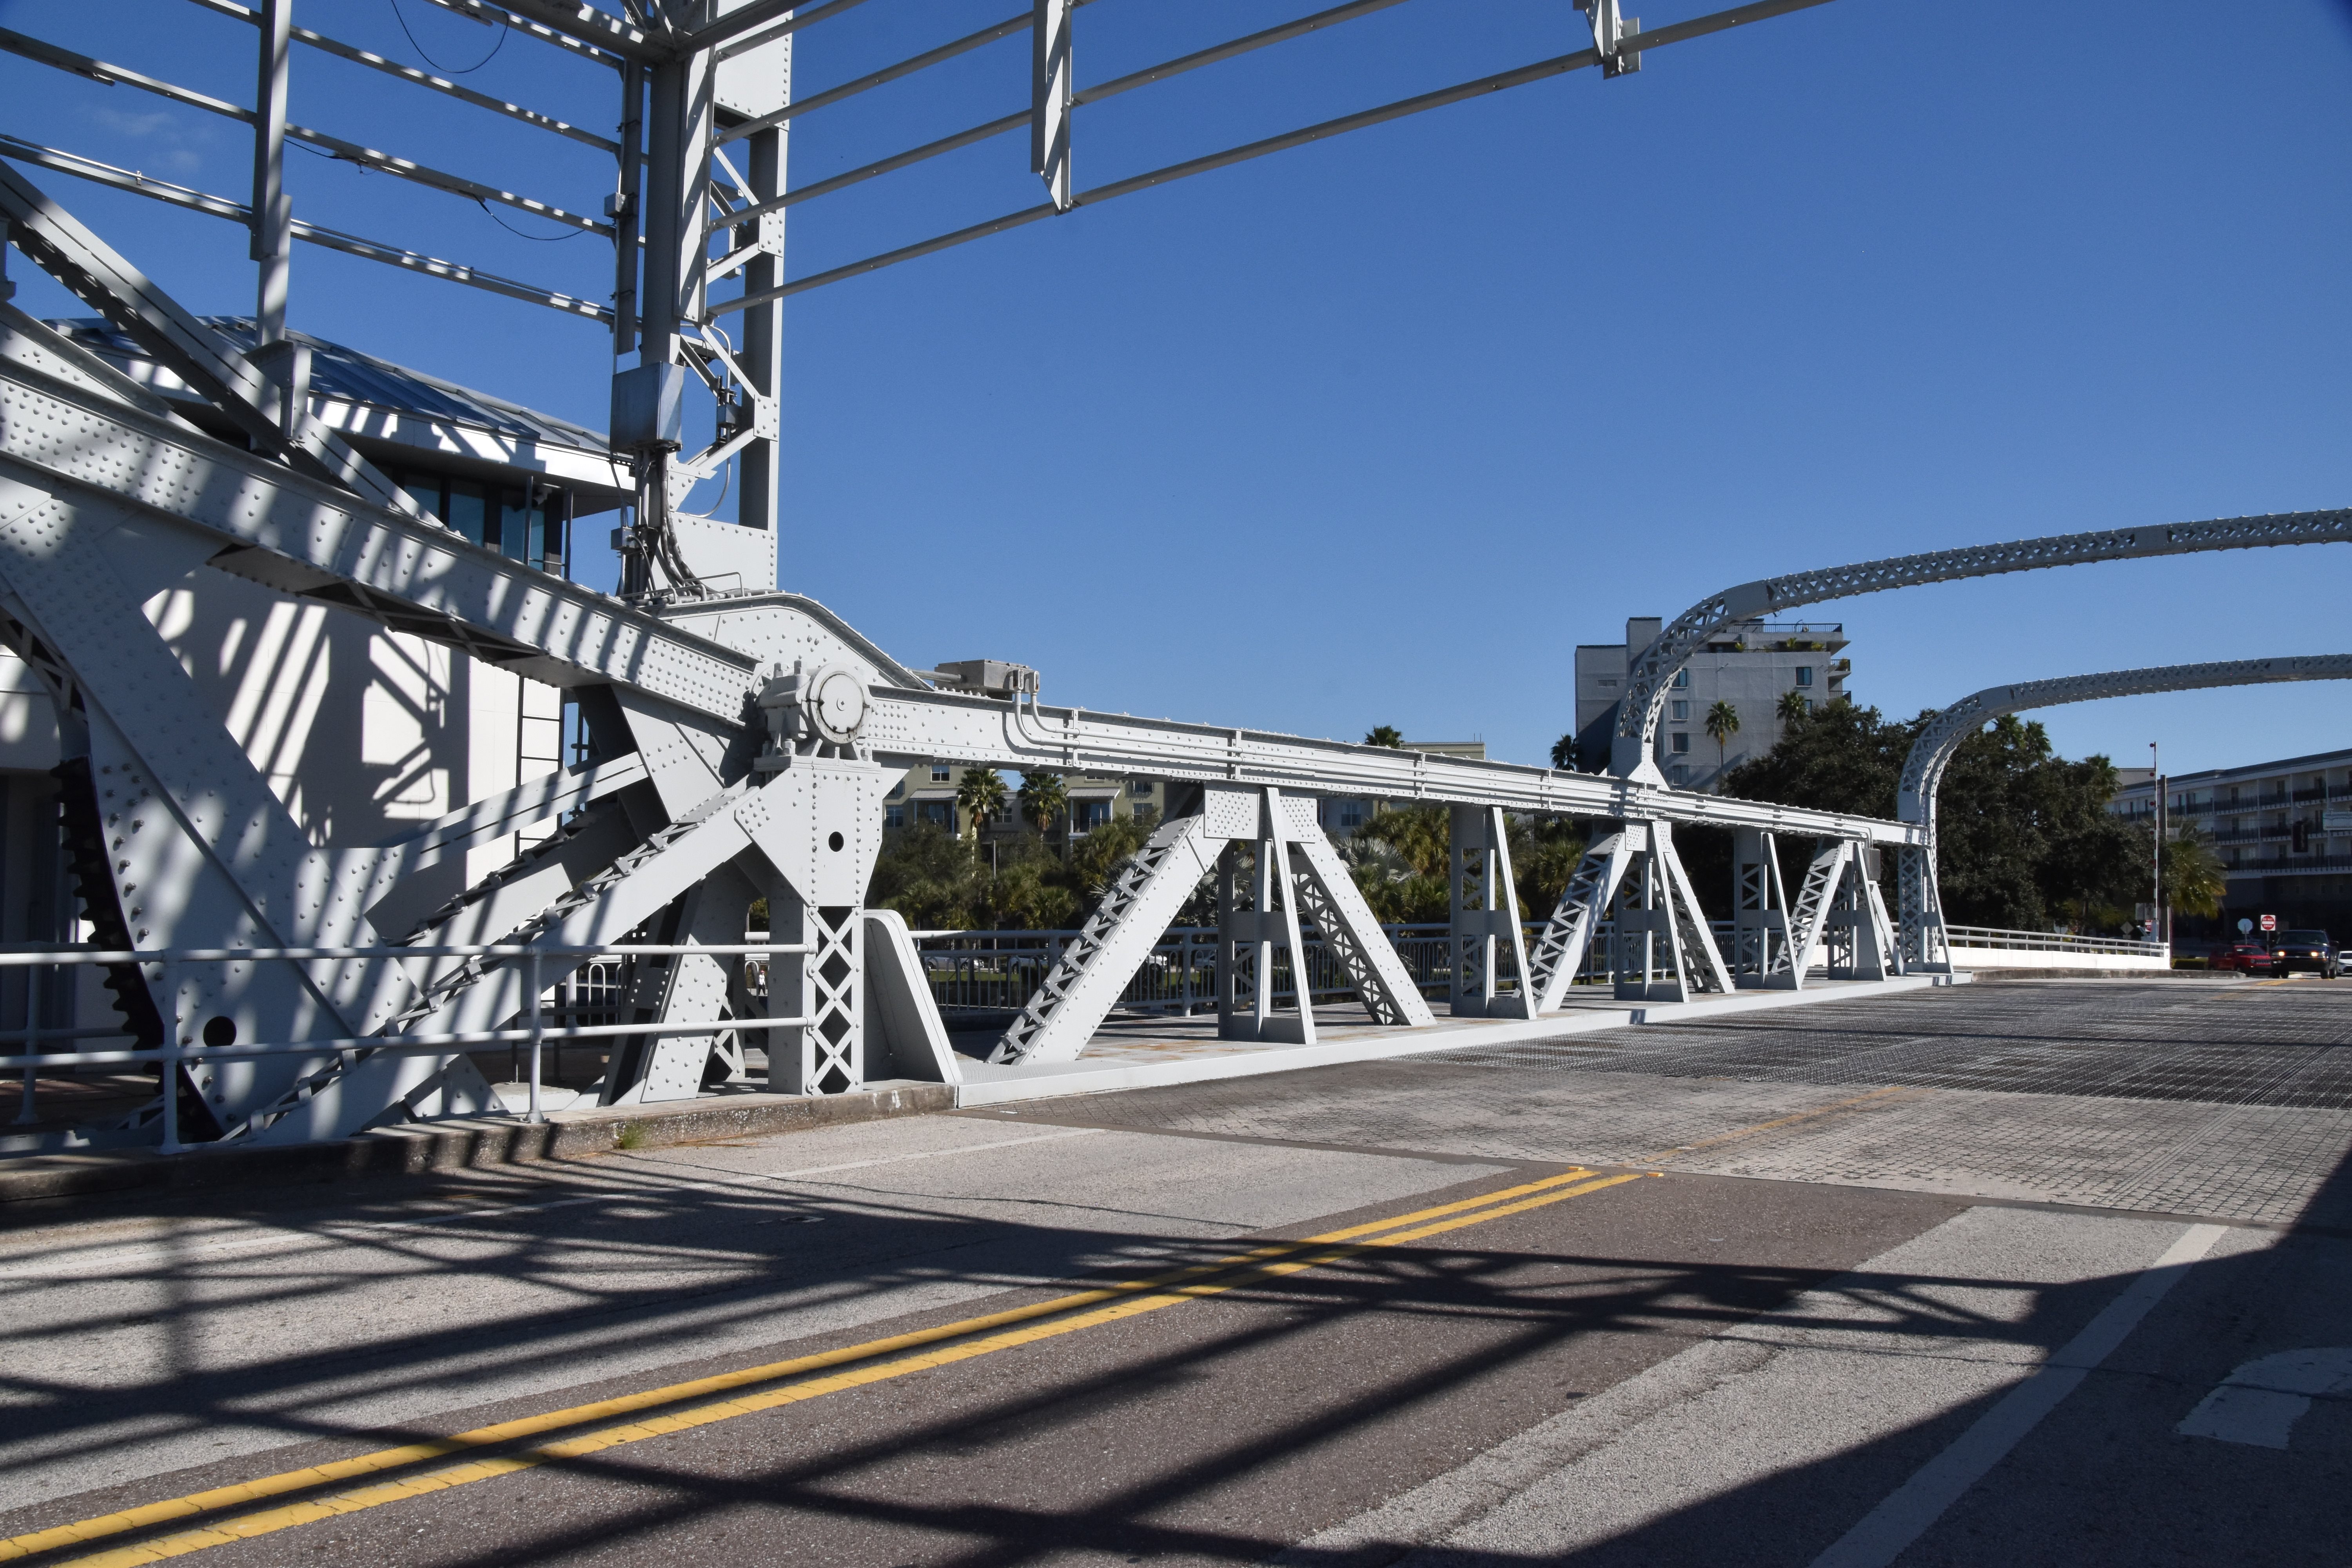
![]()
Oblique view from sidewalk from southeast quadrant.
![]()

View beside leaf.
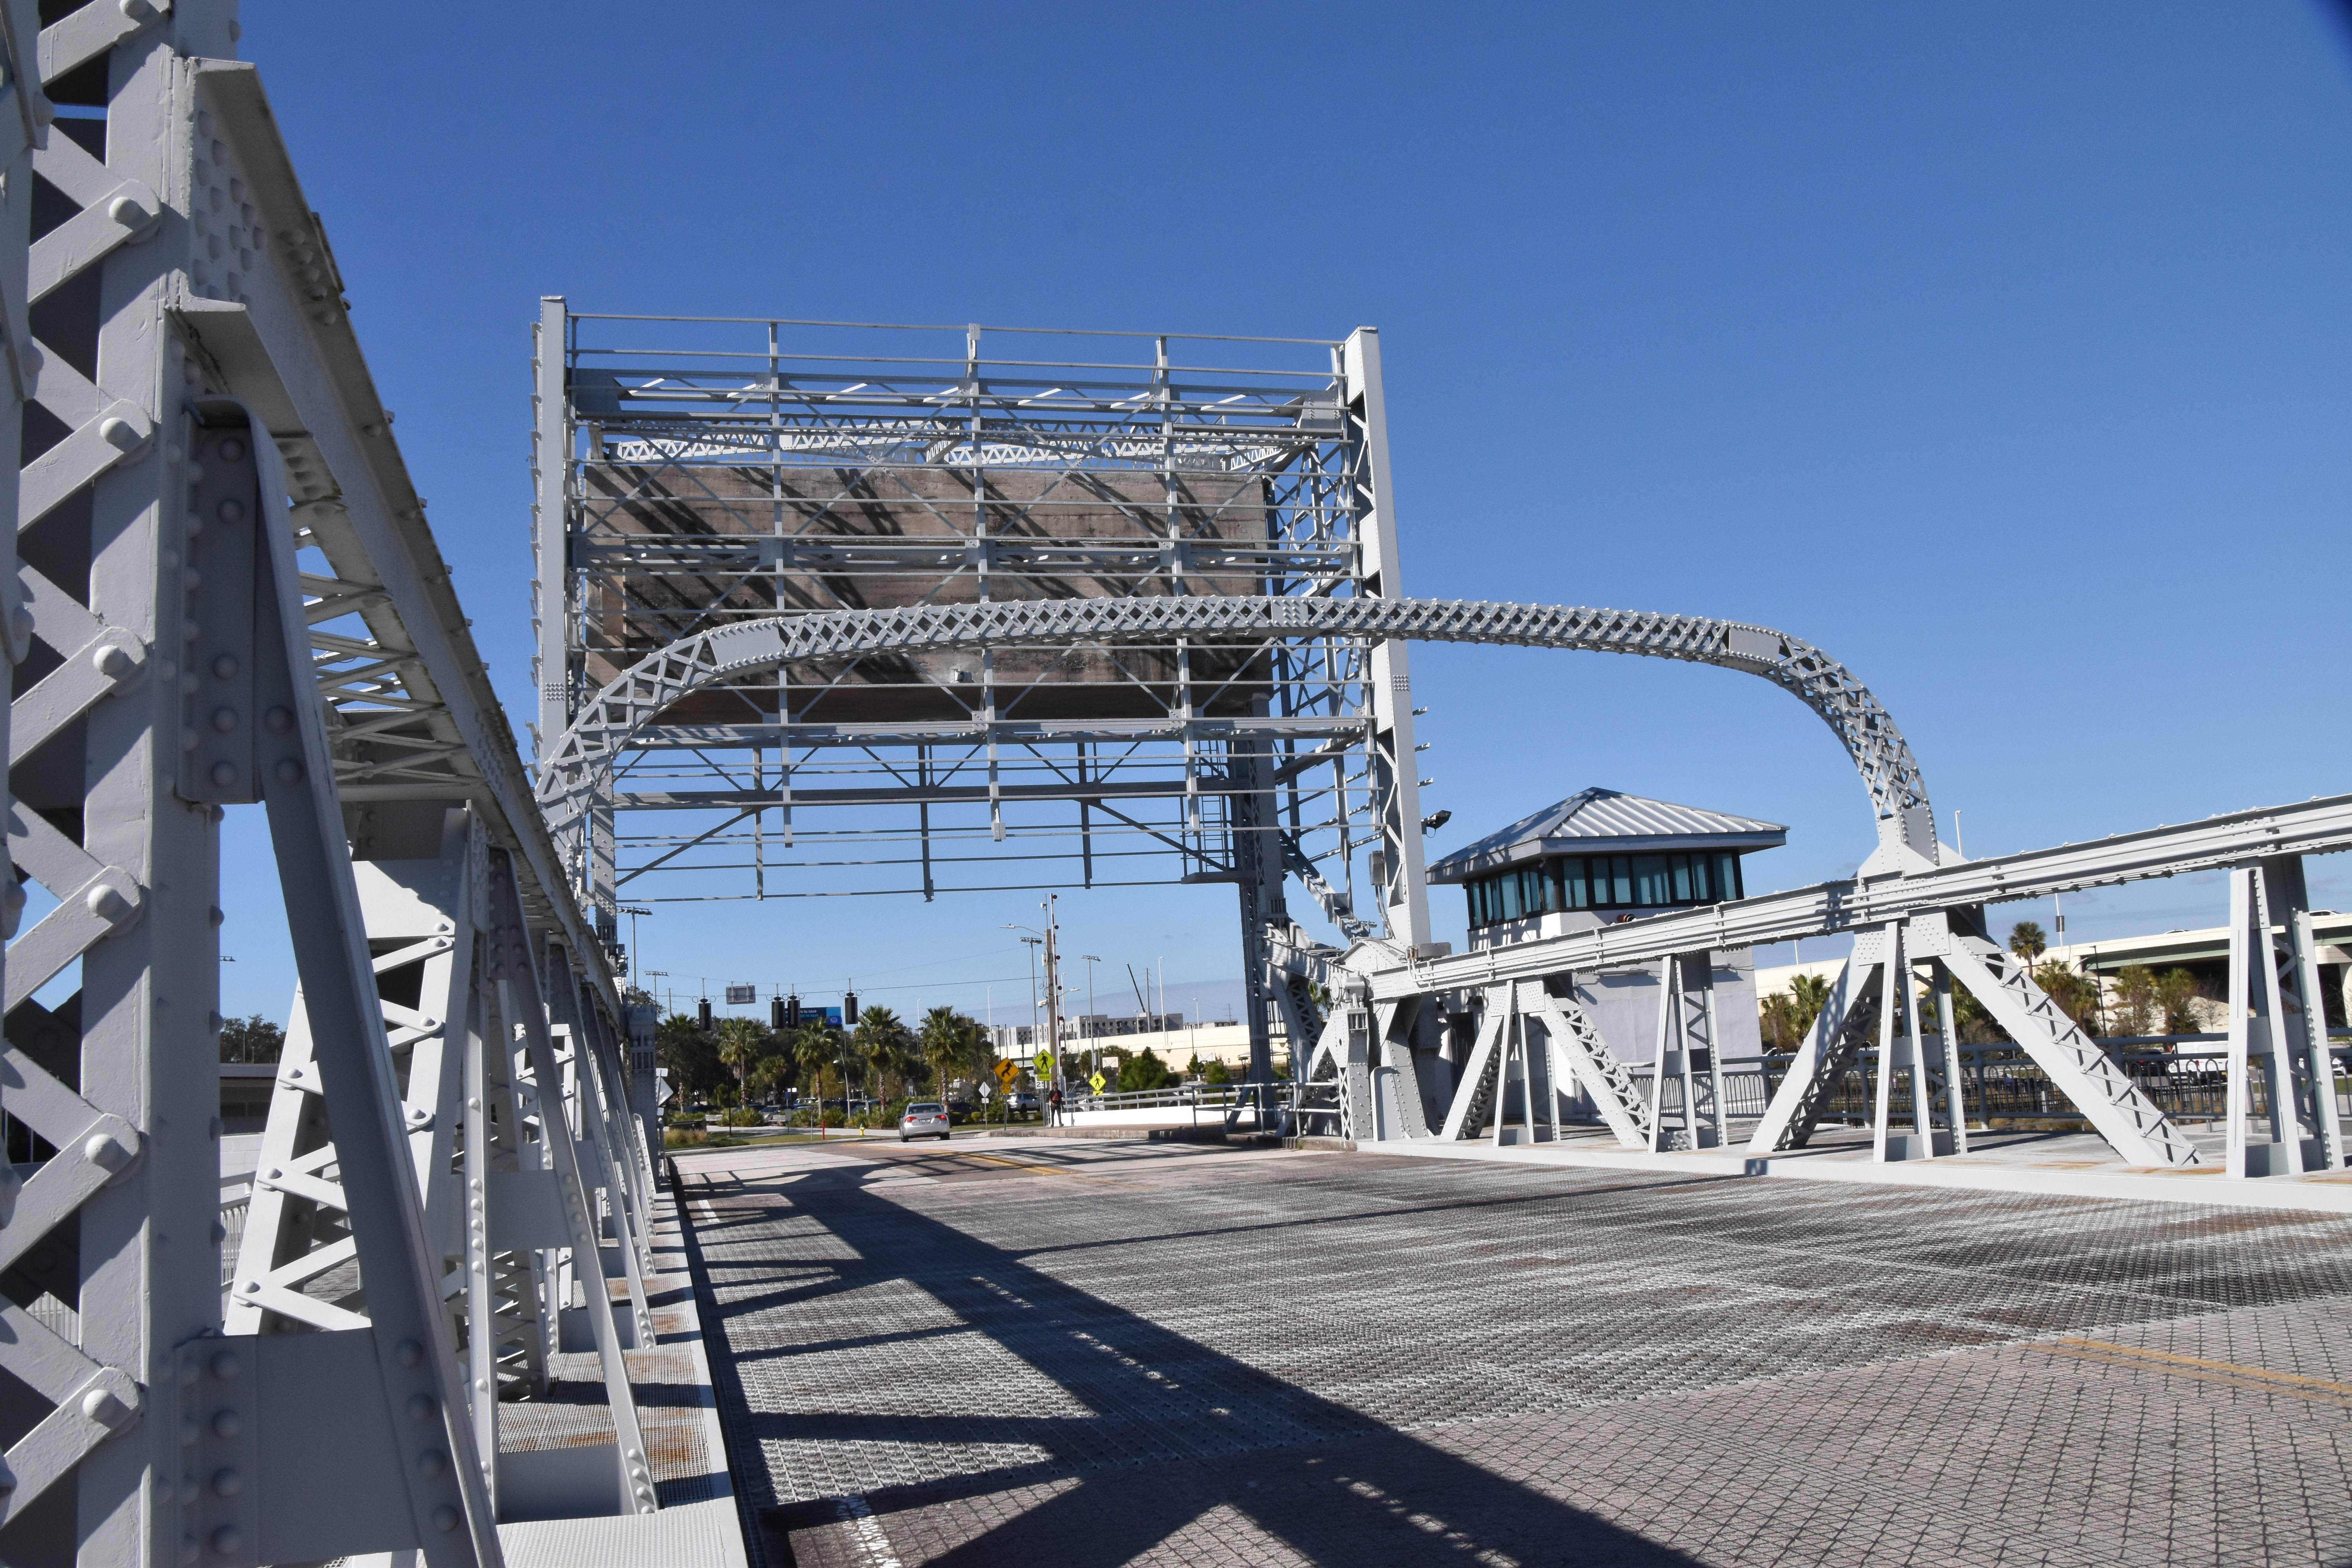
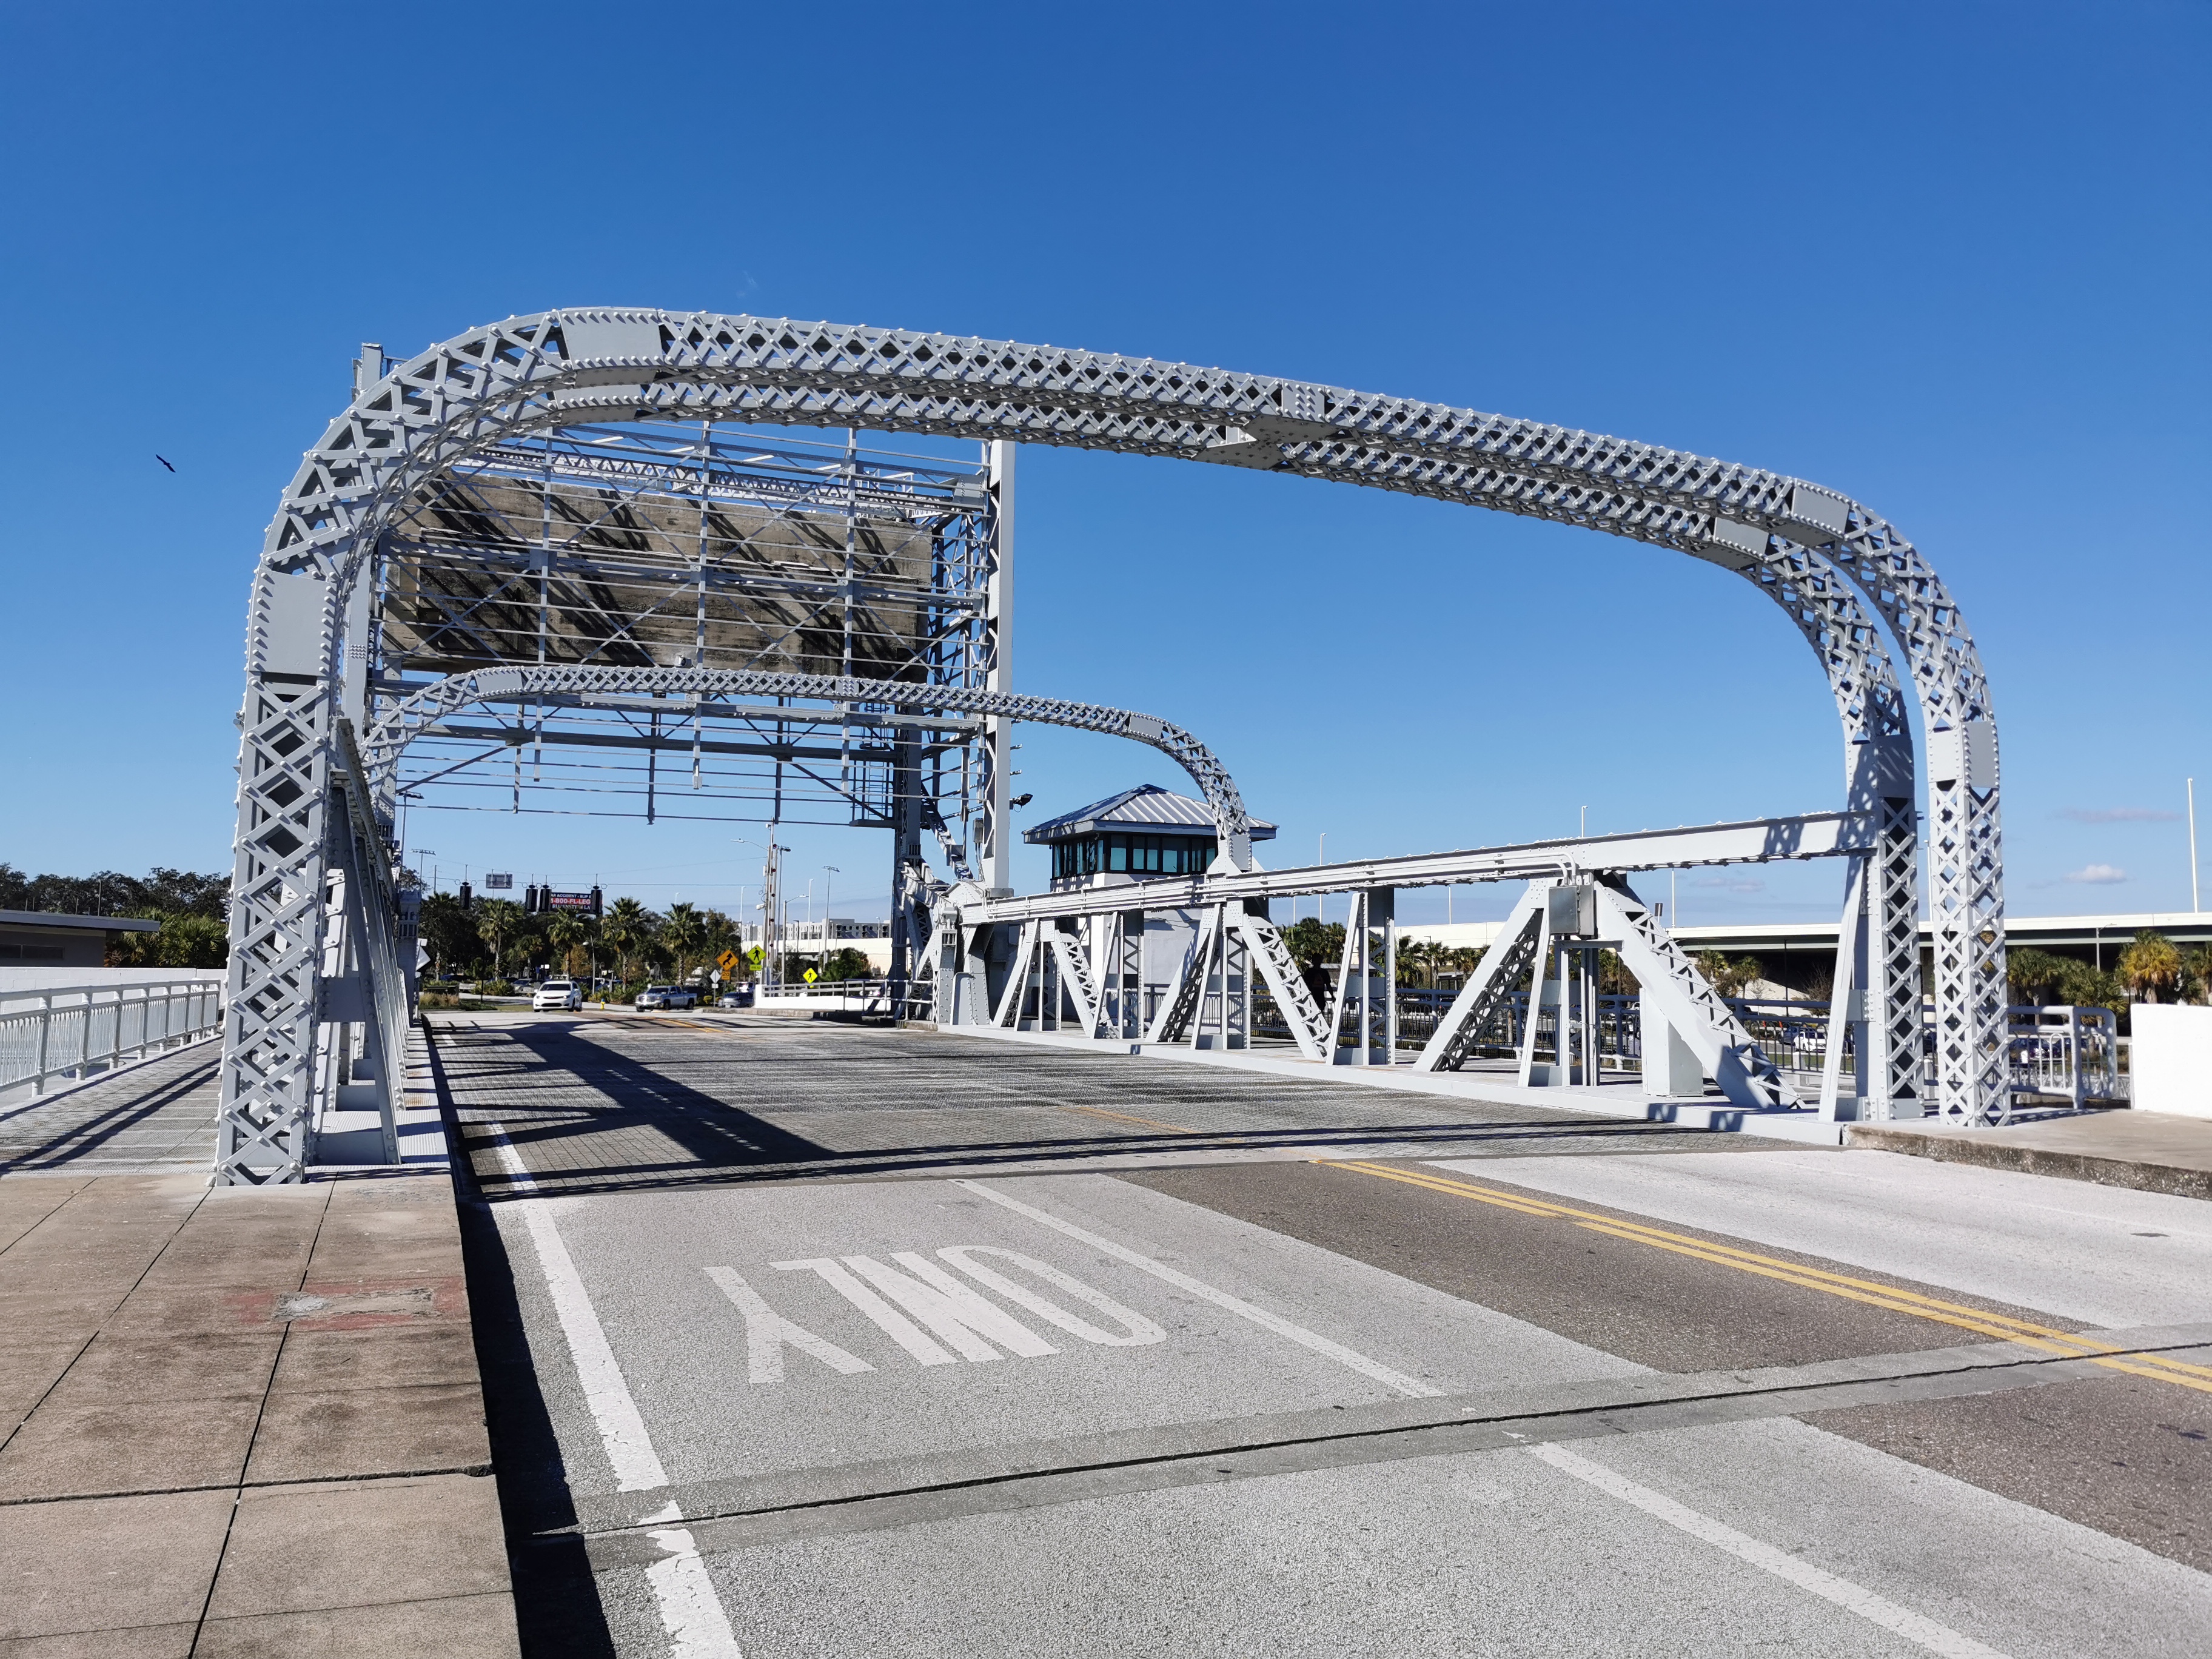
![]()


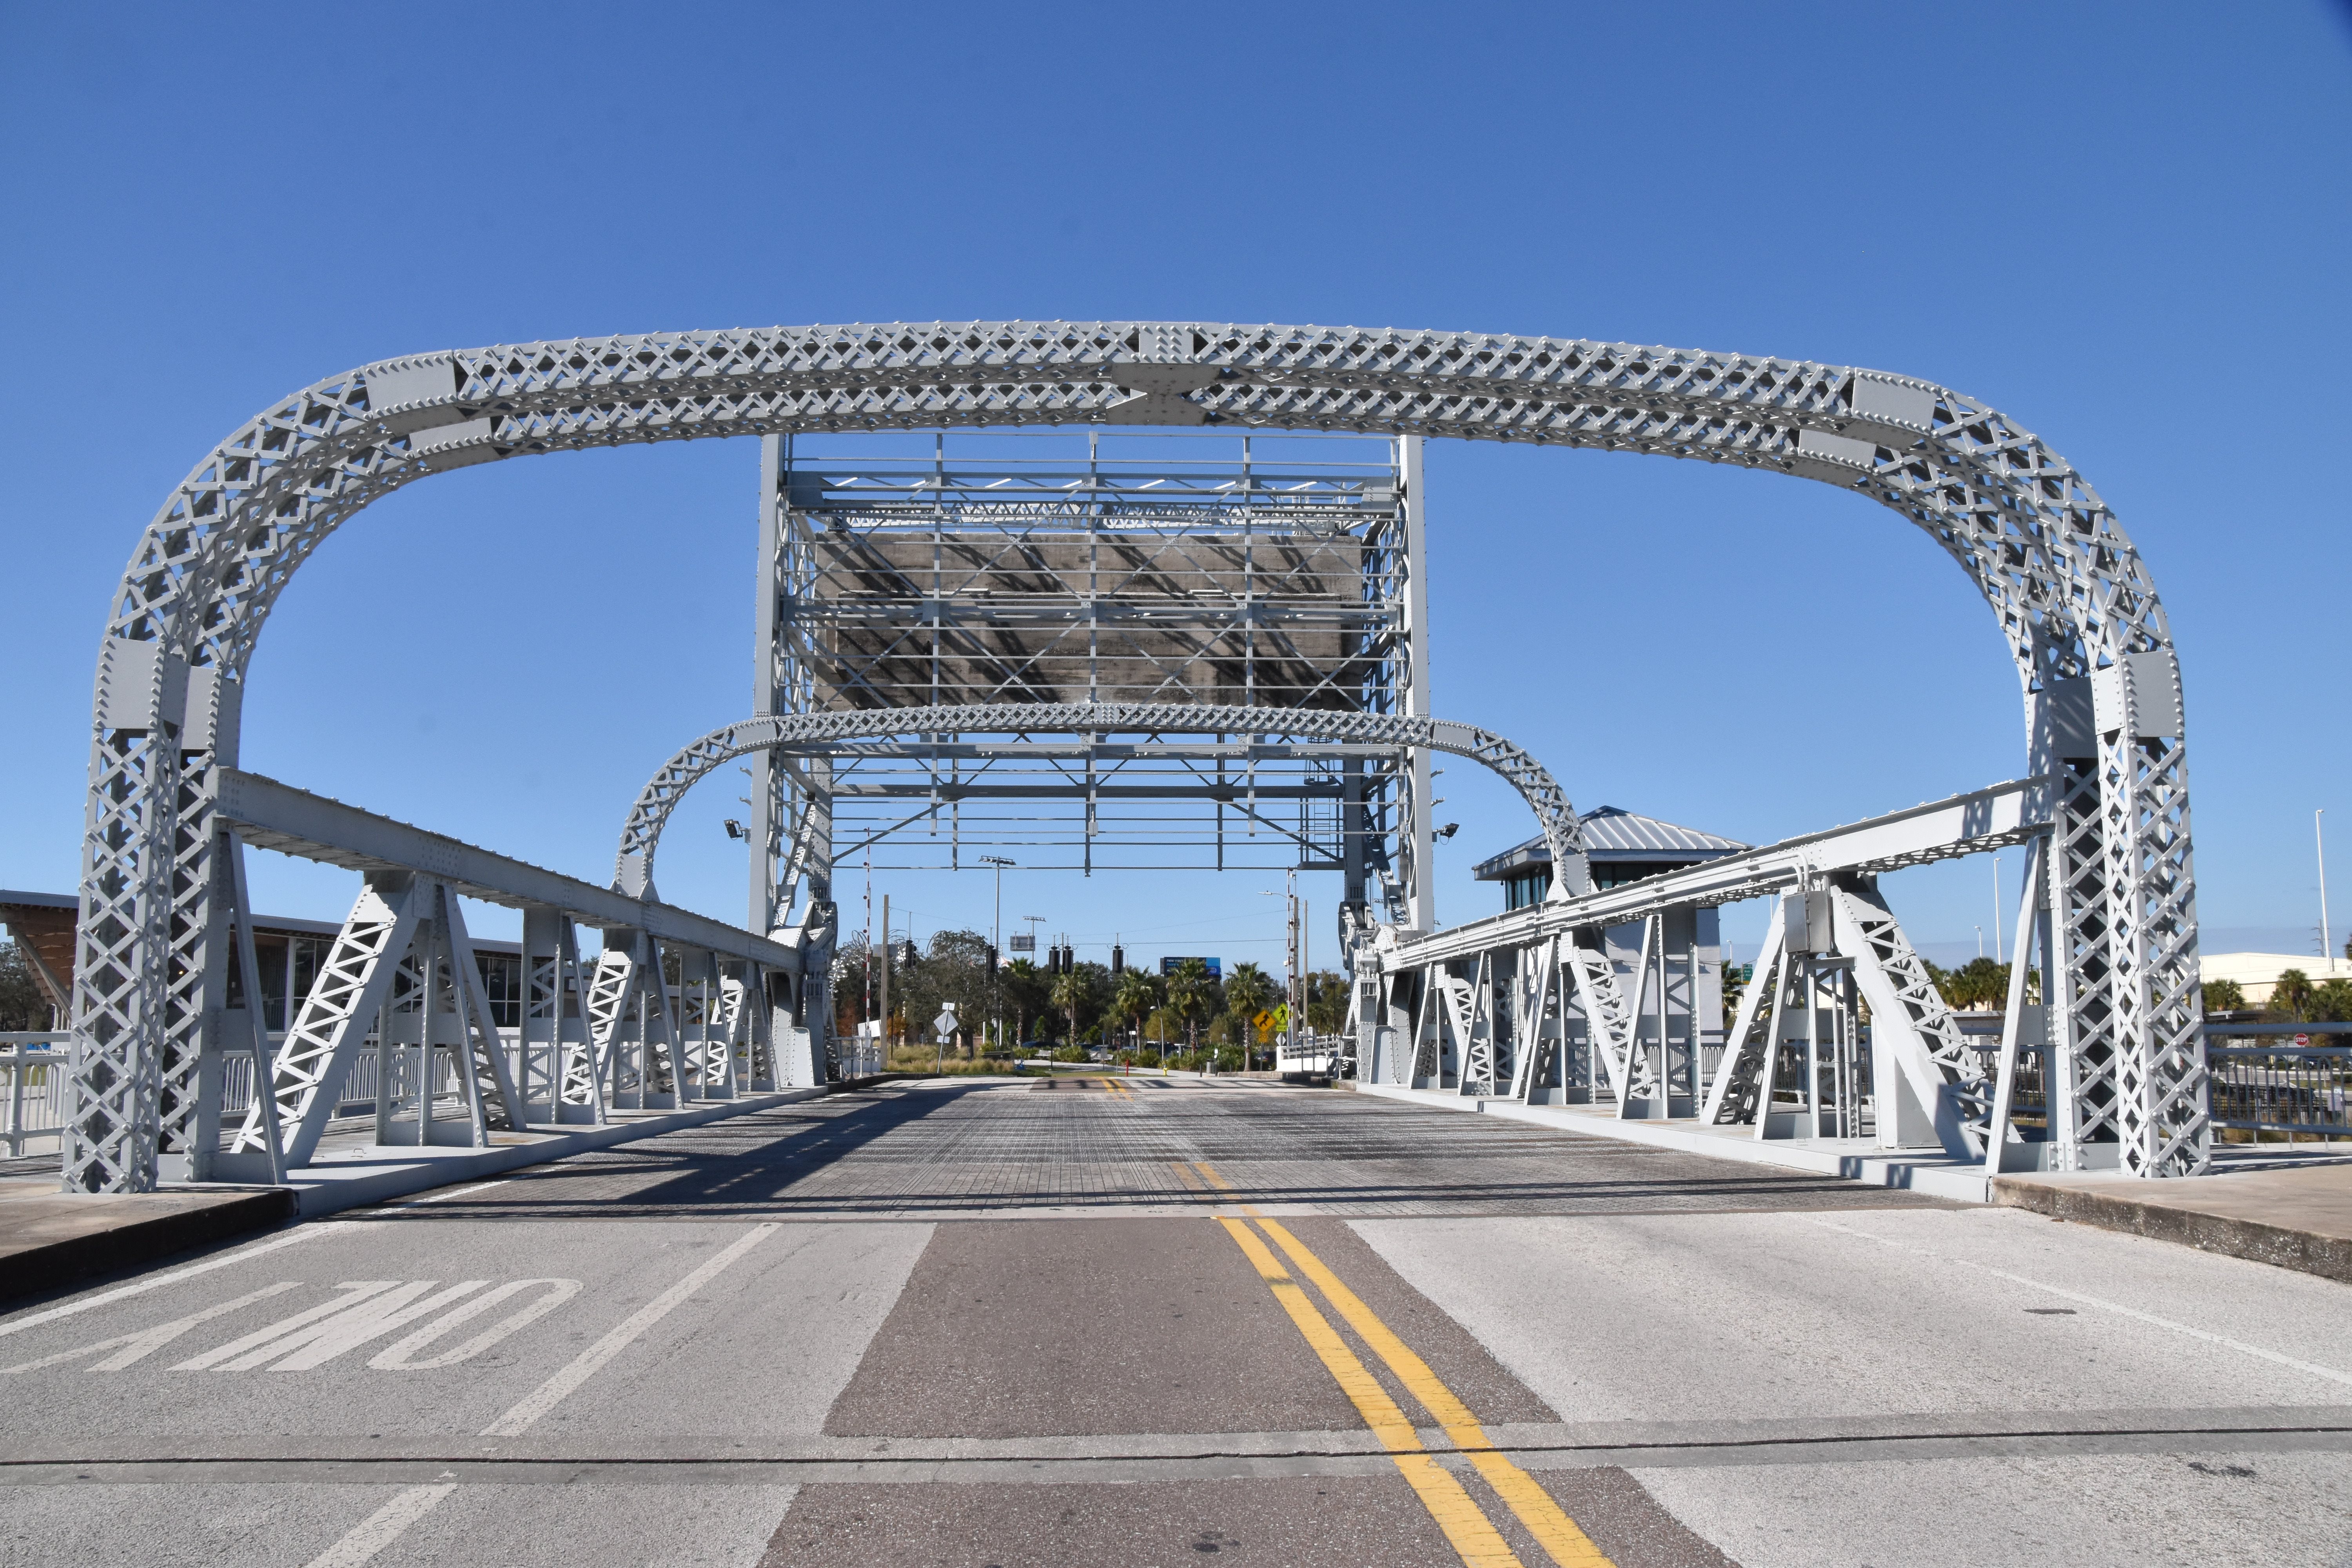
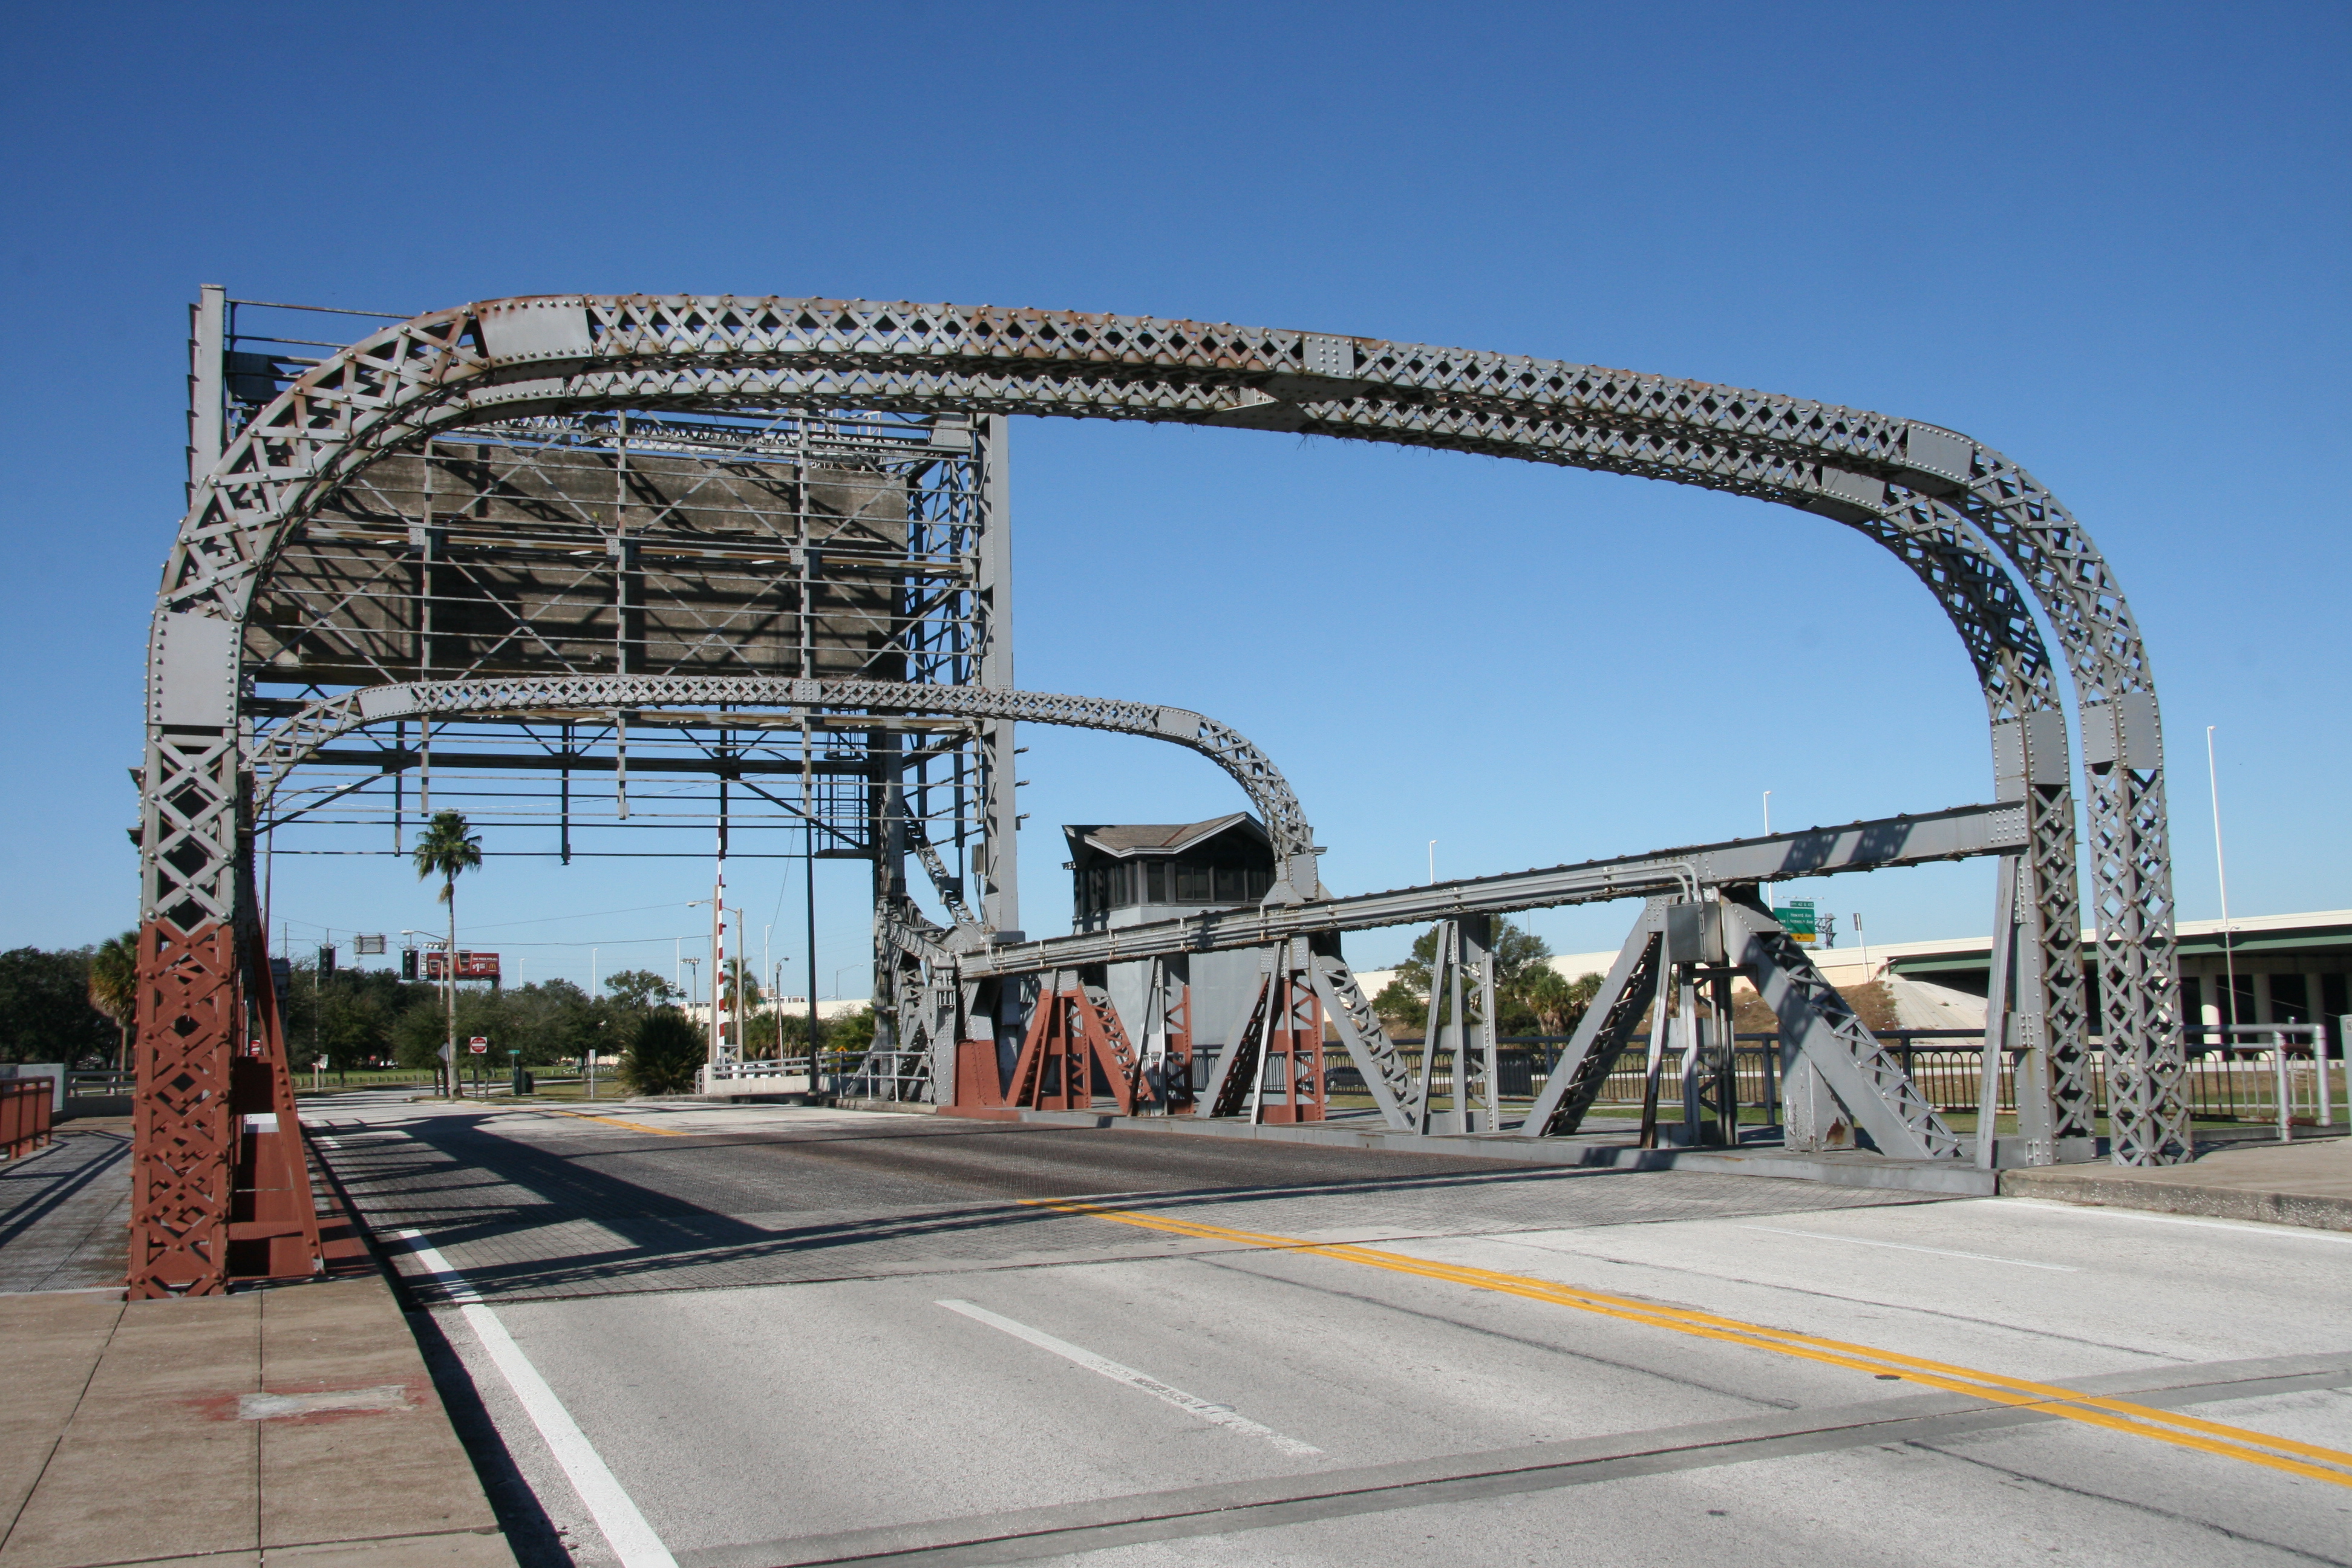
Portal views facing east.
![]()
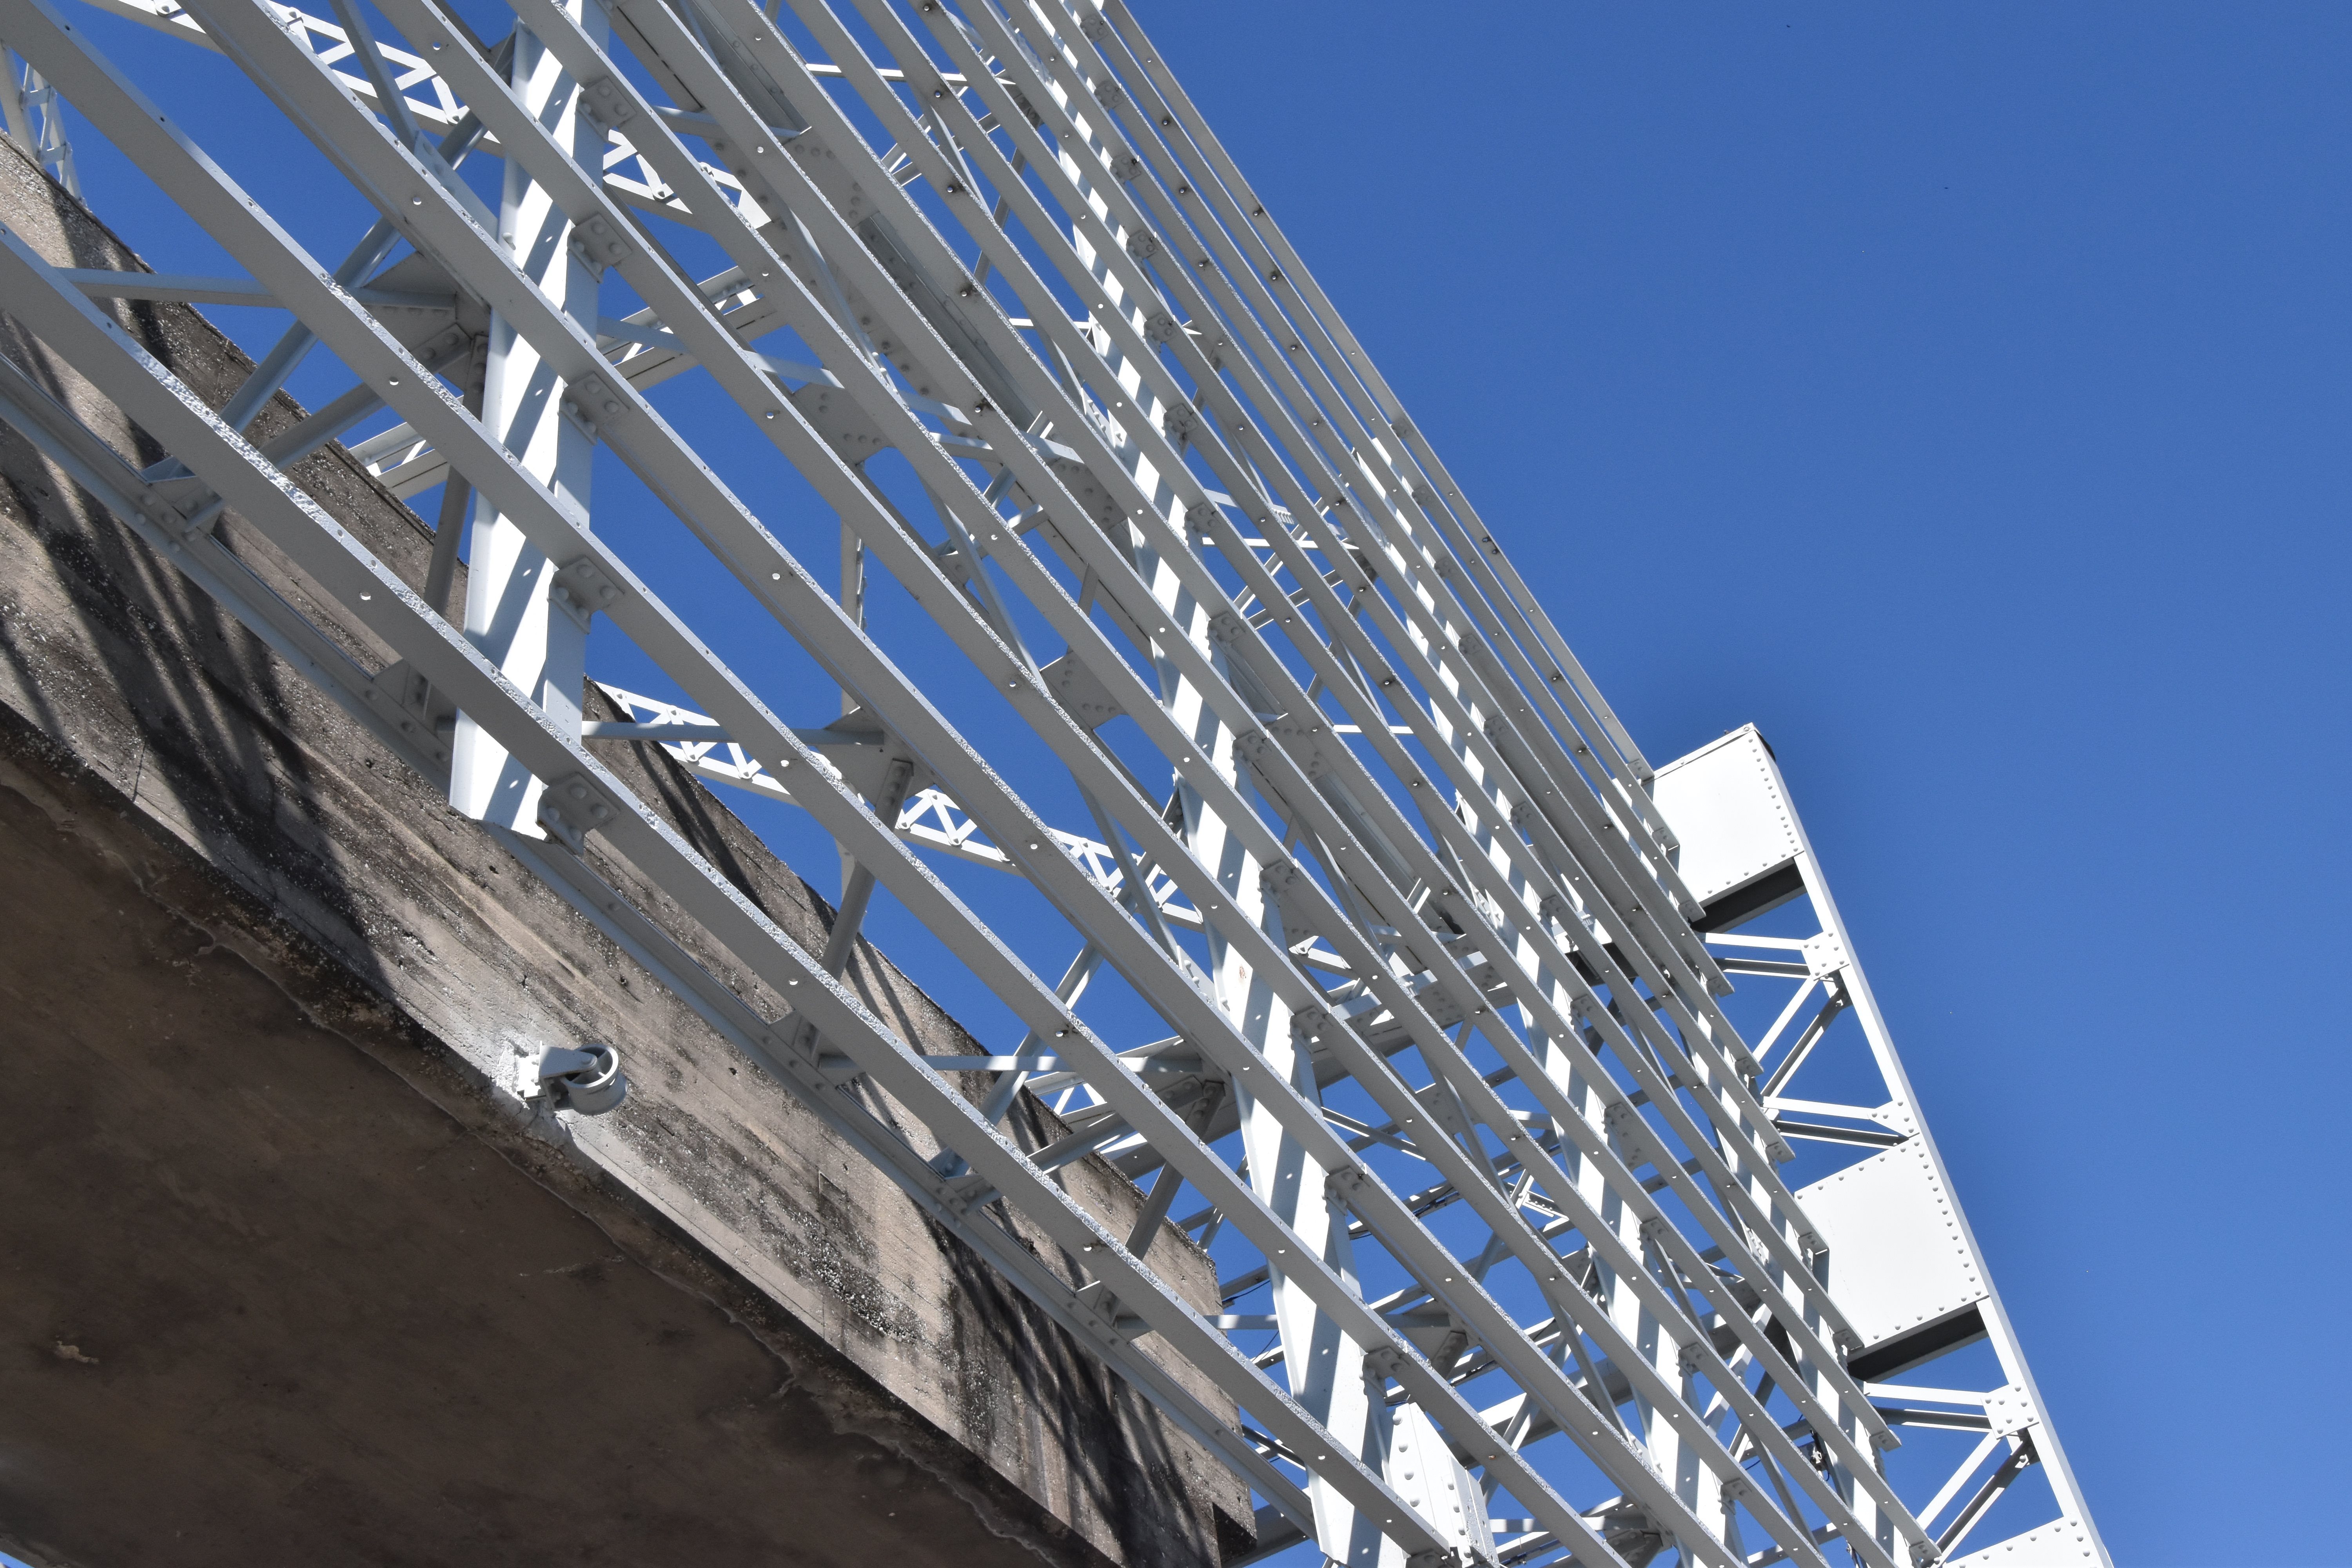
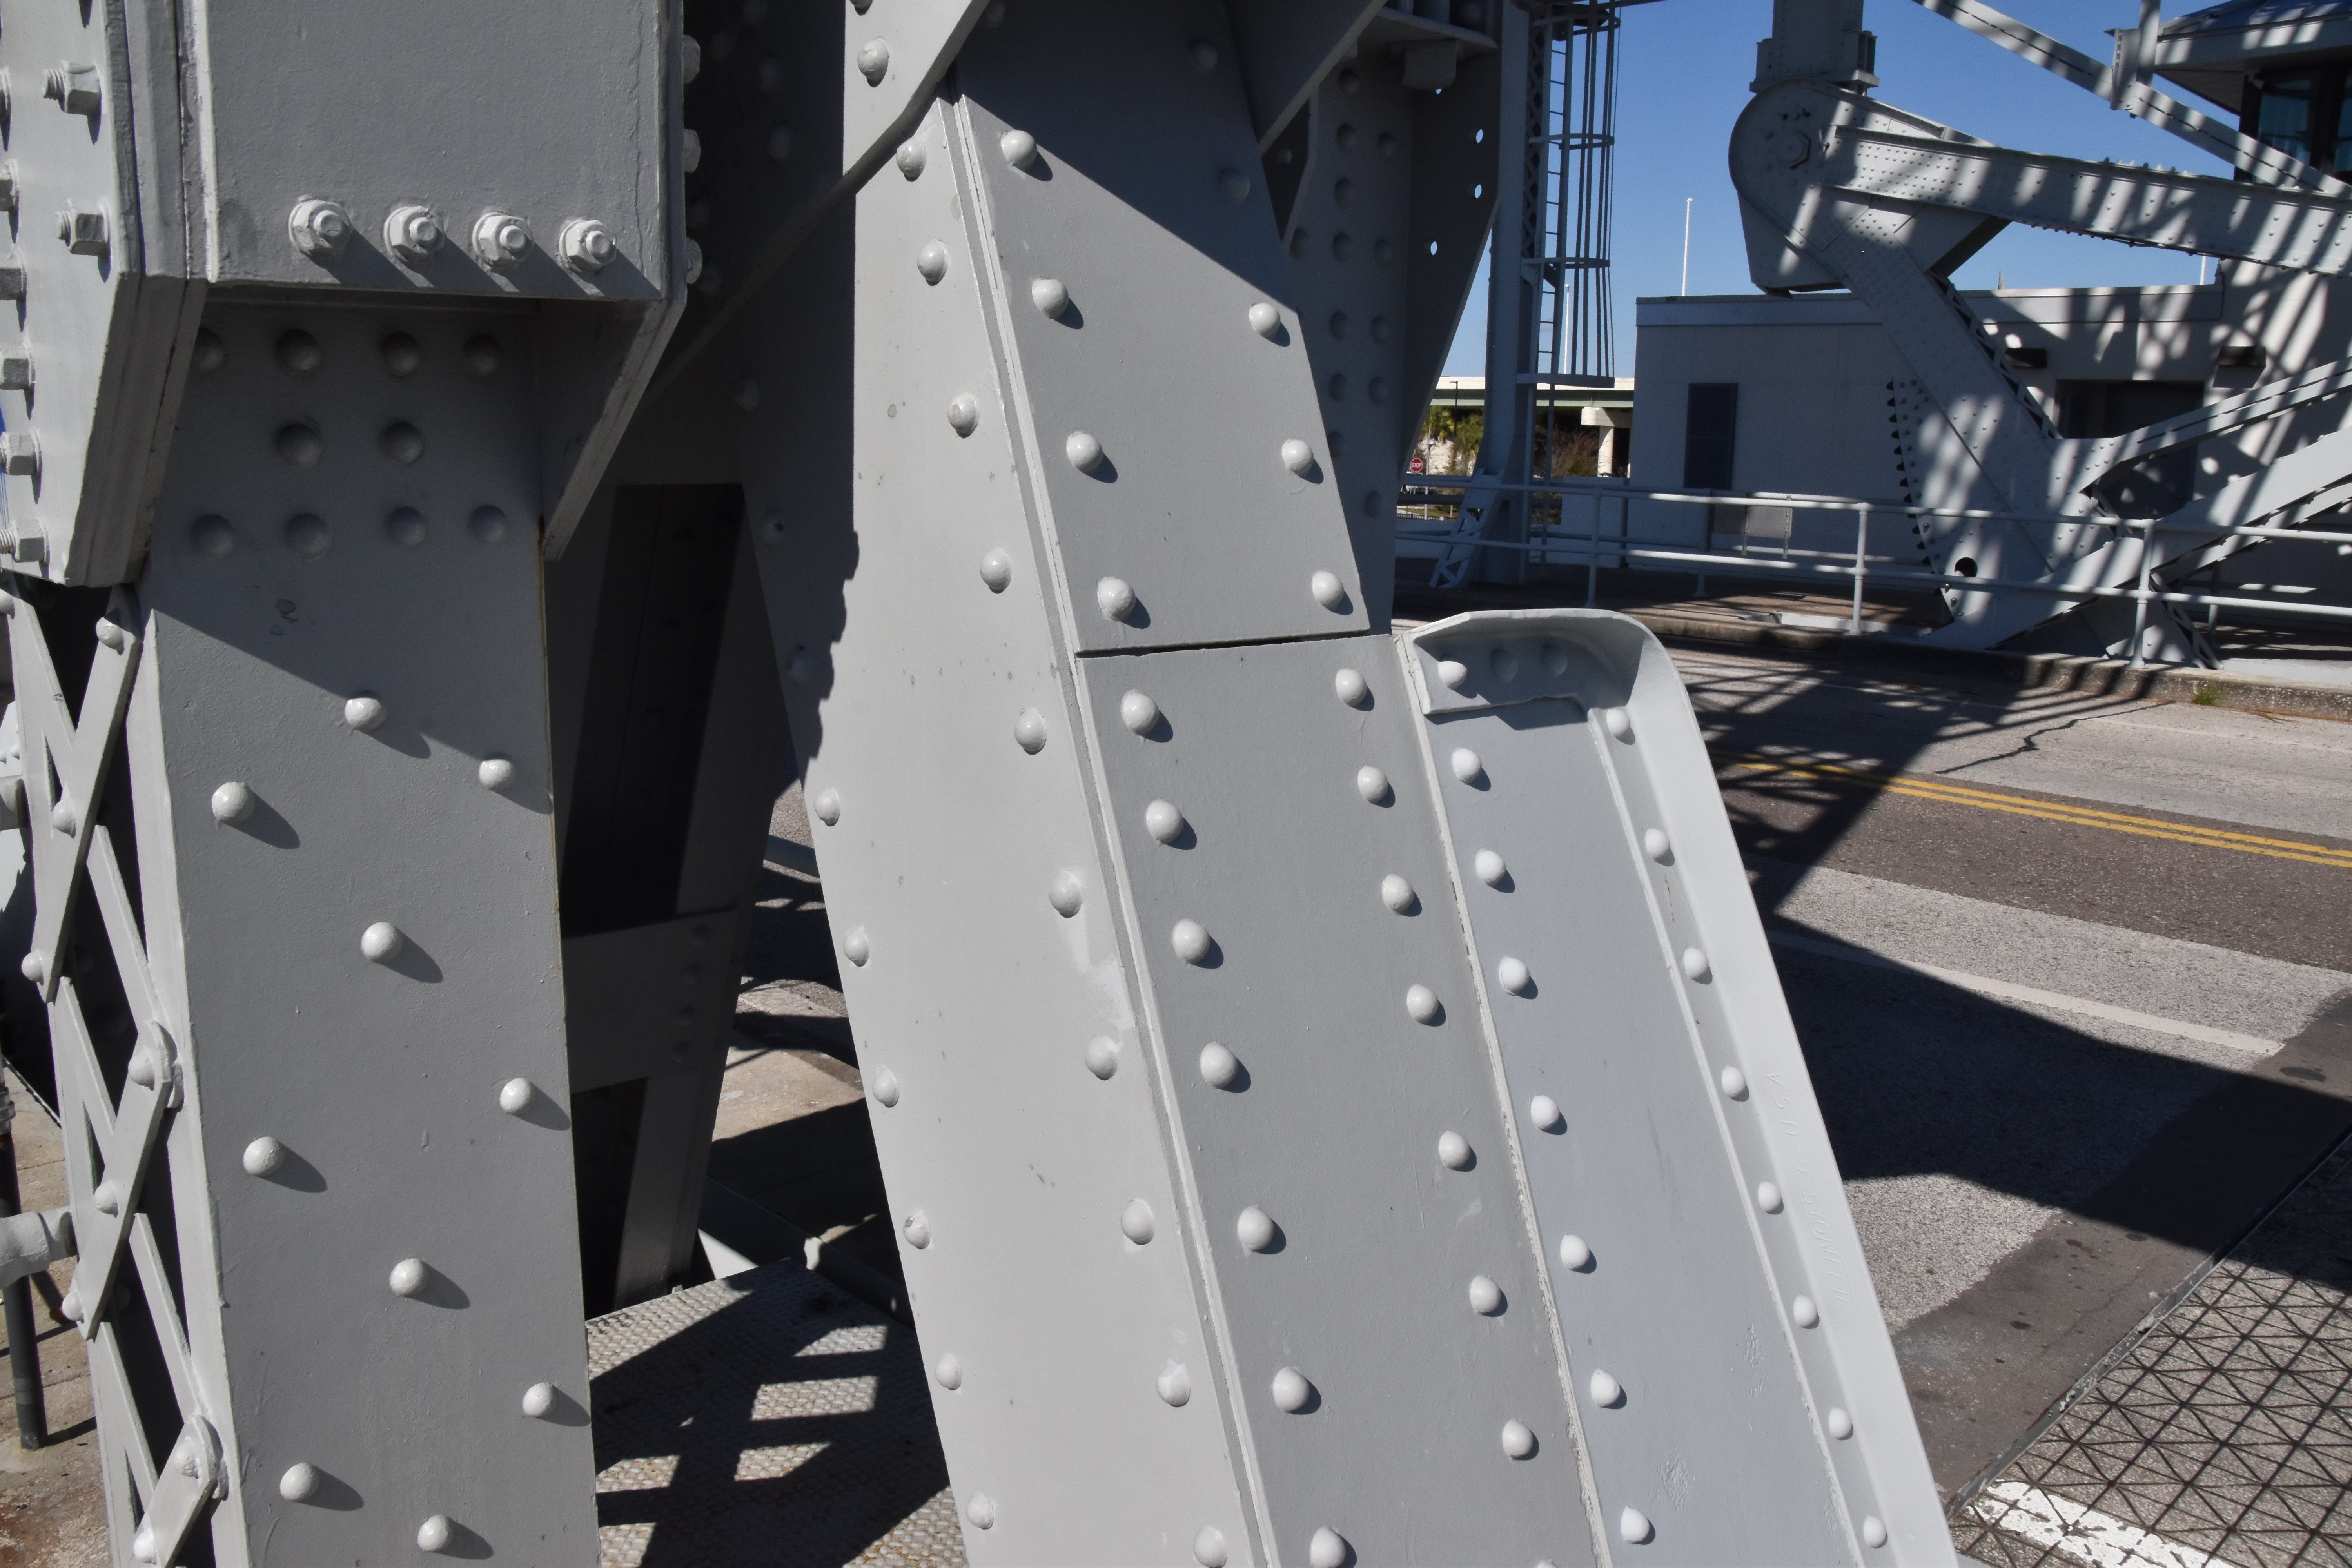
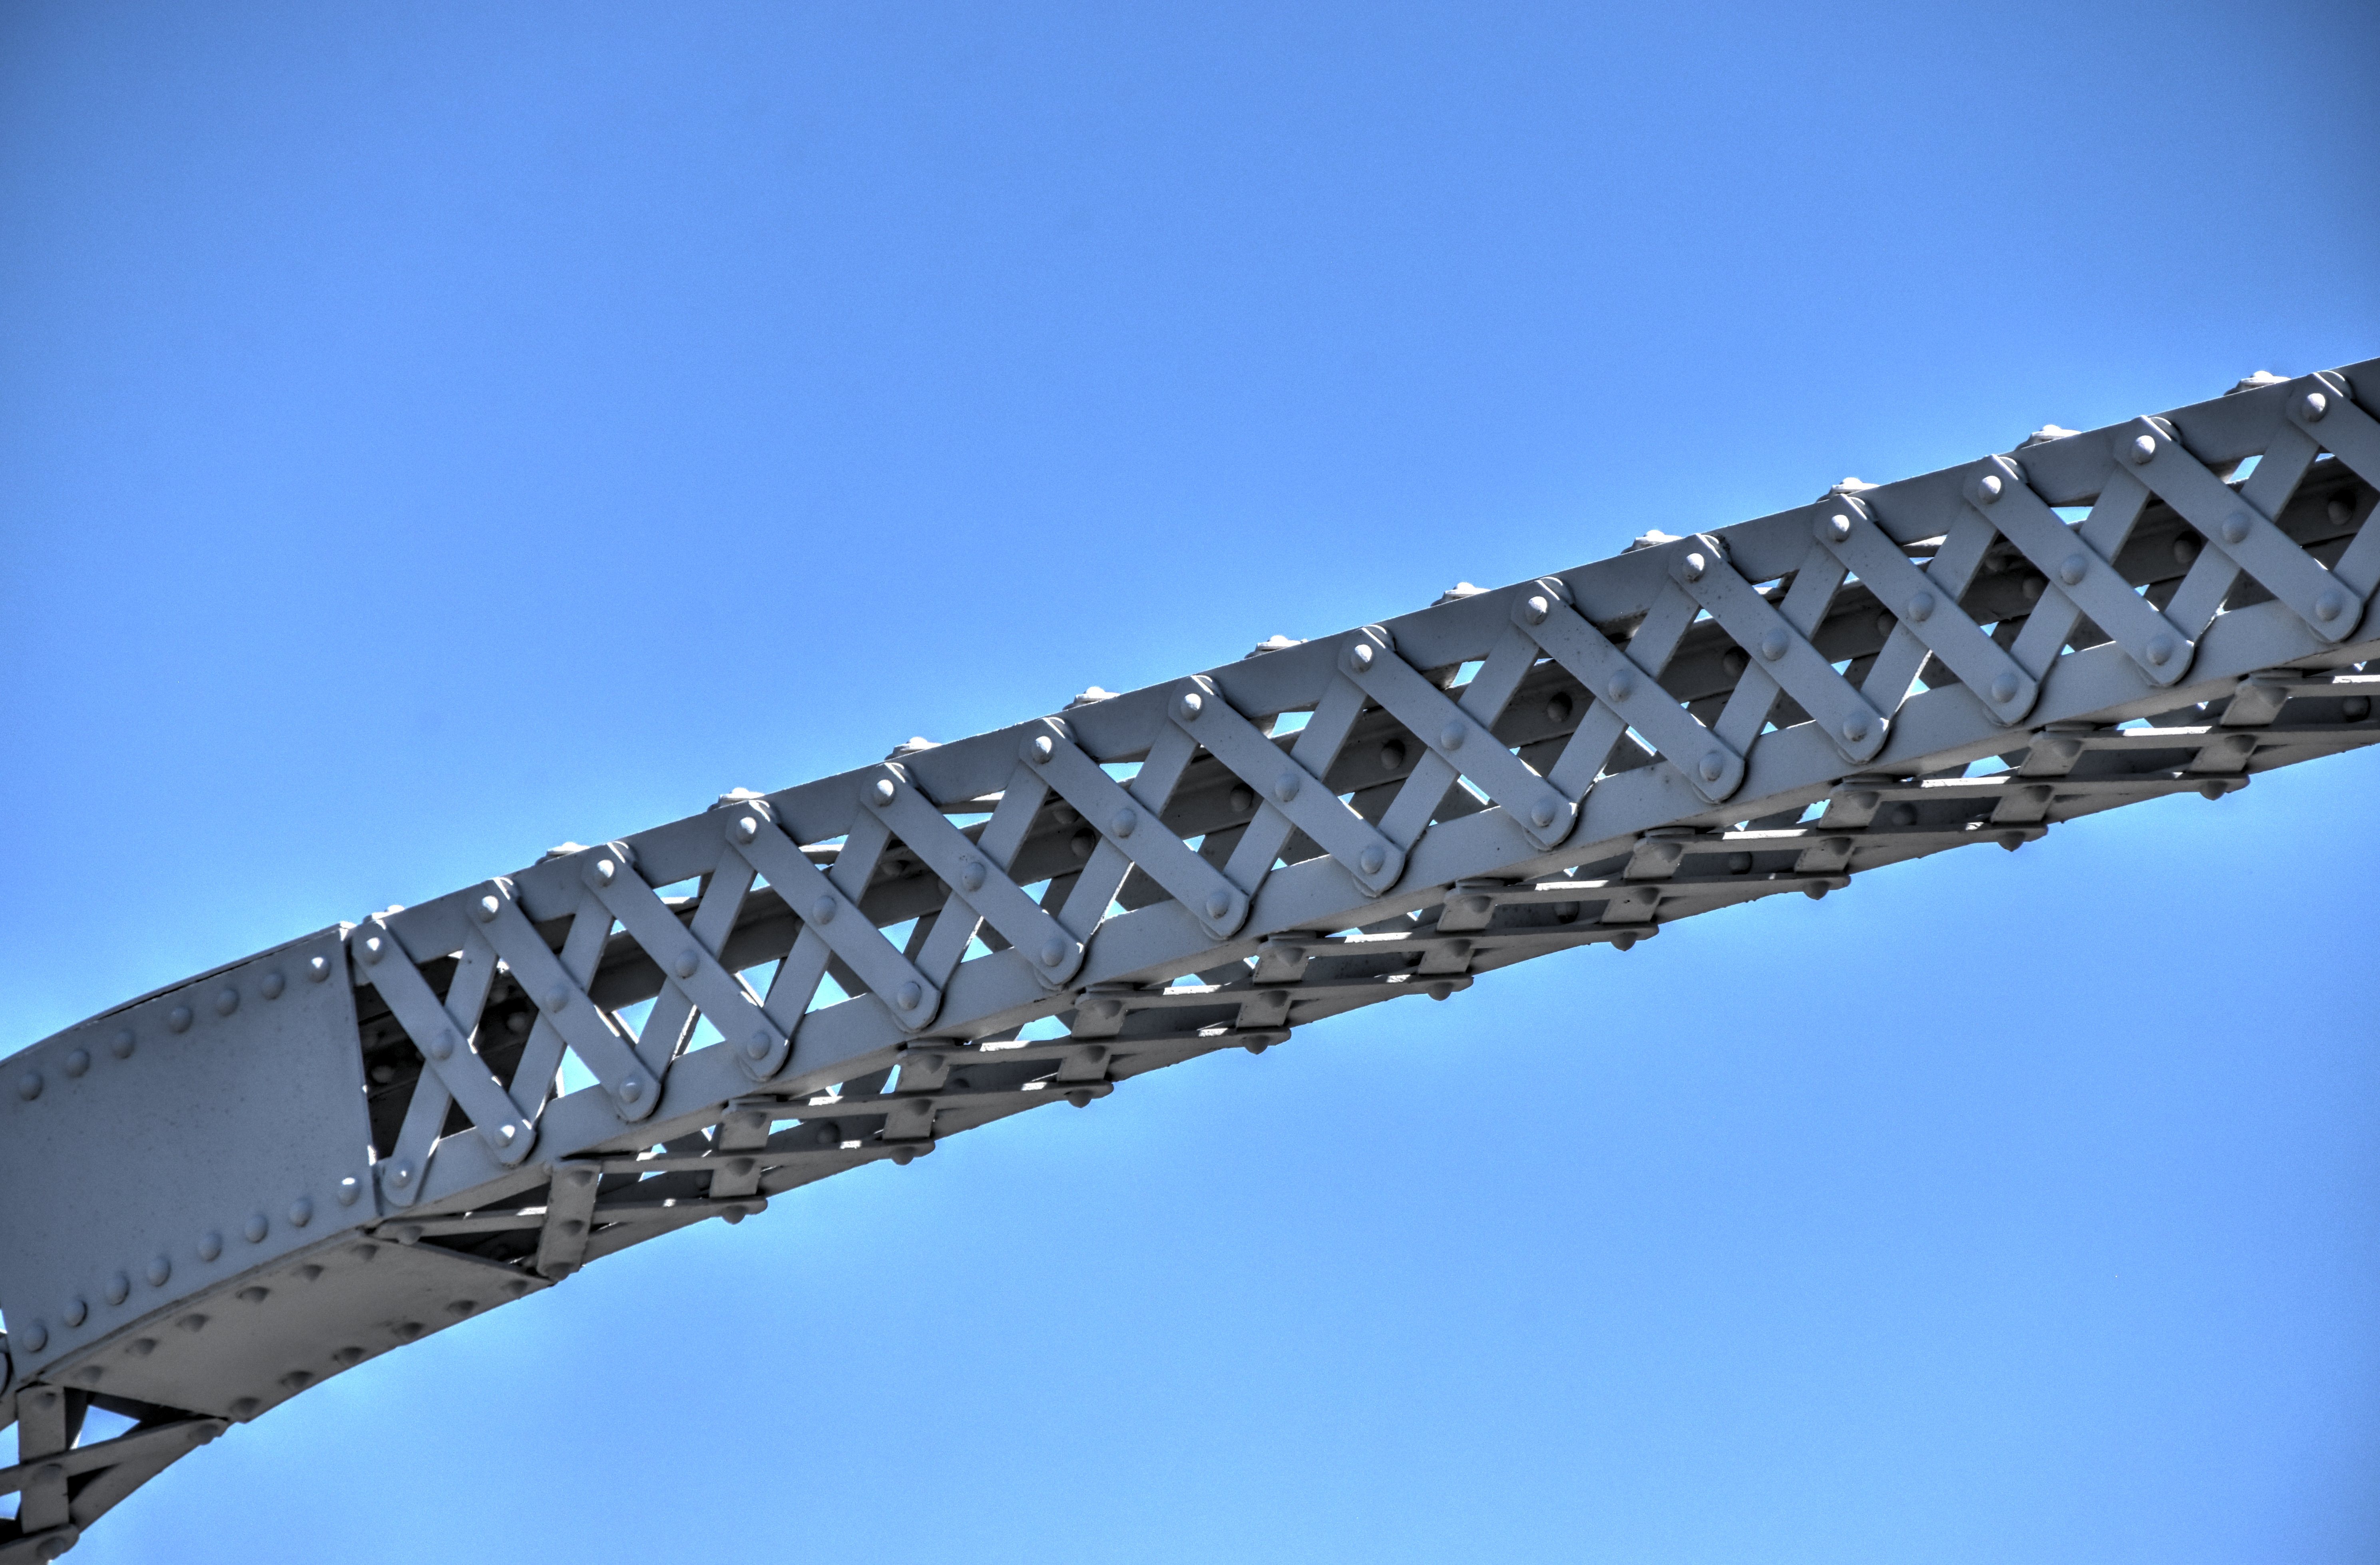
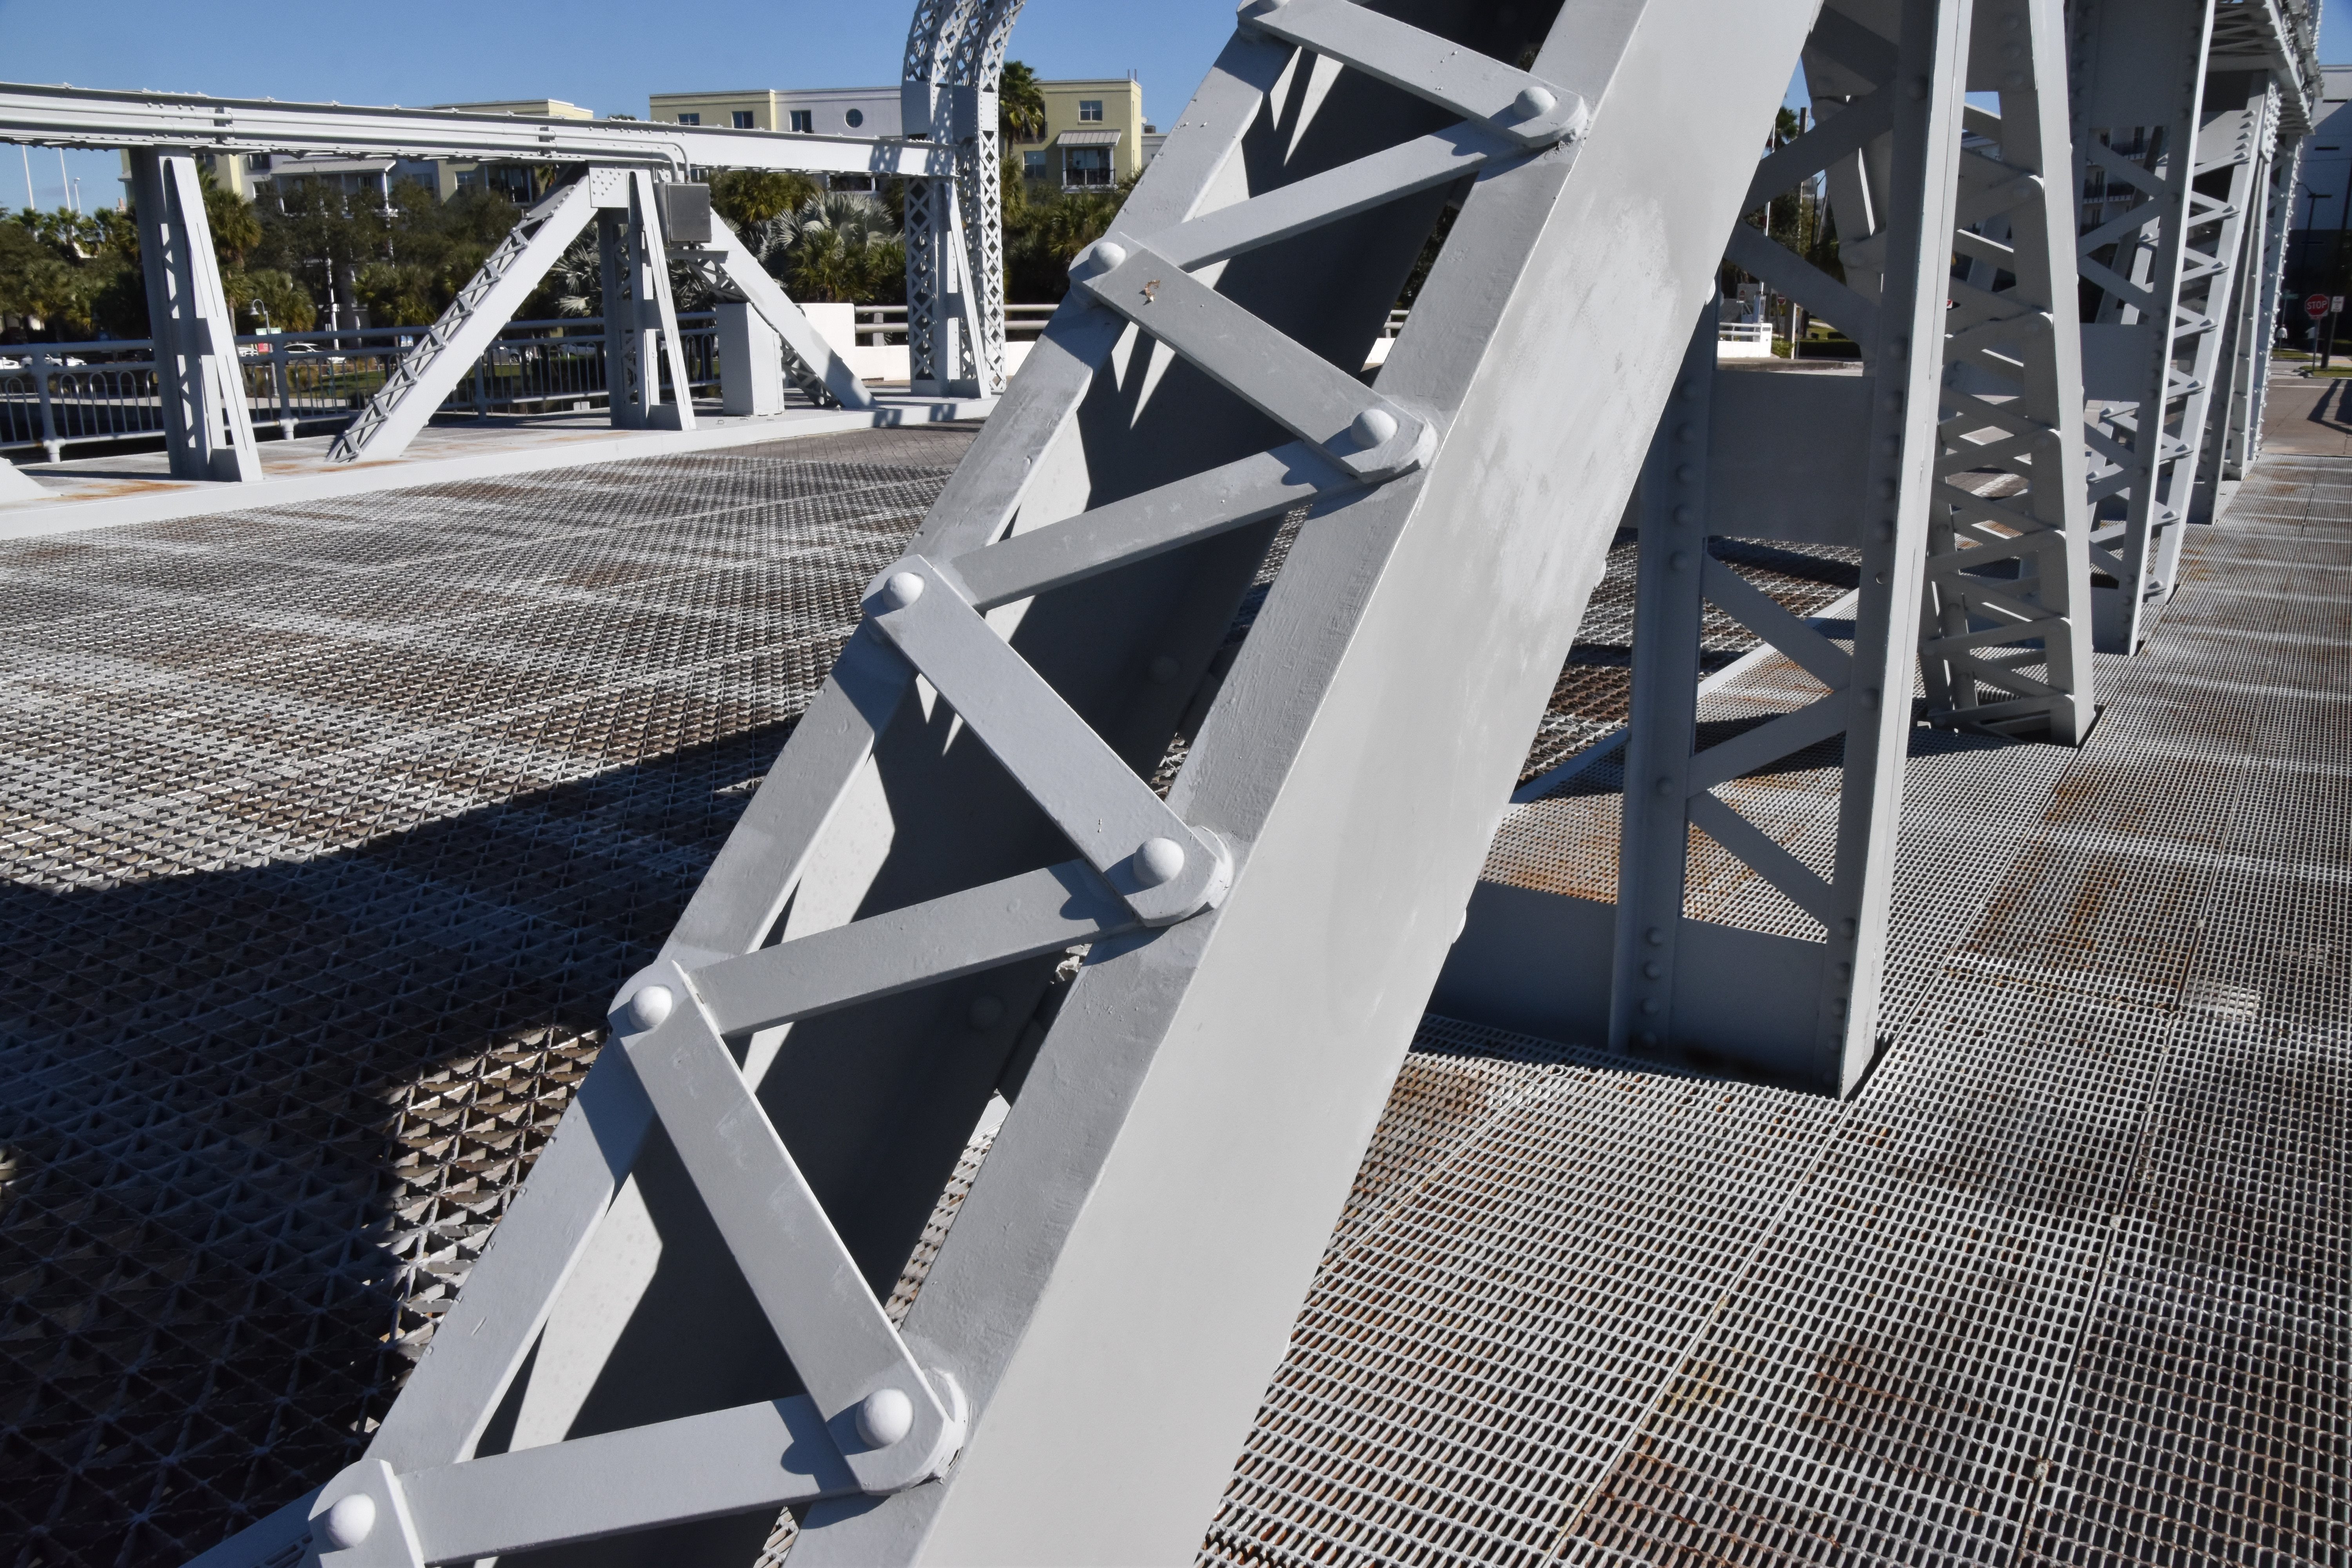
Views of truss web.
![]()
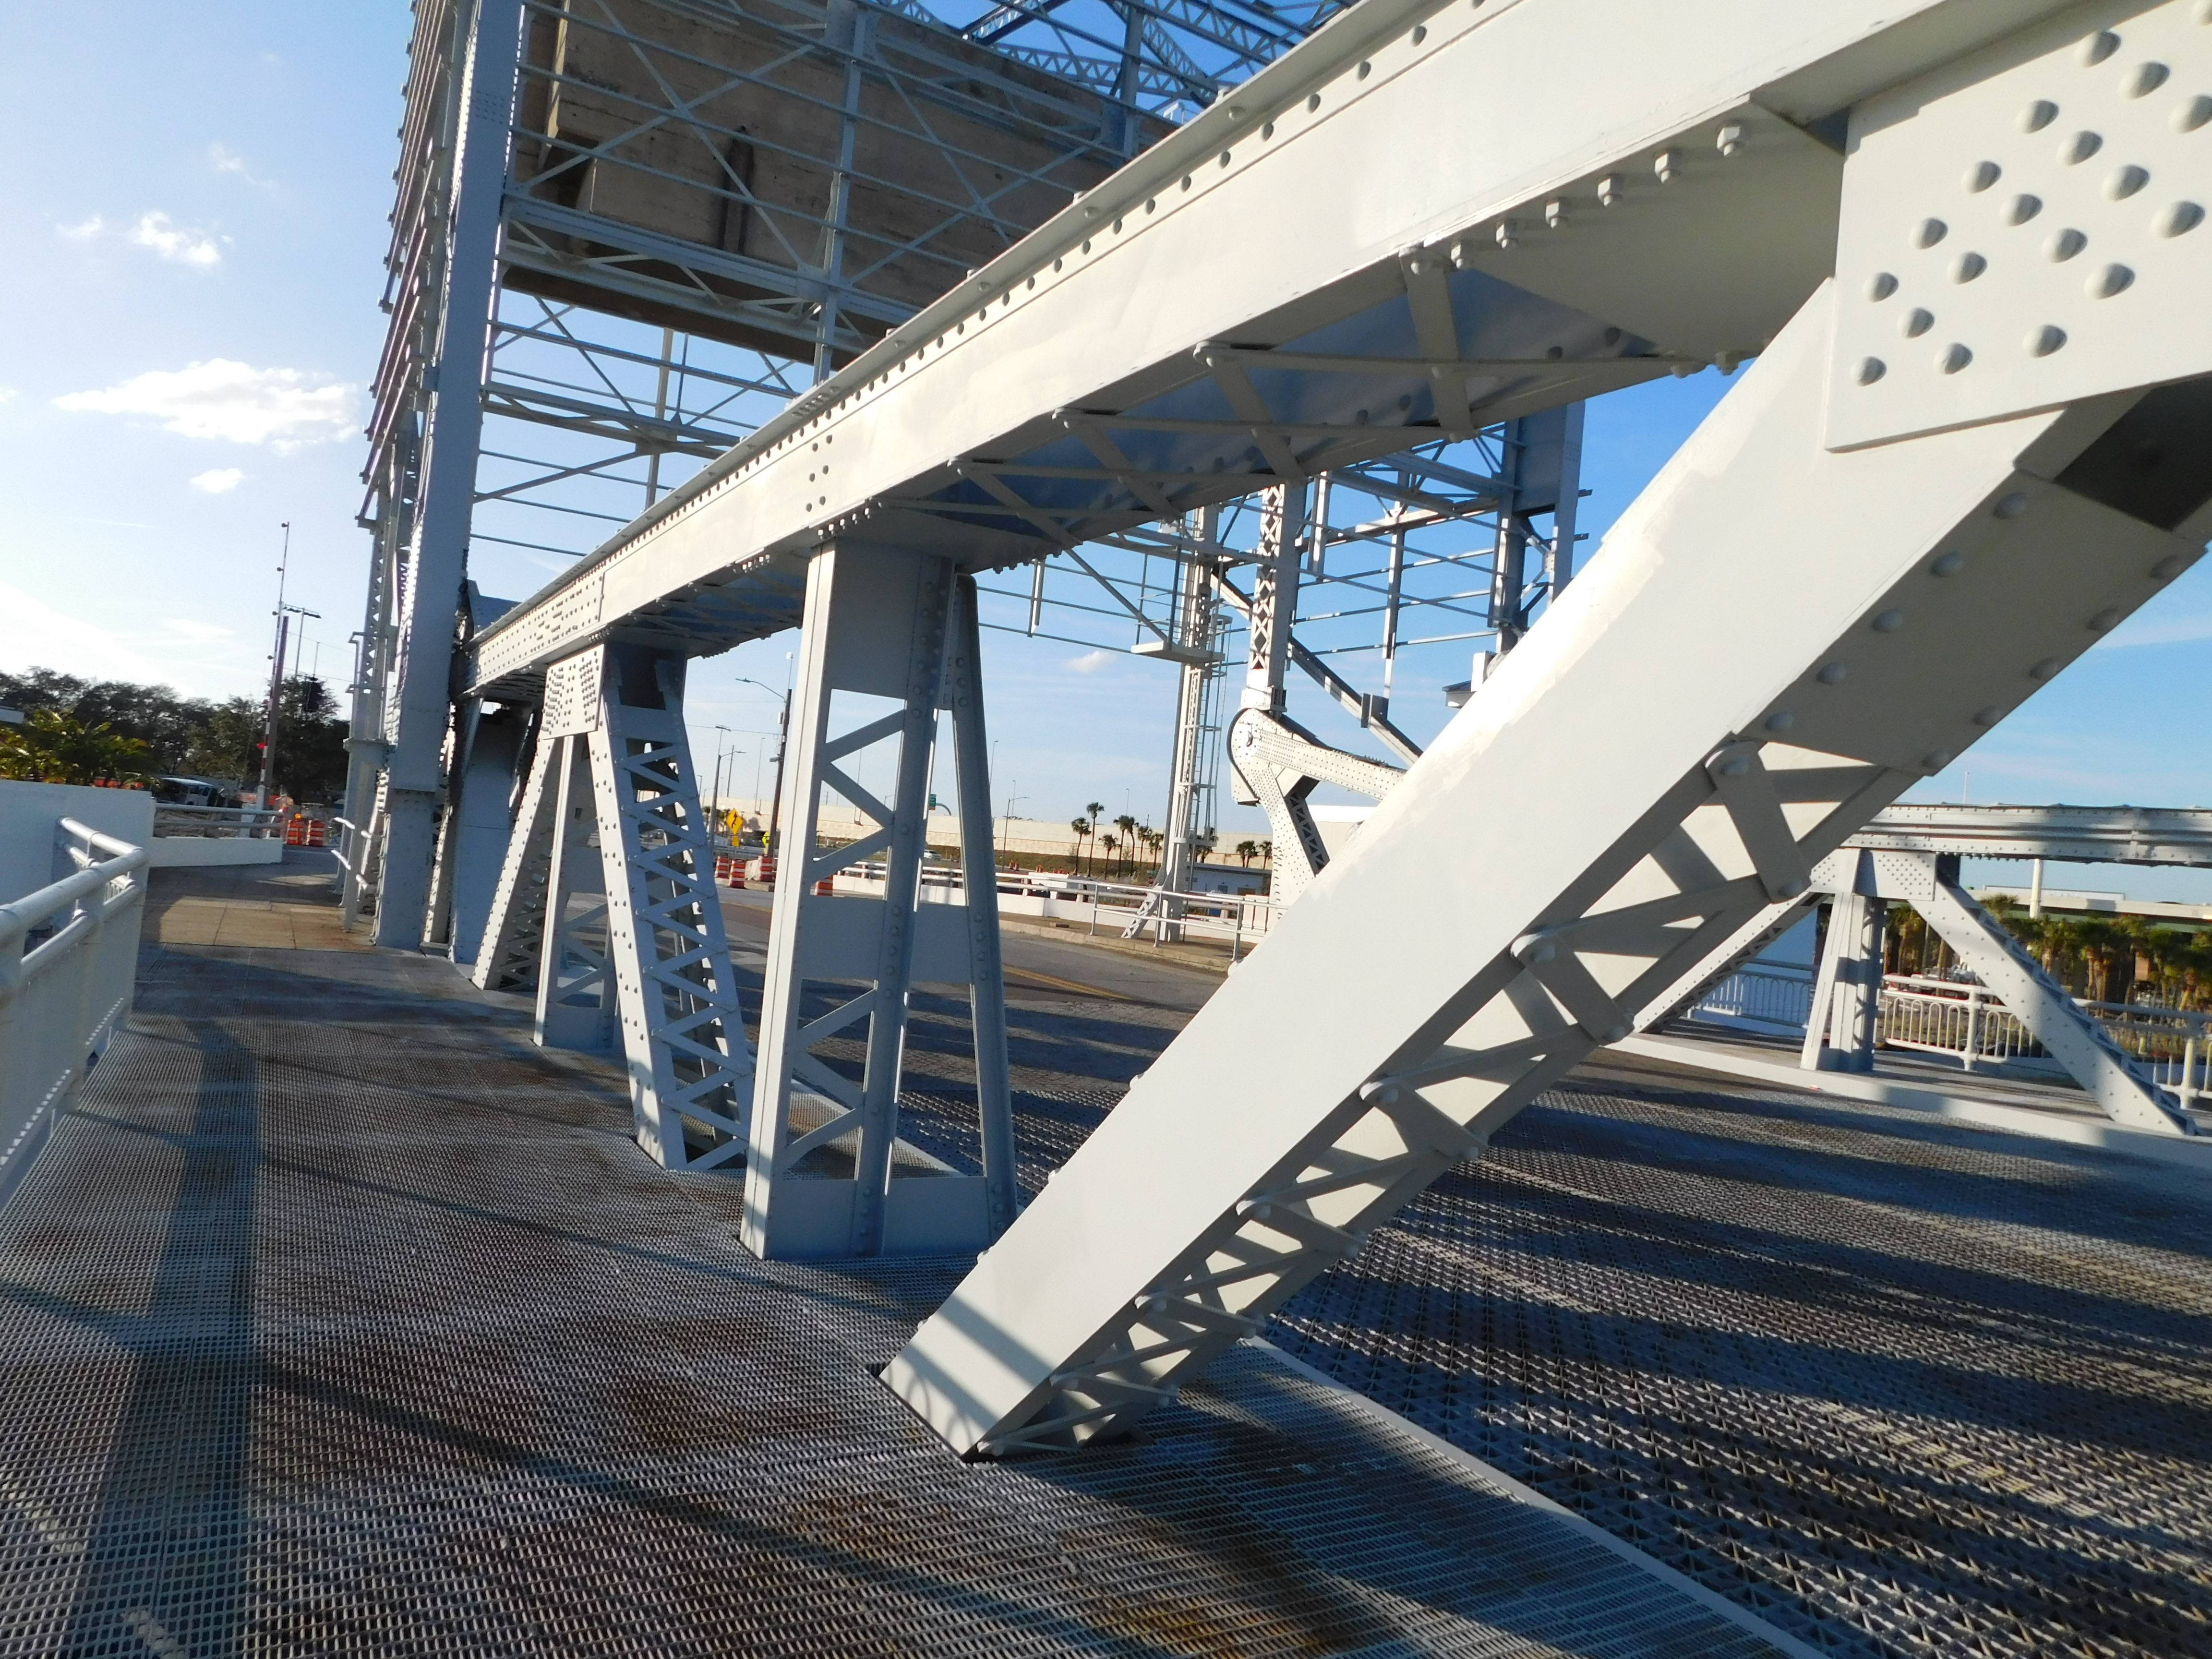

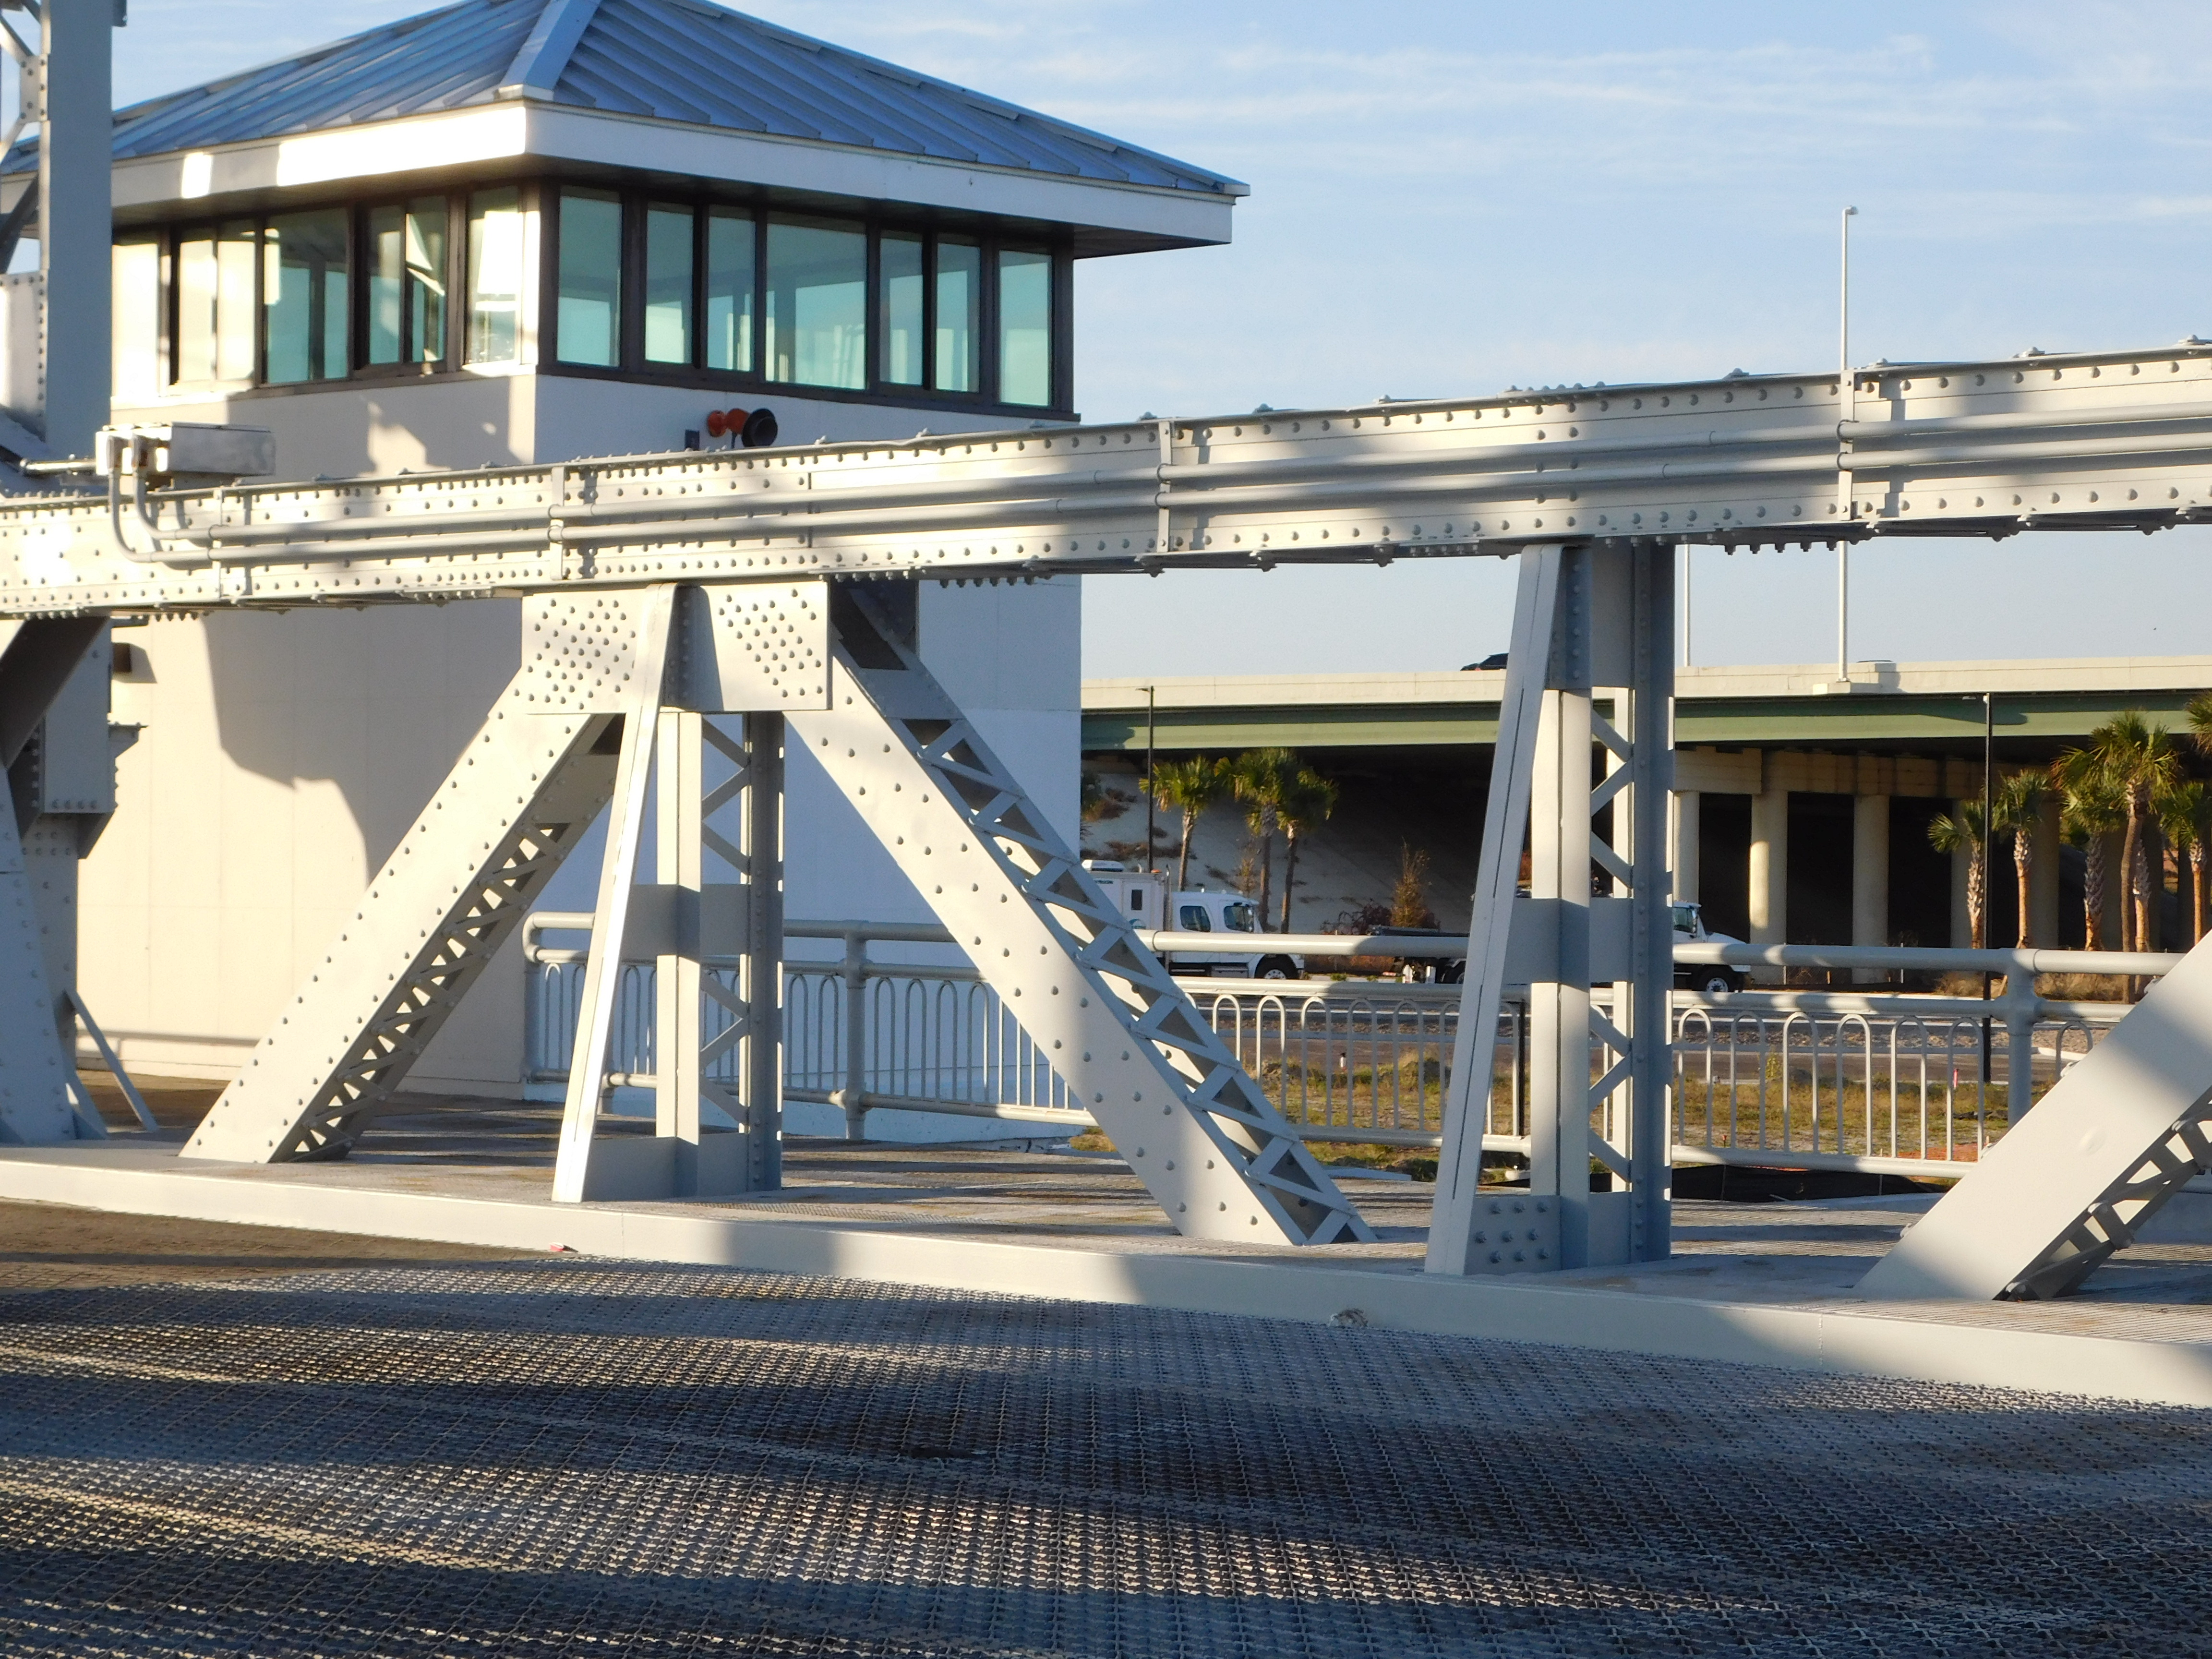
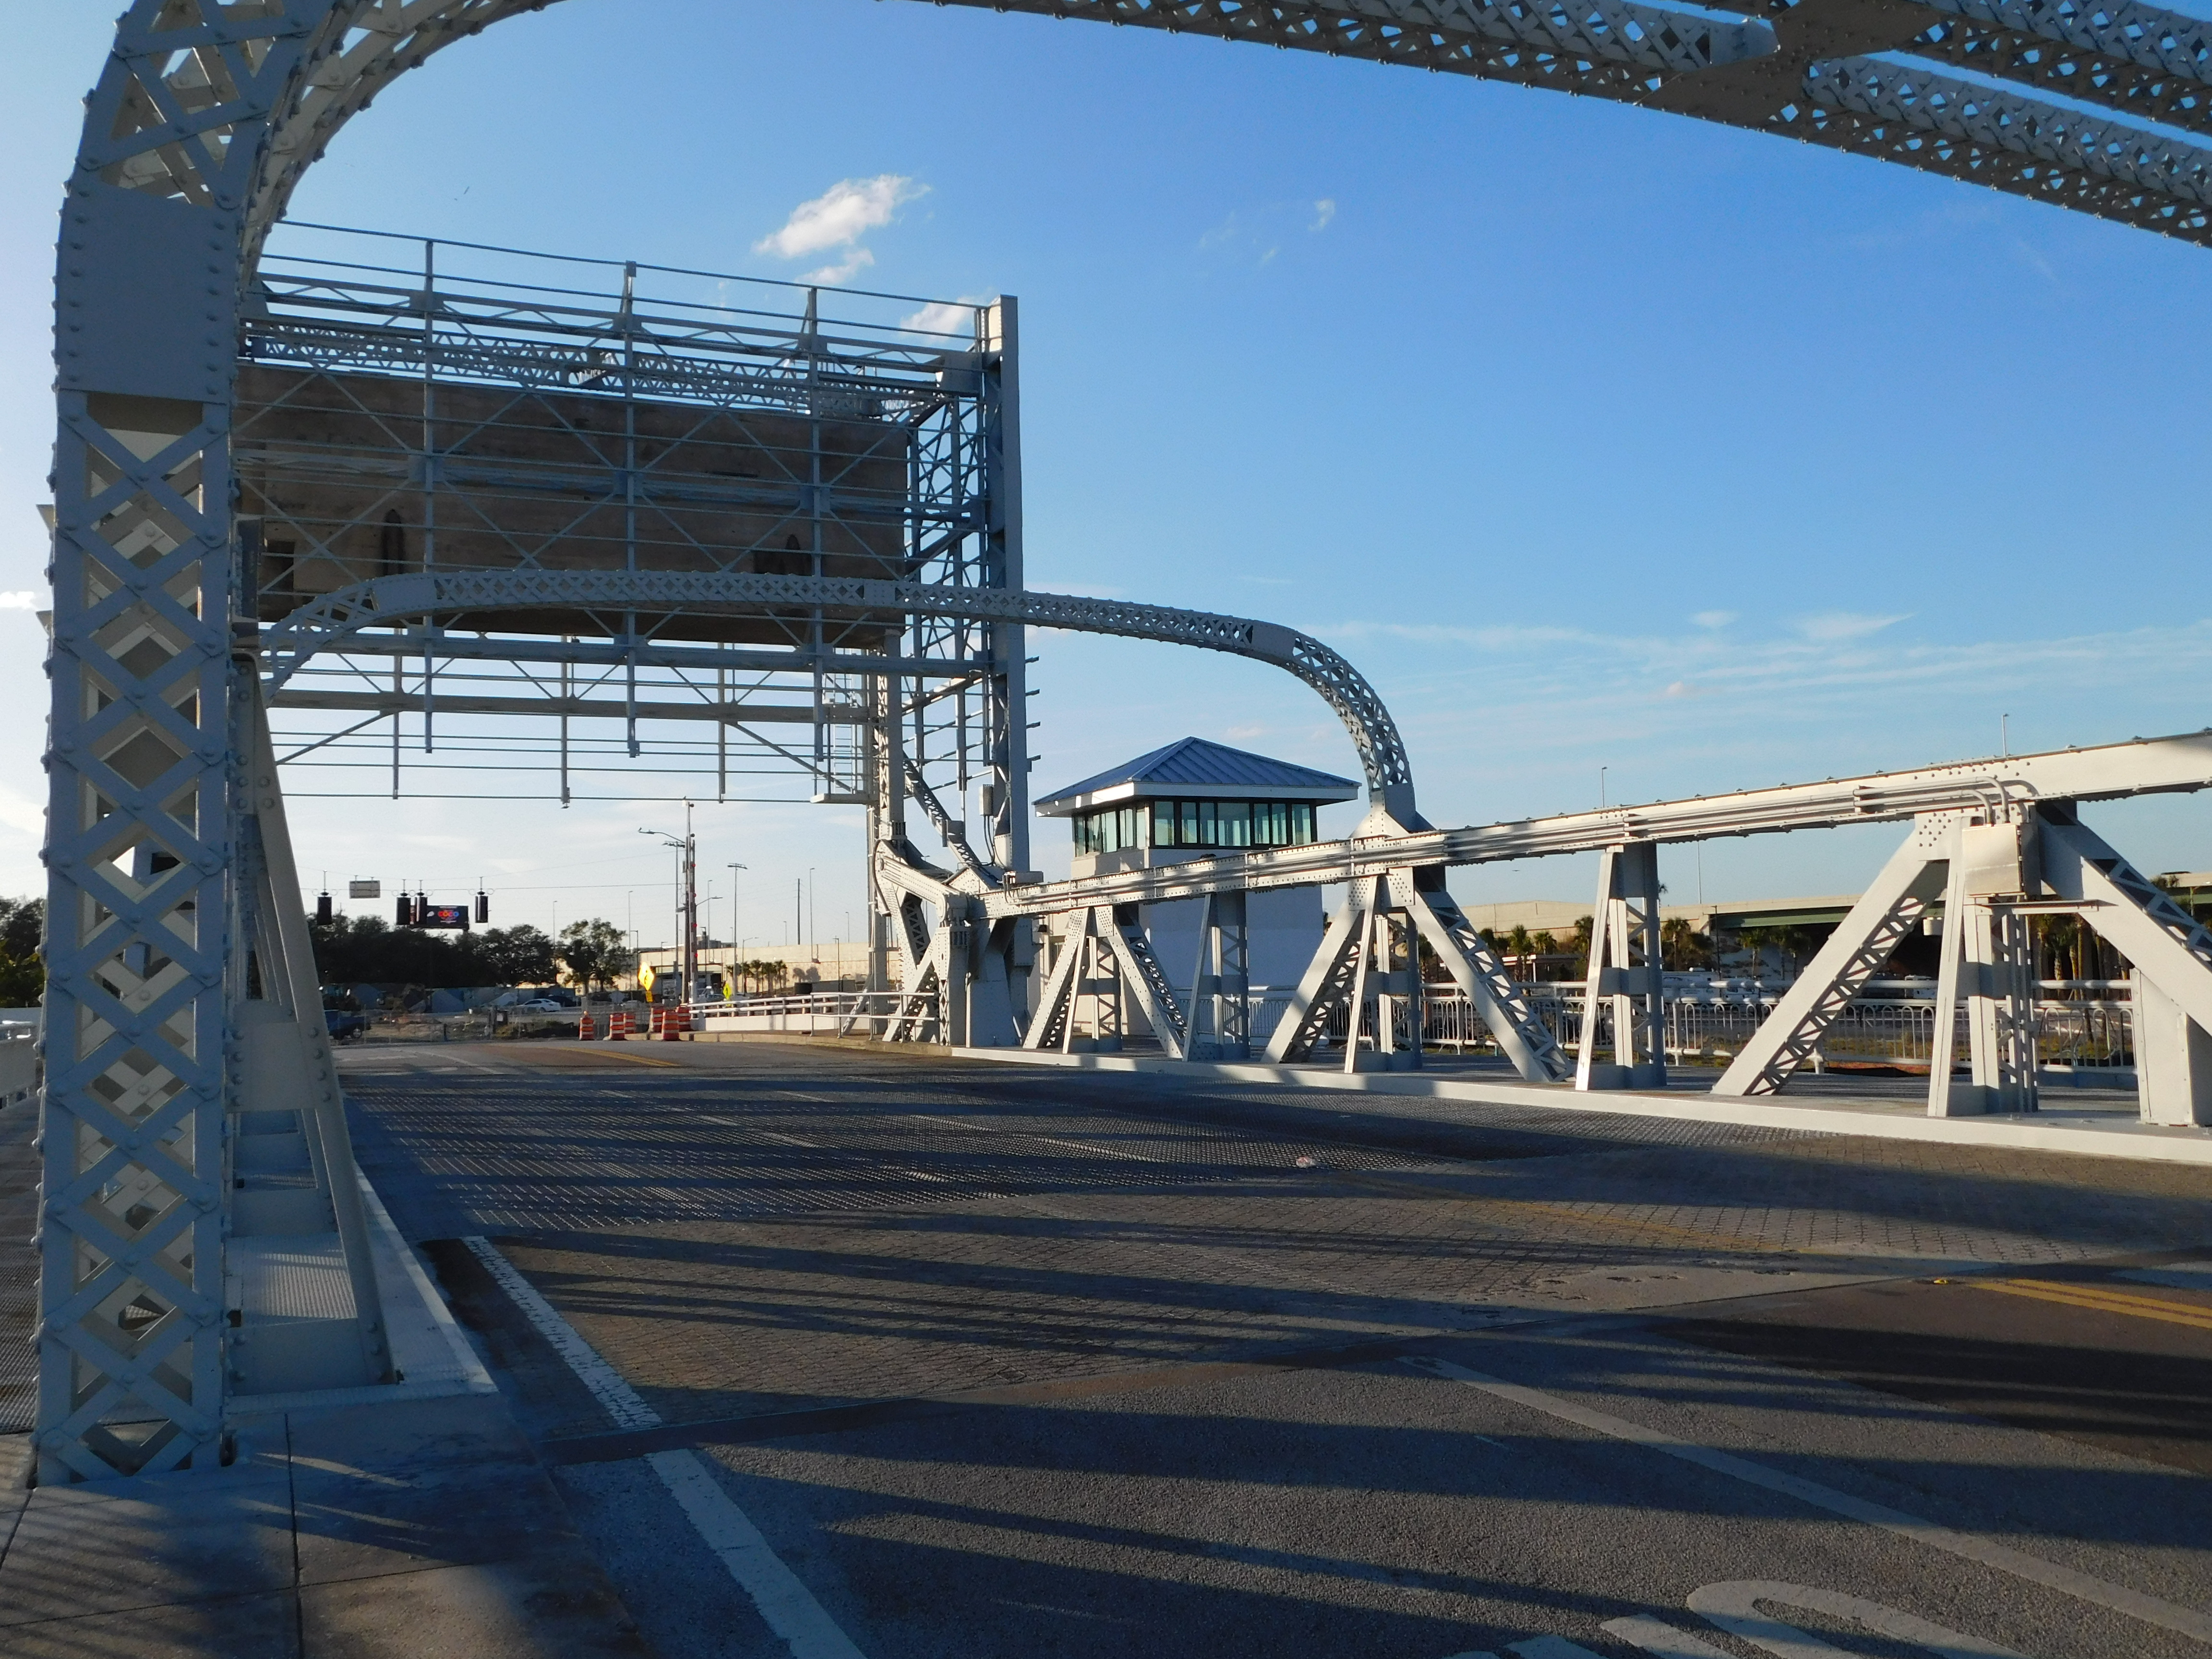
Photo Credit: Marc Scotti
Views of truss web.
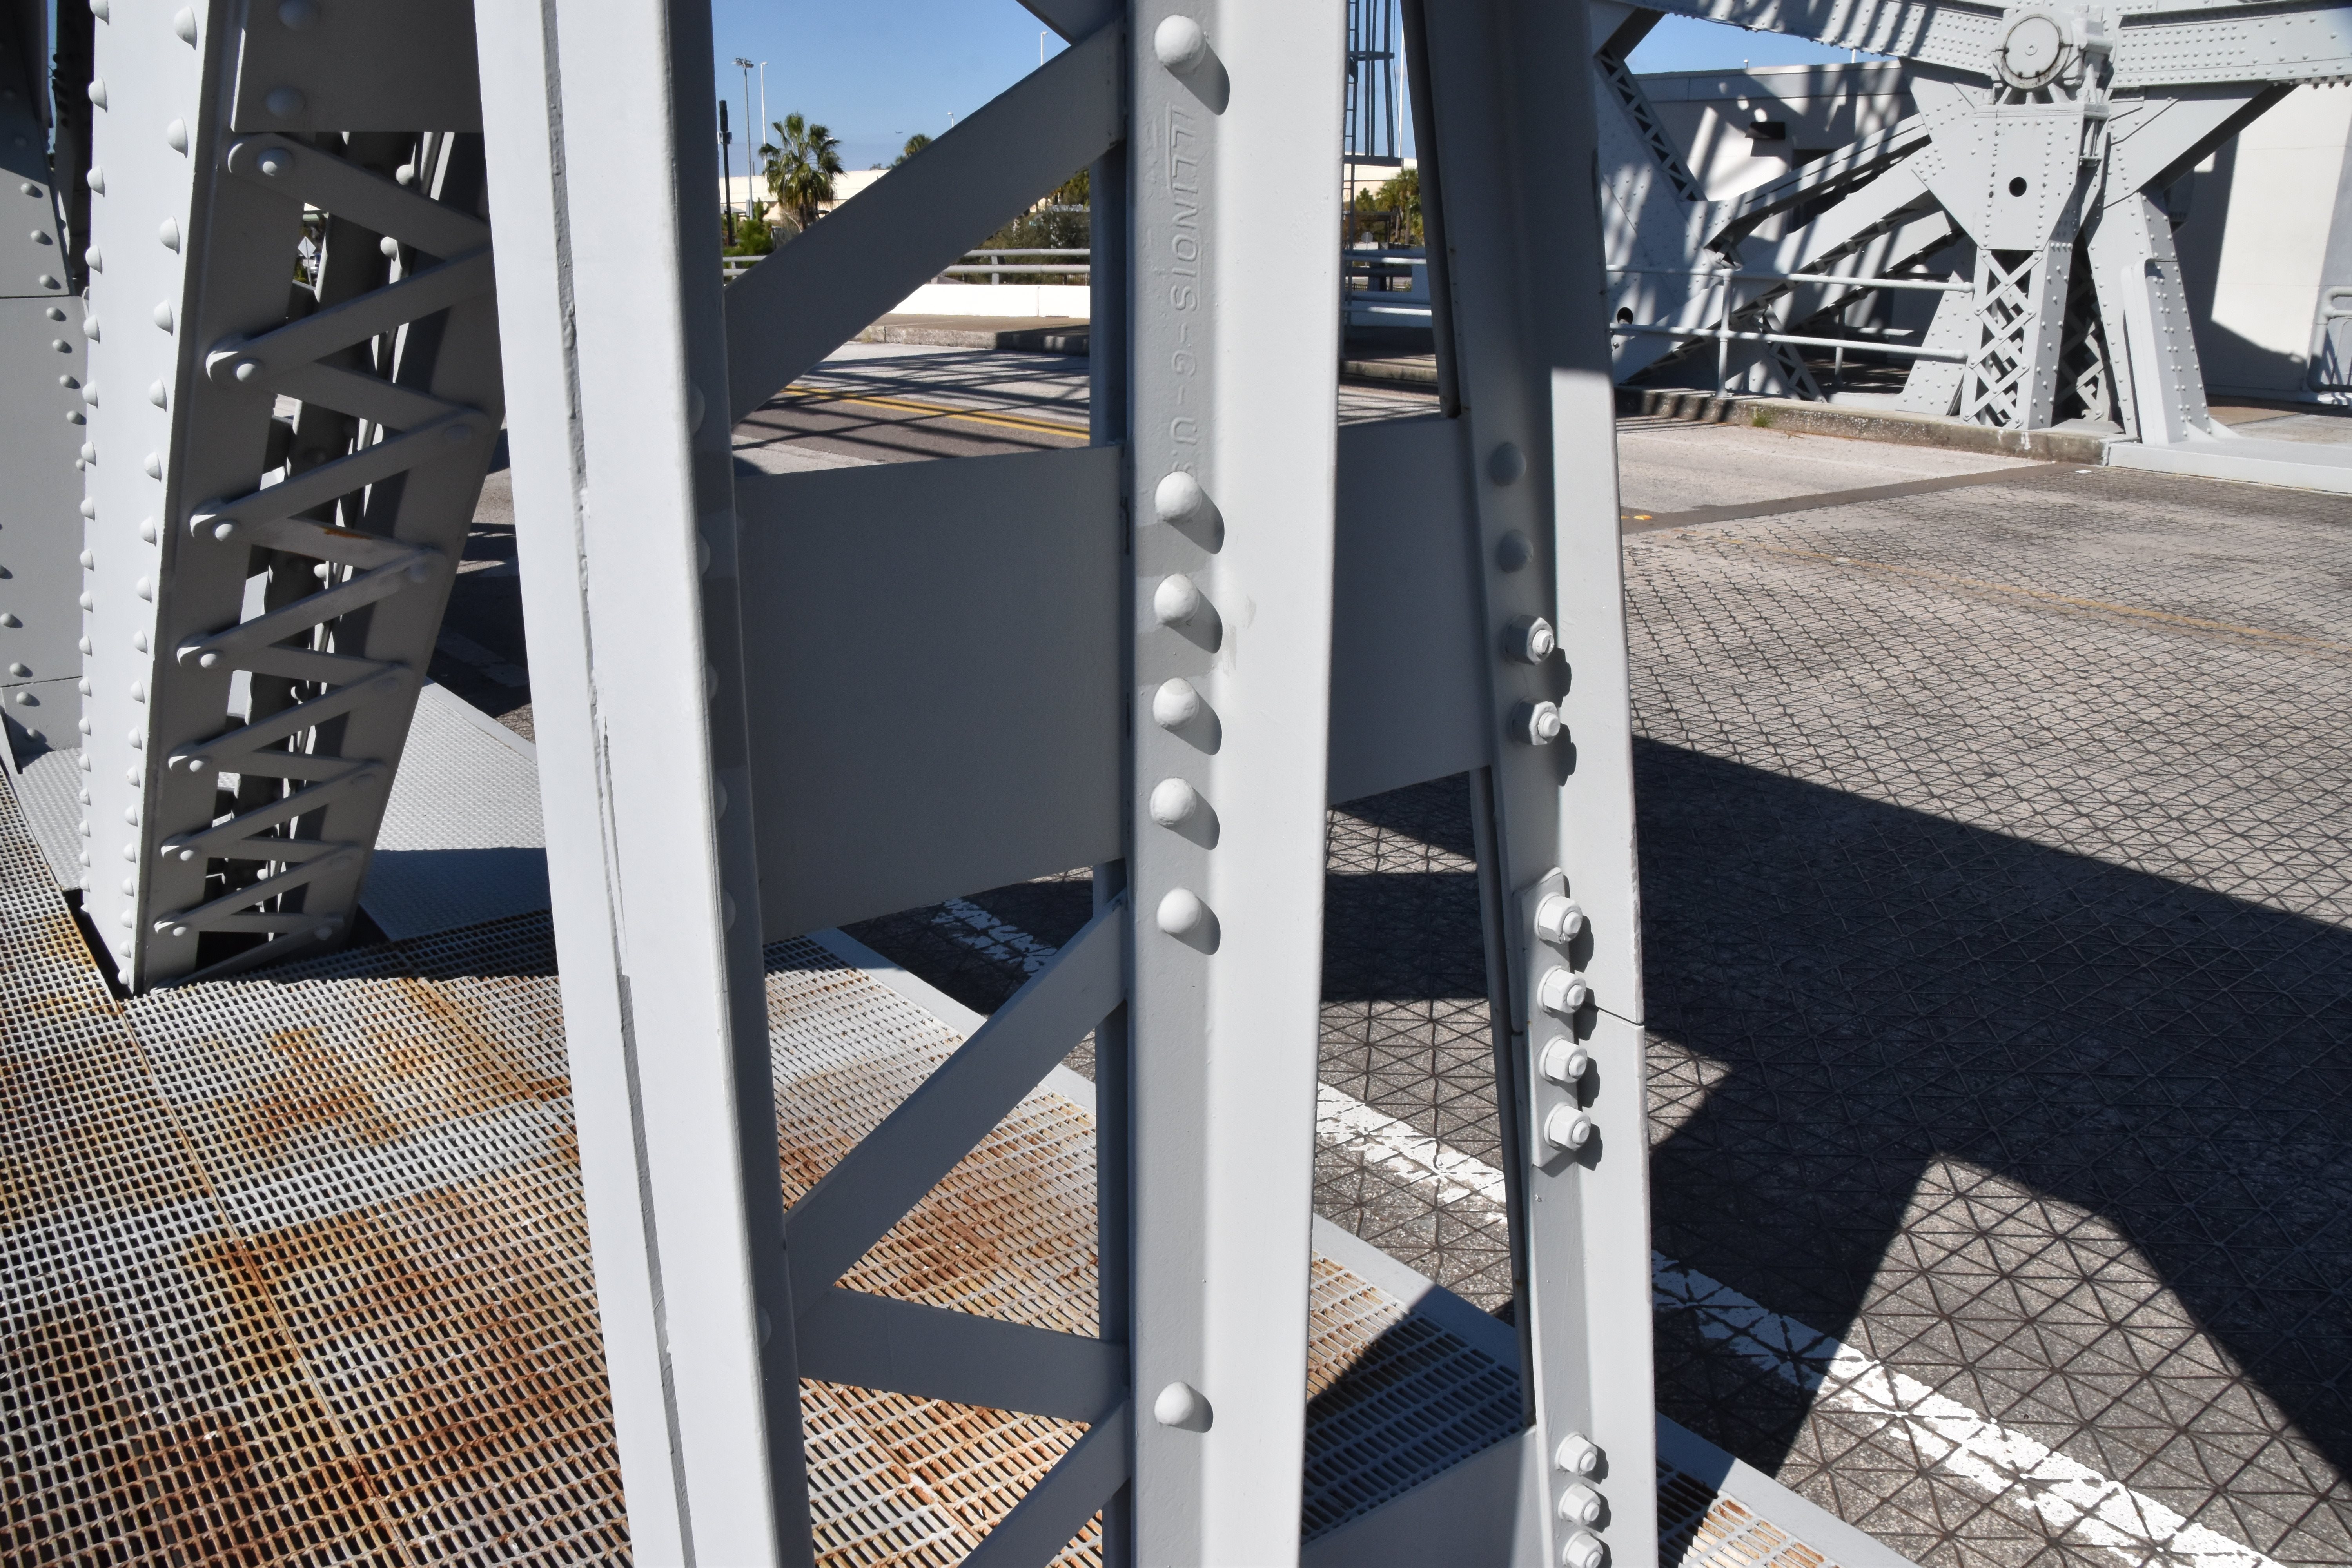
![]()
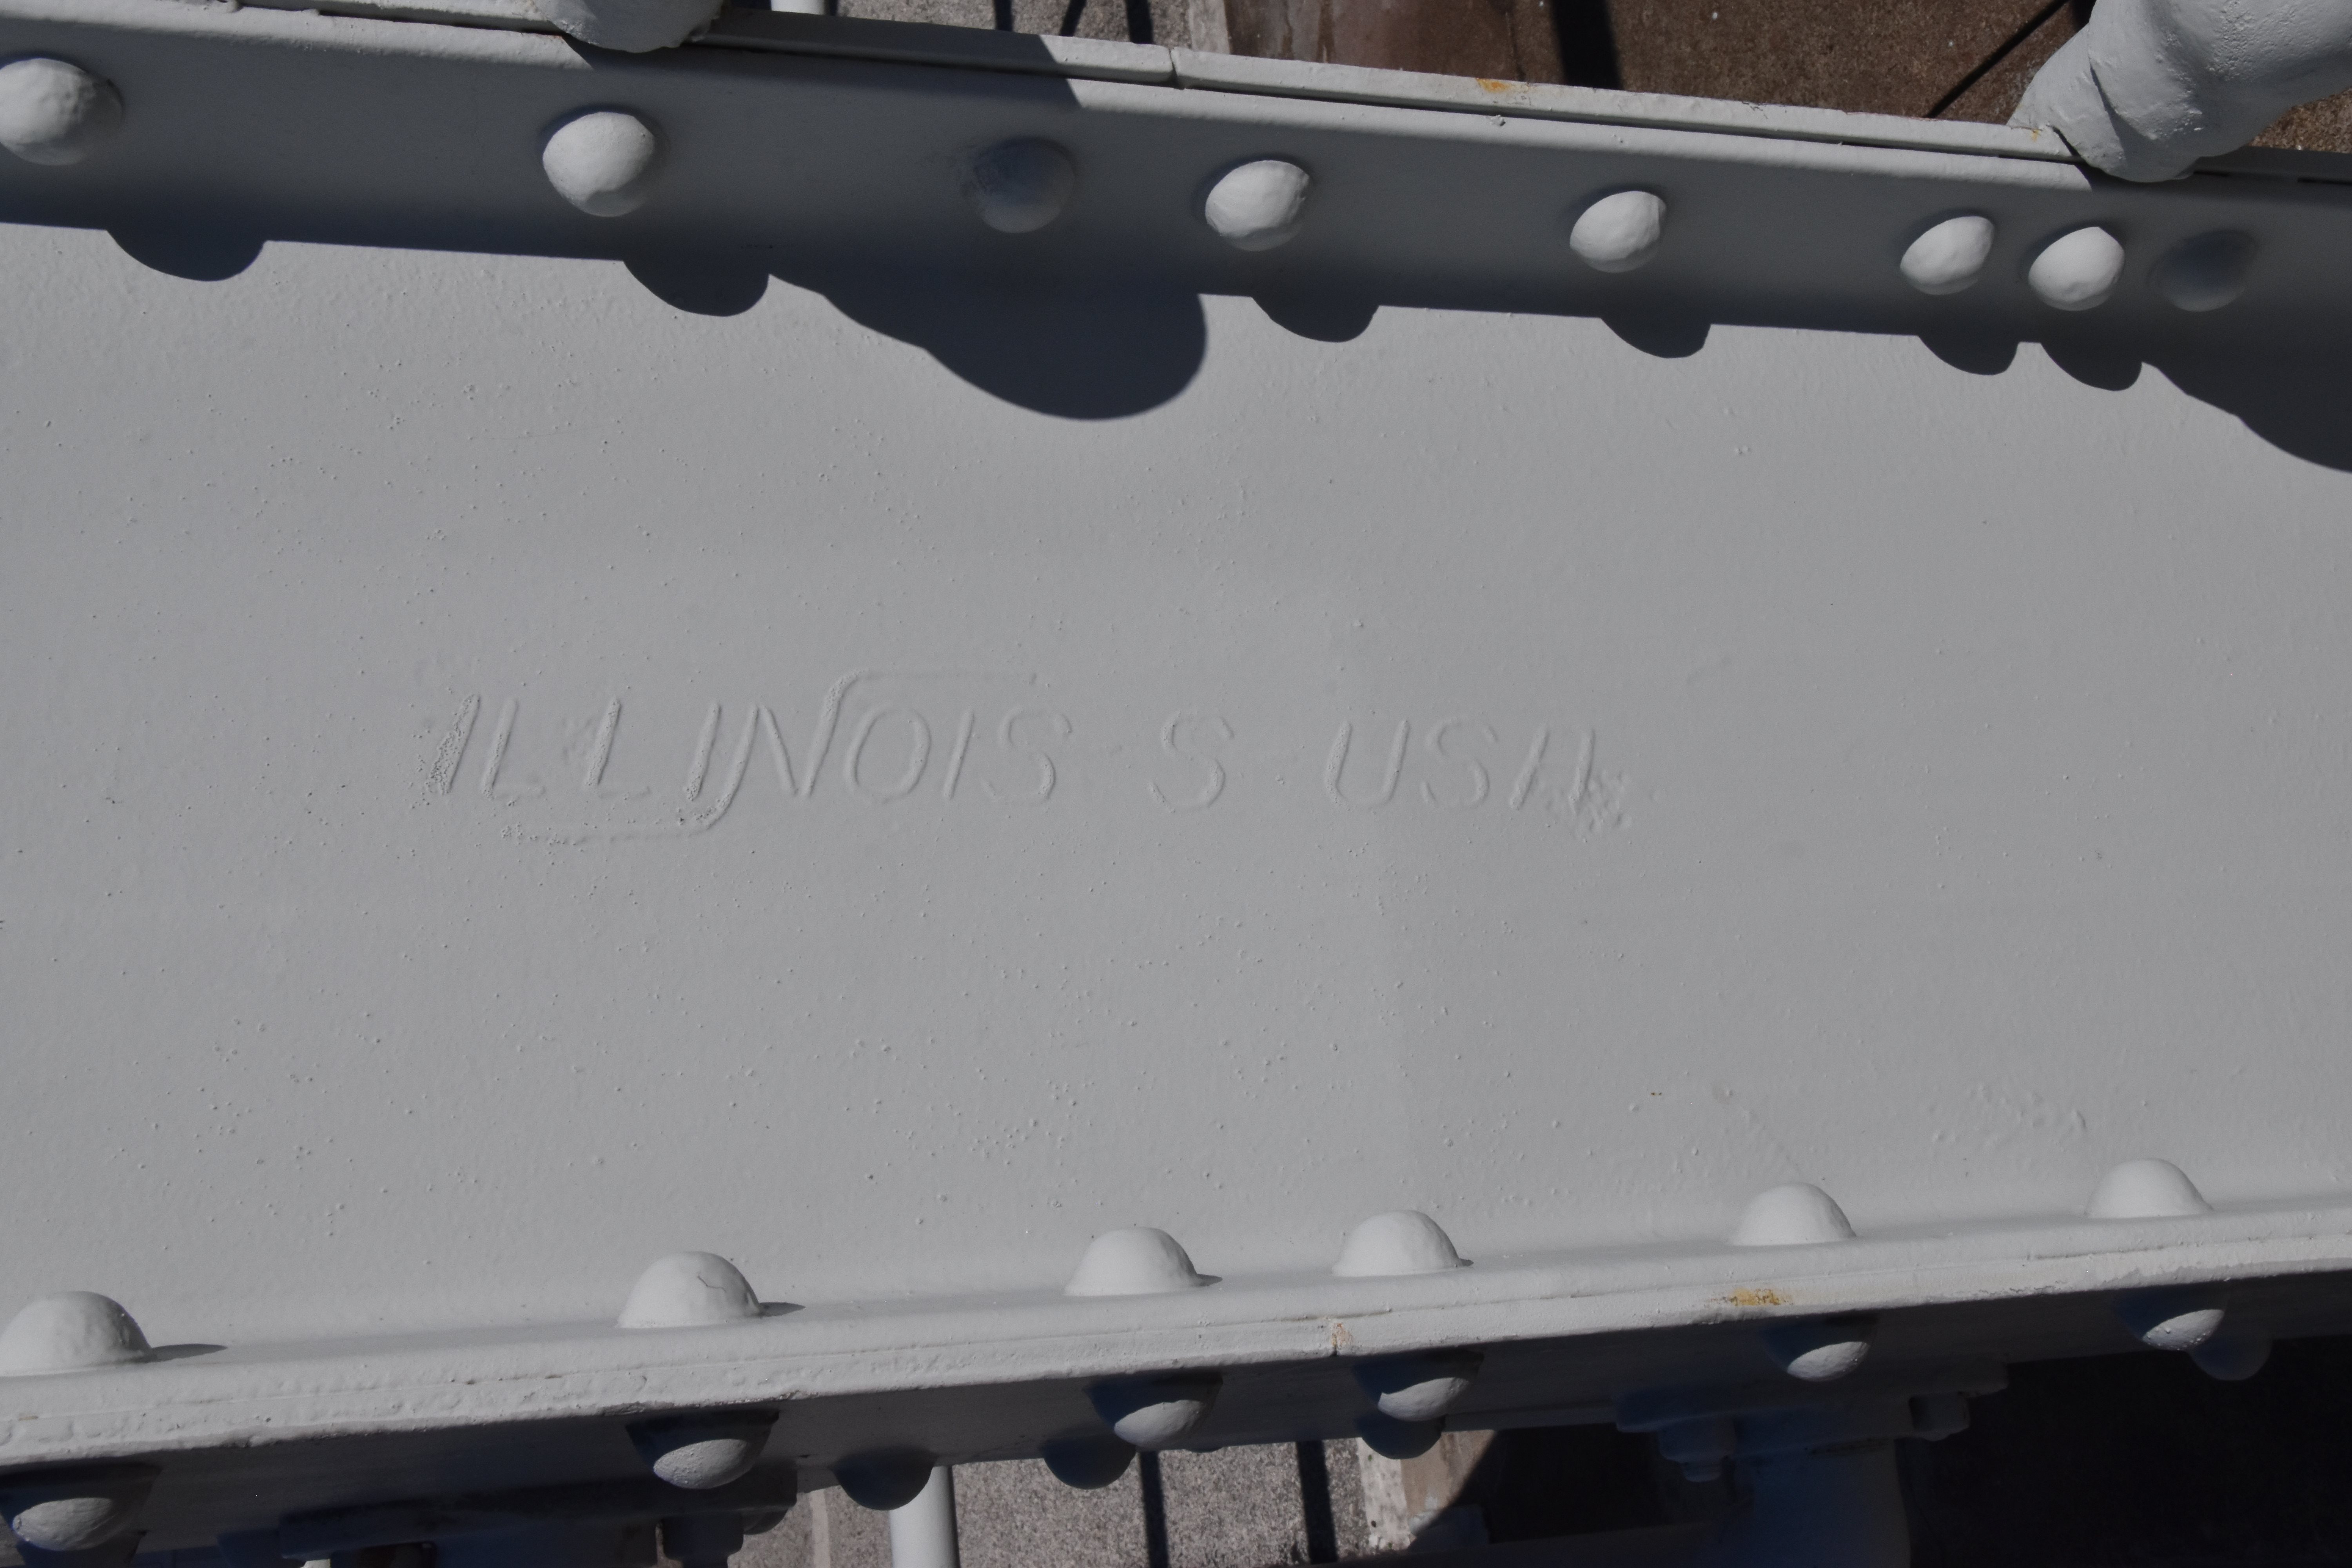
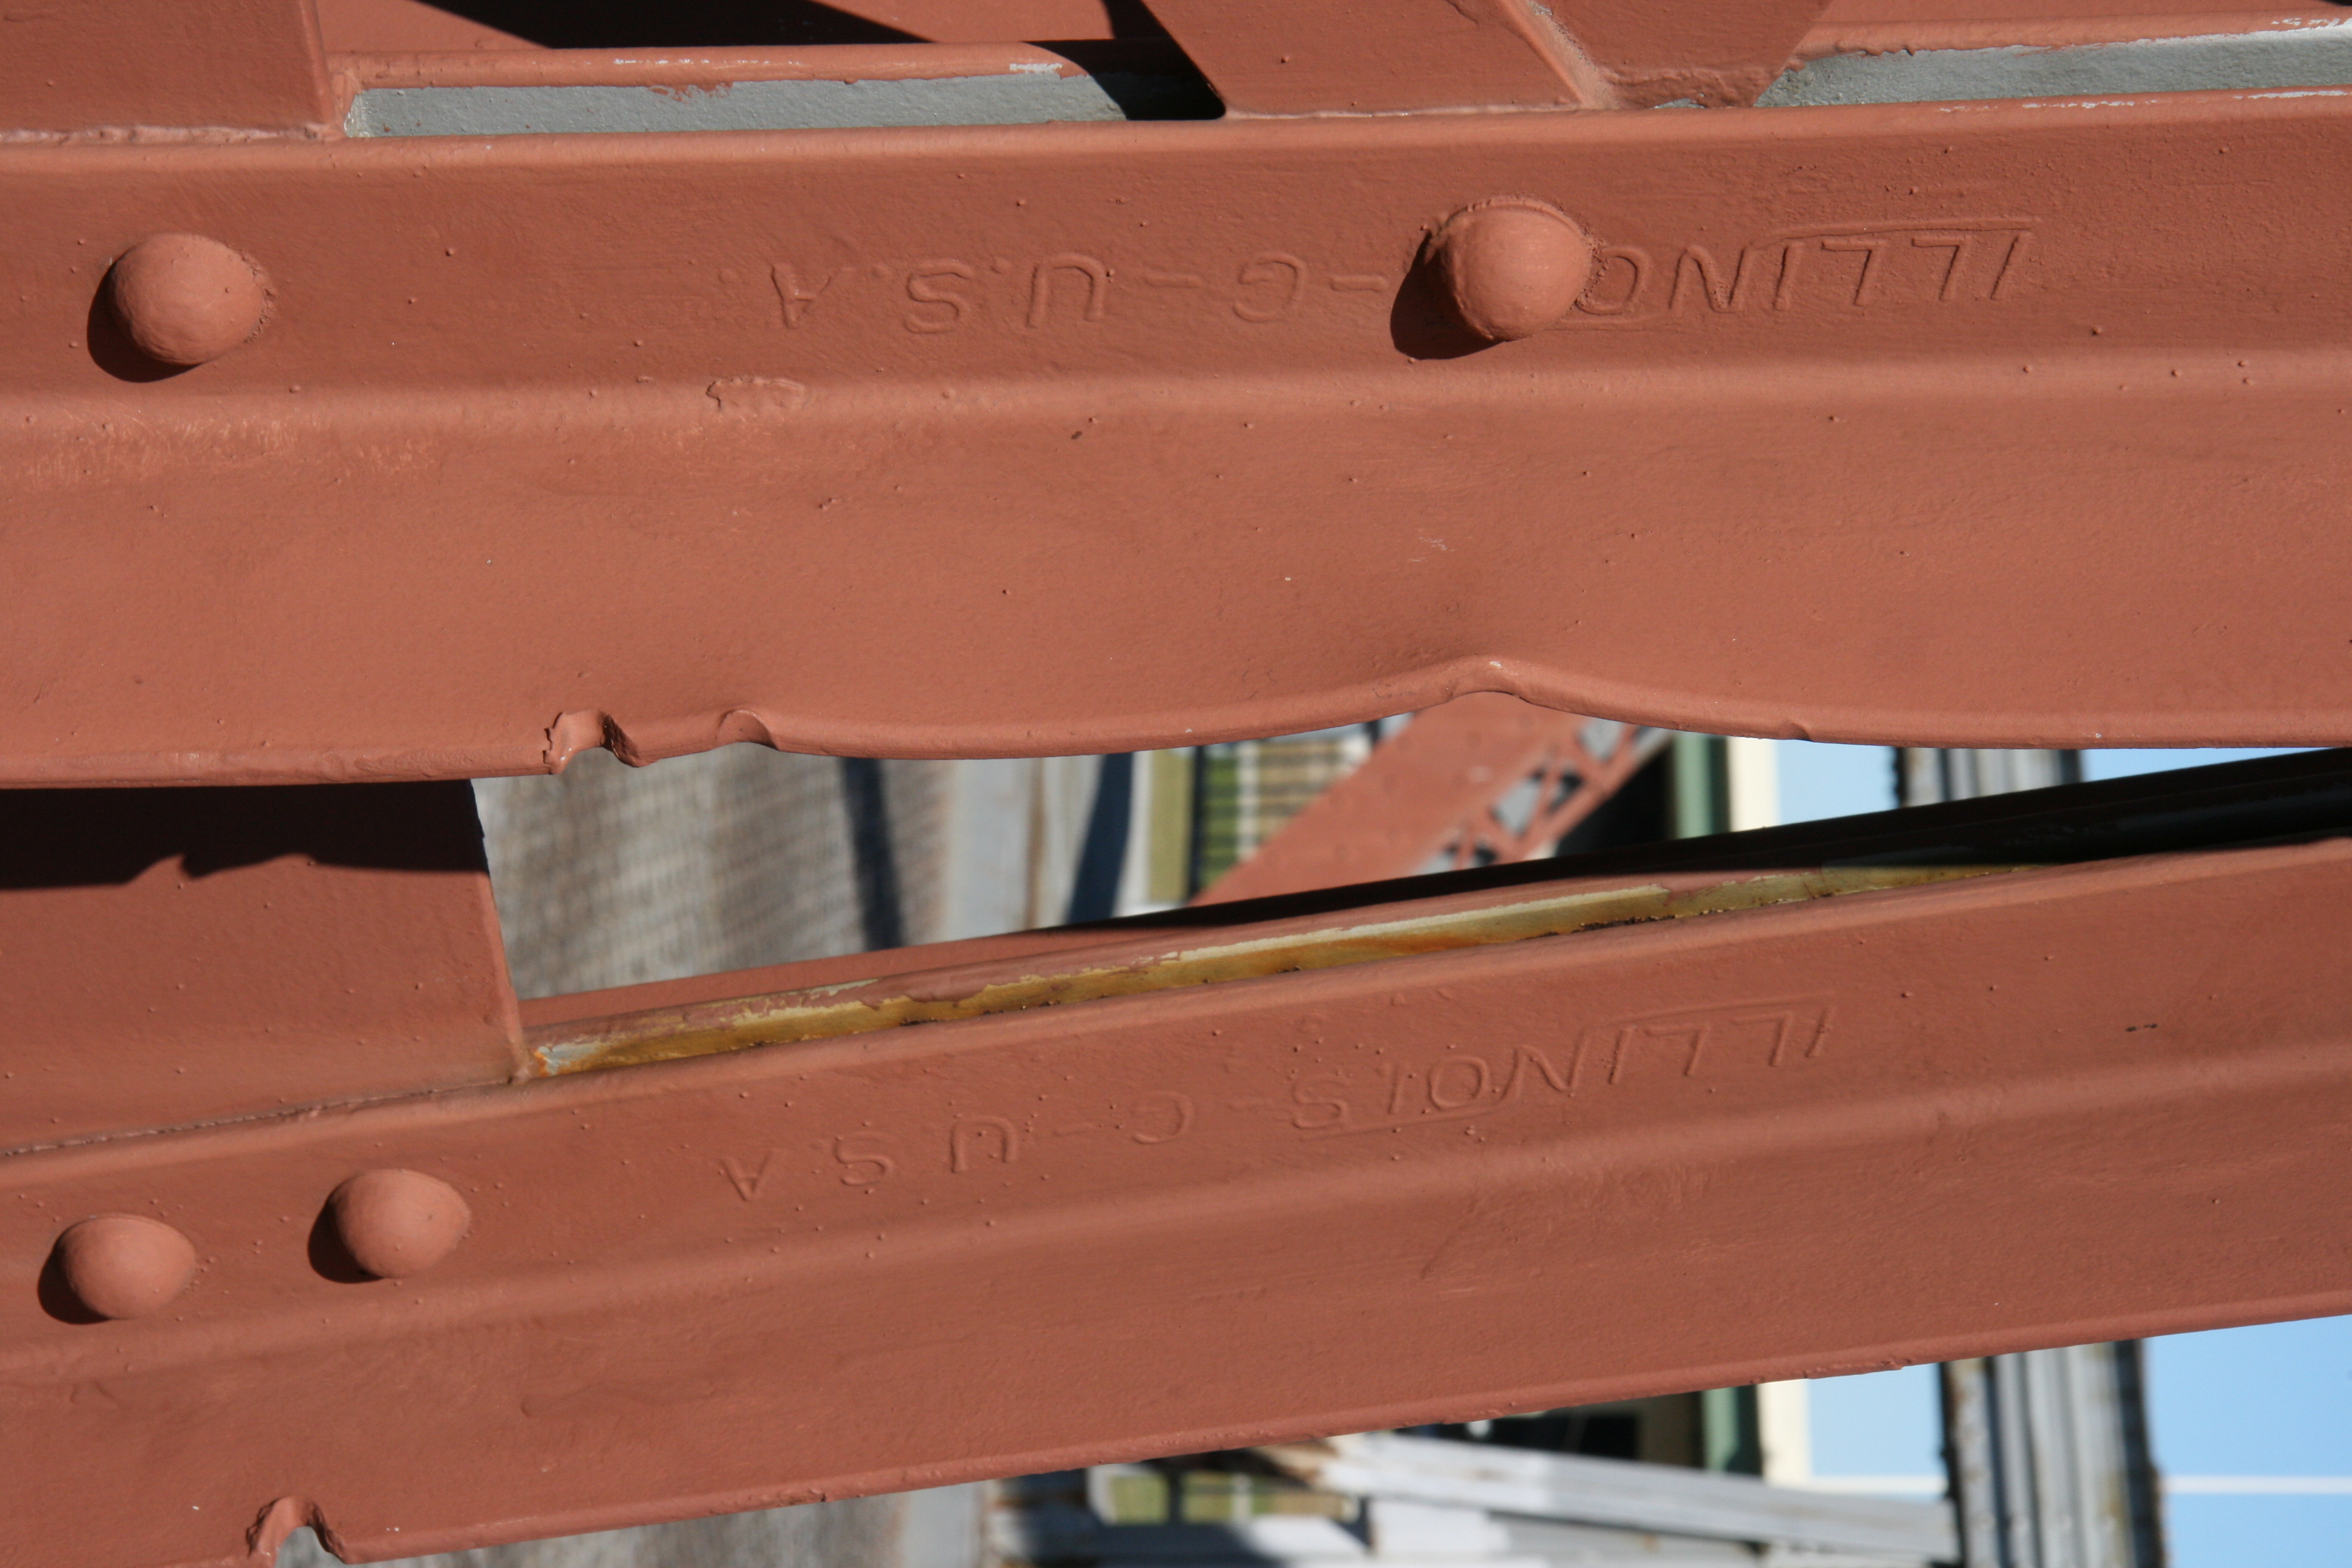
Illinois S brand.
![]()
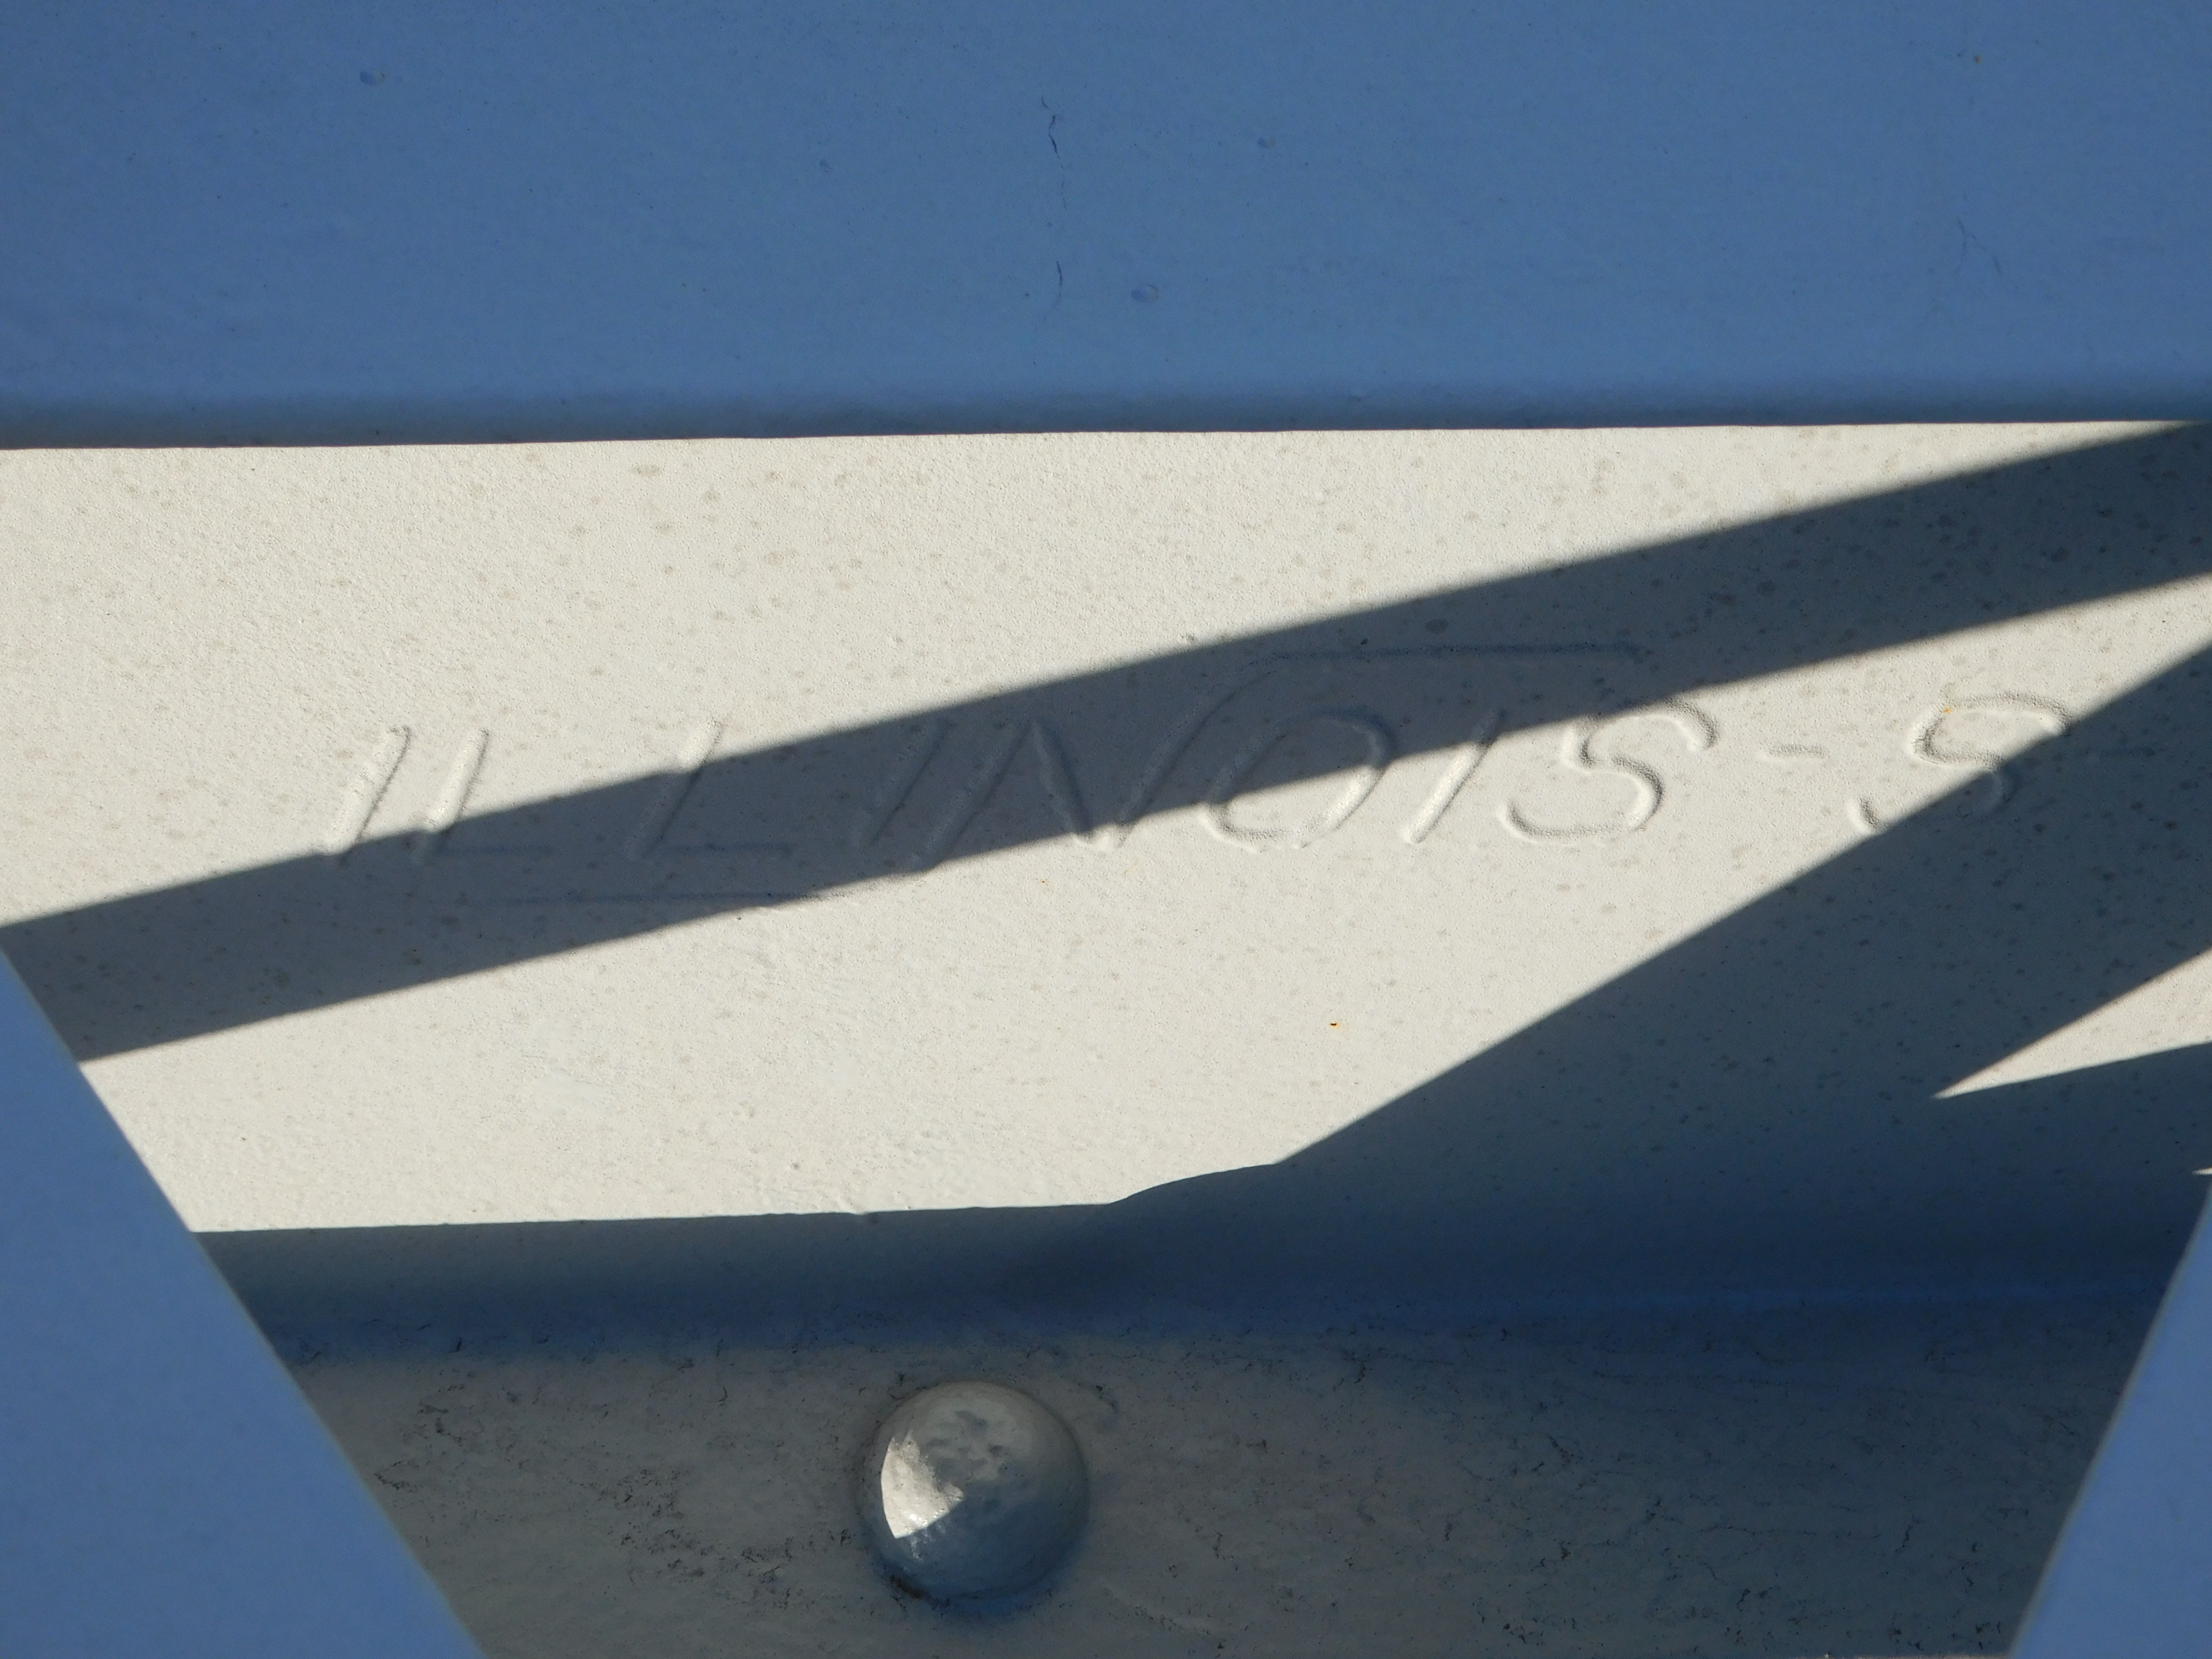
Photo Credit: Marc Scotti
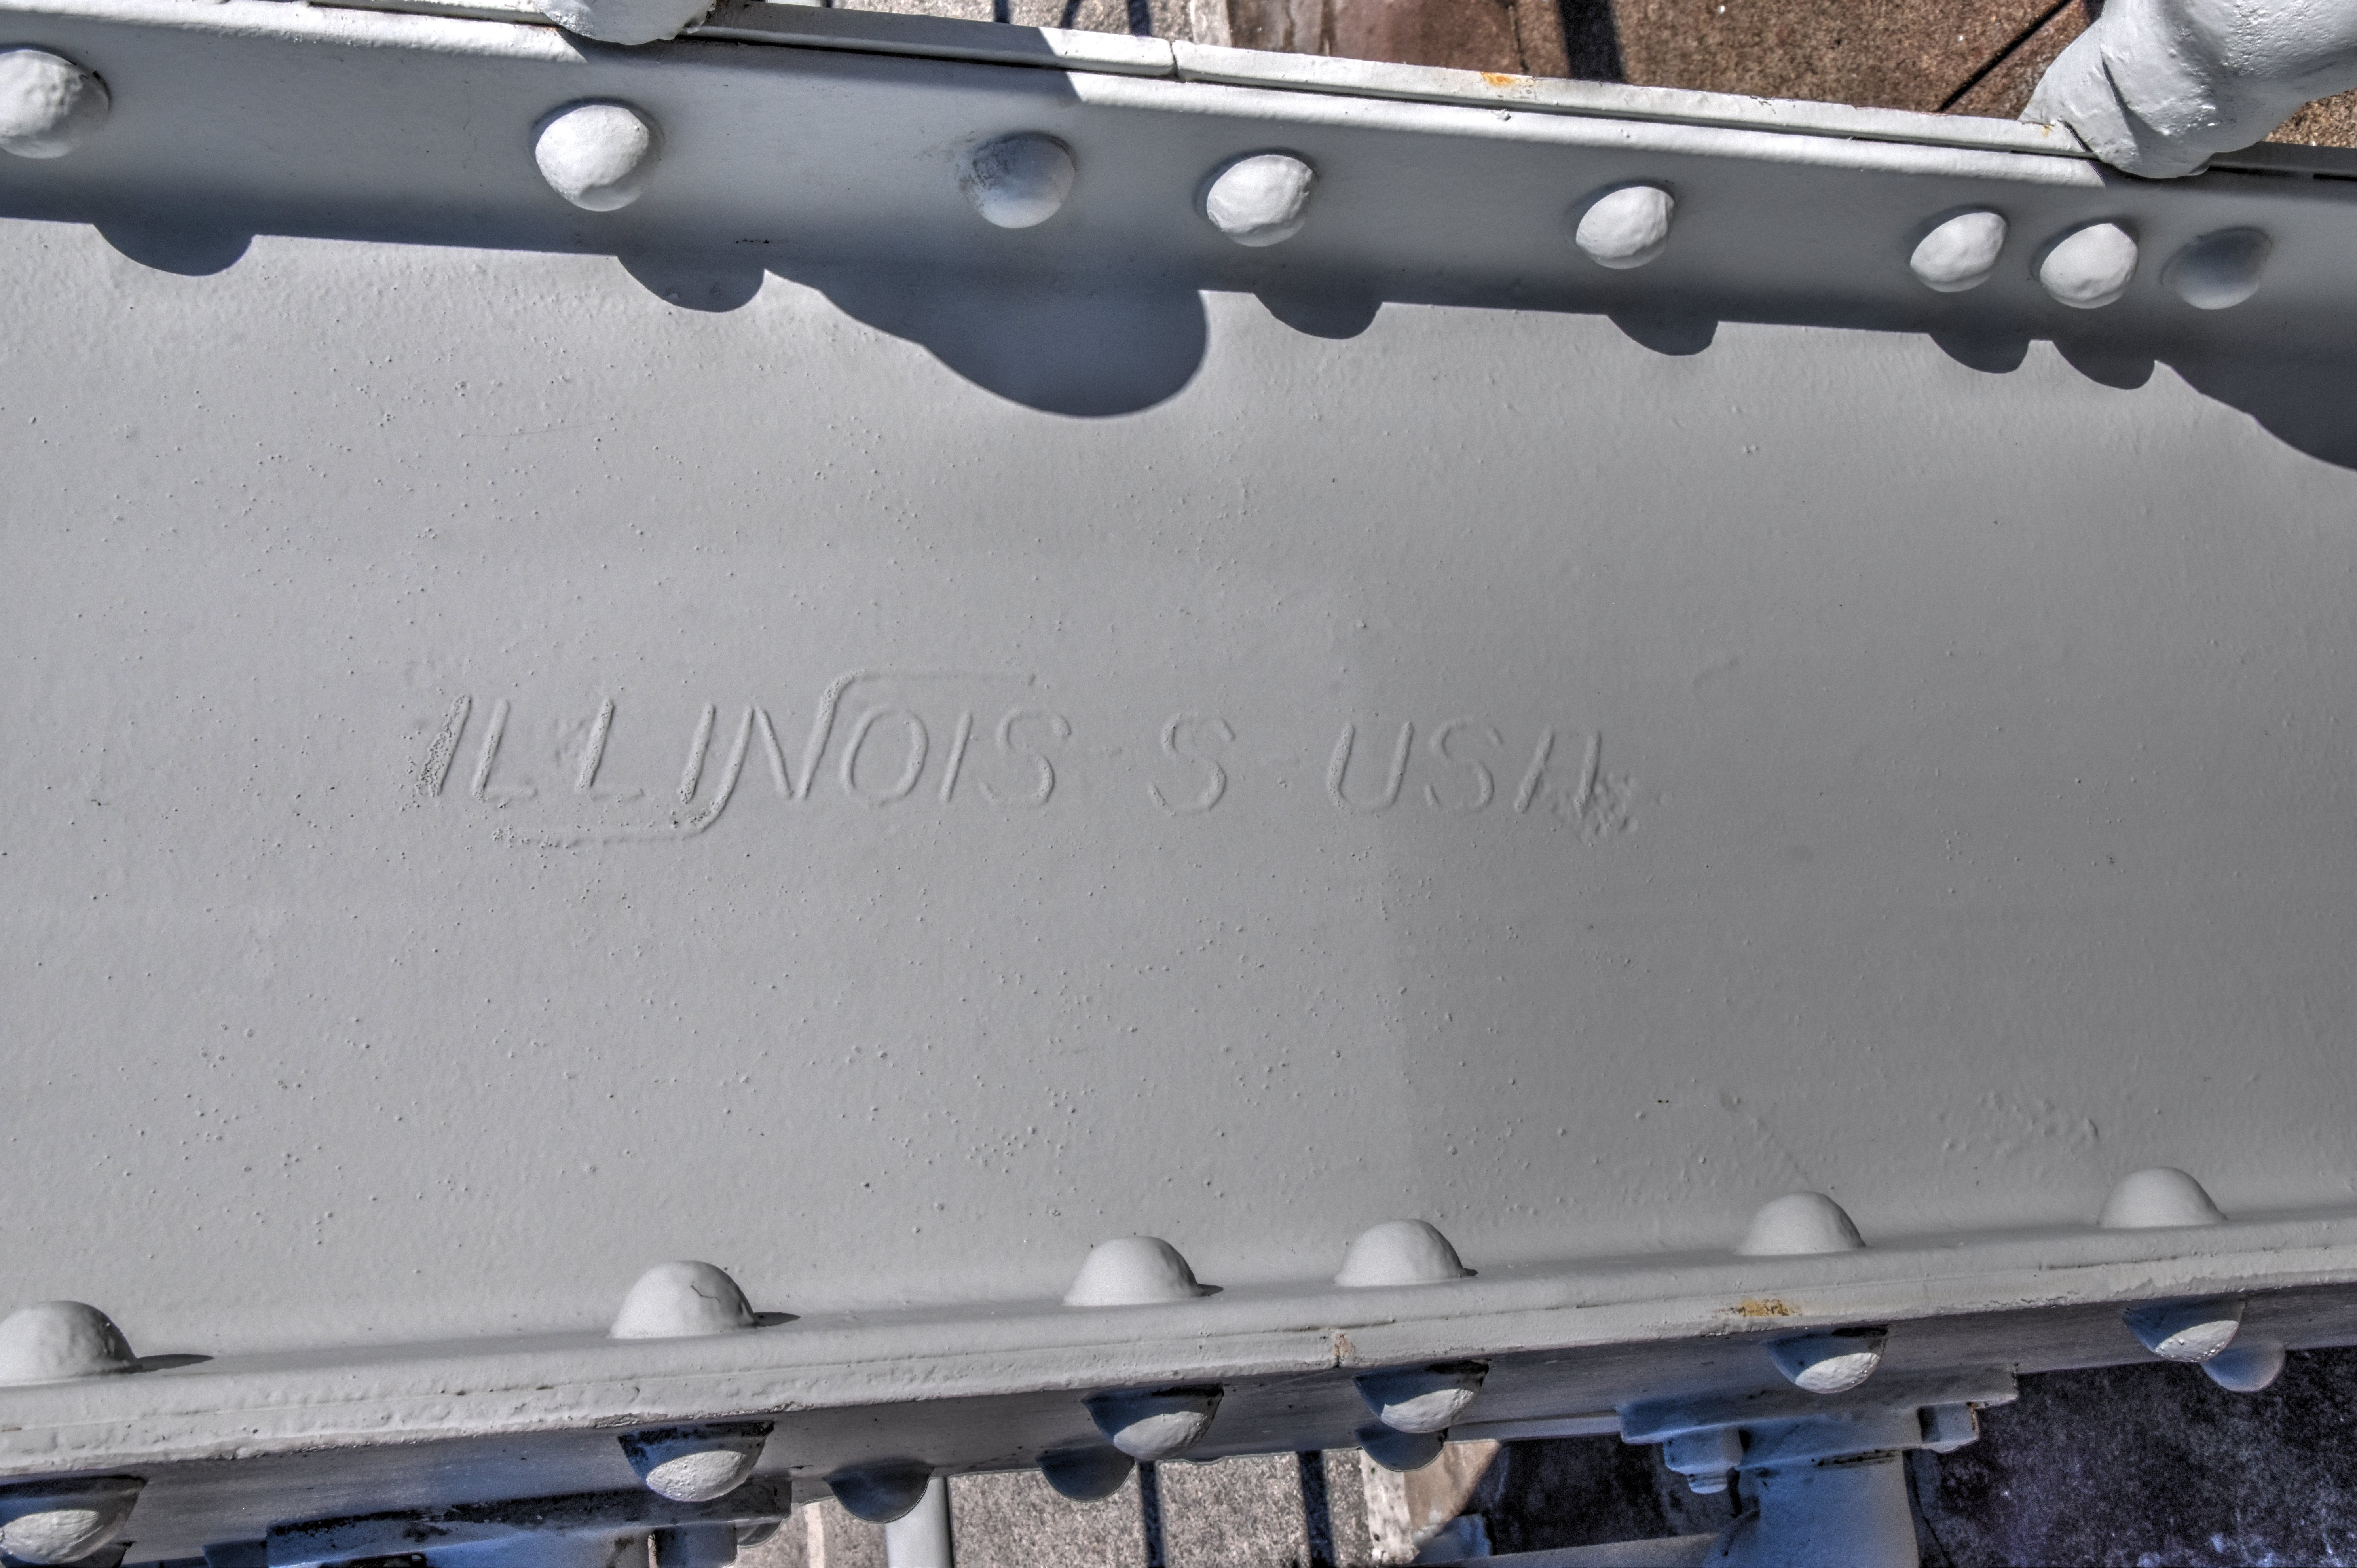
Illinois S brand.
![]()


Illinois G brand.
![]()
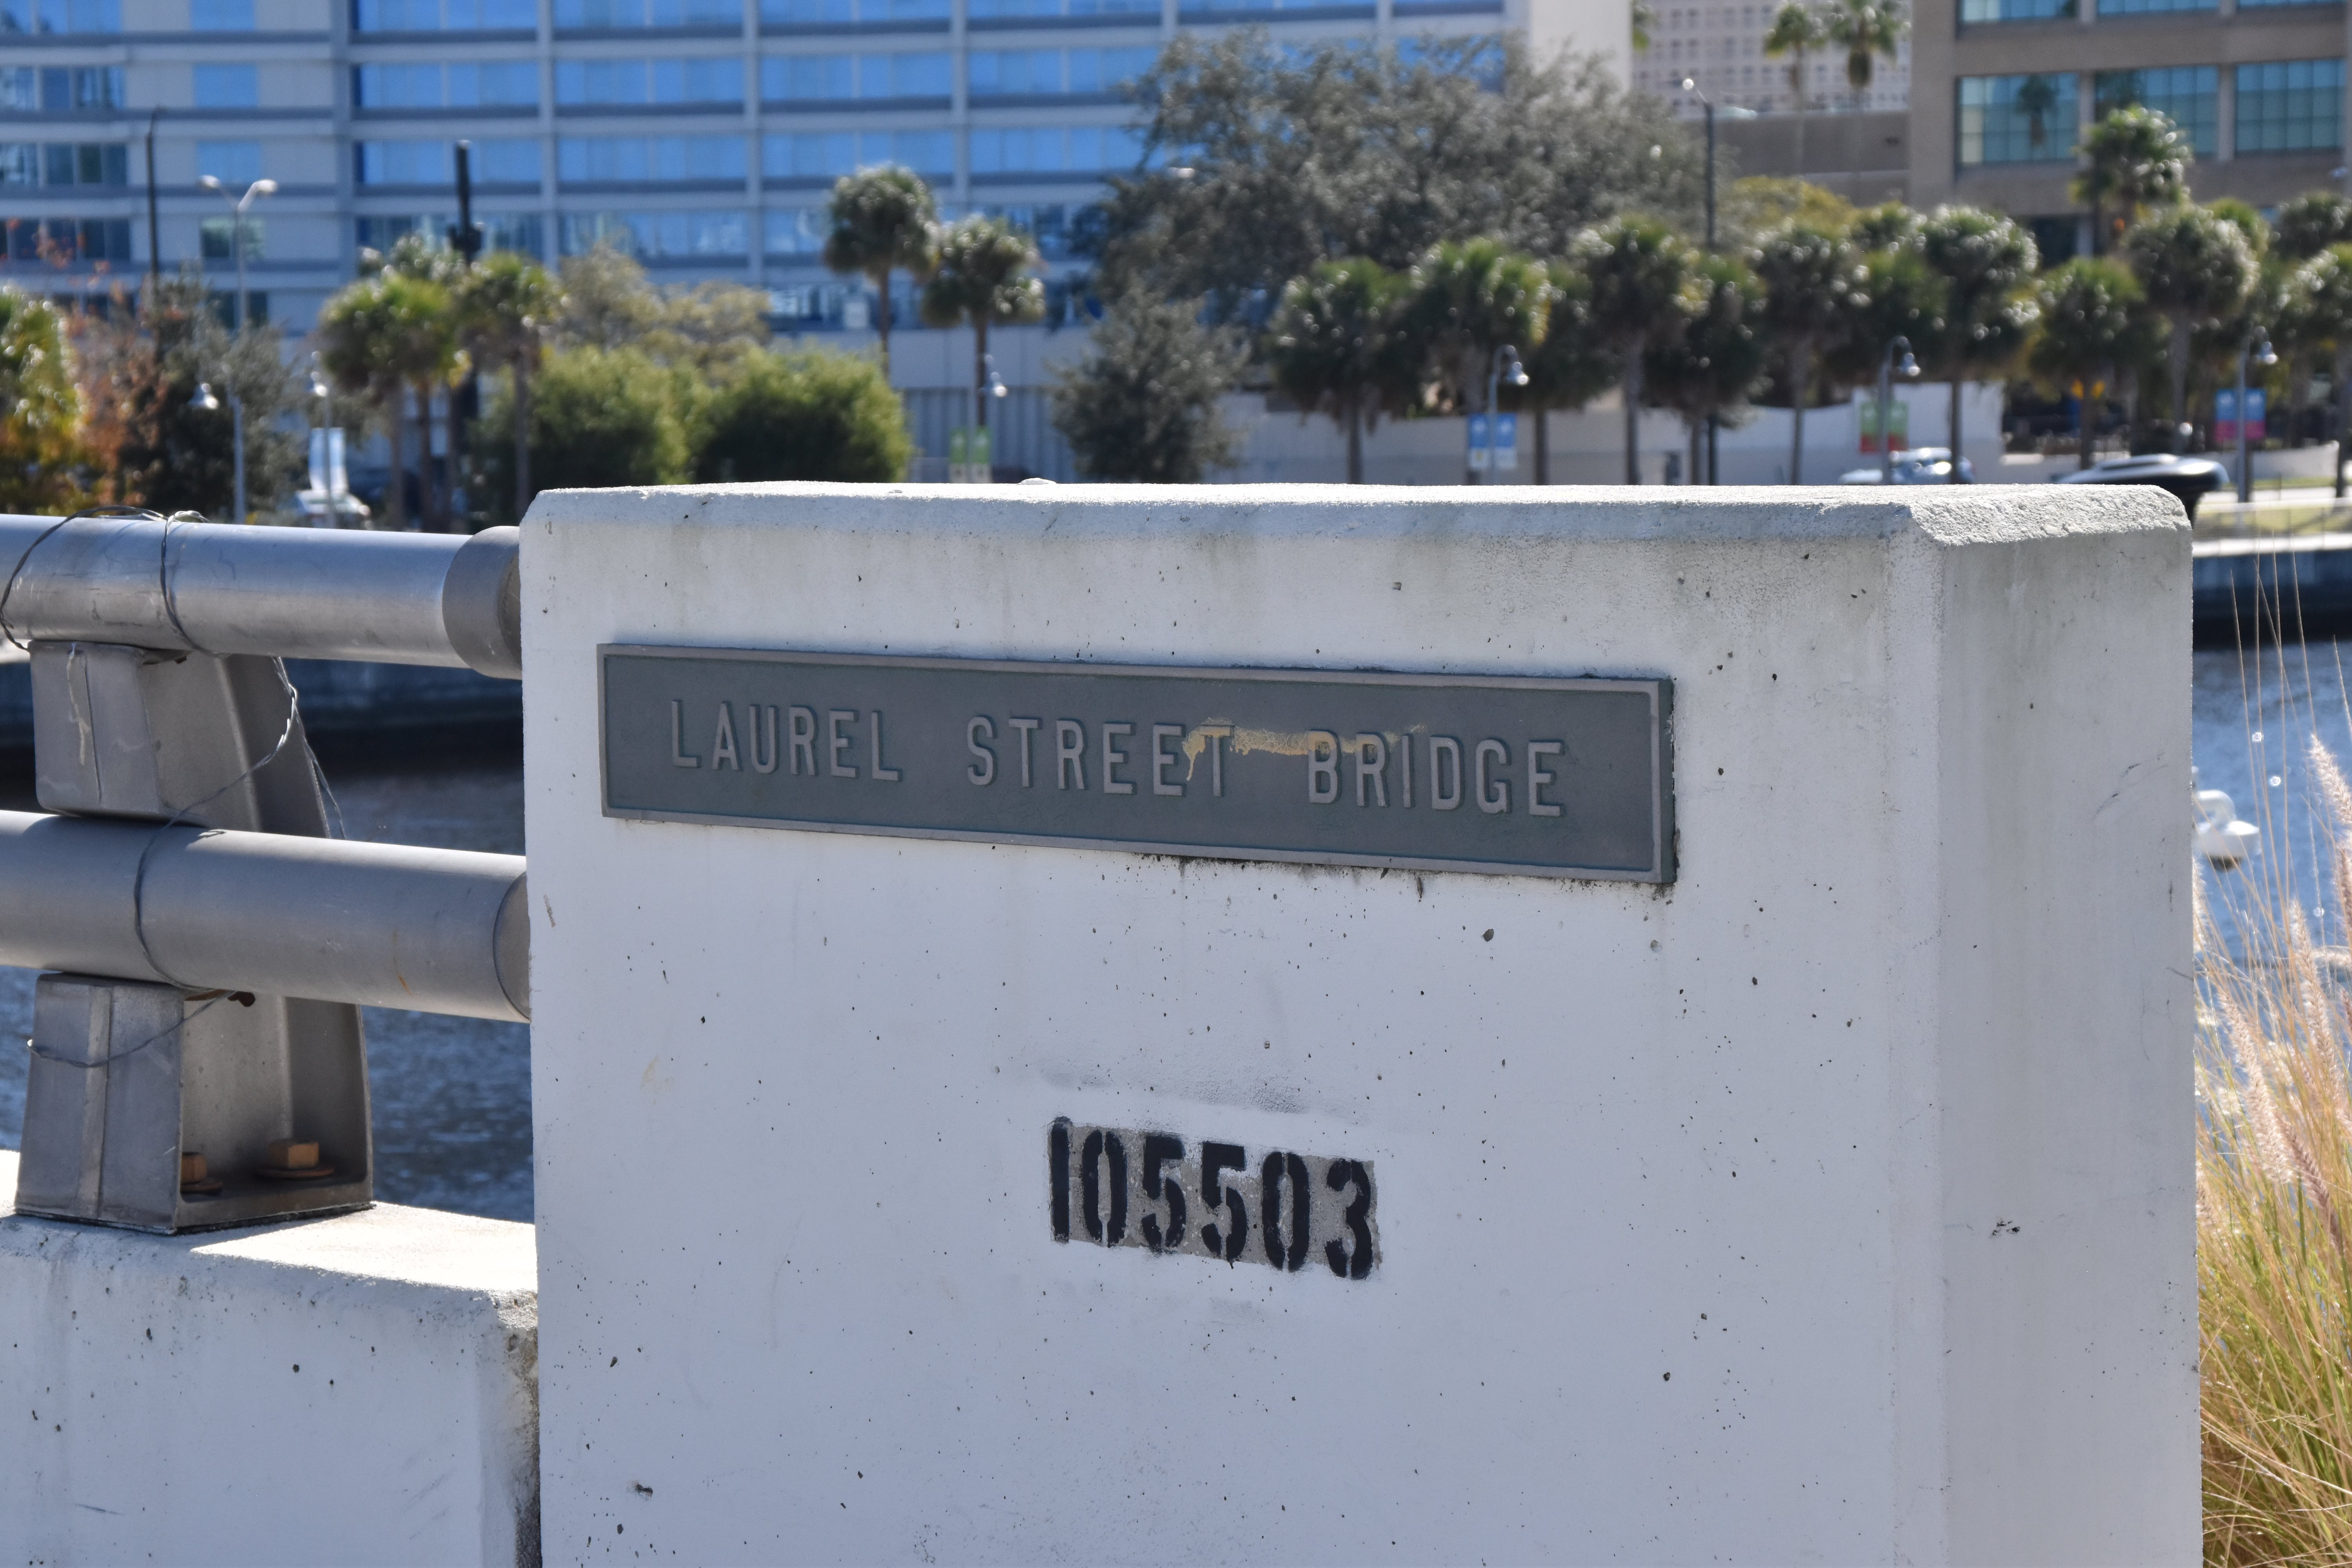
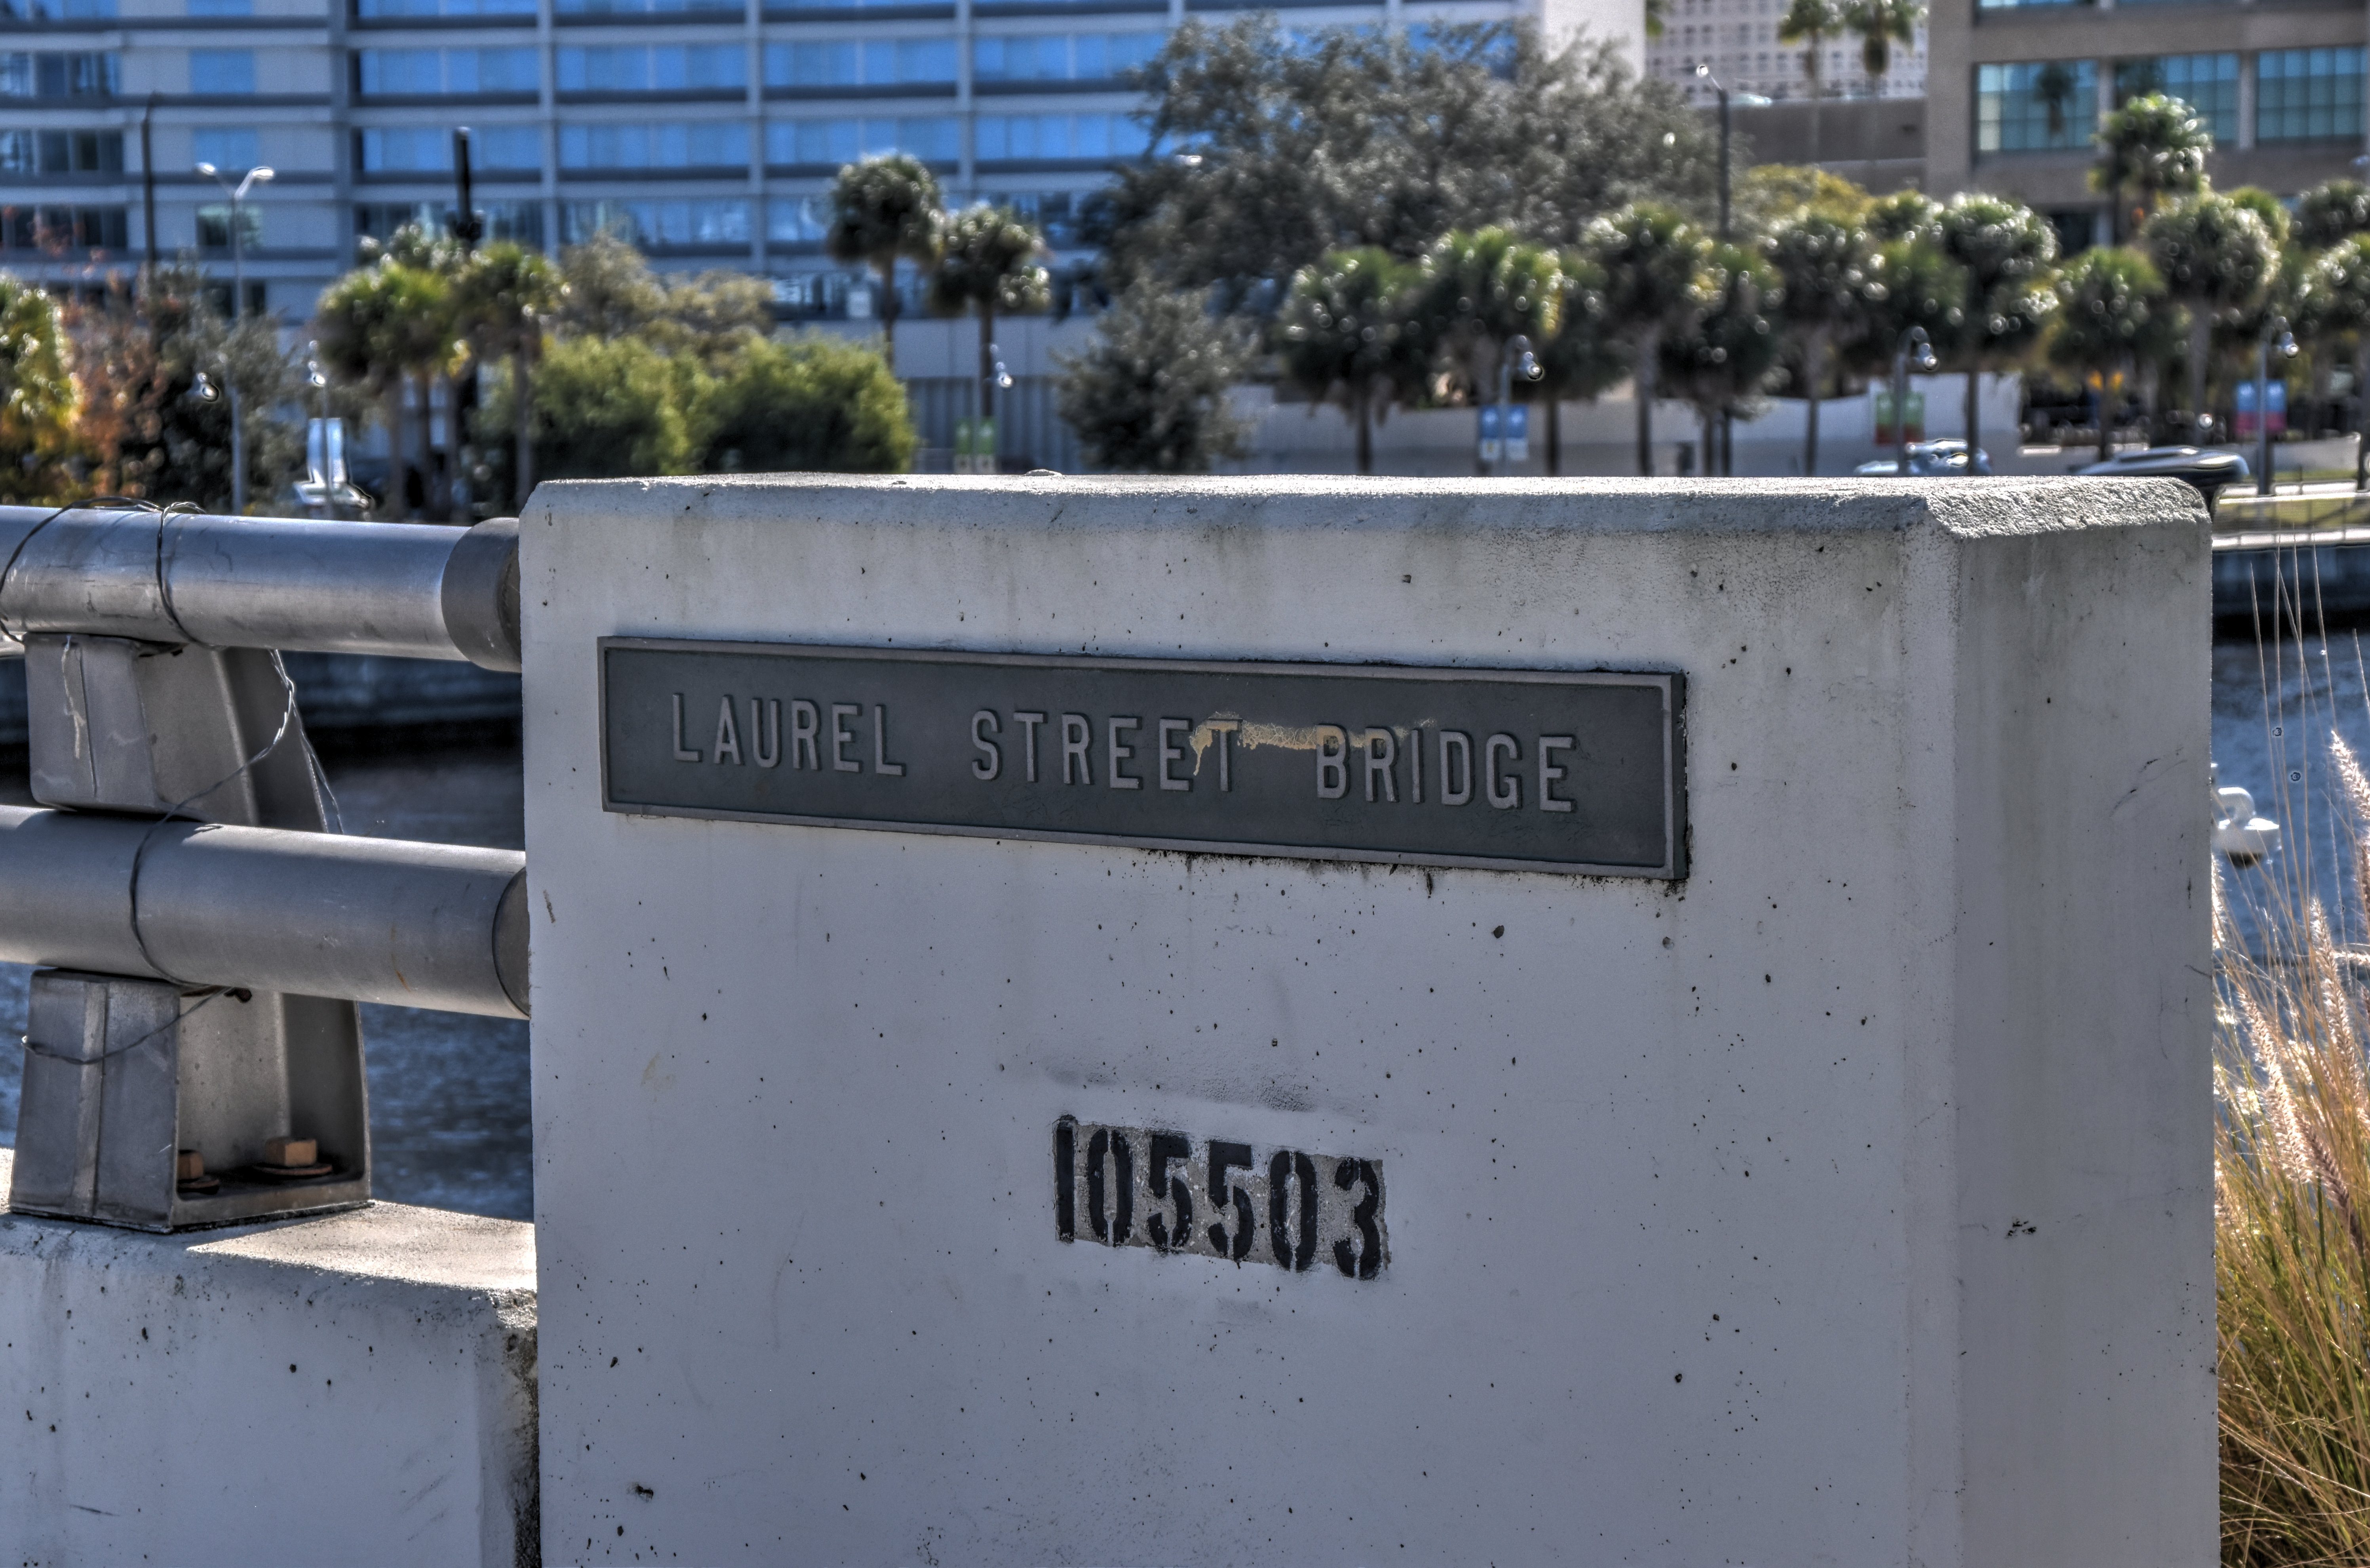
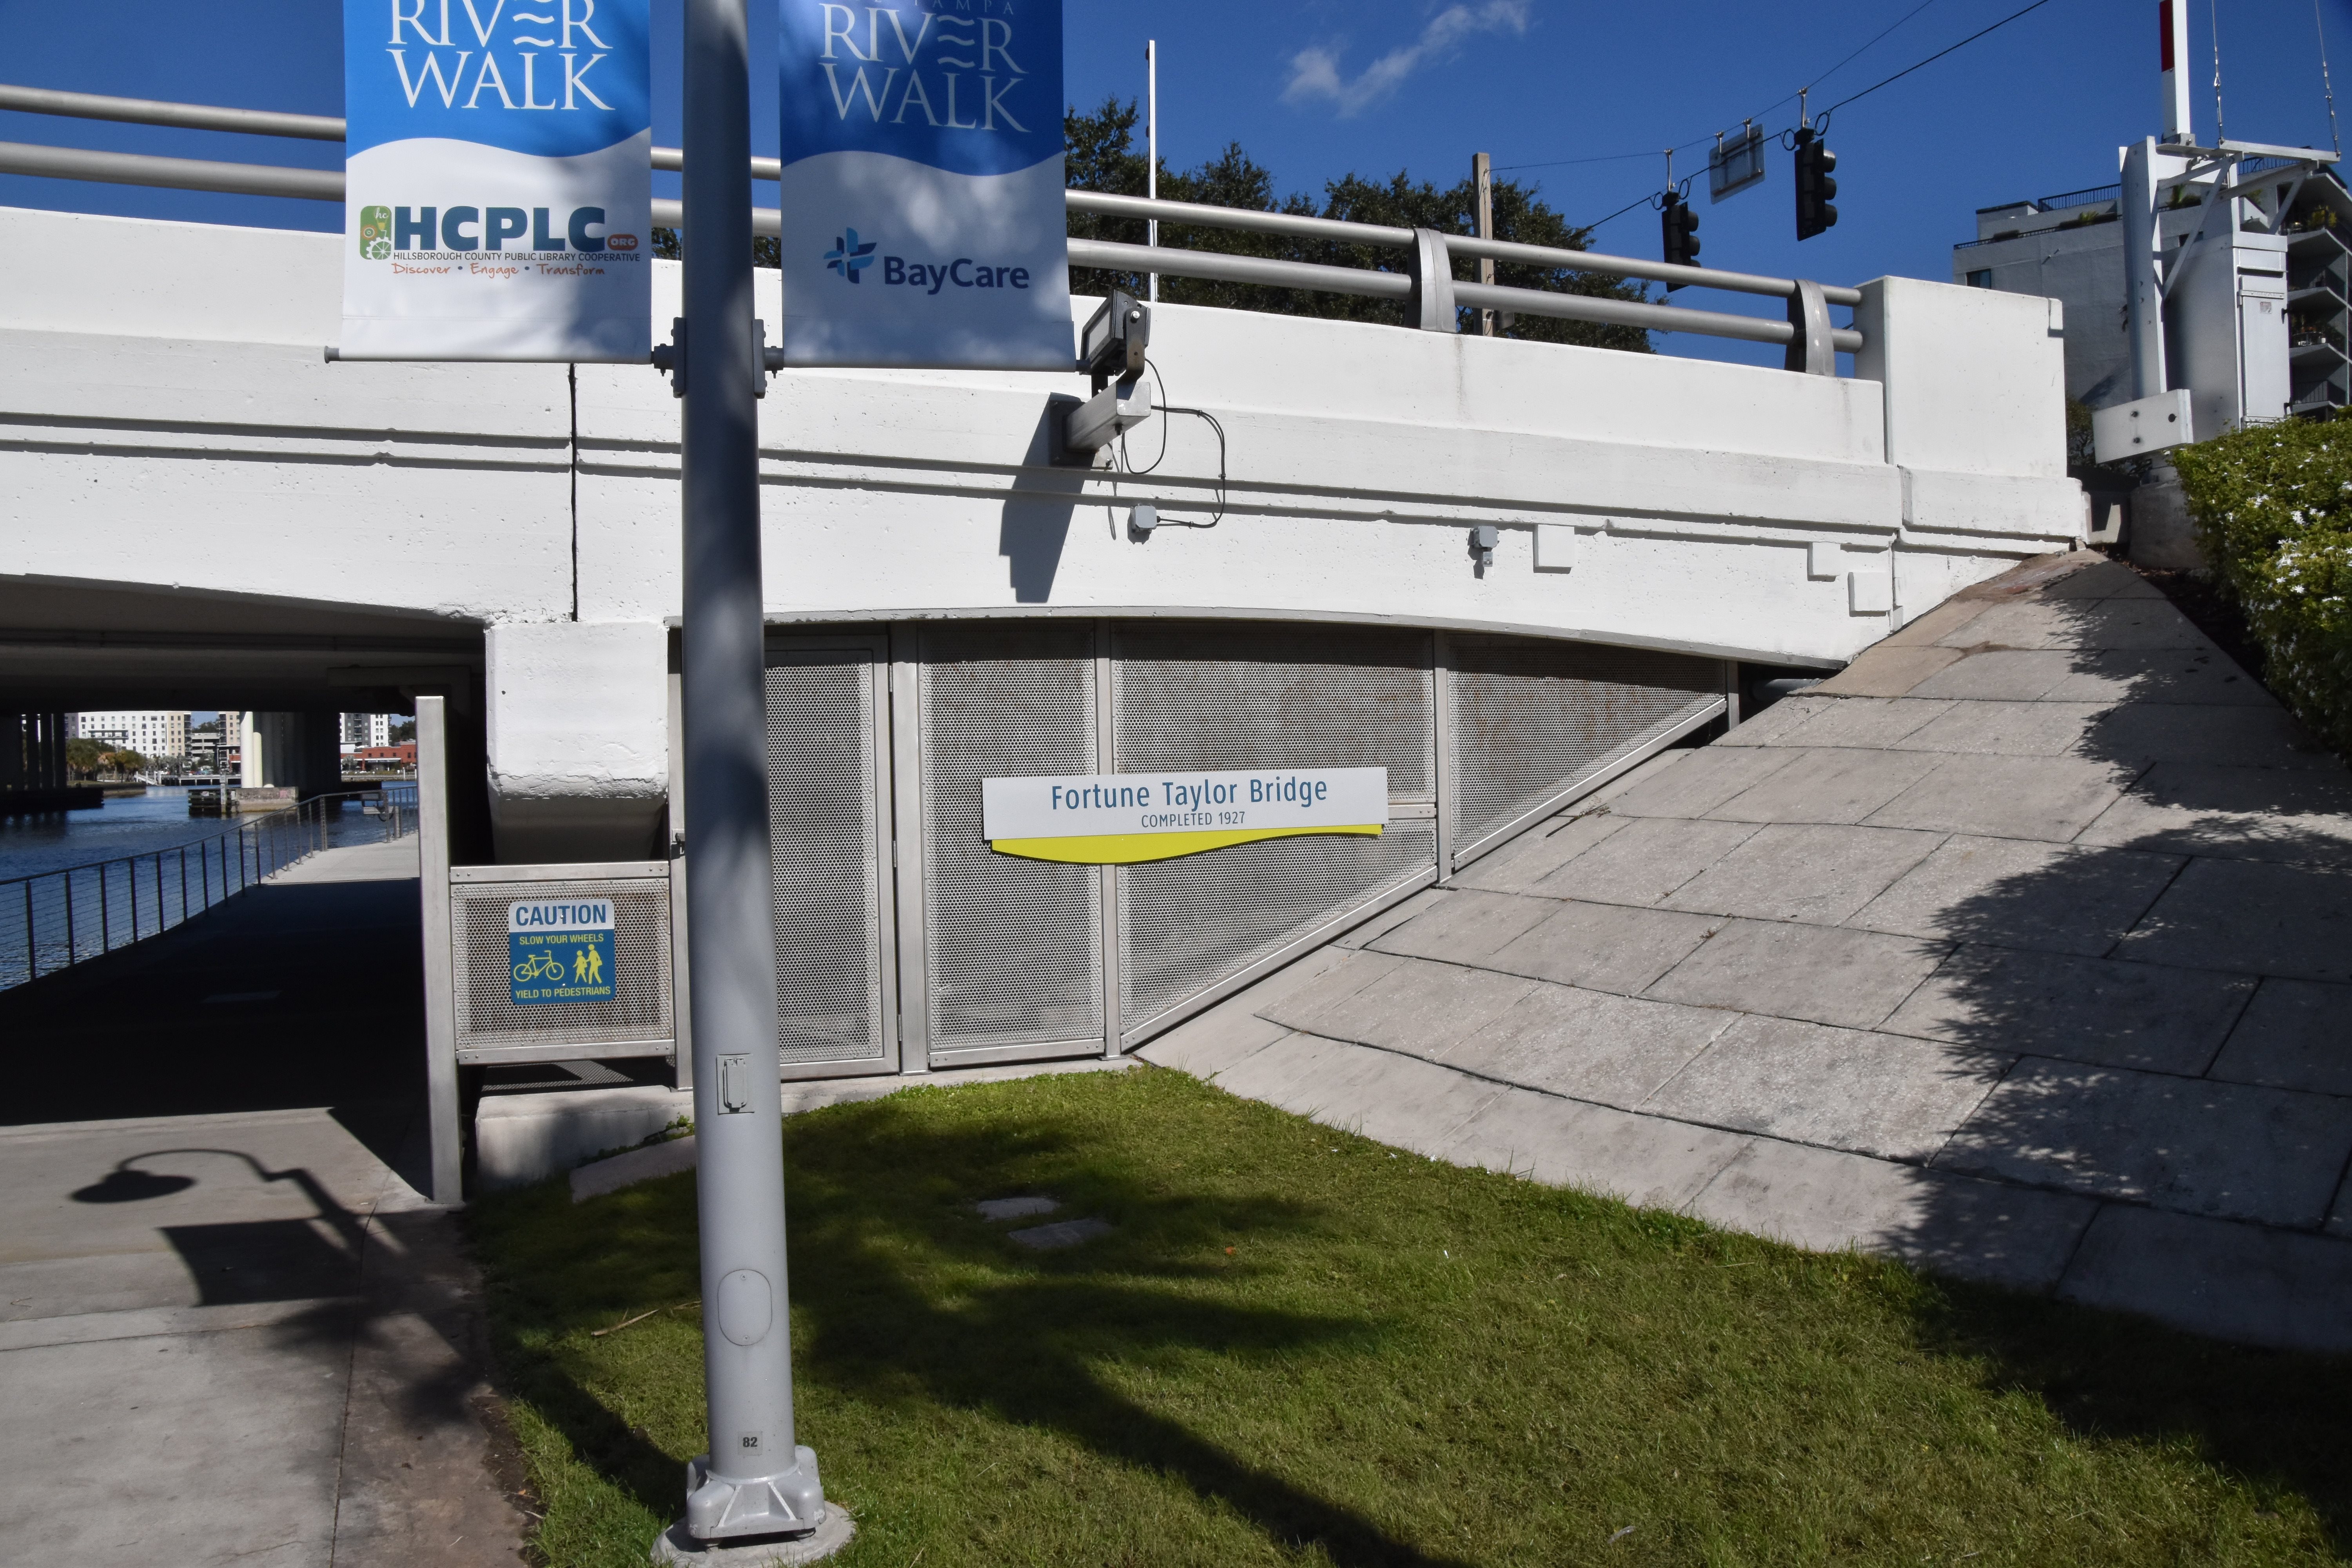
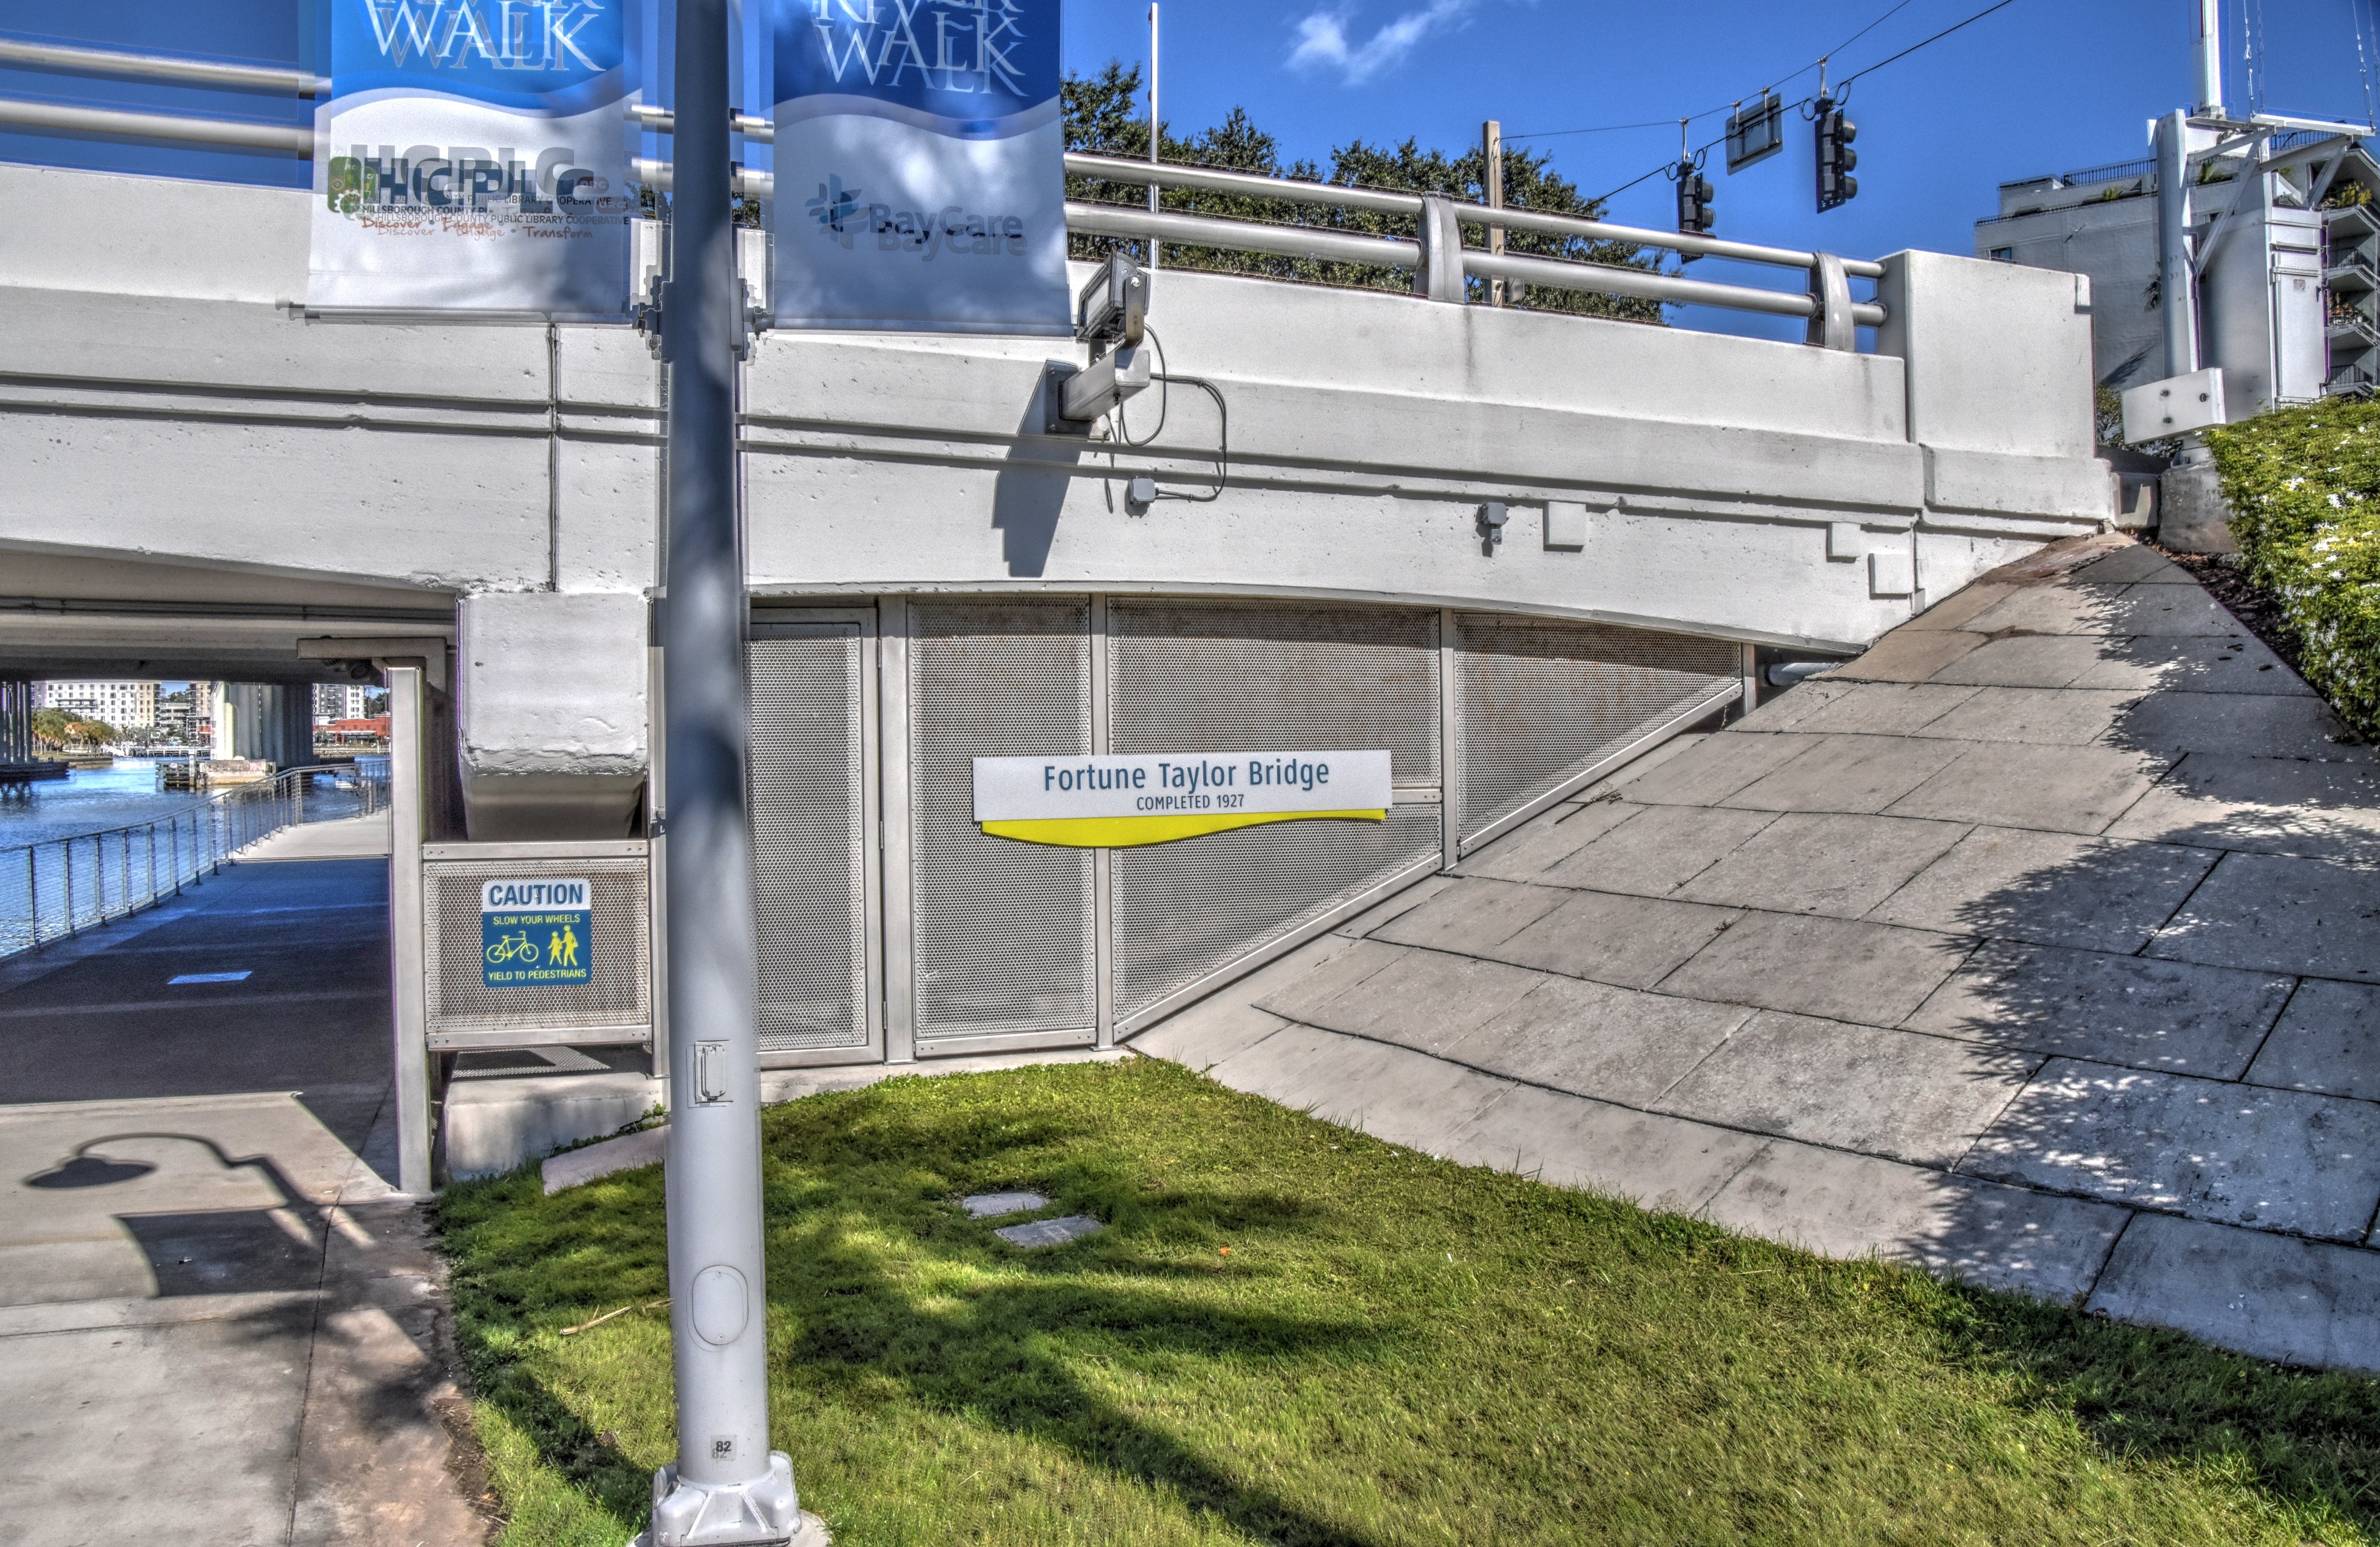
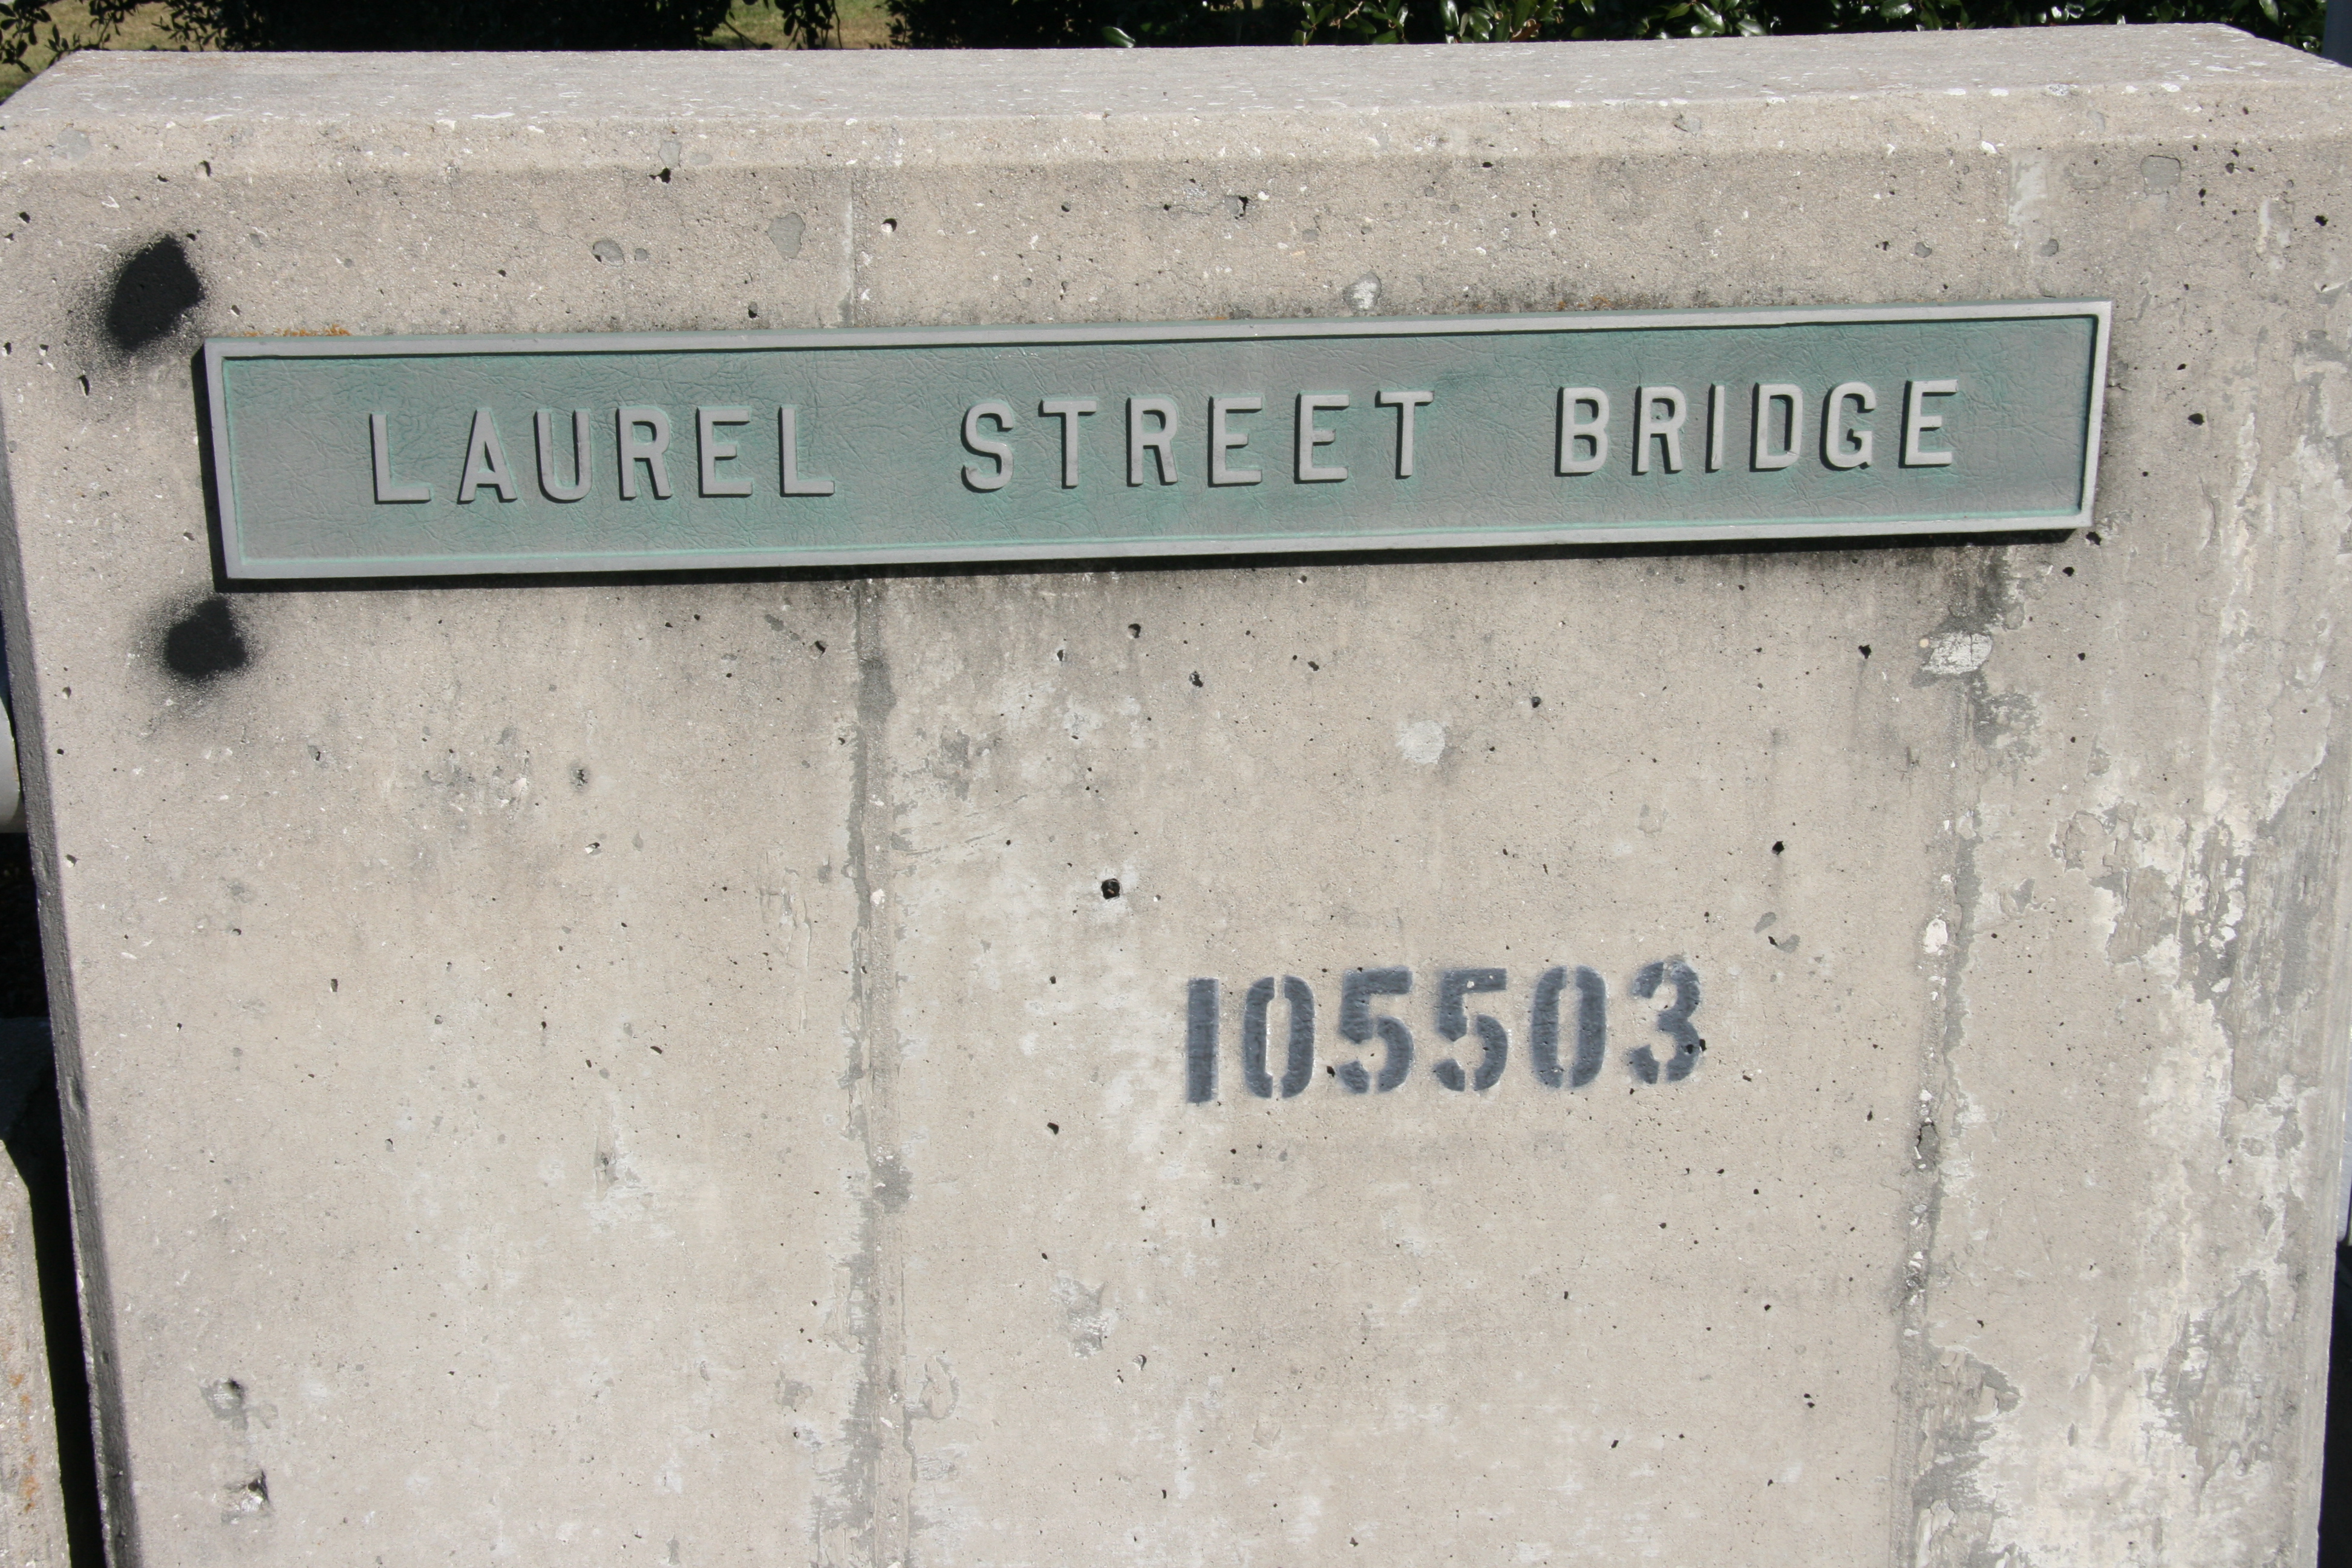
Bridge name.
![]()

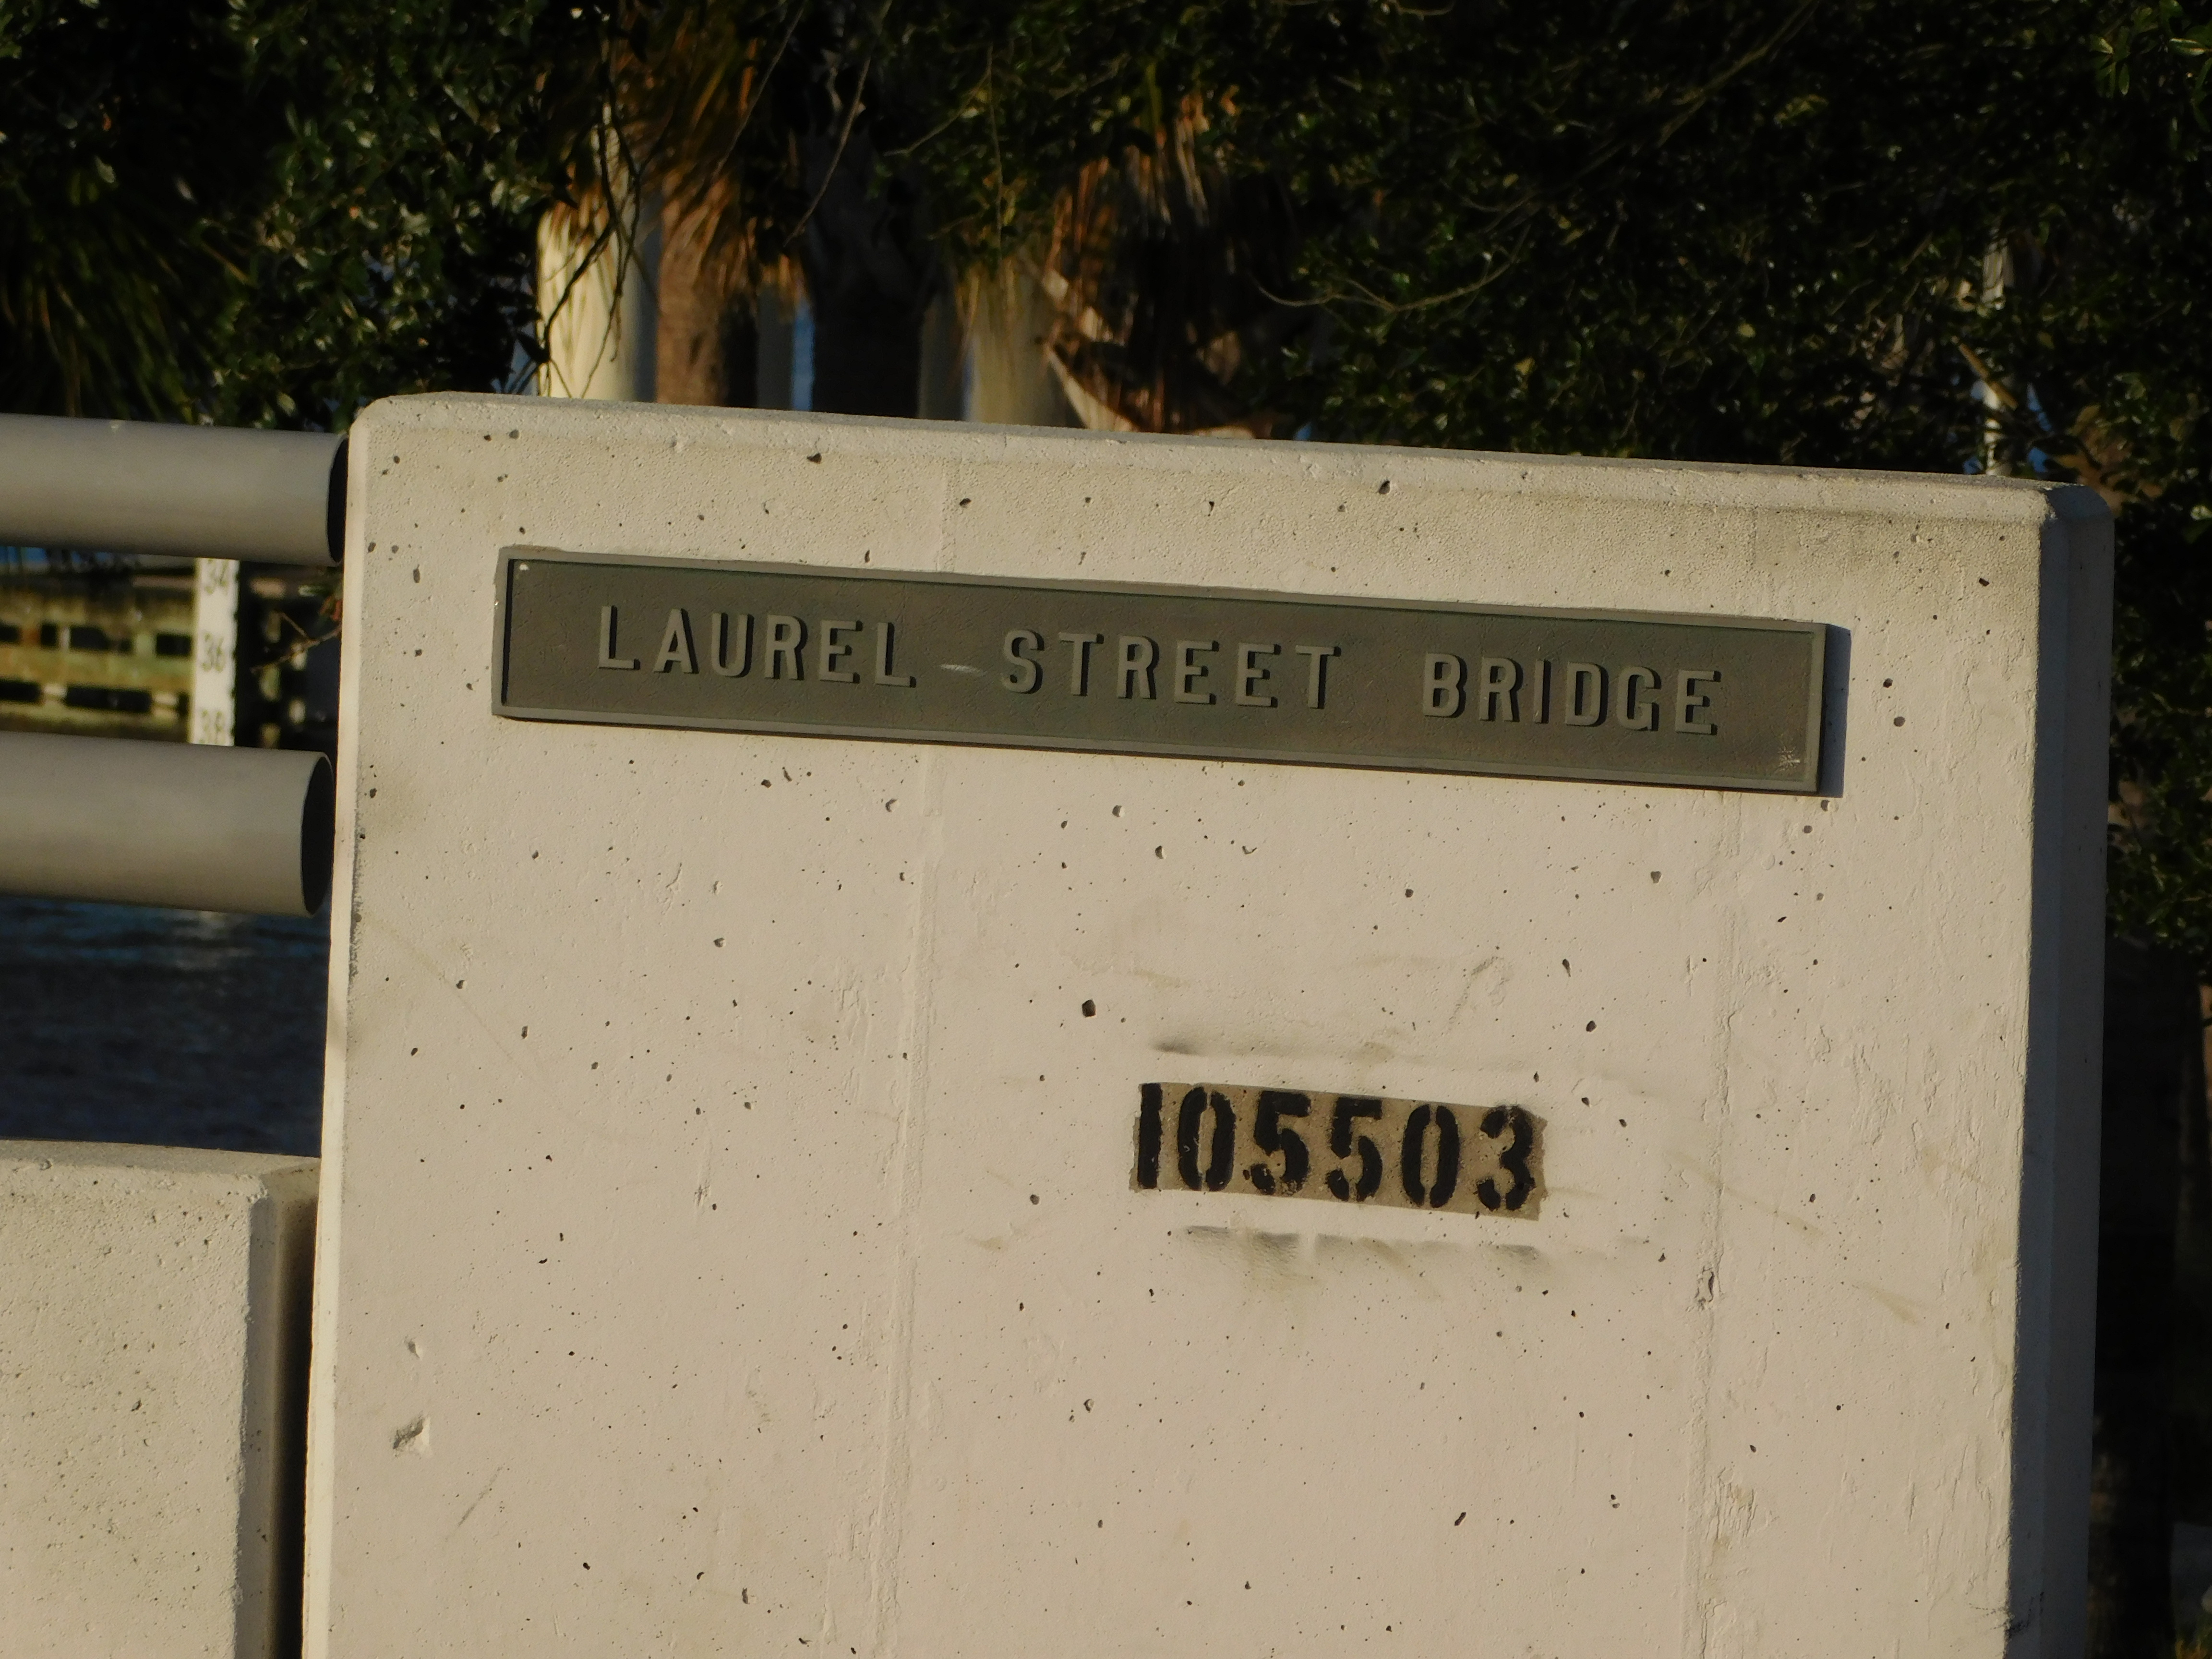
Photo Credit: Marc Scotti
Bridge name.
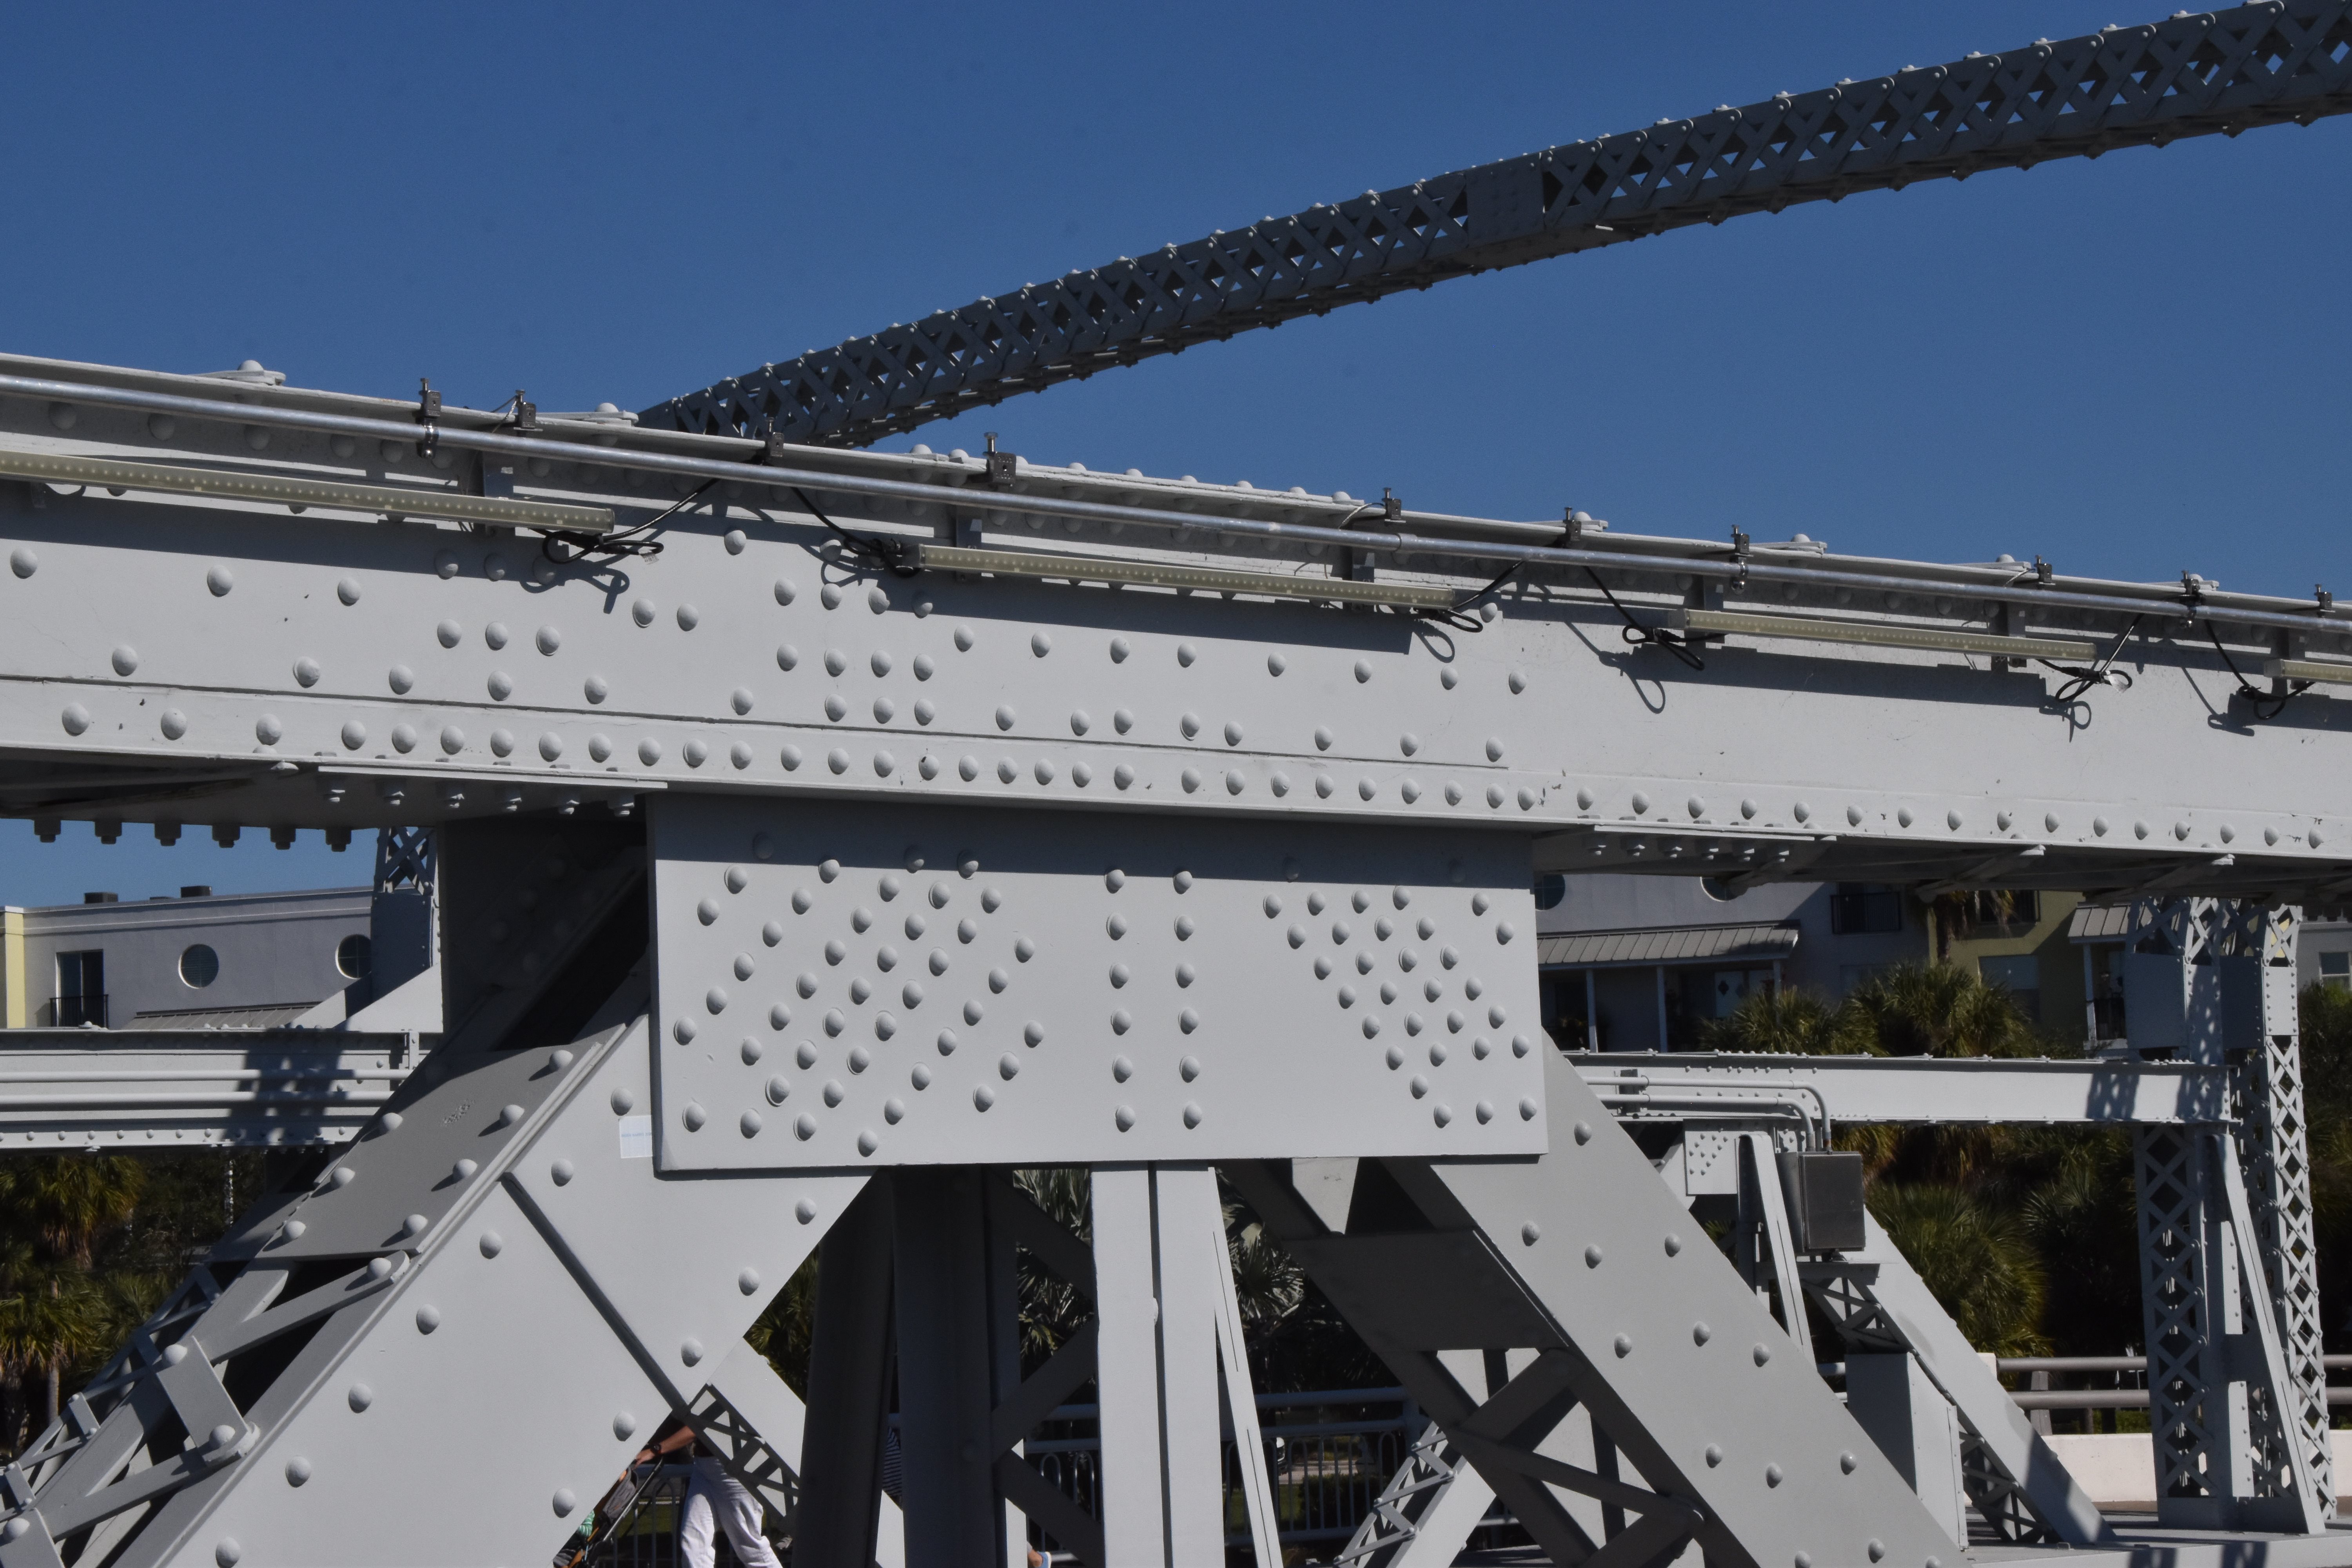
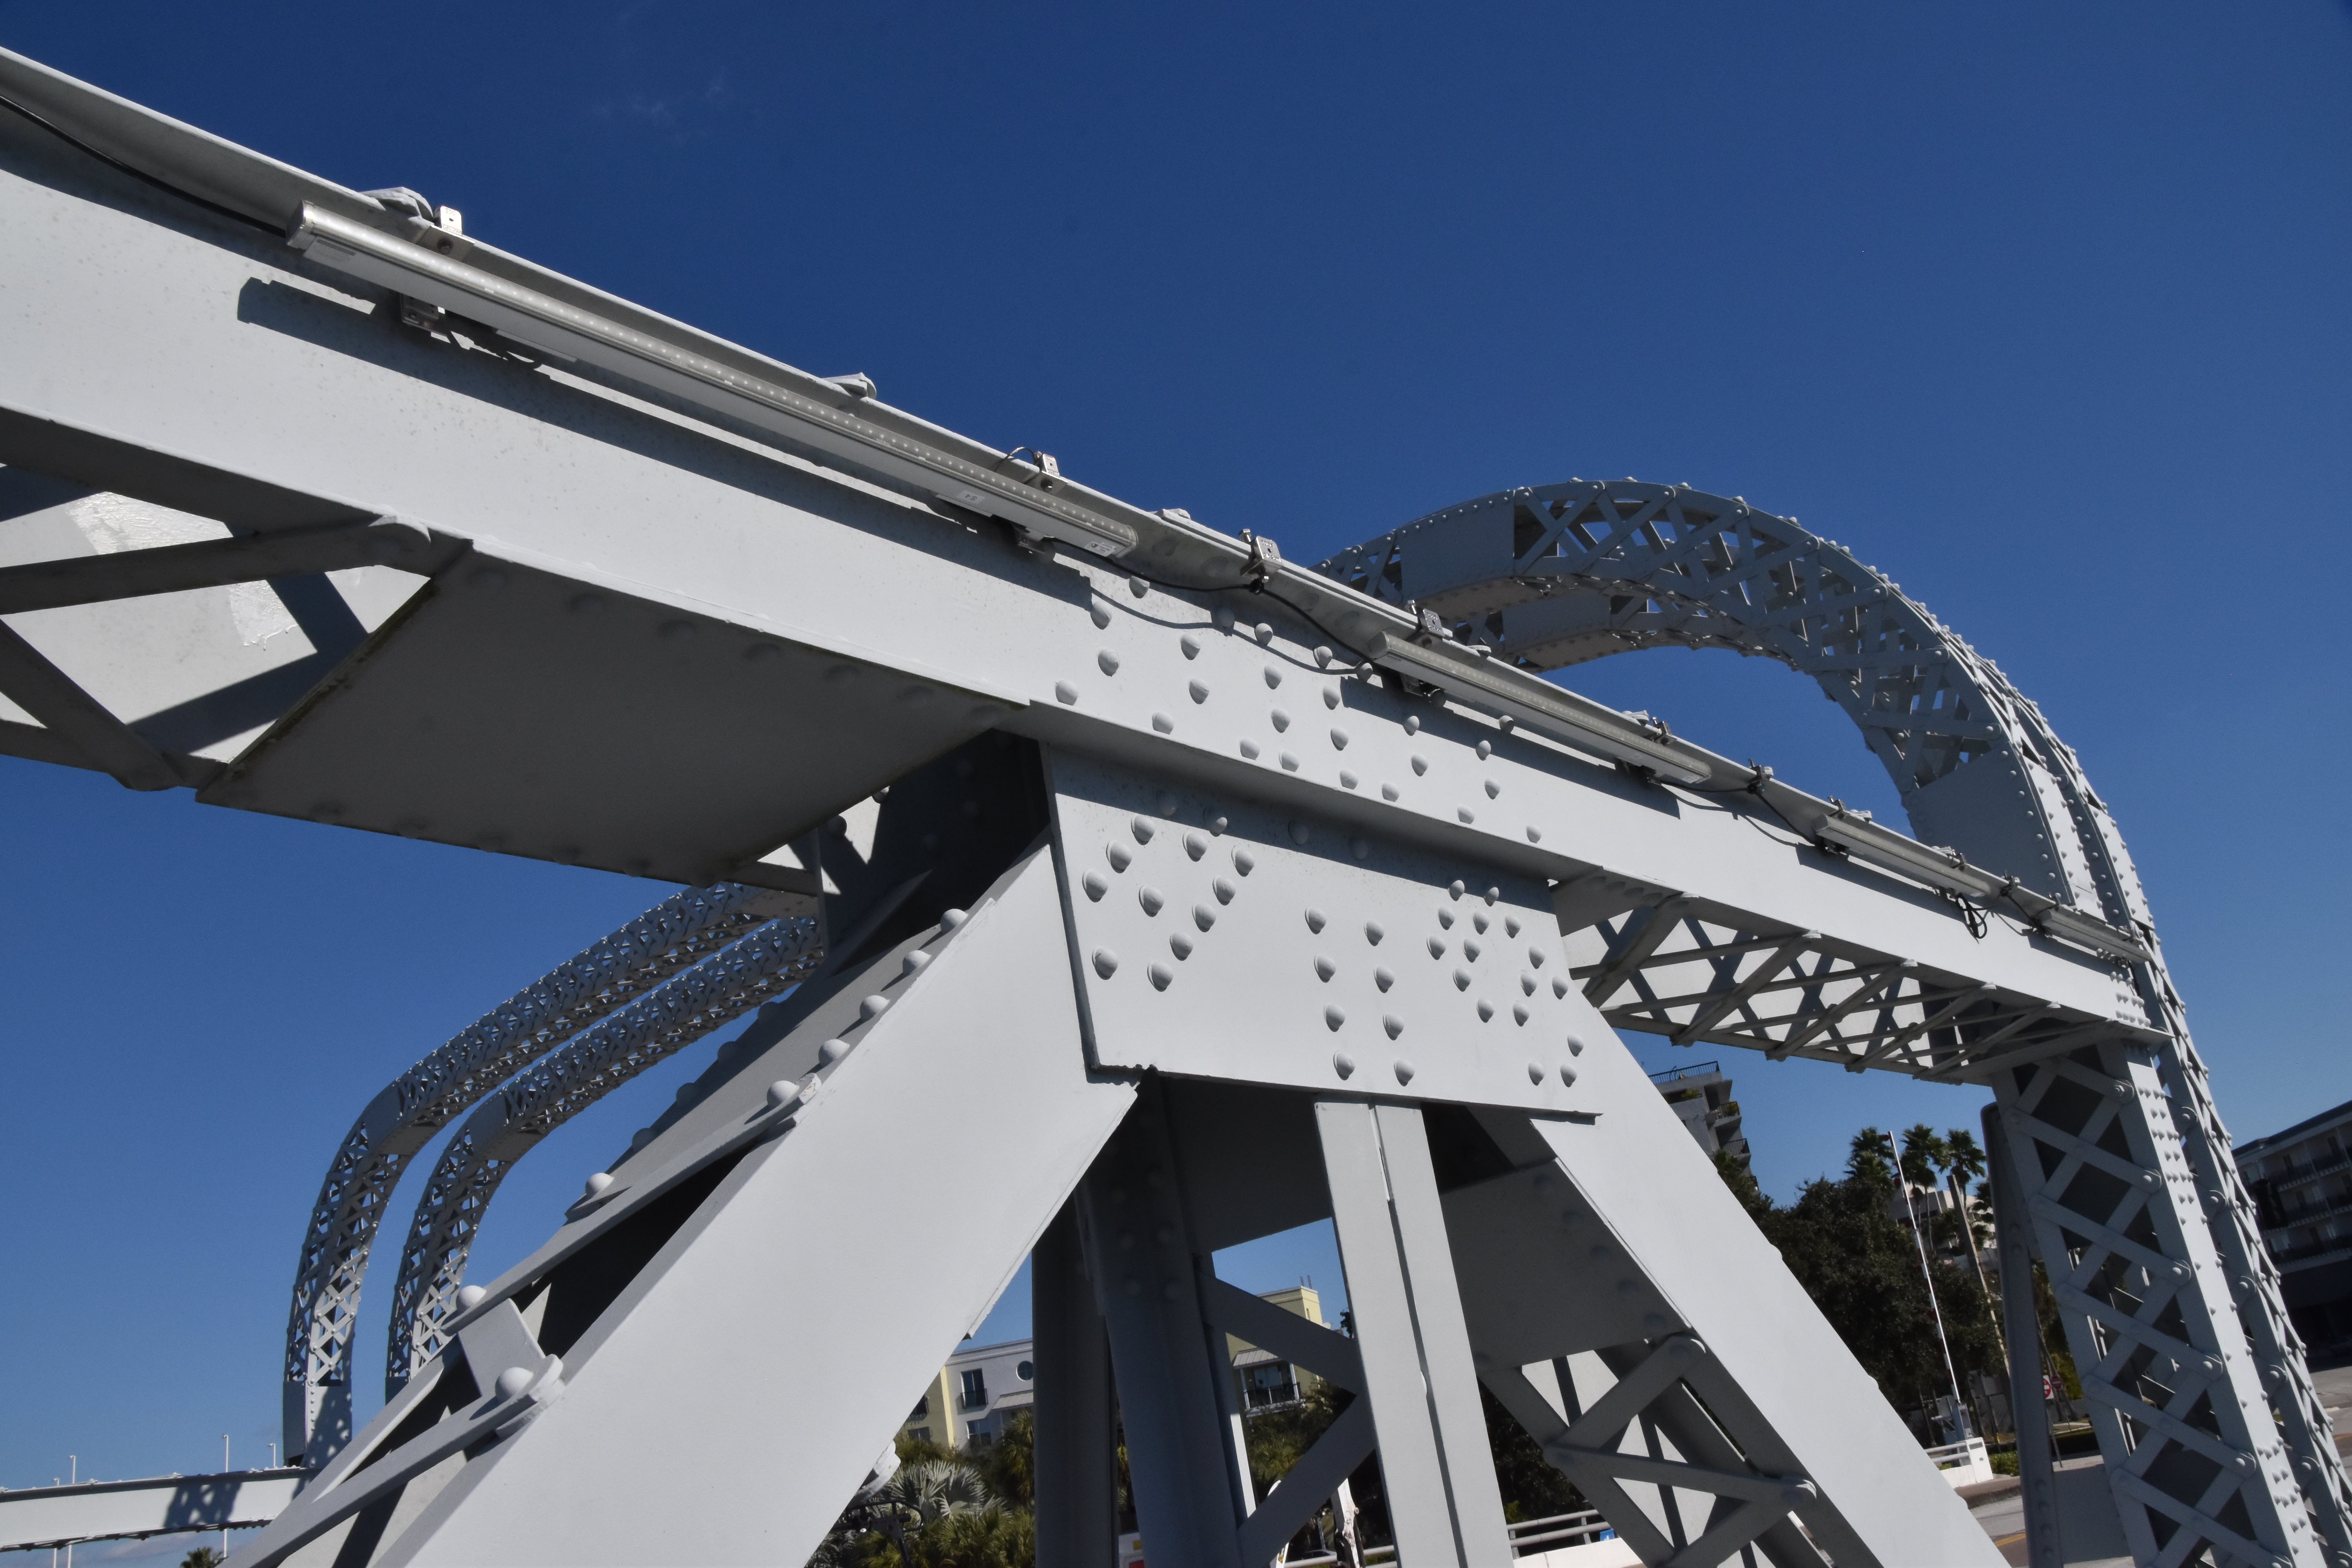
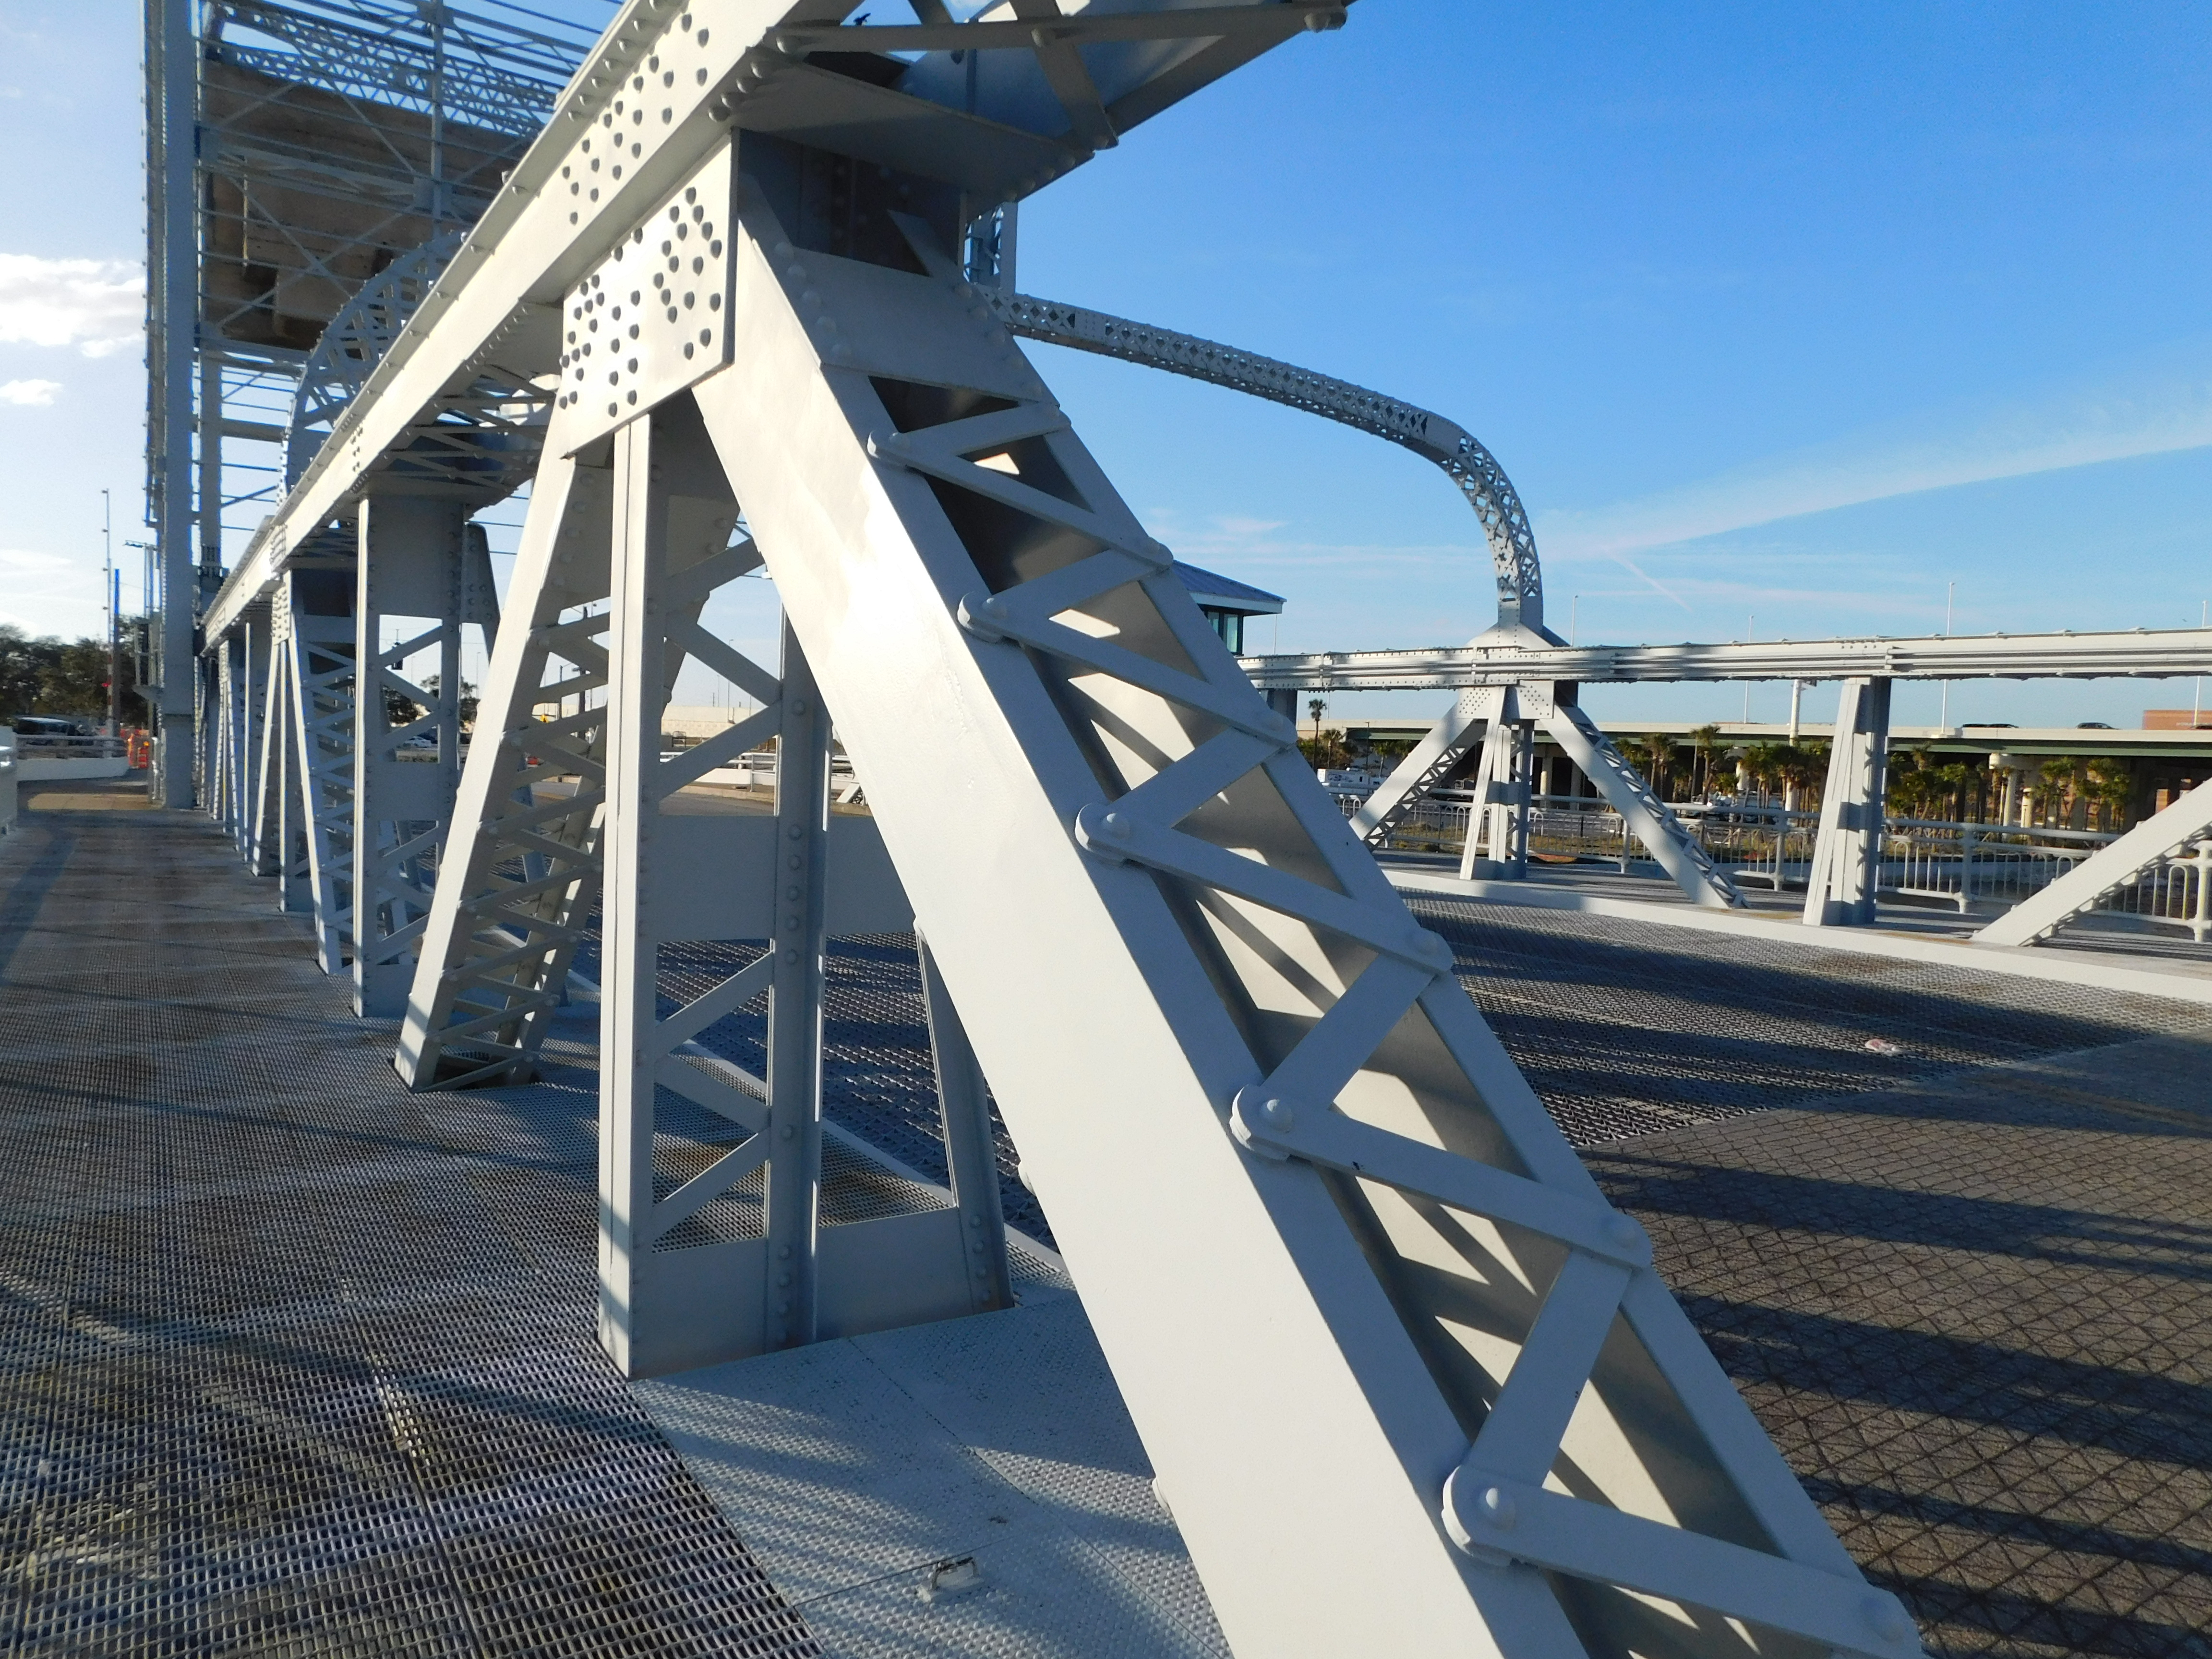
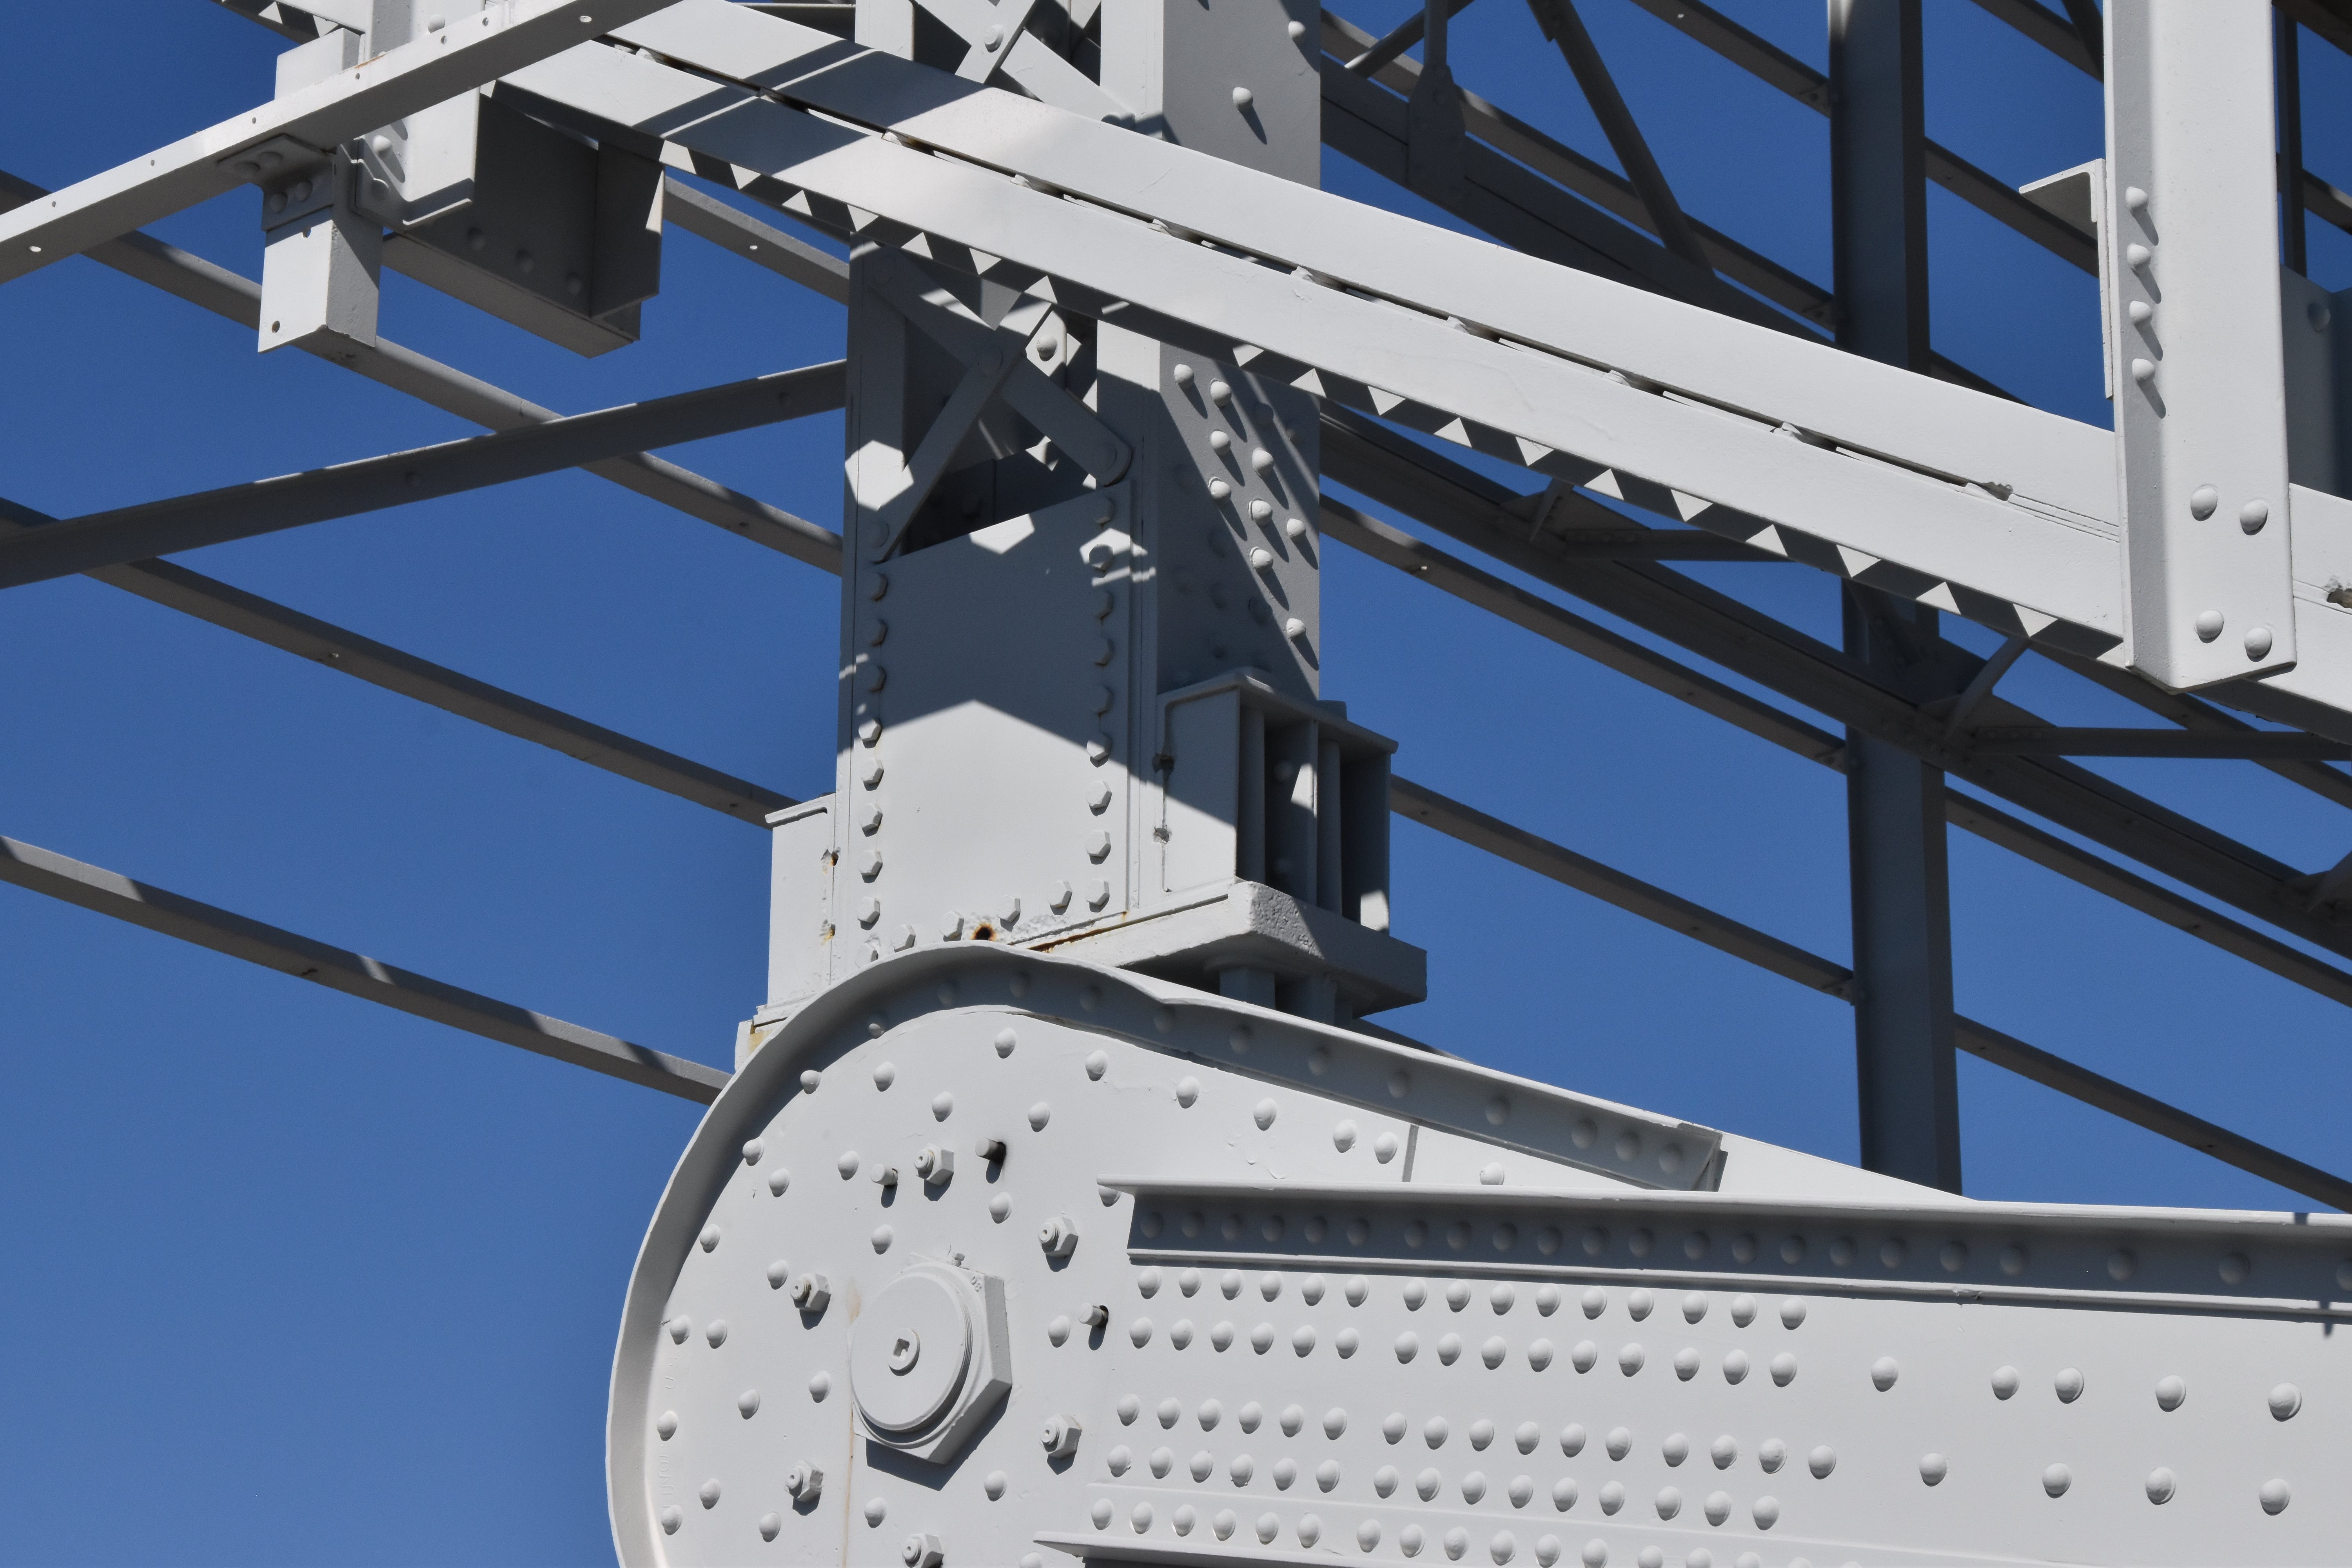
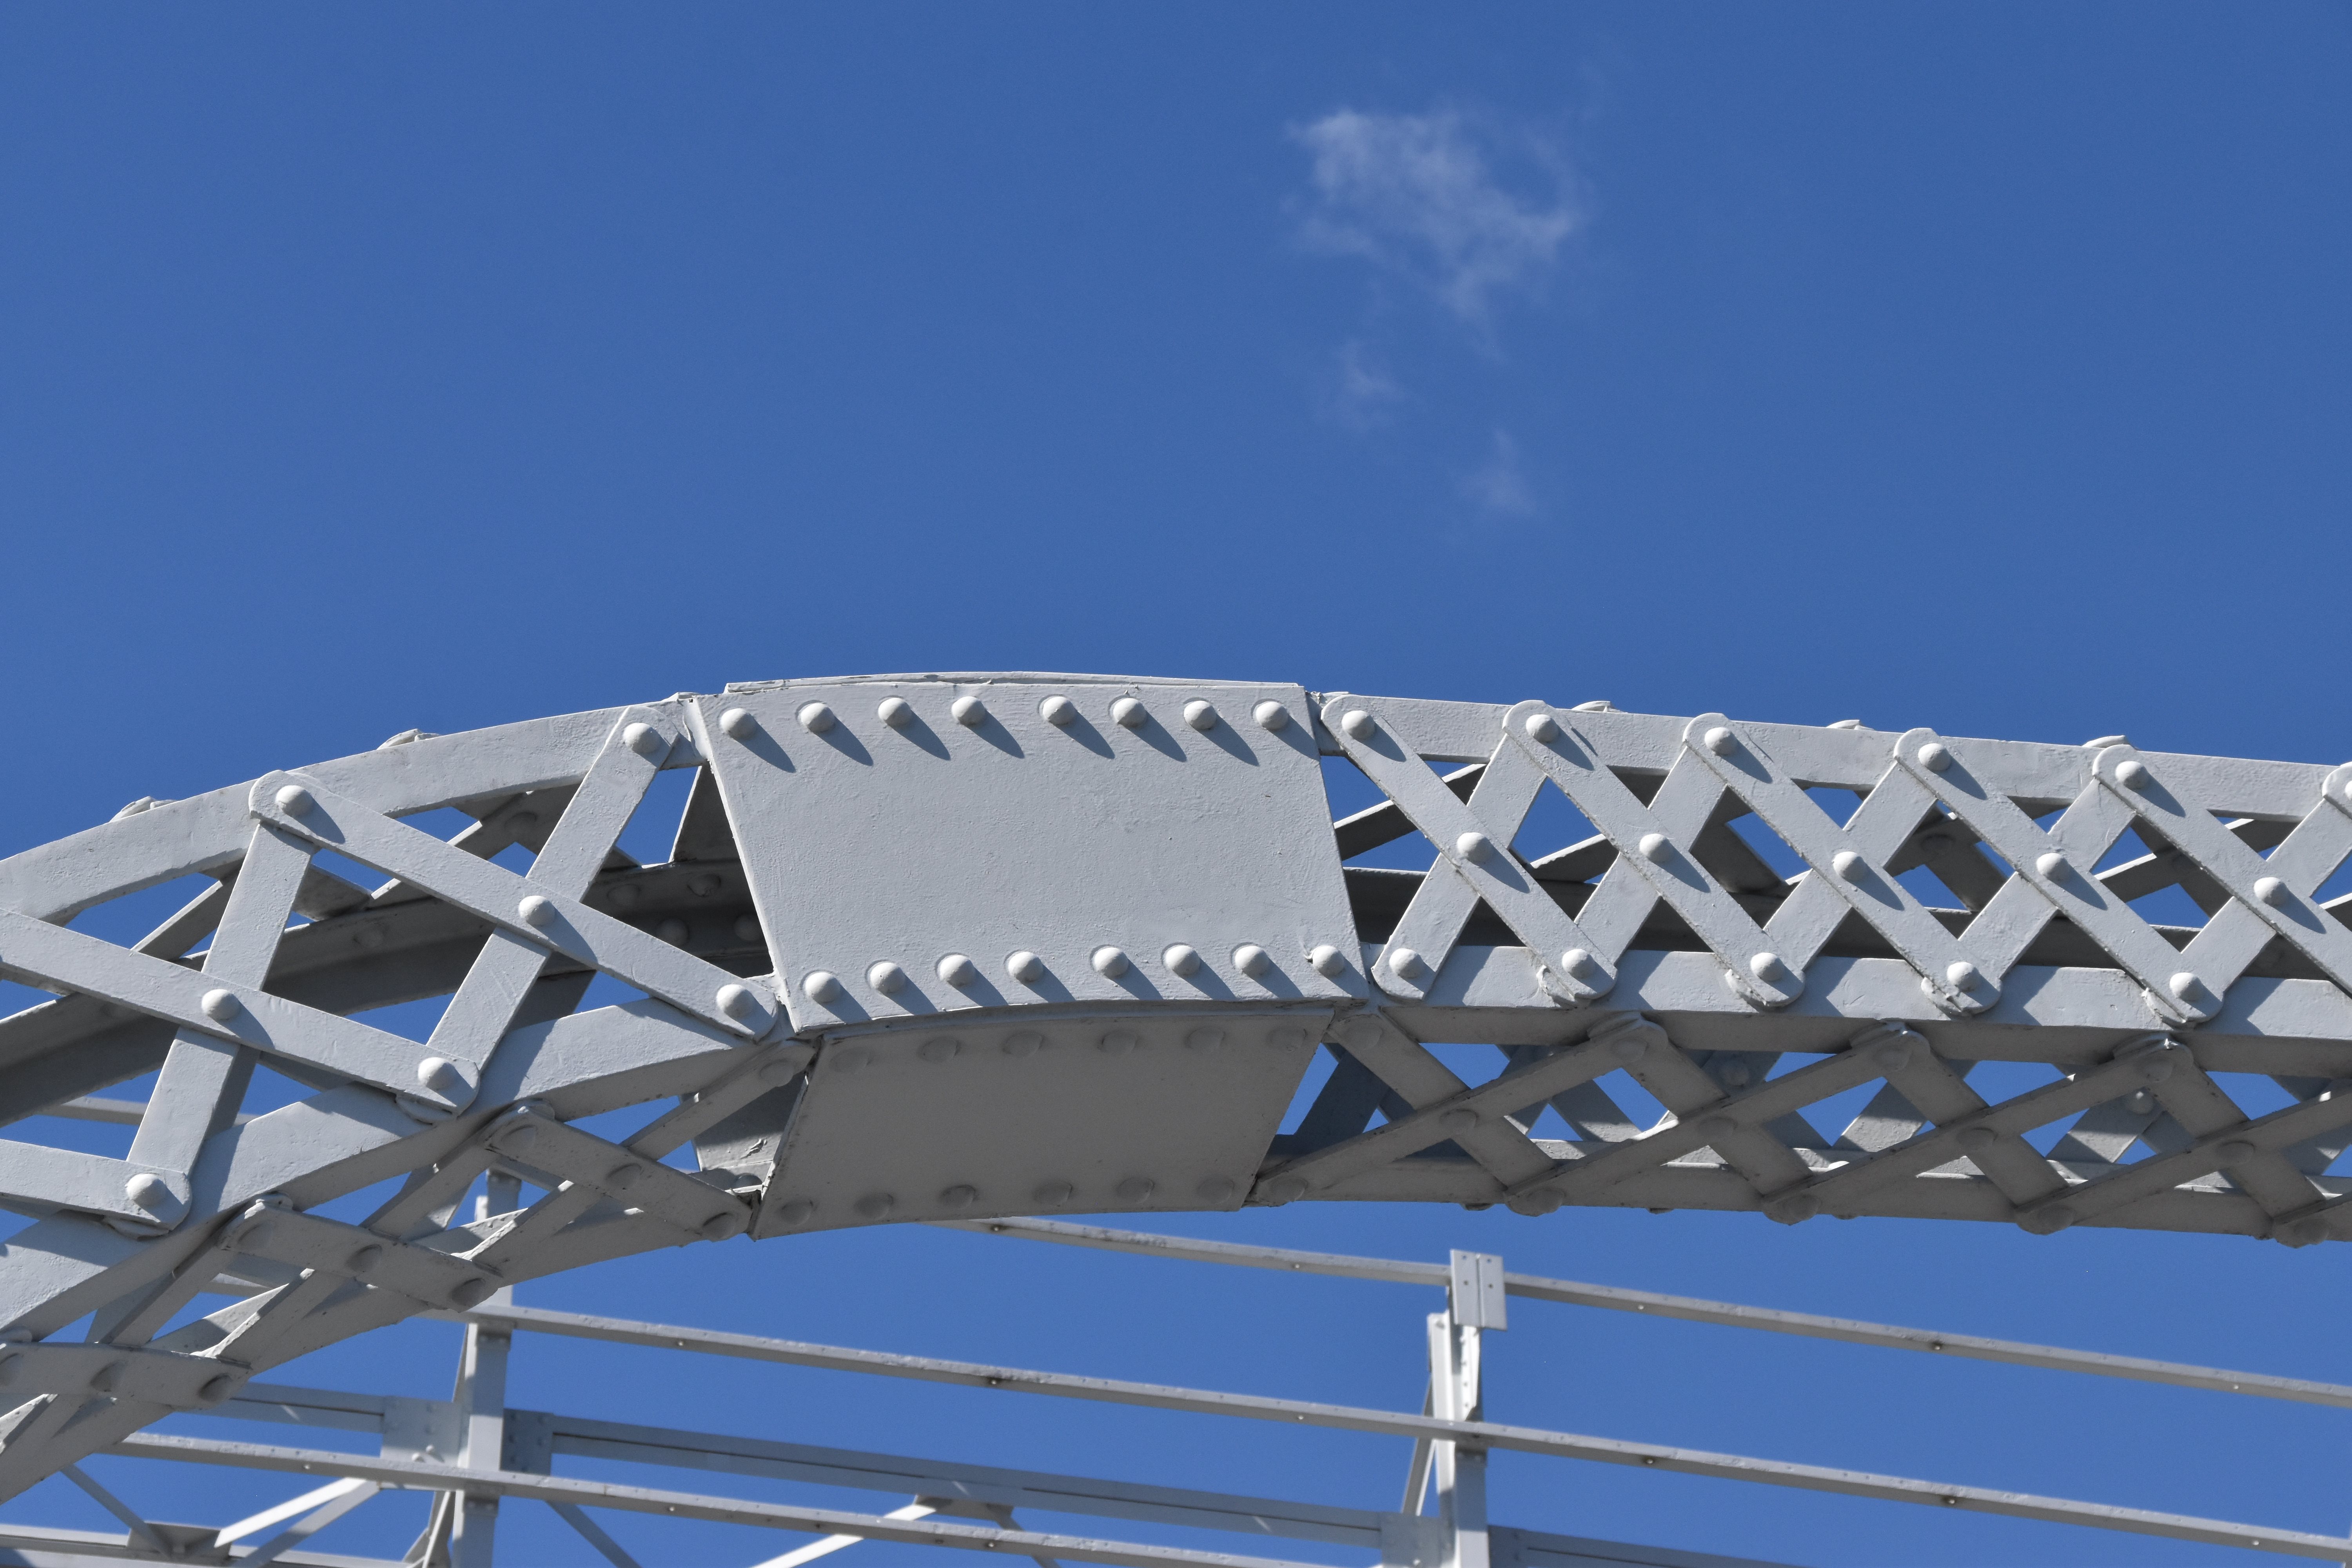
![]()
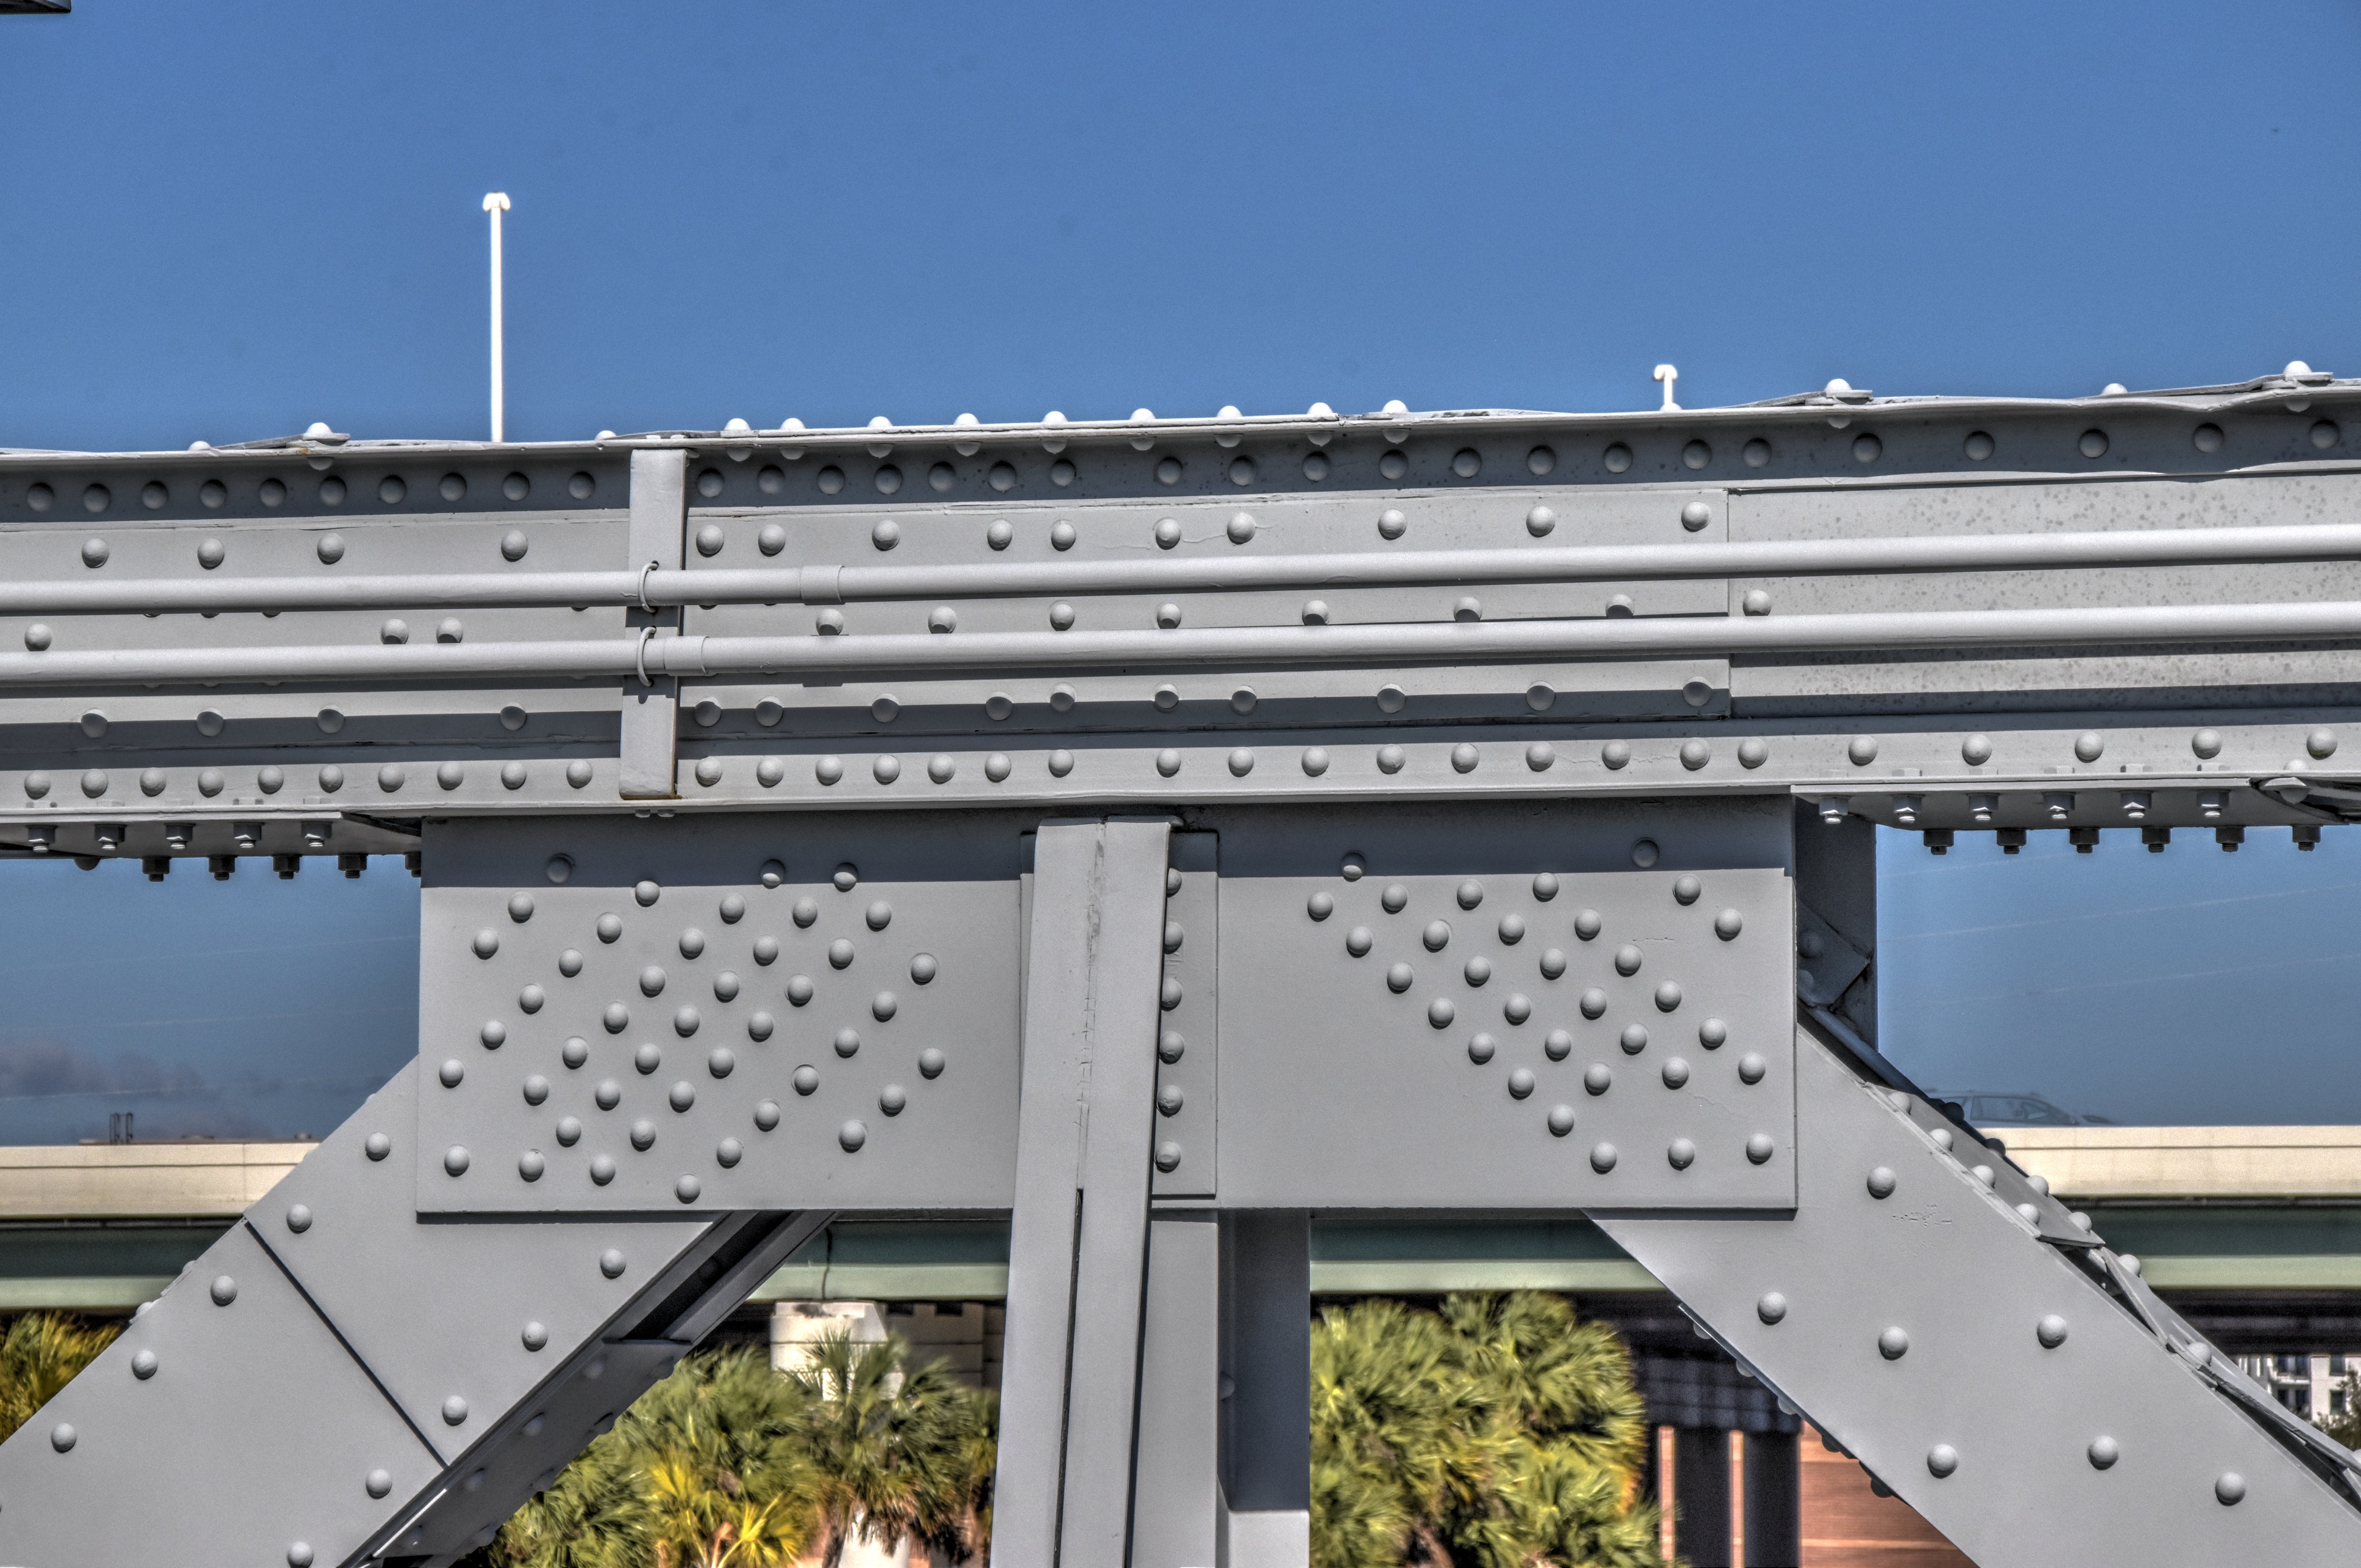
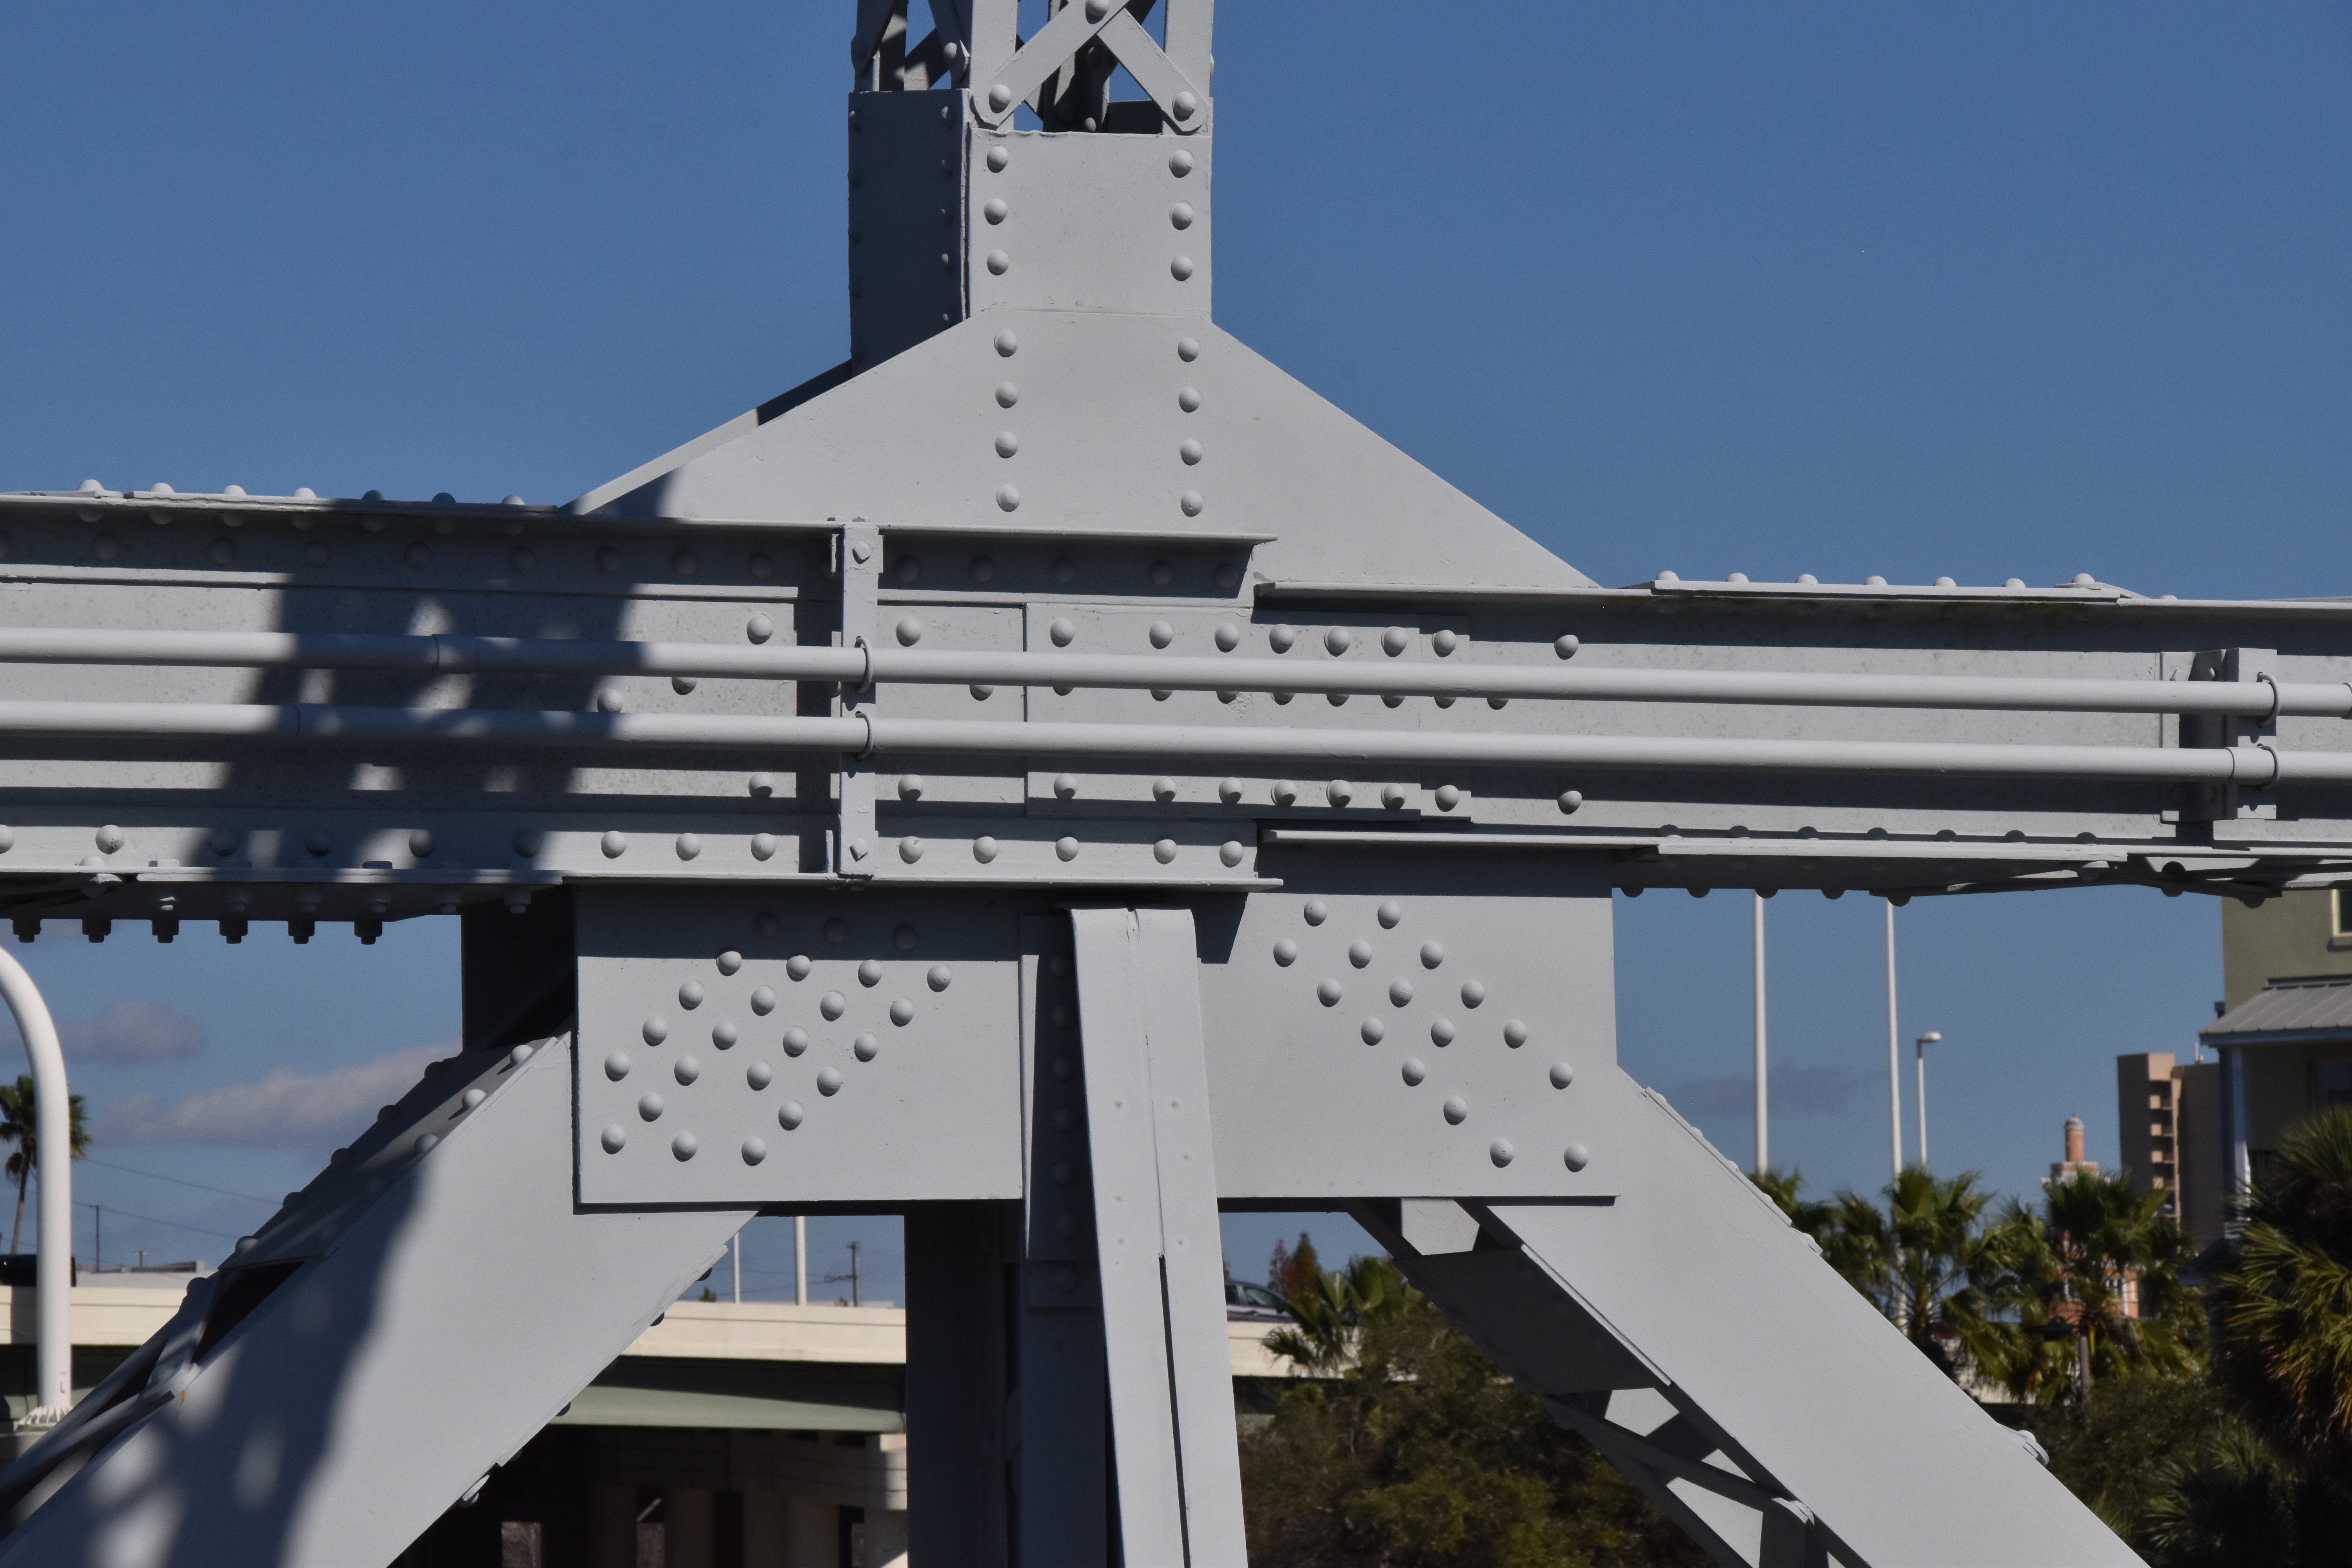
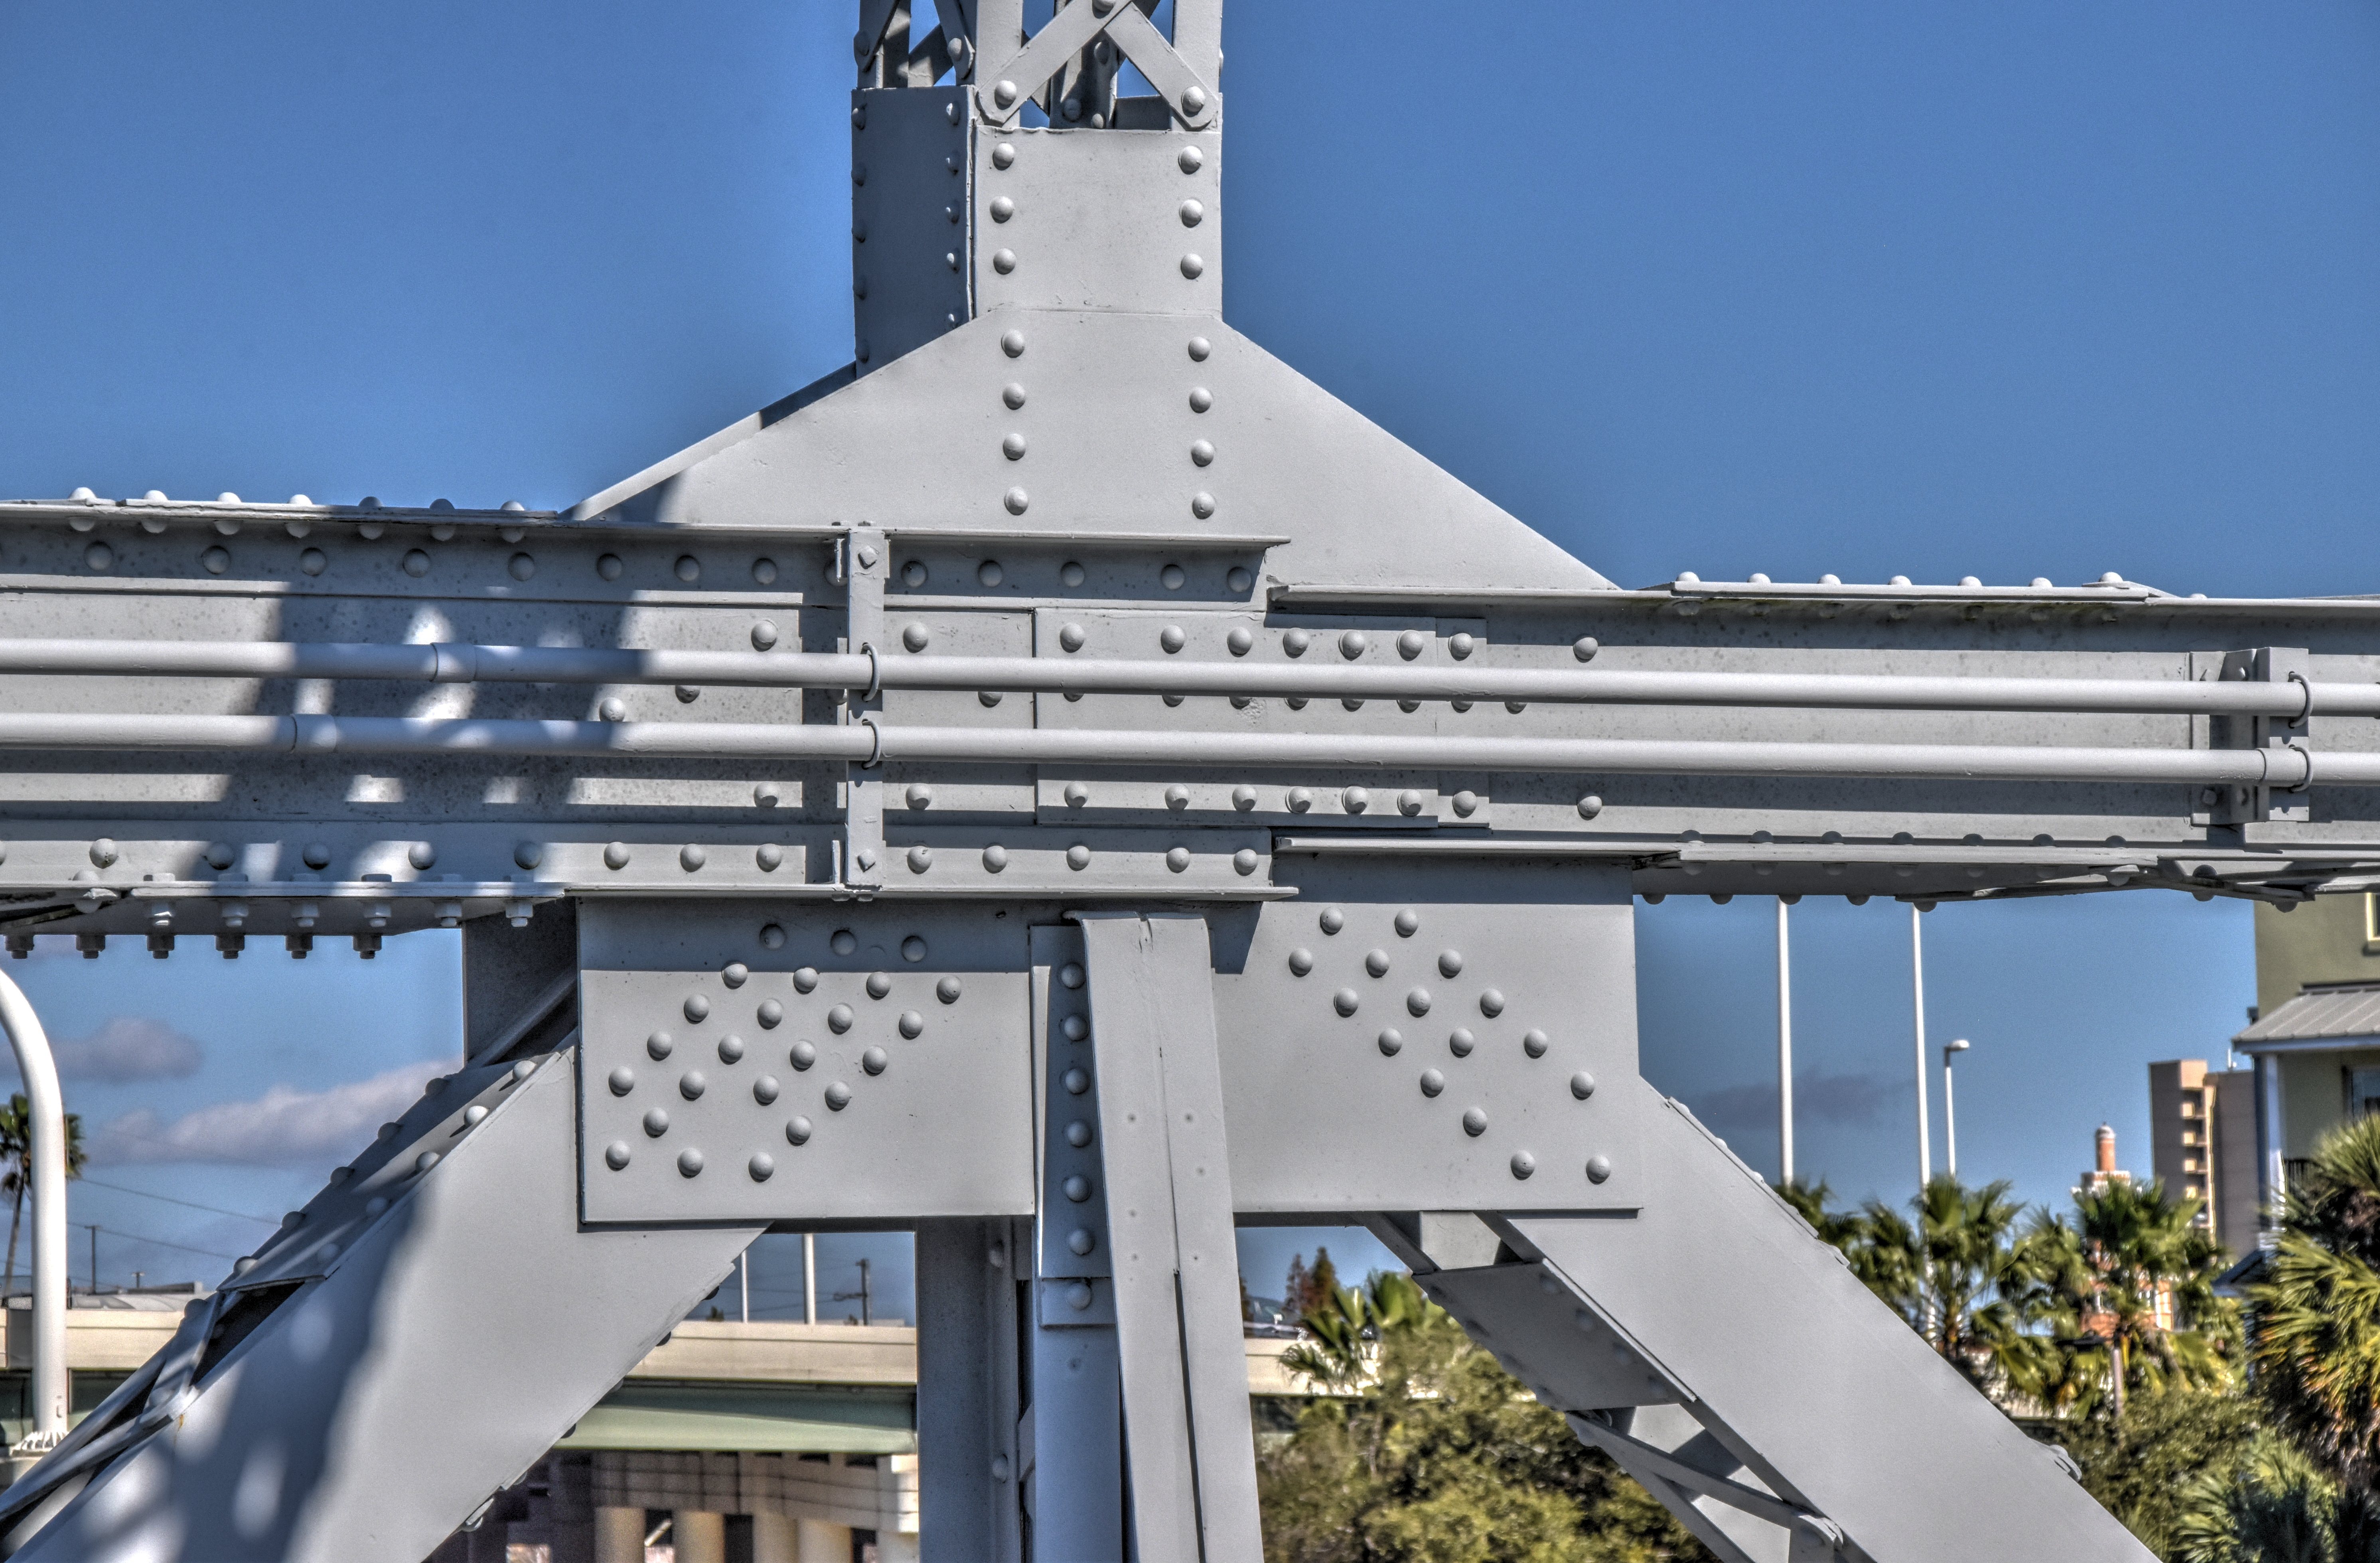
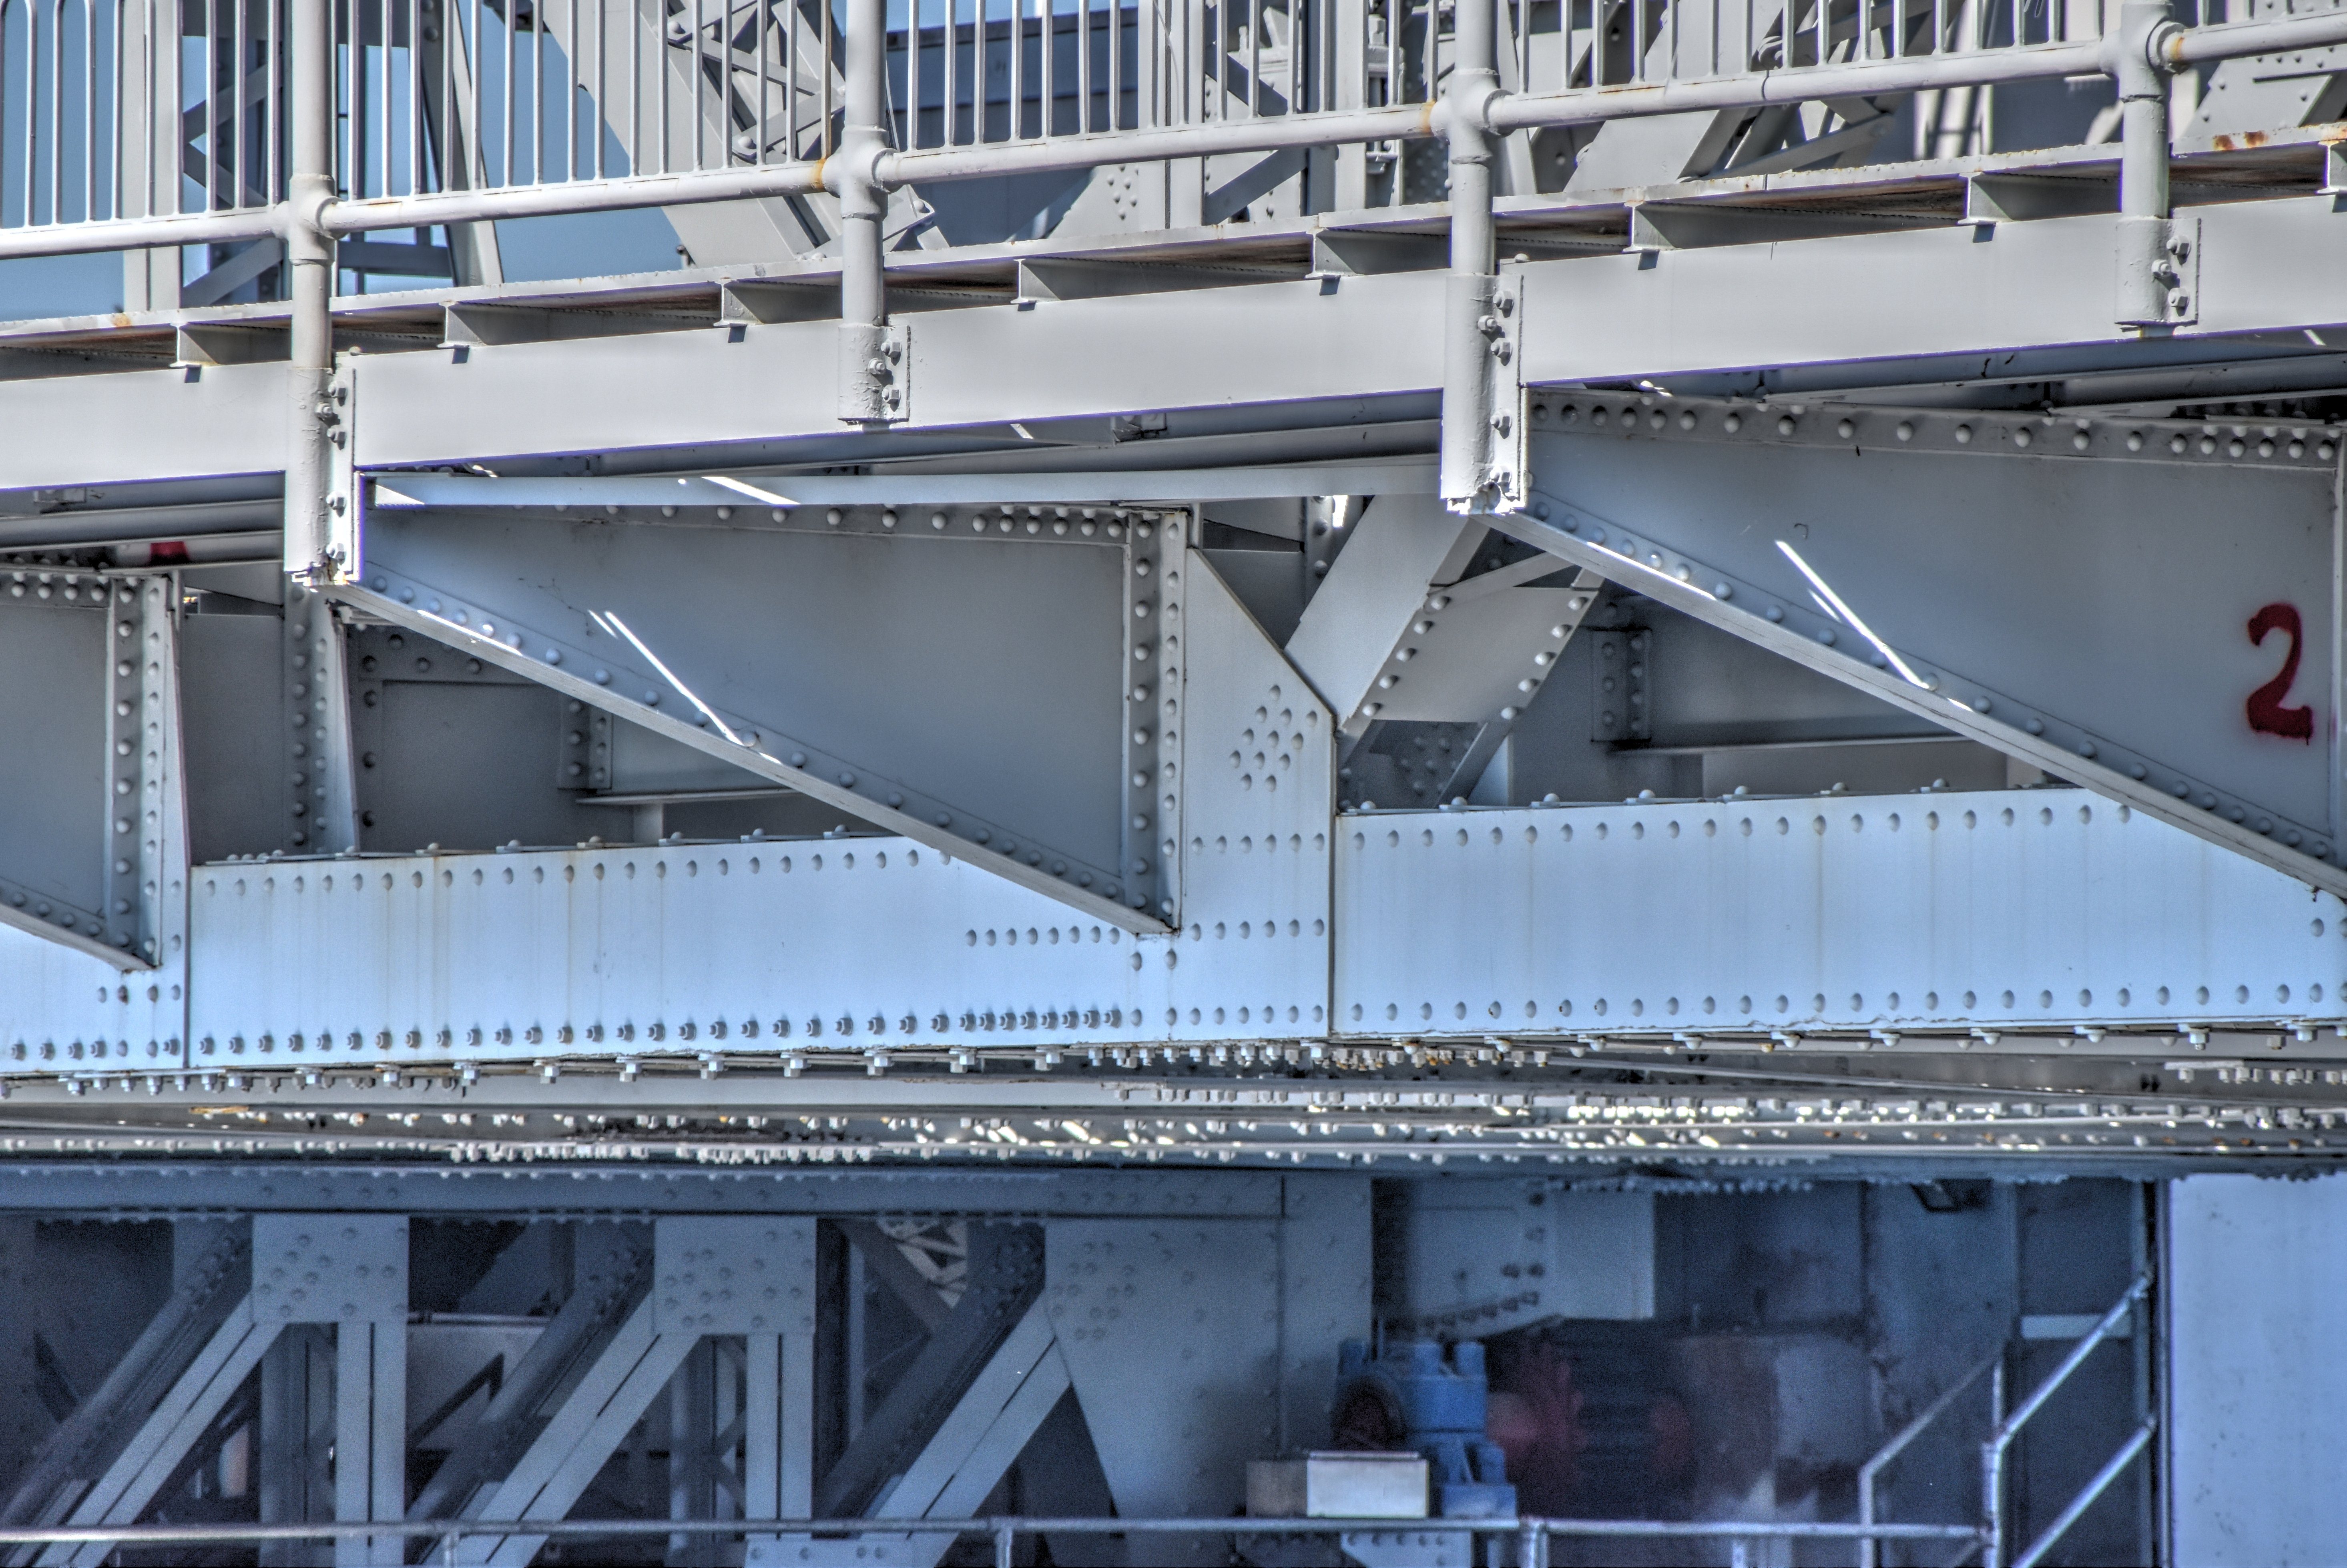
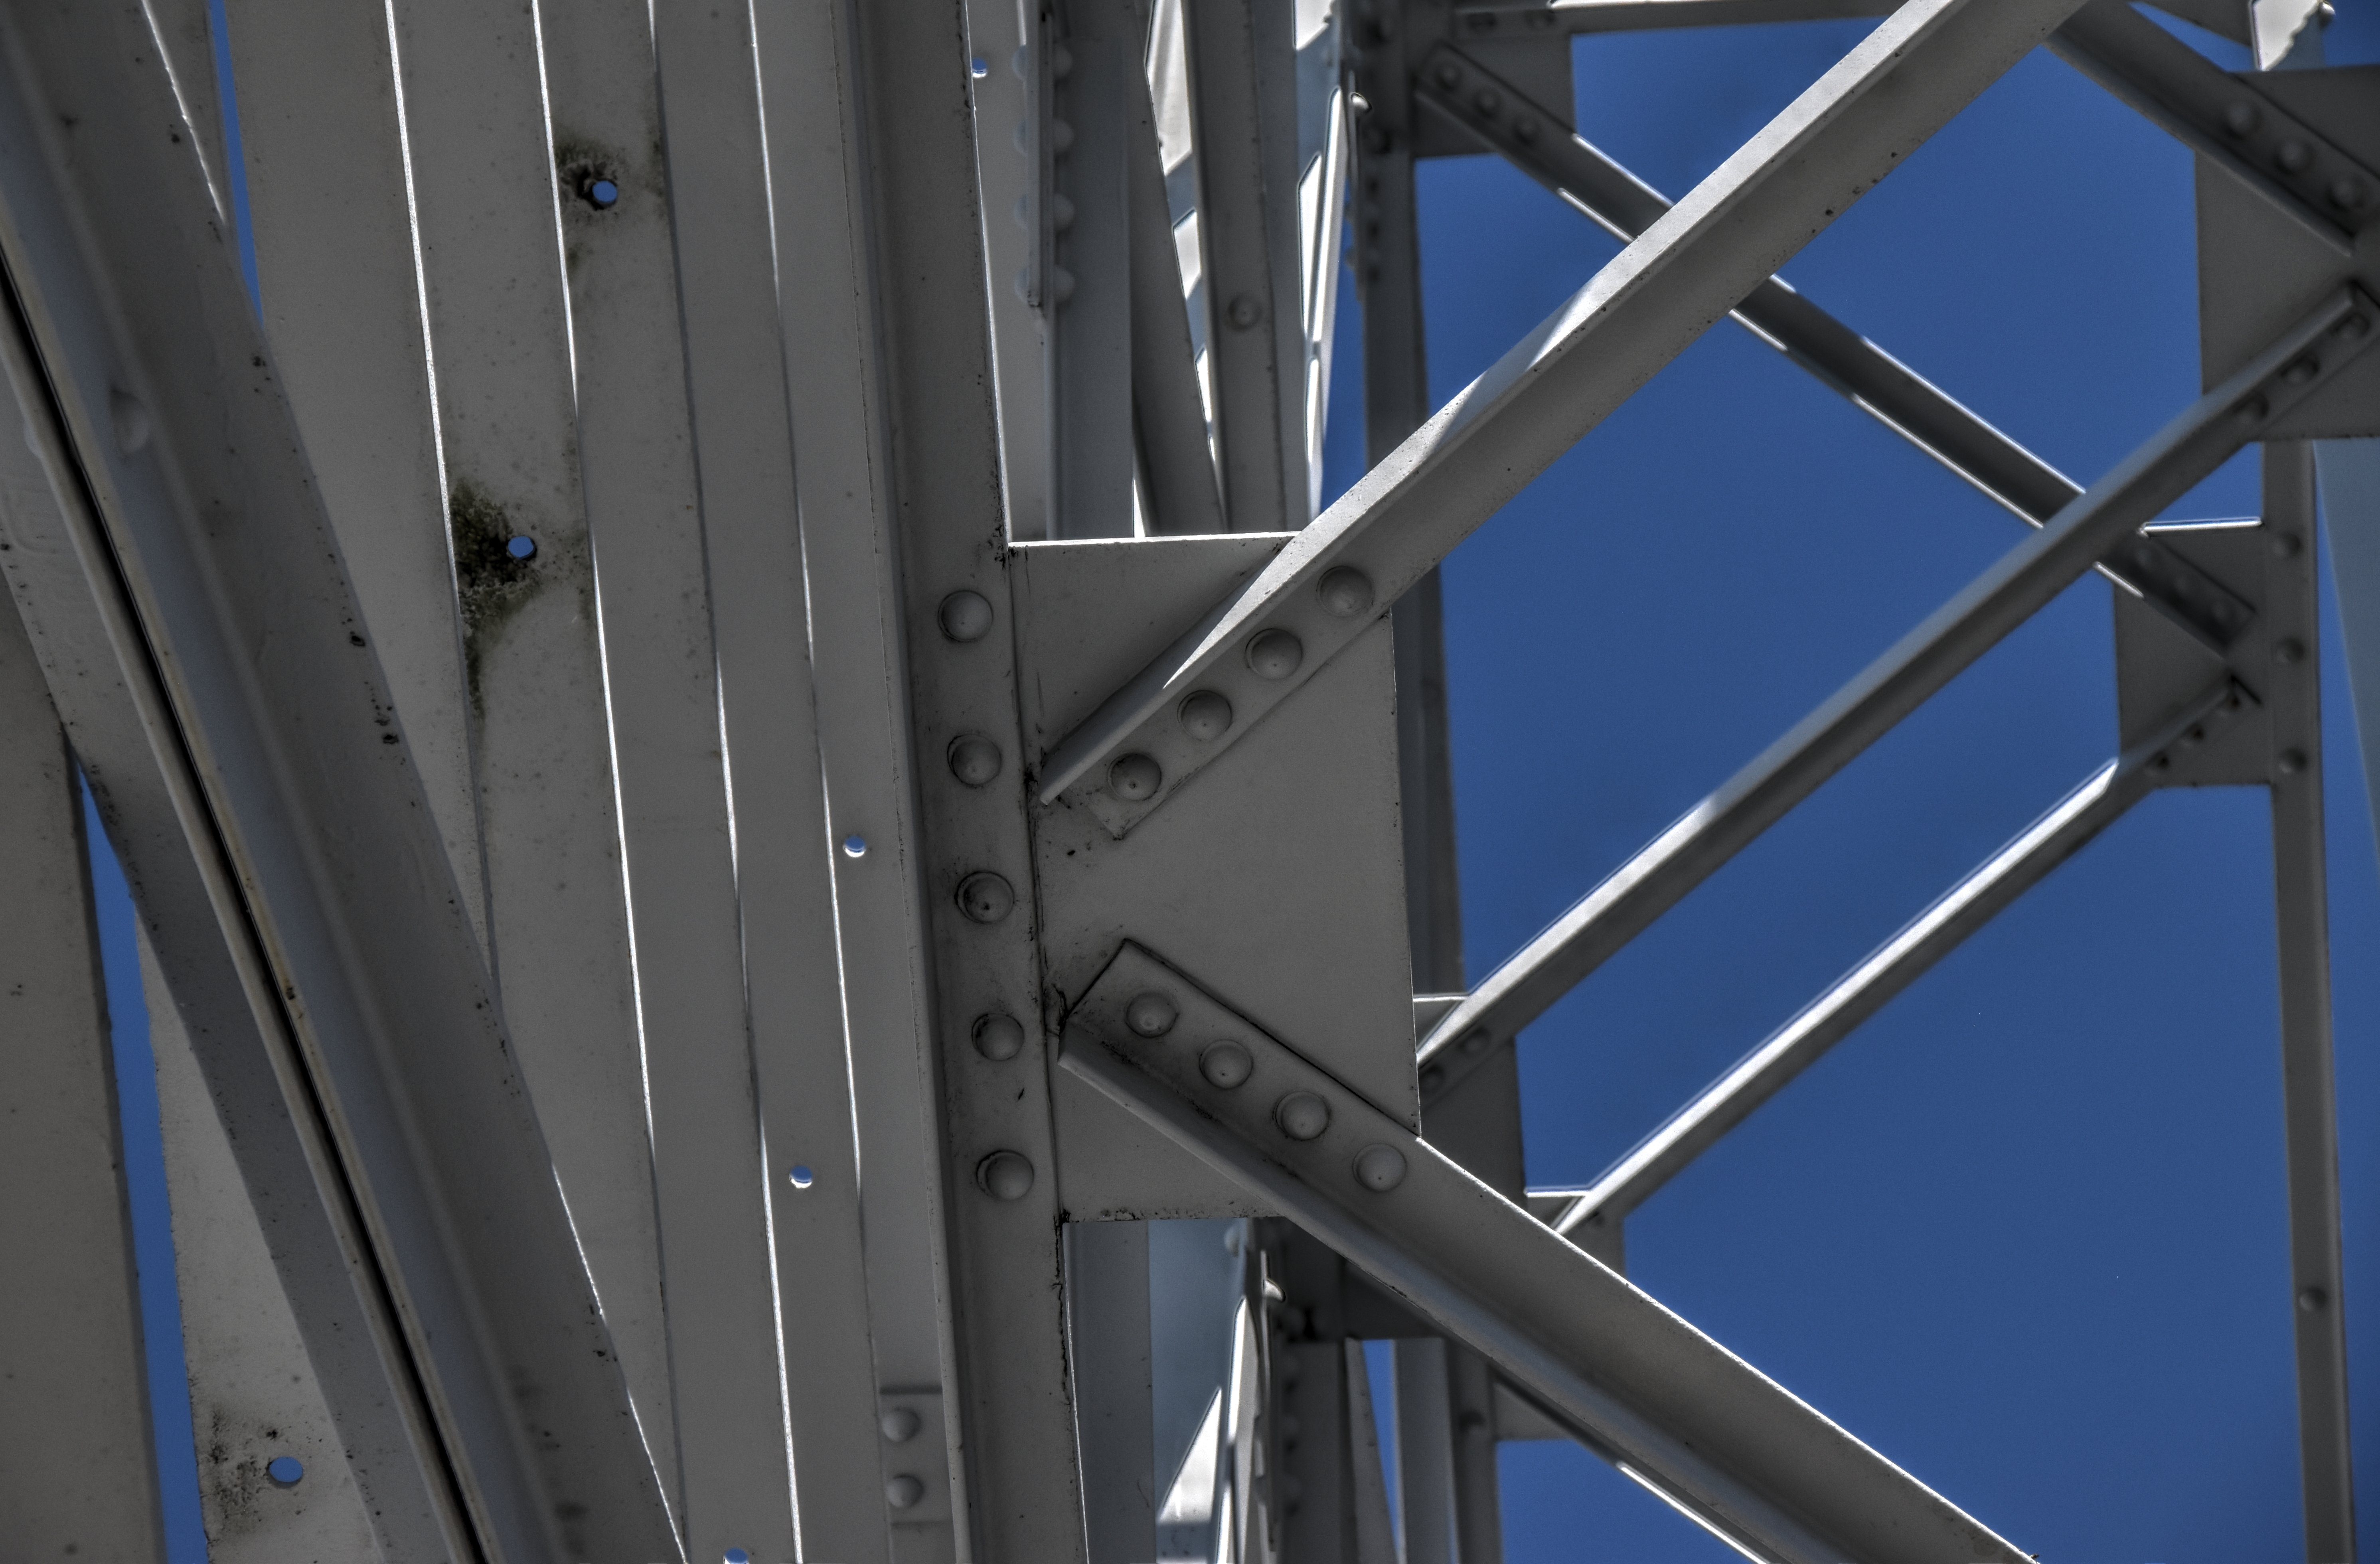
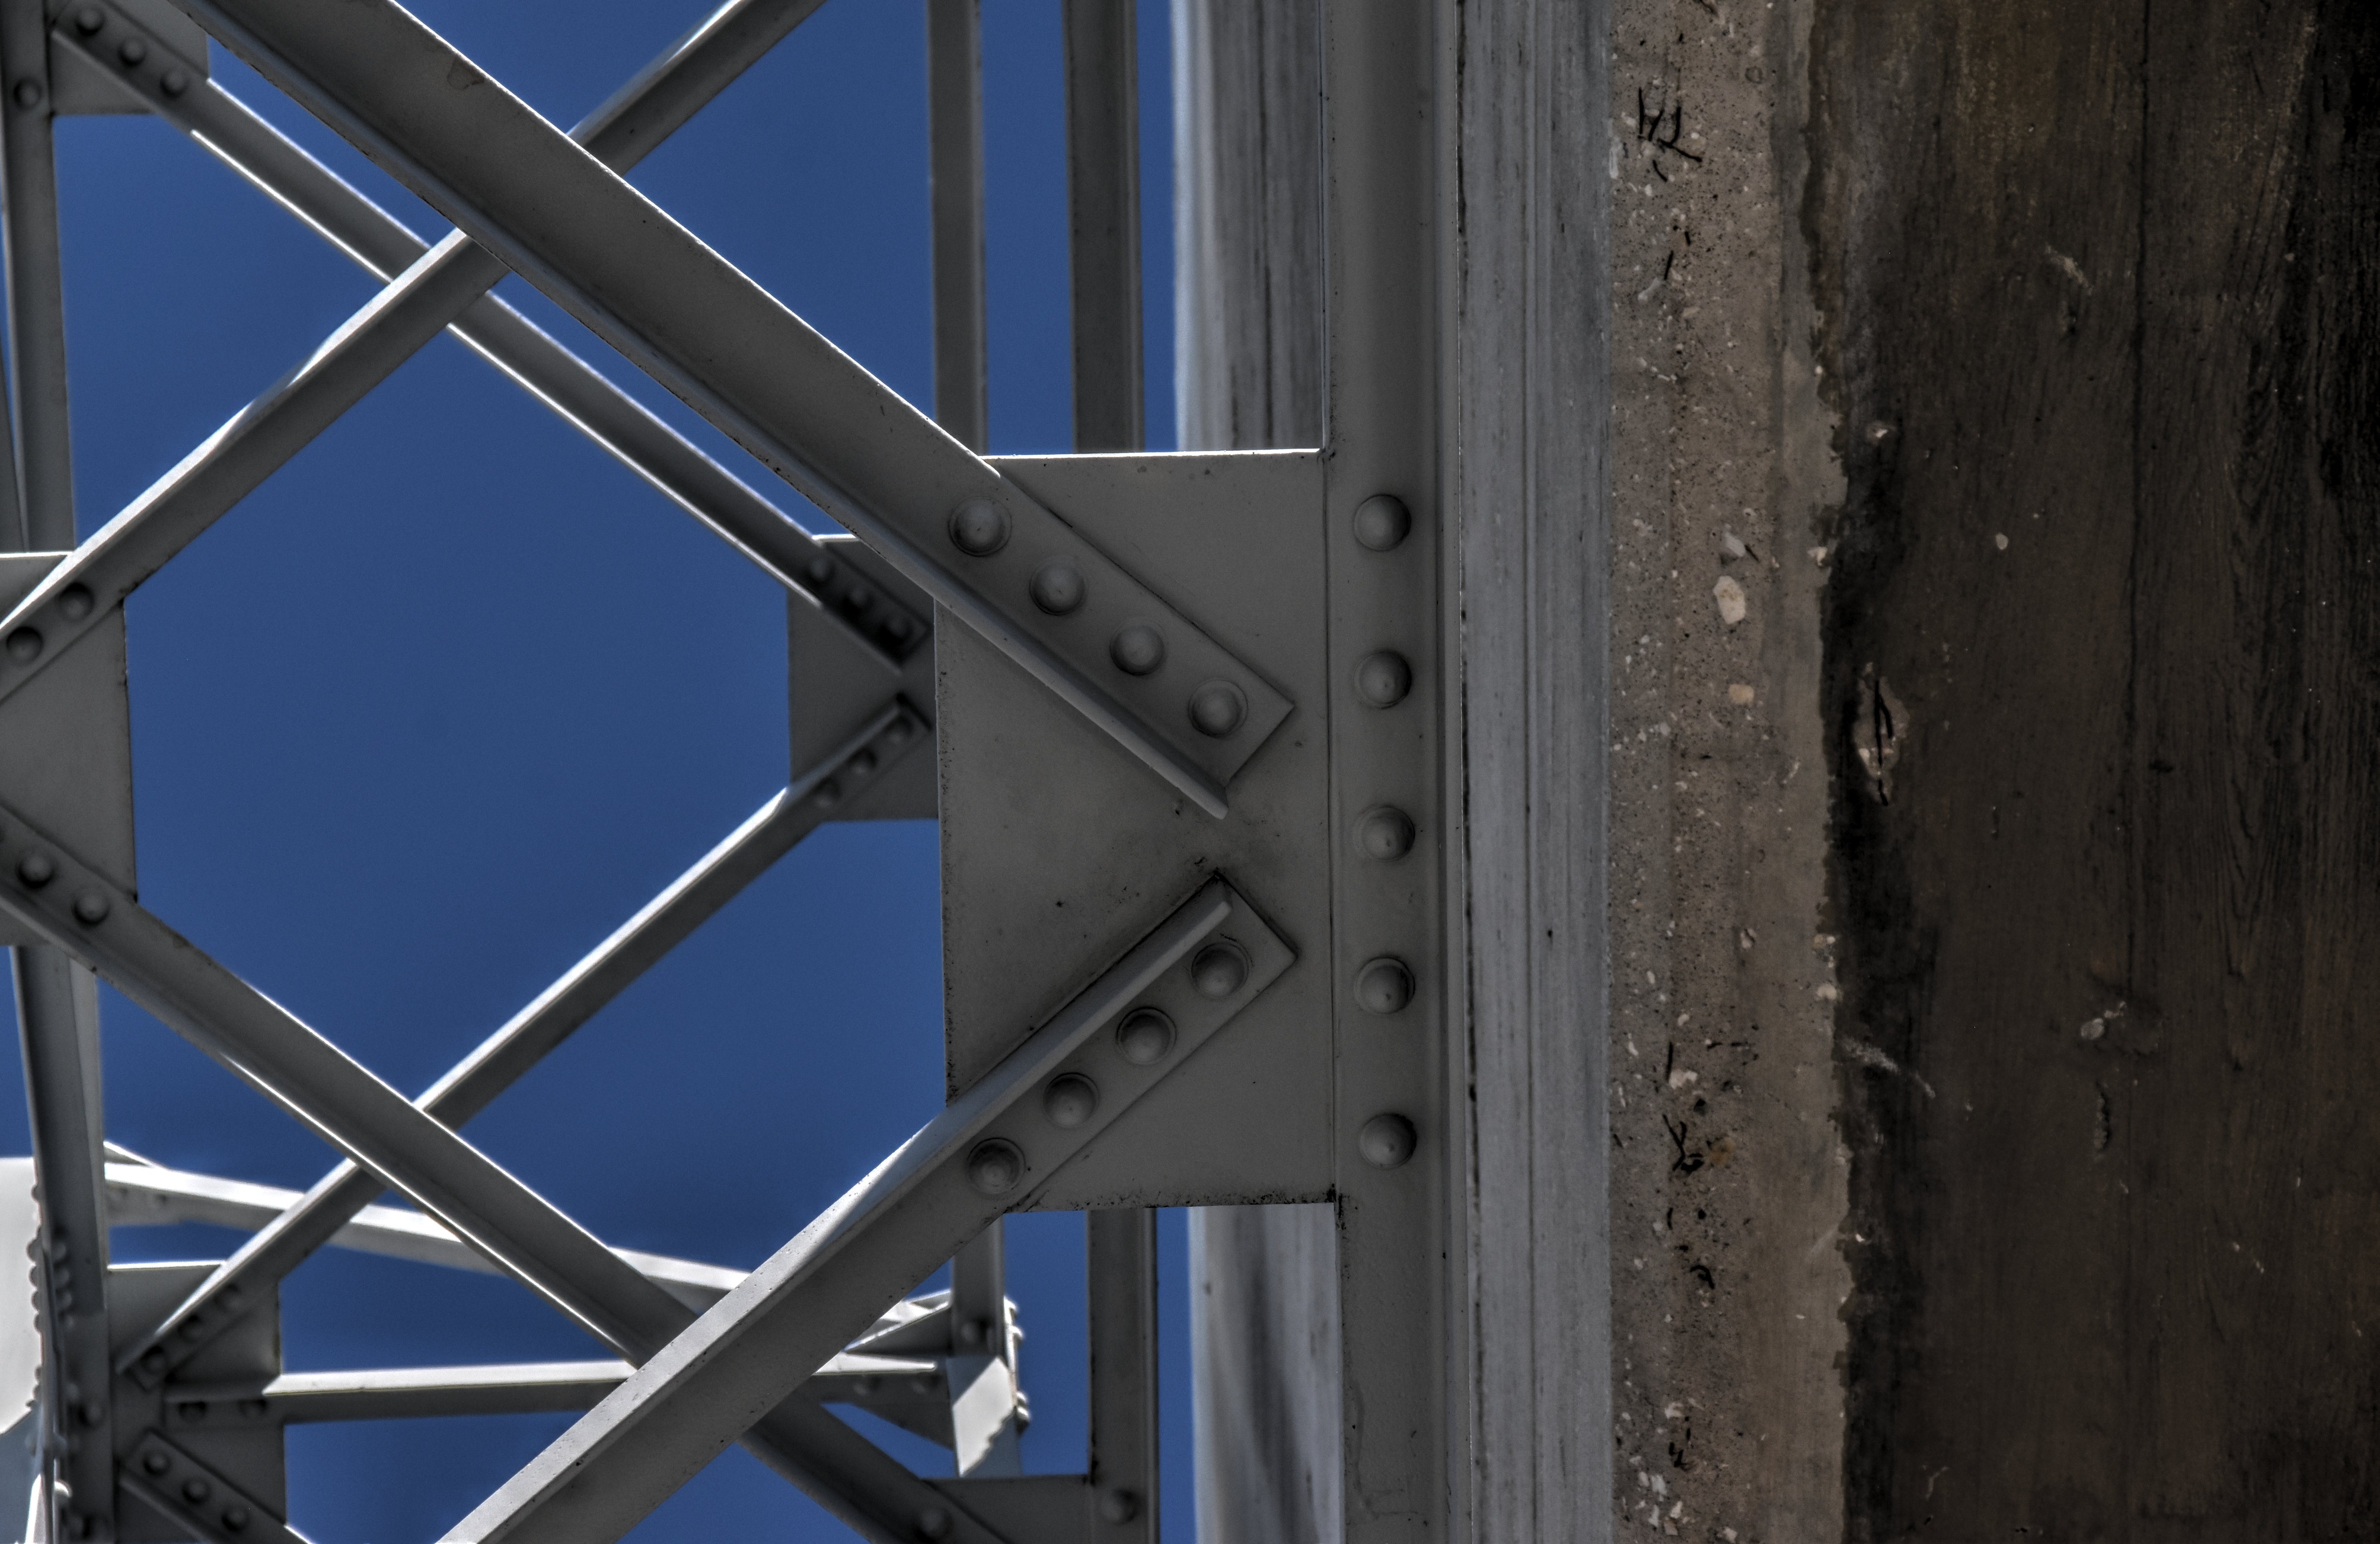
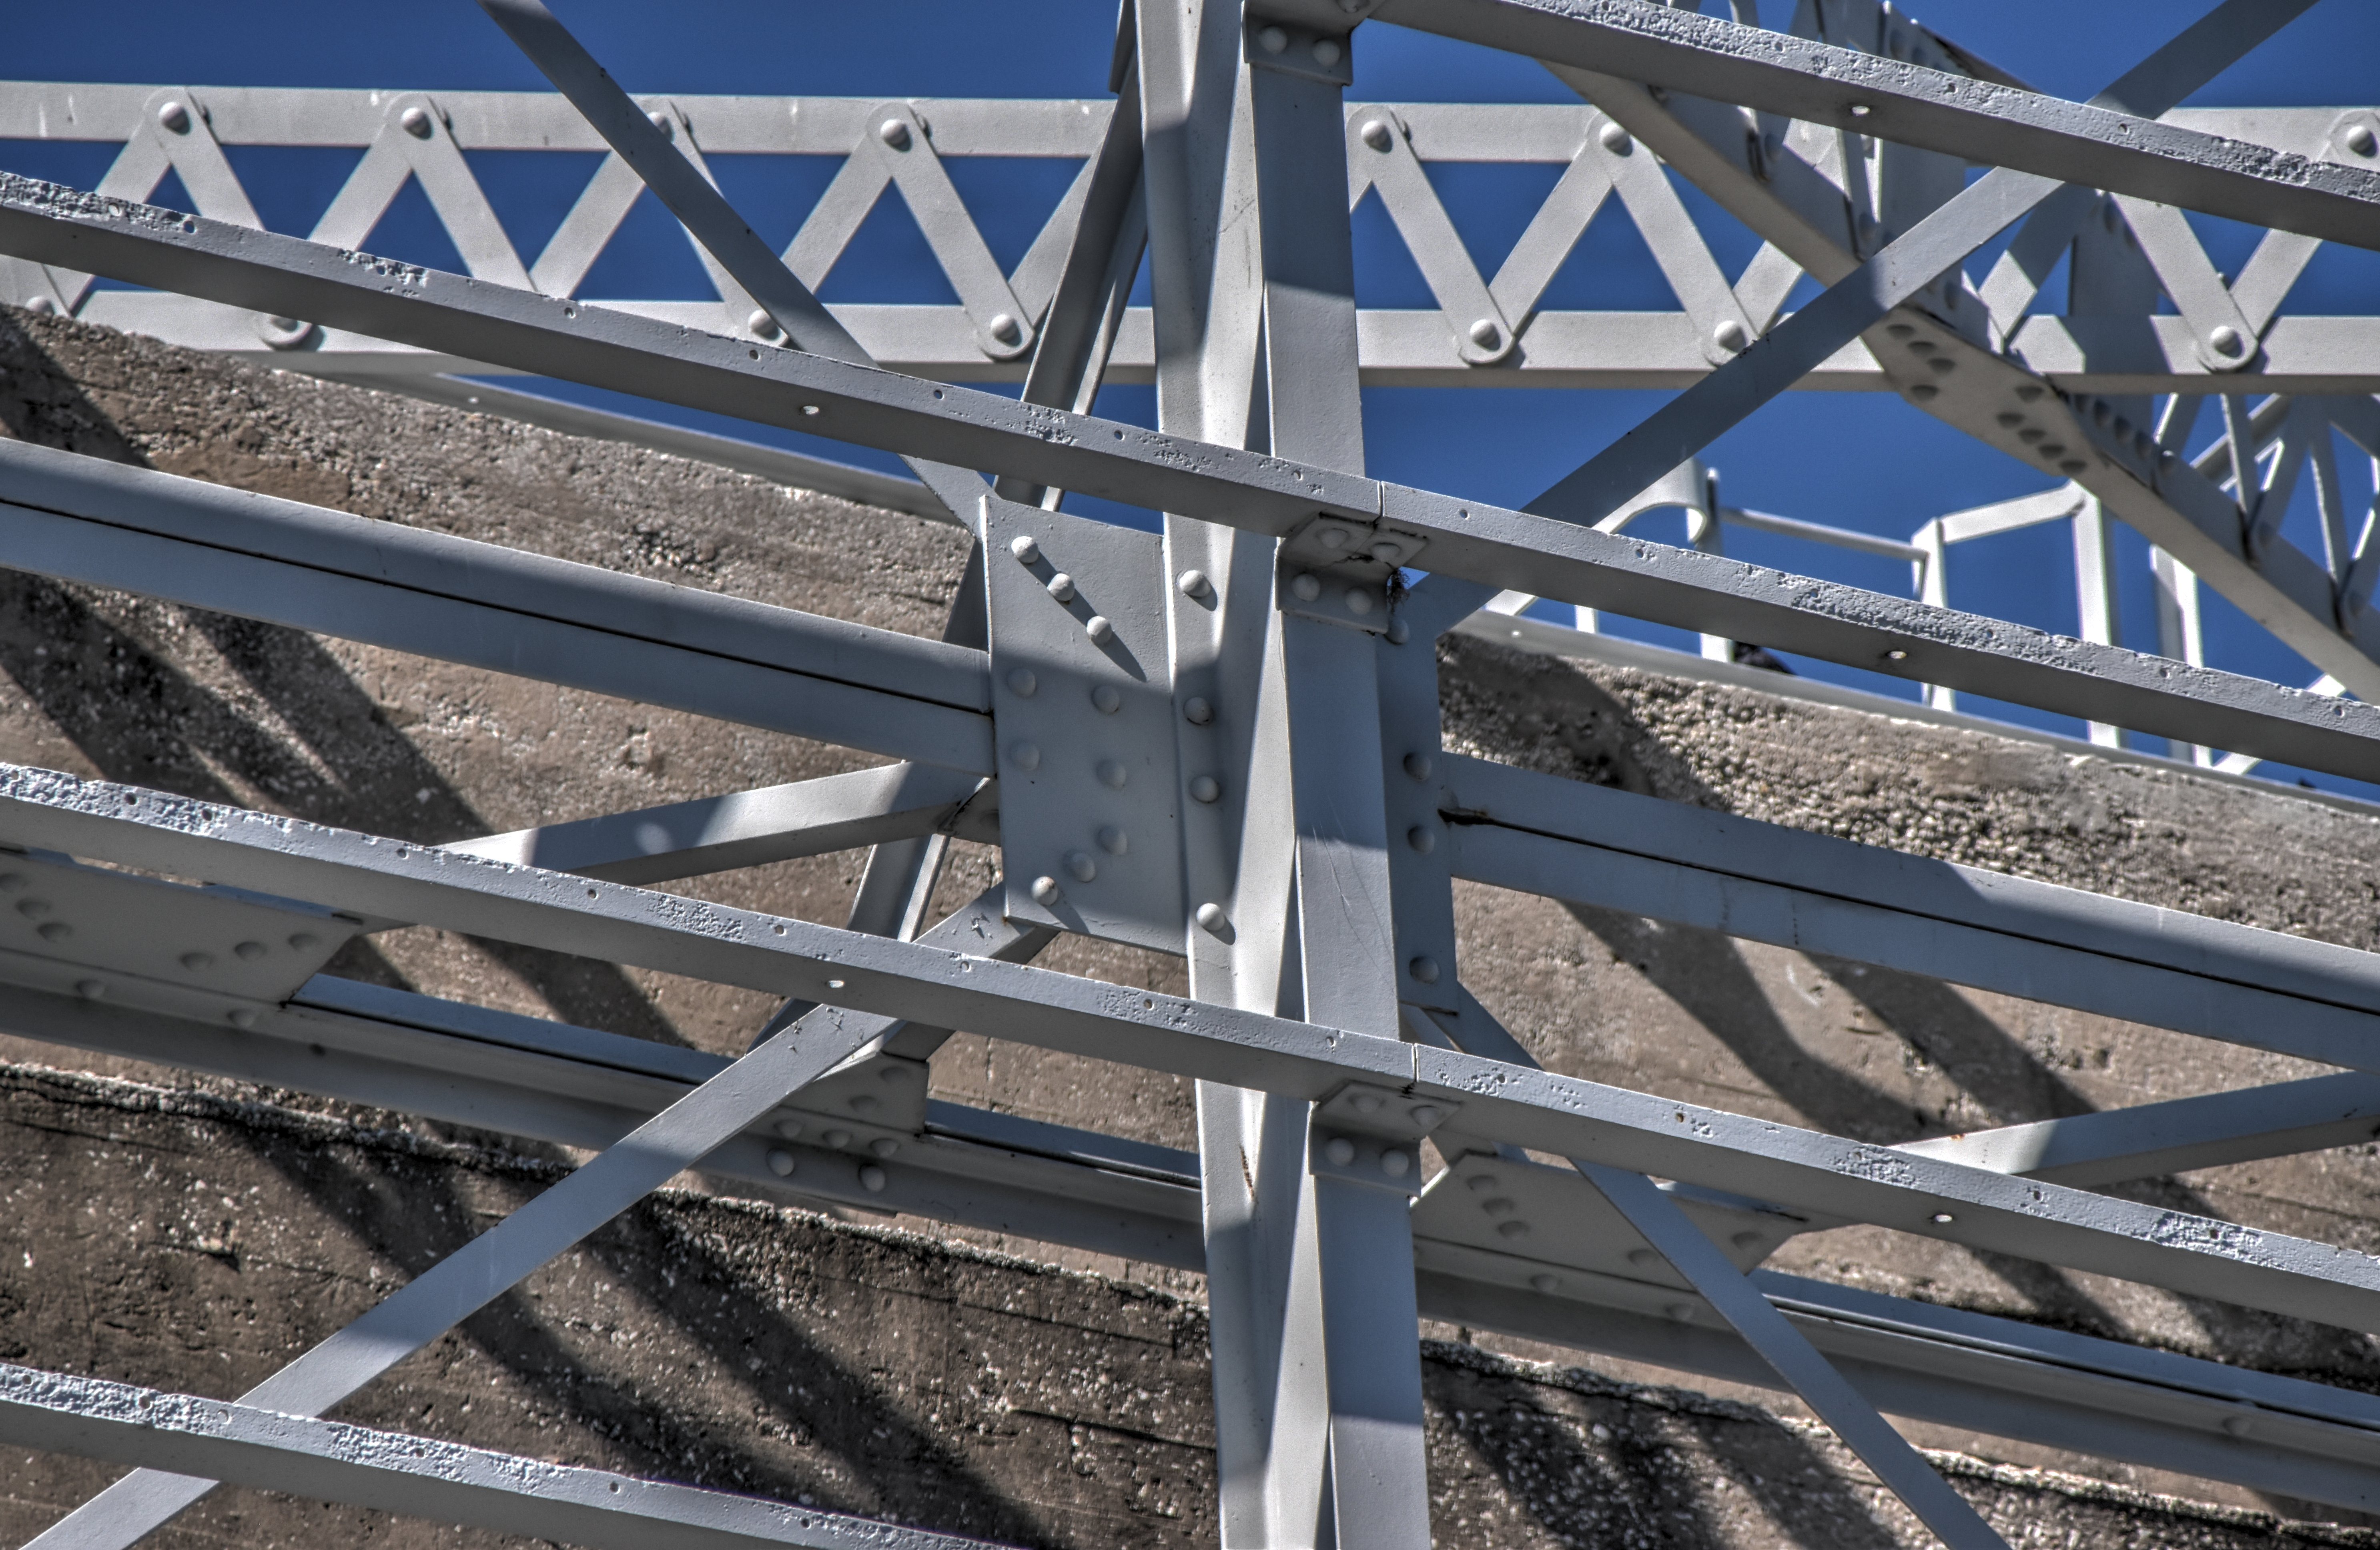
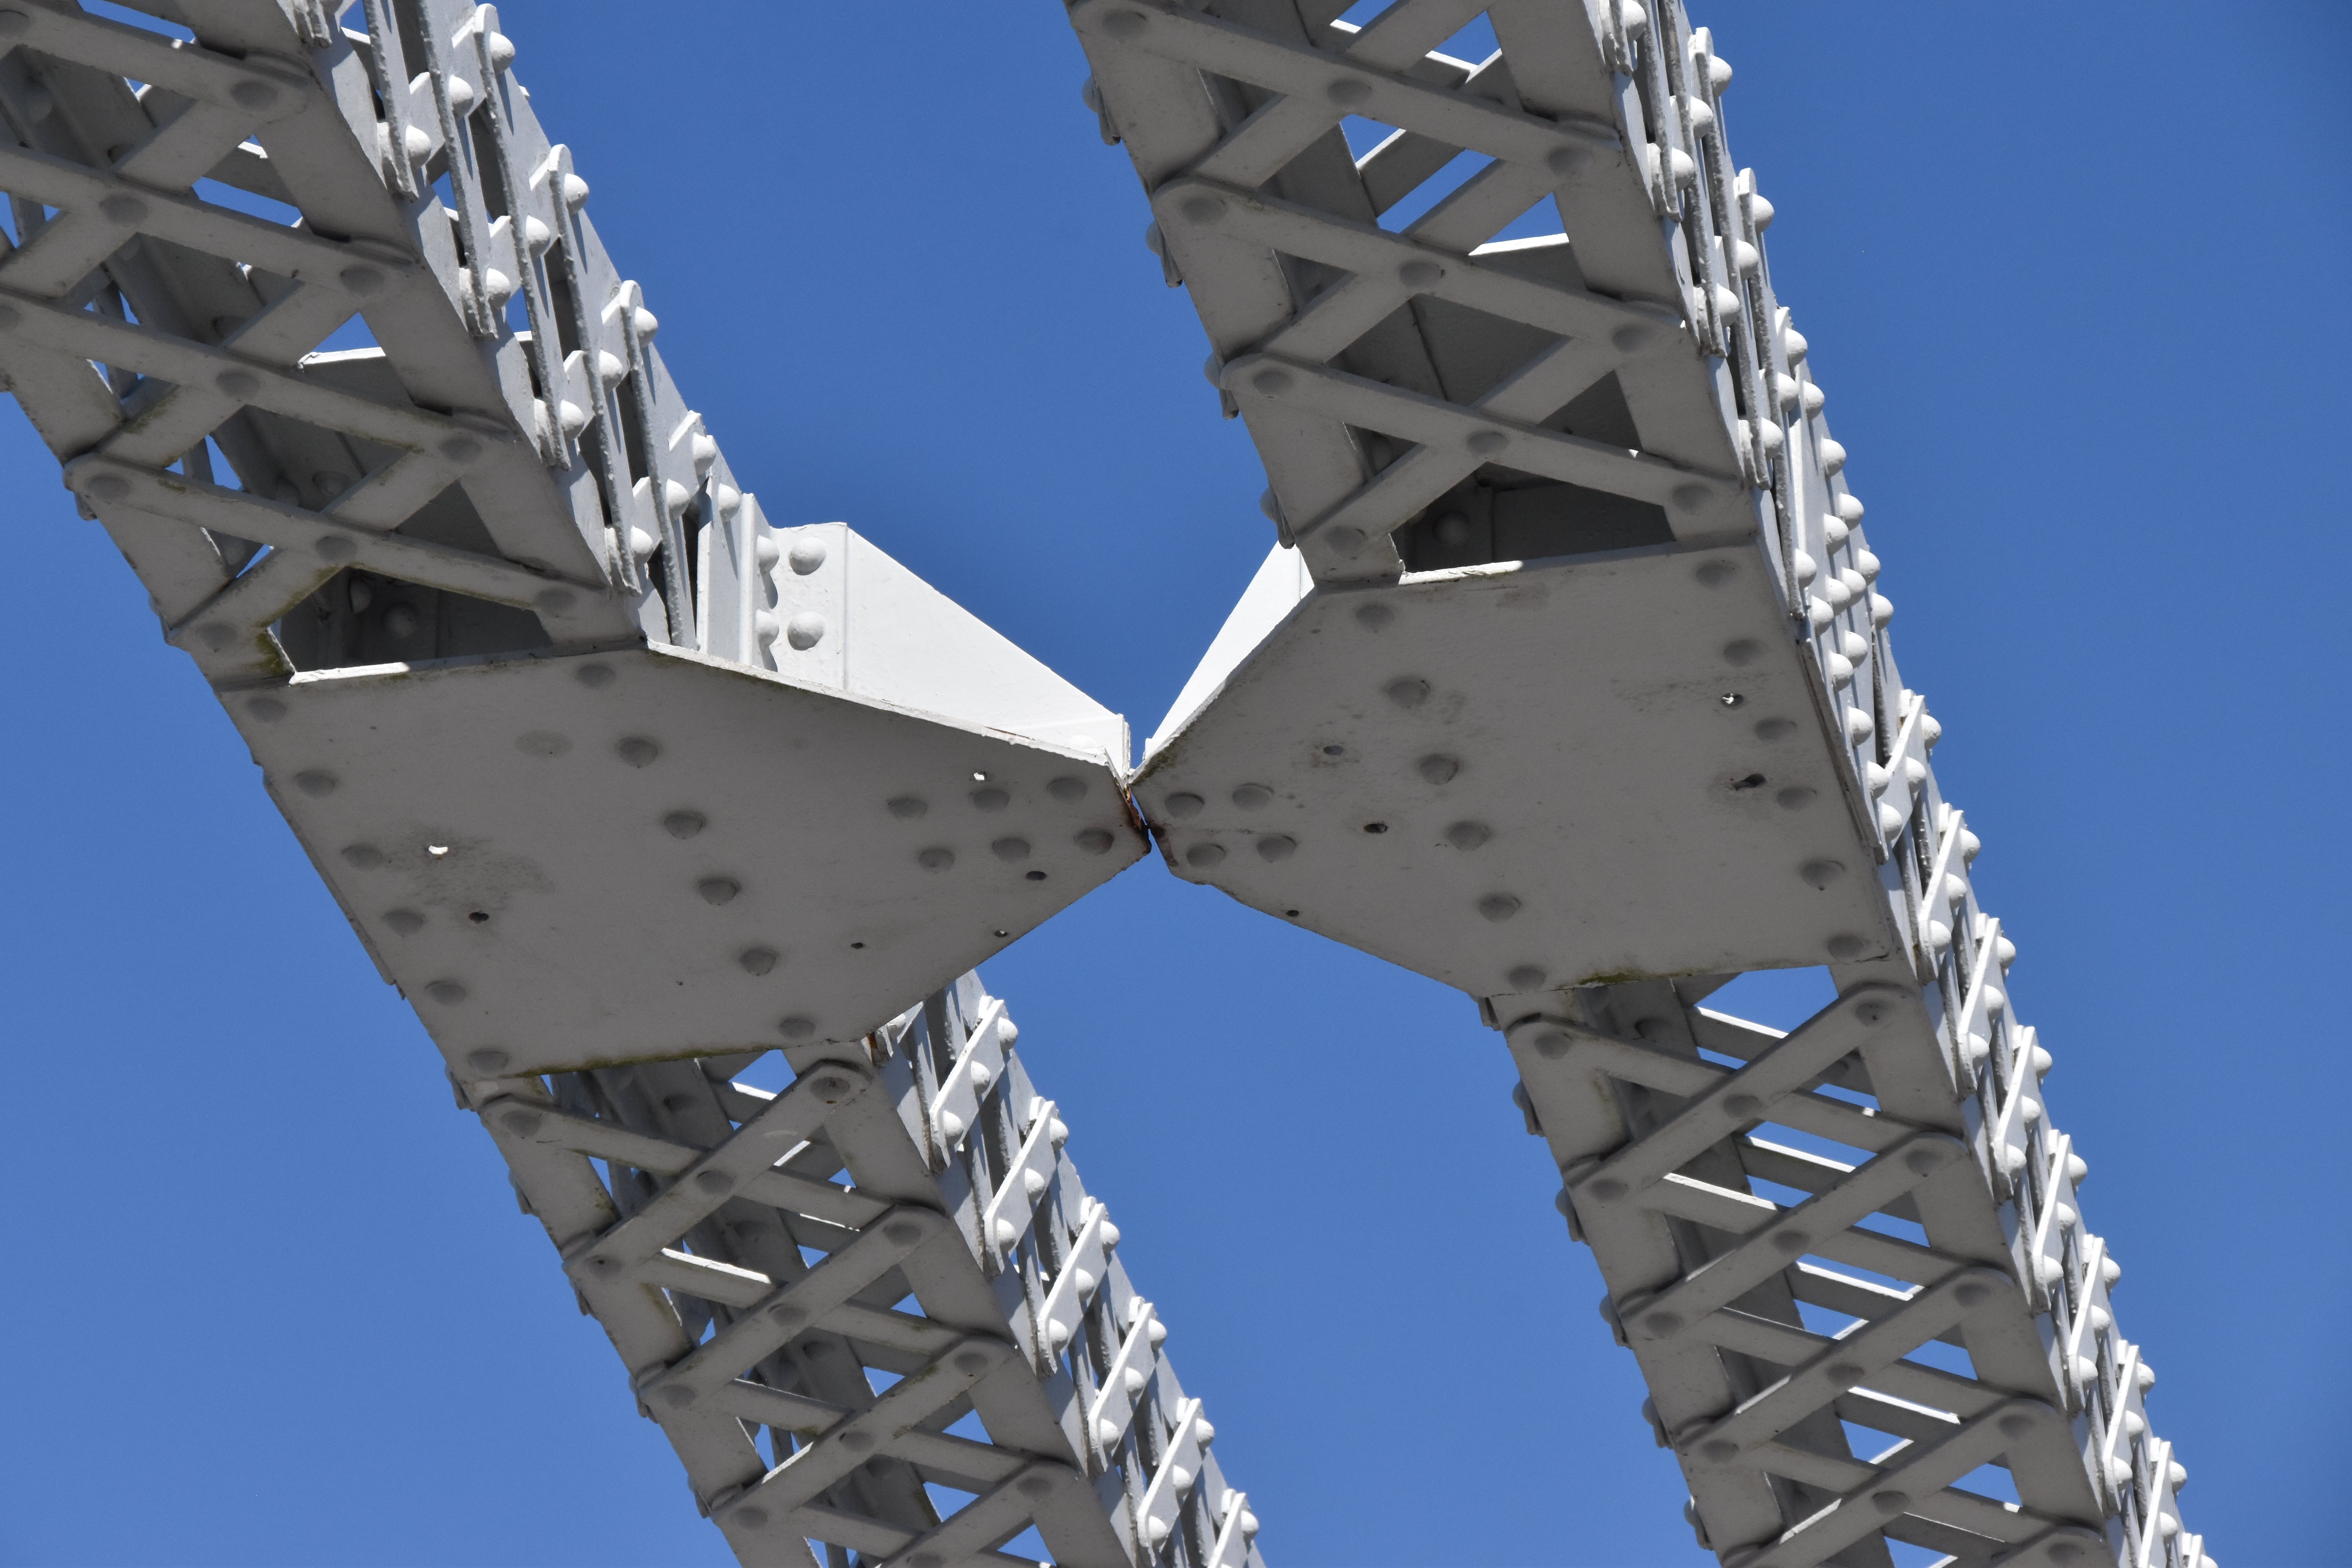
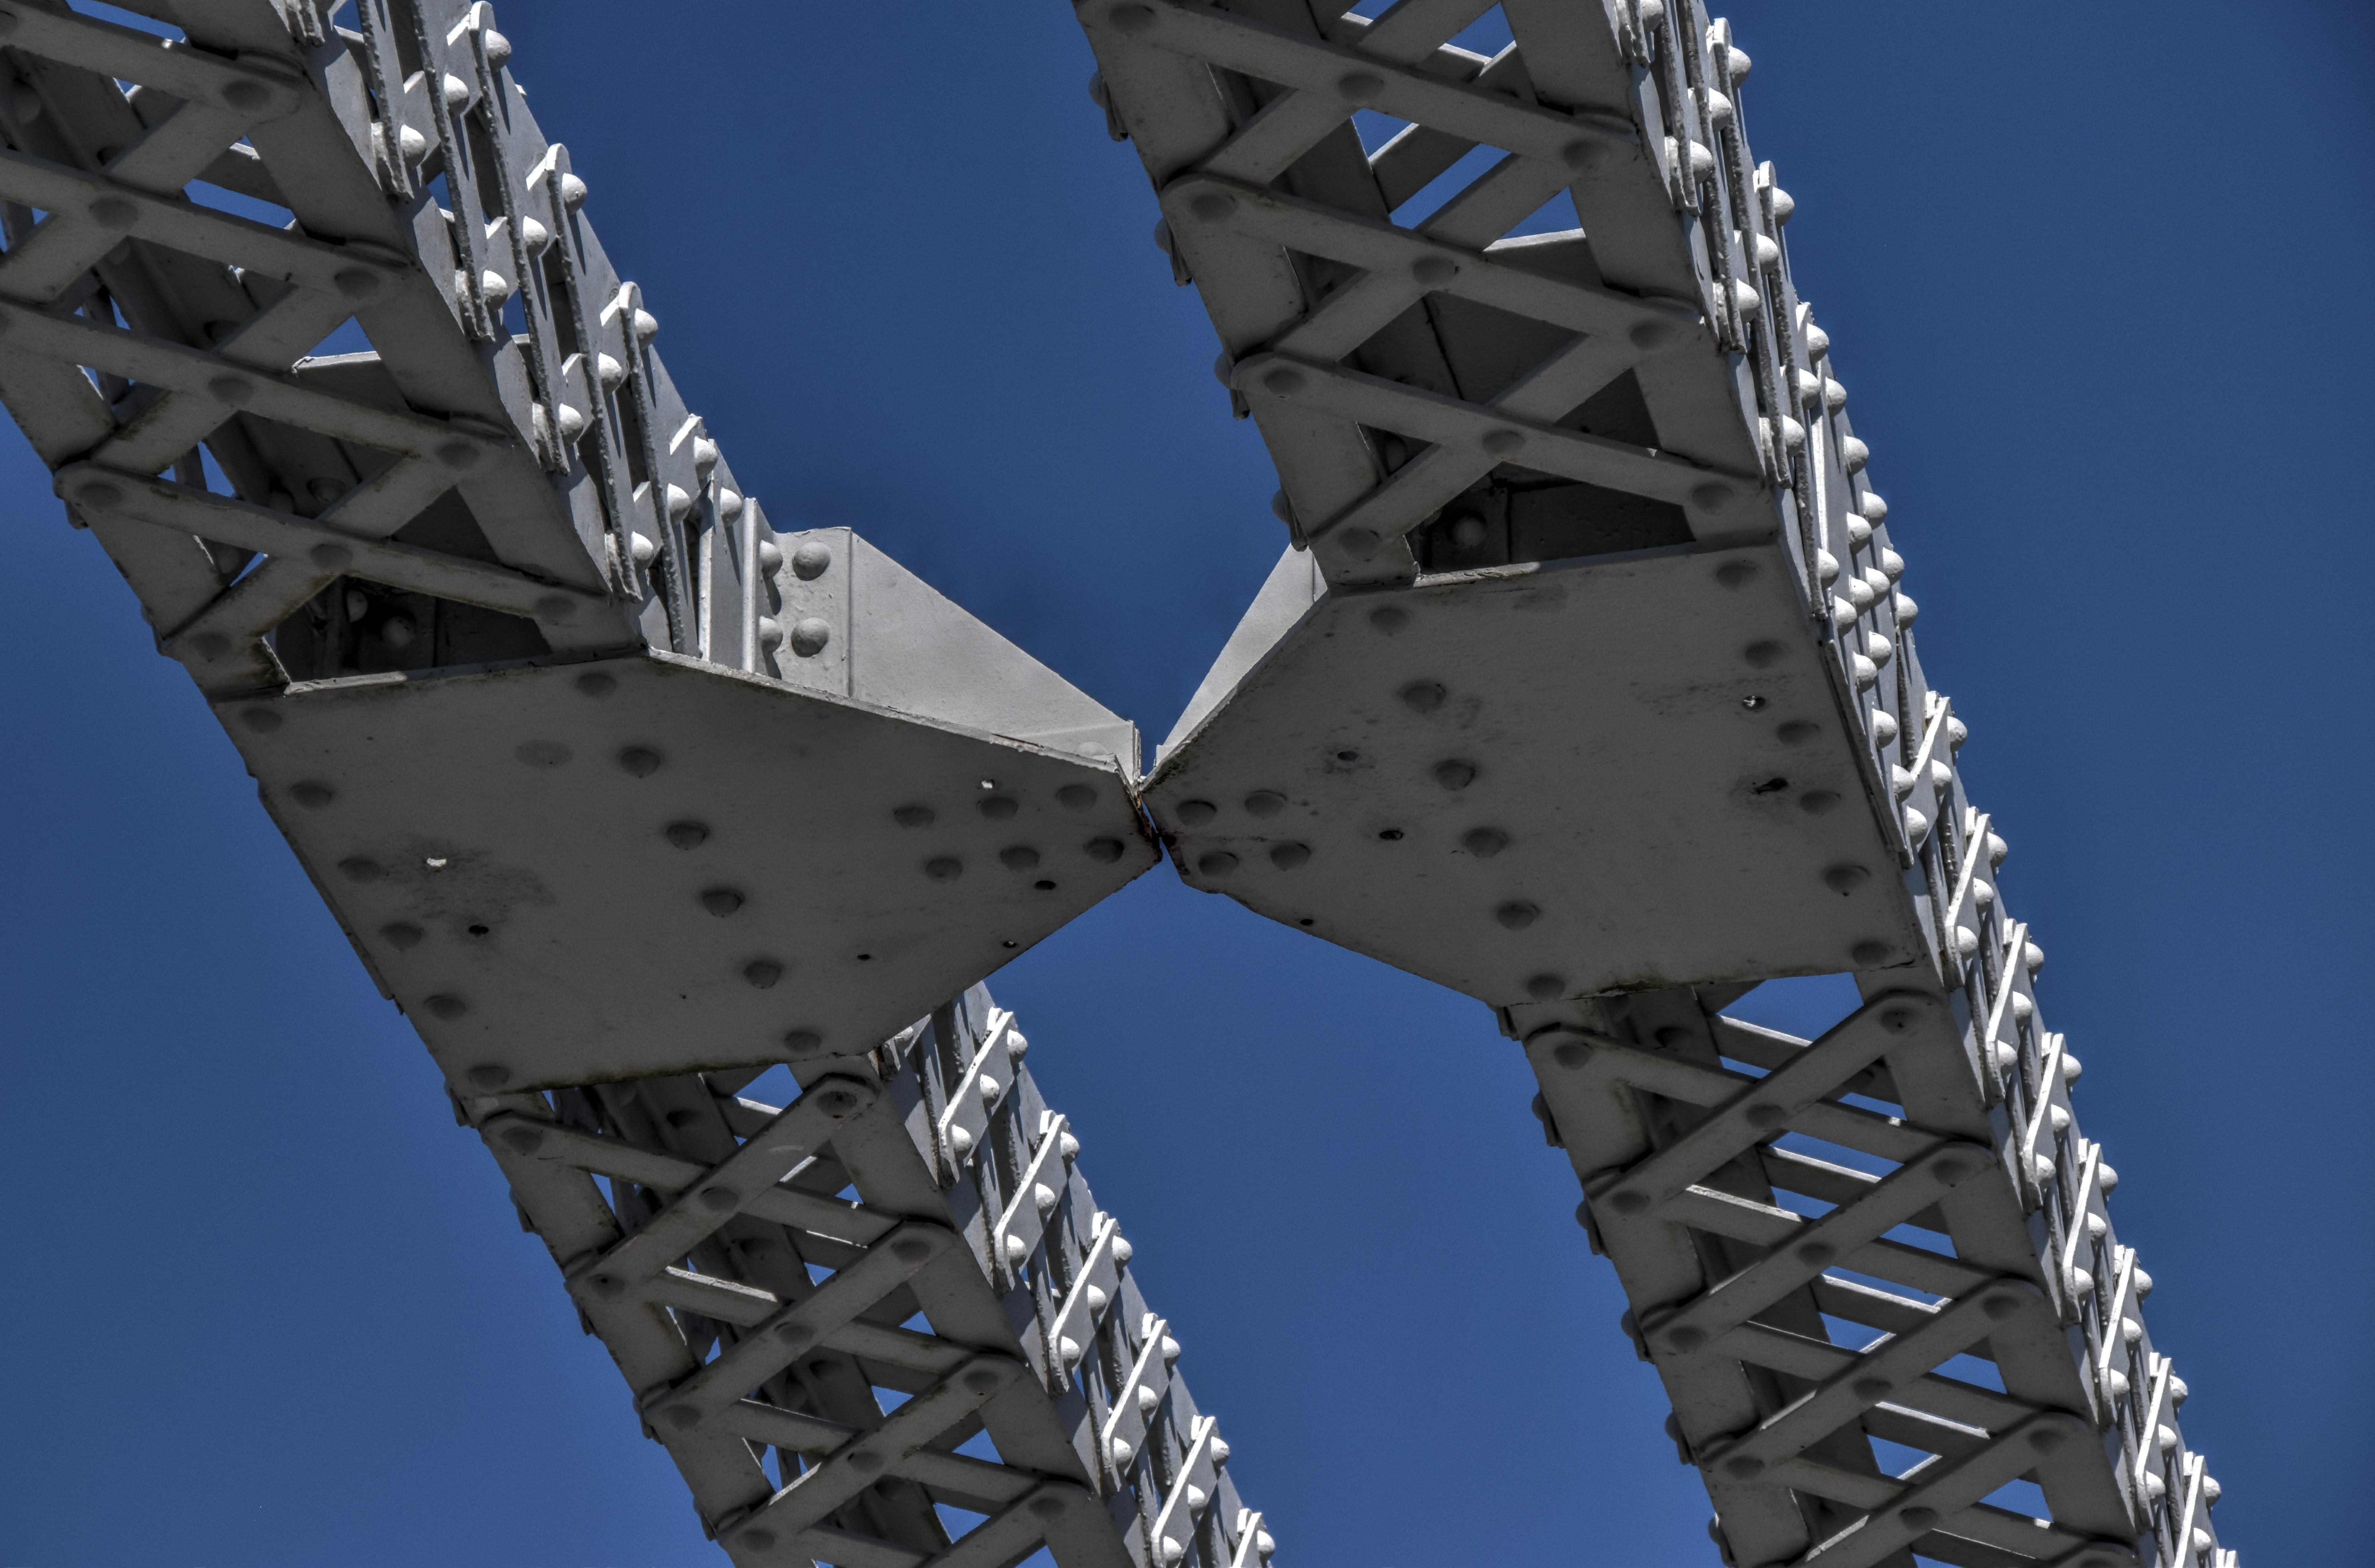
Top chord connections as viewed from on bridge.
![]()

Photo Credit: Marc Scotti
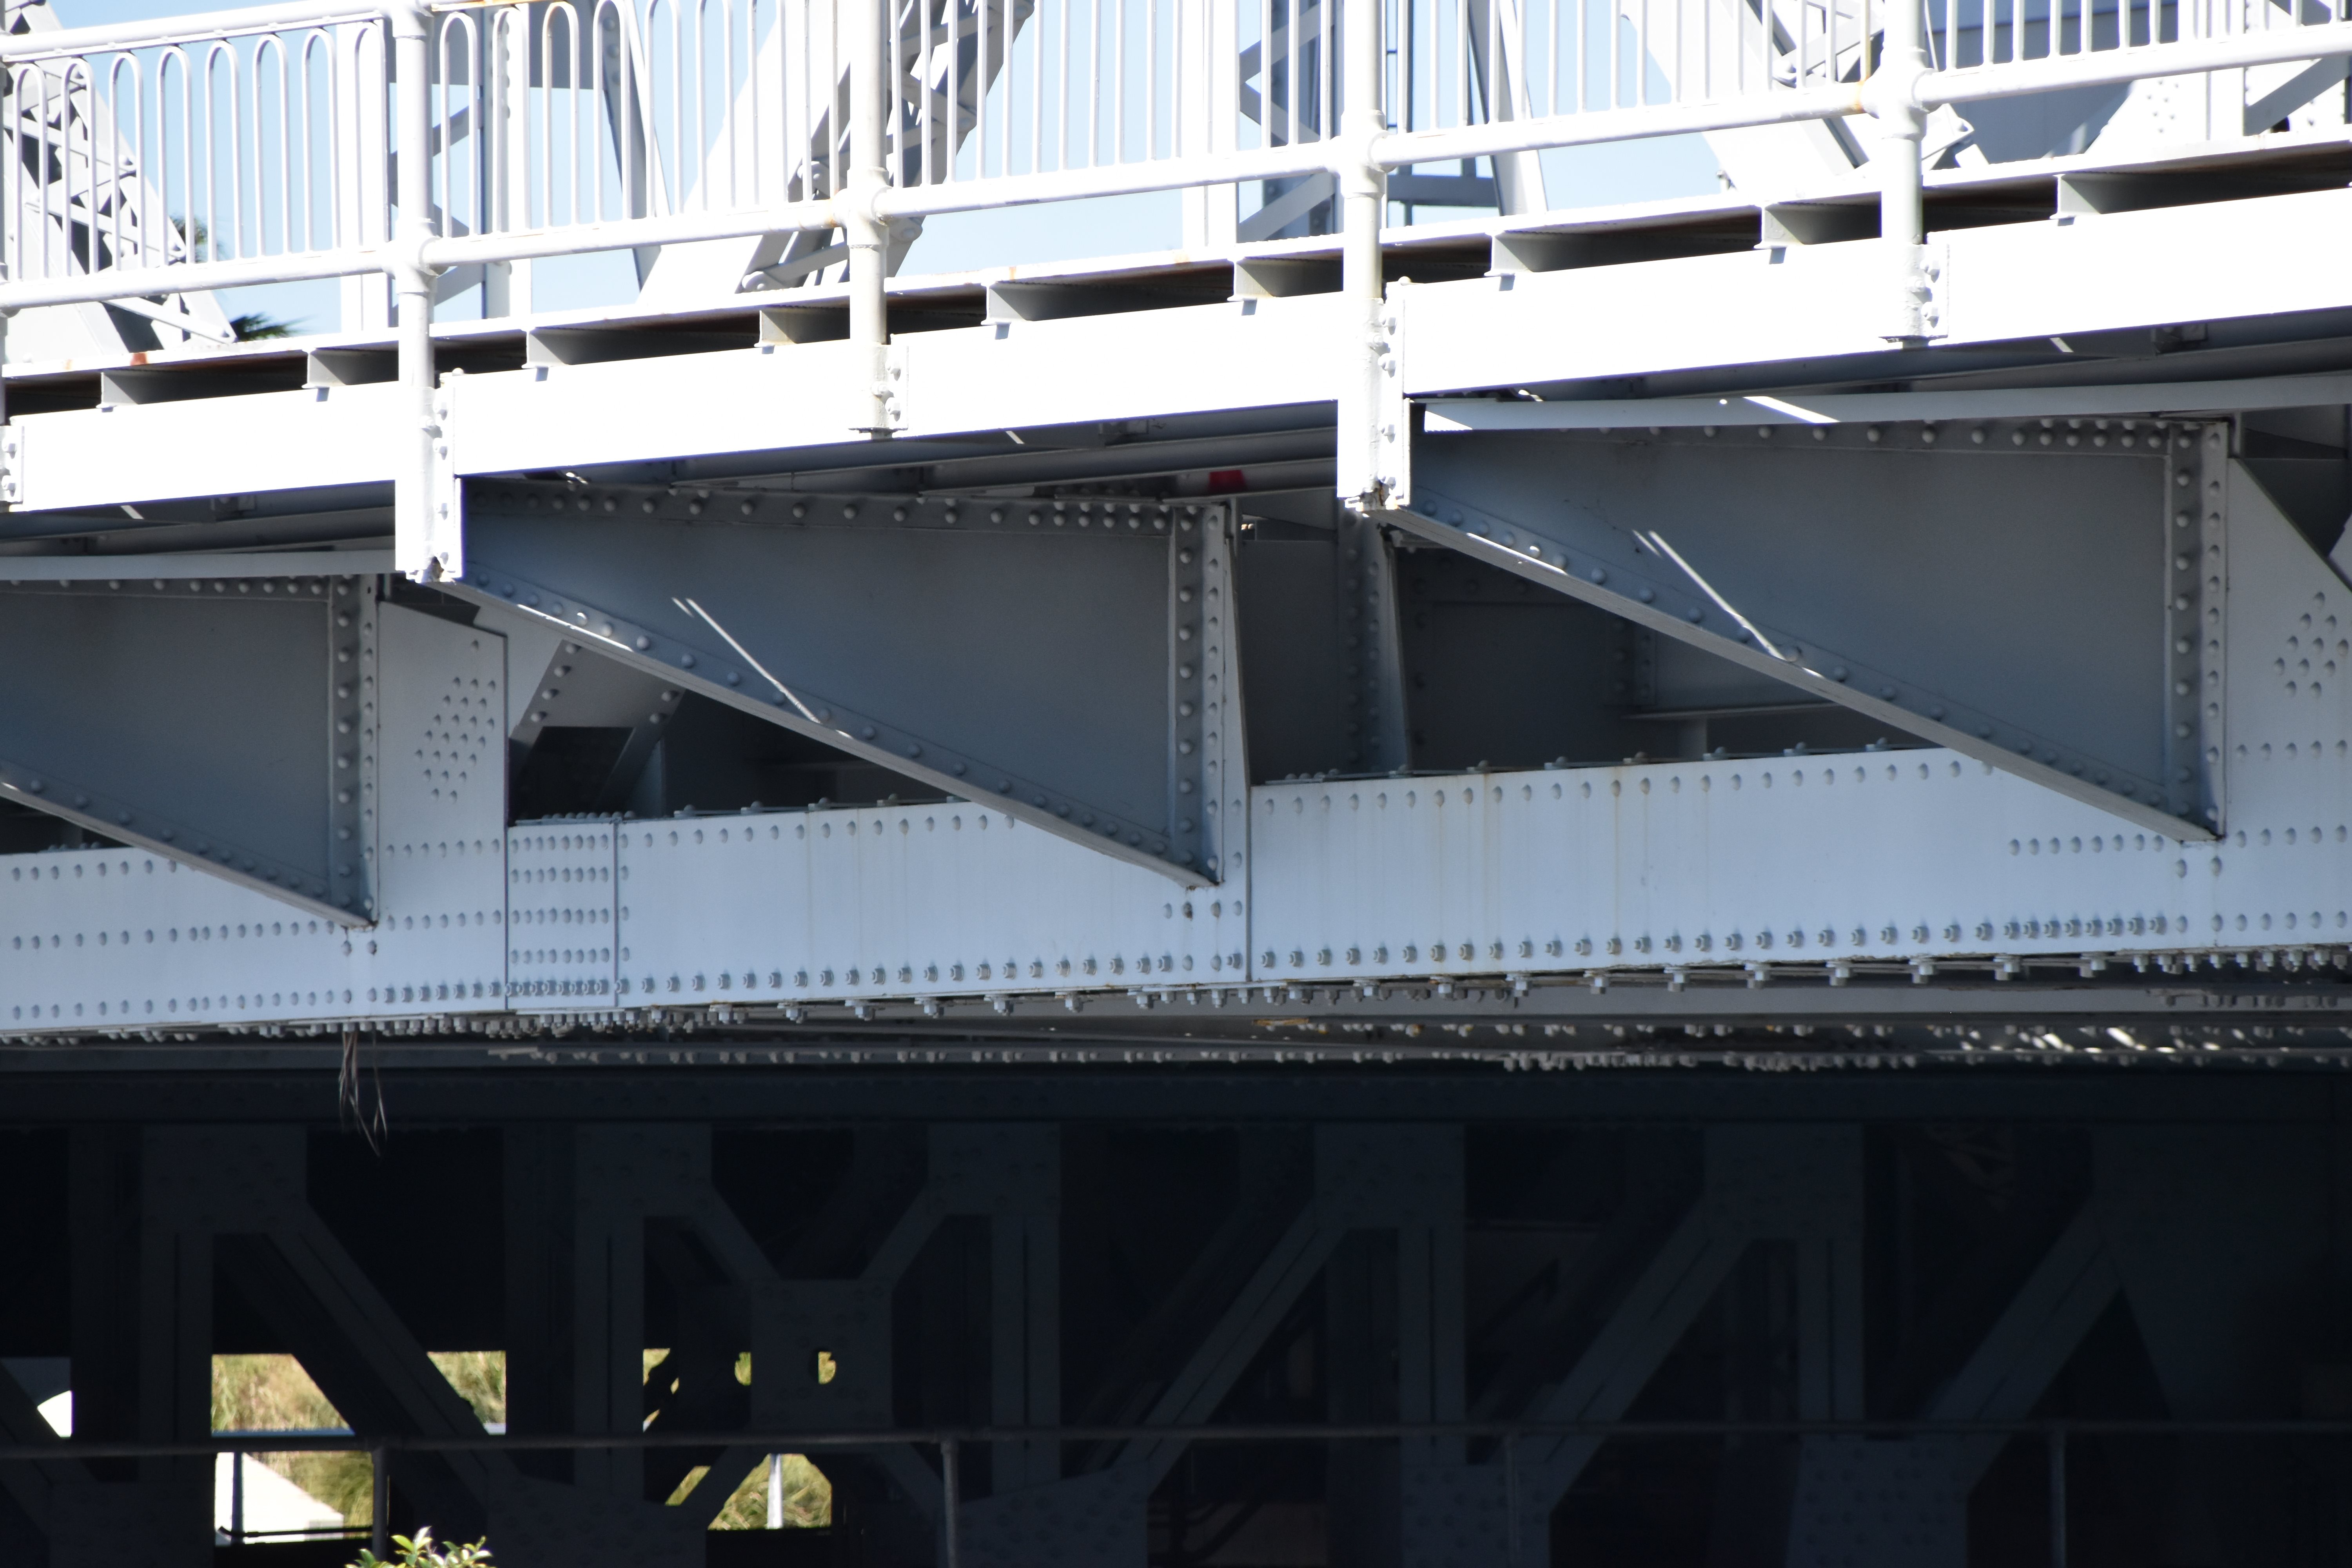
Top chord connections as viewed from on bridge.
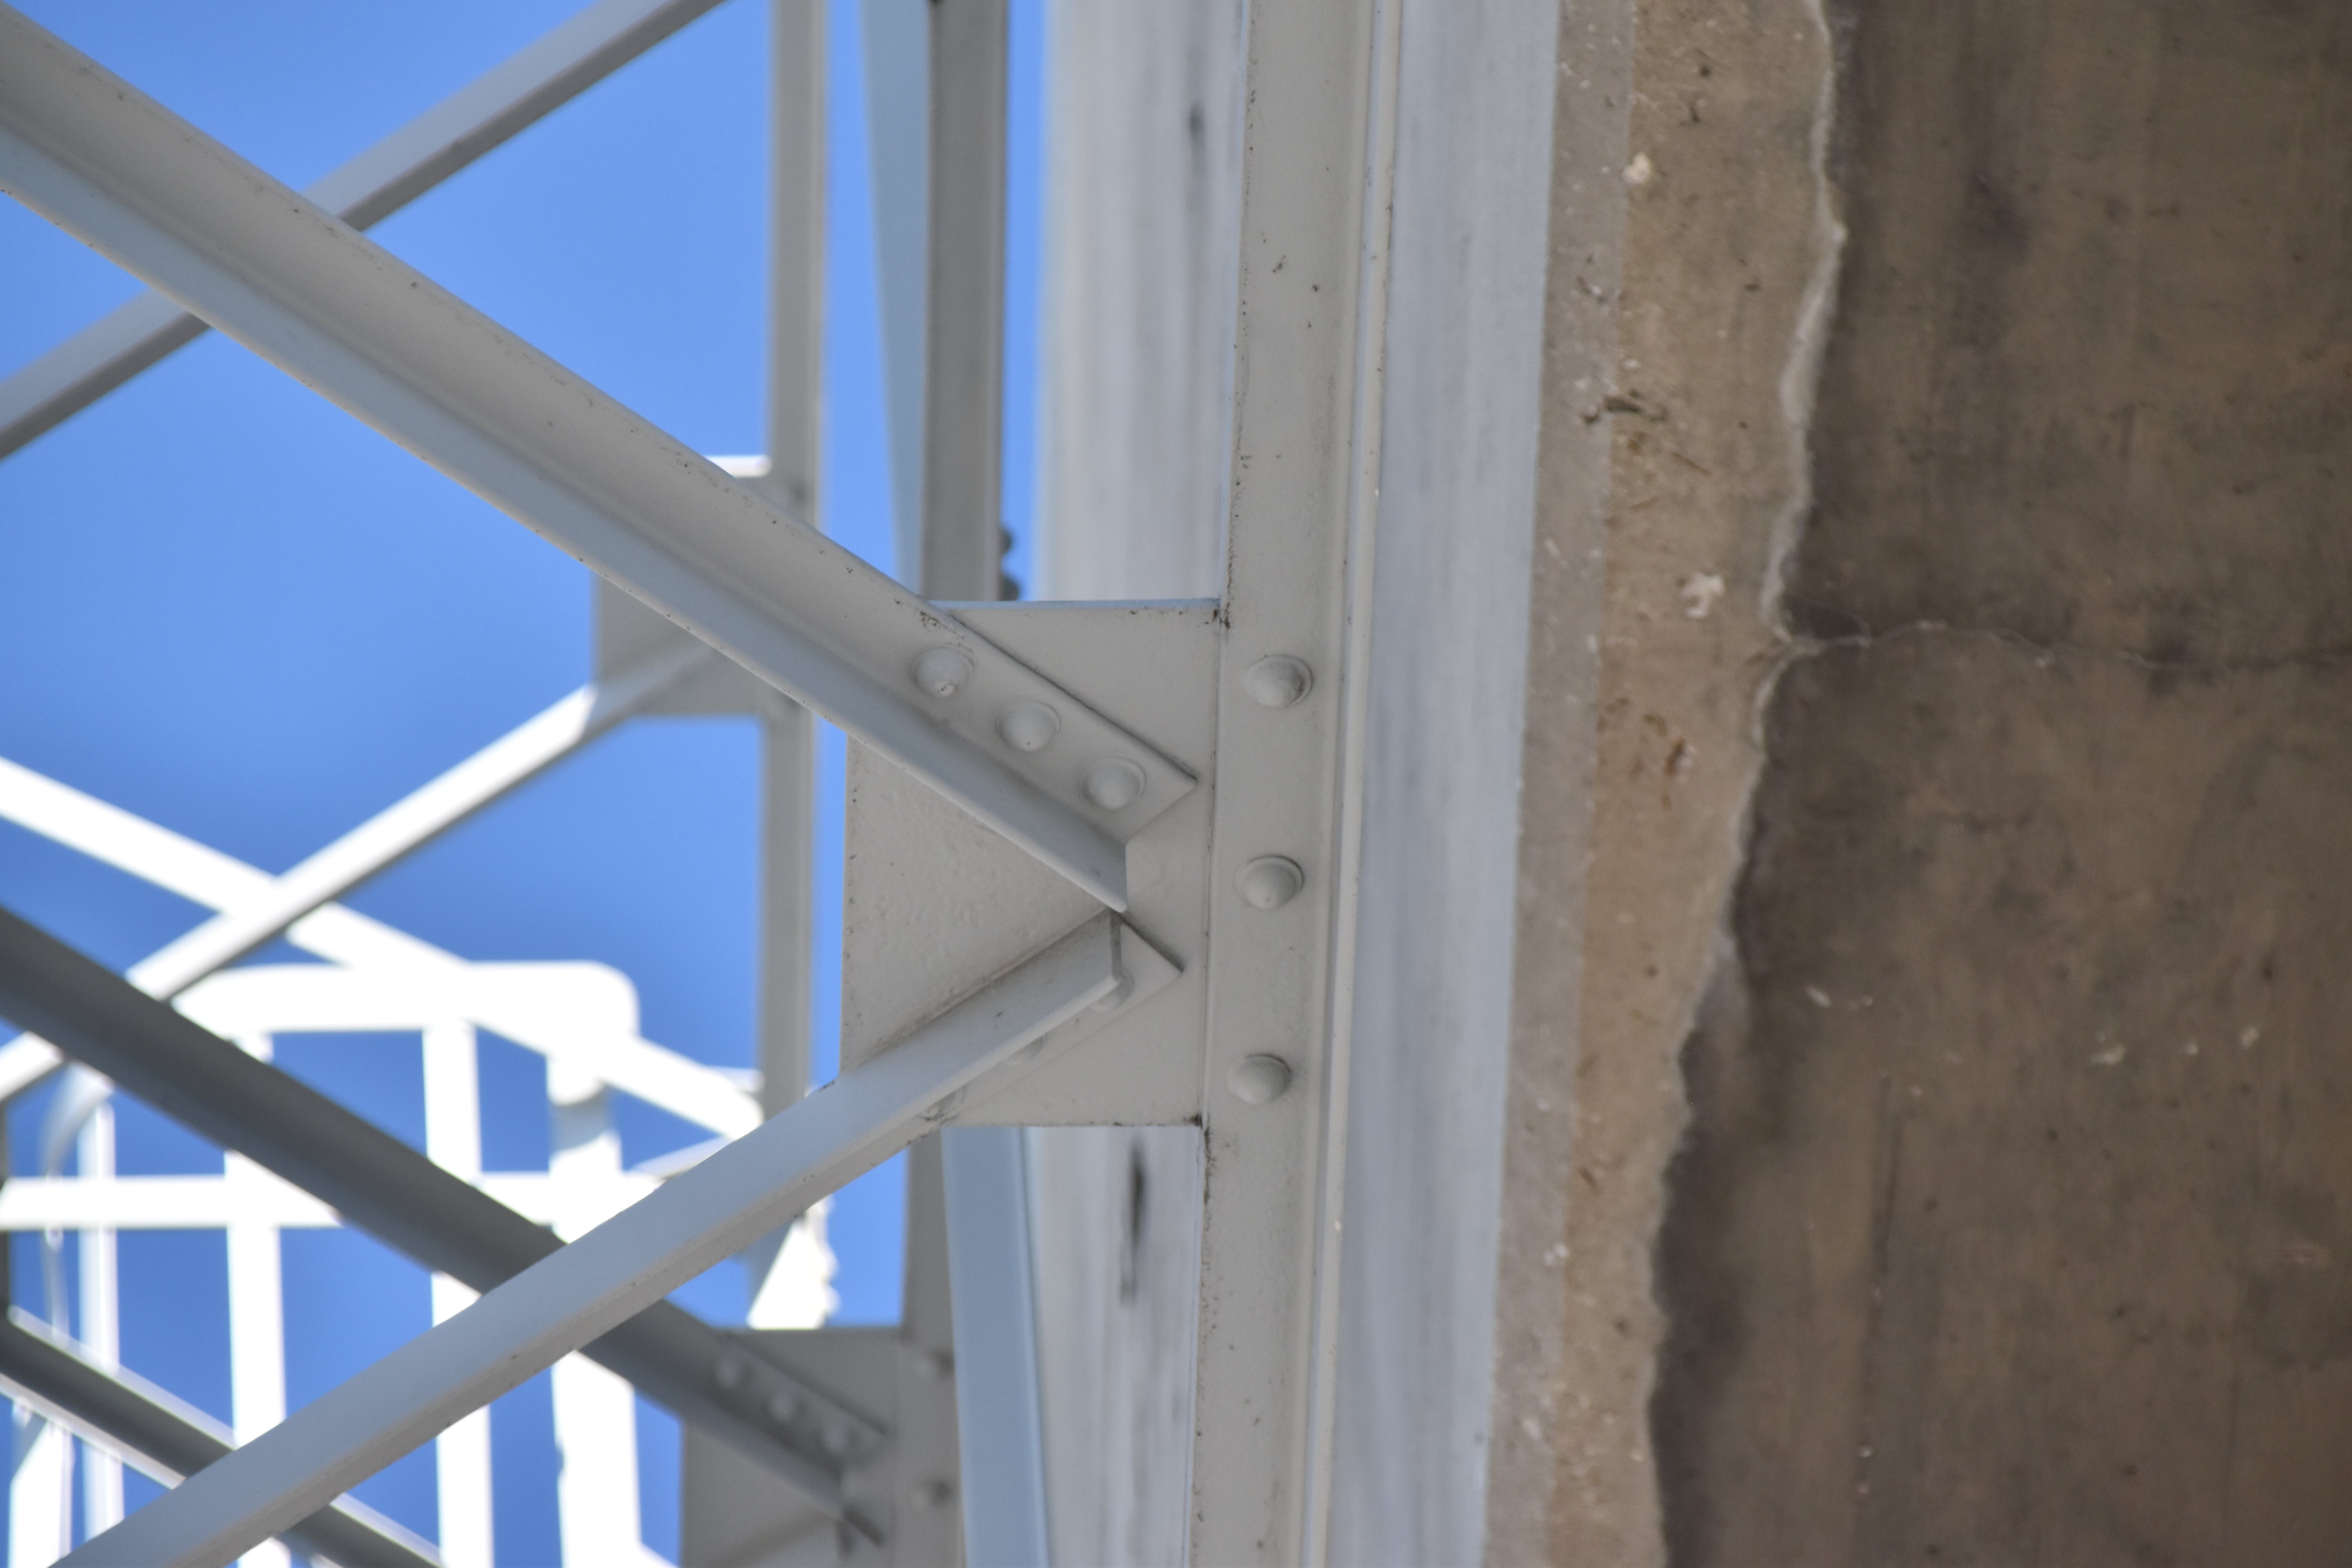
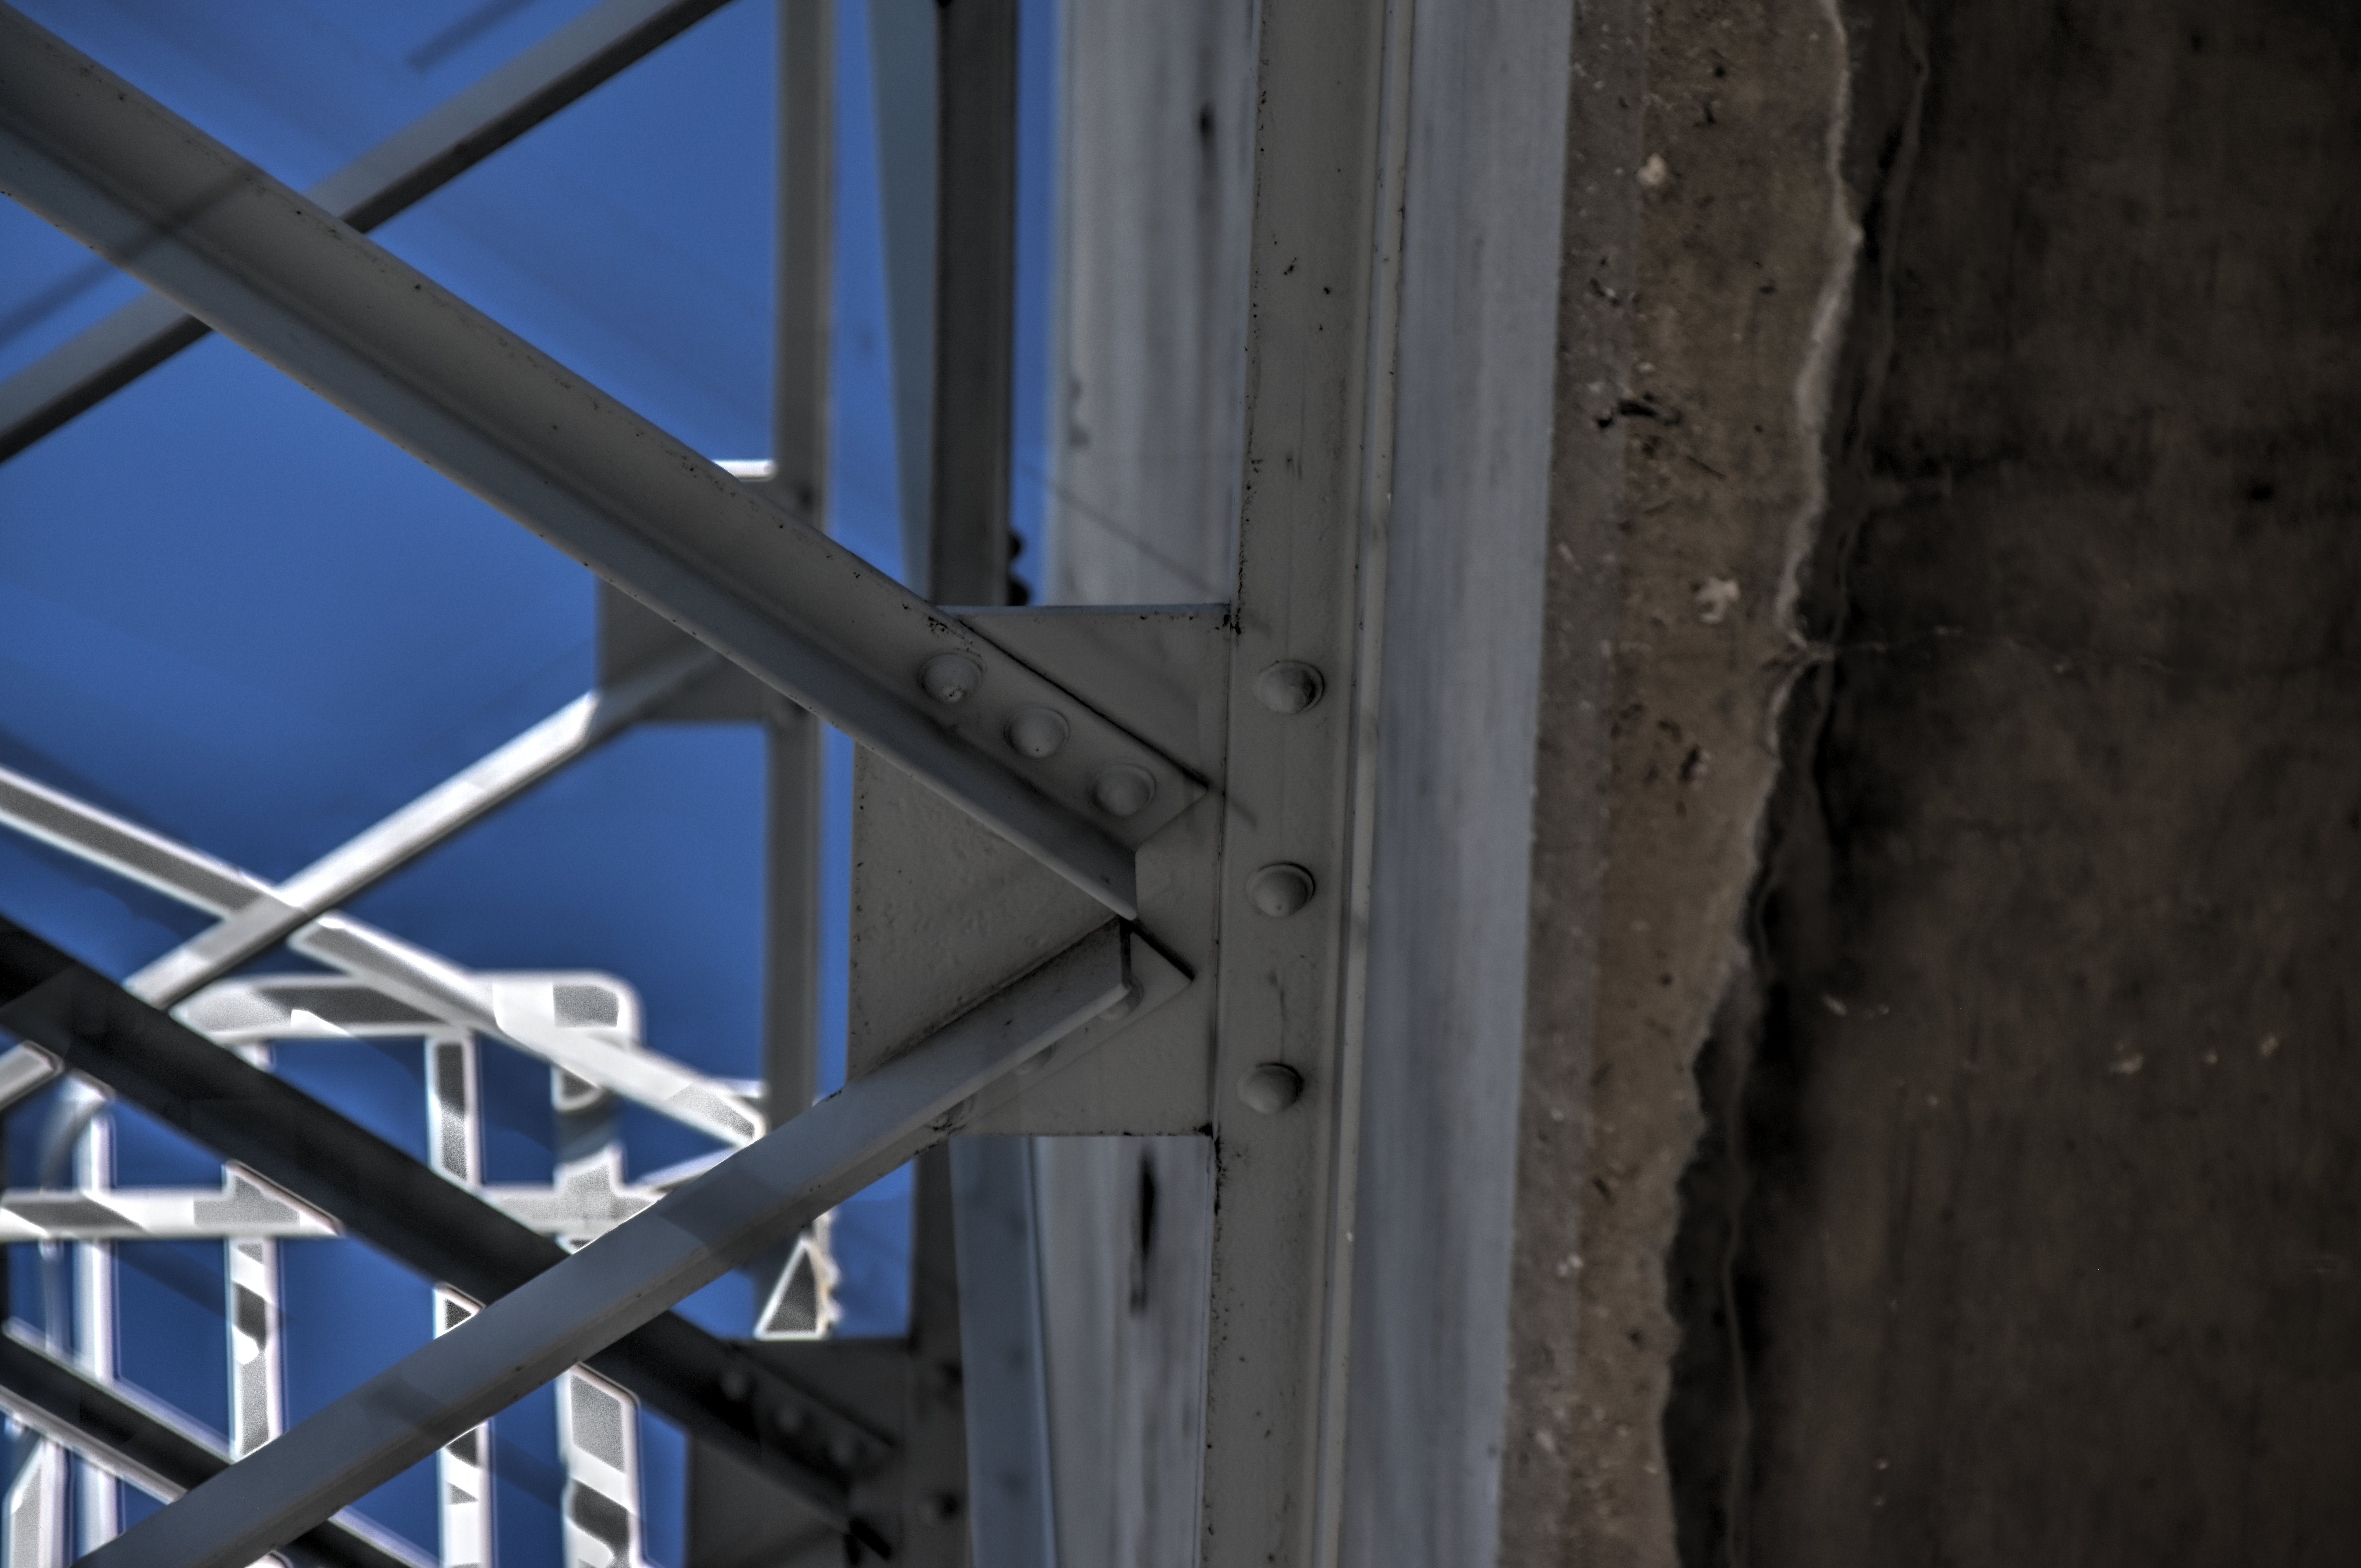
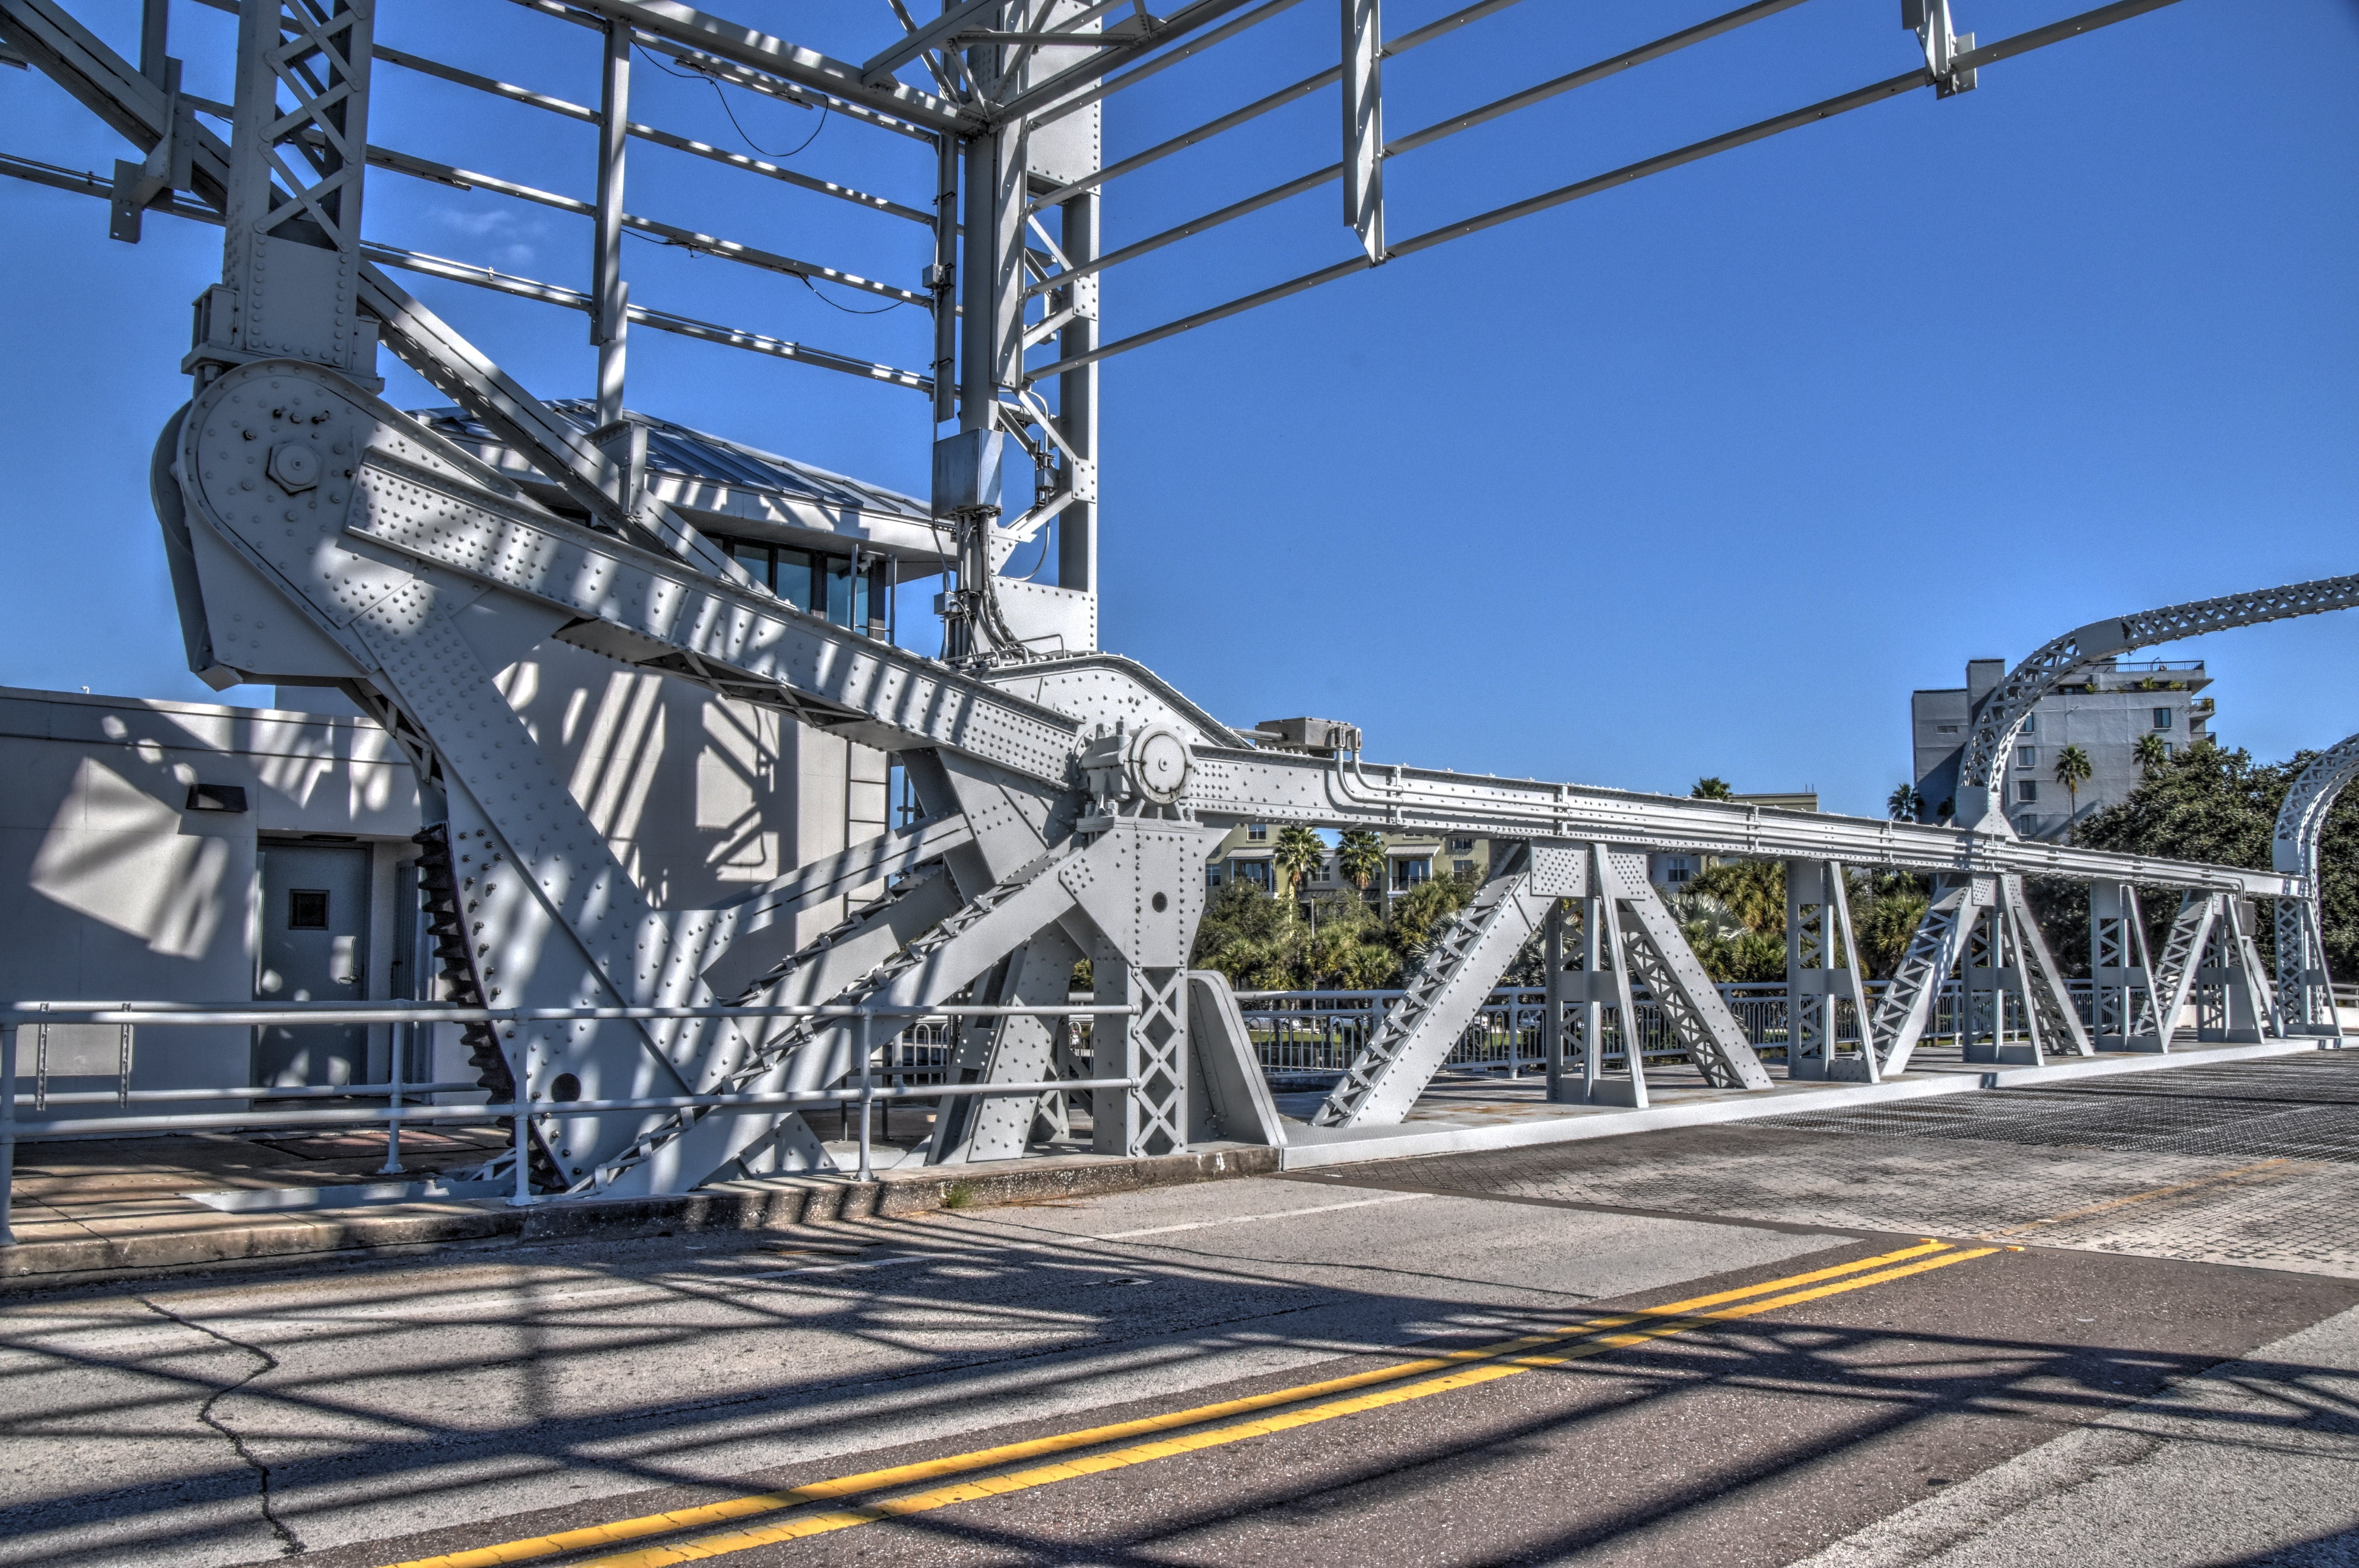
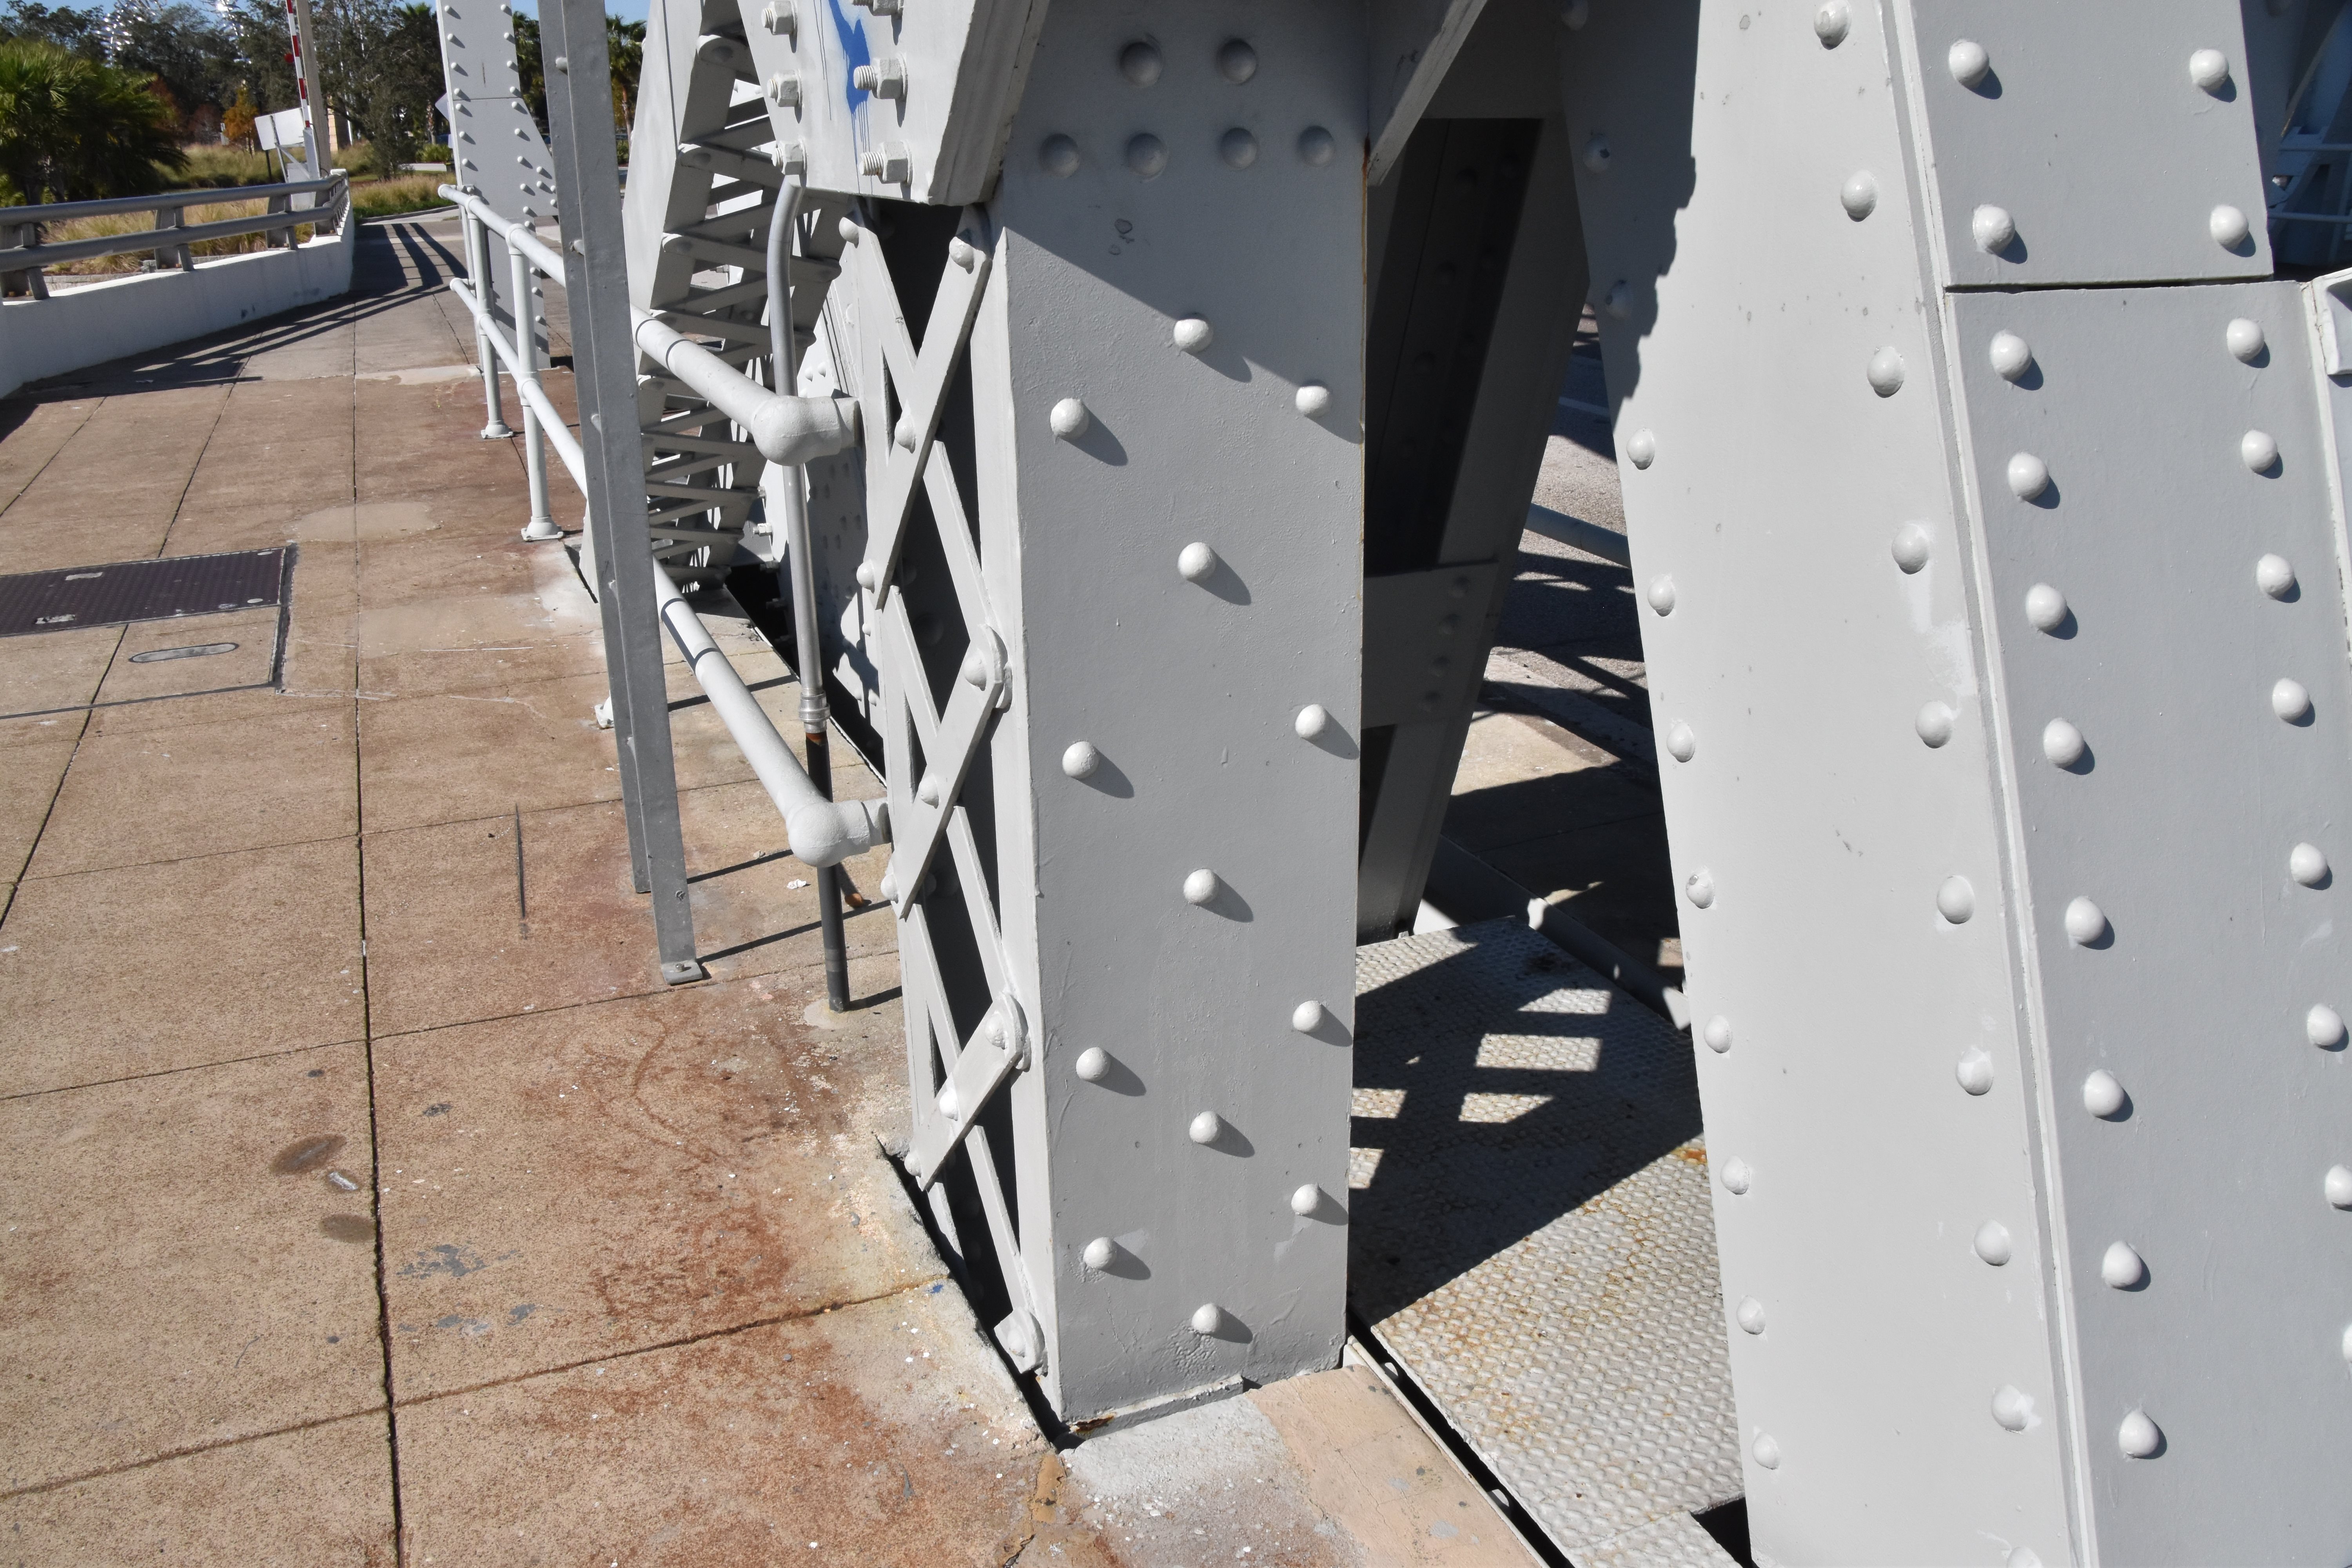
![]()


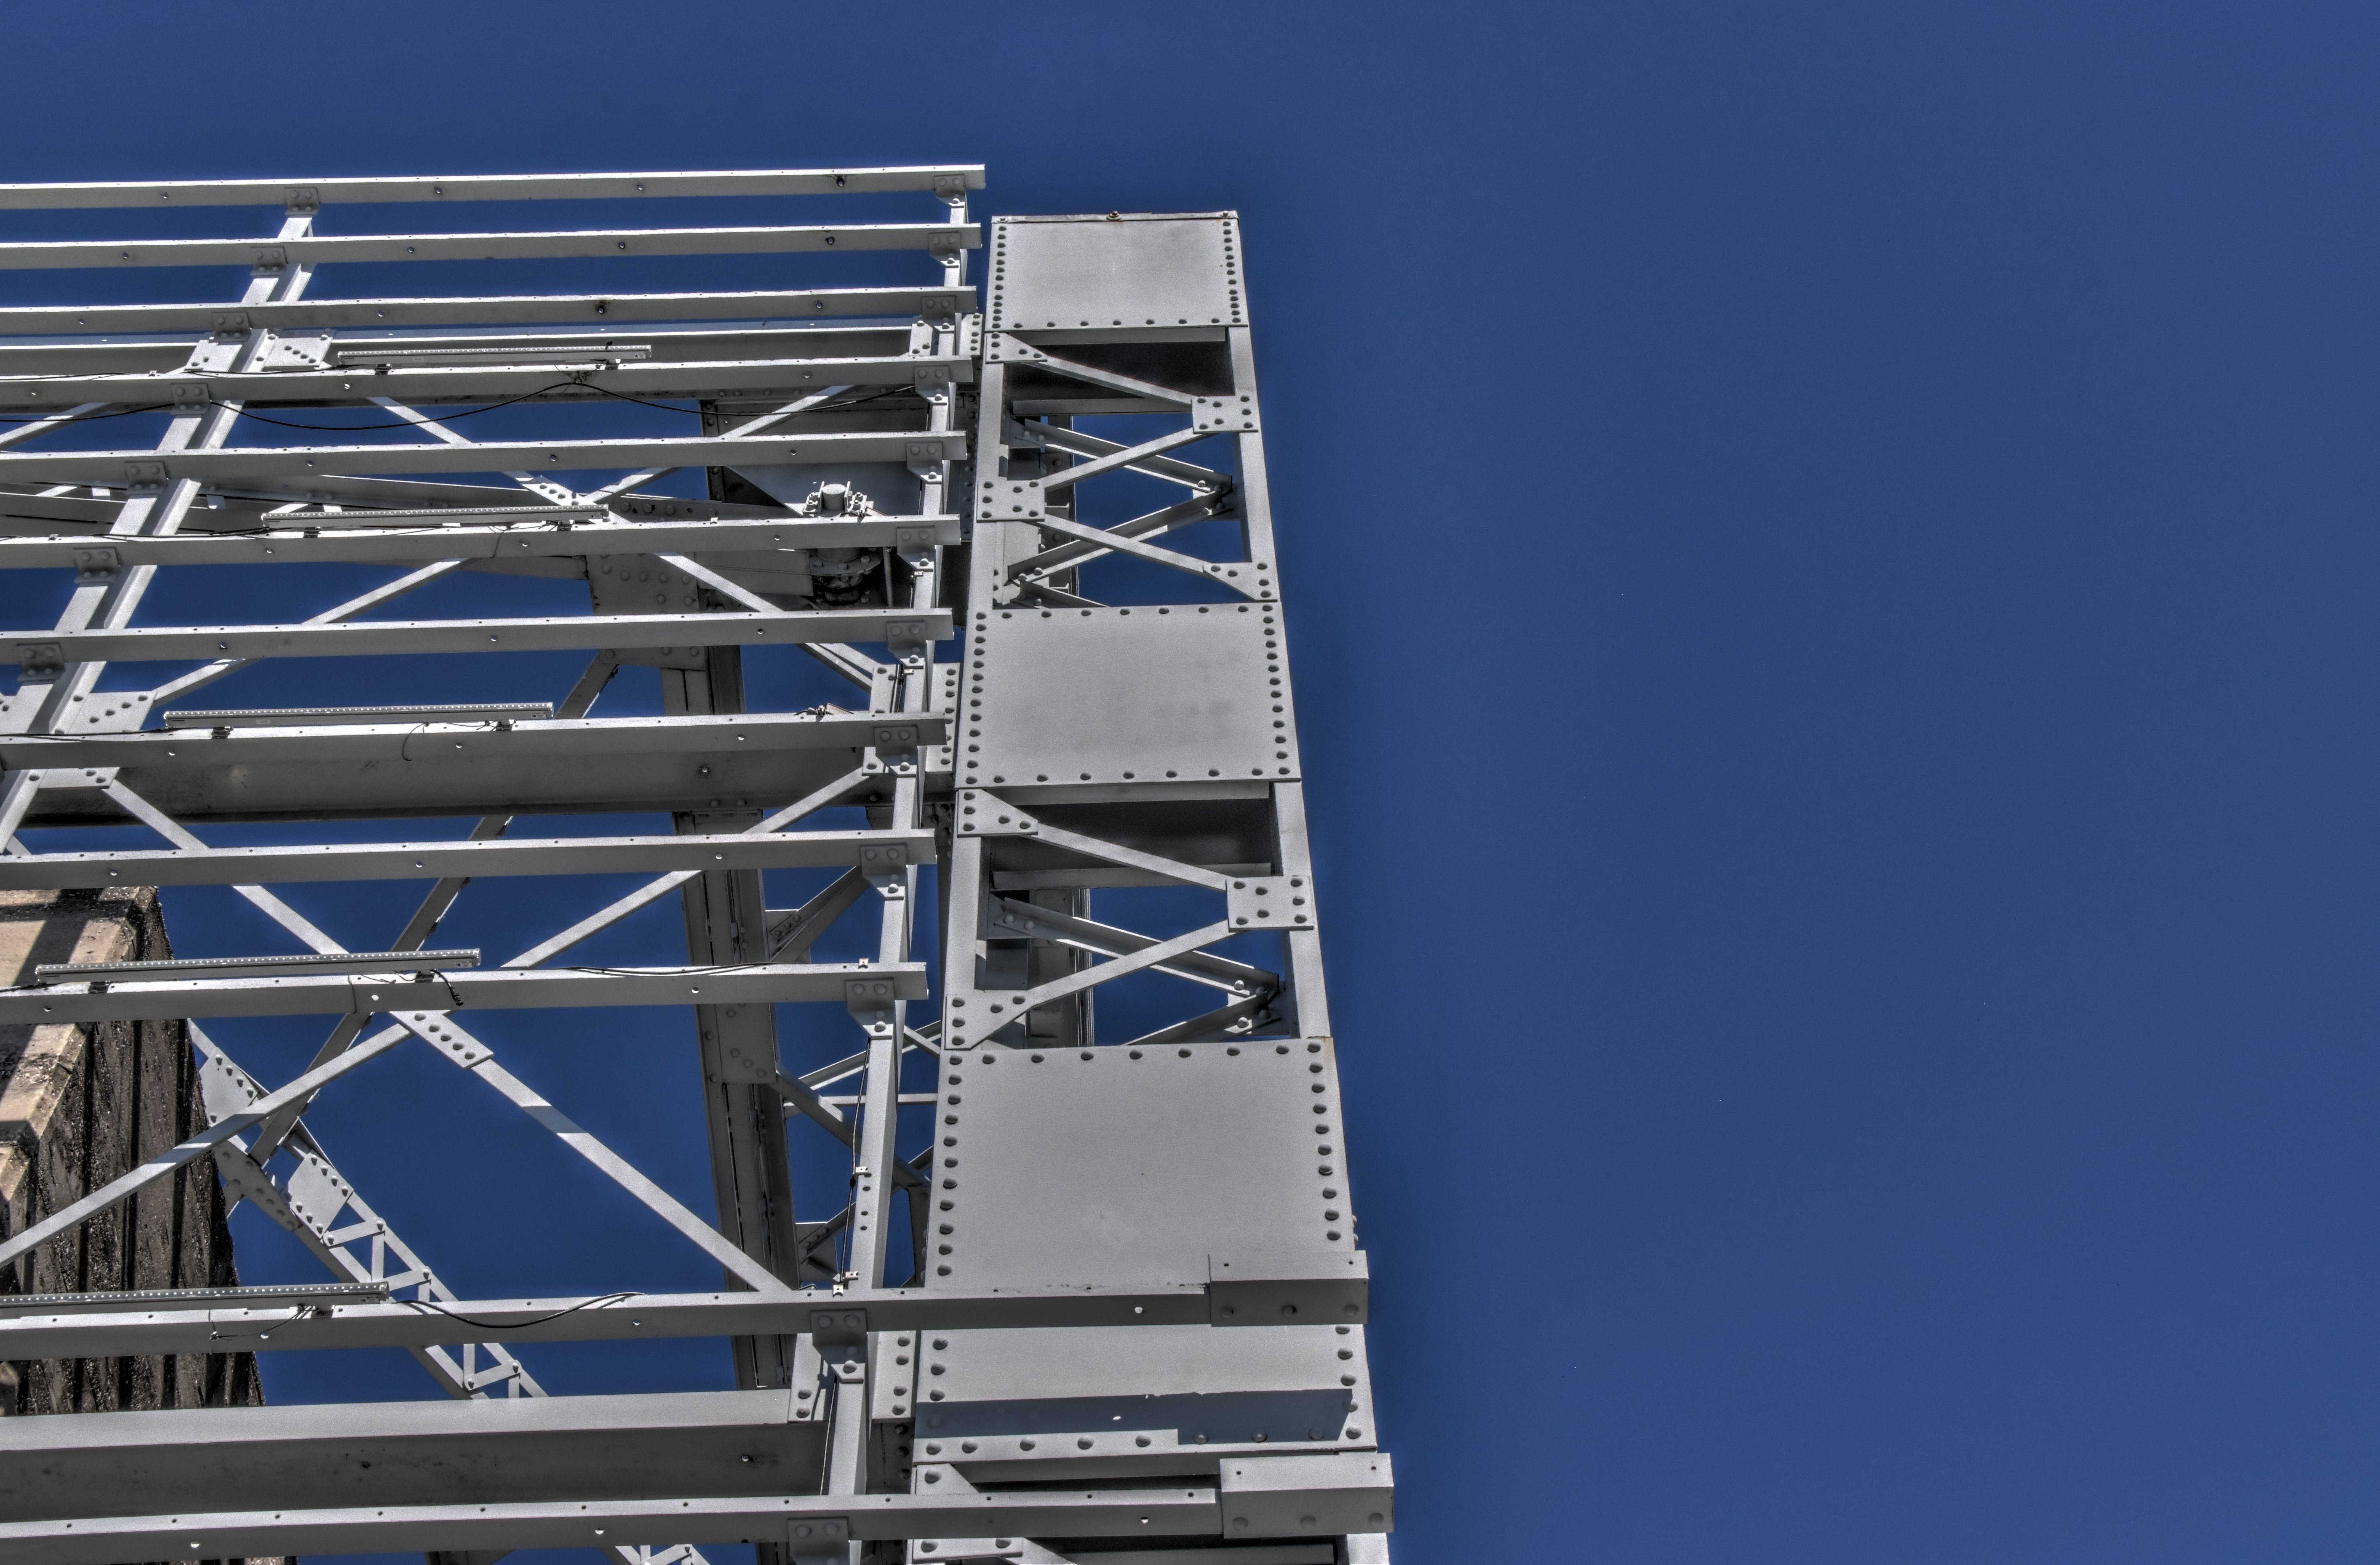
Bottom chord connections as viewed from beside bridge.
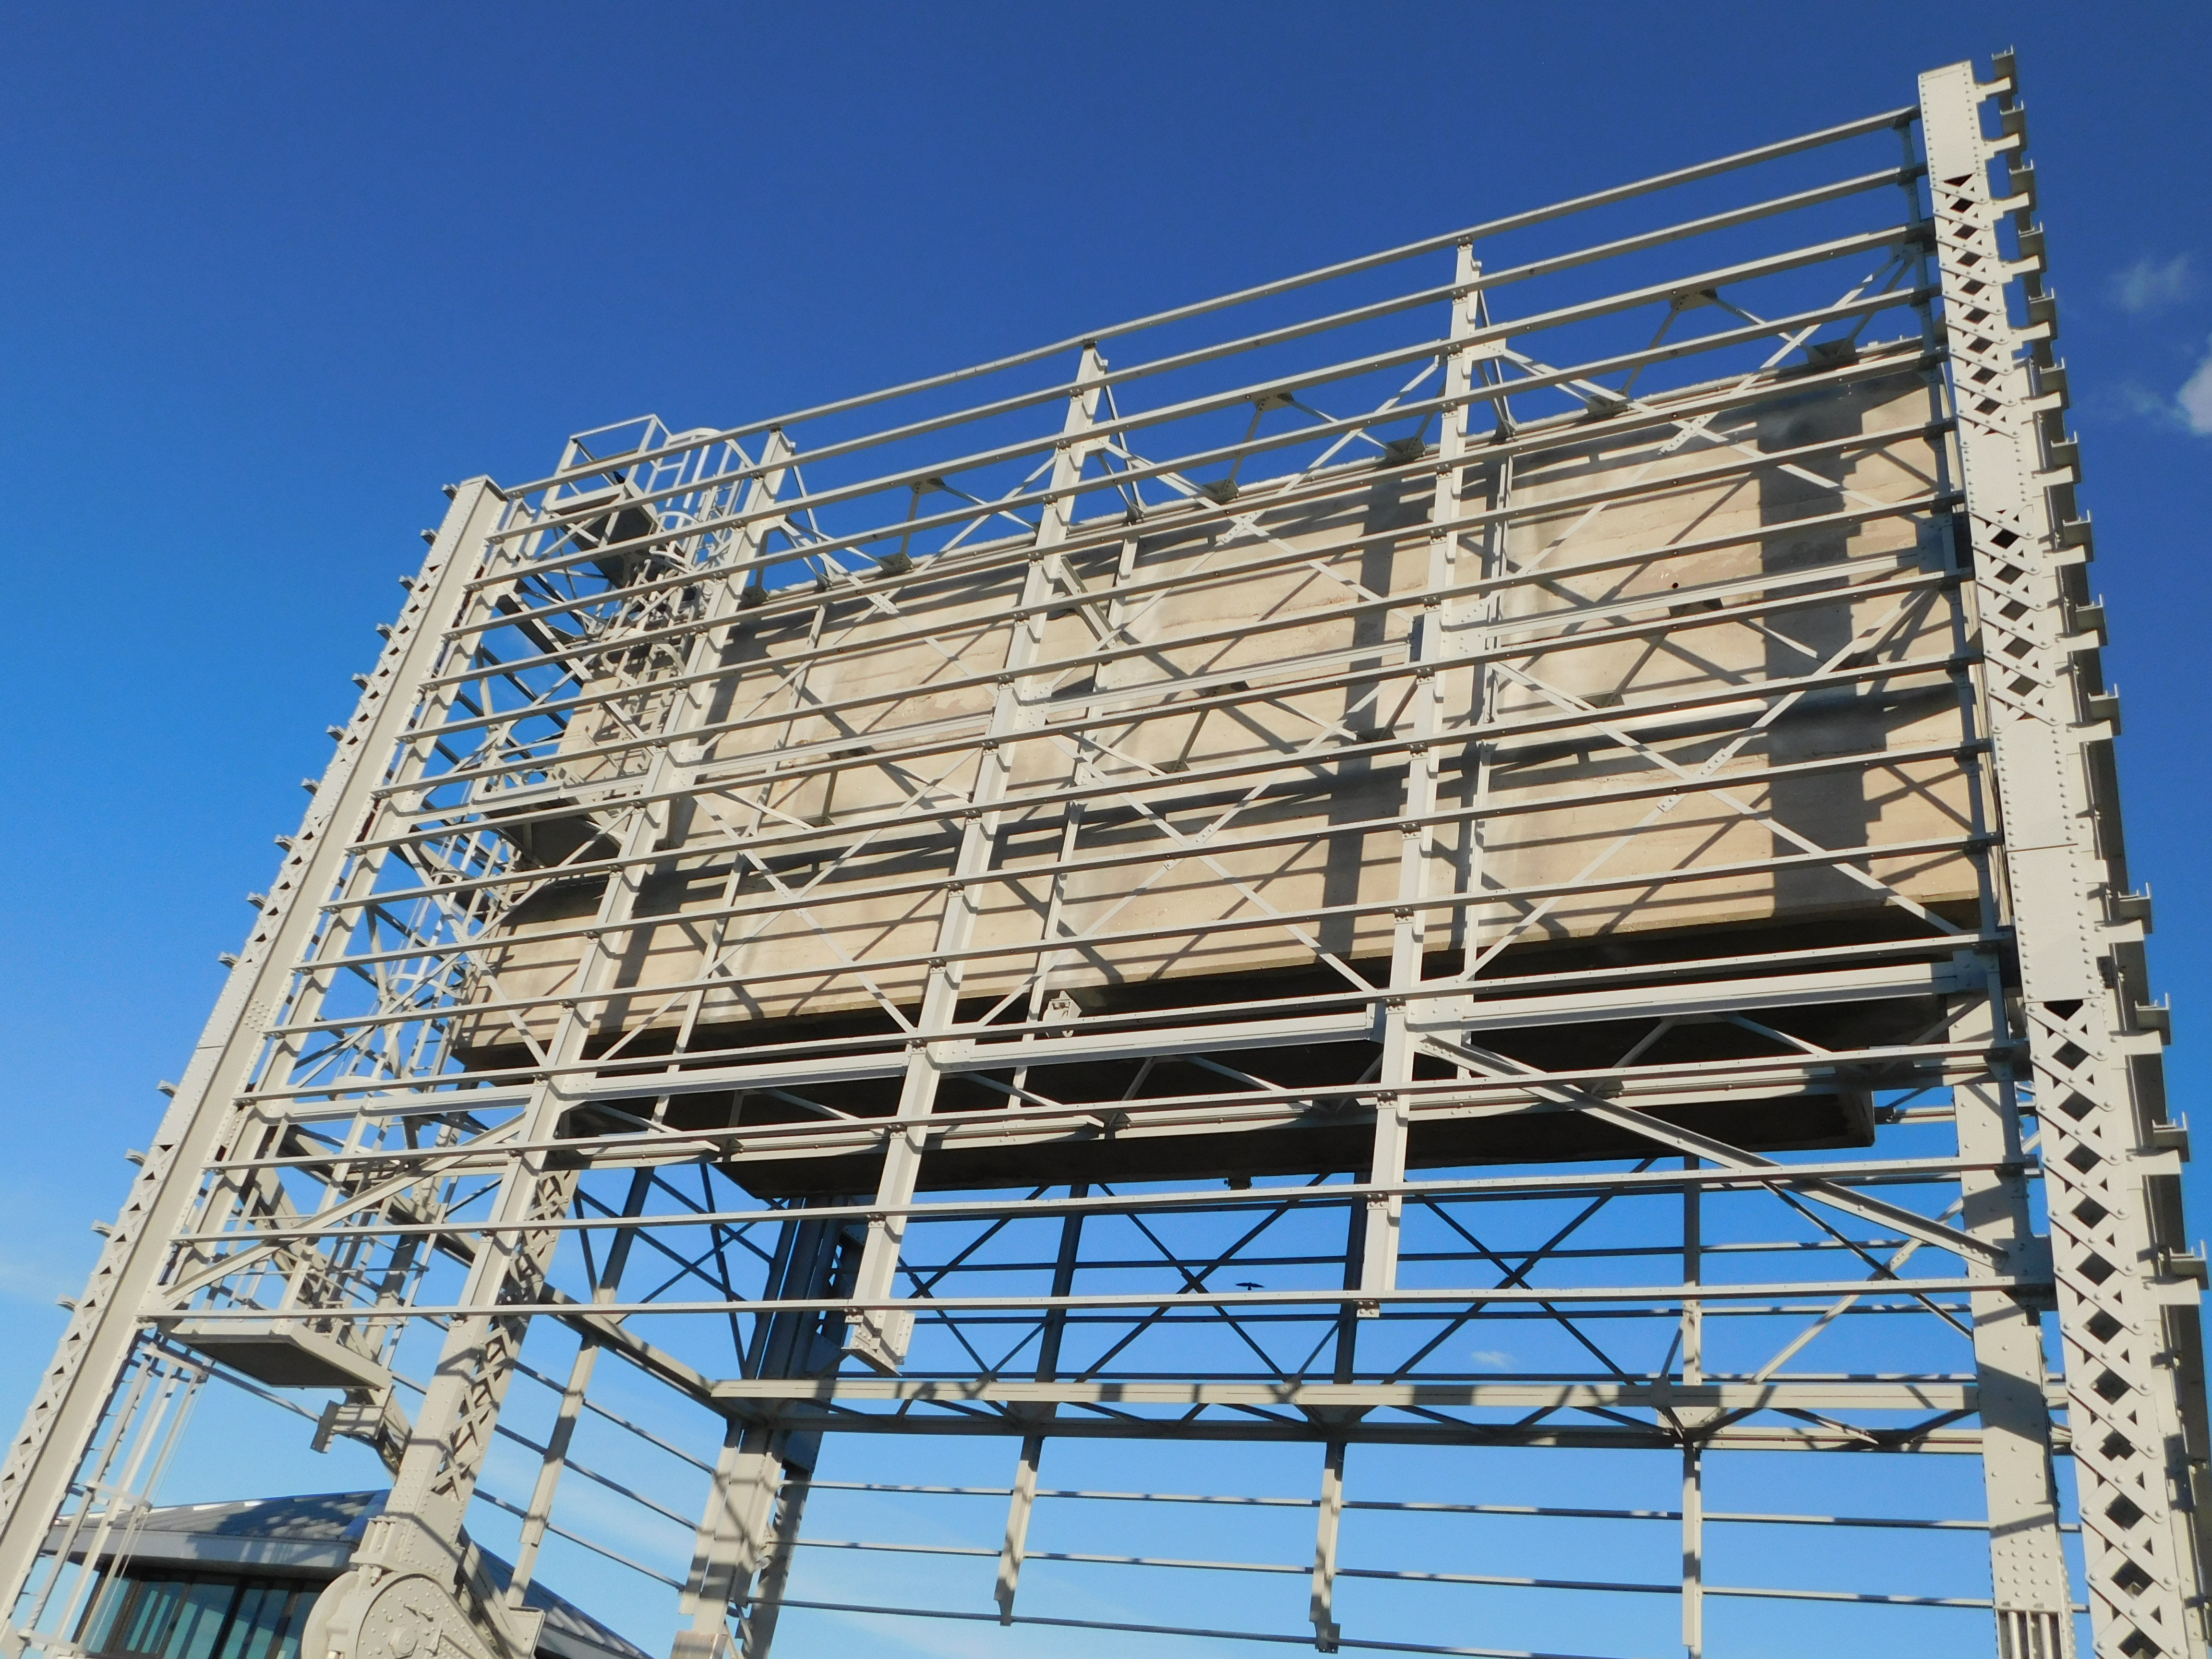
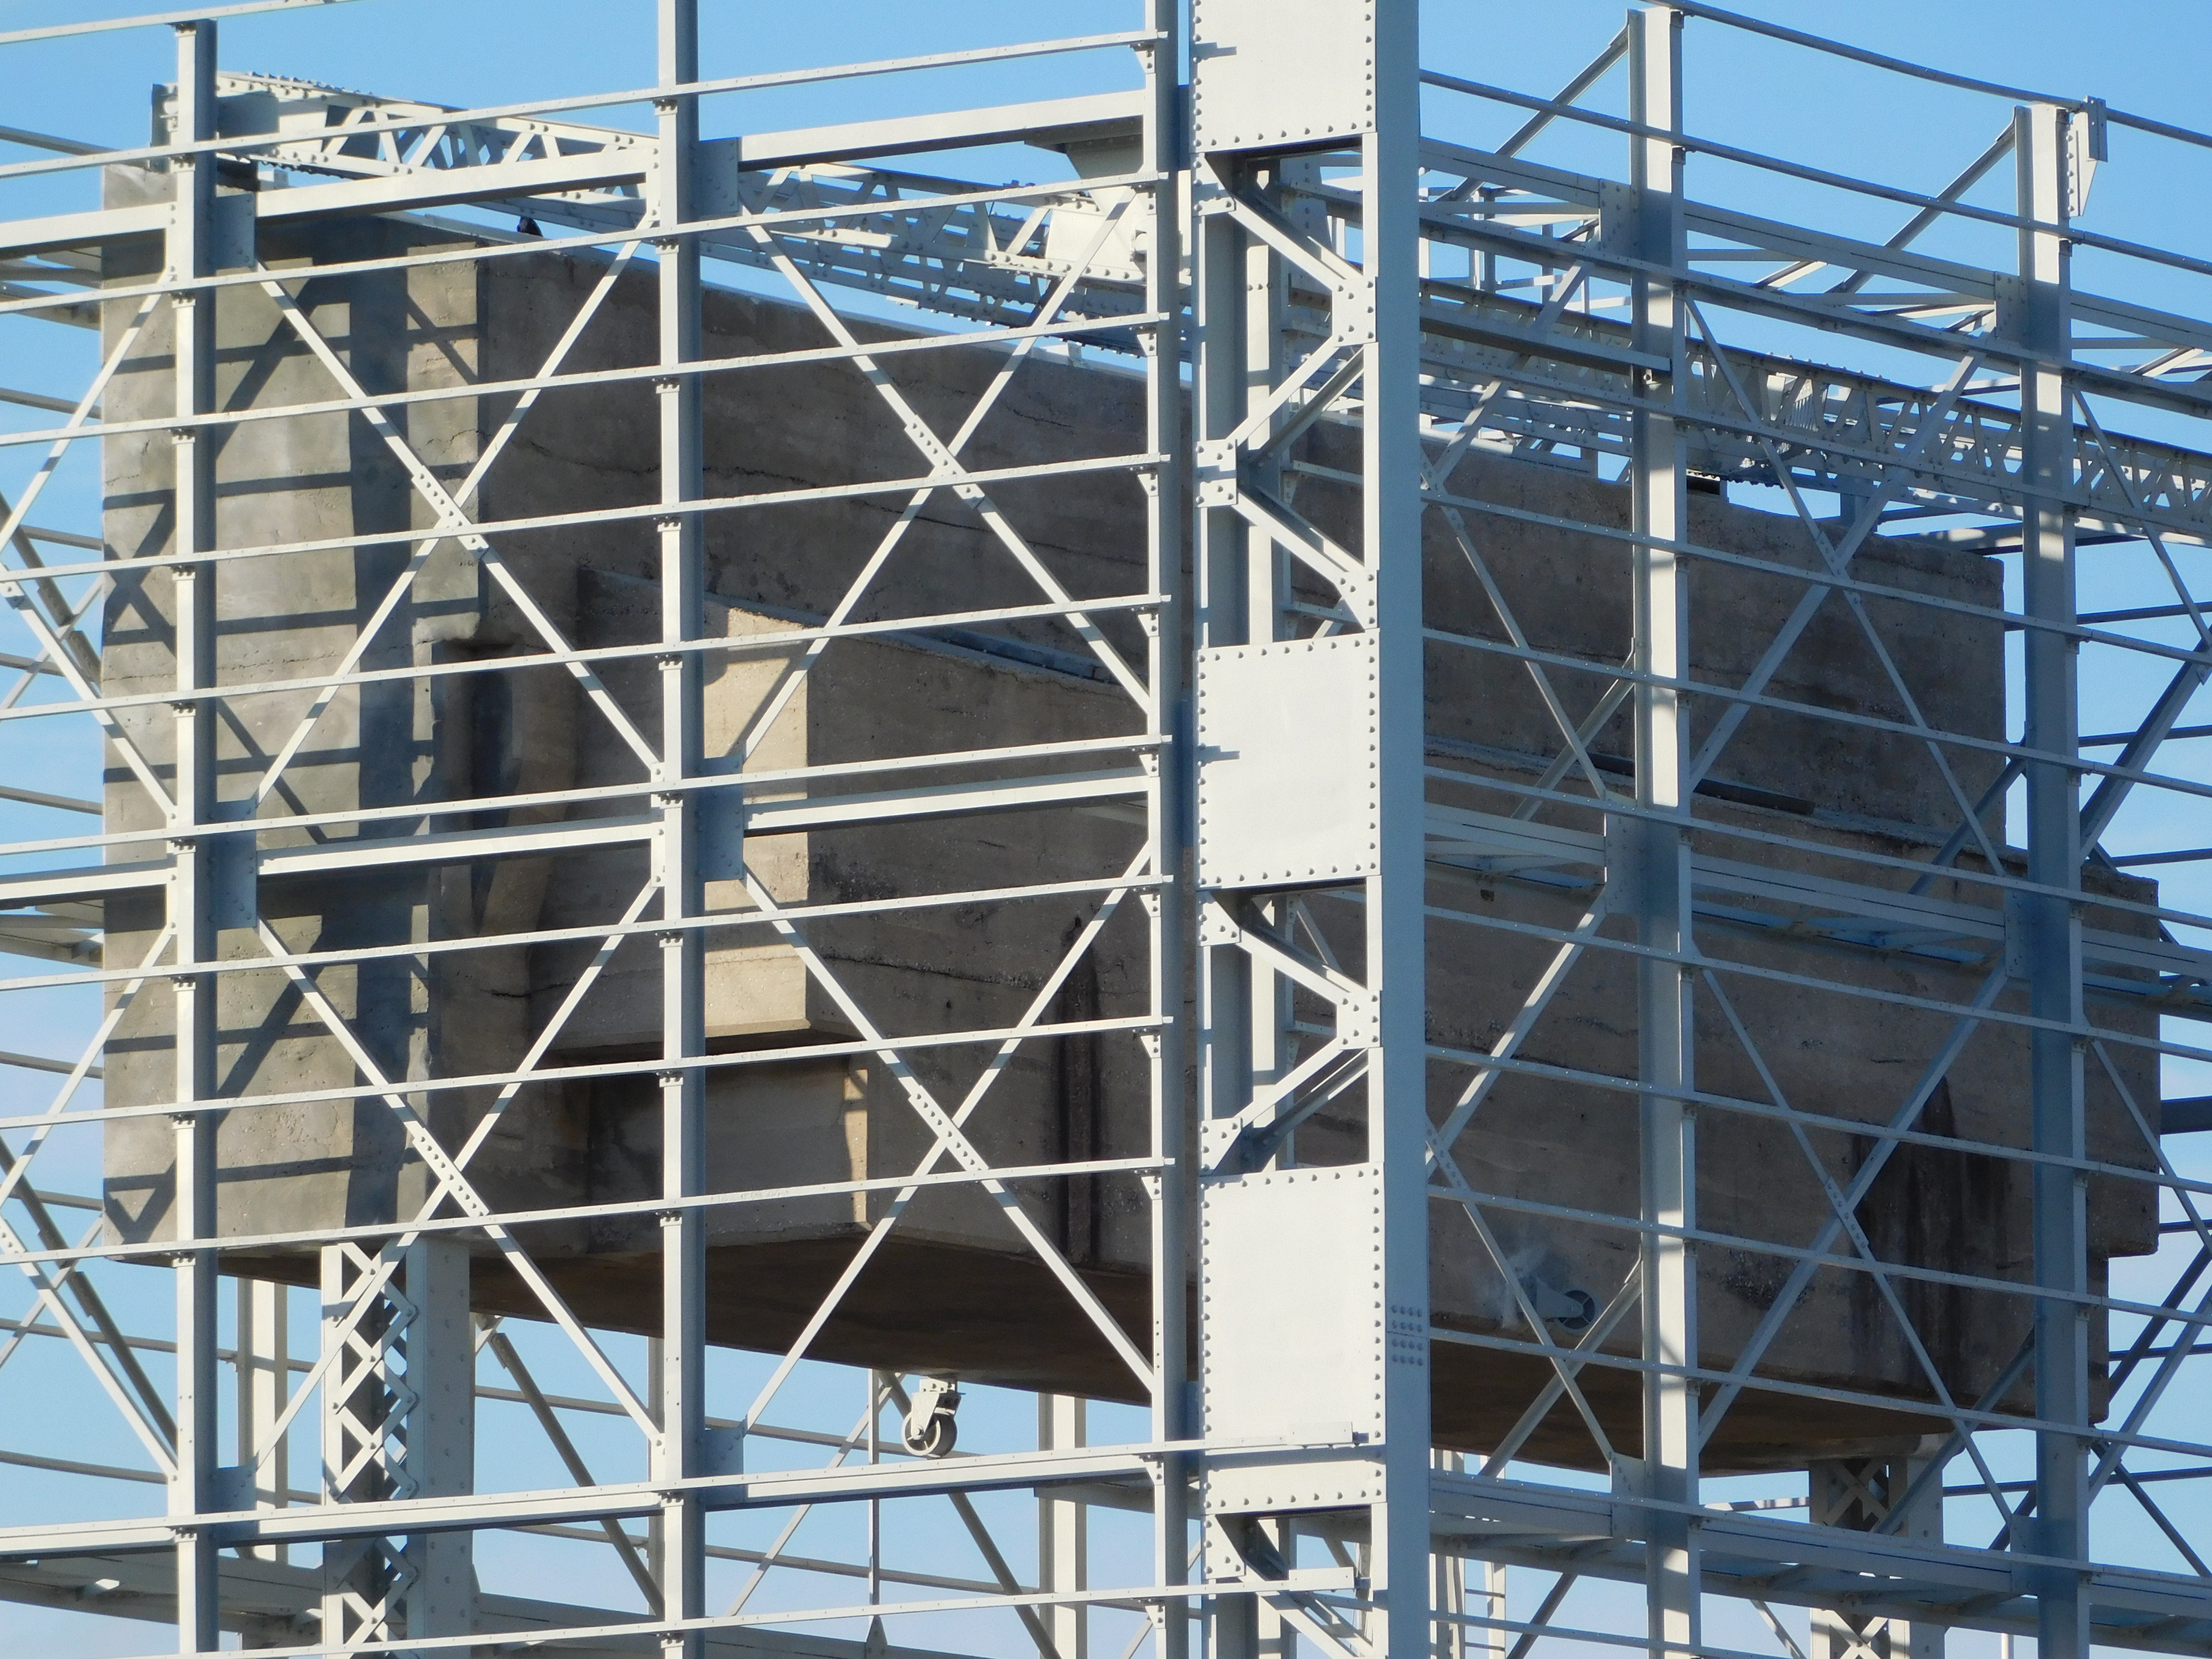
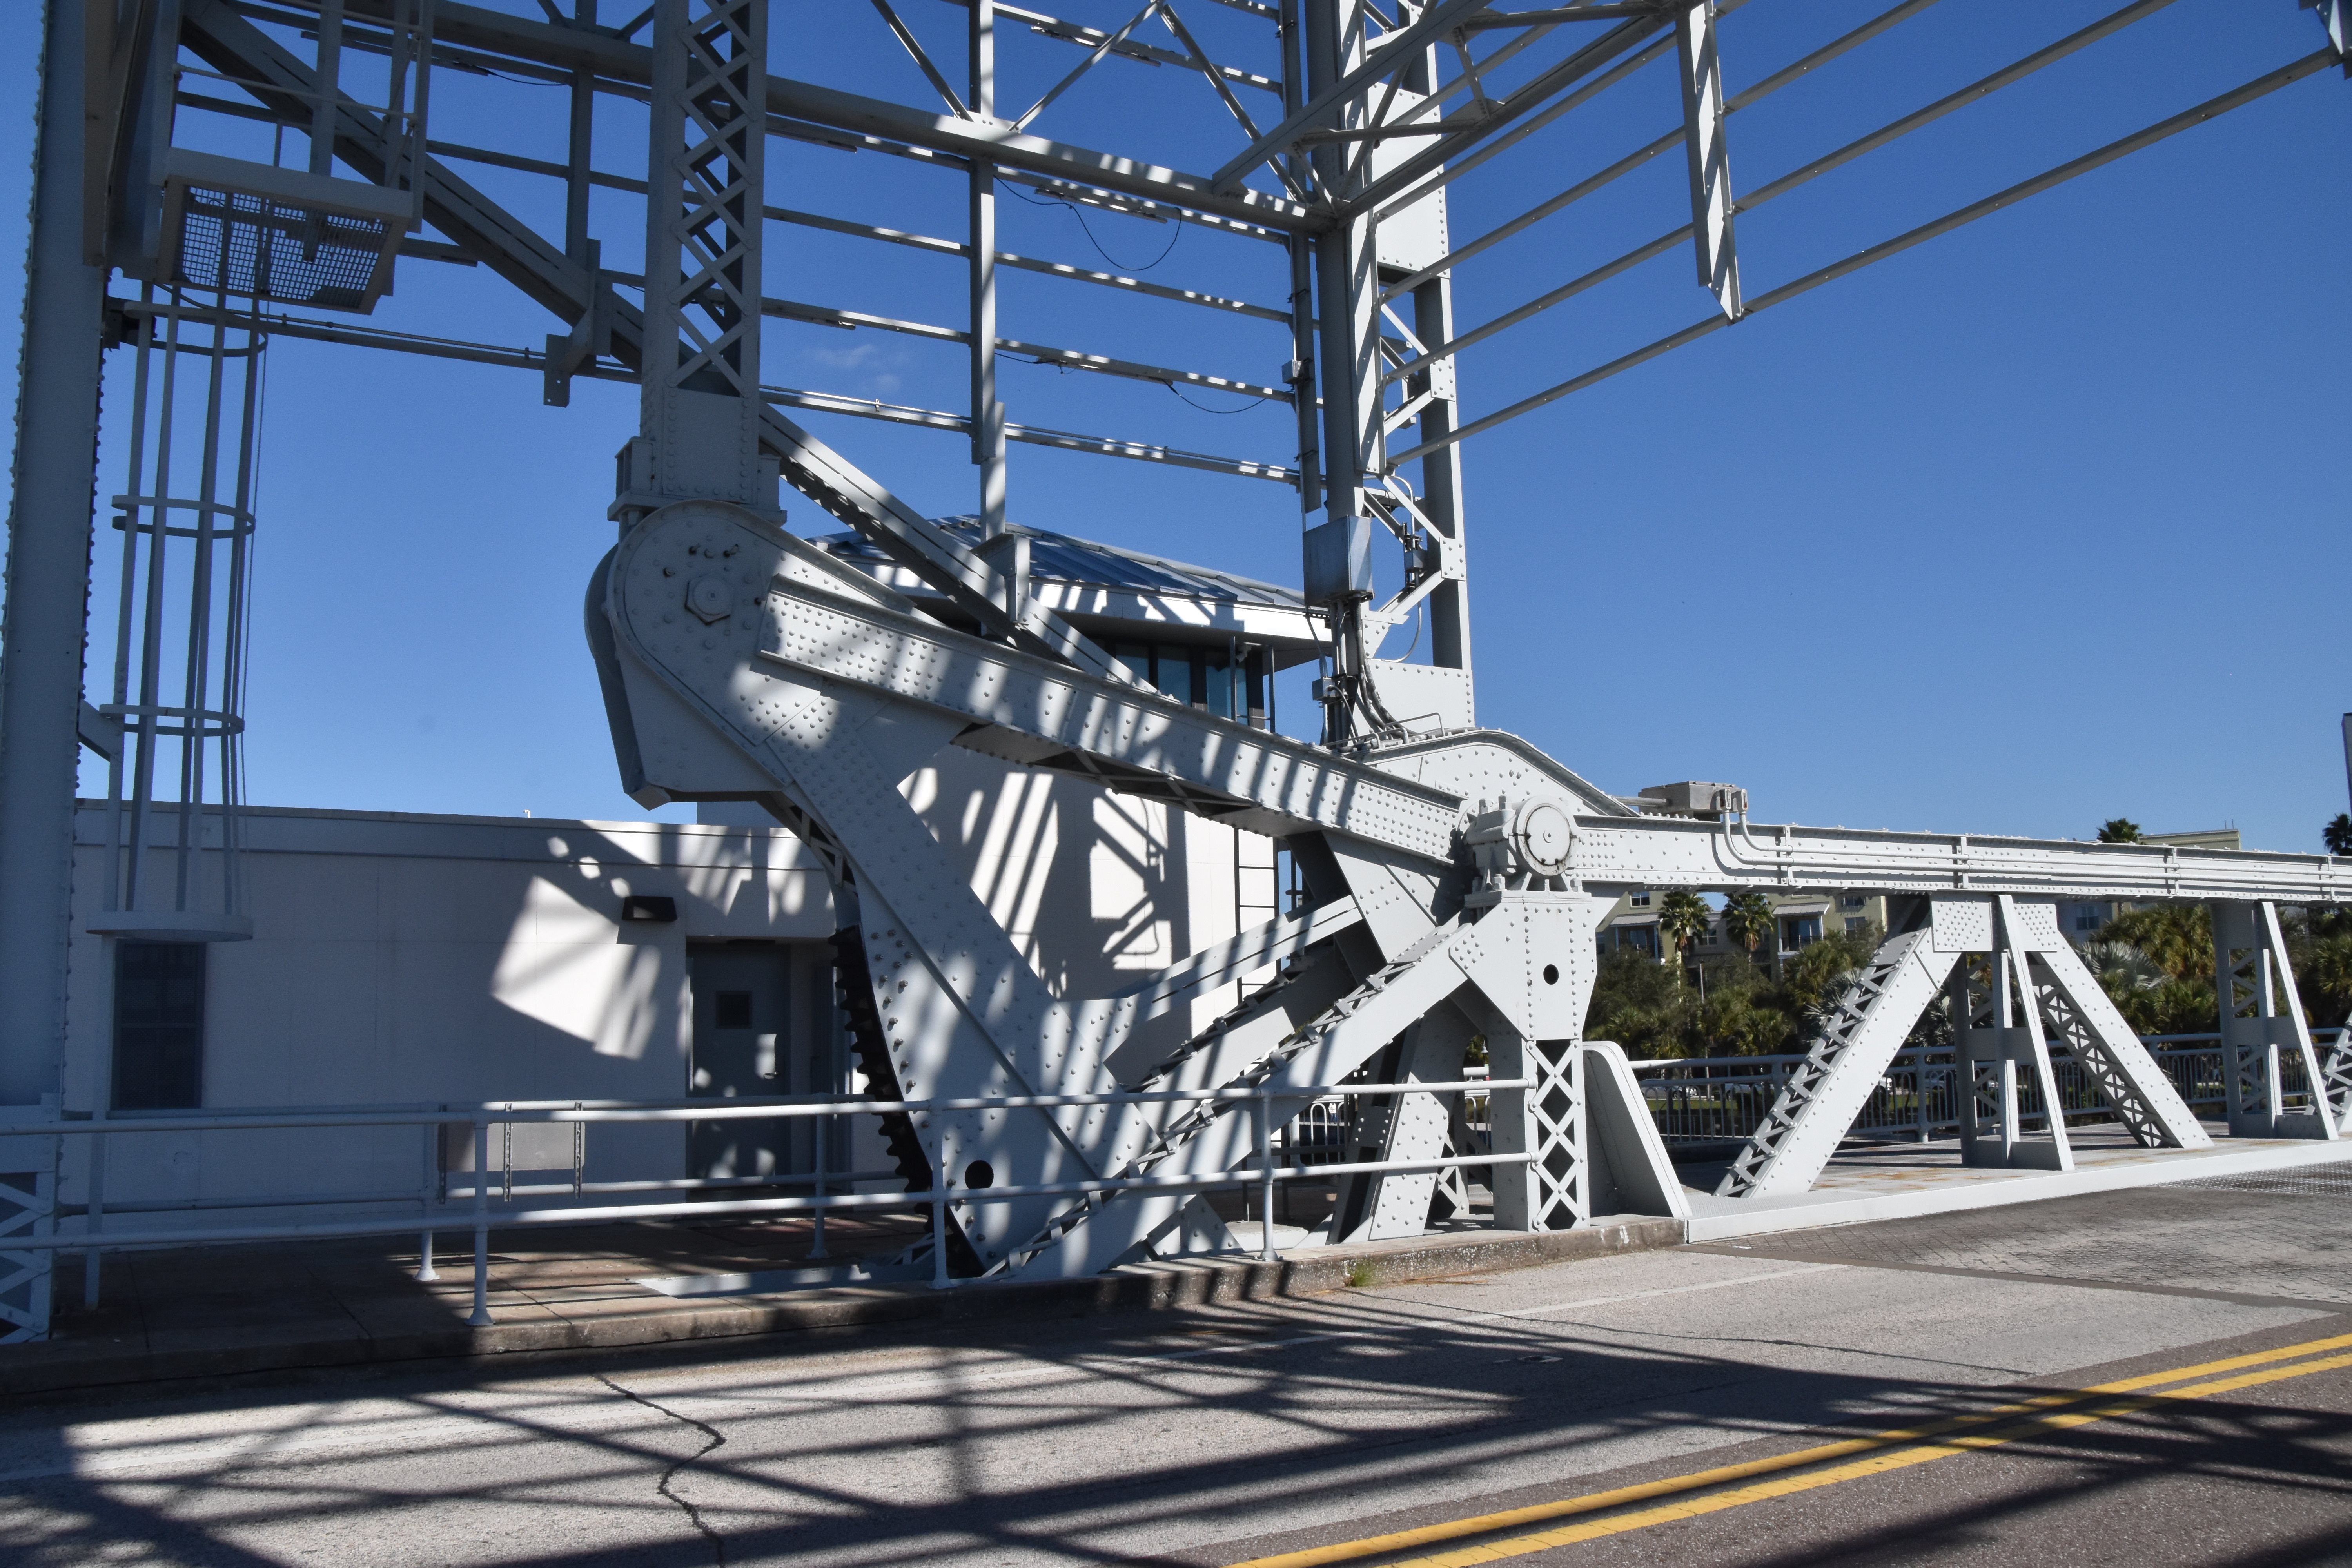
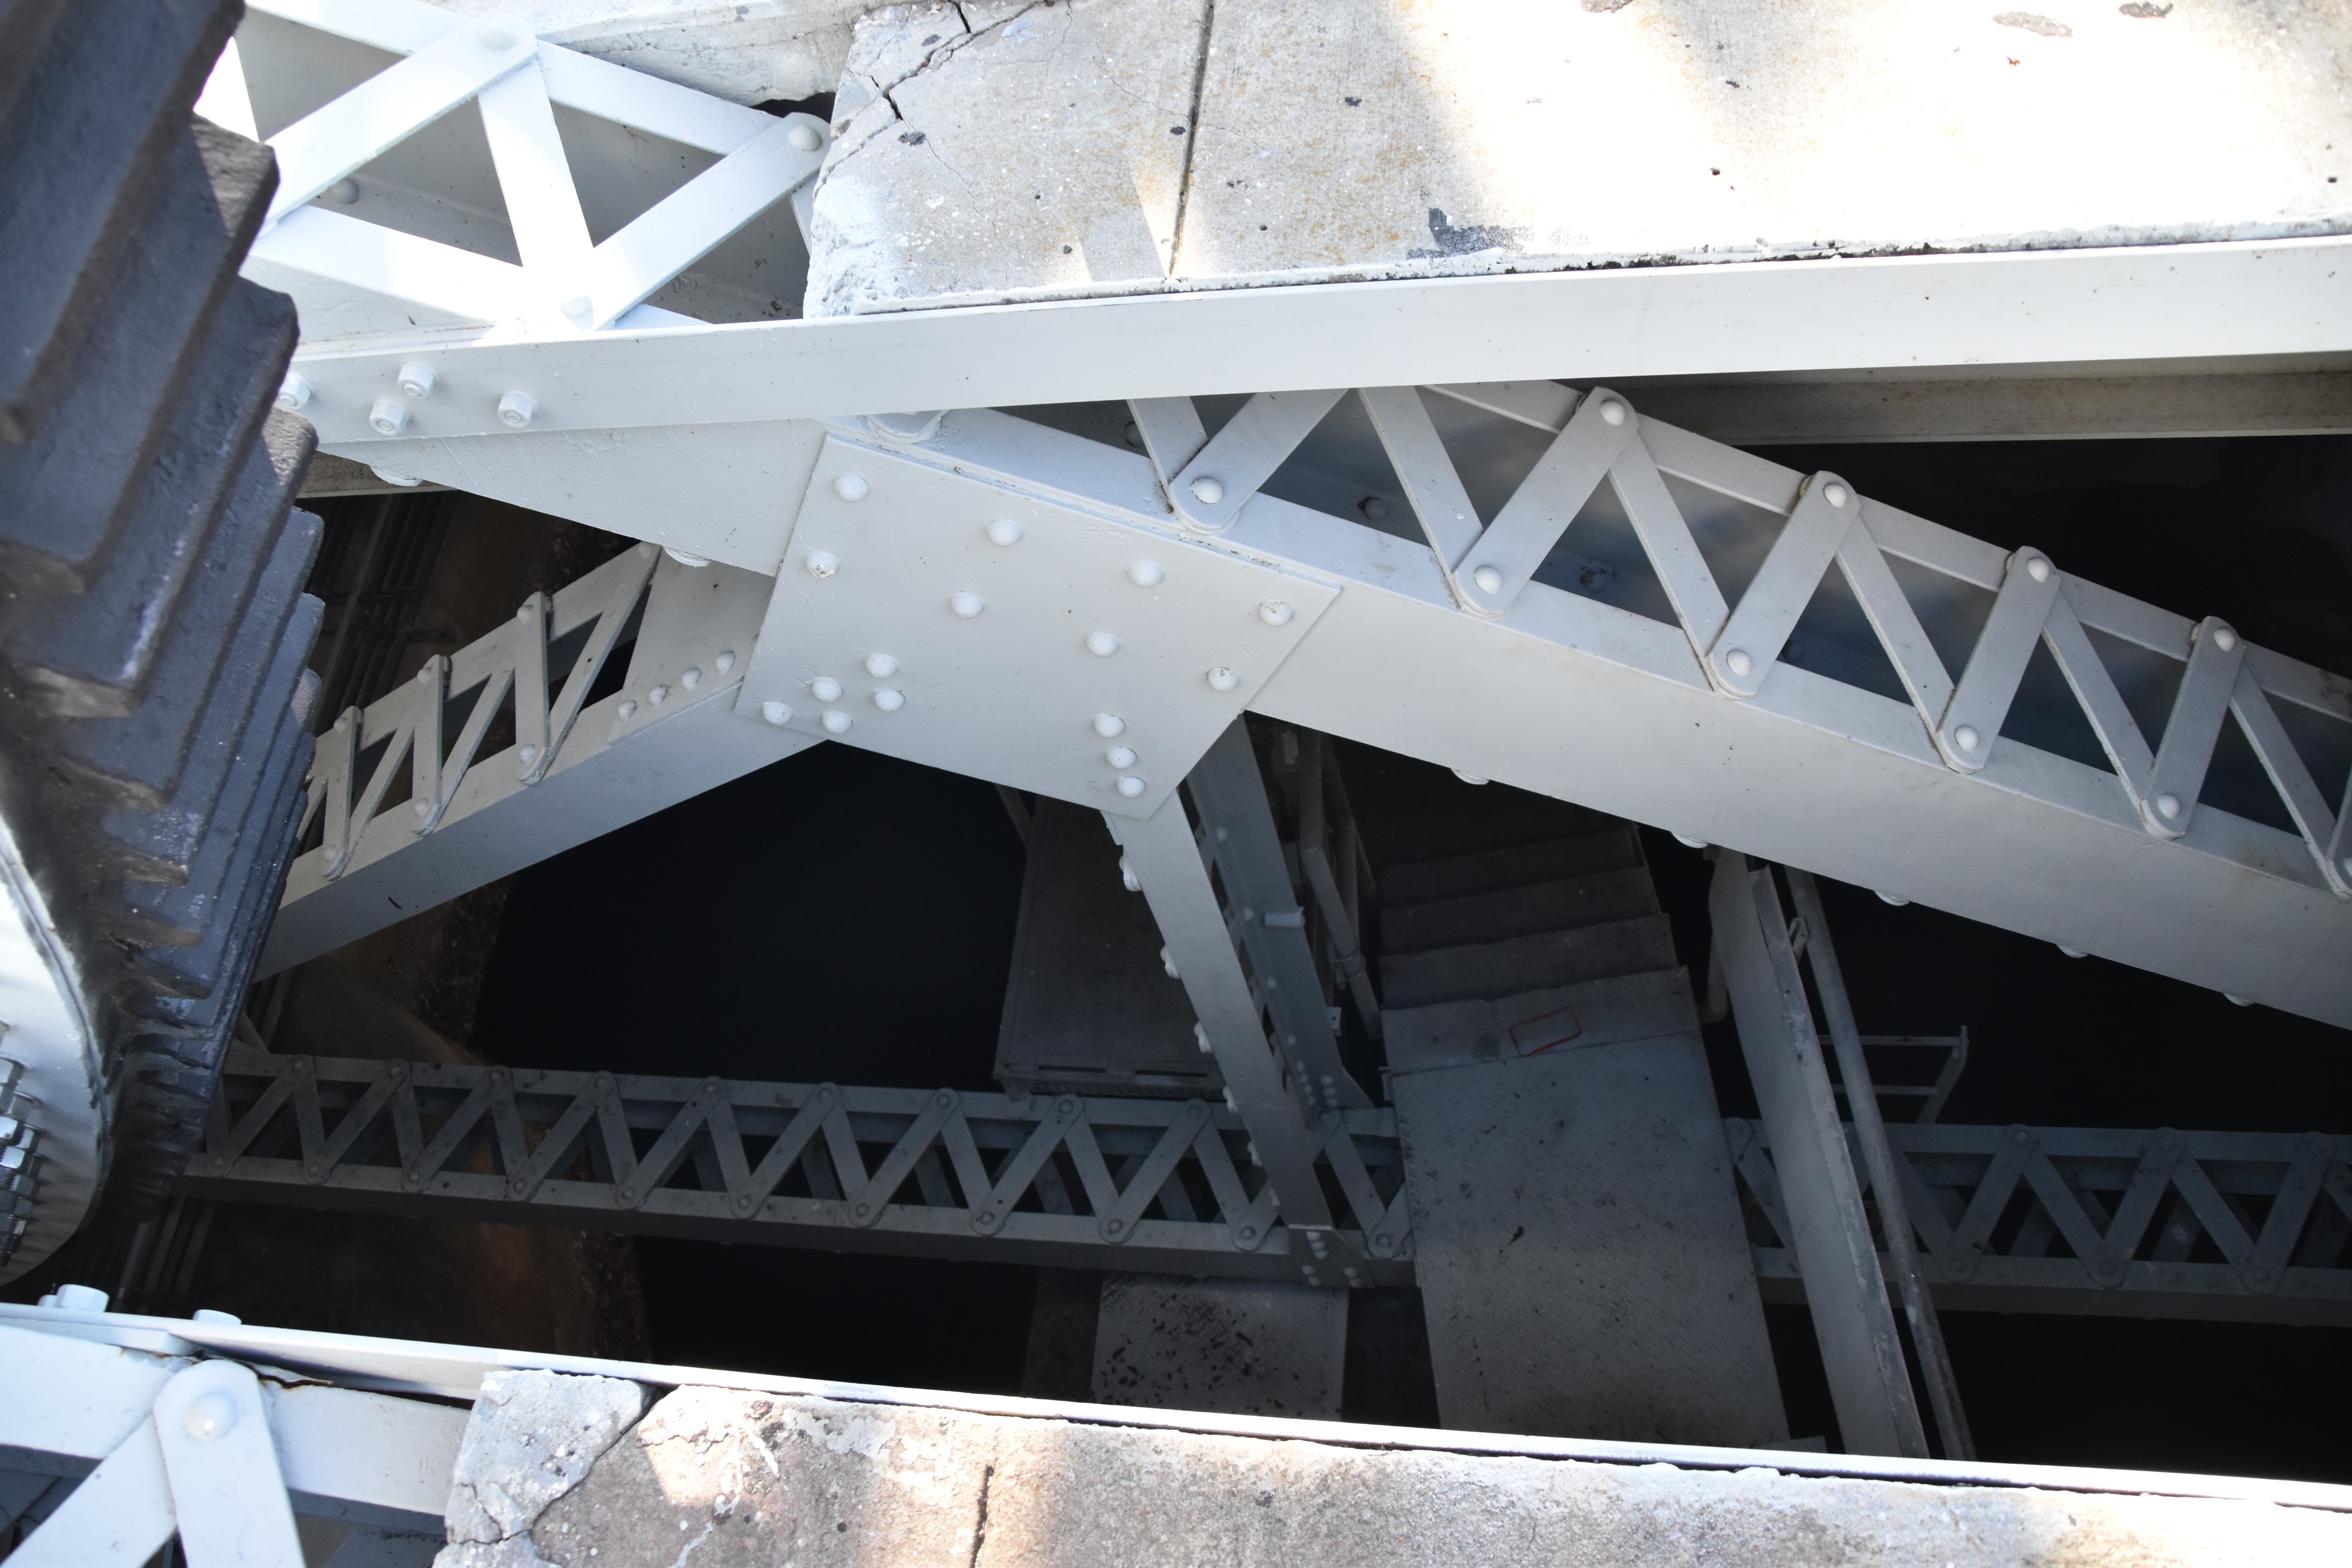
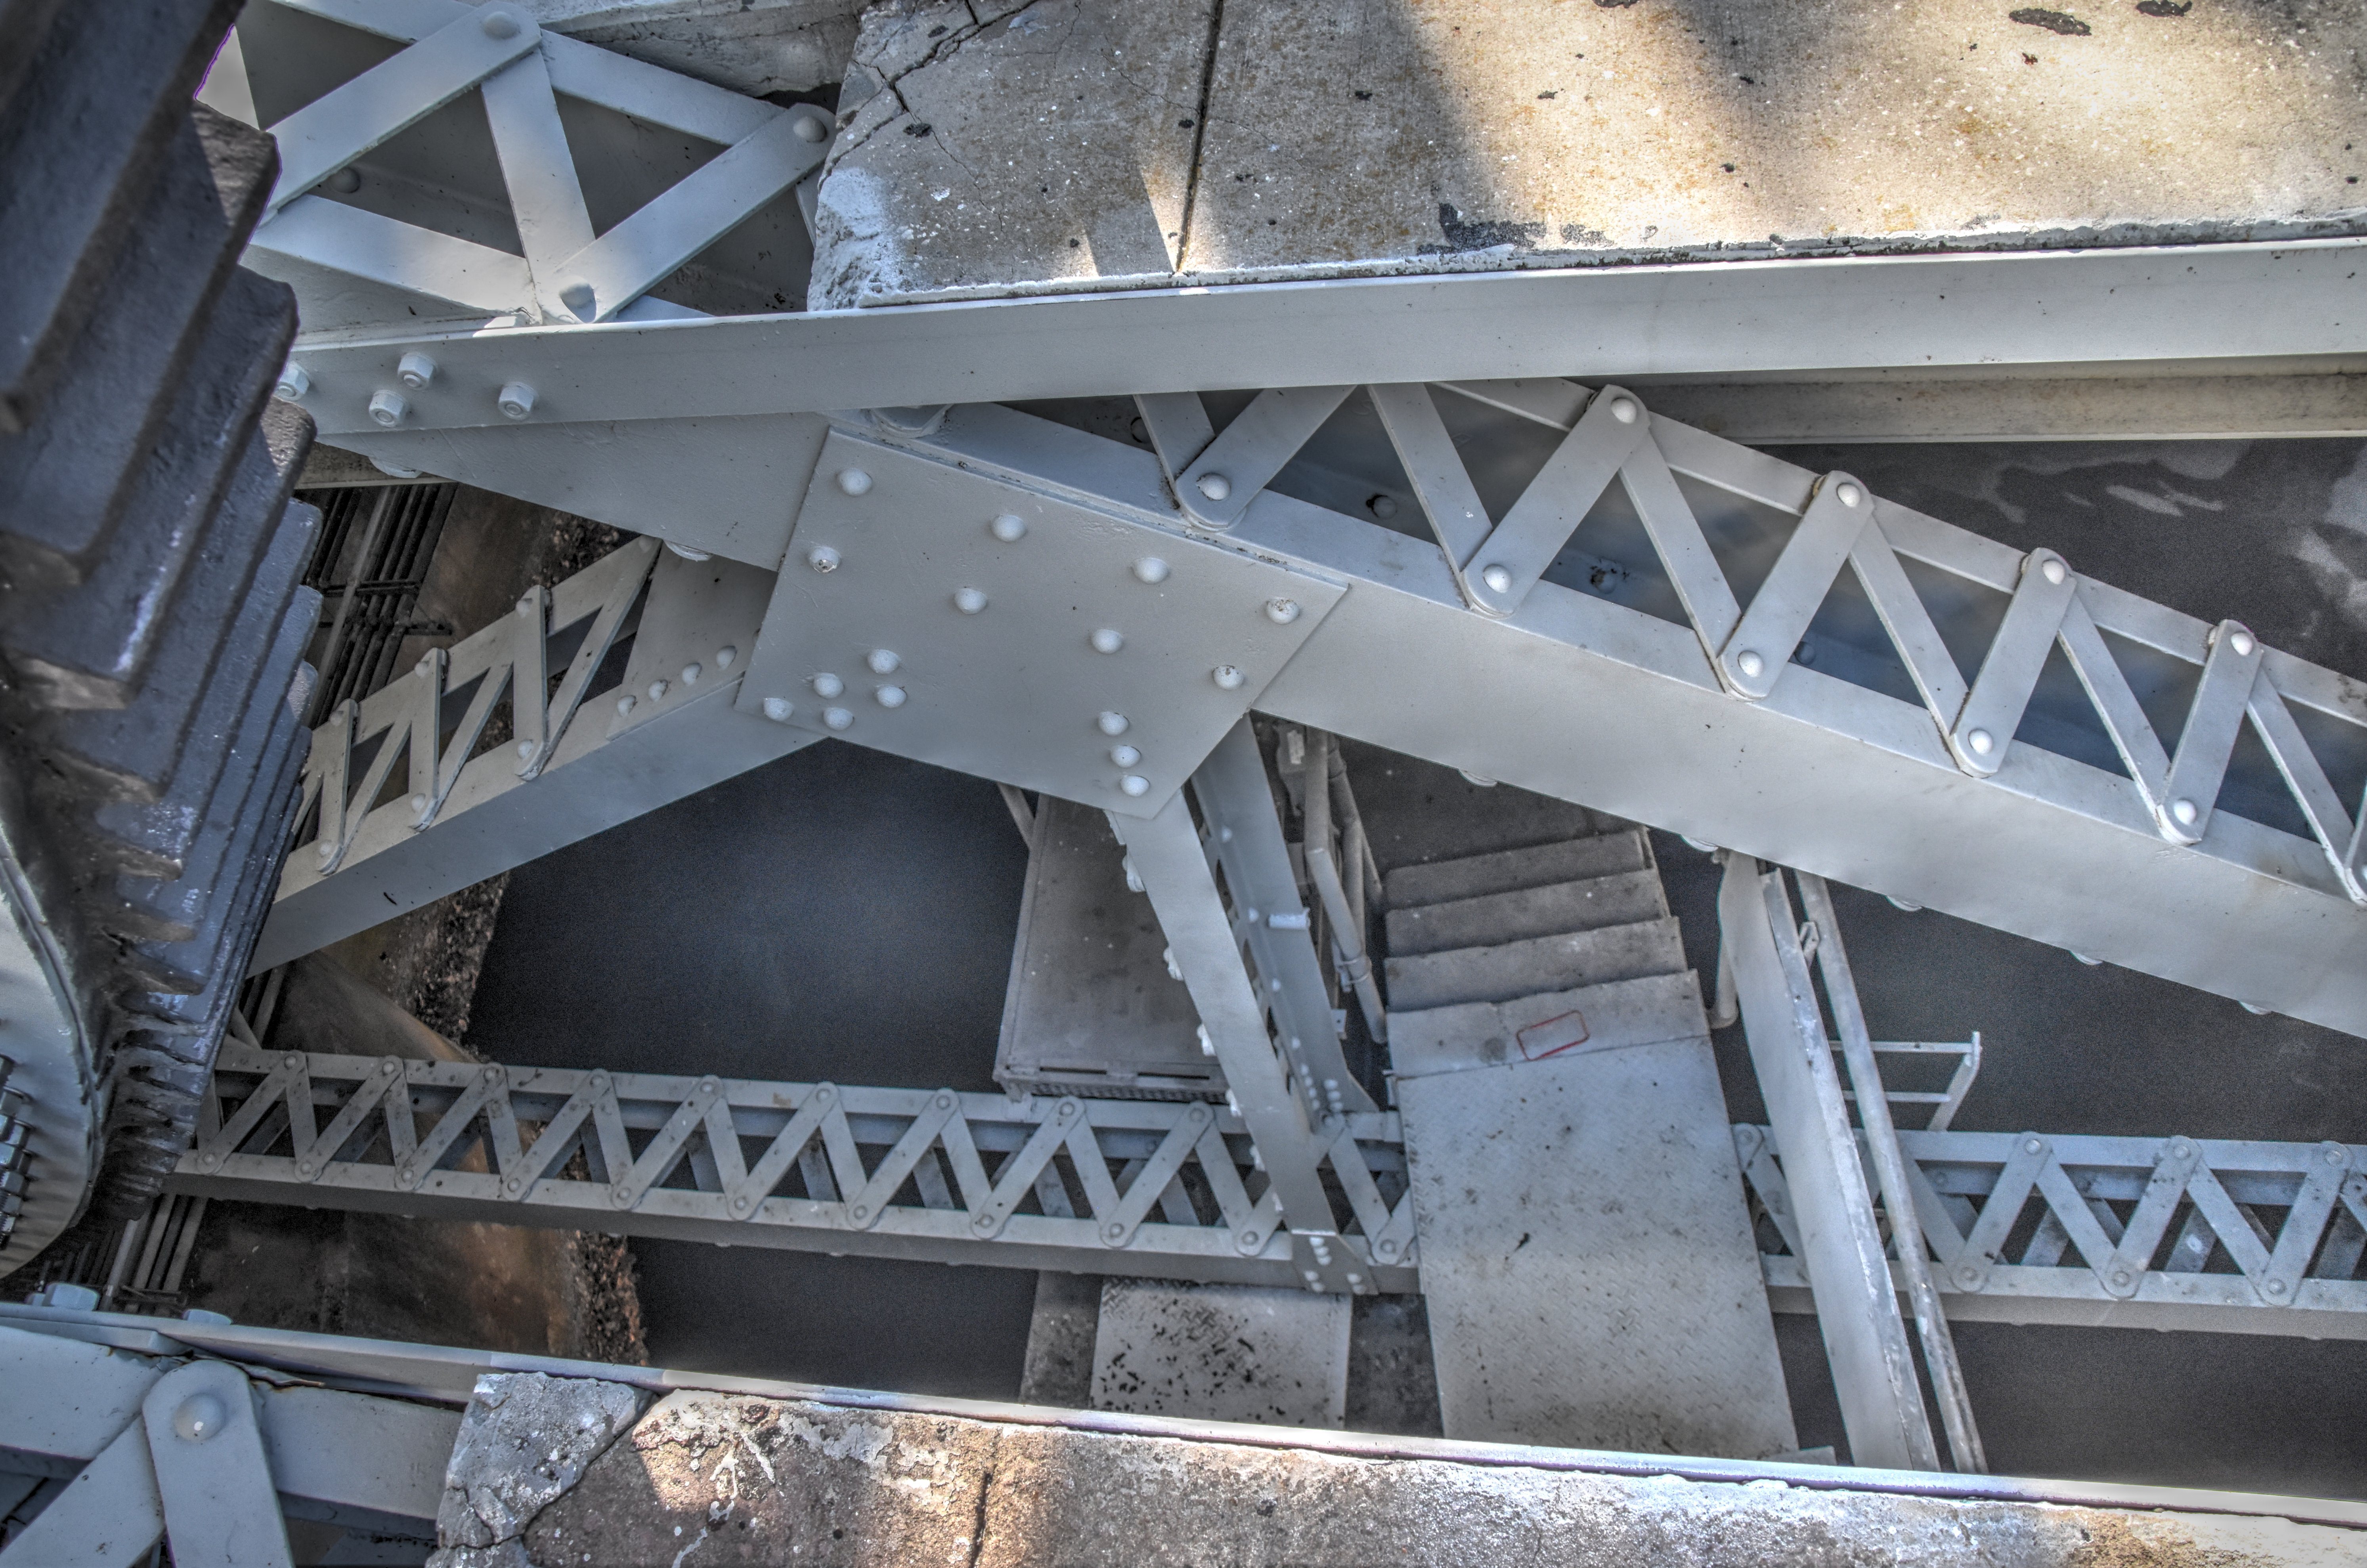
![]()

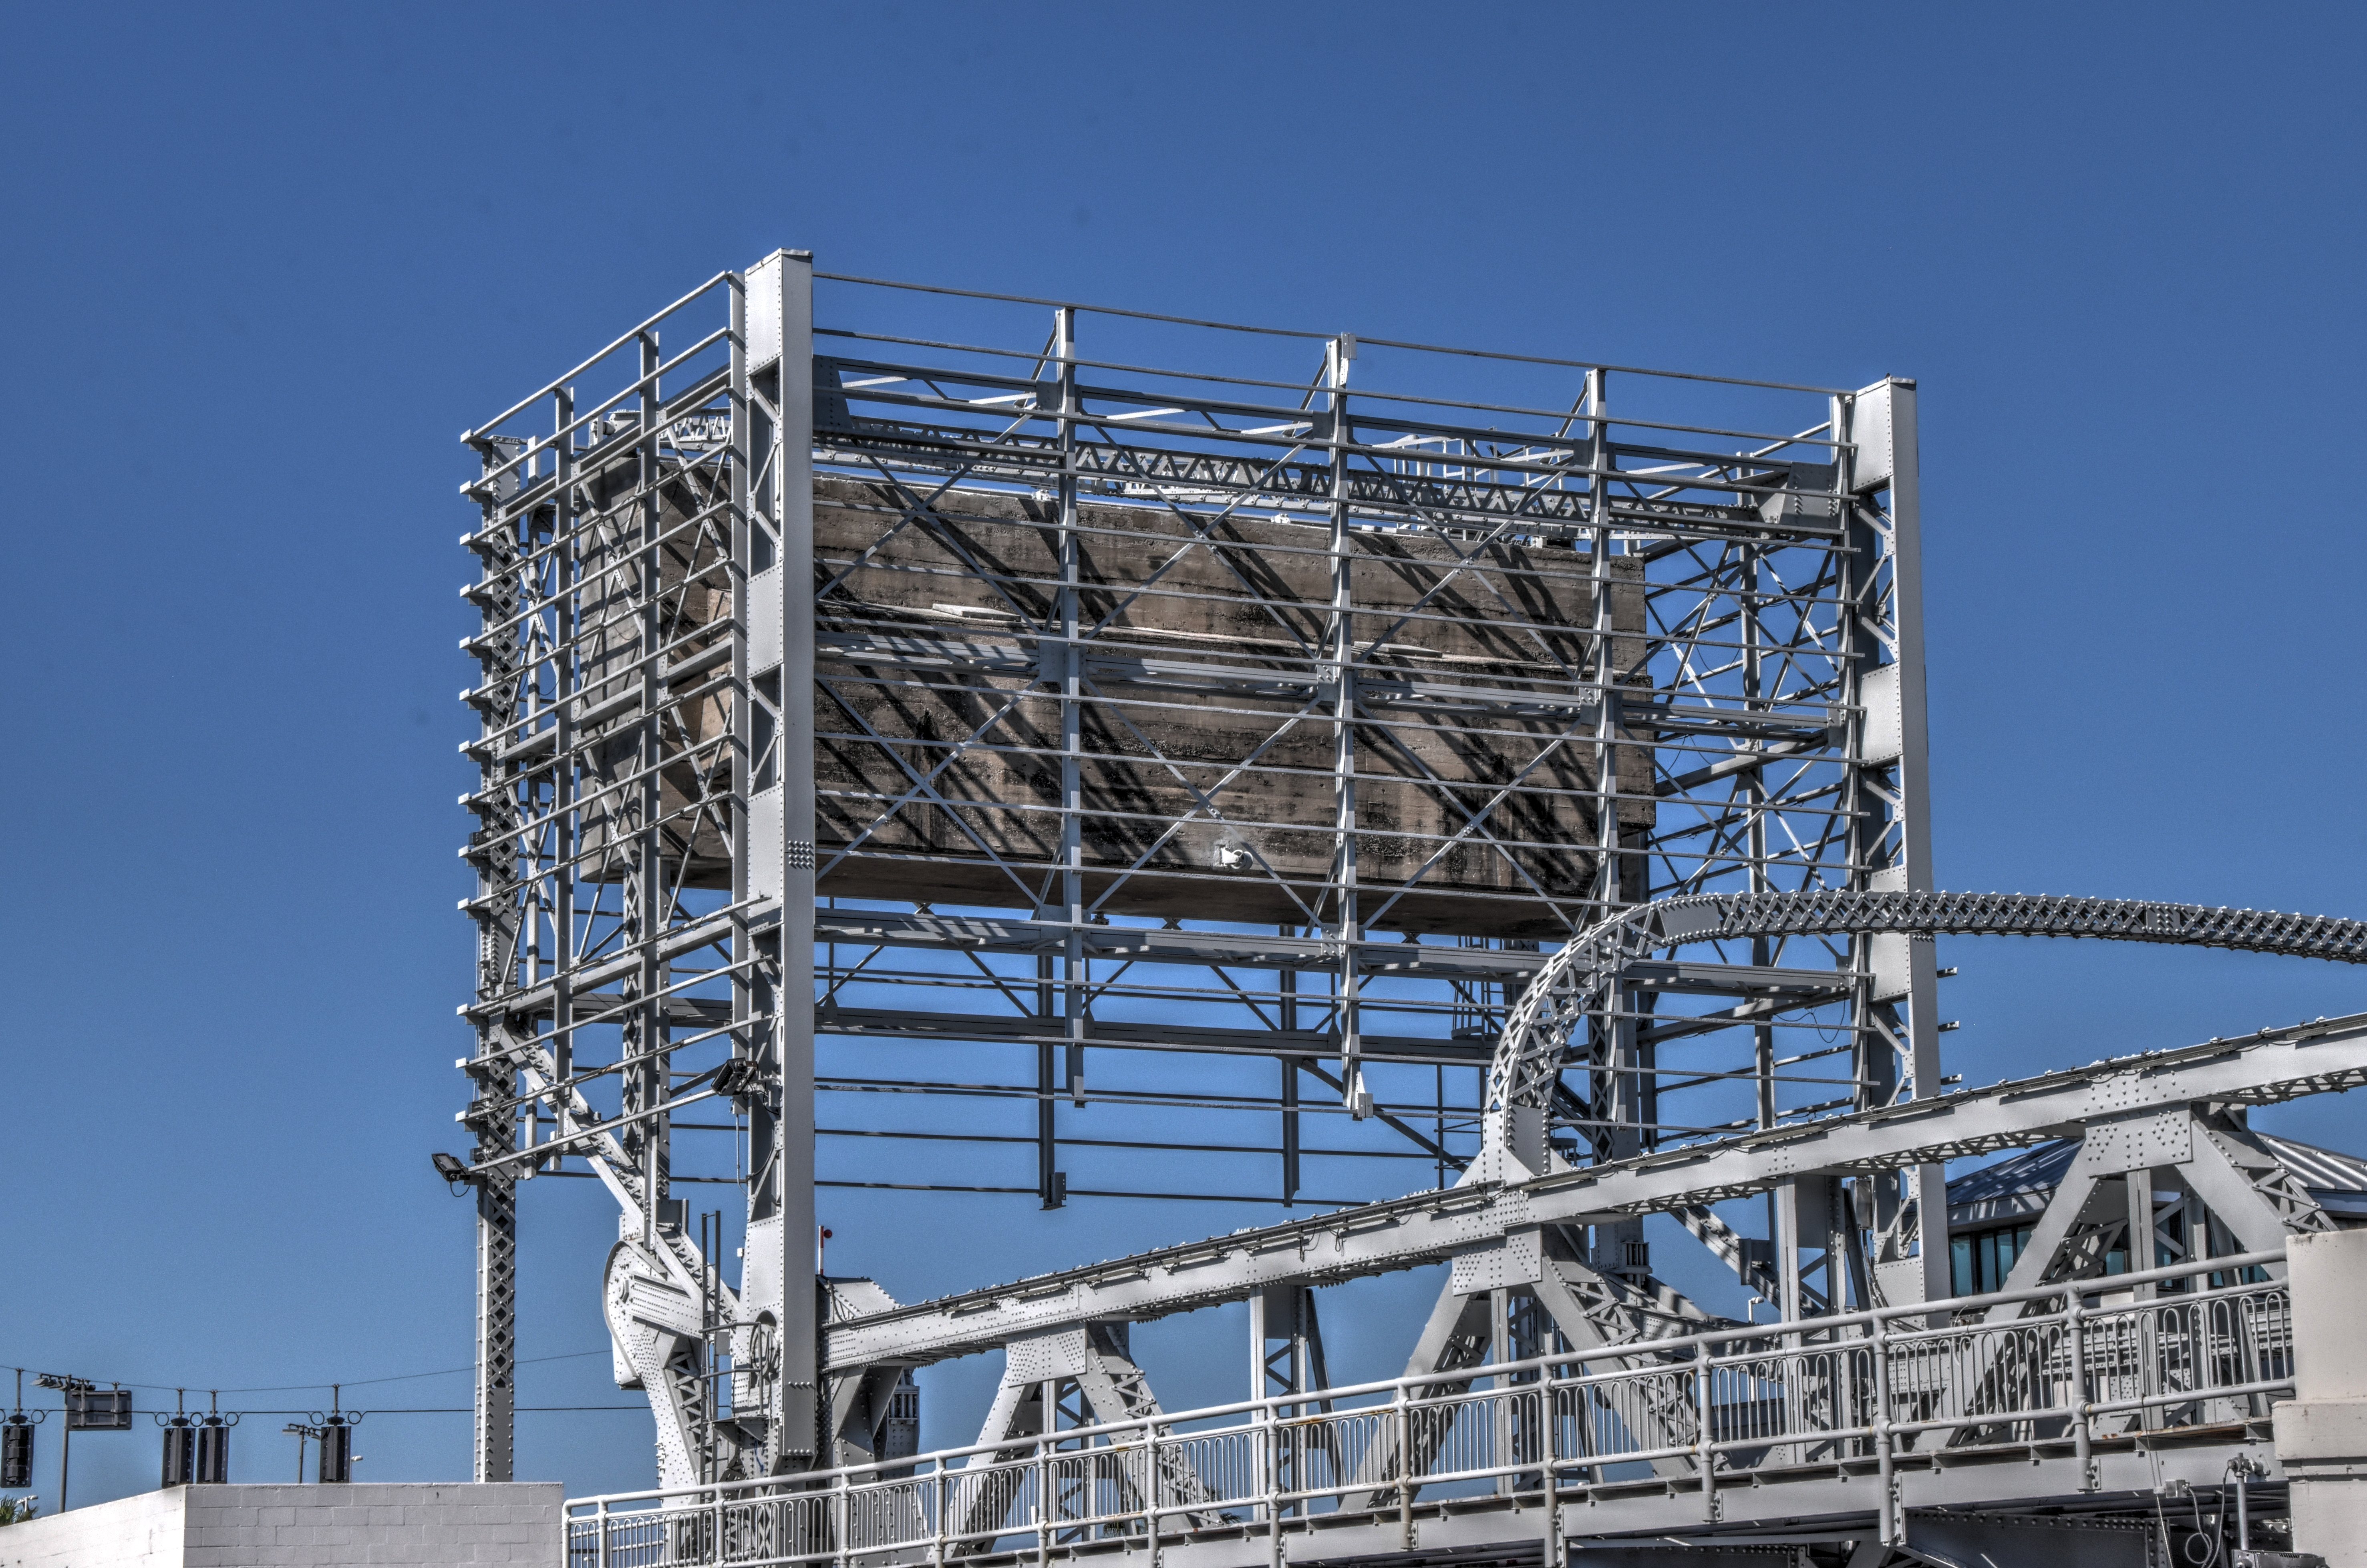
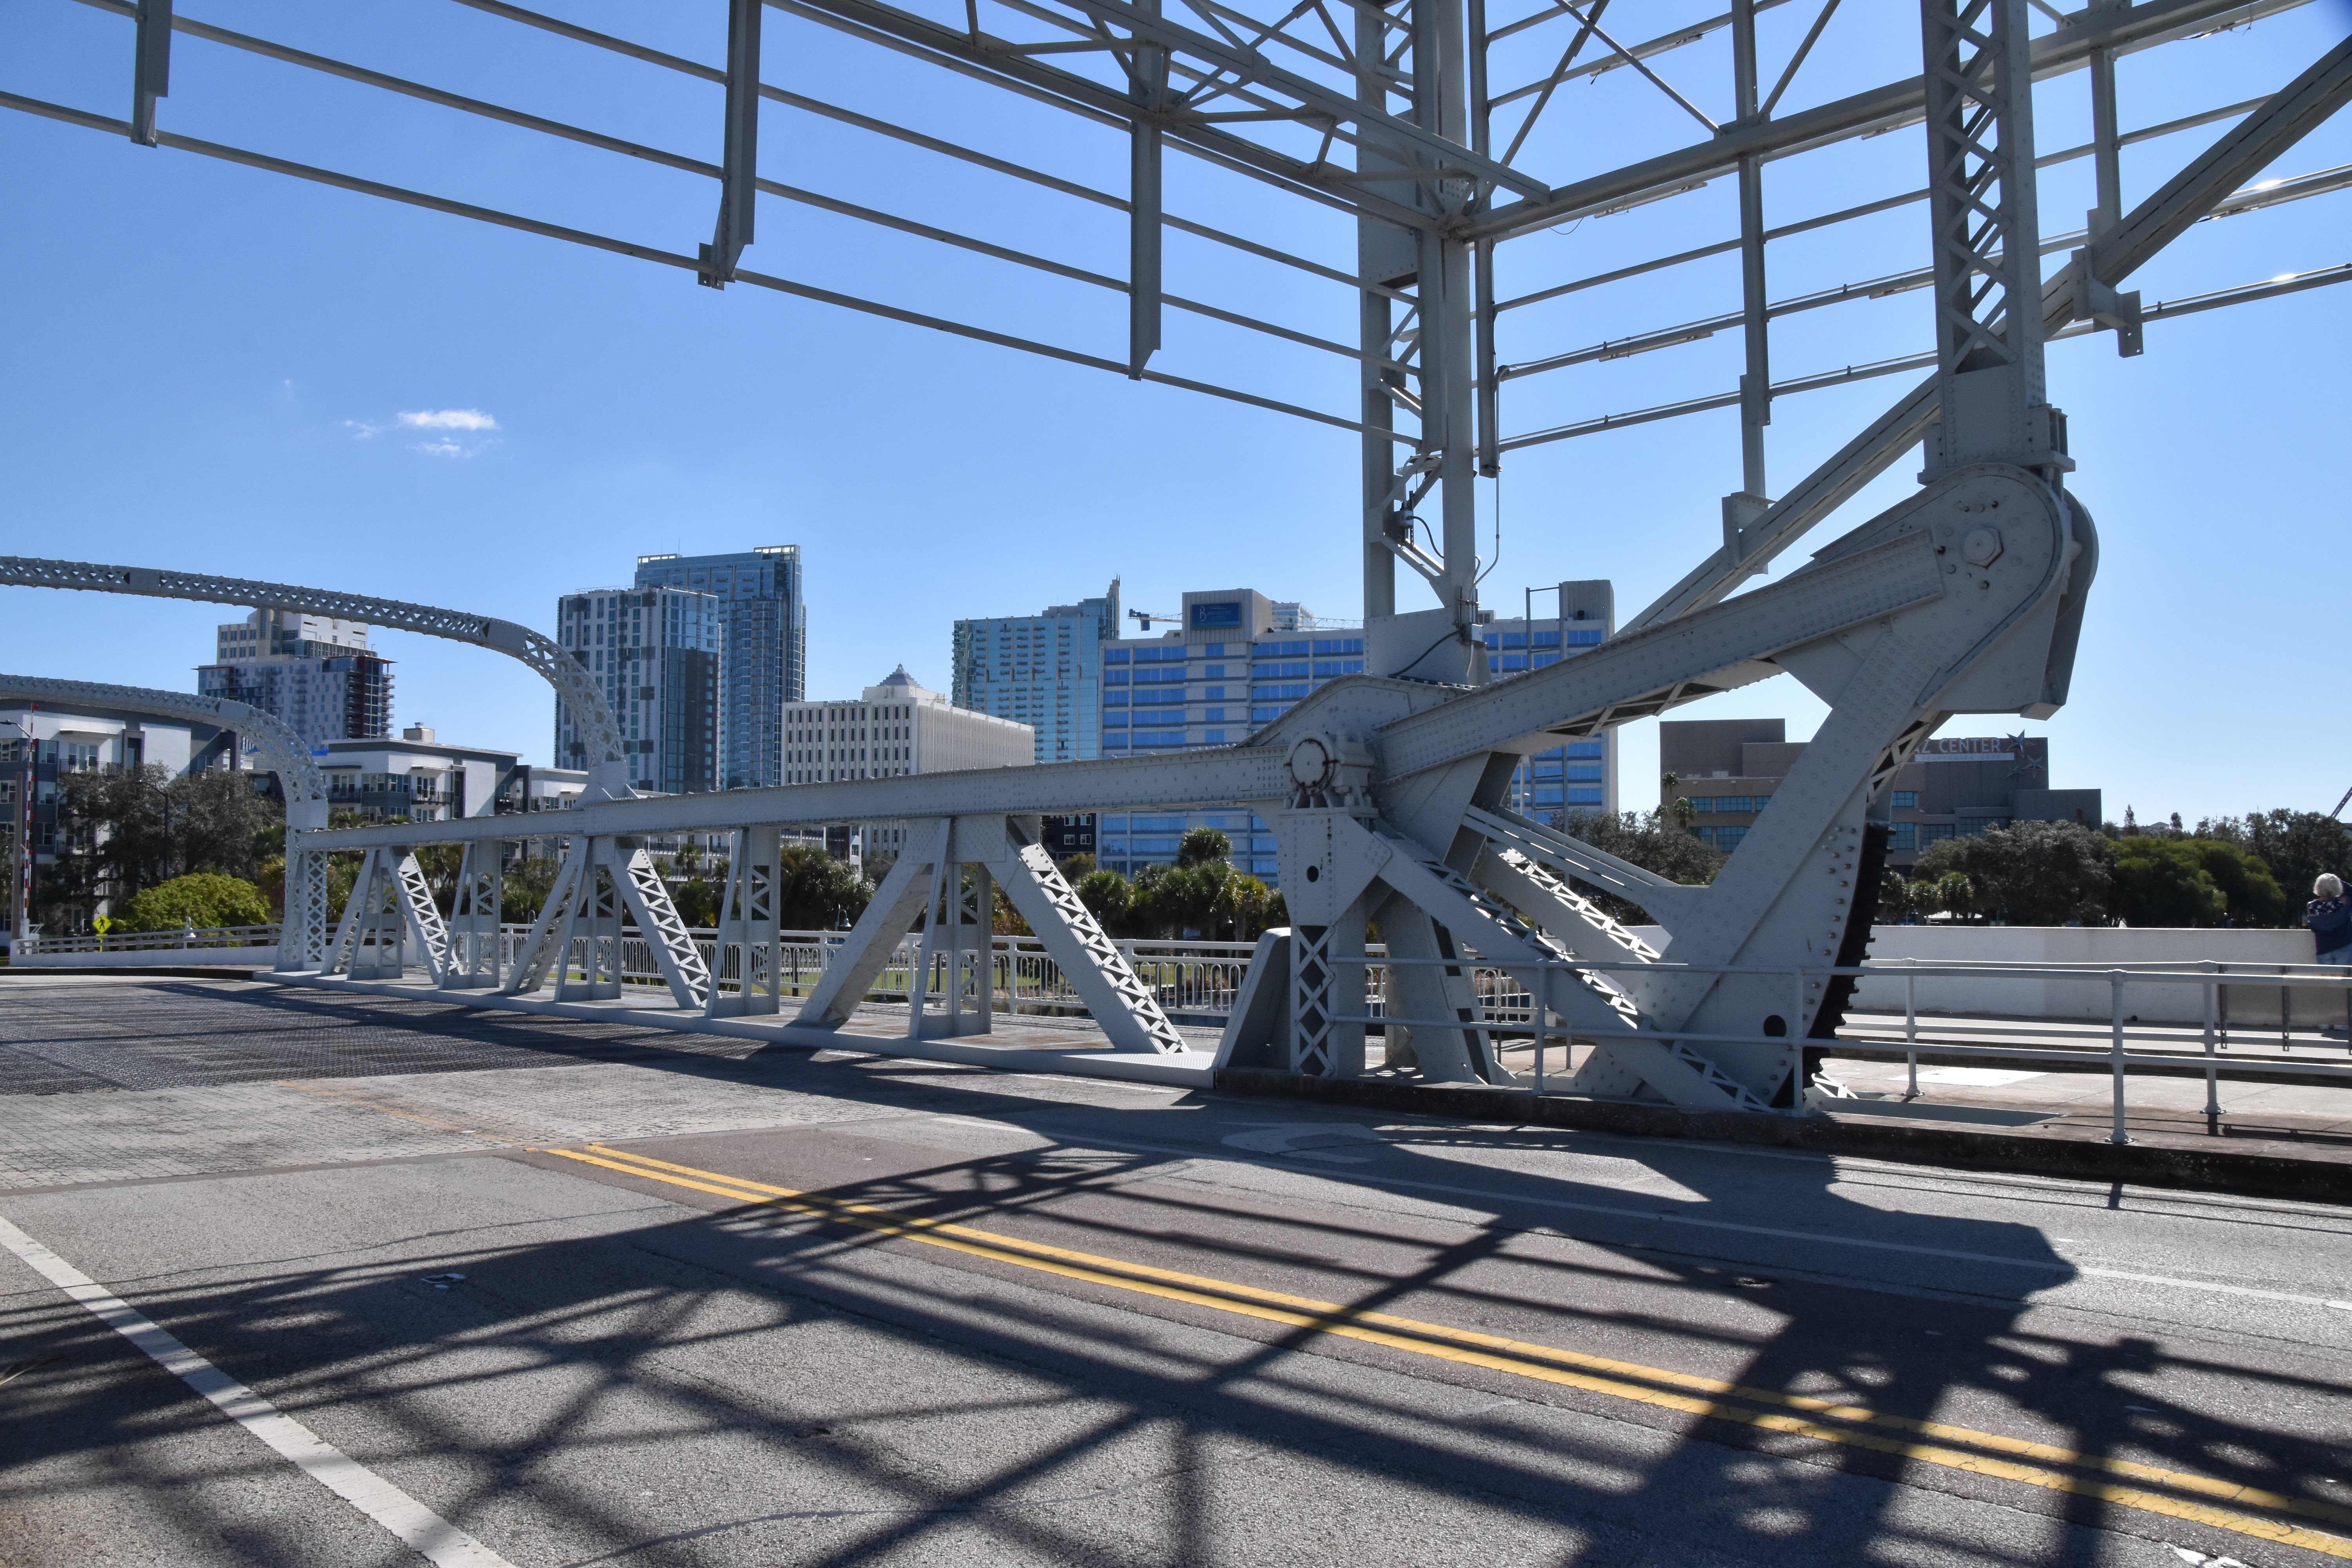
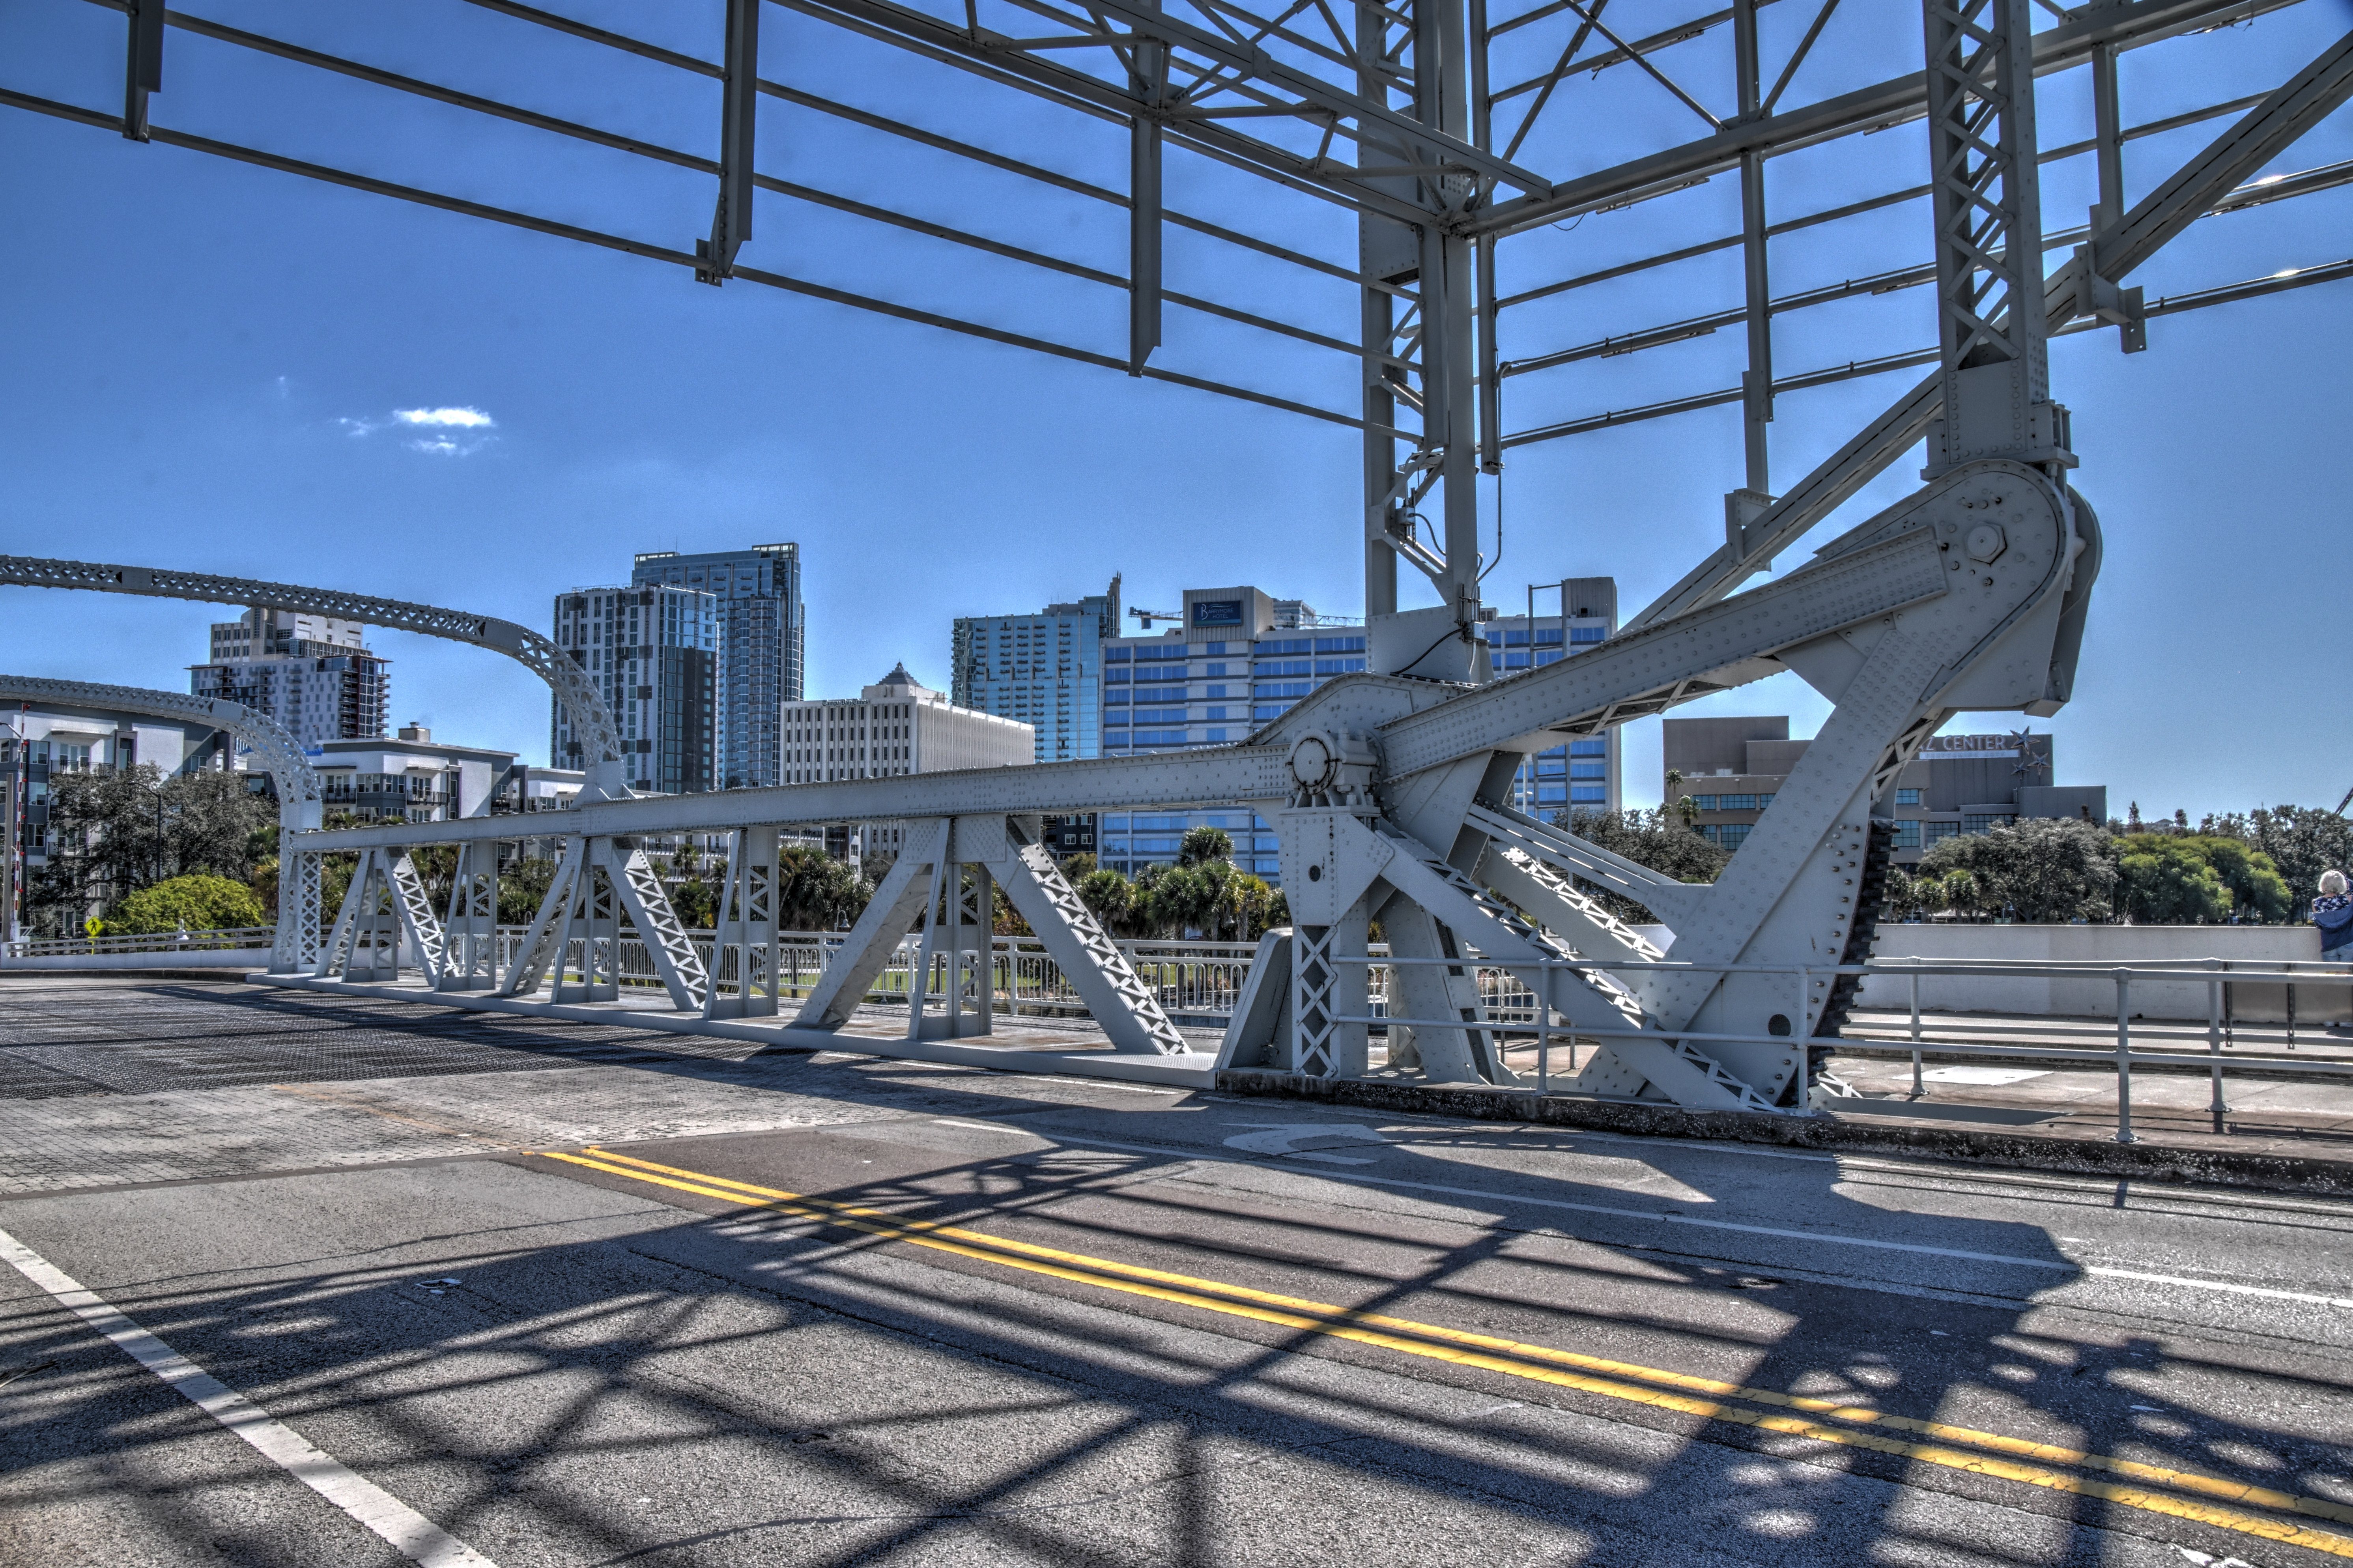
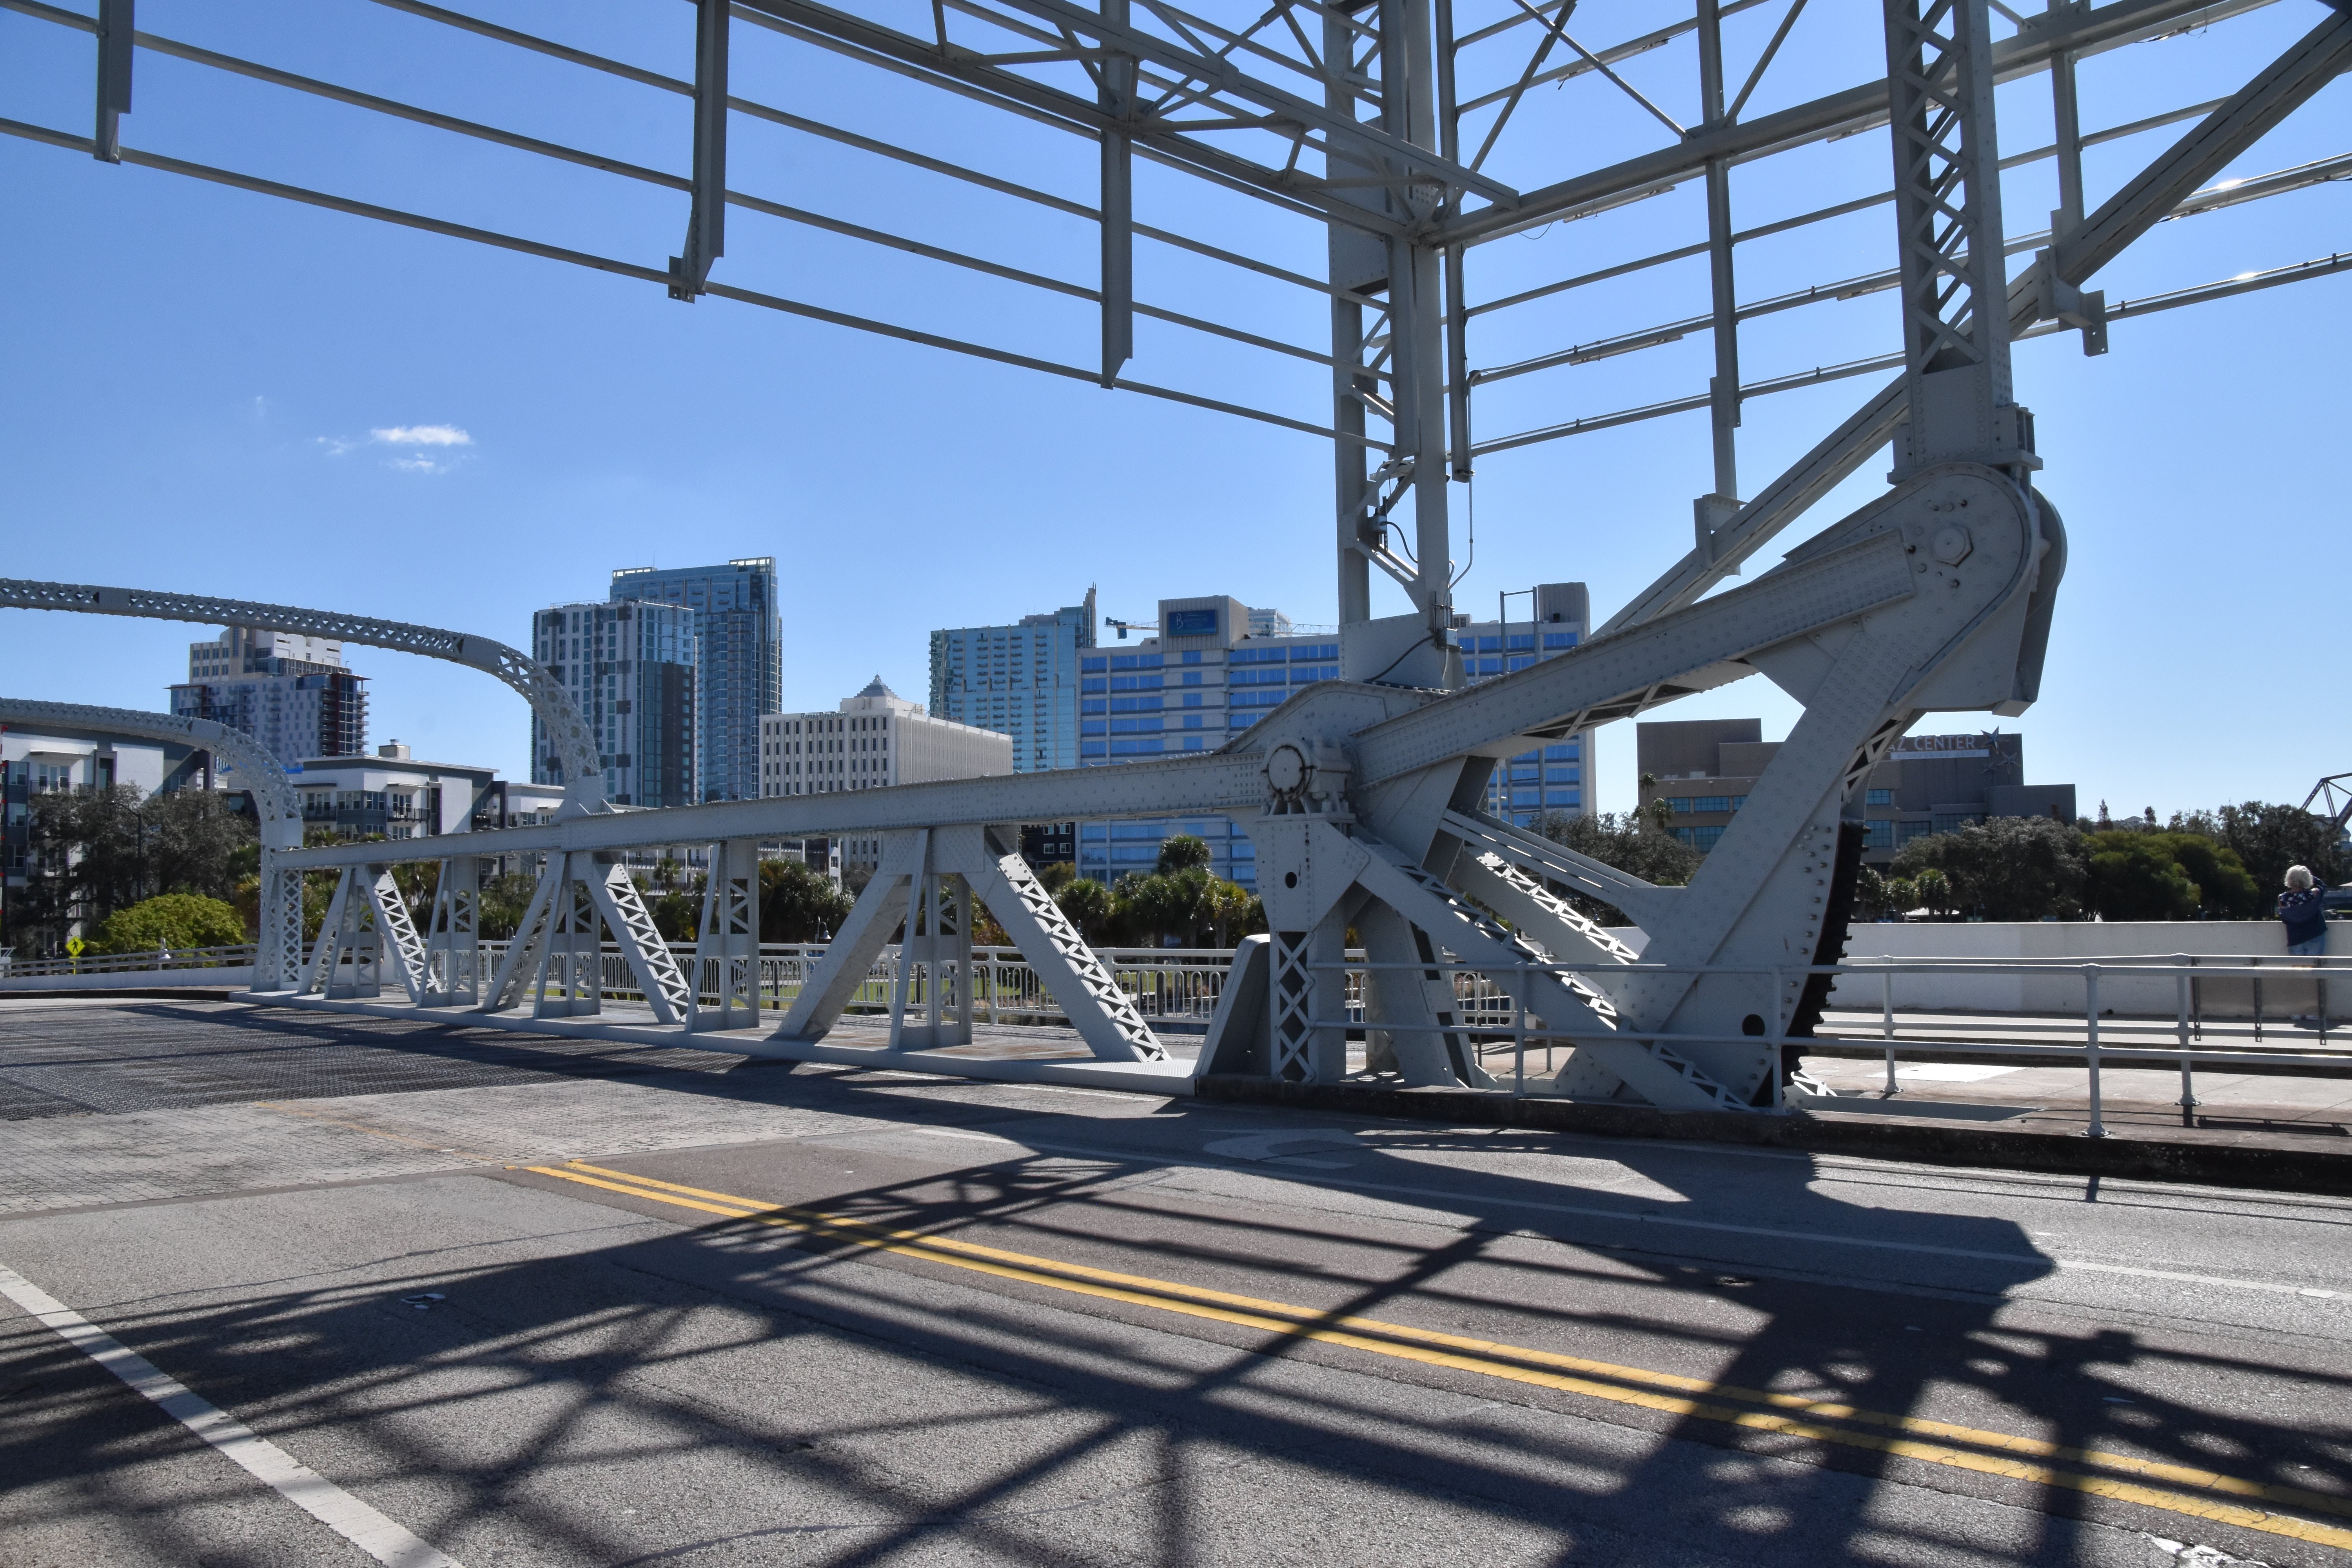
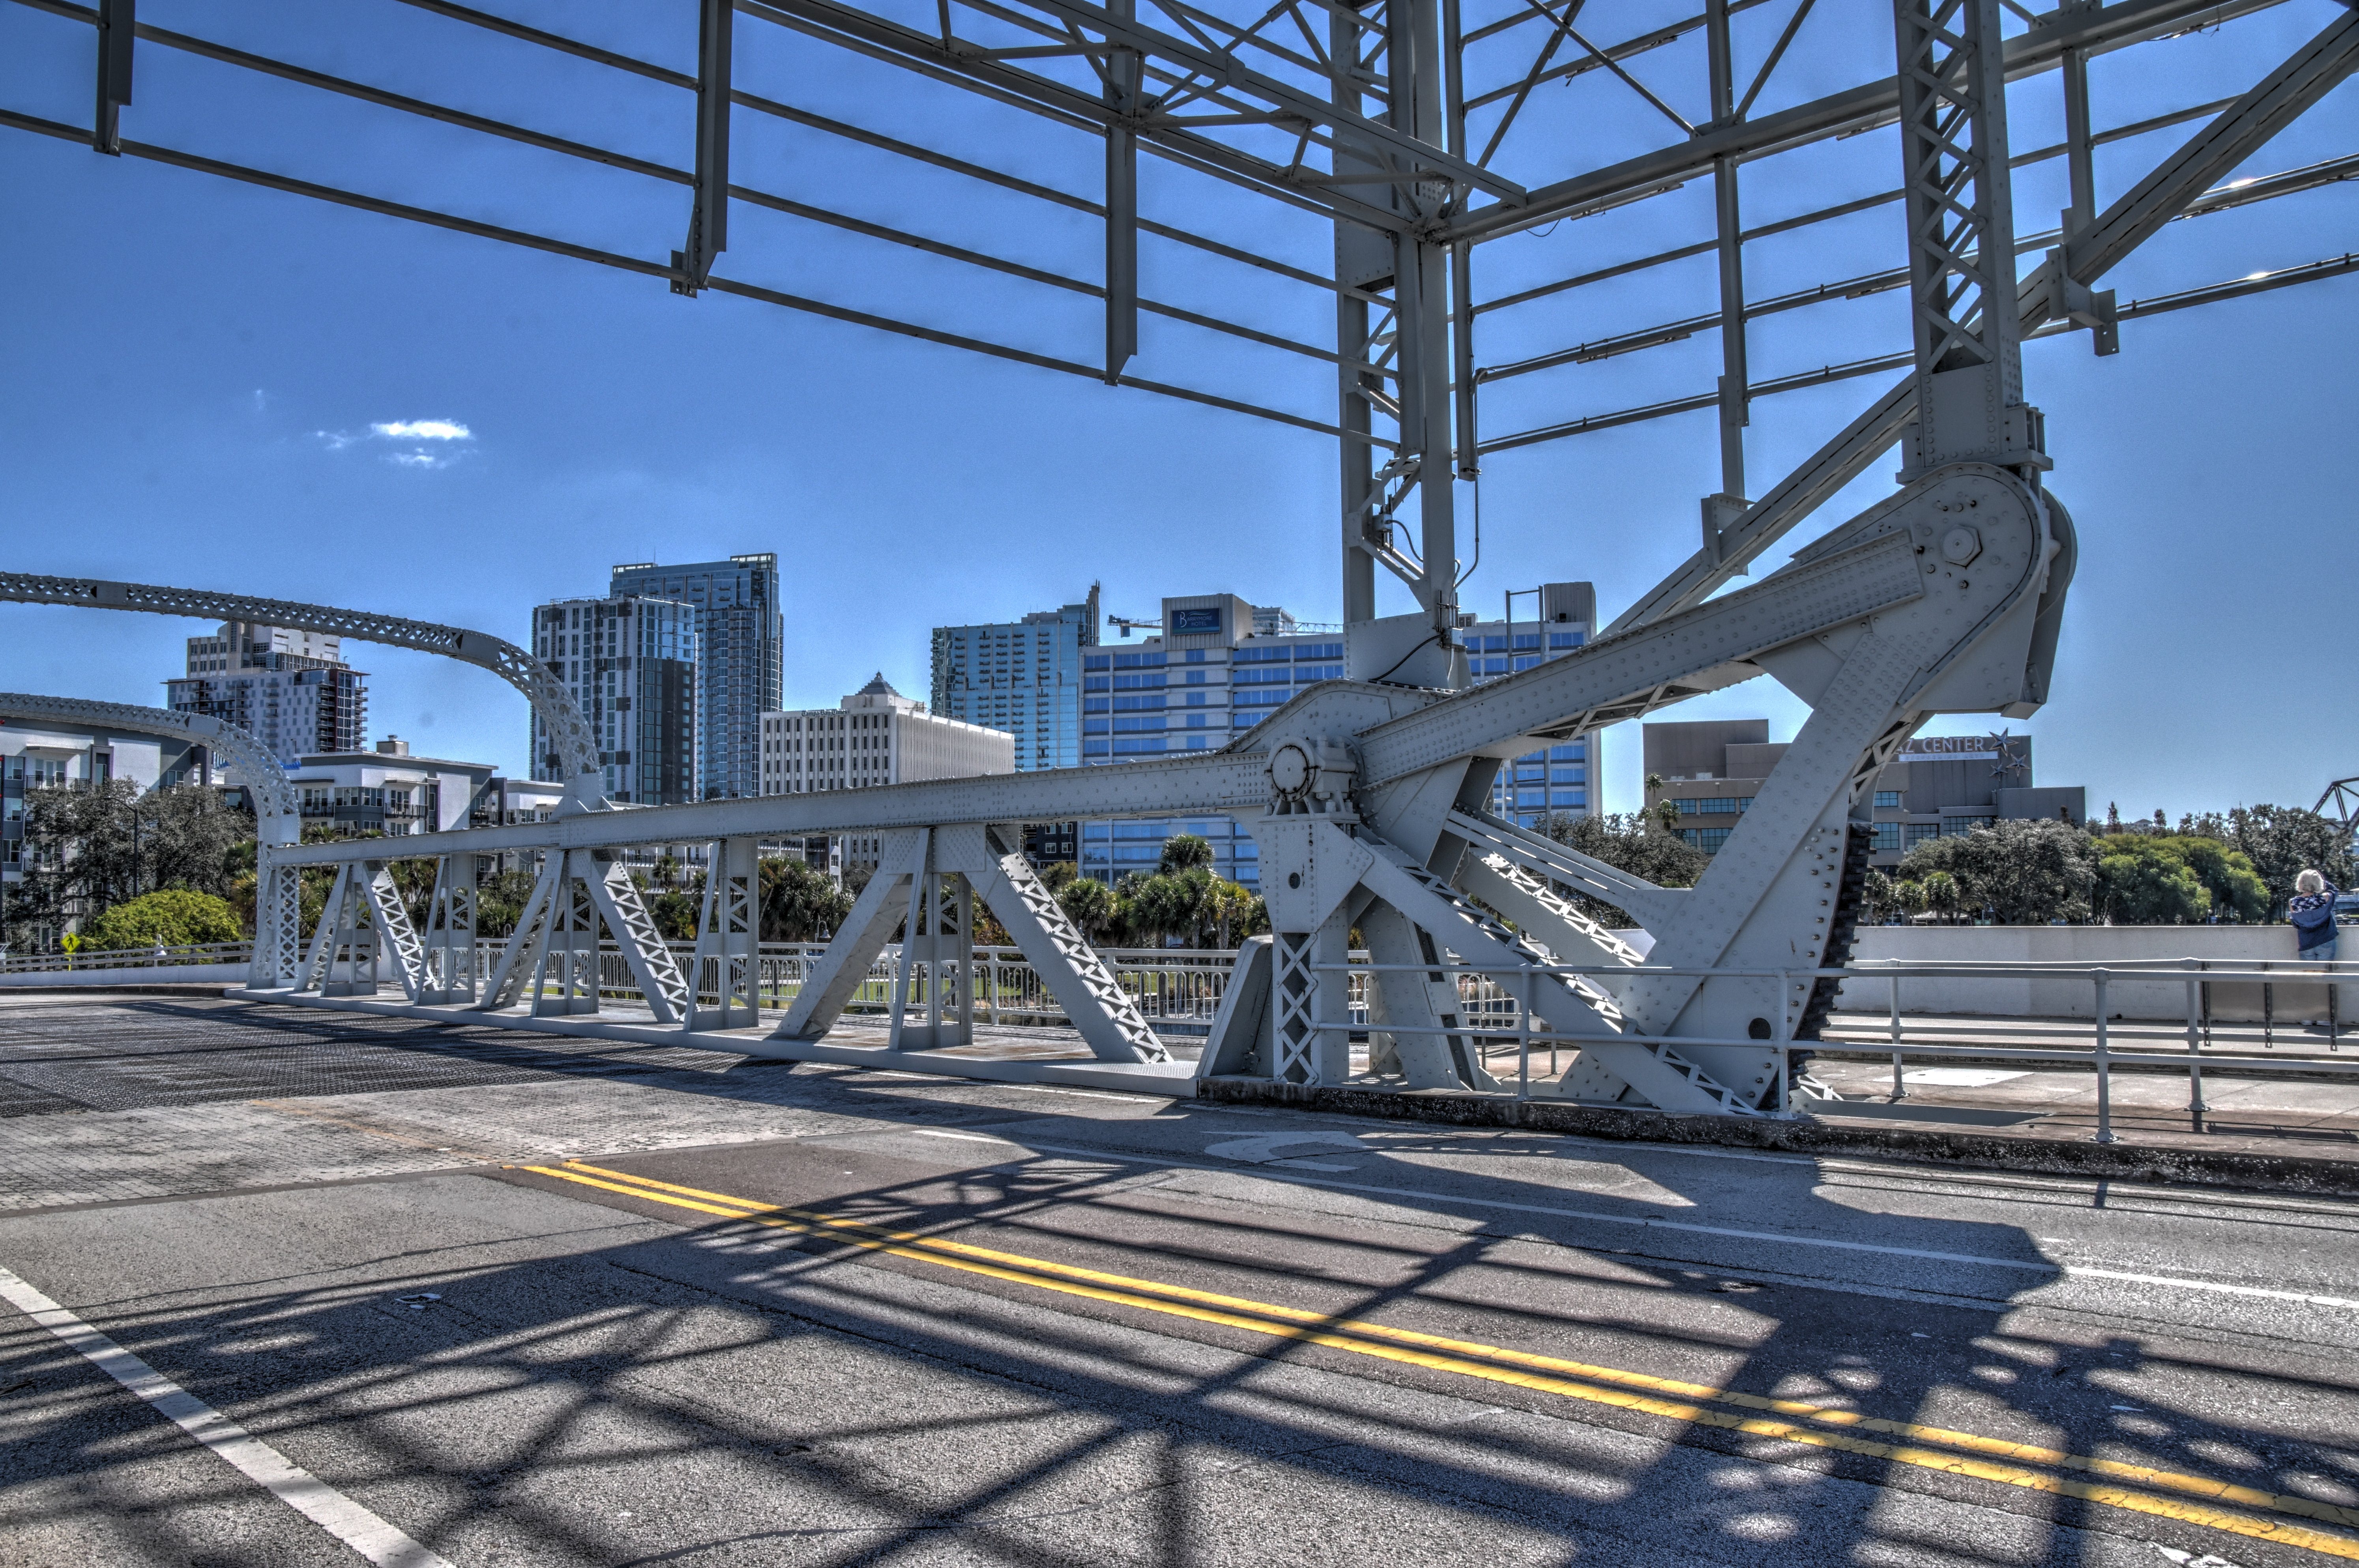
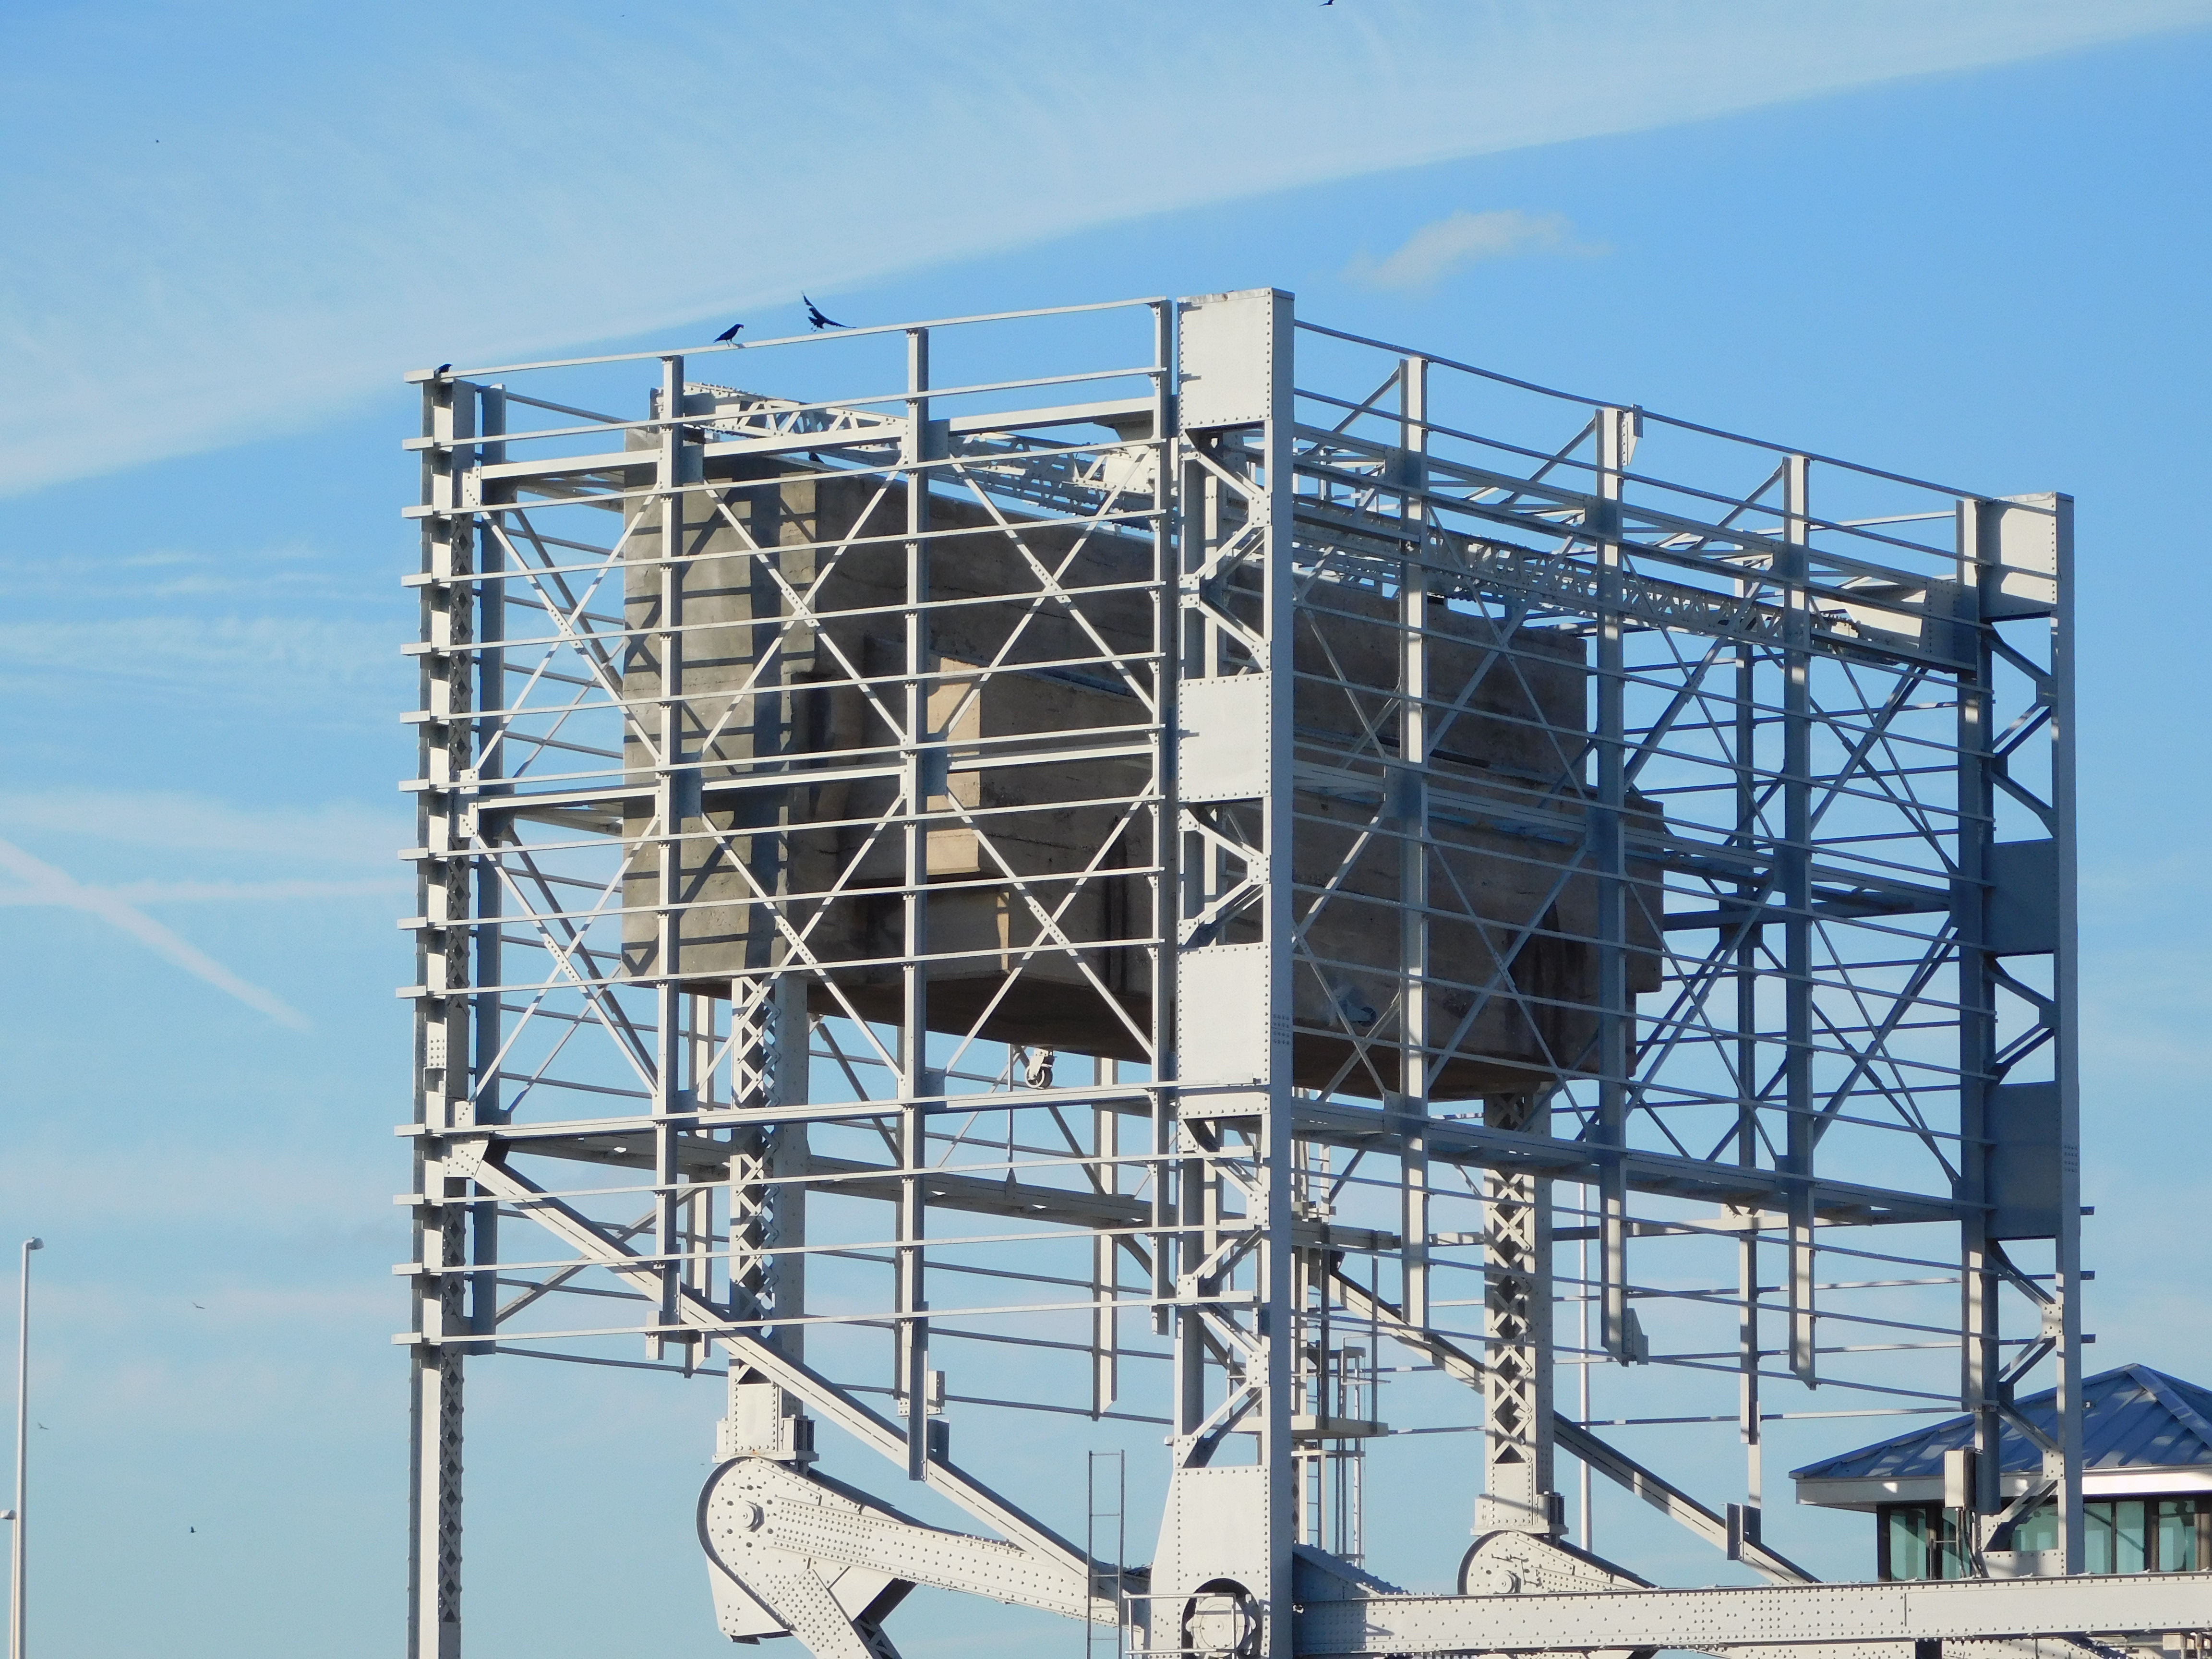
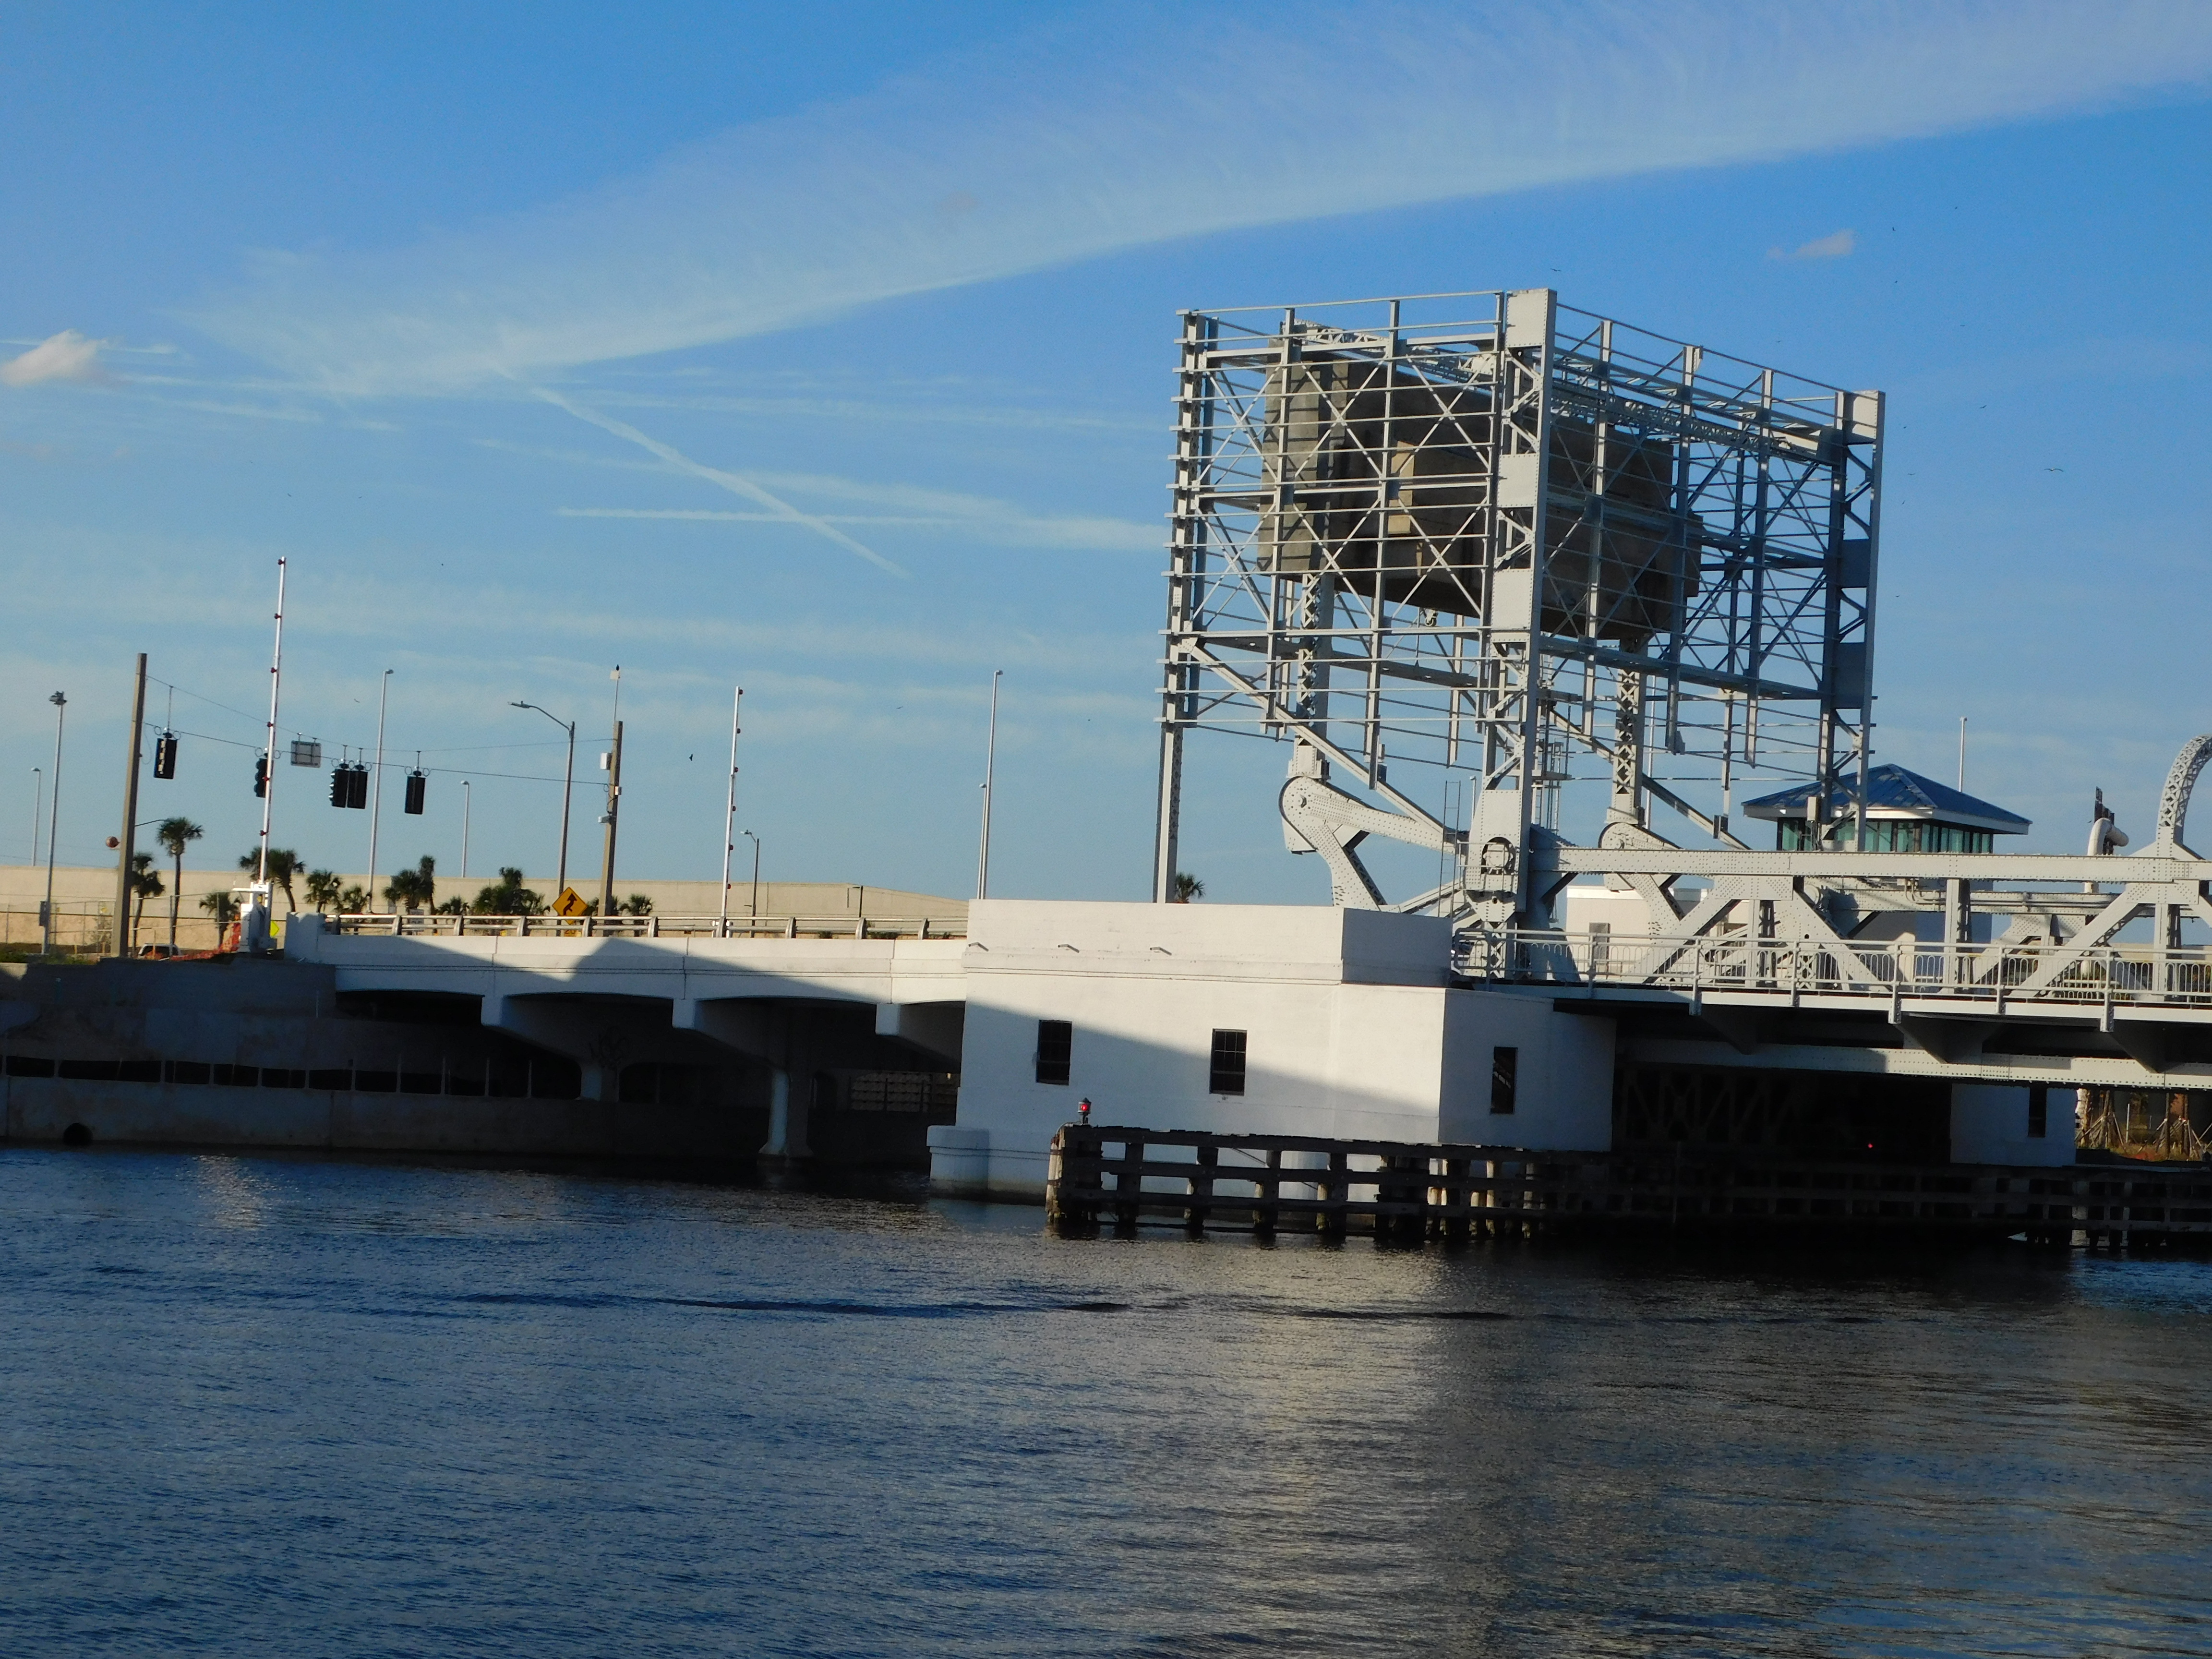
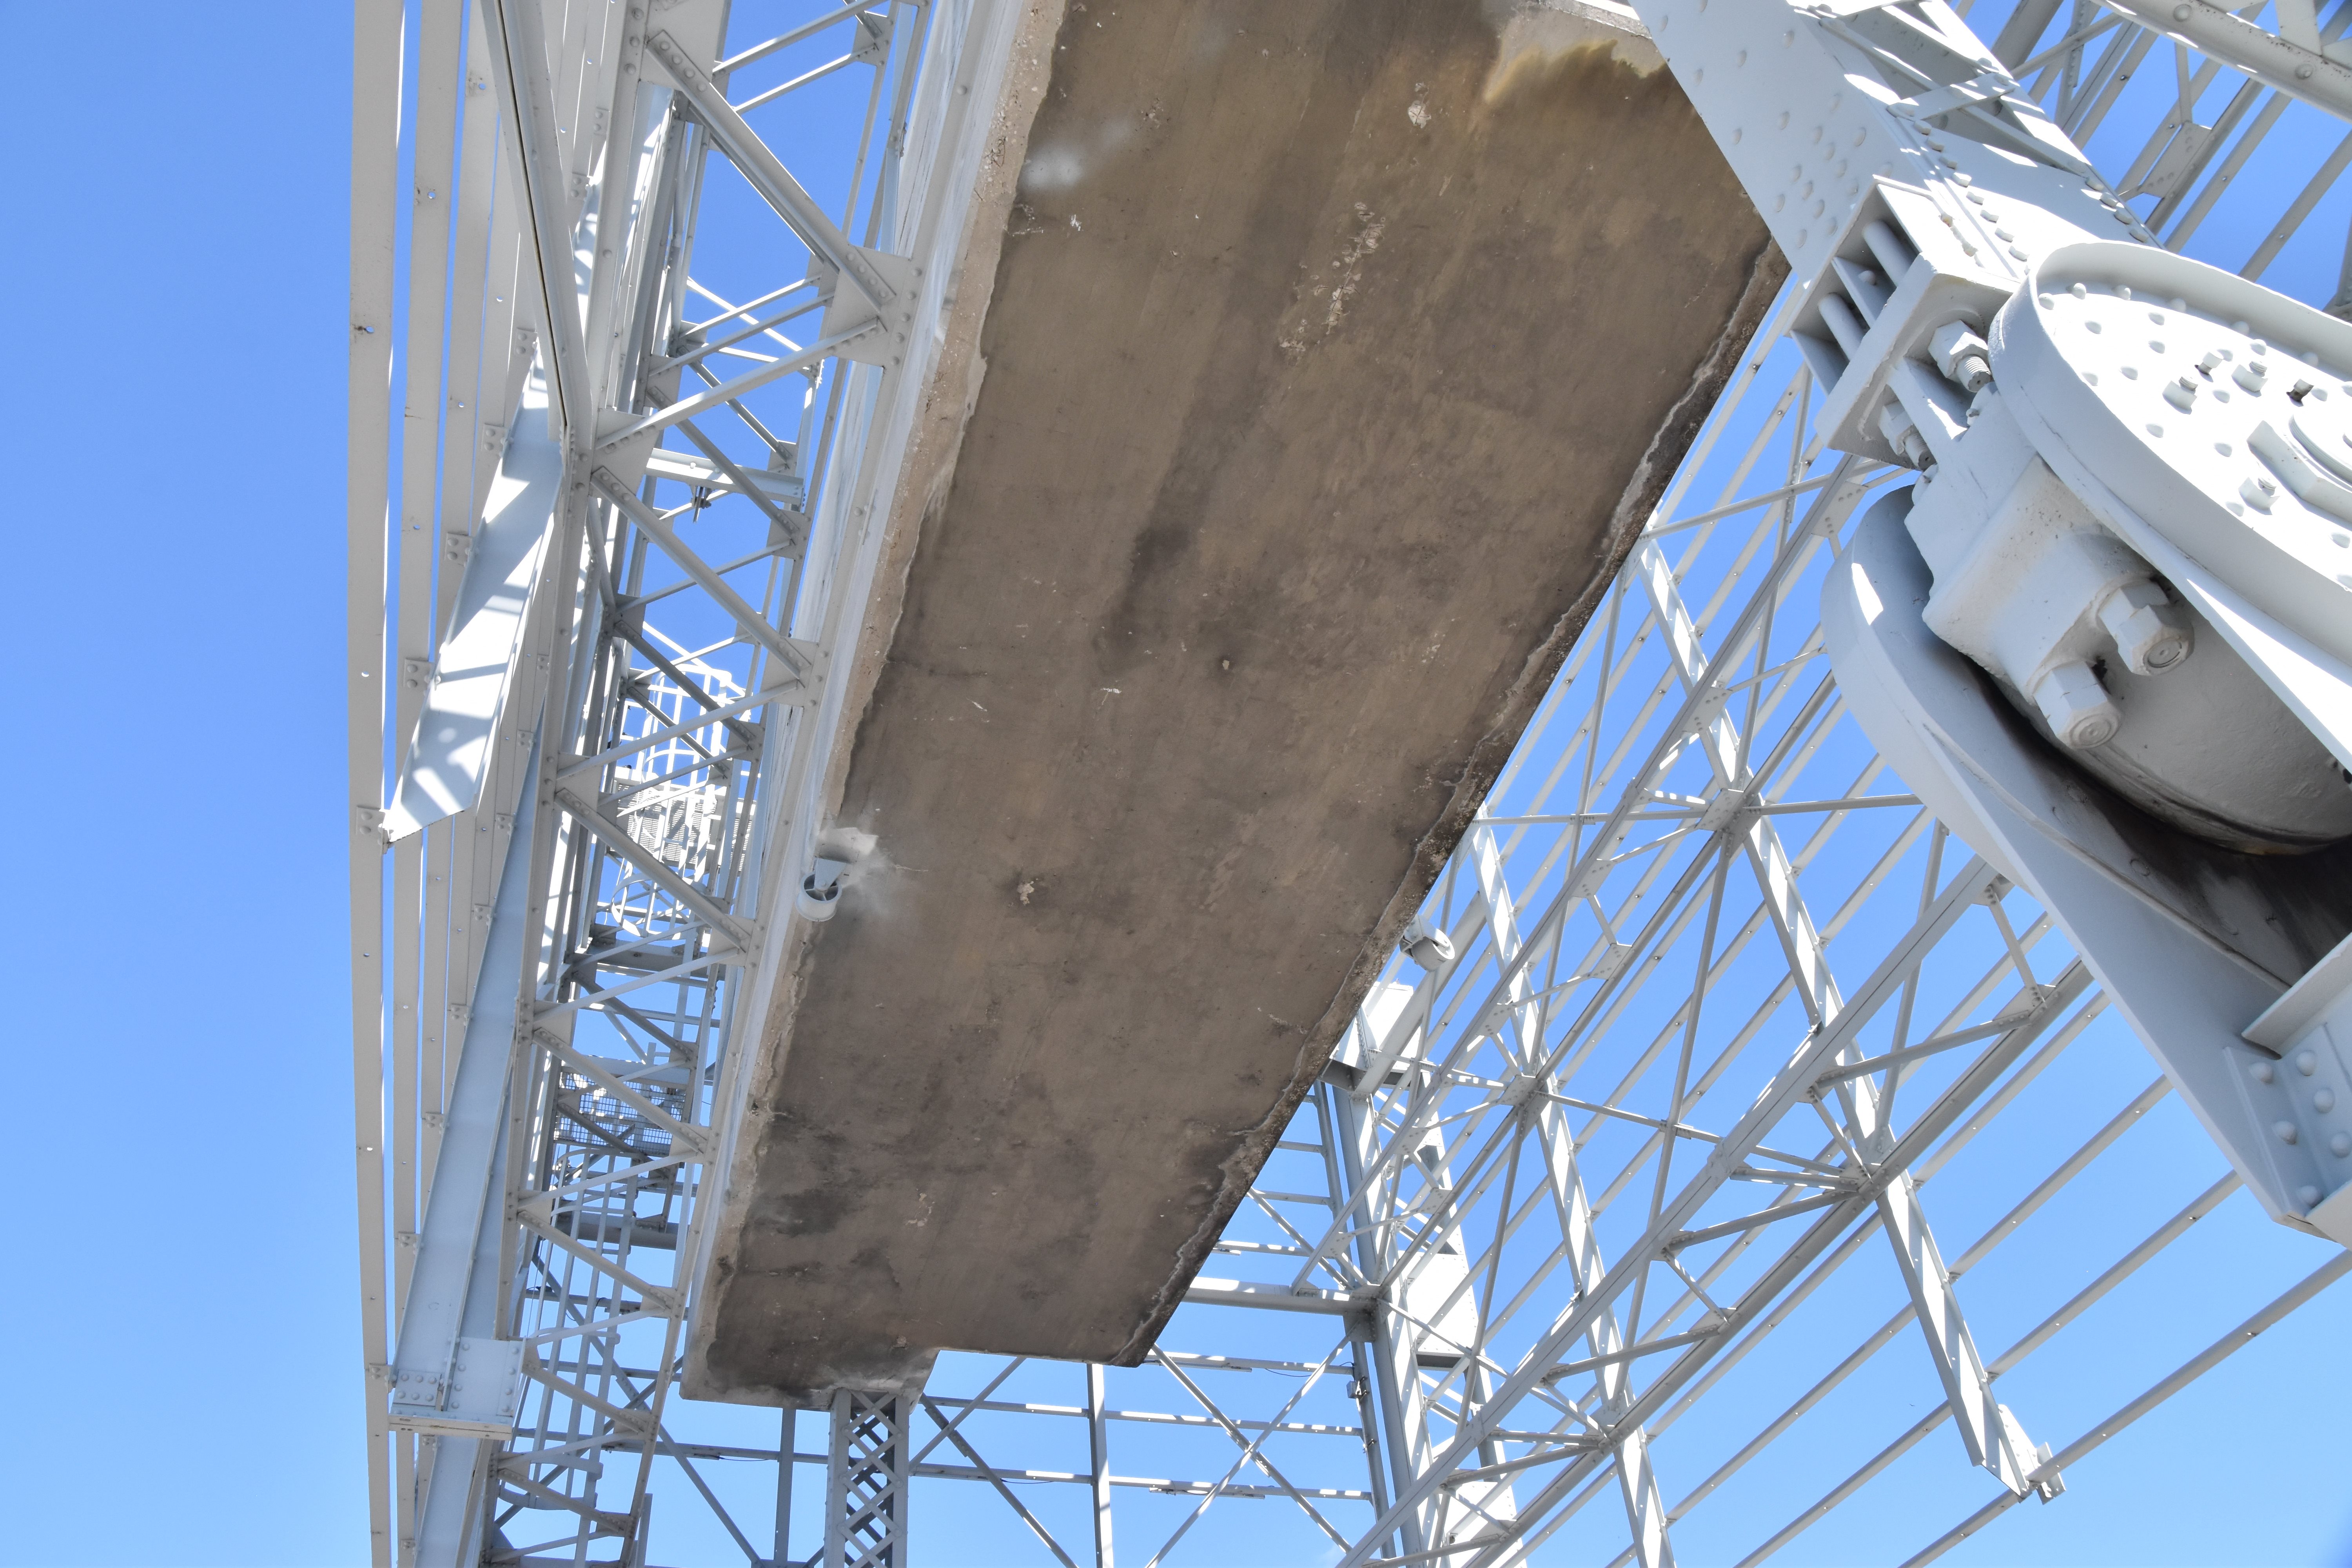
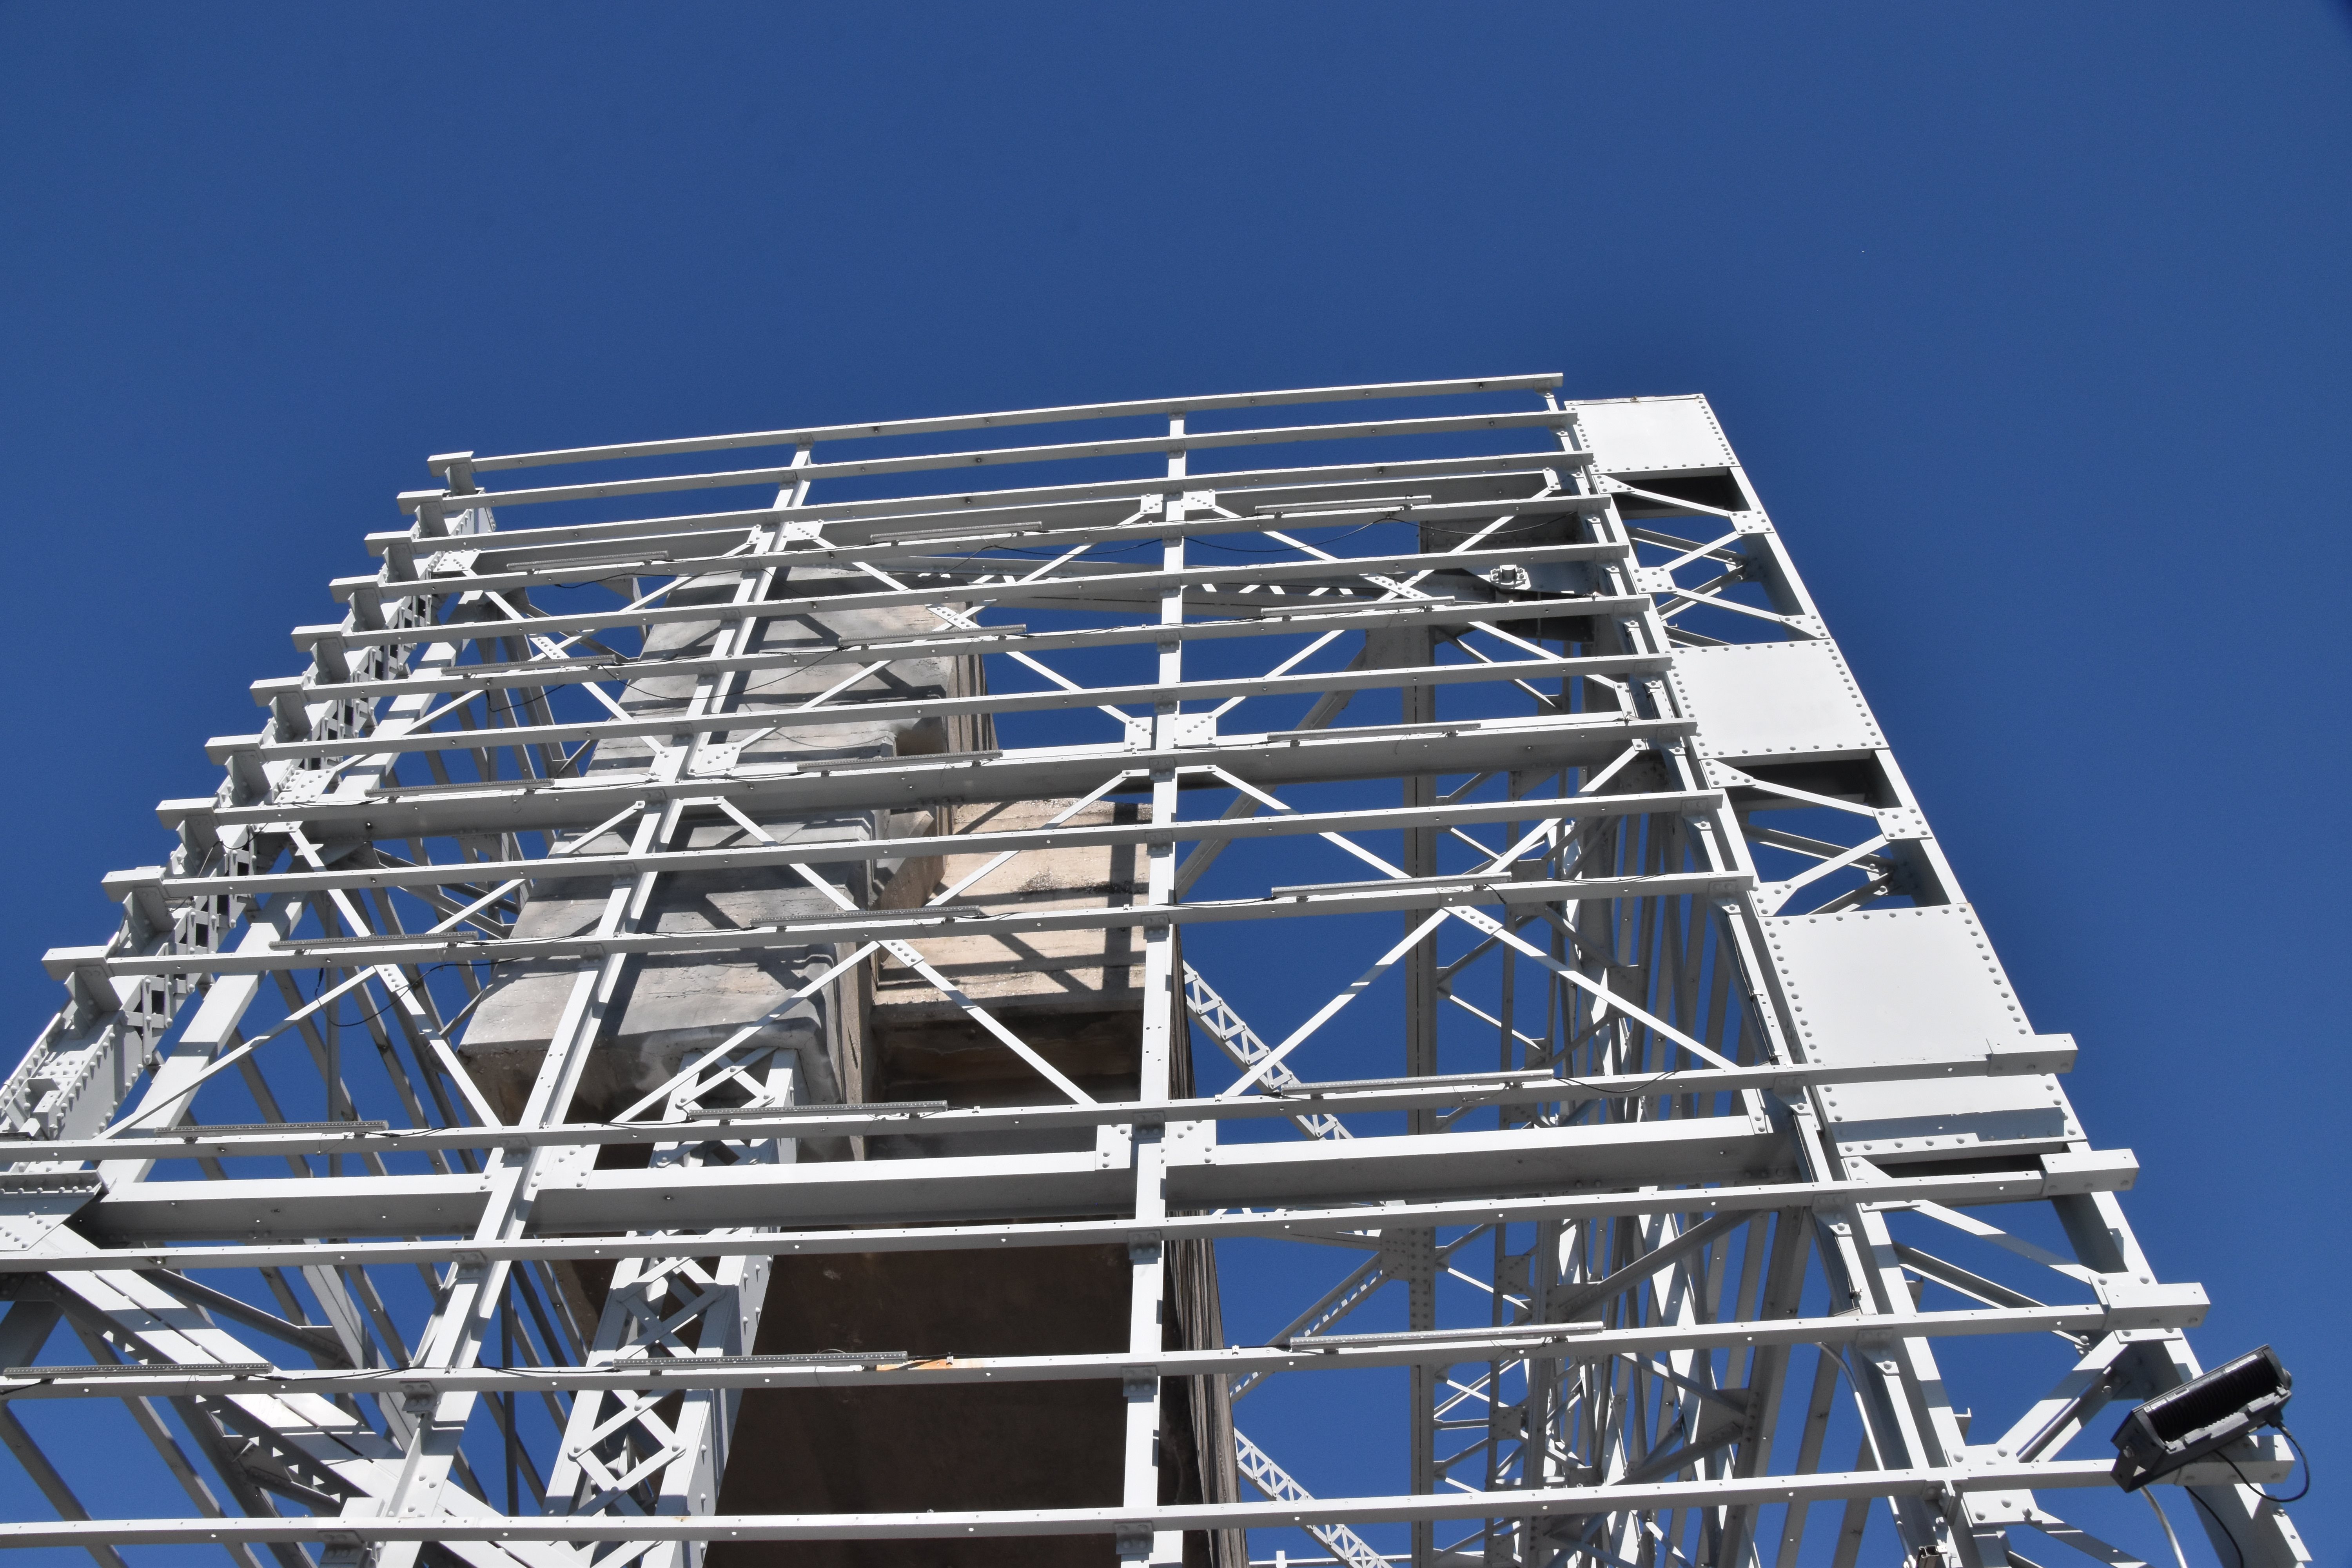
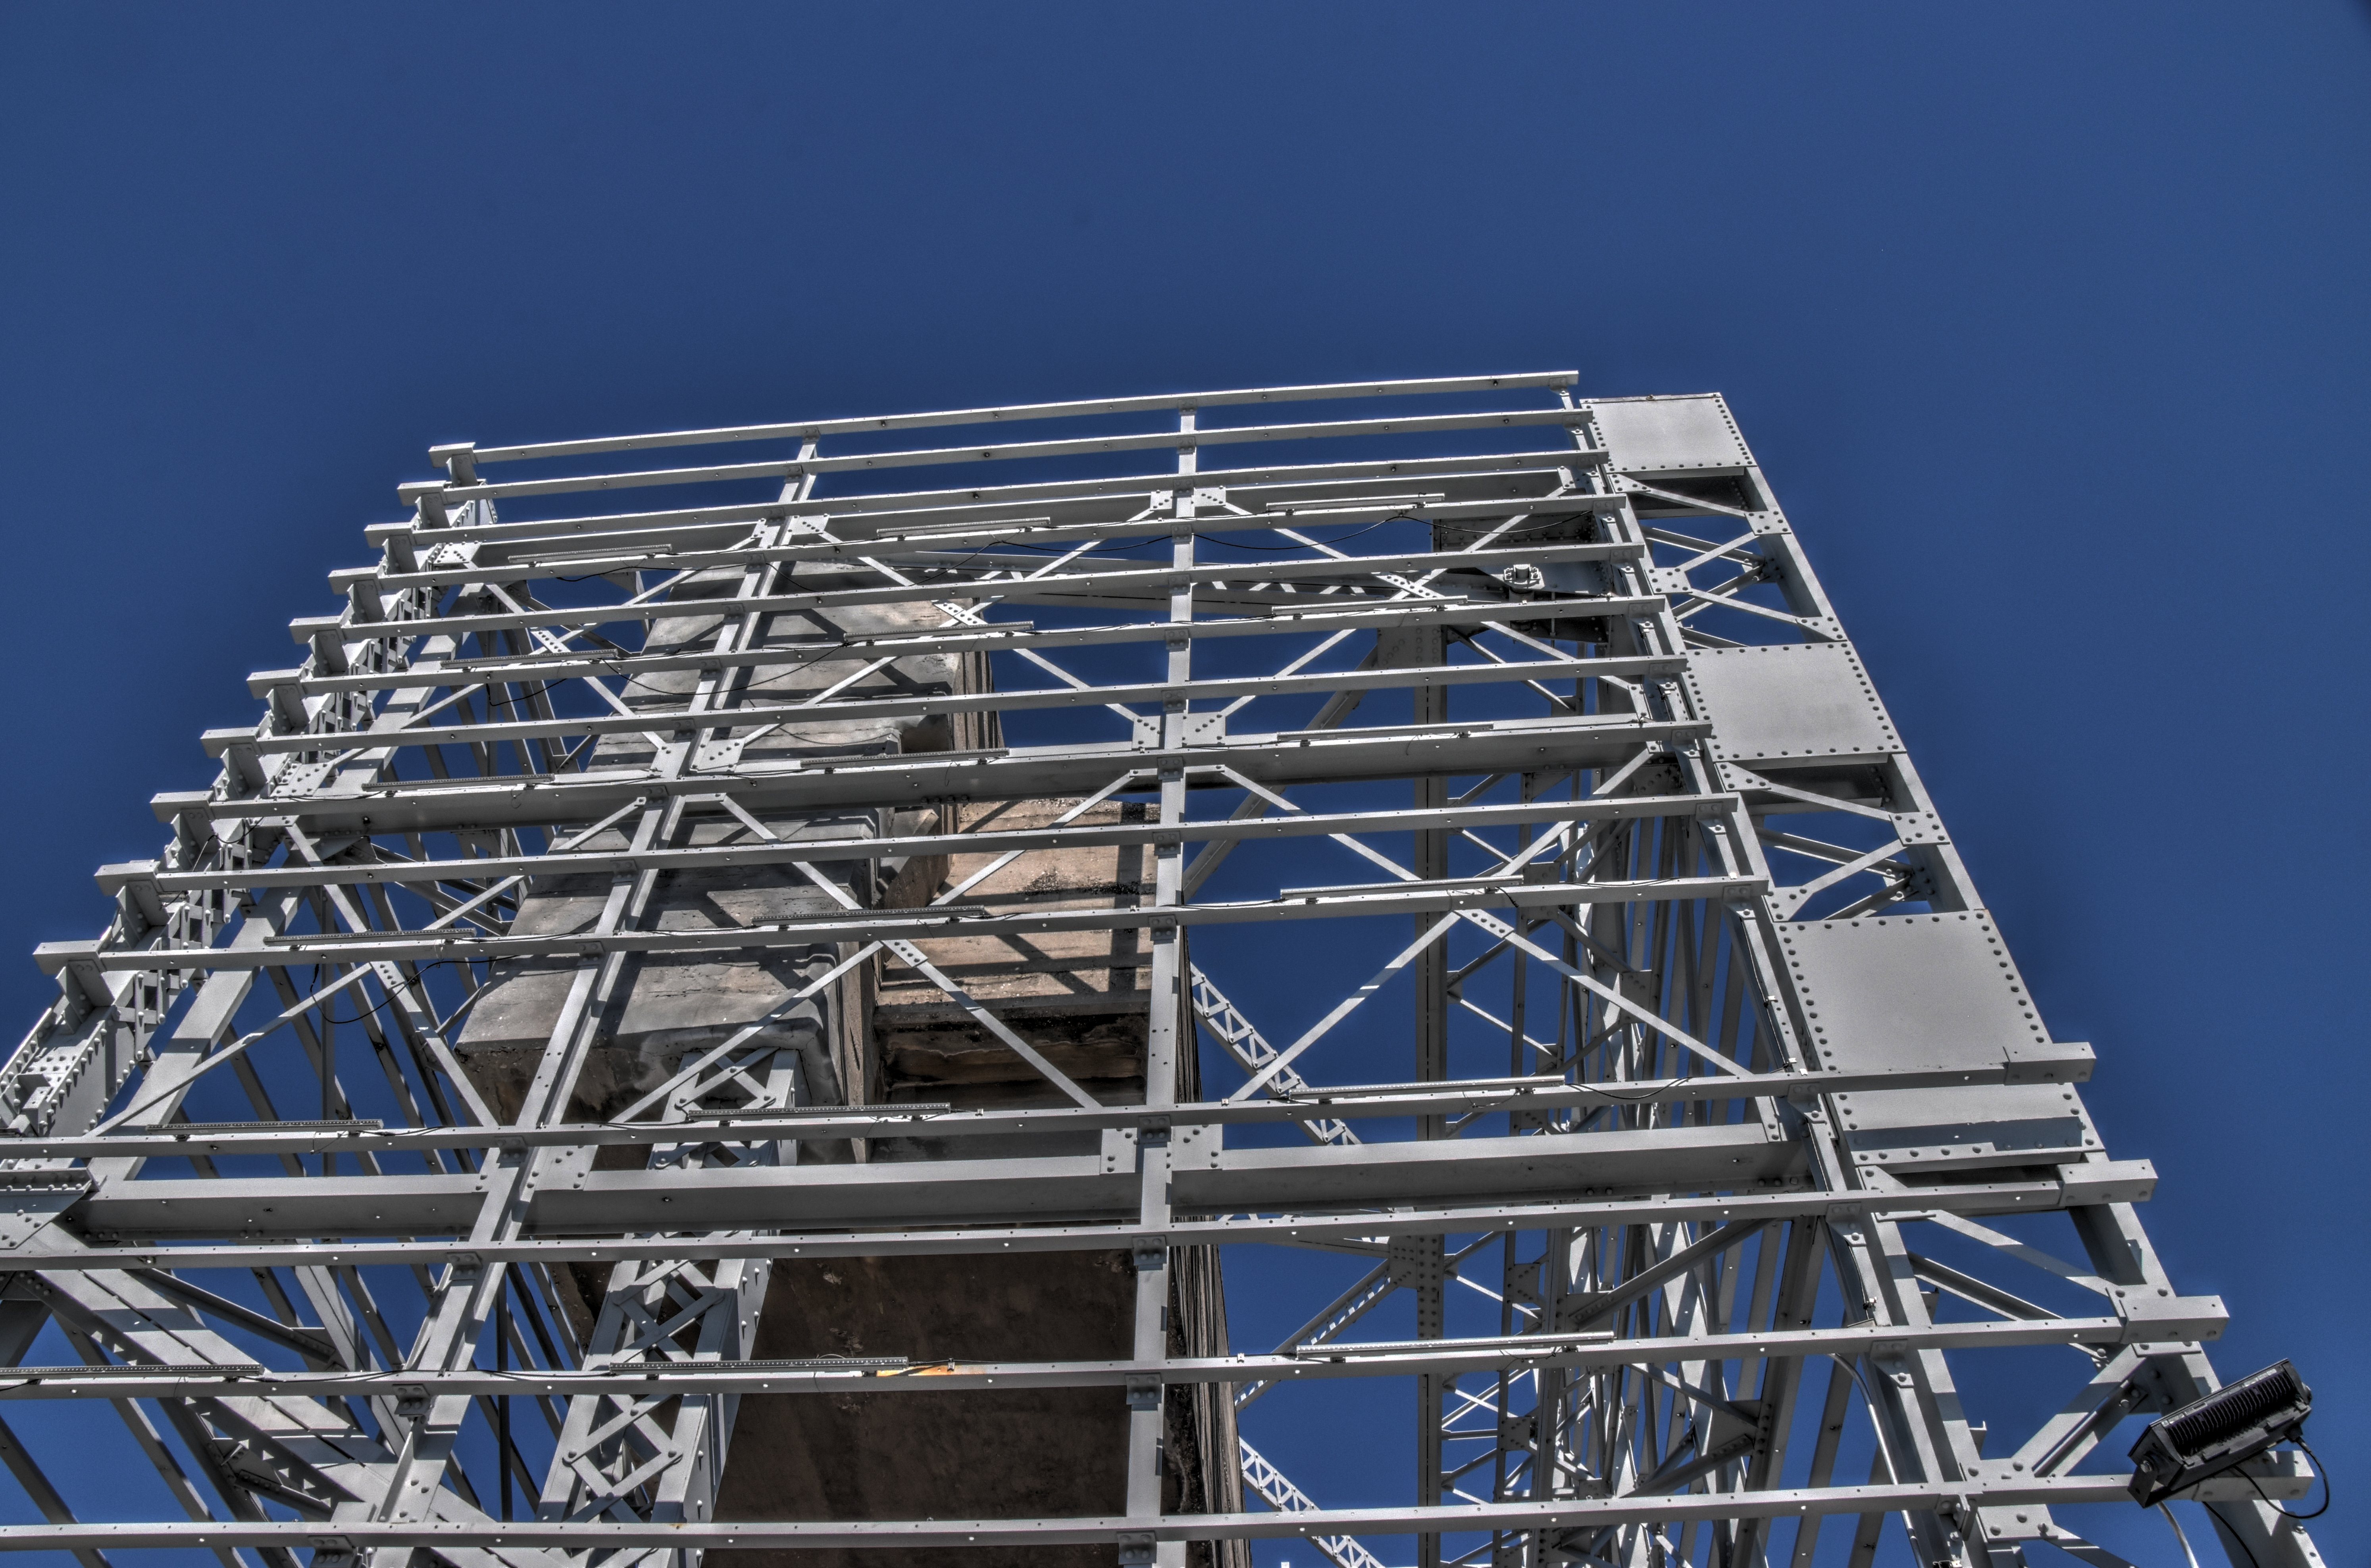
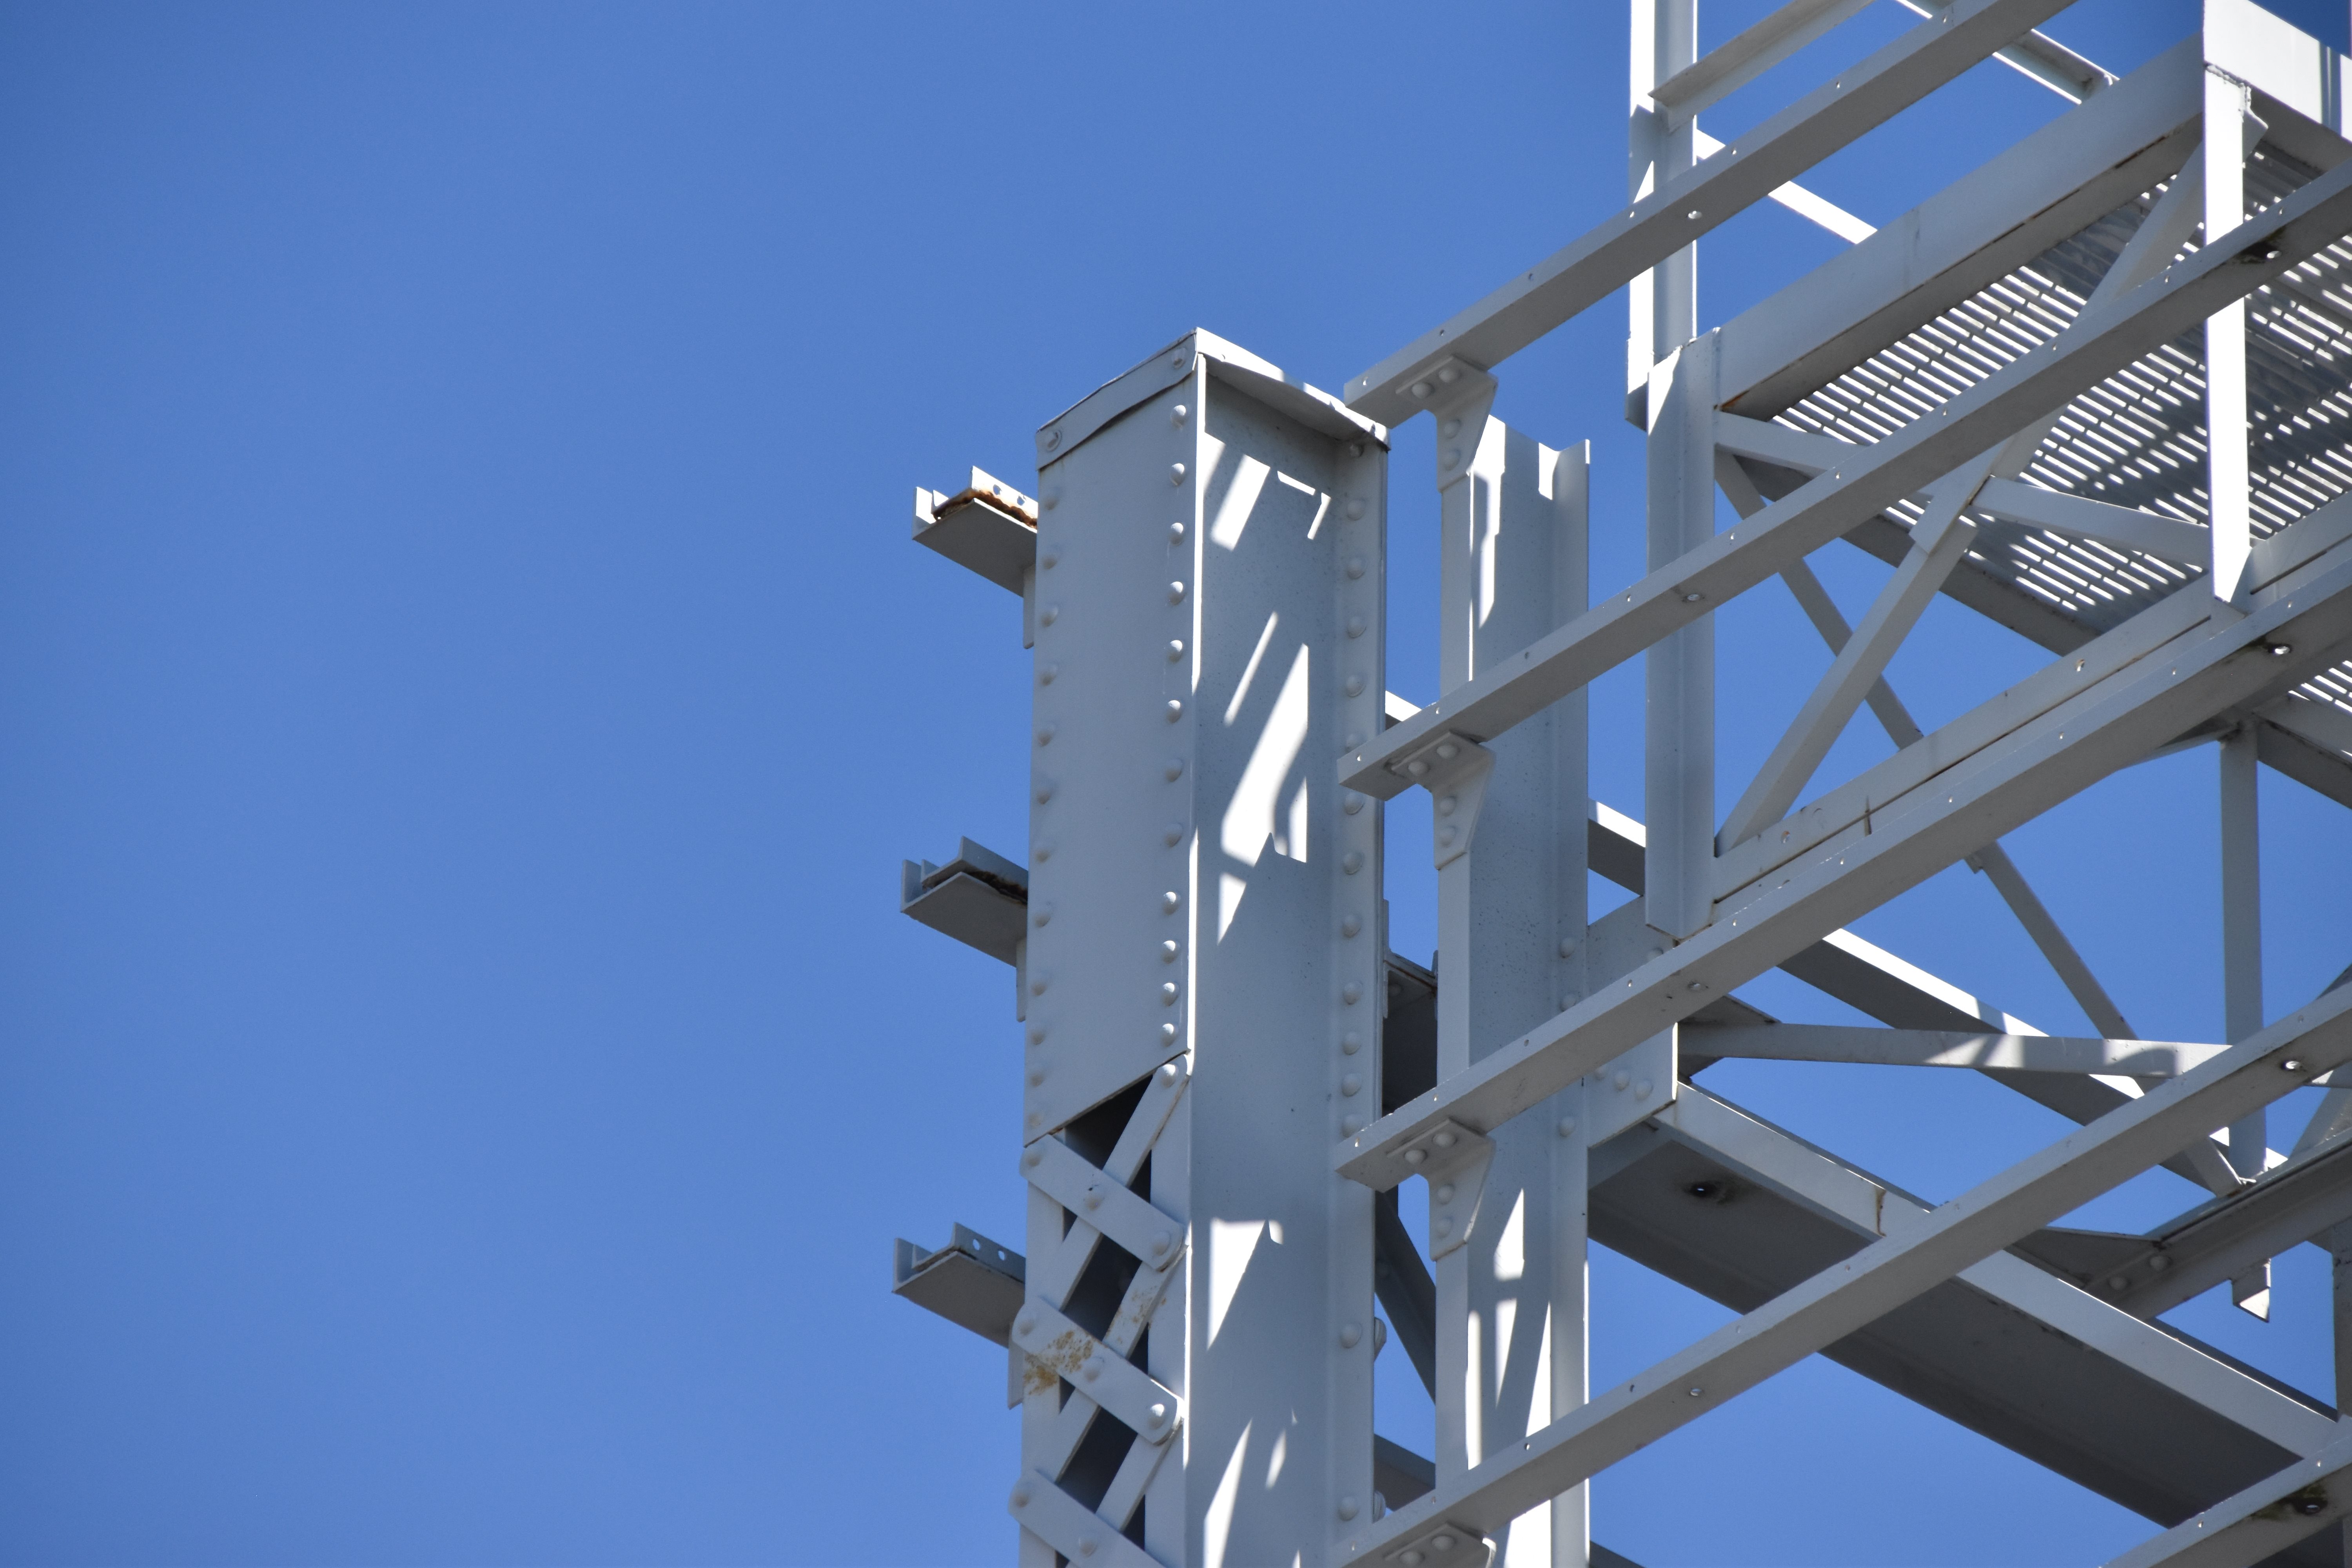
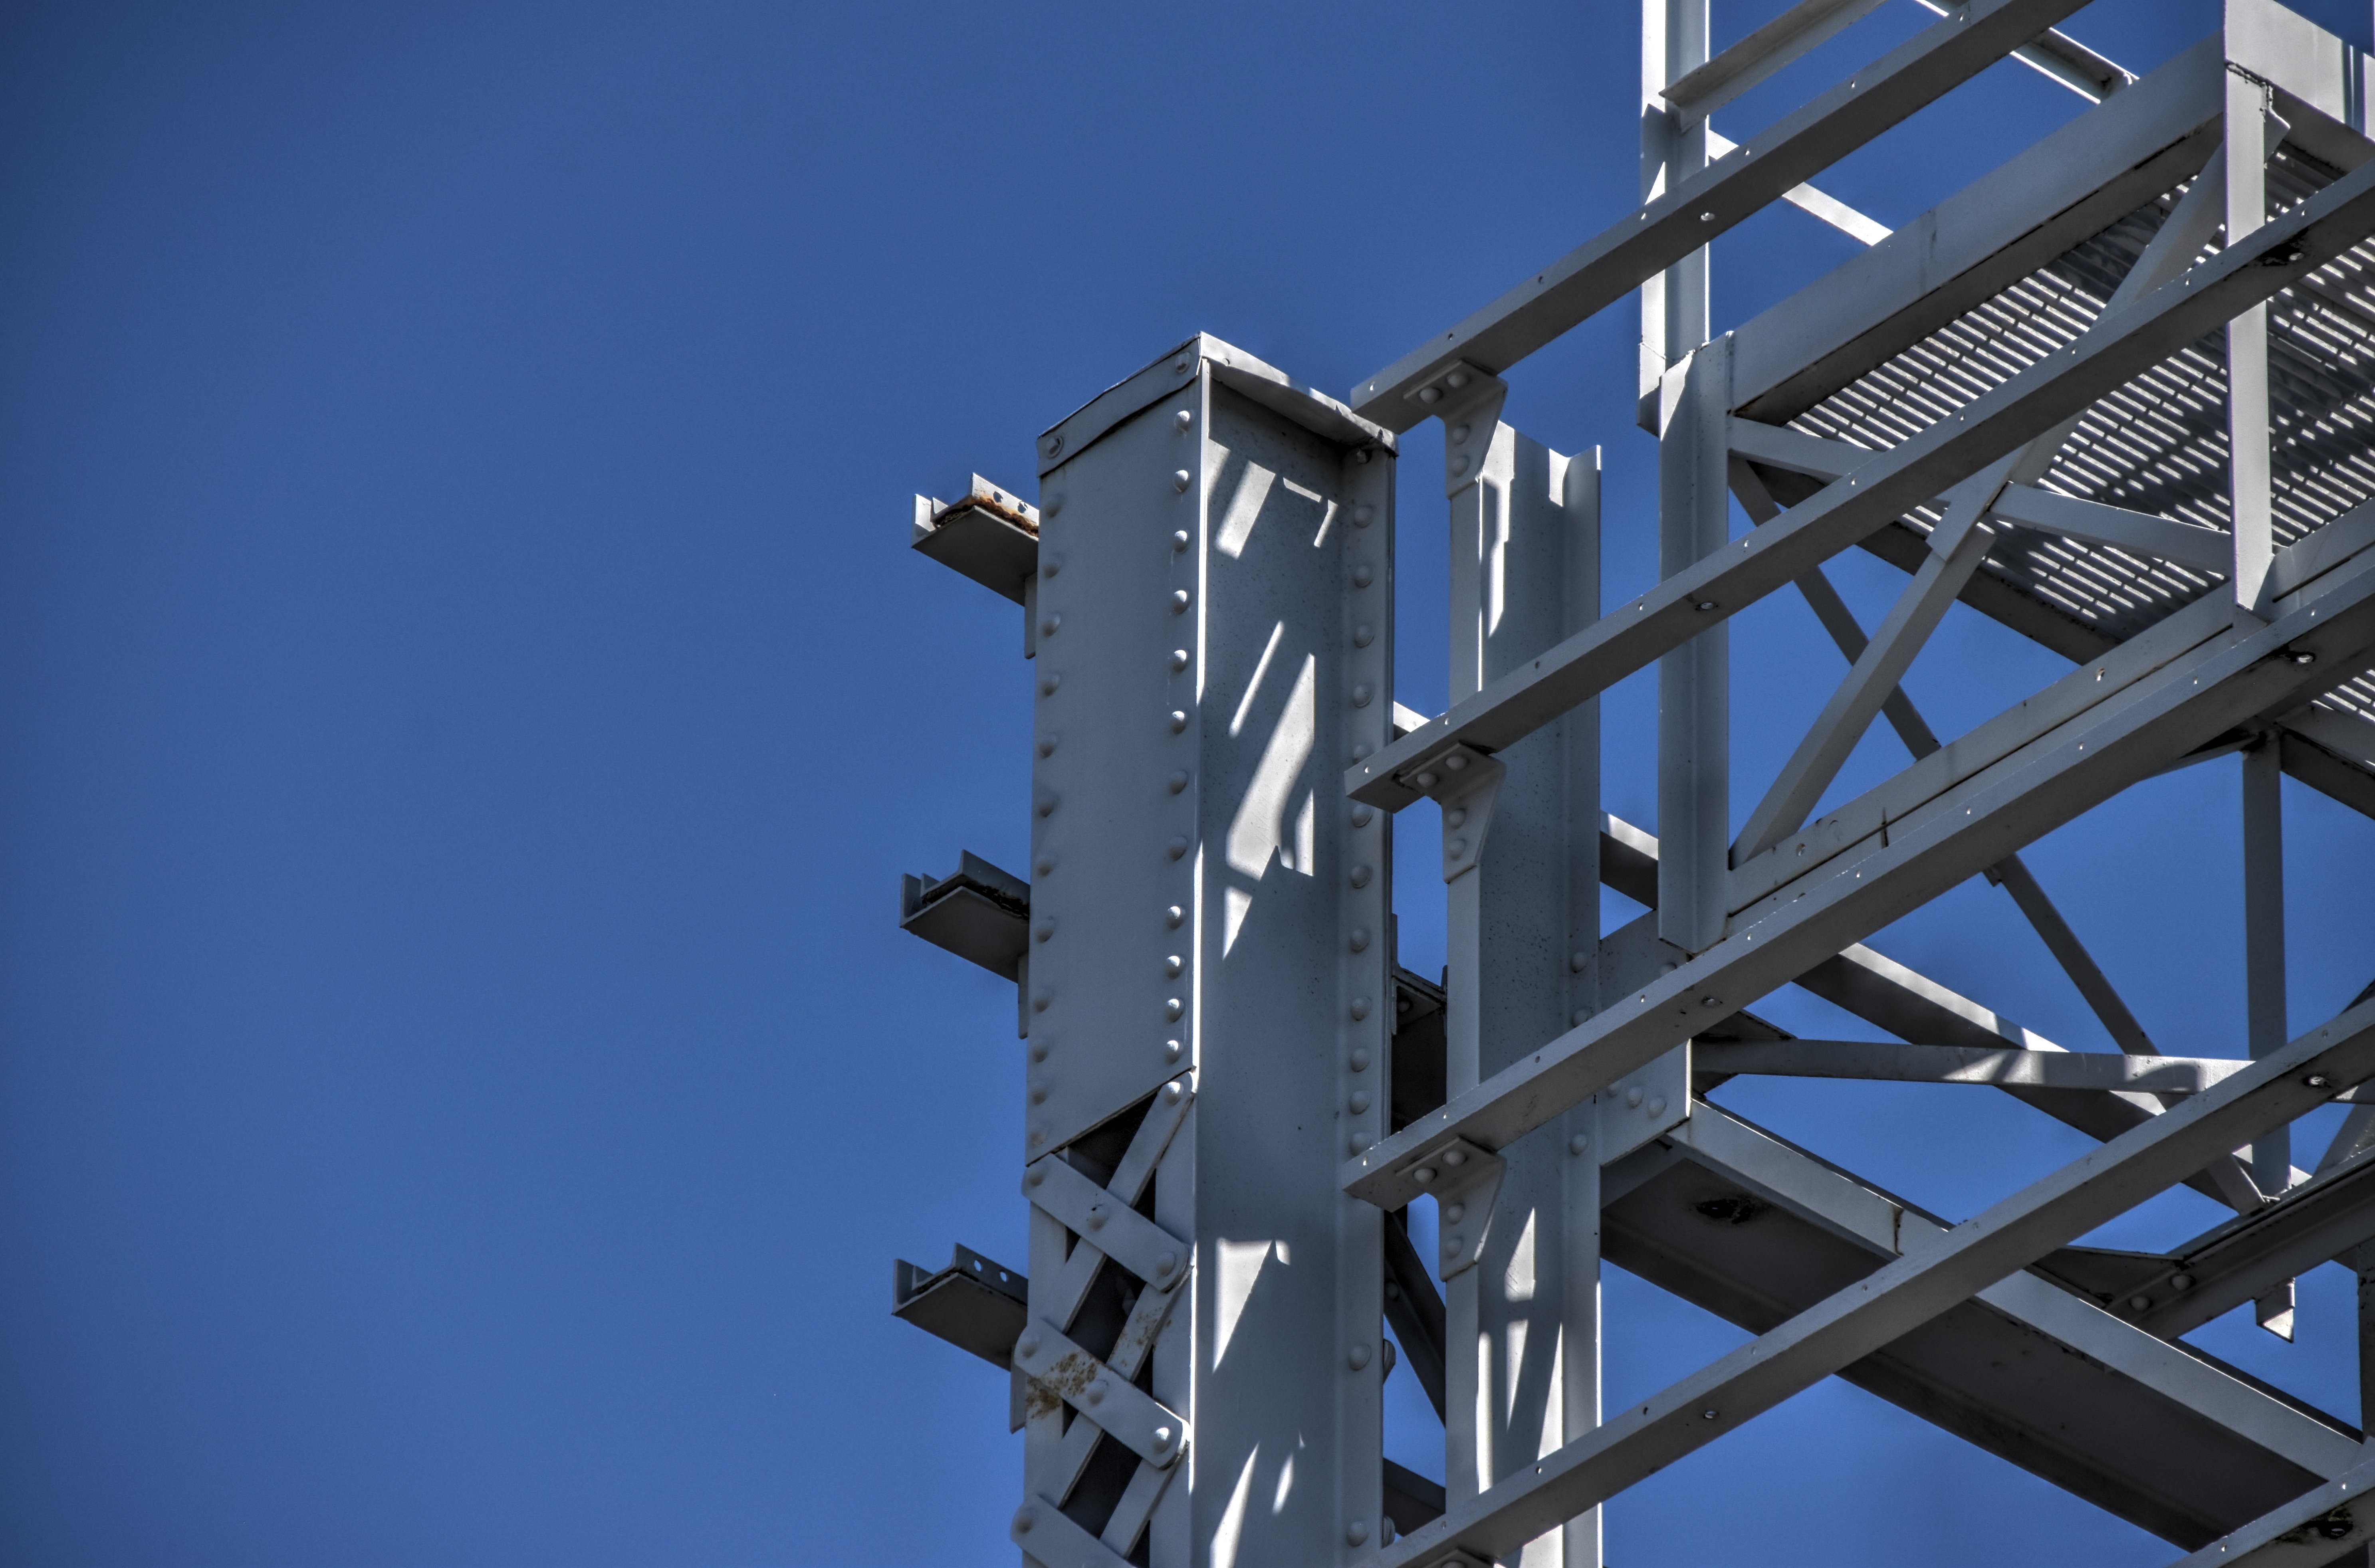
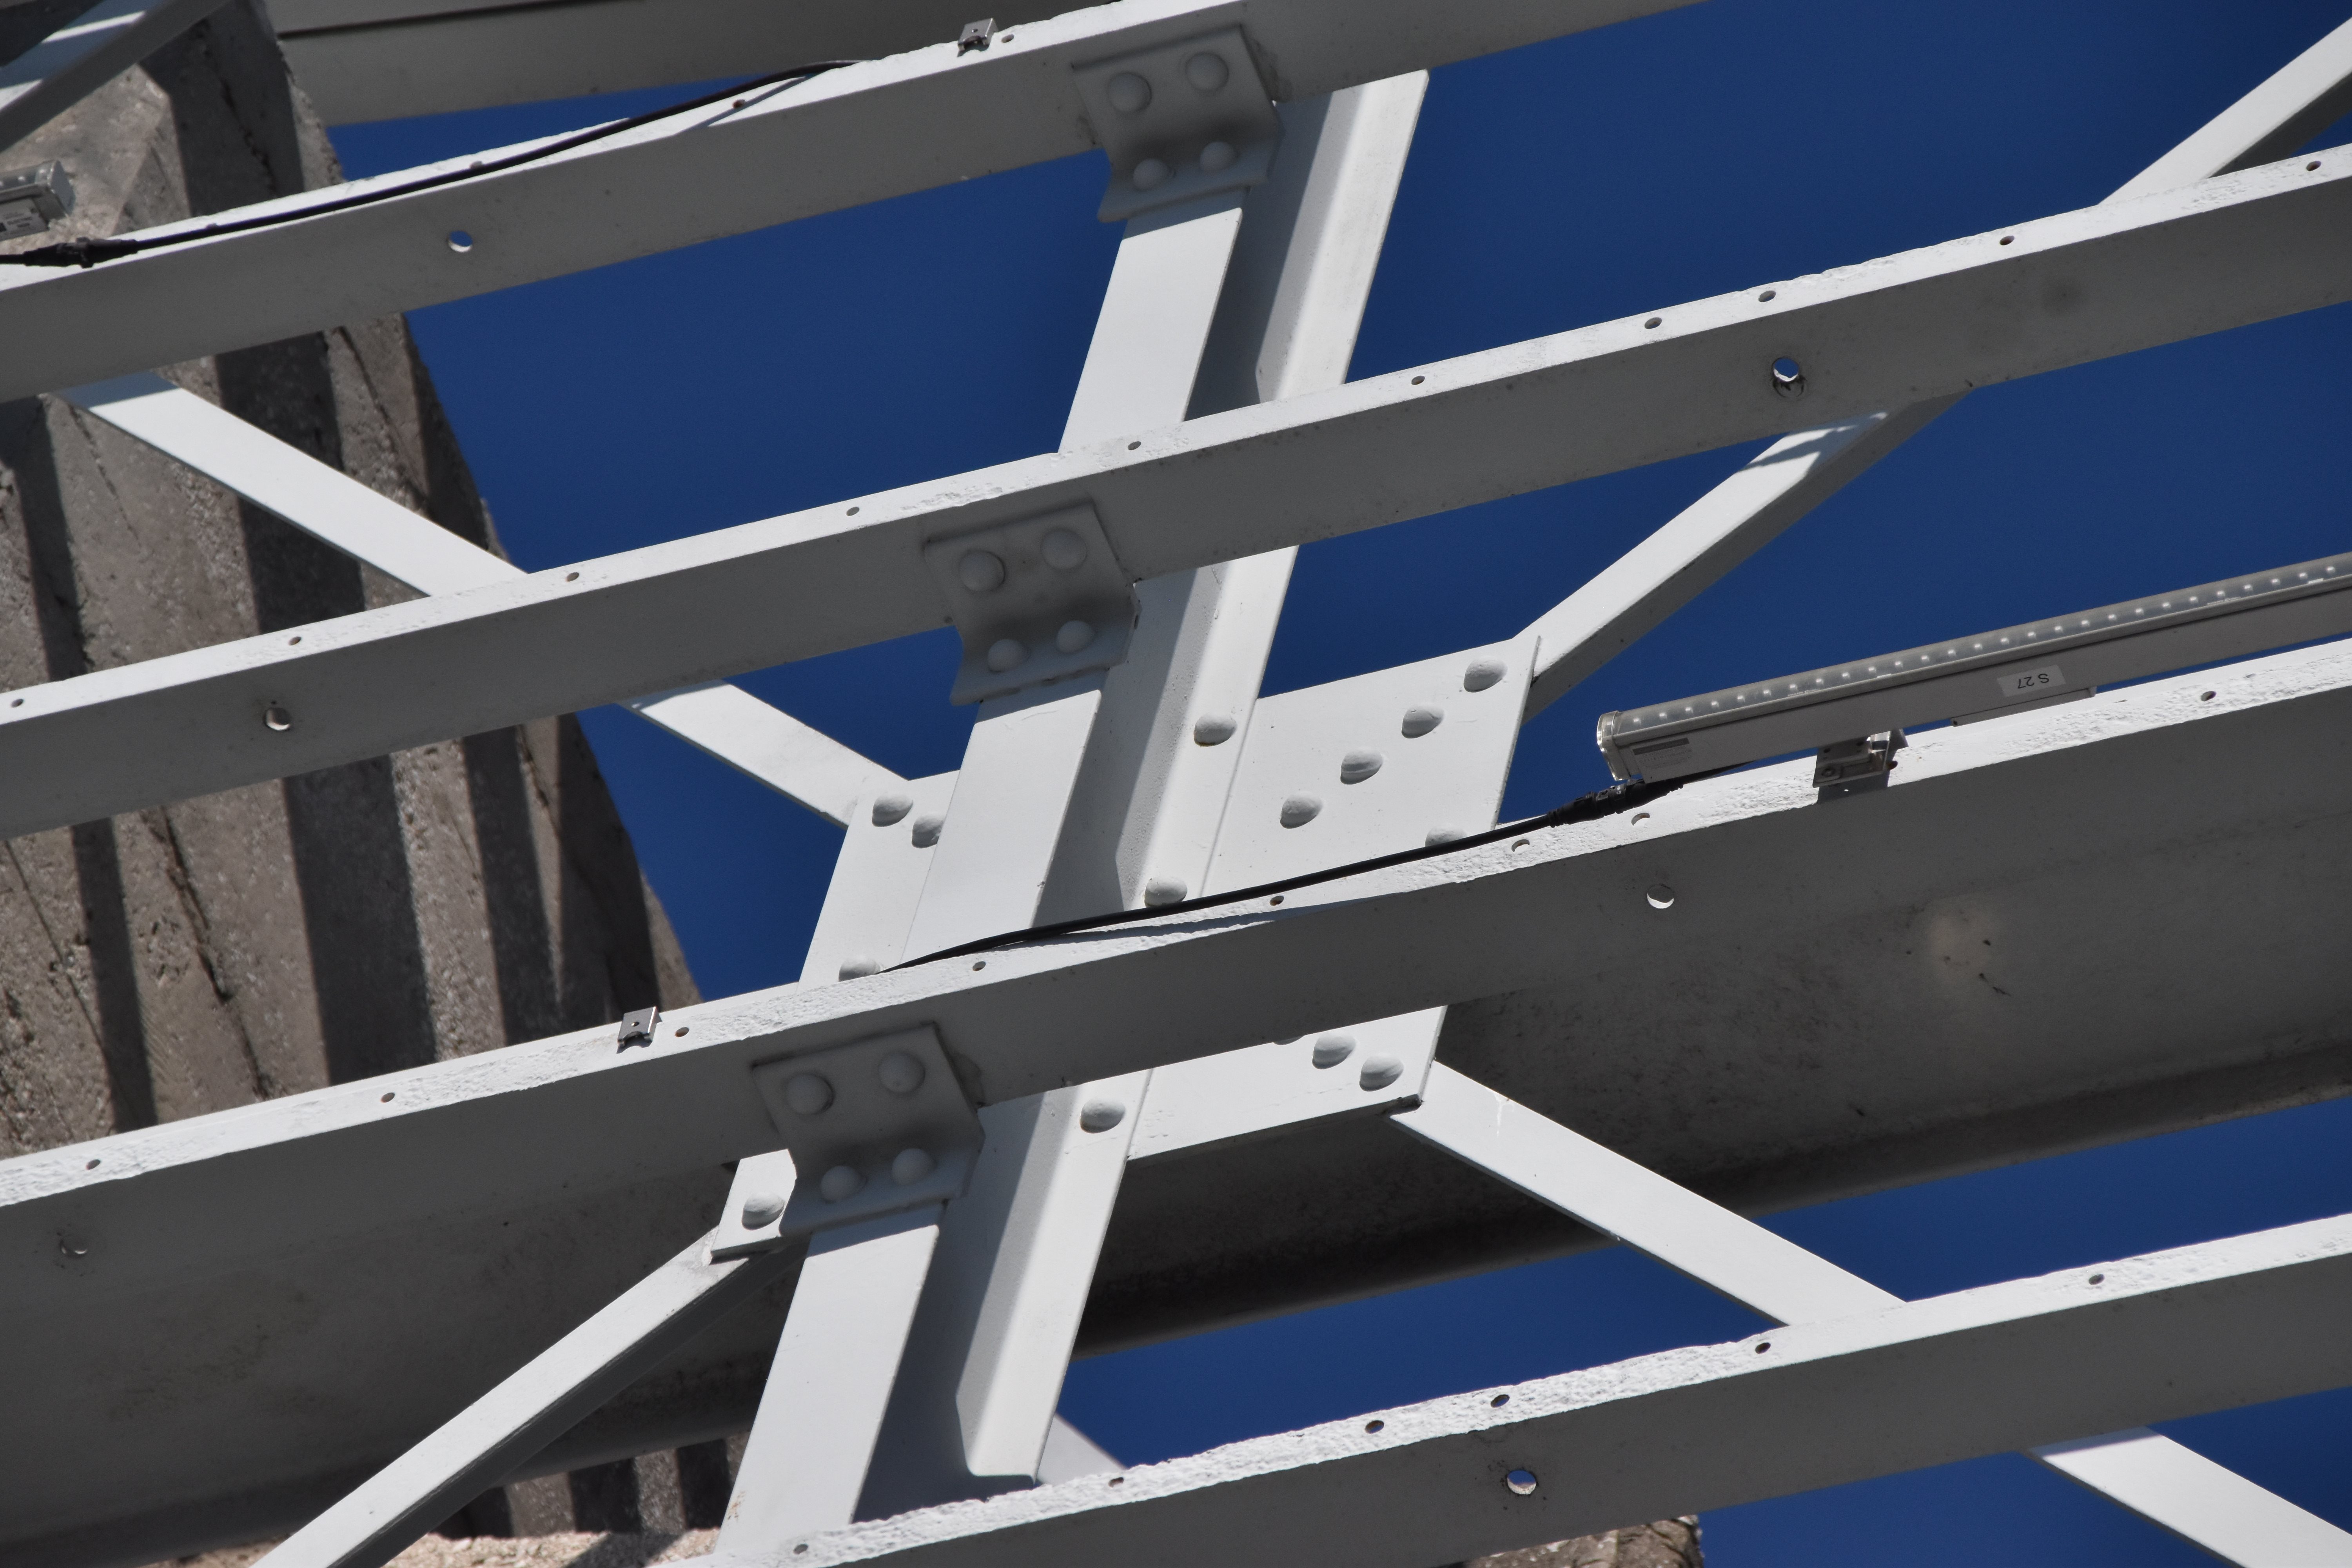
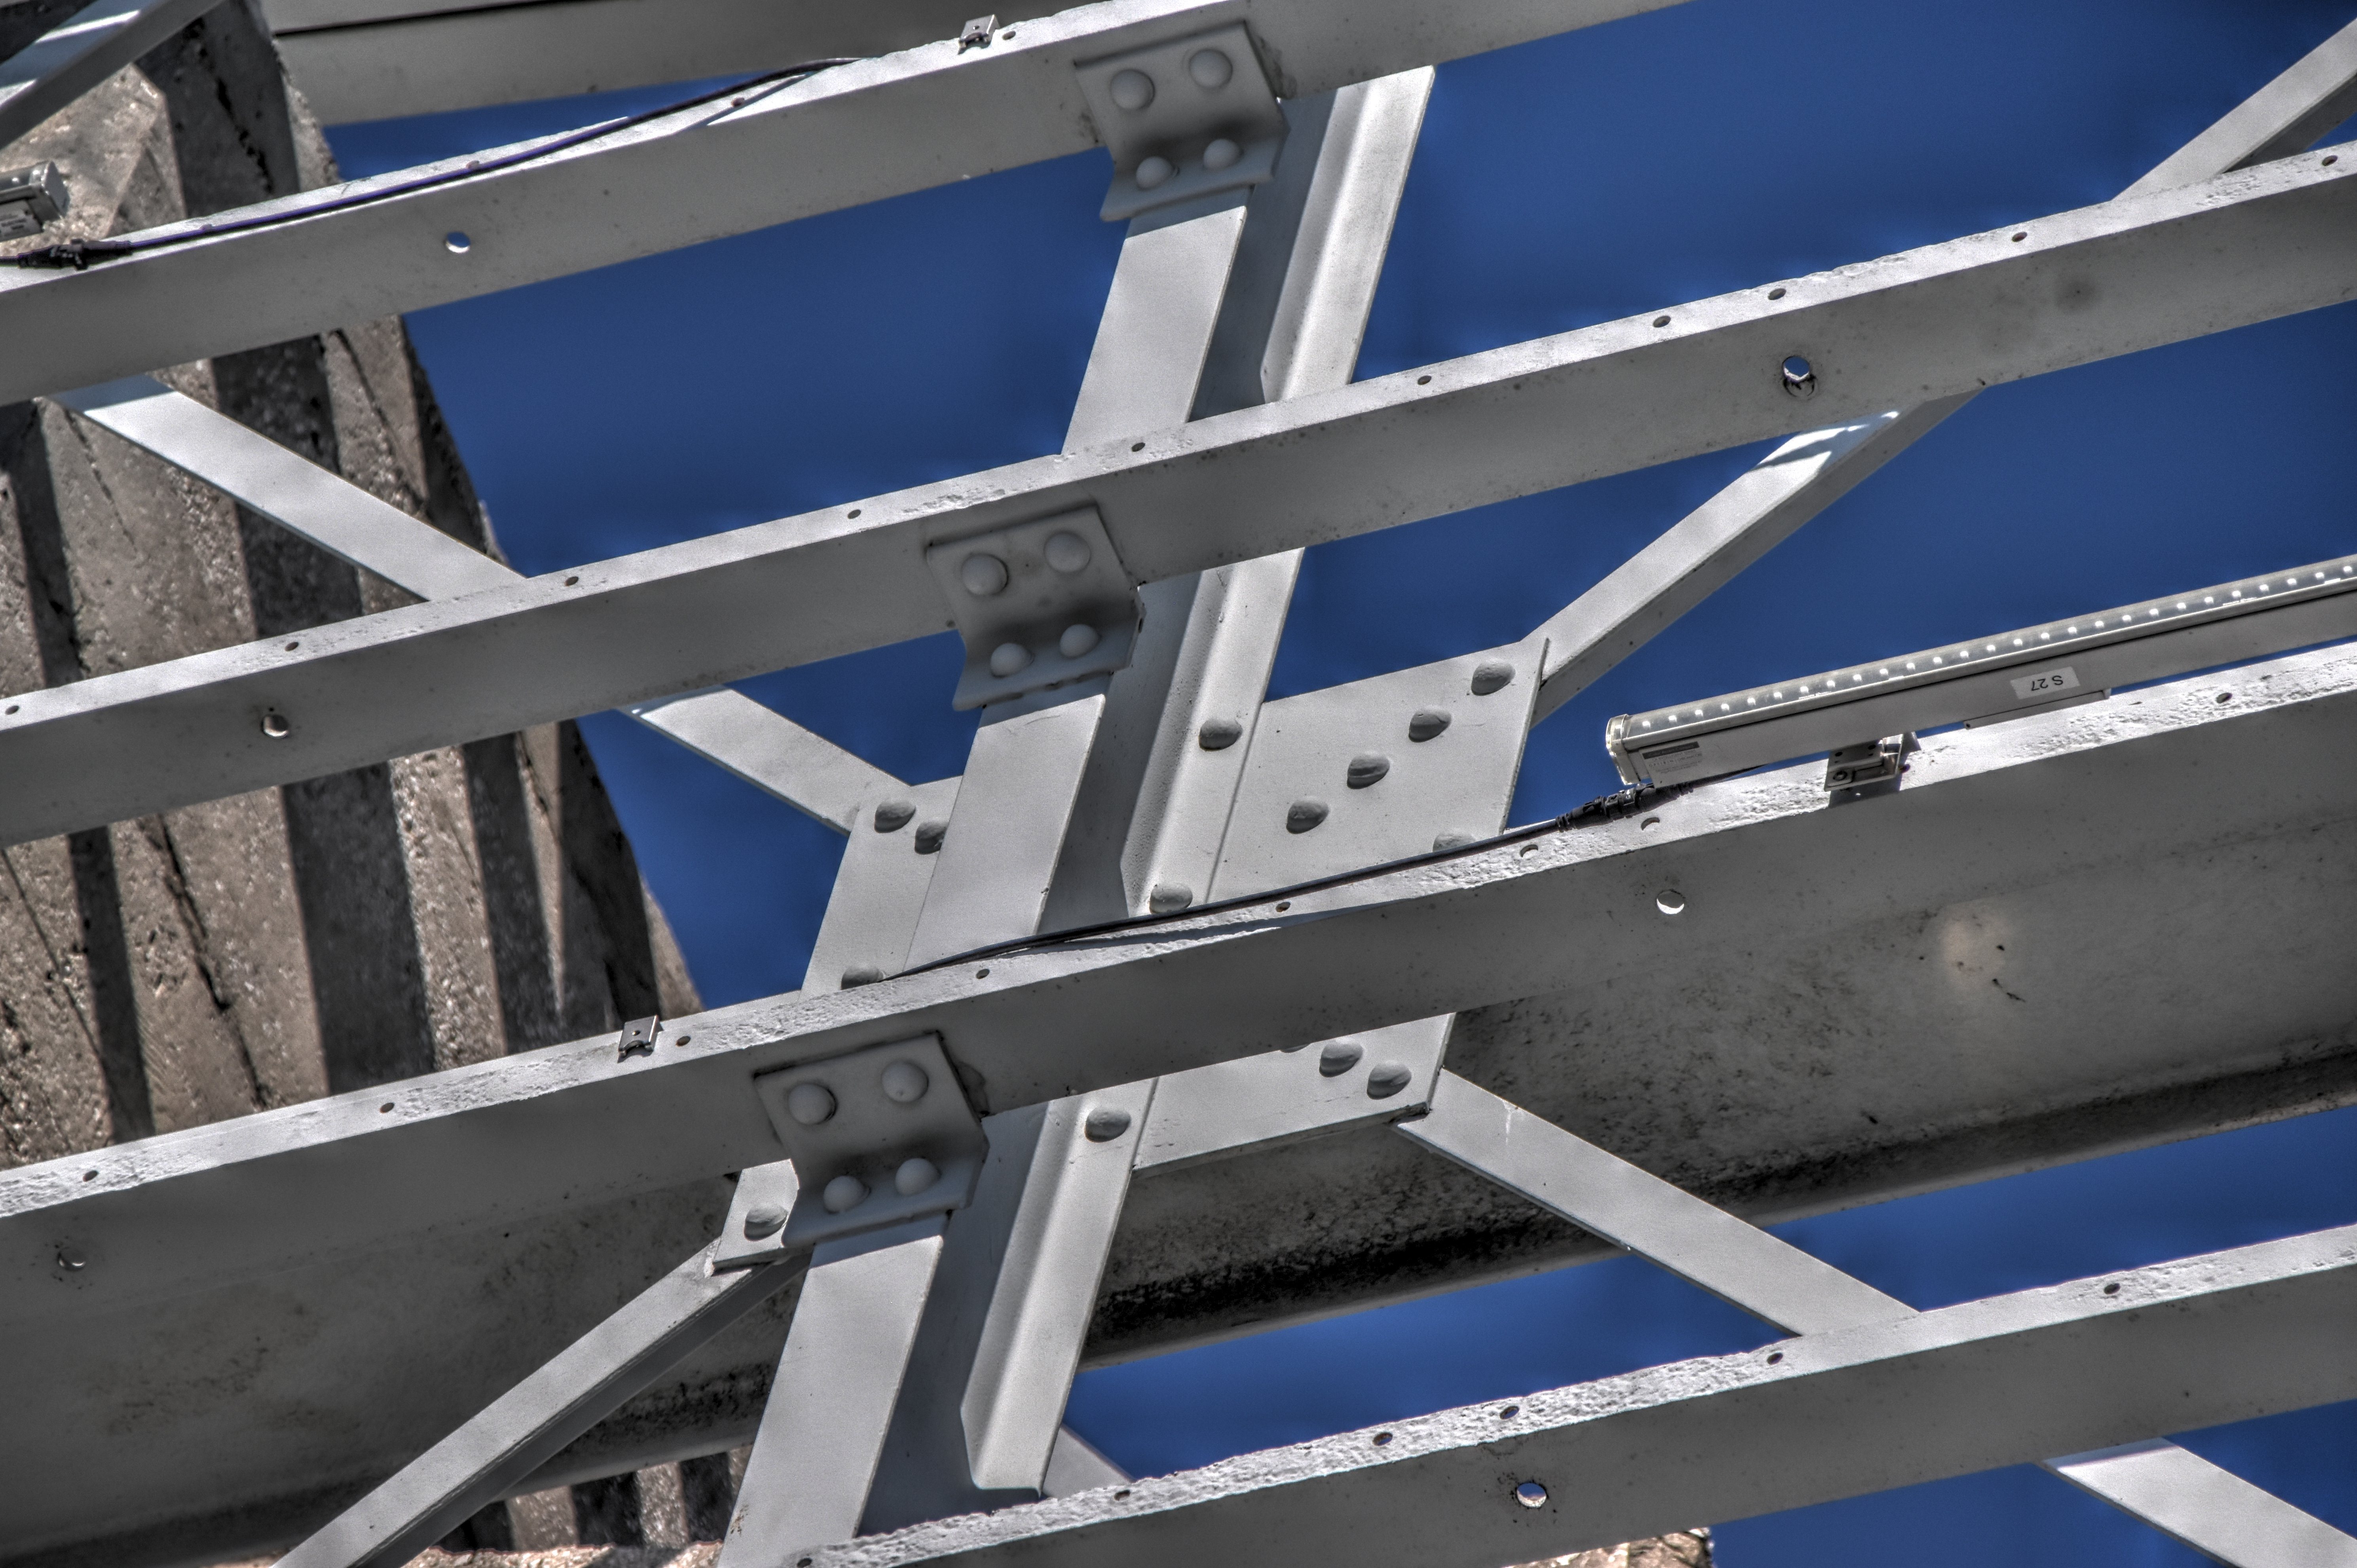
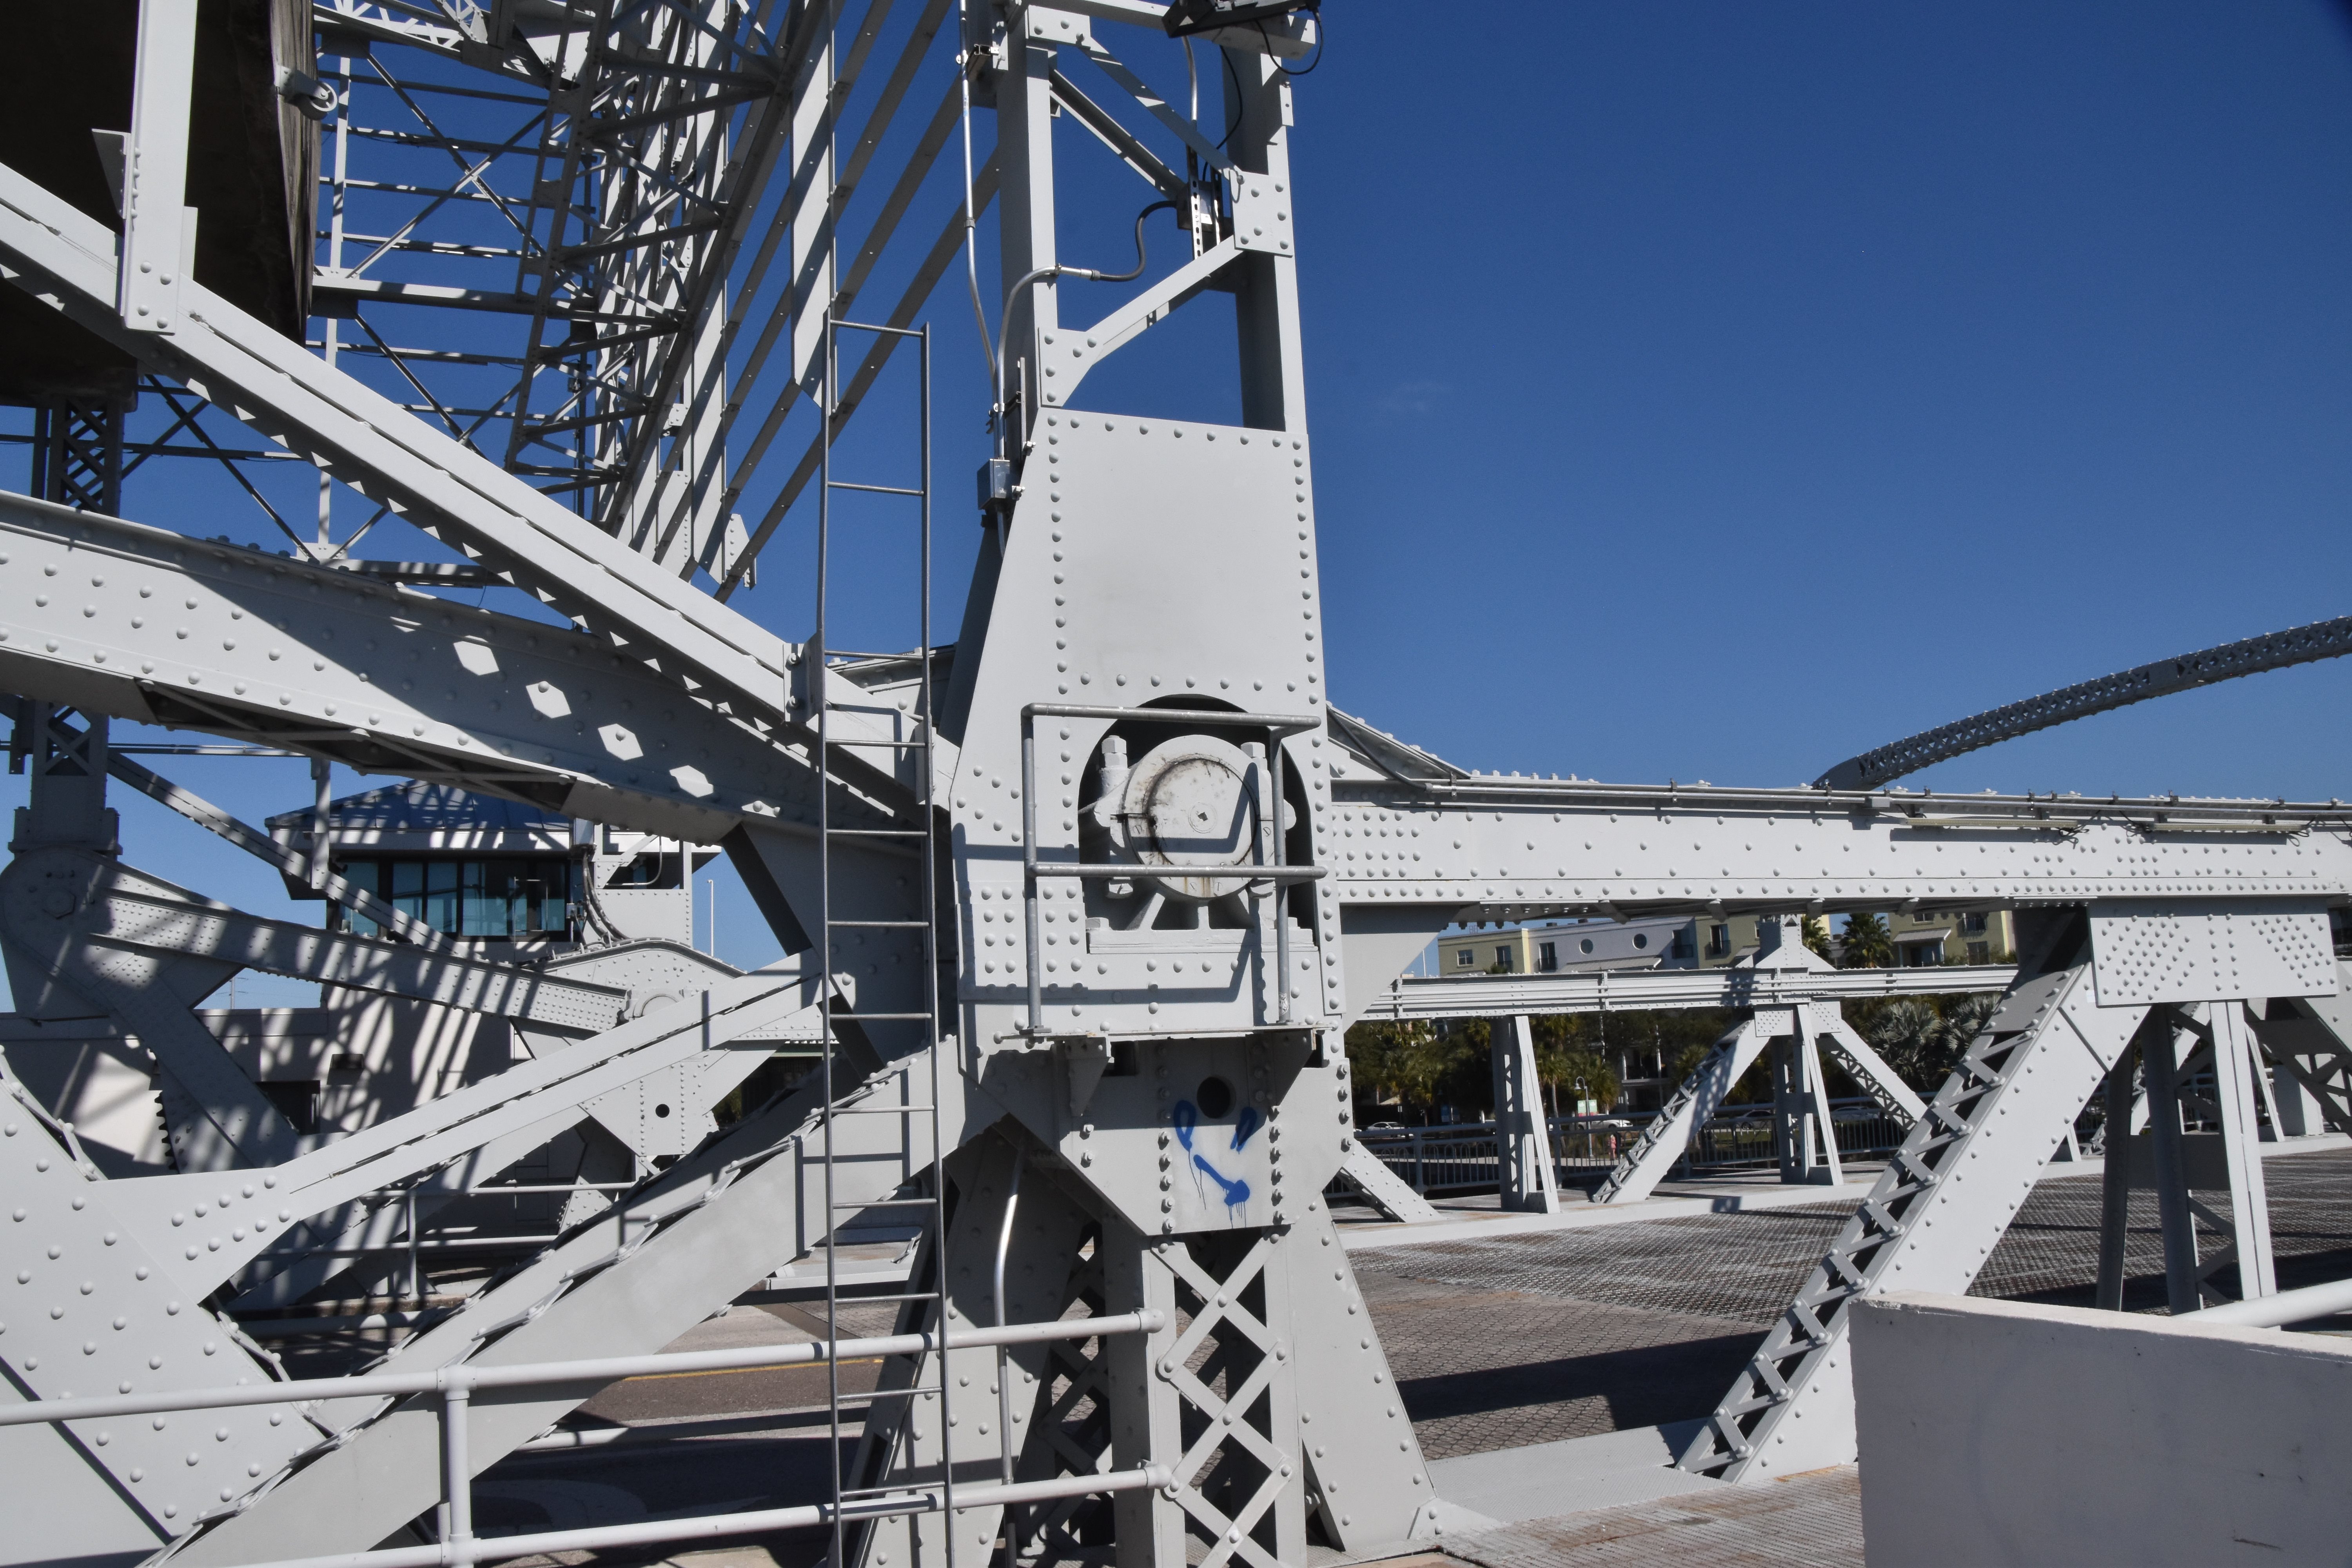
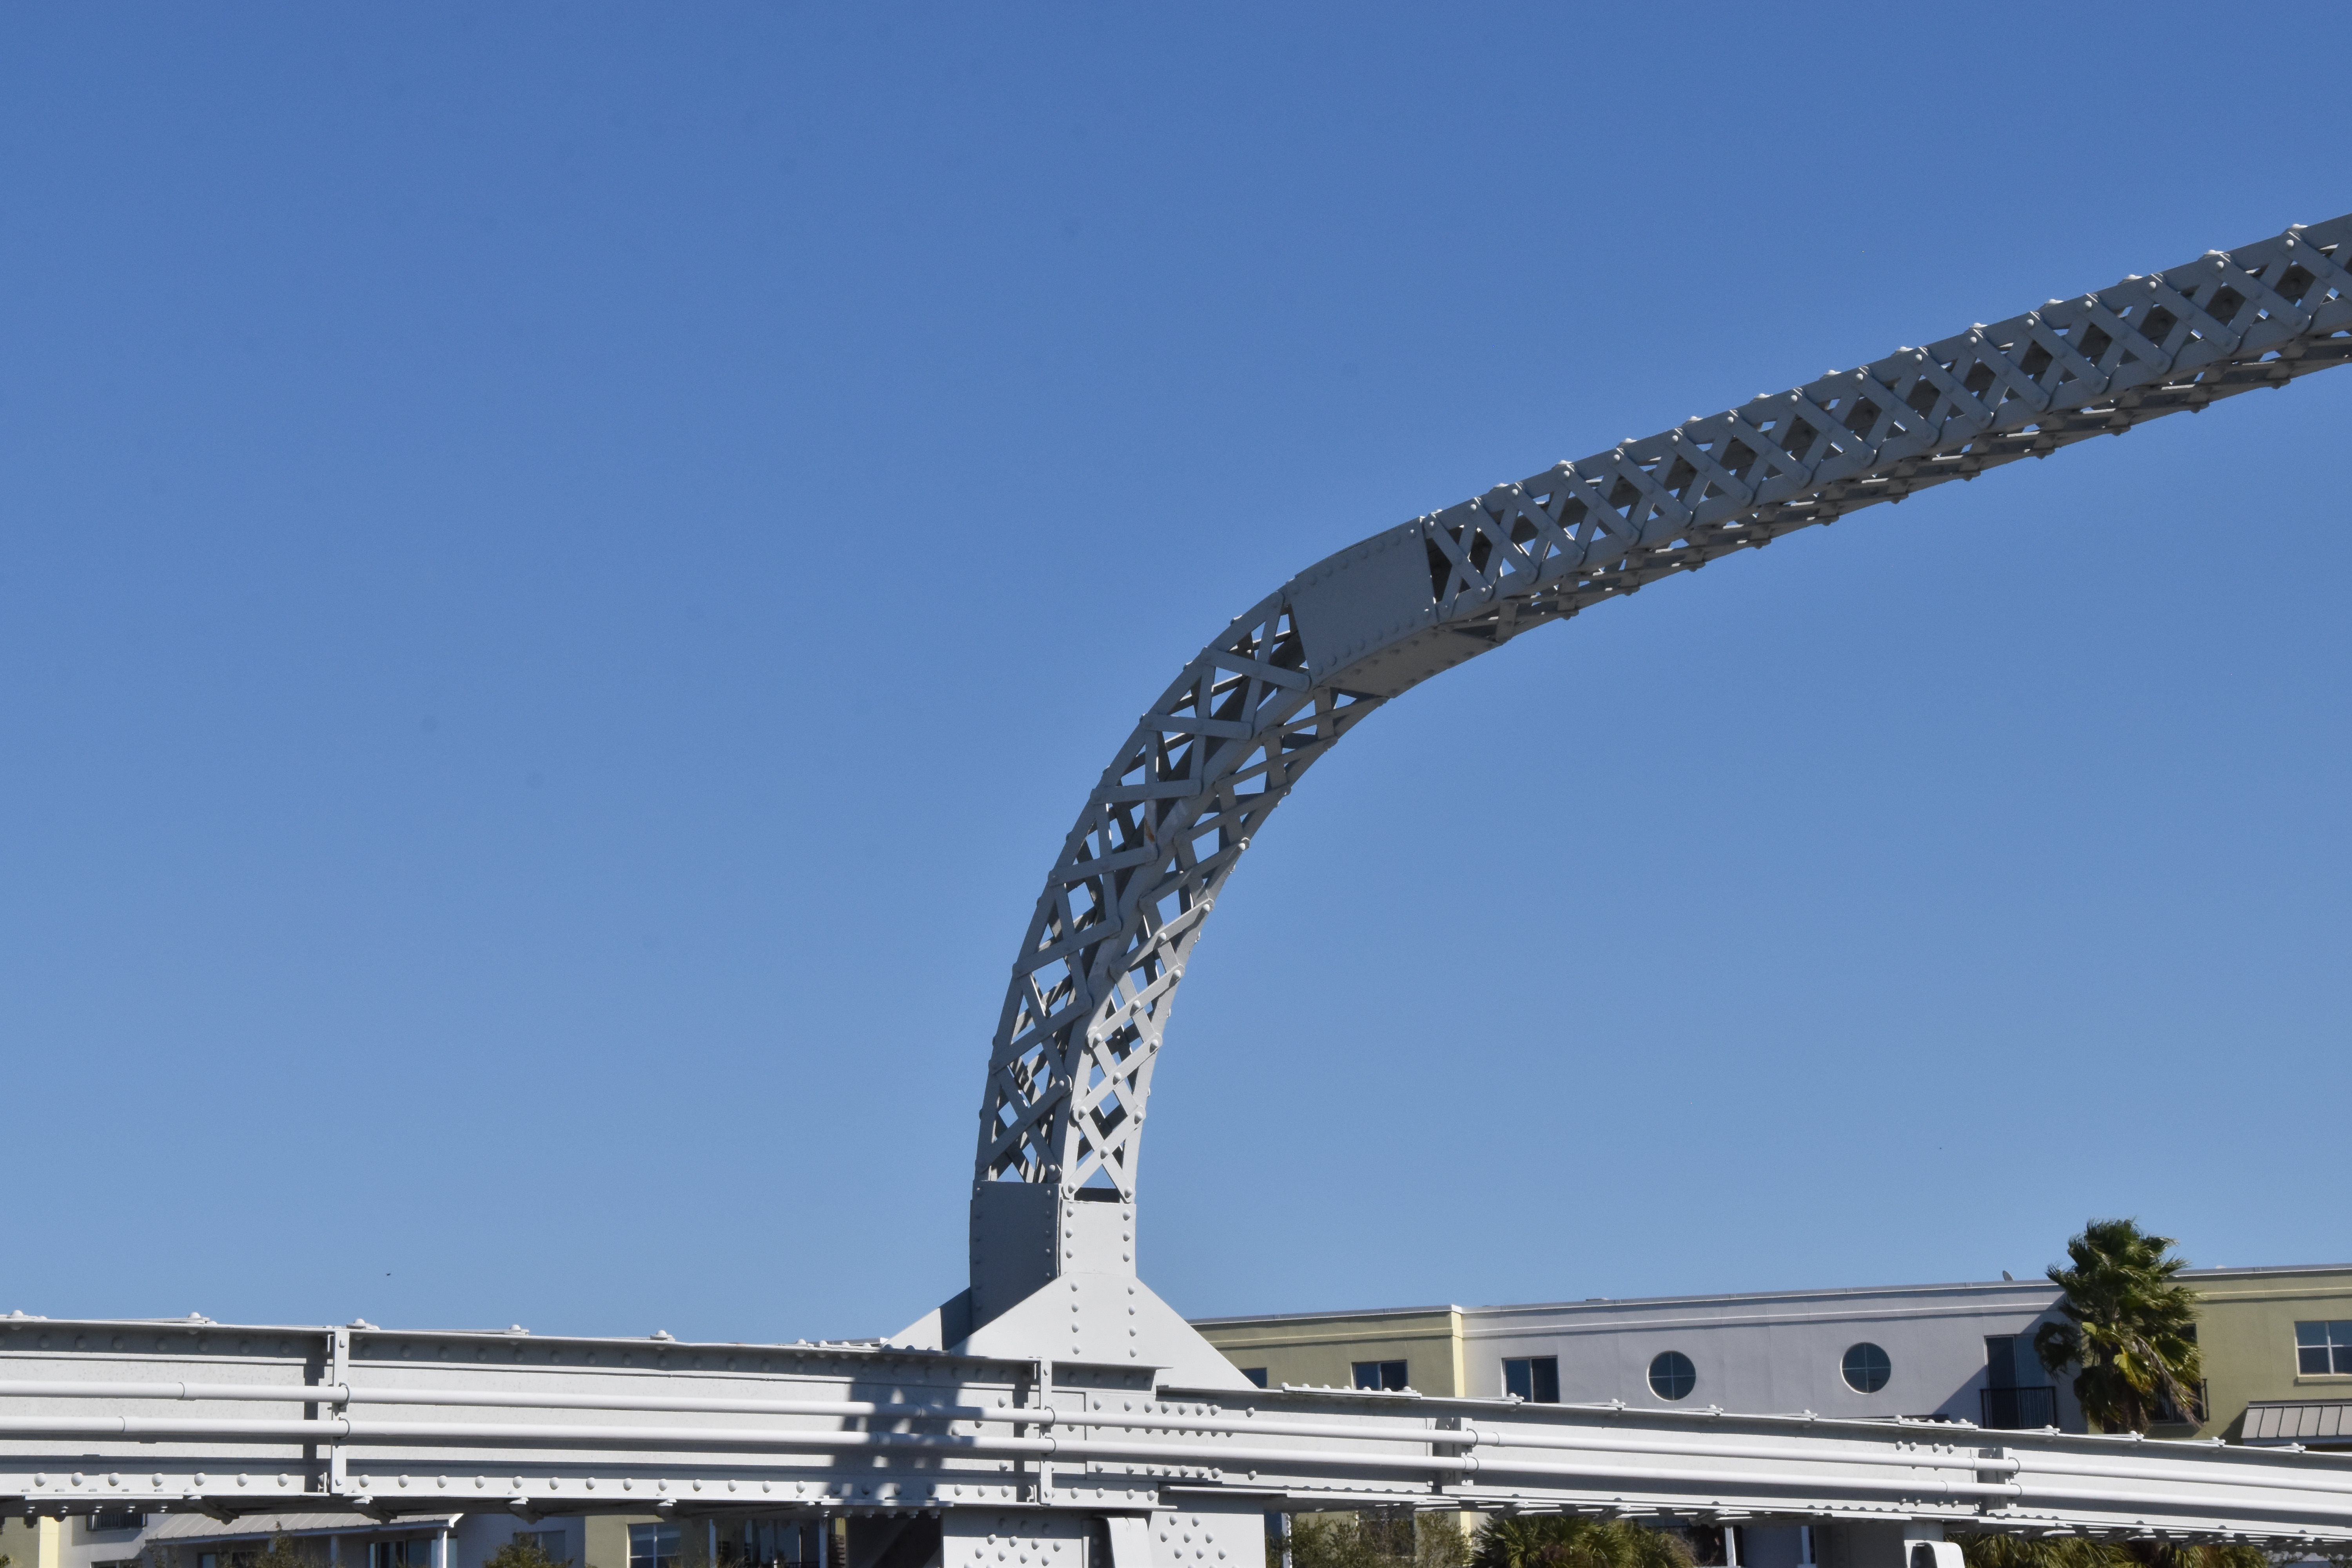
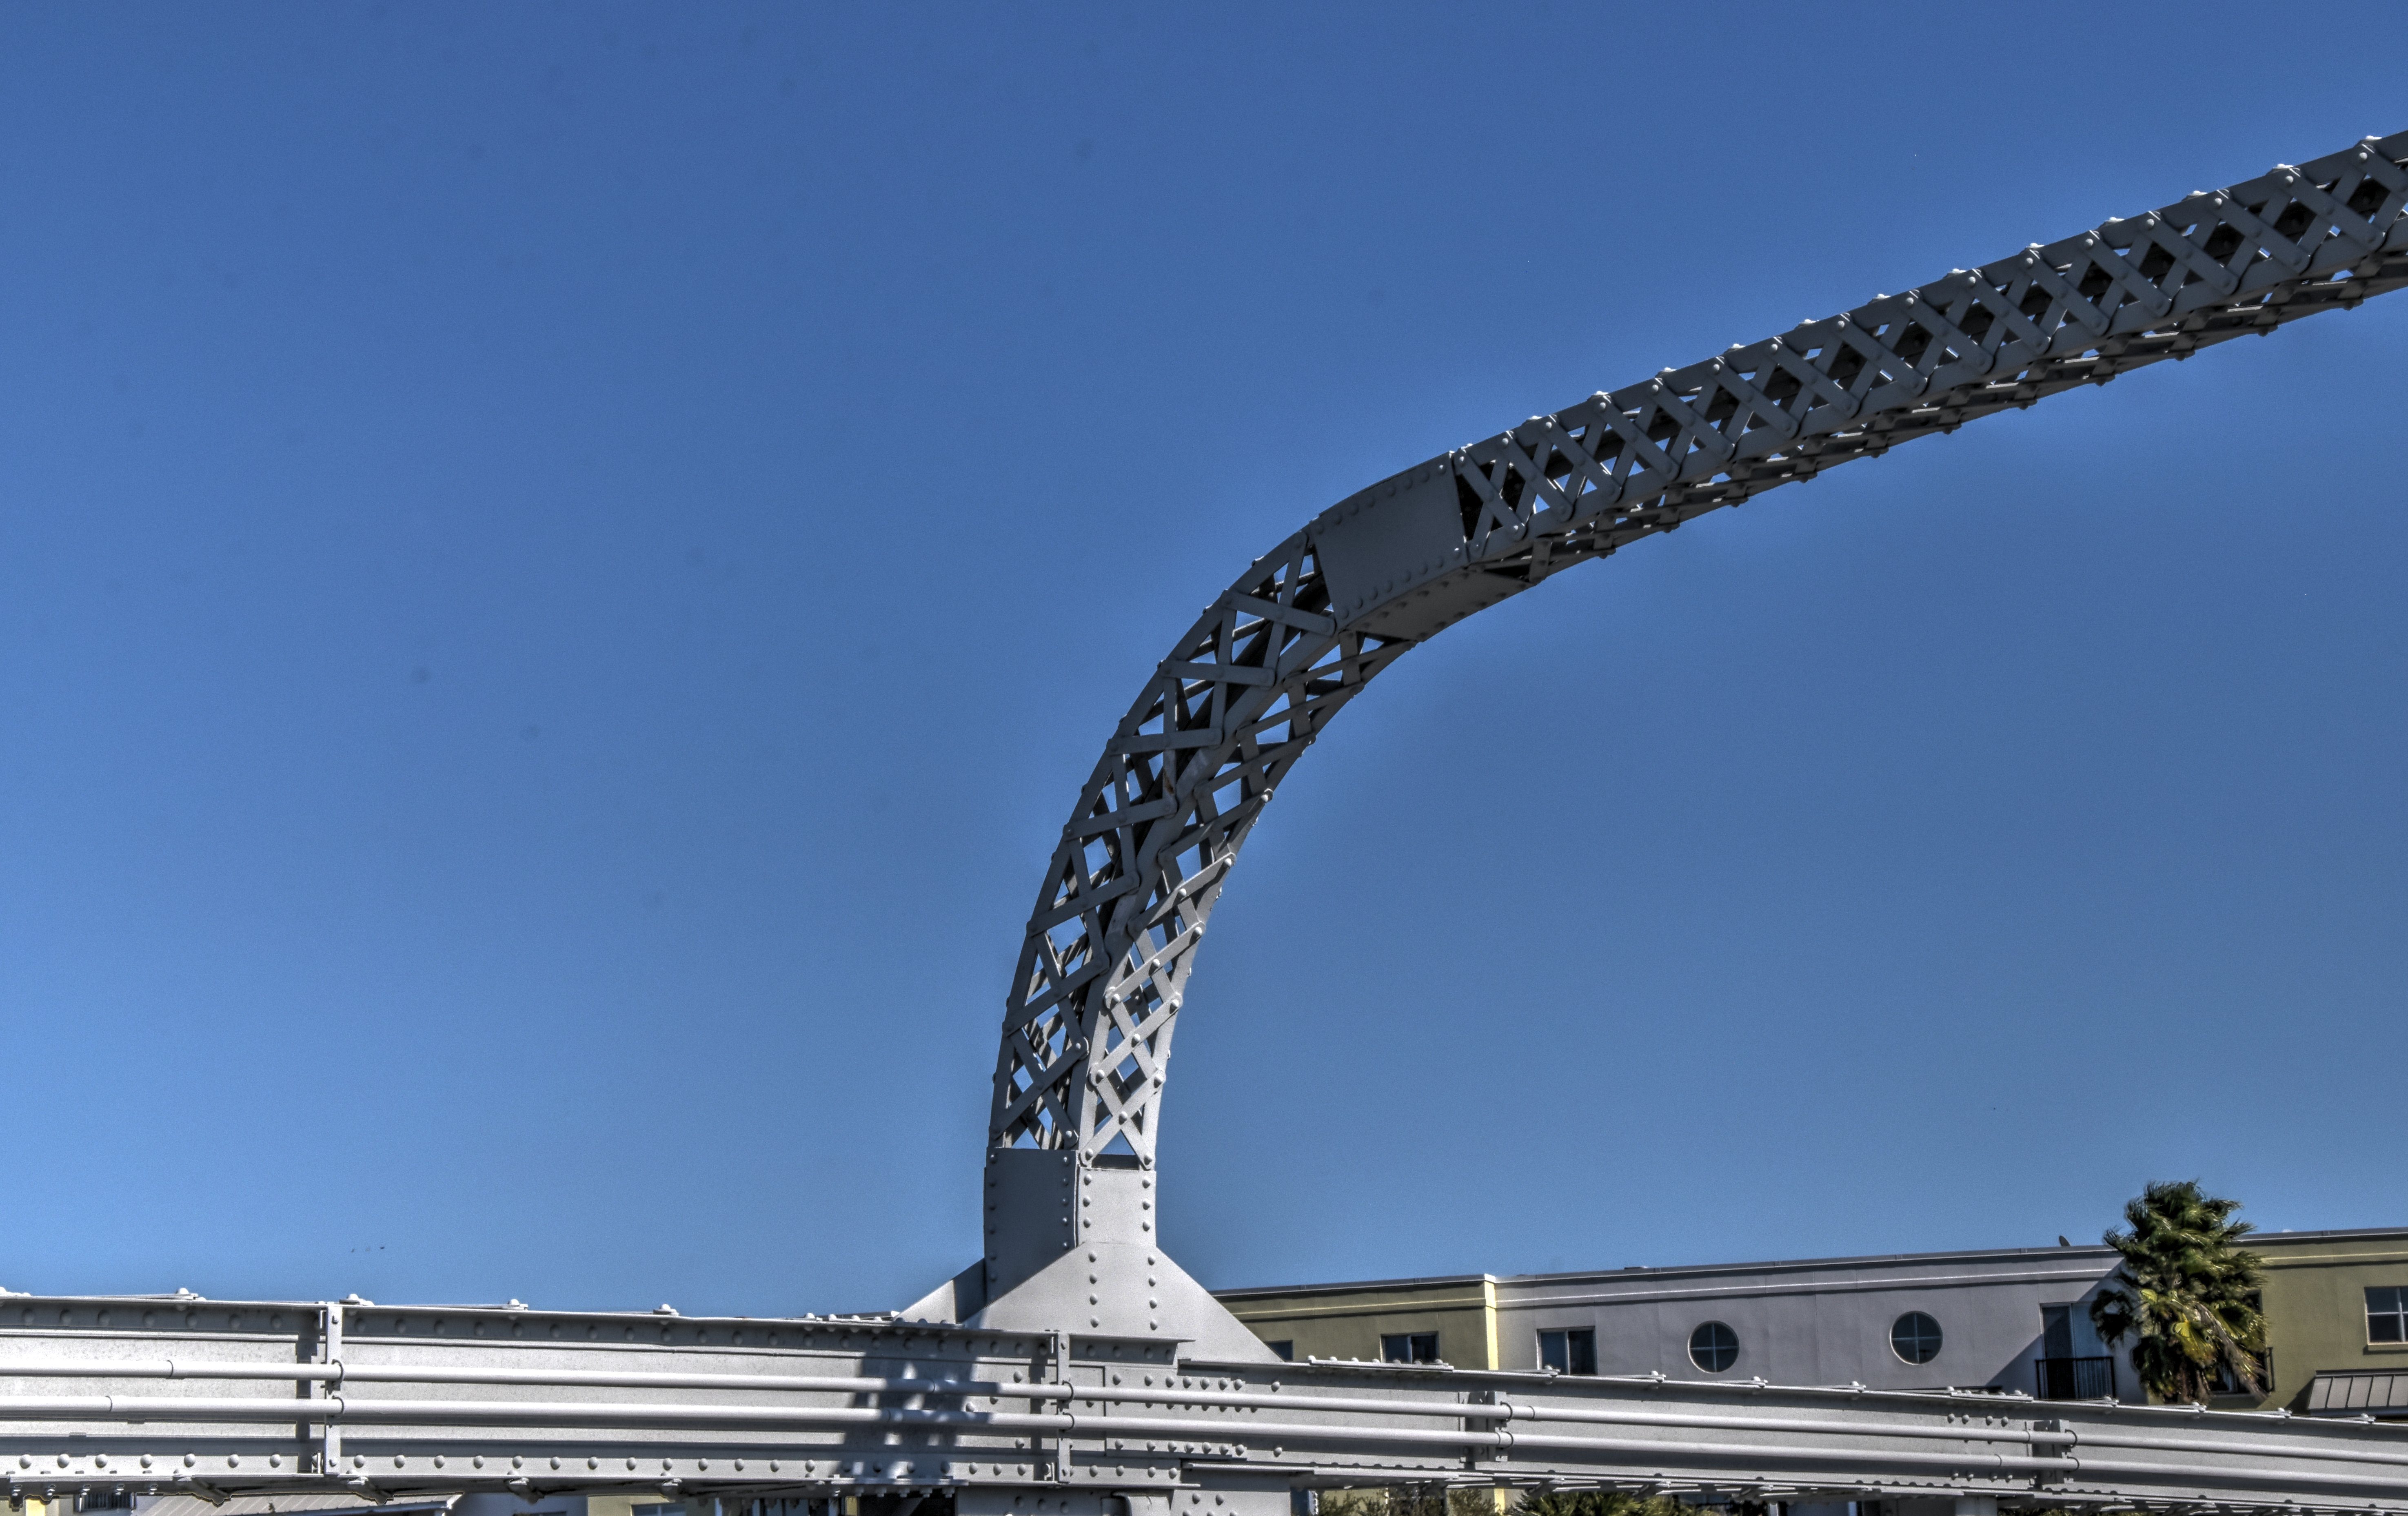
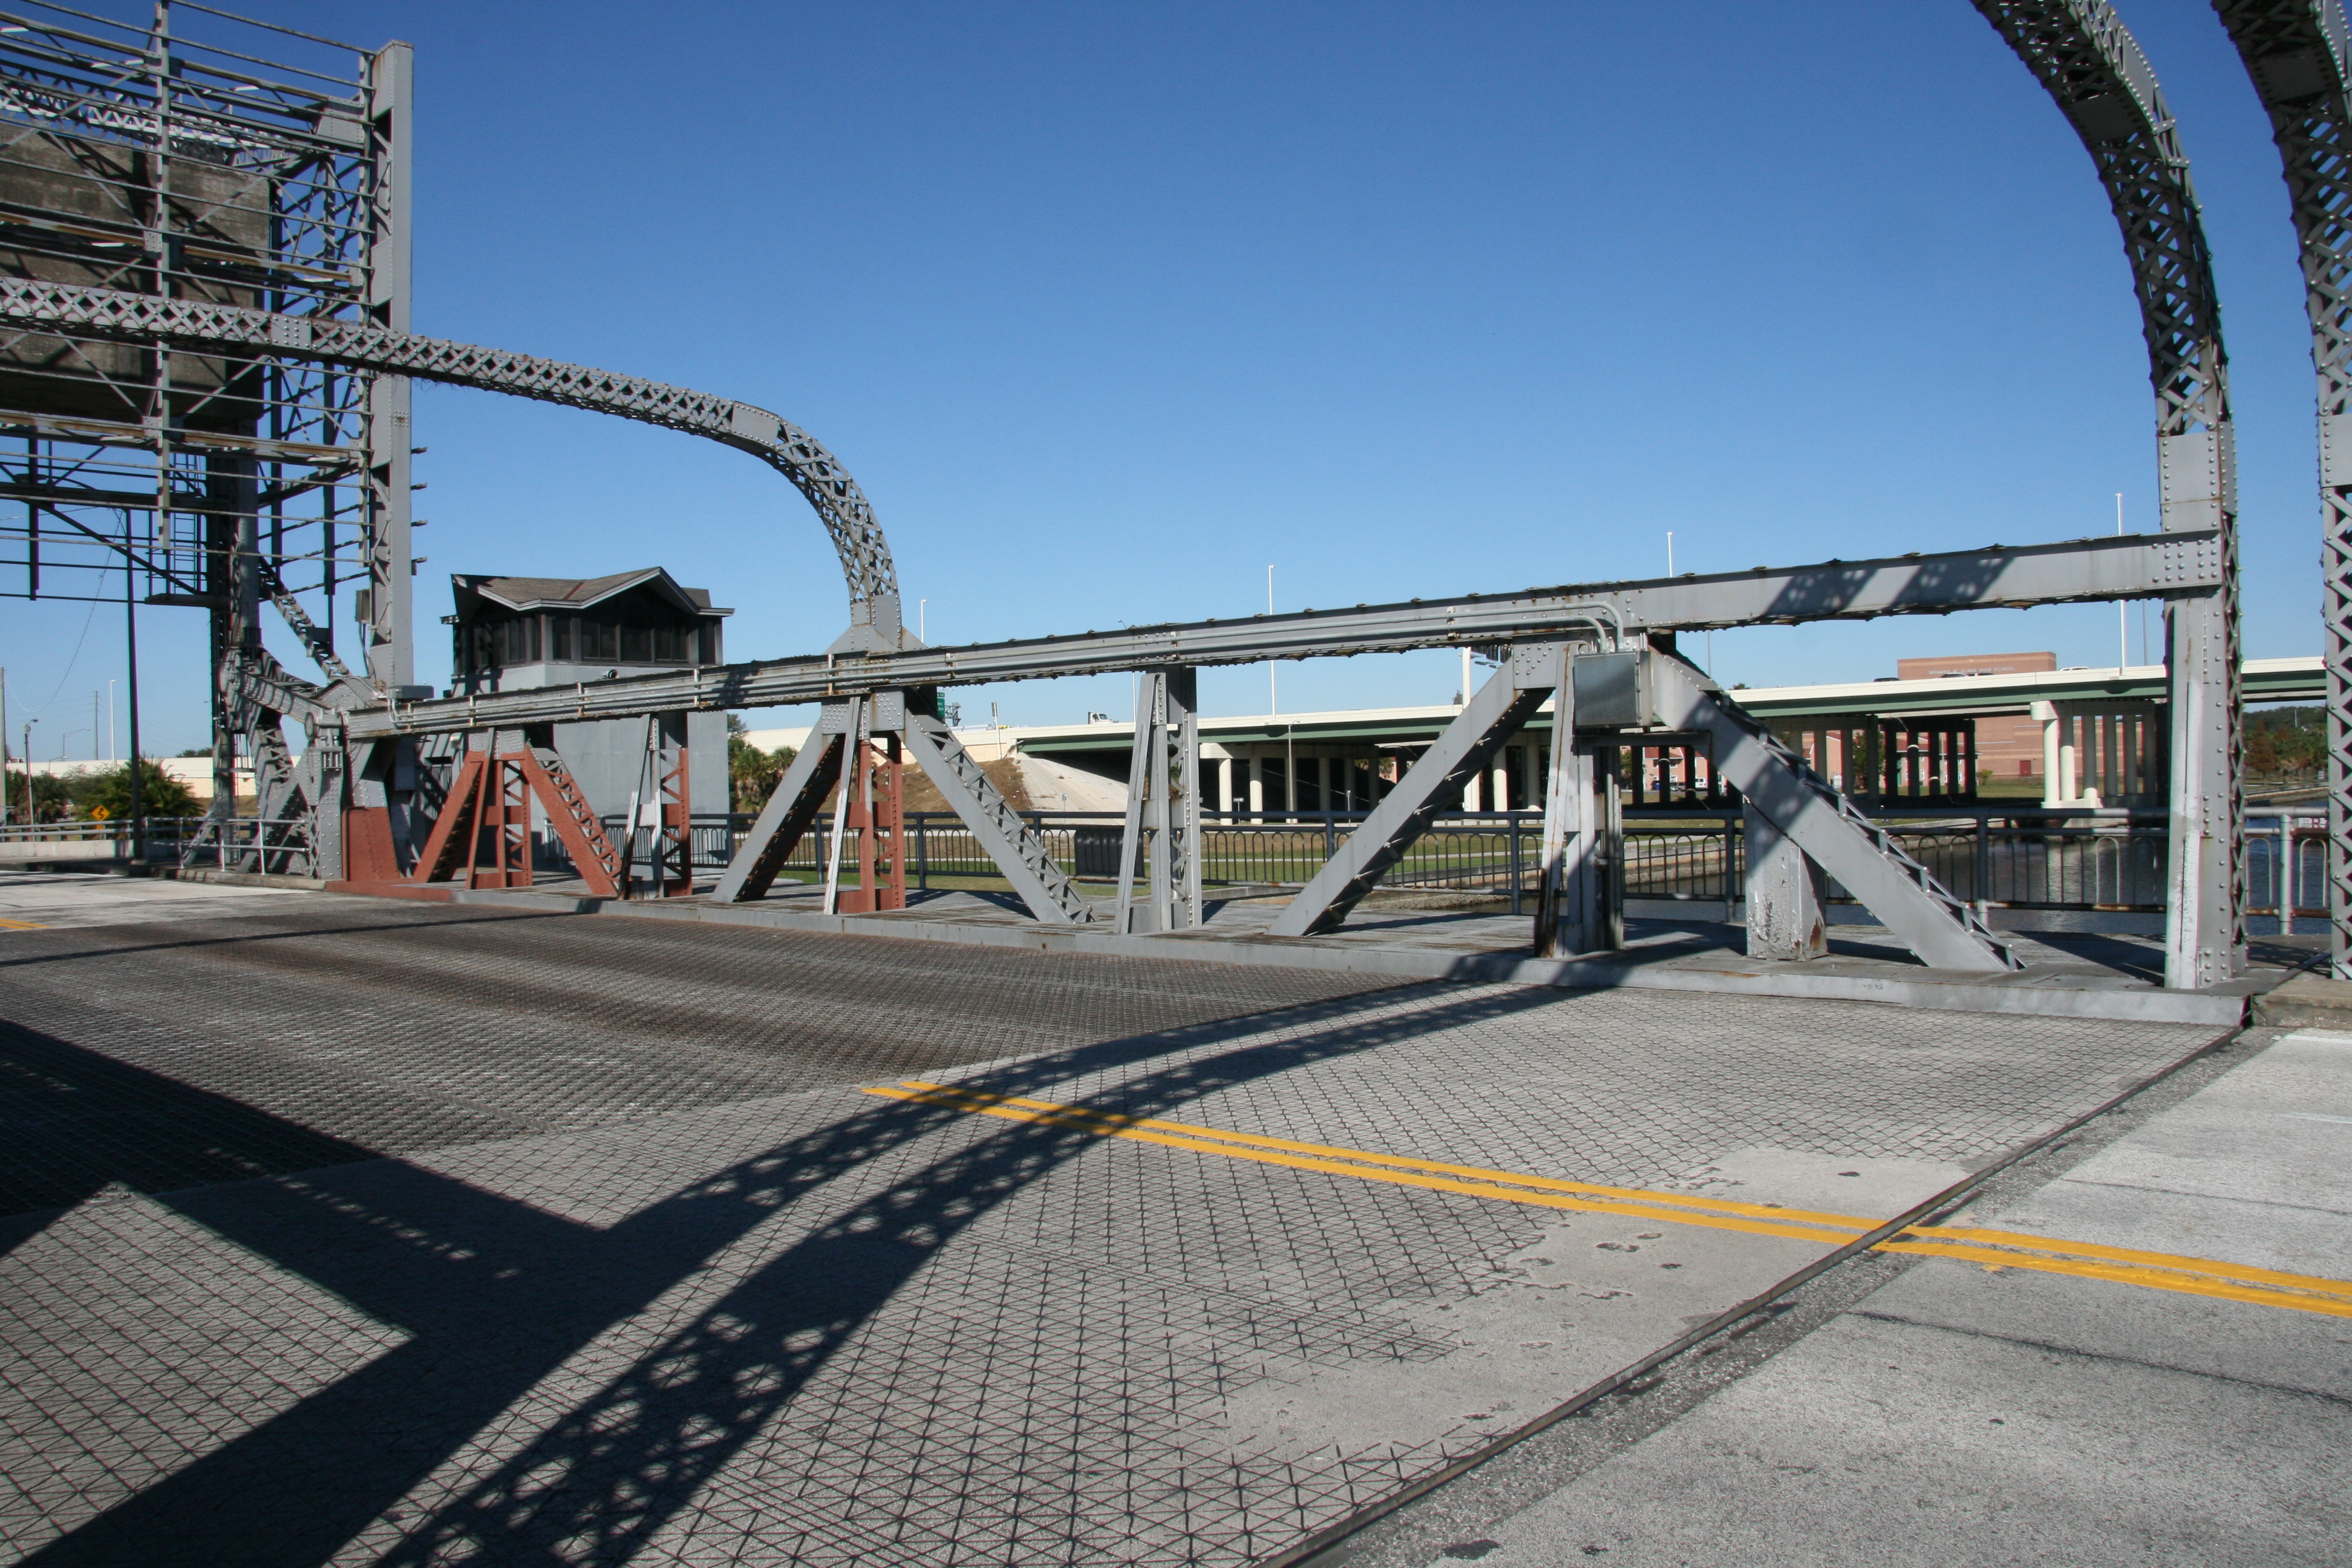
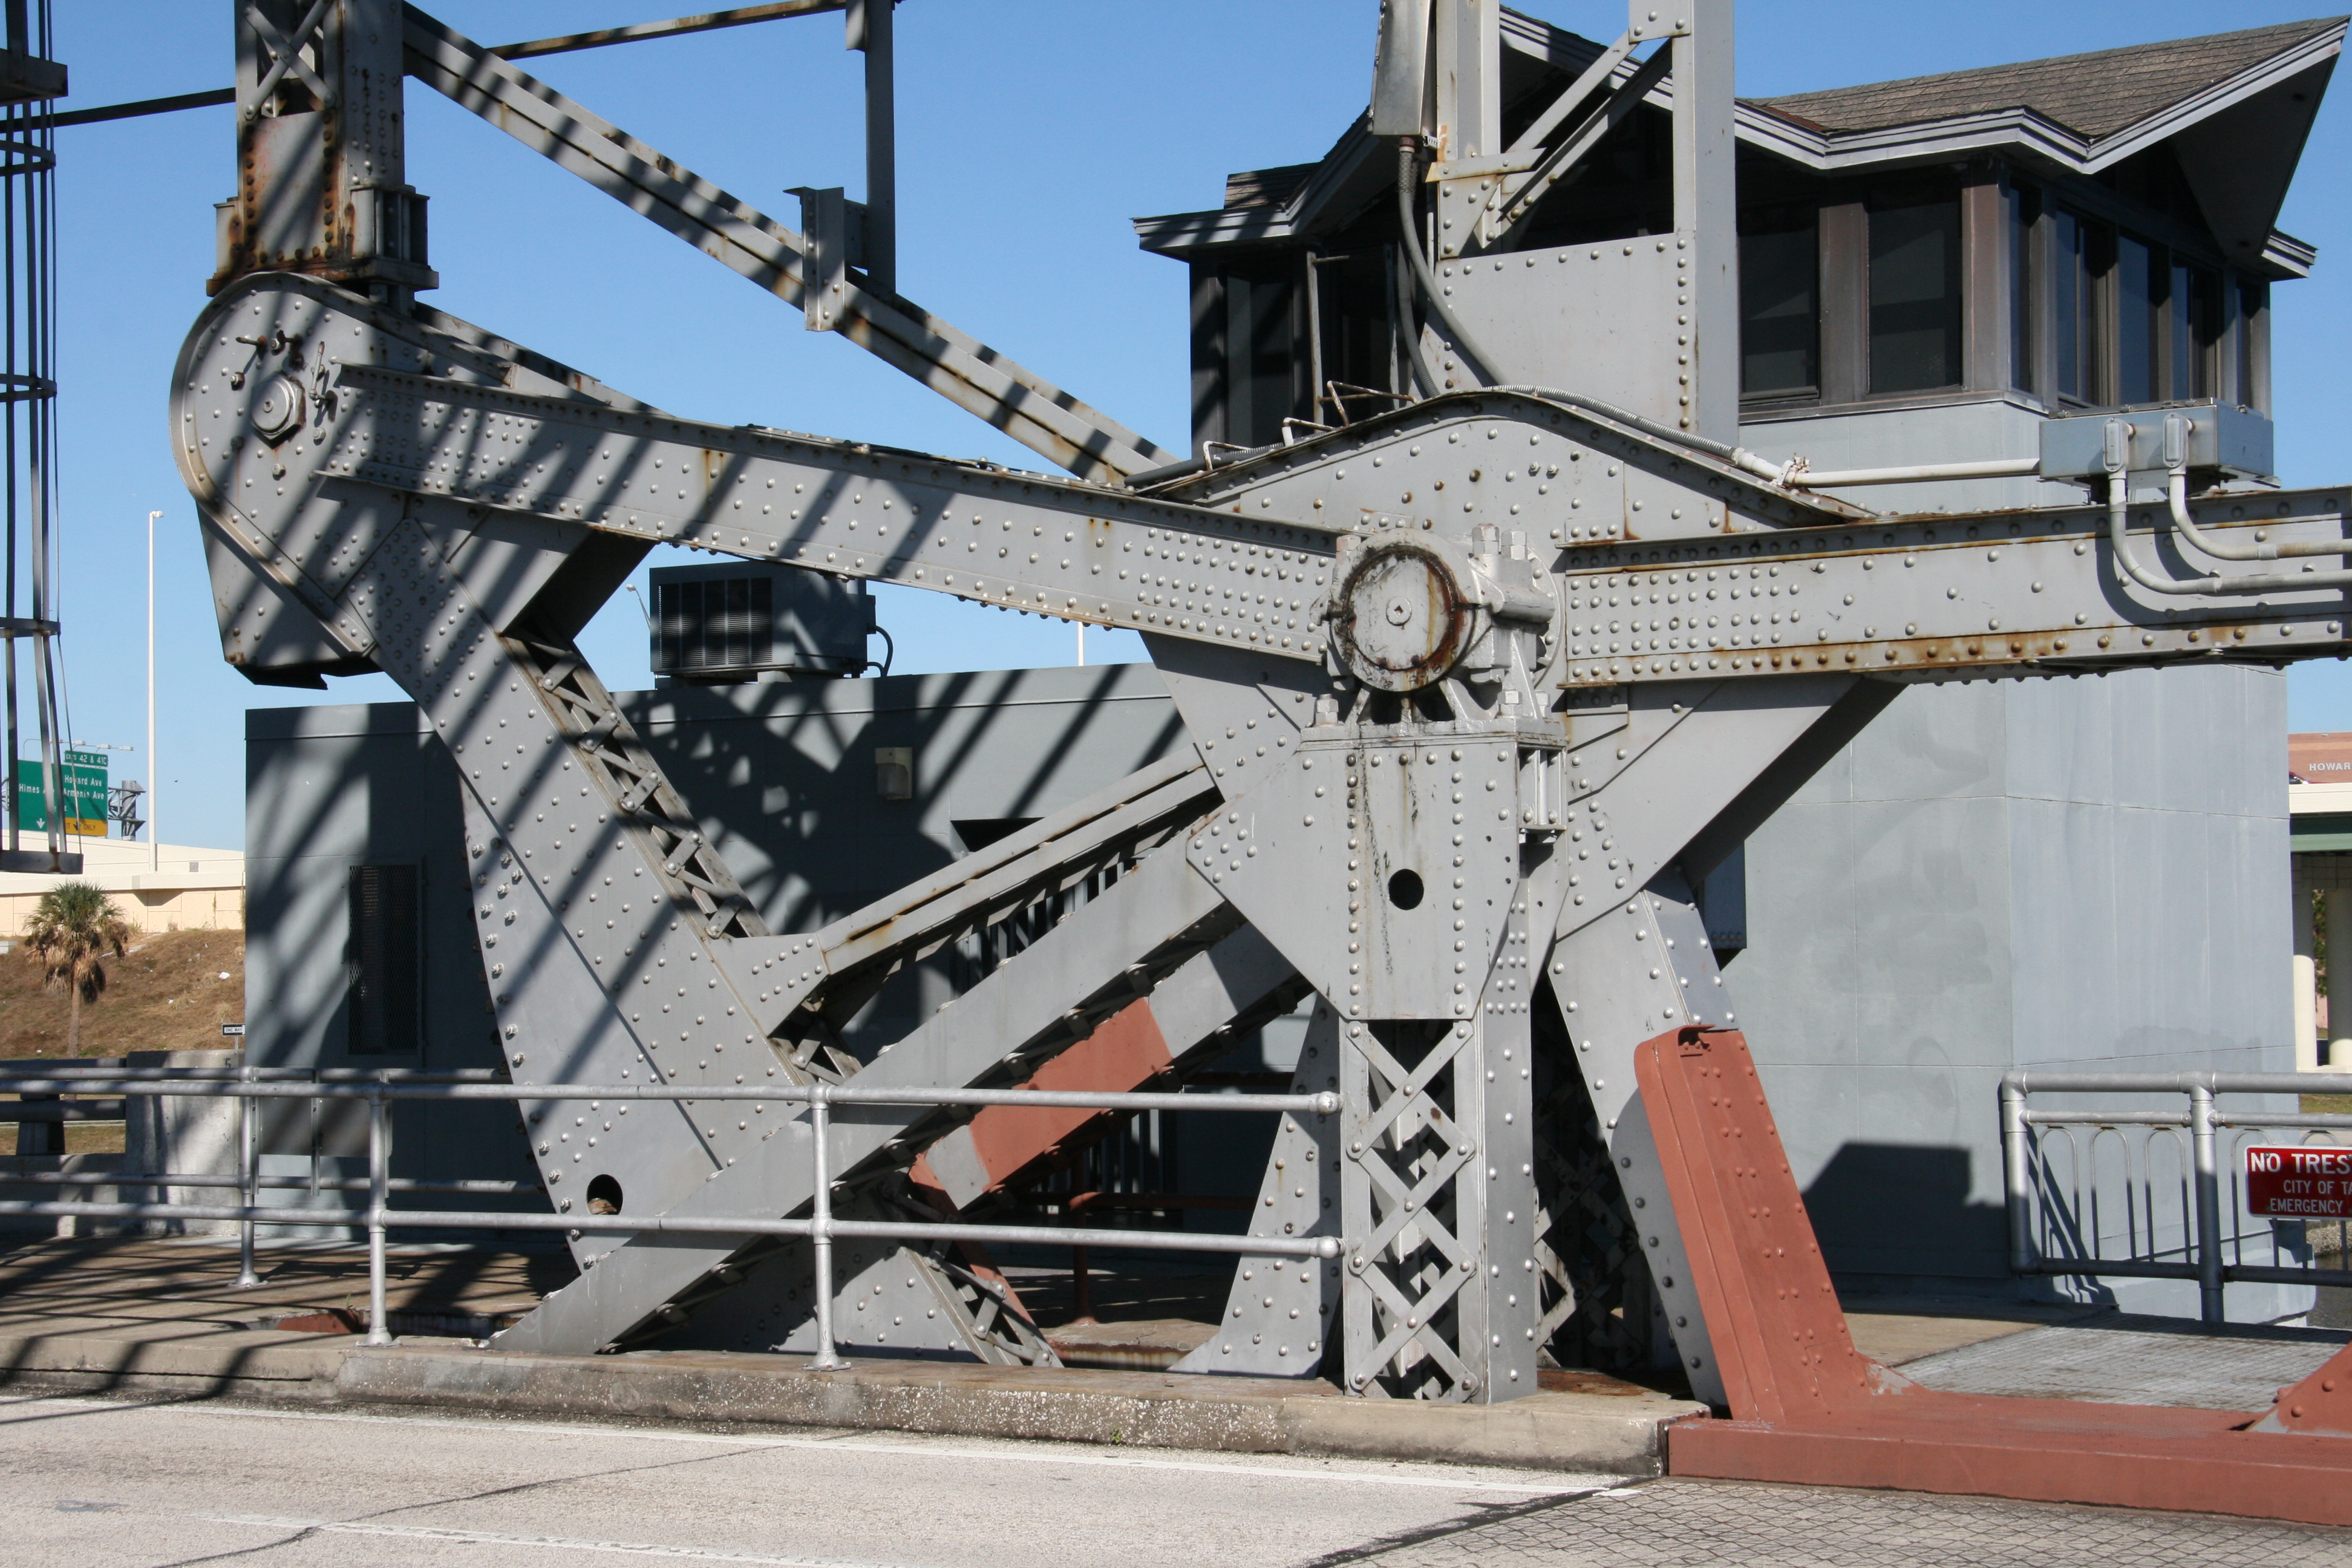
Overview of counterweight frame.
![]()
Photo Credit: Marc Scotti
Overview of counterweight frame.
![]()

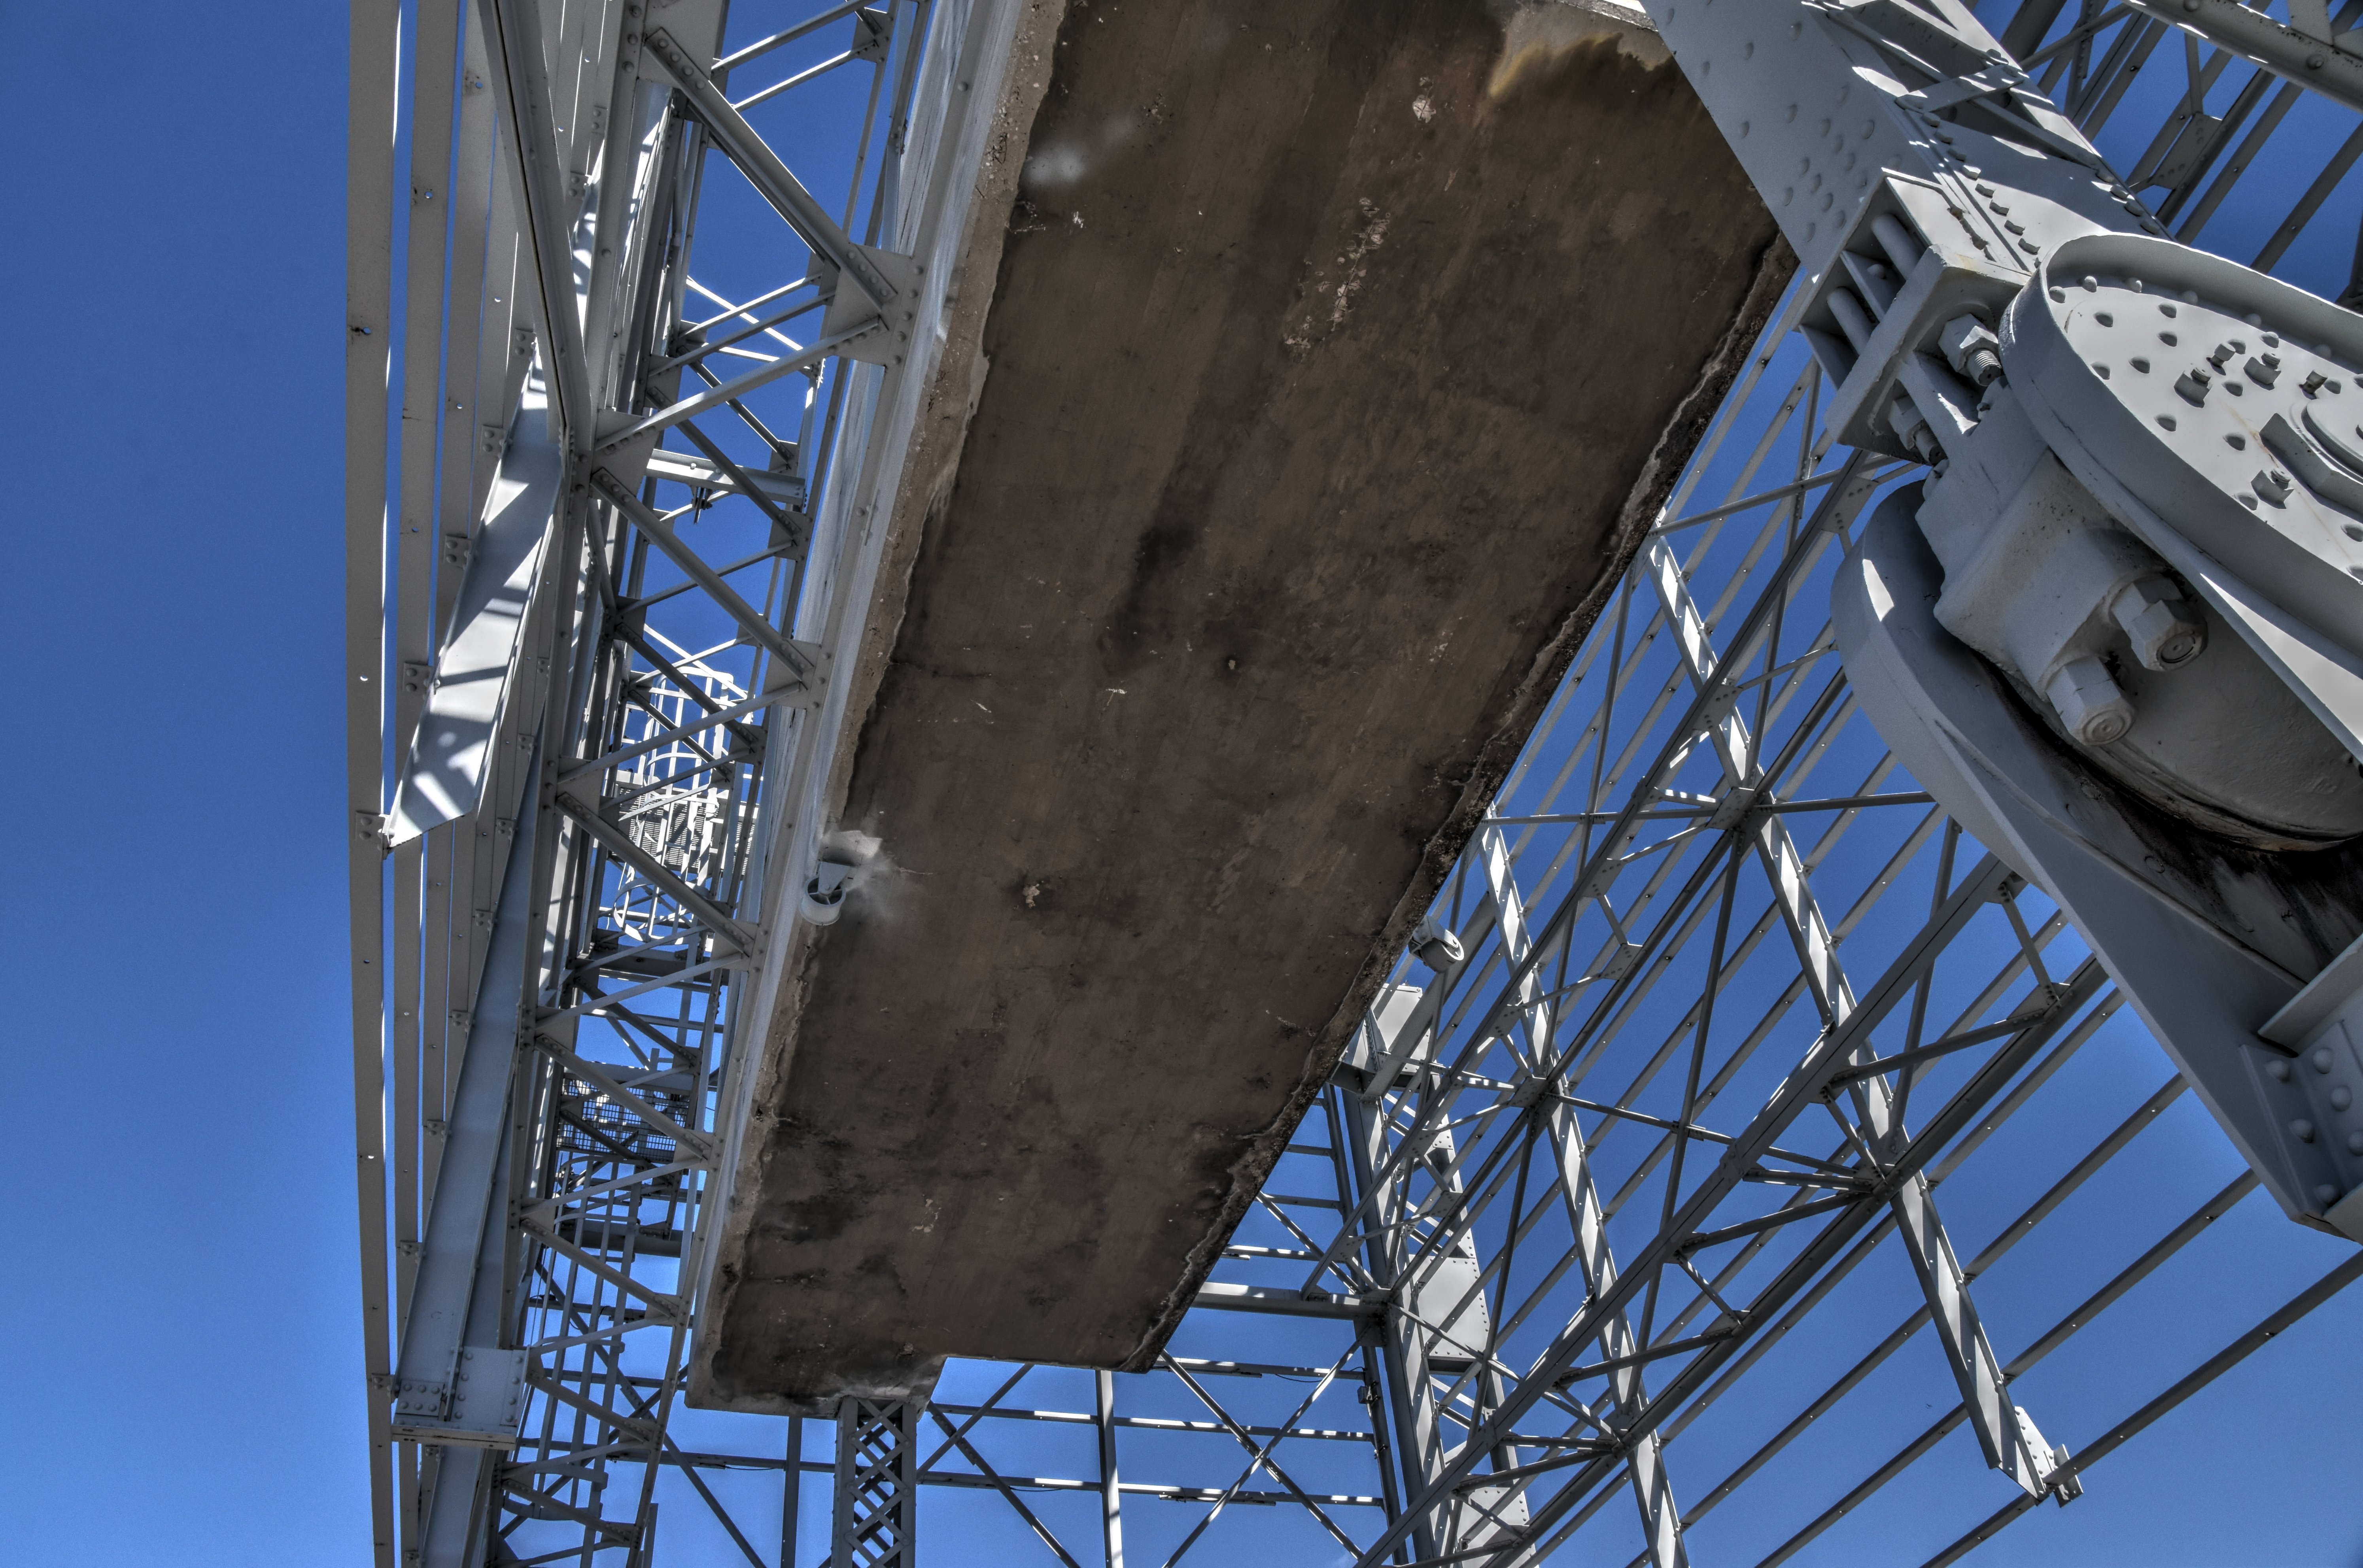


Counterweight.
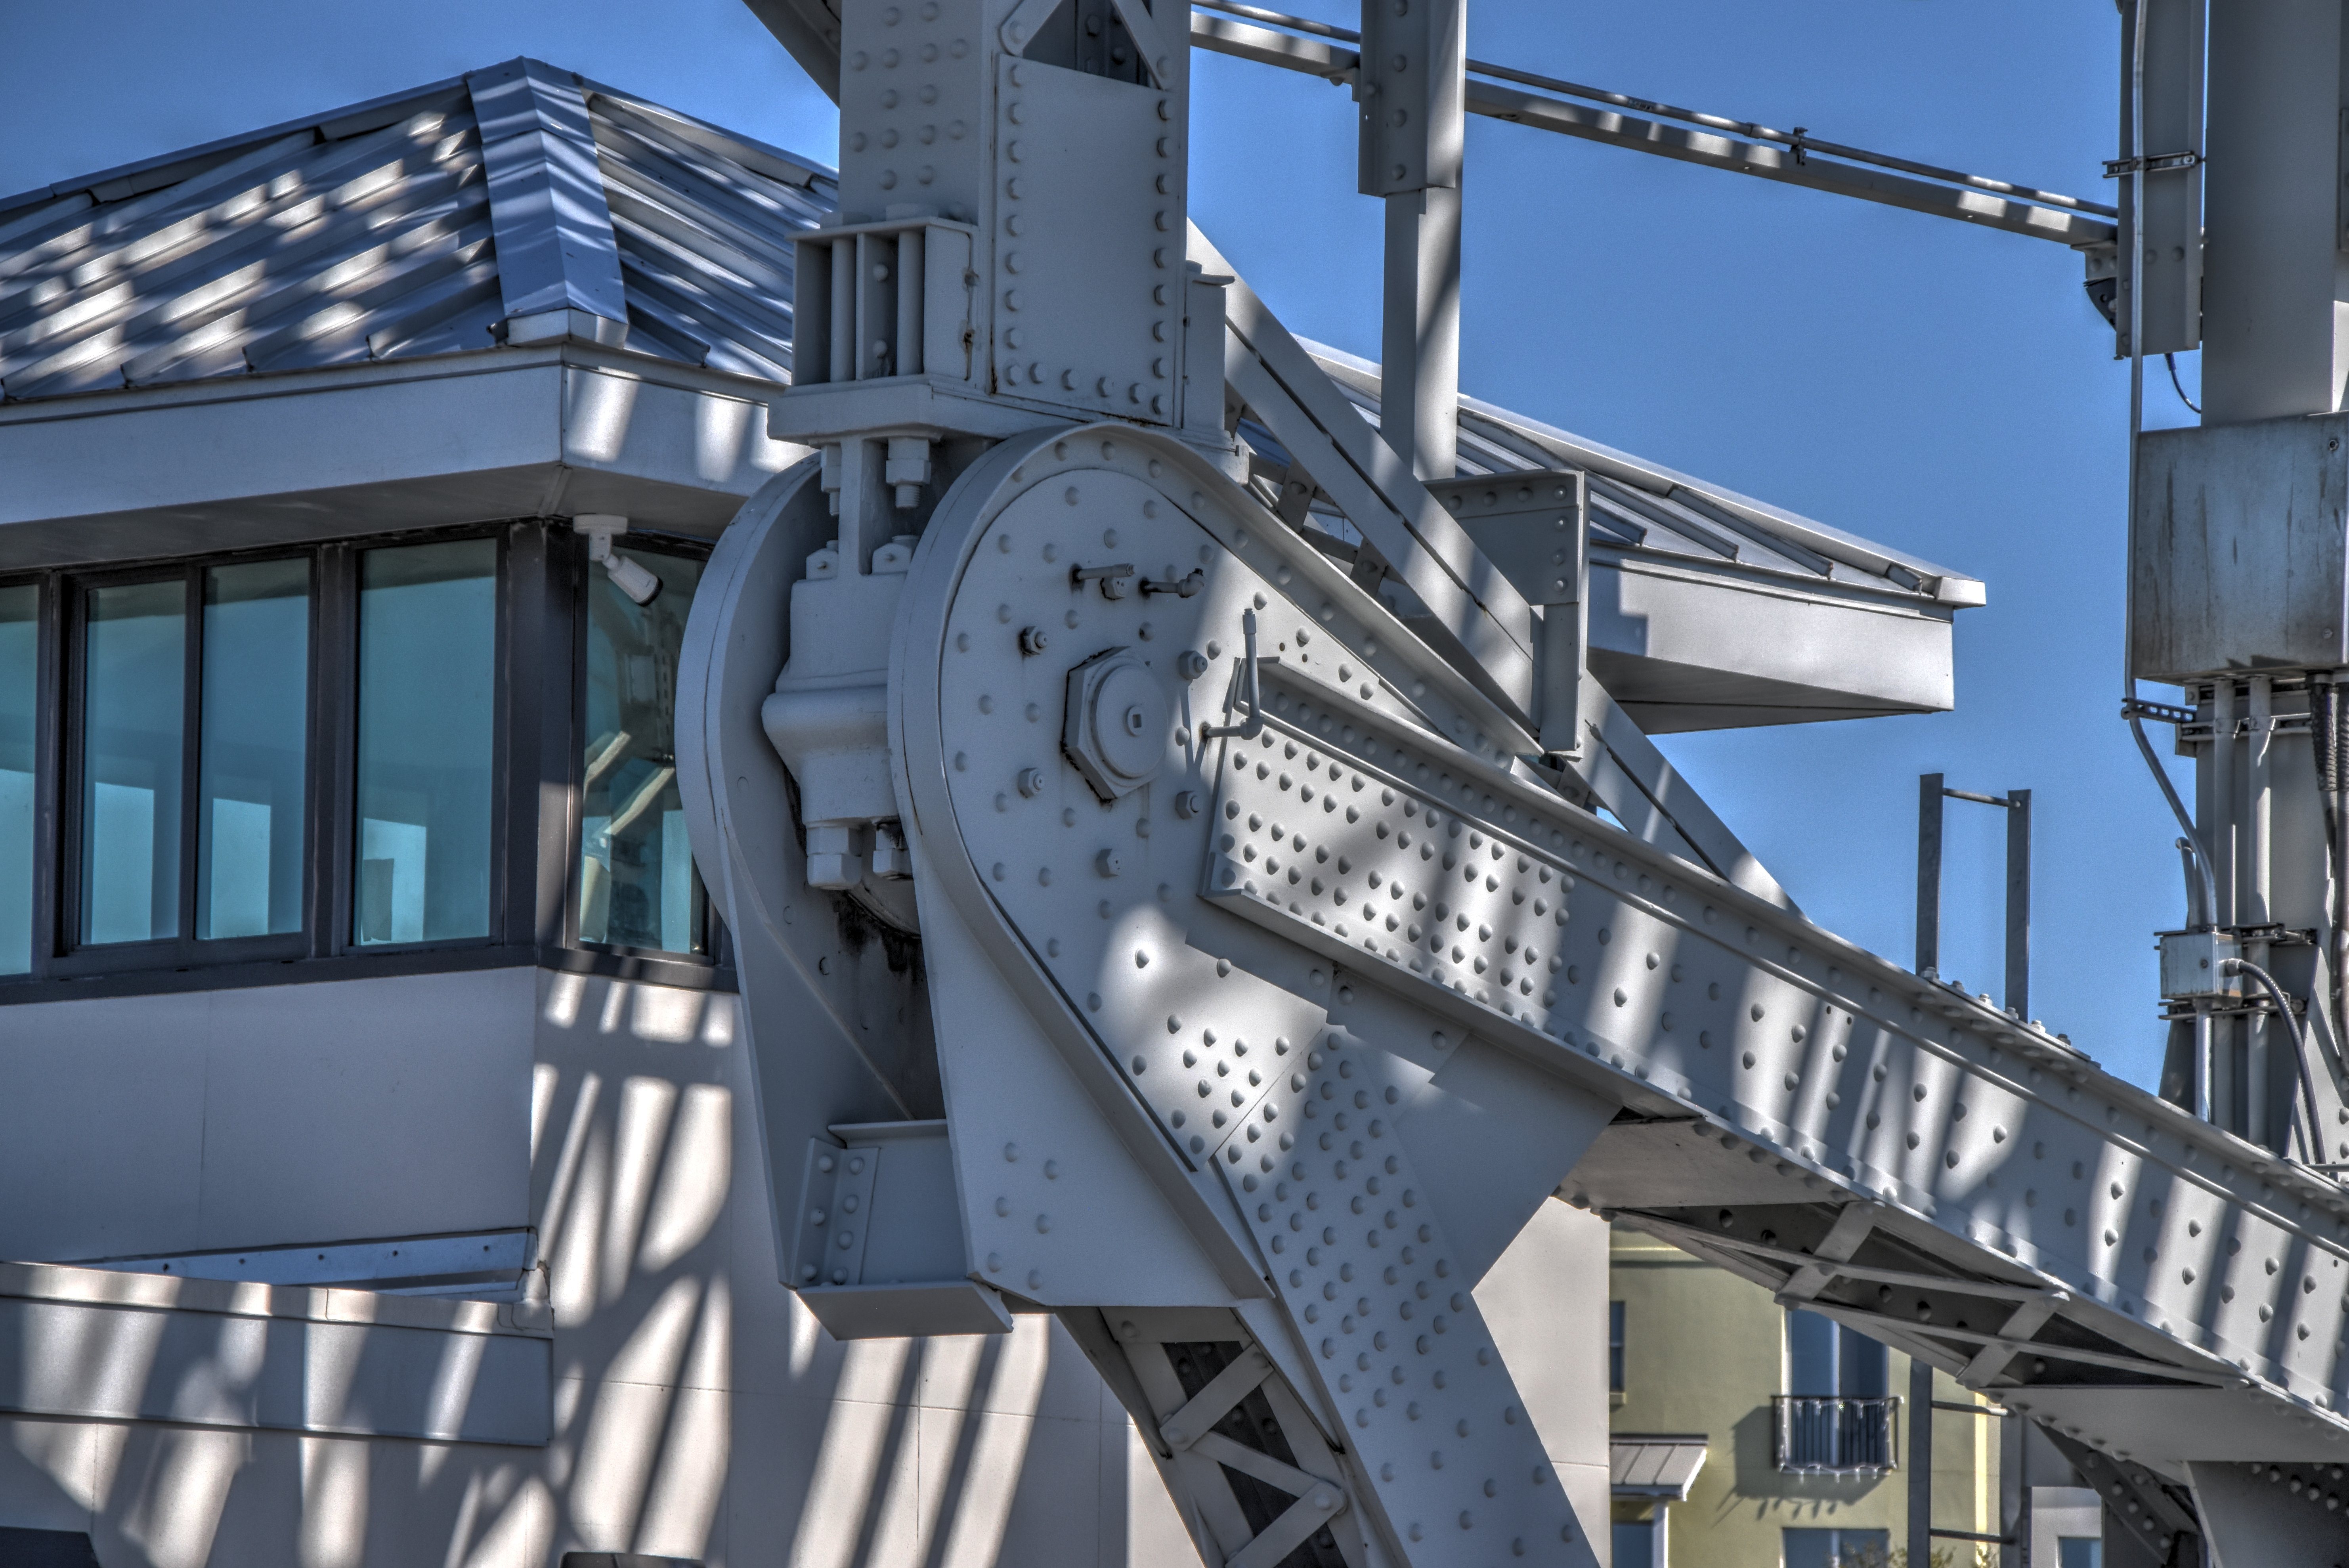
![]()
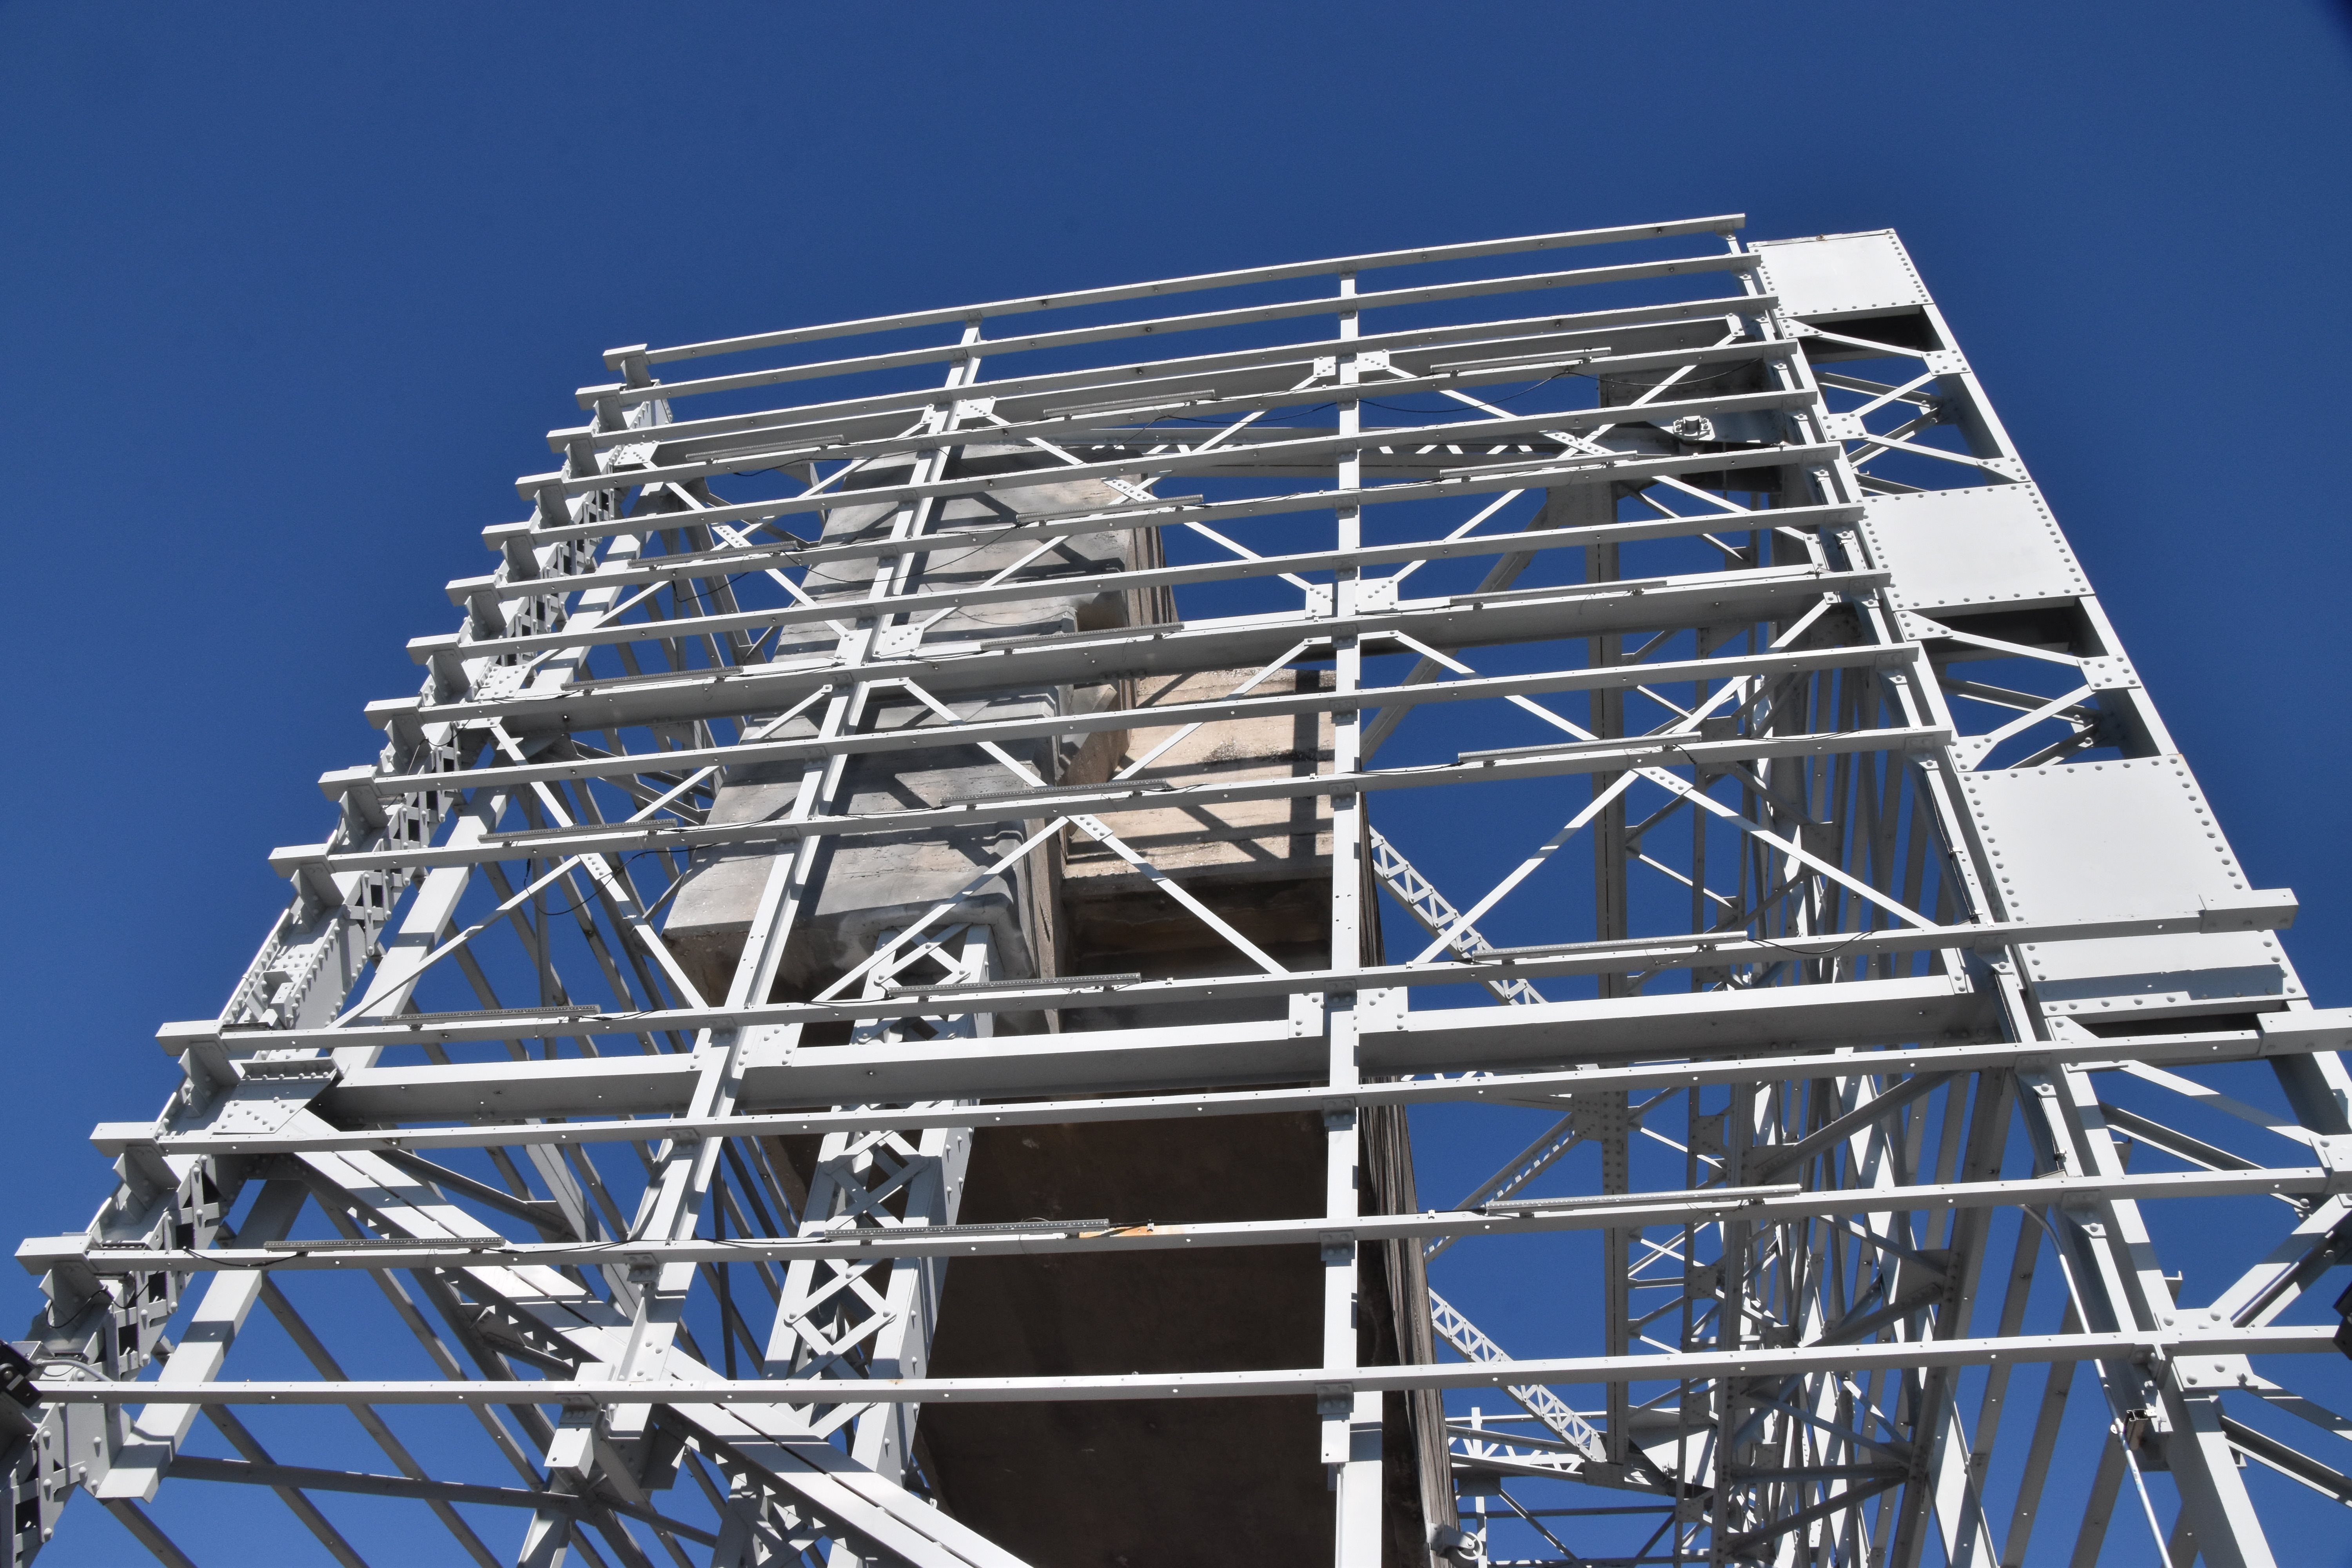


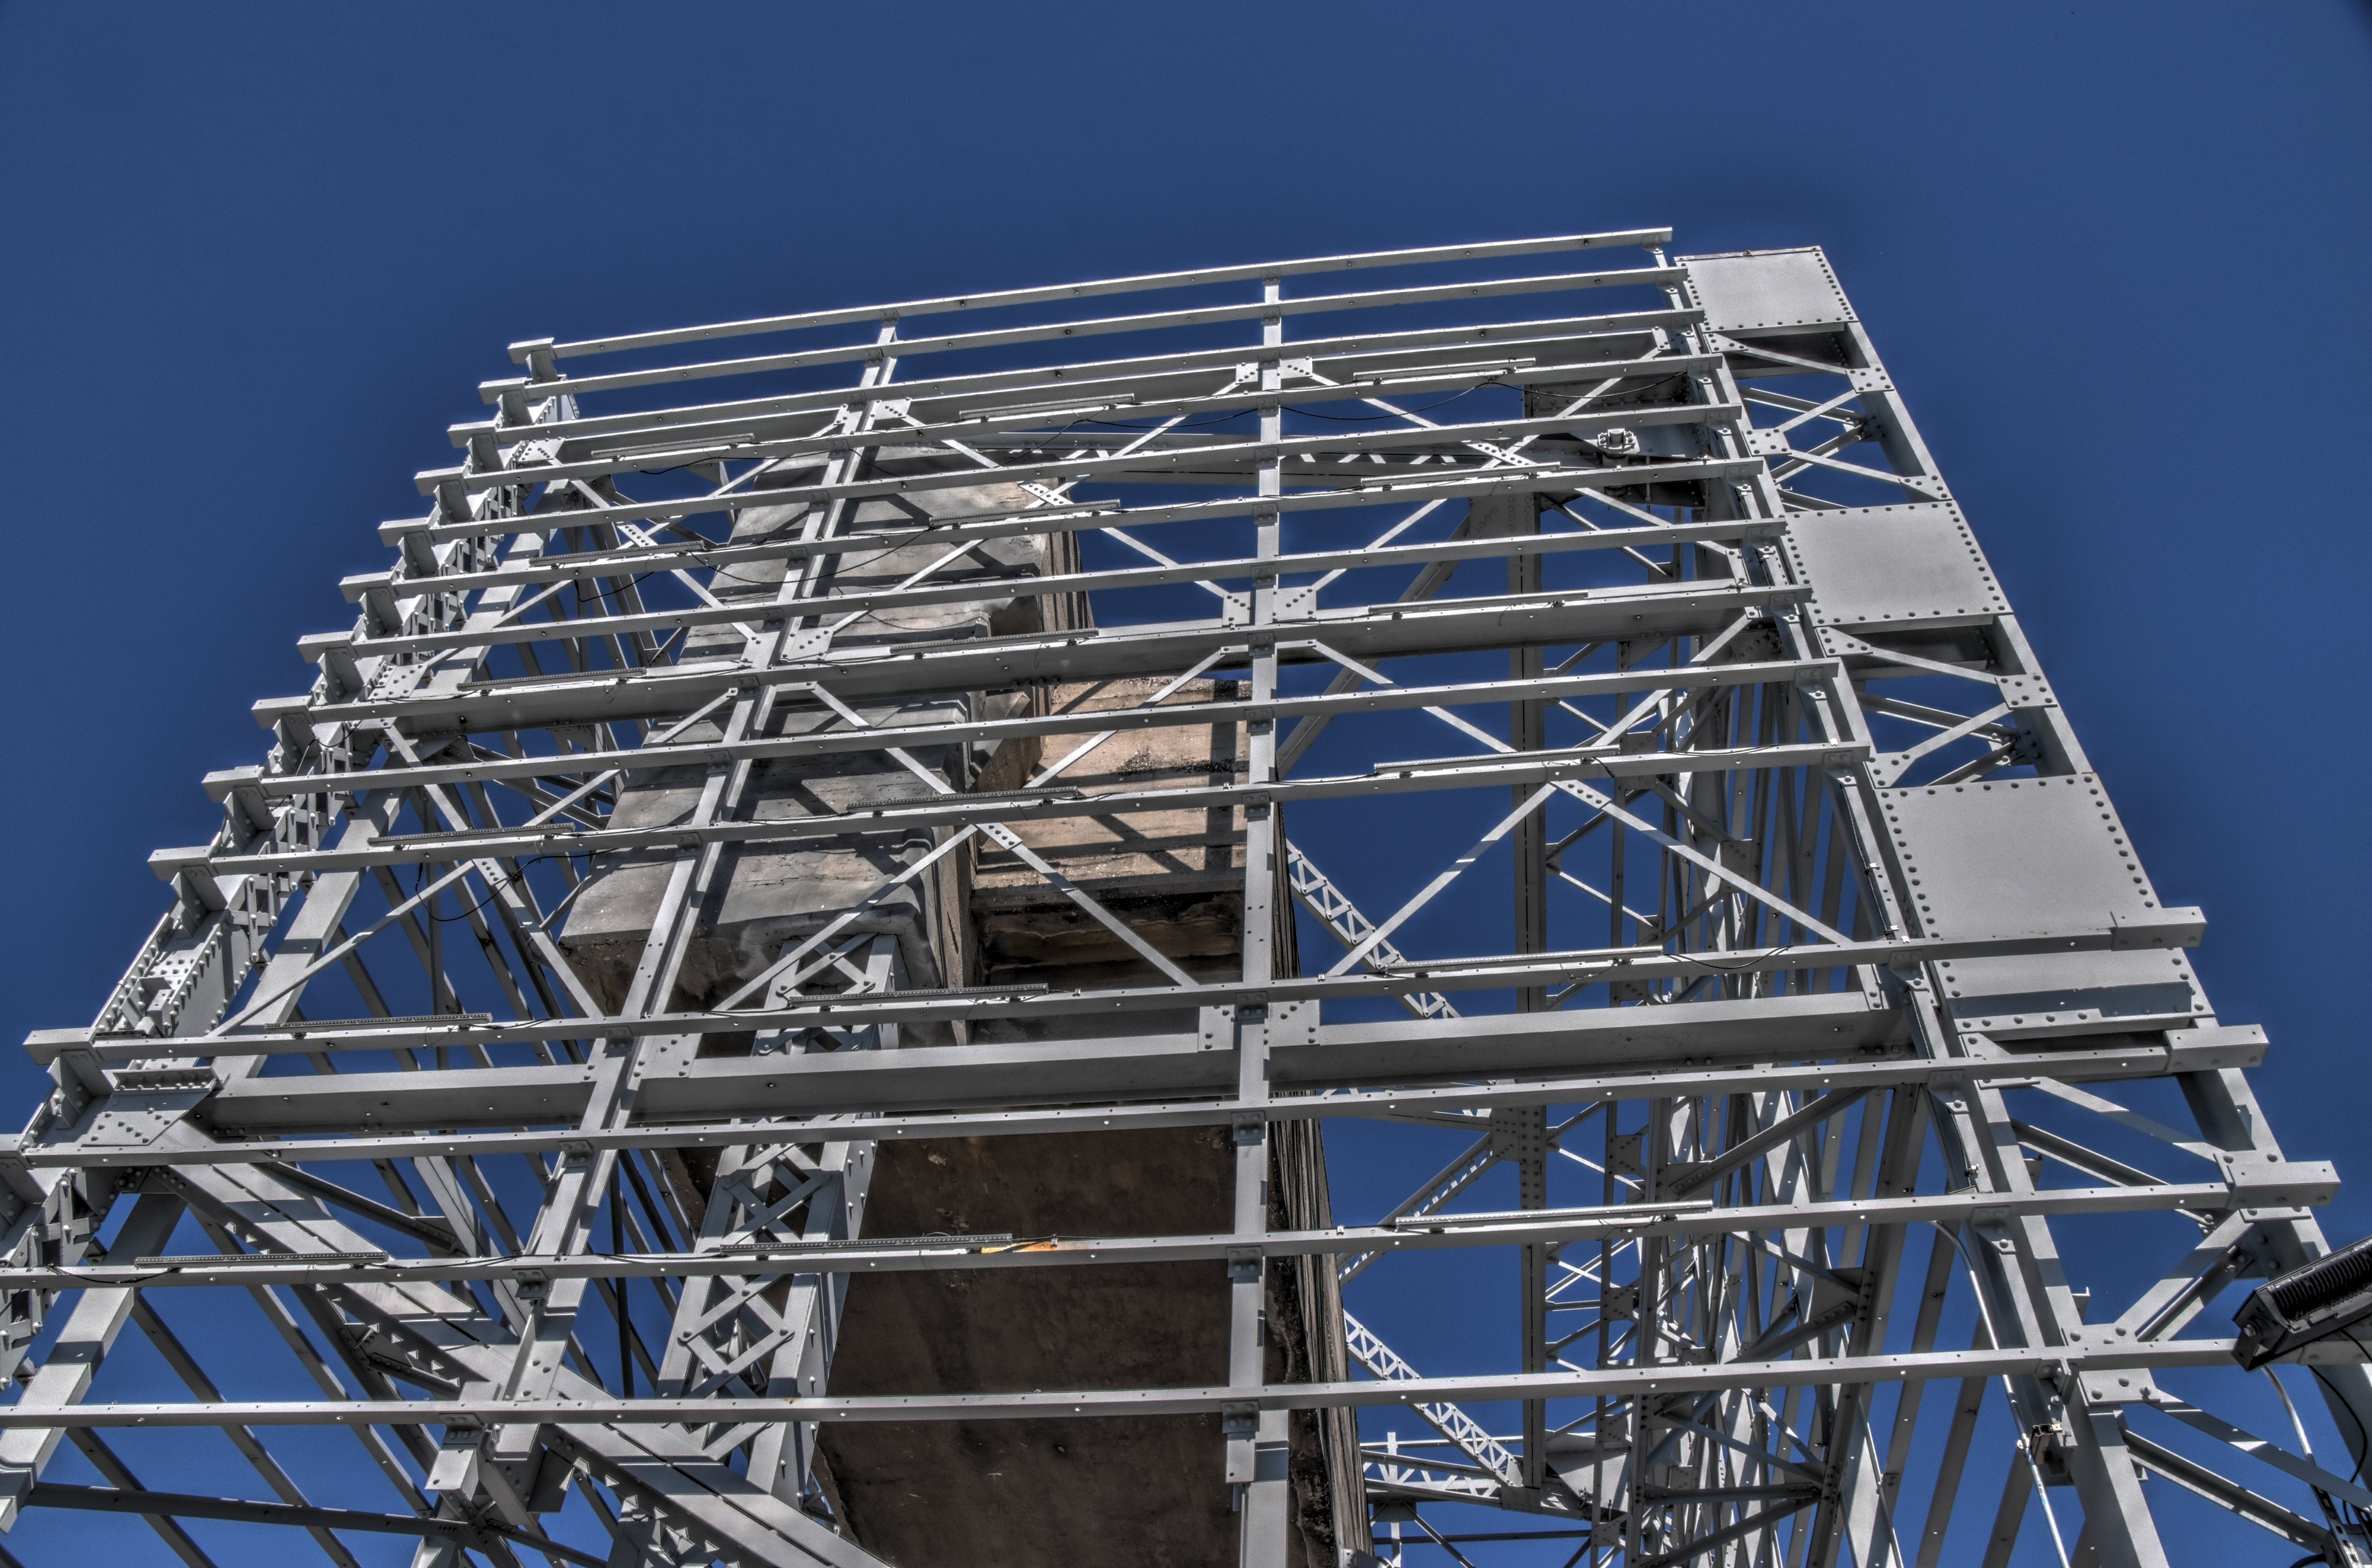


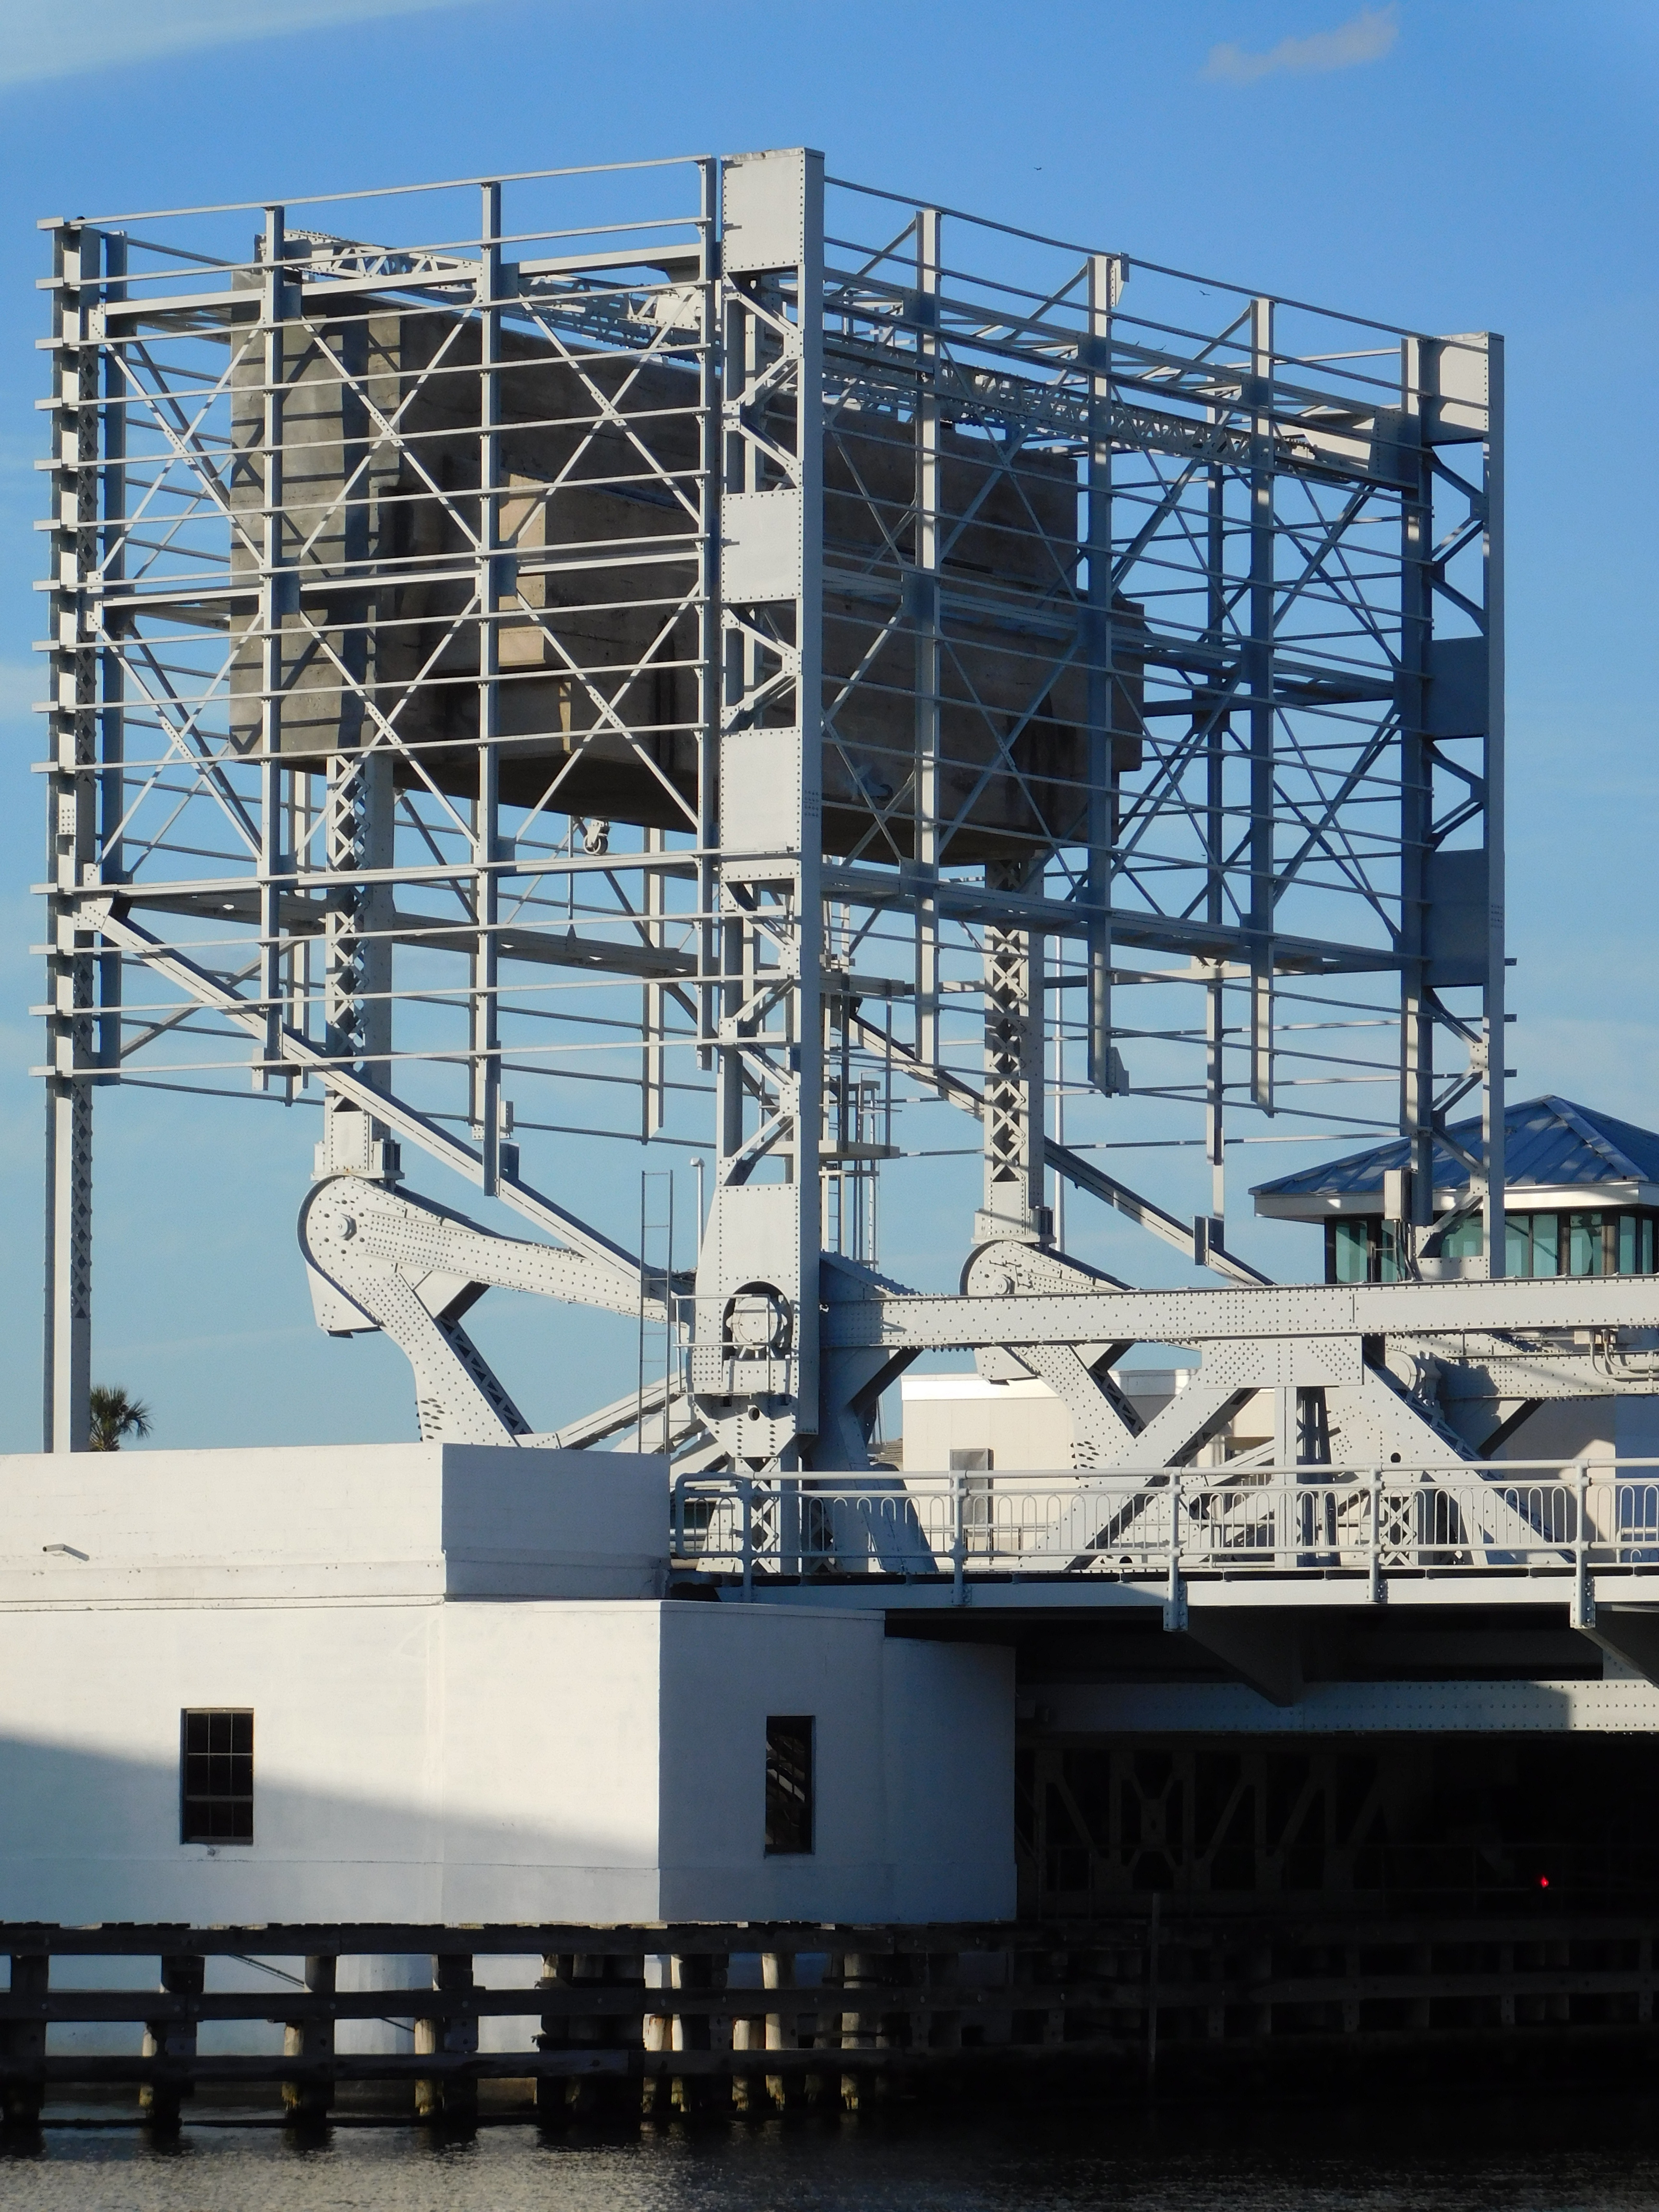
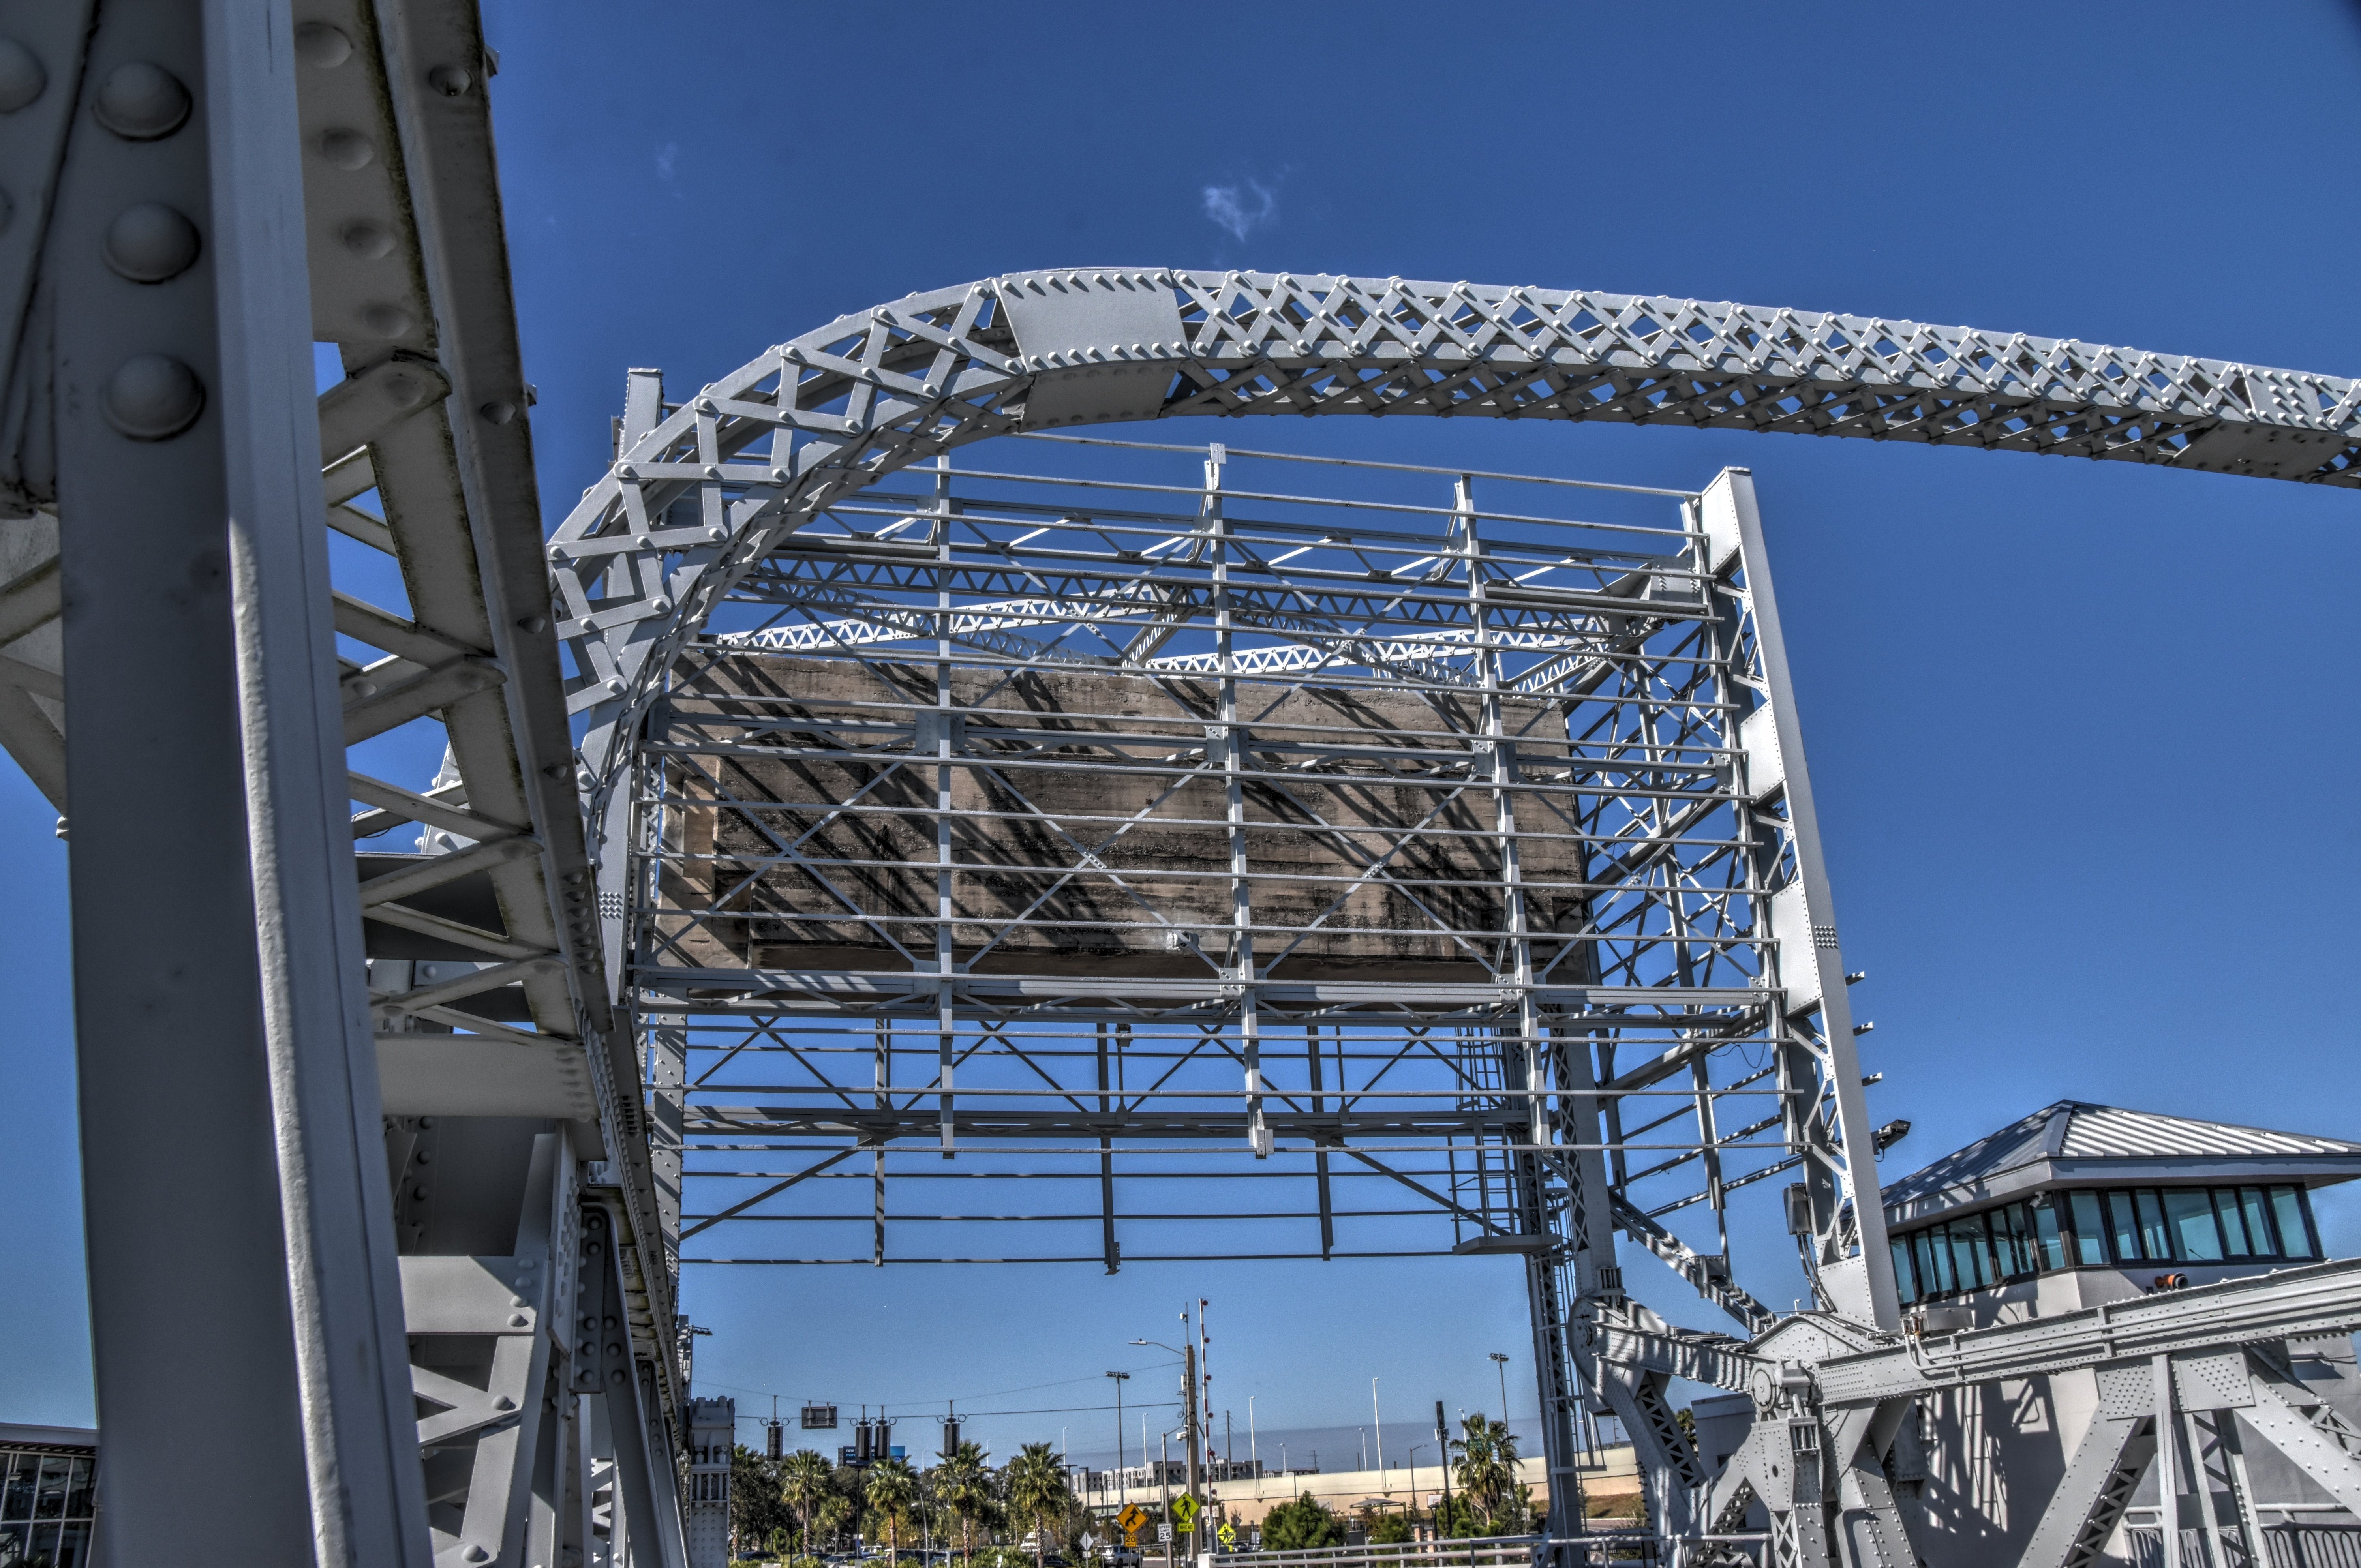
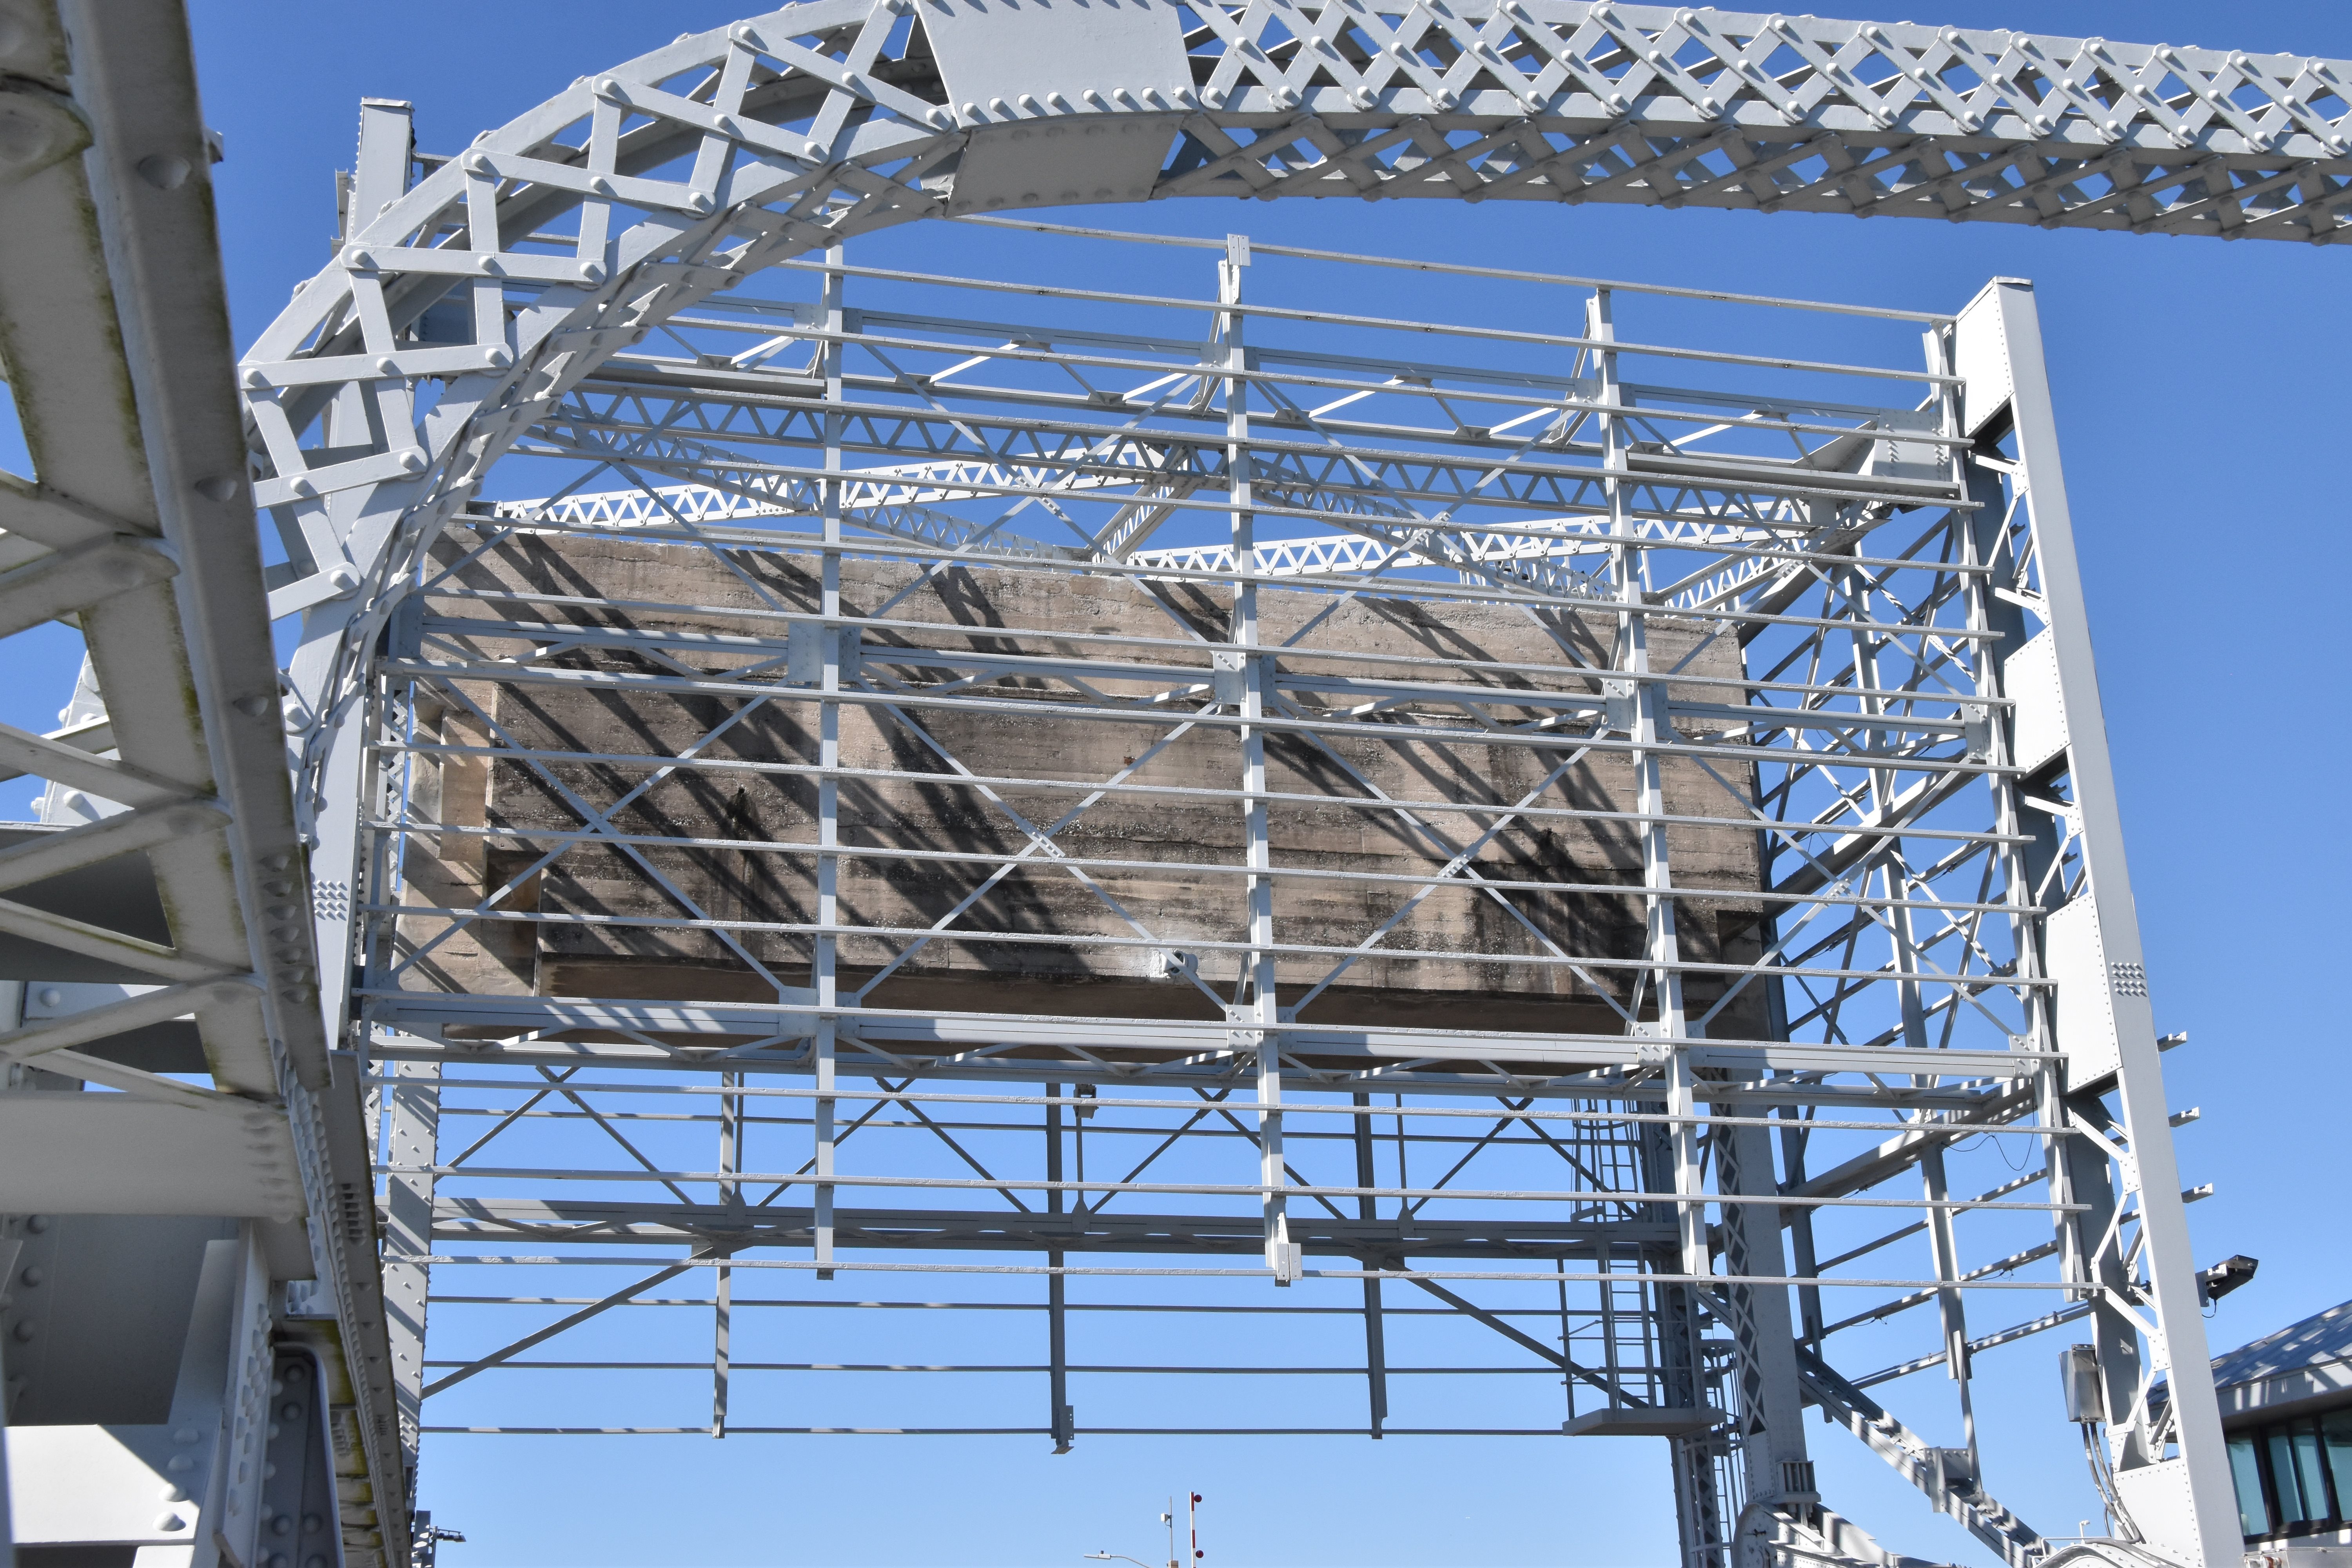
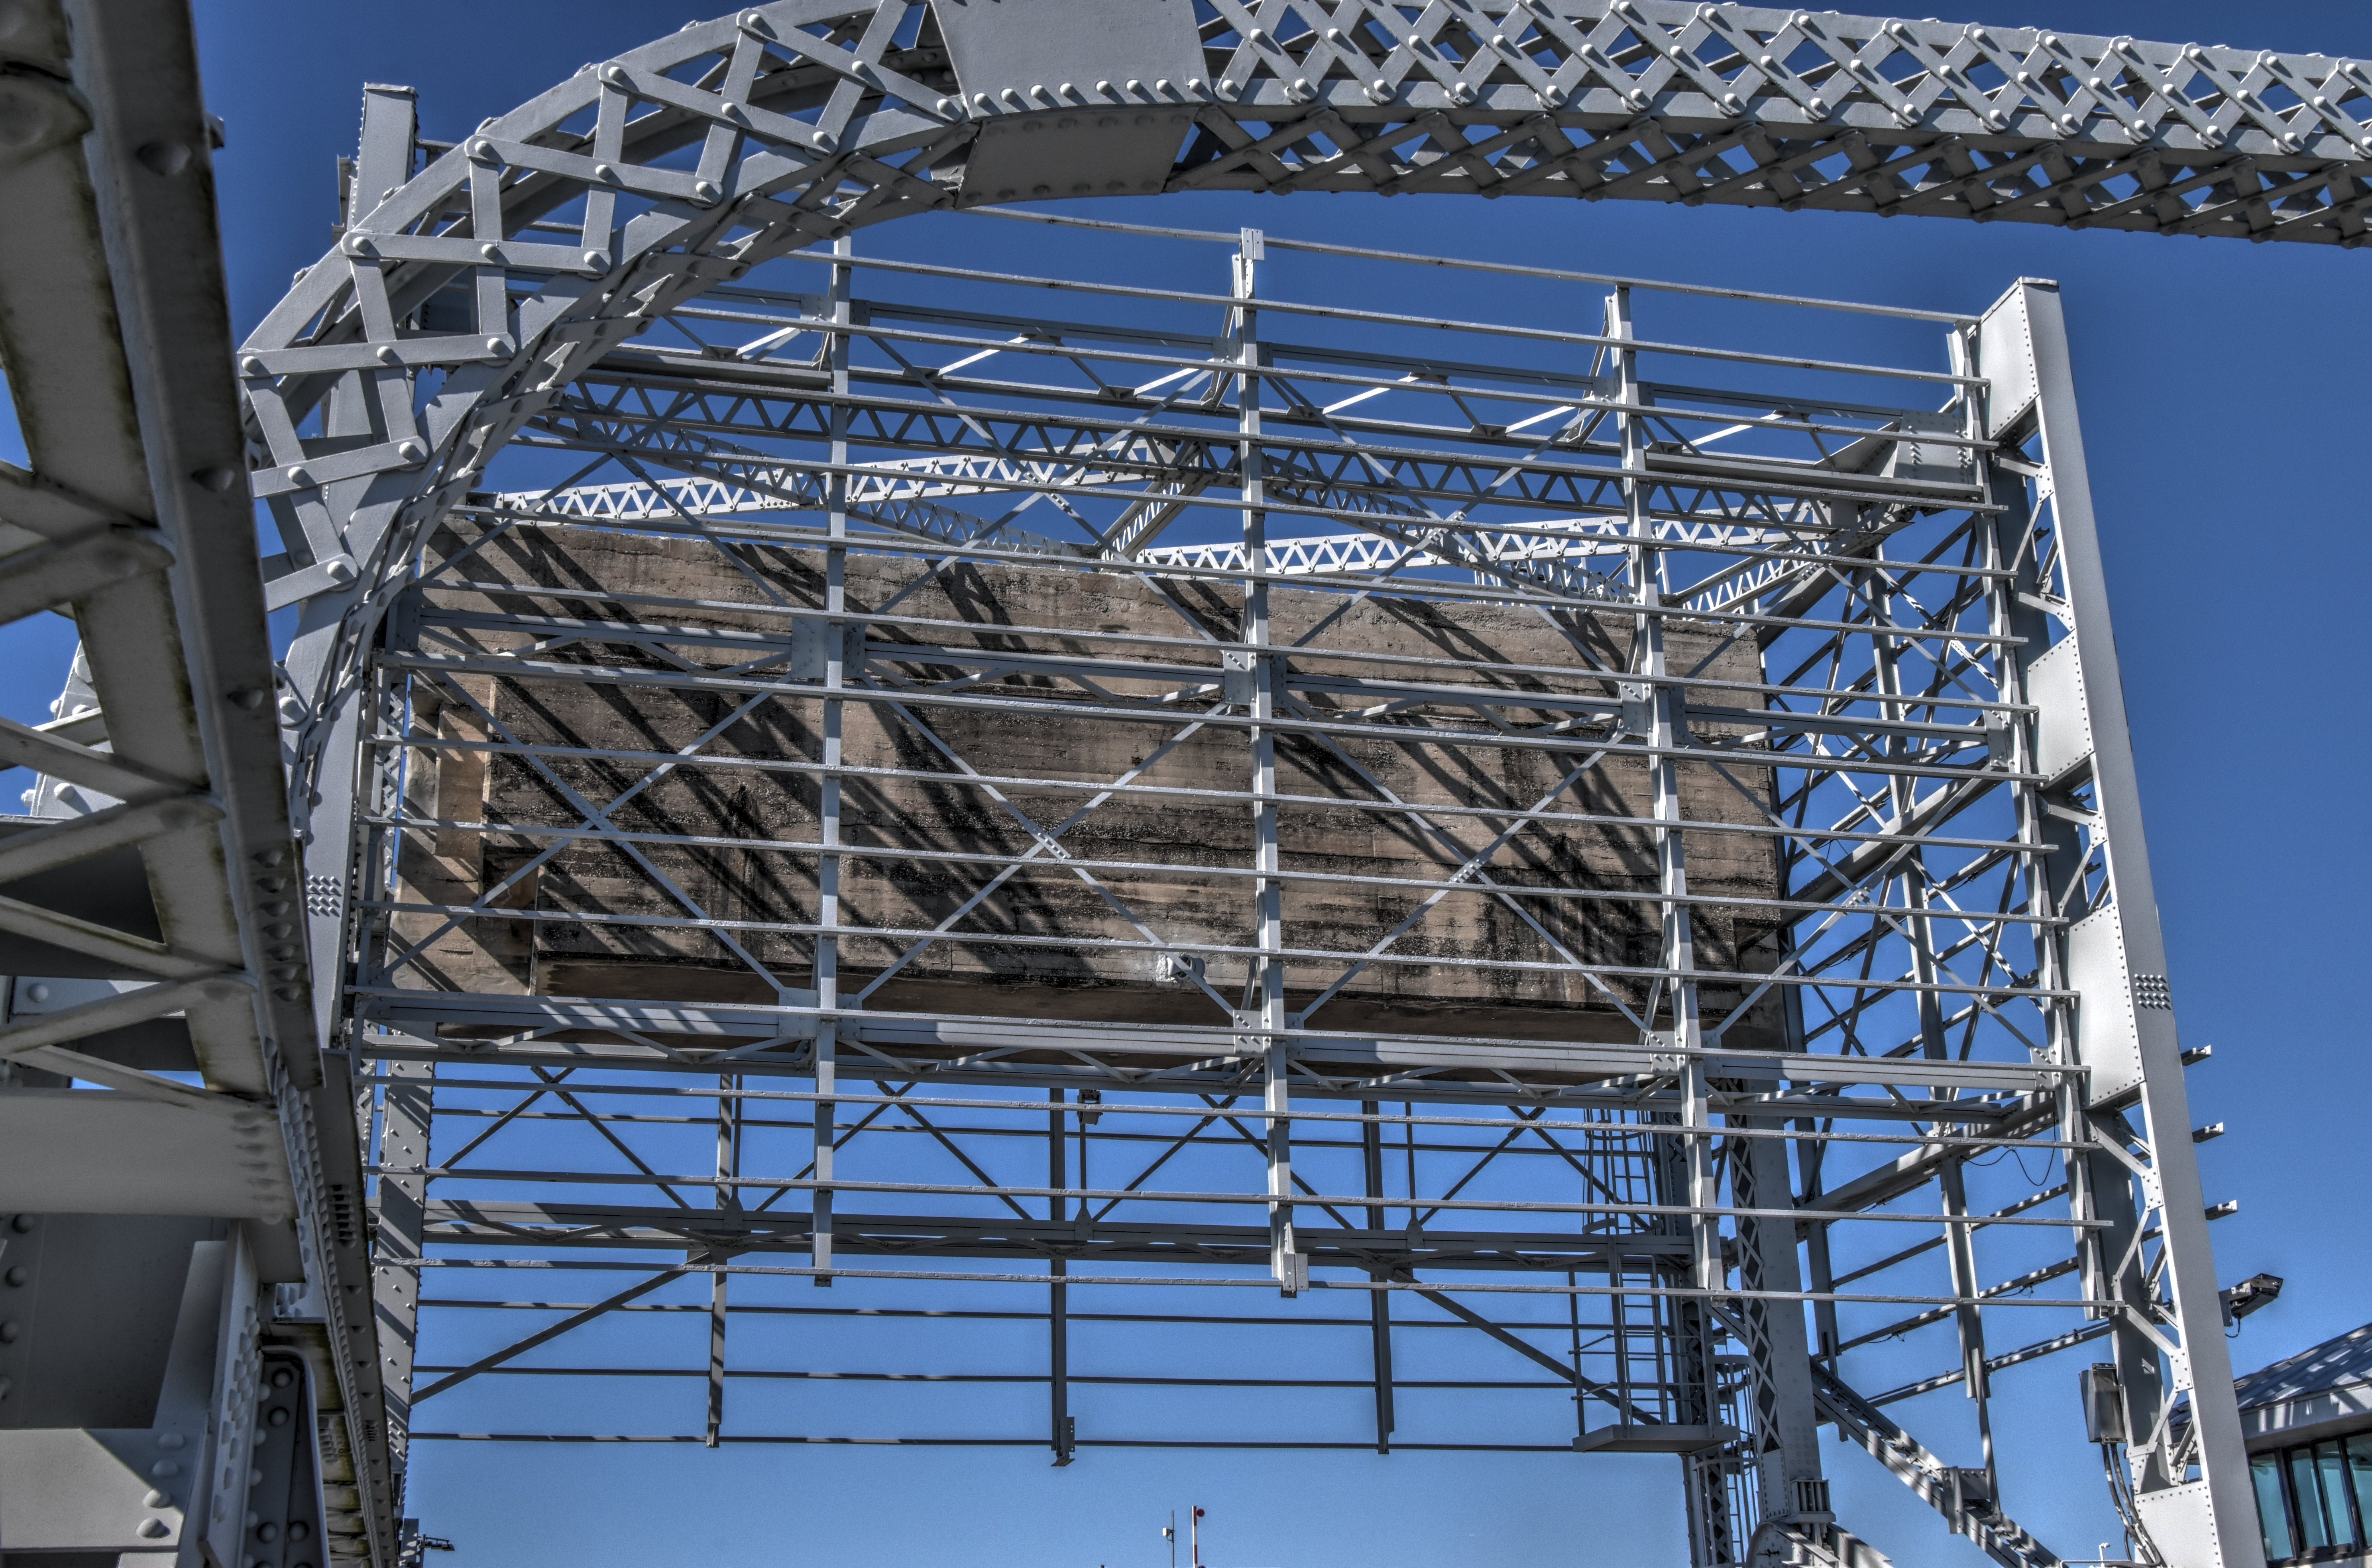
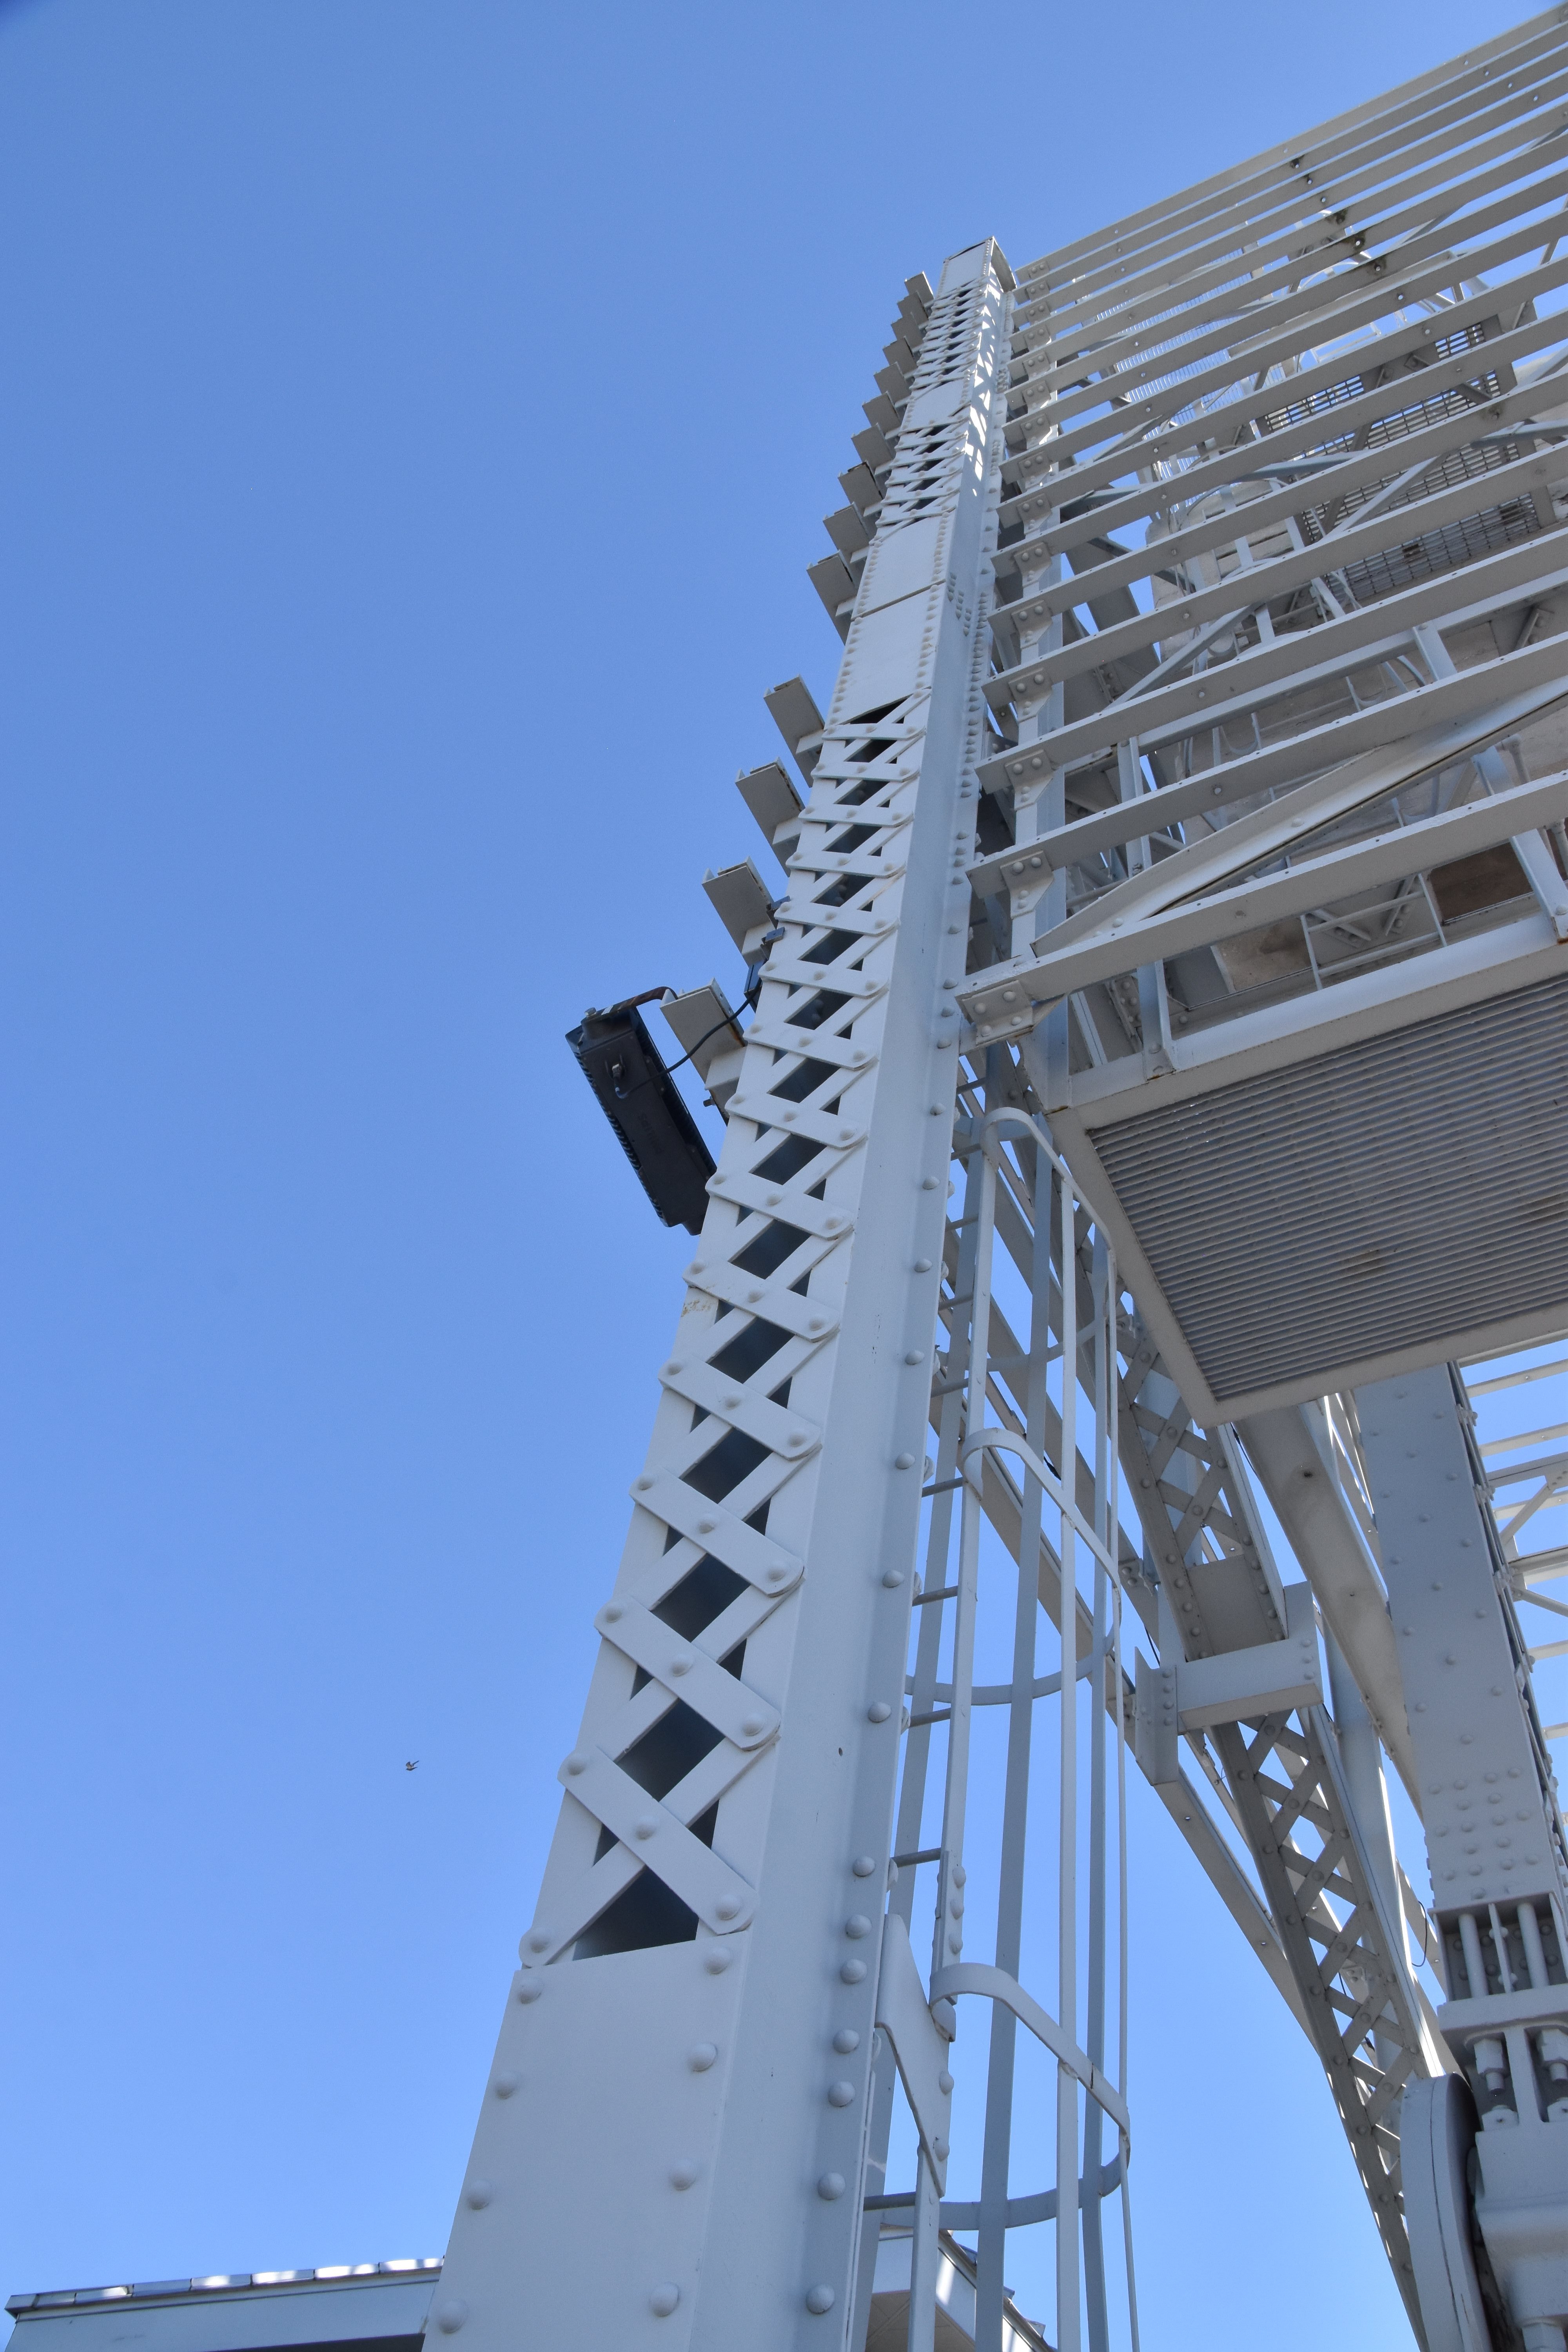
Looking up at counterweight frame and enclosure.
![]()

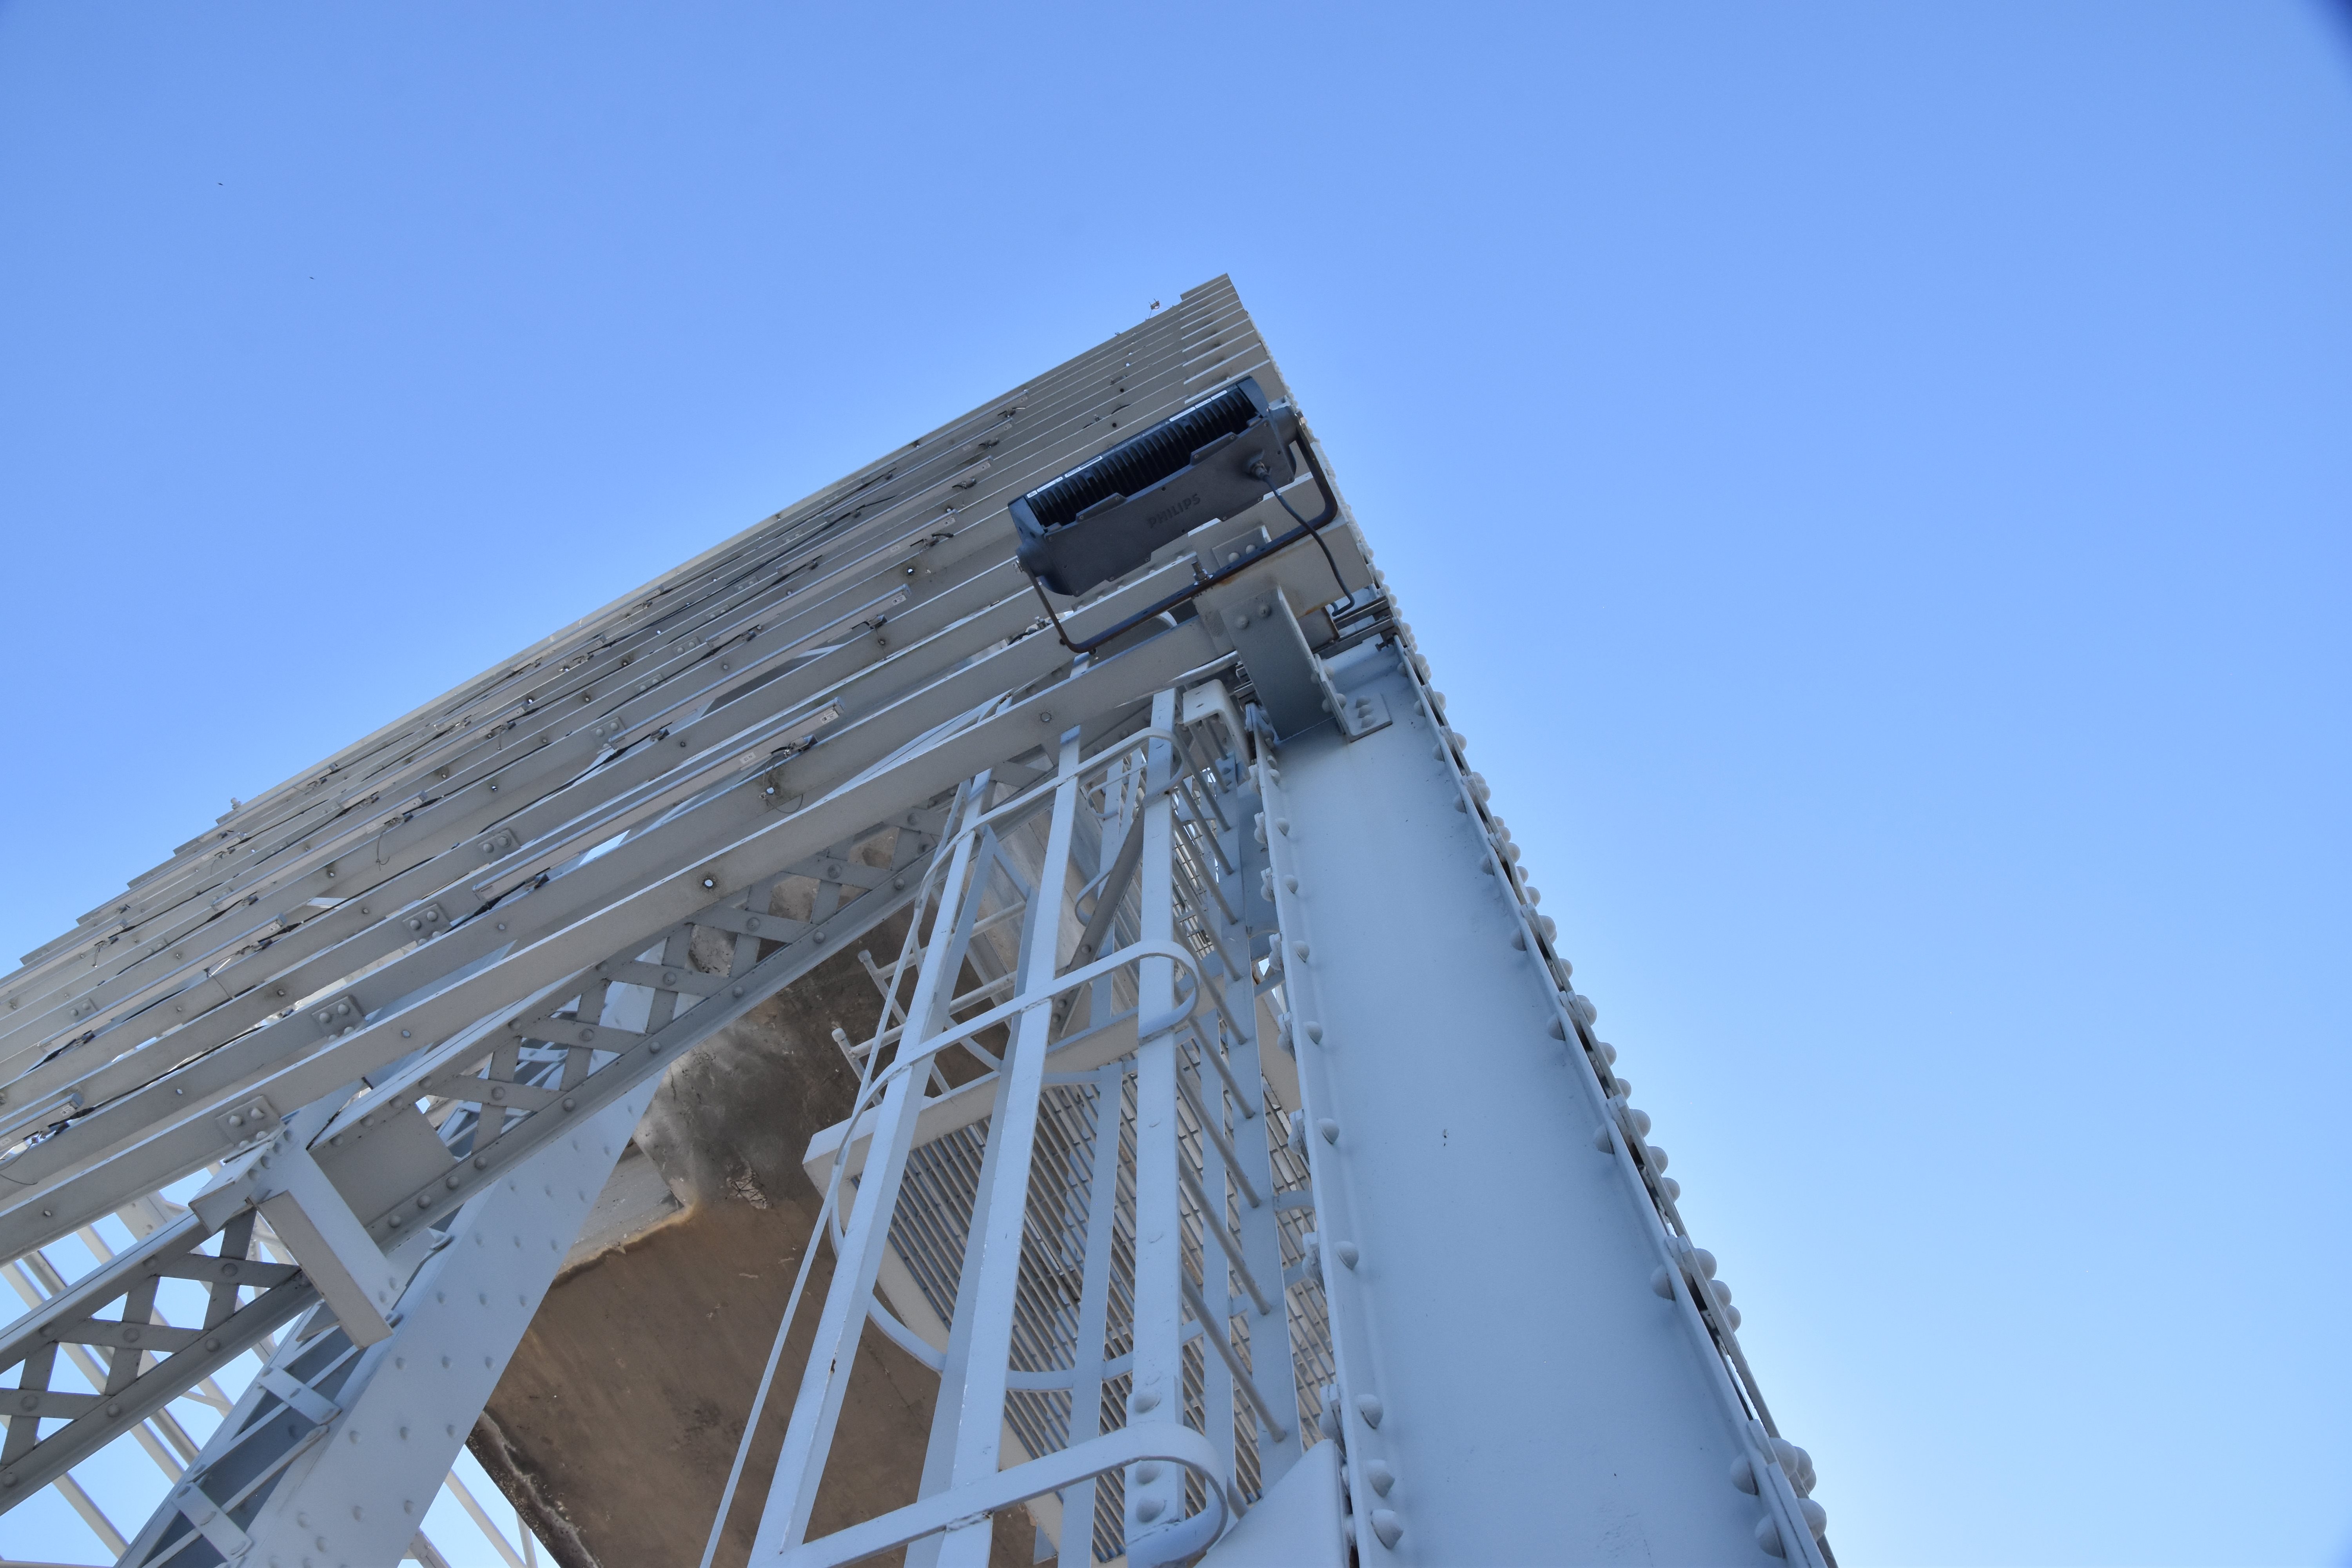

Counterweight frame post.
![]()


Counterweight frame bracing.
![]()

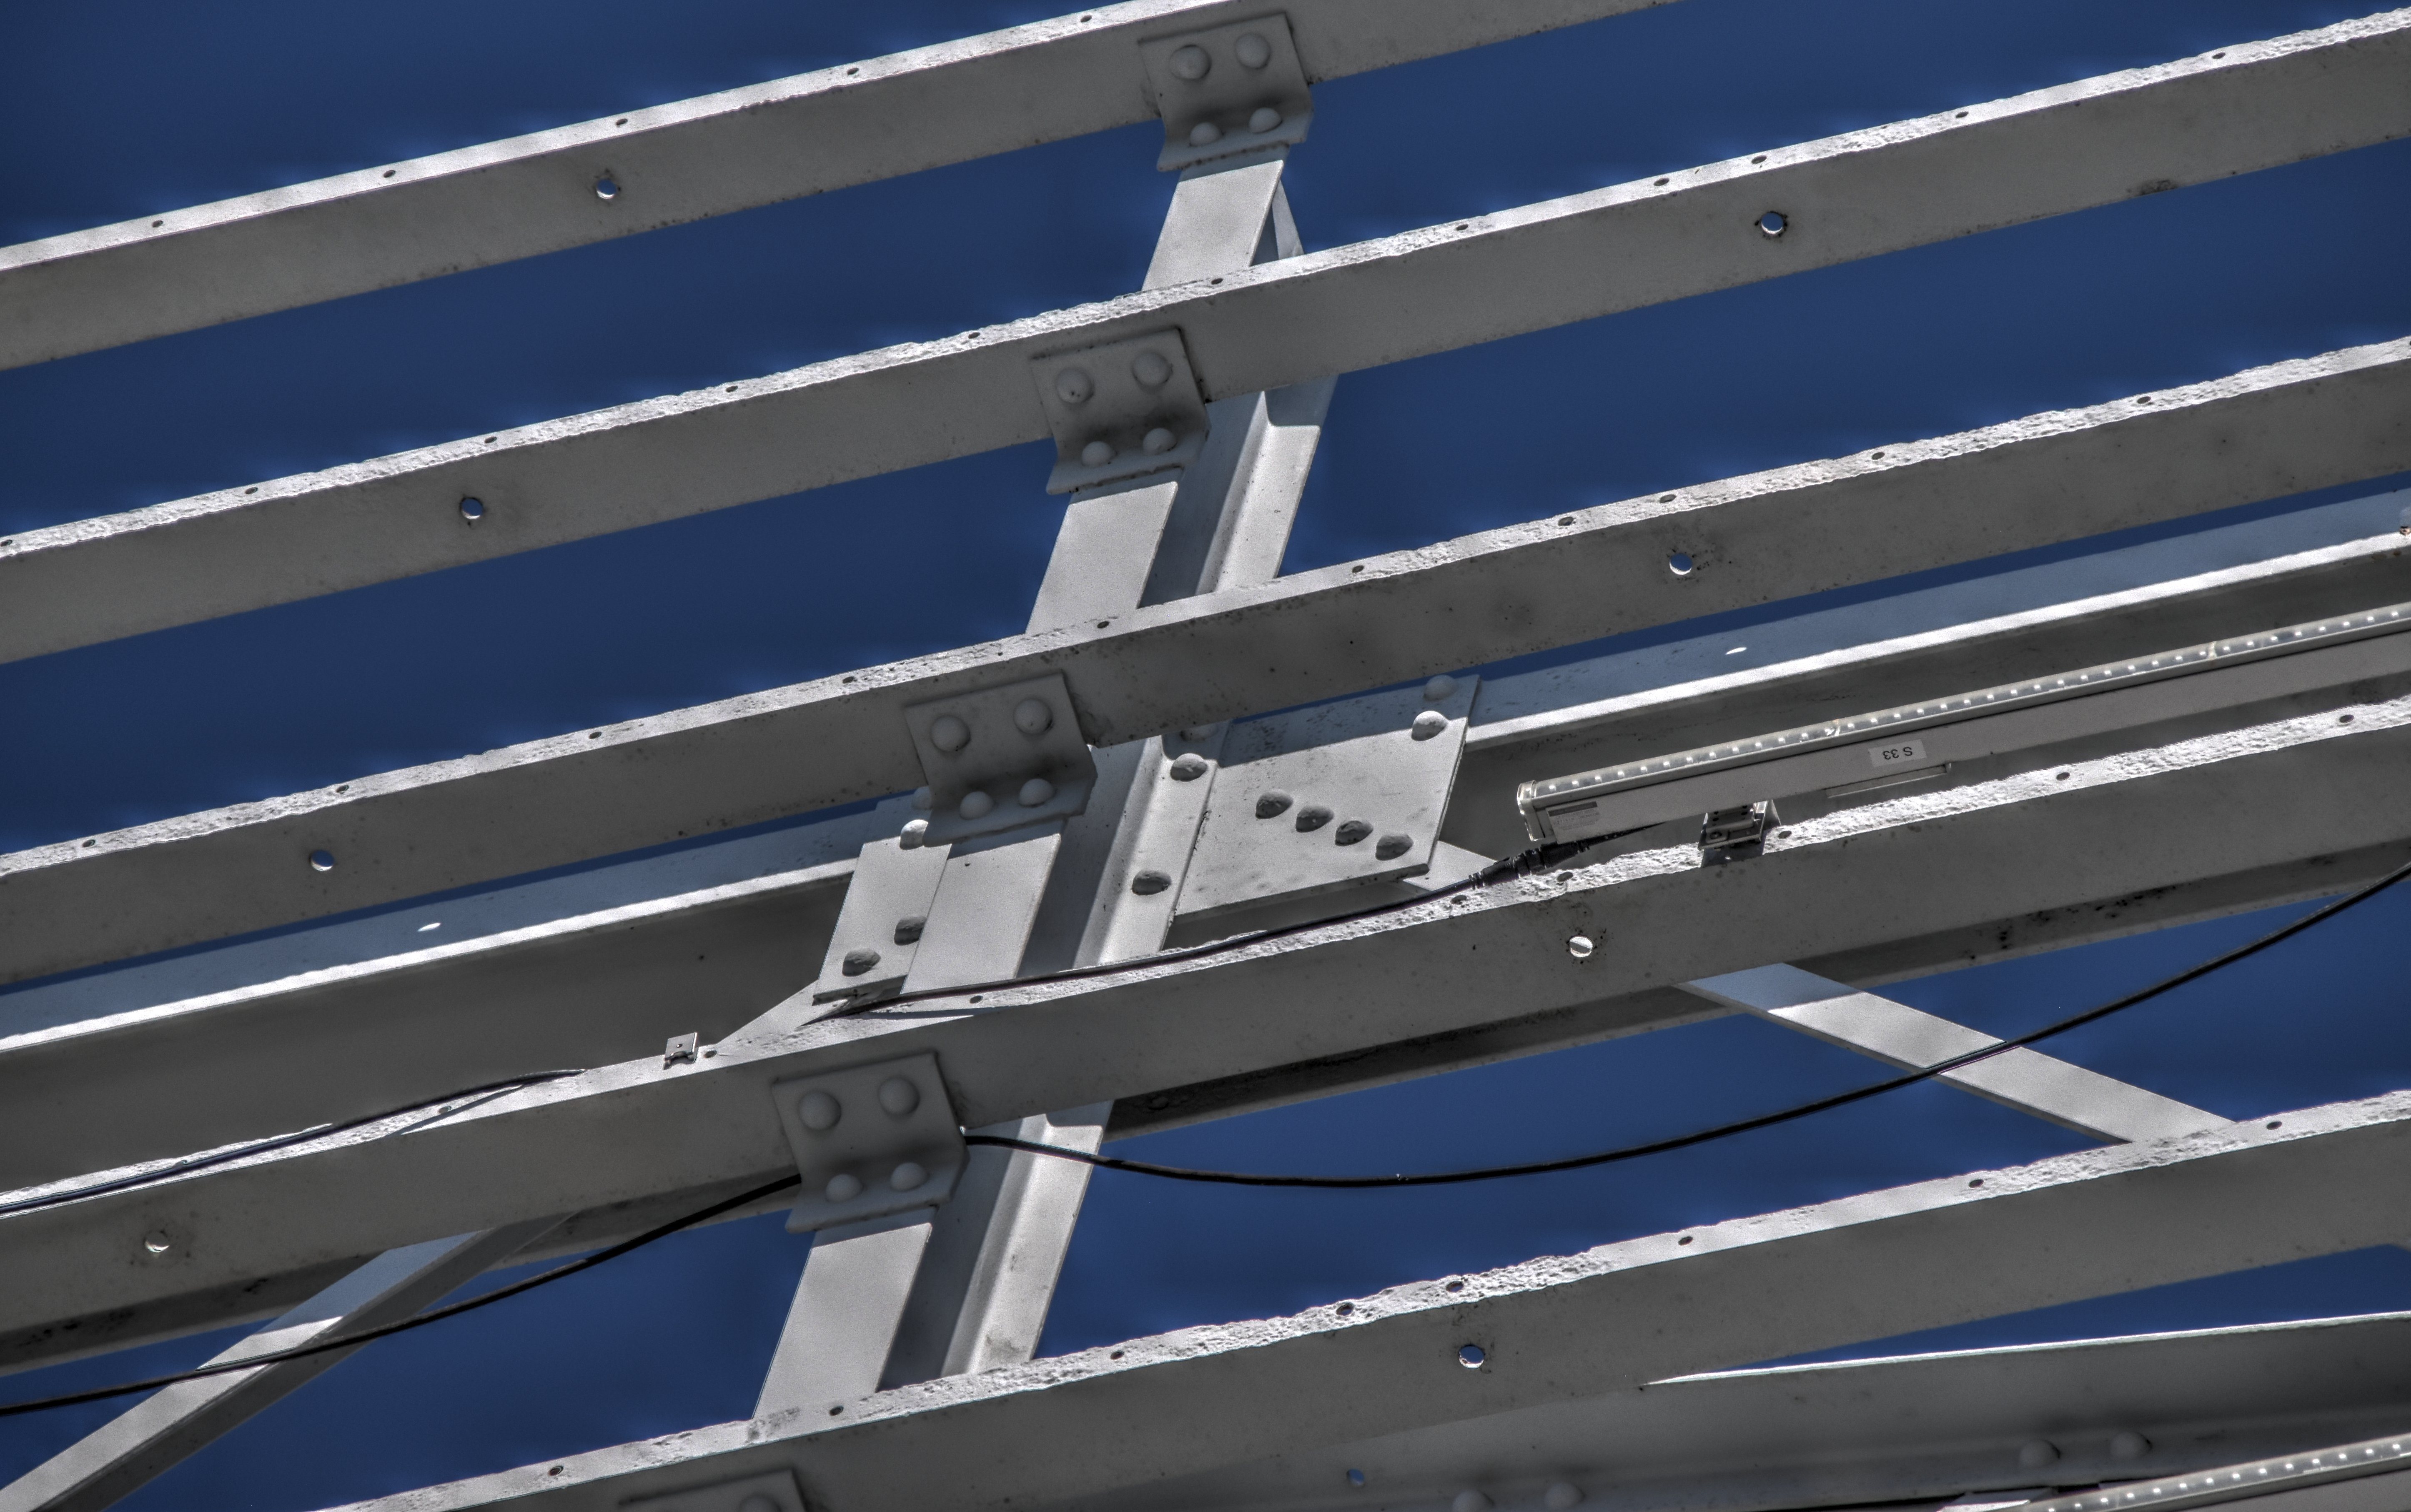


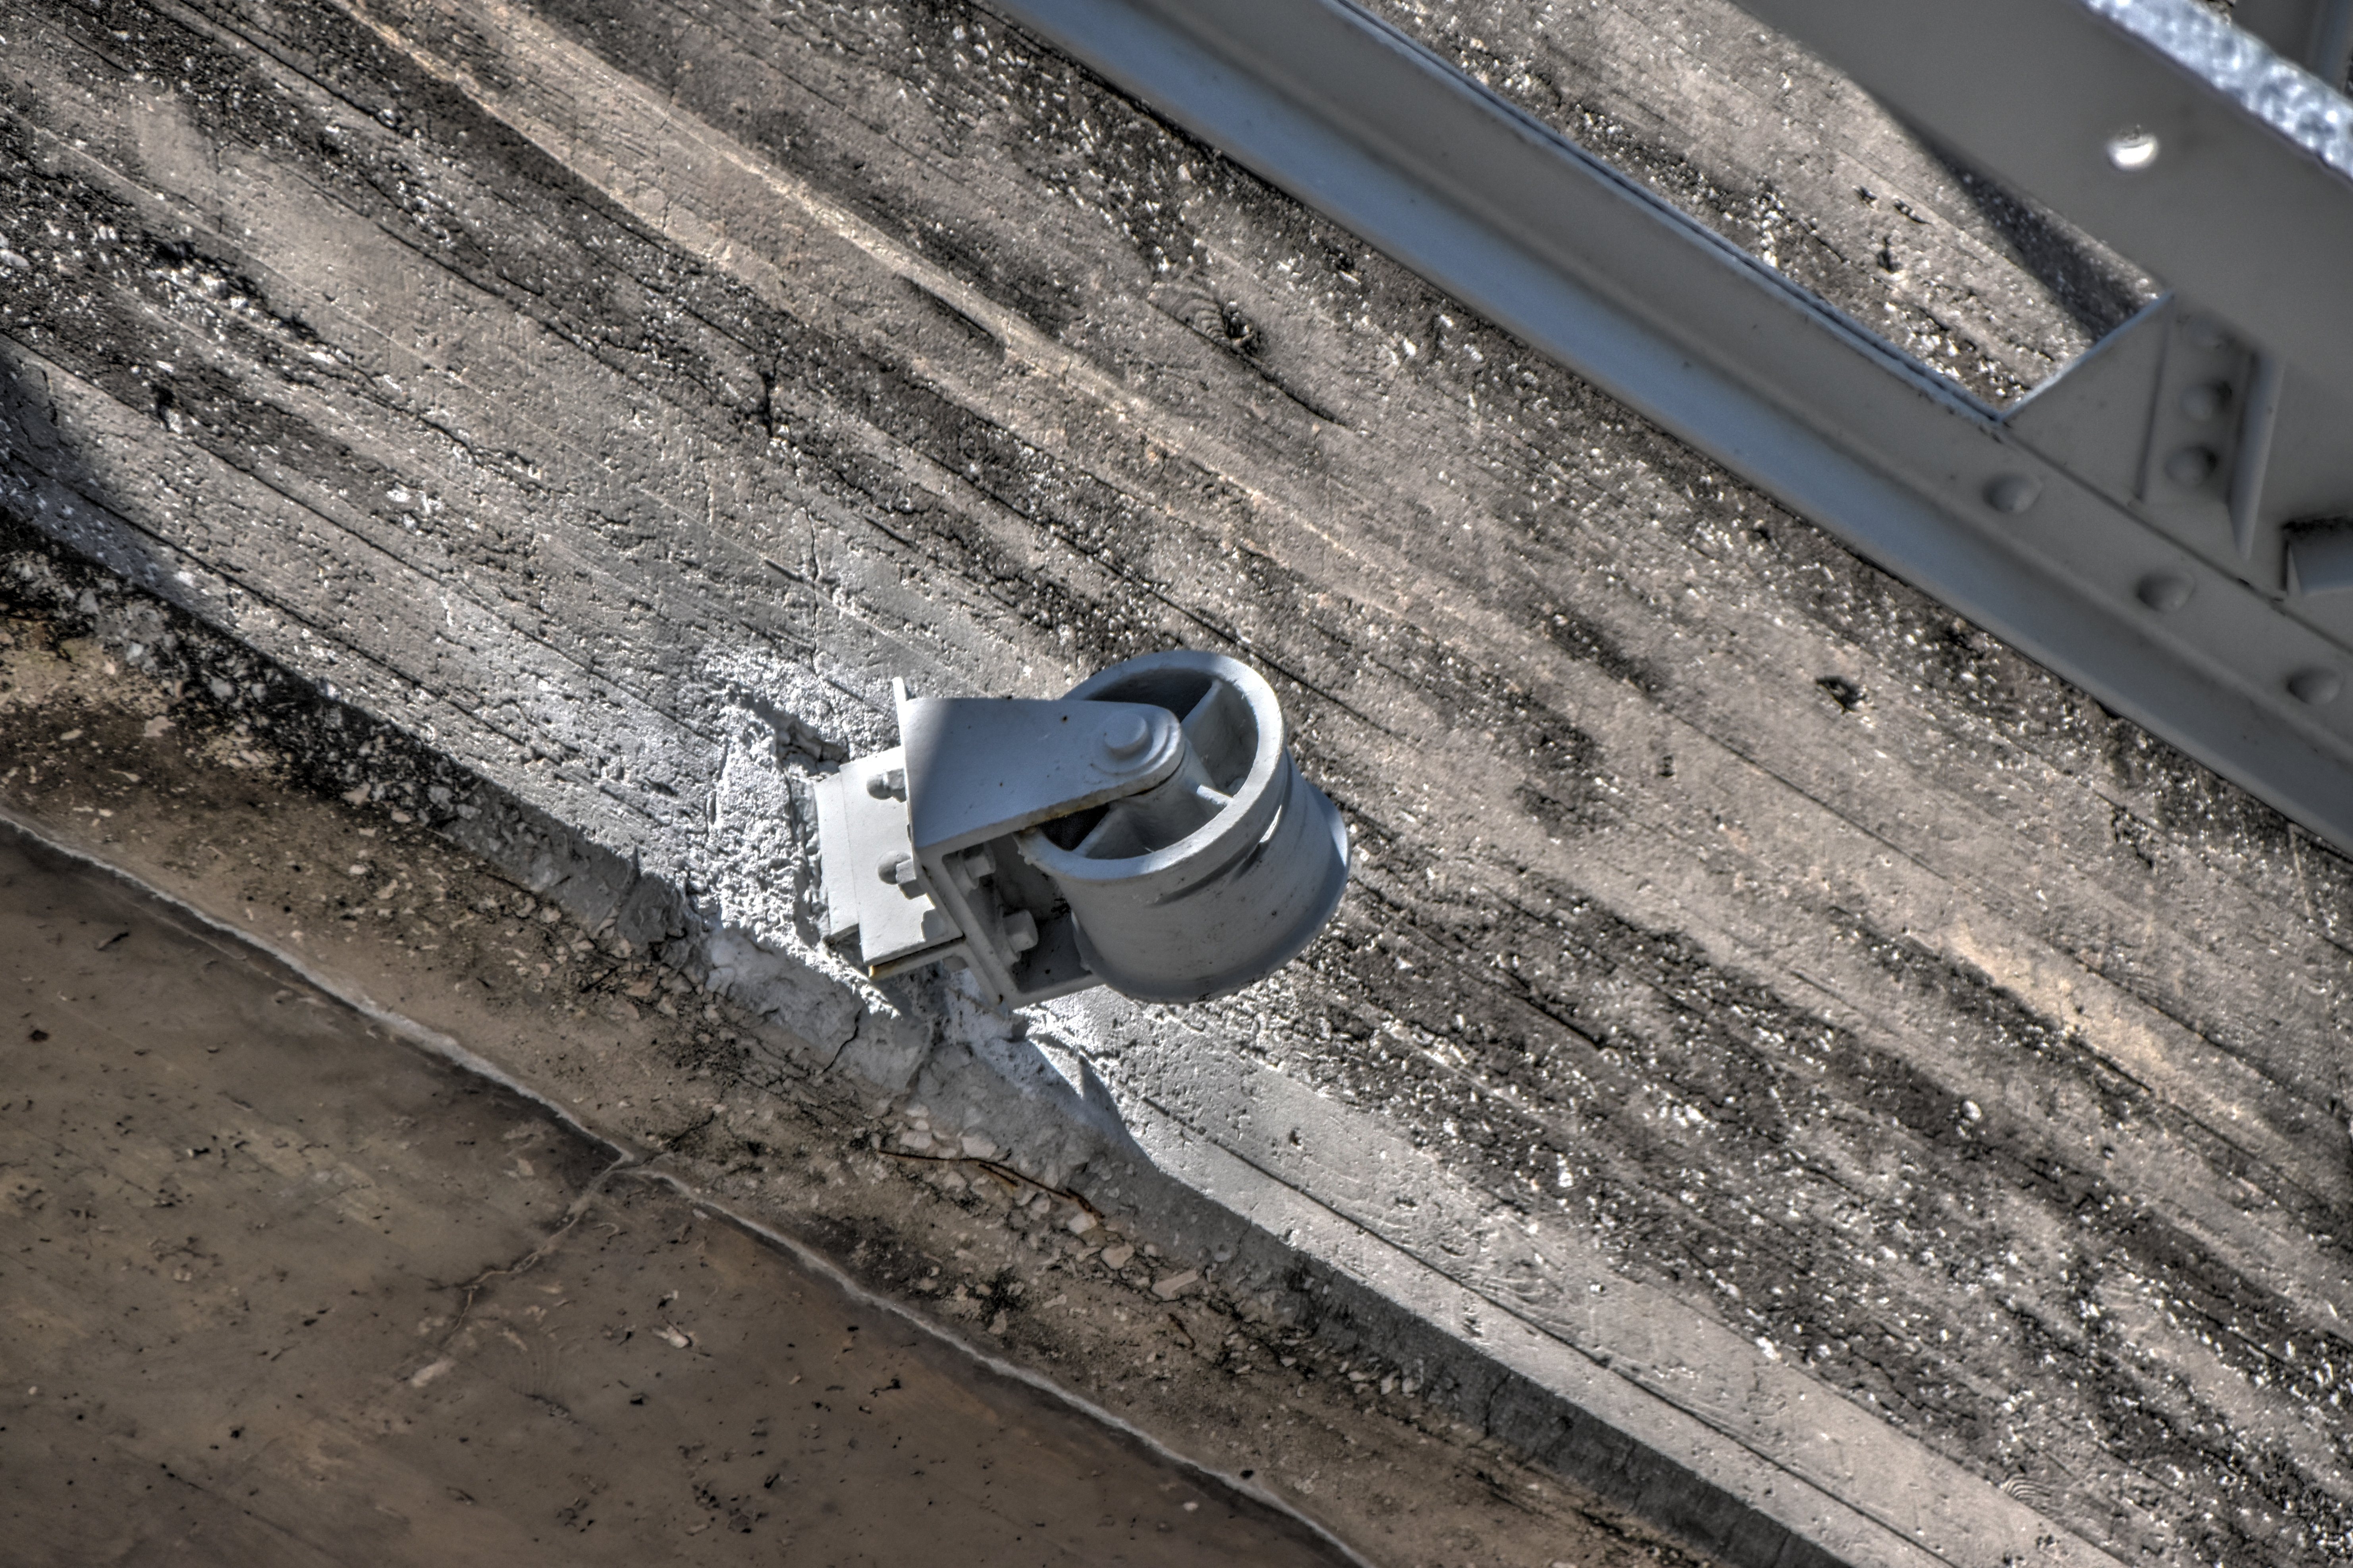
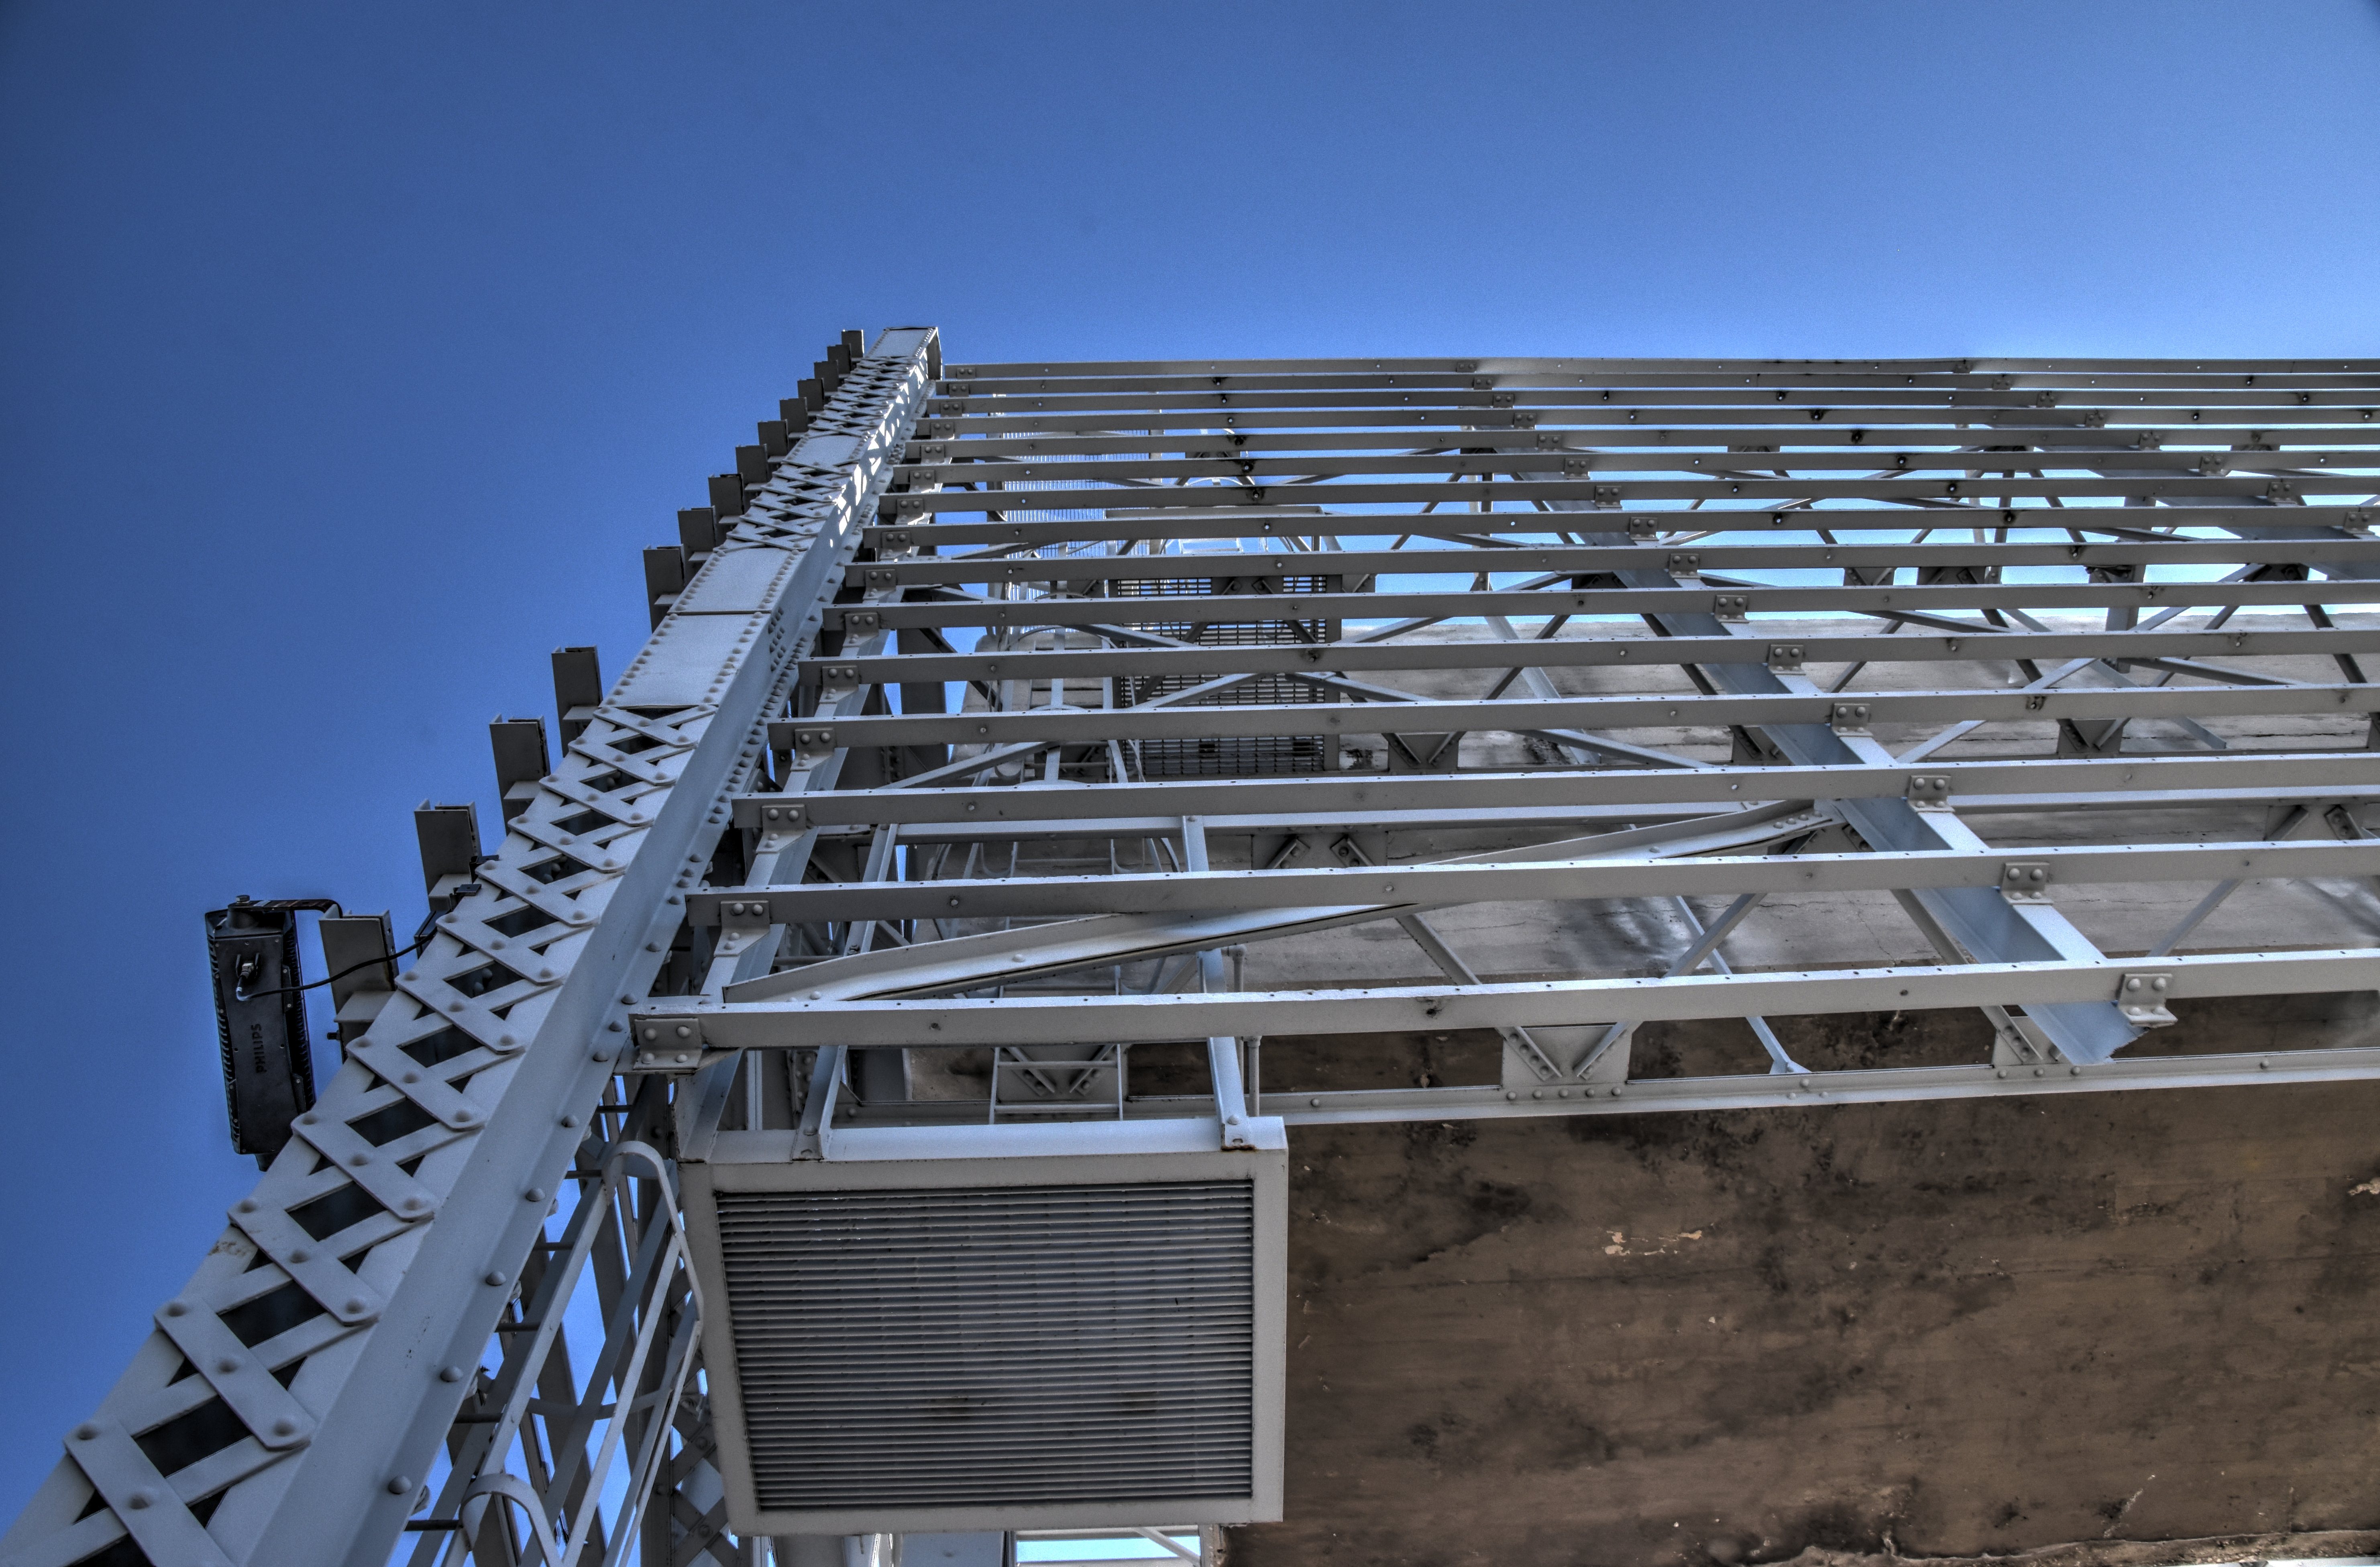
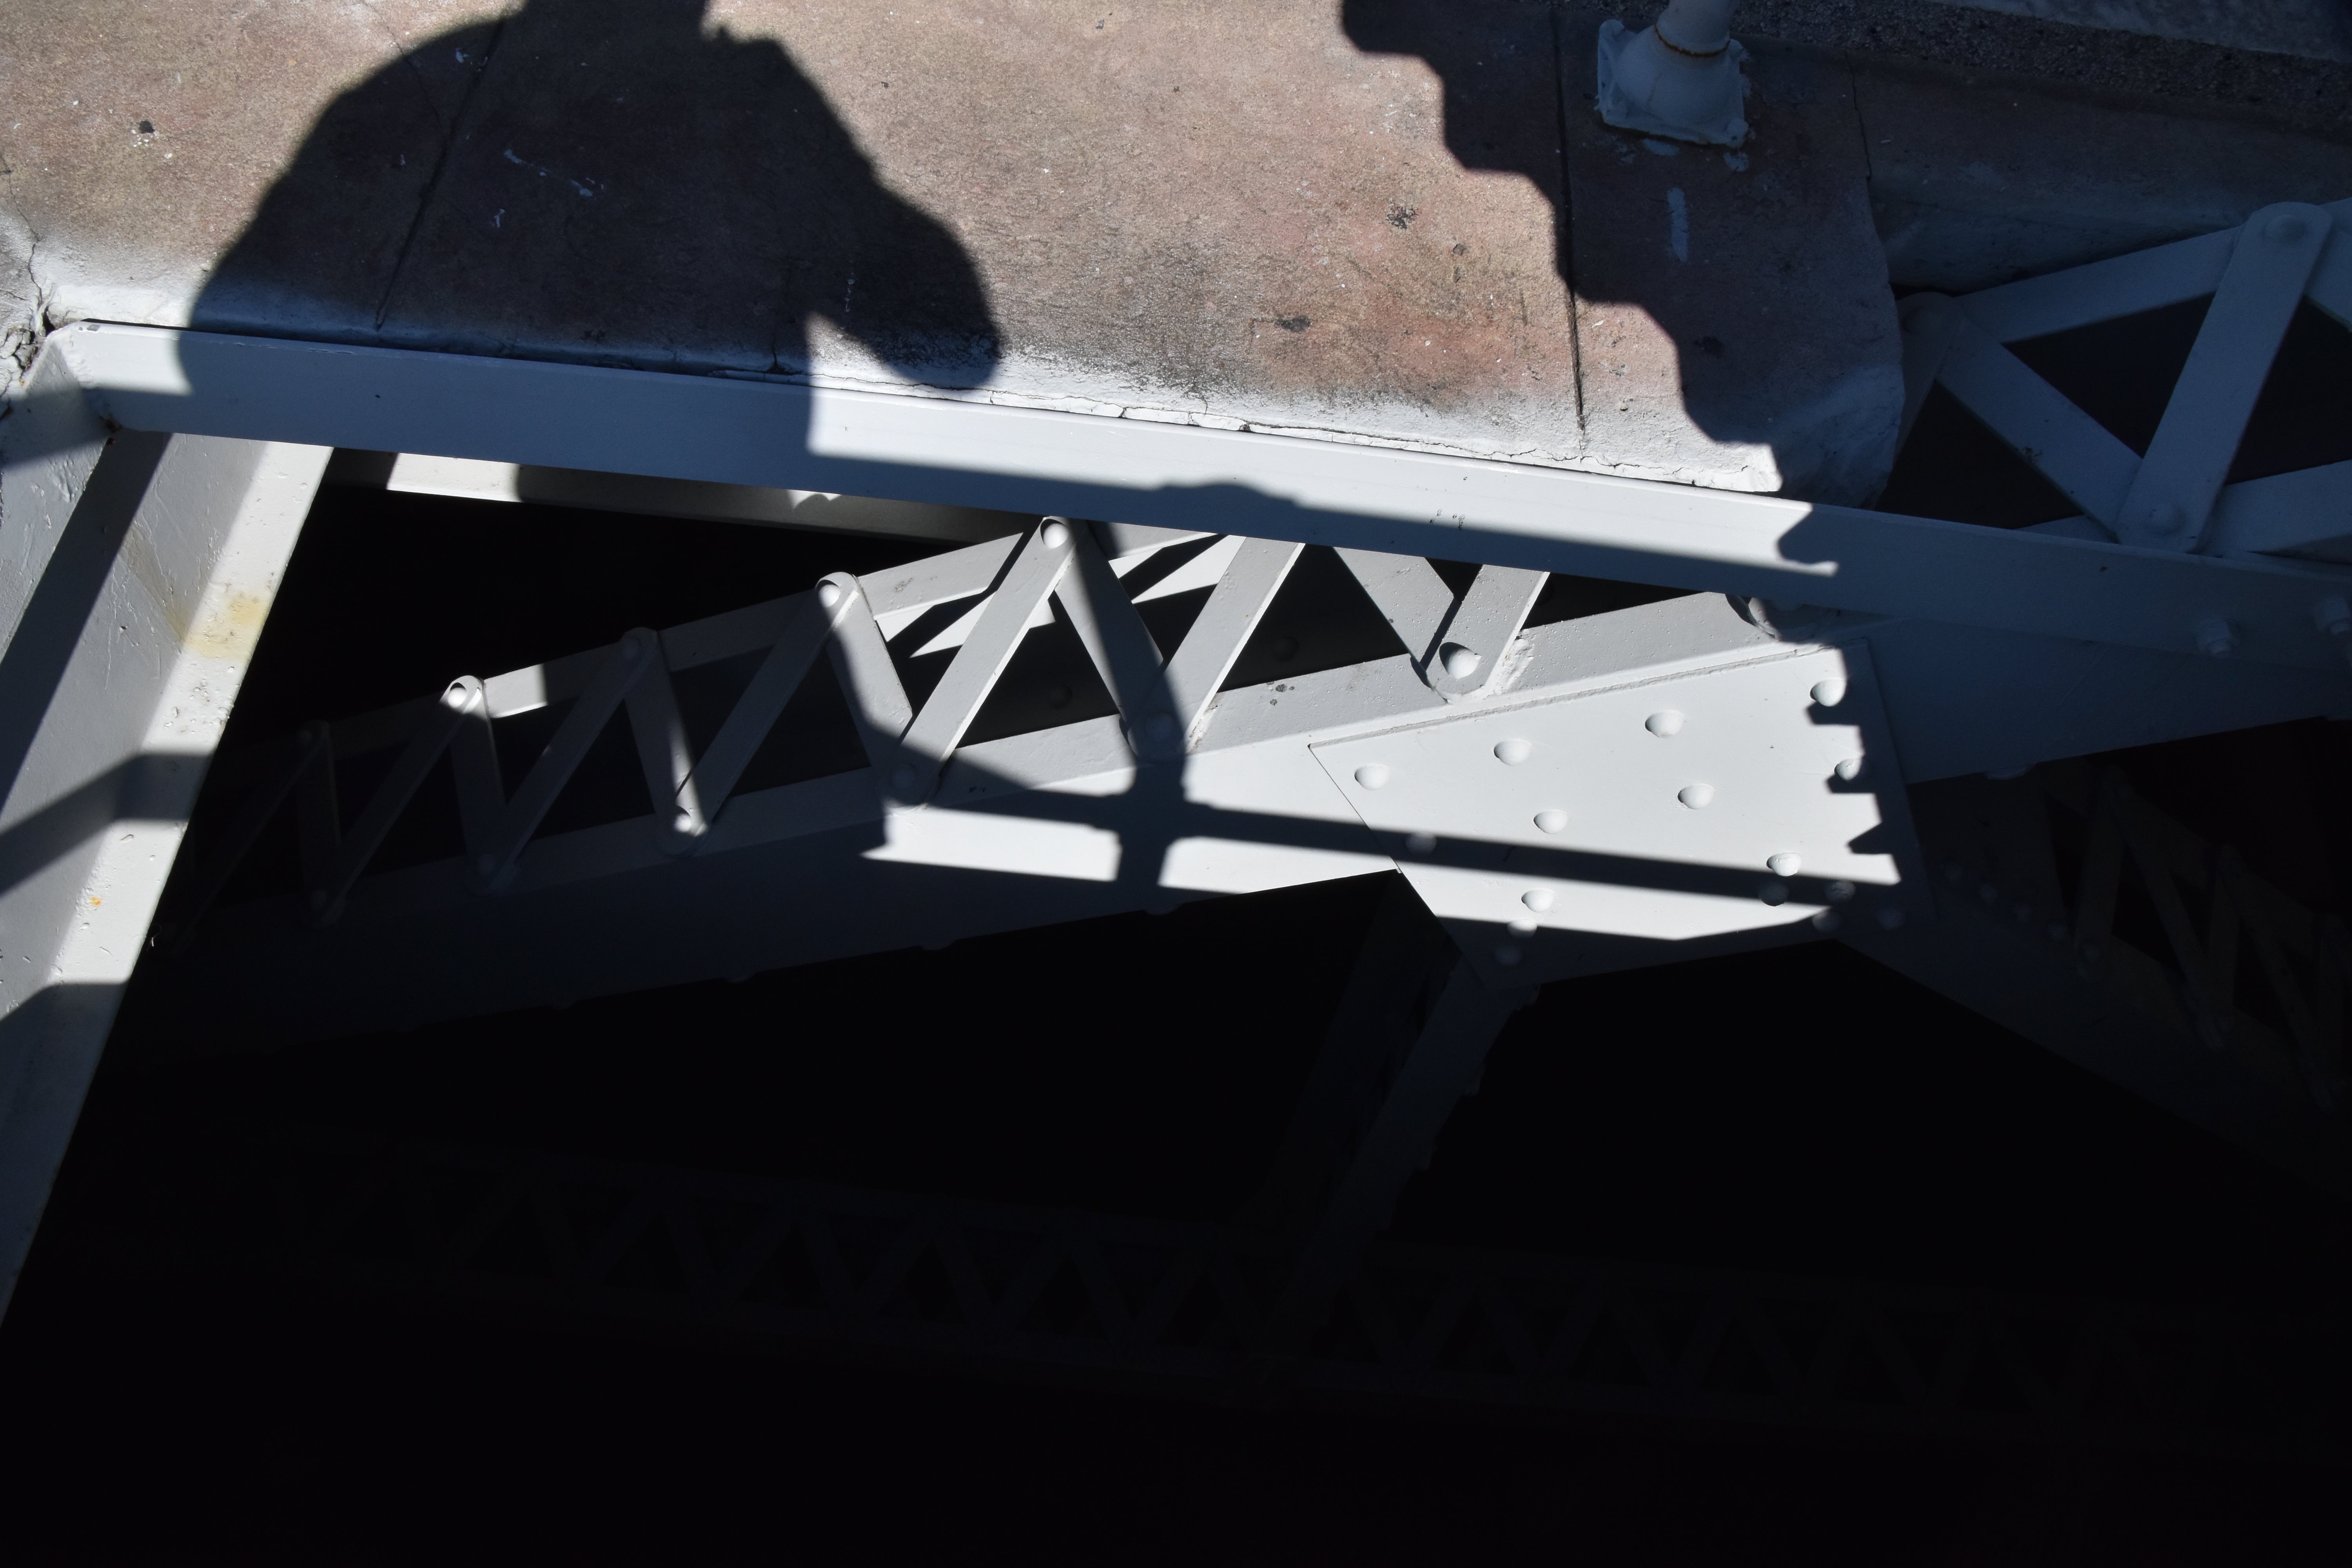
Counterweight enclosure details.
![]()


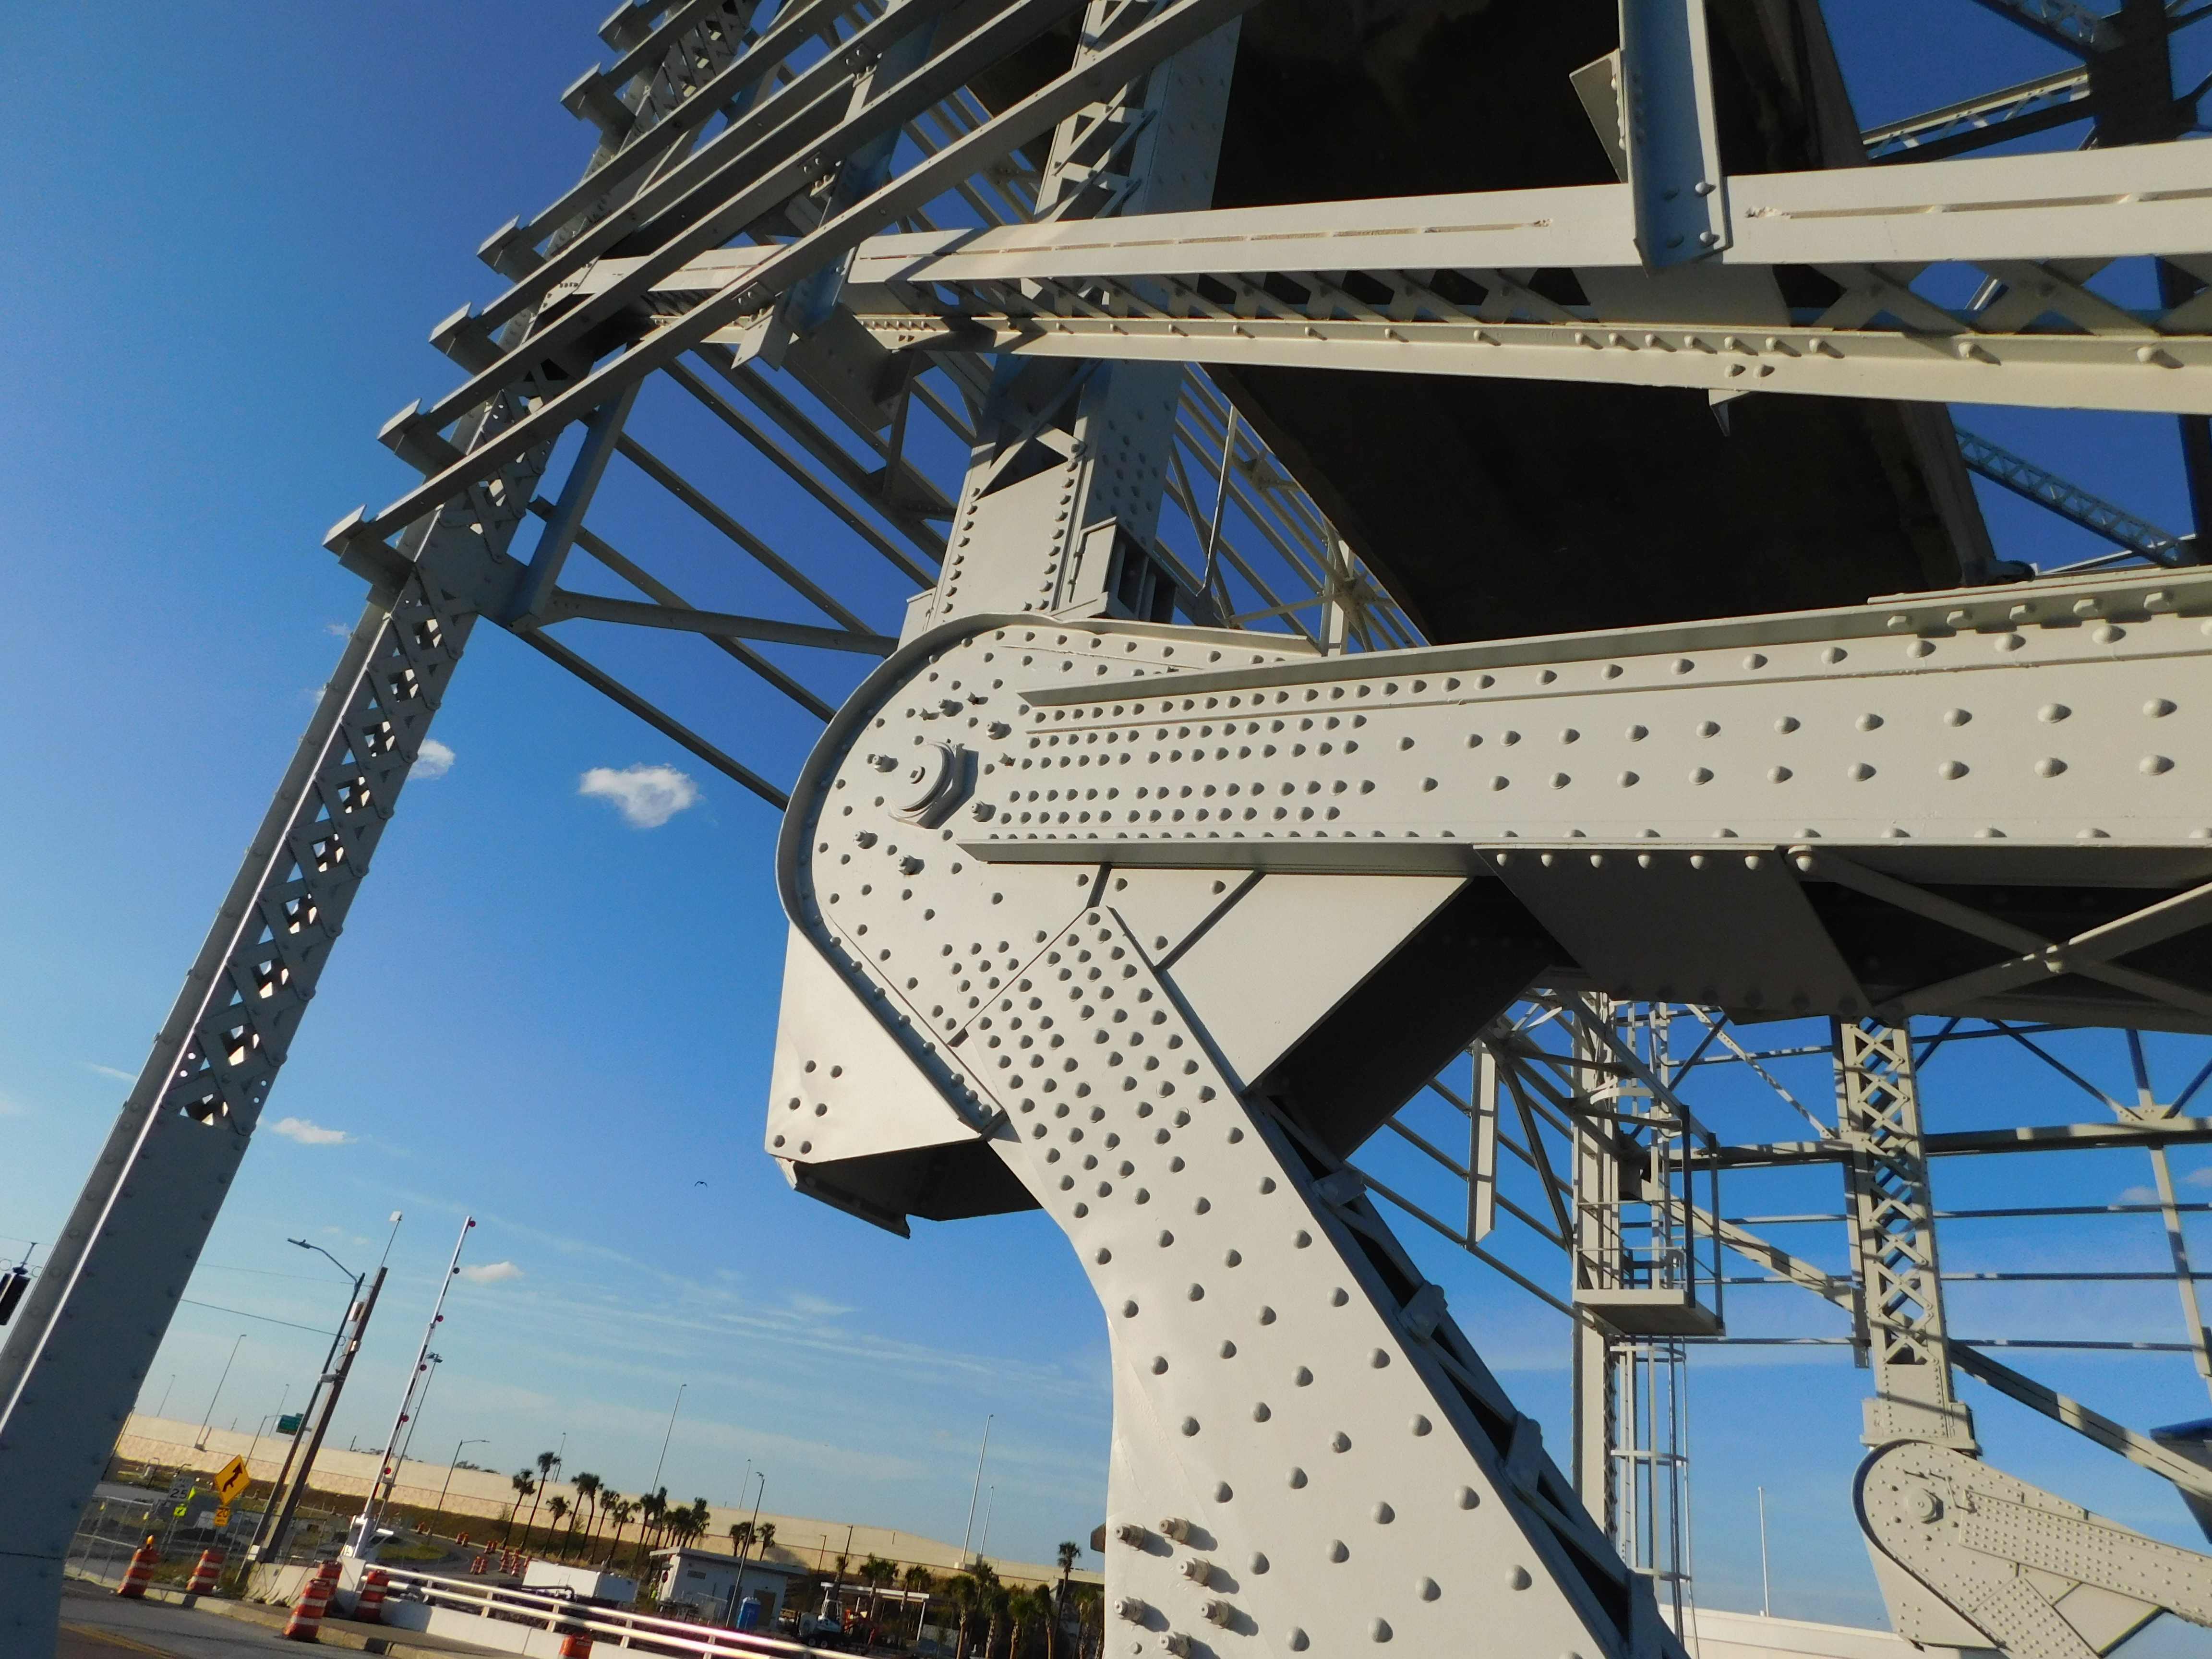
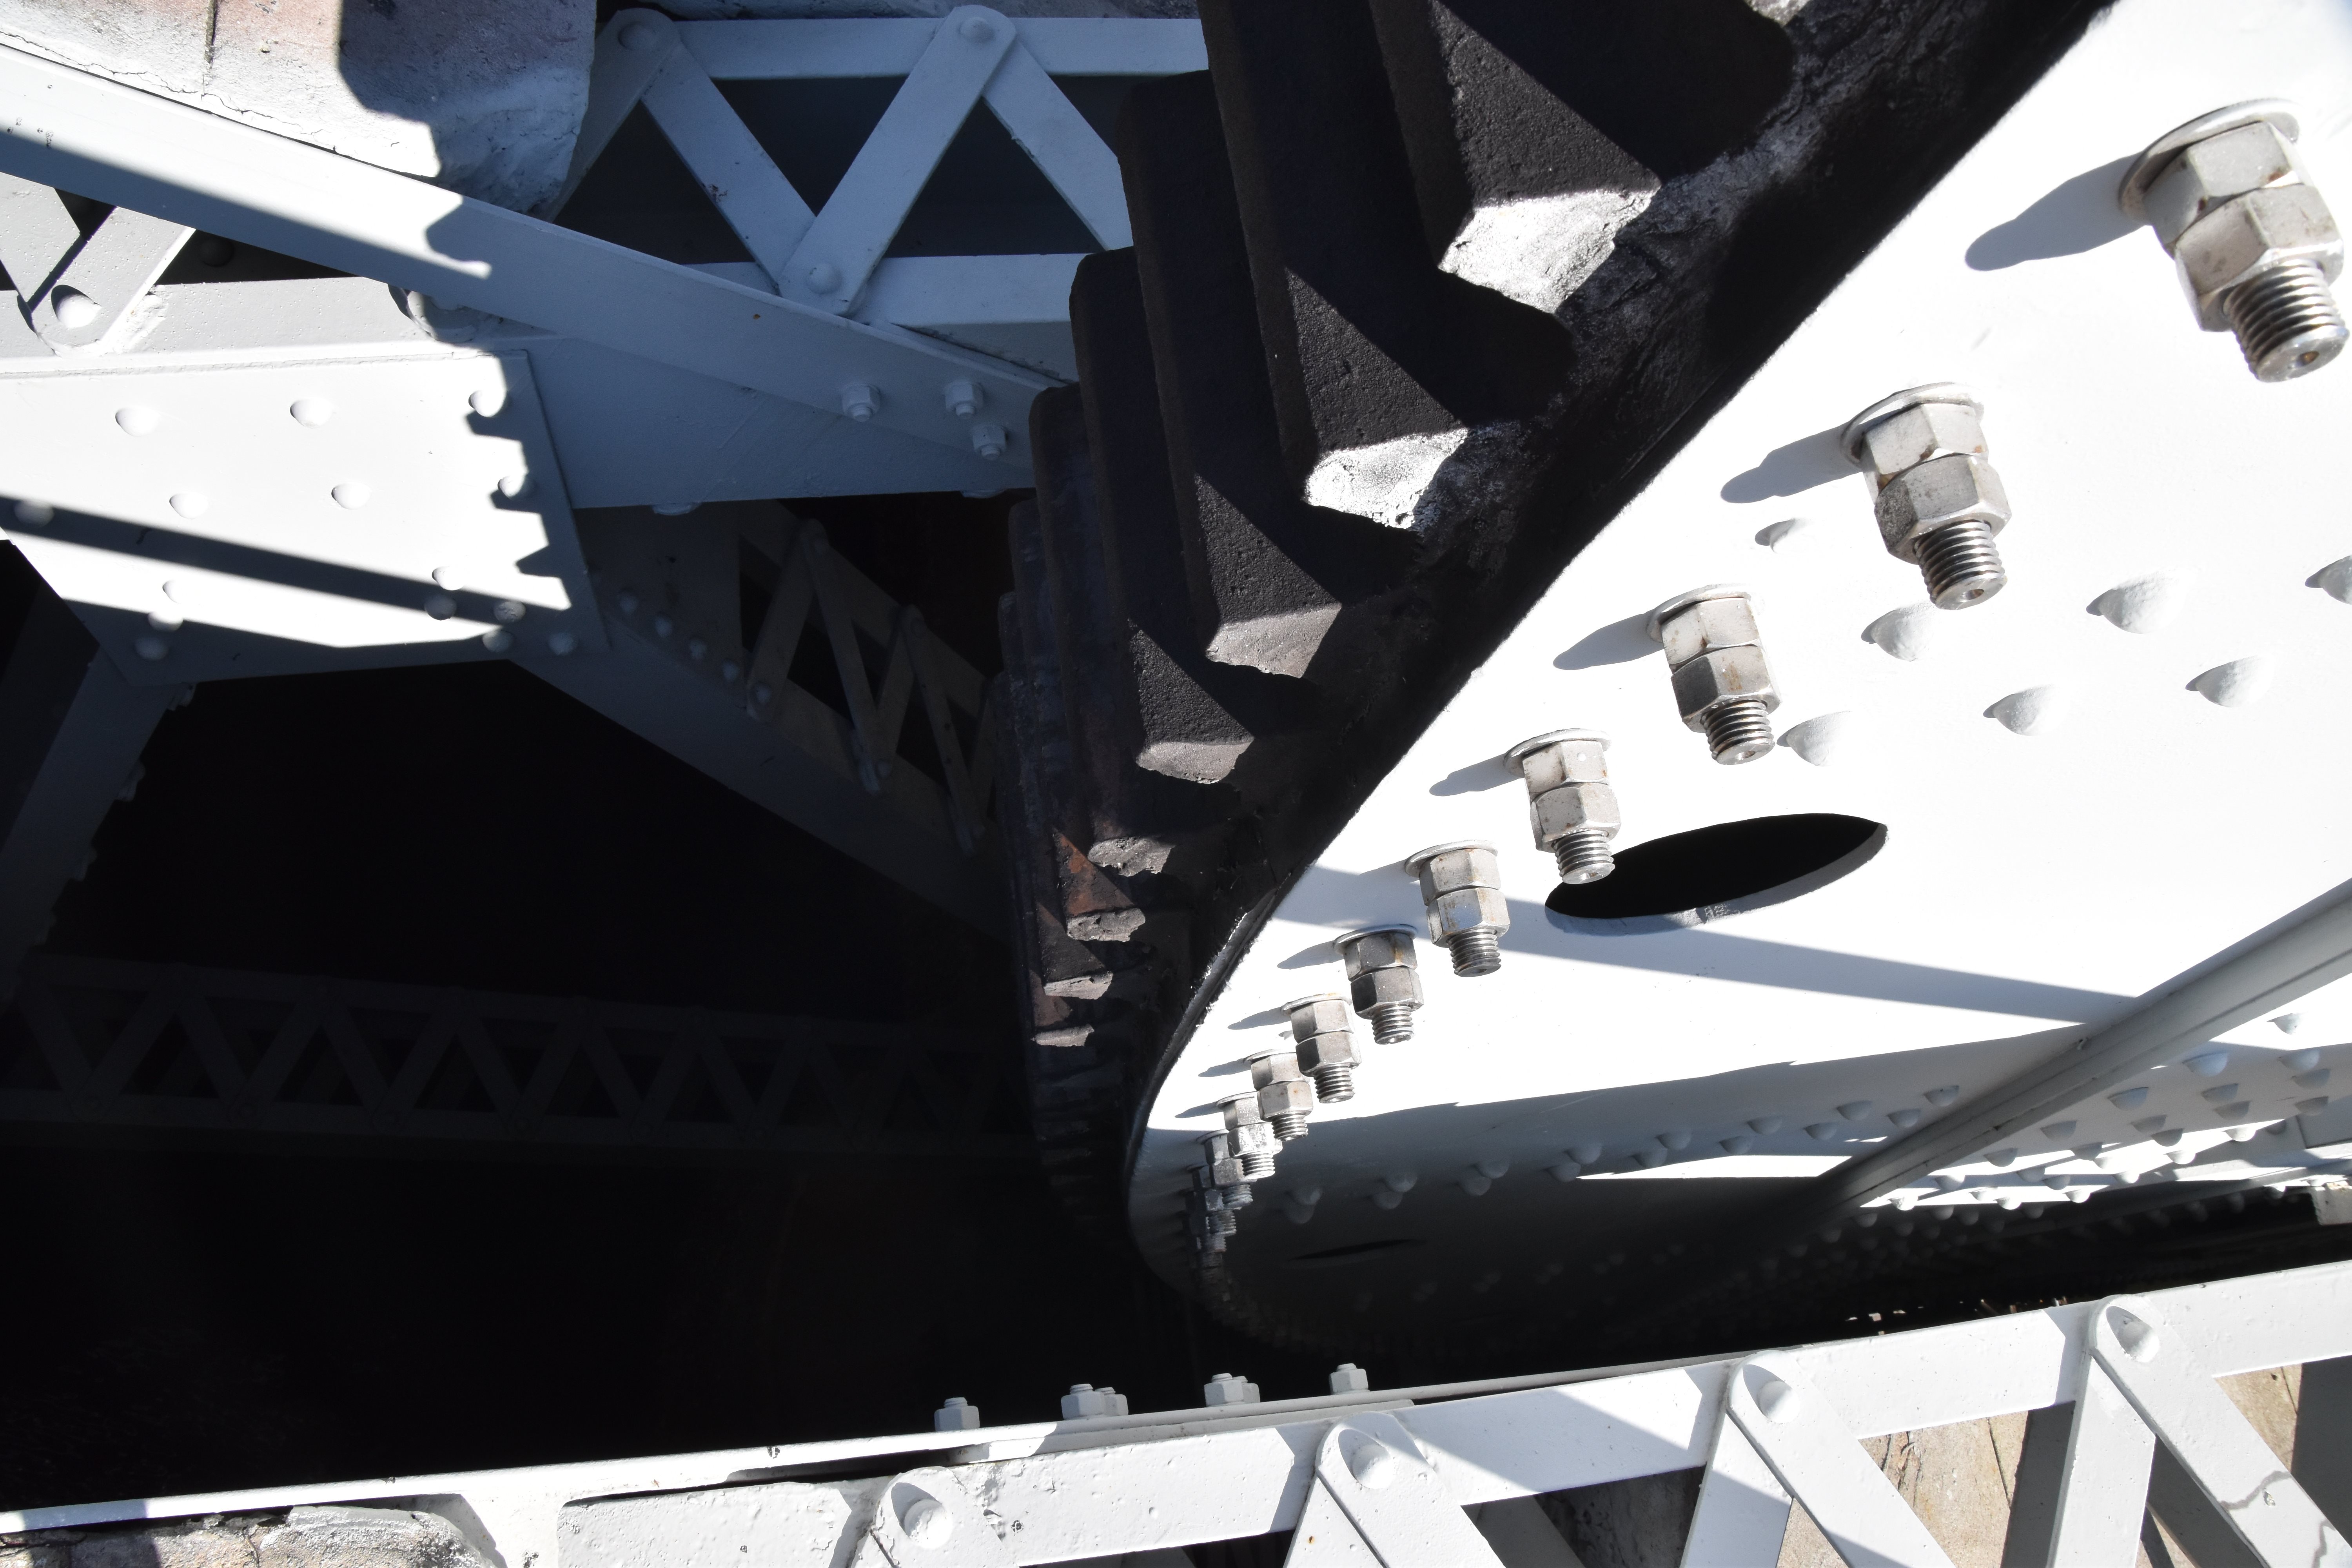
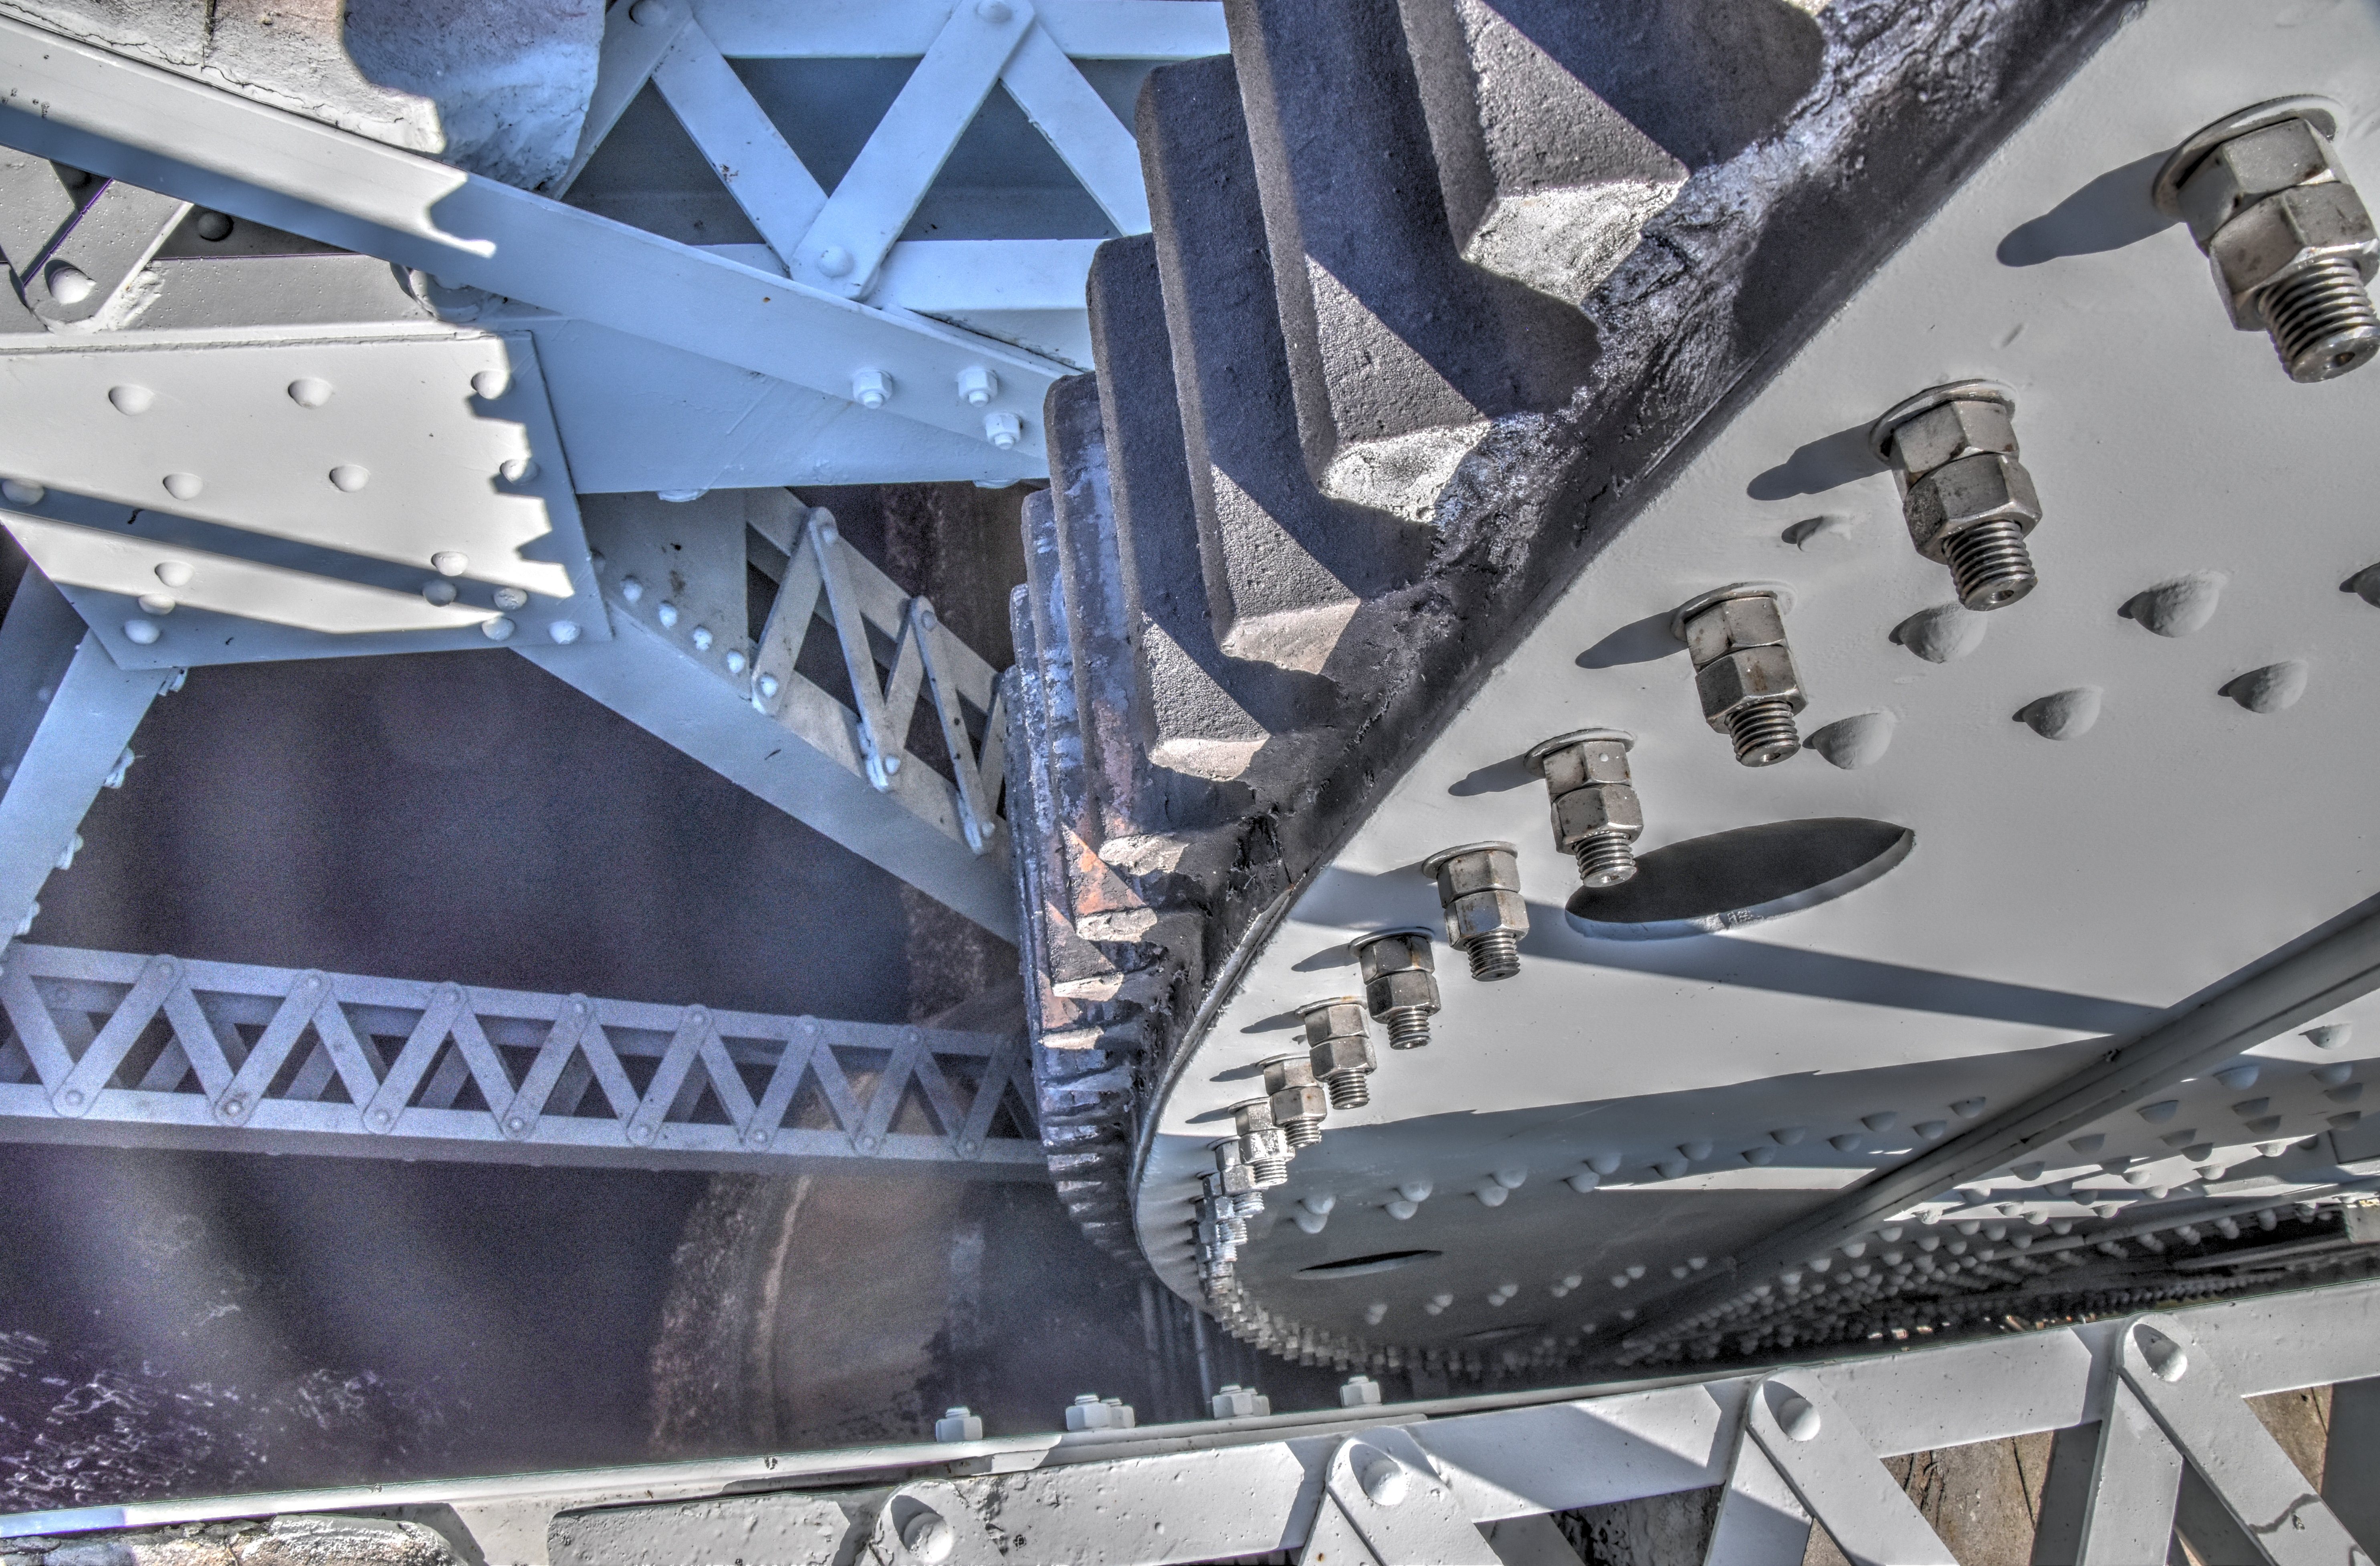
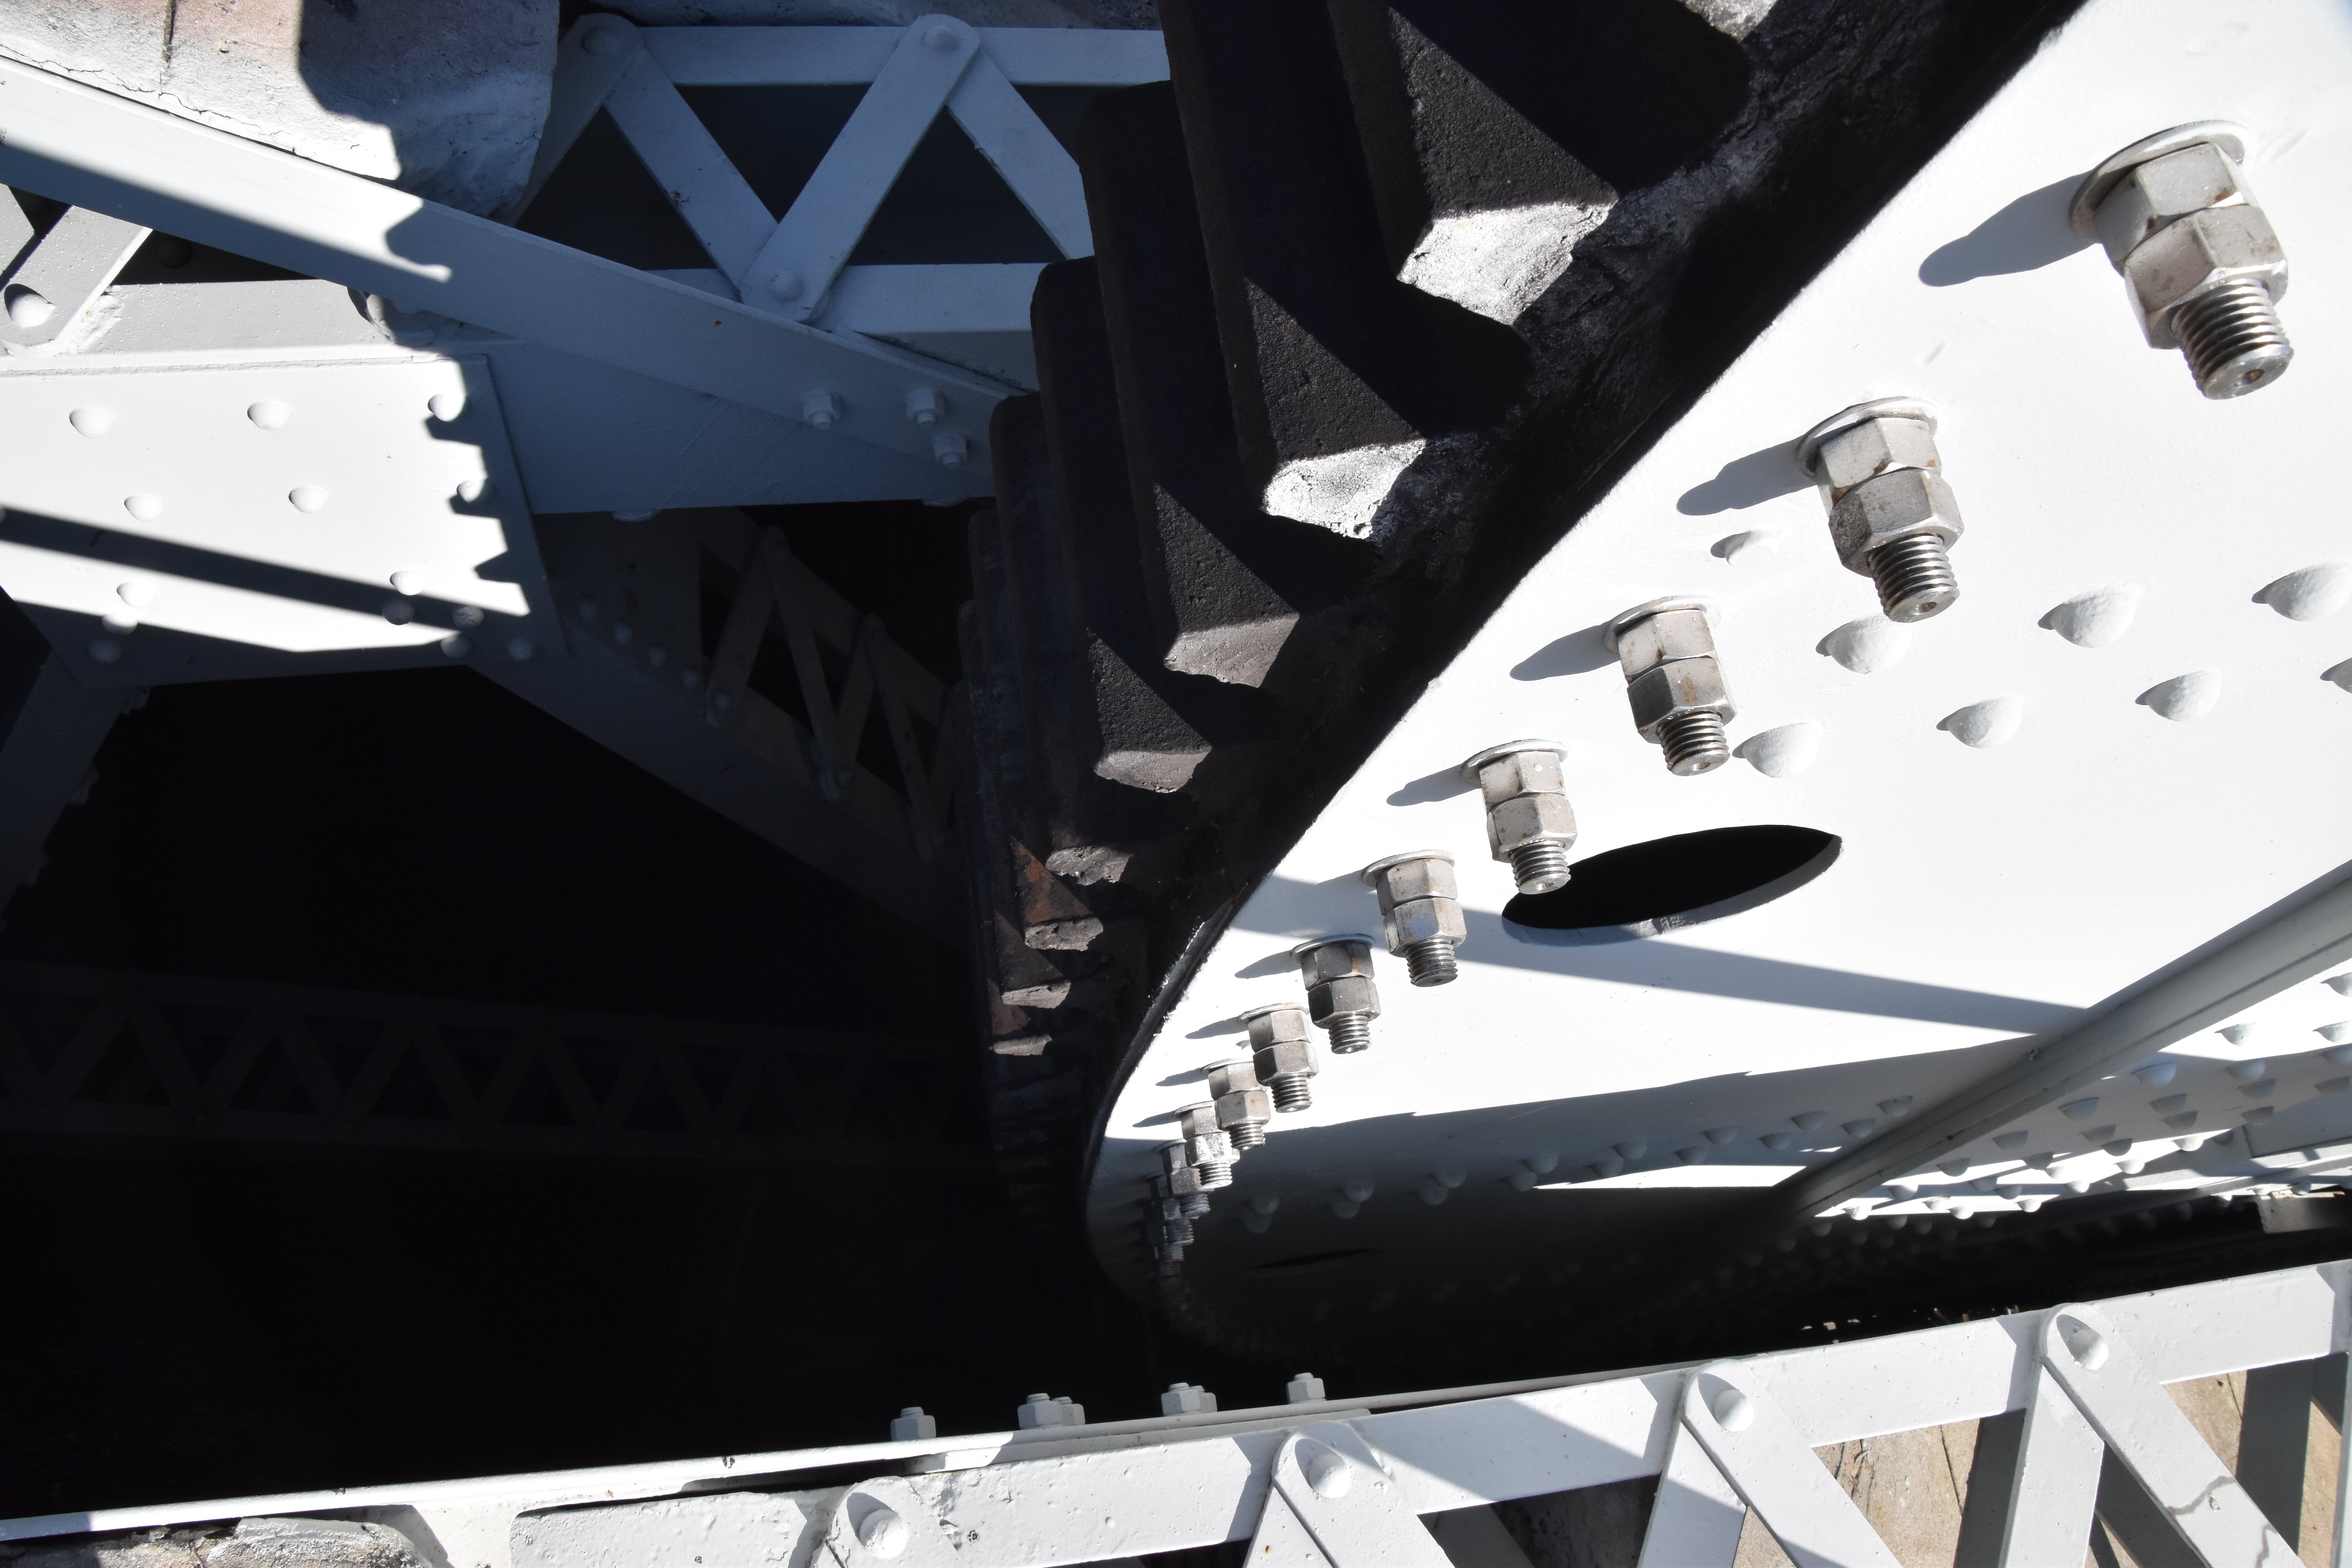
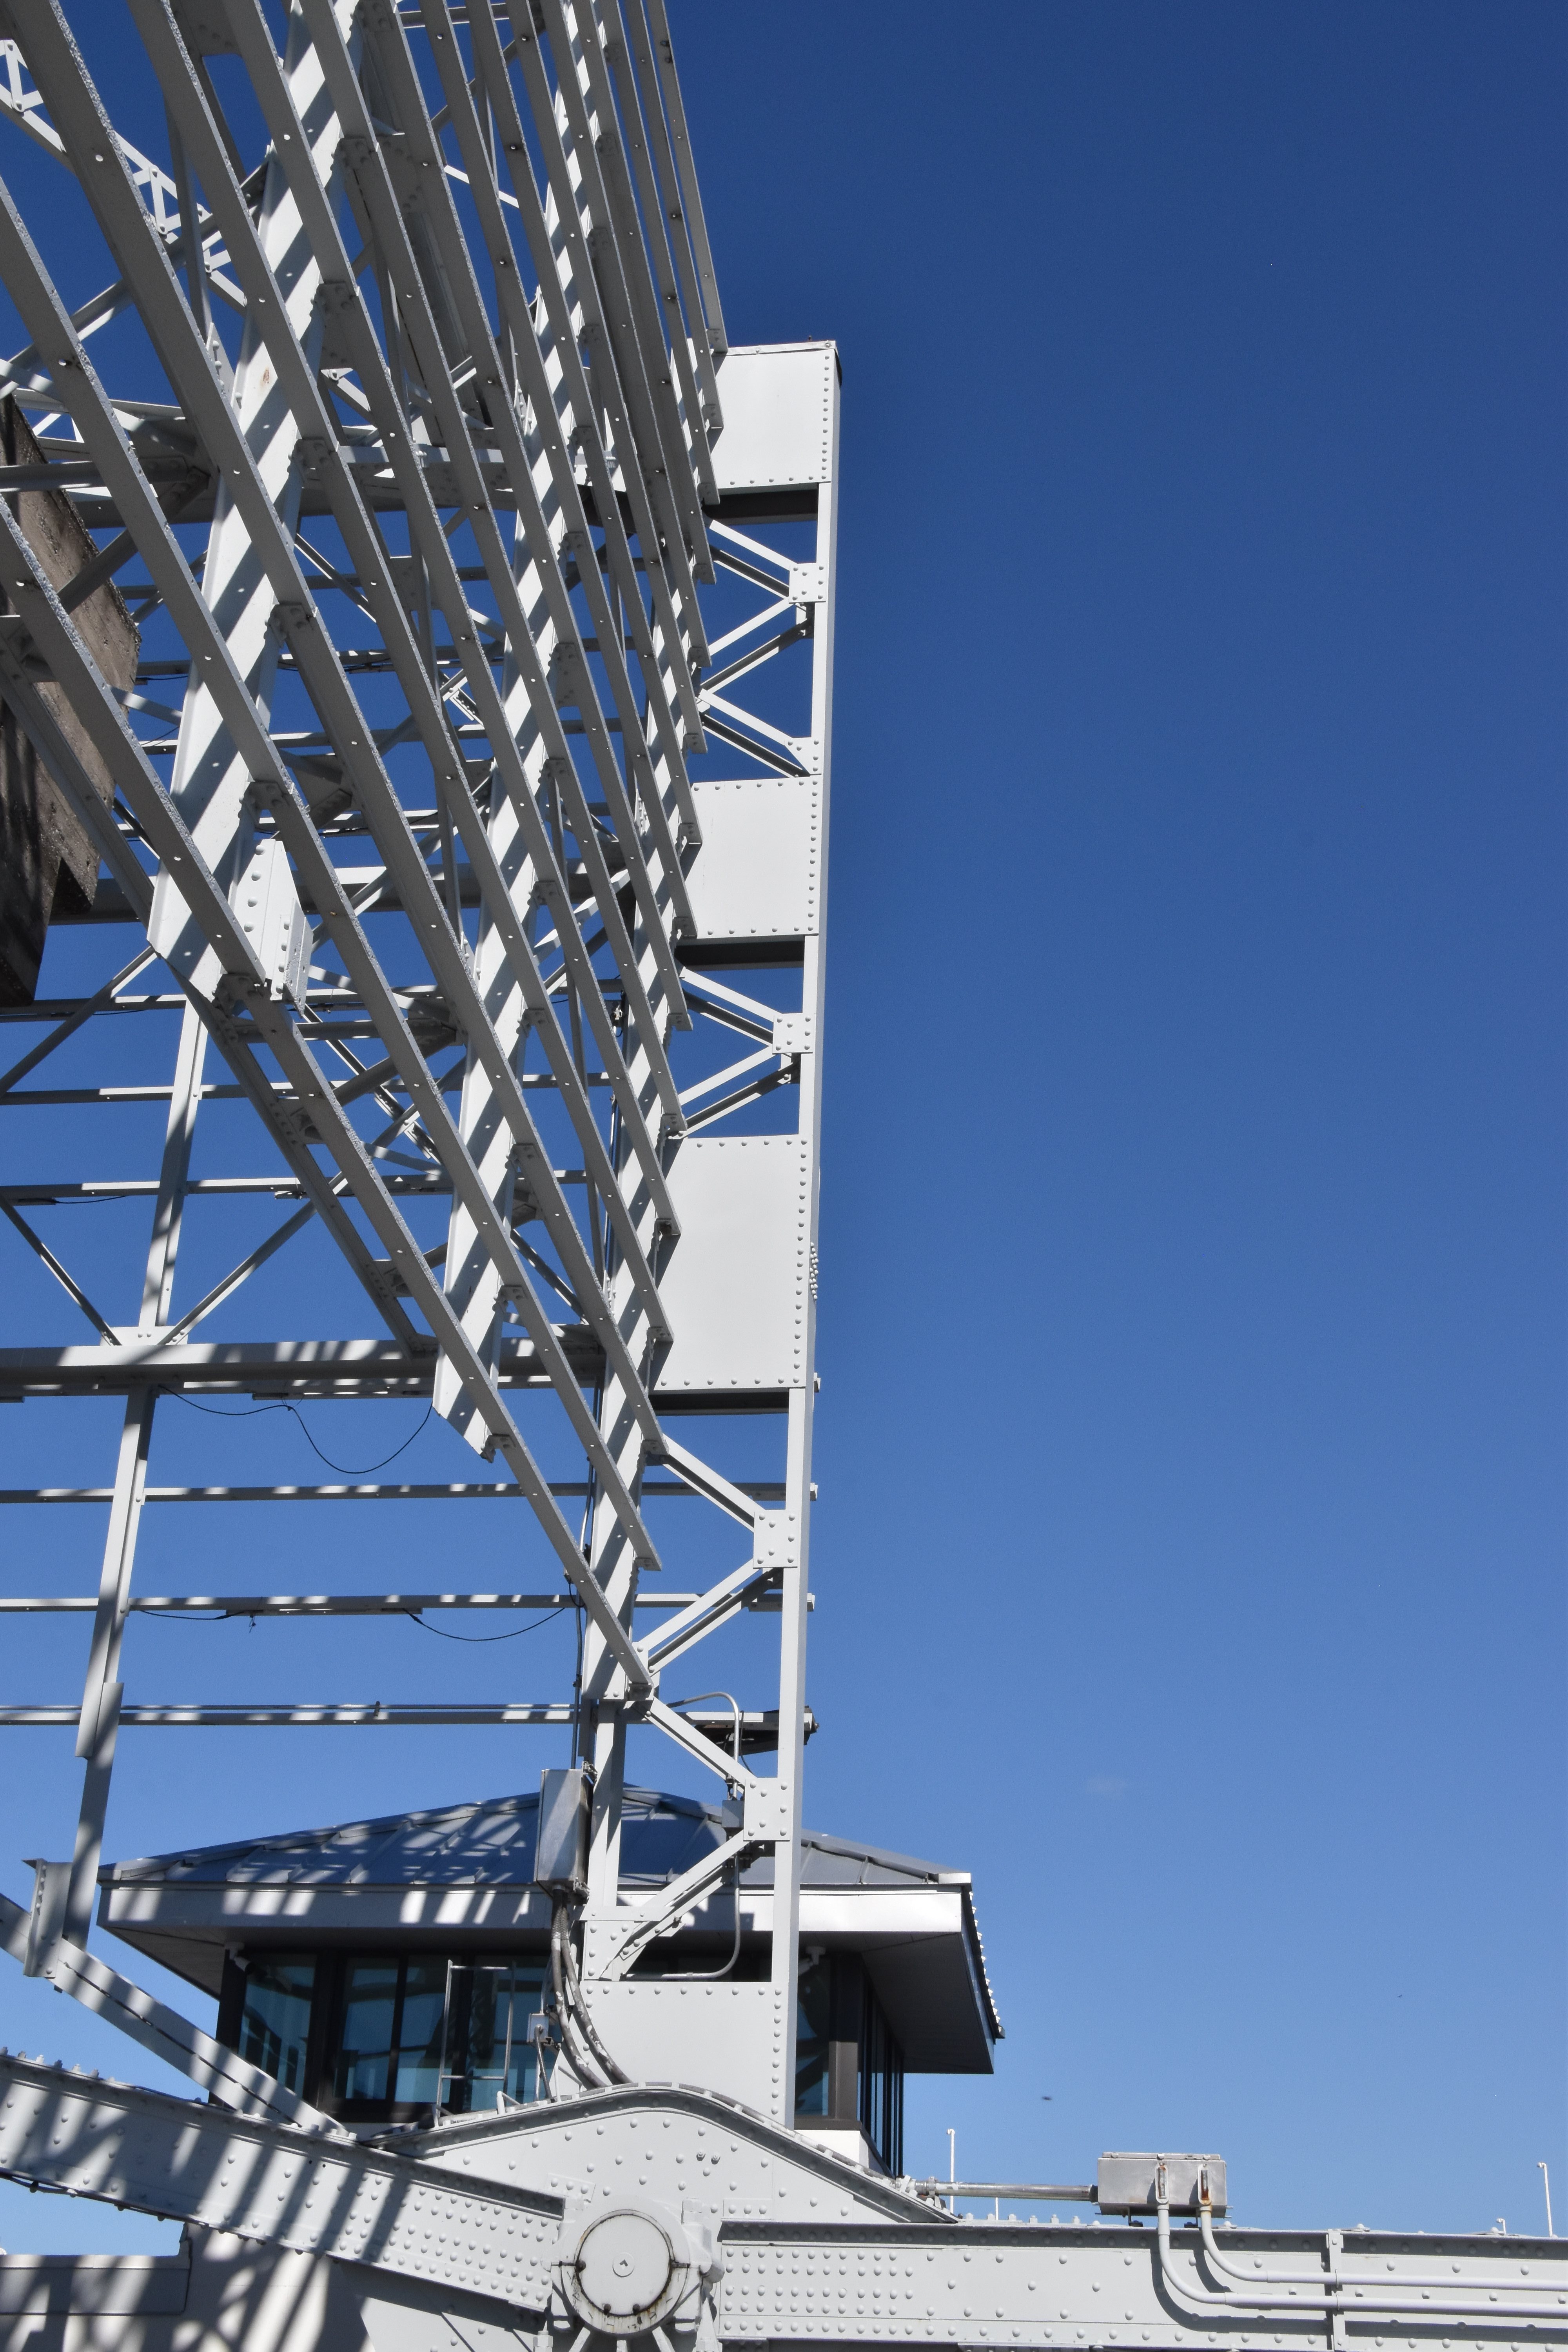
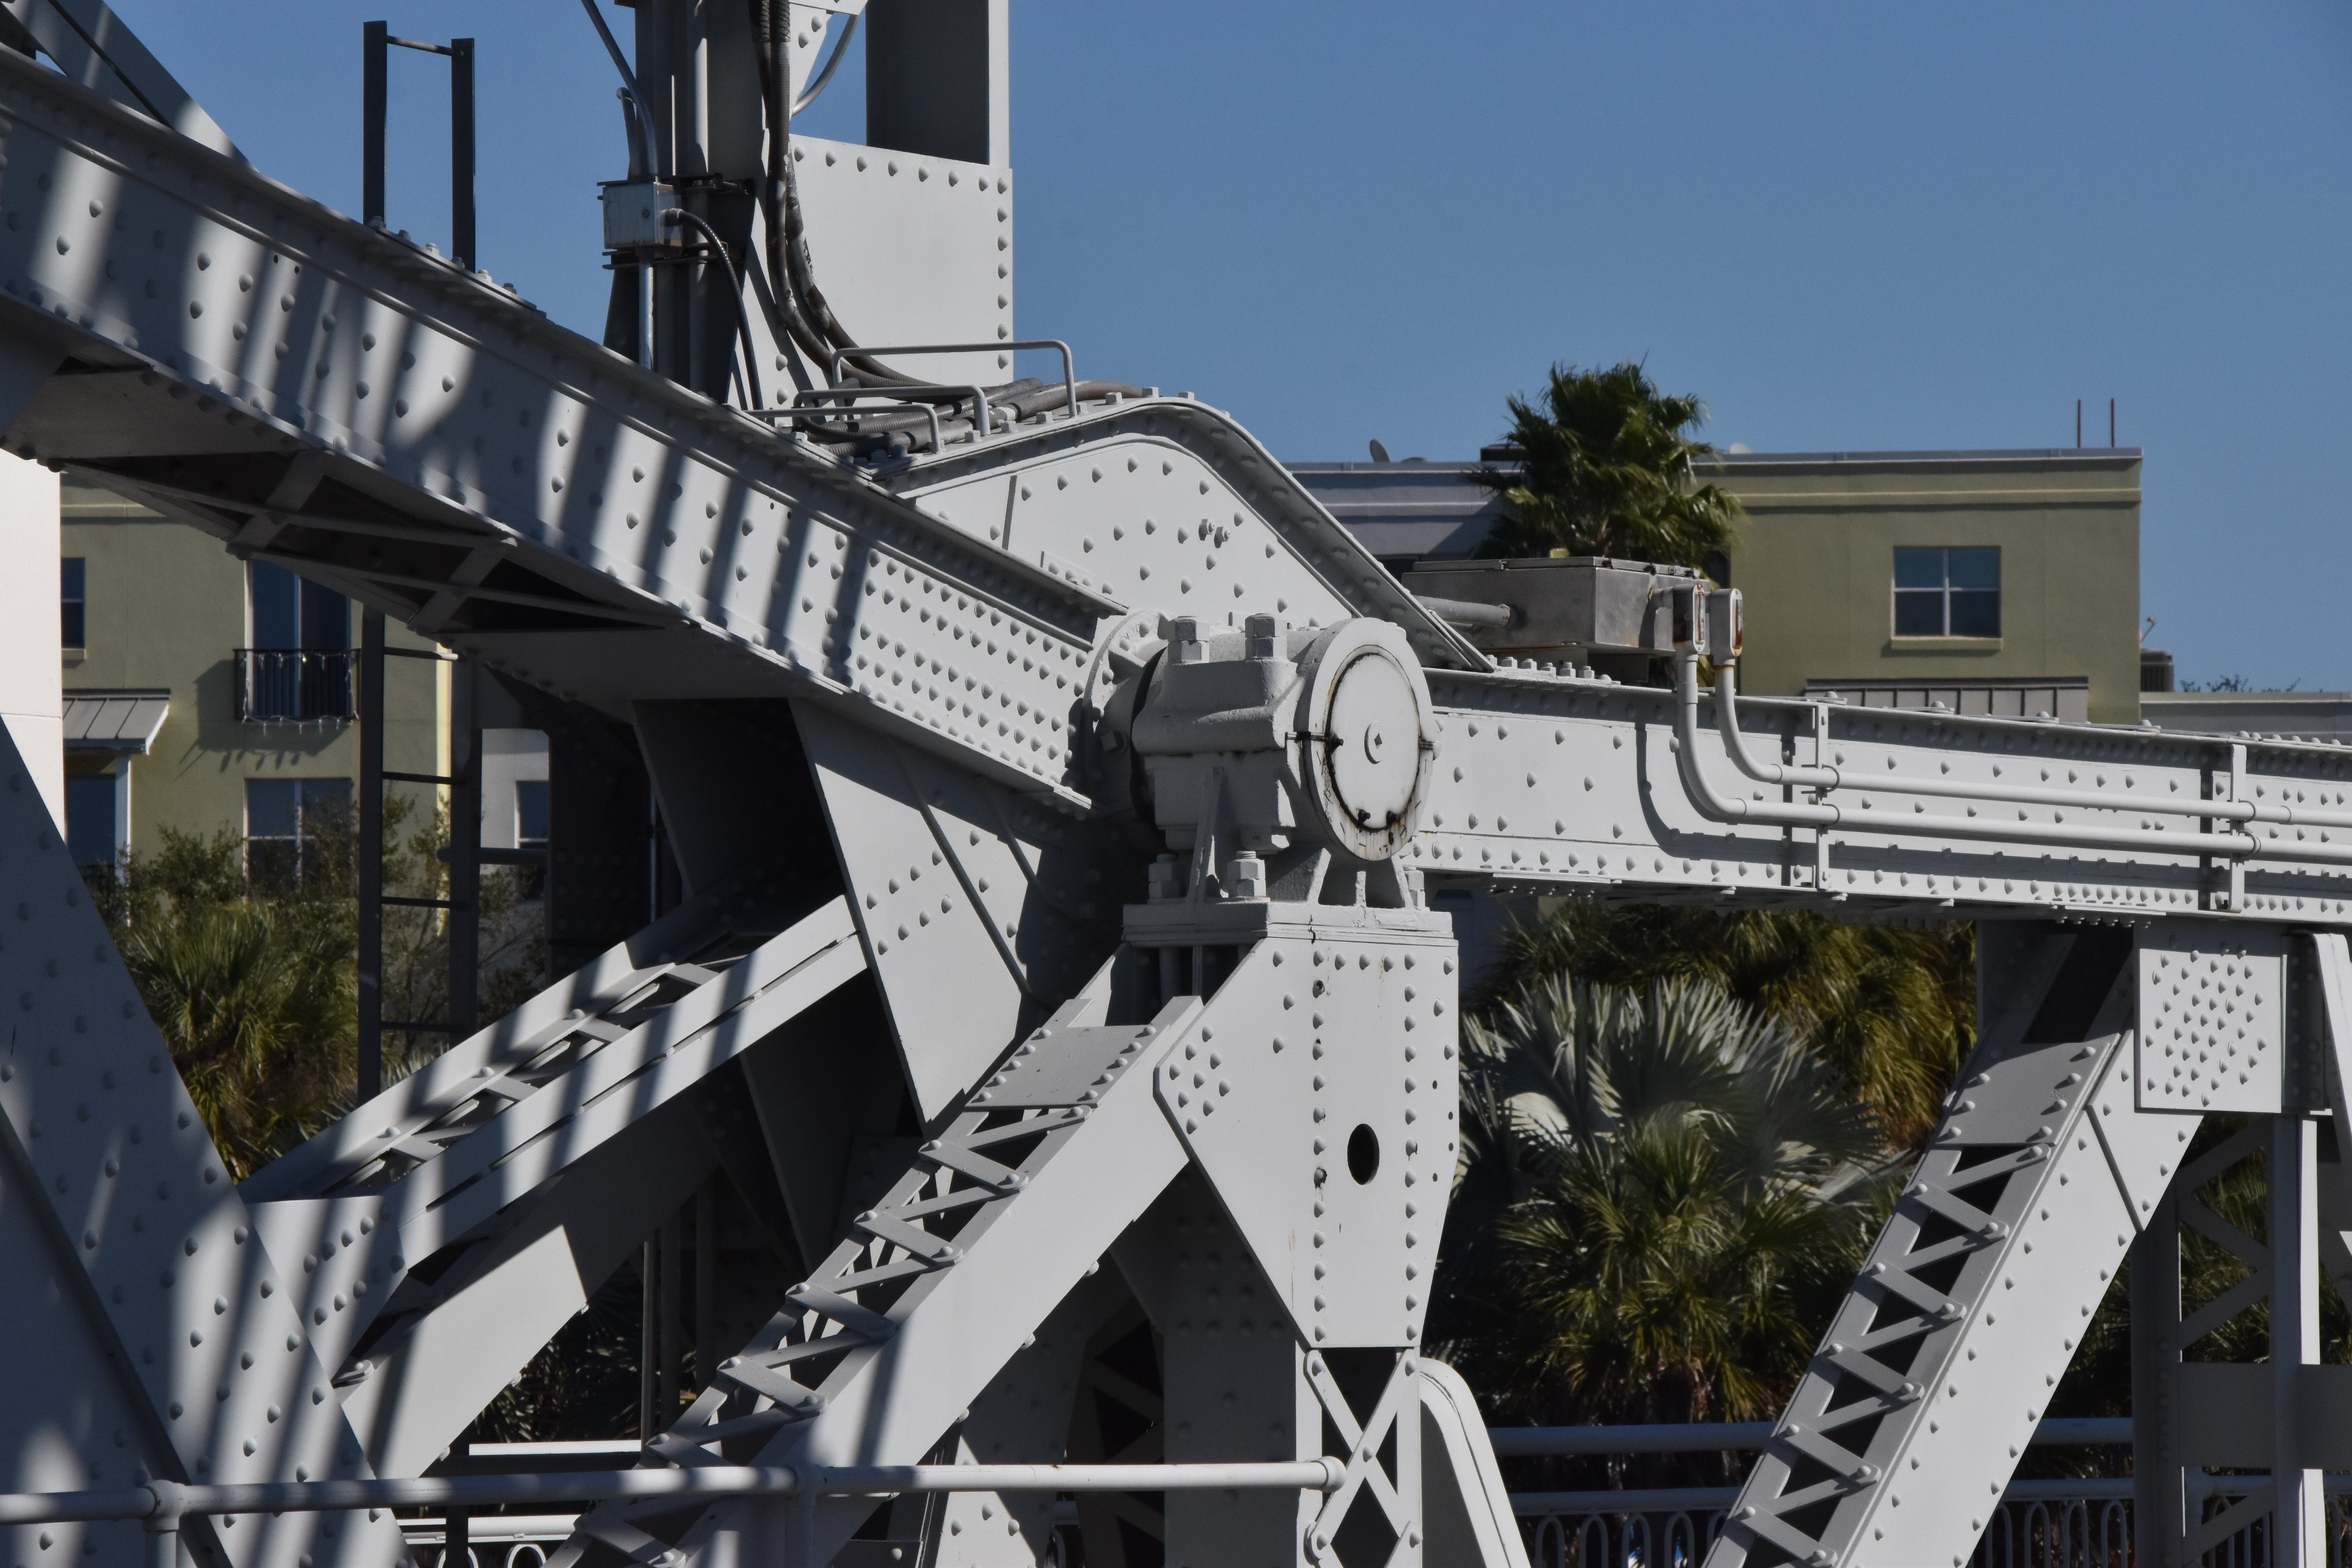
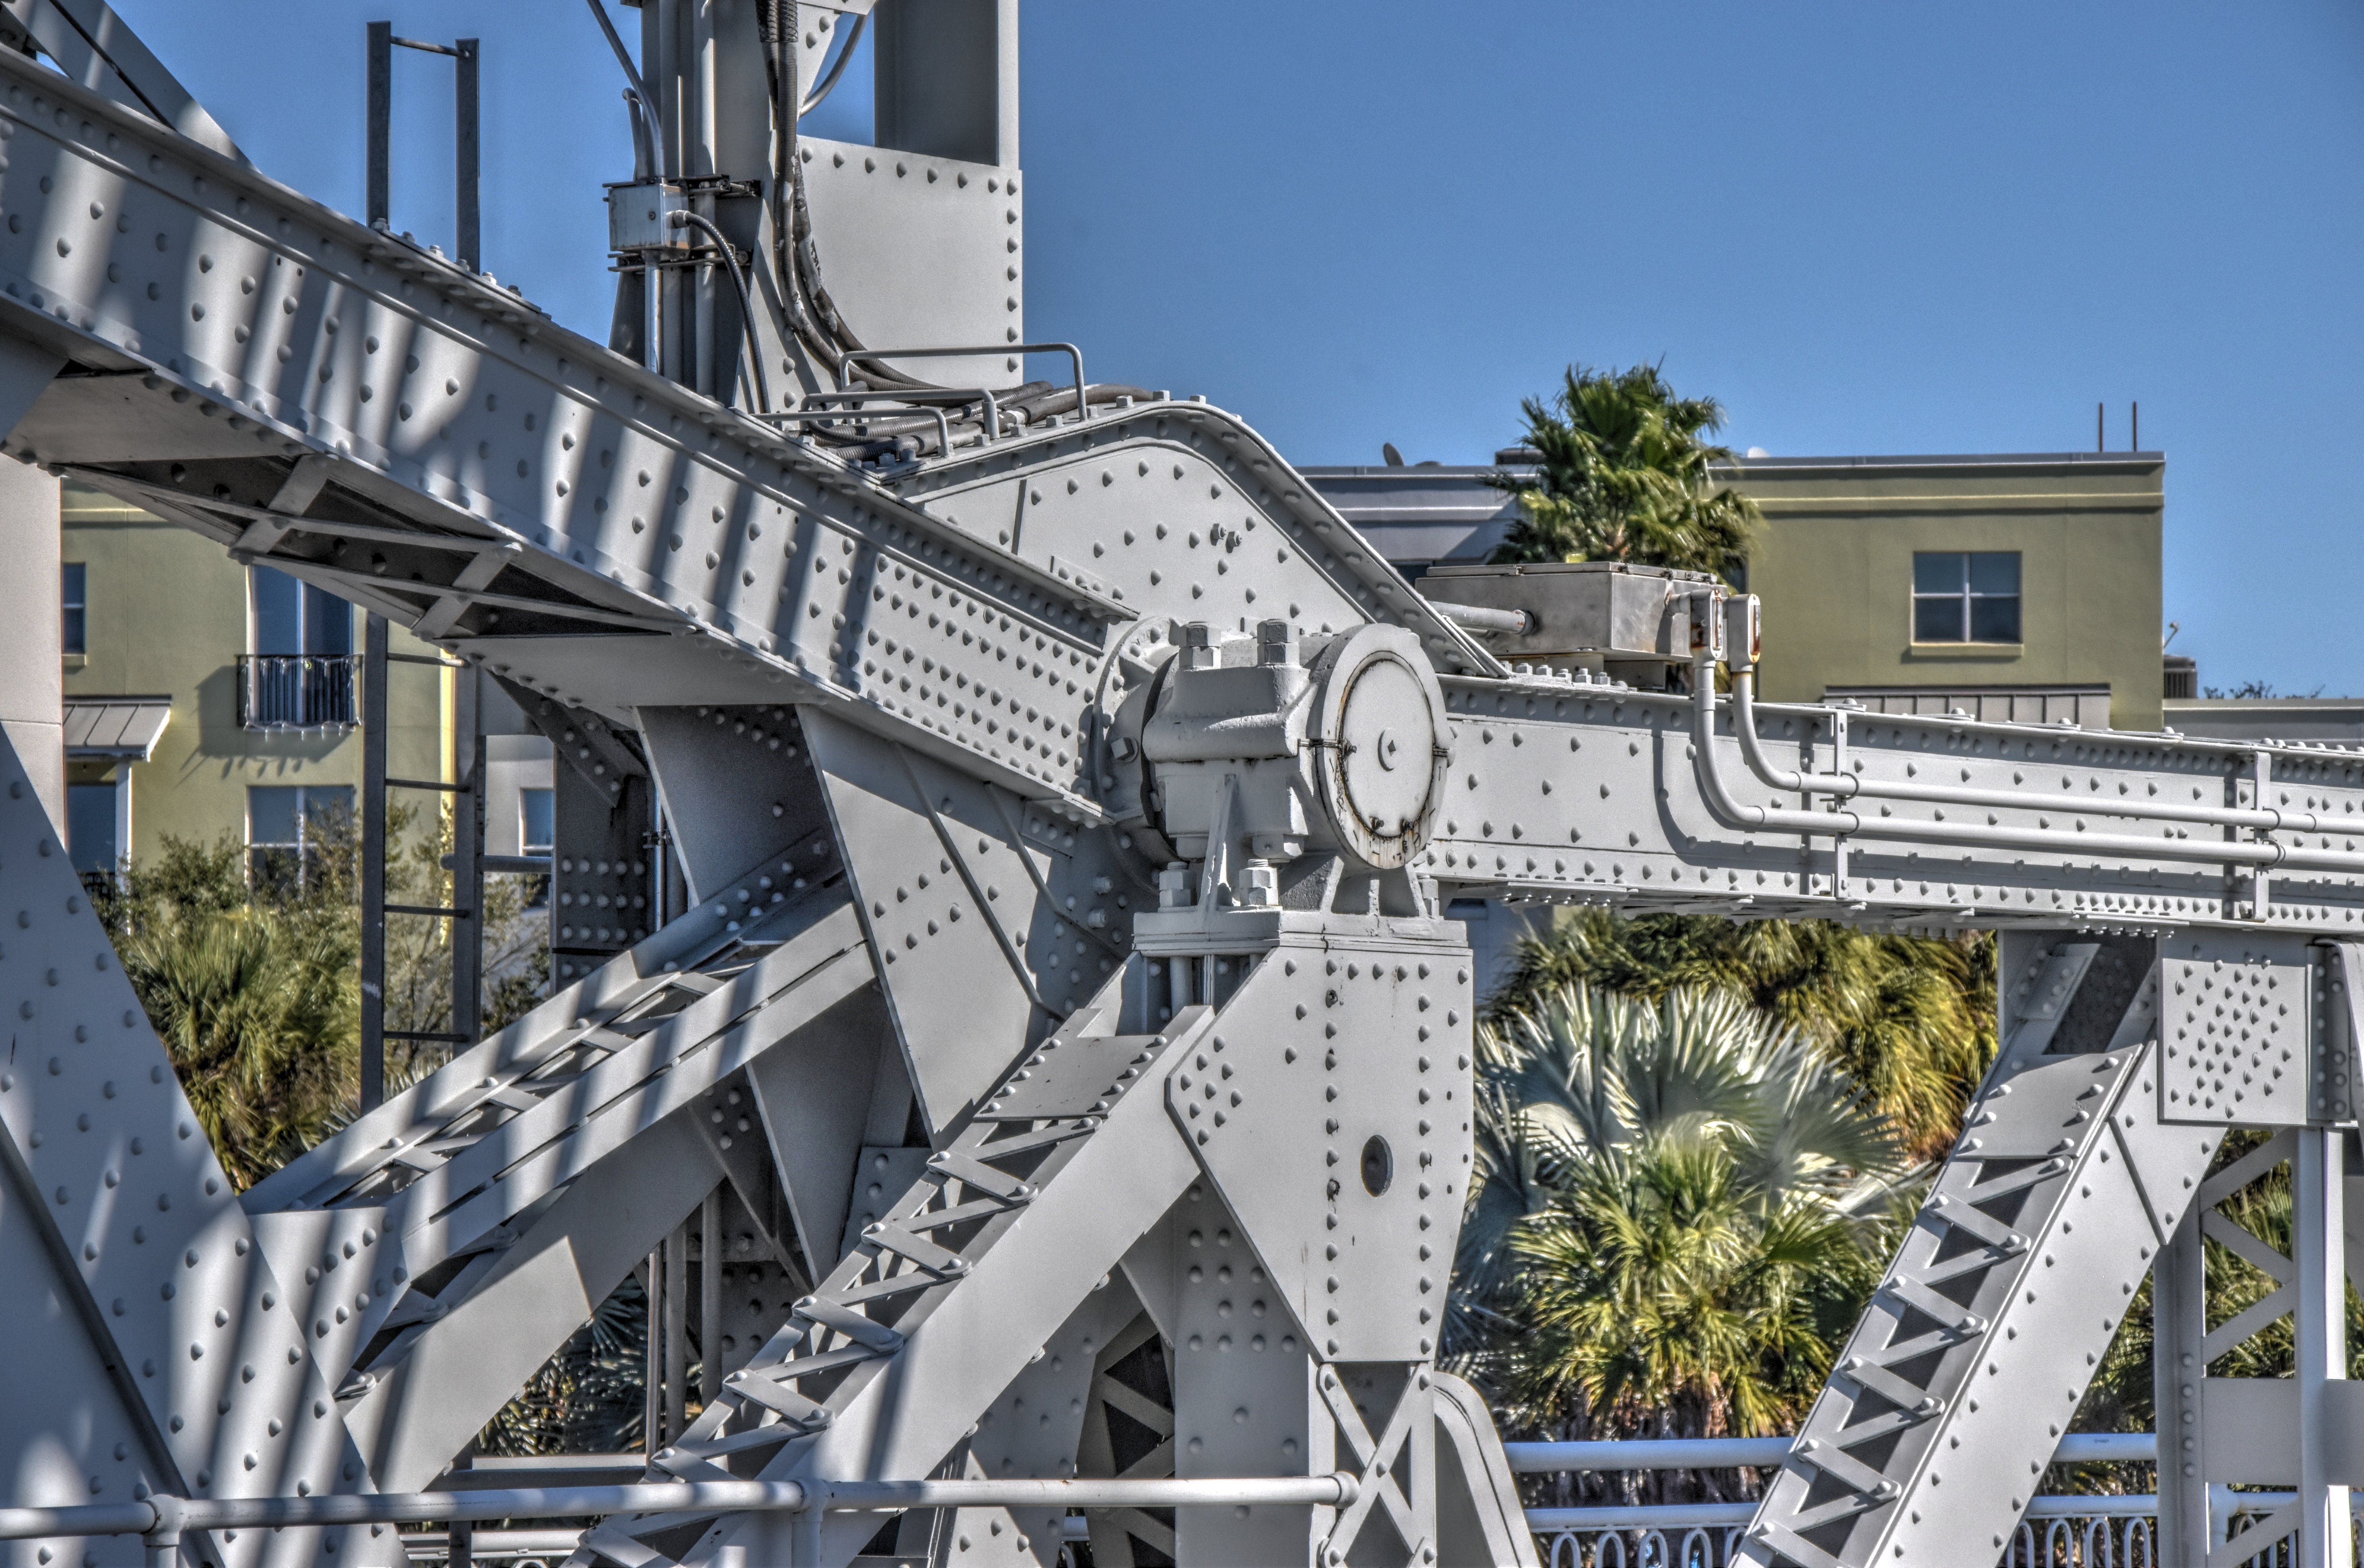
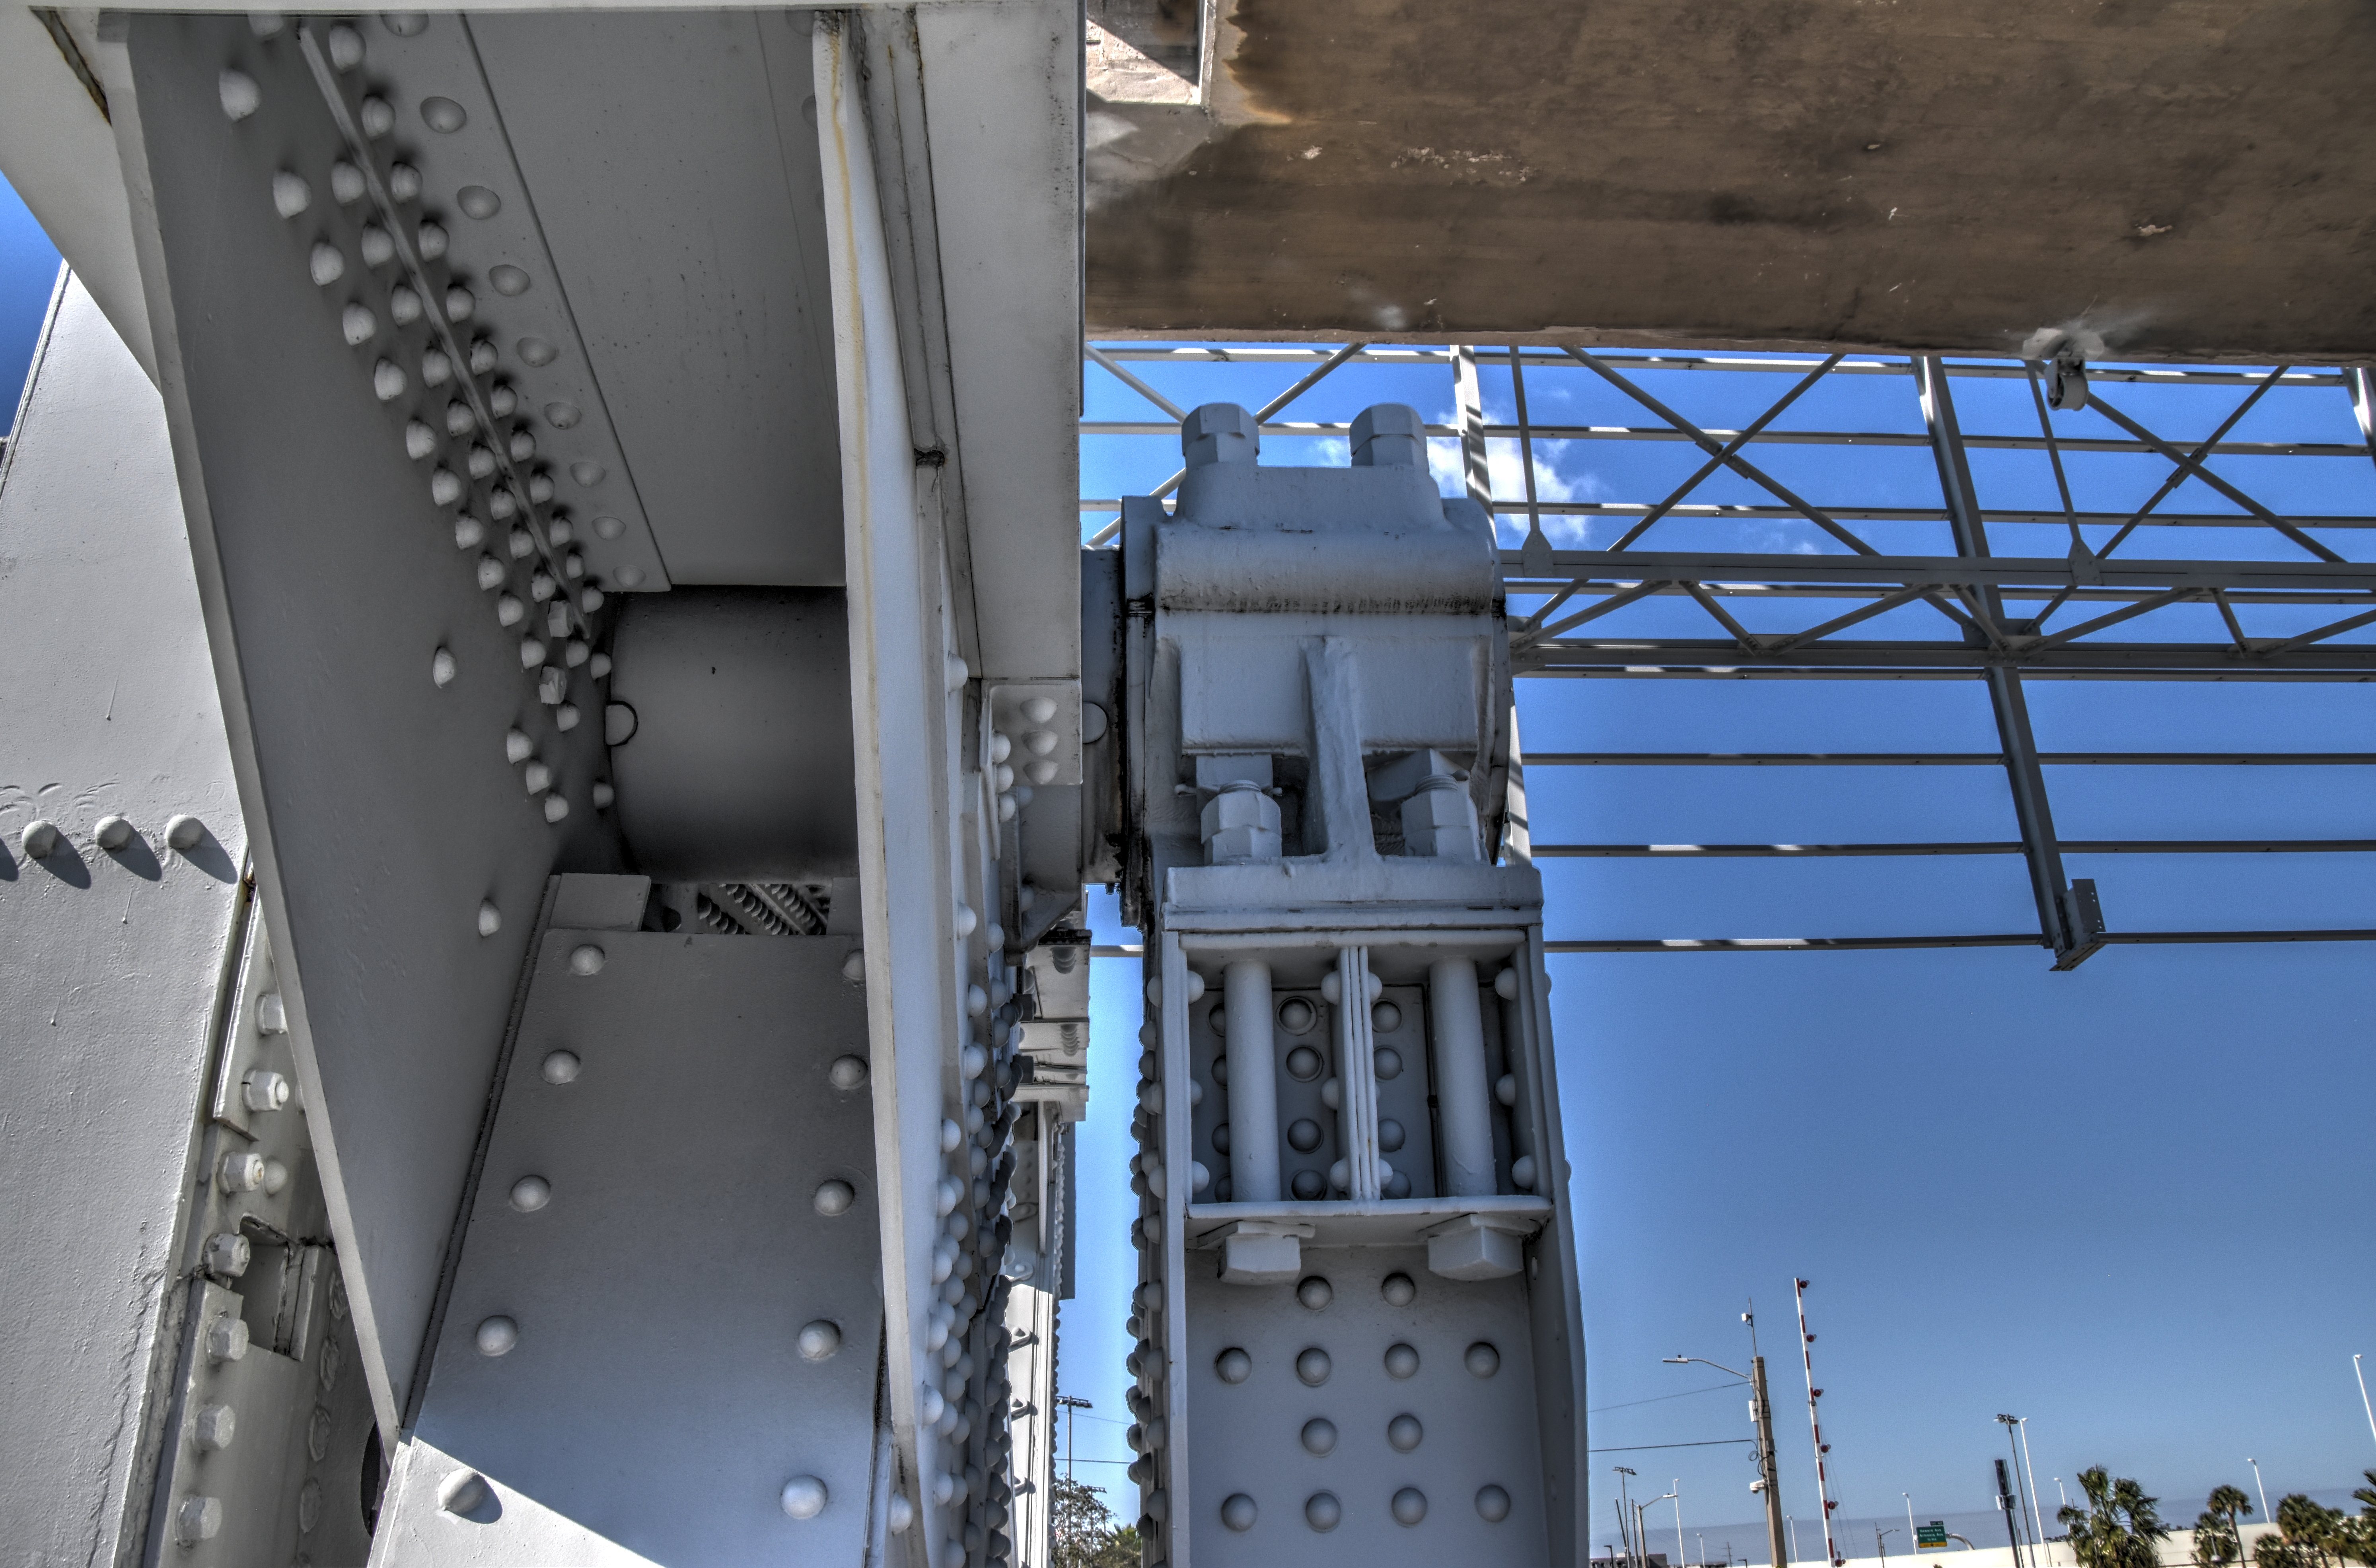
Overview of trunnions.
![]()

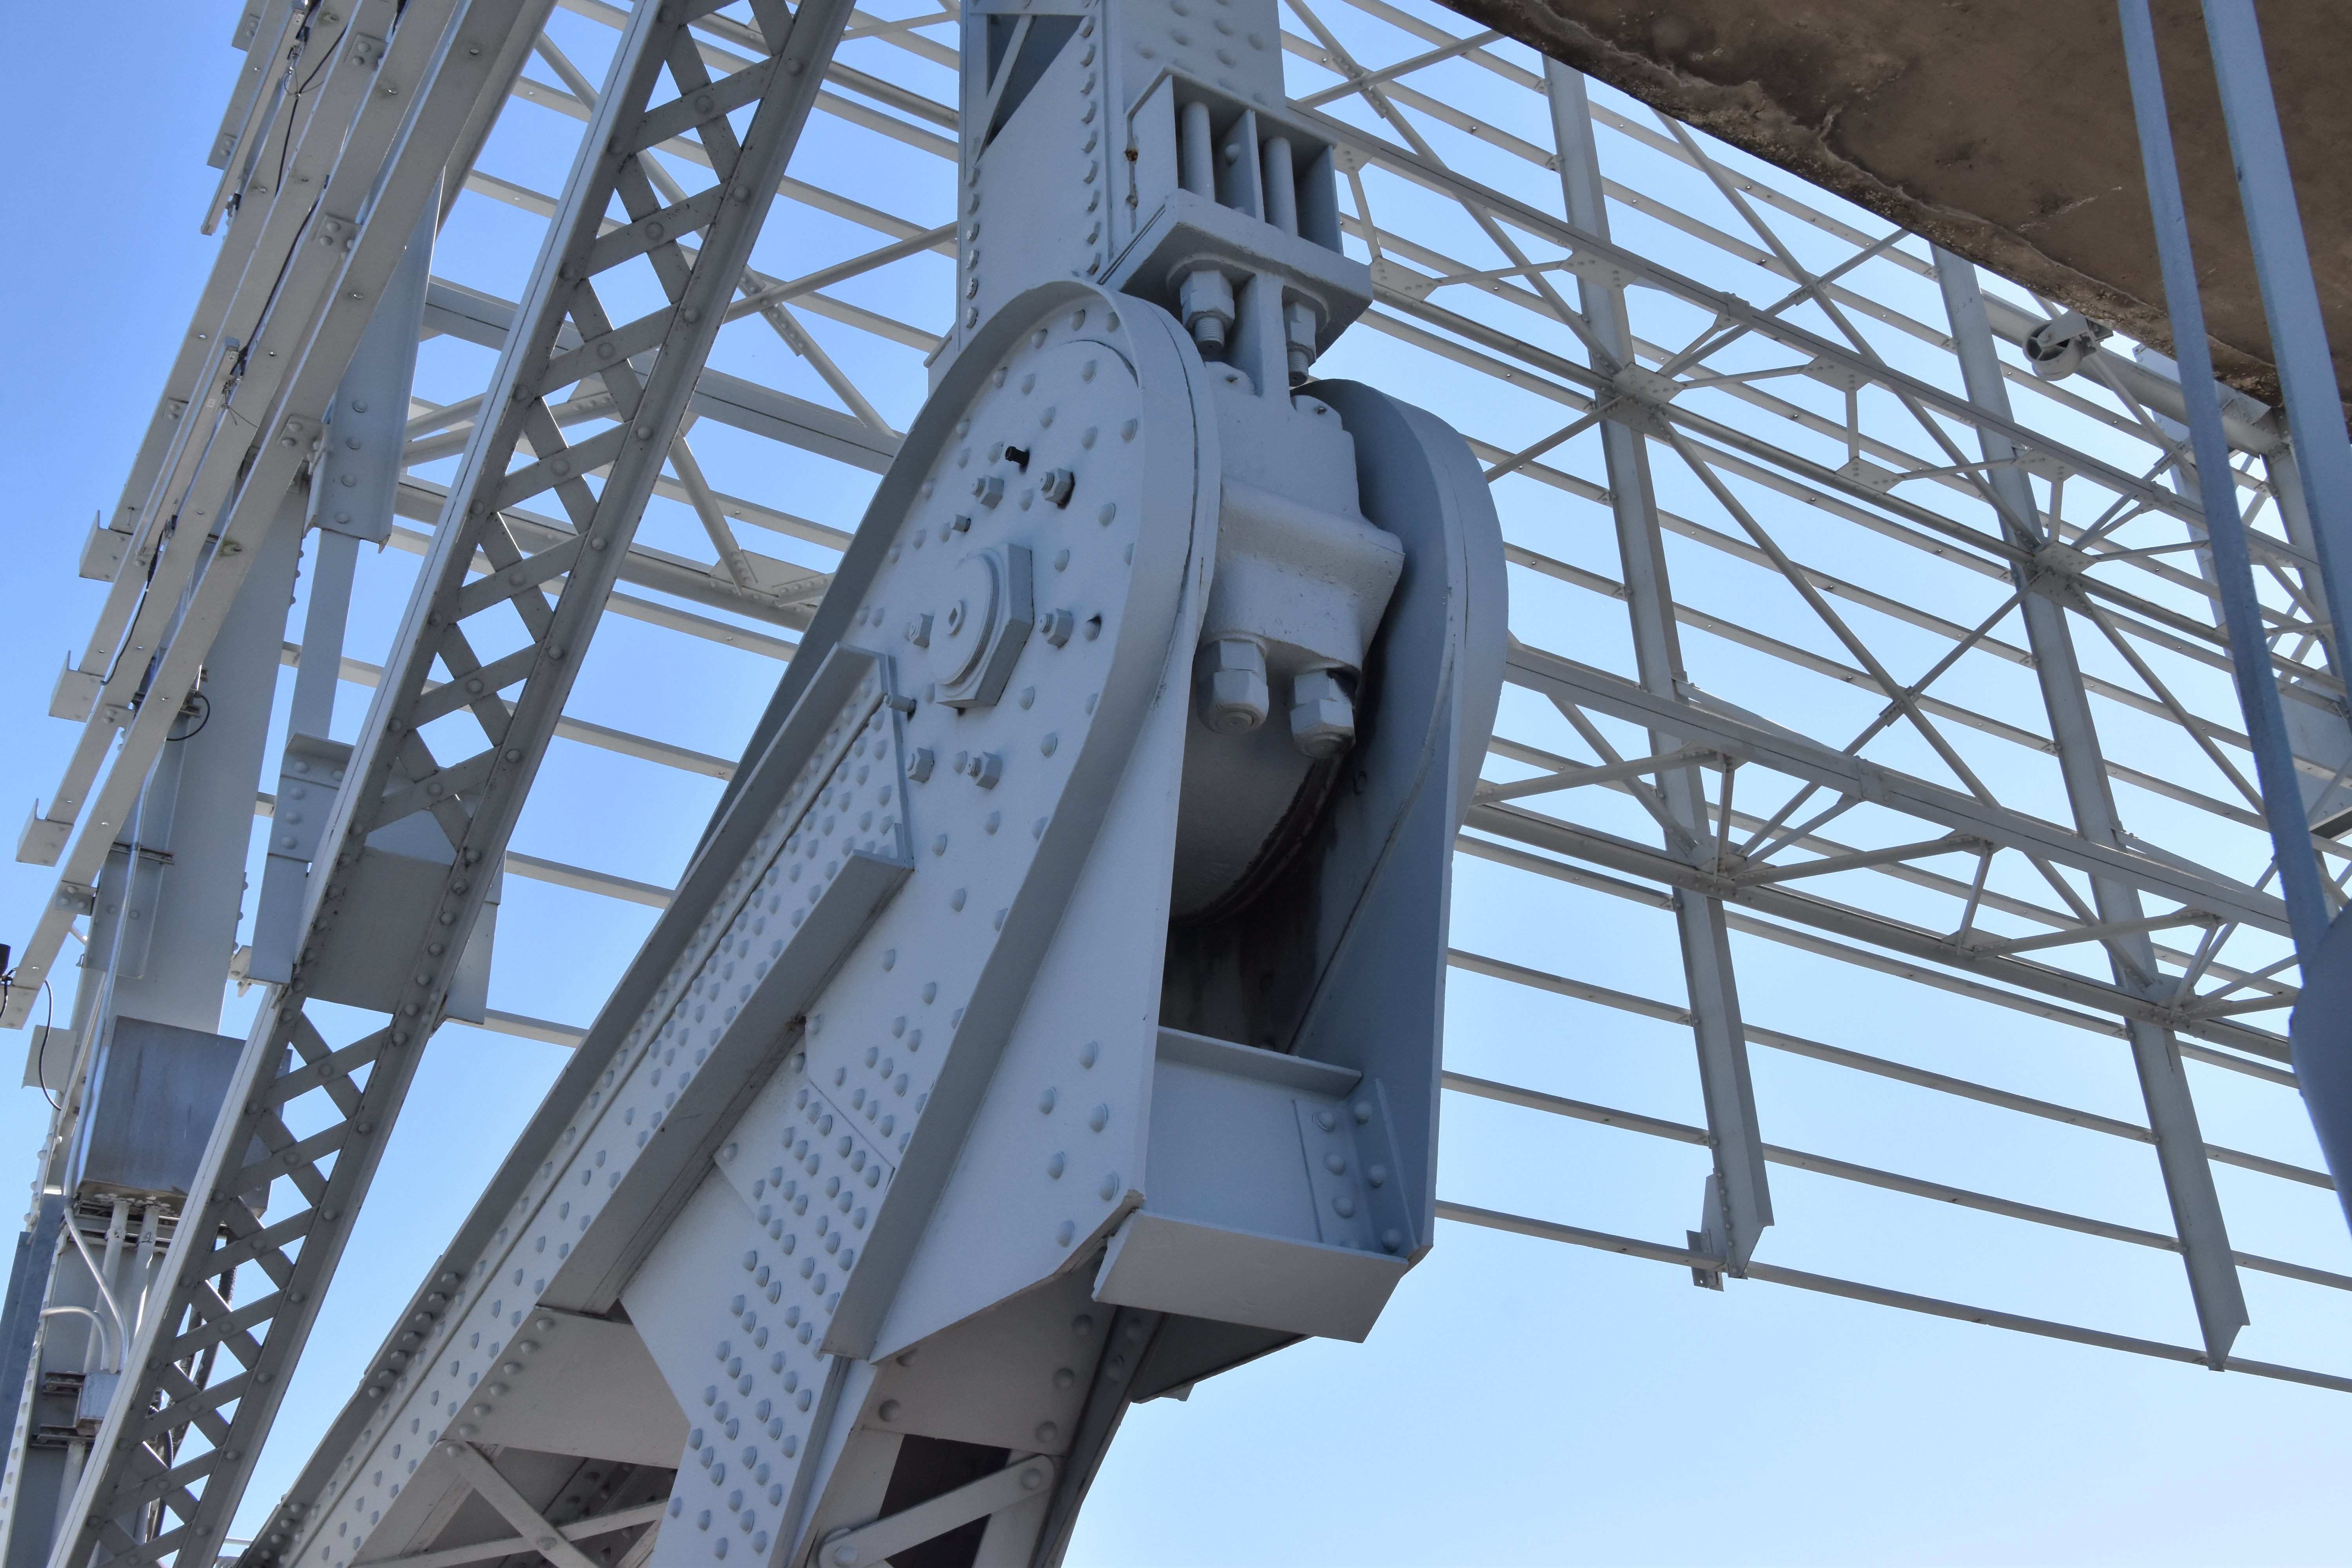

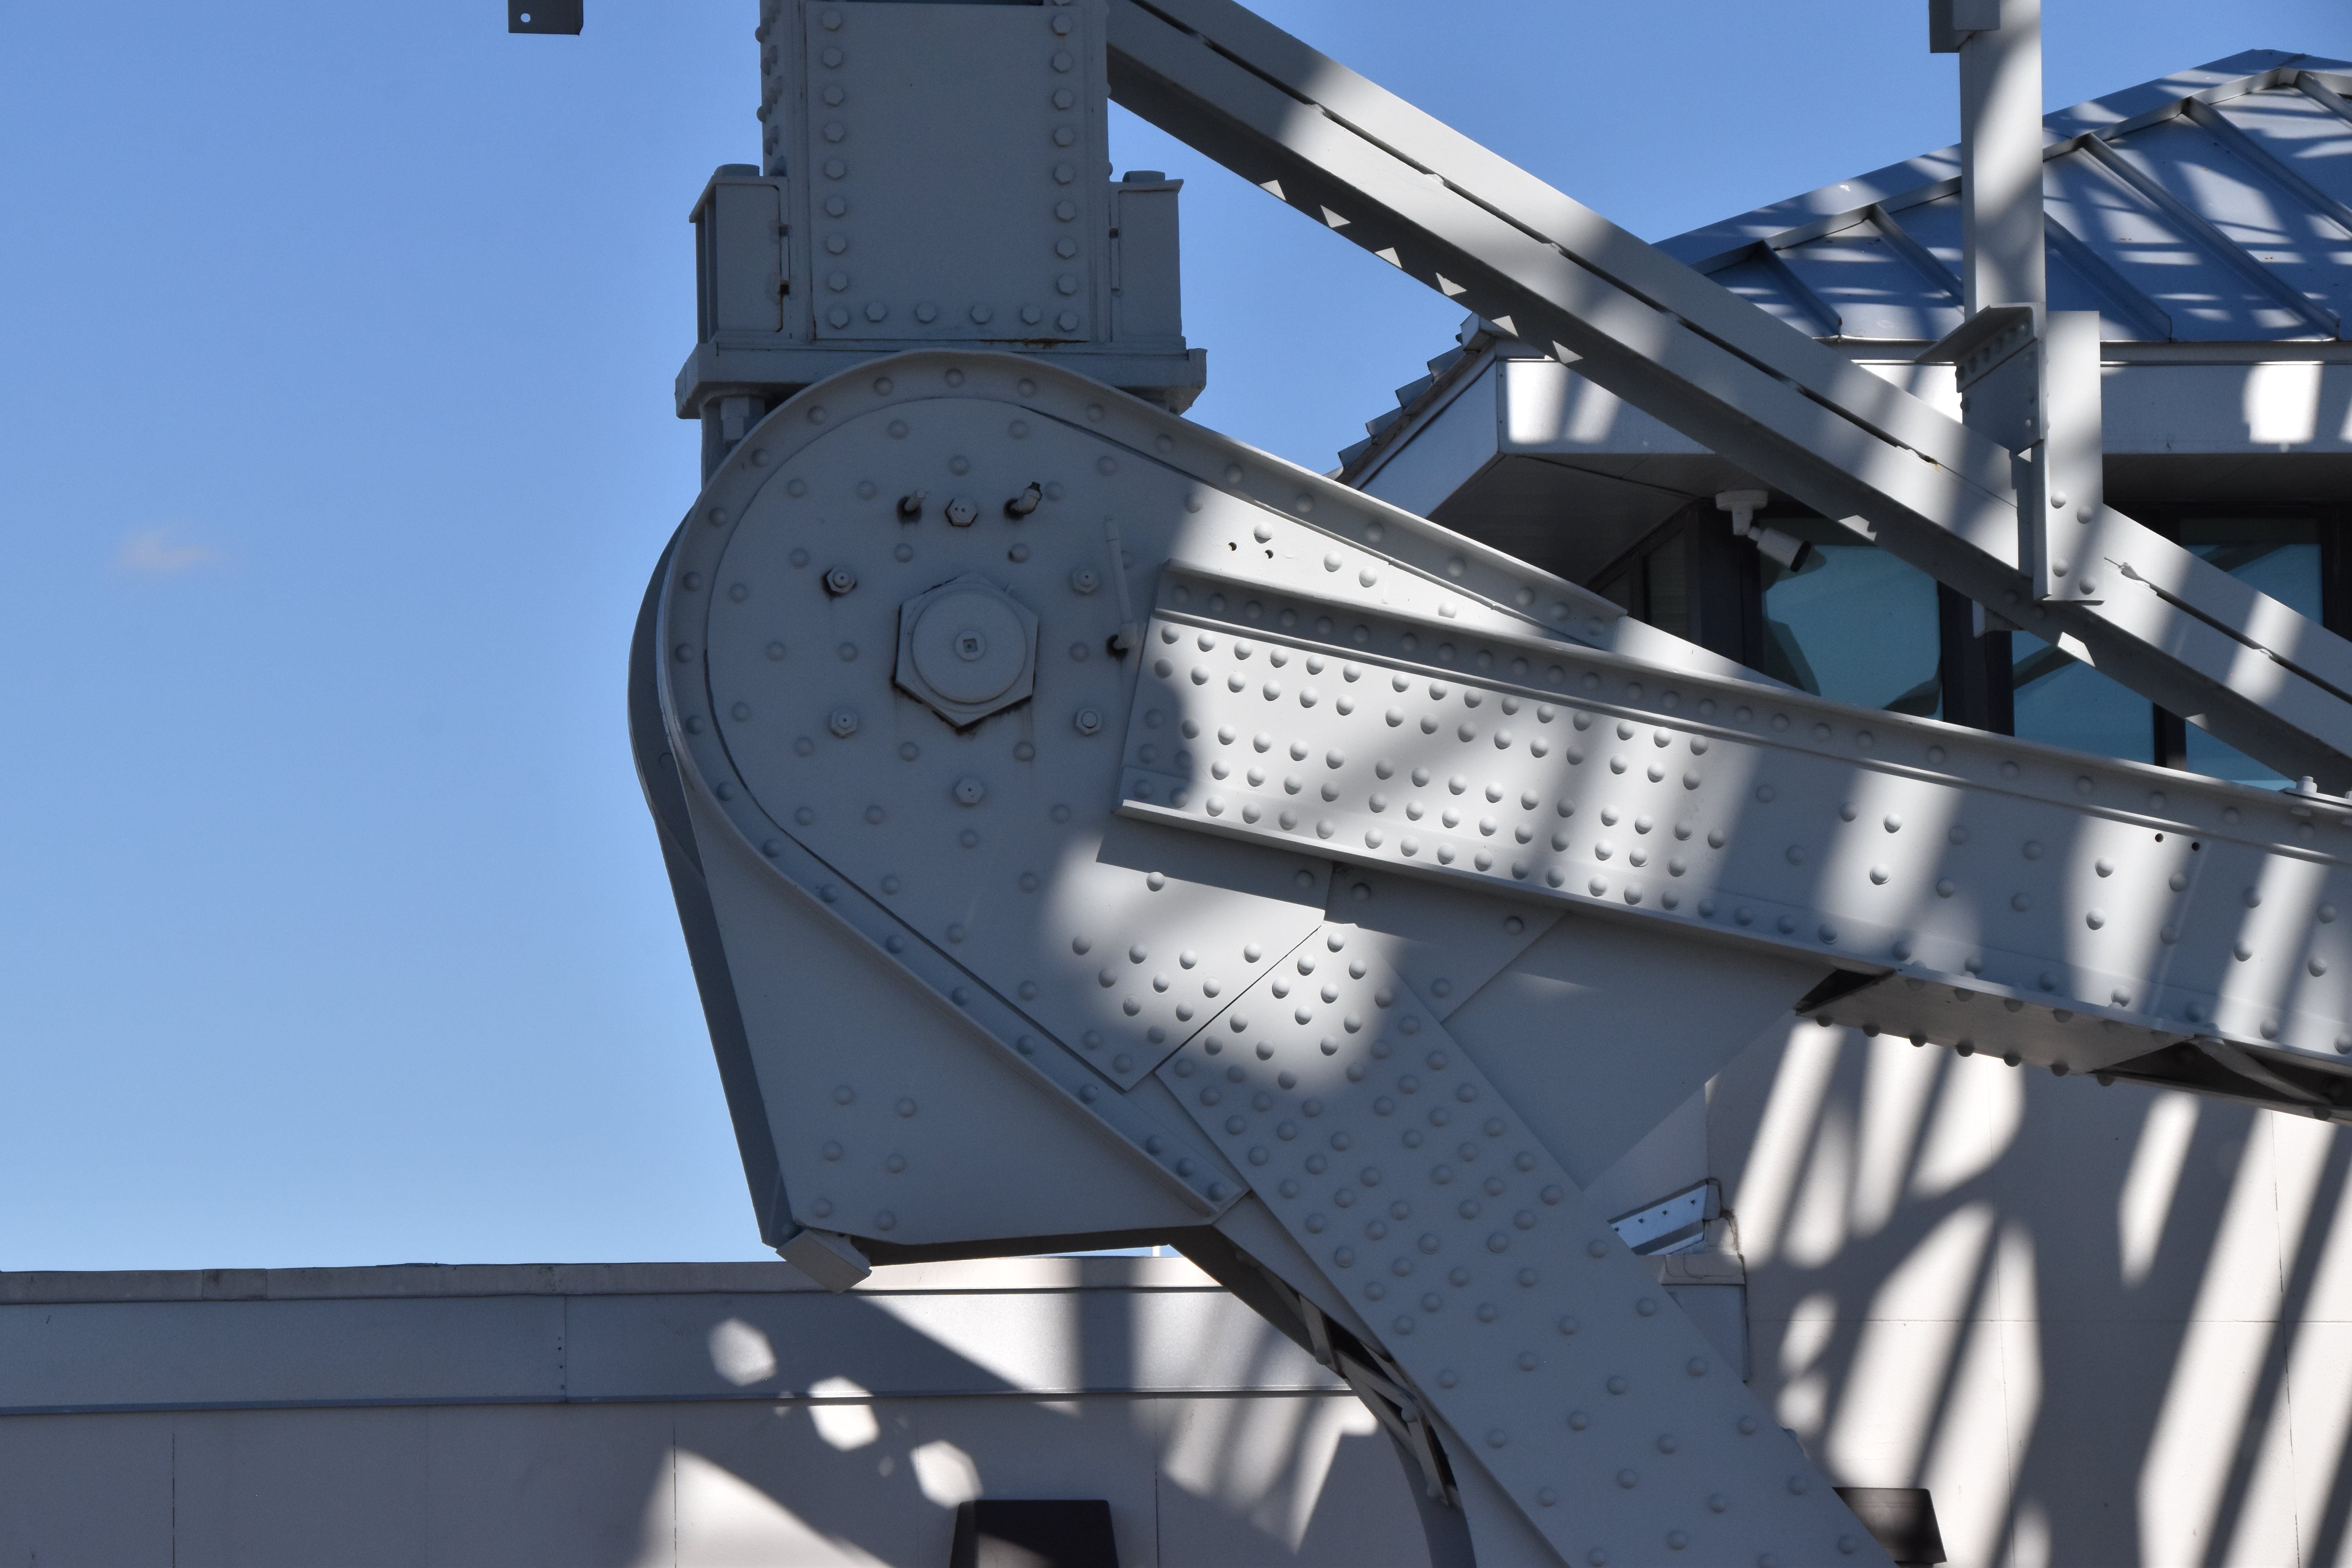


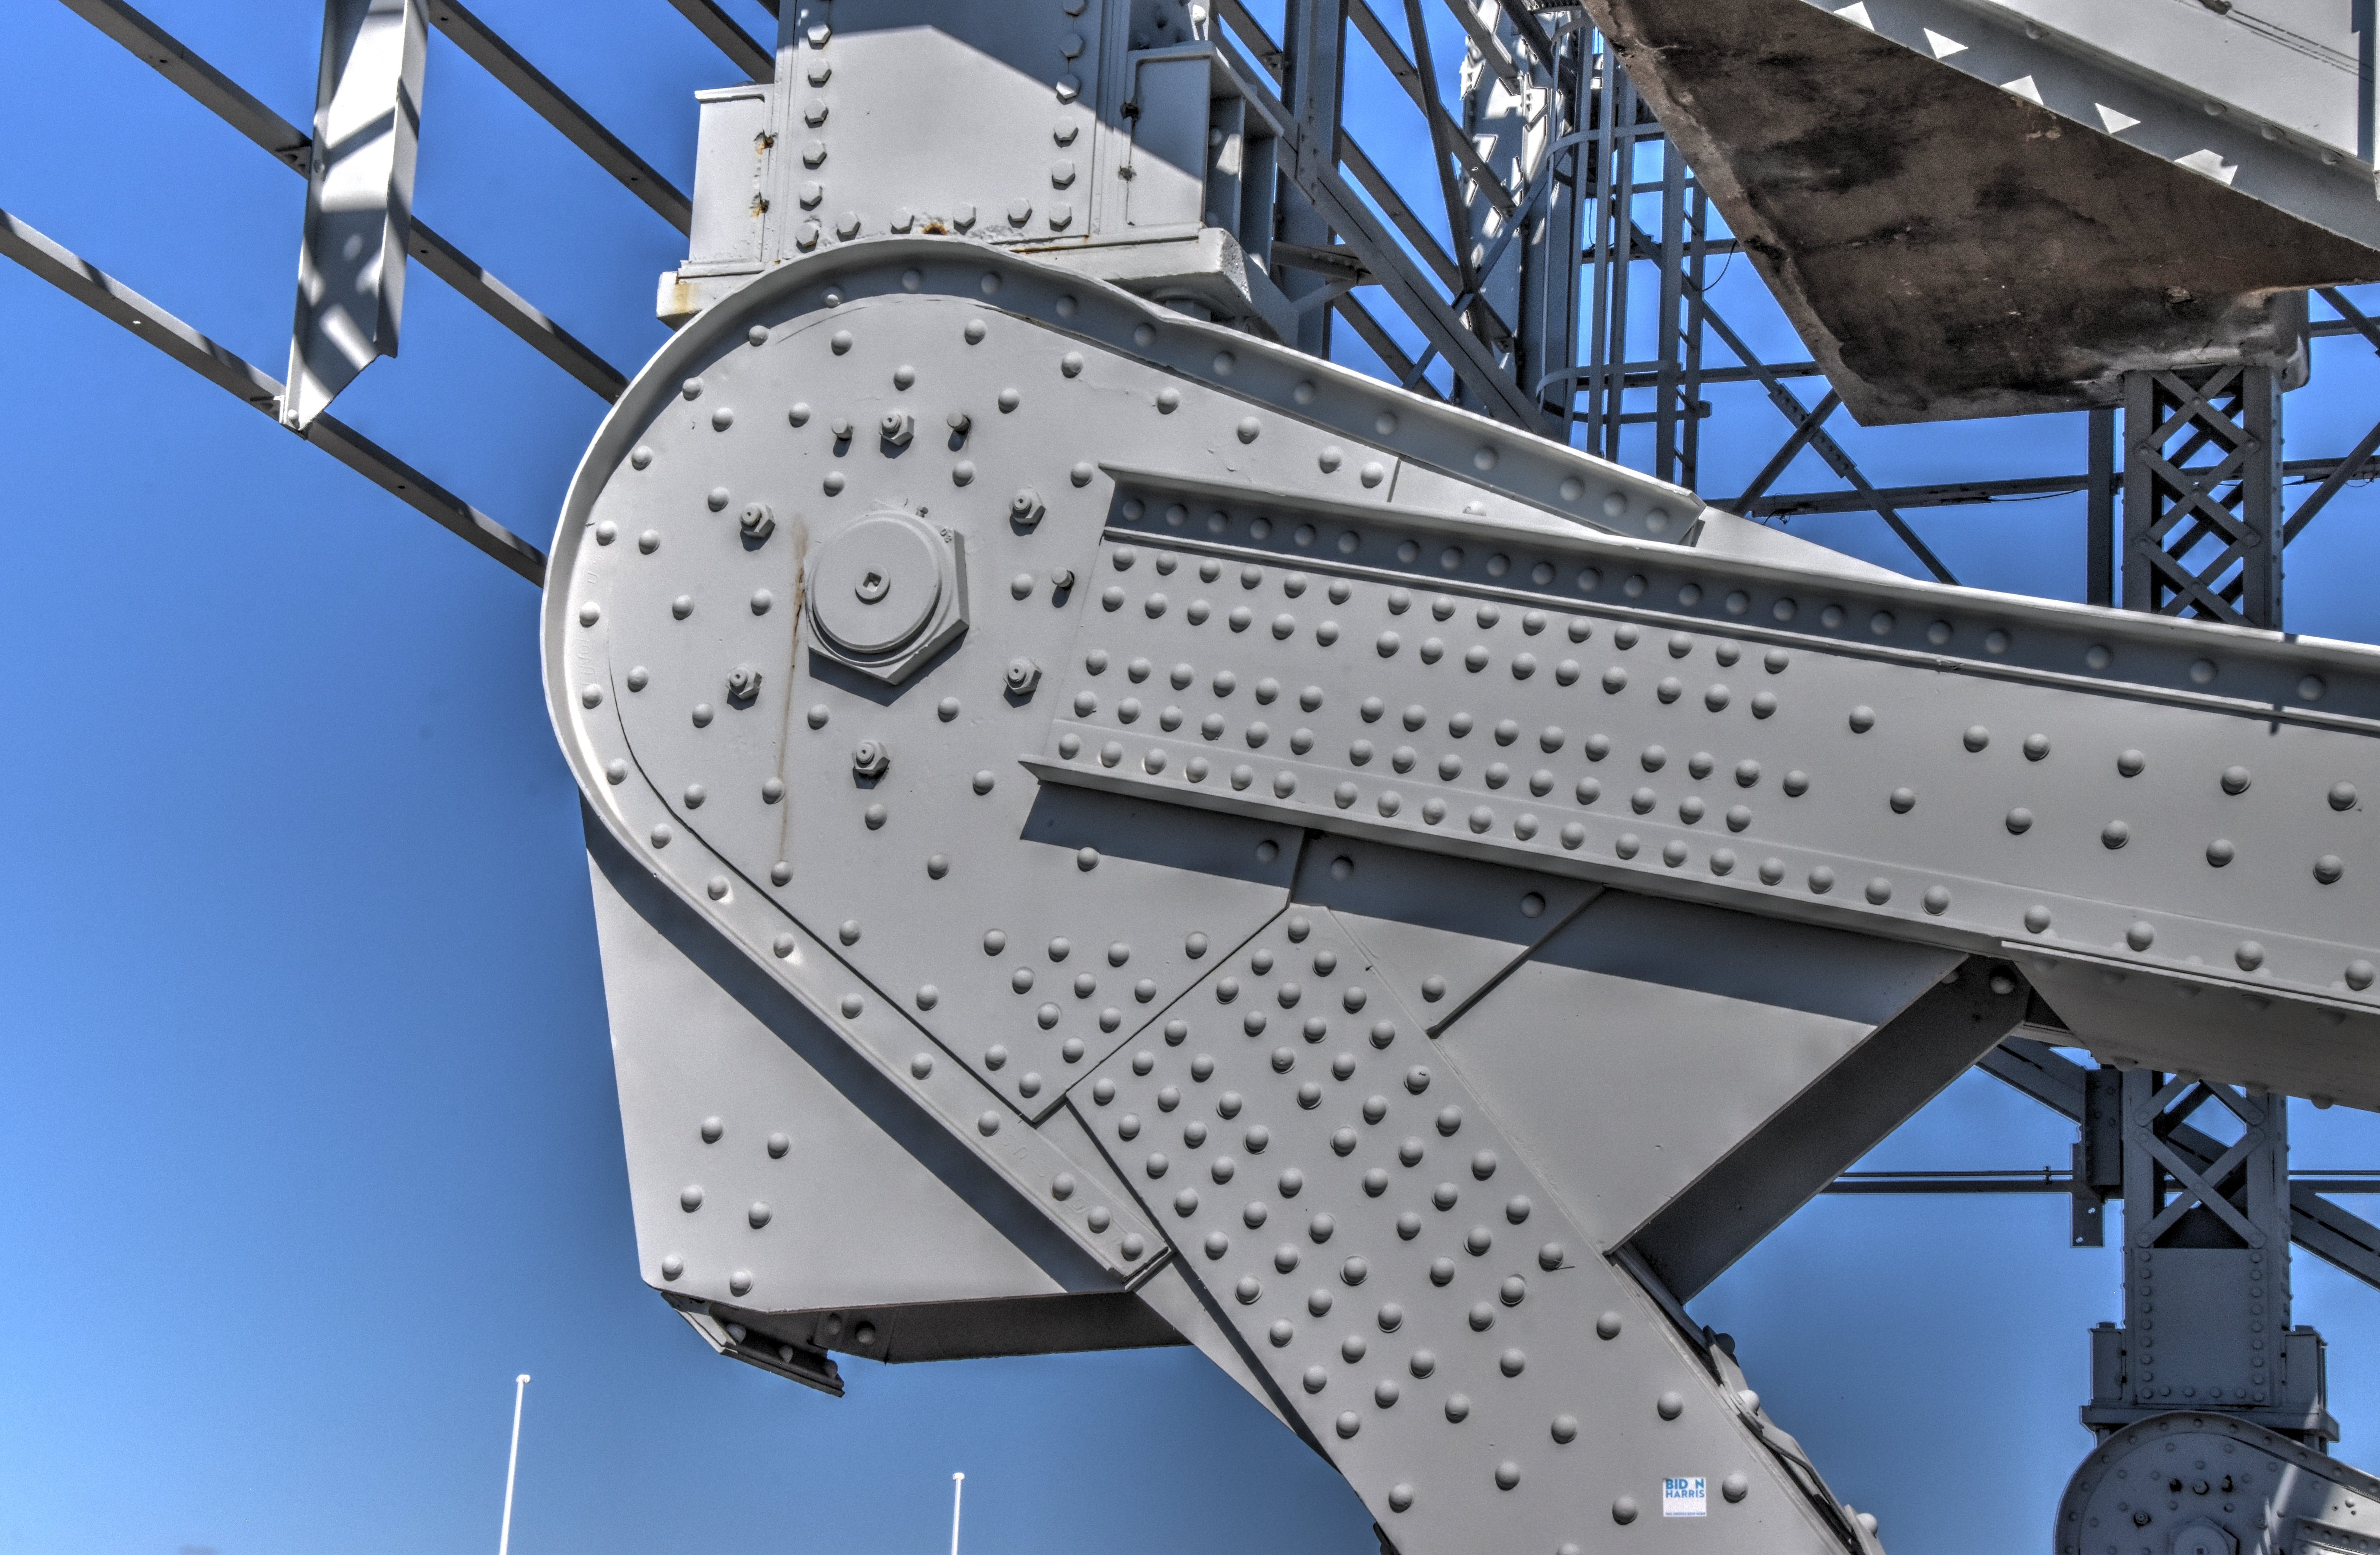

Counterweight trunnion.
![]()
Photo Credit: Marc Scotti
Counterweight trunnion.
![]()

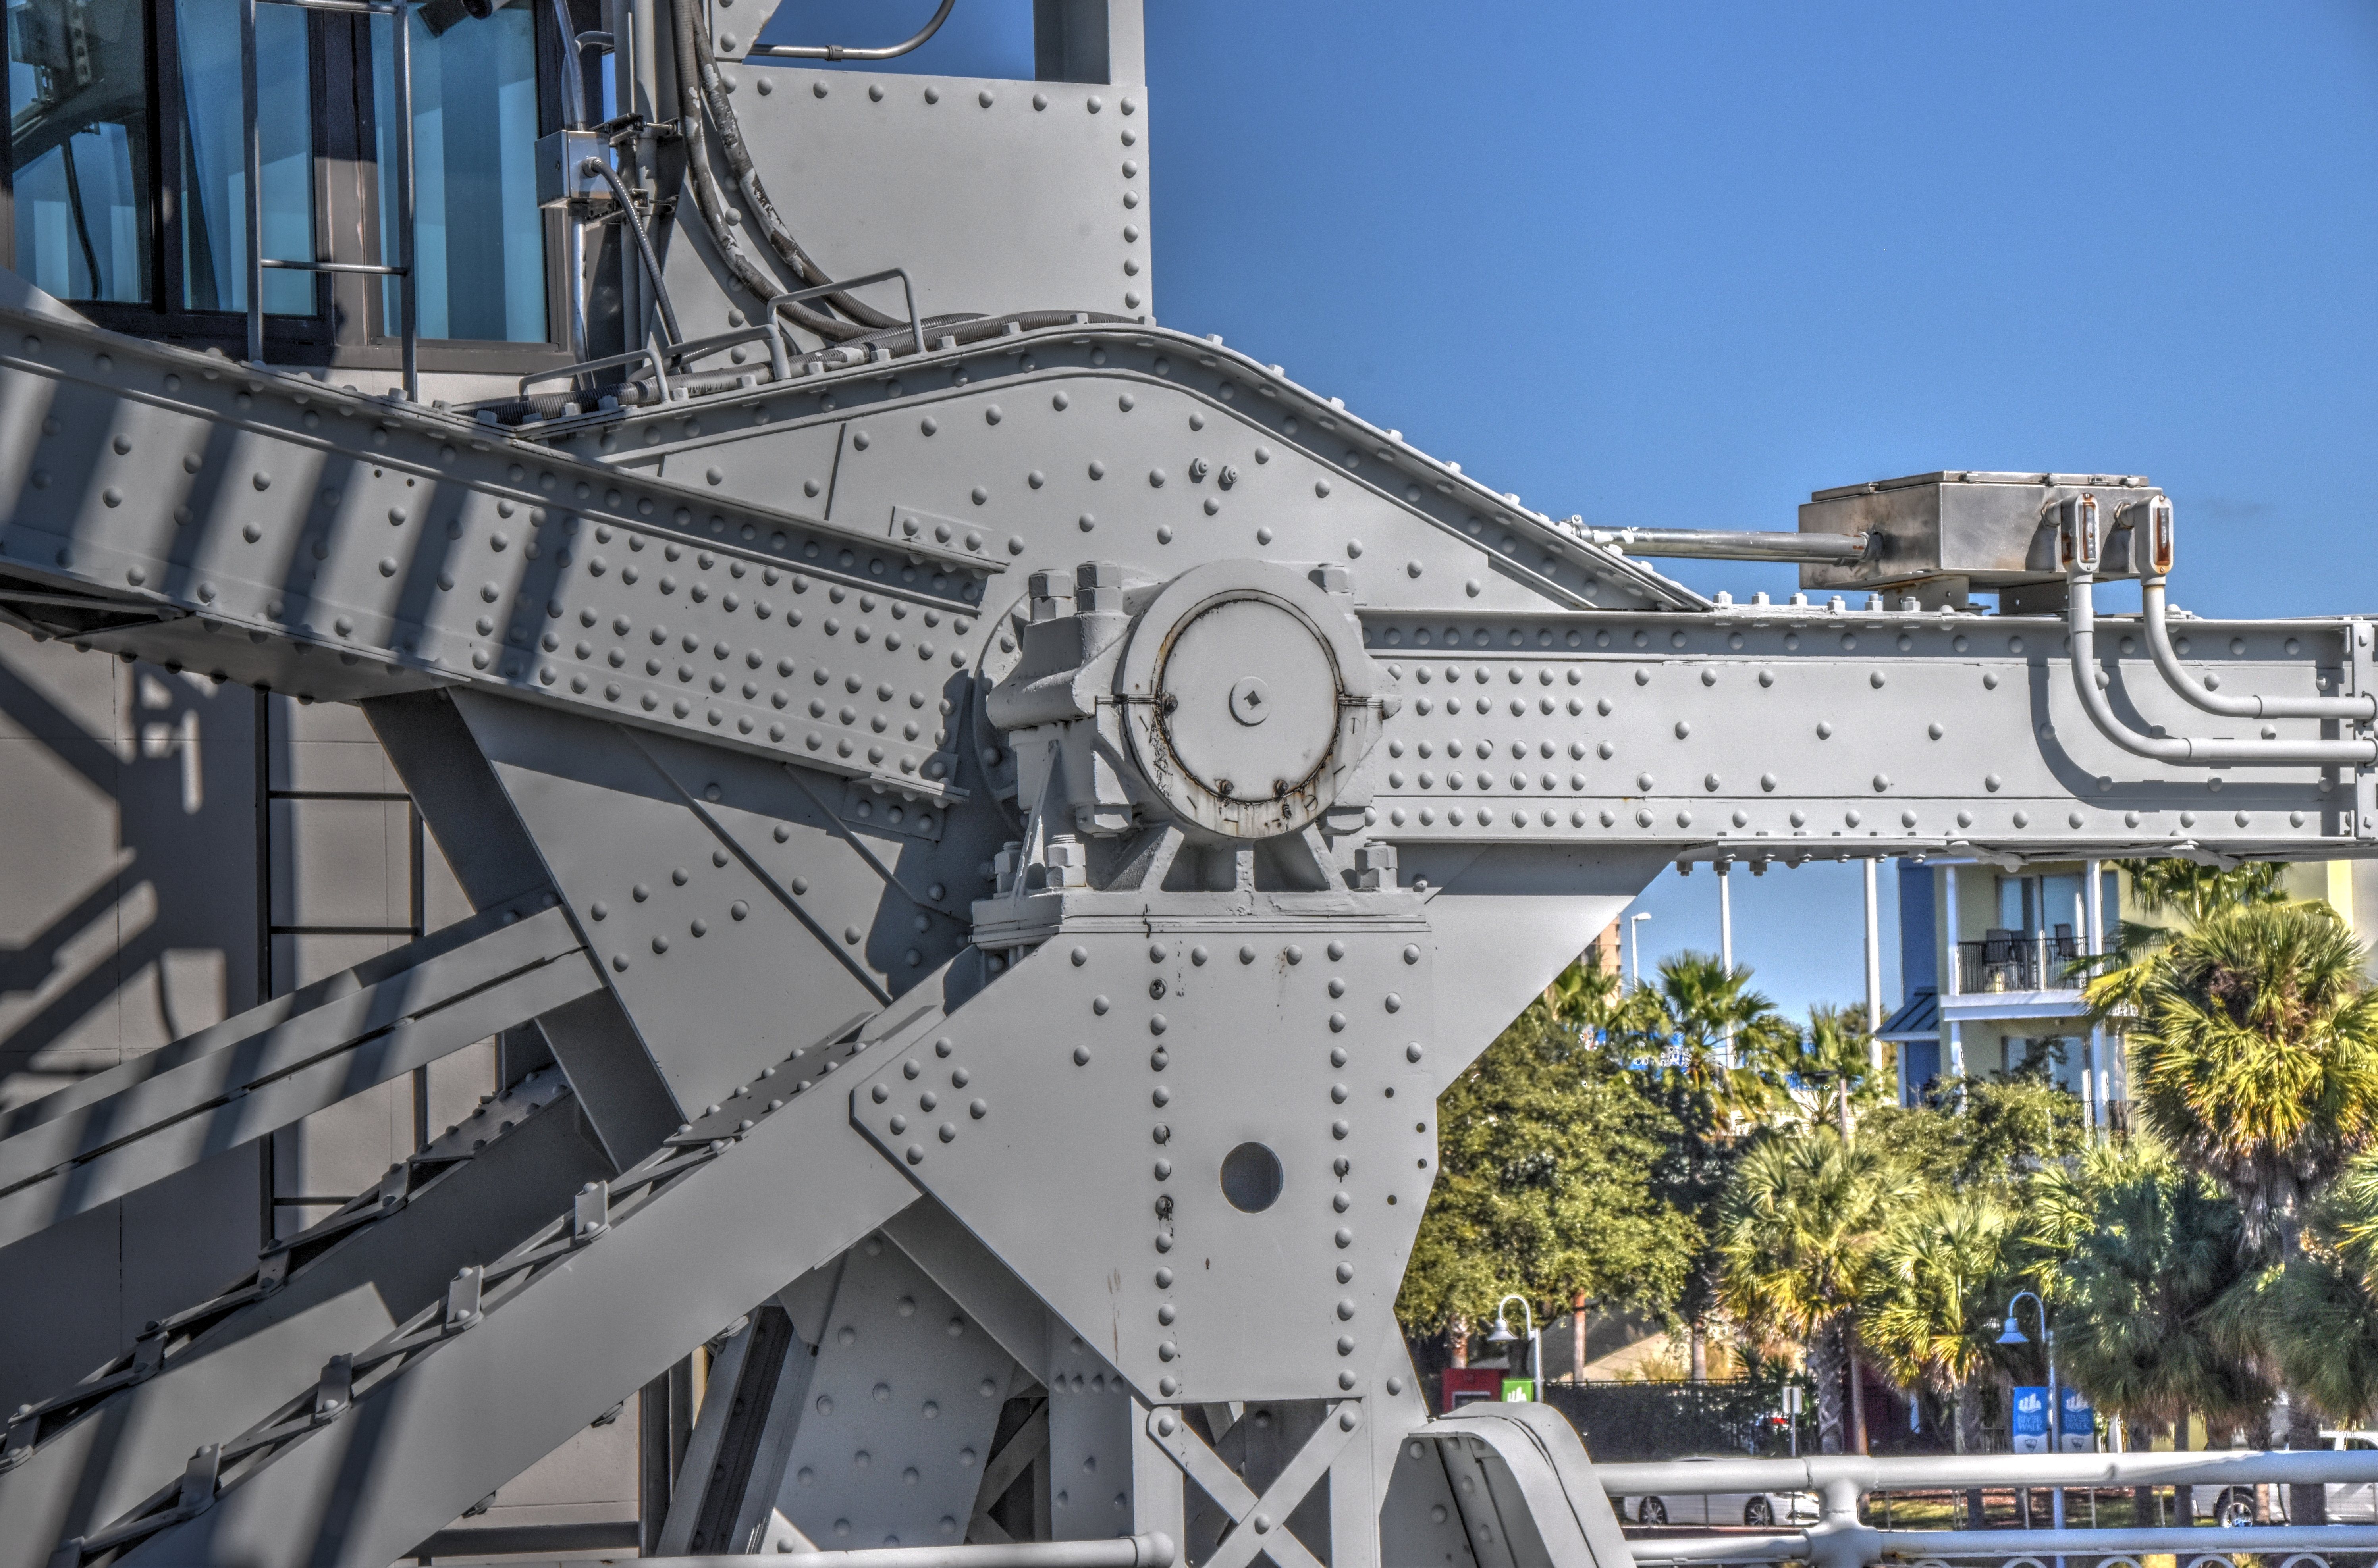


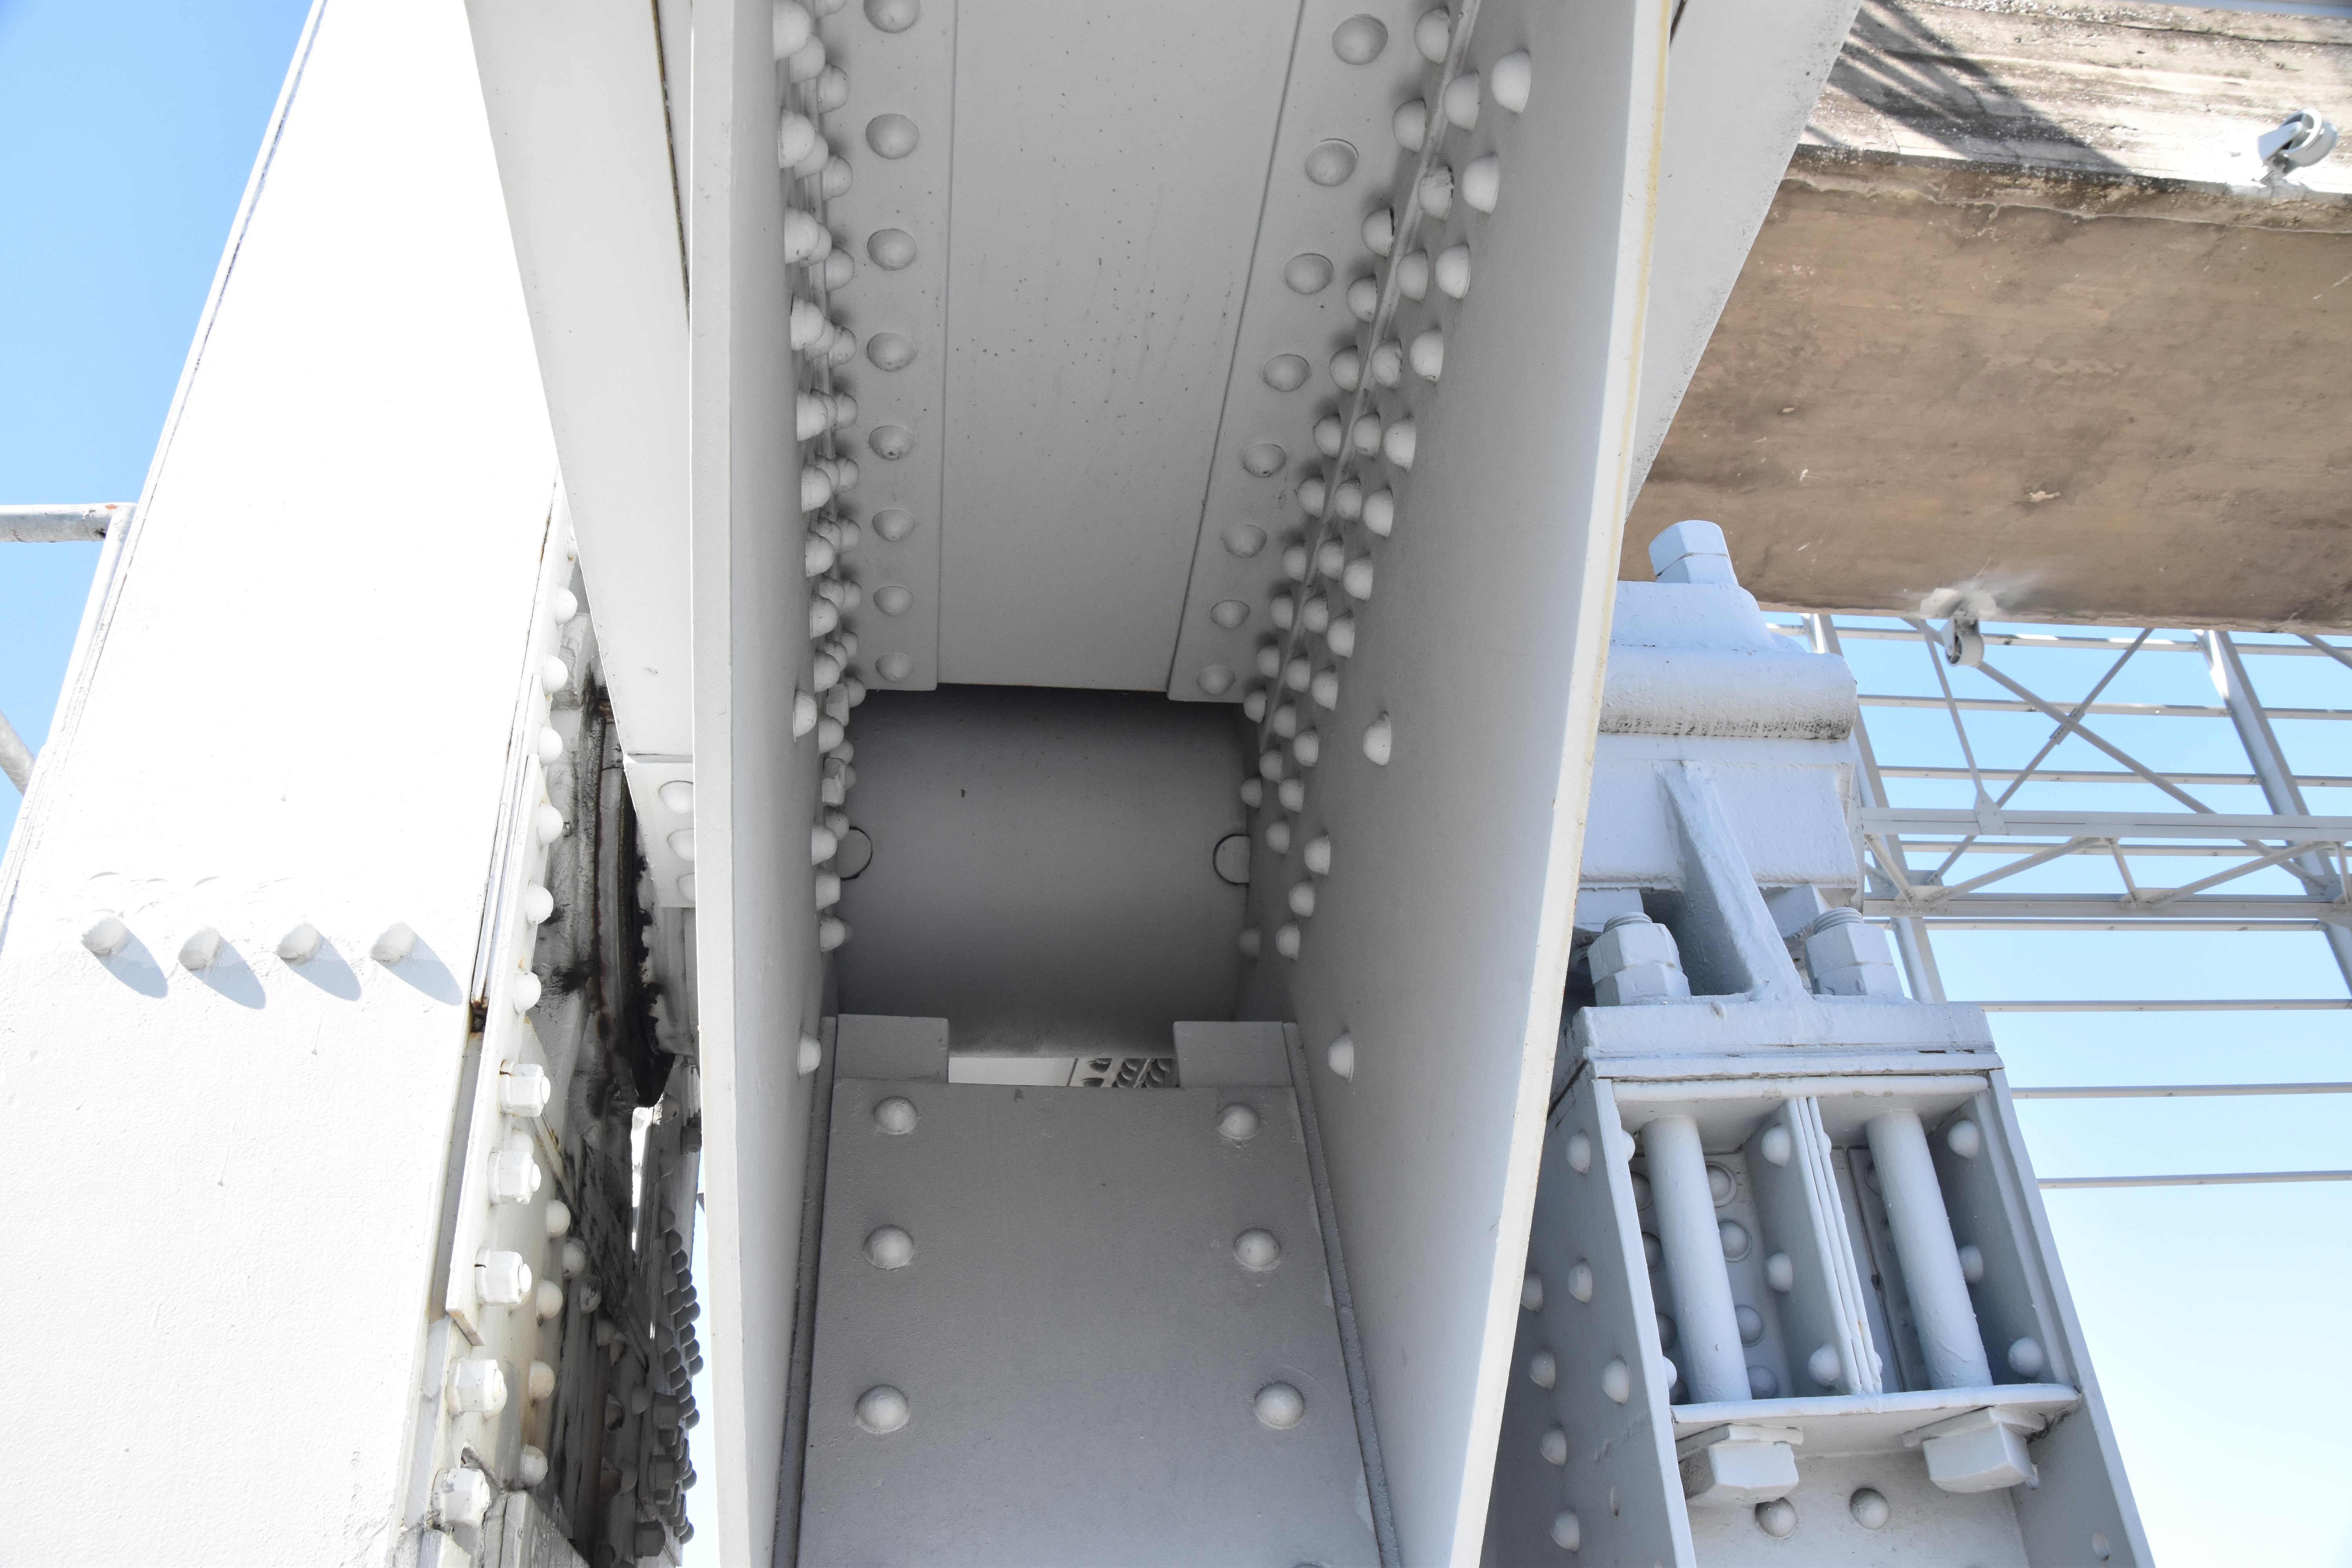
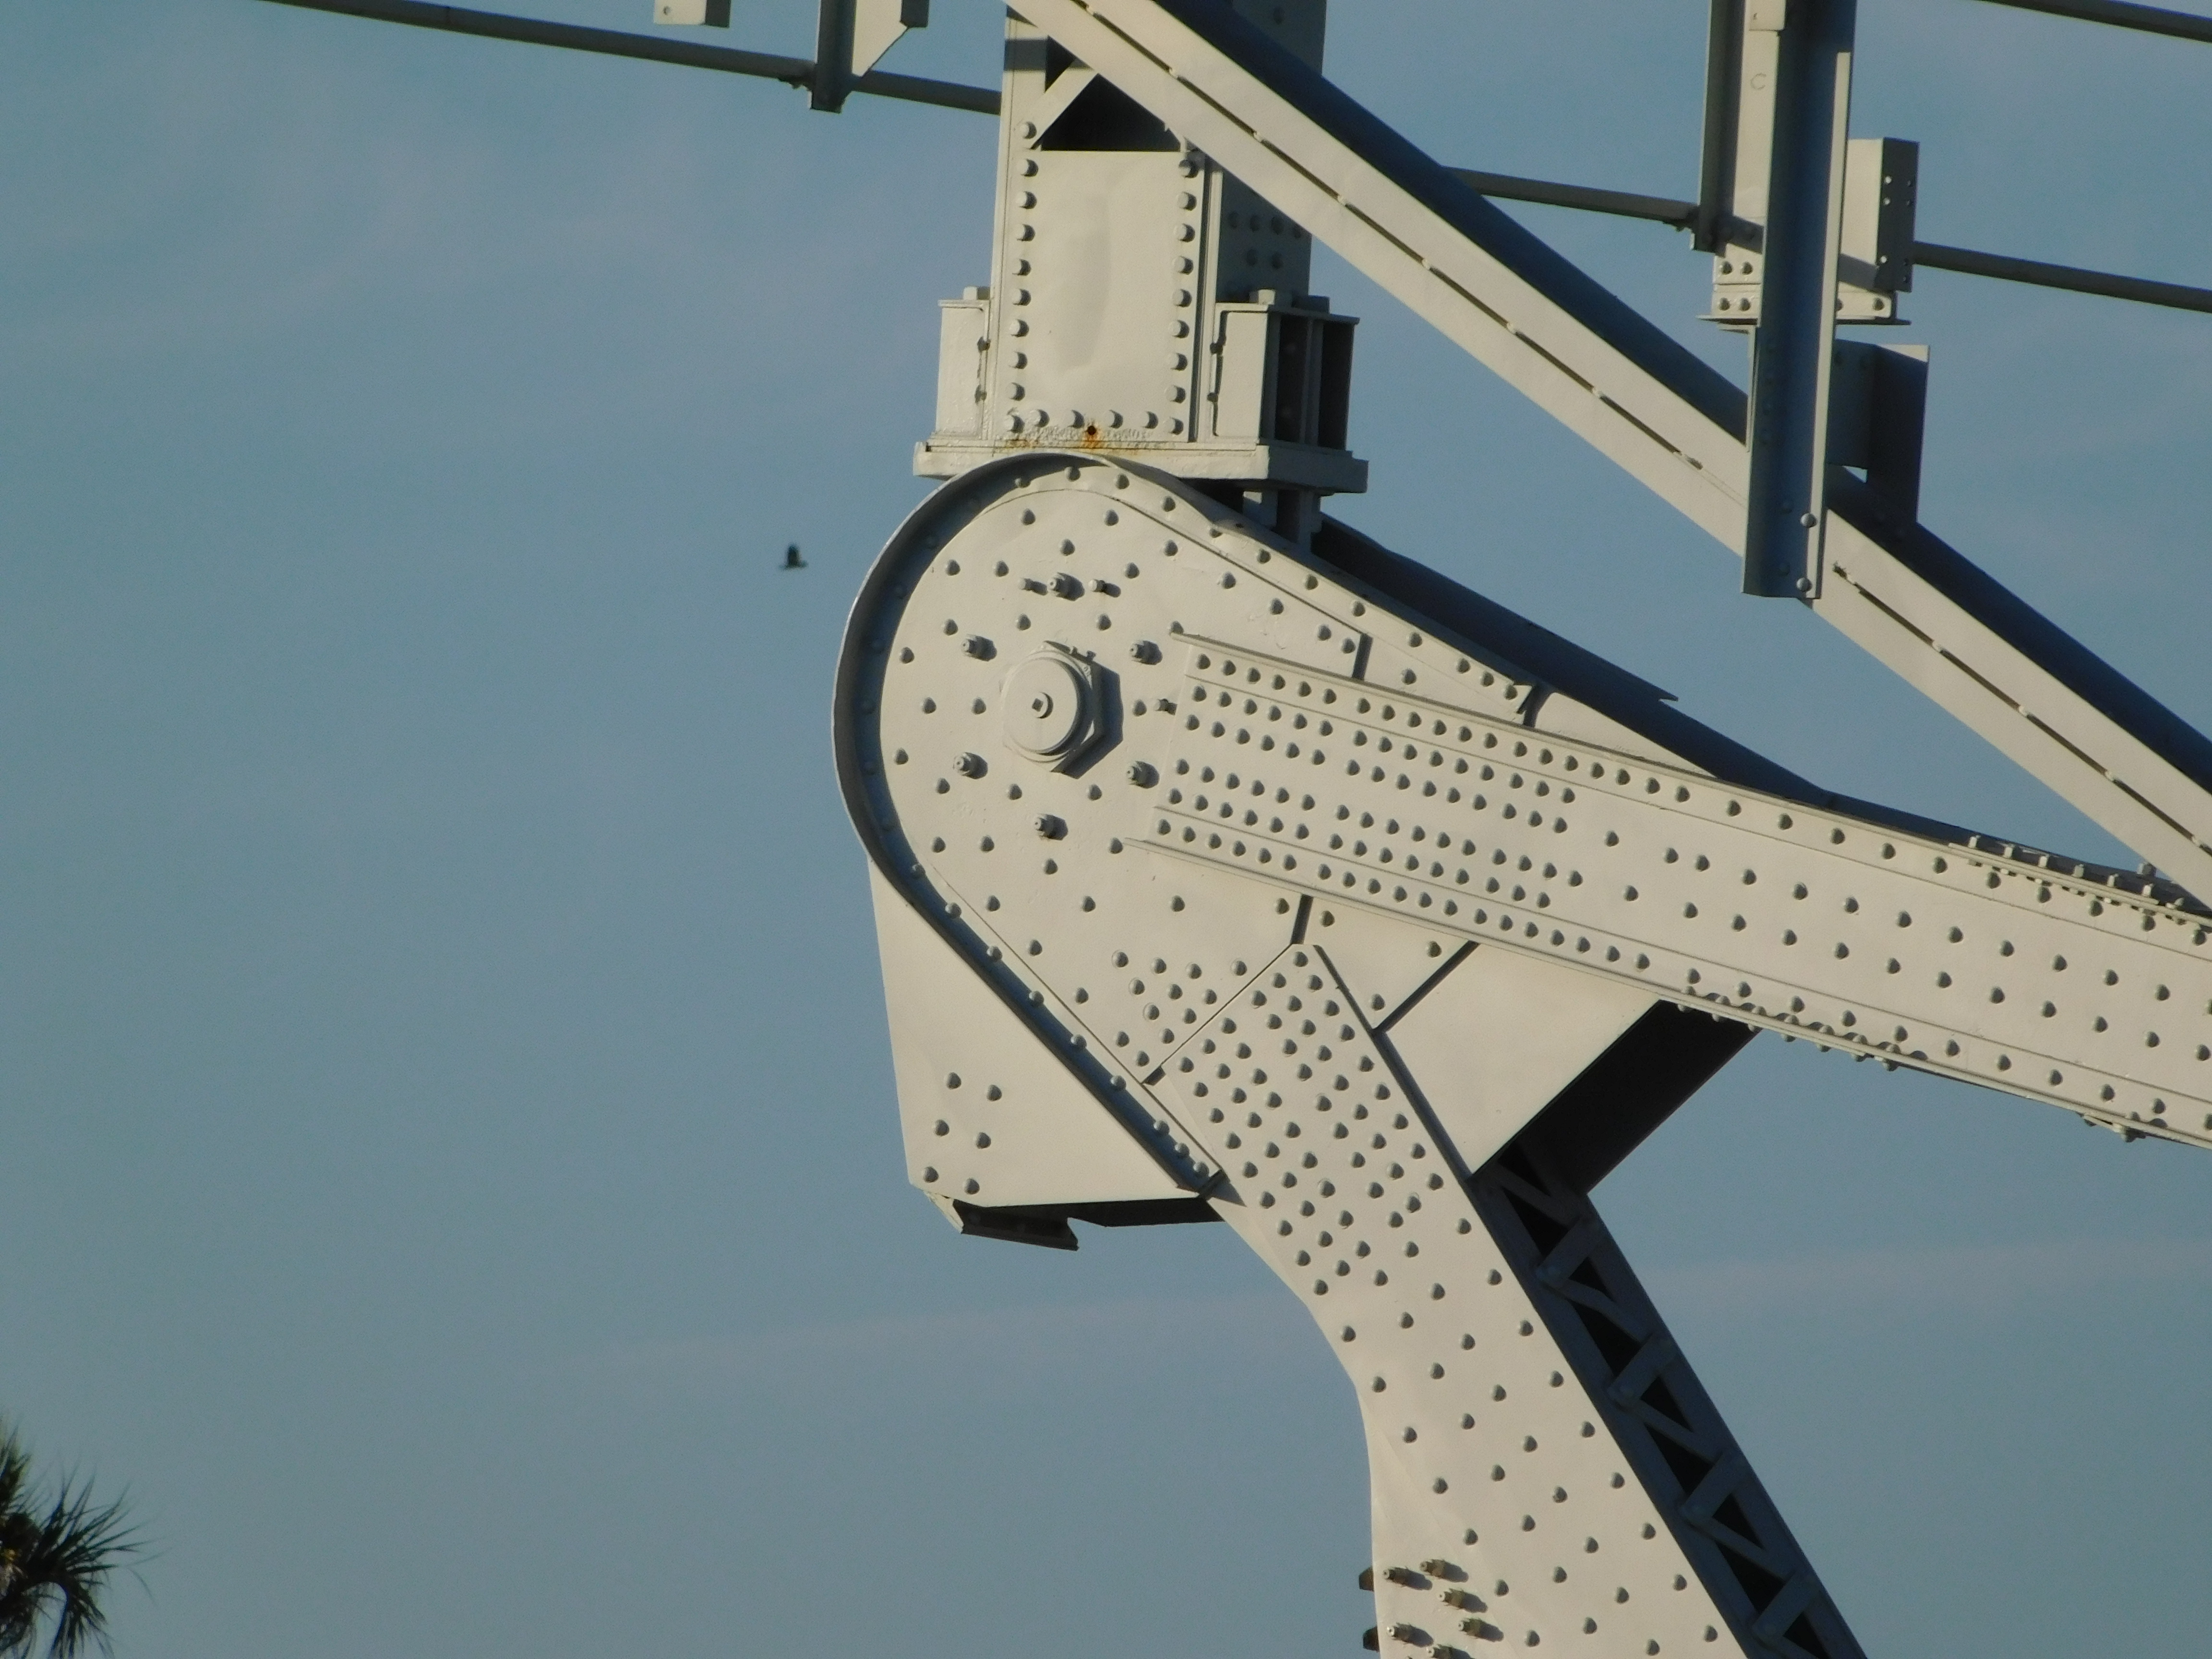
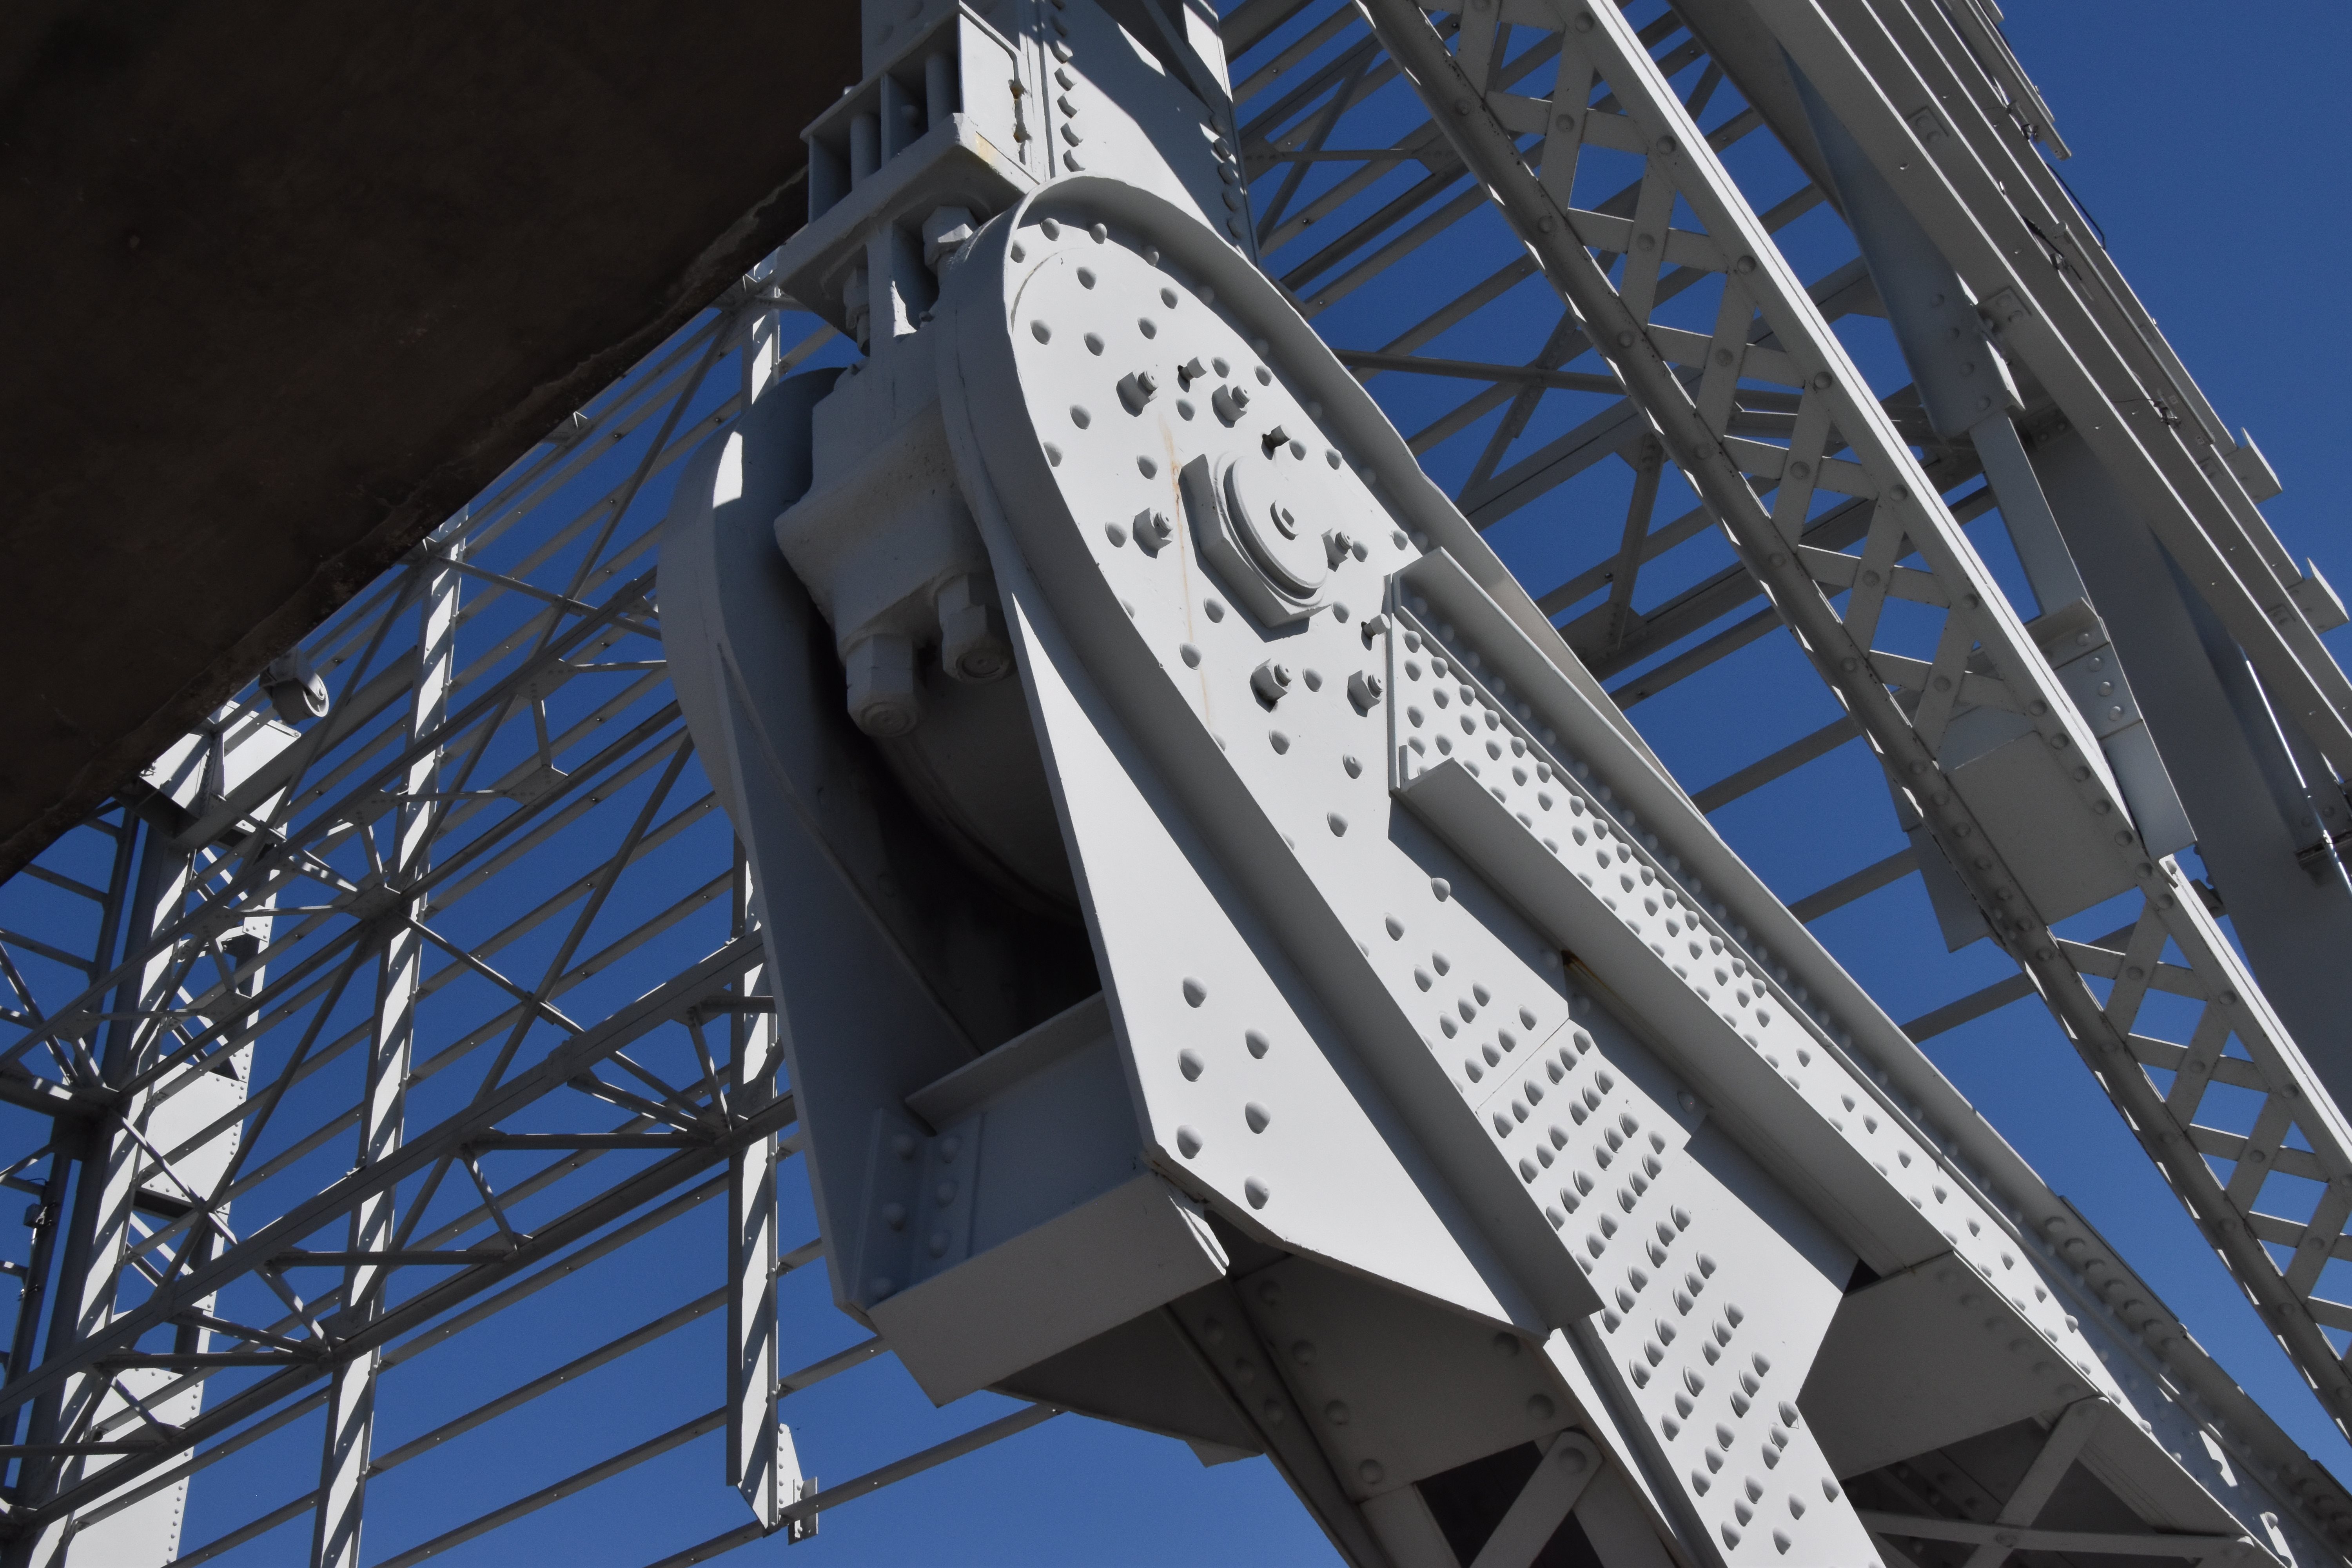
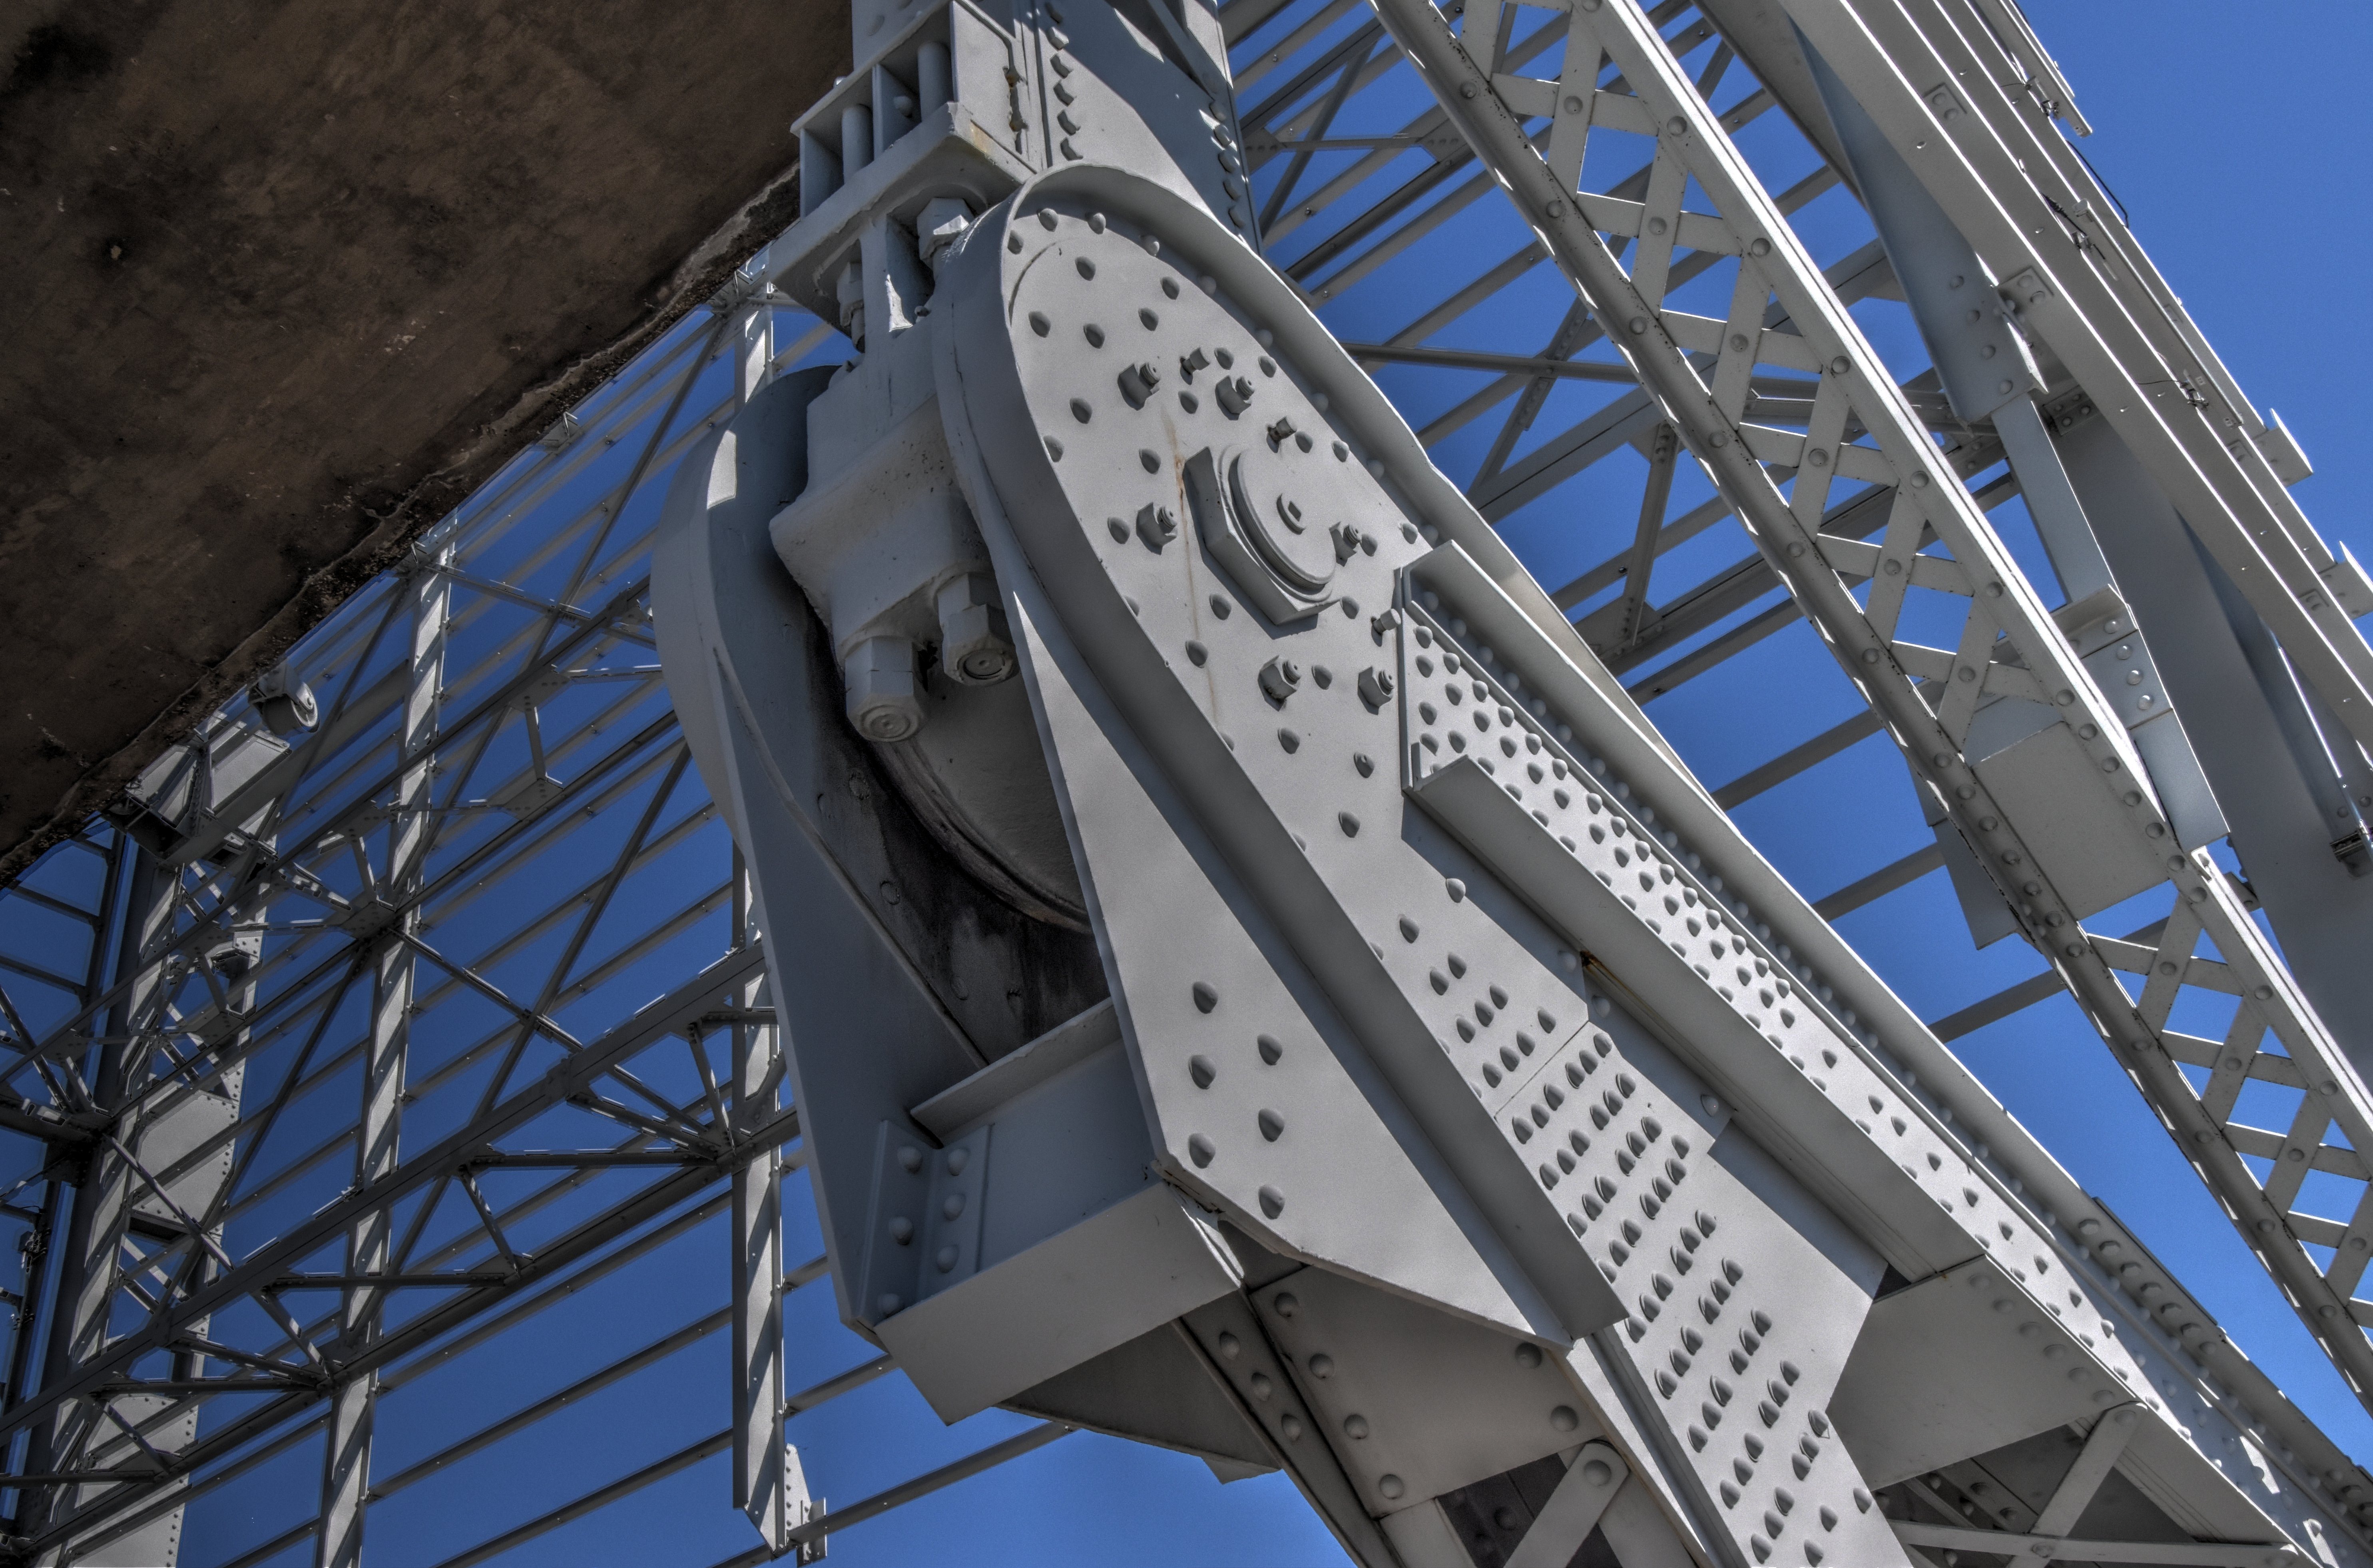
Main trunnion.
![]()
Photo Credit: Marc Scotti
Main trunnion.
![]()


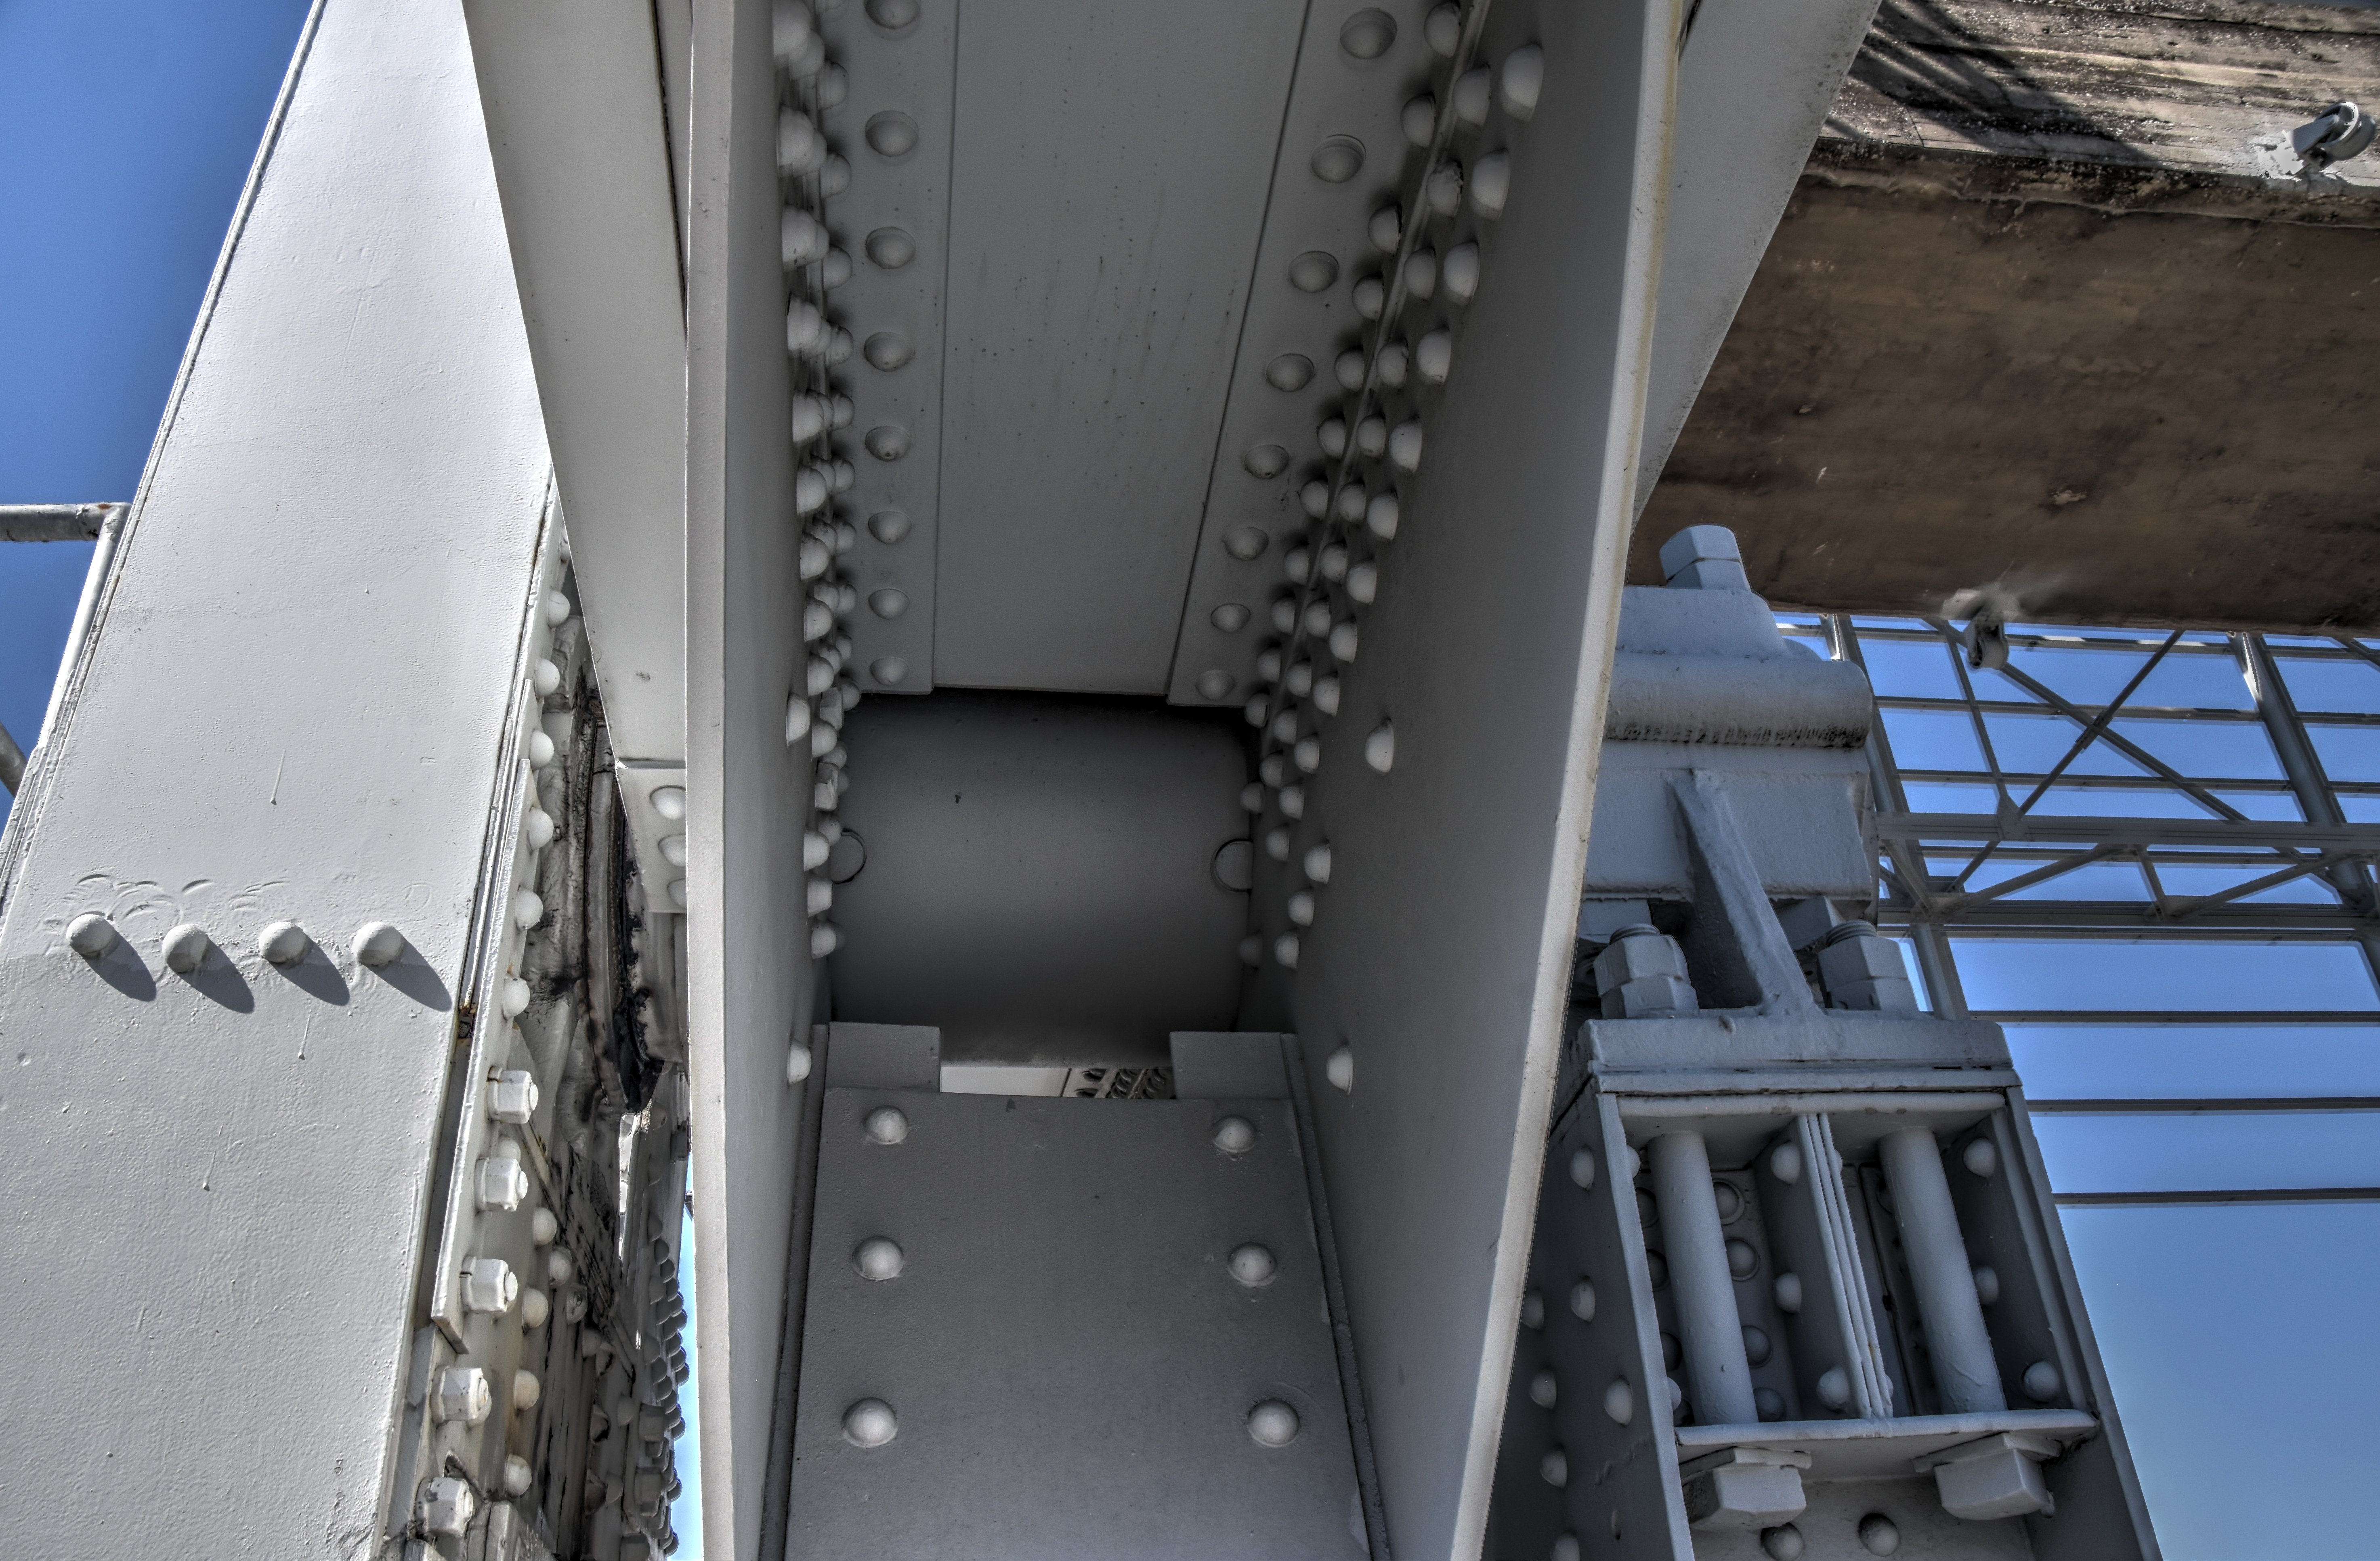
Trunnion support.
![]()
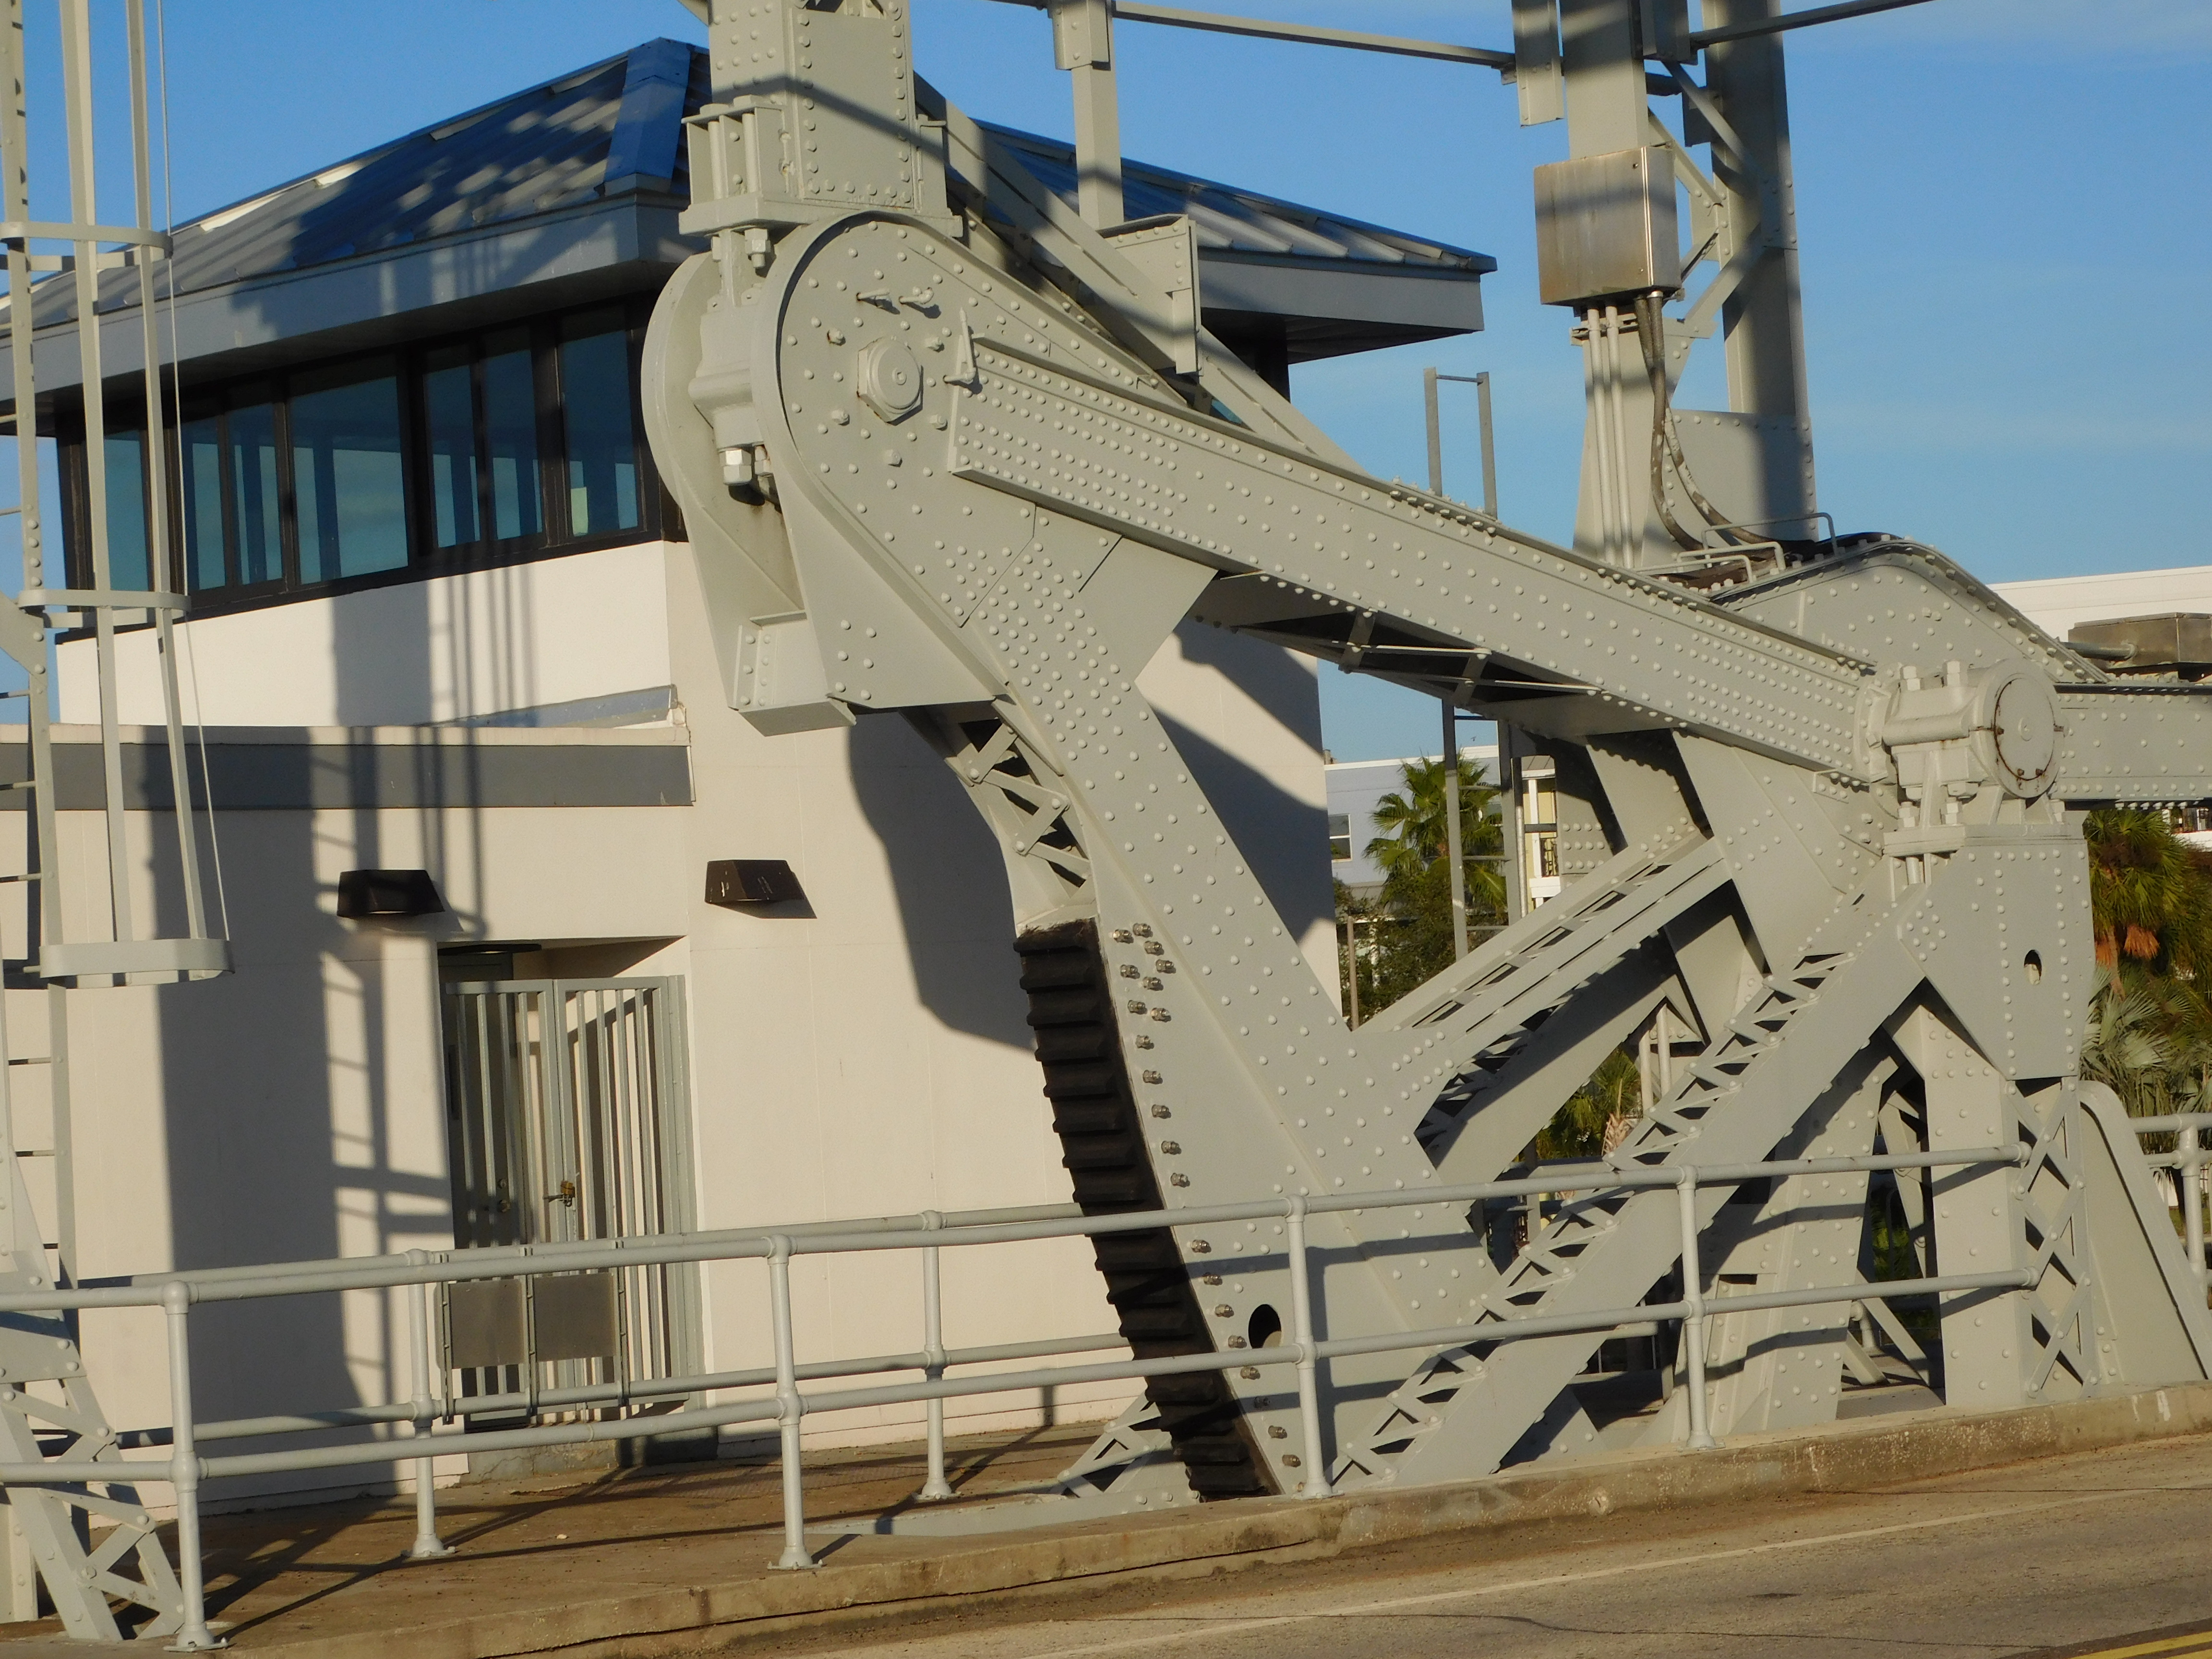
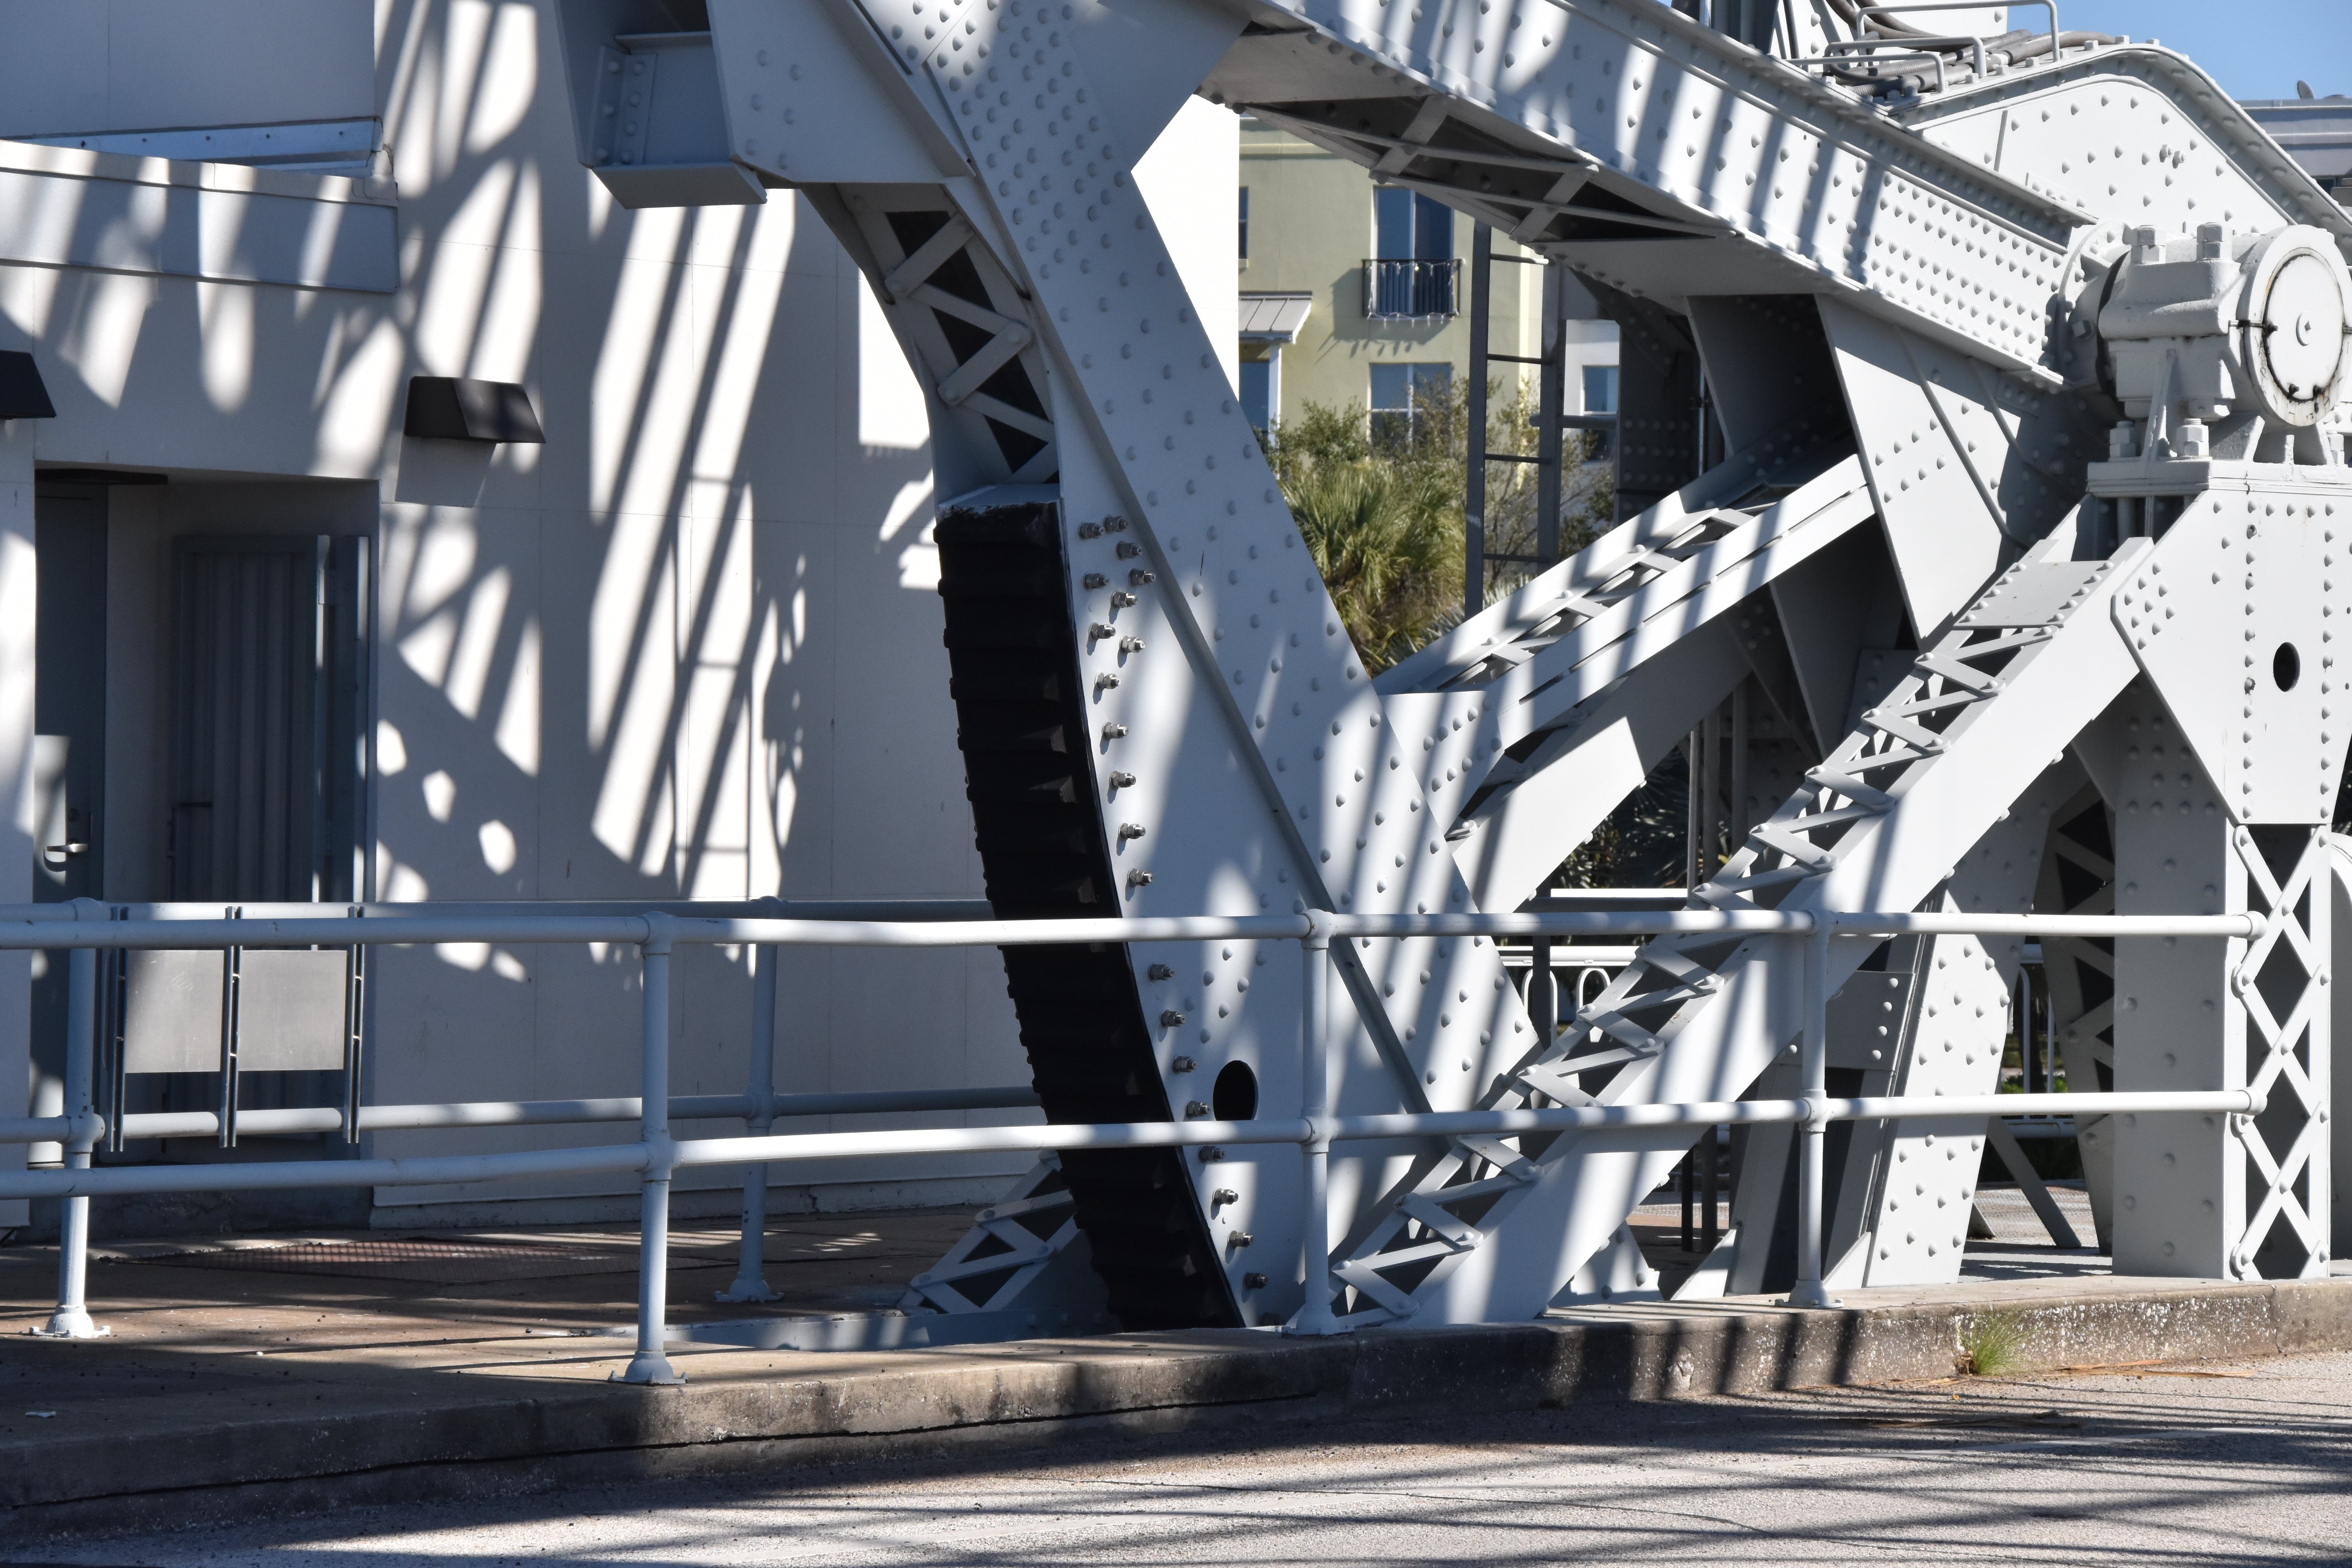
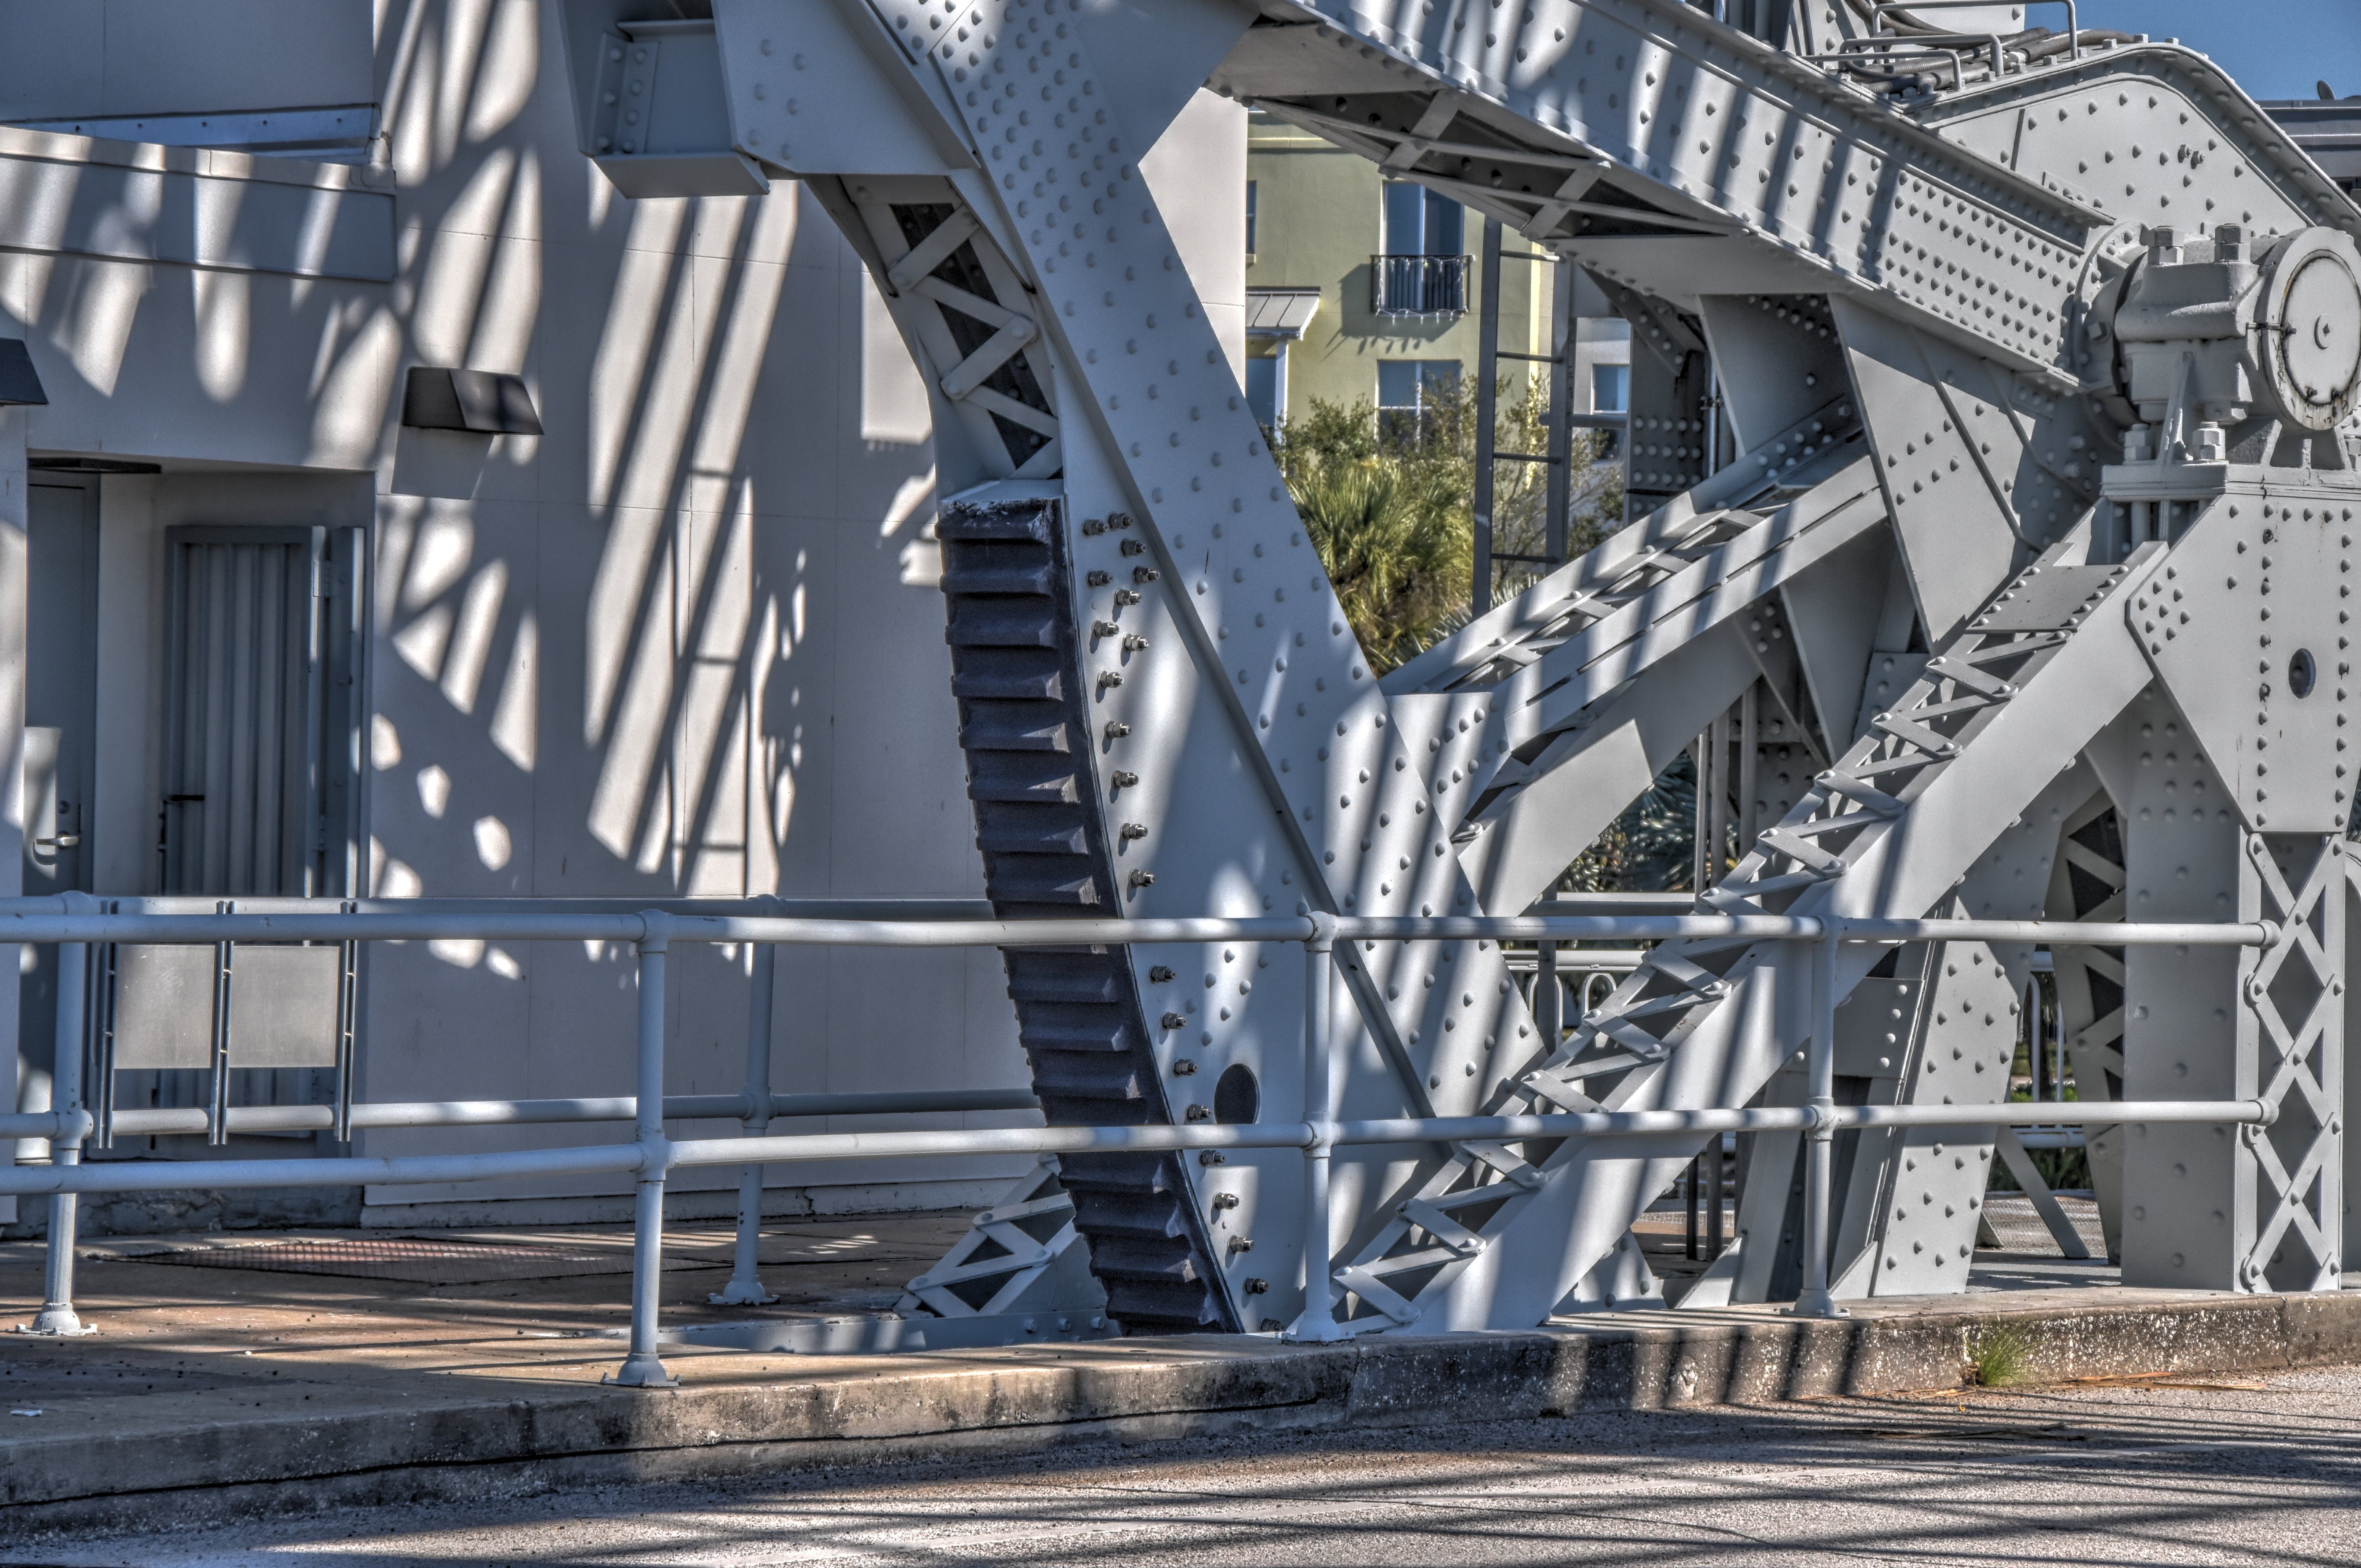
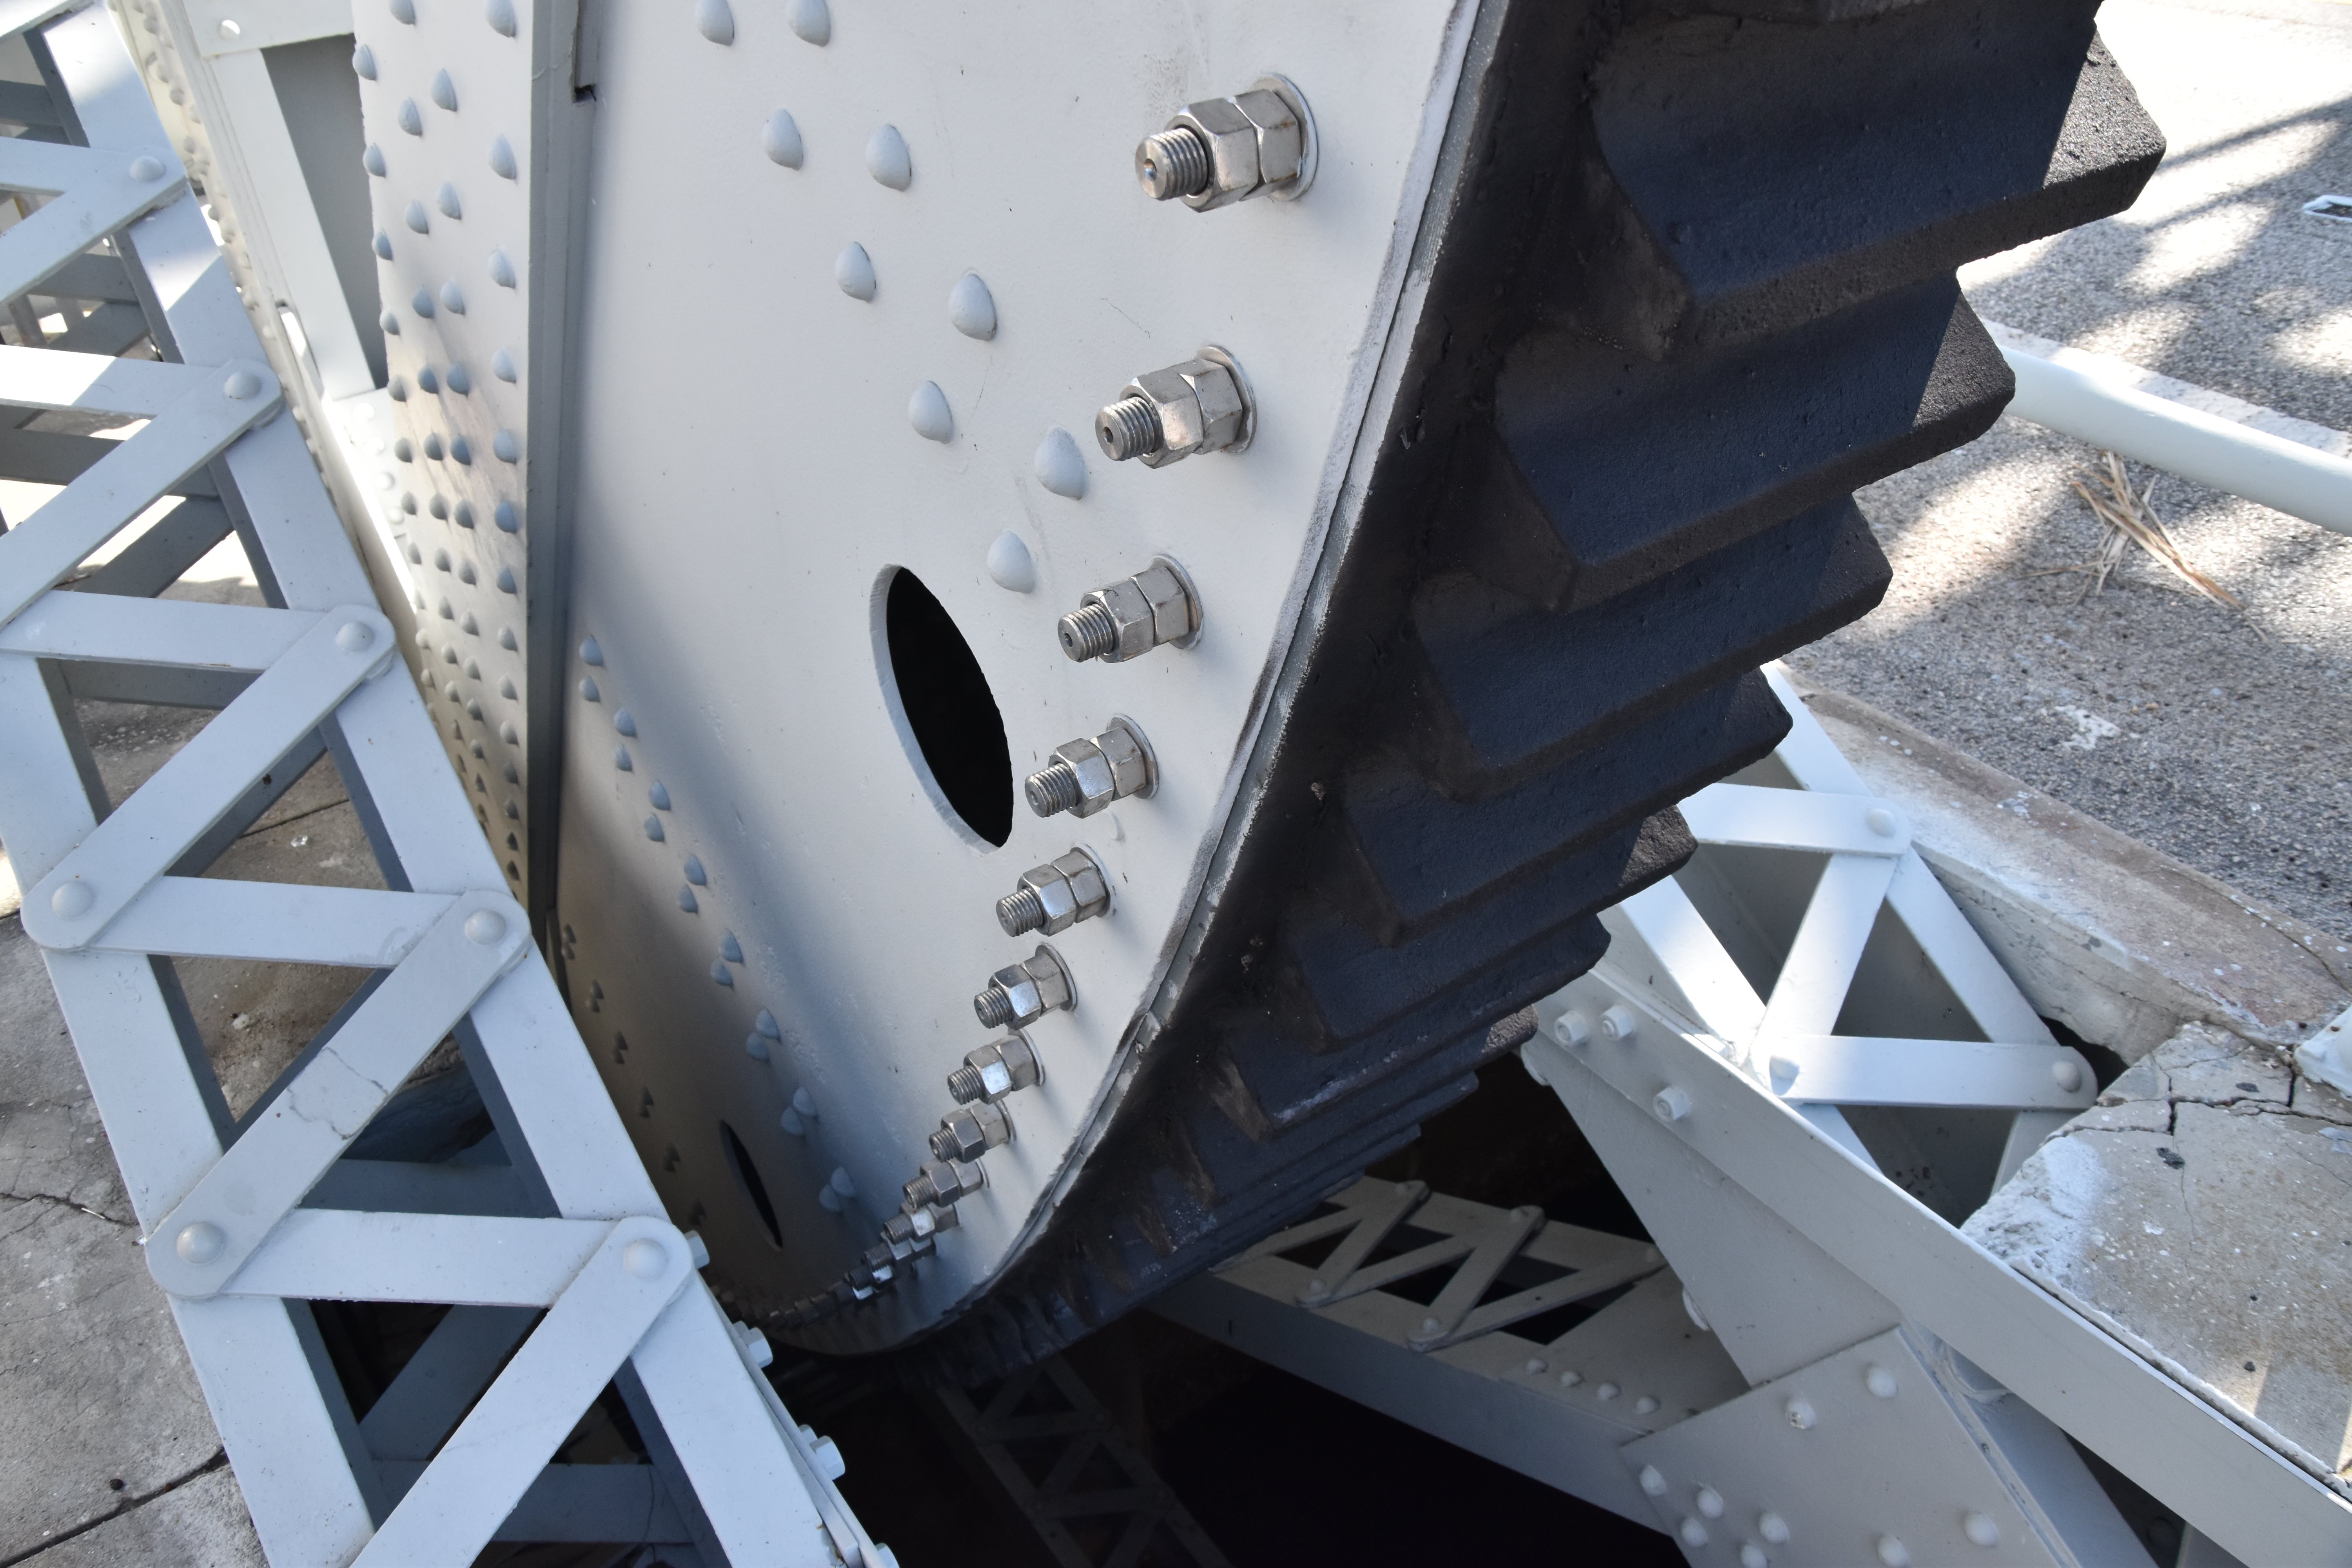
Operating rack.
![]()
Trunnion supports under bridge.
![]()

Photo Credit: Marc Scotti
Trunnion supports under bridge, with operating pinion visible to the right.
![]()

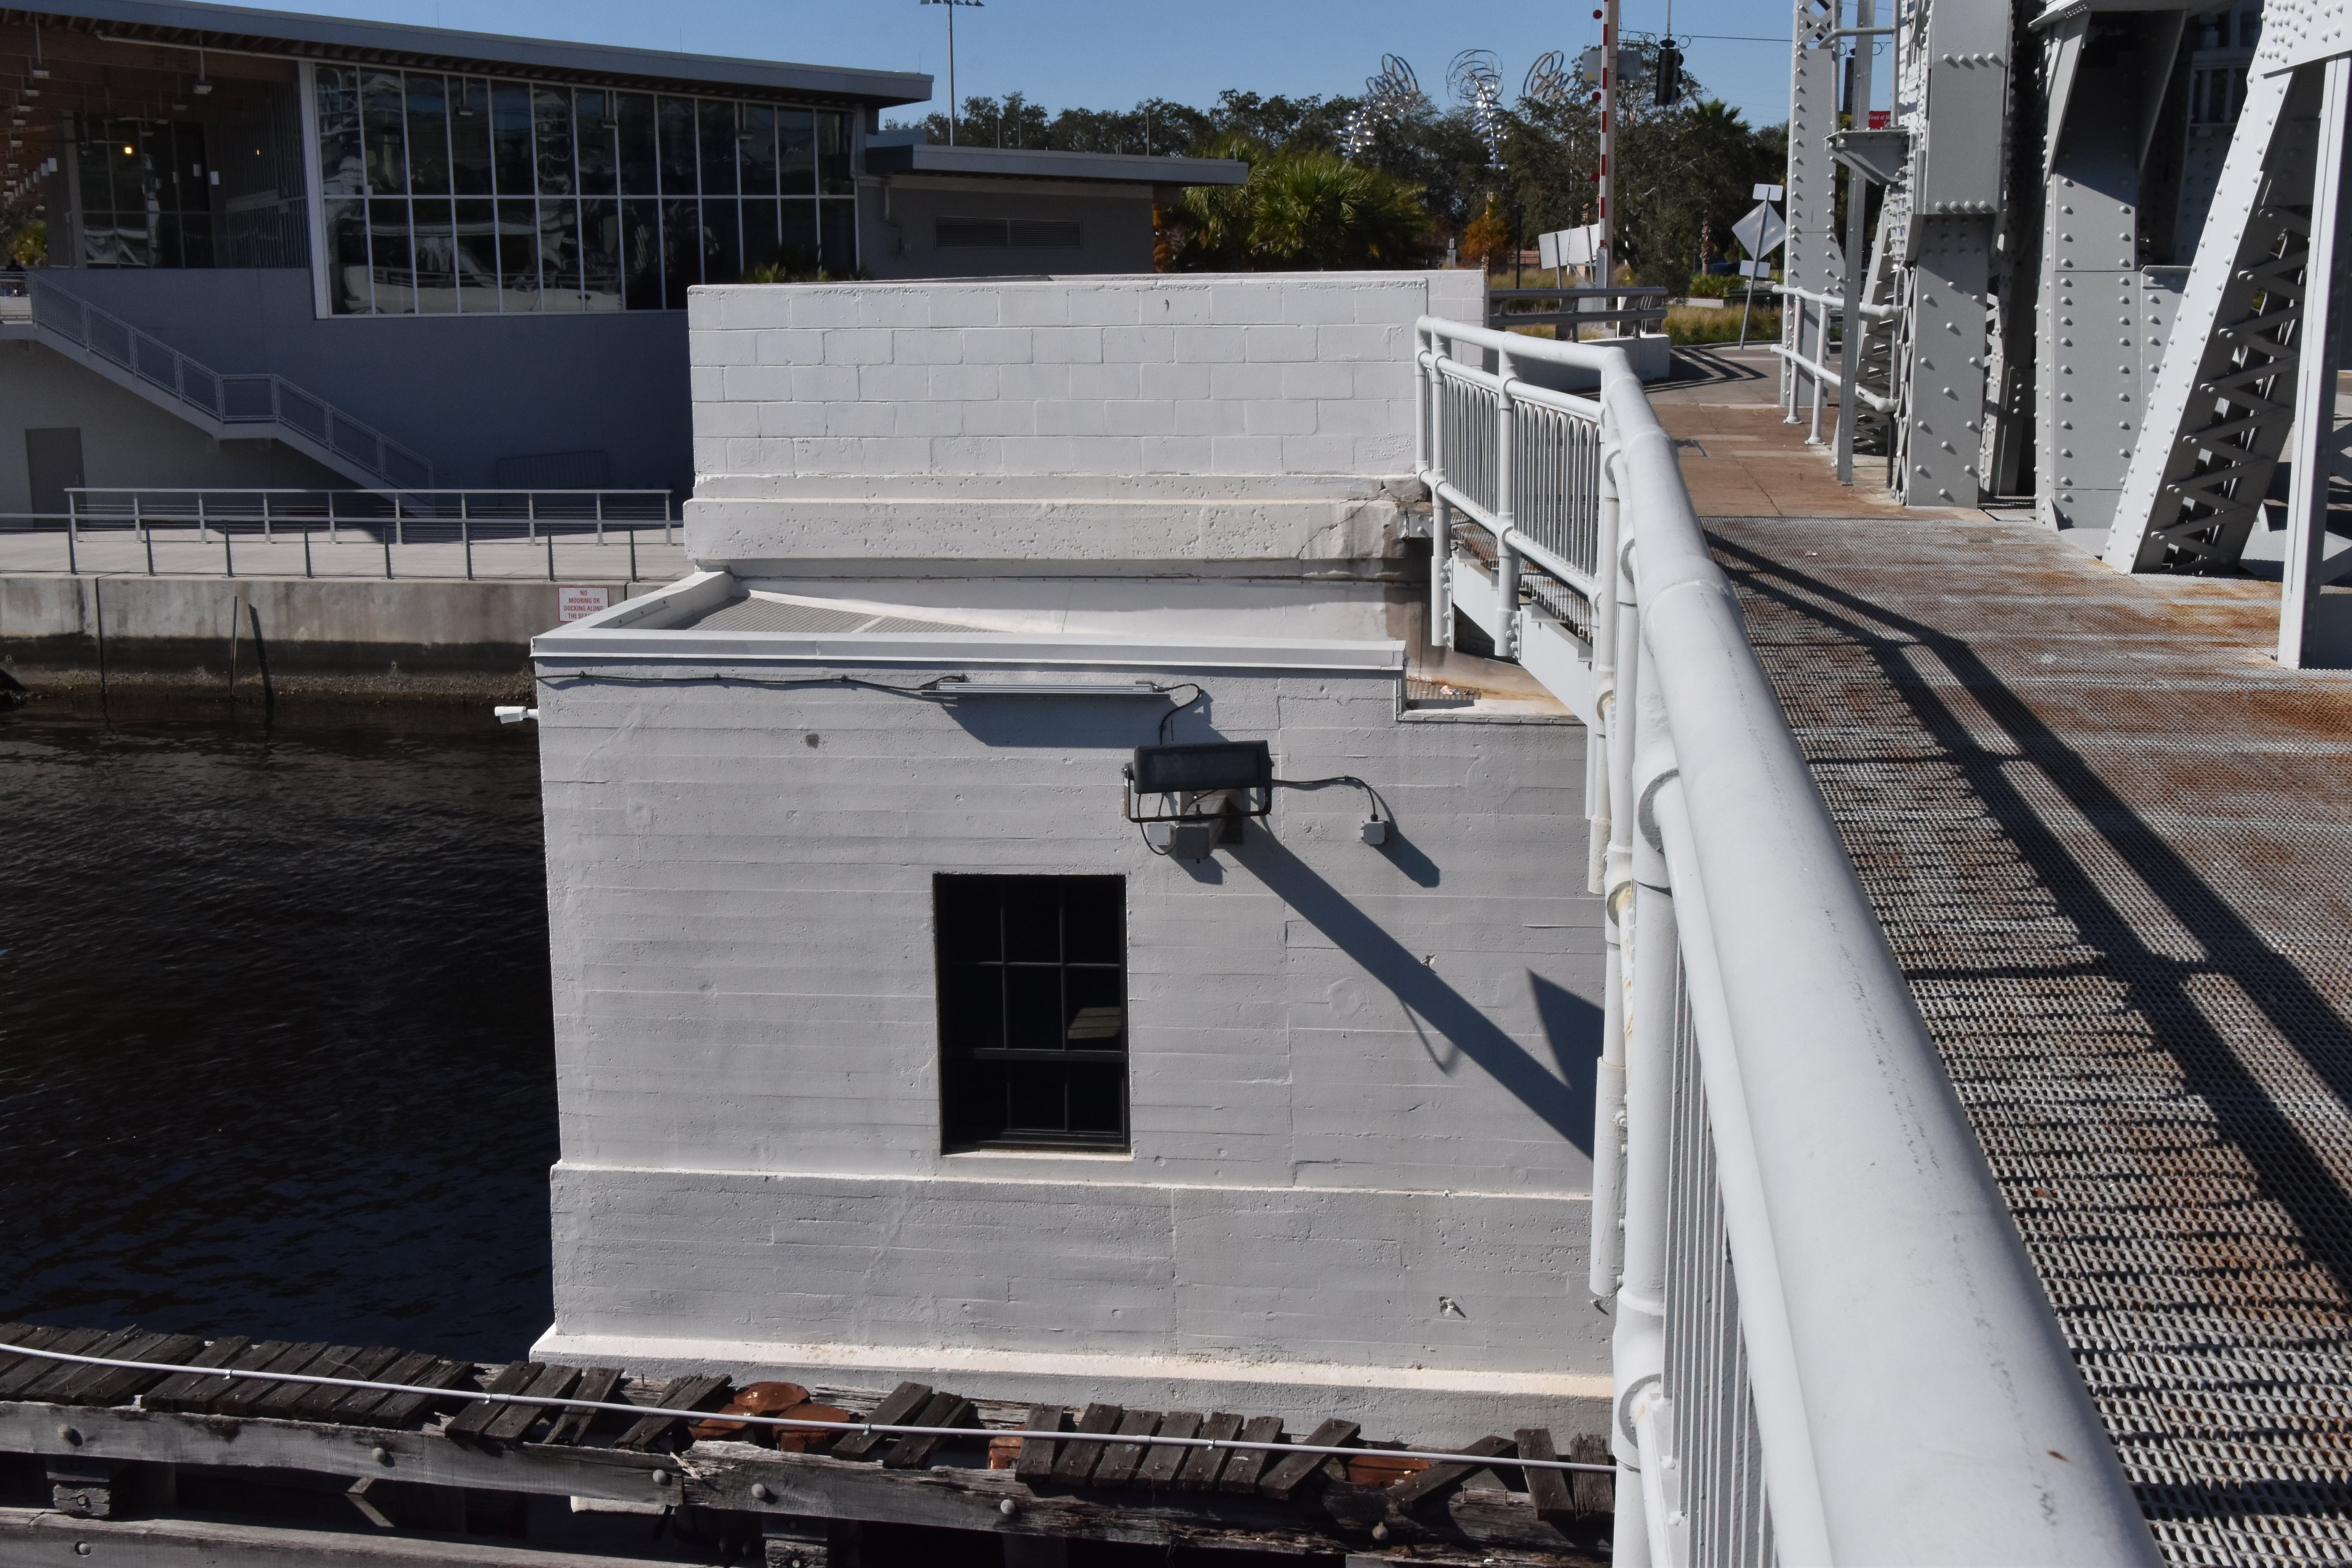
Bridgetender house.
![]()

Photo Credit: Marc Scotti
Bridgetender house.
![]()

Machinery house.
![]()
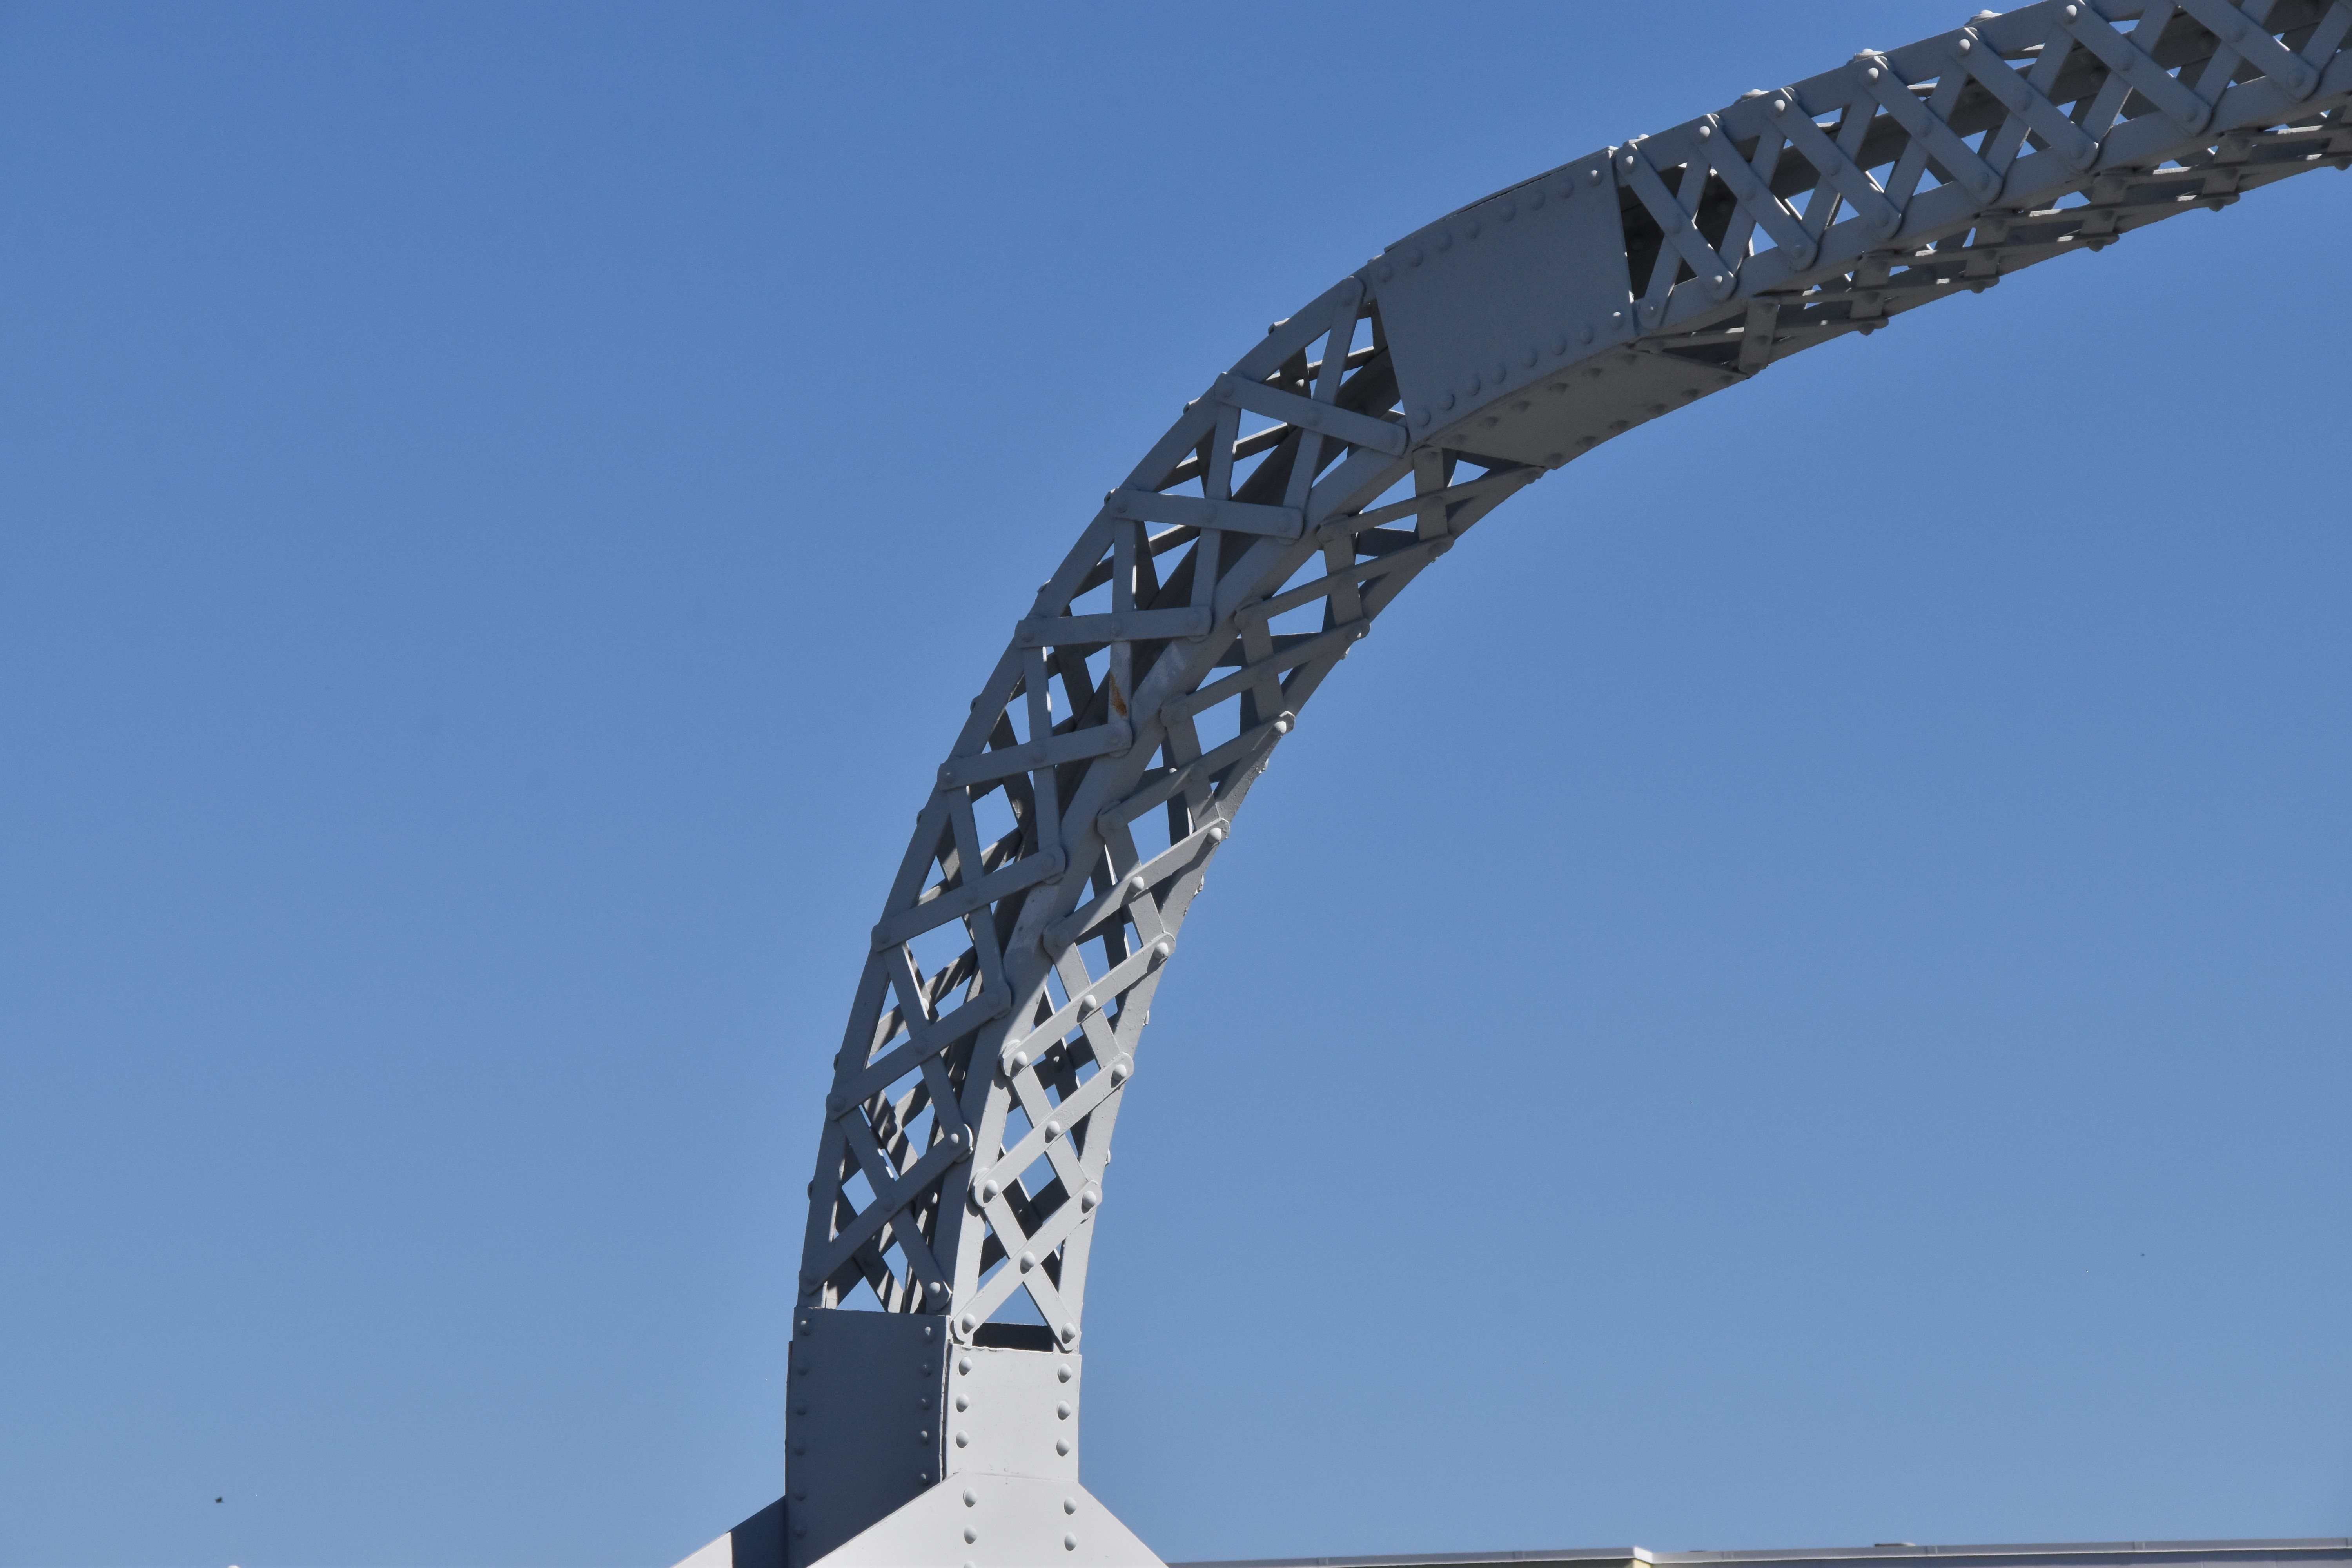
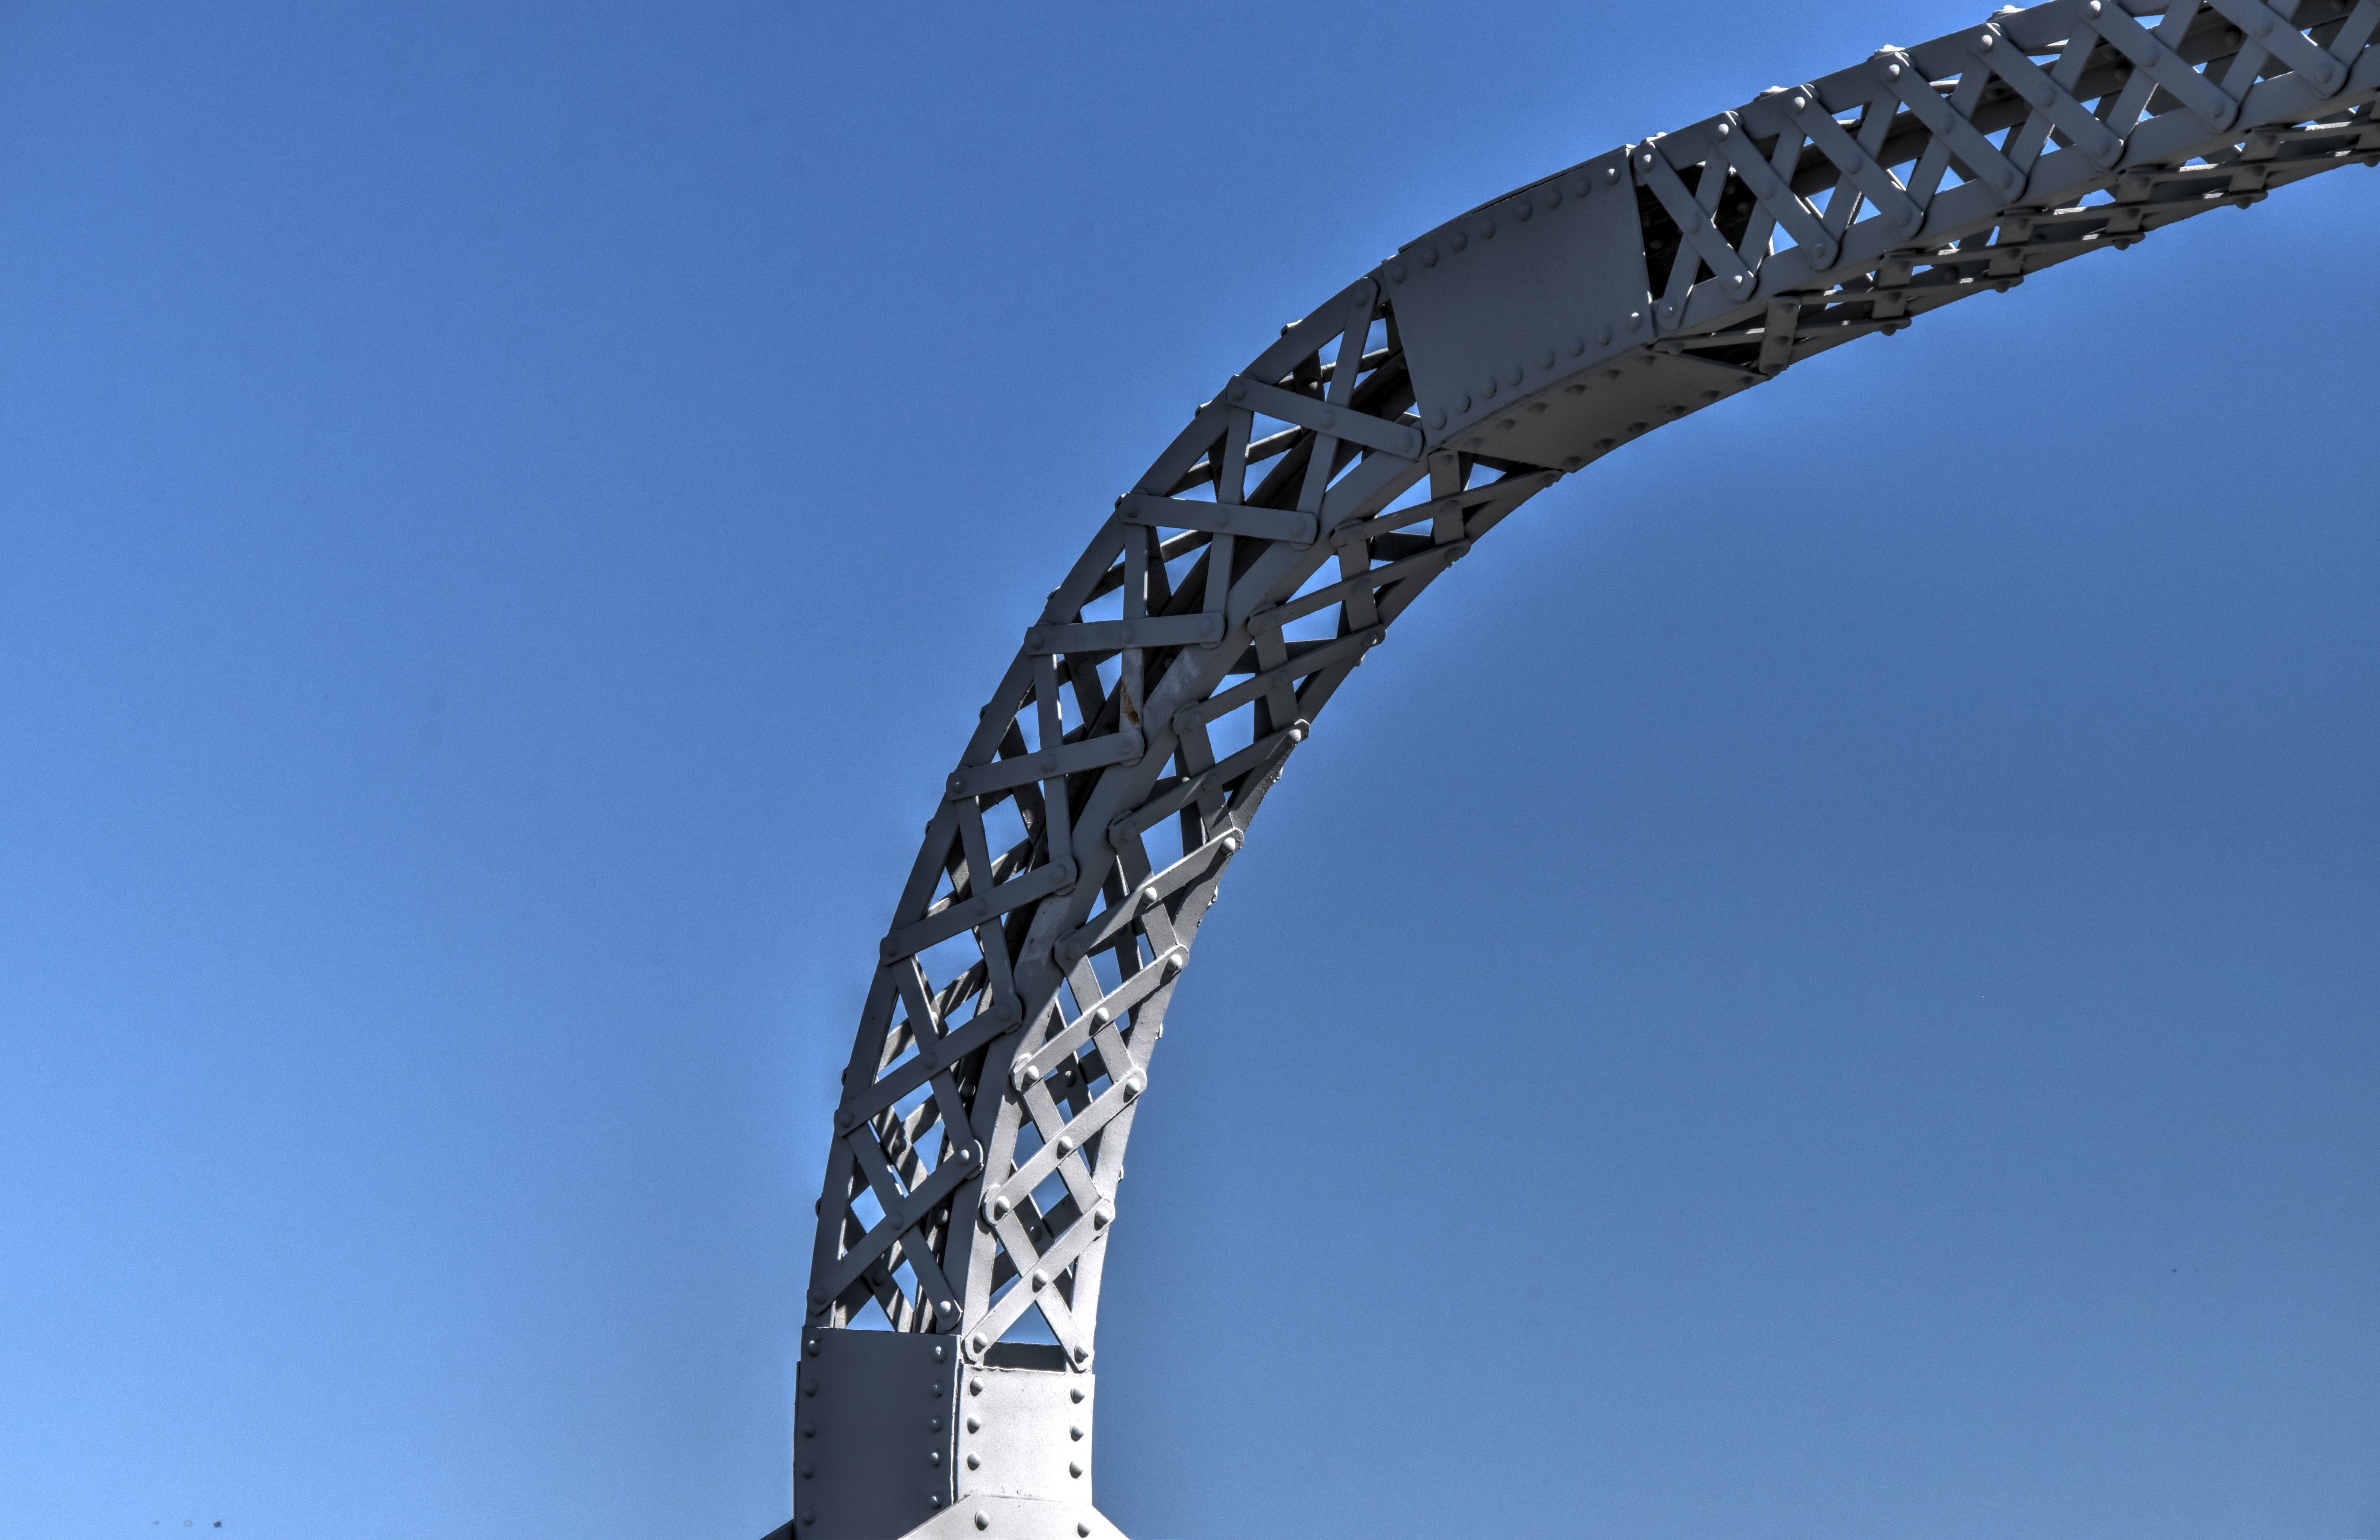

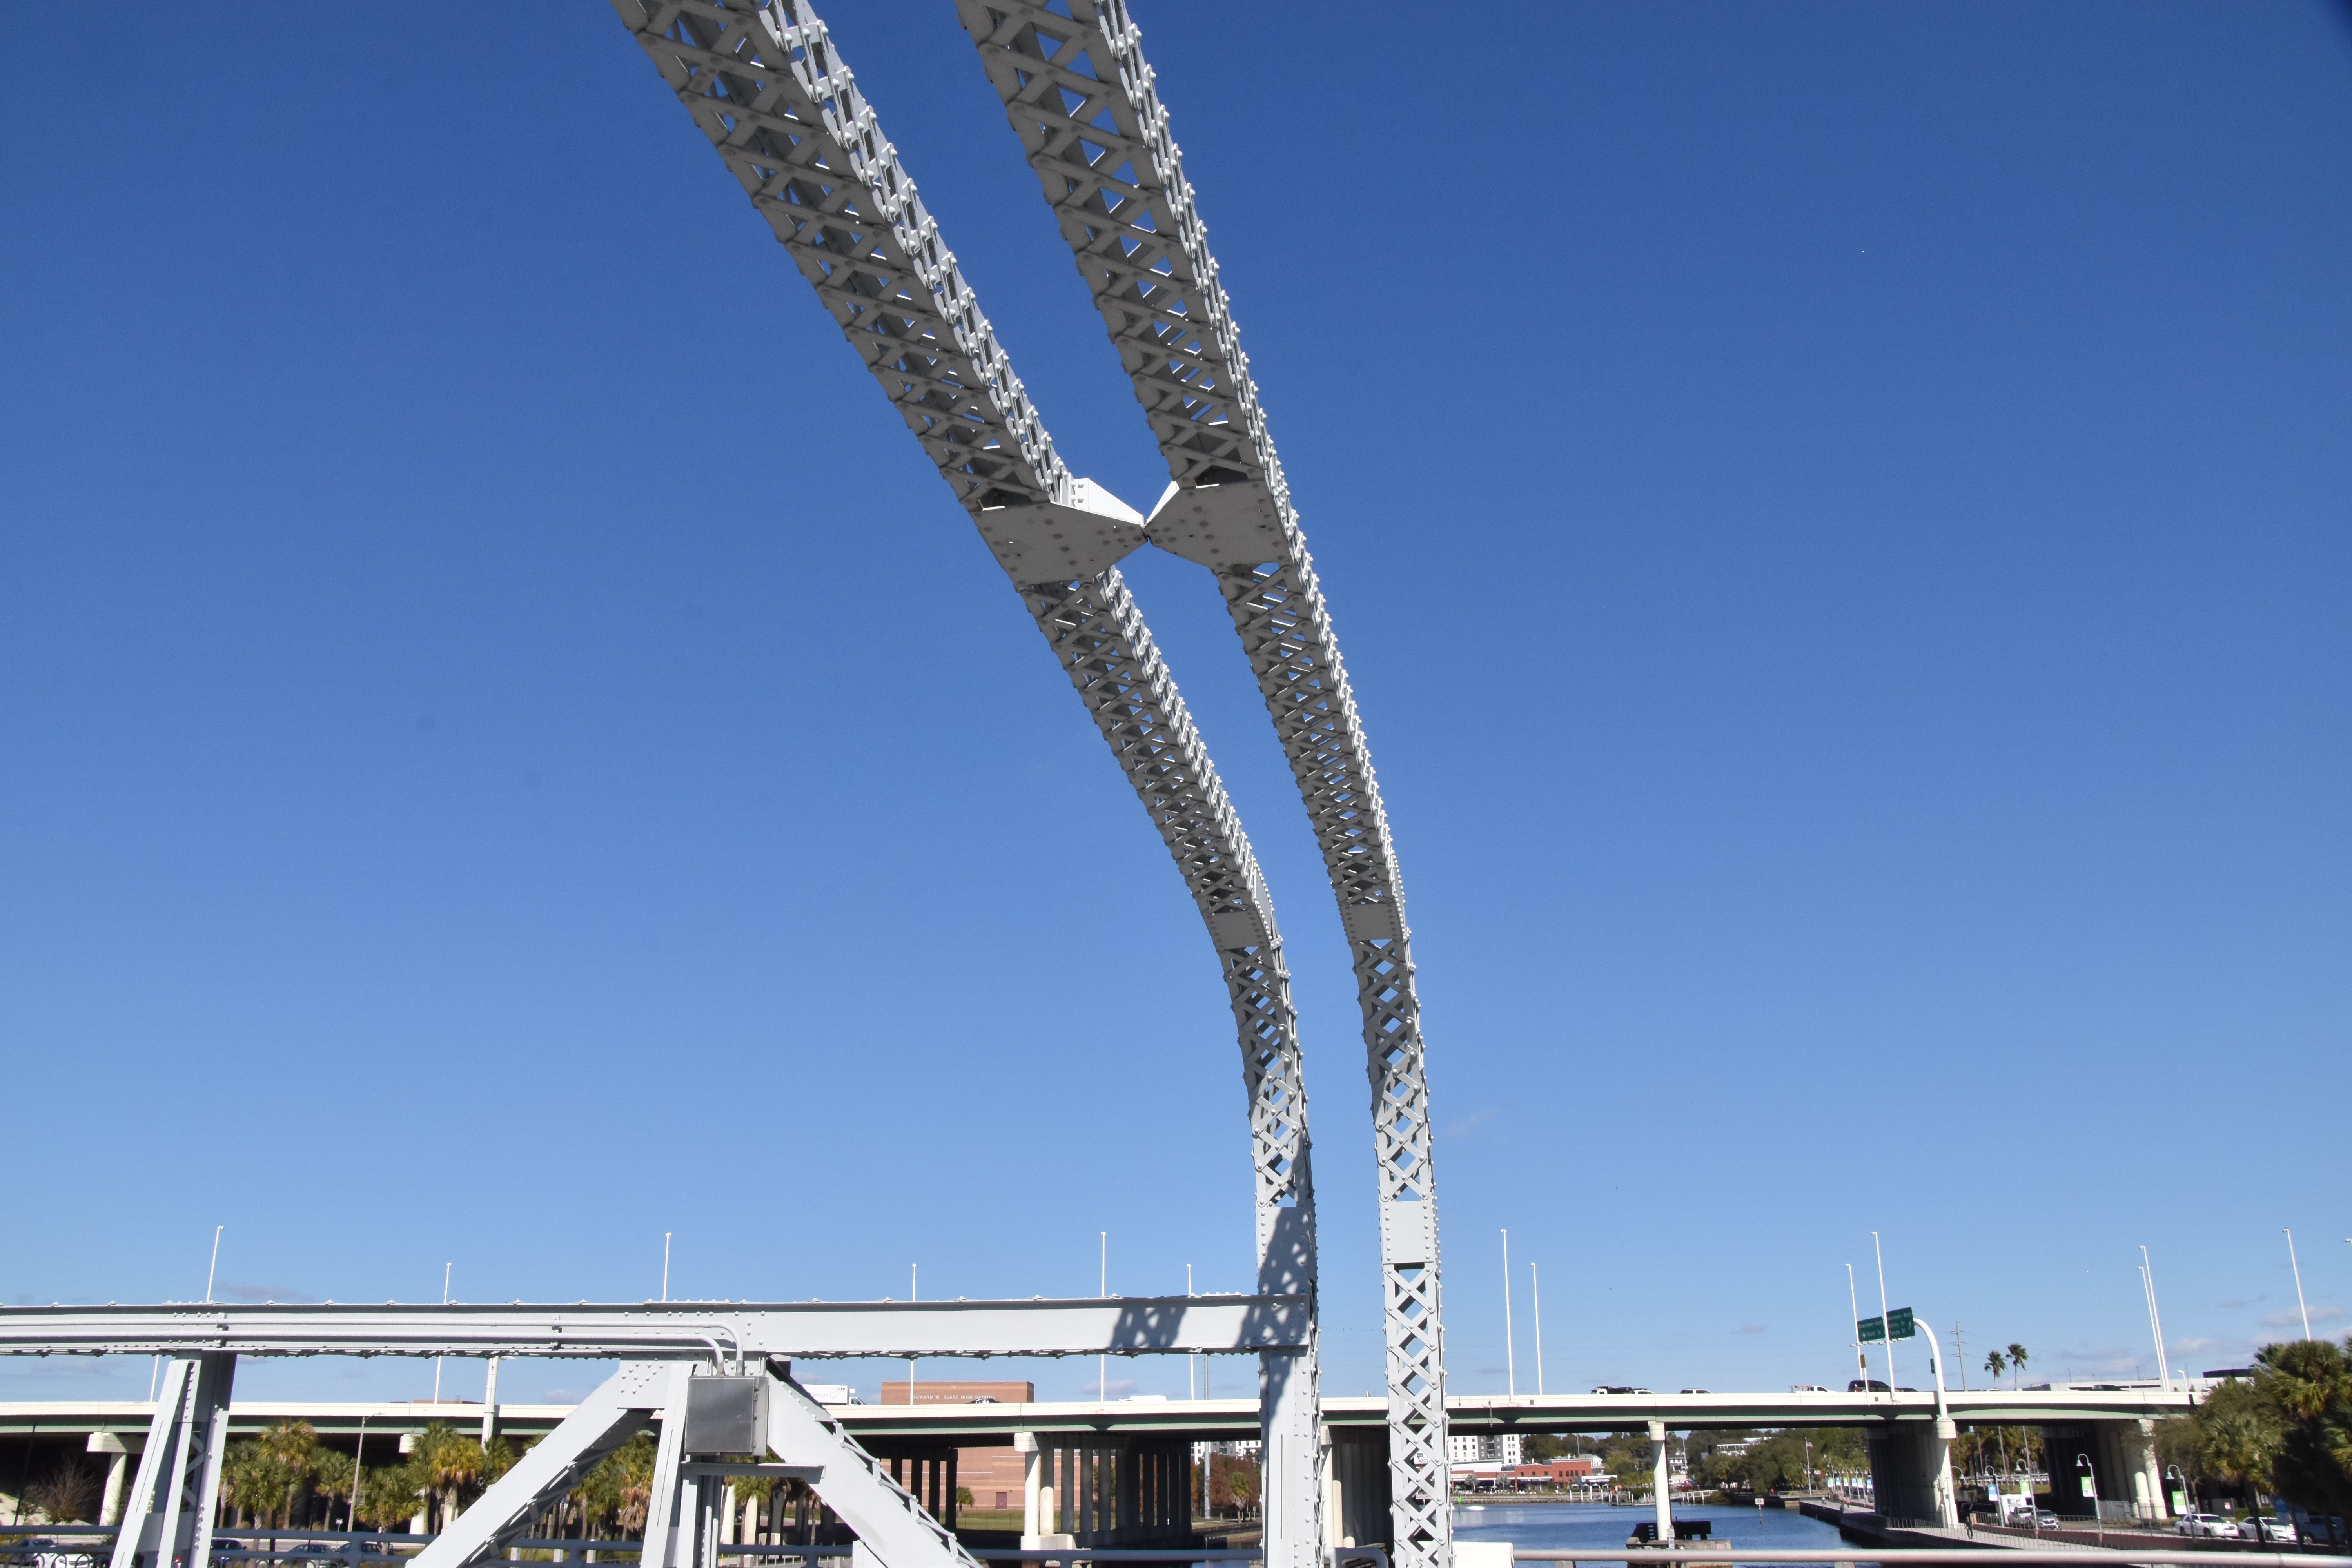
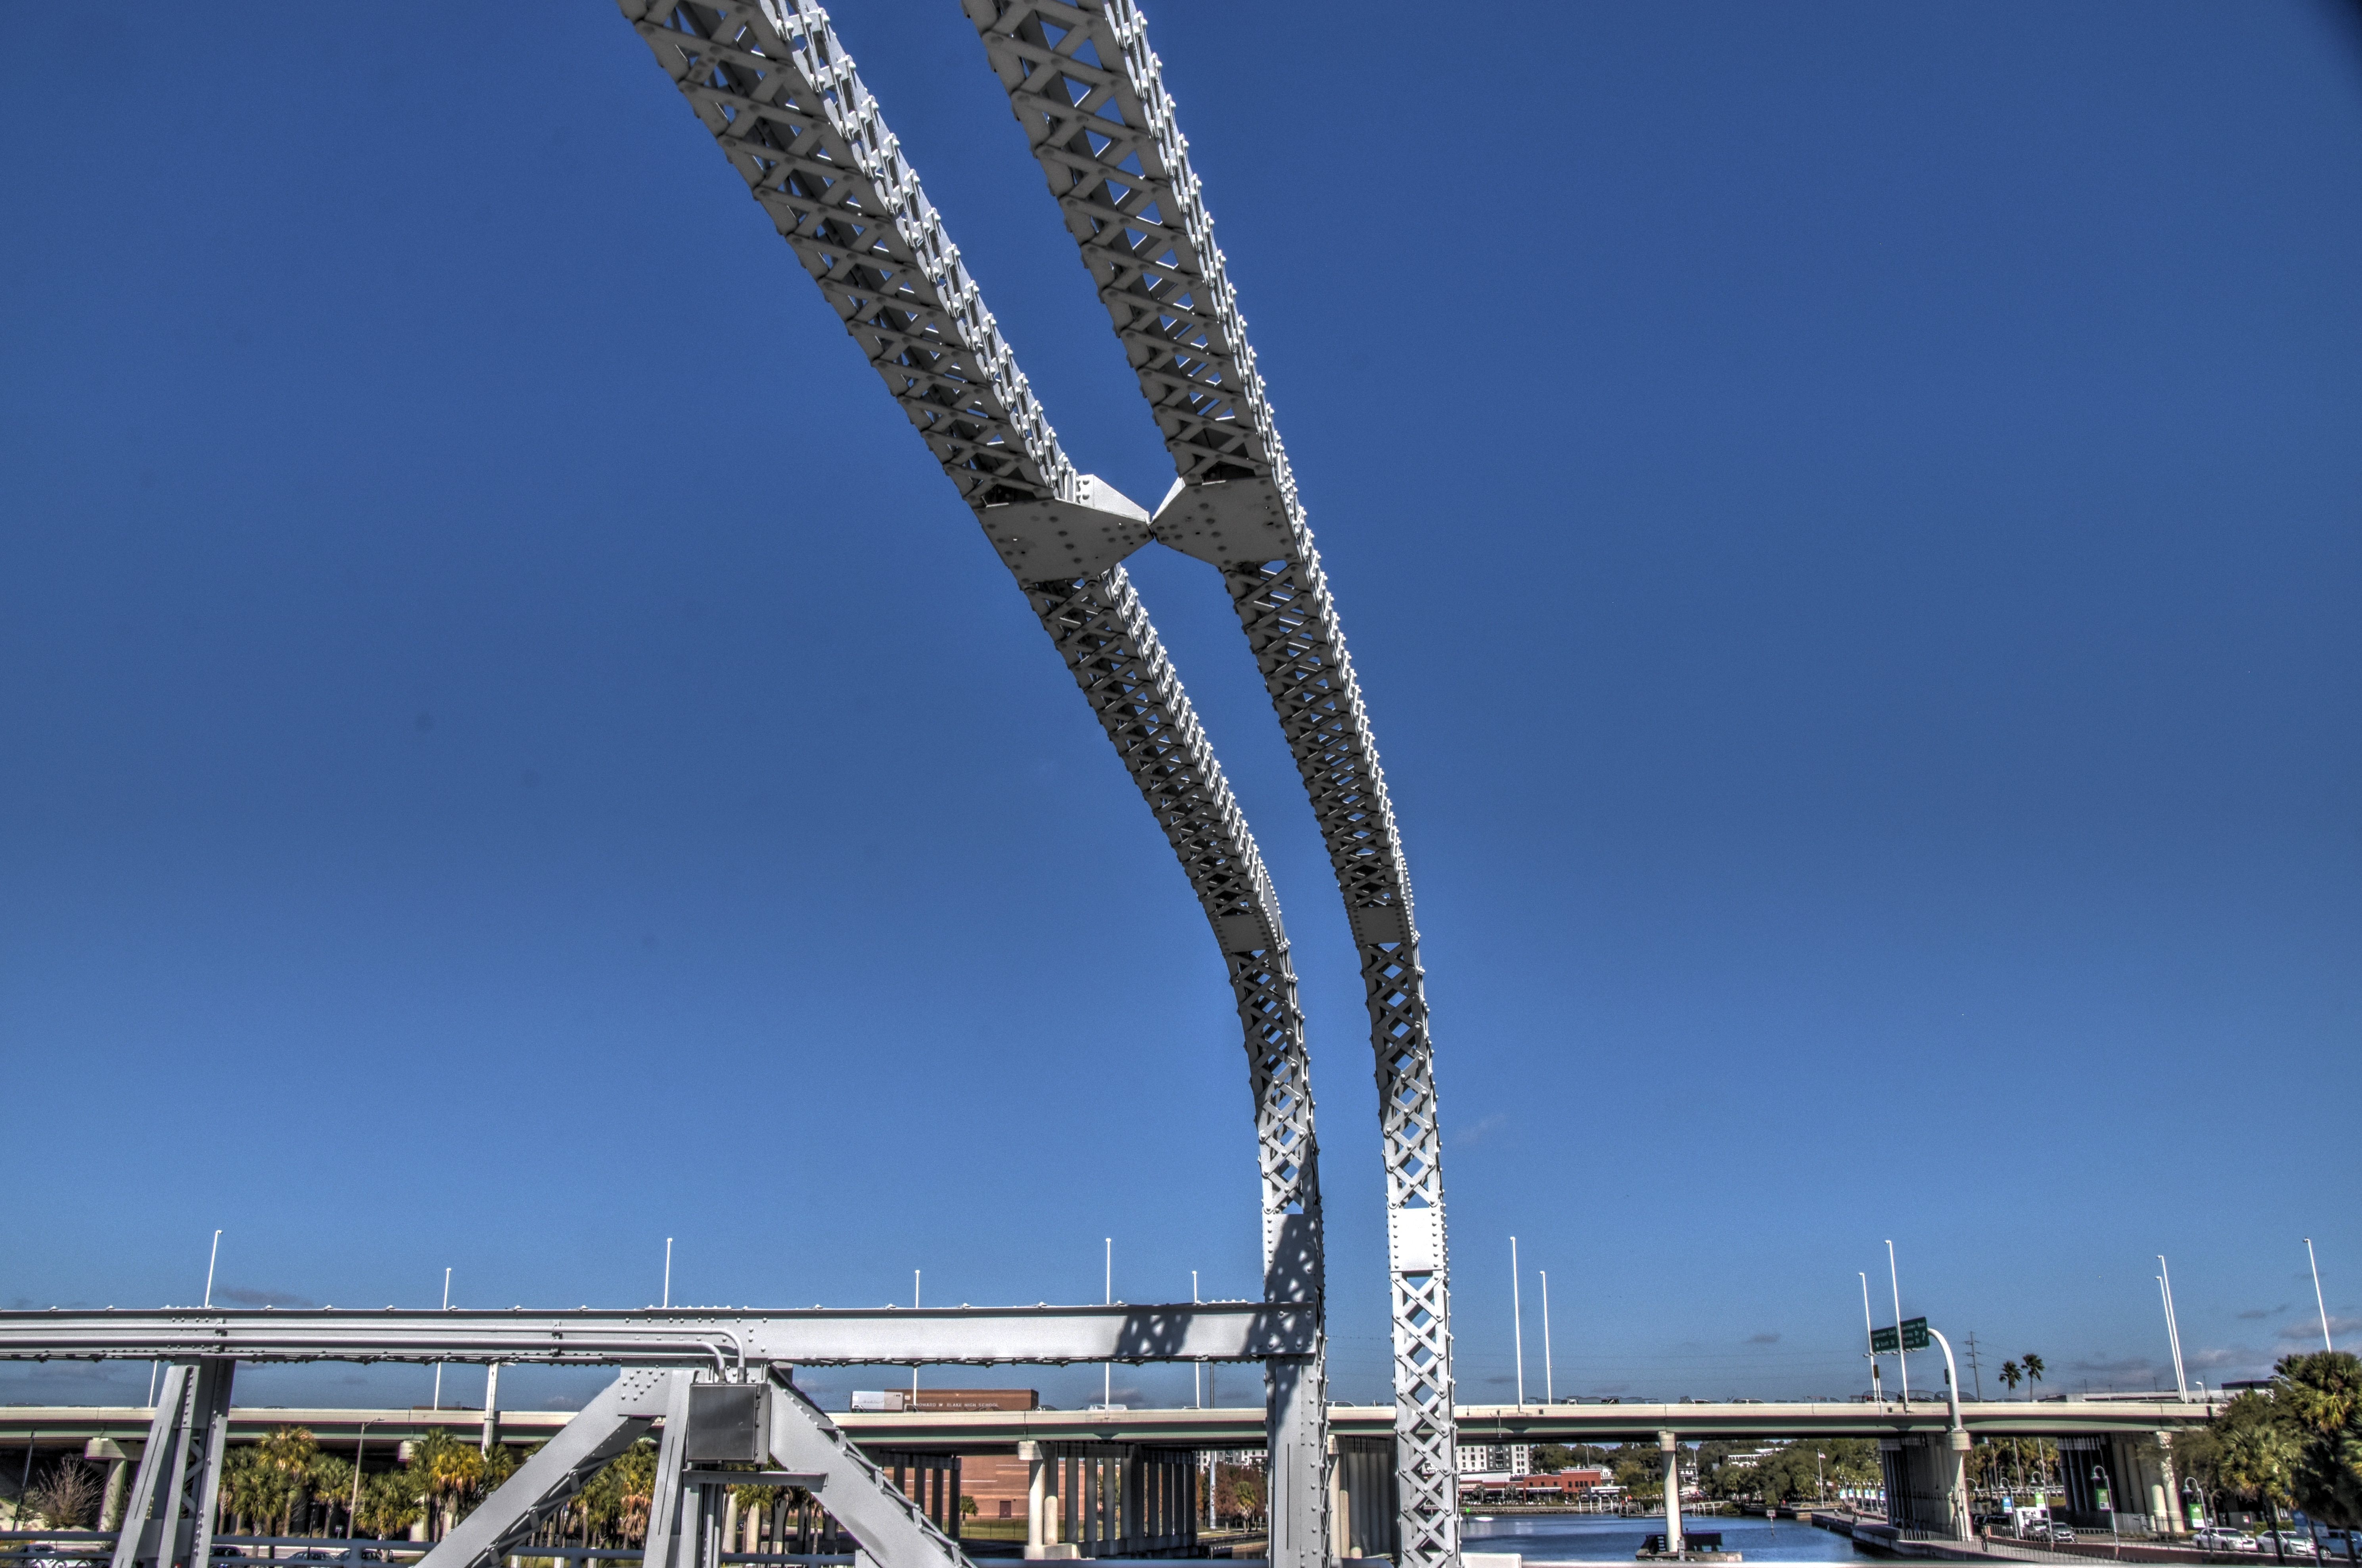


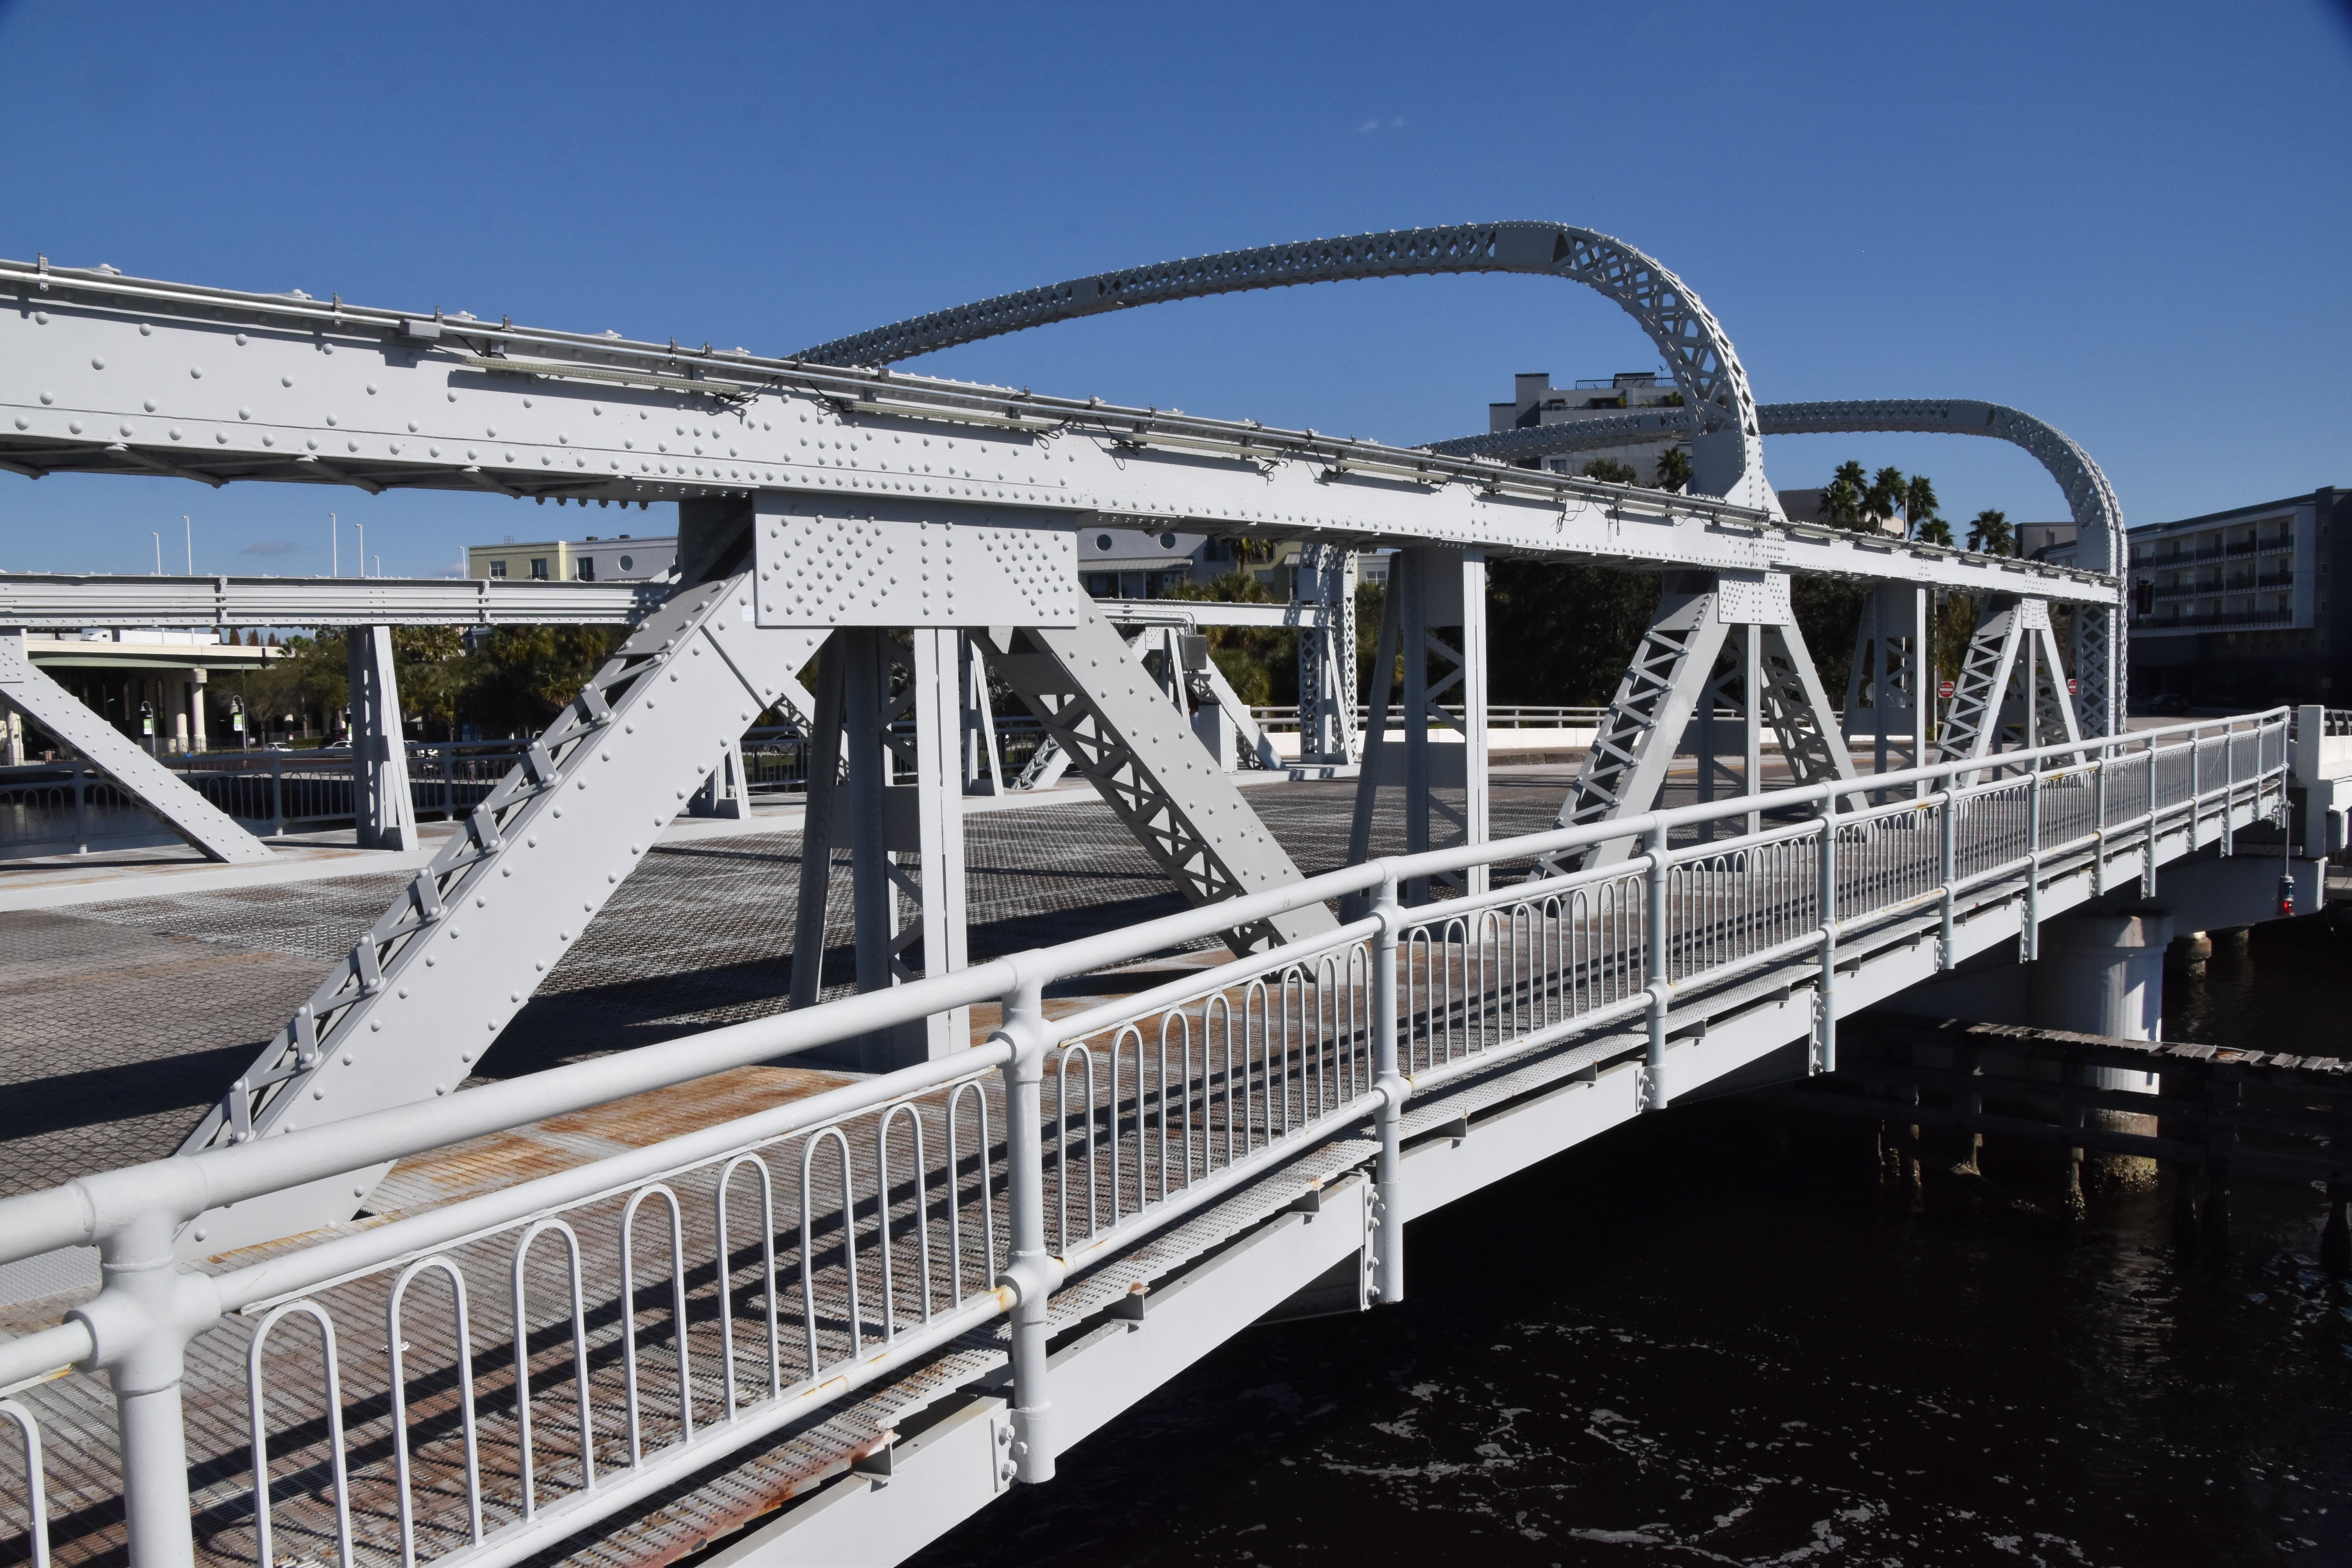
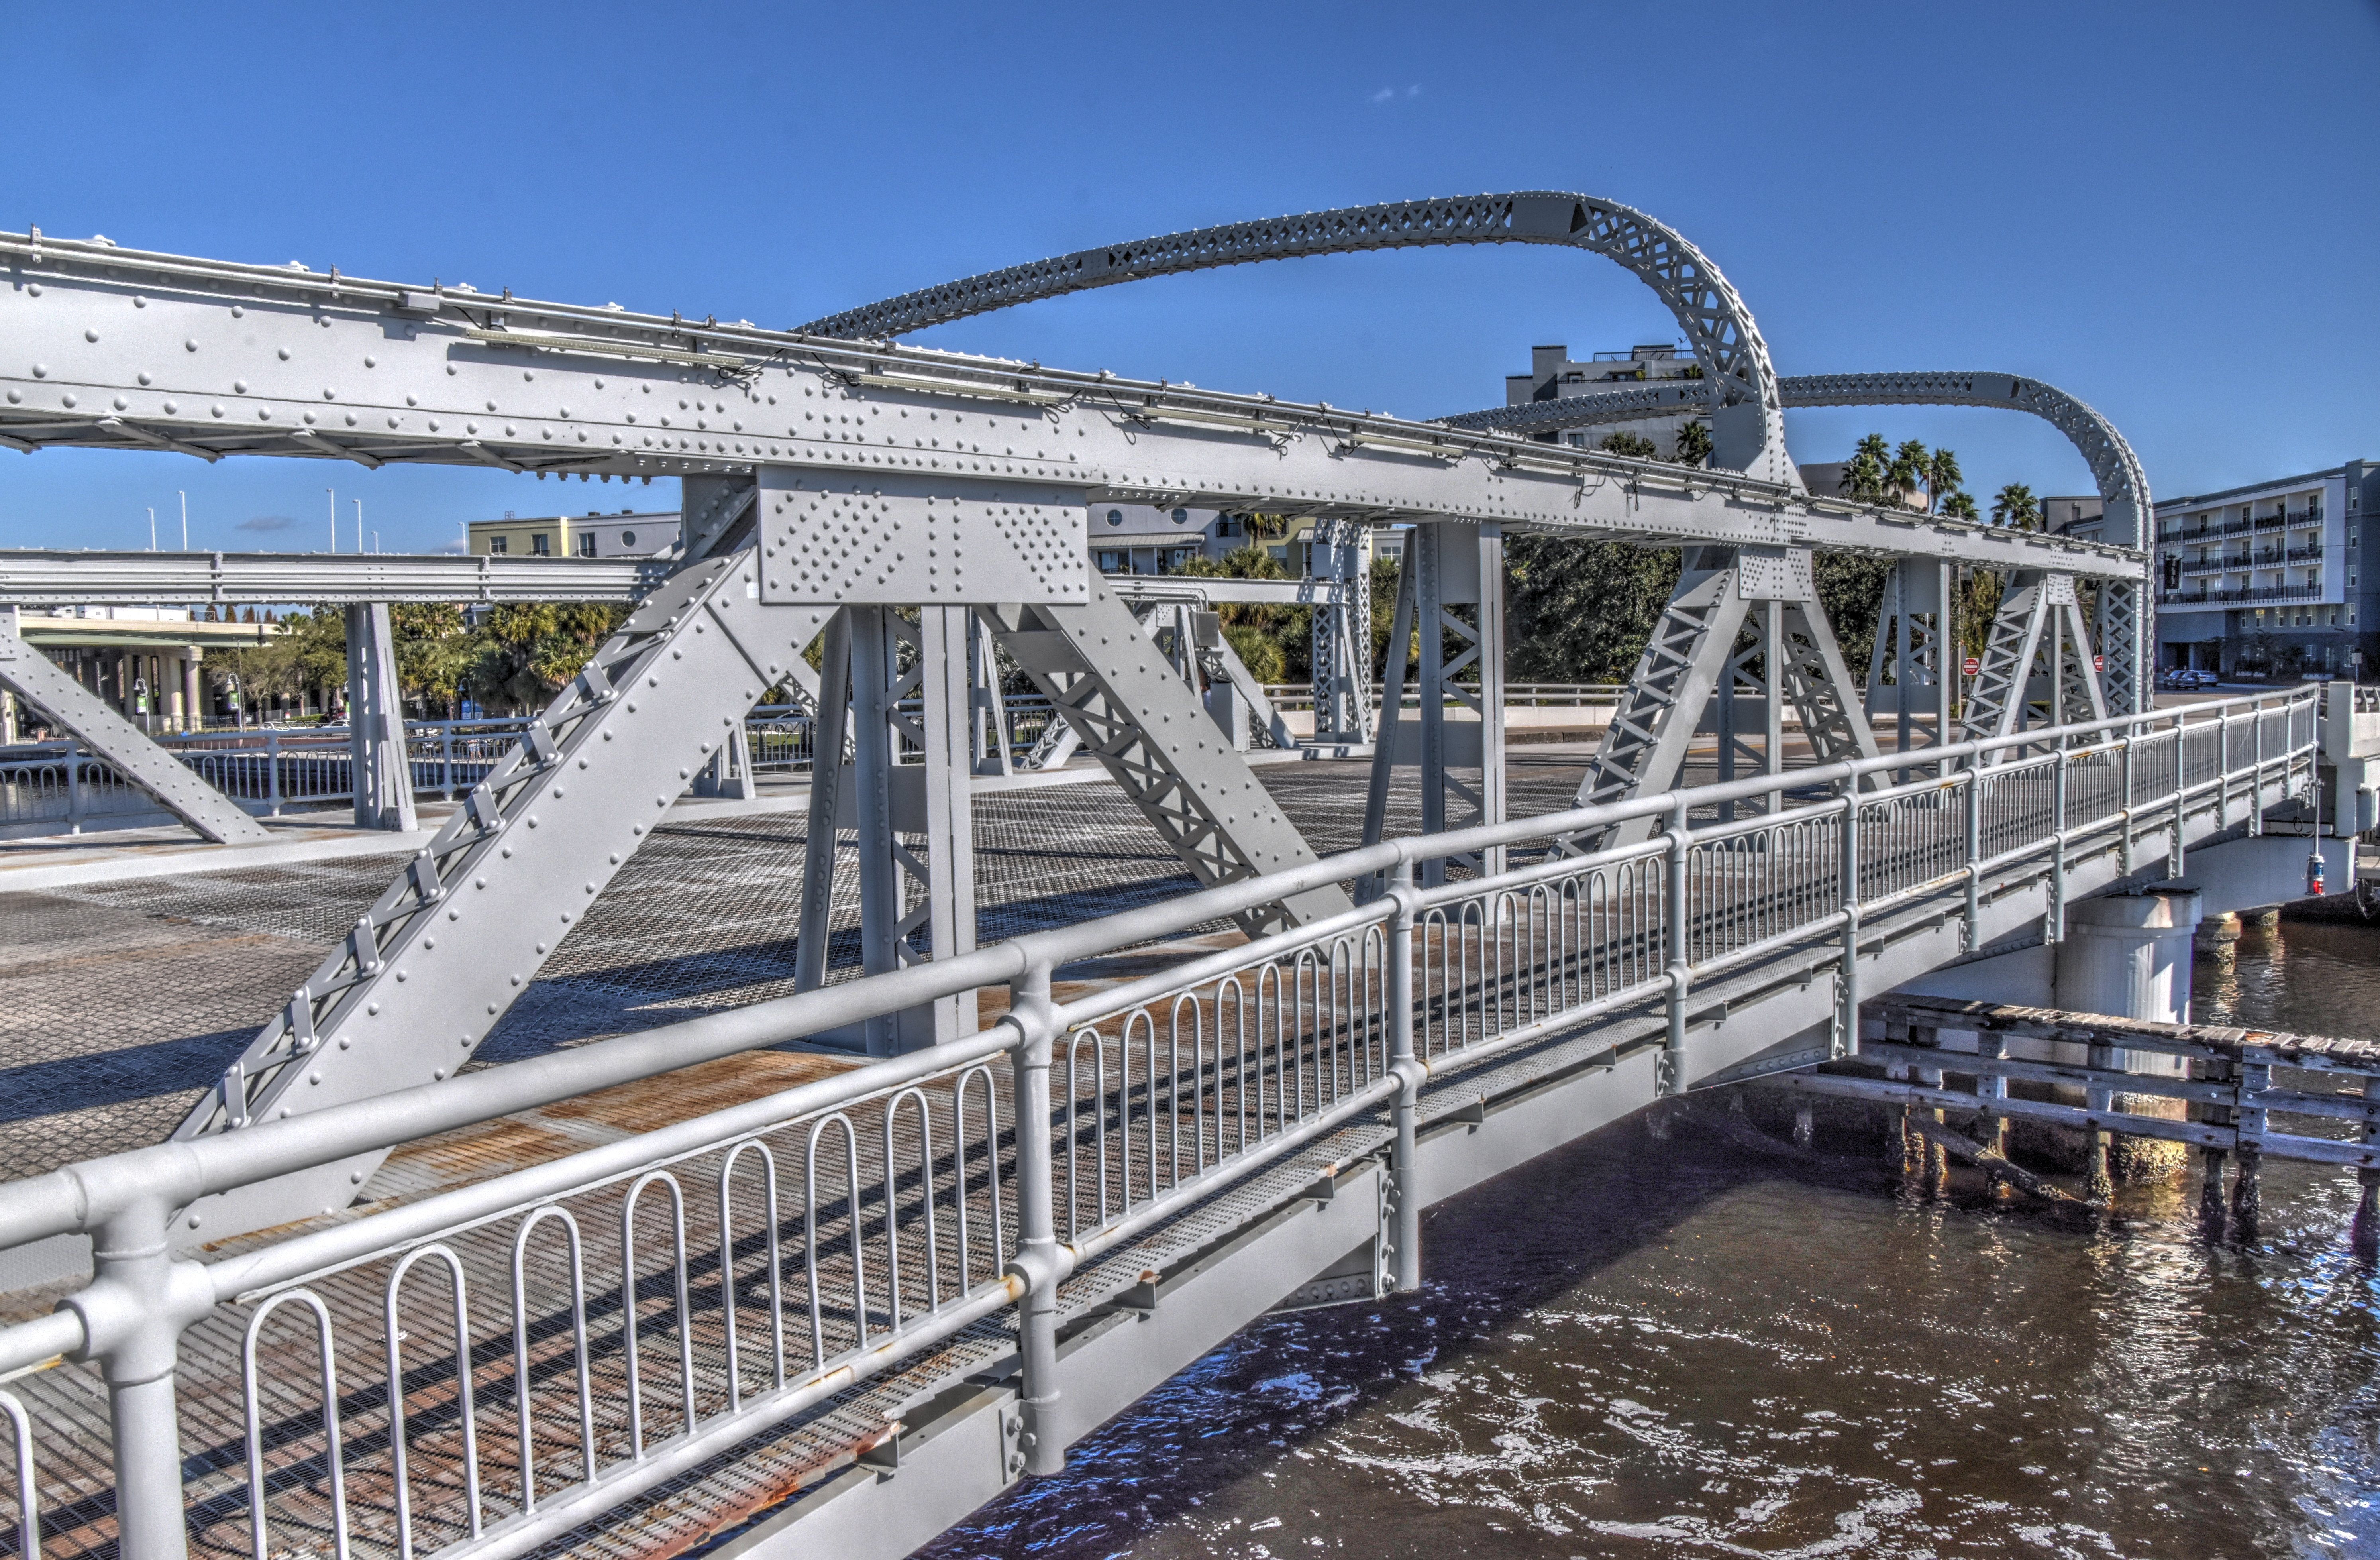
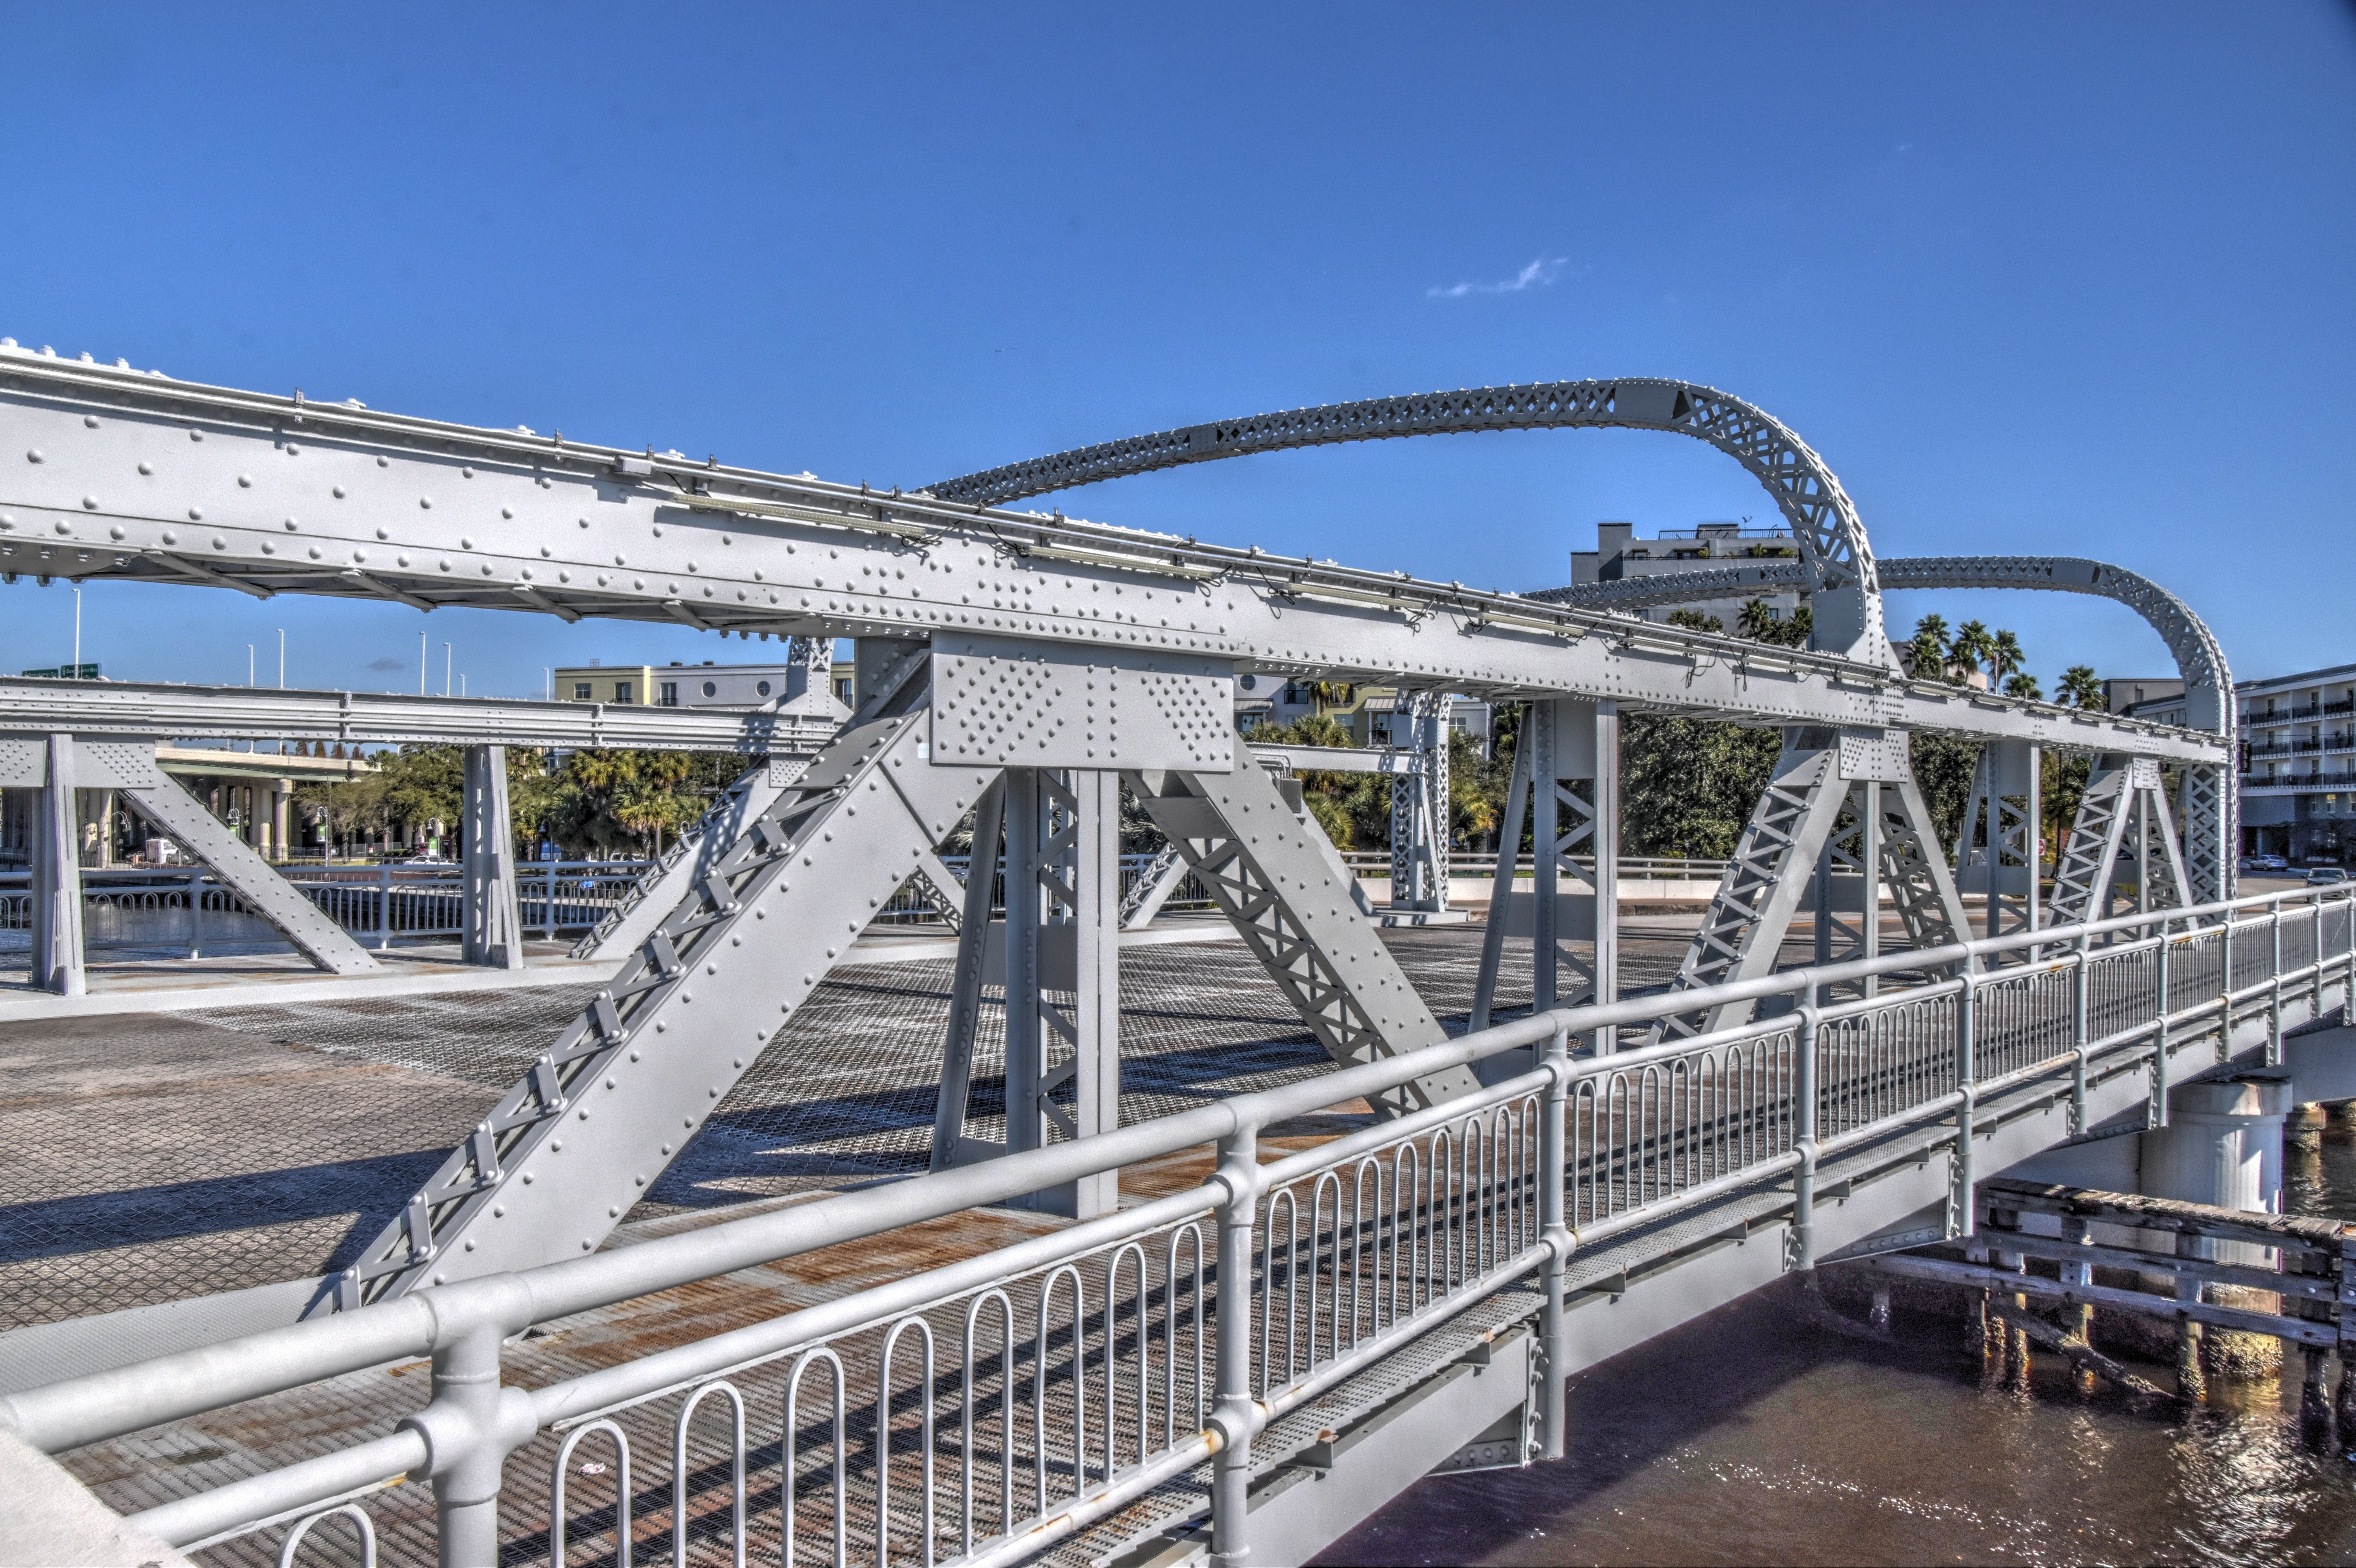
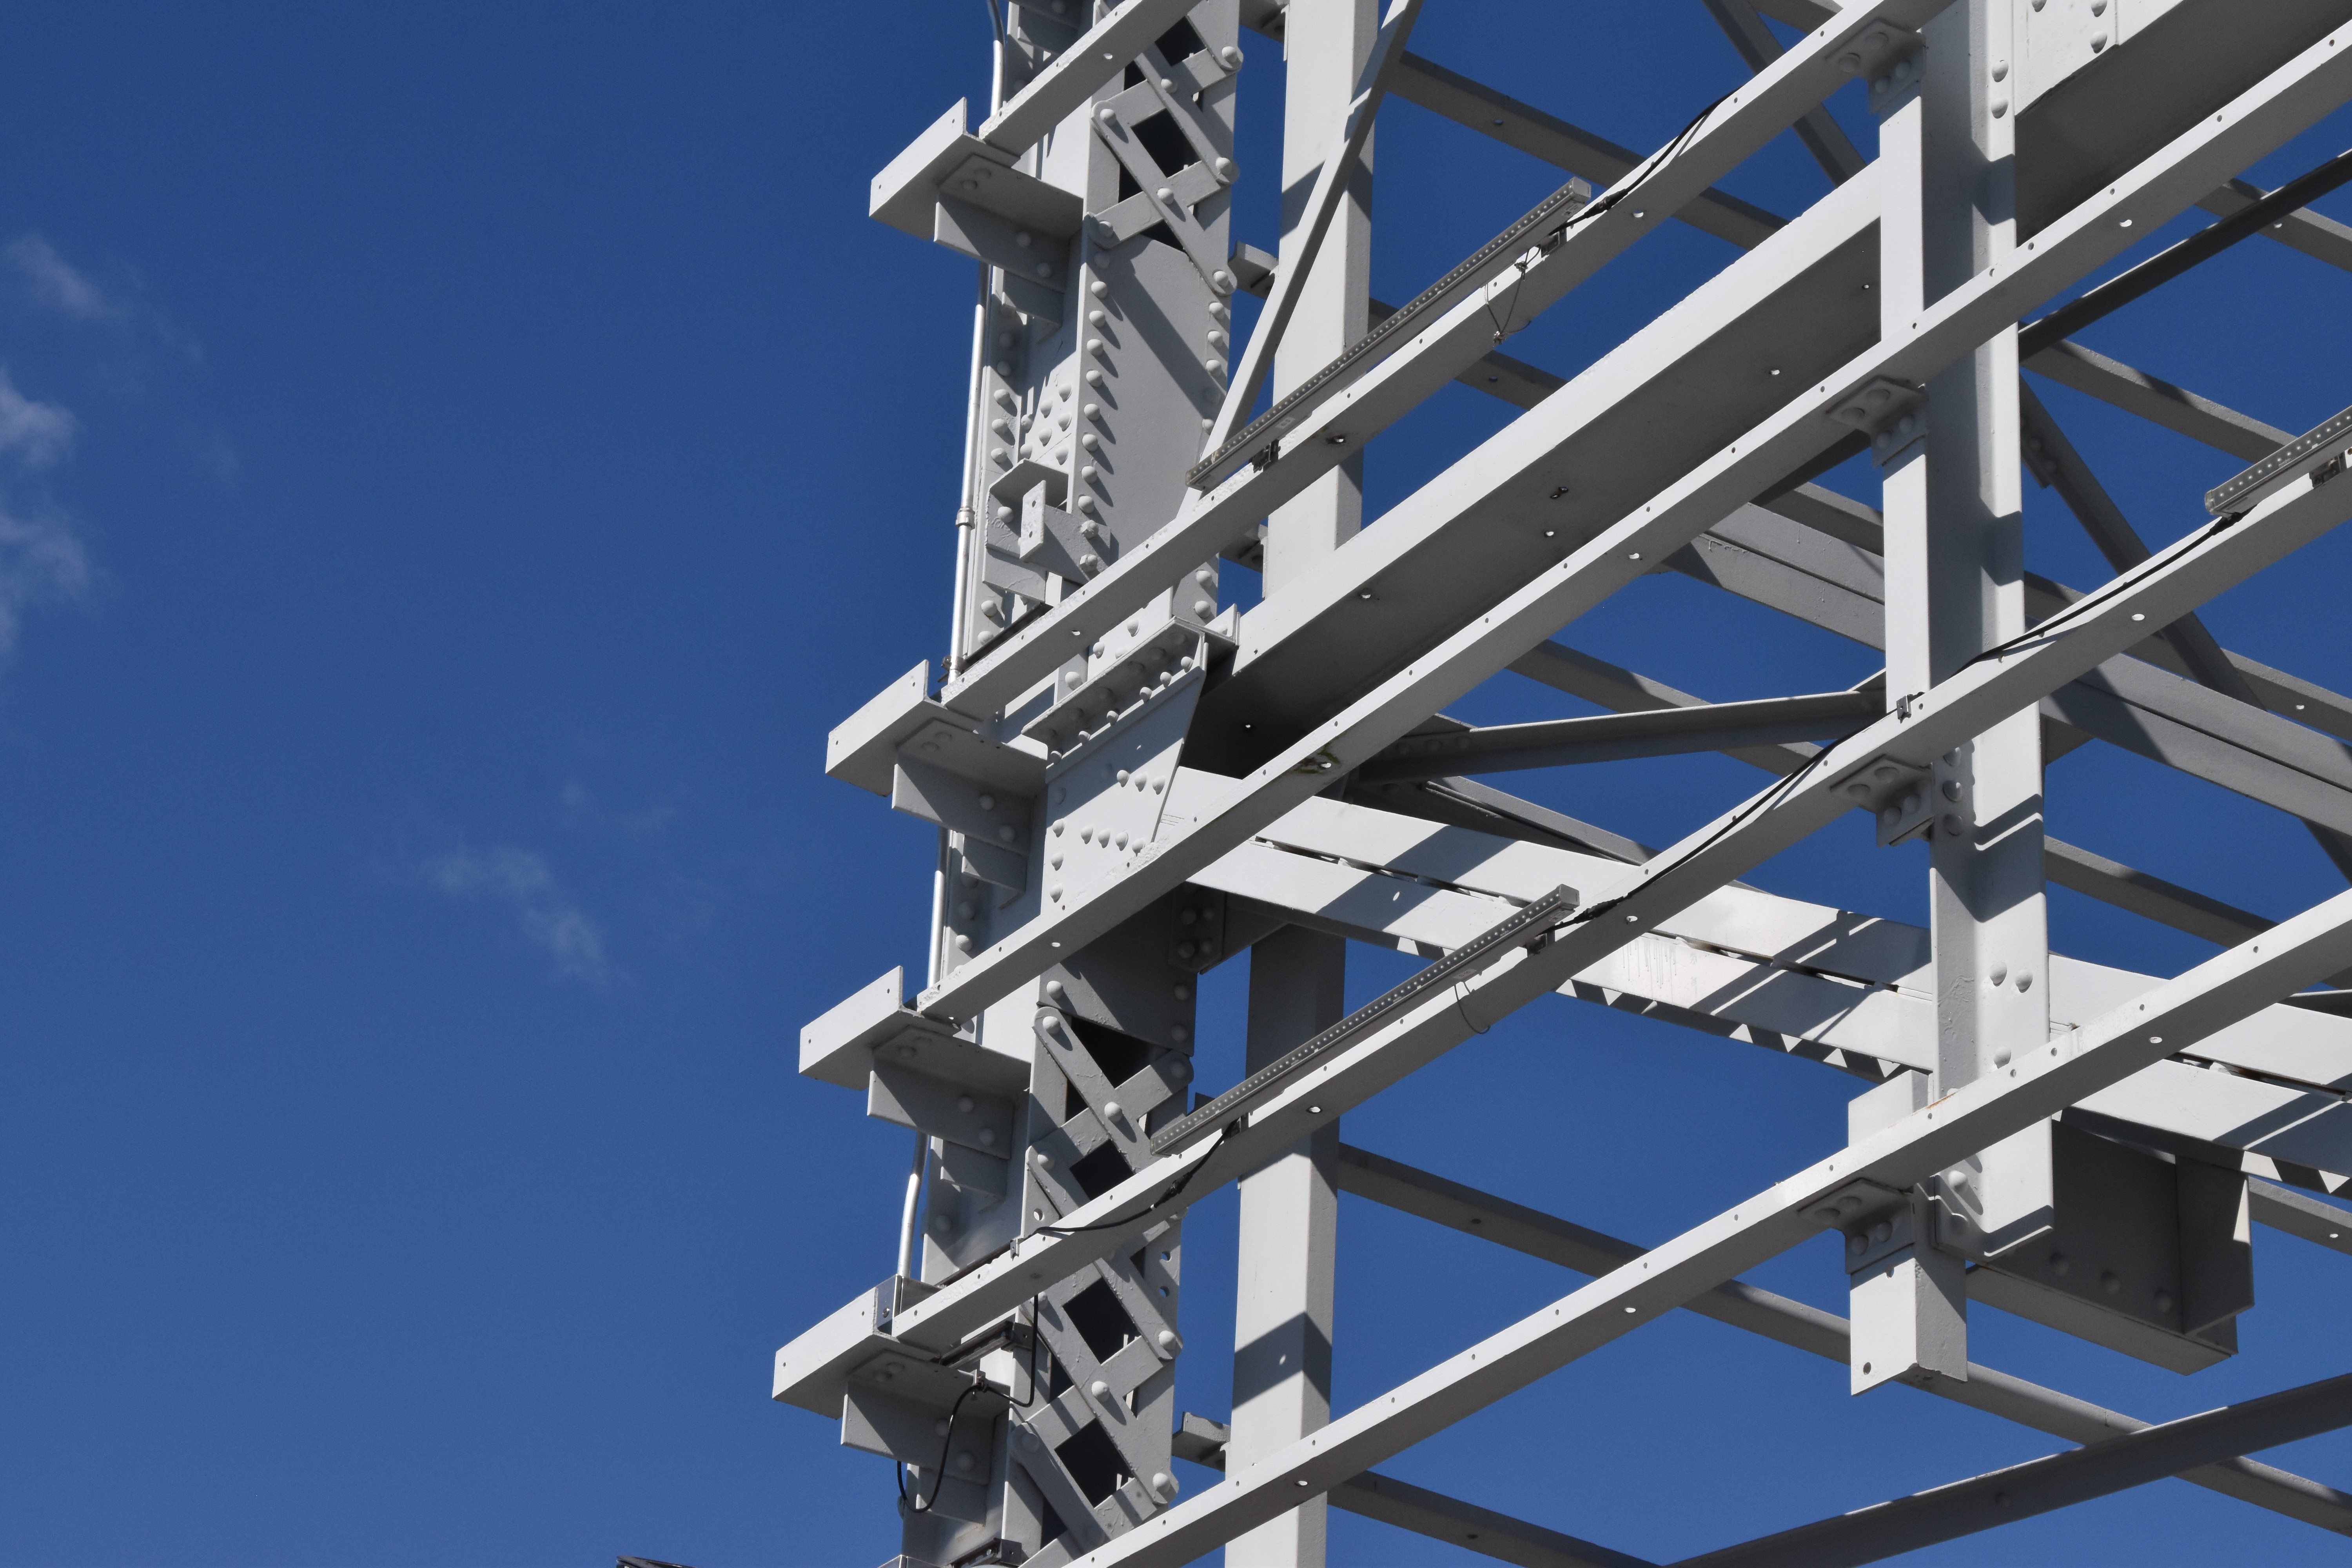
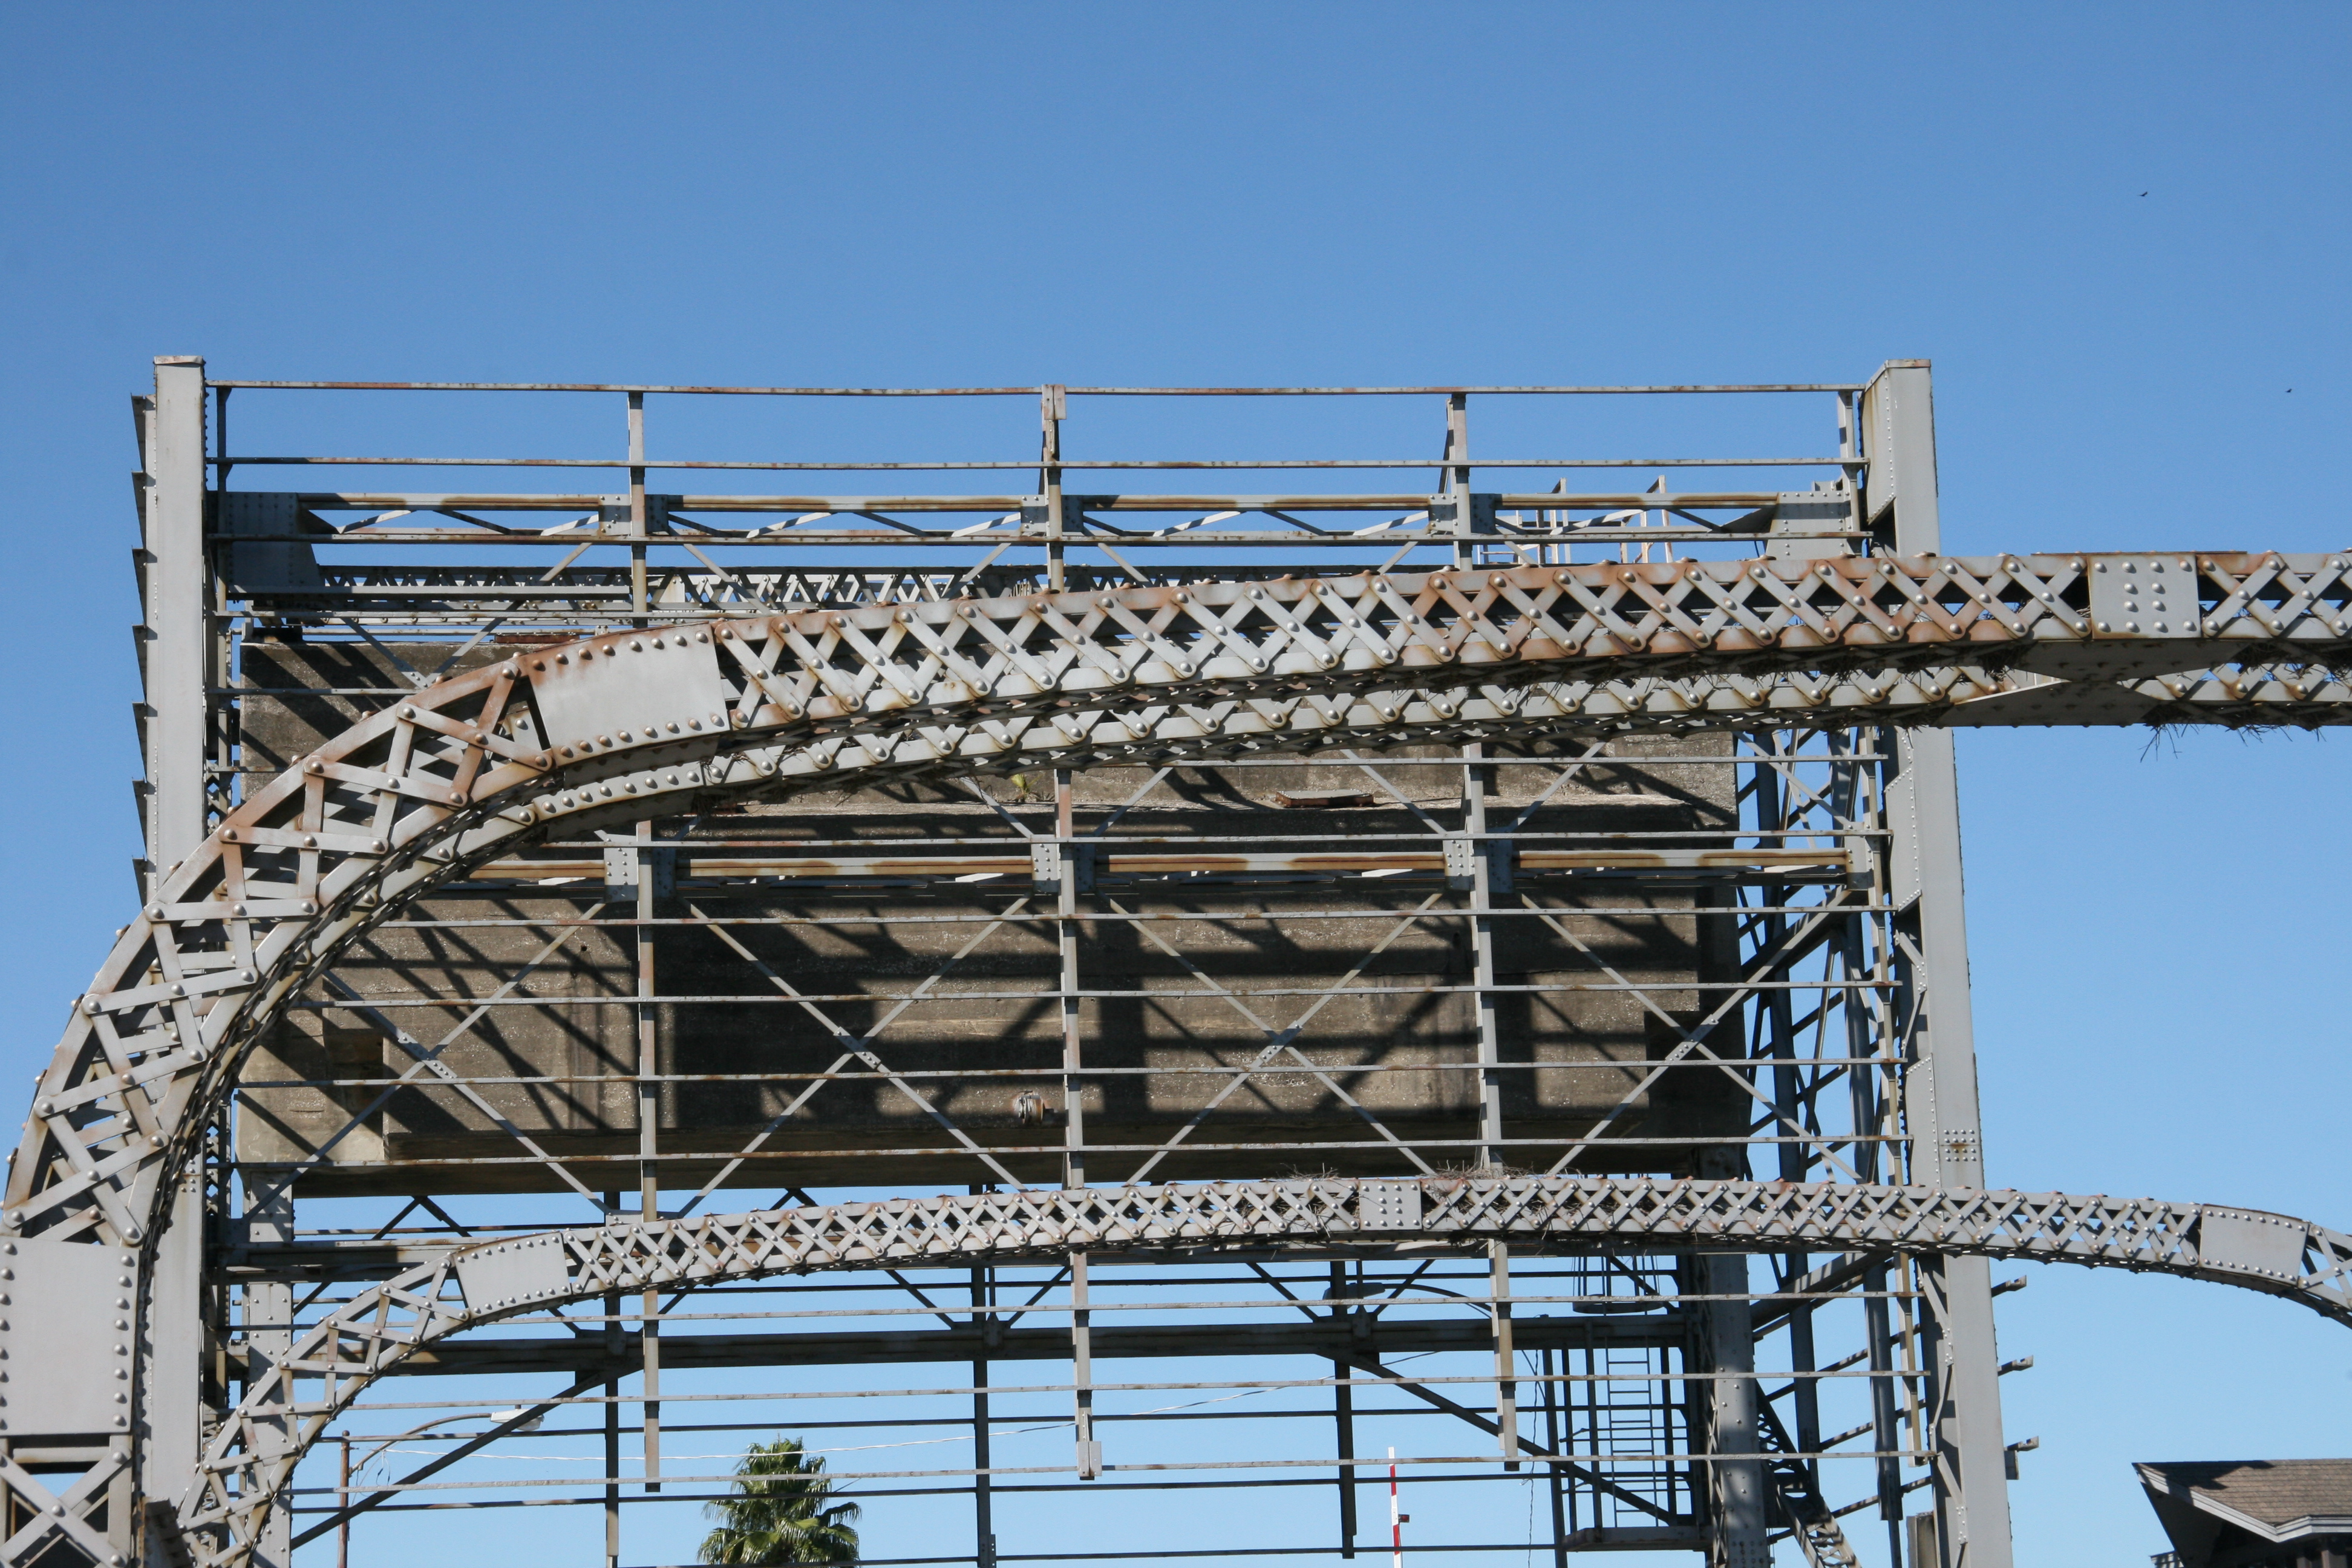
Cable arch details.
![]()

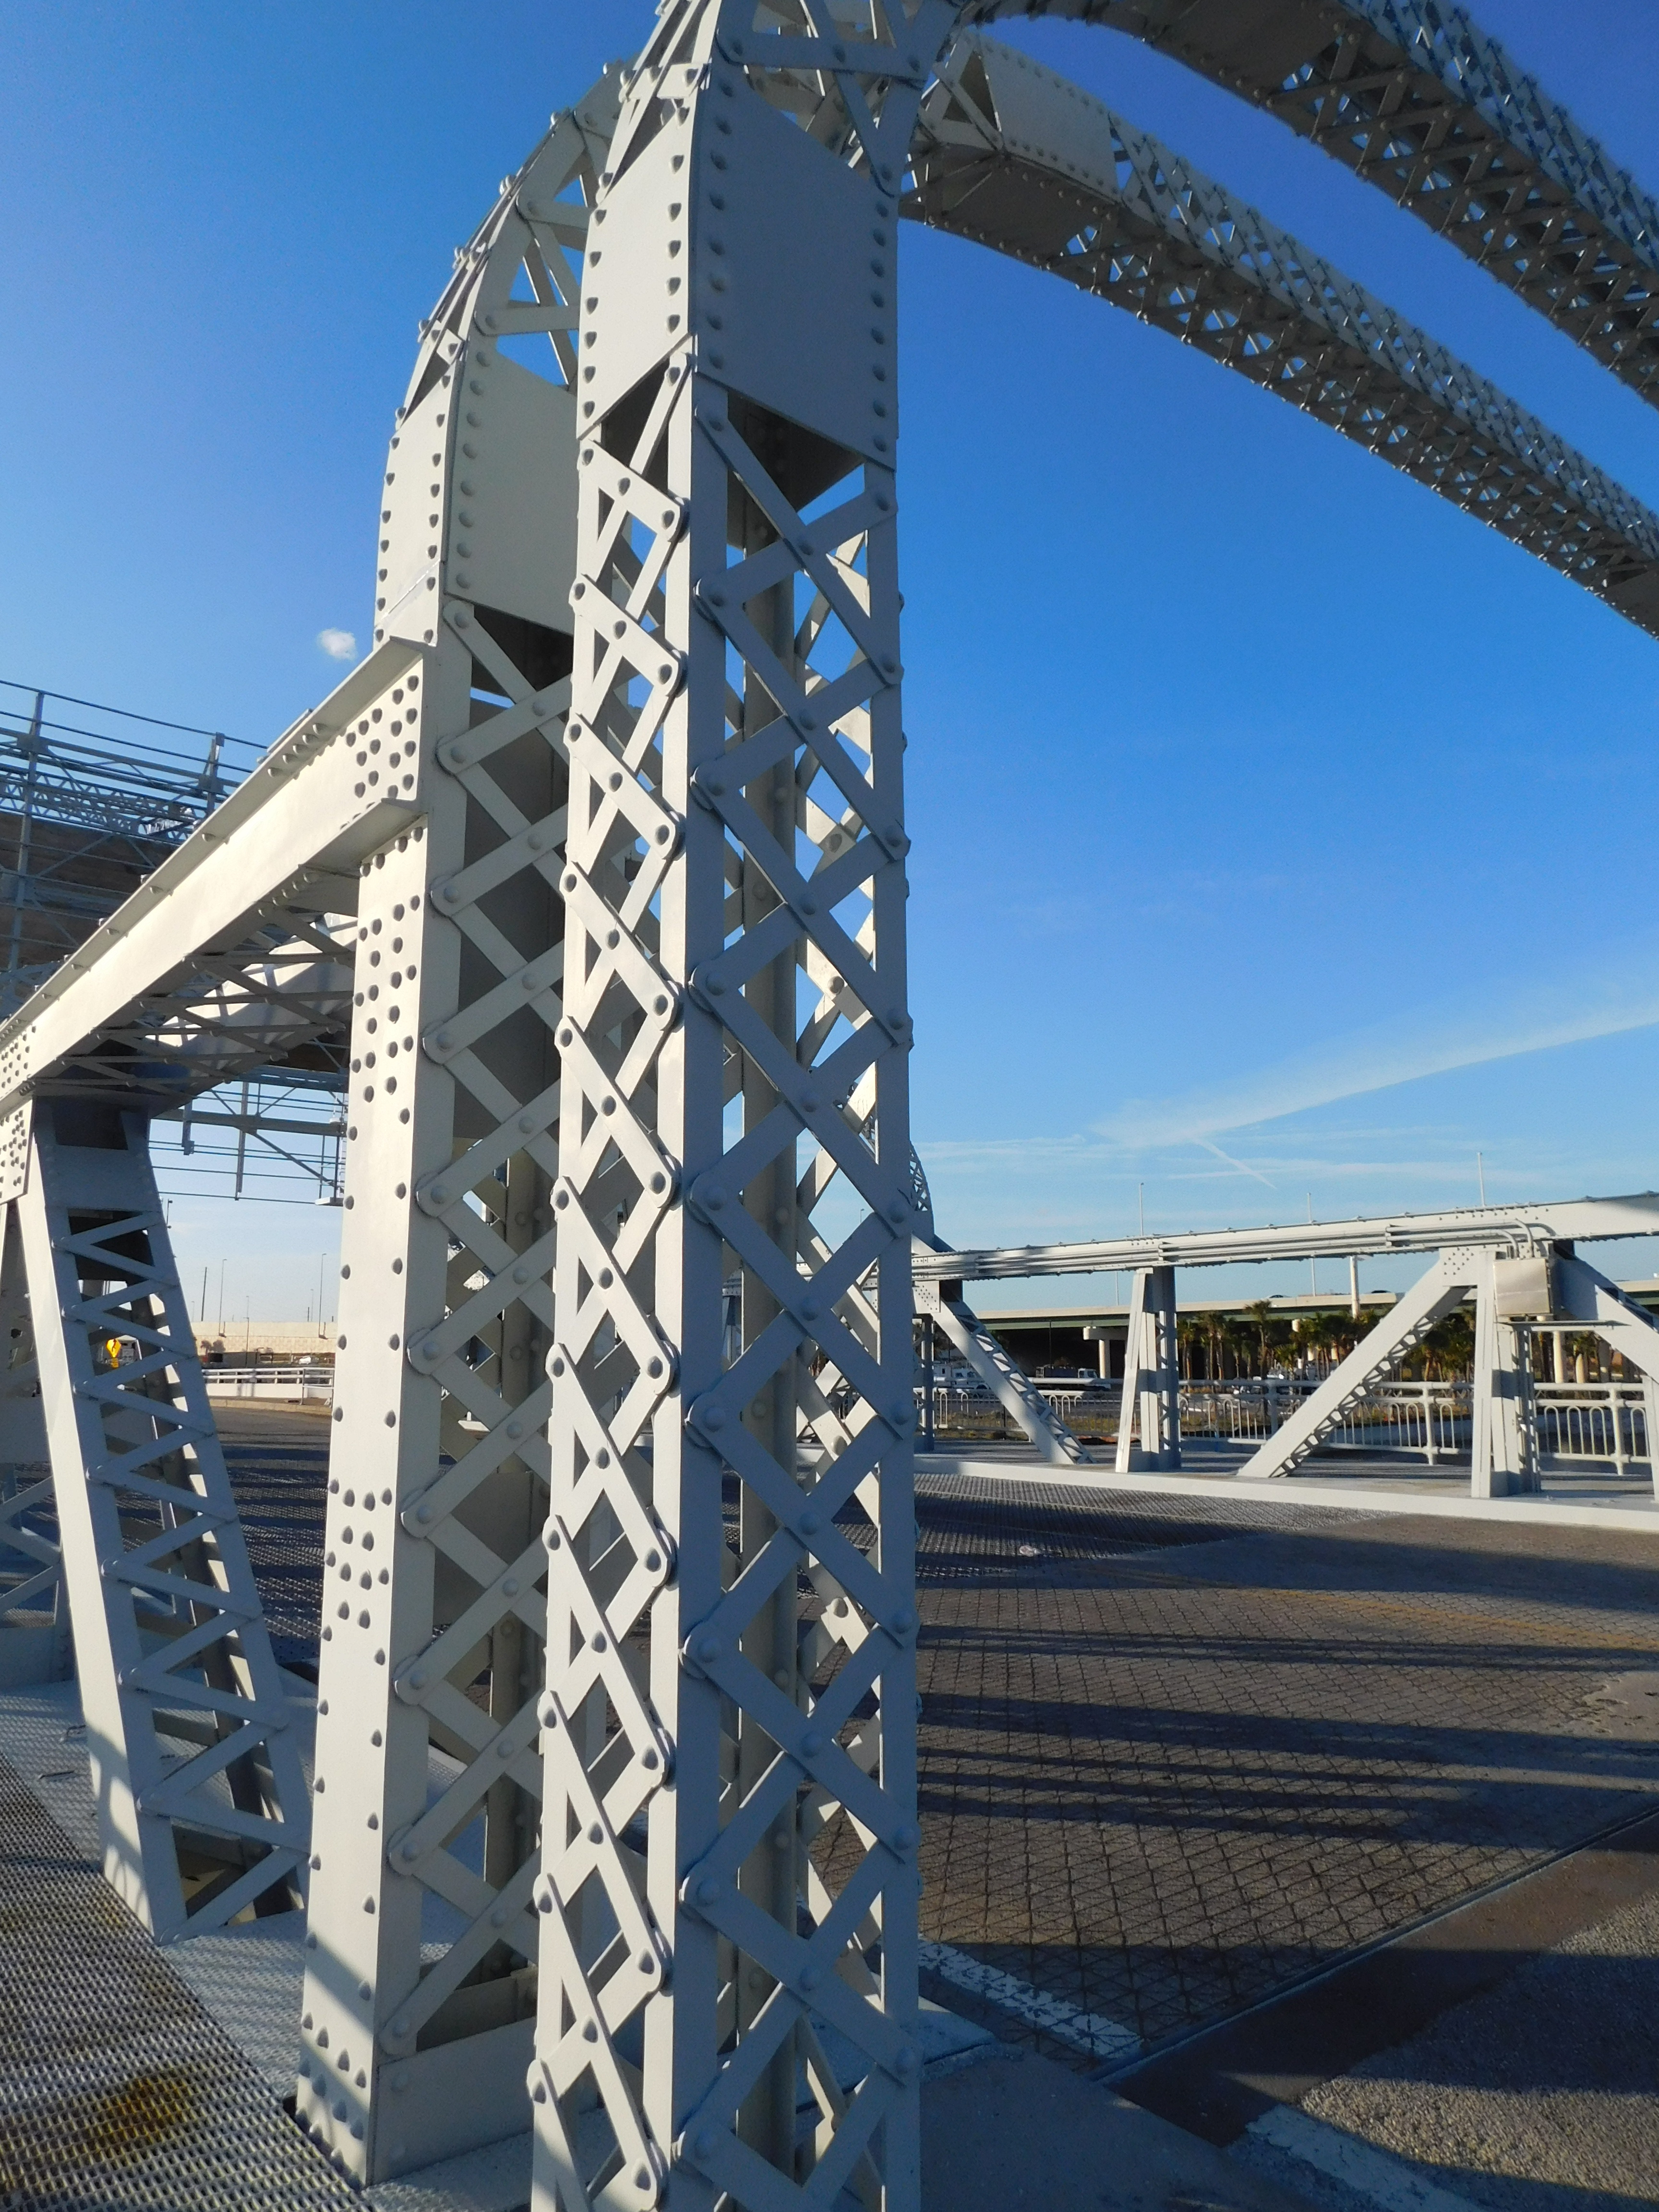
Photo Credit: Marc Scotti
Cable arch details.
![]()

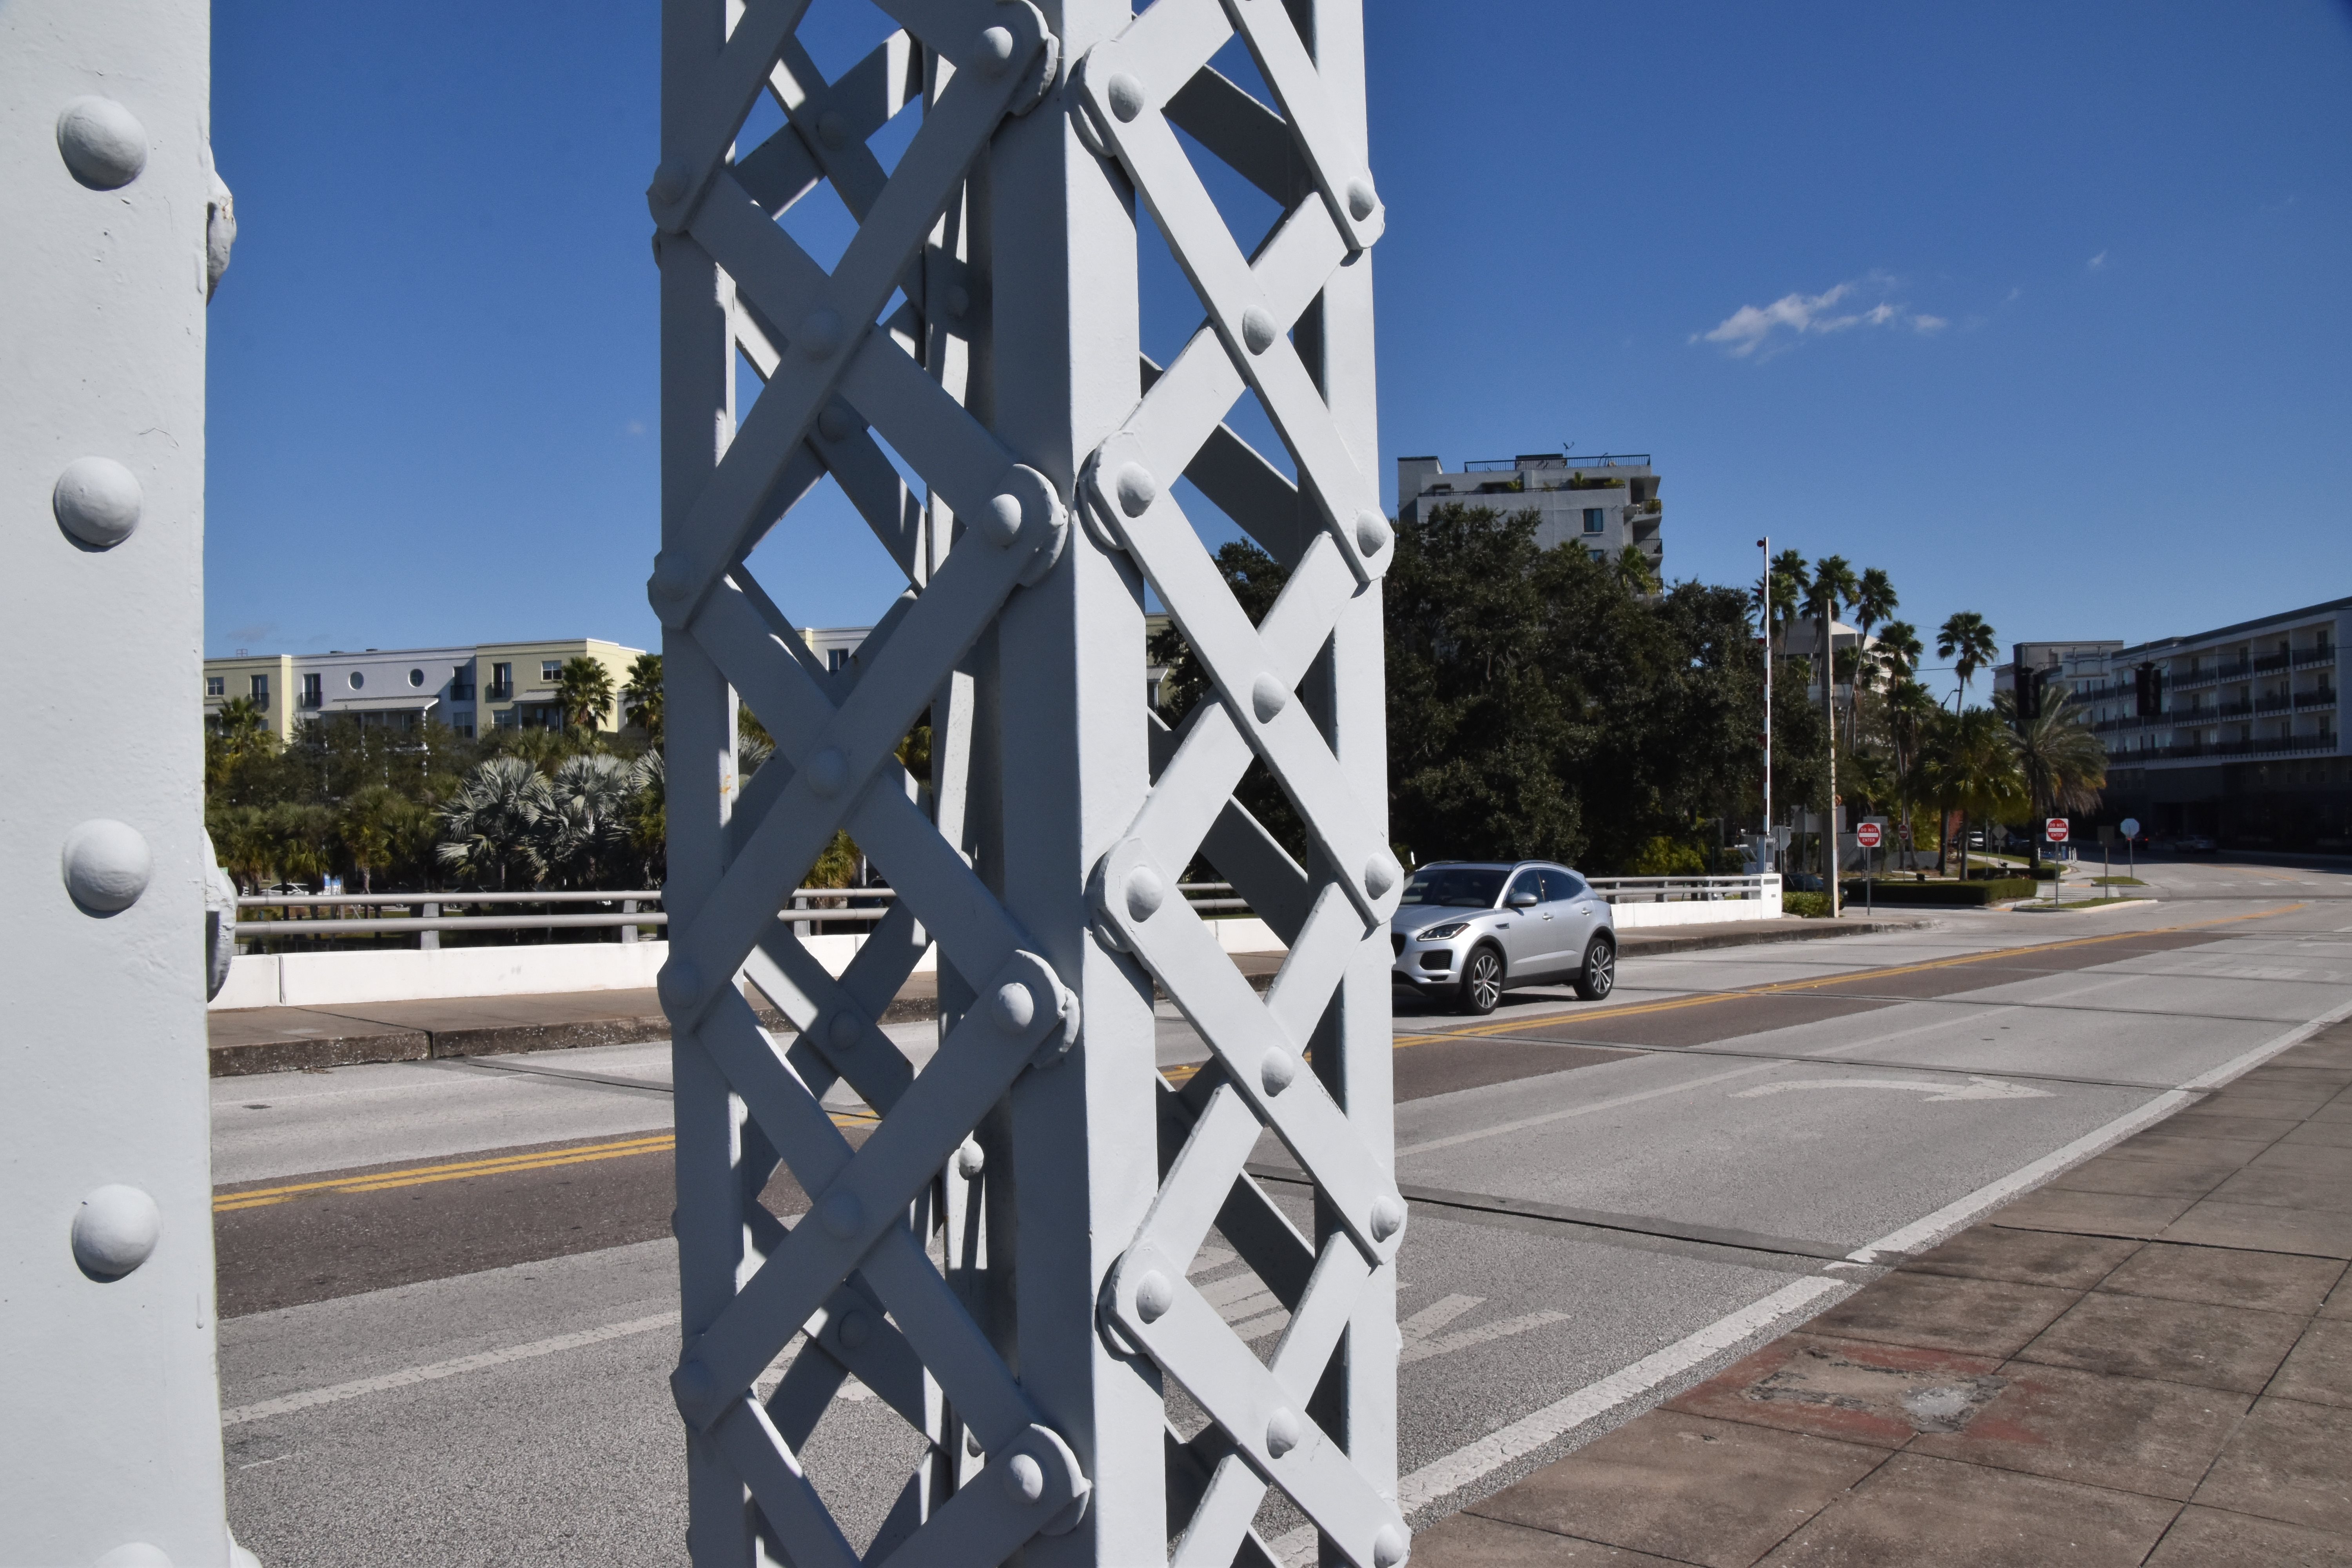
Verticals.
![]()

Photo Credit: Marc Scotti
Verticals.
![]()
Photo Credit: Marc Scotti
Diagonal.
![]()
Diagonal.
![]()


Top chord.
![]()
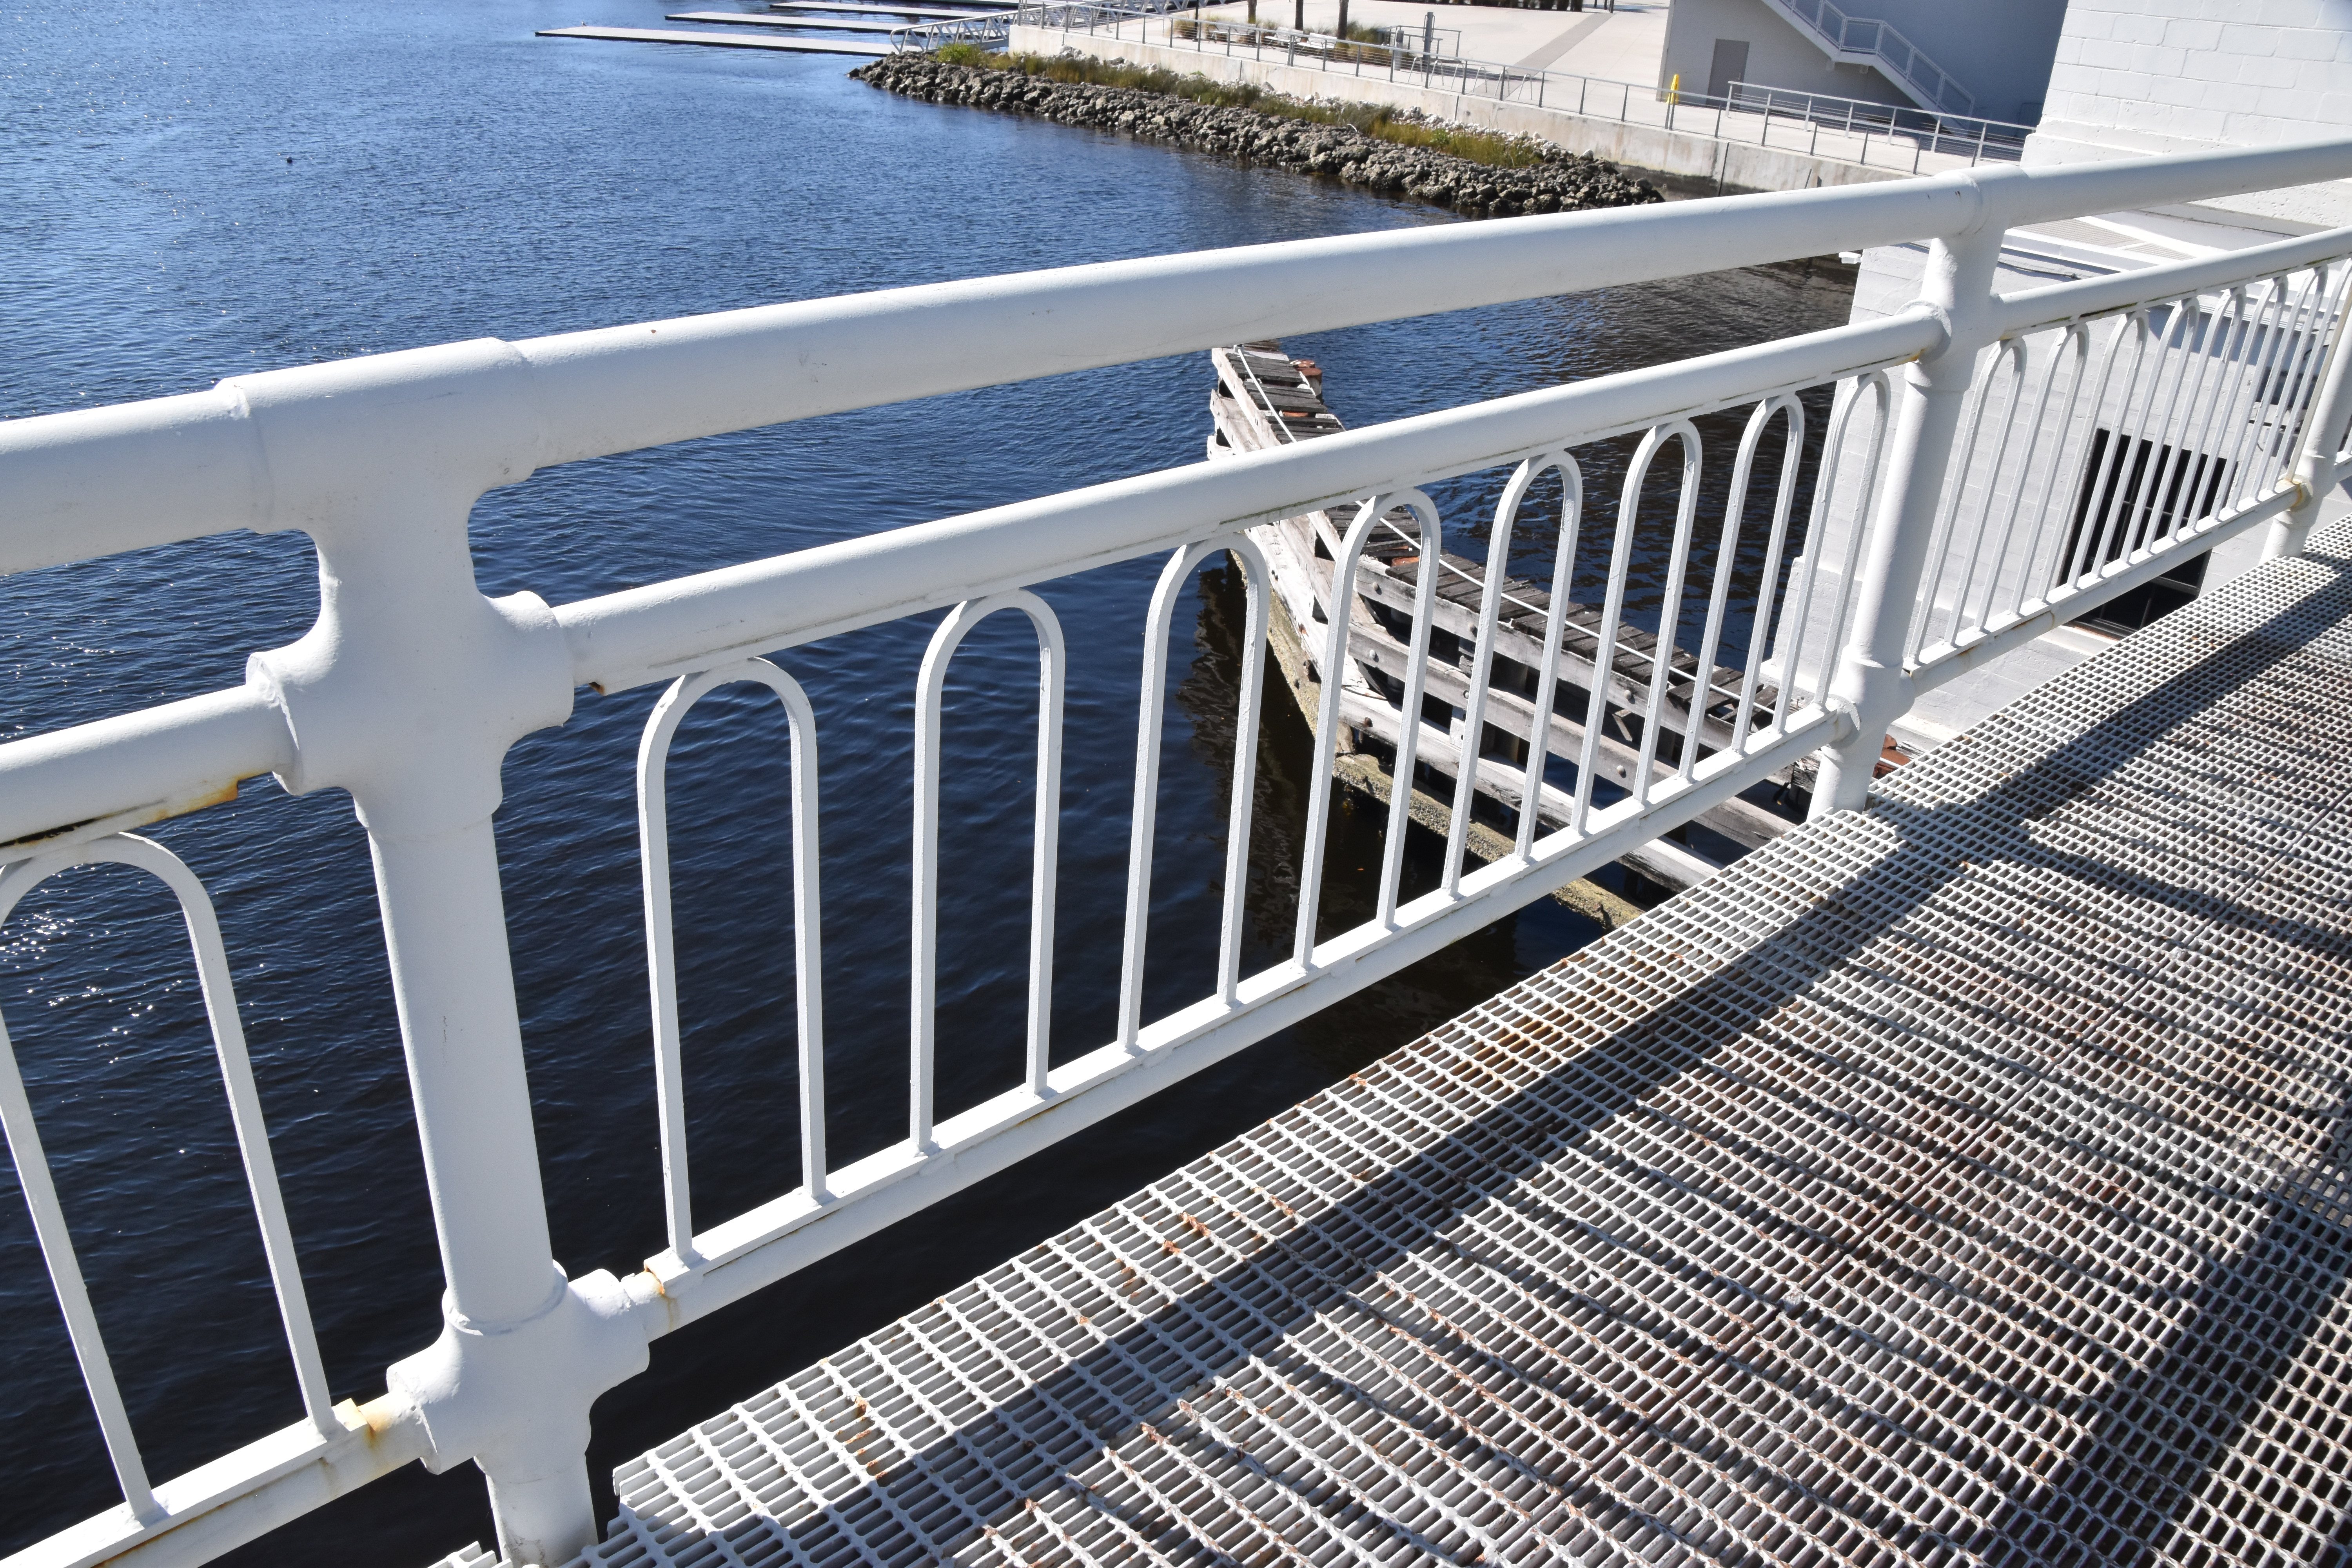
Railing.
![]()

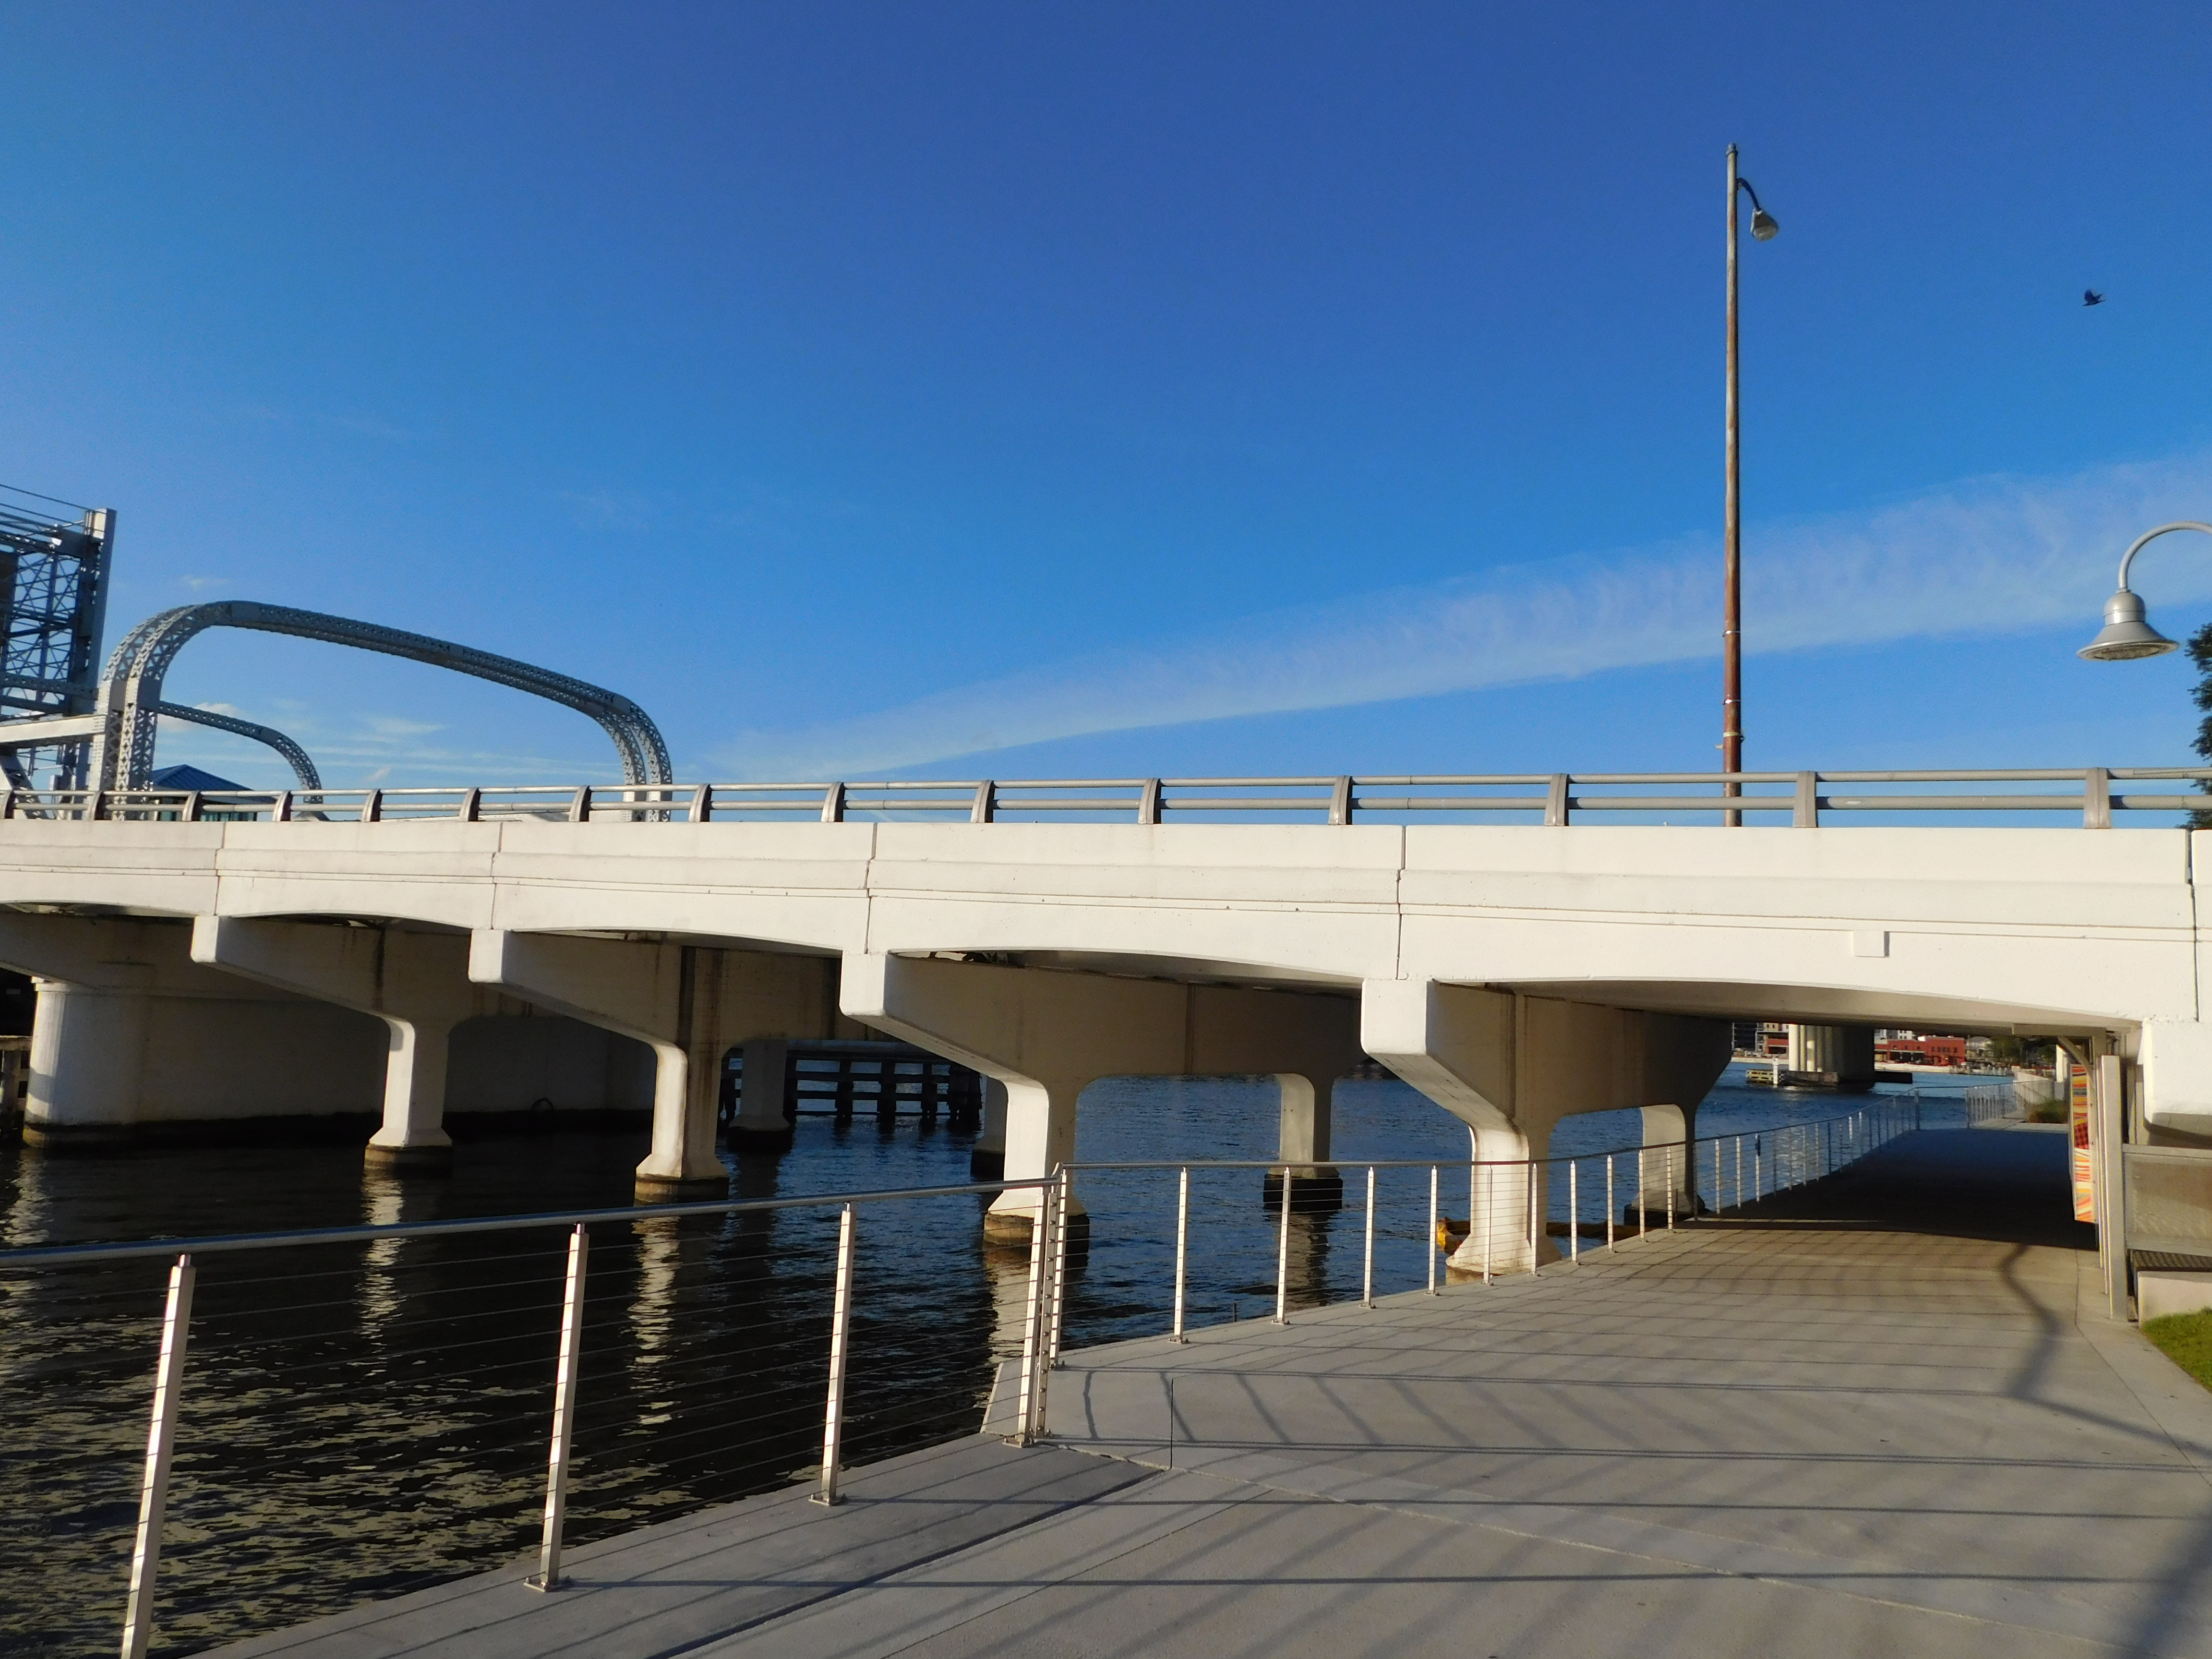
Approach span elevation.
![]()
Photo Credit: Marc Scotti
Approach span elevation.
![]()

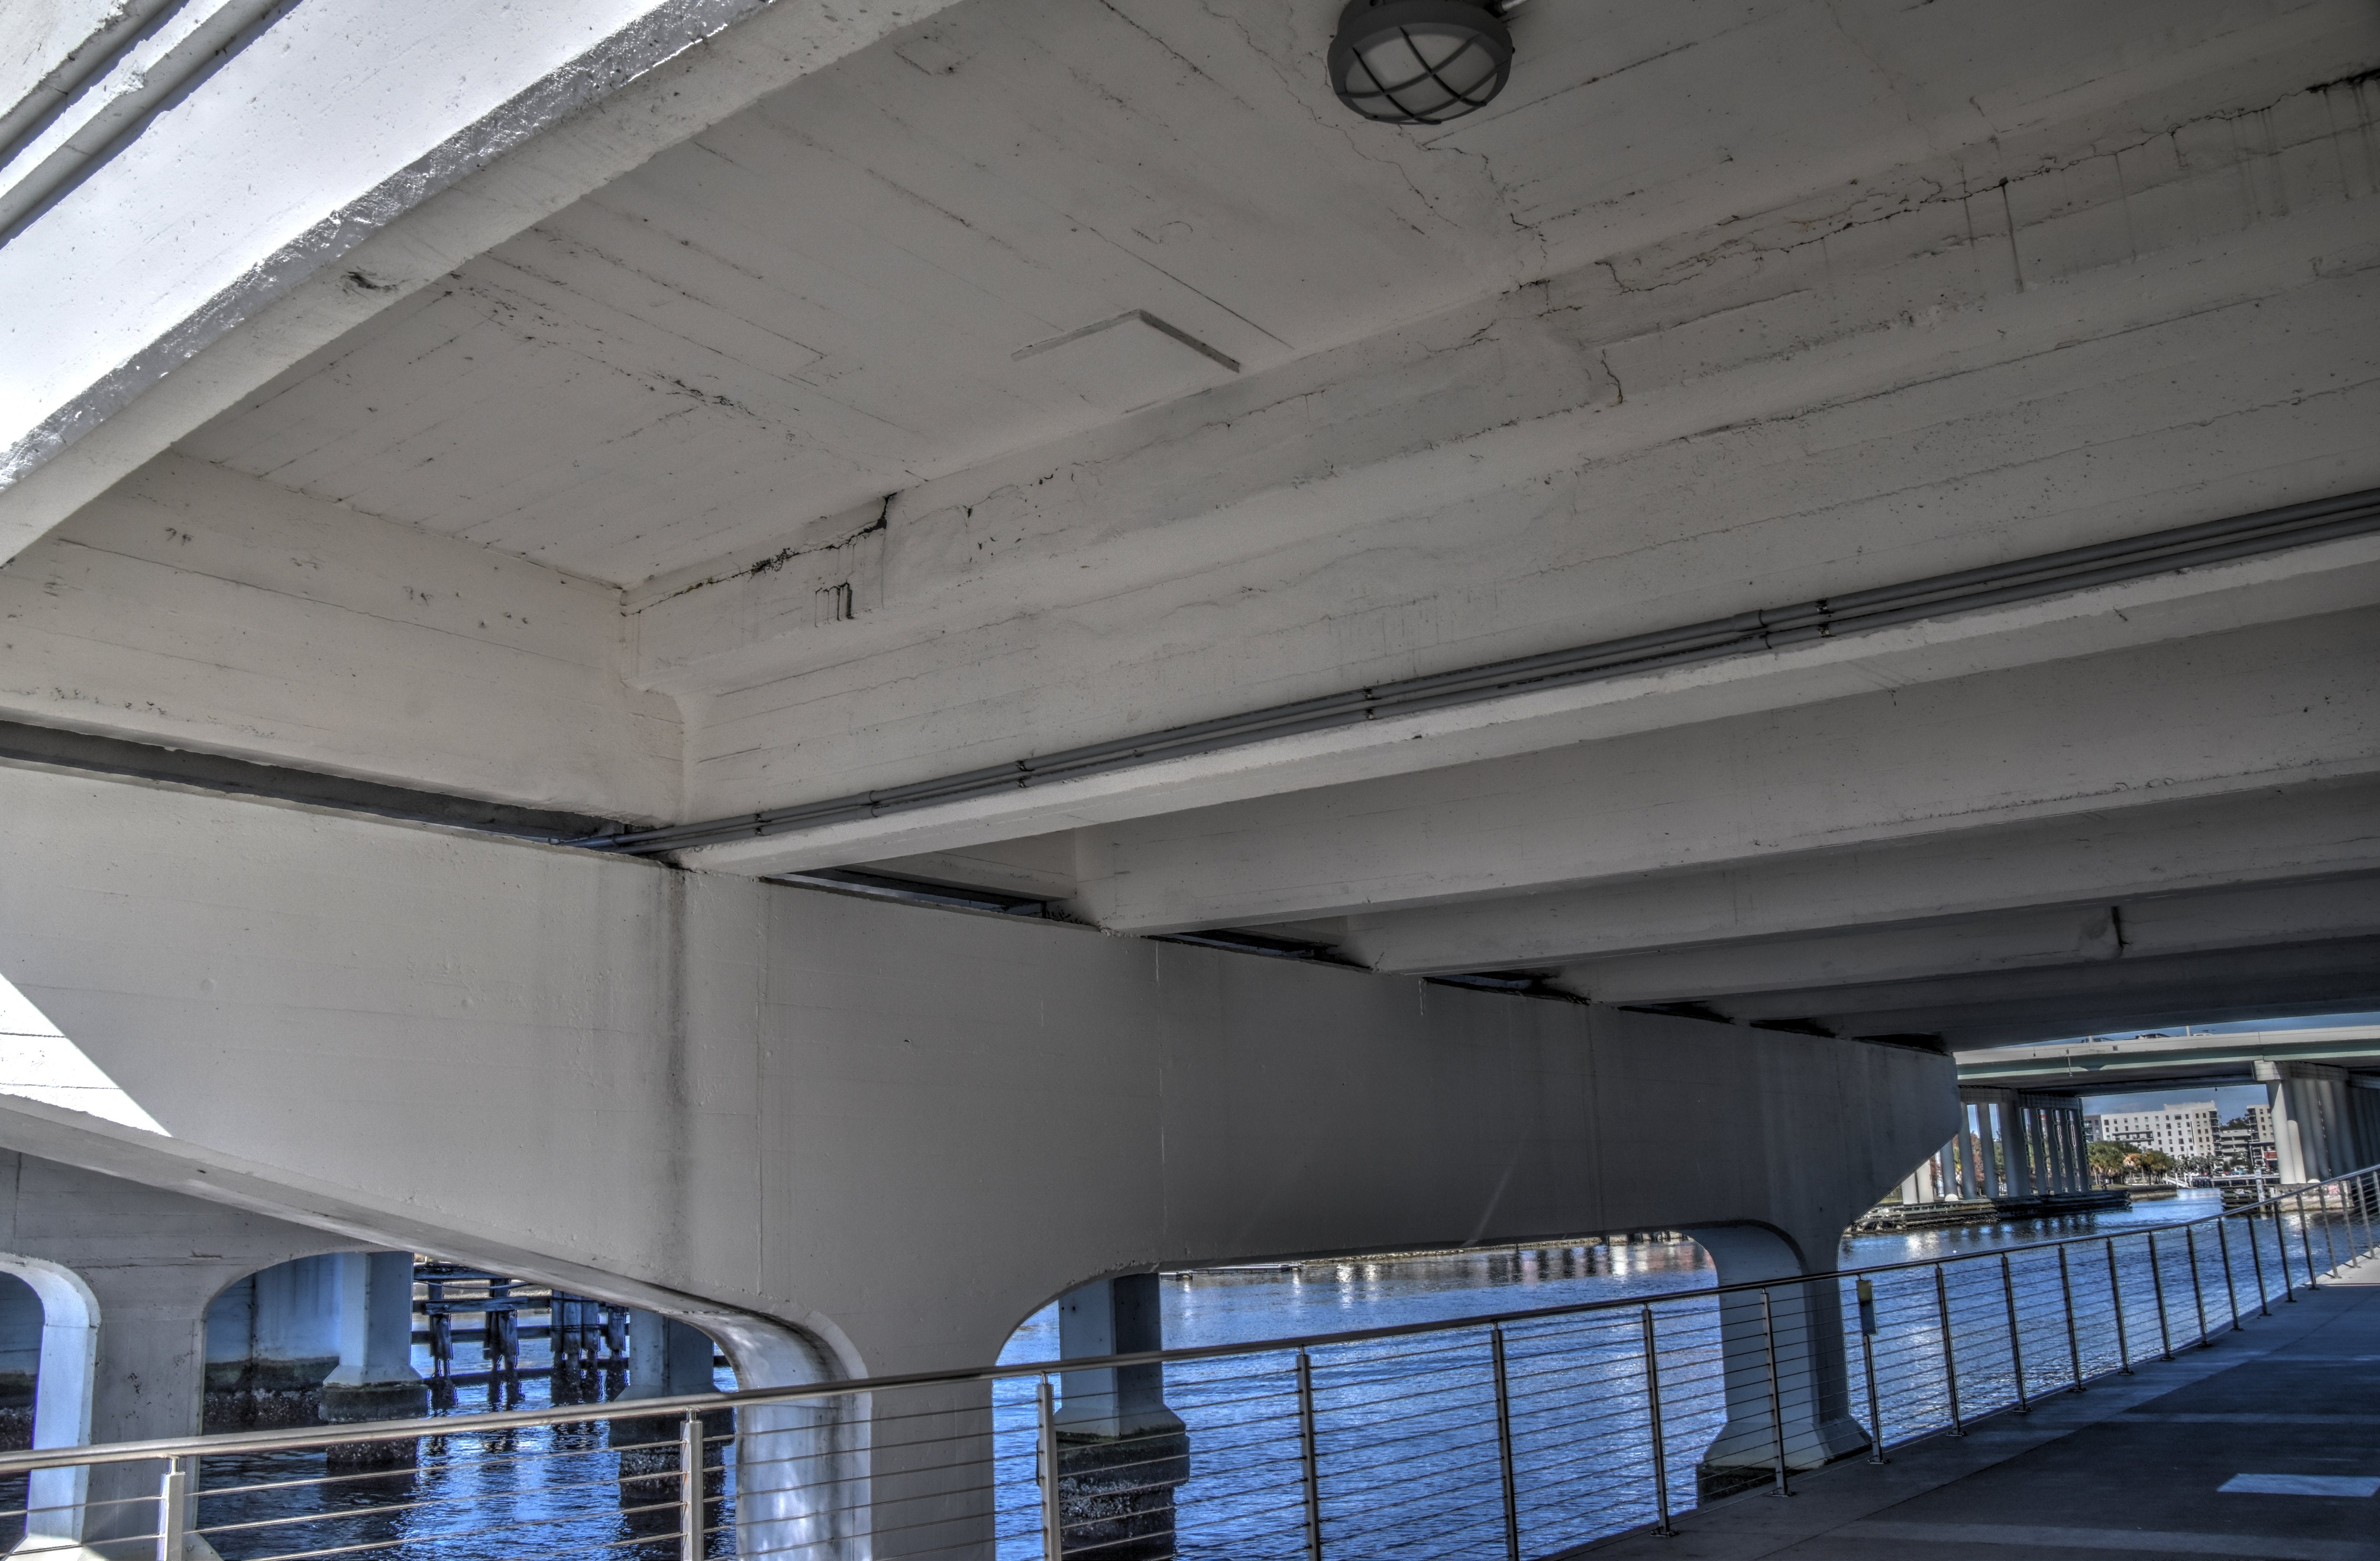
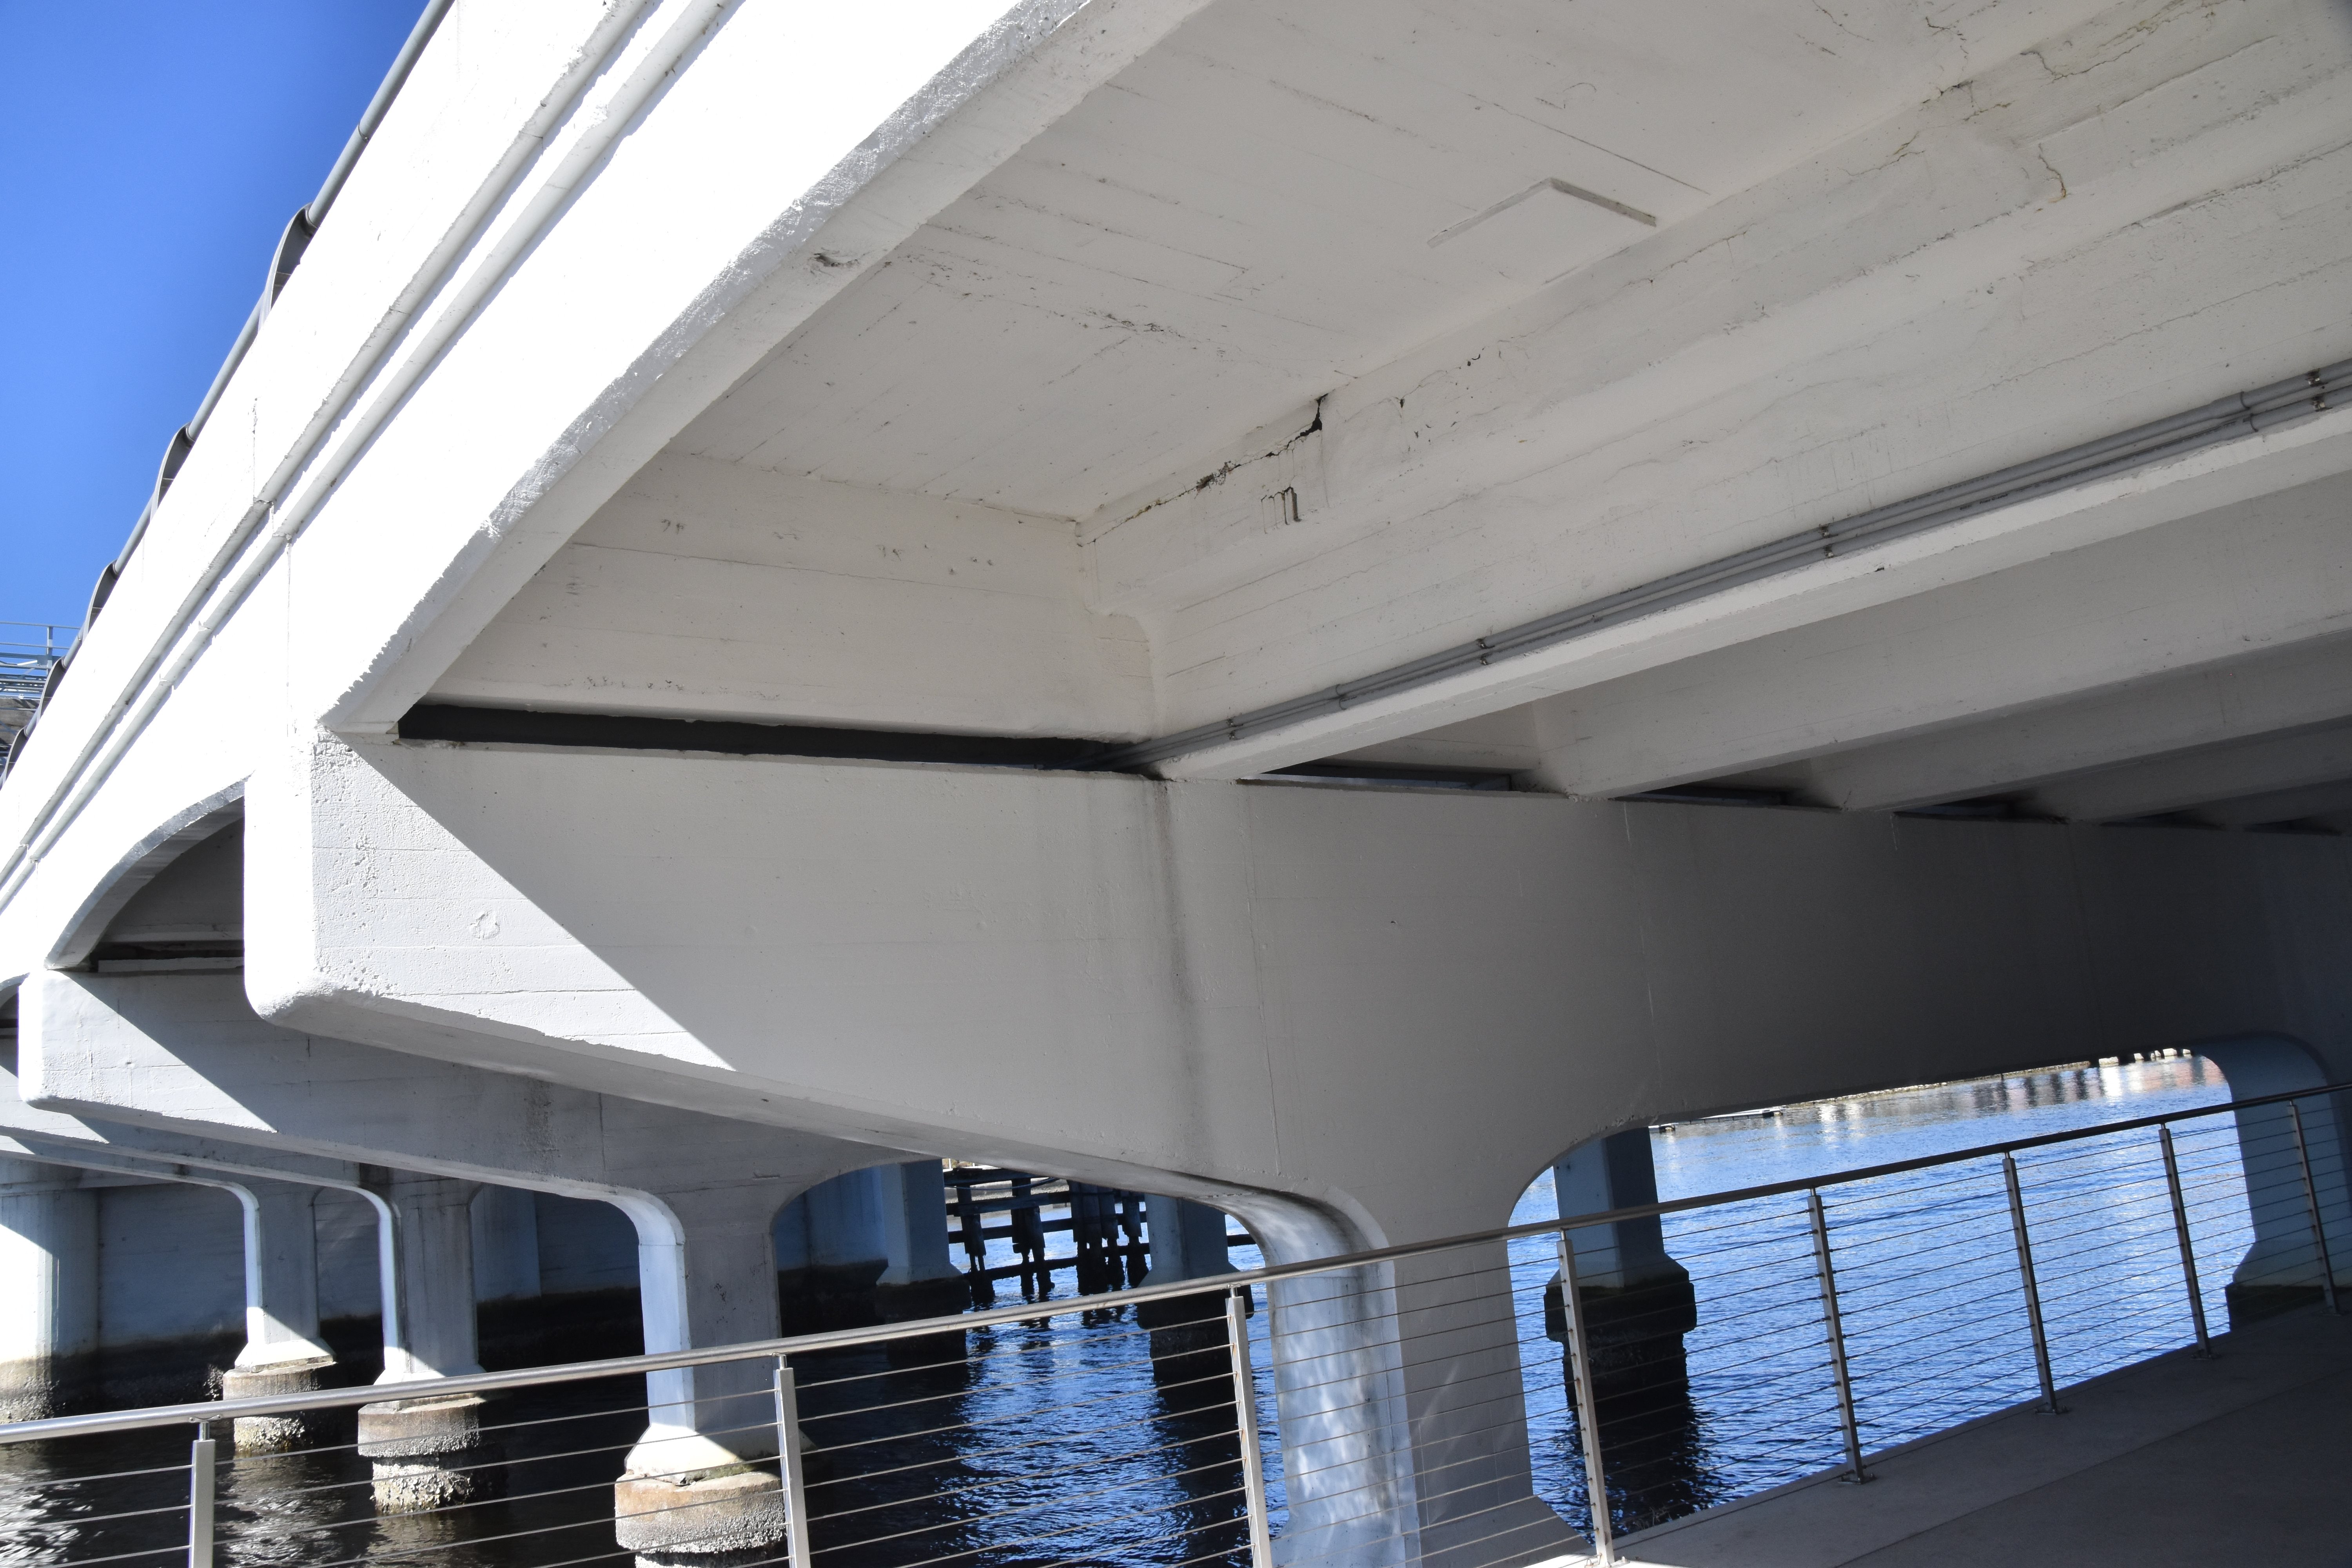
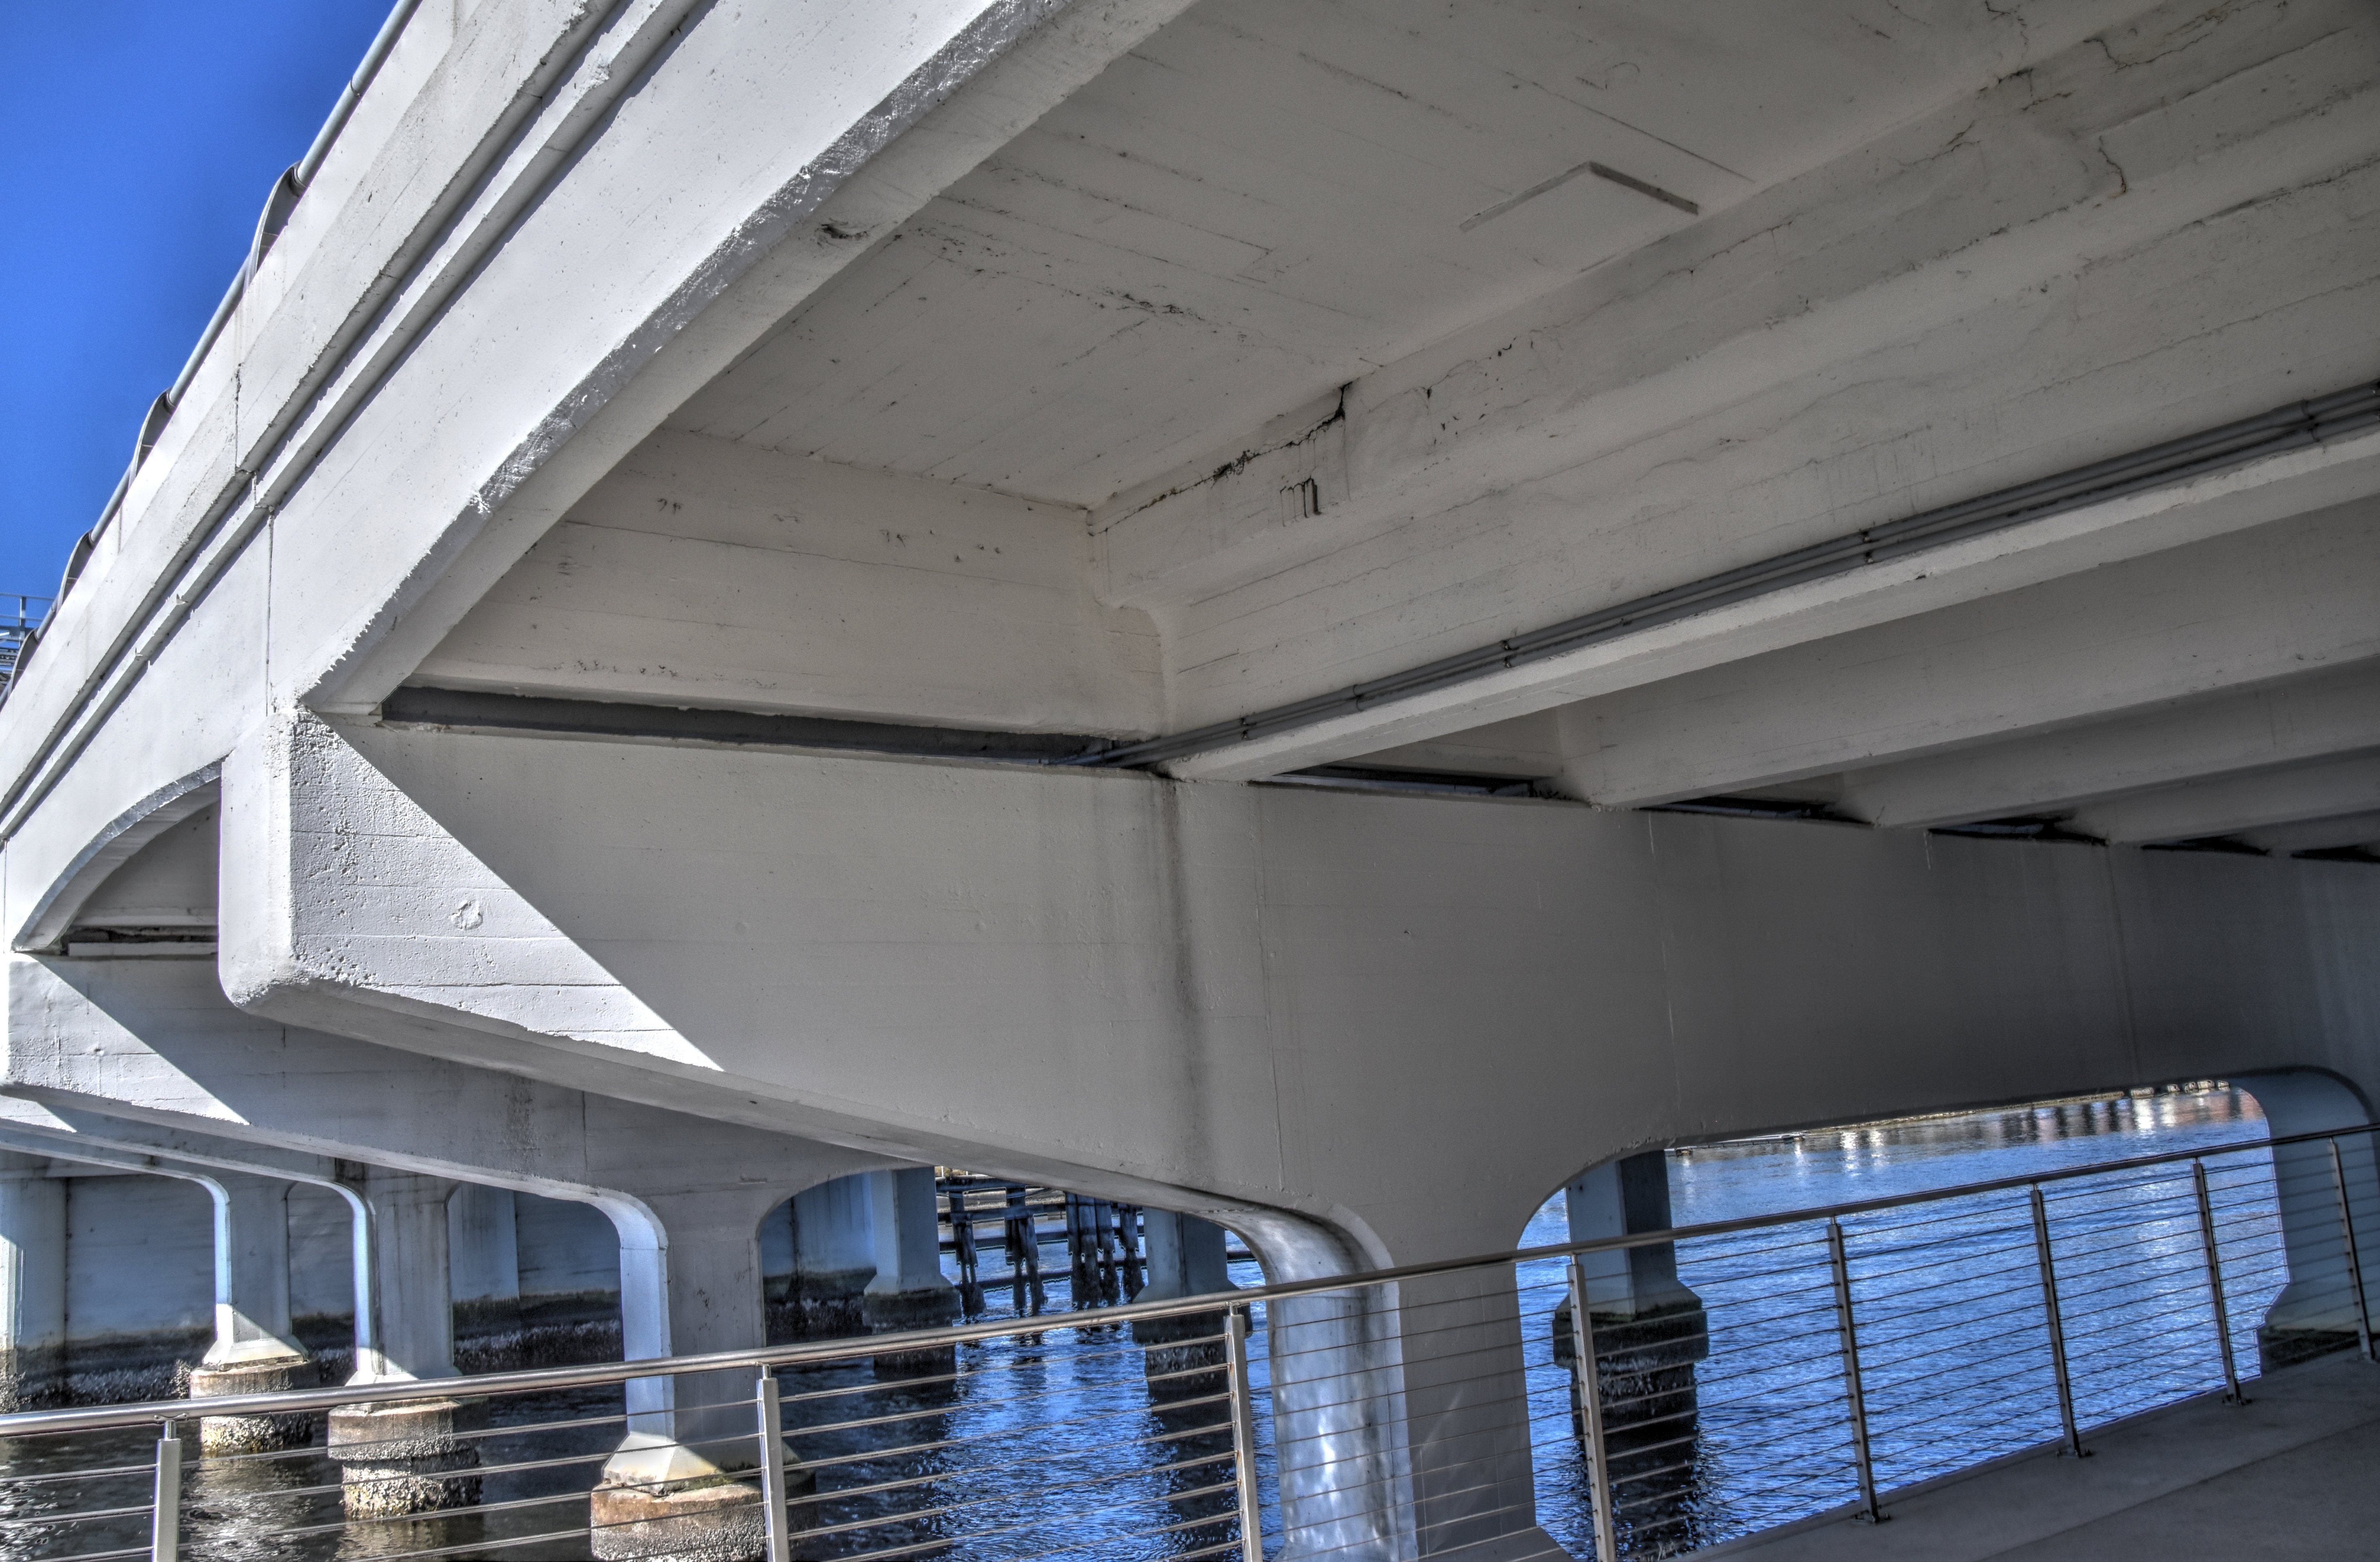
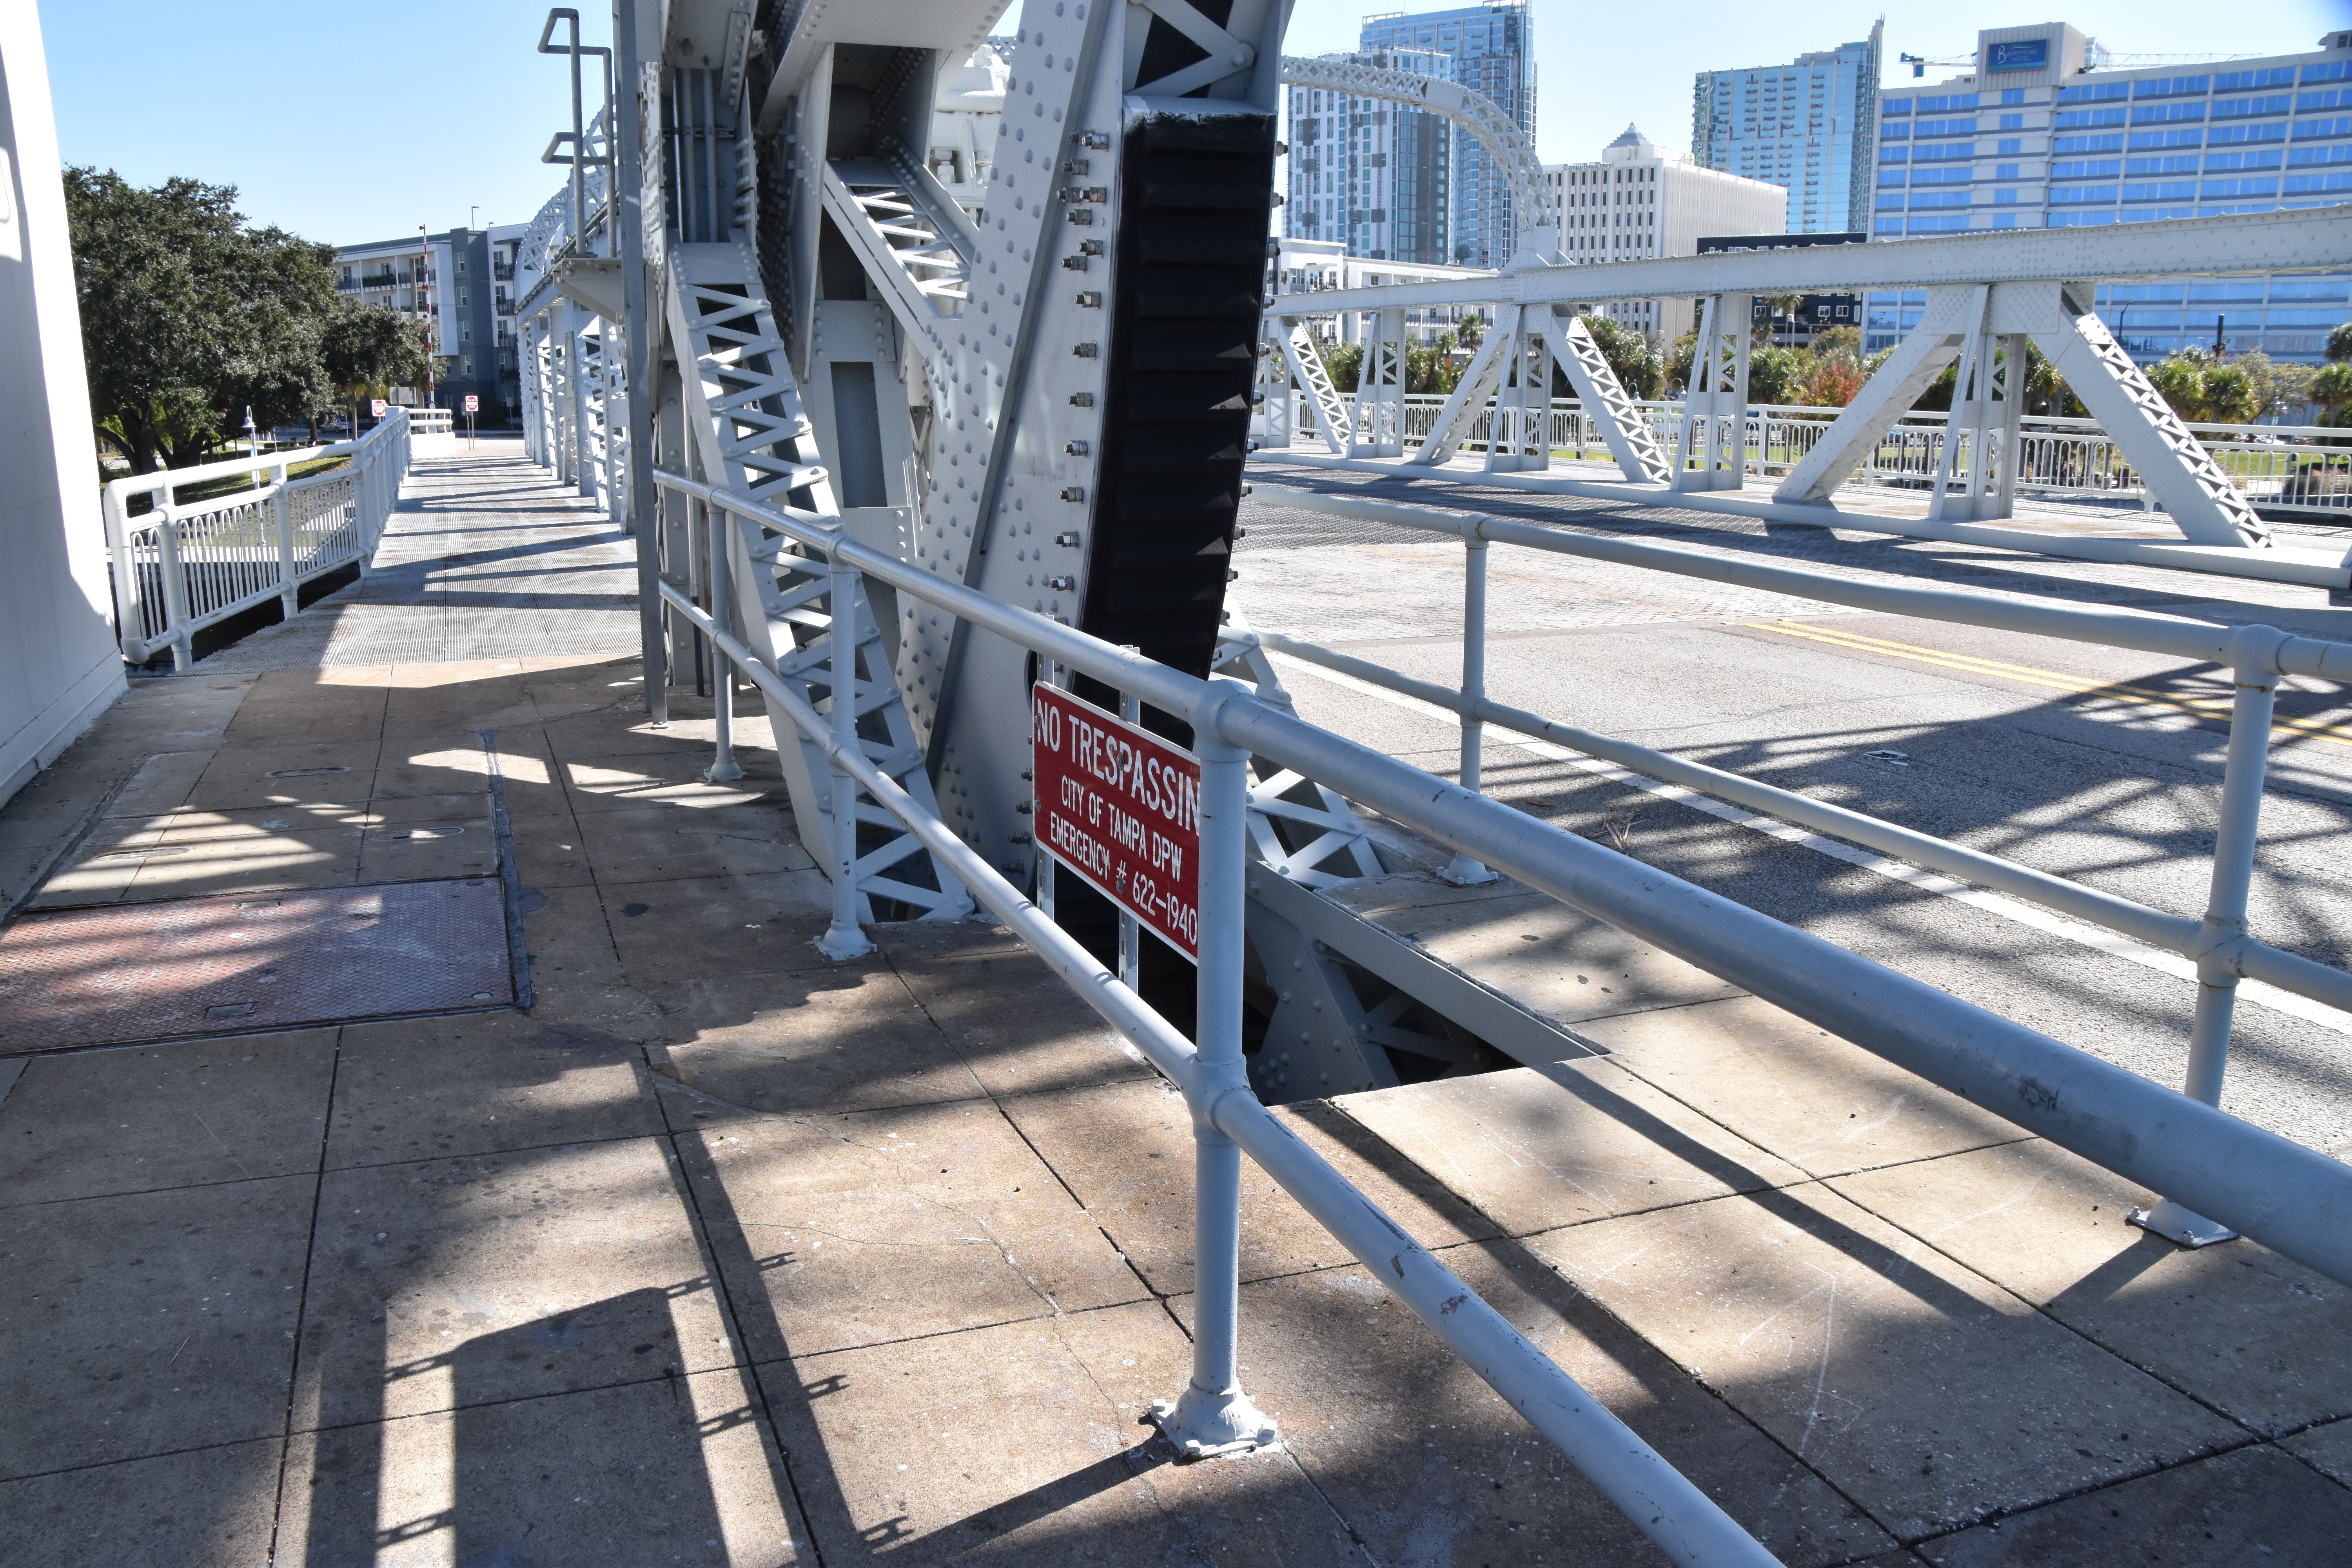
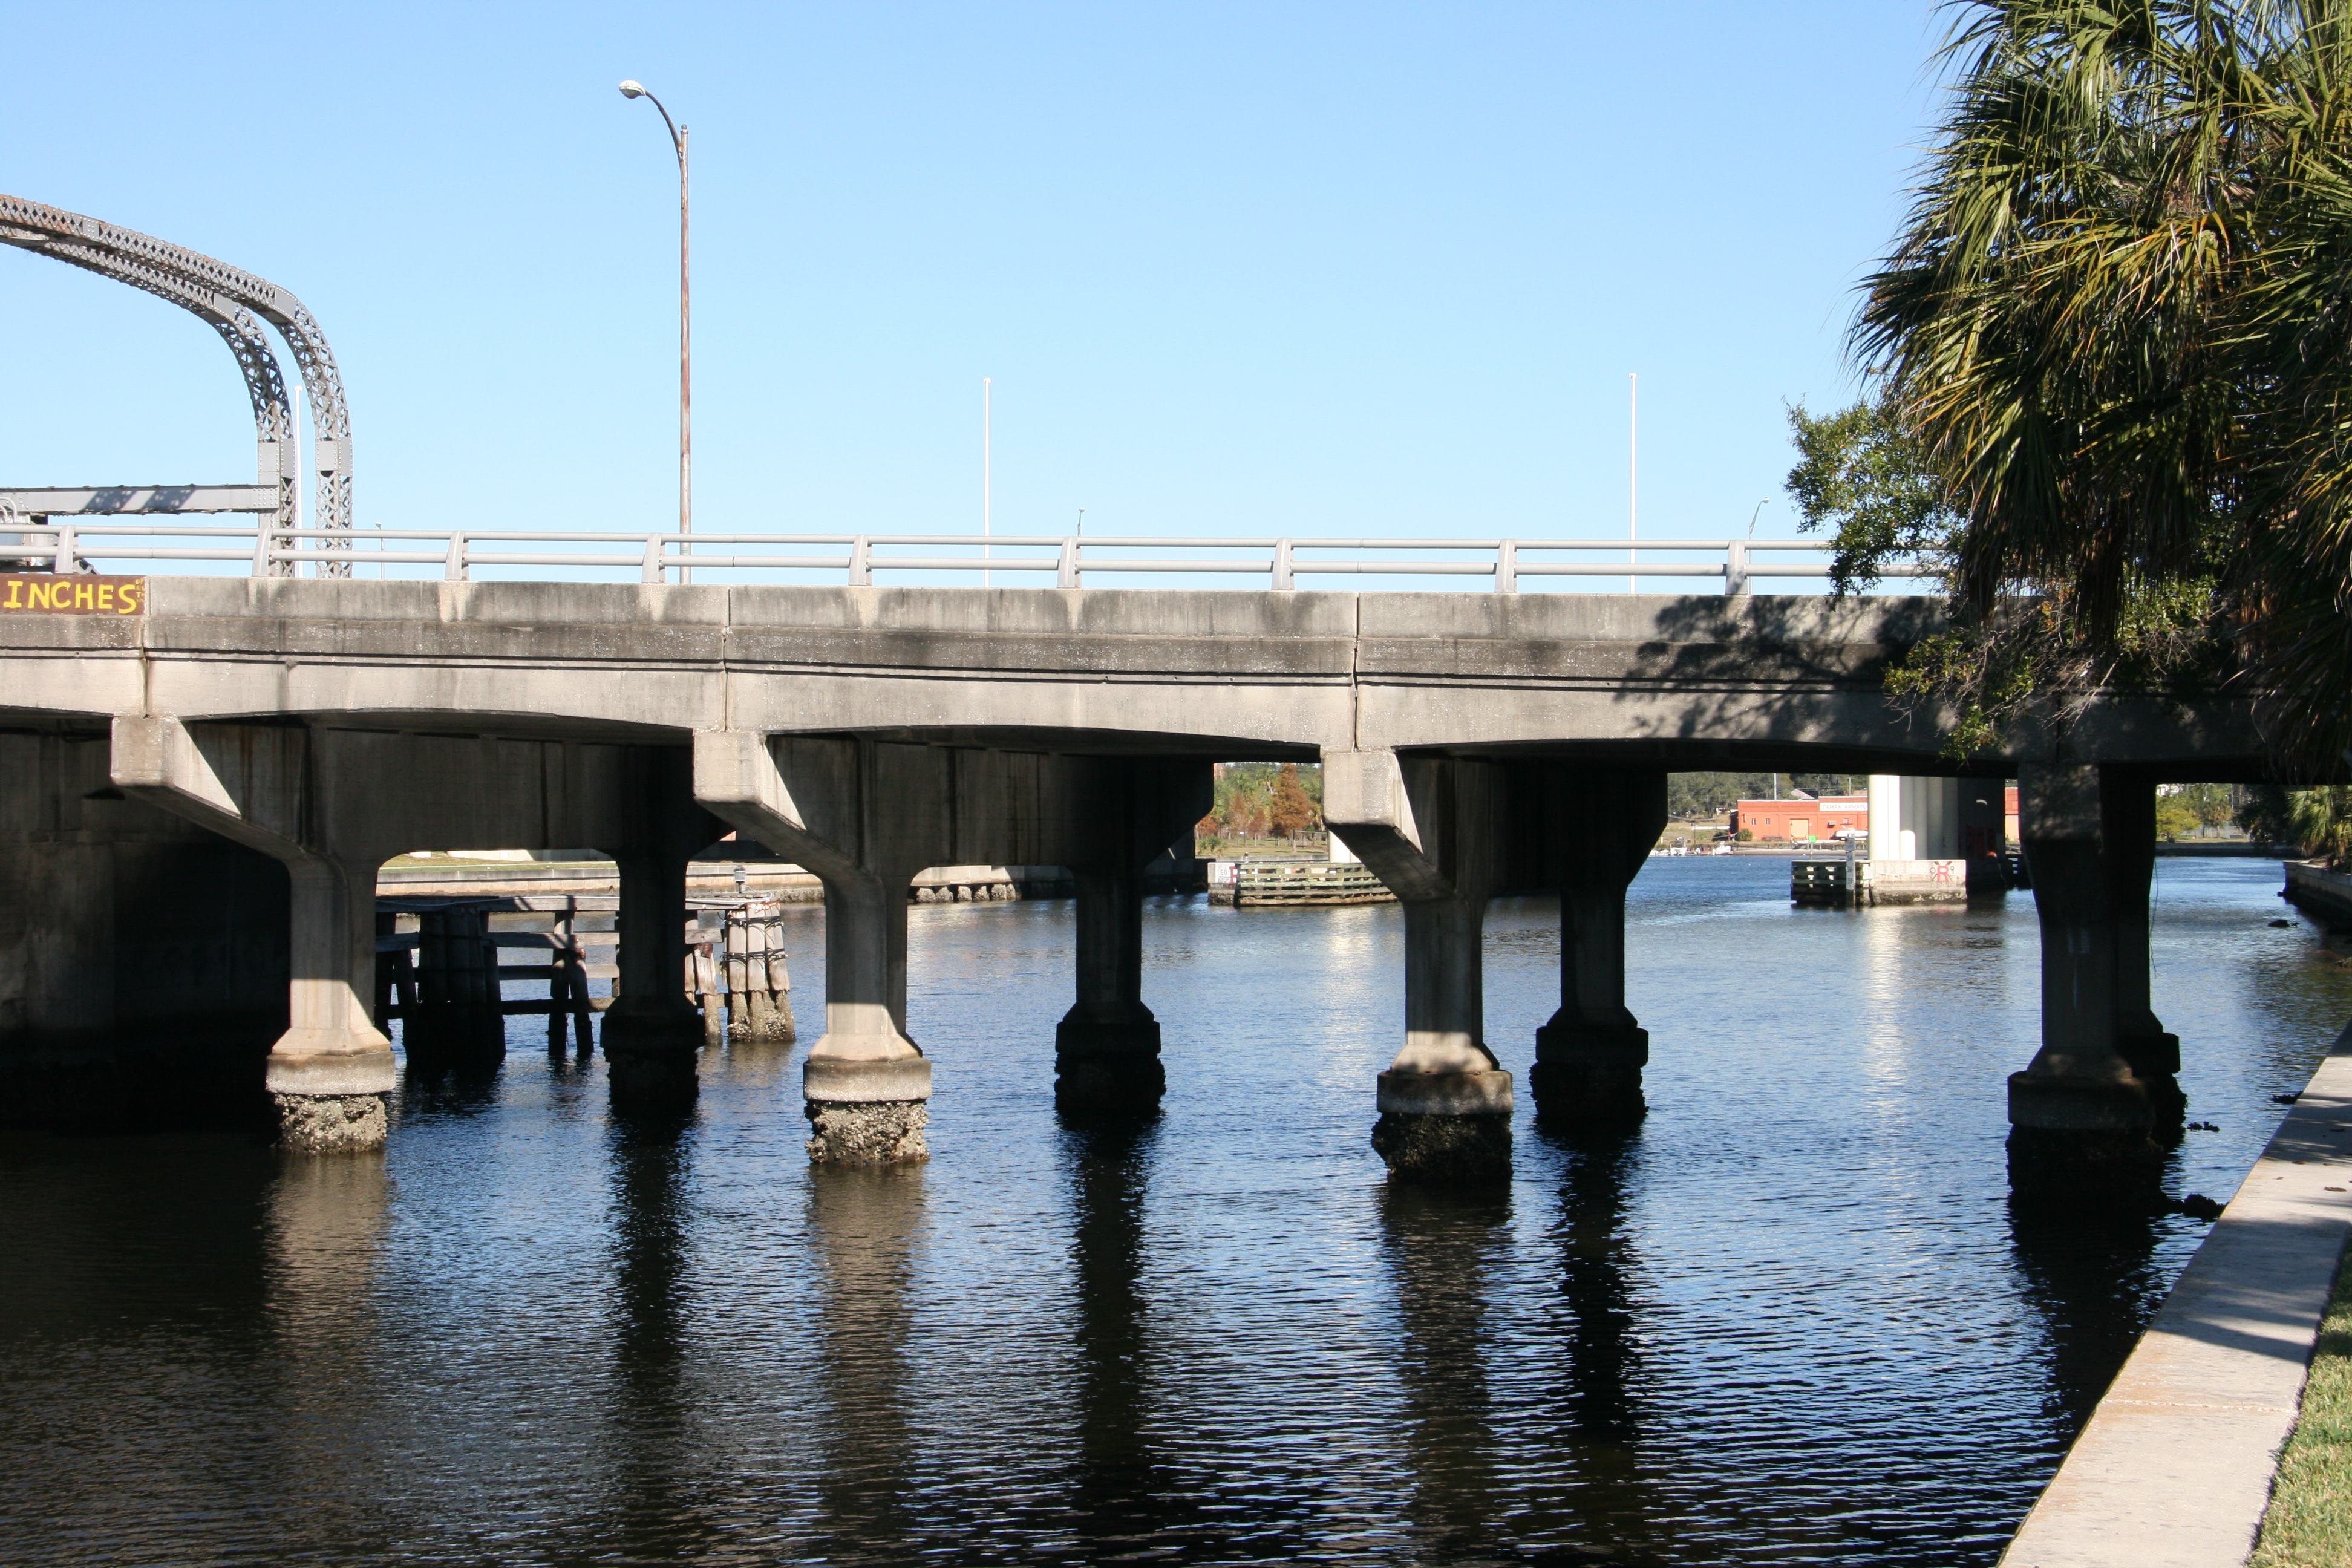
View under approach span.
![]()
Abutment.
![]()

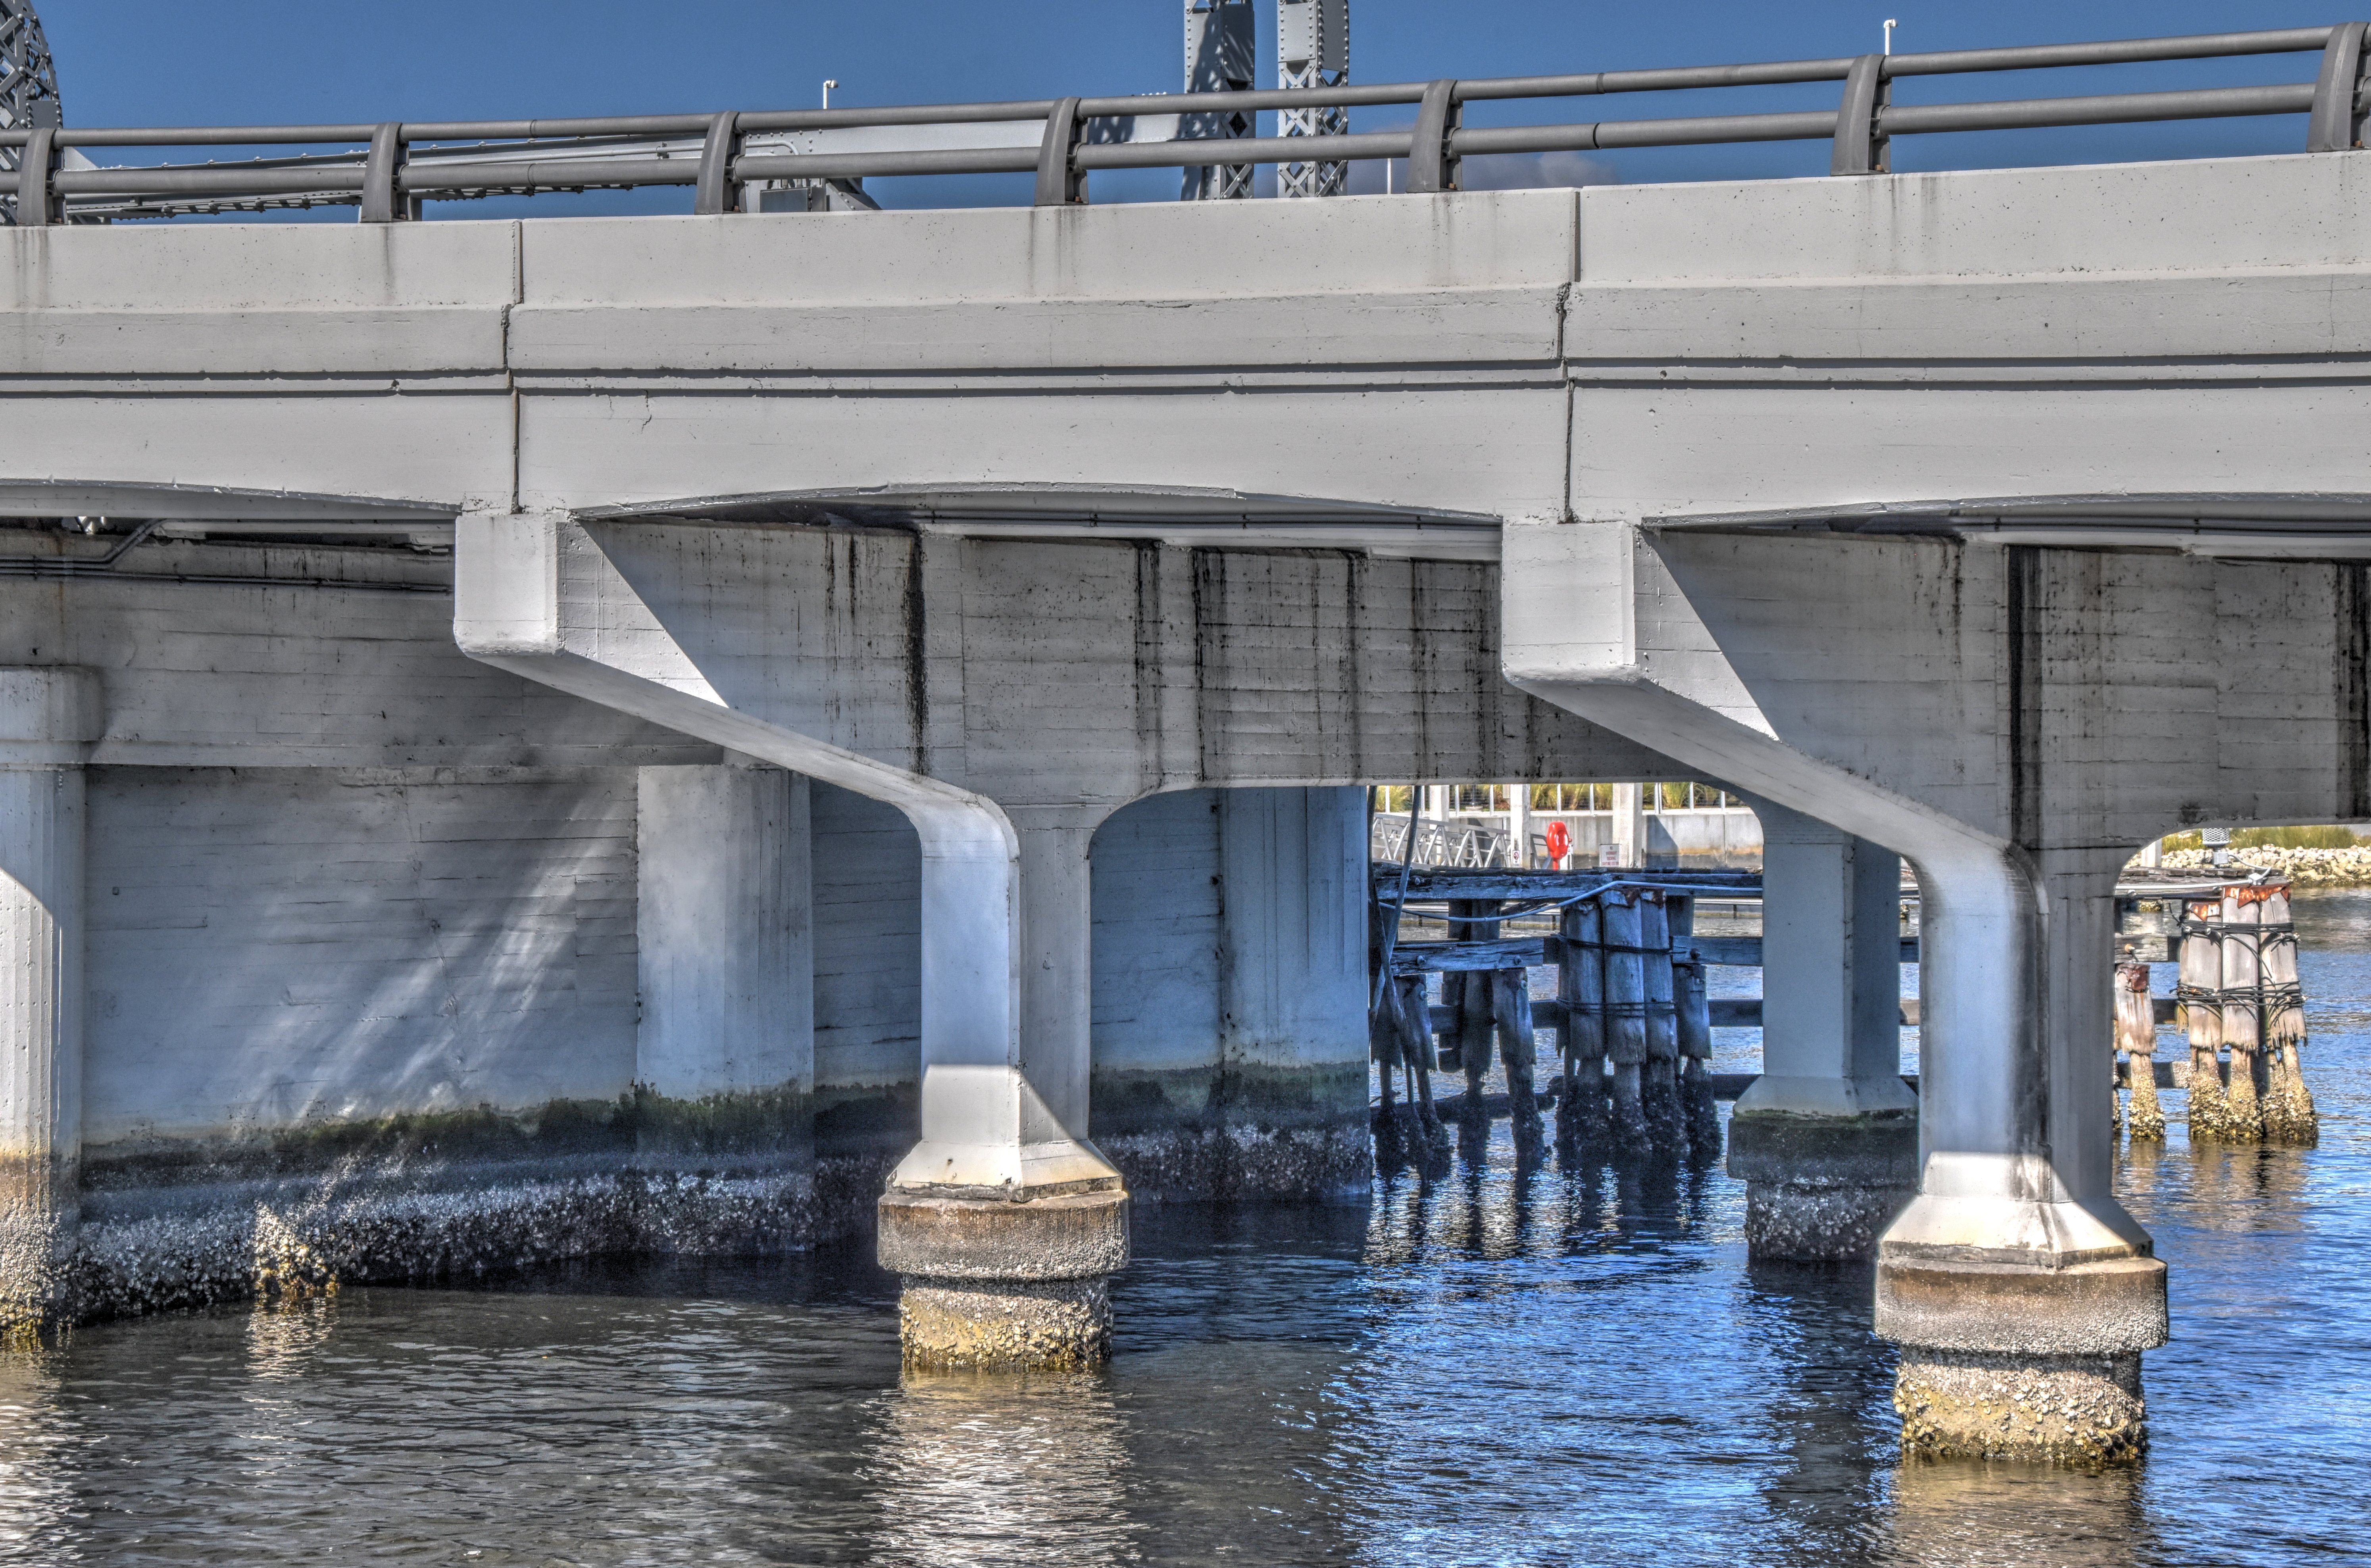
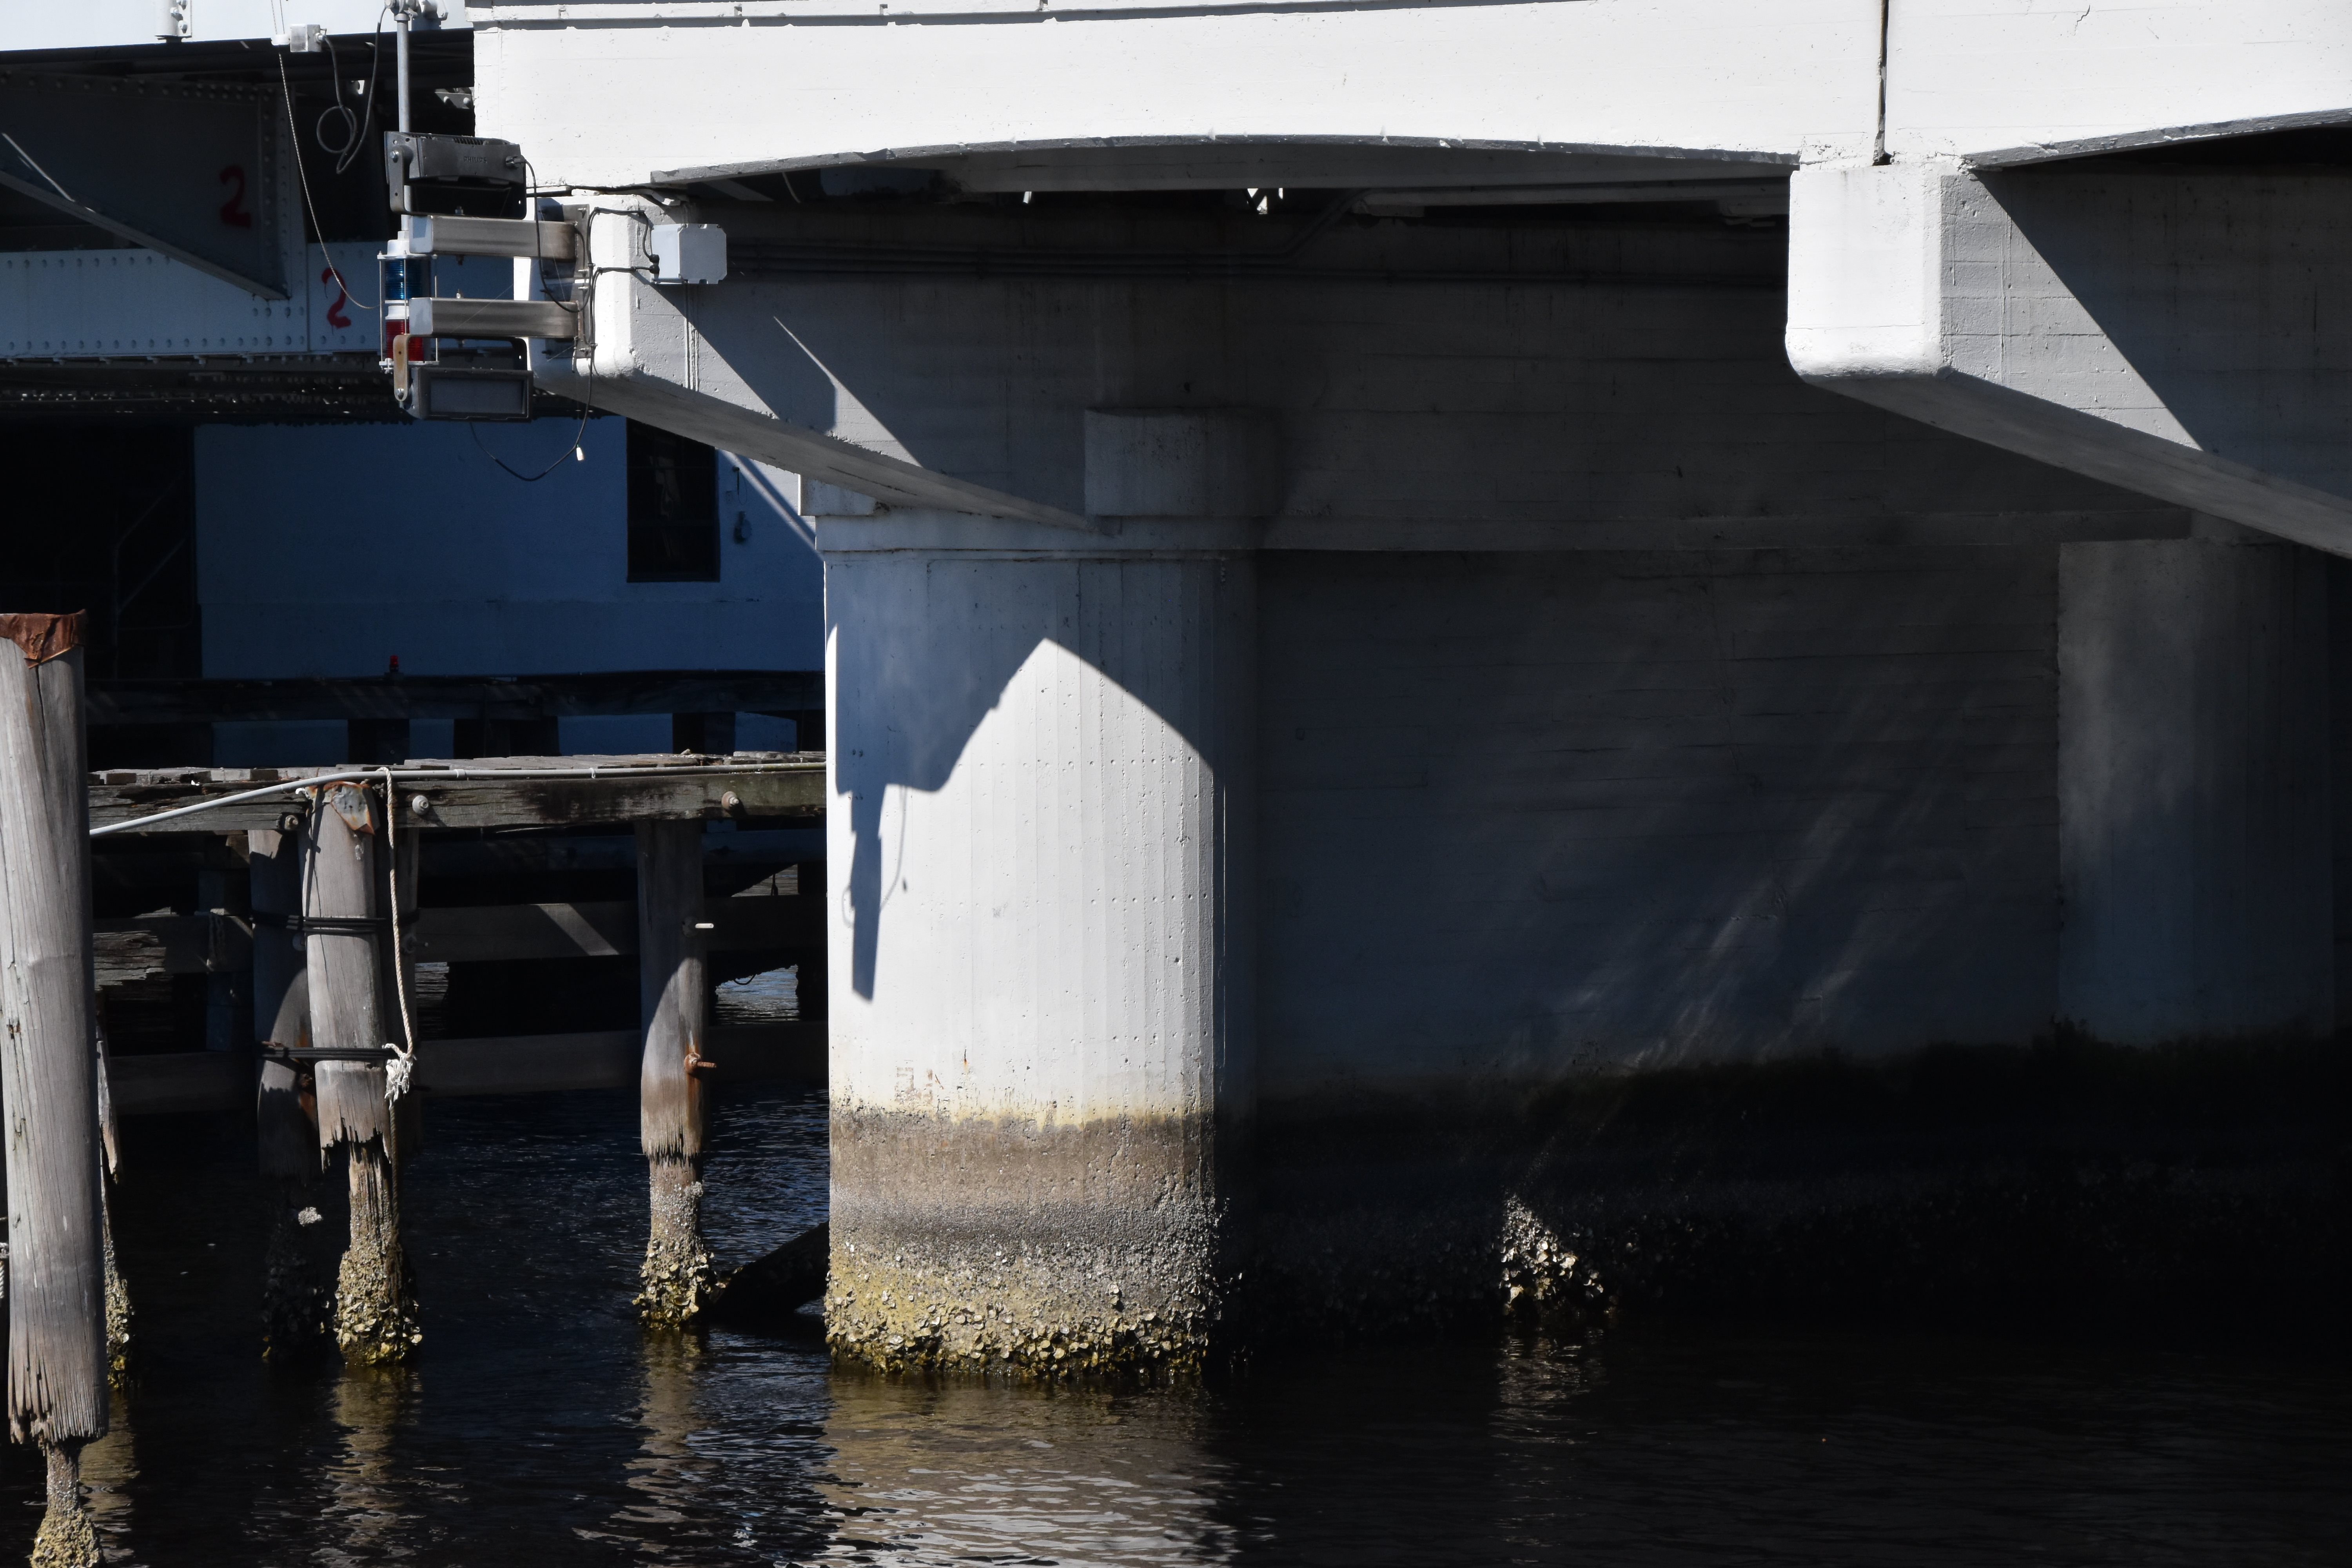
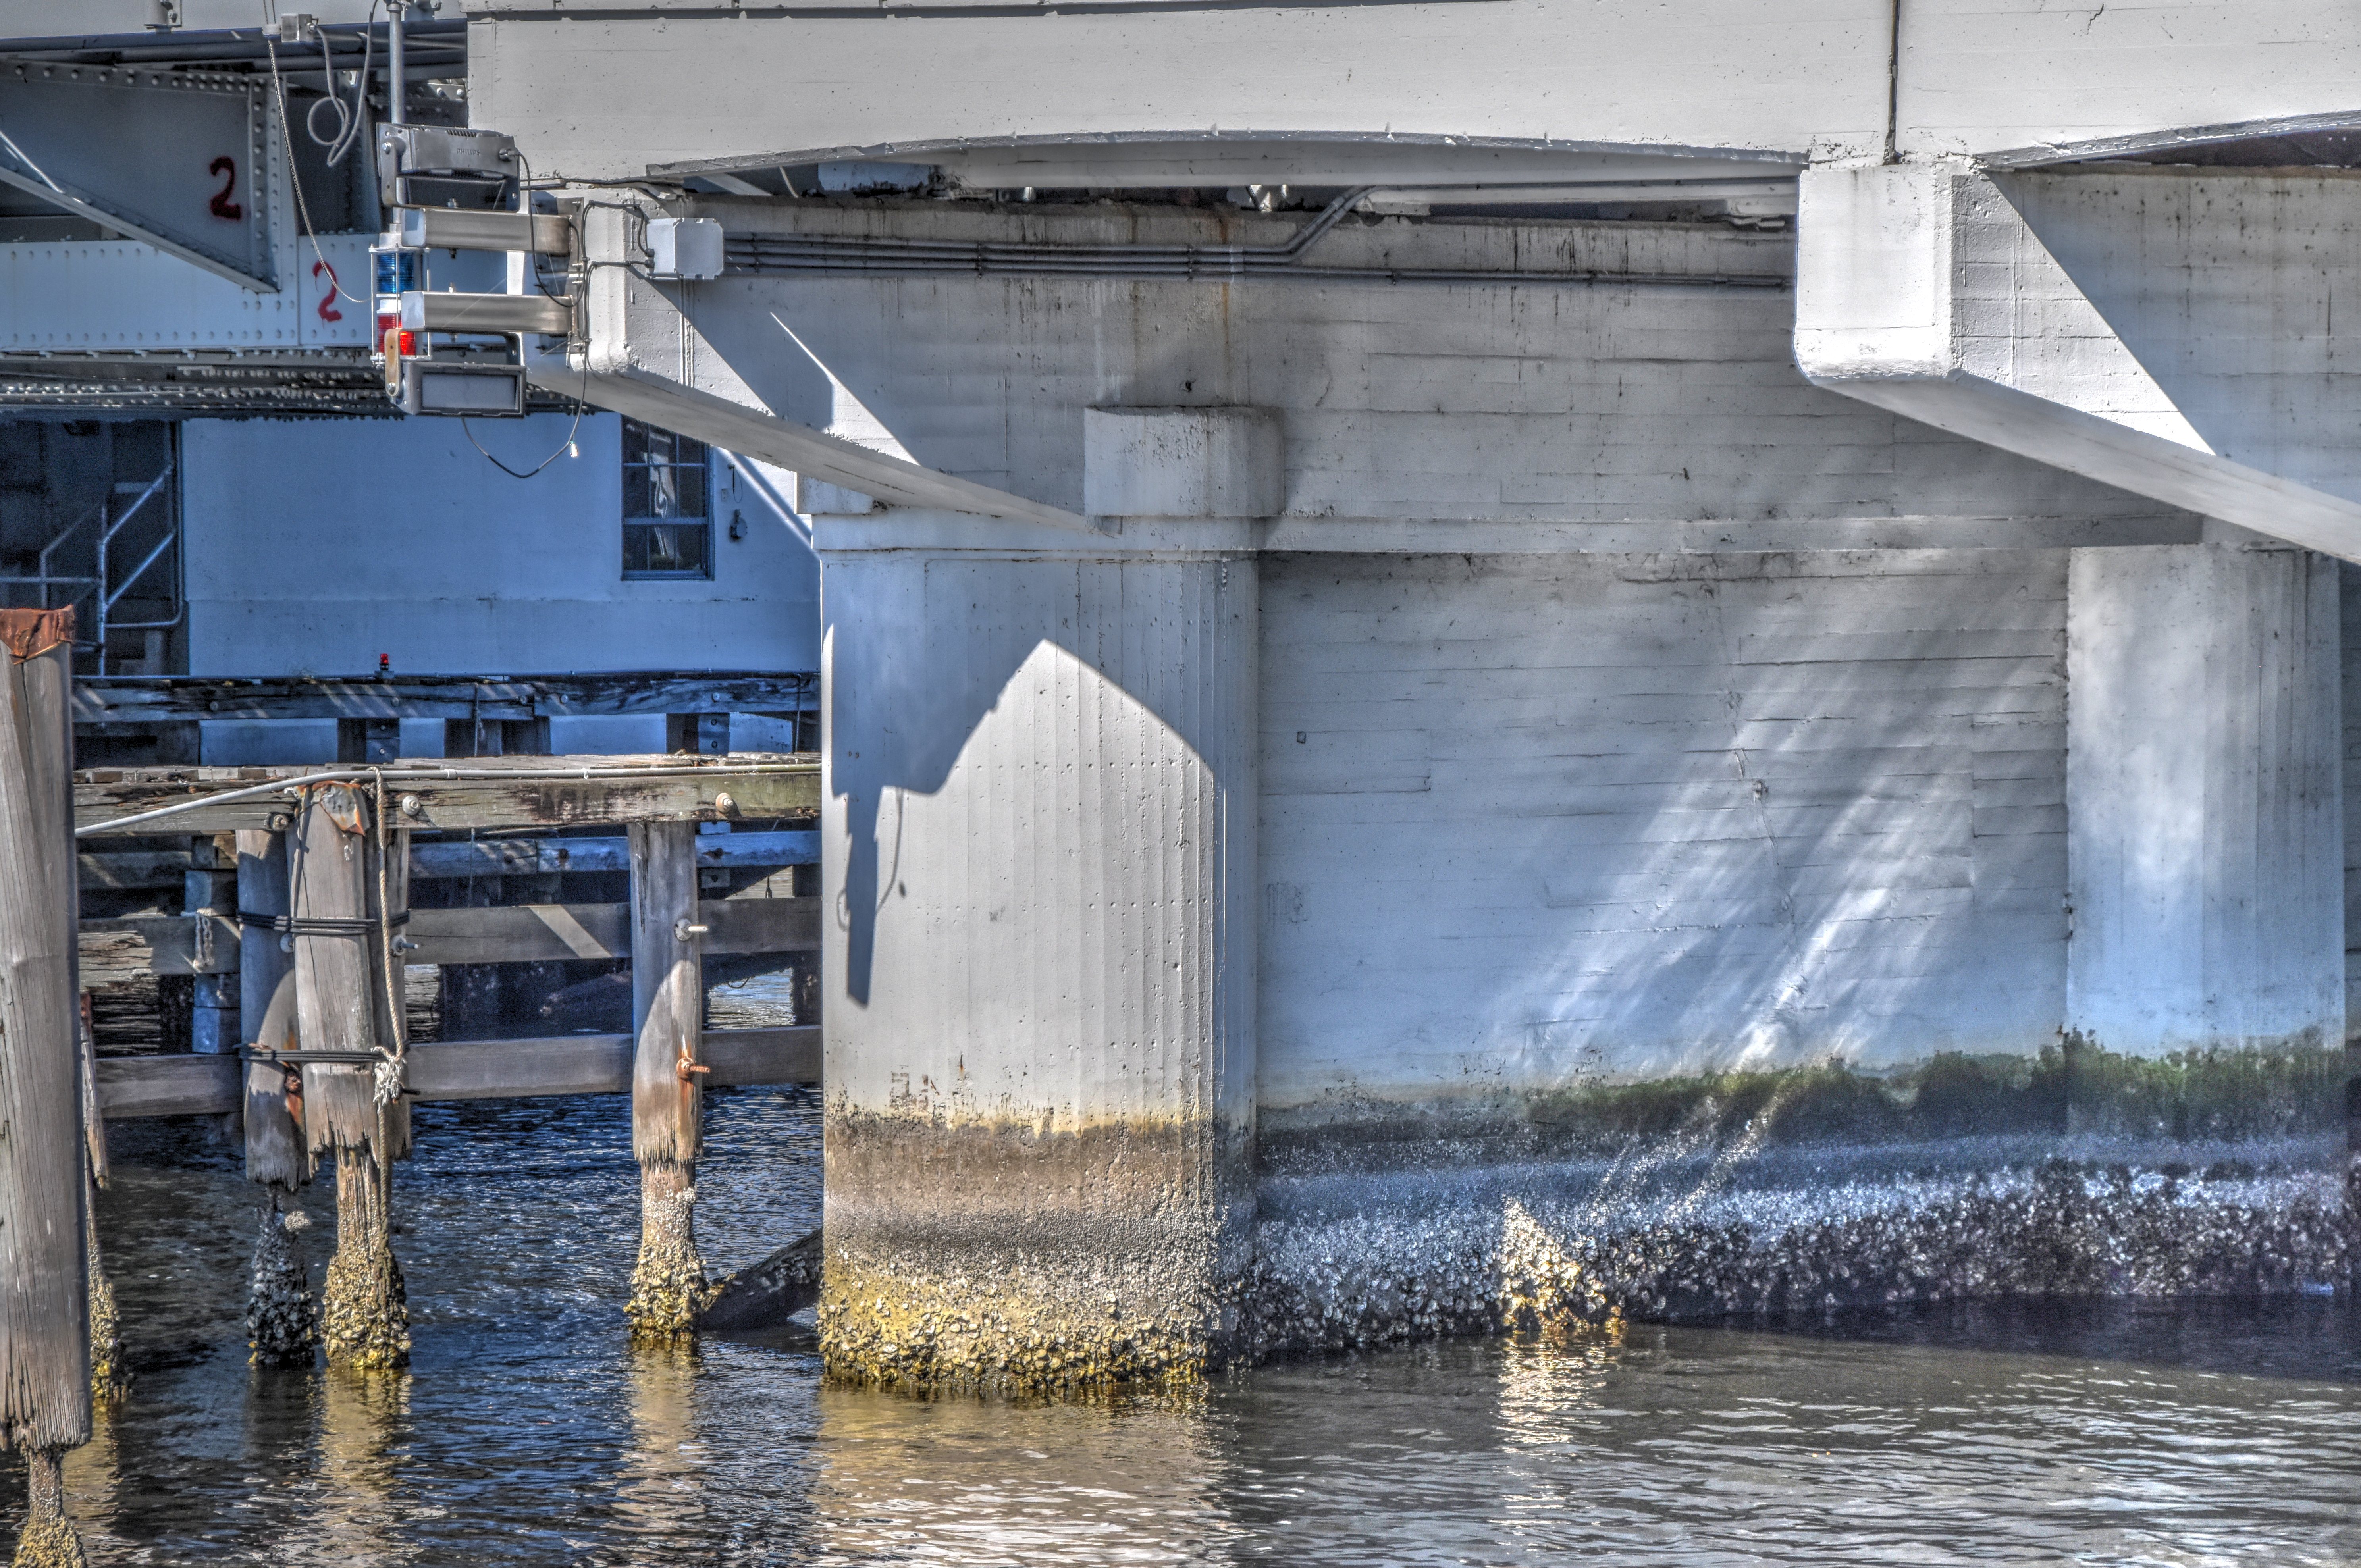
Piers.
![]()


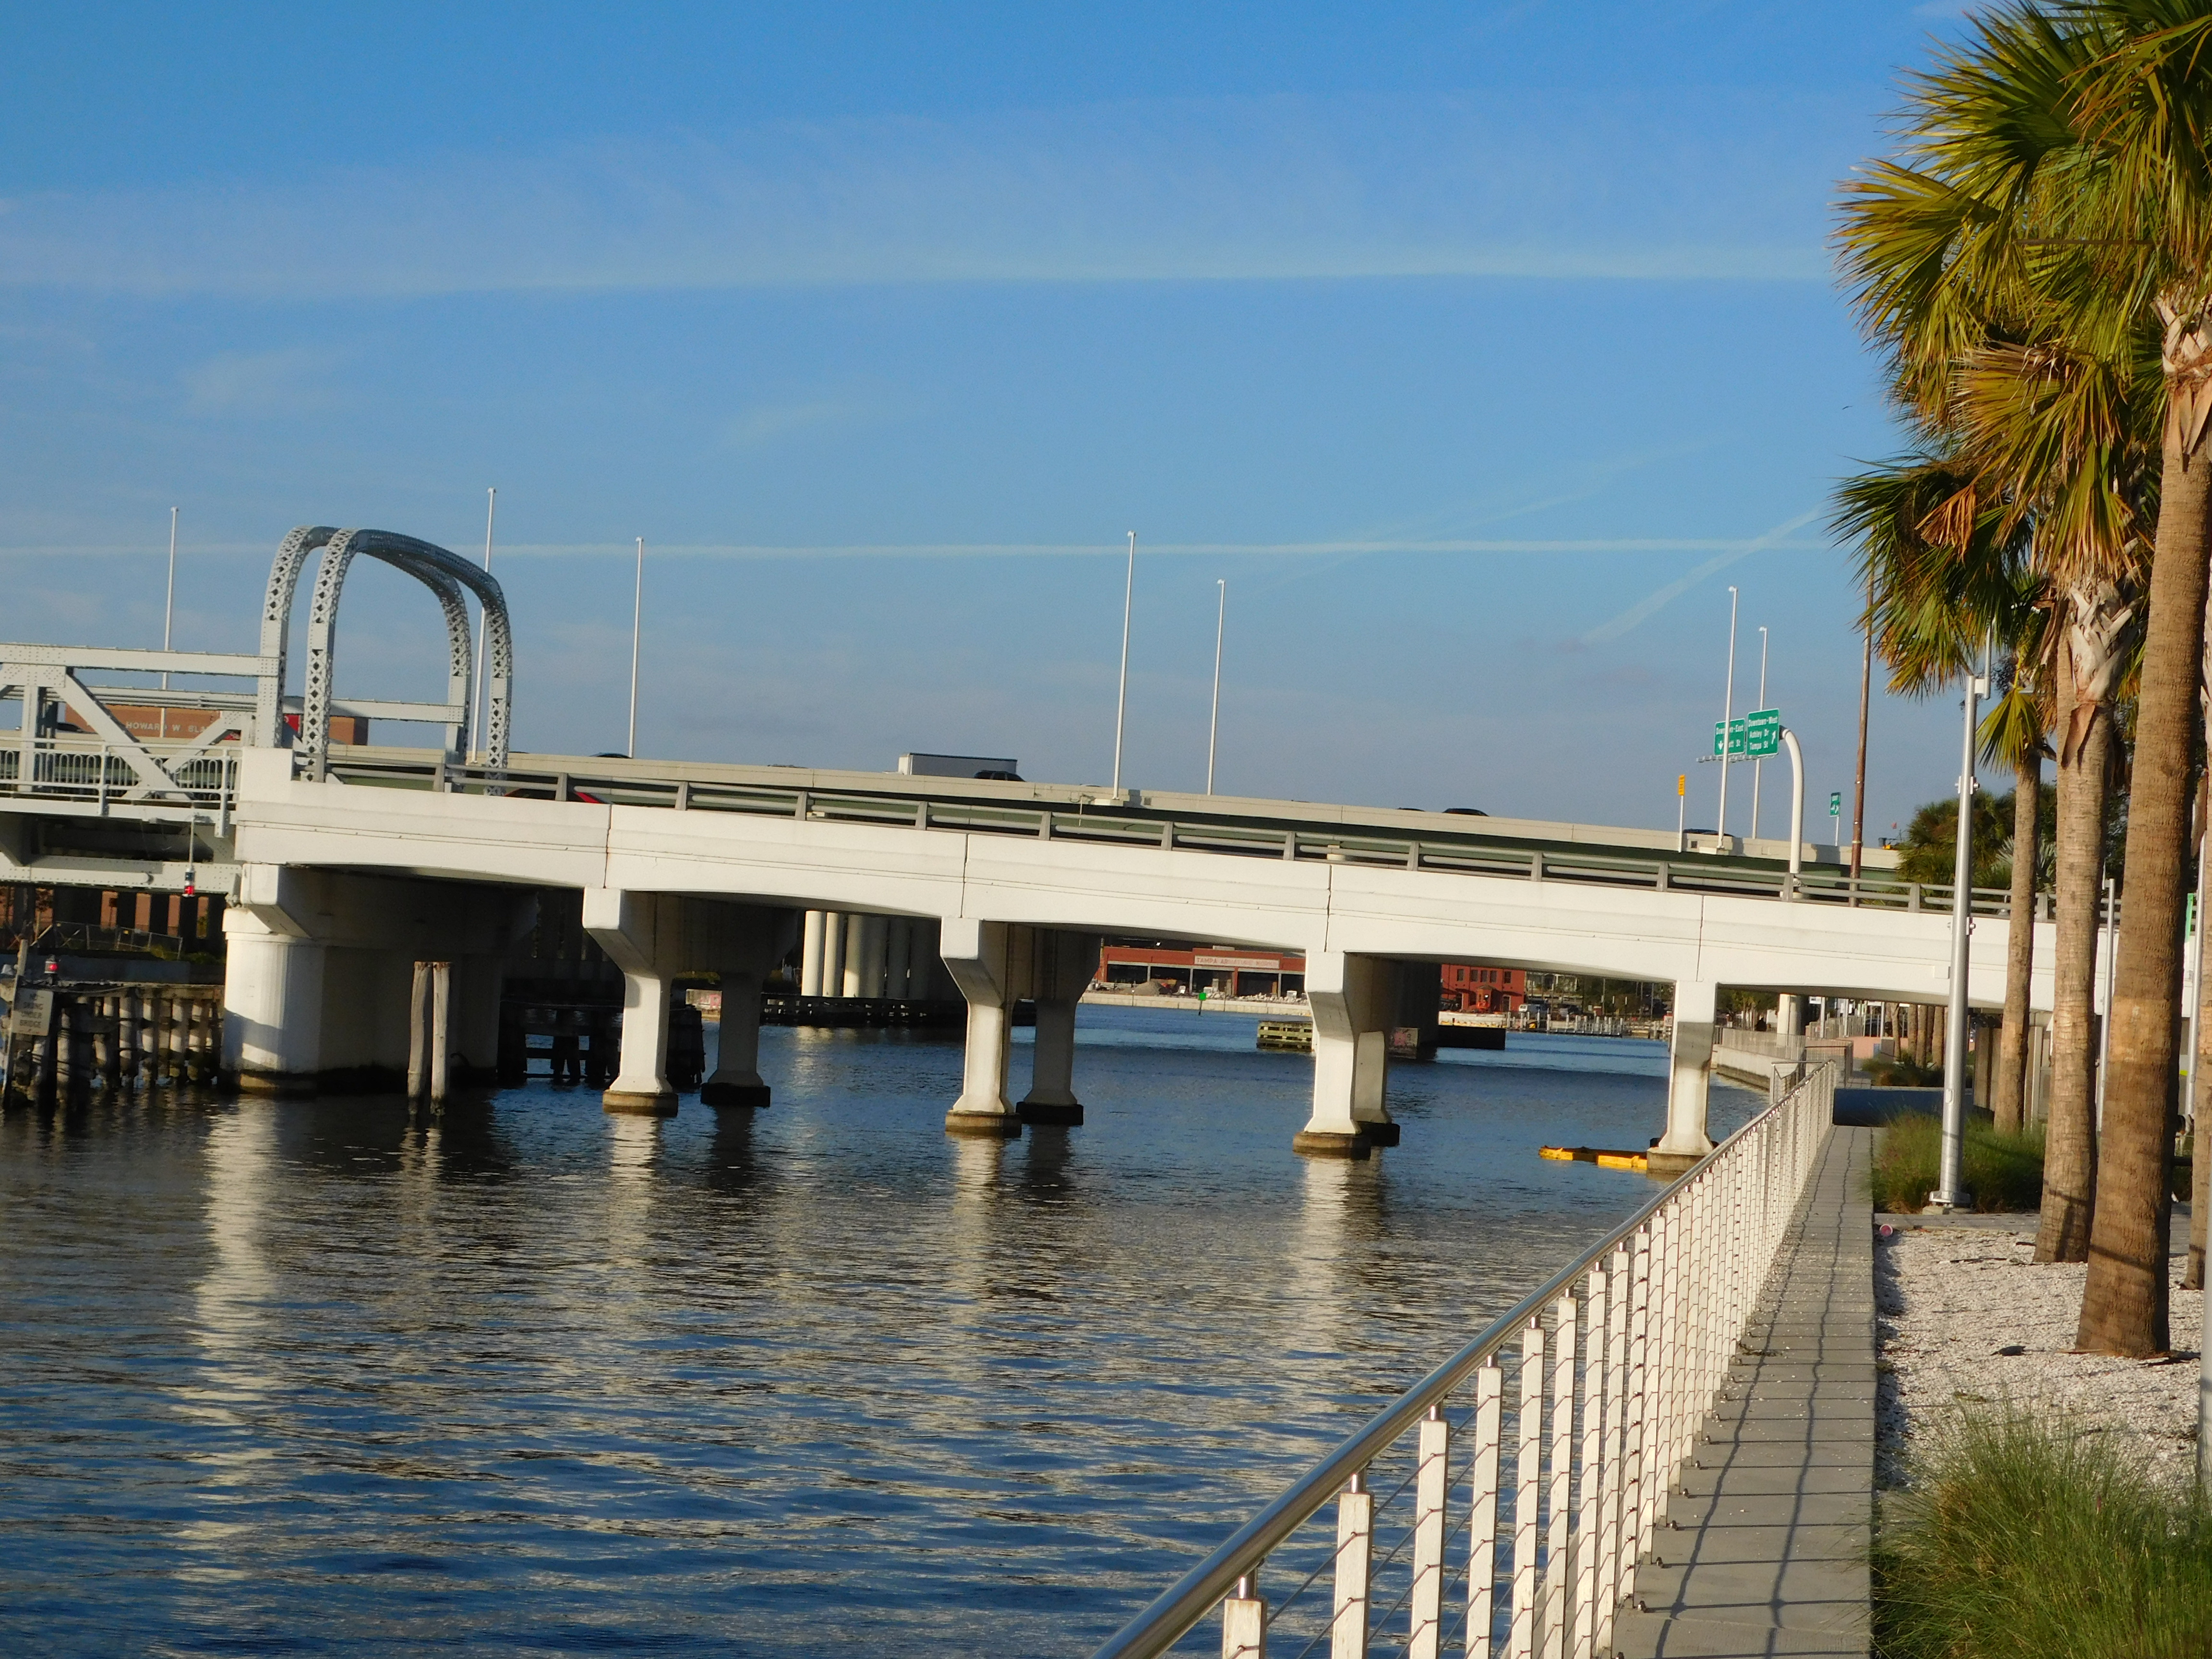
Surrounding area.
![]()
2011 Photos From Before Rehabilitation
![]()

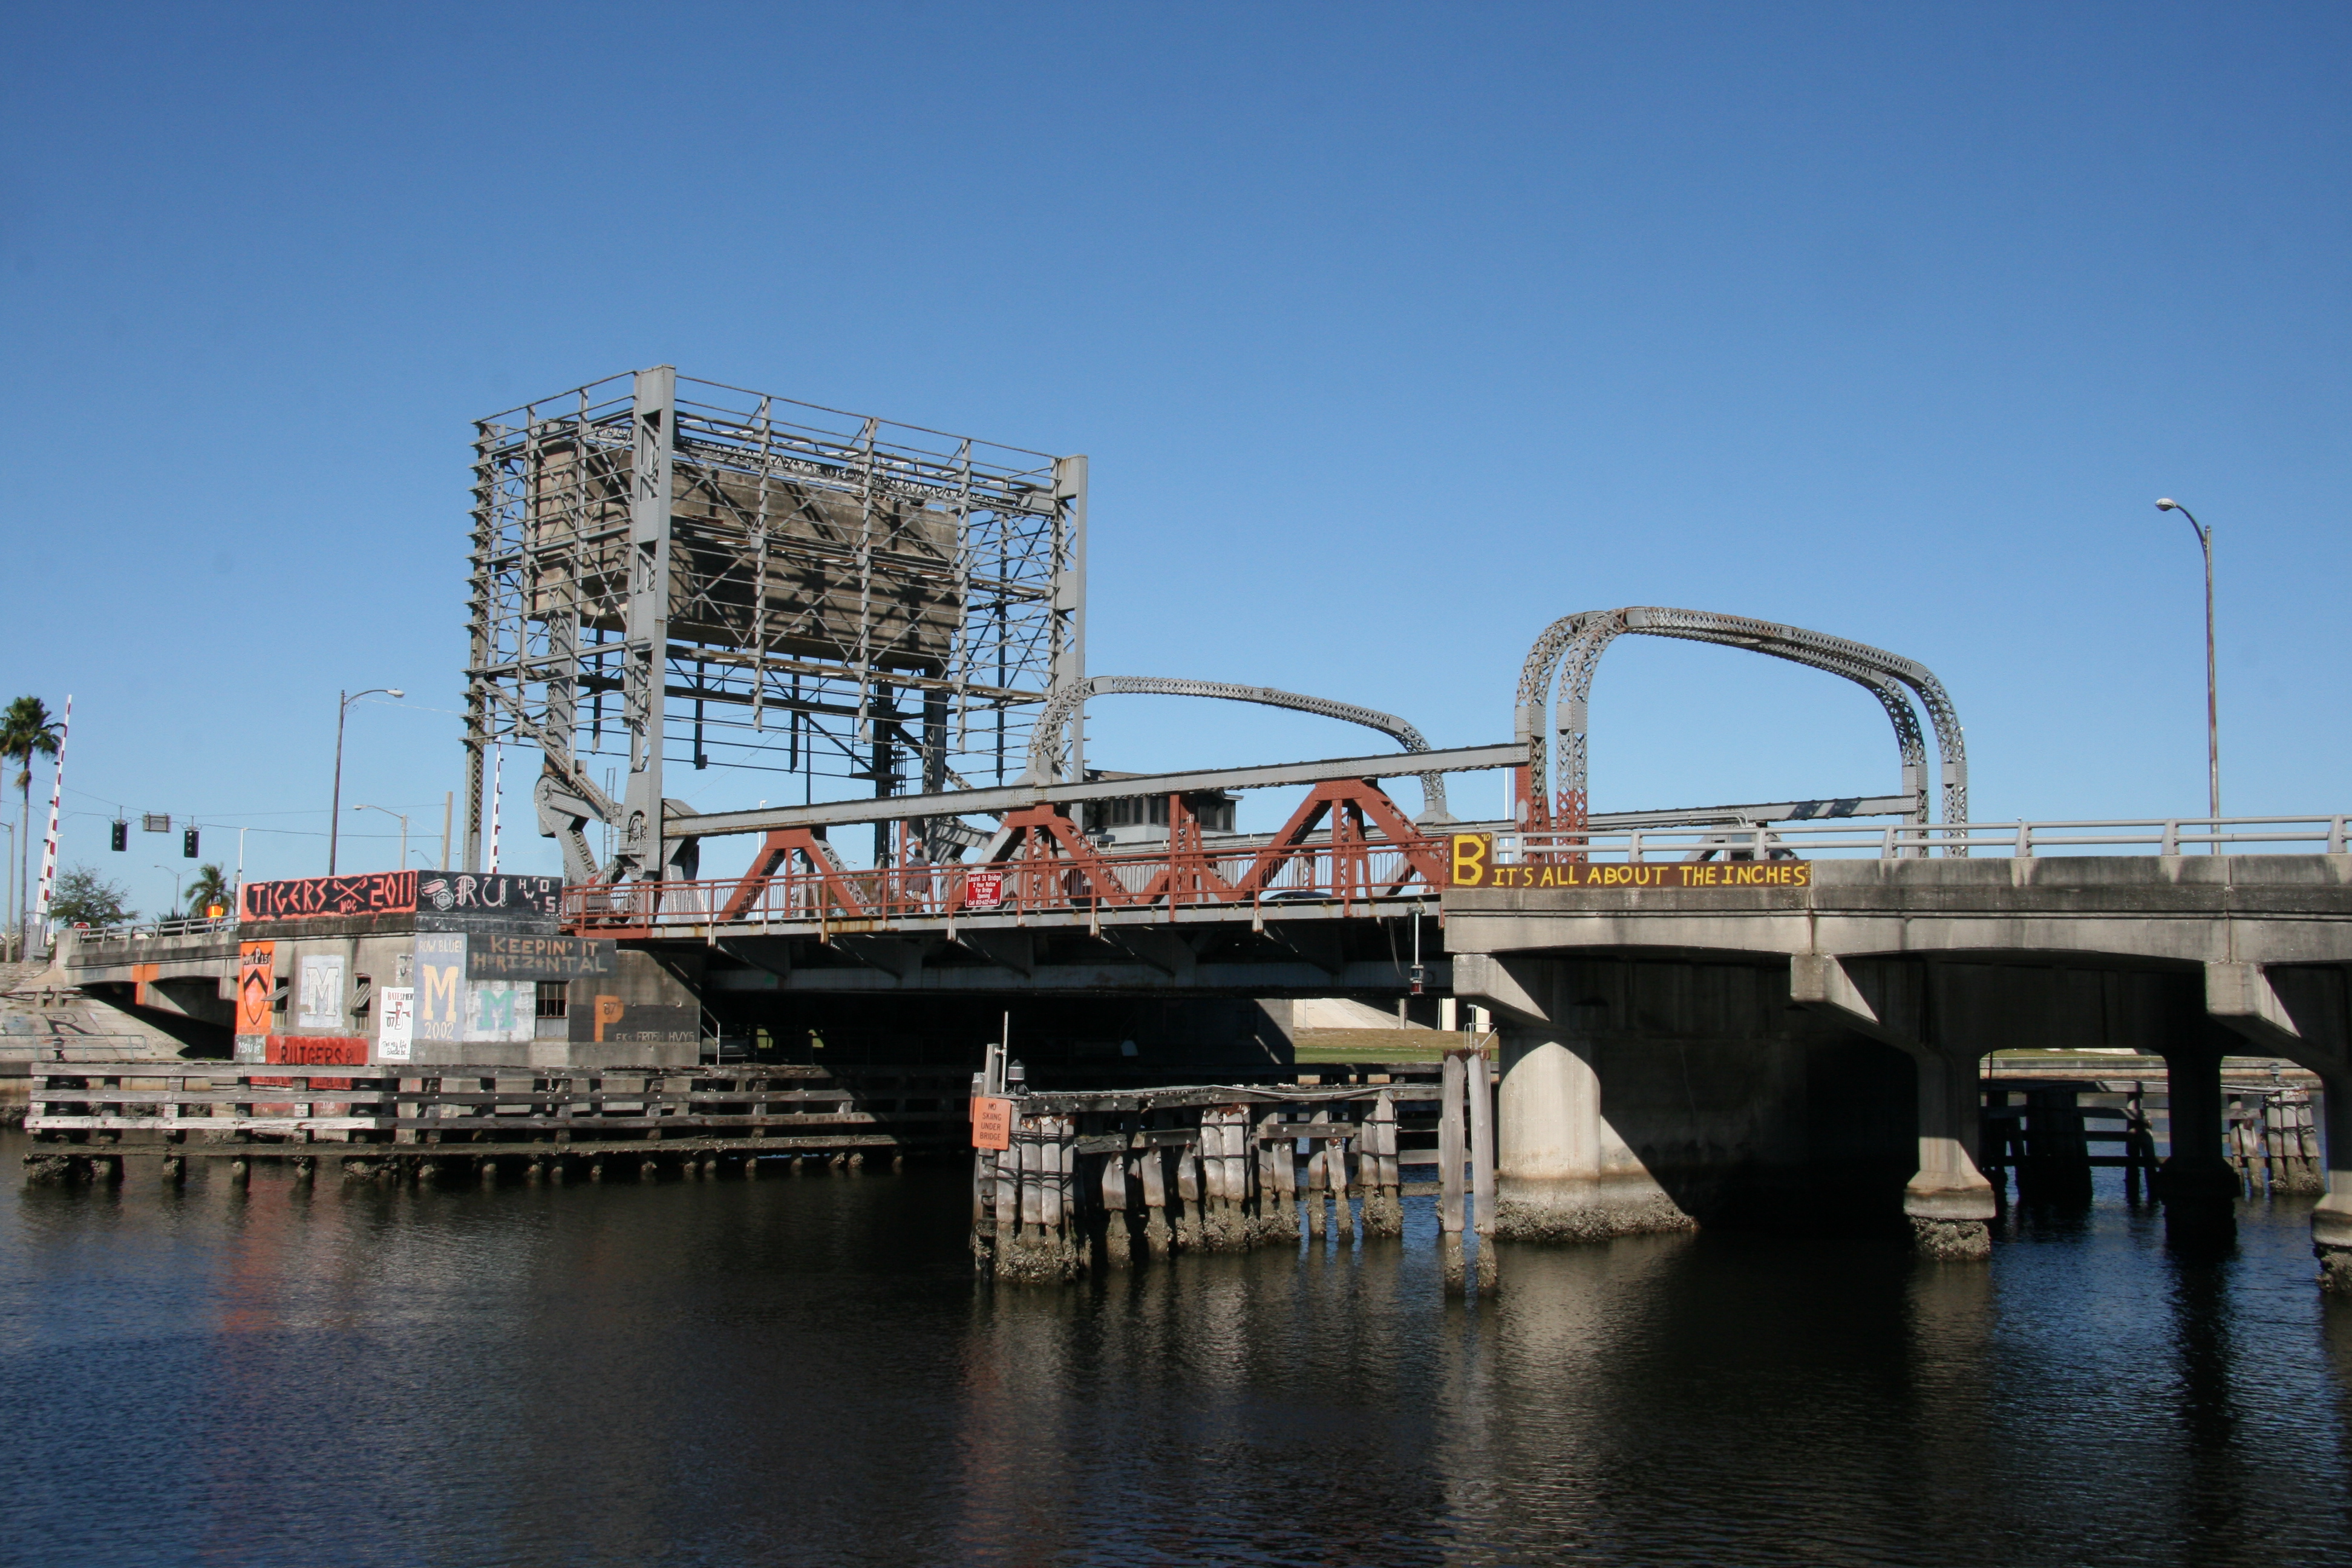


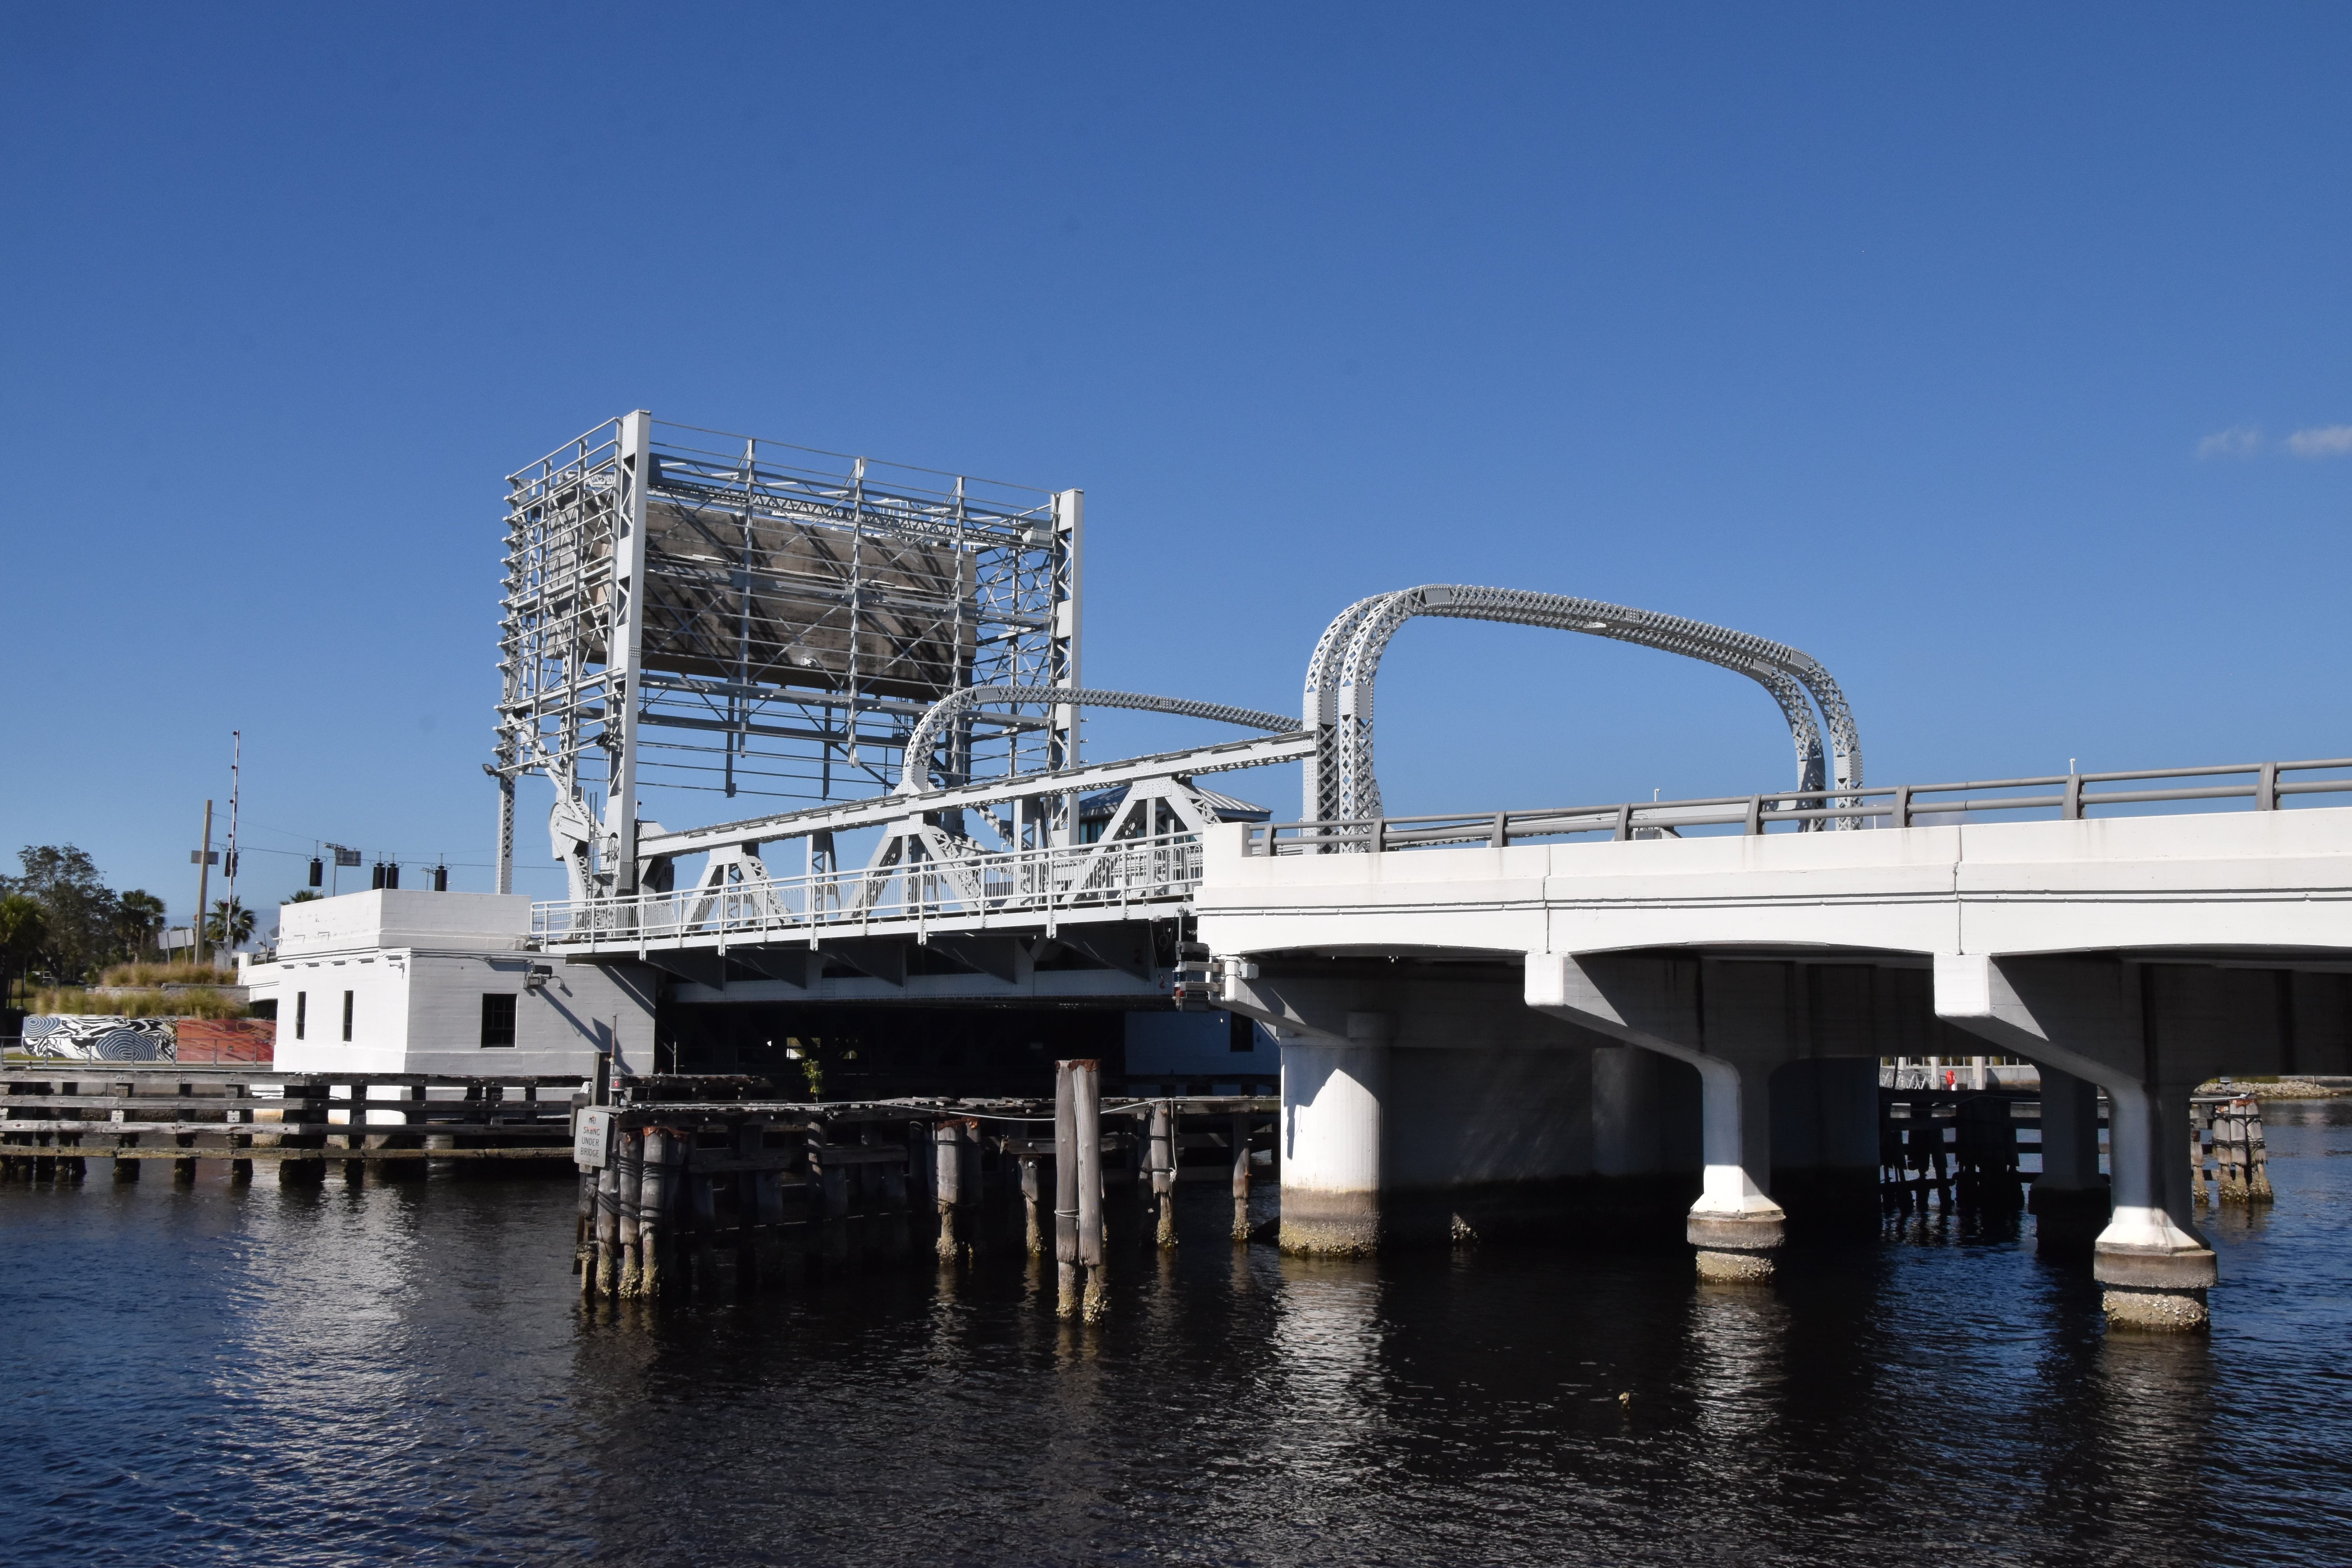
Elevation from southeast quadrant.
![]()


Portal views facing west.
![]()
Approach spans.
![]()


Details.
![]()
![]()
| Back |
| Home |
| Top |

![]()