Uncredited photos on this page taken by: Nathan Holth. Unless stated in a caption, all photos are Copyright with All Rights Reserved. Learn about reuse of our photos.
![]()
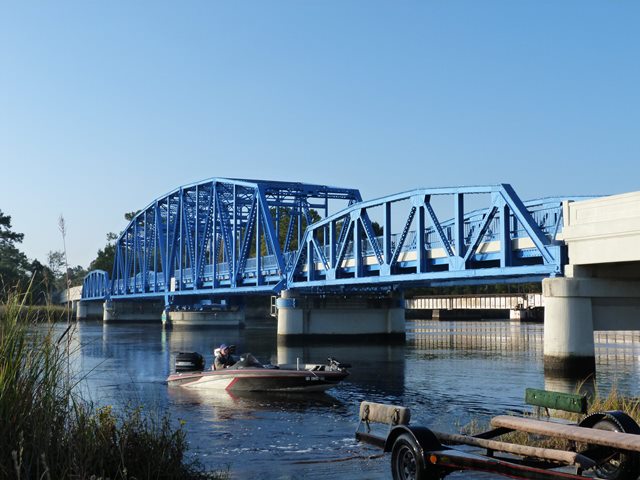


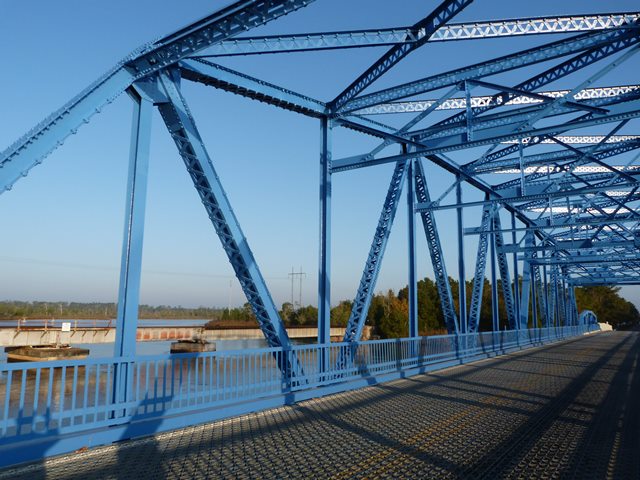
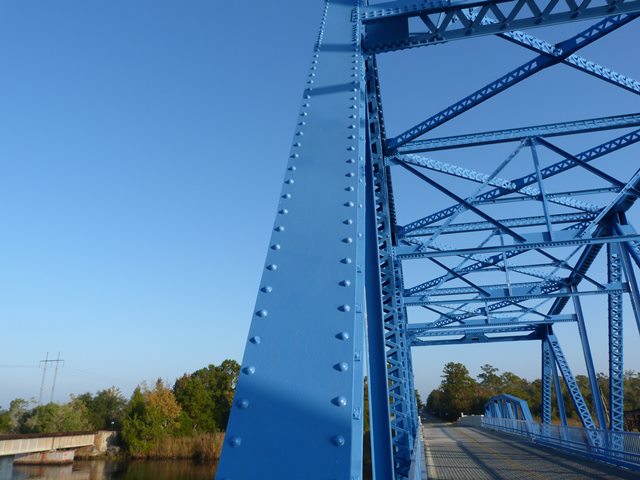
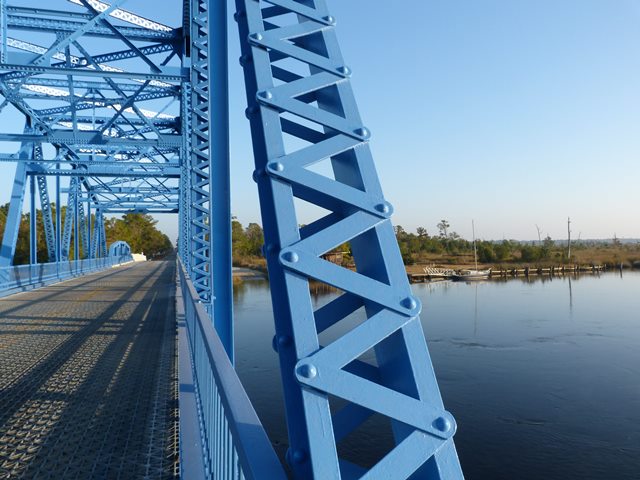
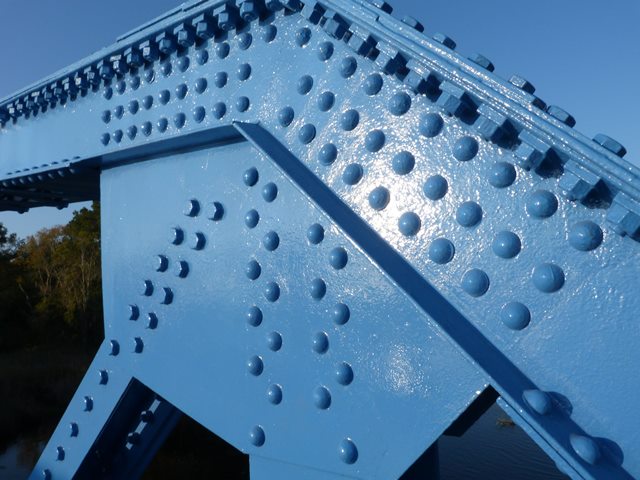
Views beside bridge from northeast quadrant.
![]()
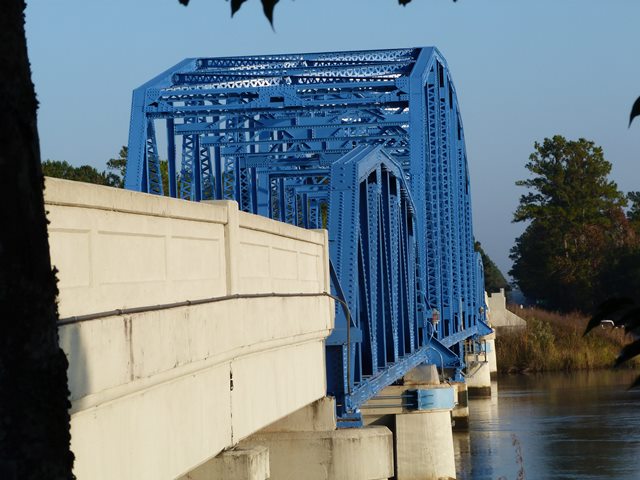
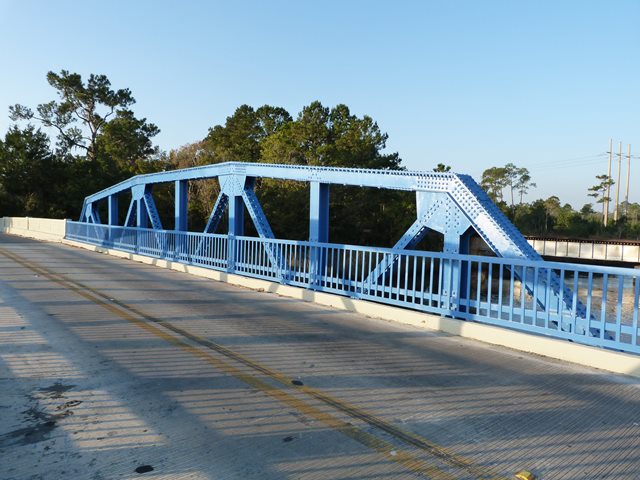
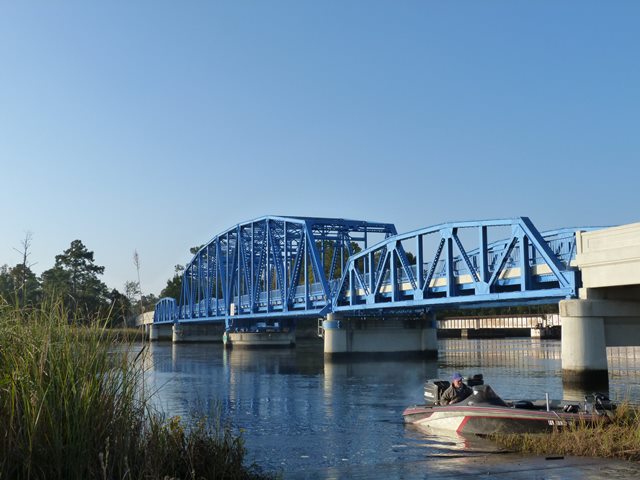
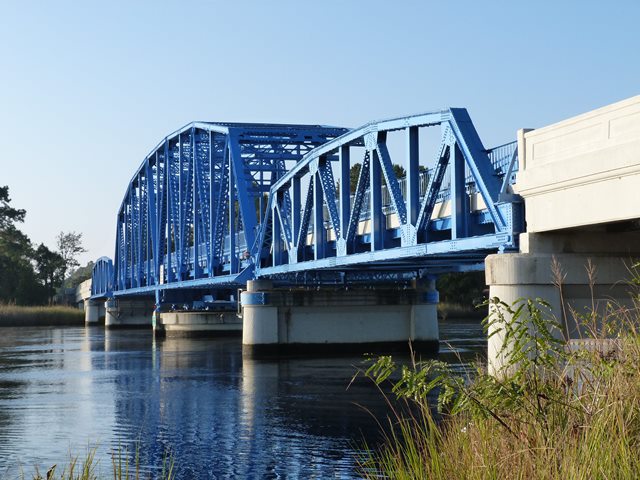
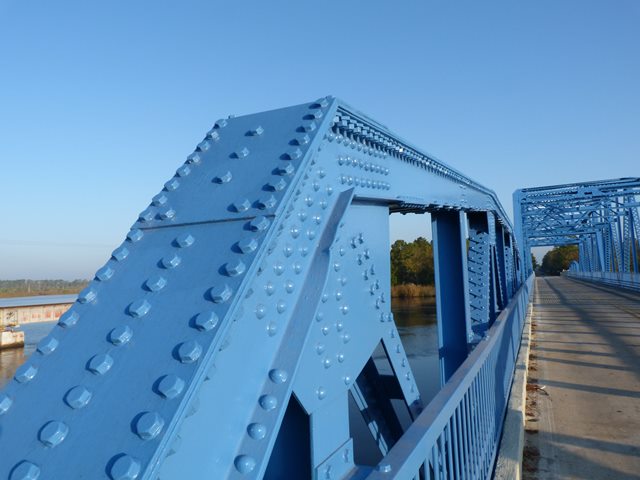
Views beside bridge from southeast quadrant.
![]()
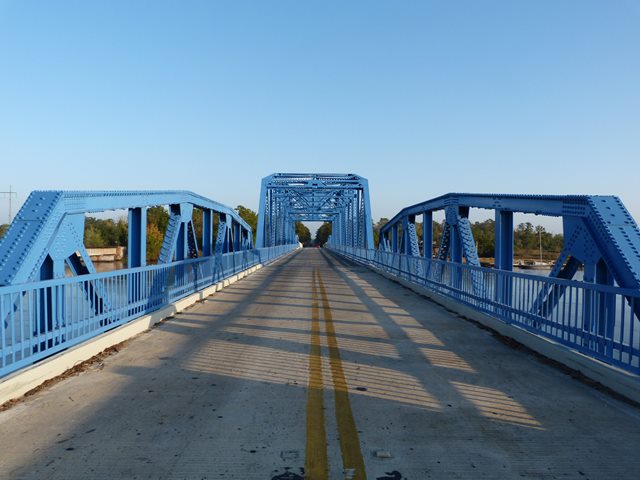
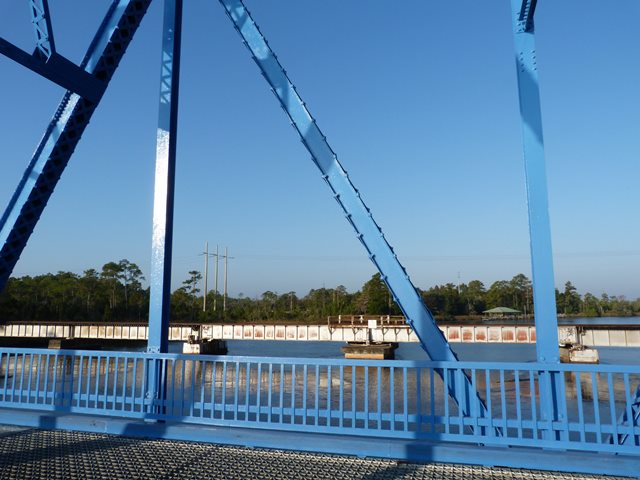
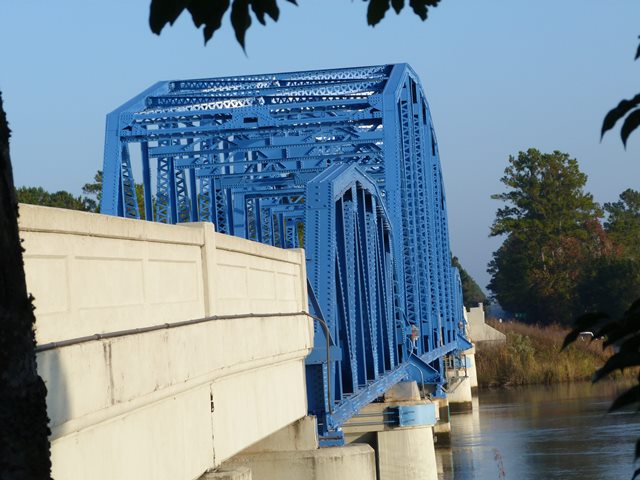
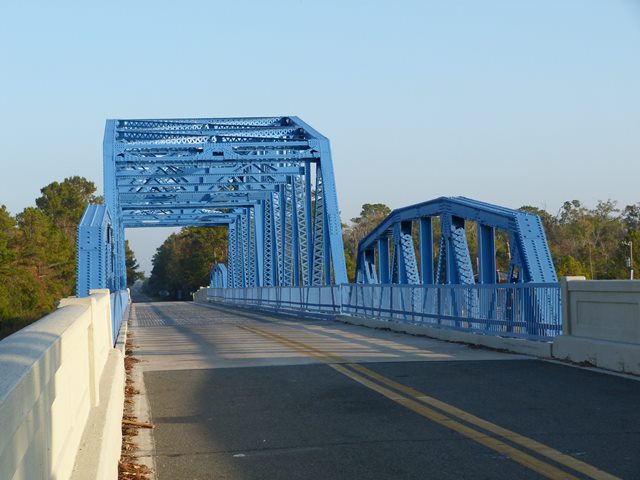
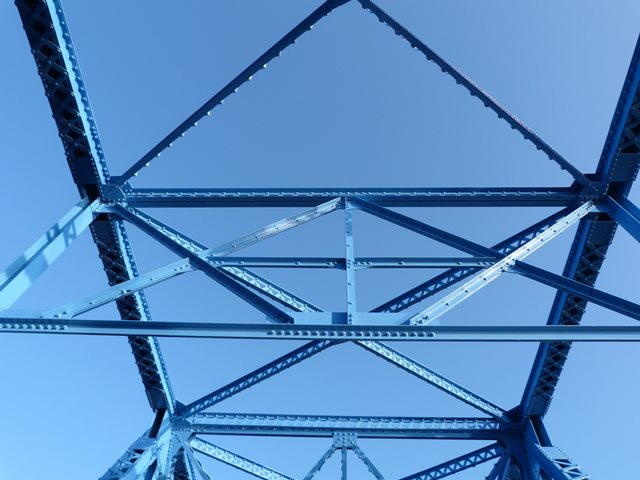
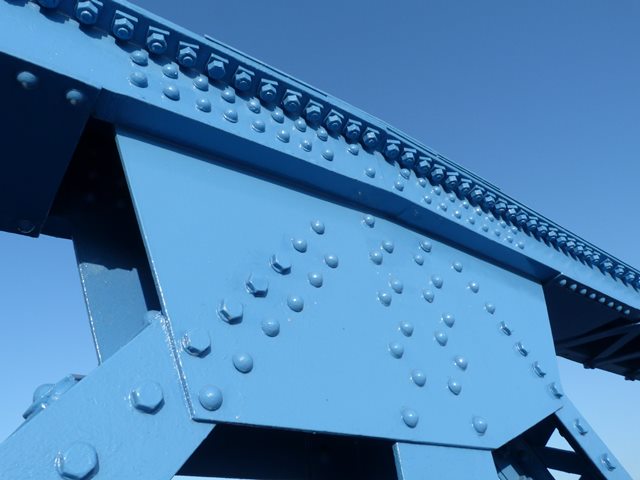
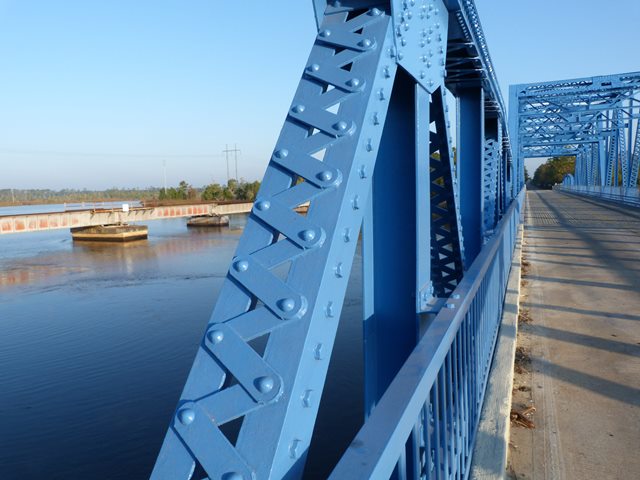
Truss spans portal view facing north.
![]()

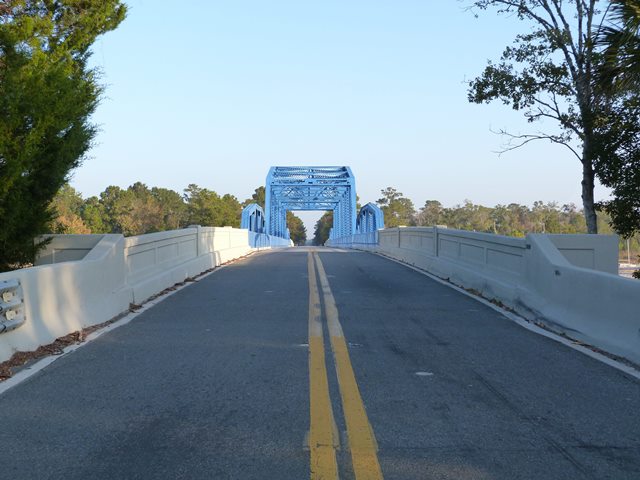
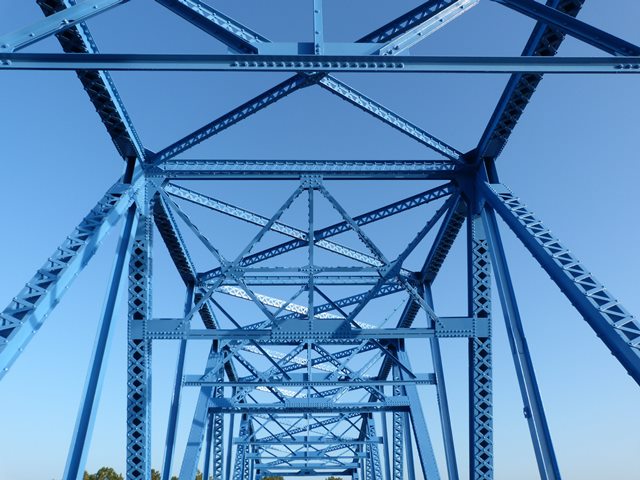
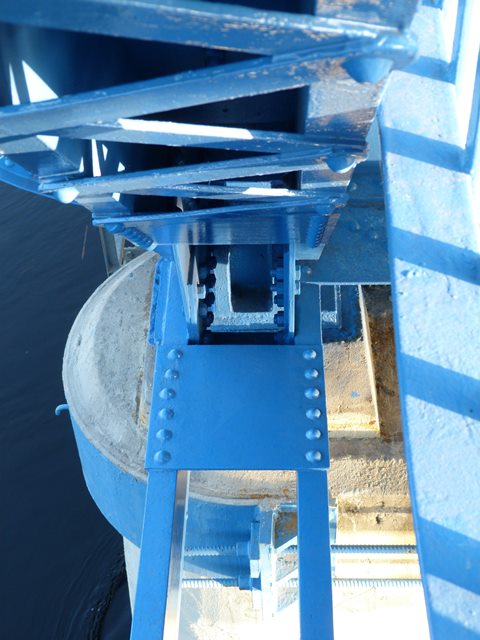
Portal views facing north.
![]()
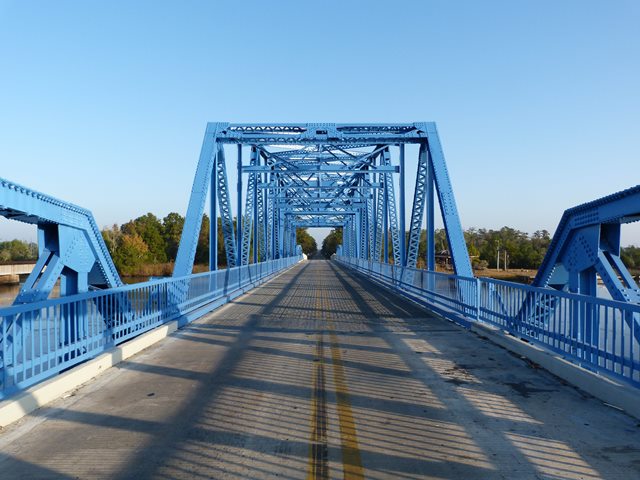


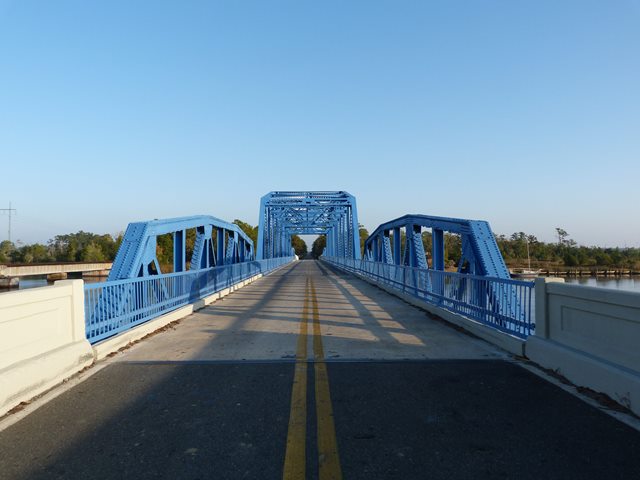
Portal views of through truss facing north.
![]()
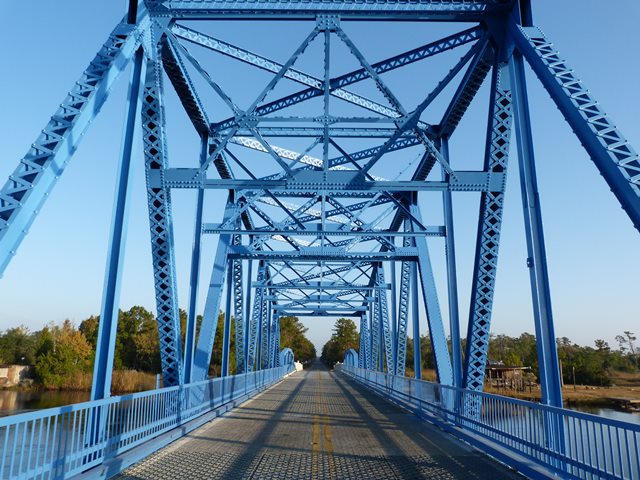
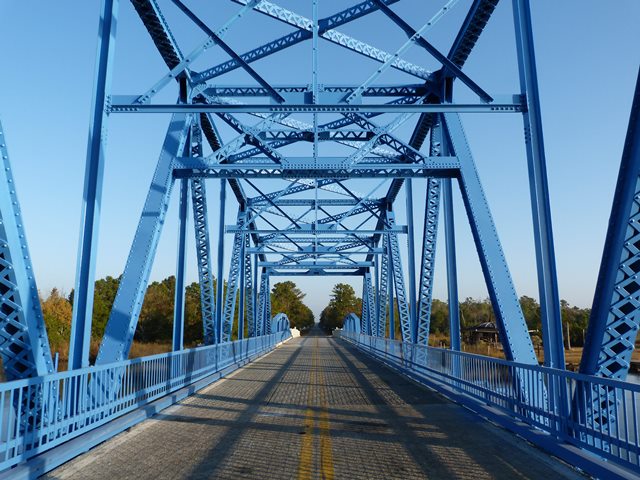
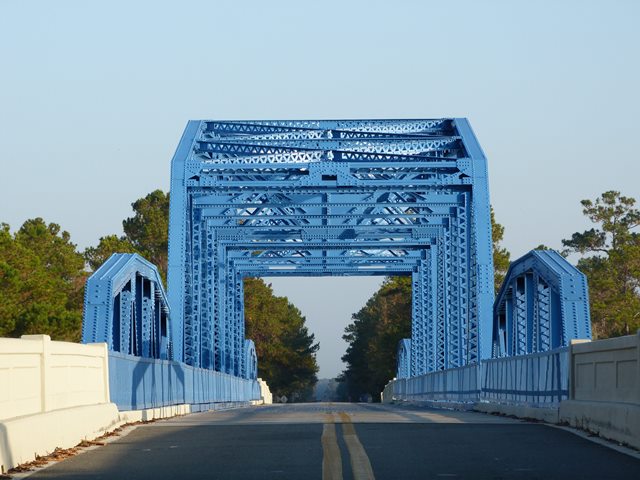
Portal views on through truss facing north.
![]()
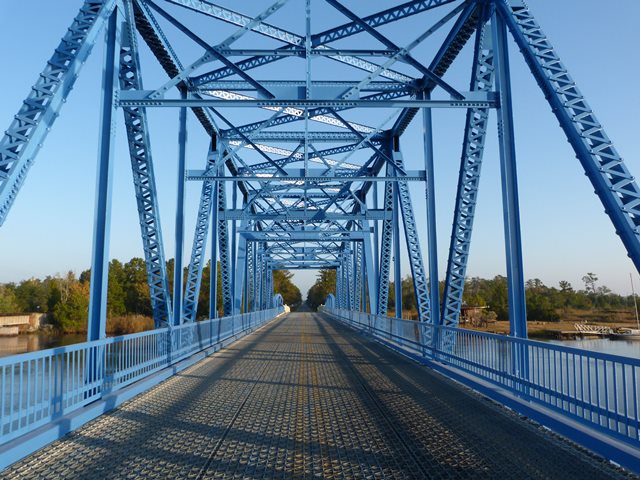
View from beside roadway.
![]()
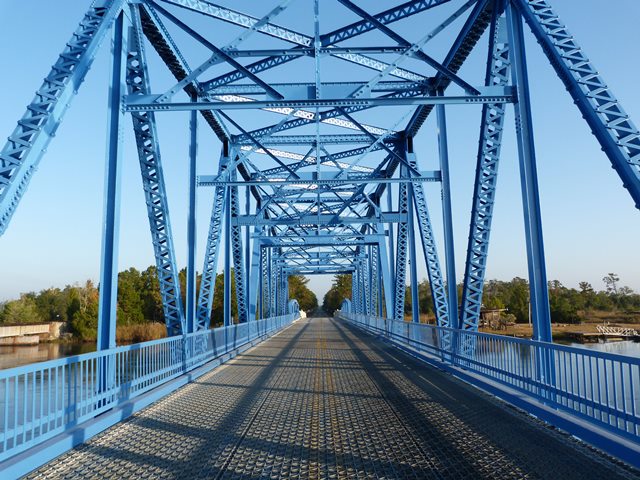
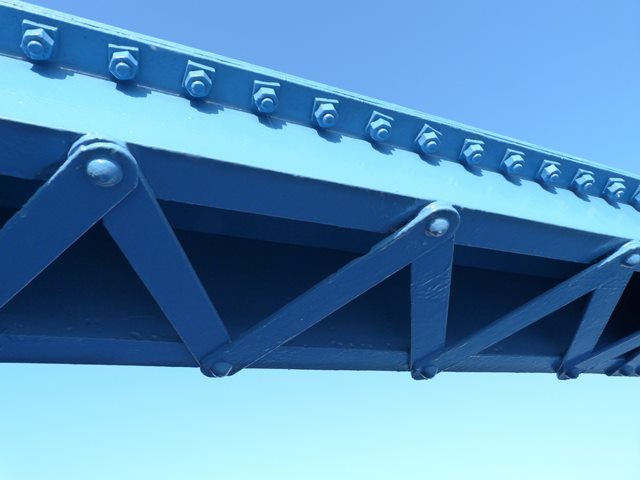
Views of through truss web.
![]()
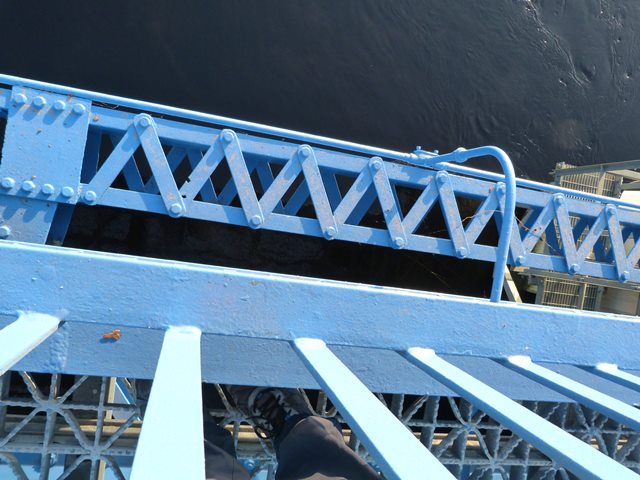
Views of pony truss web.
![]()
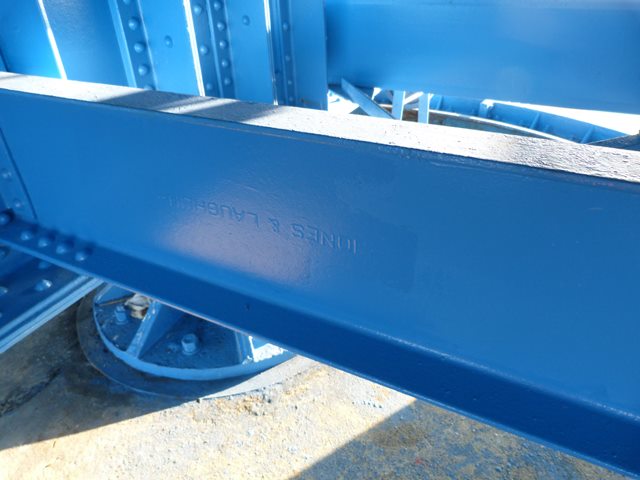
Jones and Laughlin brand.
![]()

Tennessee brand.
![]()
Carnegie brand visible in upper right corner.
![]()
Details of Through Truss Swing Span: Mechanical Details
![]()


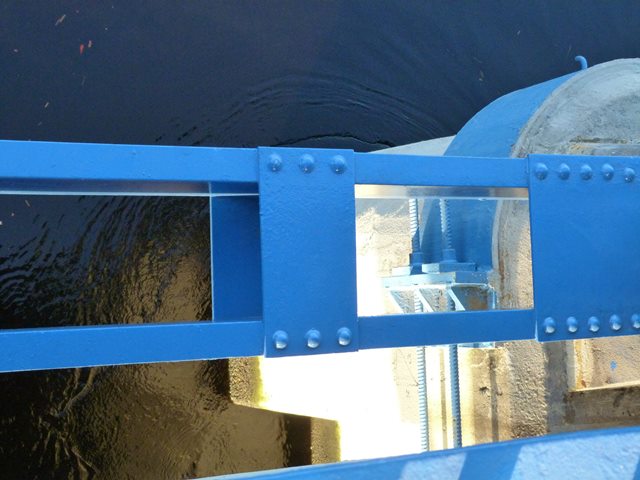
Hand-turned shaft leading up to deck.
![]()
View of the hand turned shaft from on deck.
![]()
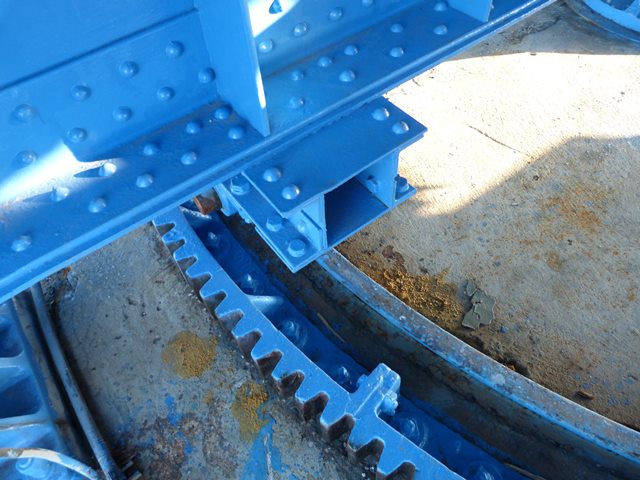
Rack.
![]()
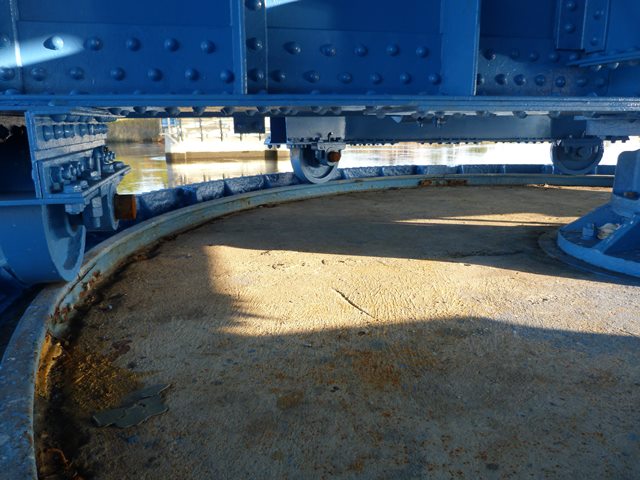
Curved rail for rollers.
![]()


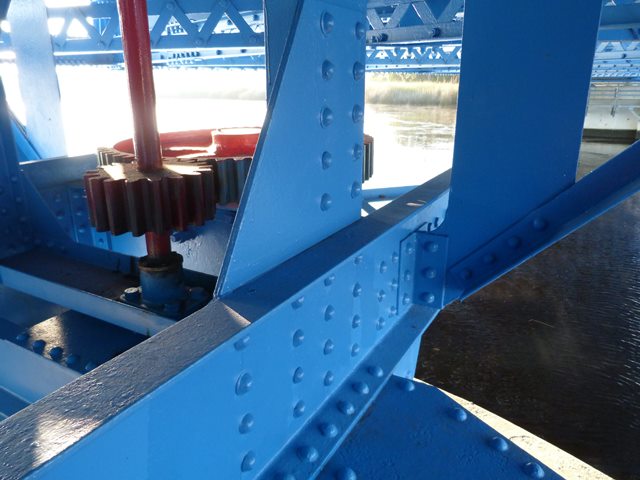
Gearing.
![]()

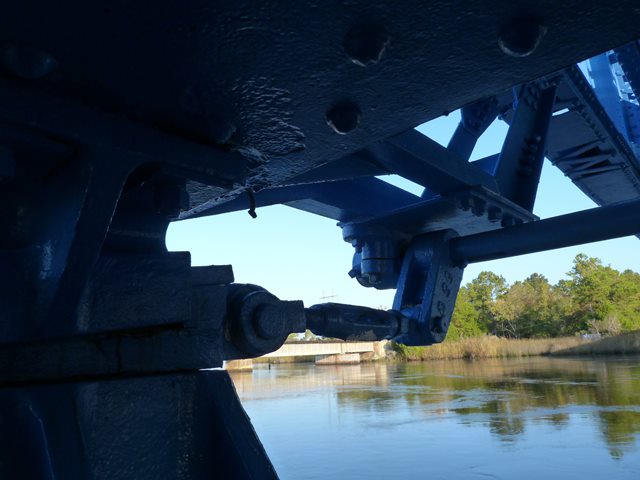
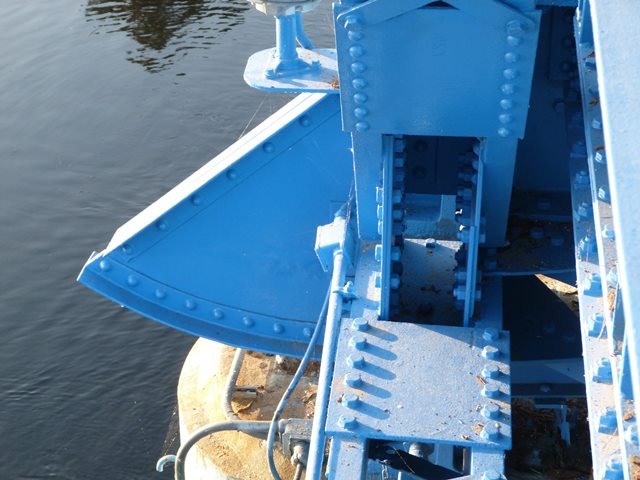
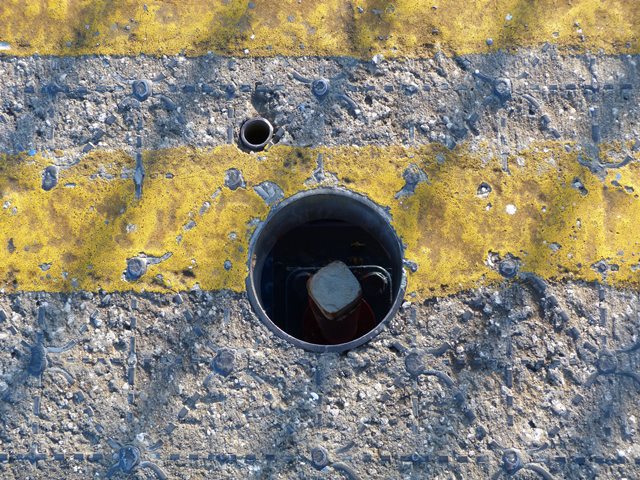
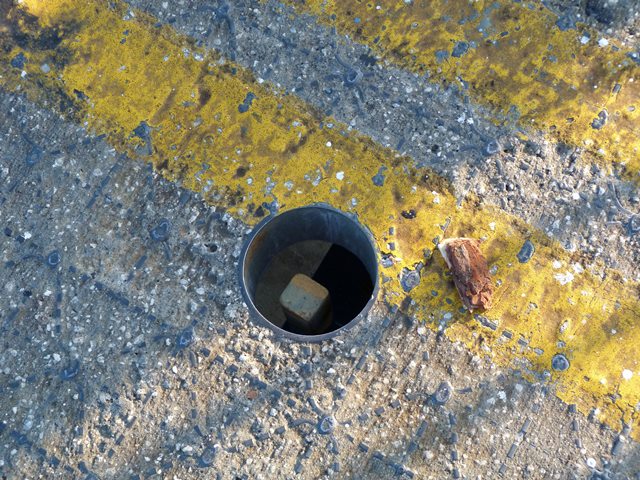
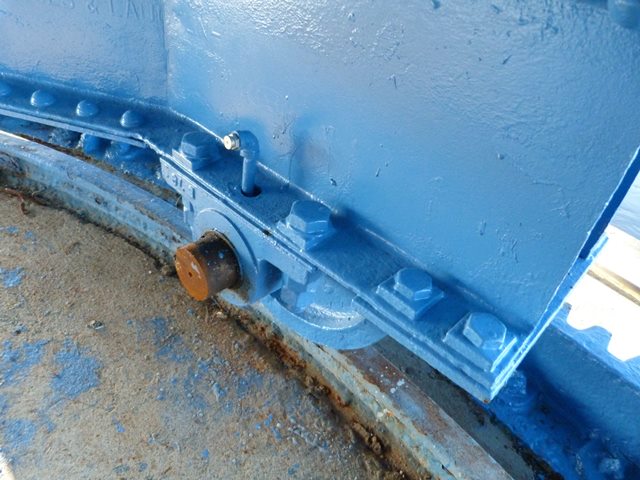
Wedge and associated machinery.
![]()

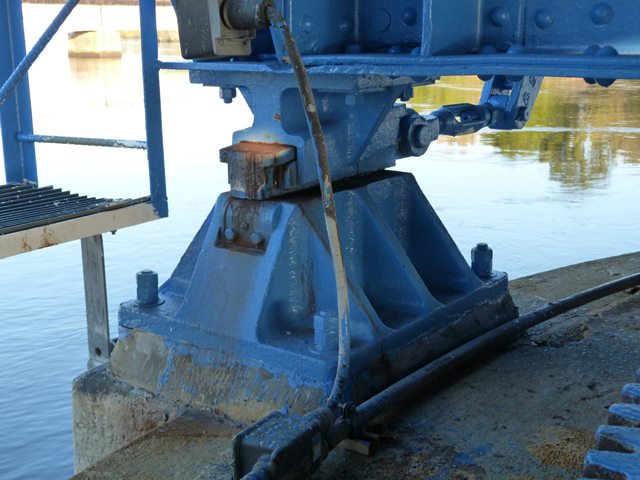
Center bearing.
![]()

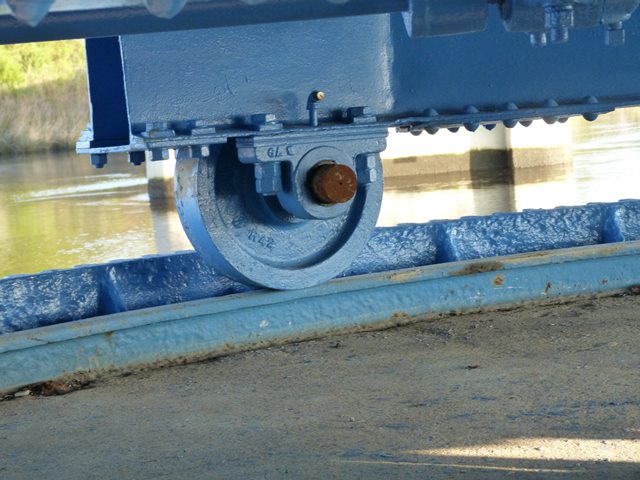


Rollers.
![]()
Details of Through Truss Swing Span
![]()

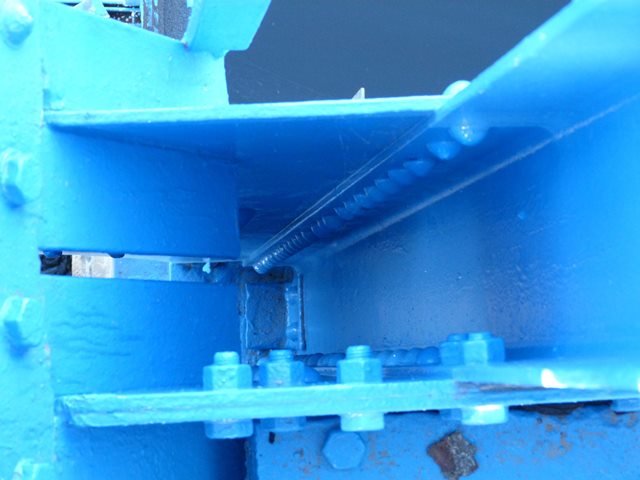
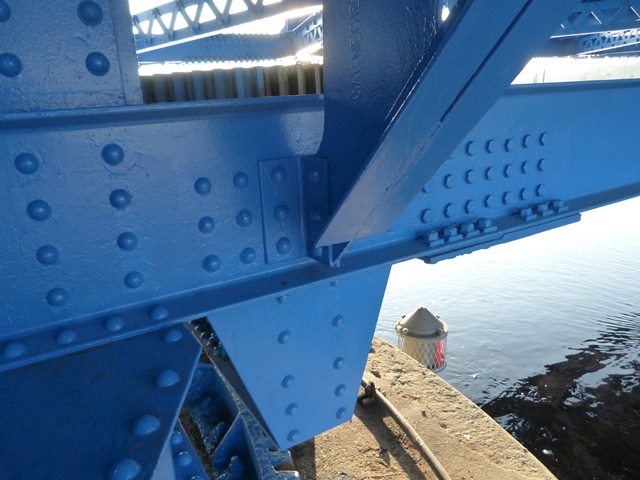
Joint at end of span.
![]()
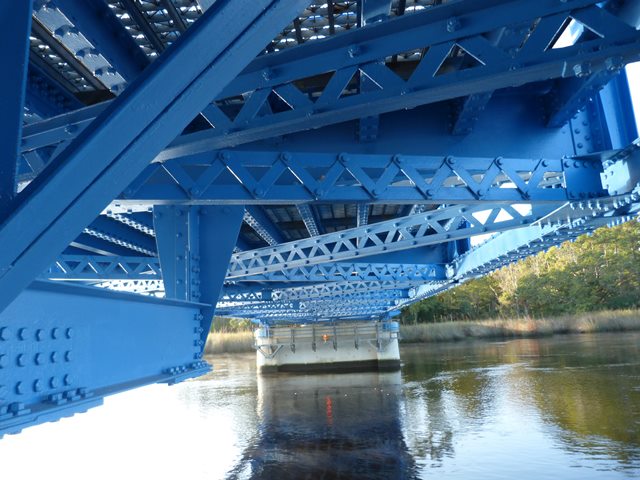
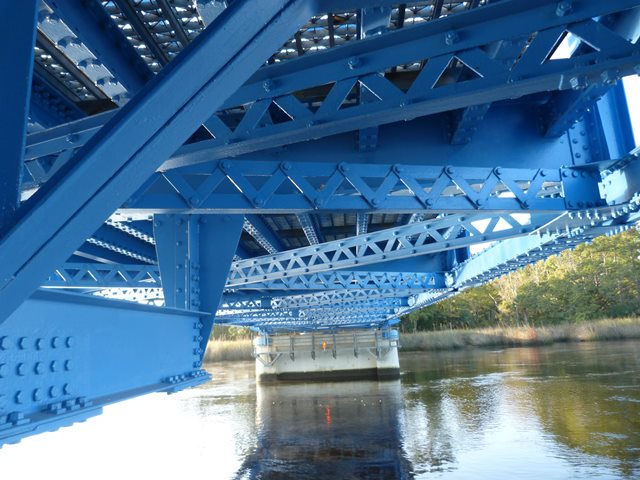
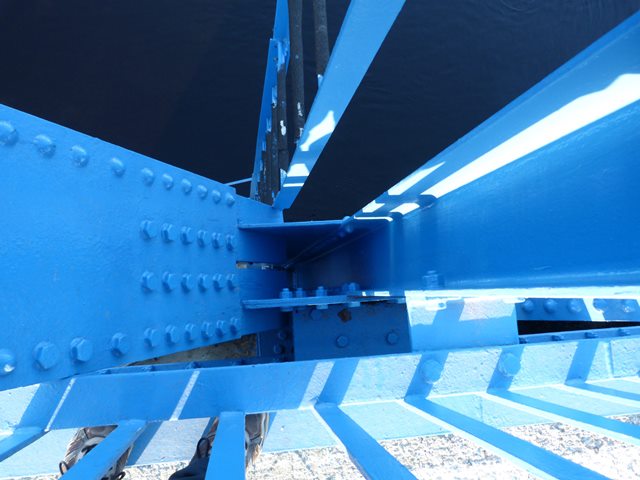
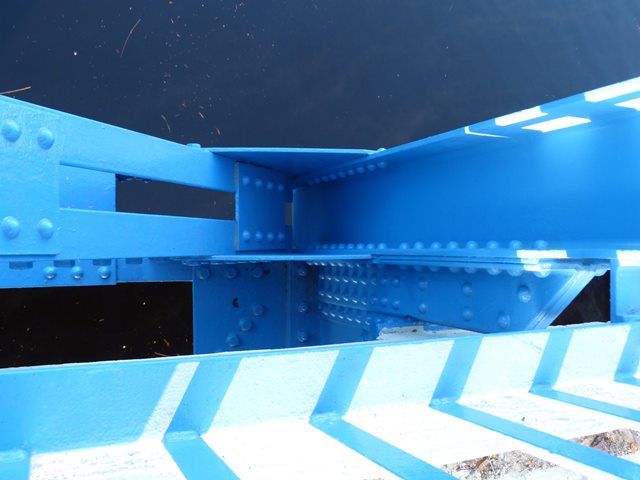
Views under span as seen from swing pier.
![]()
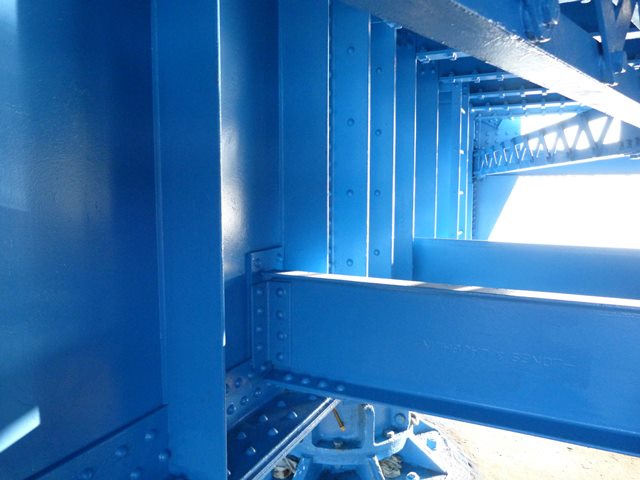
Floor beam at swing pier.
![]()

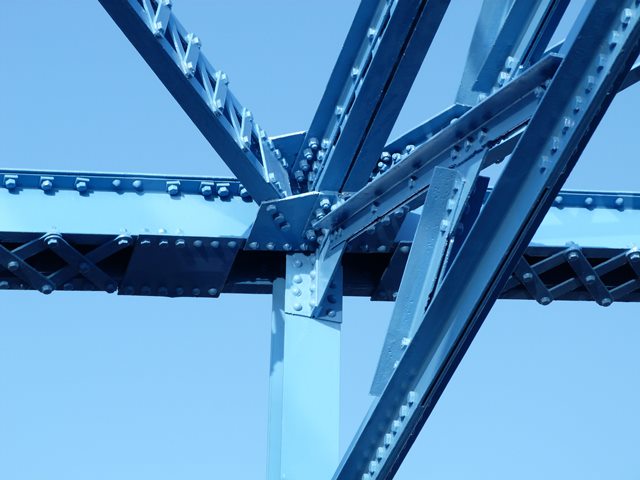

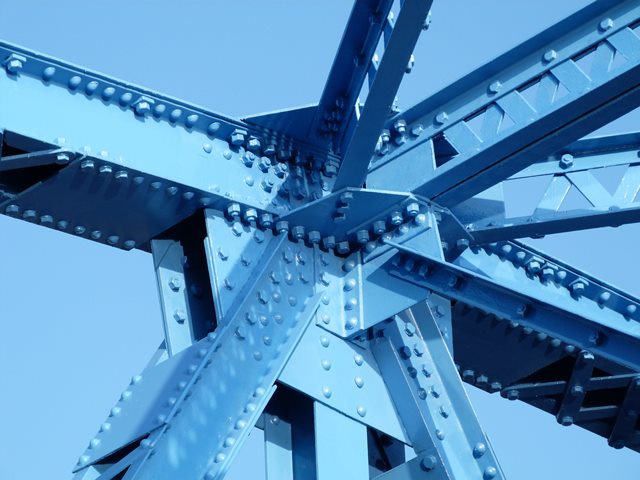

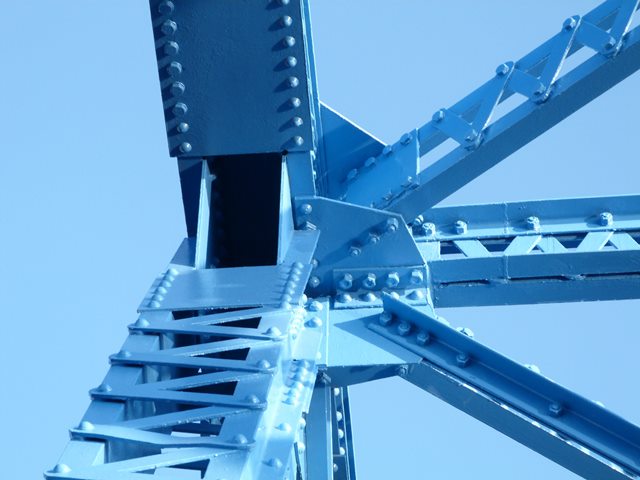
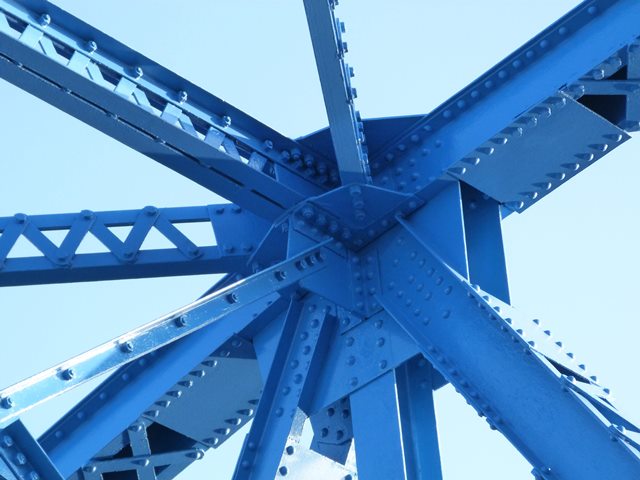
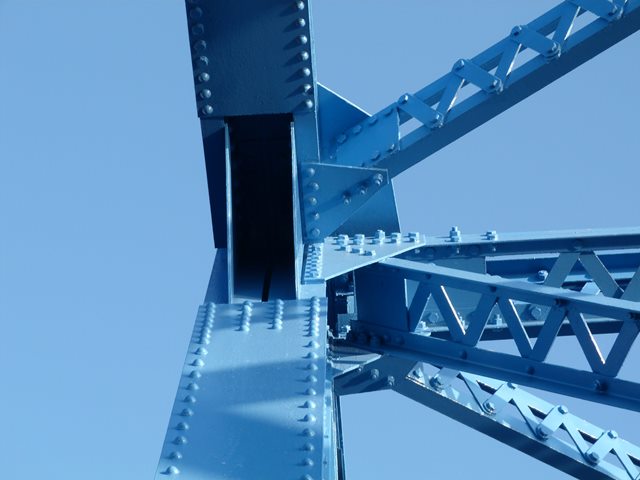
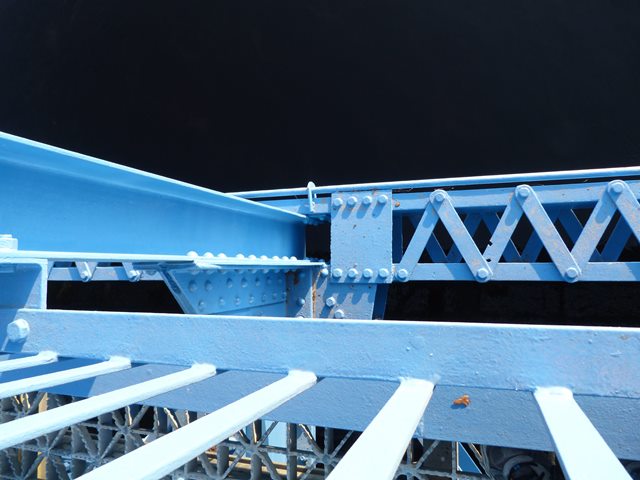
Top chord connections as viewed from on bridge.
![]()
Bottom chord connections as viewed from on bridge.
![]()

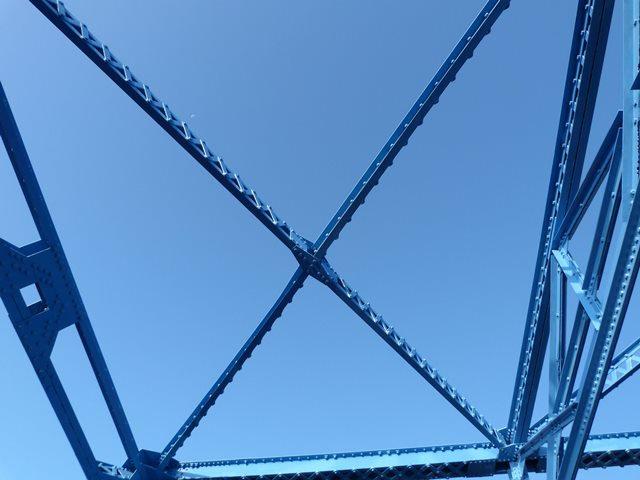

Lateral bracing.
![]()

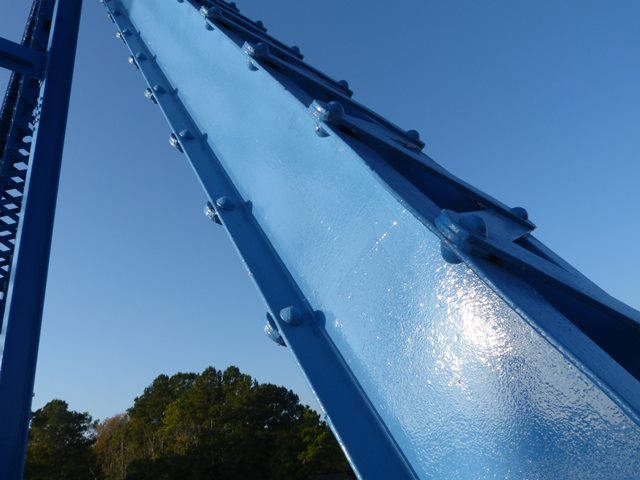
End post.
![]()


Diagonal members.
![]()
Bottom chord.
![]()
Sway bracing.
![]()

Deck.
![]()
Details of Pony Truss Spans
![]()

End post with small area of complete section loss visible.
![]()
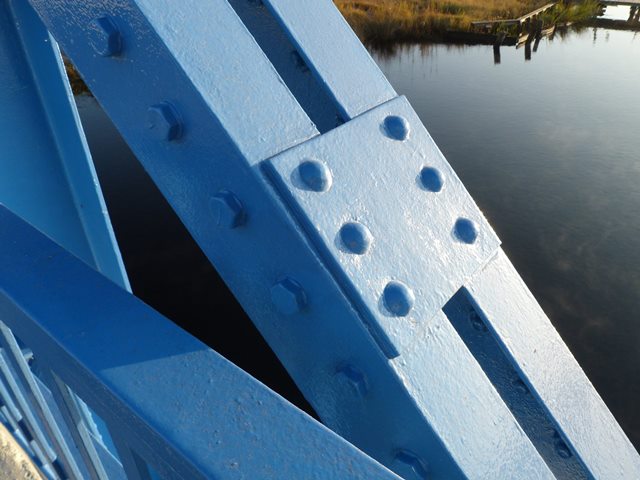
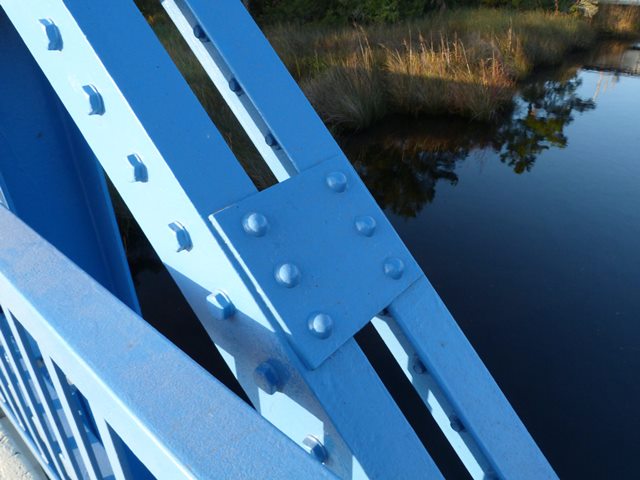
Top chord connections as viewed from on bridge.
![]()


Bottom chord connections as viewed from on bridge.
![]()
Bottom chord.
![]()
Top chord.
![]()

Diagonal members.
![]()

End post.
![]()


Bearing.
![]()

Railing.
![]()
Details of T-beam Spans.
![]()

View beside span.
![]()
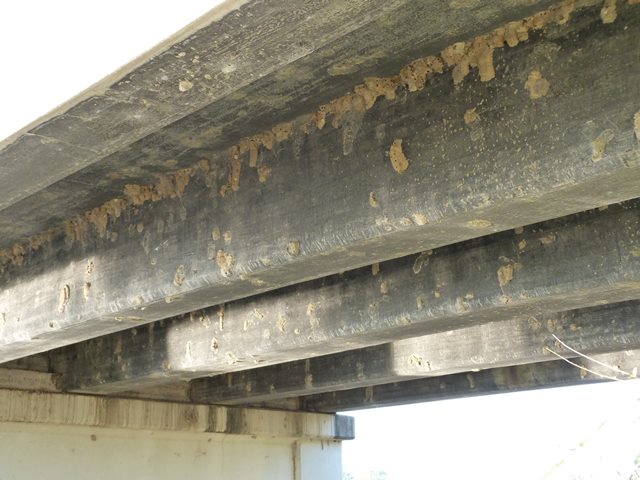

Views under span.
![]()
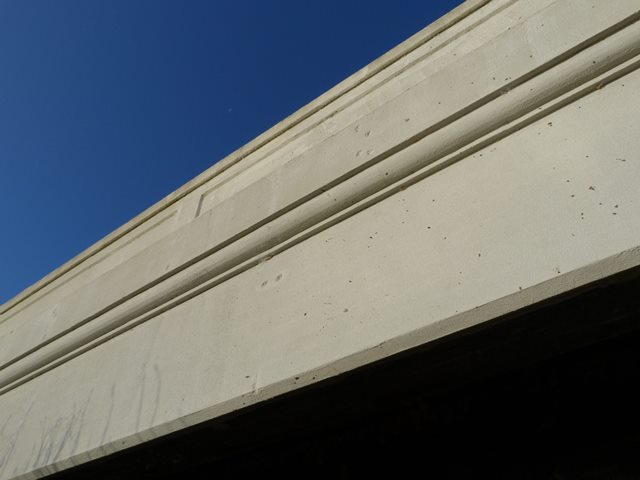
Fascia beam.
![]()

Railing.
![]()
![]()
| Back |
| Home |
| Top |

![]()