Uncredited photos on this page taken by: Nathan Holth. Unless stated in a caption, all photos are Copyright with All Rights Reserved. Learn about reuse of our photos.
![]()
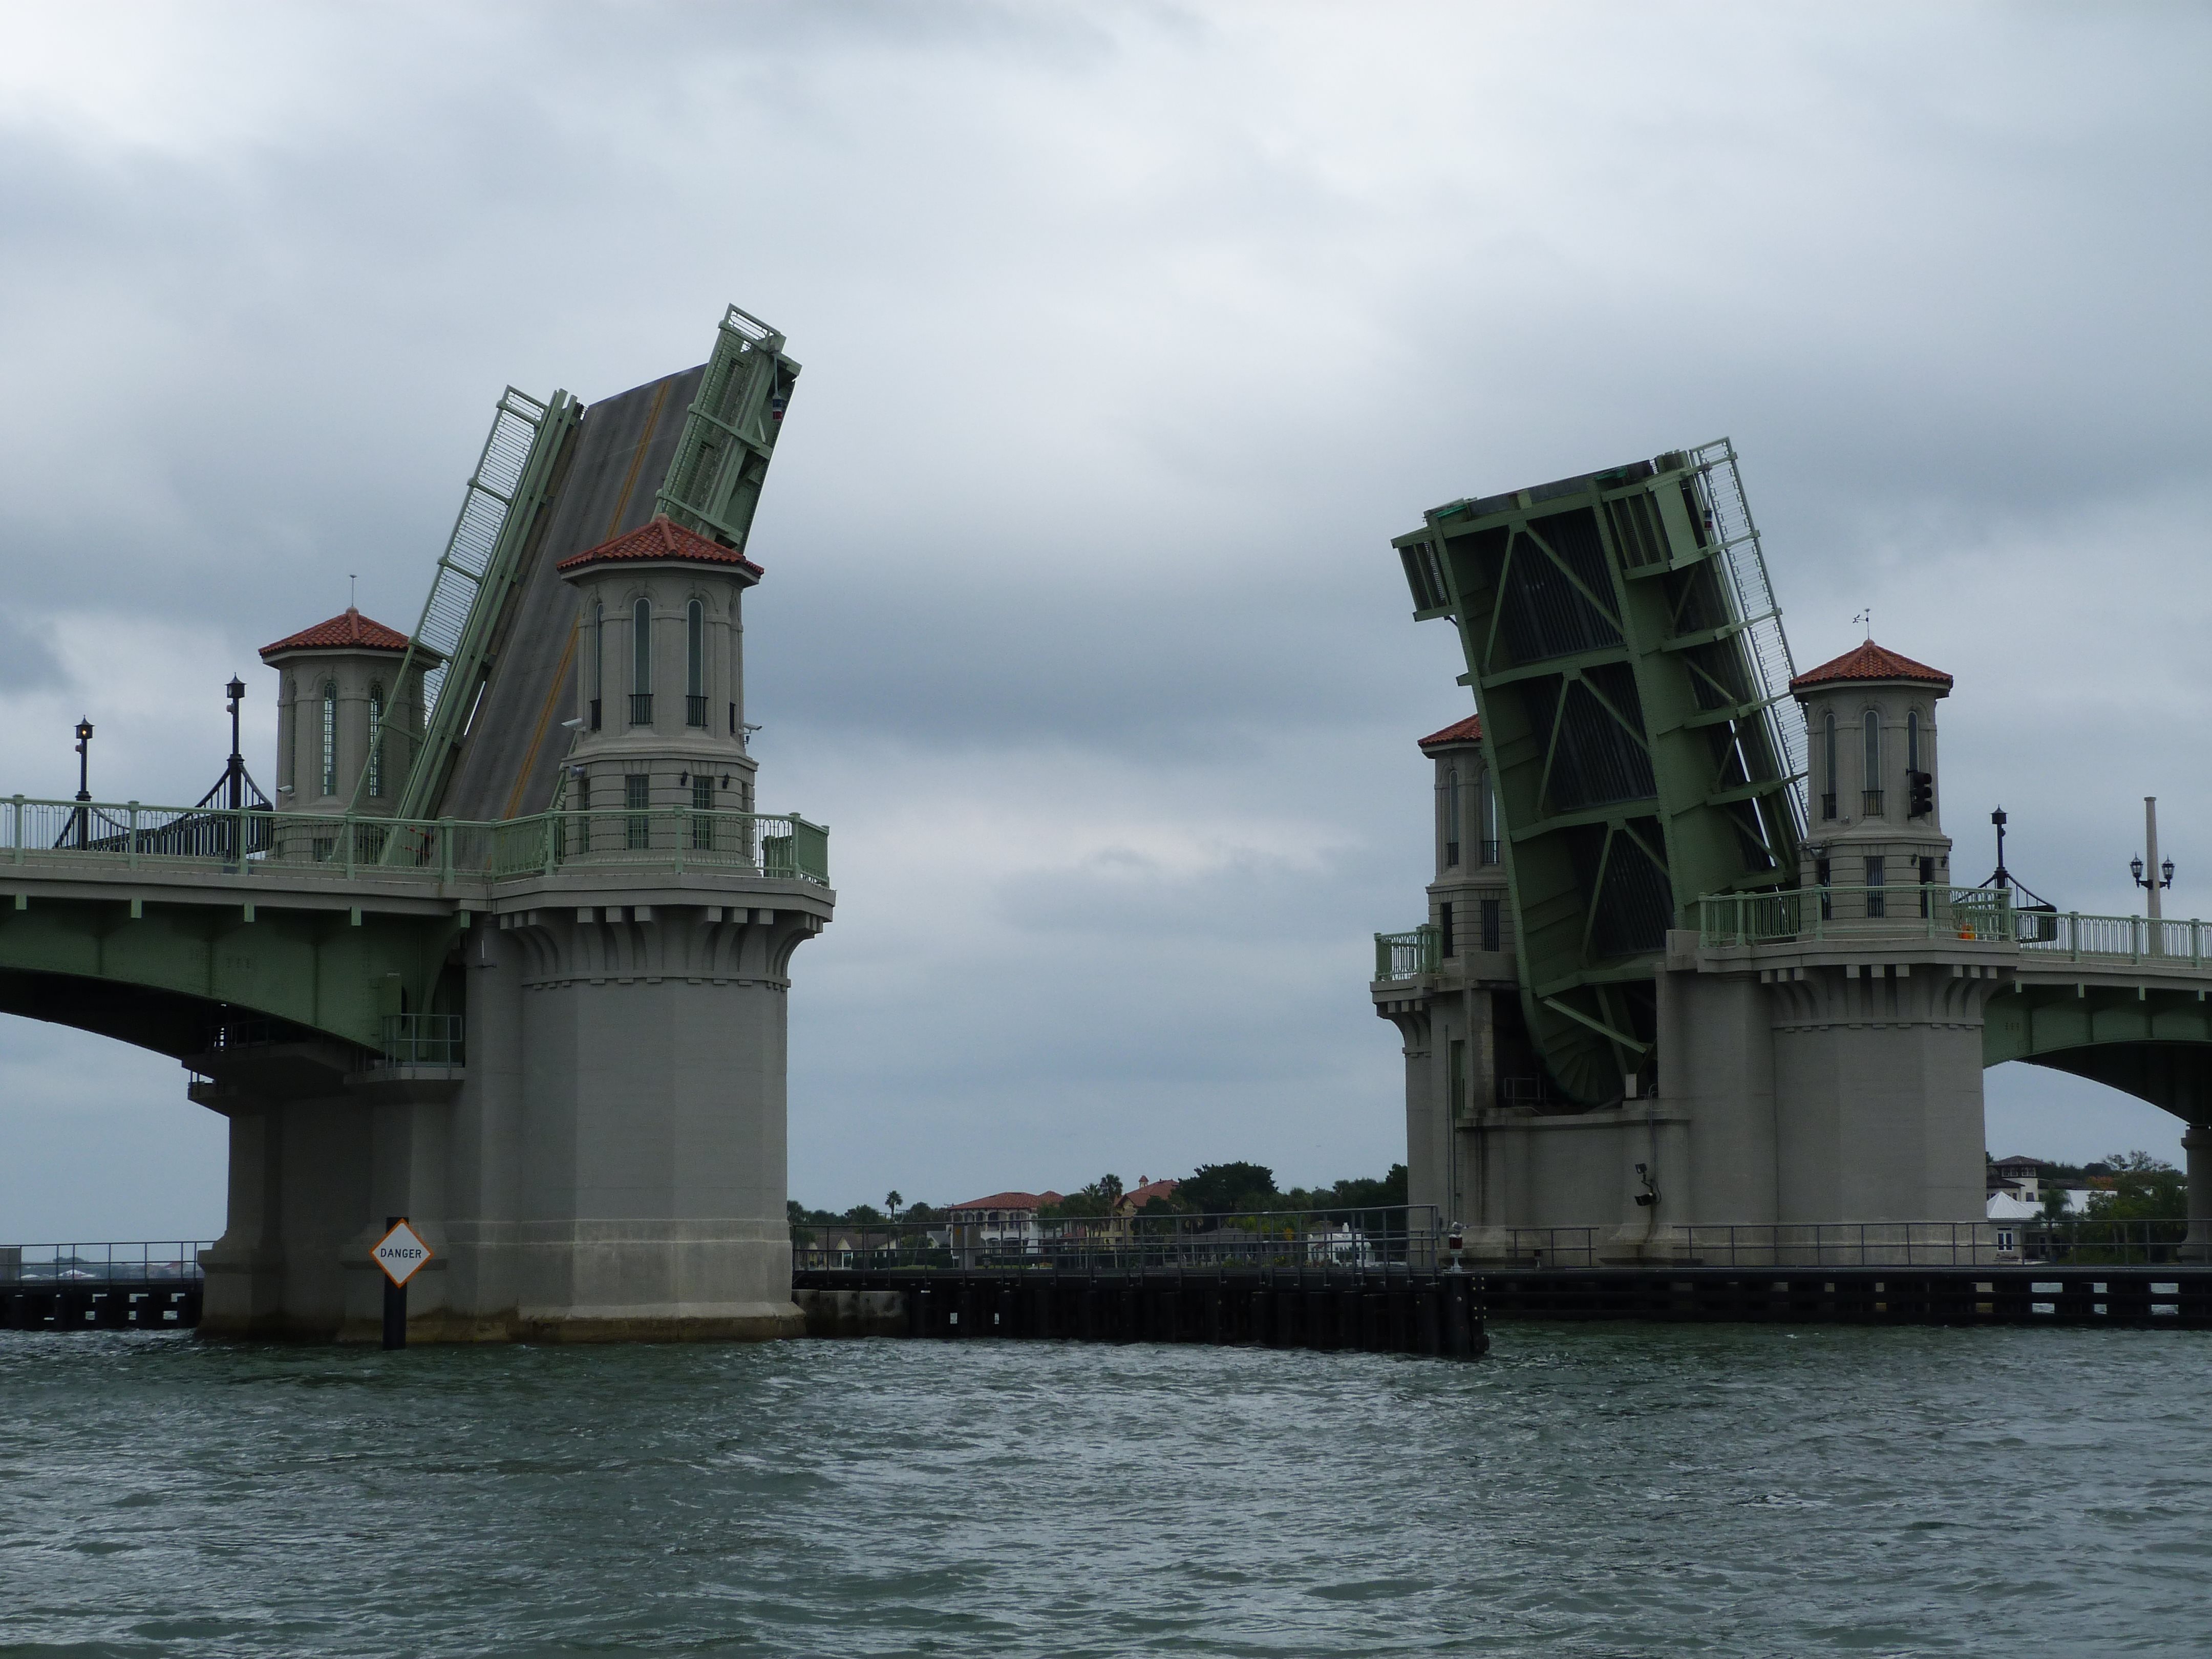
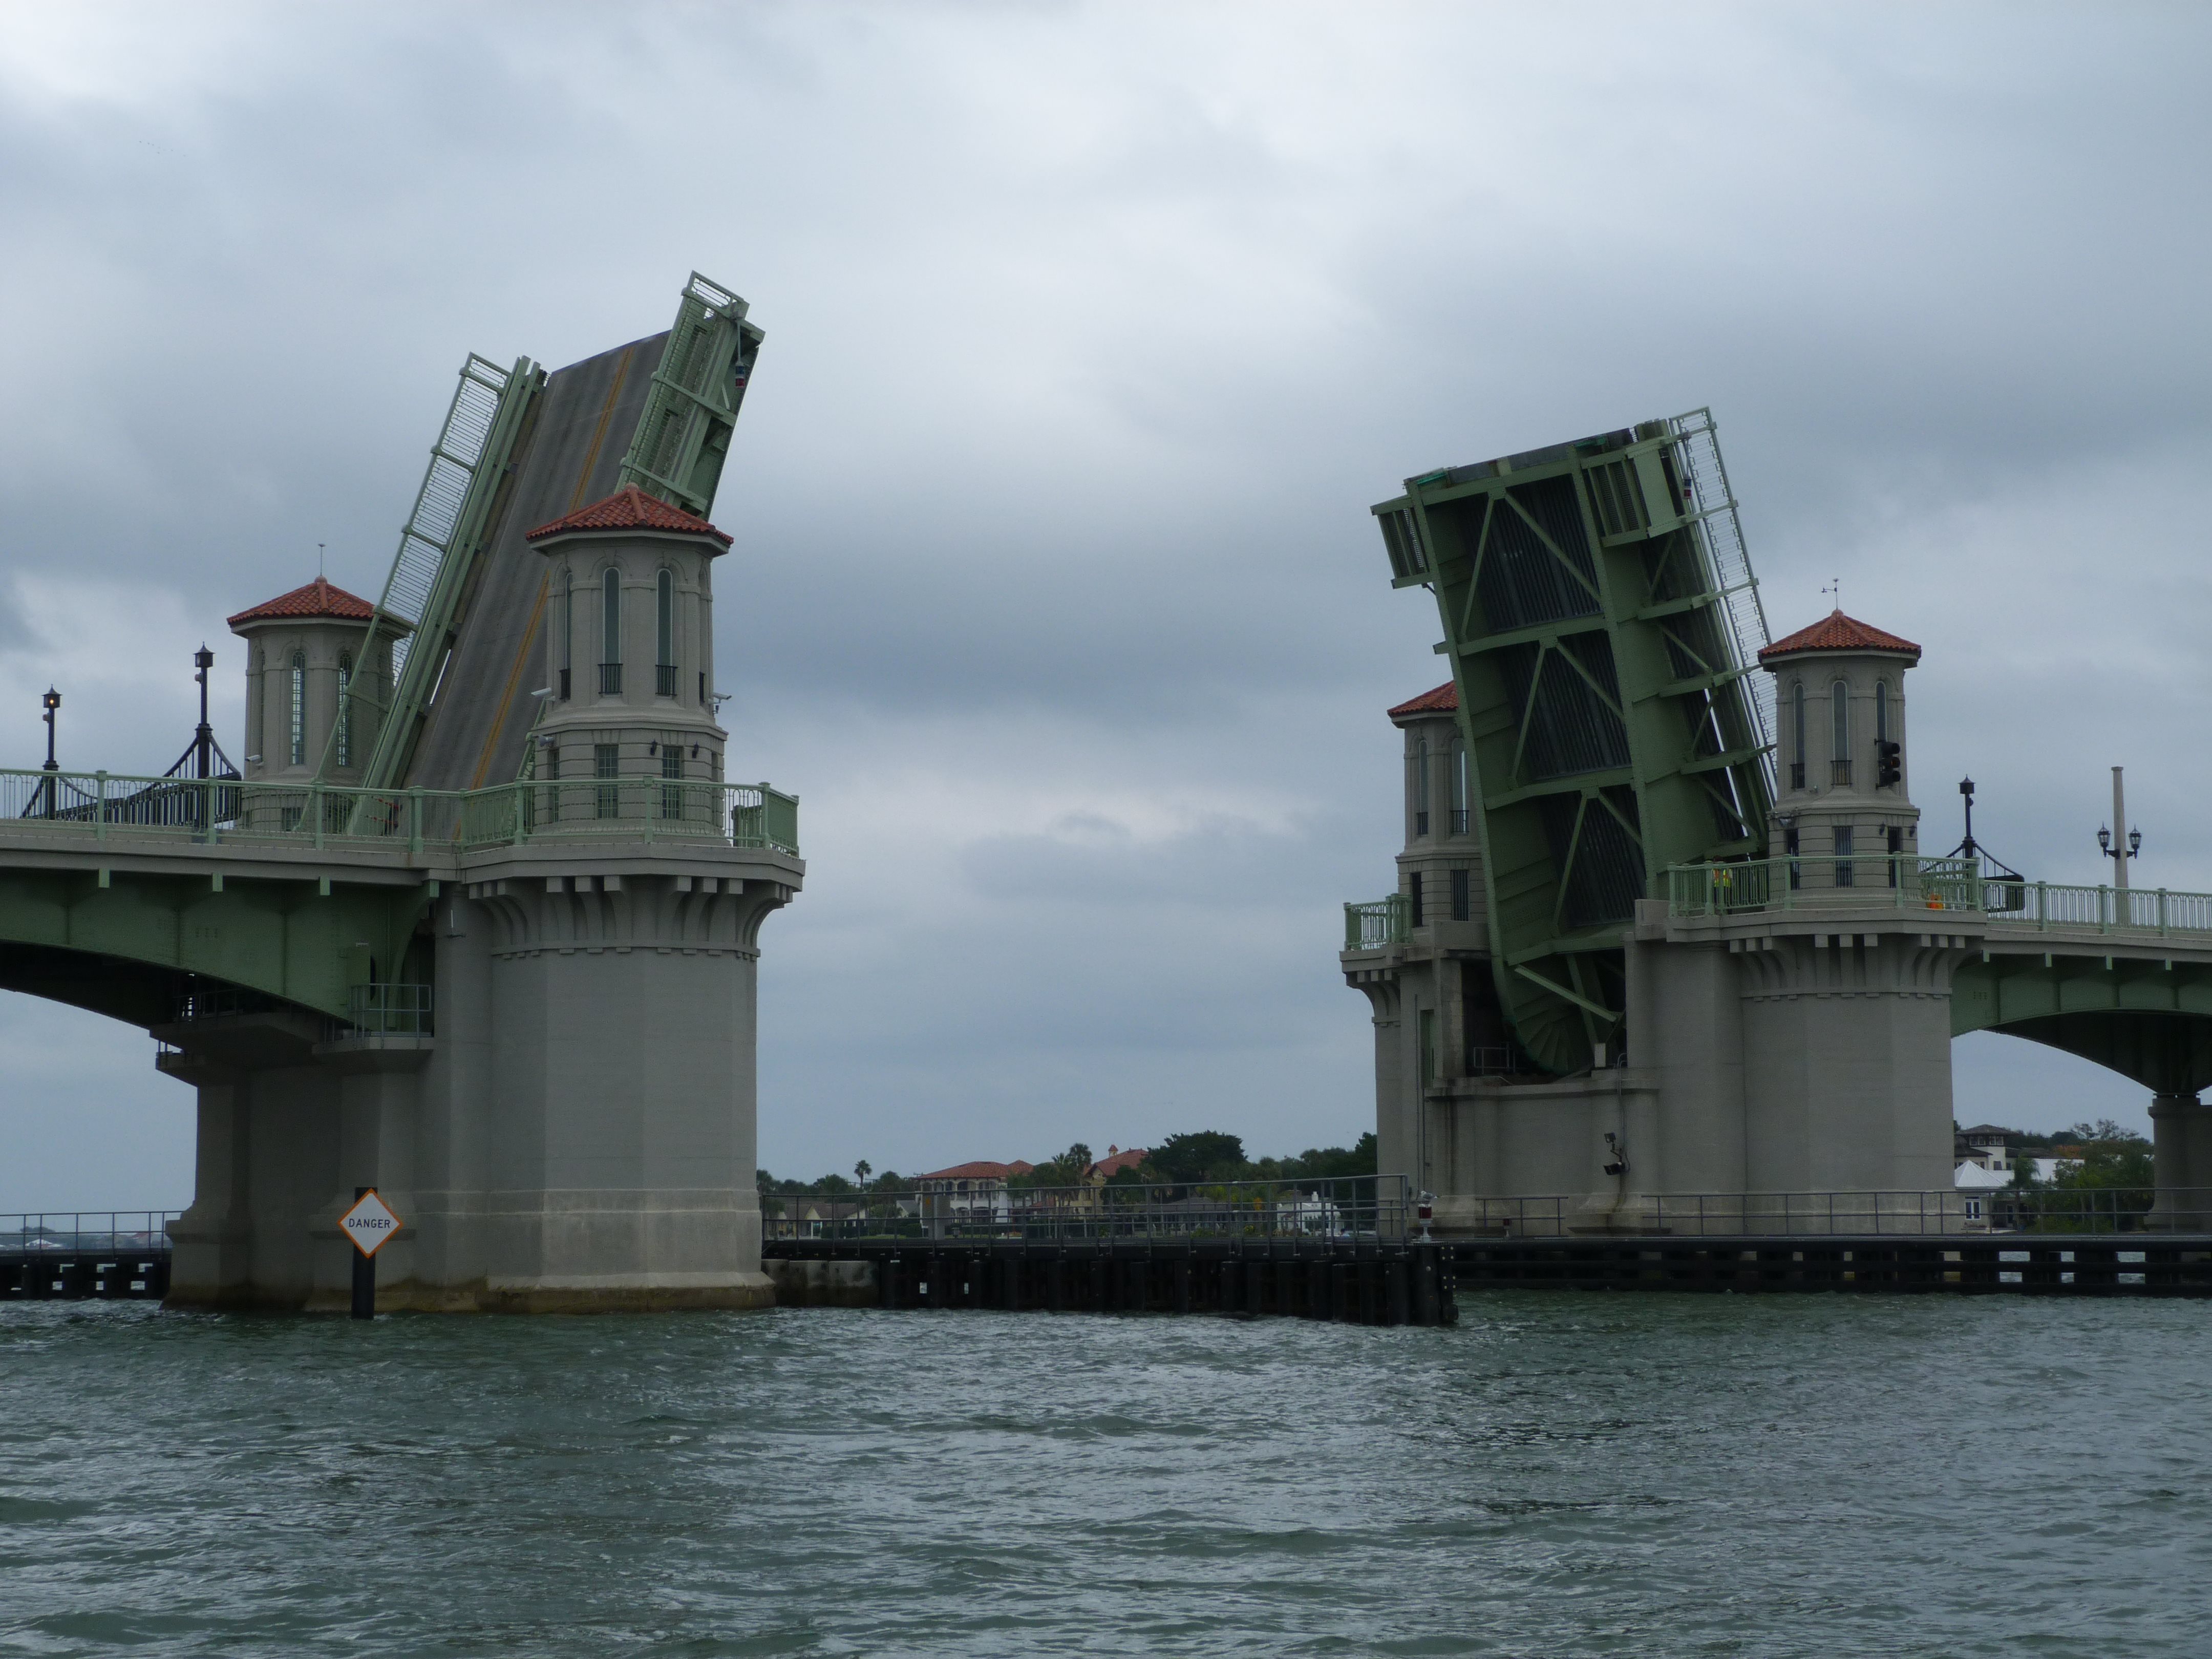

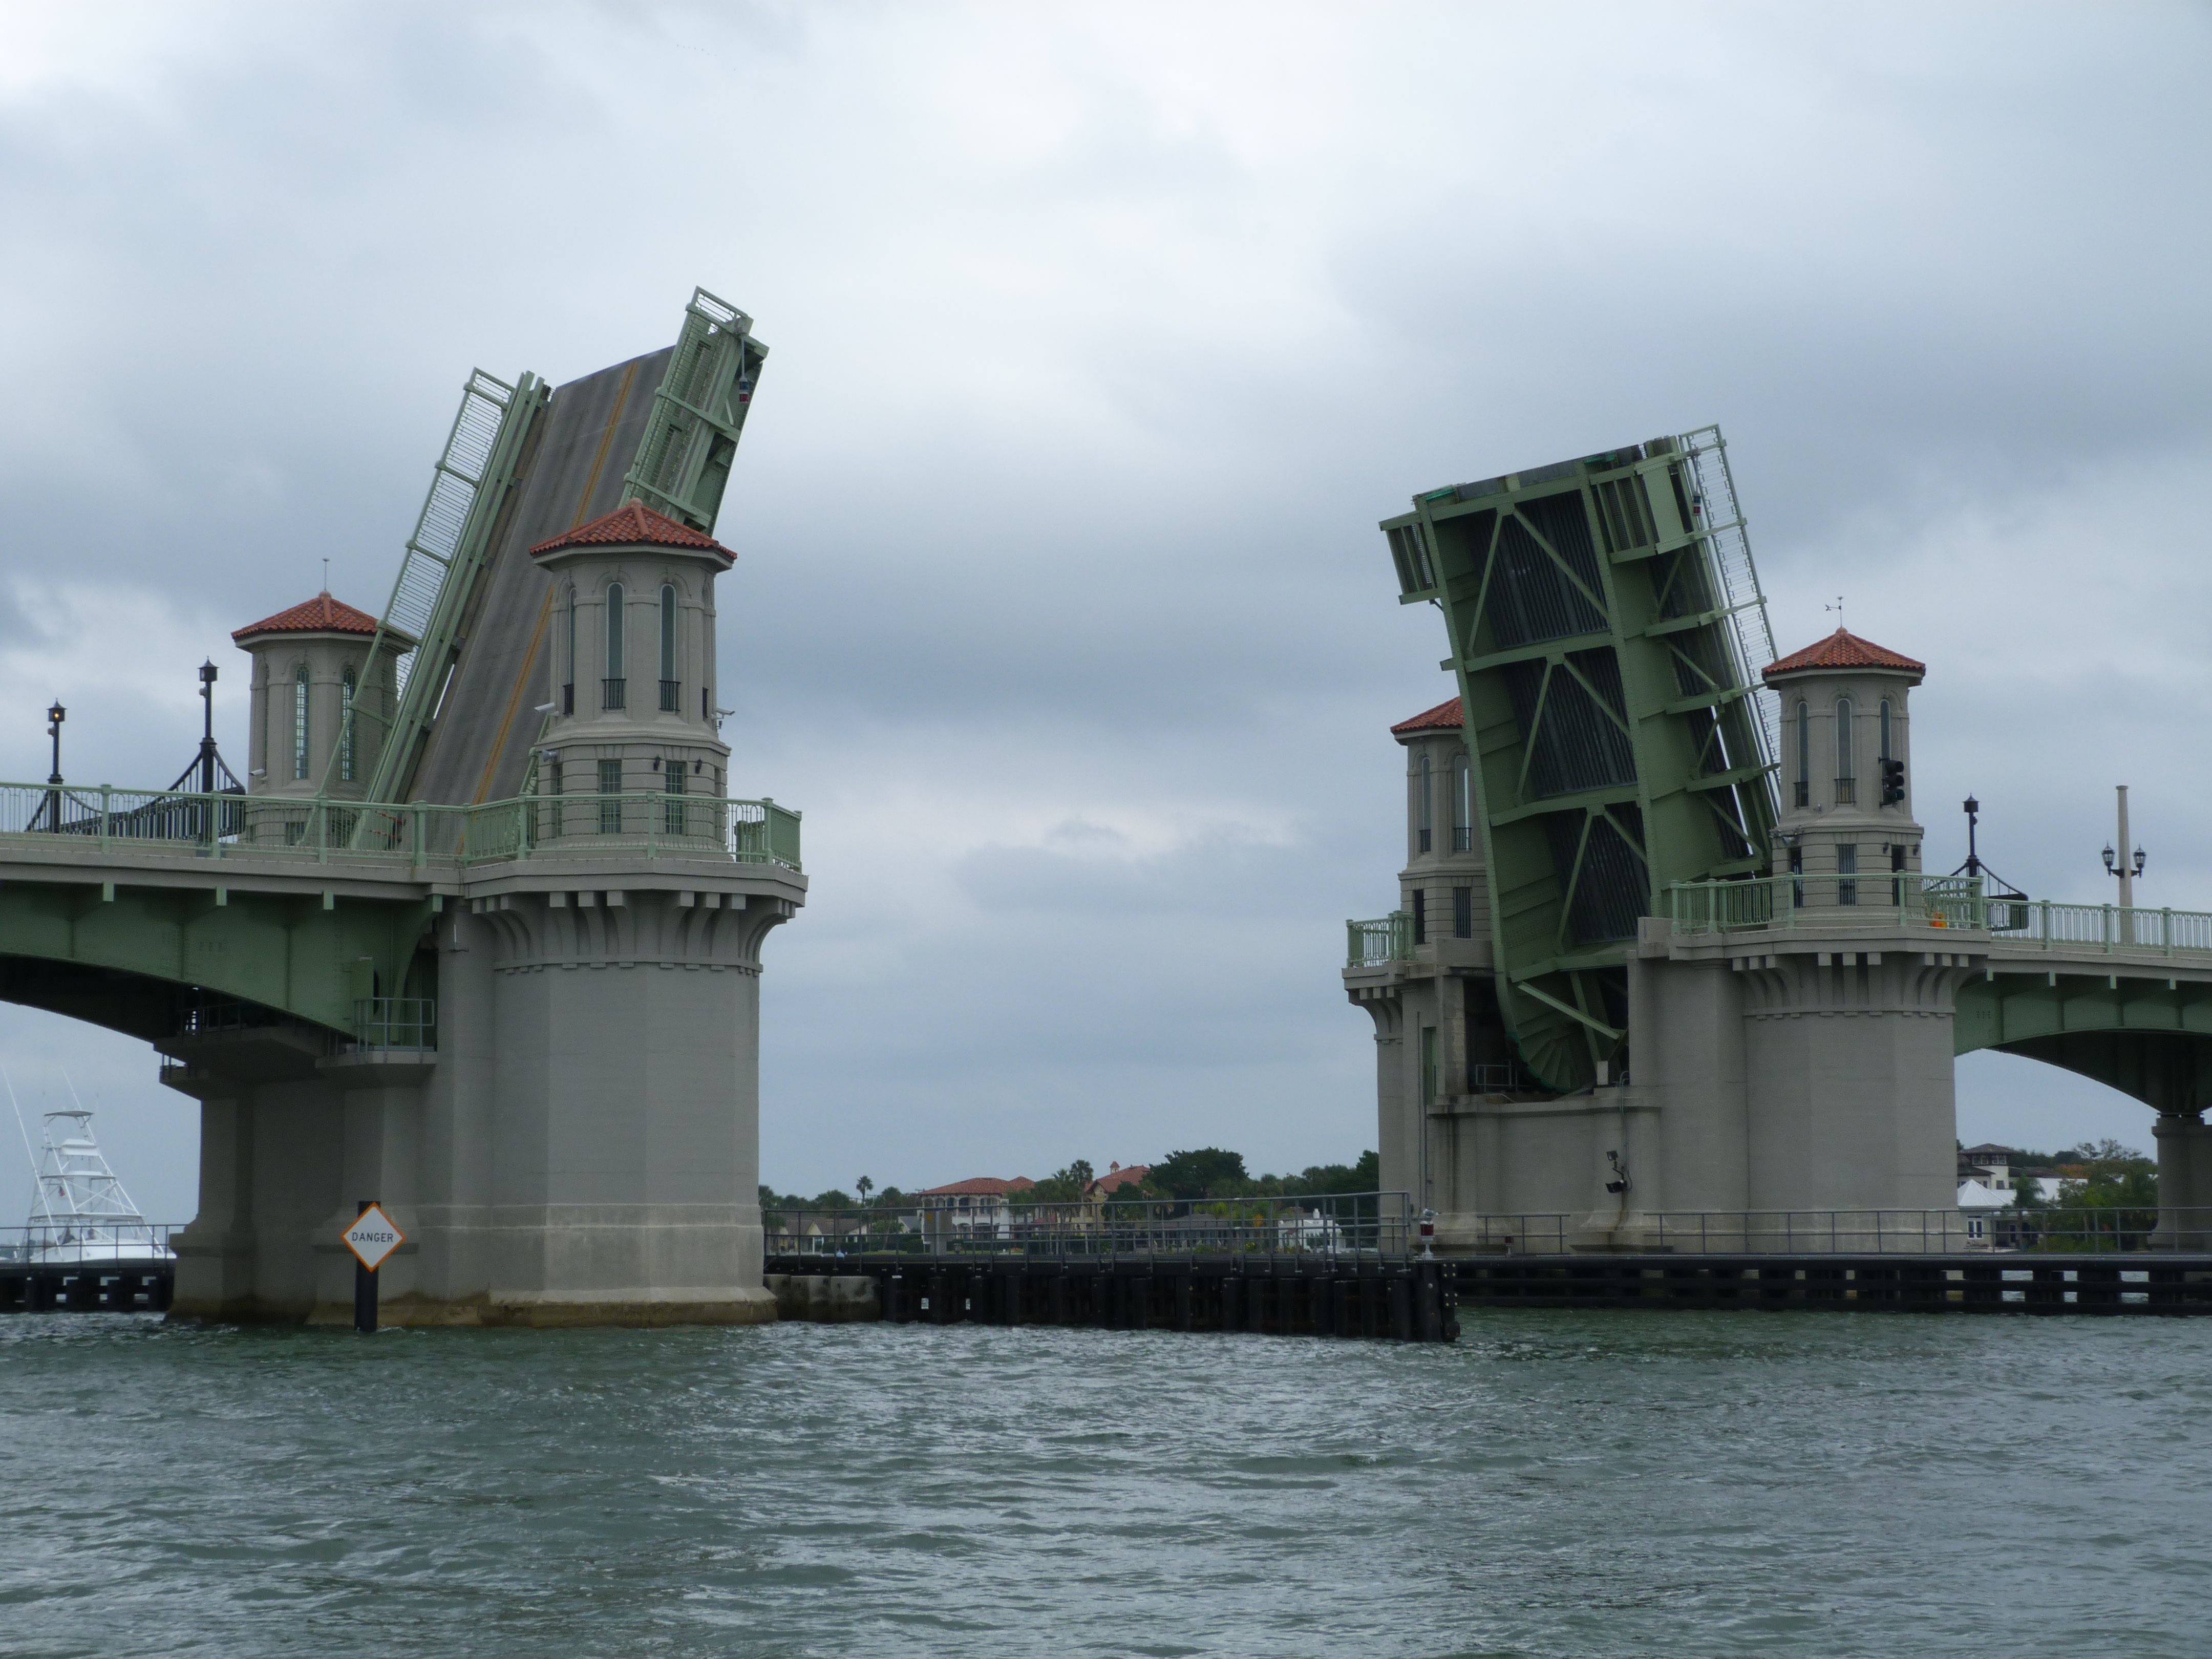
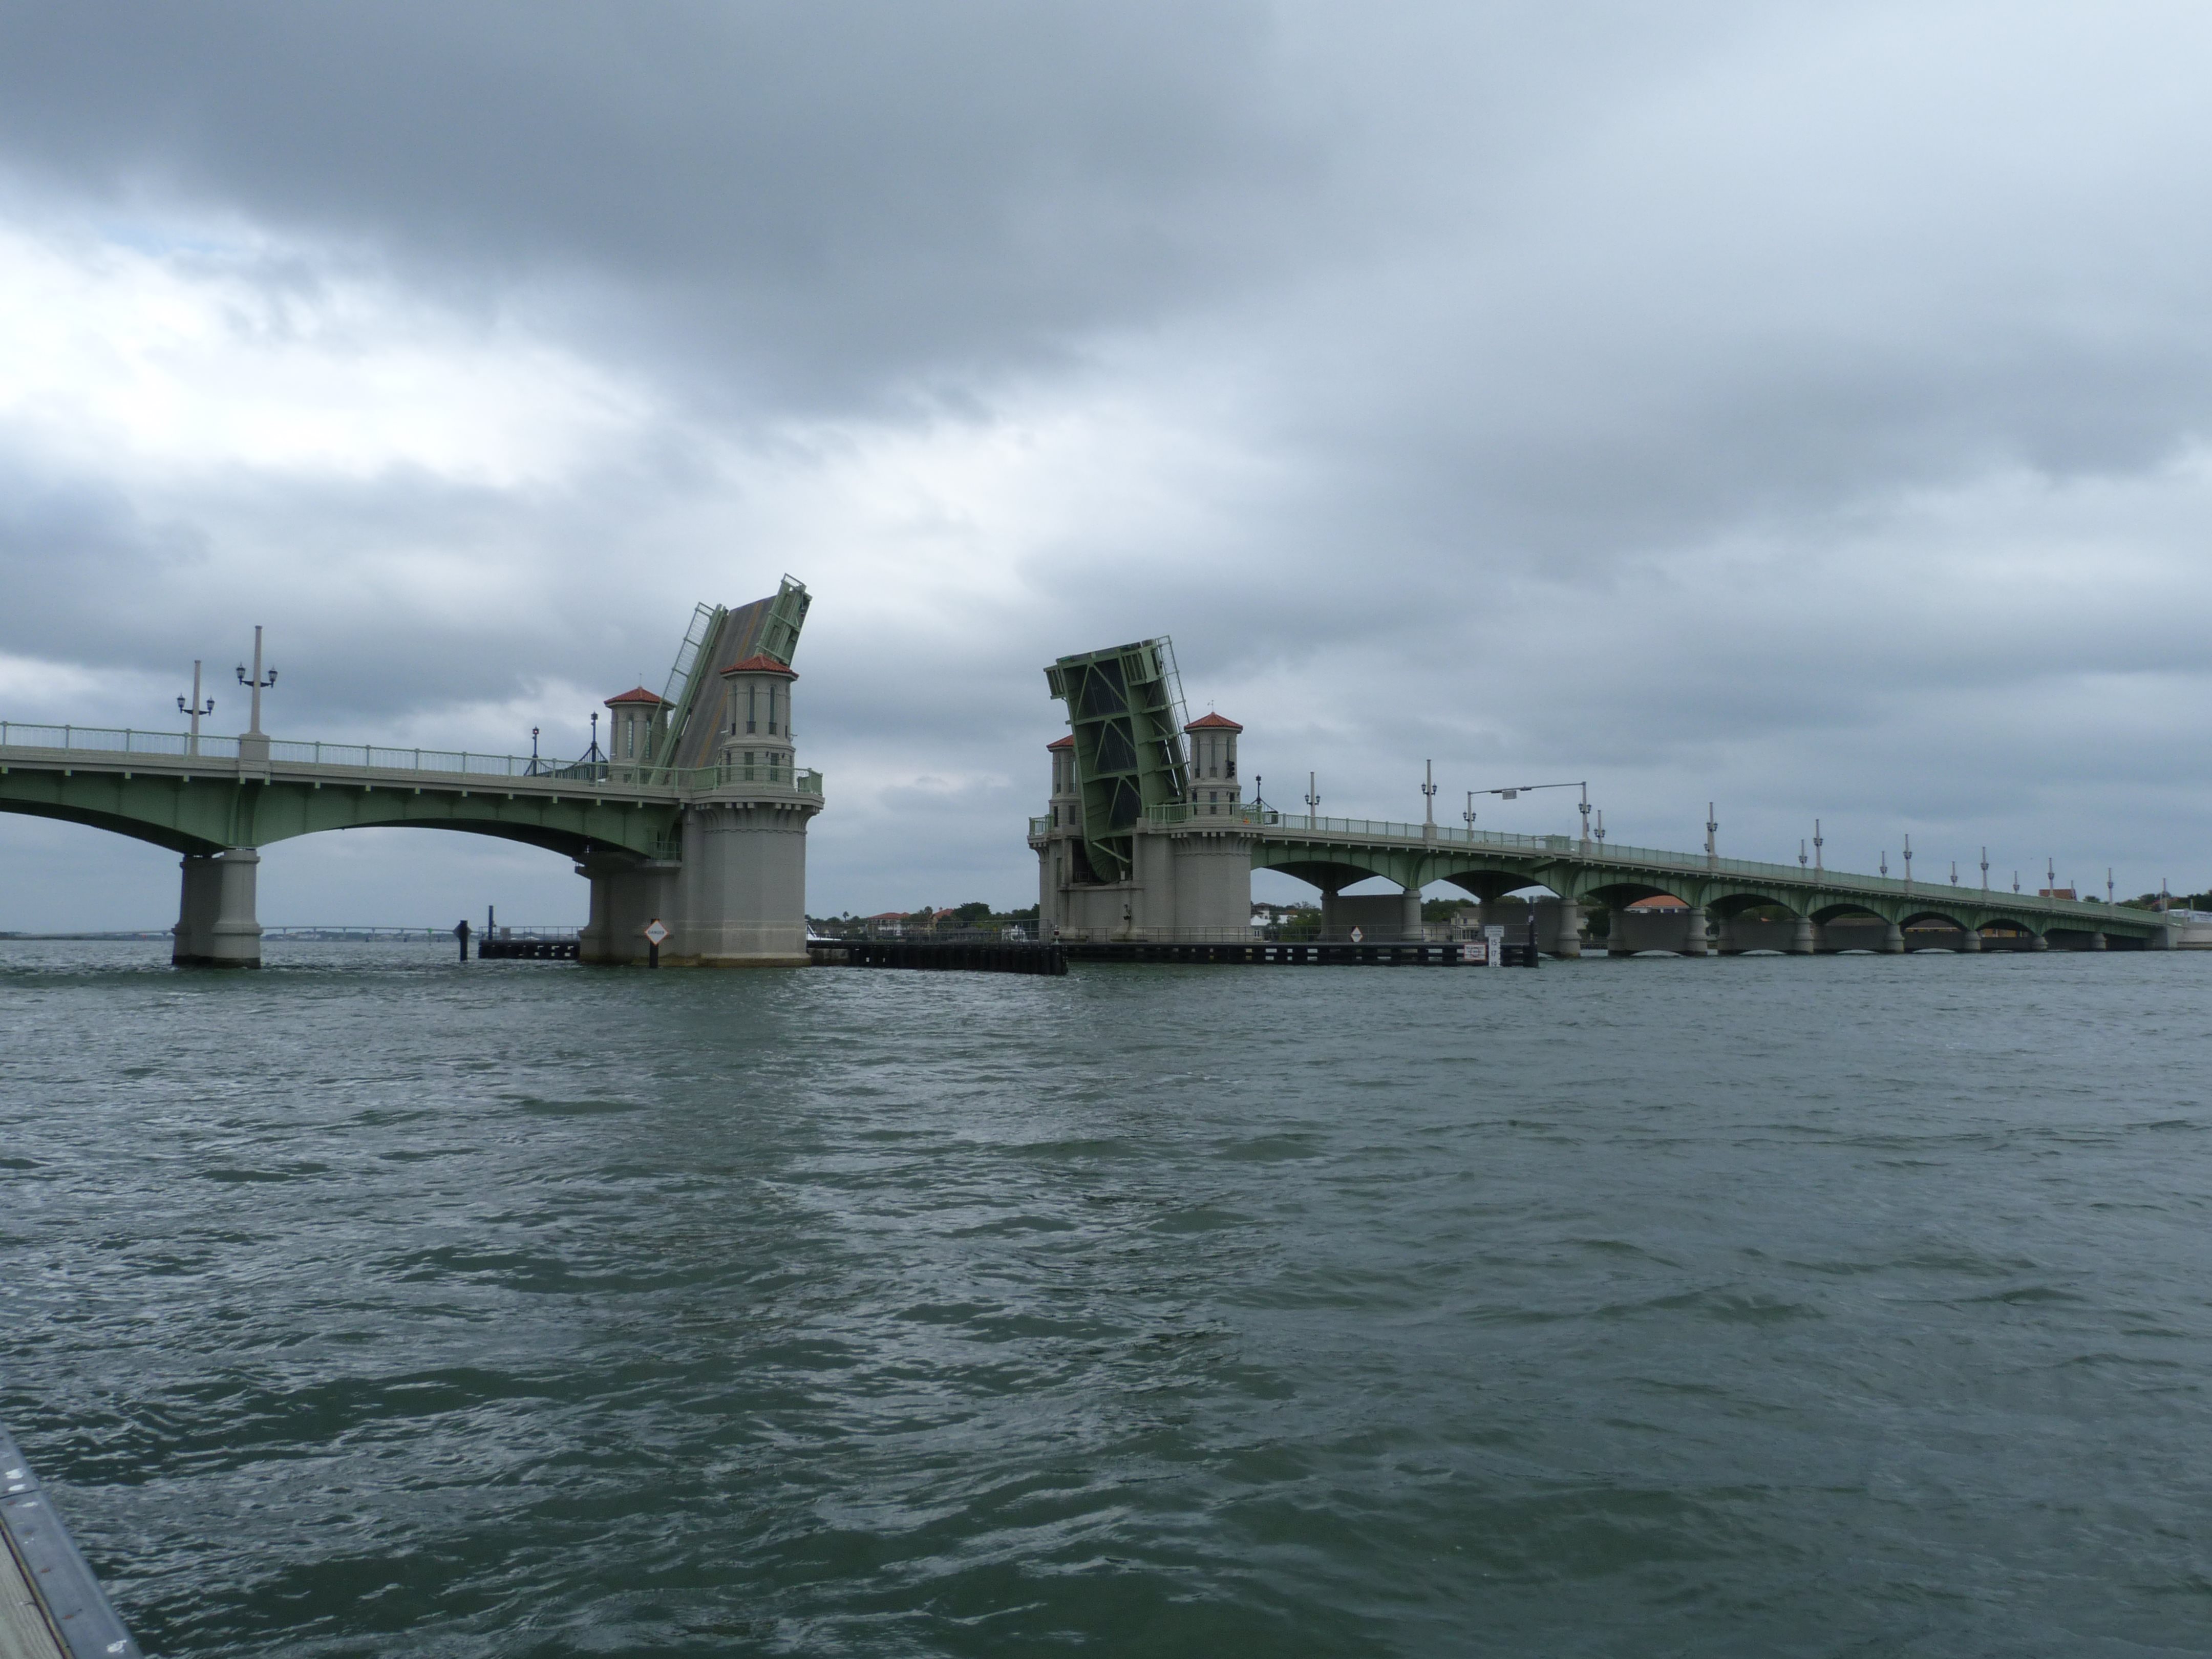
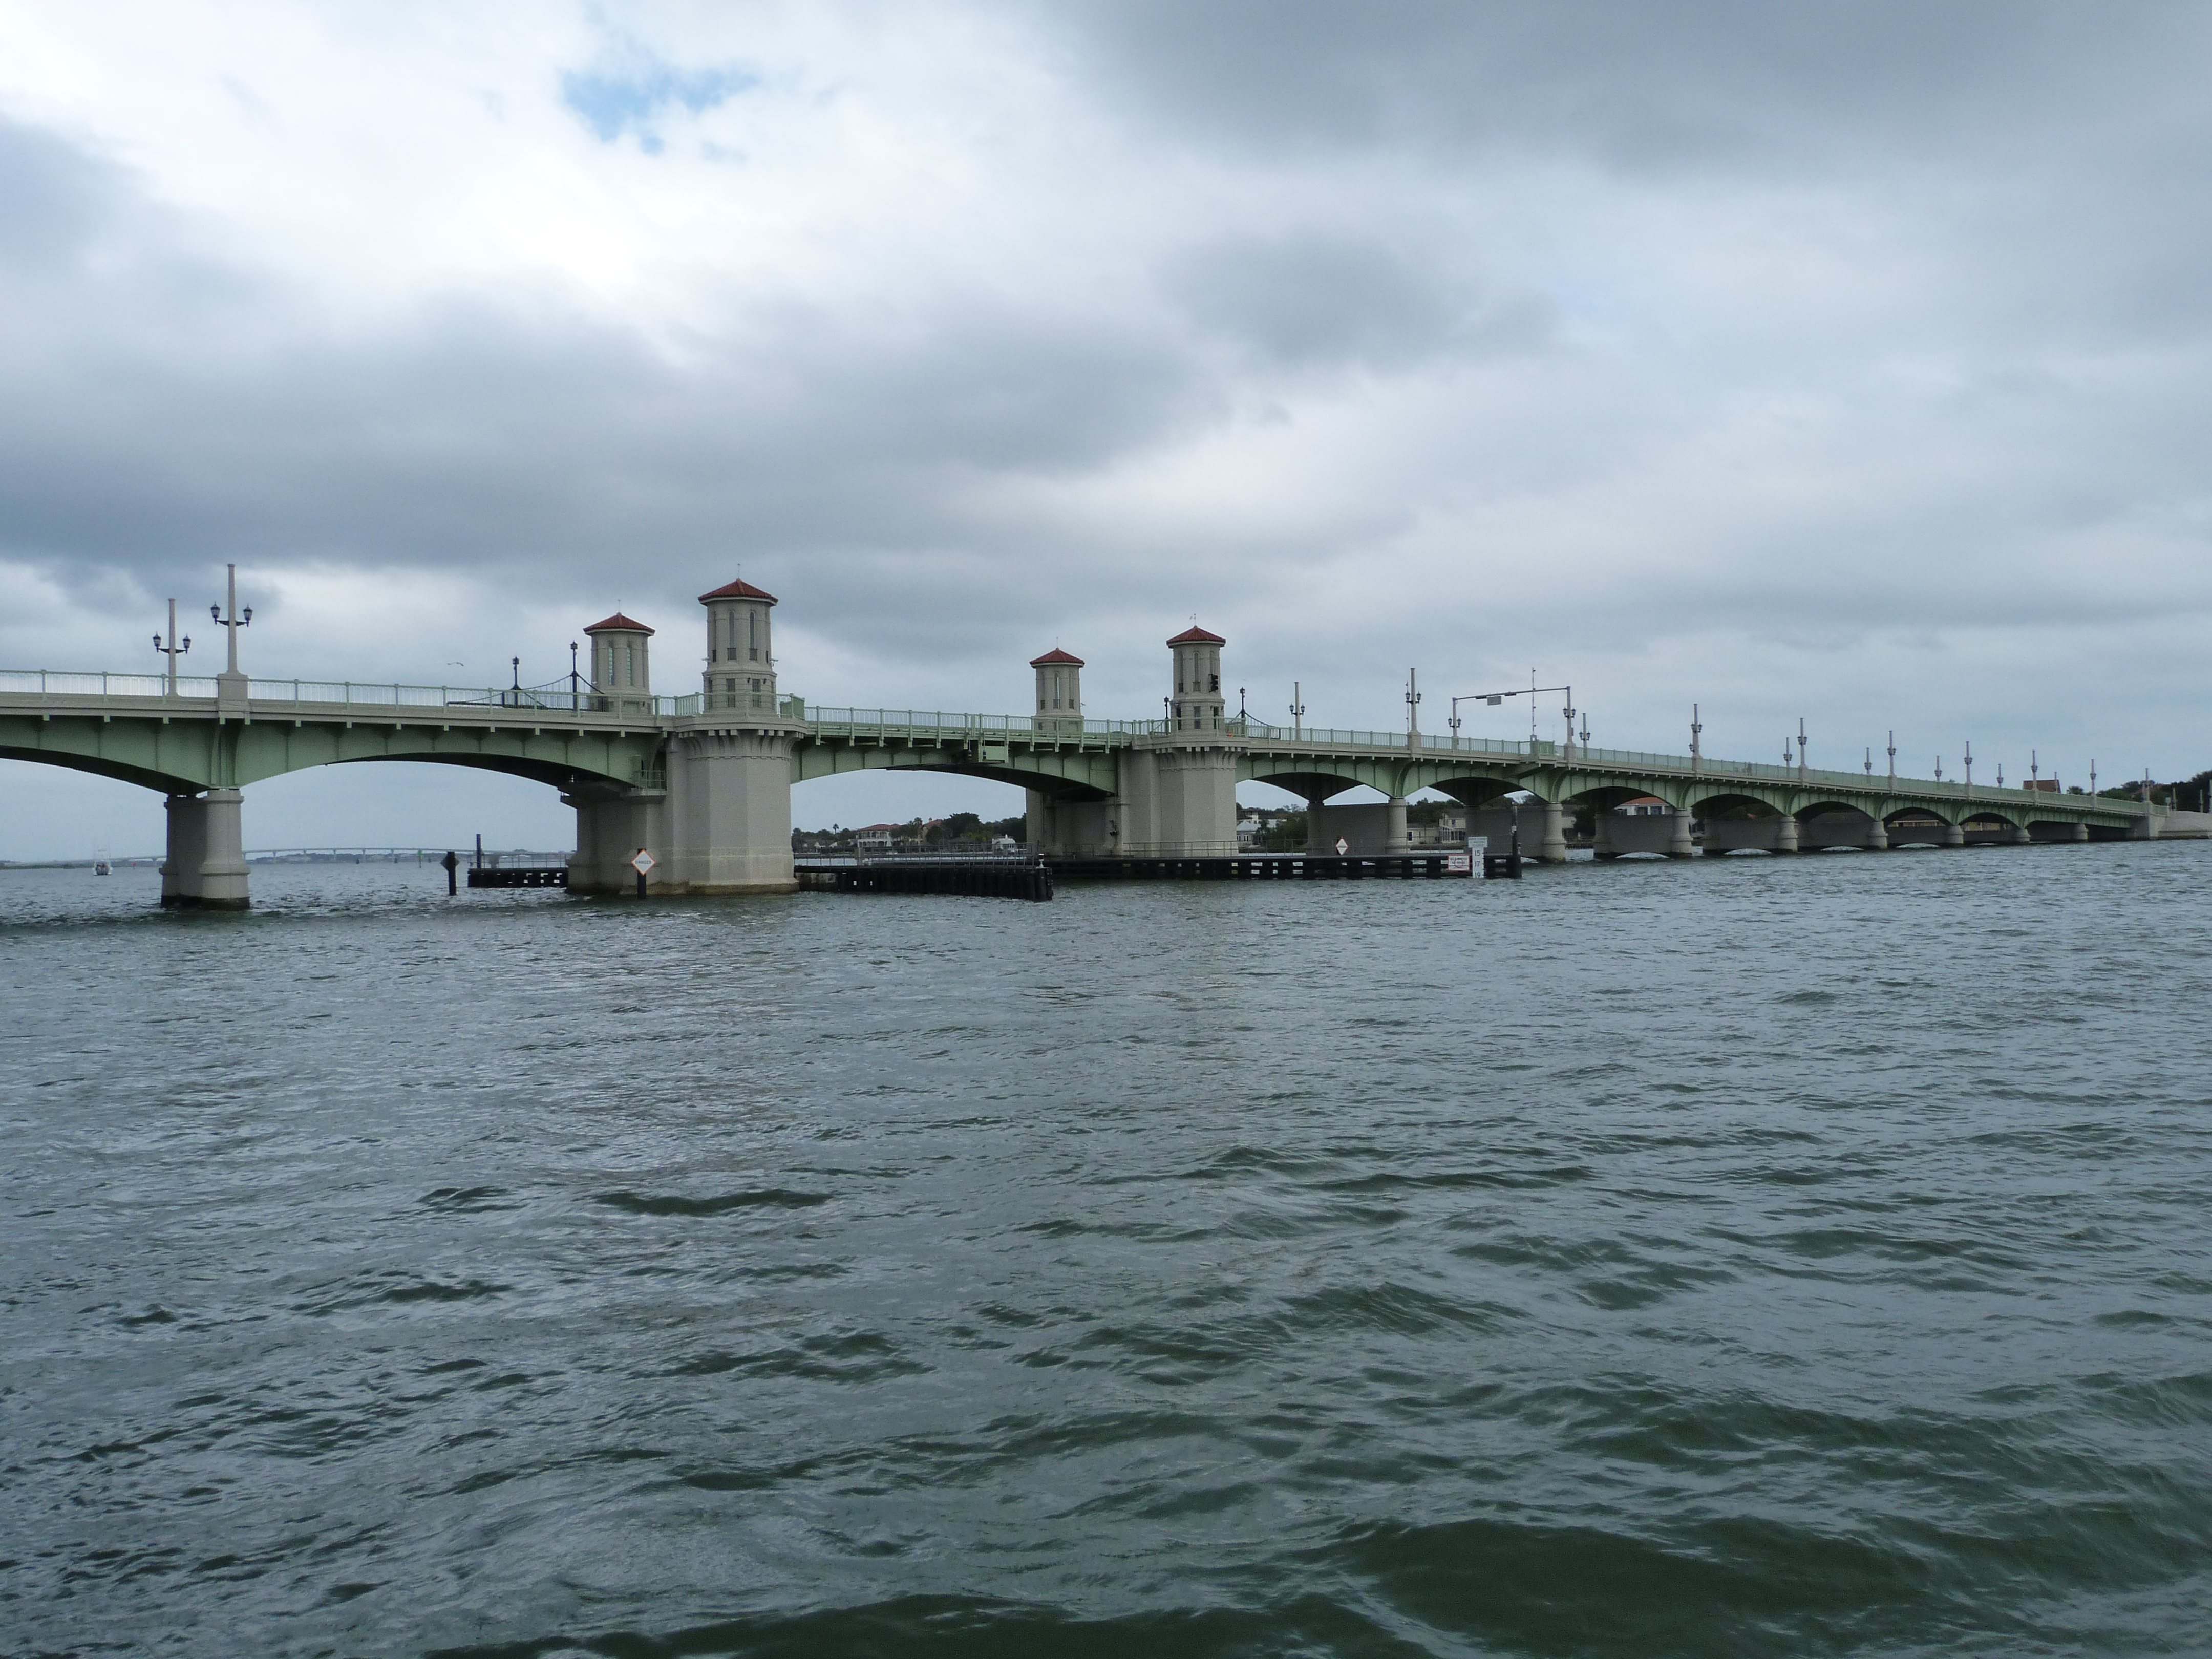
Elevation of bascule span from southwest quadrant, bridge in raised position.
![]()

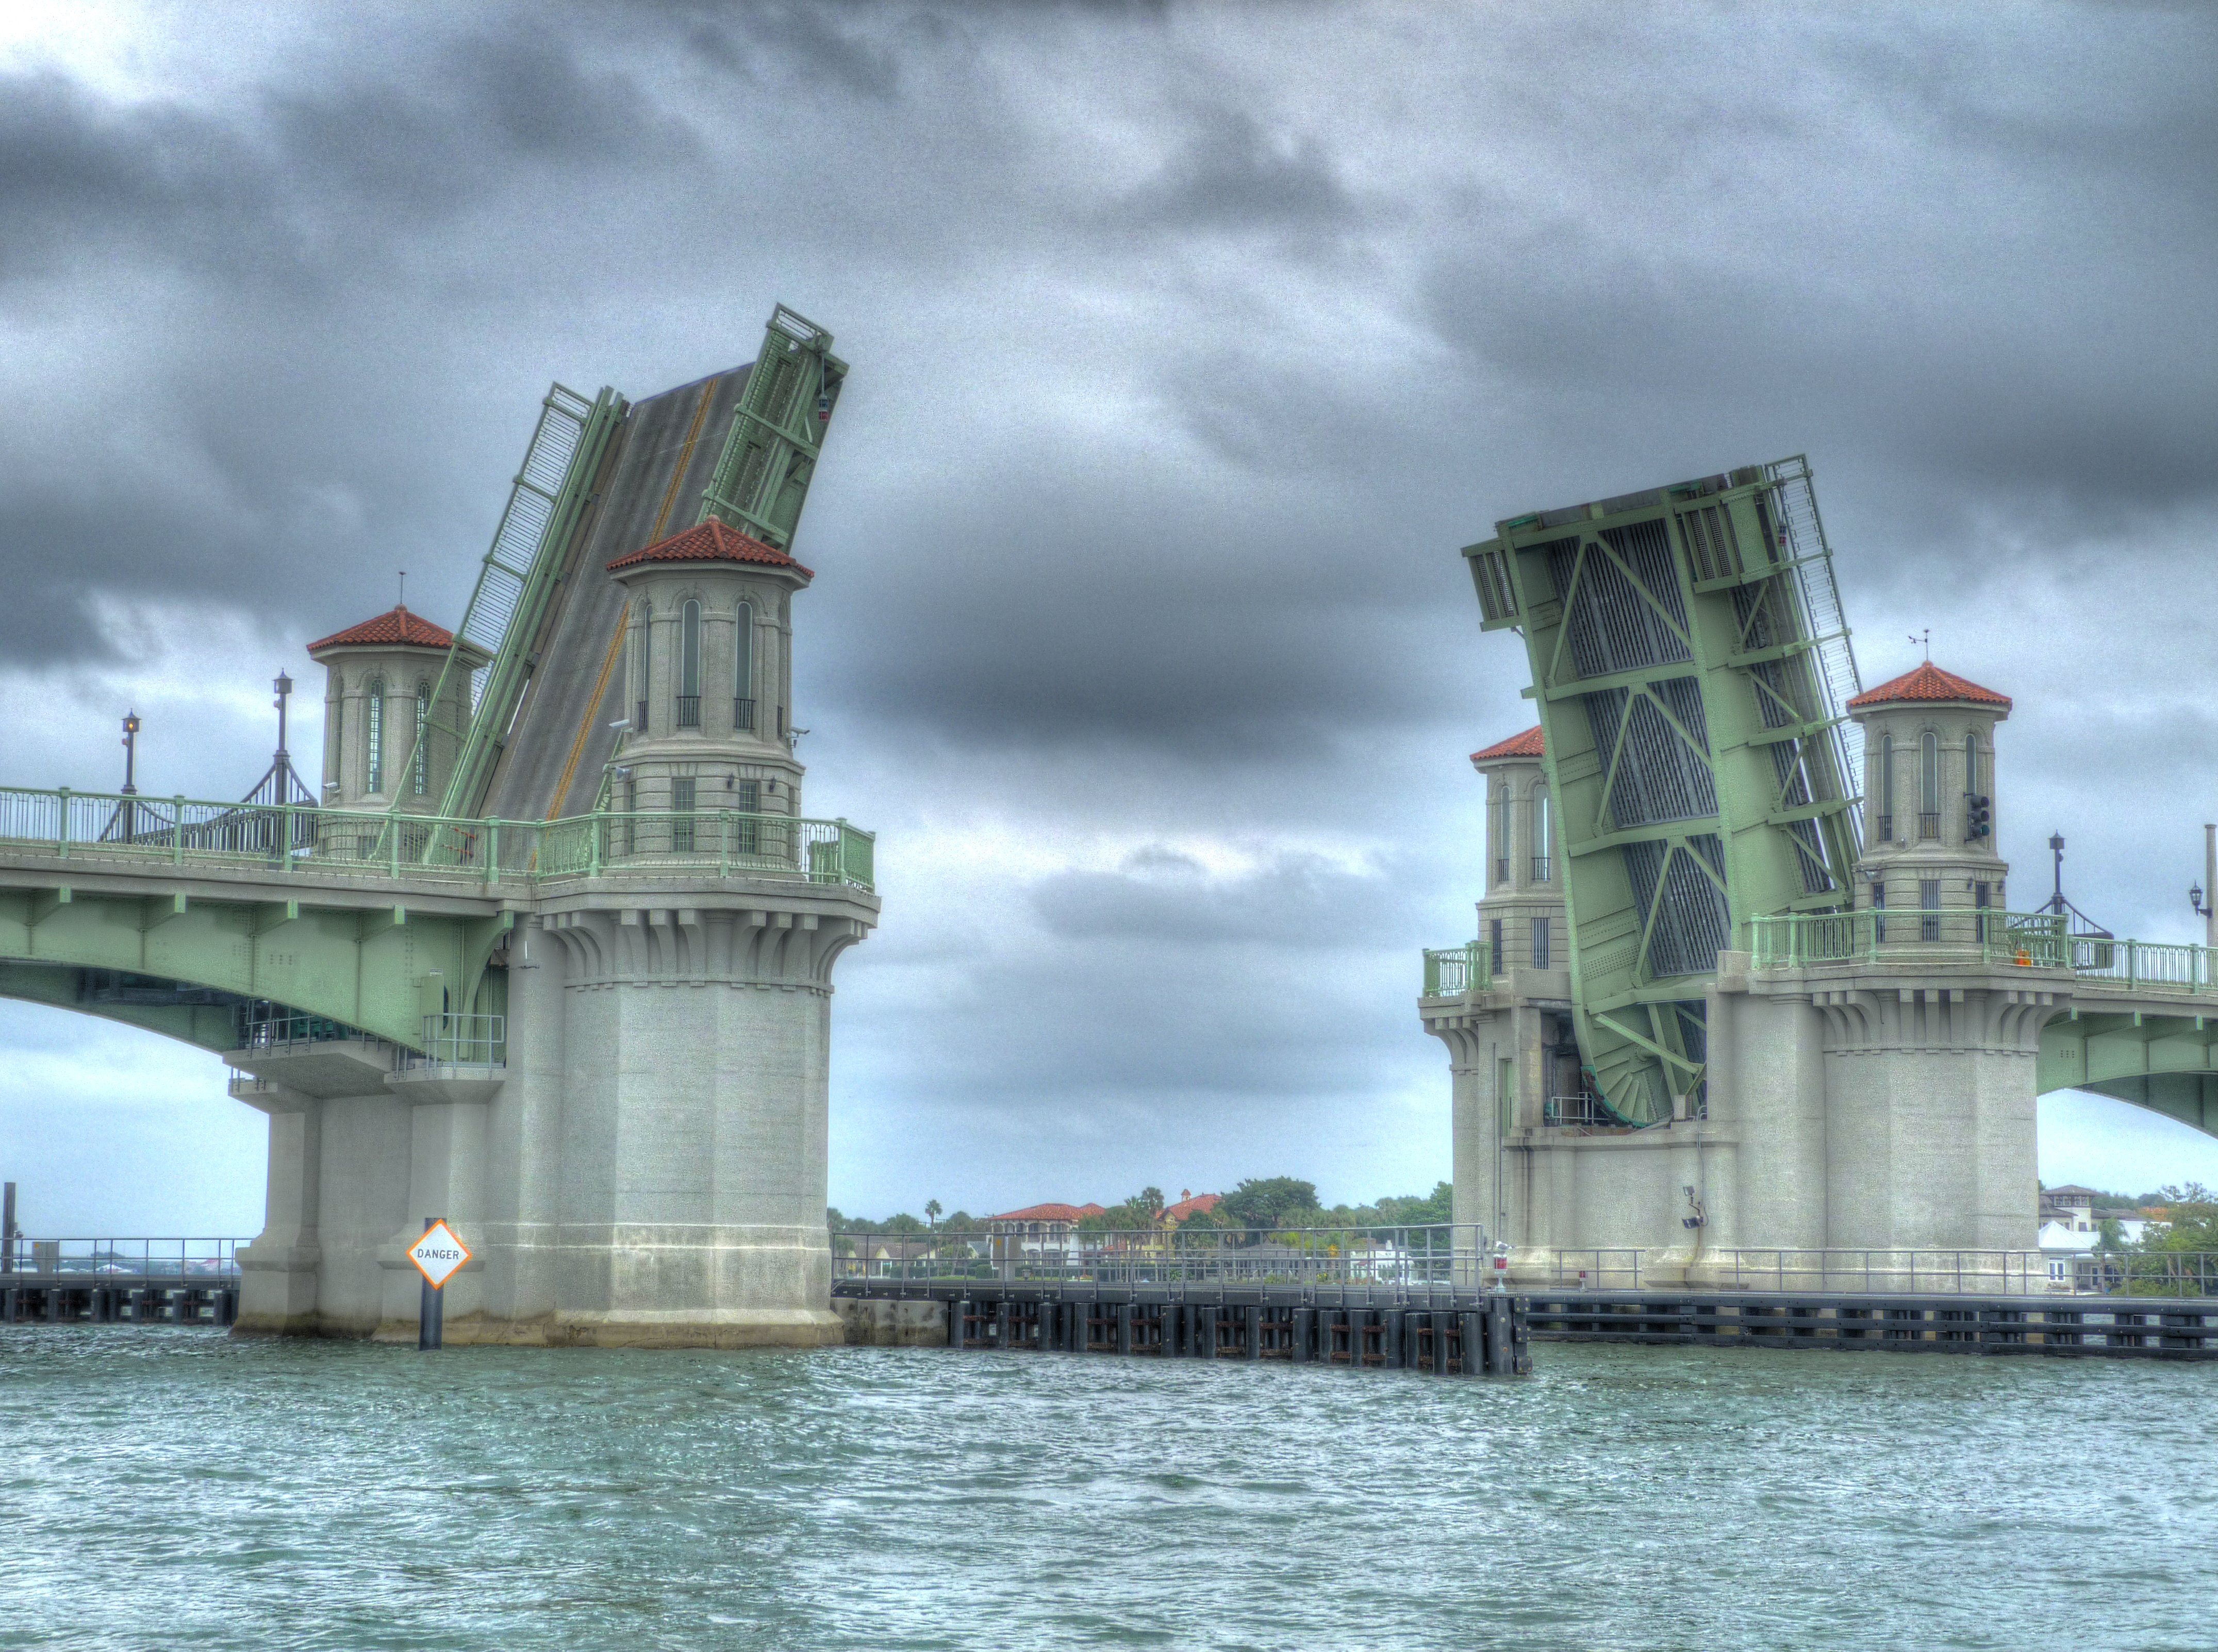

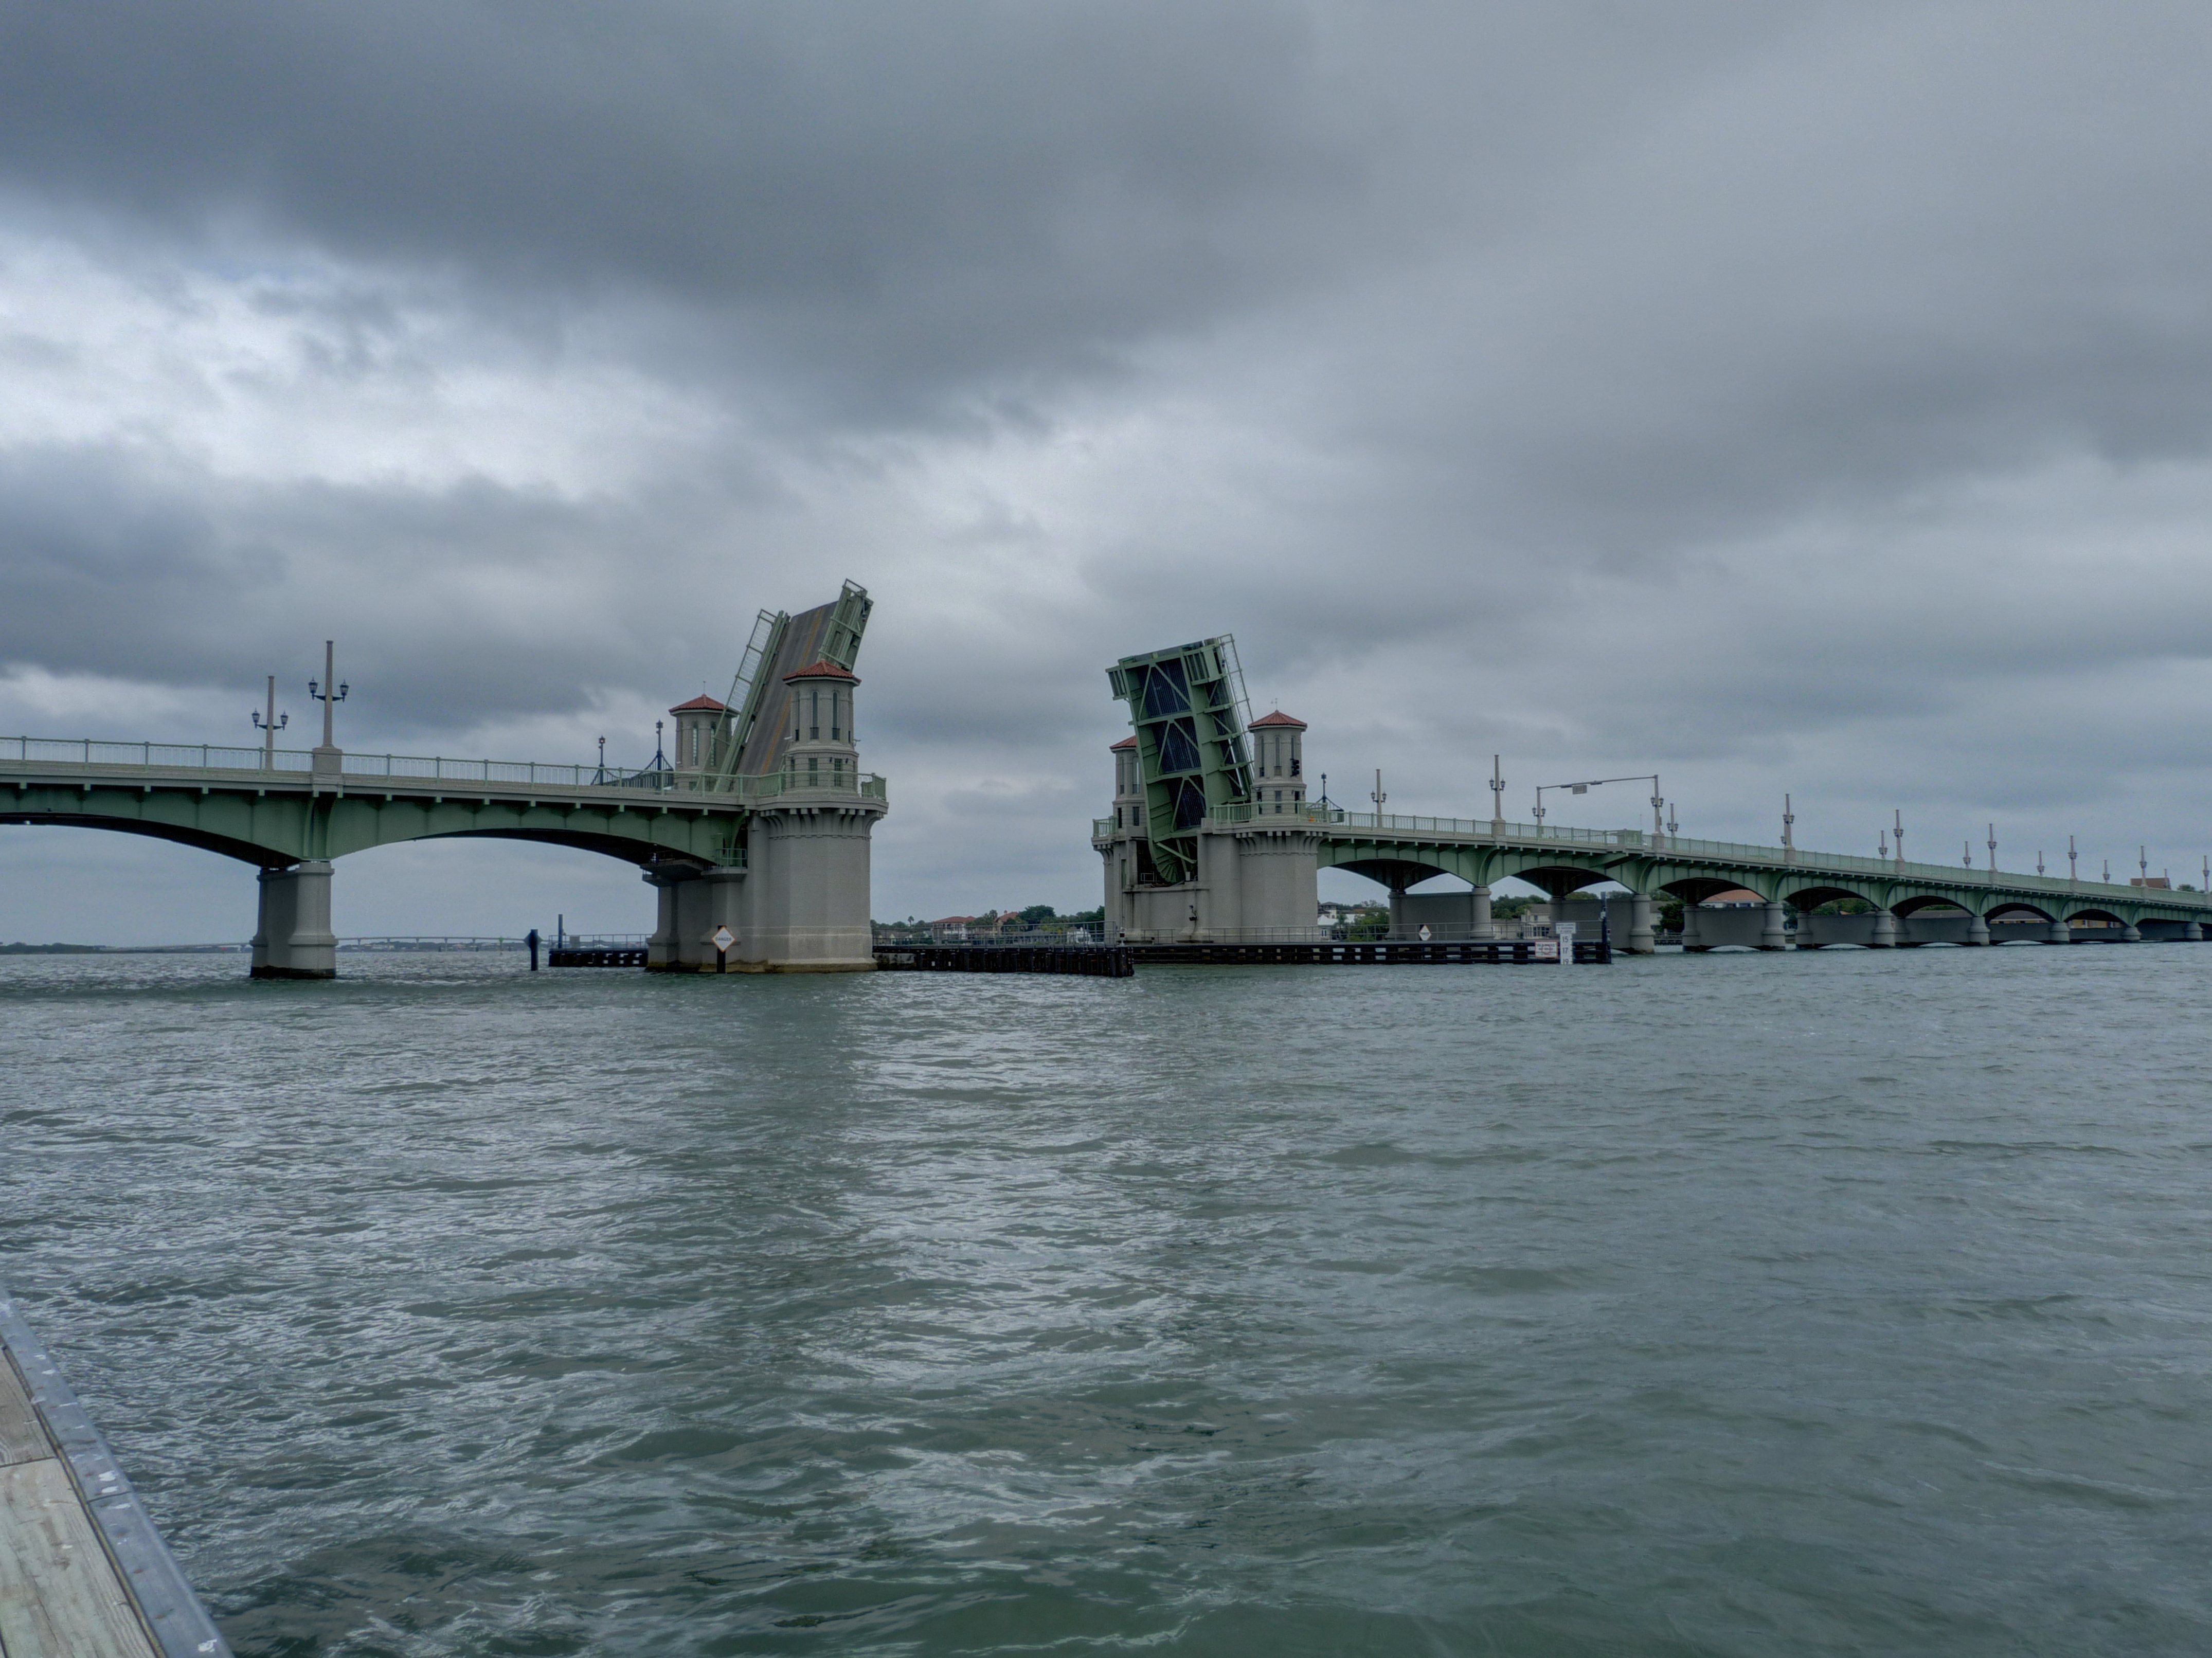
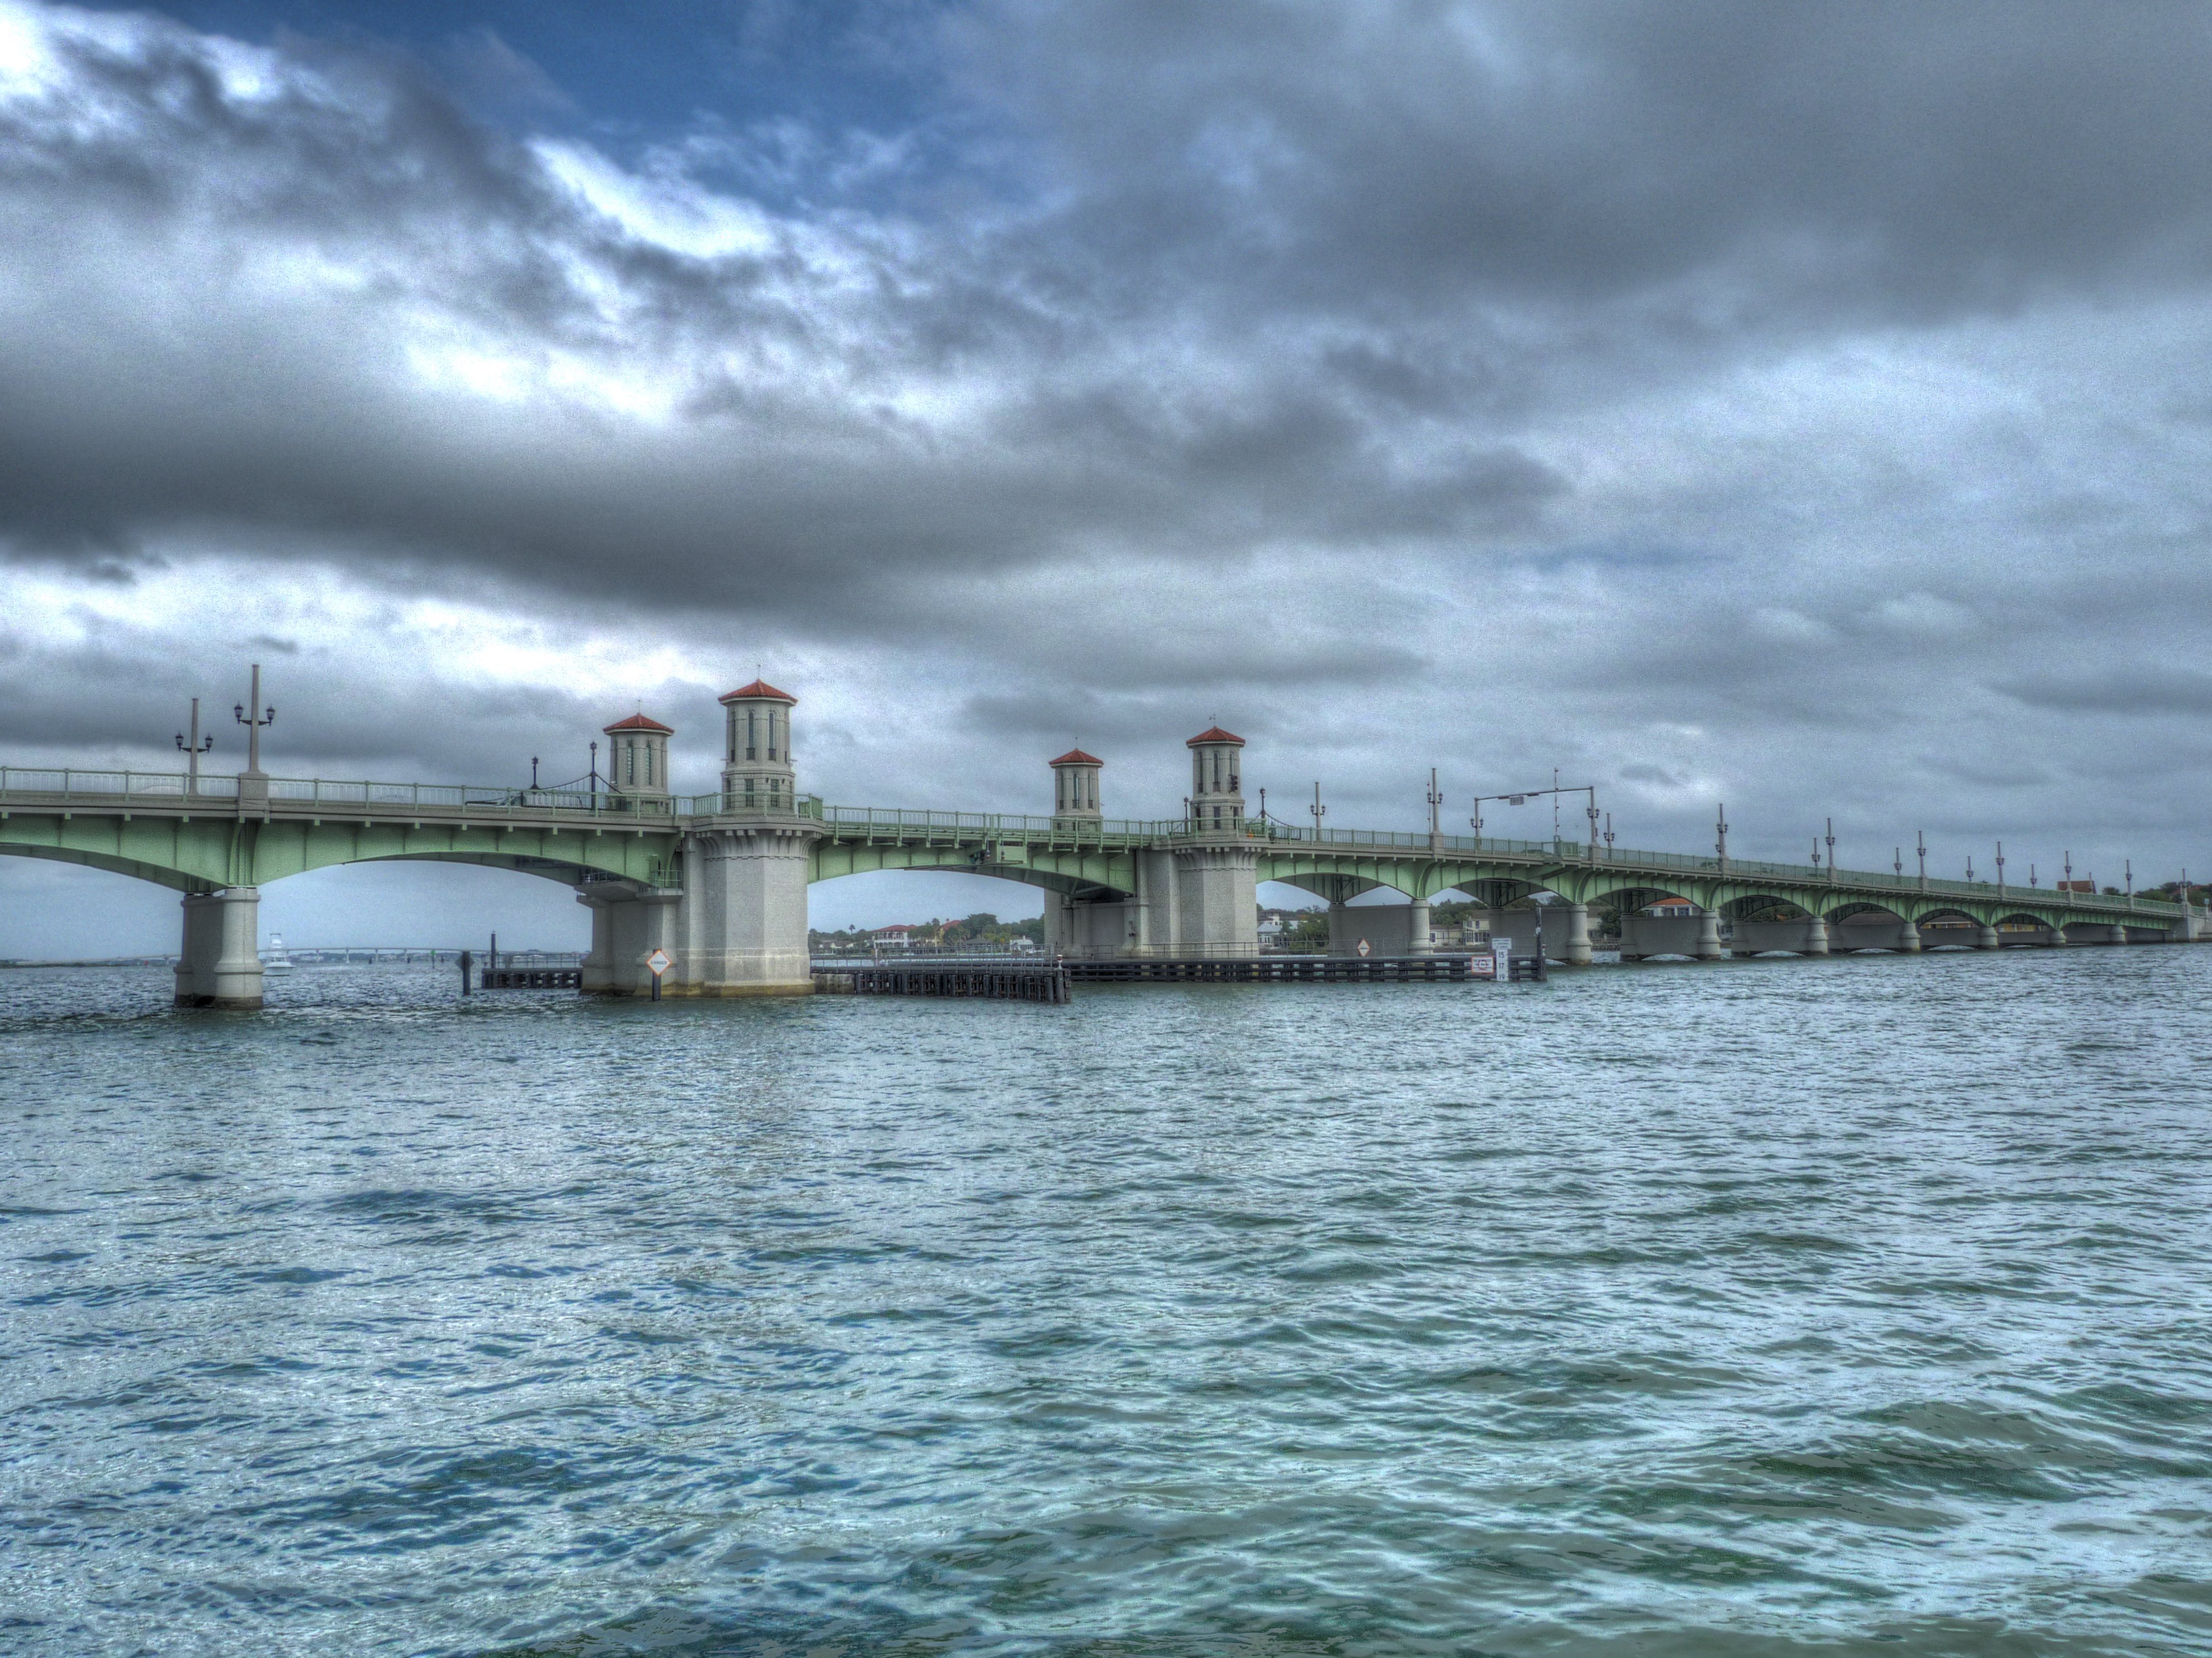
HDR Photos: Elevation of bascule span from southwest quadrant, bridge in raised position.
![]()
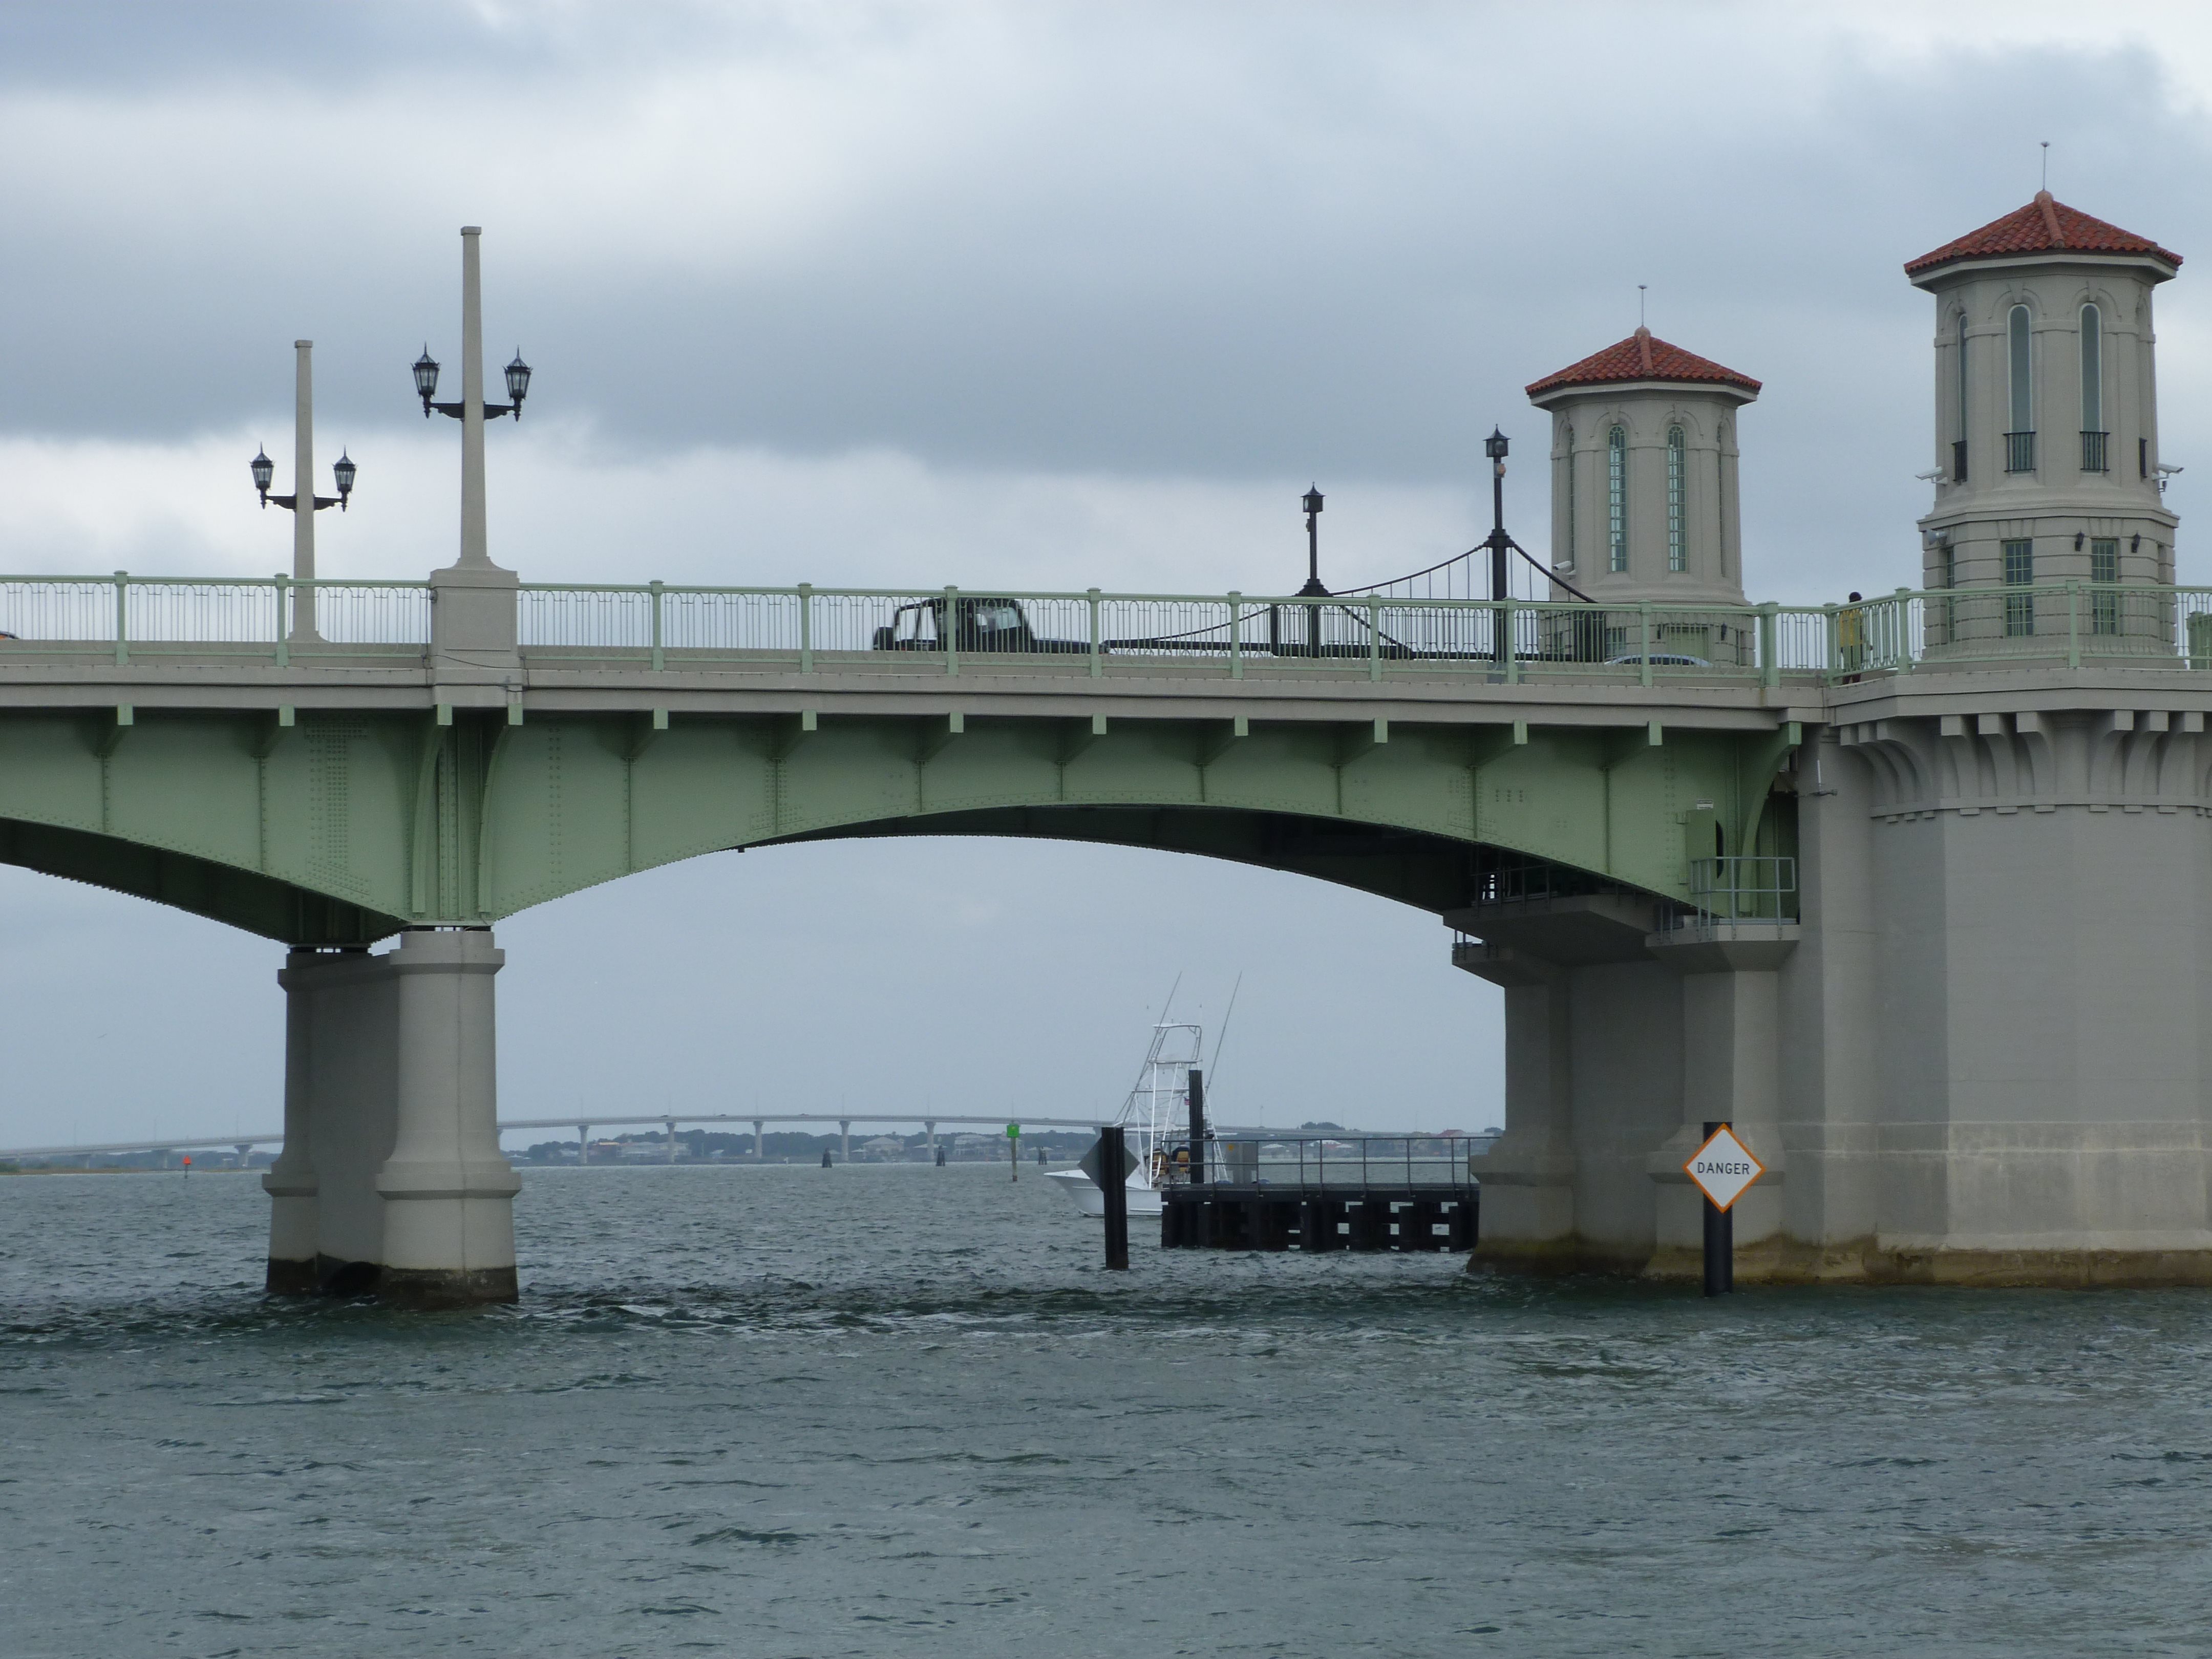
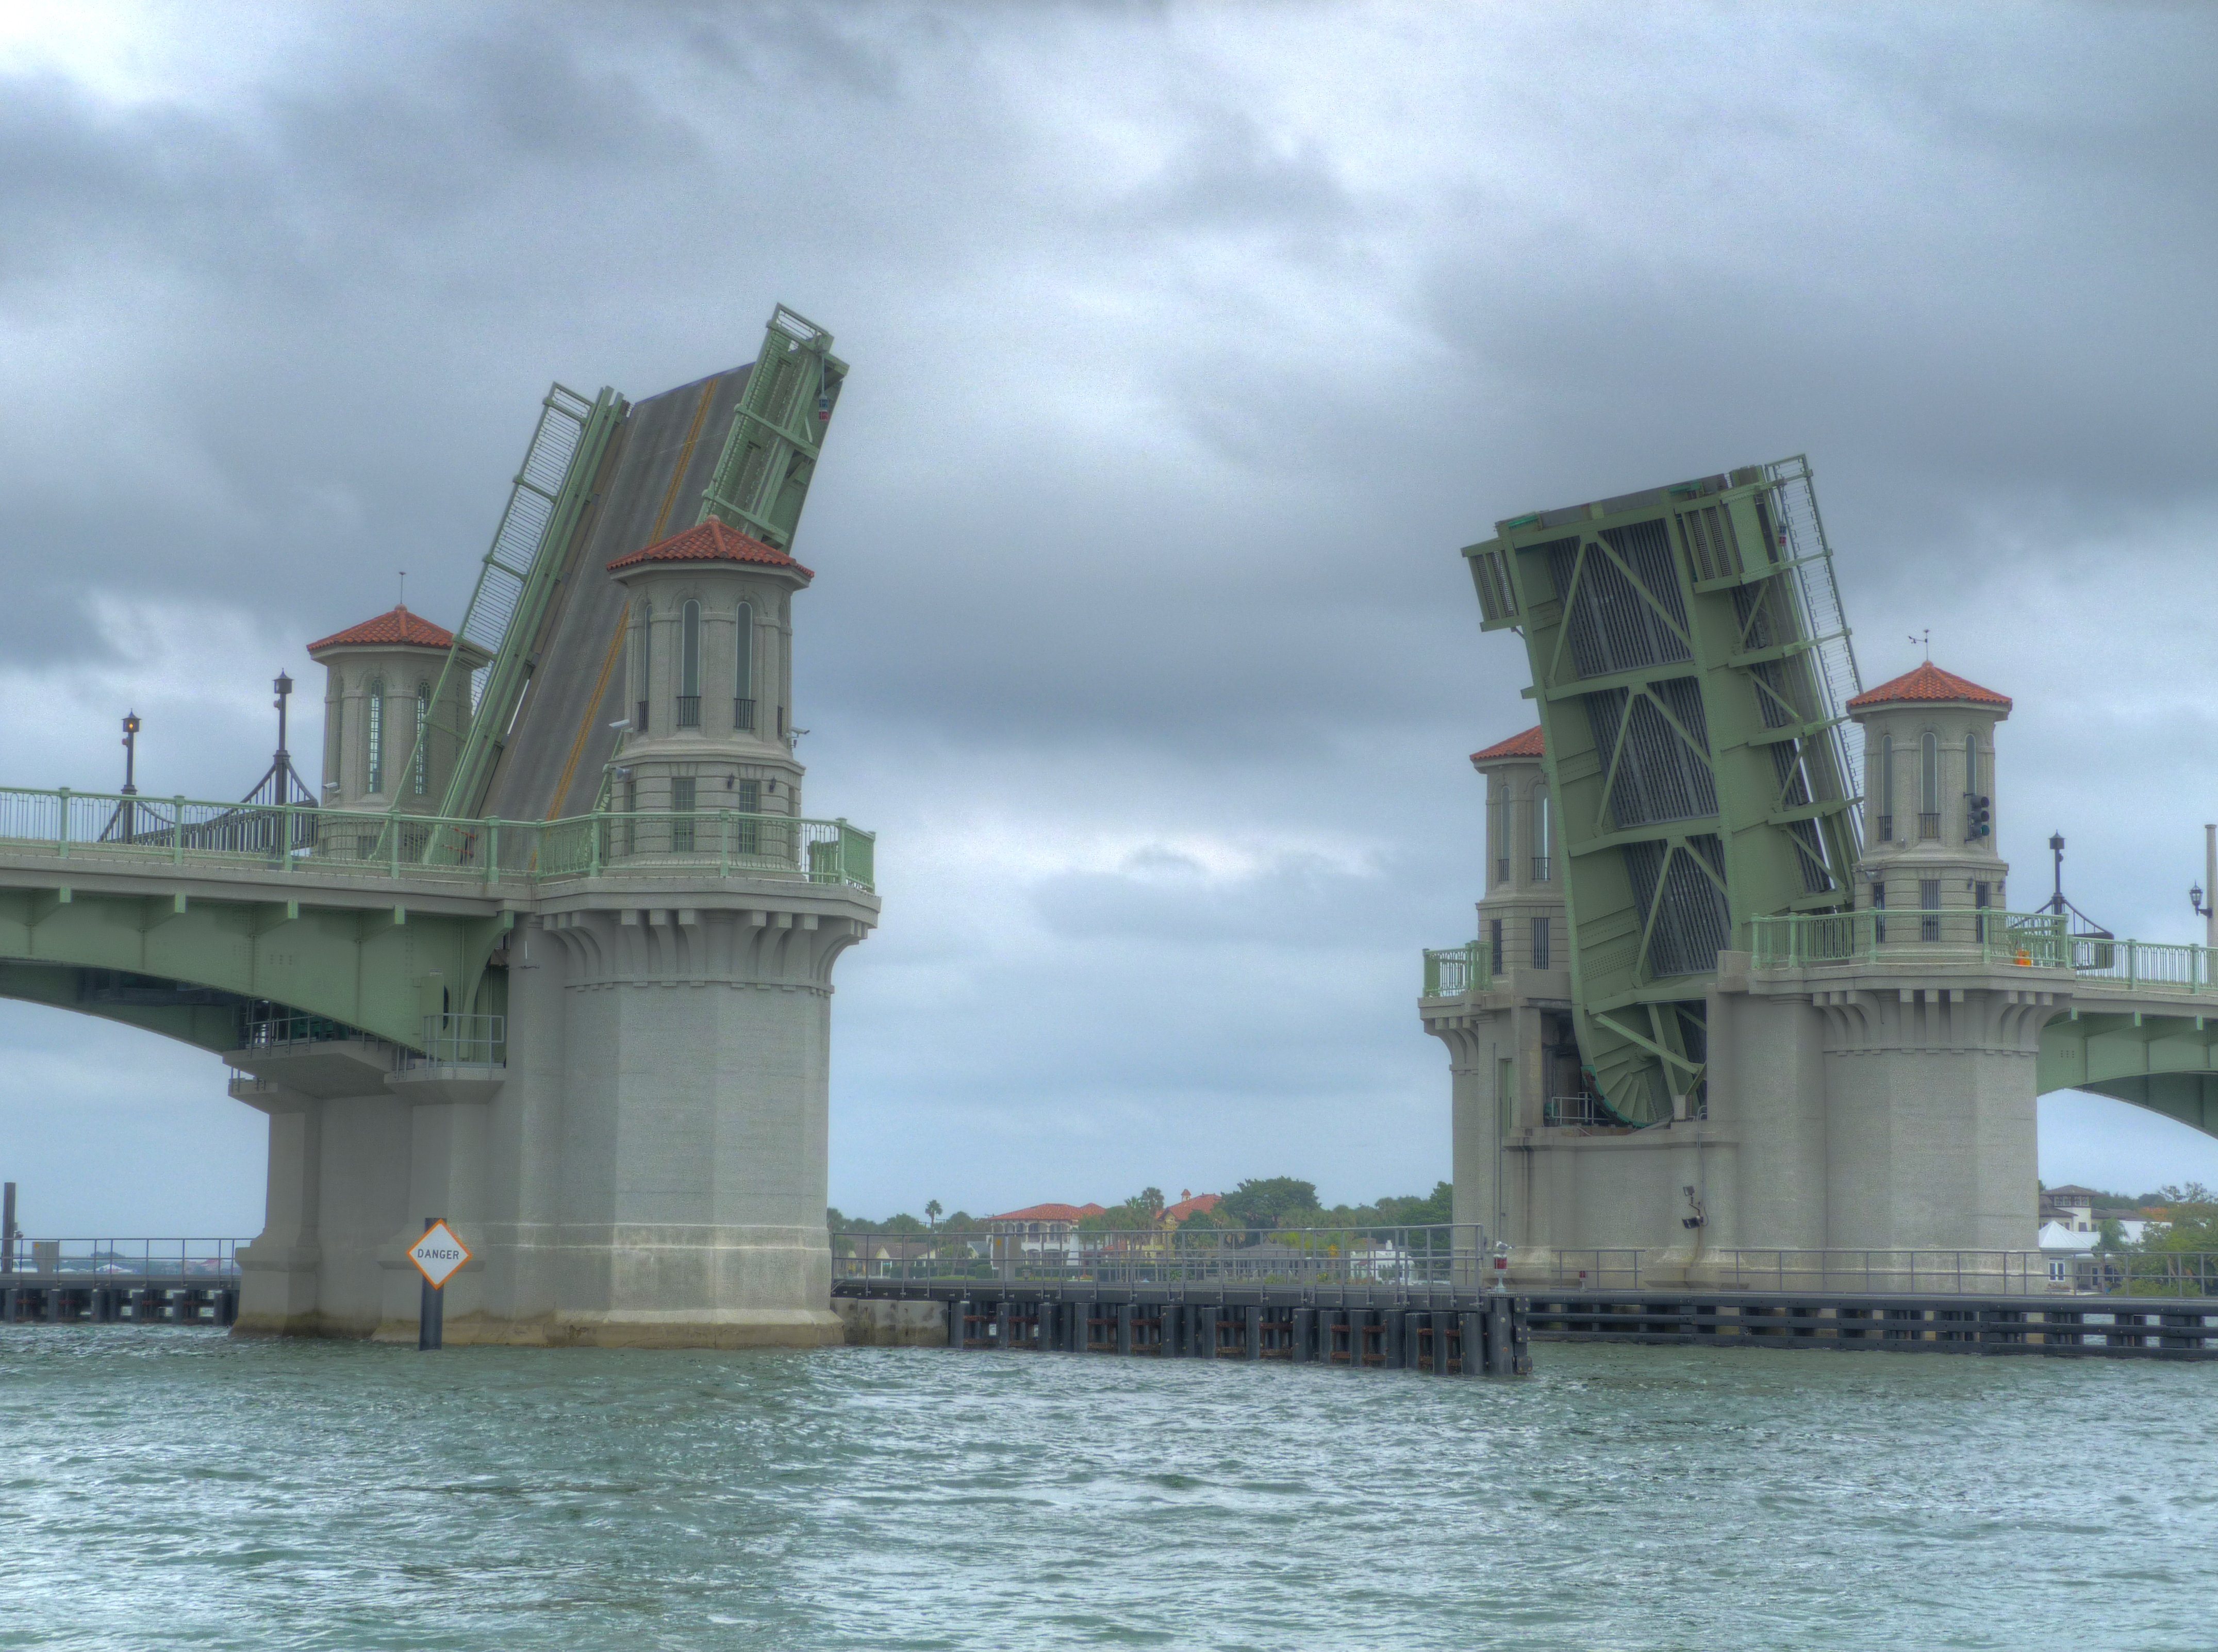
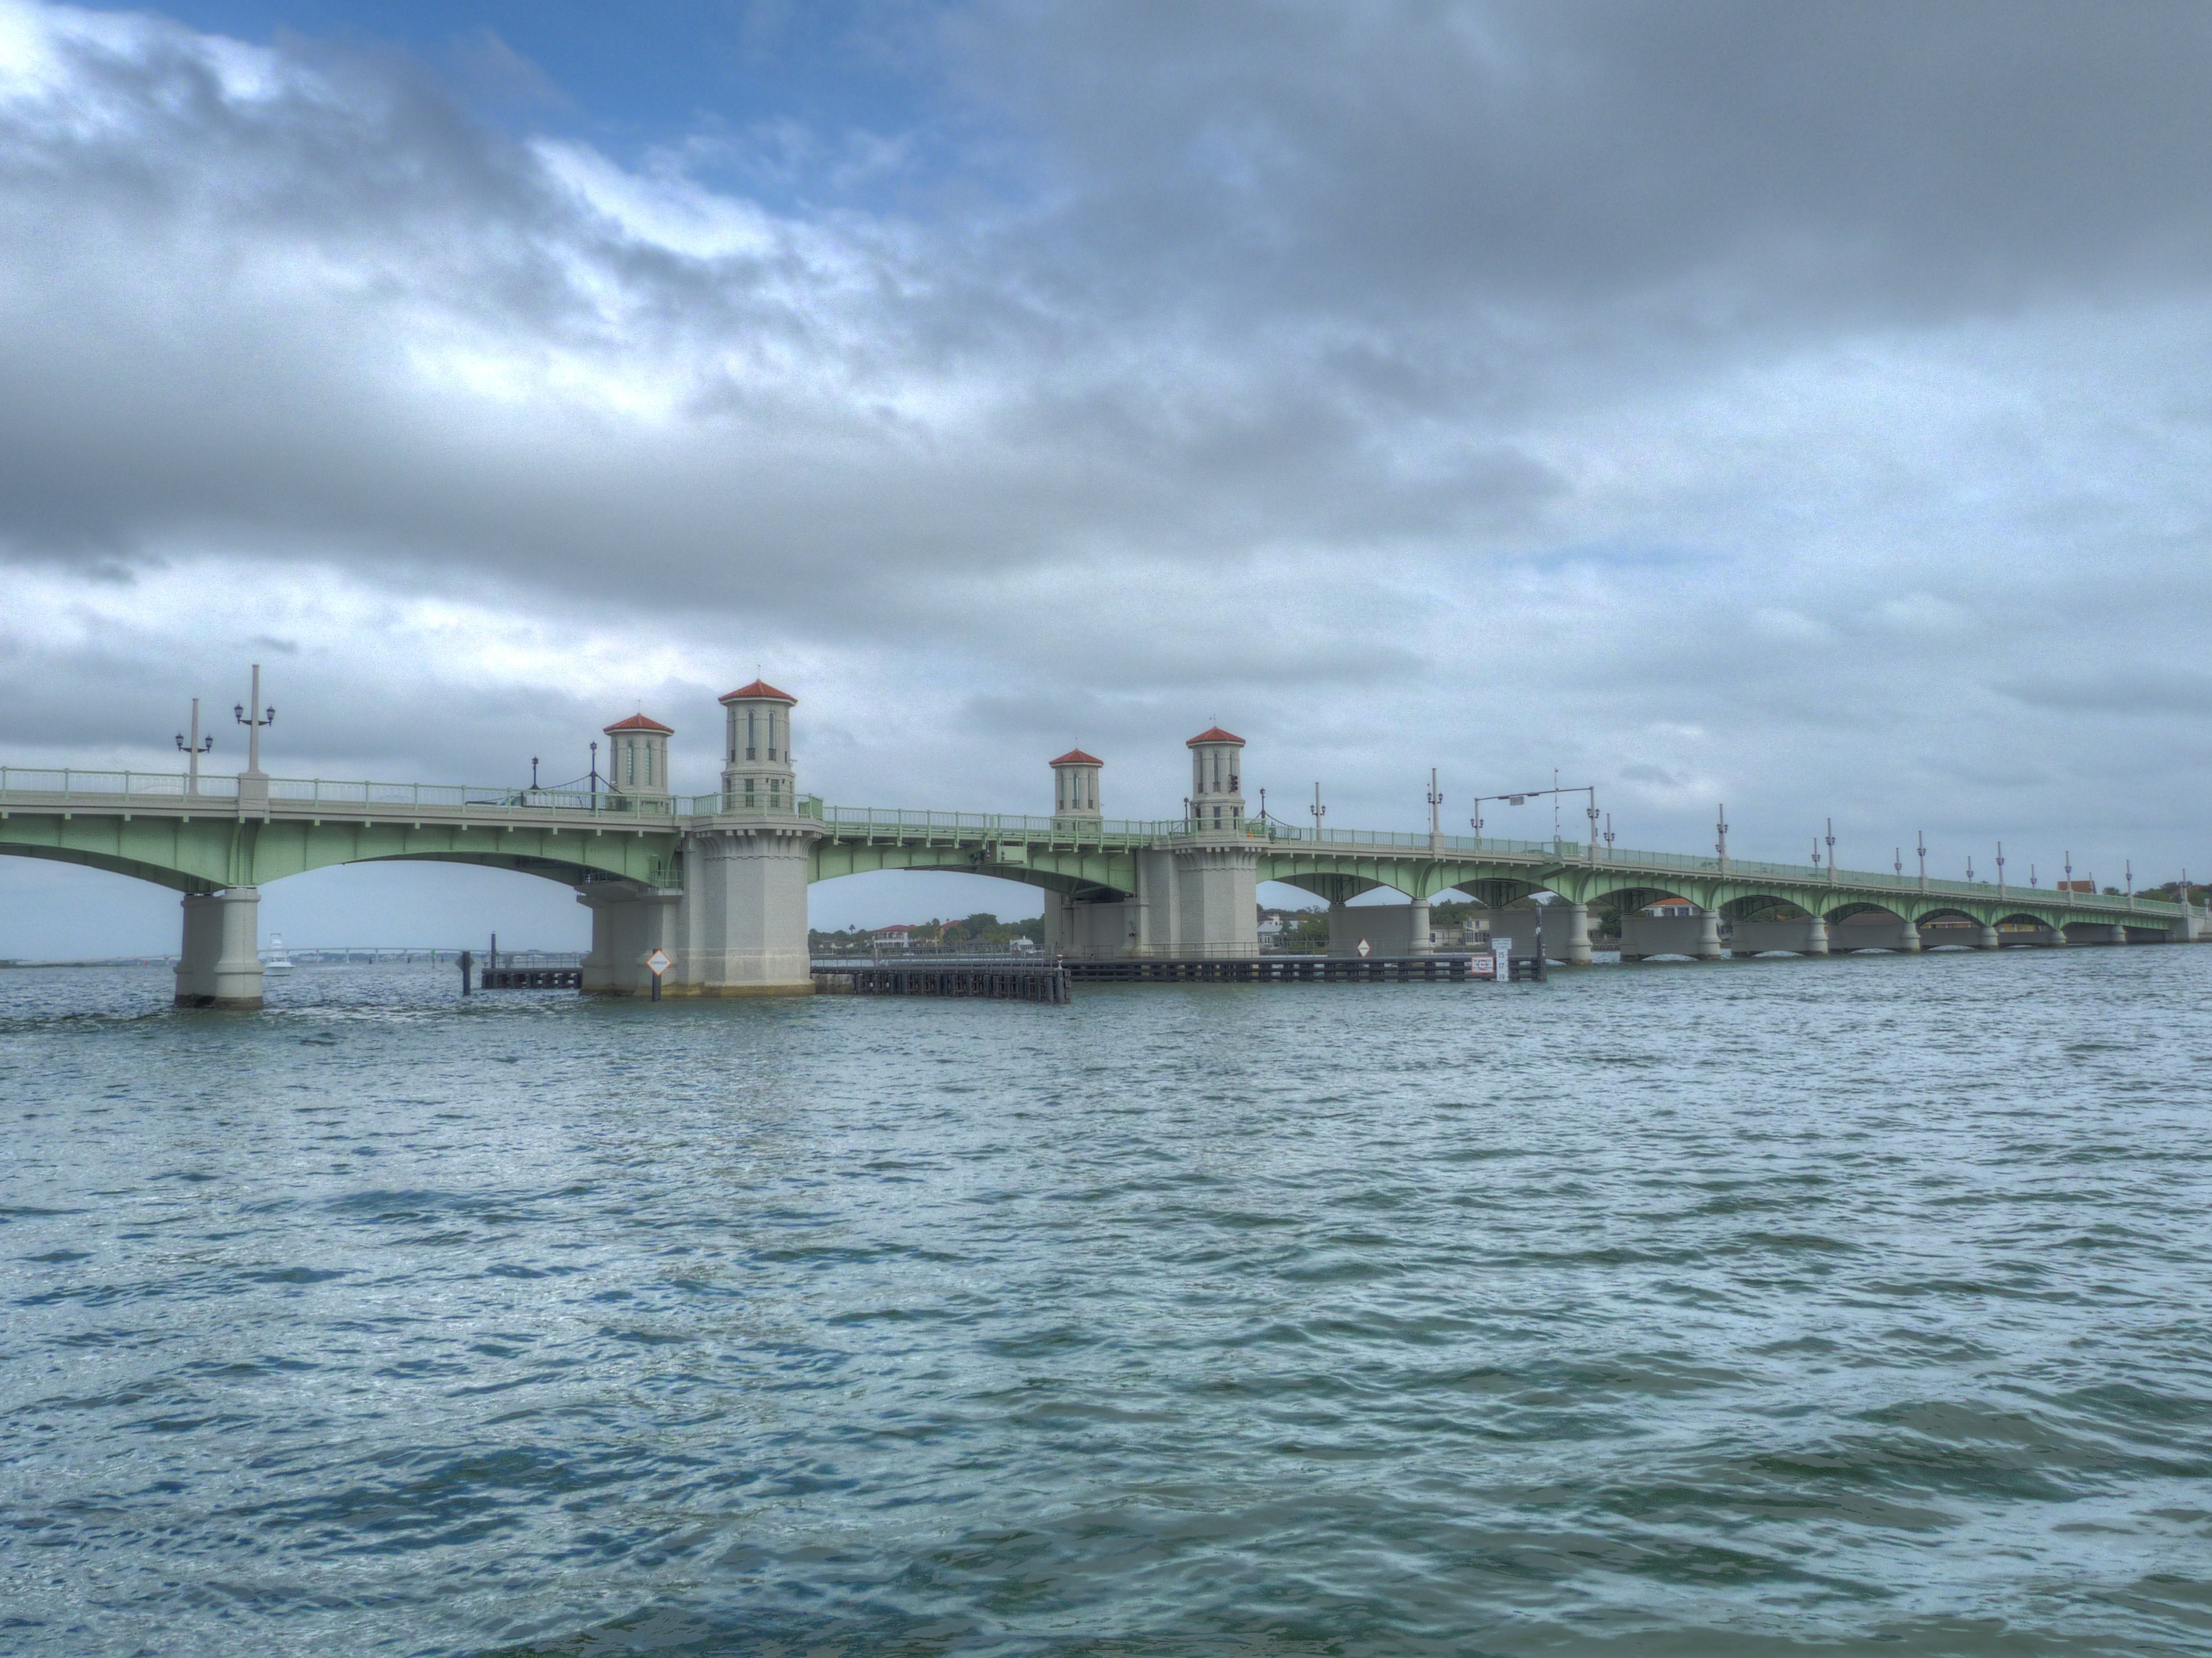
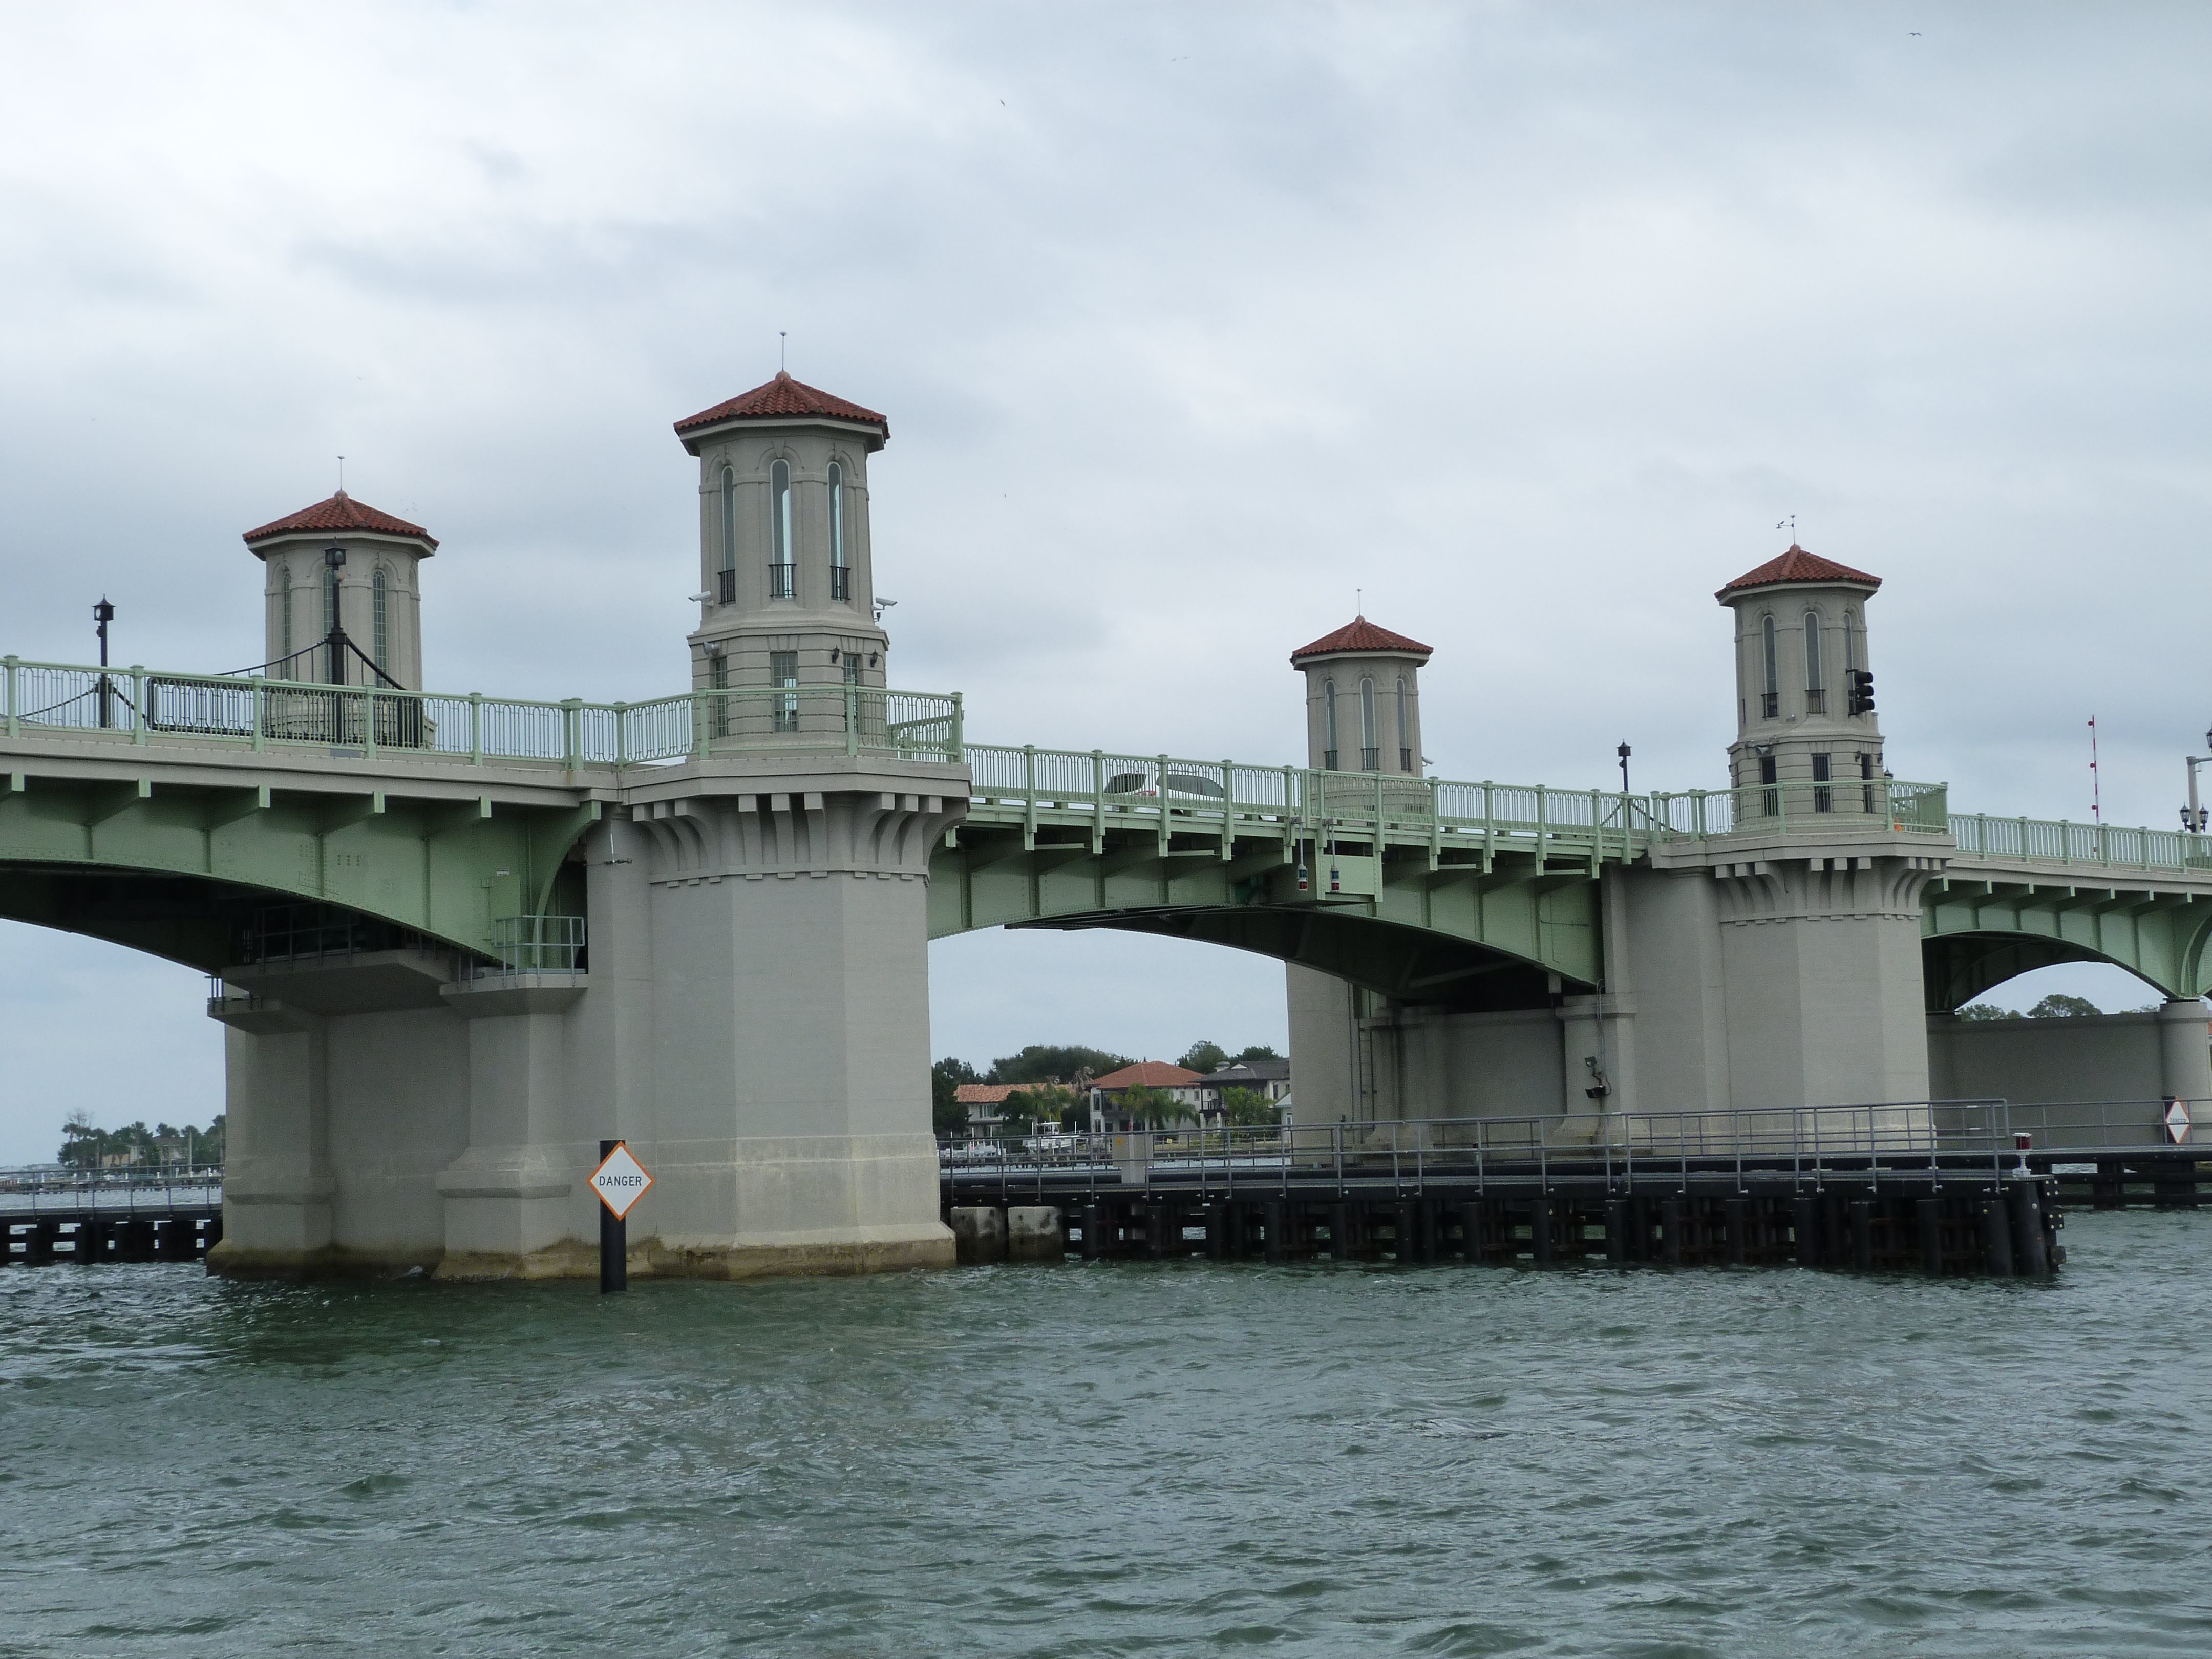
Elevation from southwest quadrant, bridge in raised position.
![]()
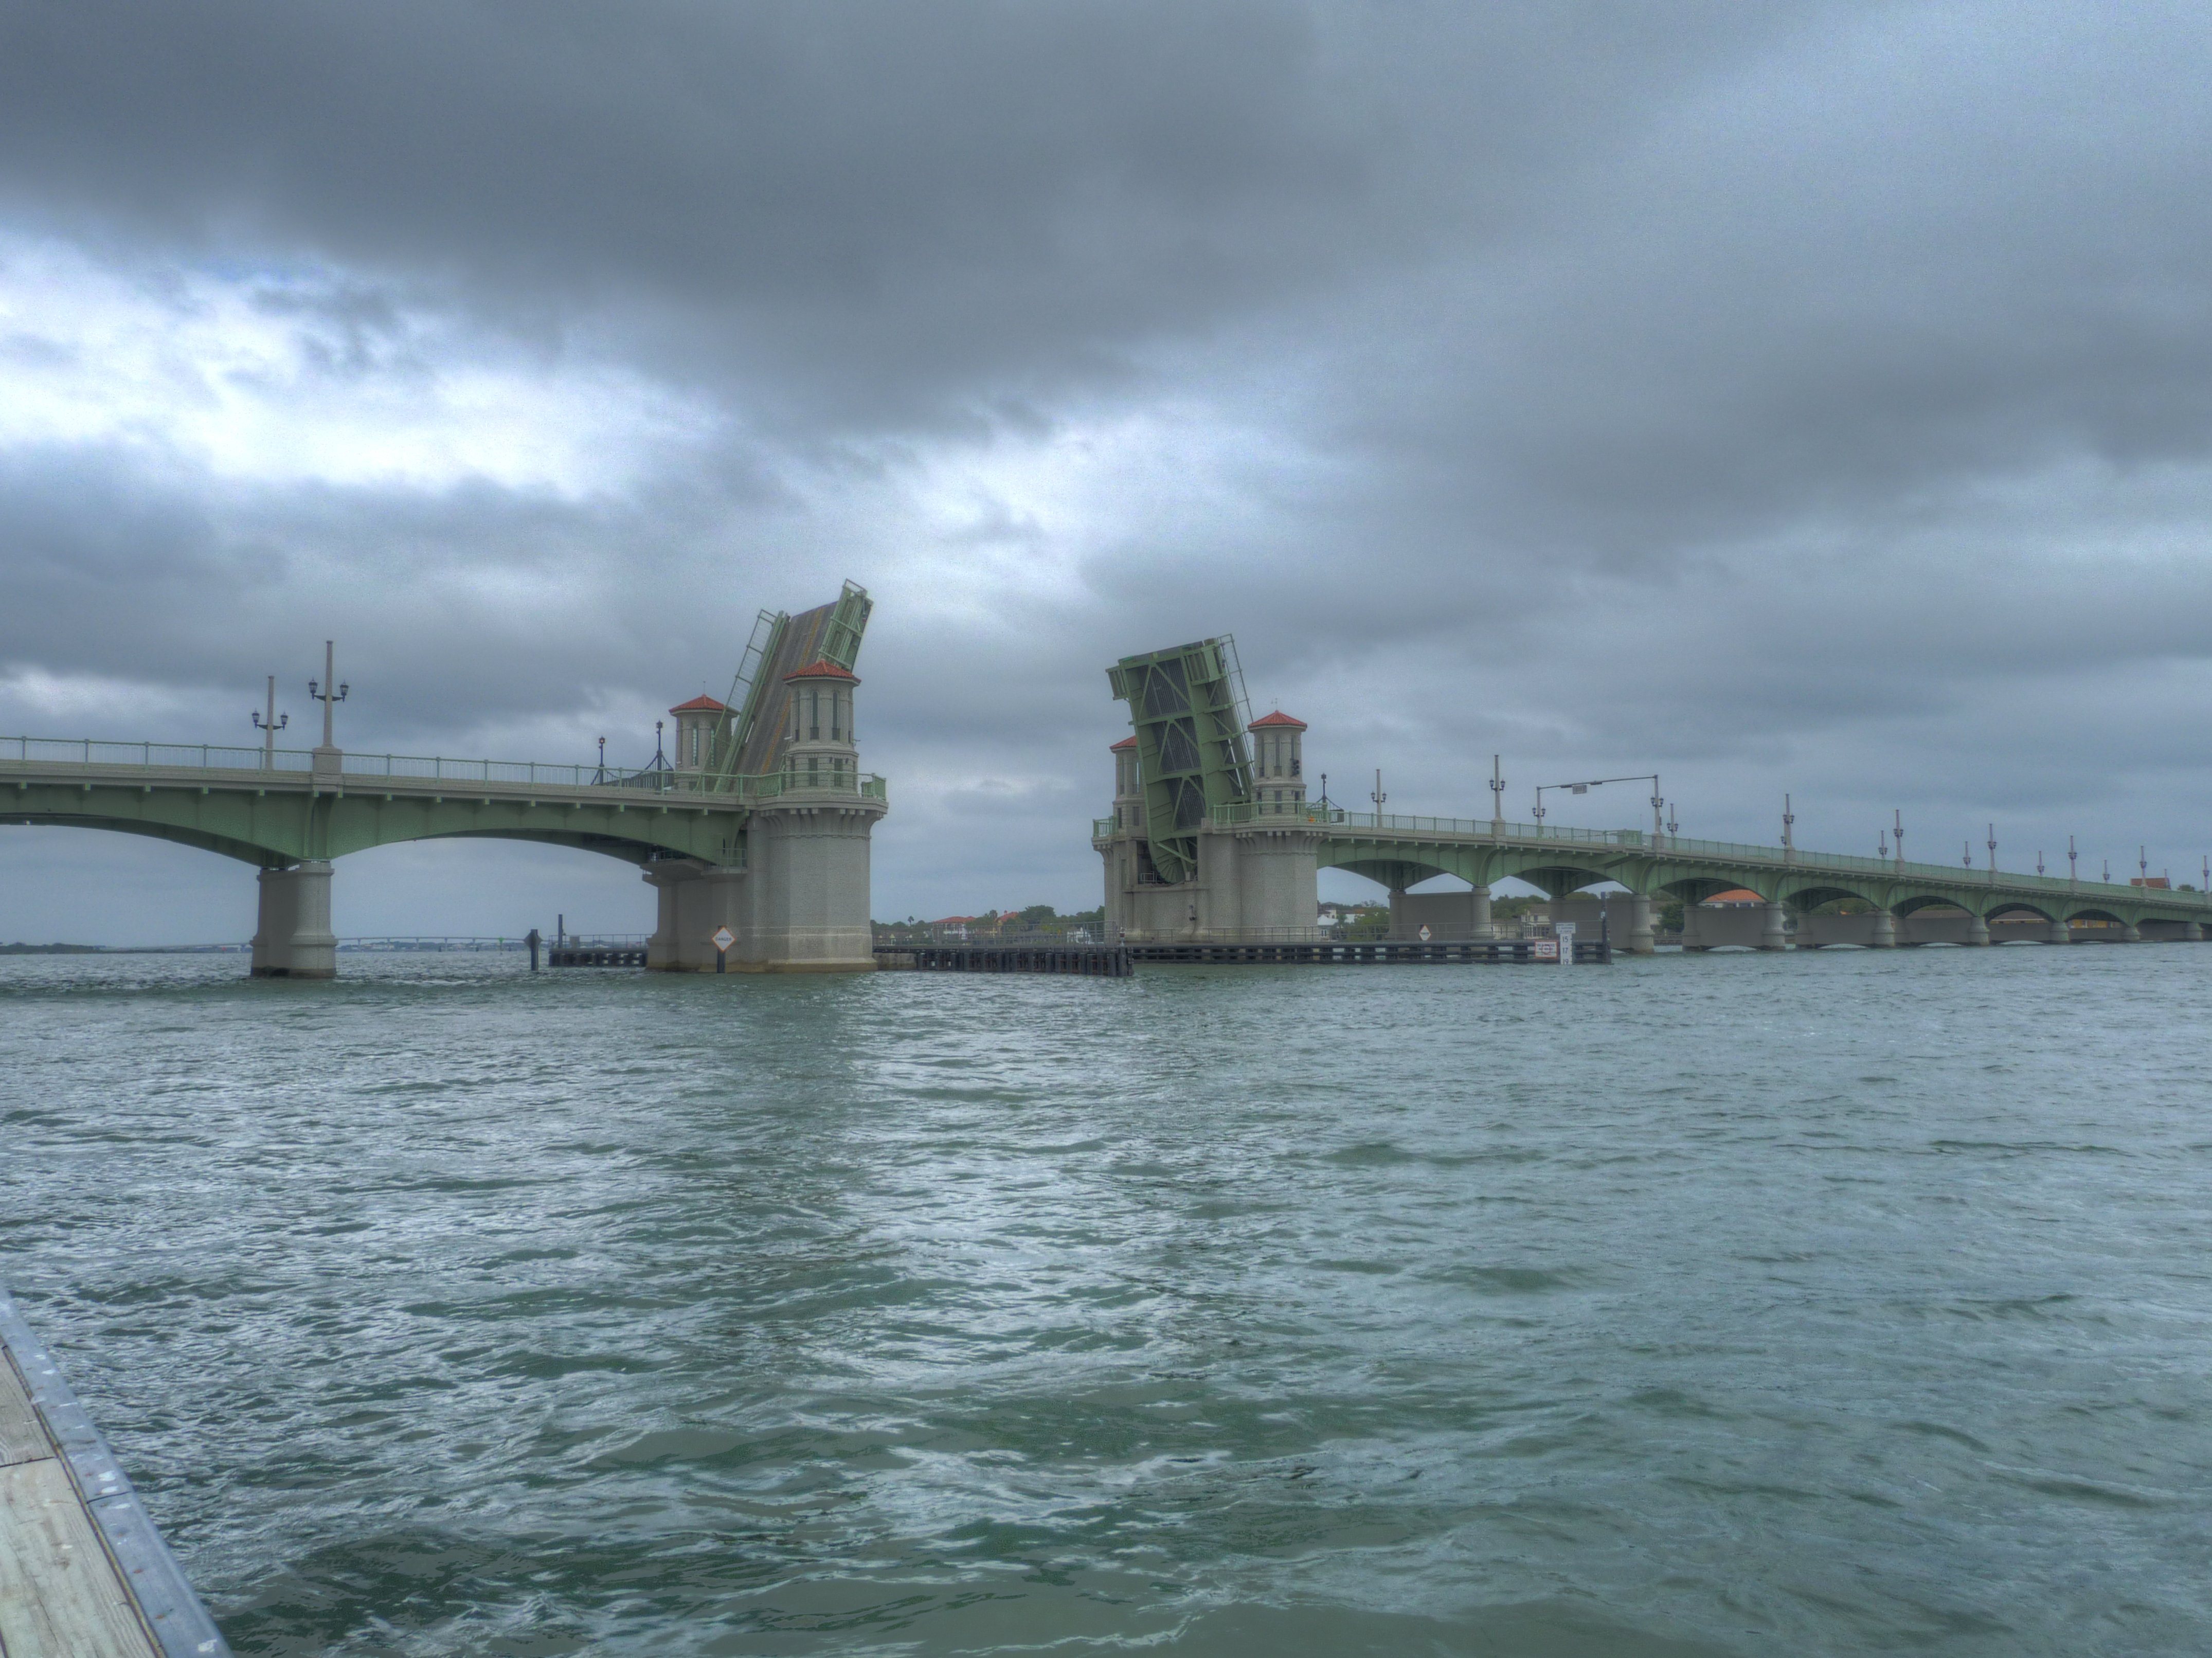

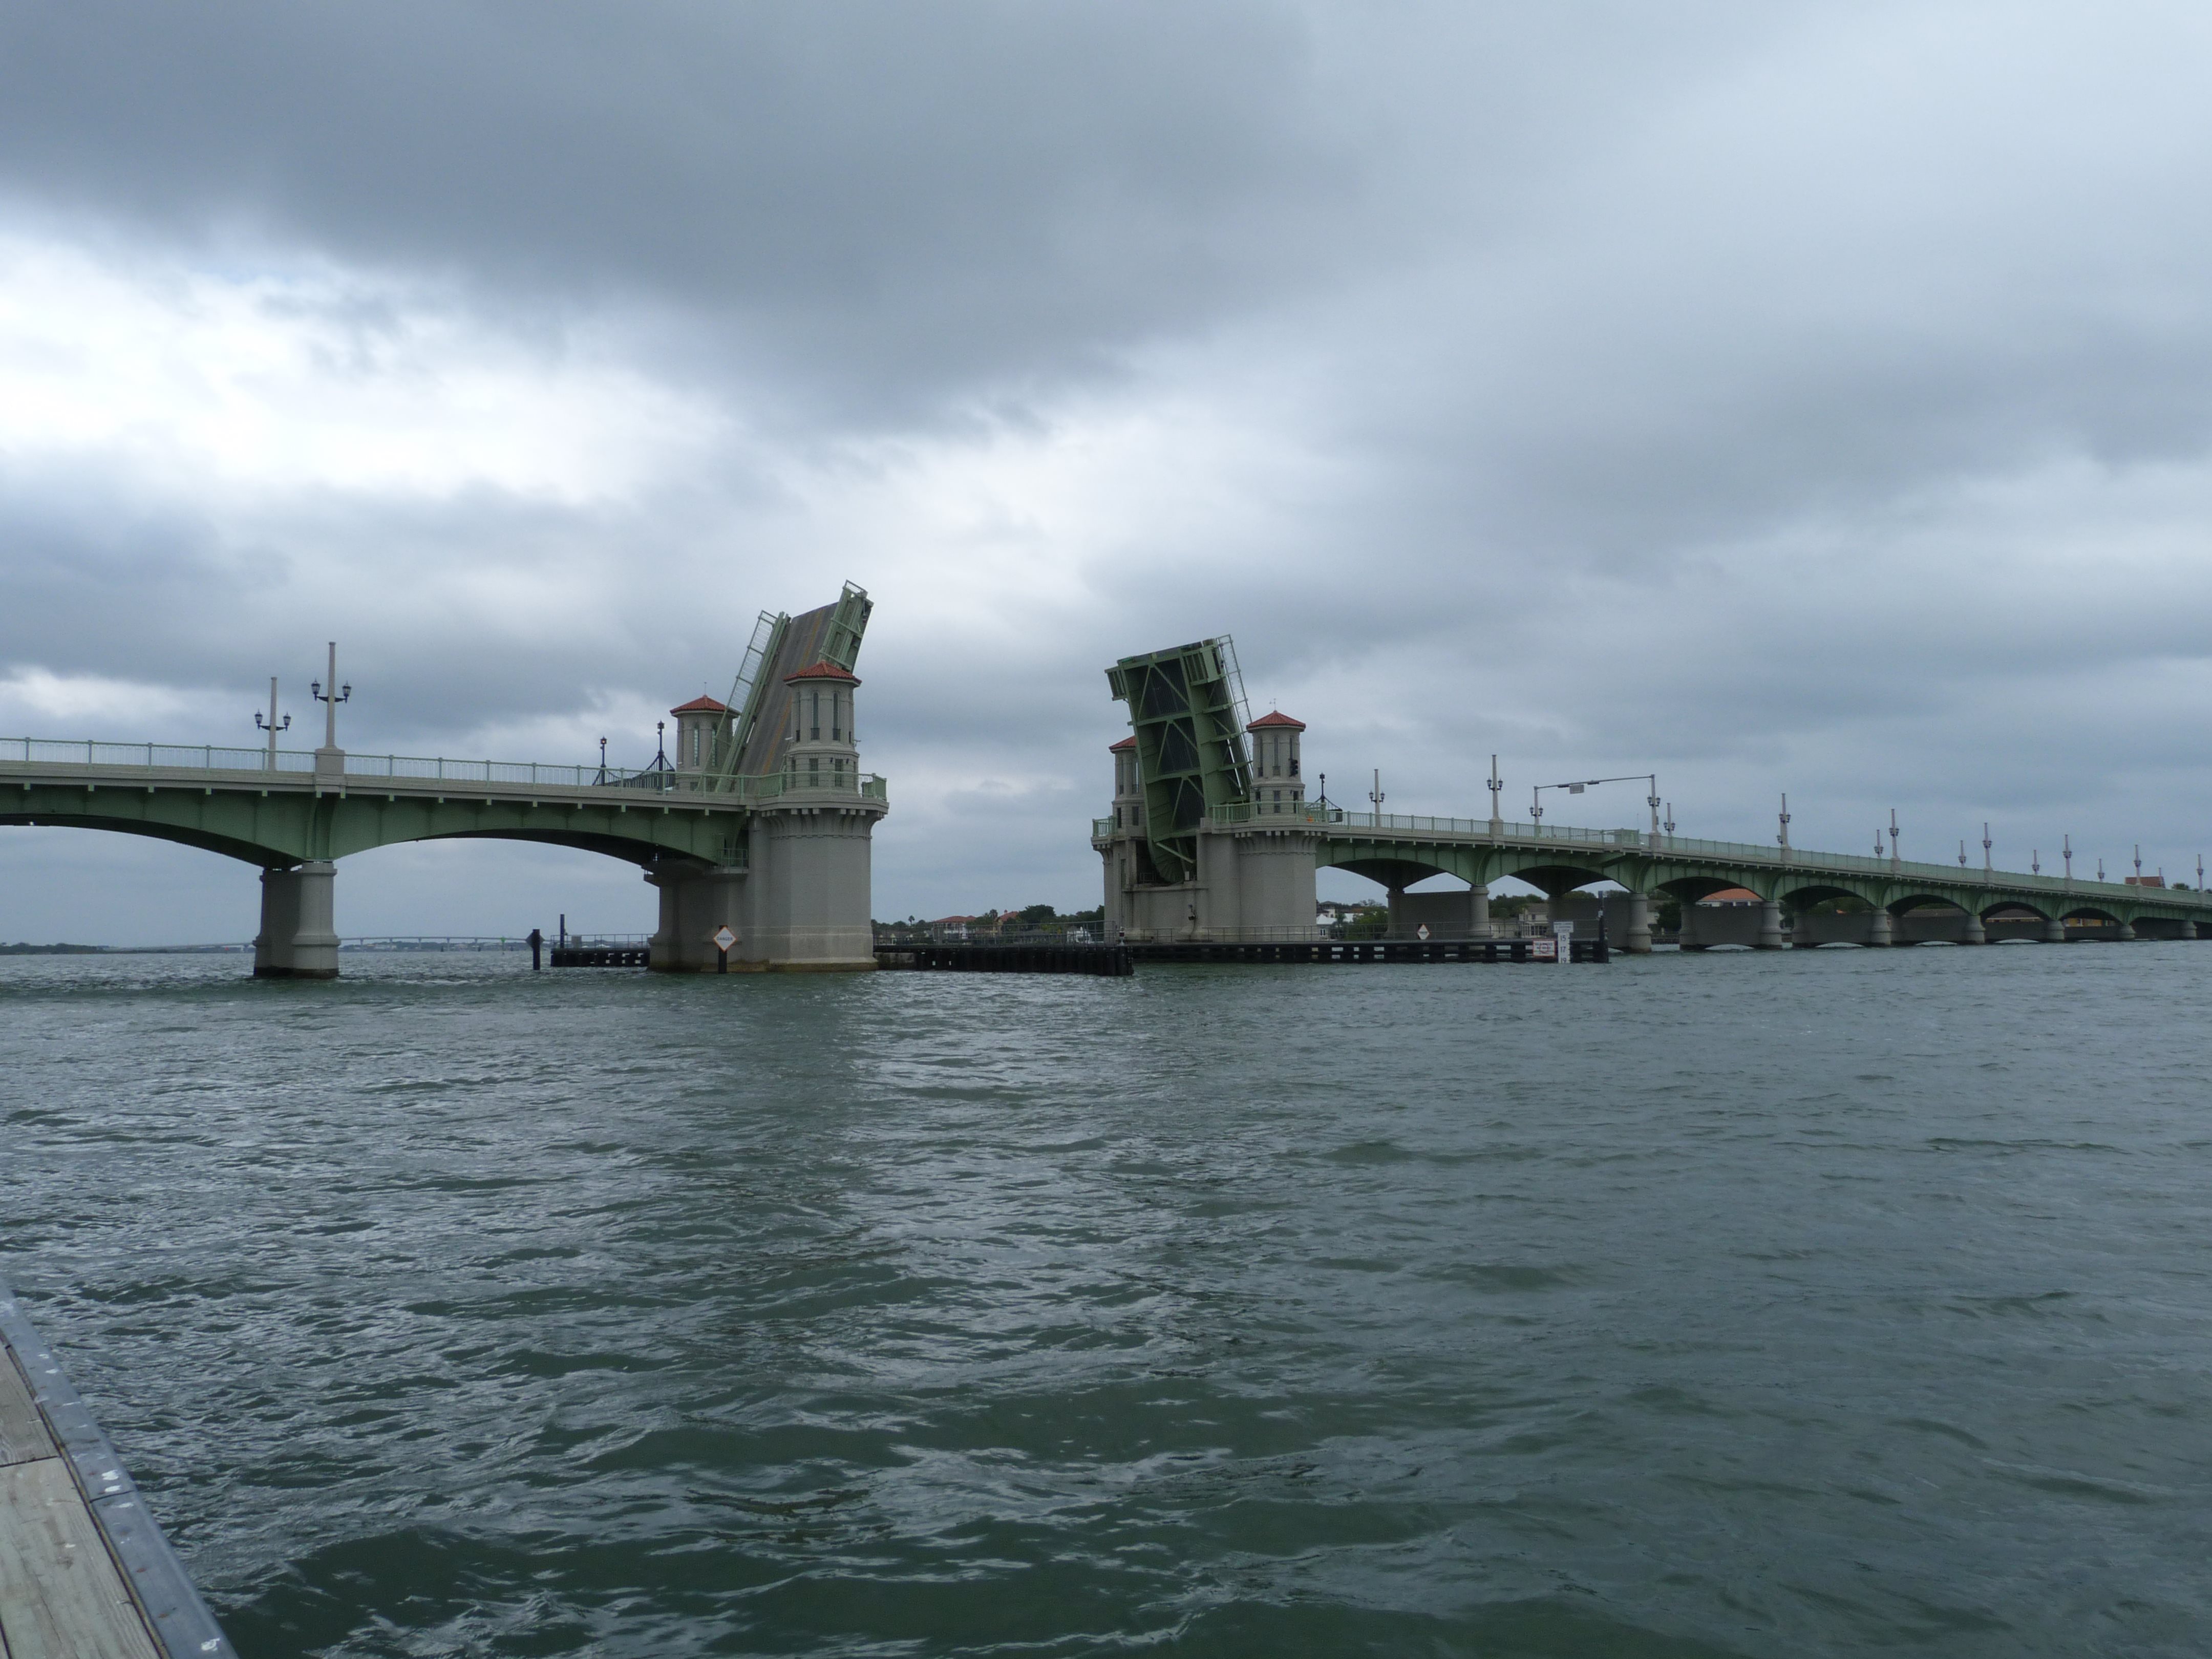
HDR Photos: Elevation from southwest quadrant, bridge in raised position.
![]()
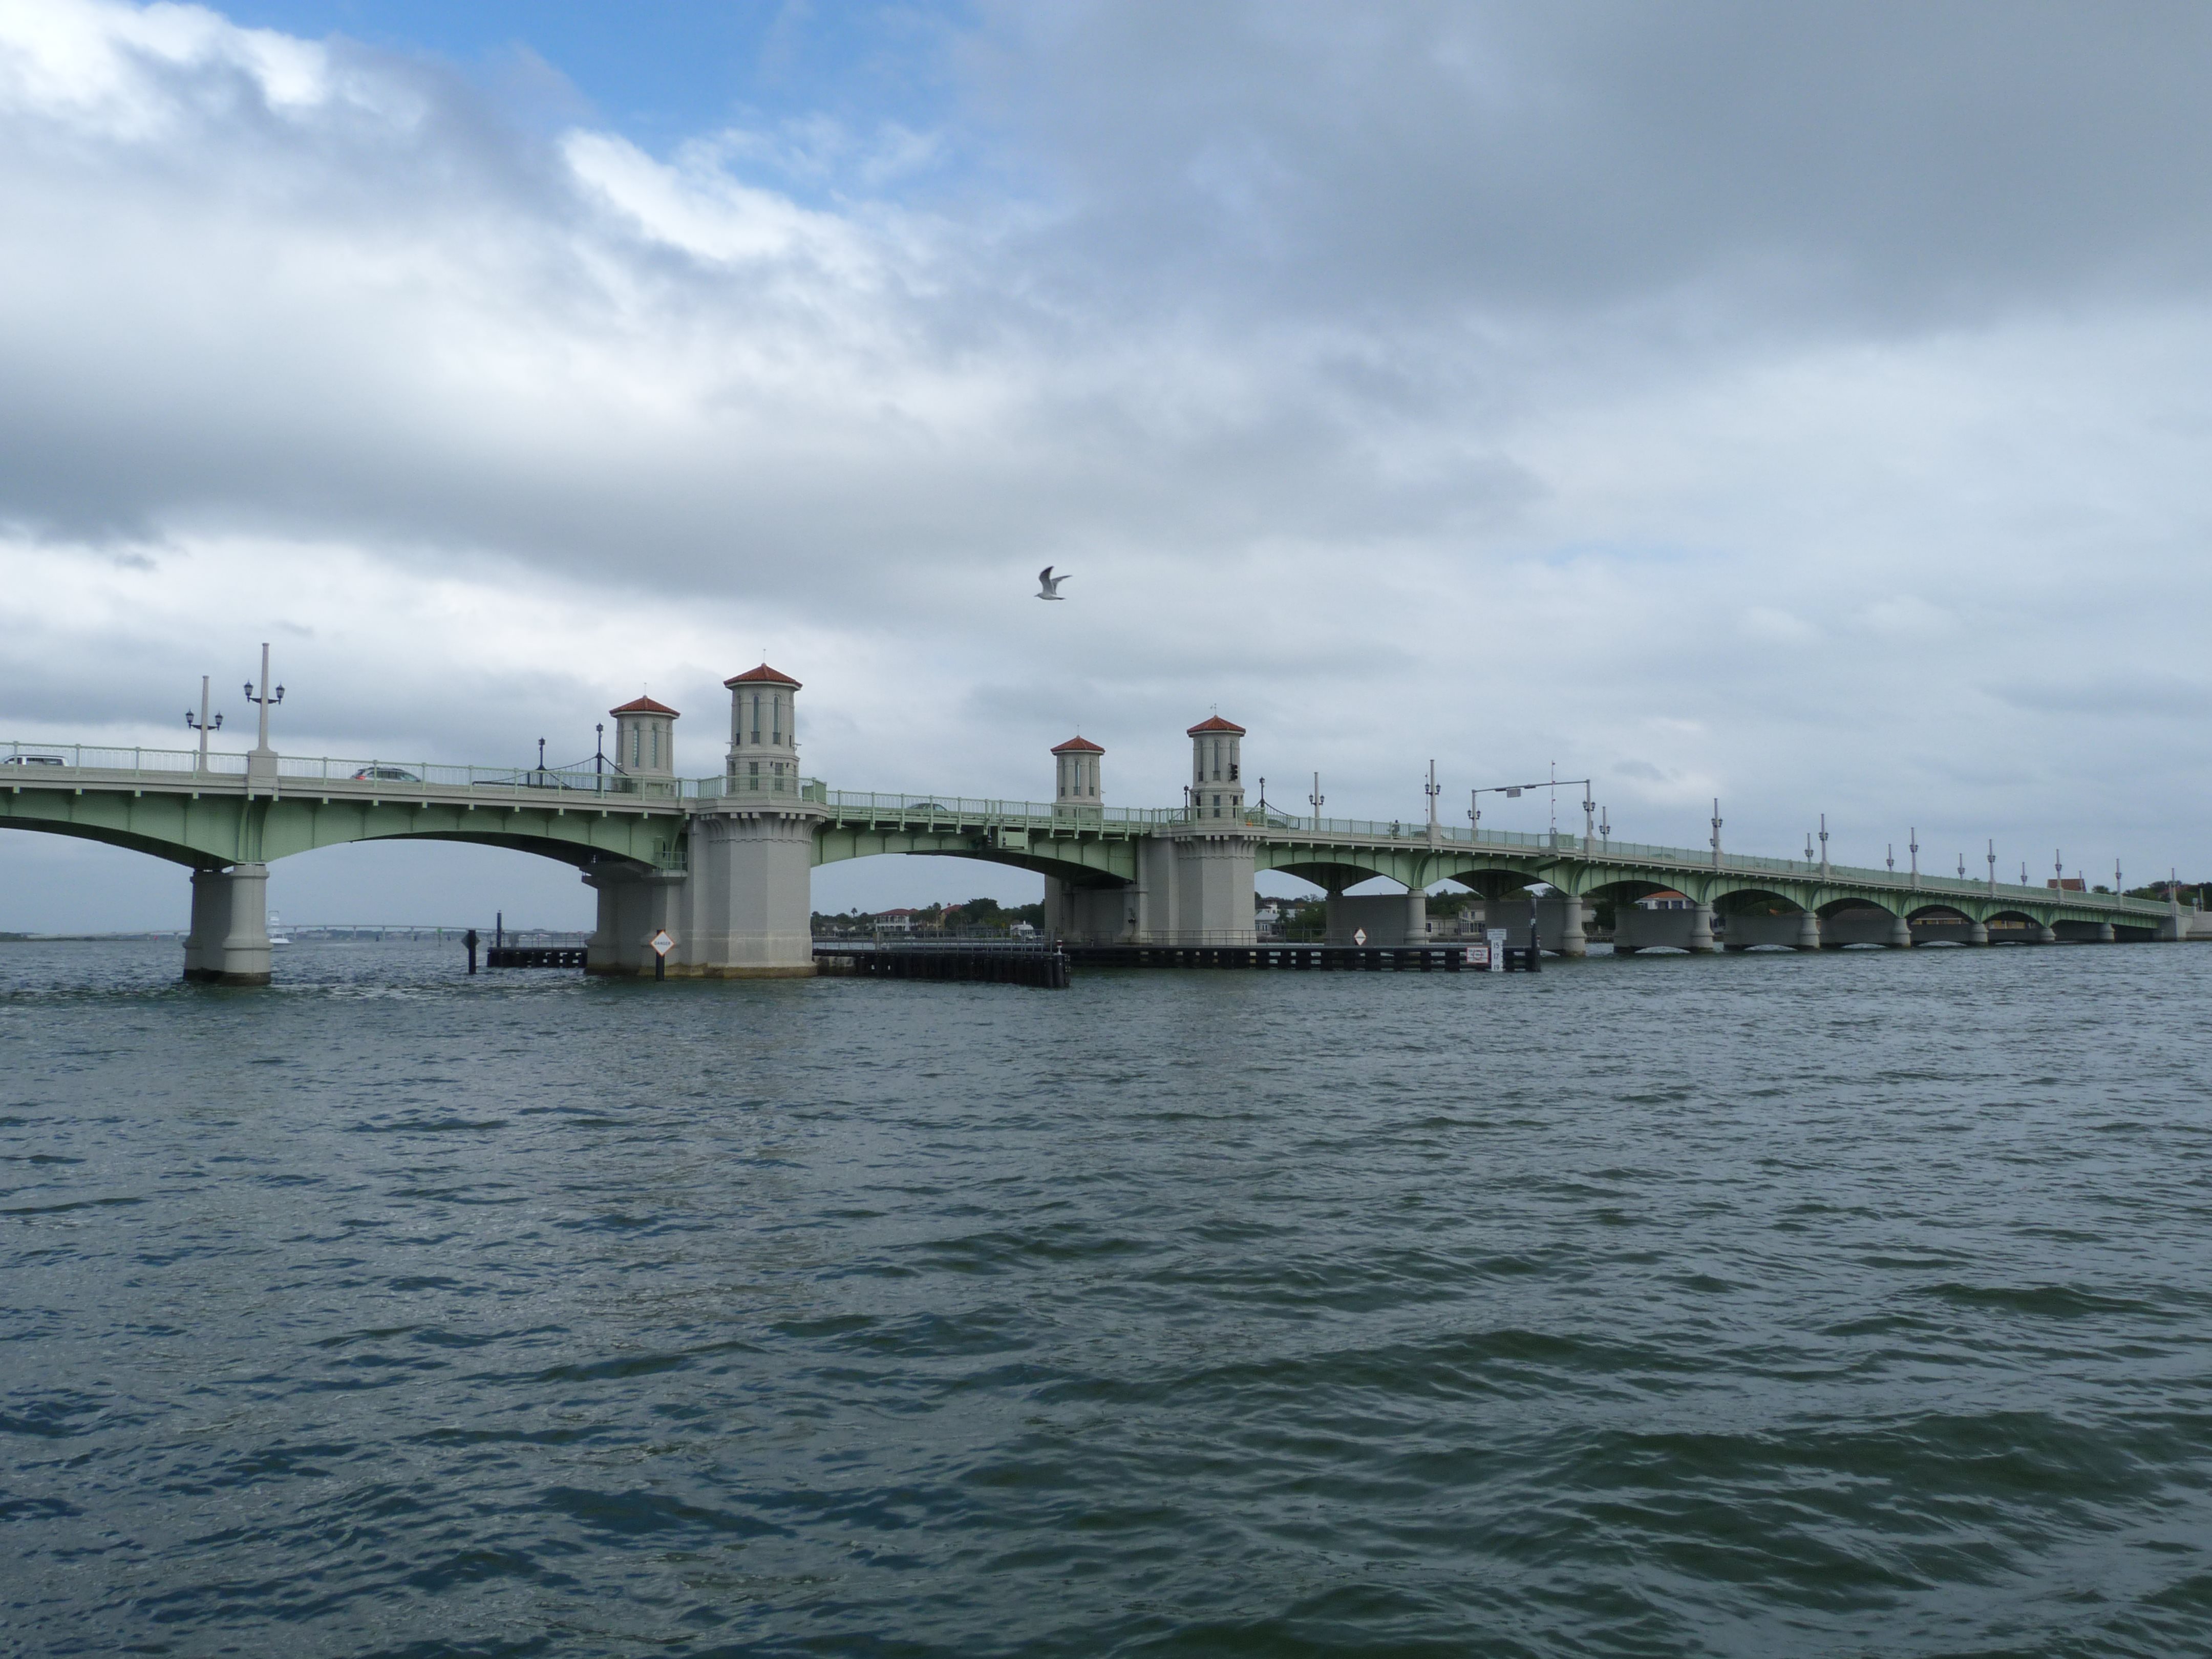


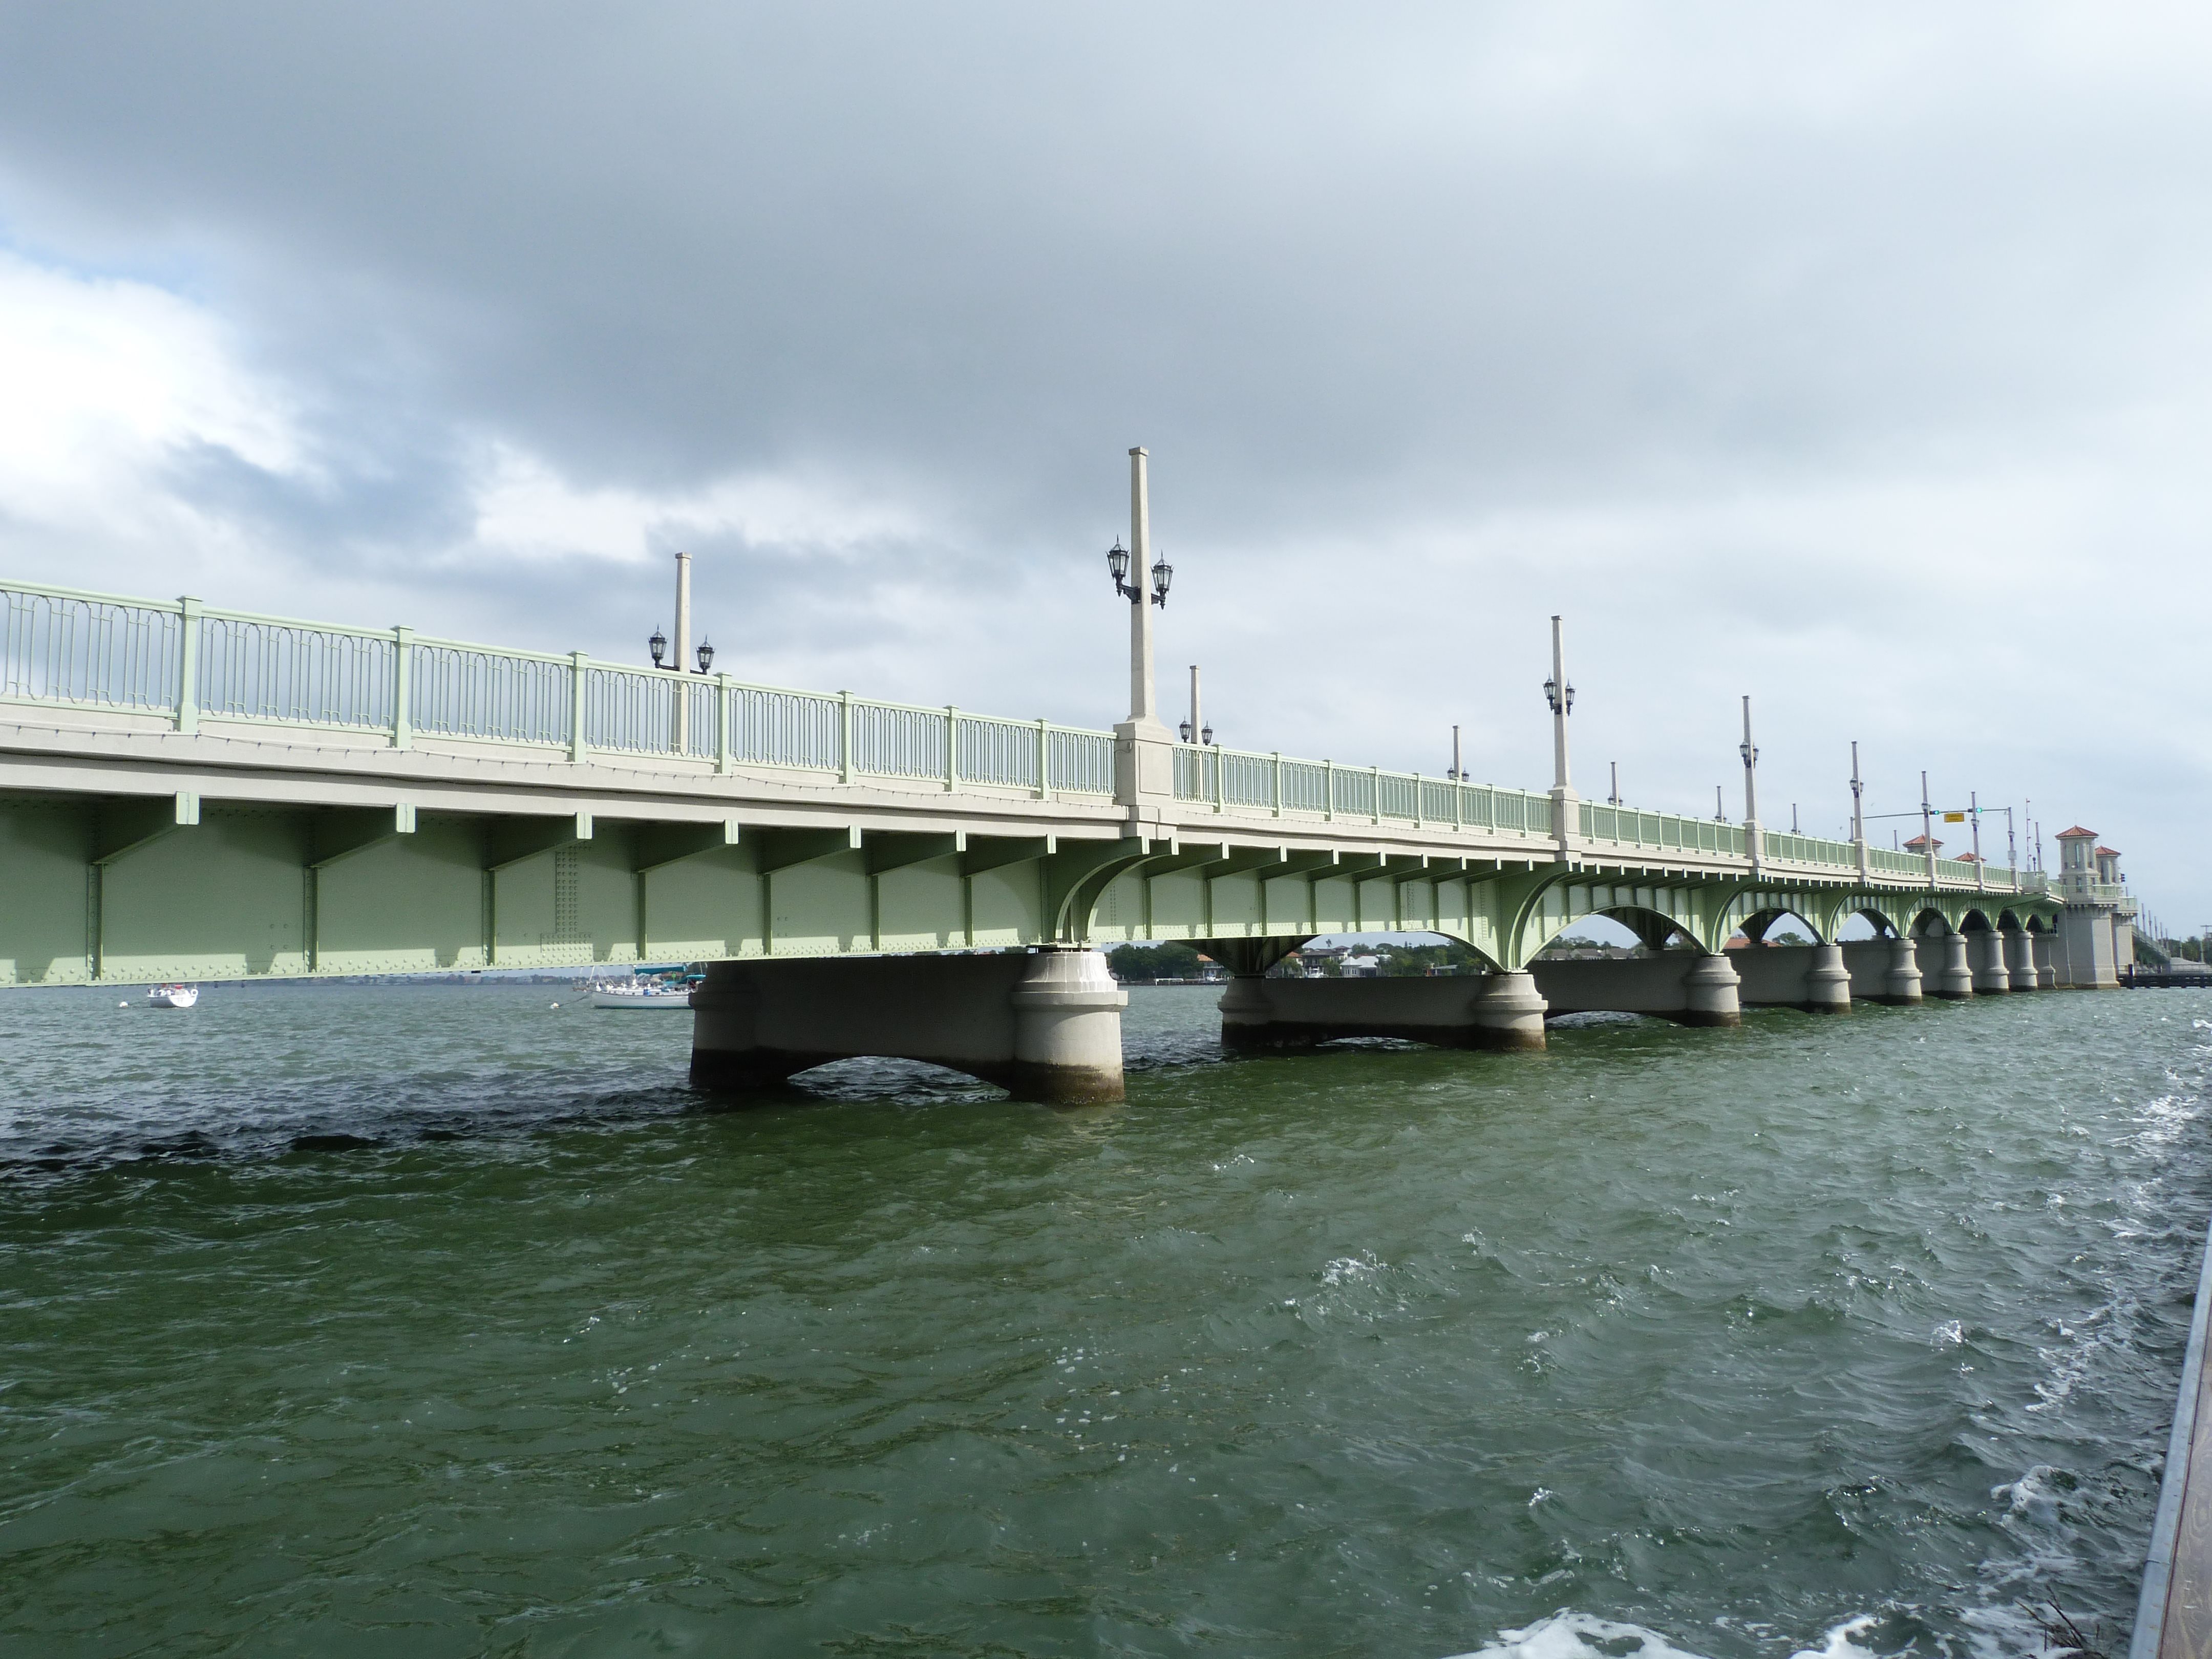
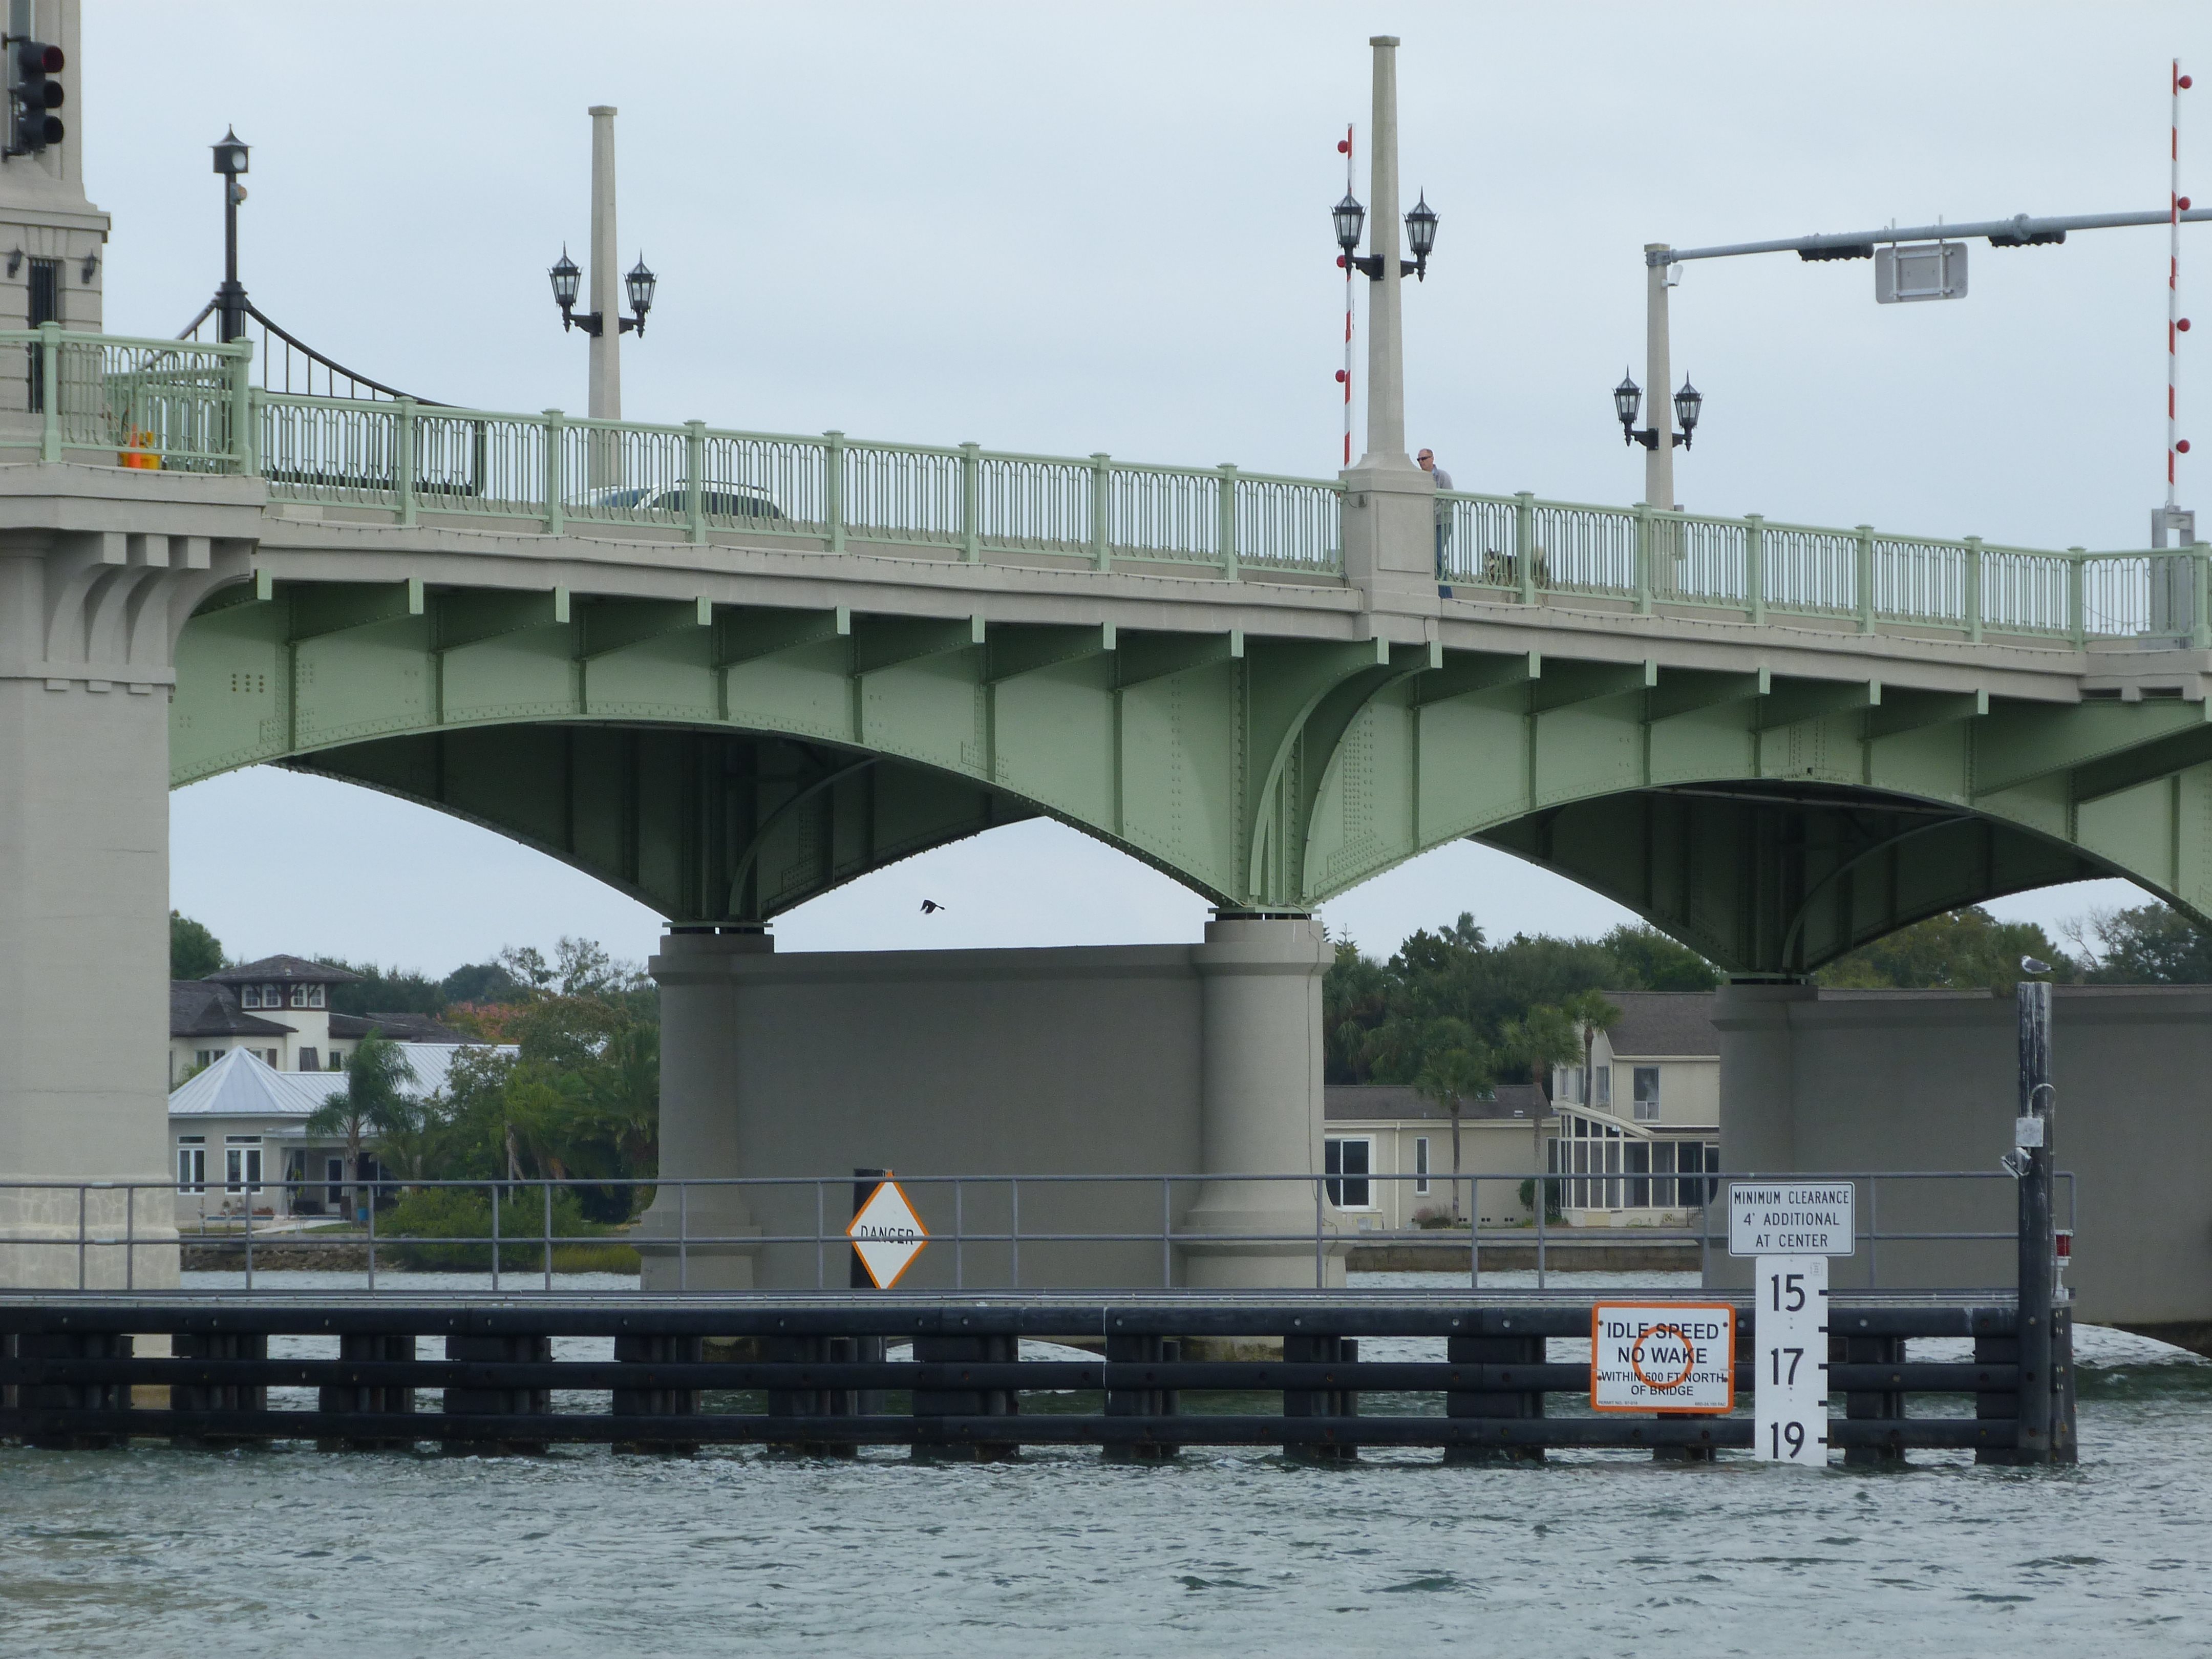
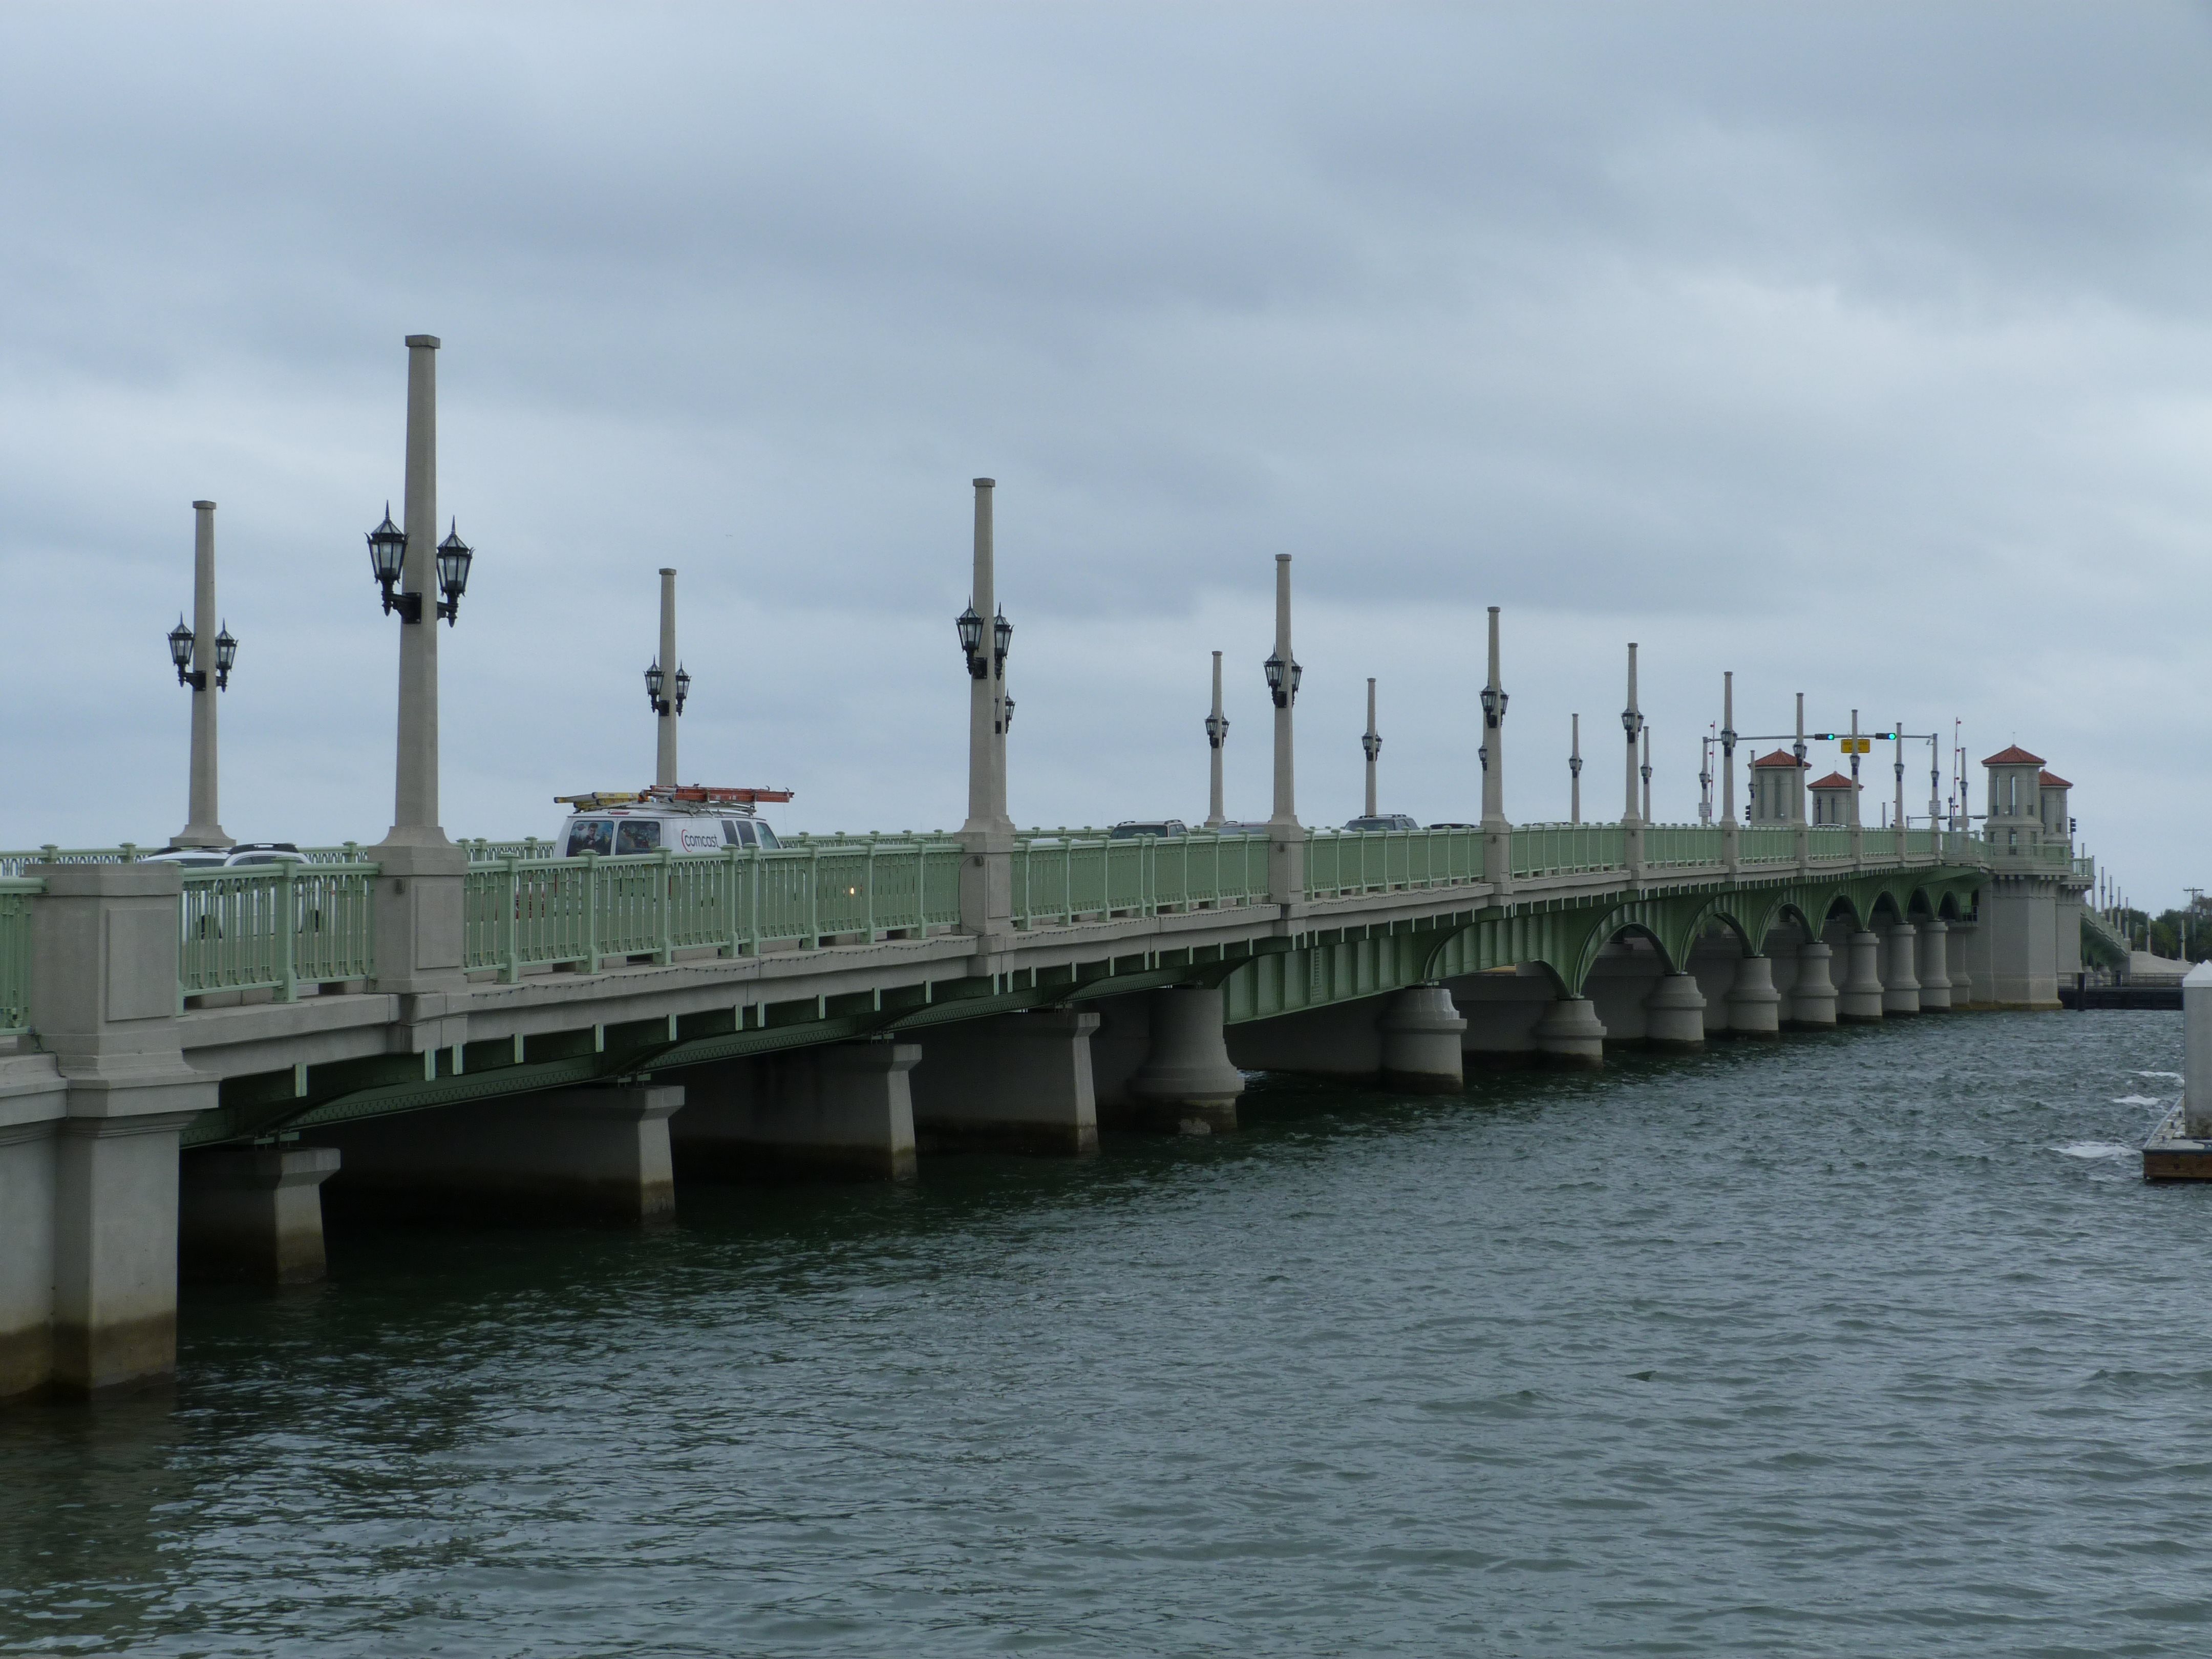
Elevation from southwest quadrant.
![]()

HDR Photos: Elevation from southwest quadrant.
![]()


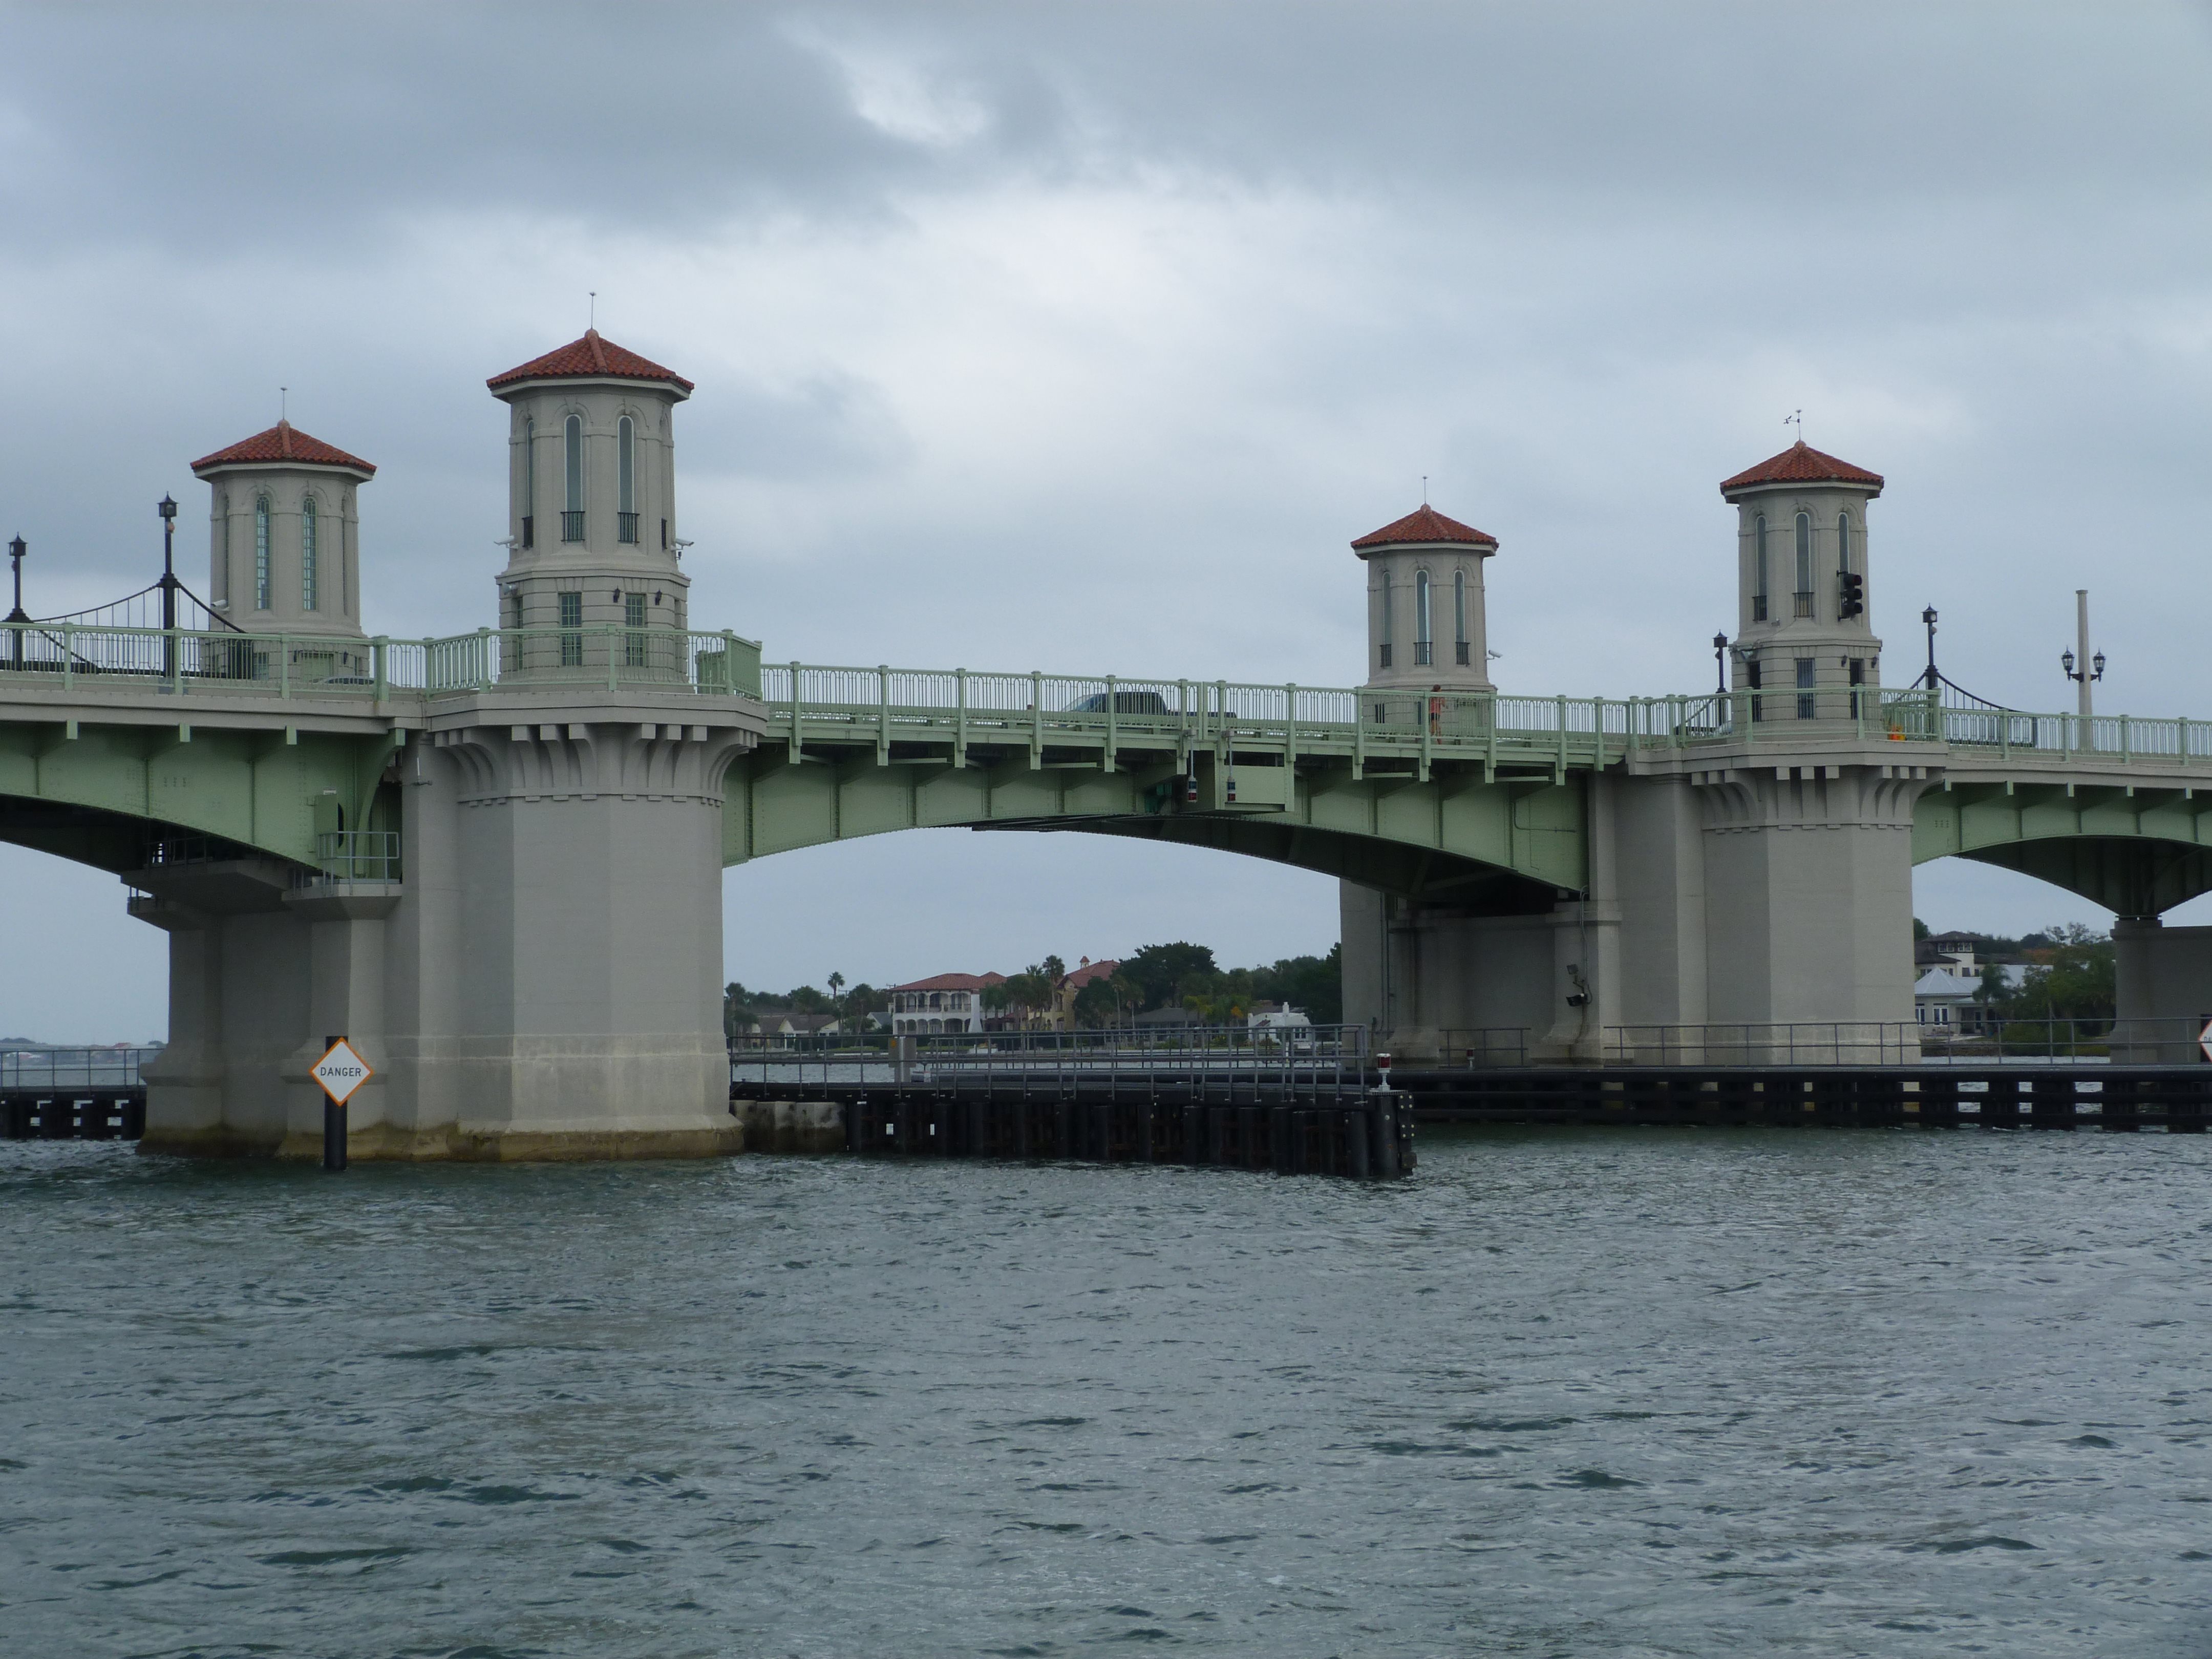


Elevation of bascule span from southwest quadrant.
![]()
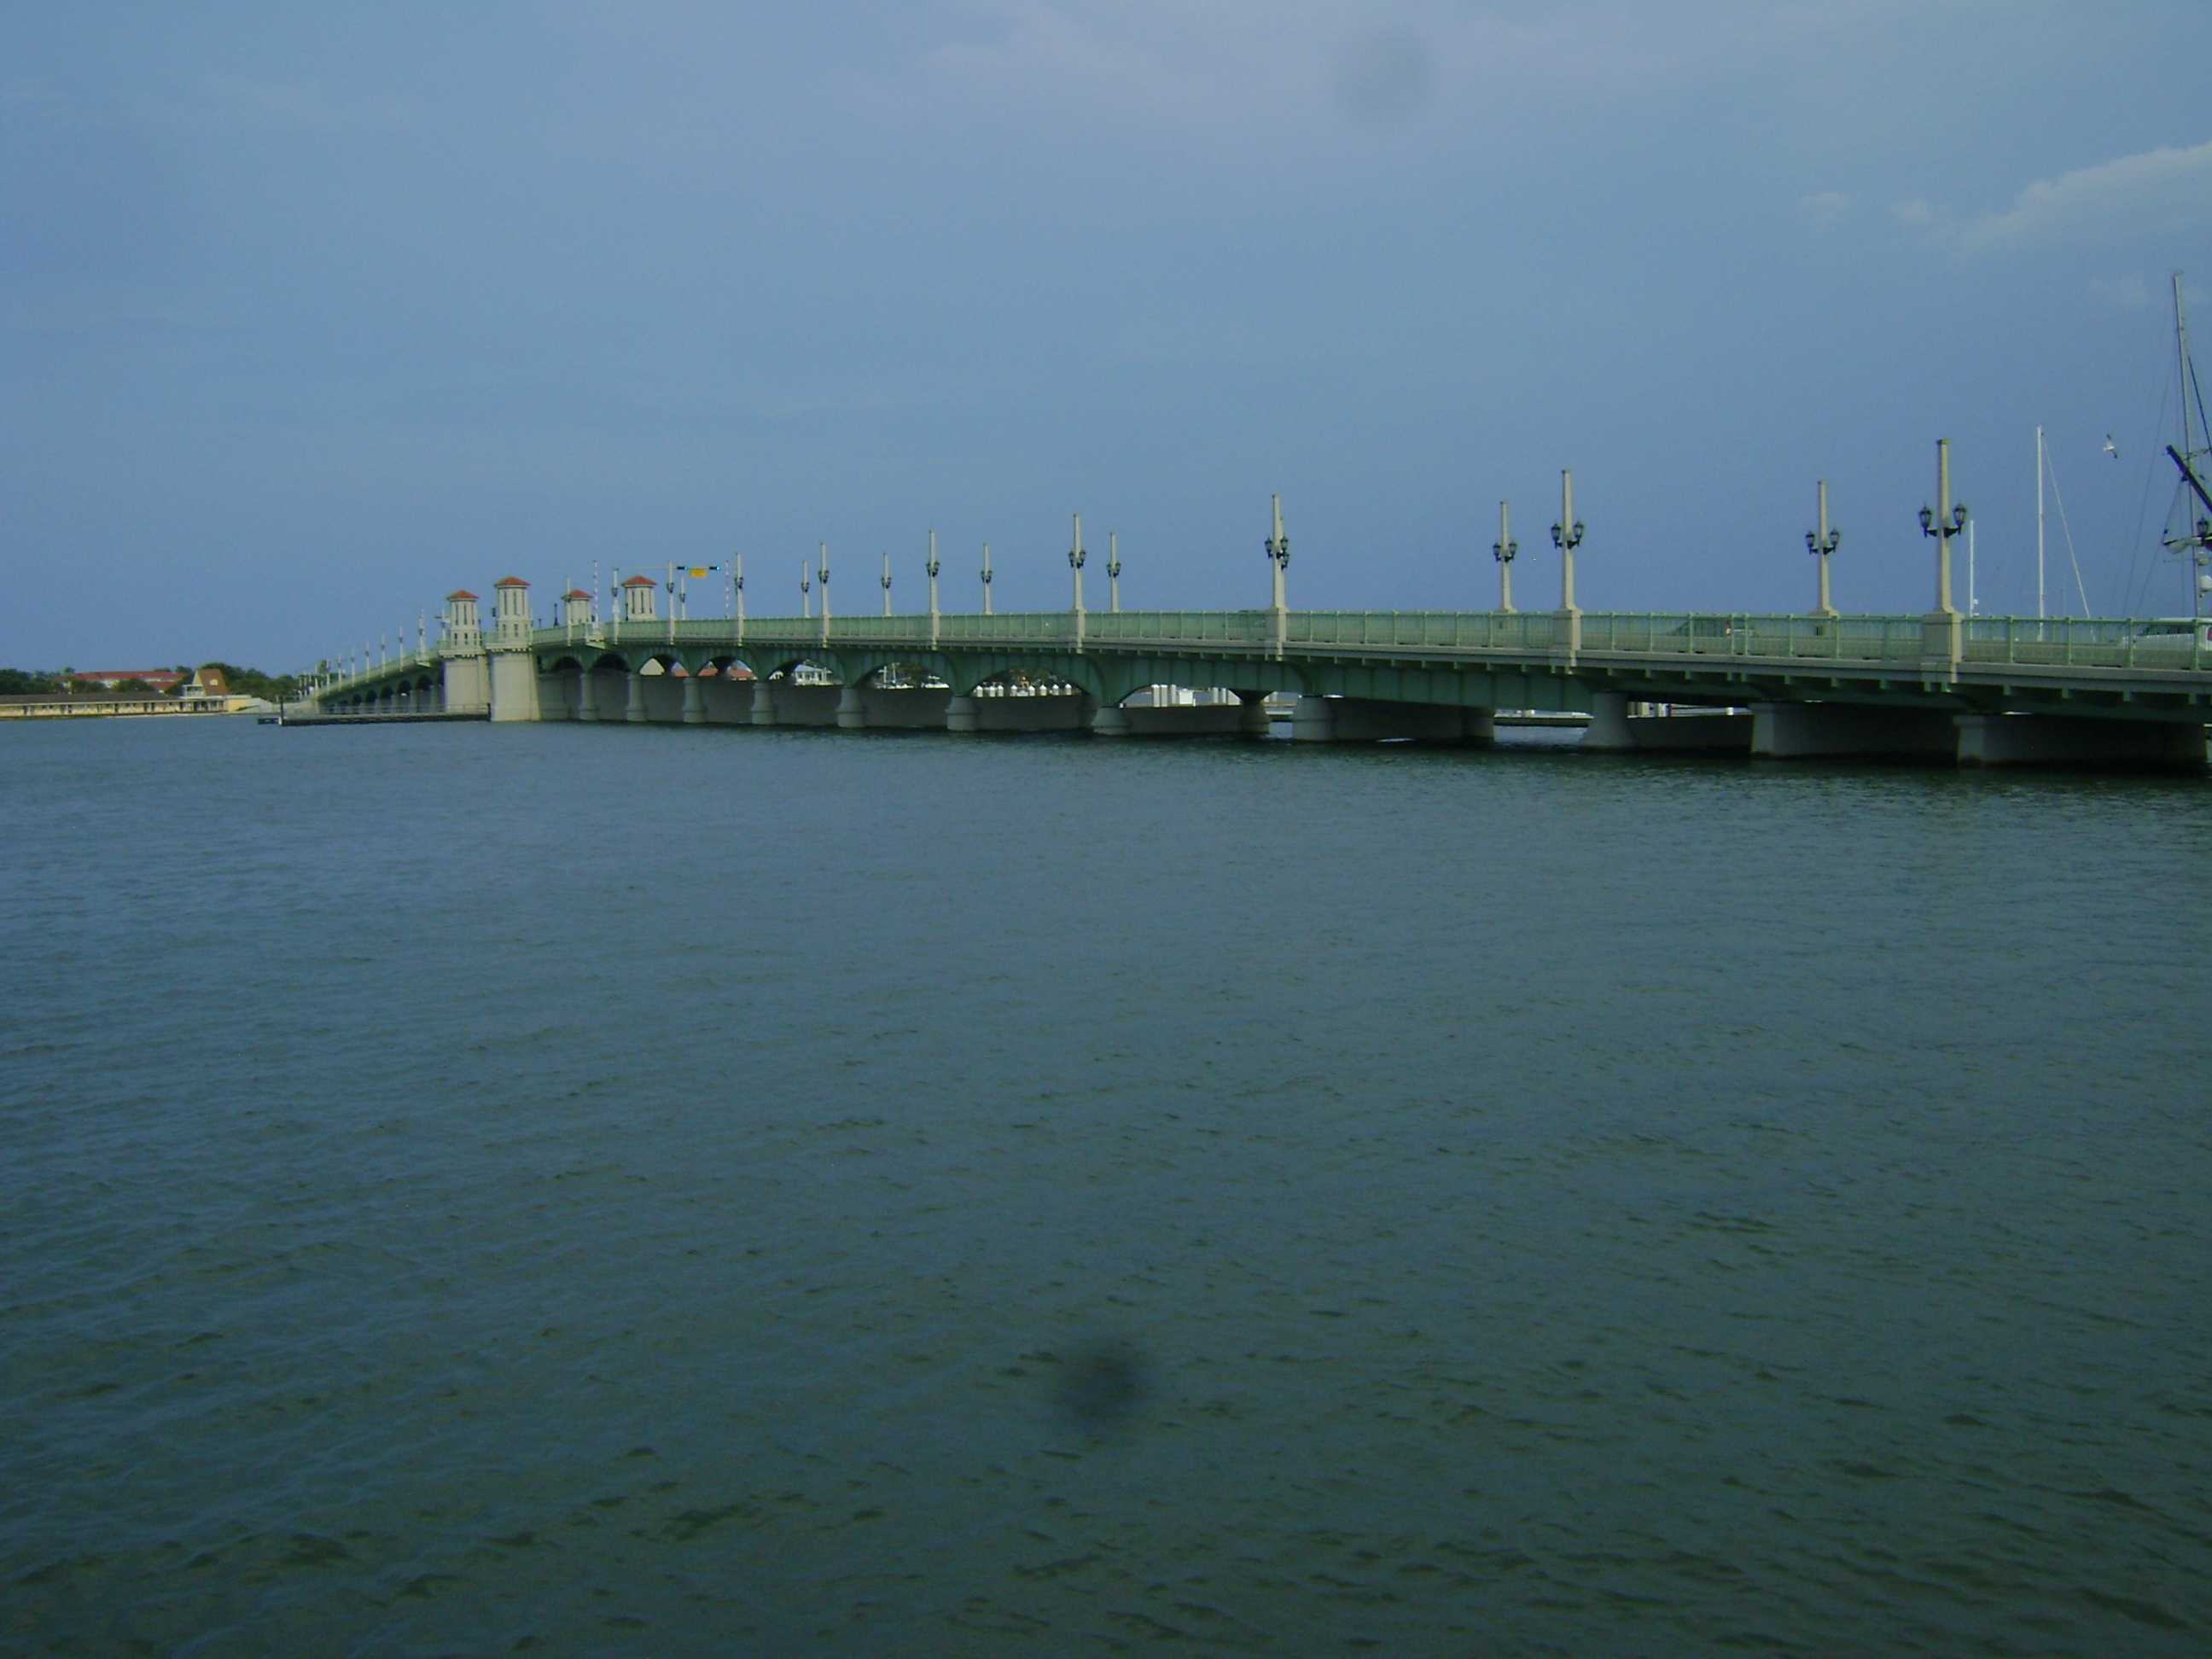
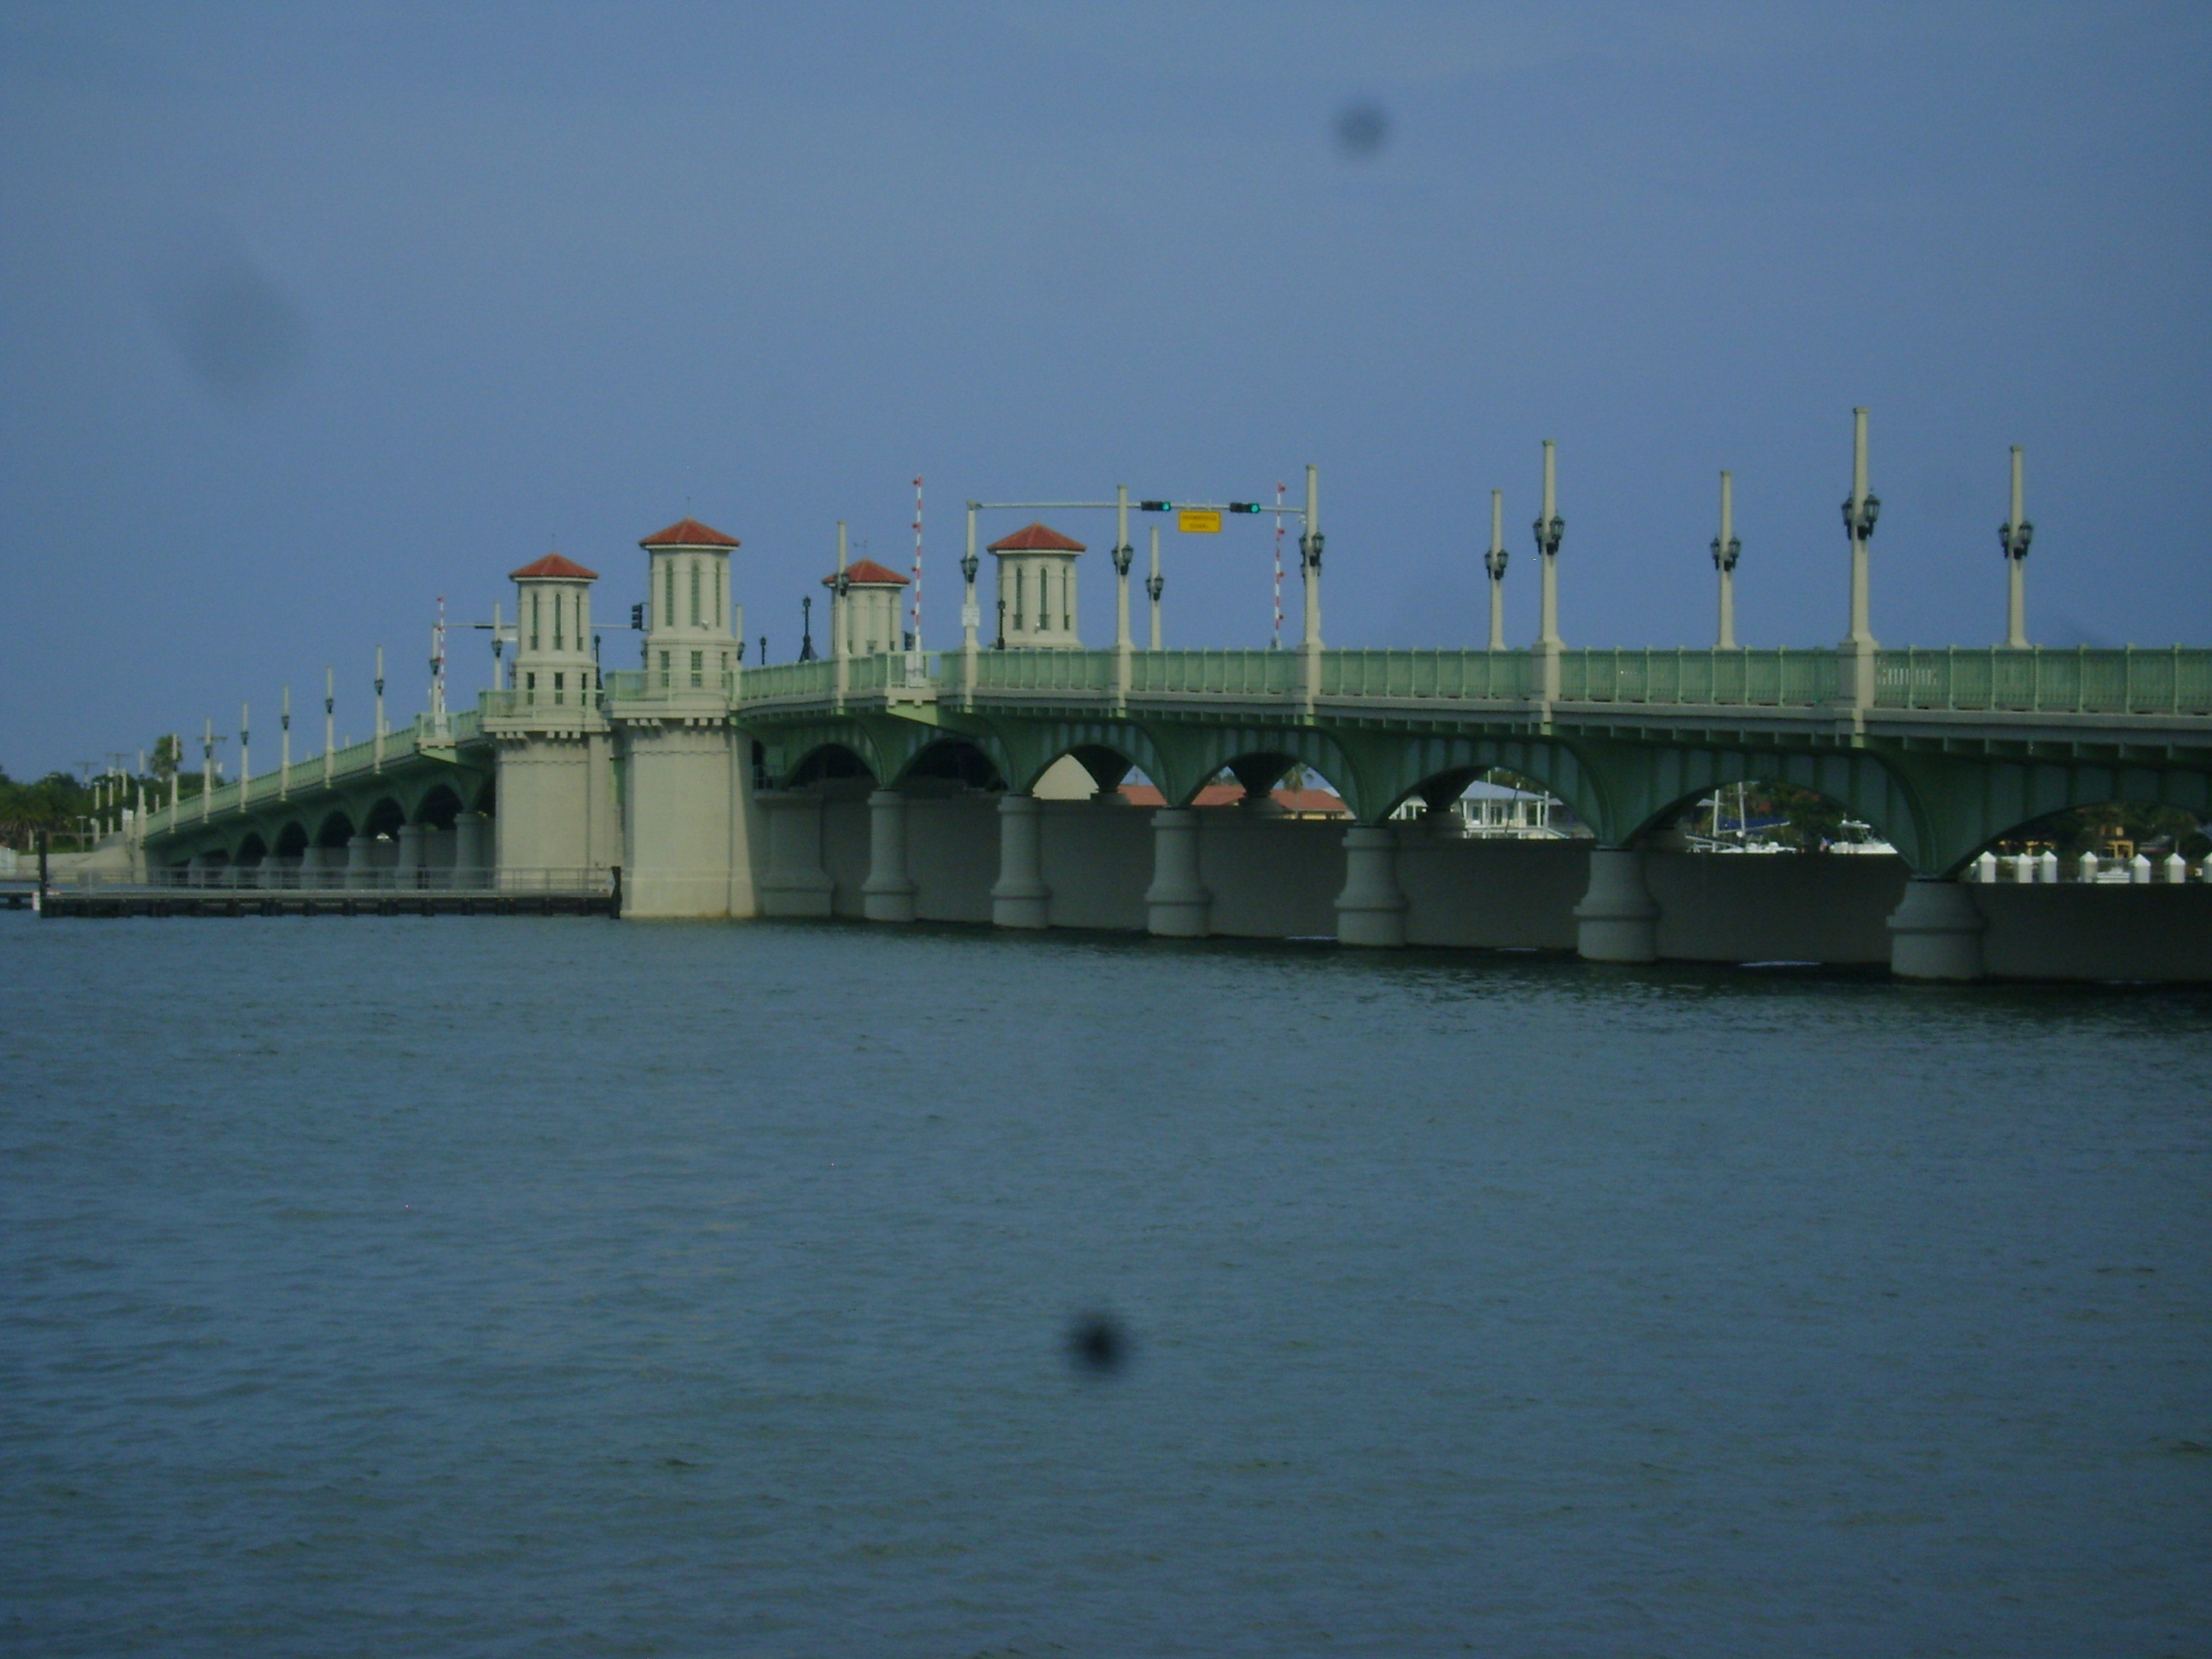
Photo Credit: Marc Scotti
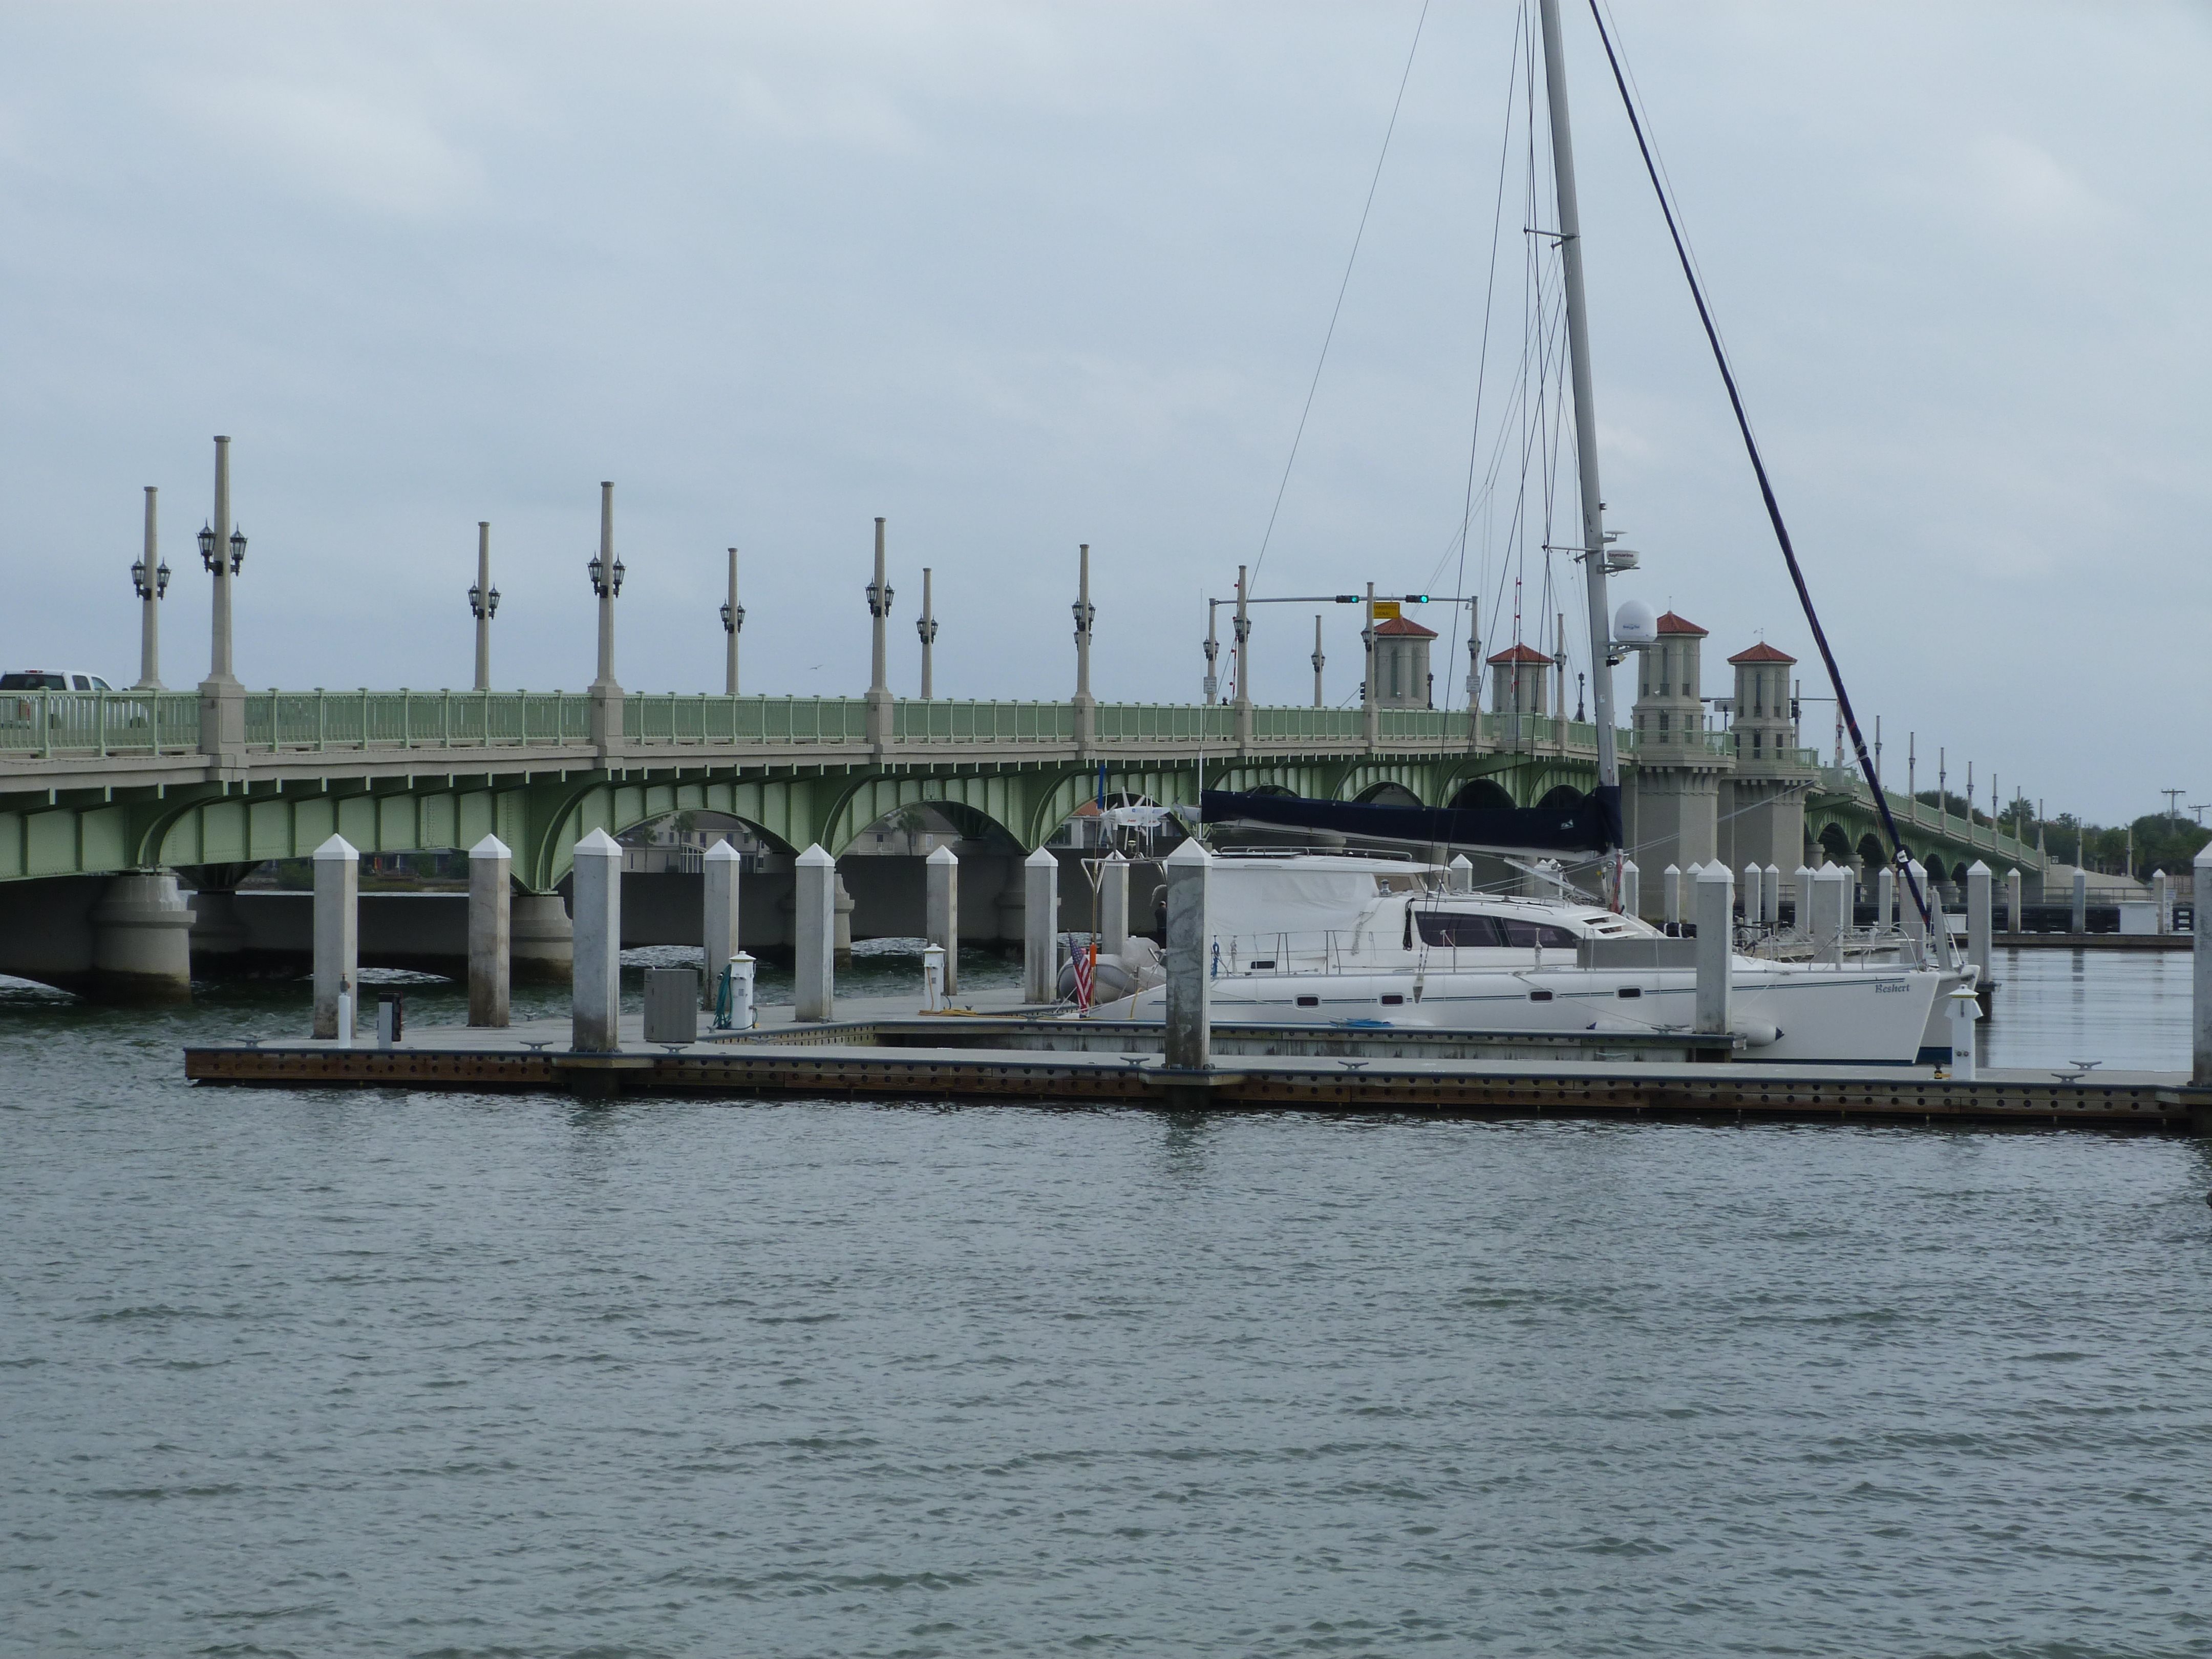
Views beside bridge from northwest quadrant.
![]()
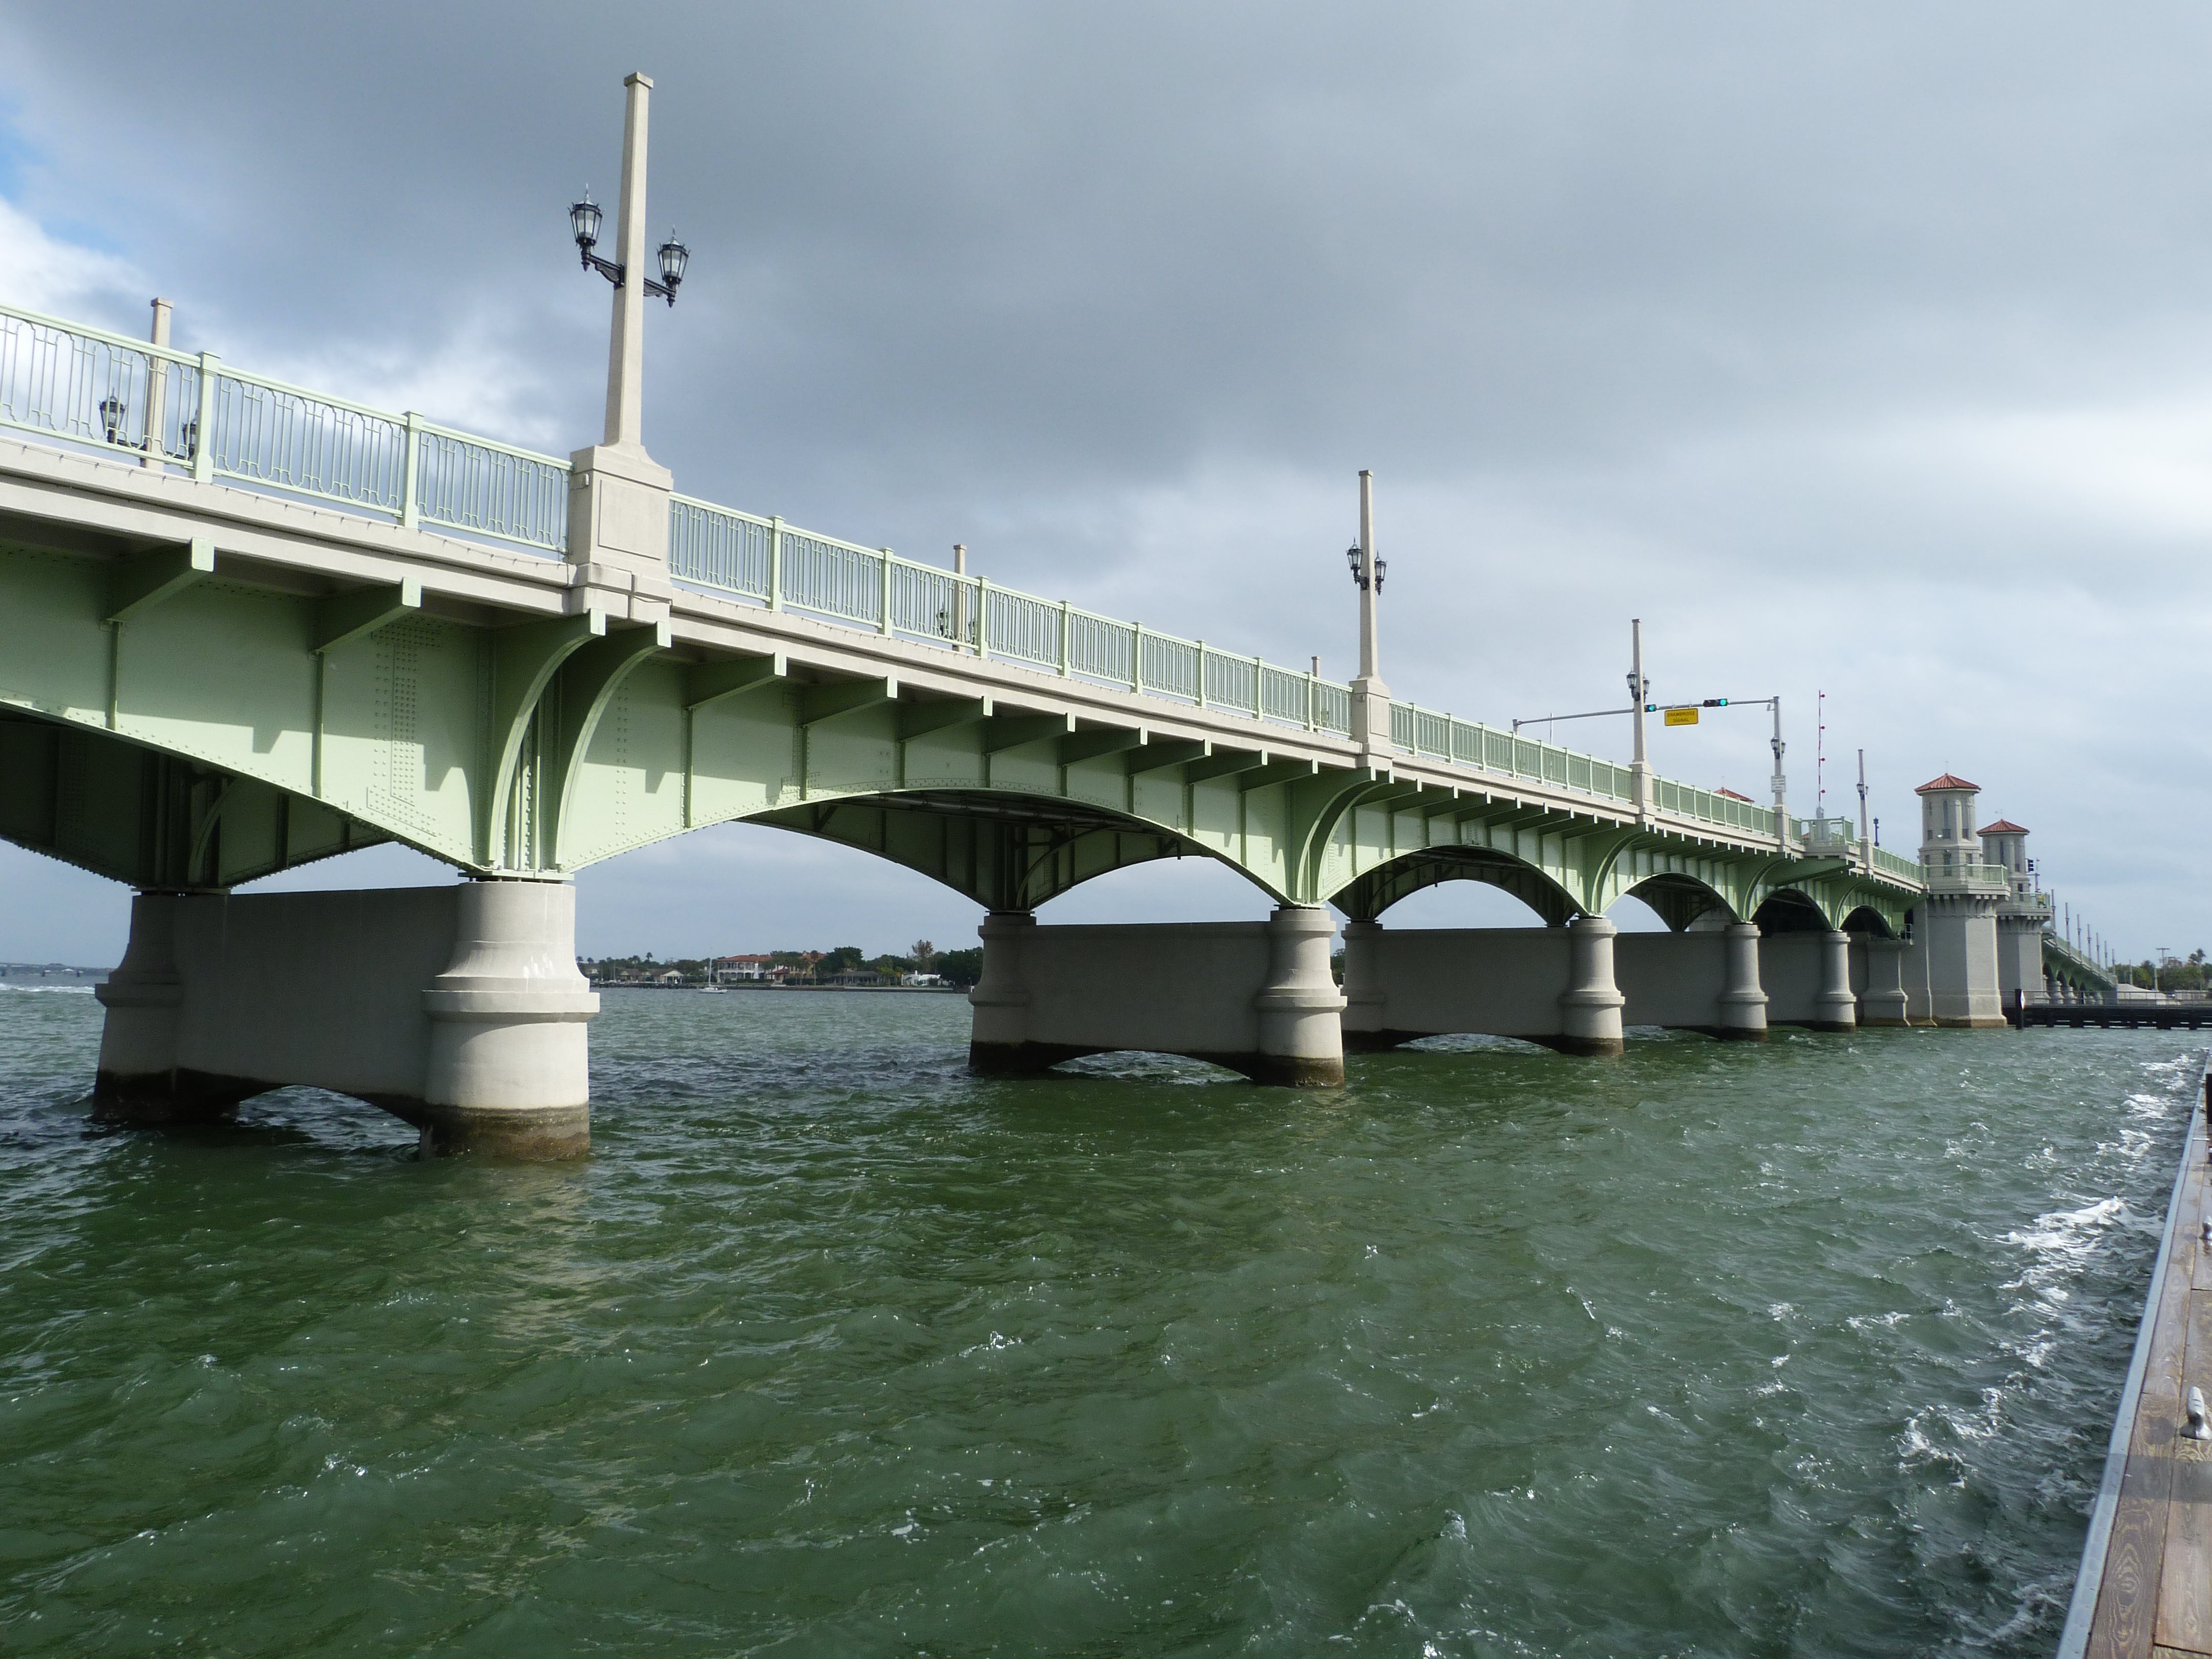
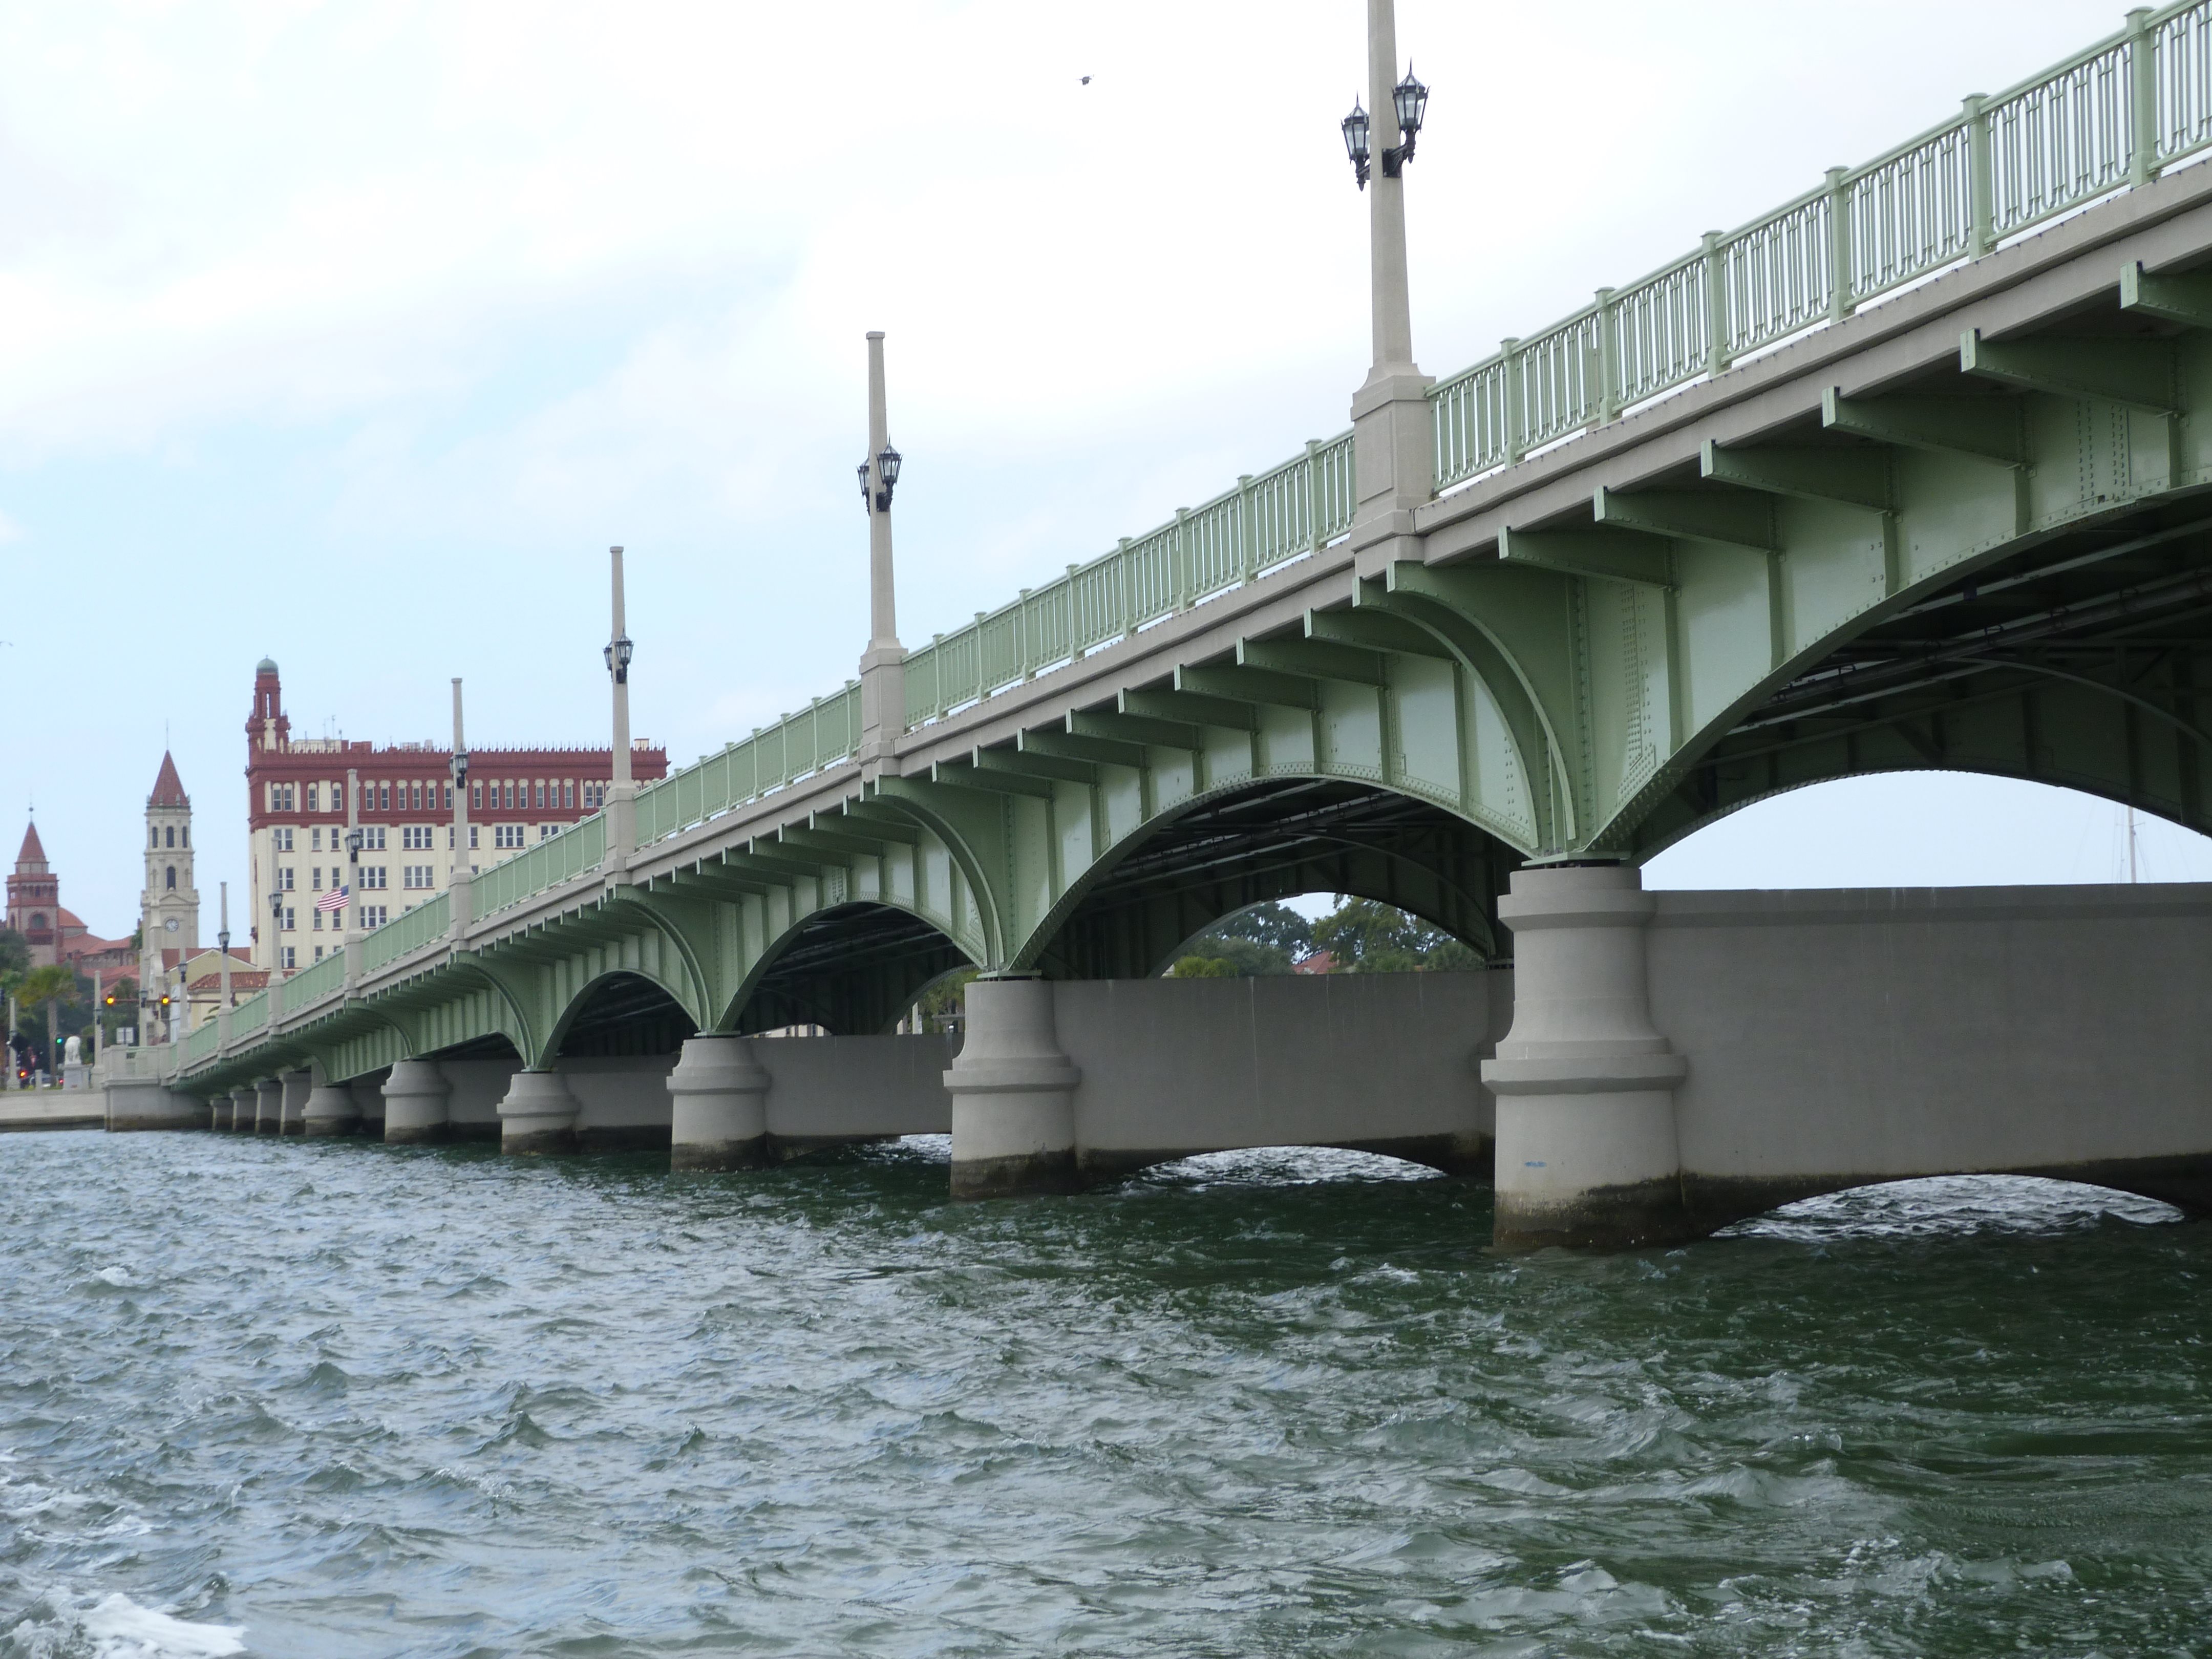
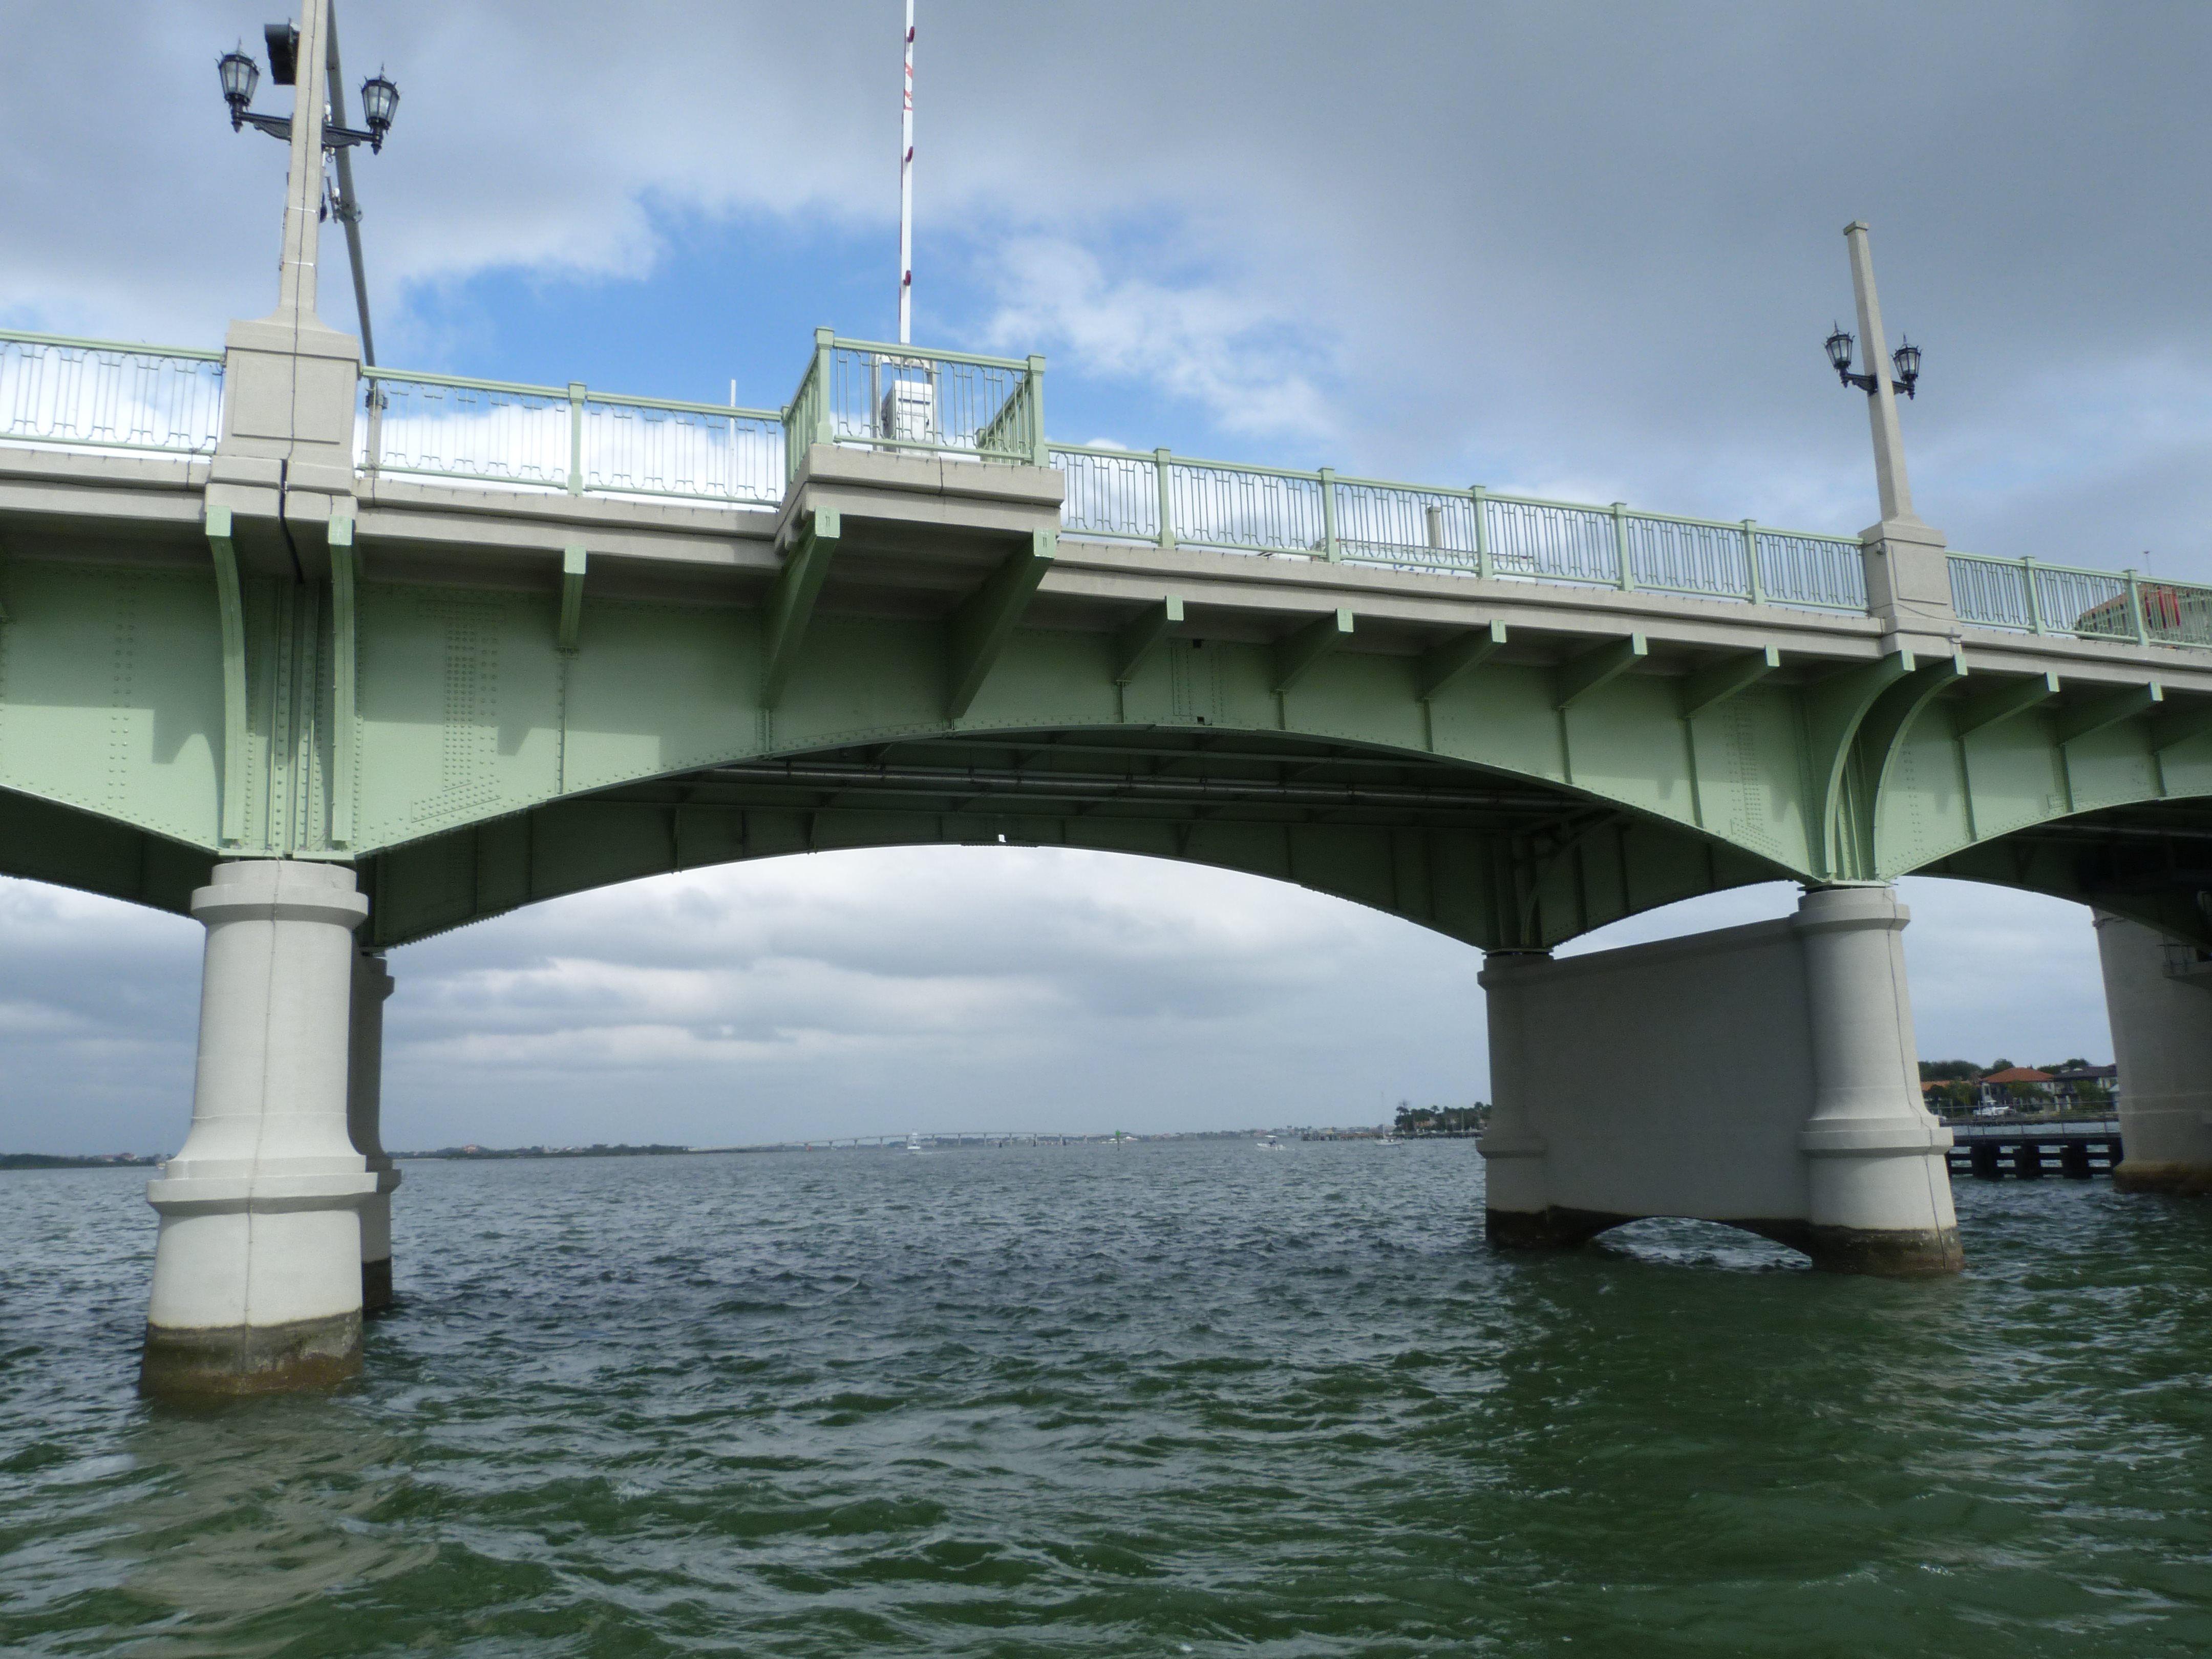
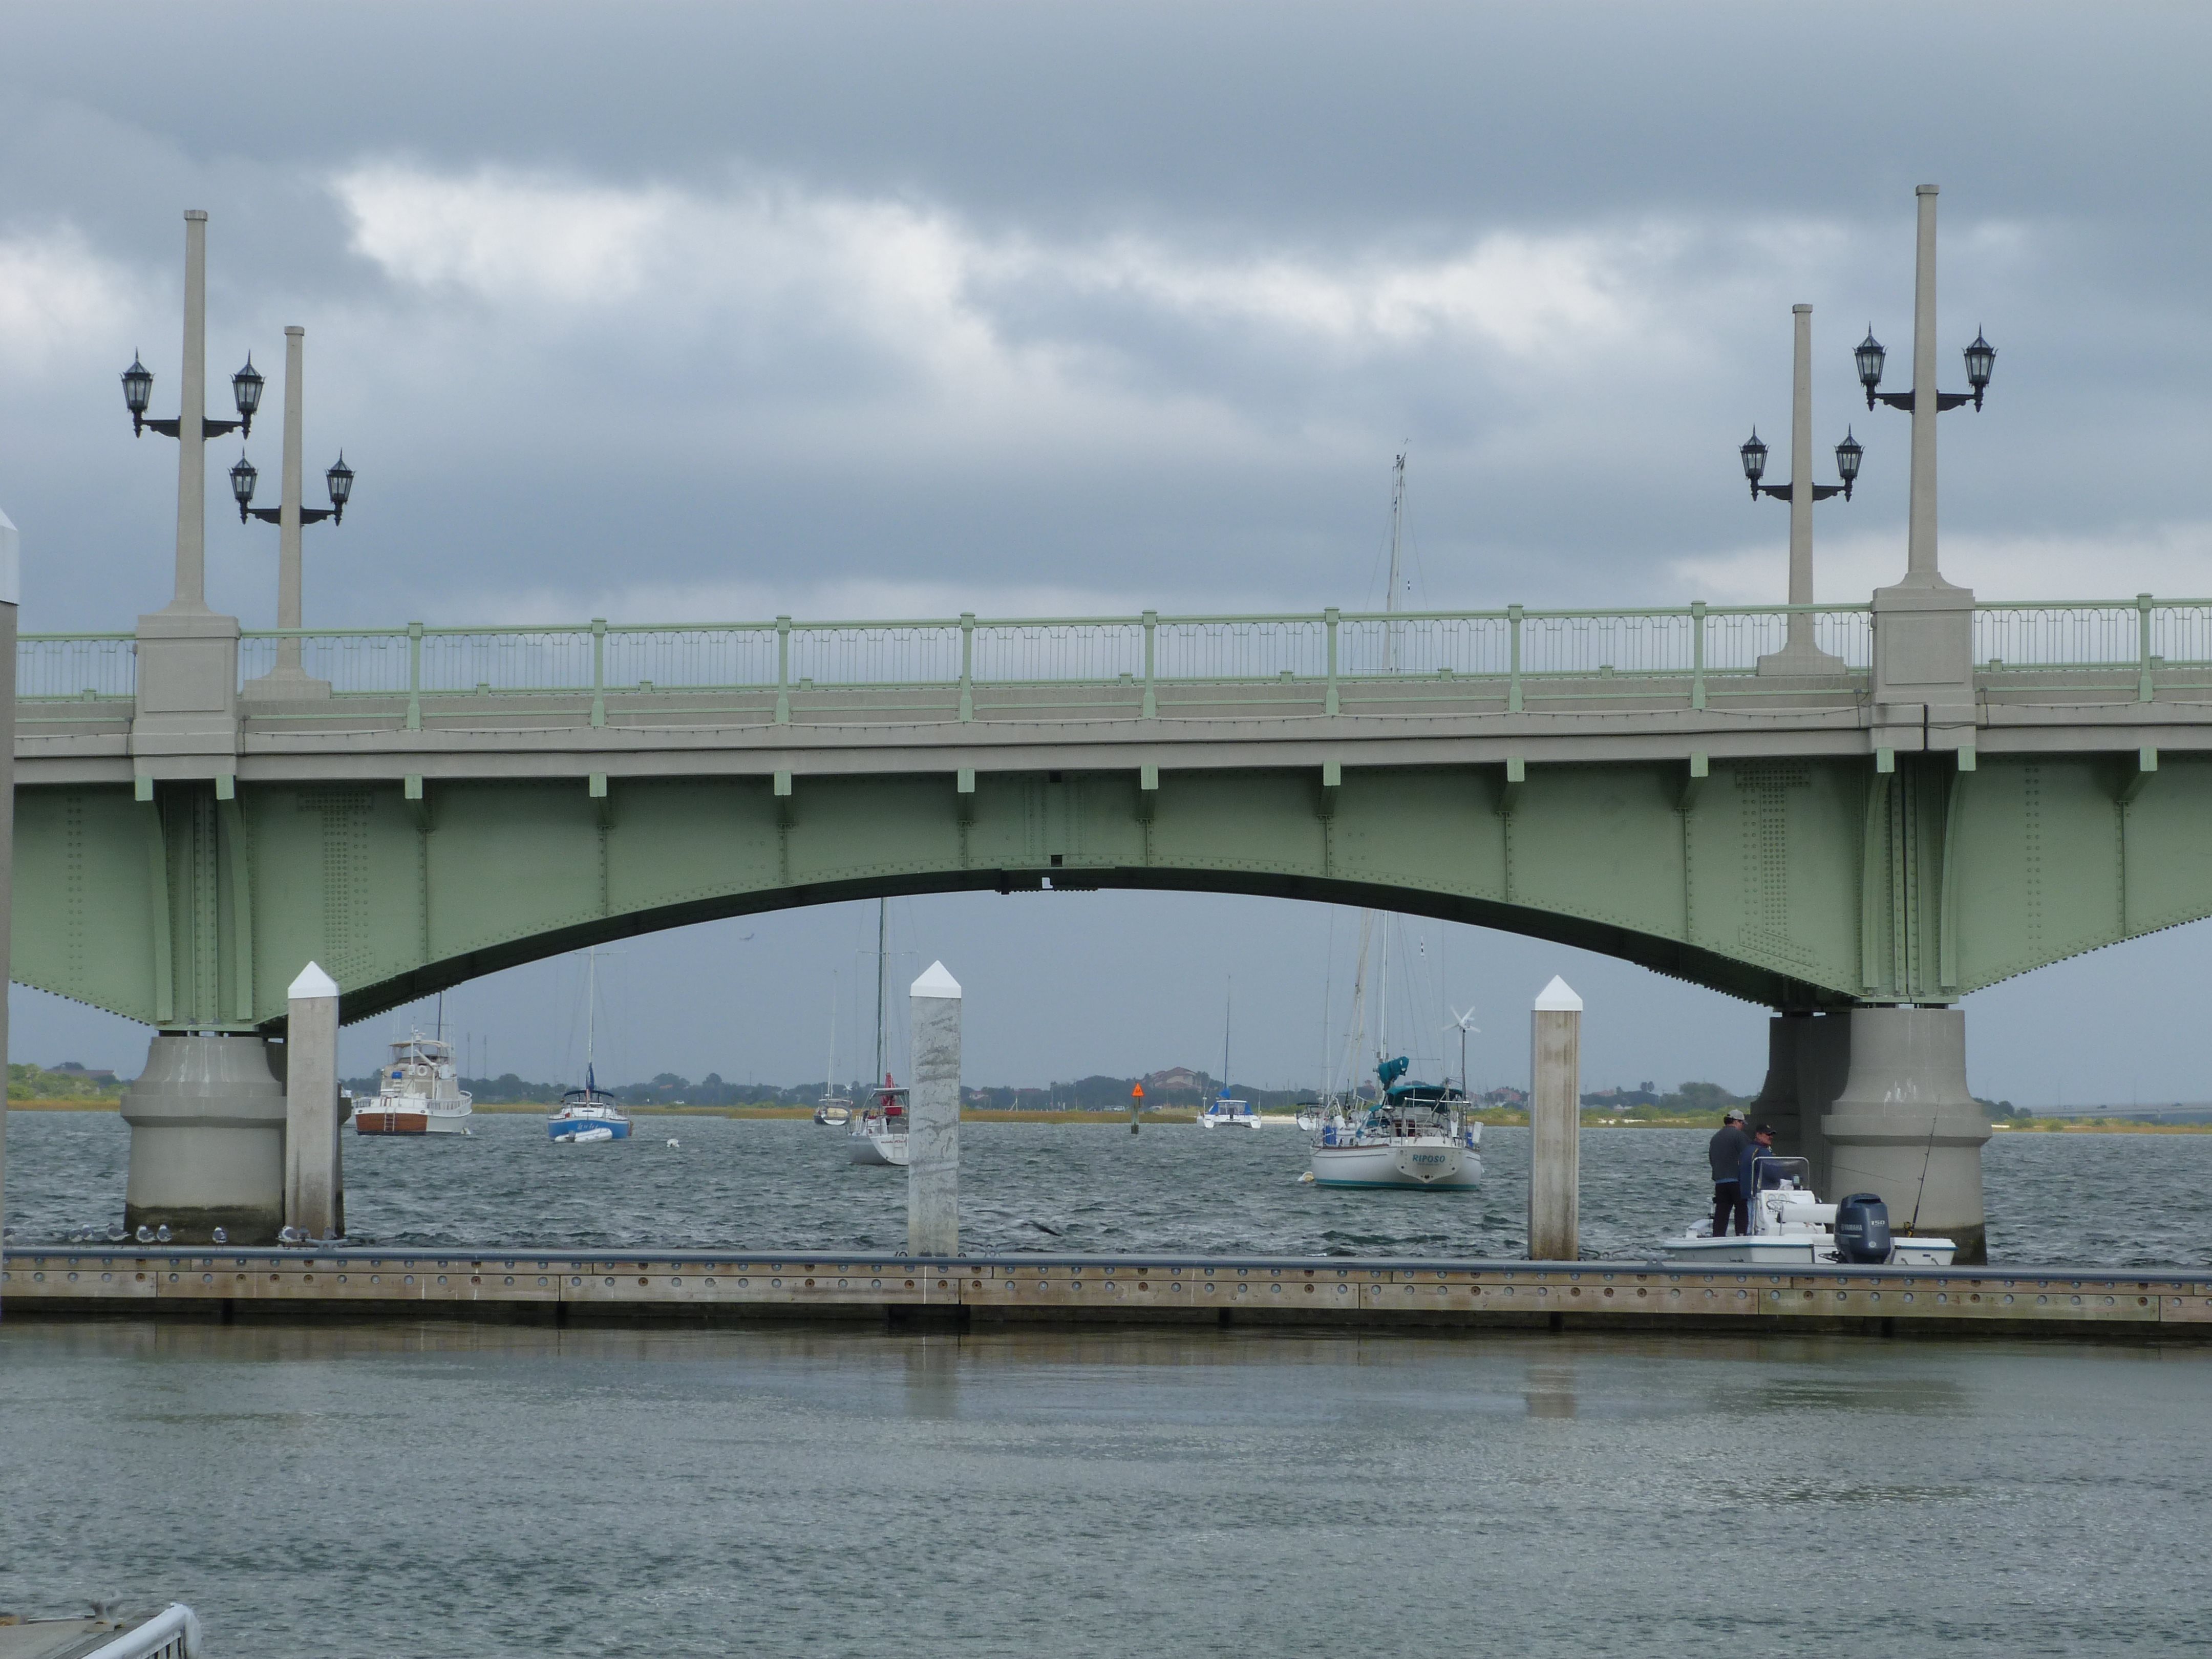
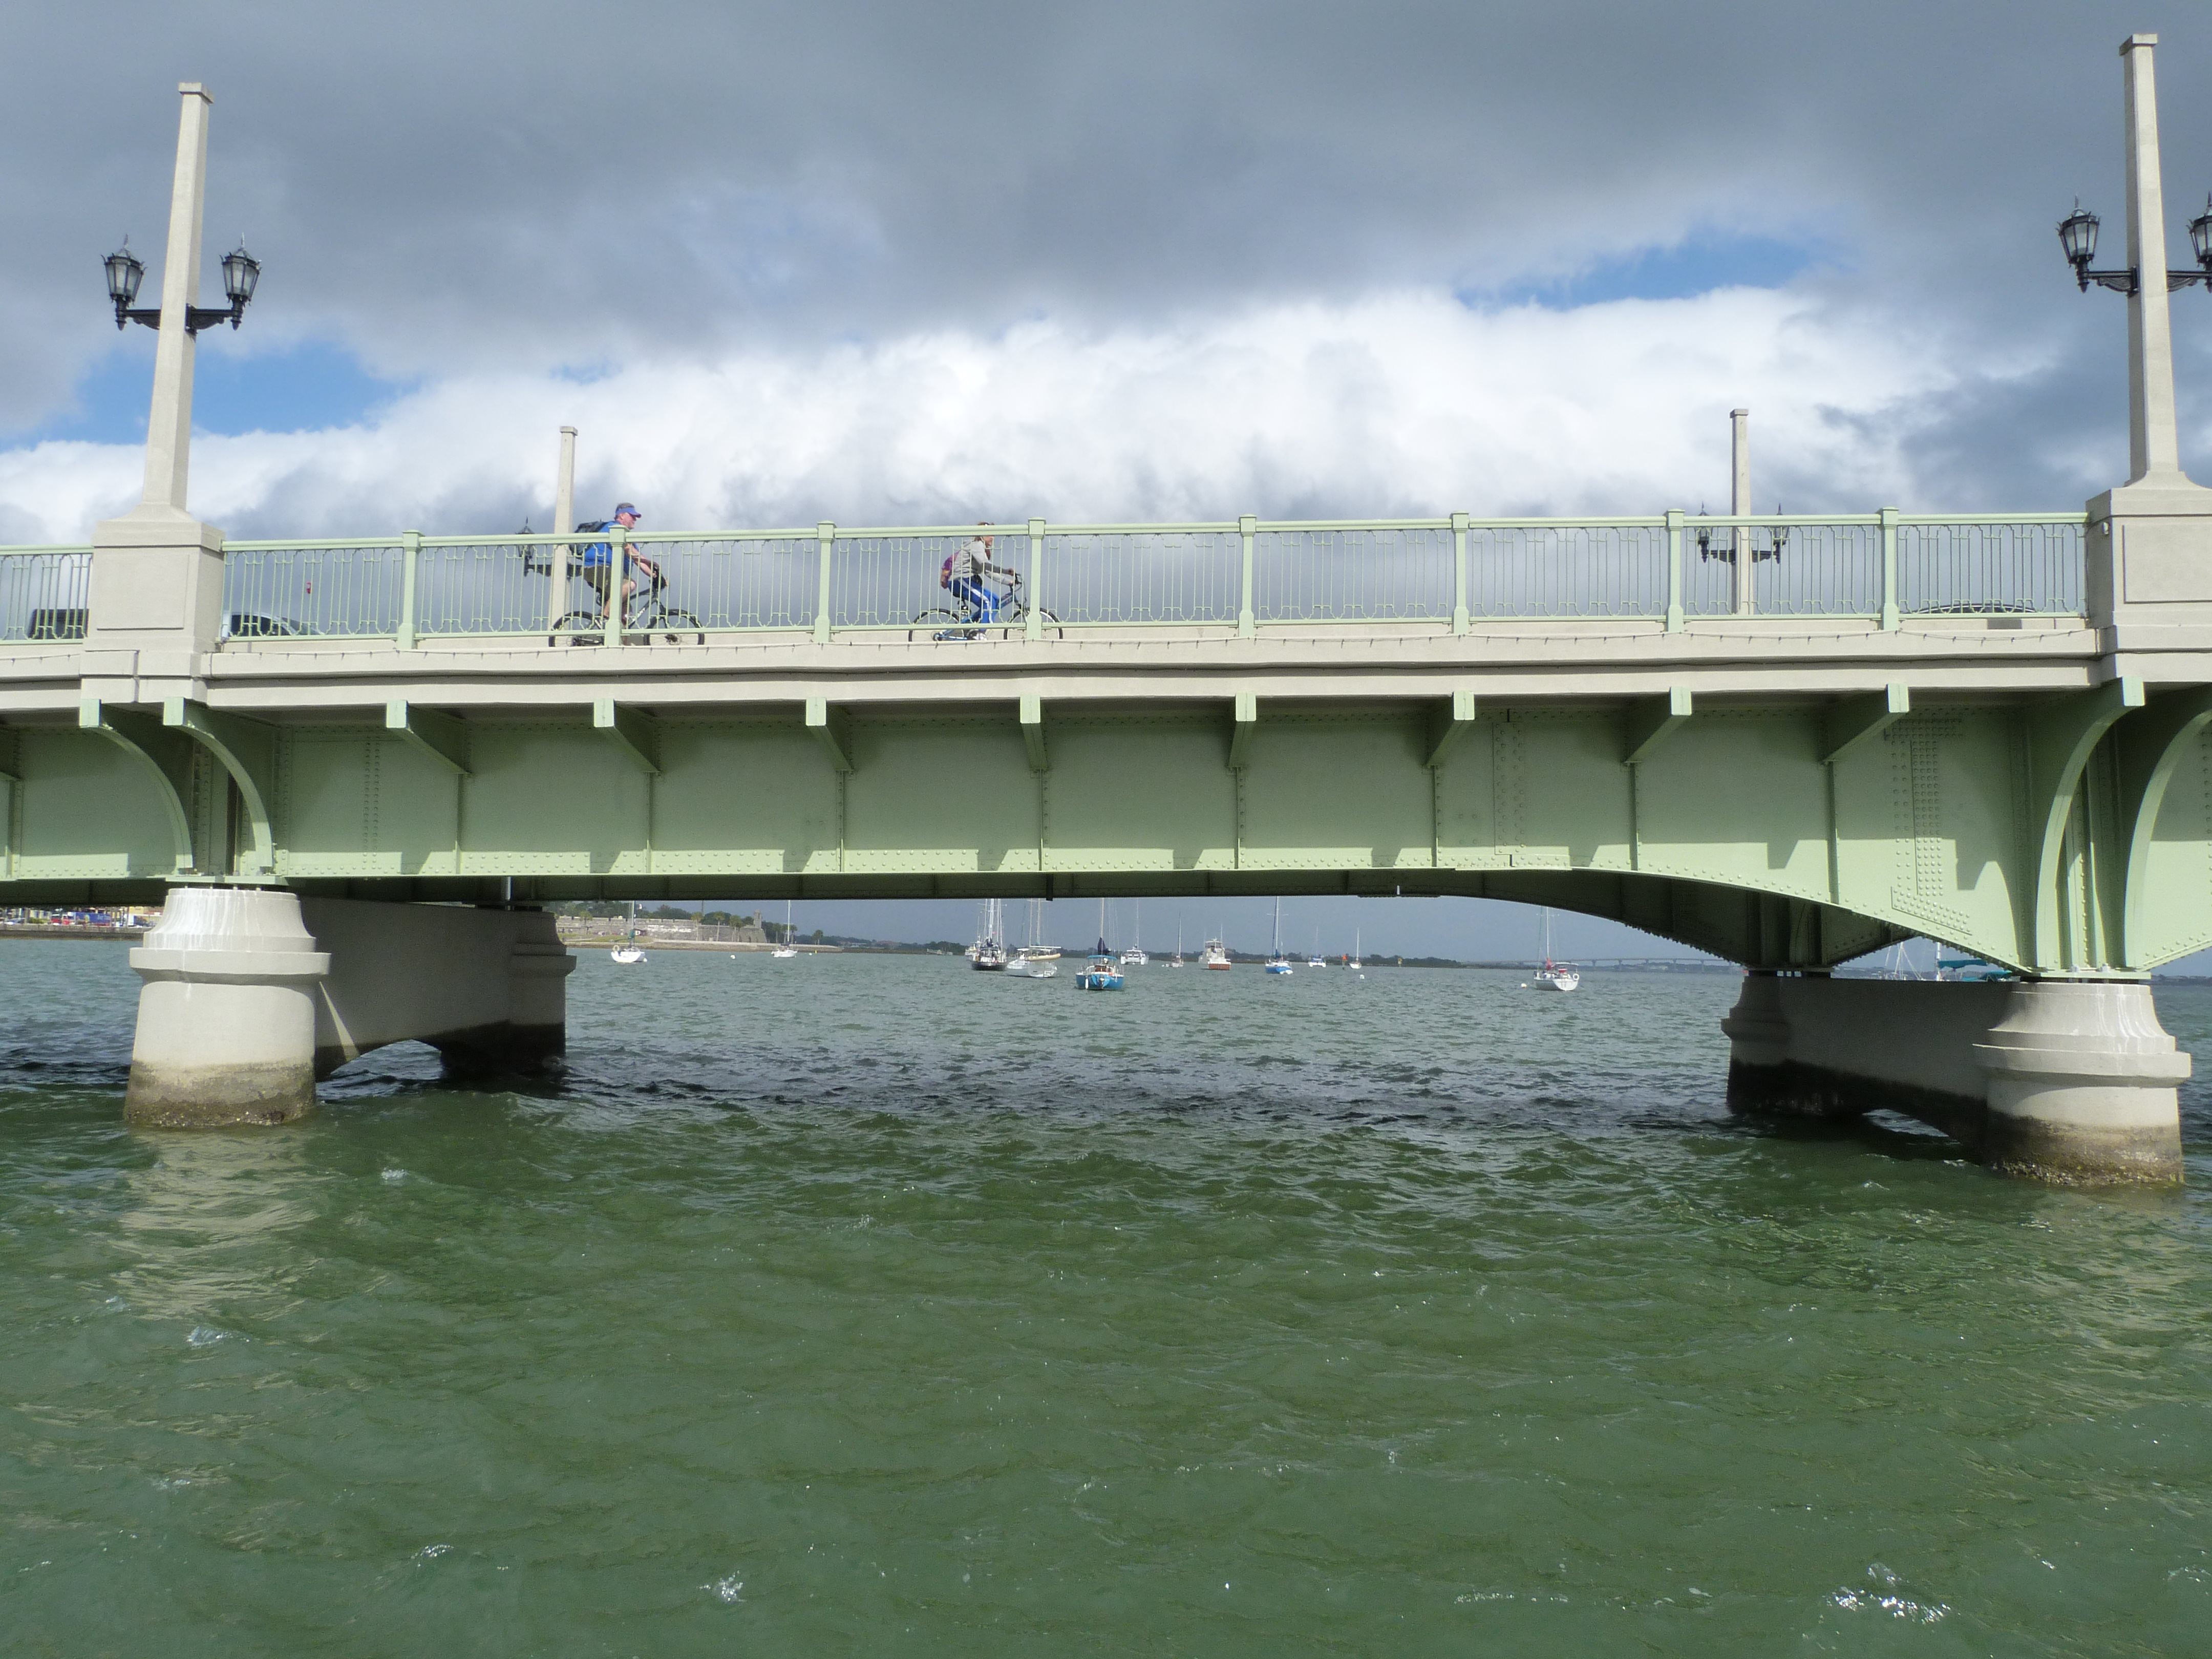
Views beside bridge approach spans from southwest quadrant.
![]()
Views beside bridge abutment from southwest quadrant.
![]()
View beside bridge from northwest quadrant.
![]()

Photo Credit: Marc Scotti
View beside bridge from northeast quadrant.
![]()

Photo Credit: Marc Scotti
View beside bridge from southeast quadrant.
![]()

Oblique view of bascule span from southwest quadrant.
![]()


Oblique views from southwest quadrant.
![]()
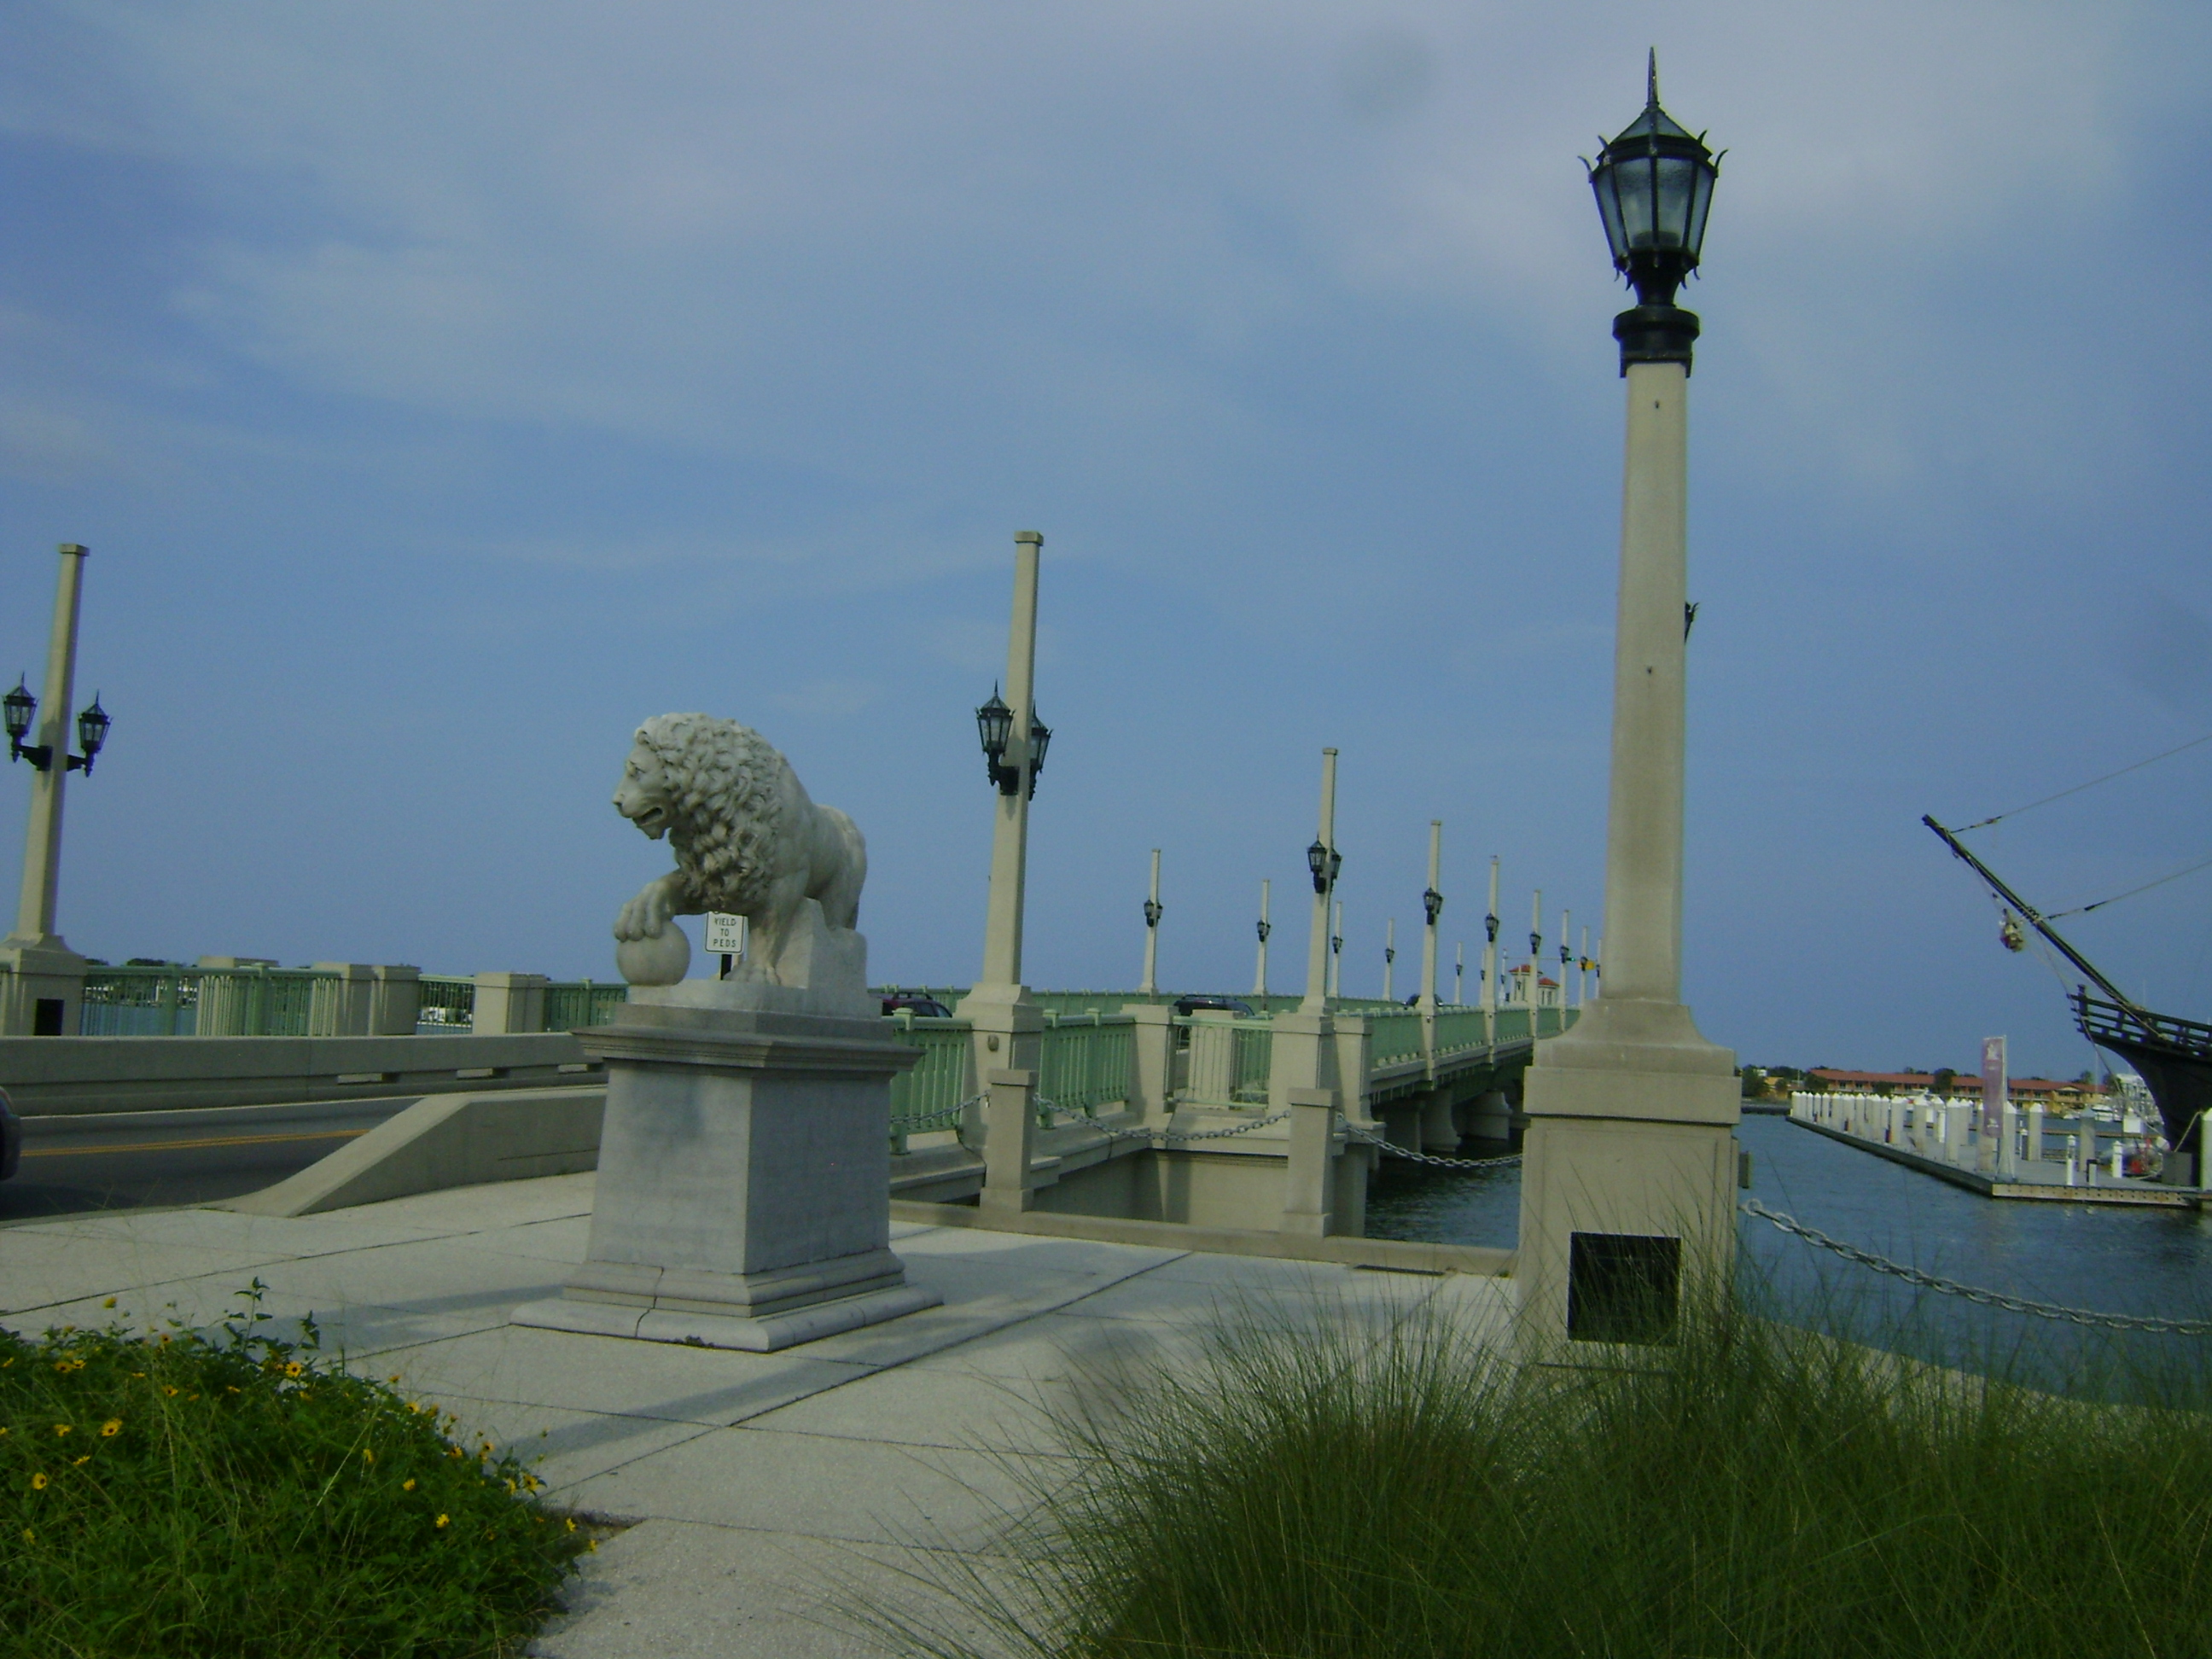
Photo Credit: Marc Scotti
Oblique view from southwest quadrant.
![]()
Oblique view from northwest quadrant.
![]()

Portal view from old roadway alignment facing west.
![]()

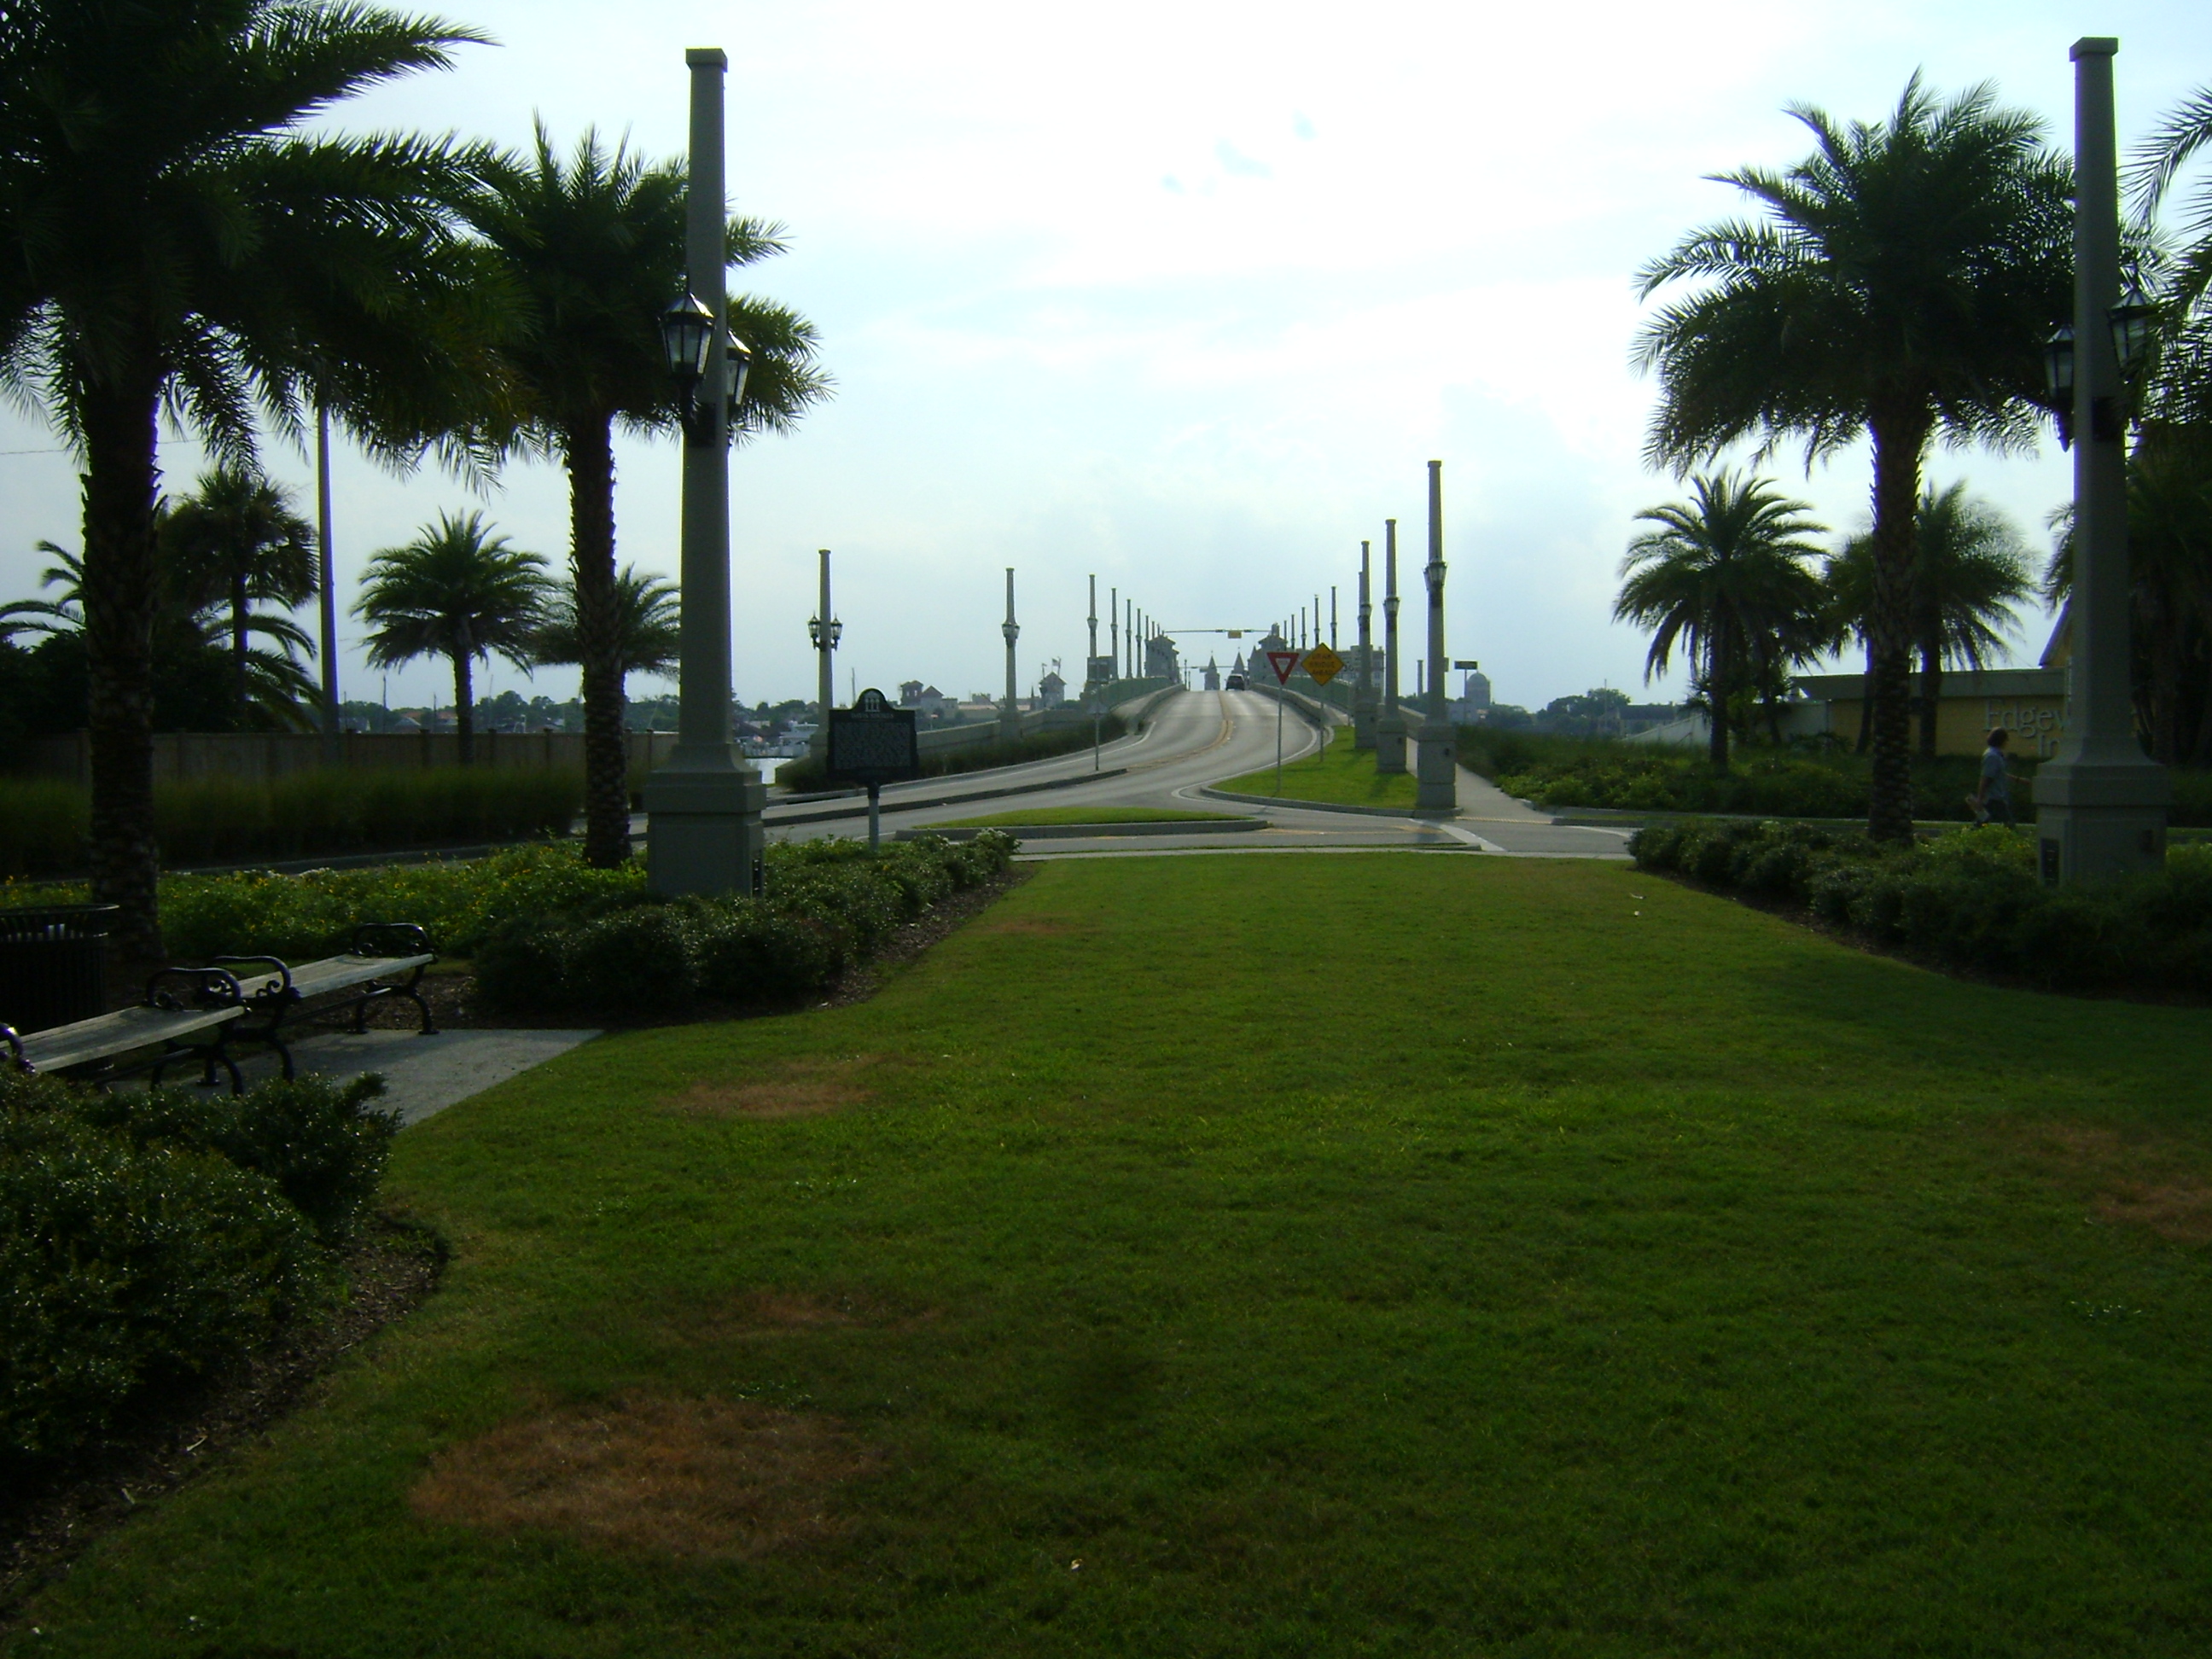
Photo Credit: Marc Scotti
Portal view from old roadway alignment facing west.
![]()

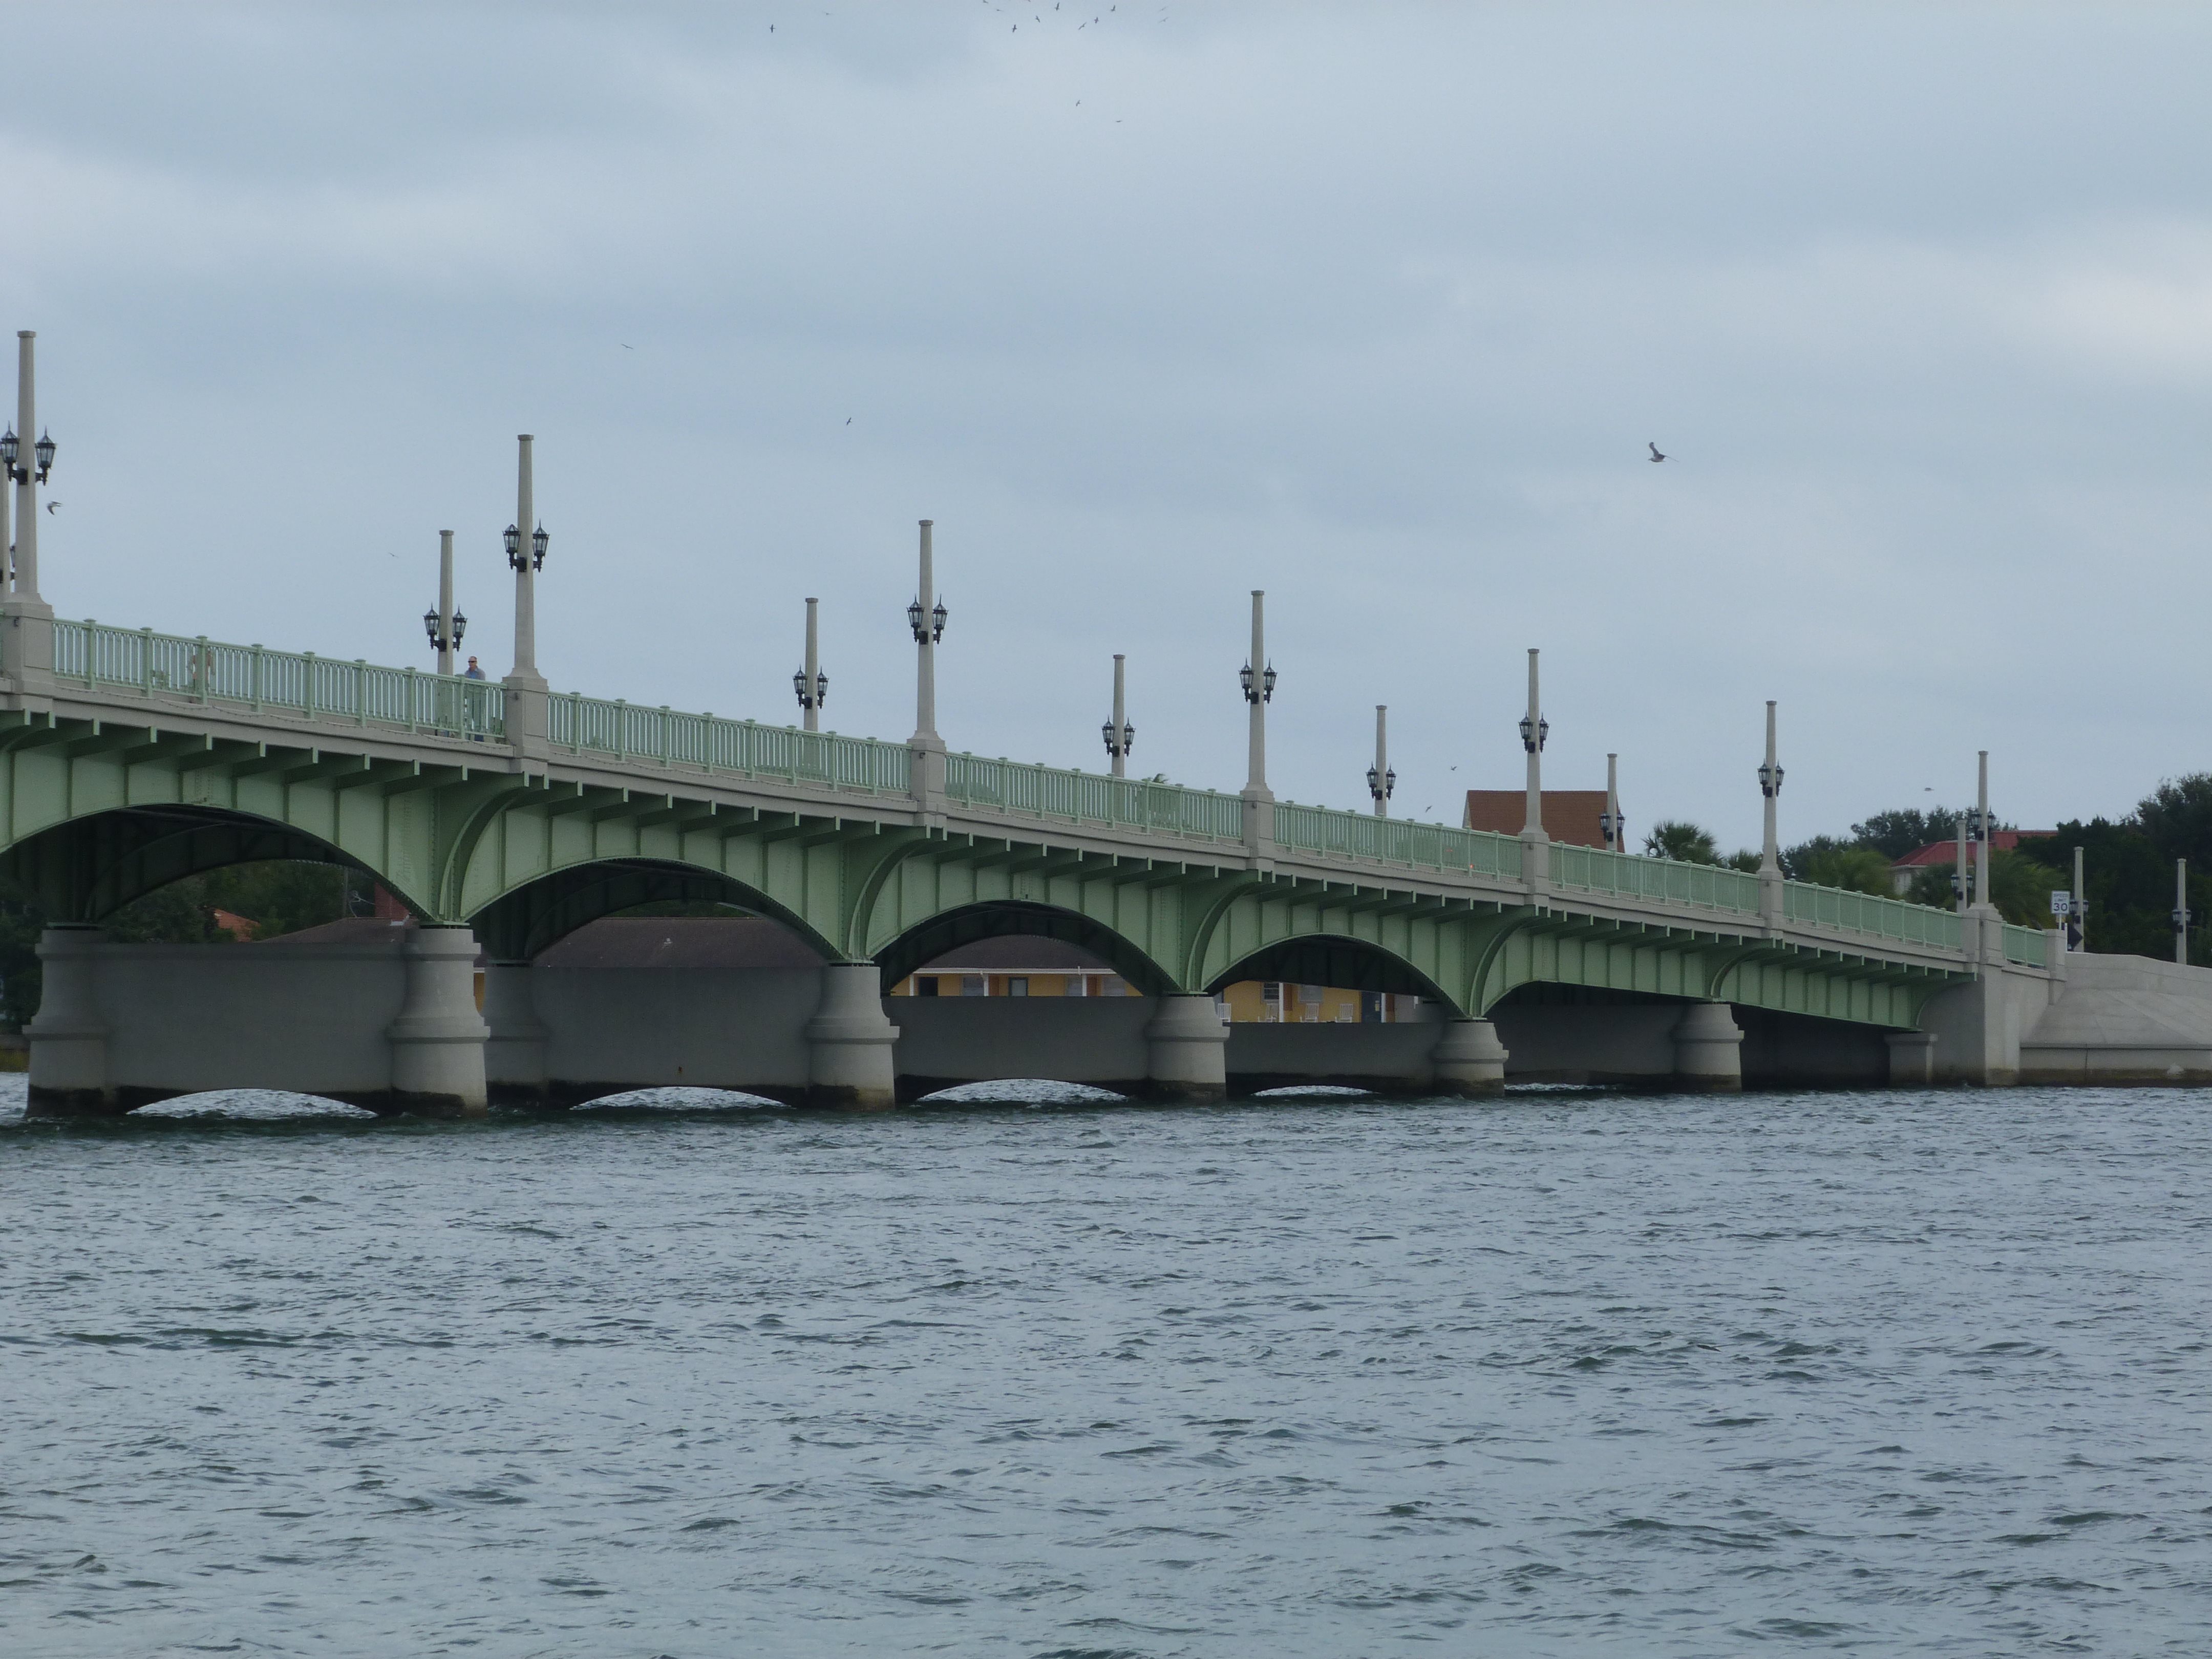

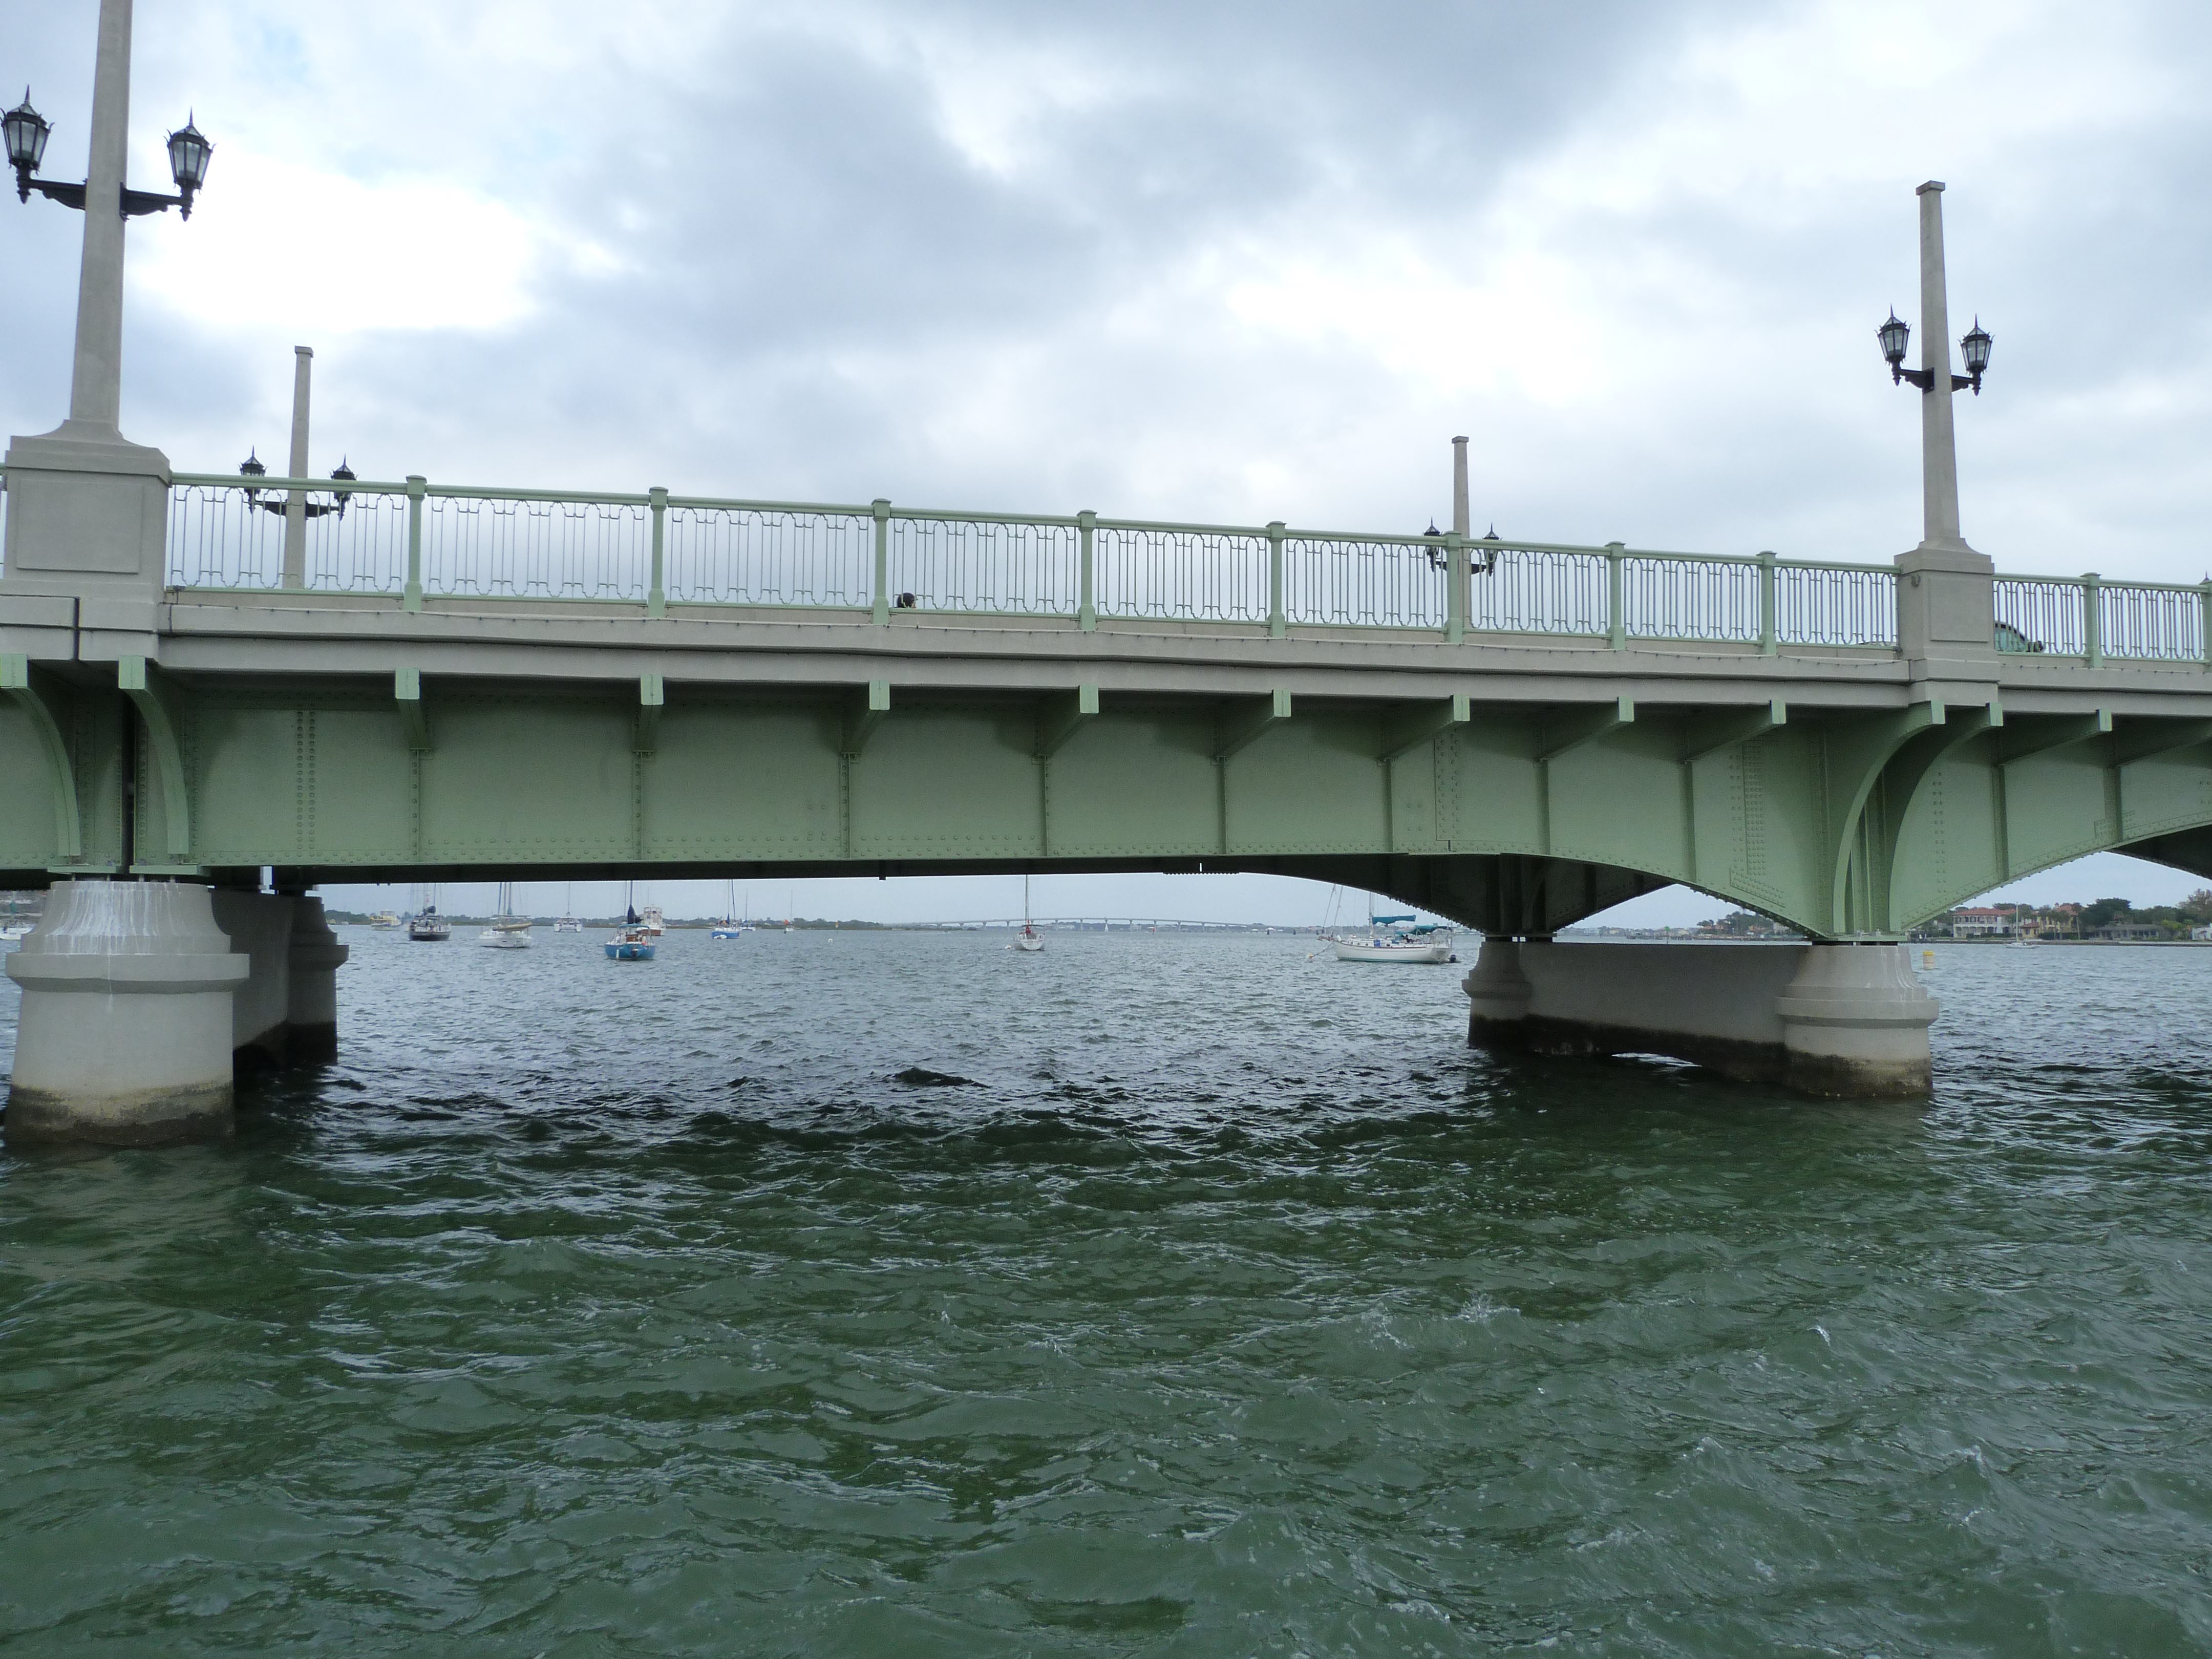
South elevation of eastern approach spans.
![]()
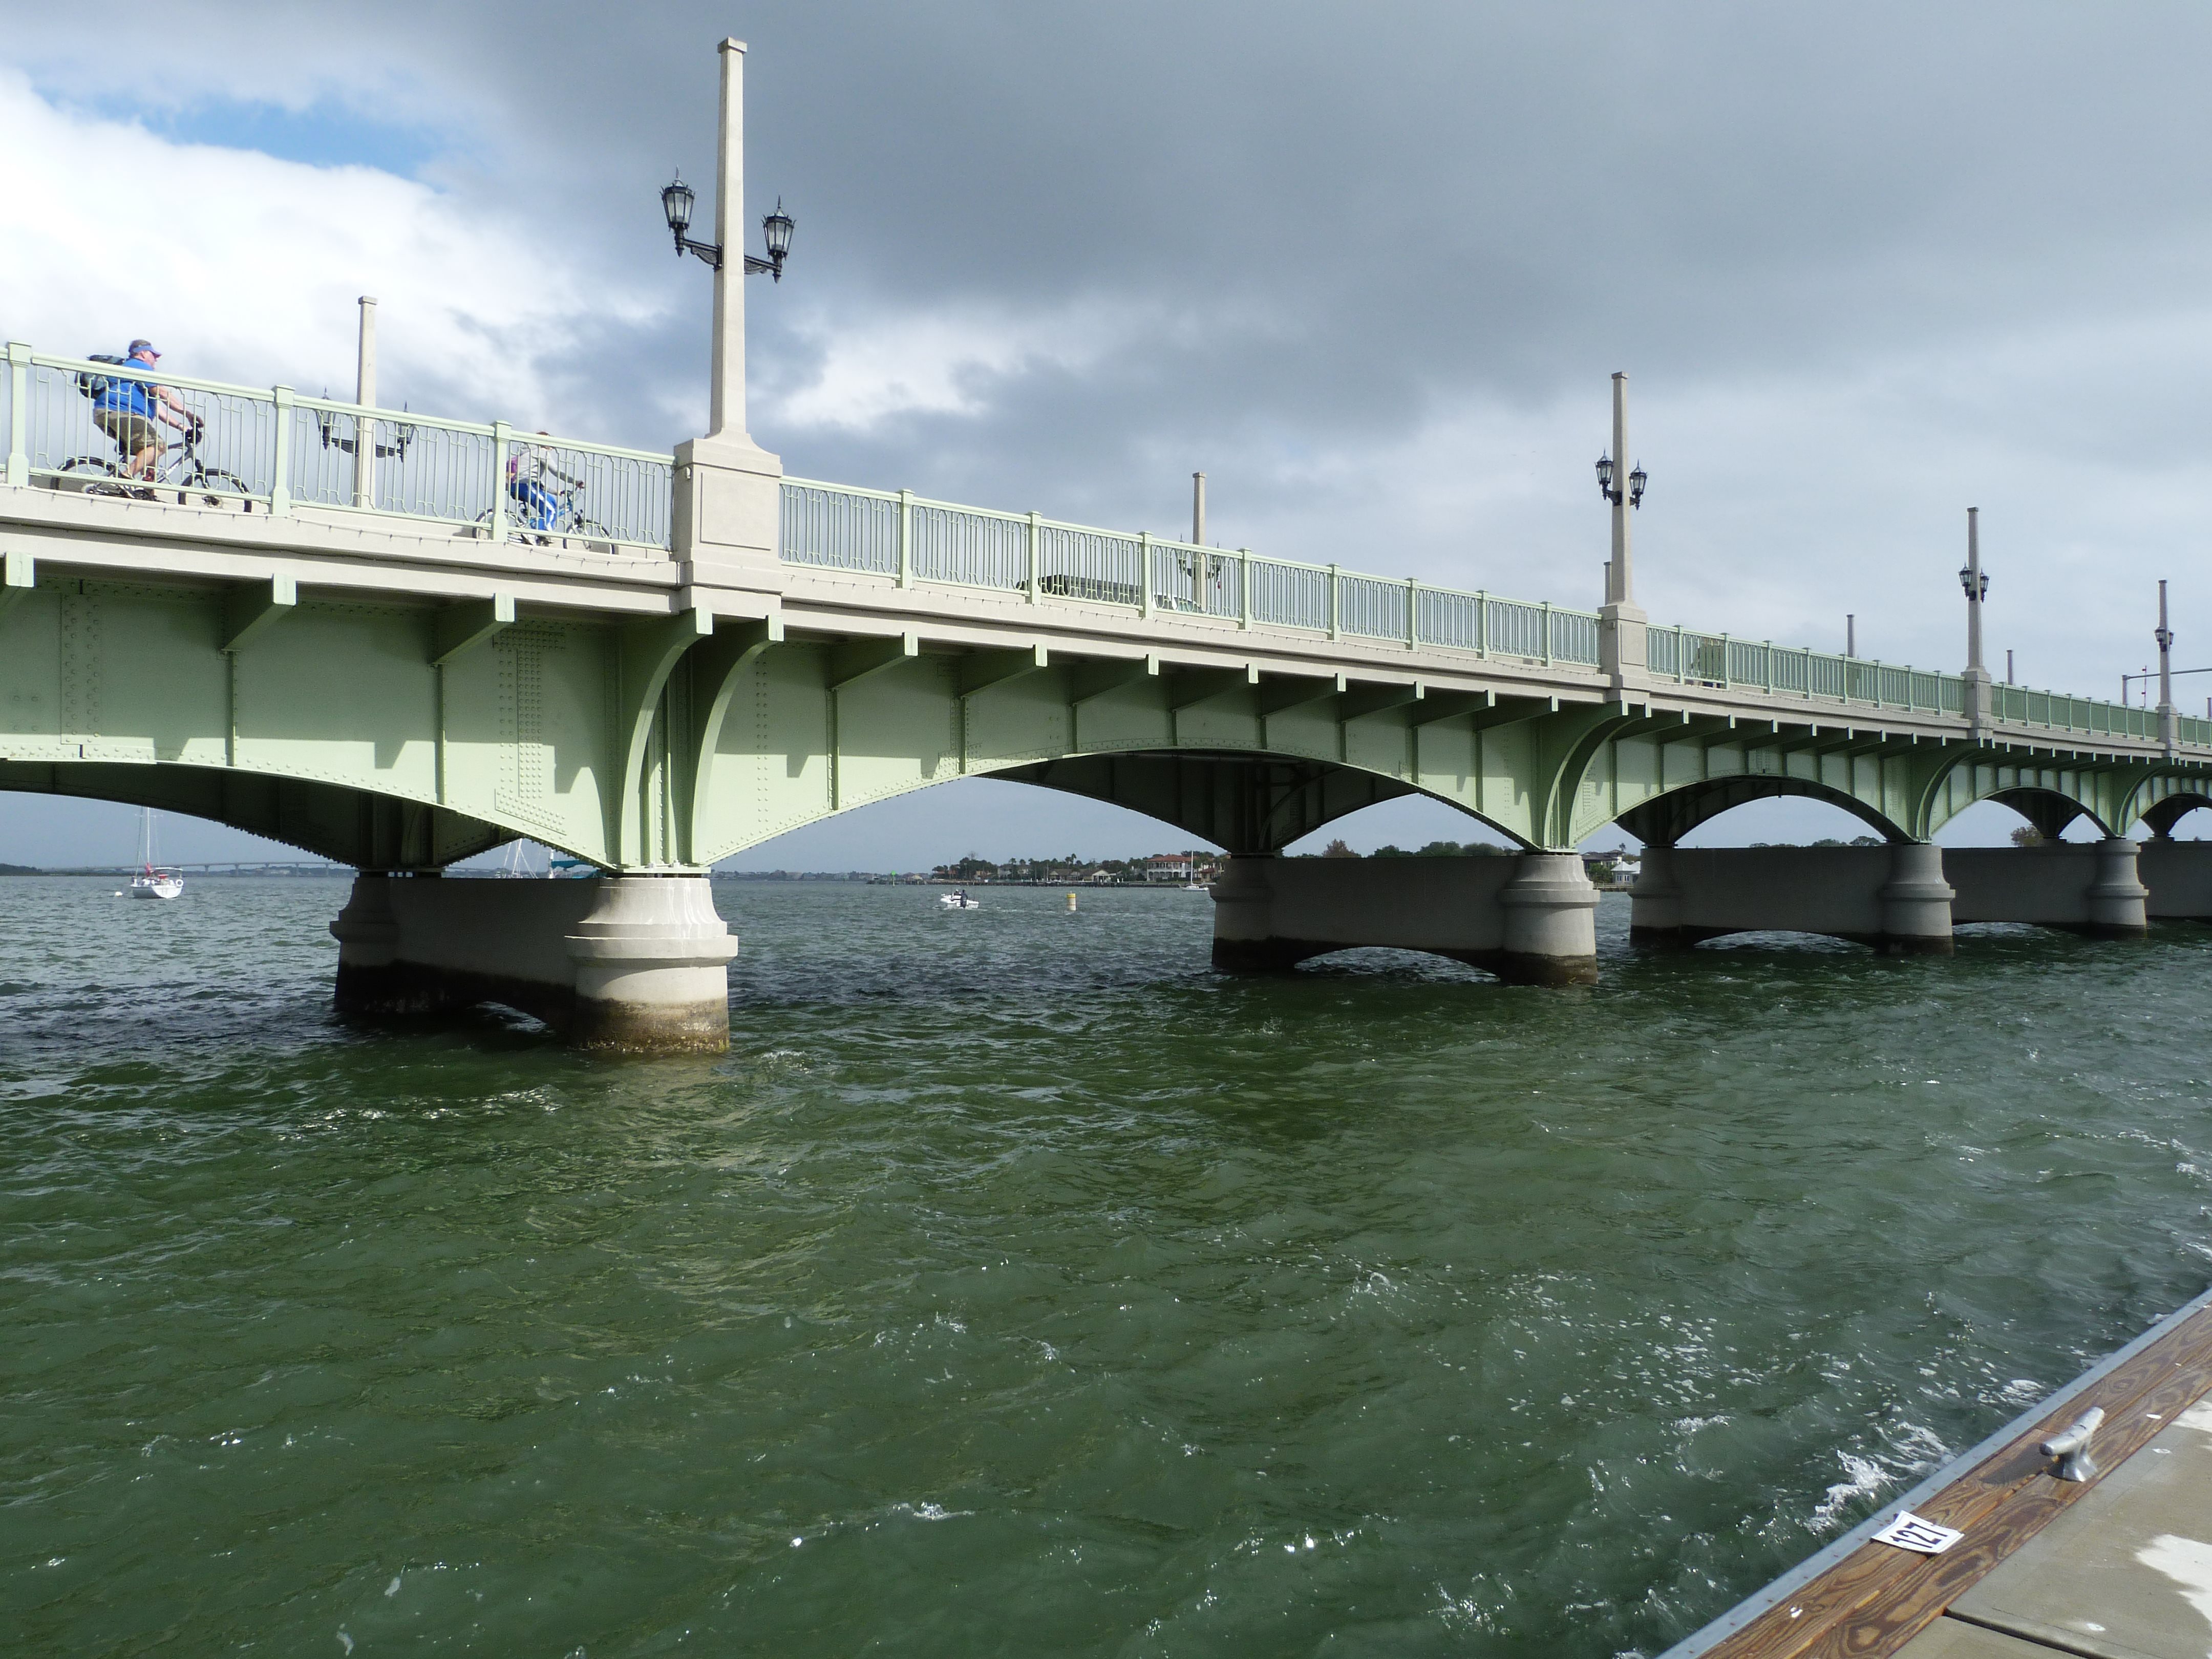
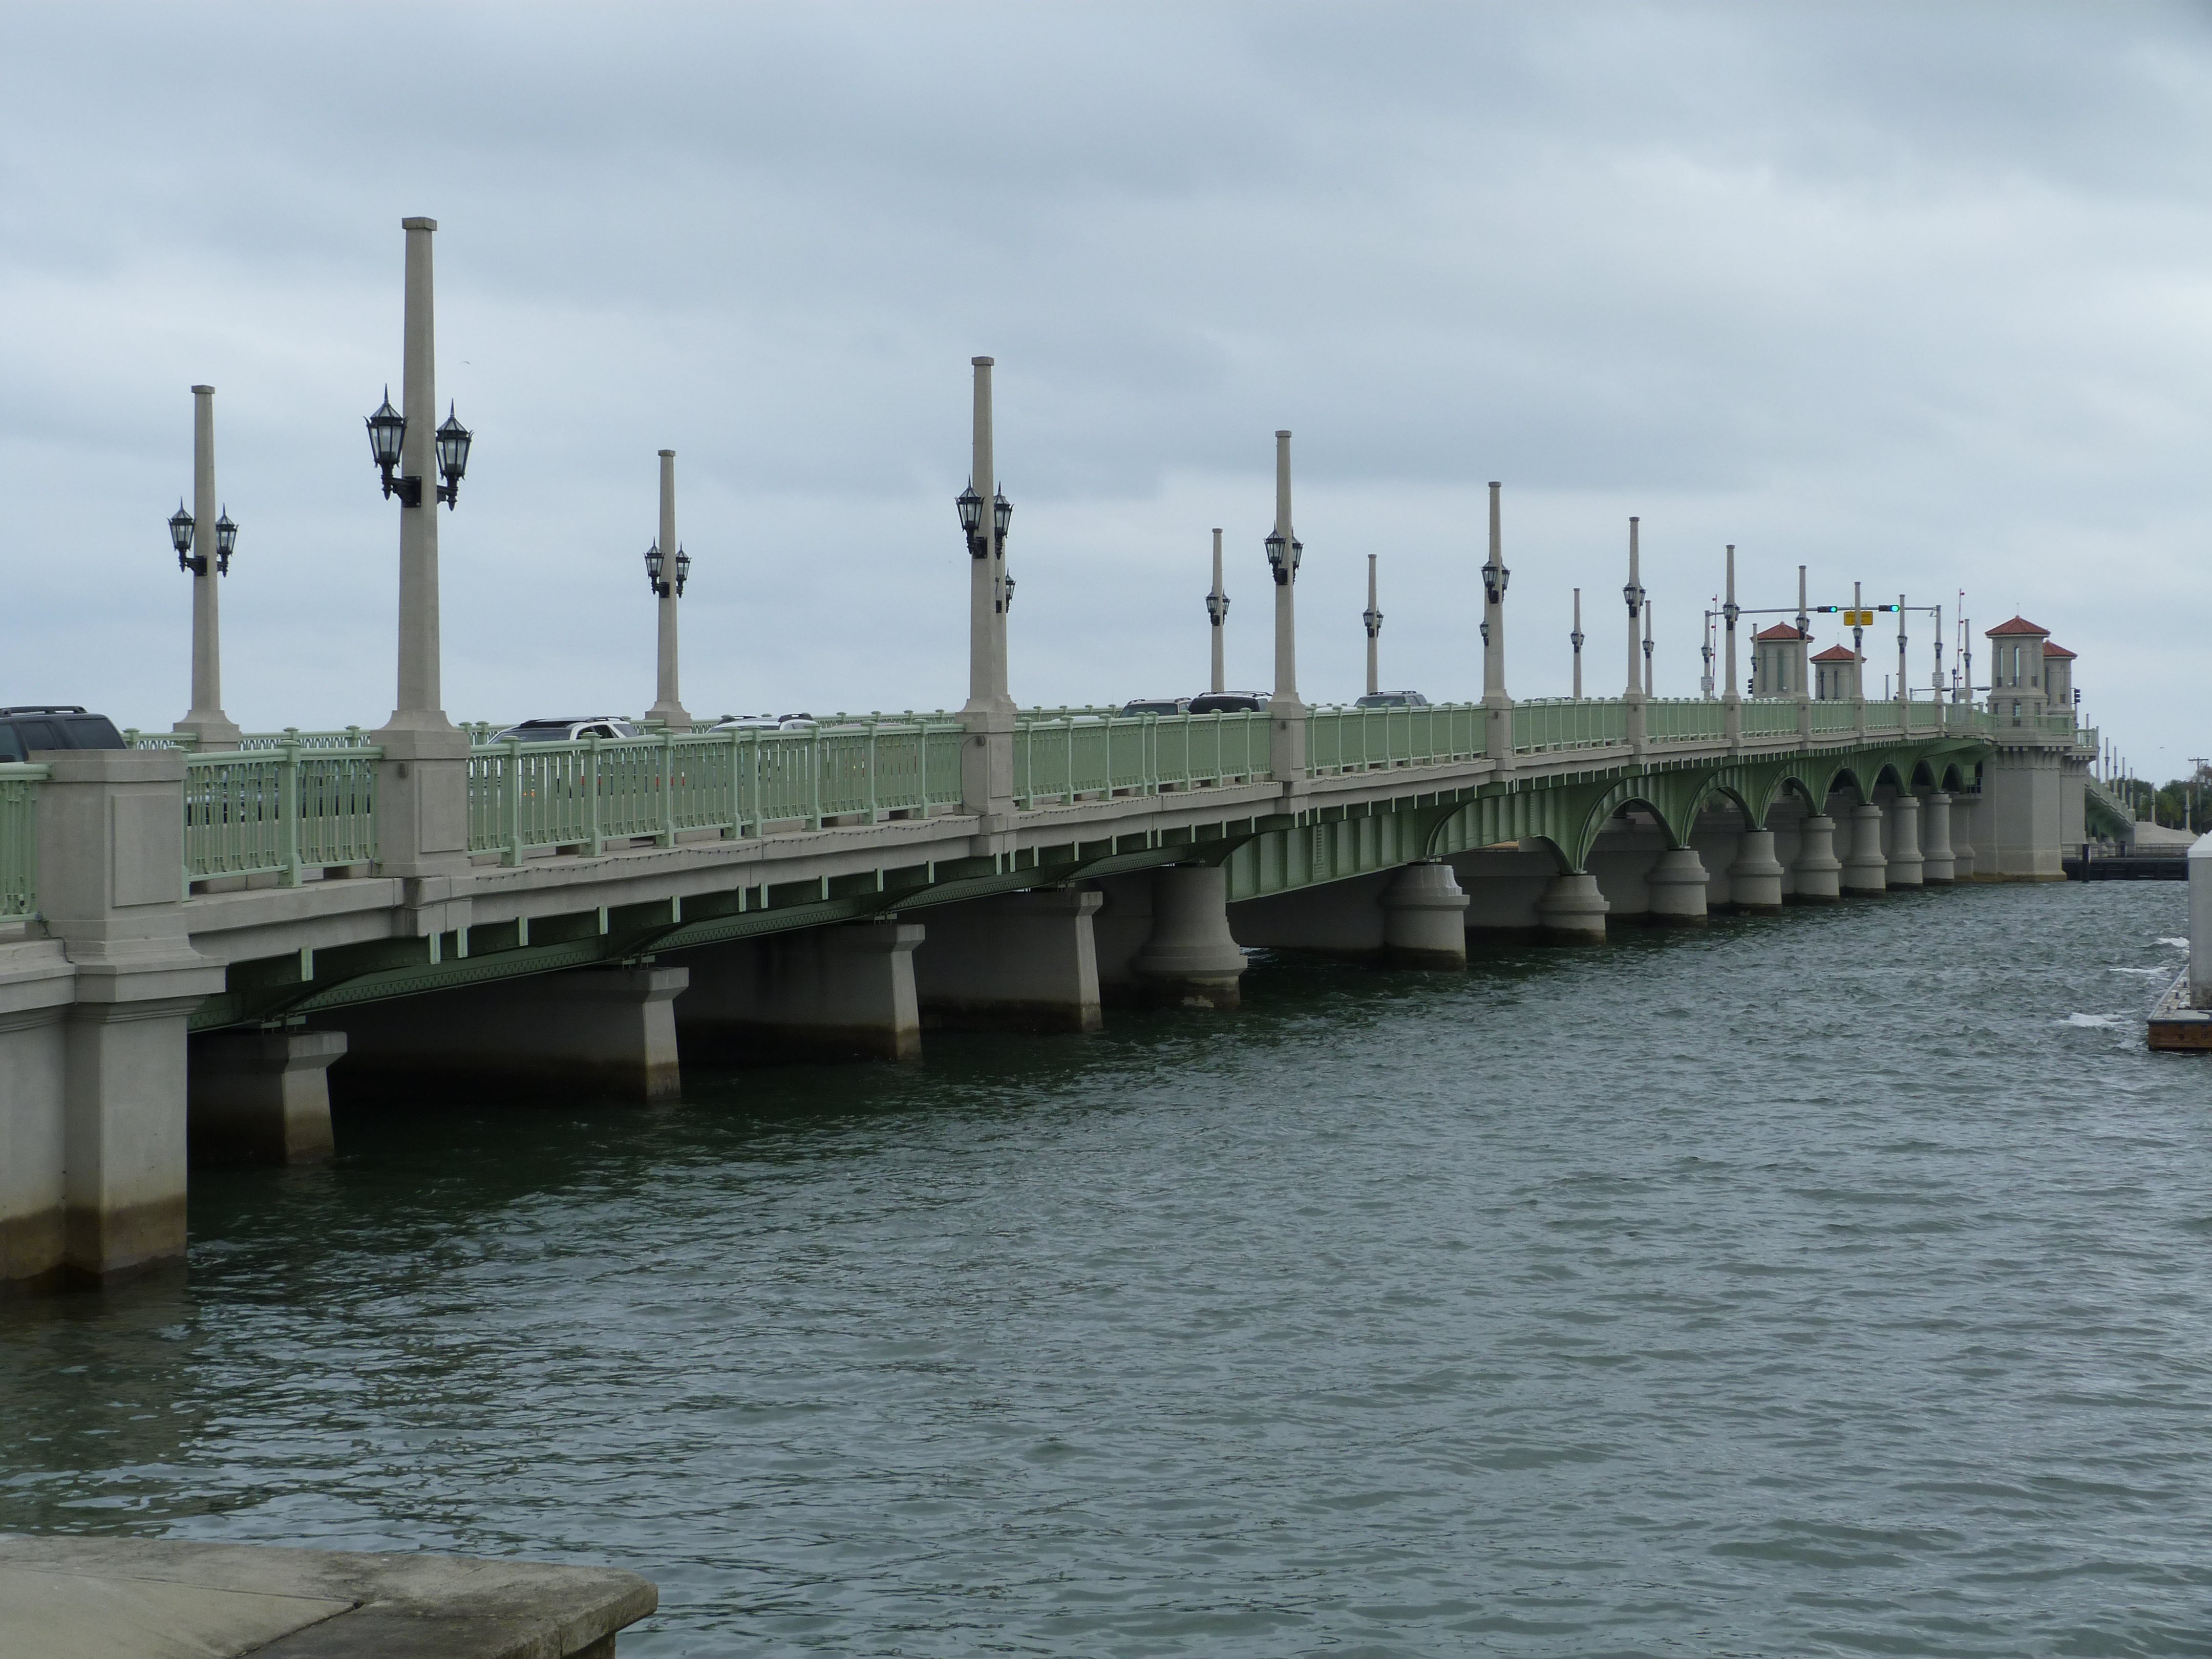
South elevation of western approach spans.
![]()

Photo Credit: Marc Scotti
South elevation of western approach spans.
![]()
South elevation of individual arched girder approach spans.
![]()
South elevation showing the span that transitions from straight to arched girder spans.
![]()
South elevation of far western approach spans comparing arched girders to straight girders.
![]()

View of bascule span from sidewalk.
![]()

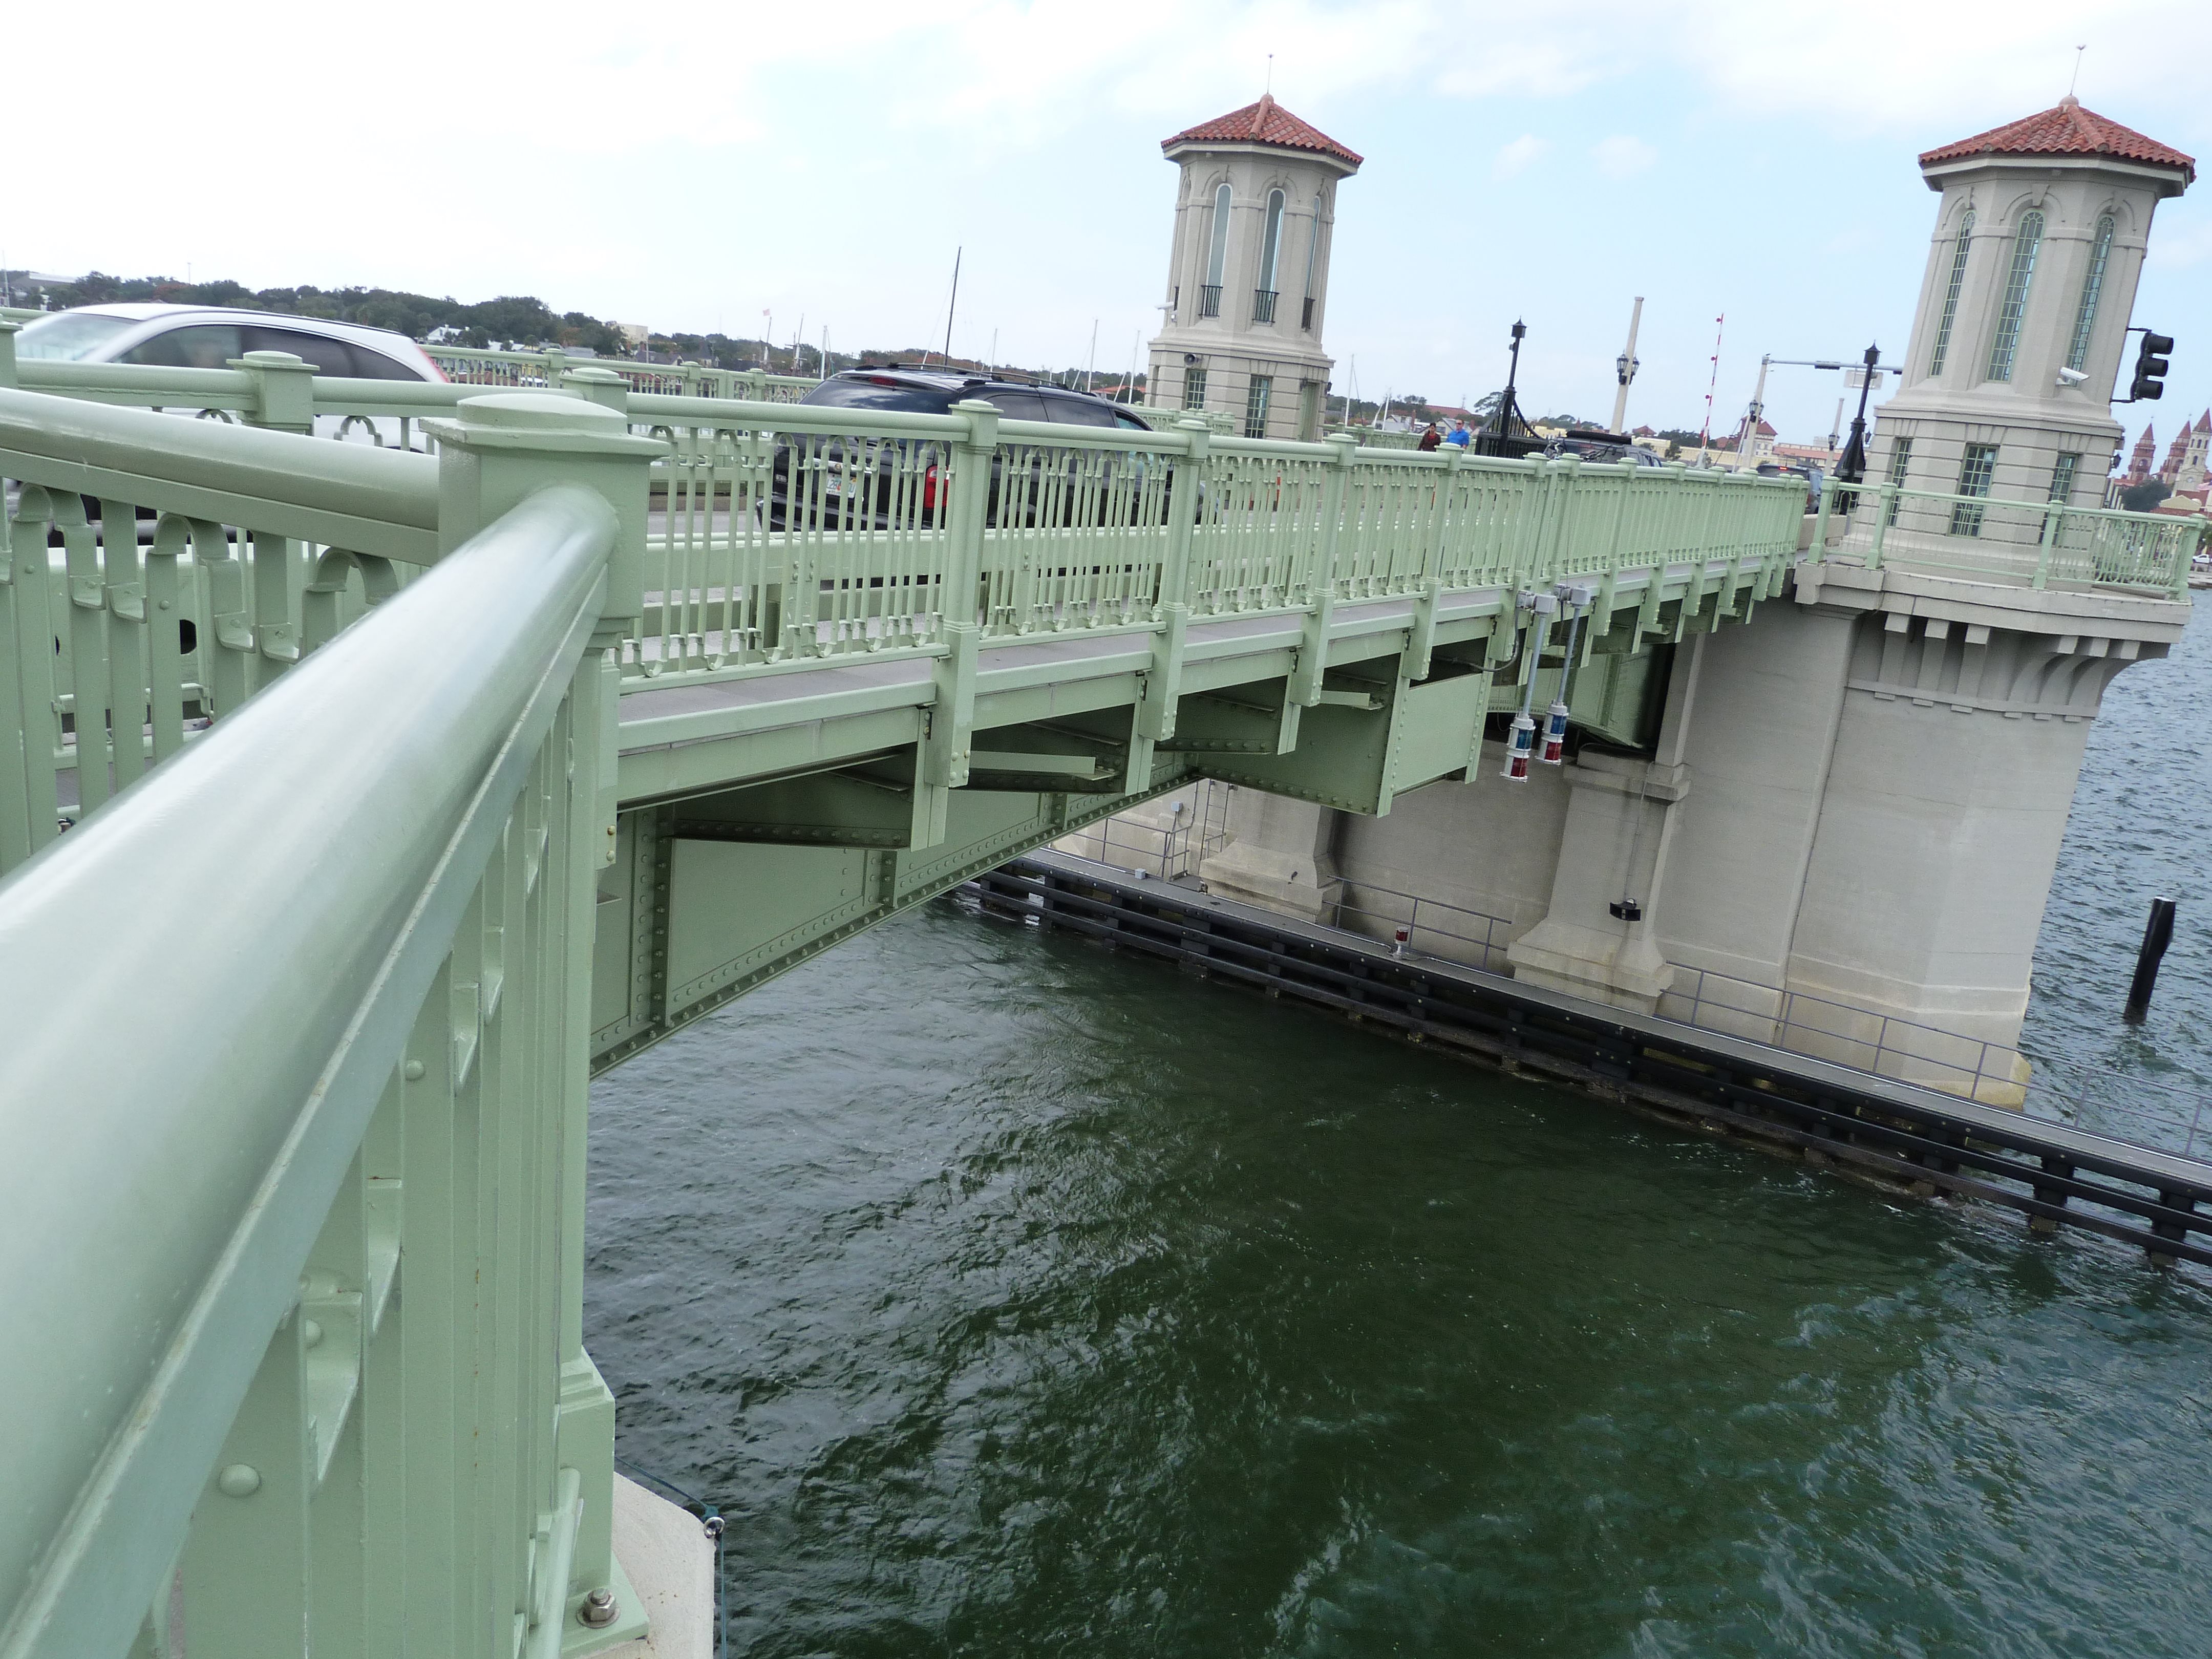

View of bascule span from outlook on bridge.
![]()
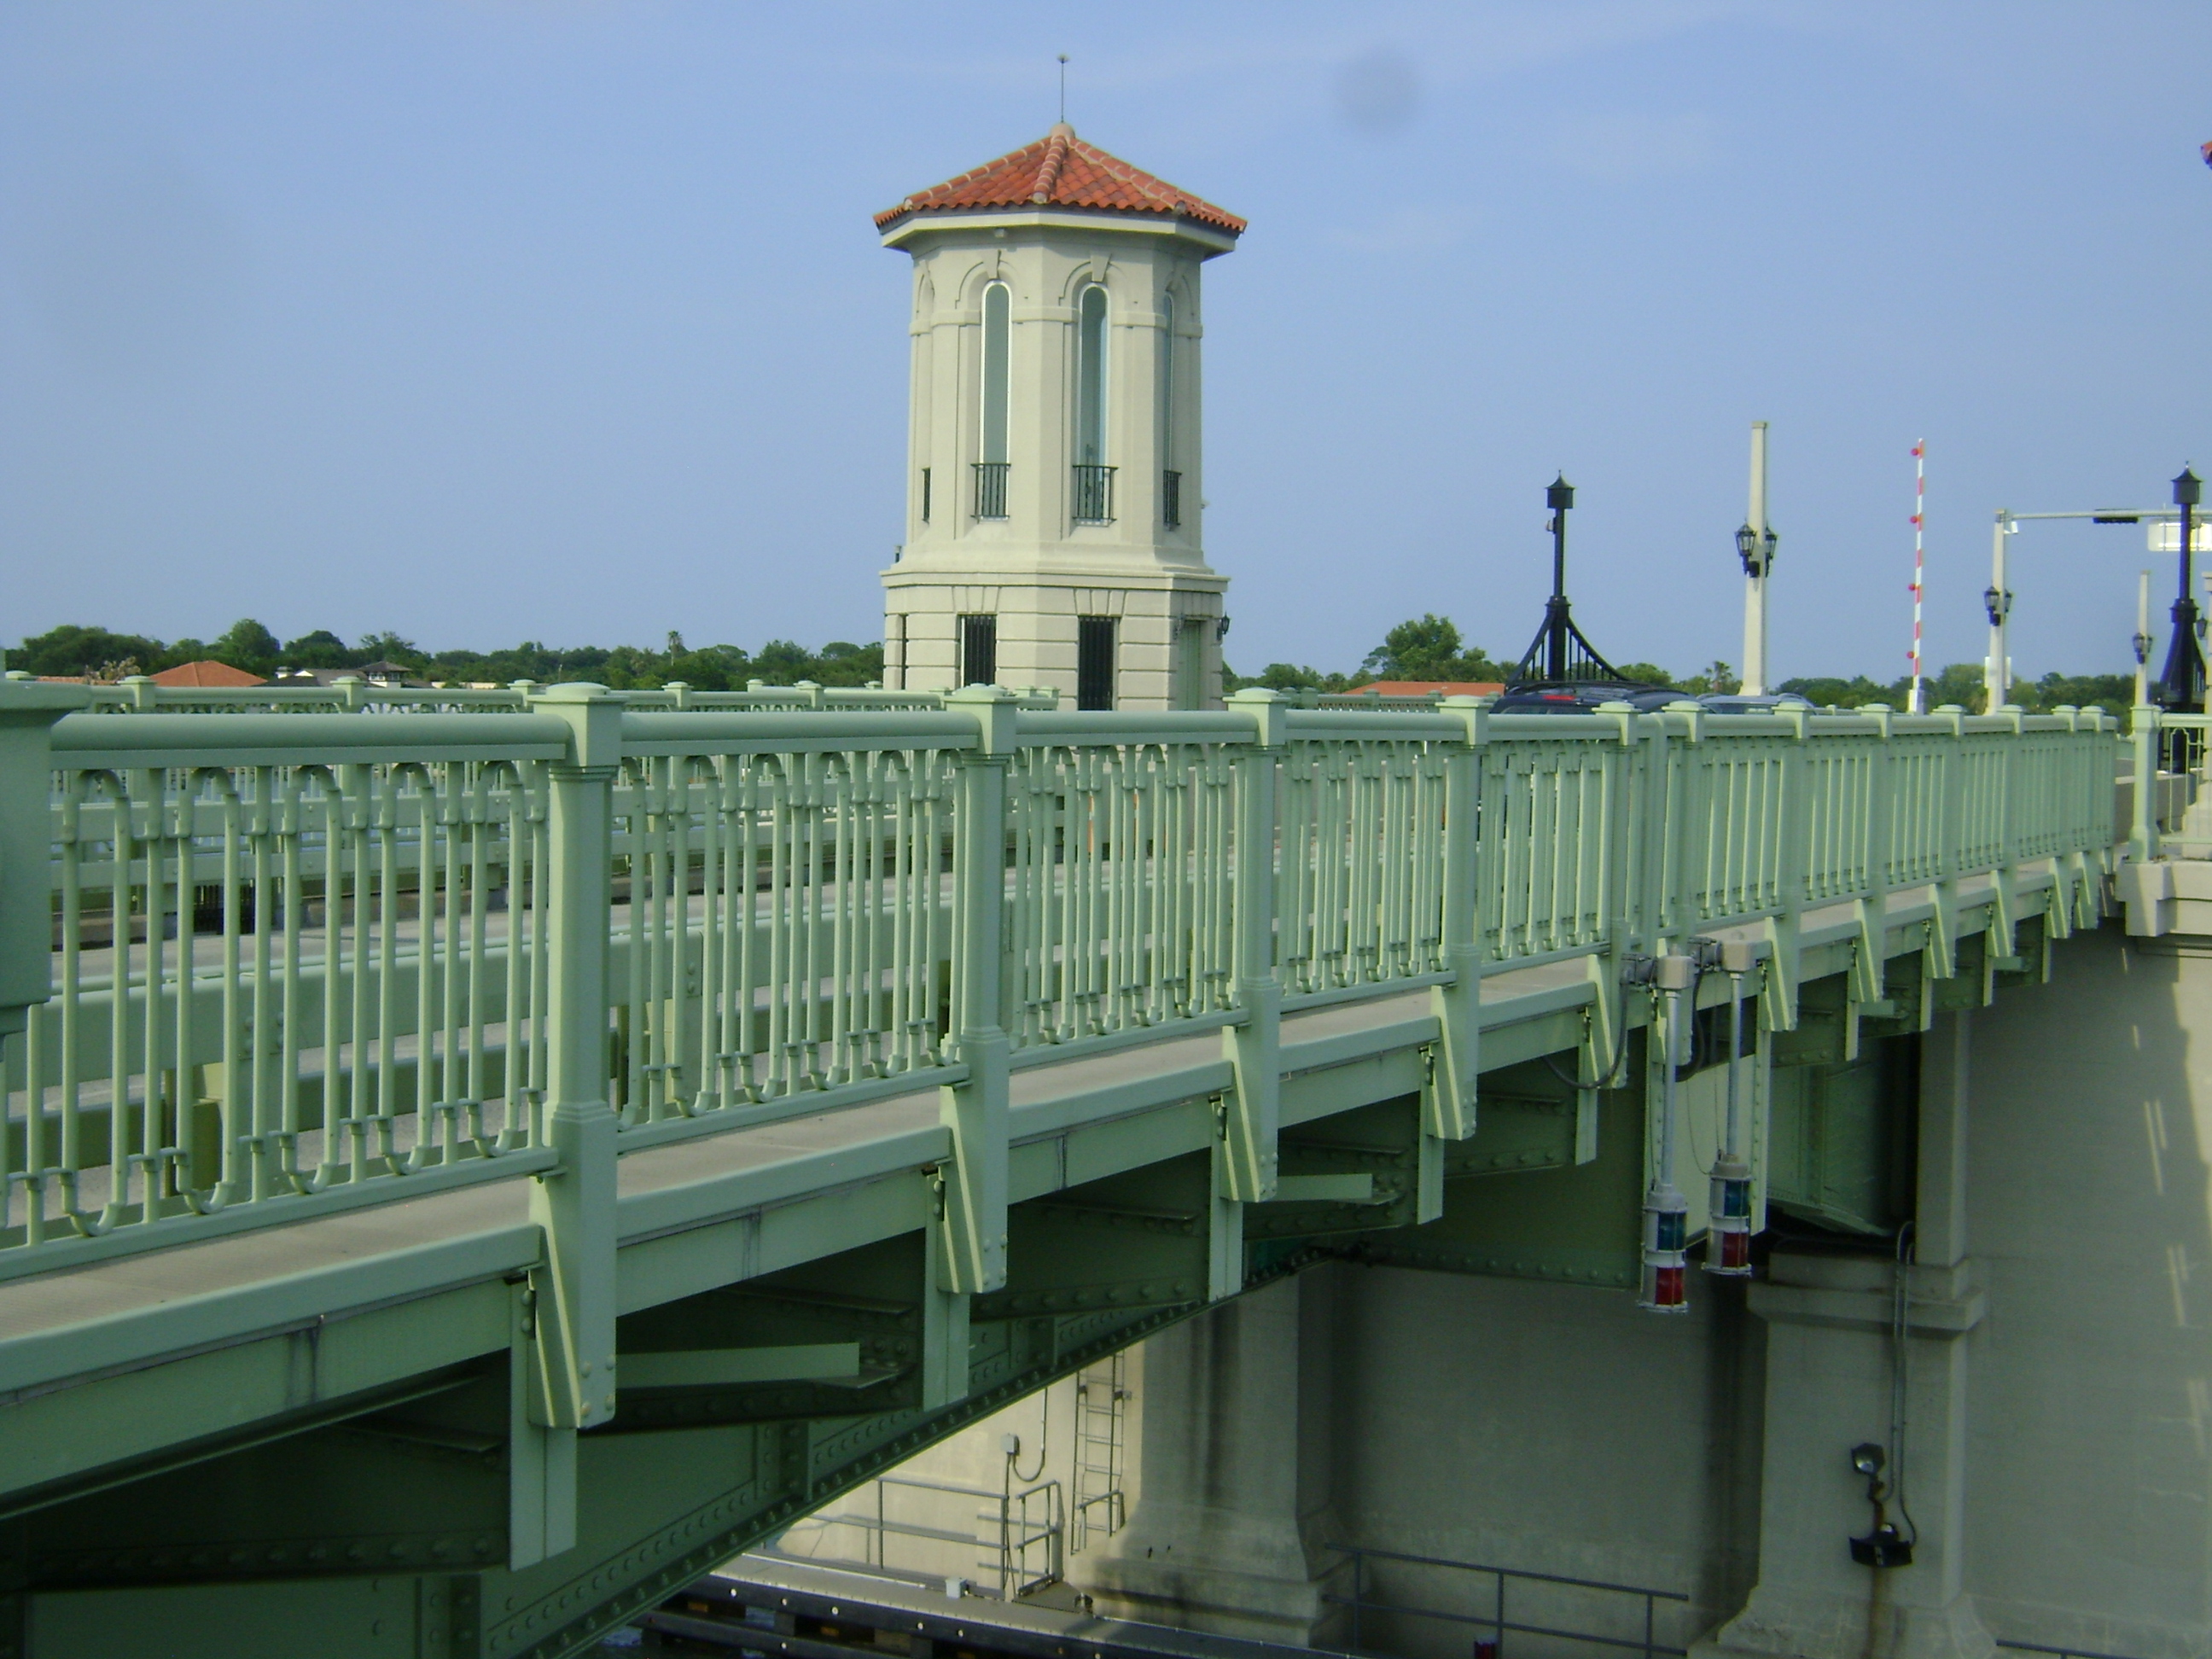

Photo Credit: Marc Scotti
View of bascule span from outlook on bridge.
![]()

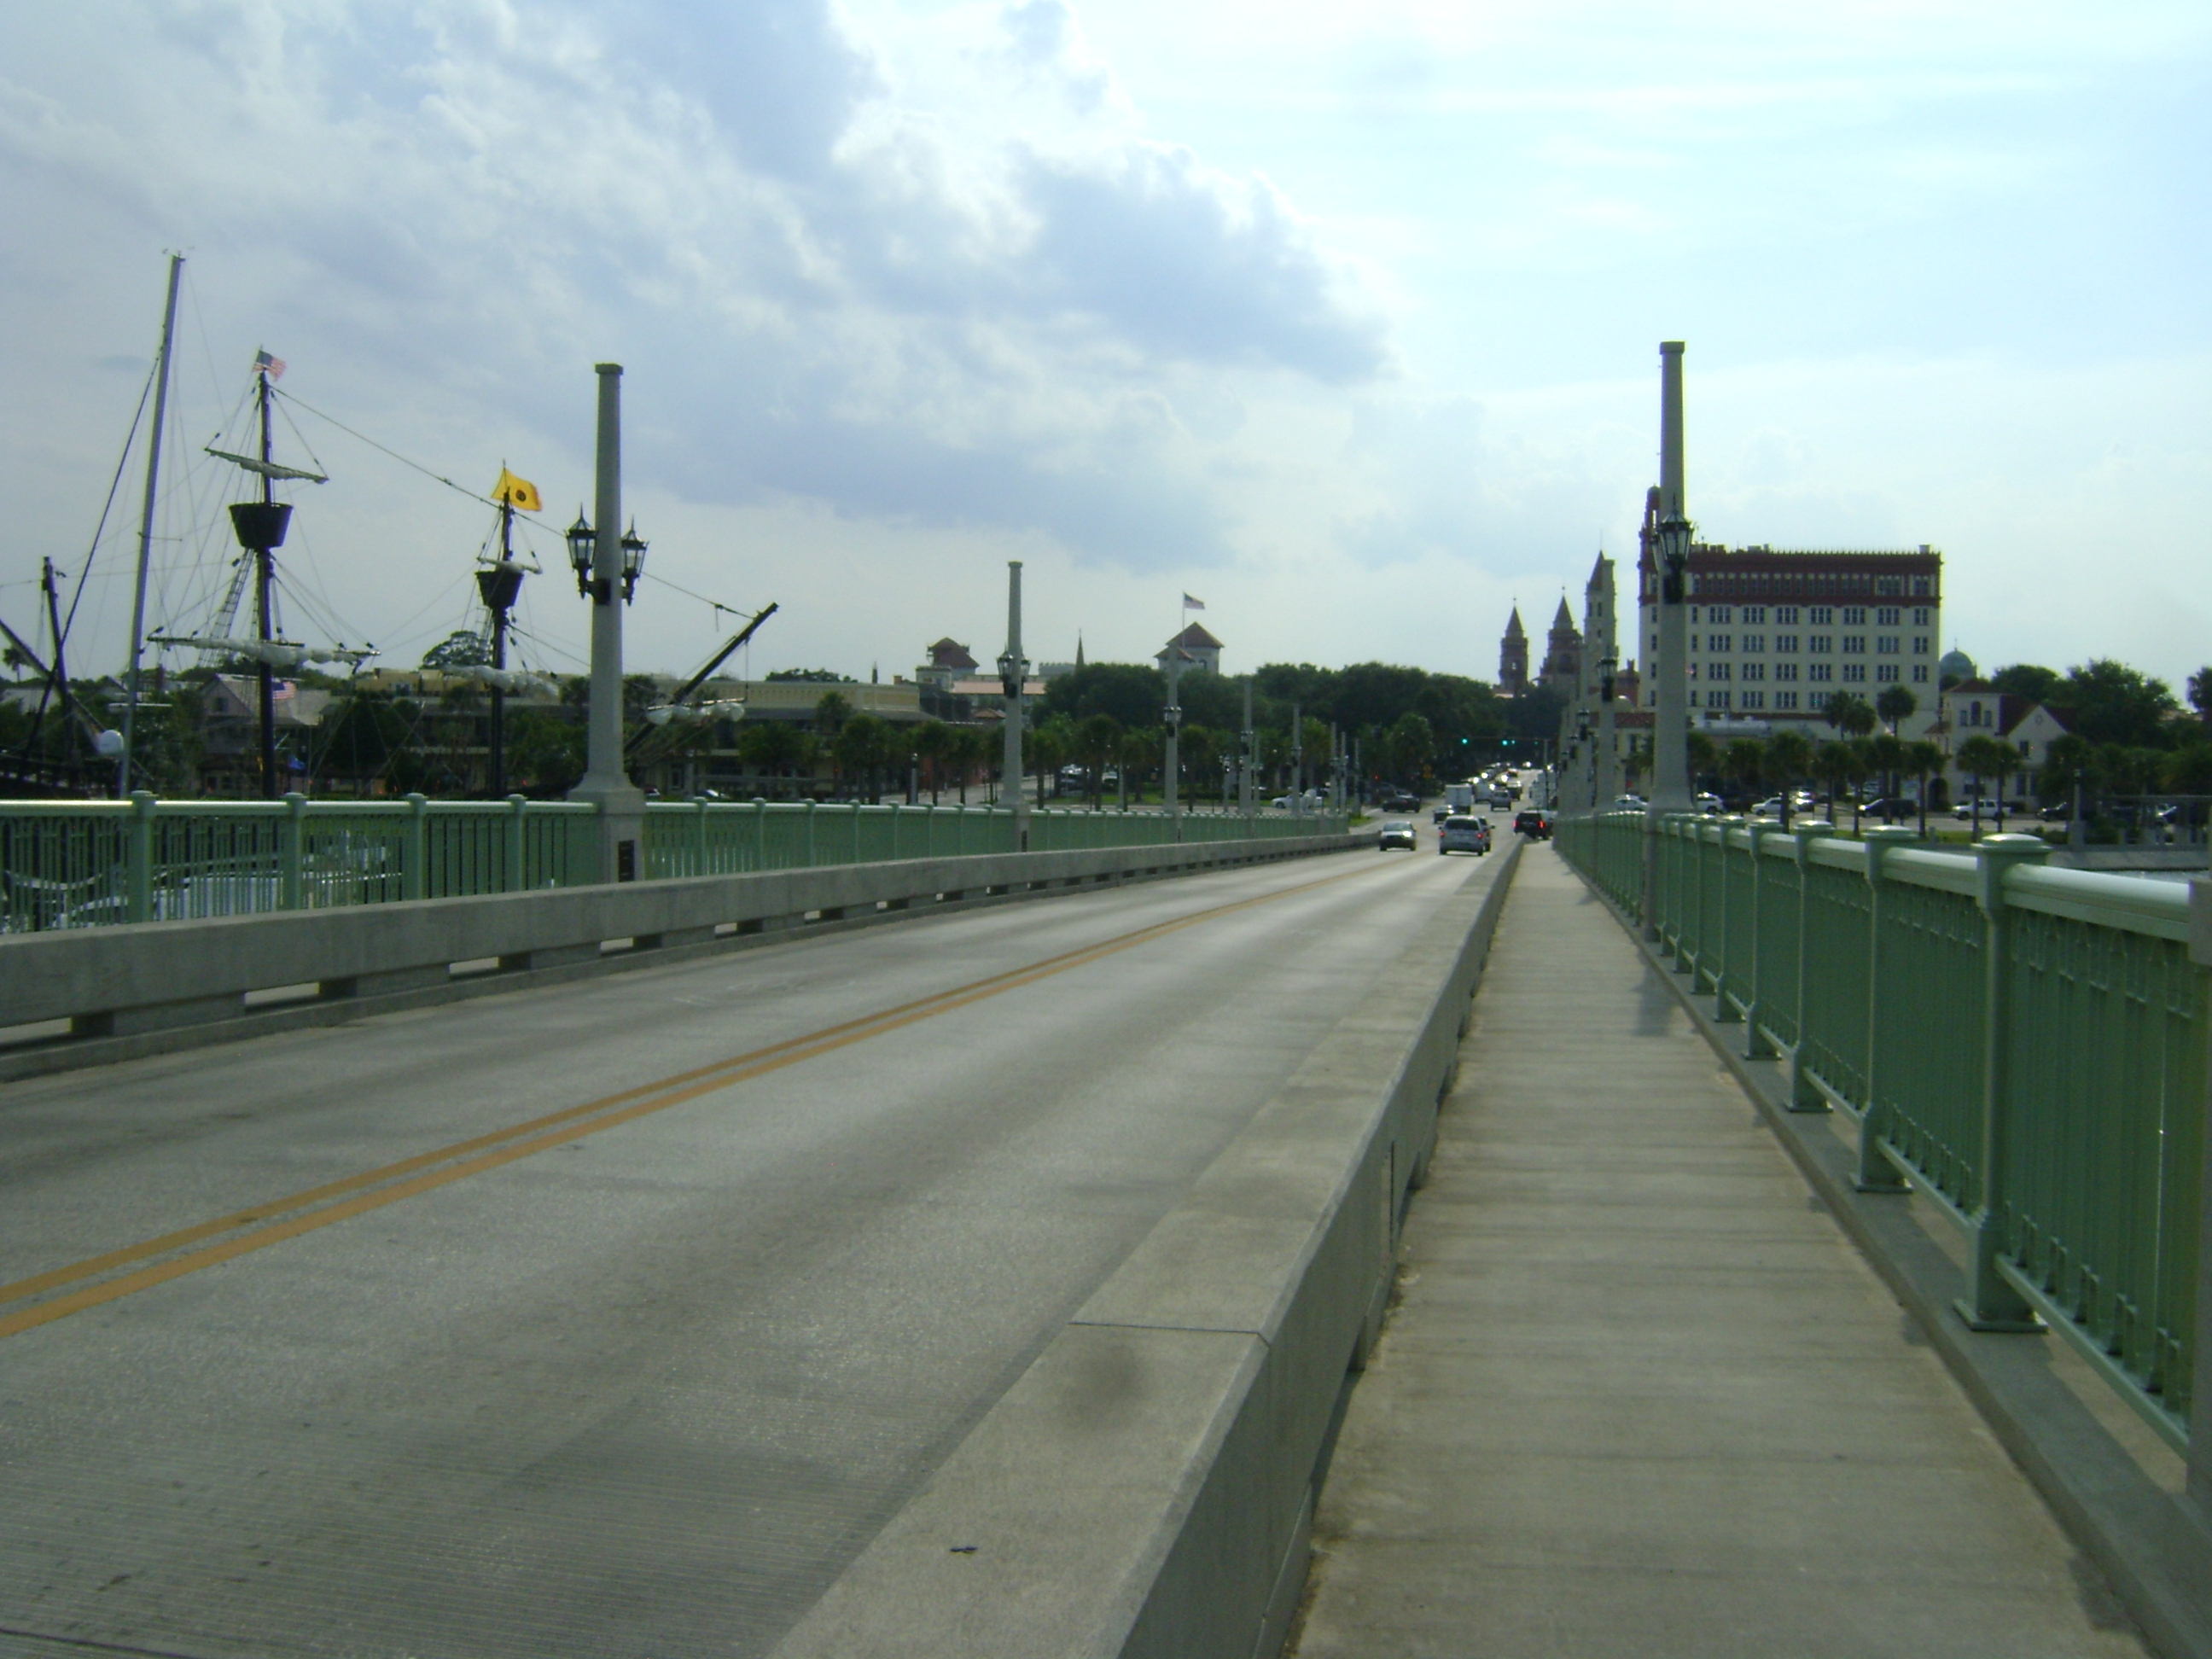
View on bascule span sidewalk.
![]()
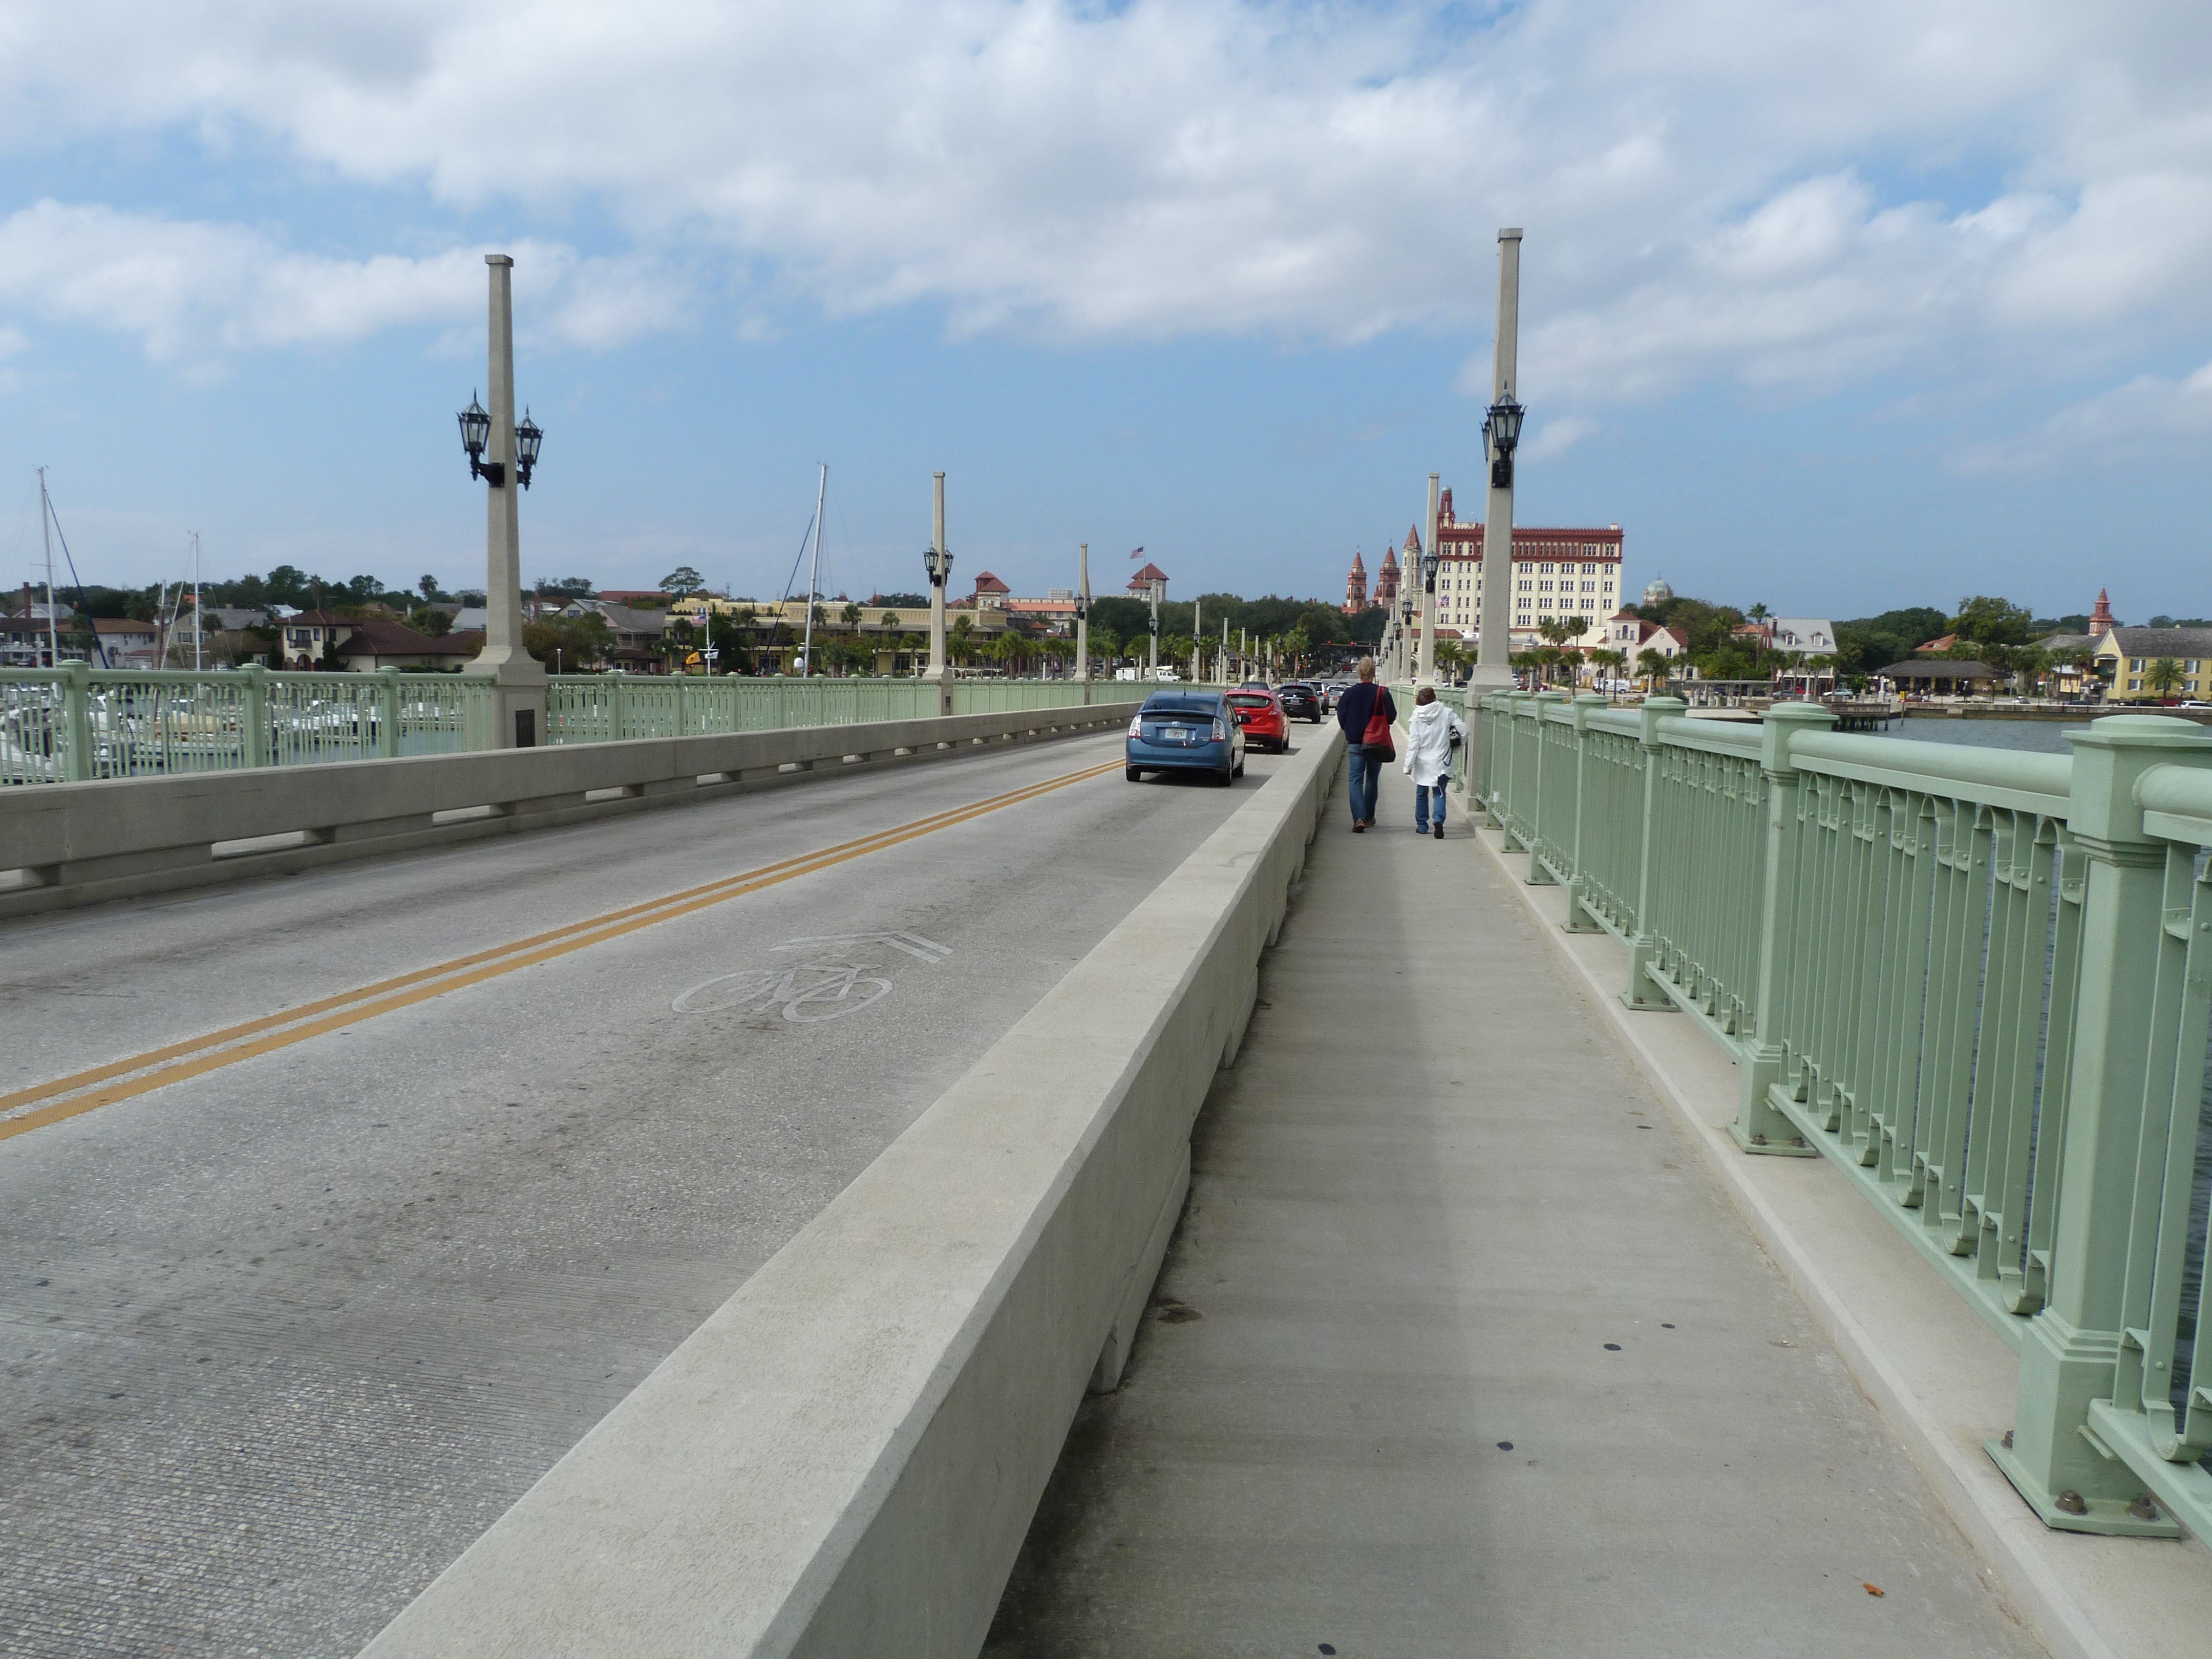

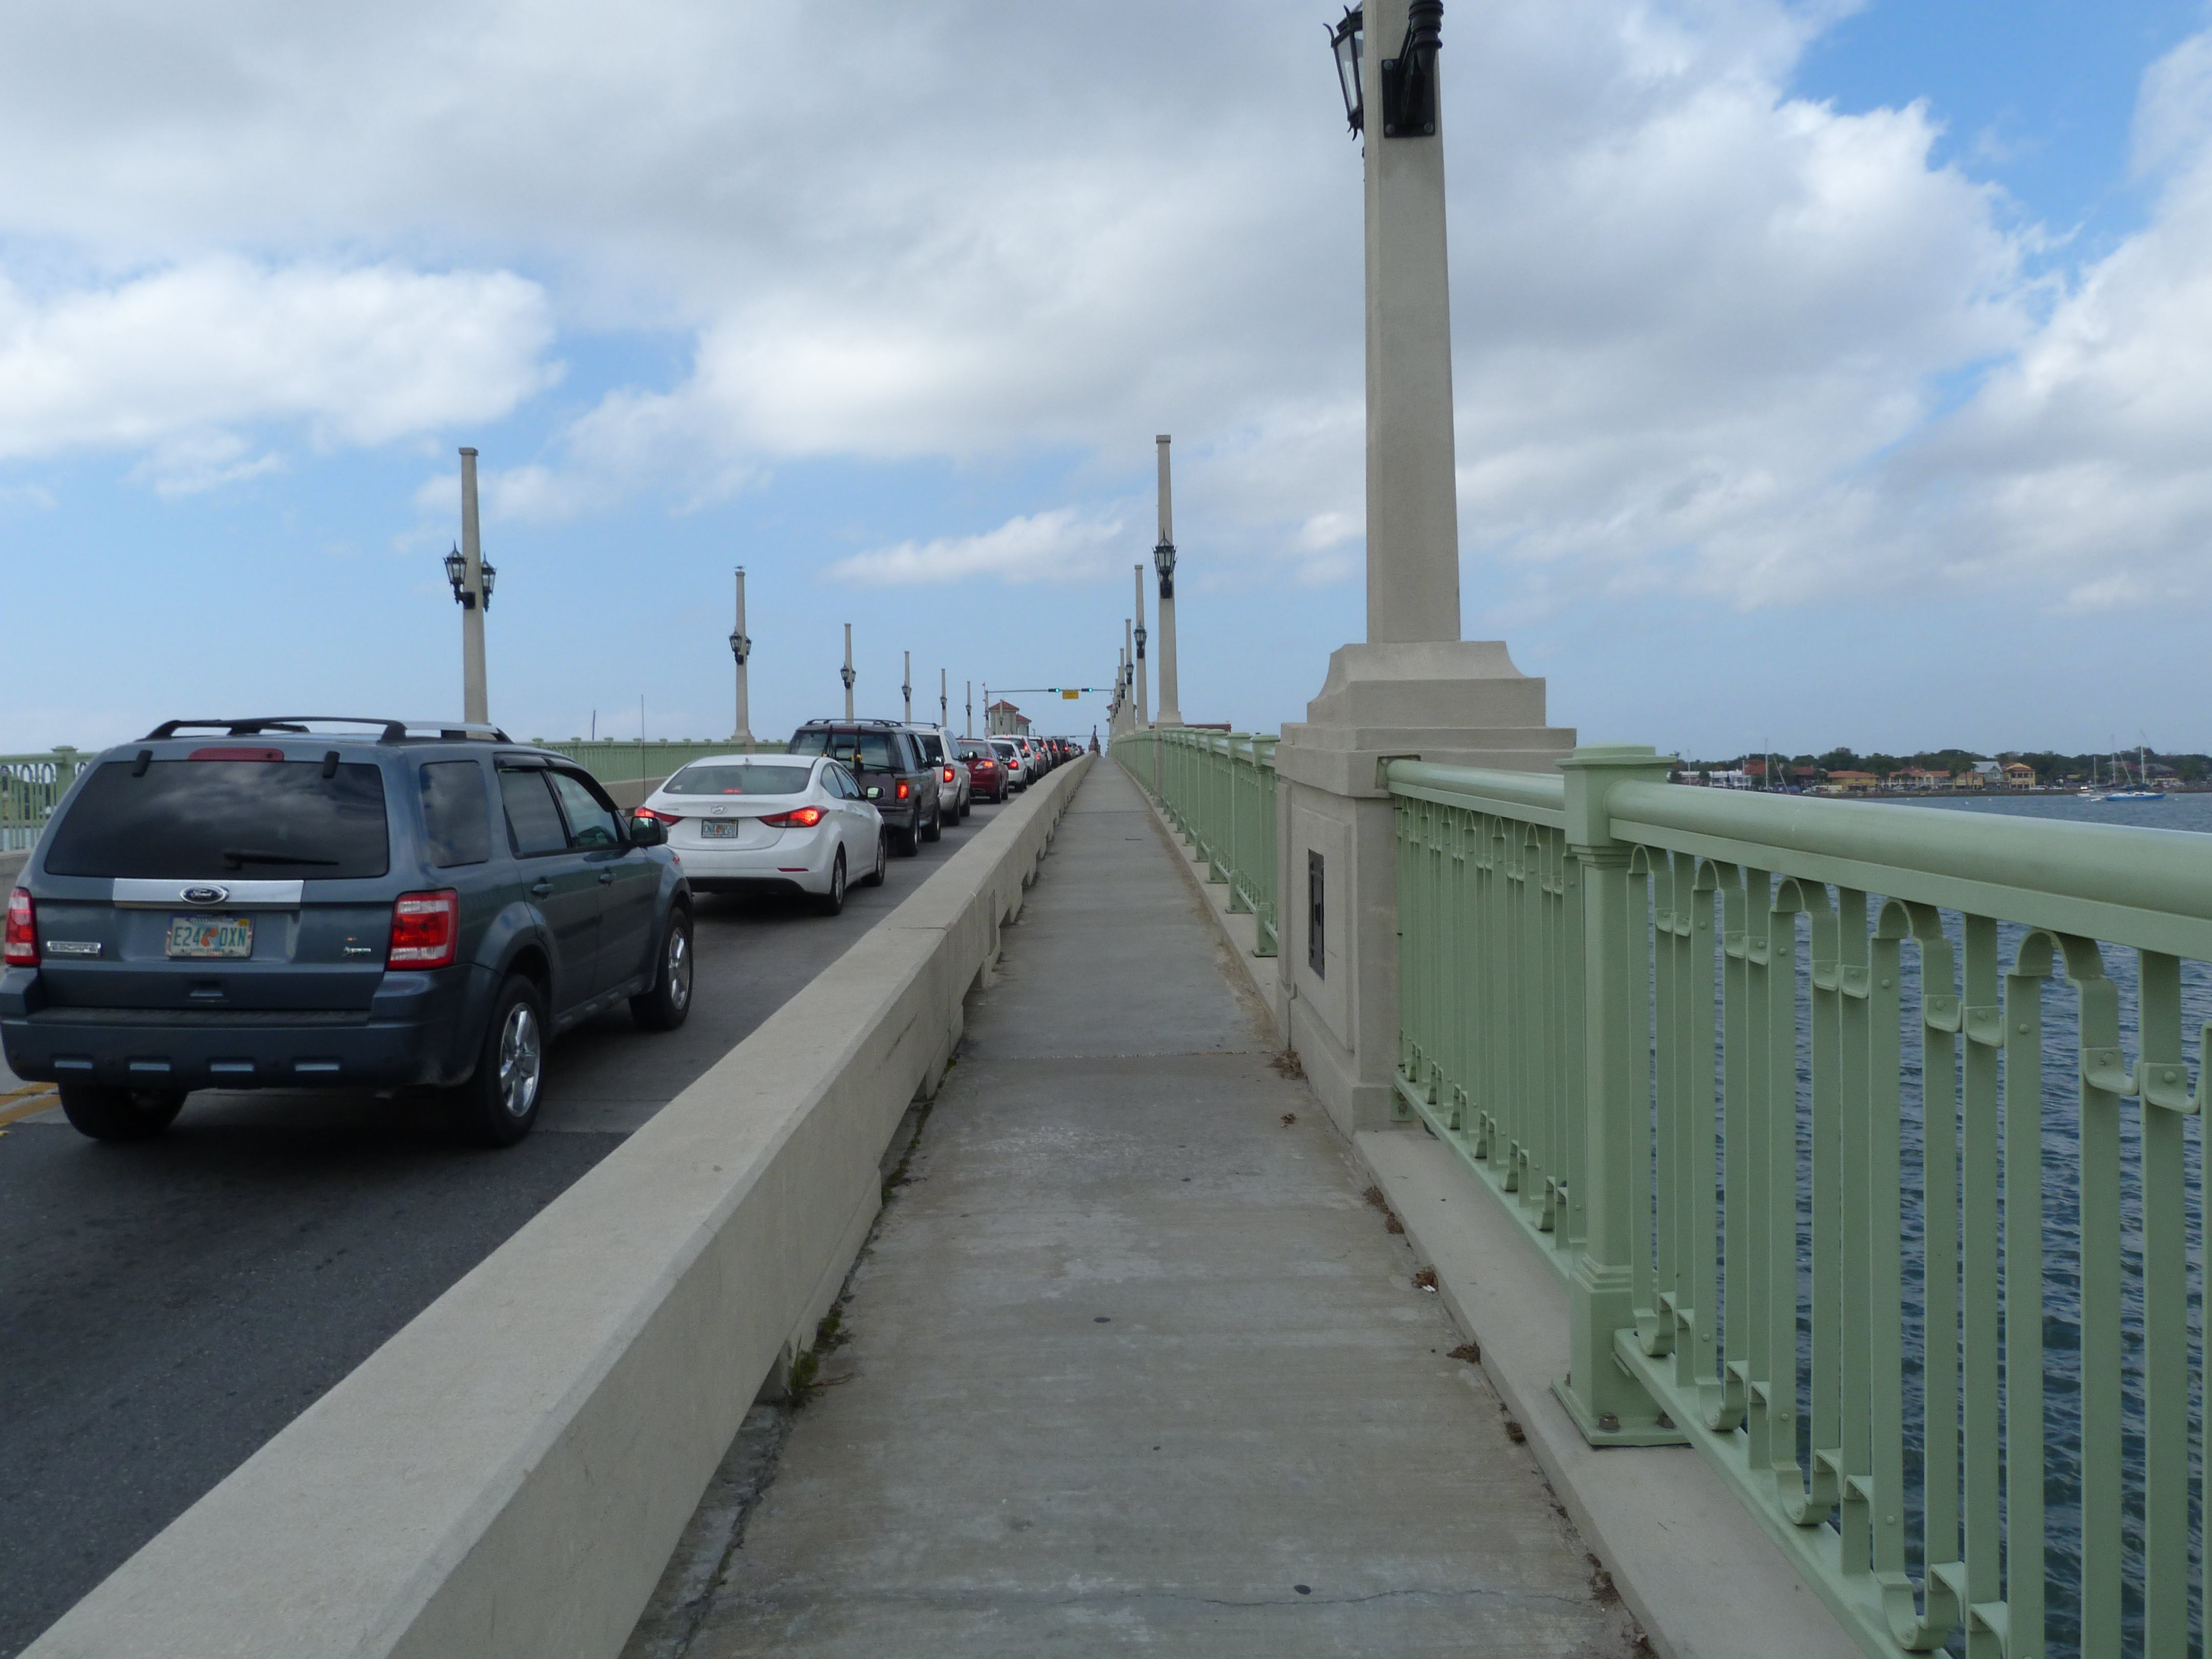
Views on approach sidewalk.
![]()
Photo Credit: Marc Scotti
Views on approach sidewalk.
![]()


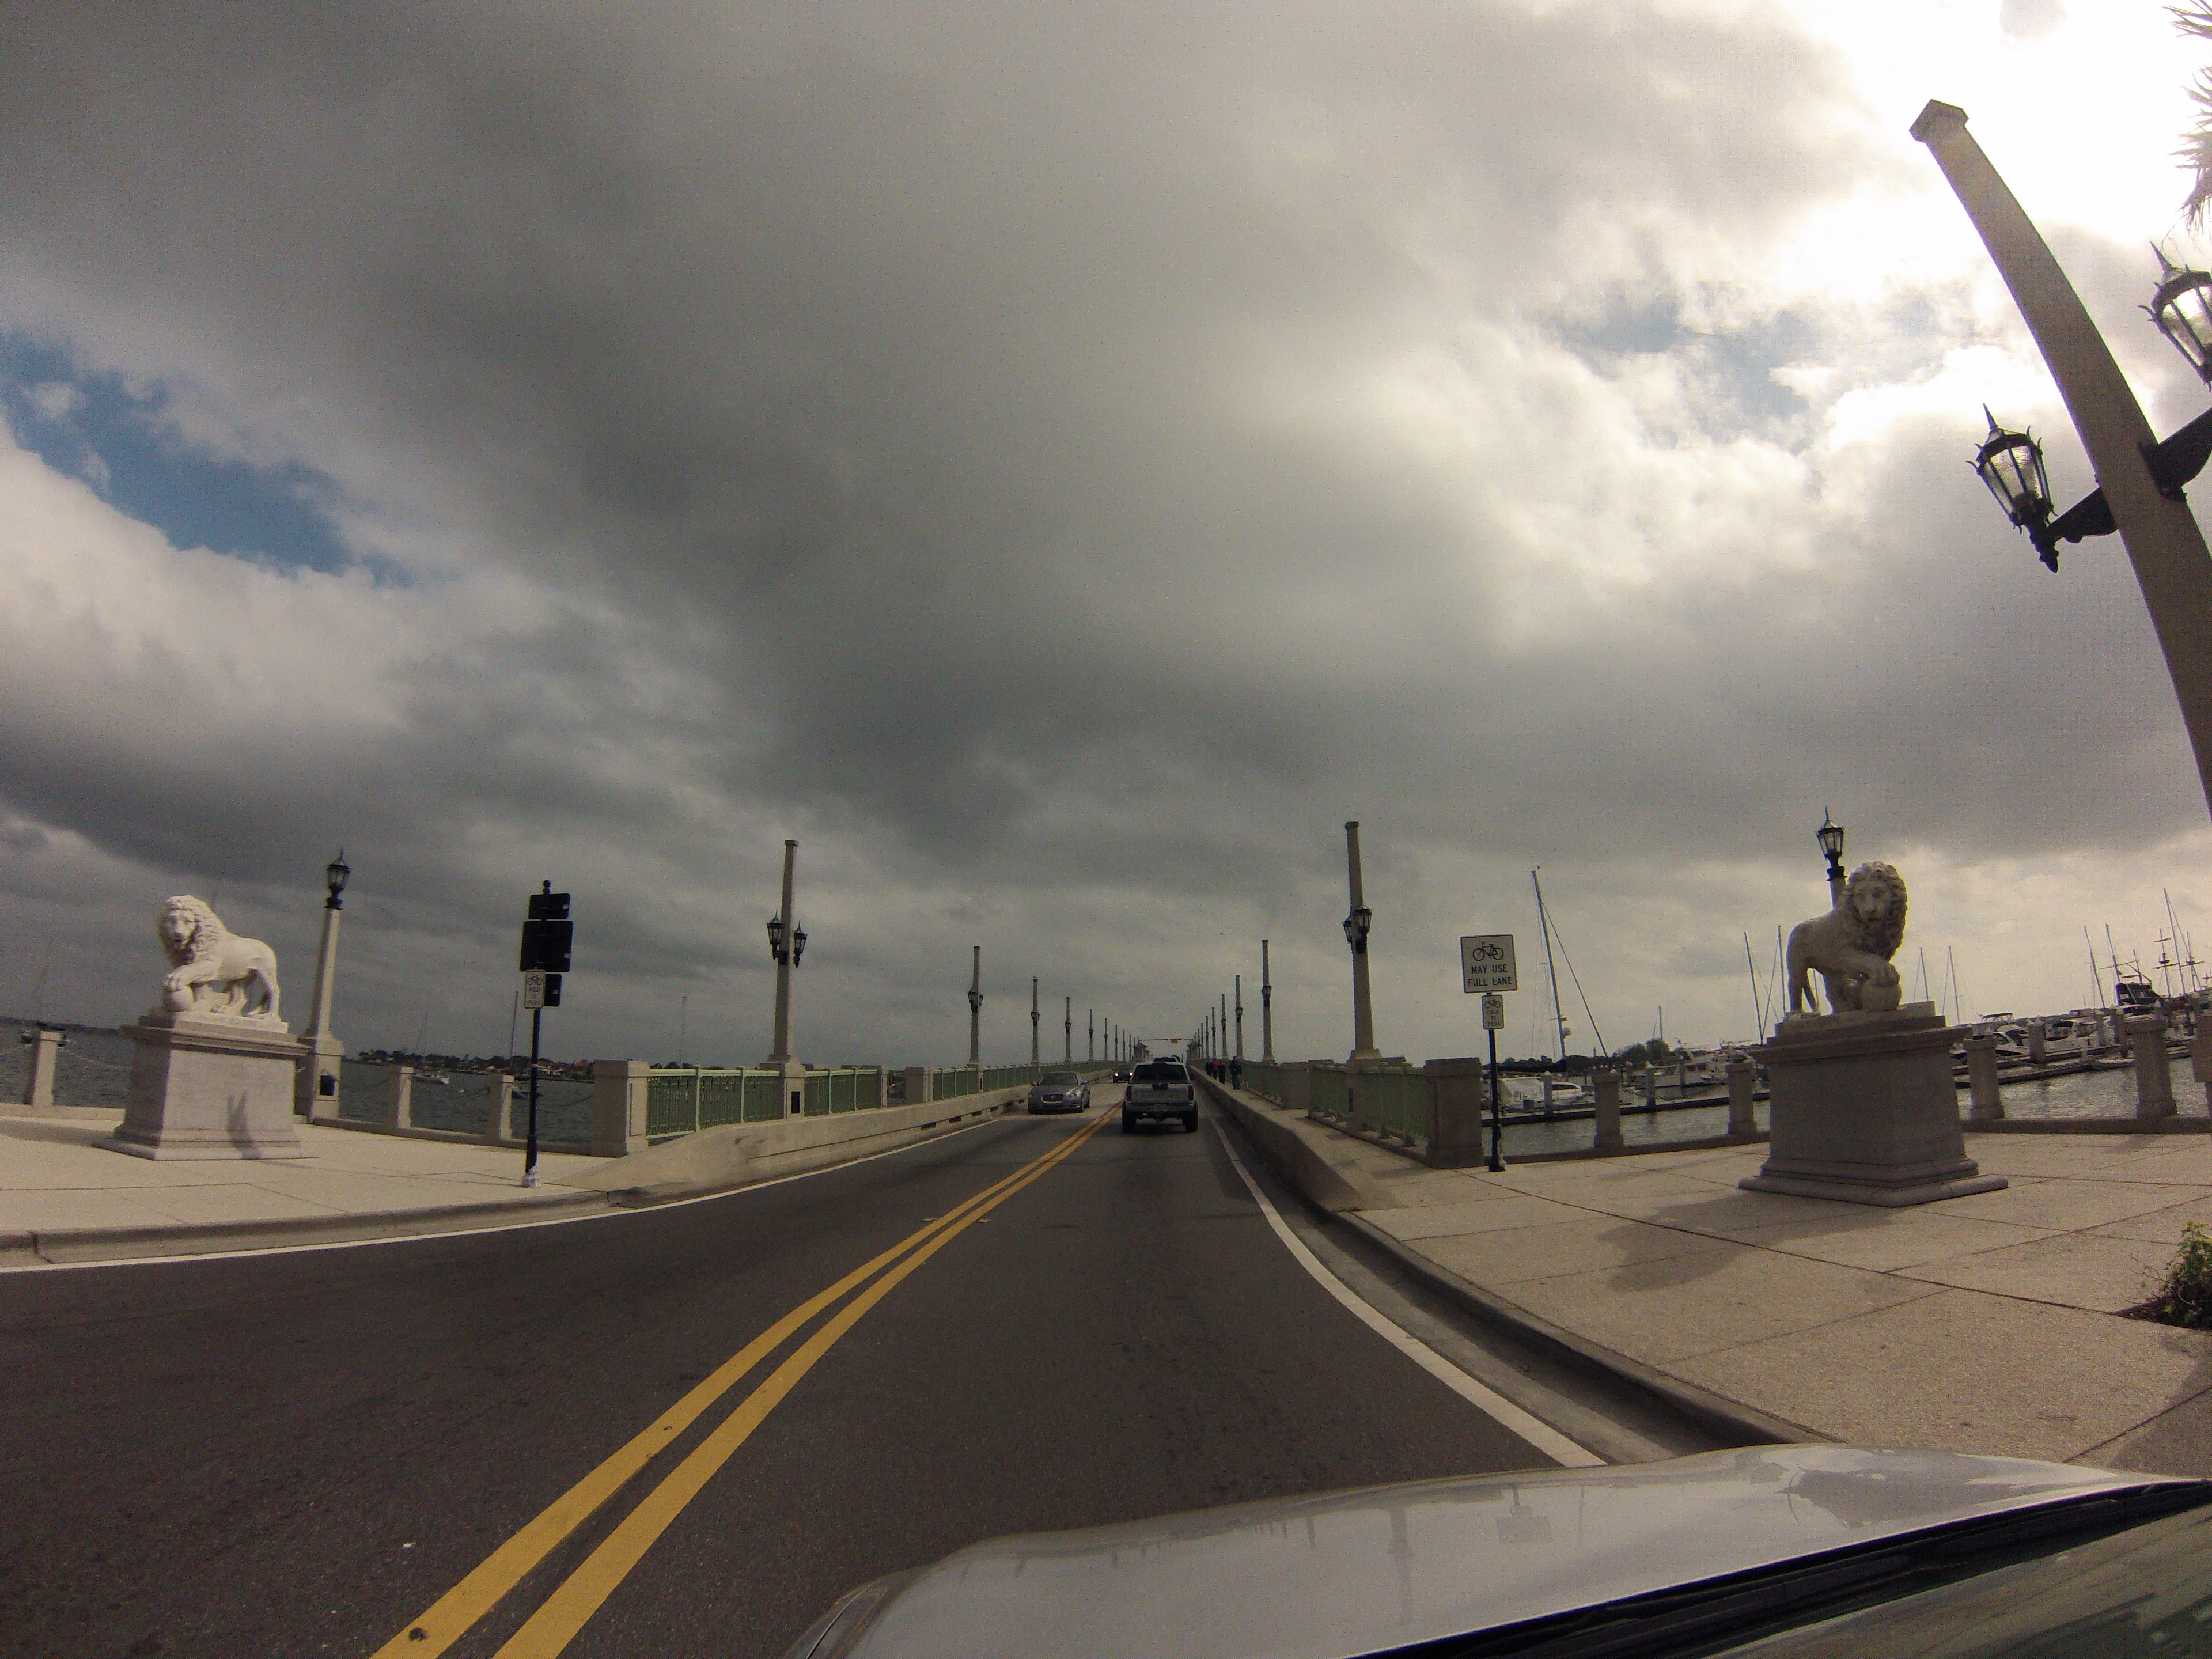


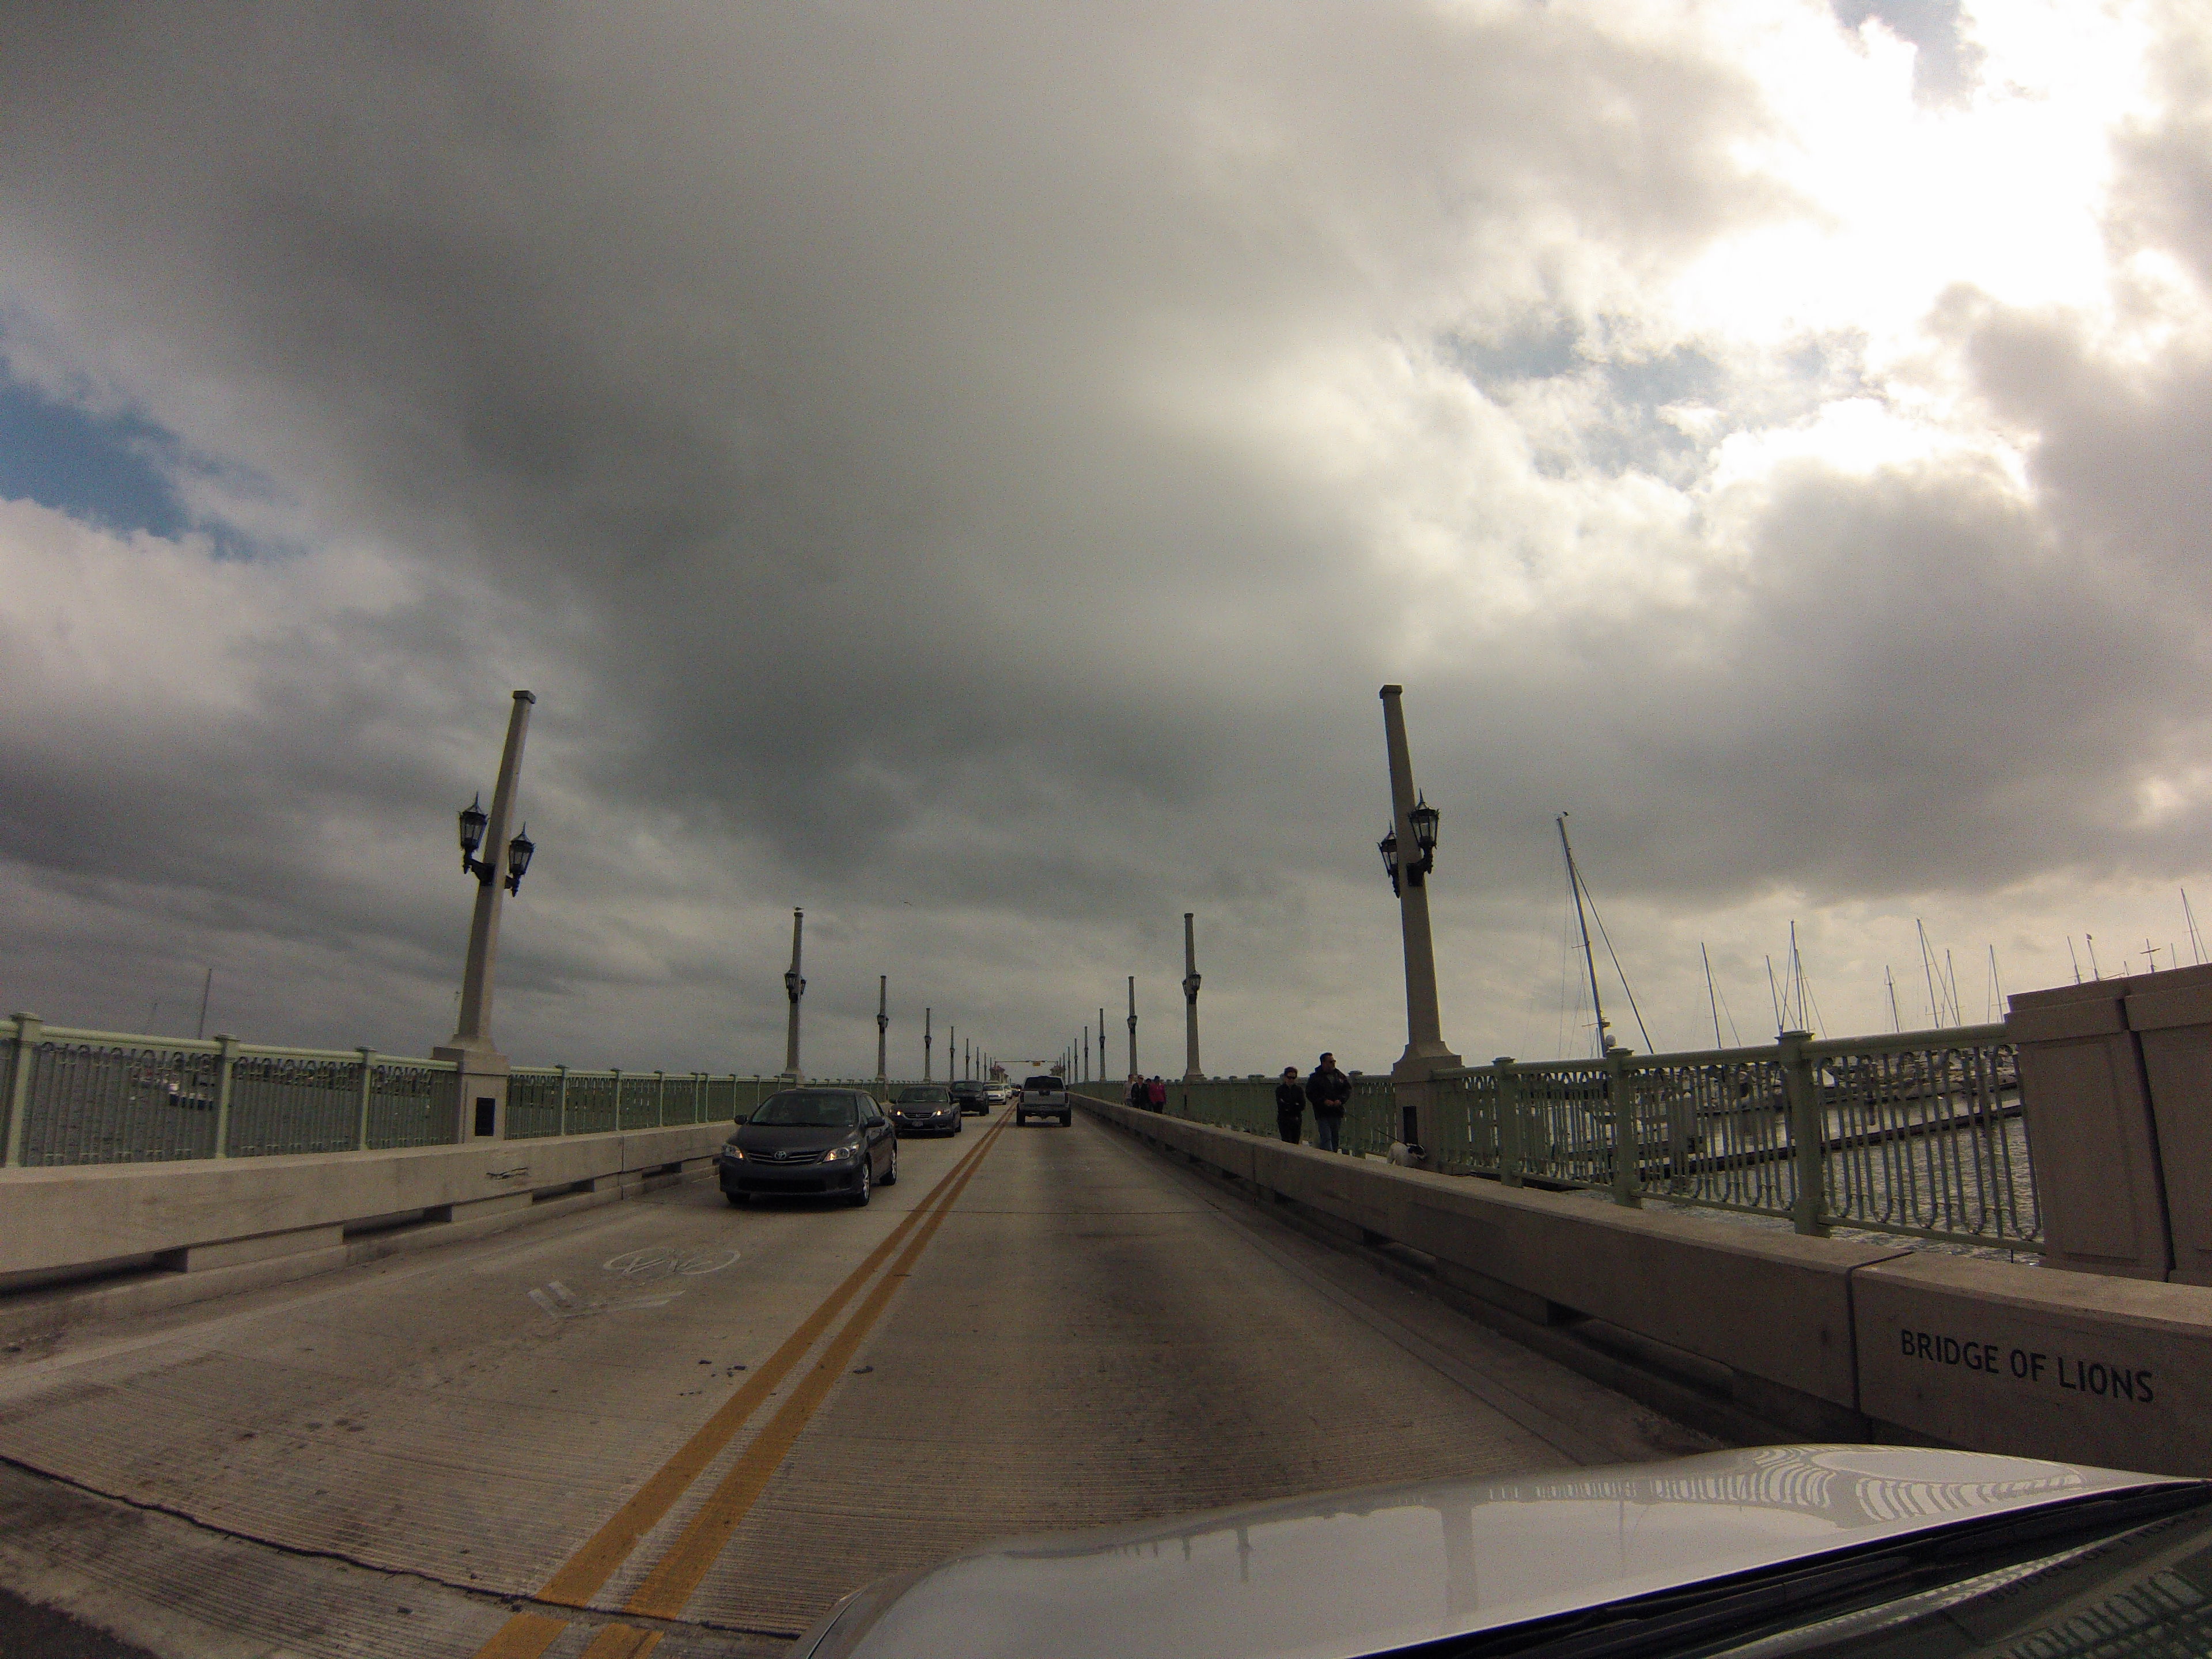


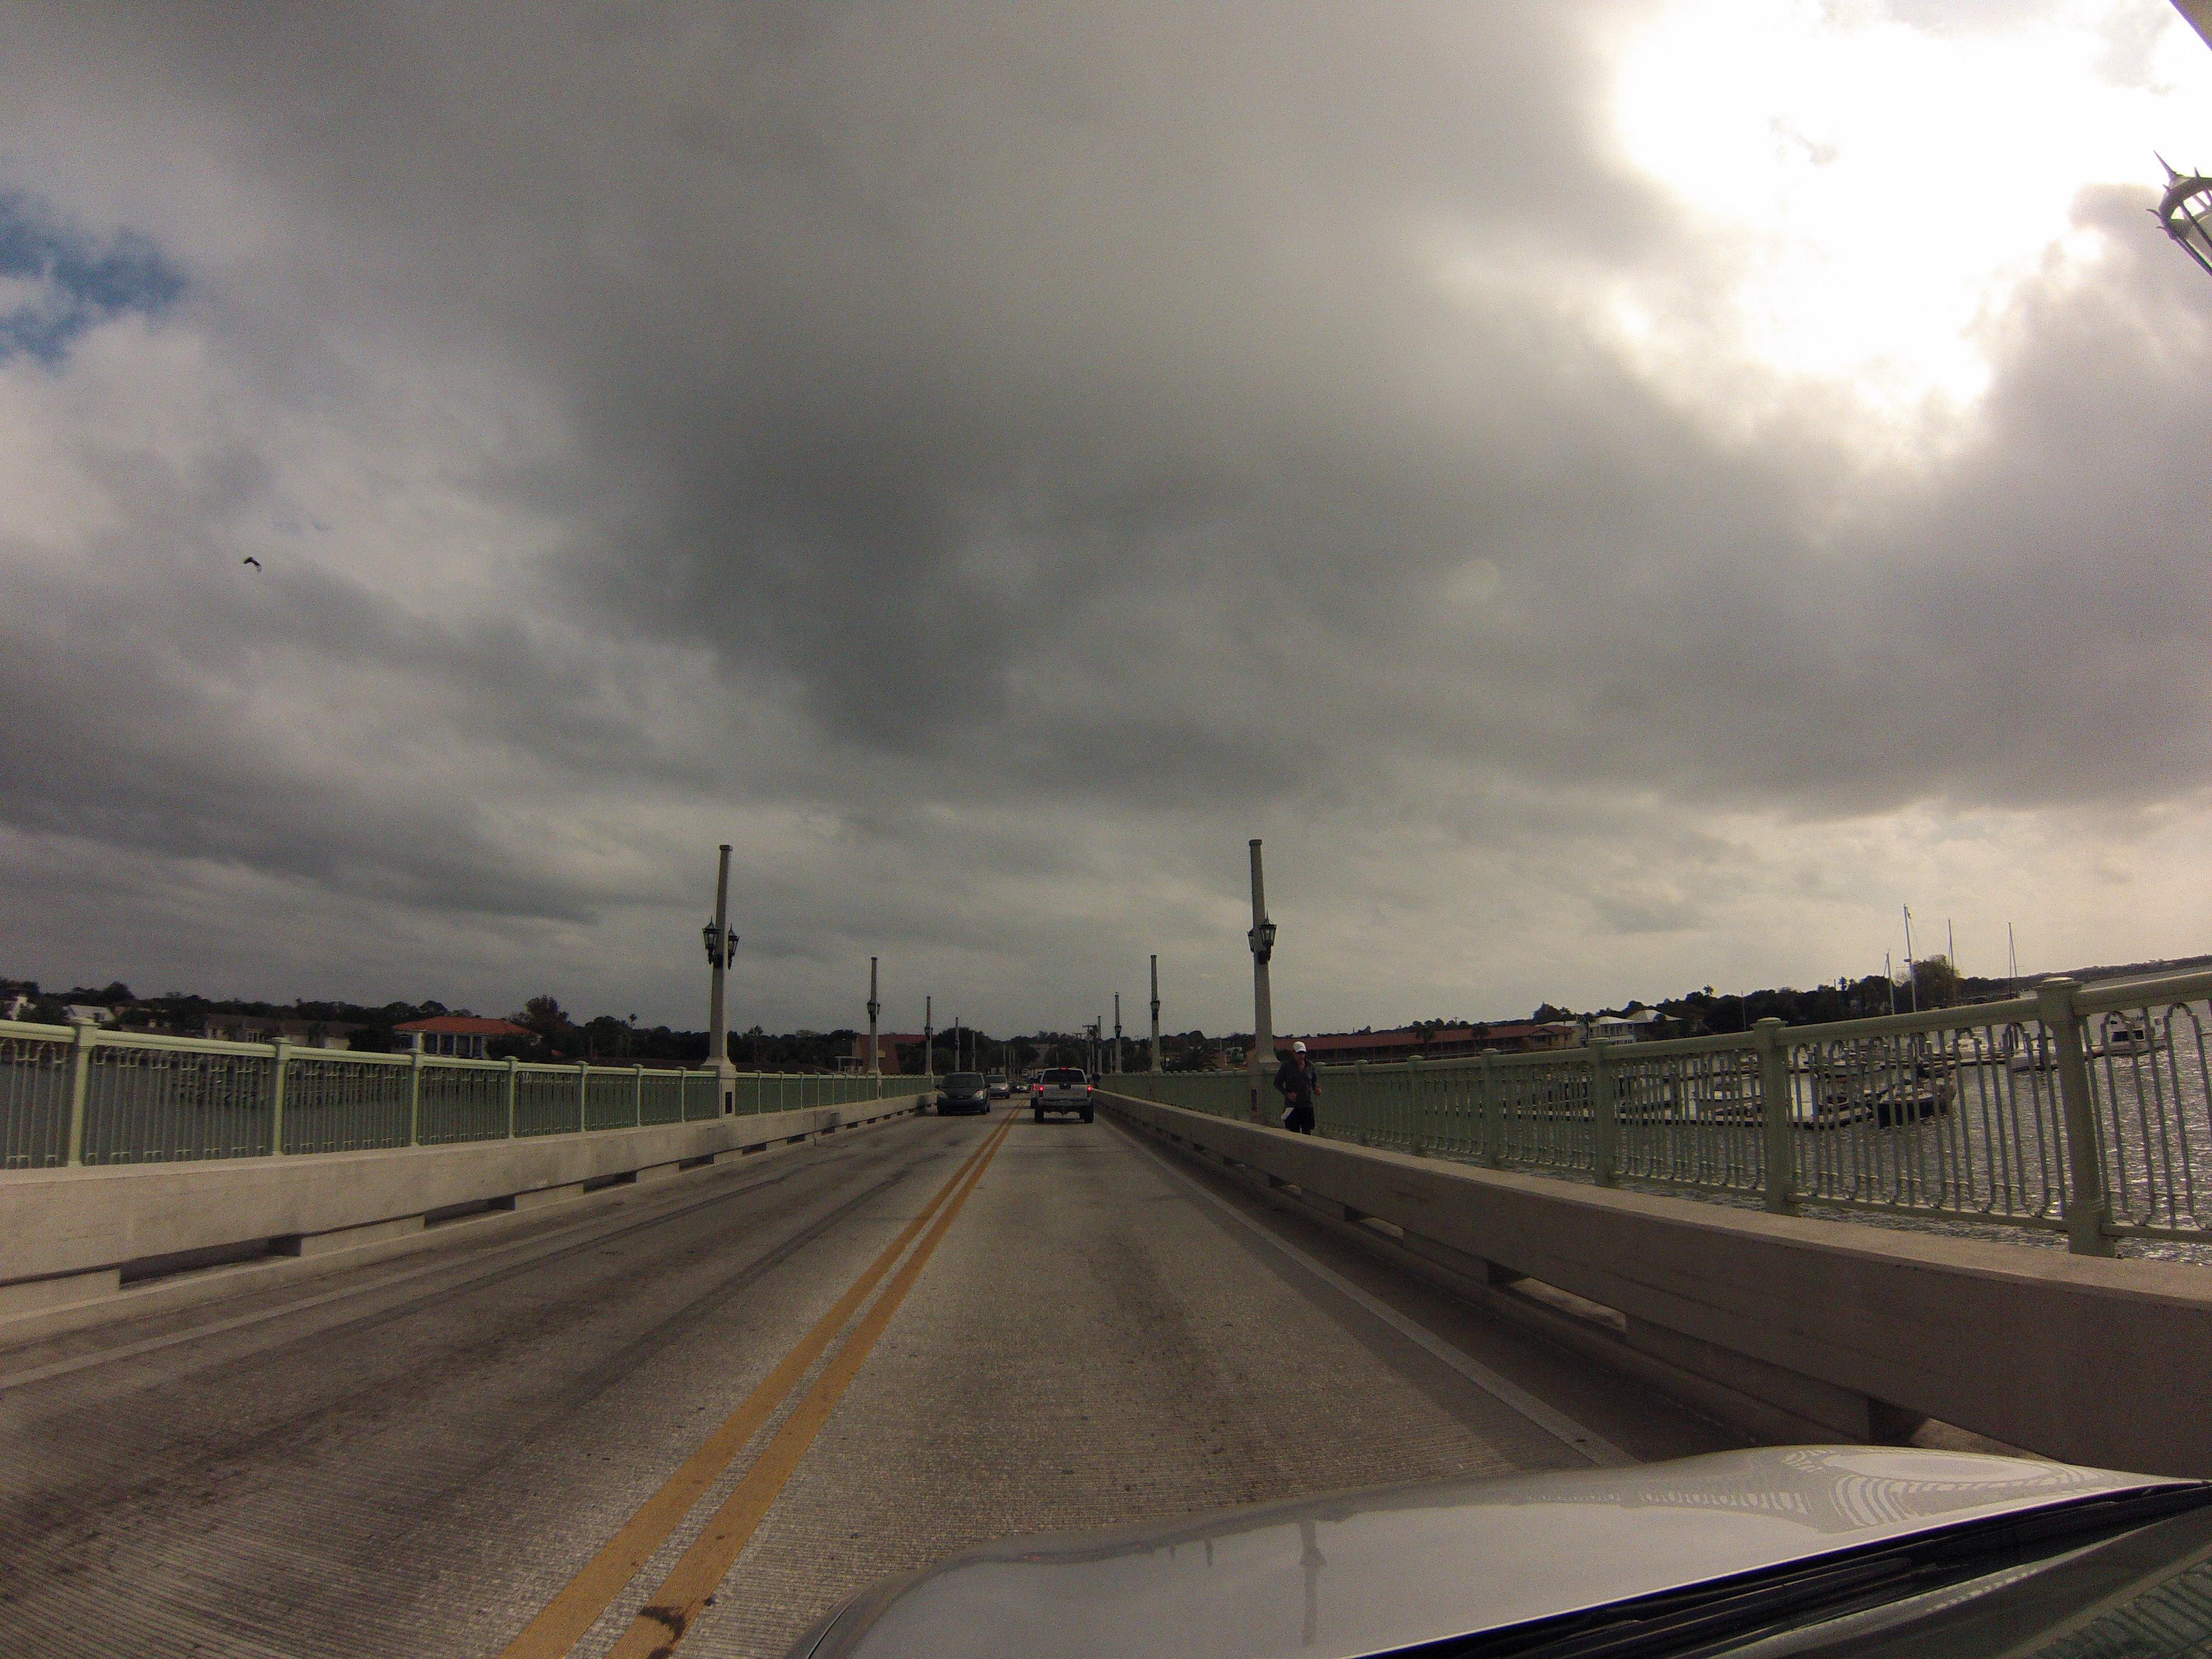
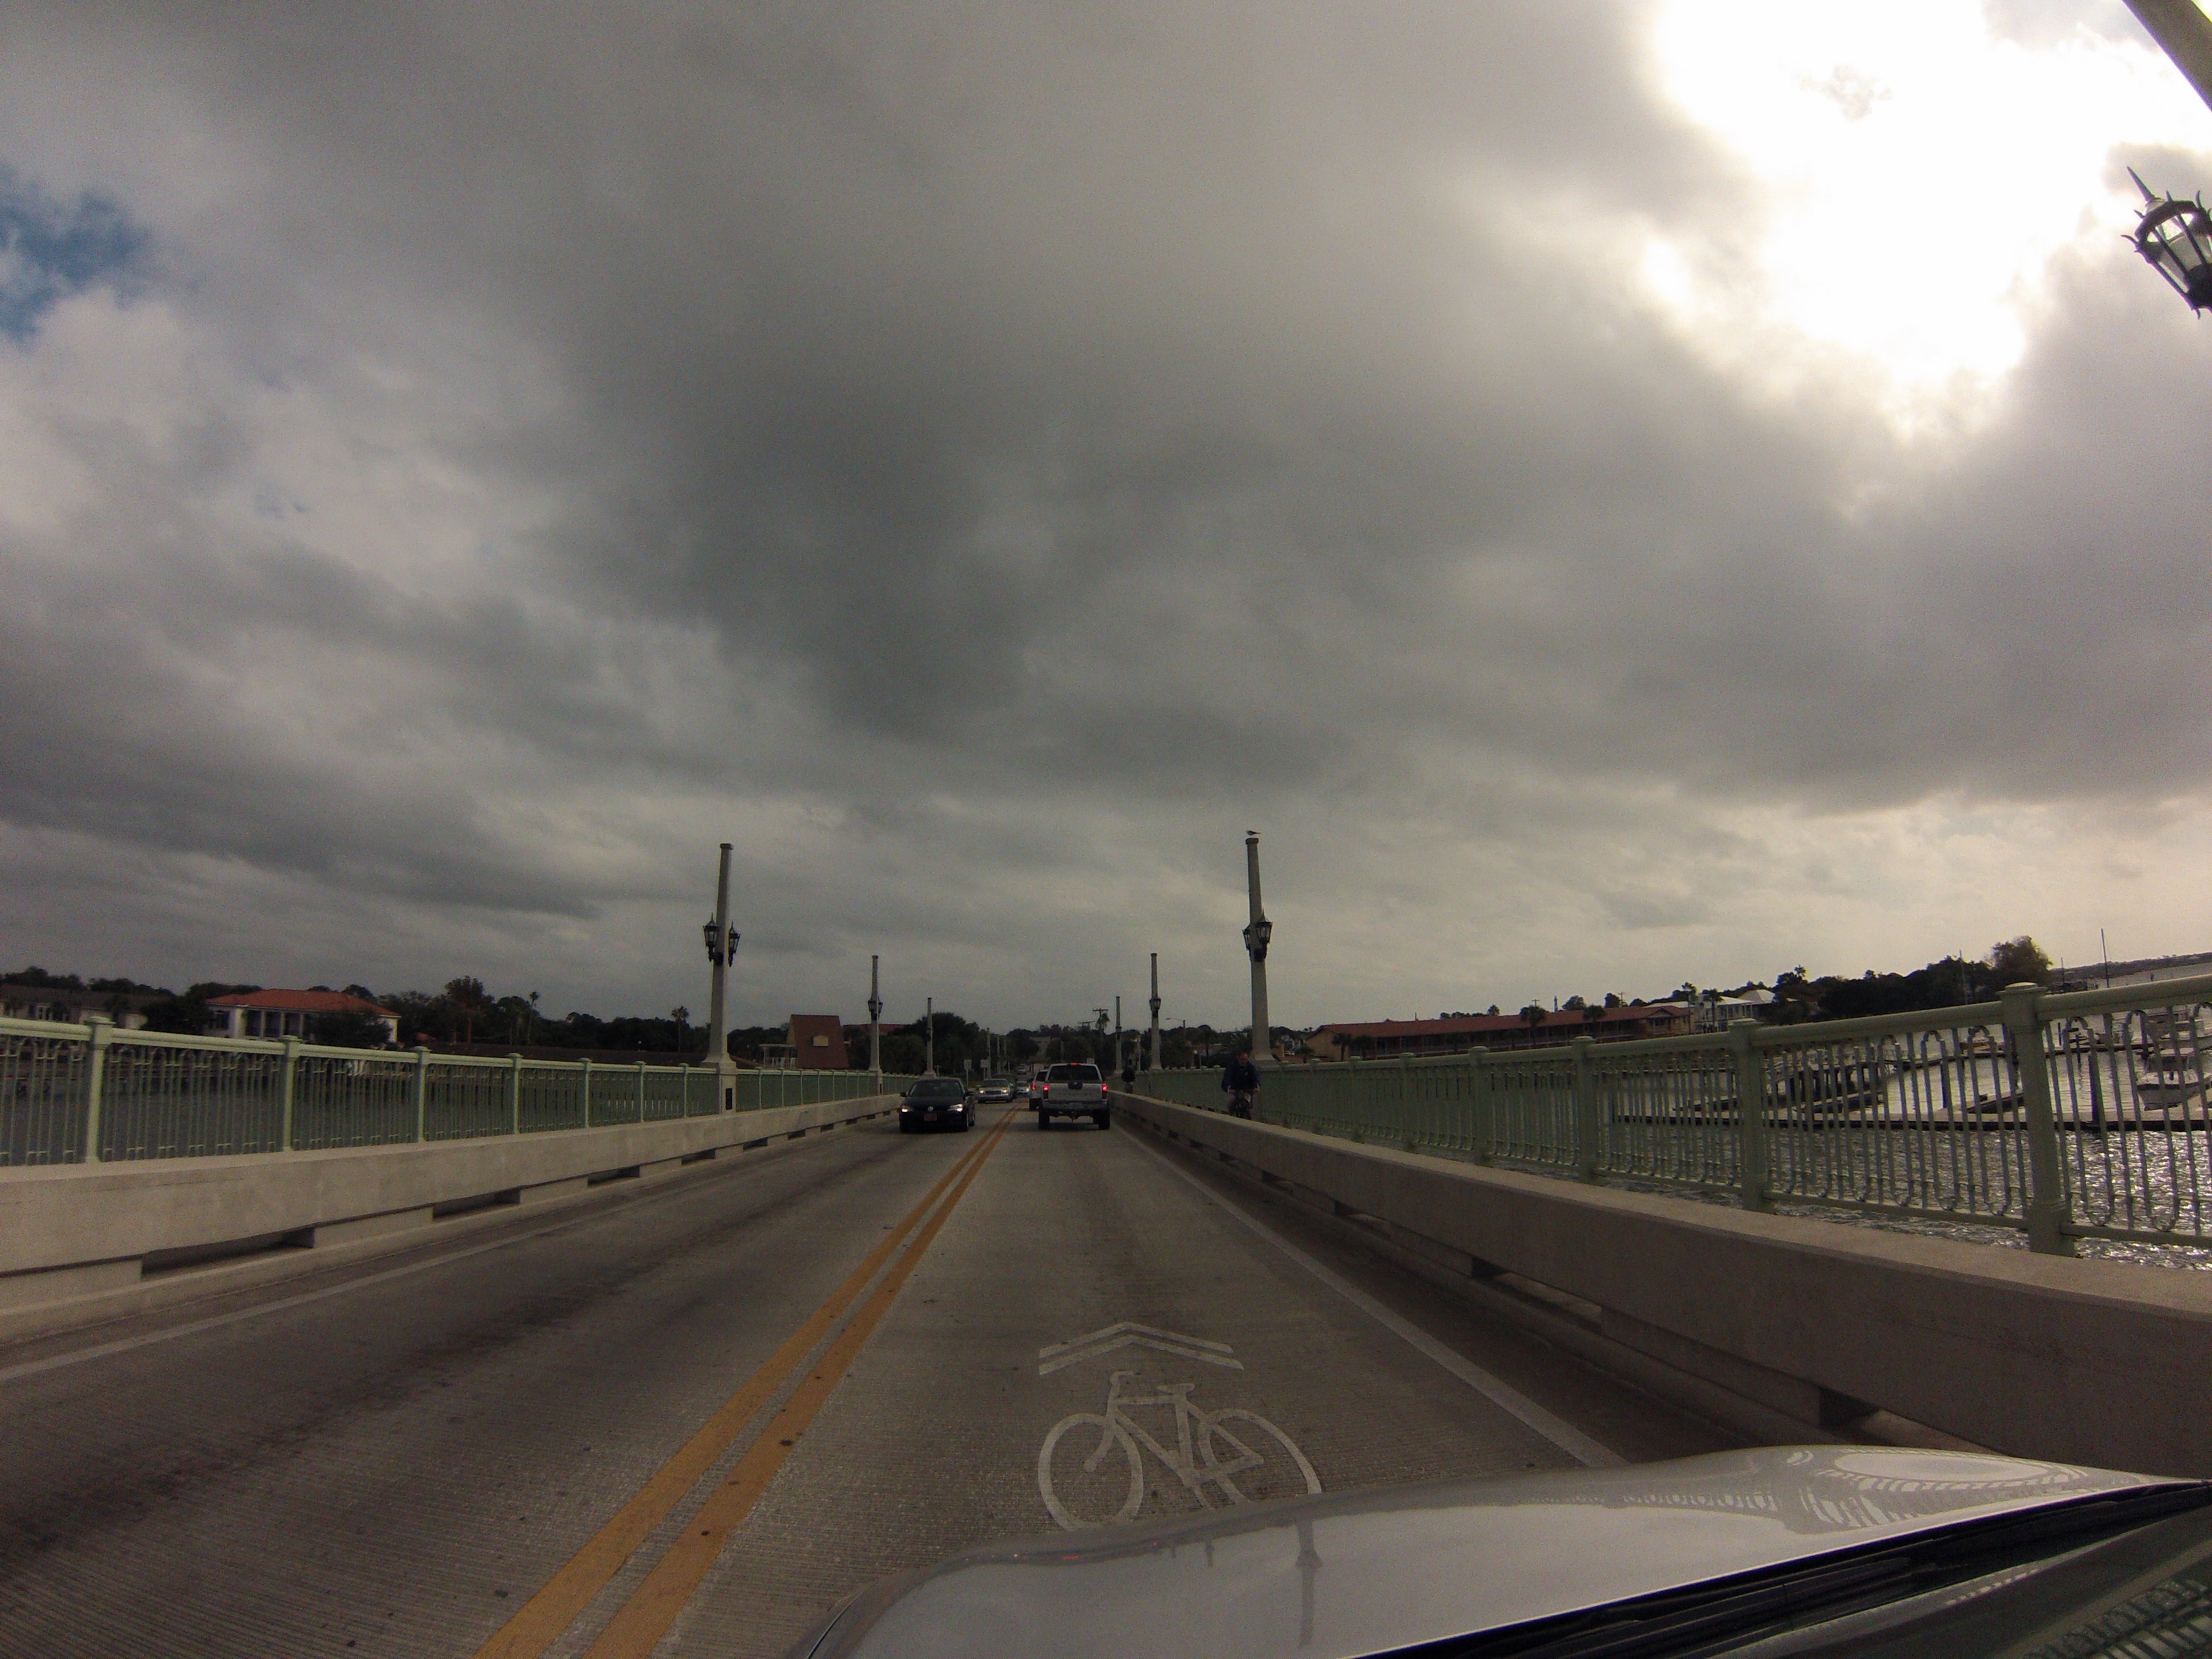
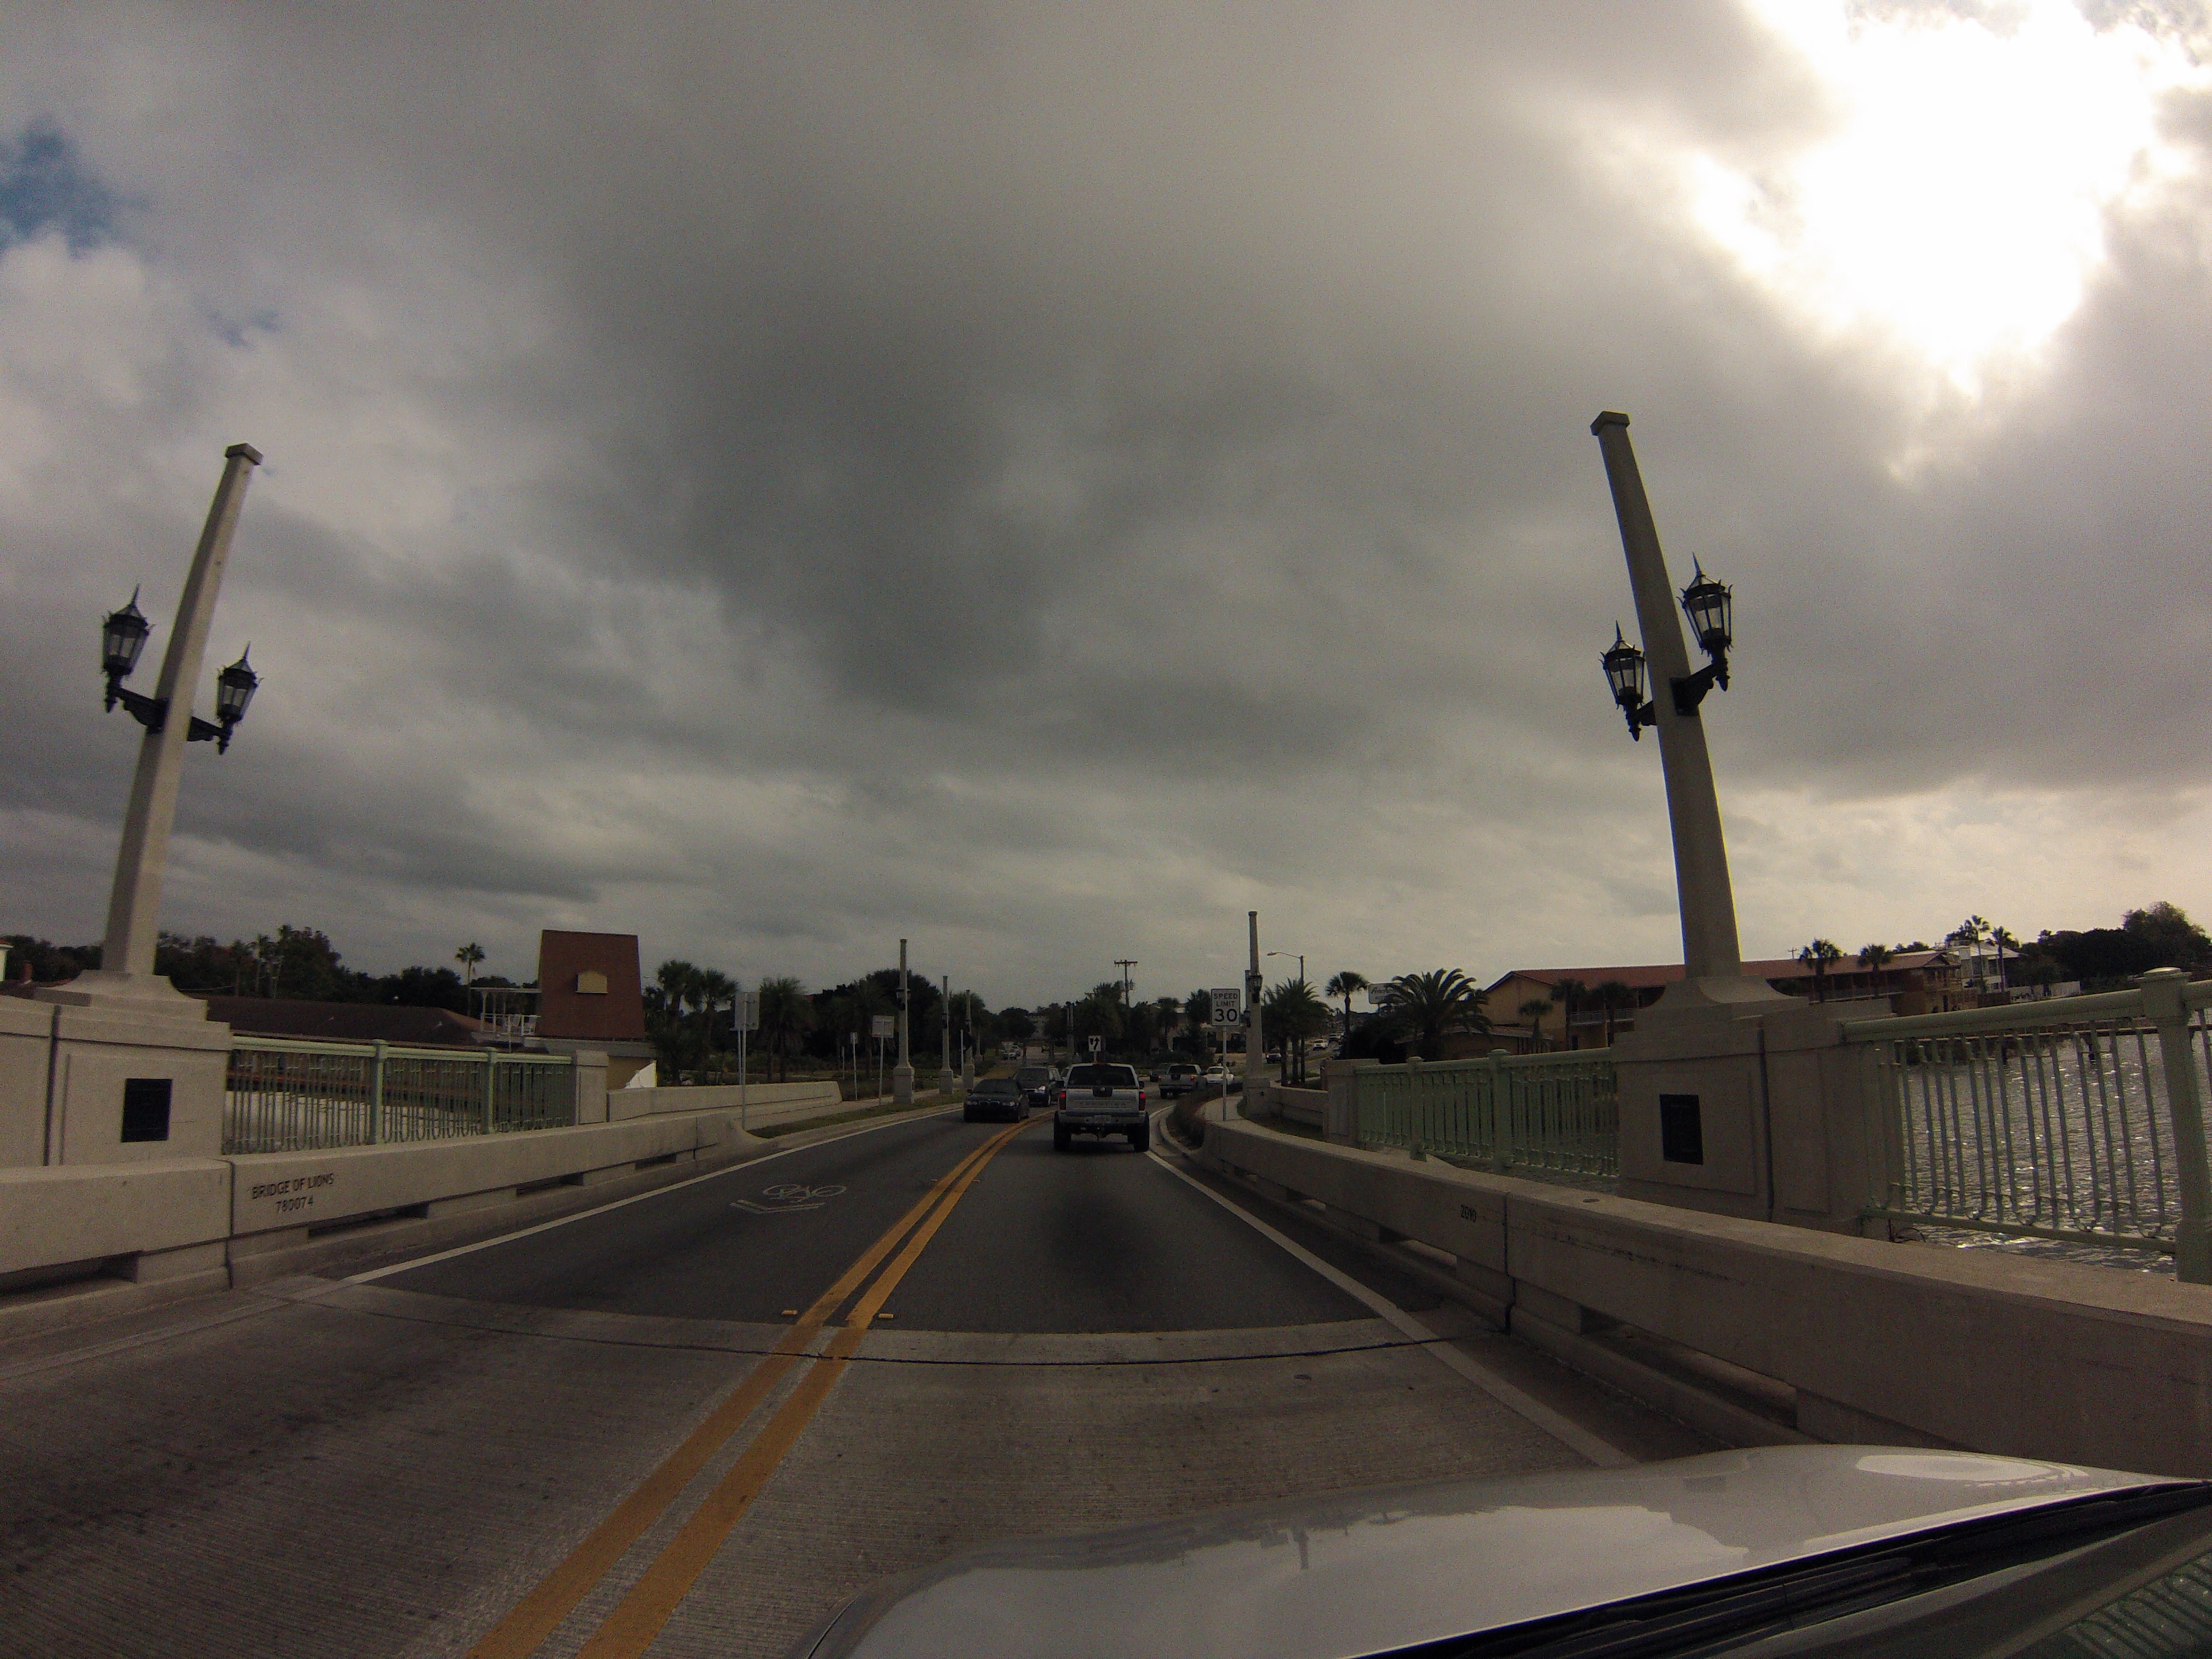
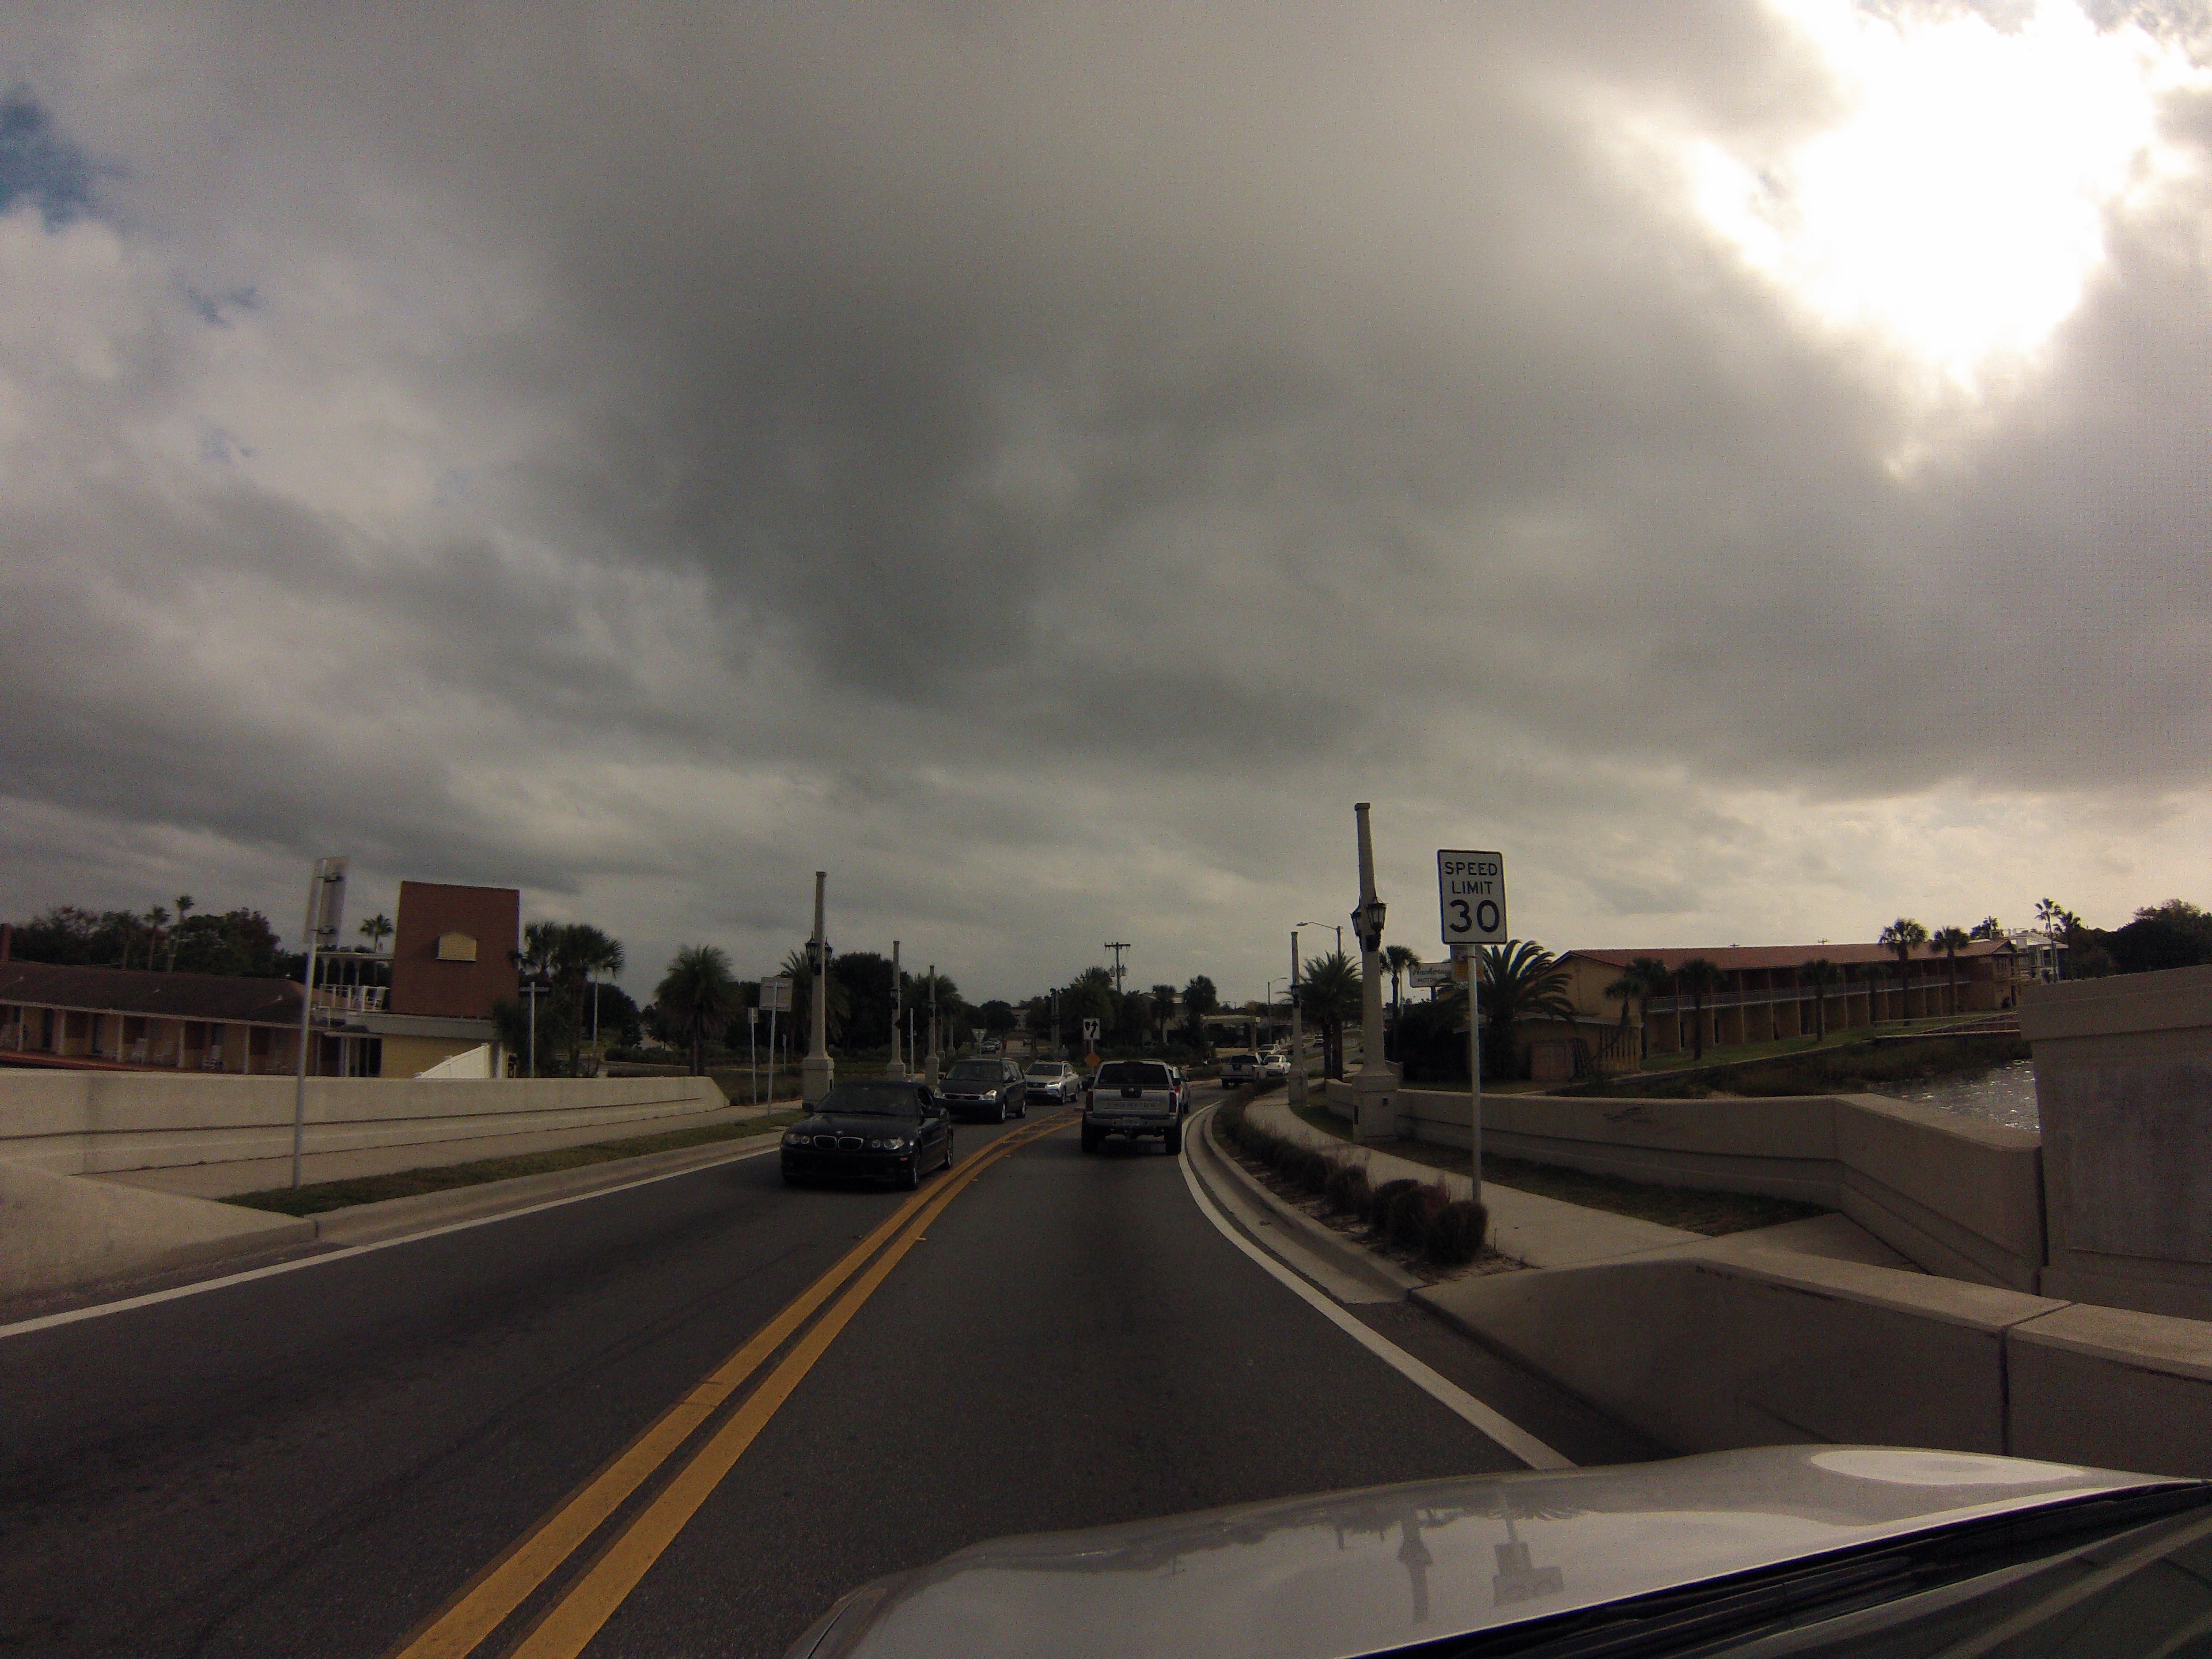
GoPro CarCam photos. Eastbound crossing. Views on western approach spans.
![]()


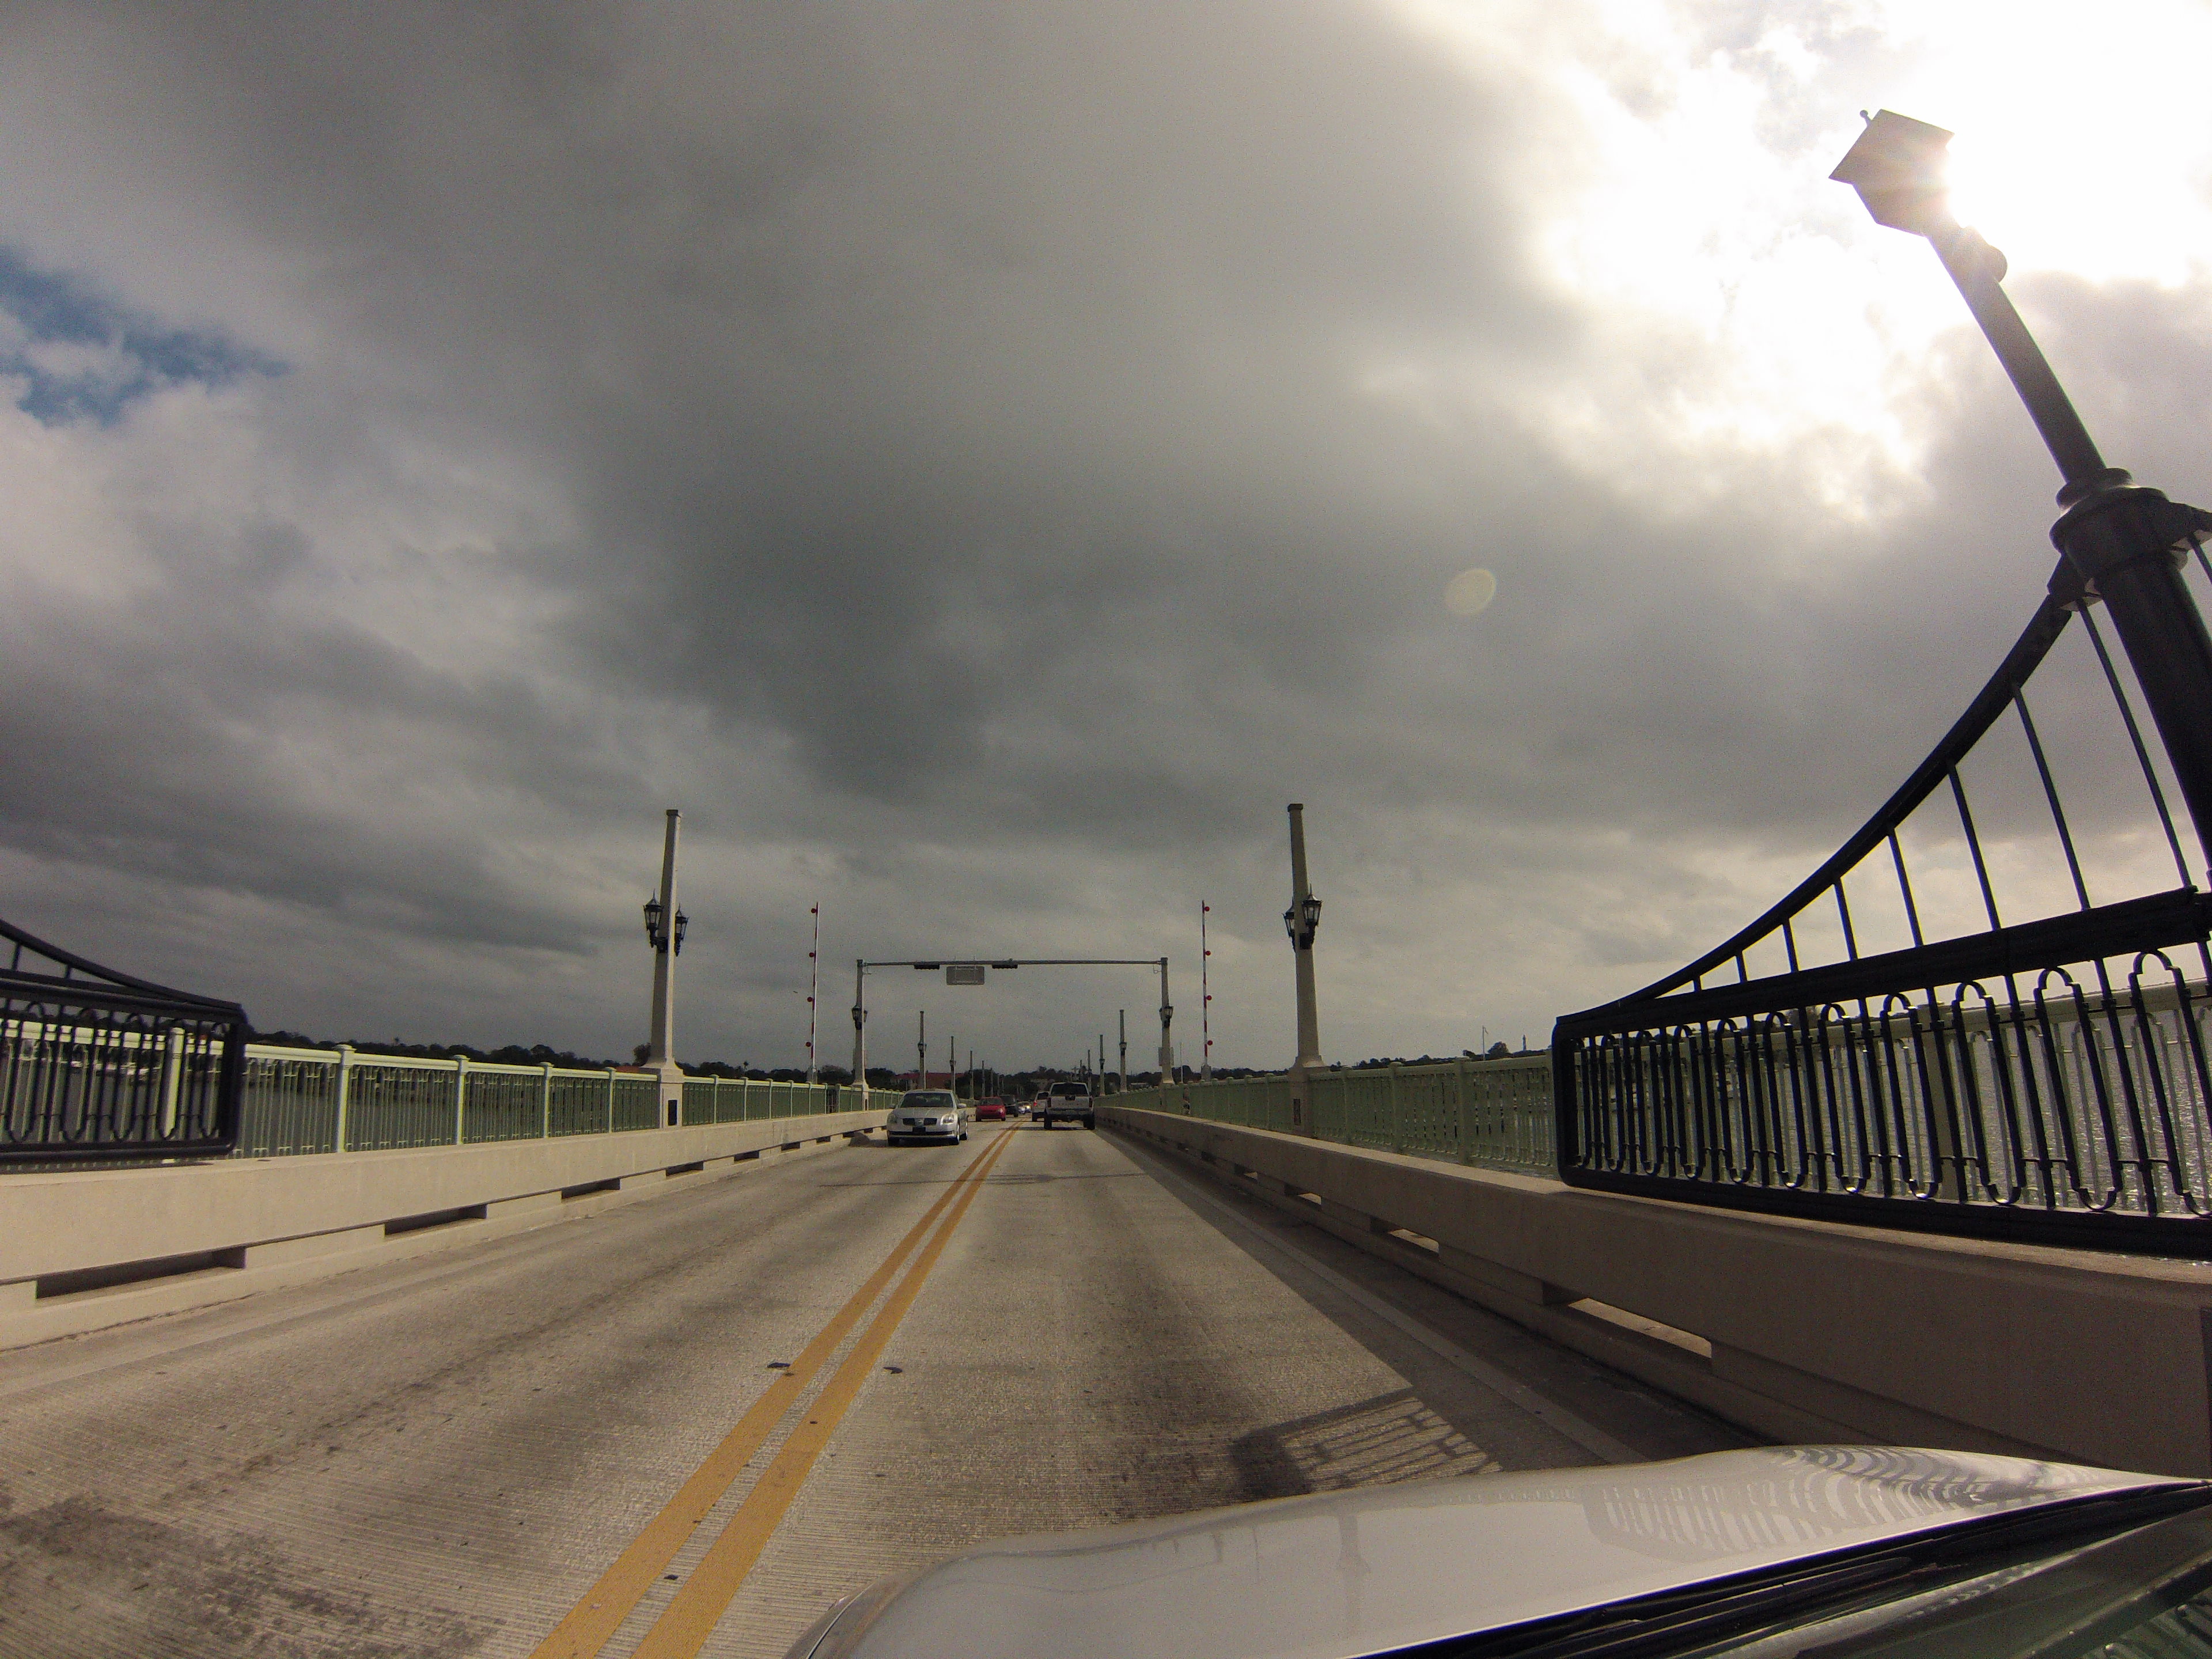
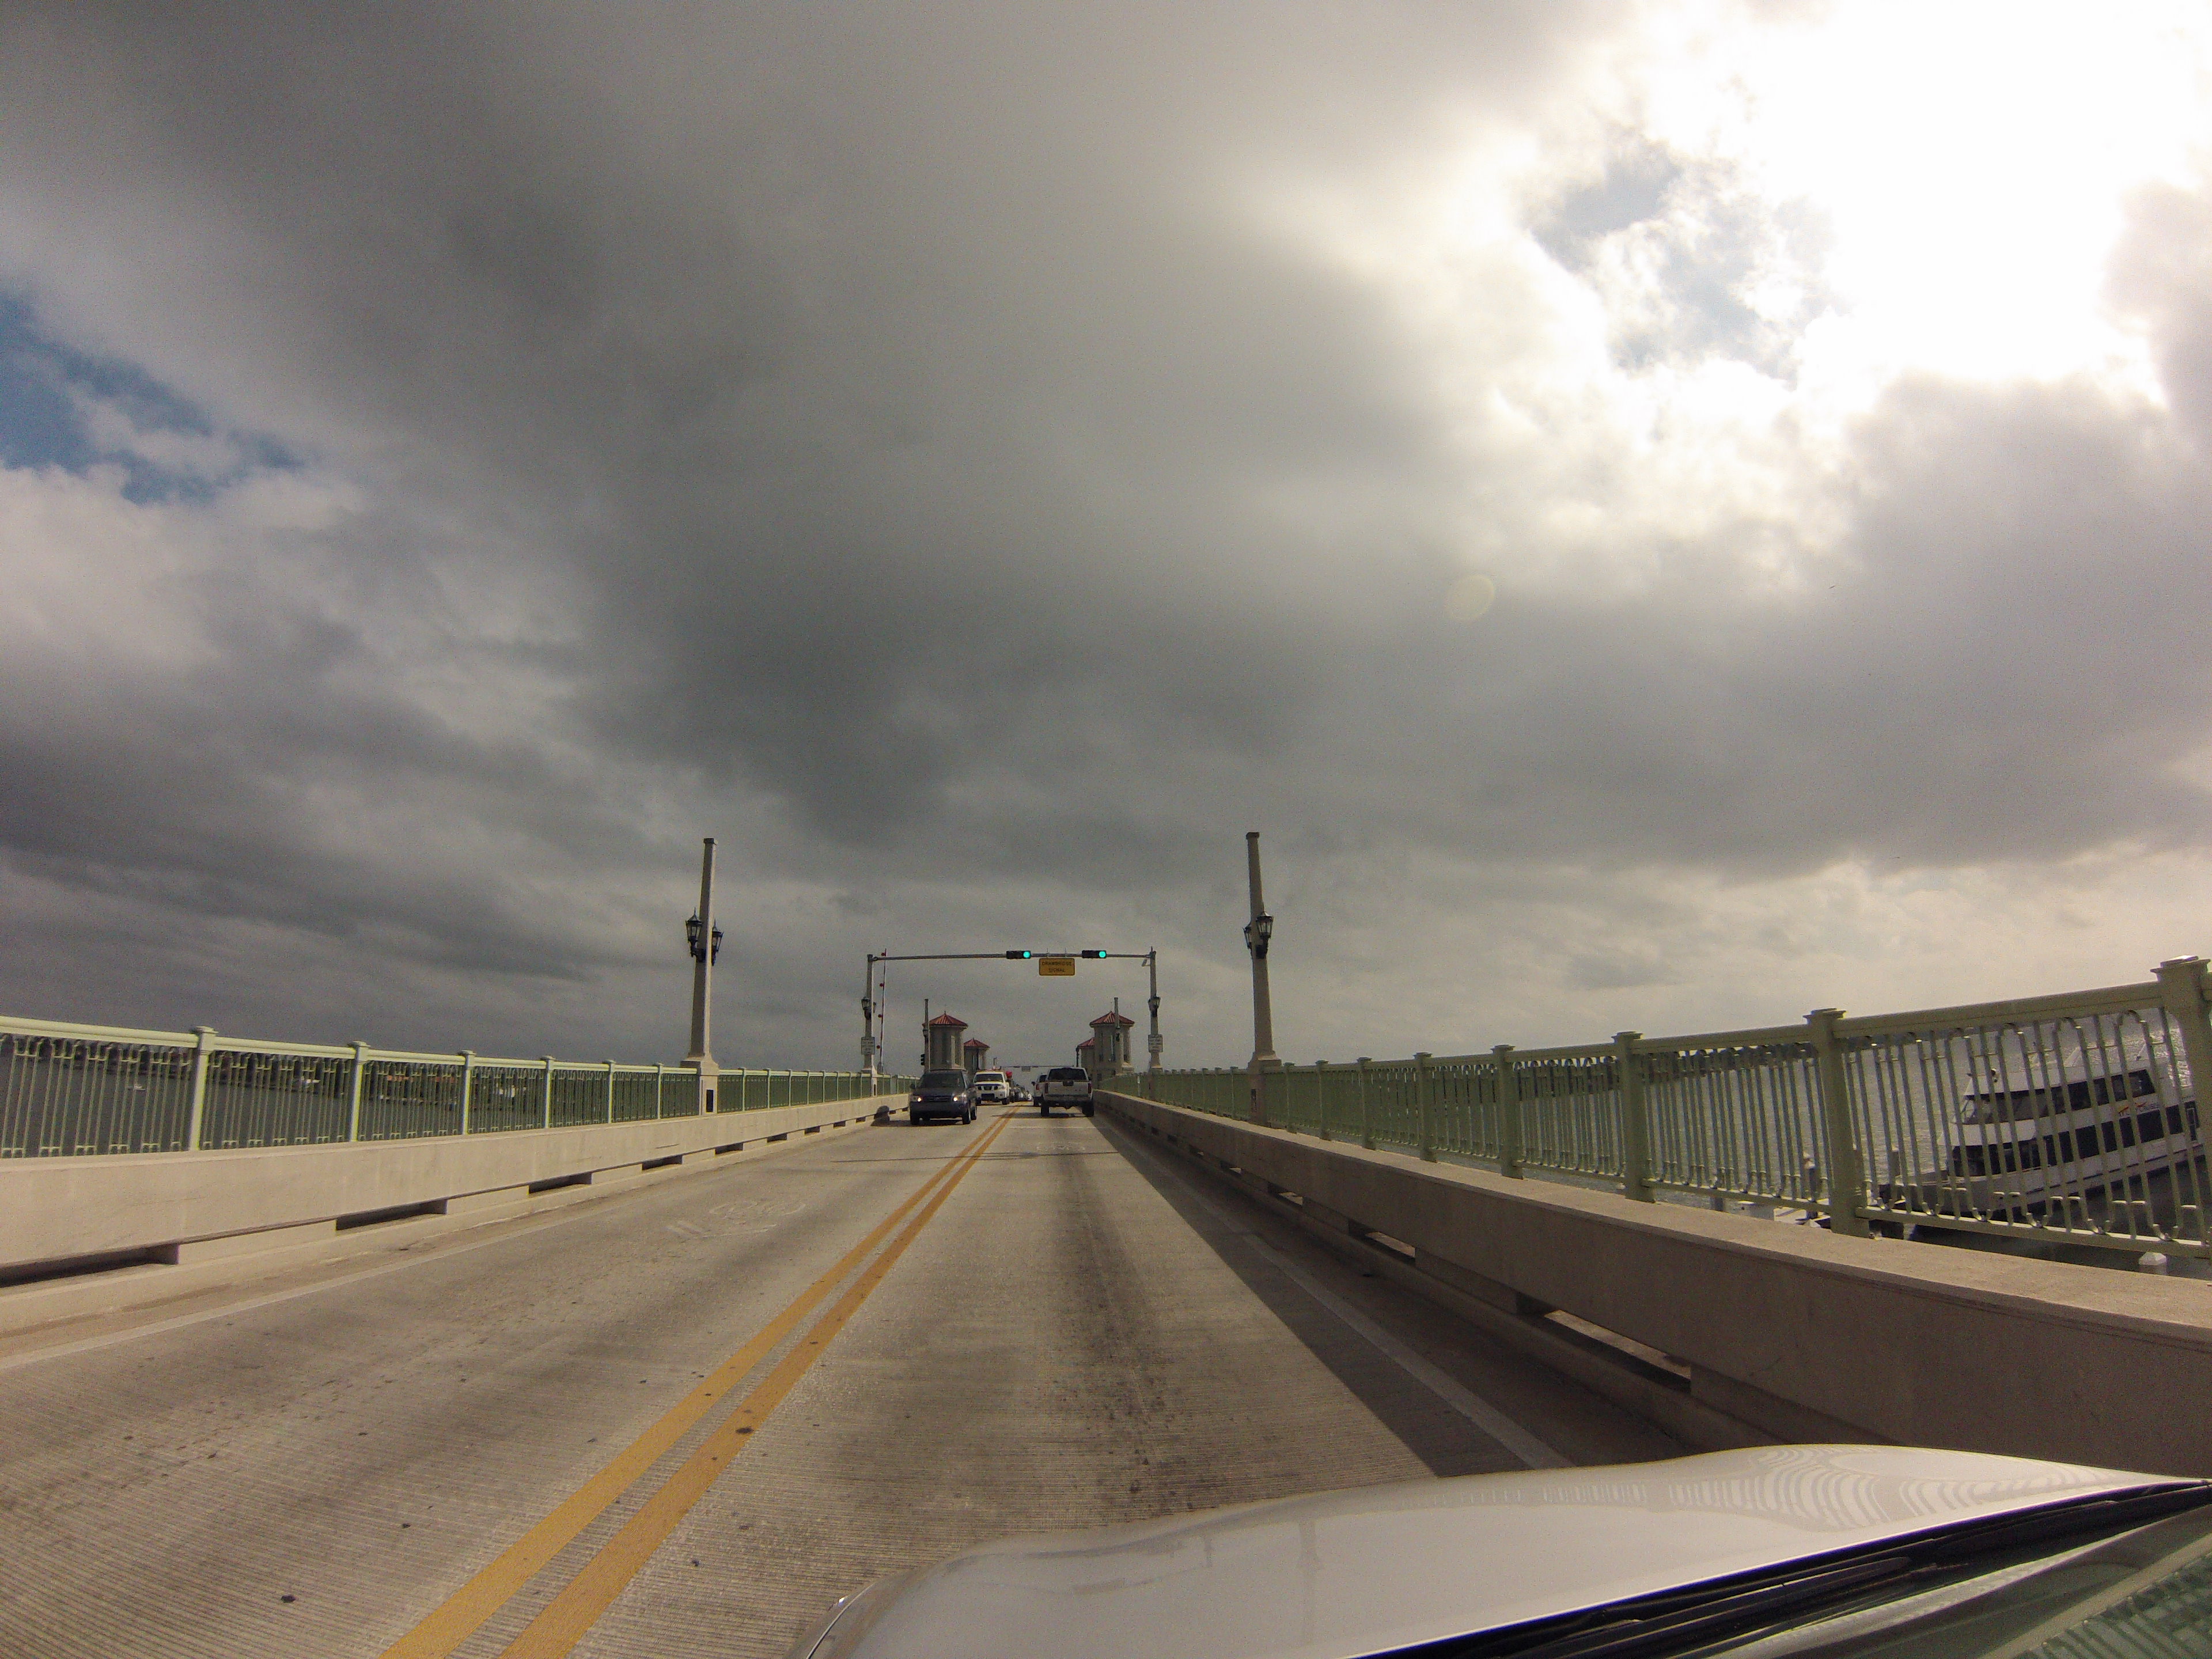
GoPro CarCam photos. Eastbound crossing. Views on bascule span.
![]()


GoPro CarCam photos. Eastbound crossing. Views on eastern approach spans.
![]()
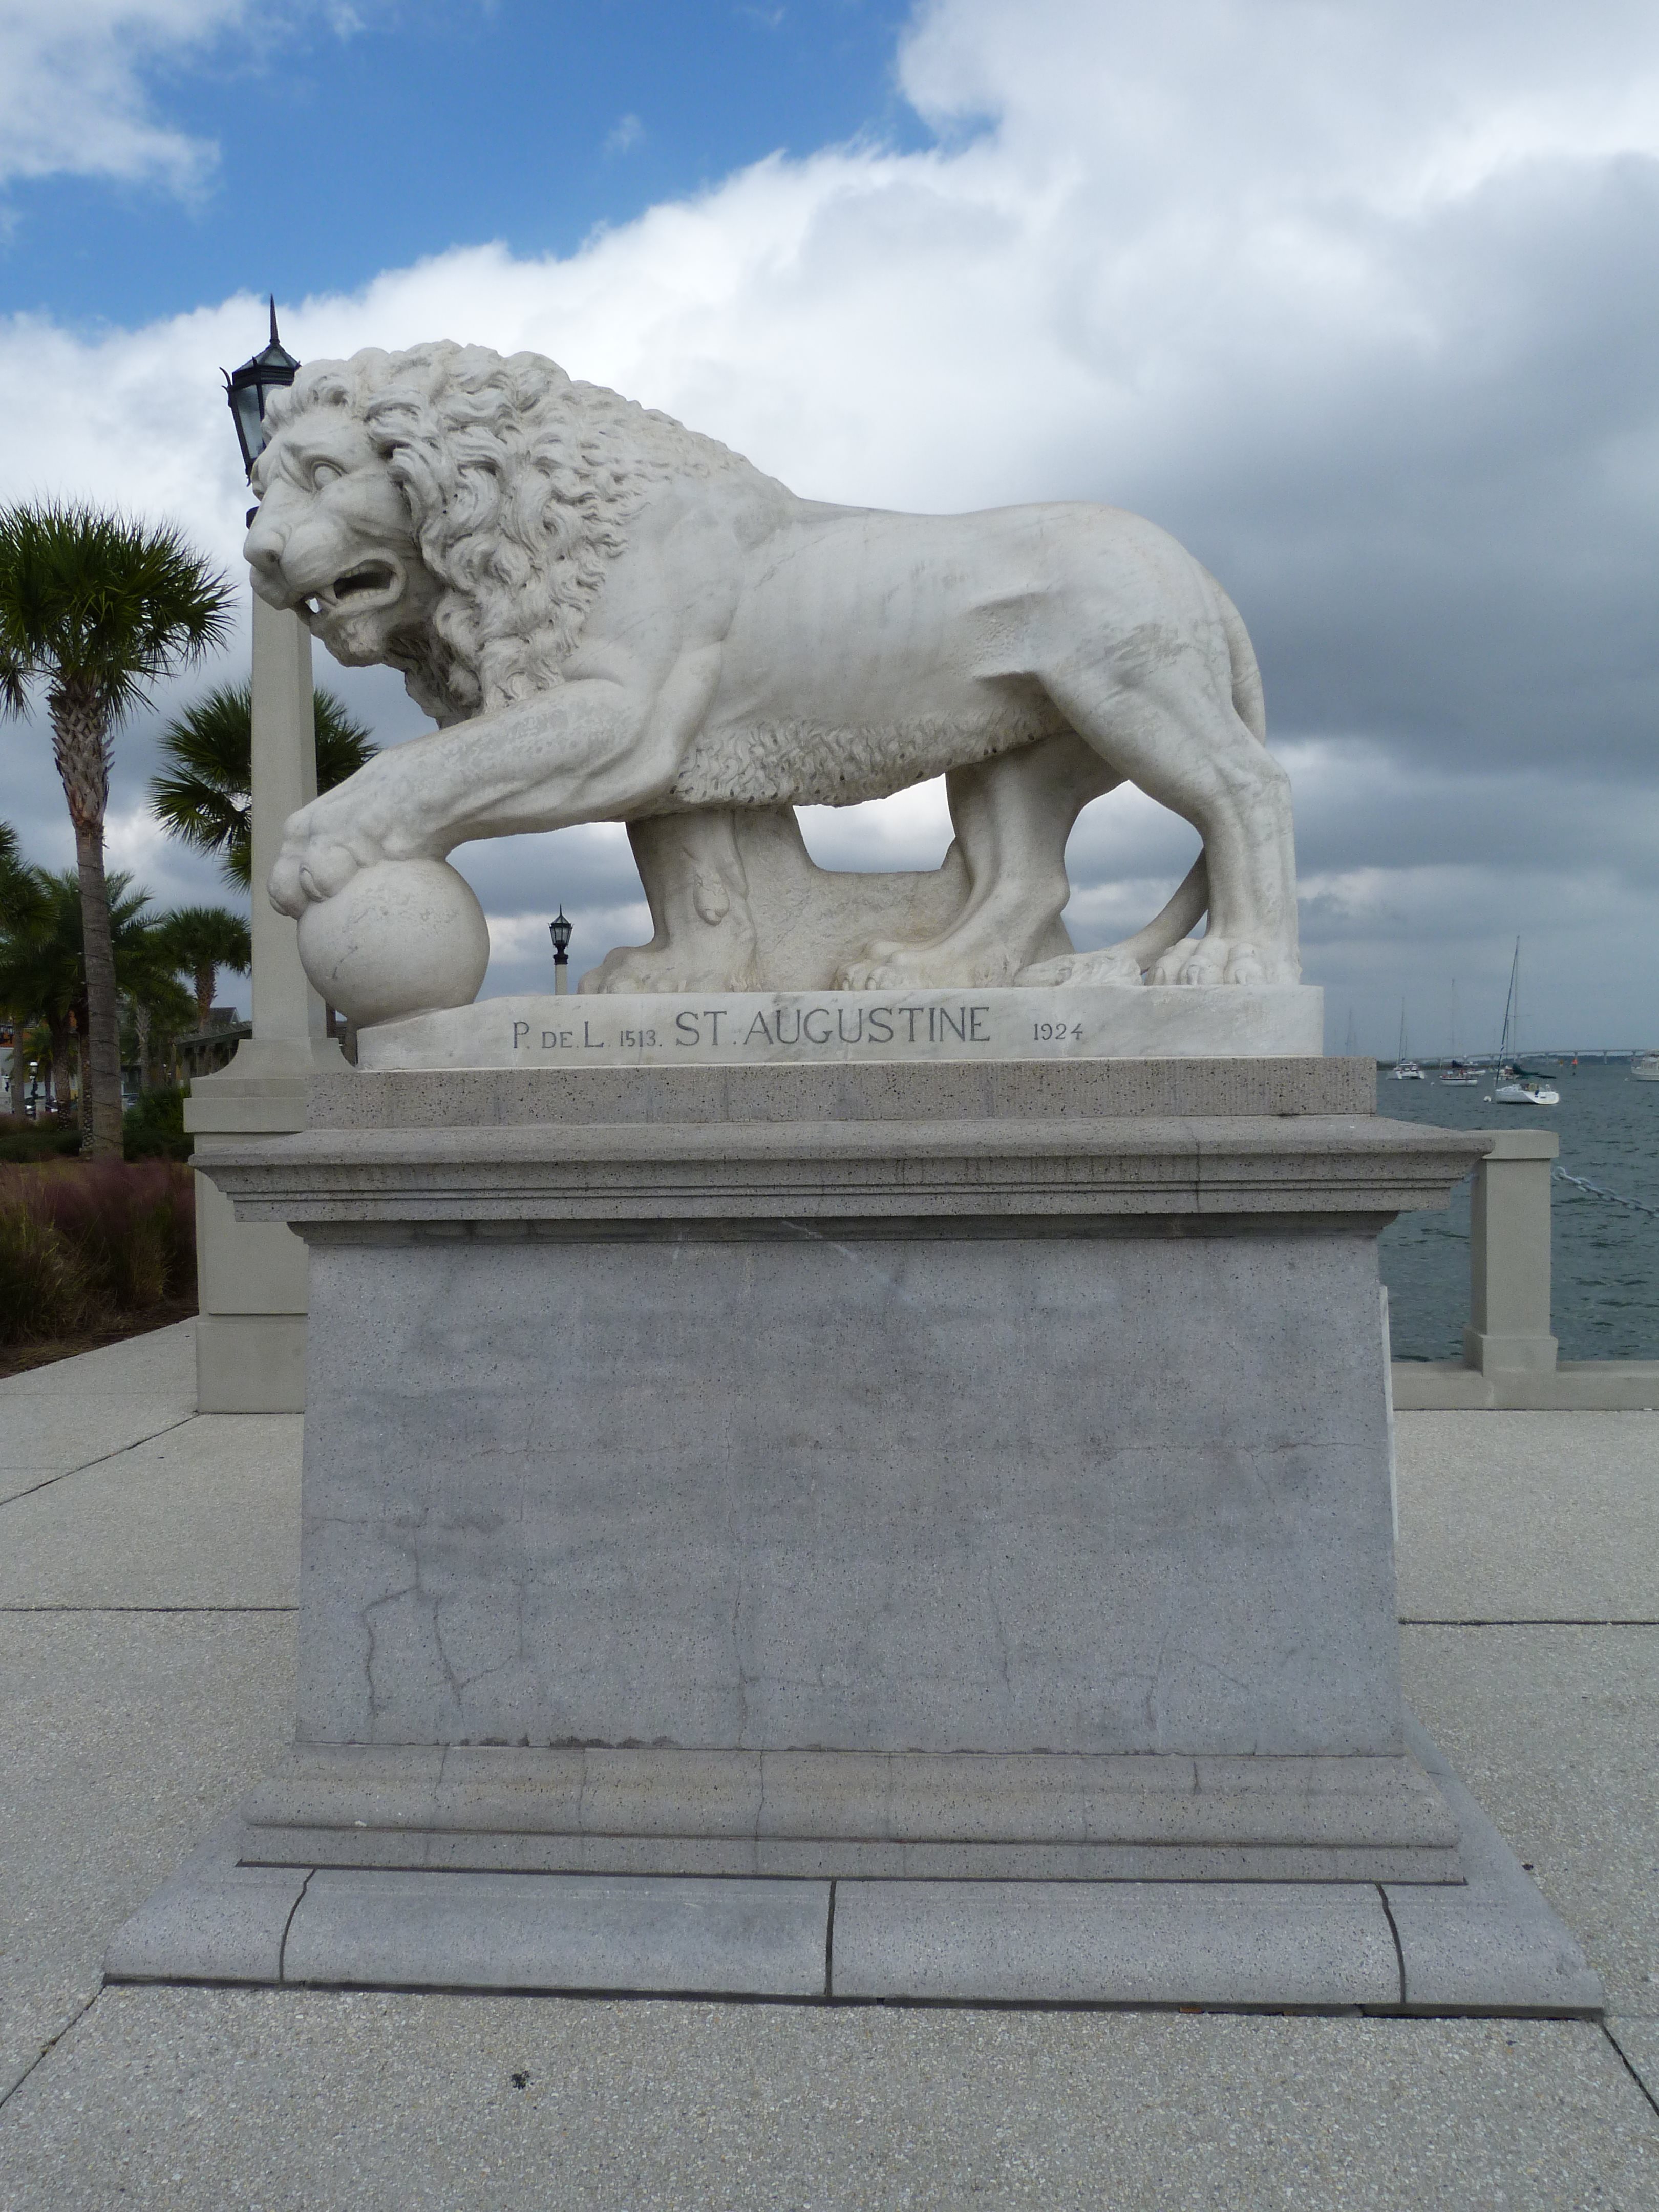

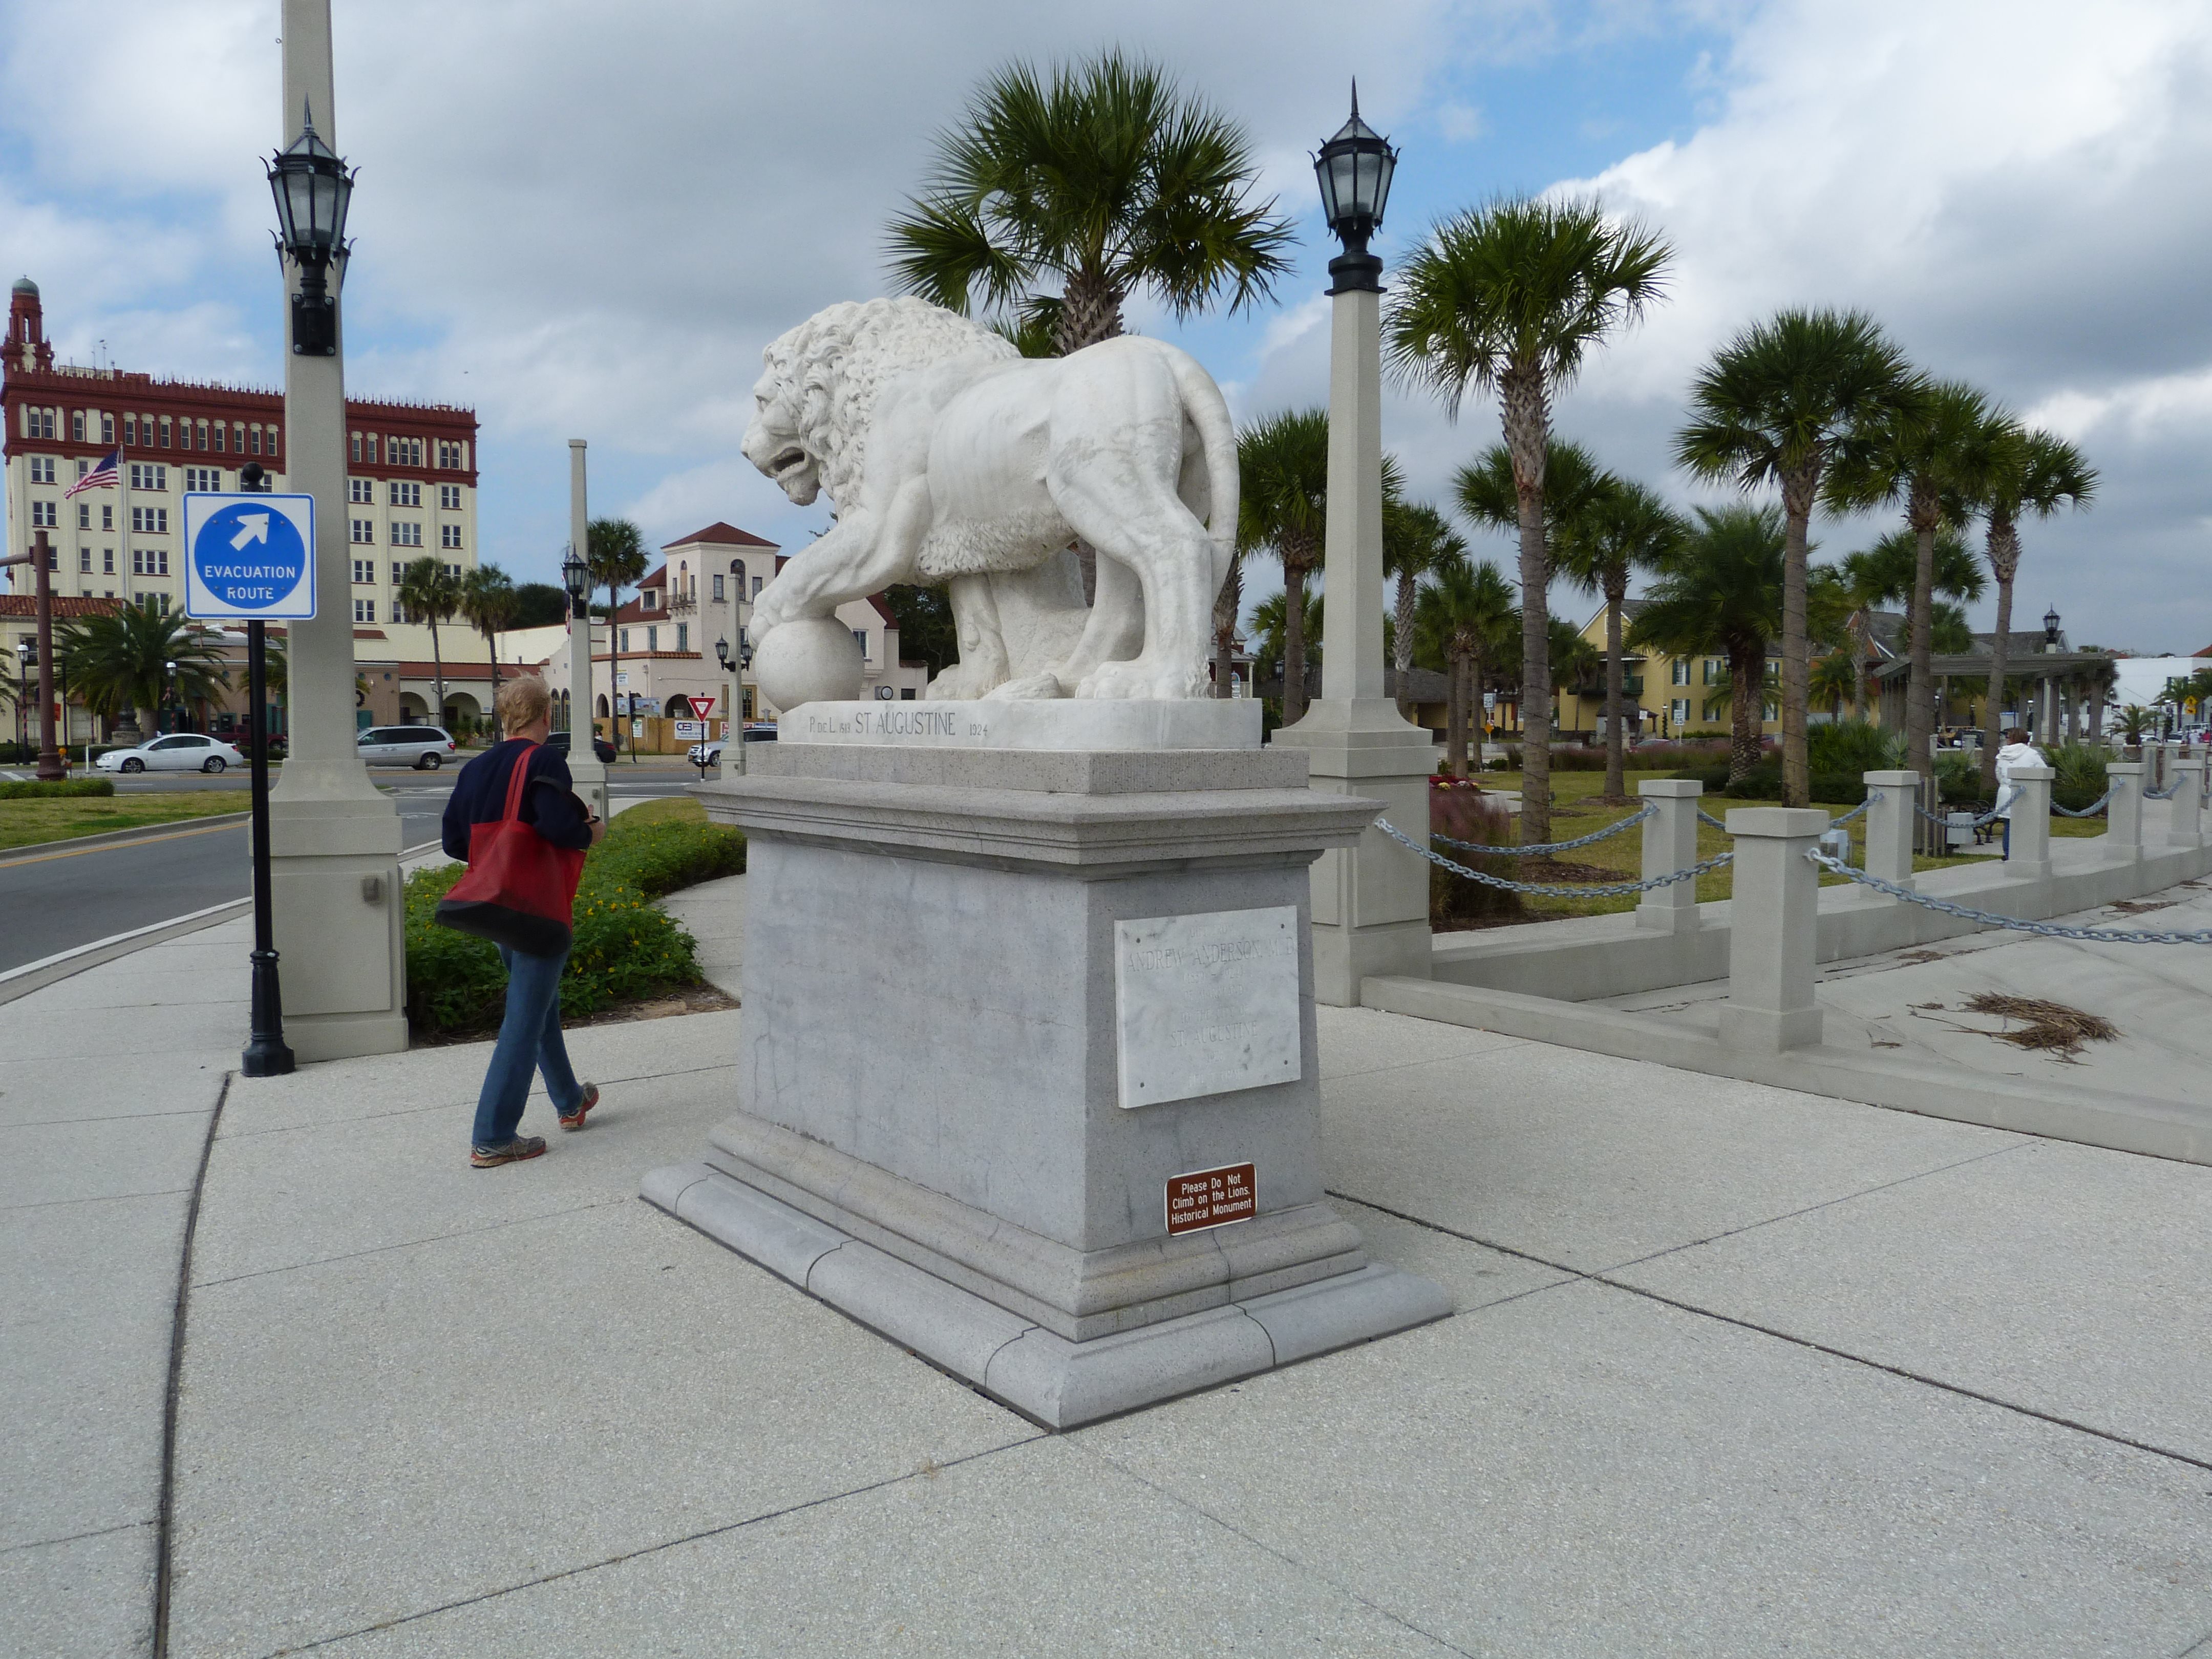
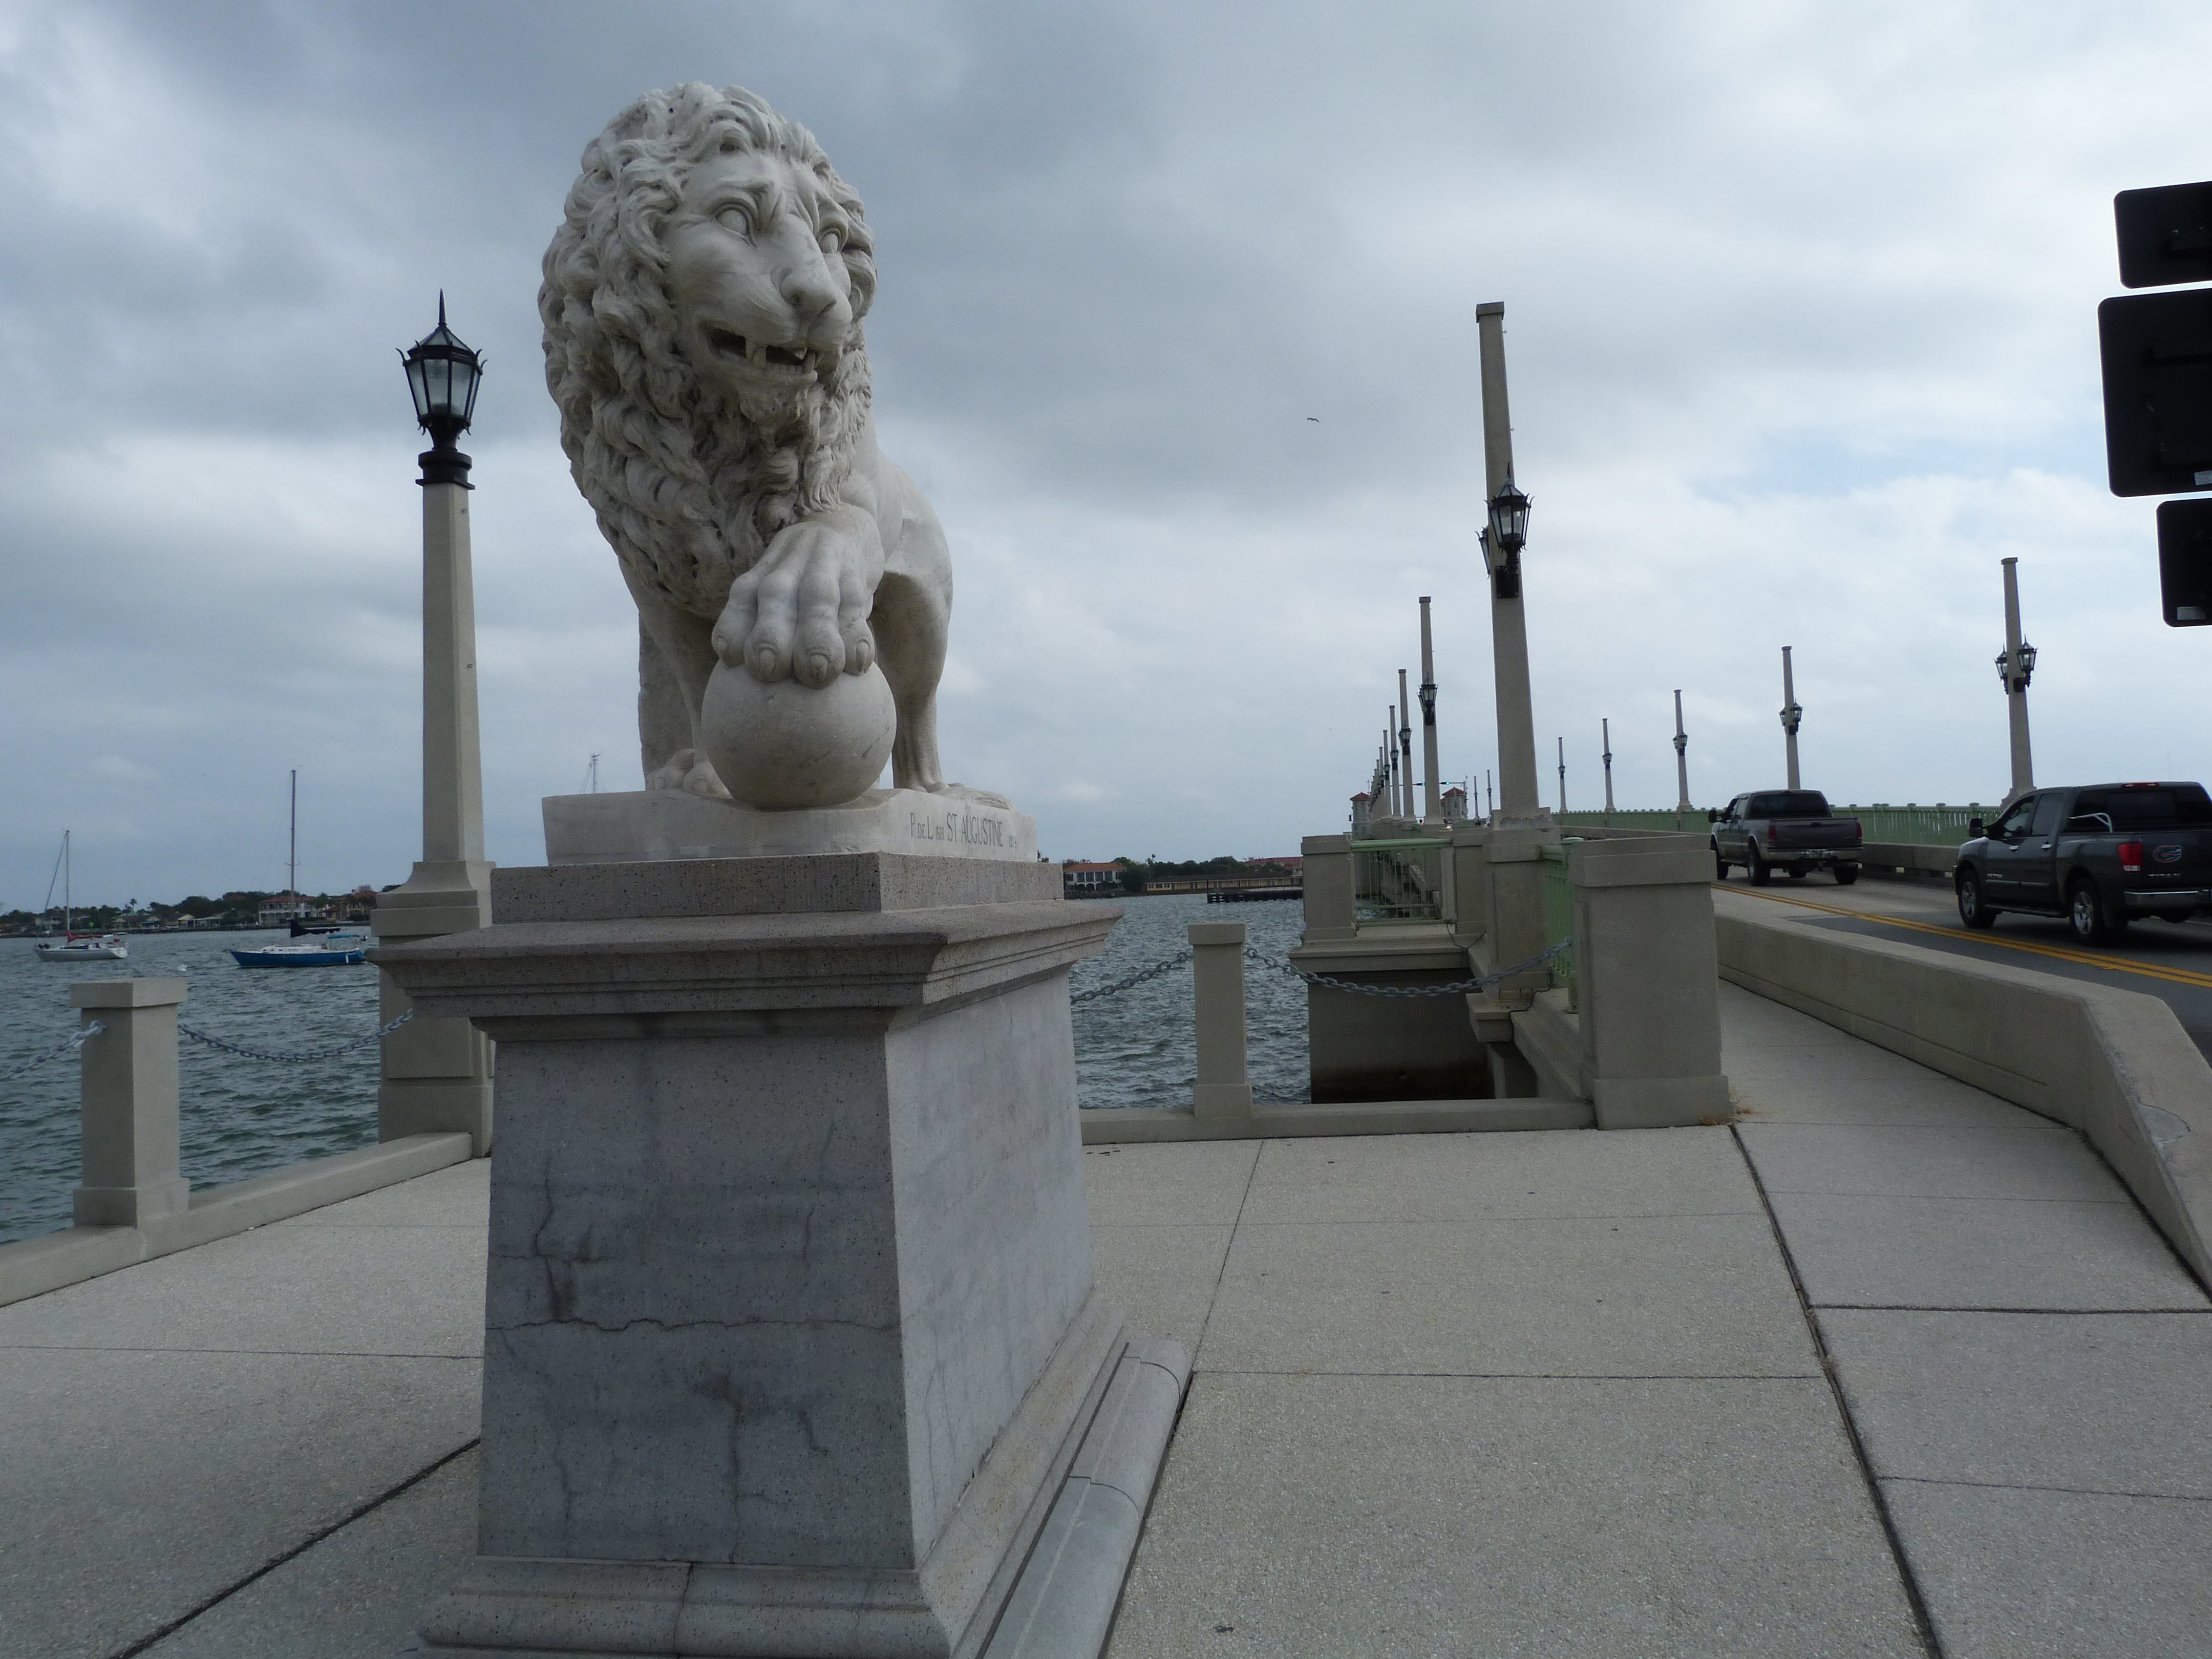

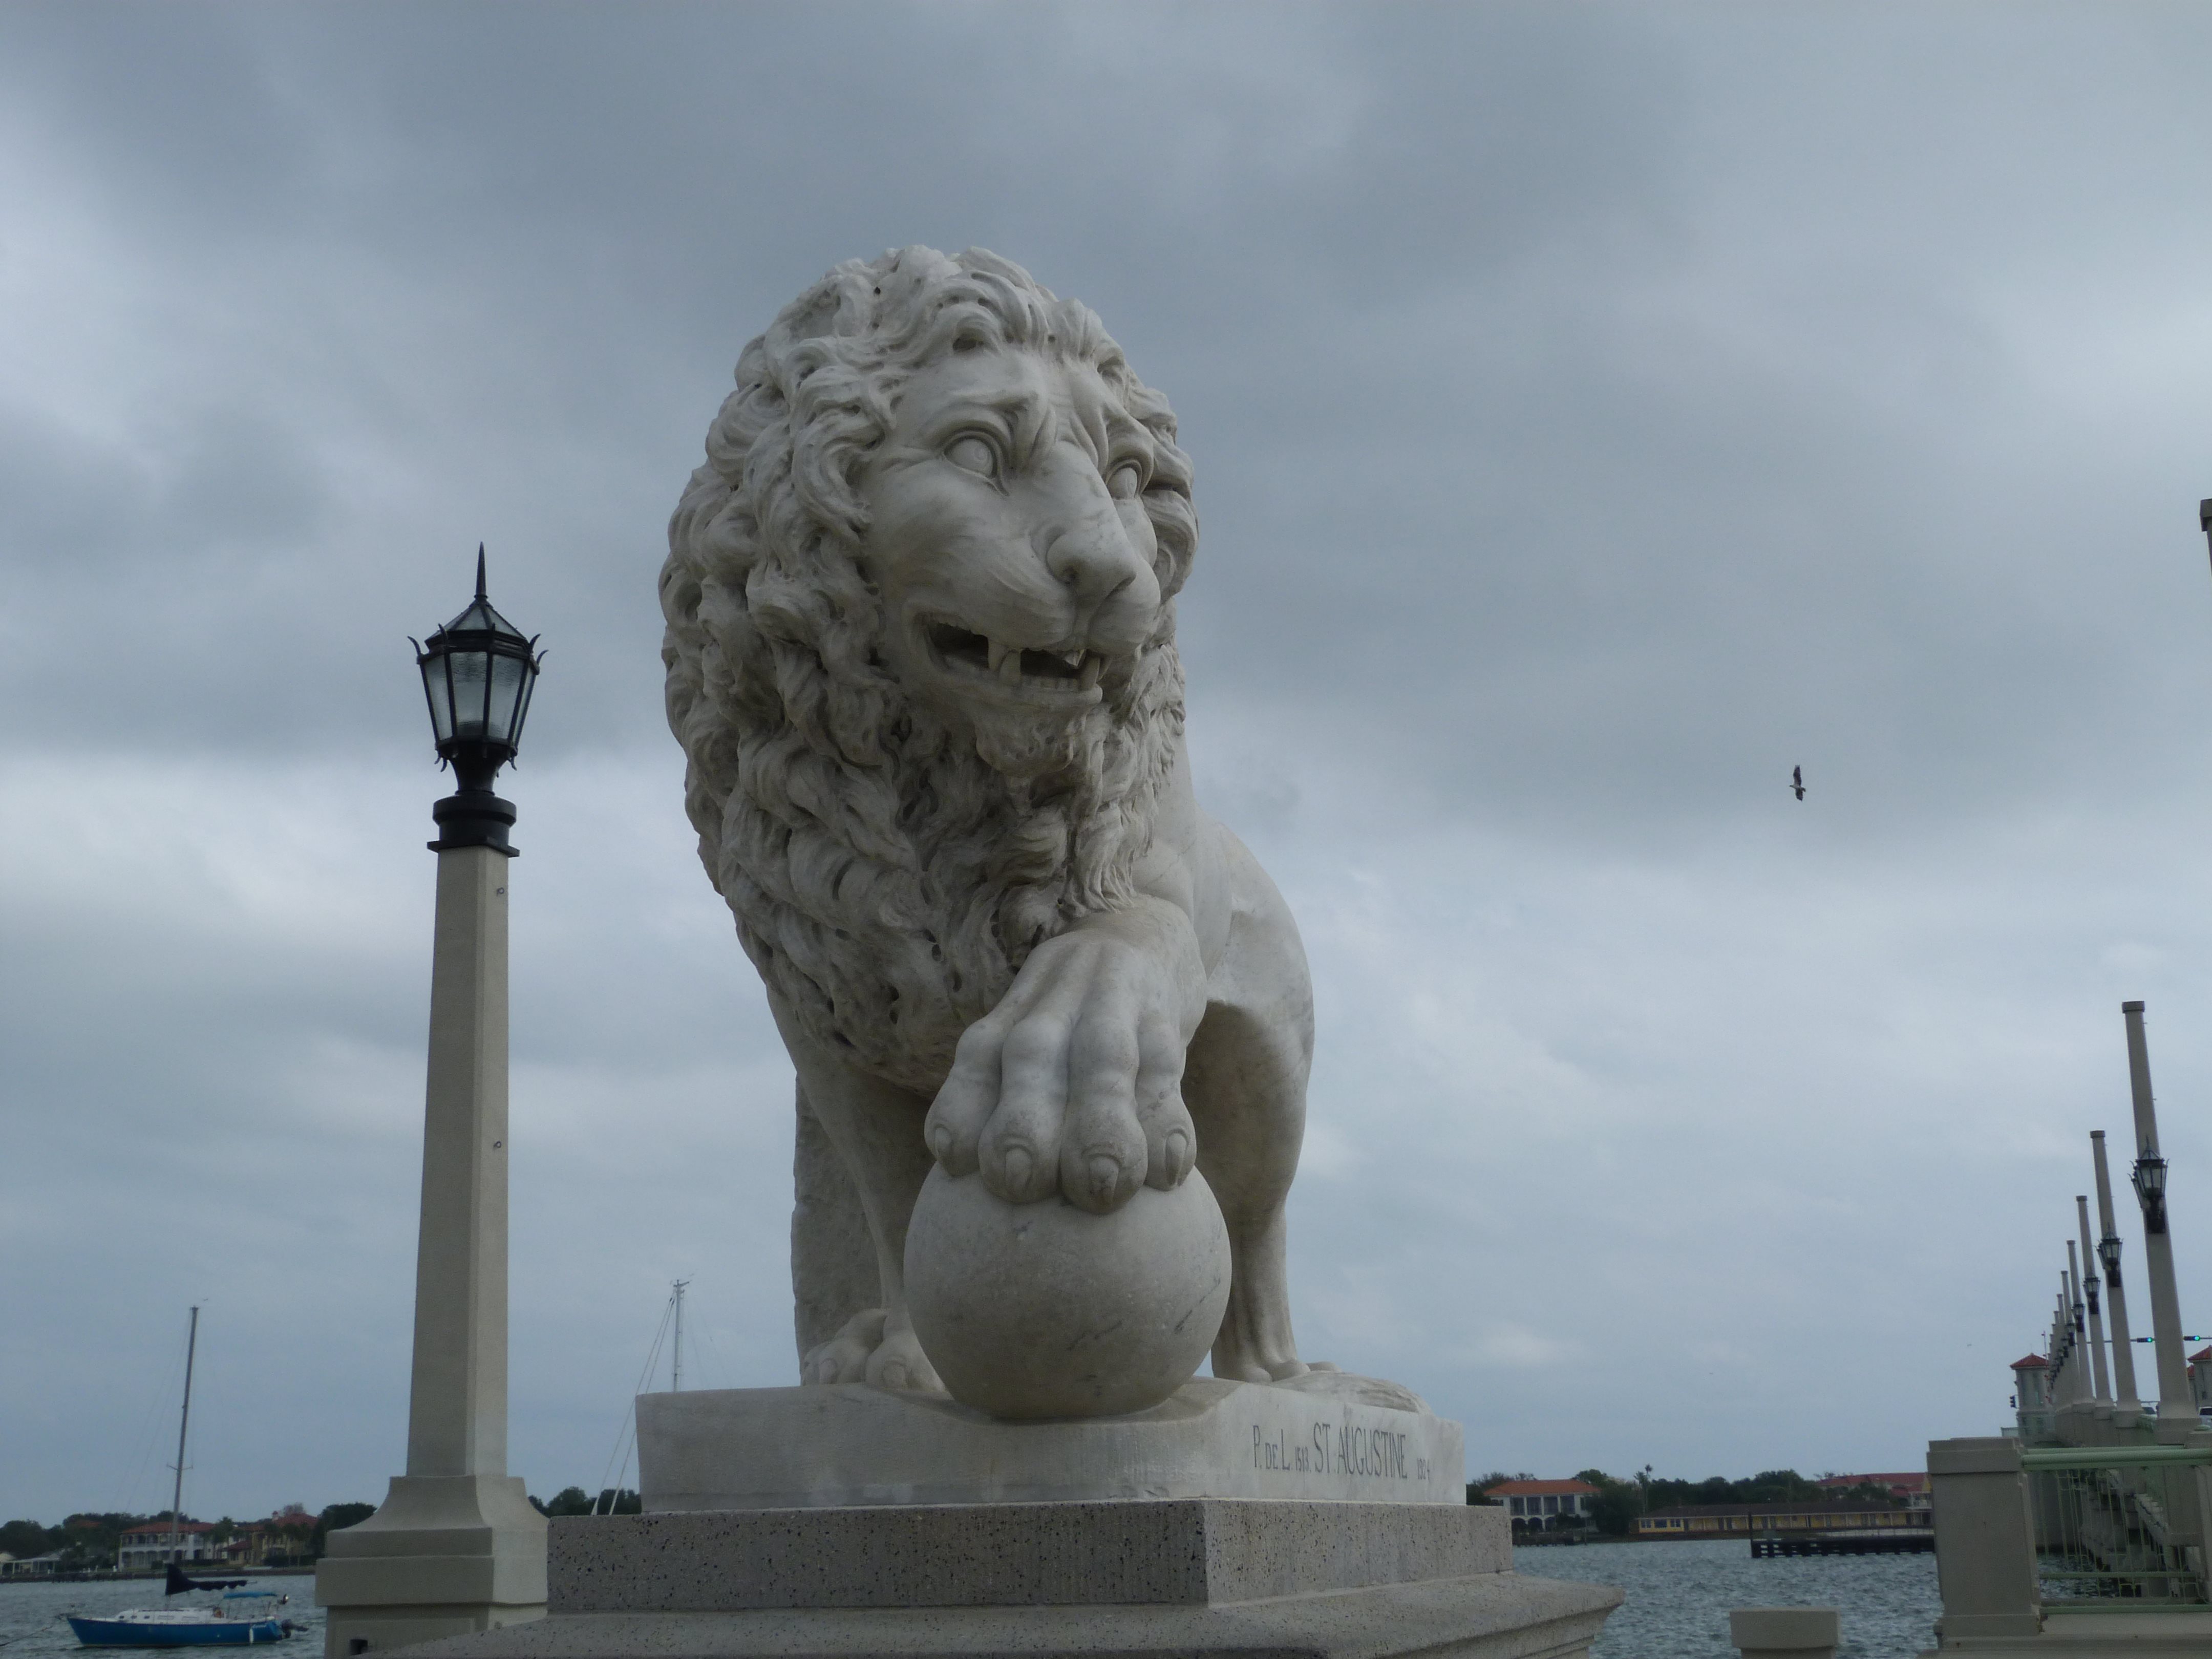
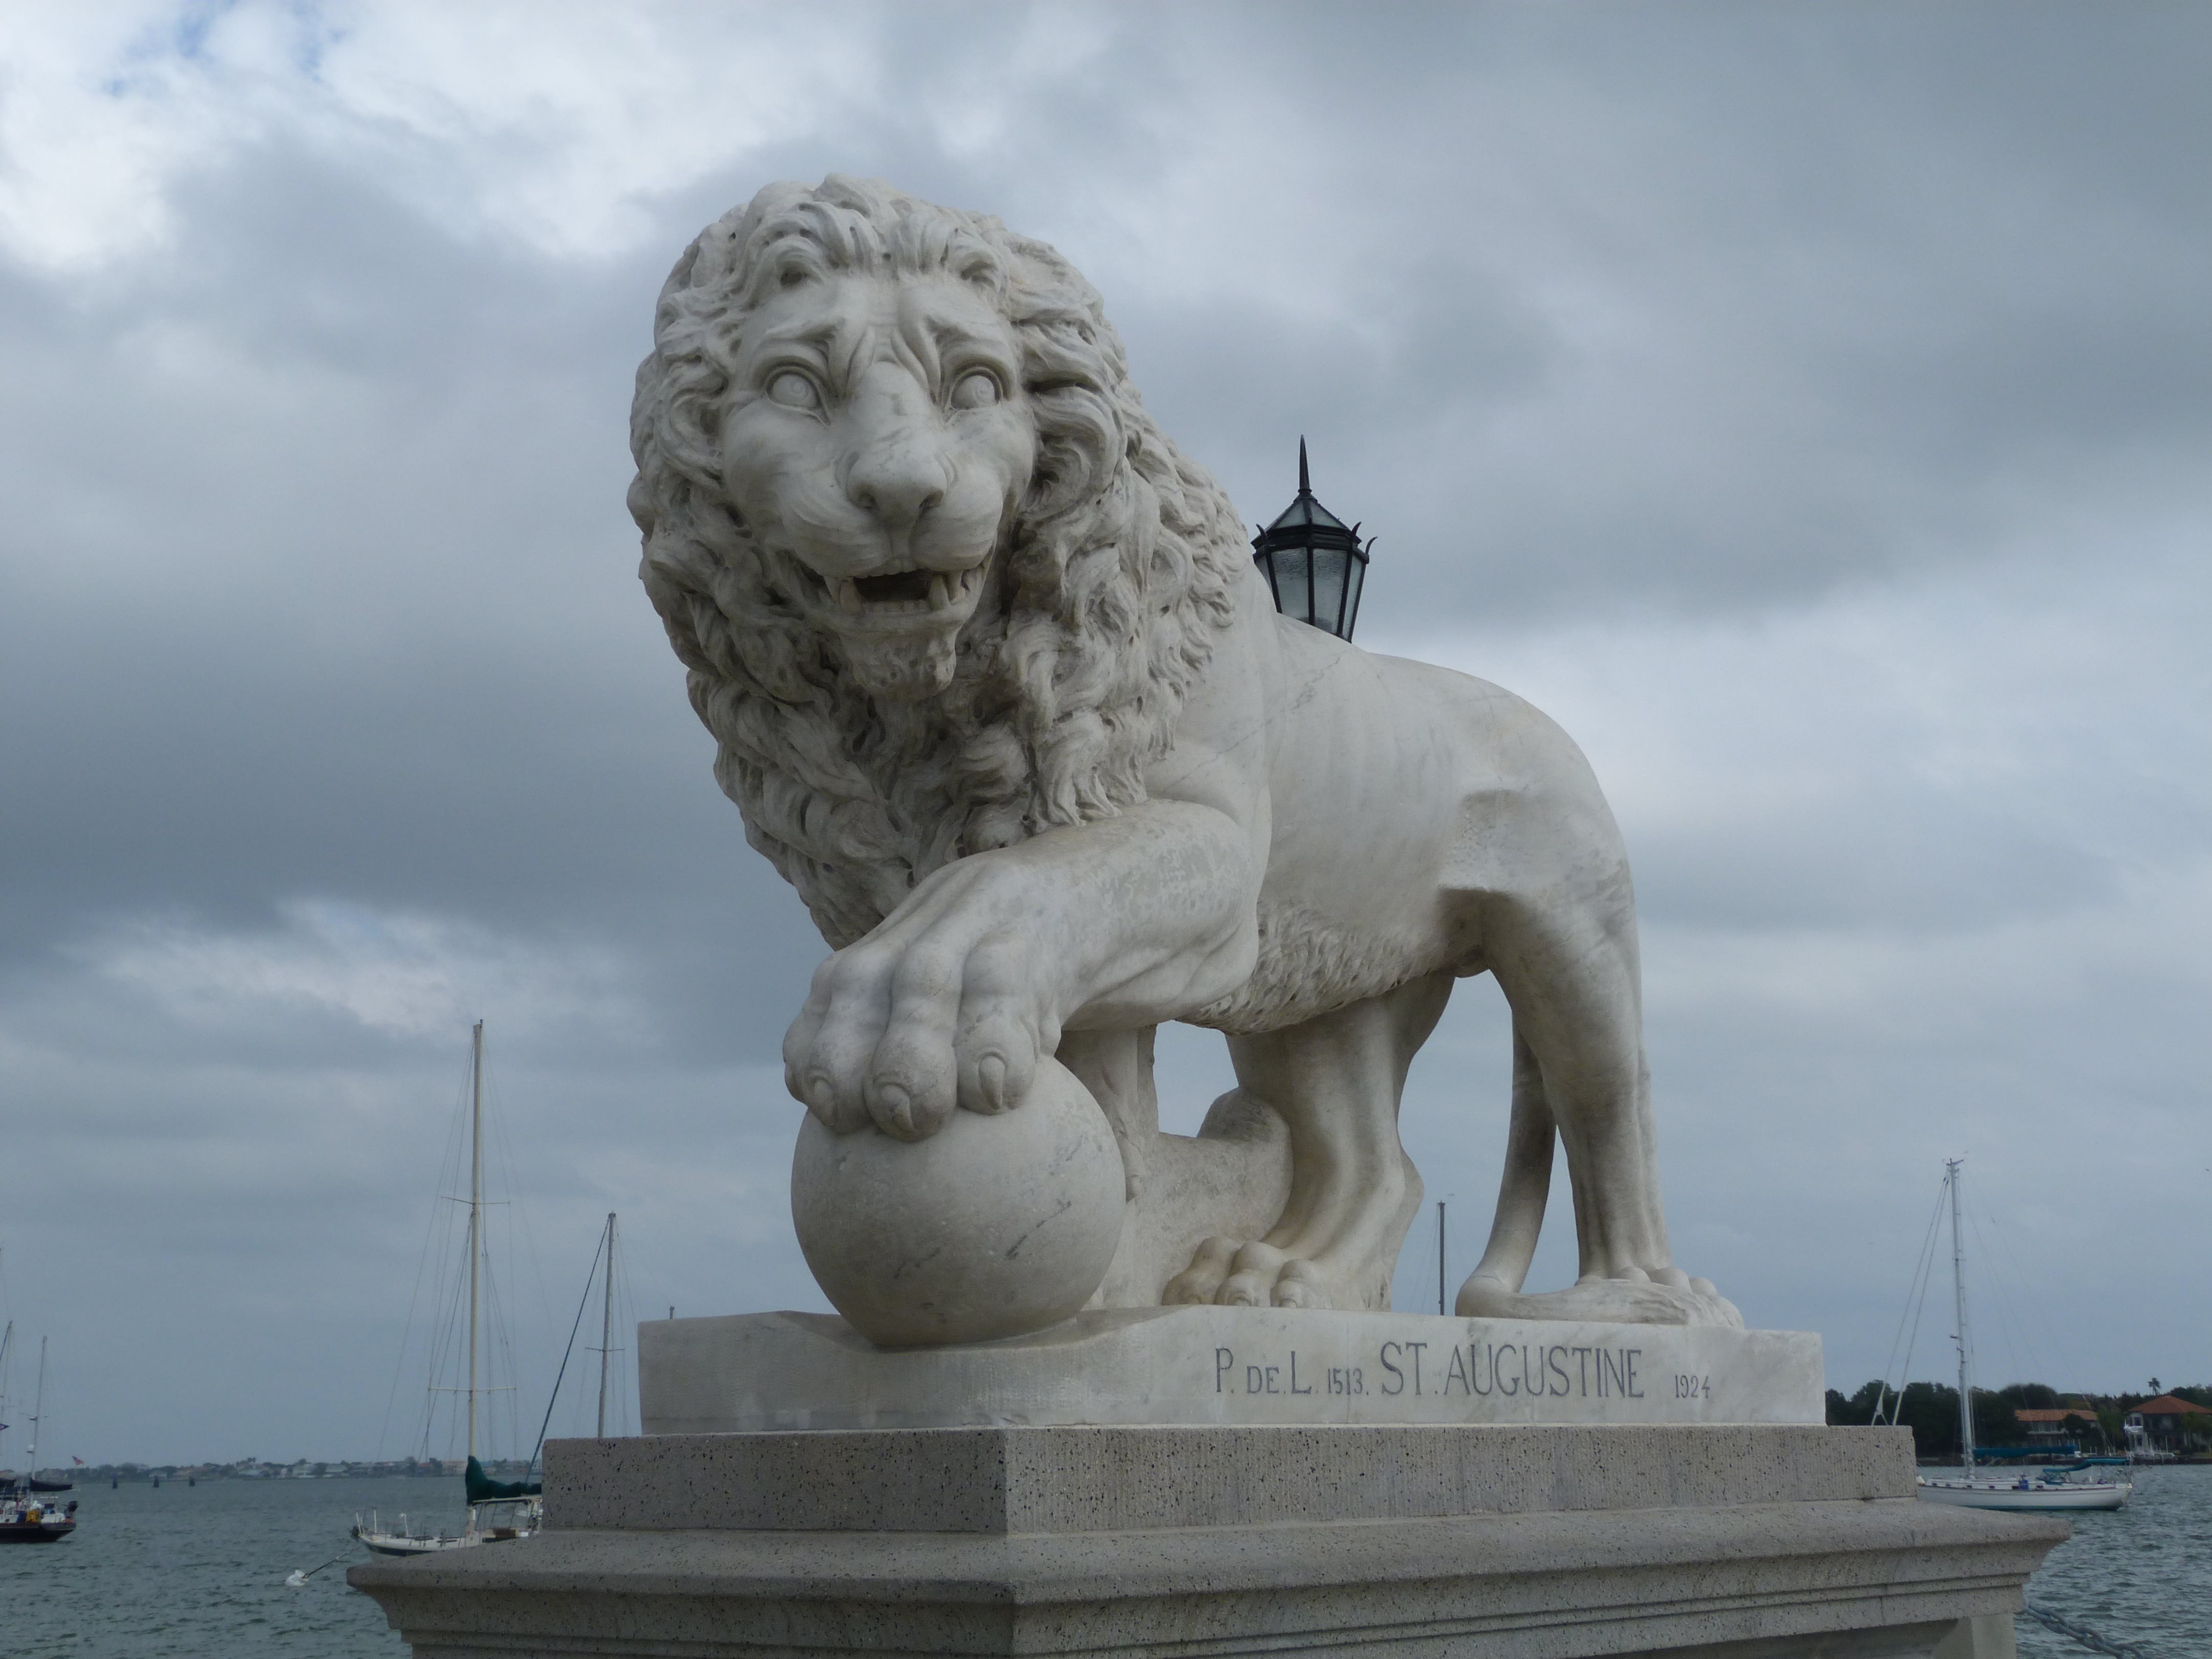

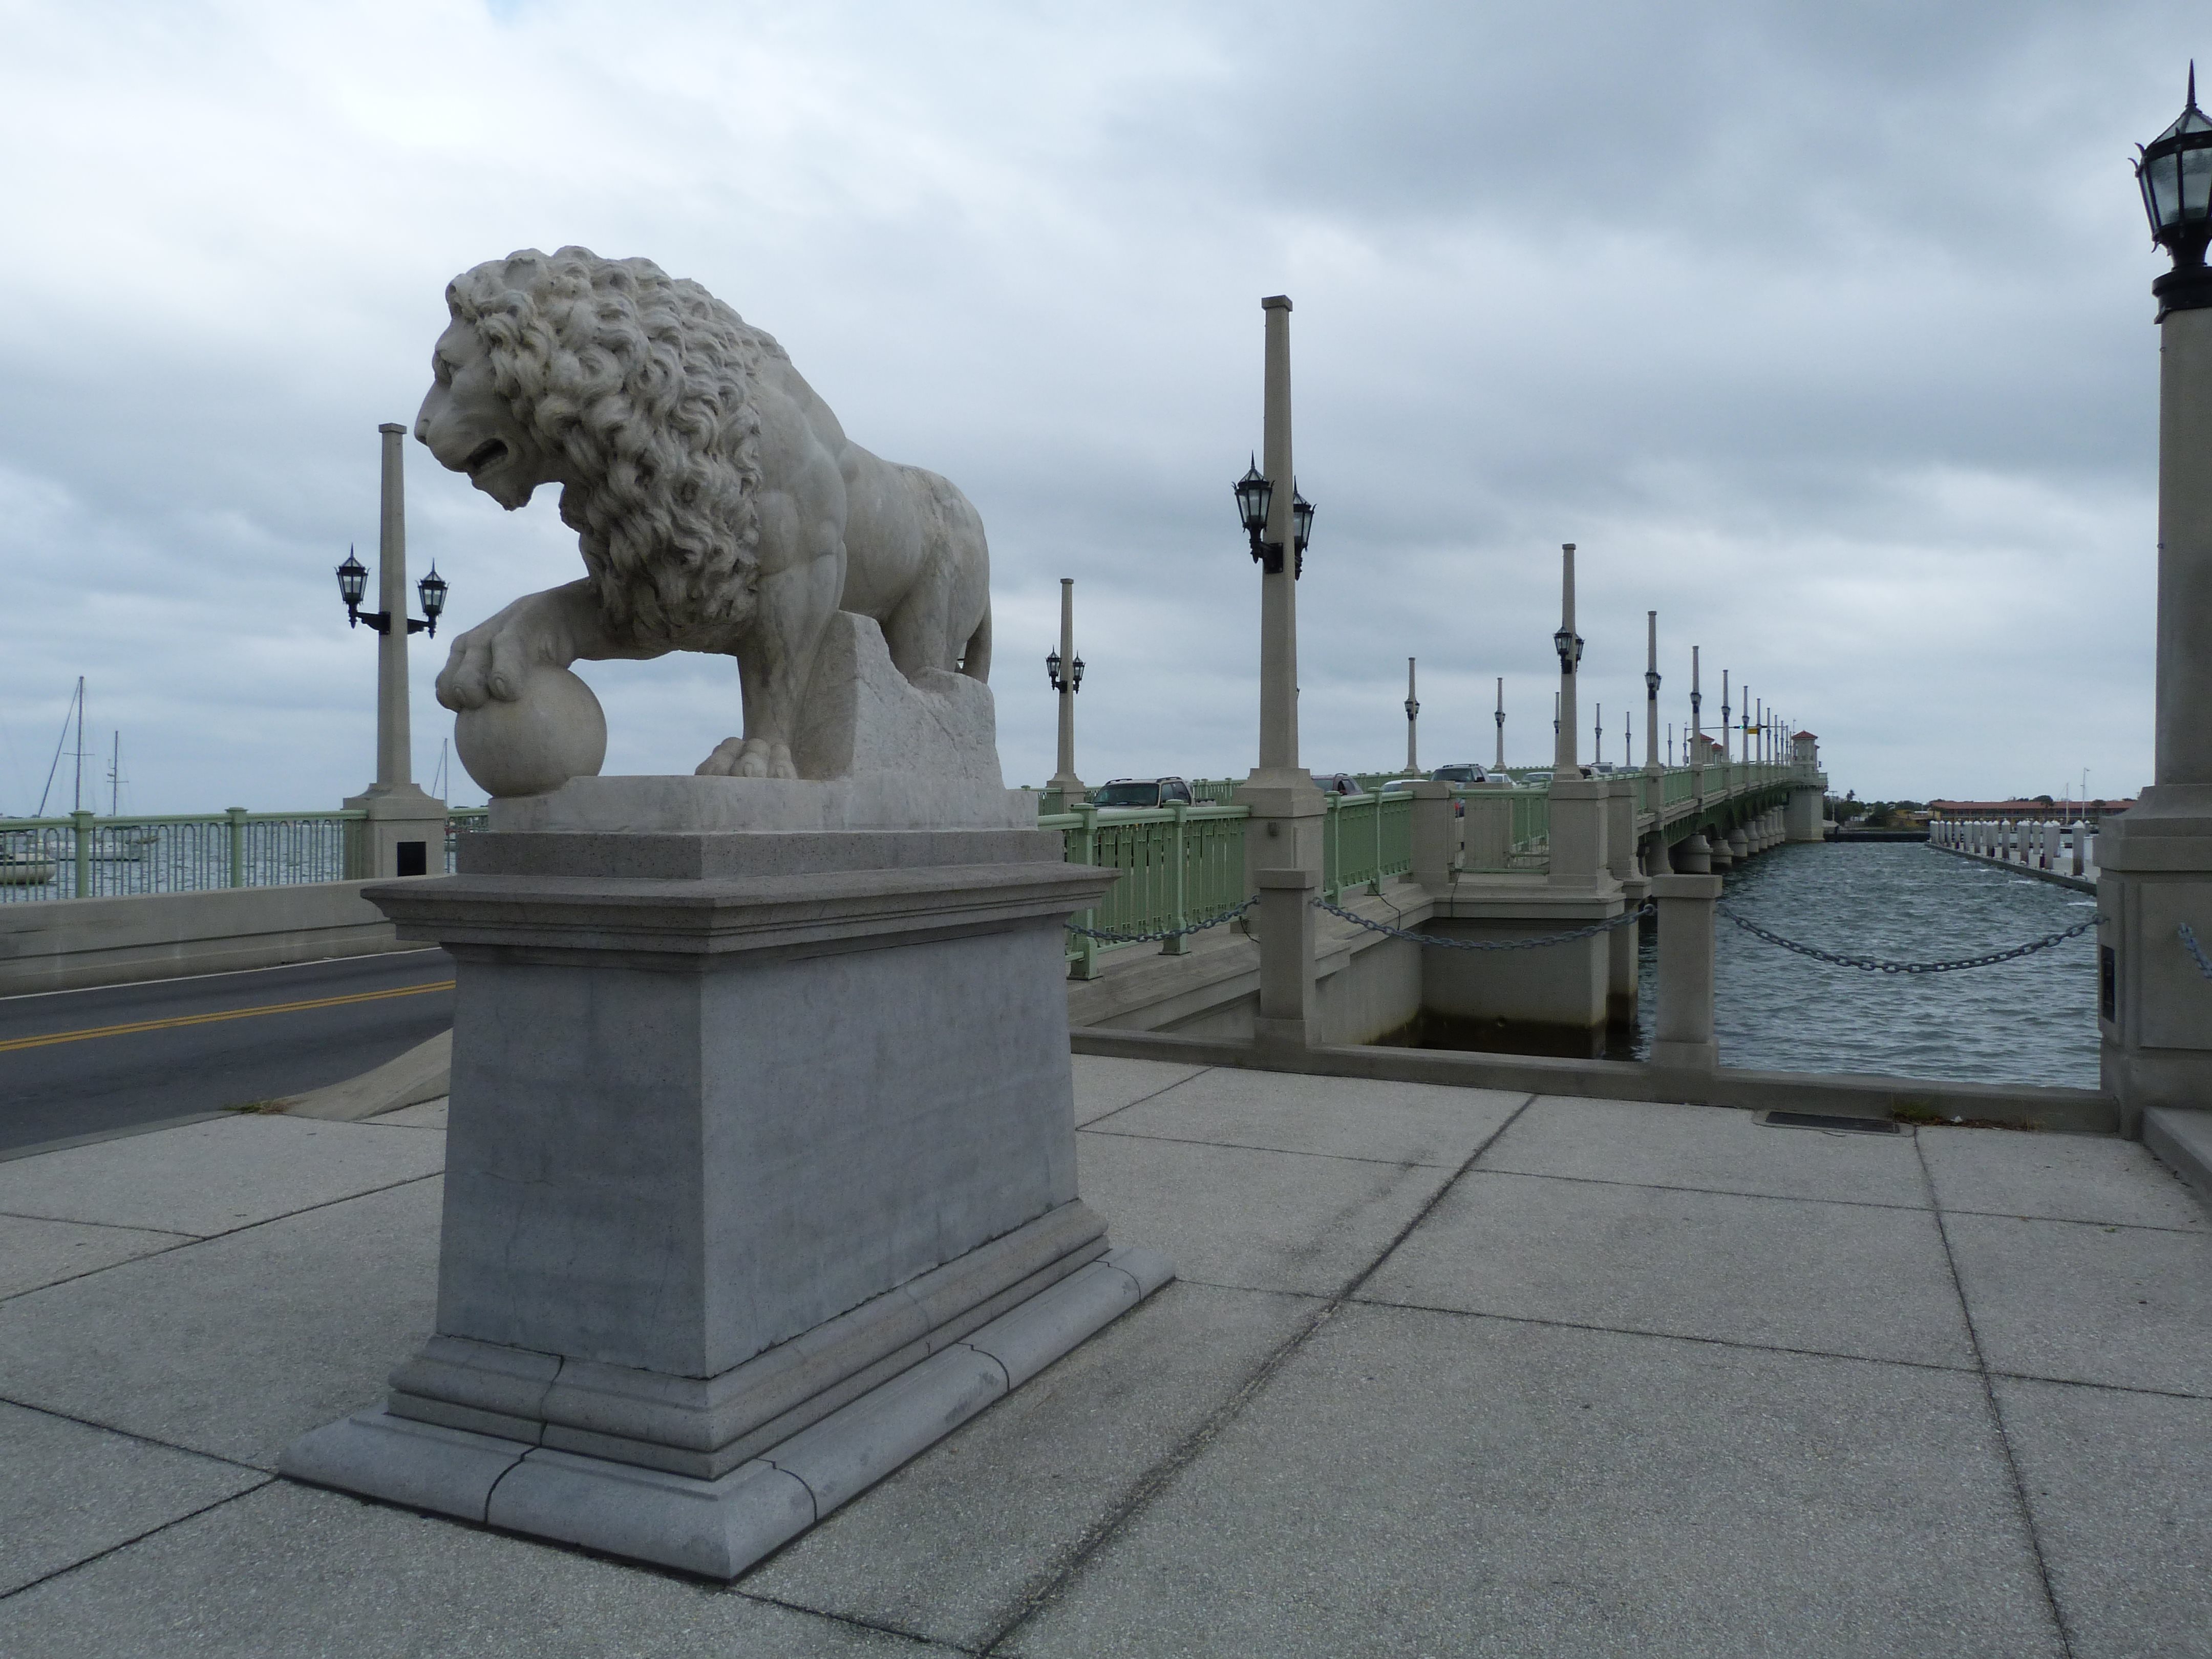

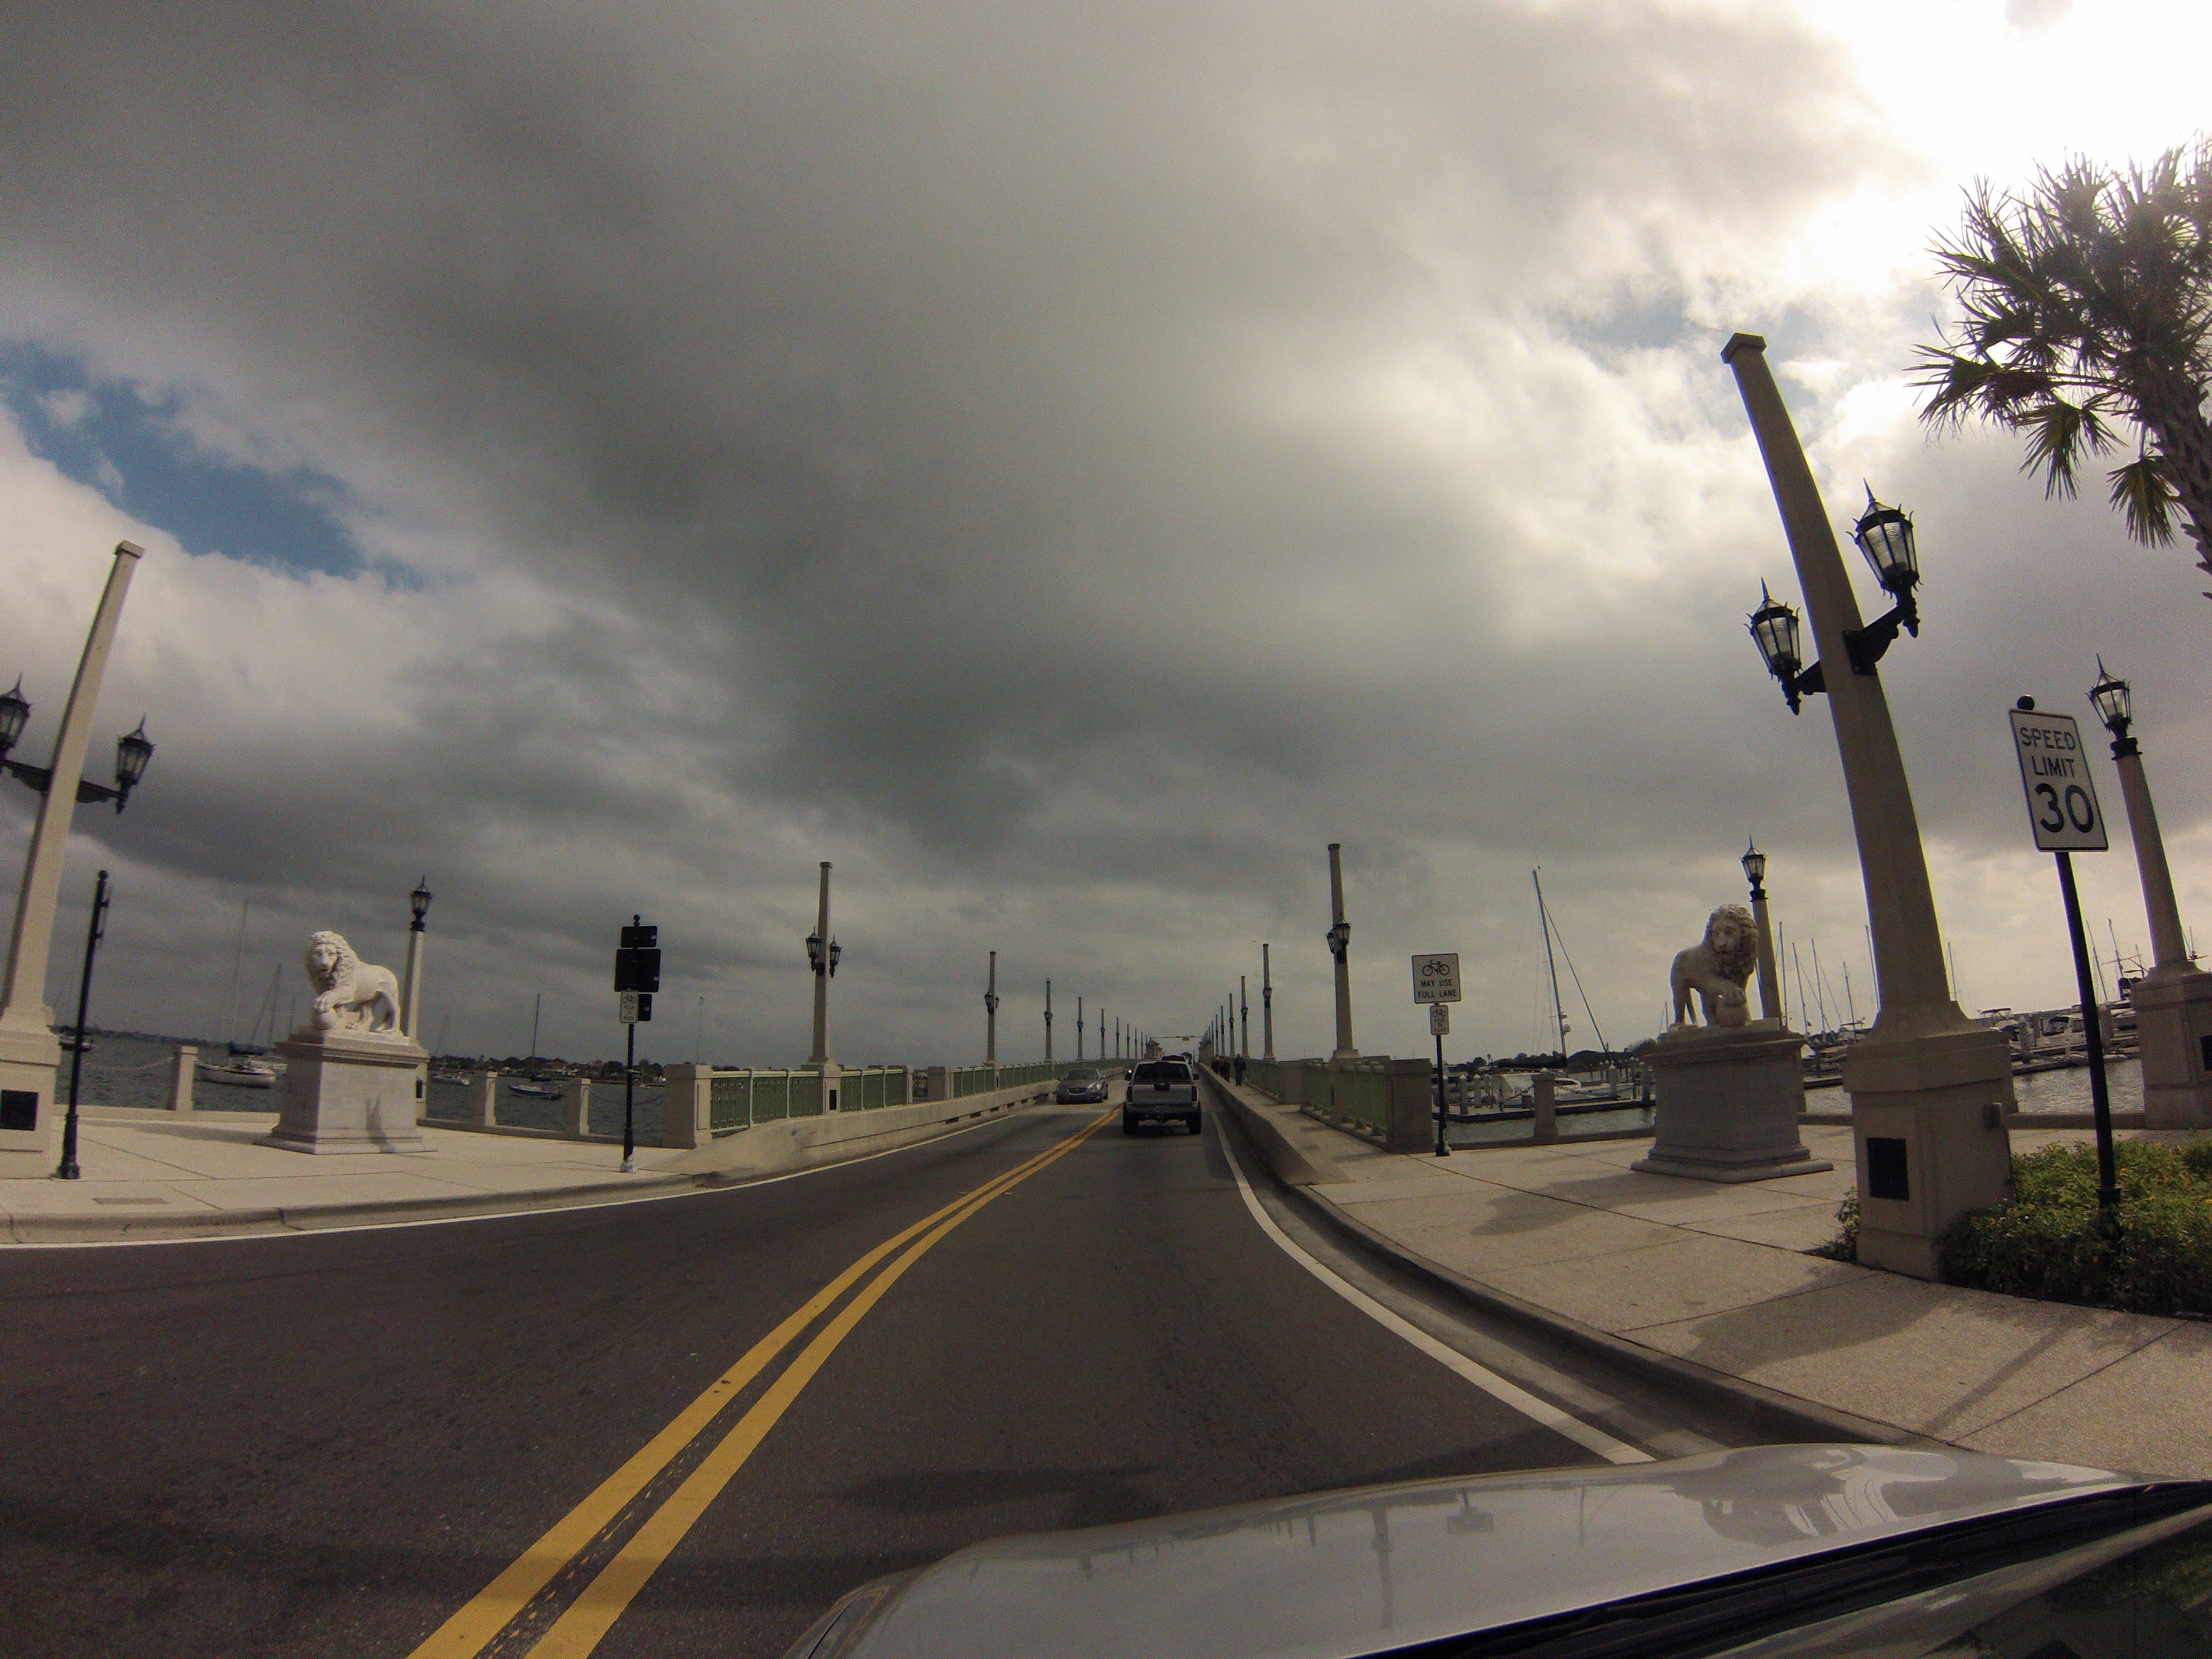
Views of the lions.
![]()
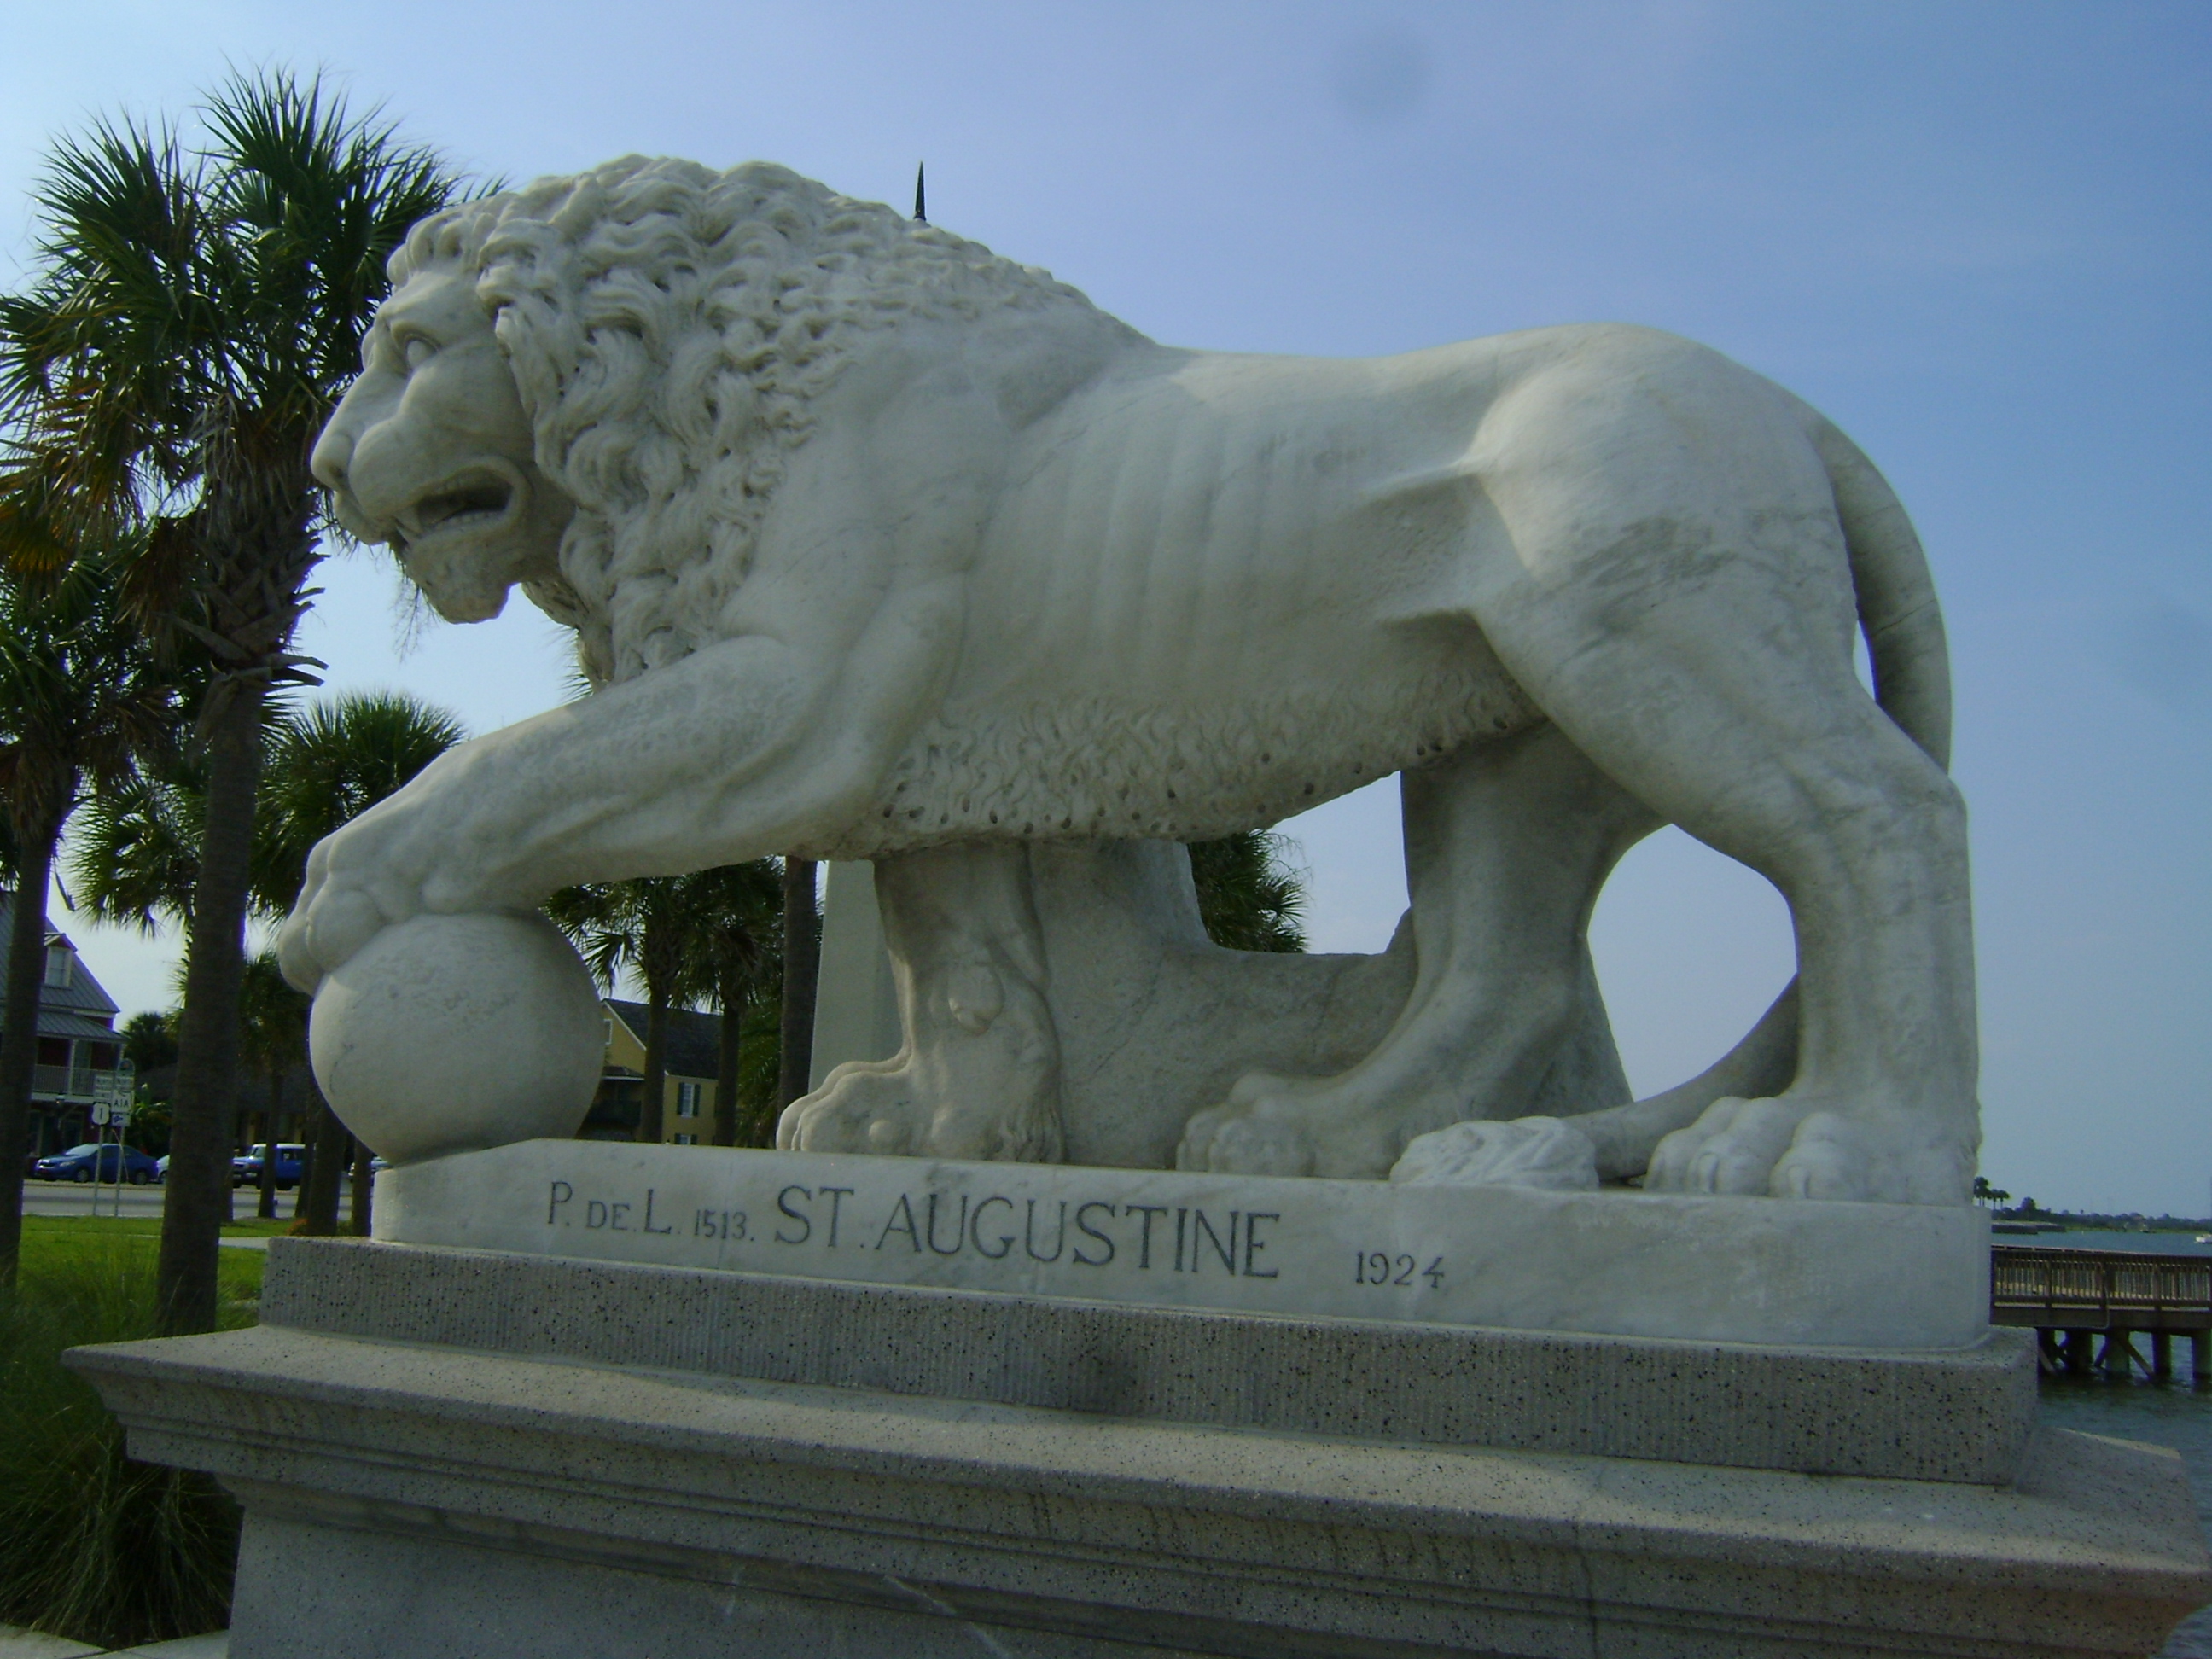
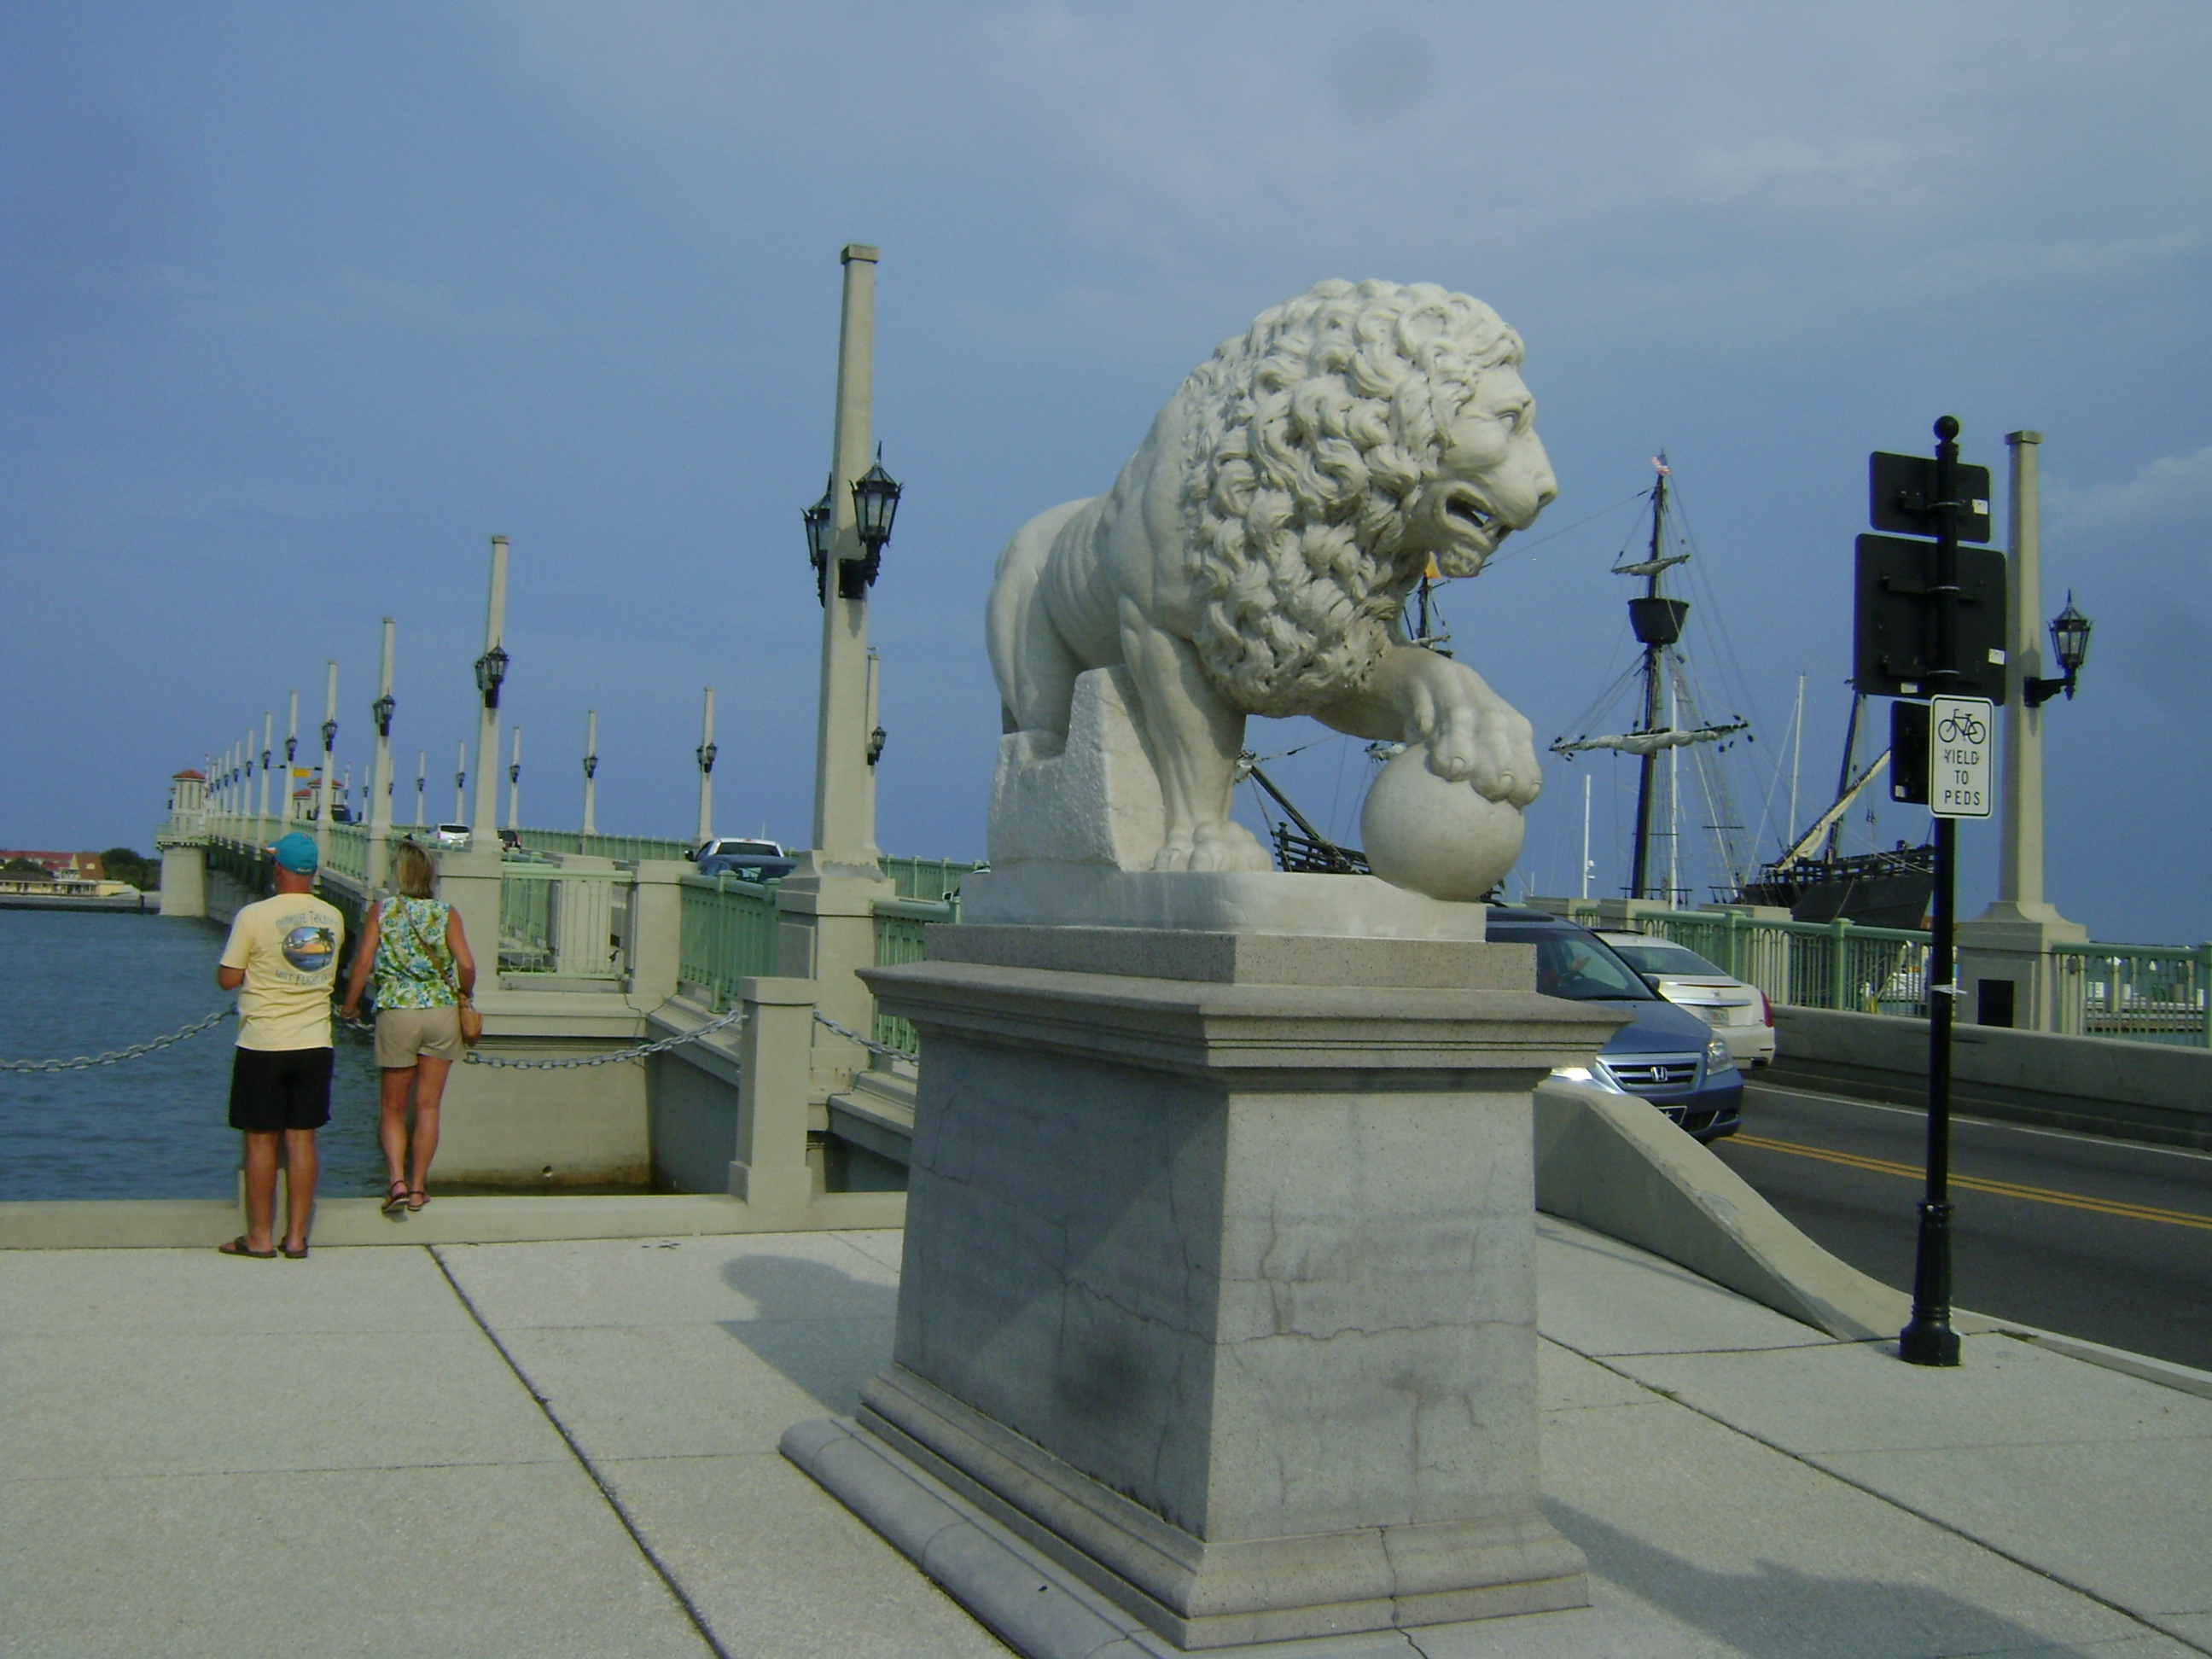
Photo Credit: Marc Scotti
Views of the lions.
![]()
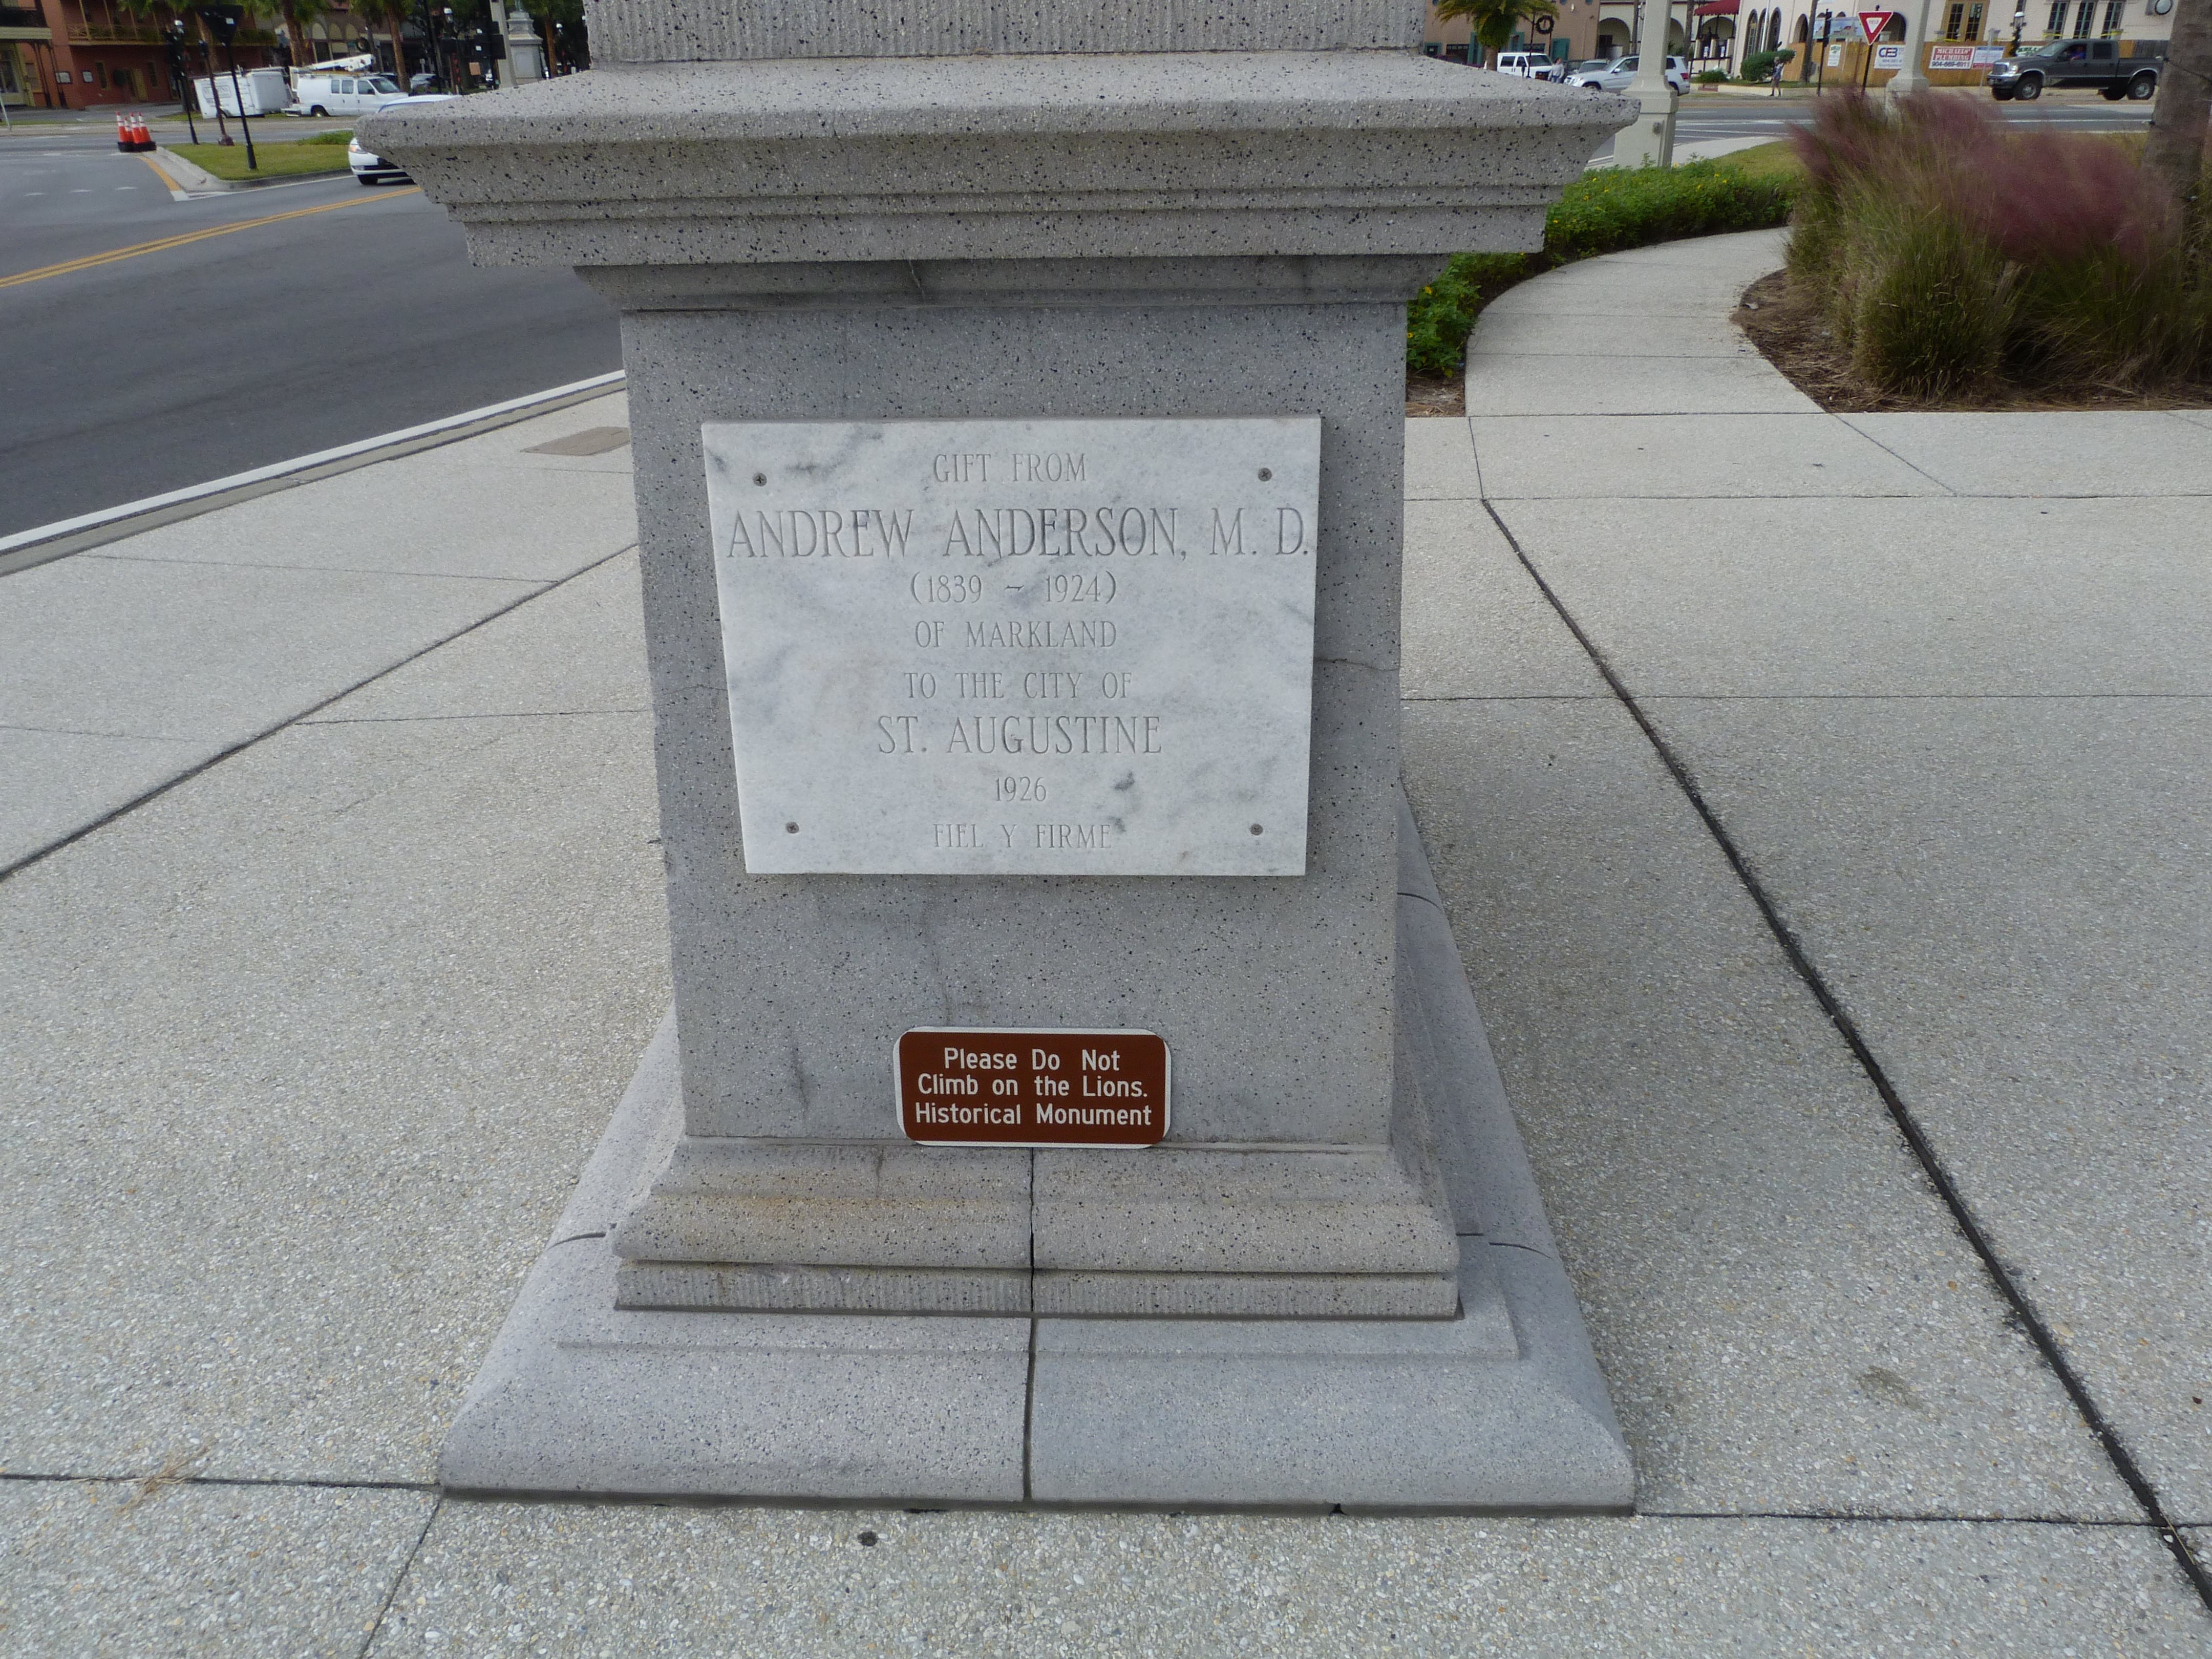
Lion plaque.
![]()

Interpretive plaque that mentions bridge.
![]()
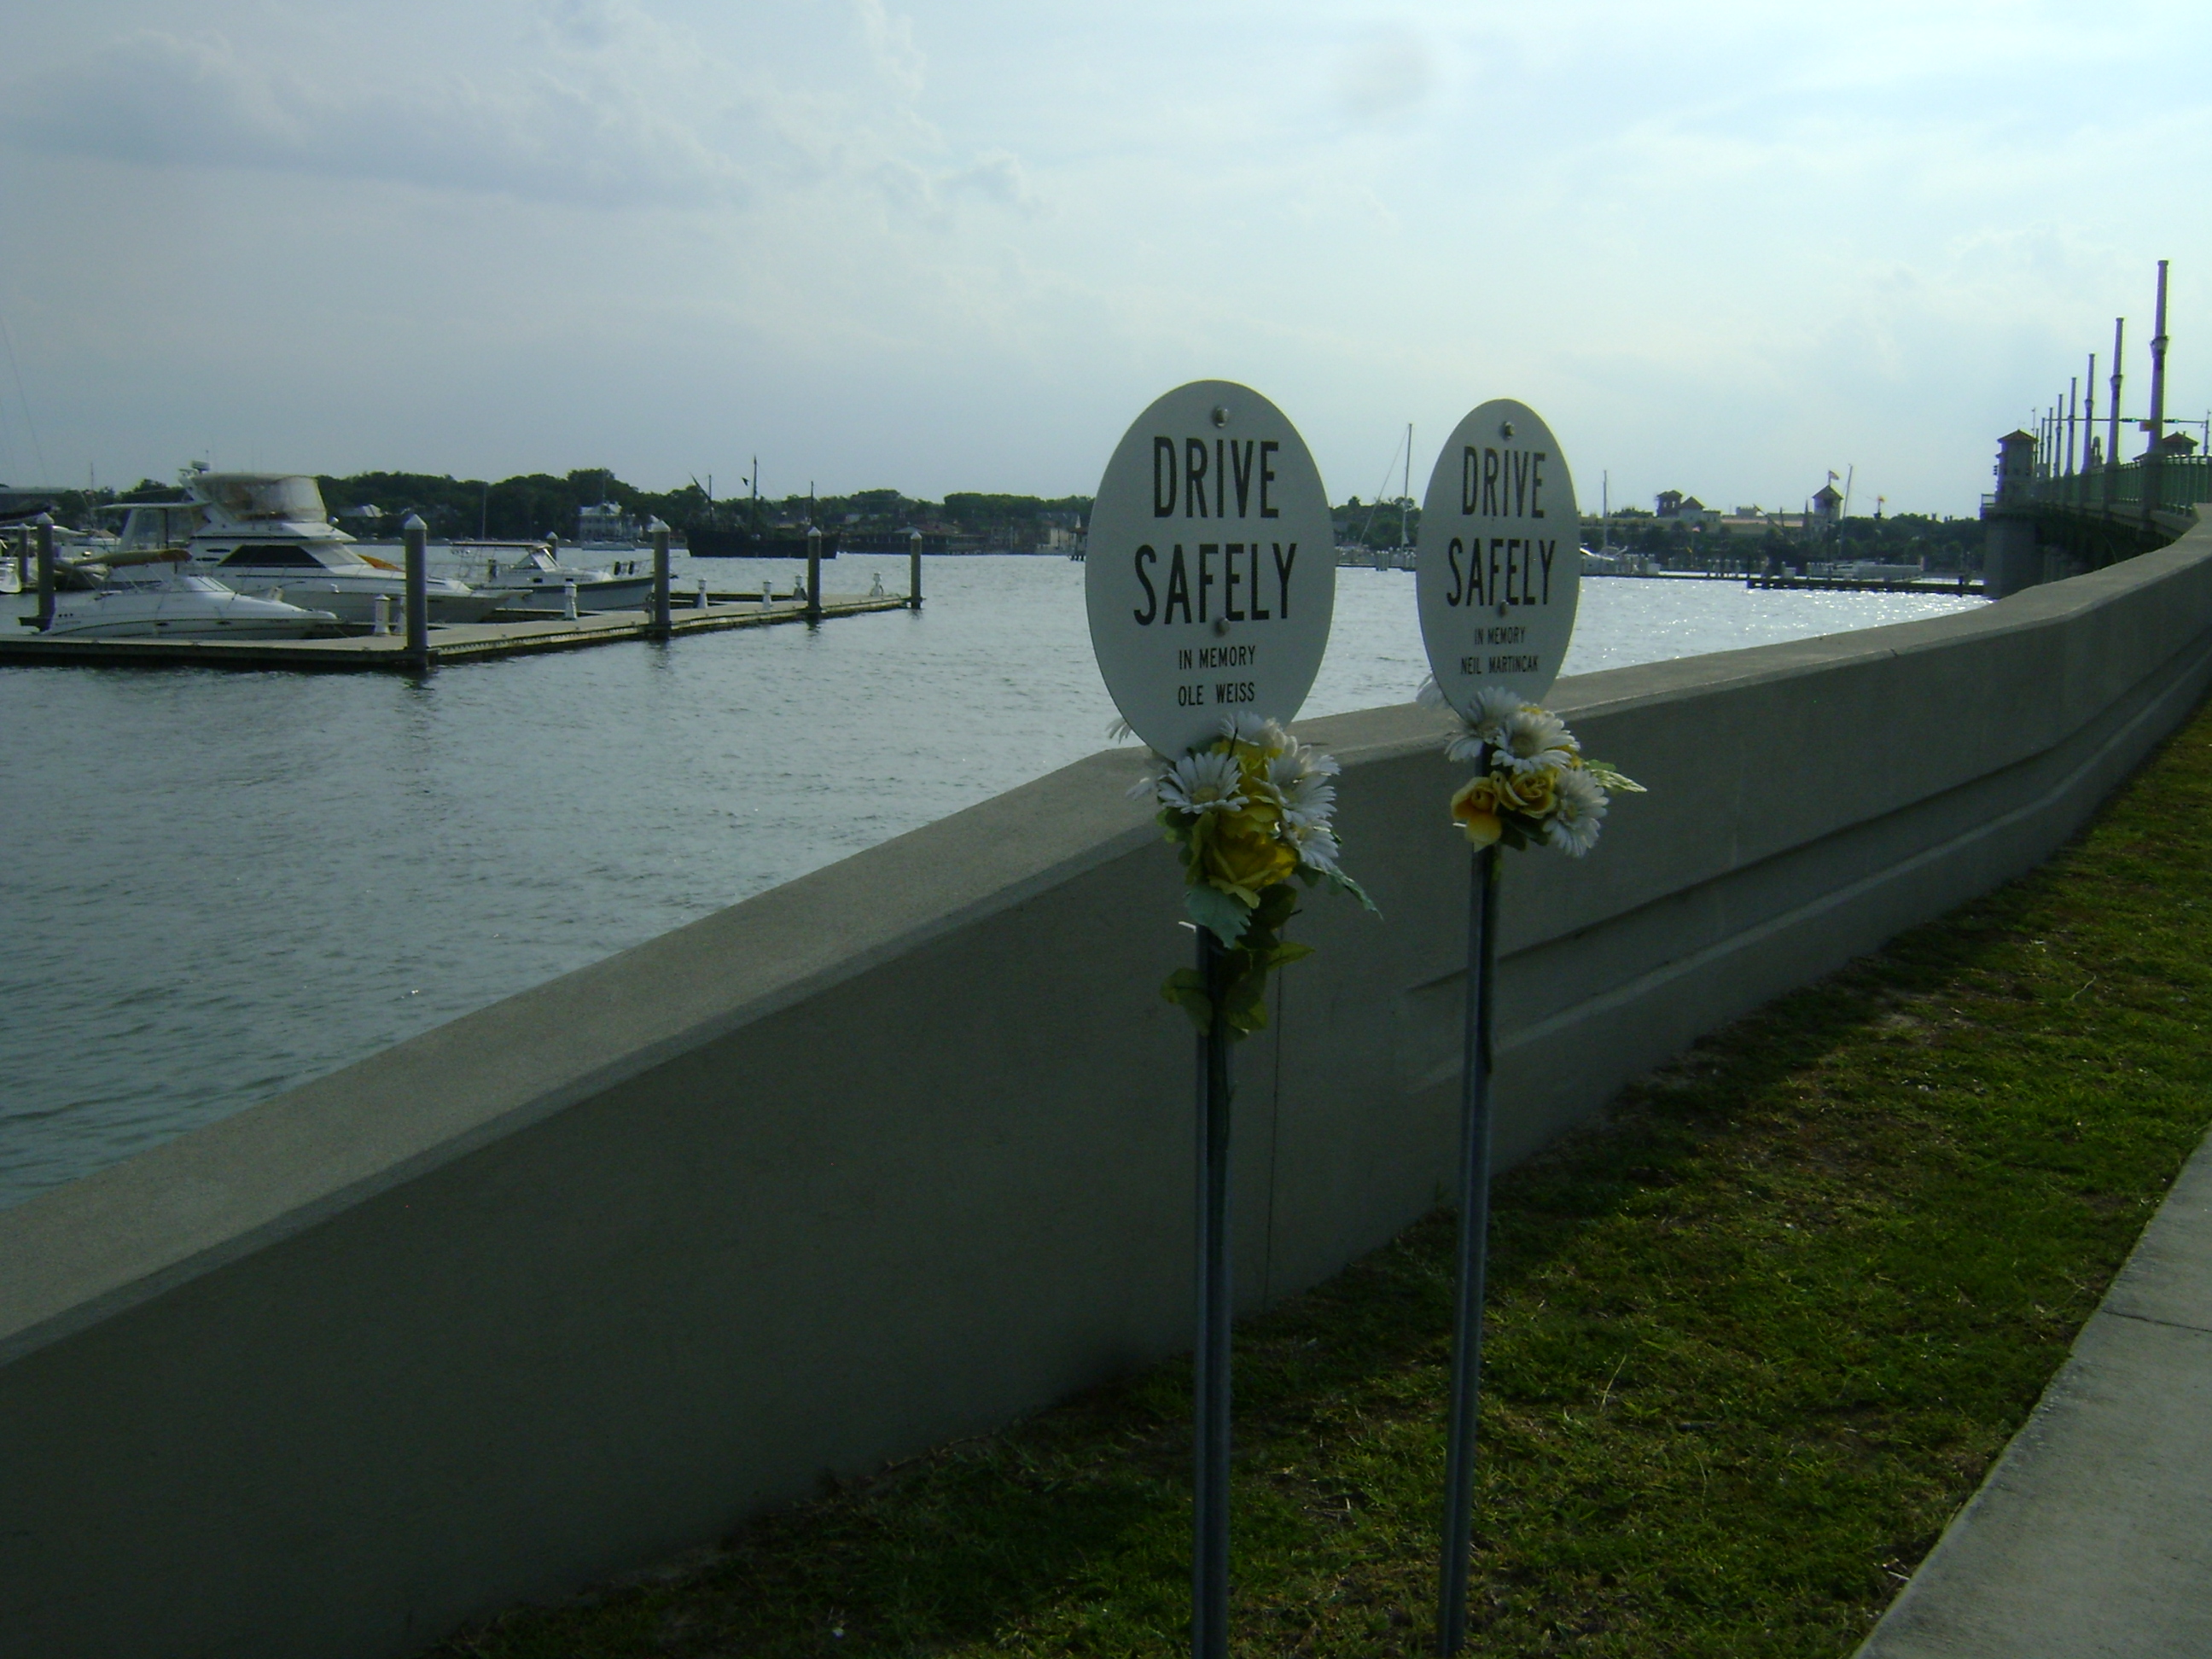
Photo Credit: Marc Scotti
Memorial signs near bridge.
![]()
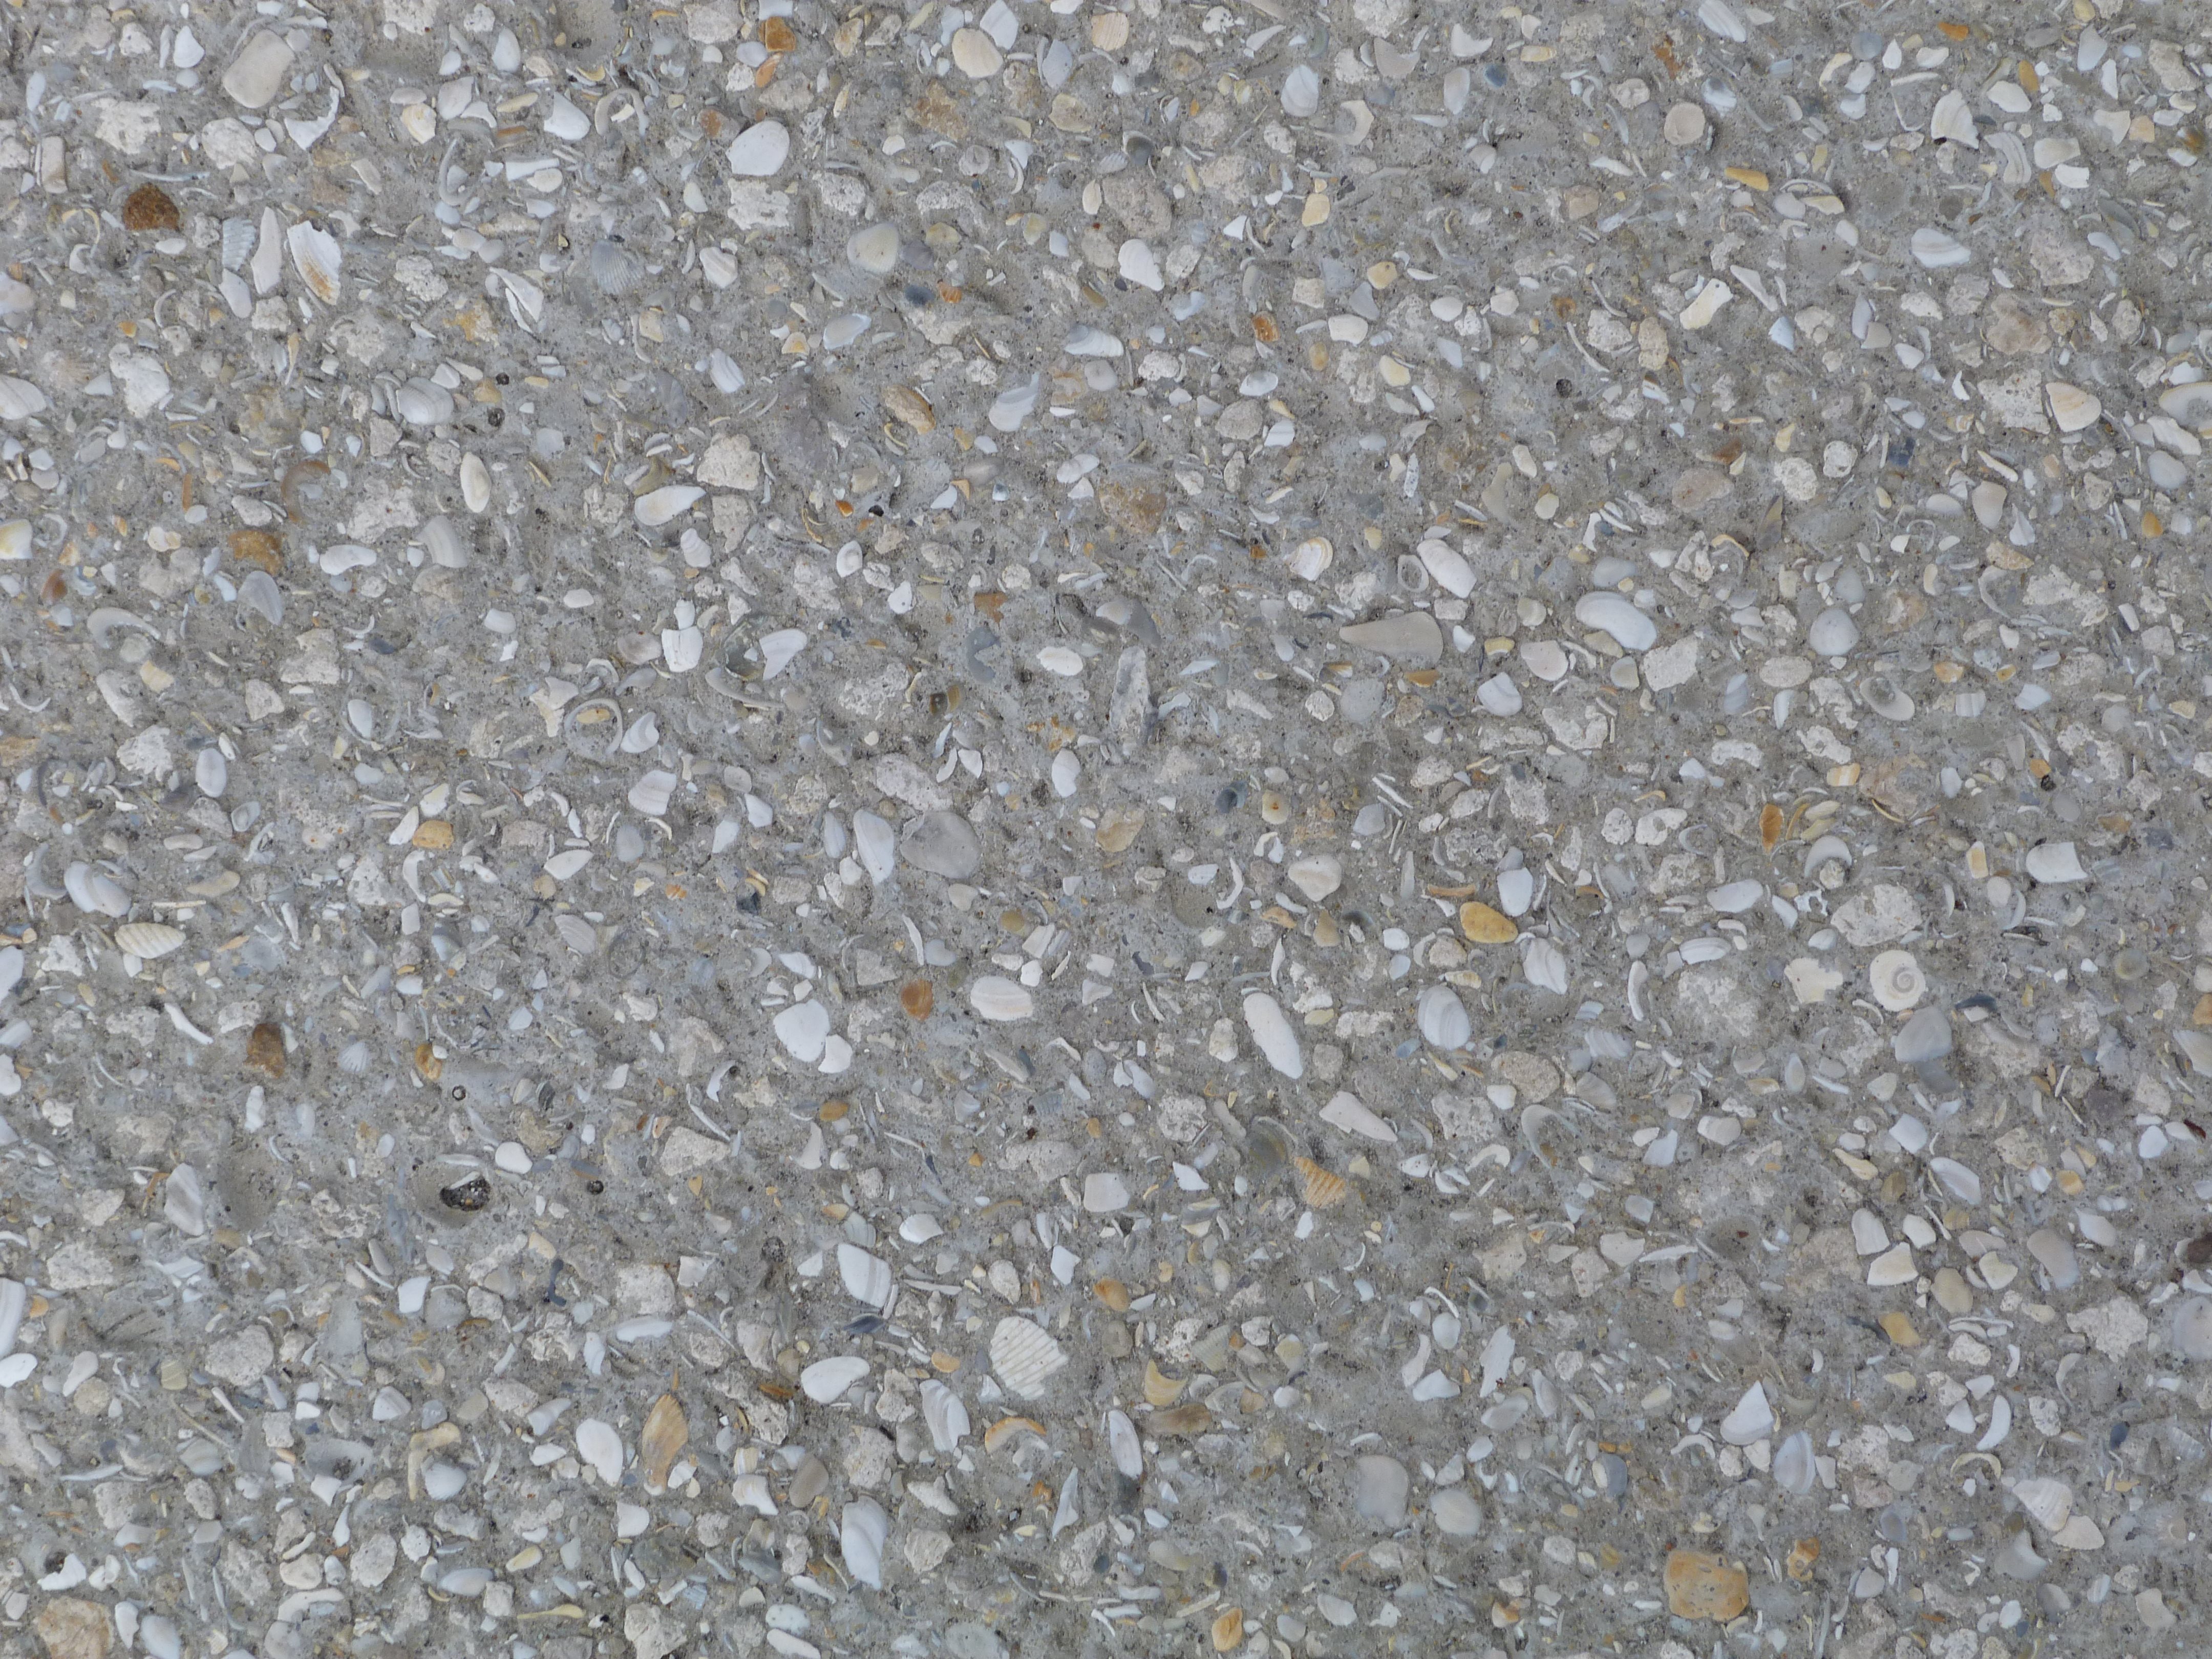
Shell aggregate in the sidewalk around the lions.
![]()

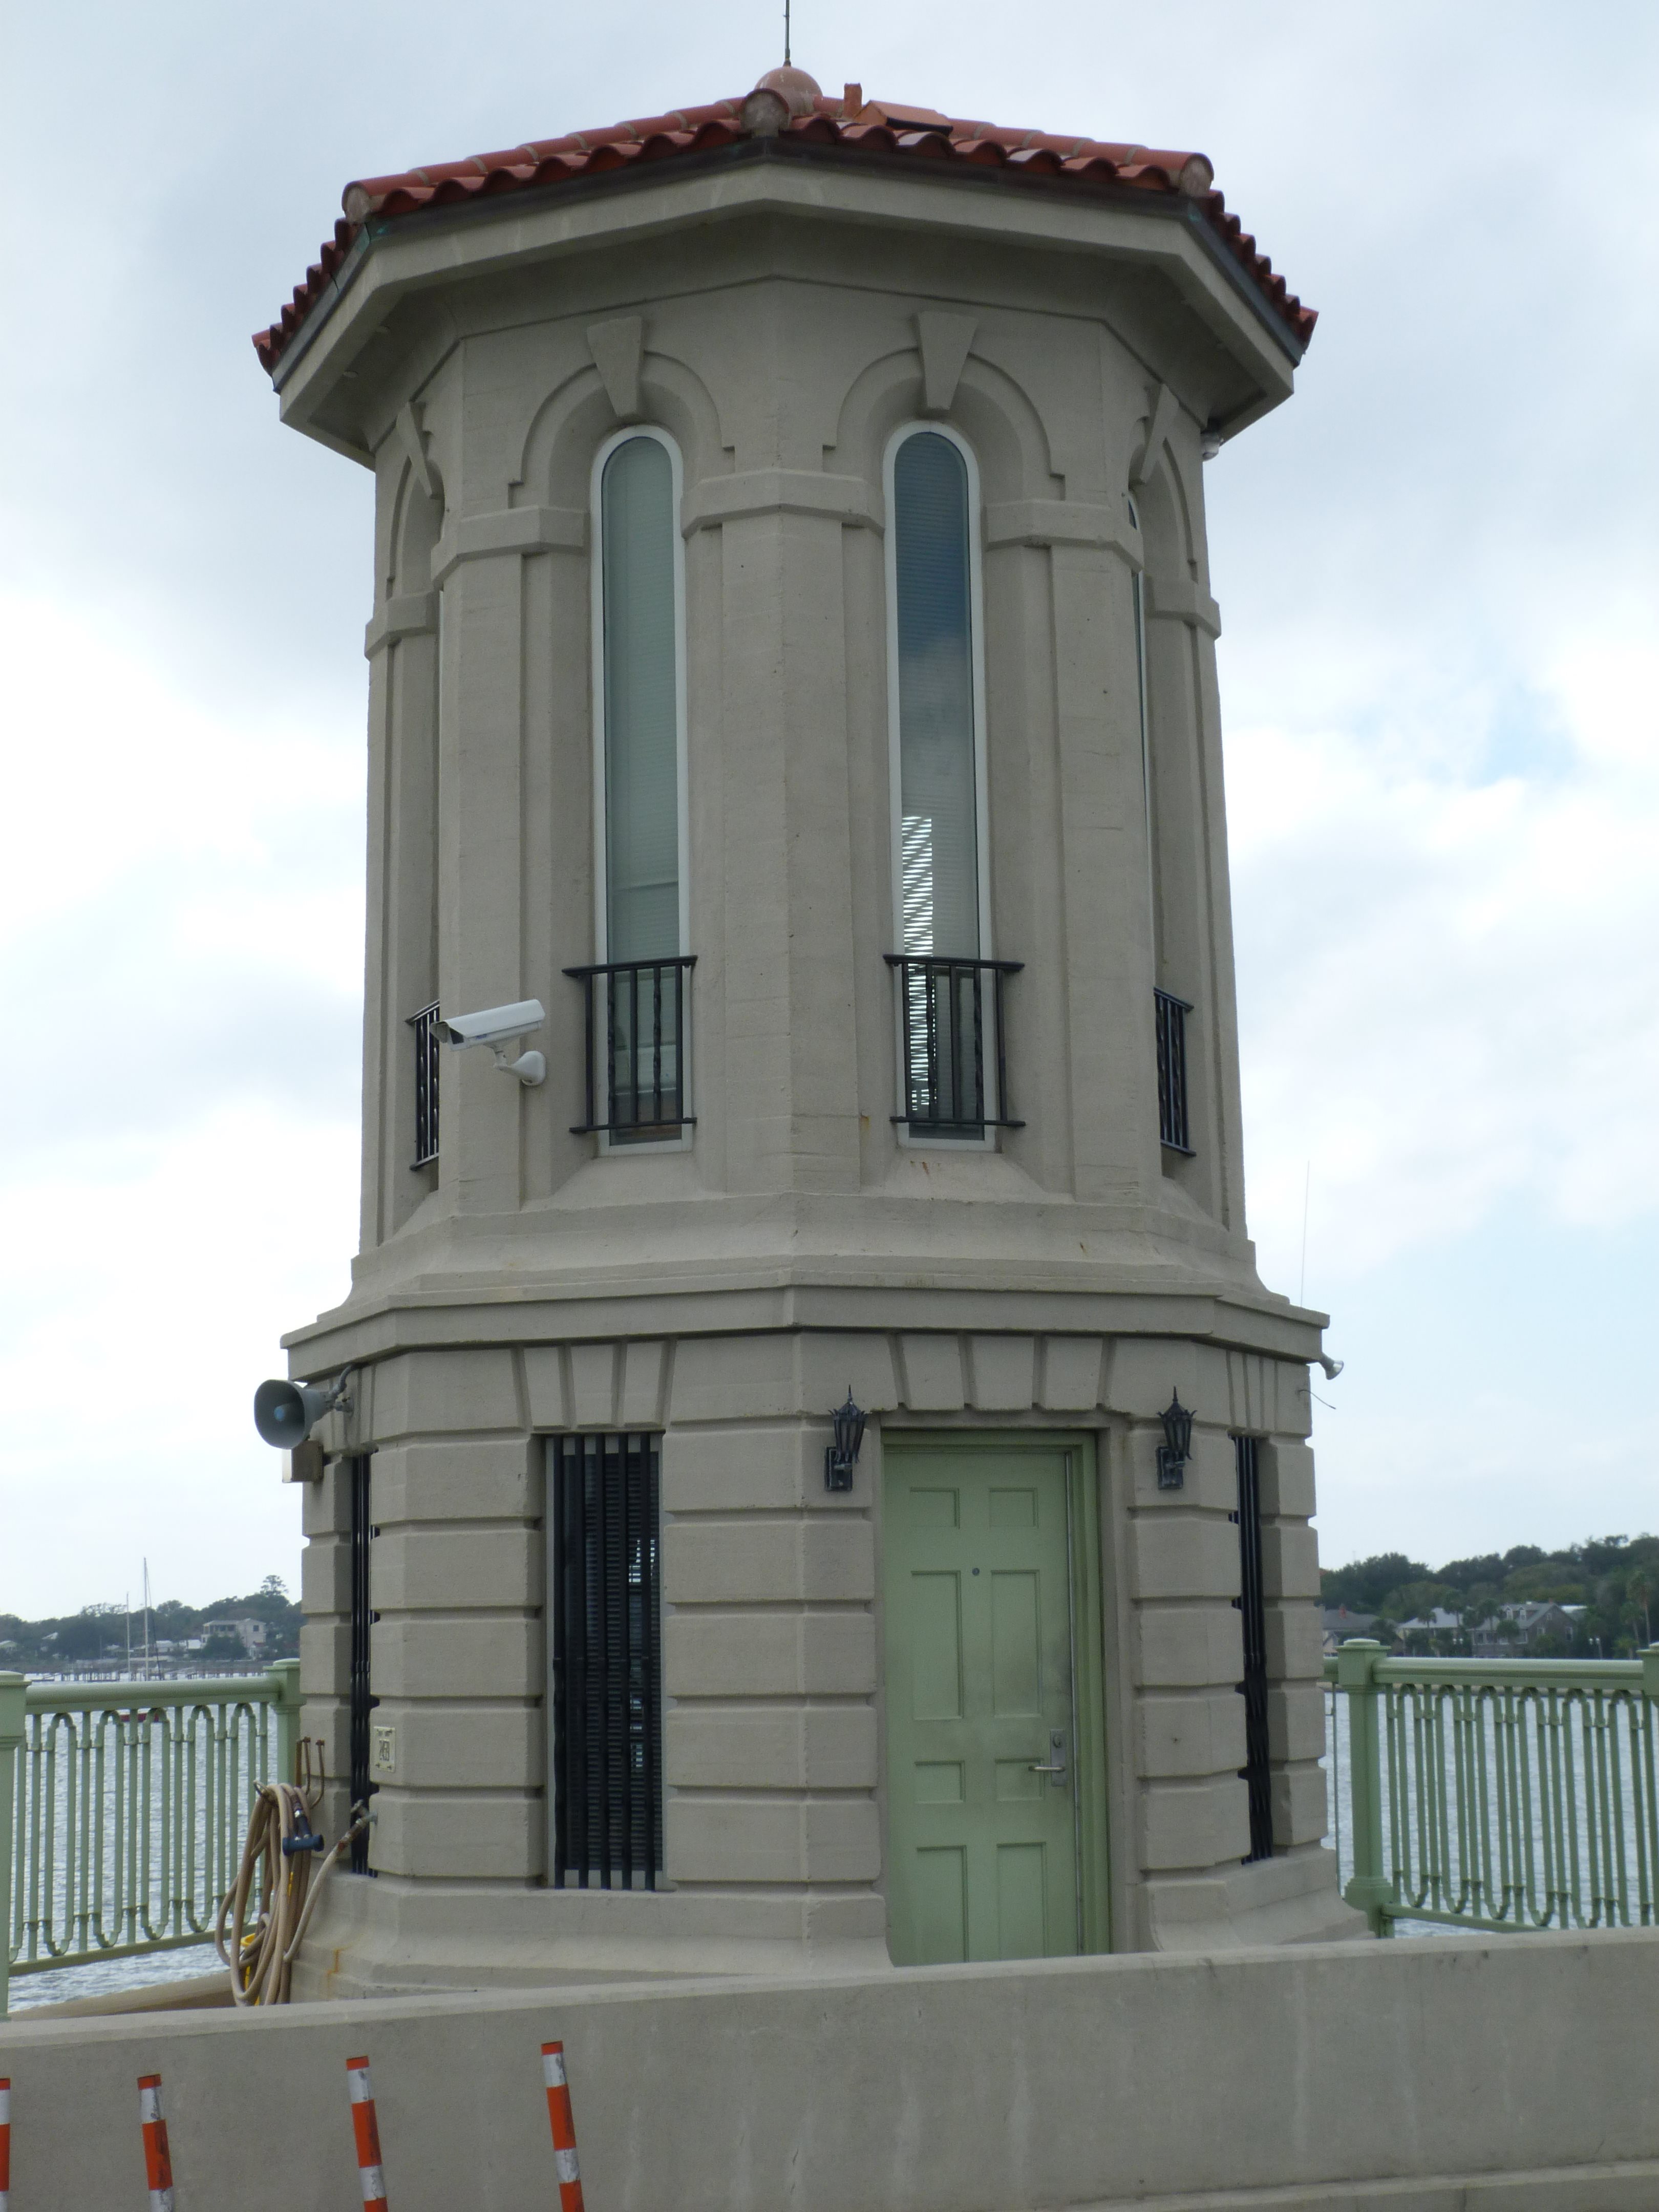

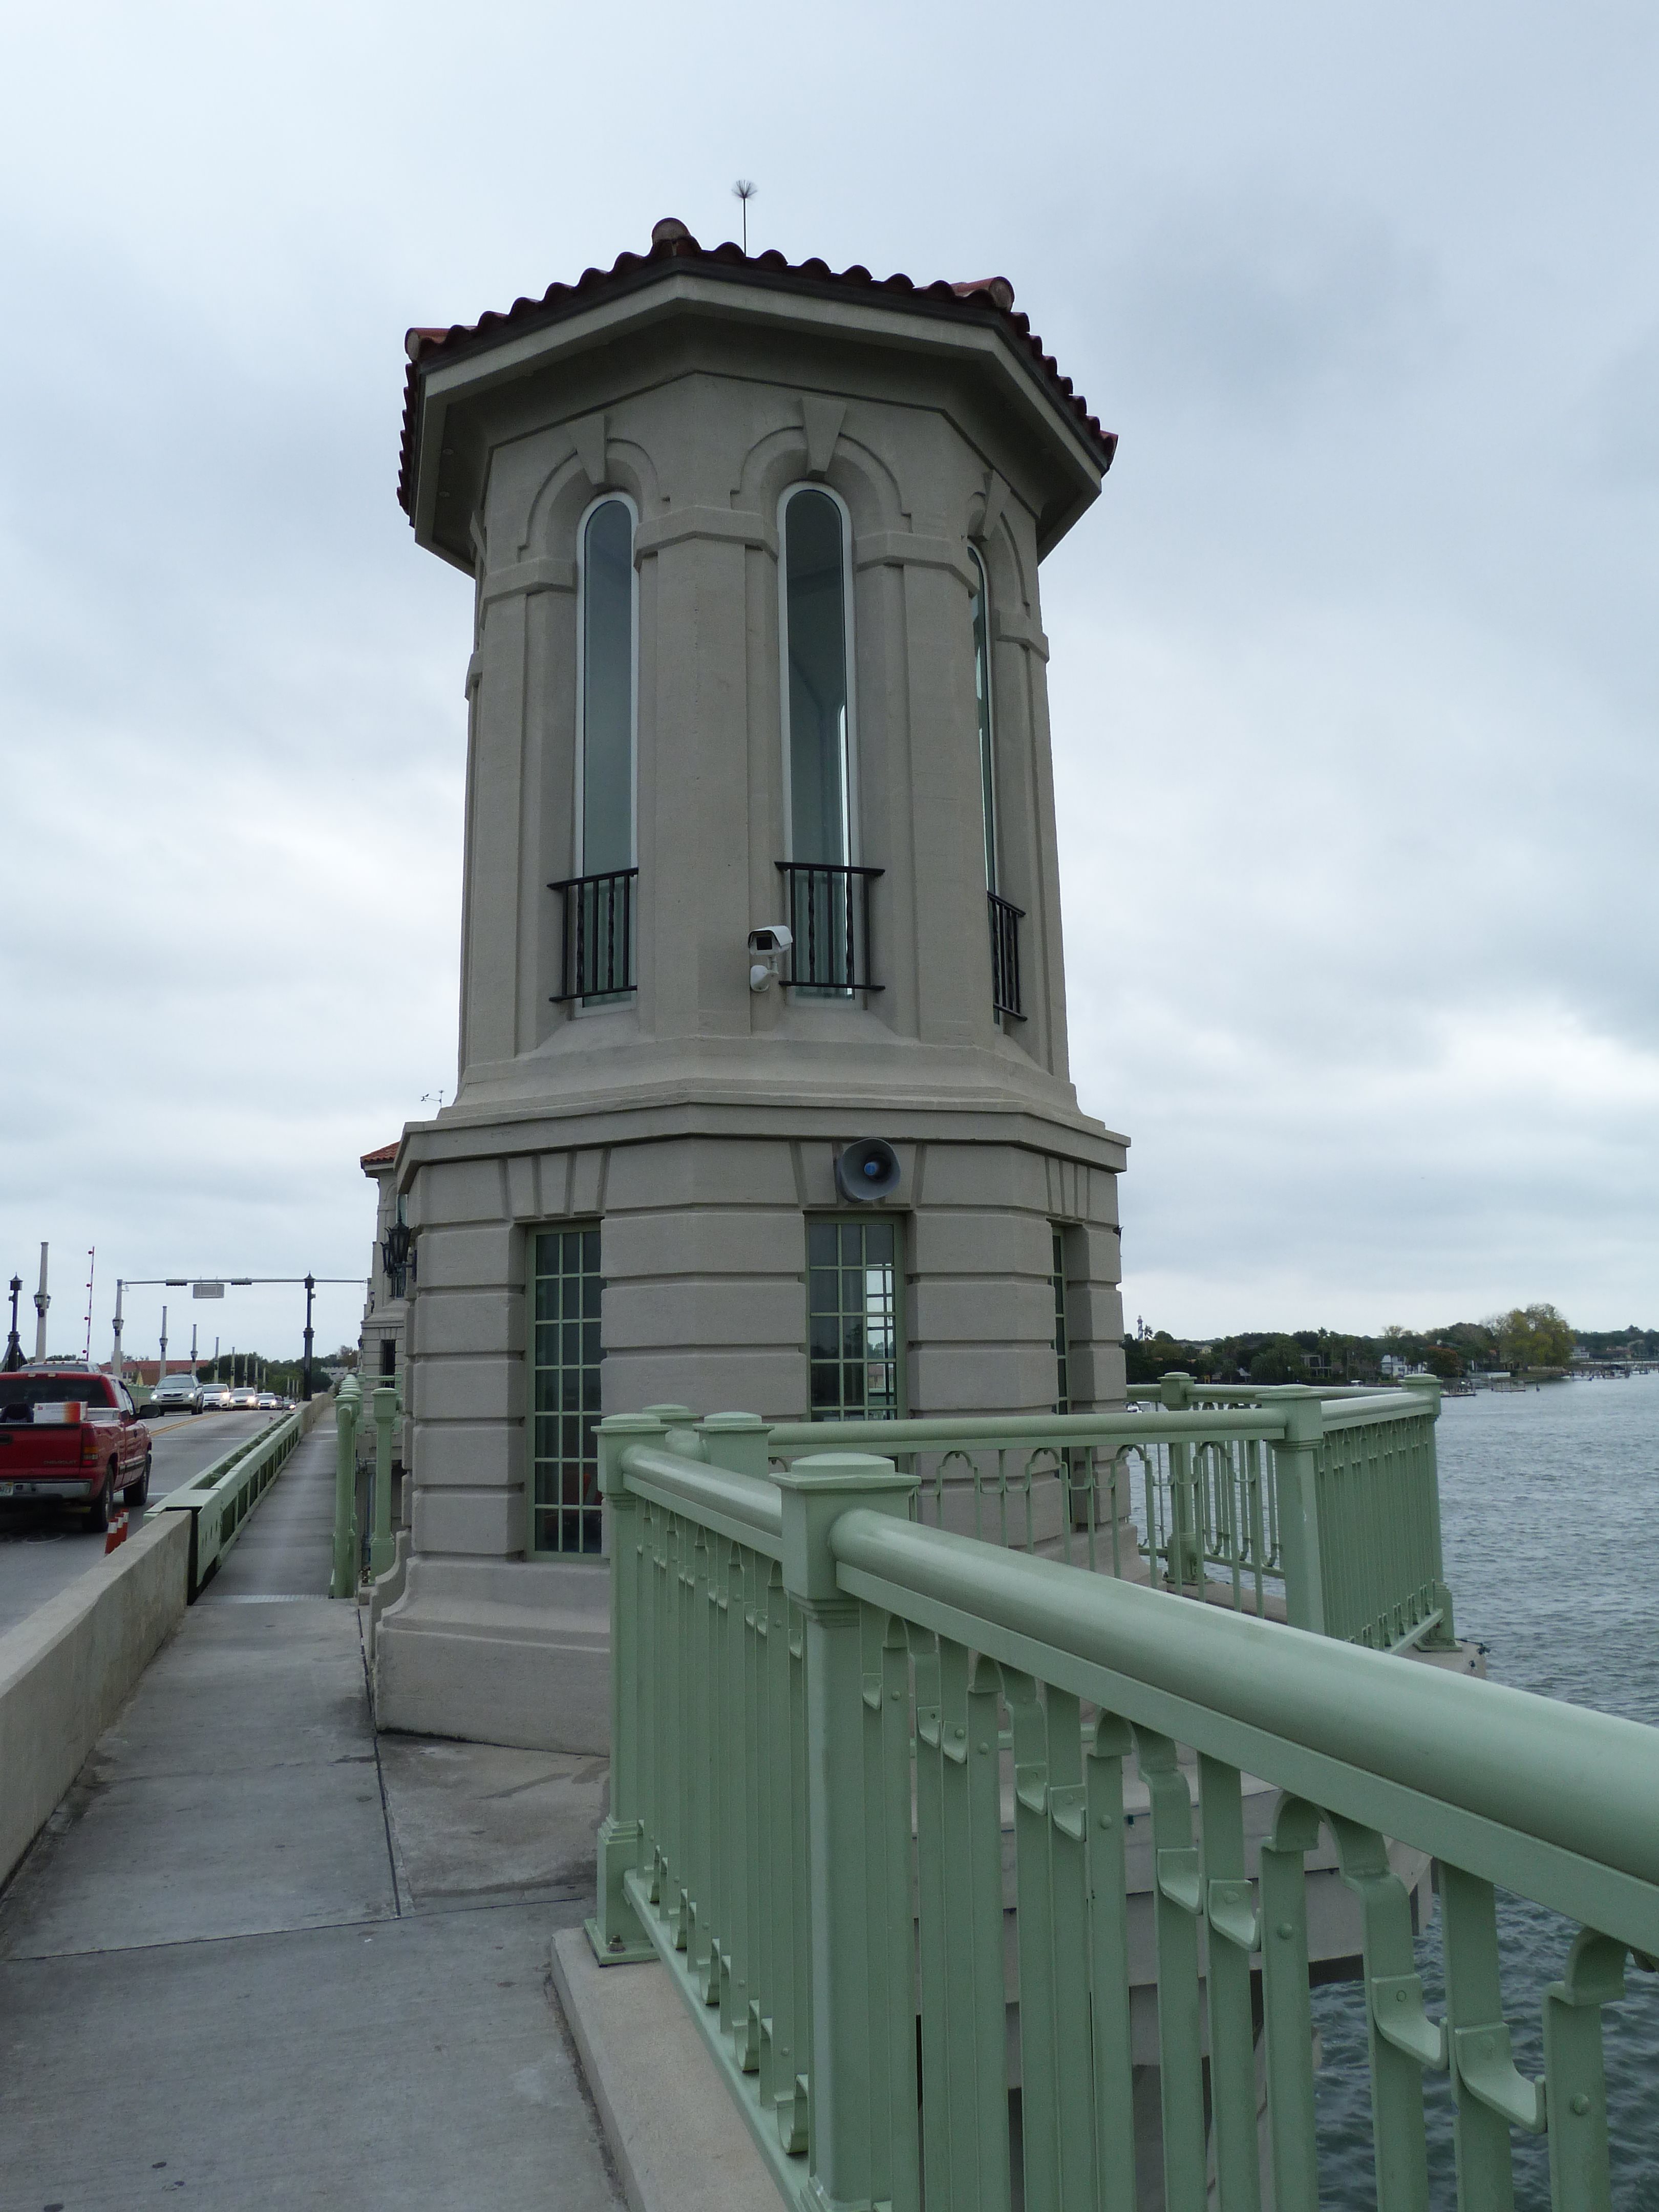


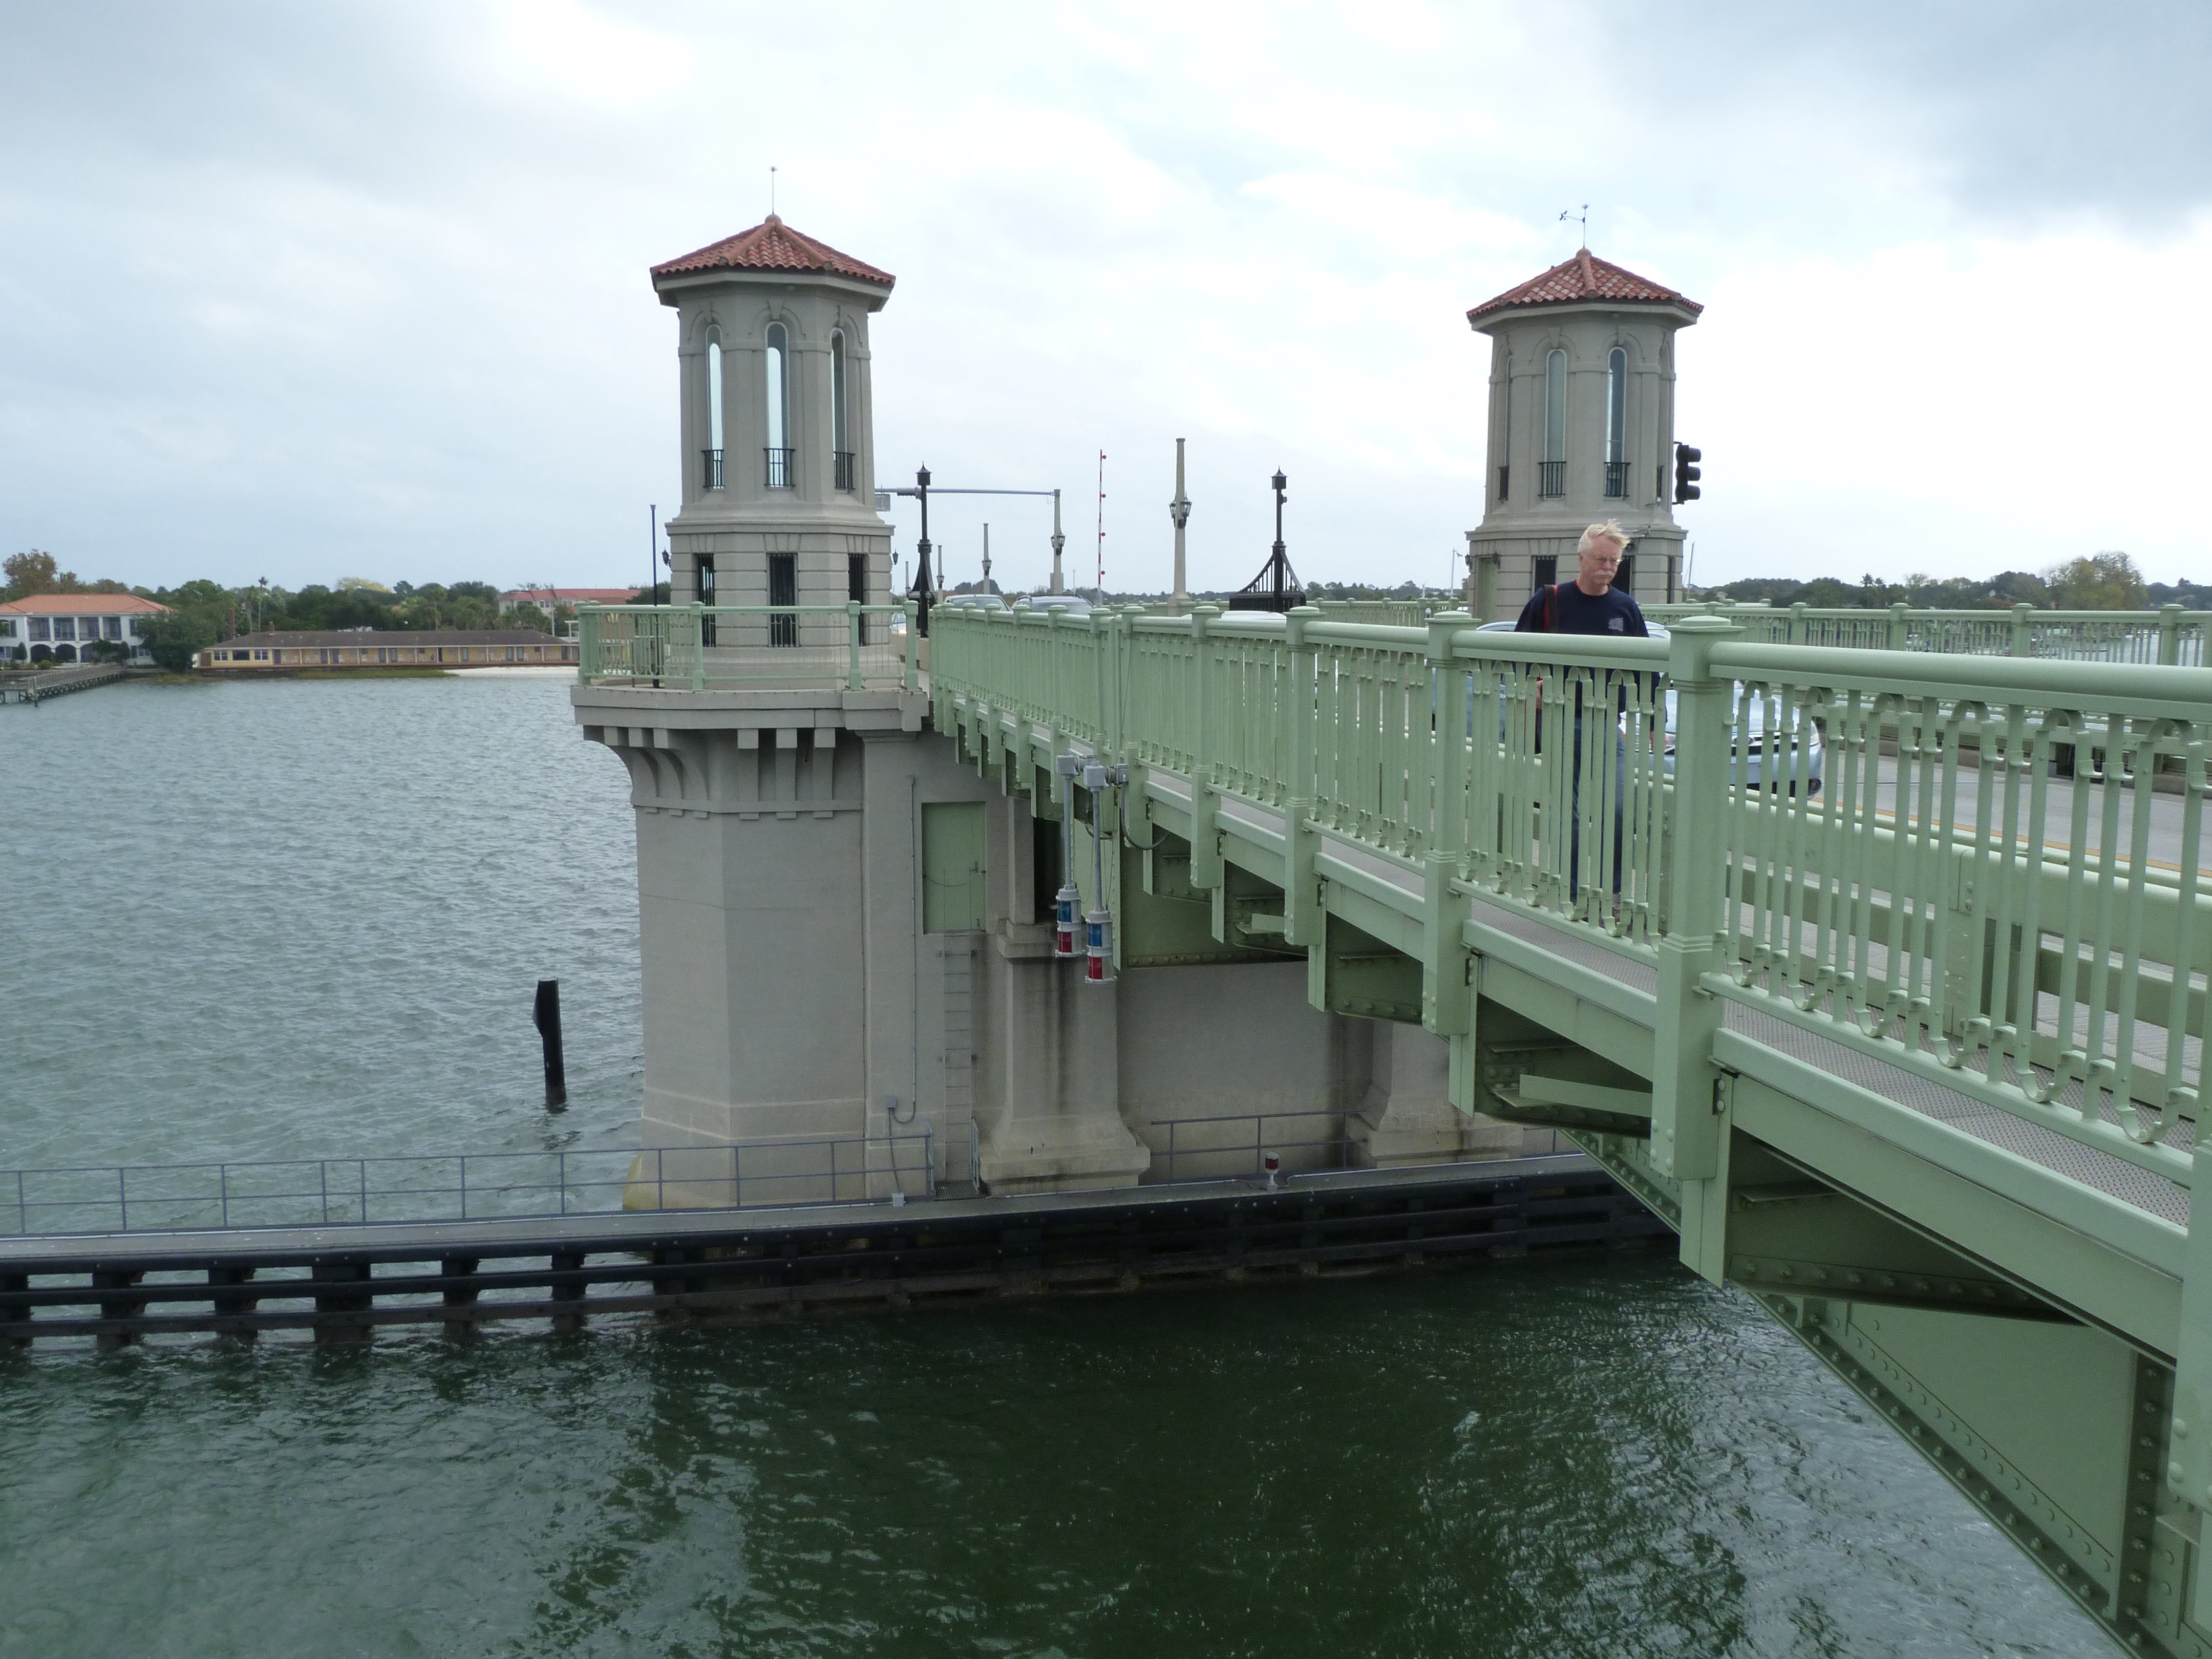
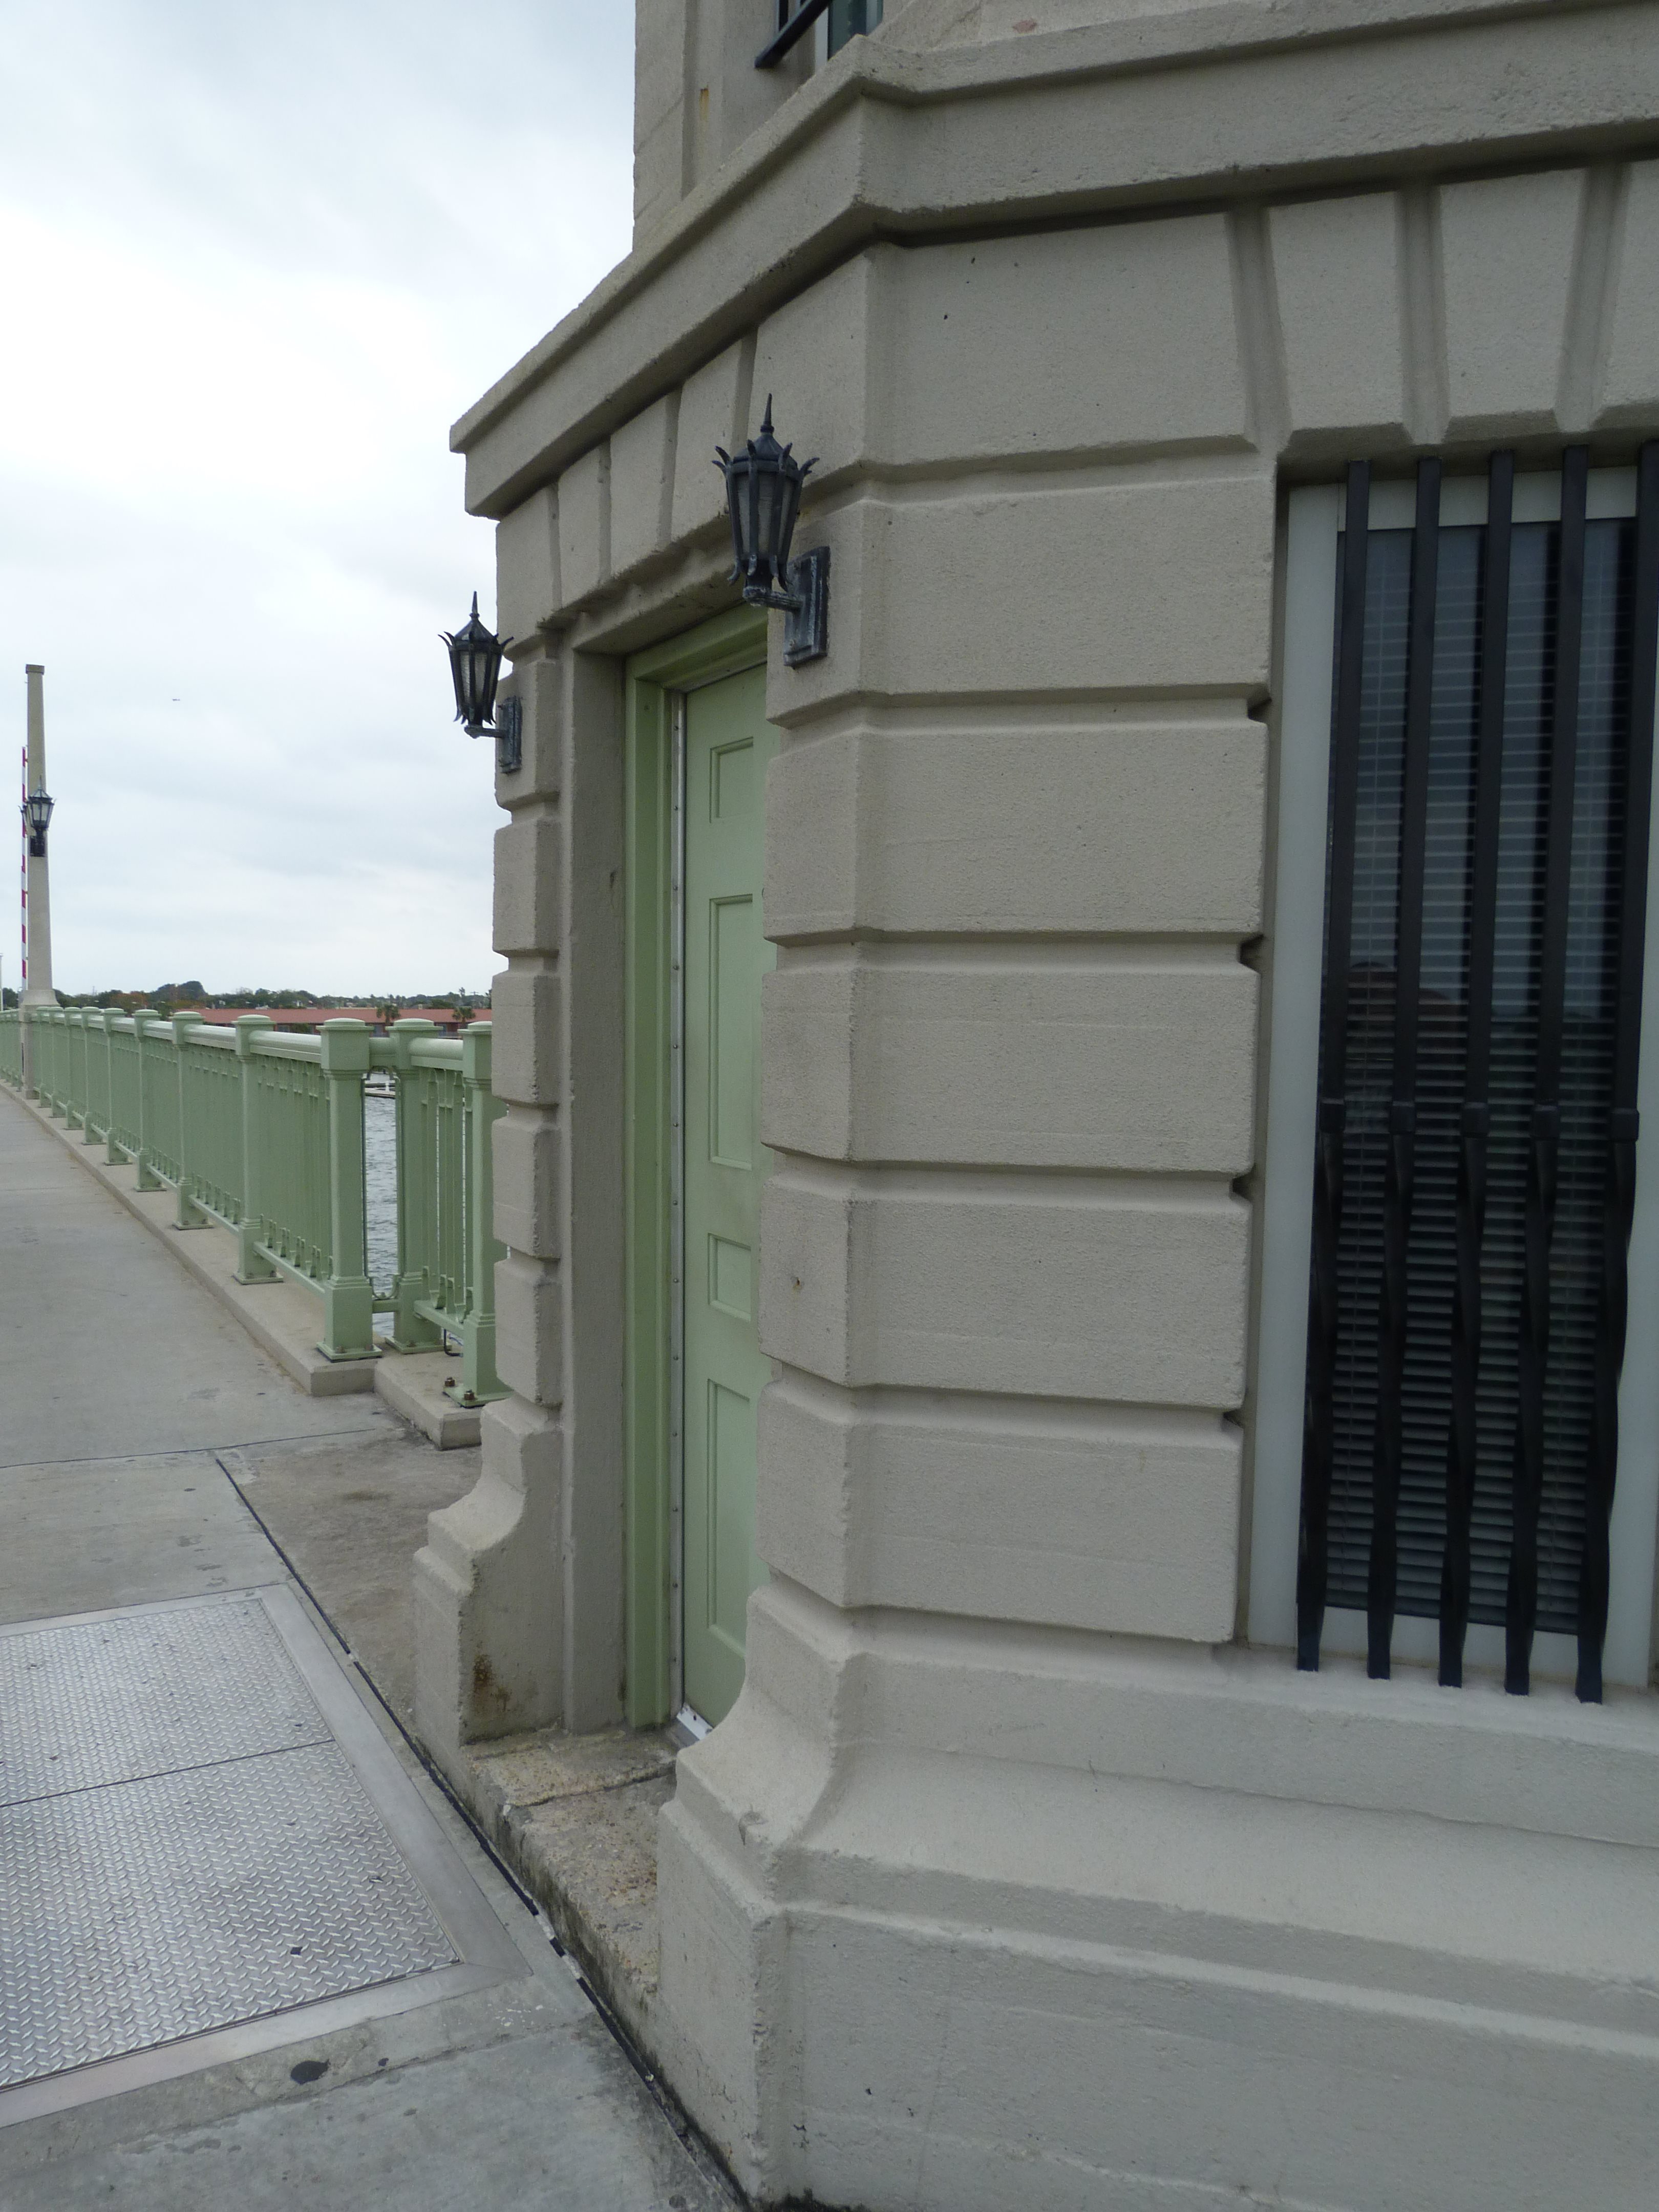
Bridge tender house overview.
![]()
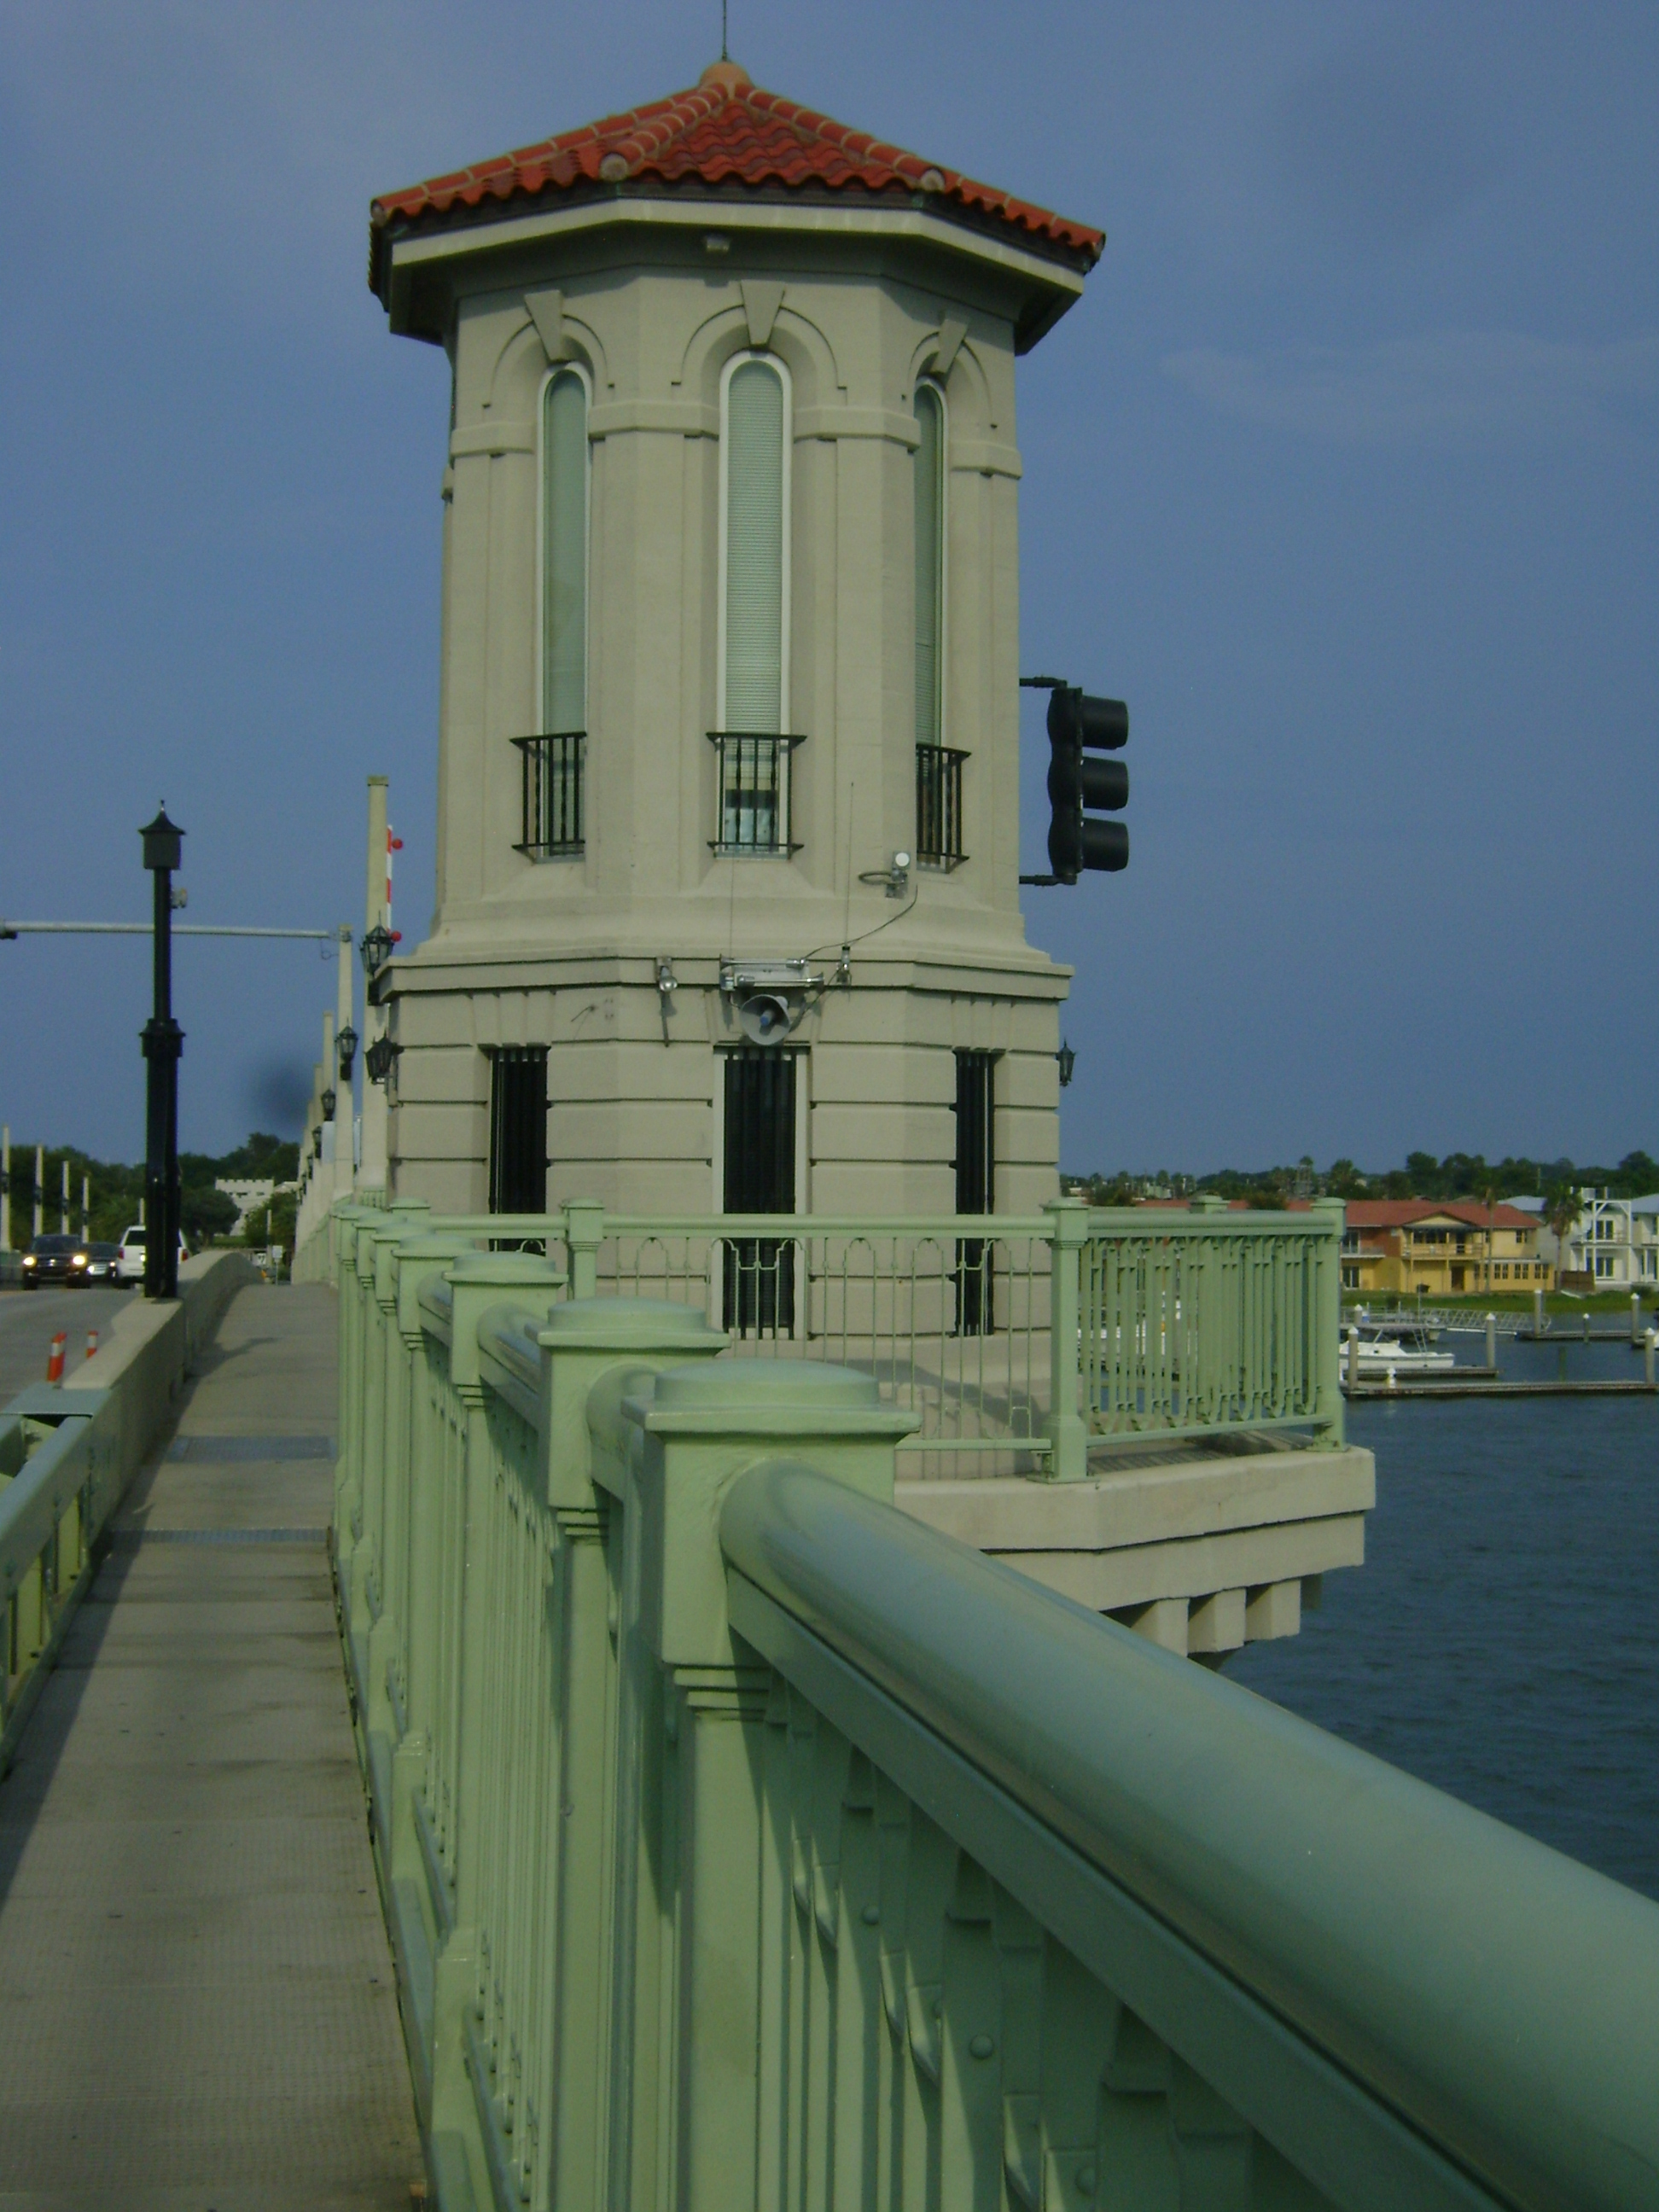
Photo Credit: Marc Scotti
Bridge tender house overview.
![]()

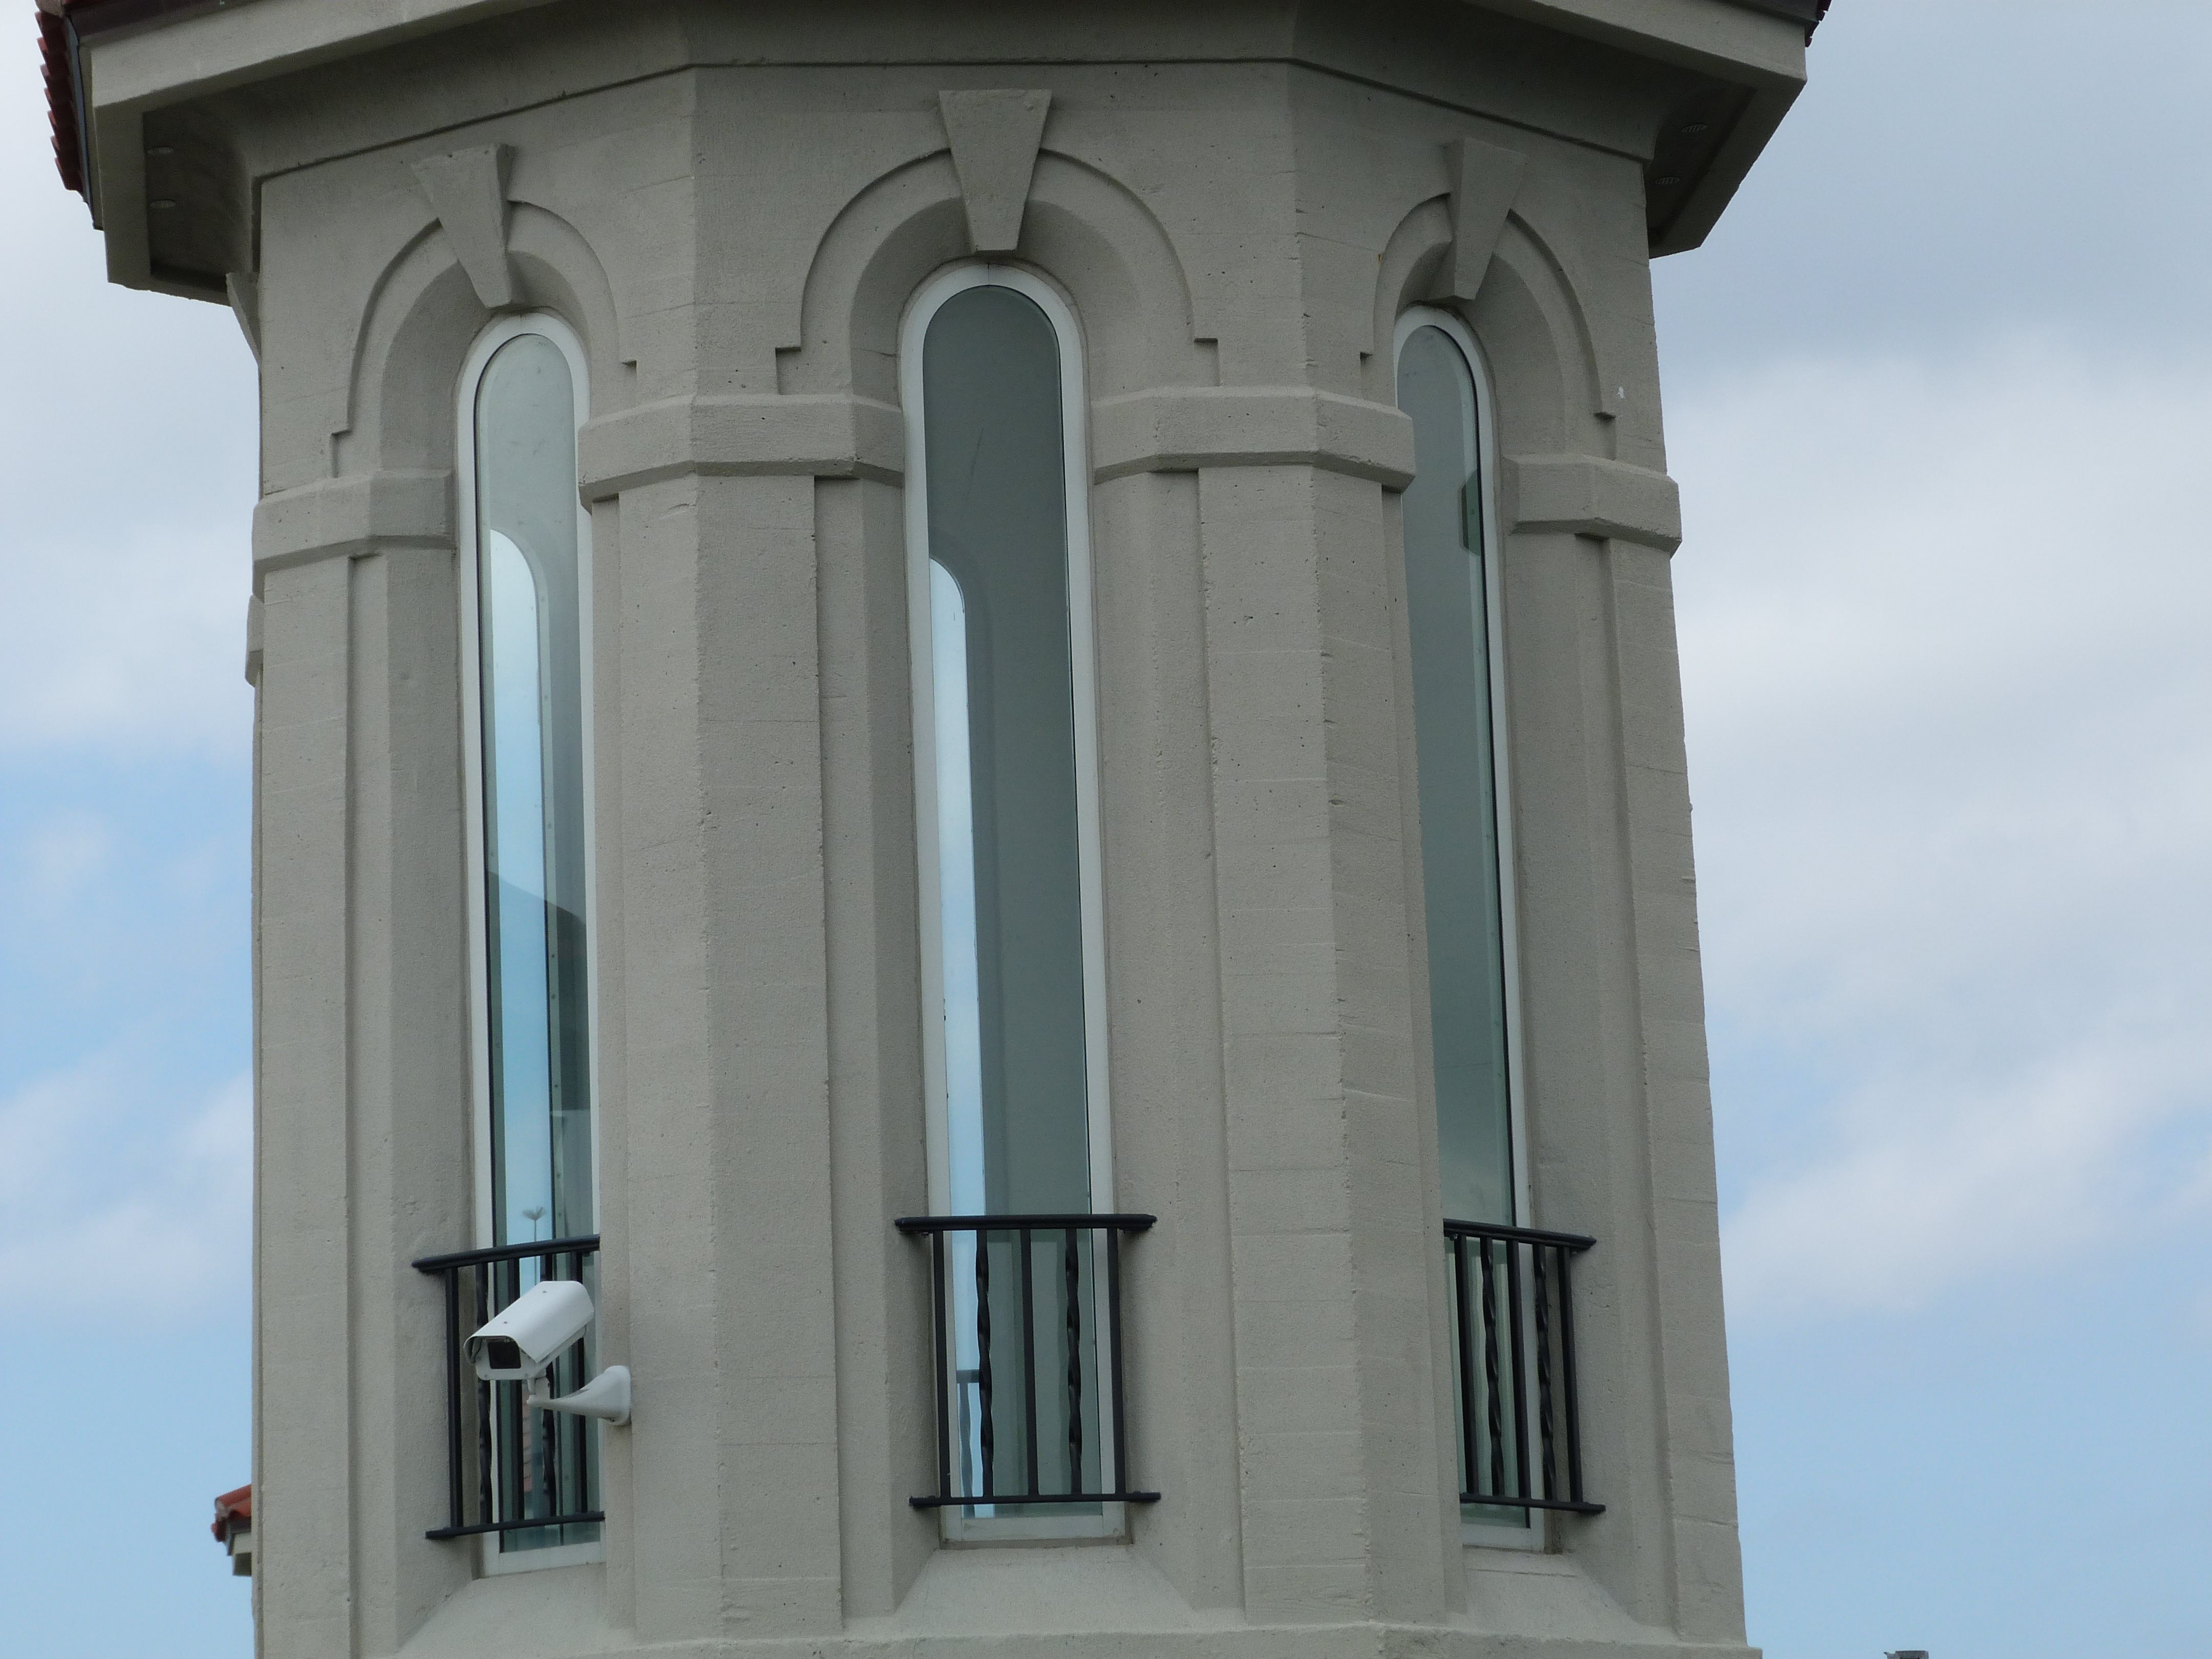


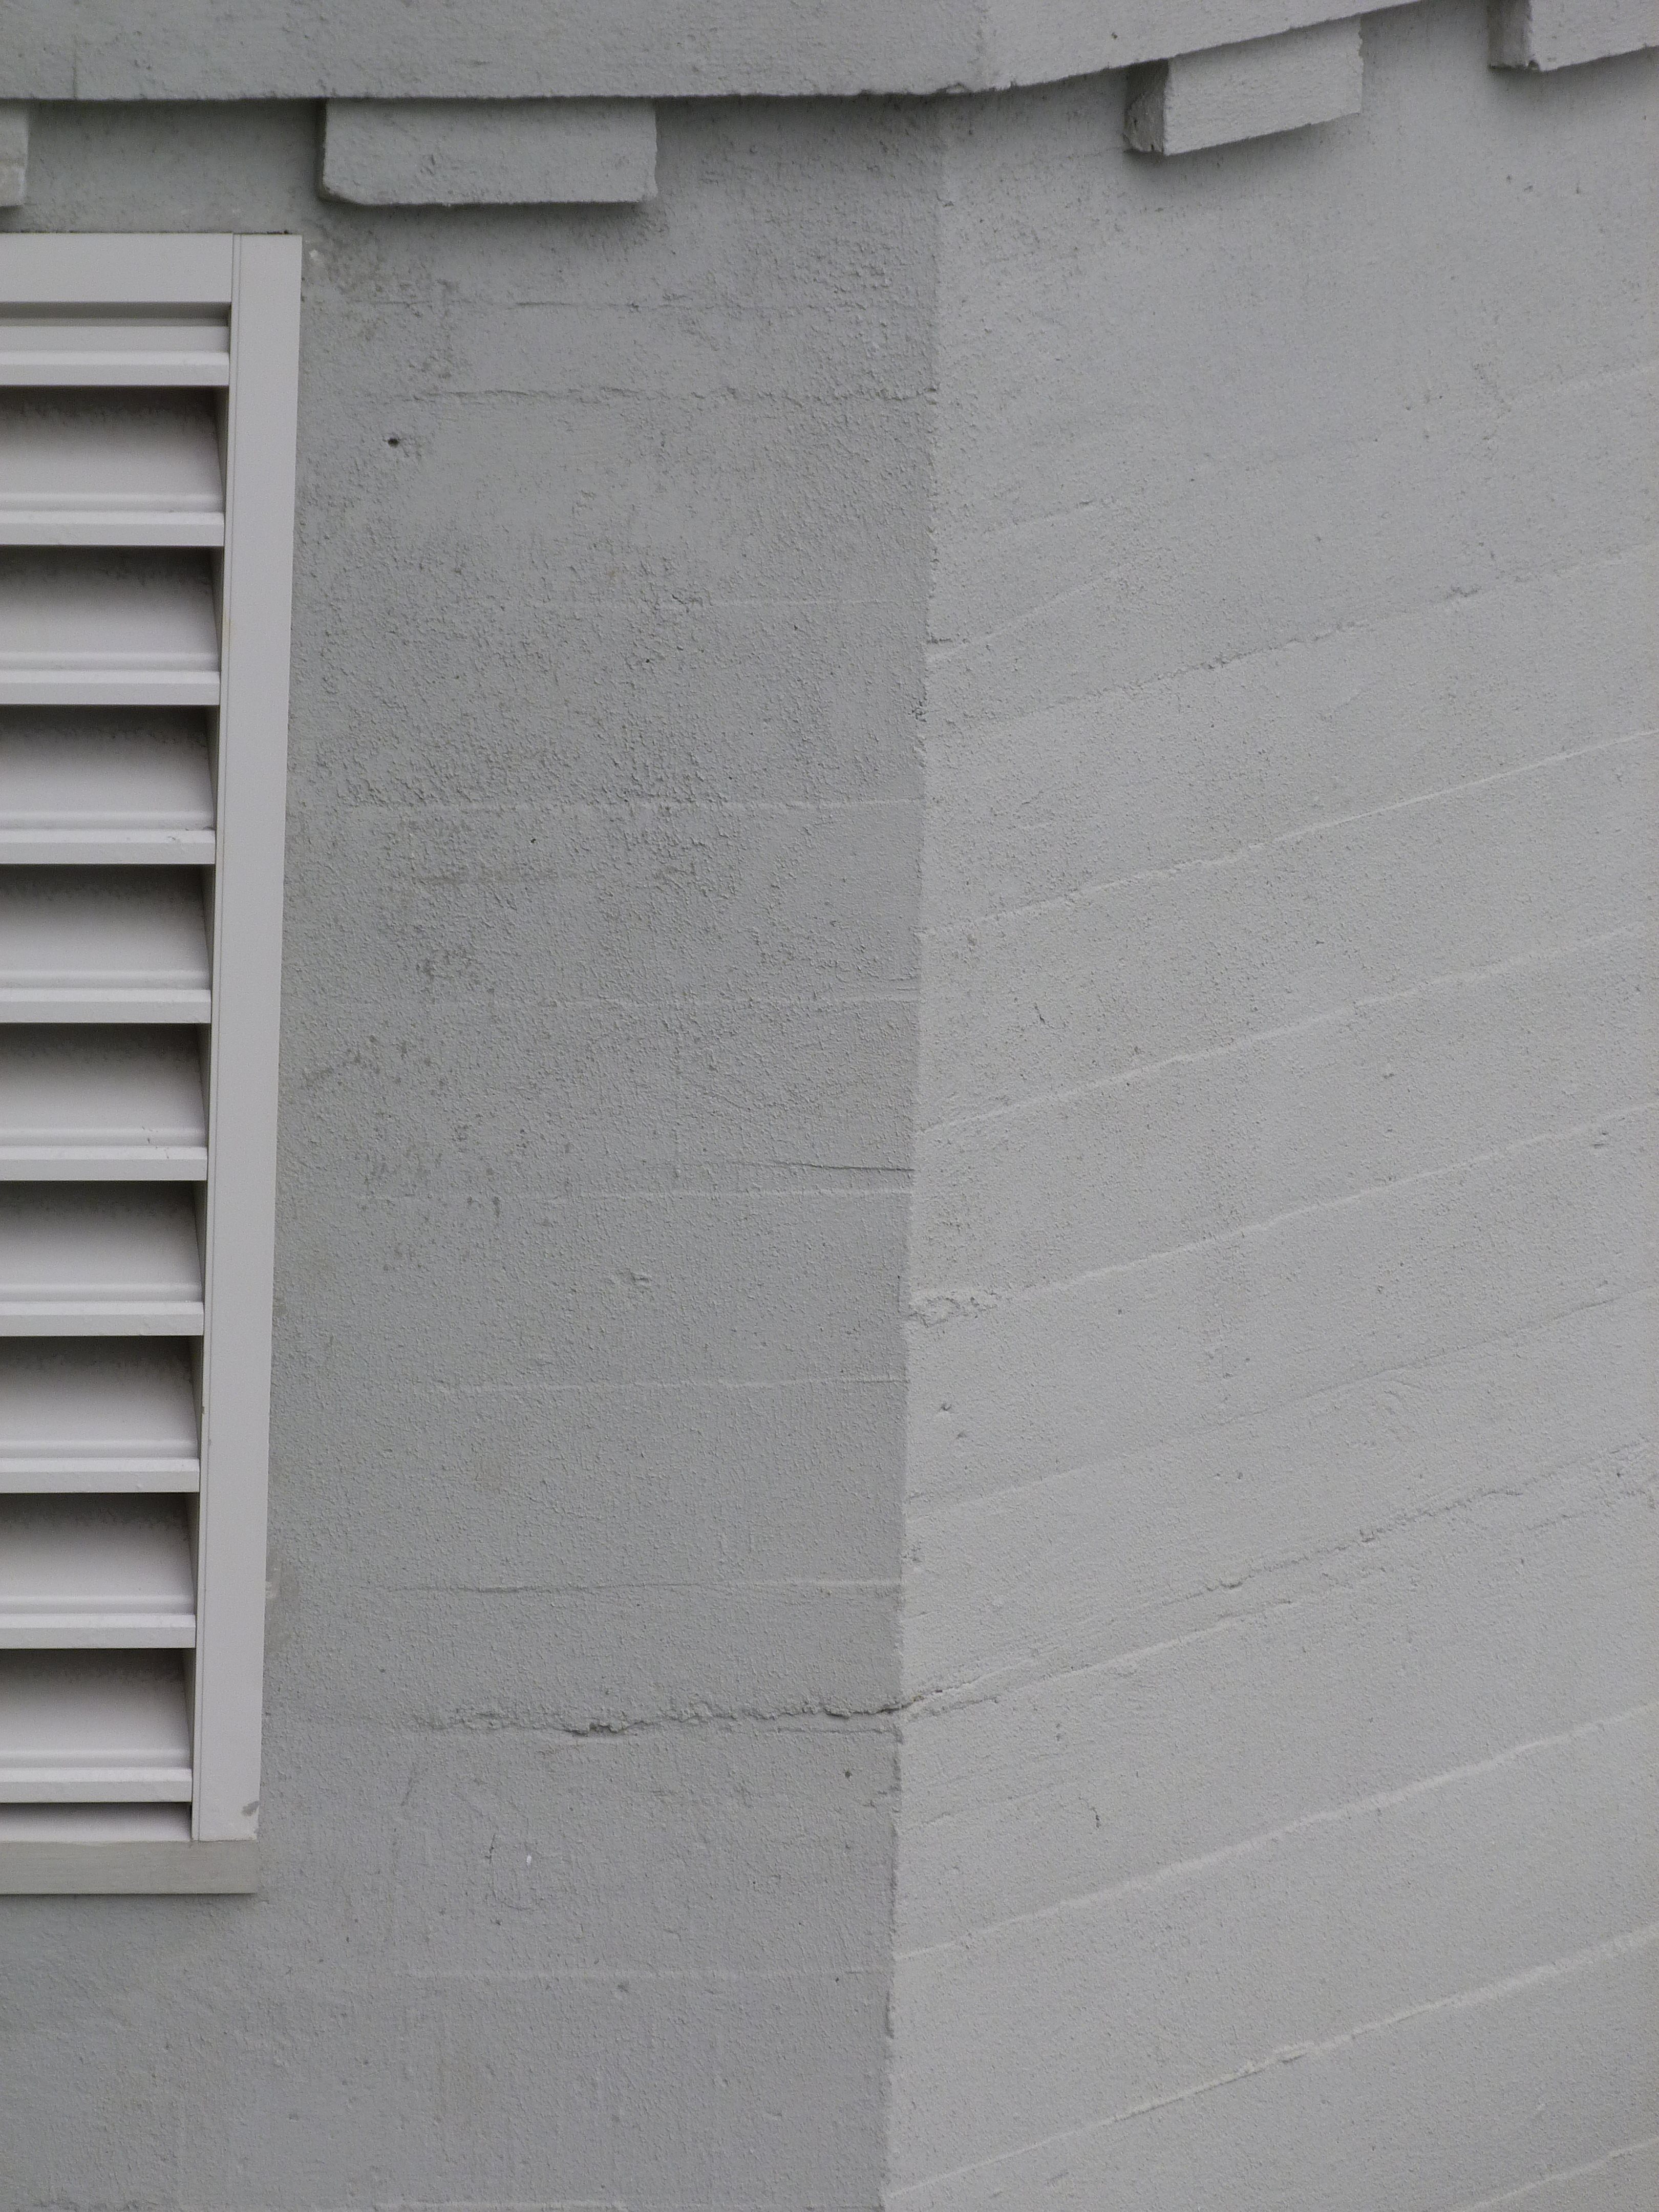
Bridge tender house details.
![]()

Interior view of the deck level of a bridge tender house.
![]()

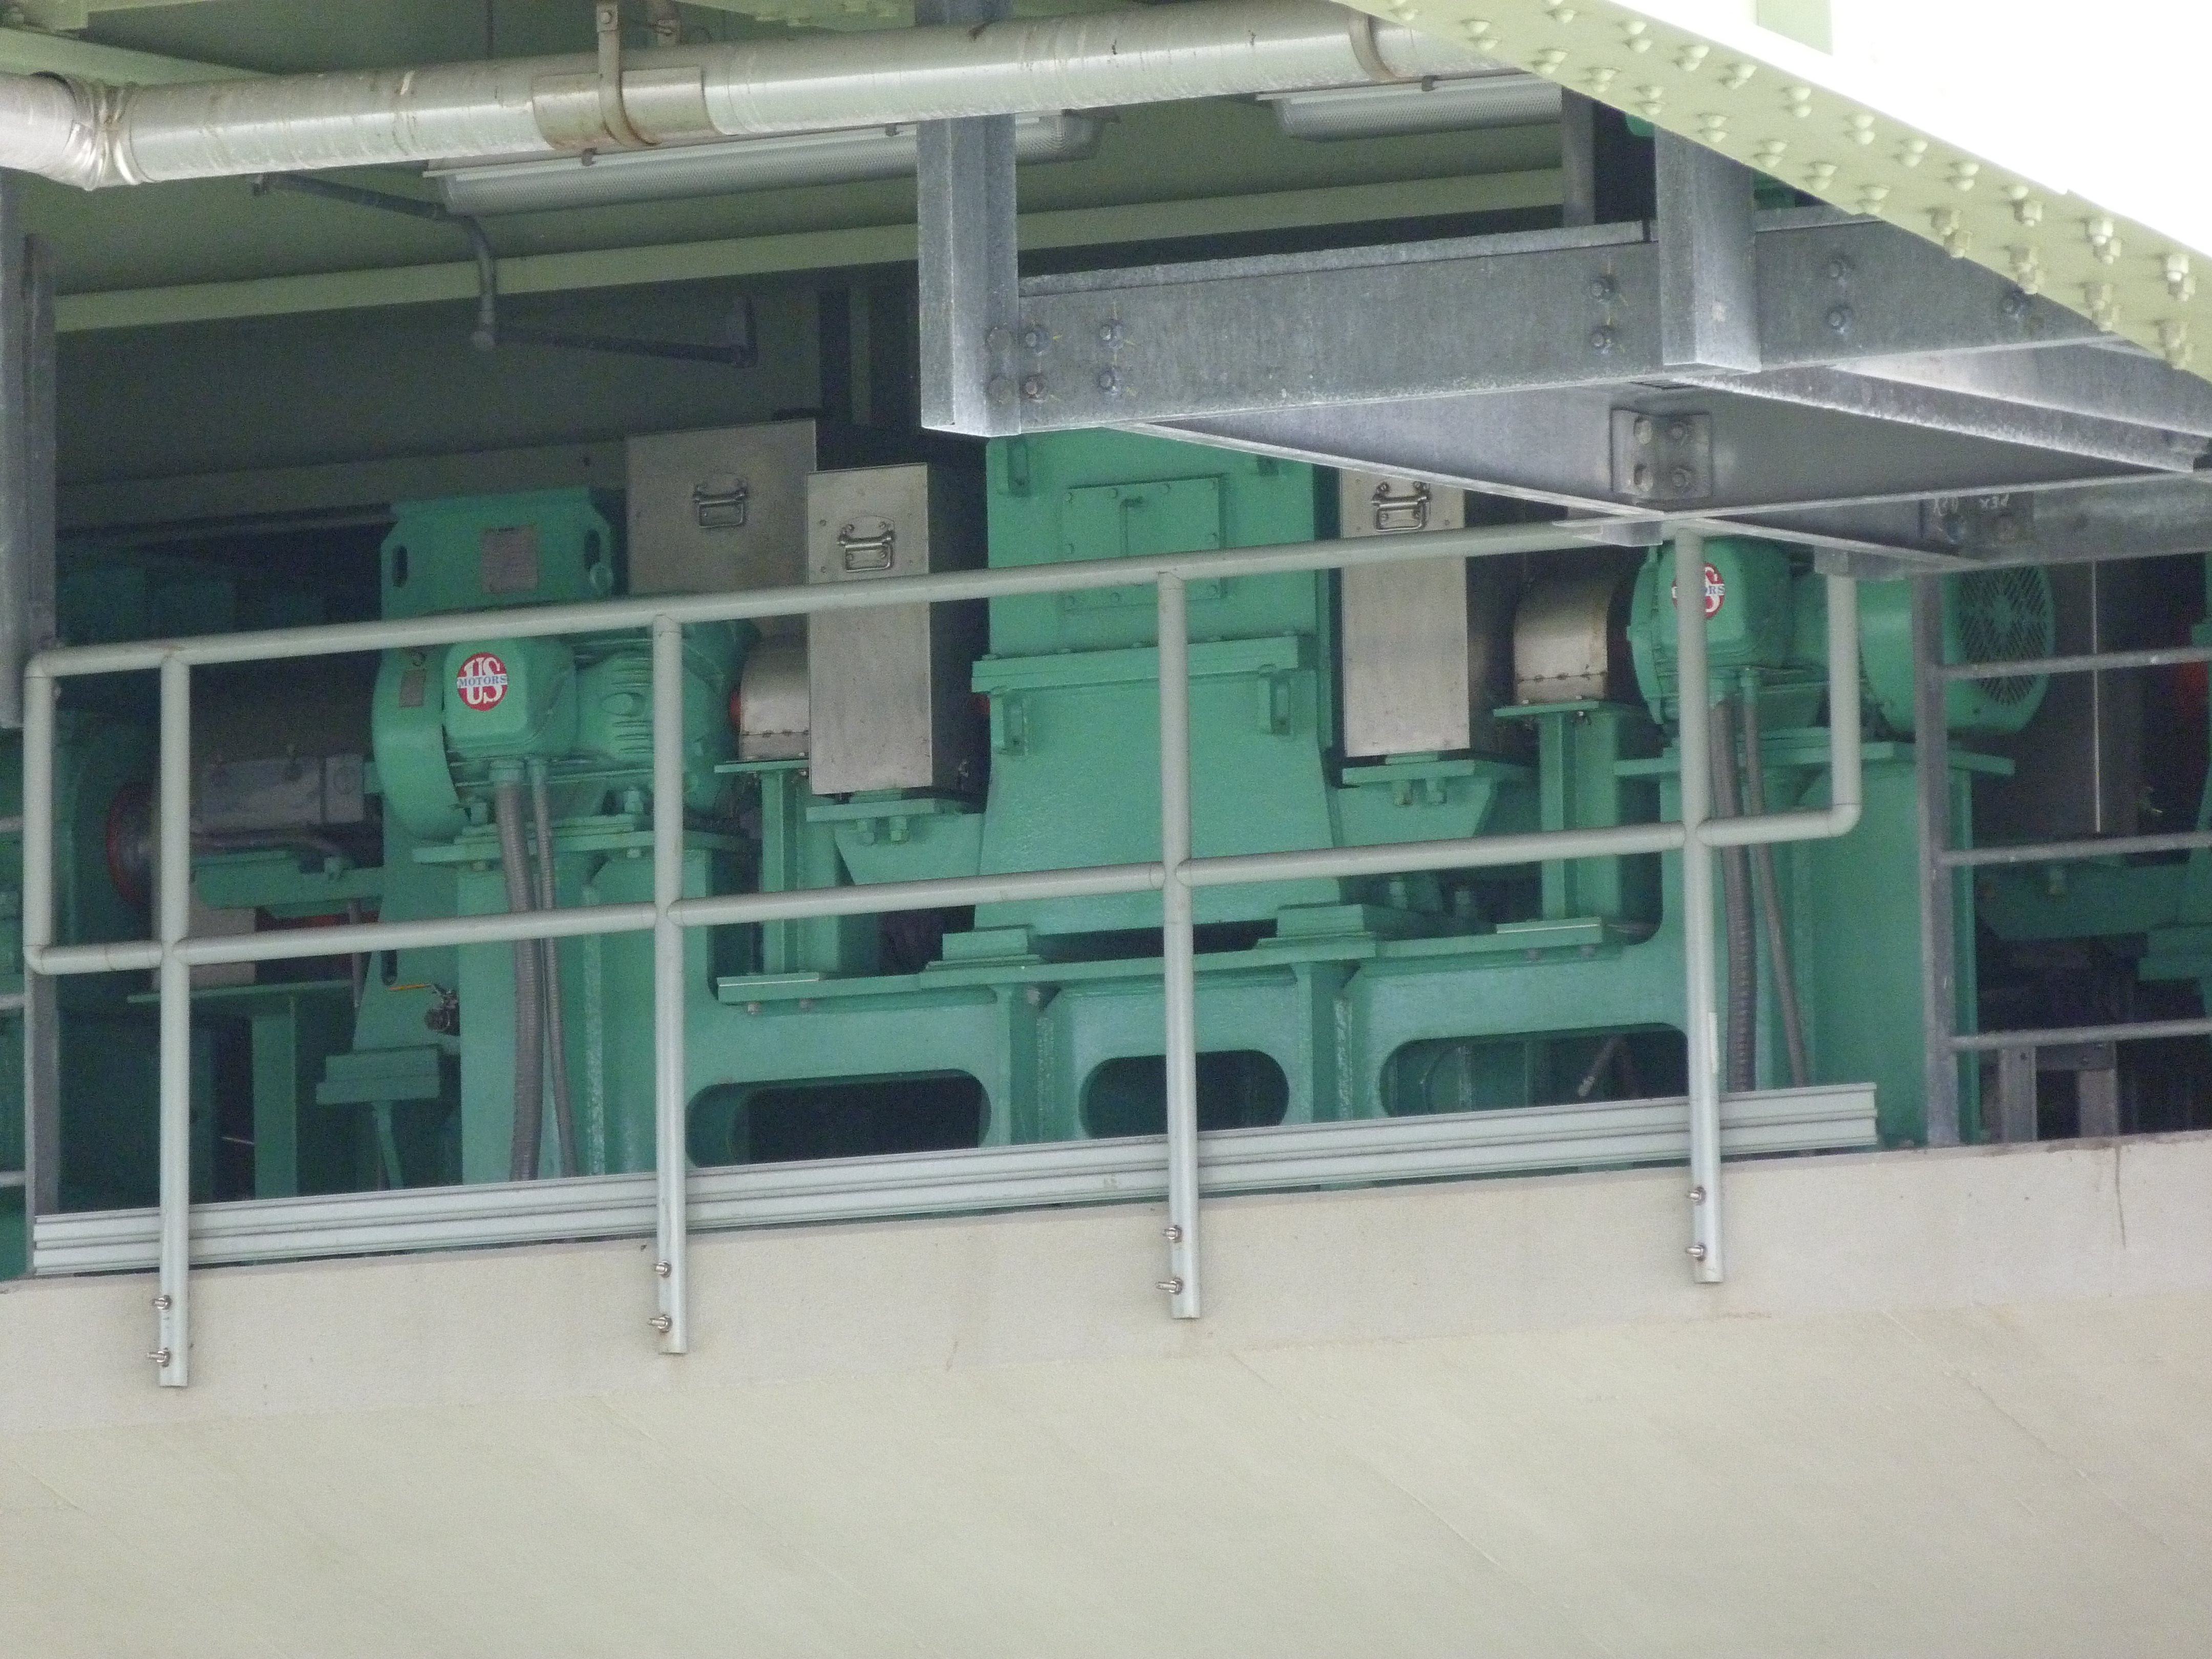
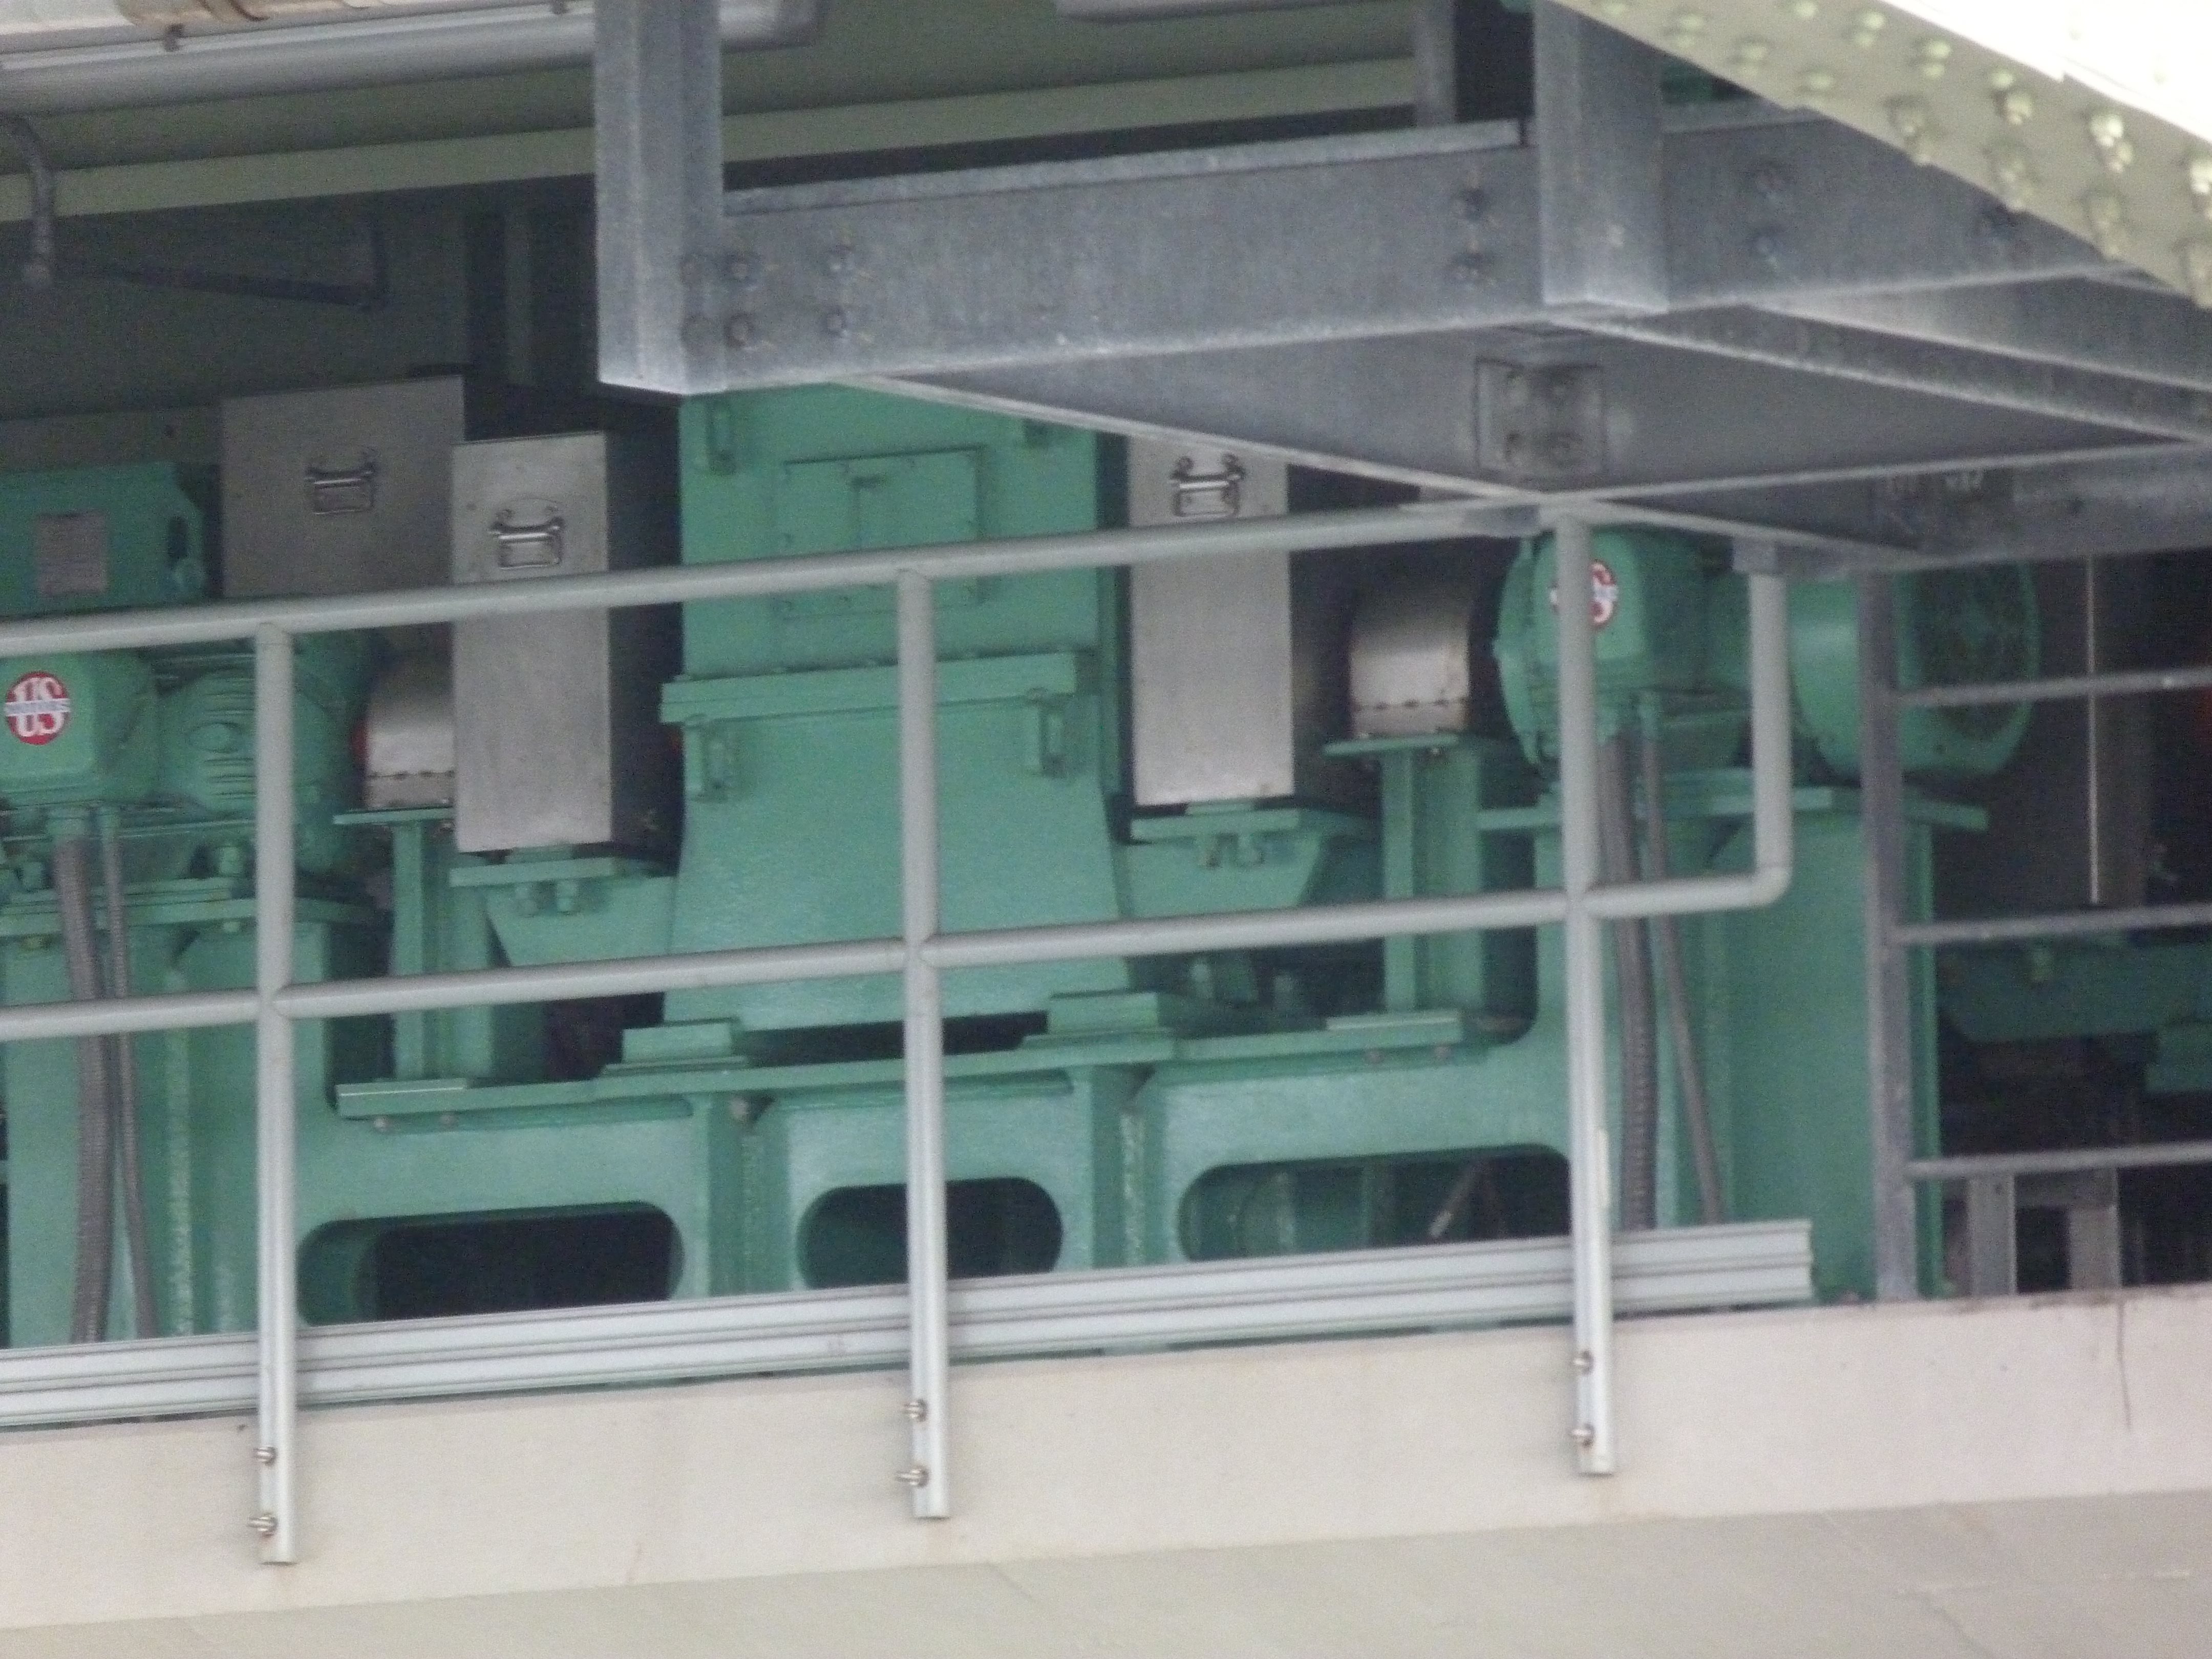
Bascule machinery.
![]()


Views under bascule showing rolling lift detail.
![]()


Bascule span girder details.
![]()

Signs for boats at bascule span.
![]()

Photo Credit: Marc Scotti
Signs for boats at bascule span.
![]()

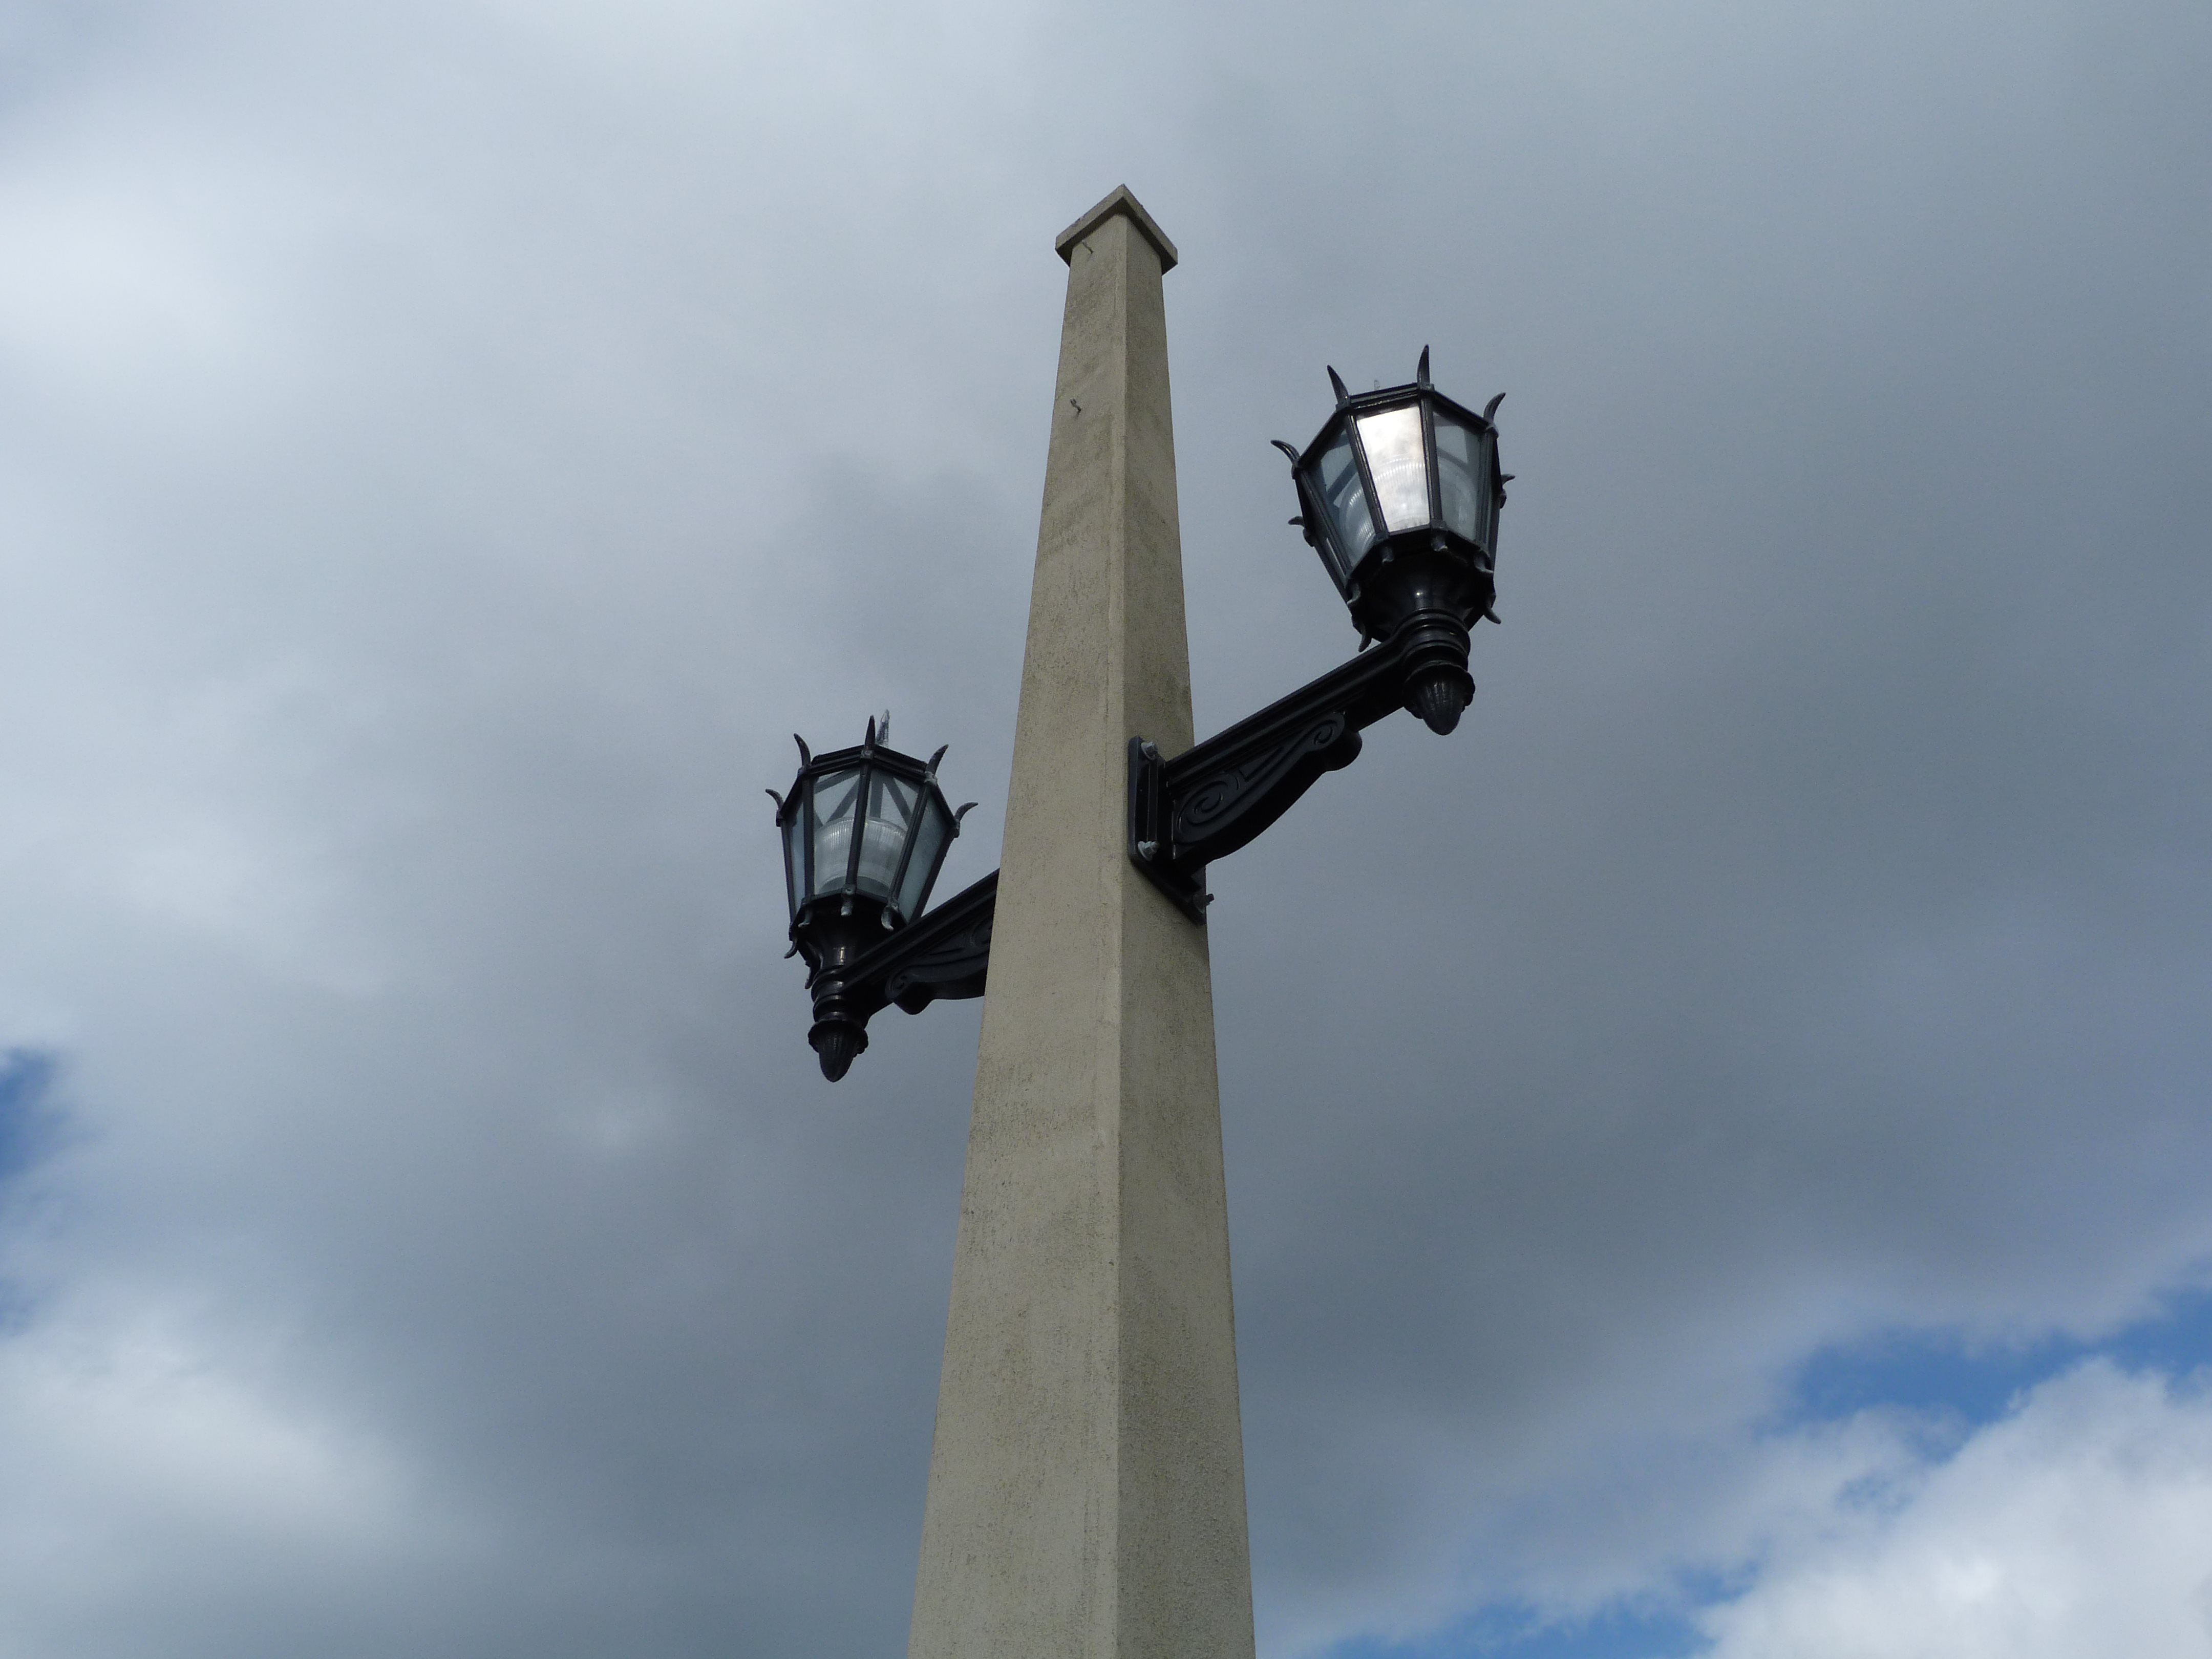
Light standards.
![]()
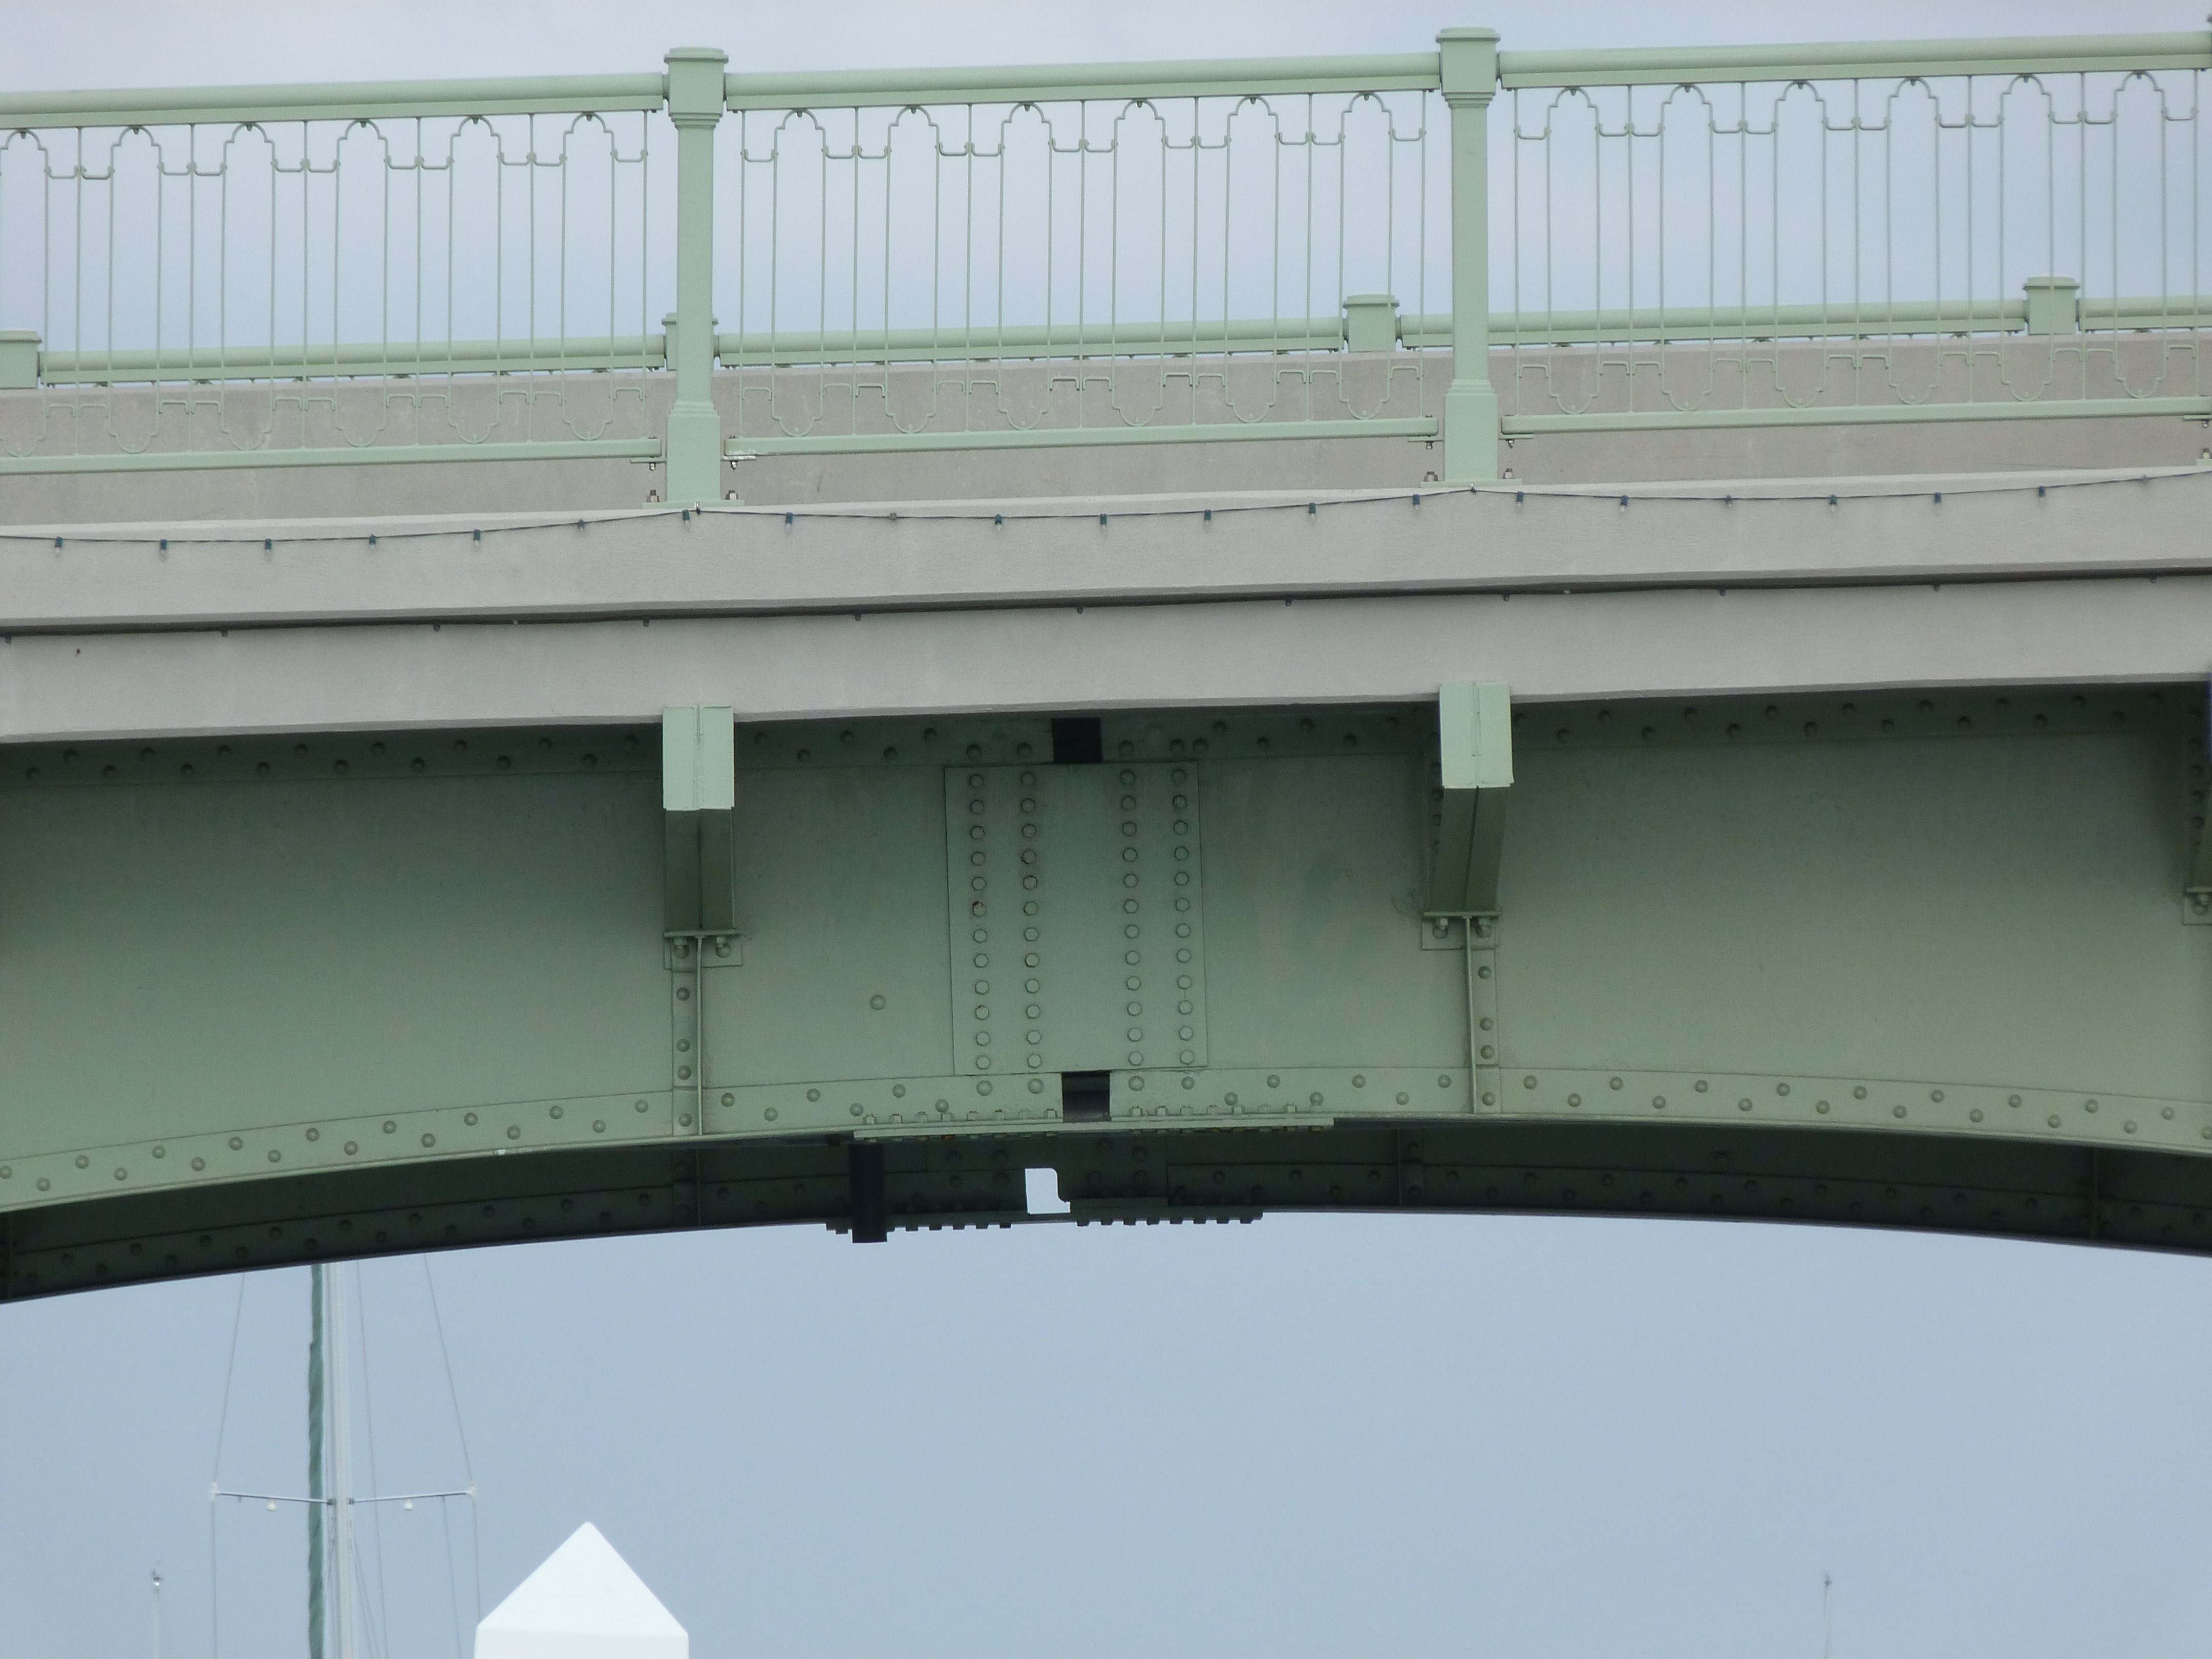
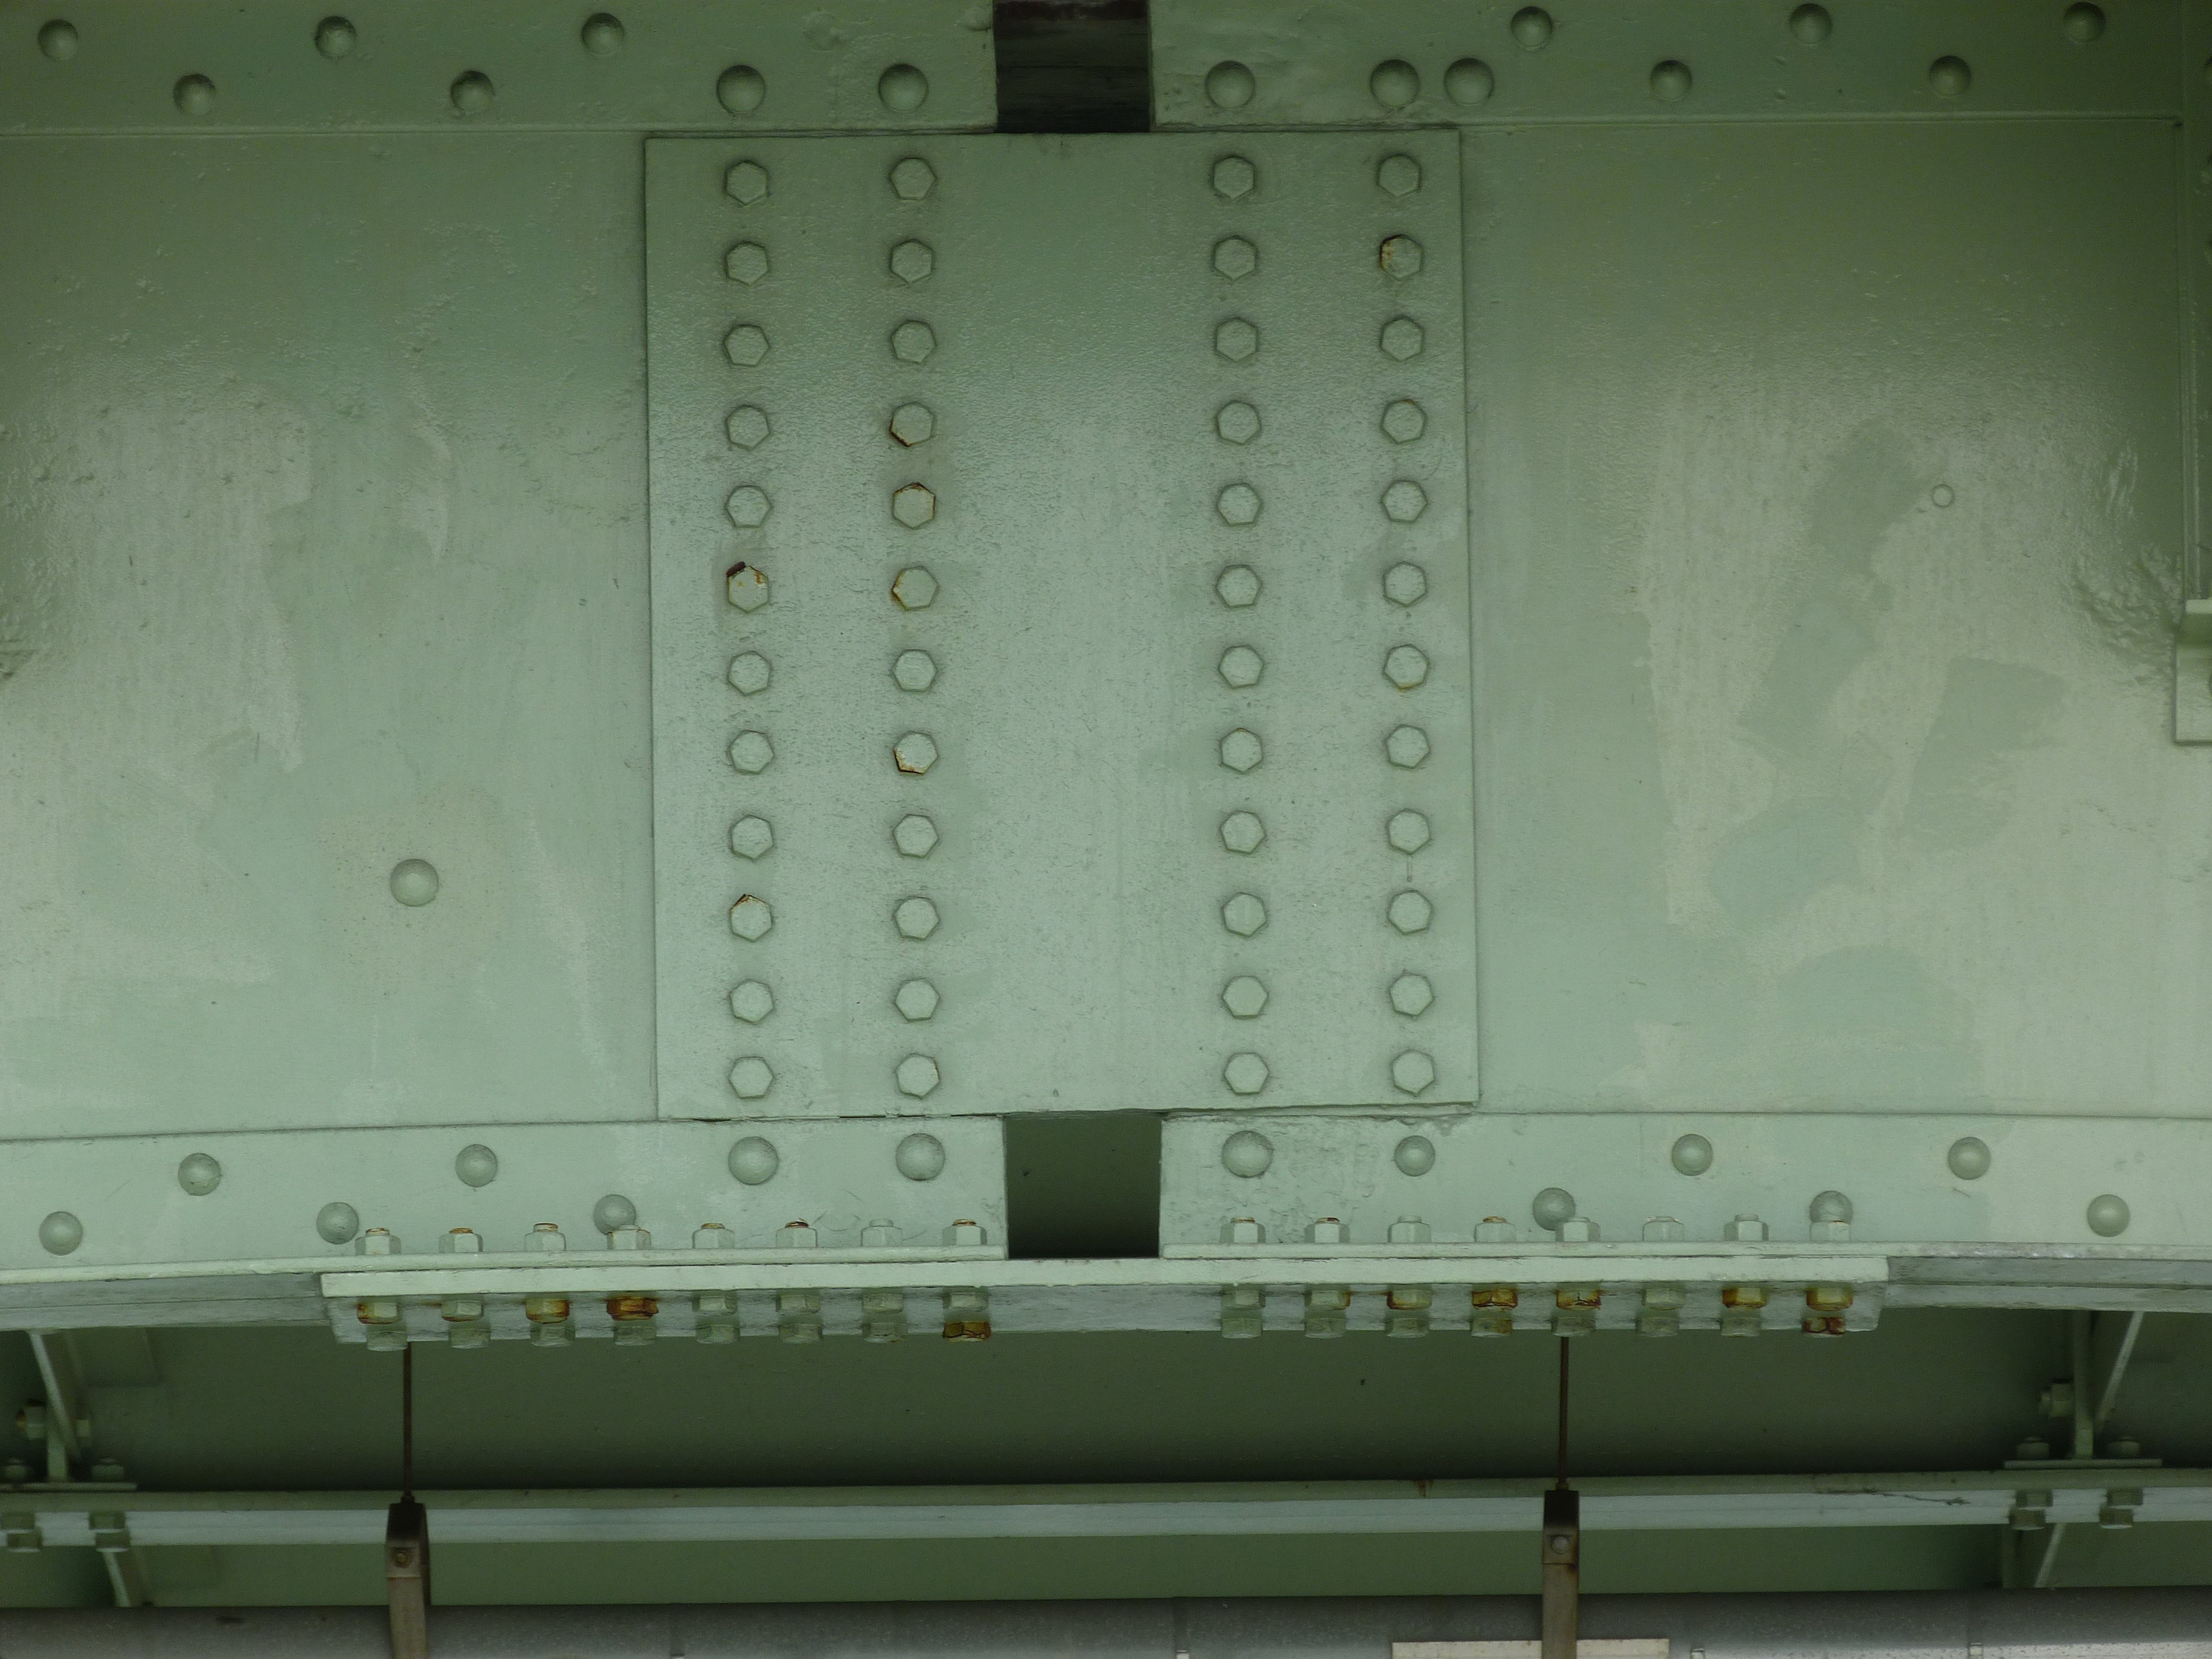
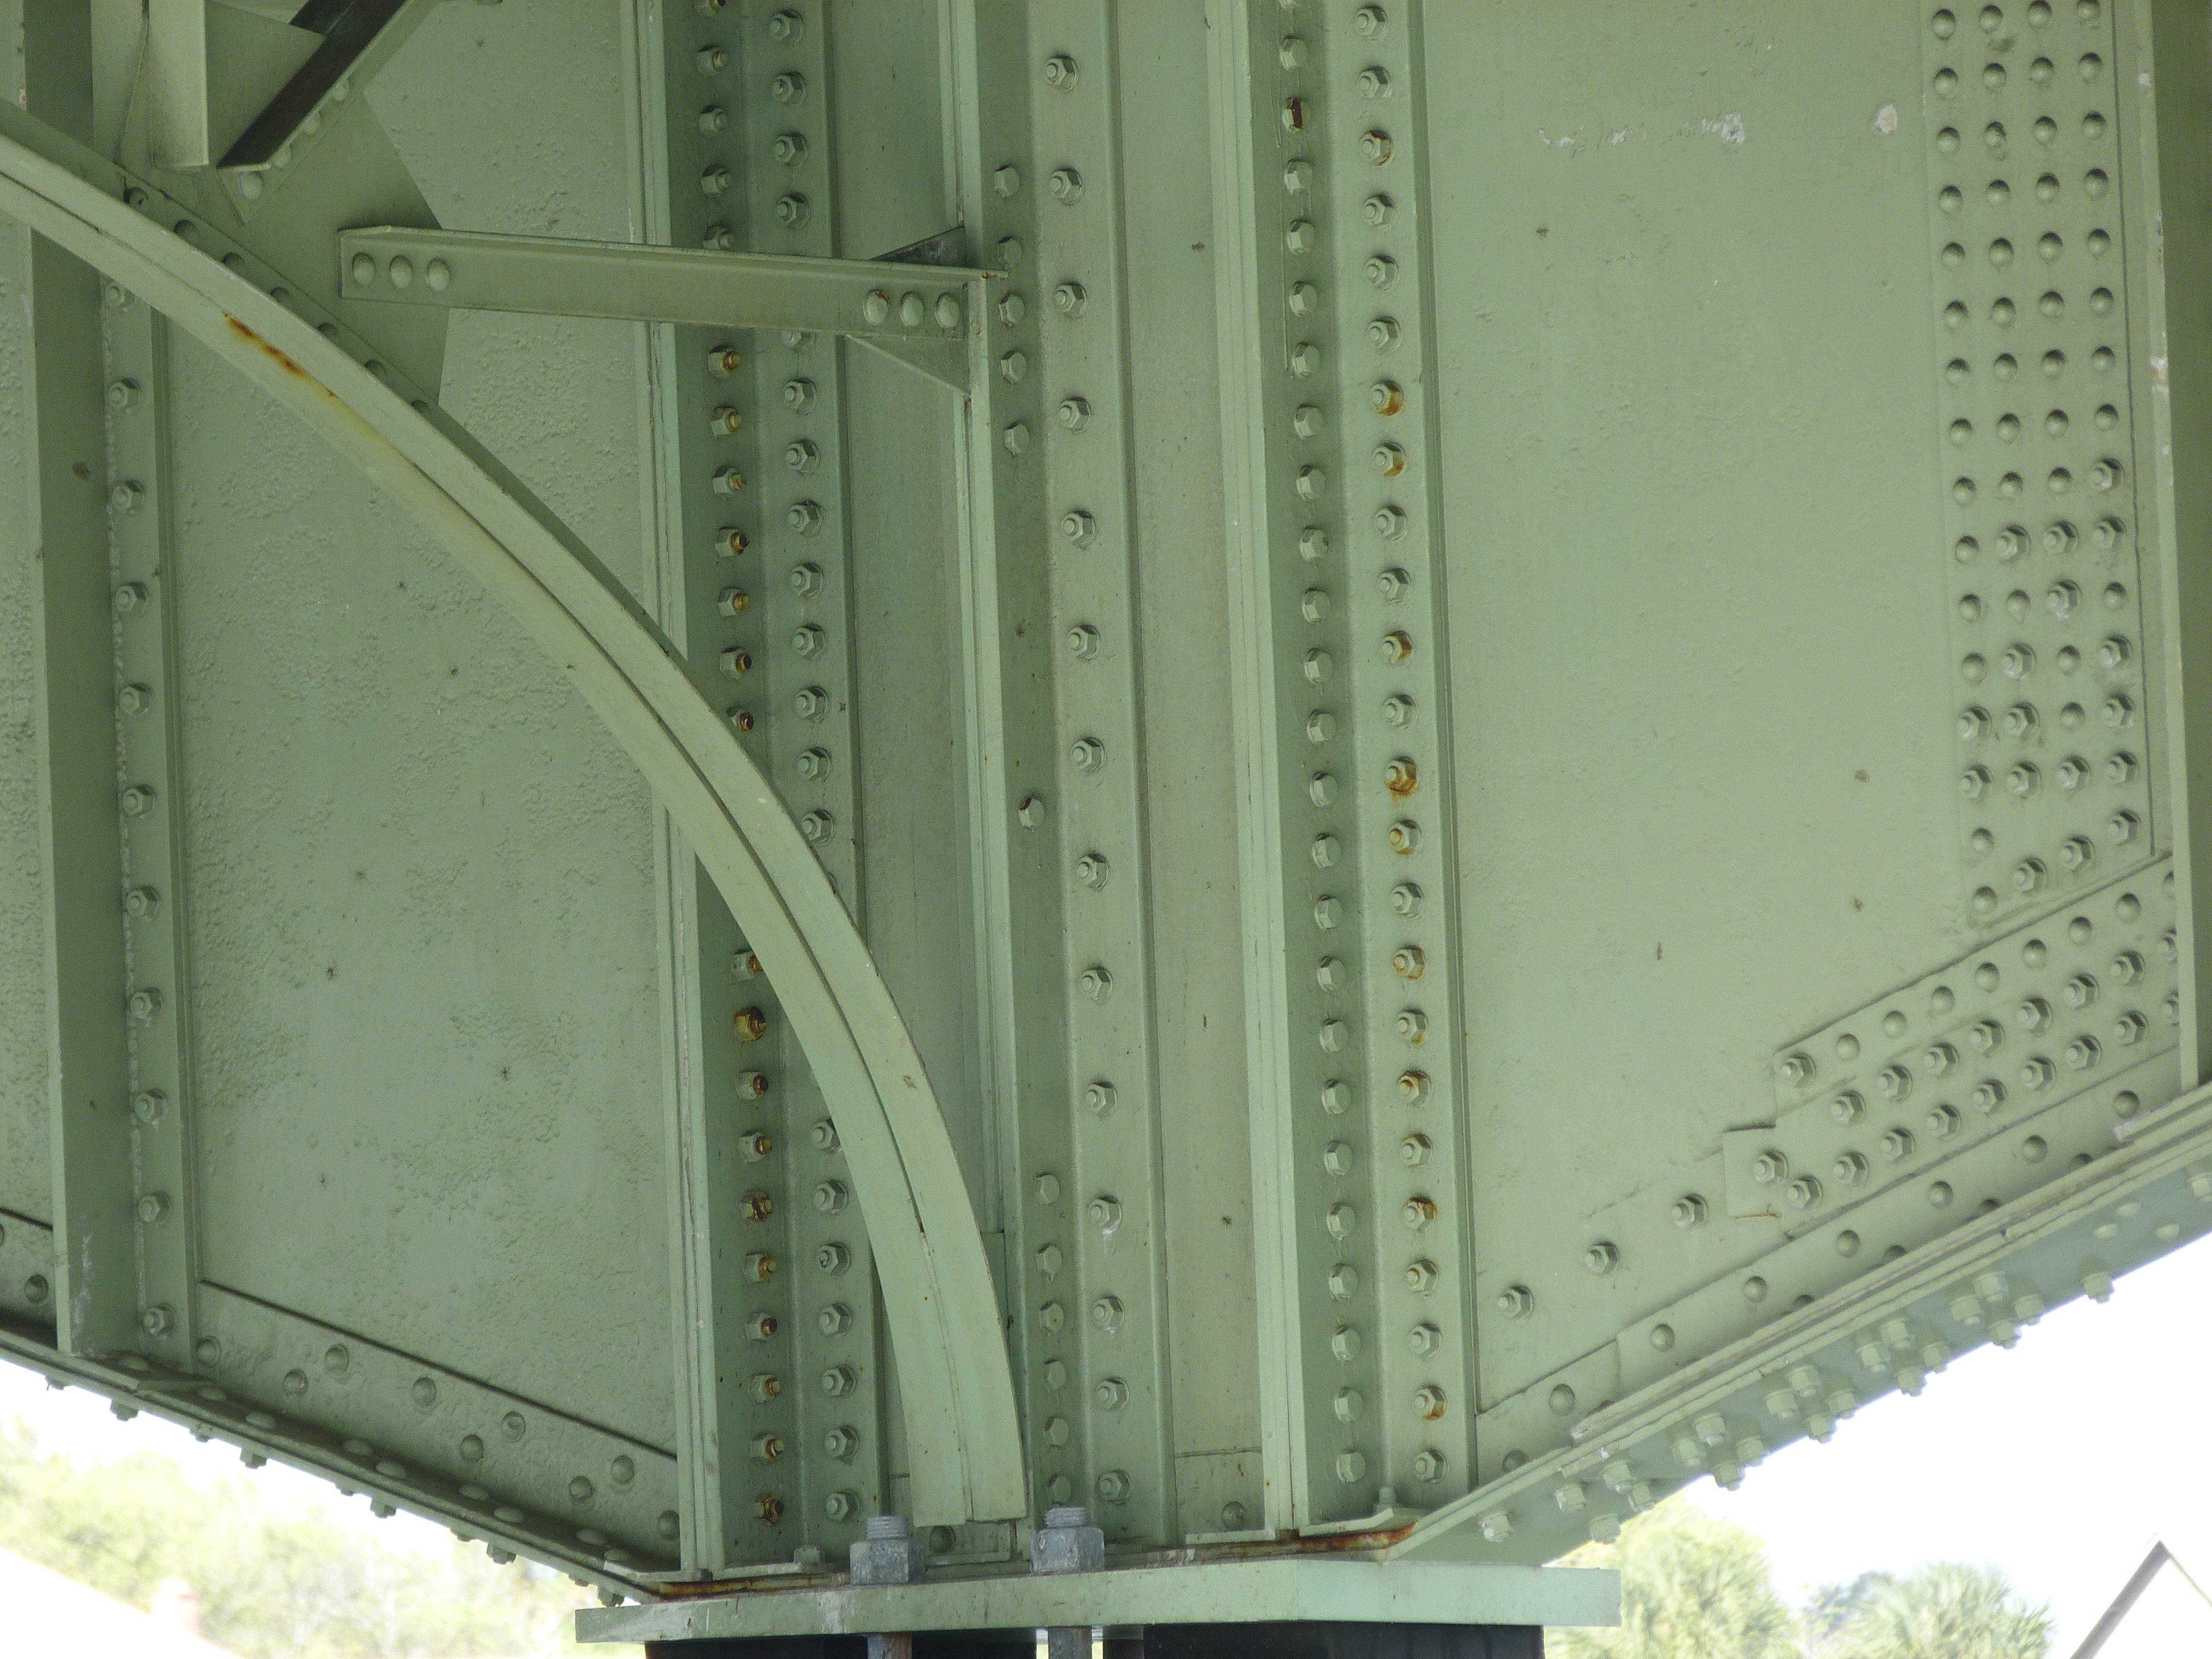
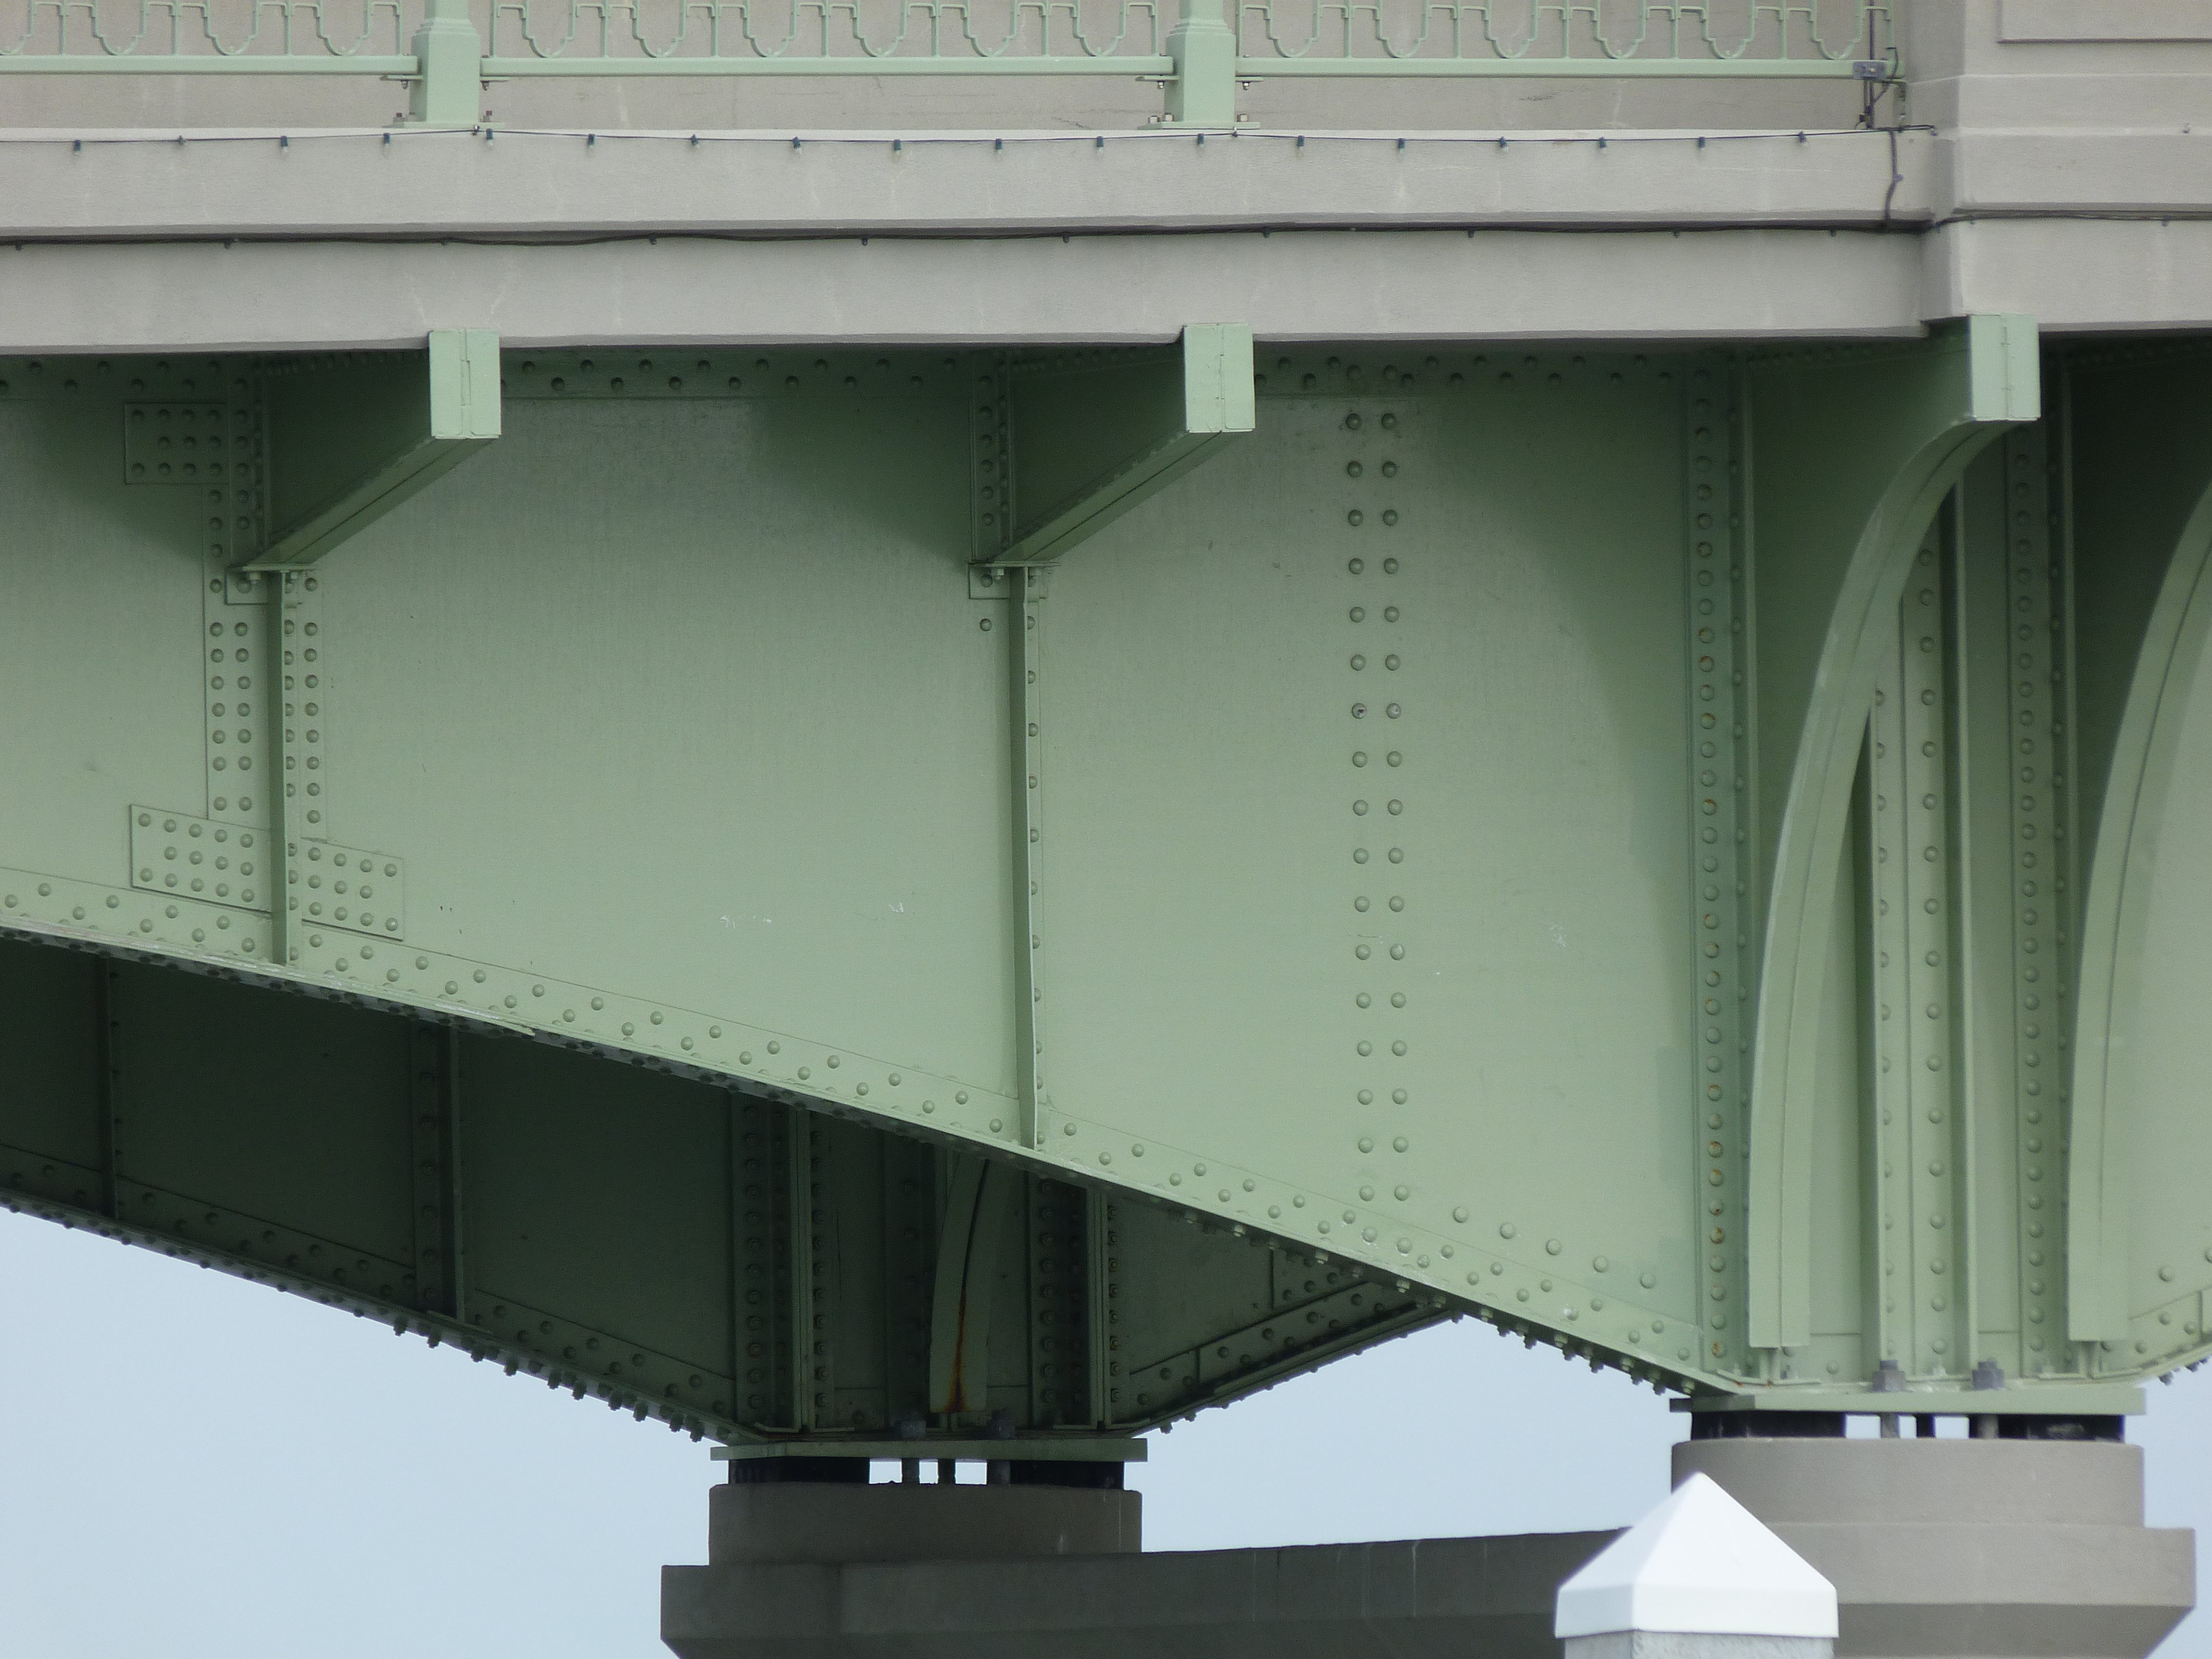
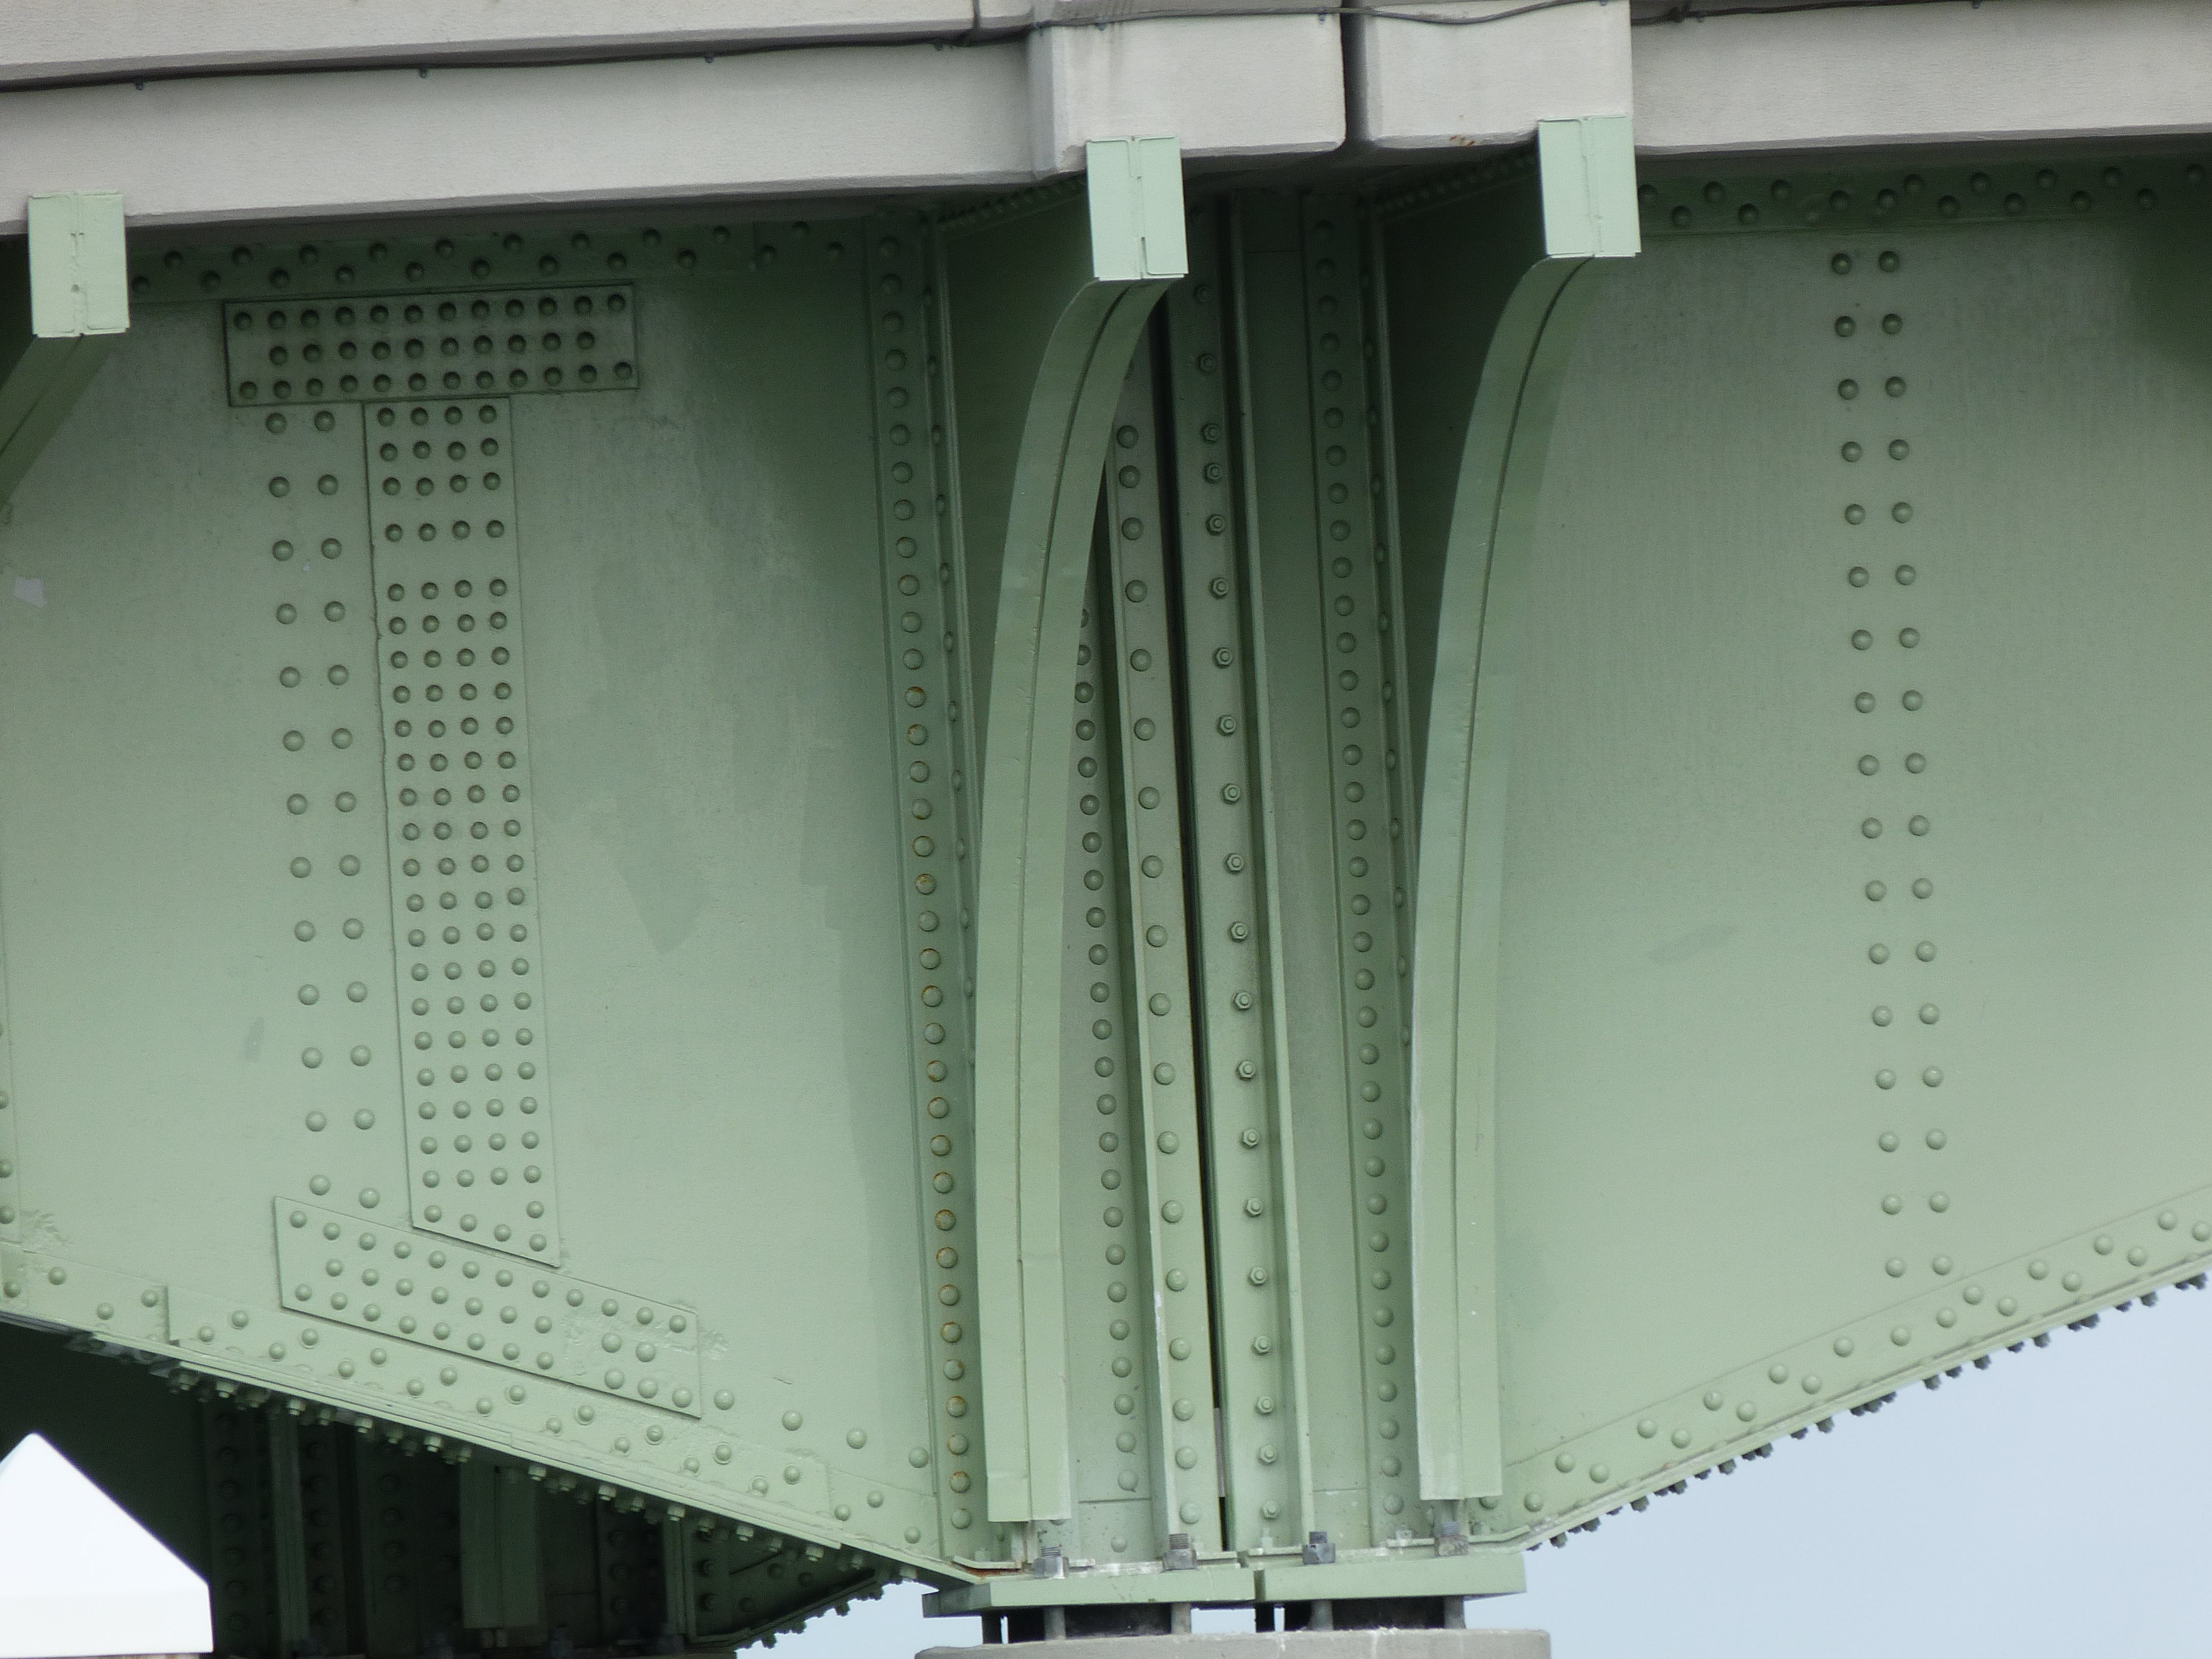
Approach arched girder details showing bolted alteration at center of a span composed of cantilever arms.
![]()
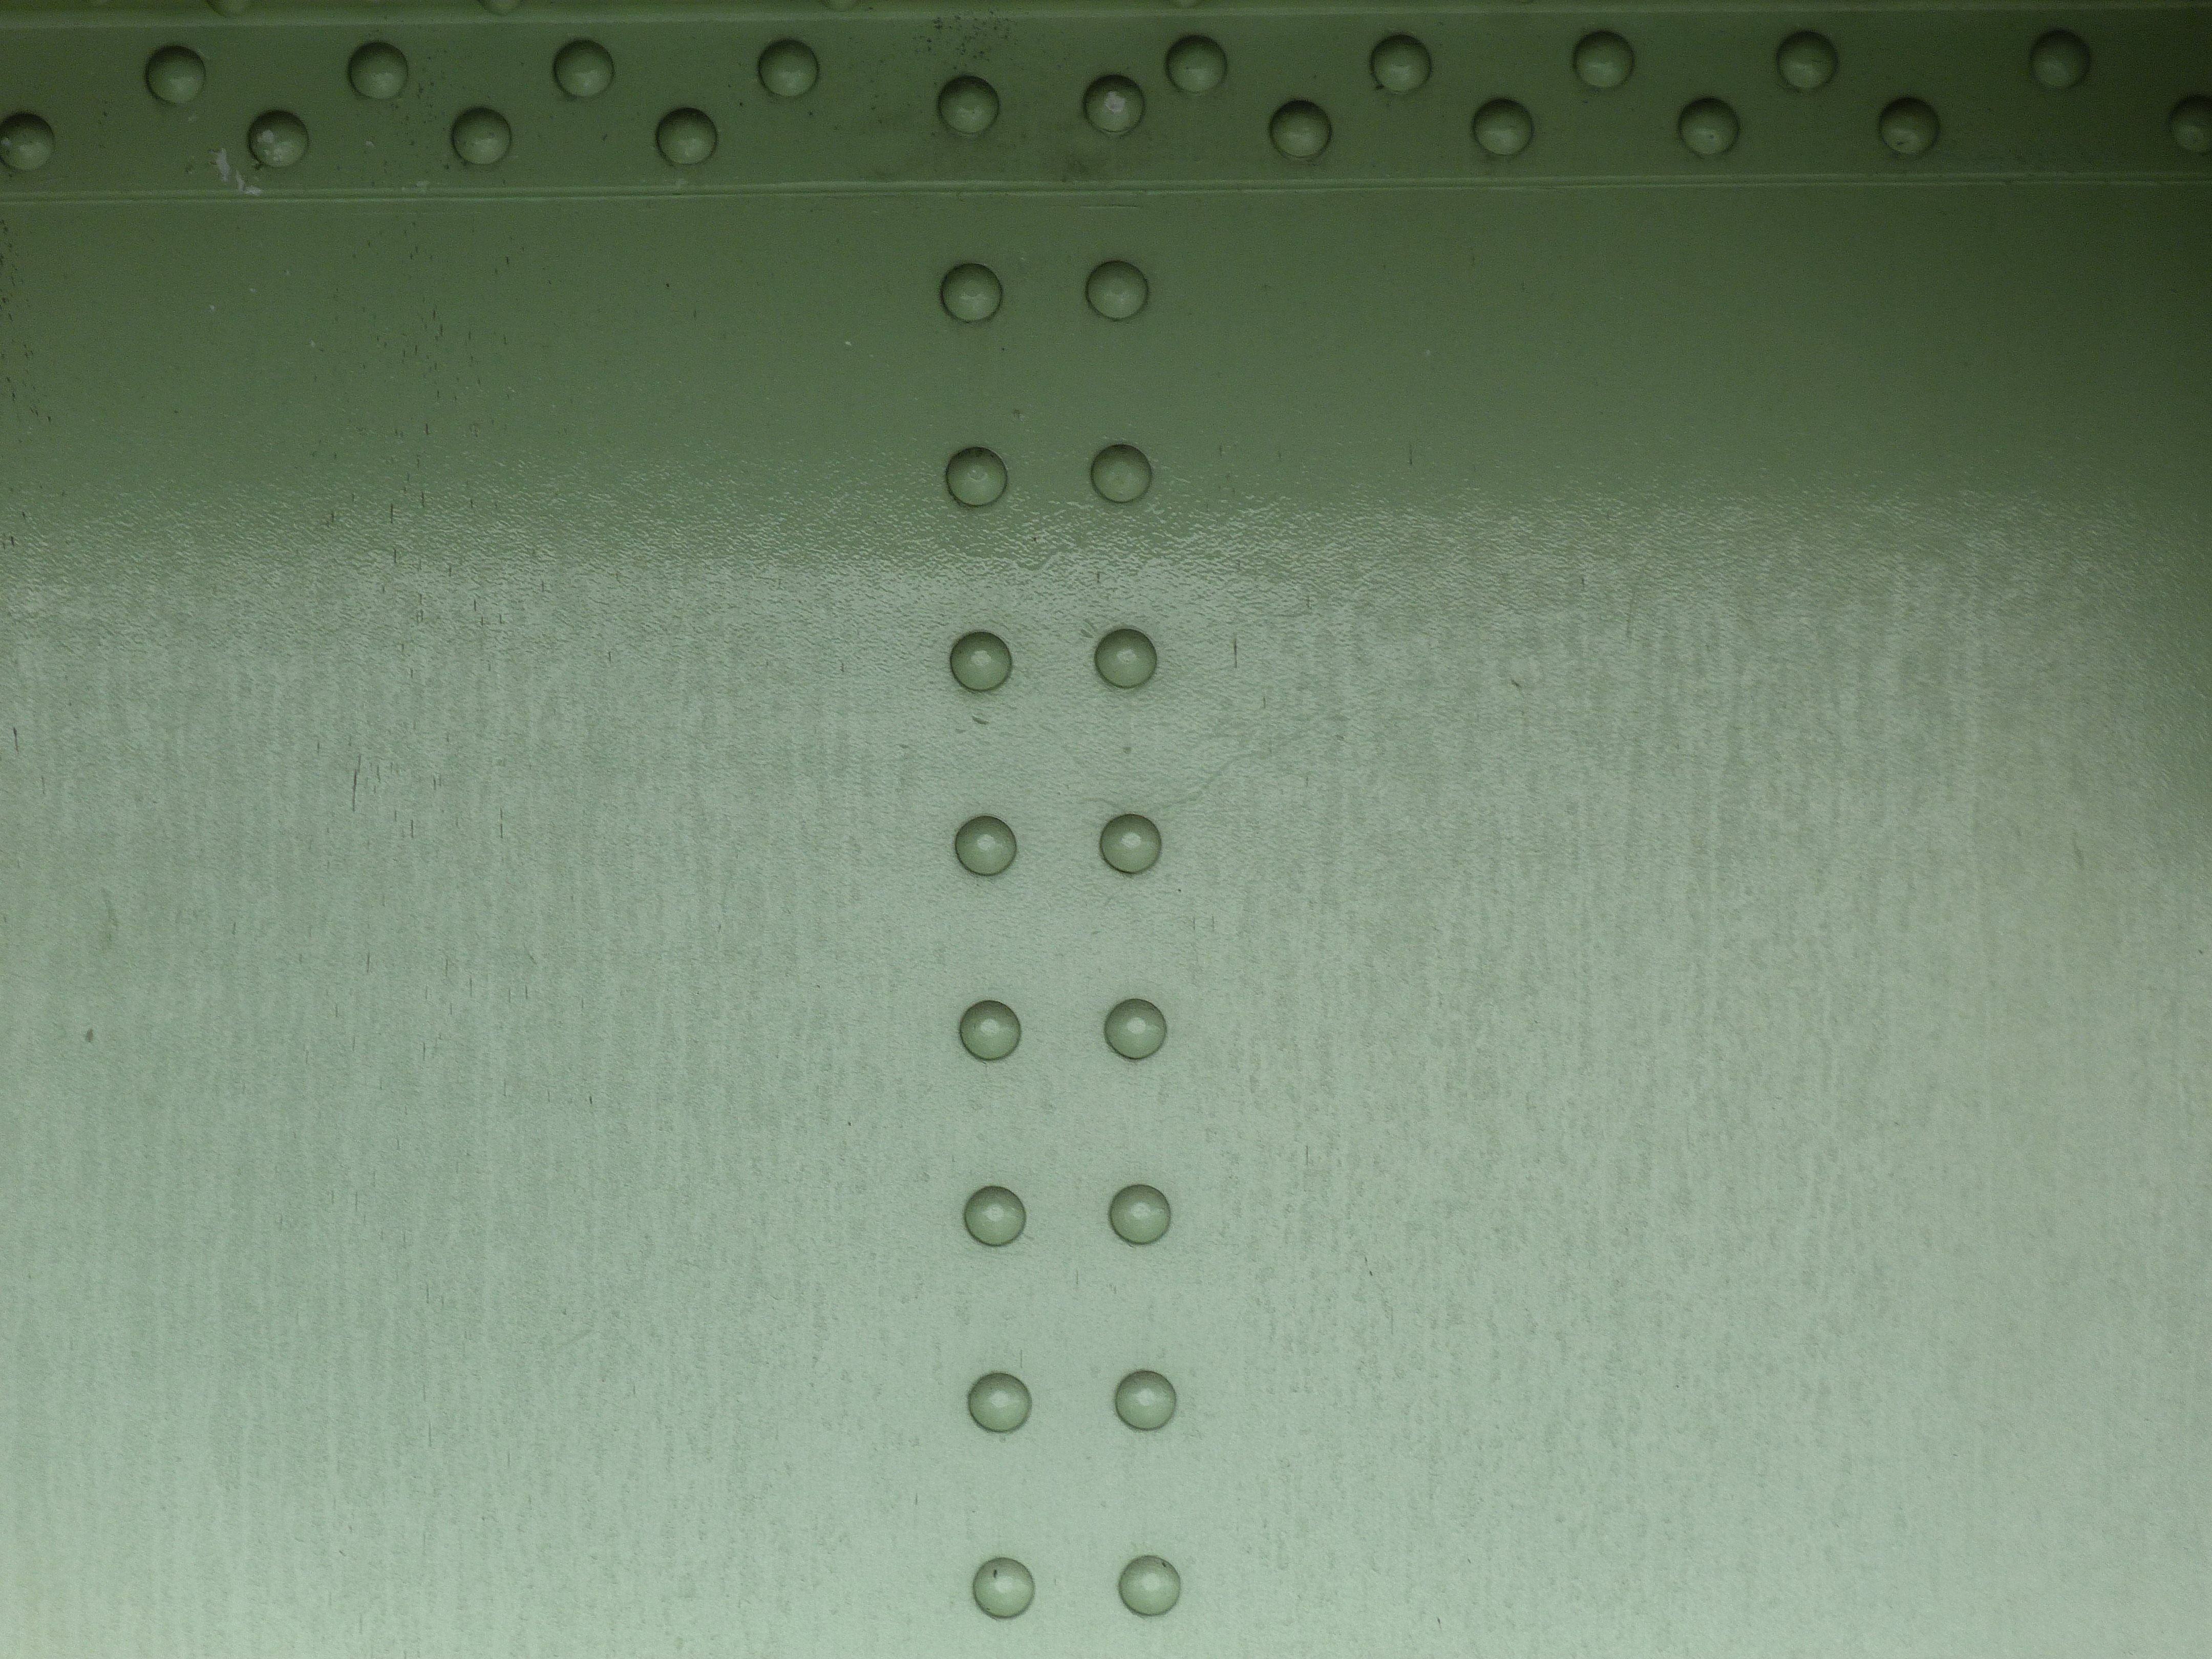
Approach girder details. A combination of original rivets and modern bolts can be seen.
![]()


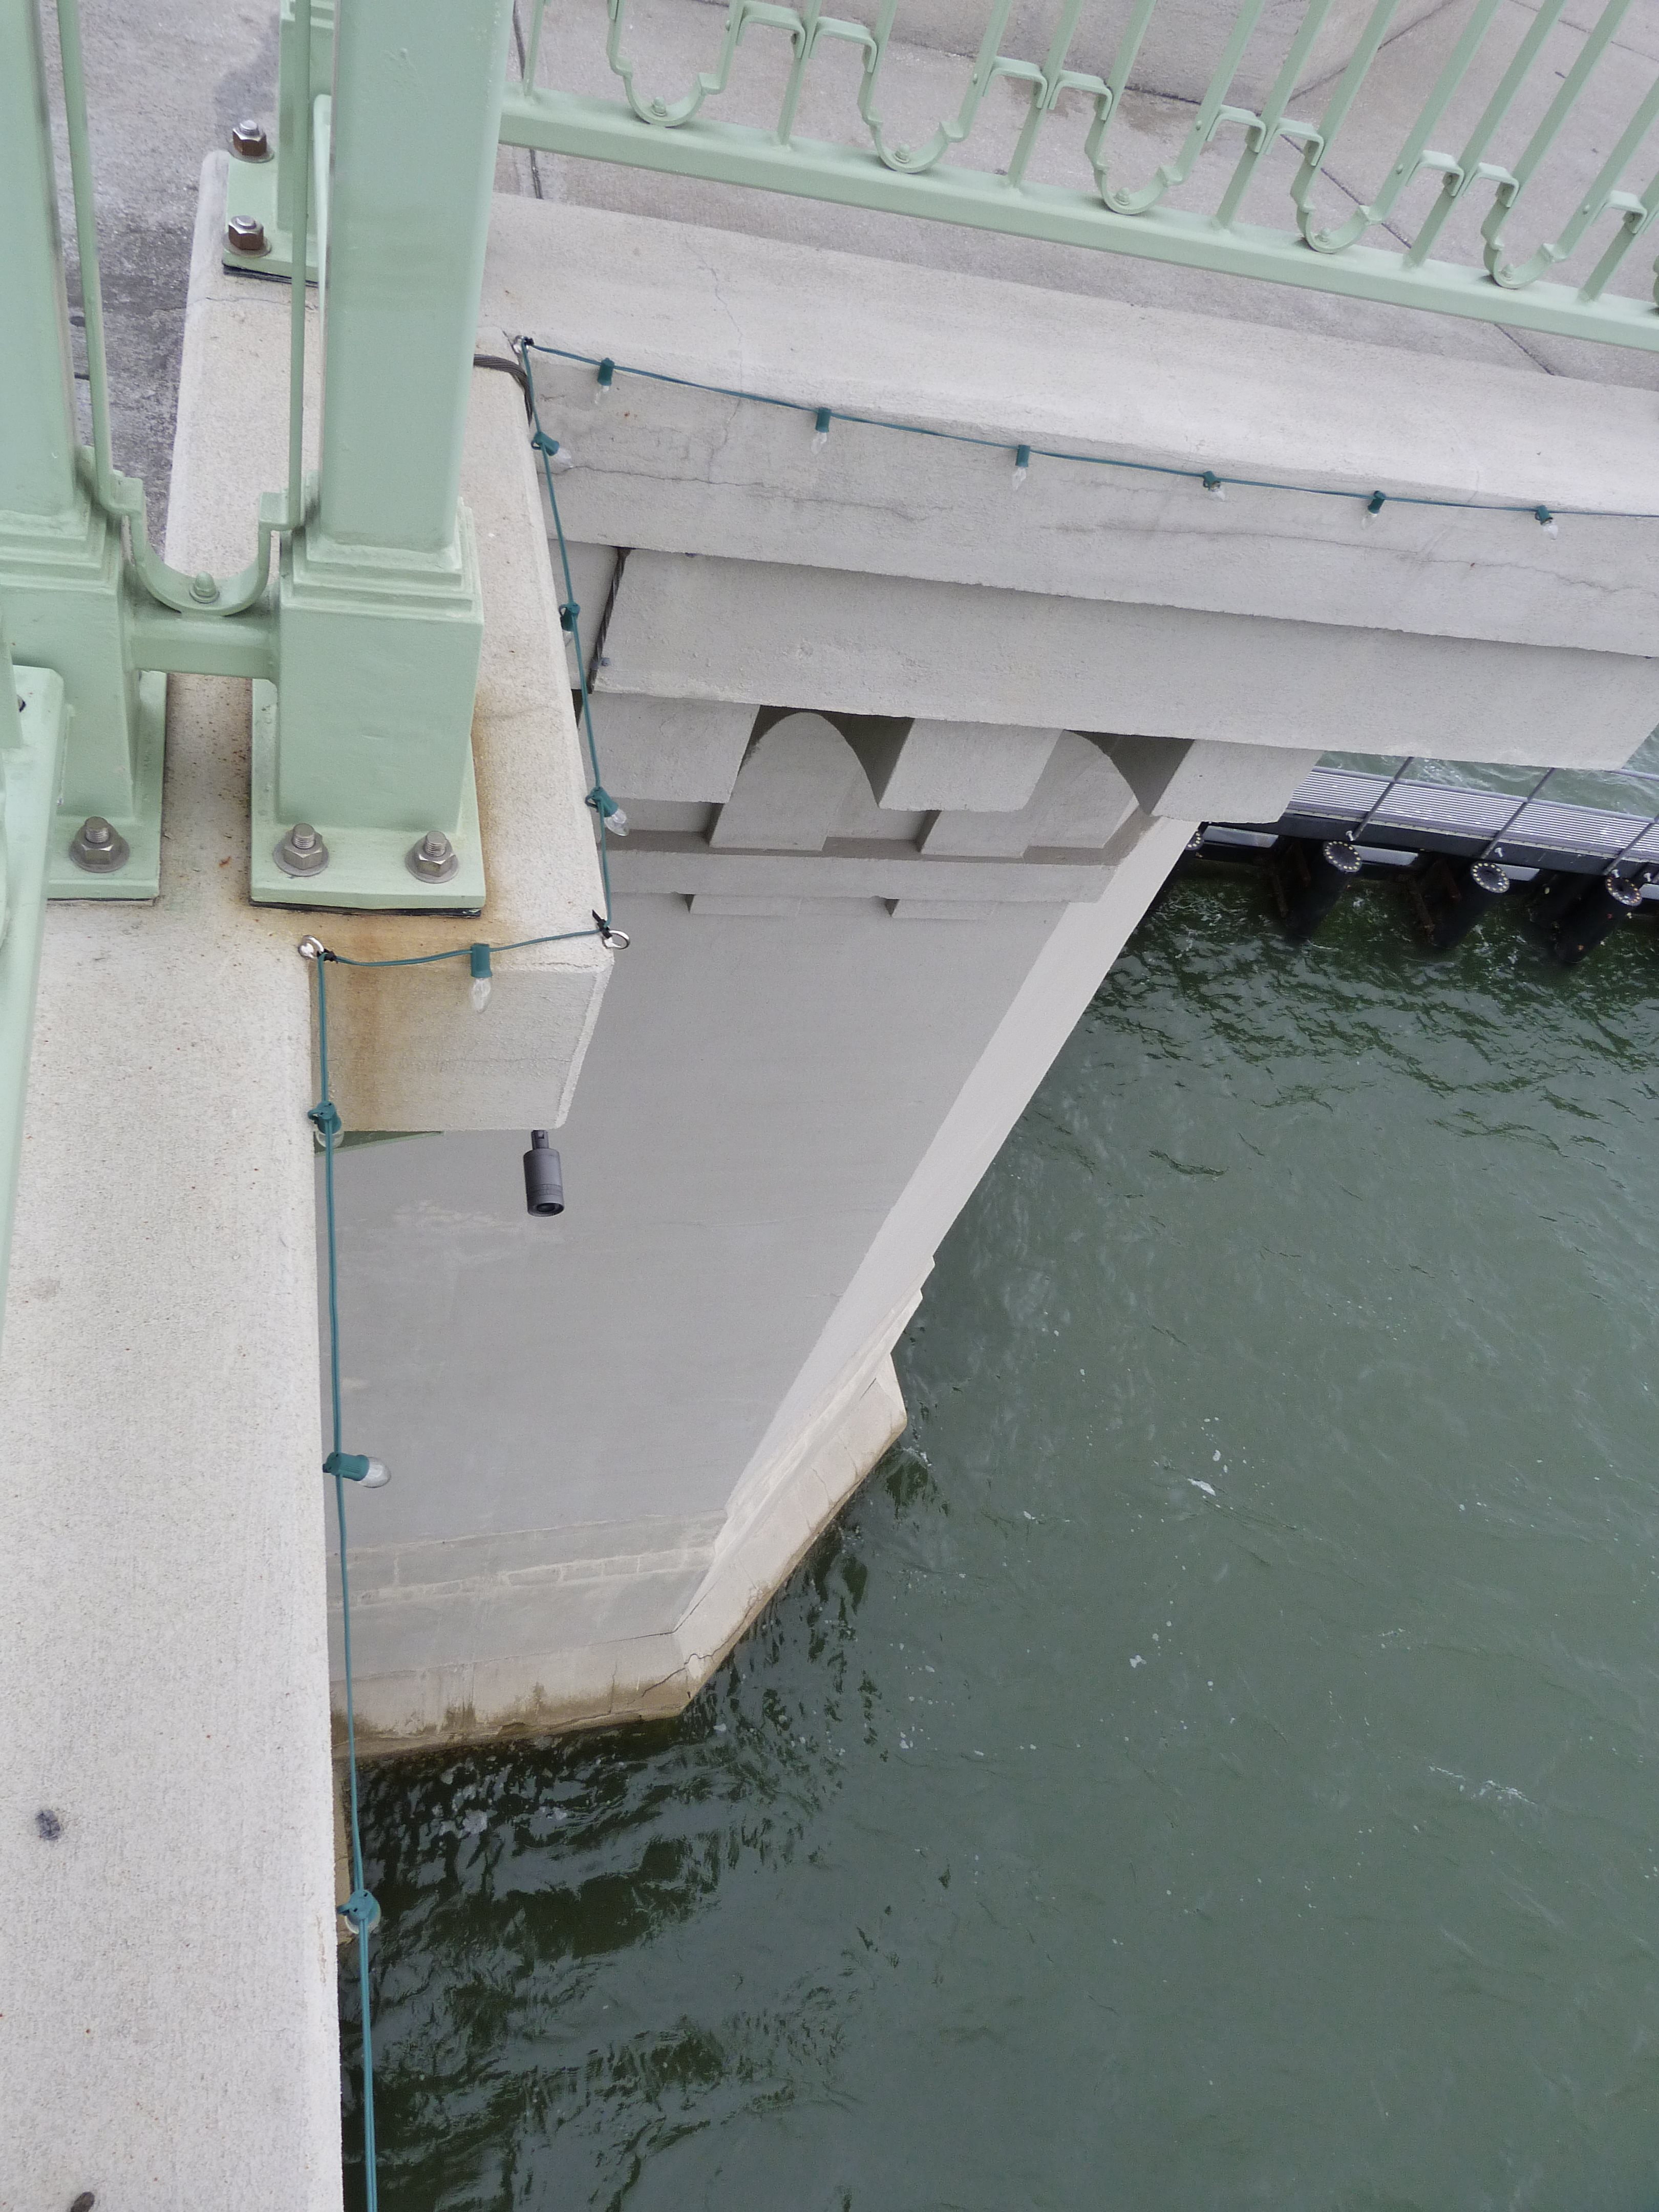
Approach spans sidewalk cantilevers.
![]()

Pier.
![]()
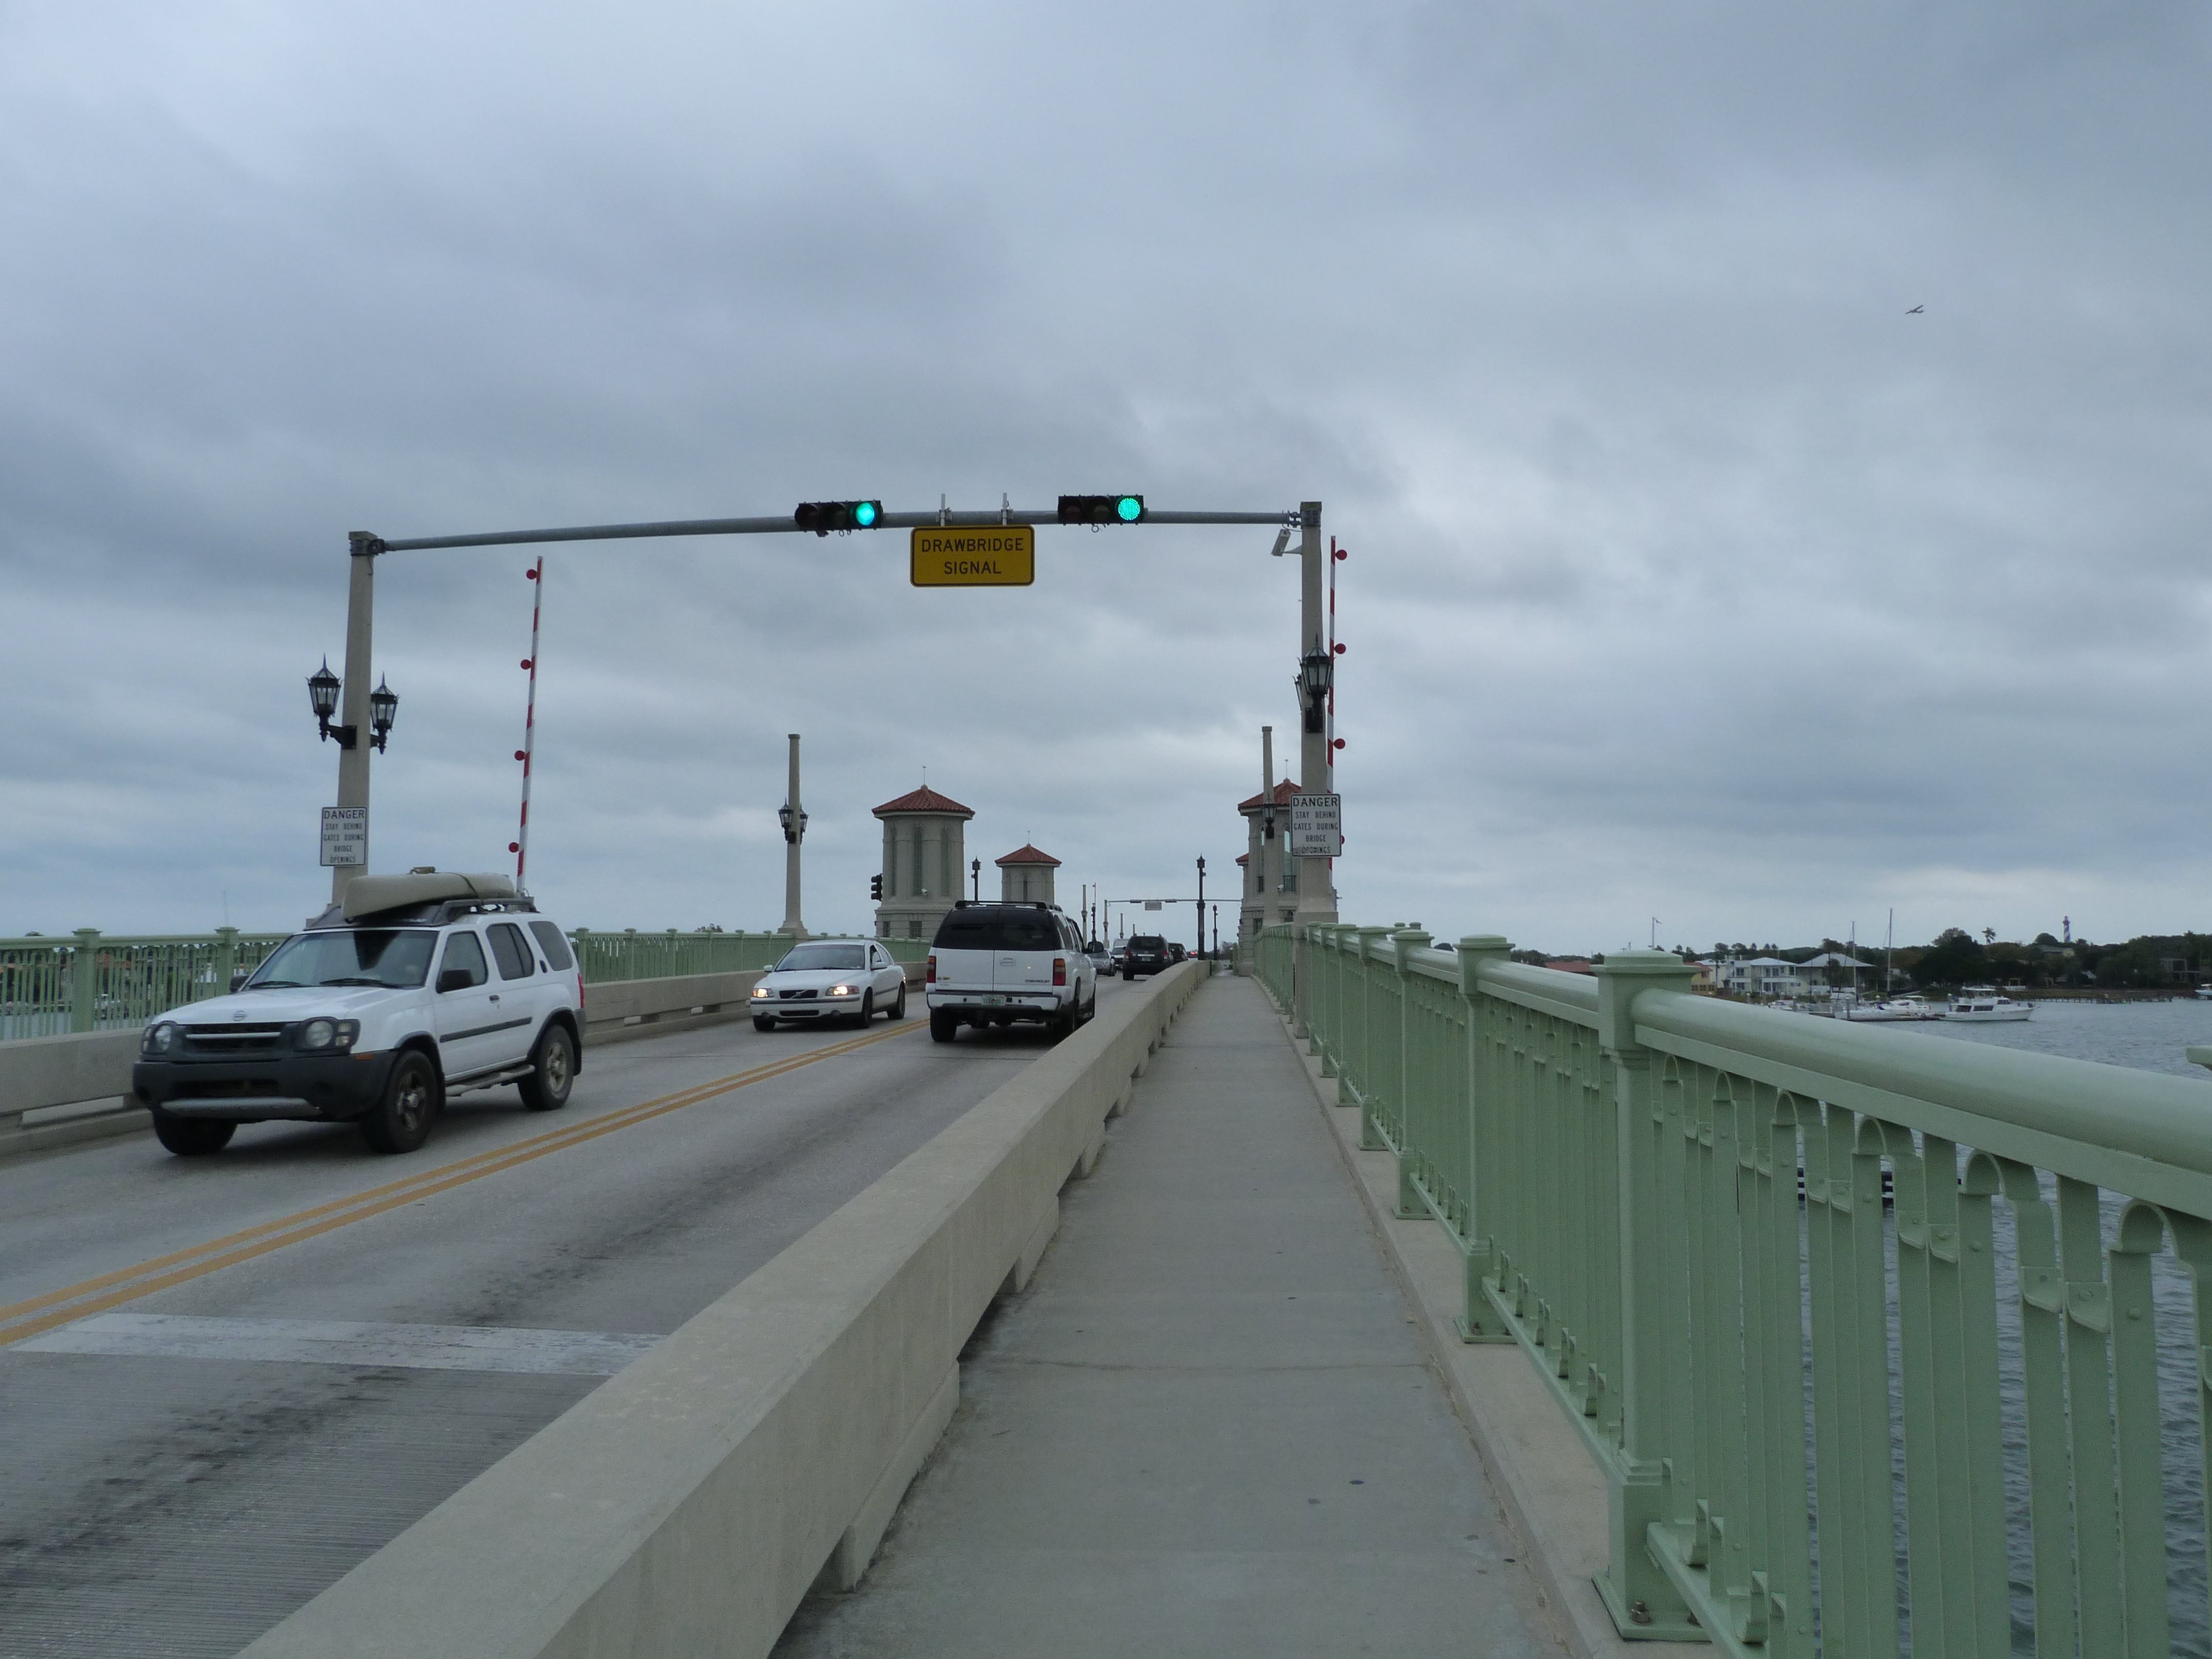
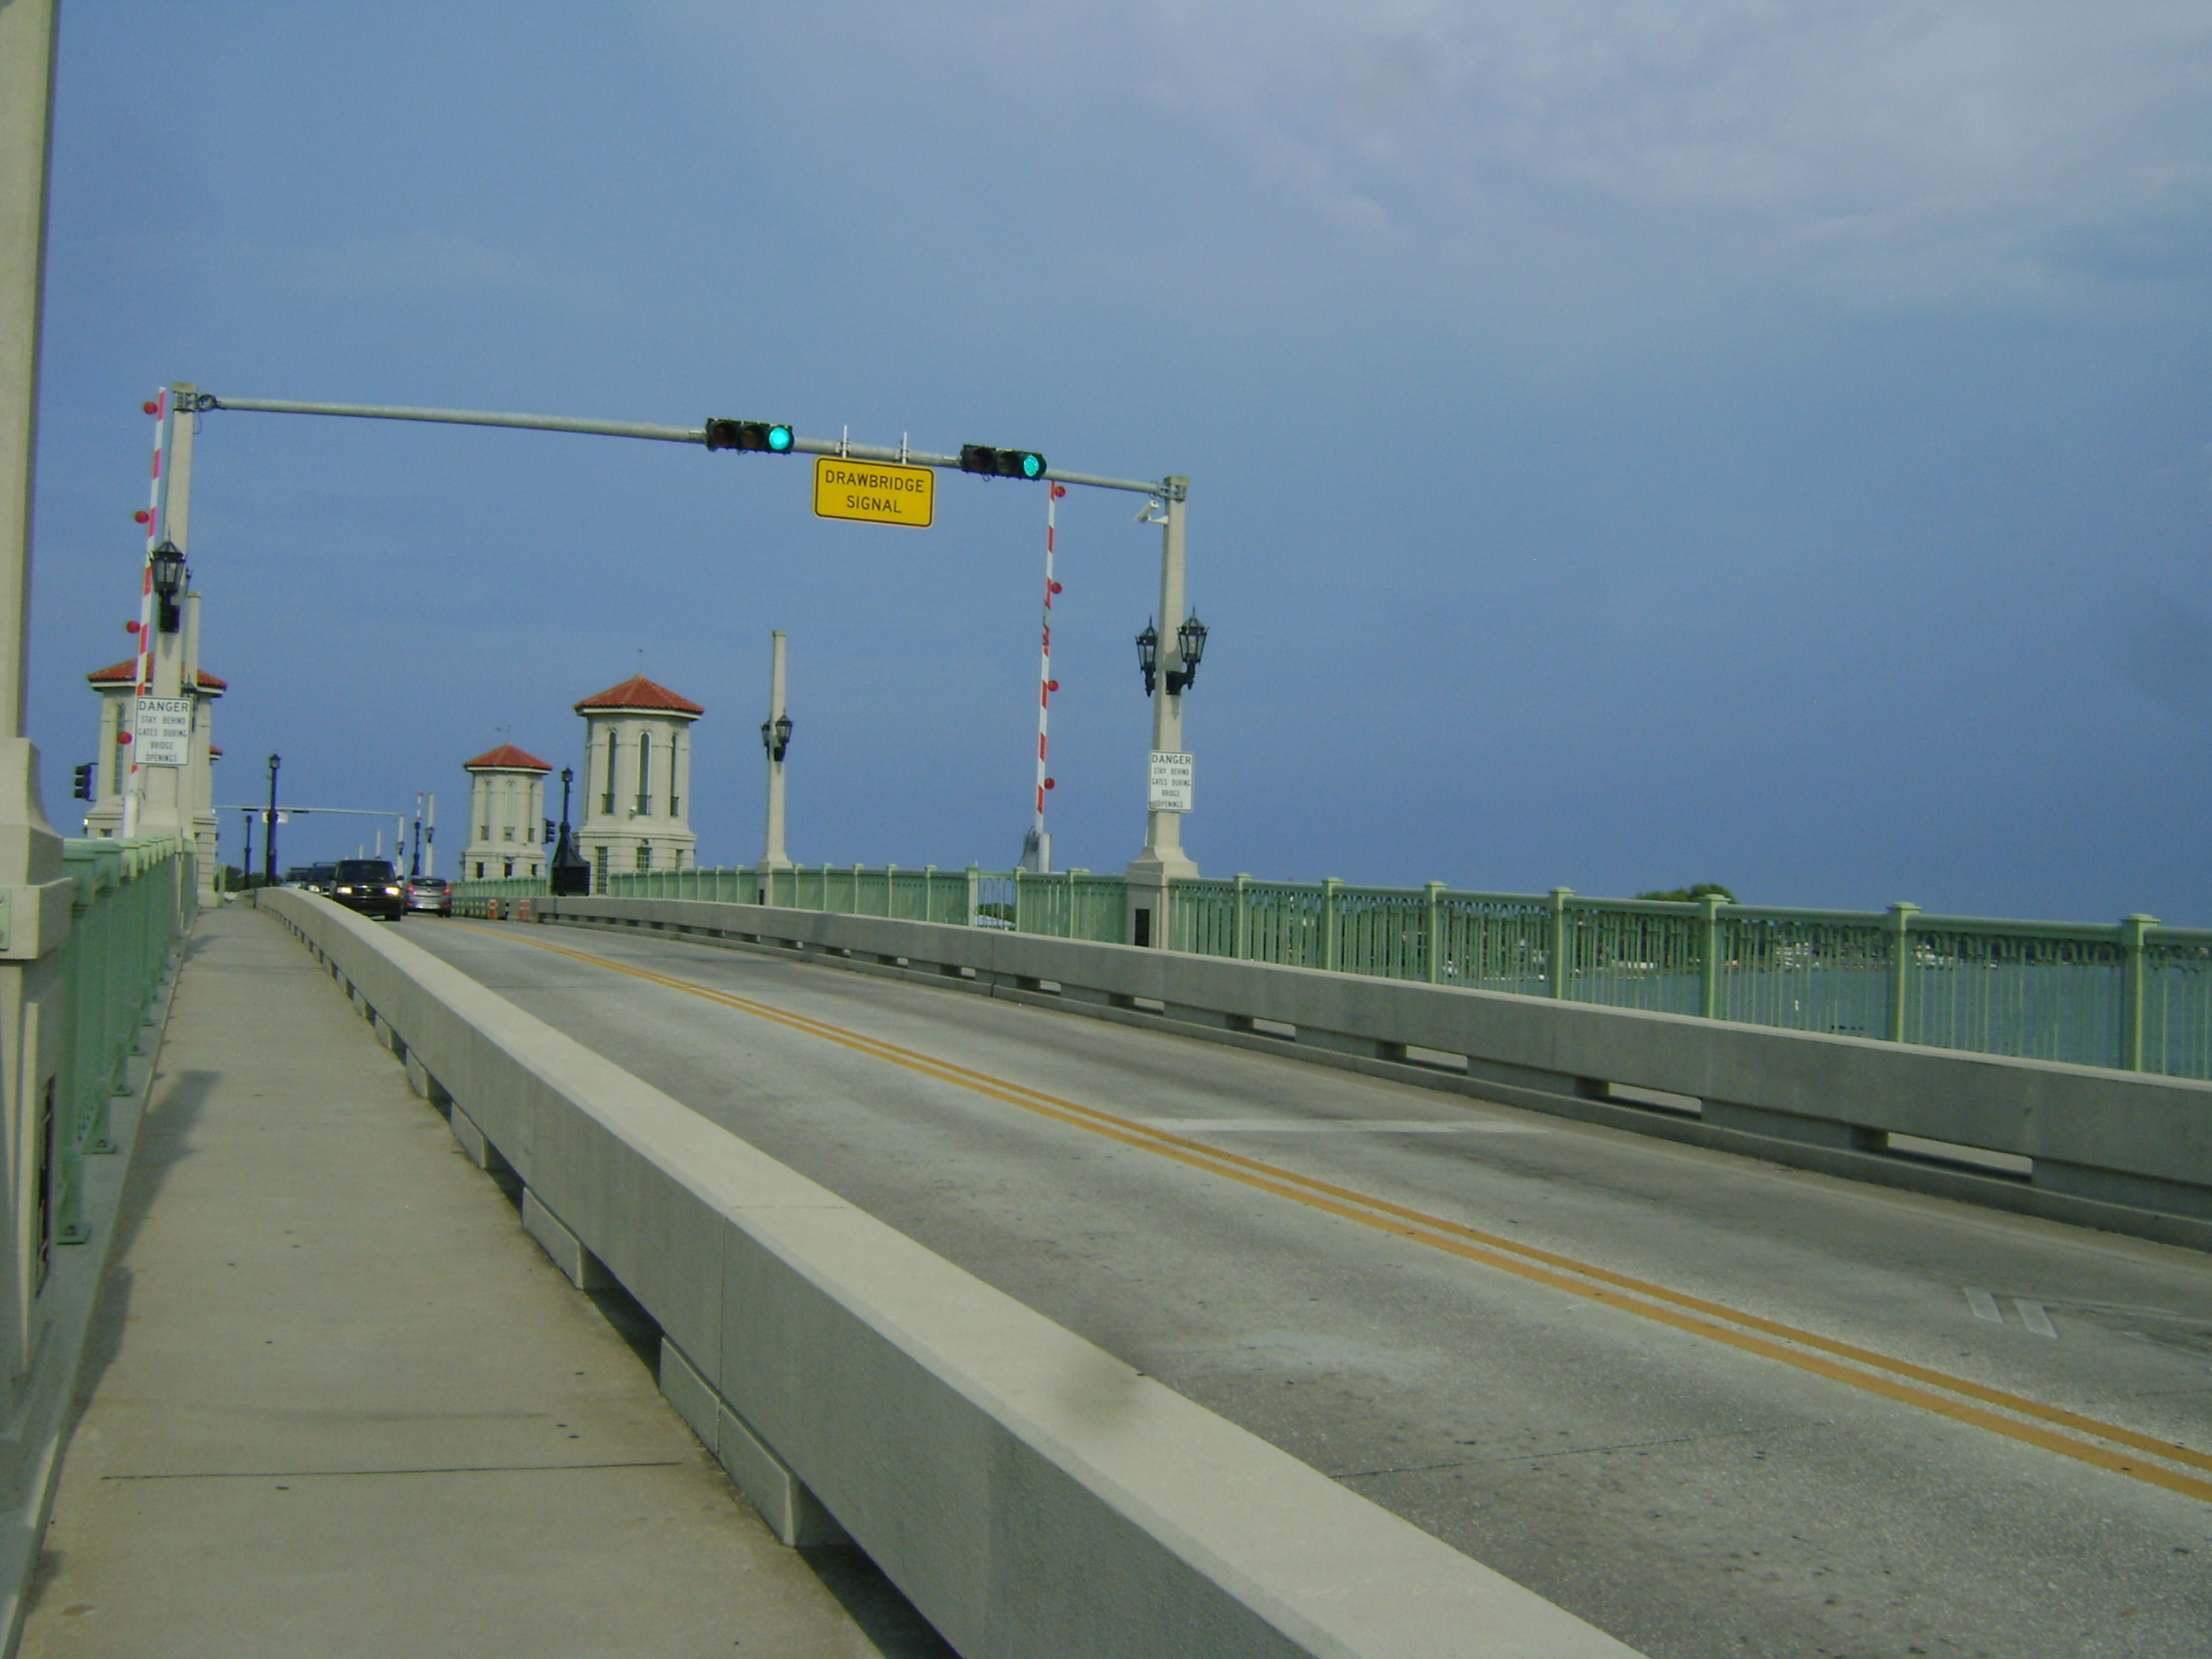
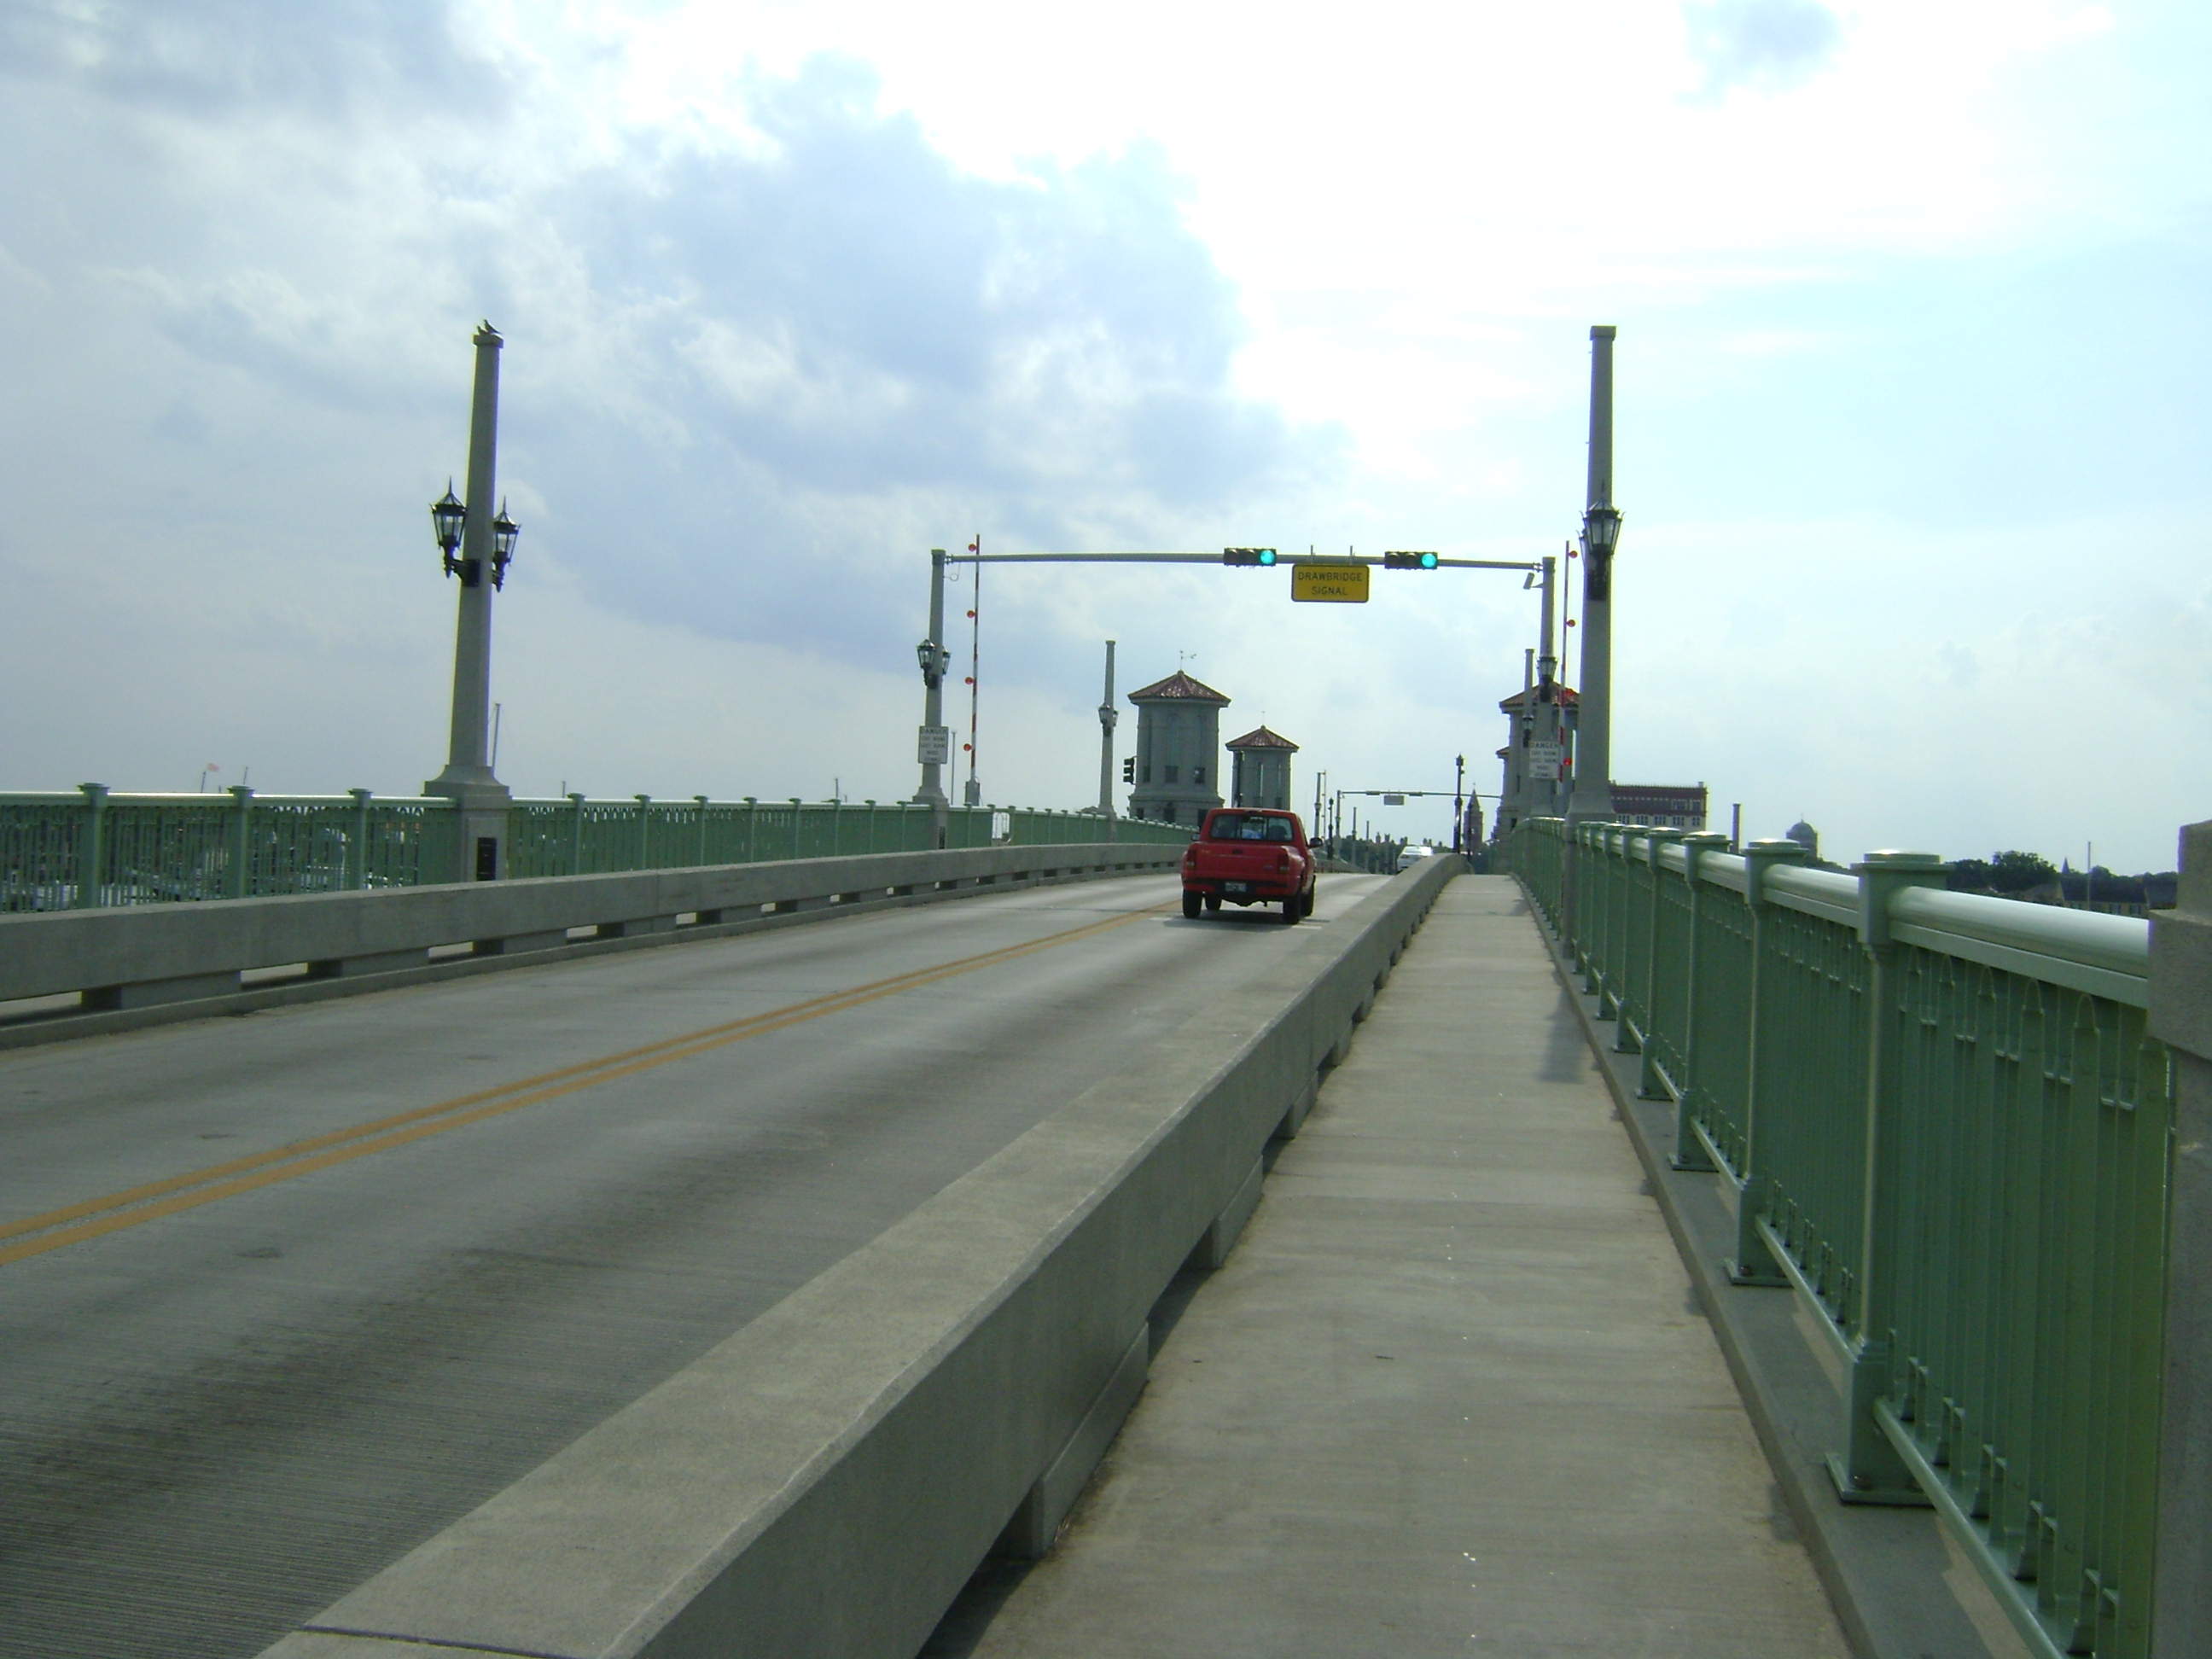
Overview of bascule span signal and gate systems.
![]()
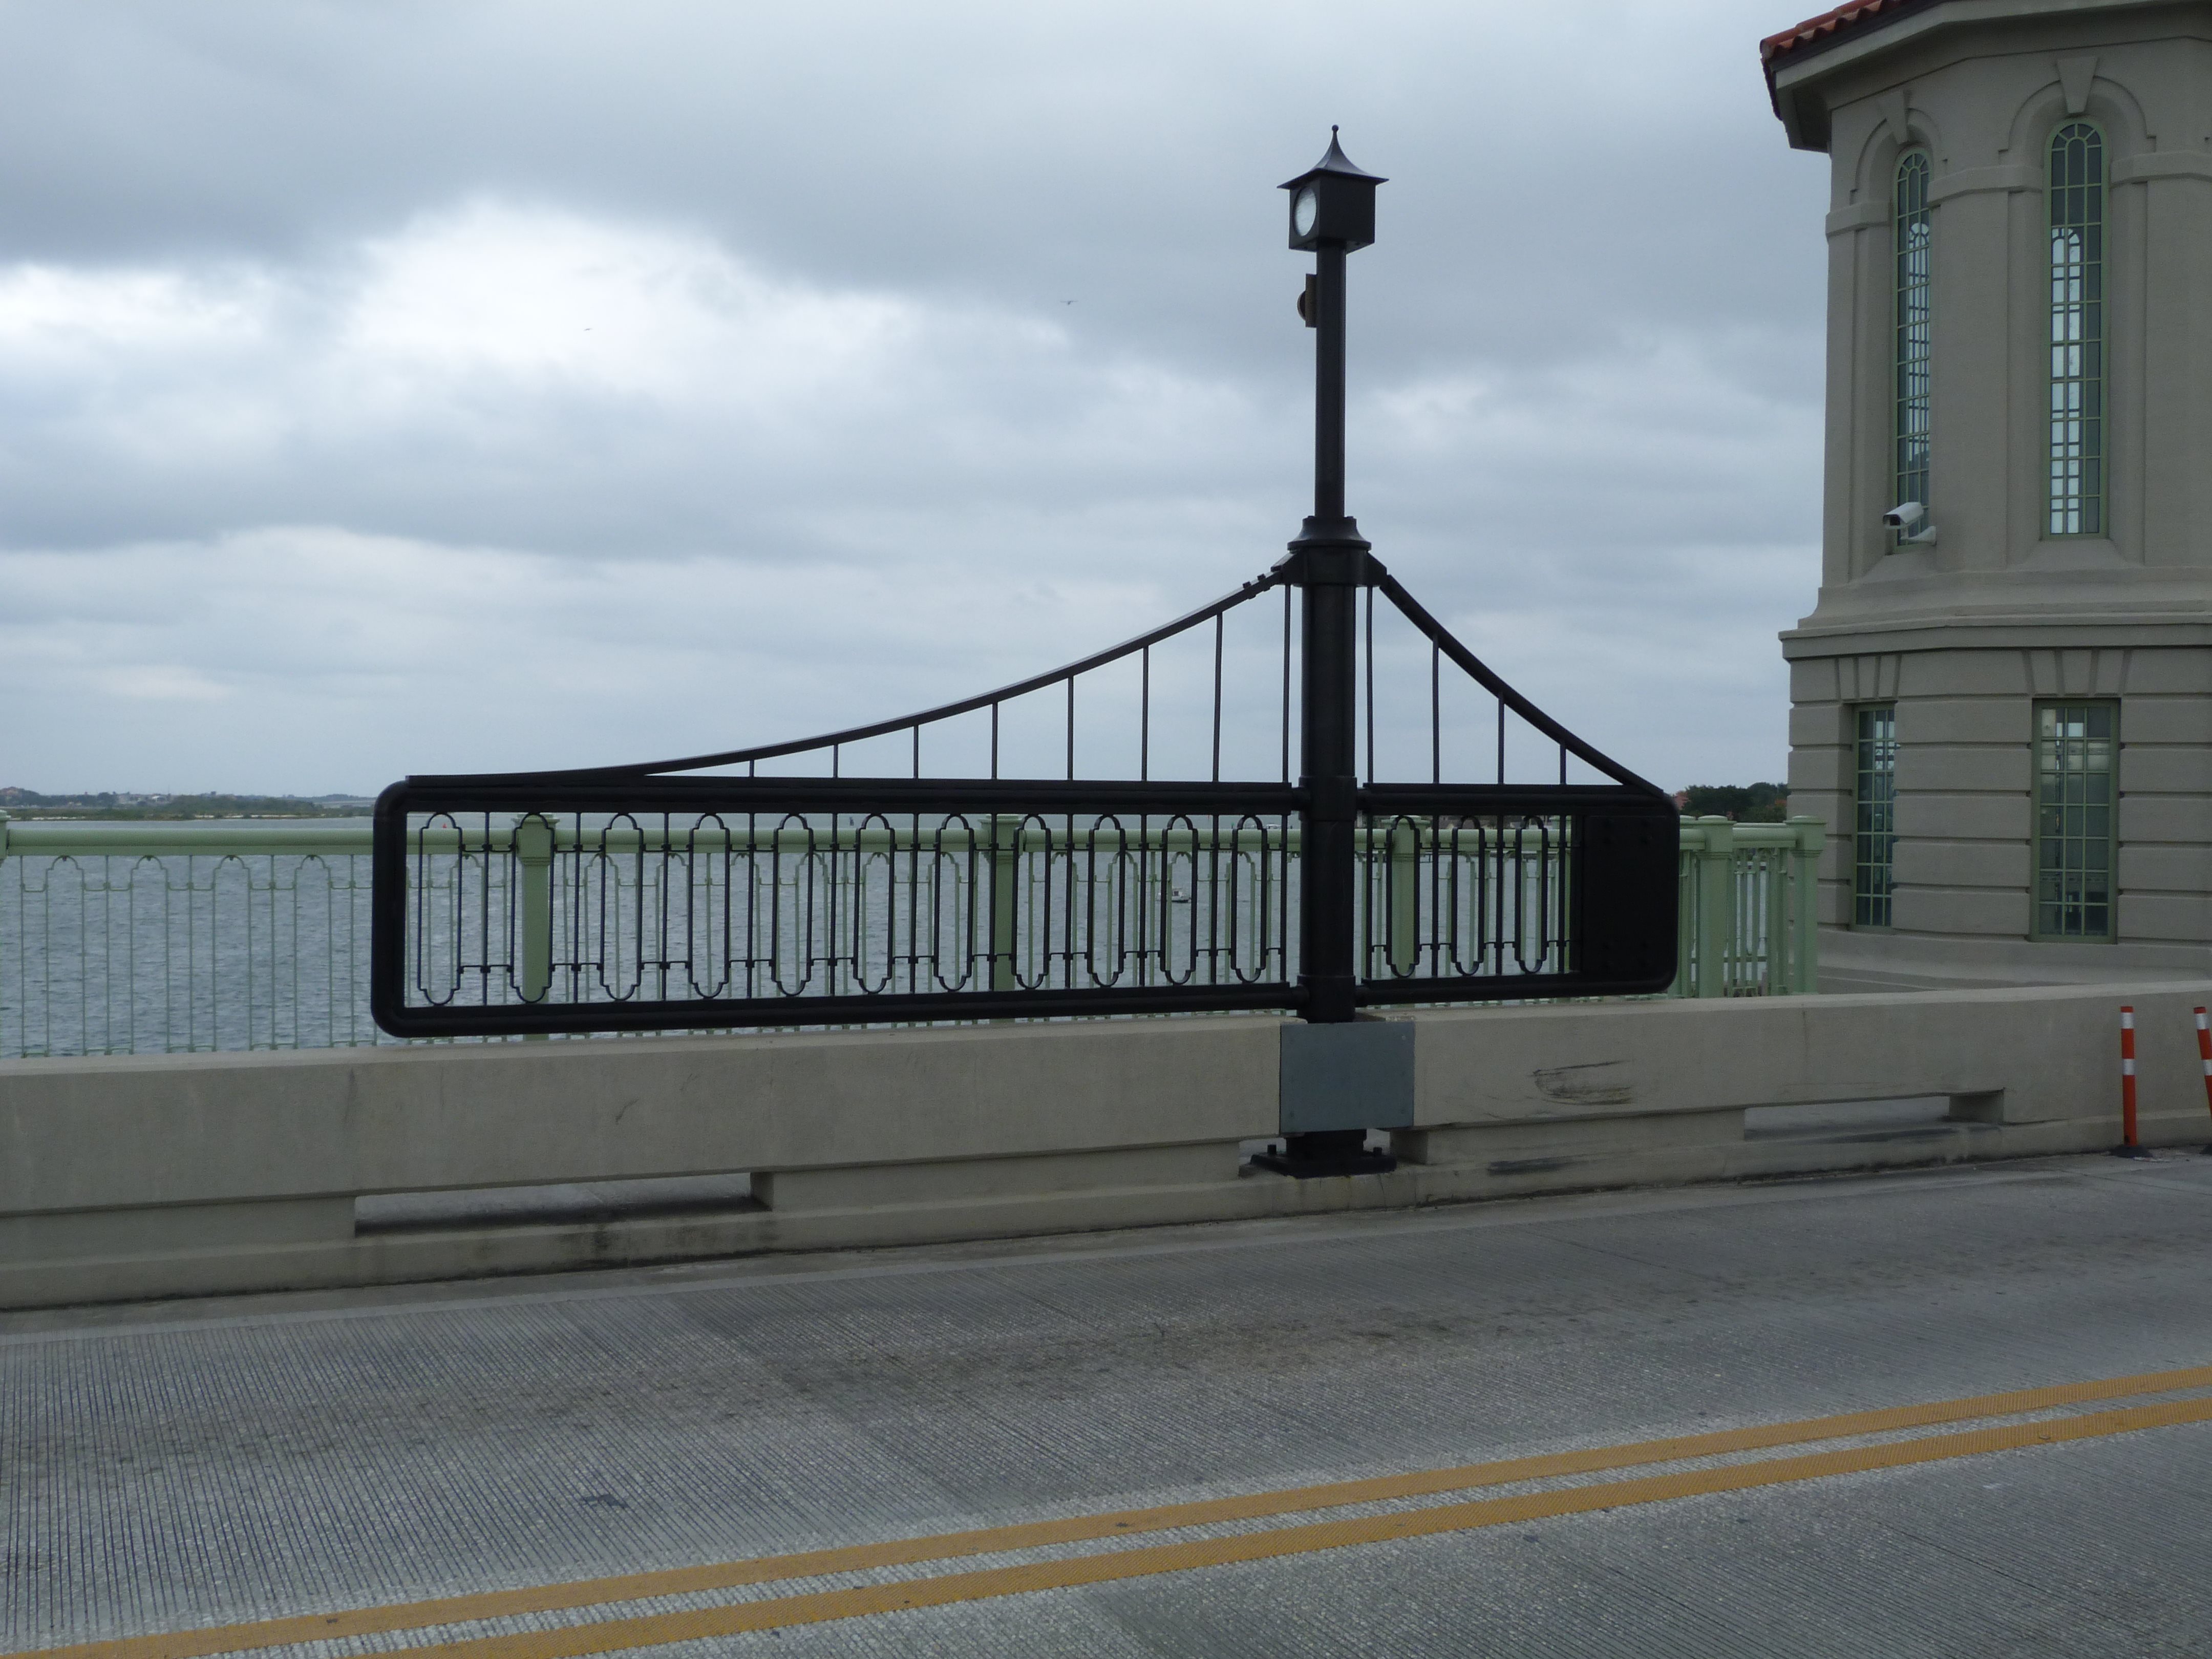
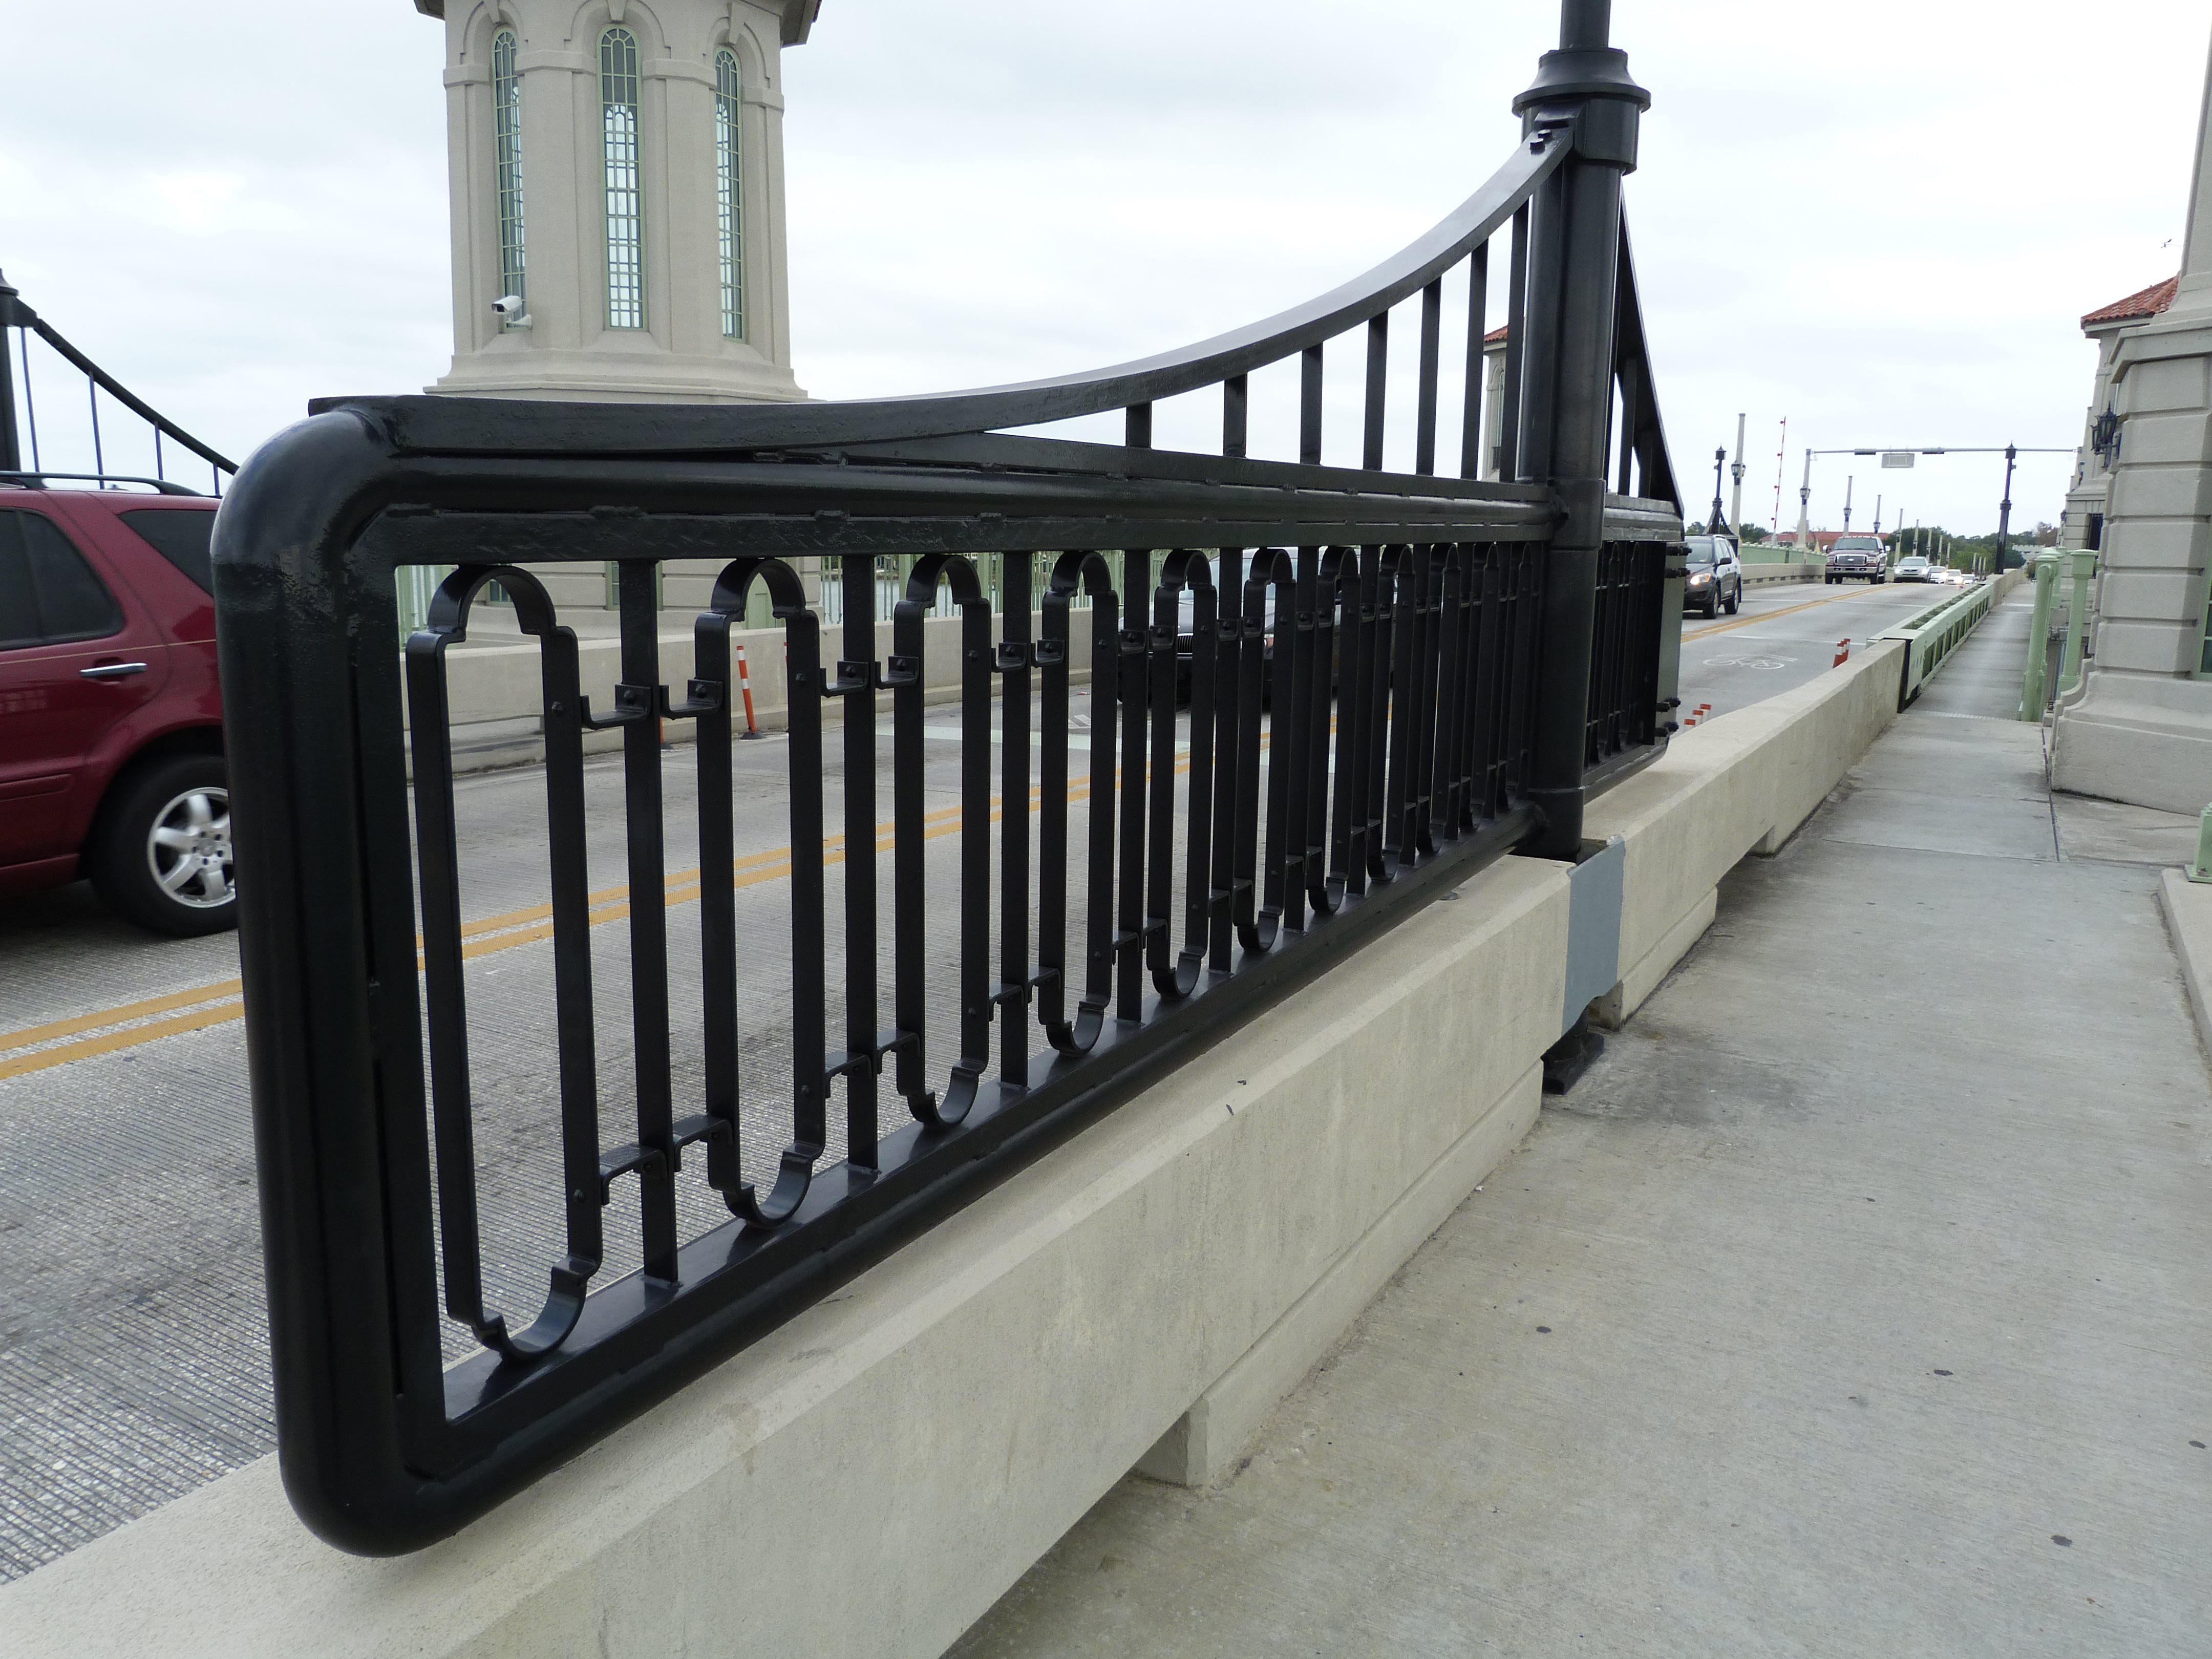
Historical replica gates. These are fully functional, but are supplemented by modern gates.
![]()

Detail of modern gate.
![]()
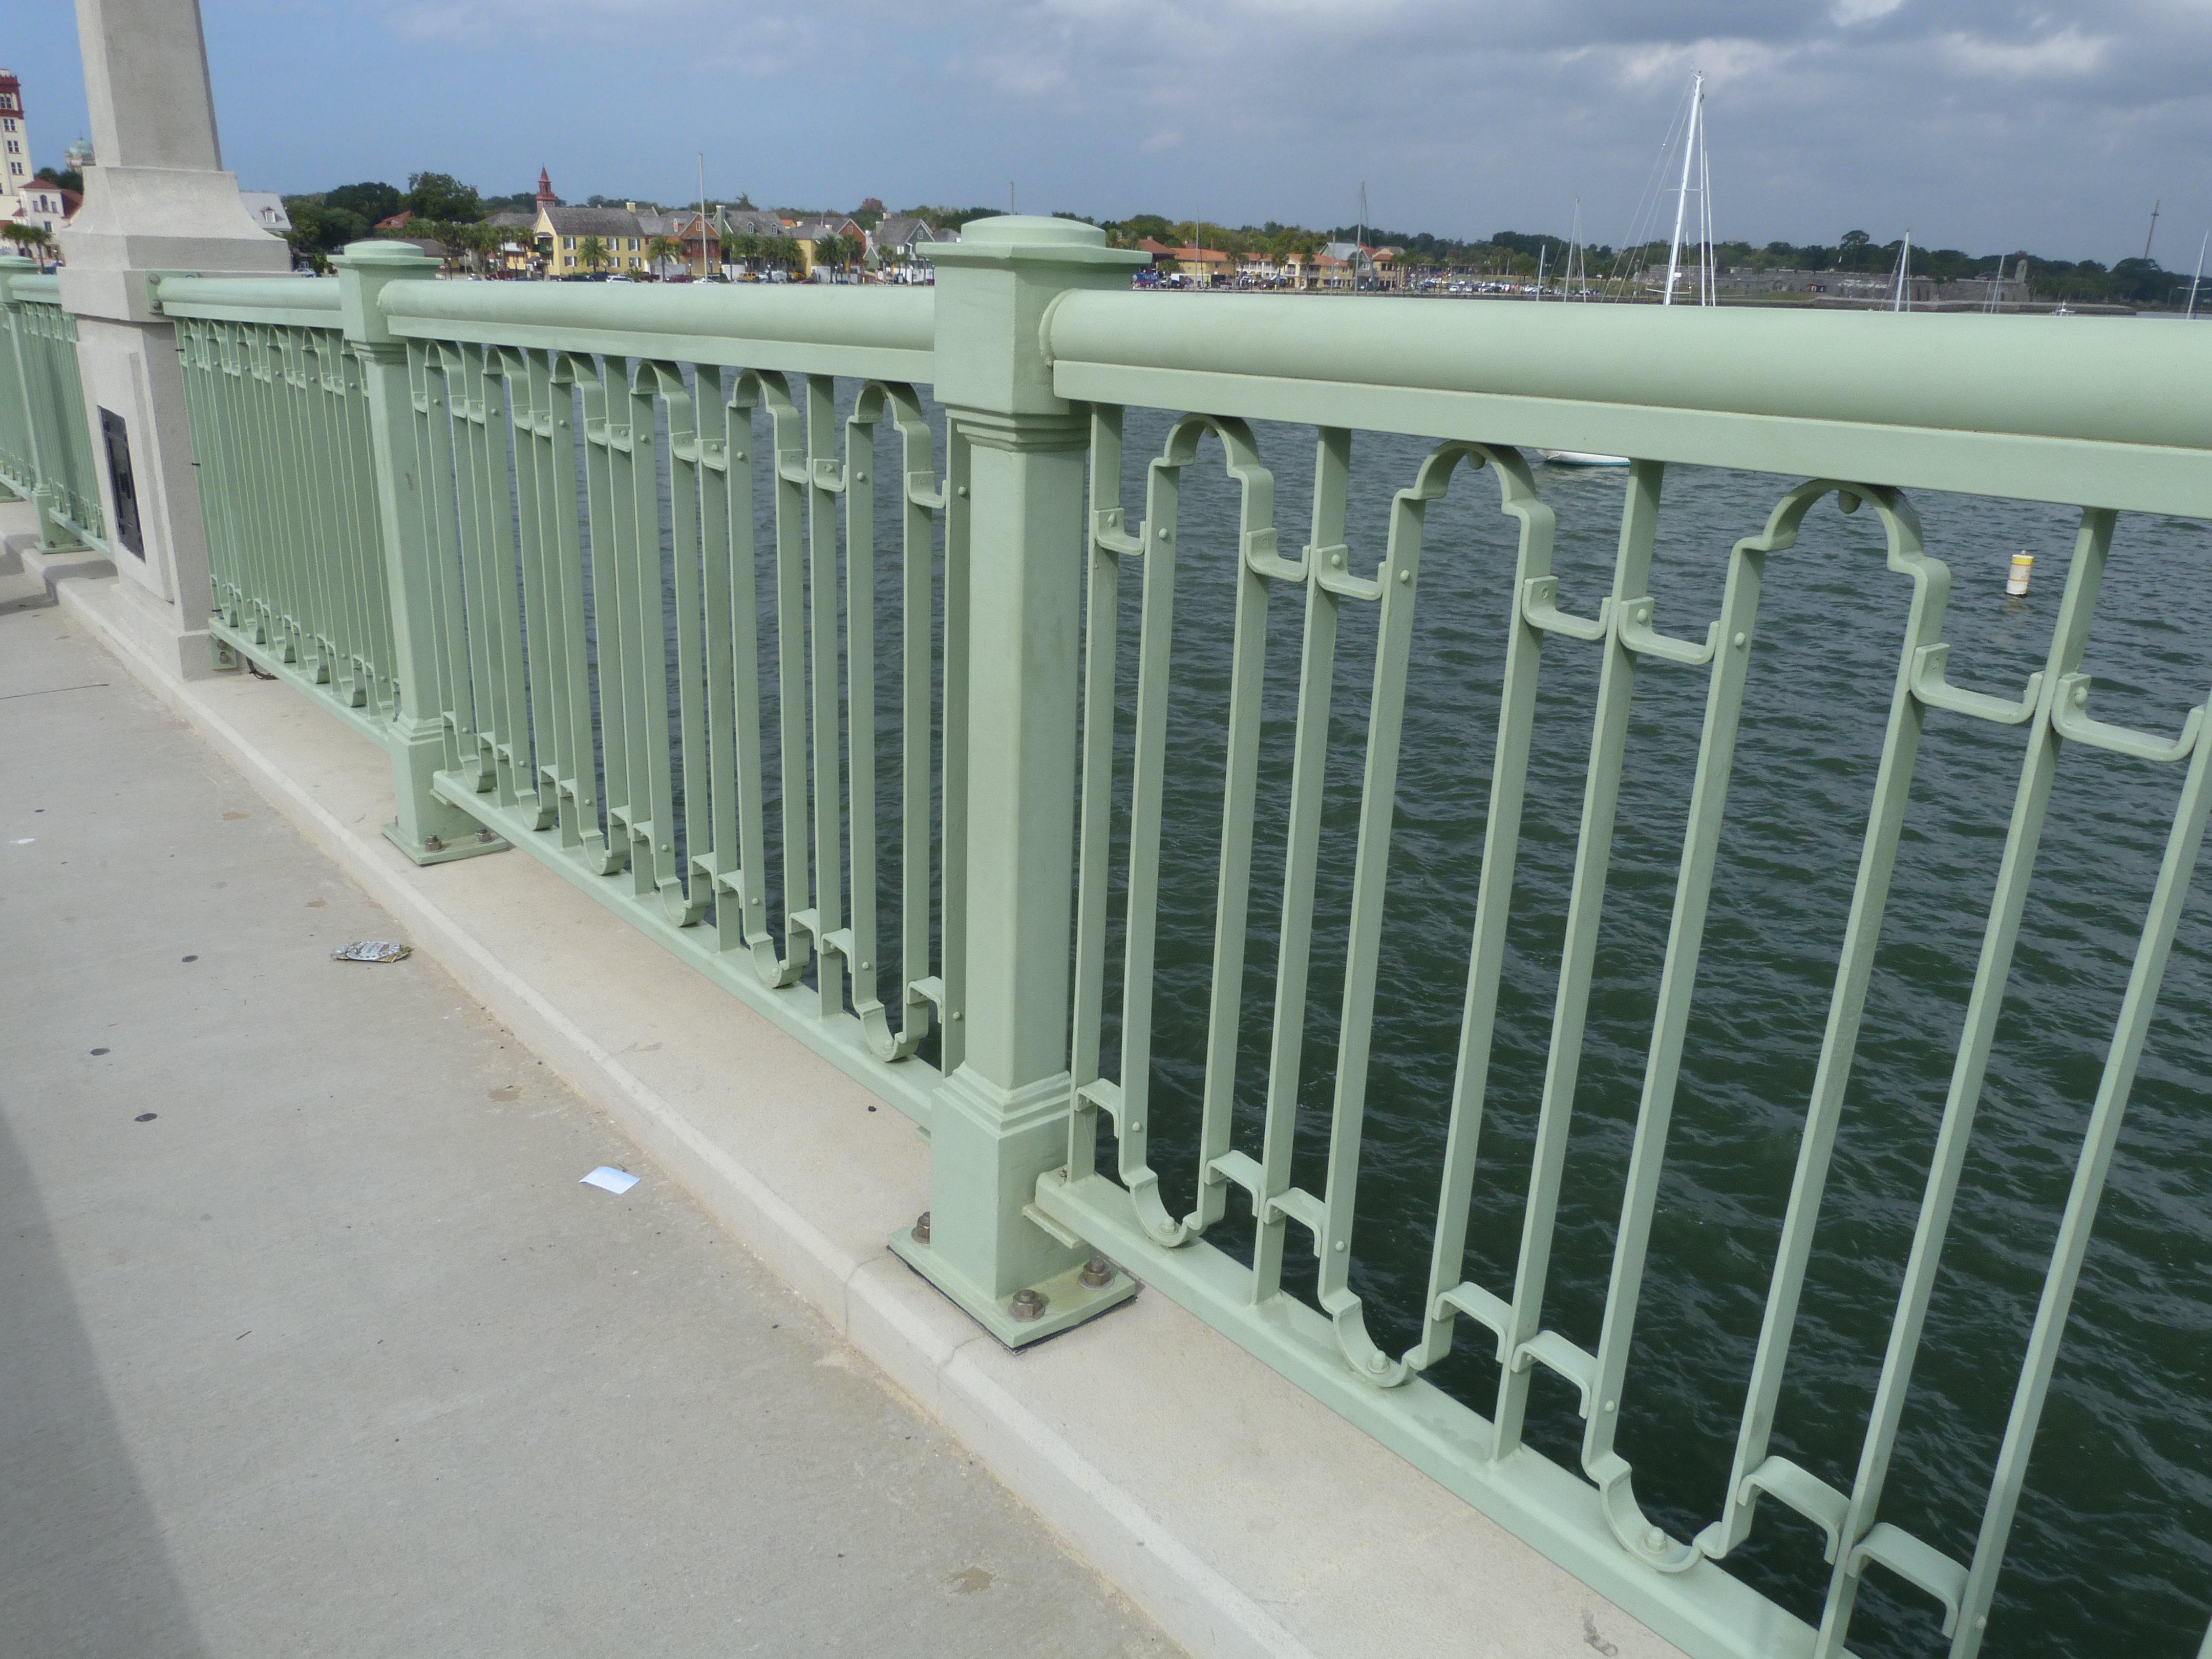


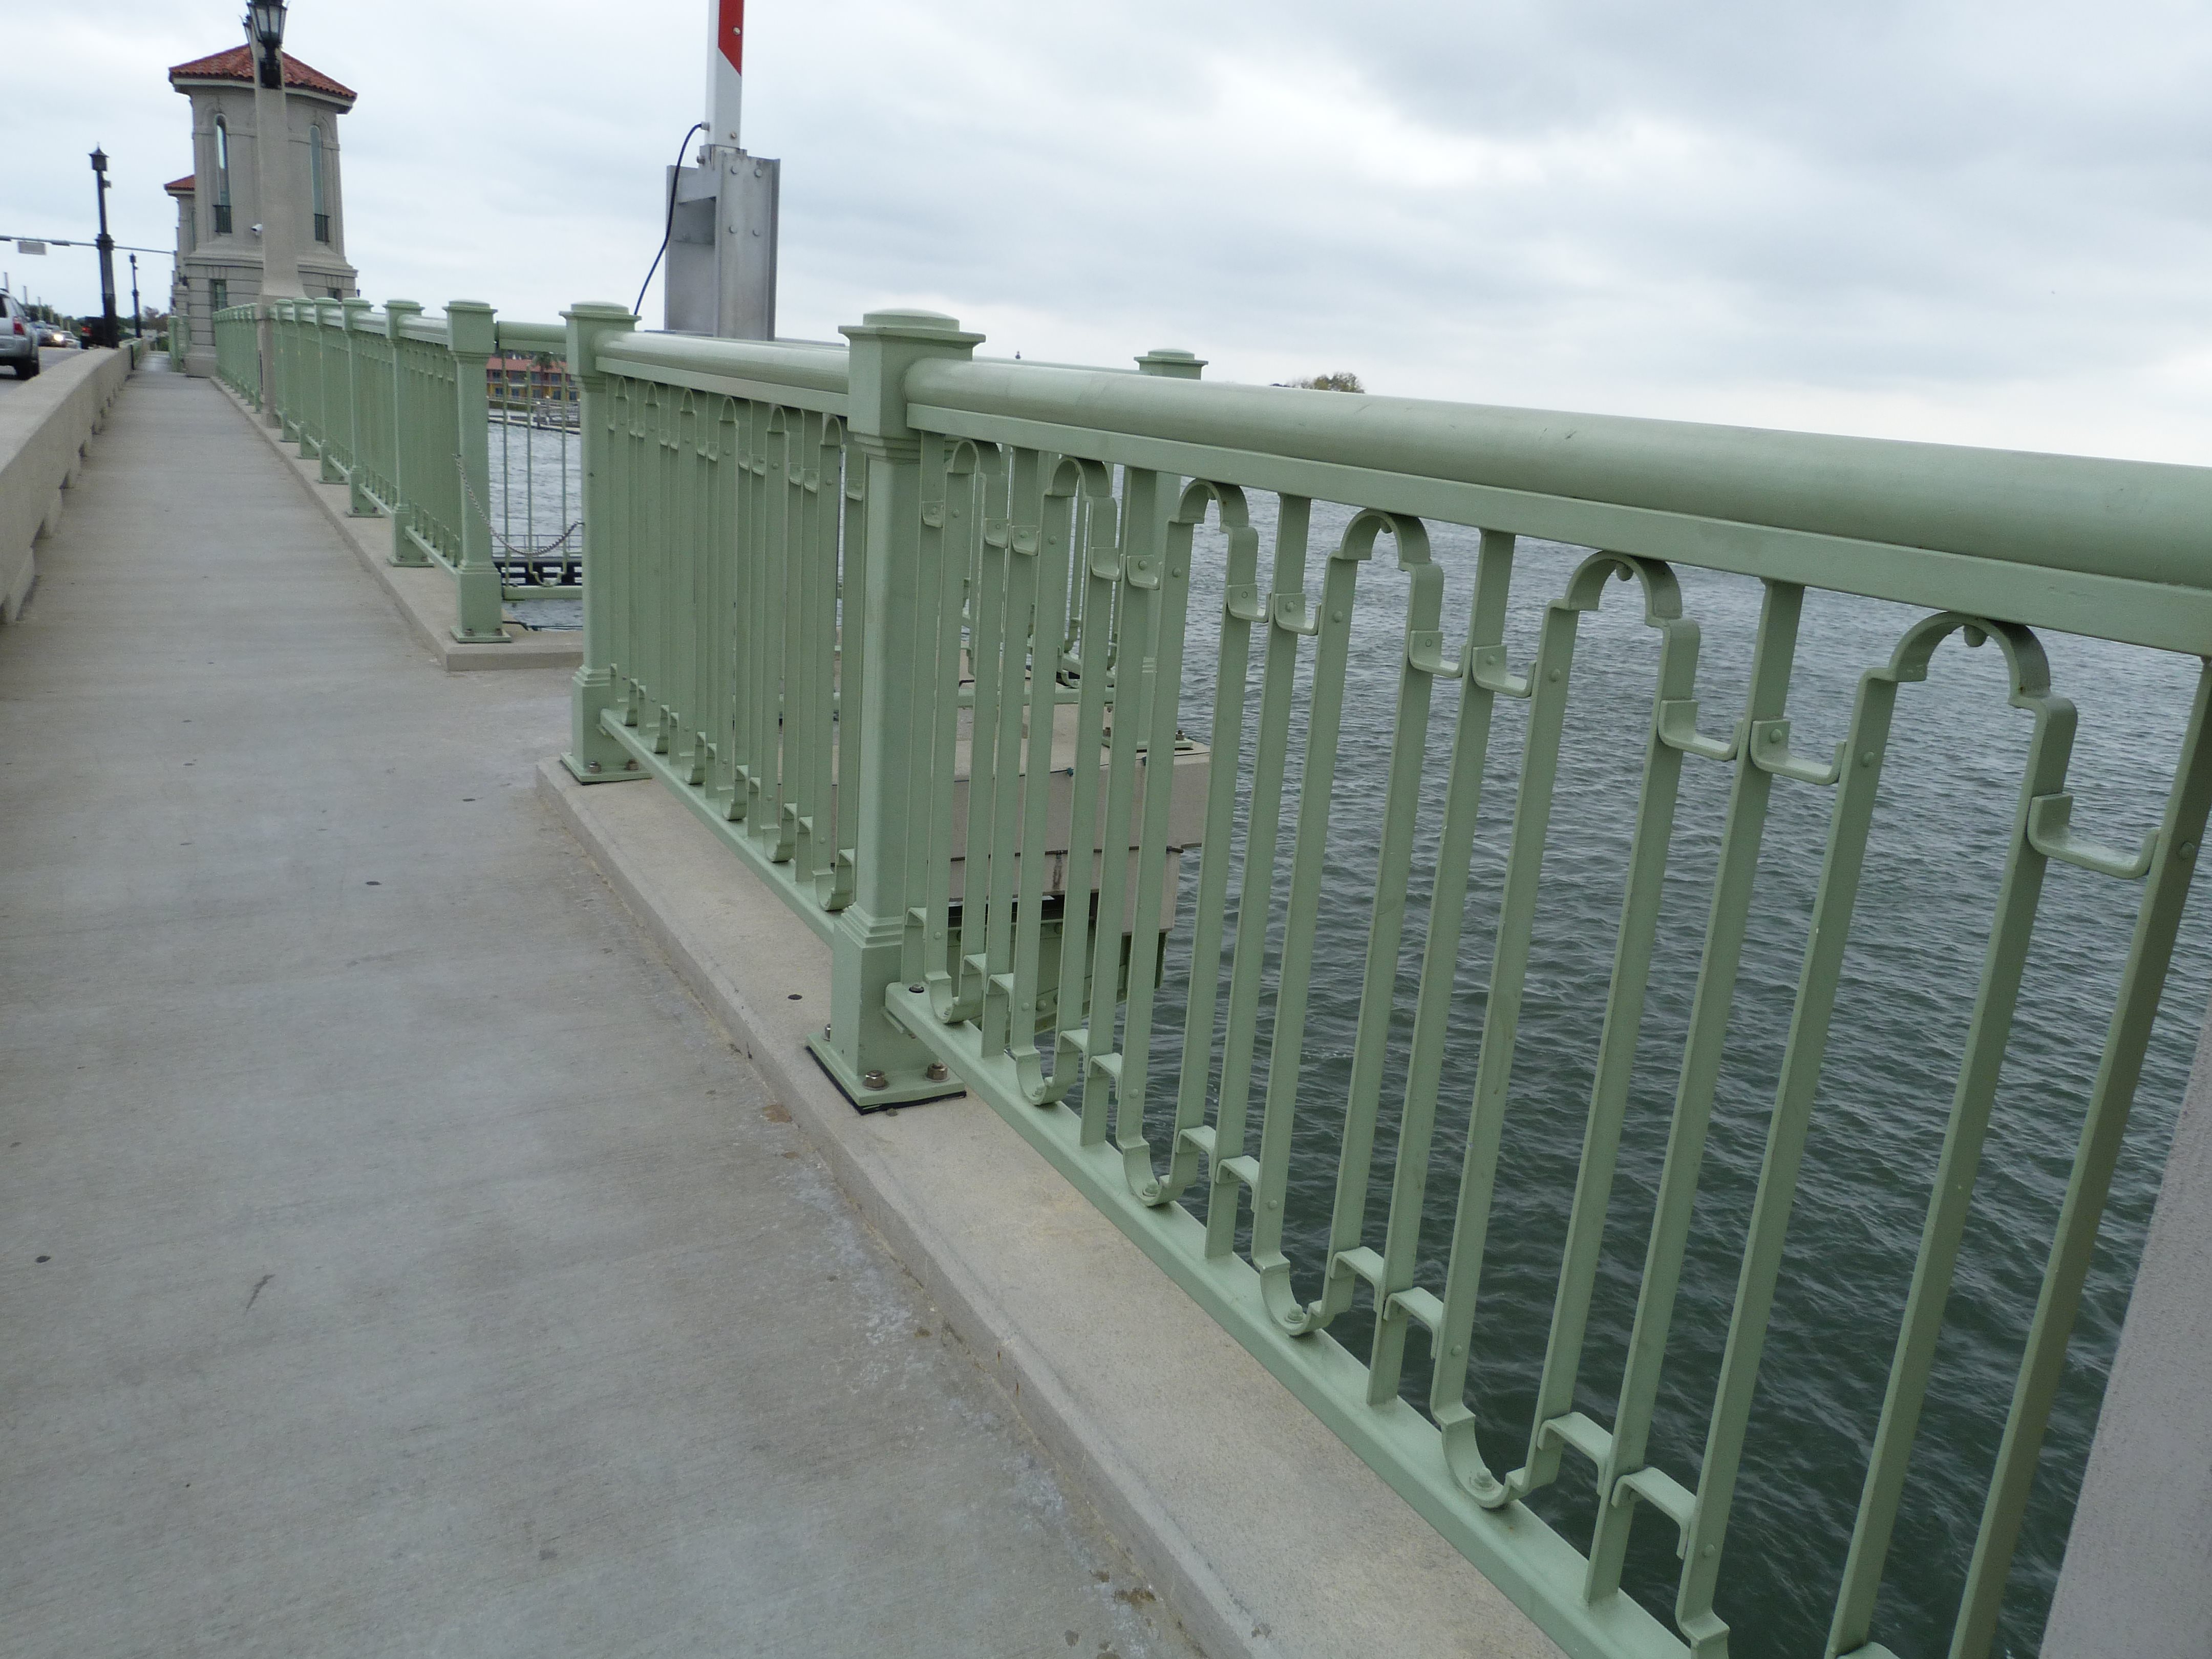

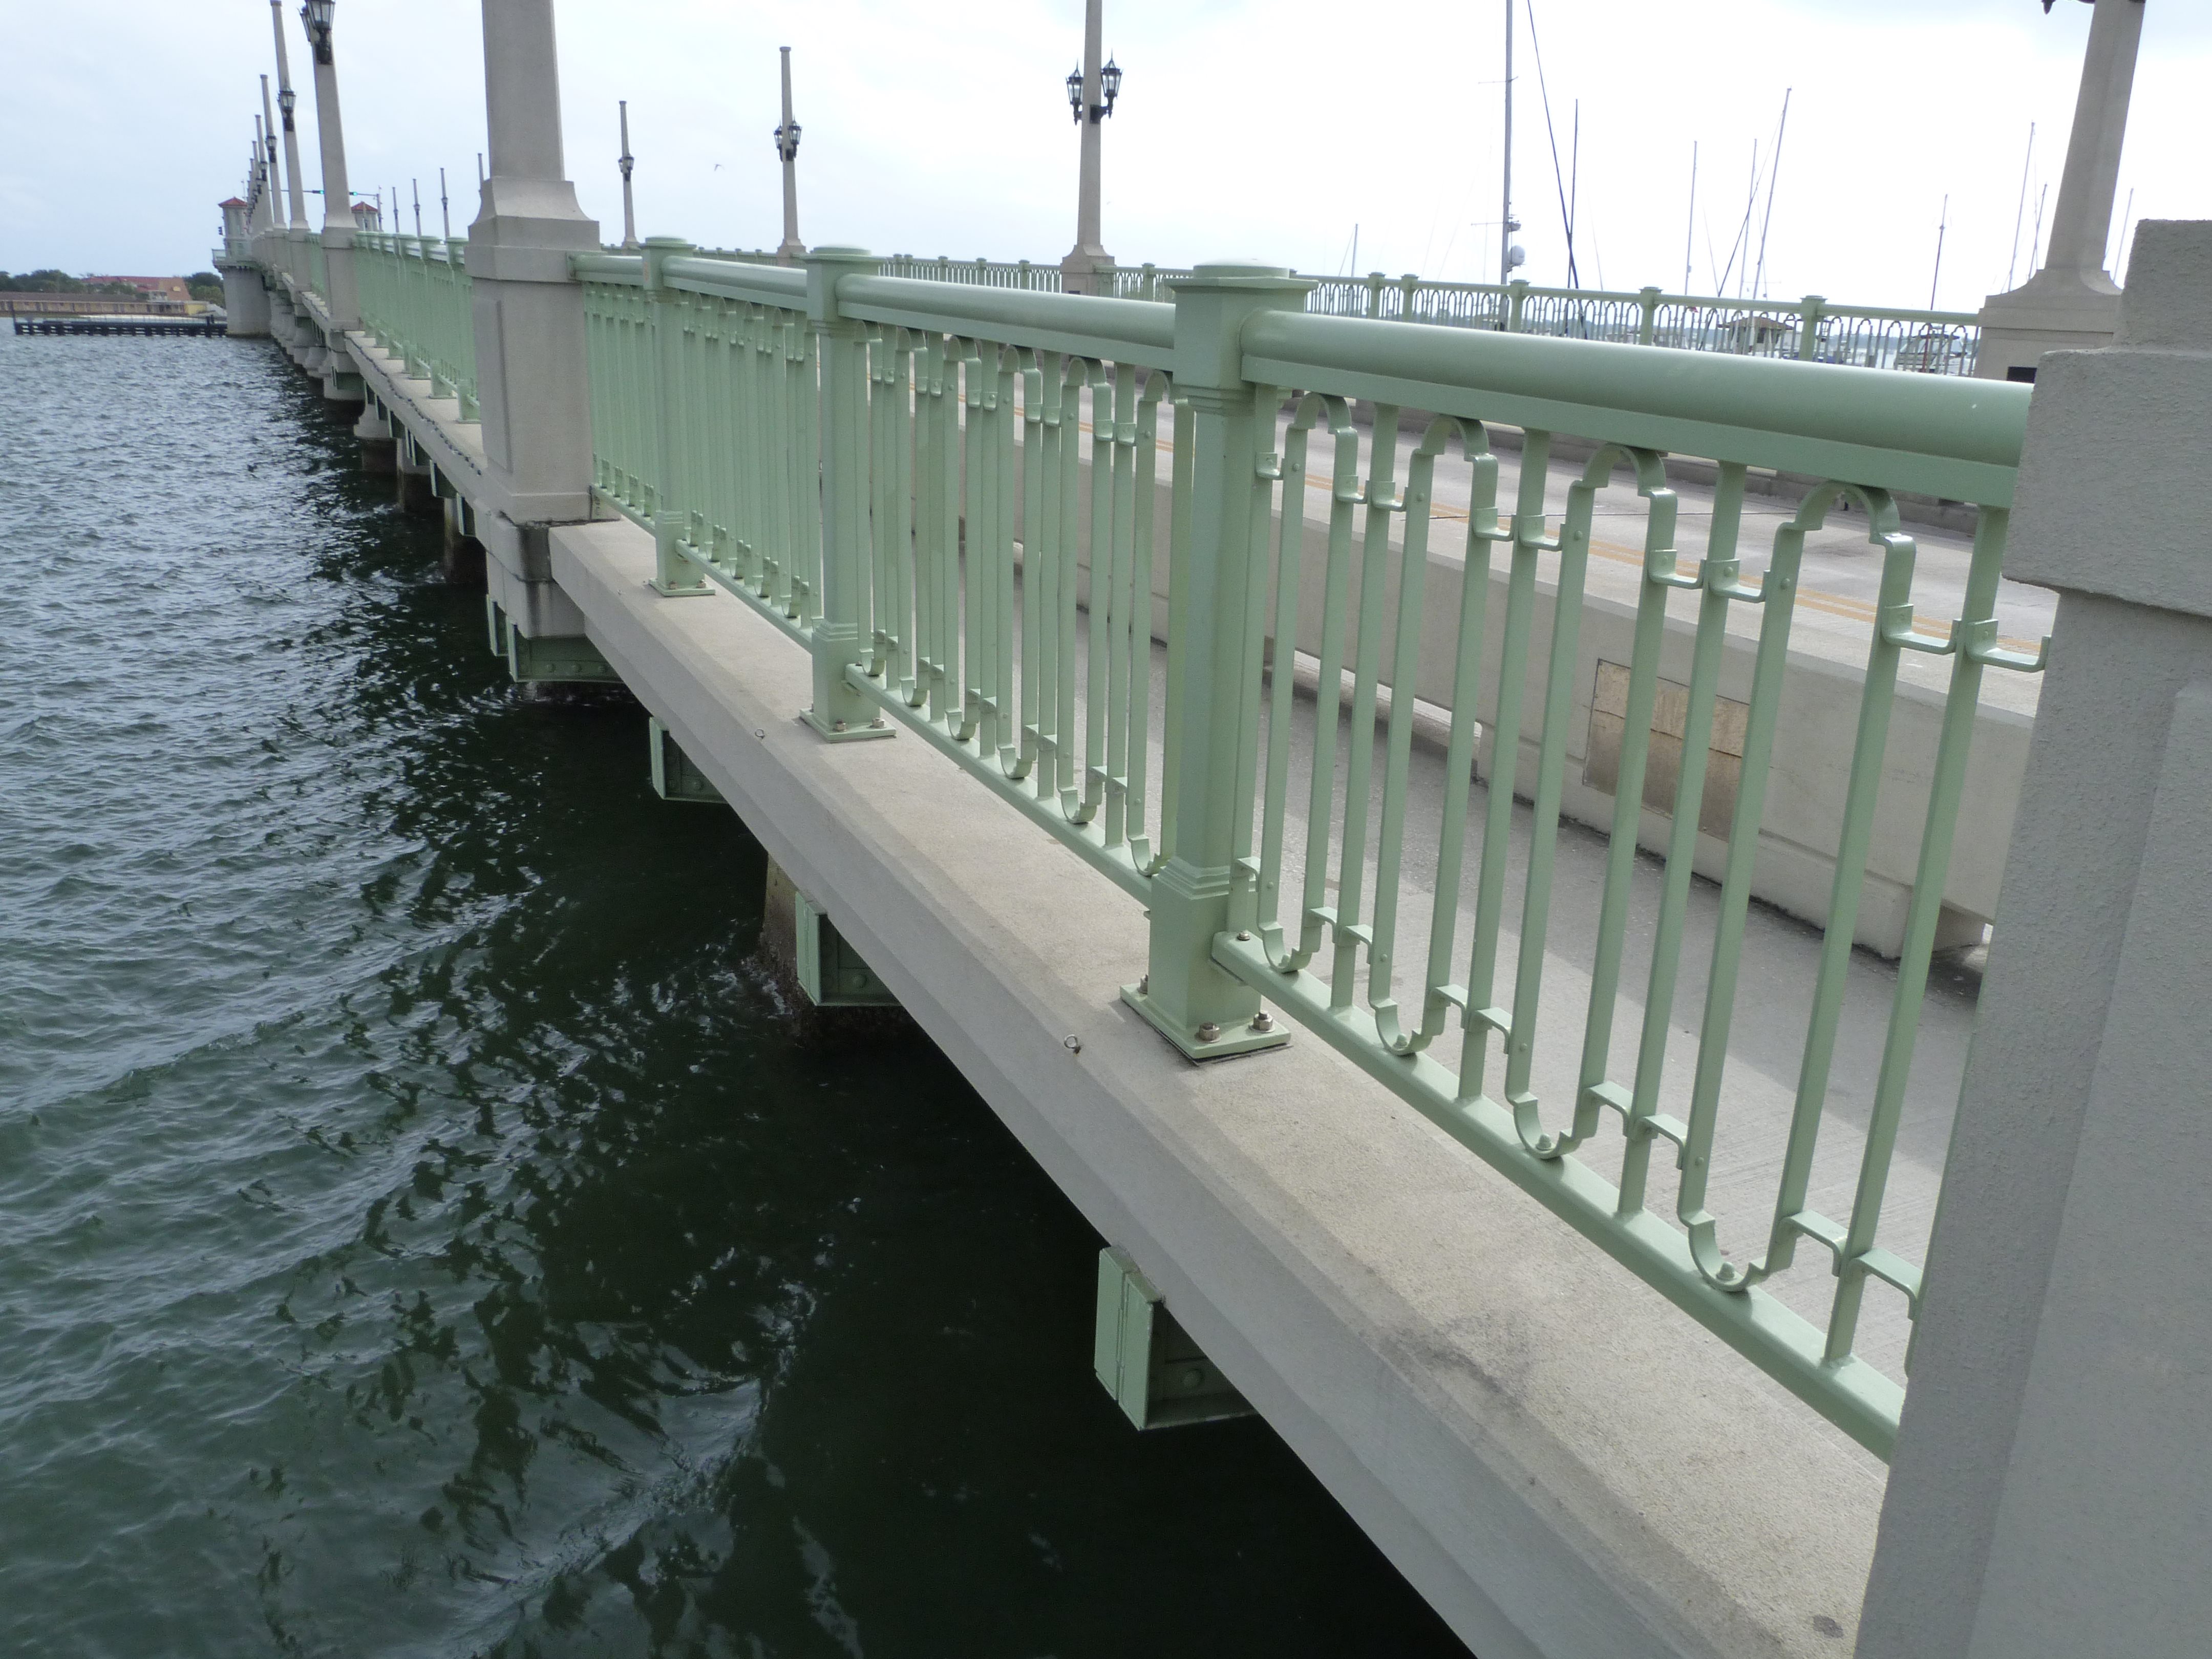
Pedestrian railing.
![]()
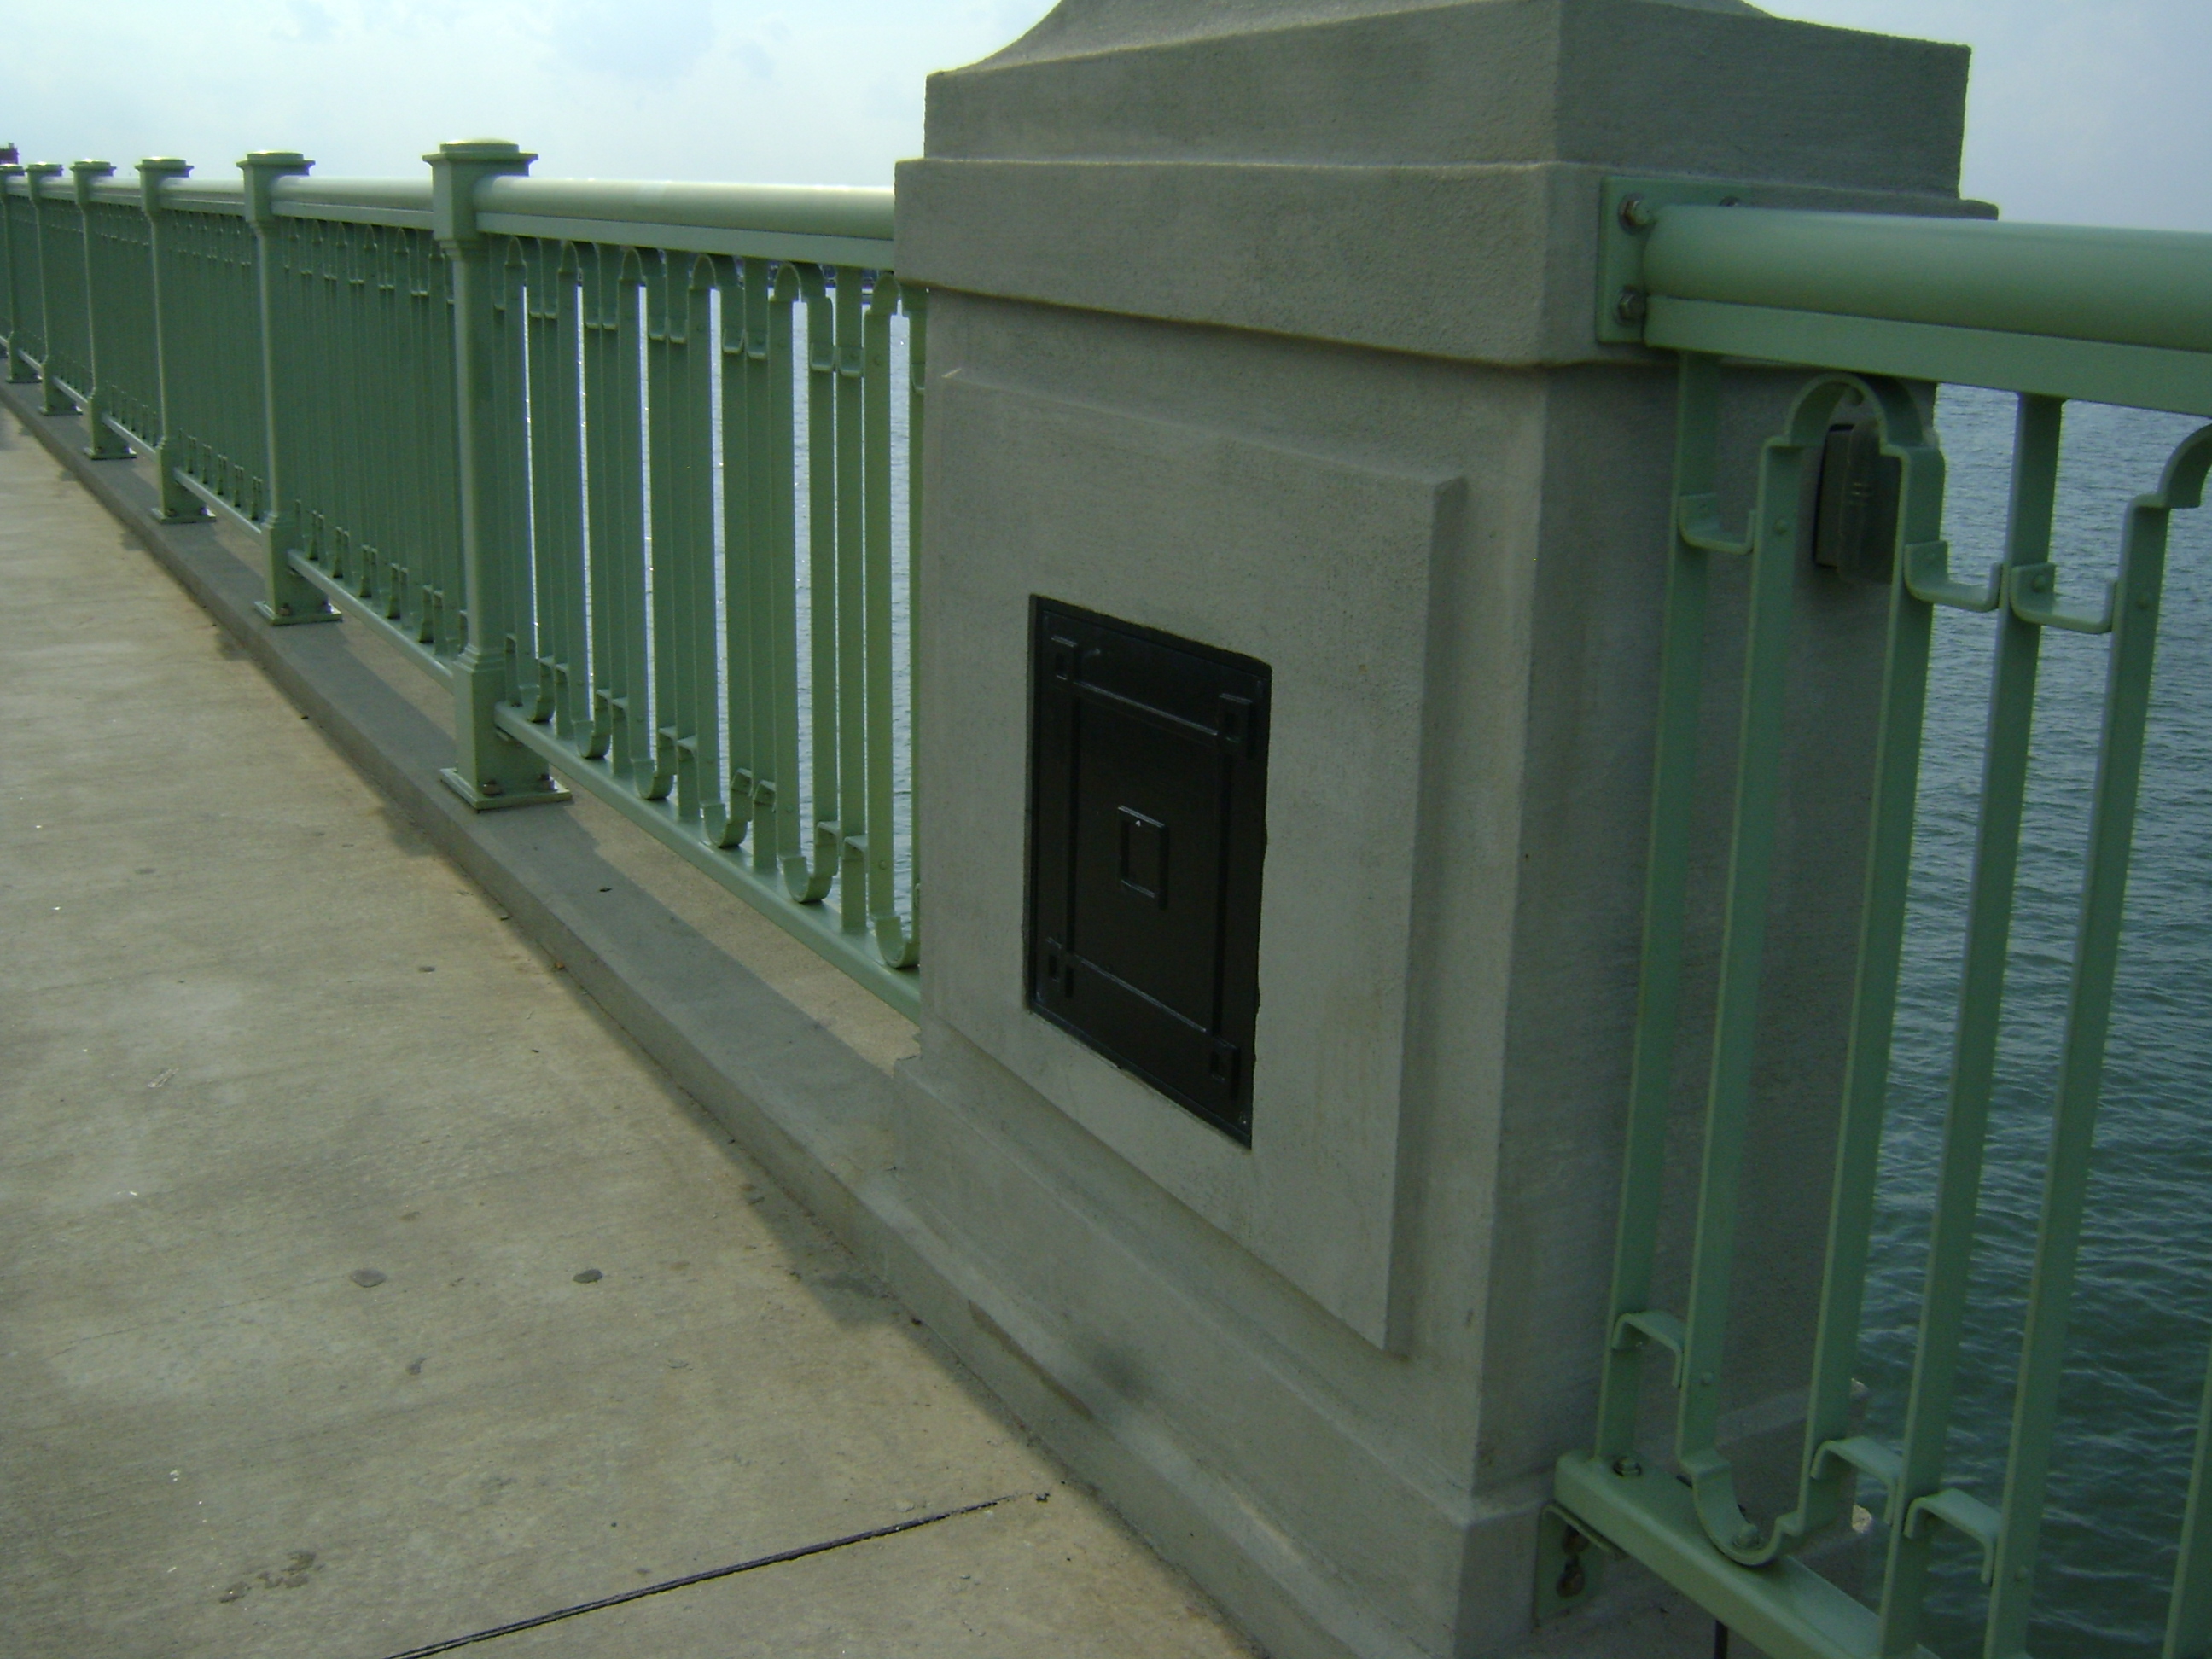
Photo Credit: Marc Scotti
Pedestrian railing.
![]()

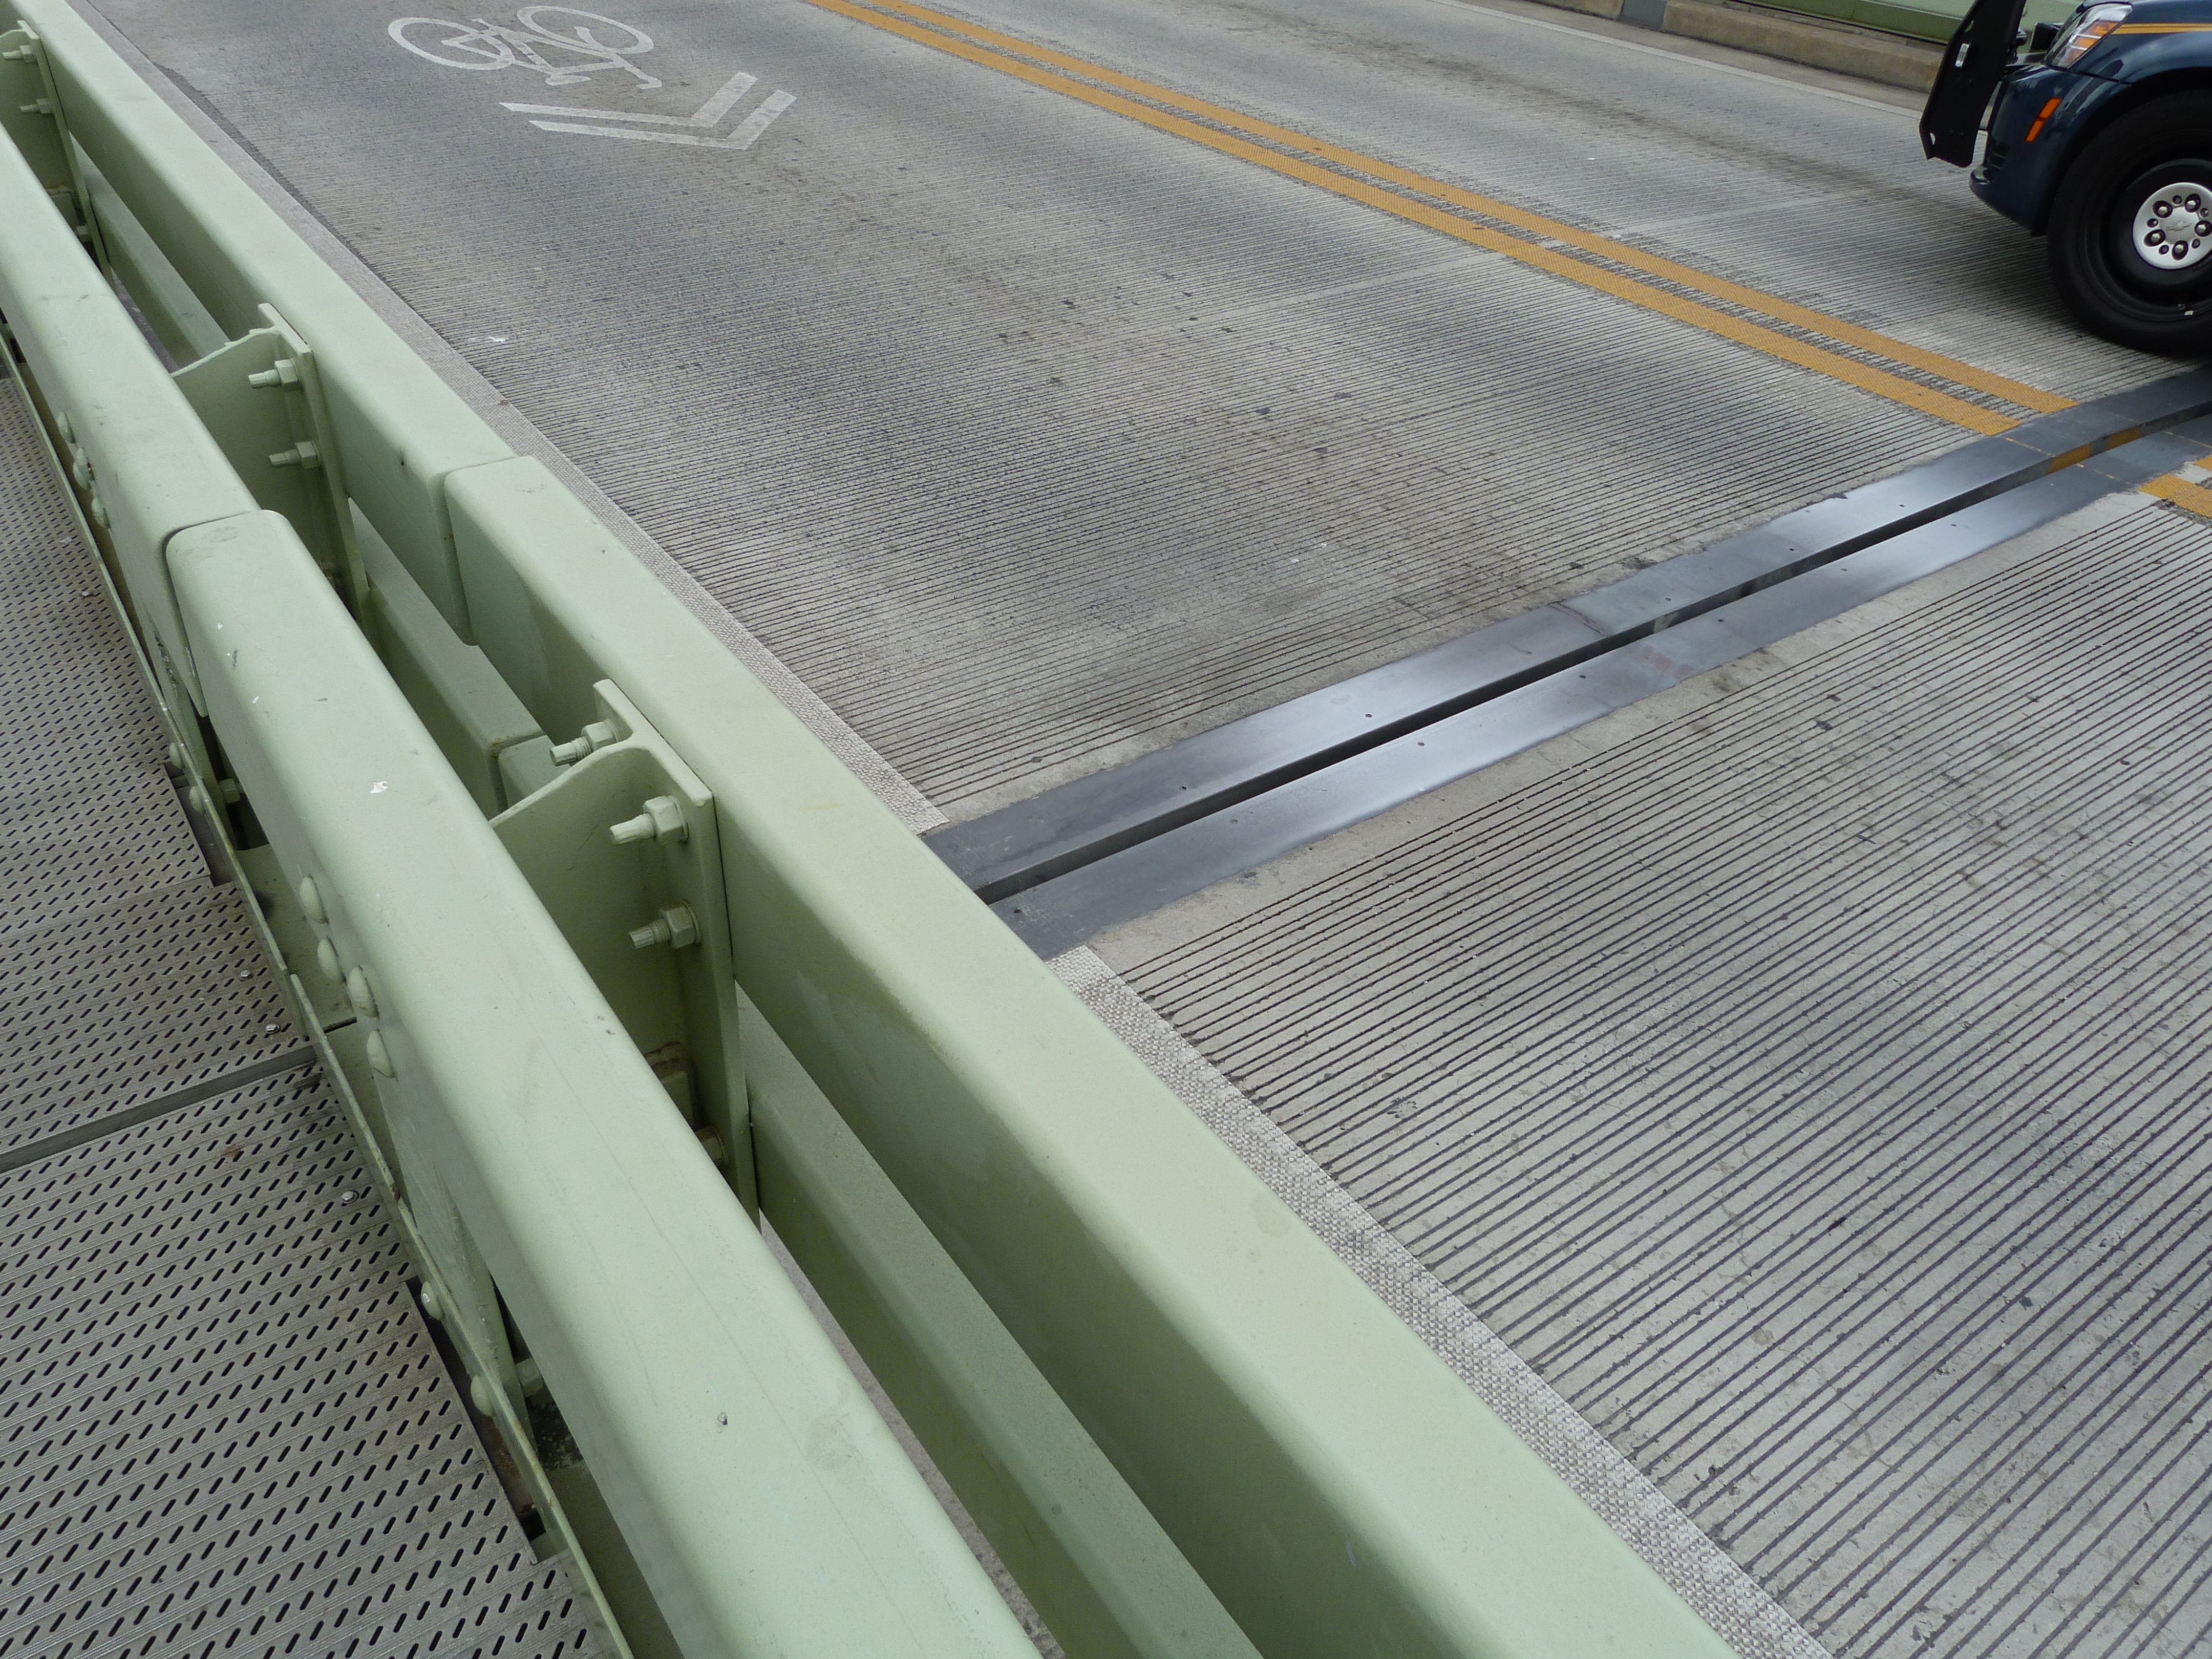
Approach vehicular railing with bridge name.
![]()
Bascule vehicular railing with bridge name.
![]()
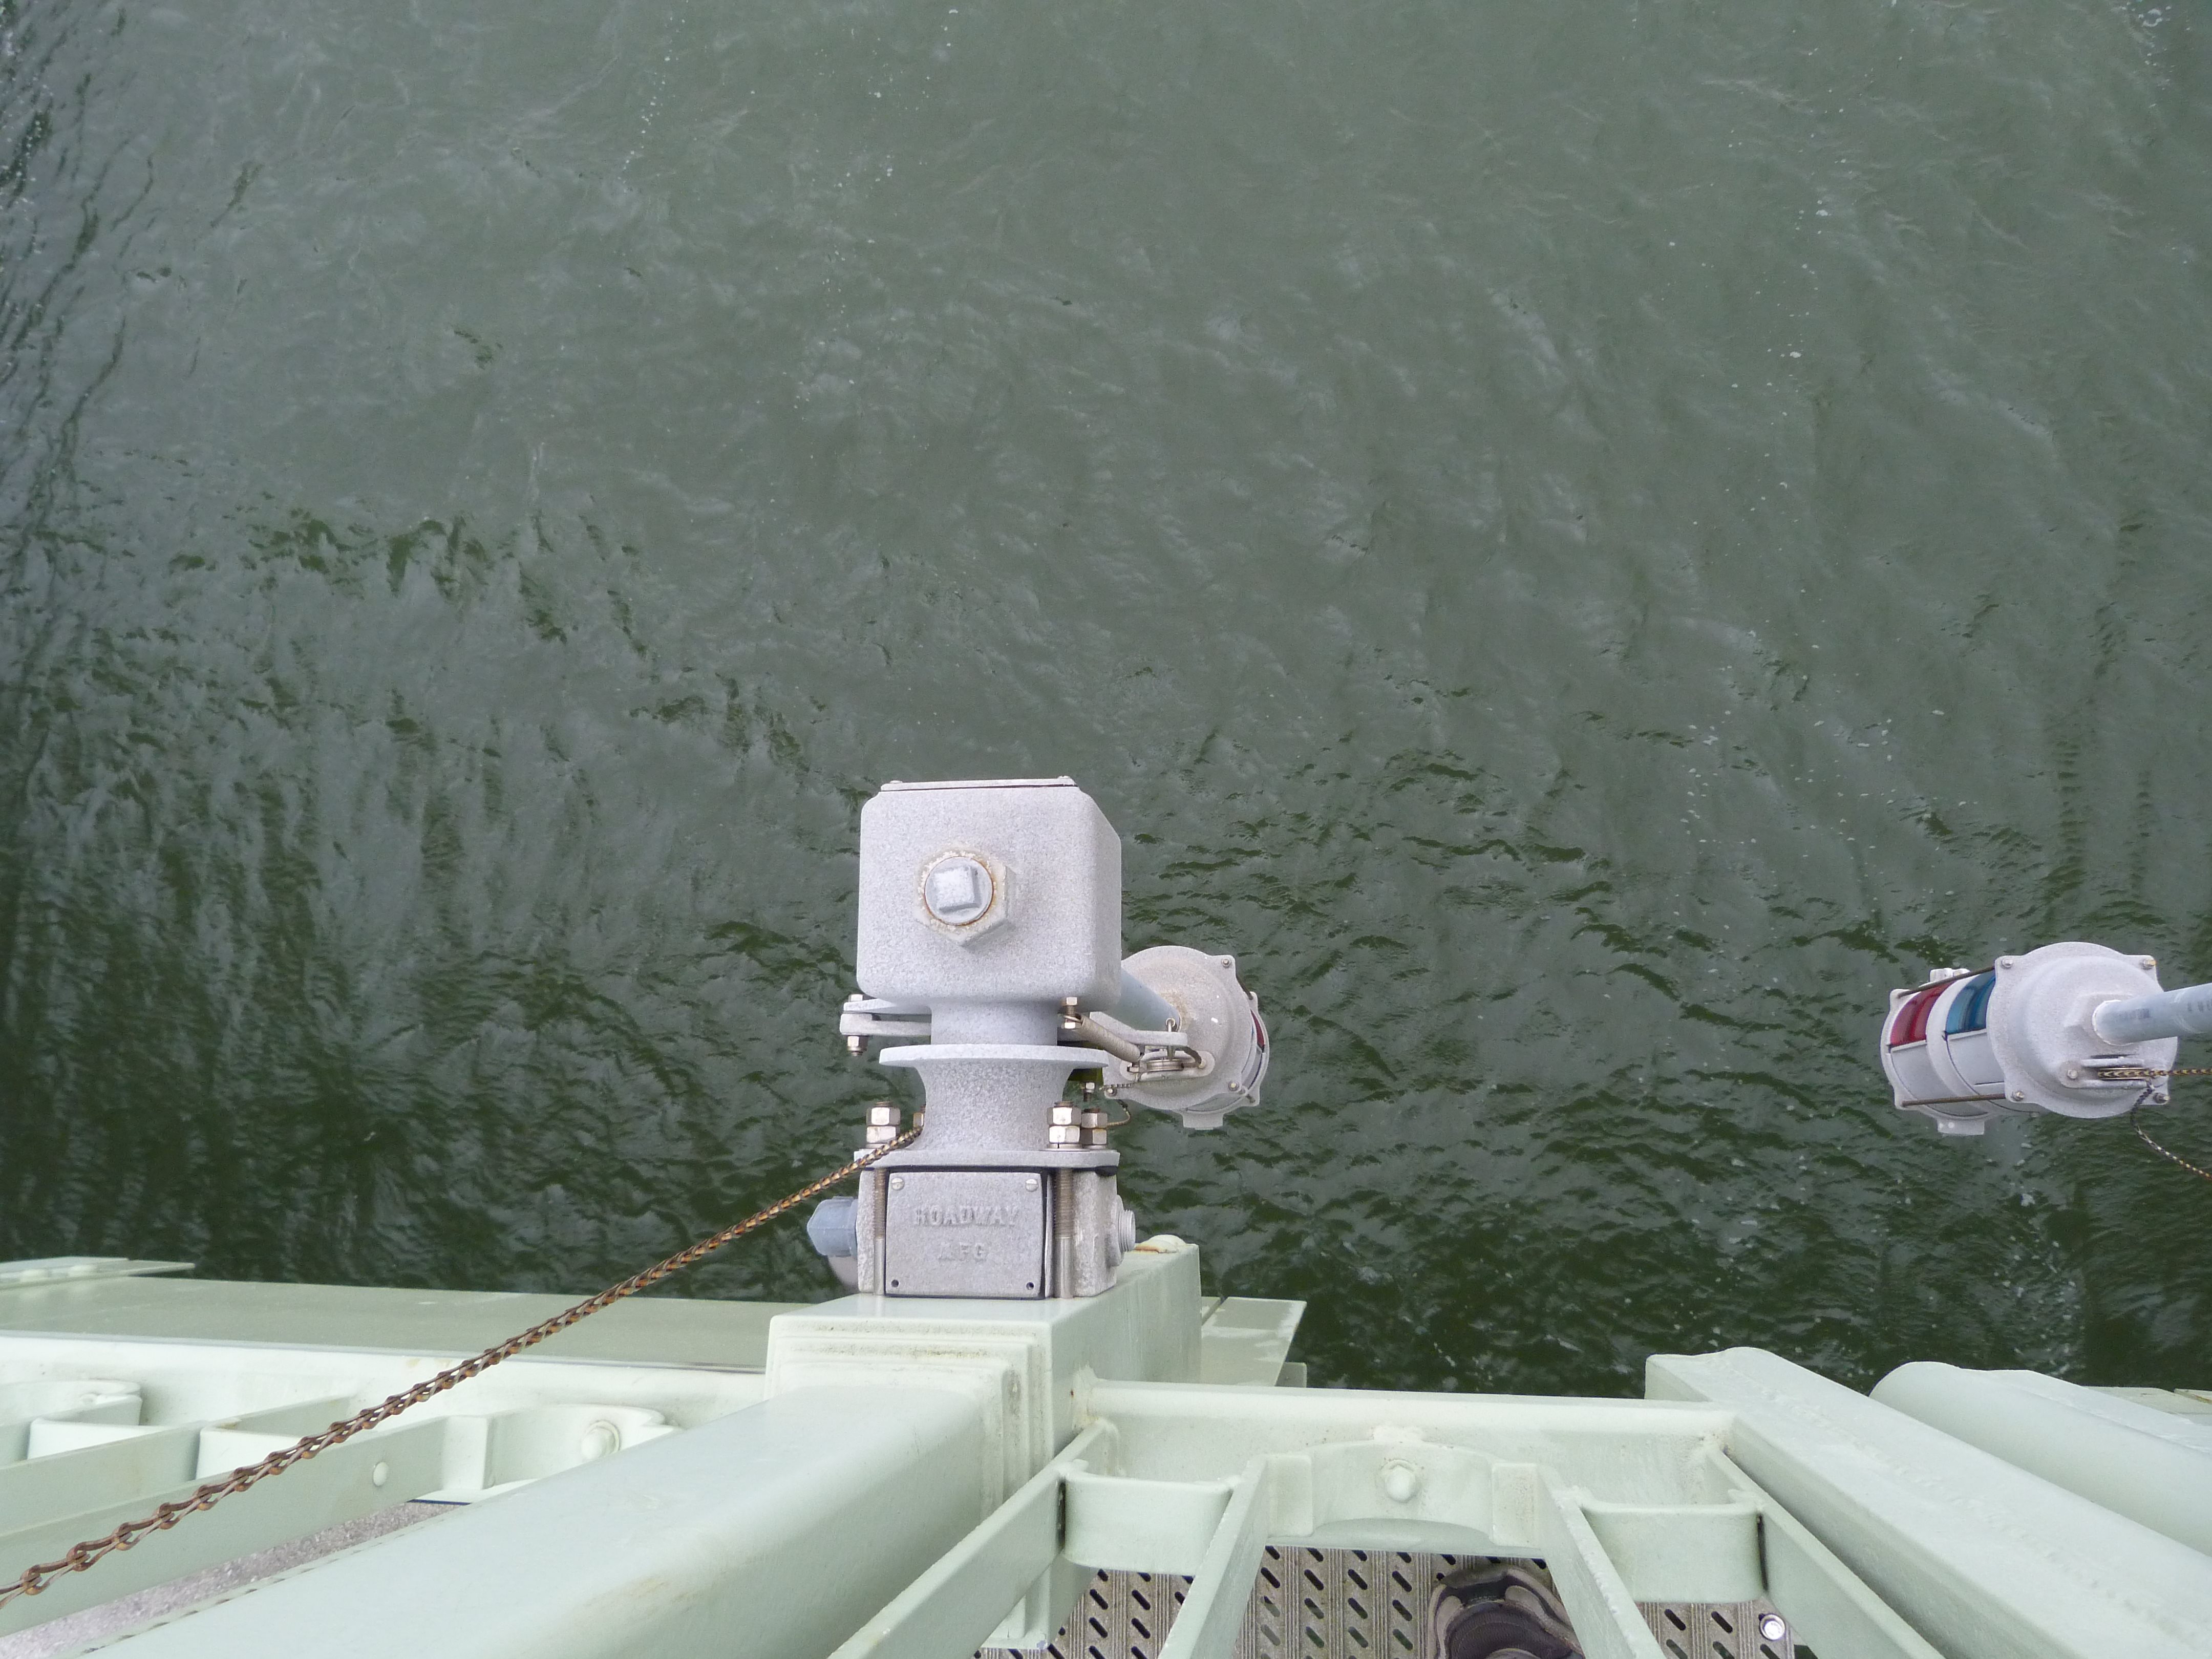
Navigation lights.
![]()

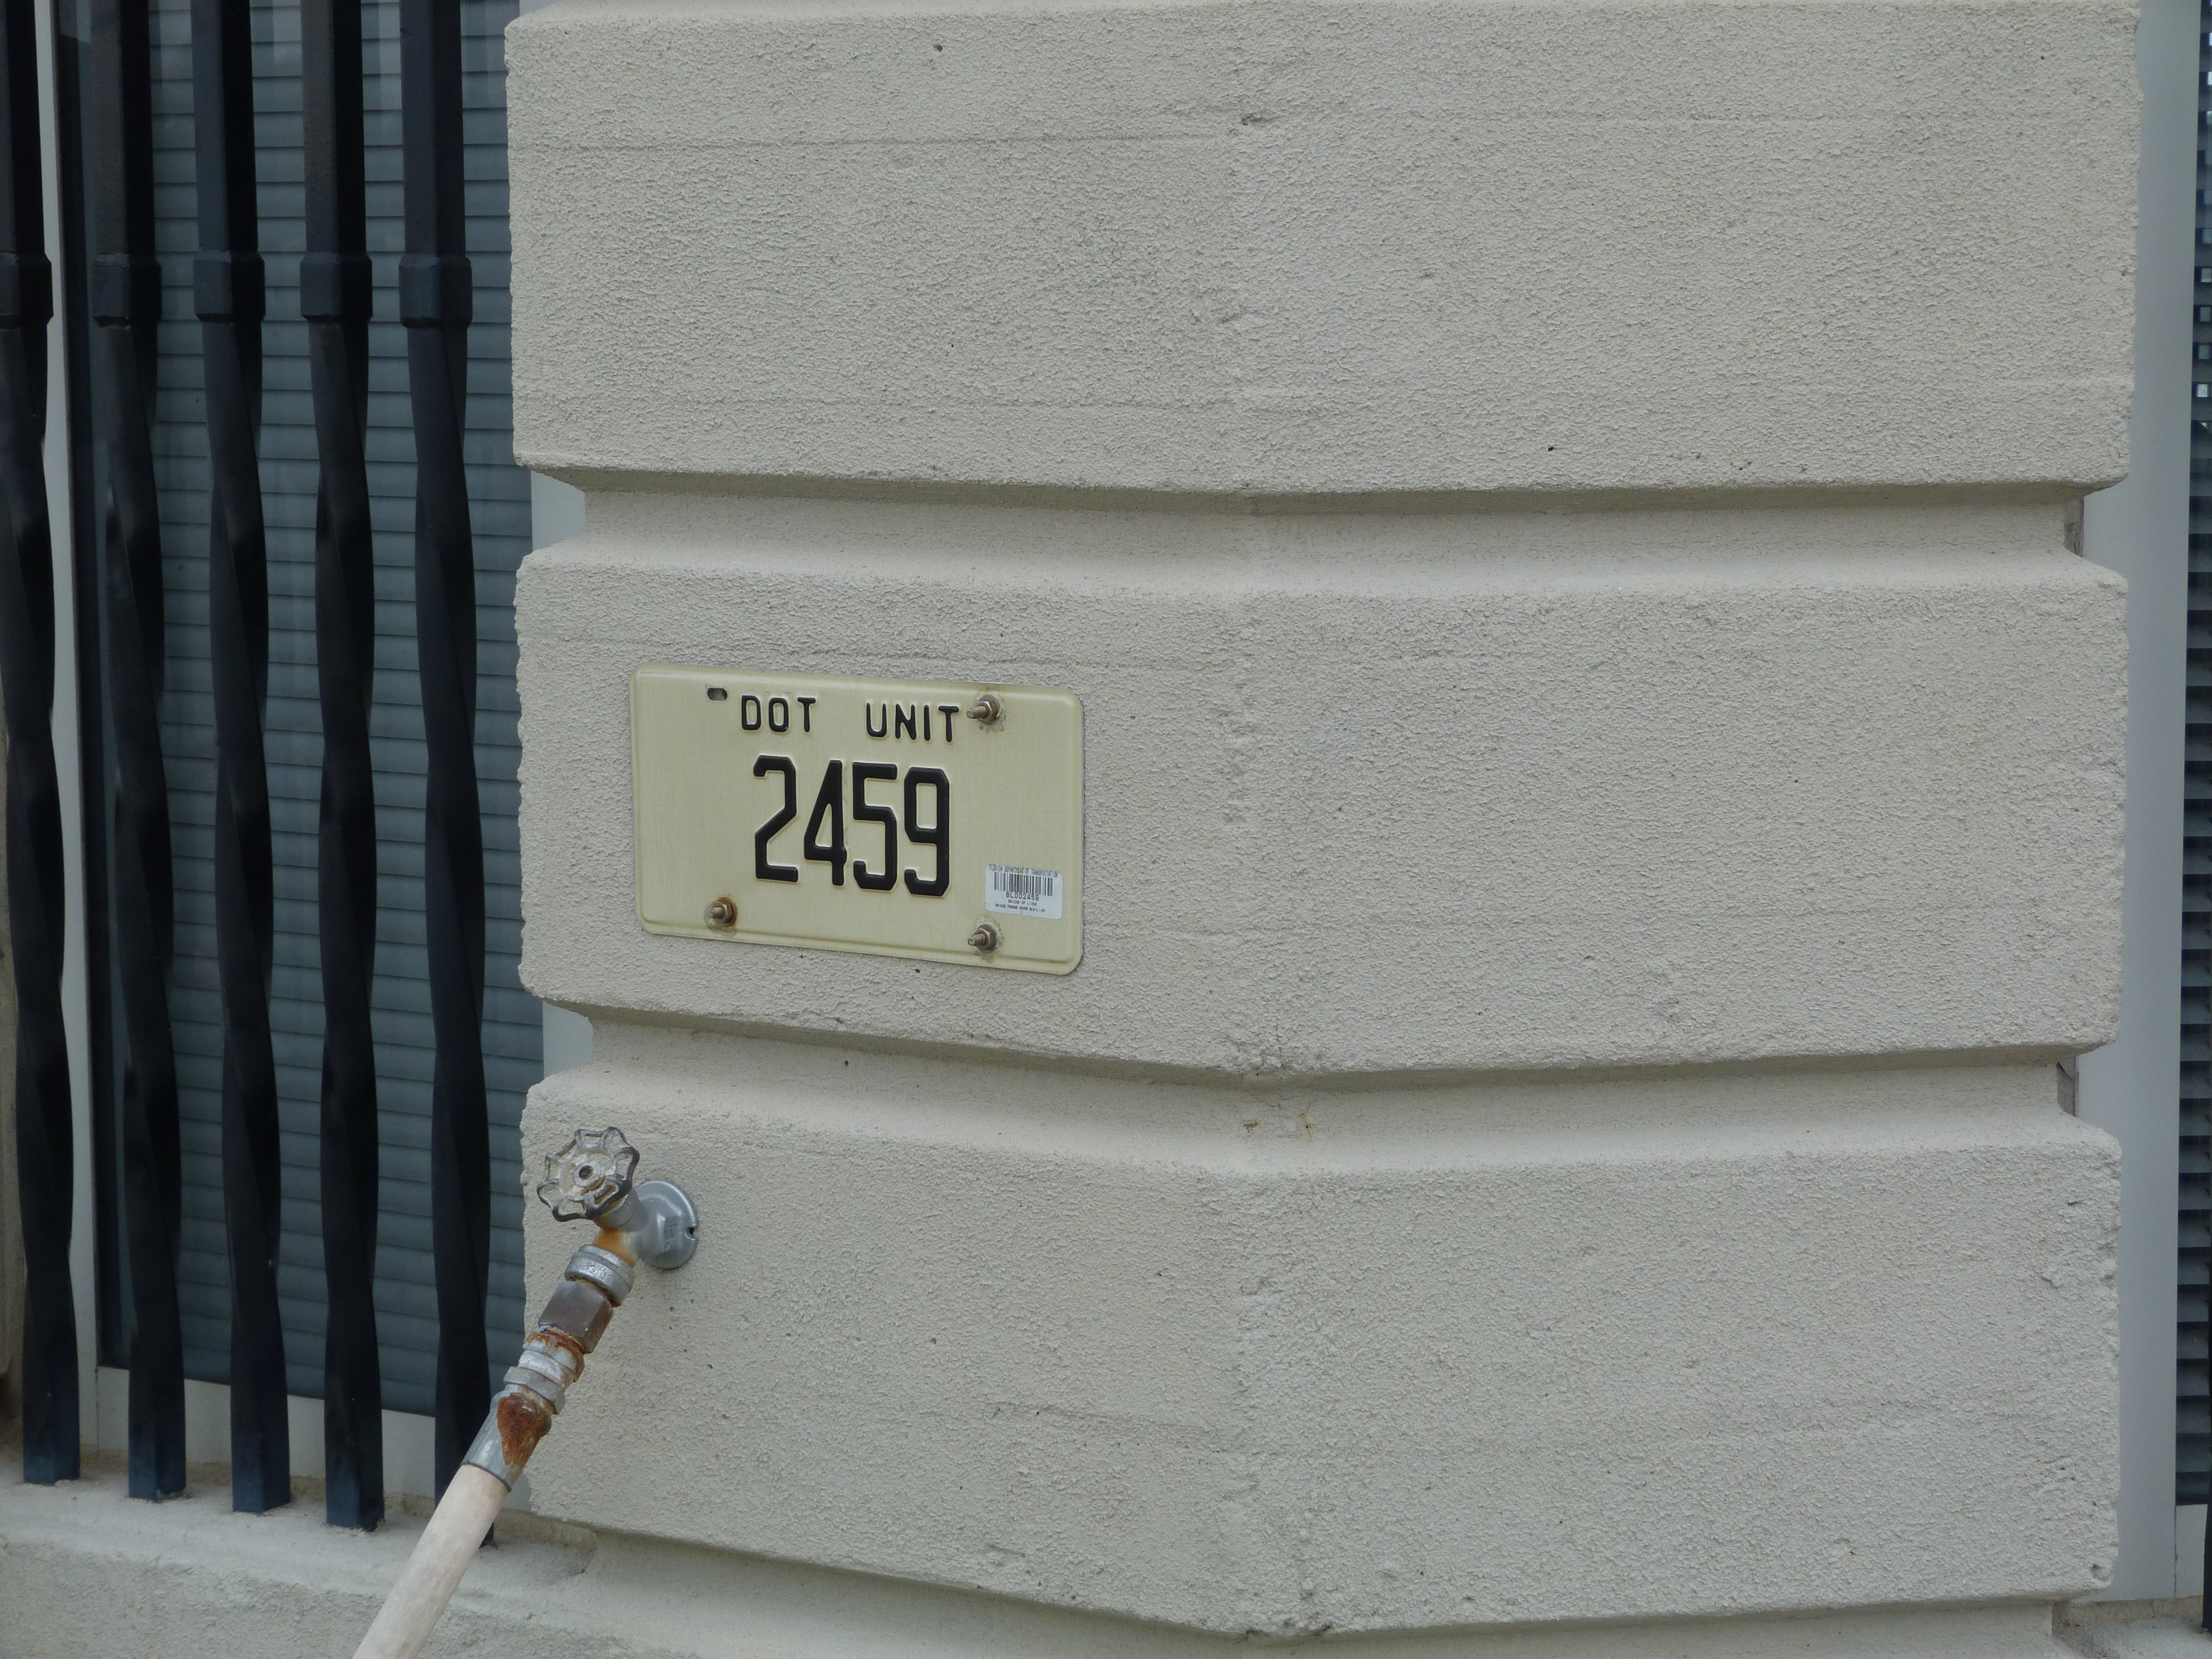
Bridge tender parking east of bridge.
![]()
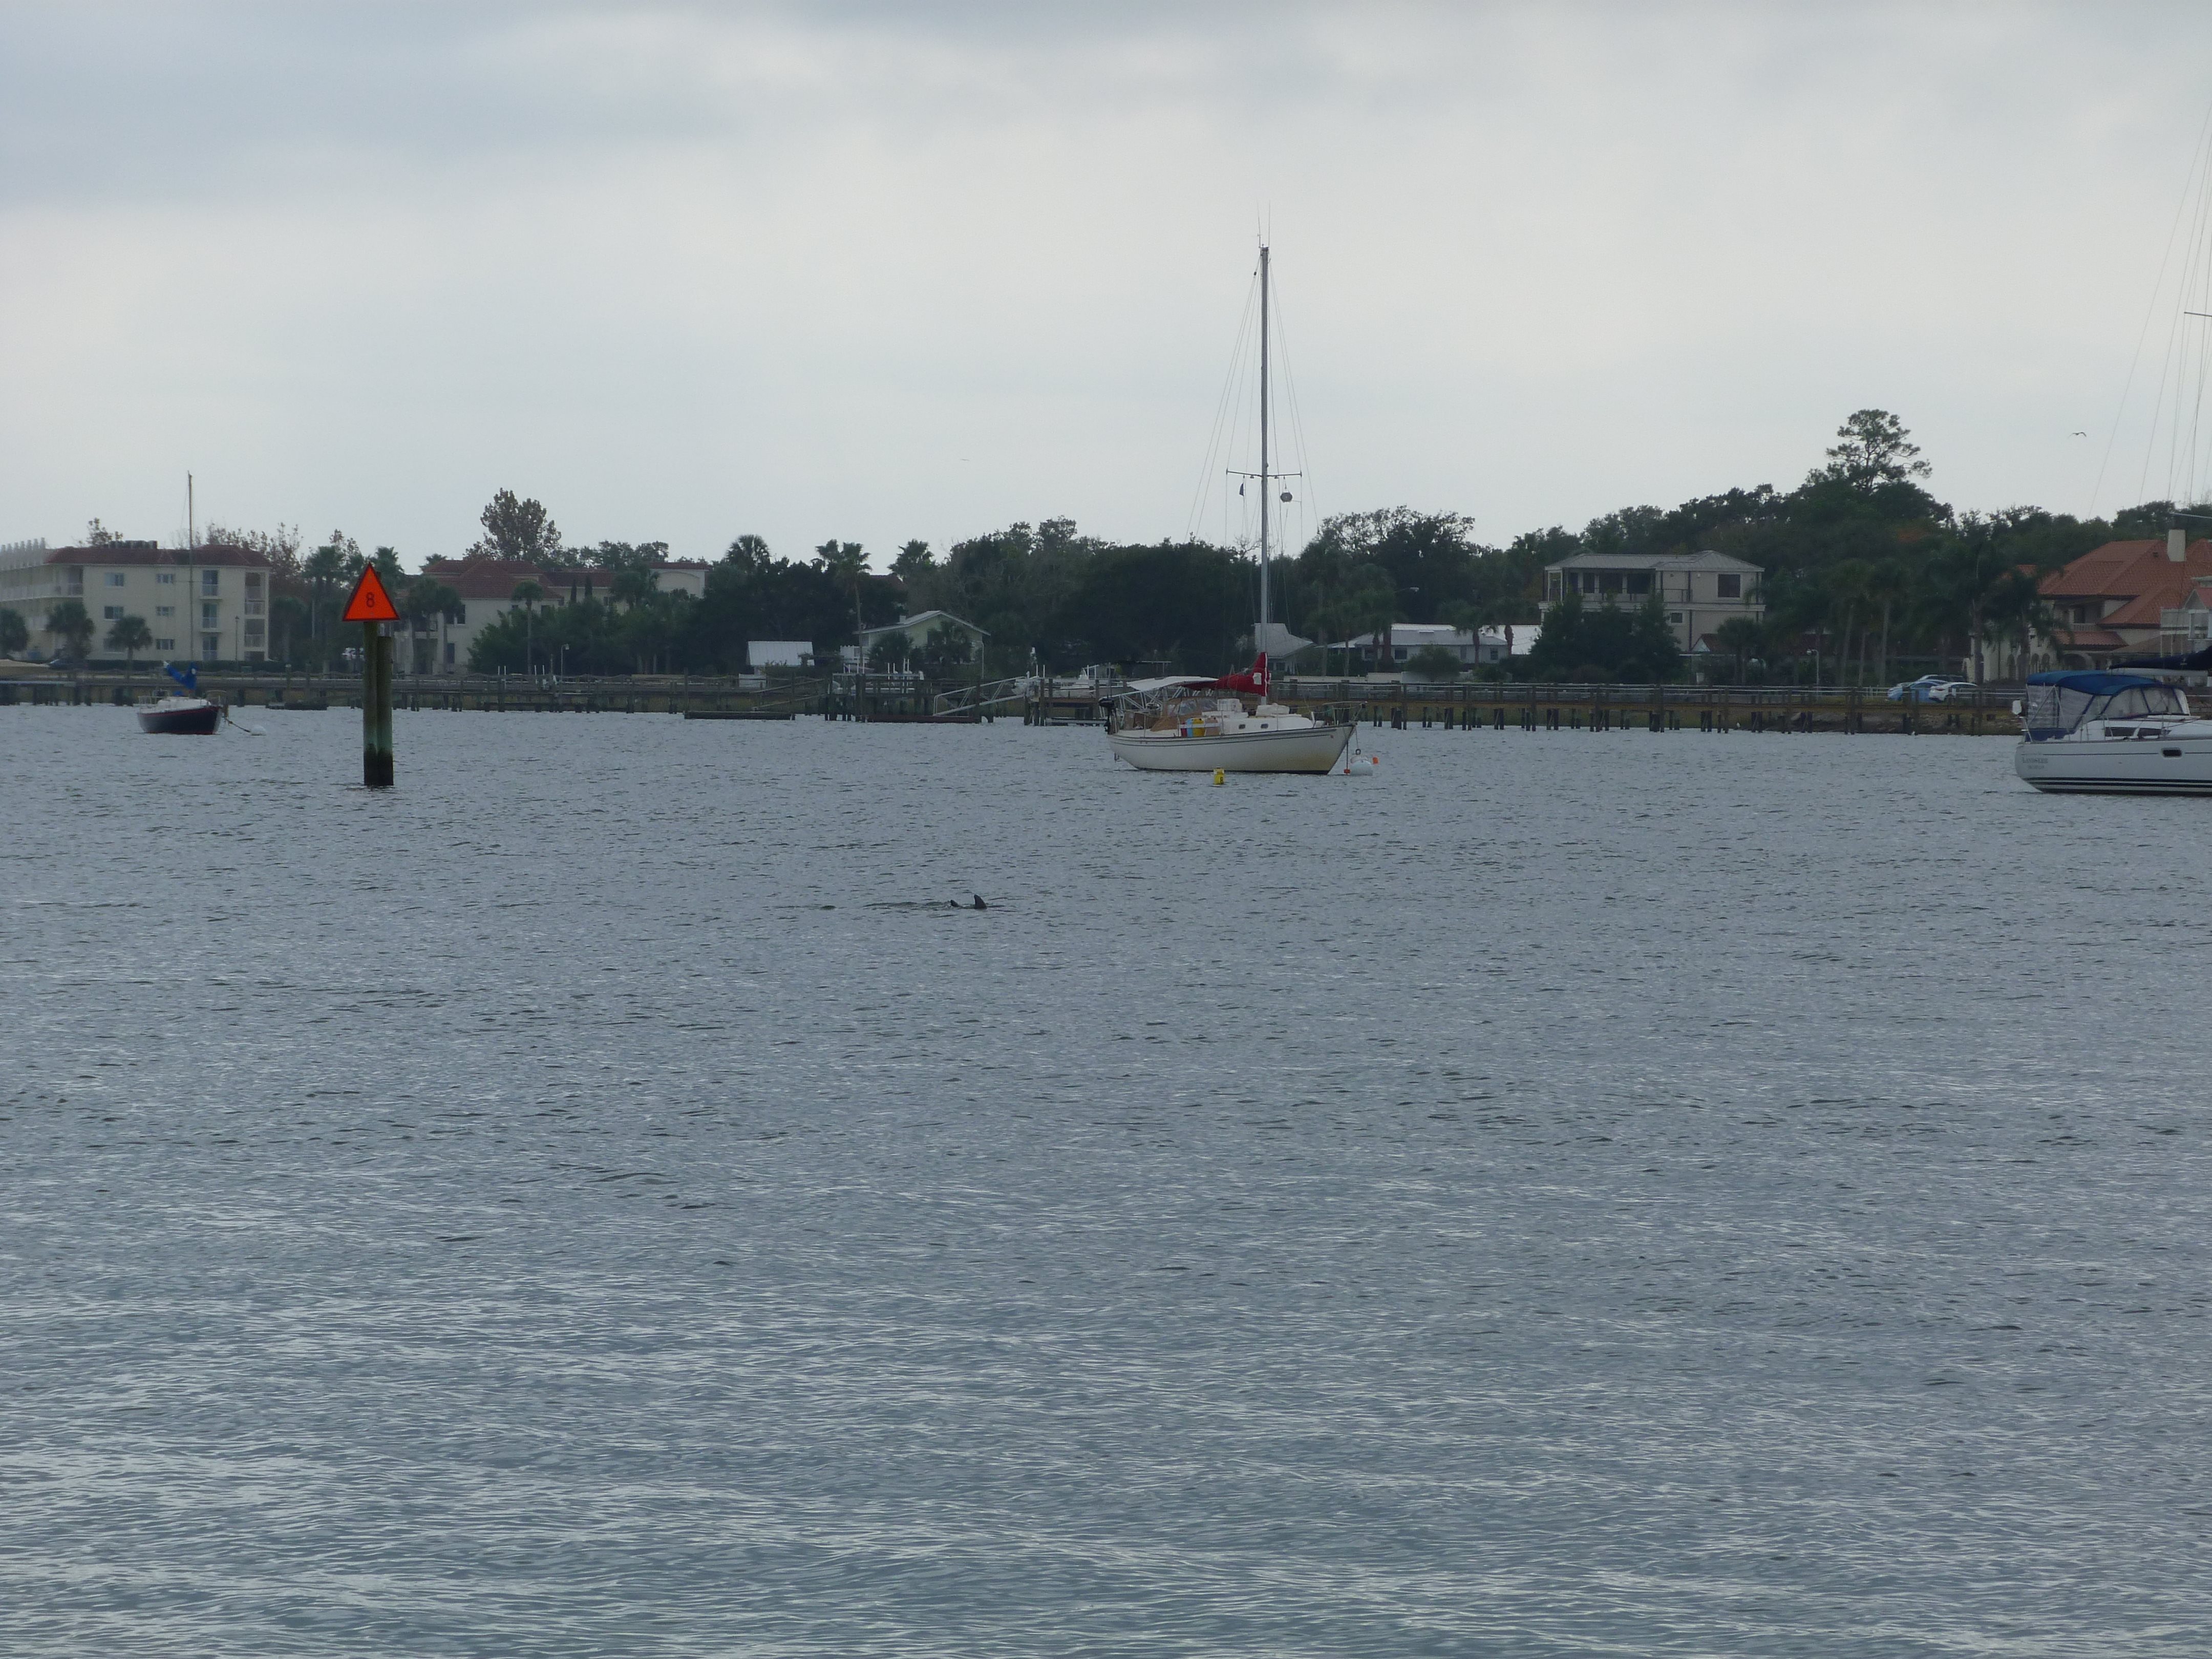


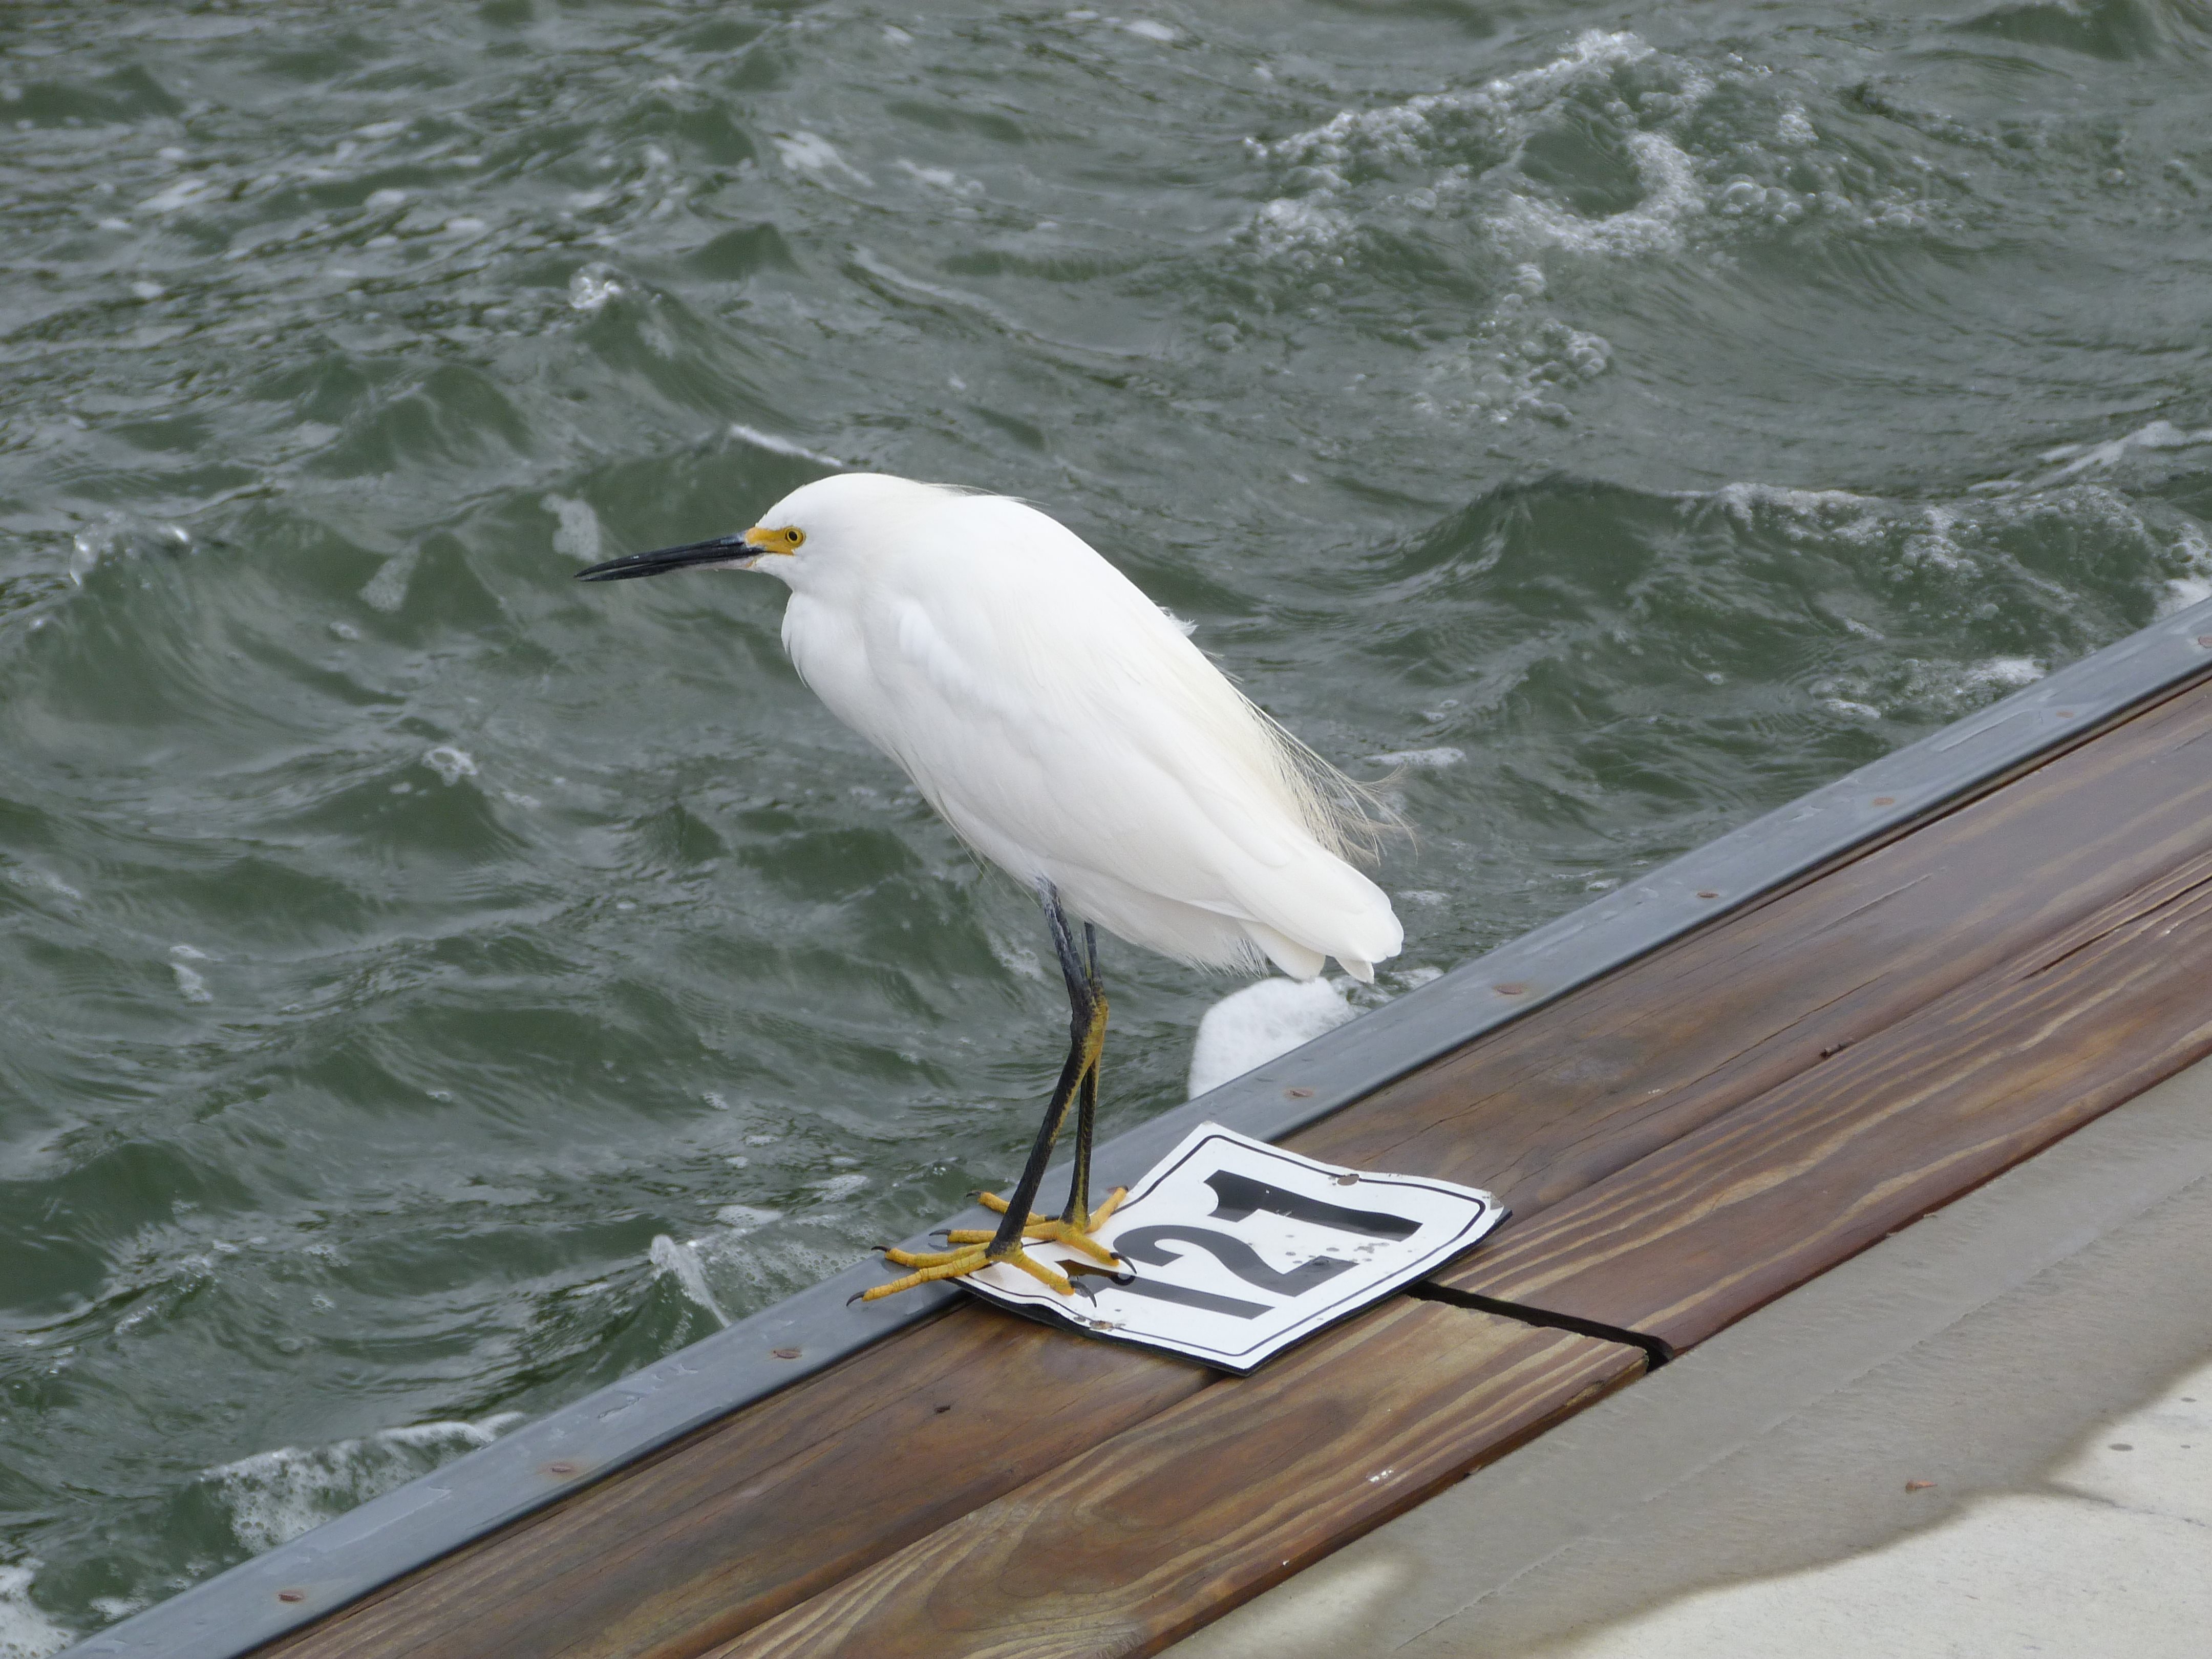
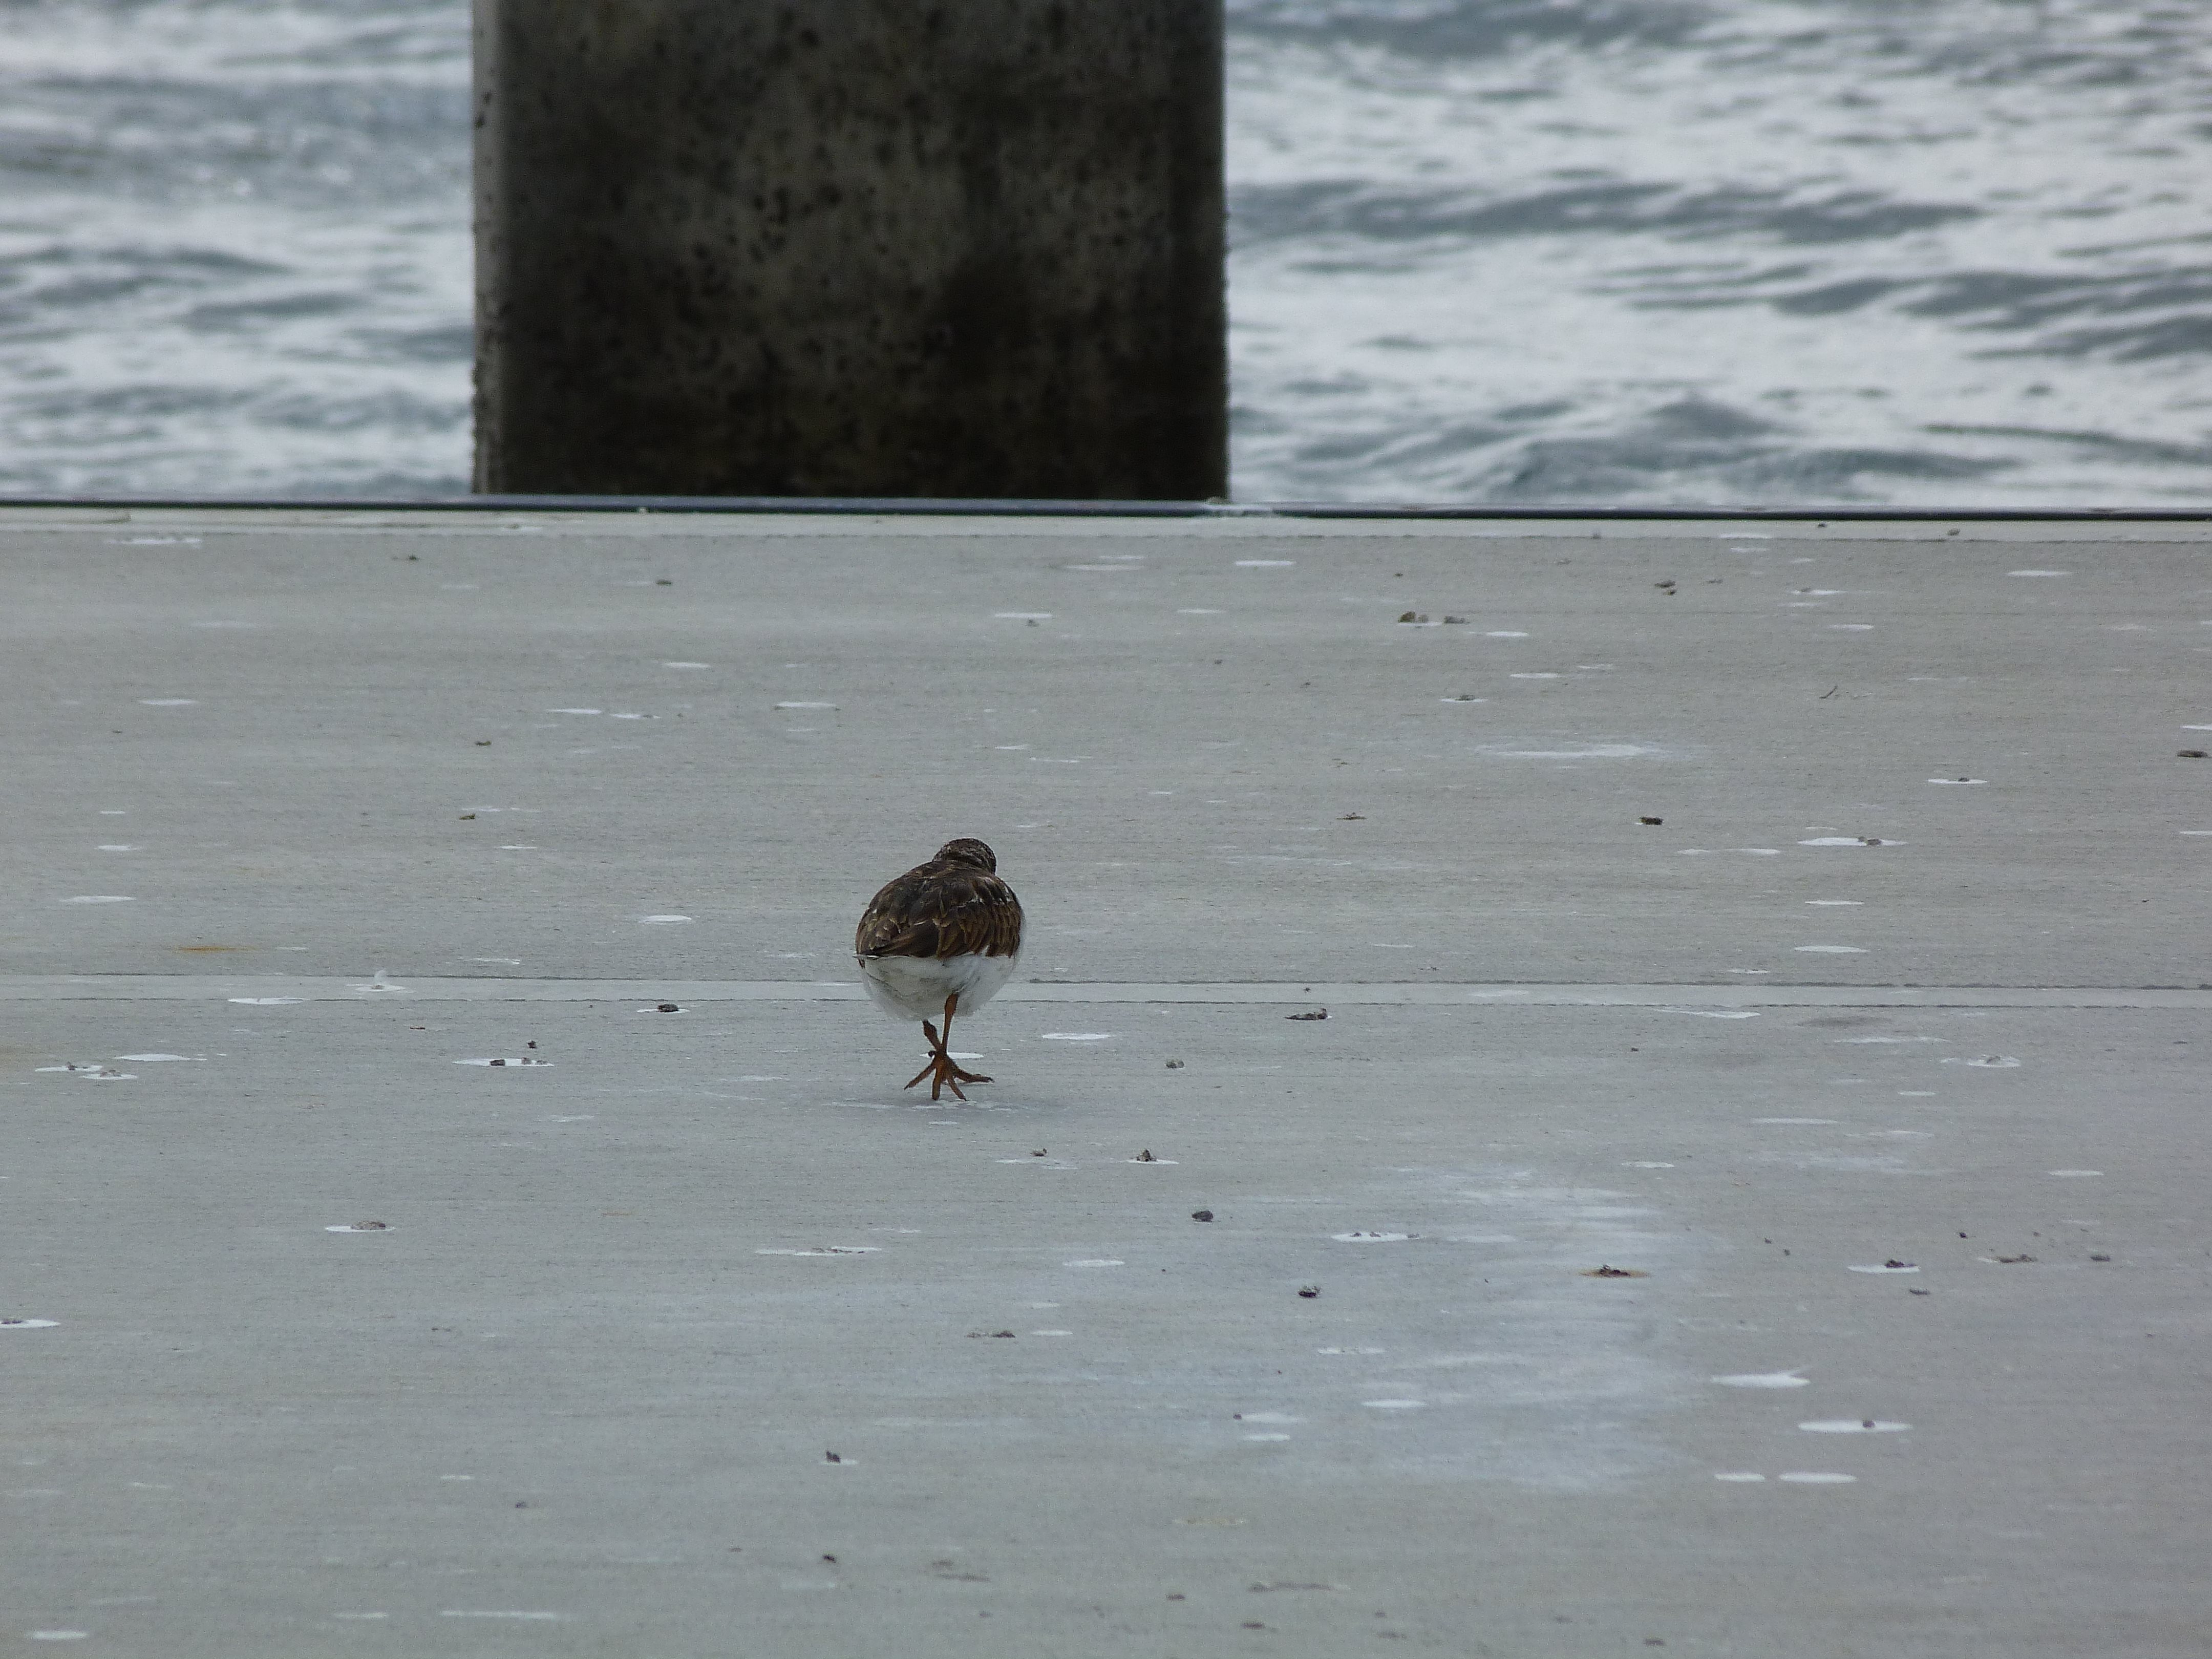

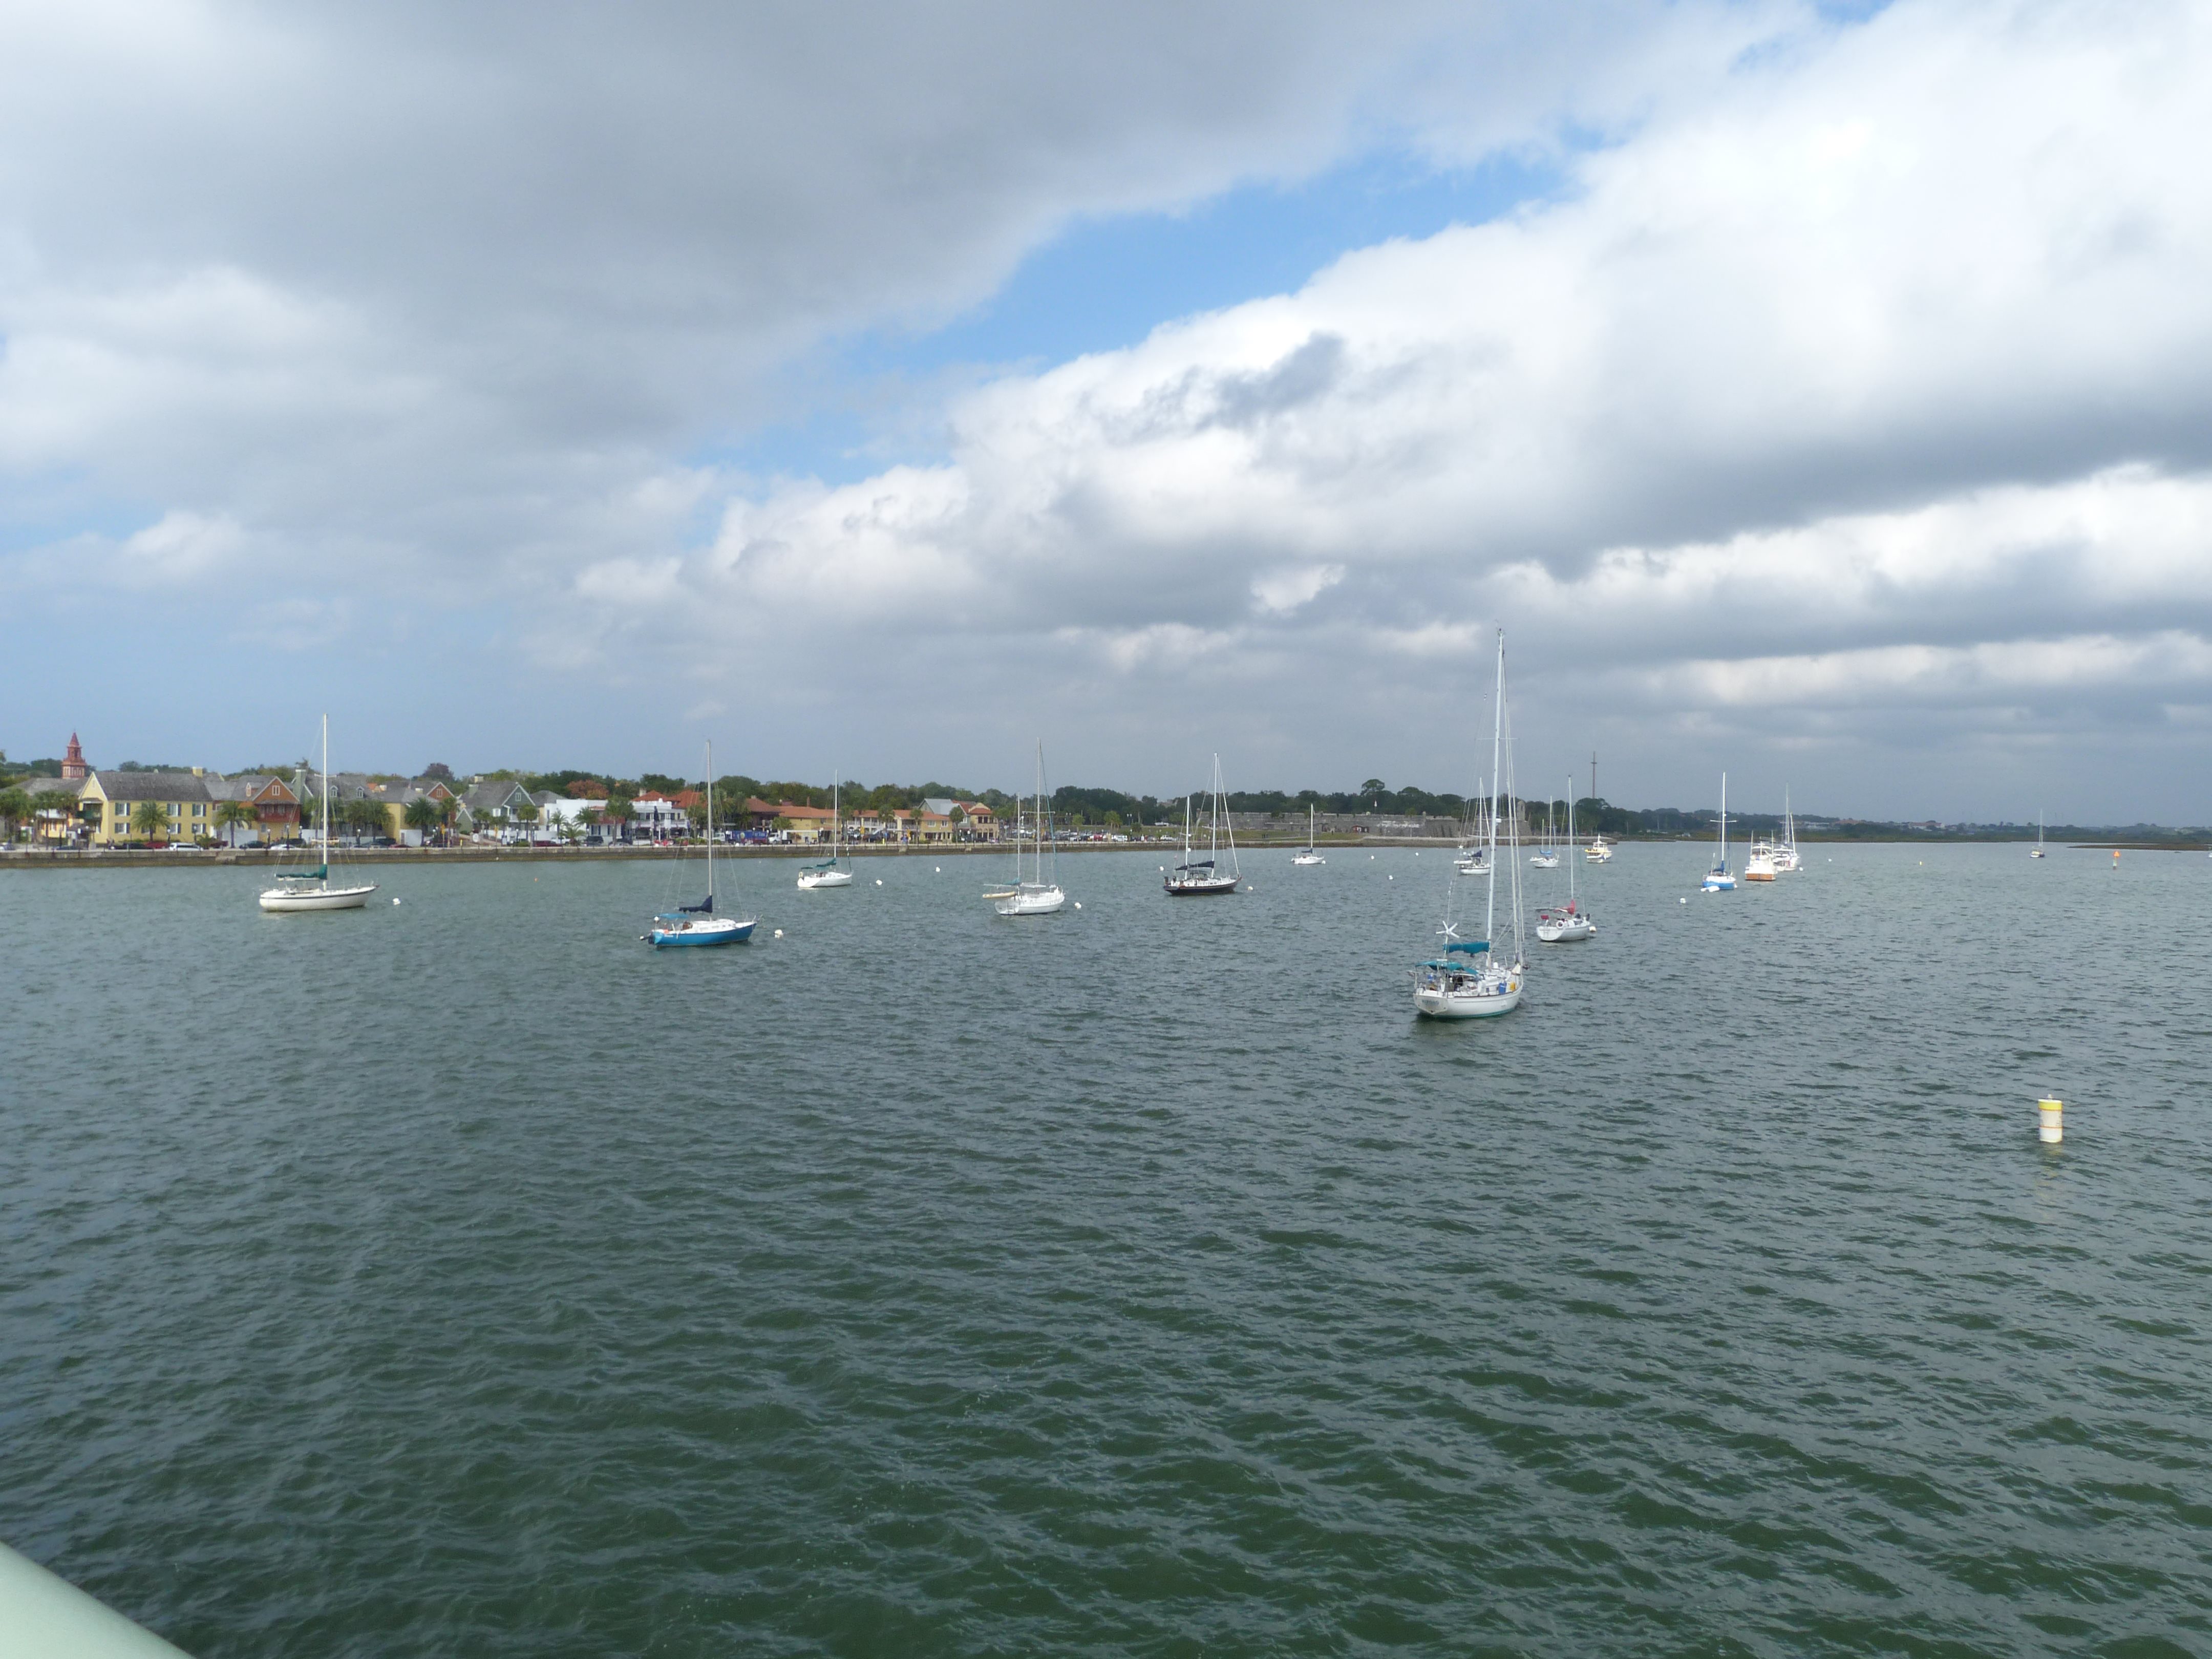
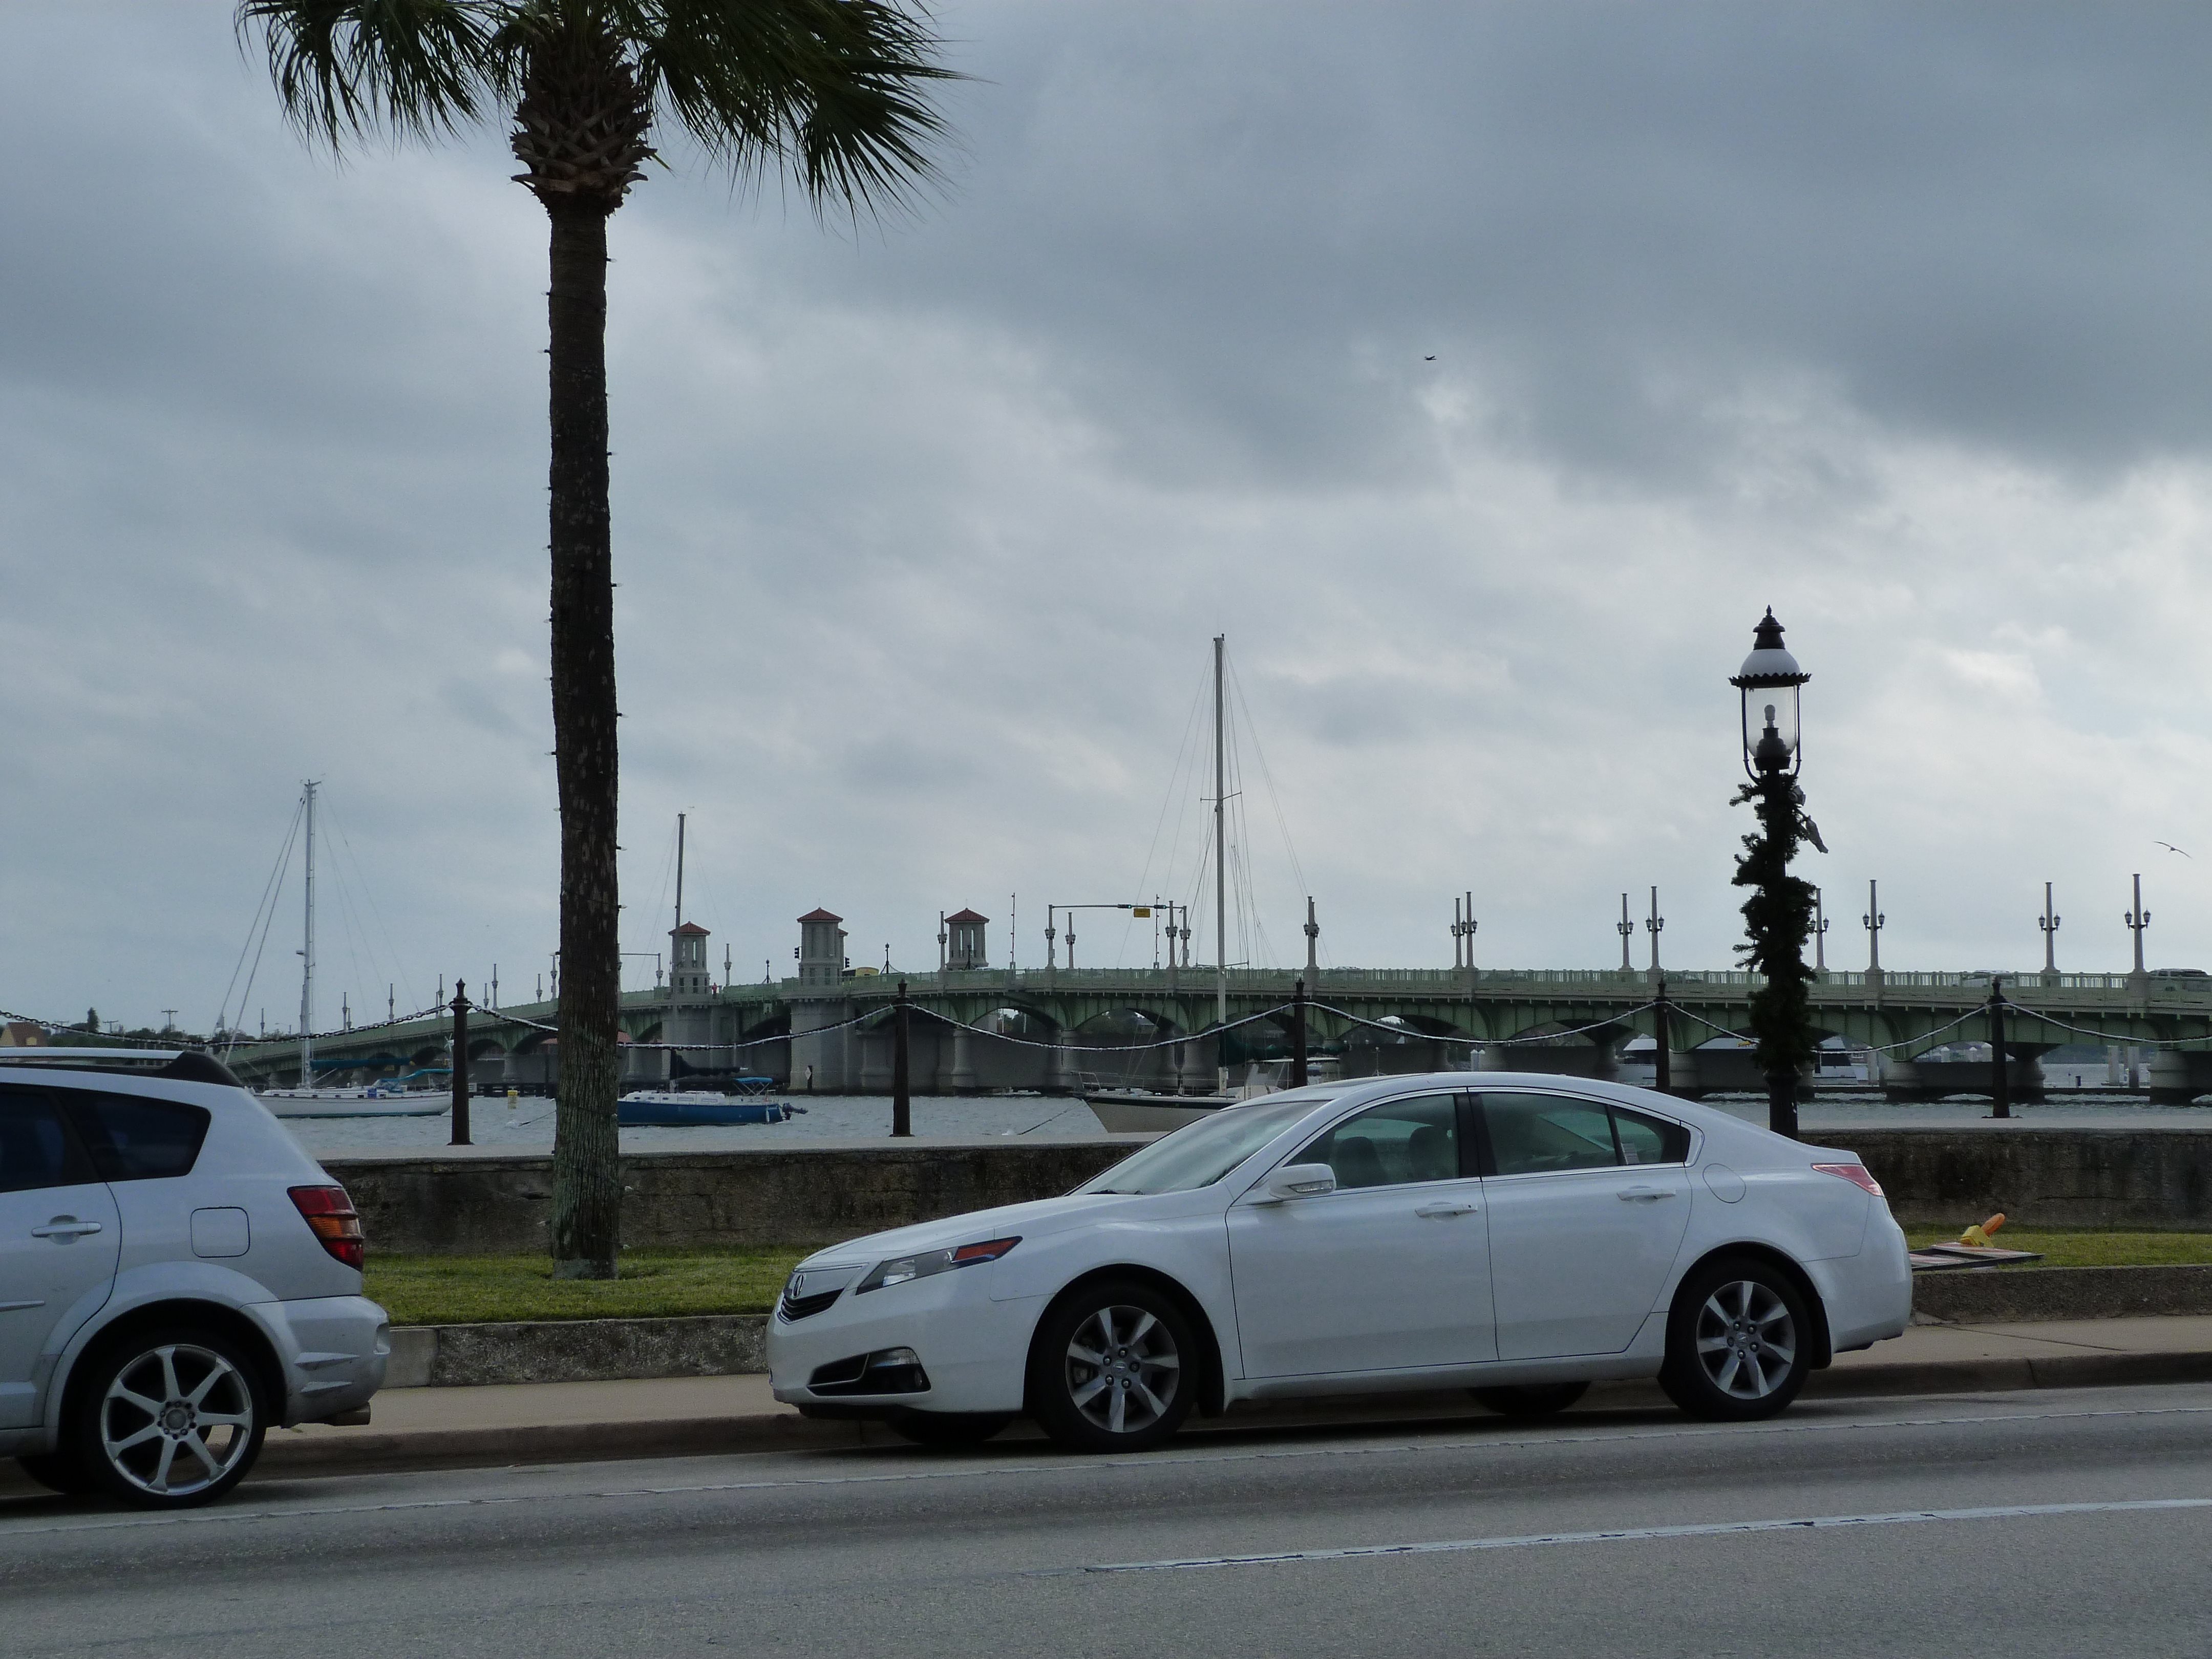
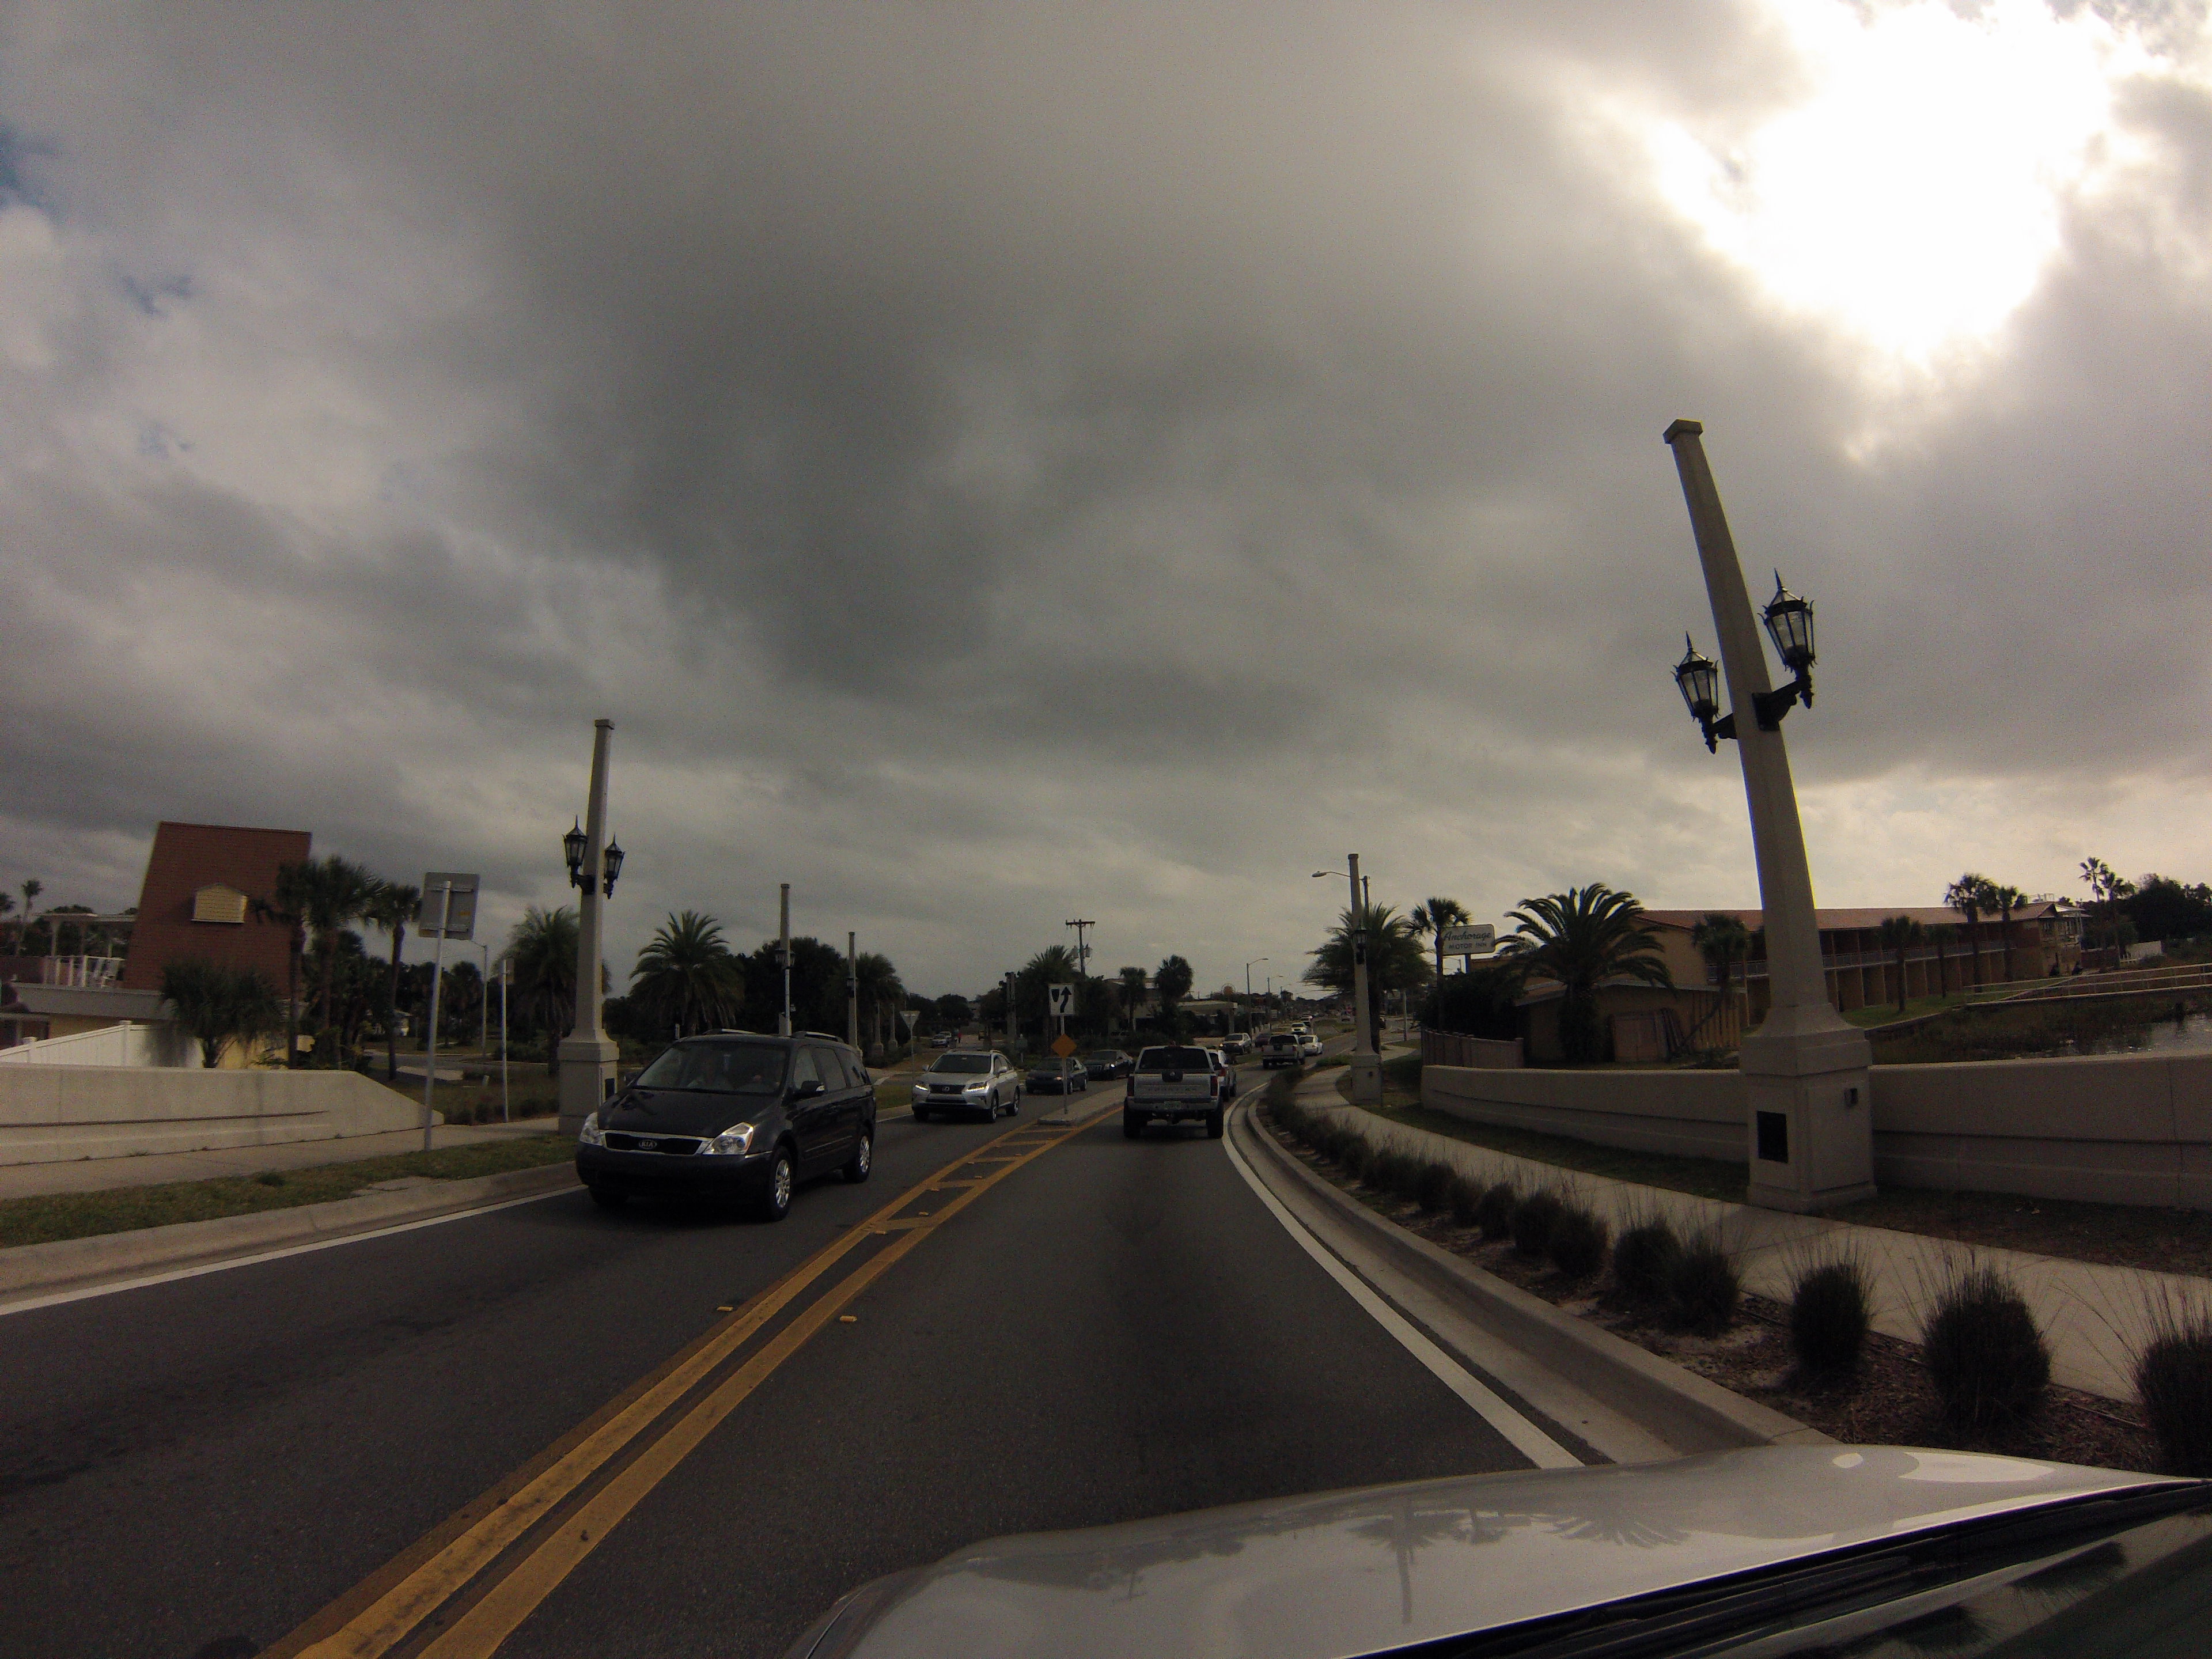
Scenery at bridge.
![]()
![]()

![]()