
Uncredited photos on this page taken by: Dave Michaels. Unless stated in a caption, all photos are Copyright with All Rights Reserved. Learn about reuse of our photos.
![]()
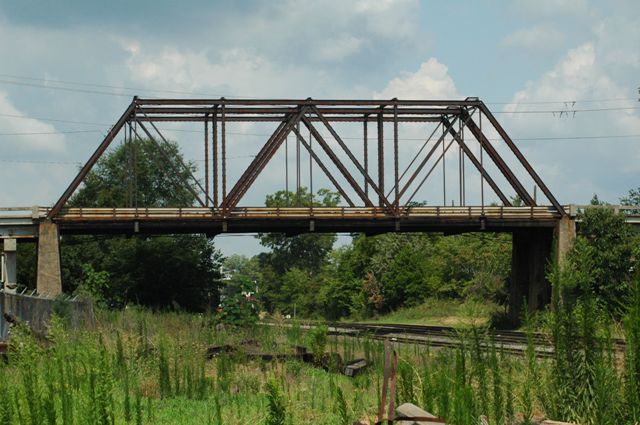
Distant elevation.
![]()
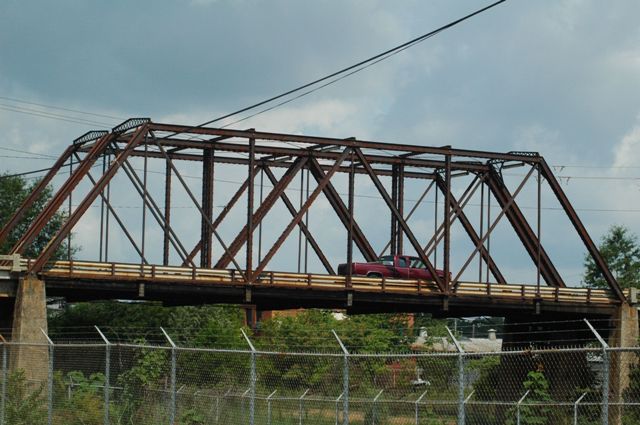


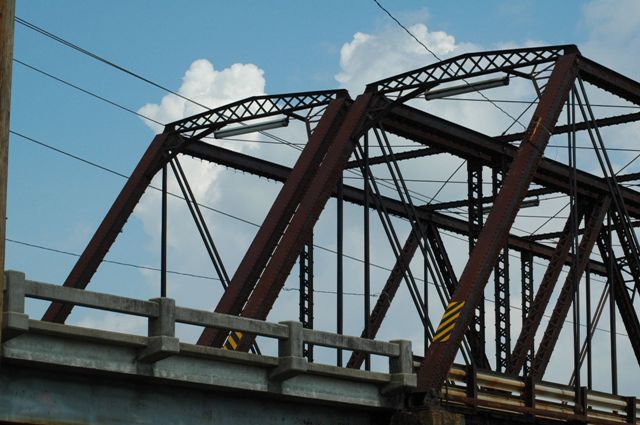
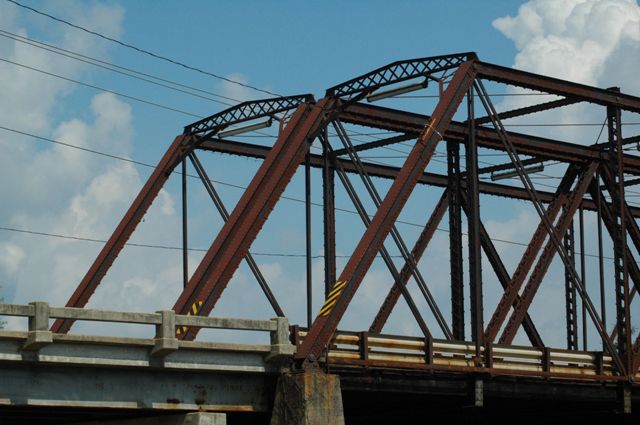
Elevation.
![]()

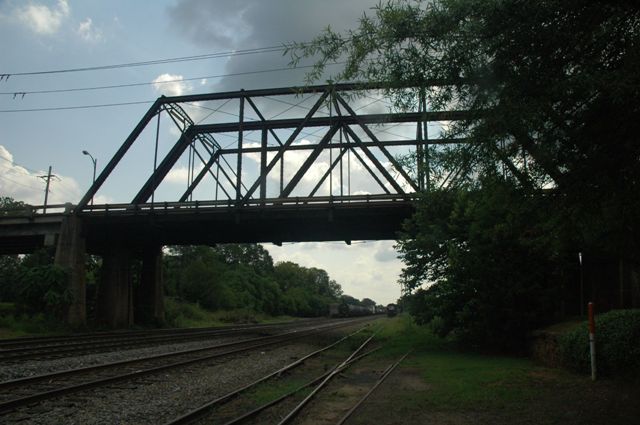
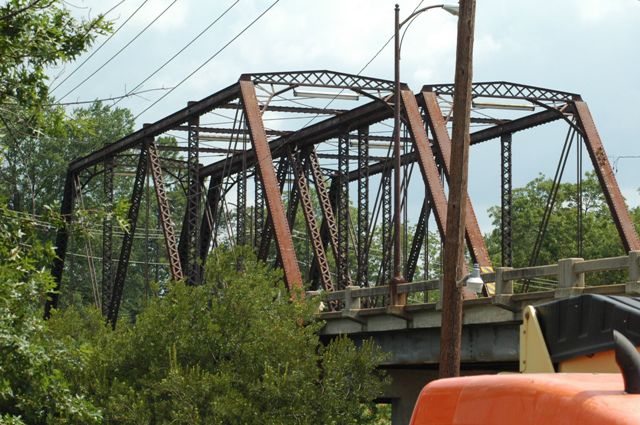
Views beside main span.
![]()

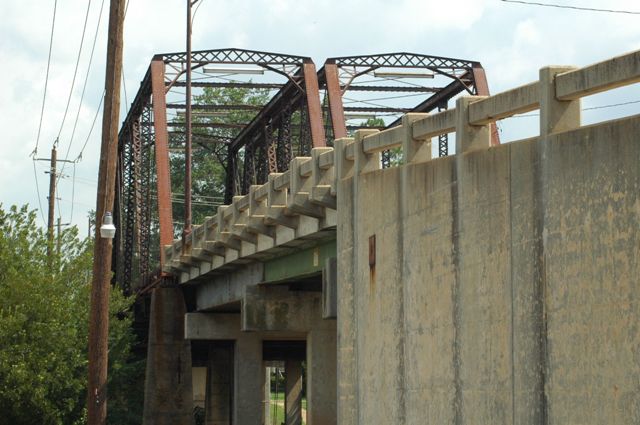
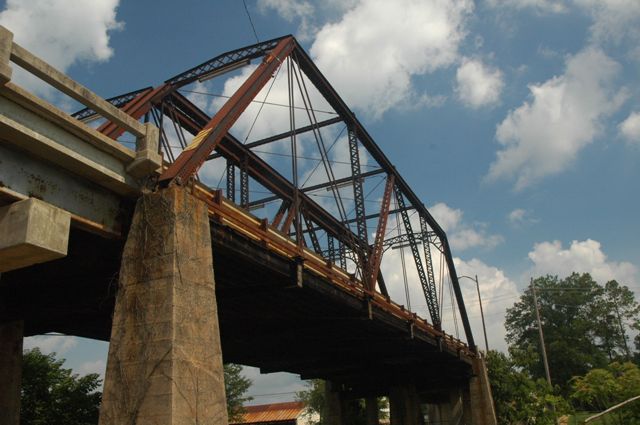
Views beside approach spans.
![]()

Portal view on bridge.
![]()
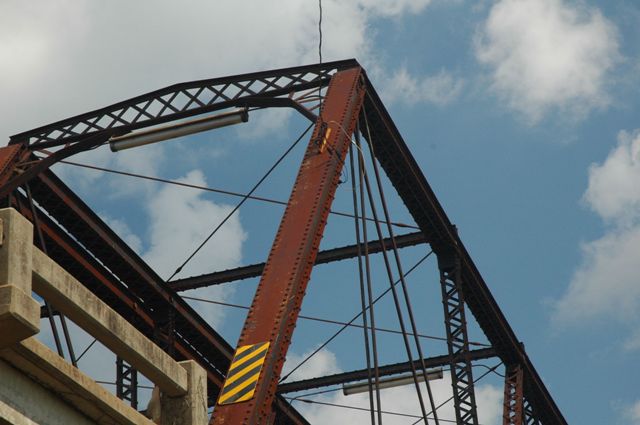
Oblique view.
![]()


Portal views.
![]()


Truss web.
![]()

Posted weight limit signage.
![]()
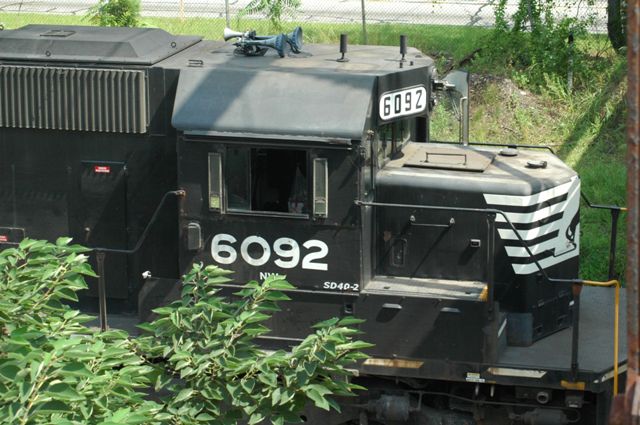

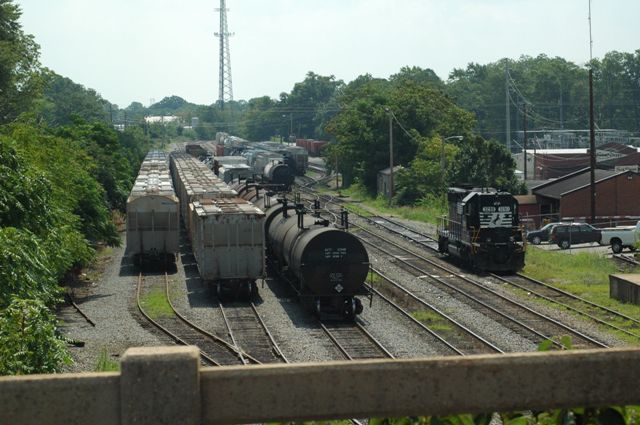
Context: Trains on tracks near bridge.
![]()

Context: View of downtown area near bridge.
![]()
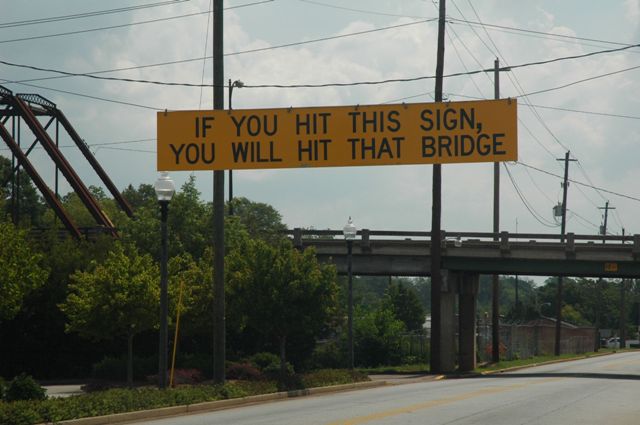
Clearance sign for approach spans to bridge.
![]()
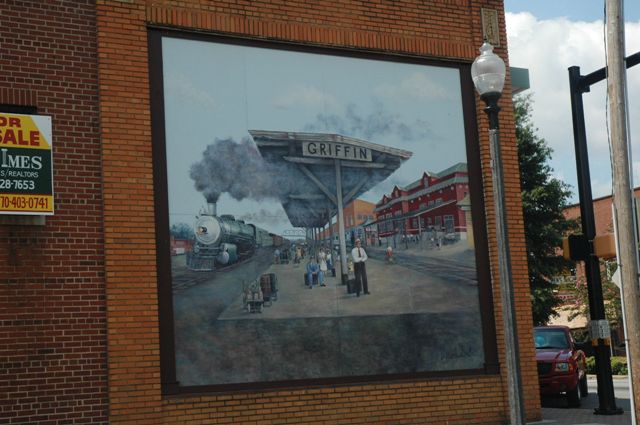
Context: Depiction of a train station with the bridge shown in the distance.
![]()
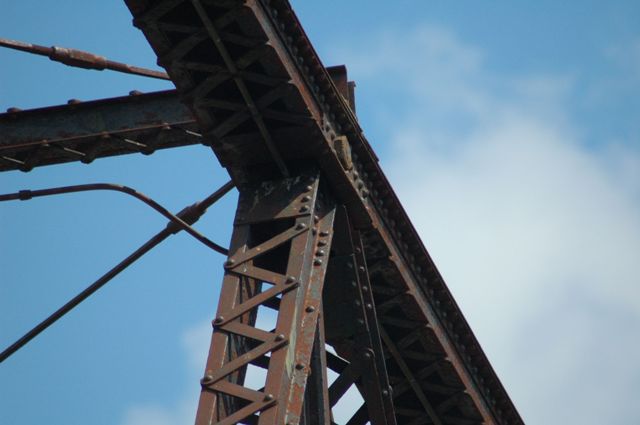
Top chord connection as viewed from beside bridge.
![]()
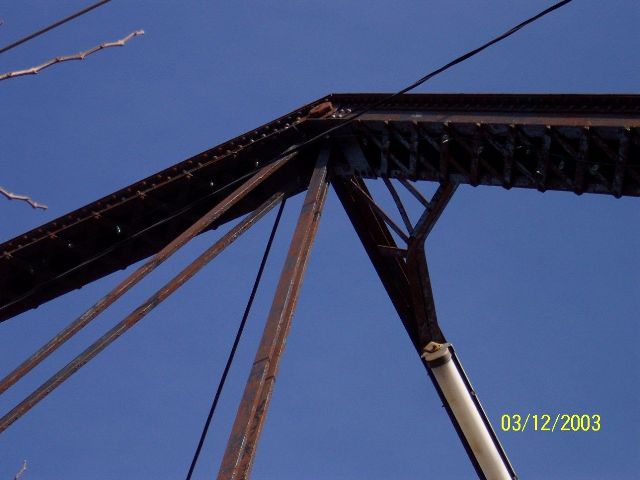
Photo Credit: Ralph Jones
Top chord connection as viewed from beside bridge.
![]()
Photo Credit: Ralph Jones
Top chord connections as viewed from on bridge.
![]()


Top chord connections as viewed from on bridge.
![]()
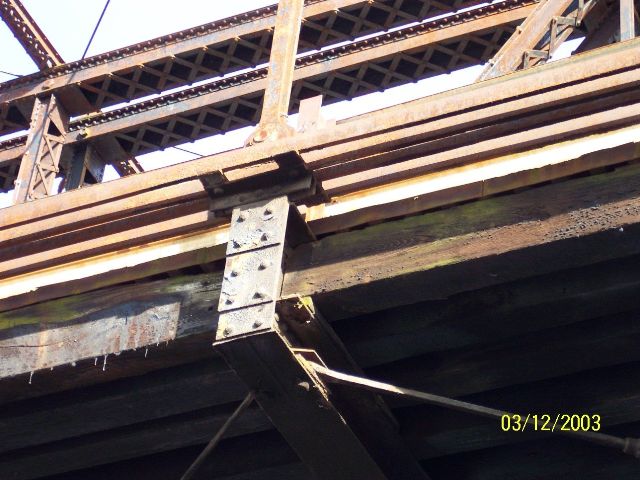
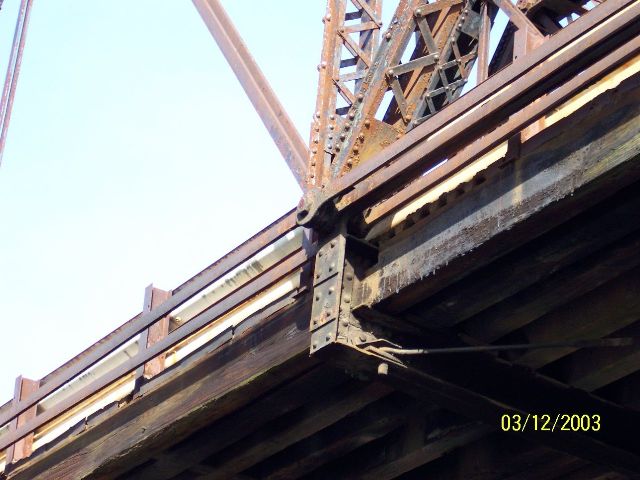

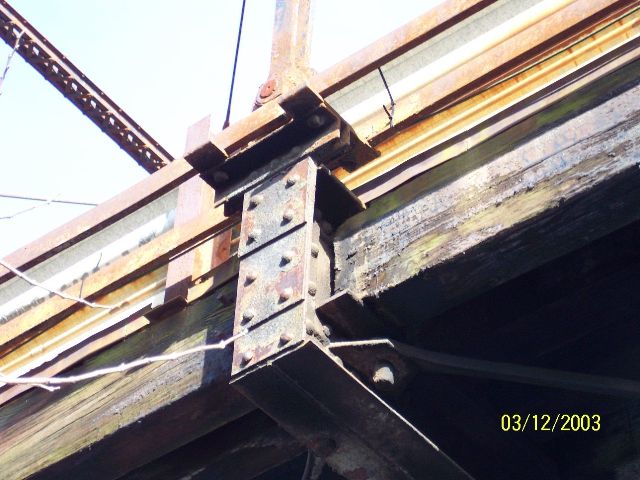
Photo Credit: Ralph Jones
Bottom chord connections as viewed from beside bridge.
![]()

Bottom chord connections as viewed from beside bridge.
![]()
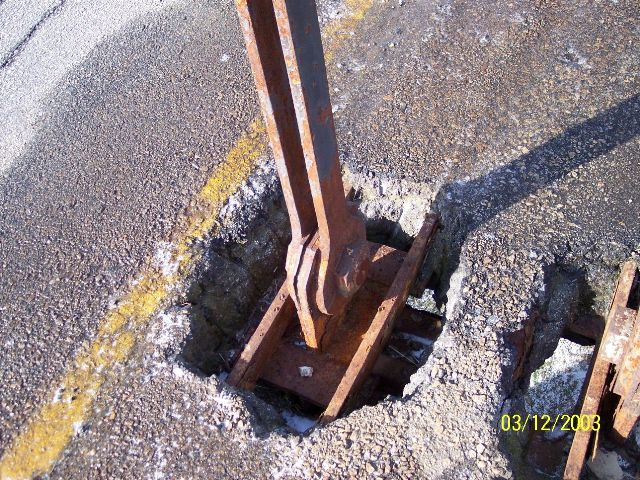

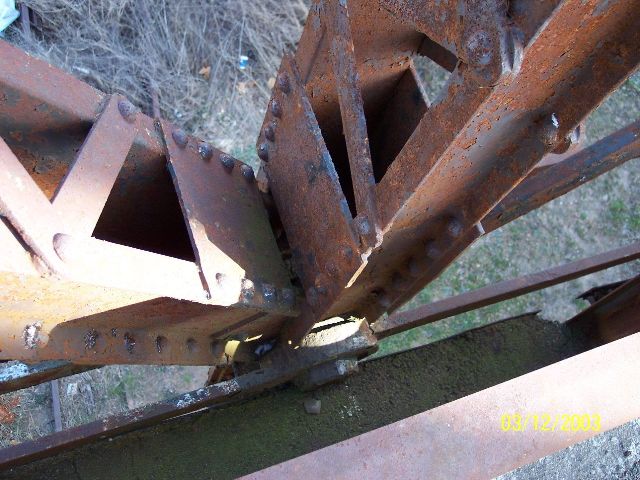


Photo Credit: Ralph Jones
Bottom chord connections as viewed from on bridge.
![]()


Bottom chord connections as viewed from on bridge.
![]()

Photo Credit: Ralph Jones
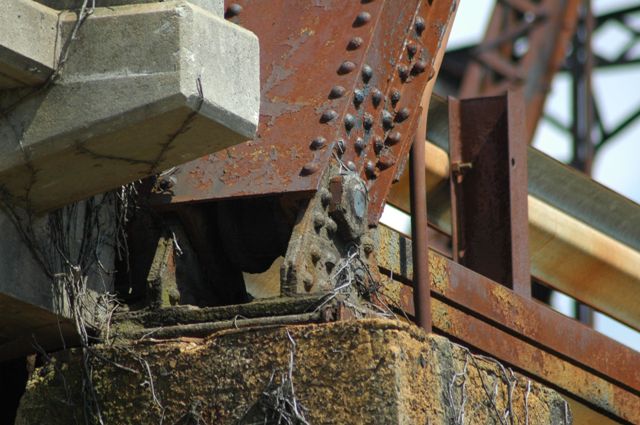
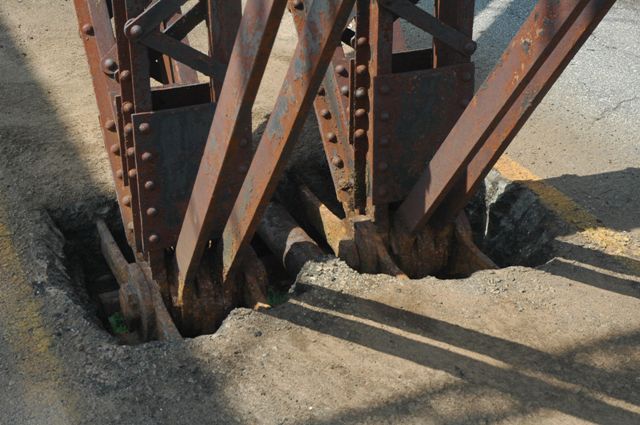
Bearings.
![]()


Portal bracing overviews.
![]()

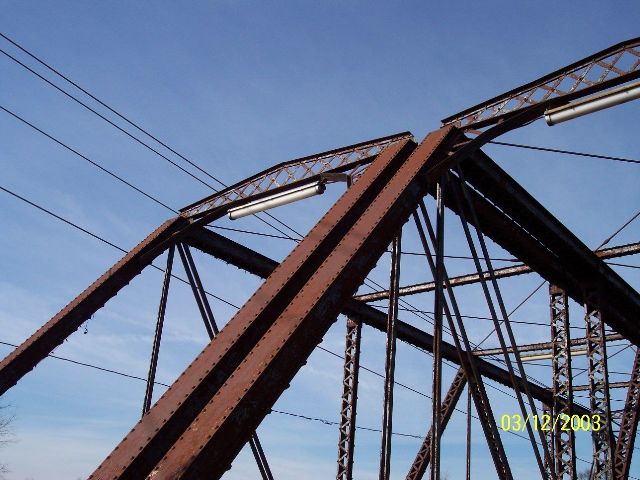
Photo Credit: Ralph Jones
Portal bracing overviews.
![]()


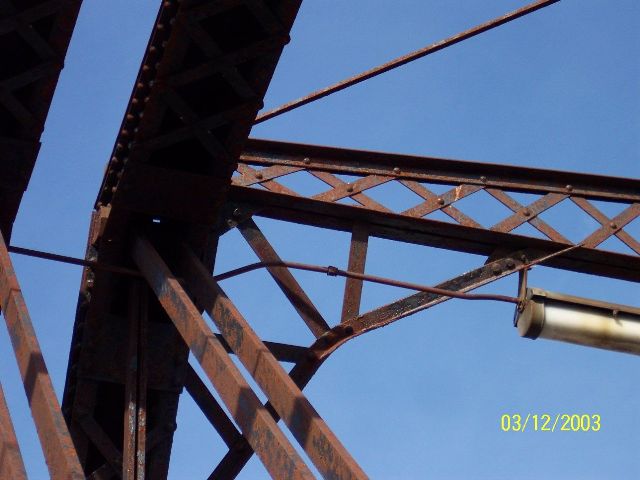

Photo Credit: Ralph Jones
Portal bracing details.
![]()


Portal bracing details.
![]()

Photo Credit: Ralph Jones
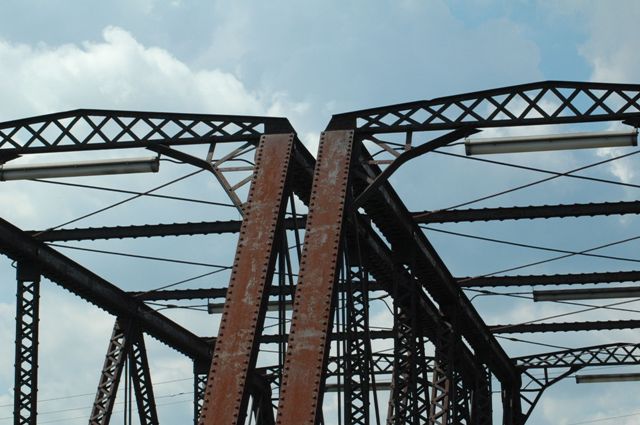
Diagonal members.
![]()
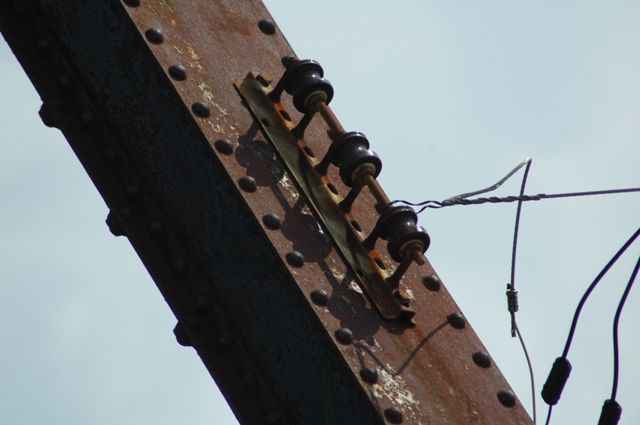
End post with wire attachment and insulators.
![]()


Photo Credit: Ralph Jones
End posts.
![]()

Approach spans plaque.
![]()
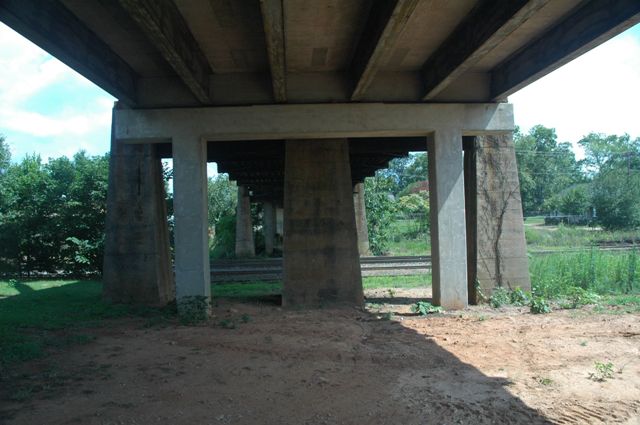
Views under approach span.
![]()
View under main span.
![]()

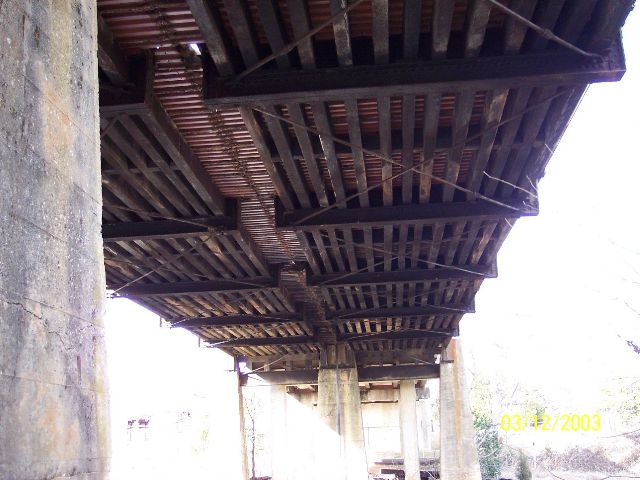
Photo Credit: Ralph Jones
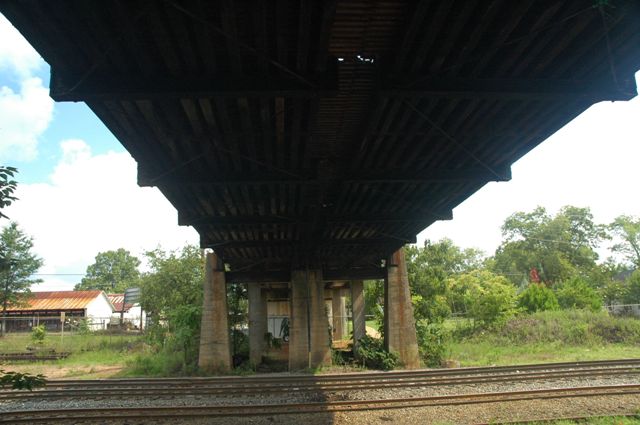
Overviews under deck.
![]()

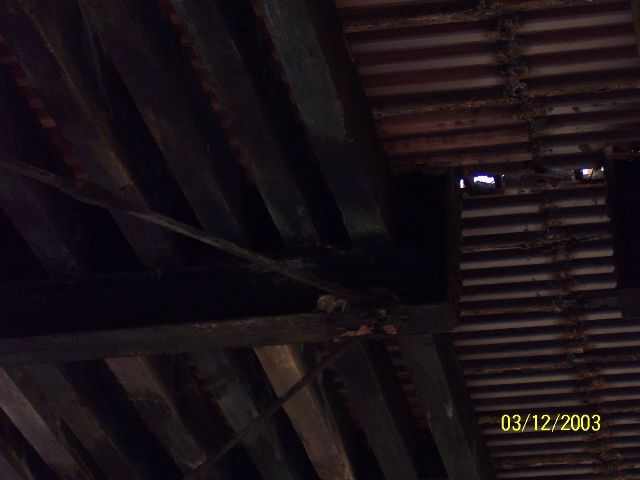

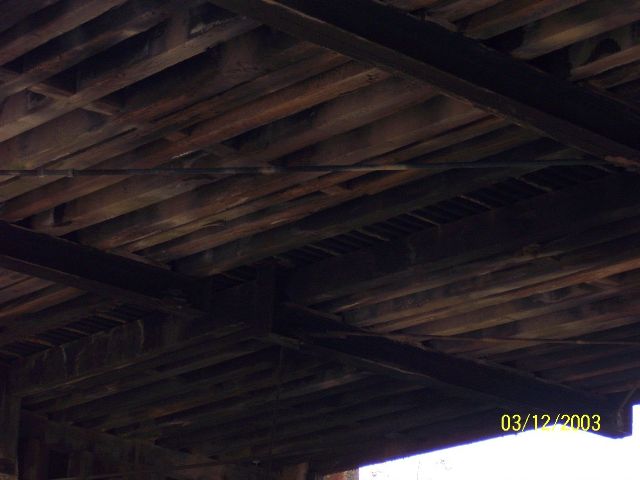


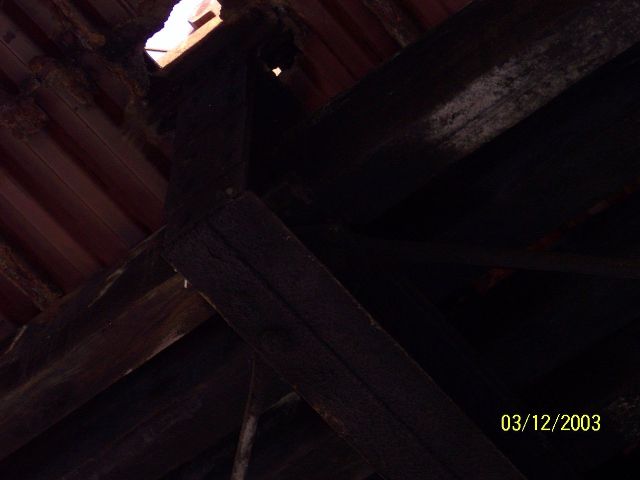
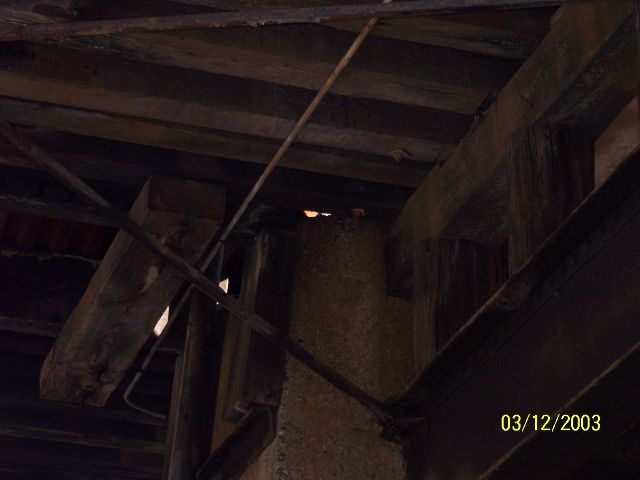
Photo Credit: Ralph Jones
Details under deck.
![]()
![]()
| Back |
| Home |
| Top |

![]()


