
Uncredited photos on this page taken by: Nathan Holth. Unless stated in a caption, all photos are Copyright with All Rights Reserved. Learn about reuse of our photos.
![]()

Photo Credit: Patrick Hynes
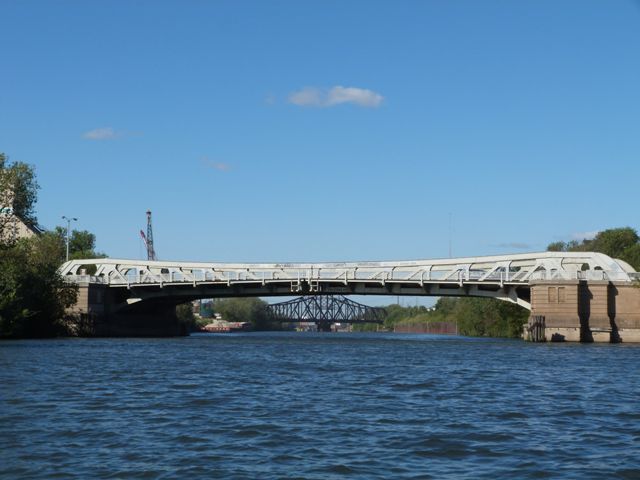
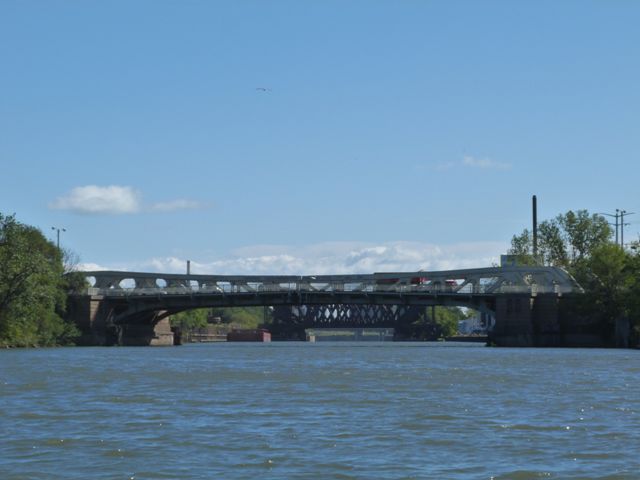
West elevation.
![]()
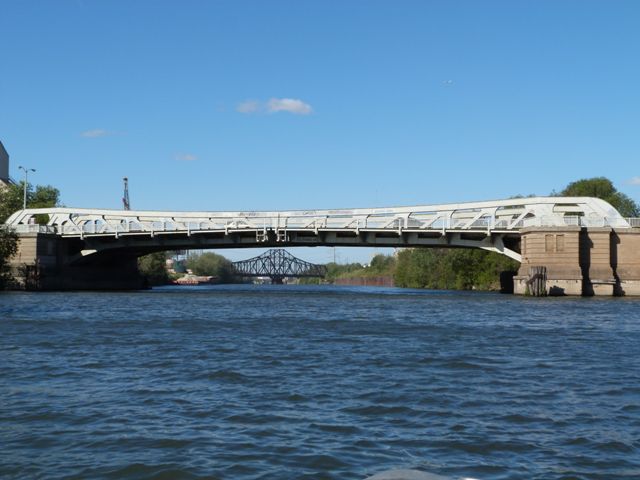


East elevation.
![]()

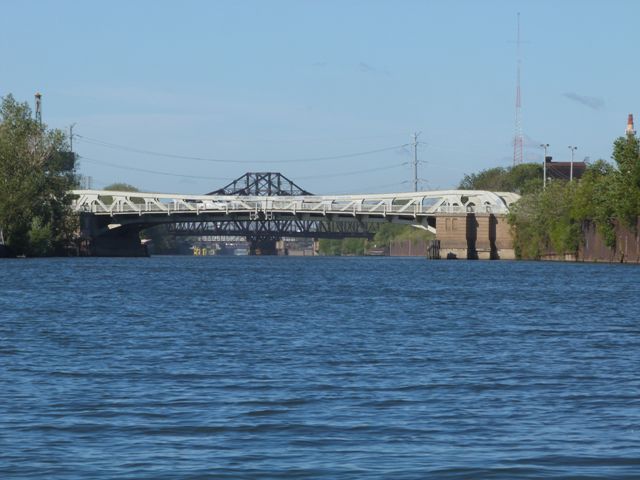
West elevation.
![]()

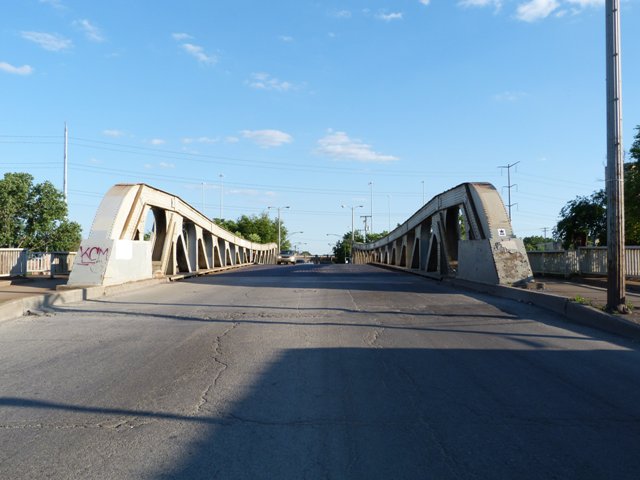
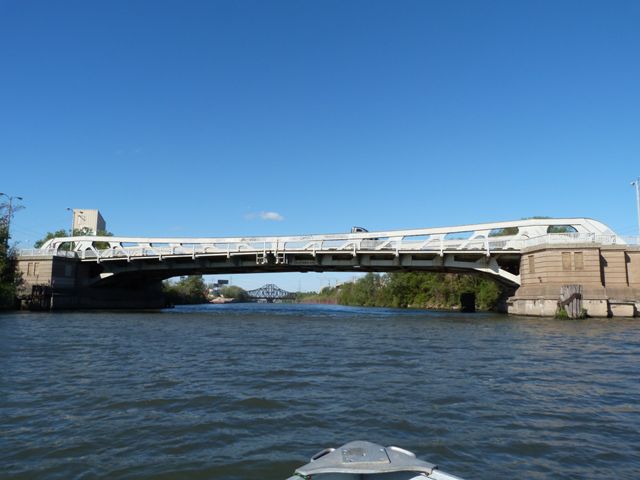
Portal views facing south.
![]()


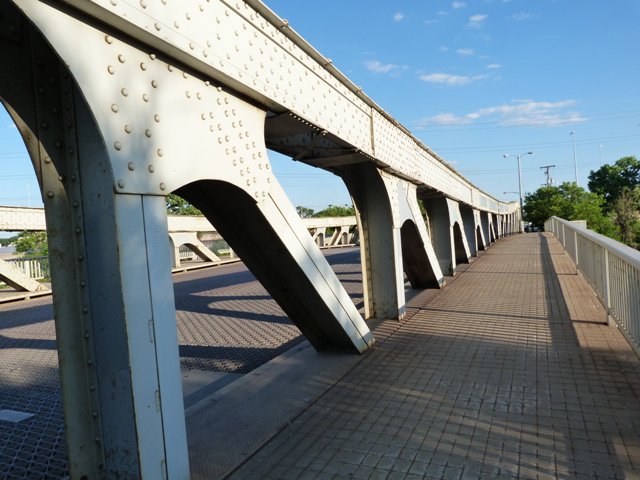
Sidewalk portal views.
![]()


Oblique views from northwest quadrant.
![]()


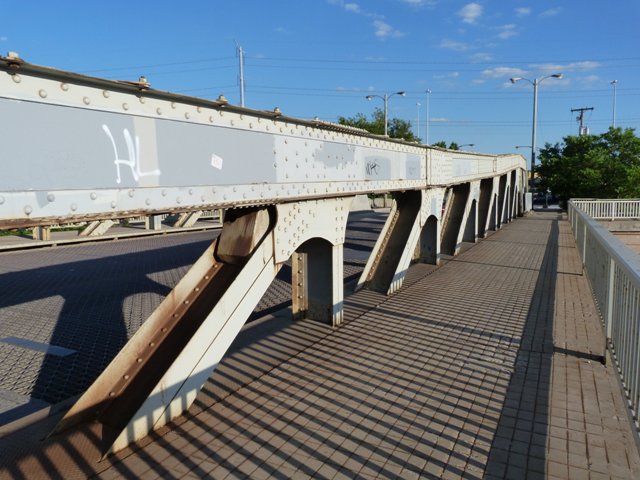
Views from beside roadway.
![]()

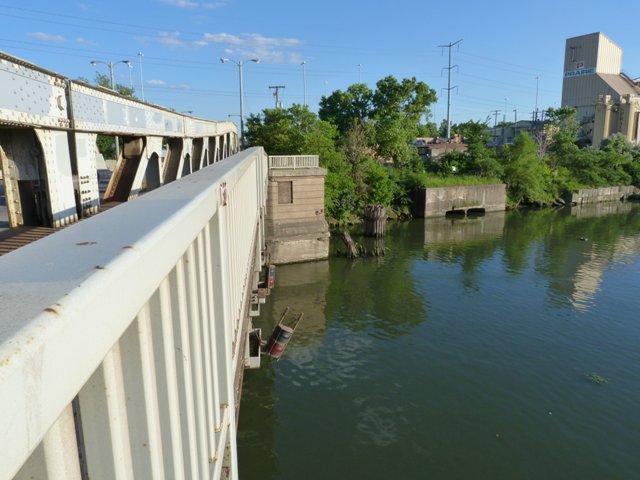
Views beside bridge.
![]()


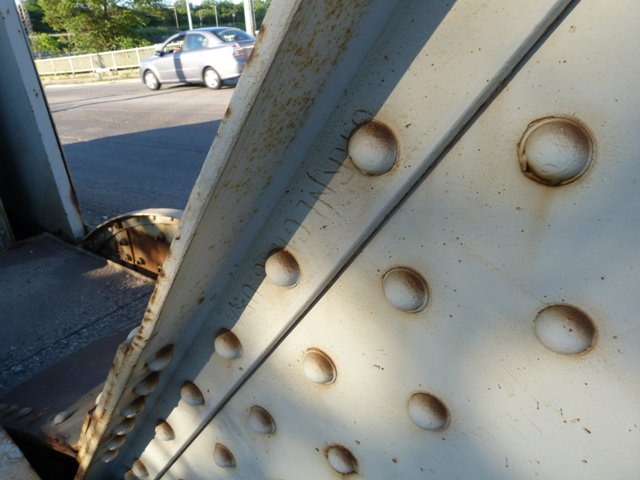
Views of truss web.
![]()

View under bridge.
![]()
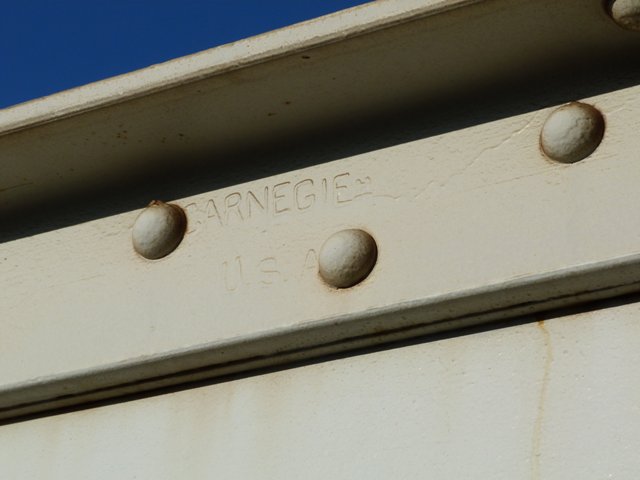
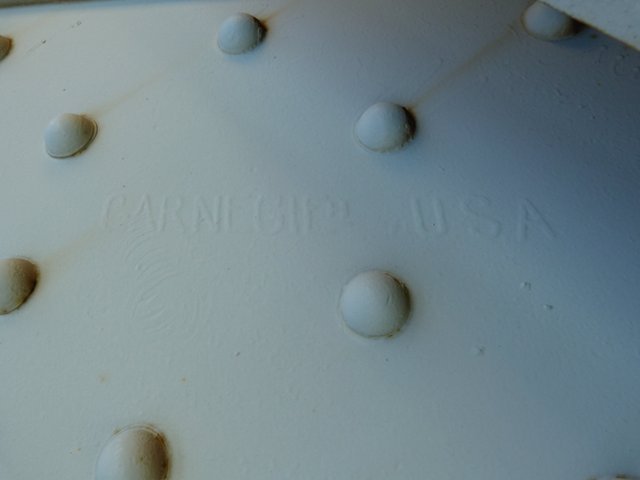

Carnegie brand.
![]()


Remains of bridgetender building.
![]()
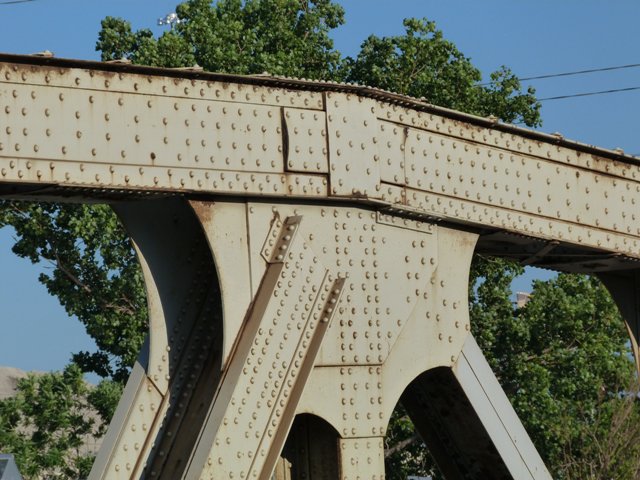


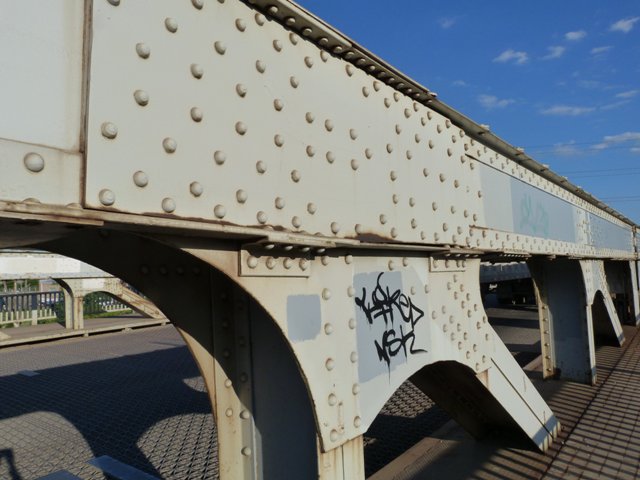


Top chord connections.
![]()


Top chord connections at center of bridge.
![]()


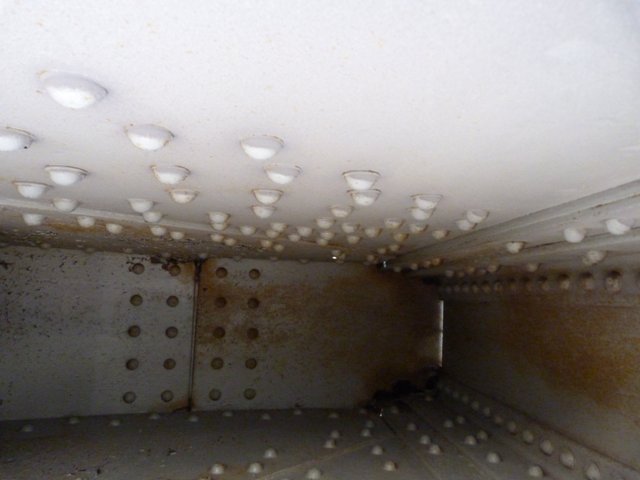
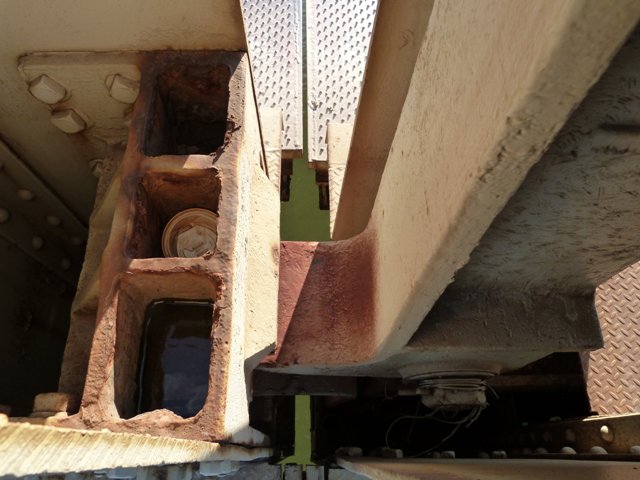
Top chord connection interiors.
![]()

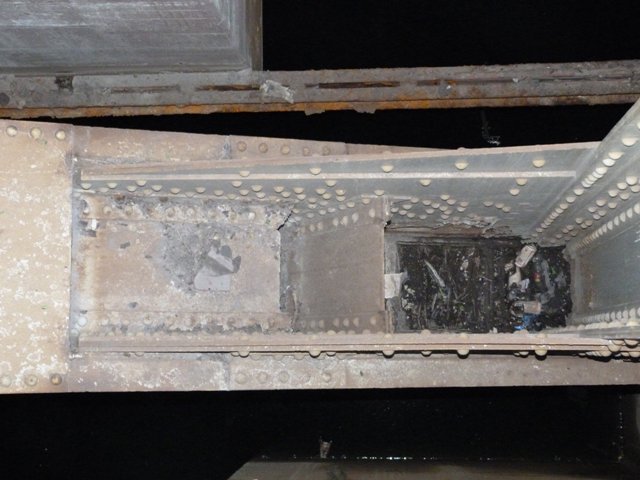
Bottom chord connection interiors.
![]()


Locking mechanics at center of bridge.
![]()


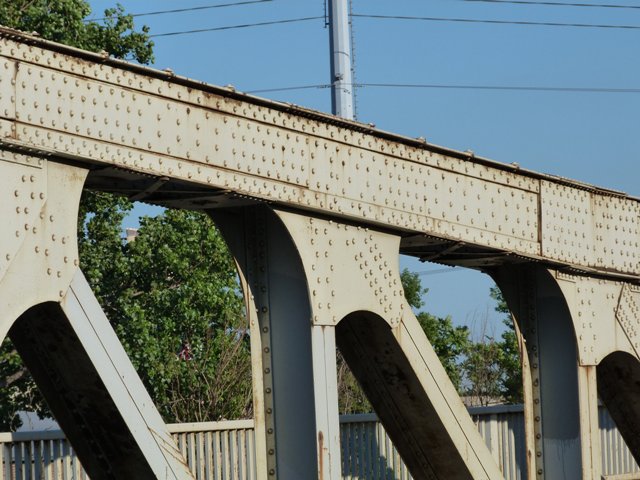
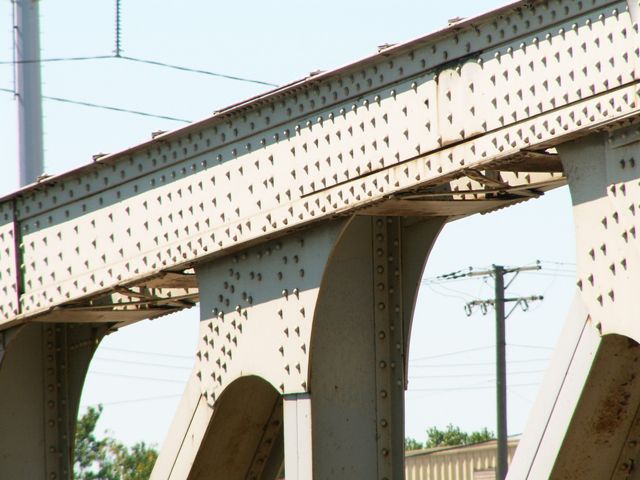
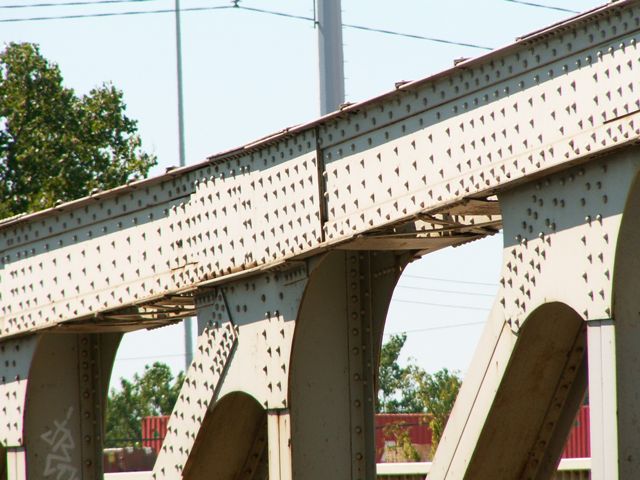
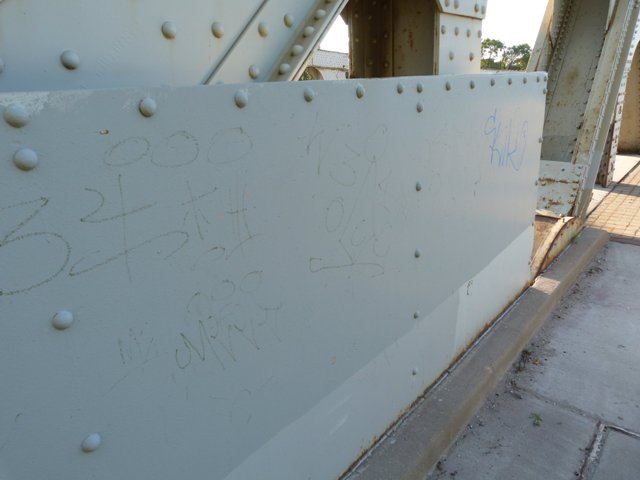
Top chord.
![]()


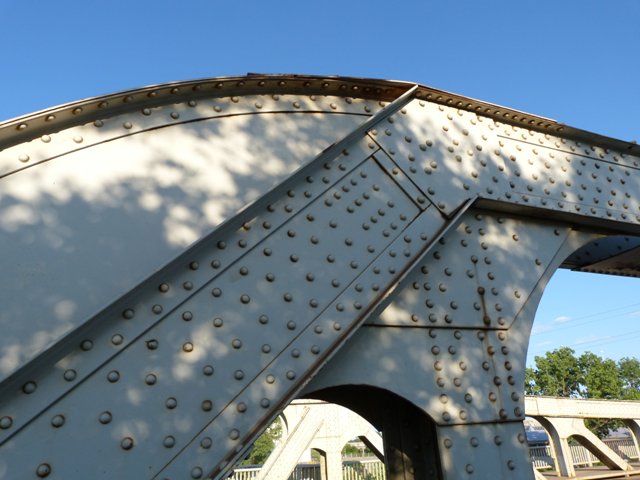
Diagonal members.
![]()


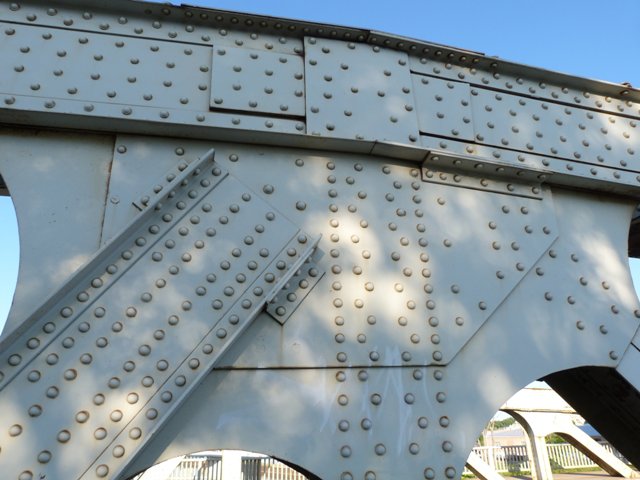
Vertical members.
![]()

End of bridge.
![]()

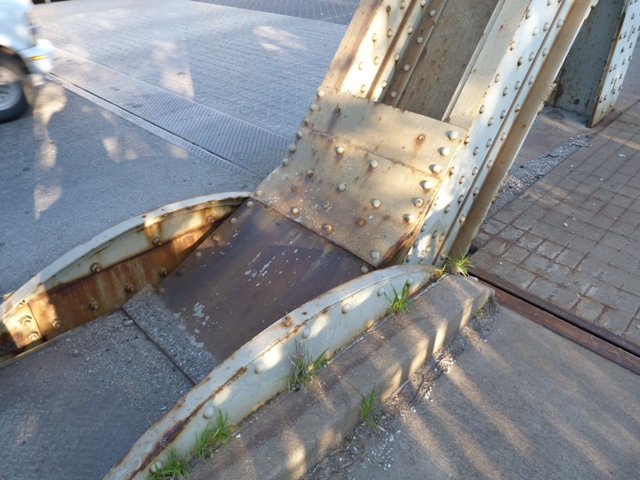
Looking down into the tail pit from the sidewalk.
![]()
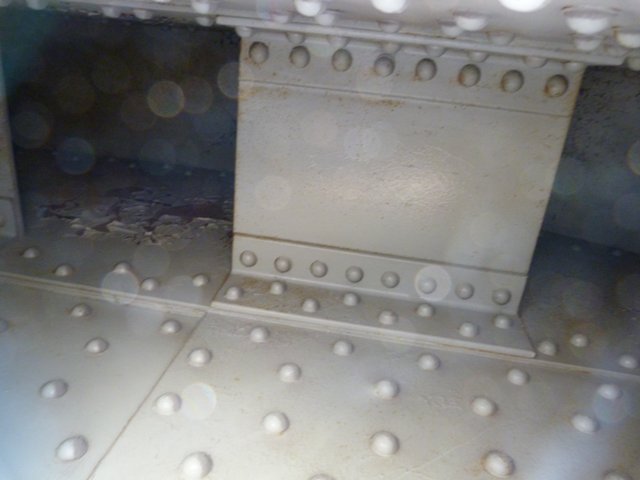
Spacer on inside of built-up beam.
![]()


Outlooks on bridge sidewalk. Bridgetender buildings once sat on some of these.
![]()
Barrier at end of bridge.
![]()

Remains of bridge position indicator.
![]()


Abutment.
![]()
![]()
| Back |
| Home |
| Top |

![]()