
Uncredited photos on this page taken by: Nathan Holth. Unless stated in a caption, all photos are Copyright with All Rights Reserved. Learn about reuse of our photos.
![]()


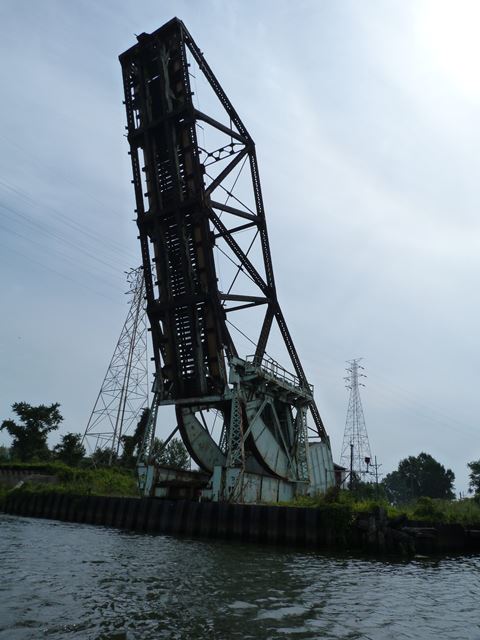
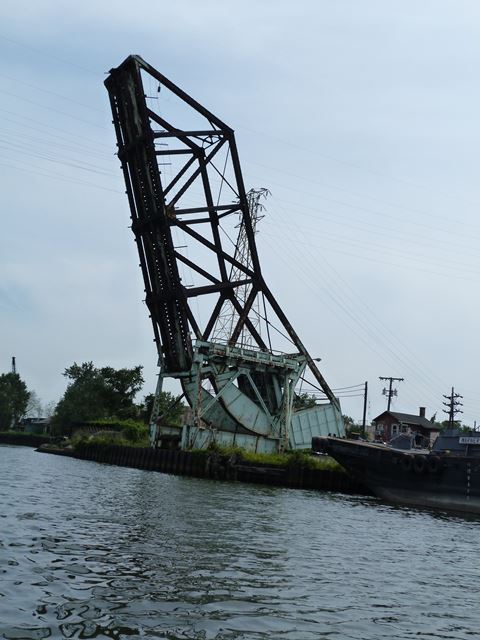
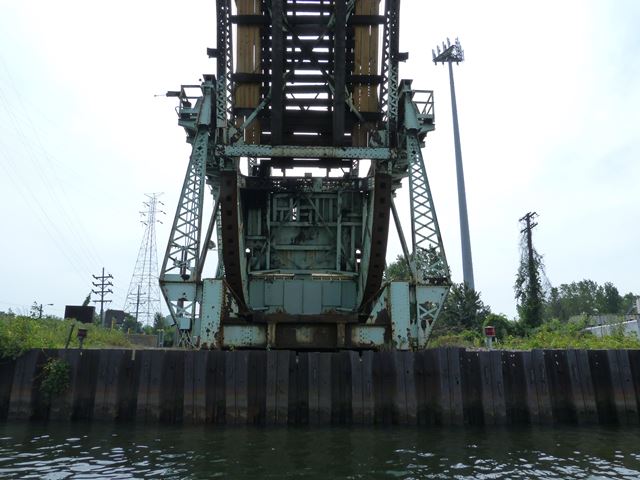
Distant elevation from northeast of bridge.
![]()


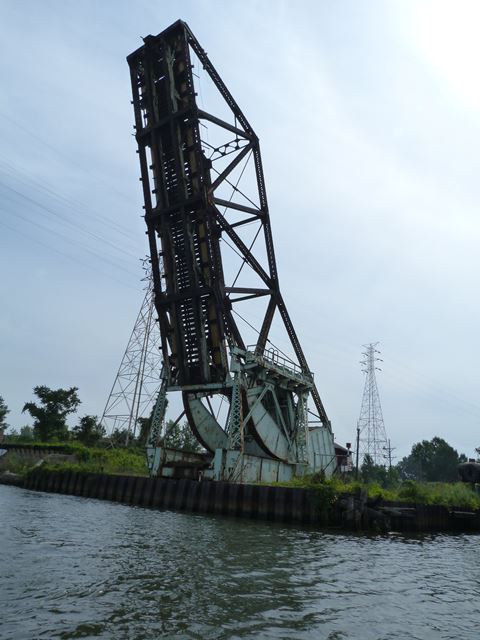
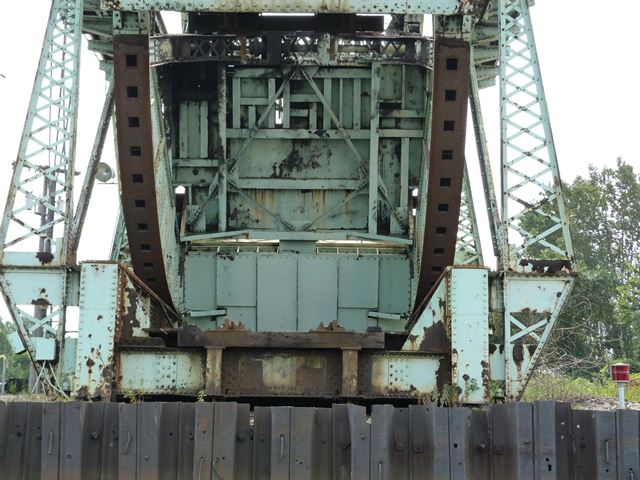
Elevation from northeast of bridge.
![]()


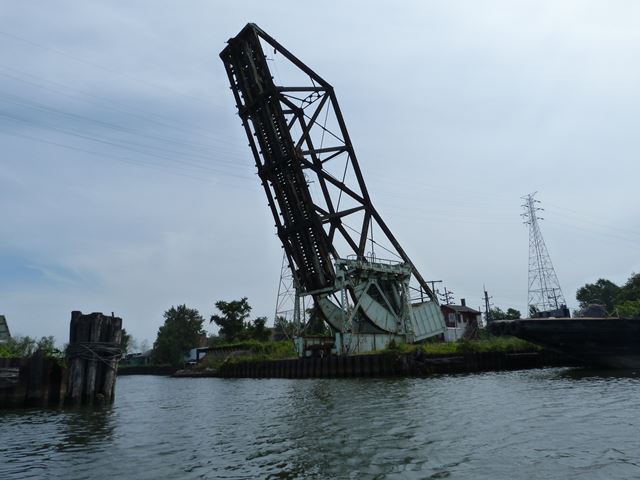
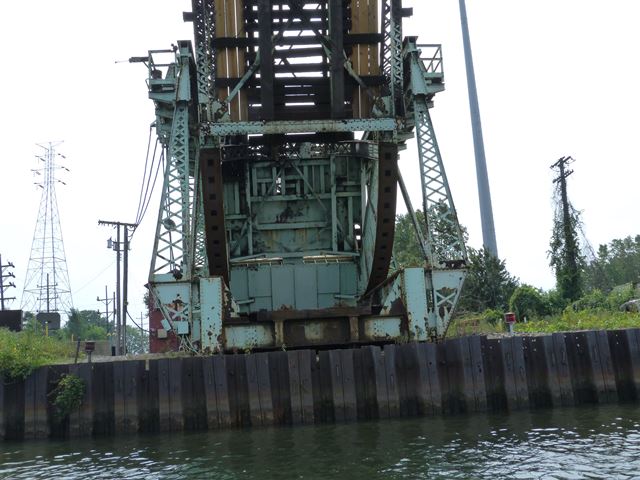
Elevation from southwest of bridge.
![]()
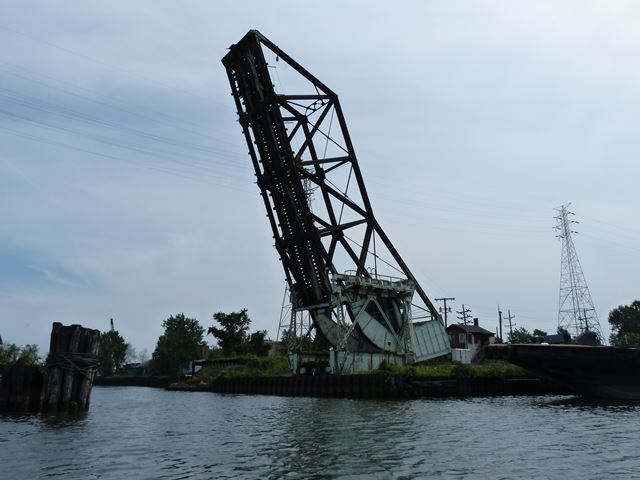


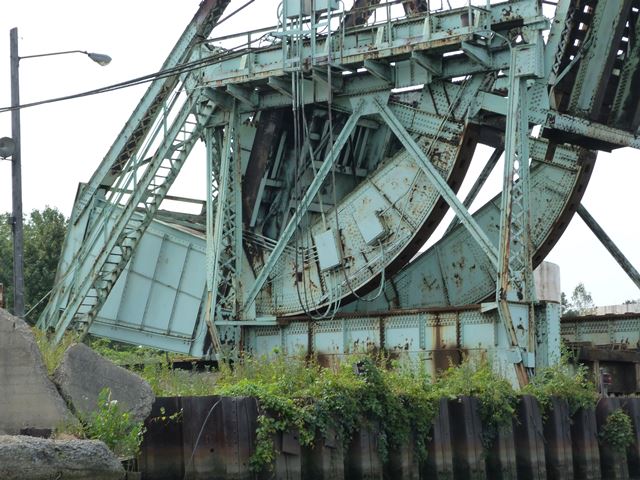
Oblique views from west quadrant.


Photo Credit: J. D. McKibben
Oblique views.
![]()


Photo Credit: J. D. McKibben
Bridge in raised position.
![]()

Photo Credit: J. D. McKibben
View from beside railway.
![]()
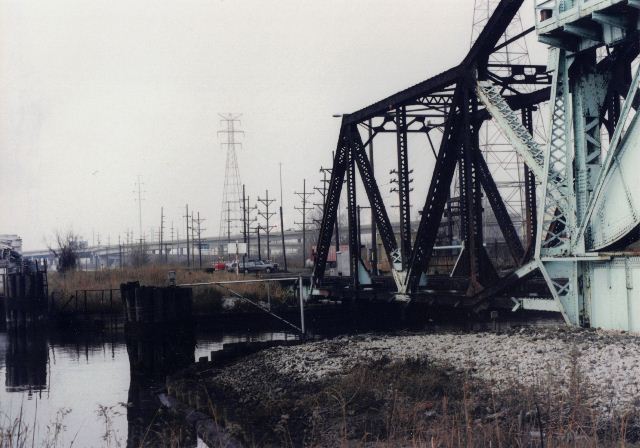

Photo Credit: J. D. McKibben
Views beside bridge.
![]()
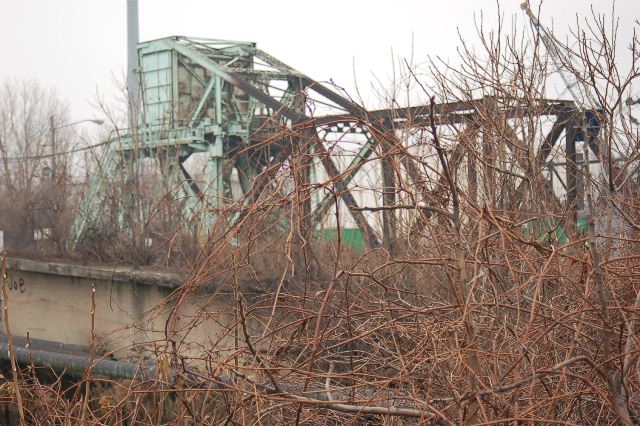
Photo Credit: J. D. McKibben
Elevation.
![]()
![]()
Photo Credit: J. D. McKibben
Panoramic view.
![]()


Photo Credit: J. D. McKibben
Portal views.
![]()
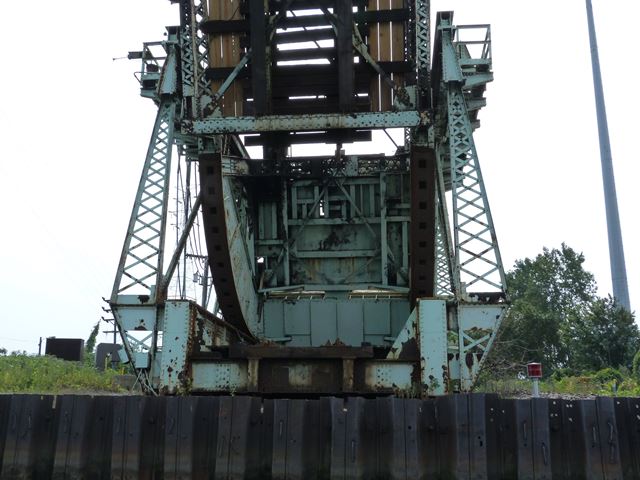


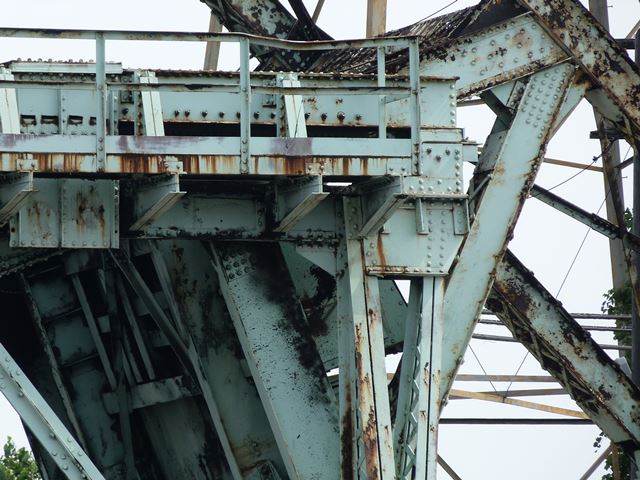
Portal views looking through machinery, facing southeast.
![]()


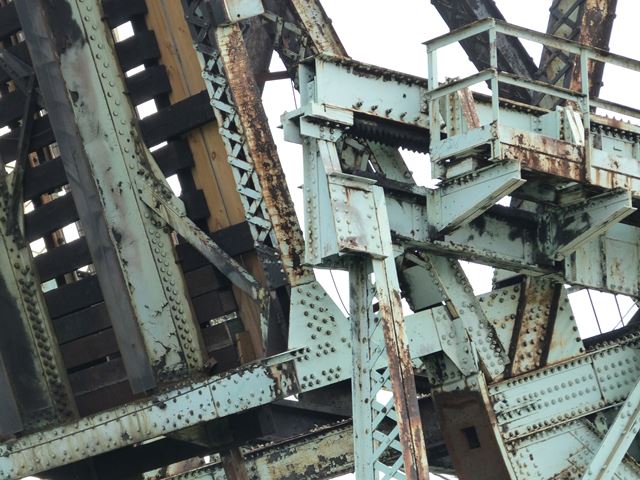
Elevation views of machinery, rollers, and counterweight.
![]()
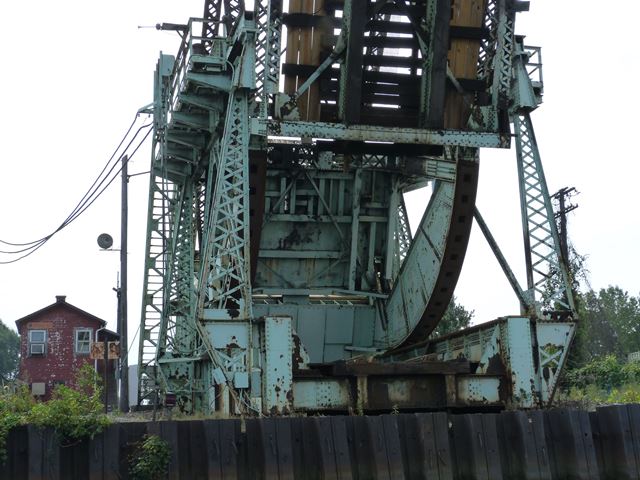


Oblique views of machinery, rollers, and counterweight.
![]()


Operating rack.
![]()
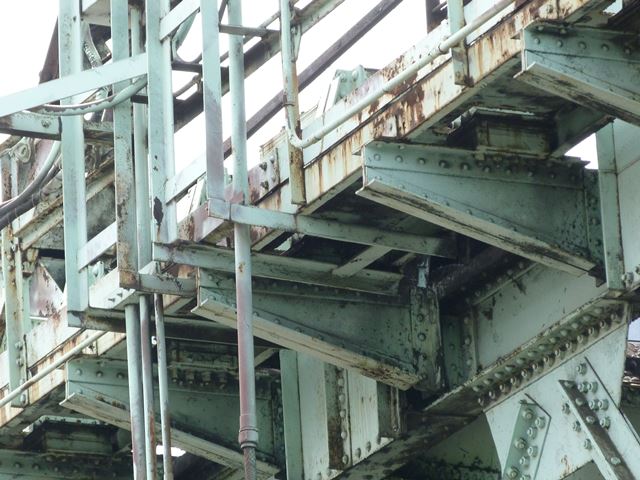


Walkway alongside operating rack.
![]()


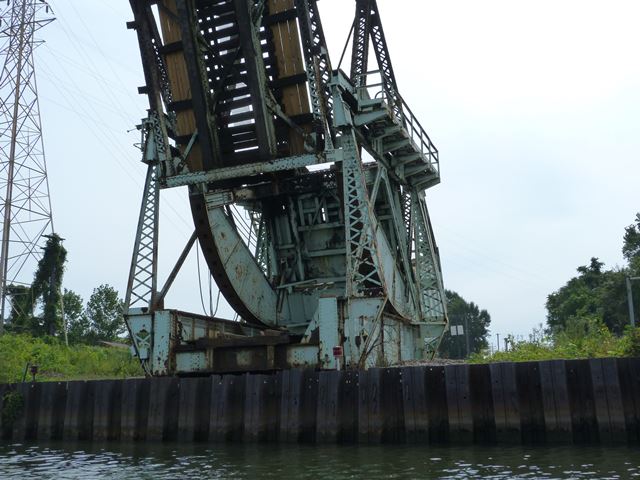
Counterweight.
![]()

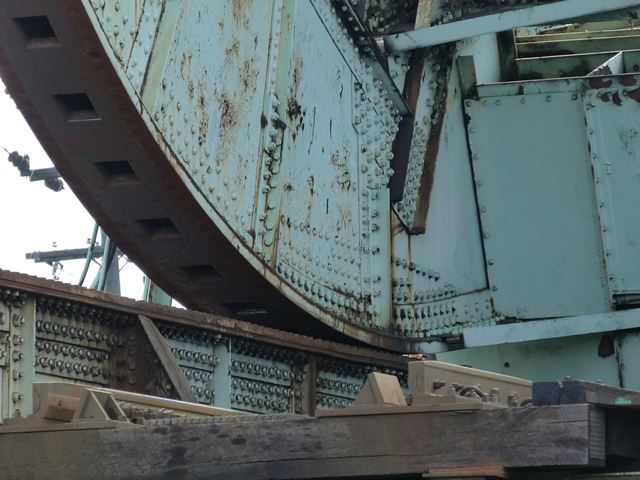
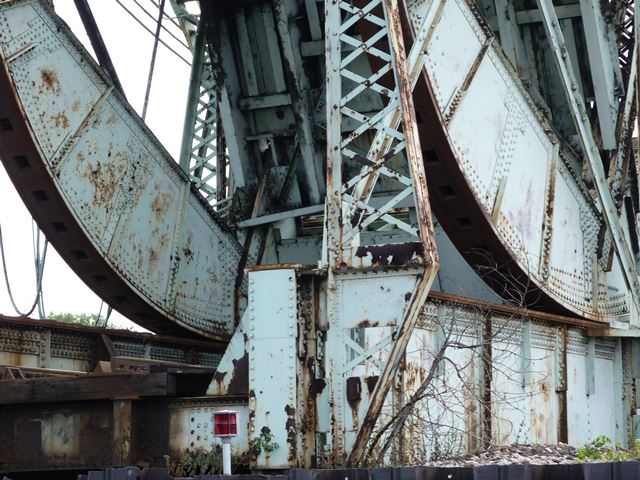


Rollers.
![]()
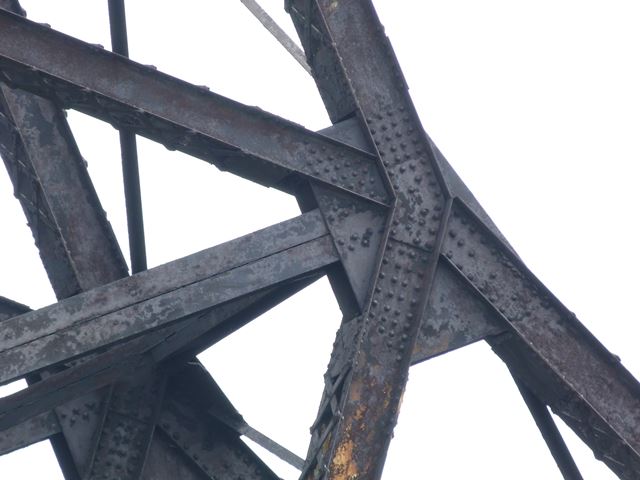


Top chord connections as viewed from beside bridge.
![]()


Top chord connections as viewed from on bridge.
![]()


Deck underside.
![]()
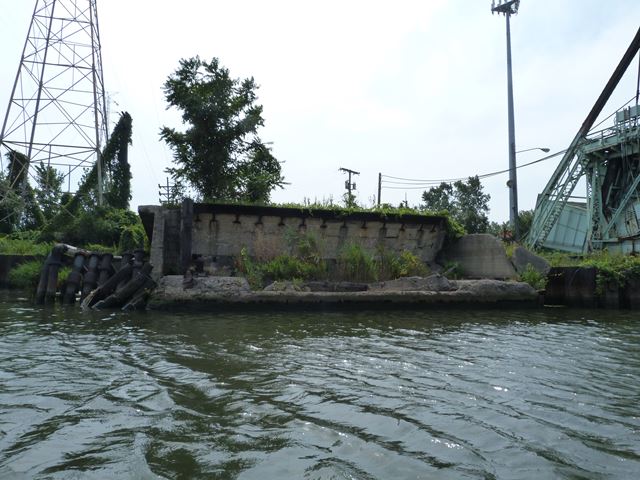


Remains of Canal Street Bridge next to railroad bridge.
![]()

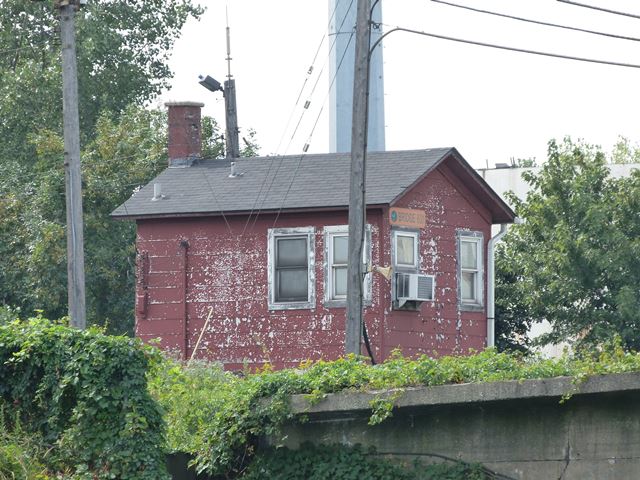

Bridge tender house.
![]()


Photo Credit: J. D. McKibben
Approach span.
![]()

Photo Credit: J. D. McKibben
Counterweight.
![]()

Photo Credit: J. D. McKibben
Signs and stairway.
![]()
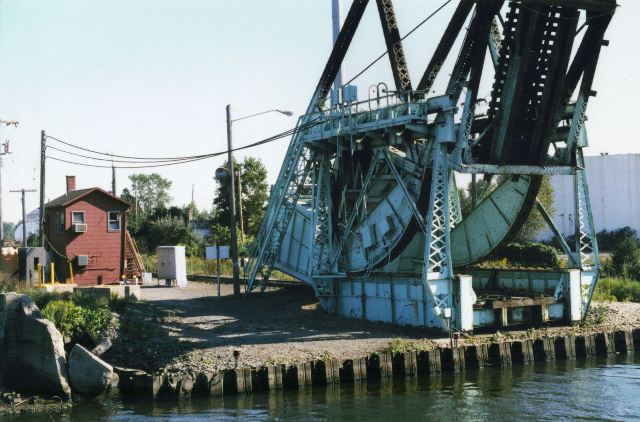
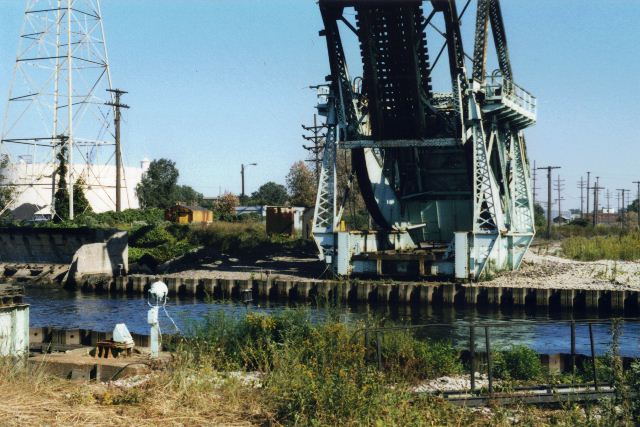
Photo Credit: J. D. McKibben
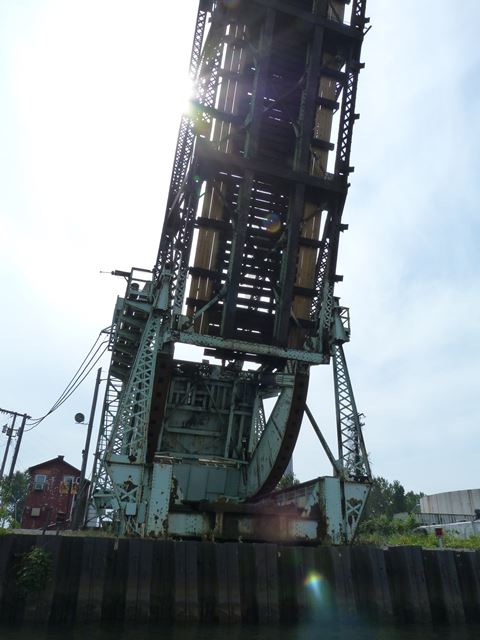
Base of bridge, with bridge in raised position.
![]()


Photo Credit: J. D. McKibben
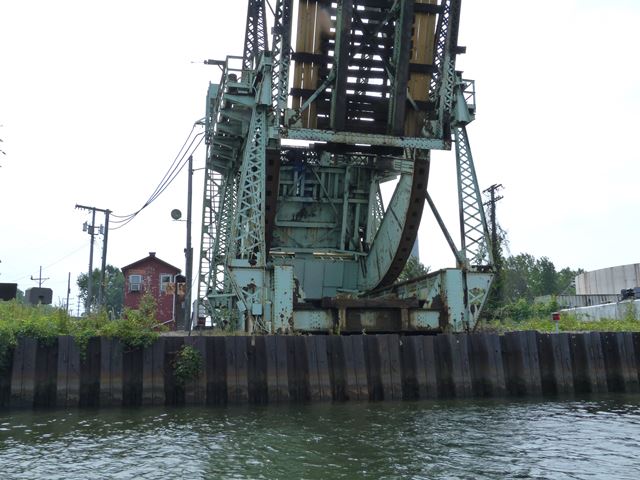
Roller and counterweight.
![]()

Photo Credit: J. D. McKibben
View showing rollers.
![]()
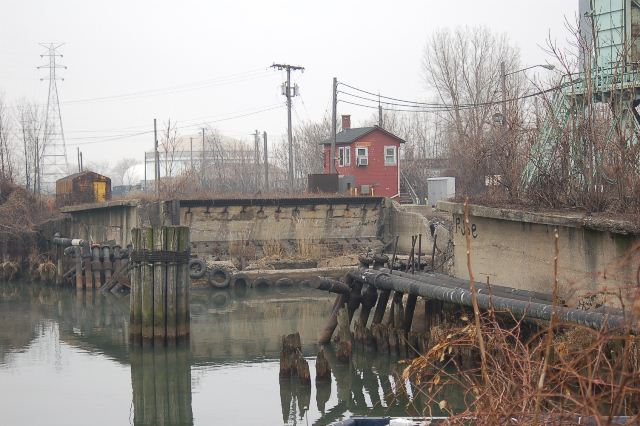

Photo Credit: J. D. McKibben
Views showing remains of former adjacent Canal Street Bridge.
![]()
![]()
| Back |
| Home |
| Top |

![]()