
Uncredited photos on this page taken by: Nathan Holth. Unless stated in a caption, all photos are Copyright with All Rights Reserved. Learn about reuse of our photos.
![]()


Distant views southwest of bridge.
![]()


Views southwest of bridge.
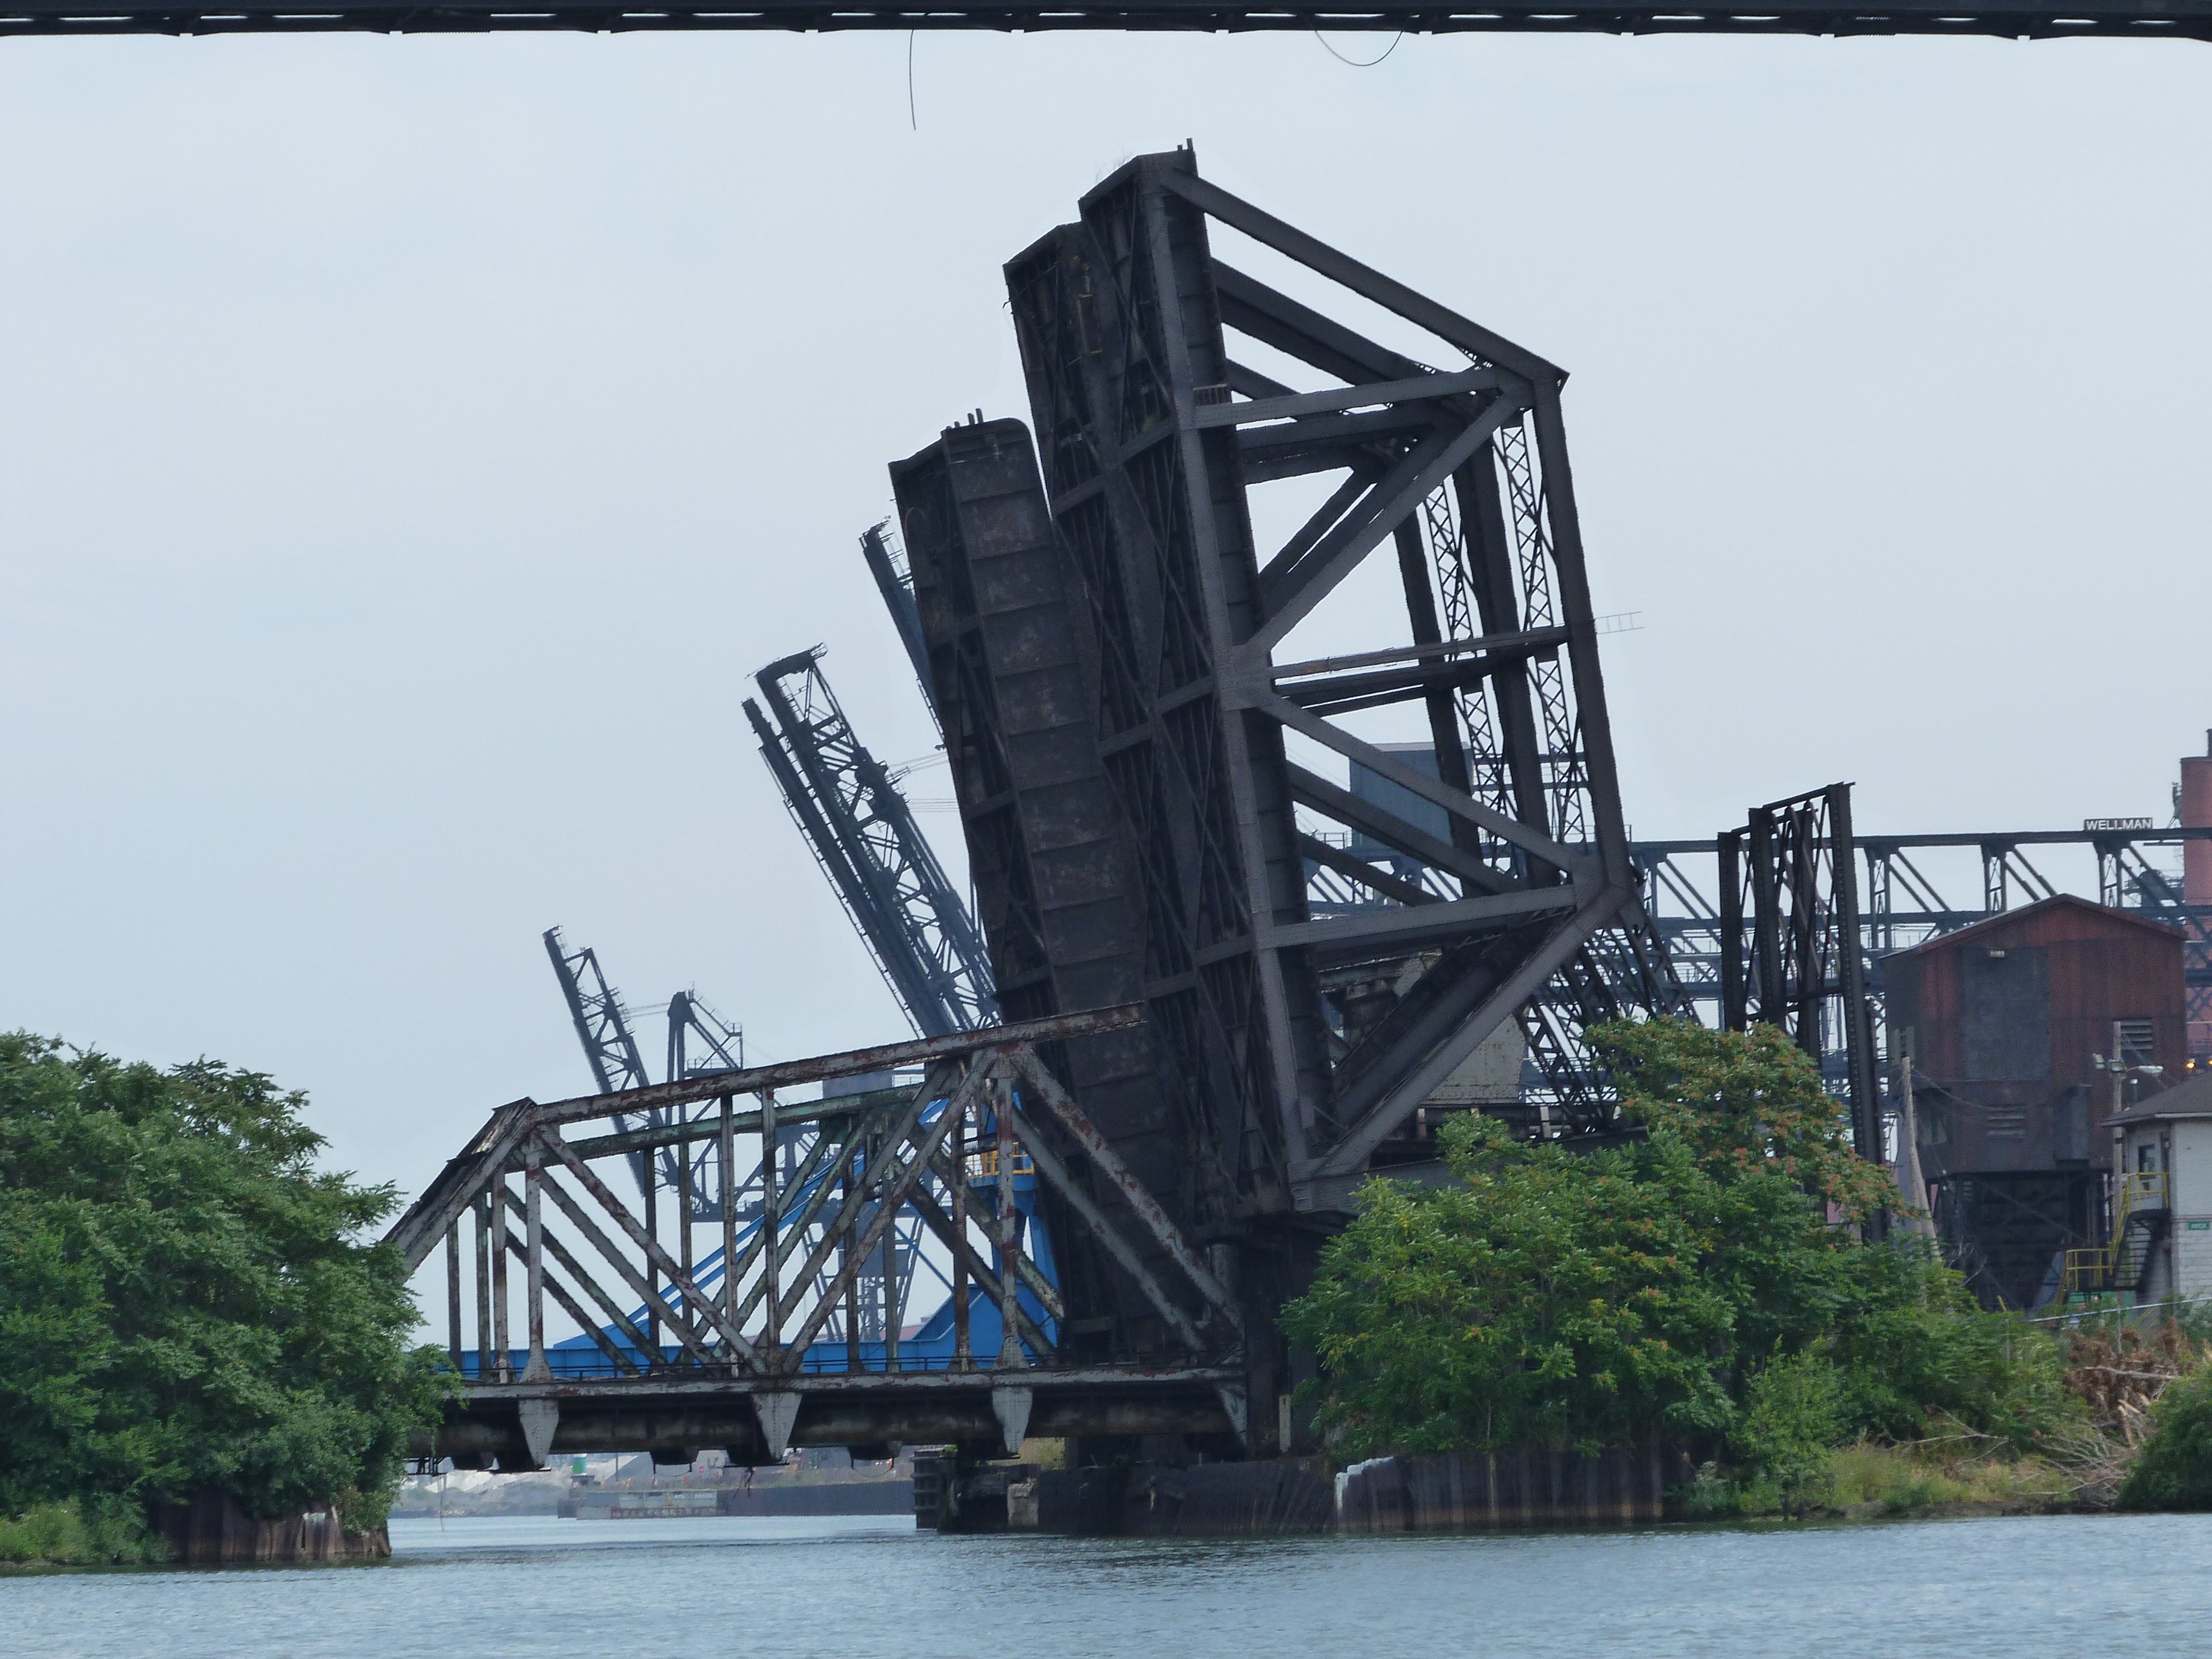
![]()


Oblique views from west quadrant.
![]()


Remains of another bascule bridge that was located southwest of the pair of Rall bascule bridges. This was the location of one of the other two lost Rall bascule bridges.
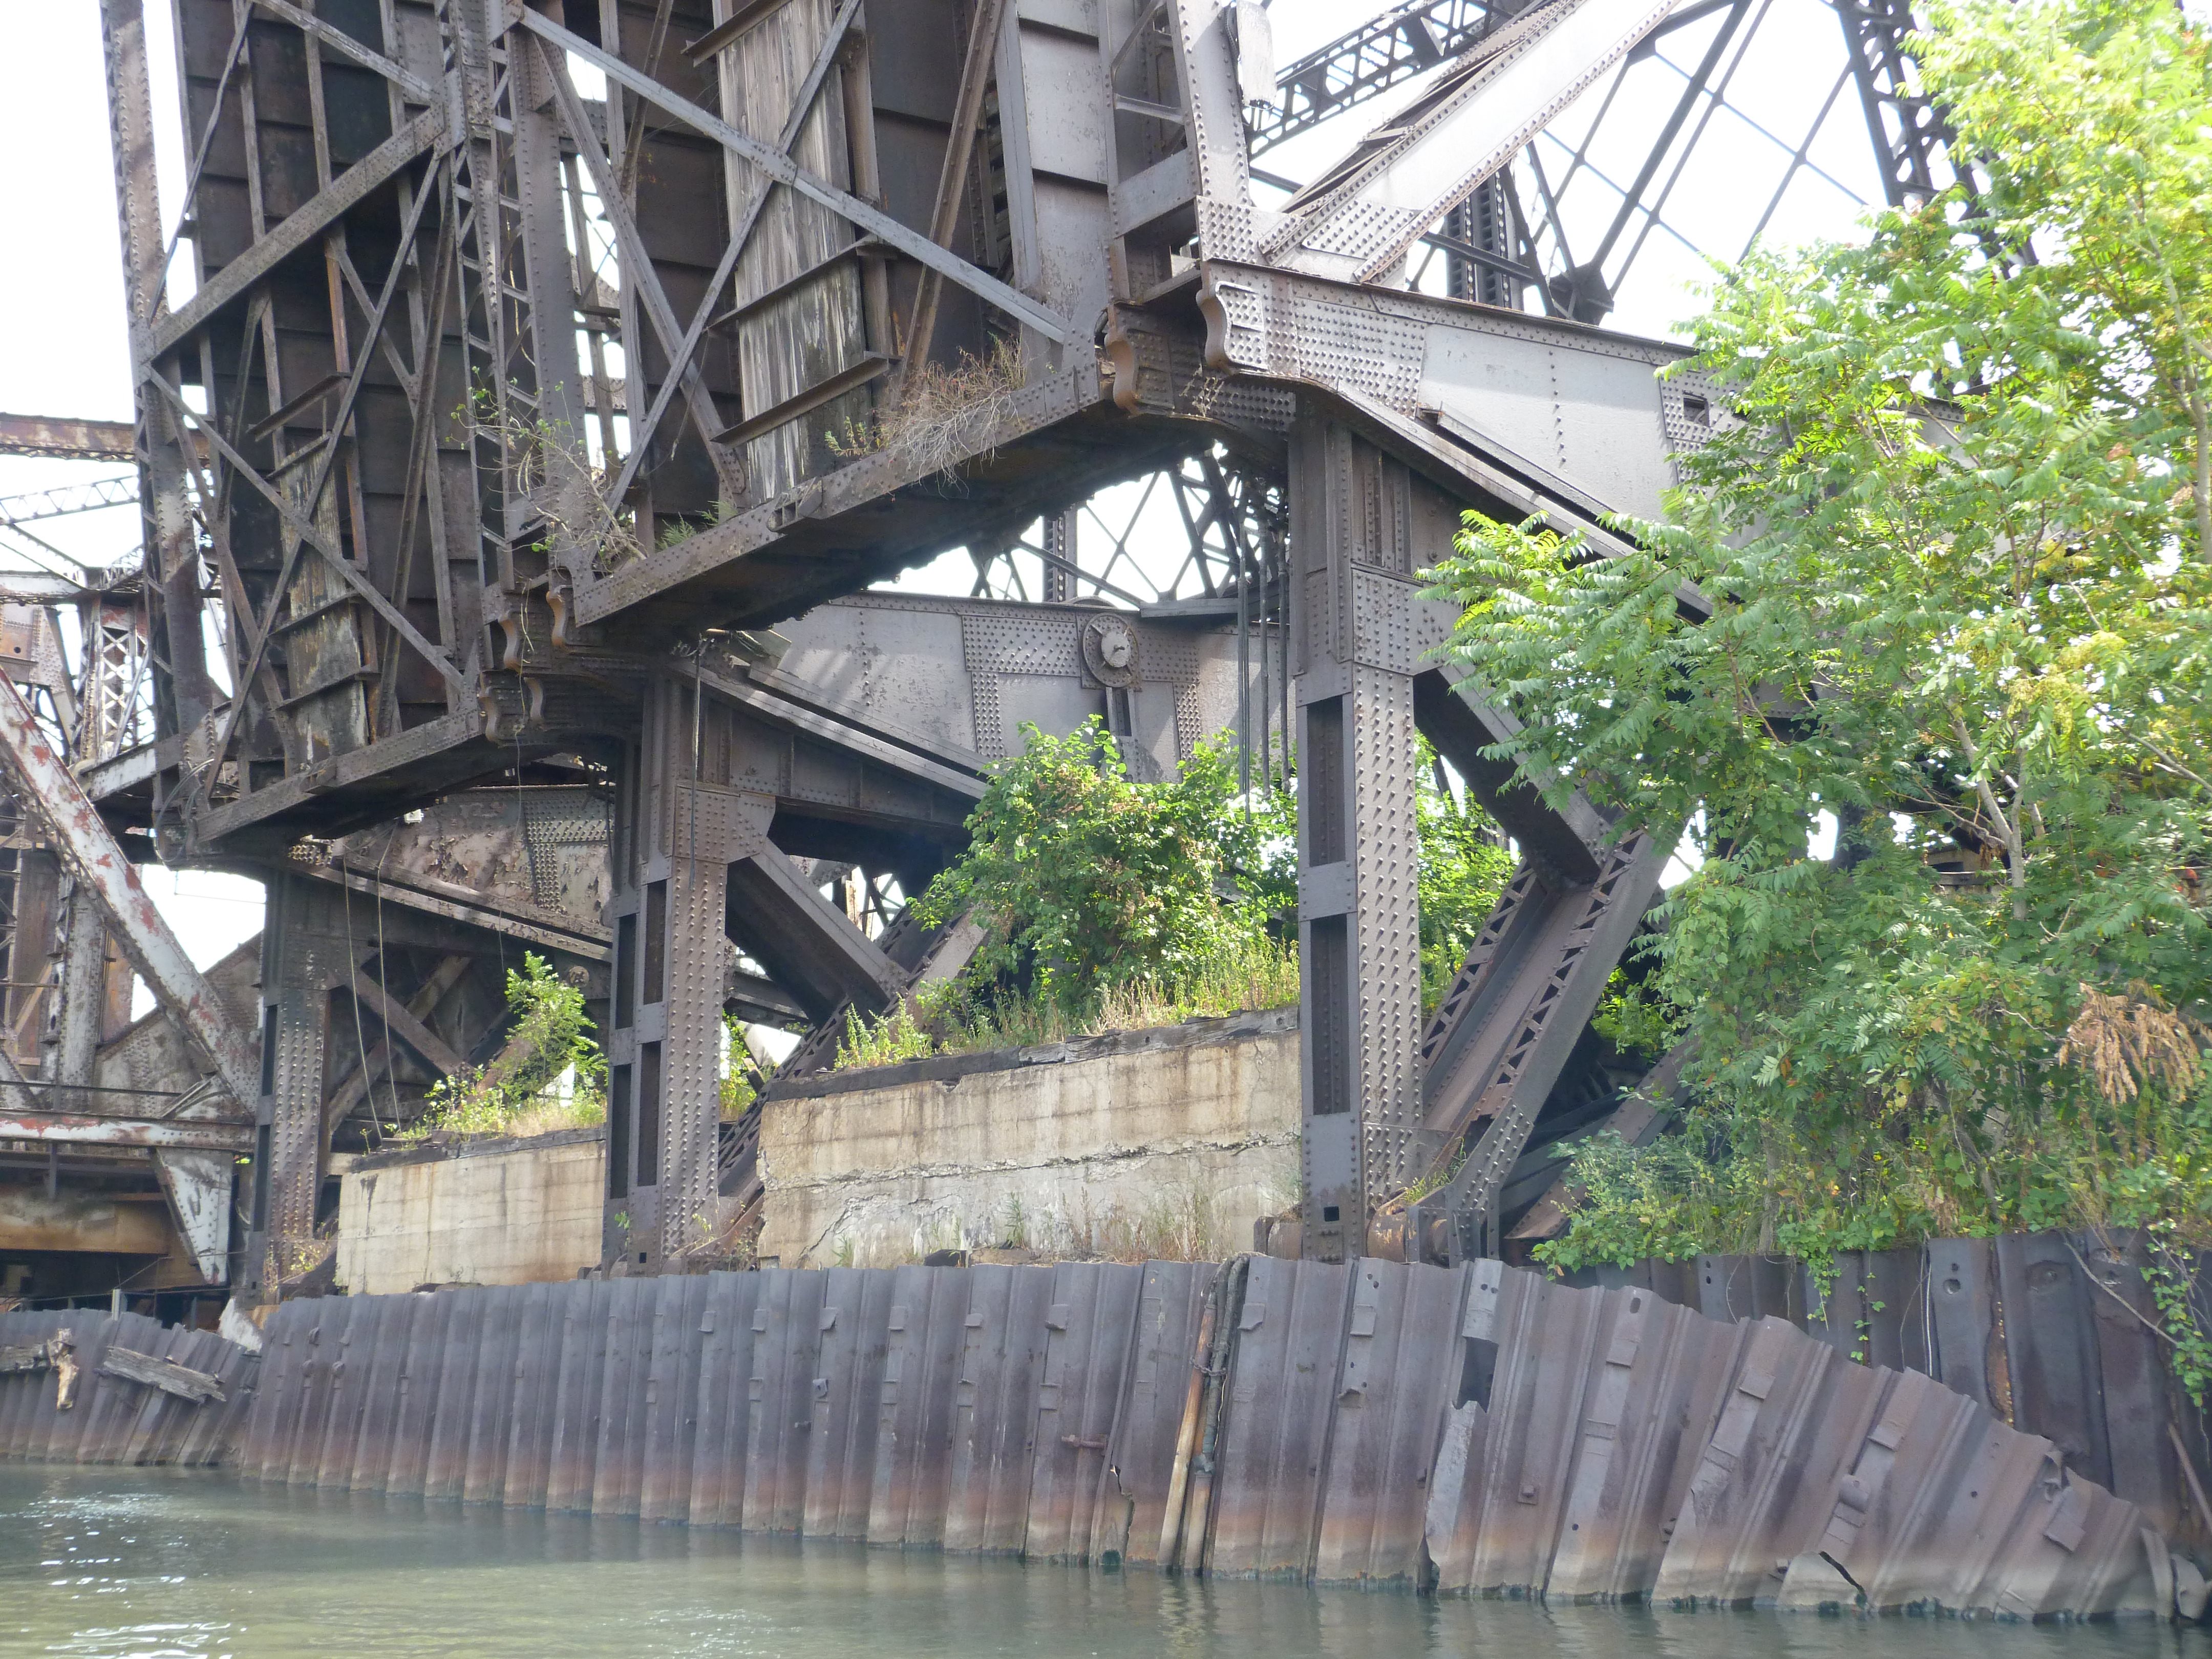
![]()


Deck underside.
![]()


Overview of operating strut and its portal brace.
![]()


Operating strut details.
![]()


View looking eastbound through portal.
![]()


Overviews of operating machinery.
![]()


Seat for shoe pin when bridge is lowered. Note the curved shape to fit the pin.
![]()


12 inch shoe pin.
![]()


Views showing main trunnion.
![]()

Views showing the pin that attaches the swing strut to the truss.
![]()

View showing swing strut.
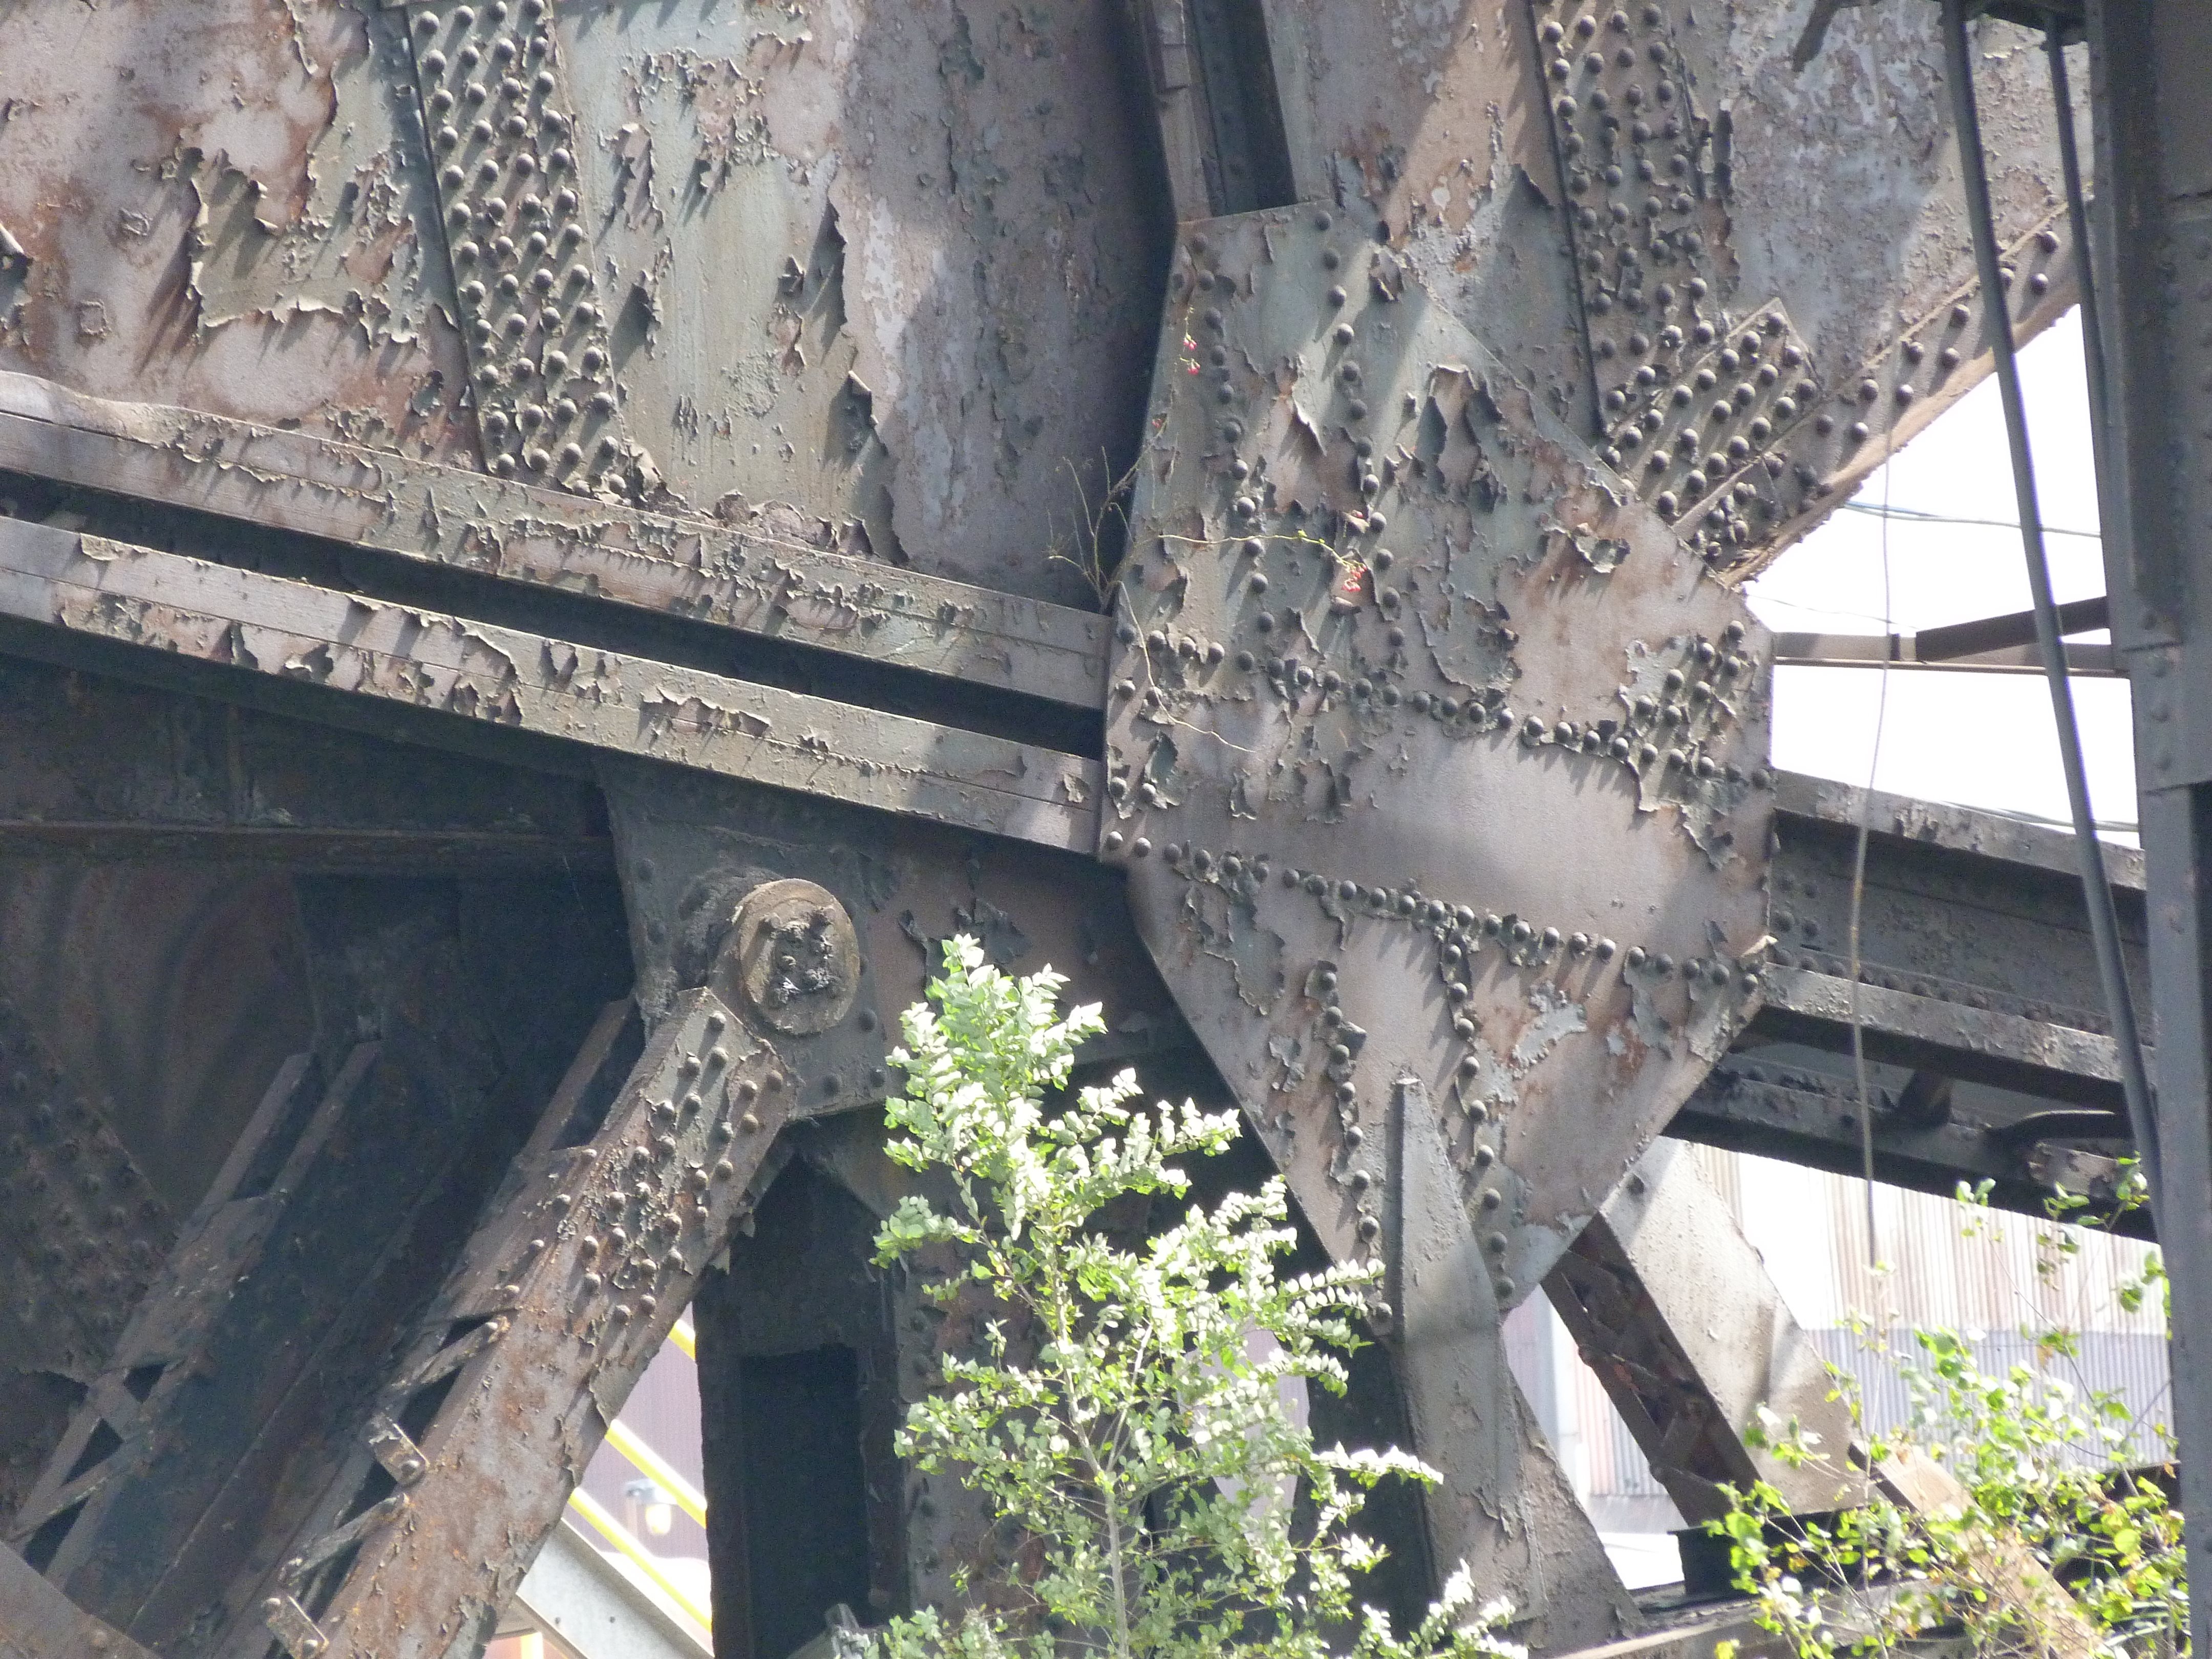
![]()


Top chord connections.
![]()


Bottom chord connections.
![]()


Lateral bracing connections to bottom chord.
![]()


Miscellaneous structural elements around operating portion of bridge.
![]()

Abutment.
![]()
![]()
| Back |
| Home |
| Top |

![]()