Uncredited photos on this page taken by: Nathan Holth and Rick McOmber. Unless stated in a caption, all photos are Copyright with All Rights Reserved. Learn about reuse of our photos.
![]()
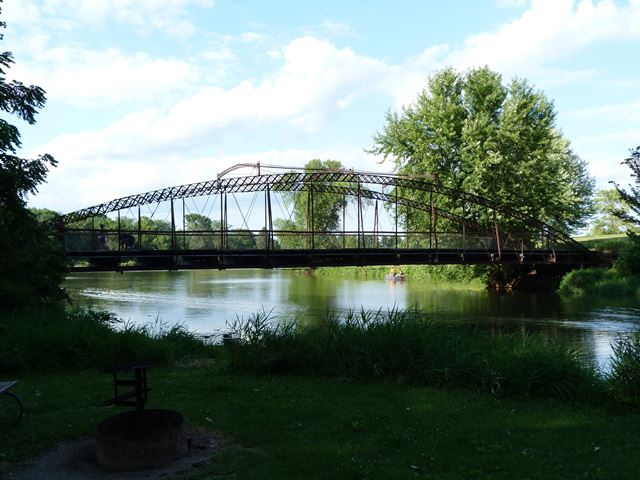
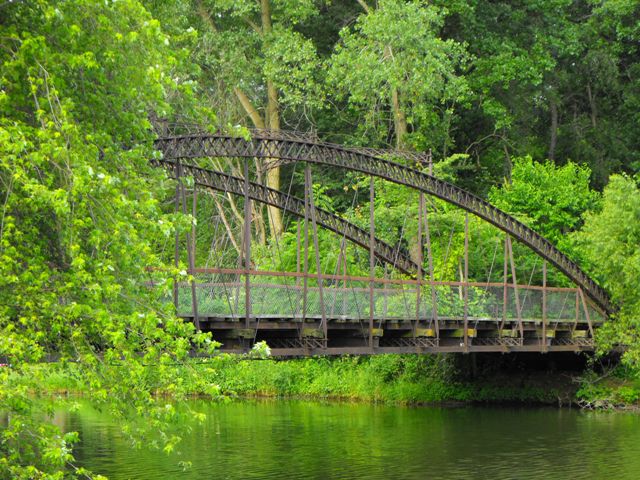
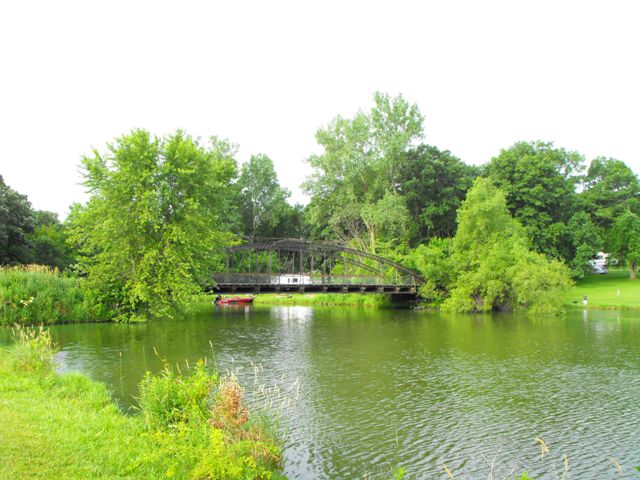
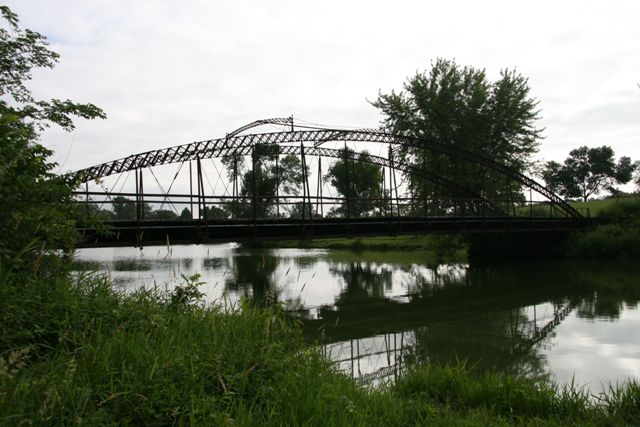
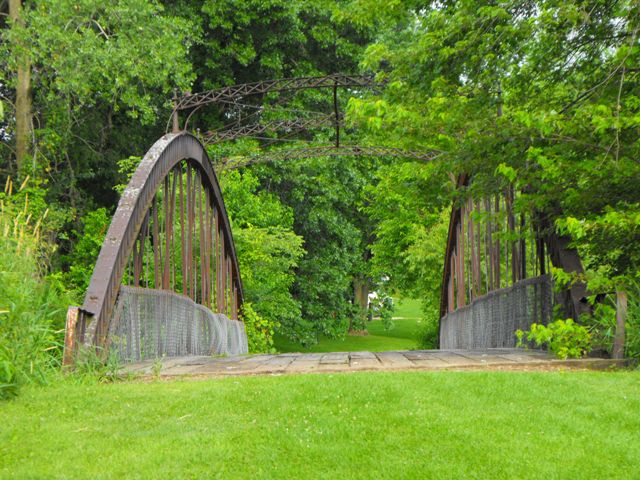
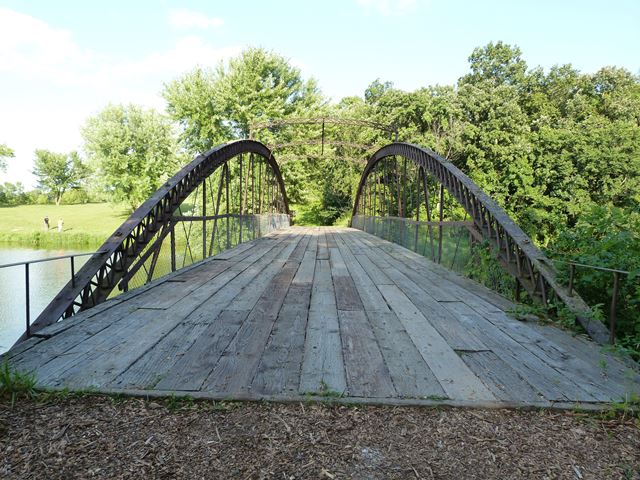
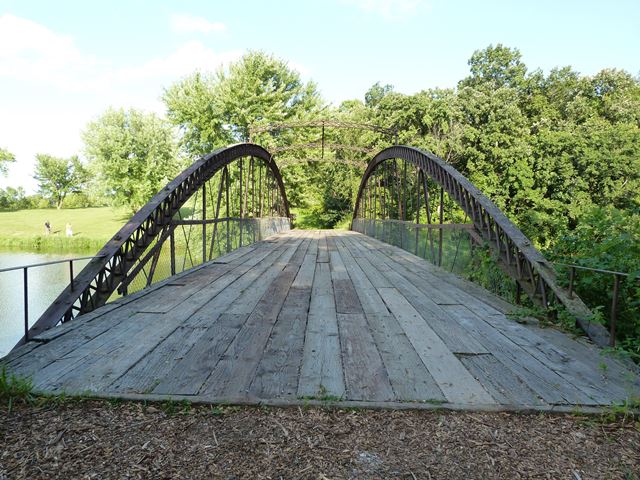
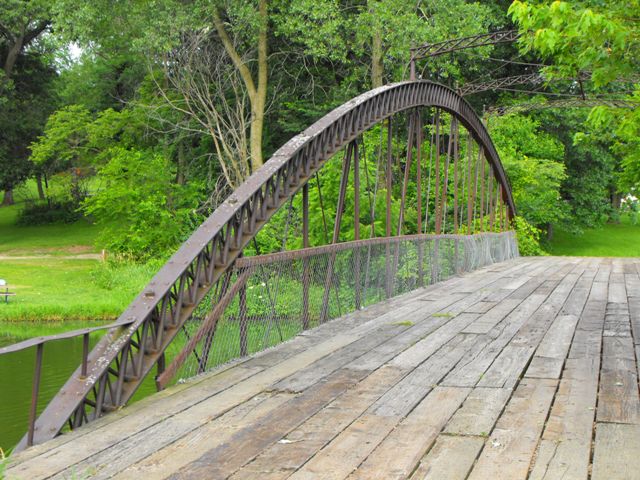
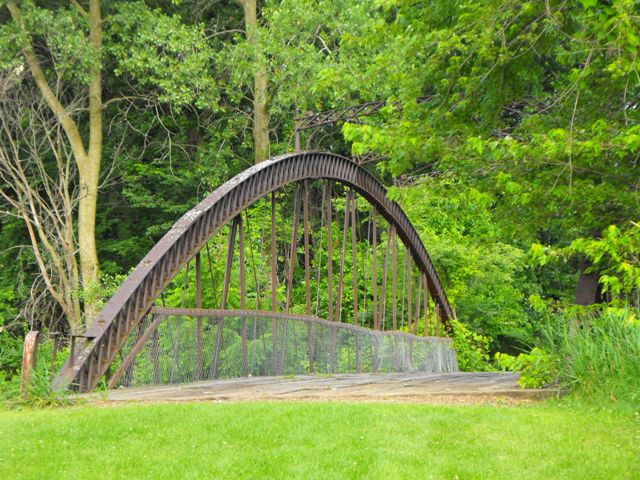
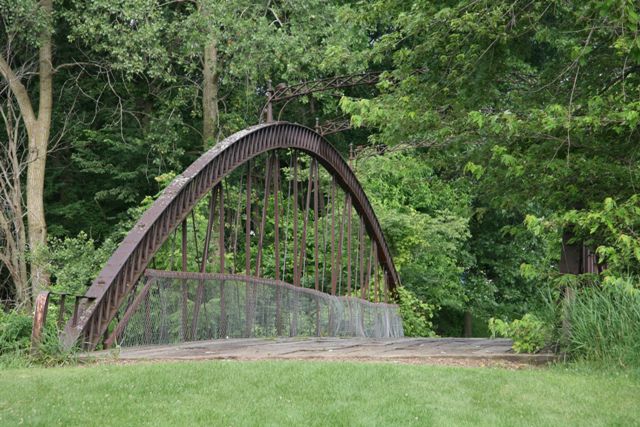
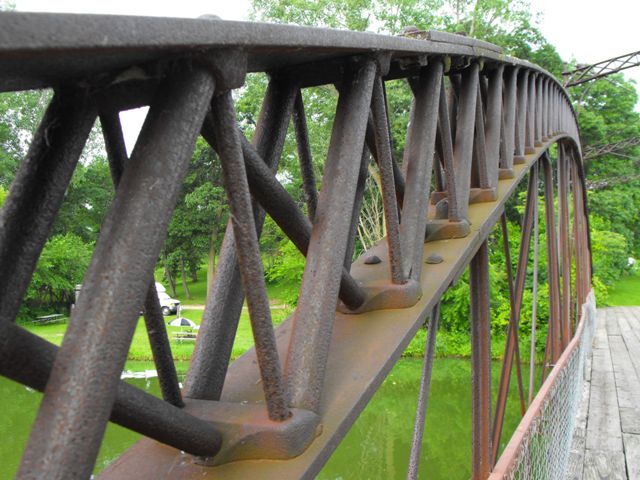
Elevation
![]()

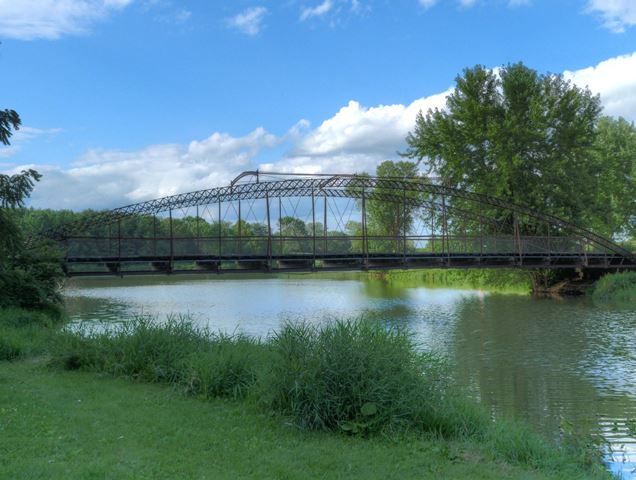
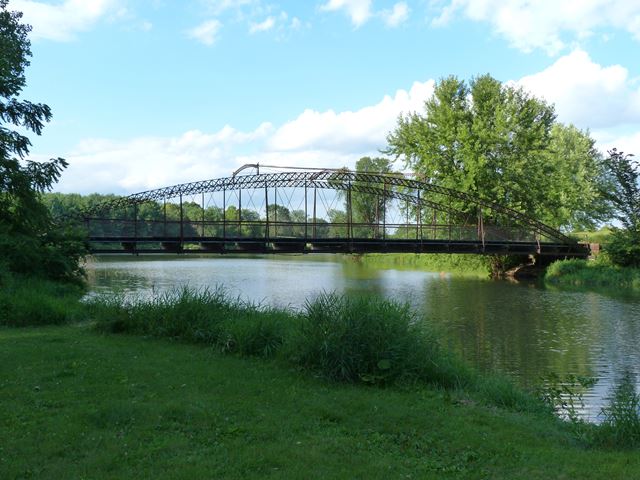
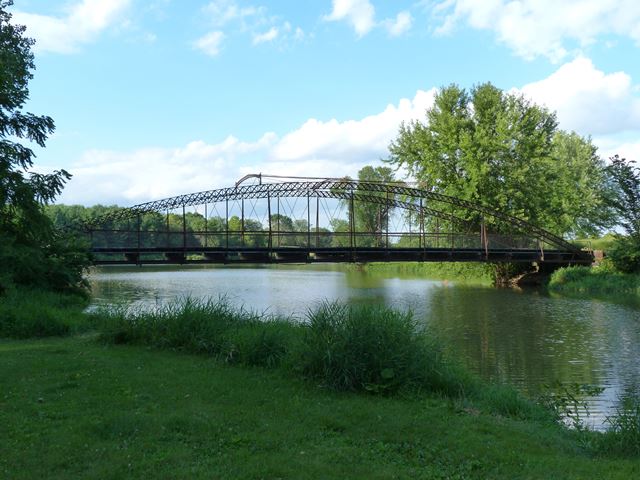
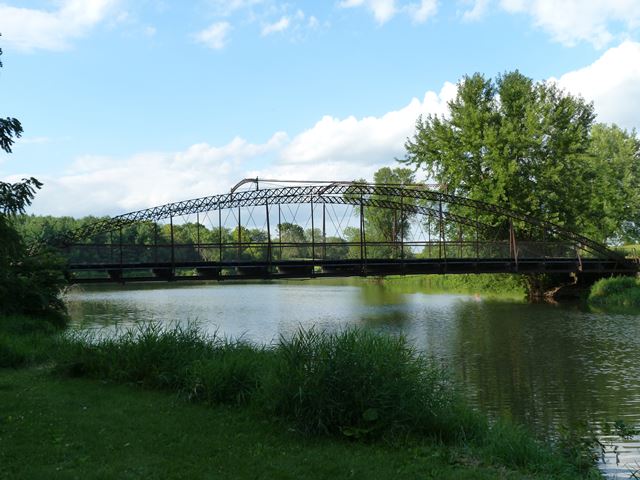
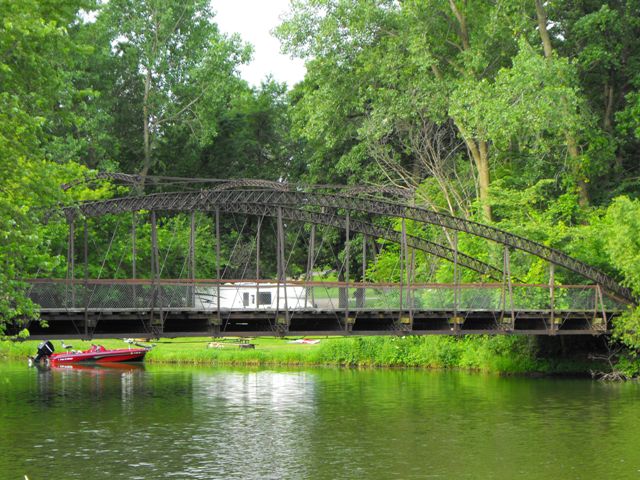
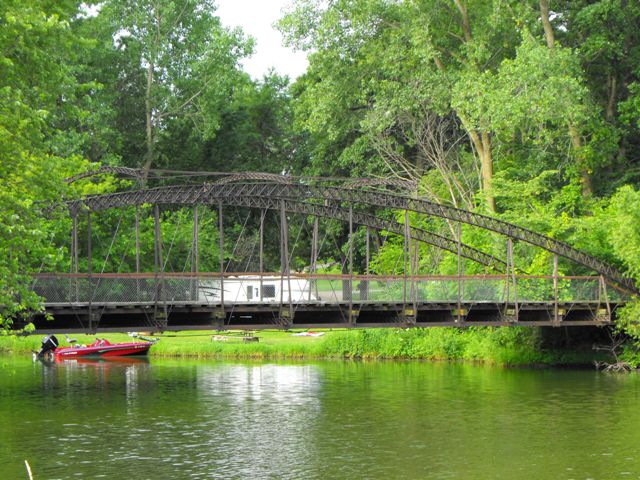
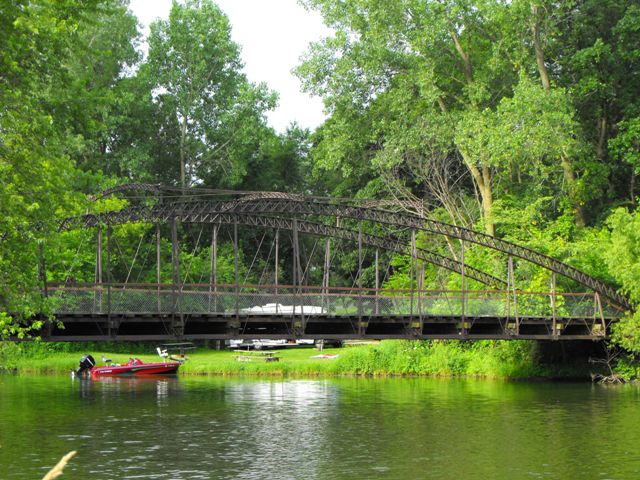
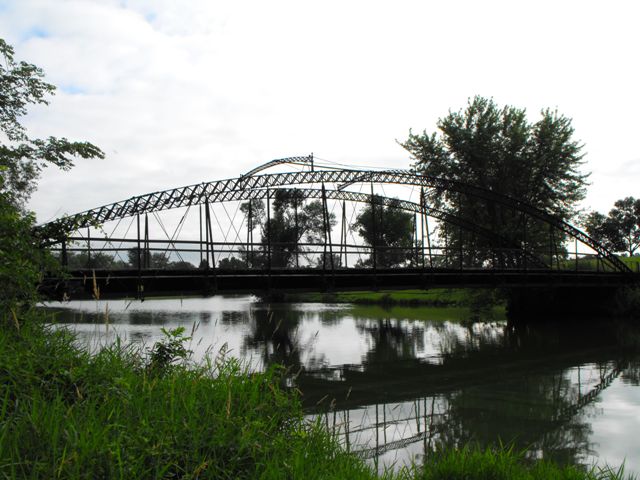
HDR Photos: Elevation
![]()
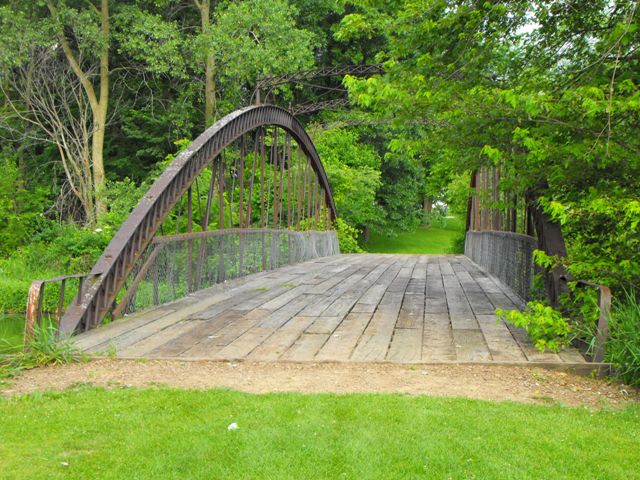
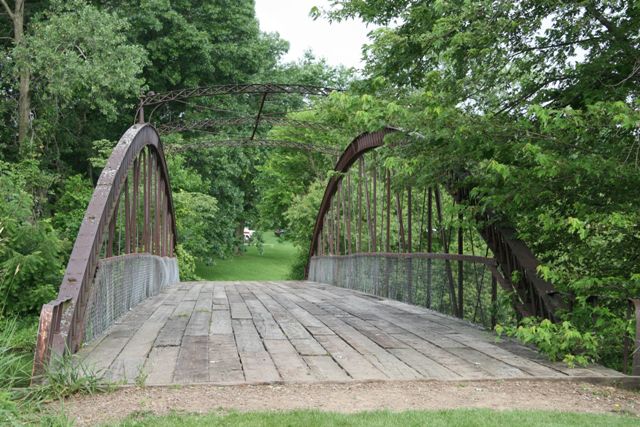
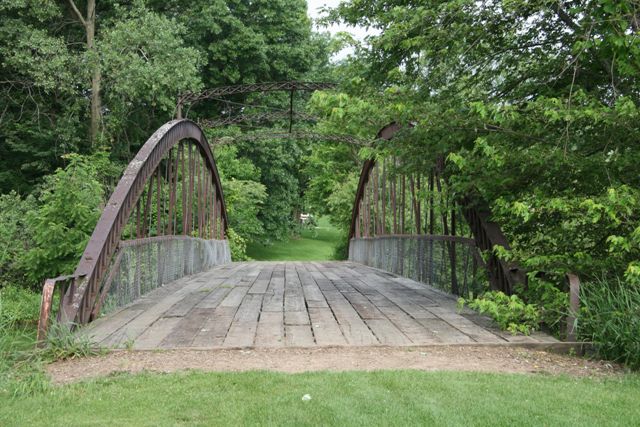
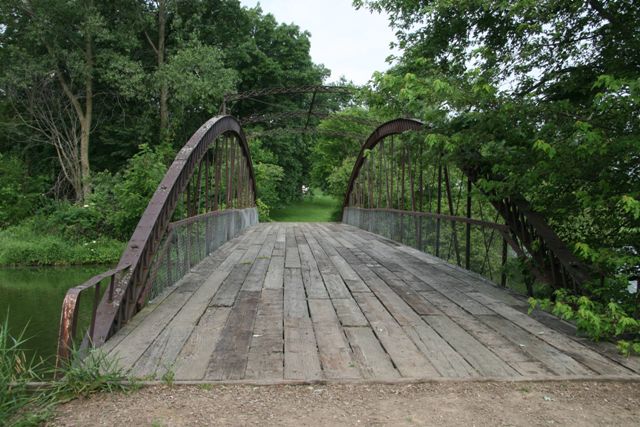


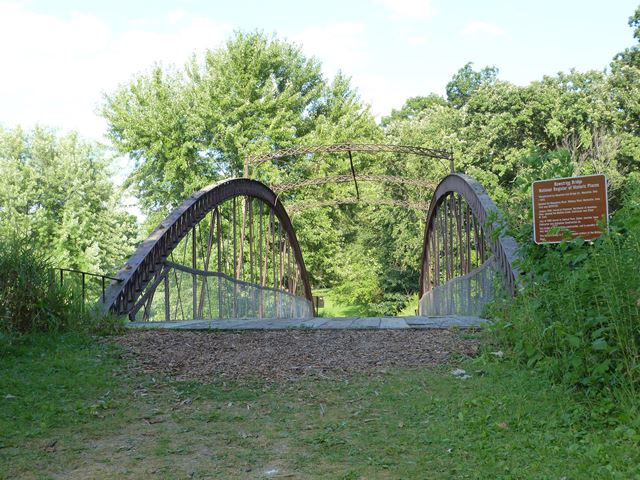
Portal views.
![]()
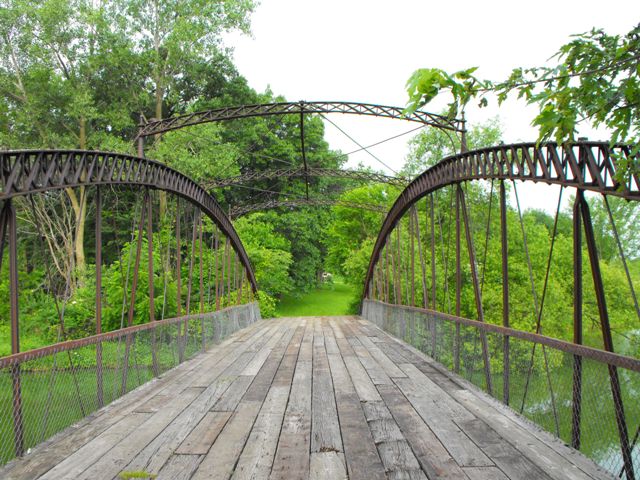
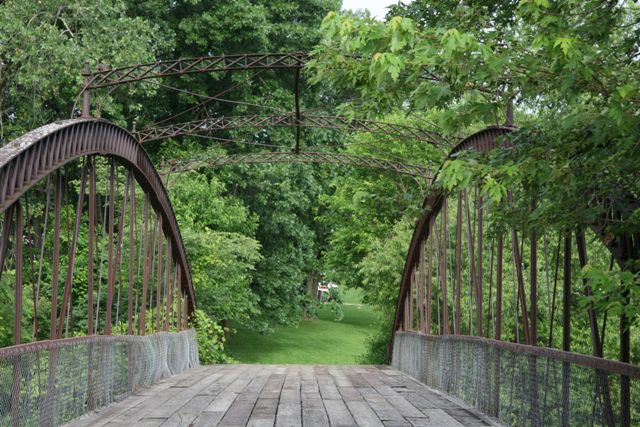
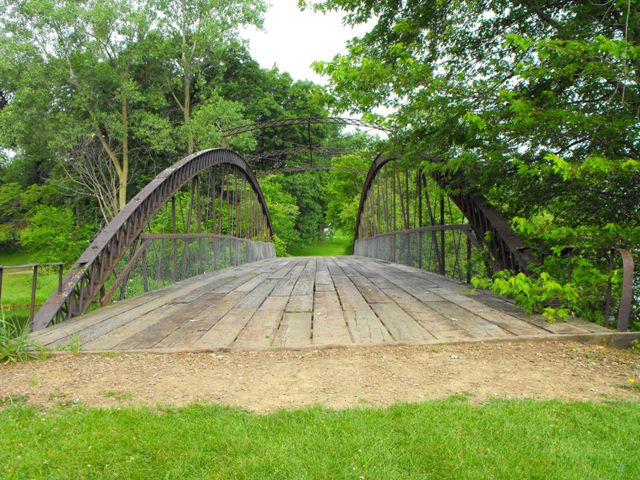
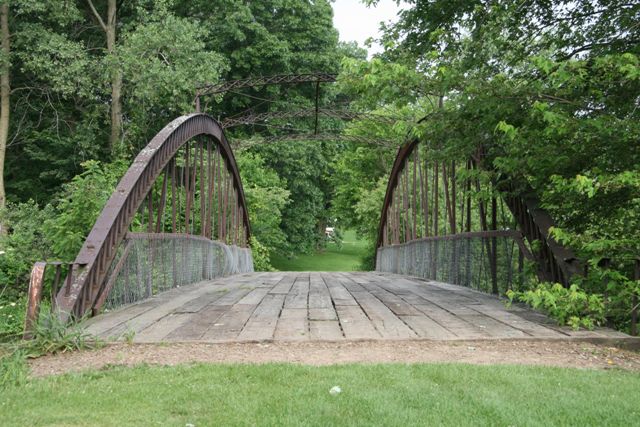
Portal views on bridge.
![]()
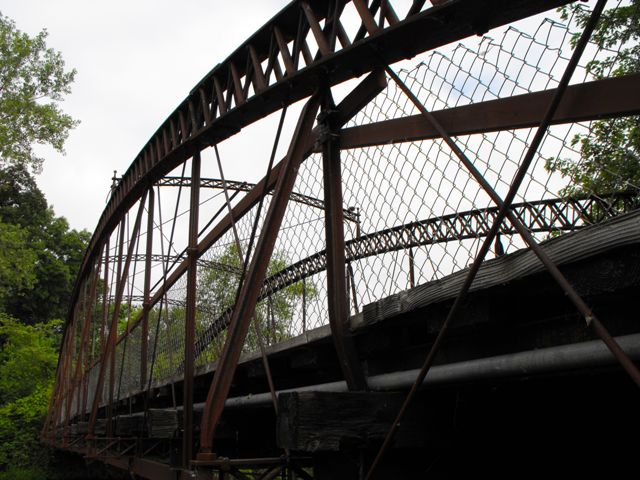
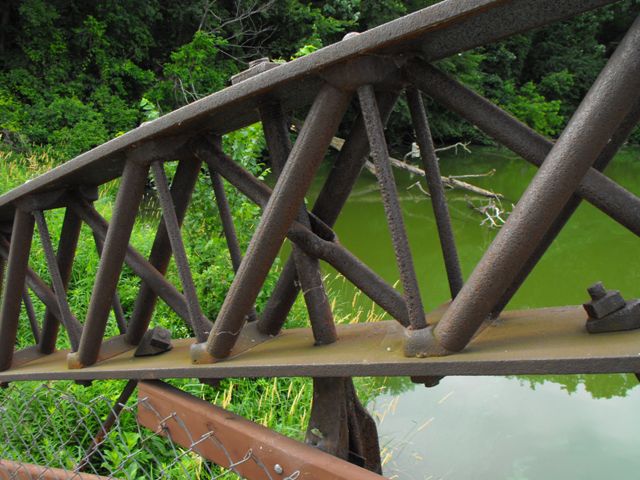
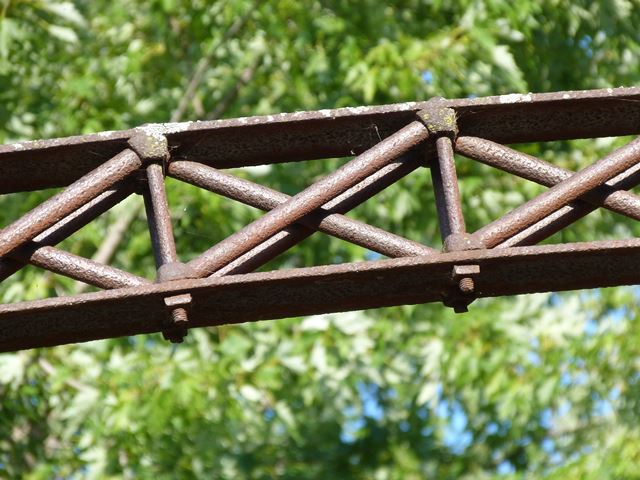
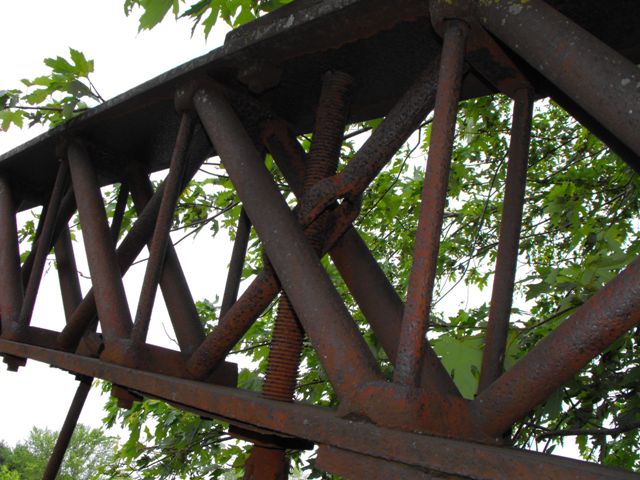
Truss web.
![]()
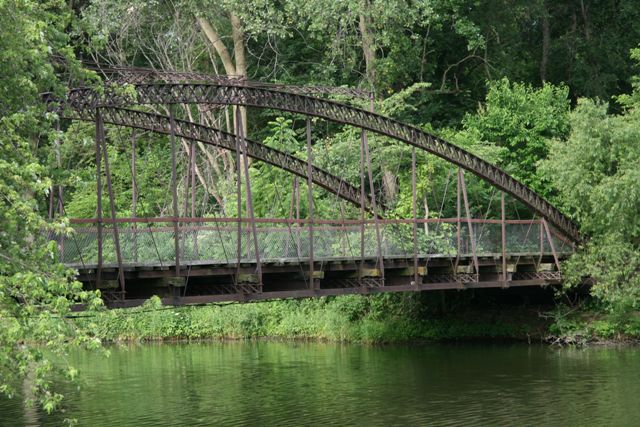
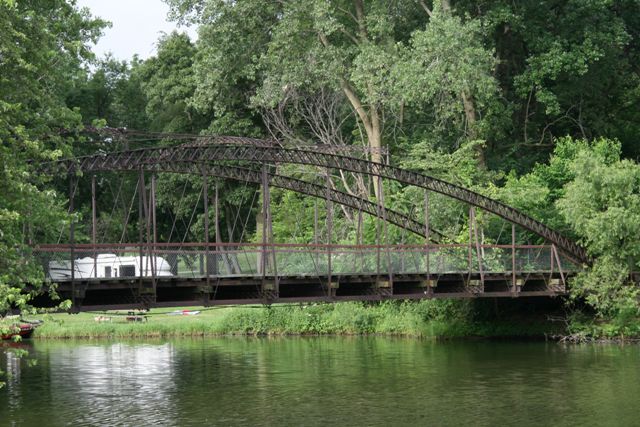
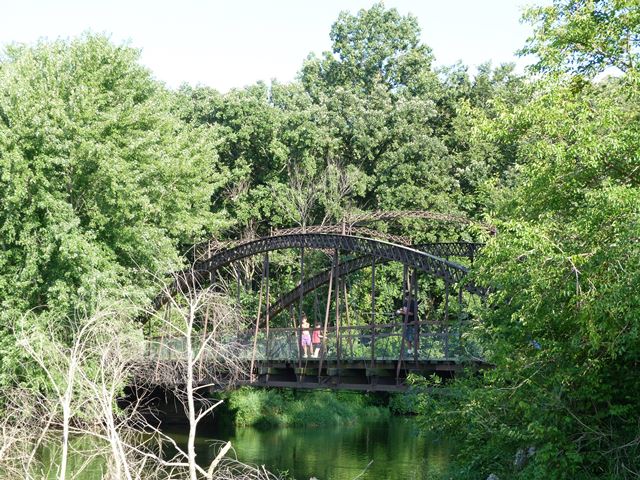
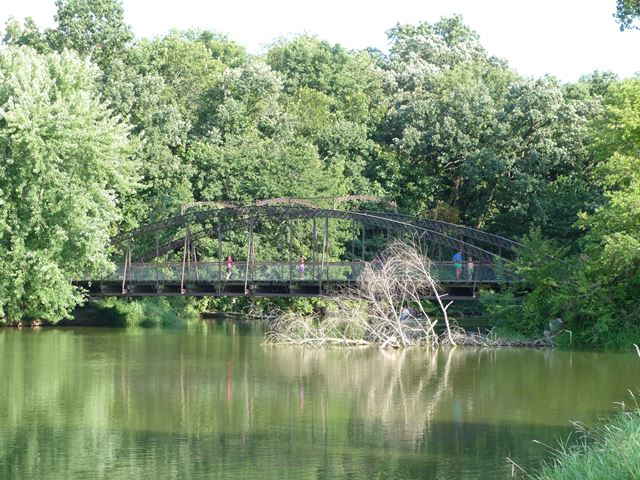
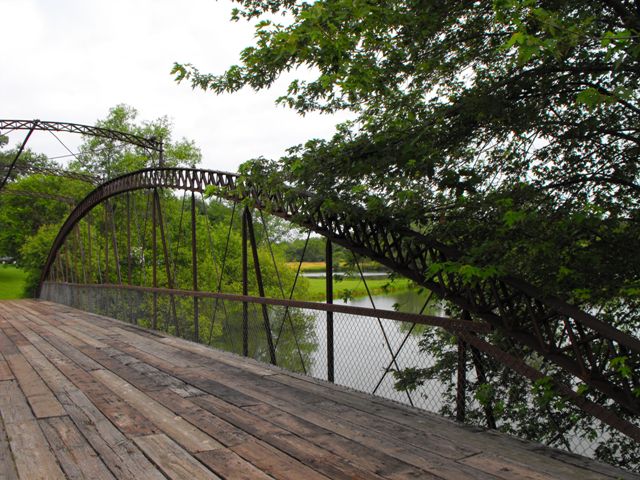
View beside bridge.
![]()
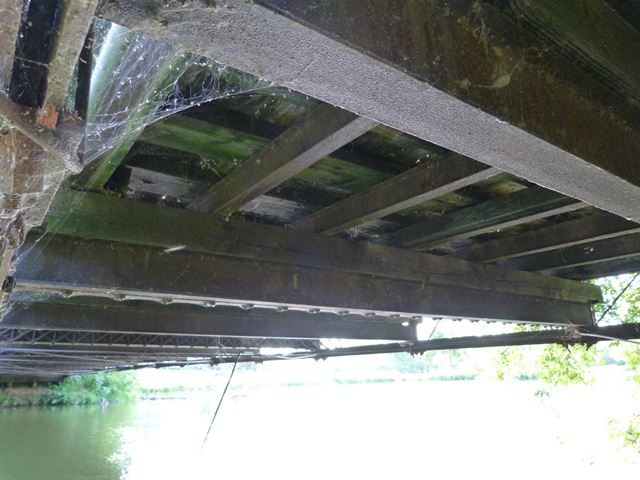
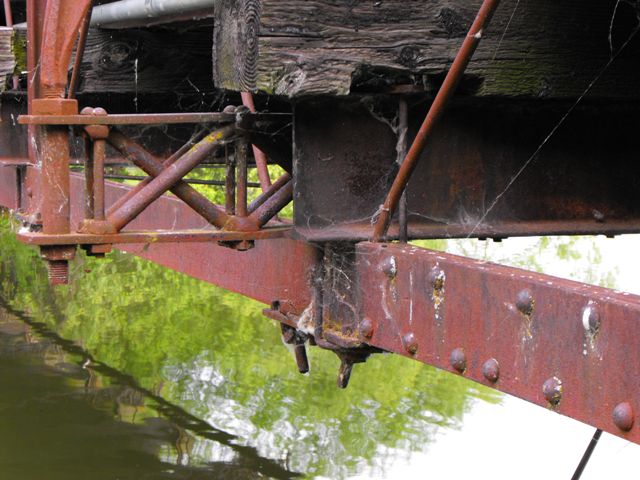
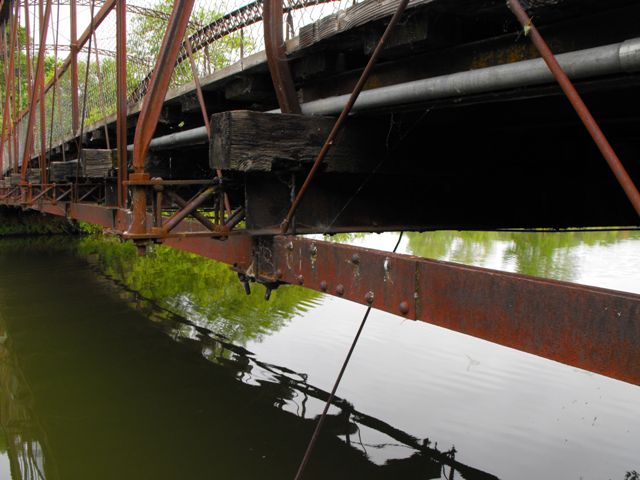
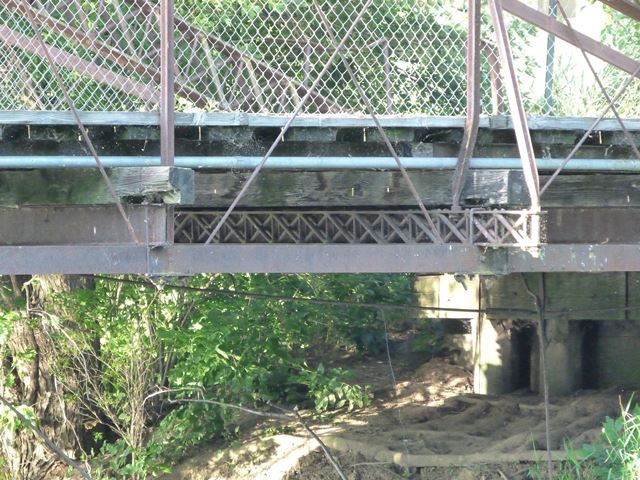
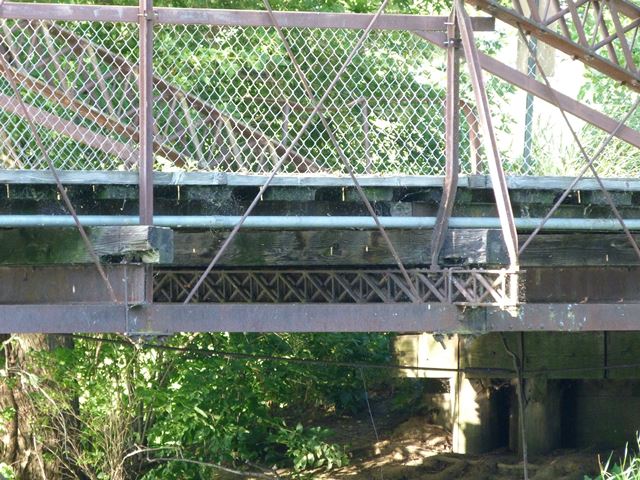
View under bridge.
![]()
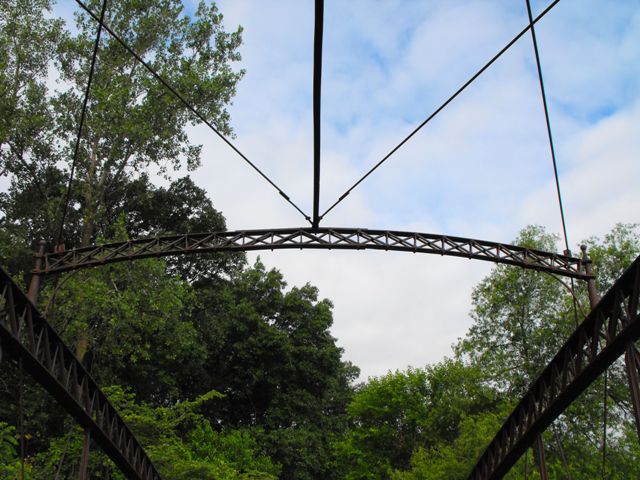
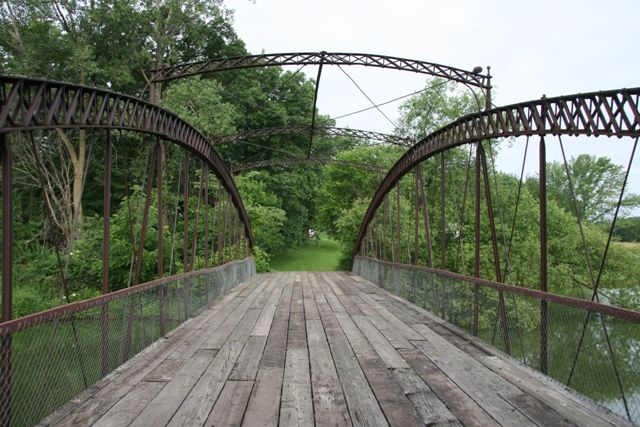
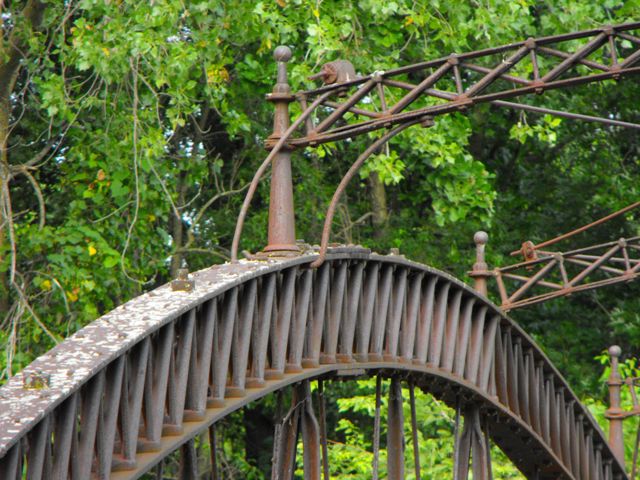
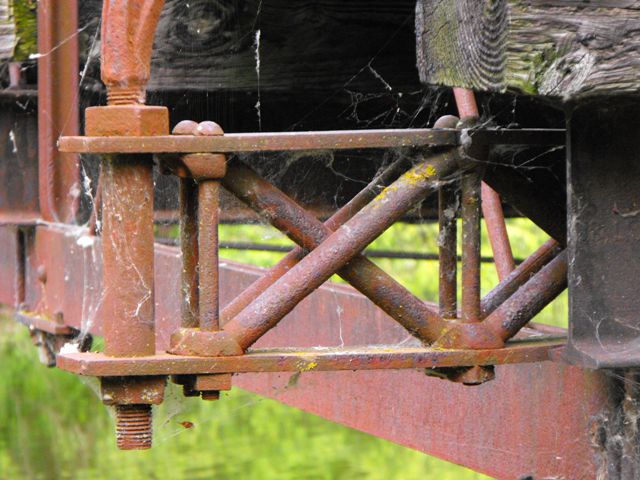
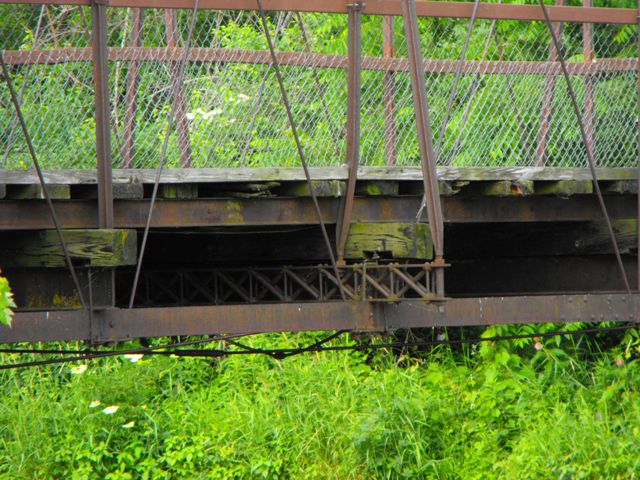
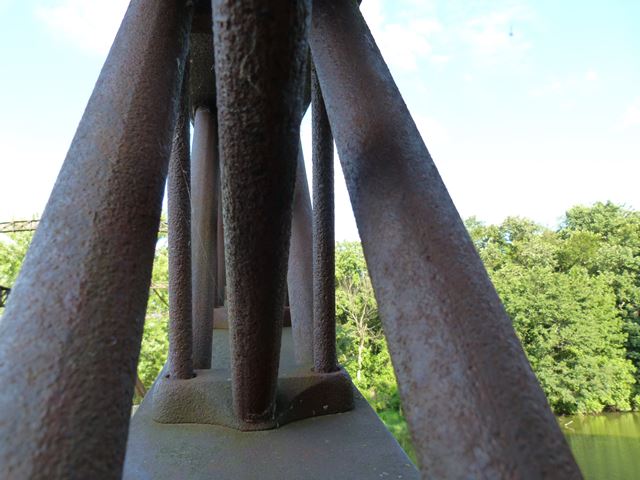
Sway bracing overview.
![]()
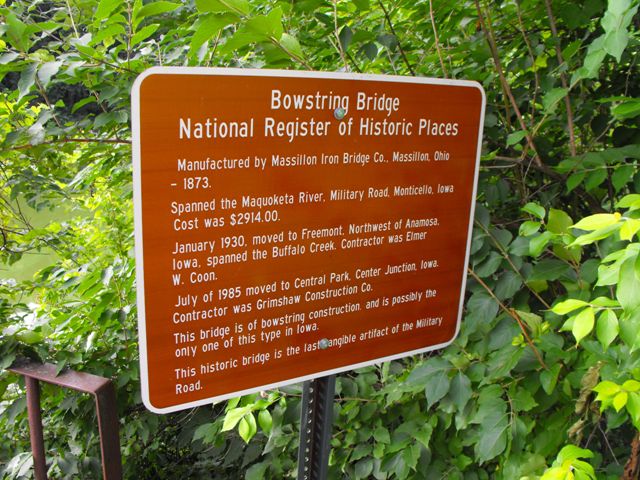
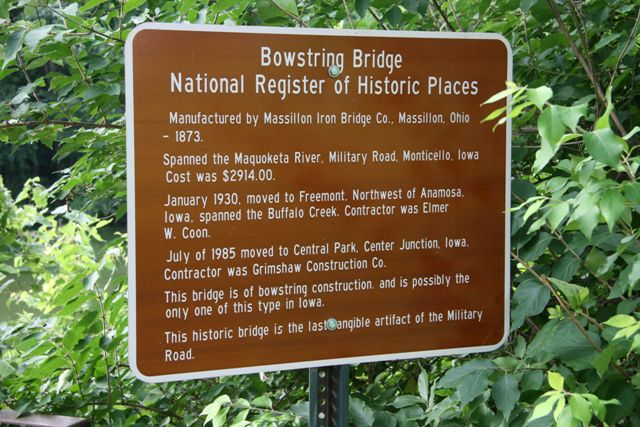
Interpretive signage.
![]()
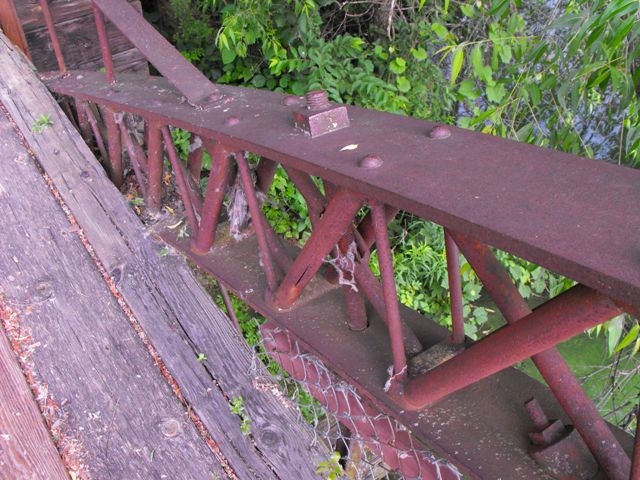

Top chord connections as viewed from on bridge.
![]()
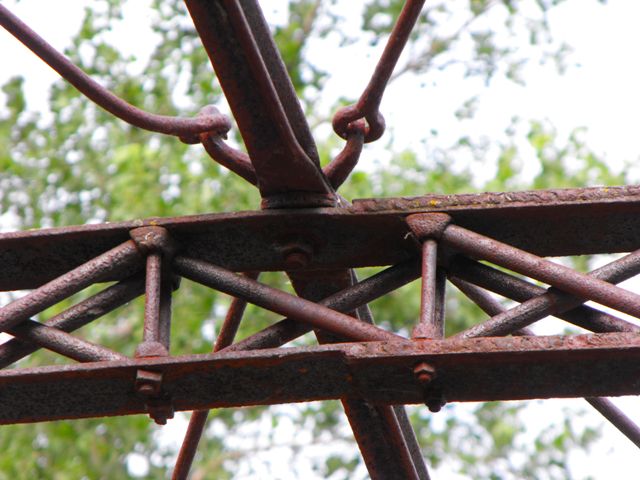
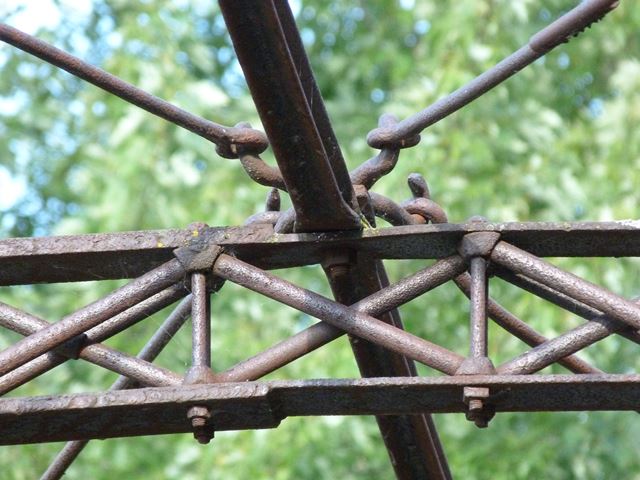
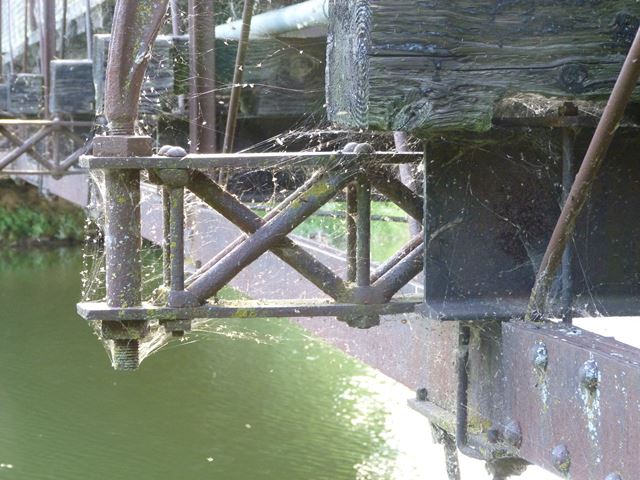
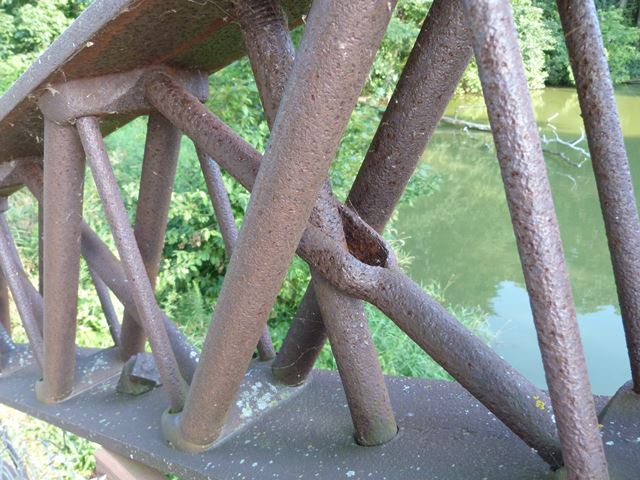
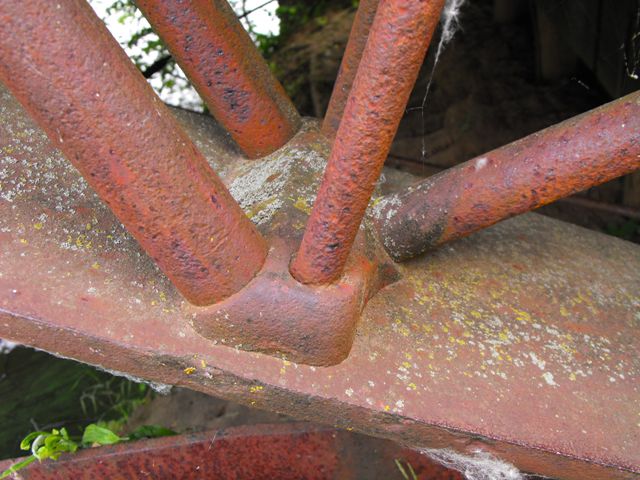
Sway bracing connection detail at center of sway bracing.
![]()
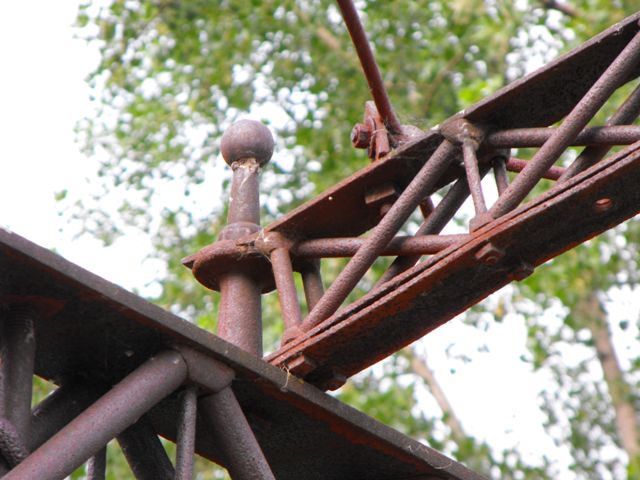
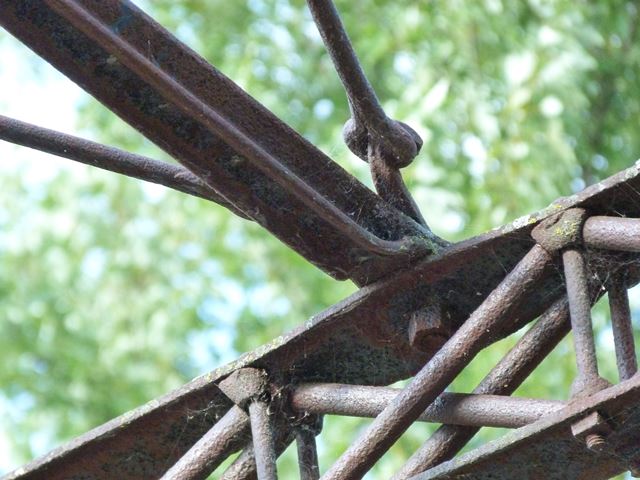
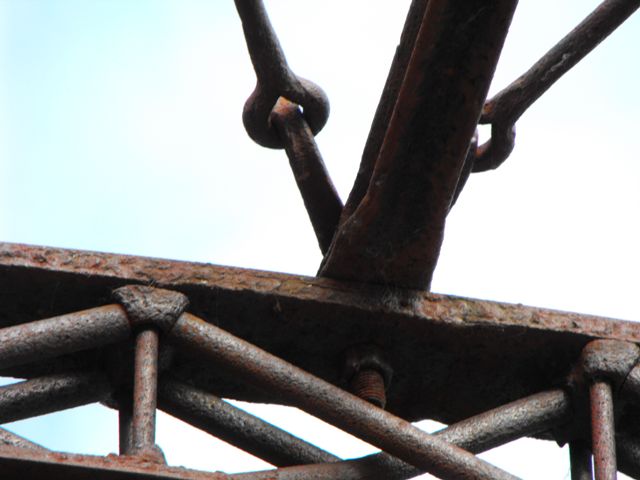
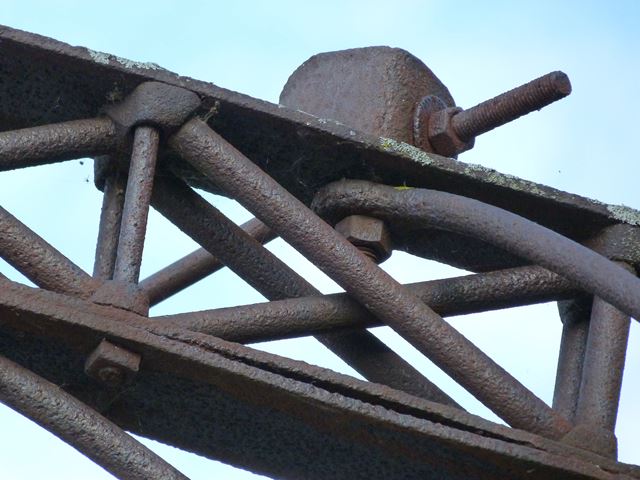
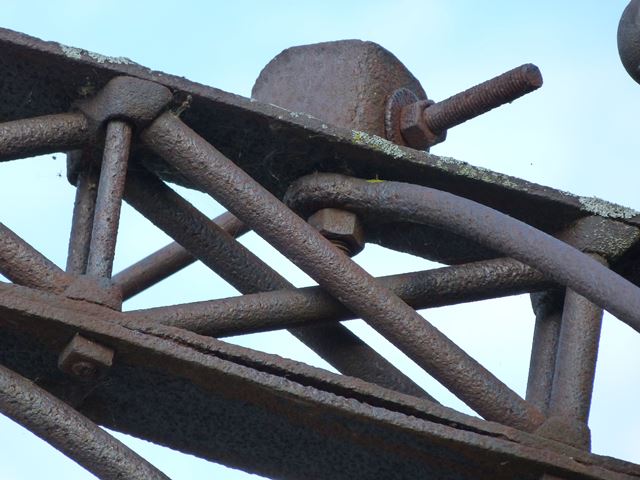
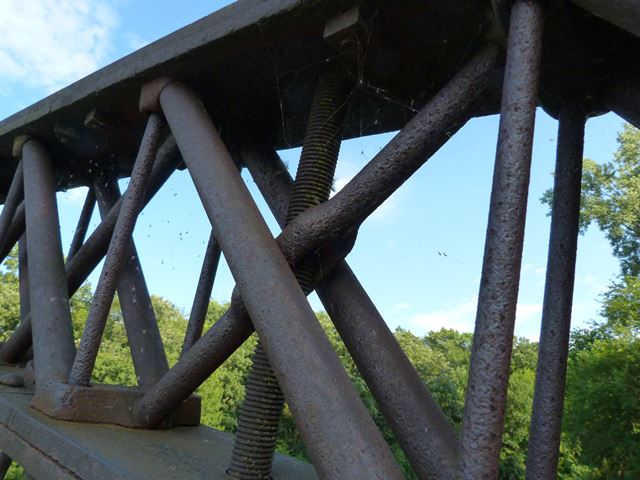
Sway bracing connection detail at top chord.
![]()
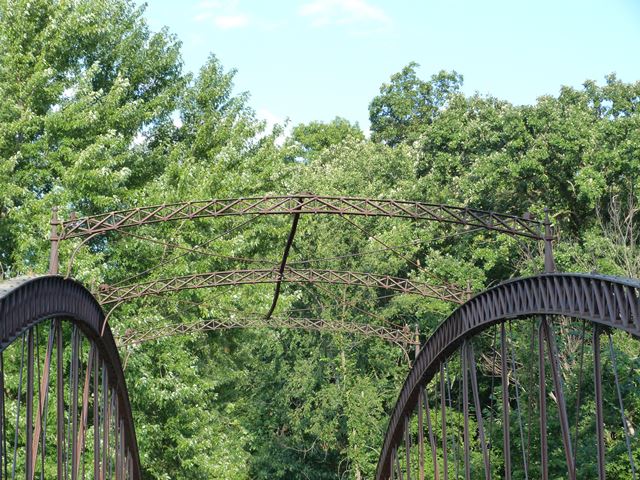
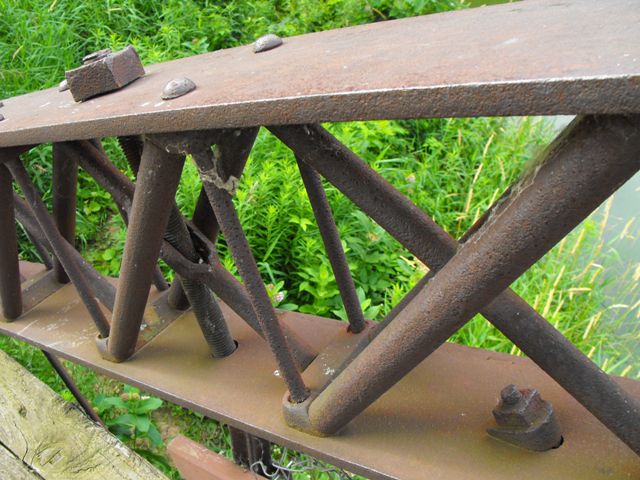
Sway bracing details.
![]()
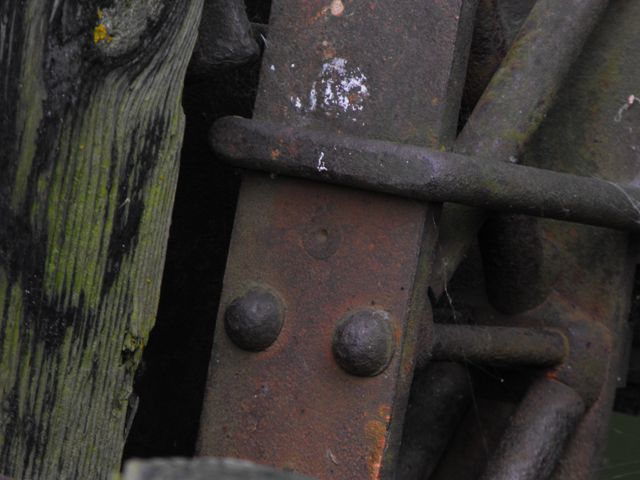
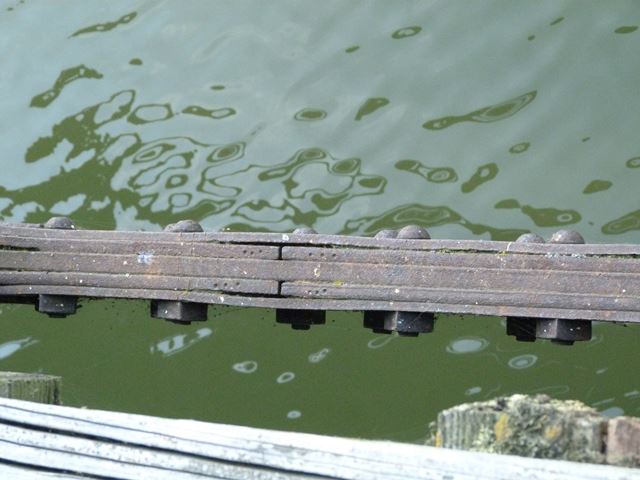
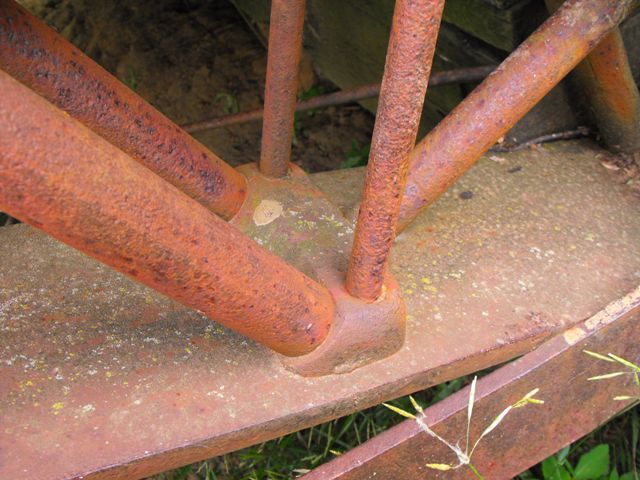
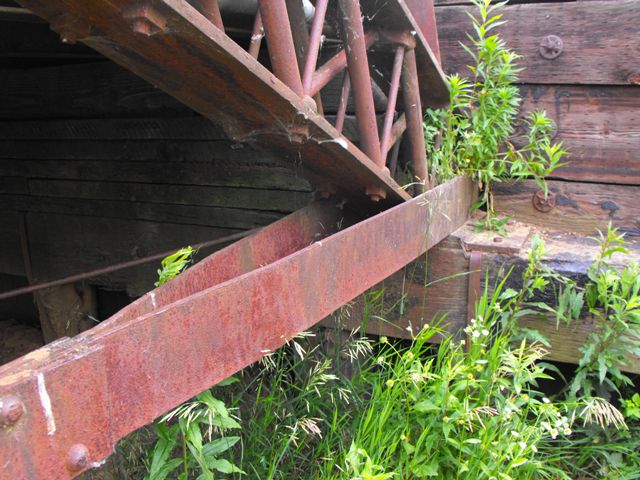
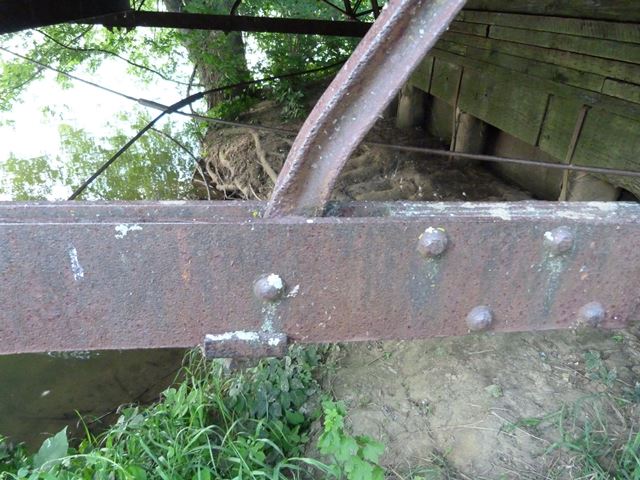
Bottom chord connections as viewed from beside bridge.
![]()
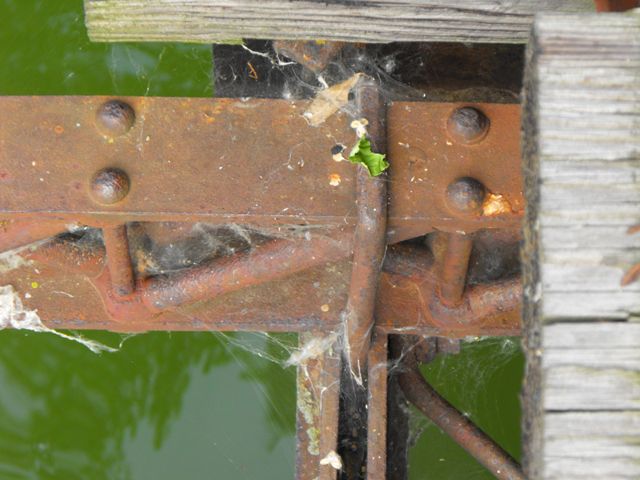
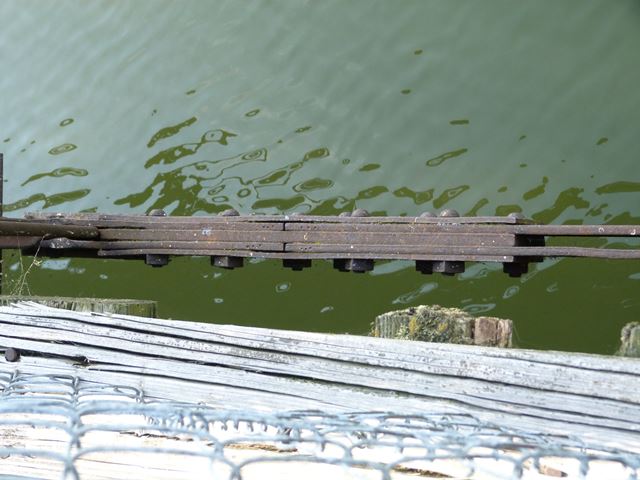
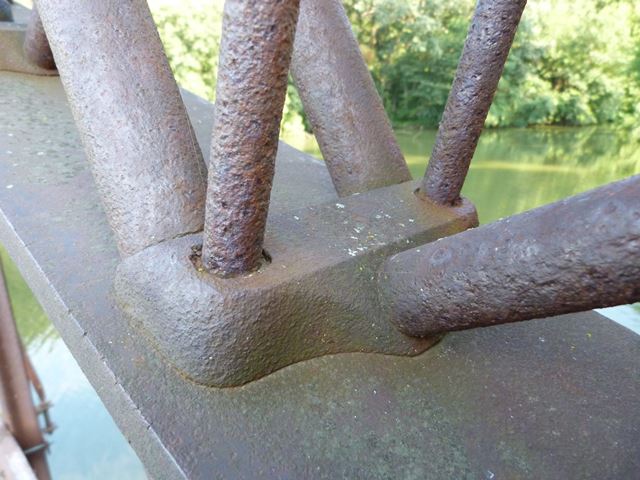
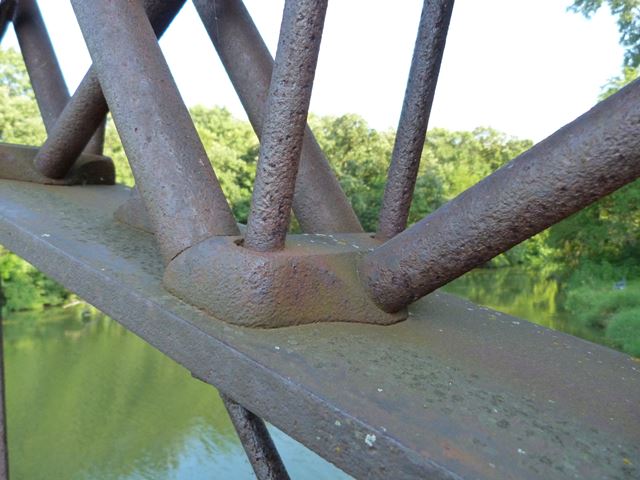
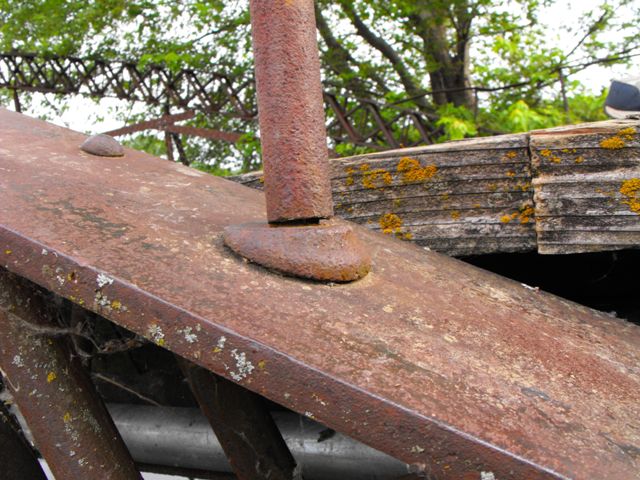
Bottom chord connections as viewed from on bridge.
![]()
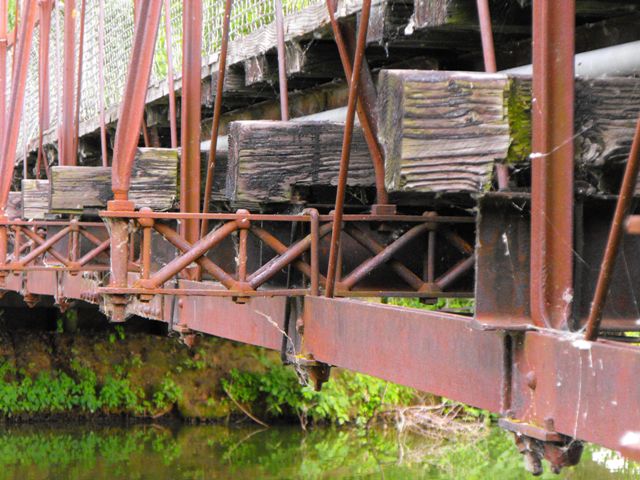
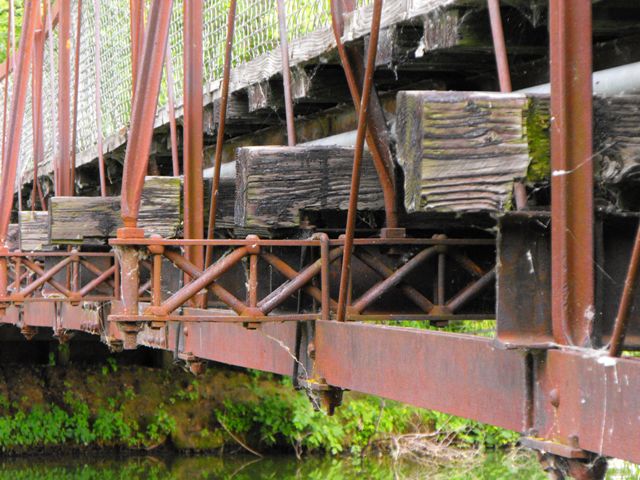
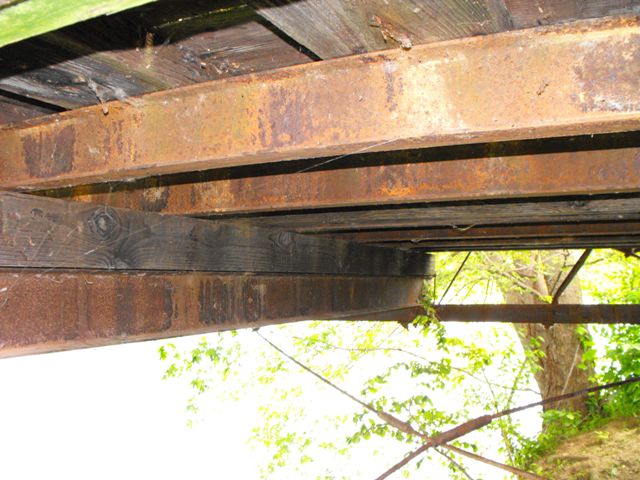
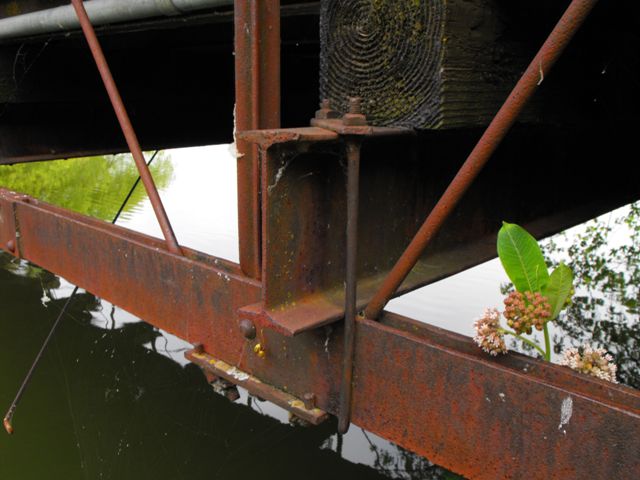
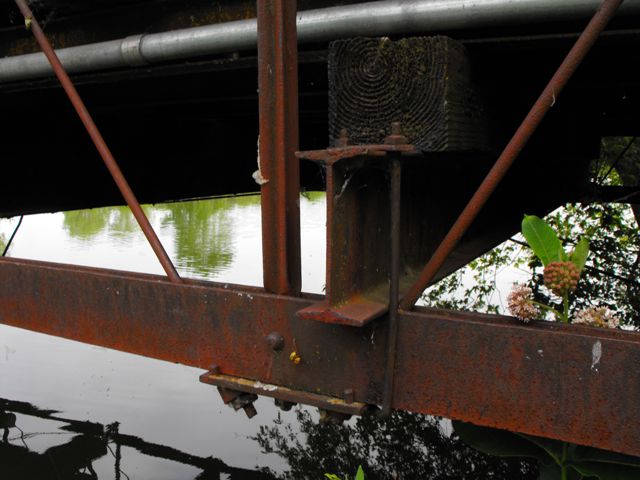
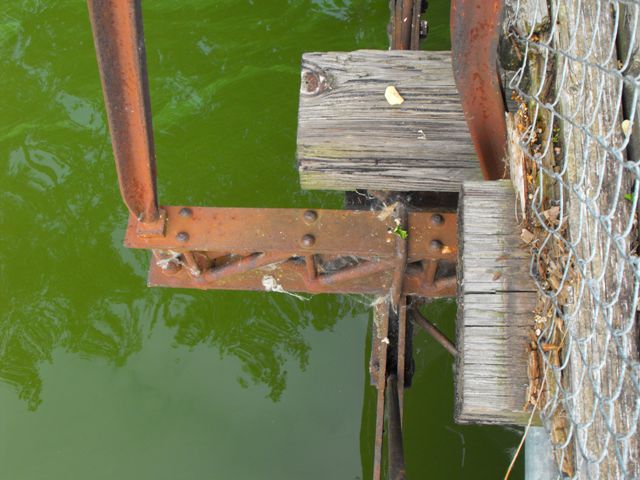
Views showing built-up floorbeams.
![]()

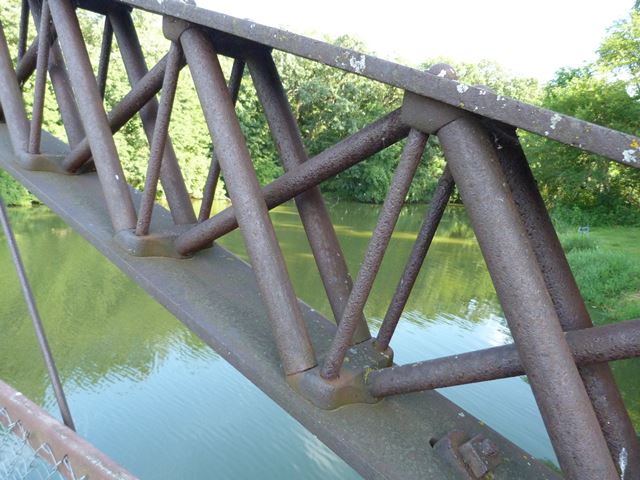
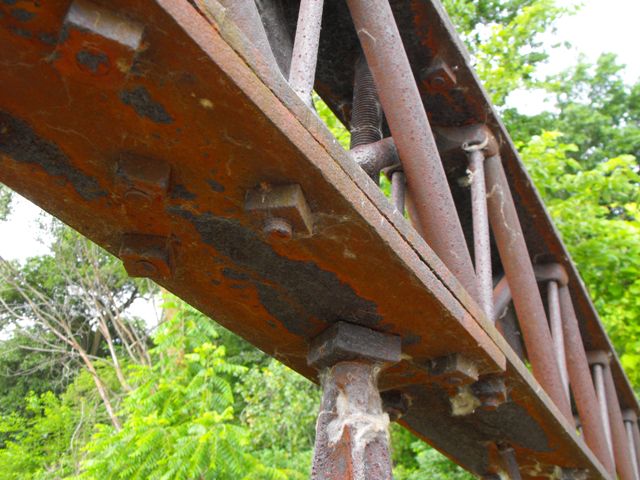
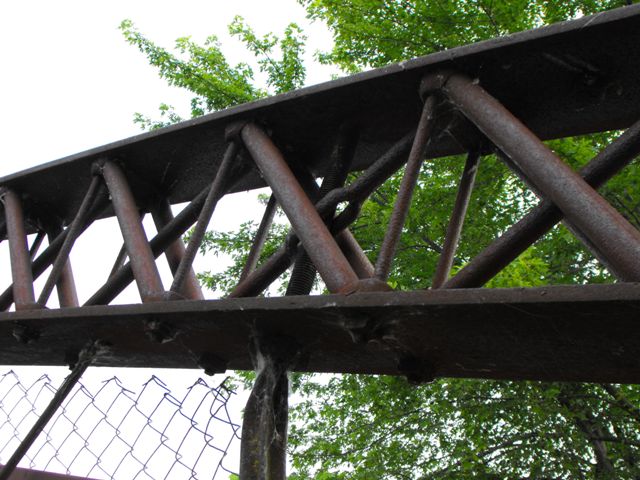
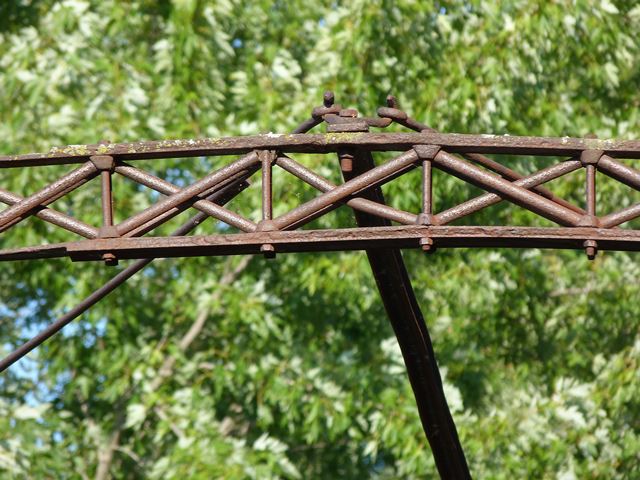
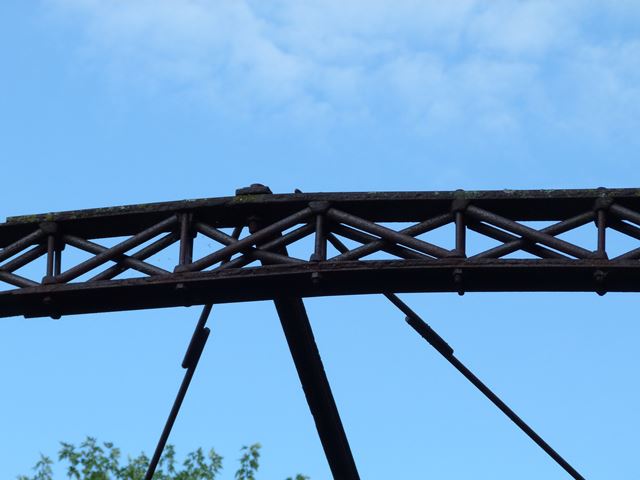
Built-up top chord details.
![]()
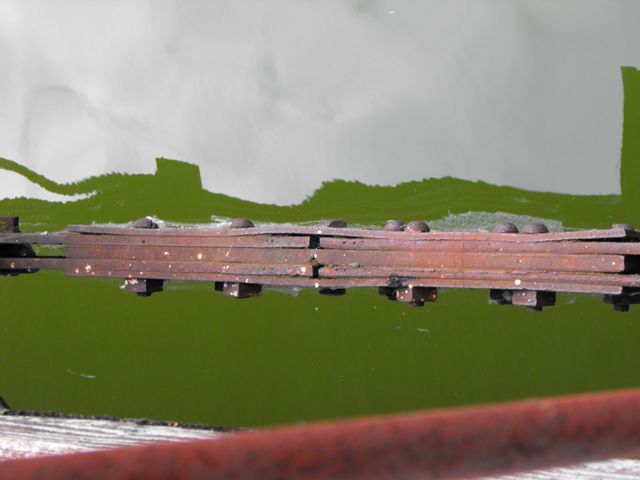
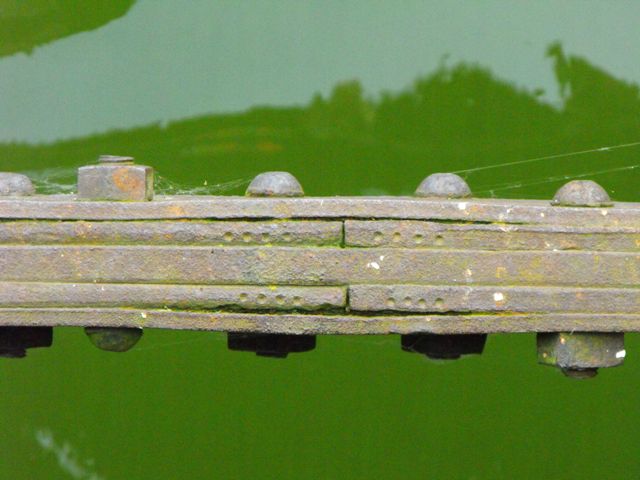
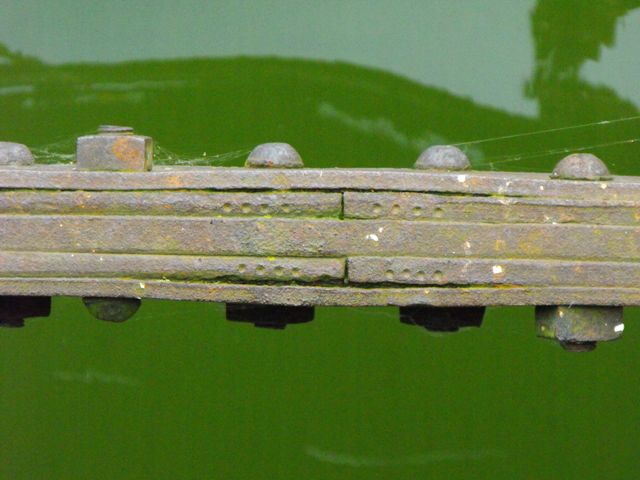
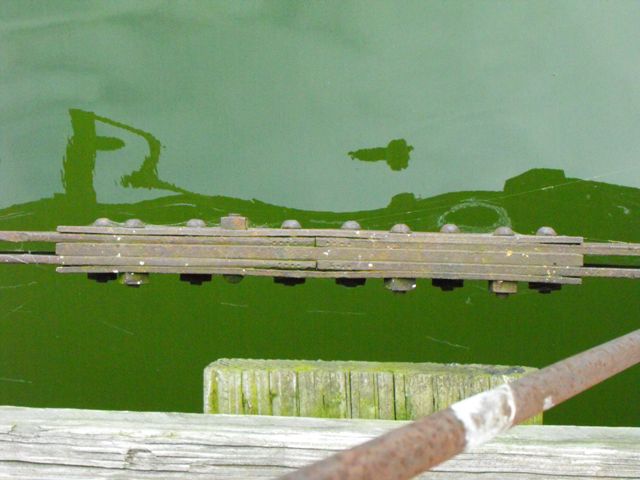
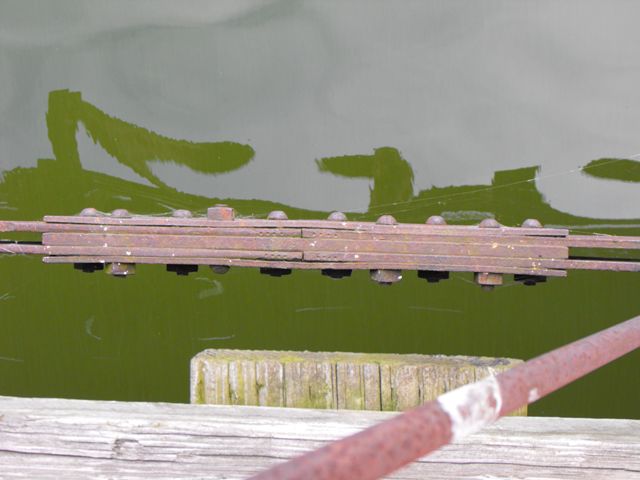
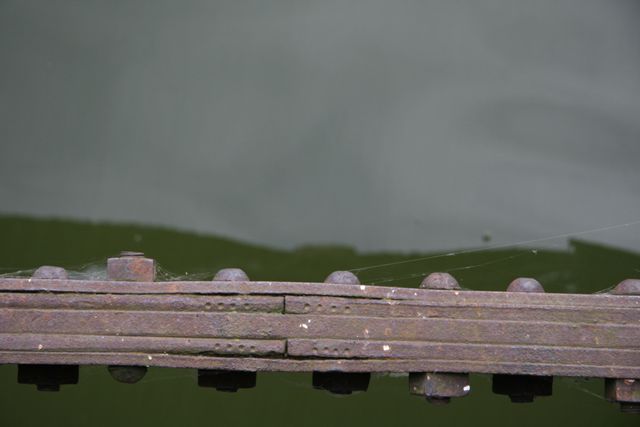
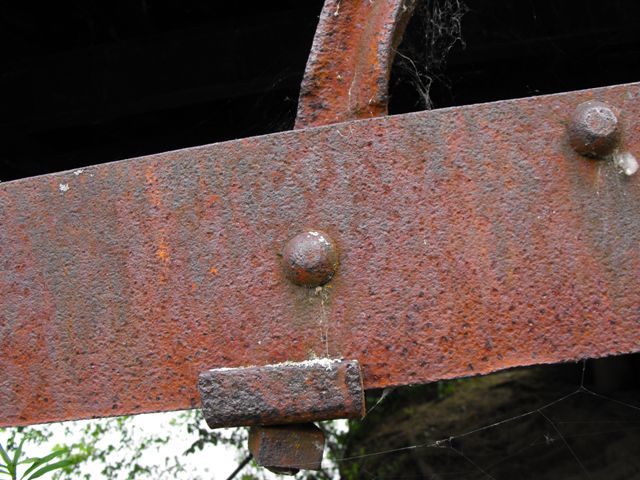
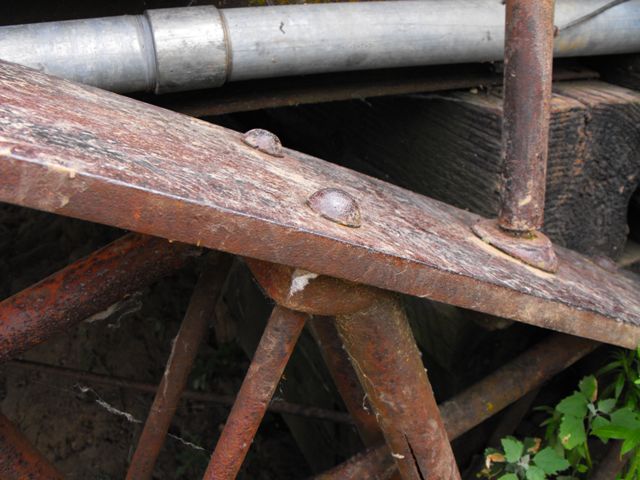
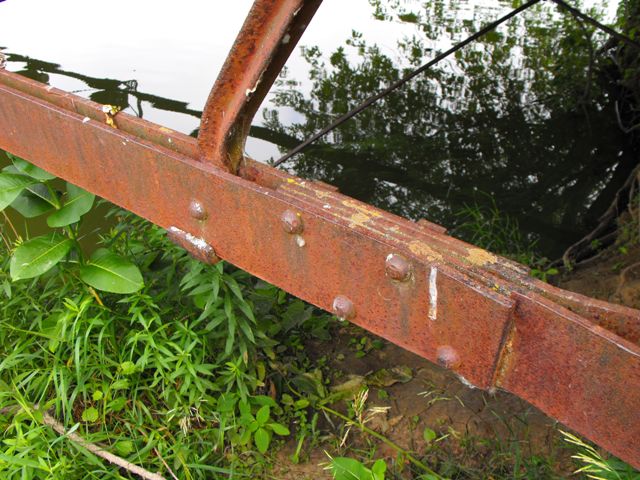
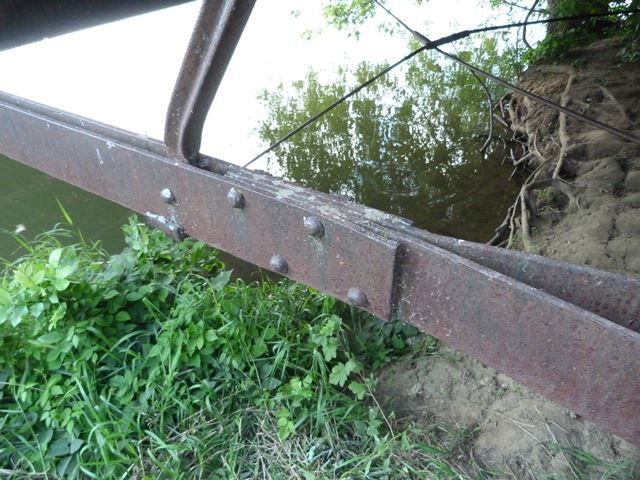
Bottom chord splice. Fabricator marks (patterns of four dots in a row) are present on the bars.
![]()
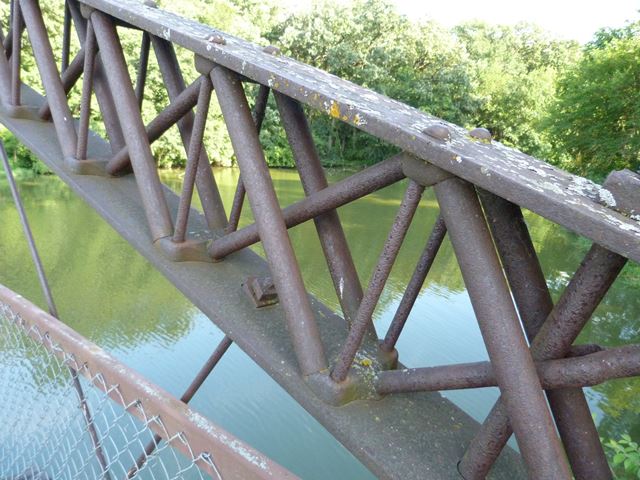
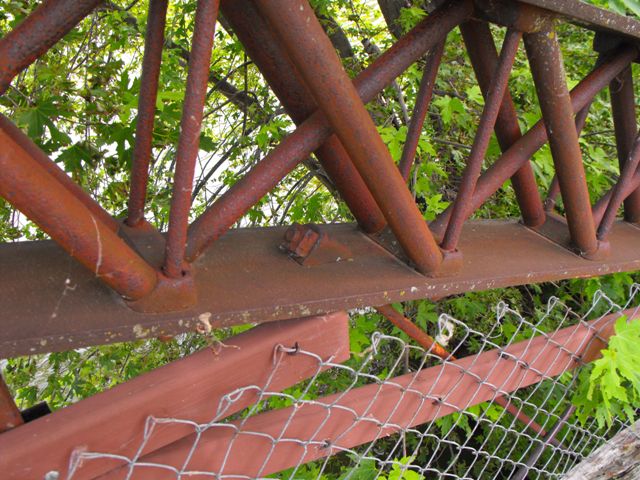
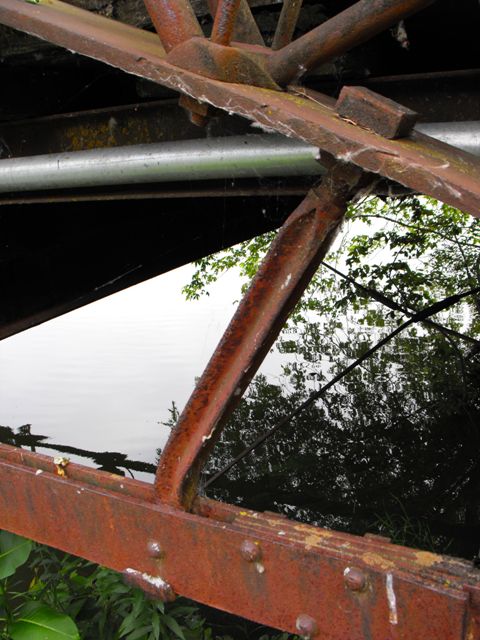
Pipe connections at bottom of top chord.
![]()
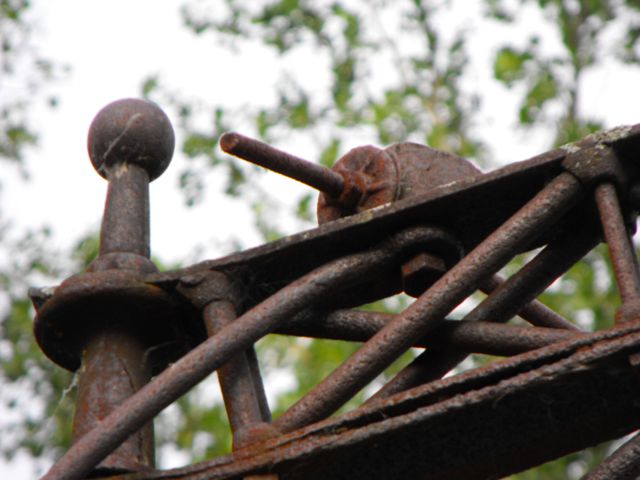
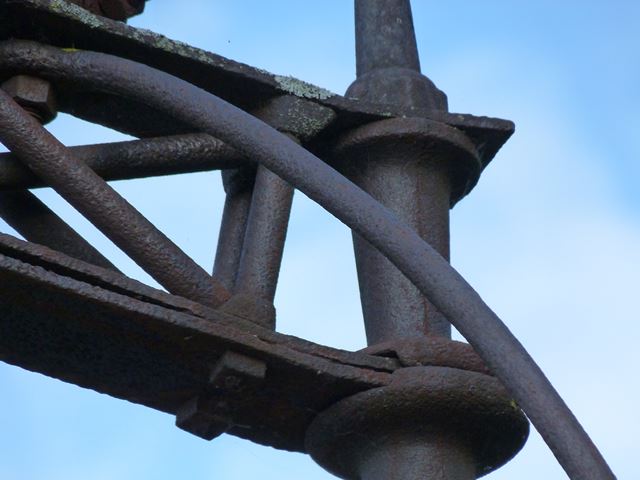
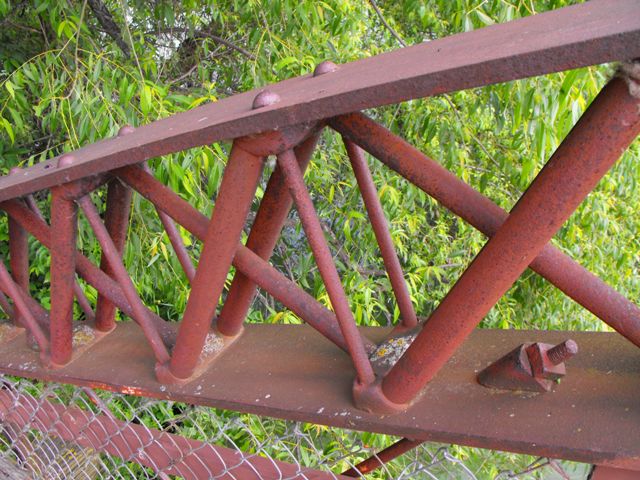
Pipe connection at top of top chord.
![]()
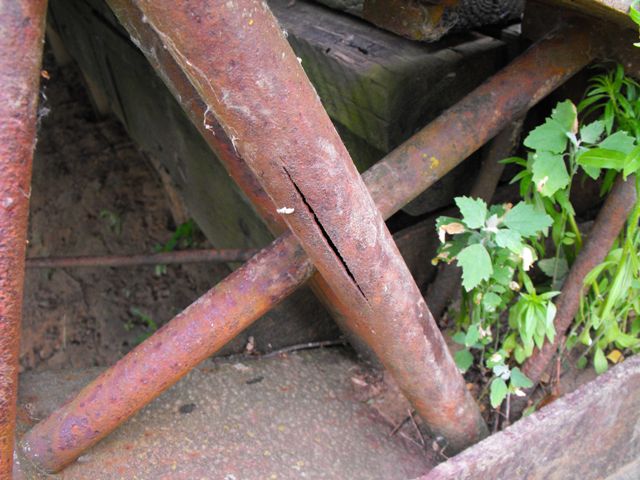
Cracked pipe detail on top chord.
![]()
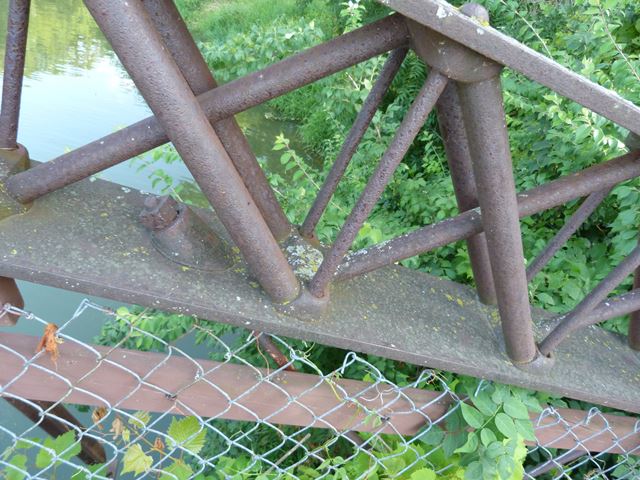
Star (cruciform) member in top chord, located near ends of the top chord.
![]()
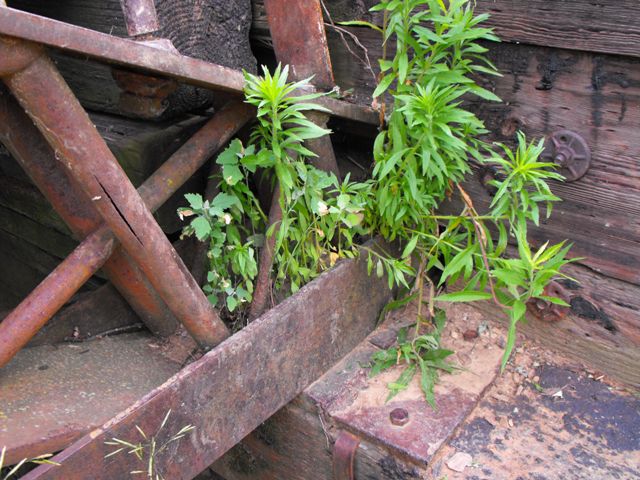
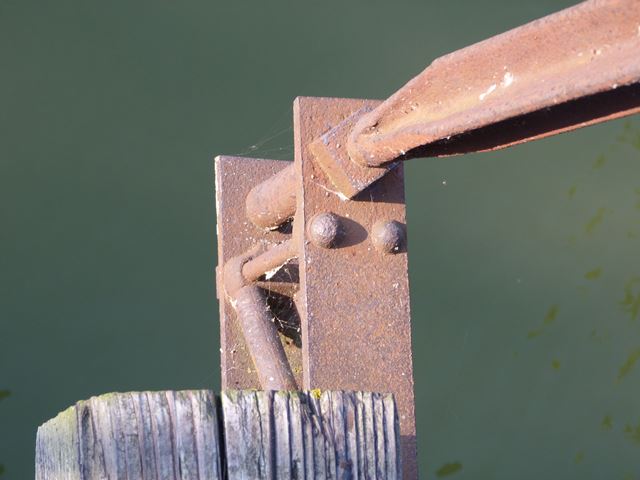
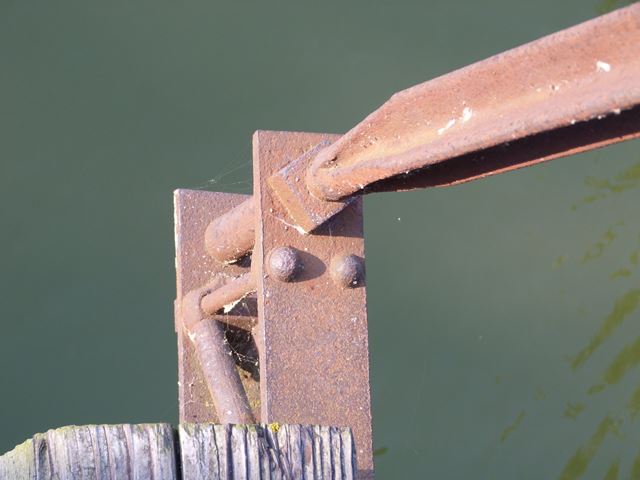
Bottom chord detail at end of bridge.
![]()
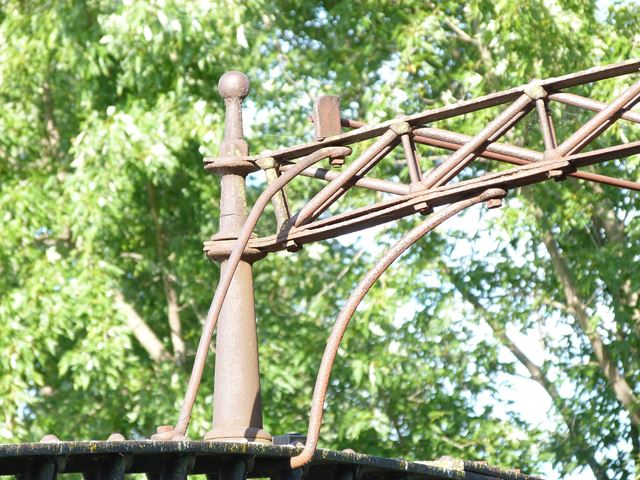
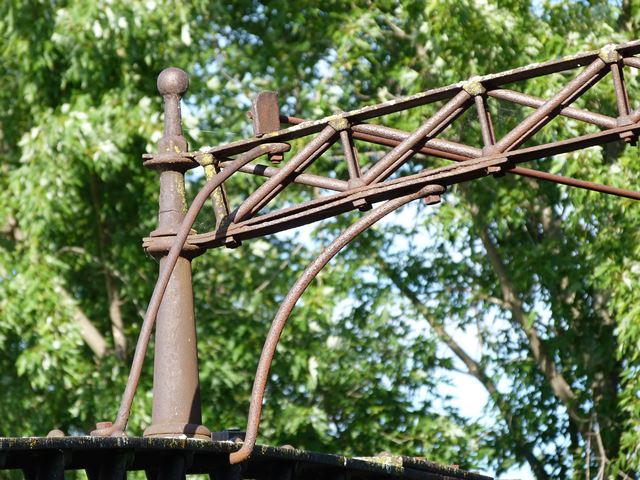
Connection detail for railing section at end of top chord.
![]()
Bearing.
![]()
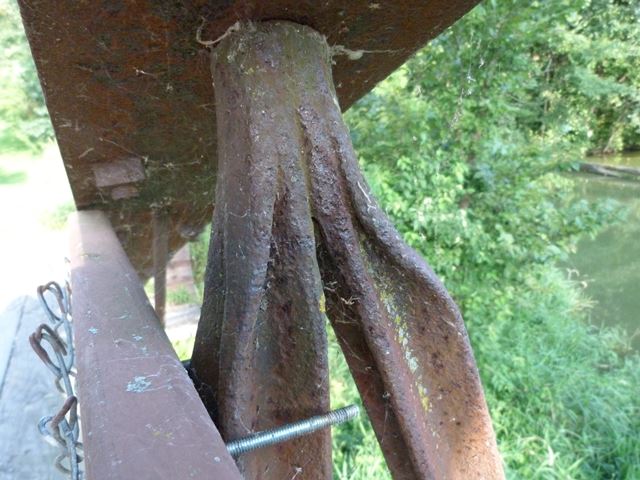
Outrigger.
![]()
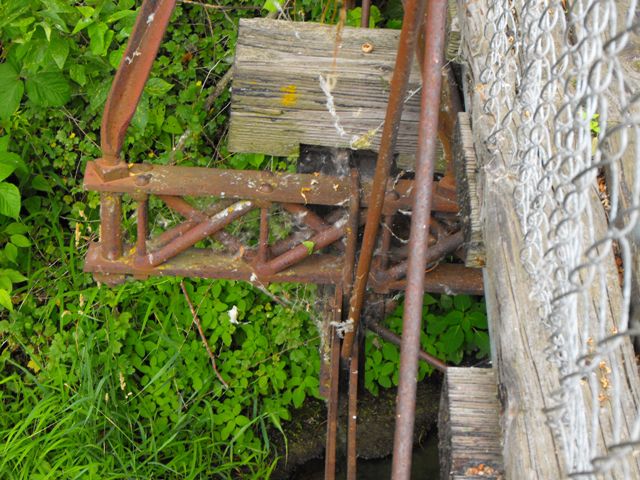
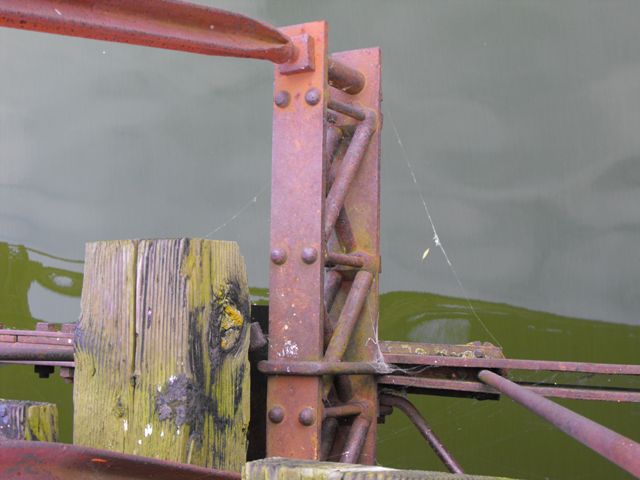
Vertical member detail.
![]()
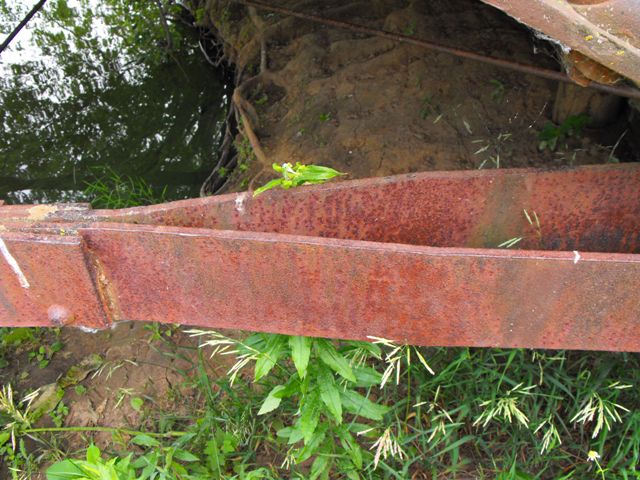
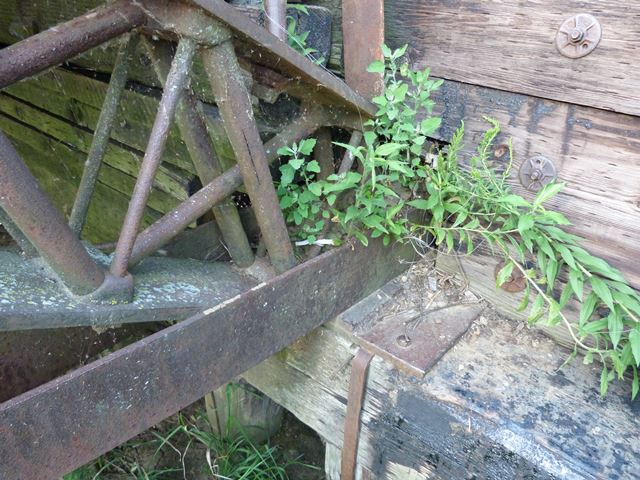
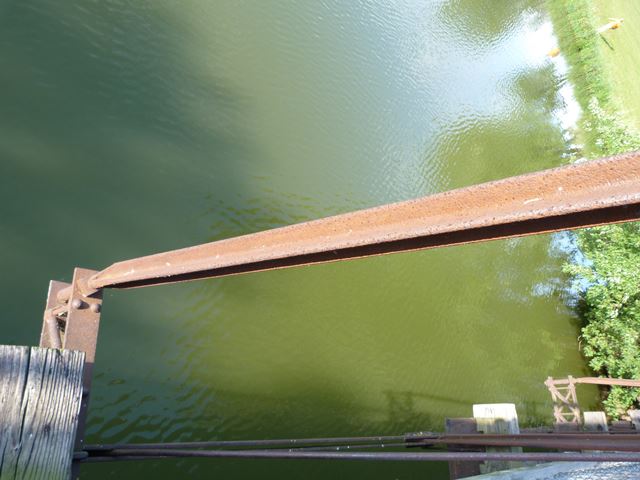
Bottom chord.
![]()
![]()
| Back |
| Home |
| Top |

![]()