Uncredited photos on this page taken by: Nathan Holth. Unless stated in a caption, all photos are Copyright with All Rights Reserved. Learn about reuse of our photos.
![]()

Location of plaques, east end of bridge.
![]()


Plaques.
![]()

Main plaque.
![]()

Dedication plaque.
![]()

Award plaque.
![]()

Bethlehem brand.
![]()


Portal bracing.
![]()
Portal bracing details.
![]()


Top chord connections as viewed from on bridge.
![]()
Bottom chord connections as viewed from on bridge on suspended section.
![]()
Bottom chord connections as viewed from on bridge.
![]()

Hanger connections to deck.
![]()
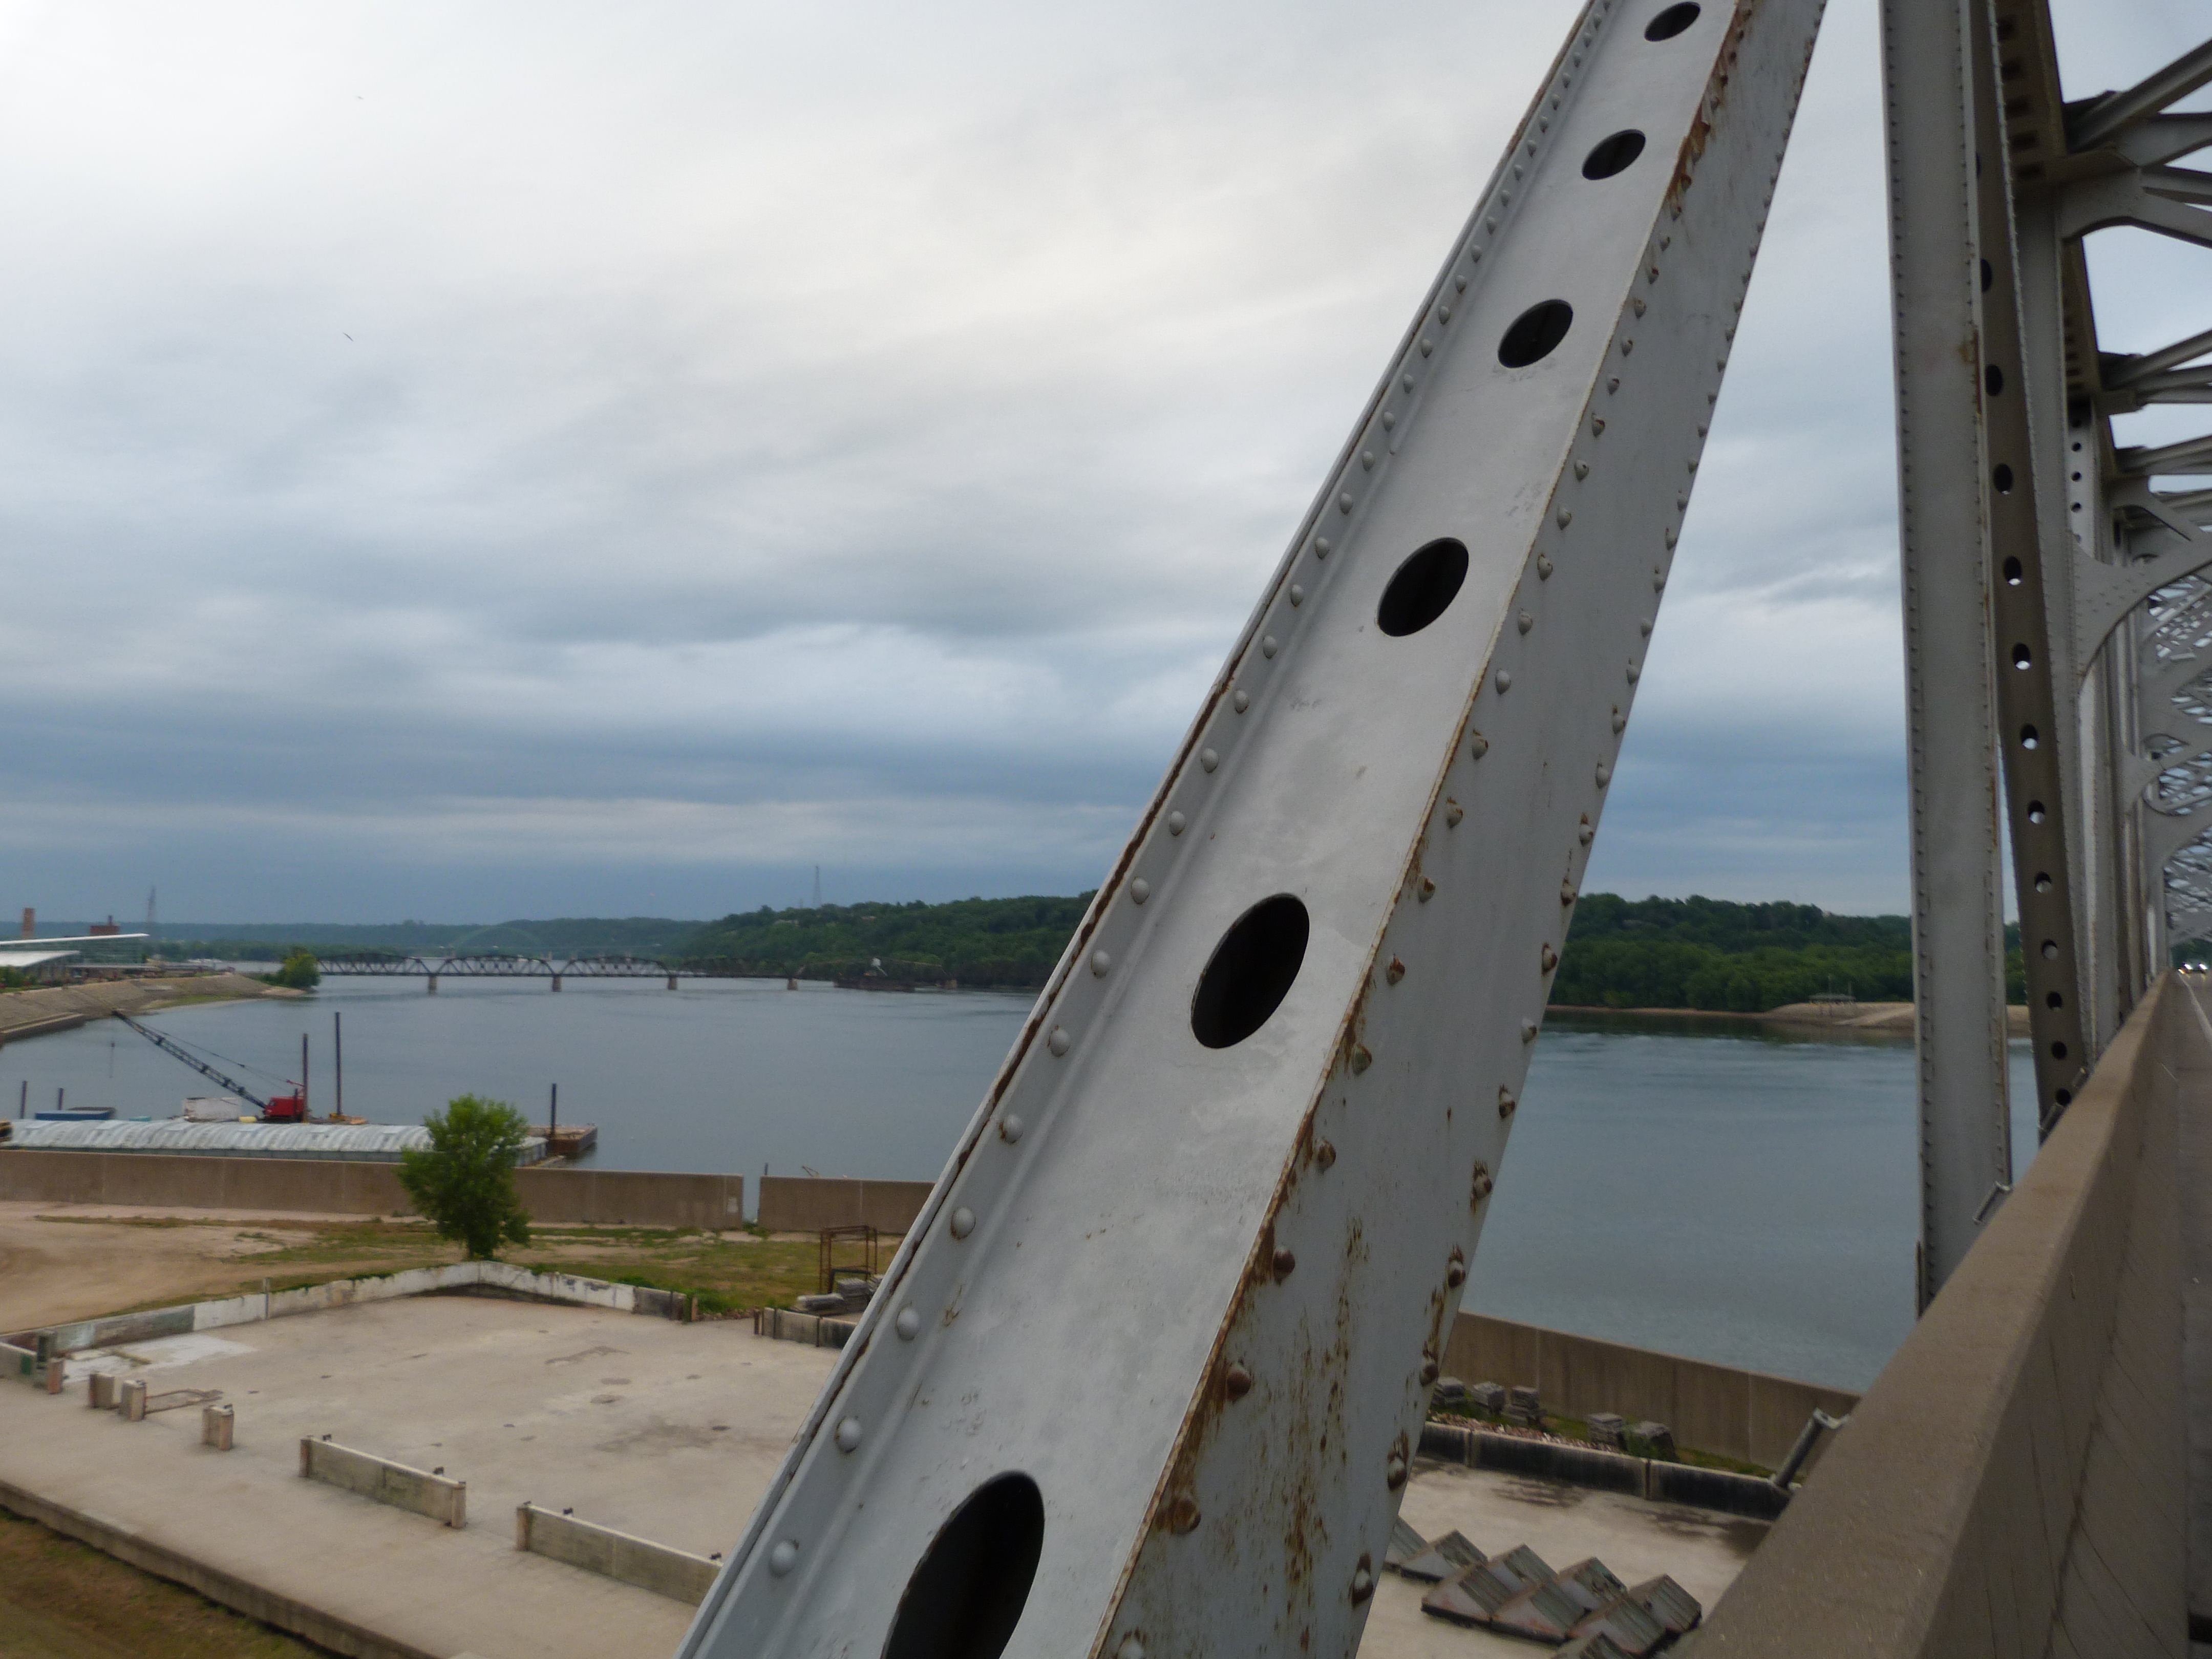
End post.
![]()
Diagonal members.
![]()
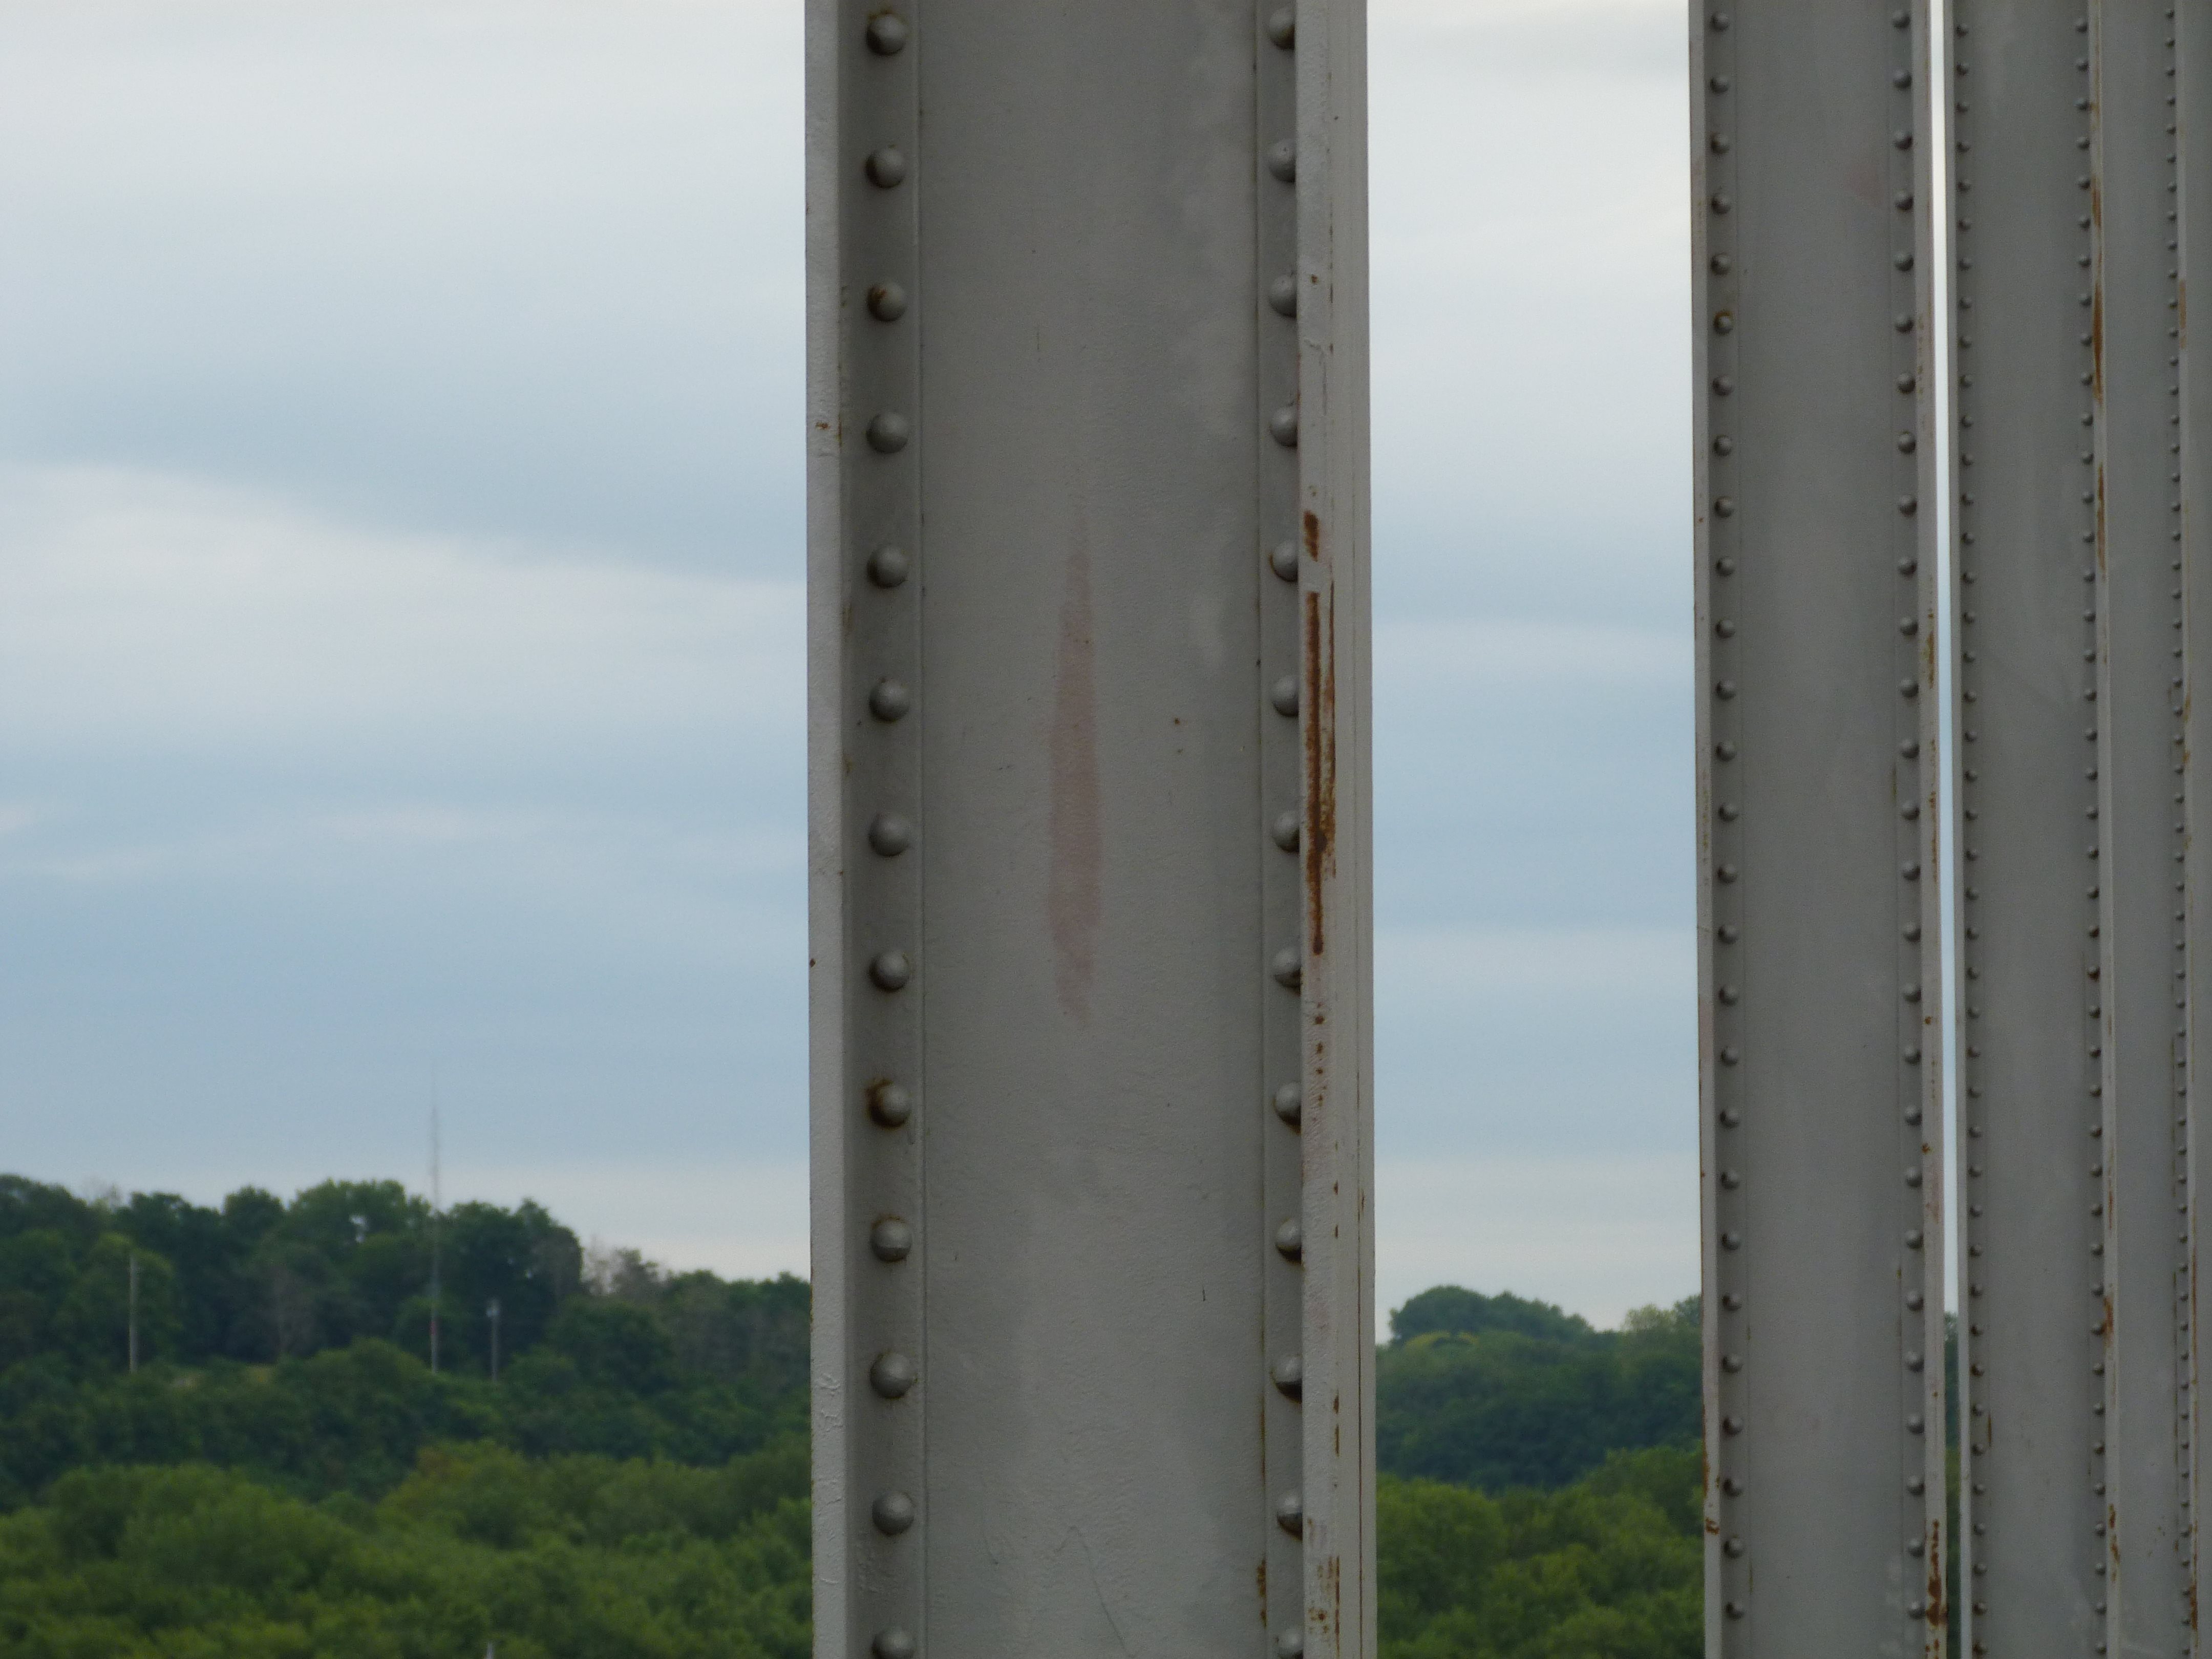
Vertical members.
![]()


Hangers.
![]()
Sway bracing overview.
![]()
Sway bracing connections.
![]()

Lateral bracing connection.
![]()
Chords.
![]()
Various bracing connections.
![]()

Abutment.
![]()


Piers.
![]()

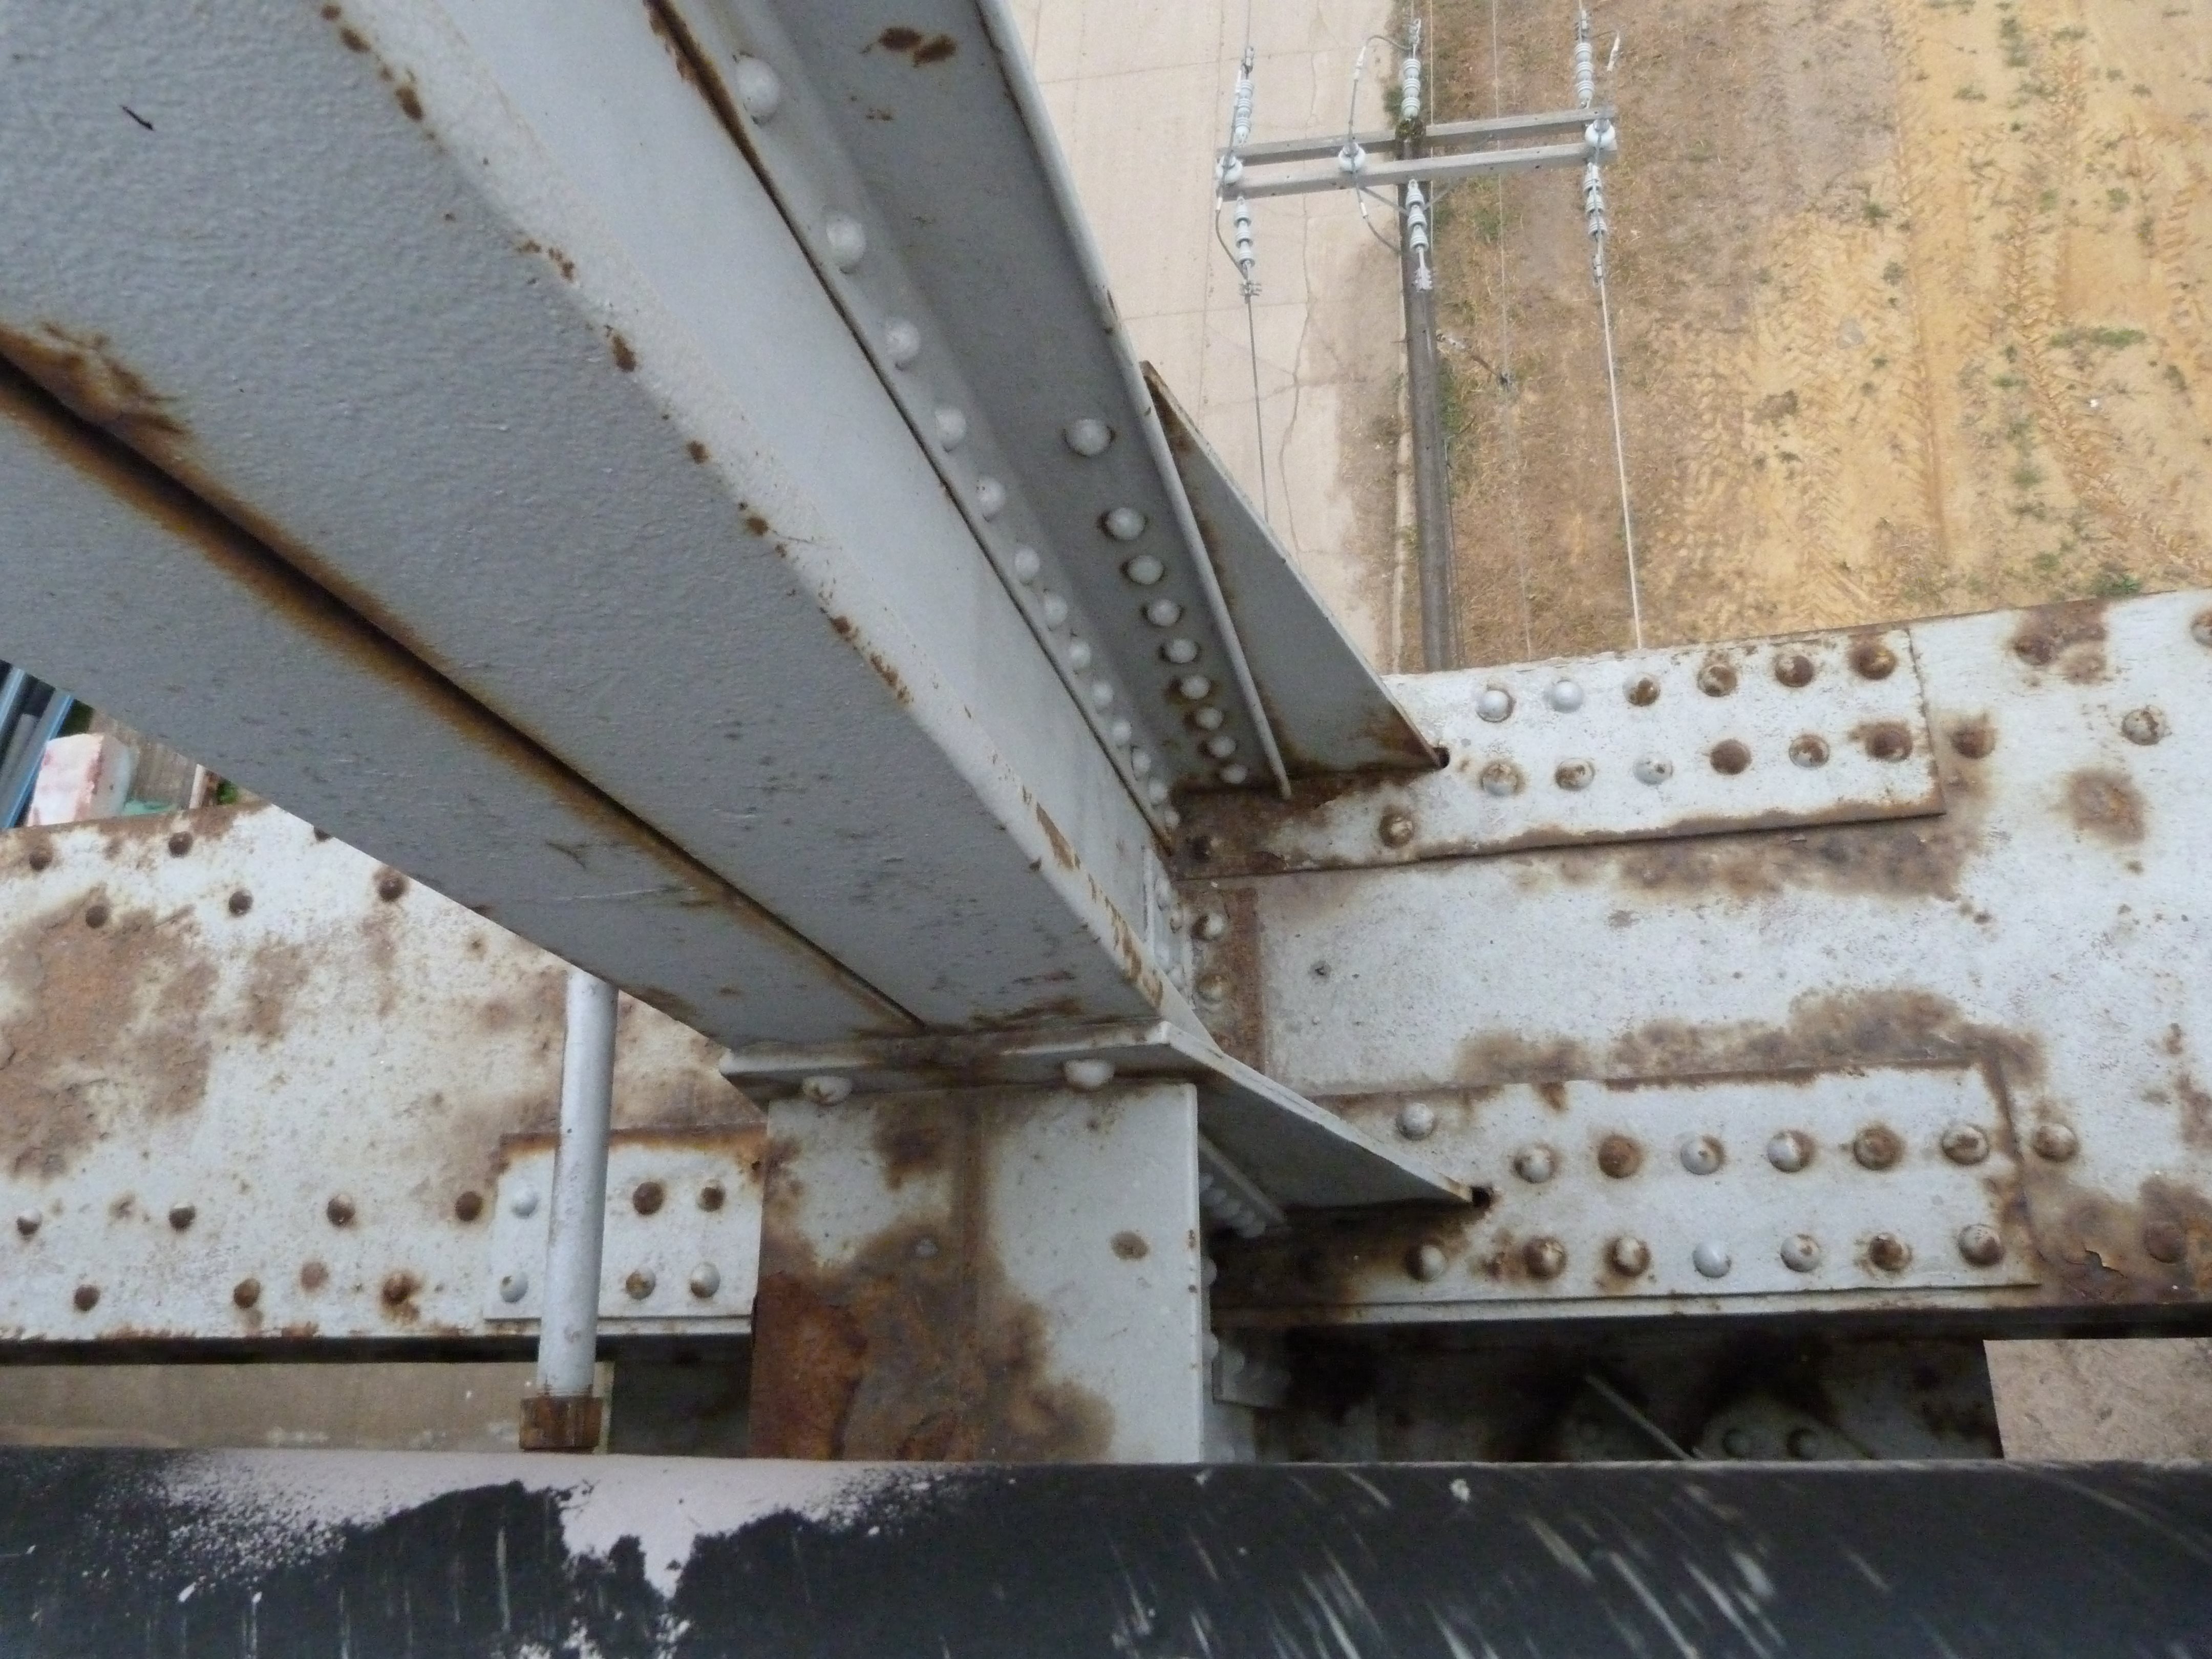
Approach span girder detail.
![]()


Views under approach span.
![]()
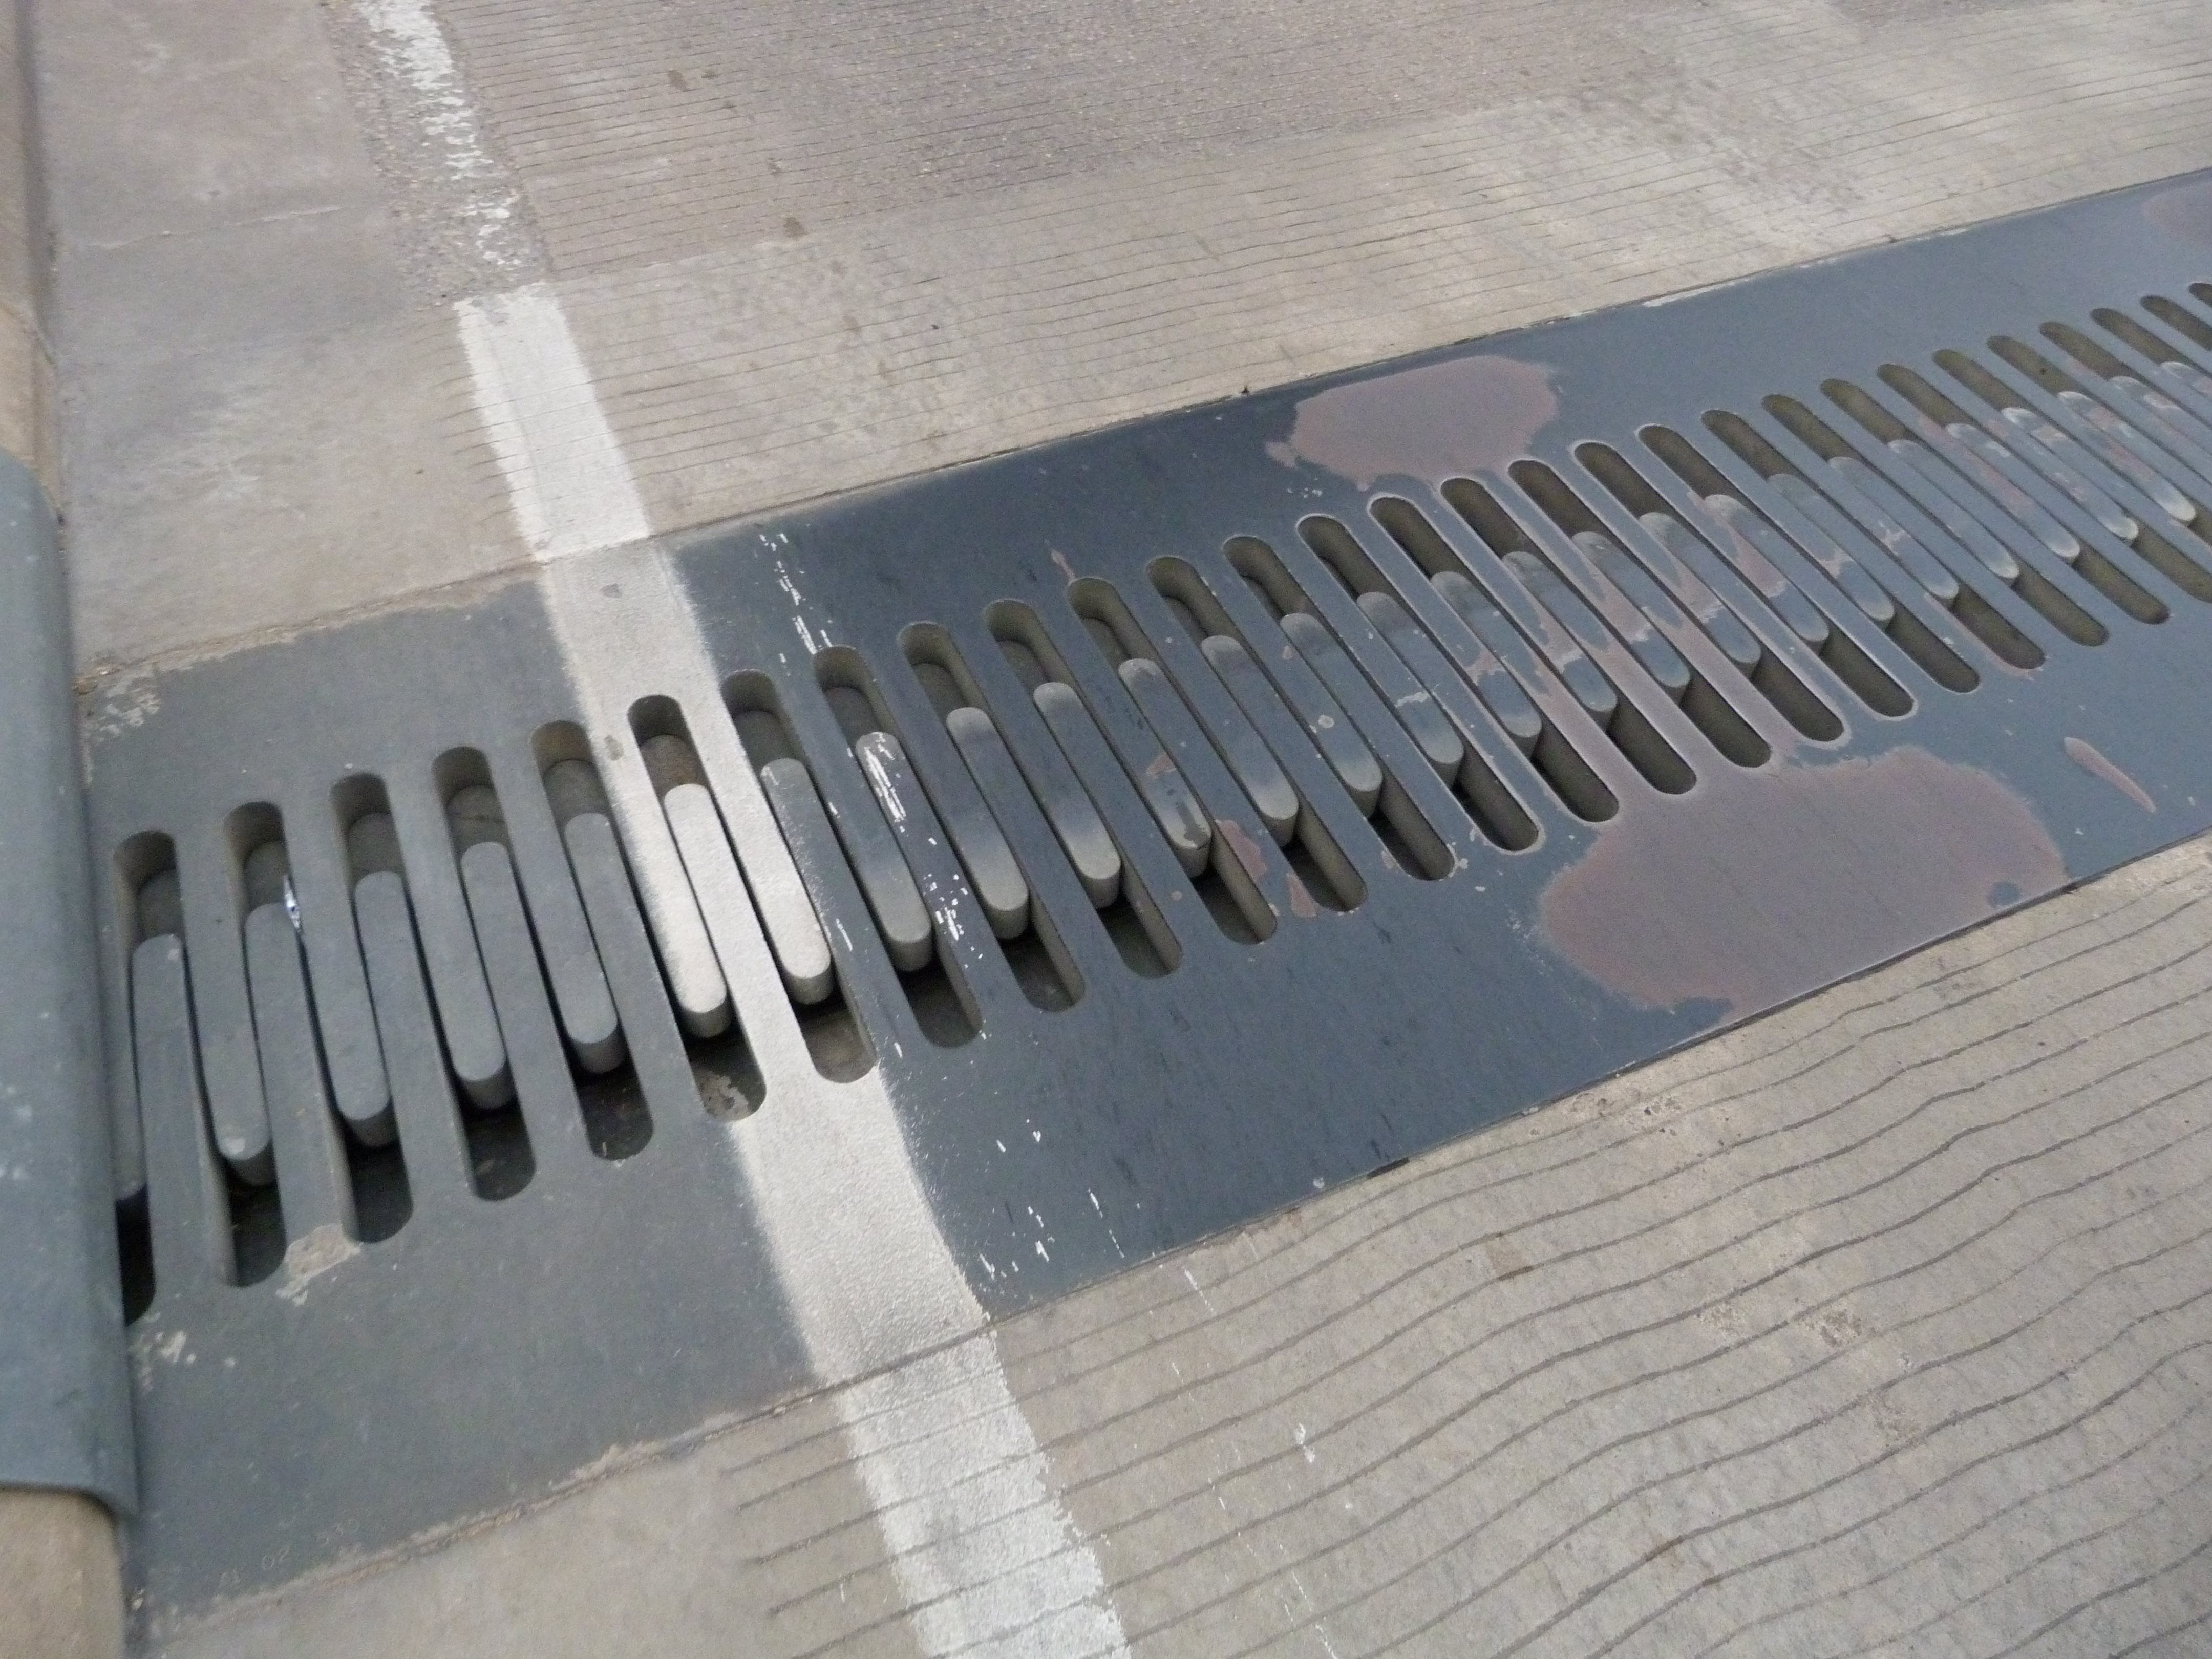

Expansion joints.
![]()


Looking up at trusses.
![]()


Haunched girder approach spans east of main span.
![]()
Eastern approach spans.
![]()


Views showing cantilevered girders on approach spans.
![]()

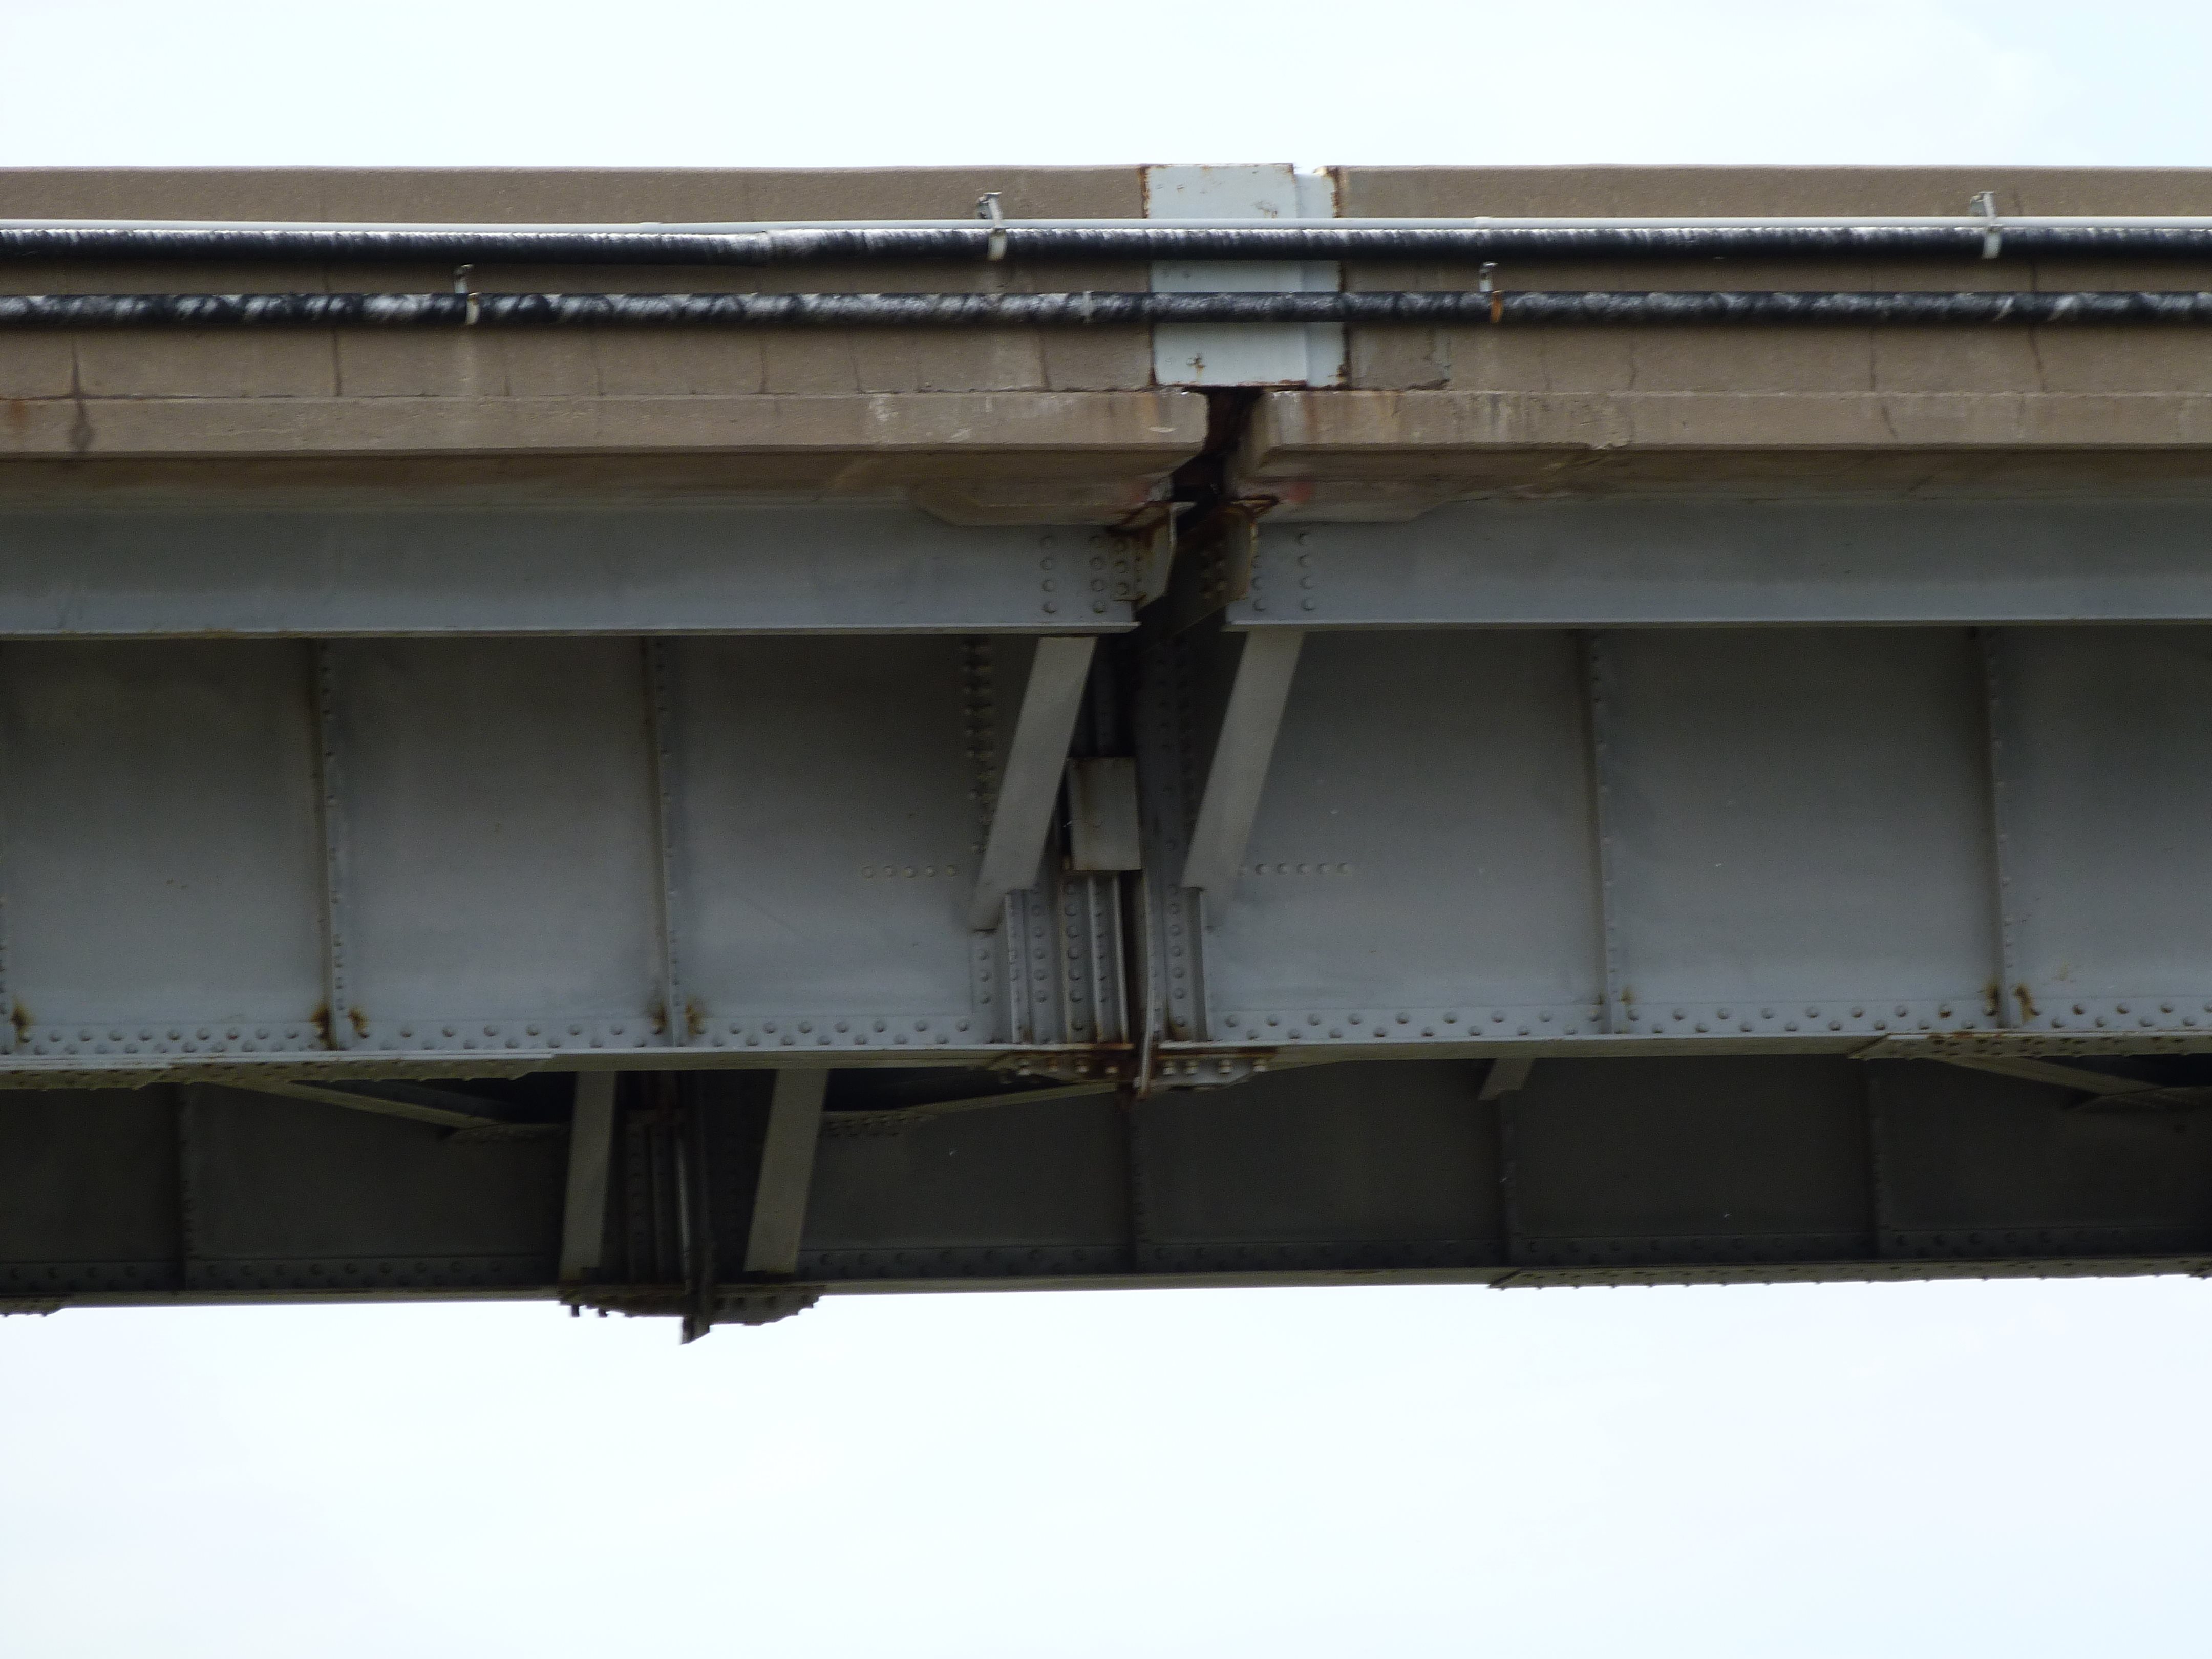


Cantilever bearing detail on approach spans.
![]()

Bearings.
![]()
![]()
| Back |
| Home |
| Top |

![]()