Uncredited photos on this page taken by: Nathan Holth. Unless stated in a caption, all photos are Copyright with All Rights Reserved. Learn about reuse of our photos.
![]()
Photos of Main Truss Spans (Directions Assume East-West Bridge Alignment)
![]()
![]()
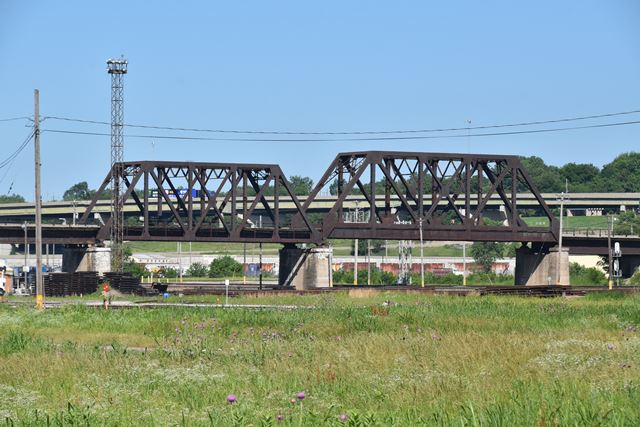
Panoramic north elevation.
![]()


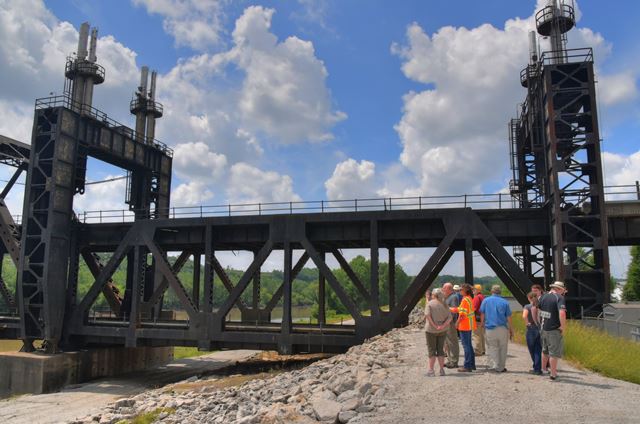
Oblique views from northwest quadrant.
![]()
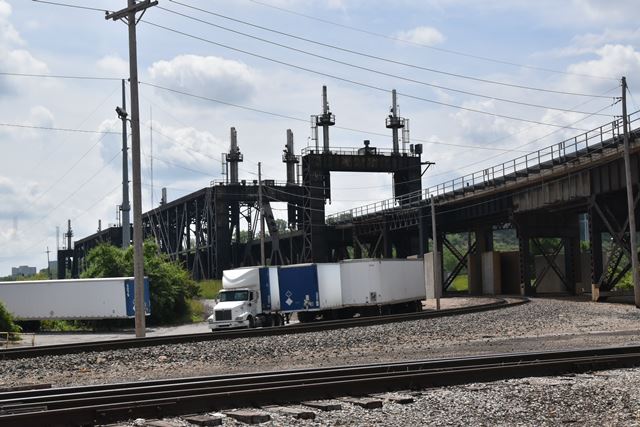


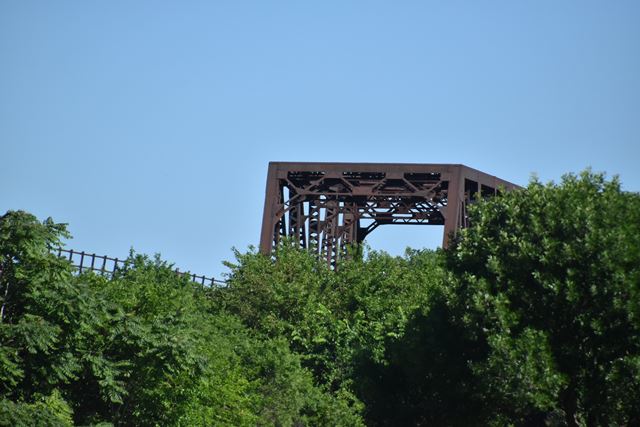
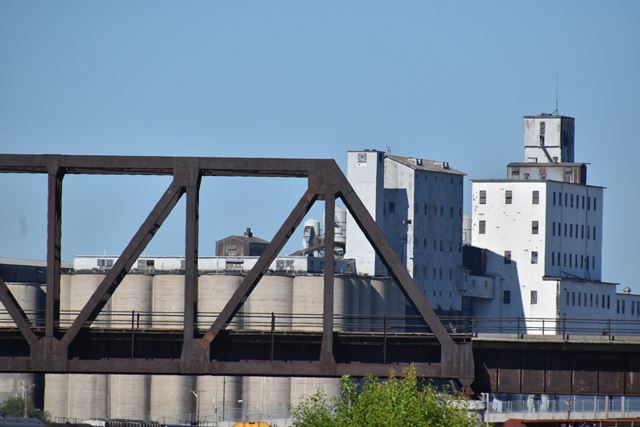
Distant oblique views from northwest quadrant.
![]()


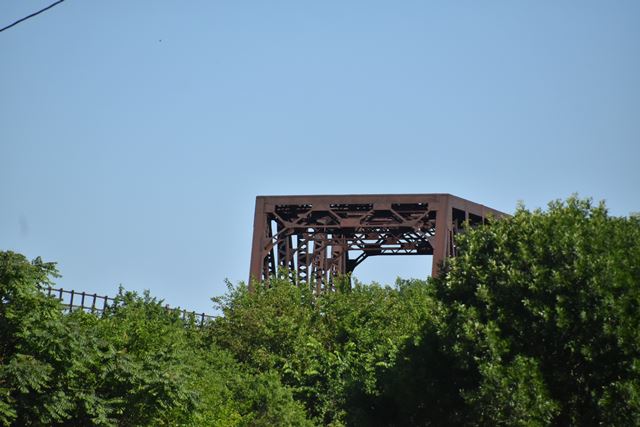
Views beside bridge from northwest quadrant.
![]()


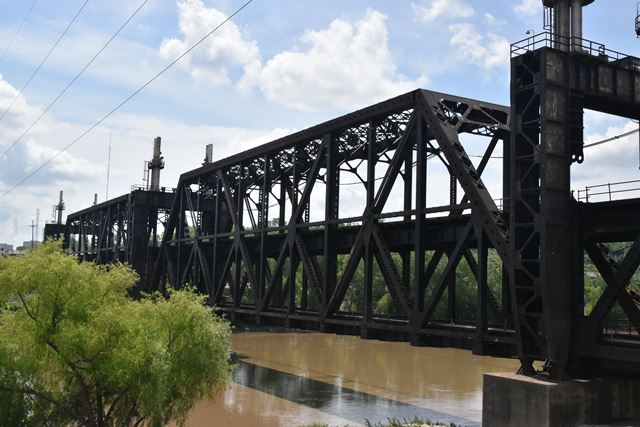
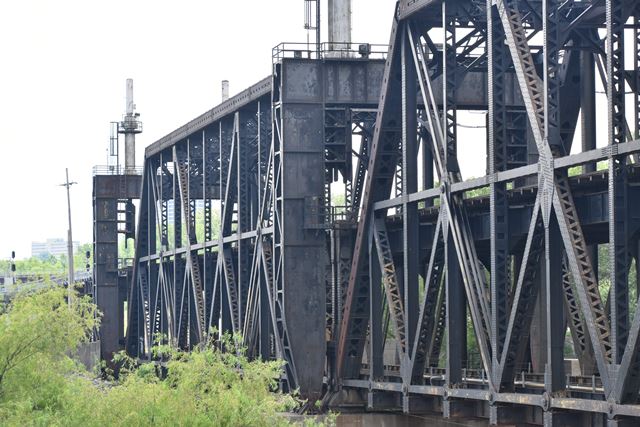
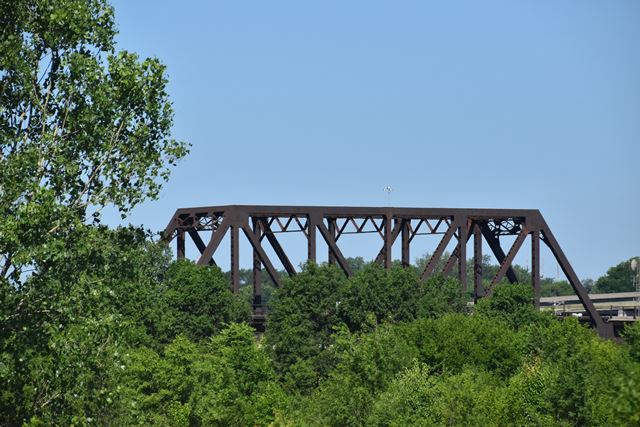
North elevation of western truss span.
![]()
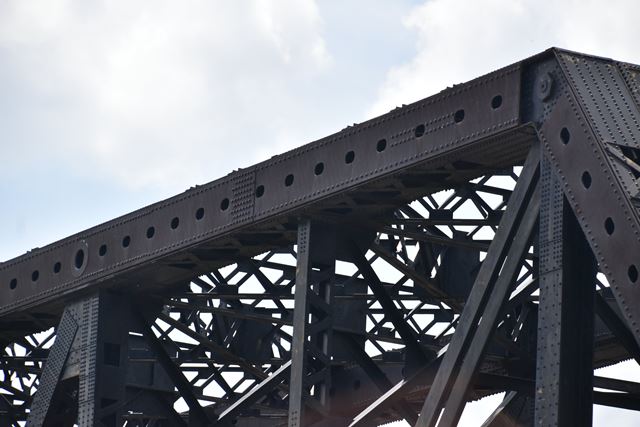
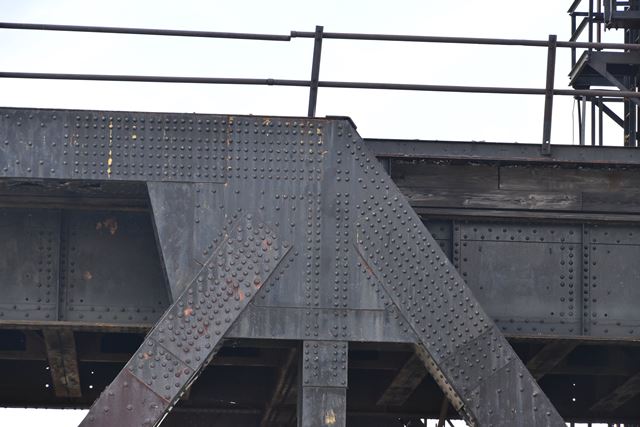
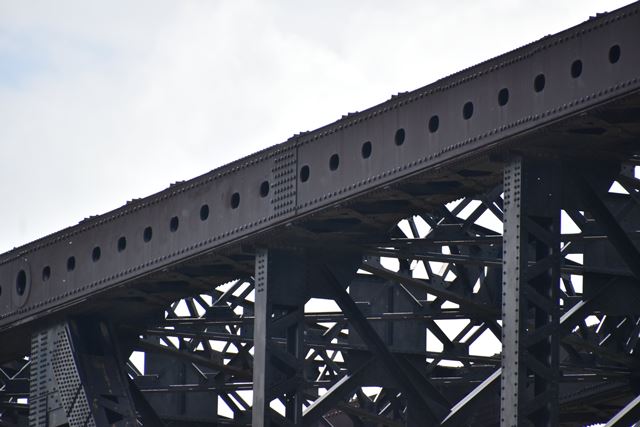
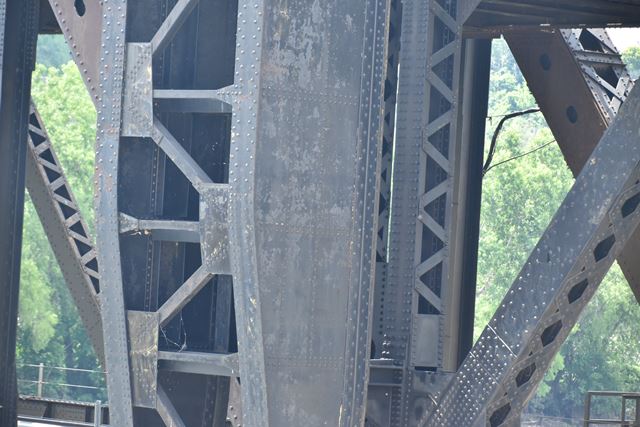
Top chord connections.
![]()


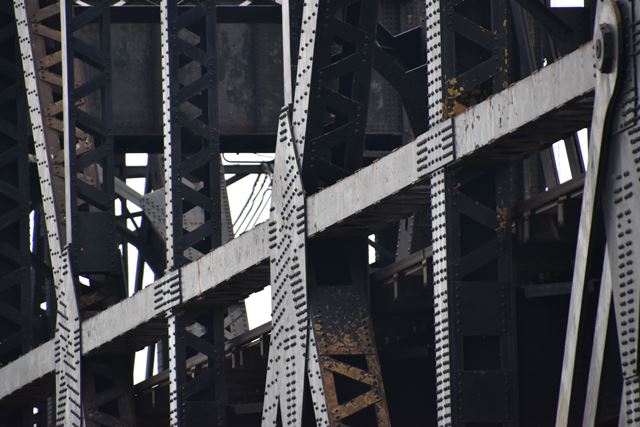
Intermediate connections.
![]()
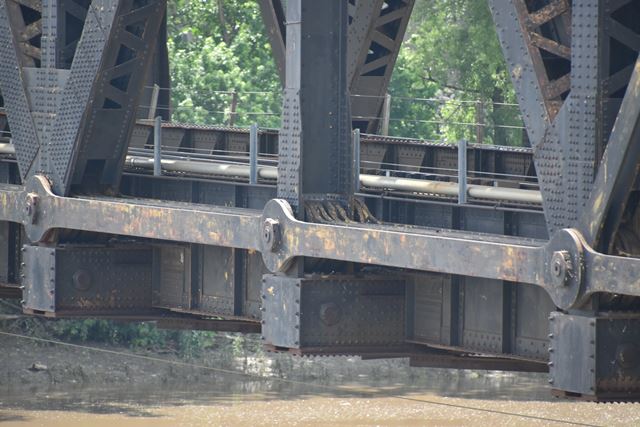
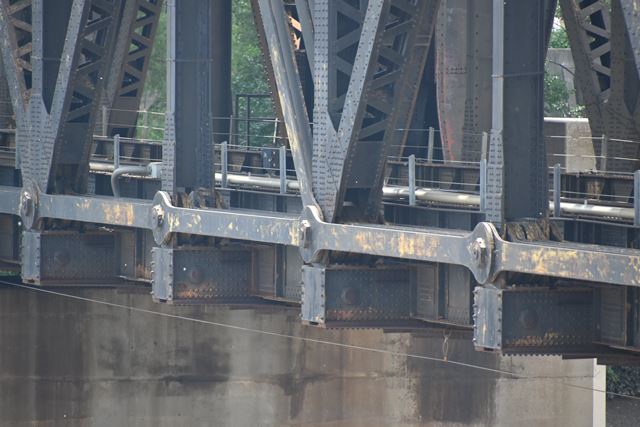
Bottom chord connections.
![]()
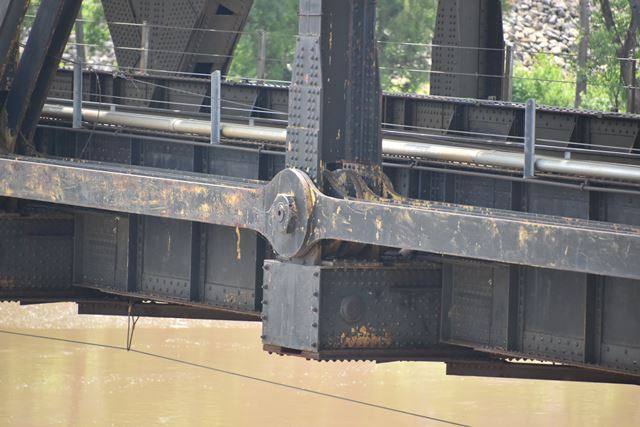
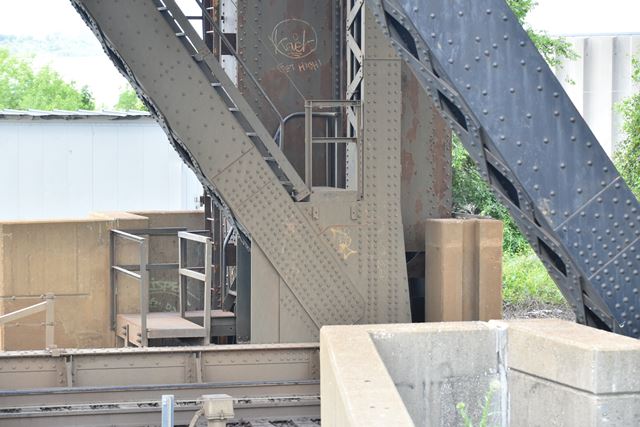
Bearings.
![]()
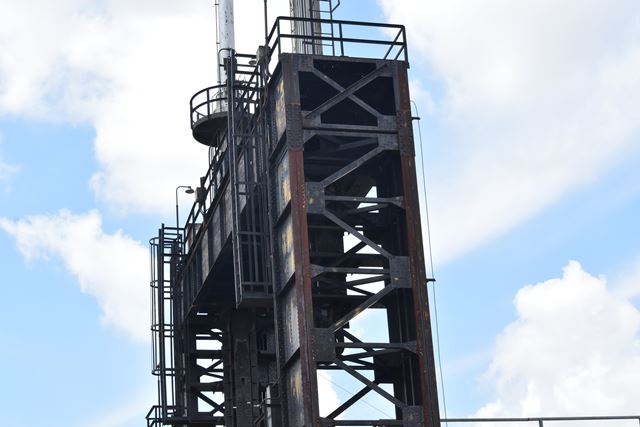
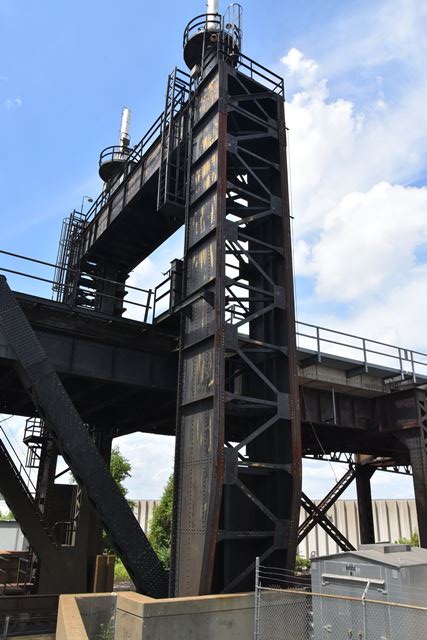
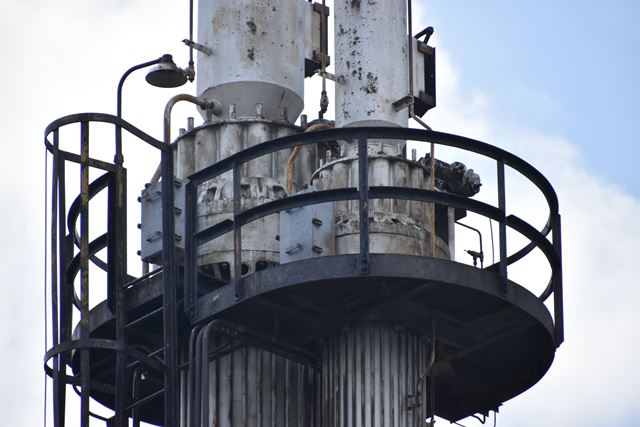
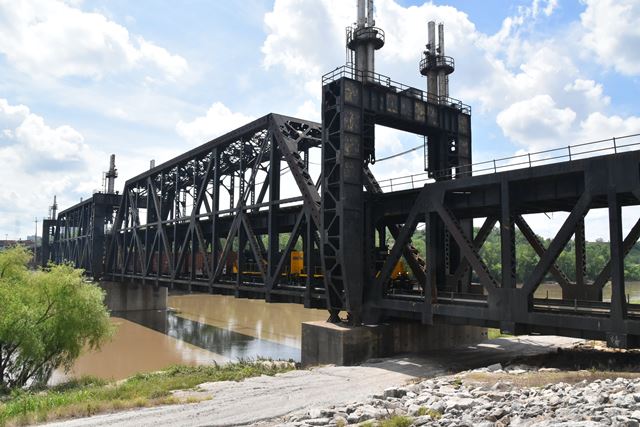
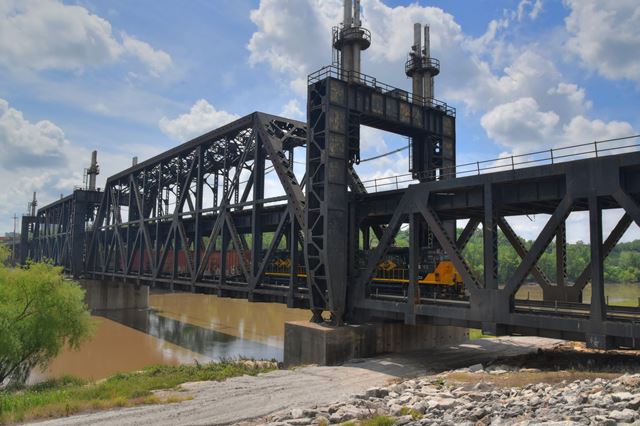
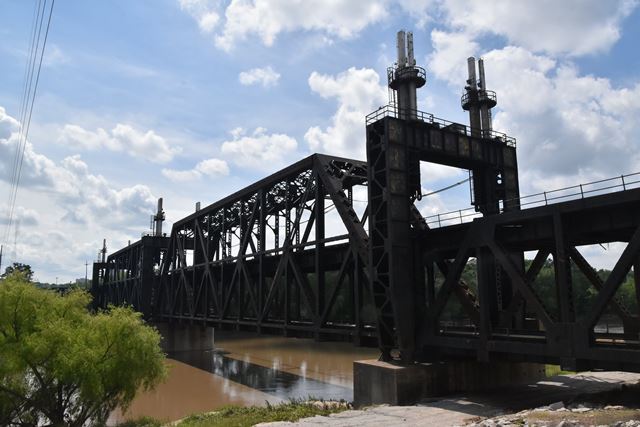
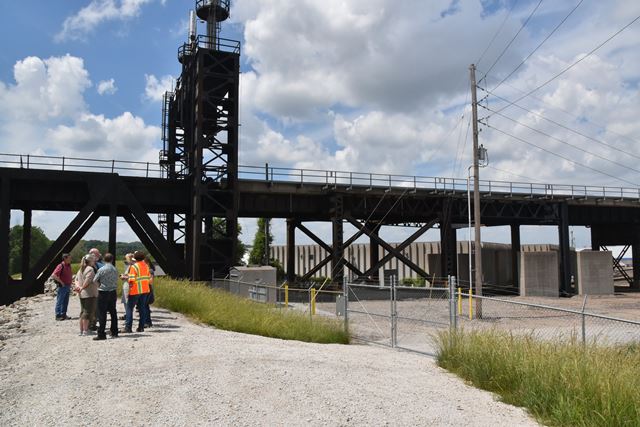
Overview of lift tower.
![]()
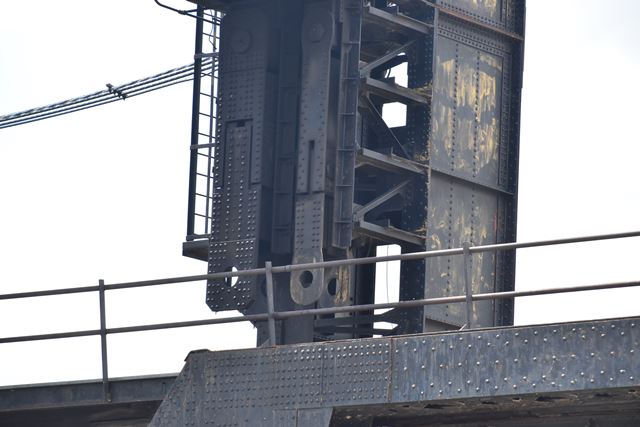
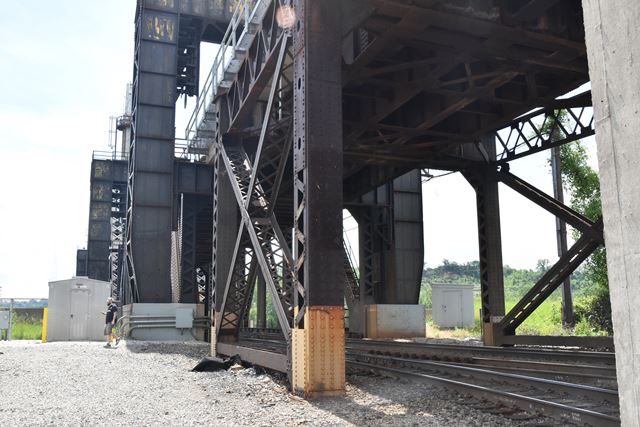
Details of lift tower.
![]()
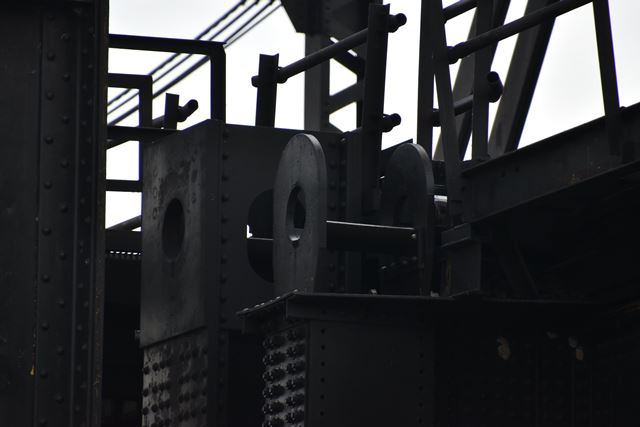
Lift system detail showing disconnected eyebars.
![]()

Deck.
![]()


End post.
![]()


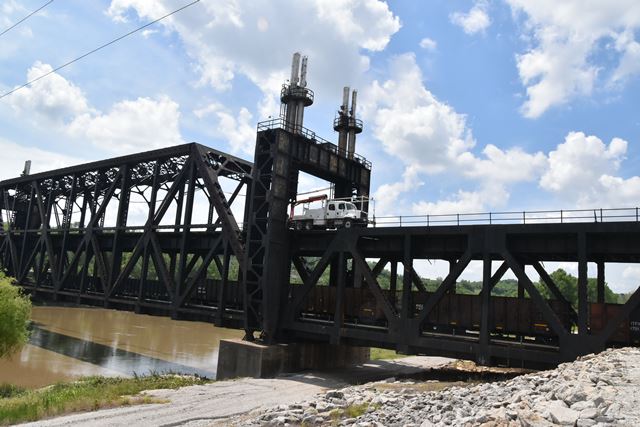
Train on bridge.
![]()

Eastern approach.
![]()
Photos of Northern Approach Viaduct (including through truss spans)
![]()

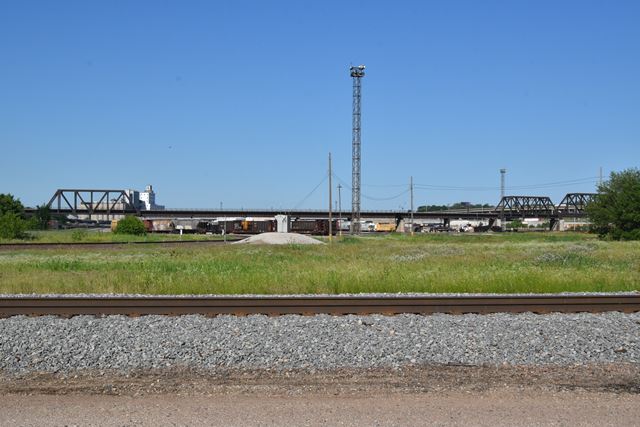
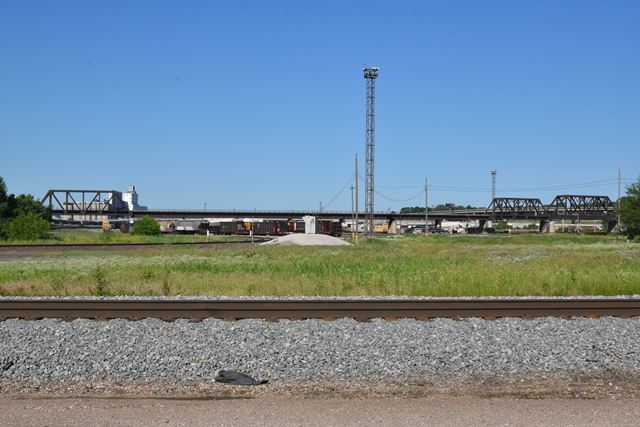

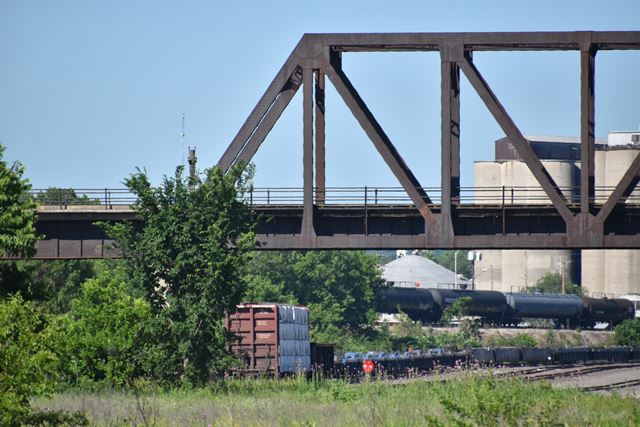
East elevation of the three truss spans.
![]()


View beside approach.
![]()


Distant portal view of single truss span segment.
![]()


Elevation of the single truss span segment.
![]()


Elevation of the two truss span segment.
![]()


Distant oblique views of the two truss span segment.
![]()


Truss details for the two truss span segment.
![]()


Truss details for the single truss span segment.
![]()

Looking north toward approach system.
![]()
Photos of Northern Approach Near Main Truss Spans
![]()
View beside approach looking northbound.
![]()


View beside approach looking southbound.
![]()

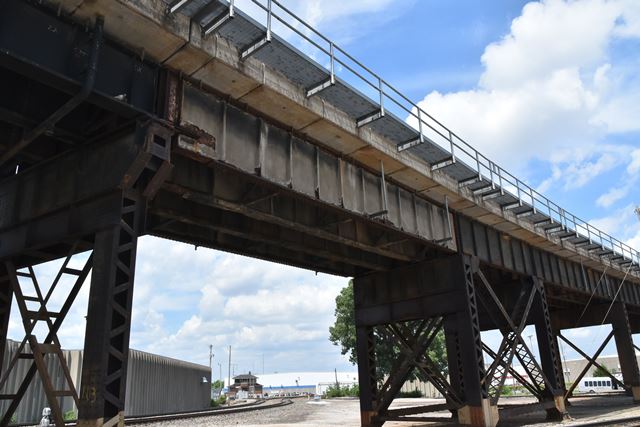
Spans immediately next to Kansas River truss spans.
![]()
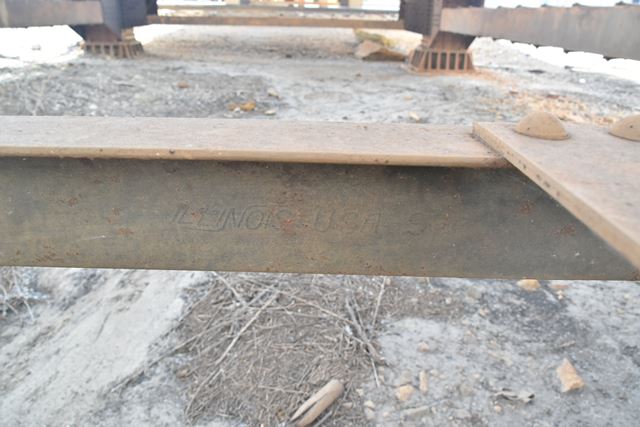


Illinois brand.
![]()
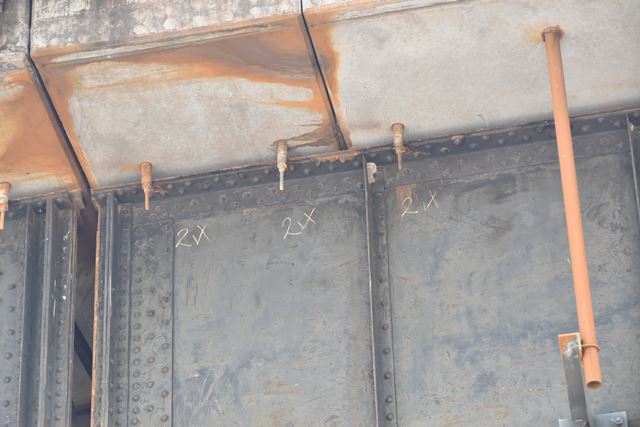
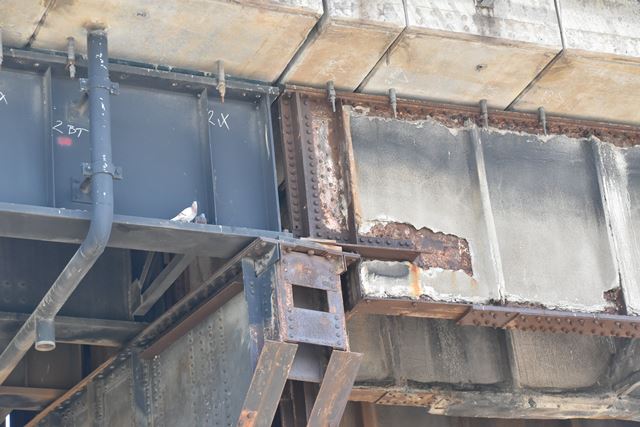

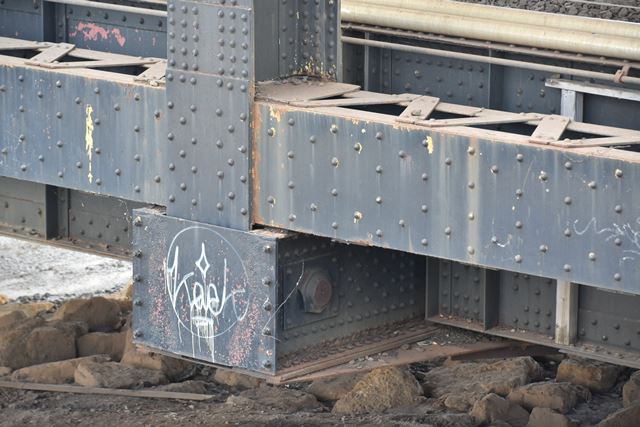
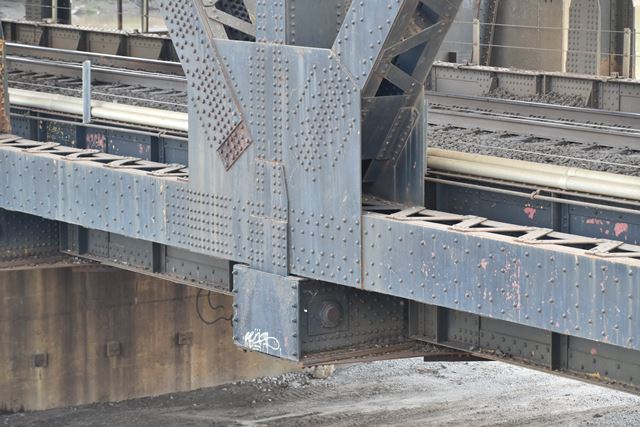
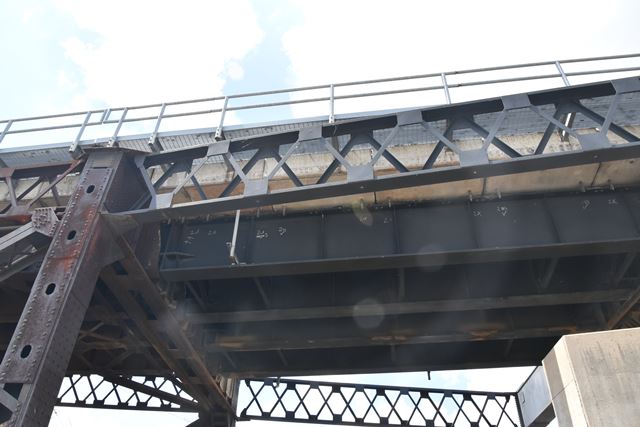
Girder details.
![]()
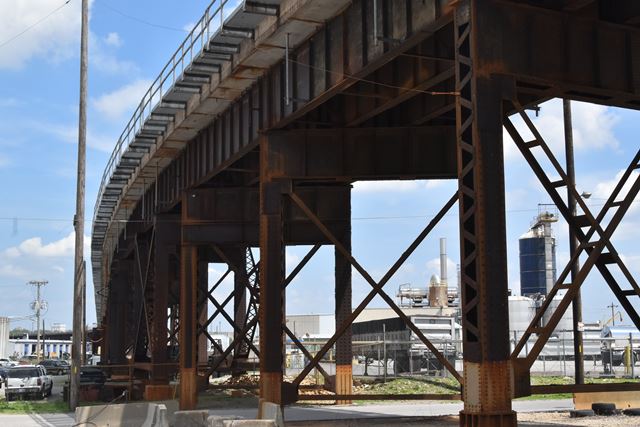
Bents.
![]()


Bent details.
![]()


Individual spans.
![]()
Replaced span.
![]()

View under approach.
![]()

View under deck.
![]()
![]()
| Back |
| Home |
| Top |

![]()