Uncredited photos on this page taken by: Nathan Holth. Unless stated in a caption, all photos are Copyright with All Rights Reserved. Learn about reuse of our photos.
![]()
Western Approach Spans Collapse
![]()

Photo Credit: KYTC
View showing the bridge giving early indications that the approach spans would collapse.
![]()

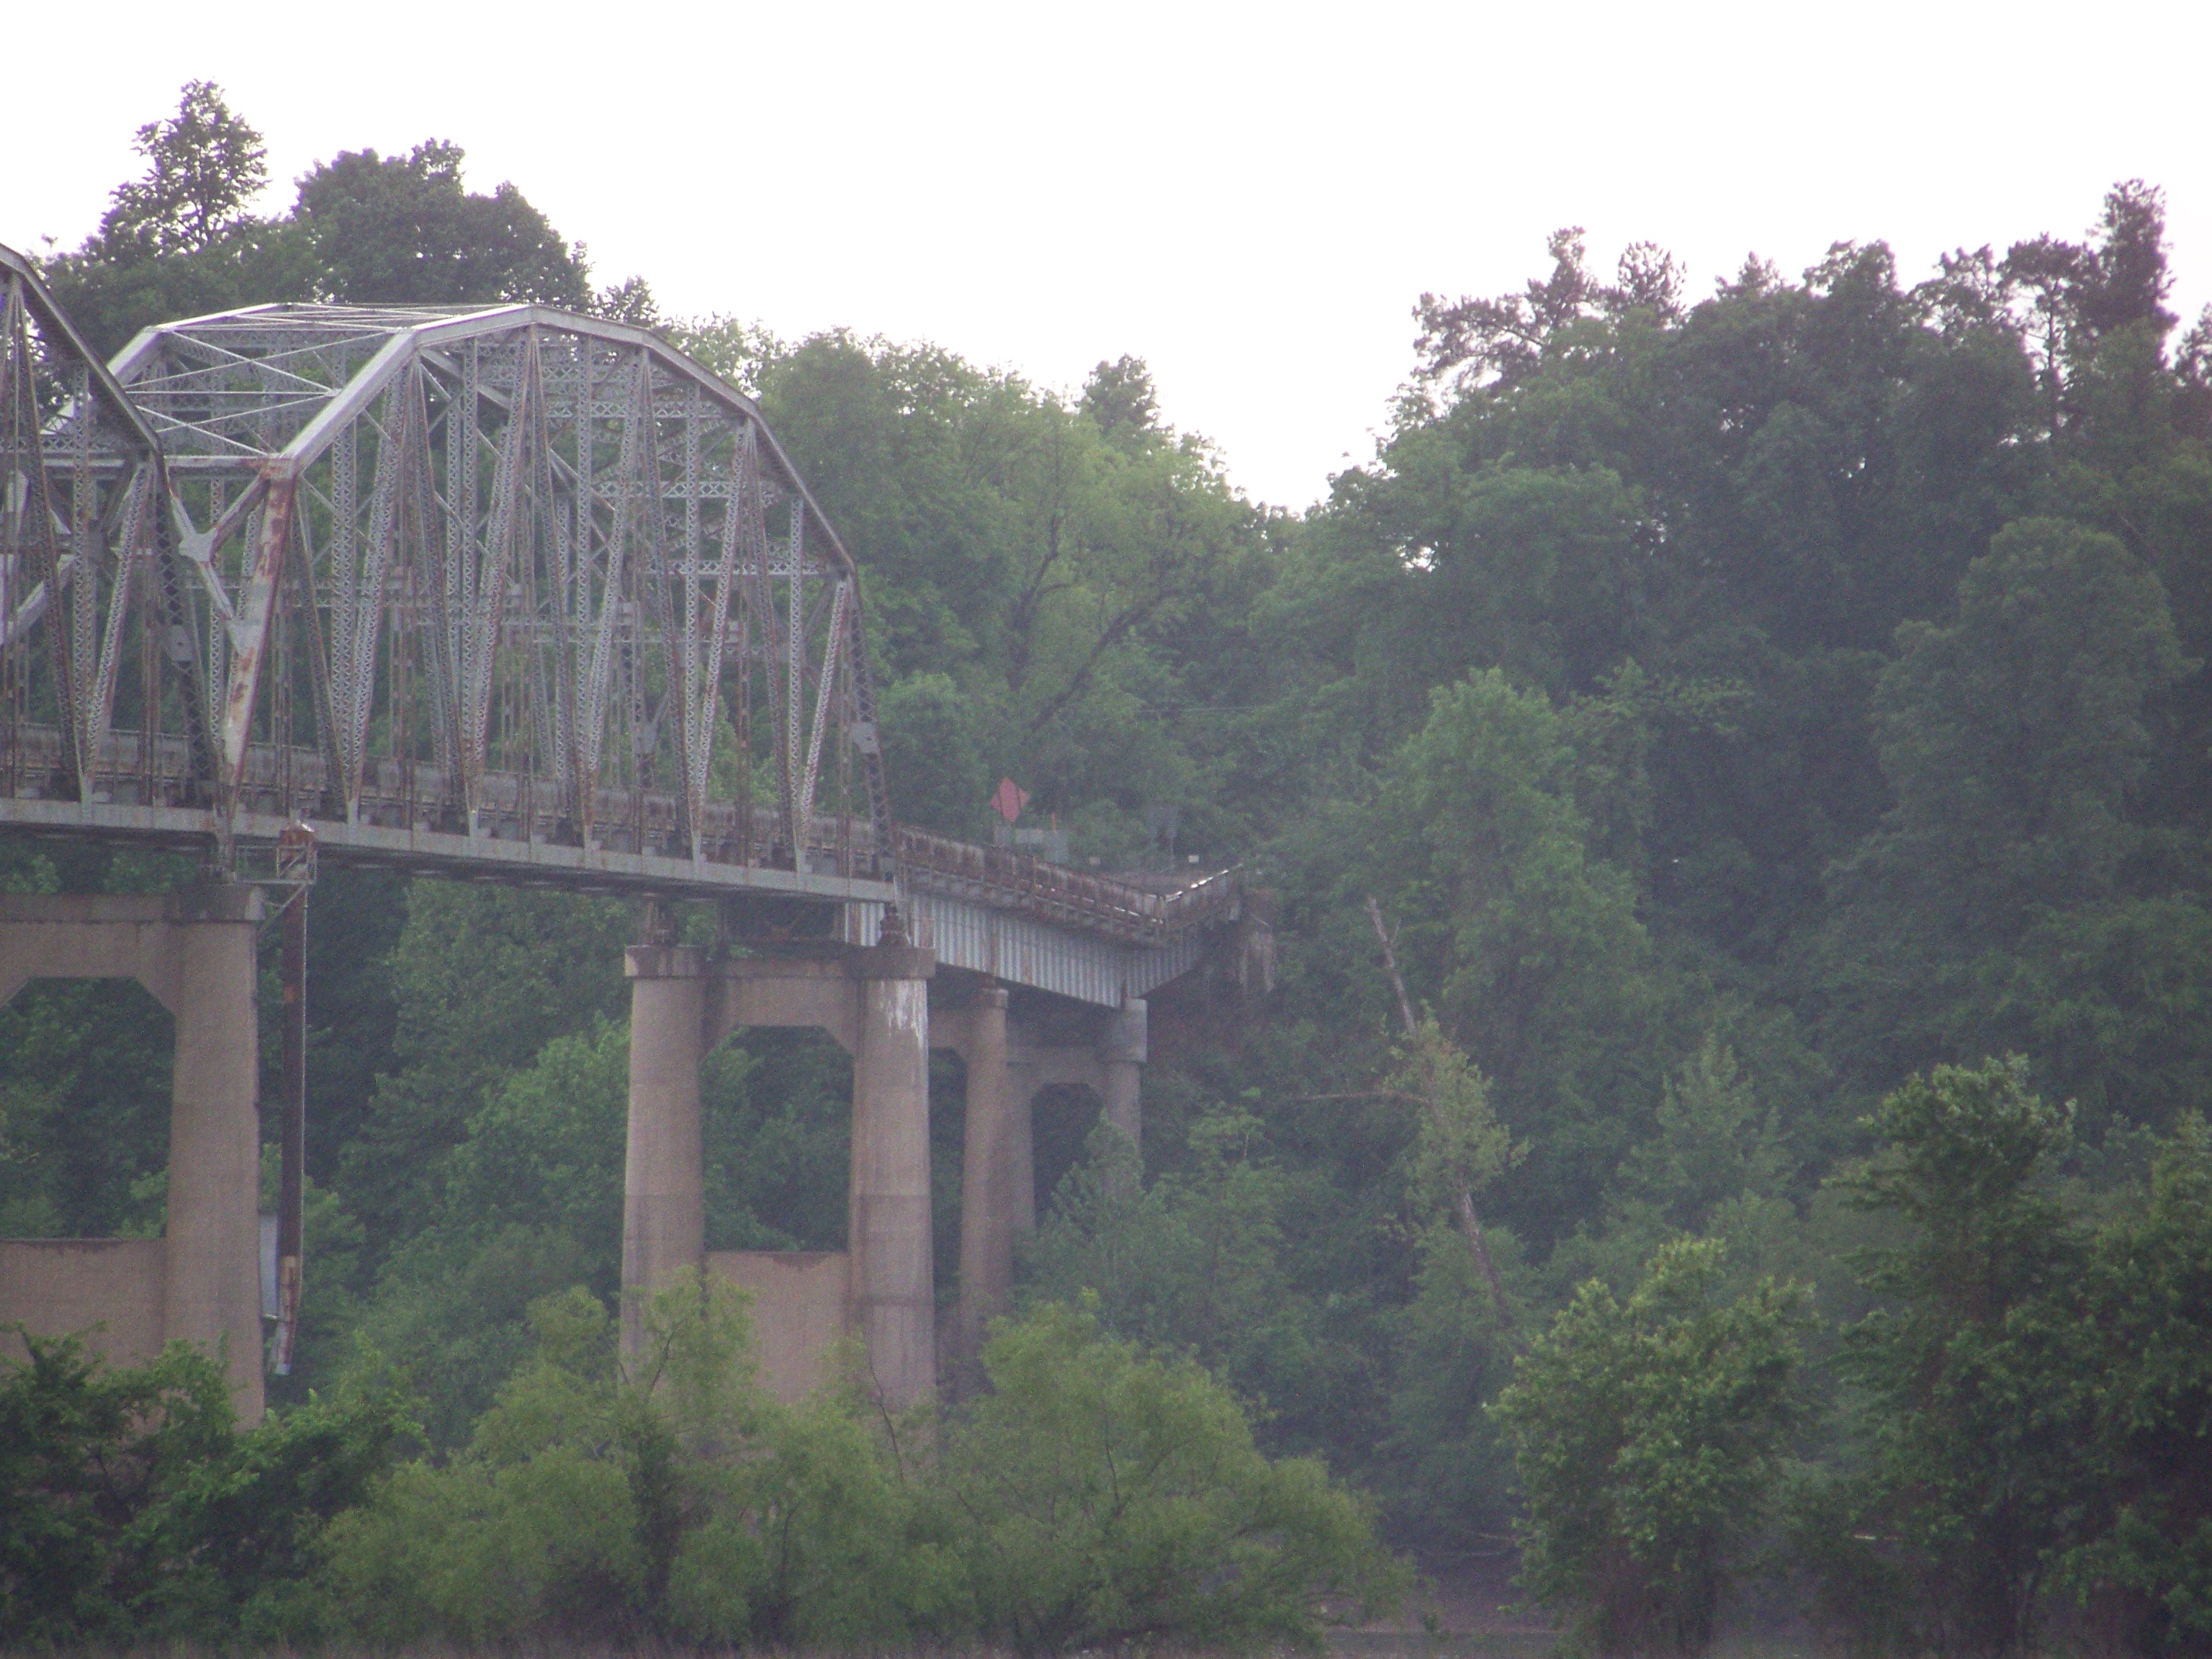

Photo Credit: KYTC
Approach spans nearly collapsed, but still somewhat in place.
![]()
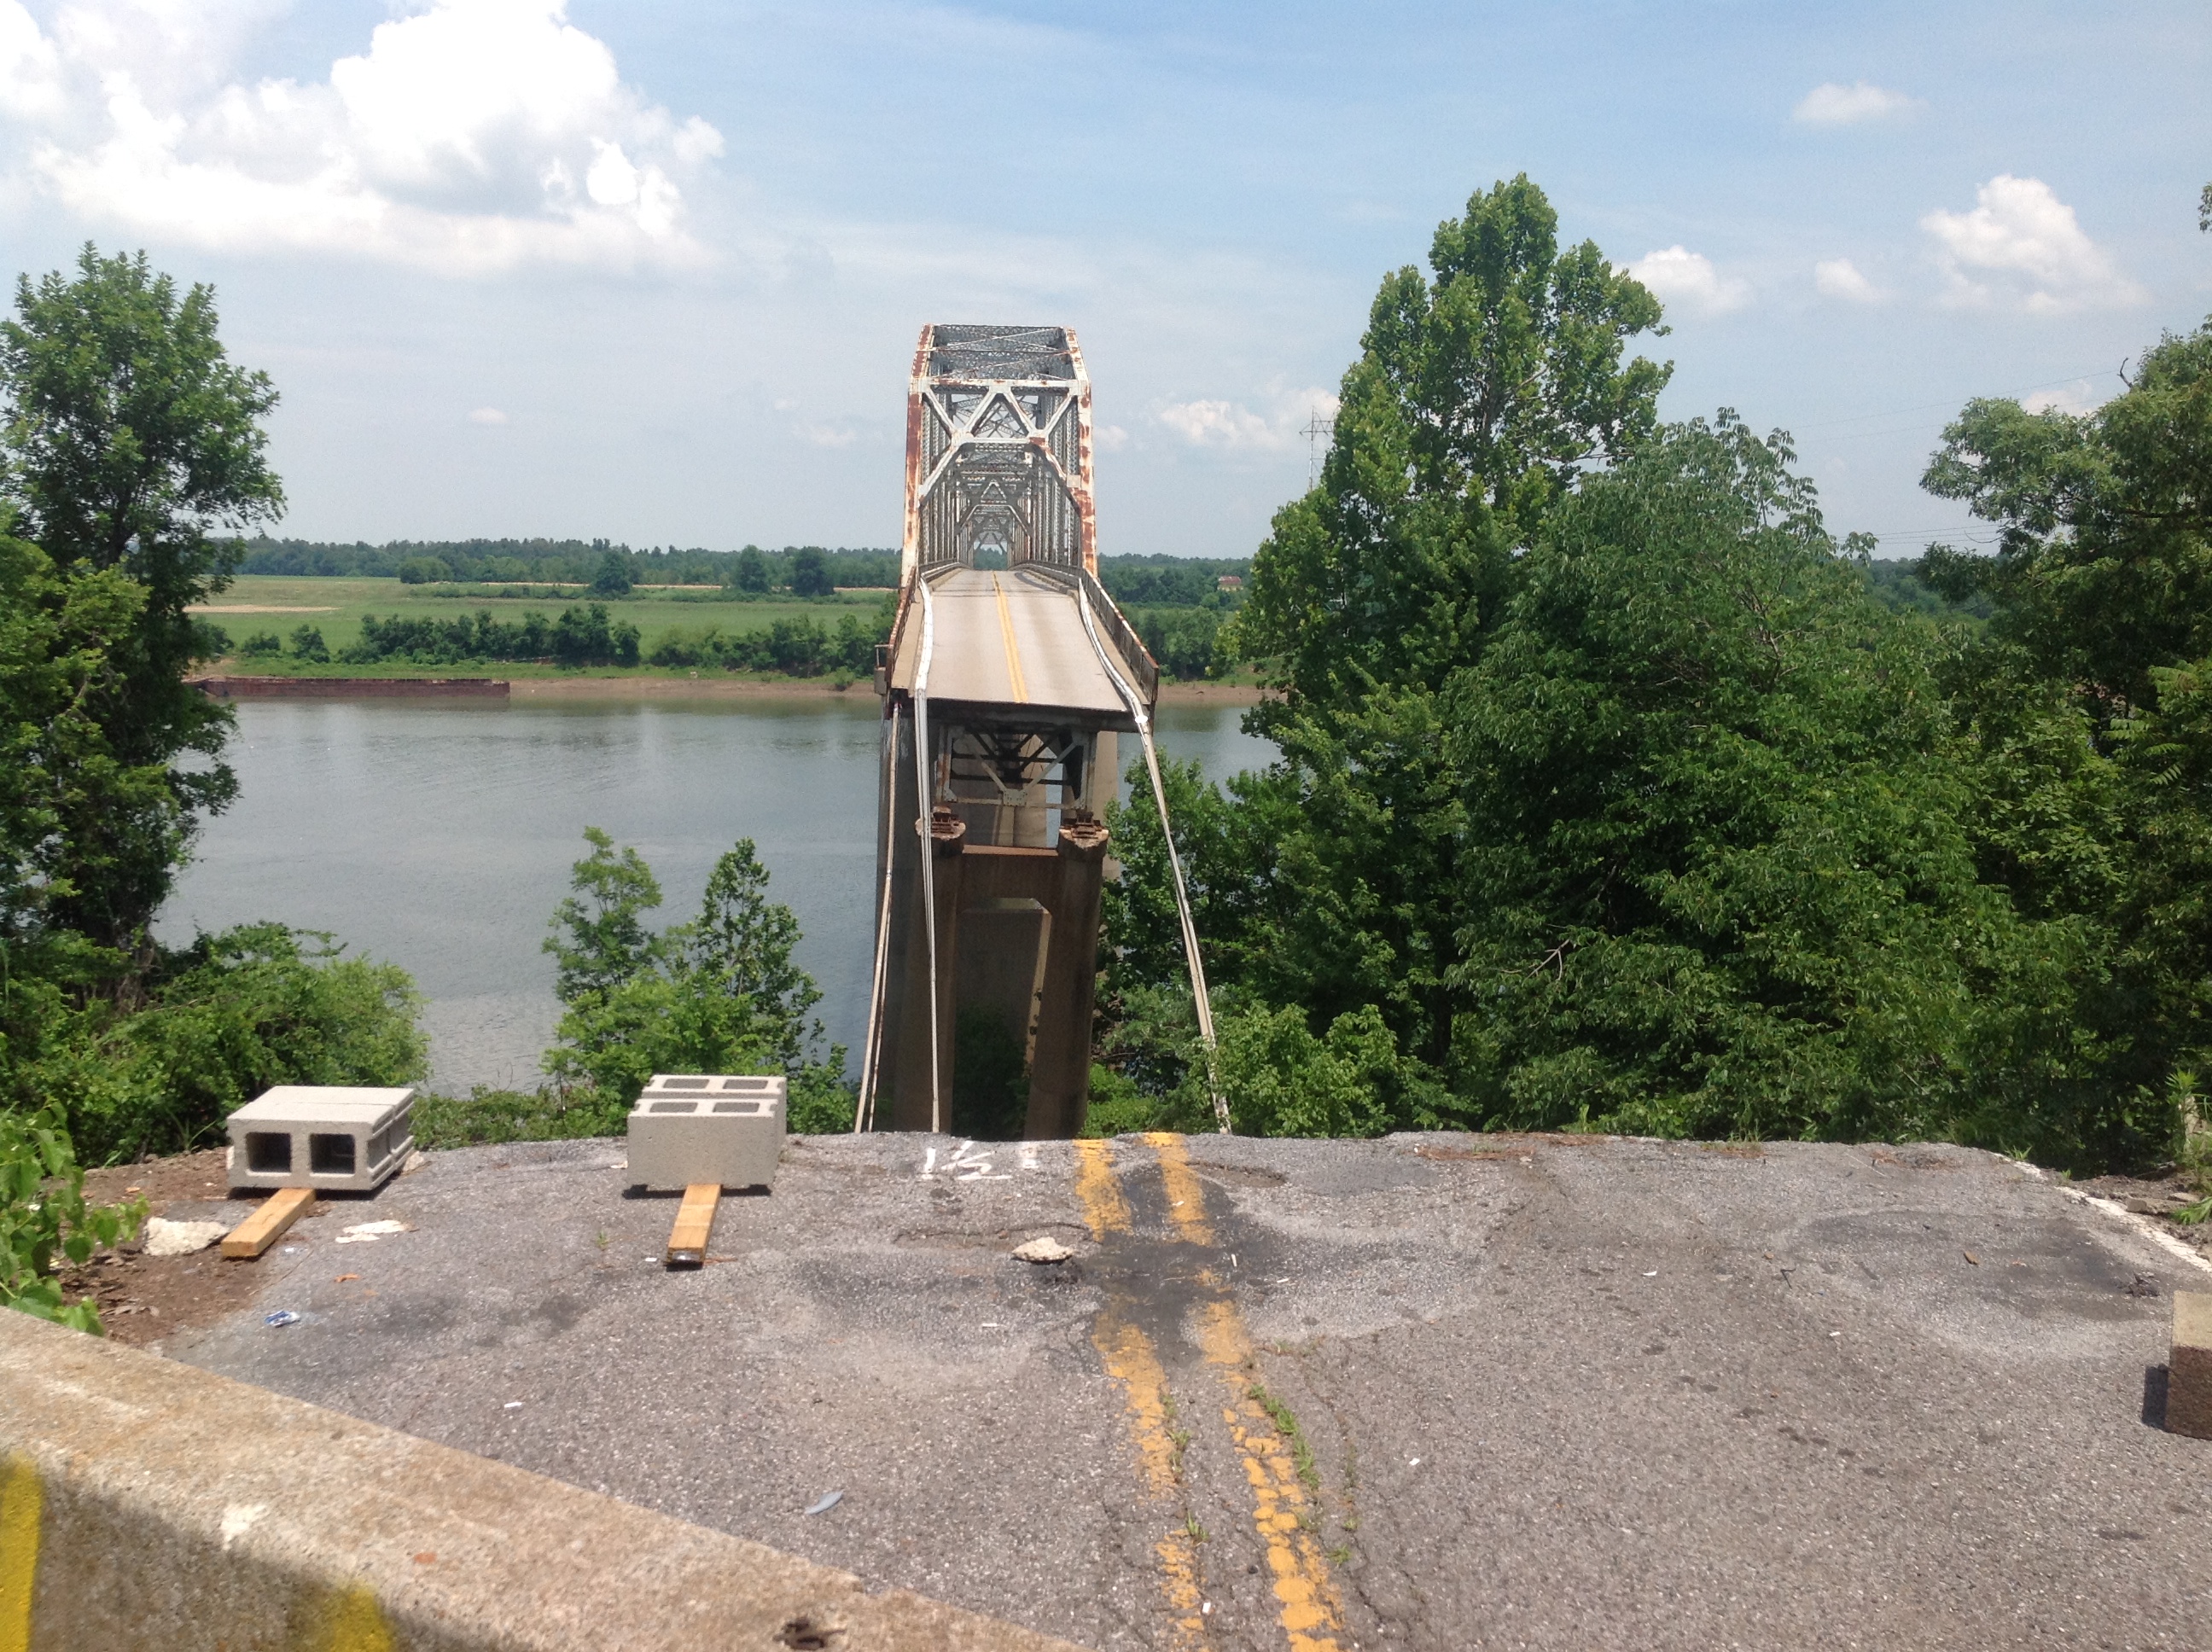
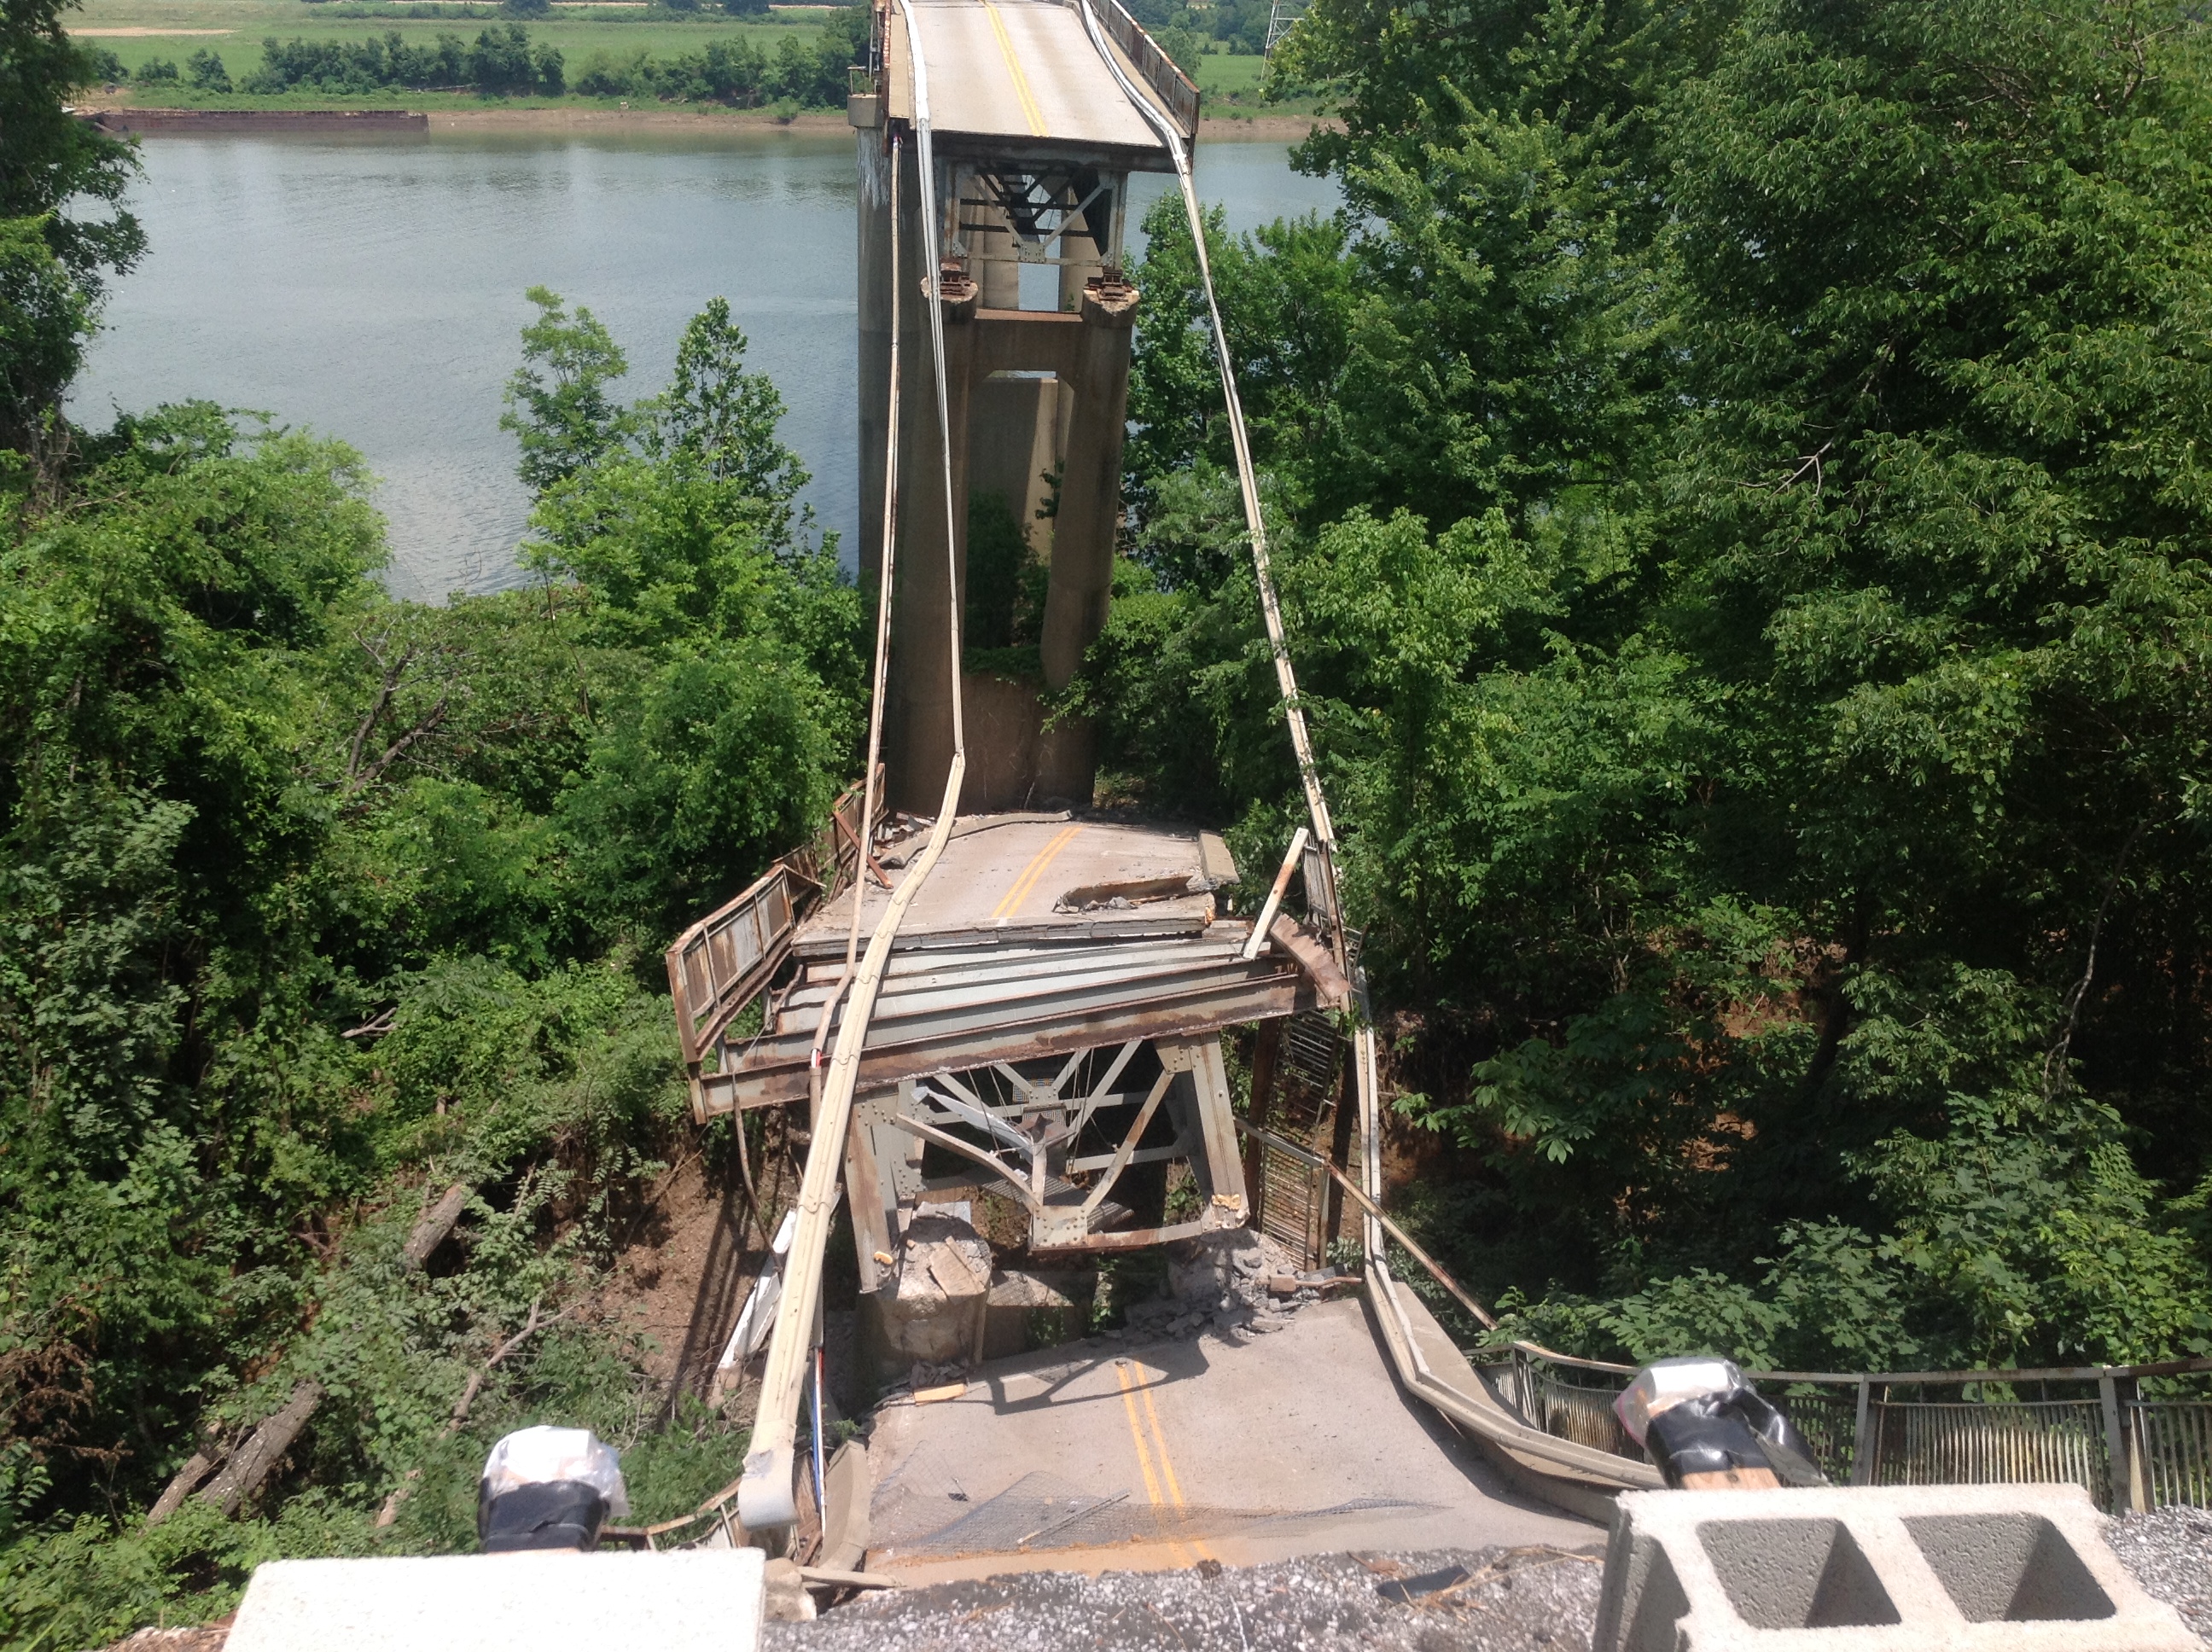


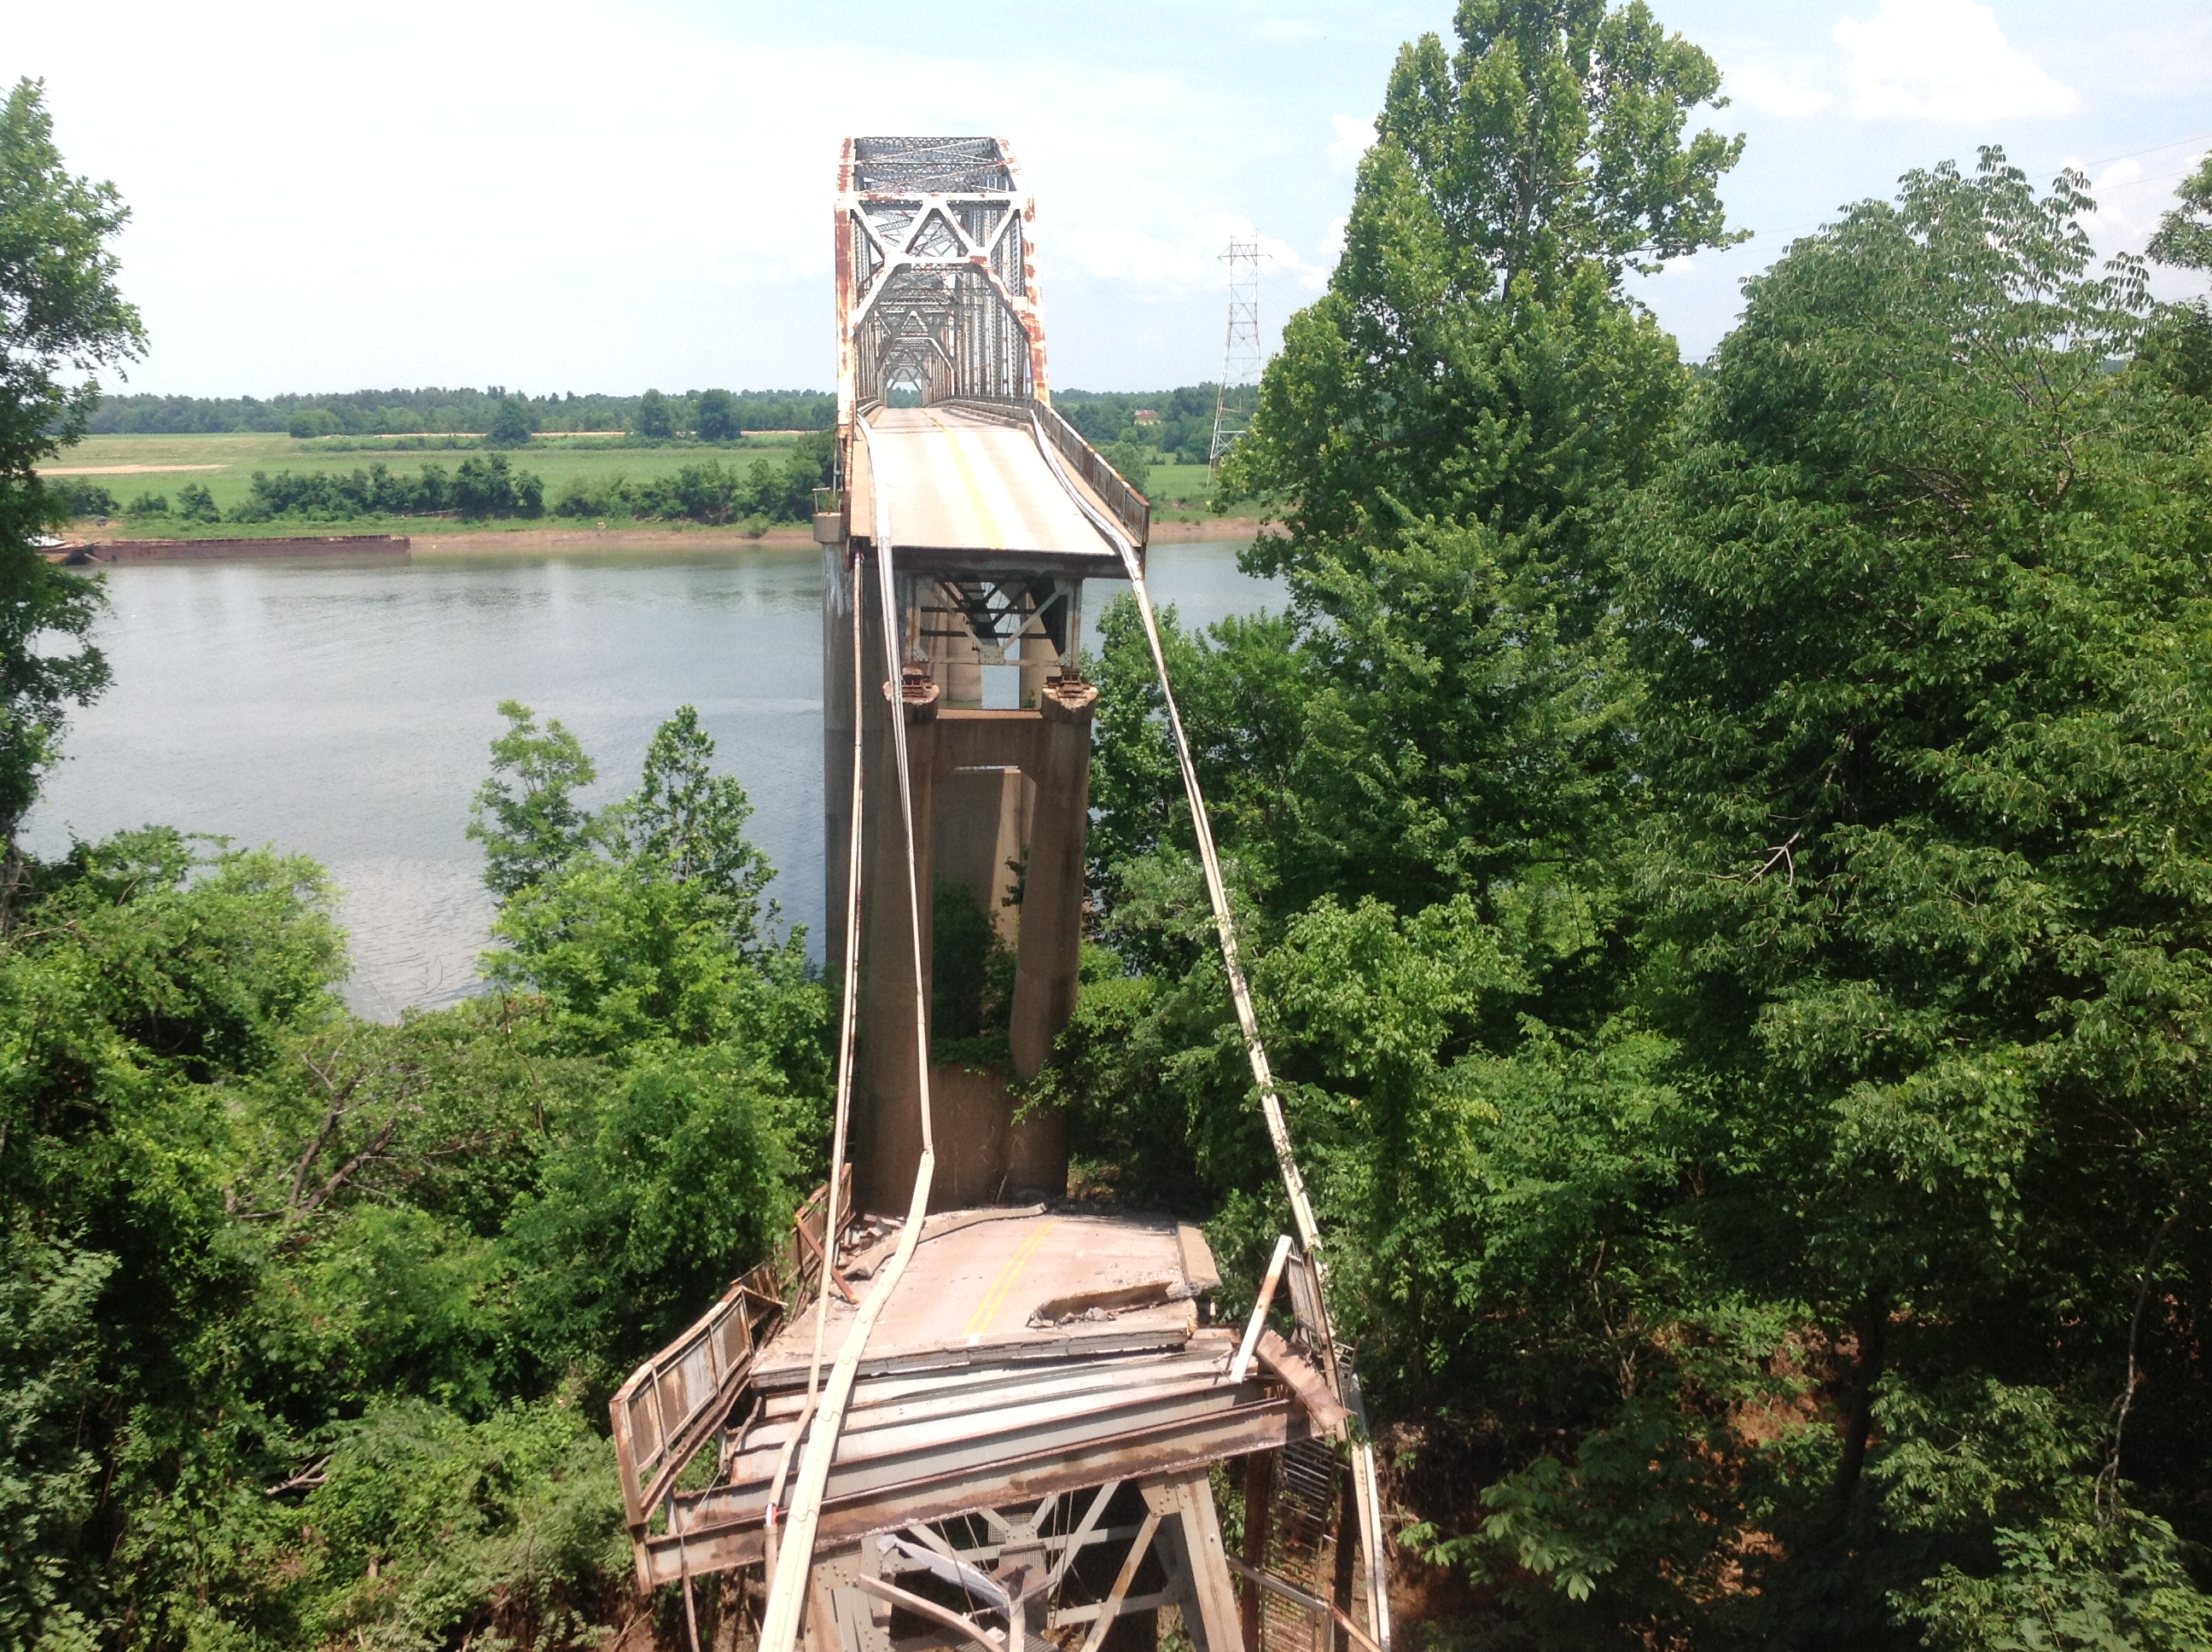


Photo Credit: KYTC
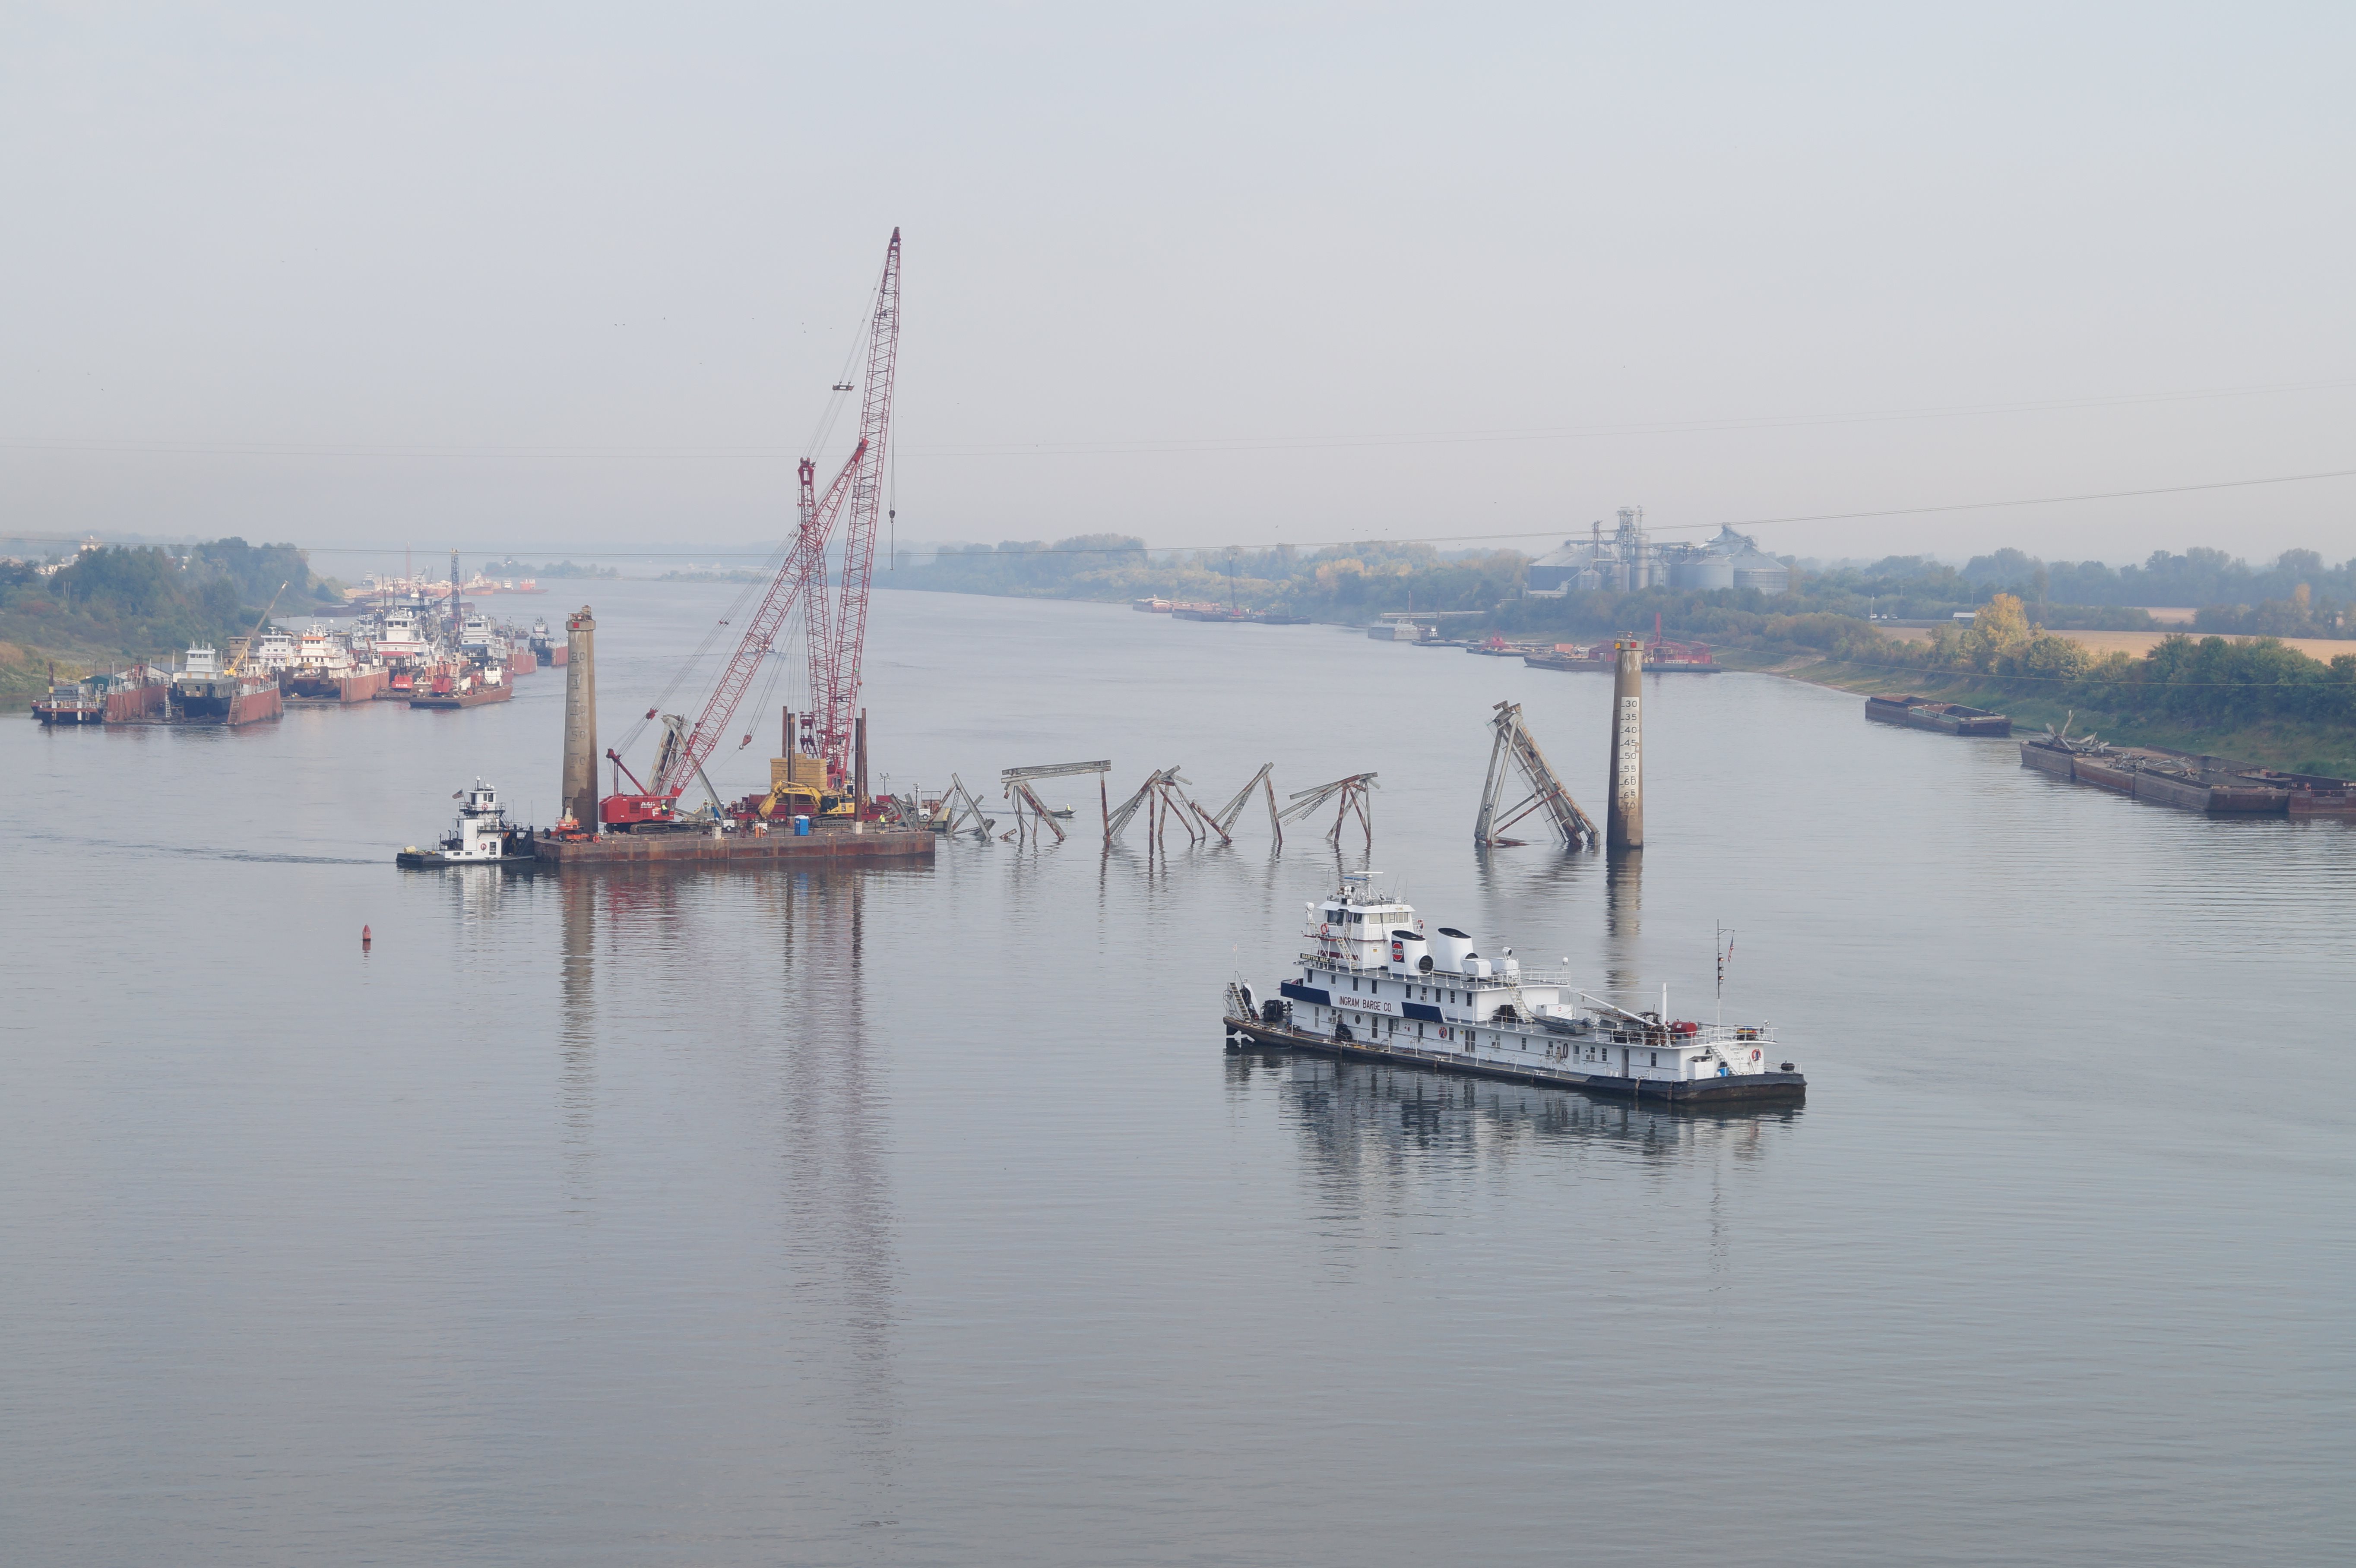
Views after the collapse of the approach spans.
![]()
Demolition
![]()
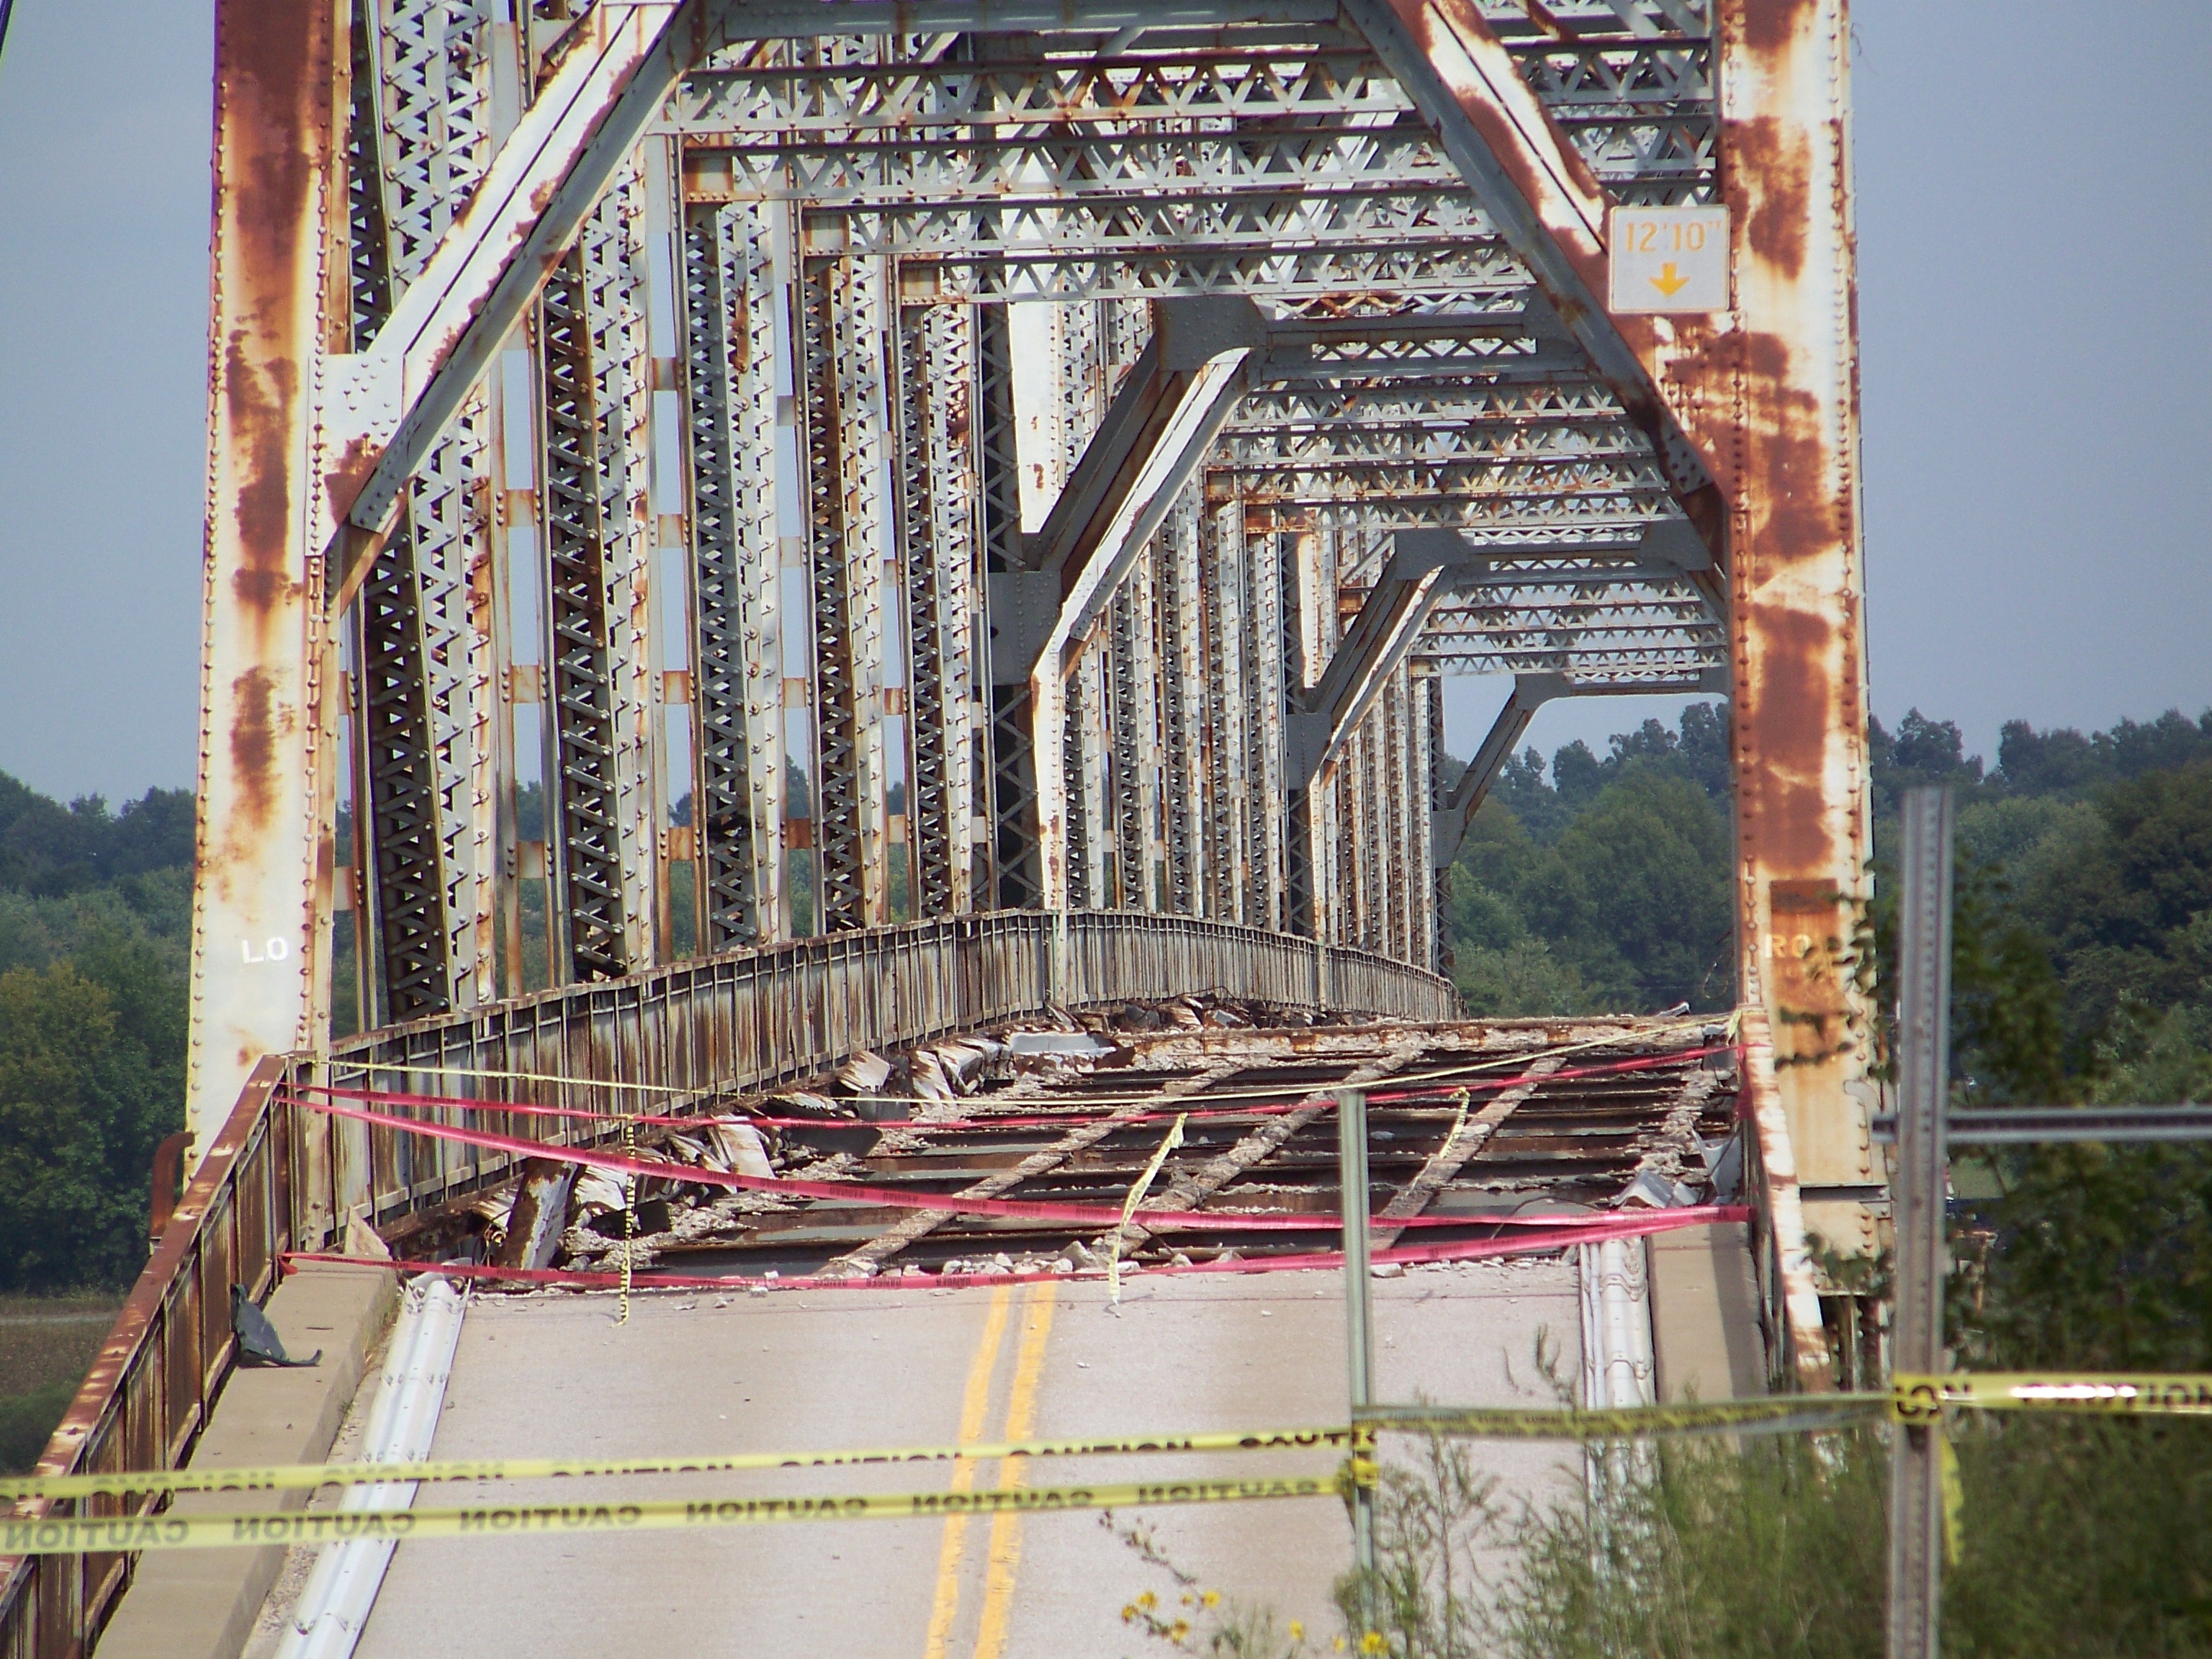
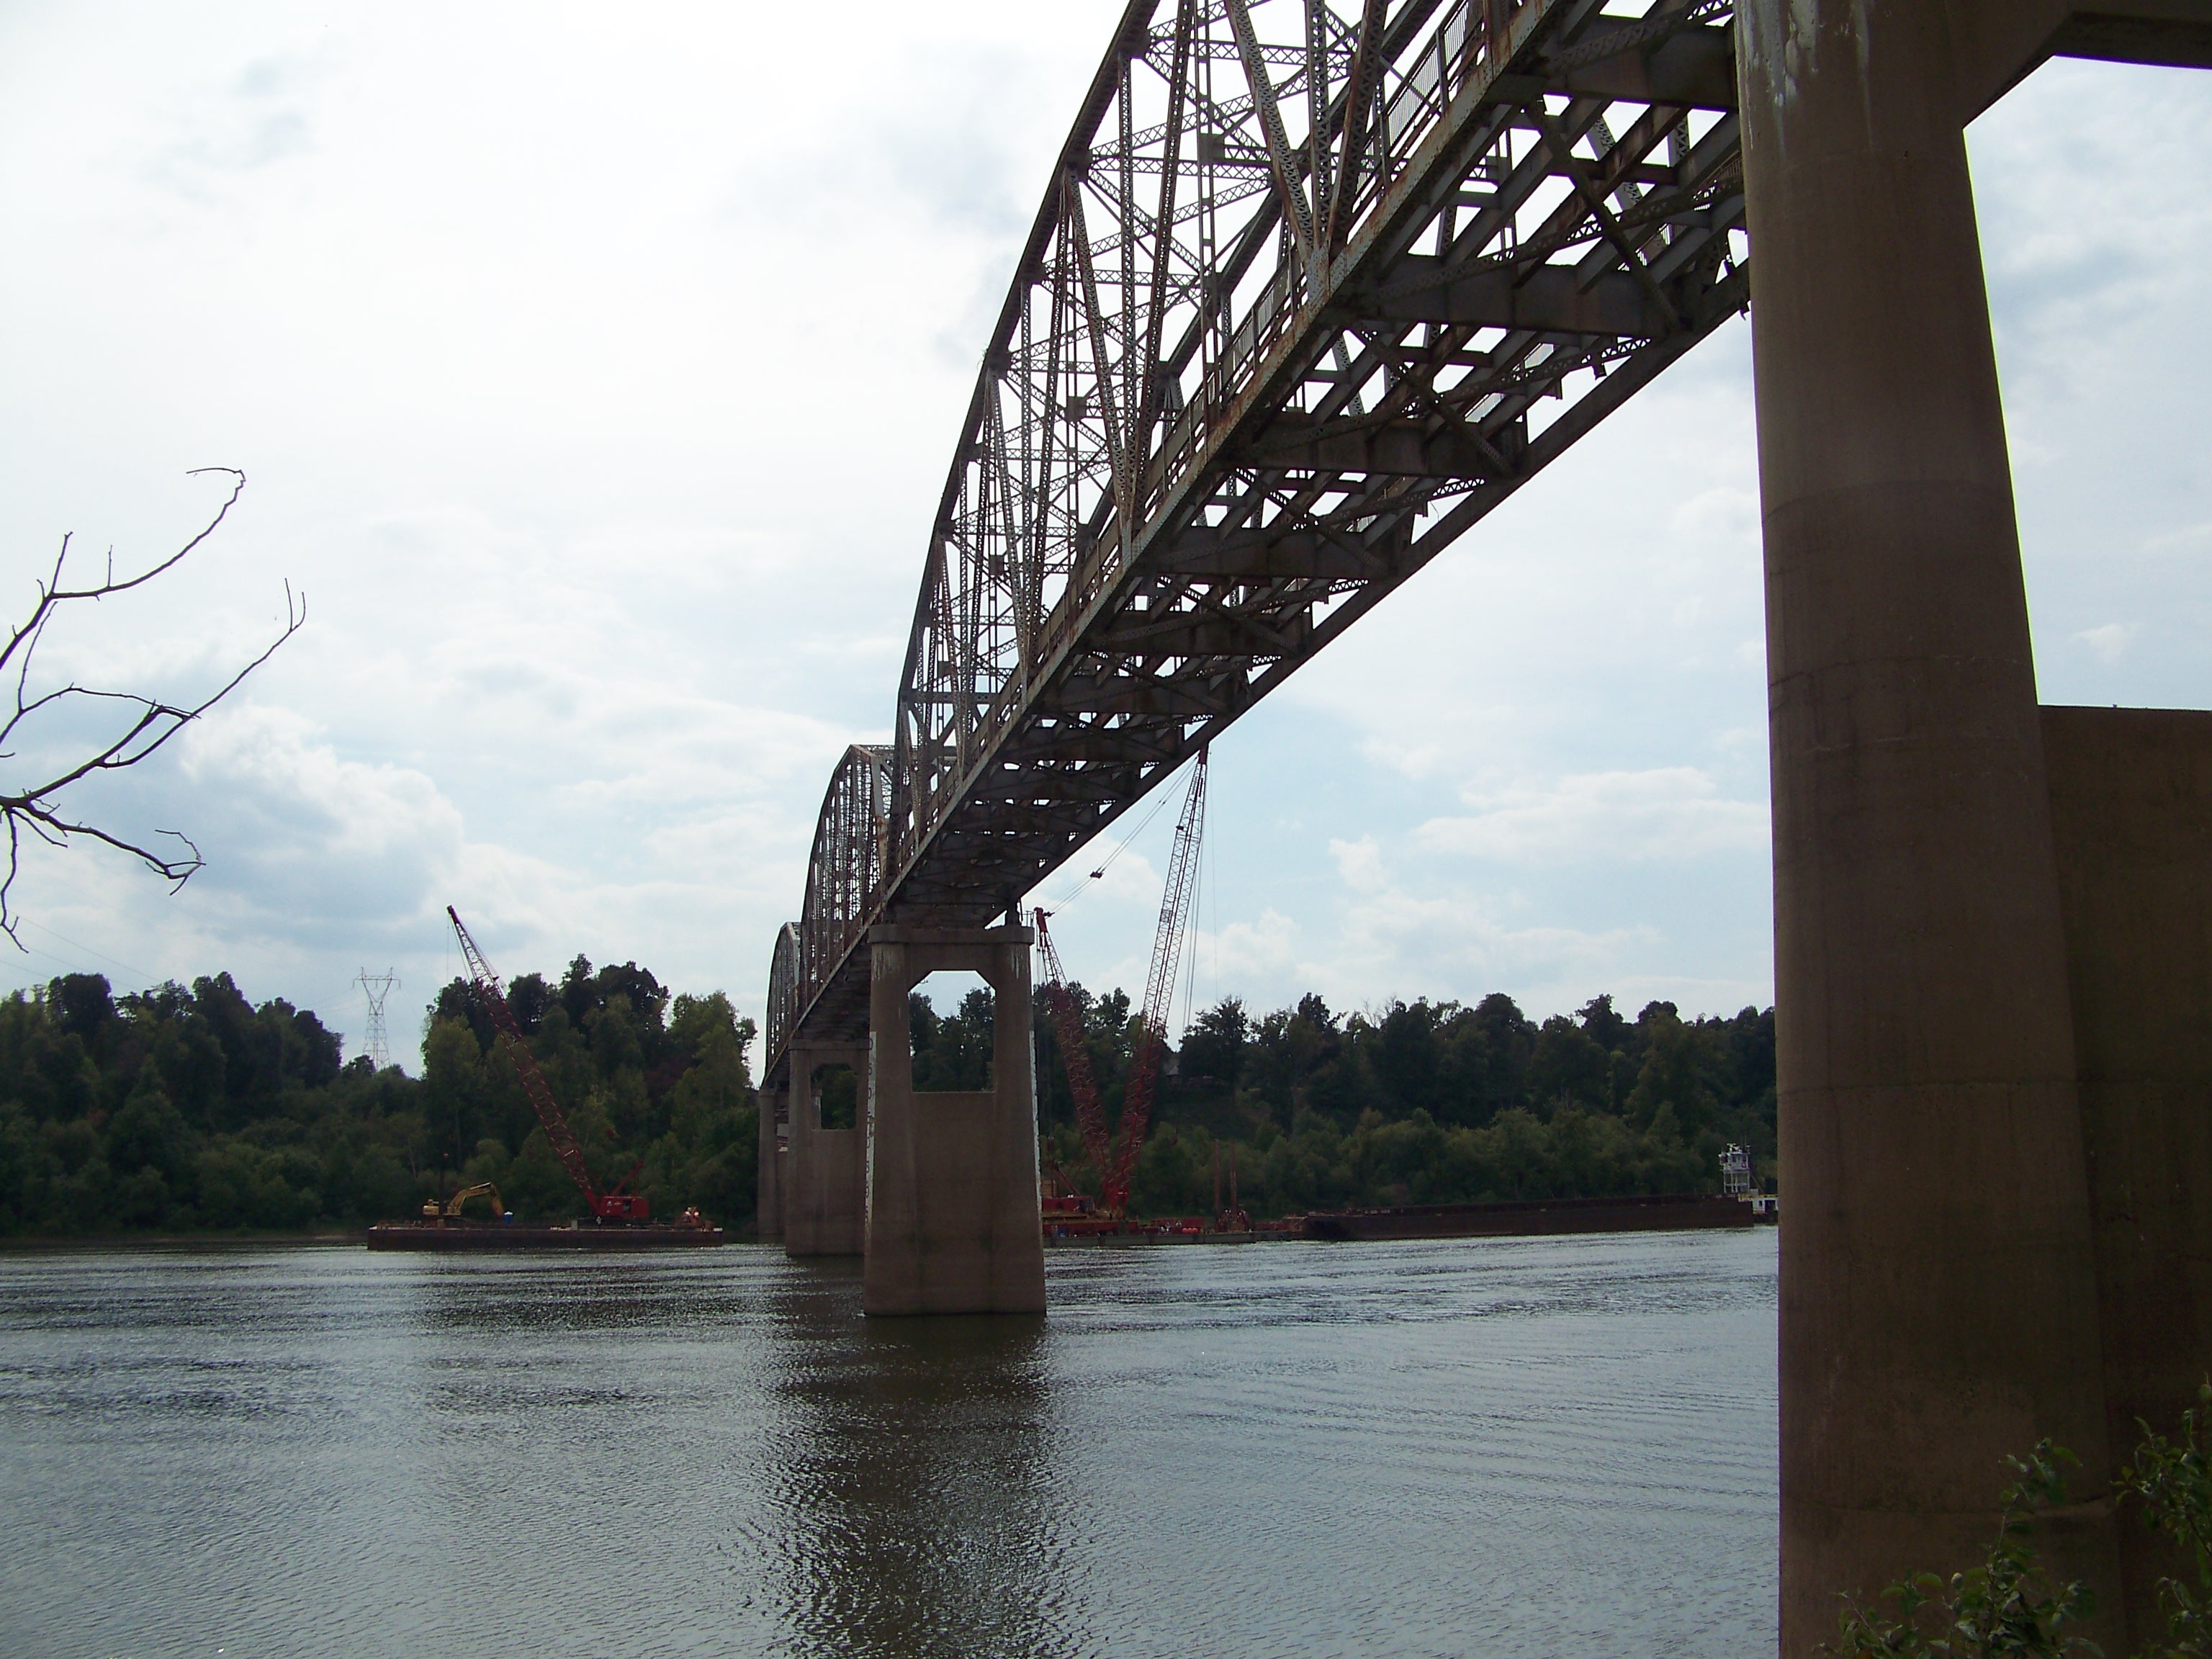

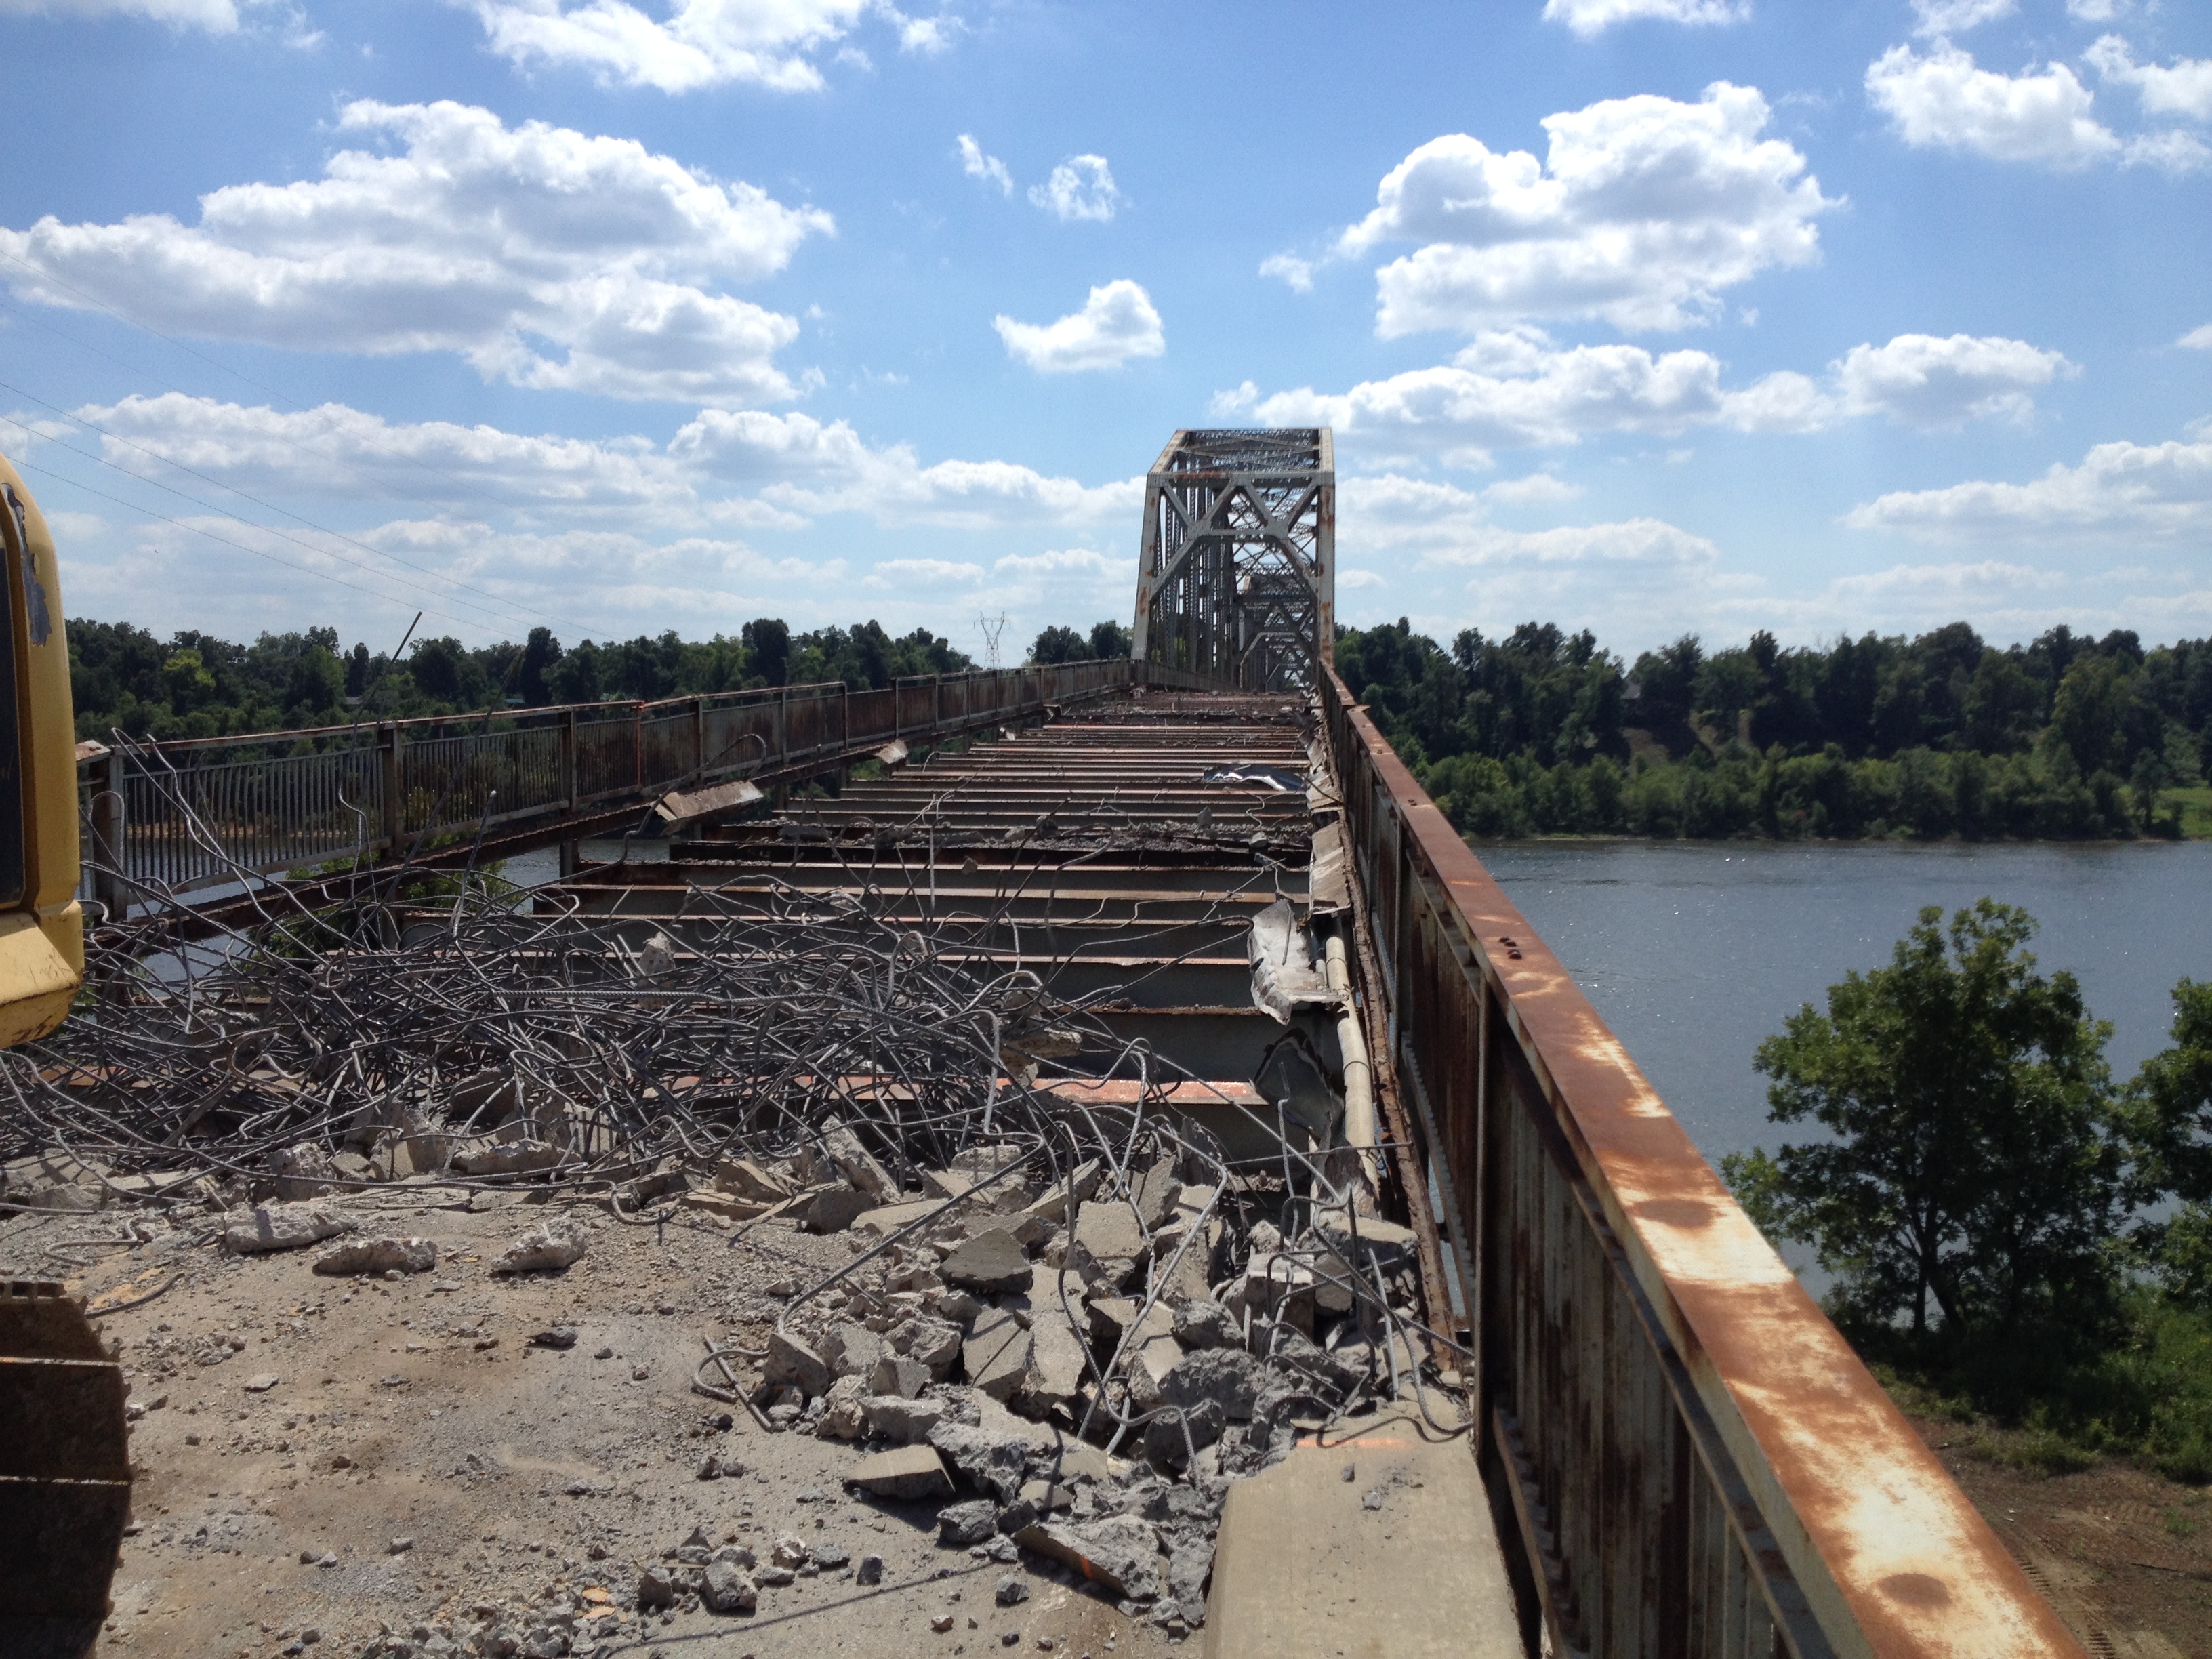

Photo Credit: KYTC
Deck demolition.
![]()
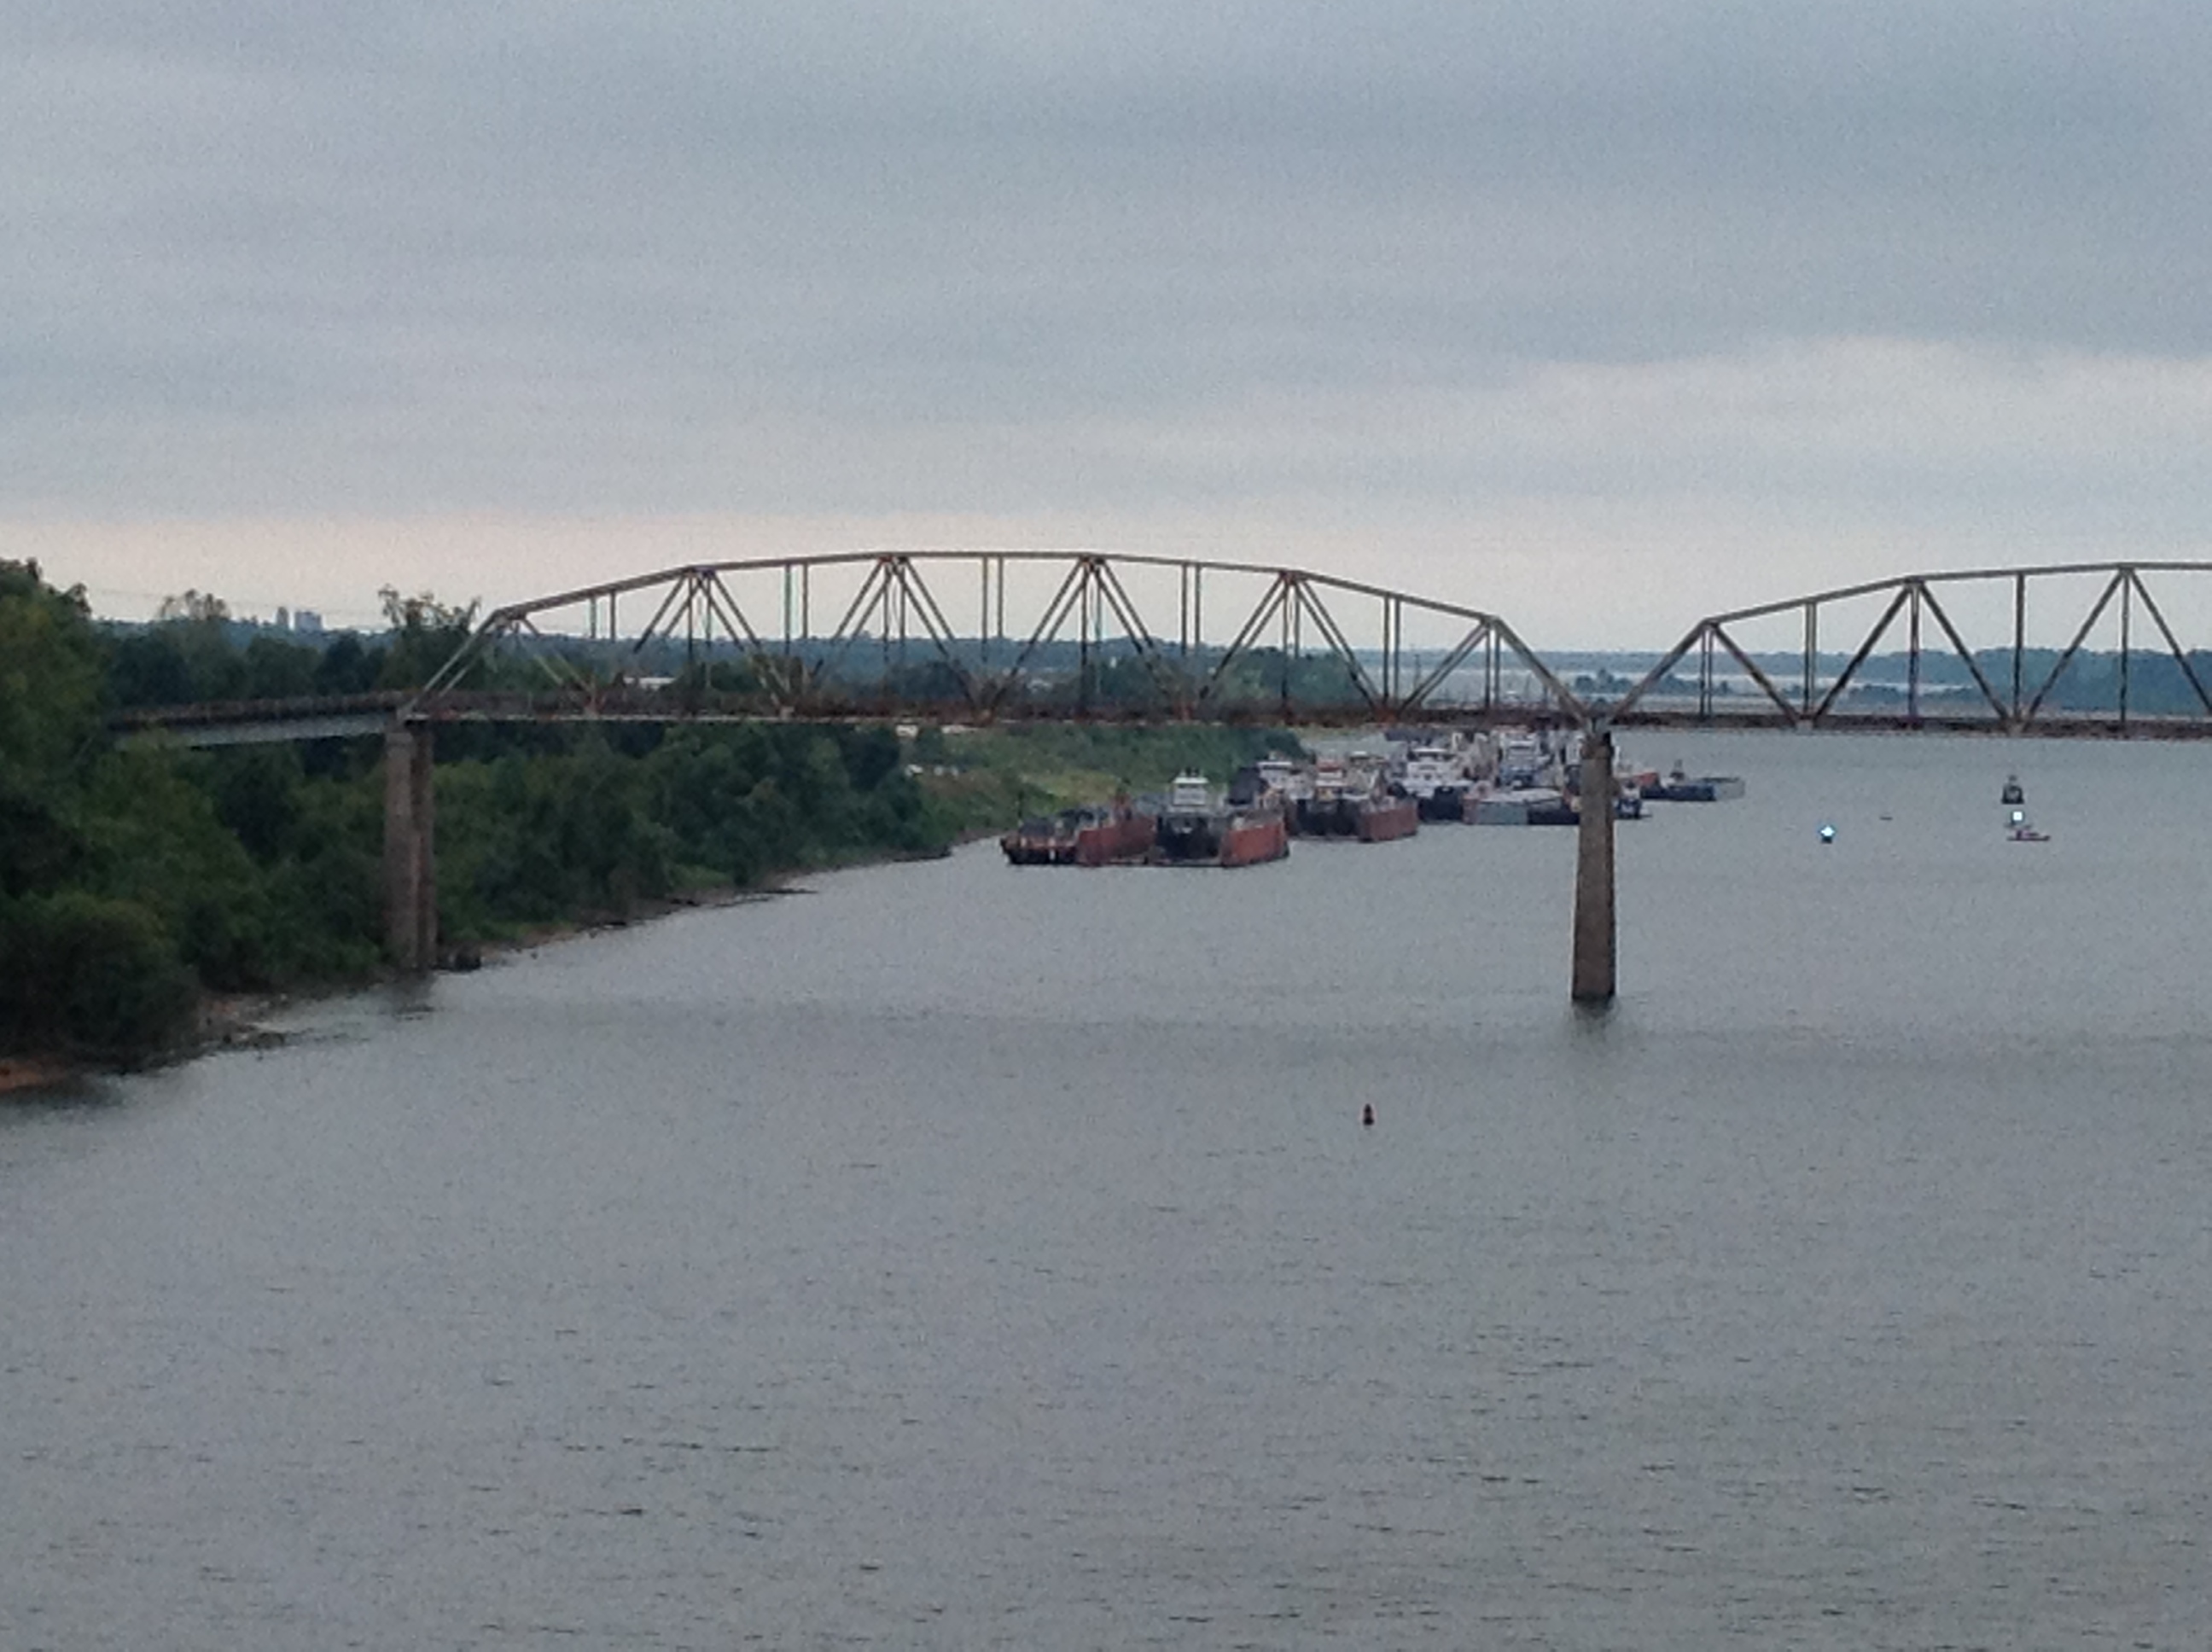
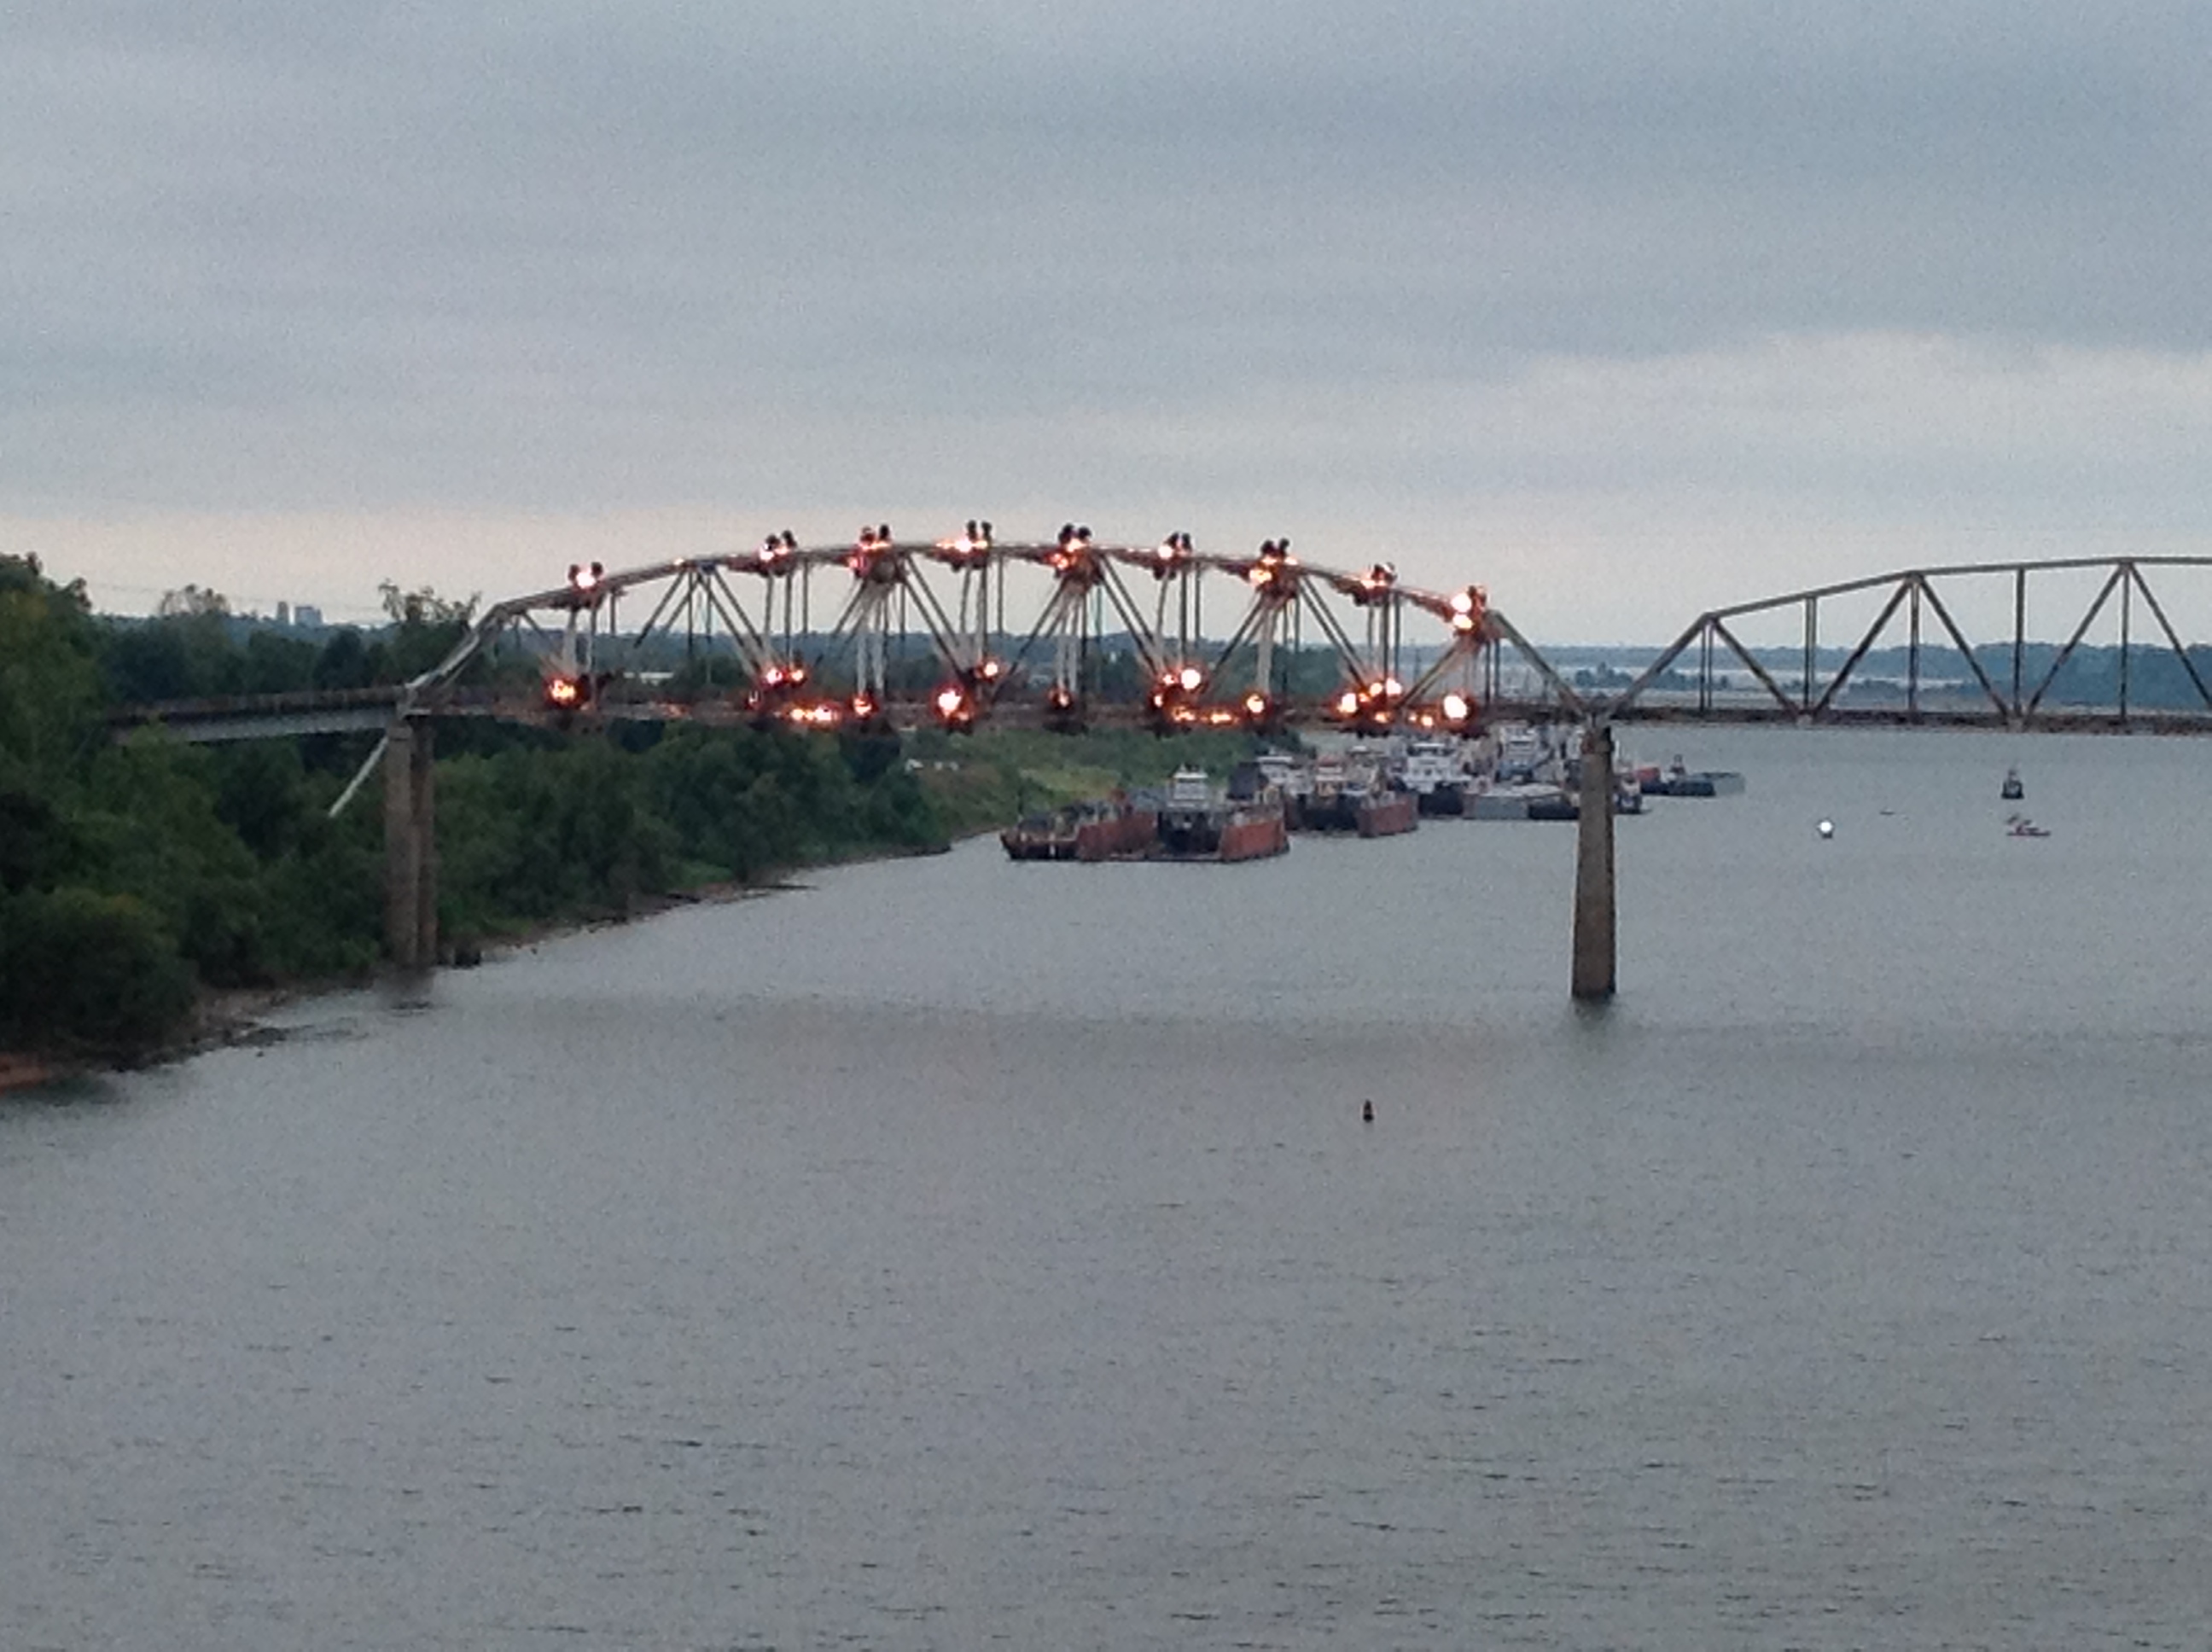
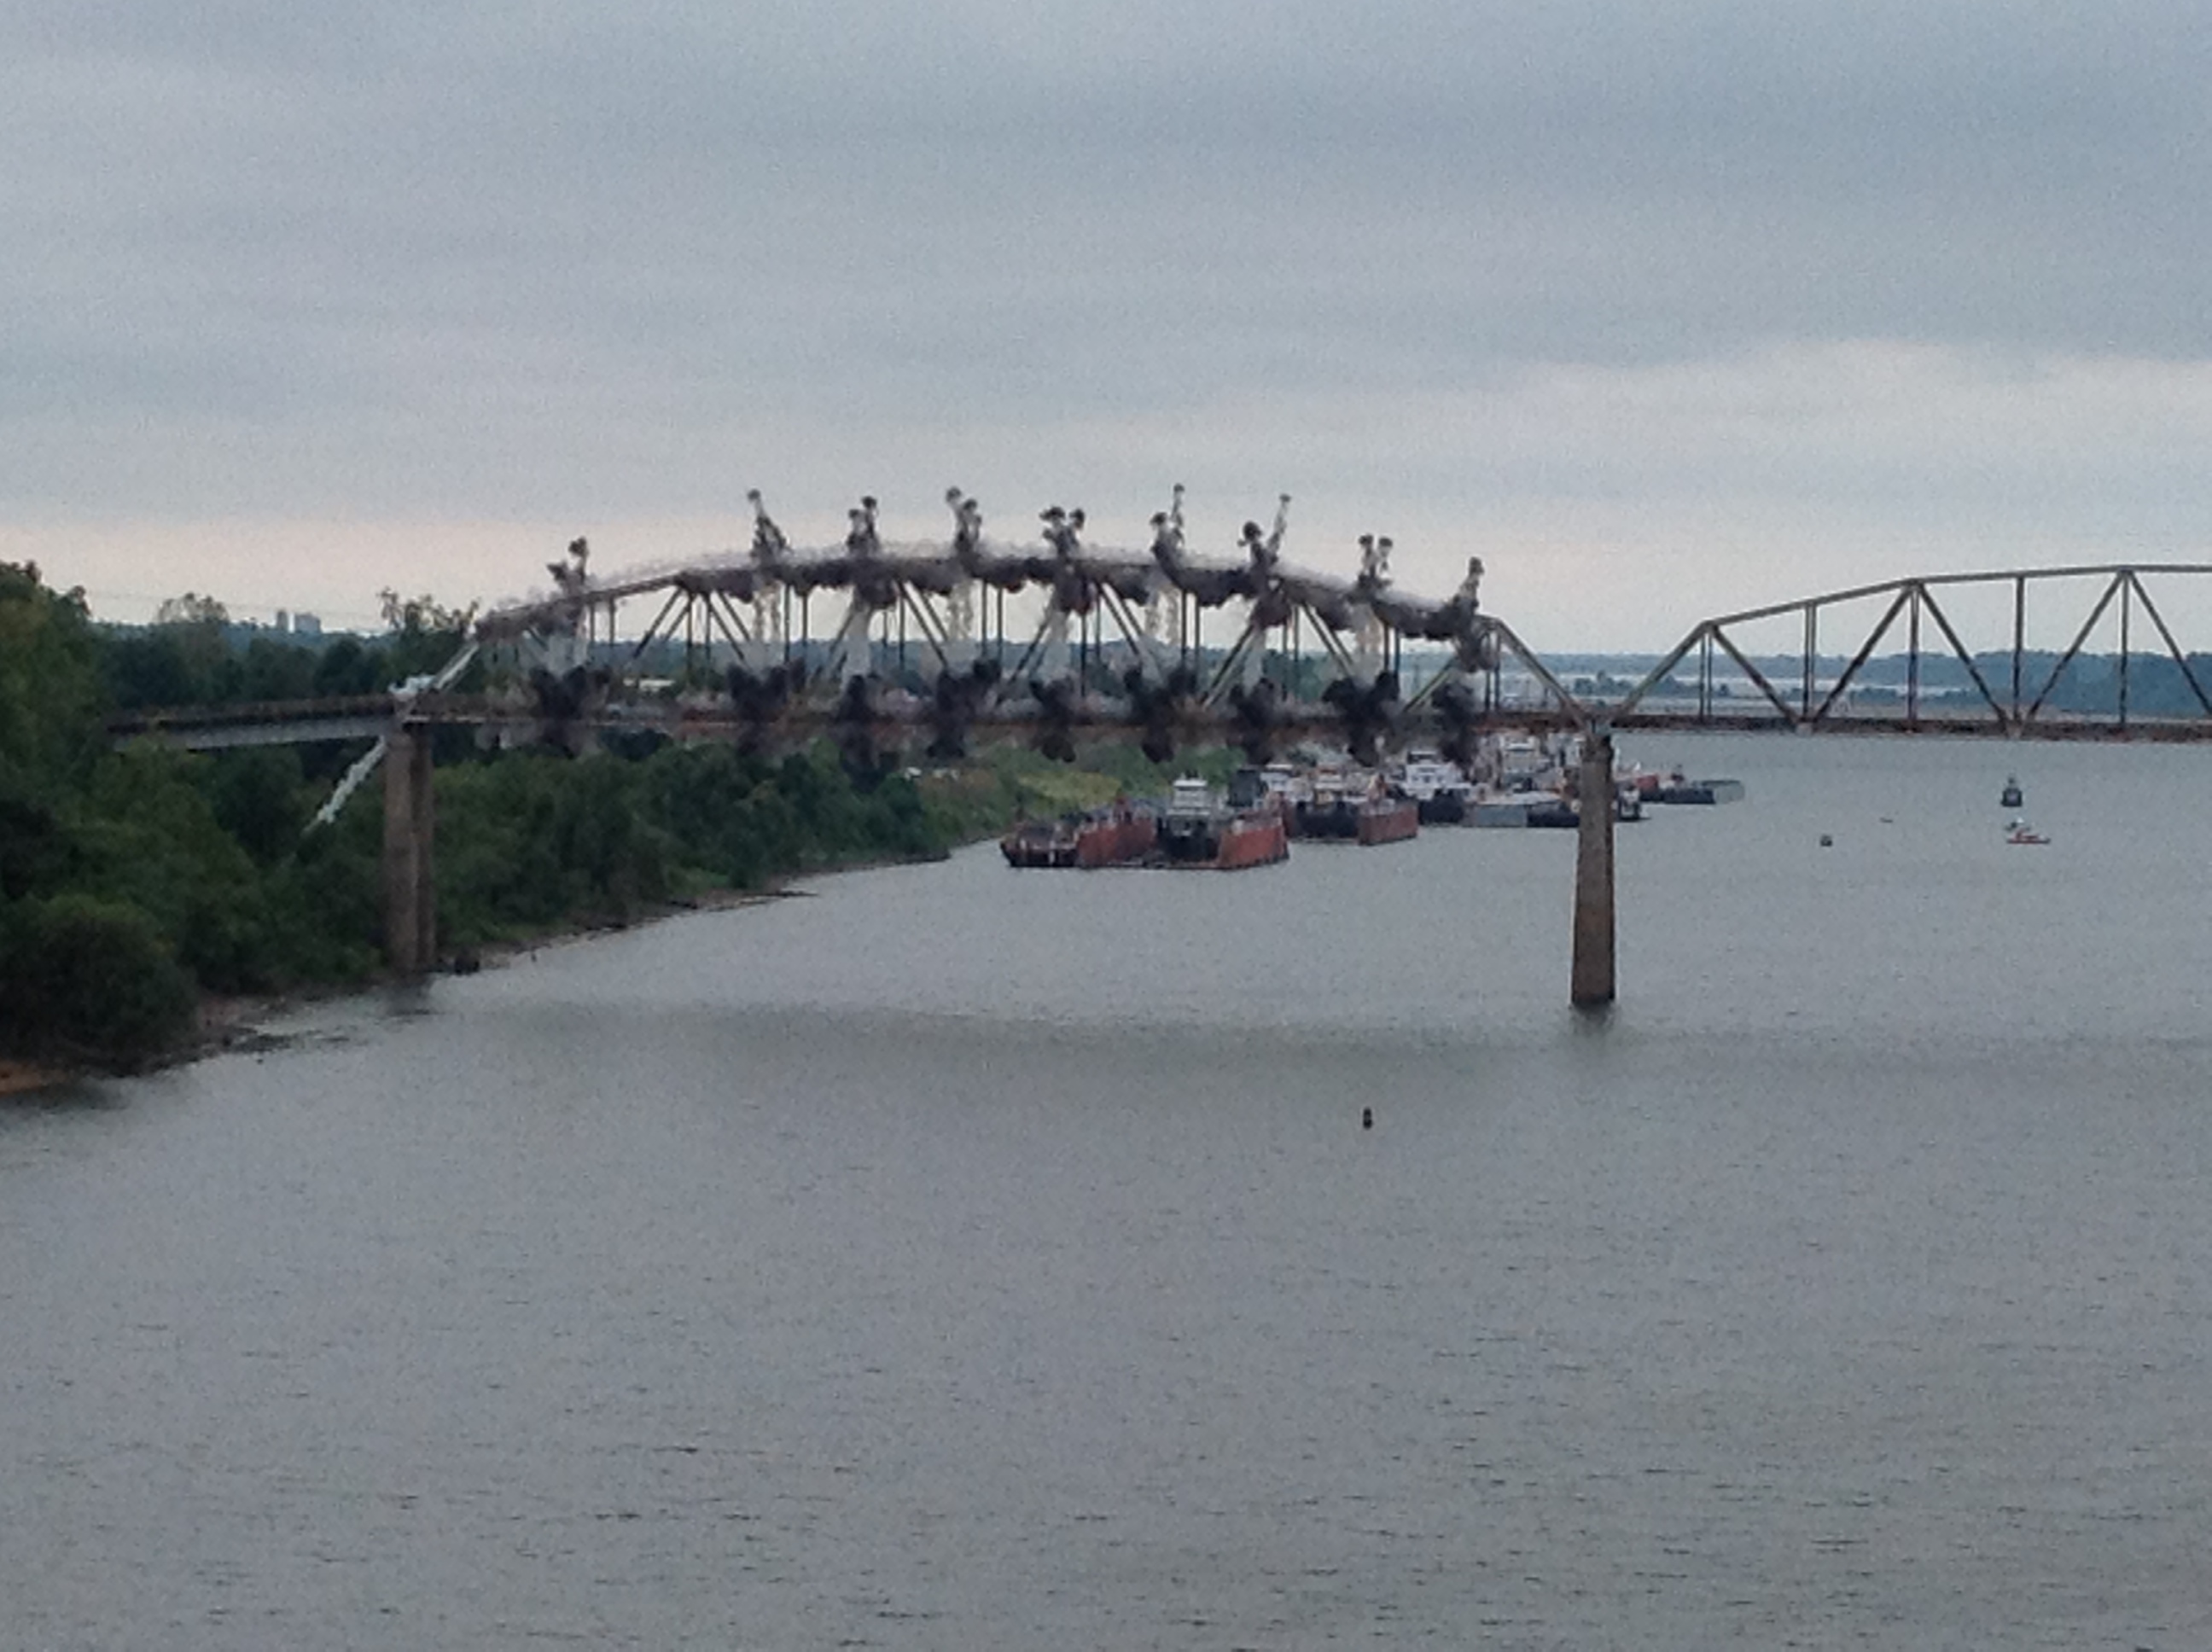
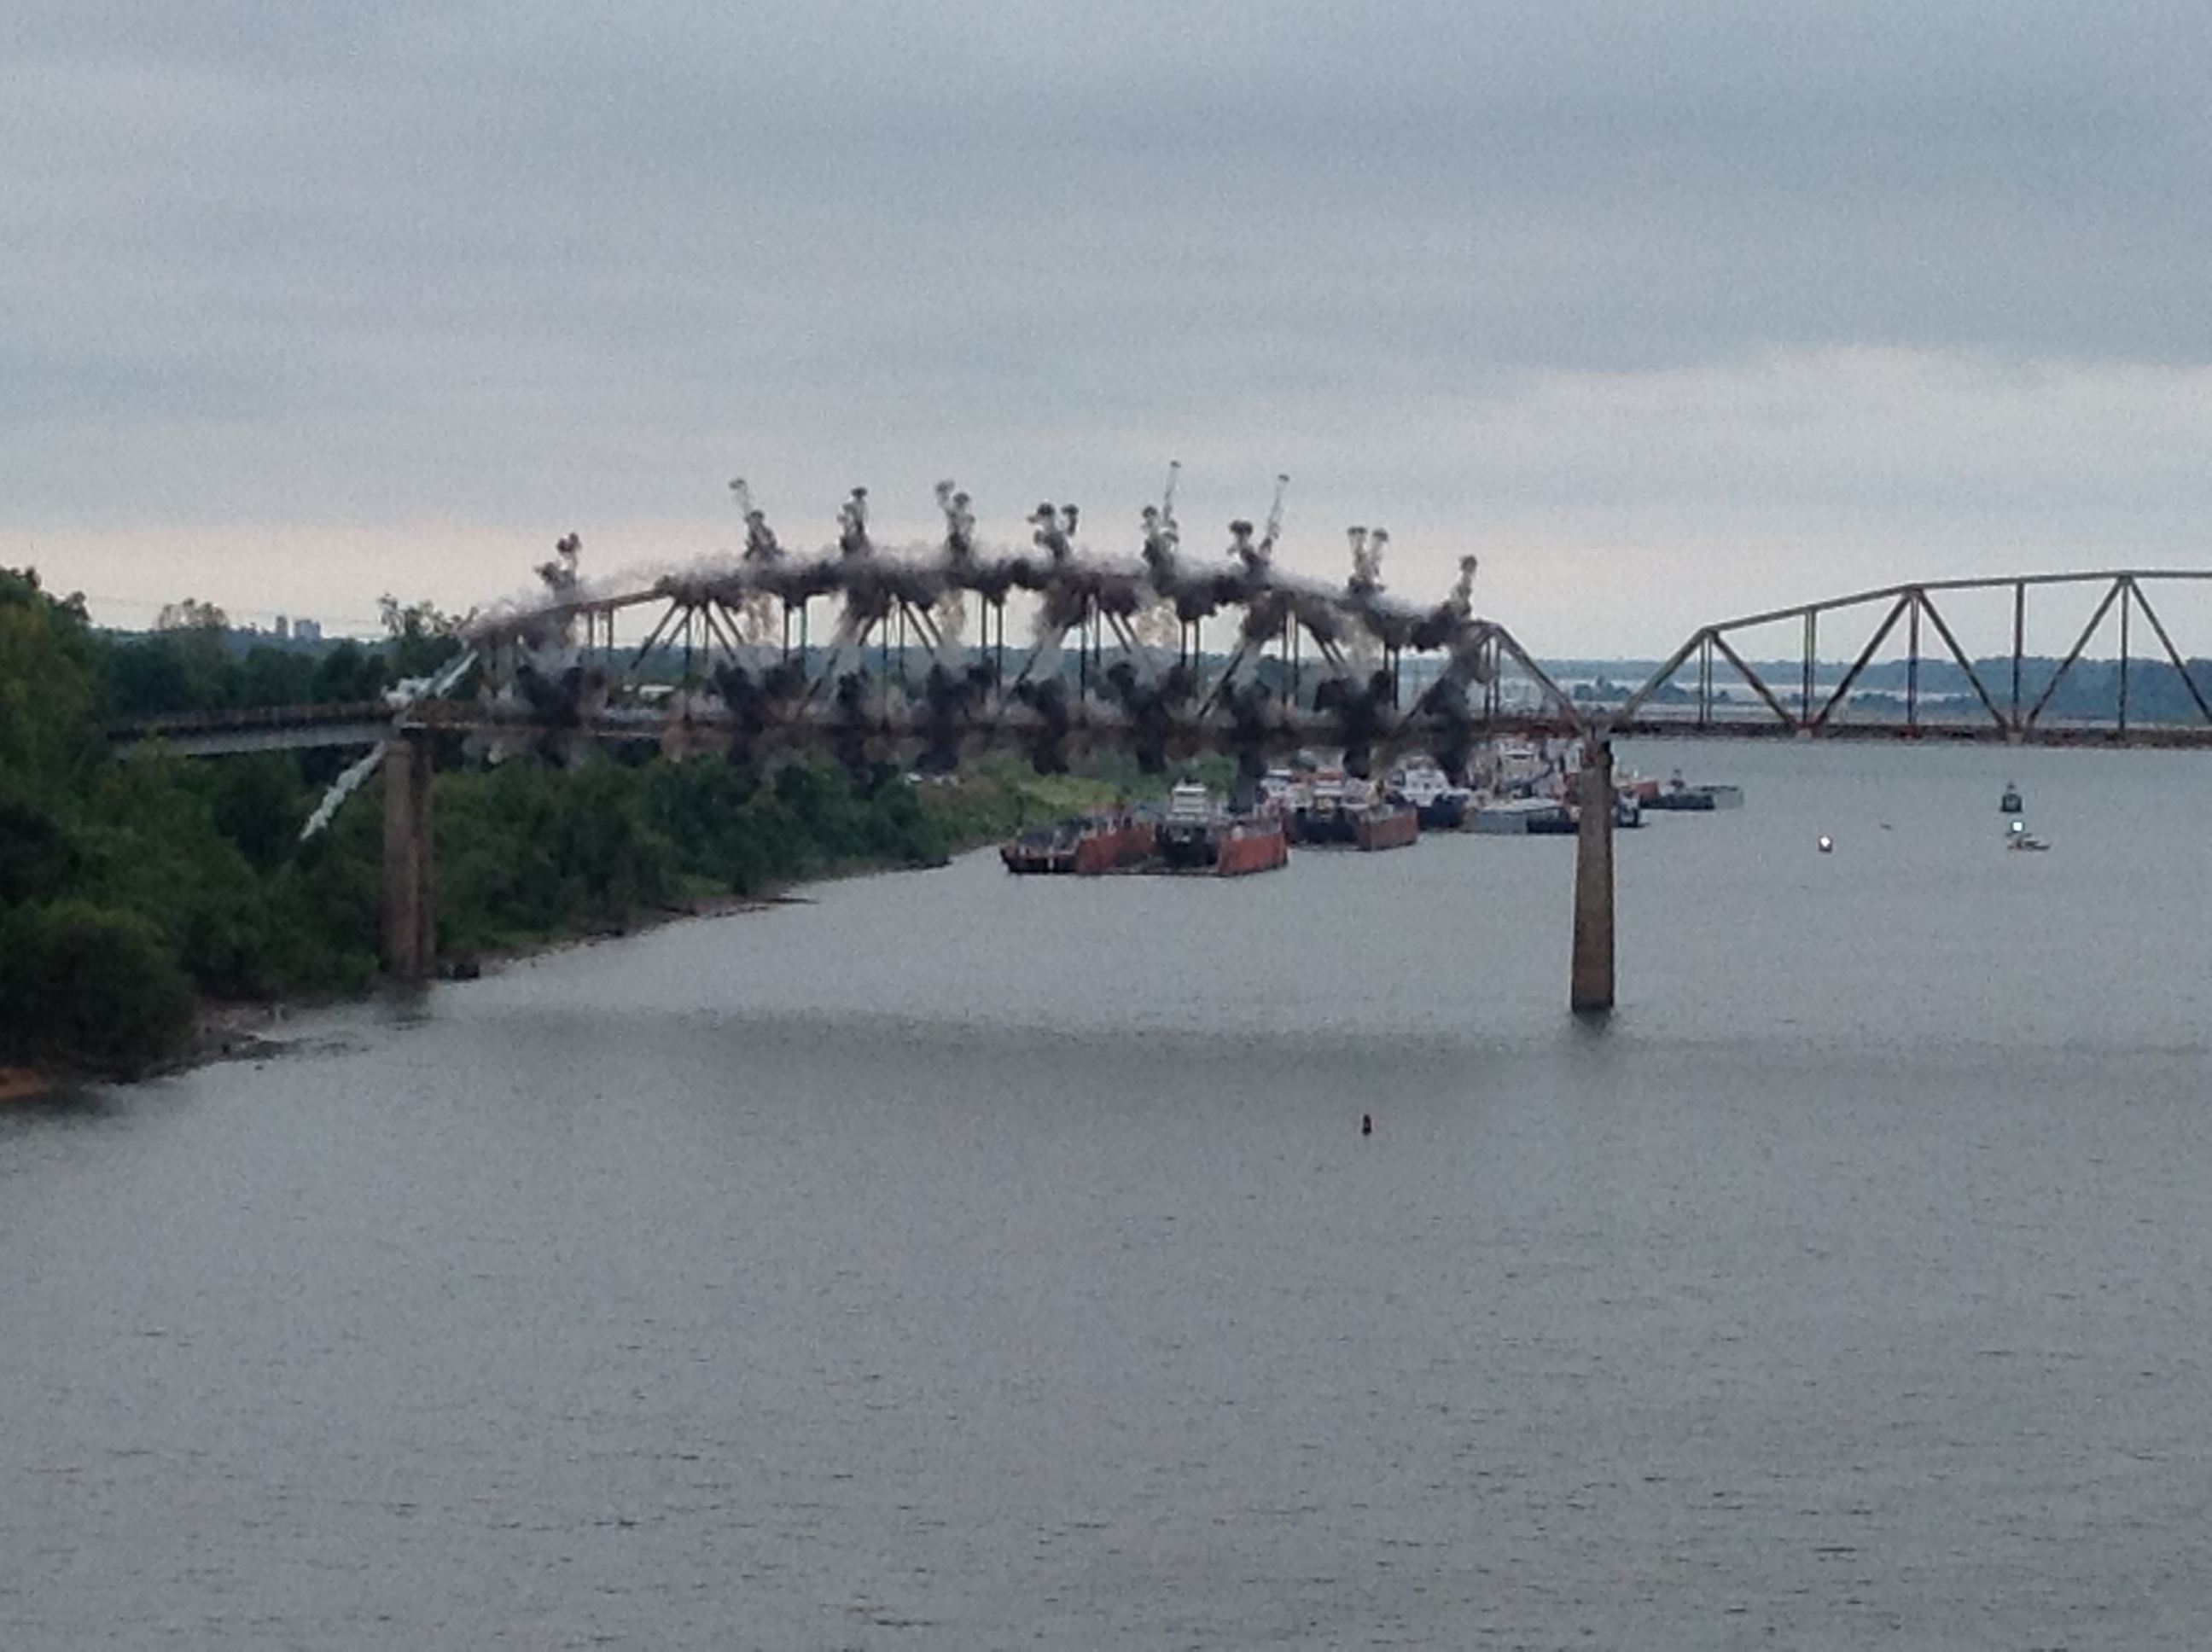
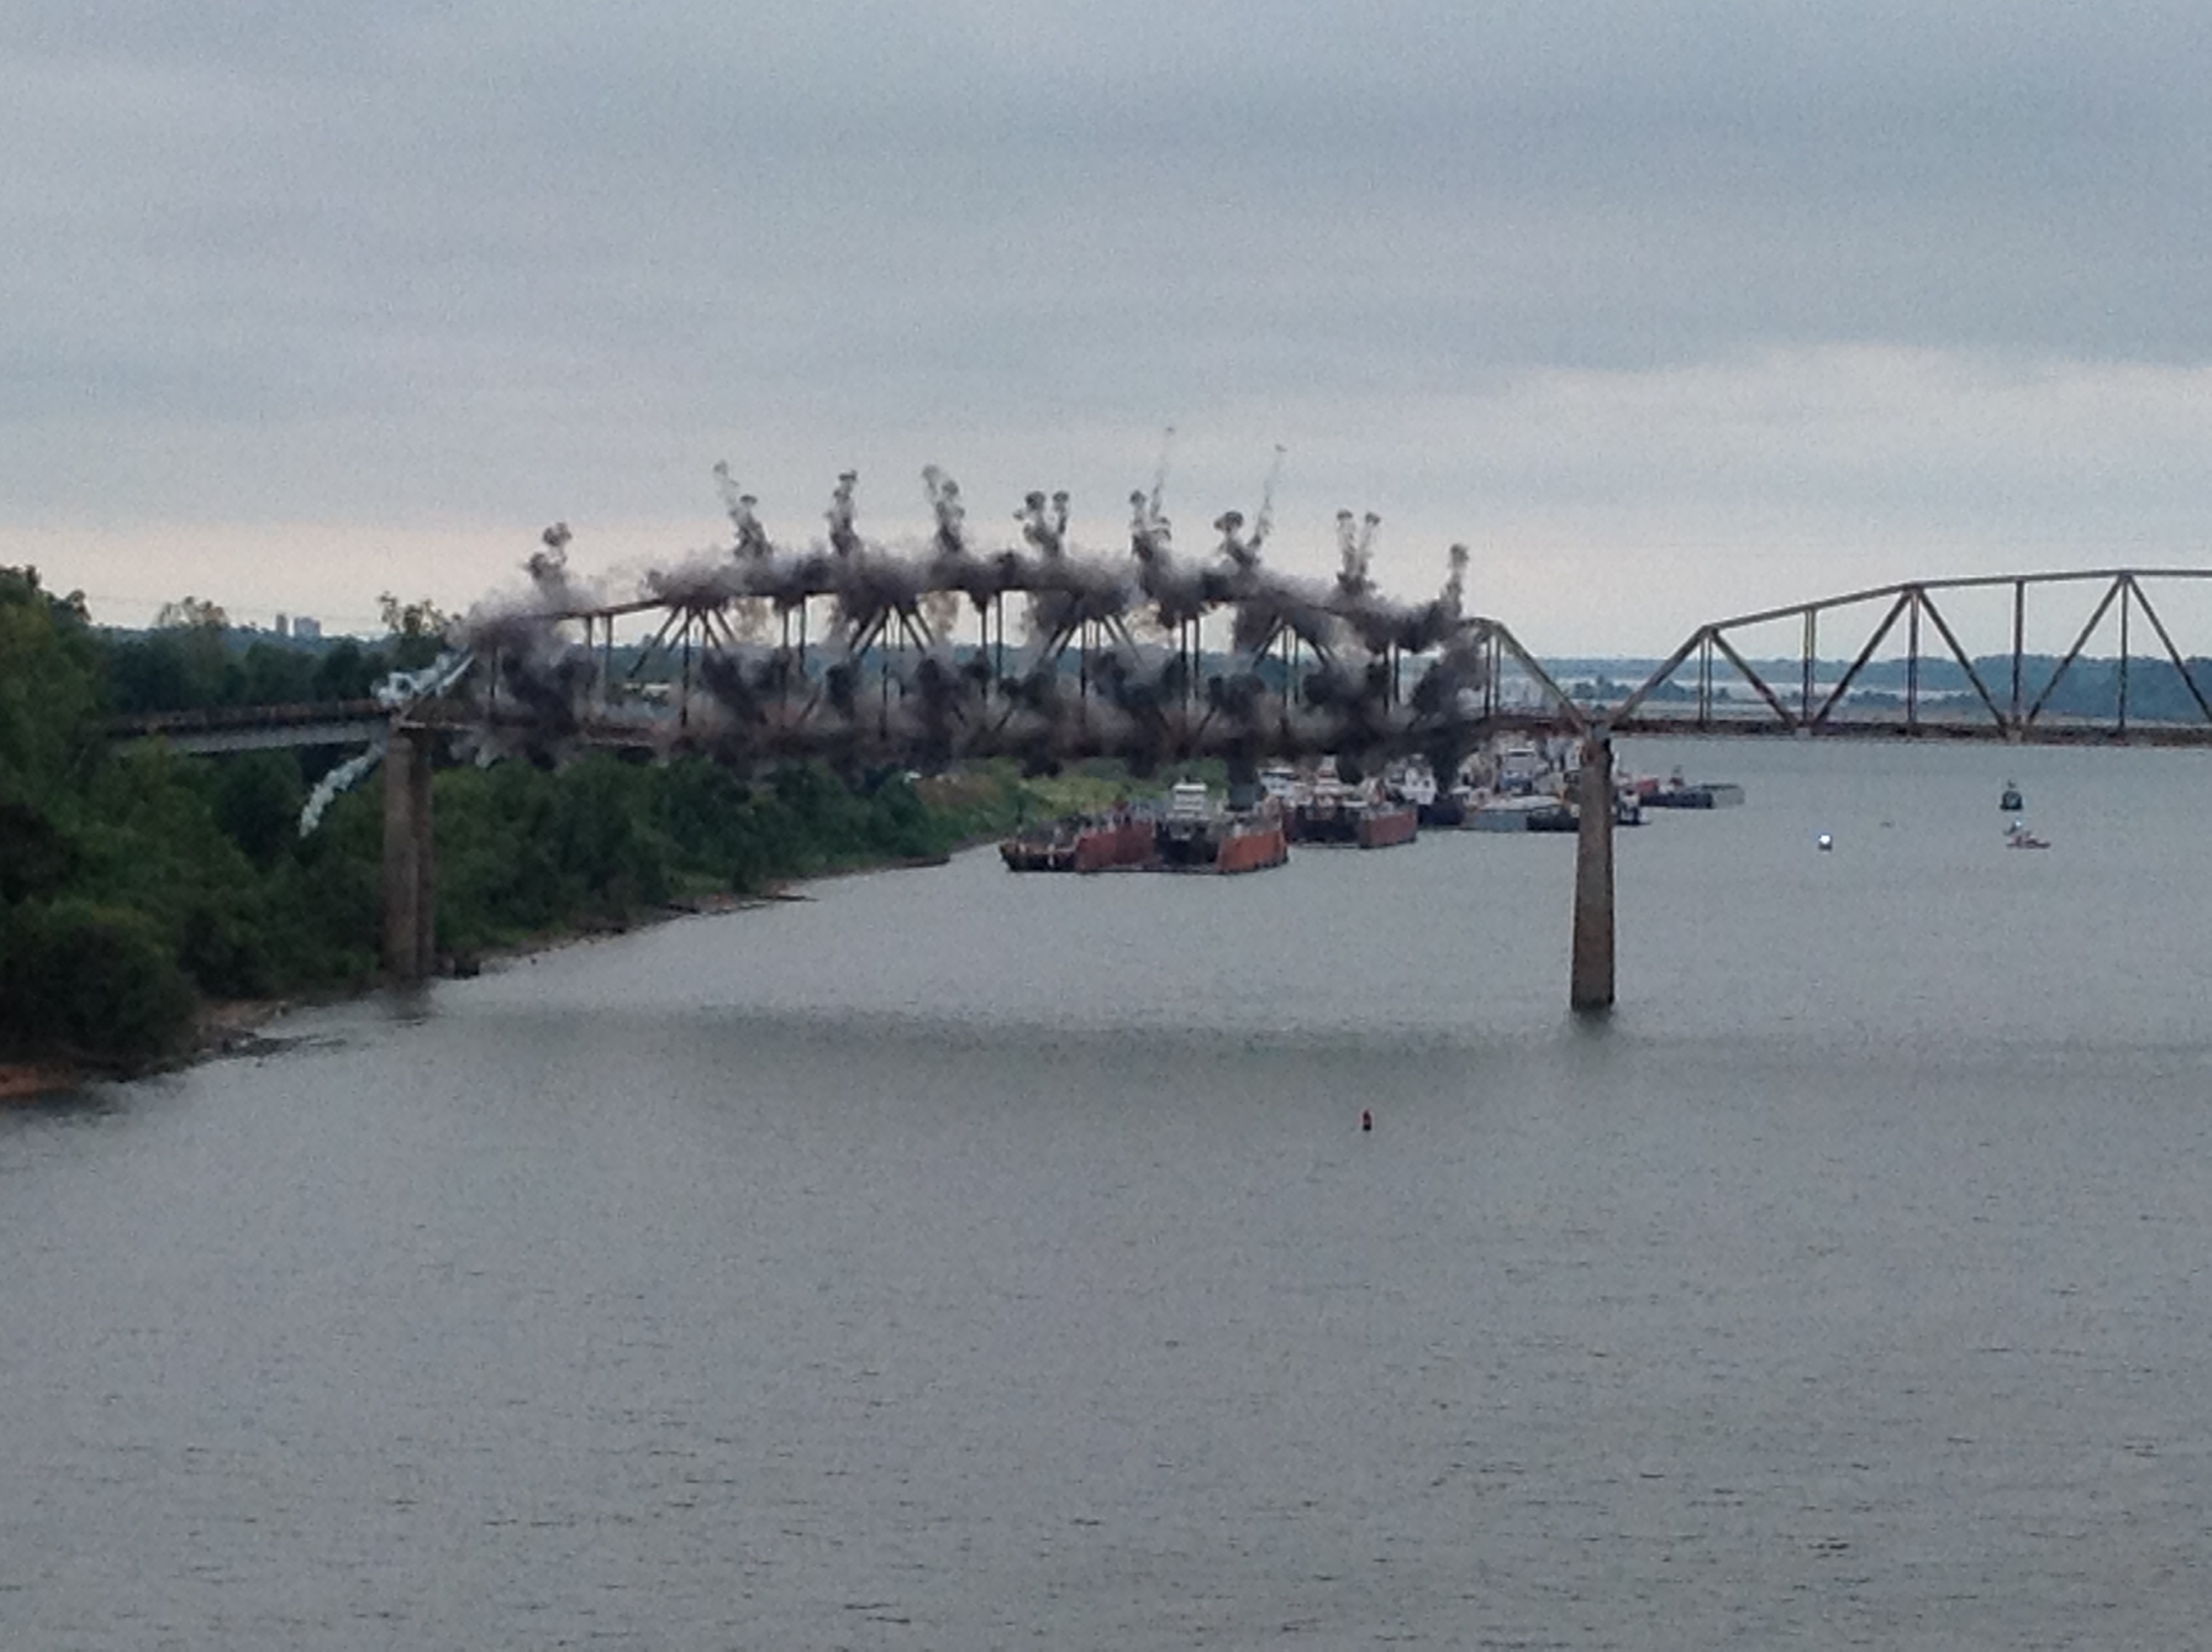


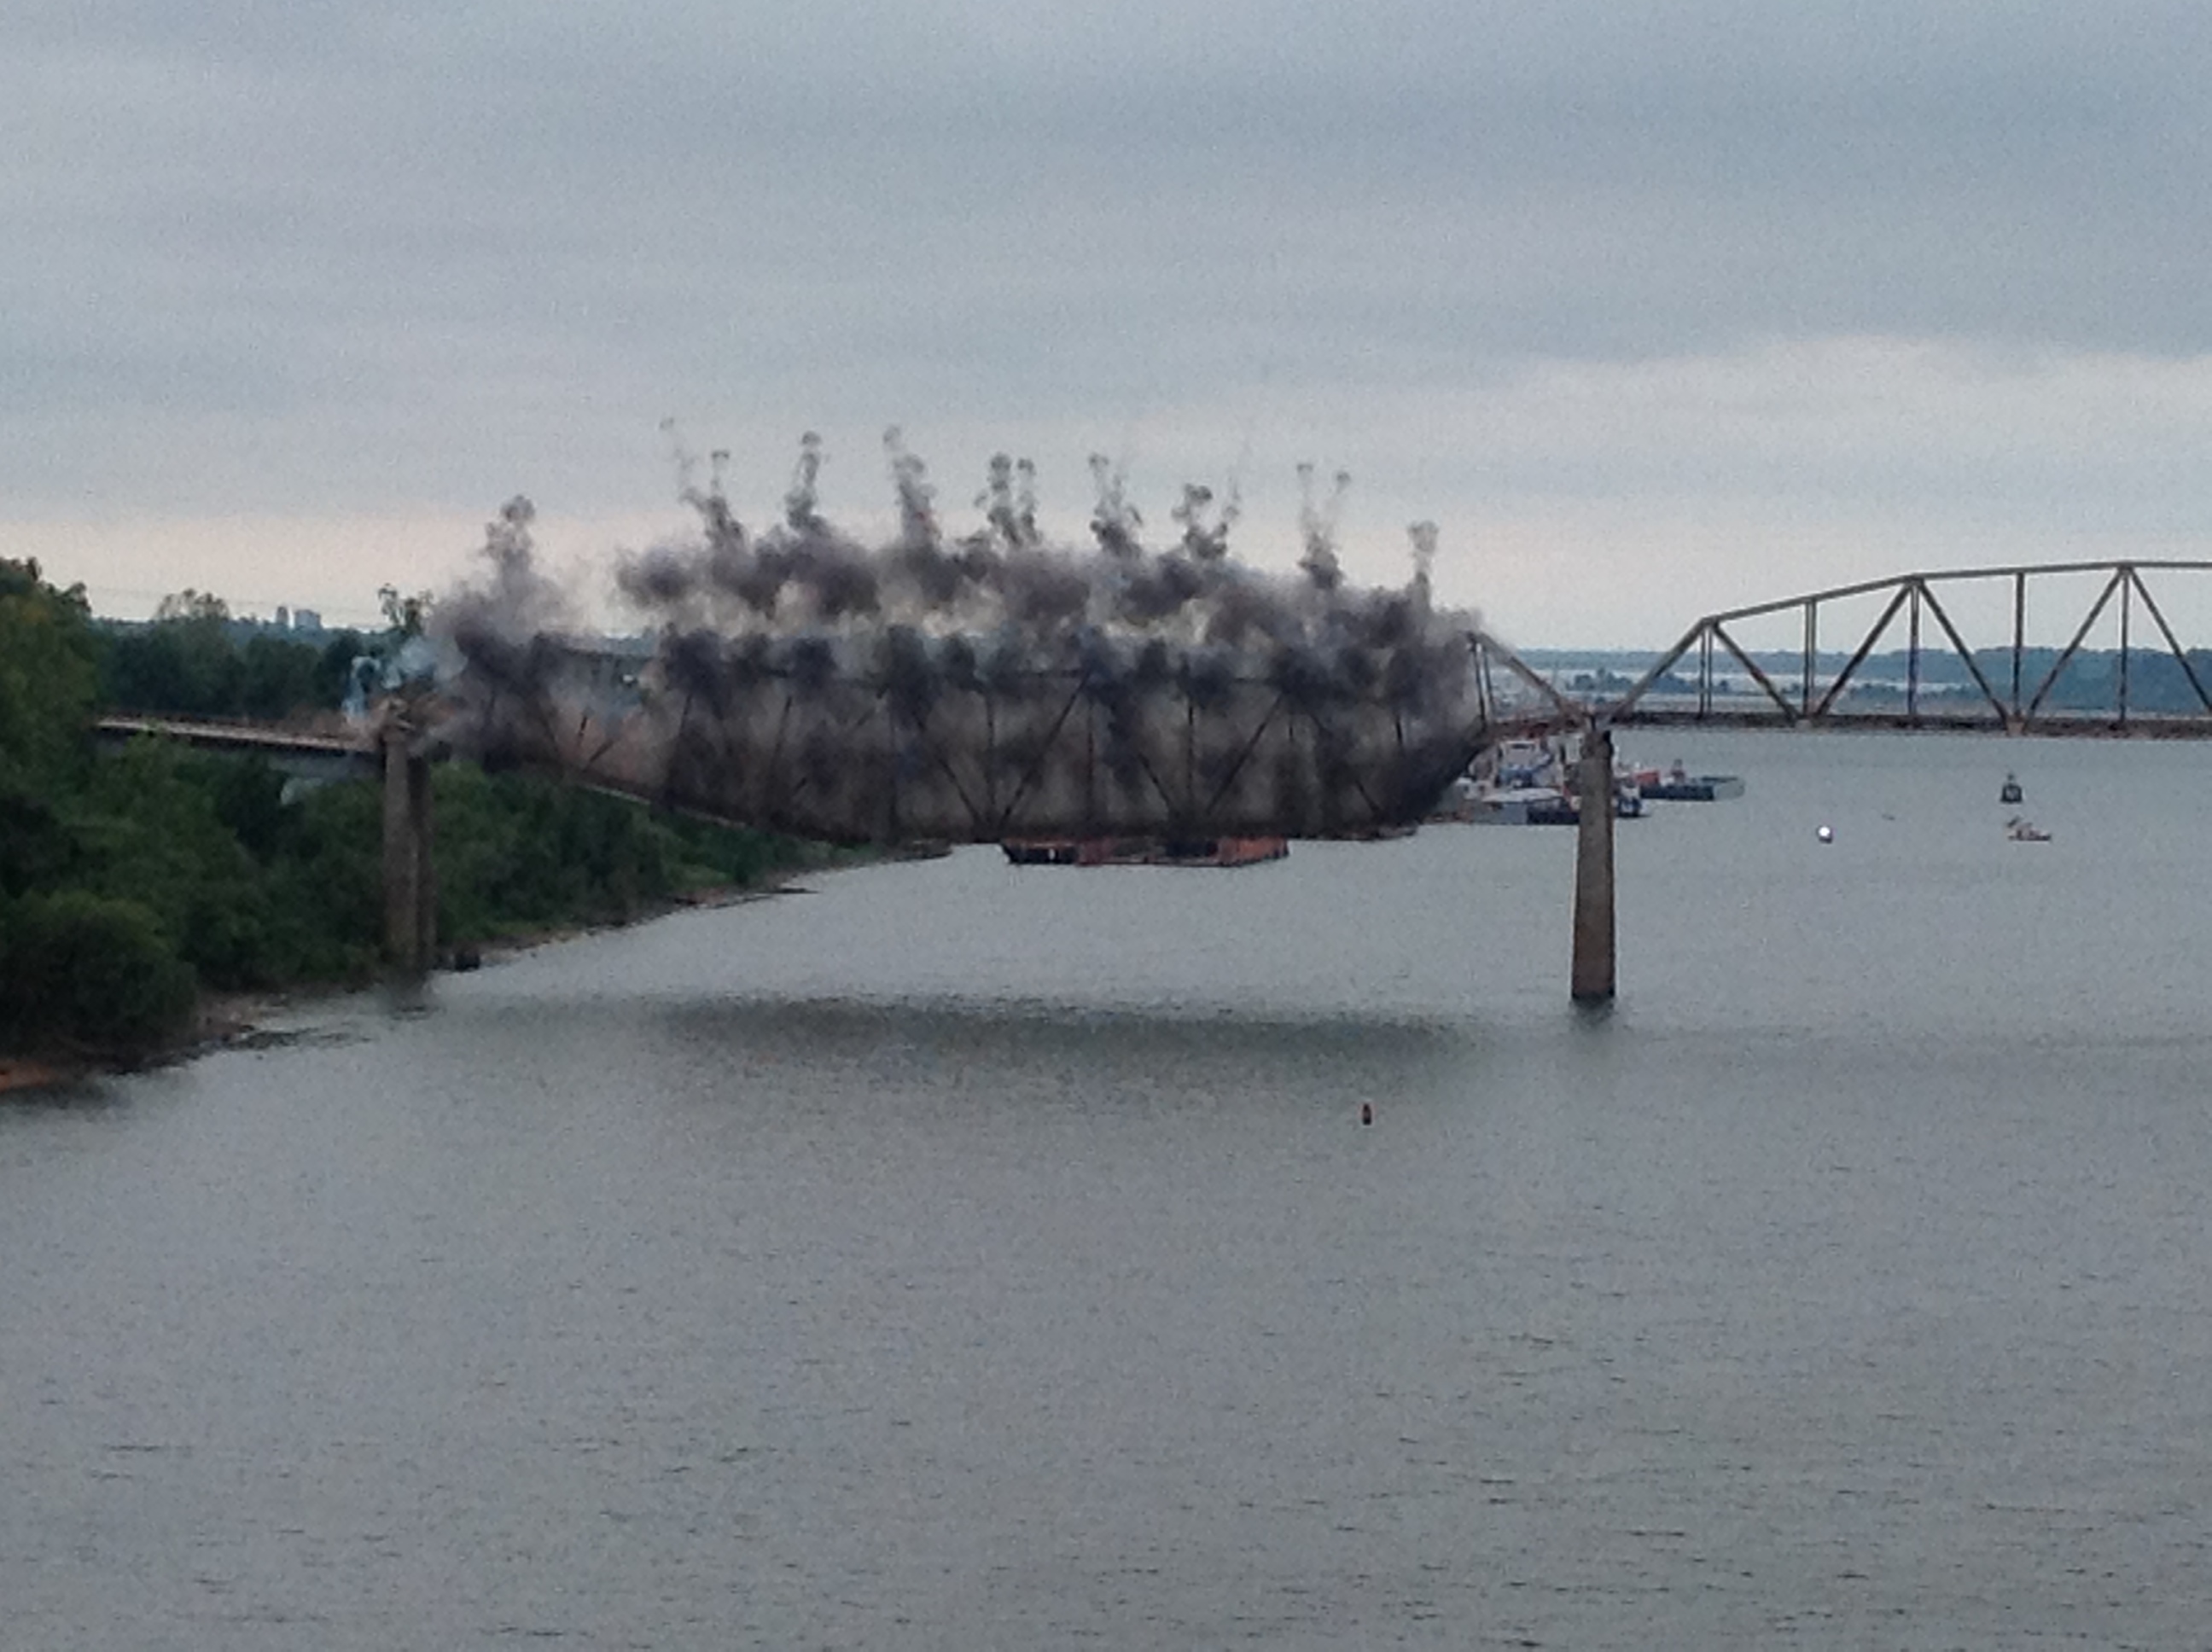

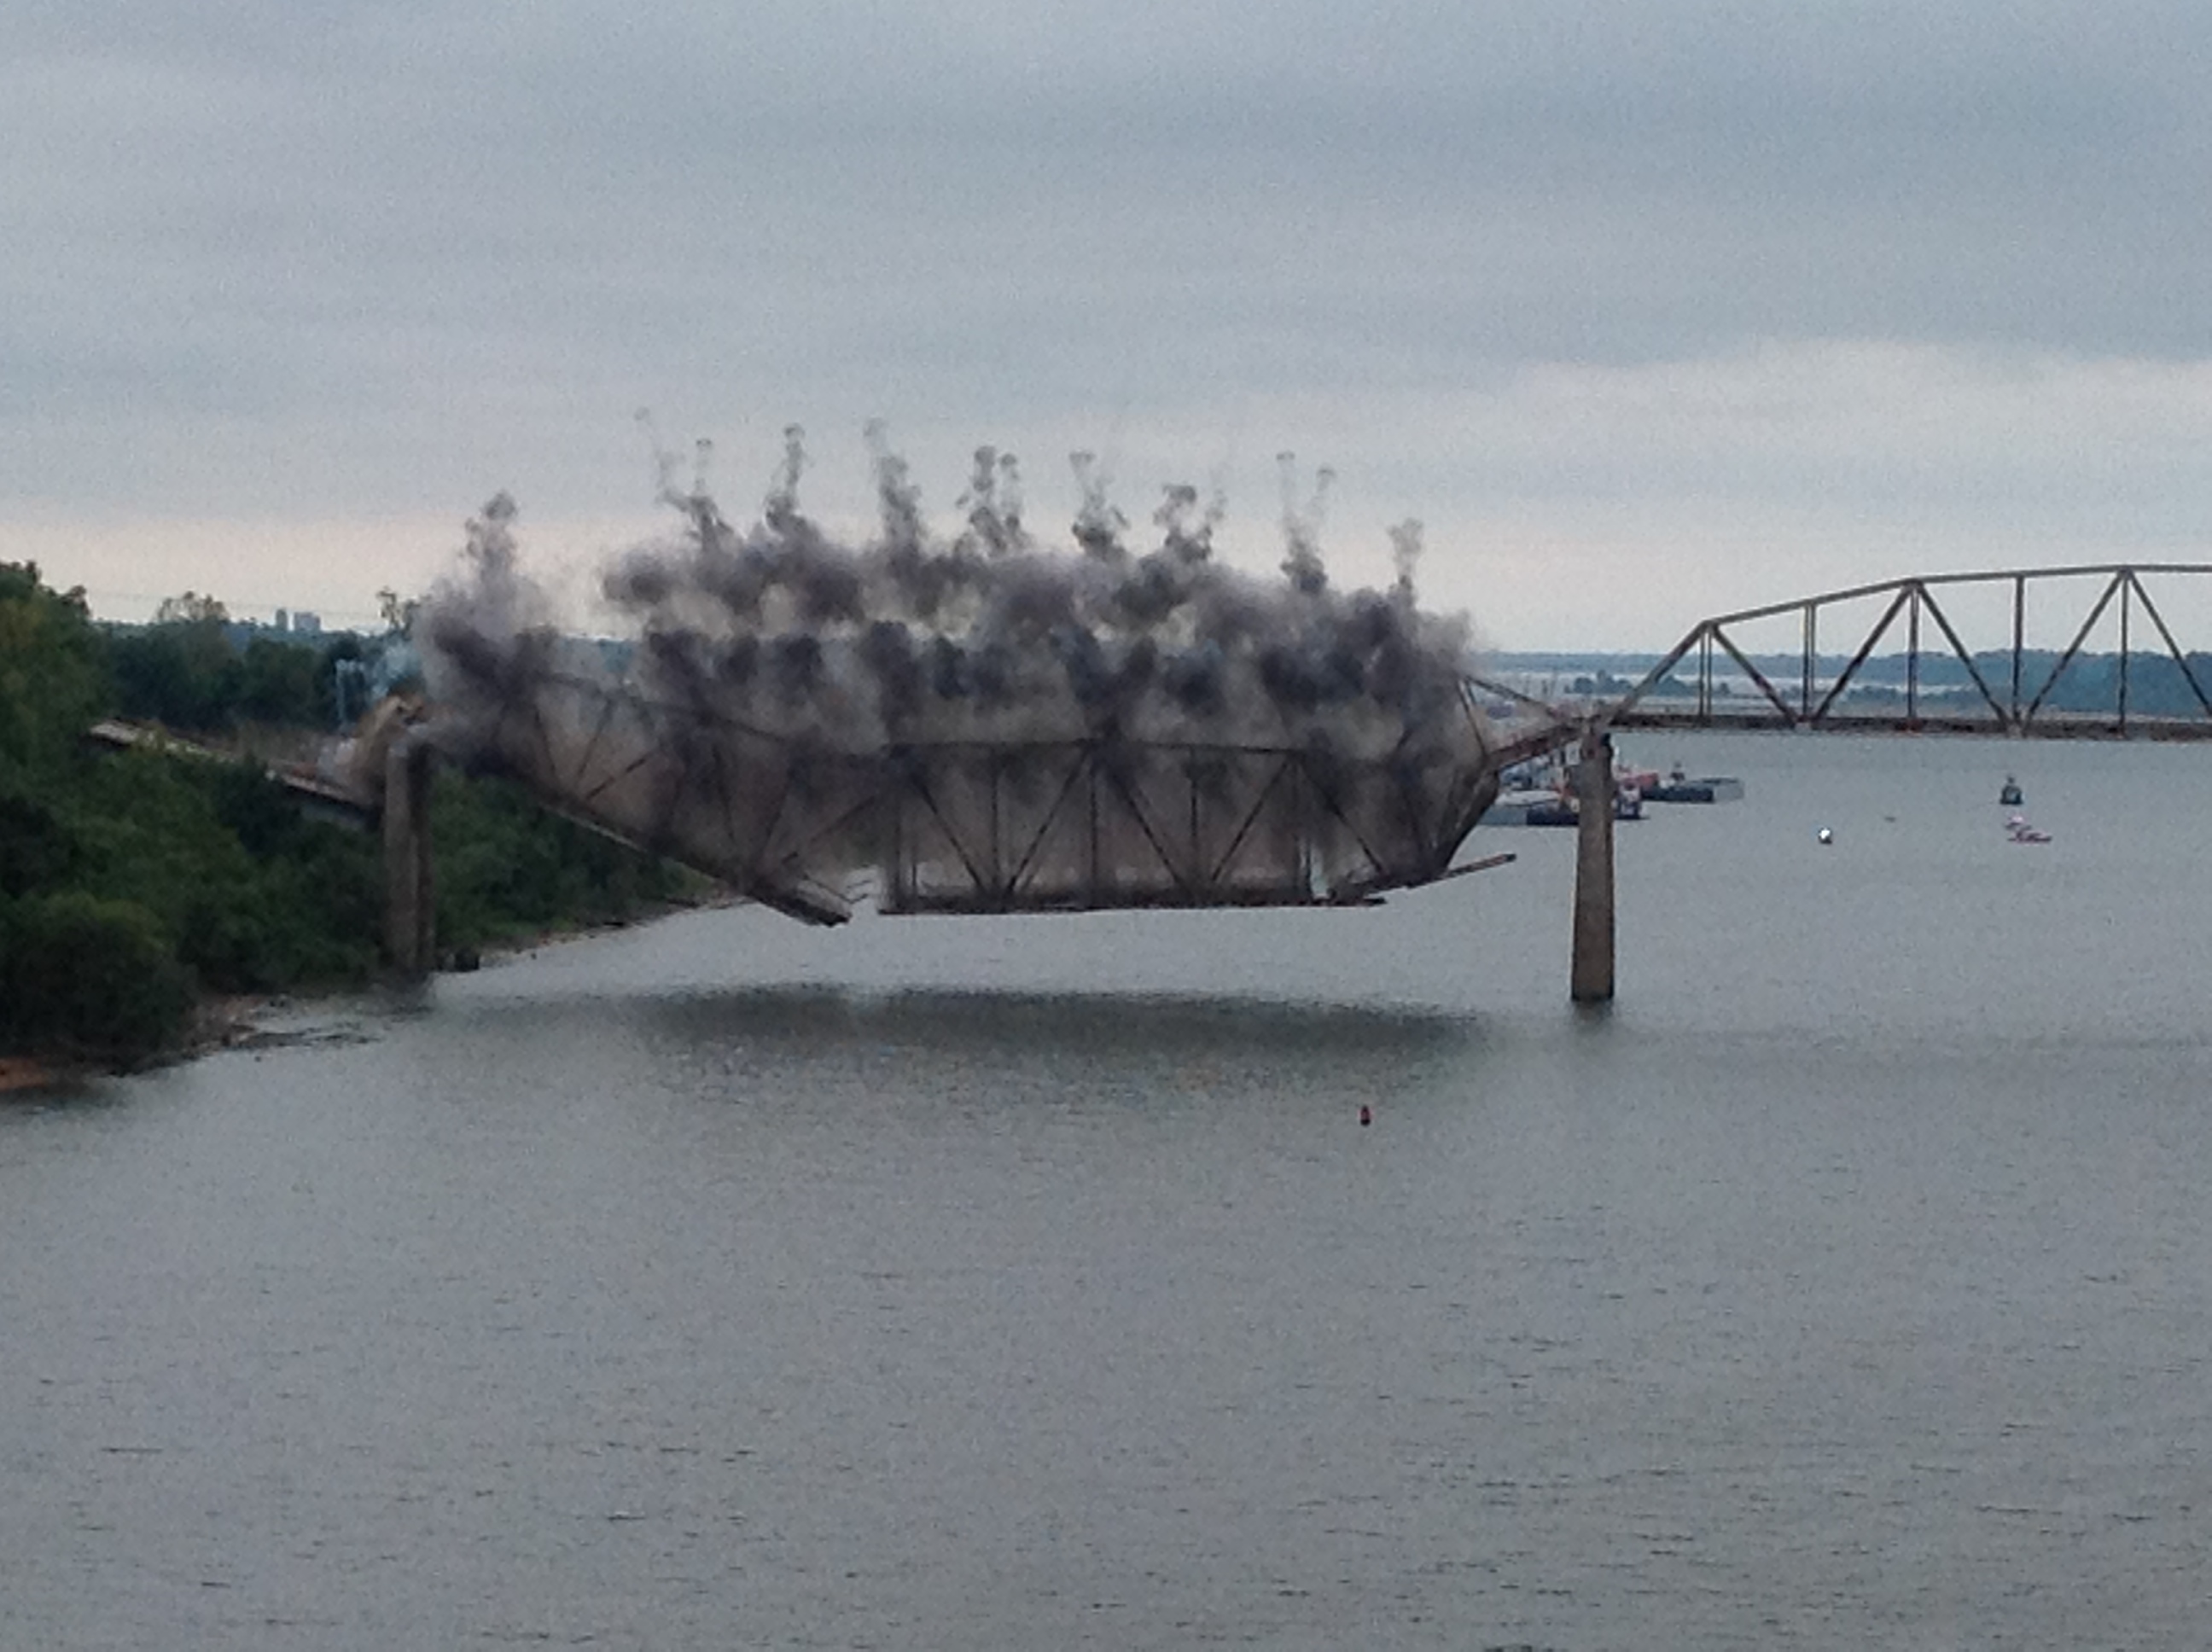
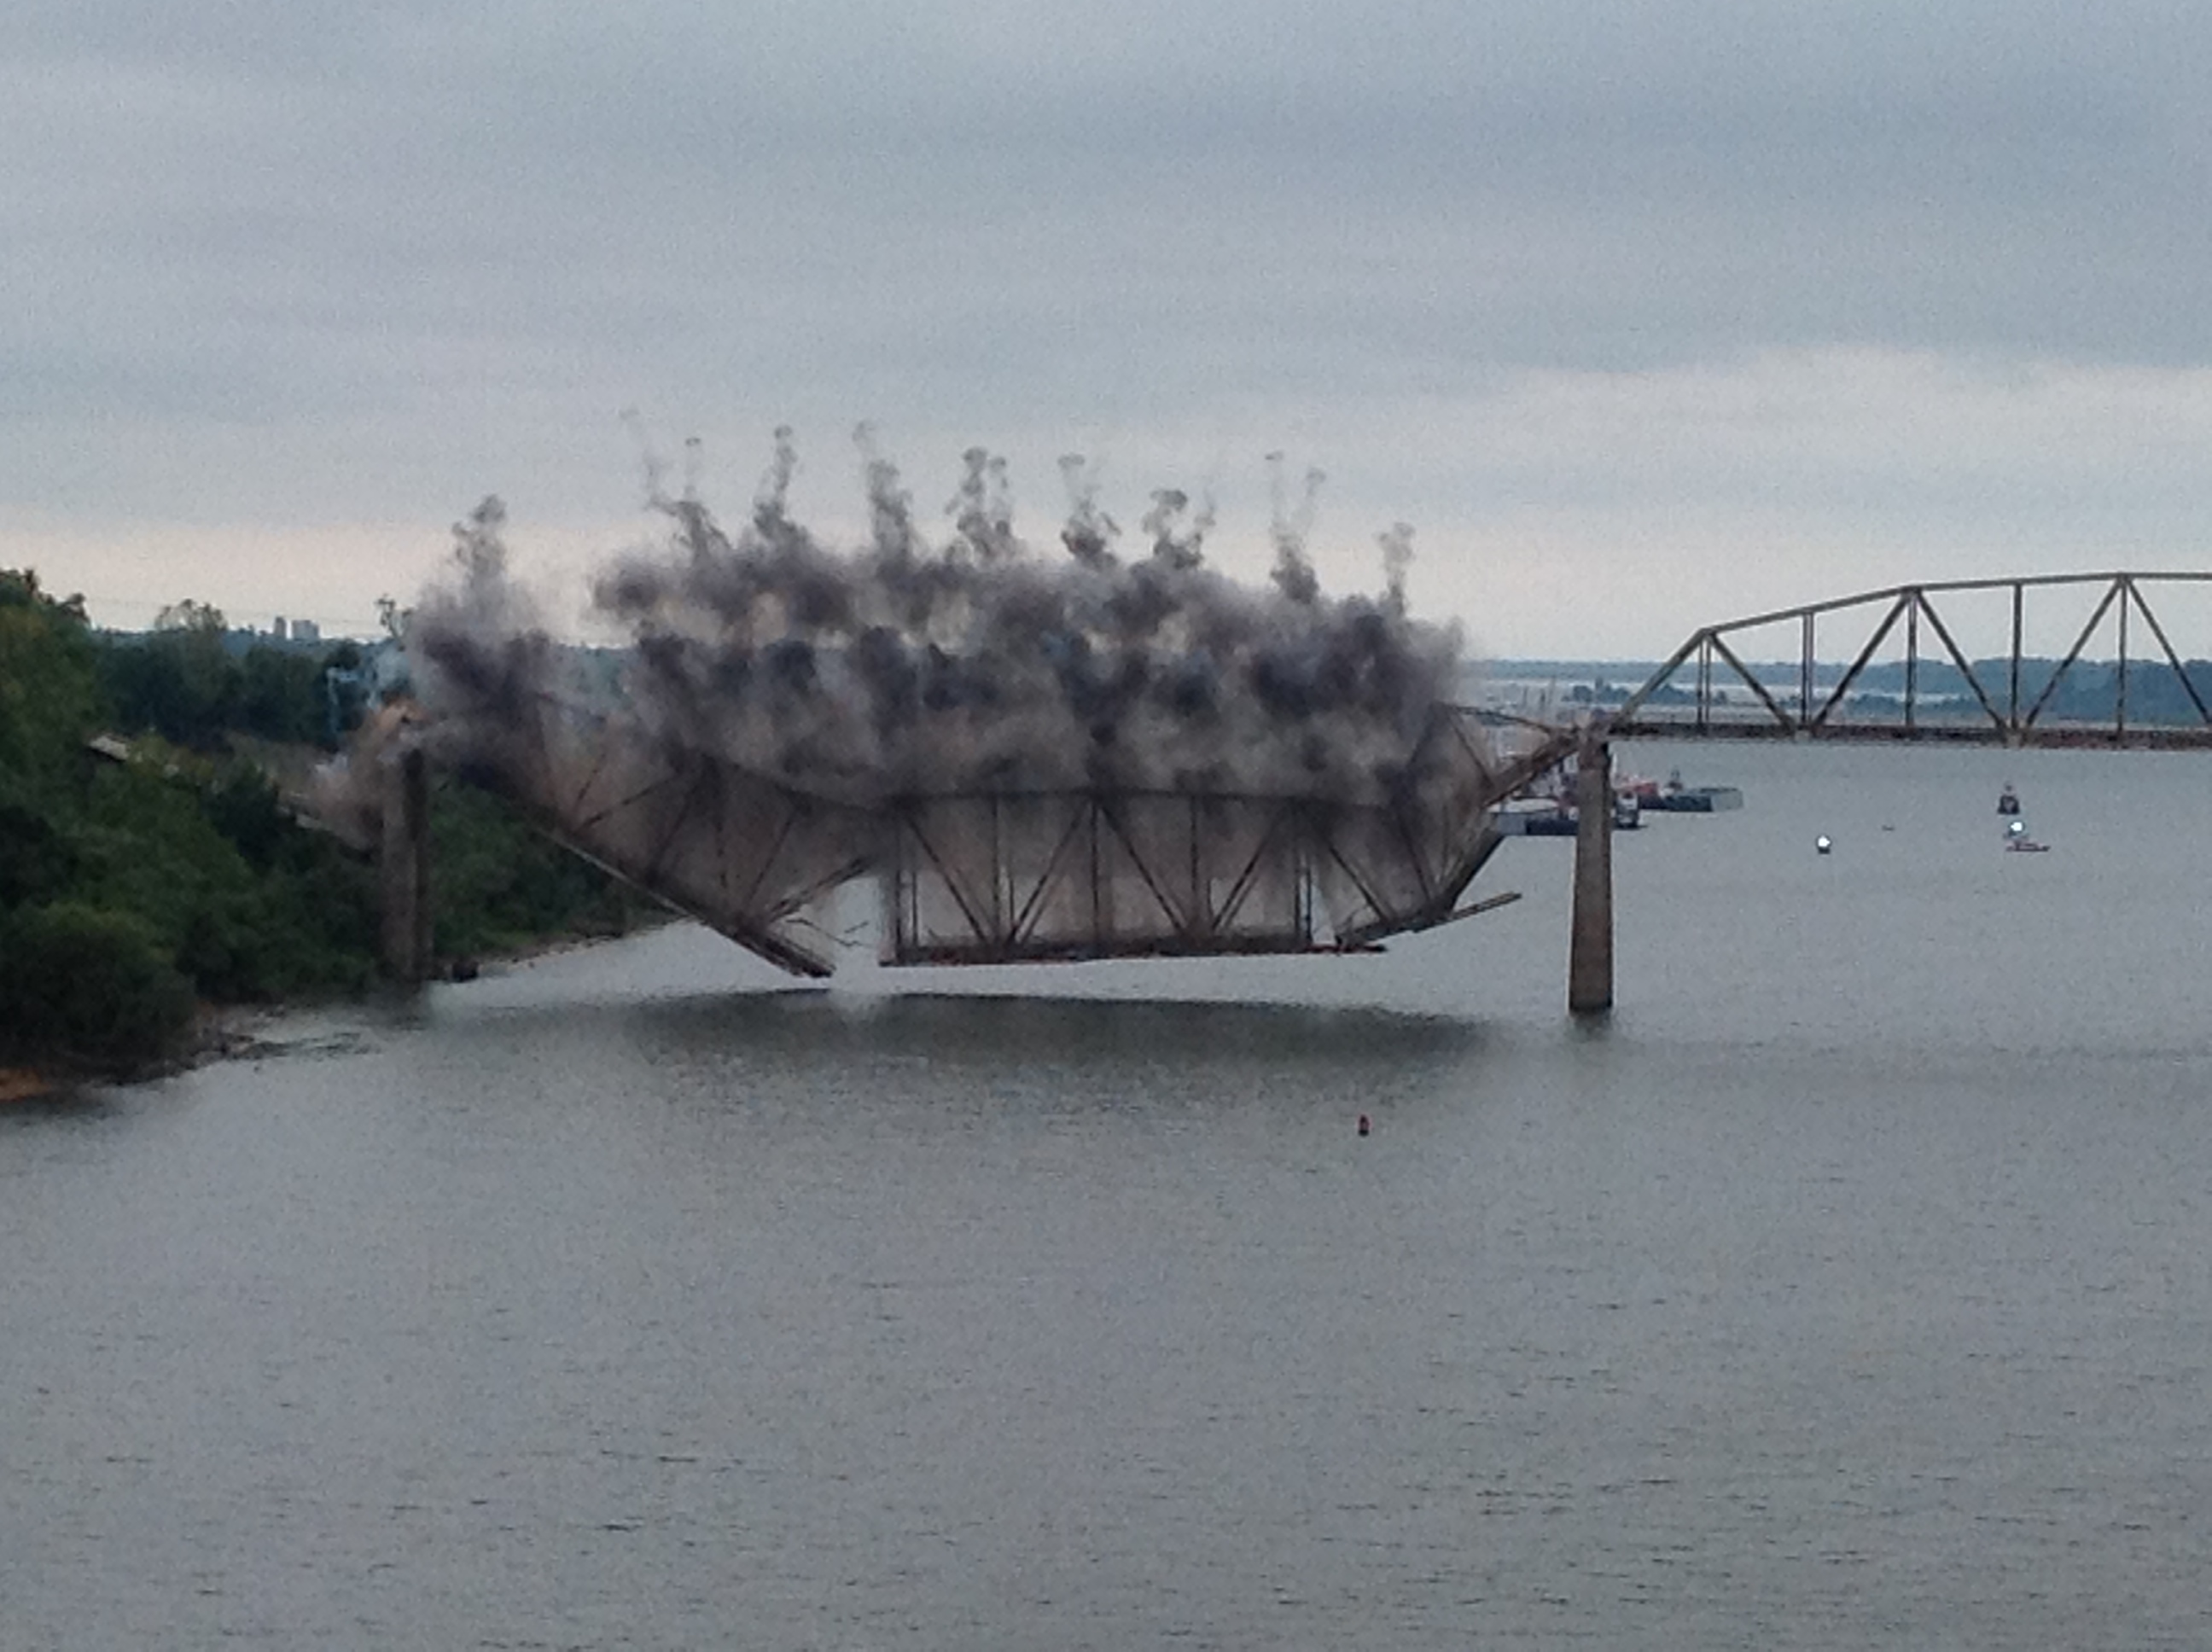
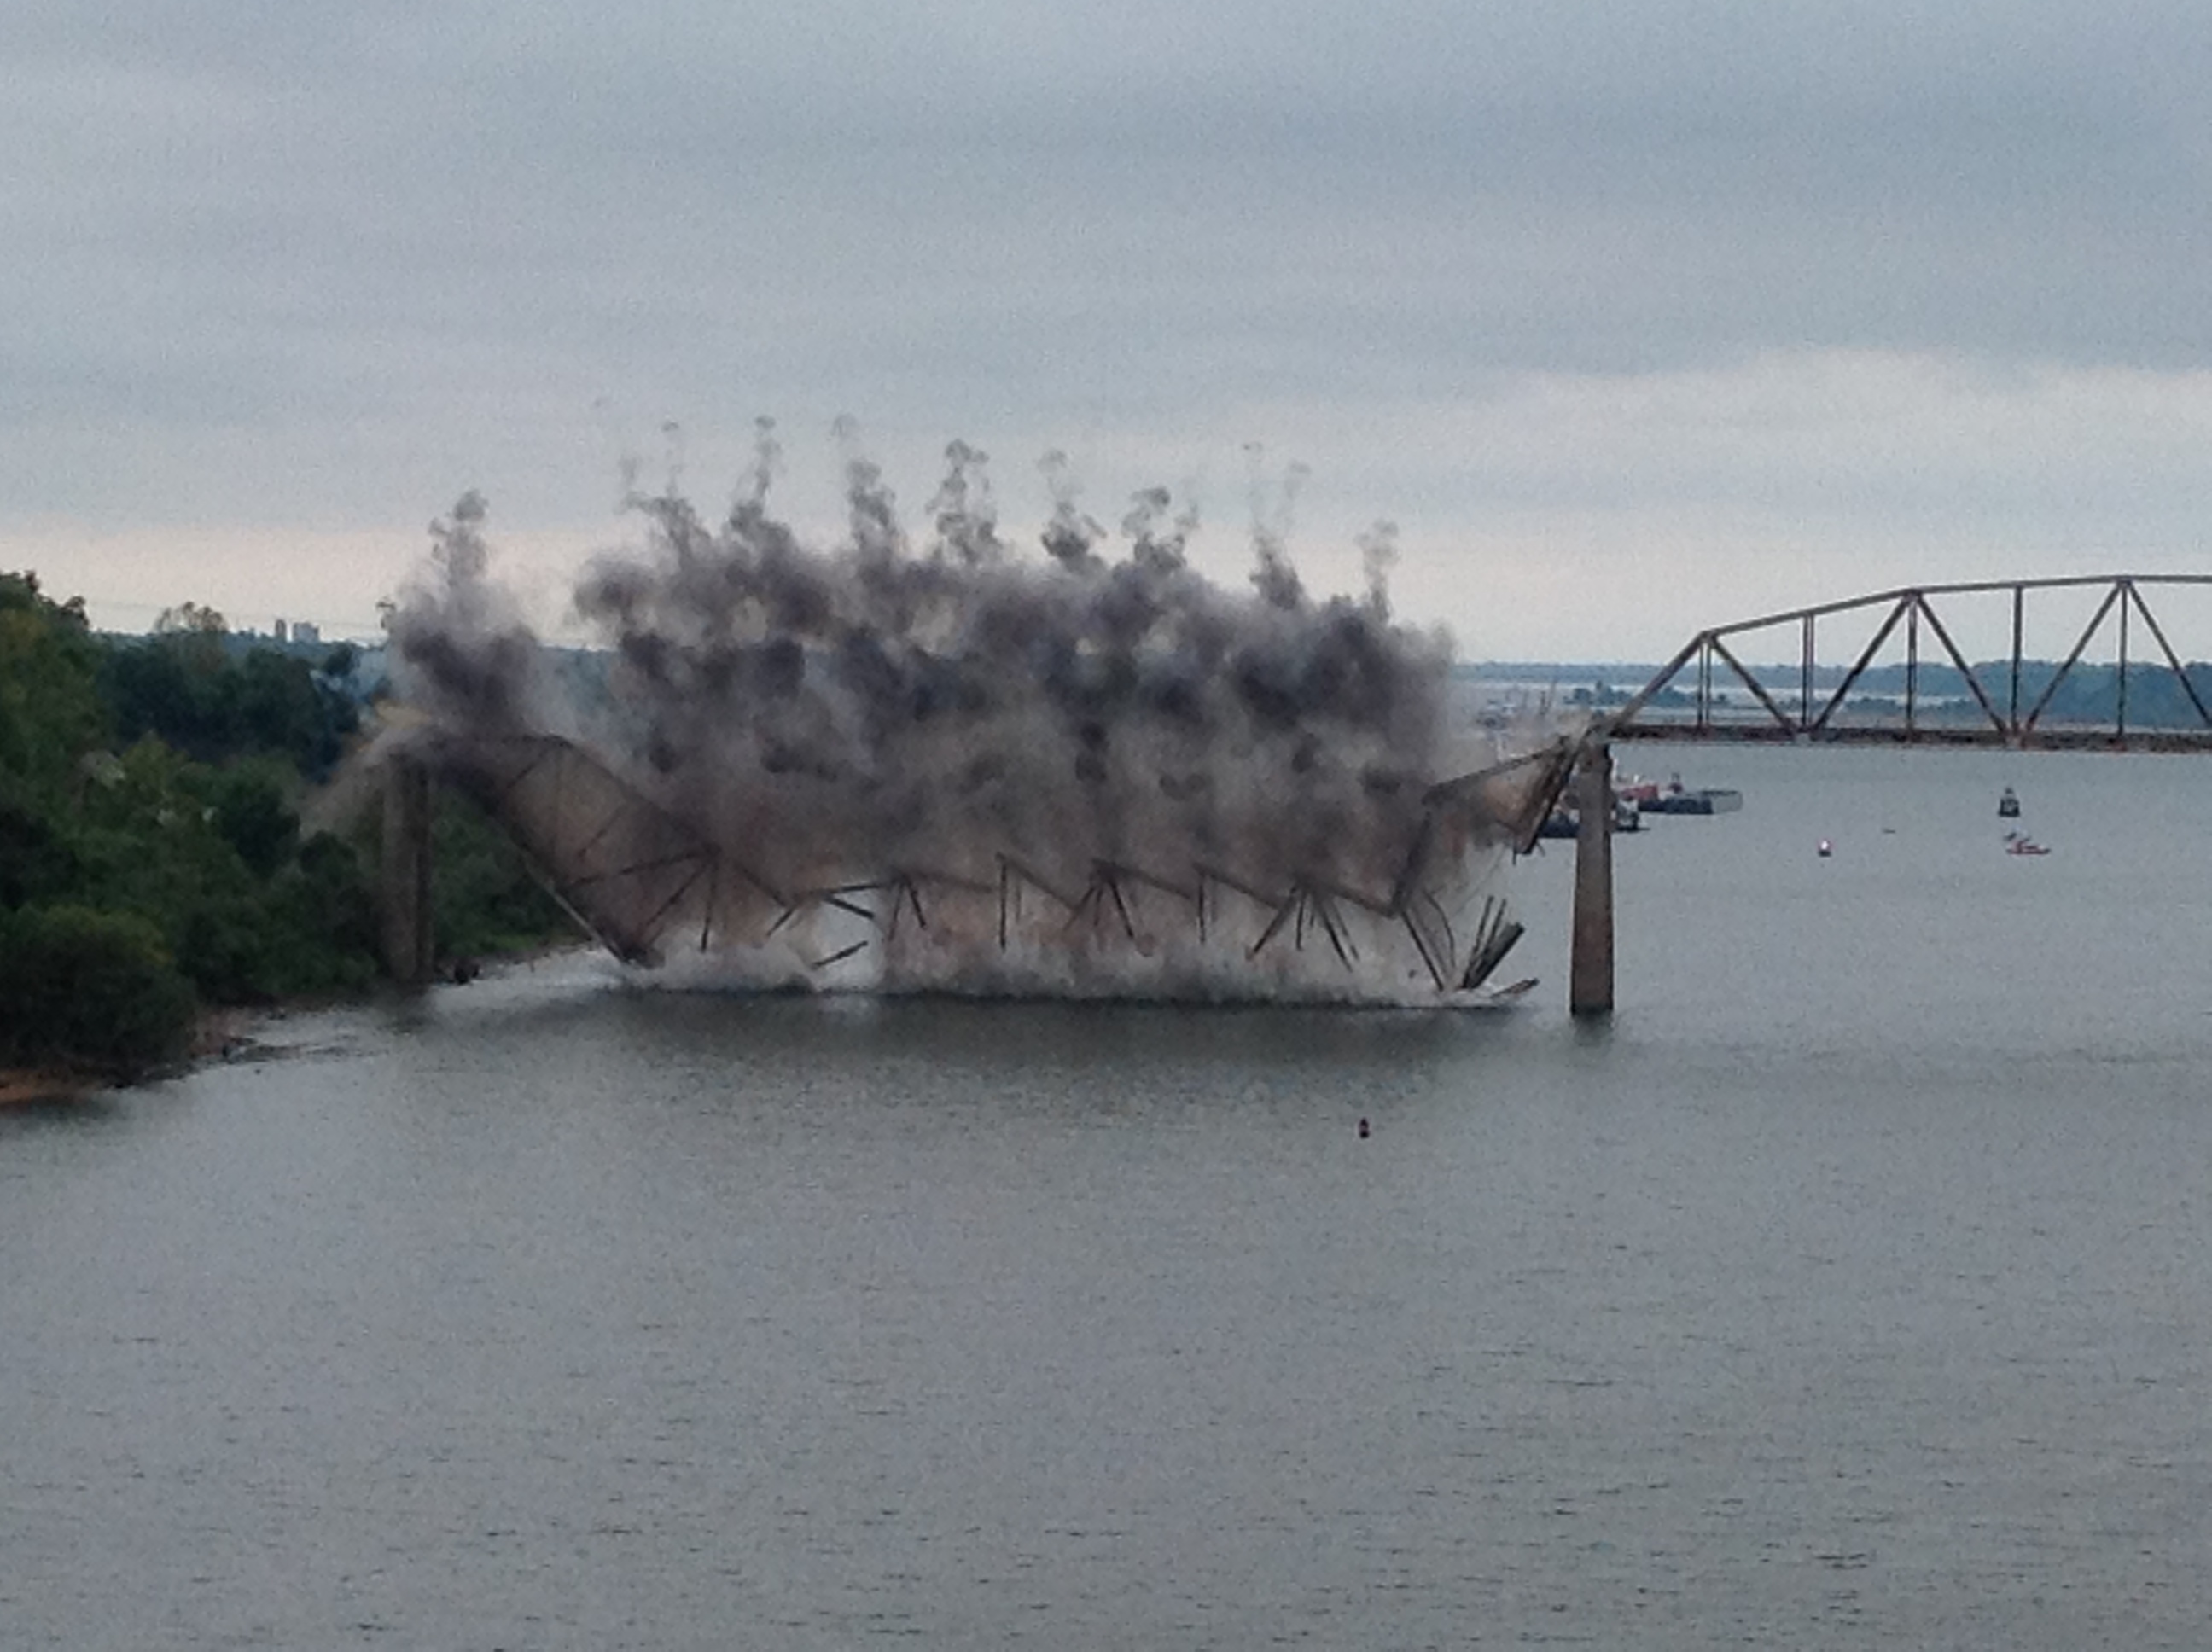
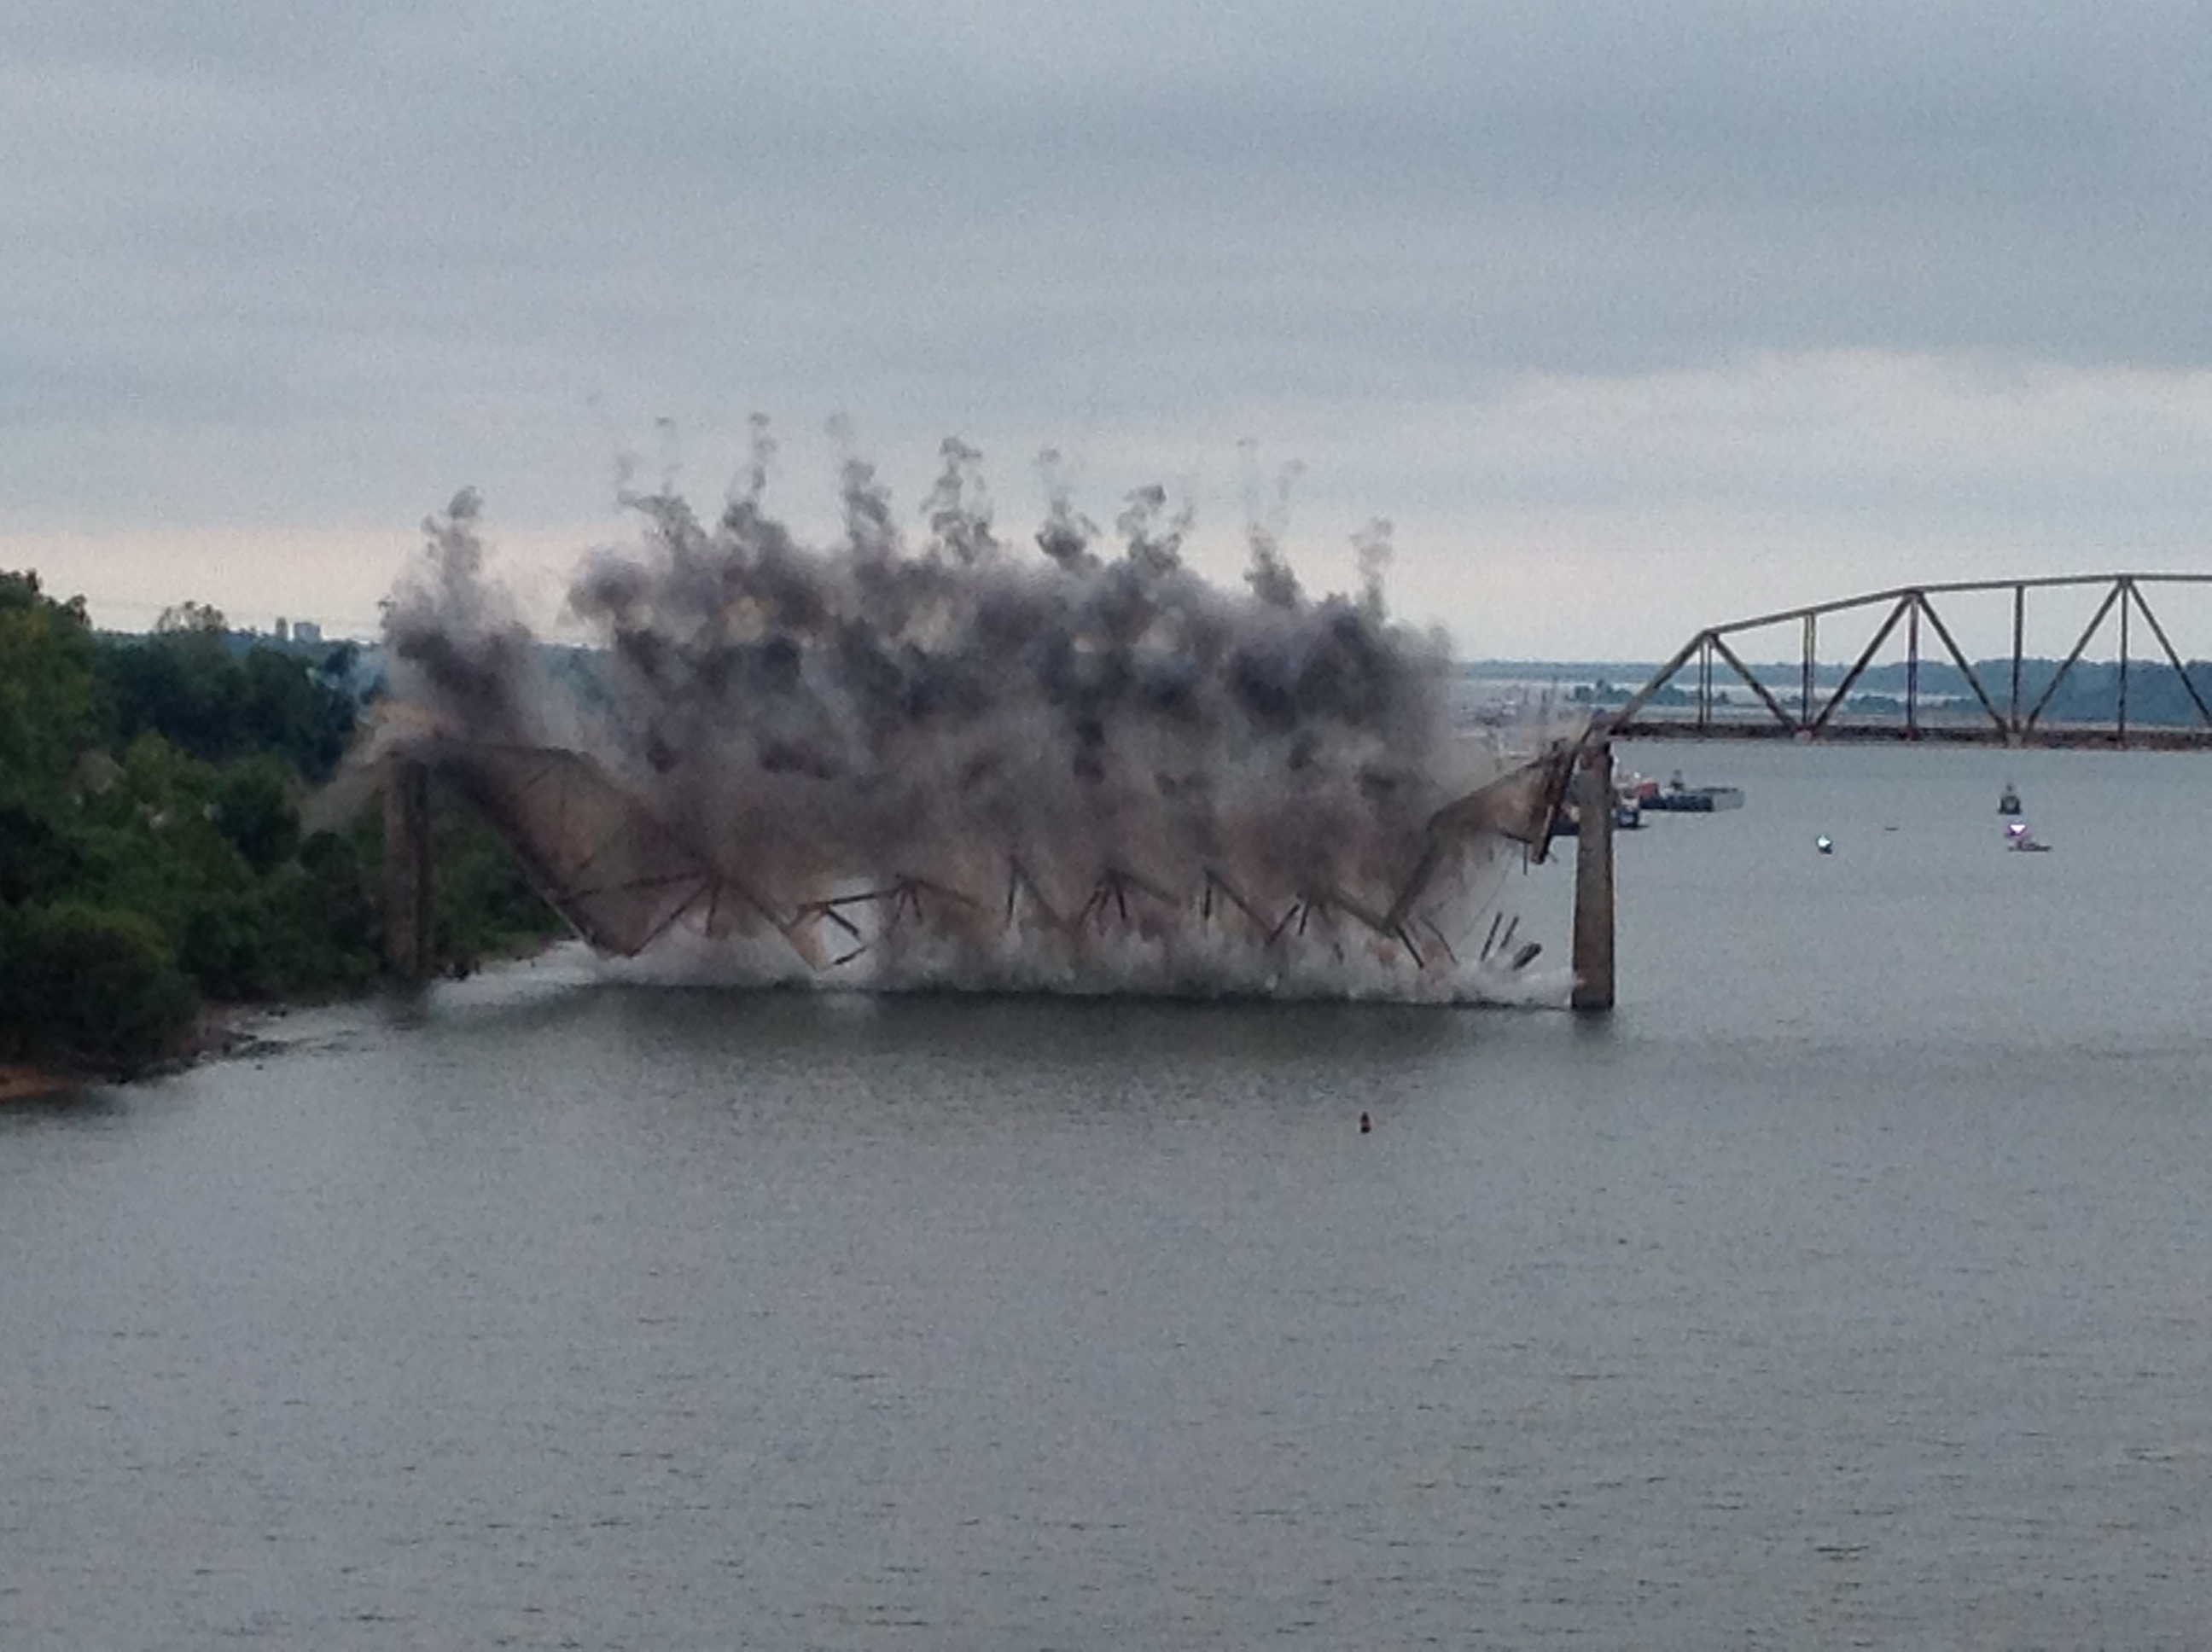
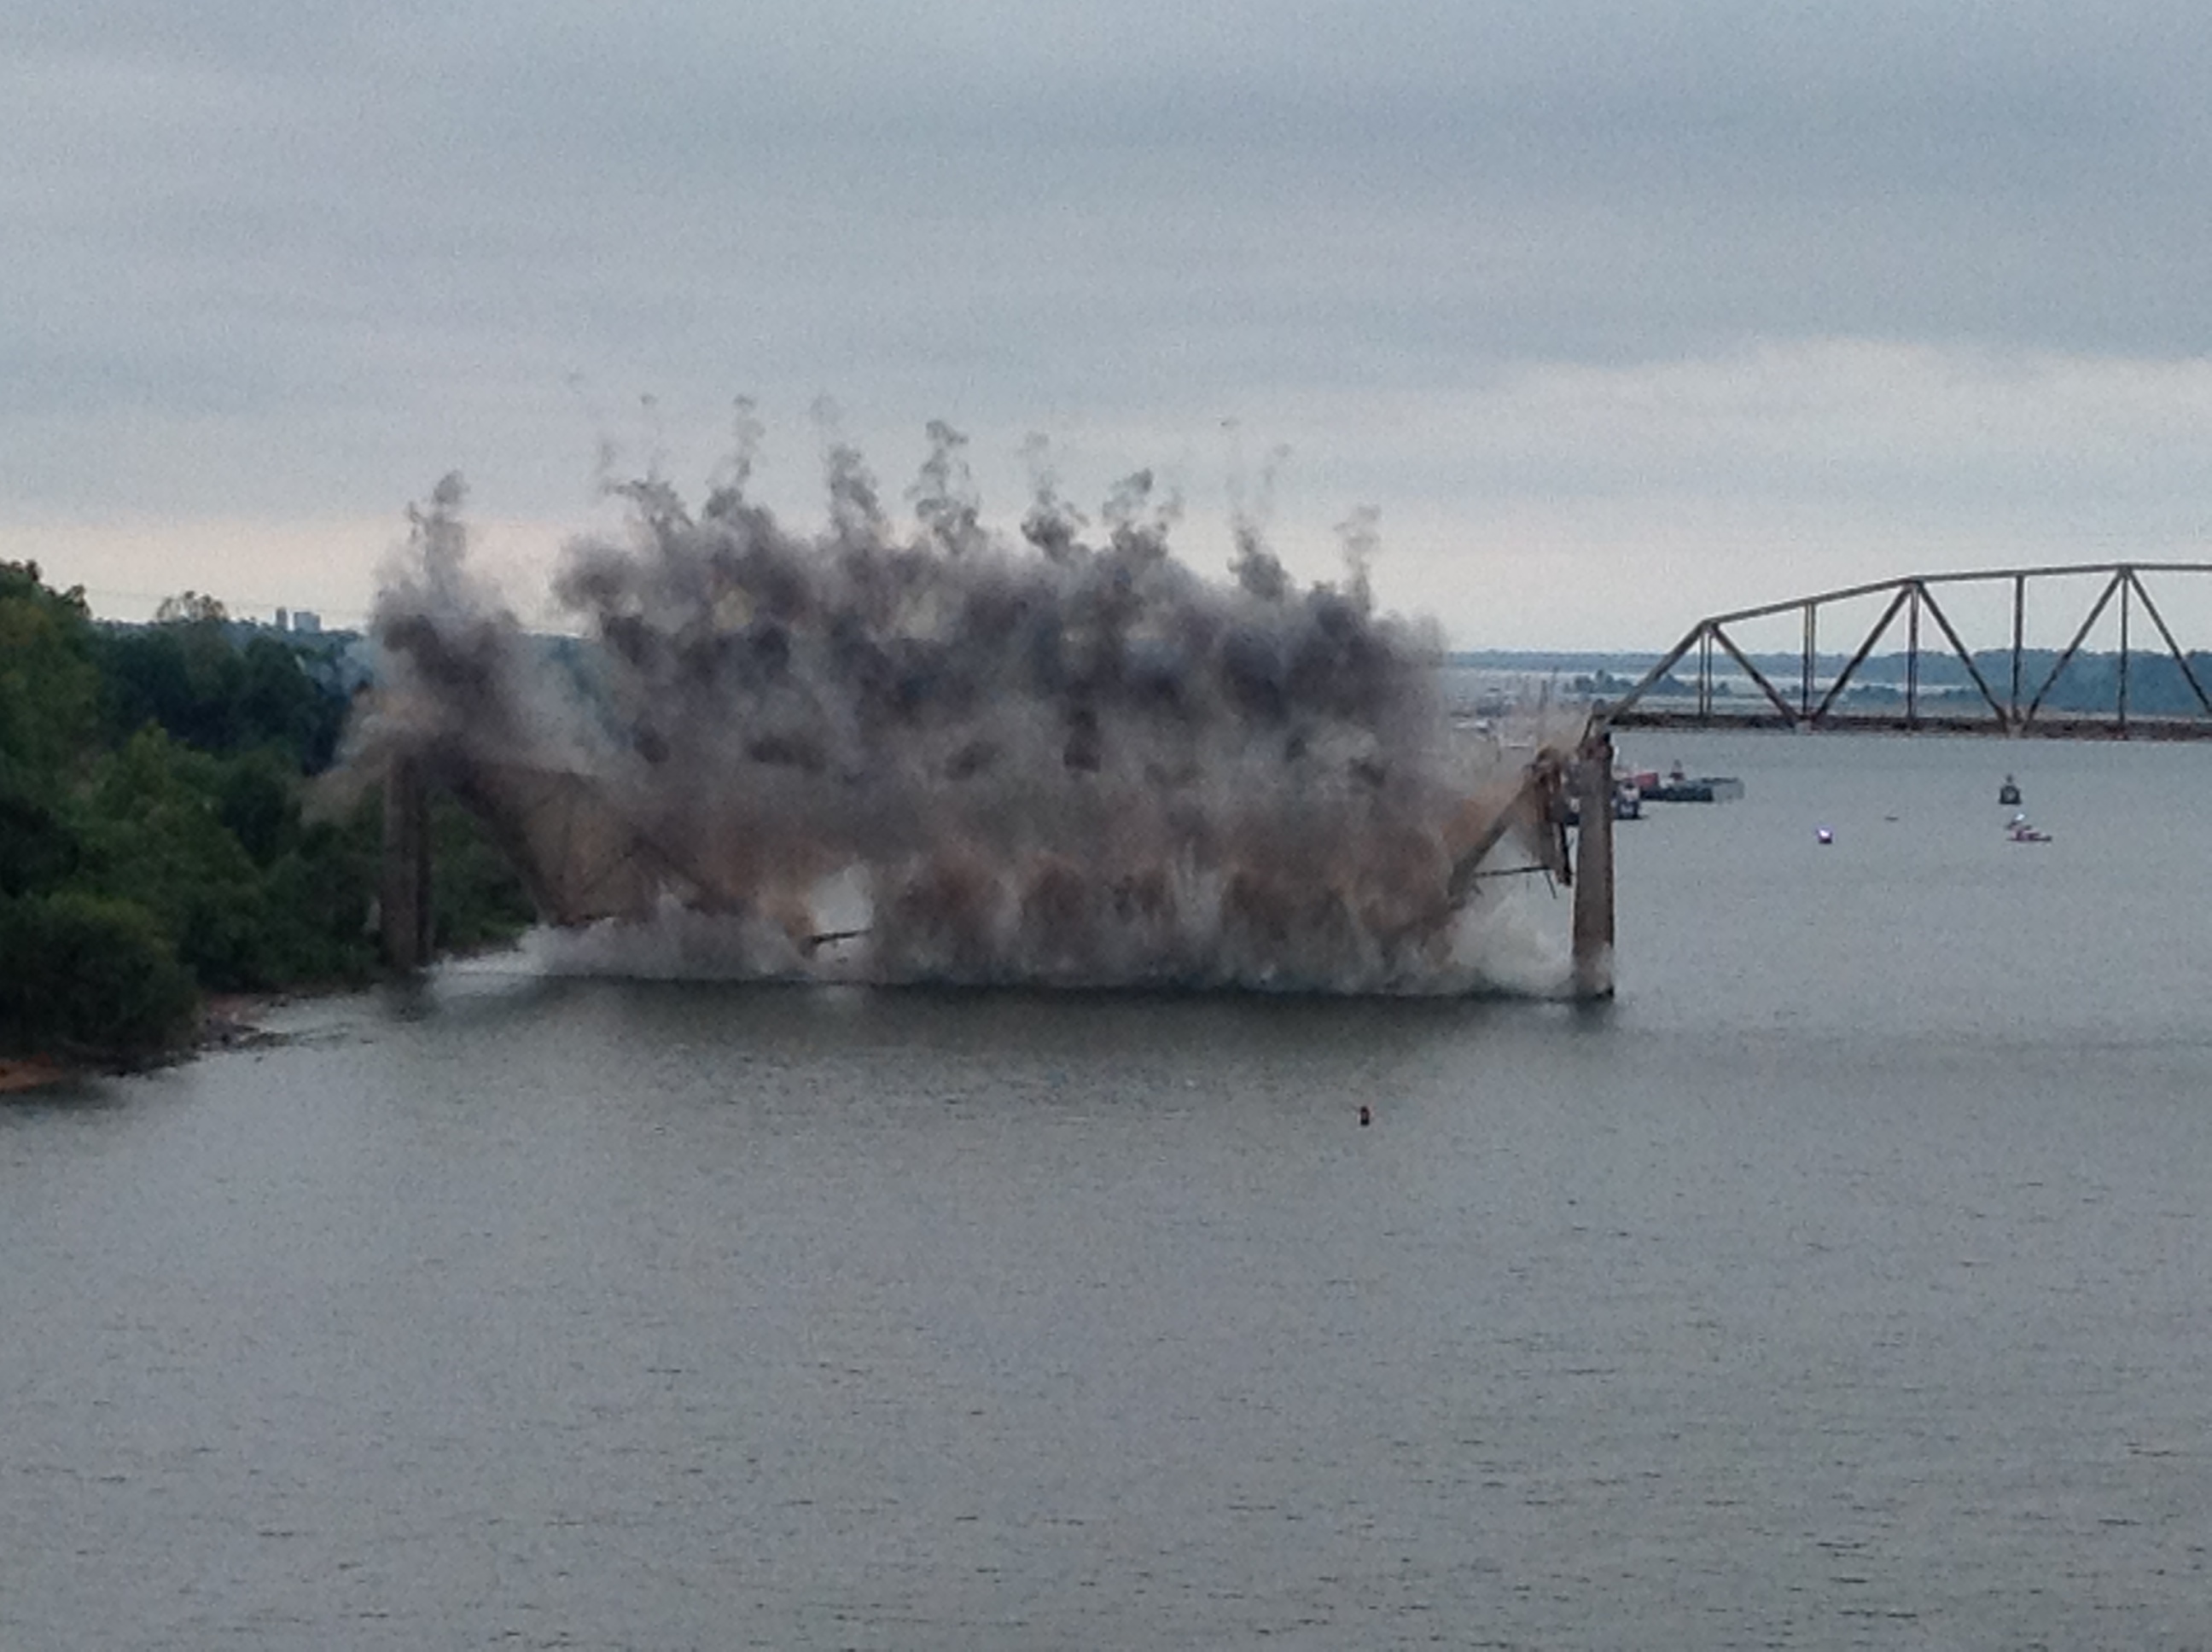


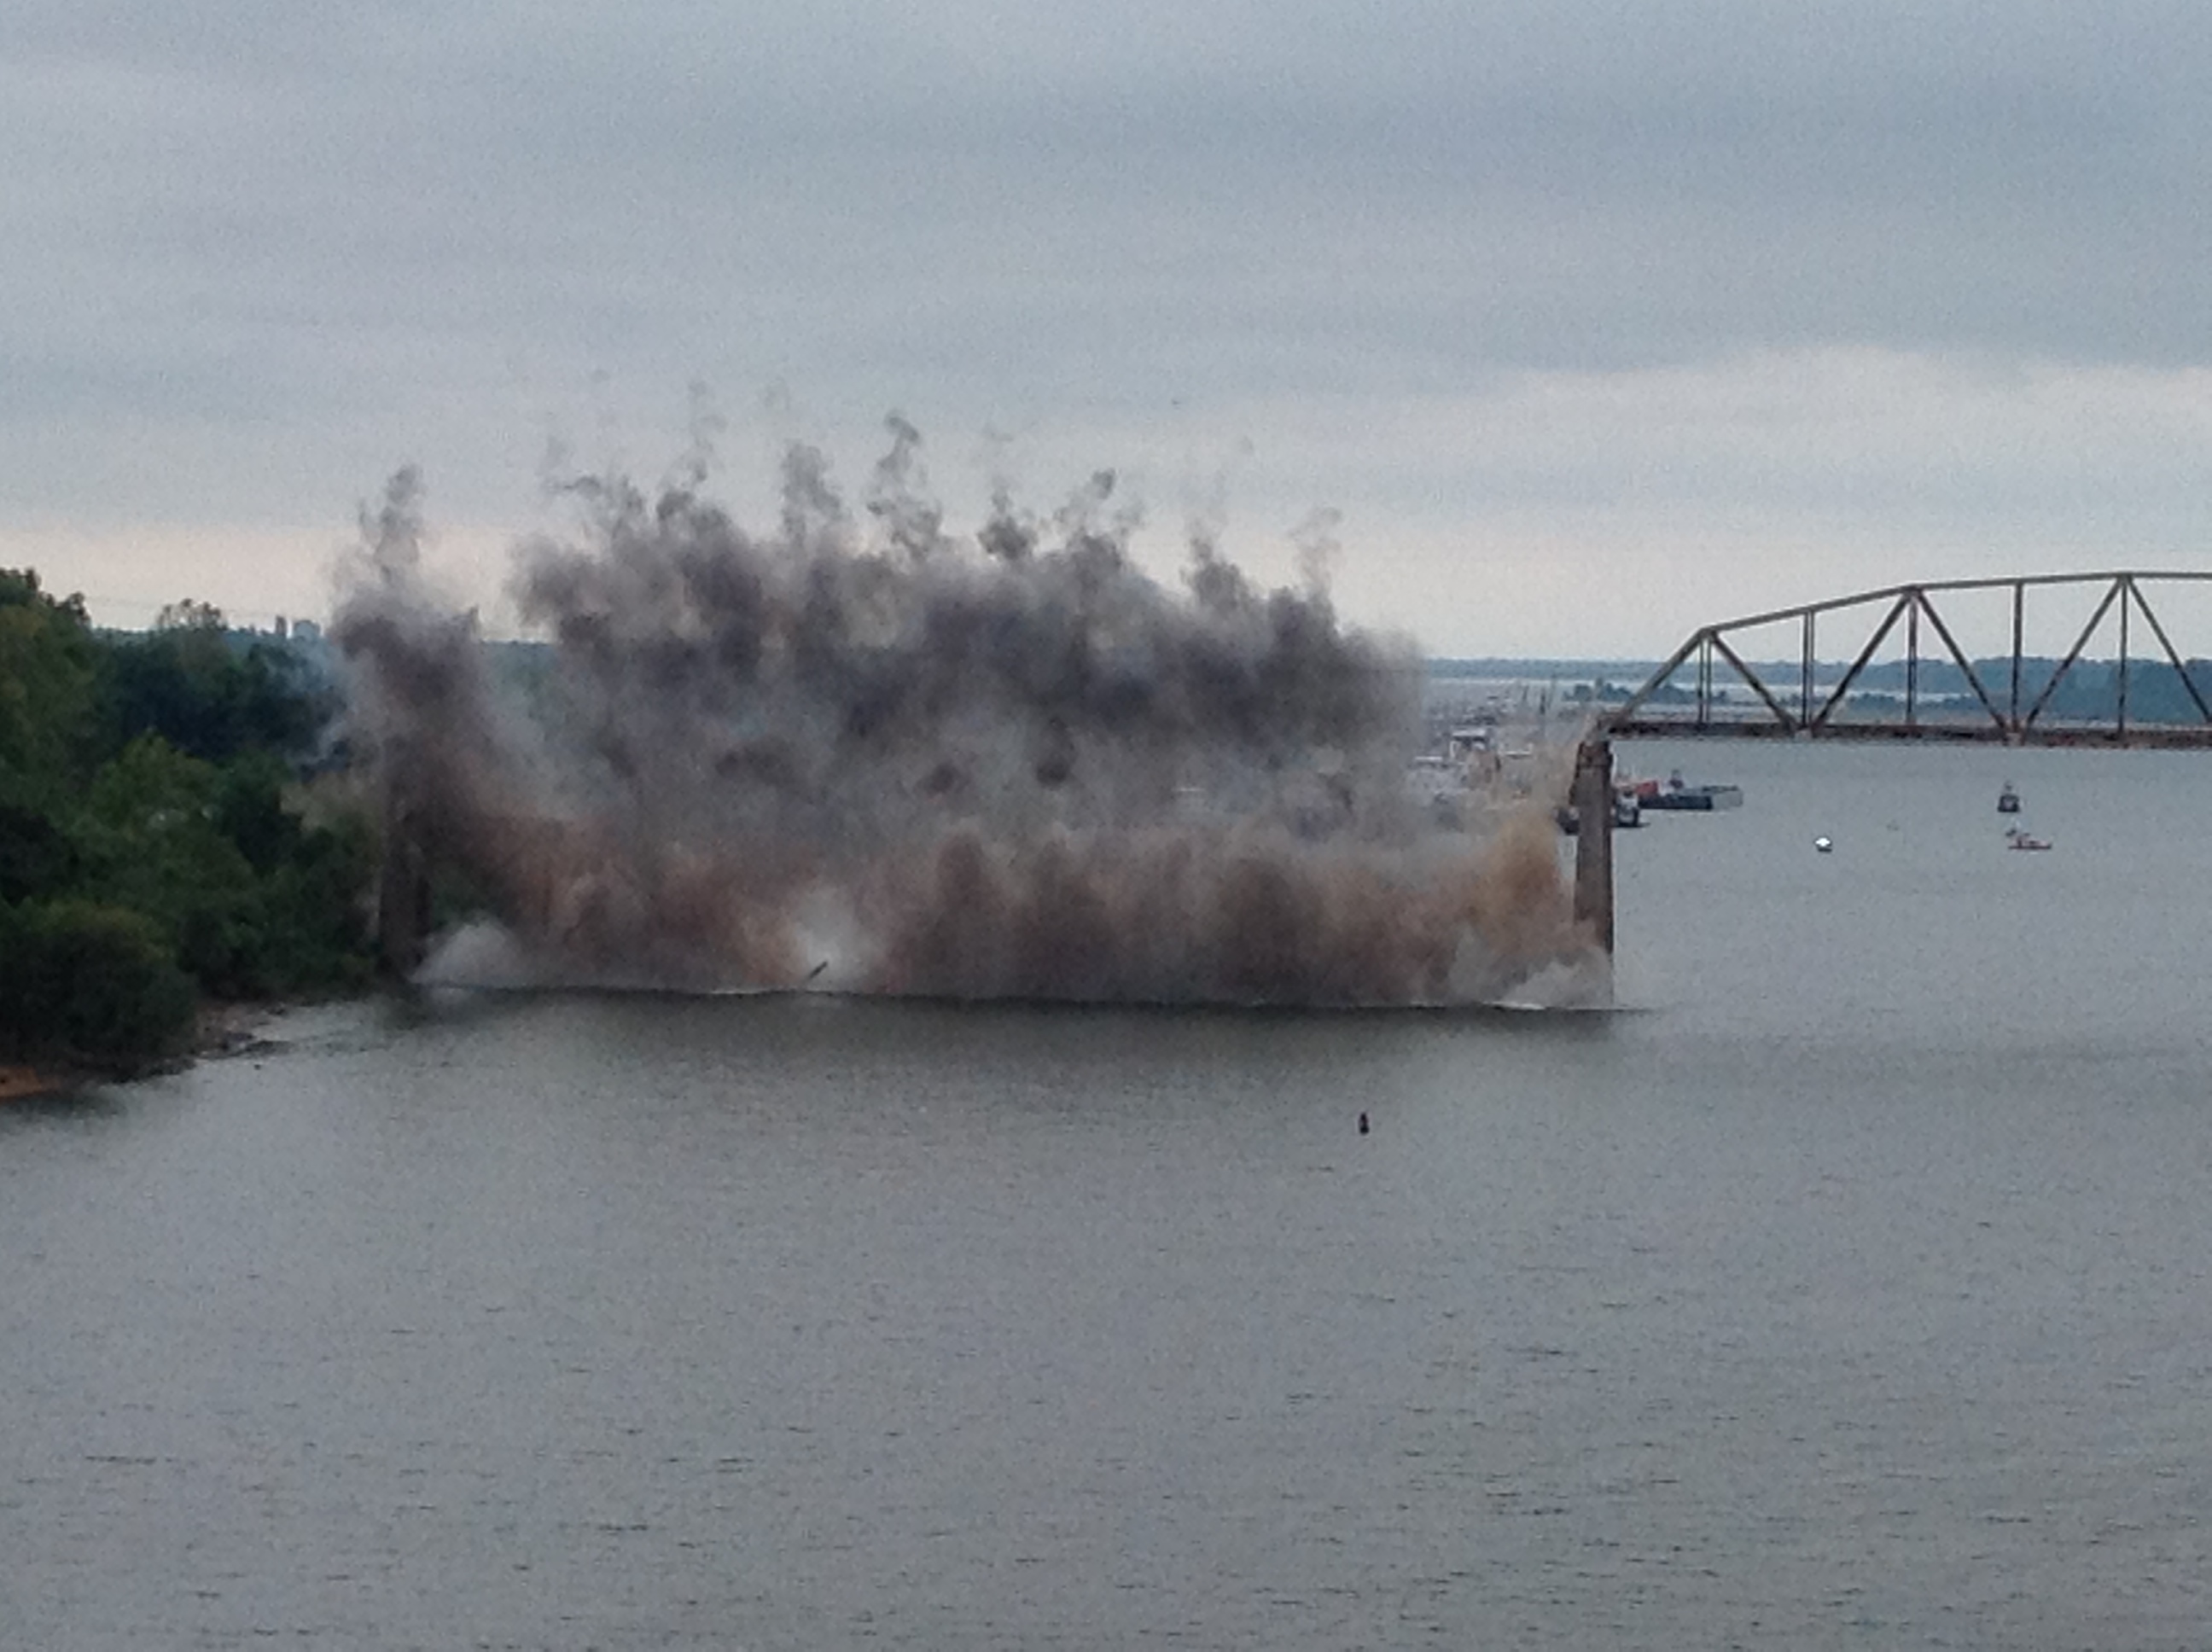
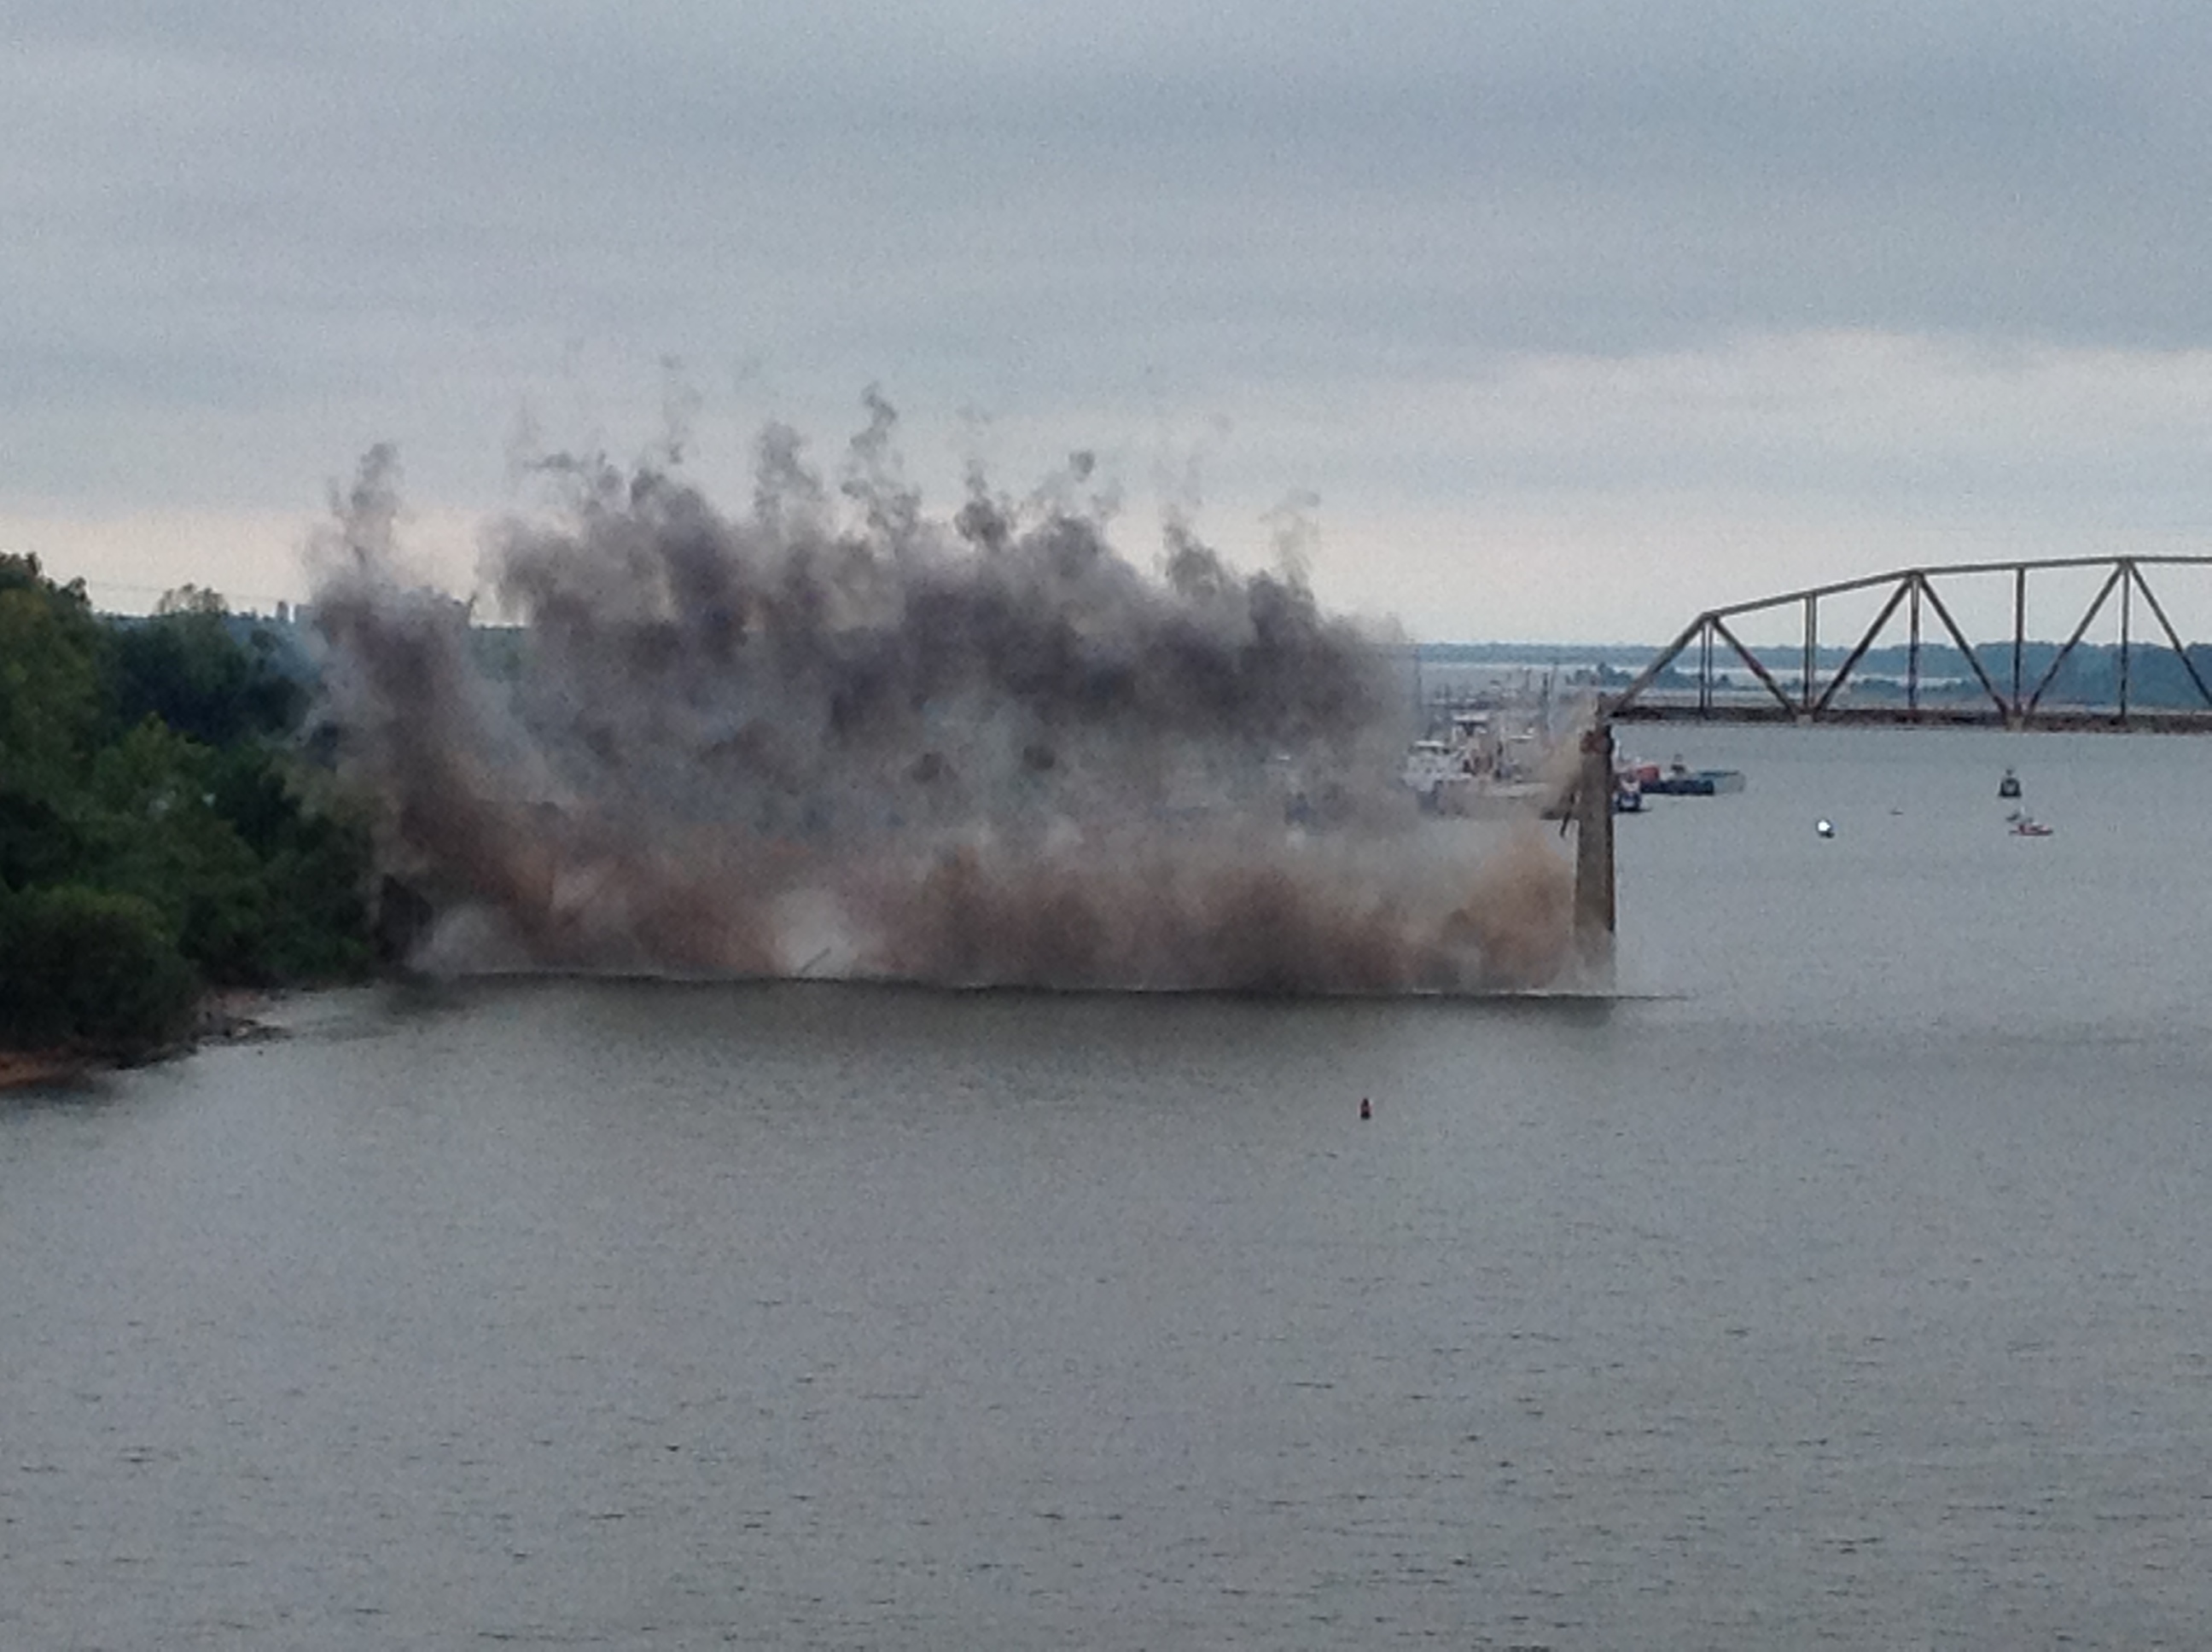
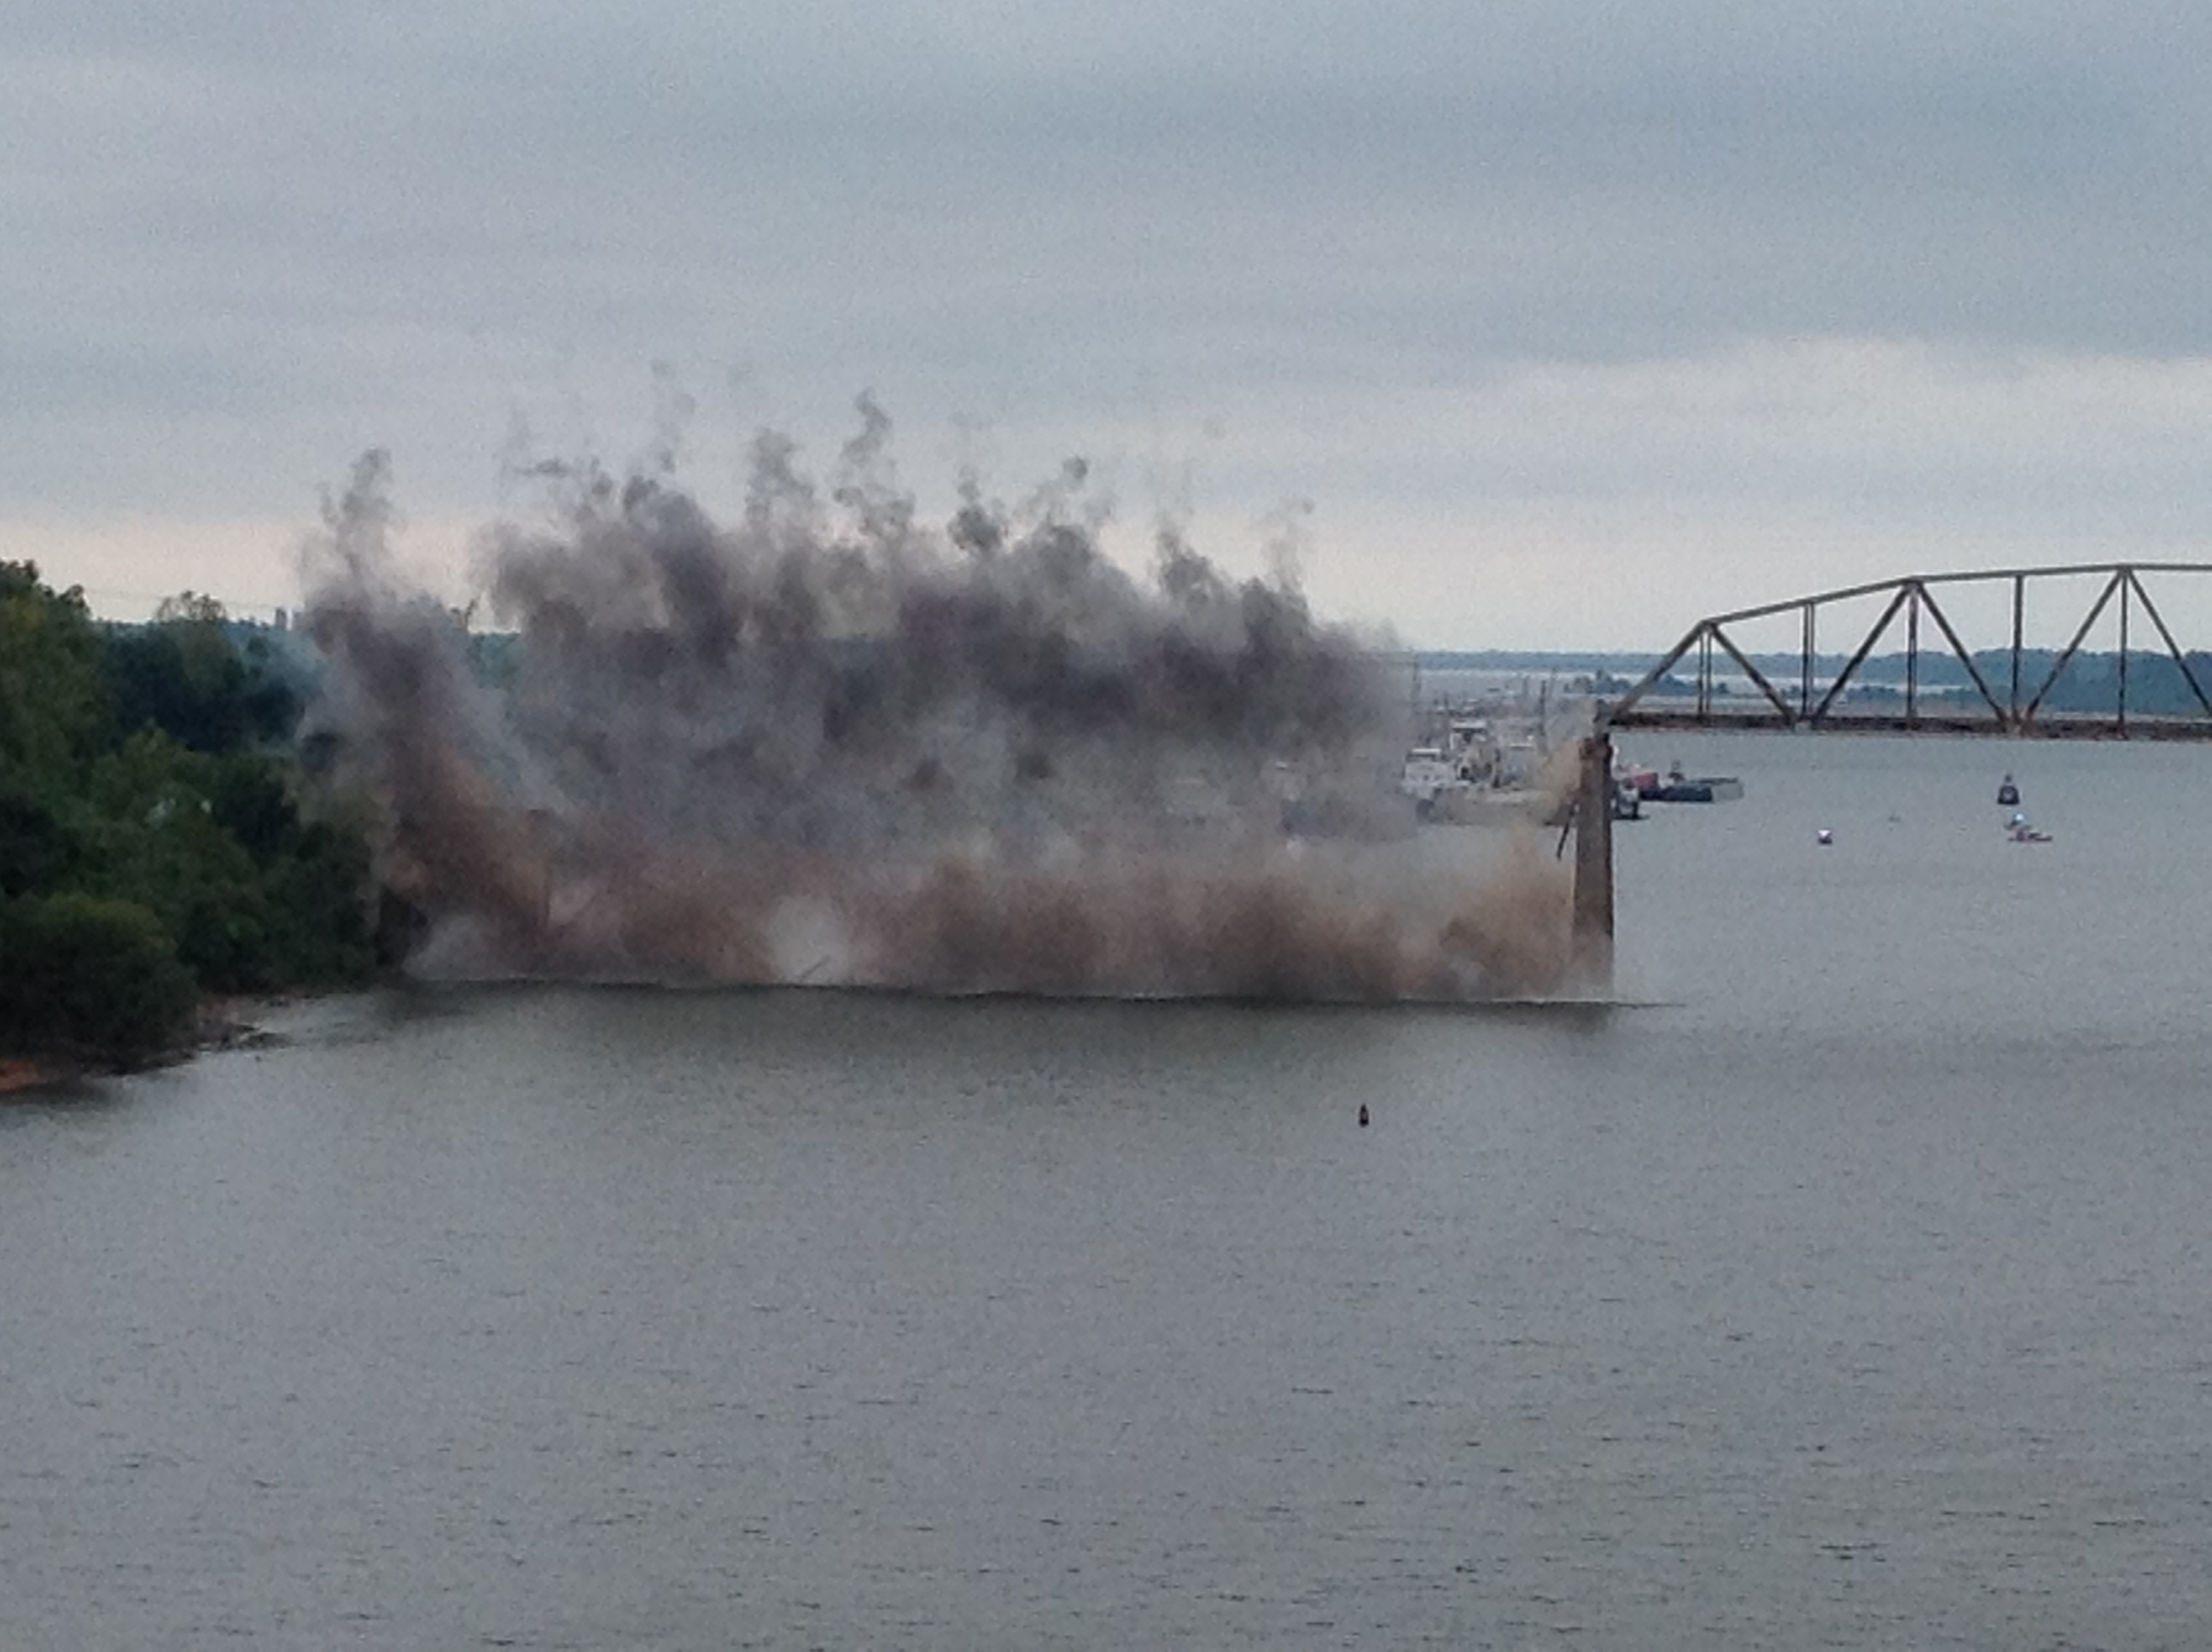

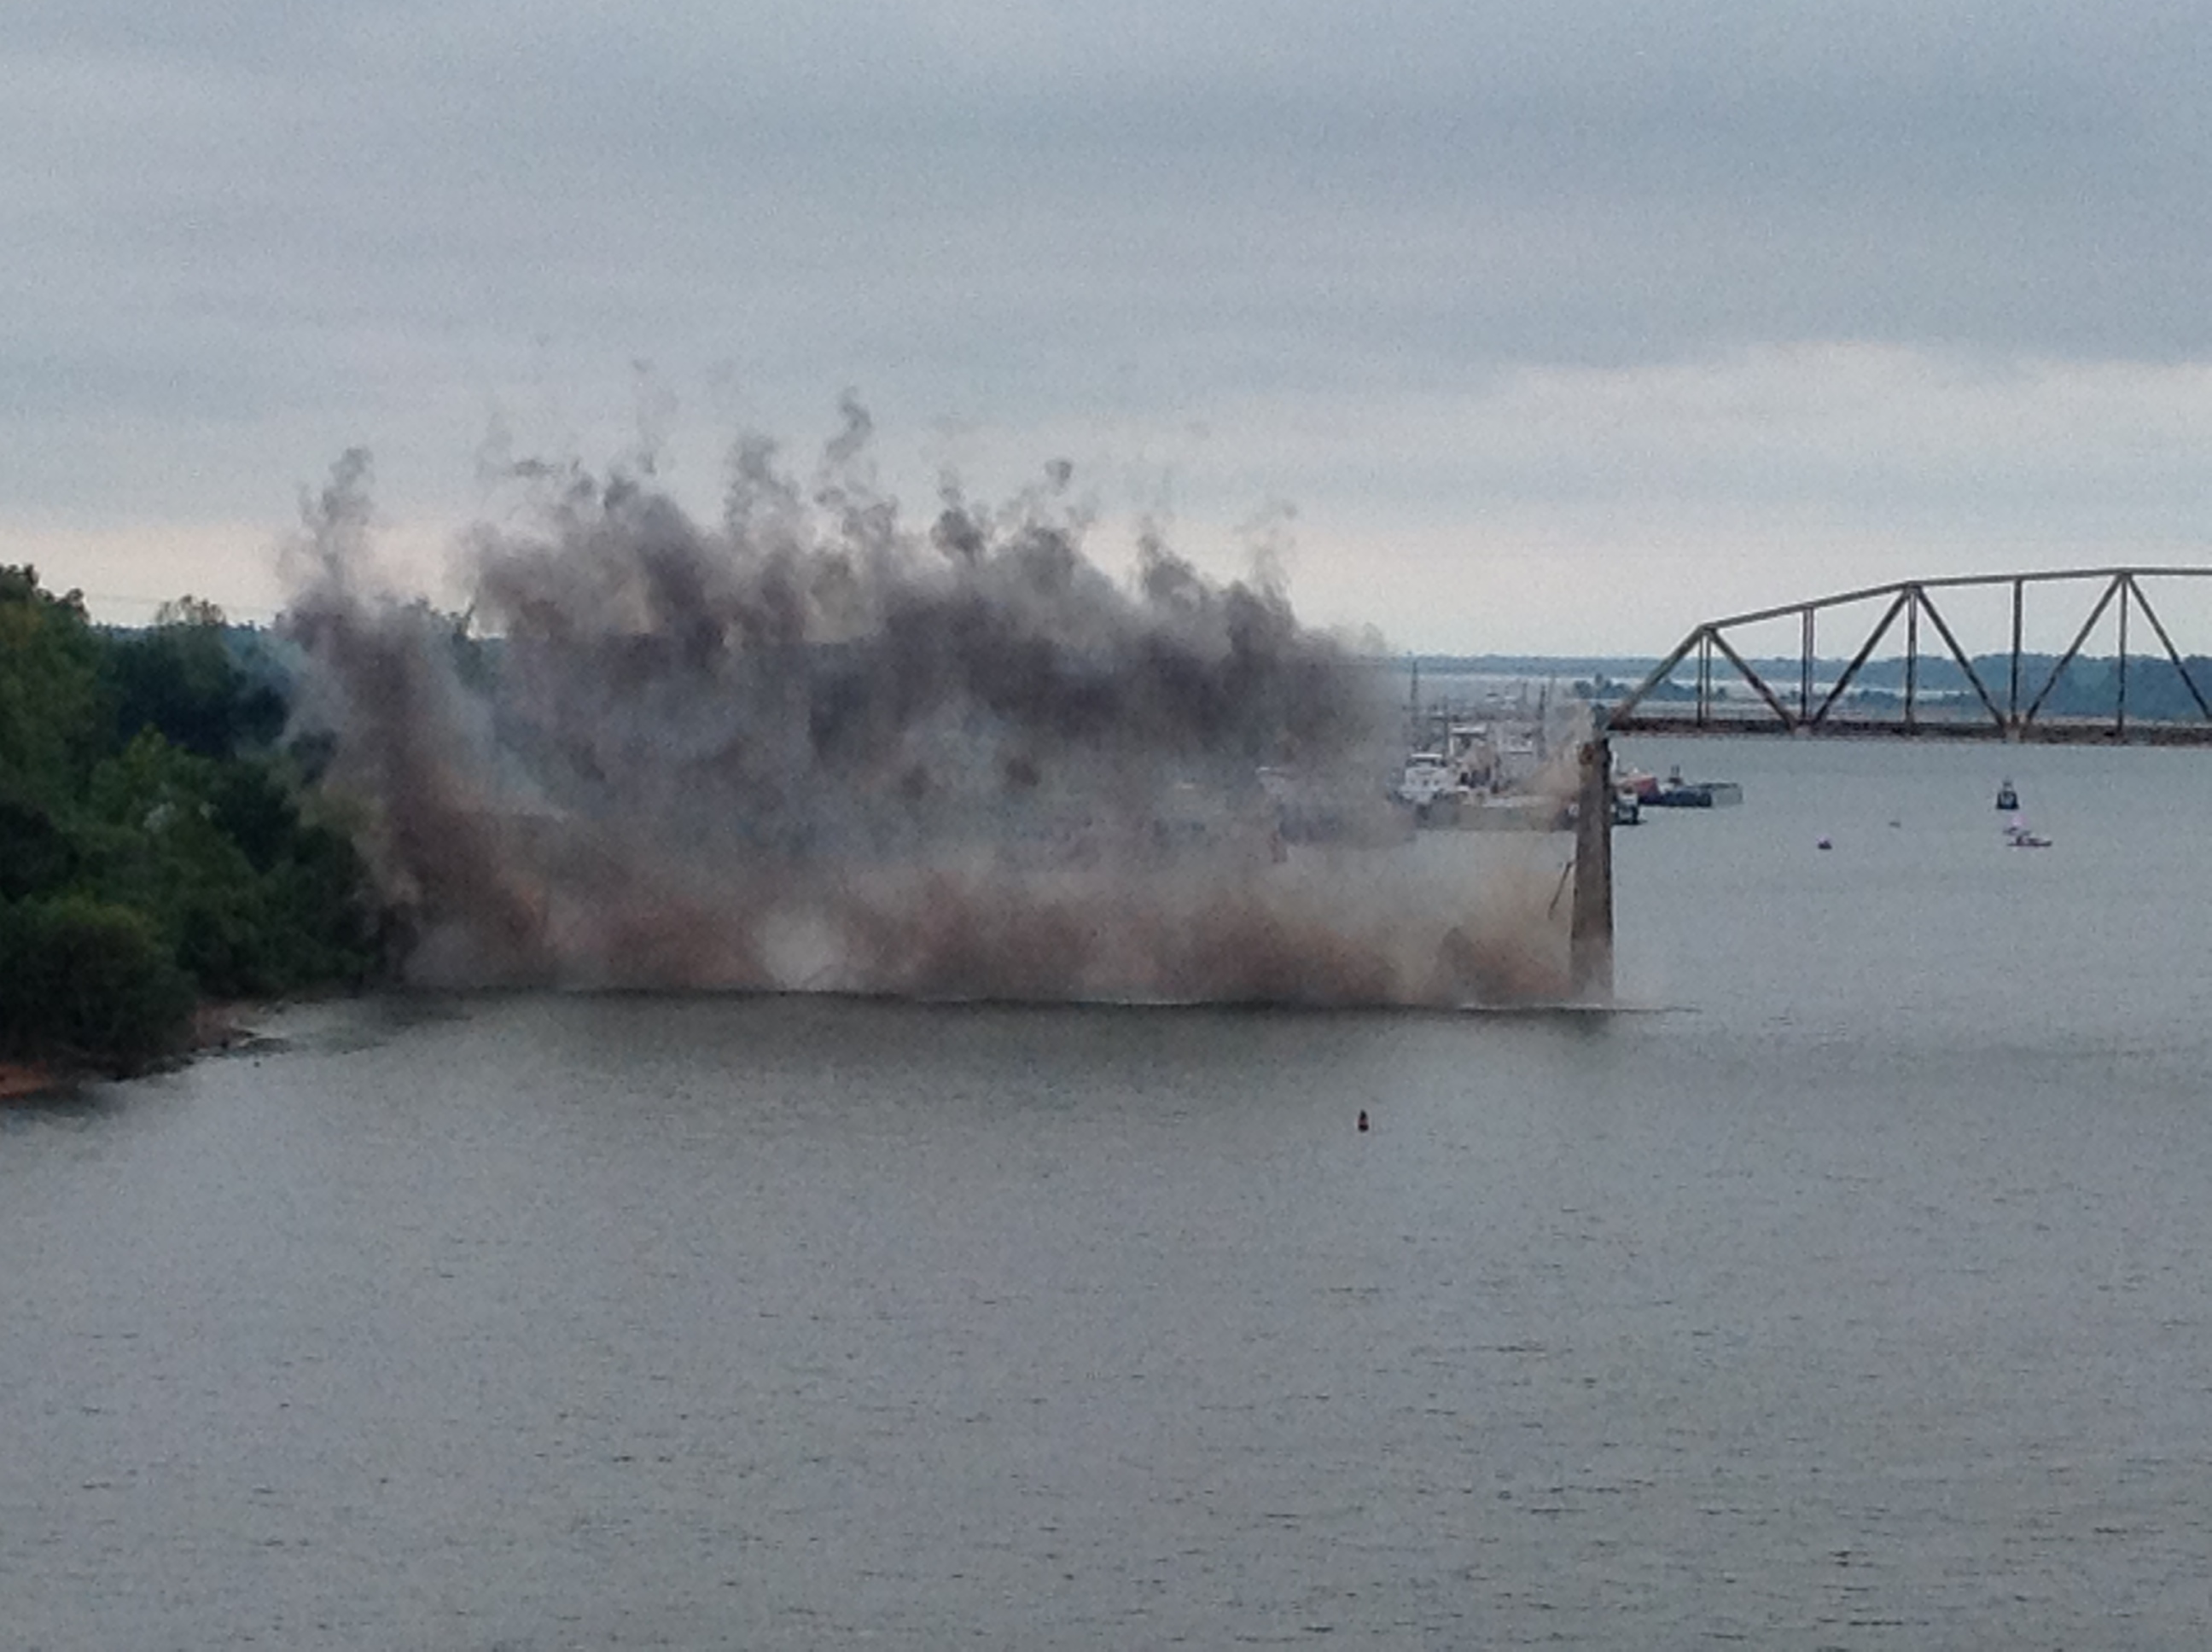

Photo Credit: KYTC
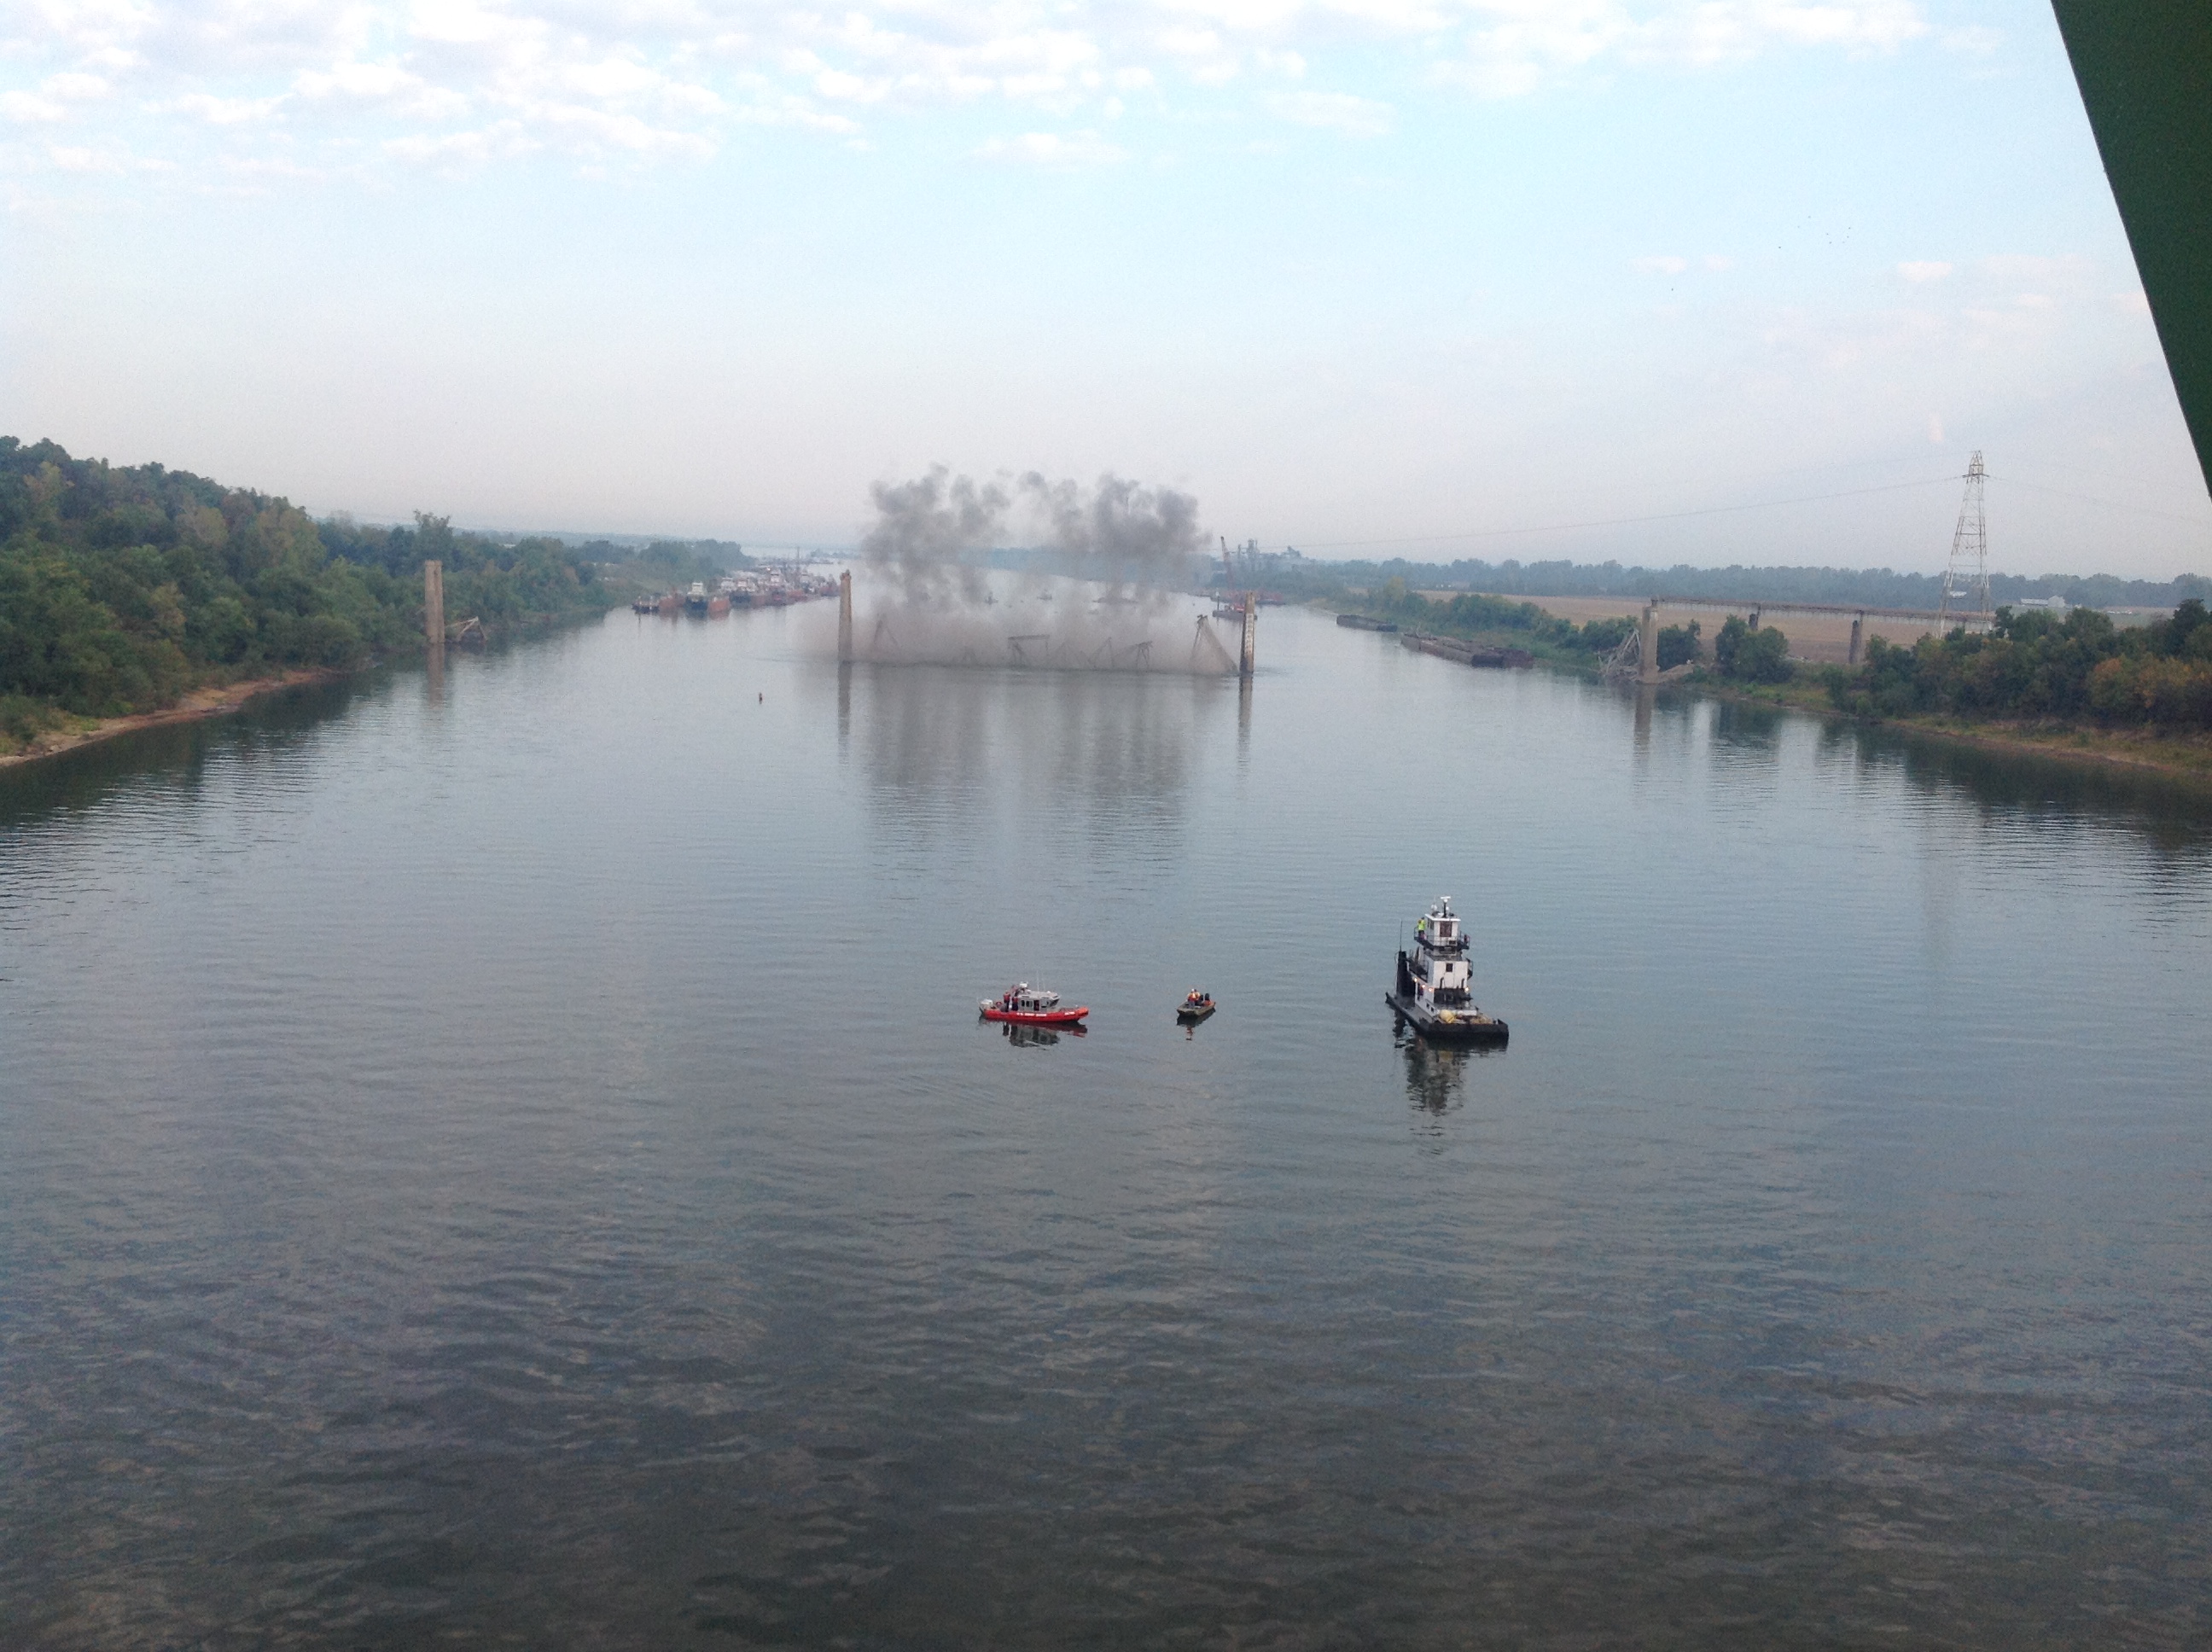
Sequence of photos showing demolition of western truss span.
![]()
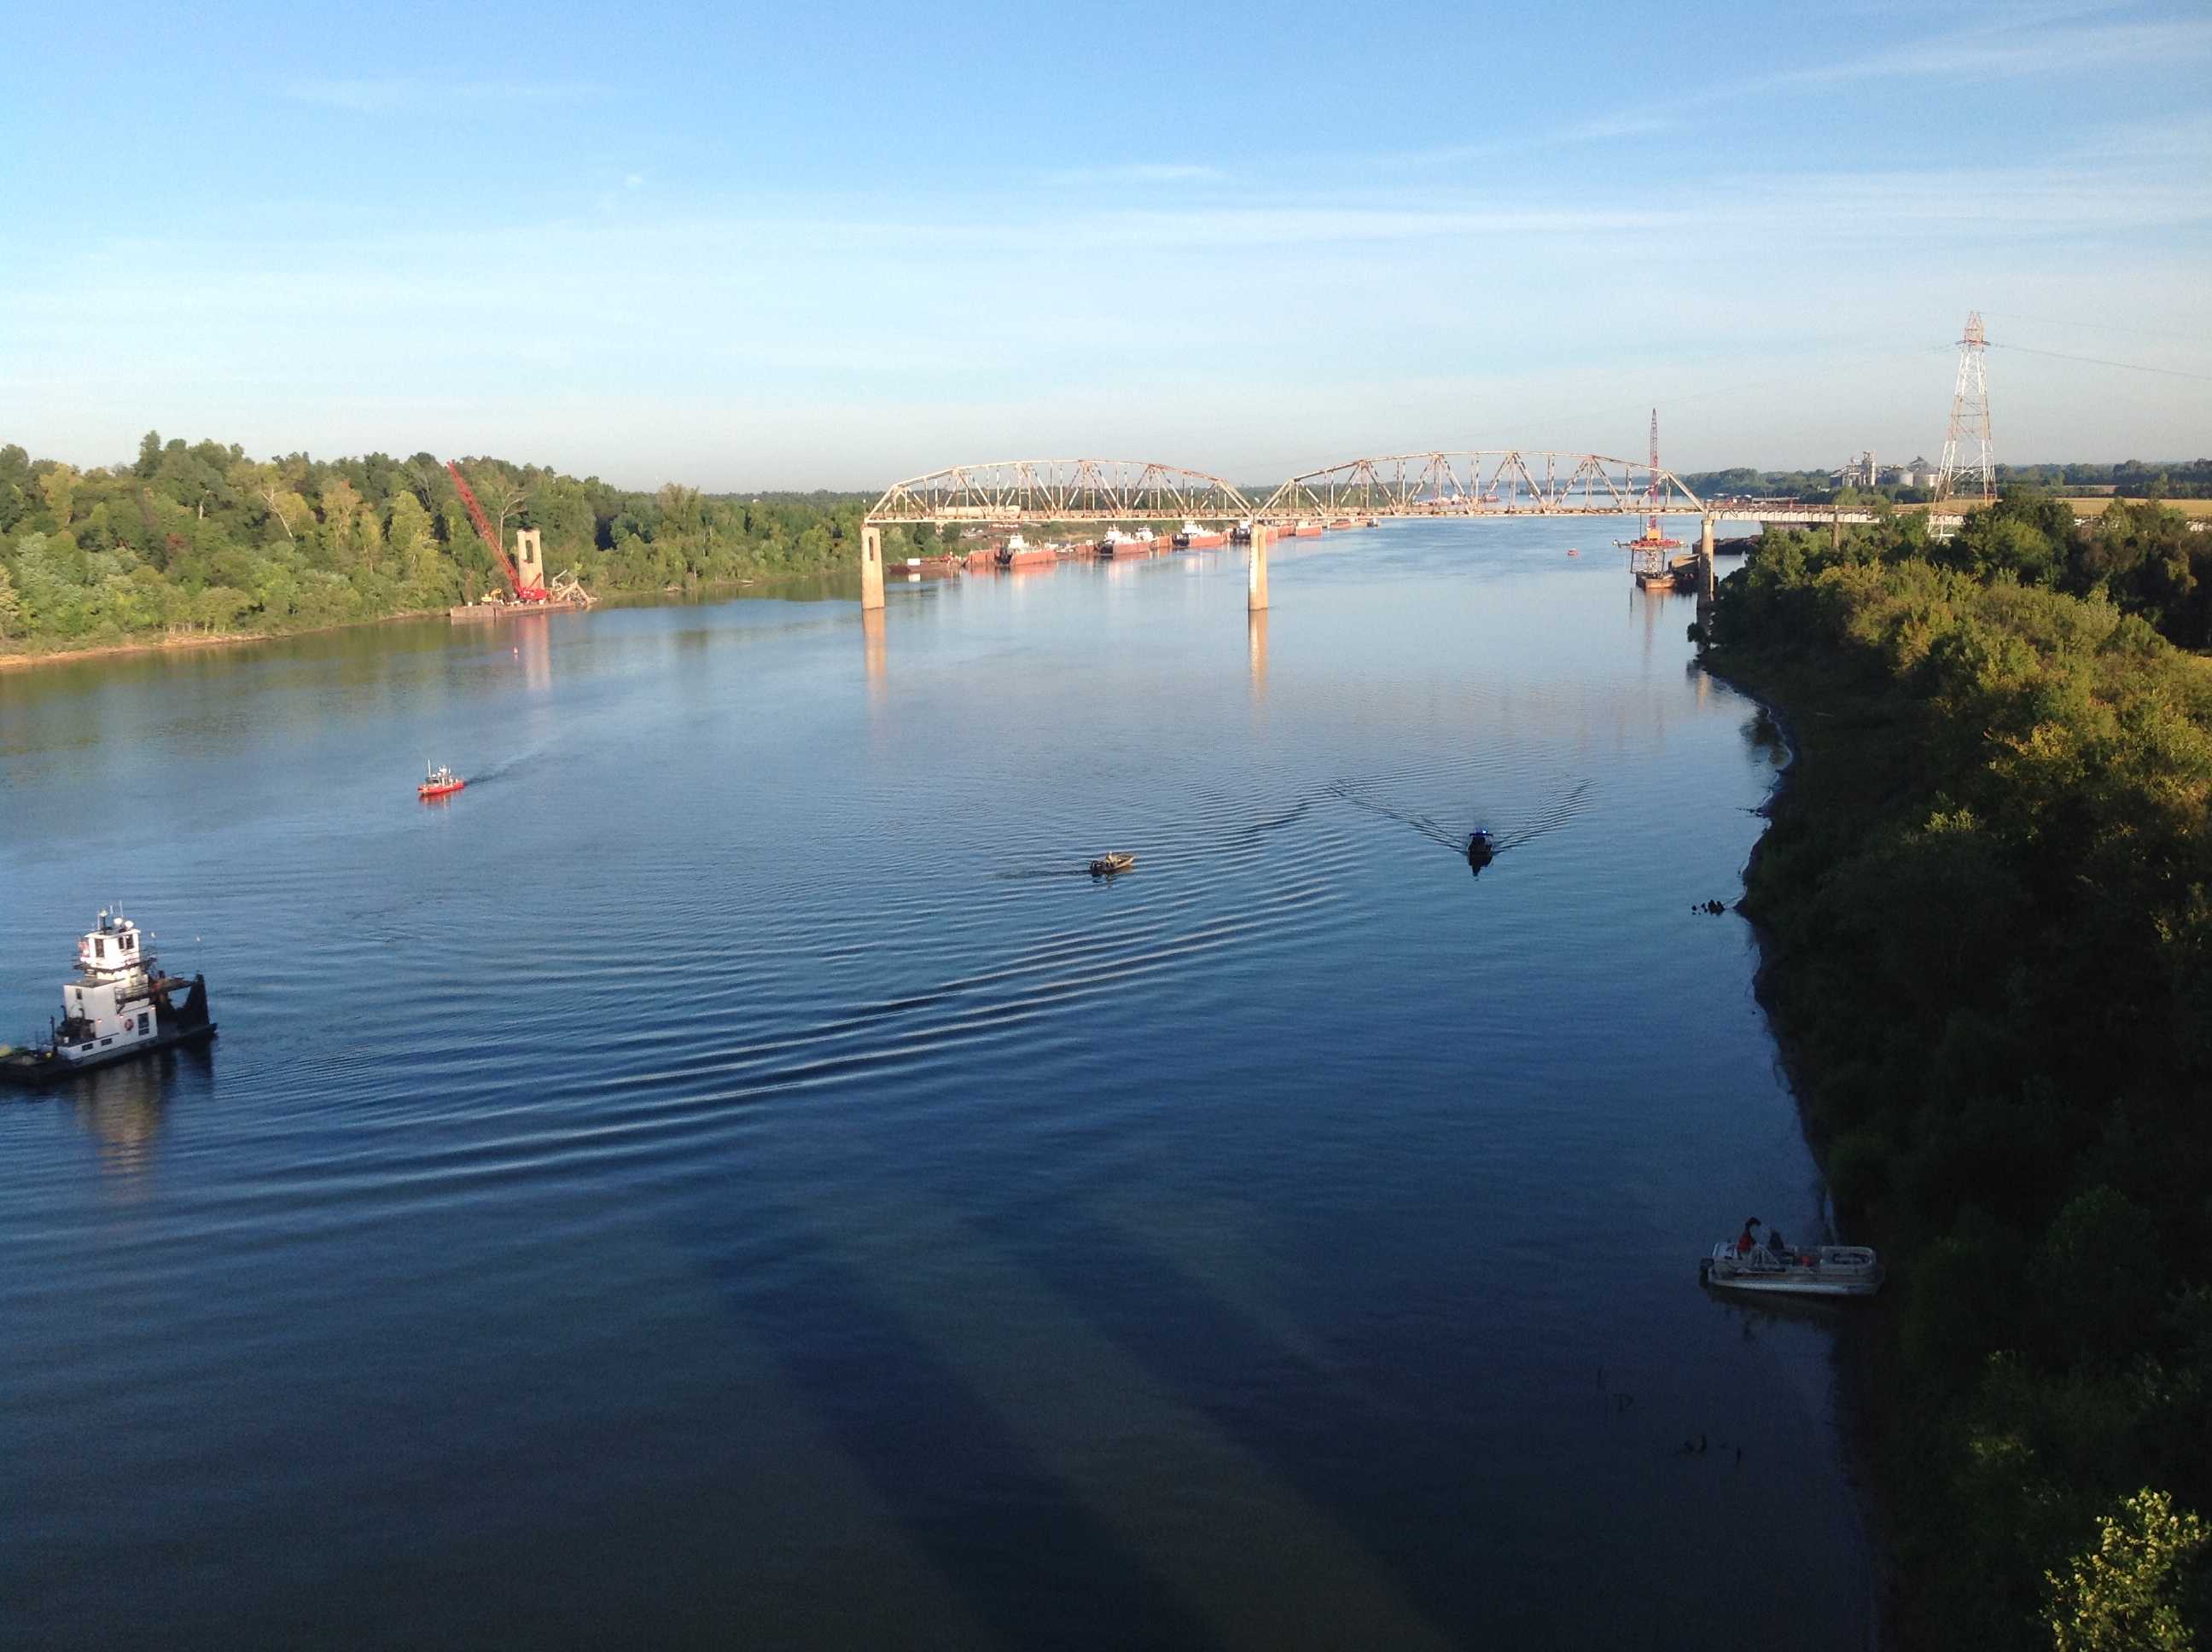
Photo Credit: KYTC
Views after demolition of western truss span.
![]()
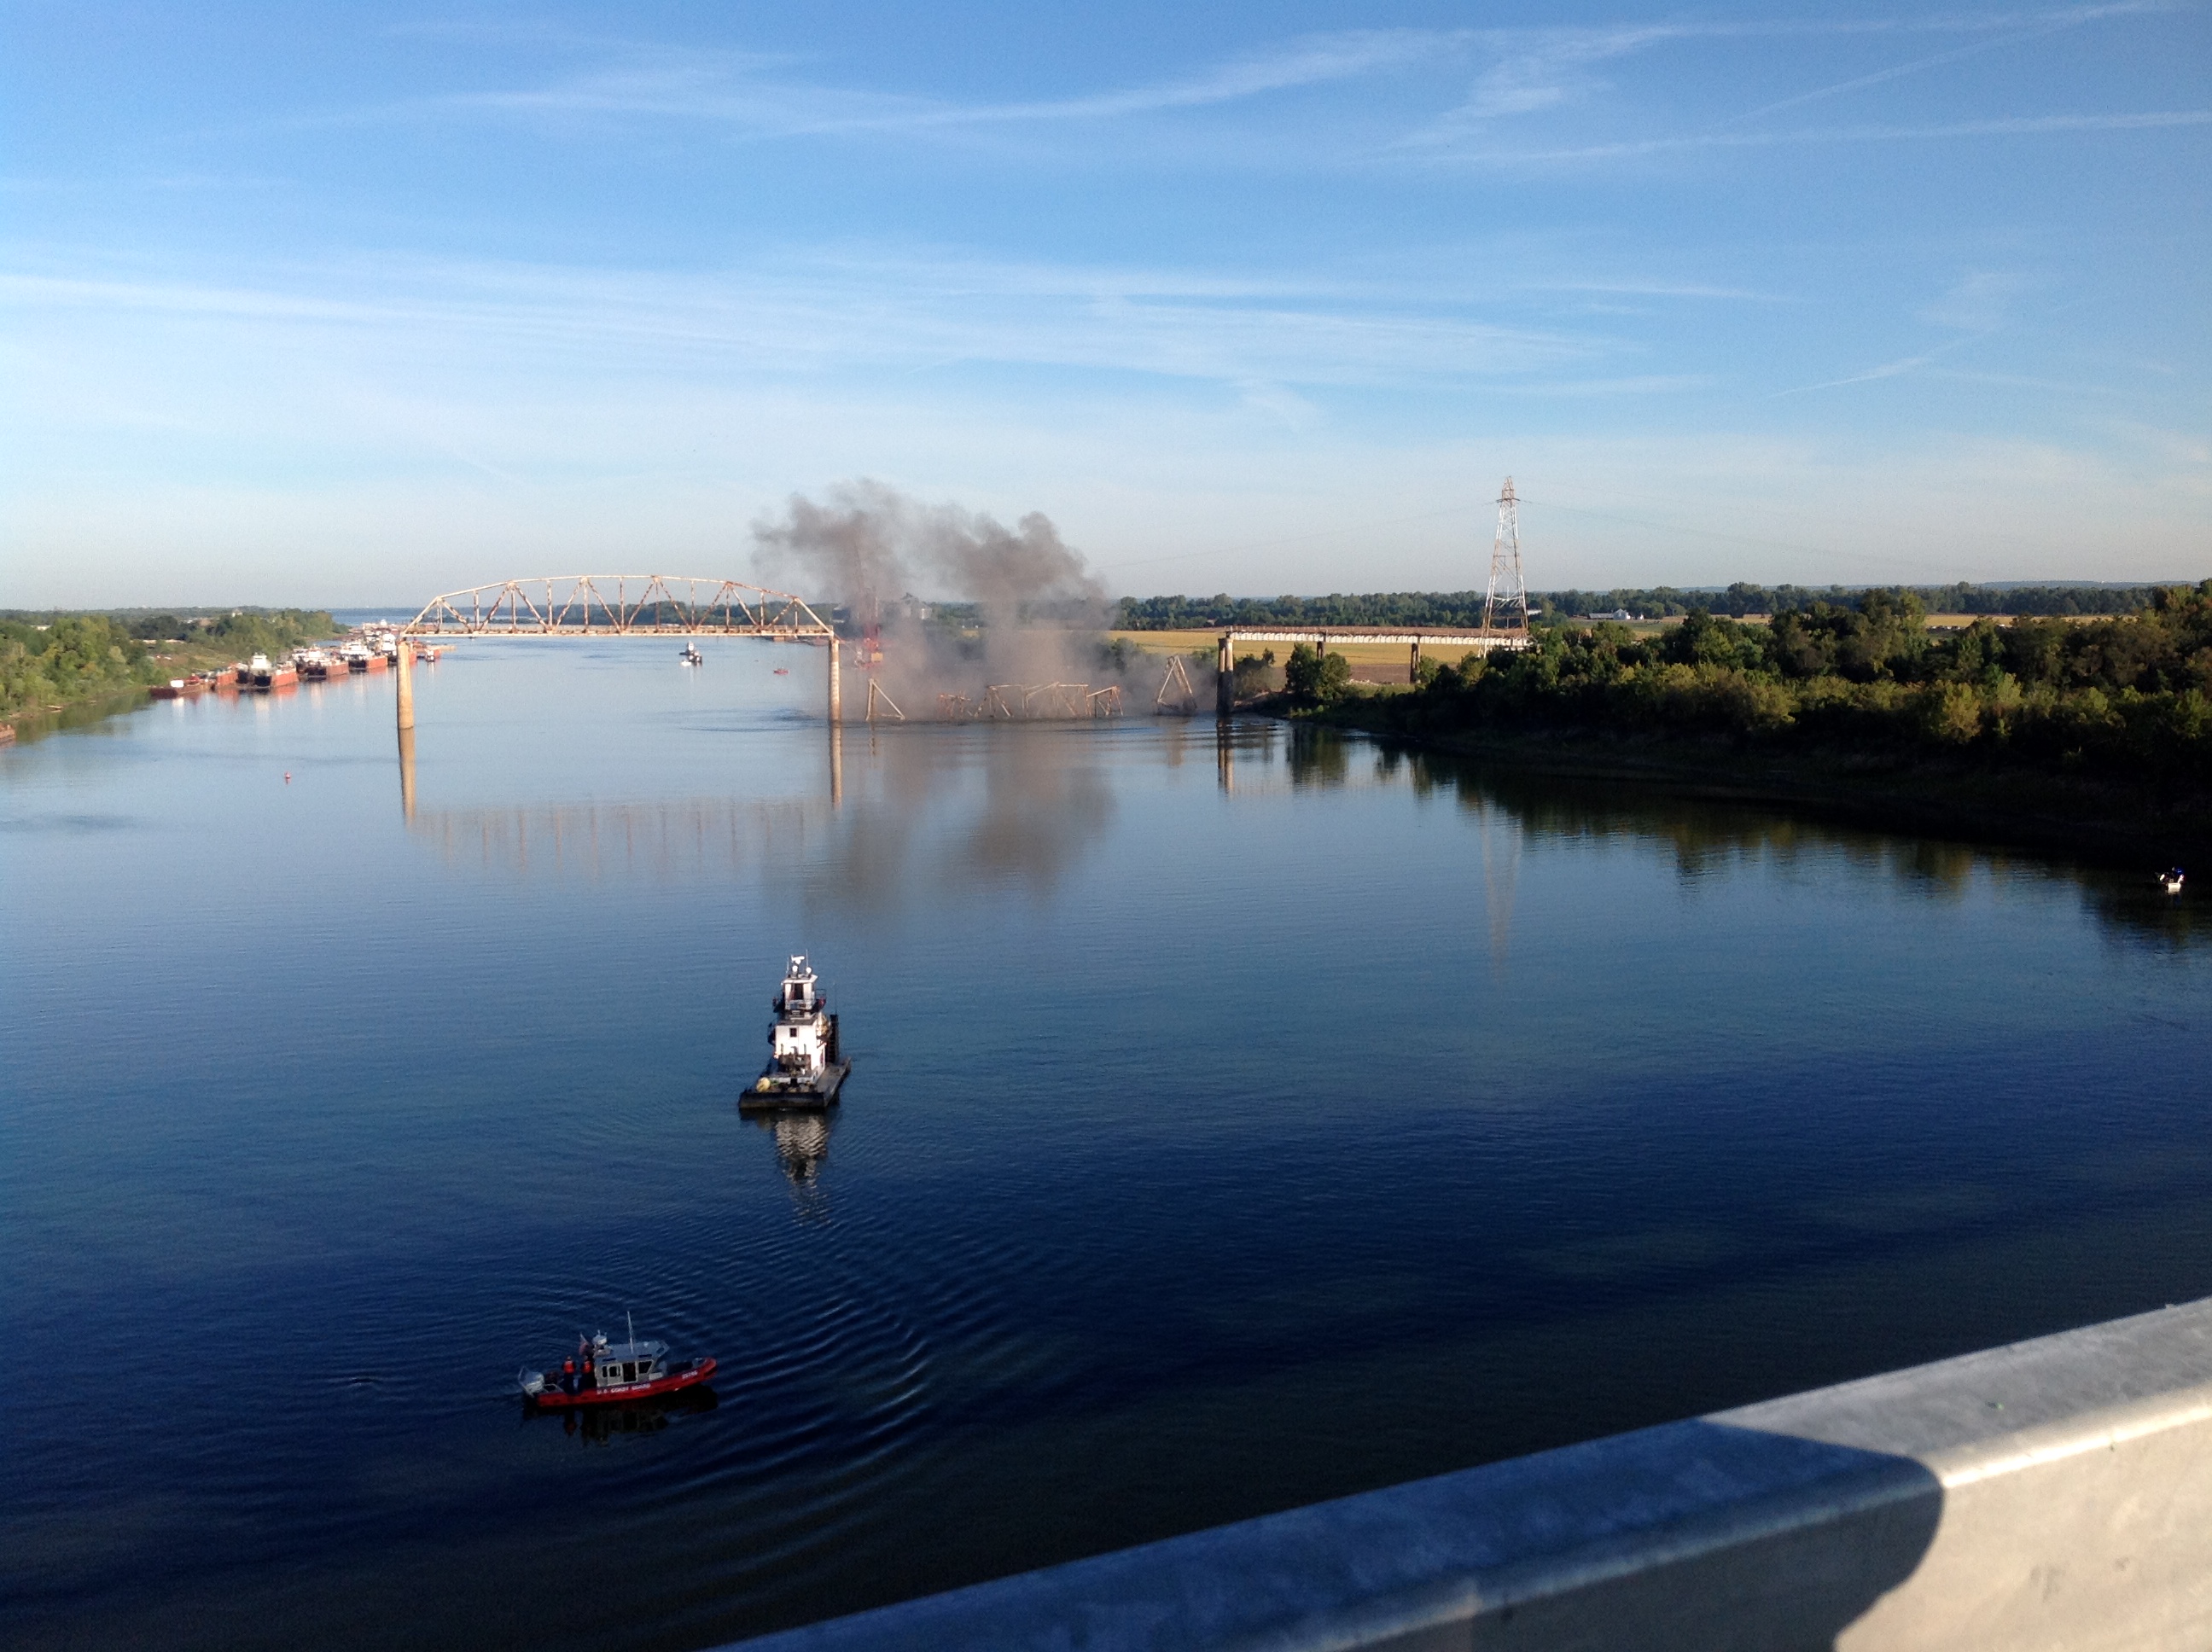
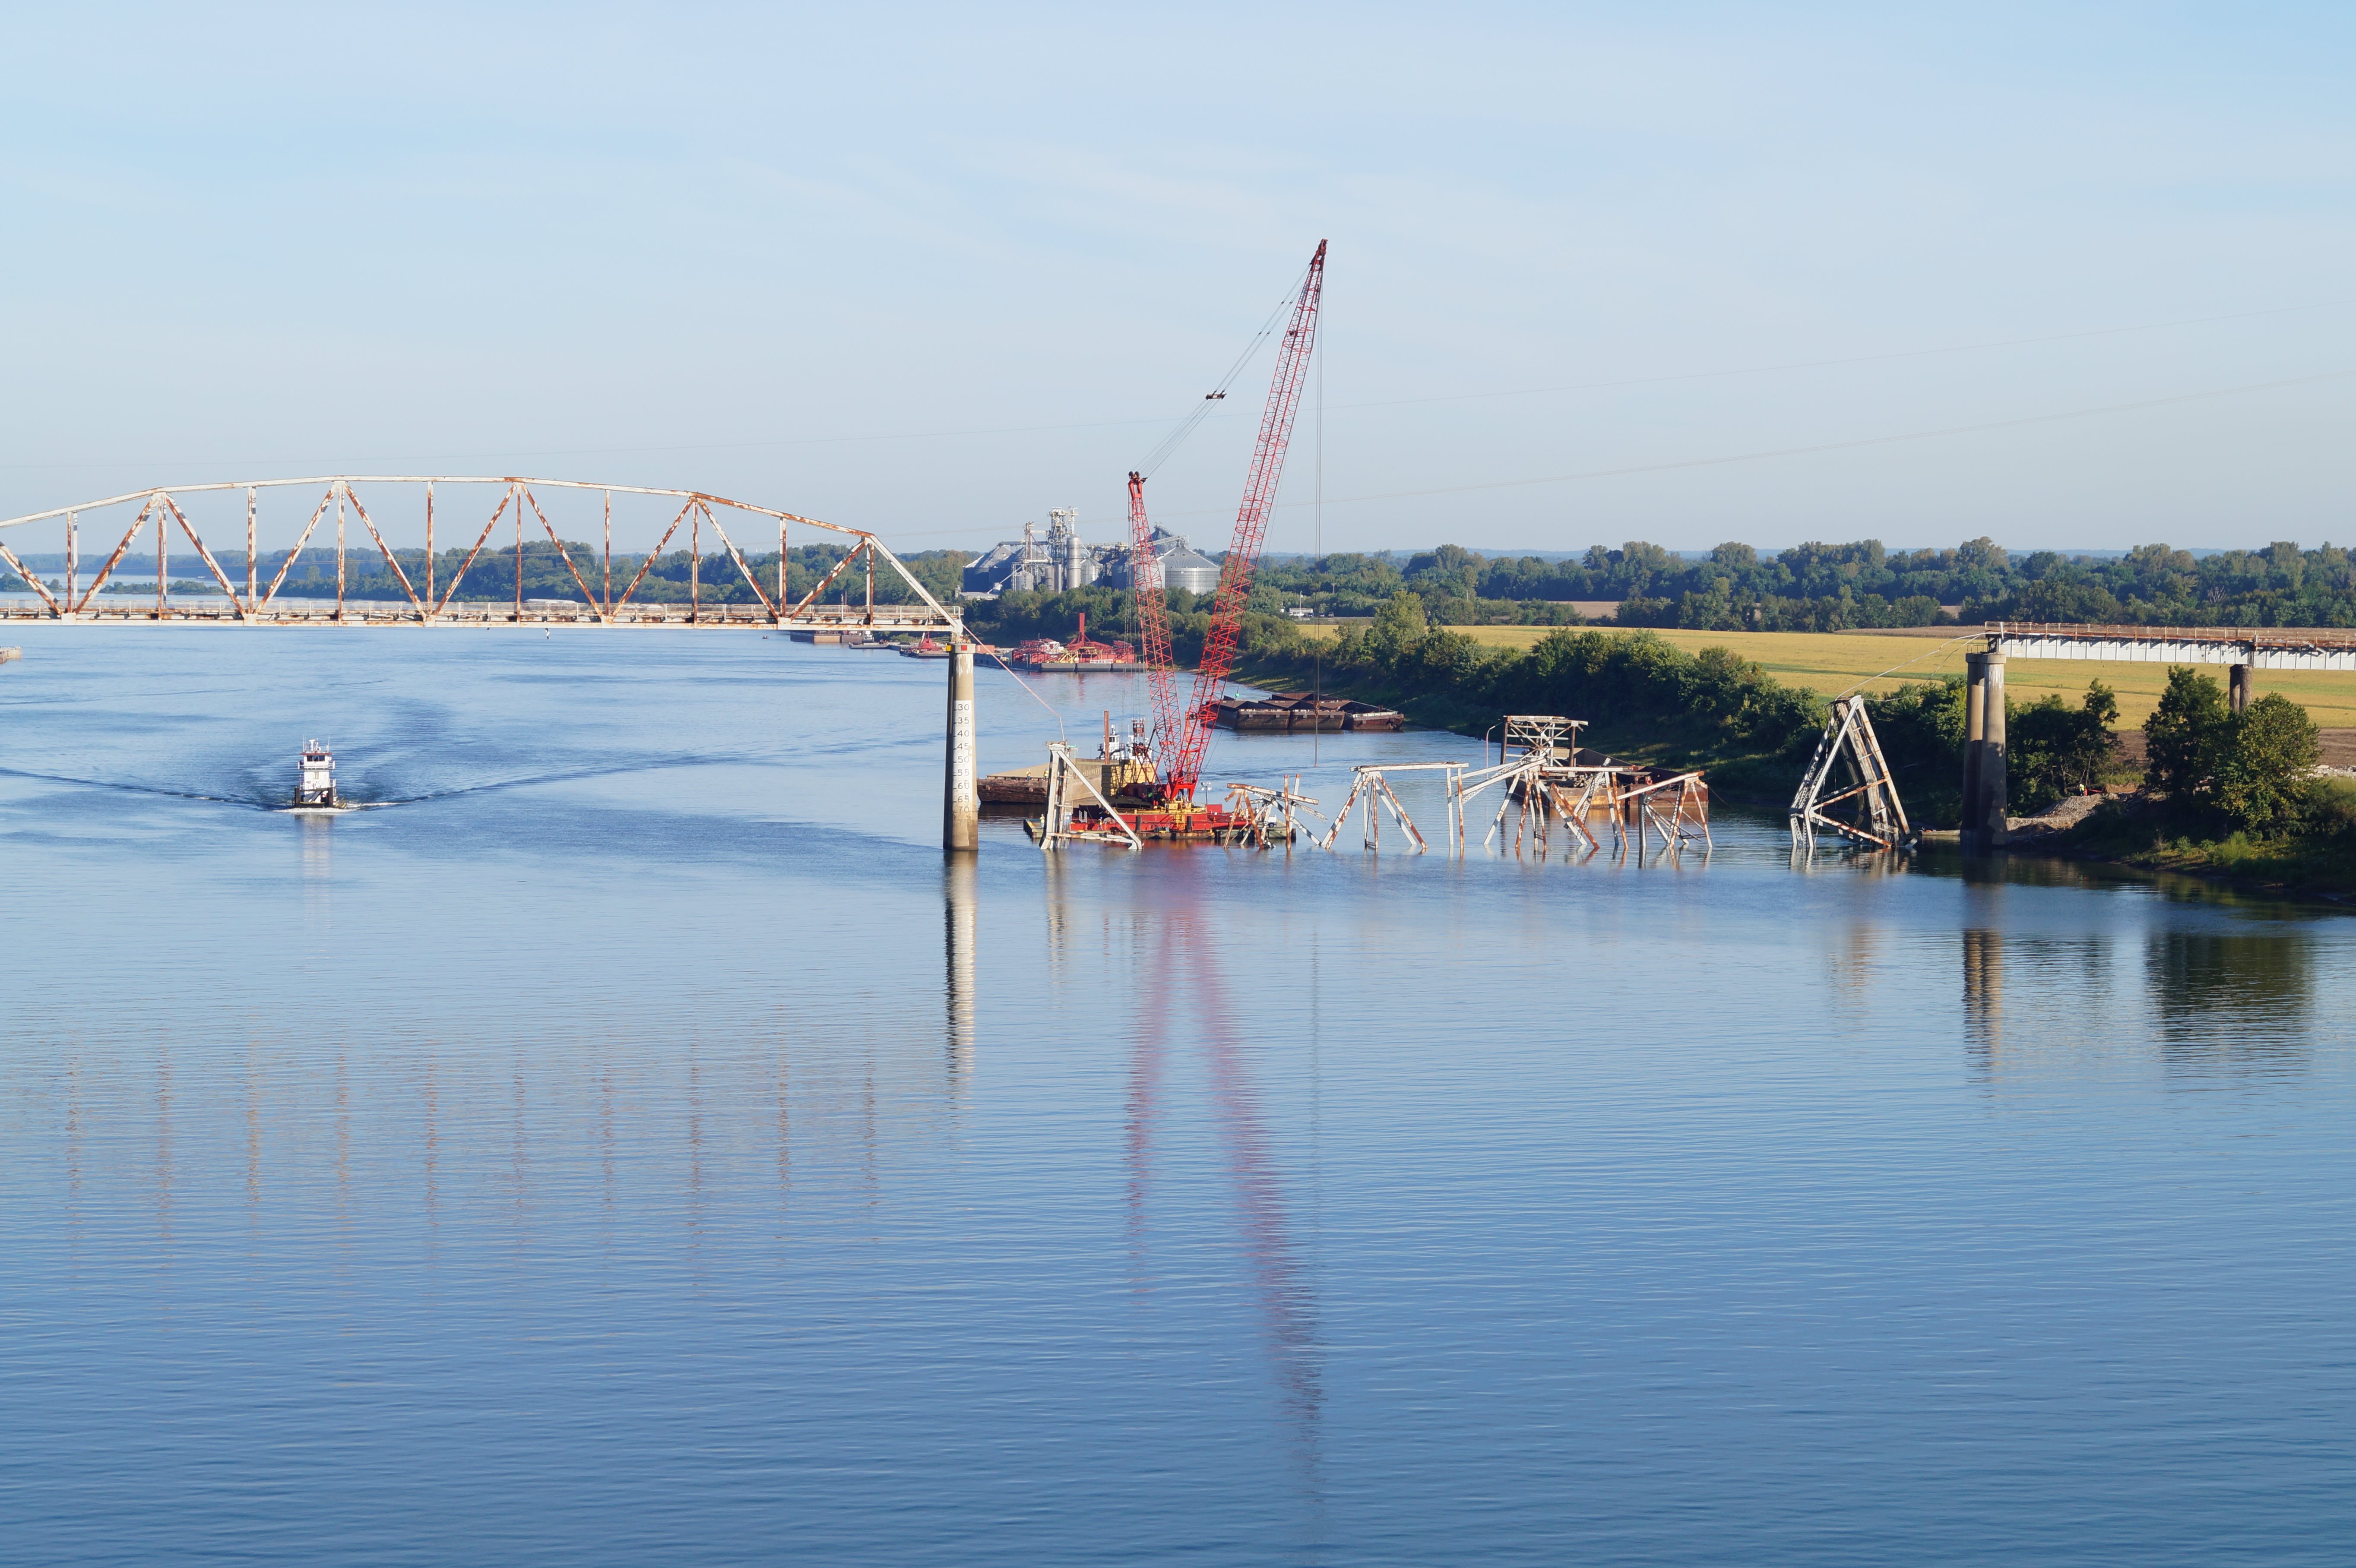
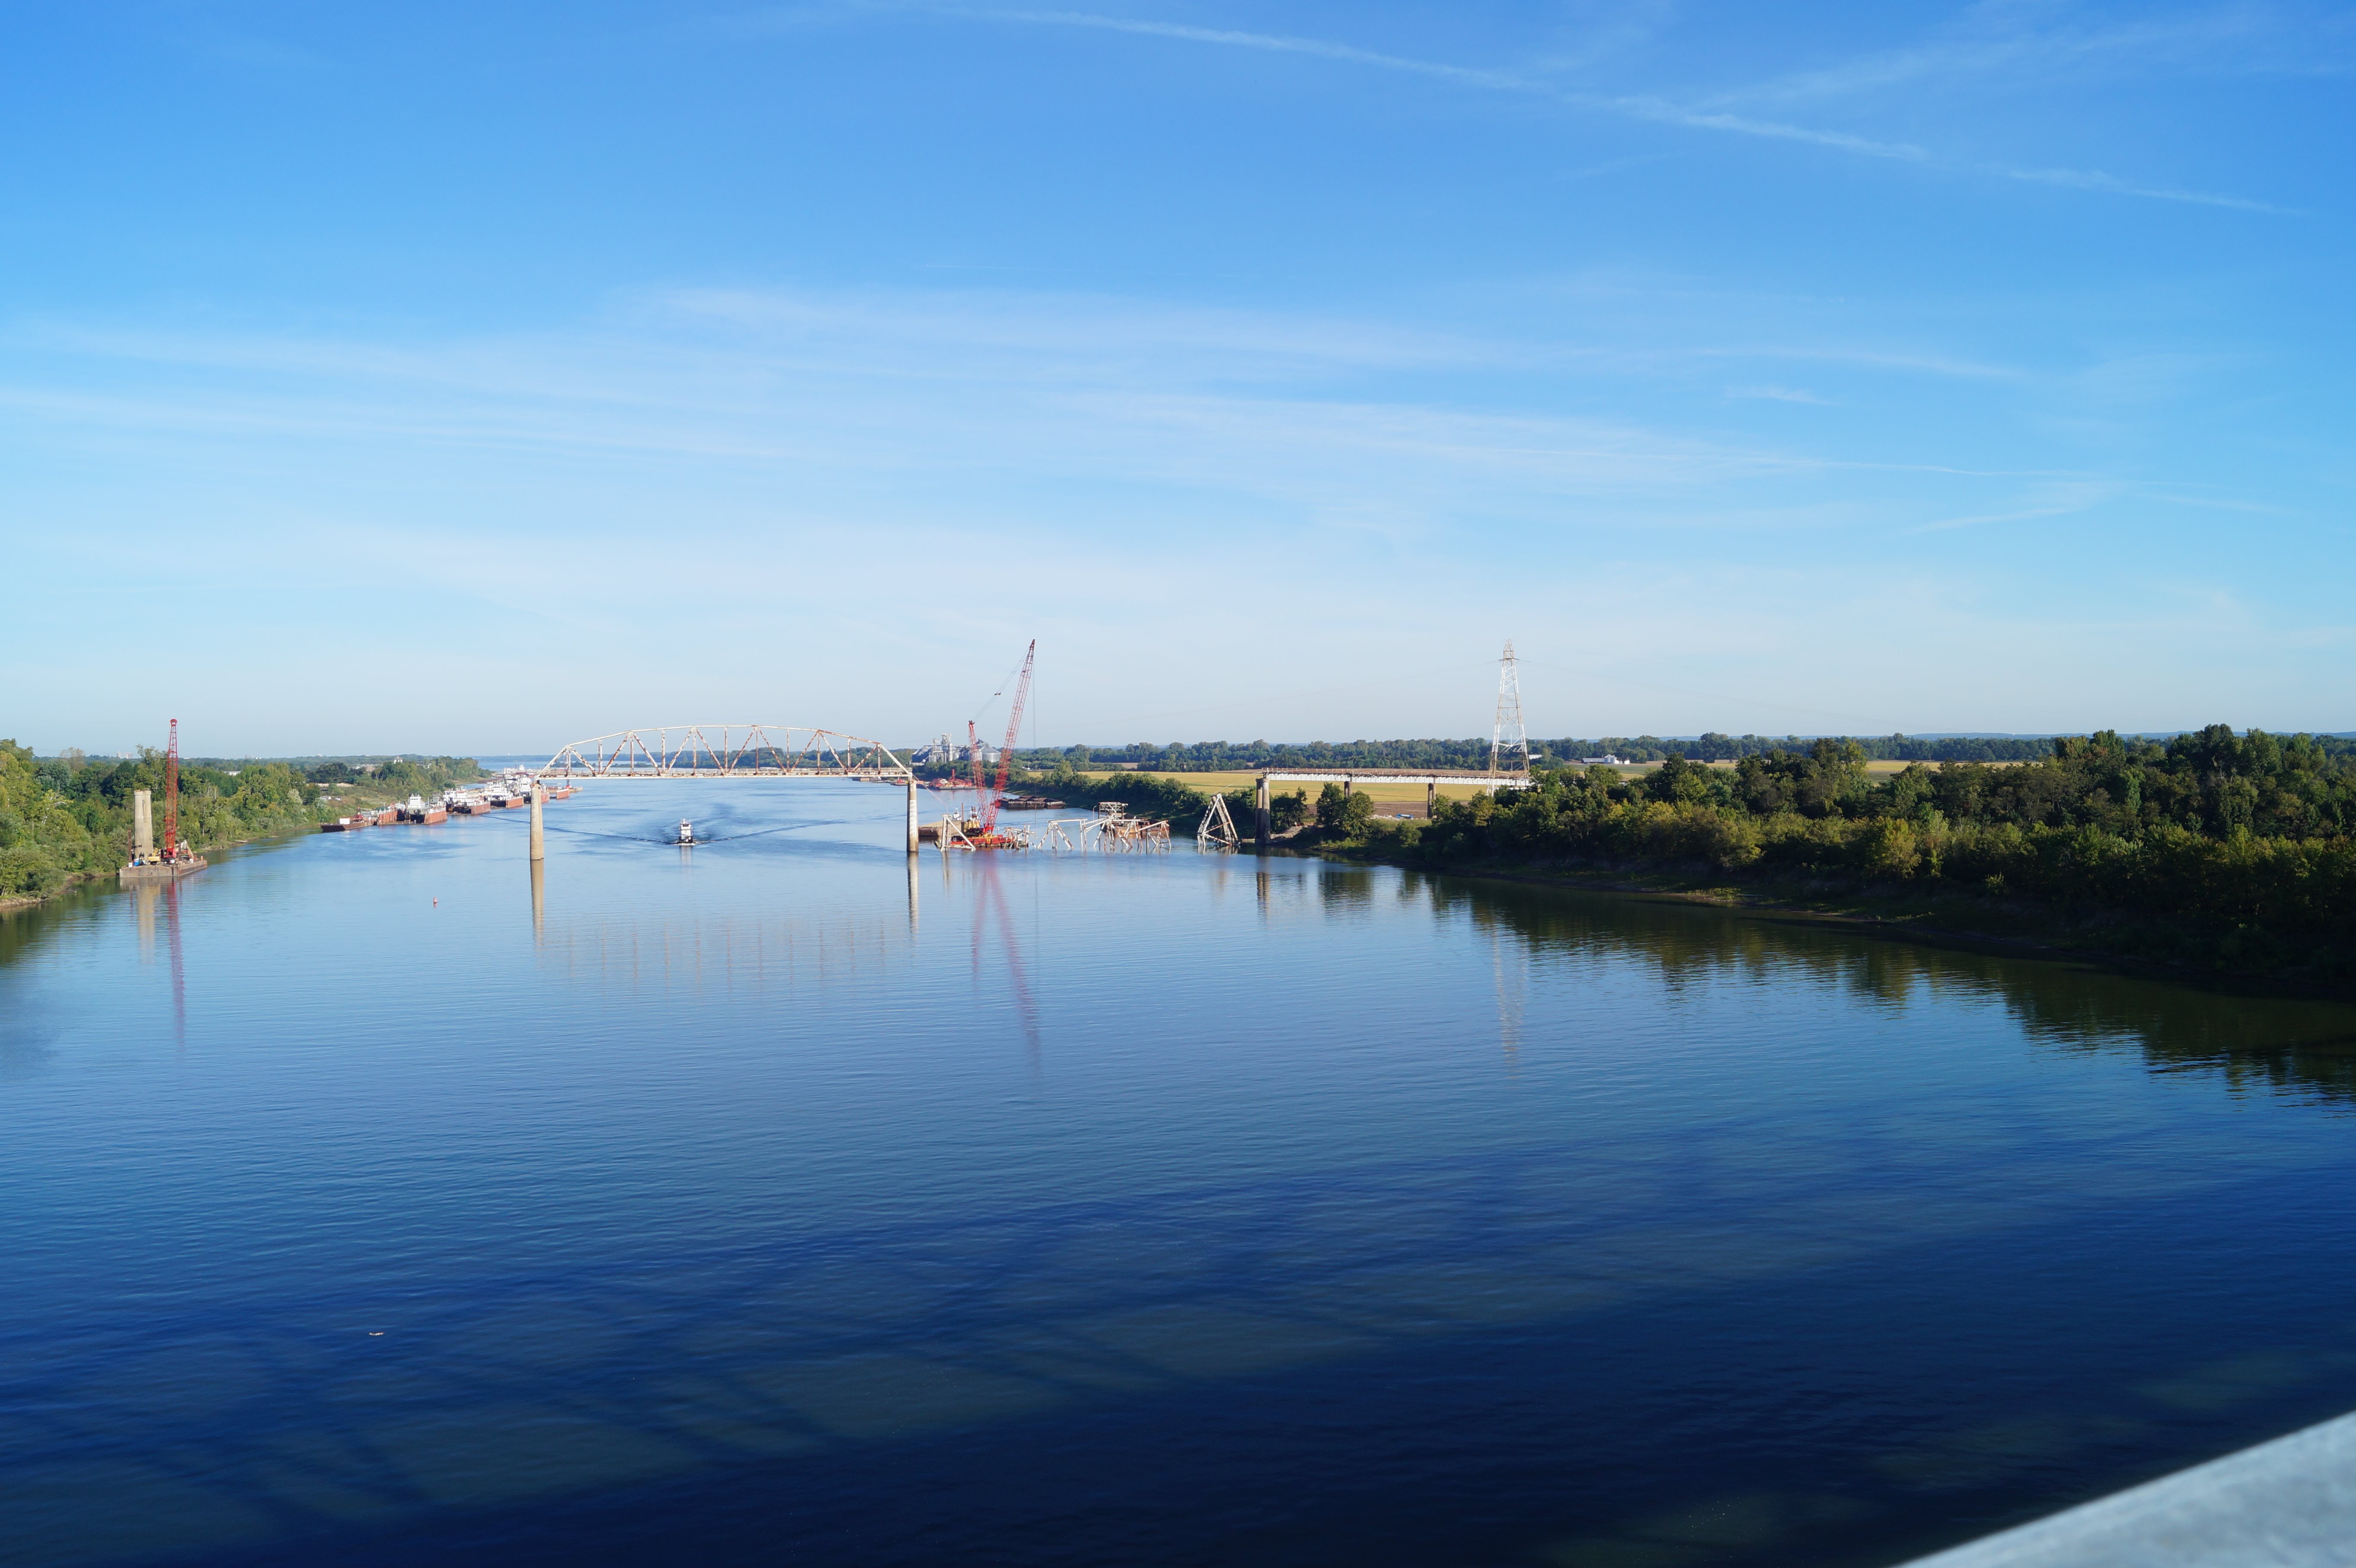
Photo Credit: KYTC
Demolition of eastern truss span.
![]()


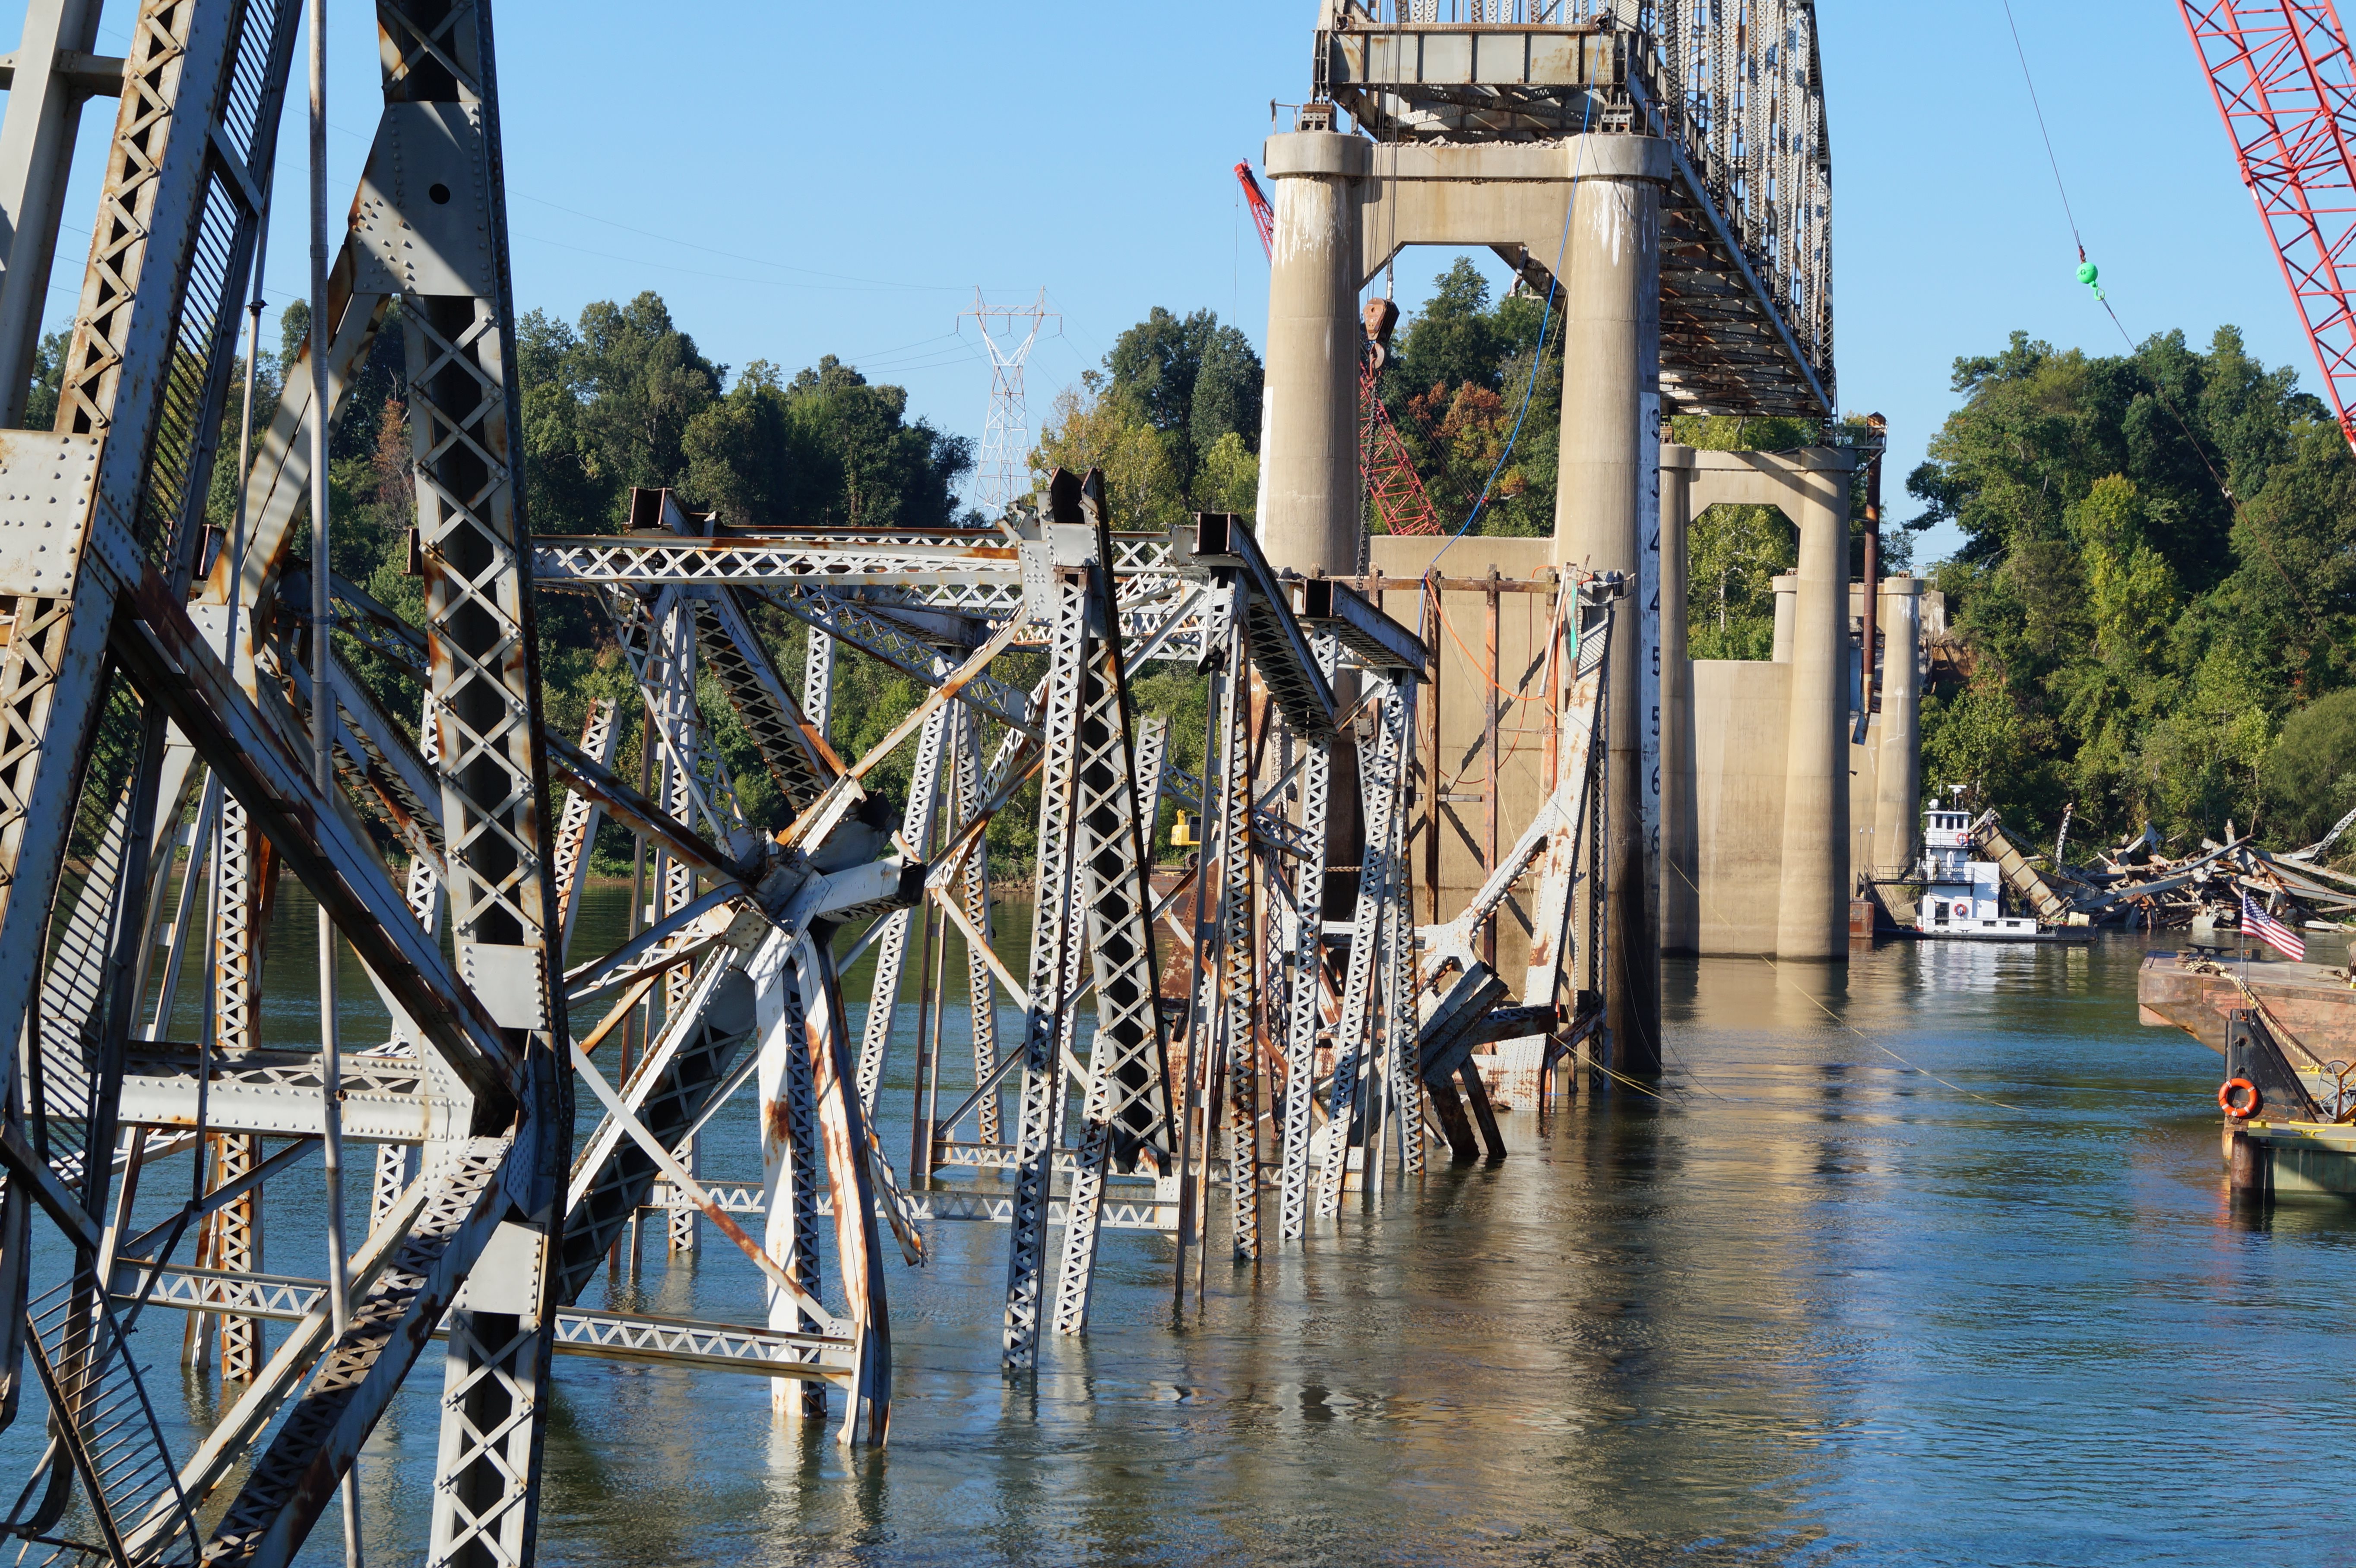

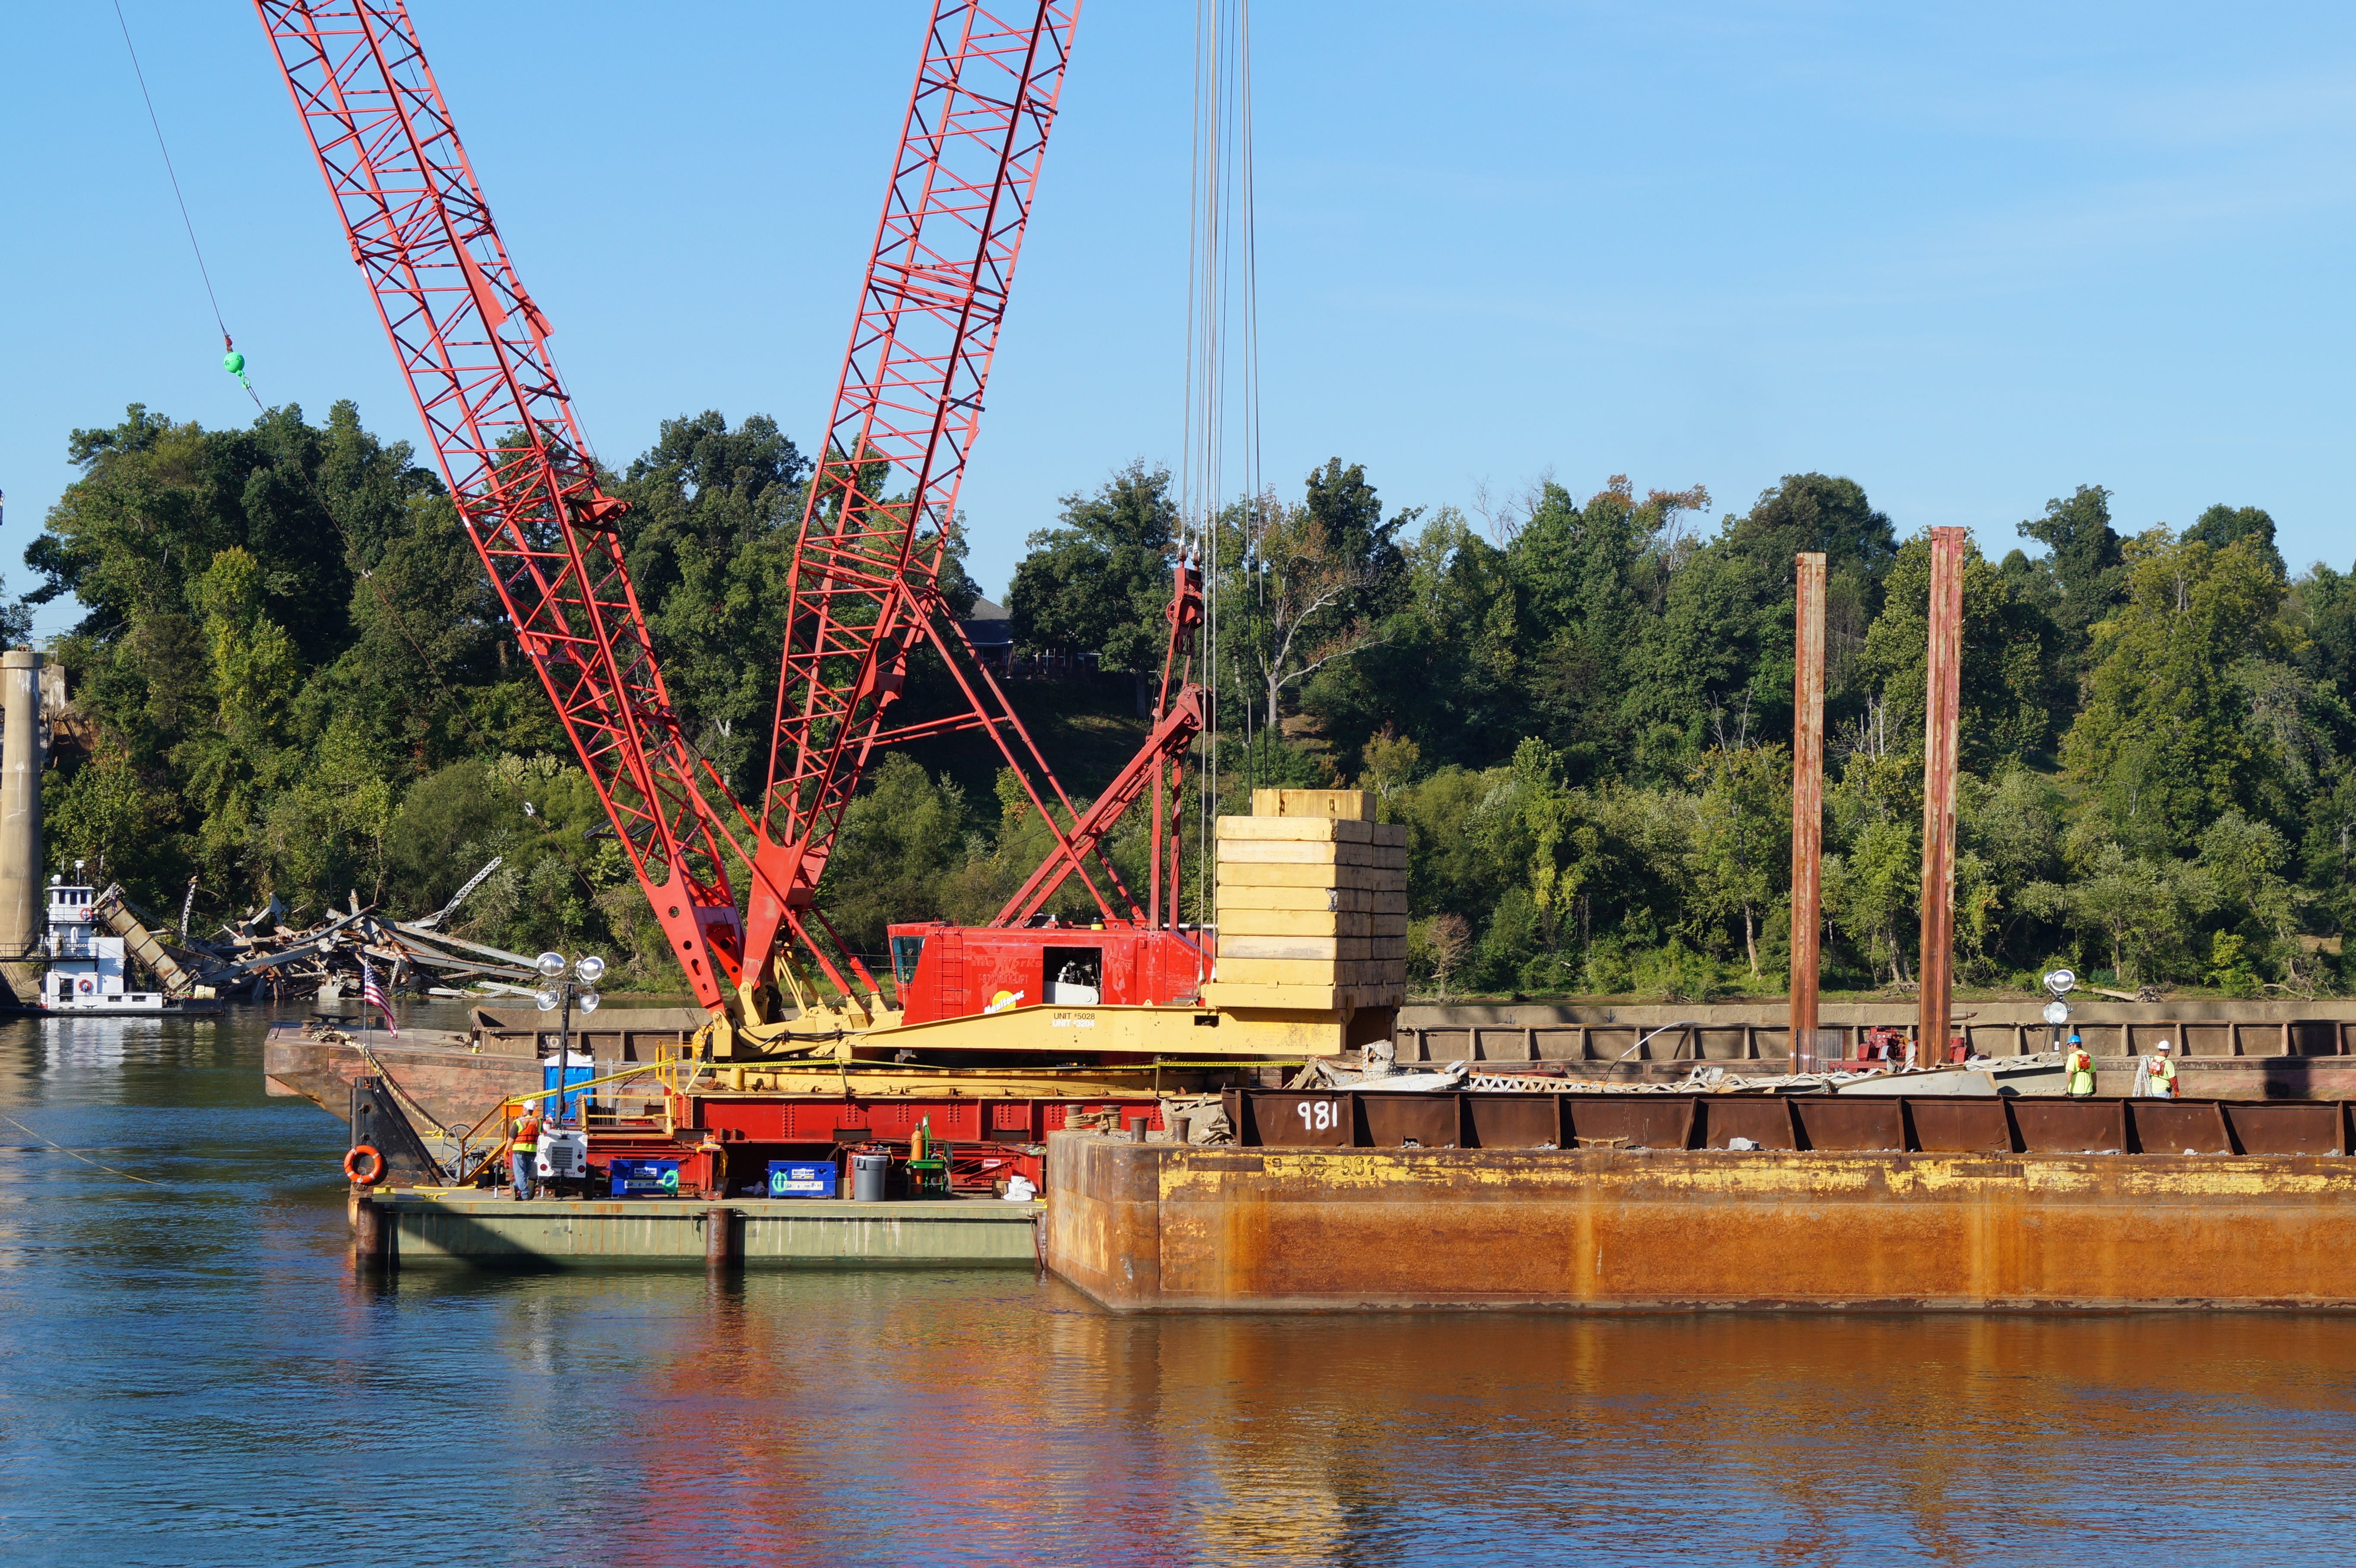
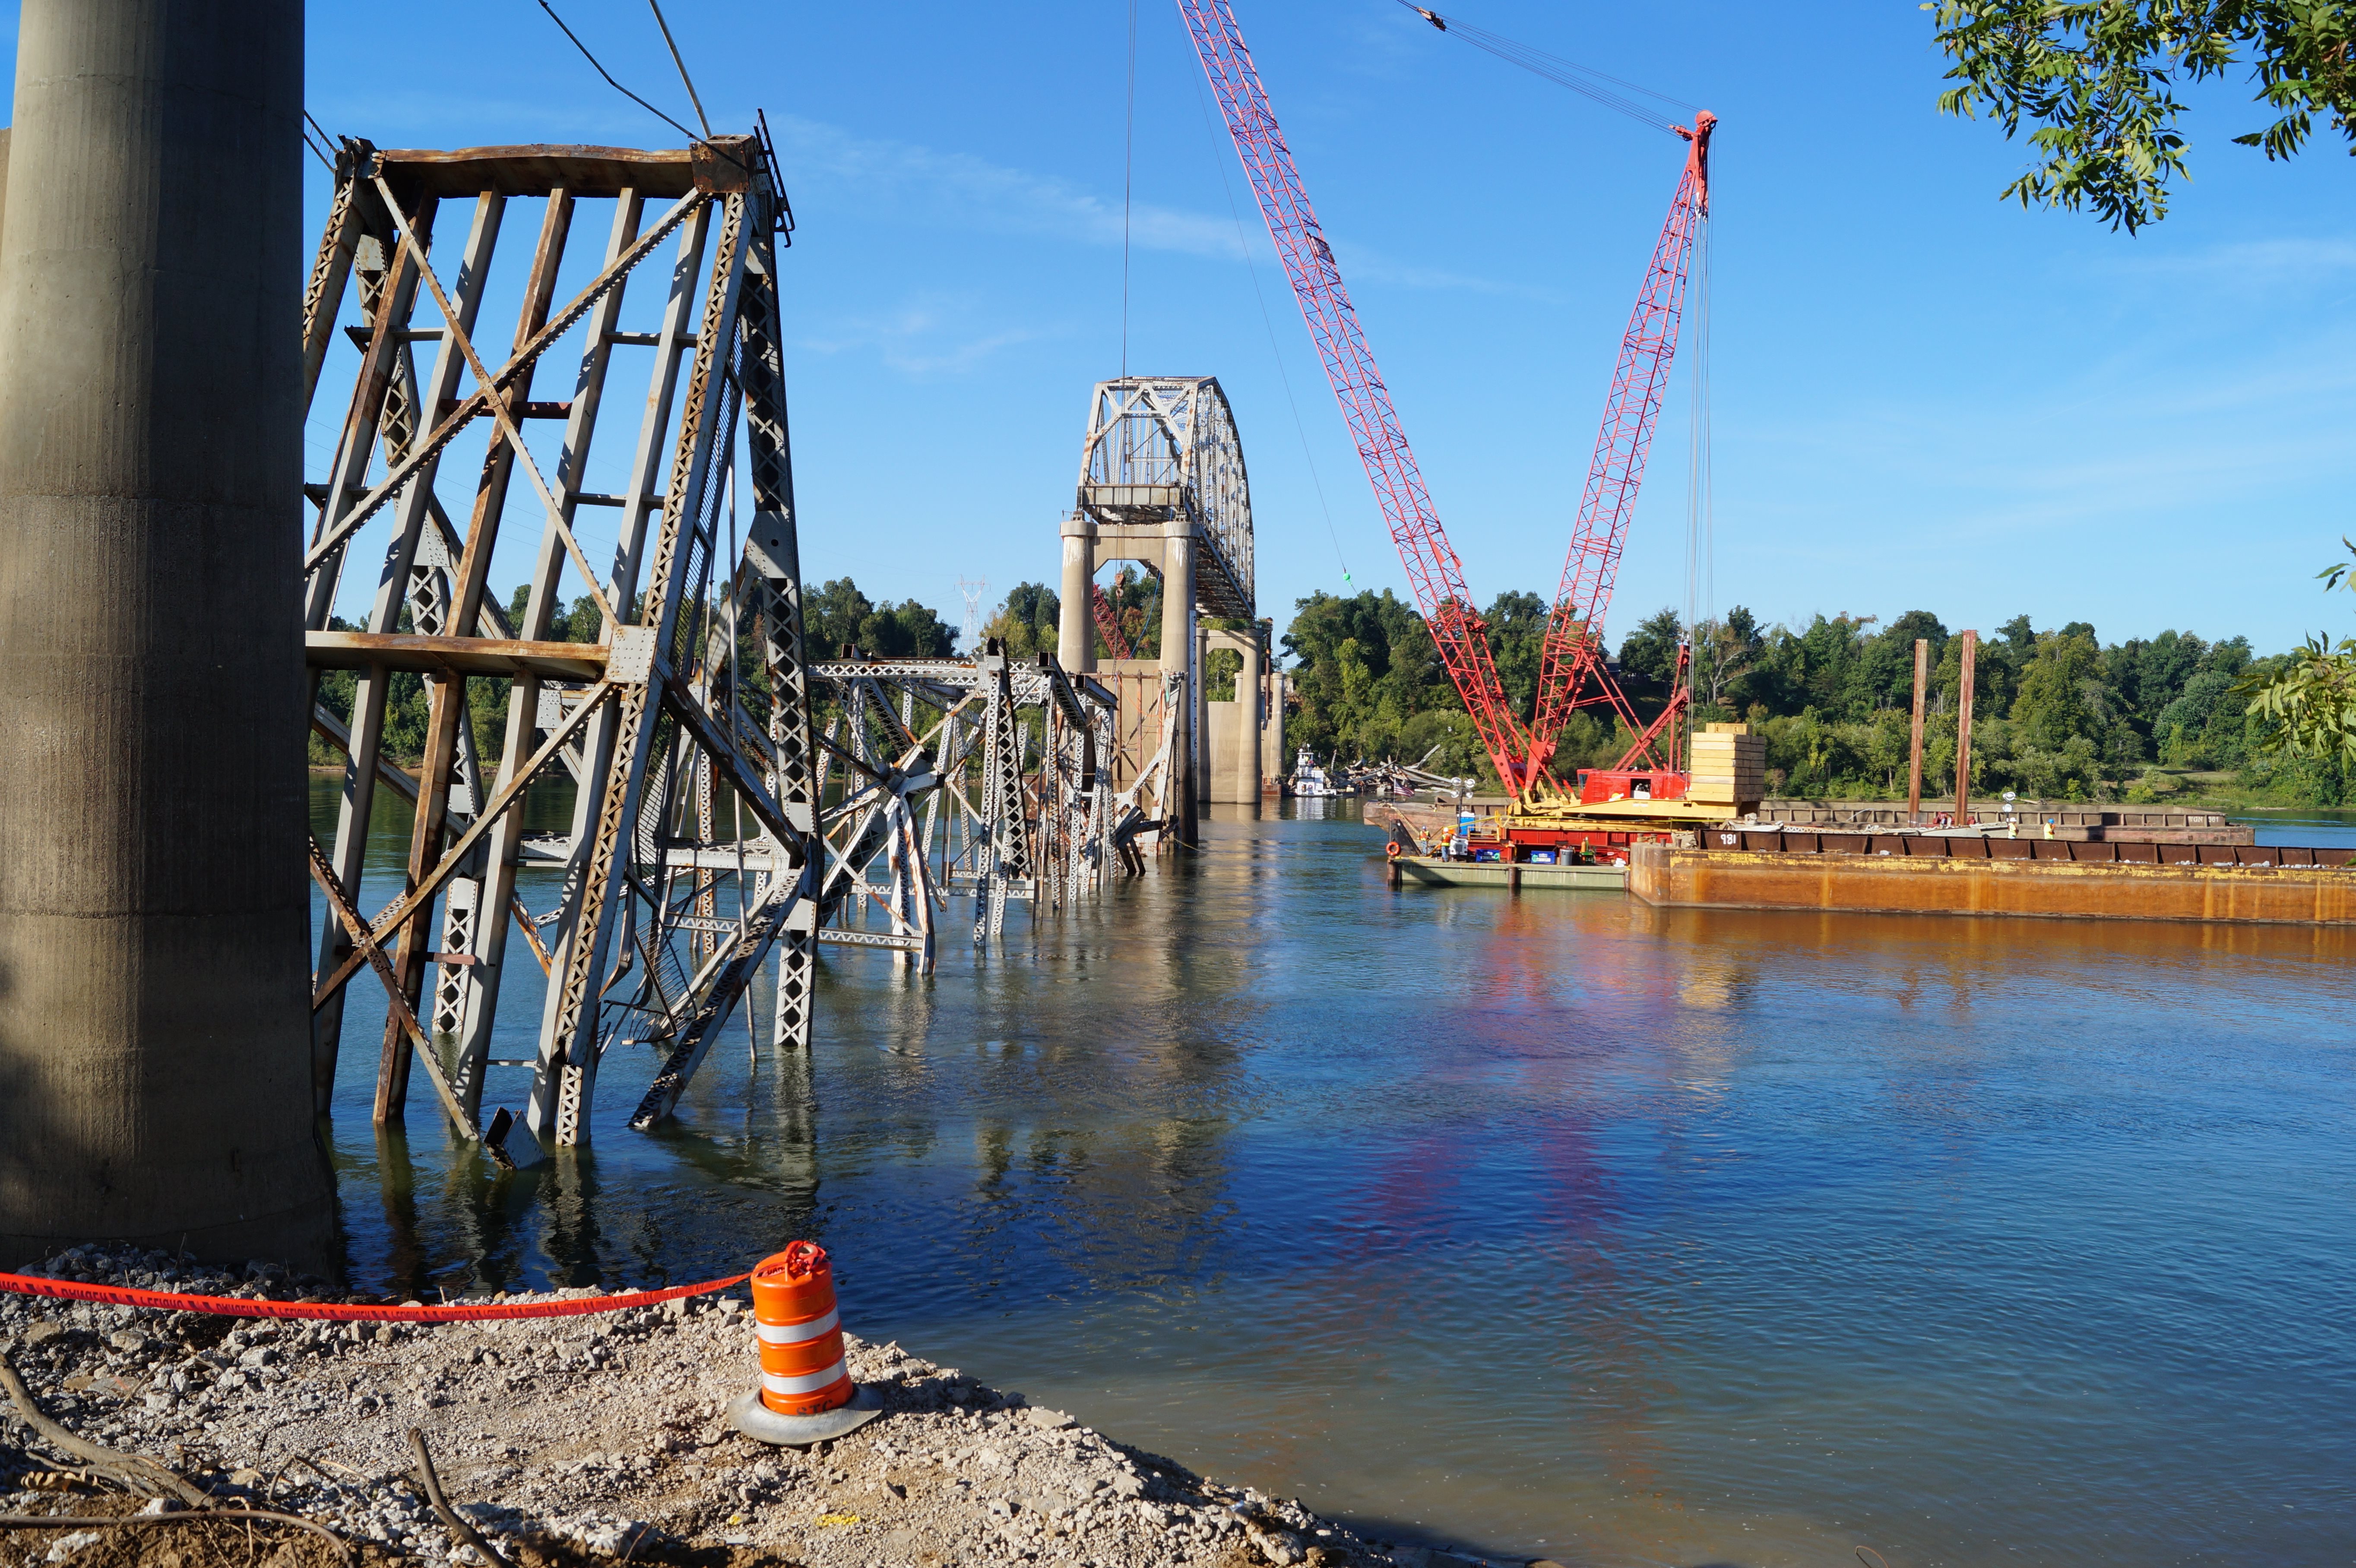

Photo Credit: KYTC
Photos showing the demolished eastern truss span.
![]()
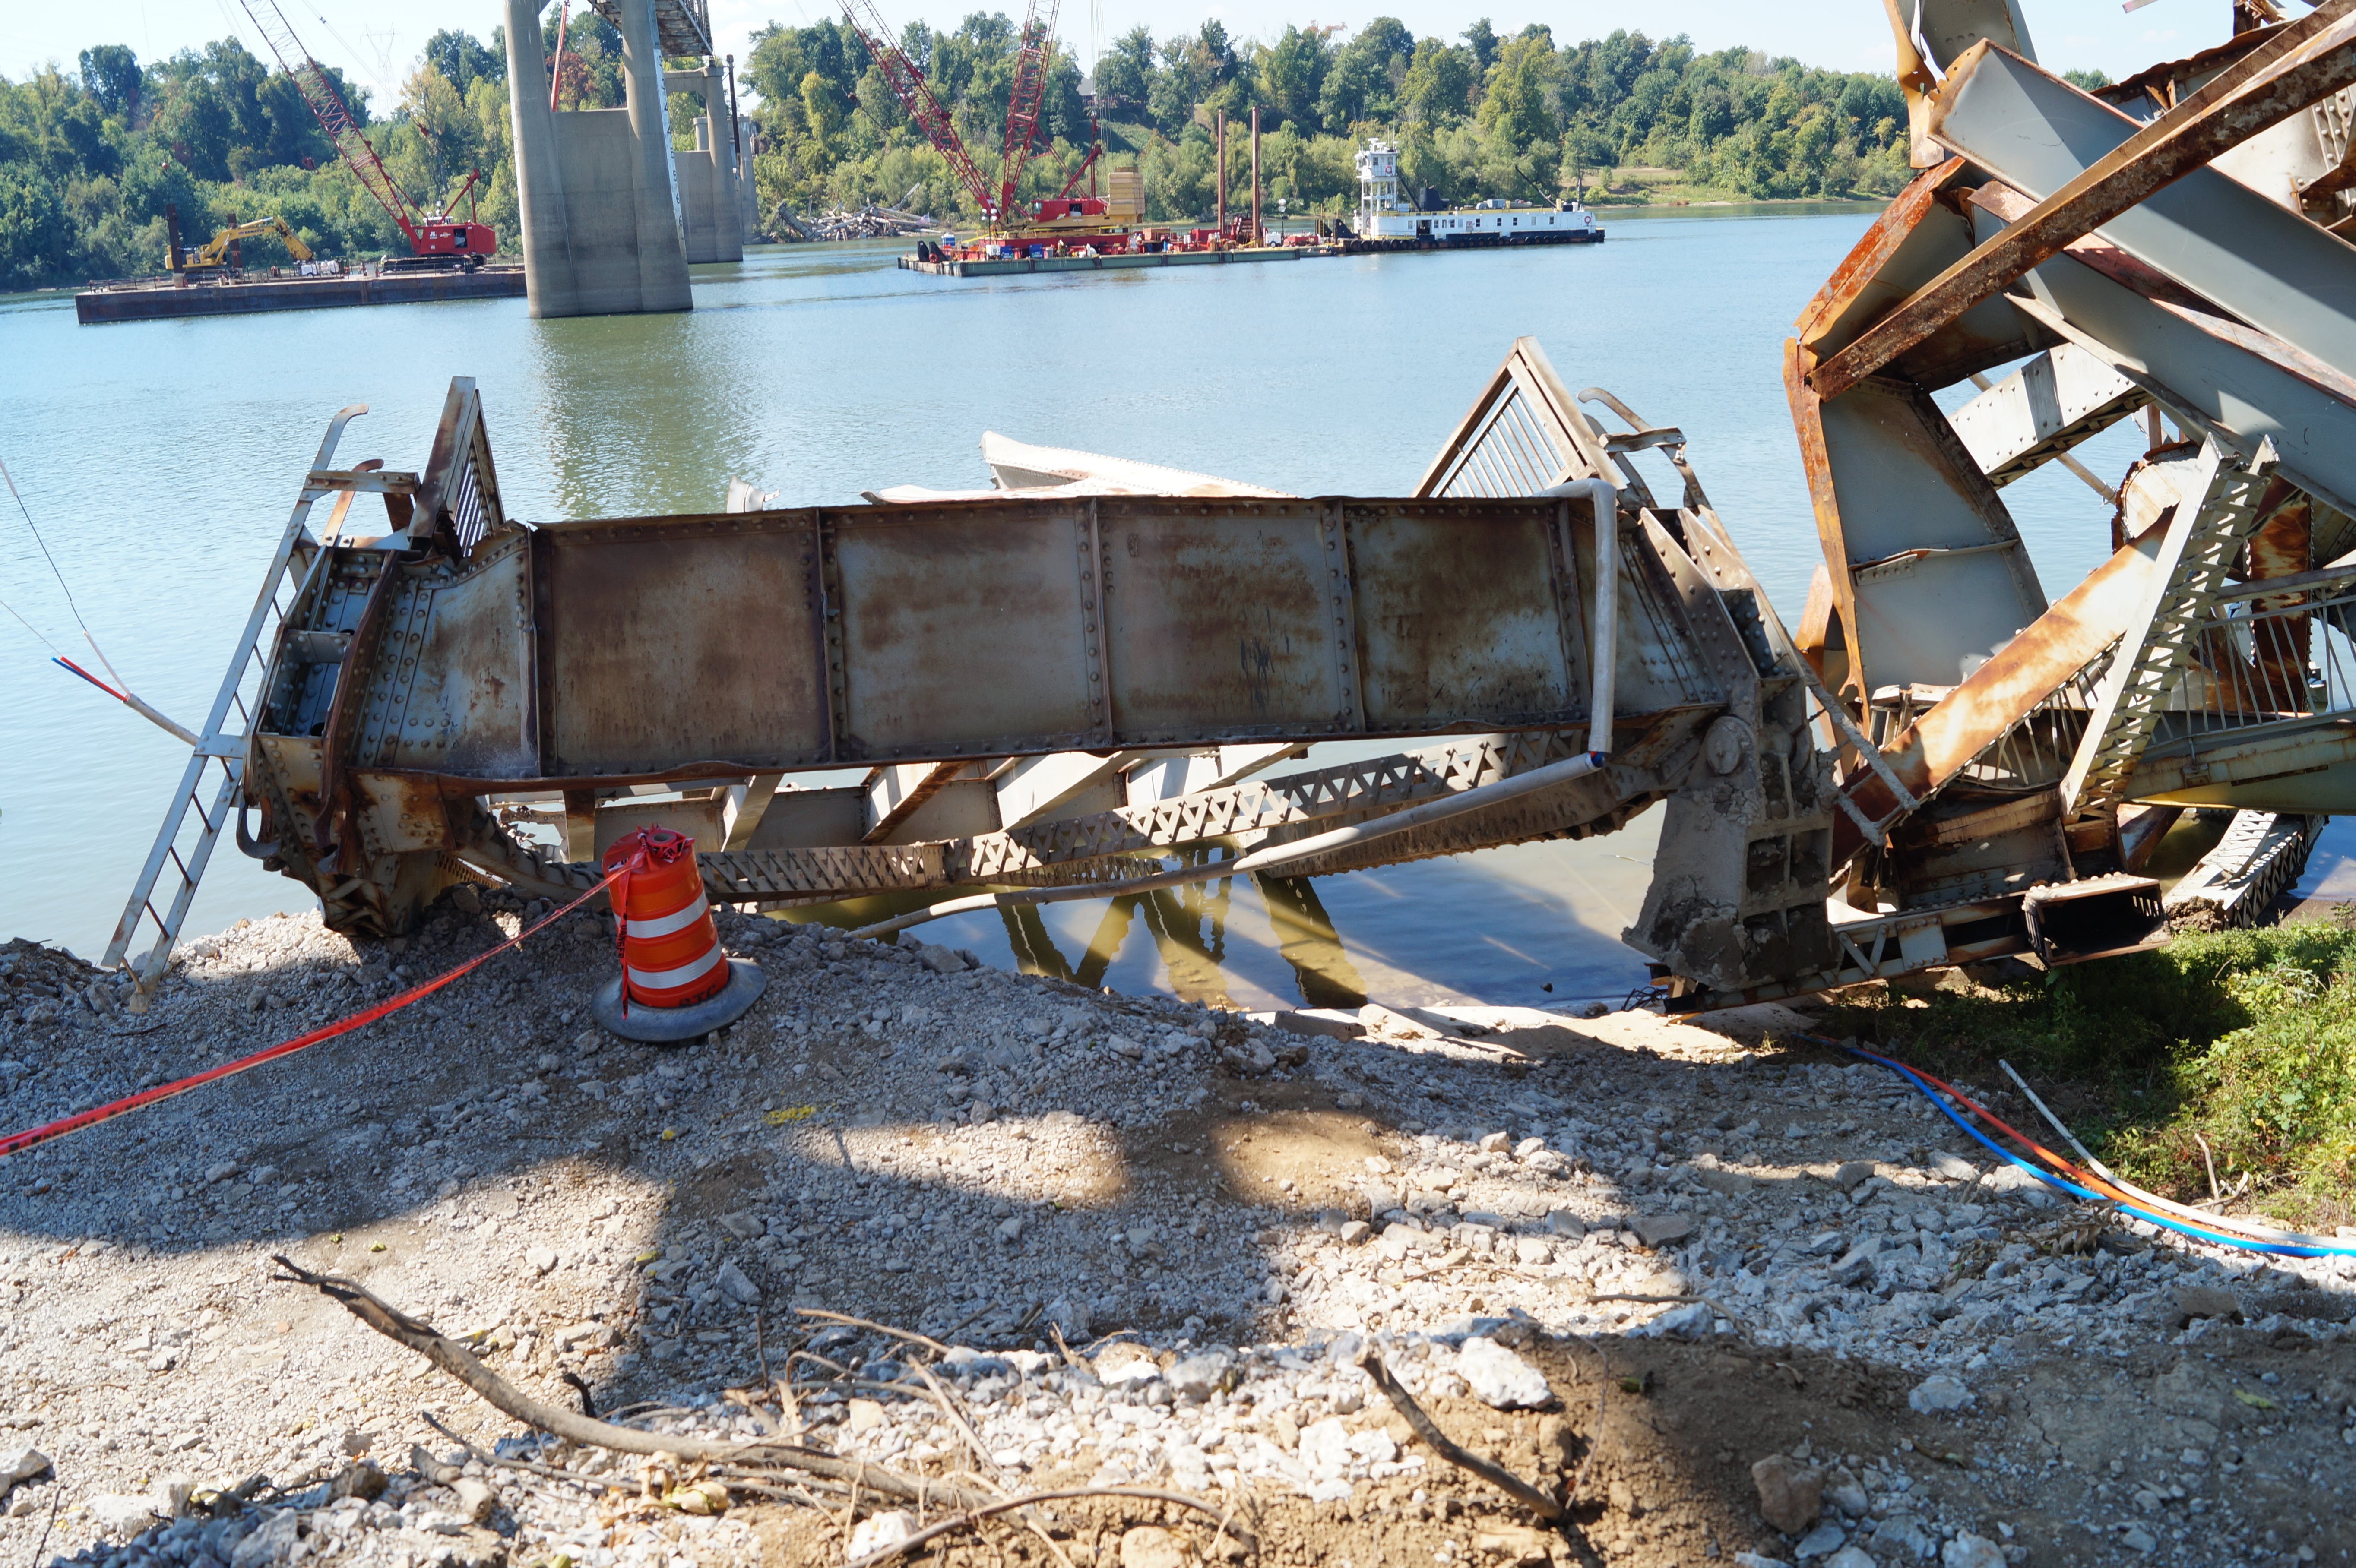


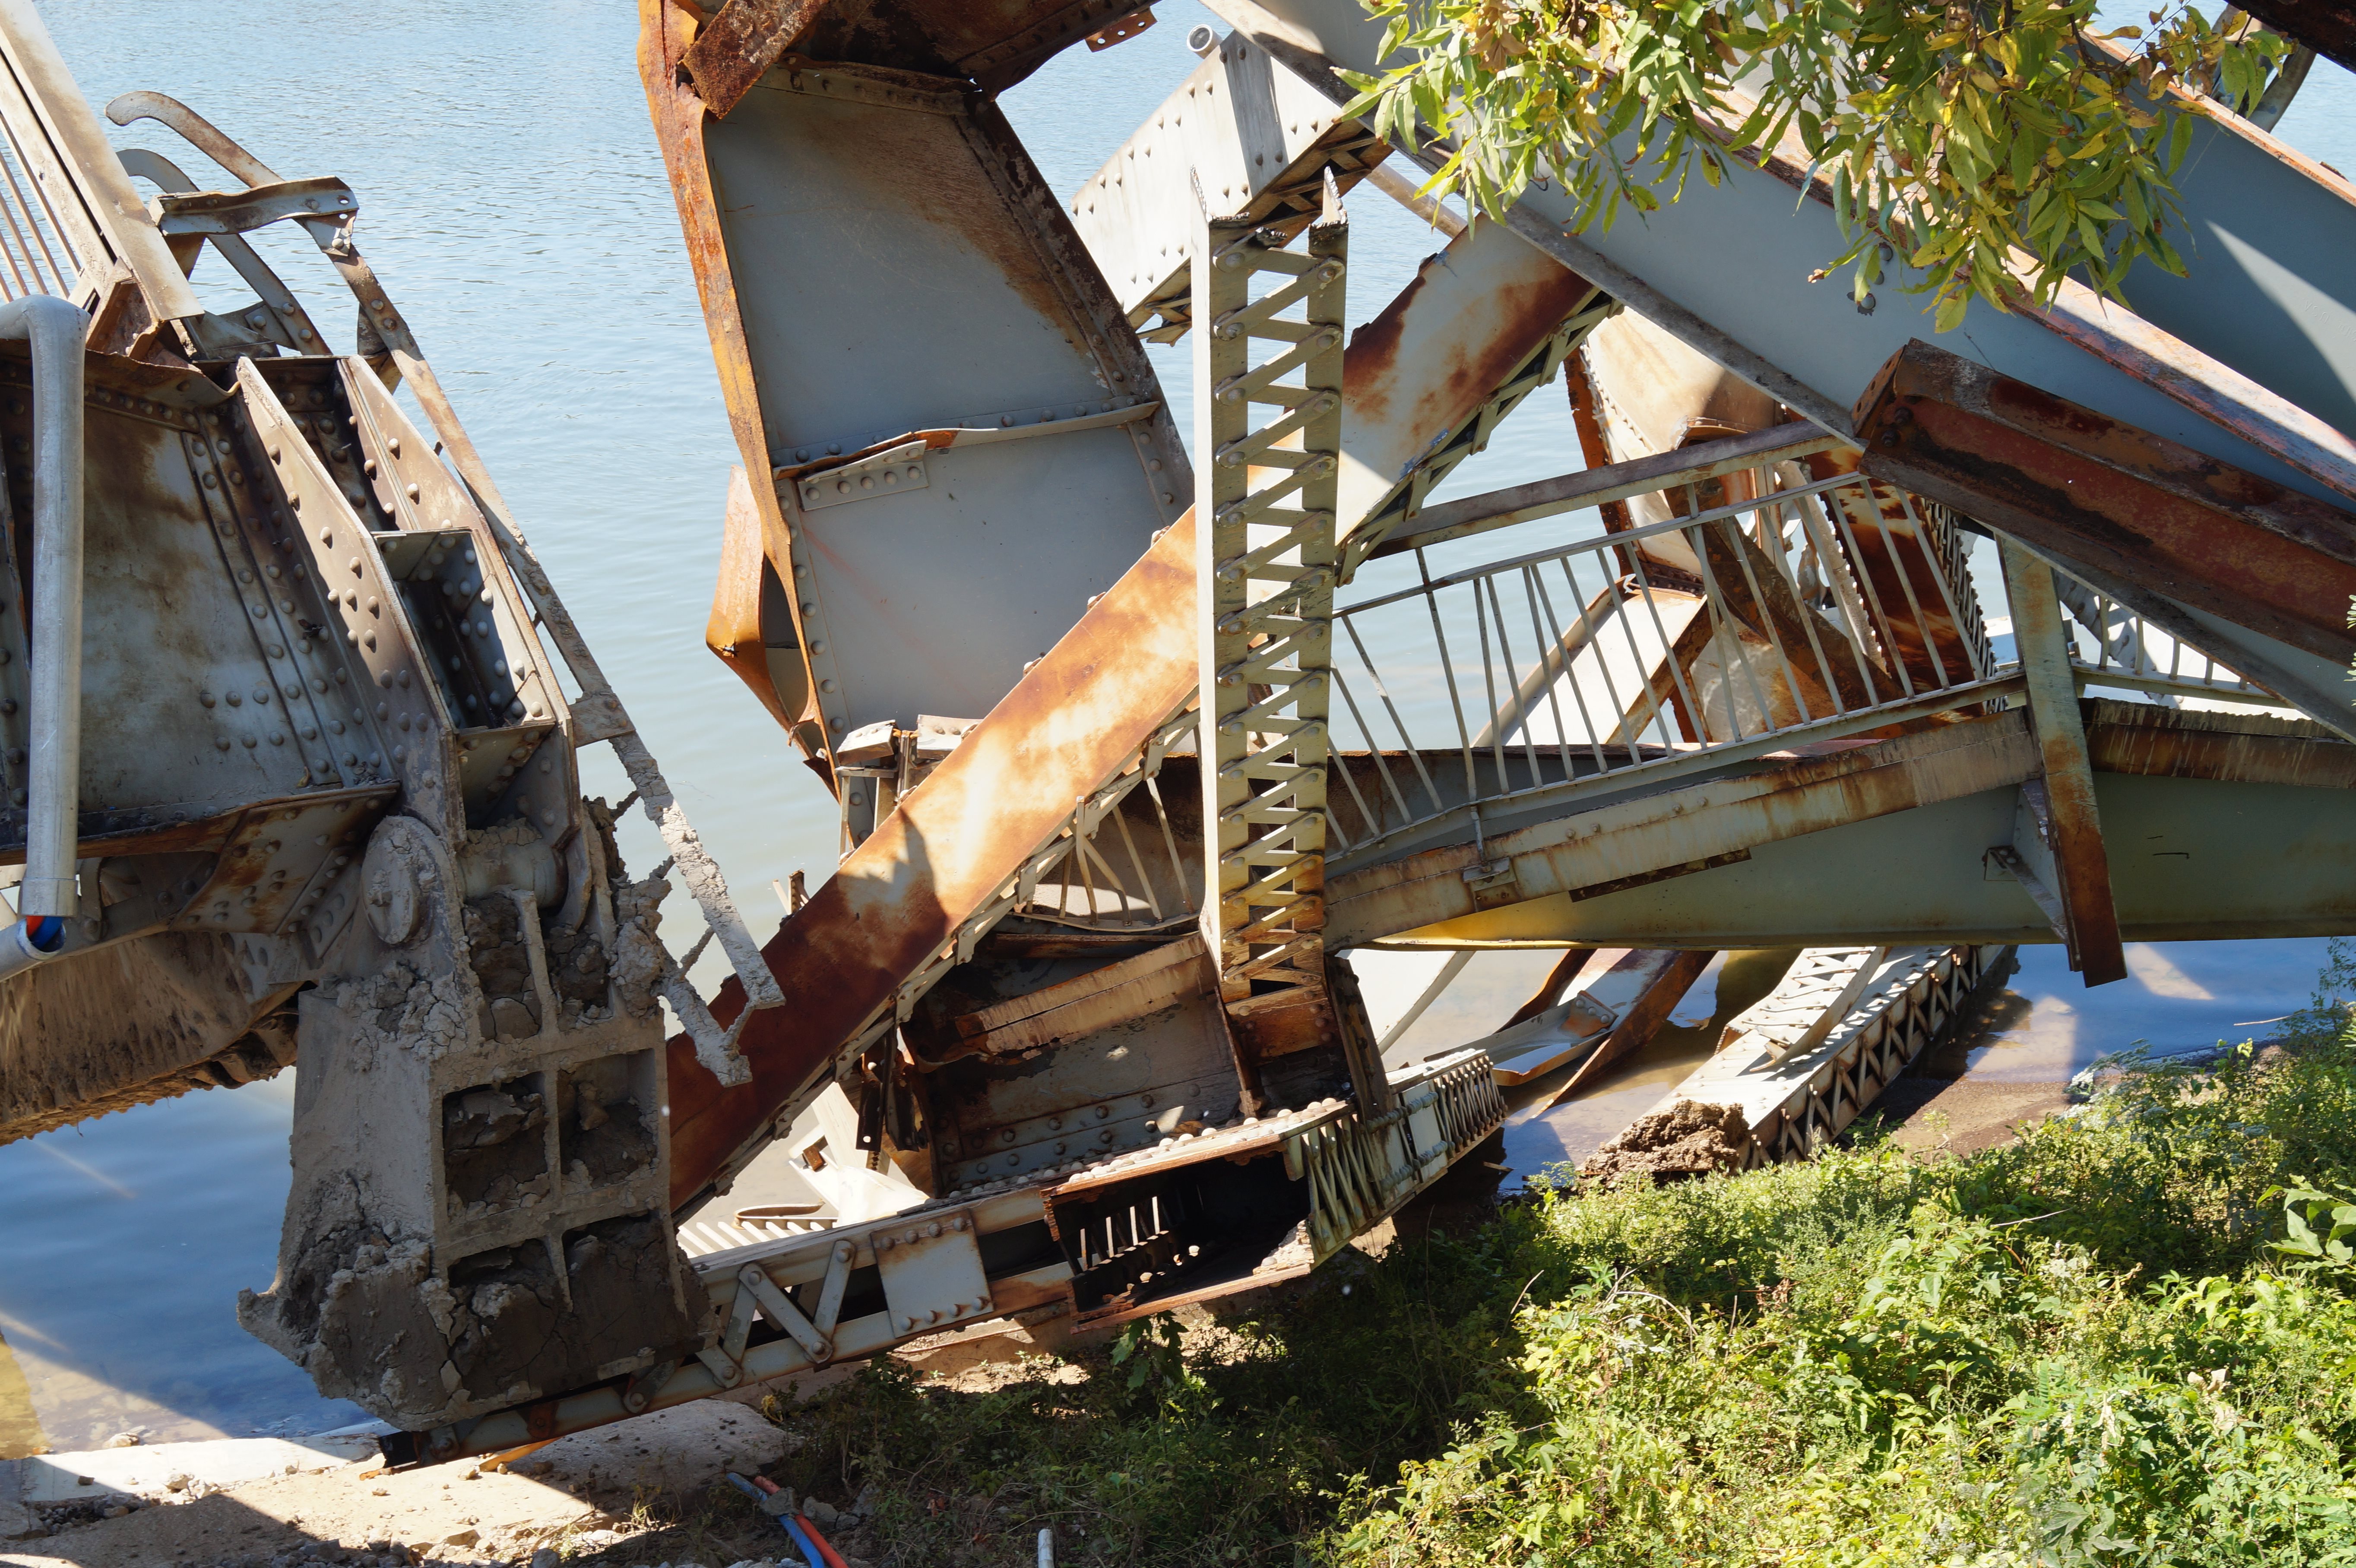

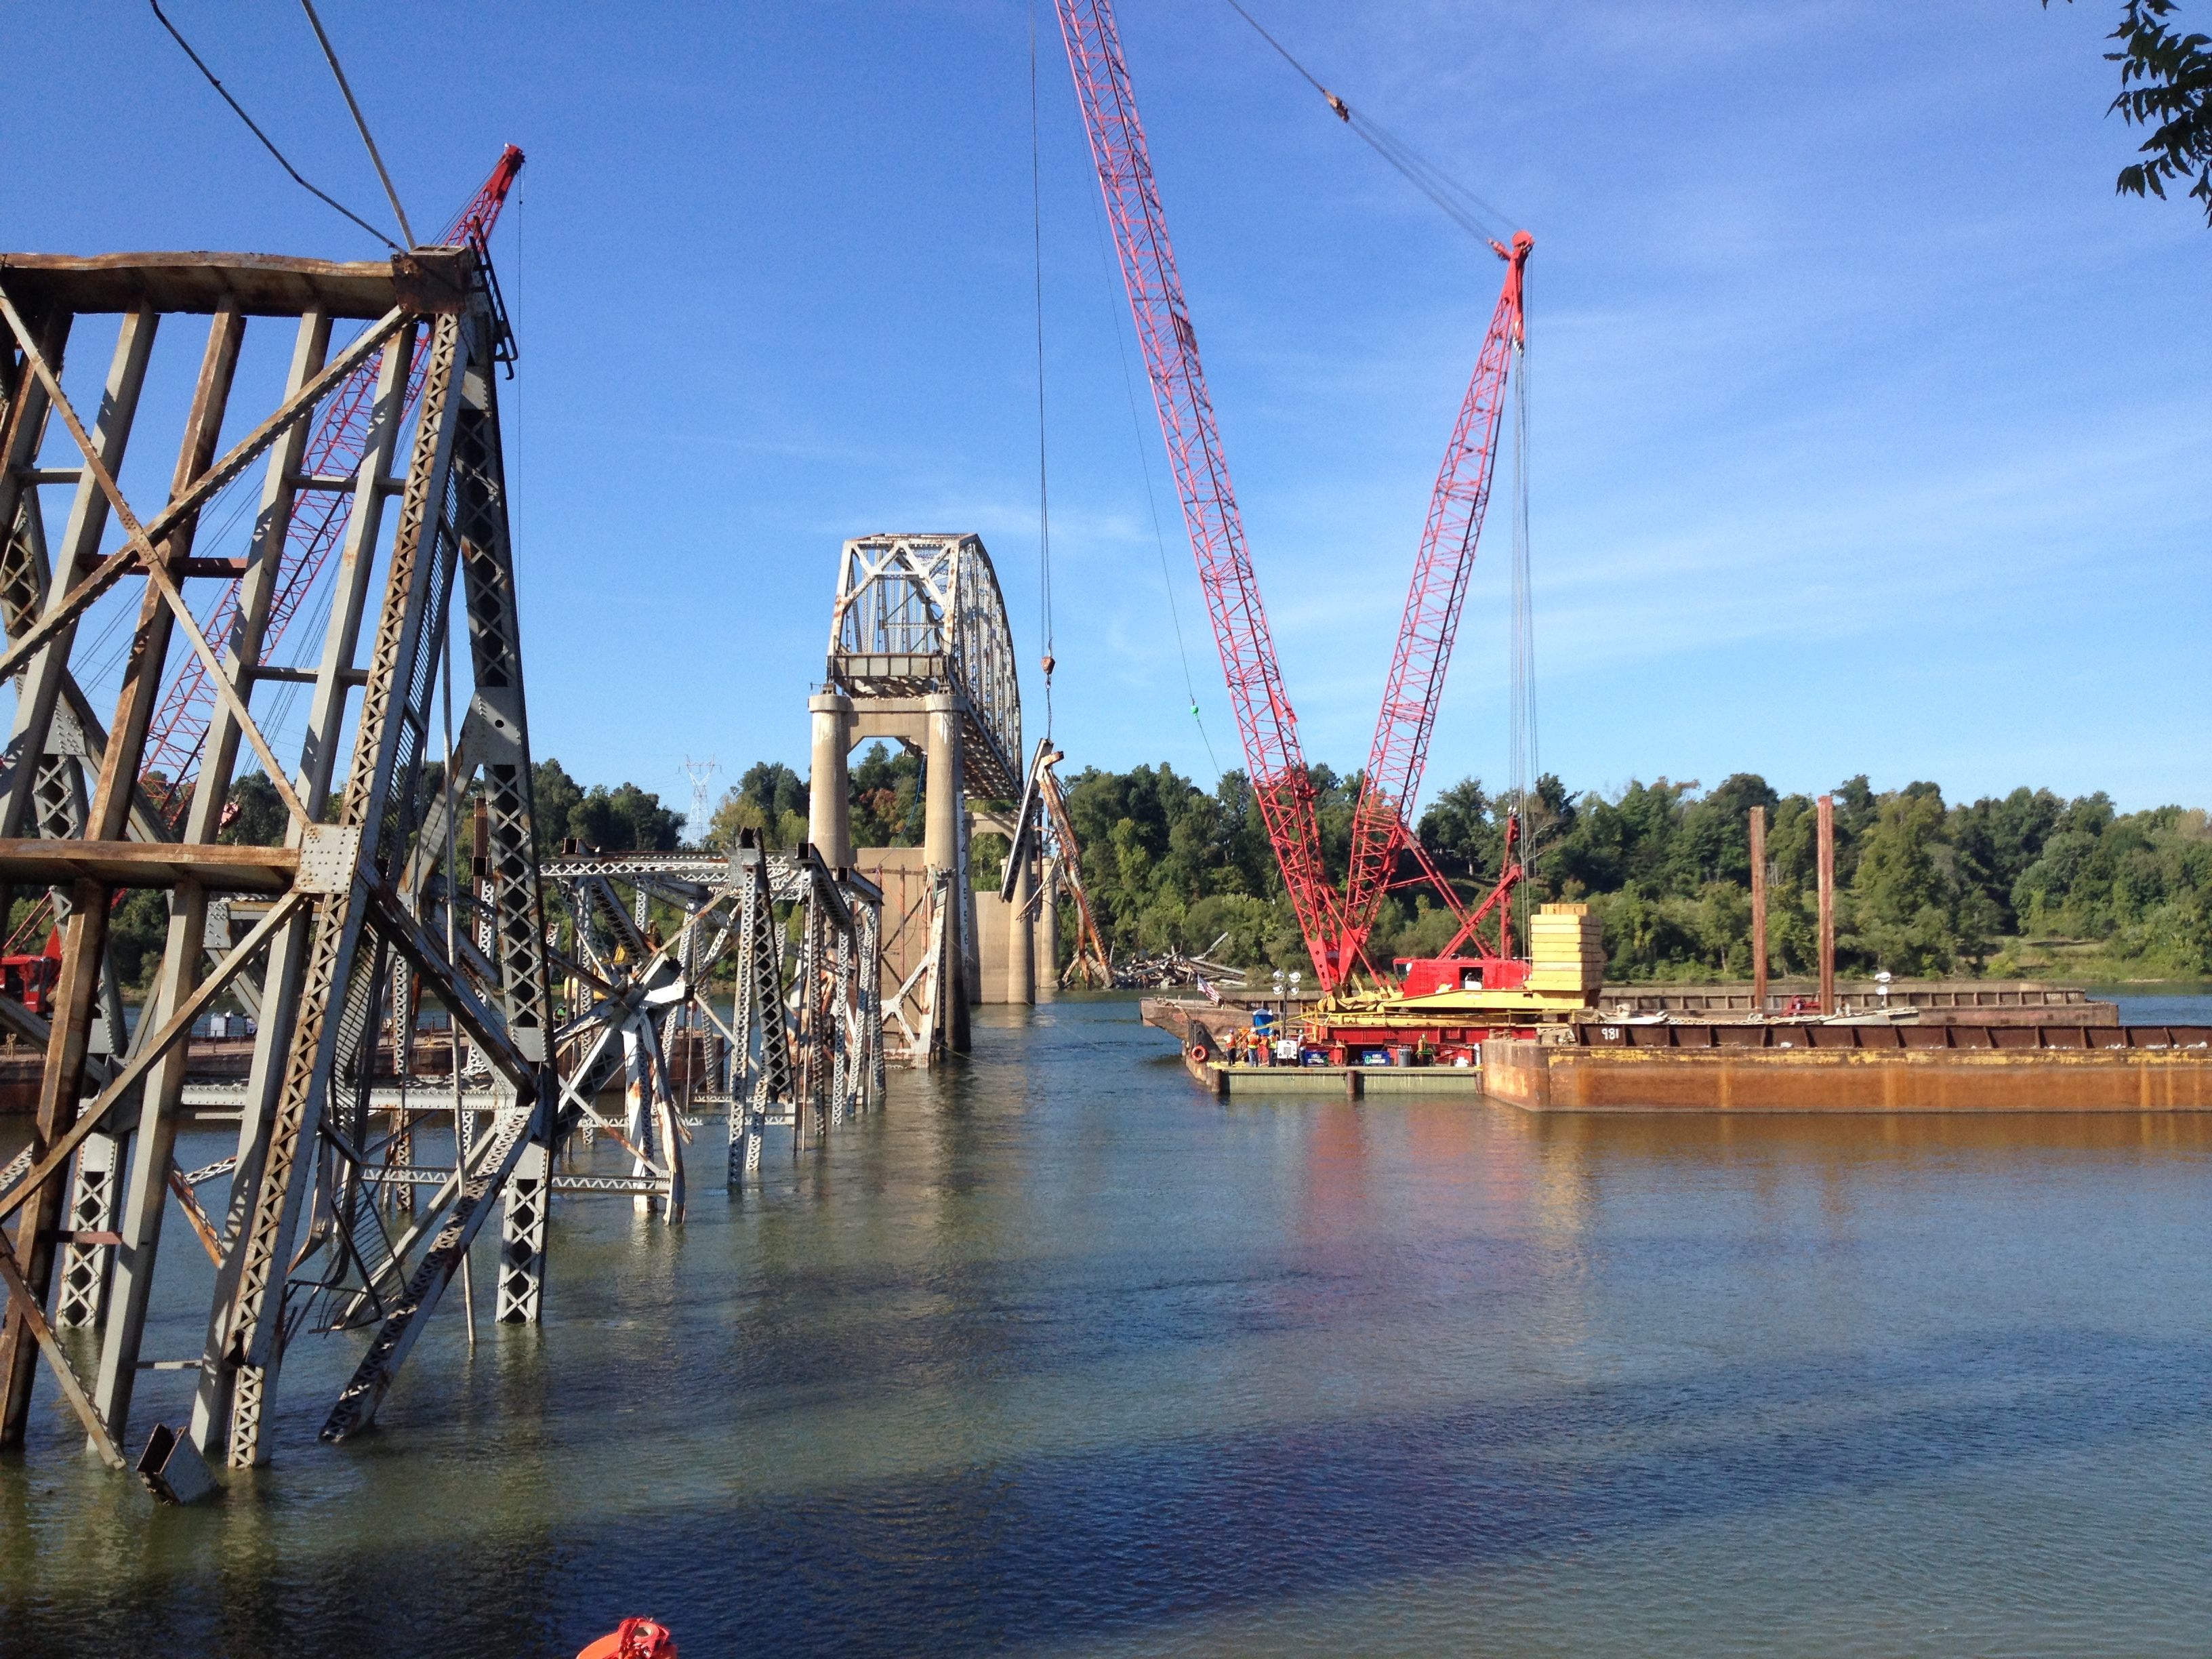
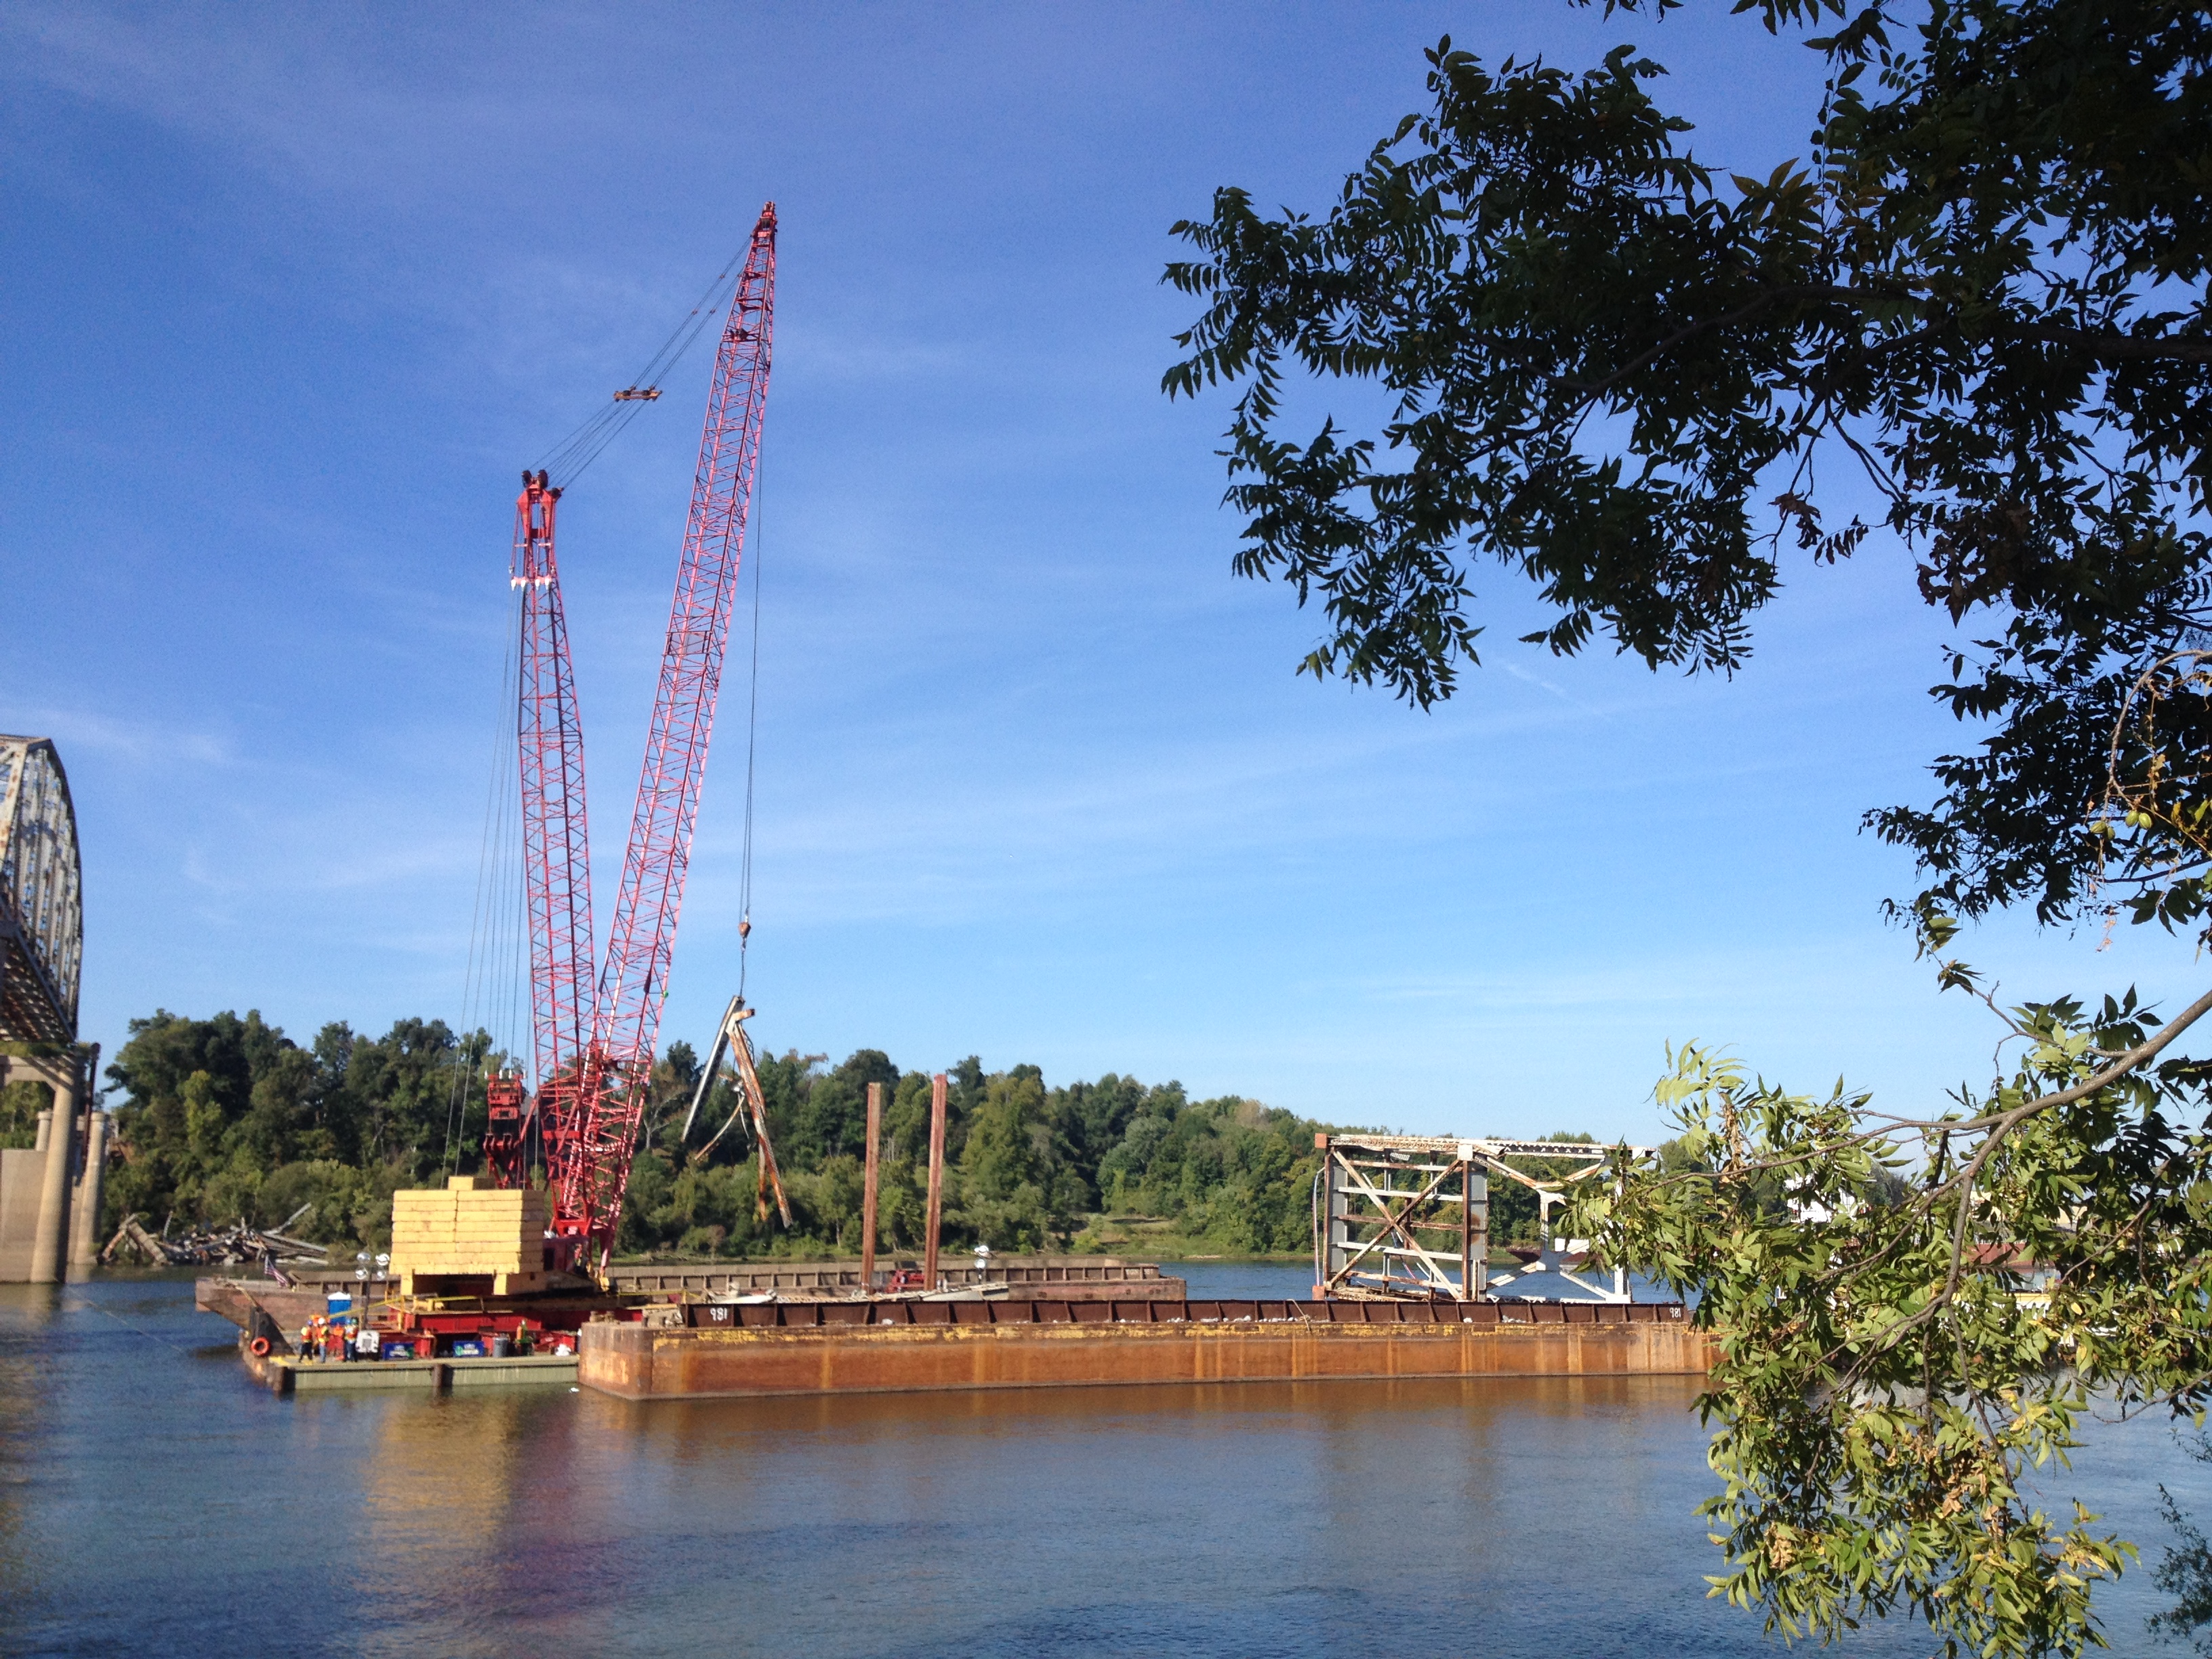
Photo Credit: KYTC
Remains of the eastern truss span.
![]()
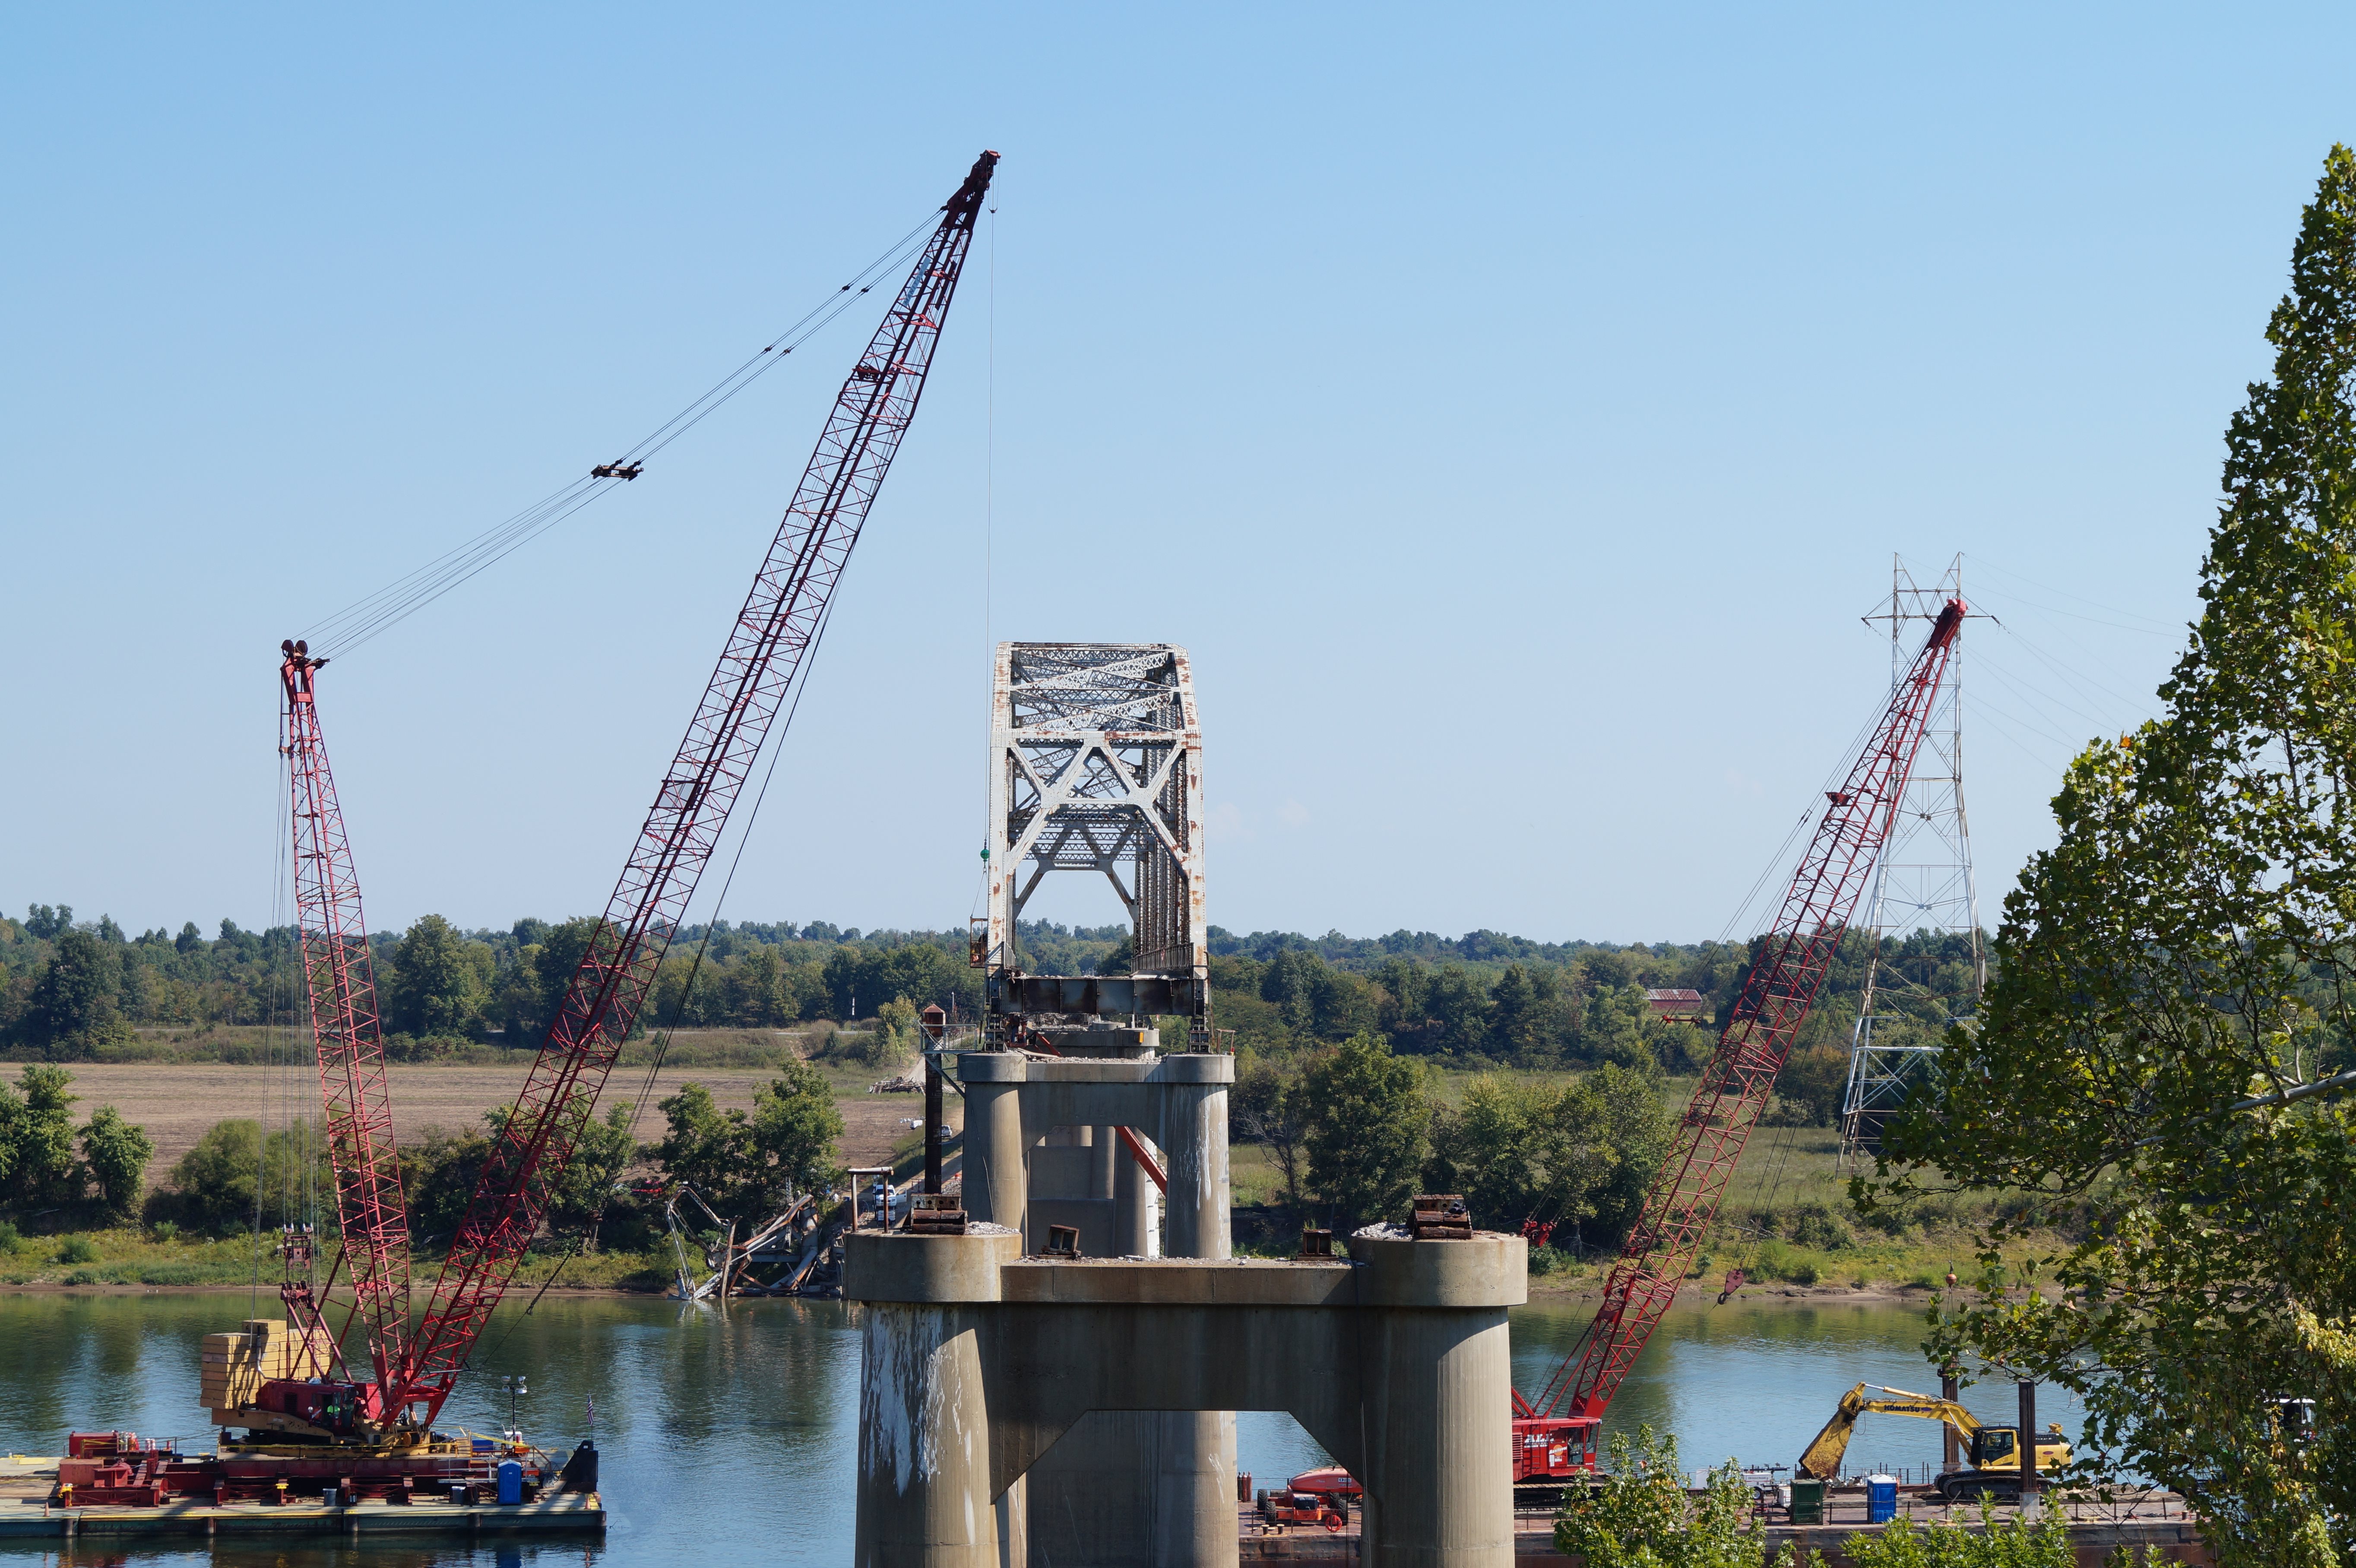
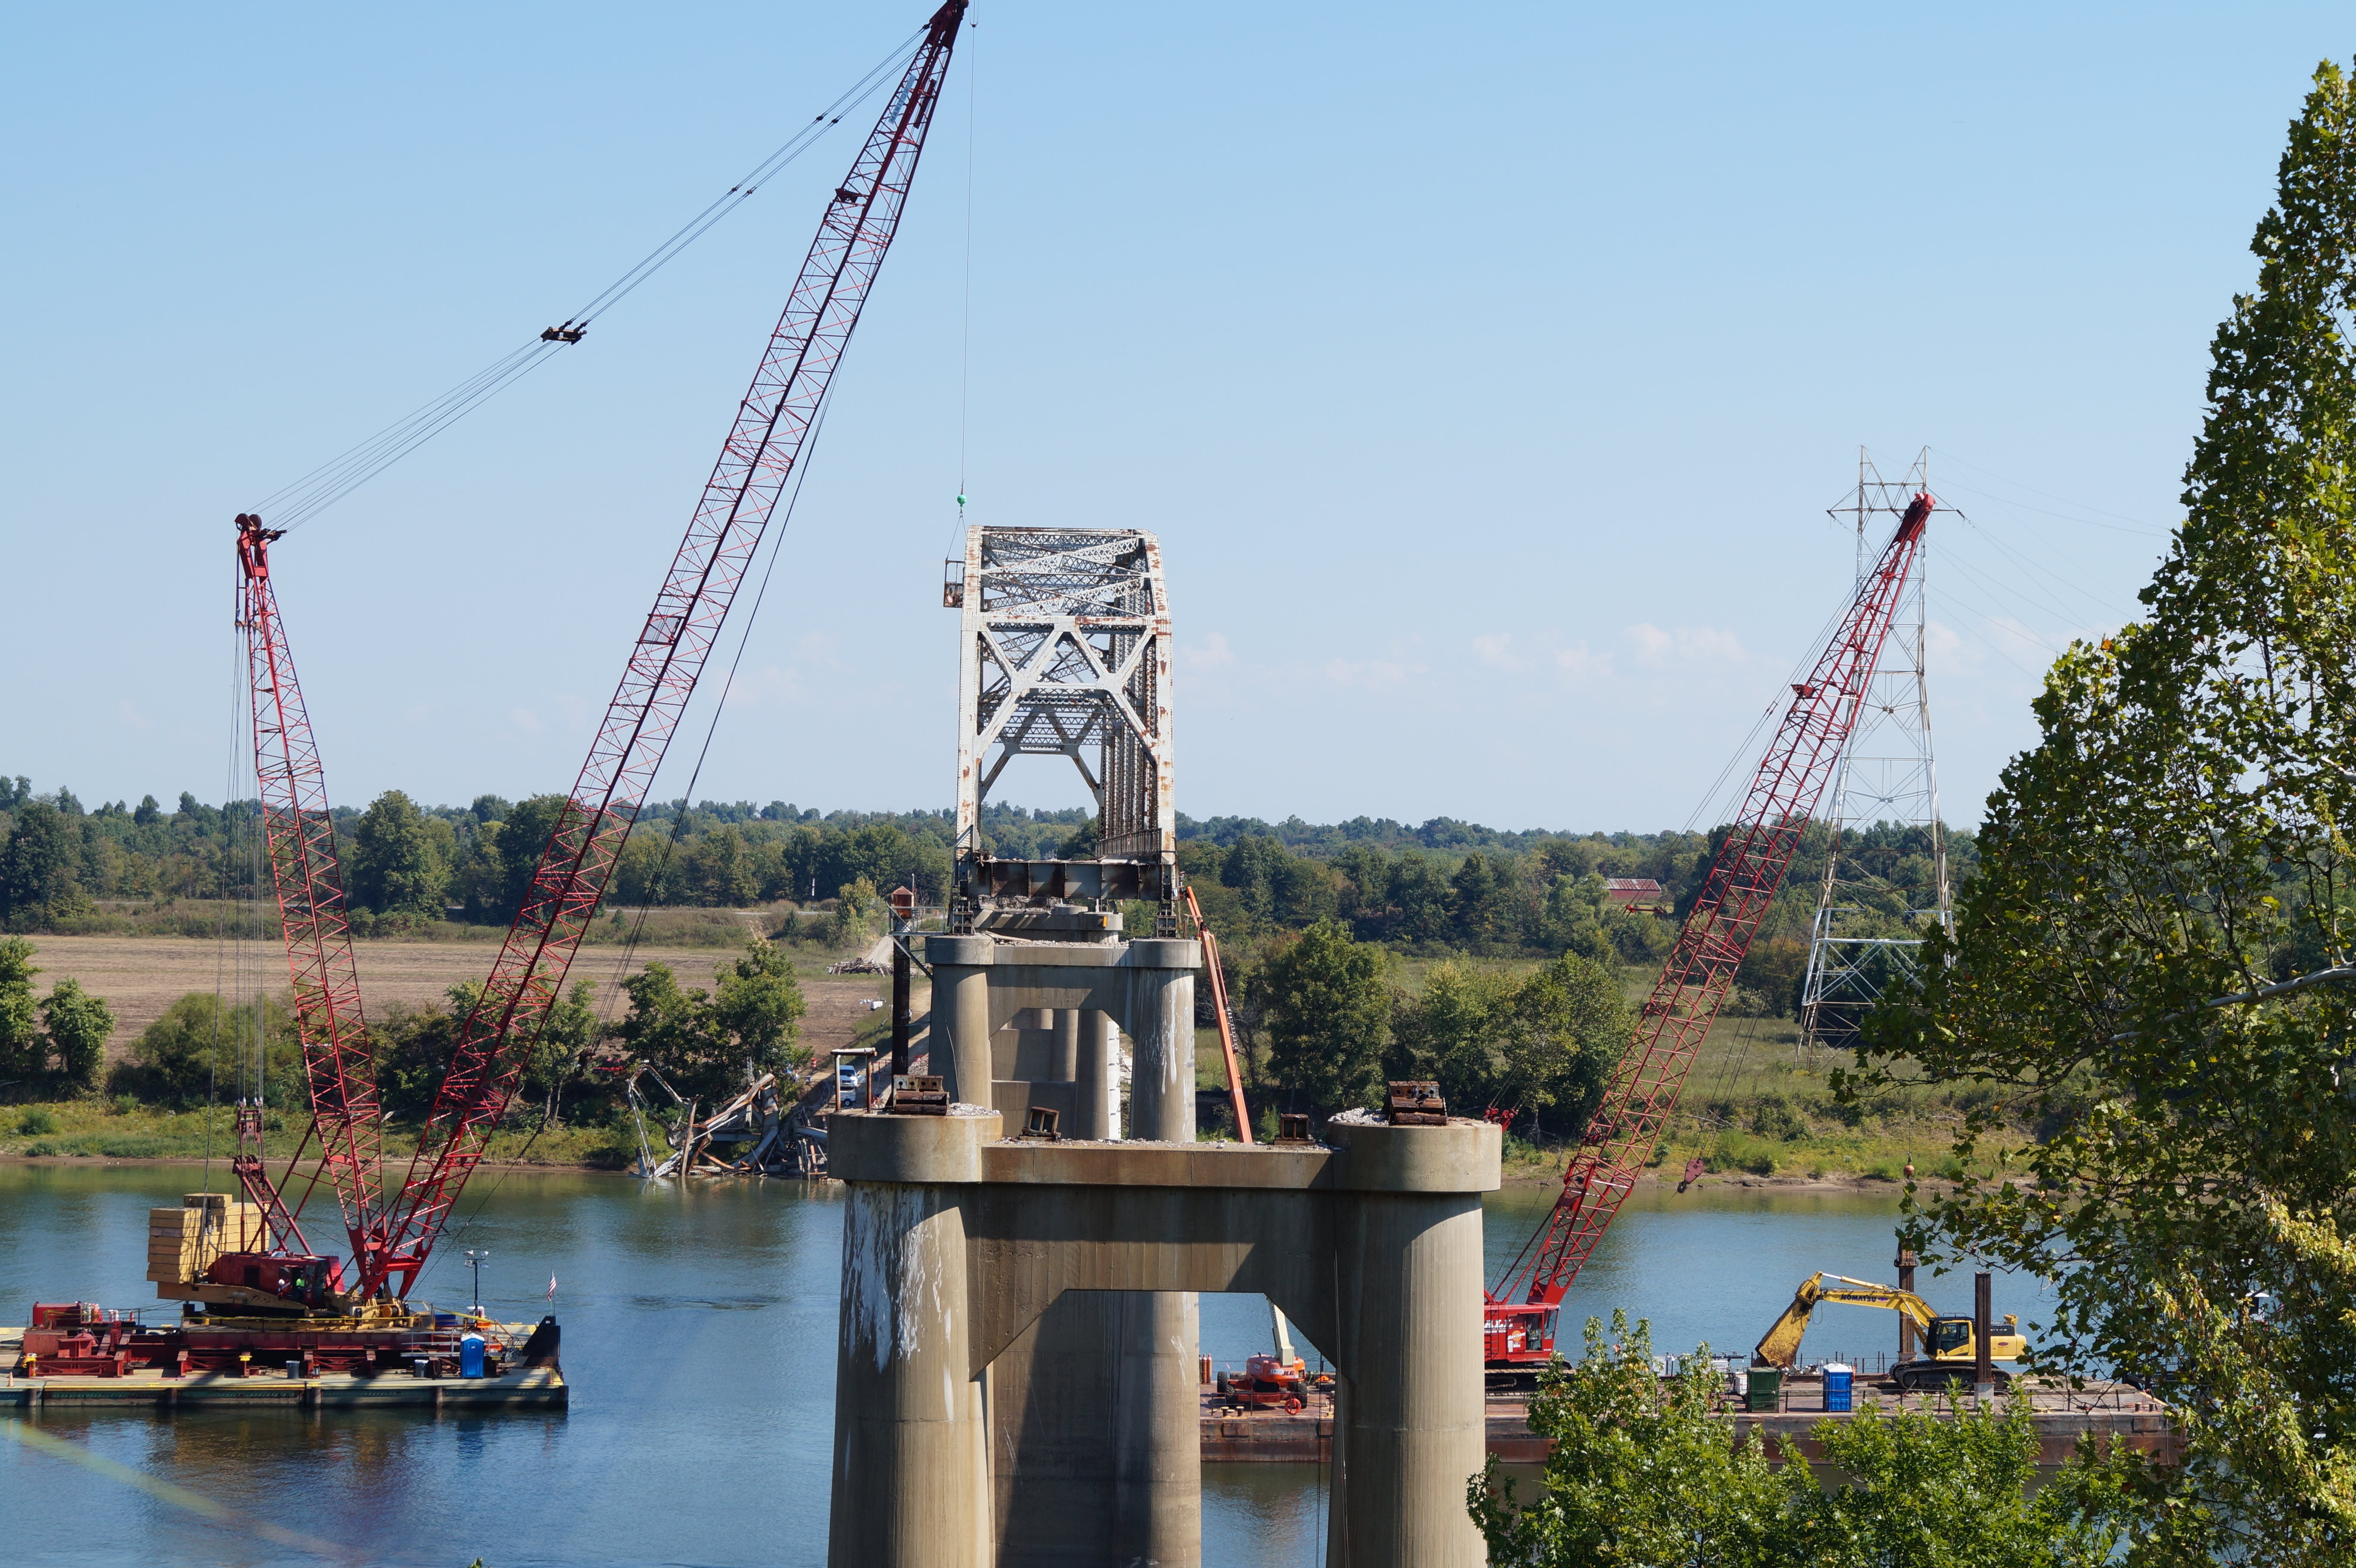

Photo Credit: KYTC
Portal views with only the center truss span standing.
![]()
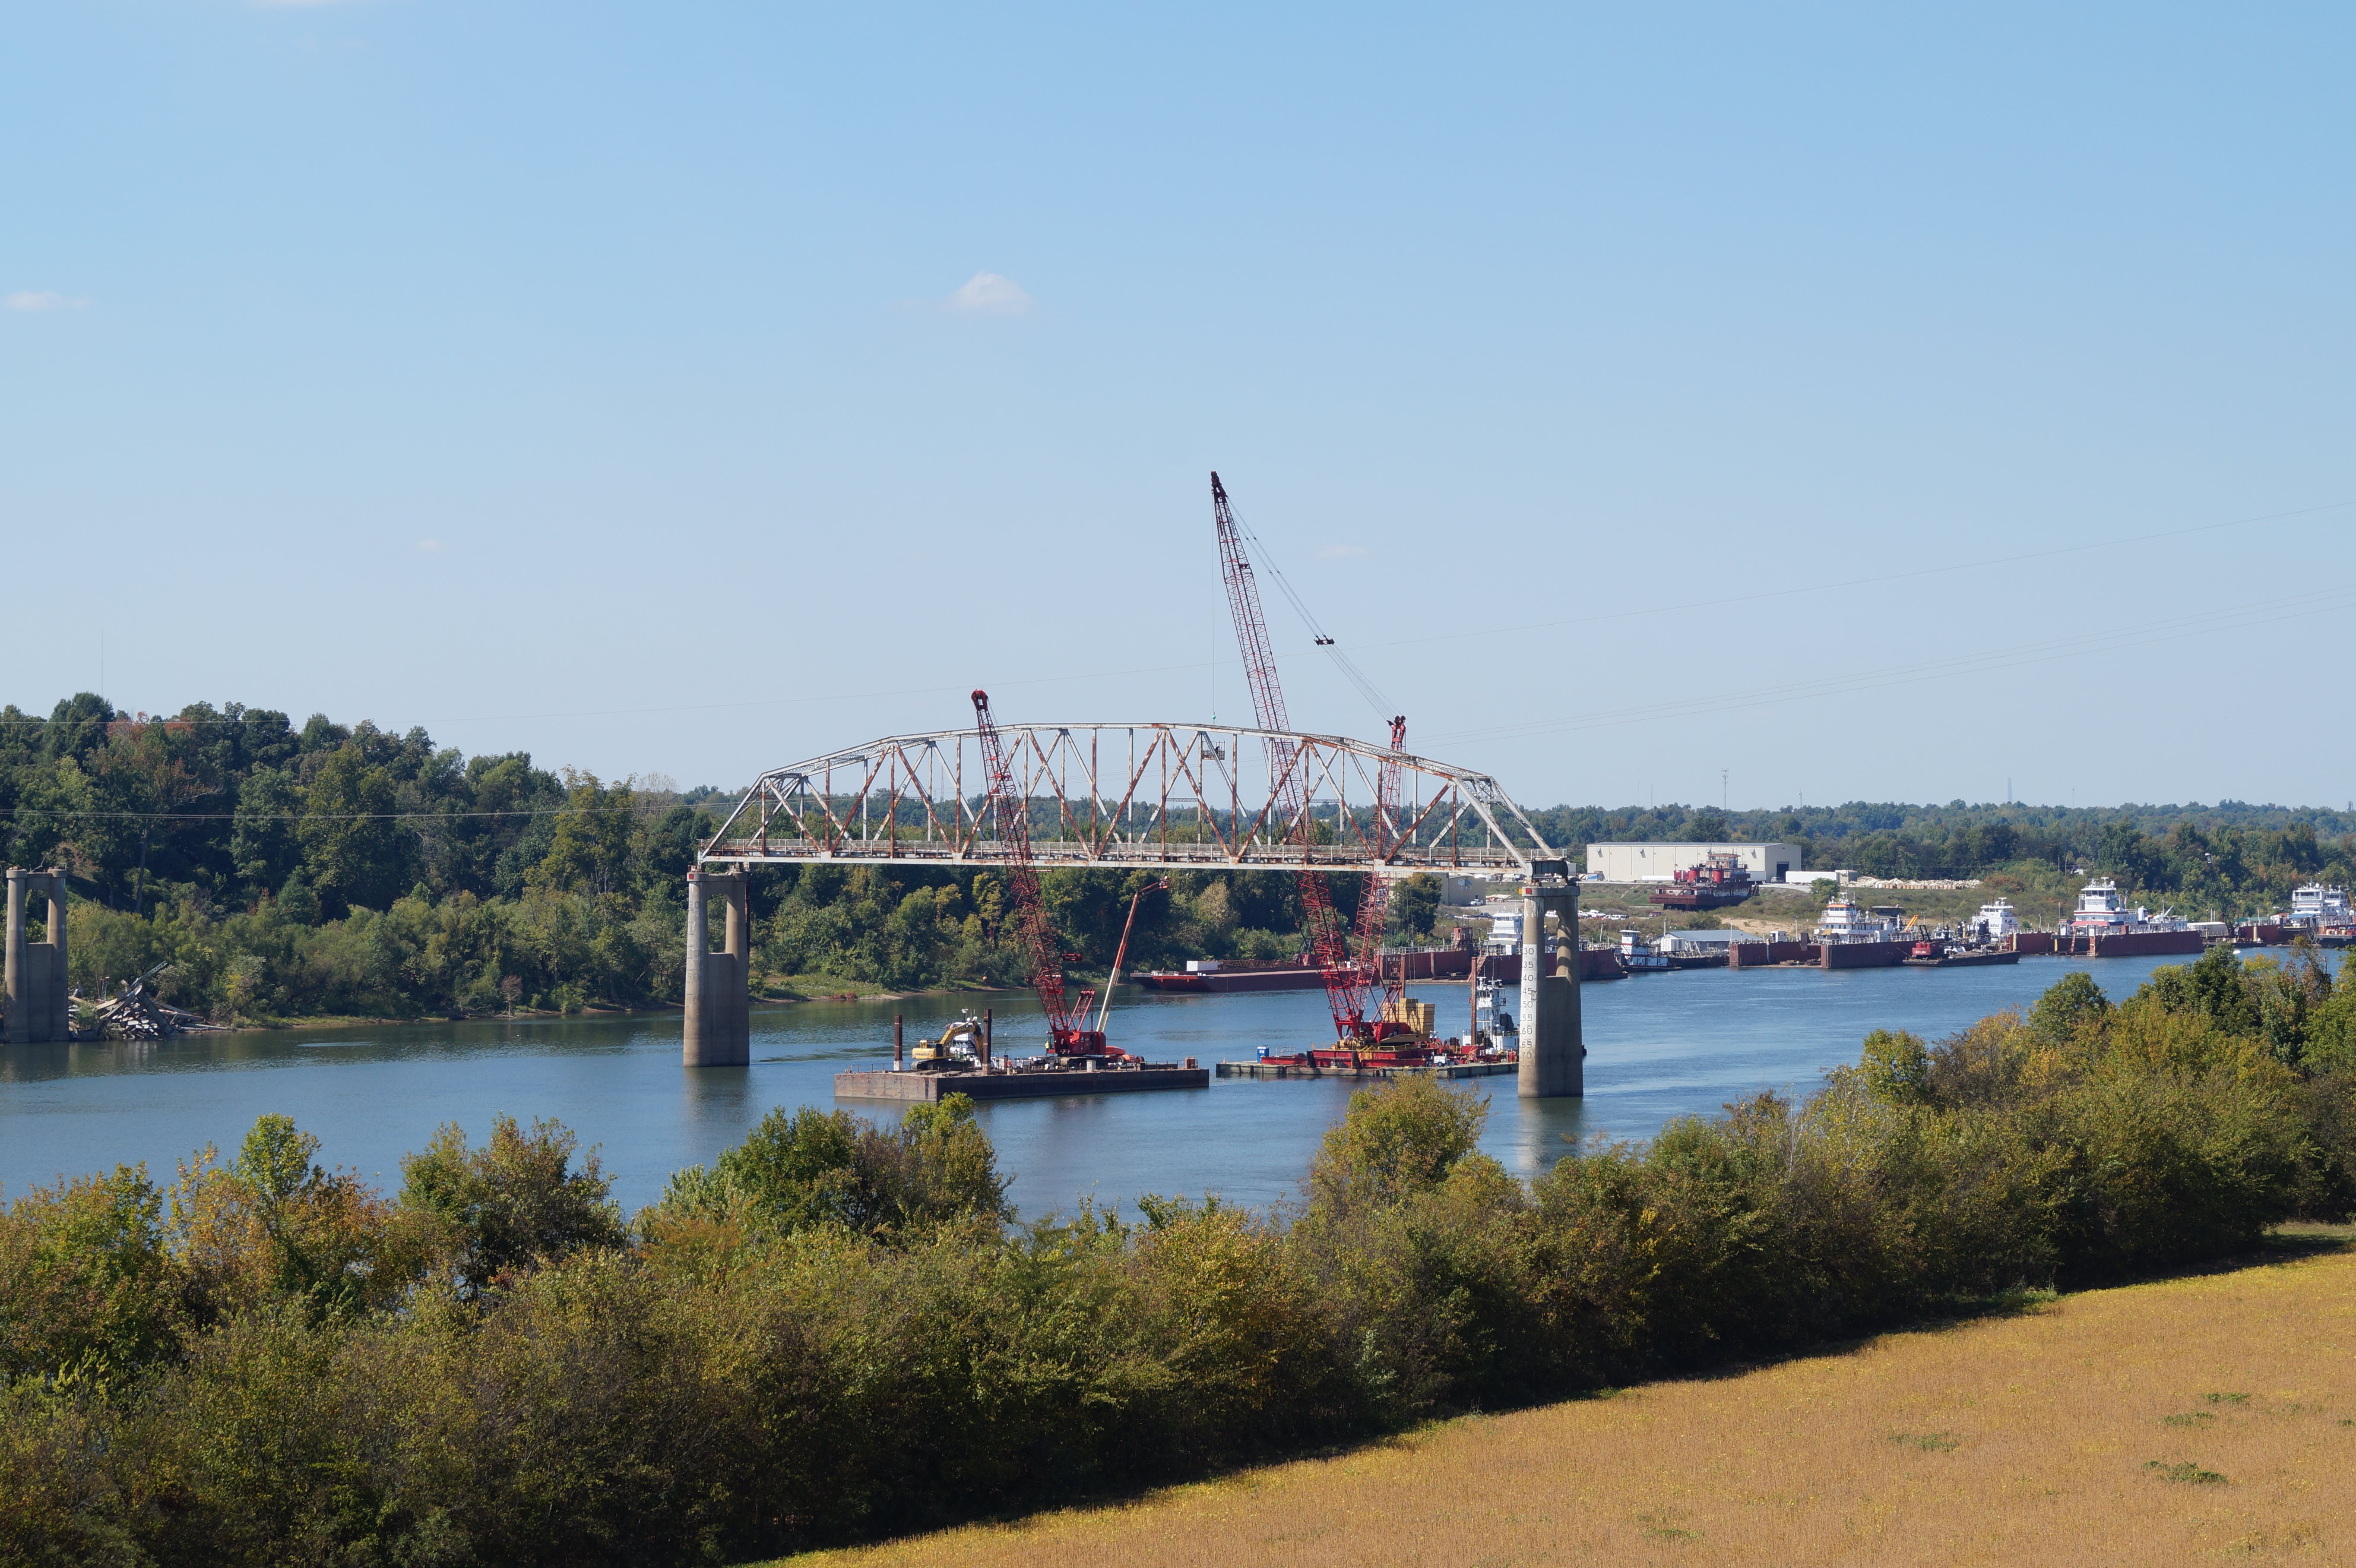
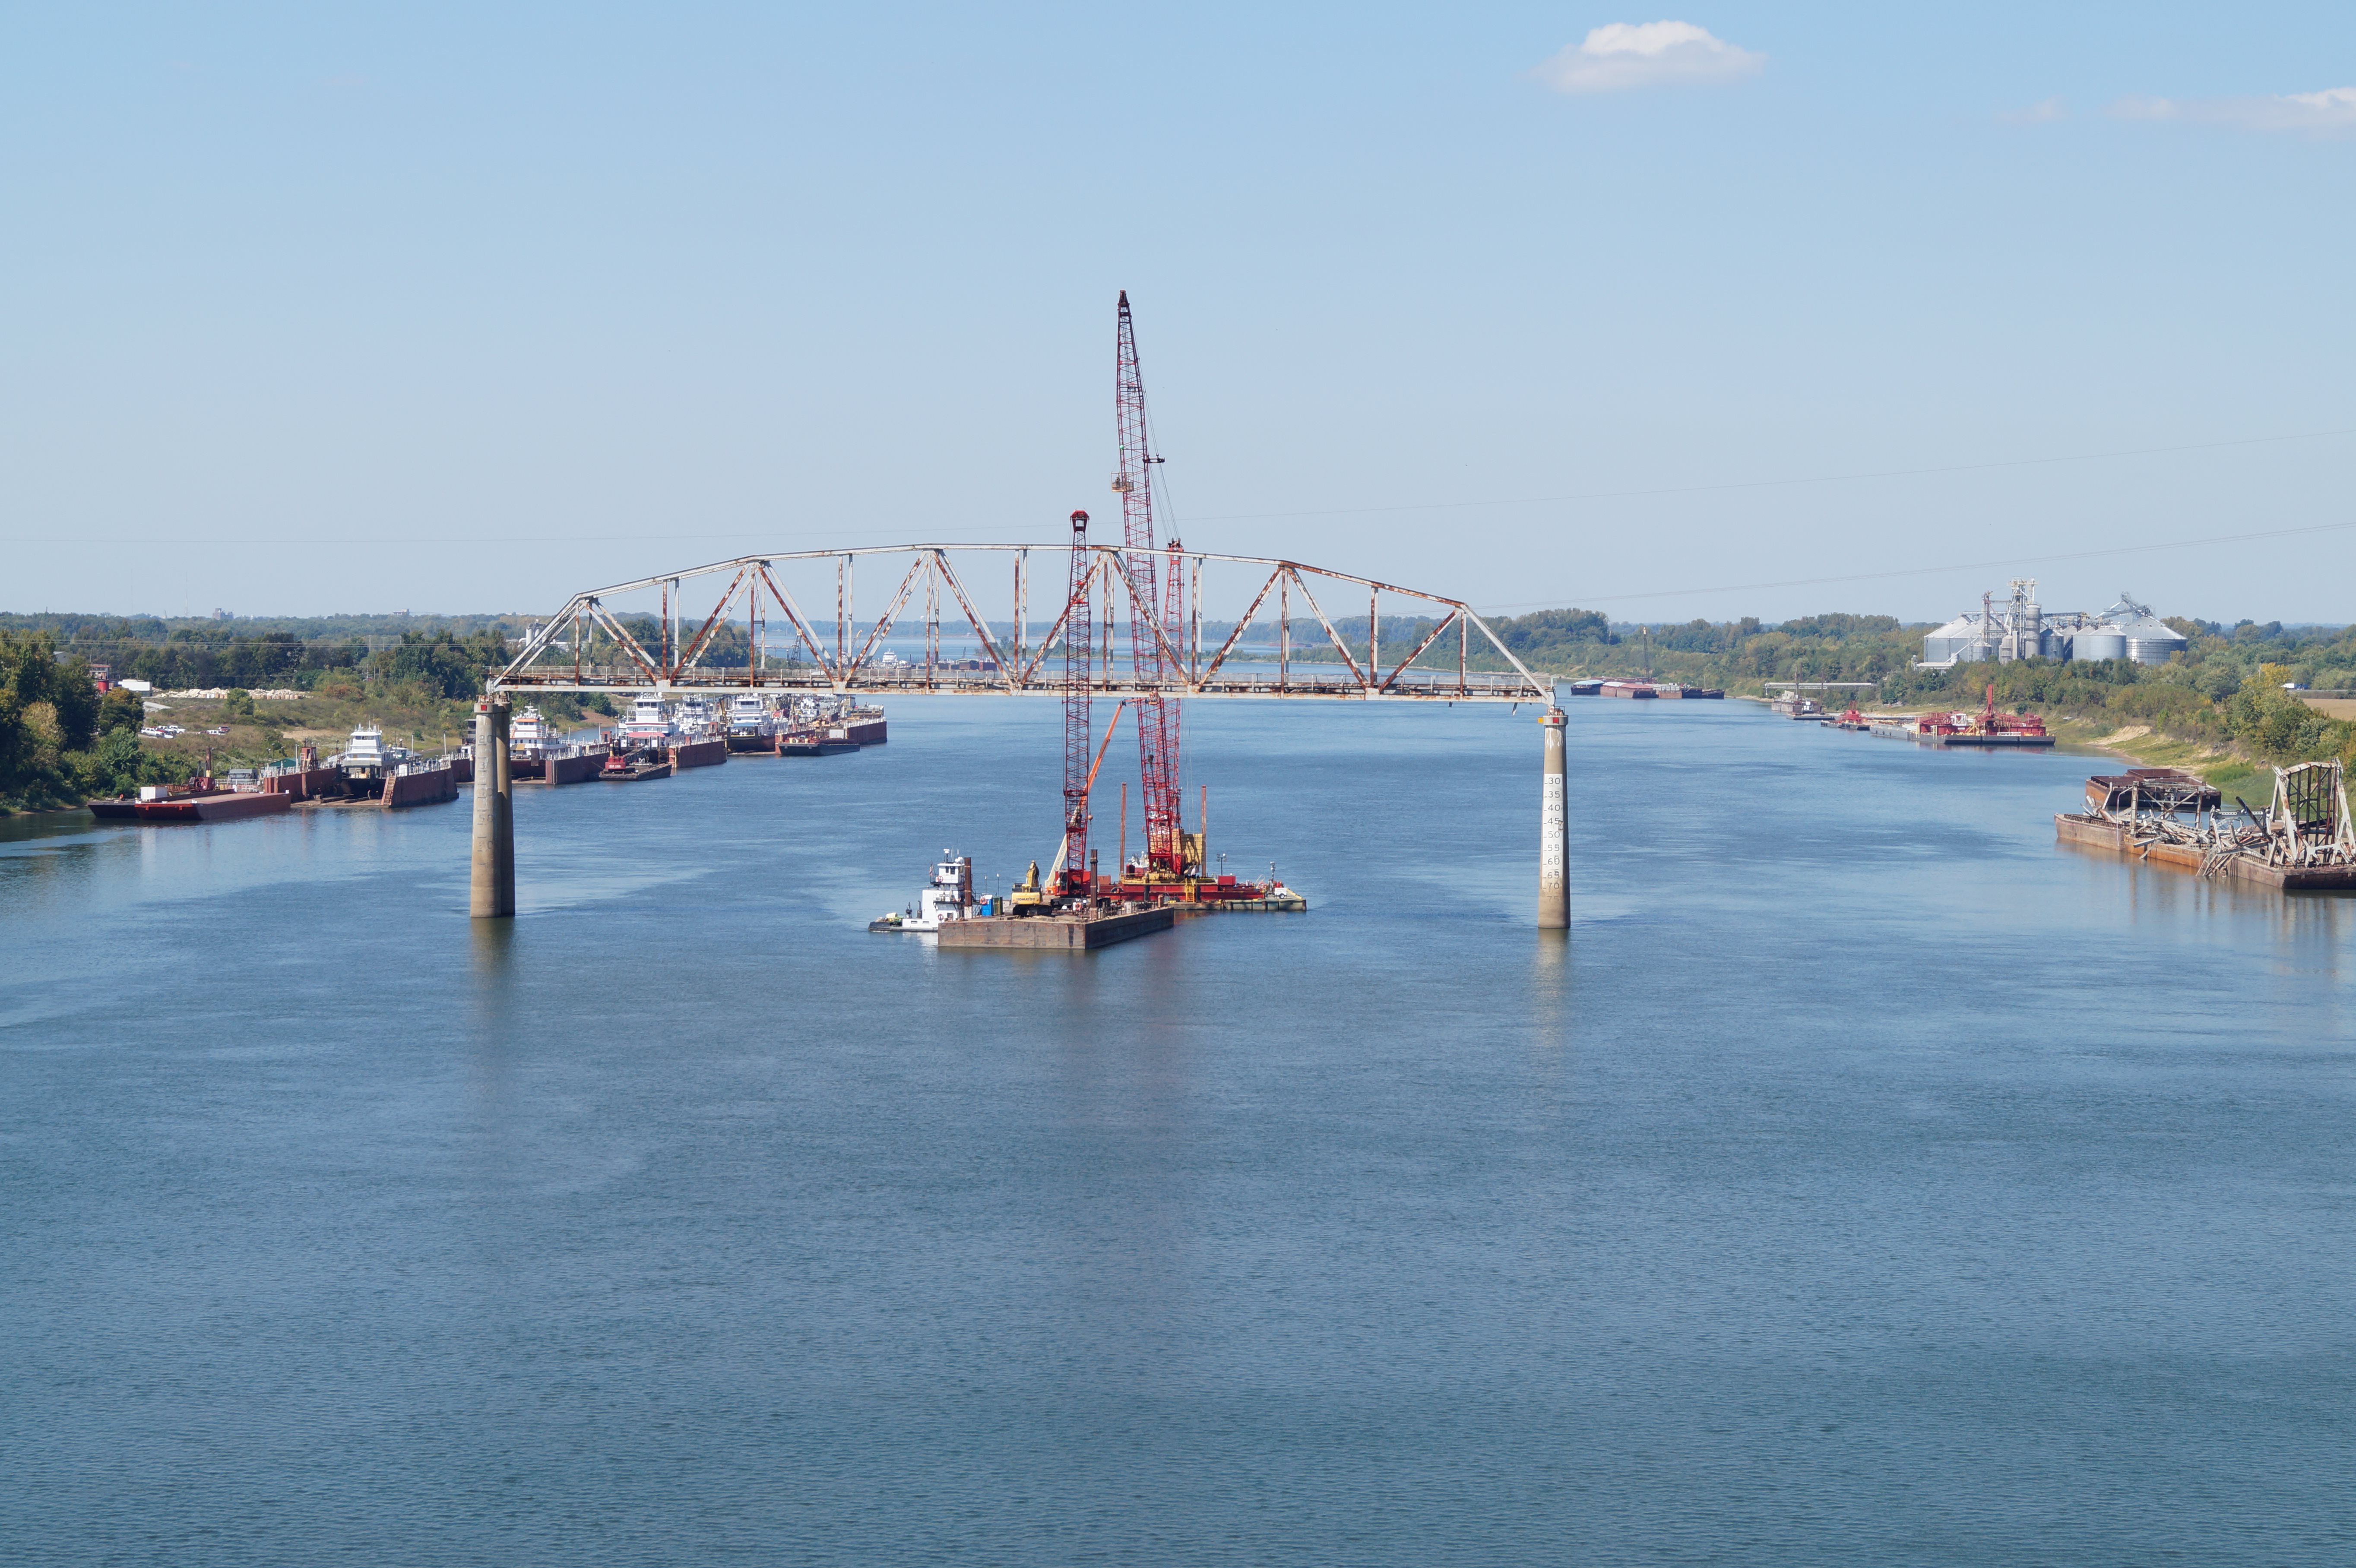
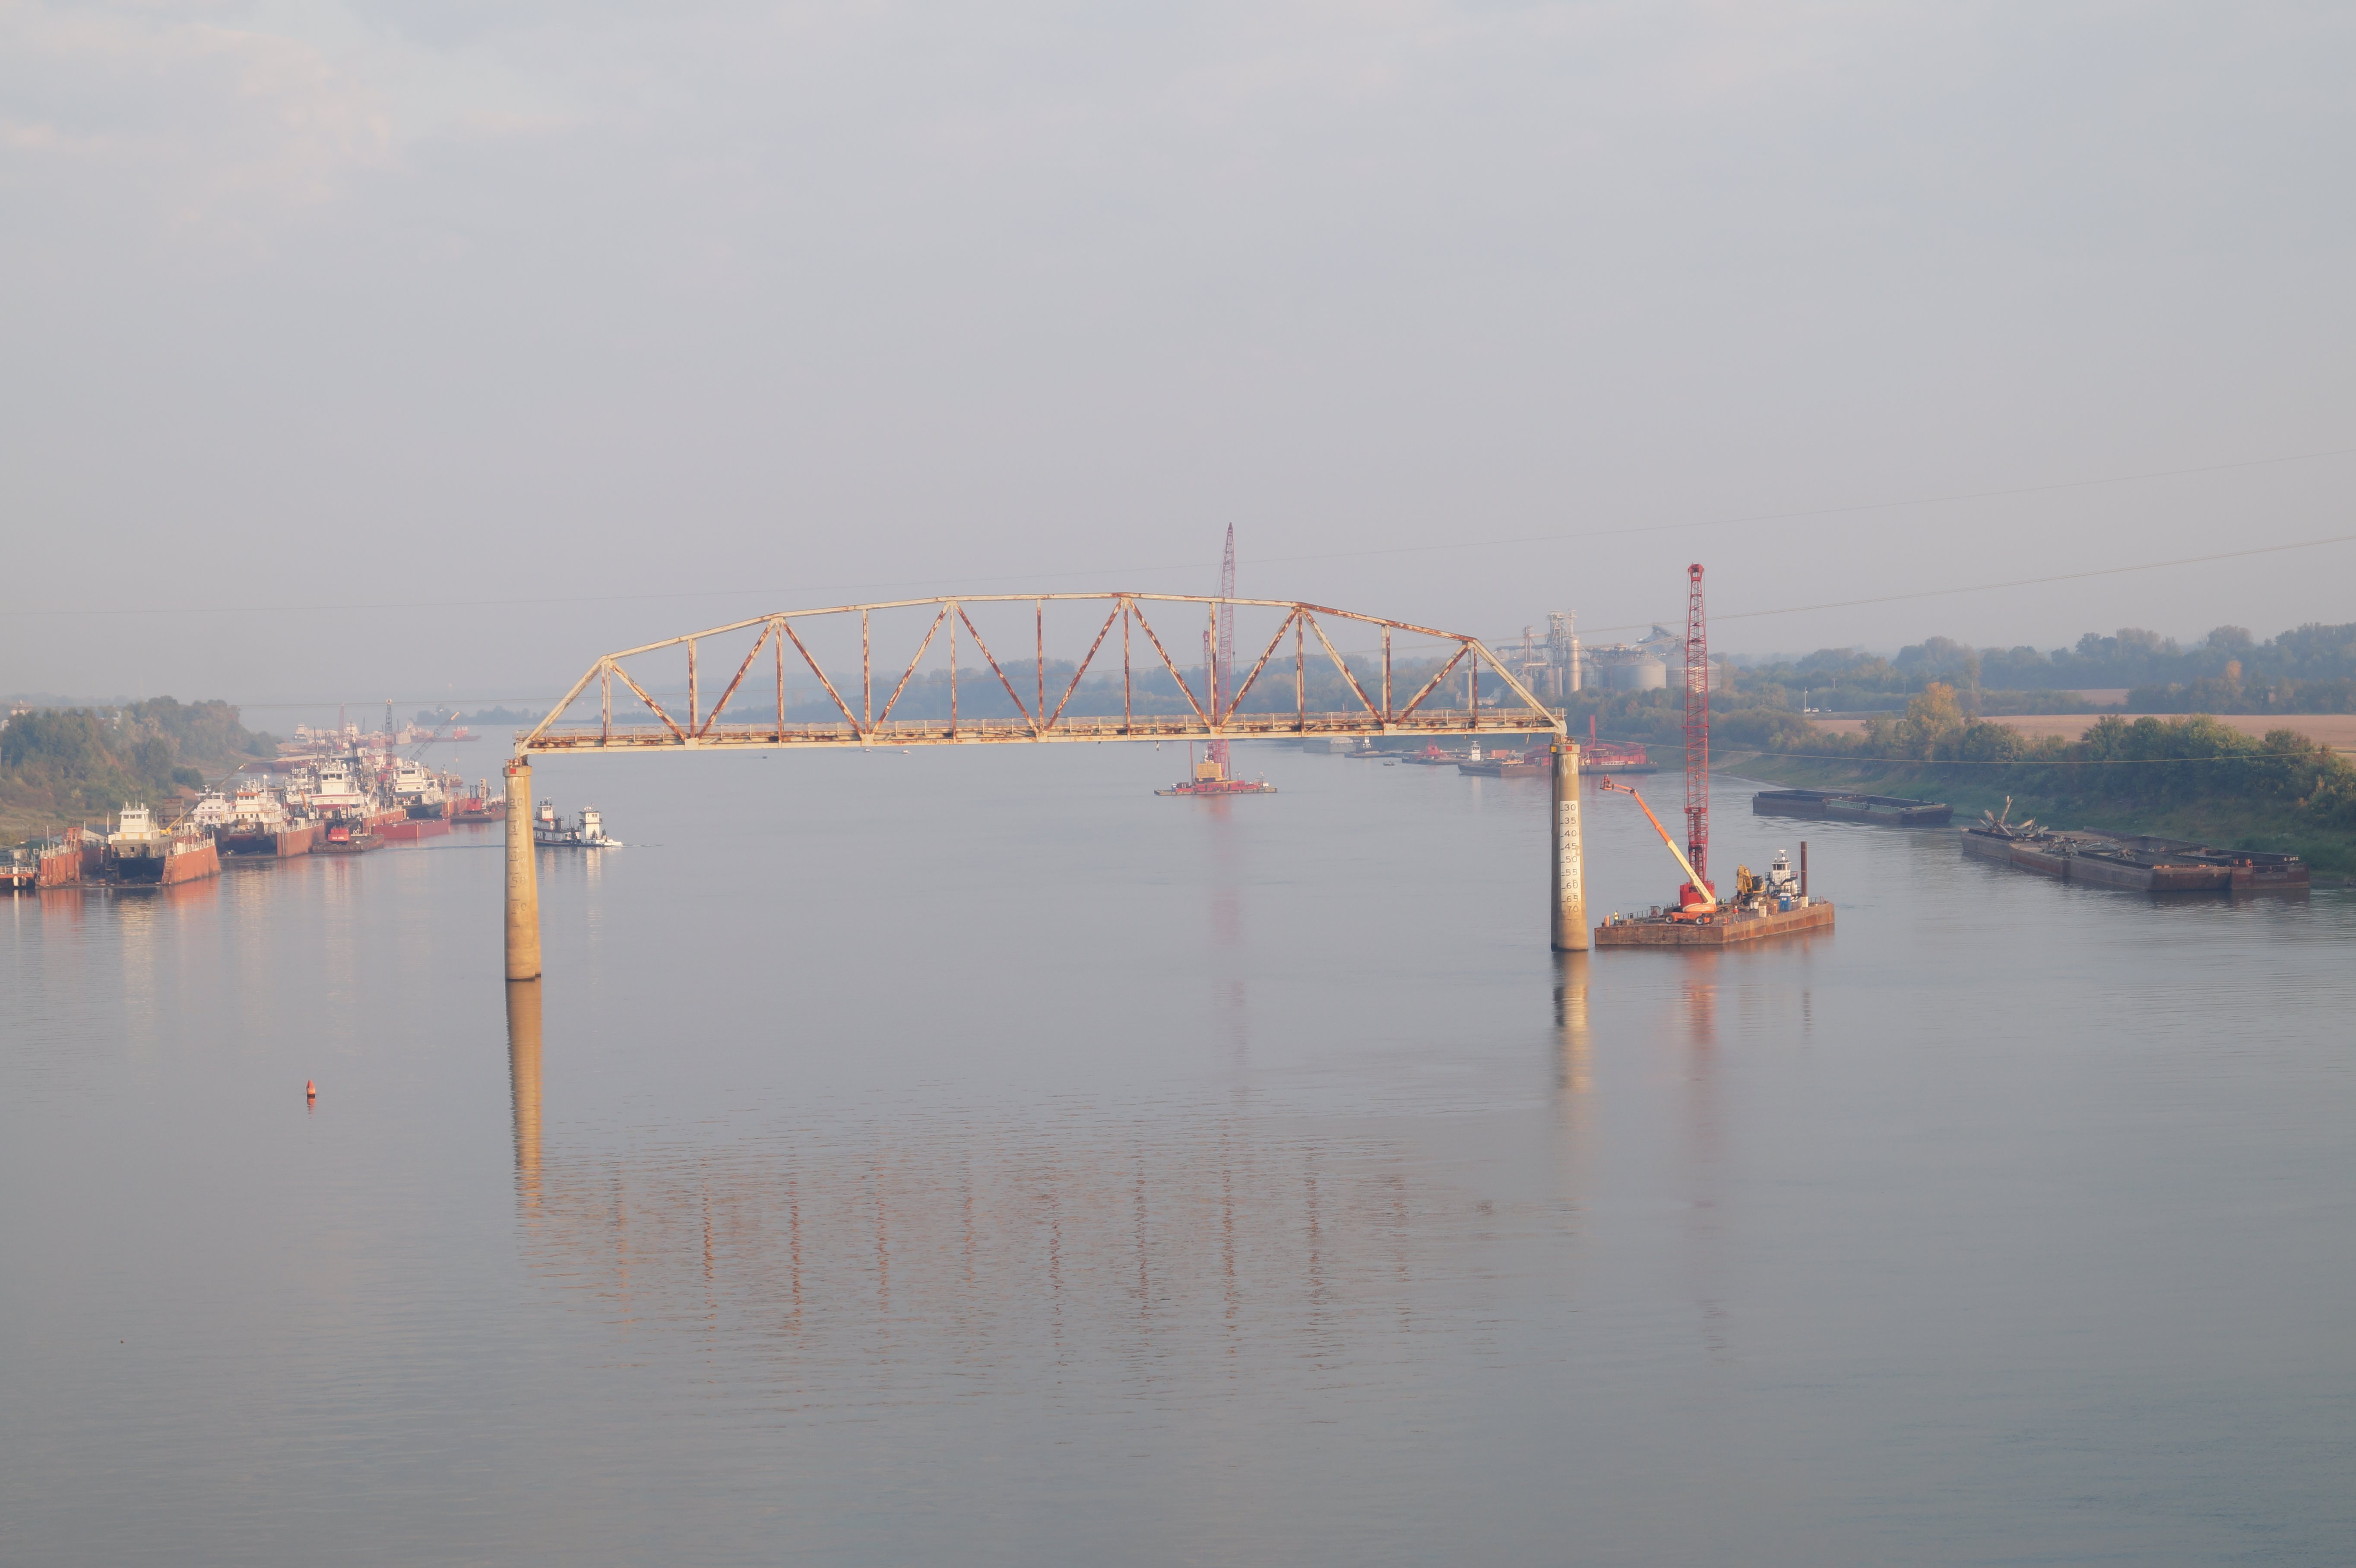
Photo Credit: KYTC
Elevation with only the center truss span standing.
![]()
Photo Credit: KYTC
Demolition of the center truss span.
![]()
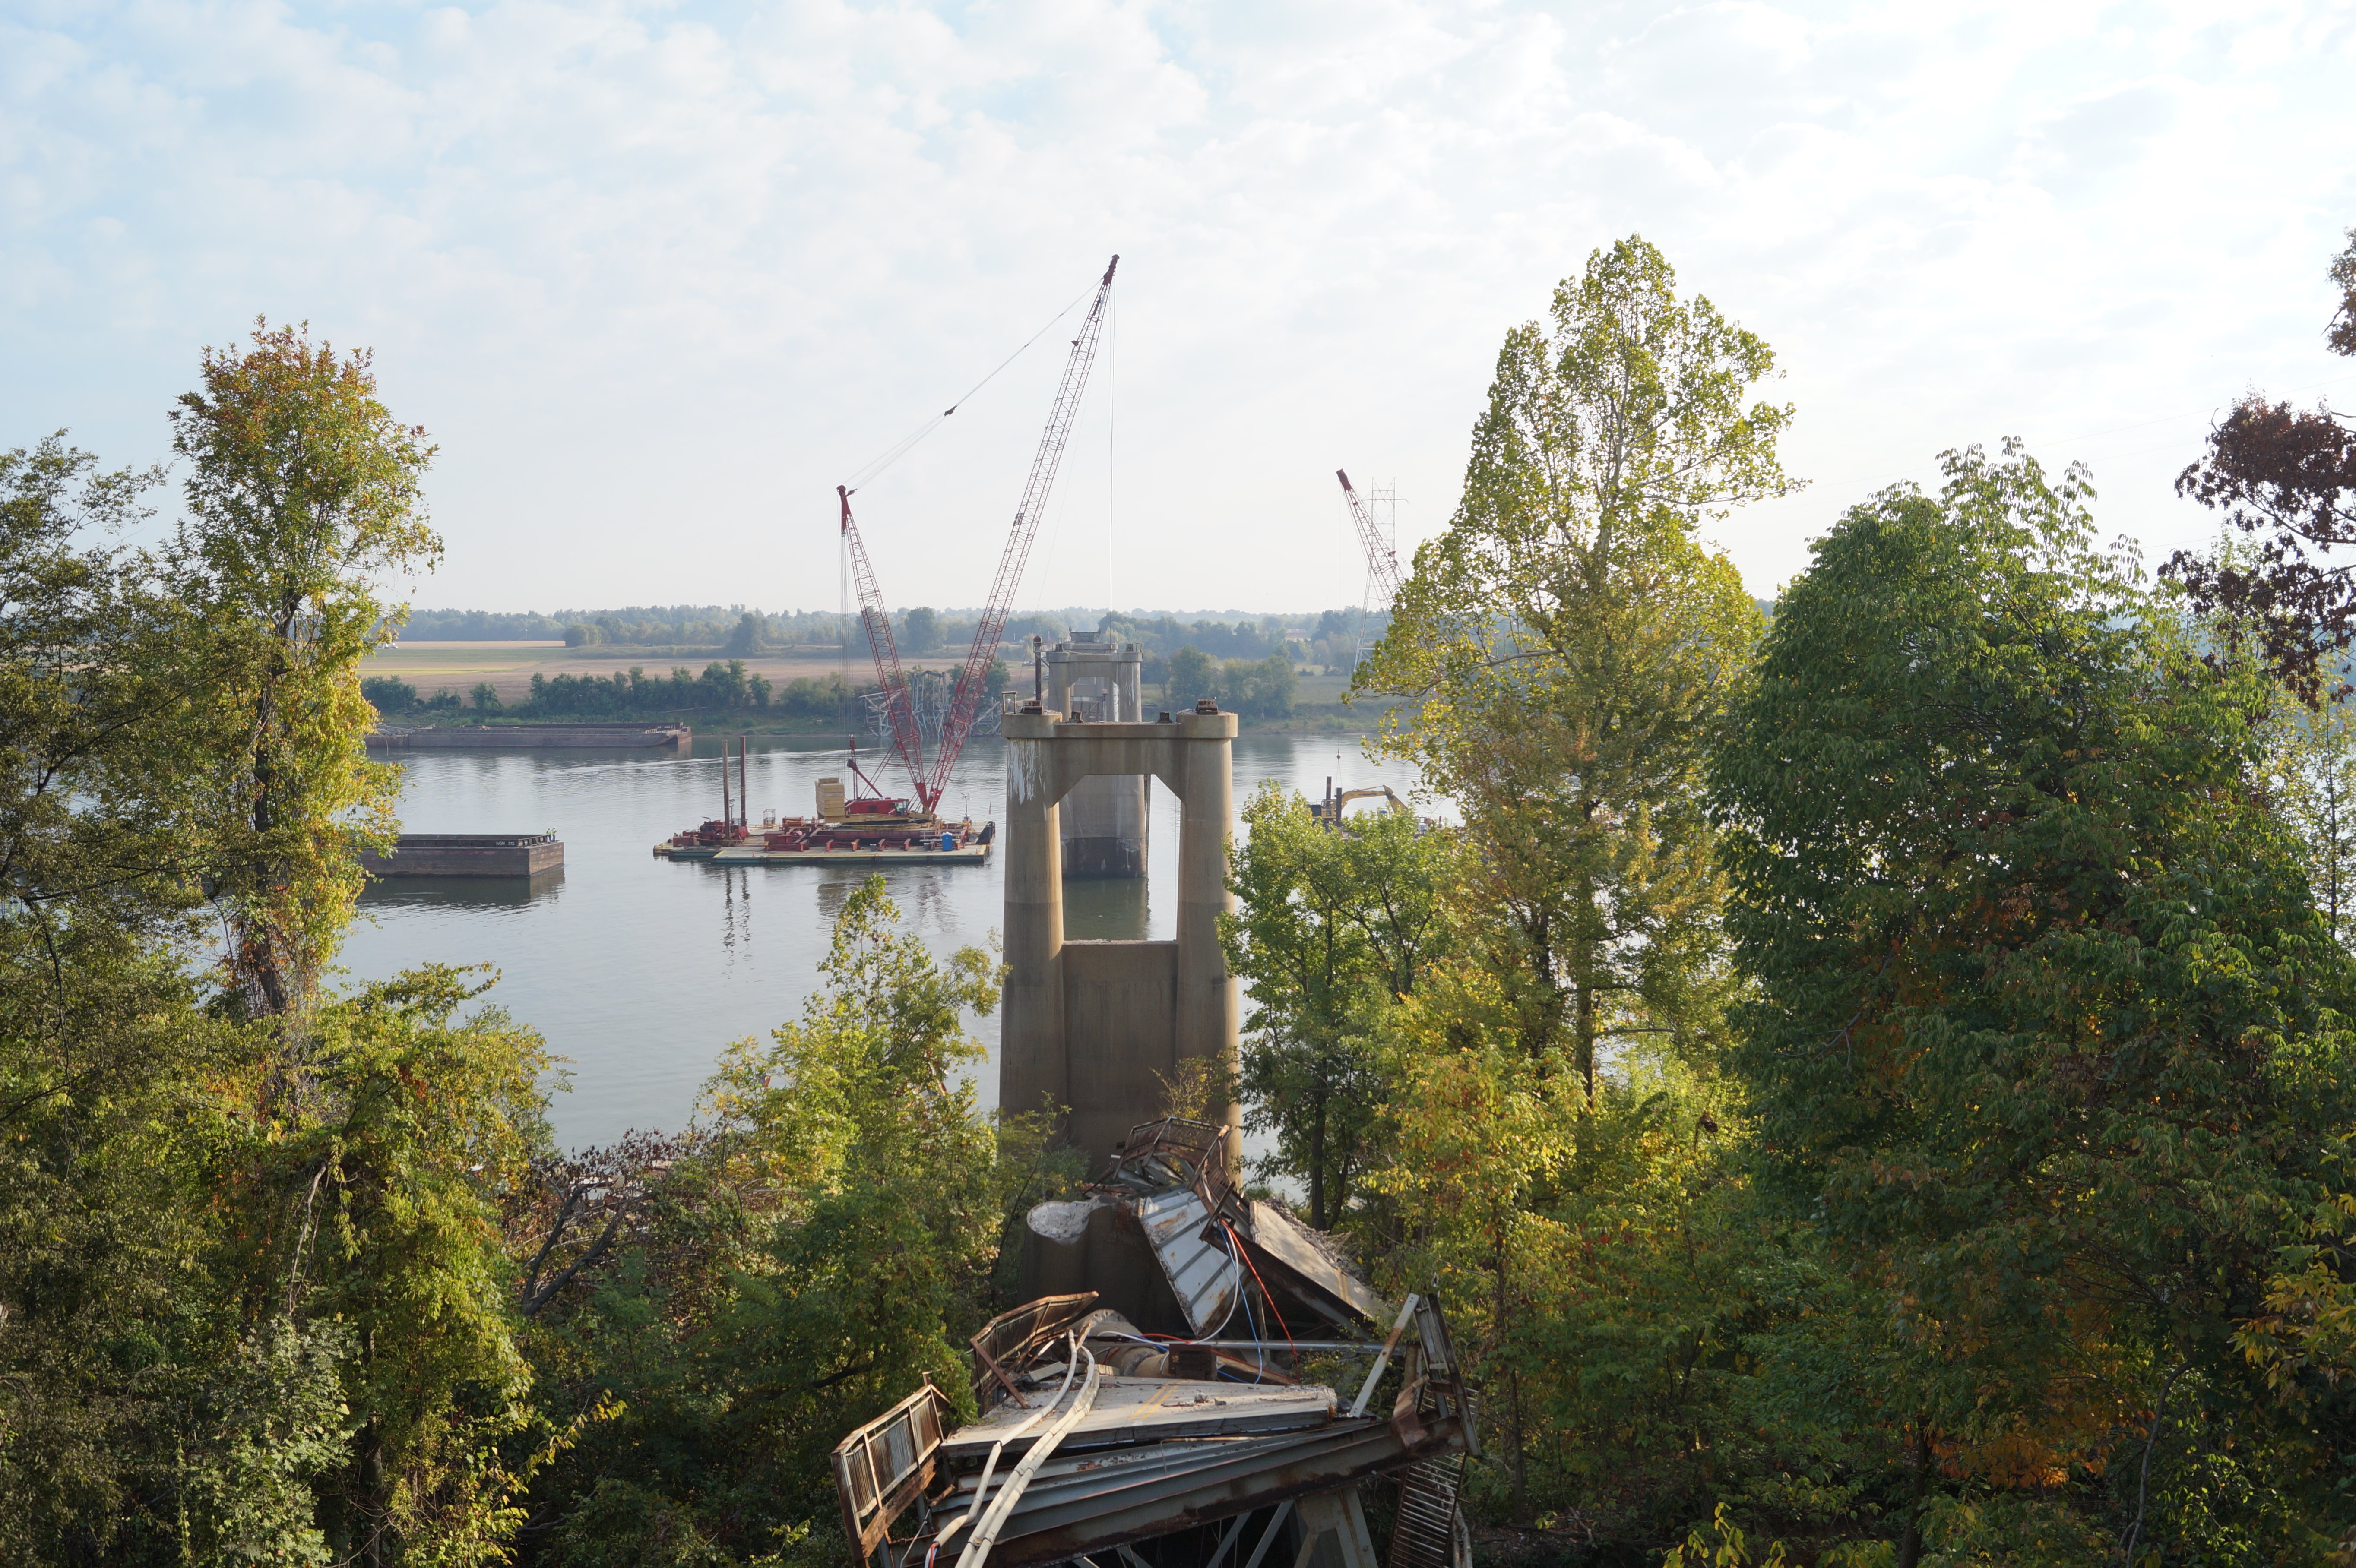
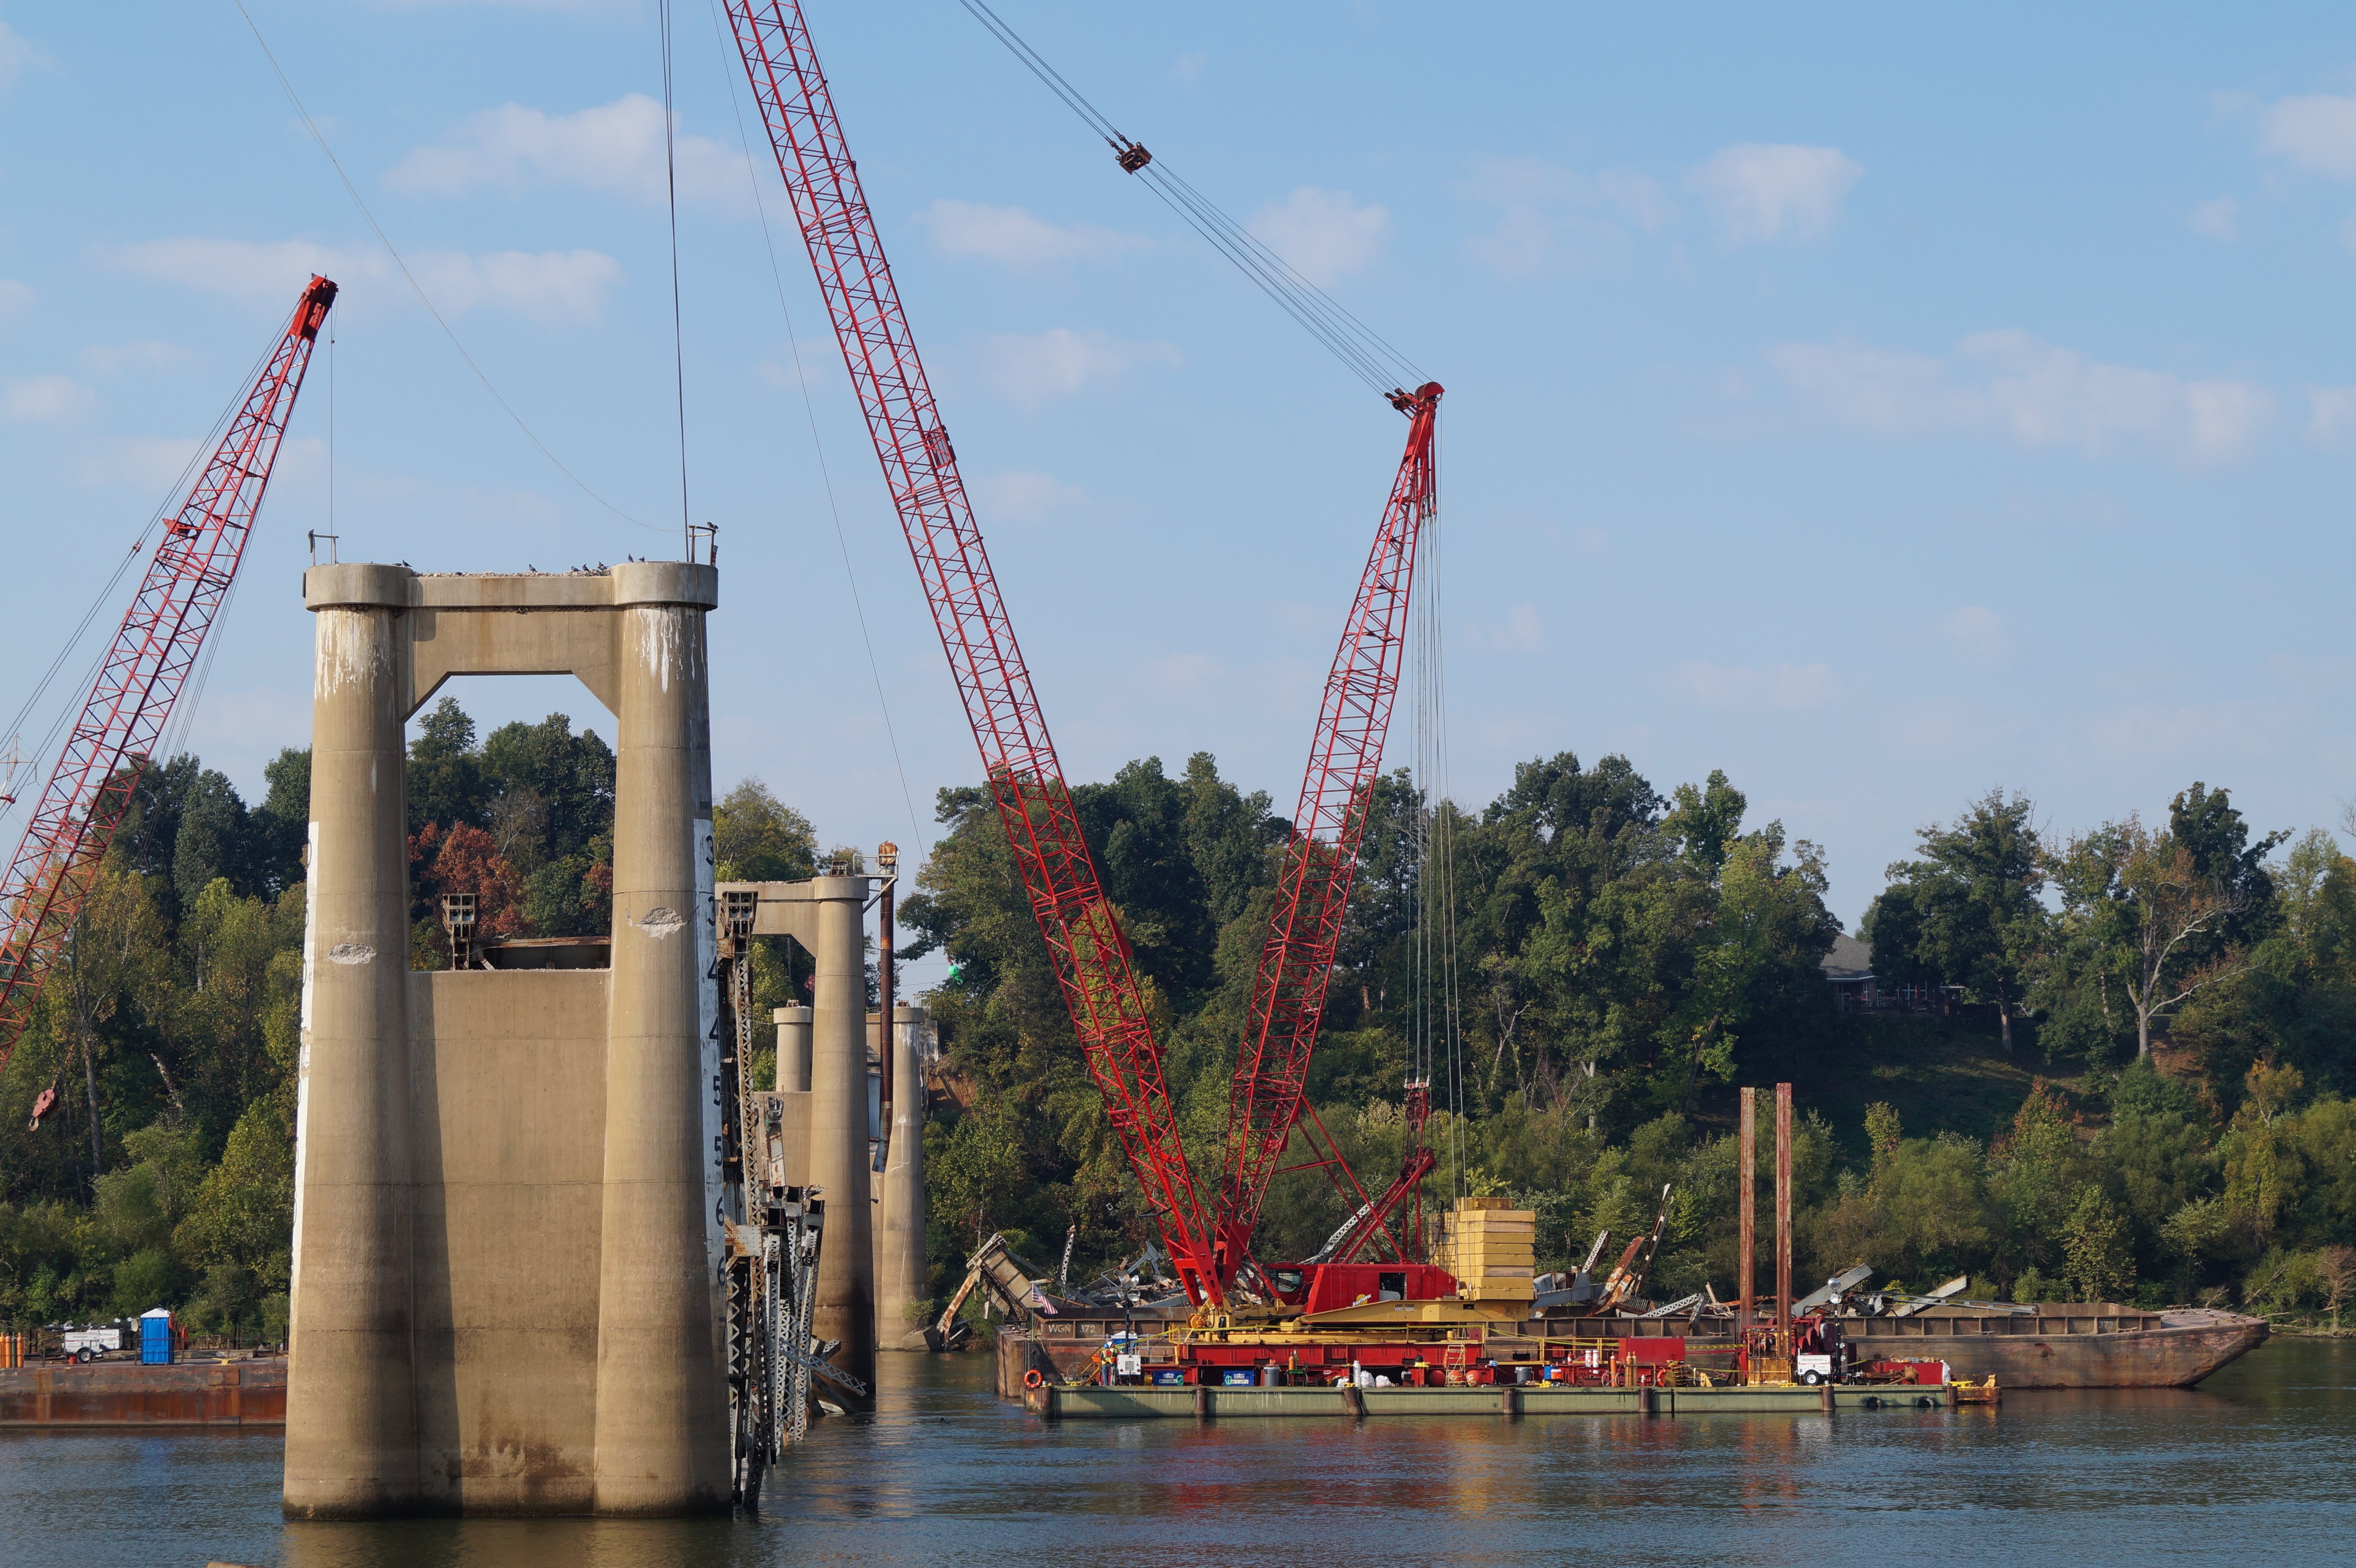

Photo Credit: KYTC
Views with all the truss spans demolished.
![]()
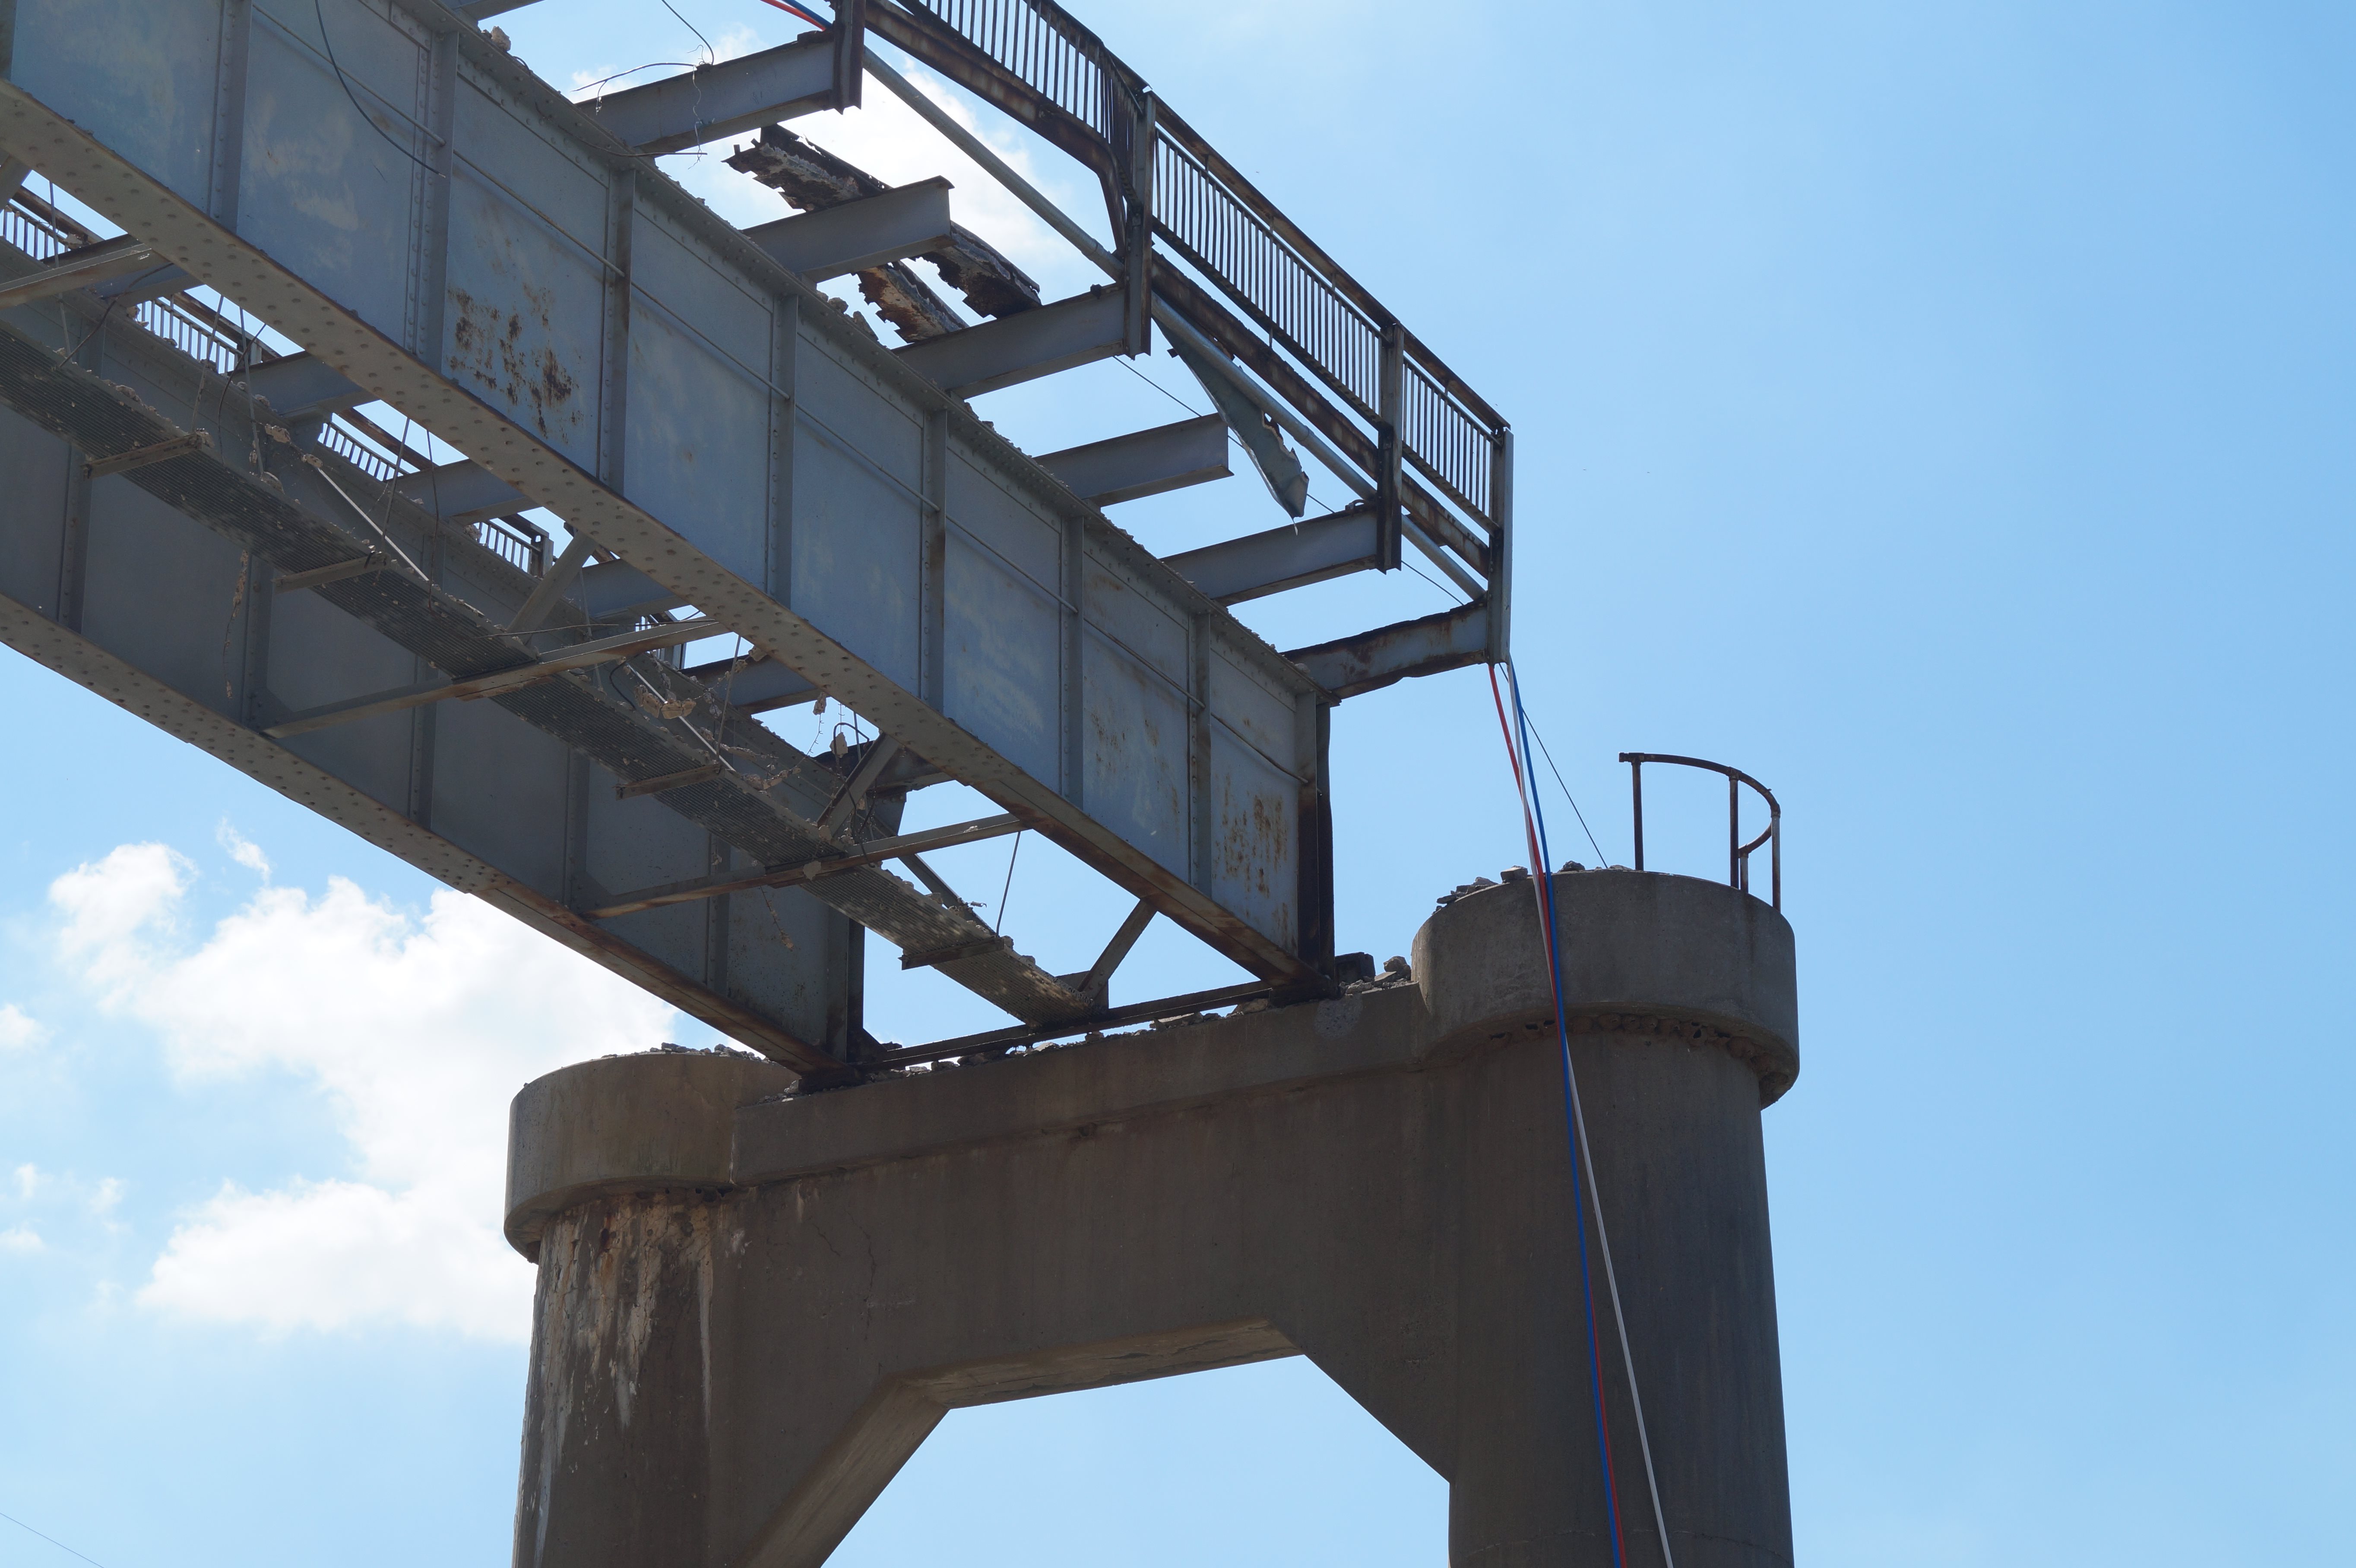
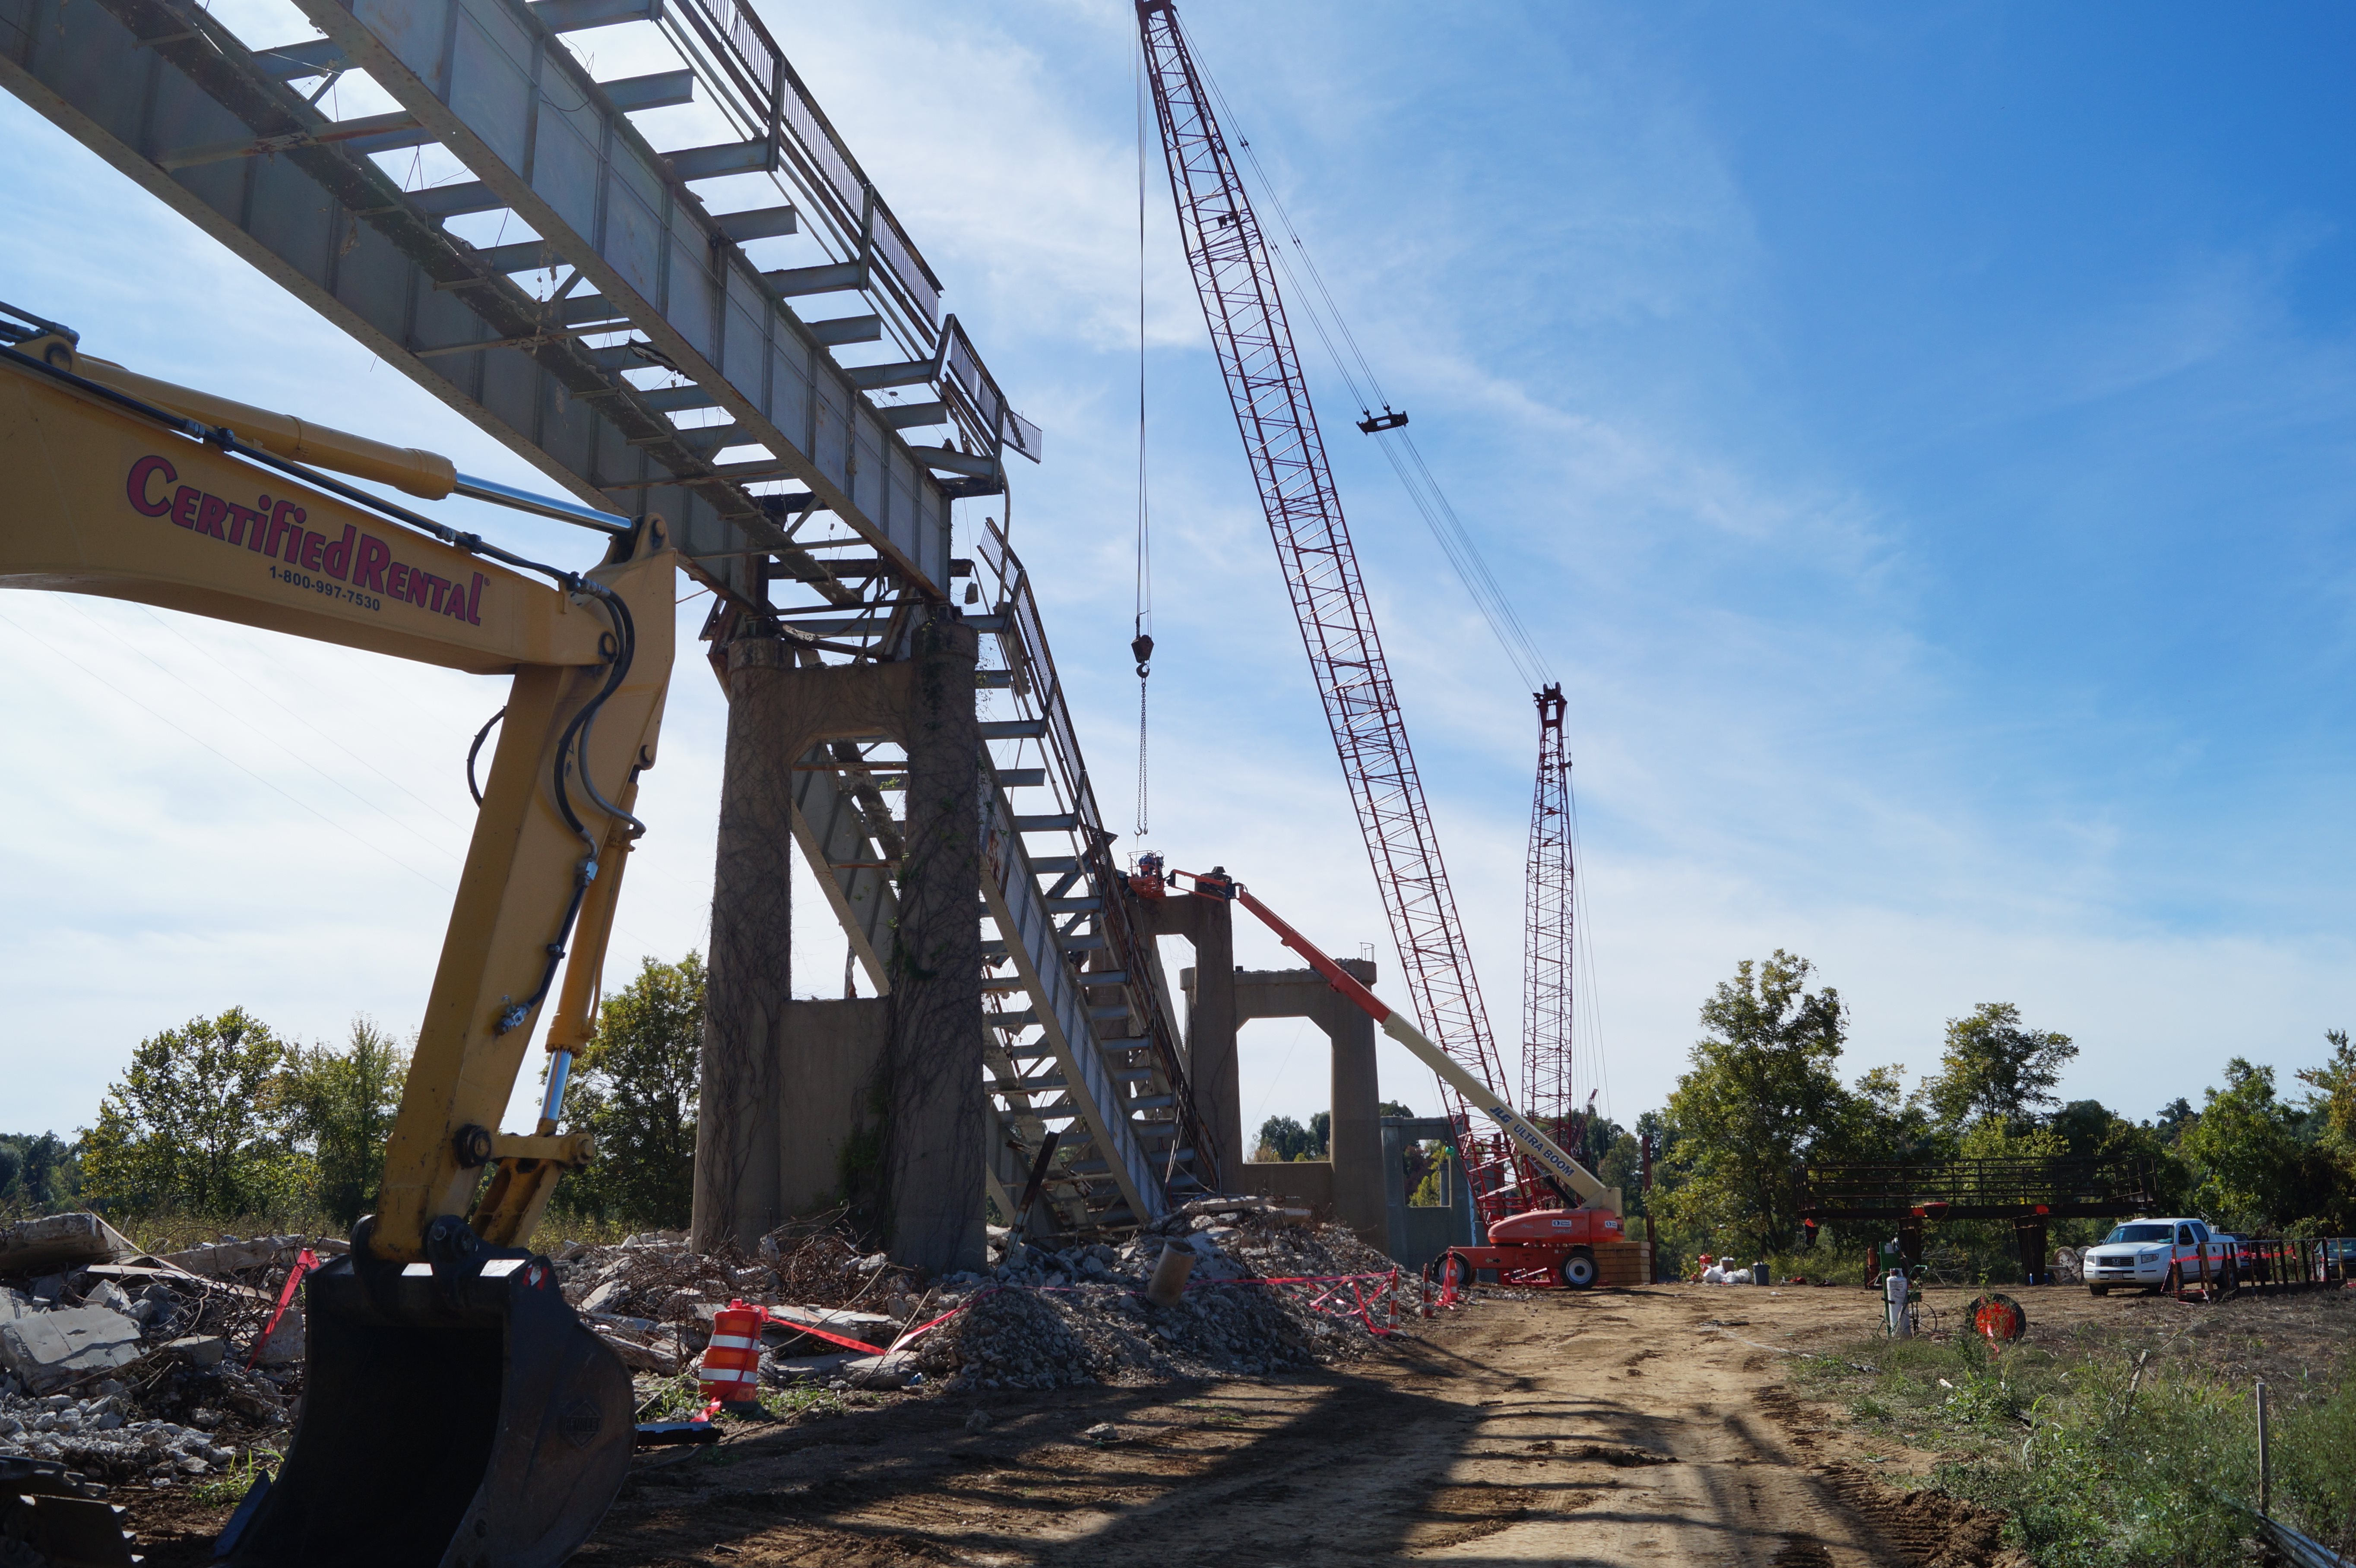
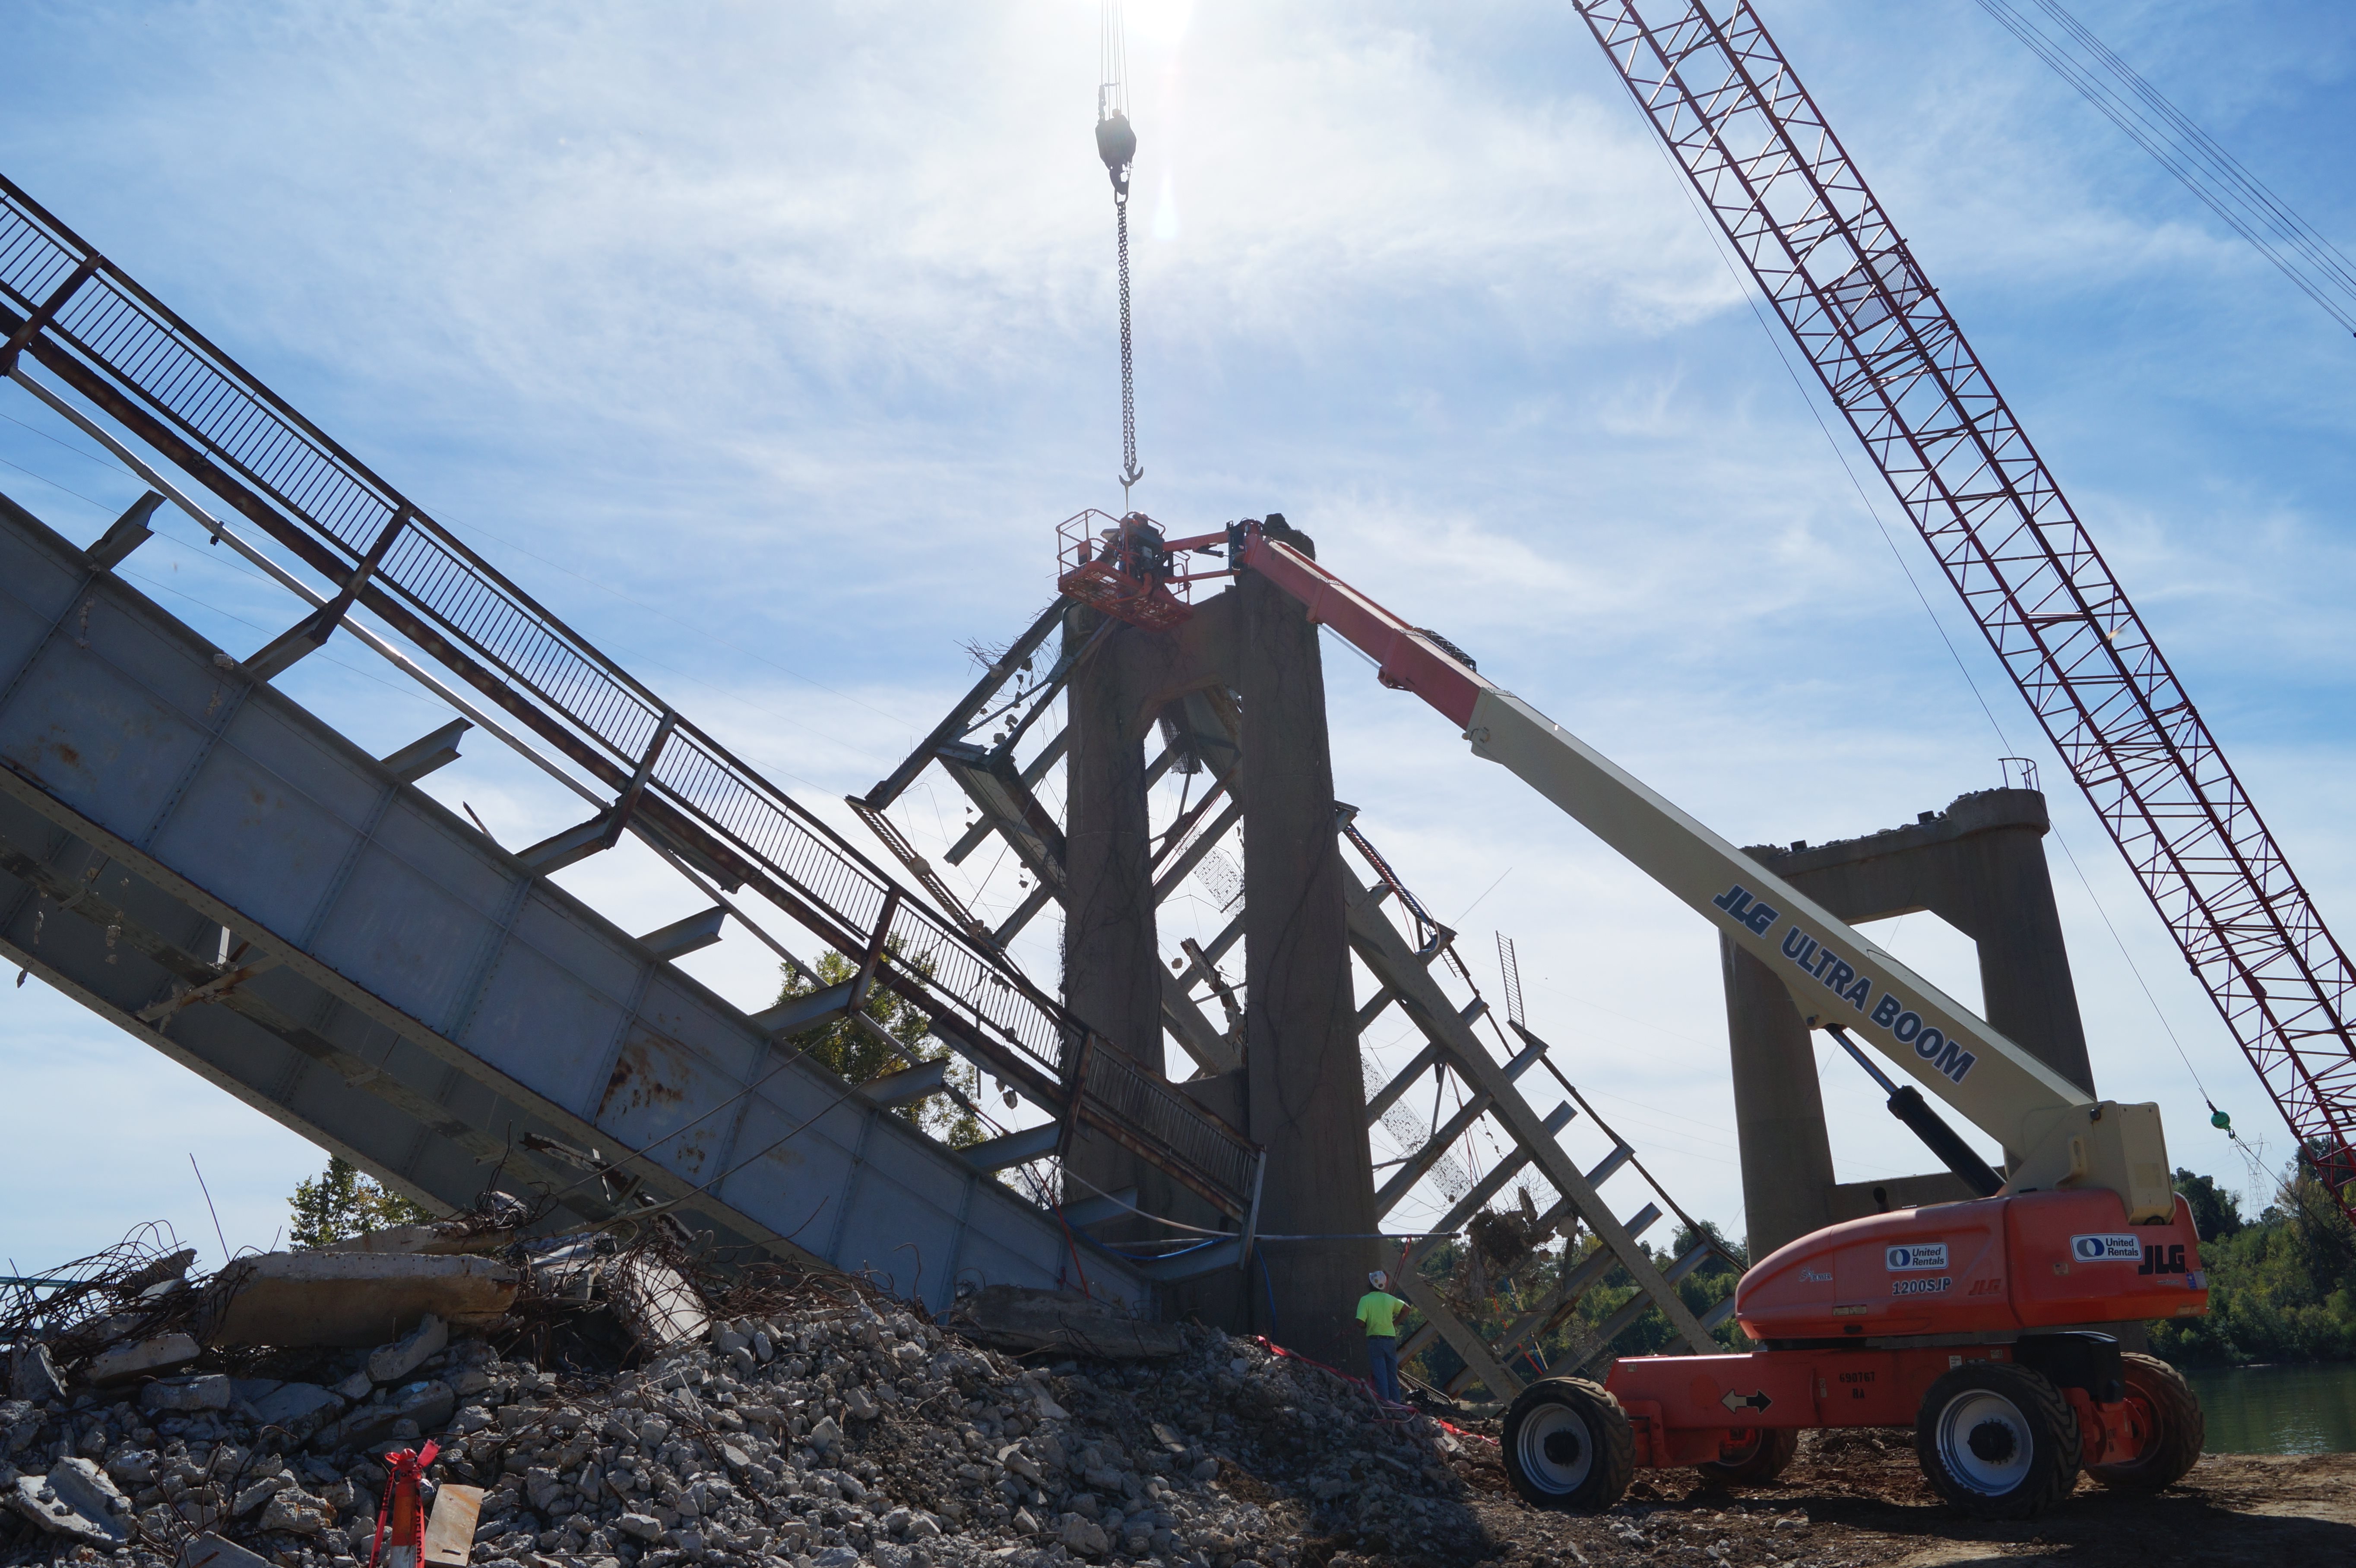
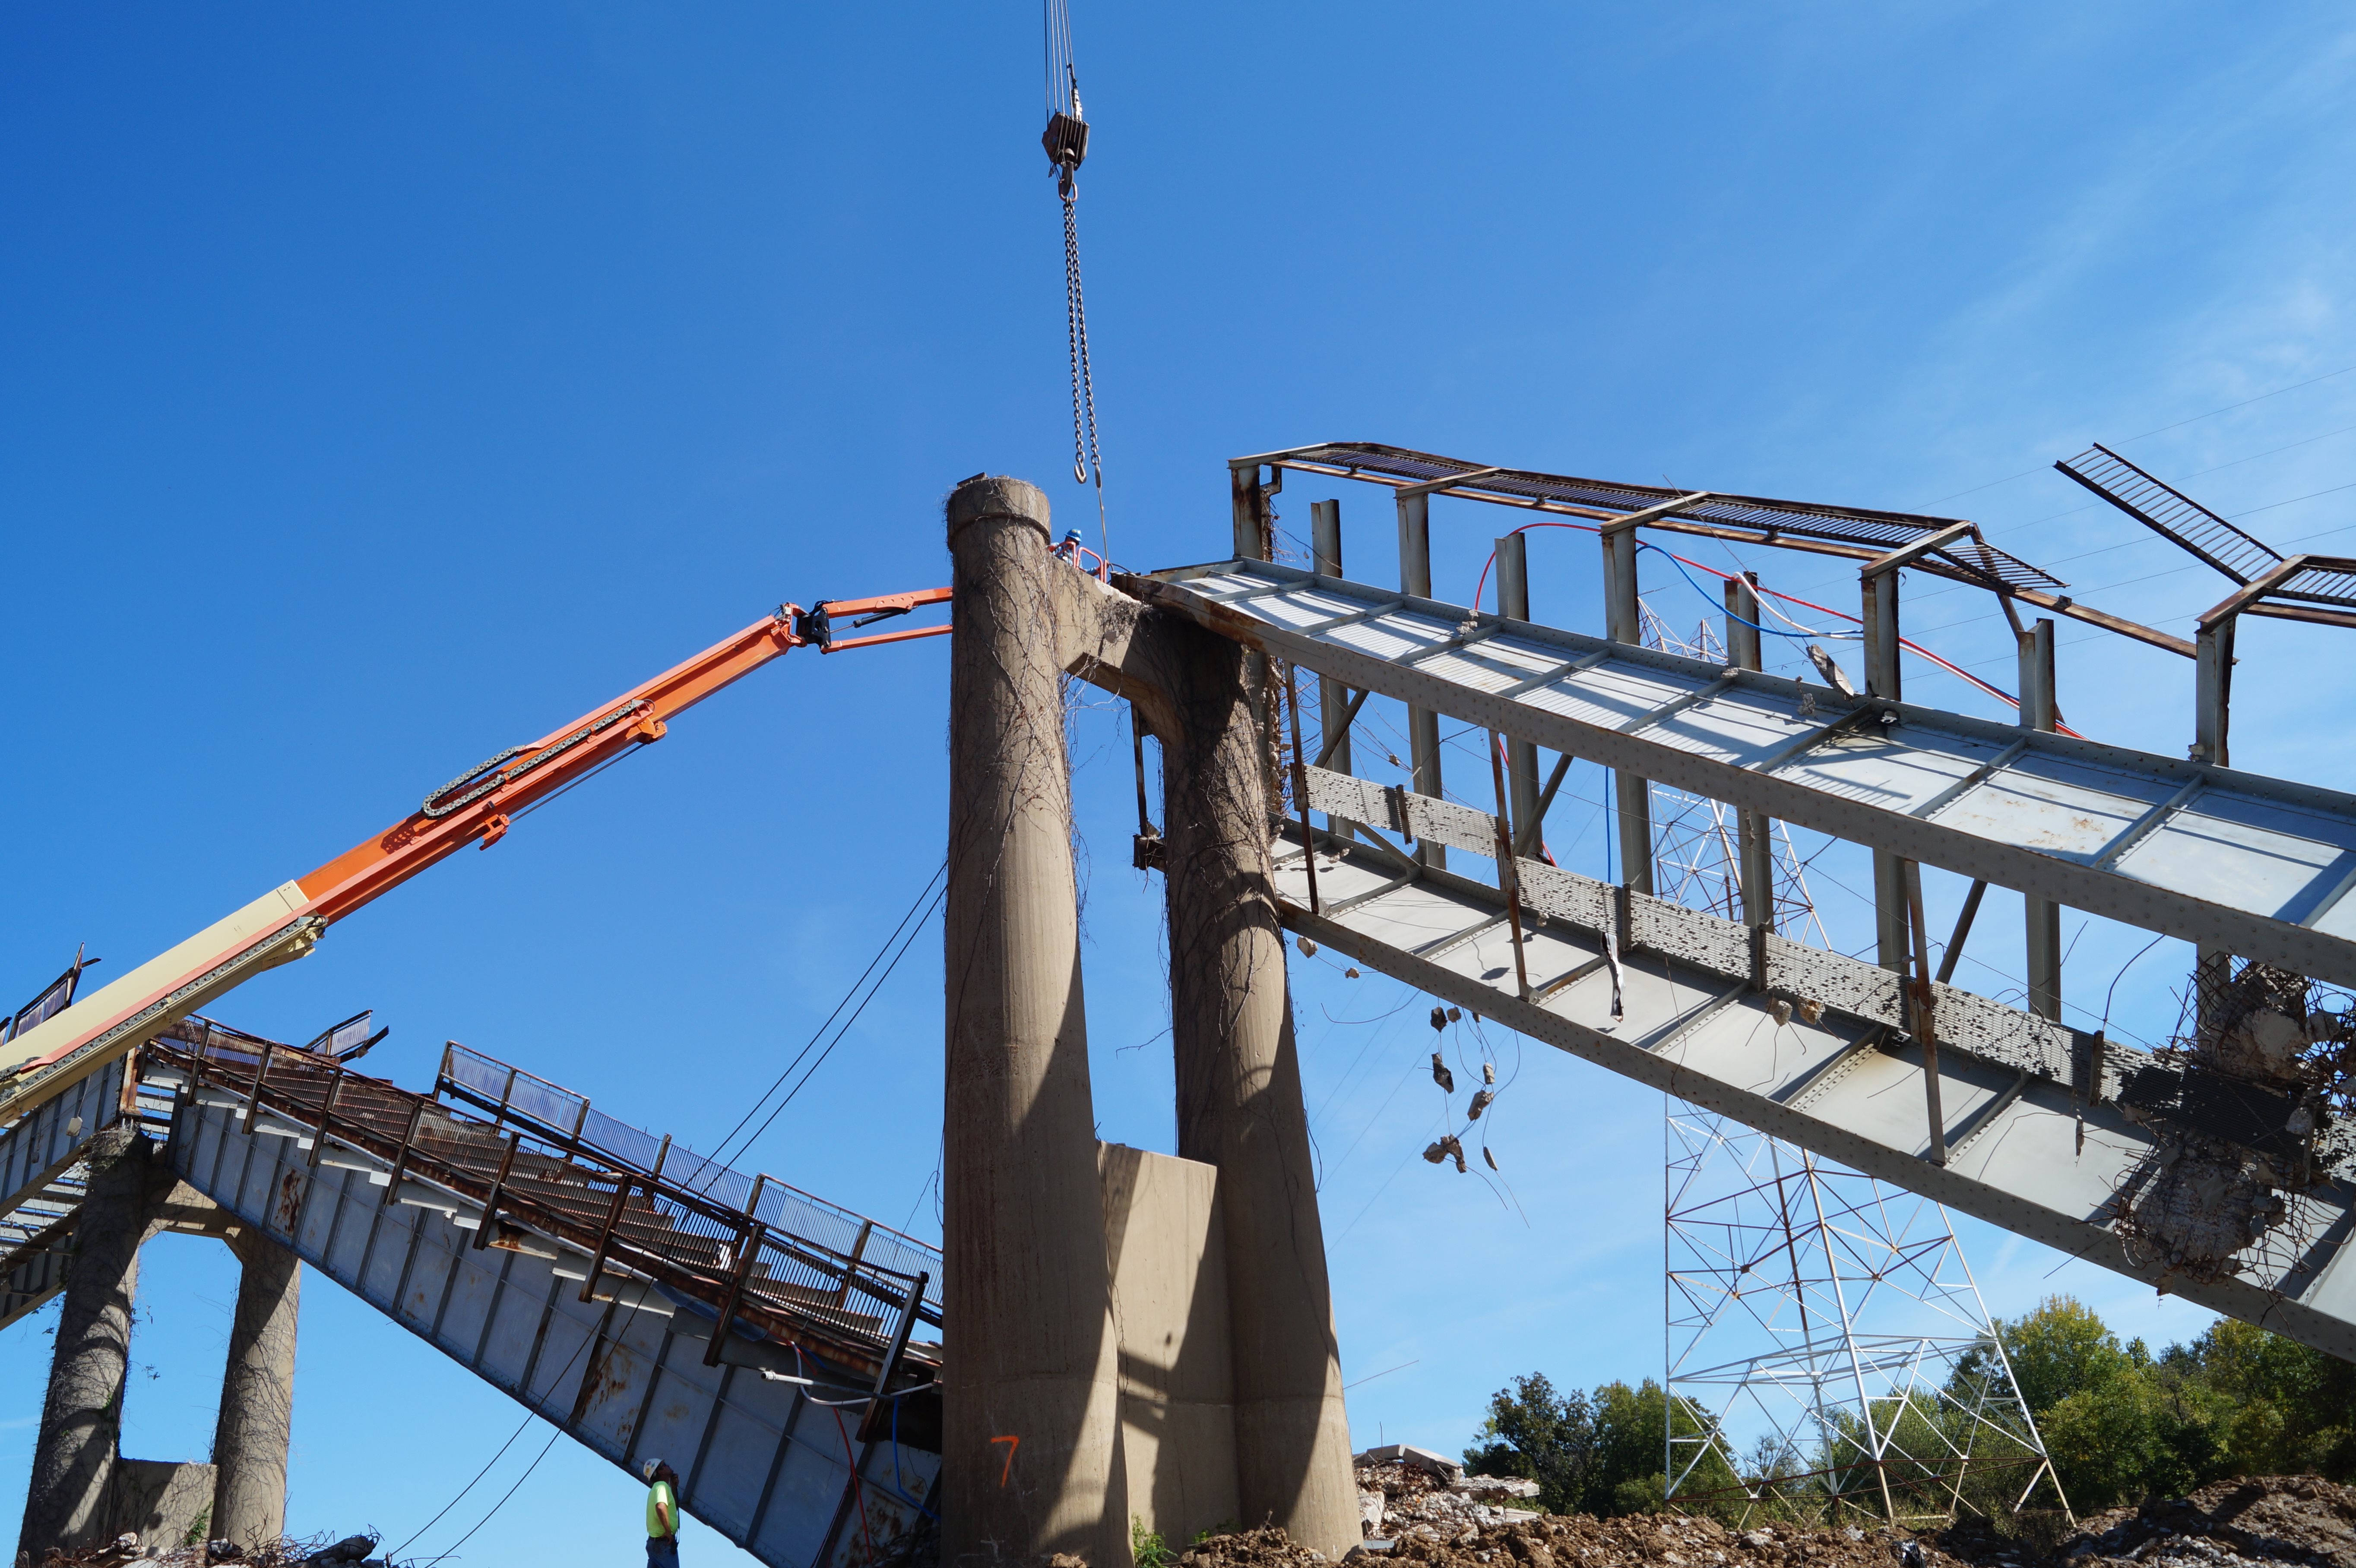
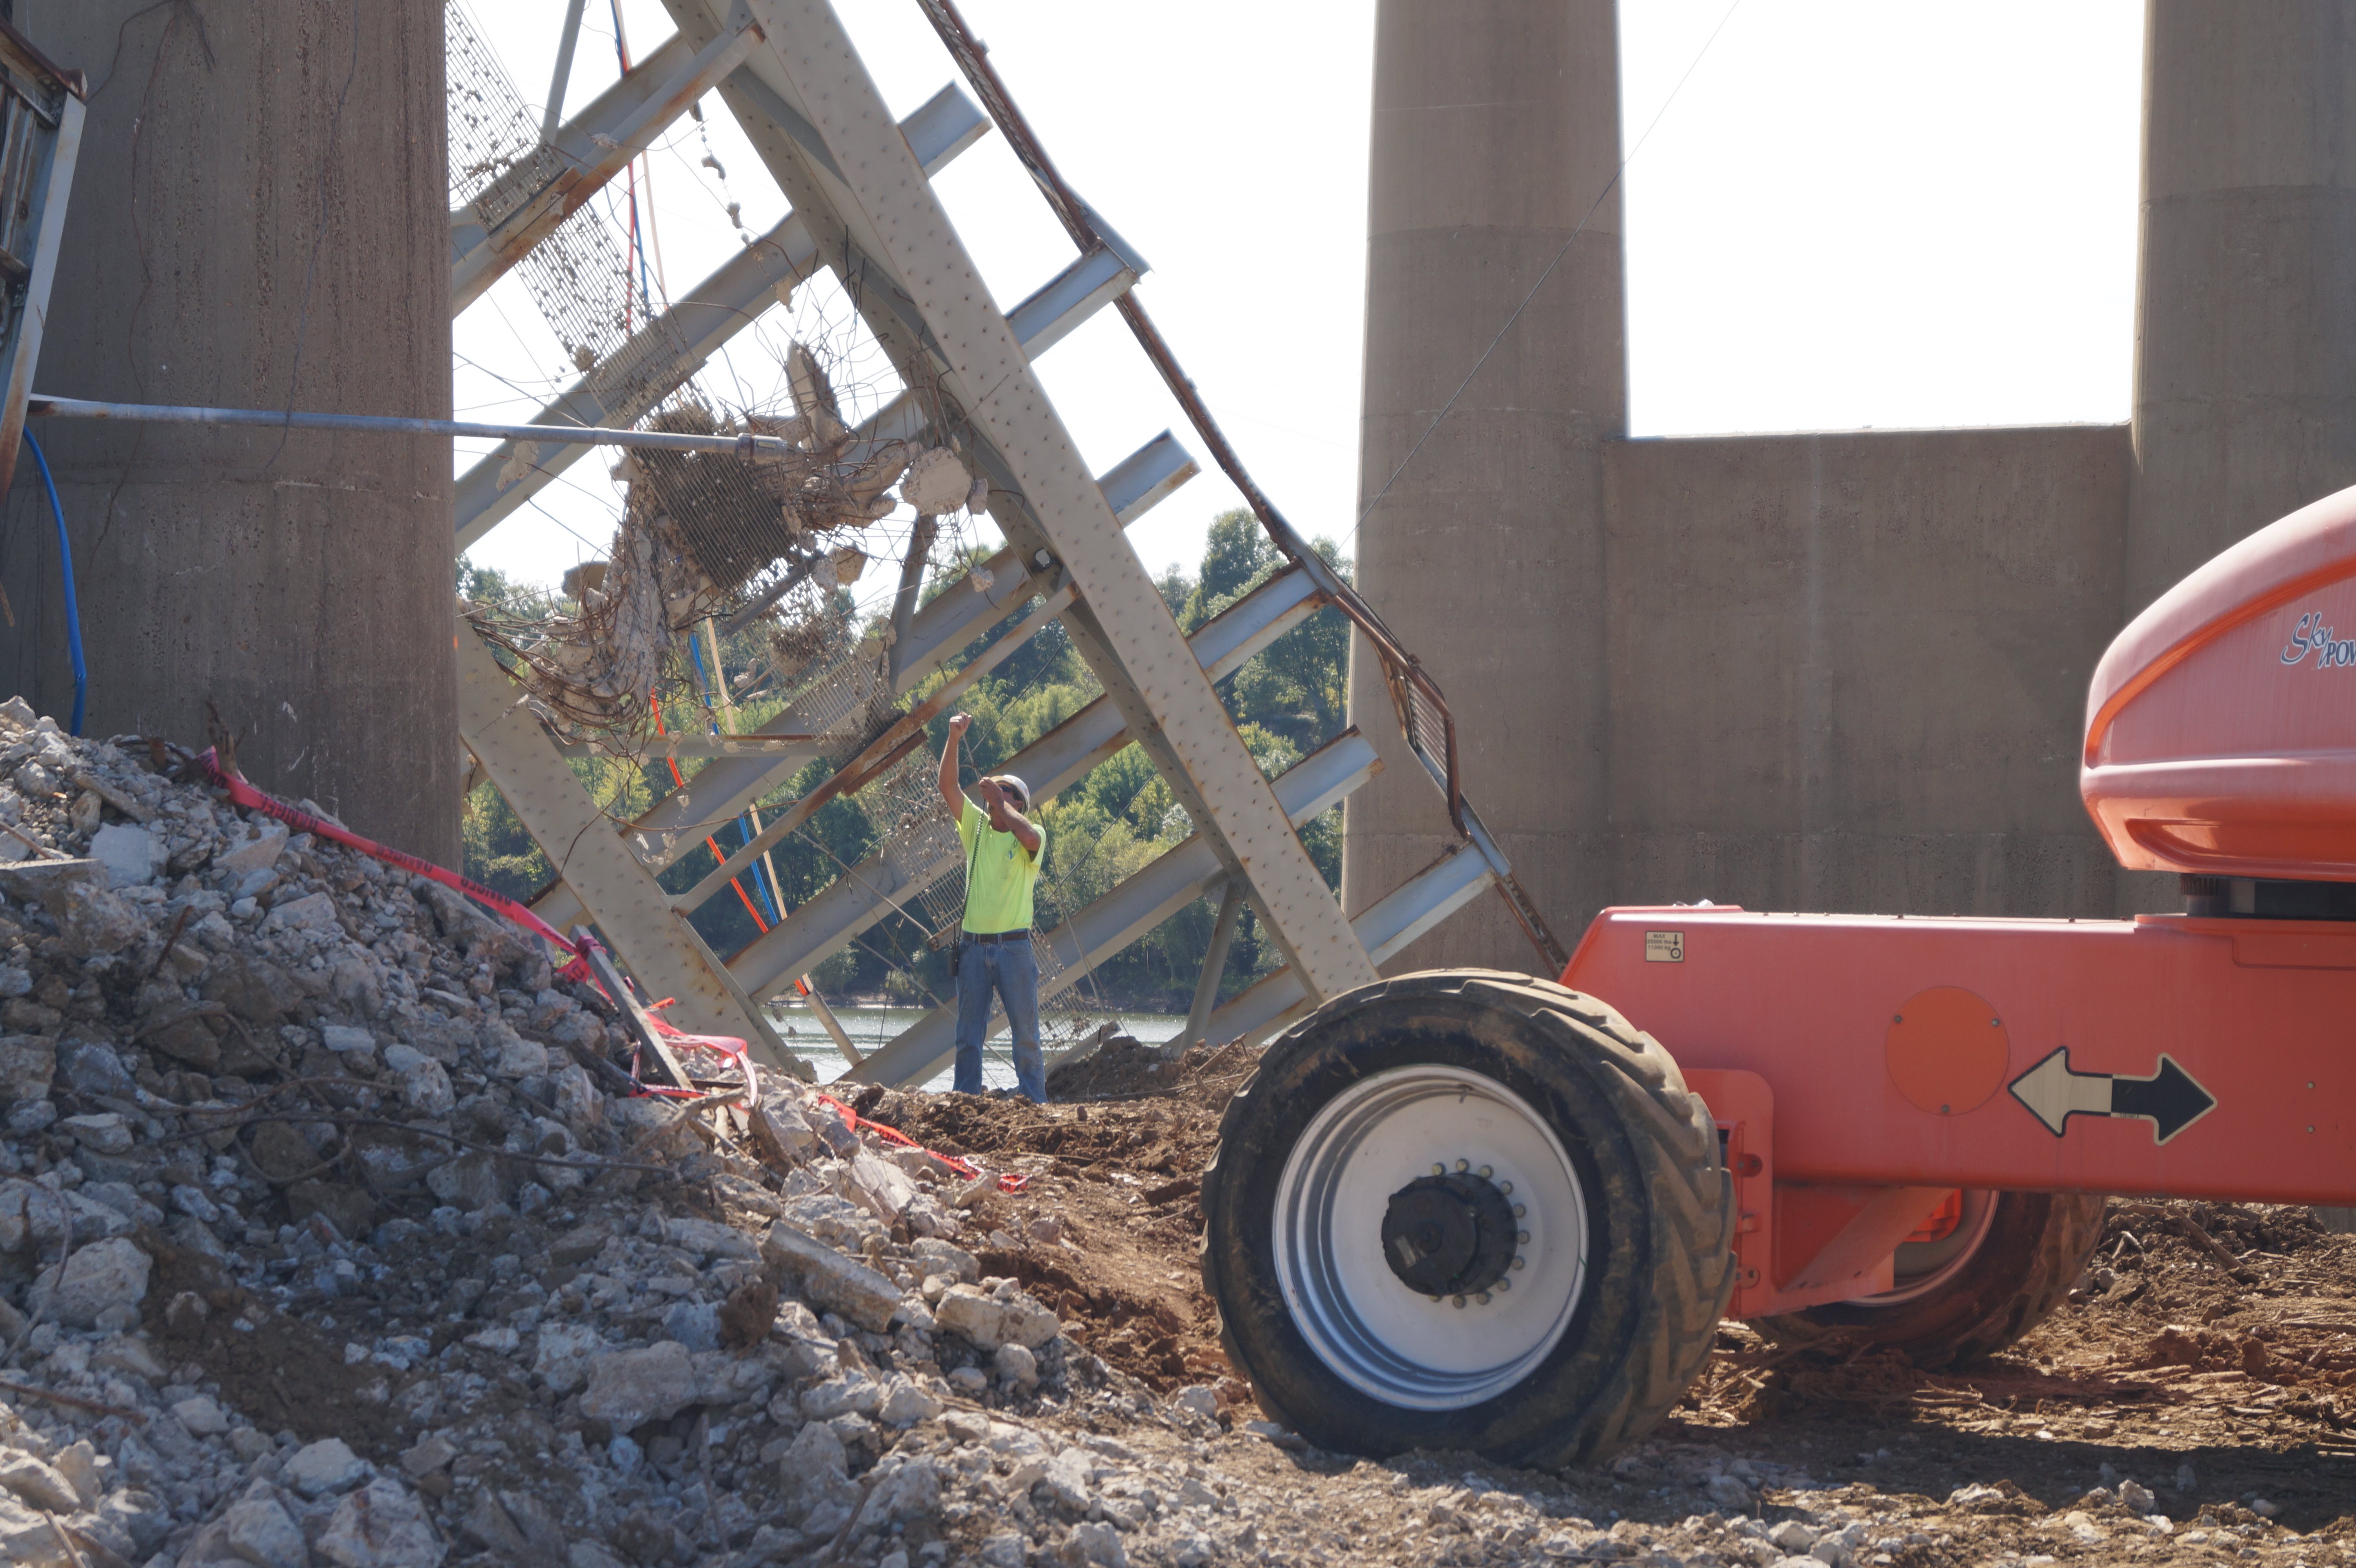
Photo Credit: KYTC
Demolition of plate girder approach spans.
![]()
![]()
| Back |
| Home |
| Top |

![]()