Uncredited photos on this page taken by: Nathan Holth and Rick McOmber. Unless stated in a caption, all photos are Copyright with All Rights Reserved. Learn about reuse of our photos.
![]()


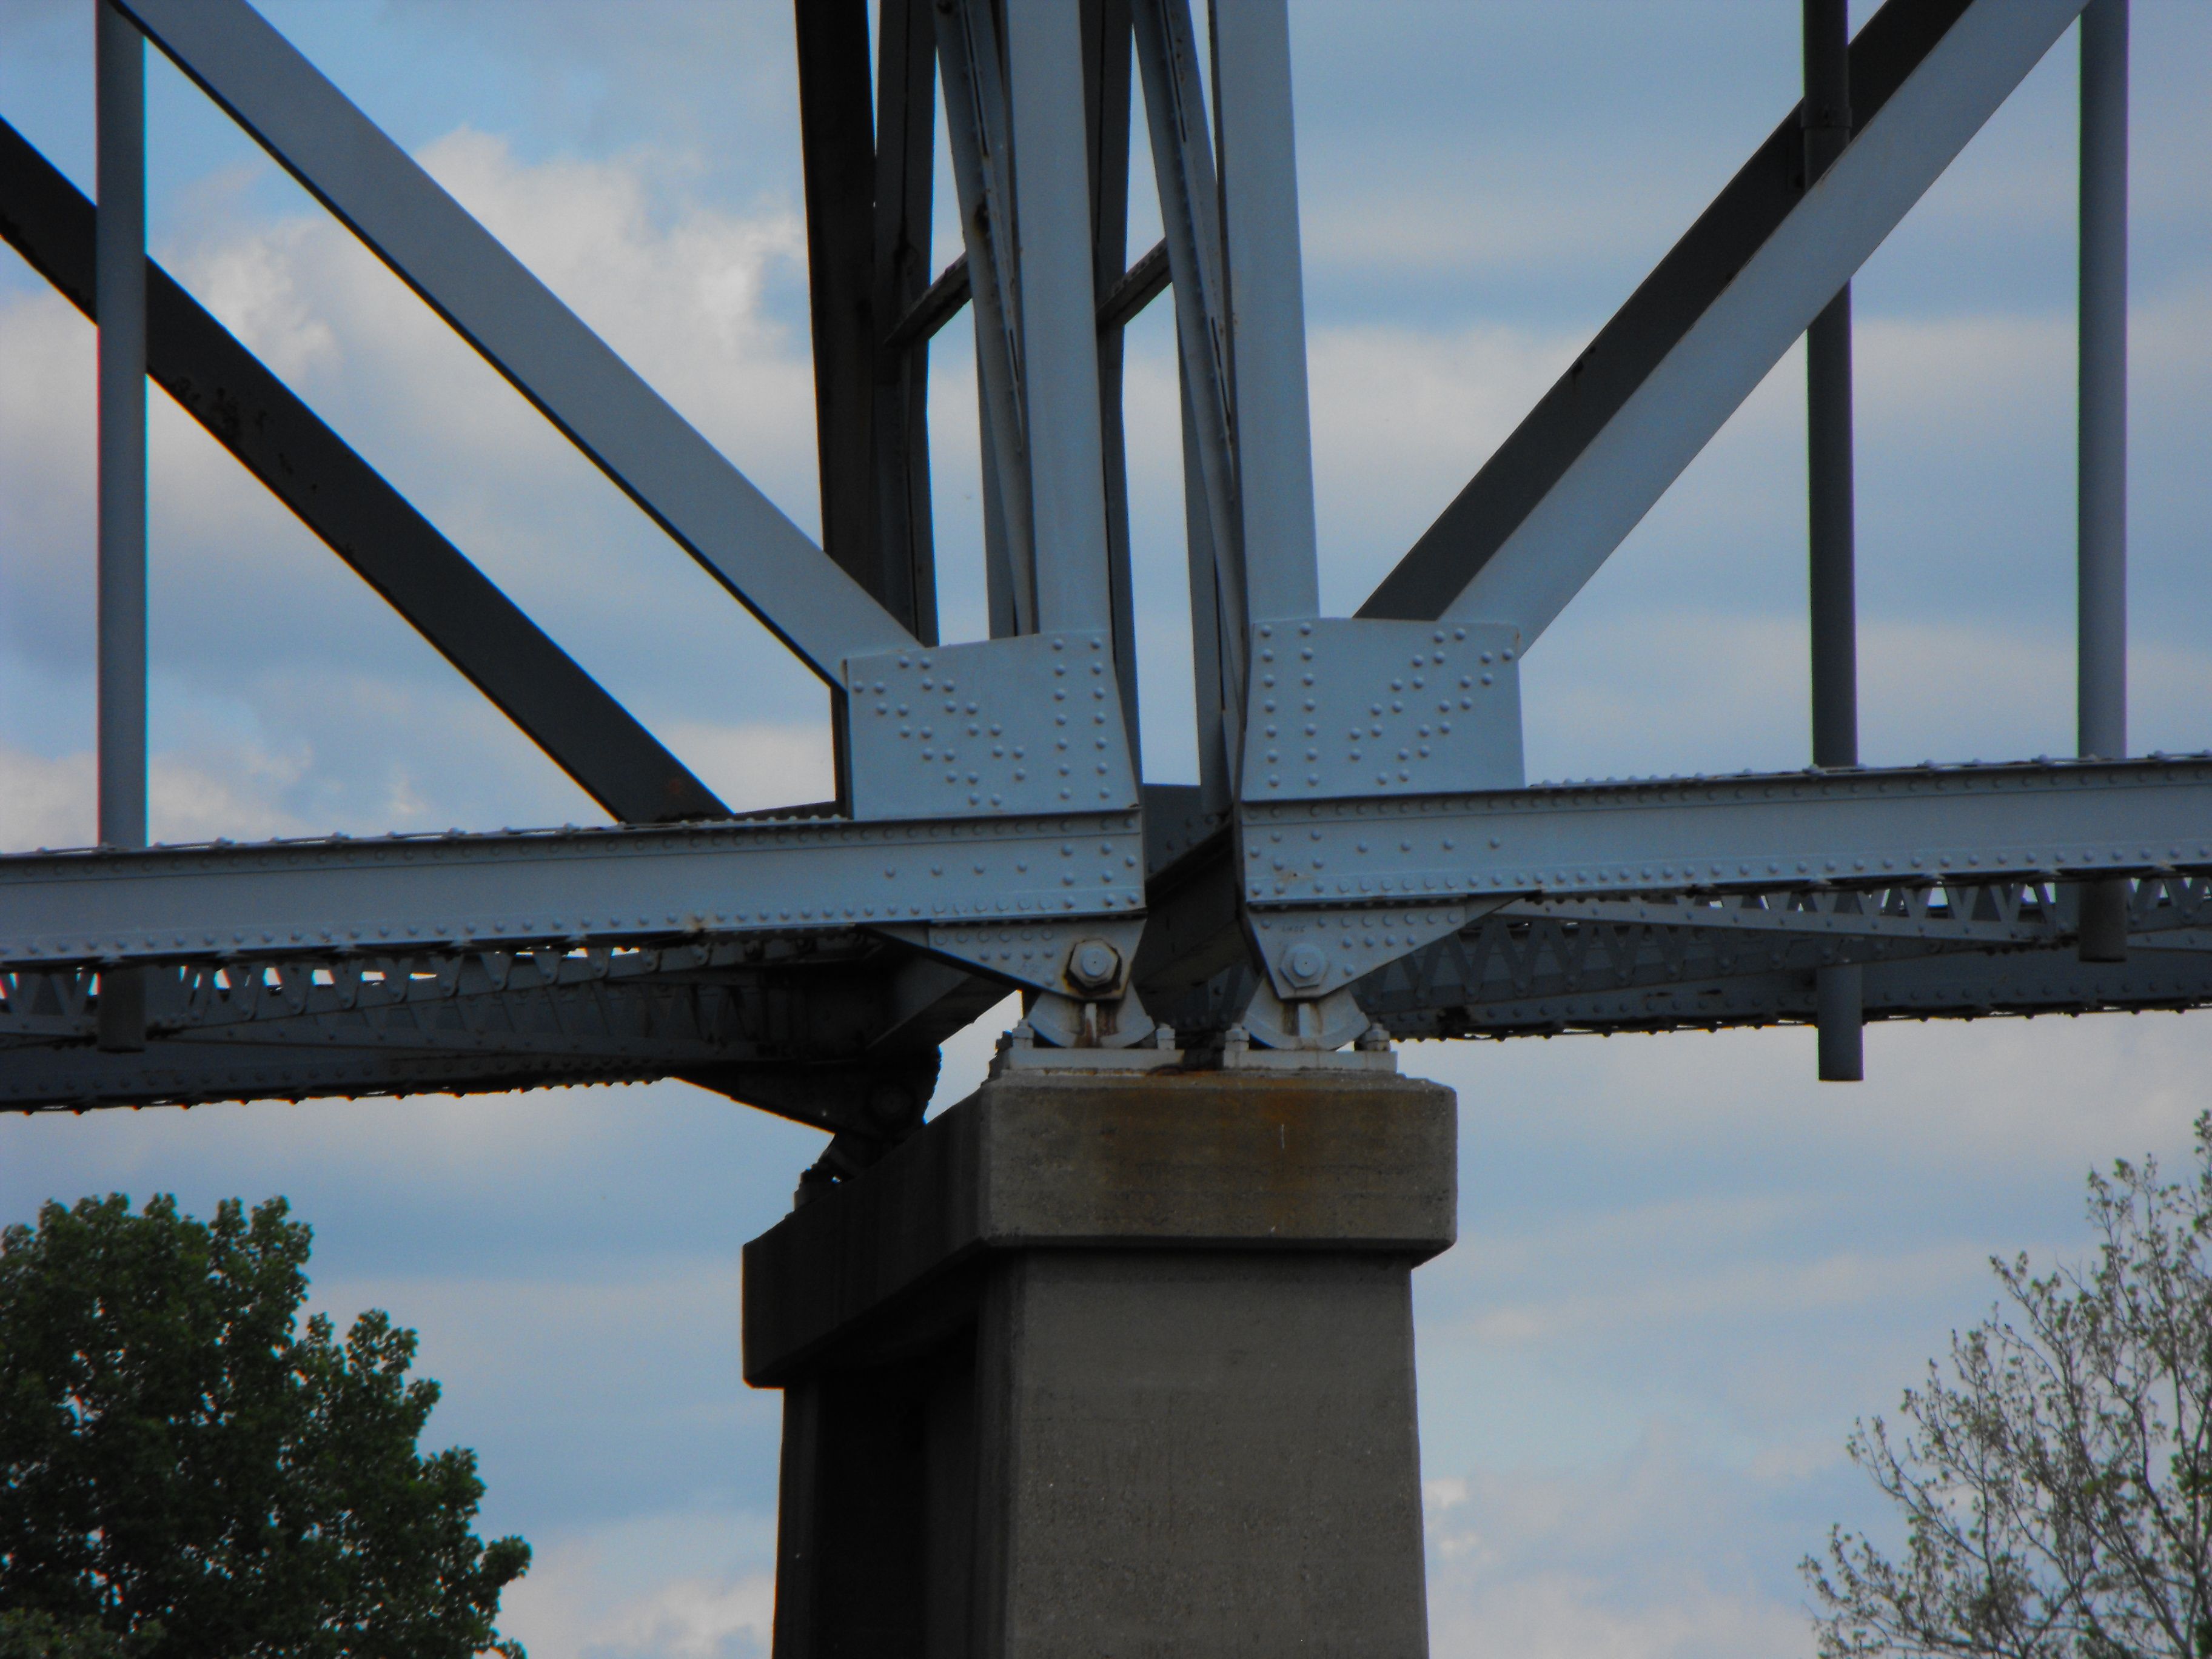
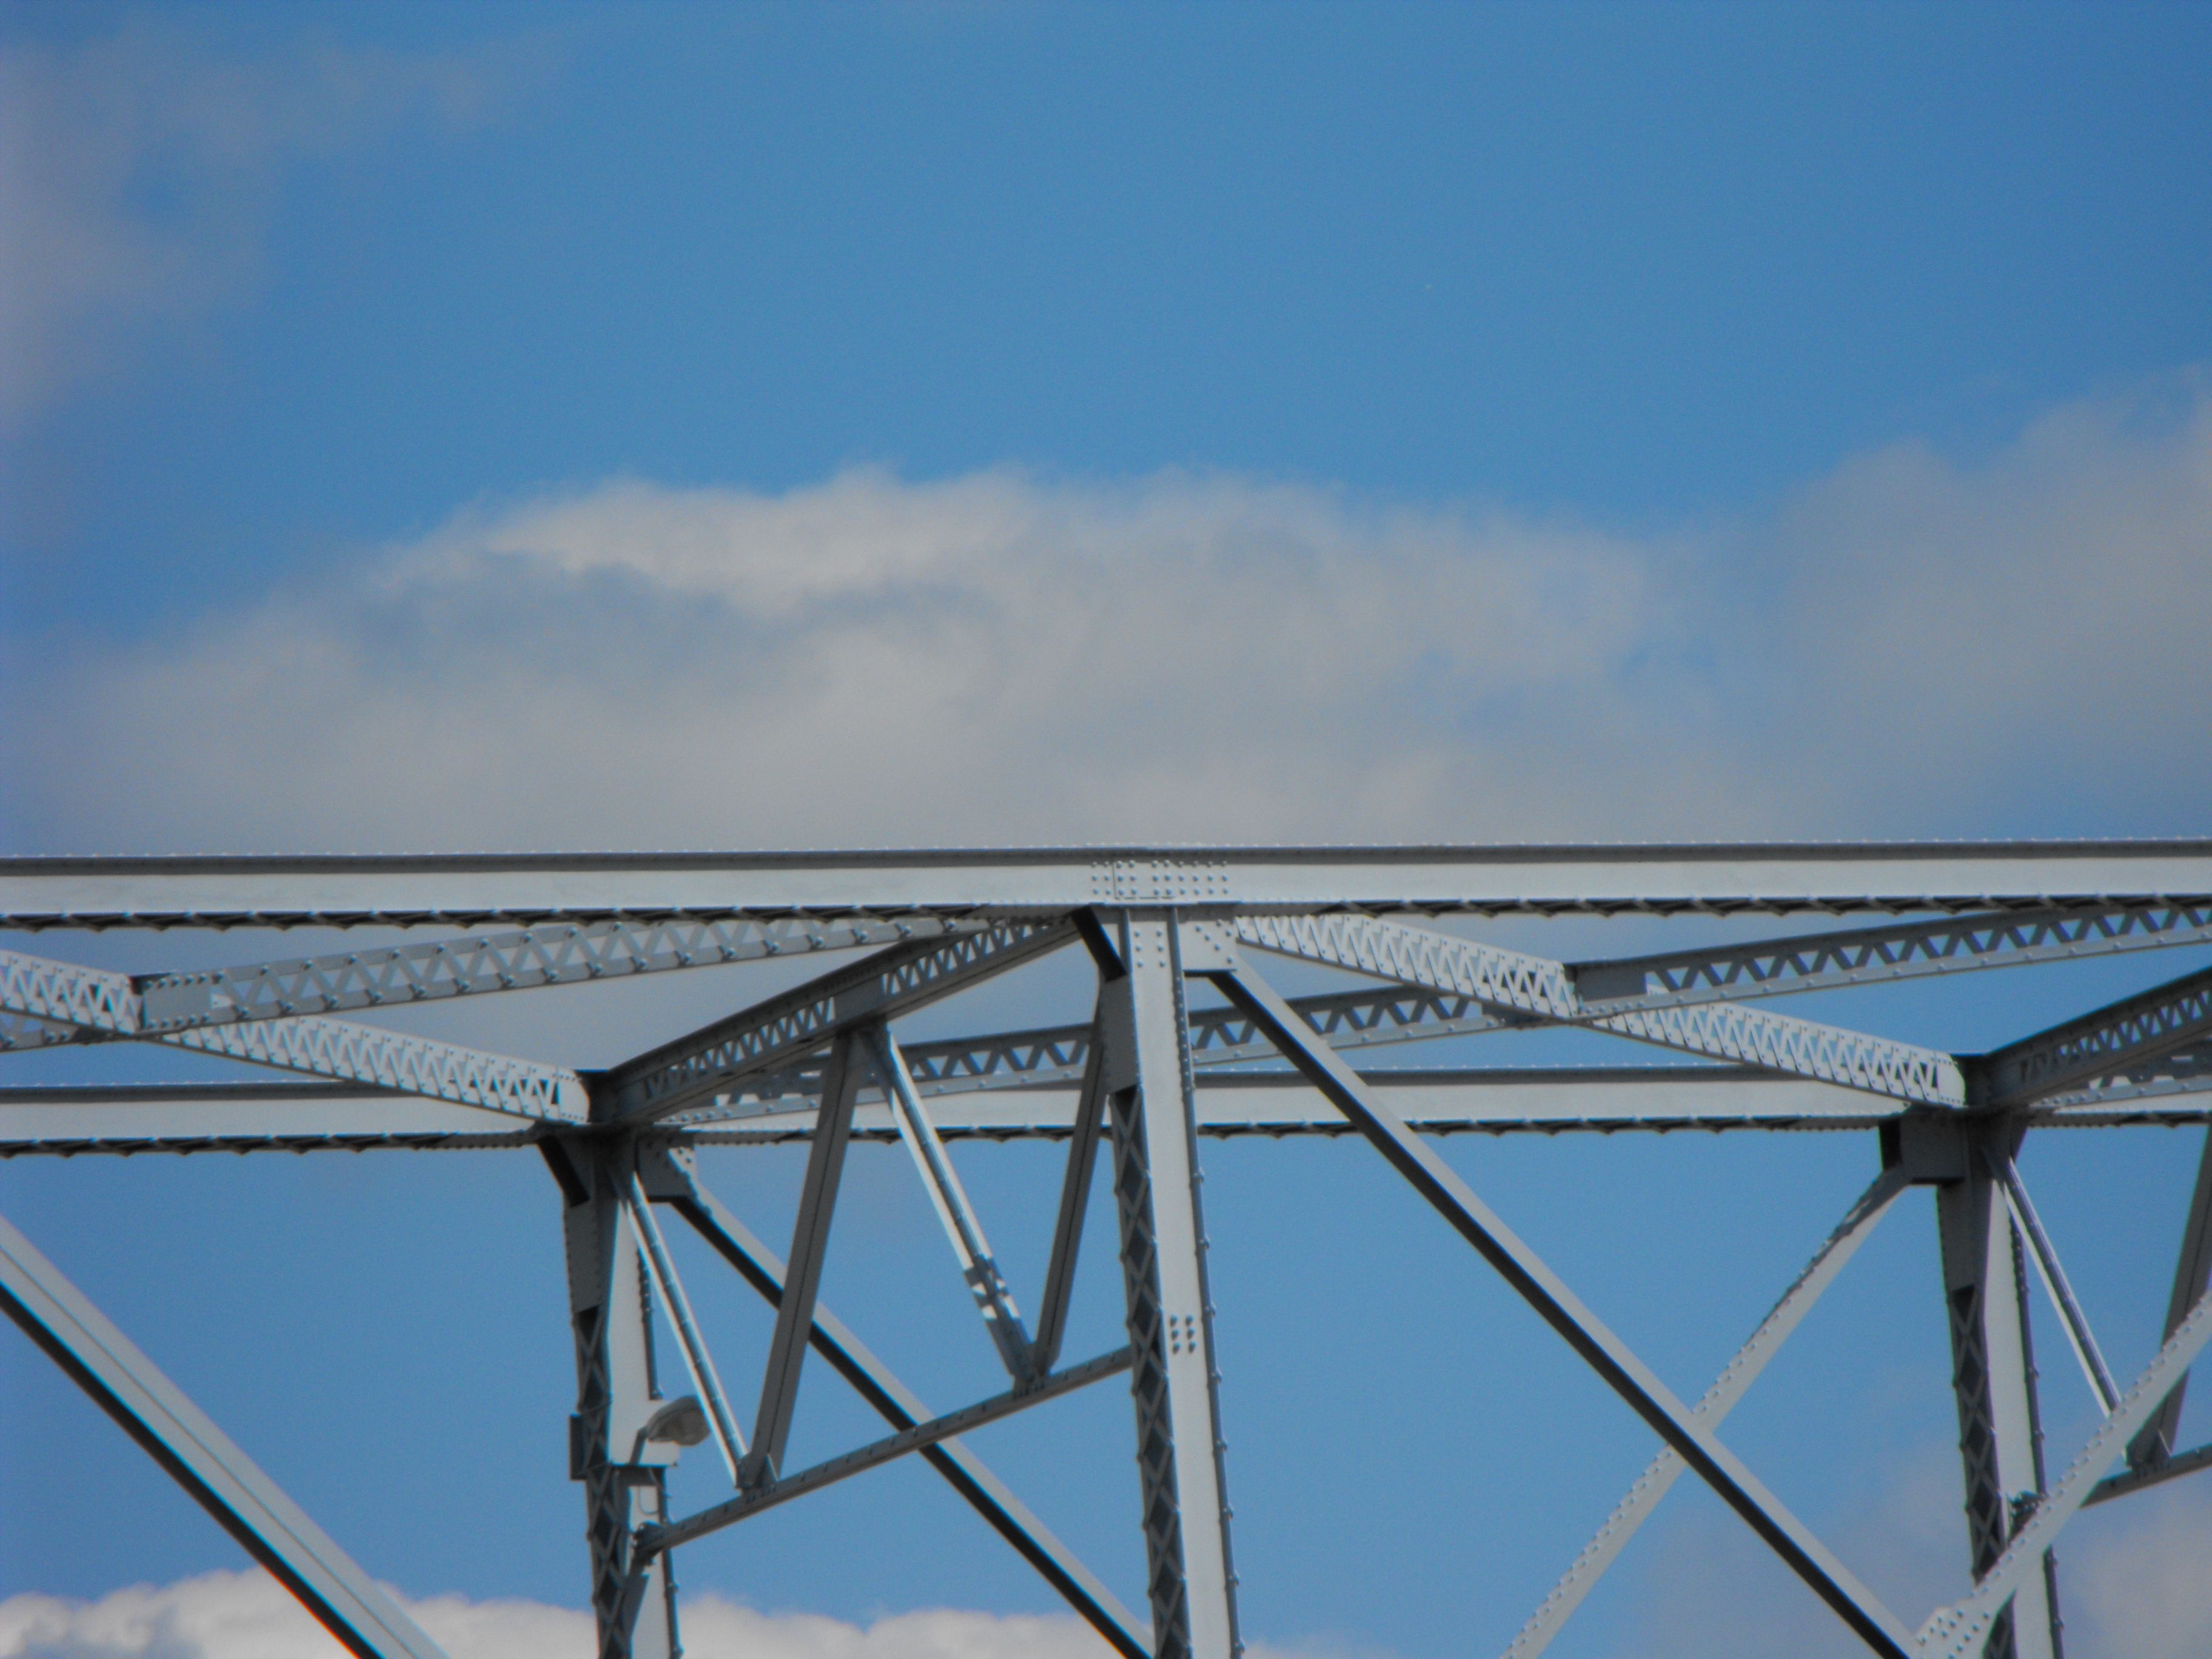
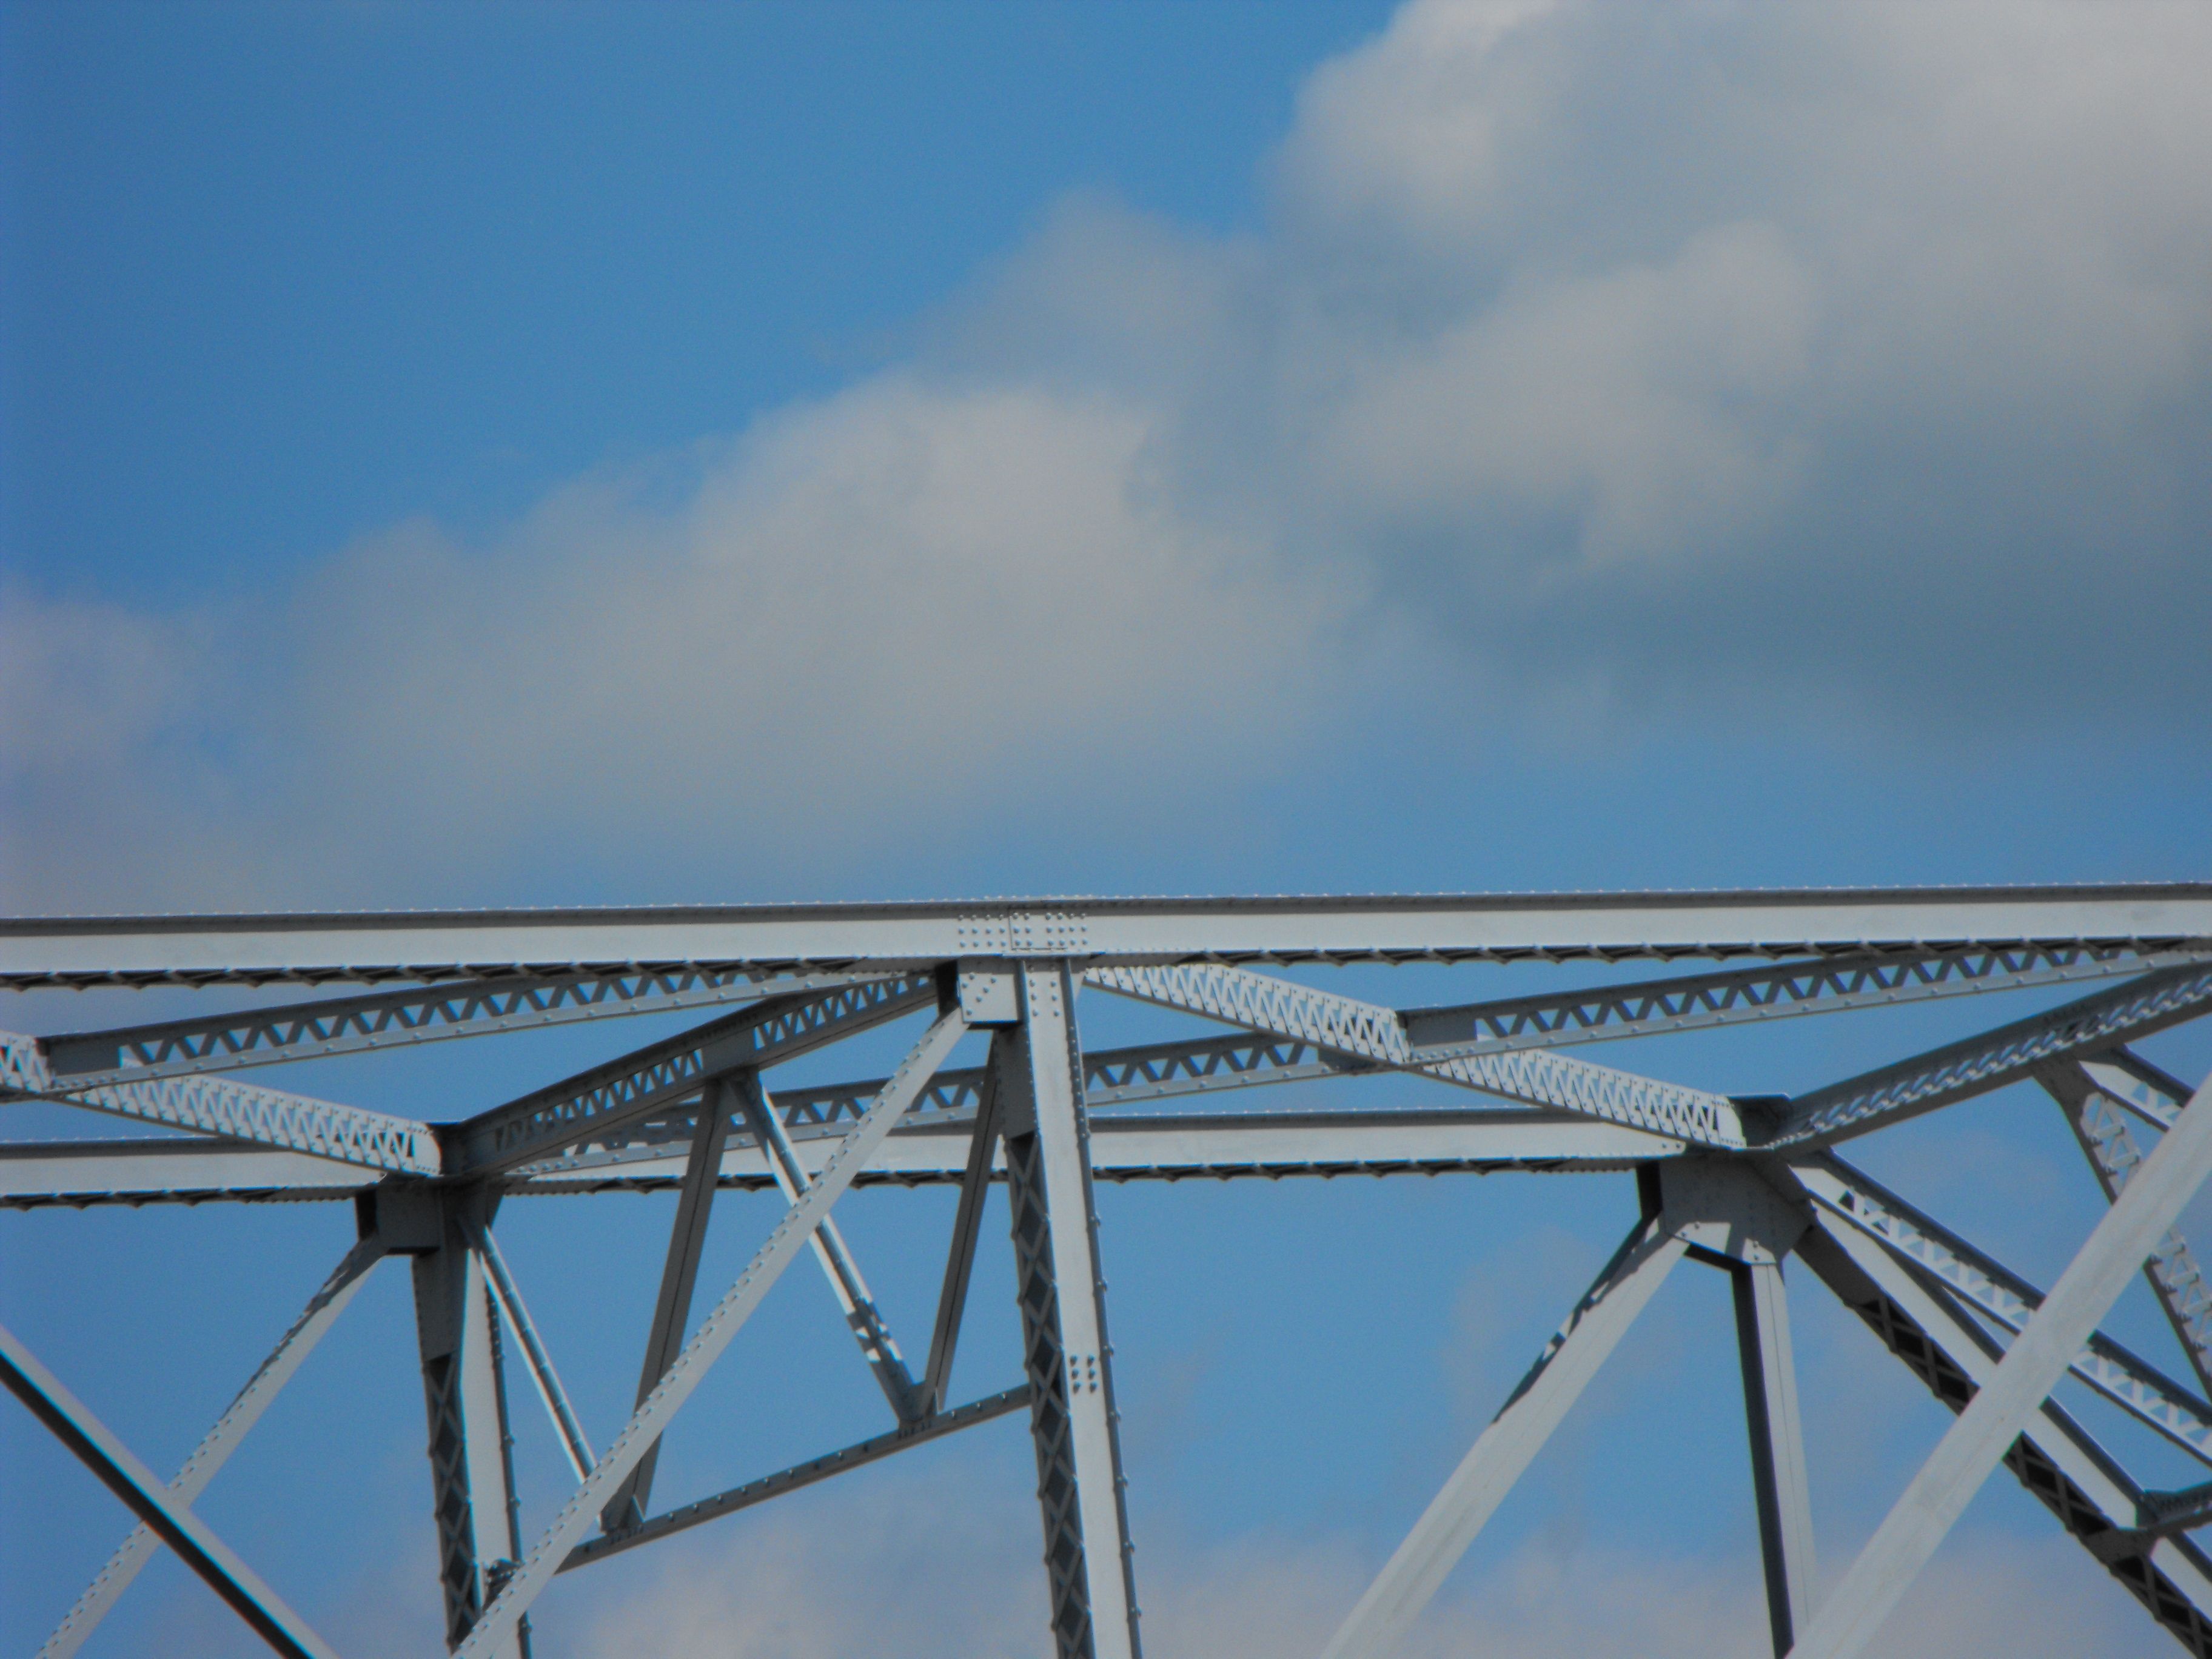
Cantilever spans top chord connections.
![]()


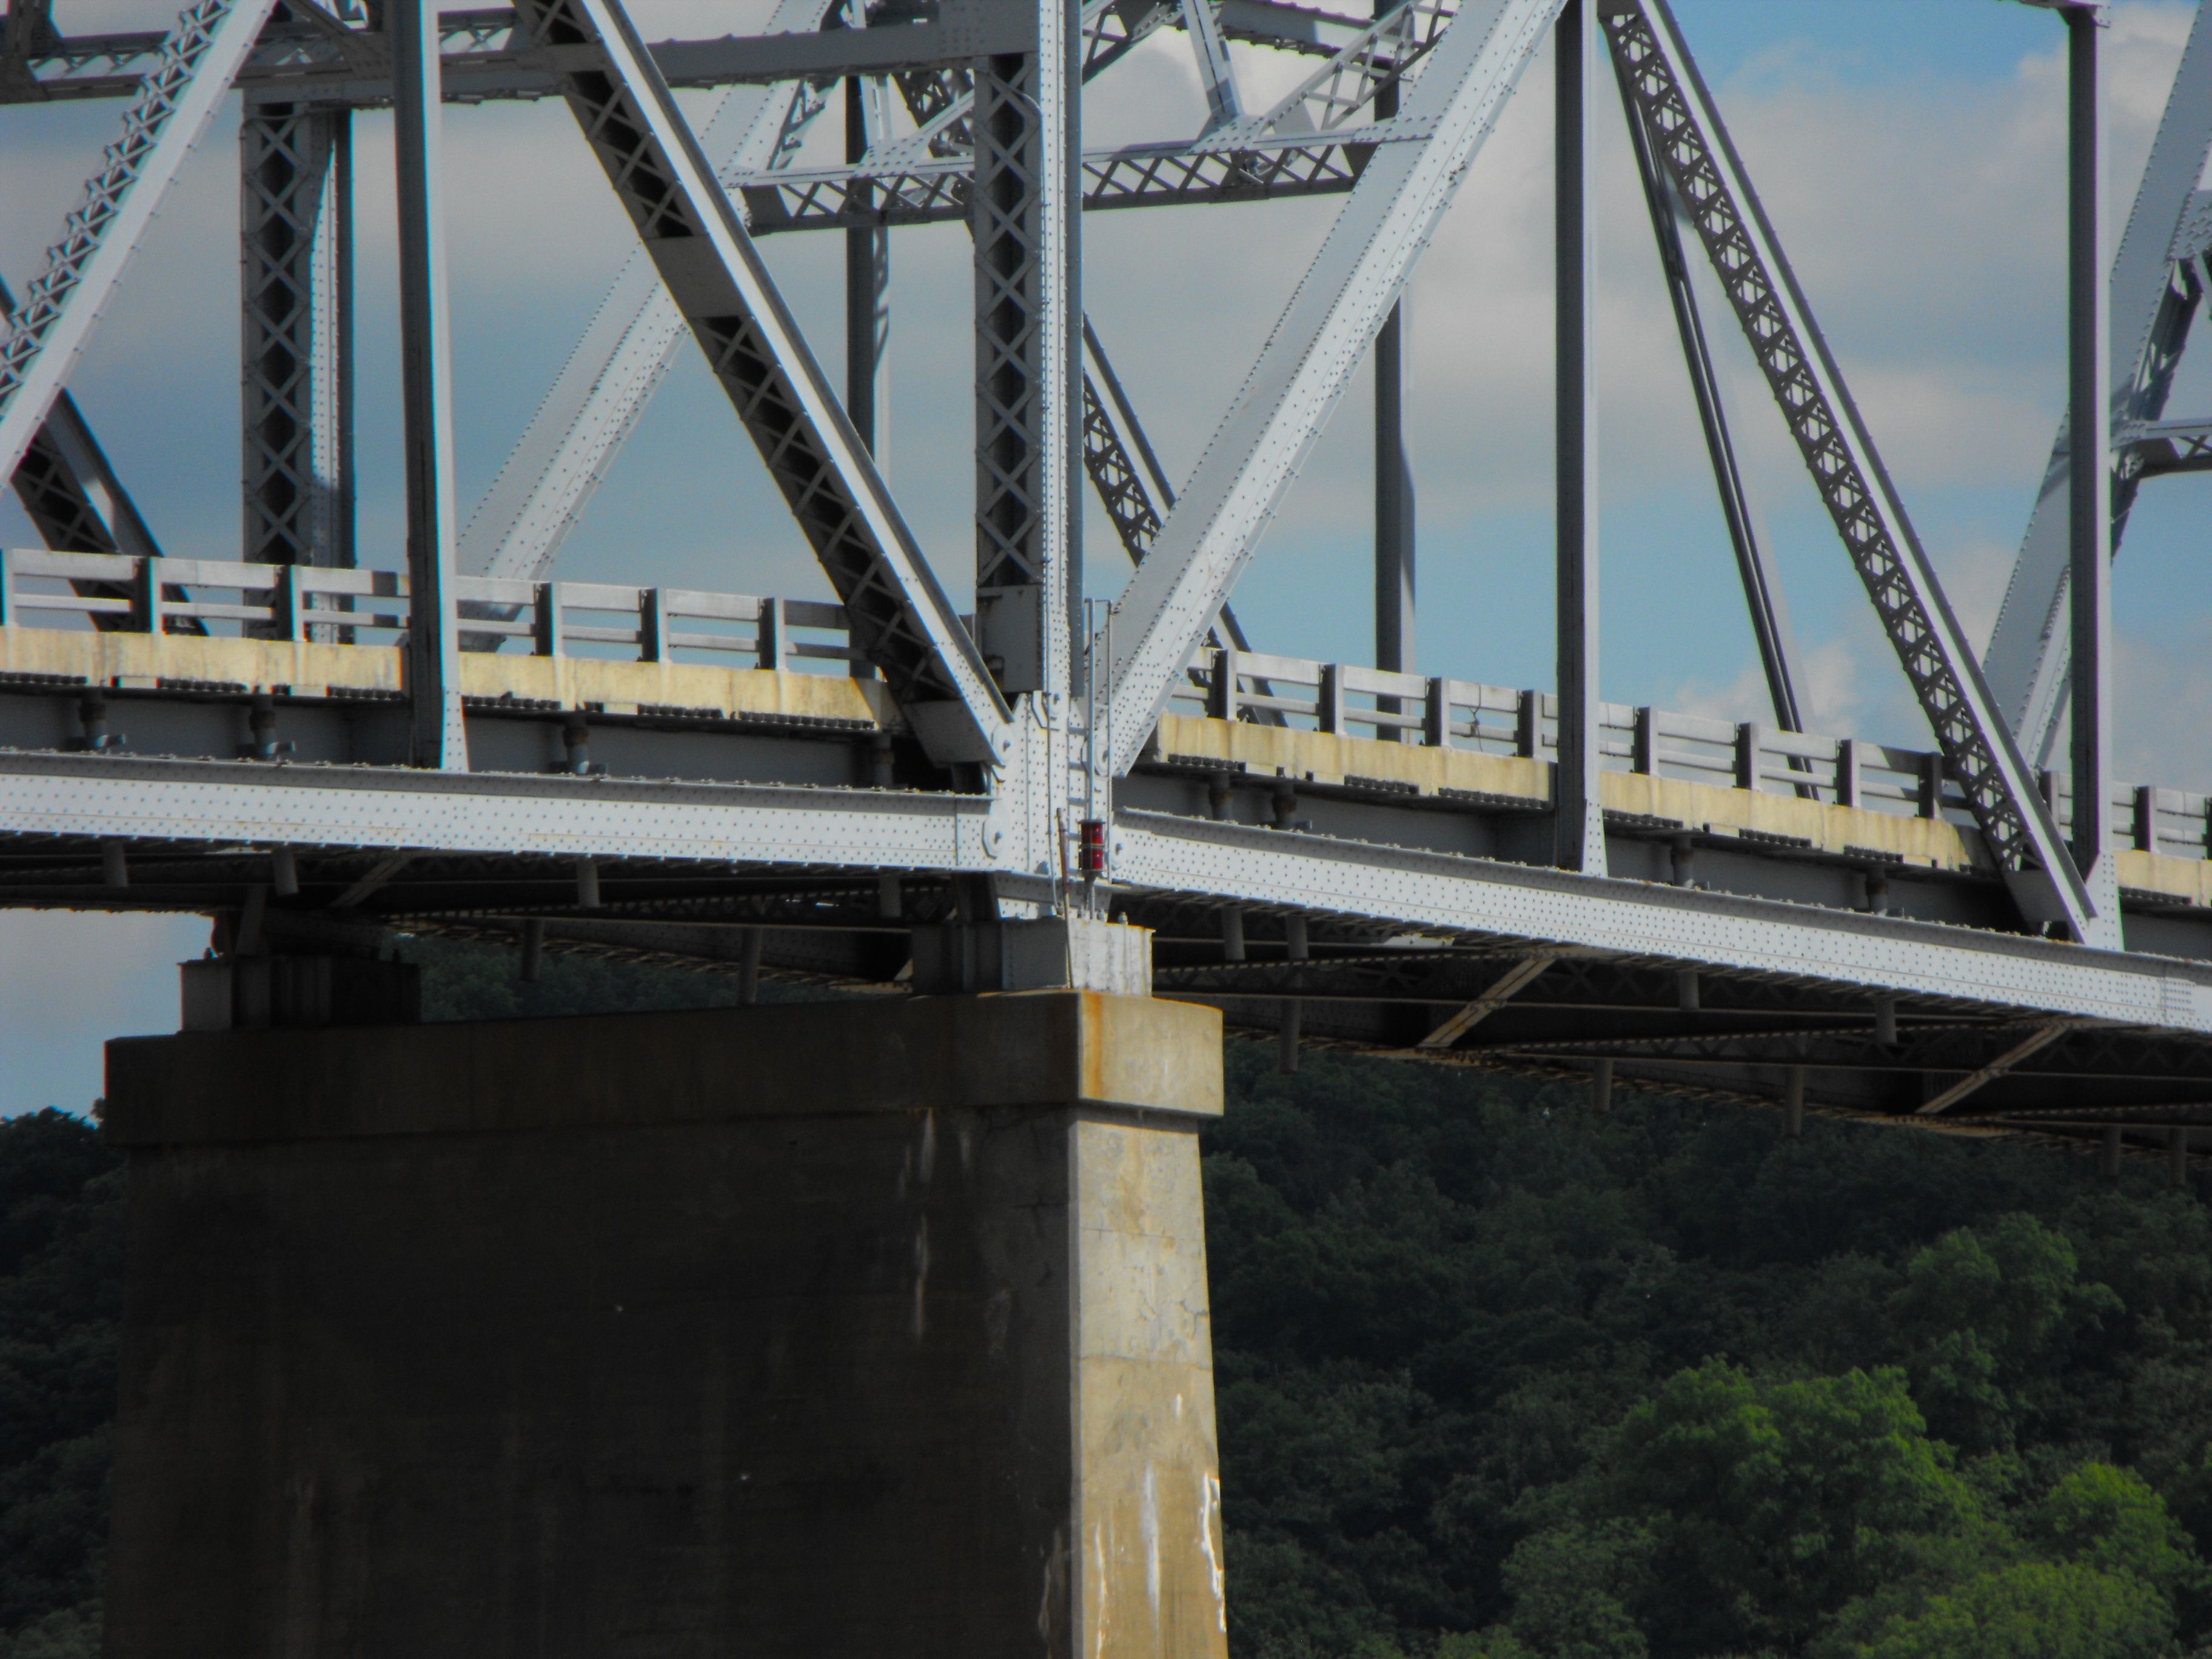


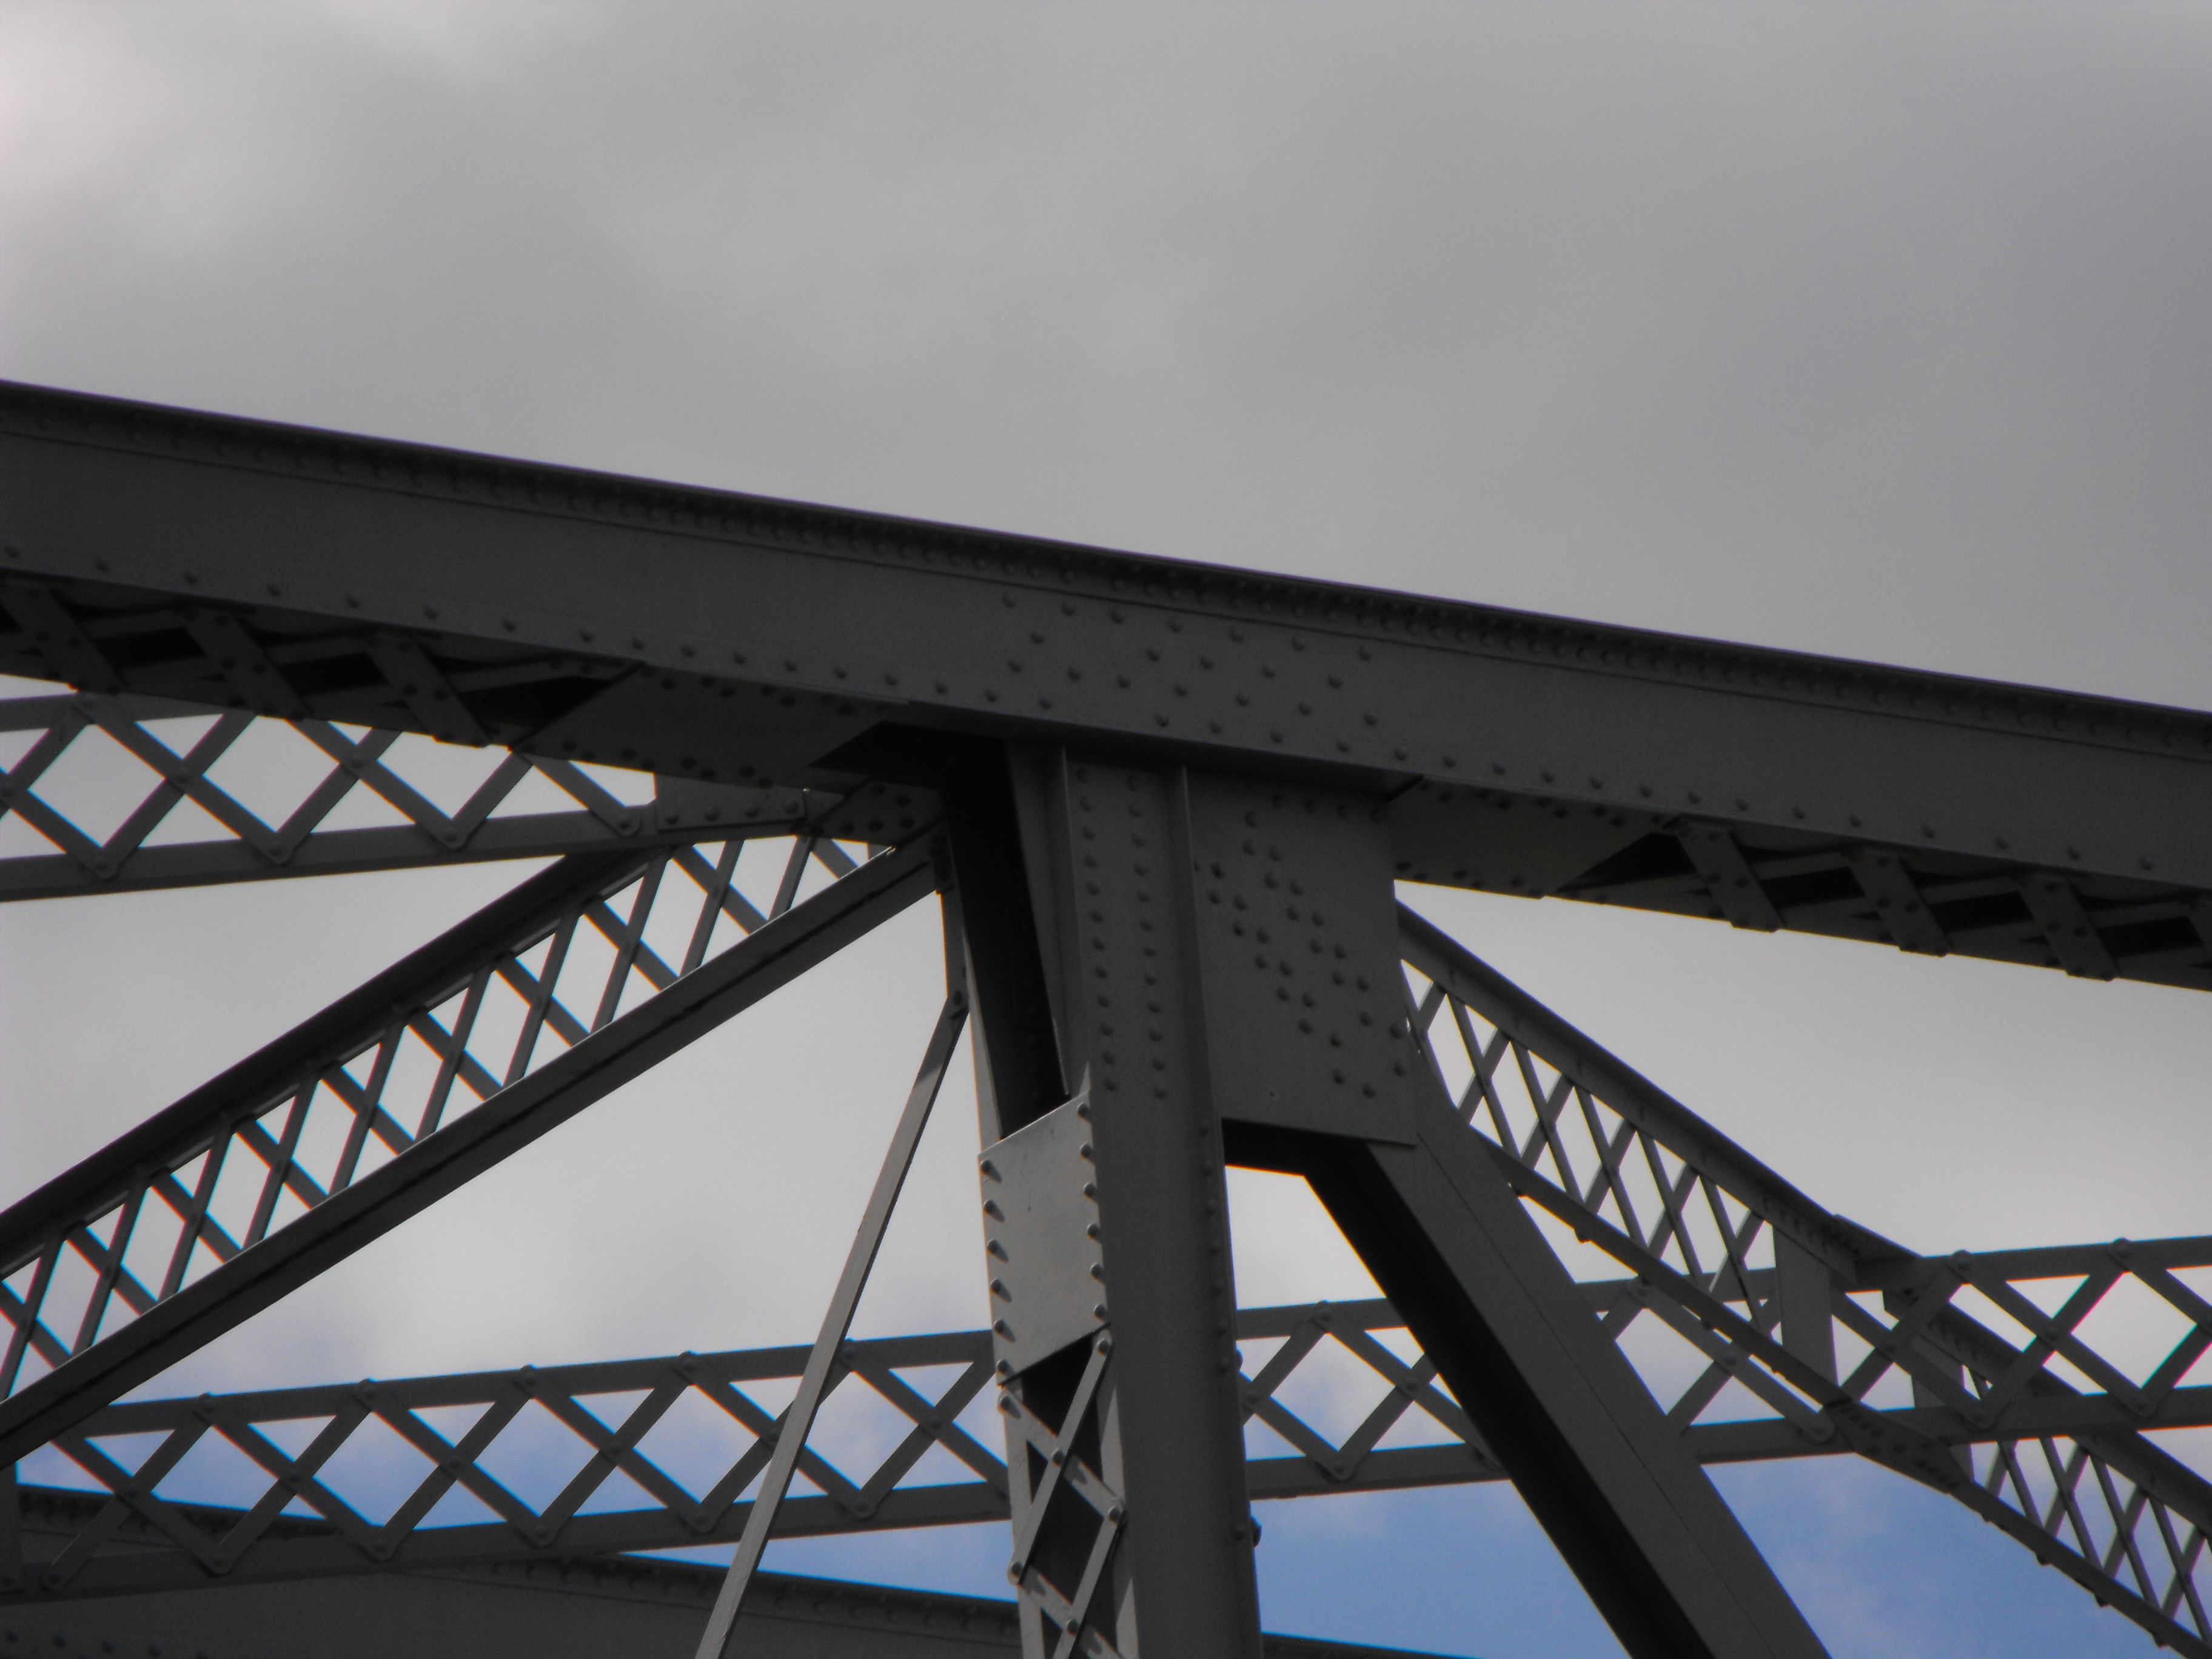
Cantilever spans bottom chord connections.
![]()
Top chord connections on deck/pony truss approach span.
![]()
Bottom chord connections on deck/pony truss approach span.
![]()

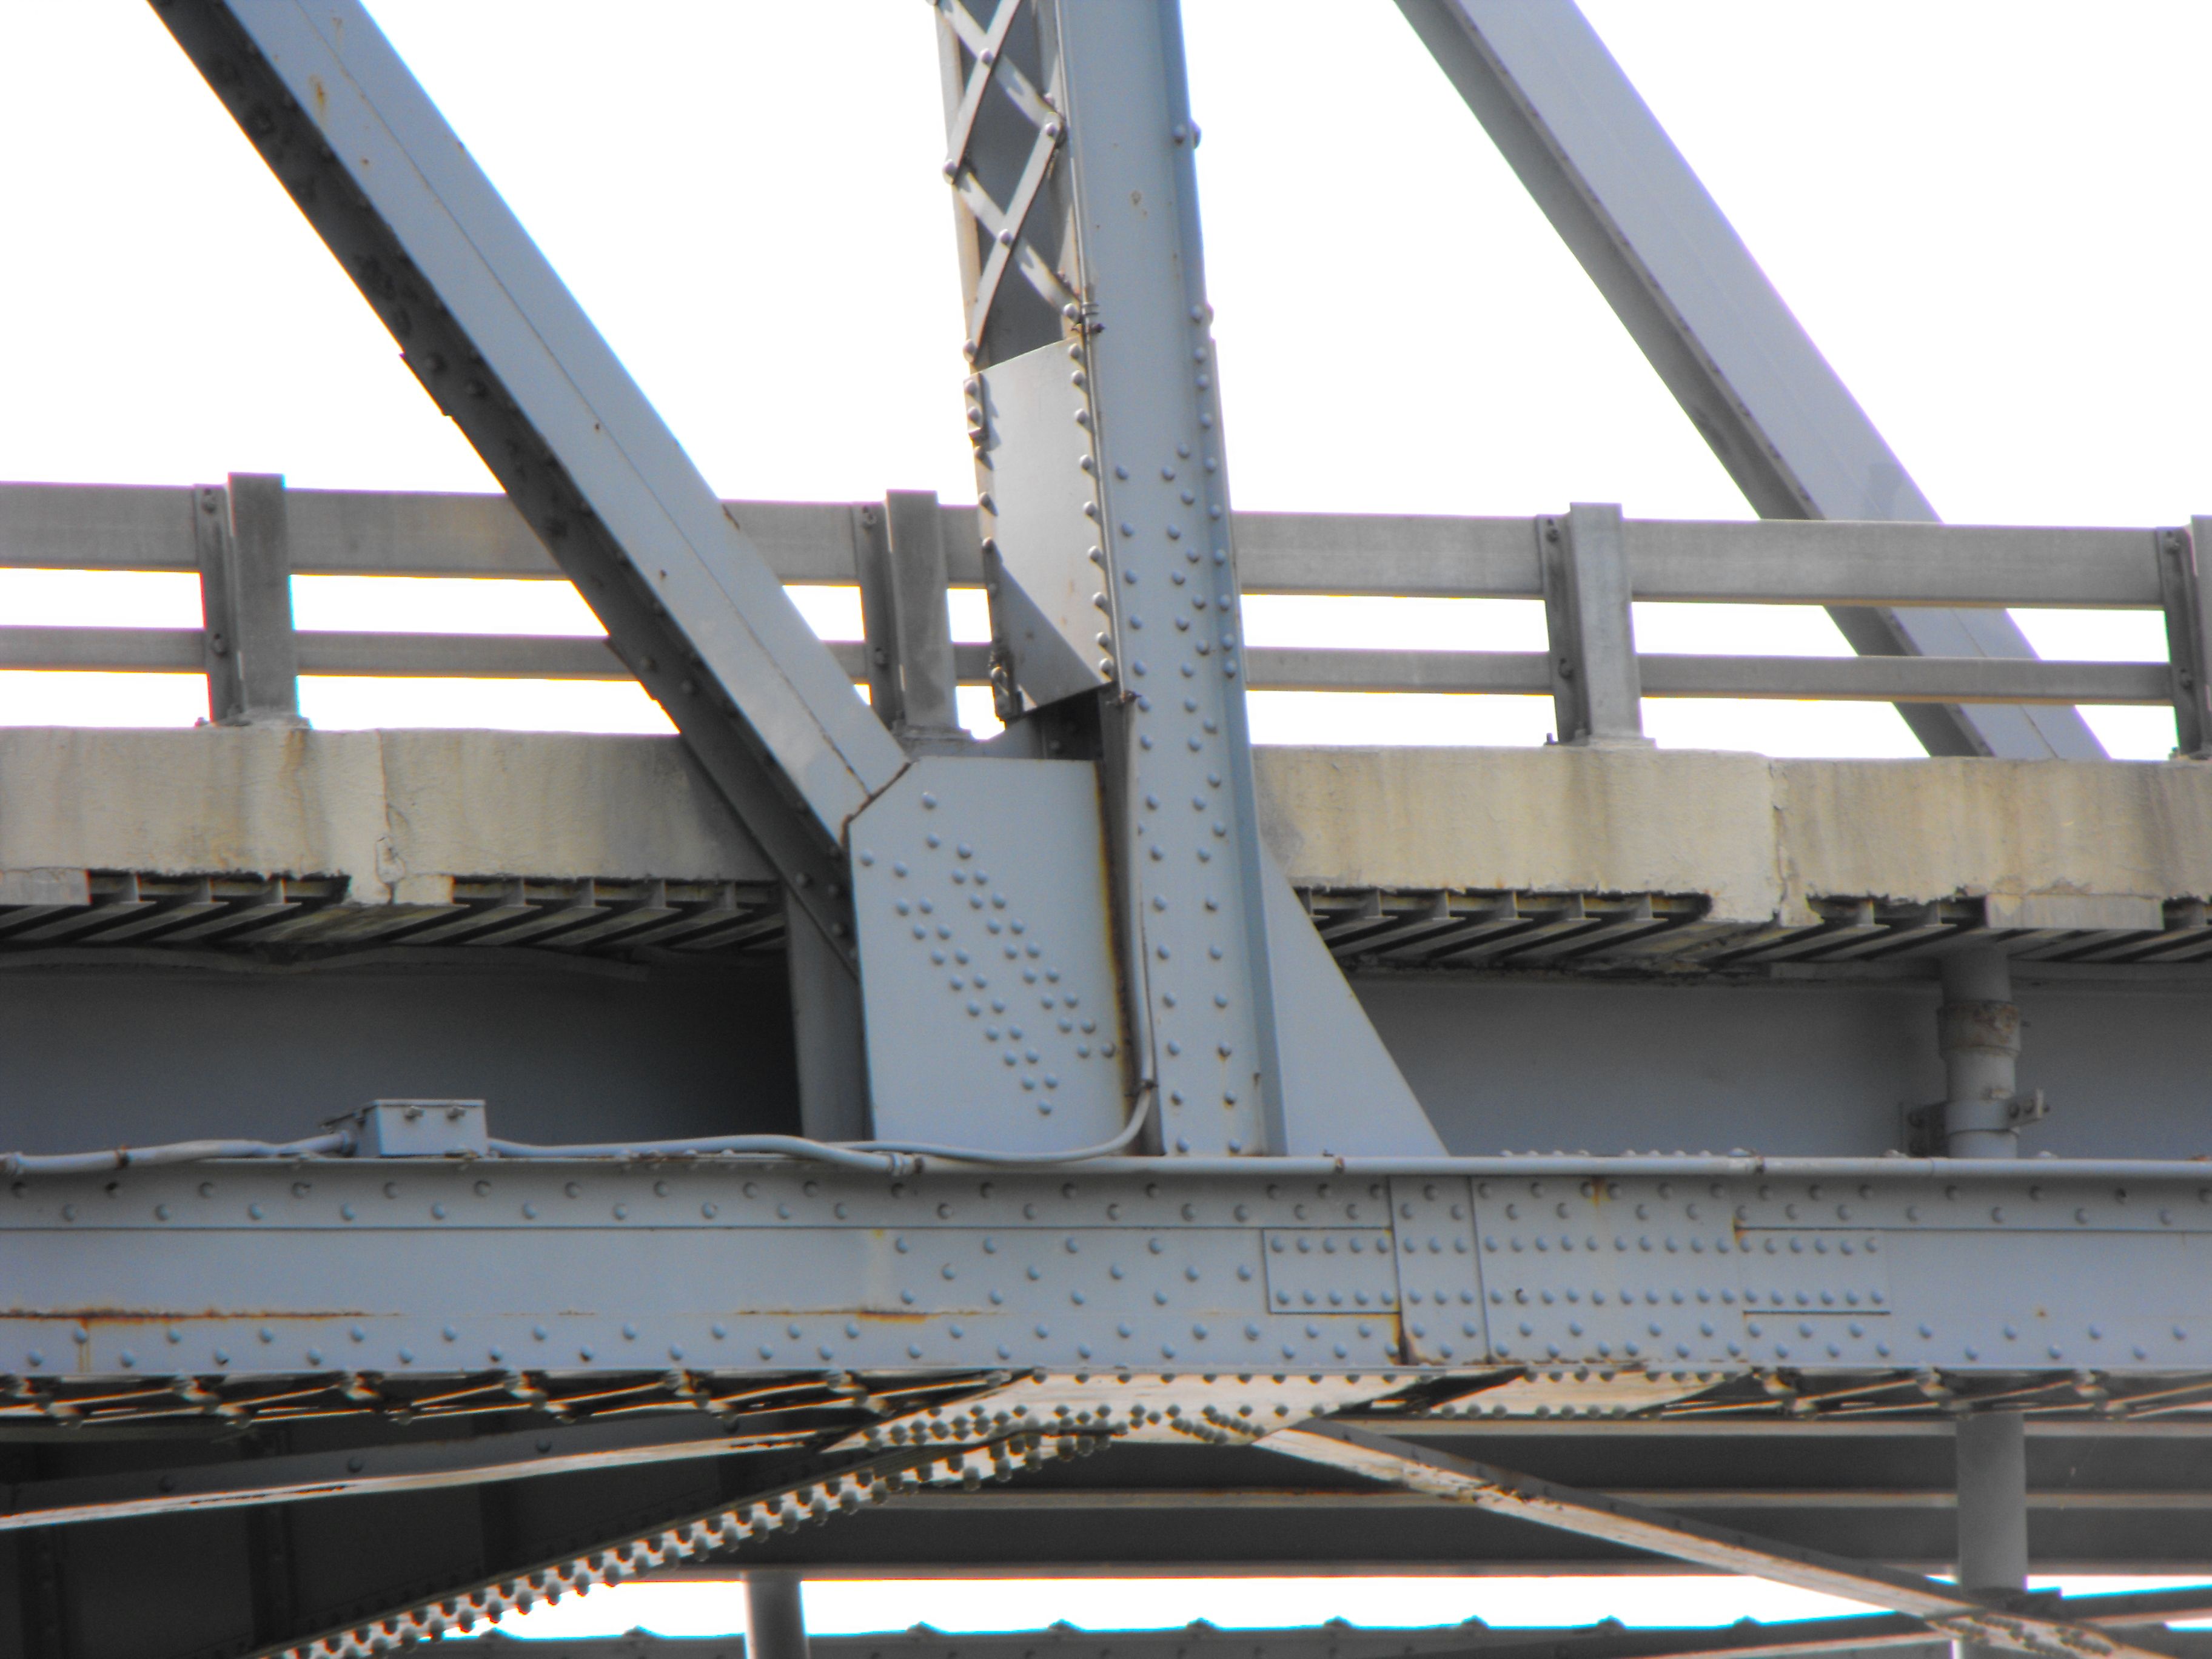
Intermediate connections on deck/pony truss approach span.
![]()


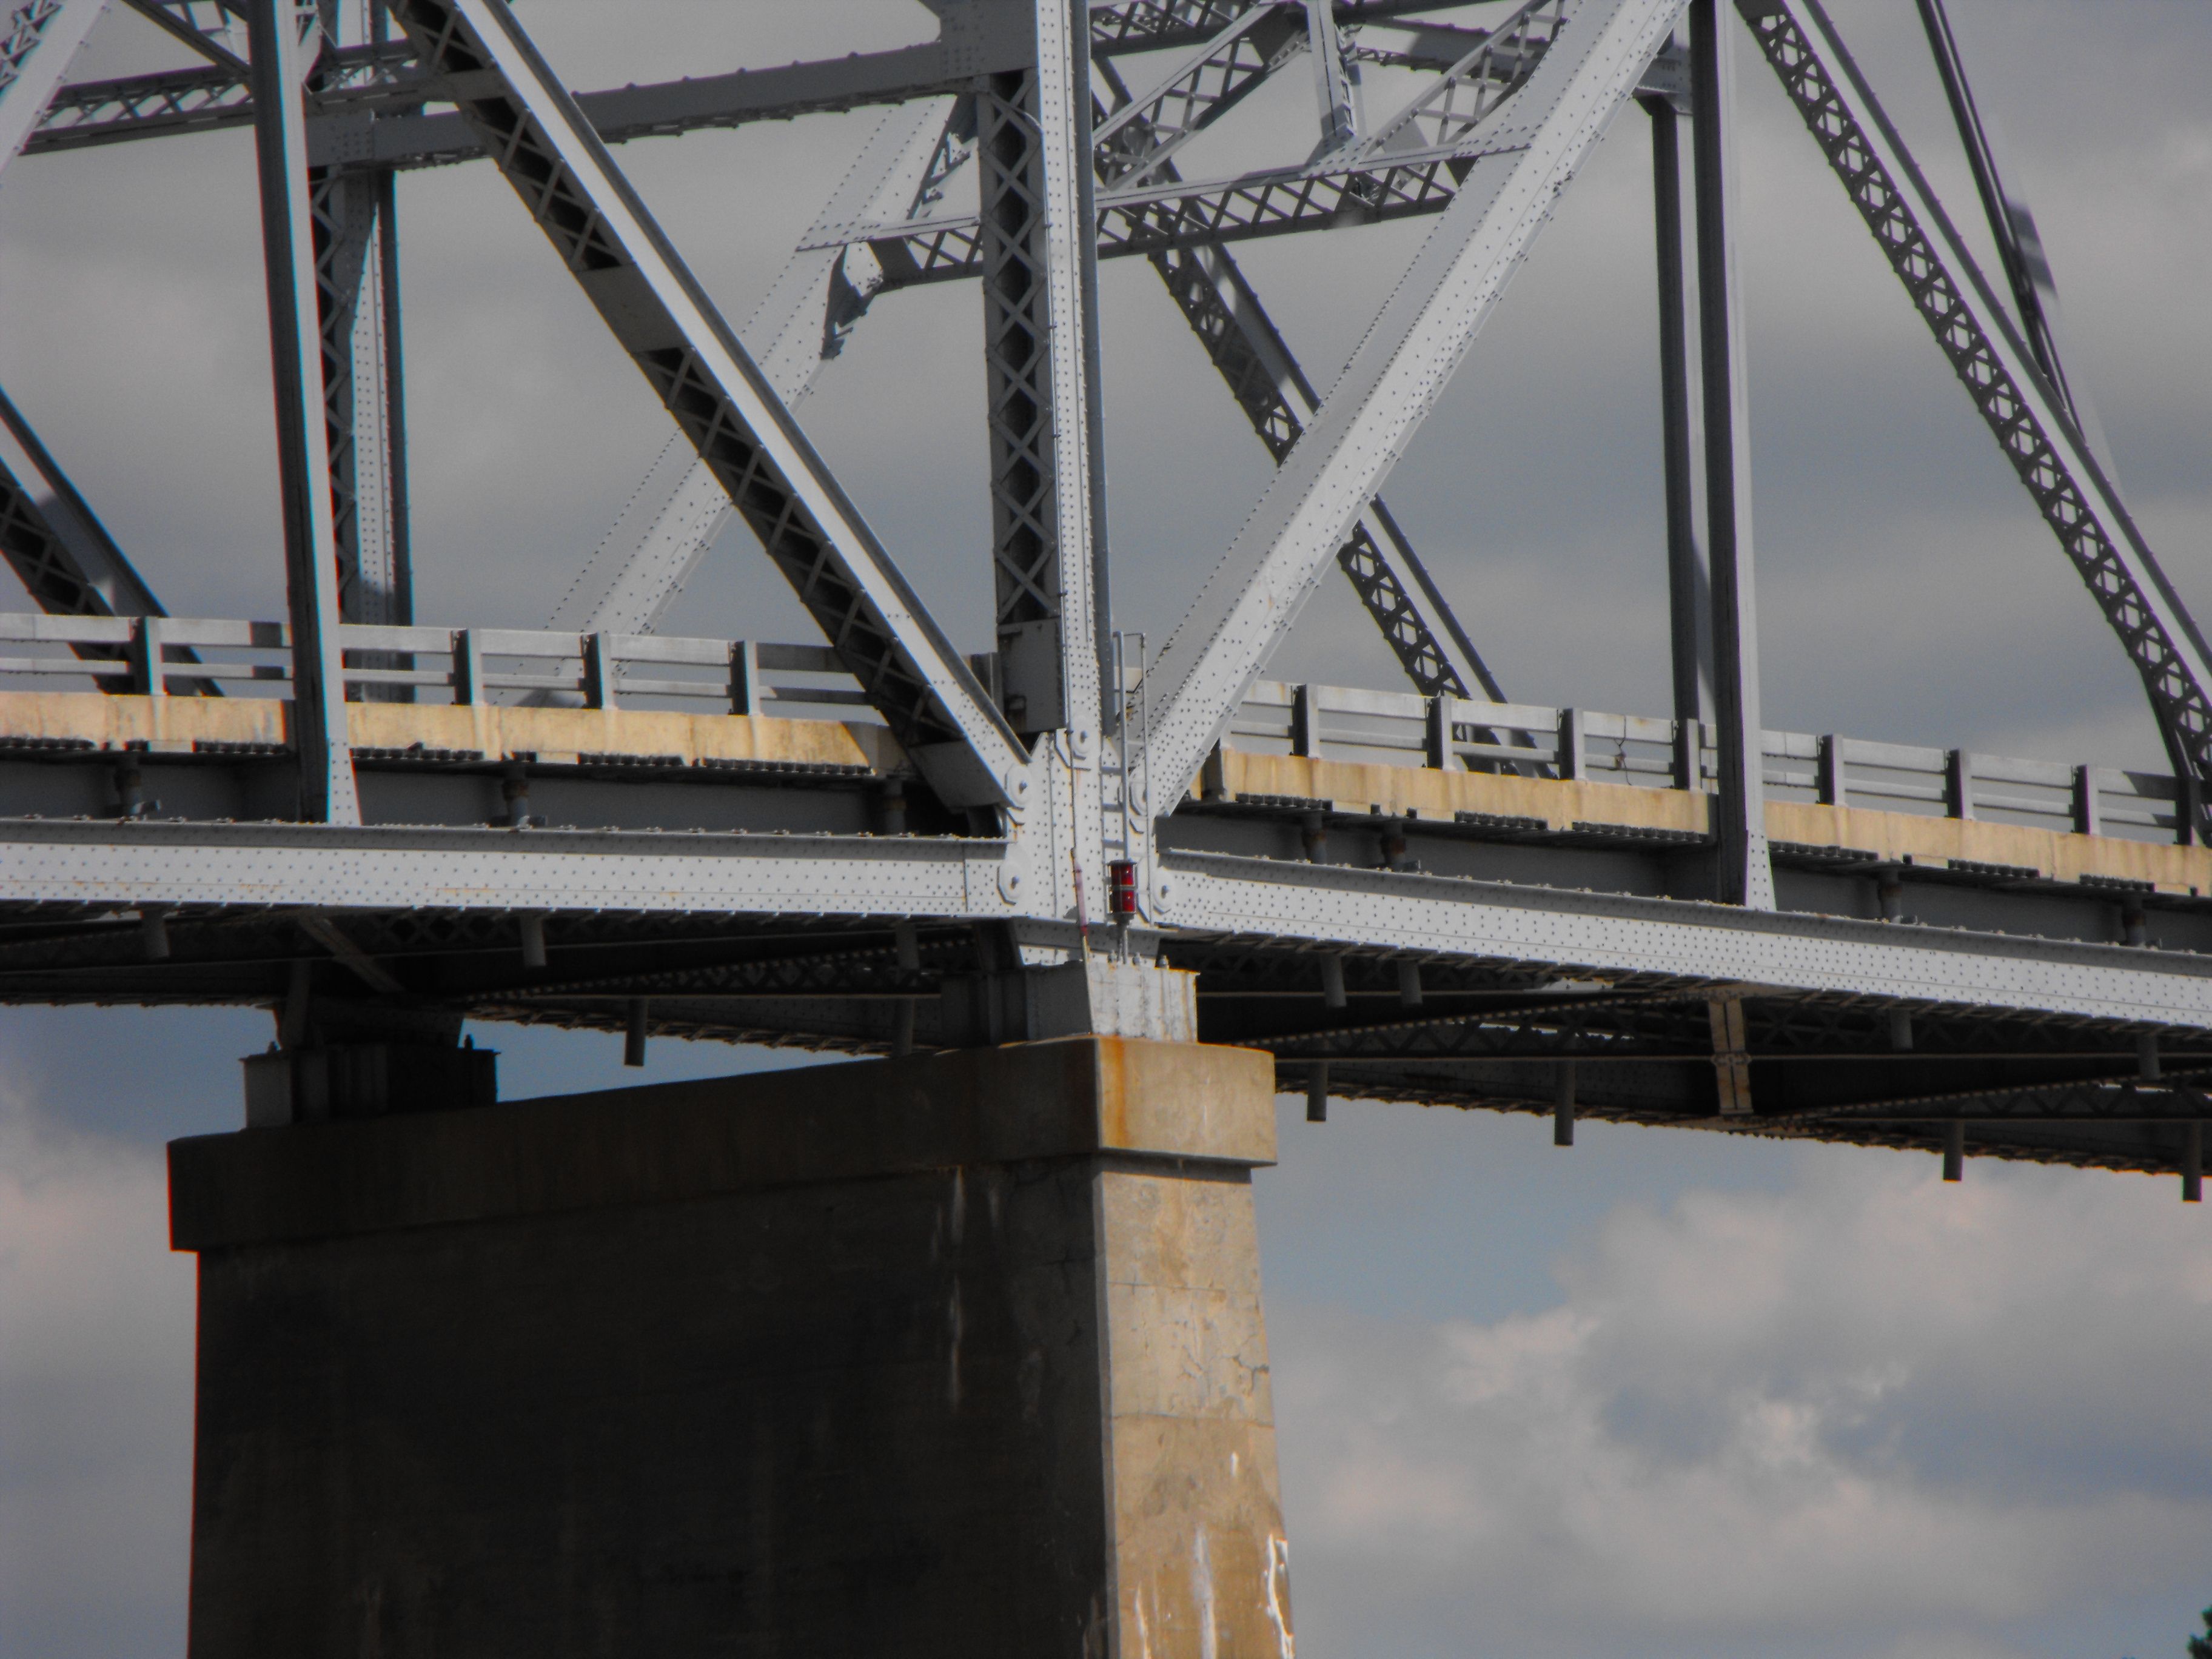
Top chord connections on through truss approach span.
![]()


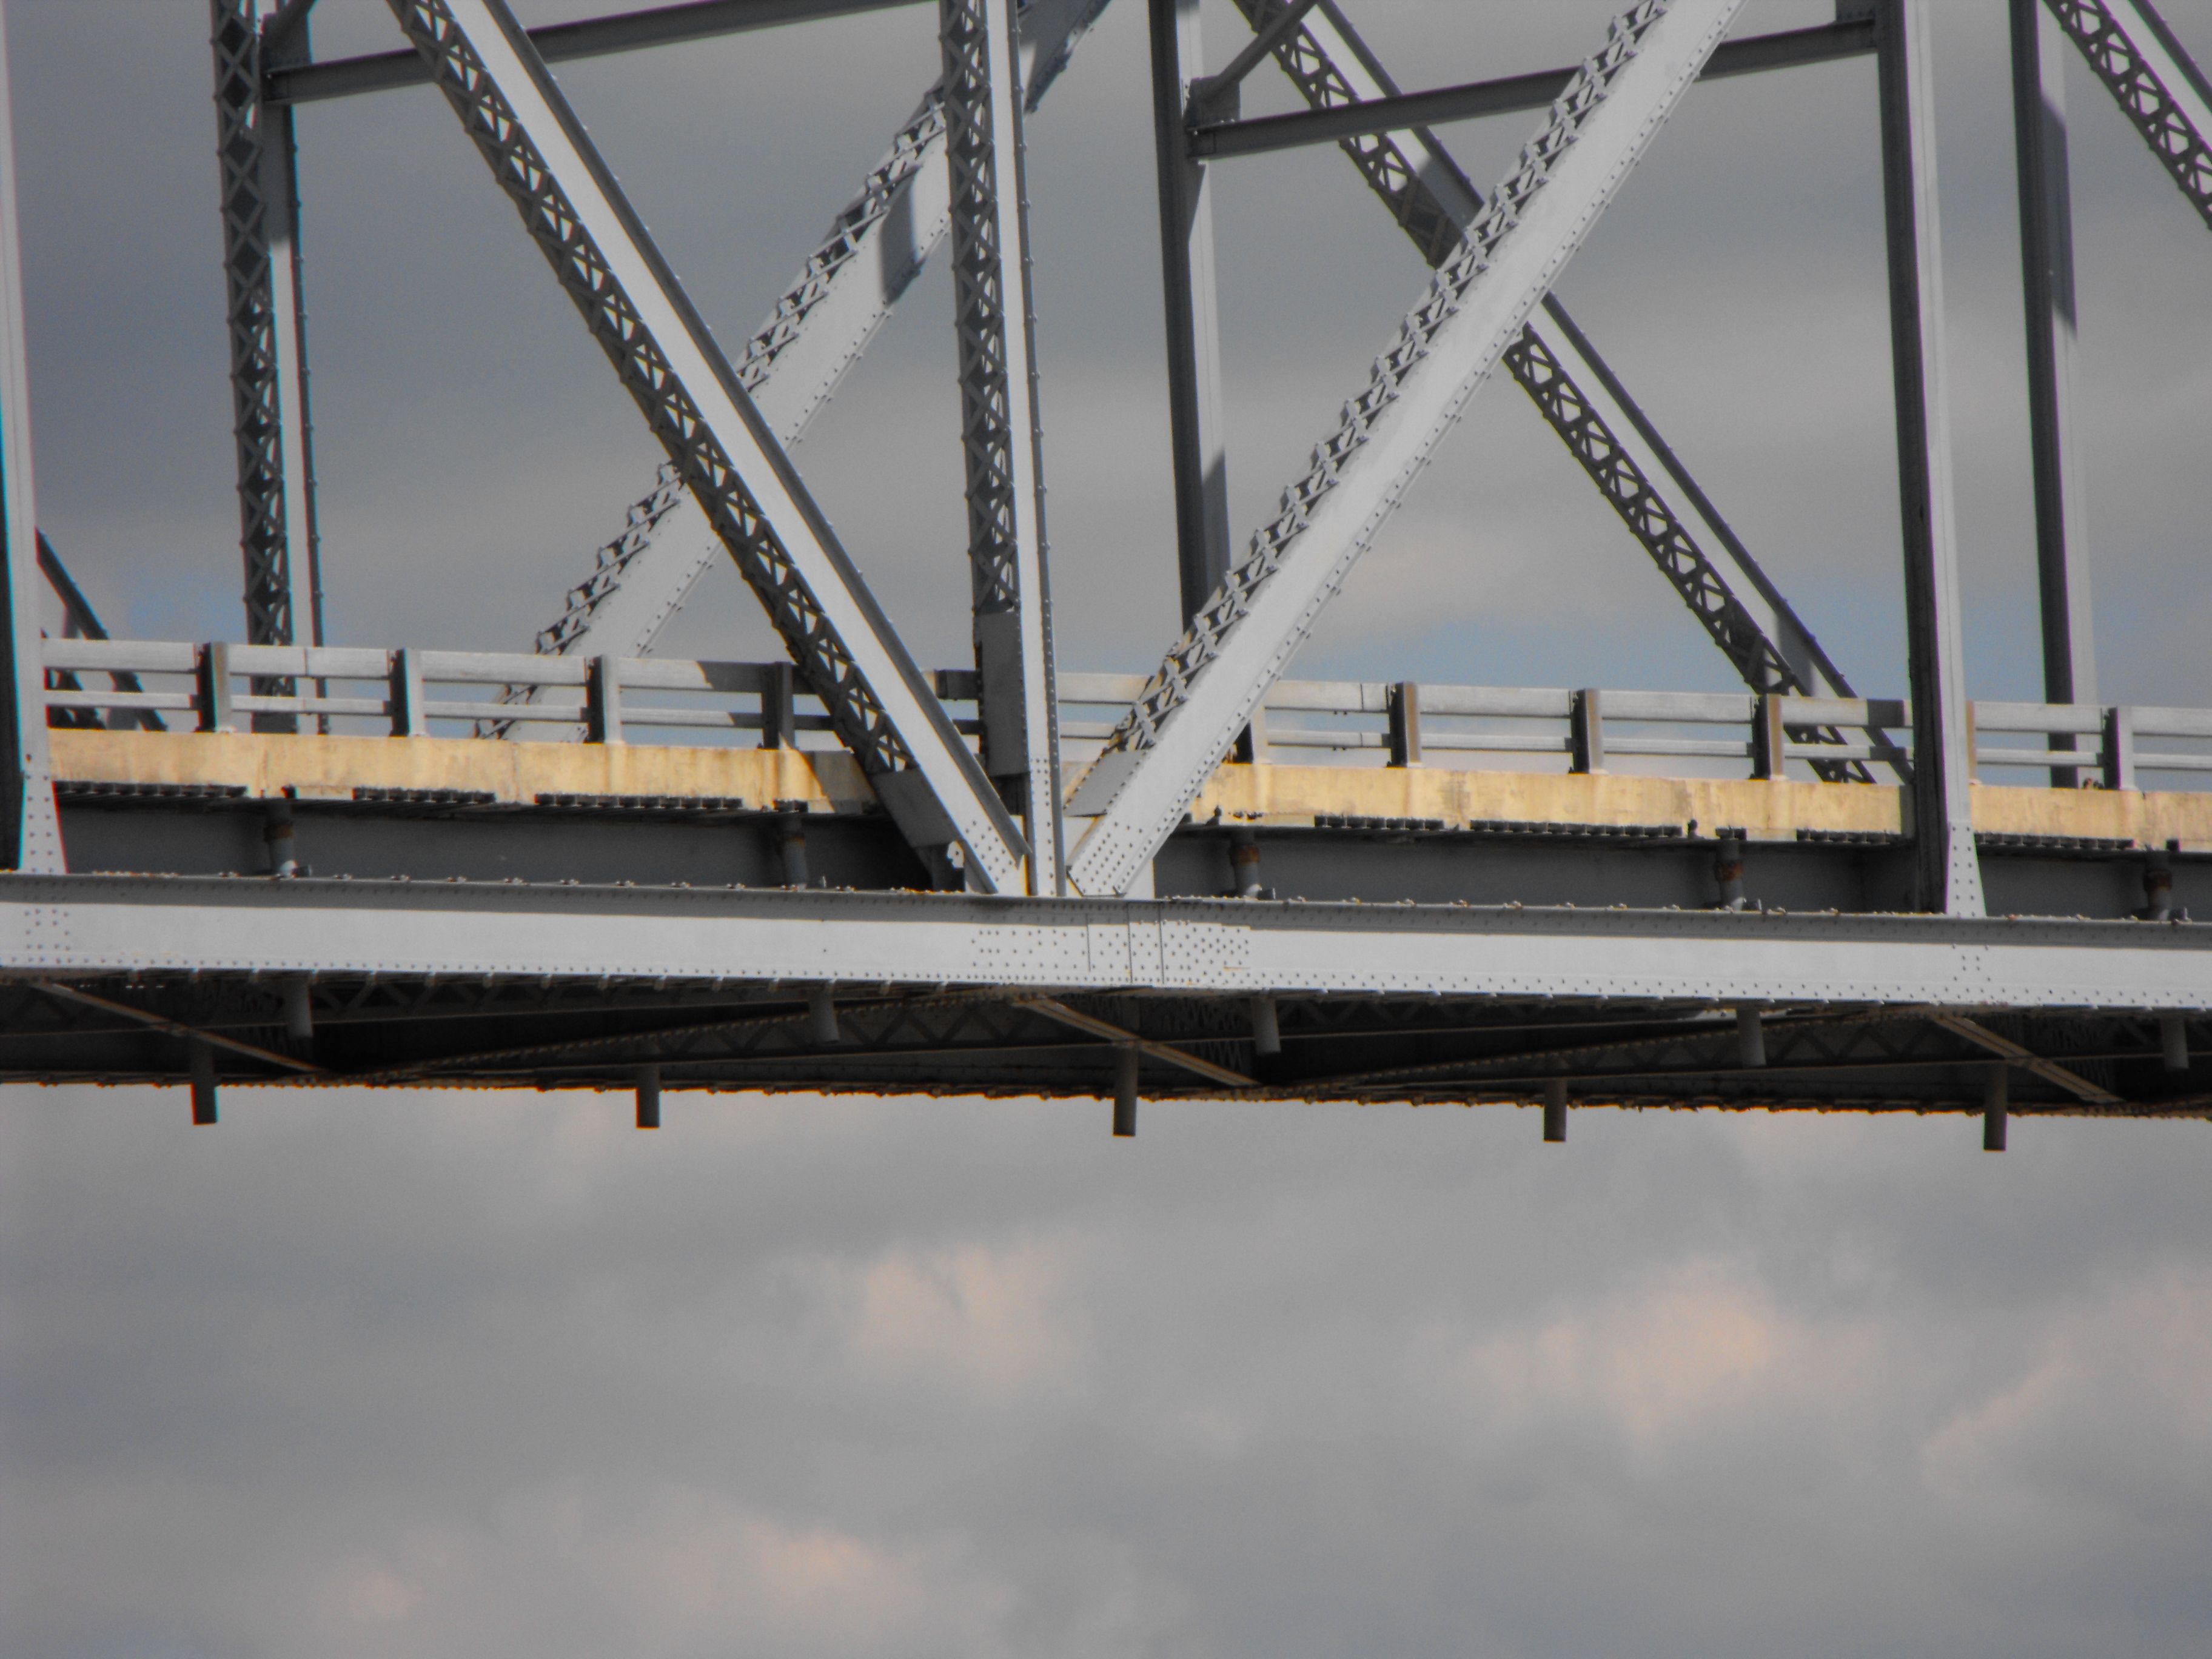
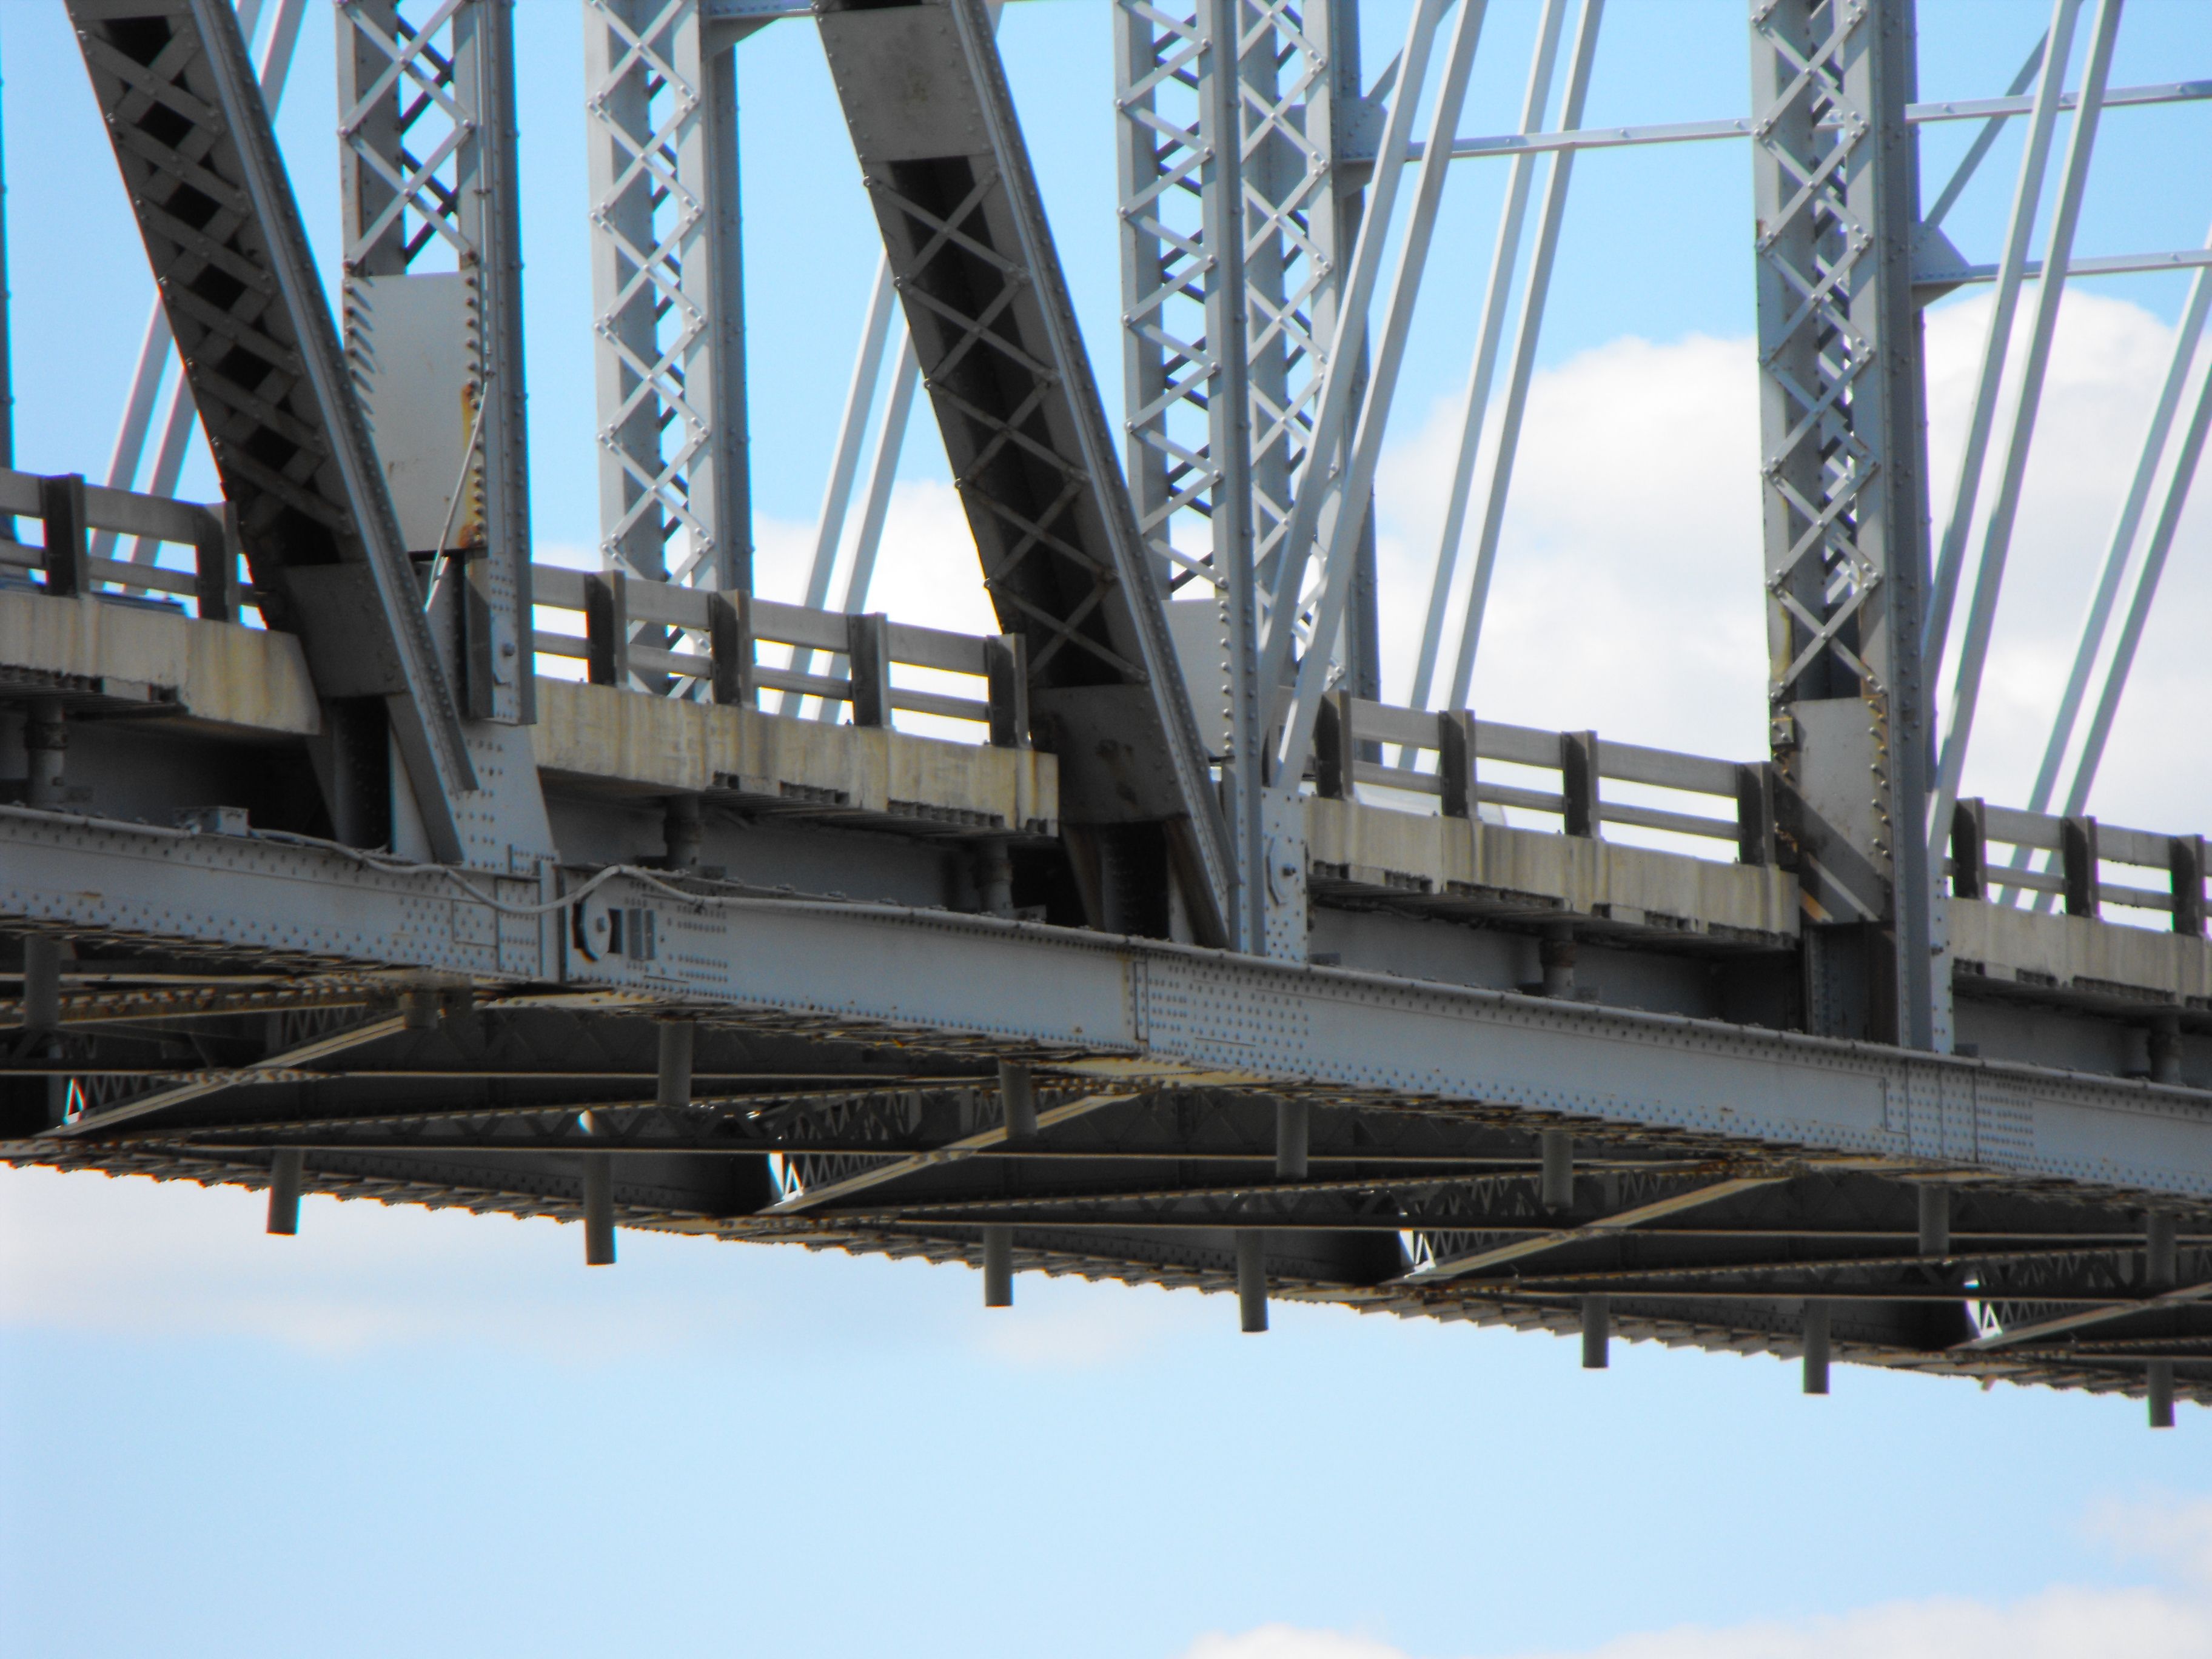
Bottom chord connections on through truss approach span.
![]()


Top chord connection detail at the transition from cantilever arm to suspended span.
![]()
![]()
| Back |
| Home |
| Top |

![]()