Uncredited photos on this page taken by: Nathan Holth and Rick McOmber. Unless stated in a caption, all photos are Copyright with All Rights Reserved. Learn about reuse of our photos.
![]()

Views beside bridge from northwest quadrant.
![]()


Oblique views from southwest quadrant.
![]()

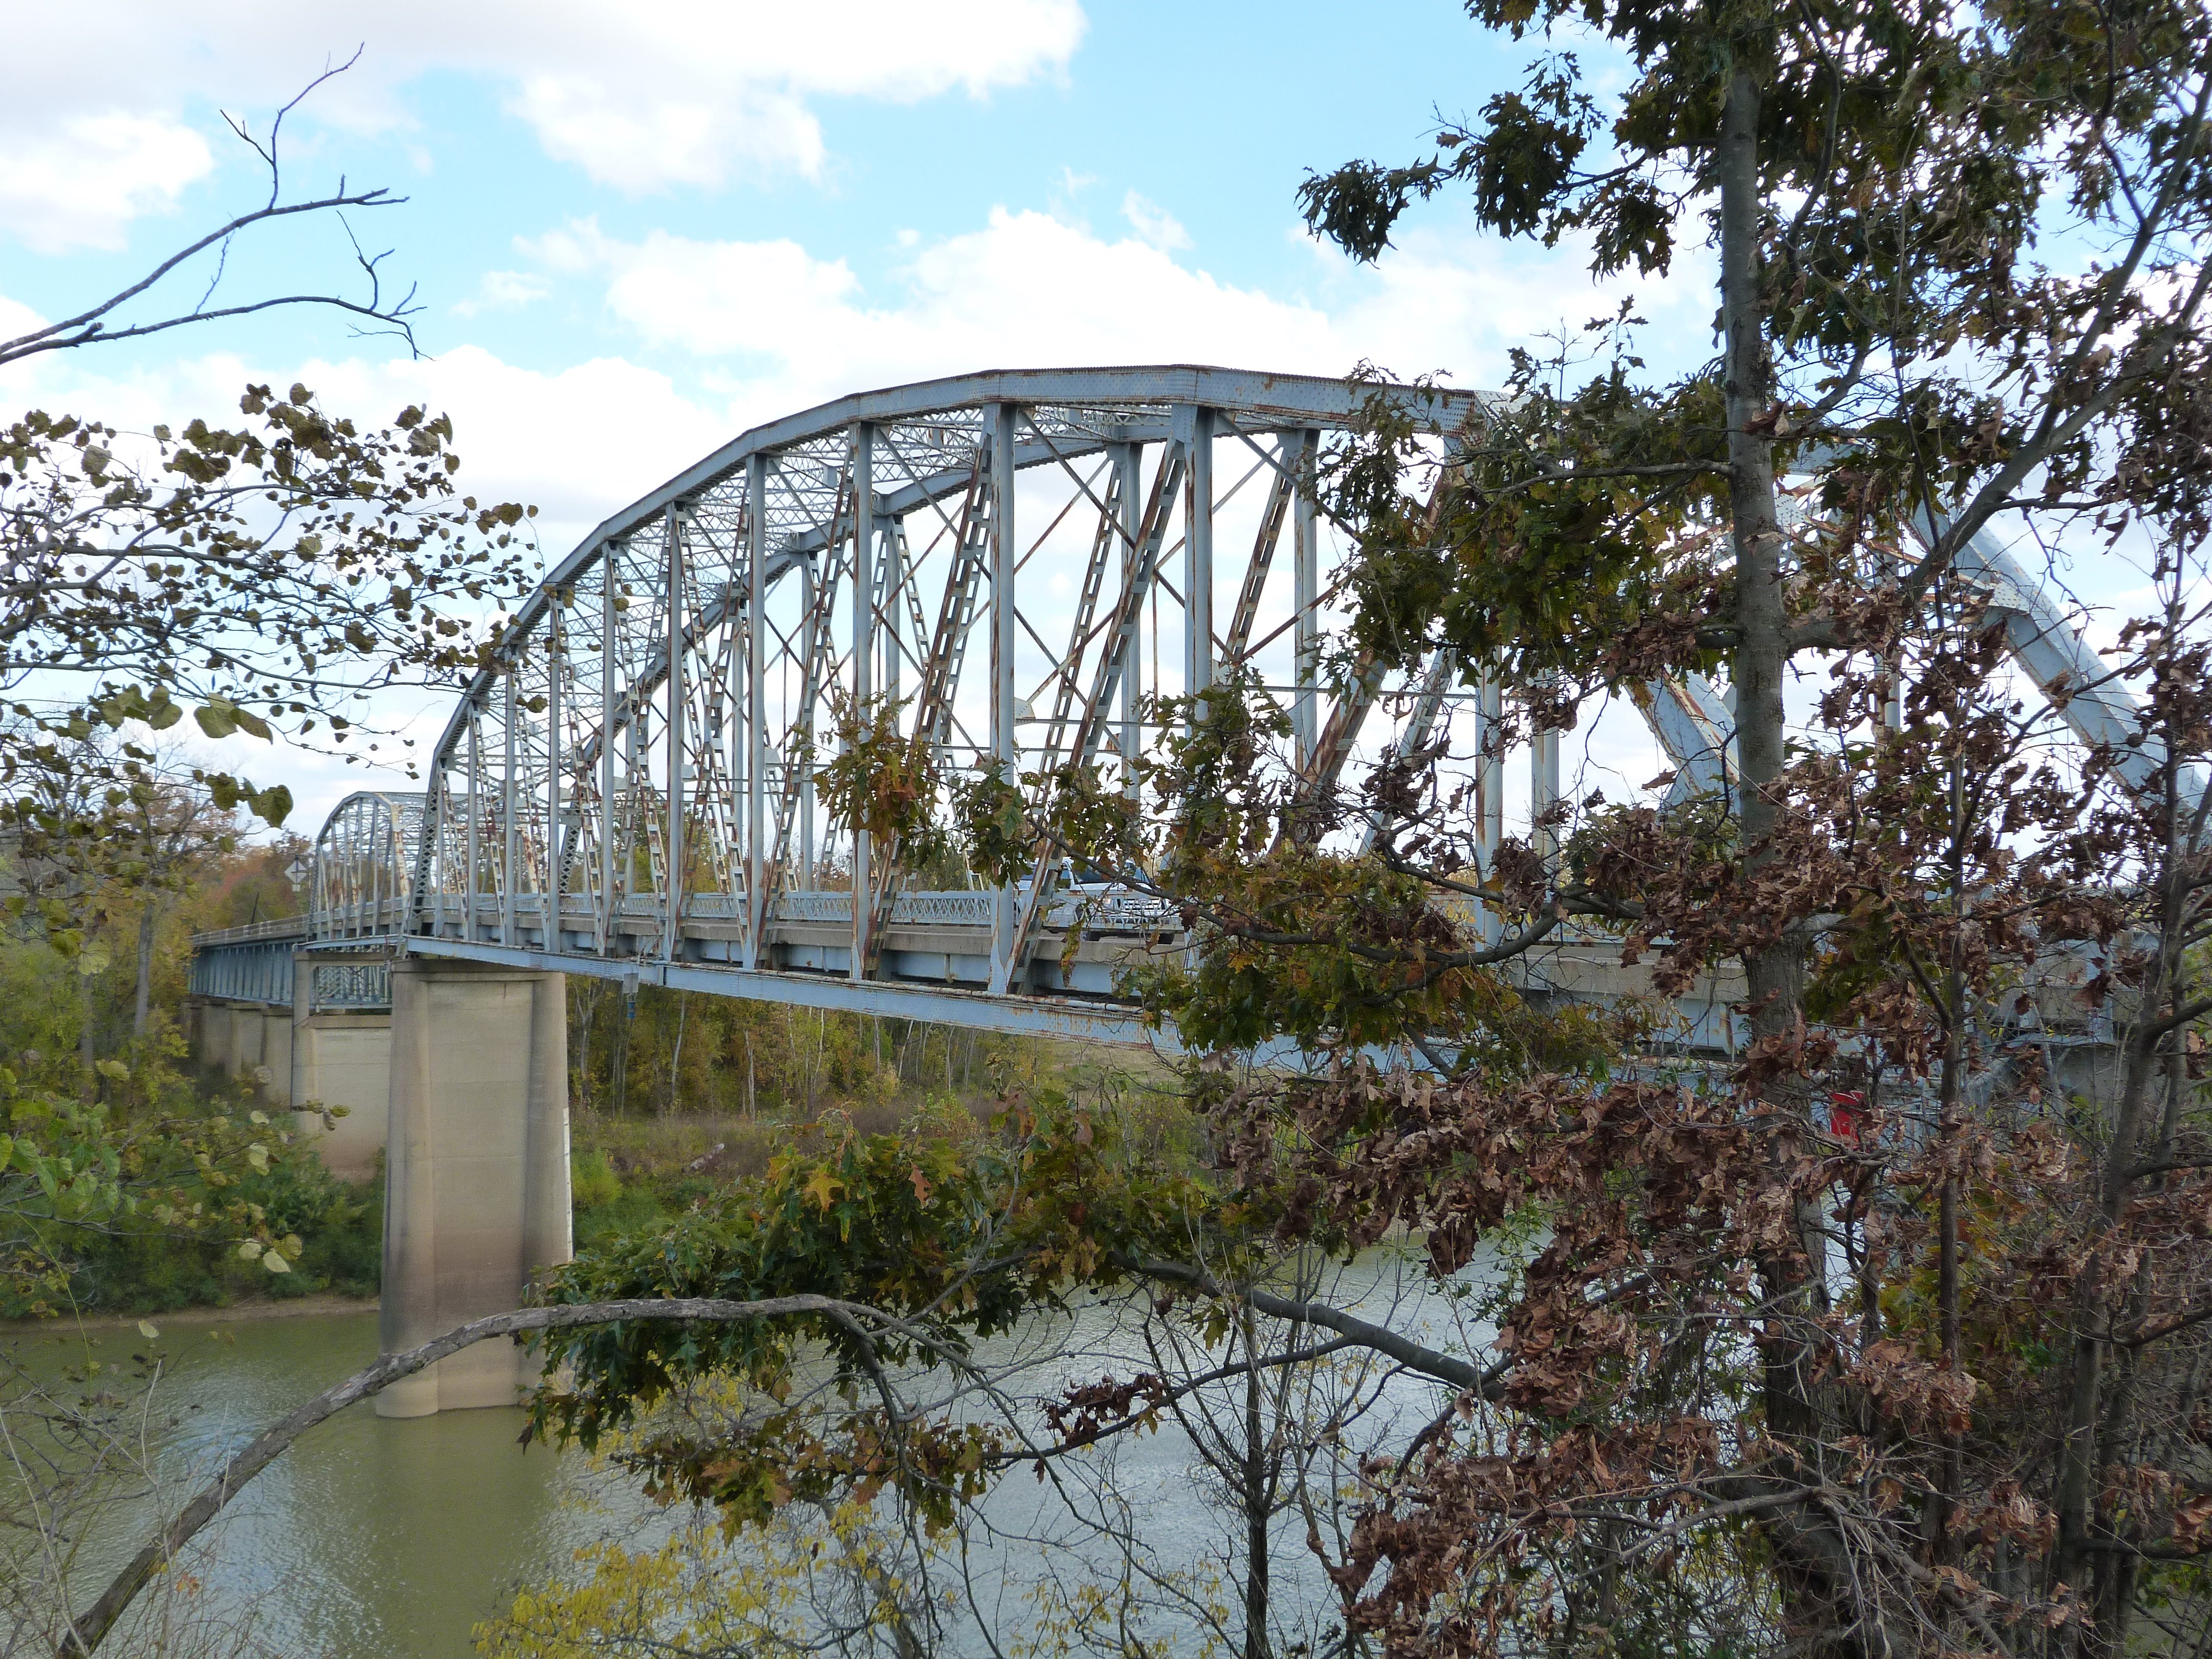
Oblique views from northwest quadrant.
![]()


Views beside bridge from southeast quadrant.
![]()


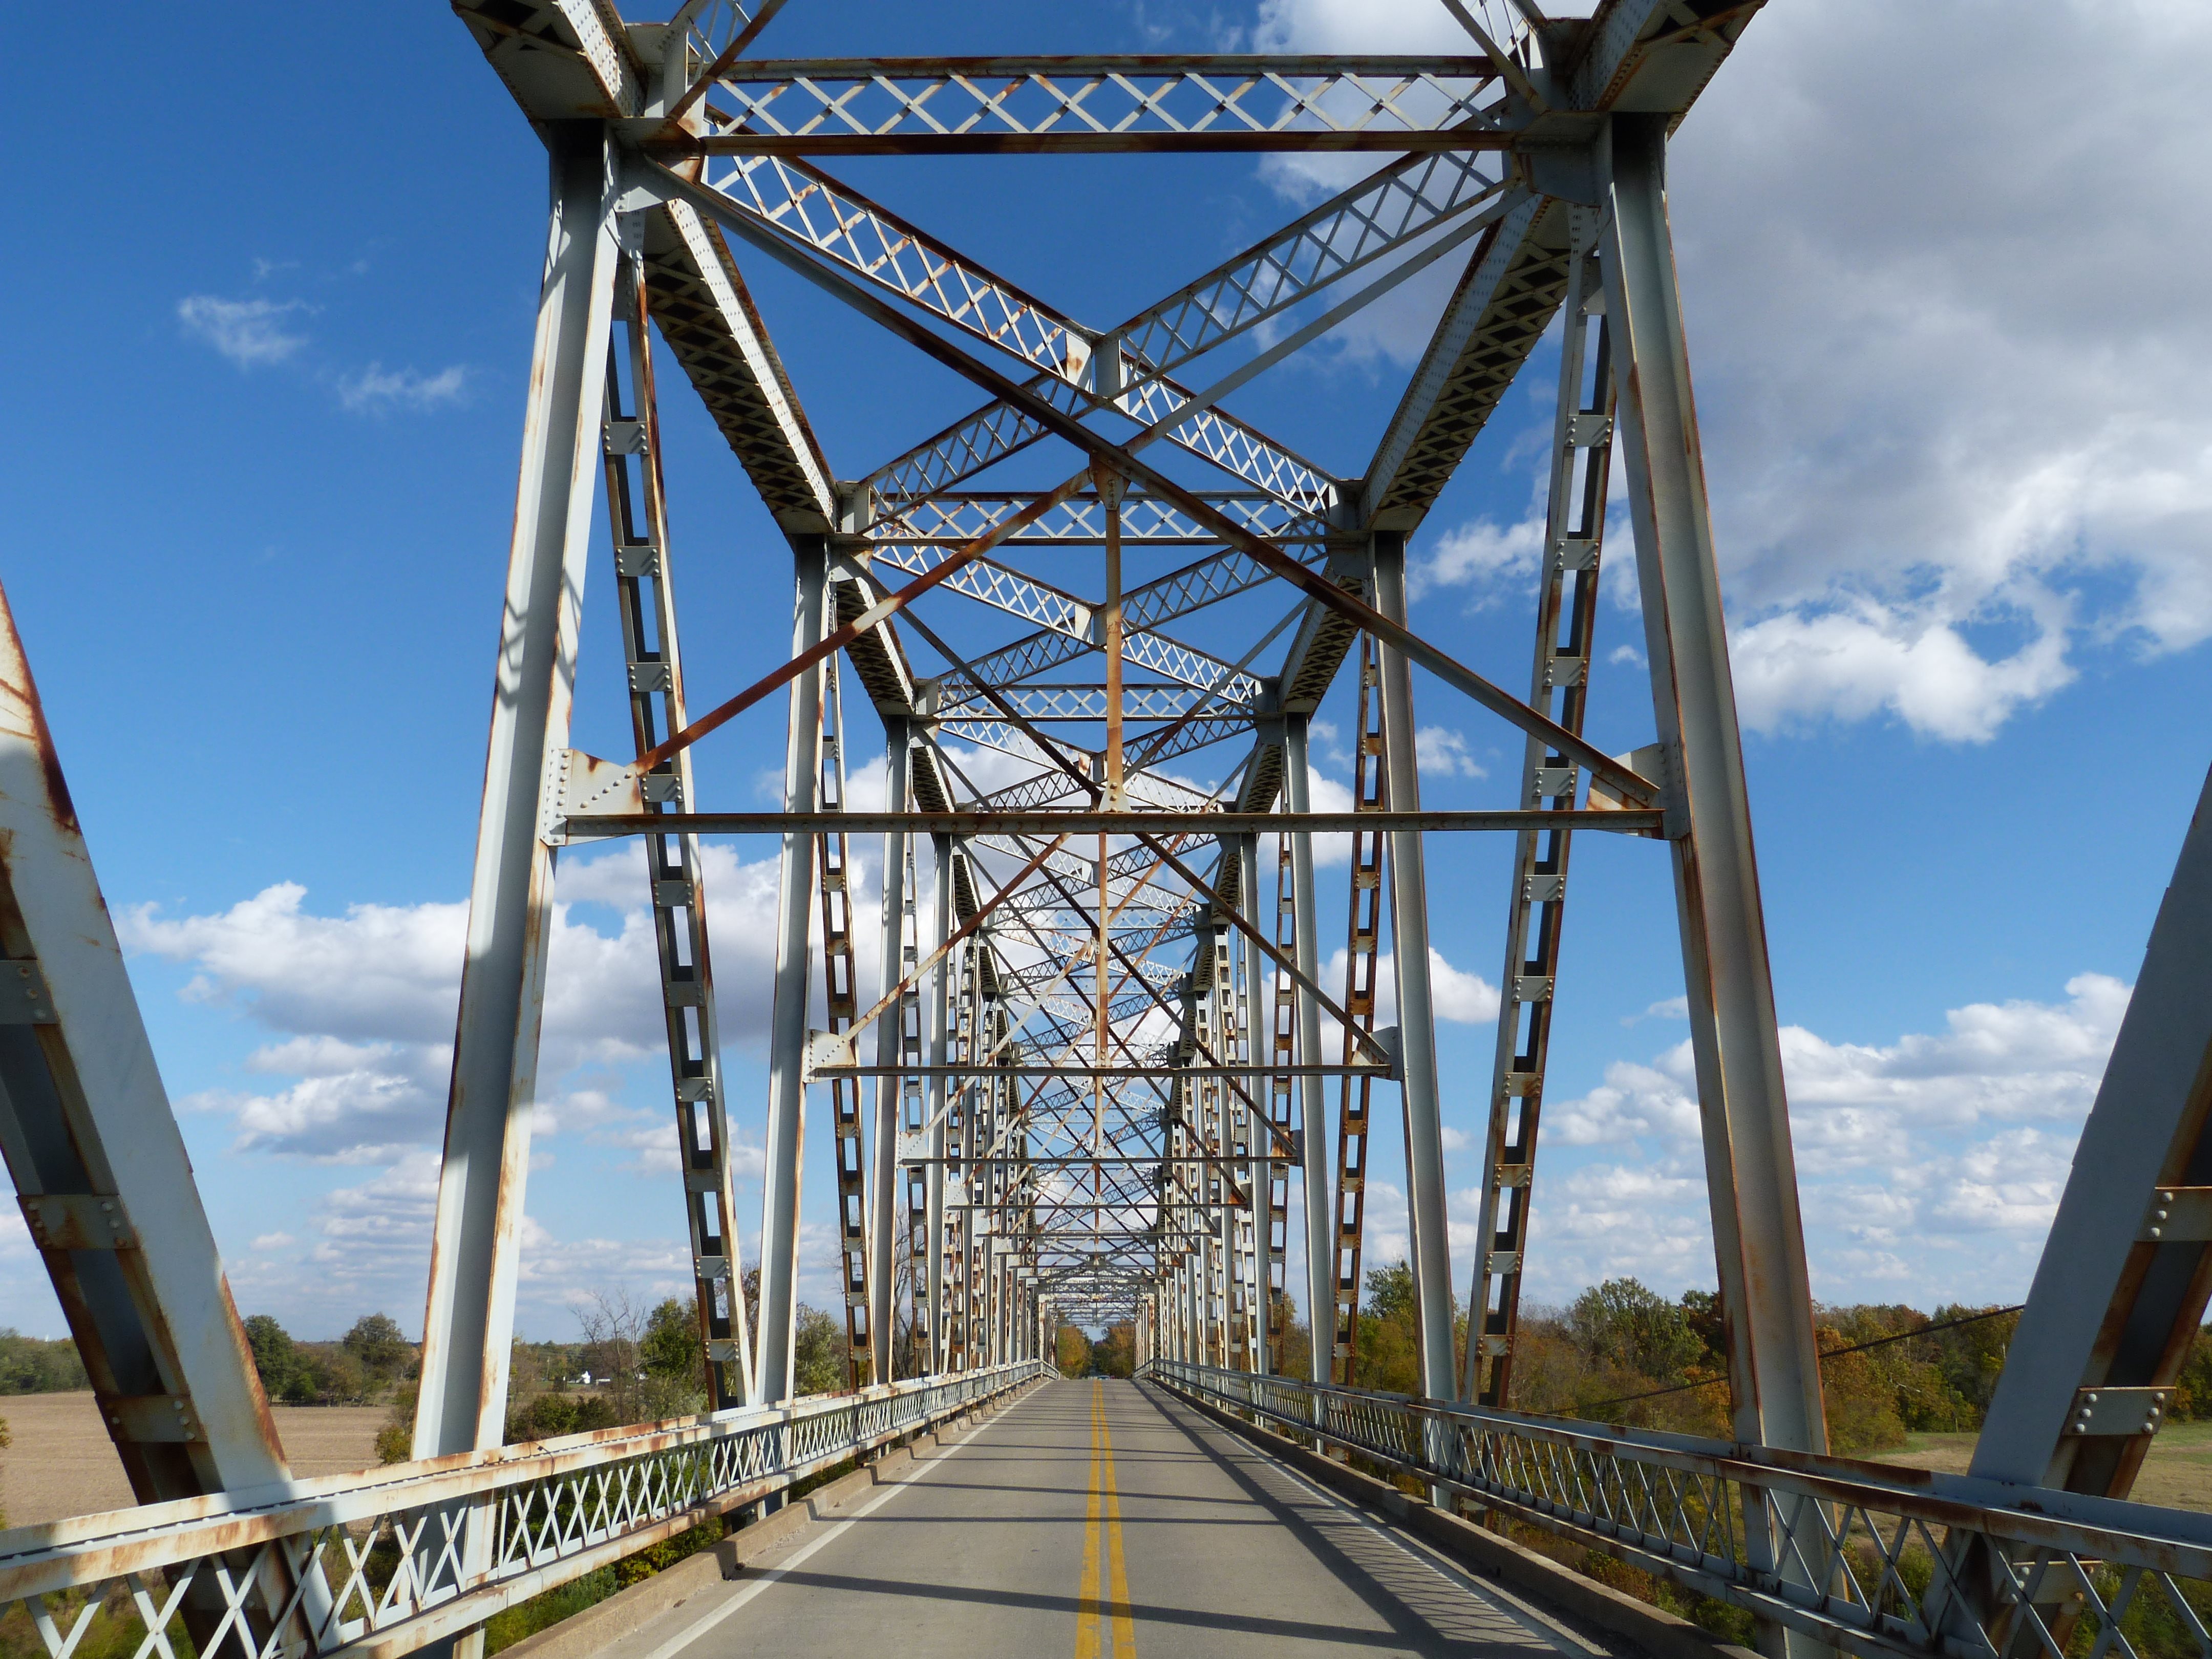
Through truss portal views facing east.
![]()
Portal views on through truss spans facing east.
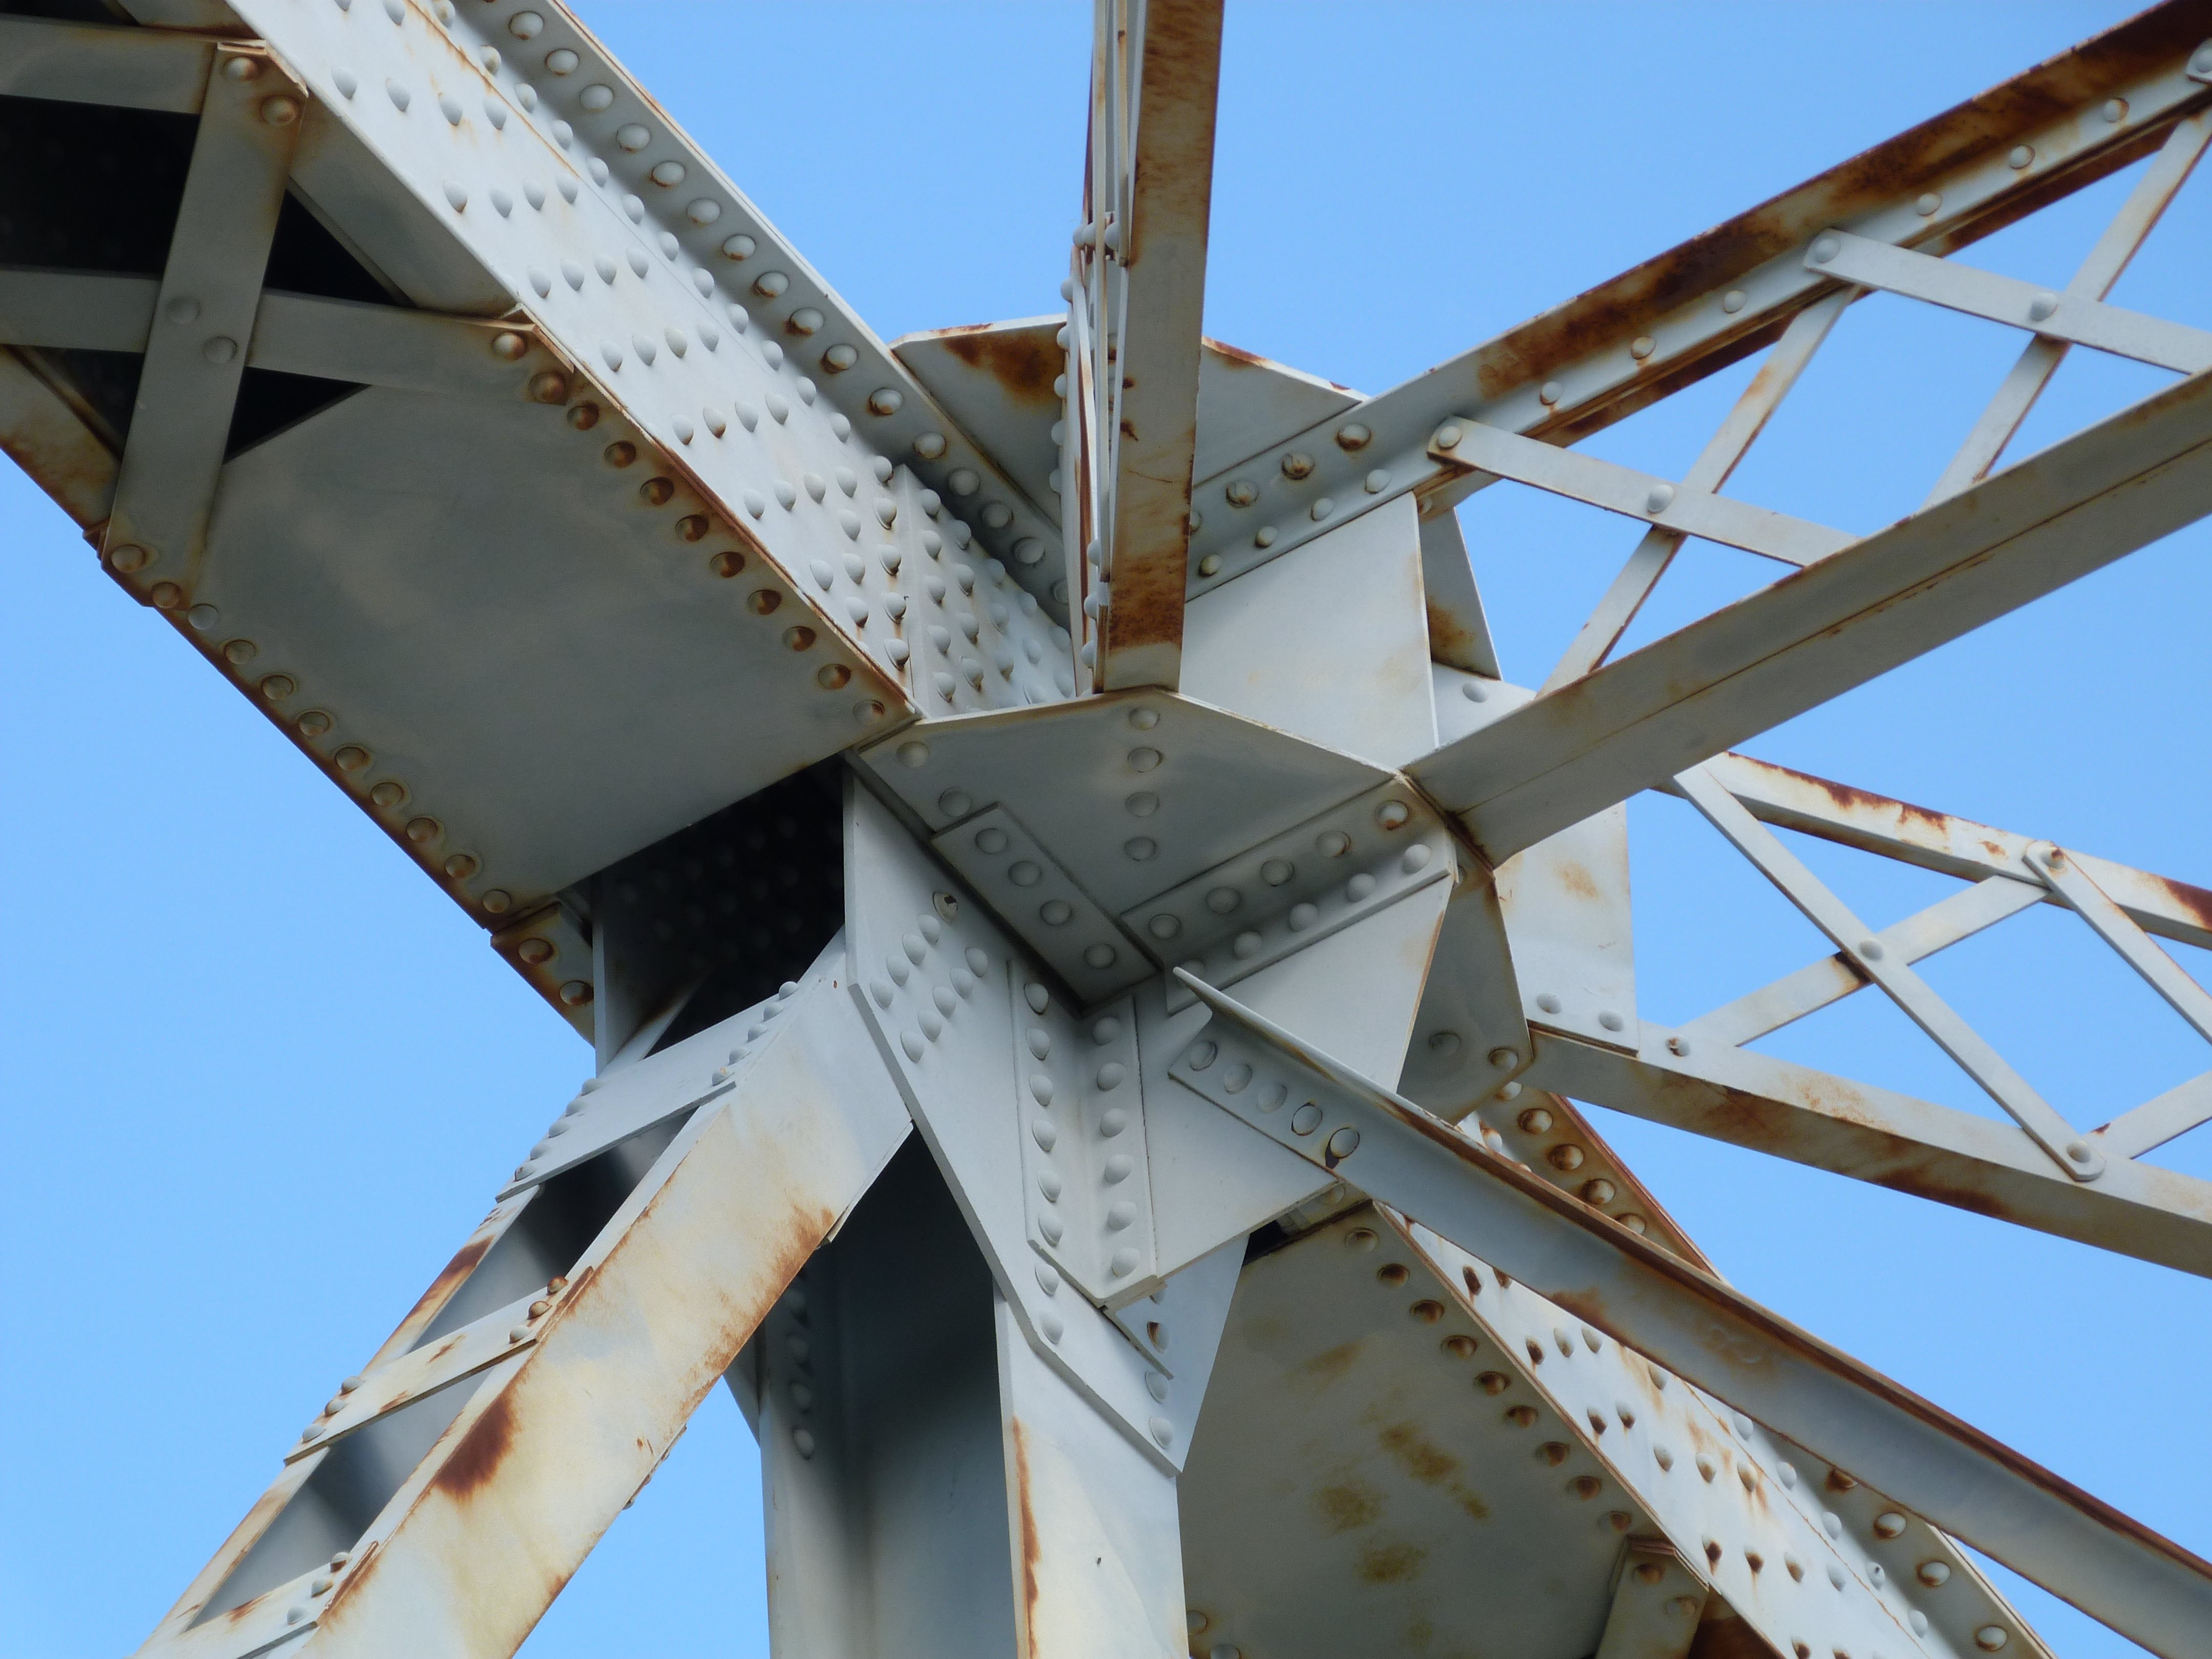
![]()


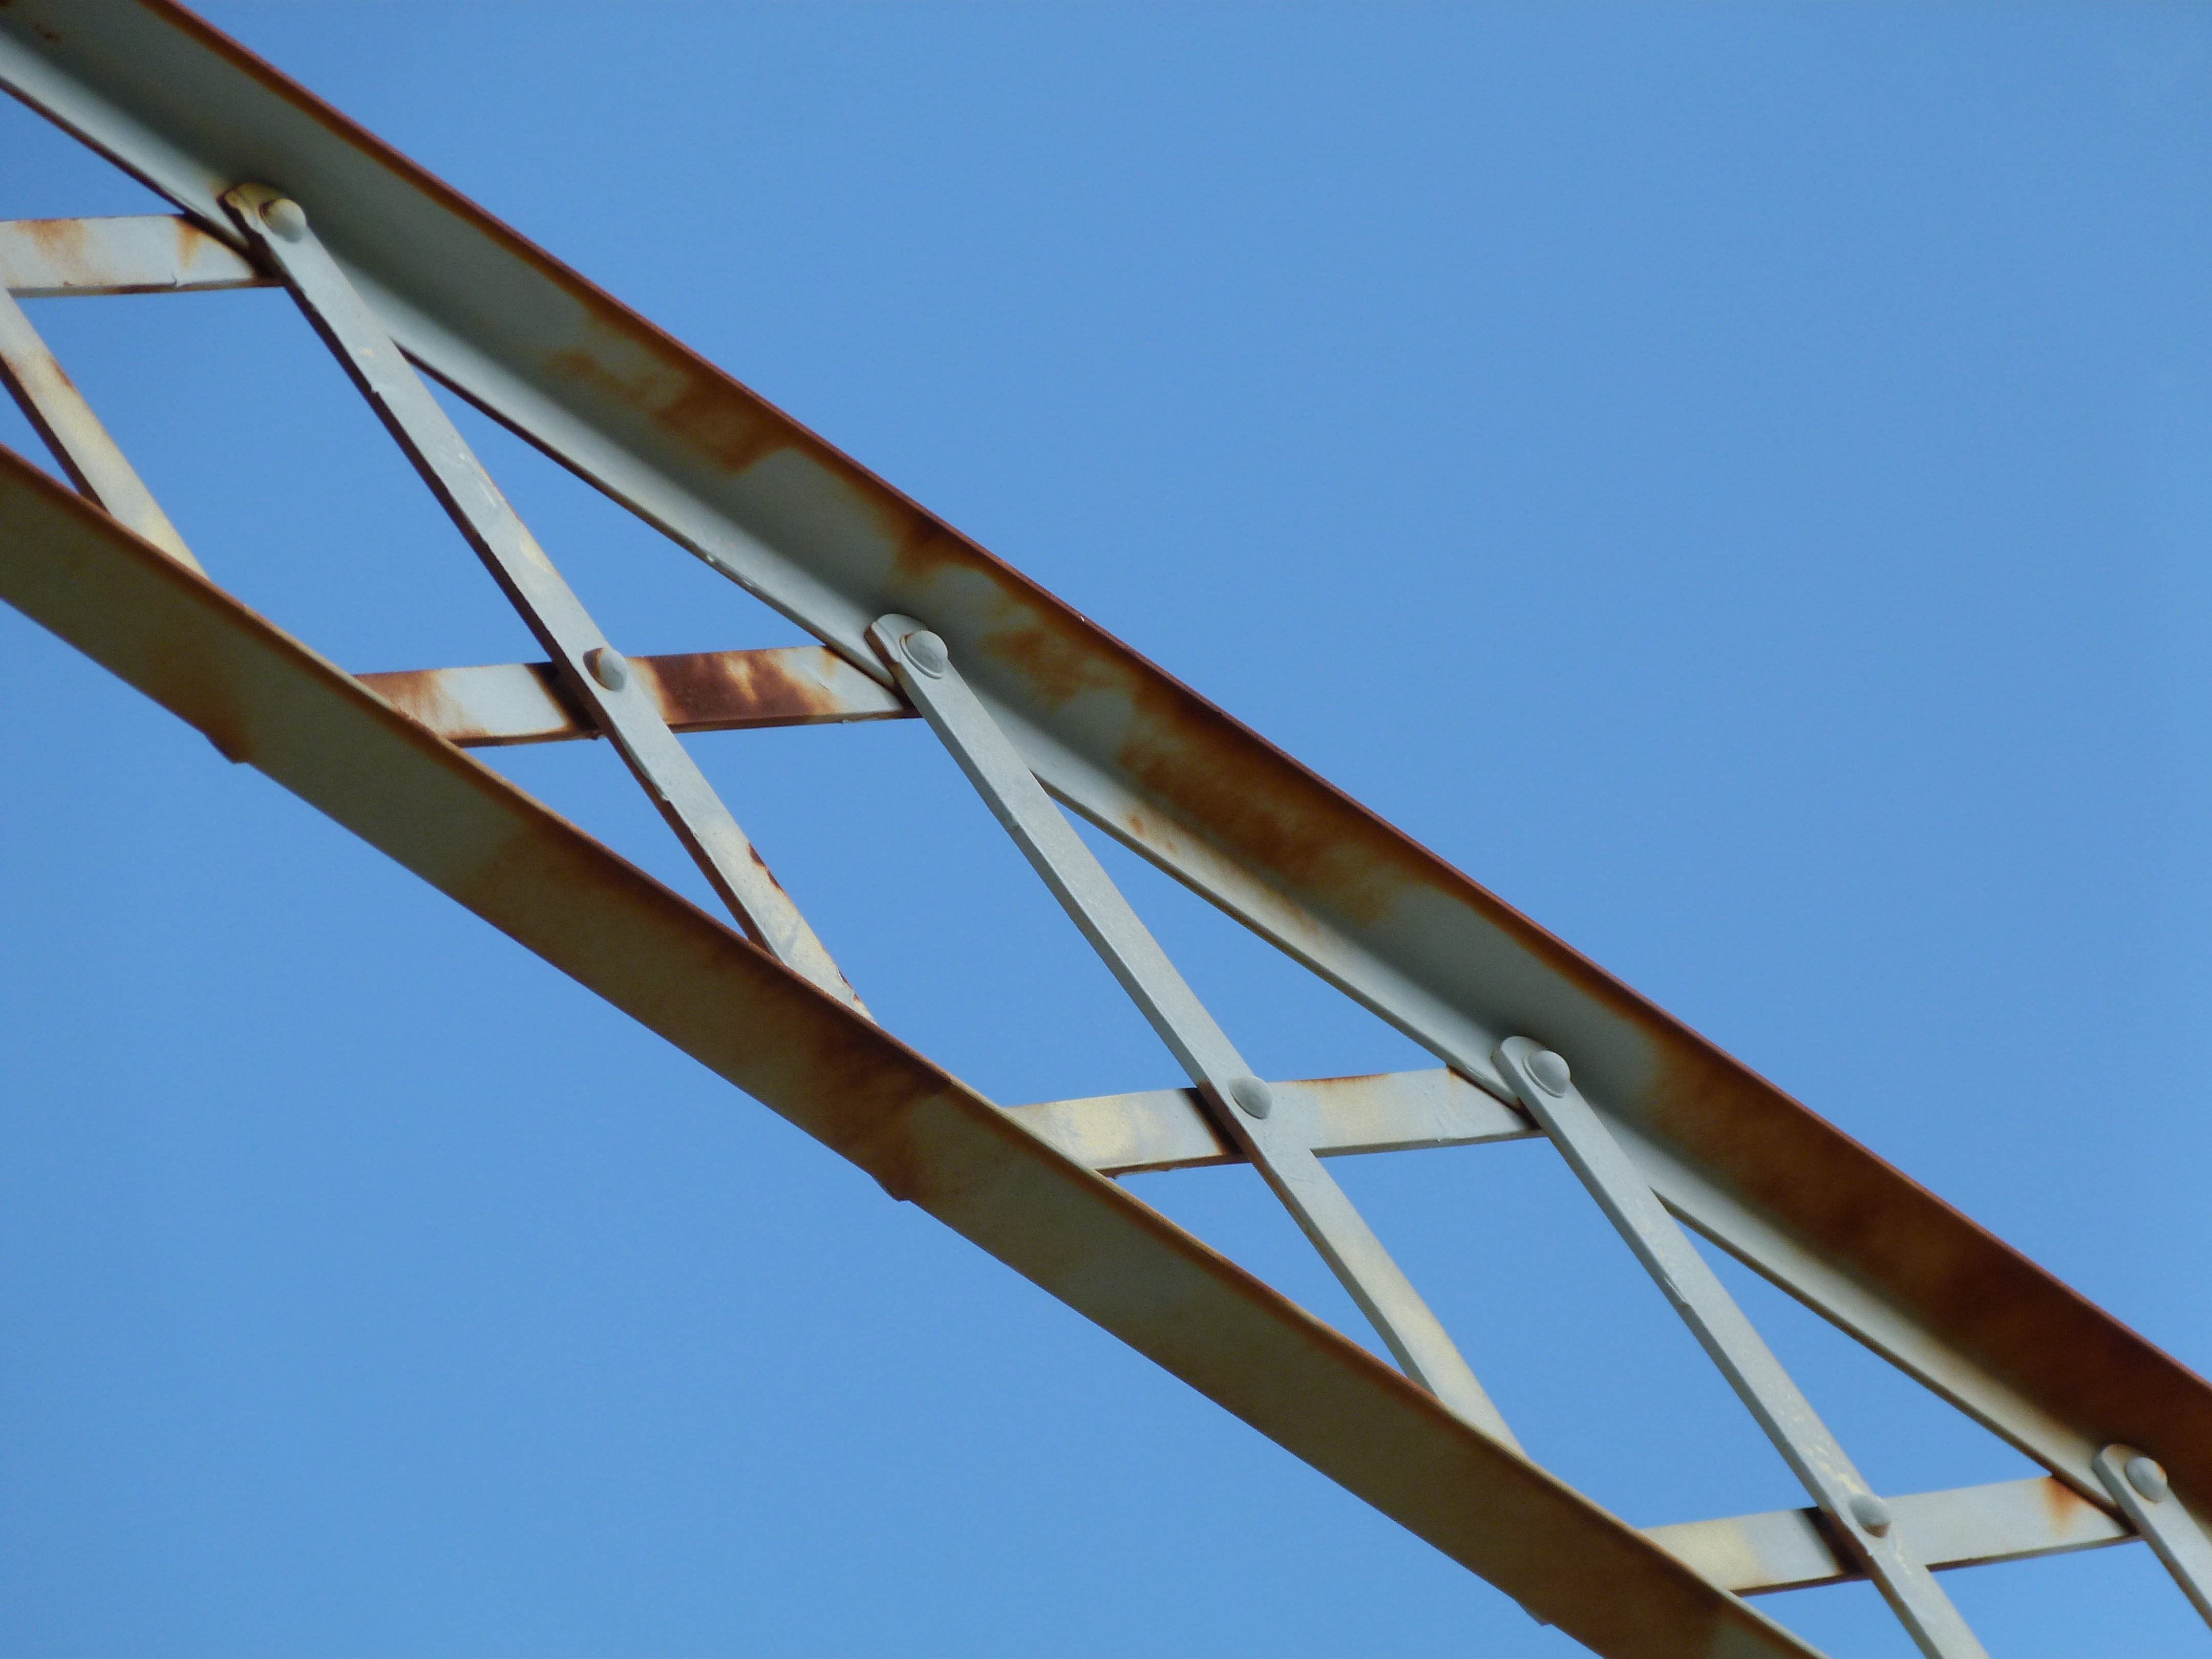
Views of through truss web.
![]()

View from beside roadway from southeast quadrant.
![]()
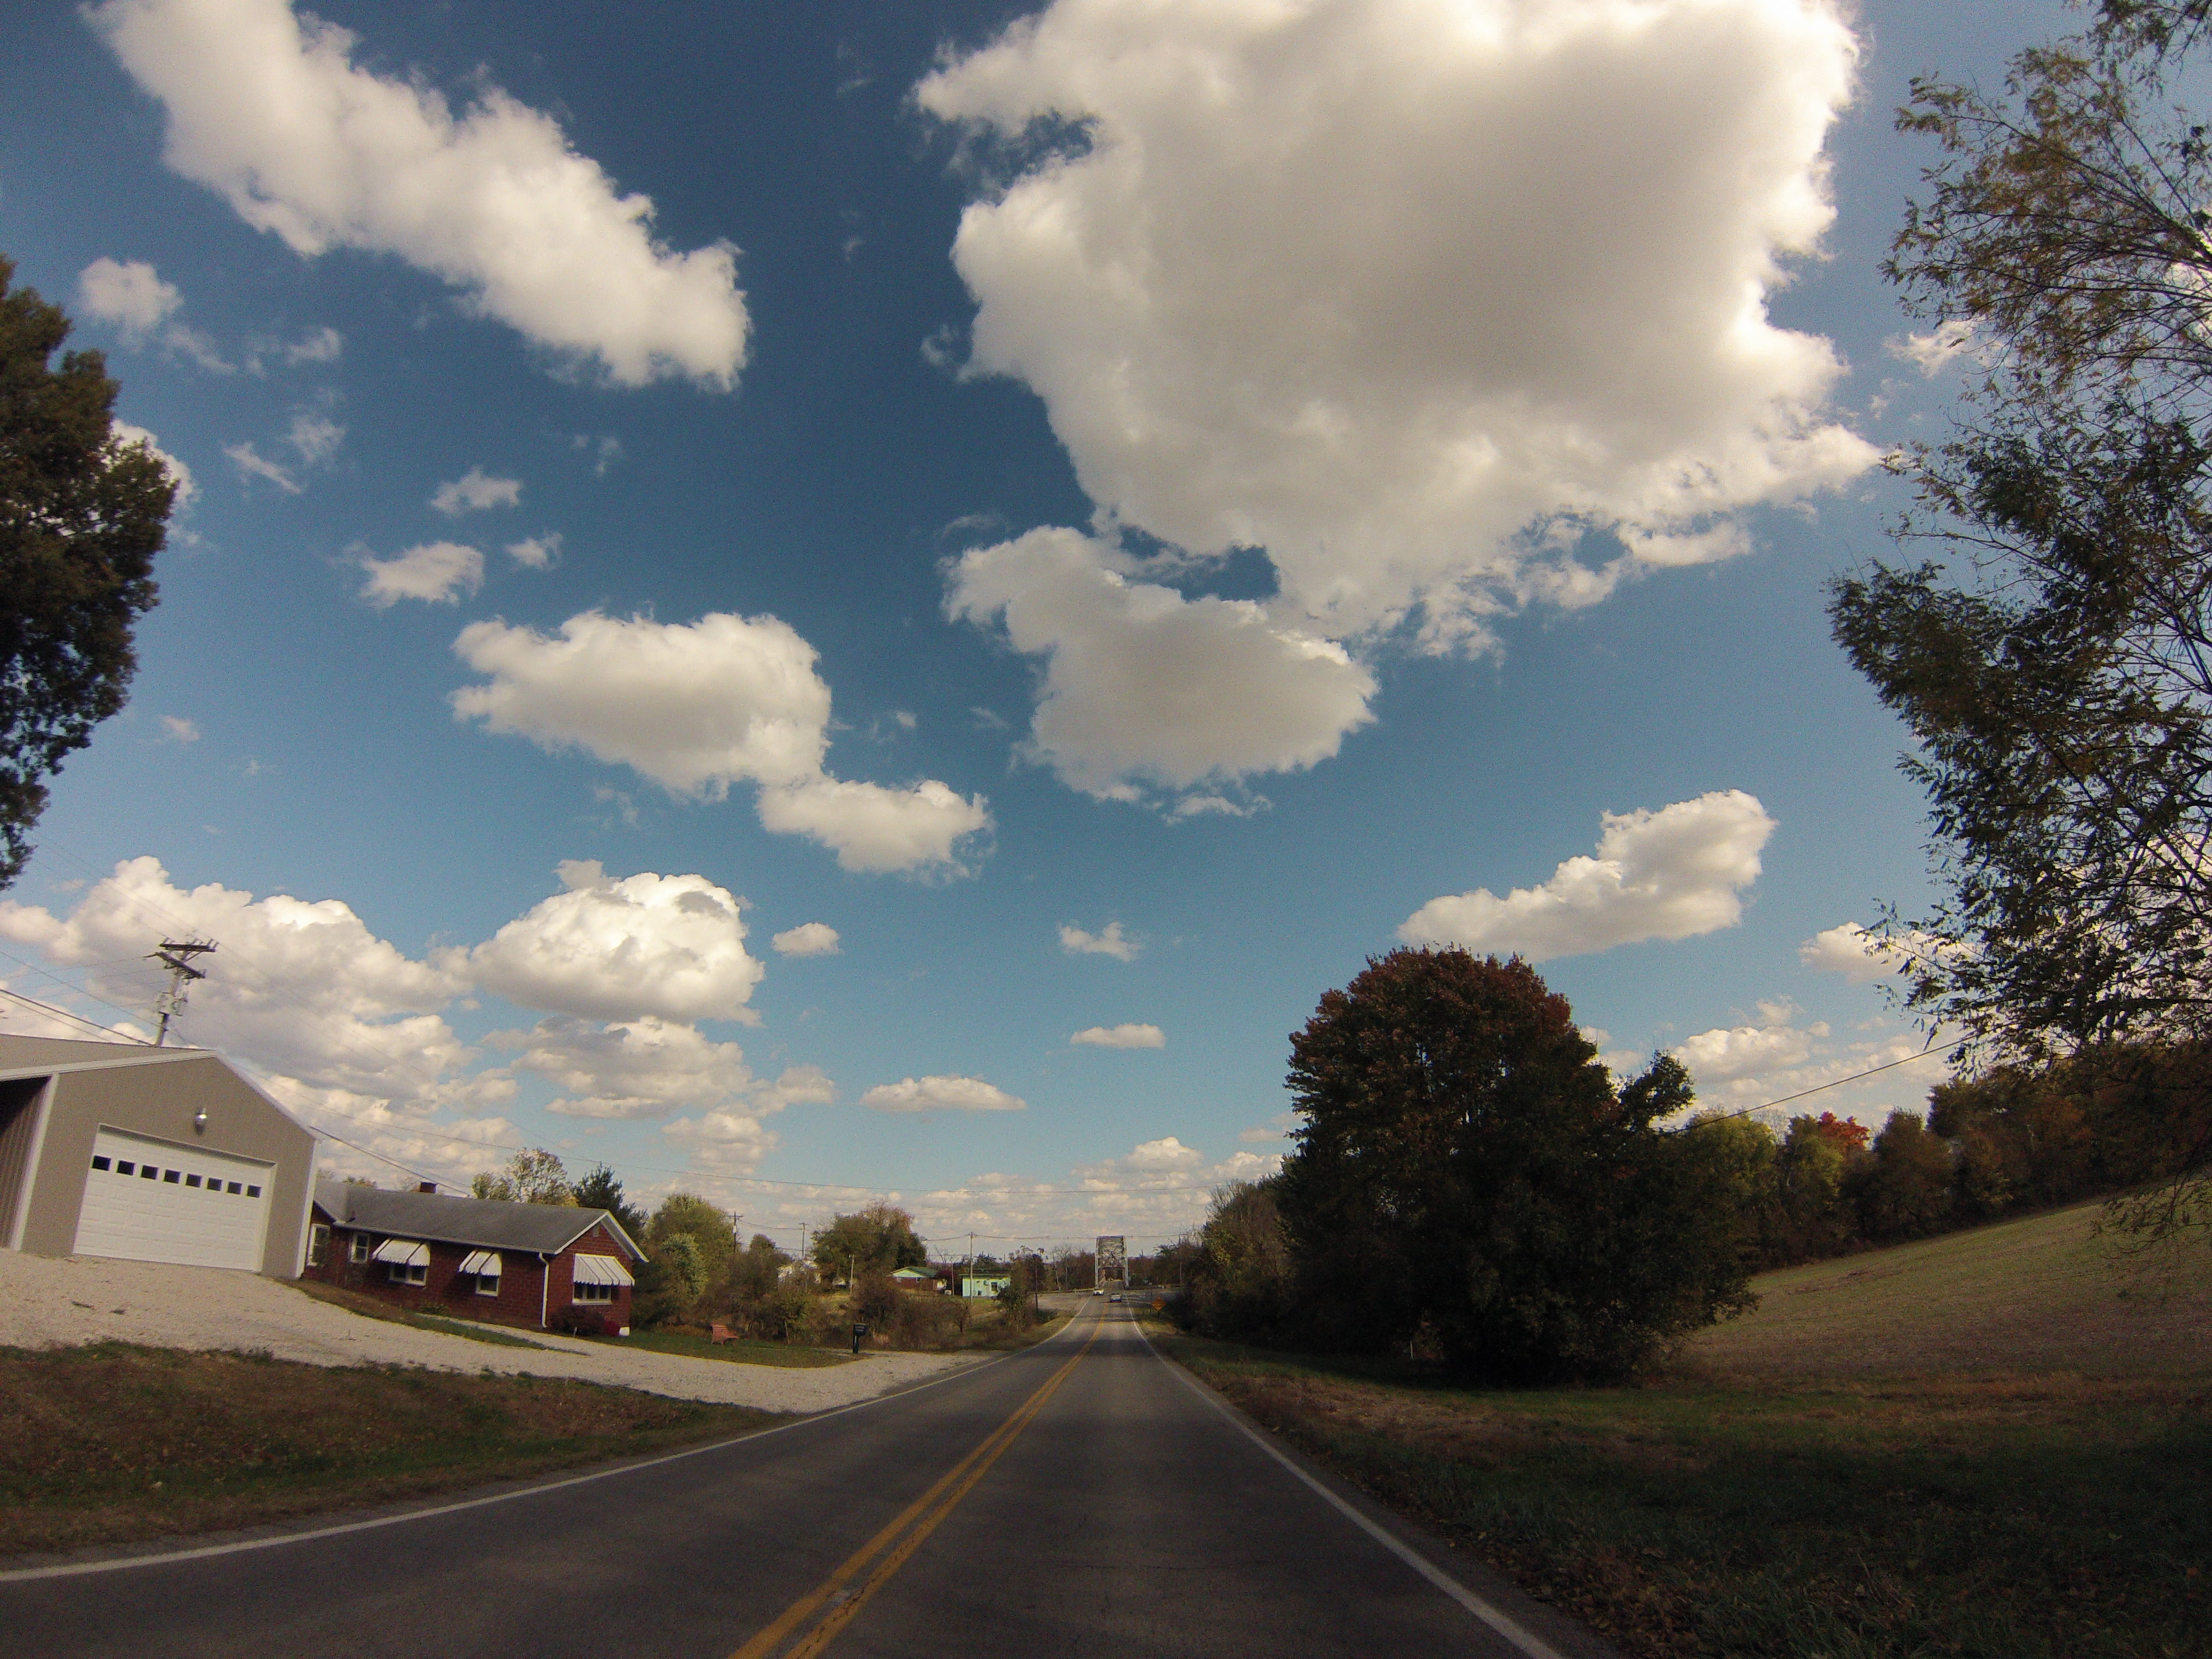


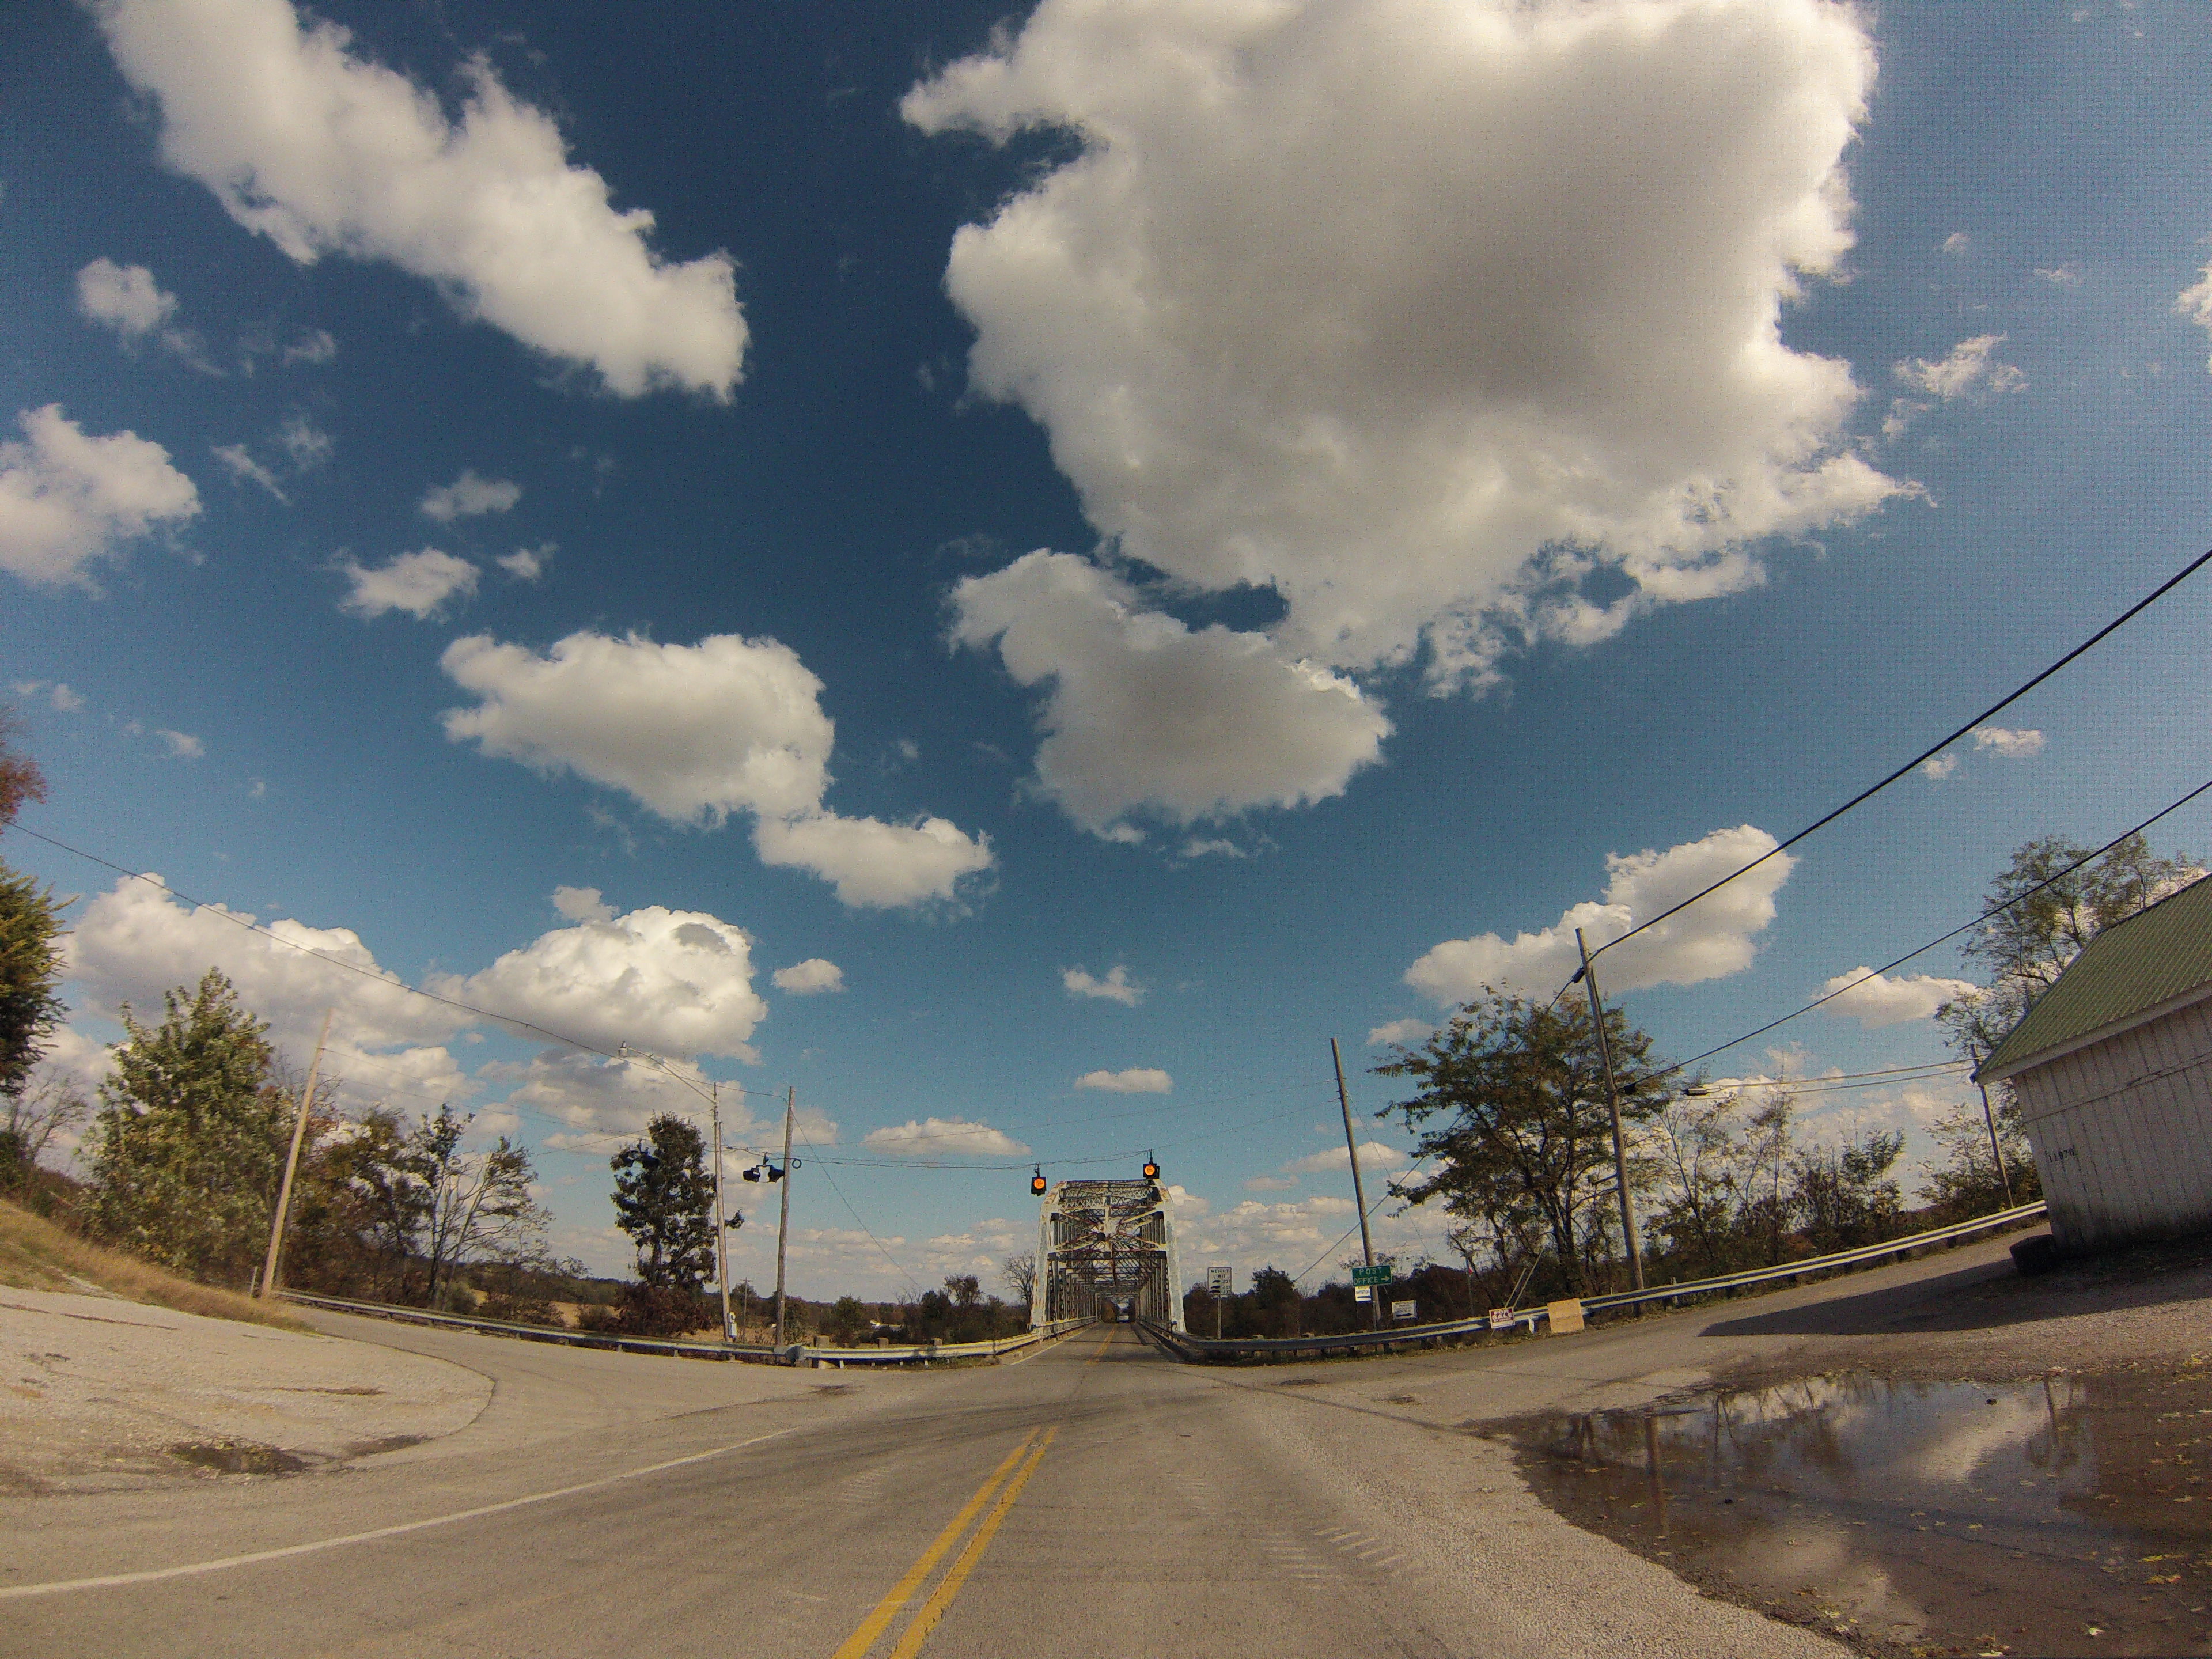


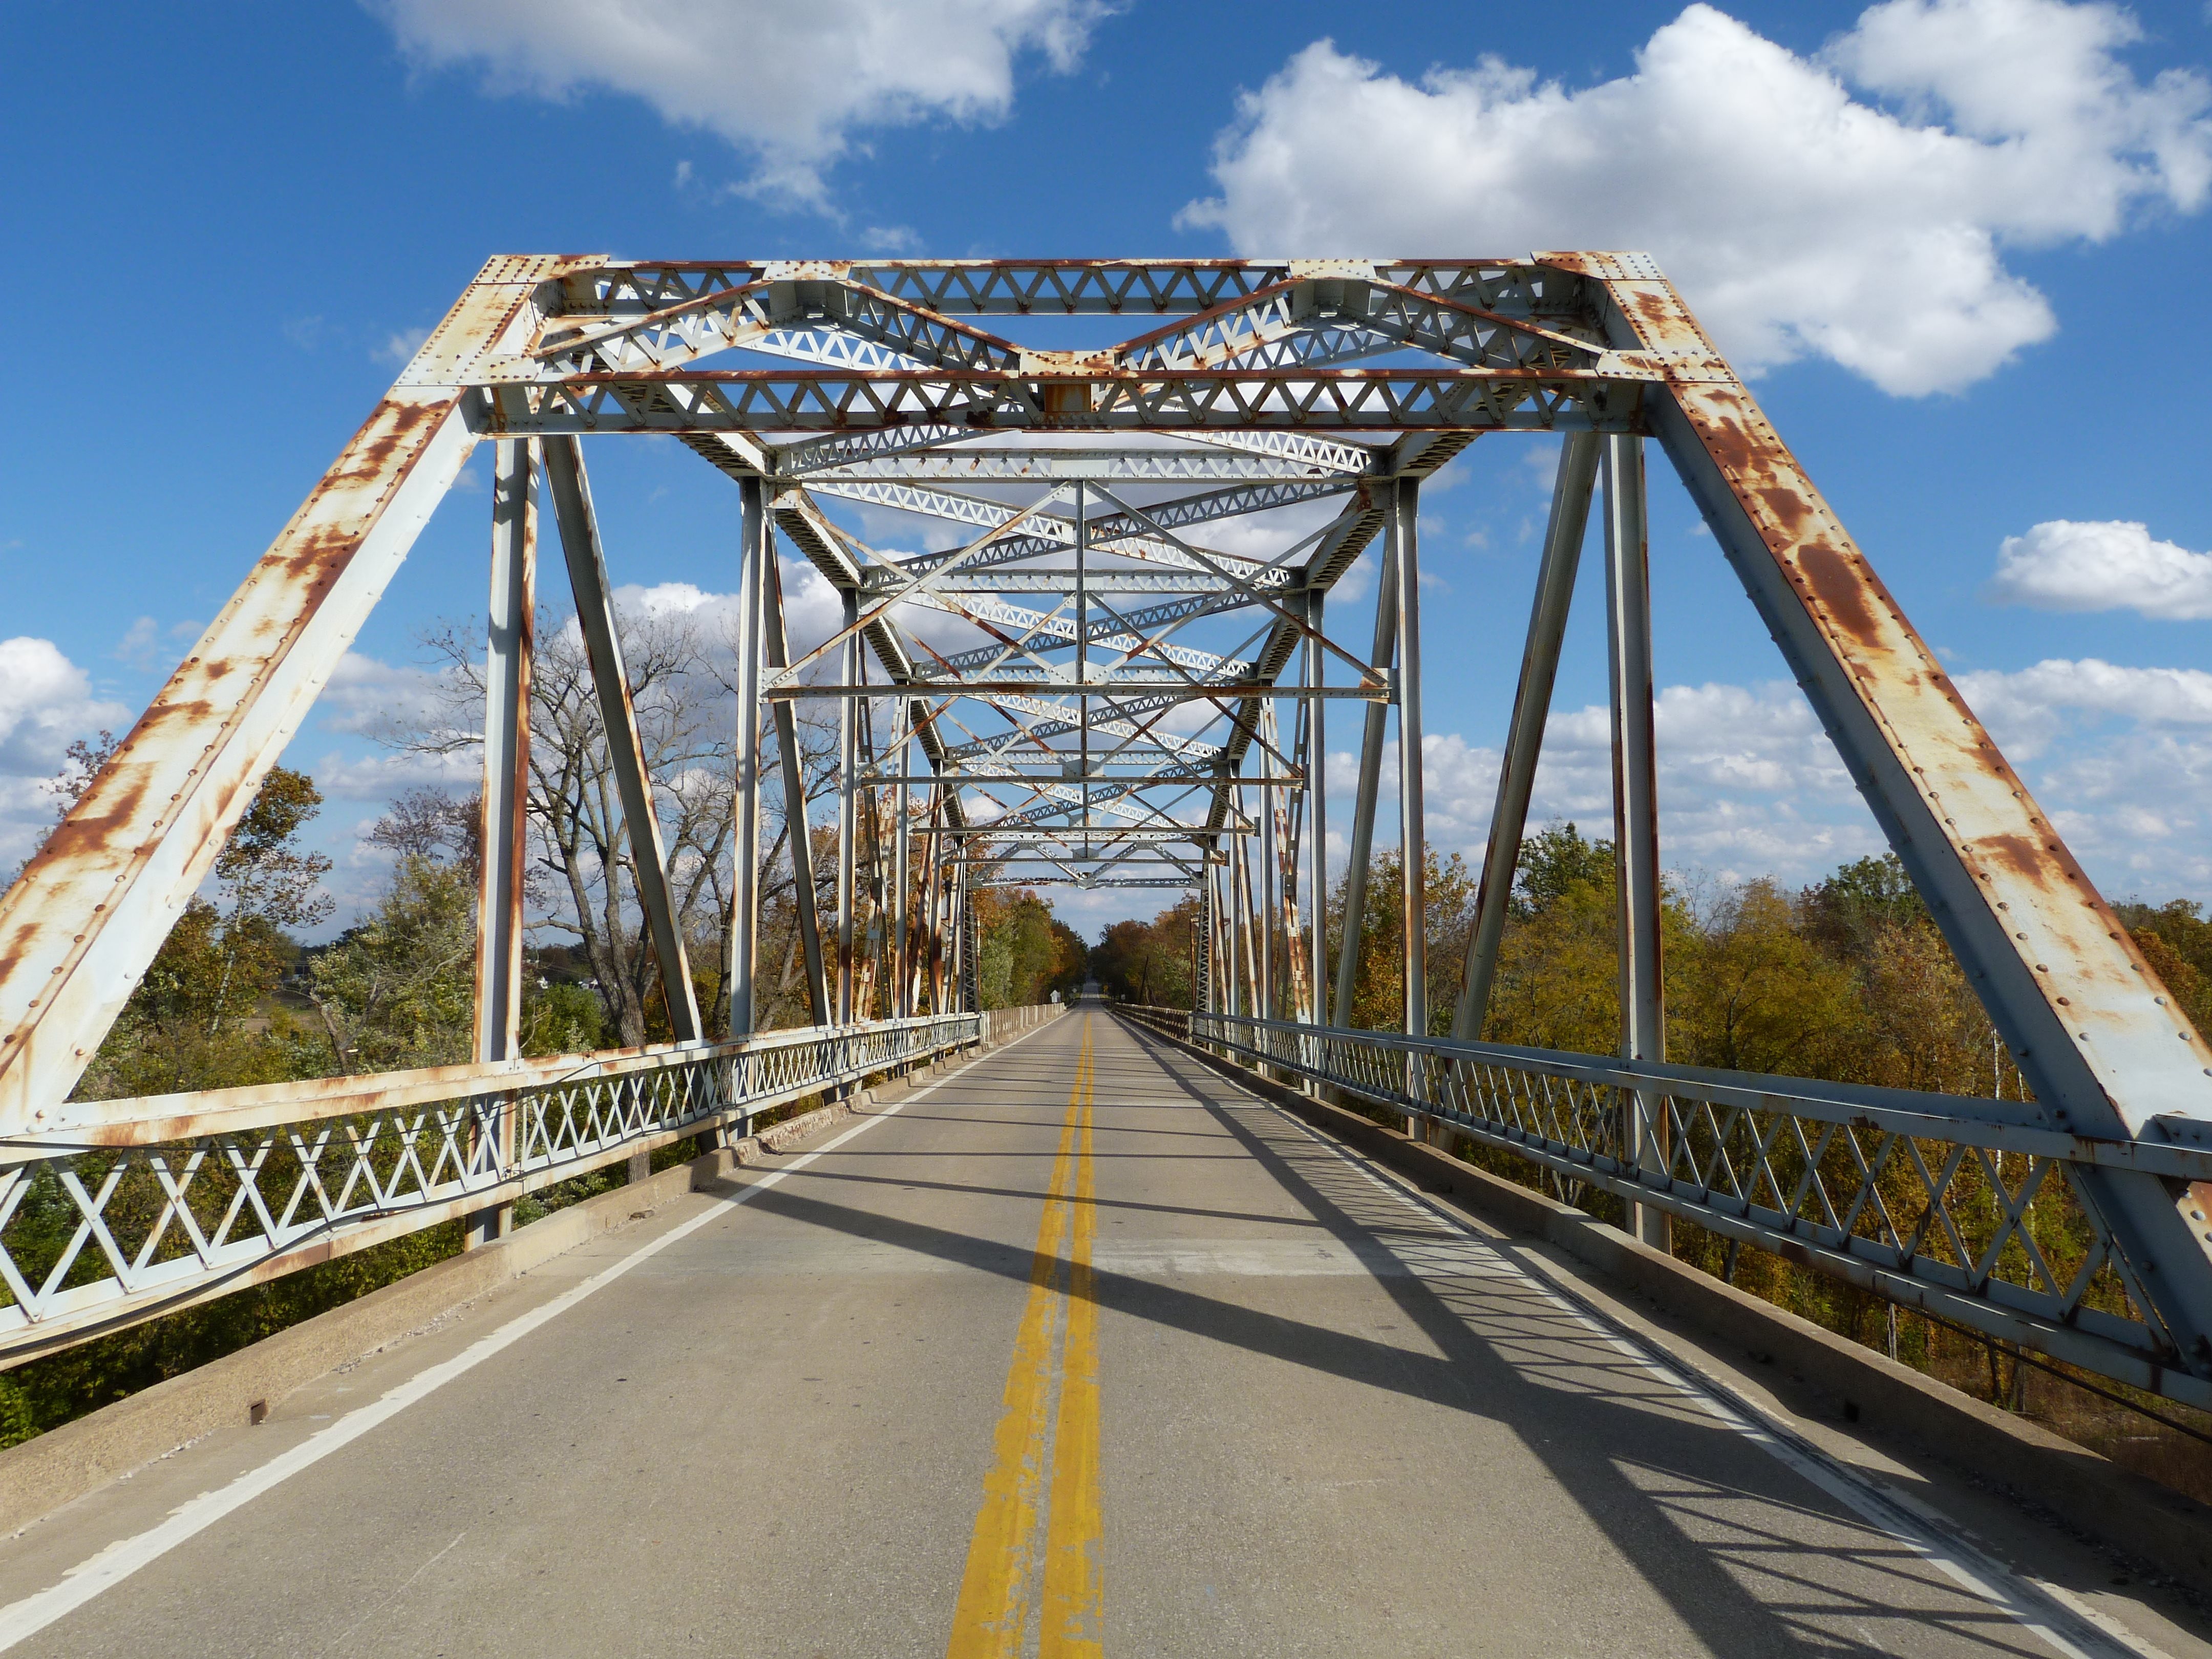
GoPro CarCam photos, eastbound crossing. Views approaching bridge.
![]()


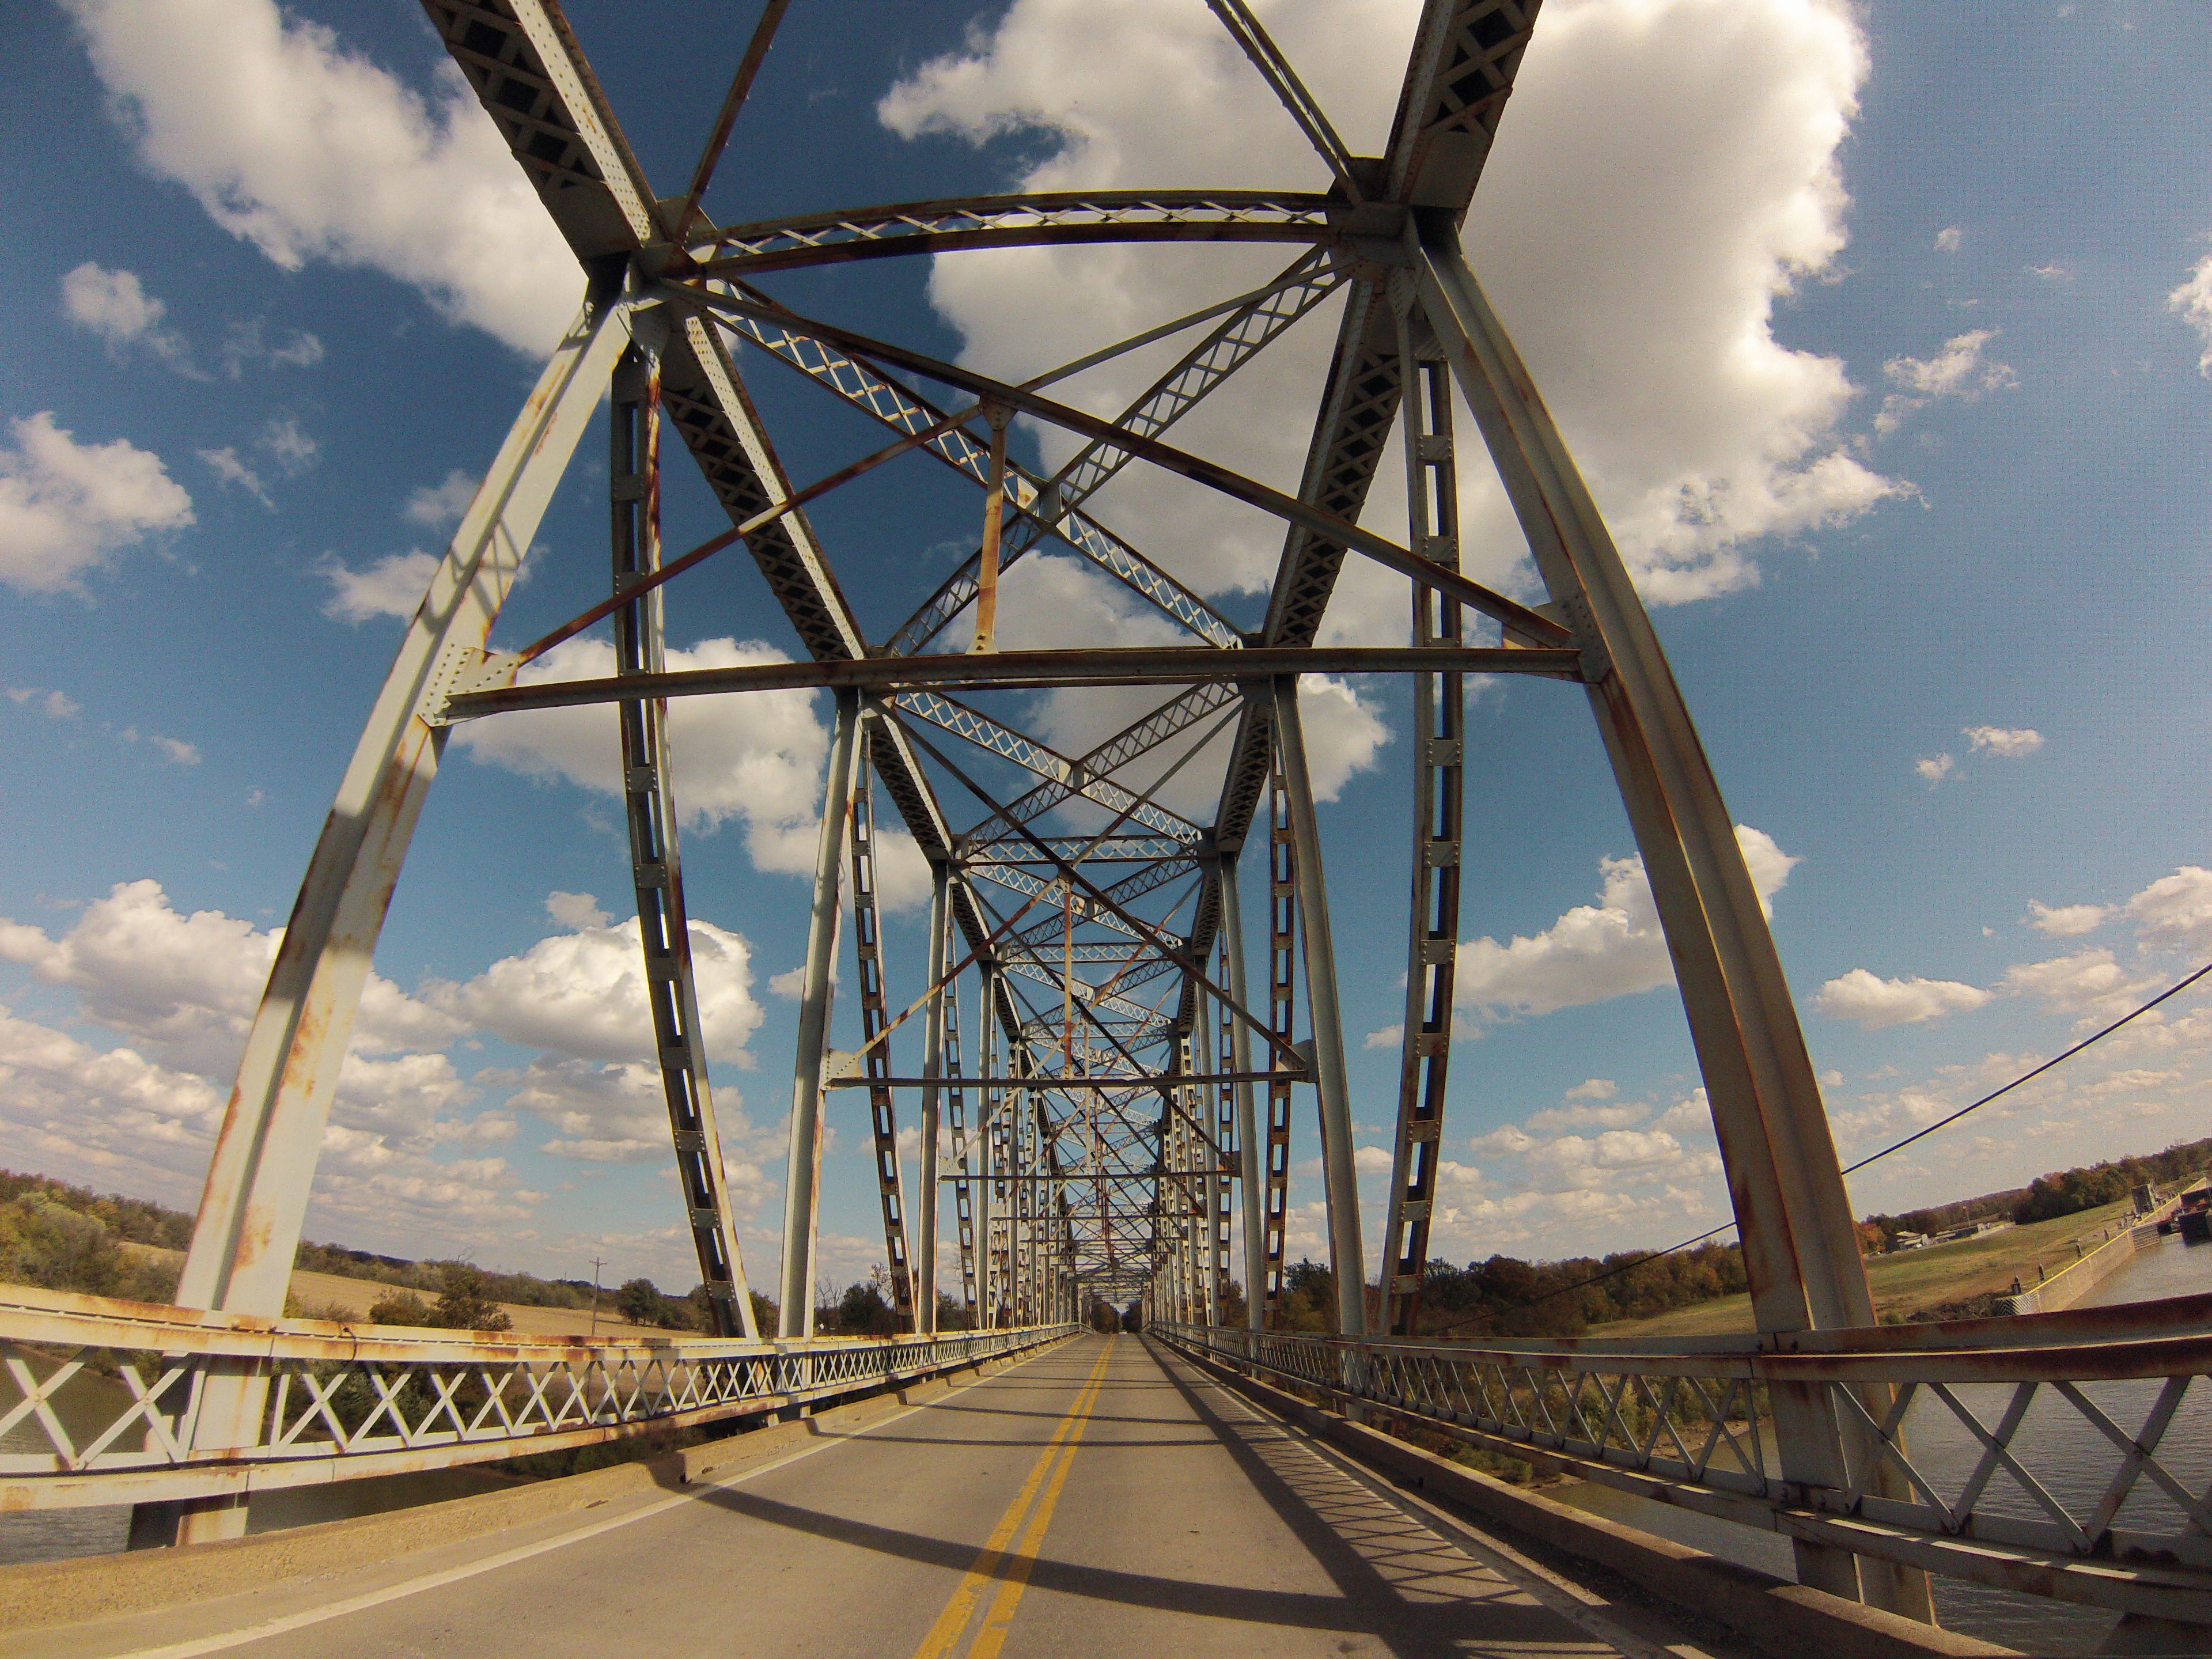


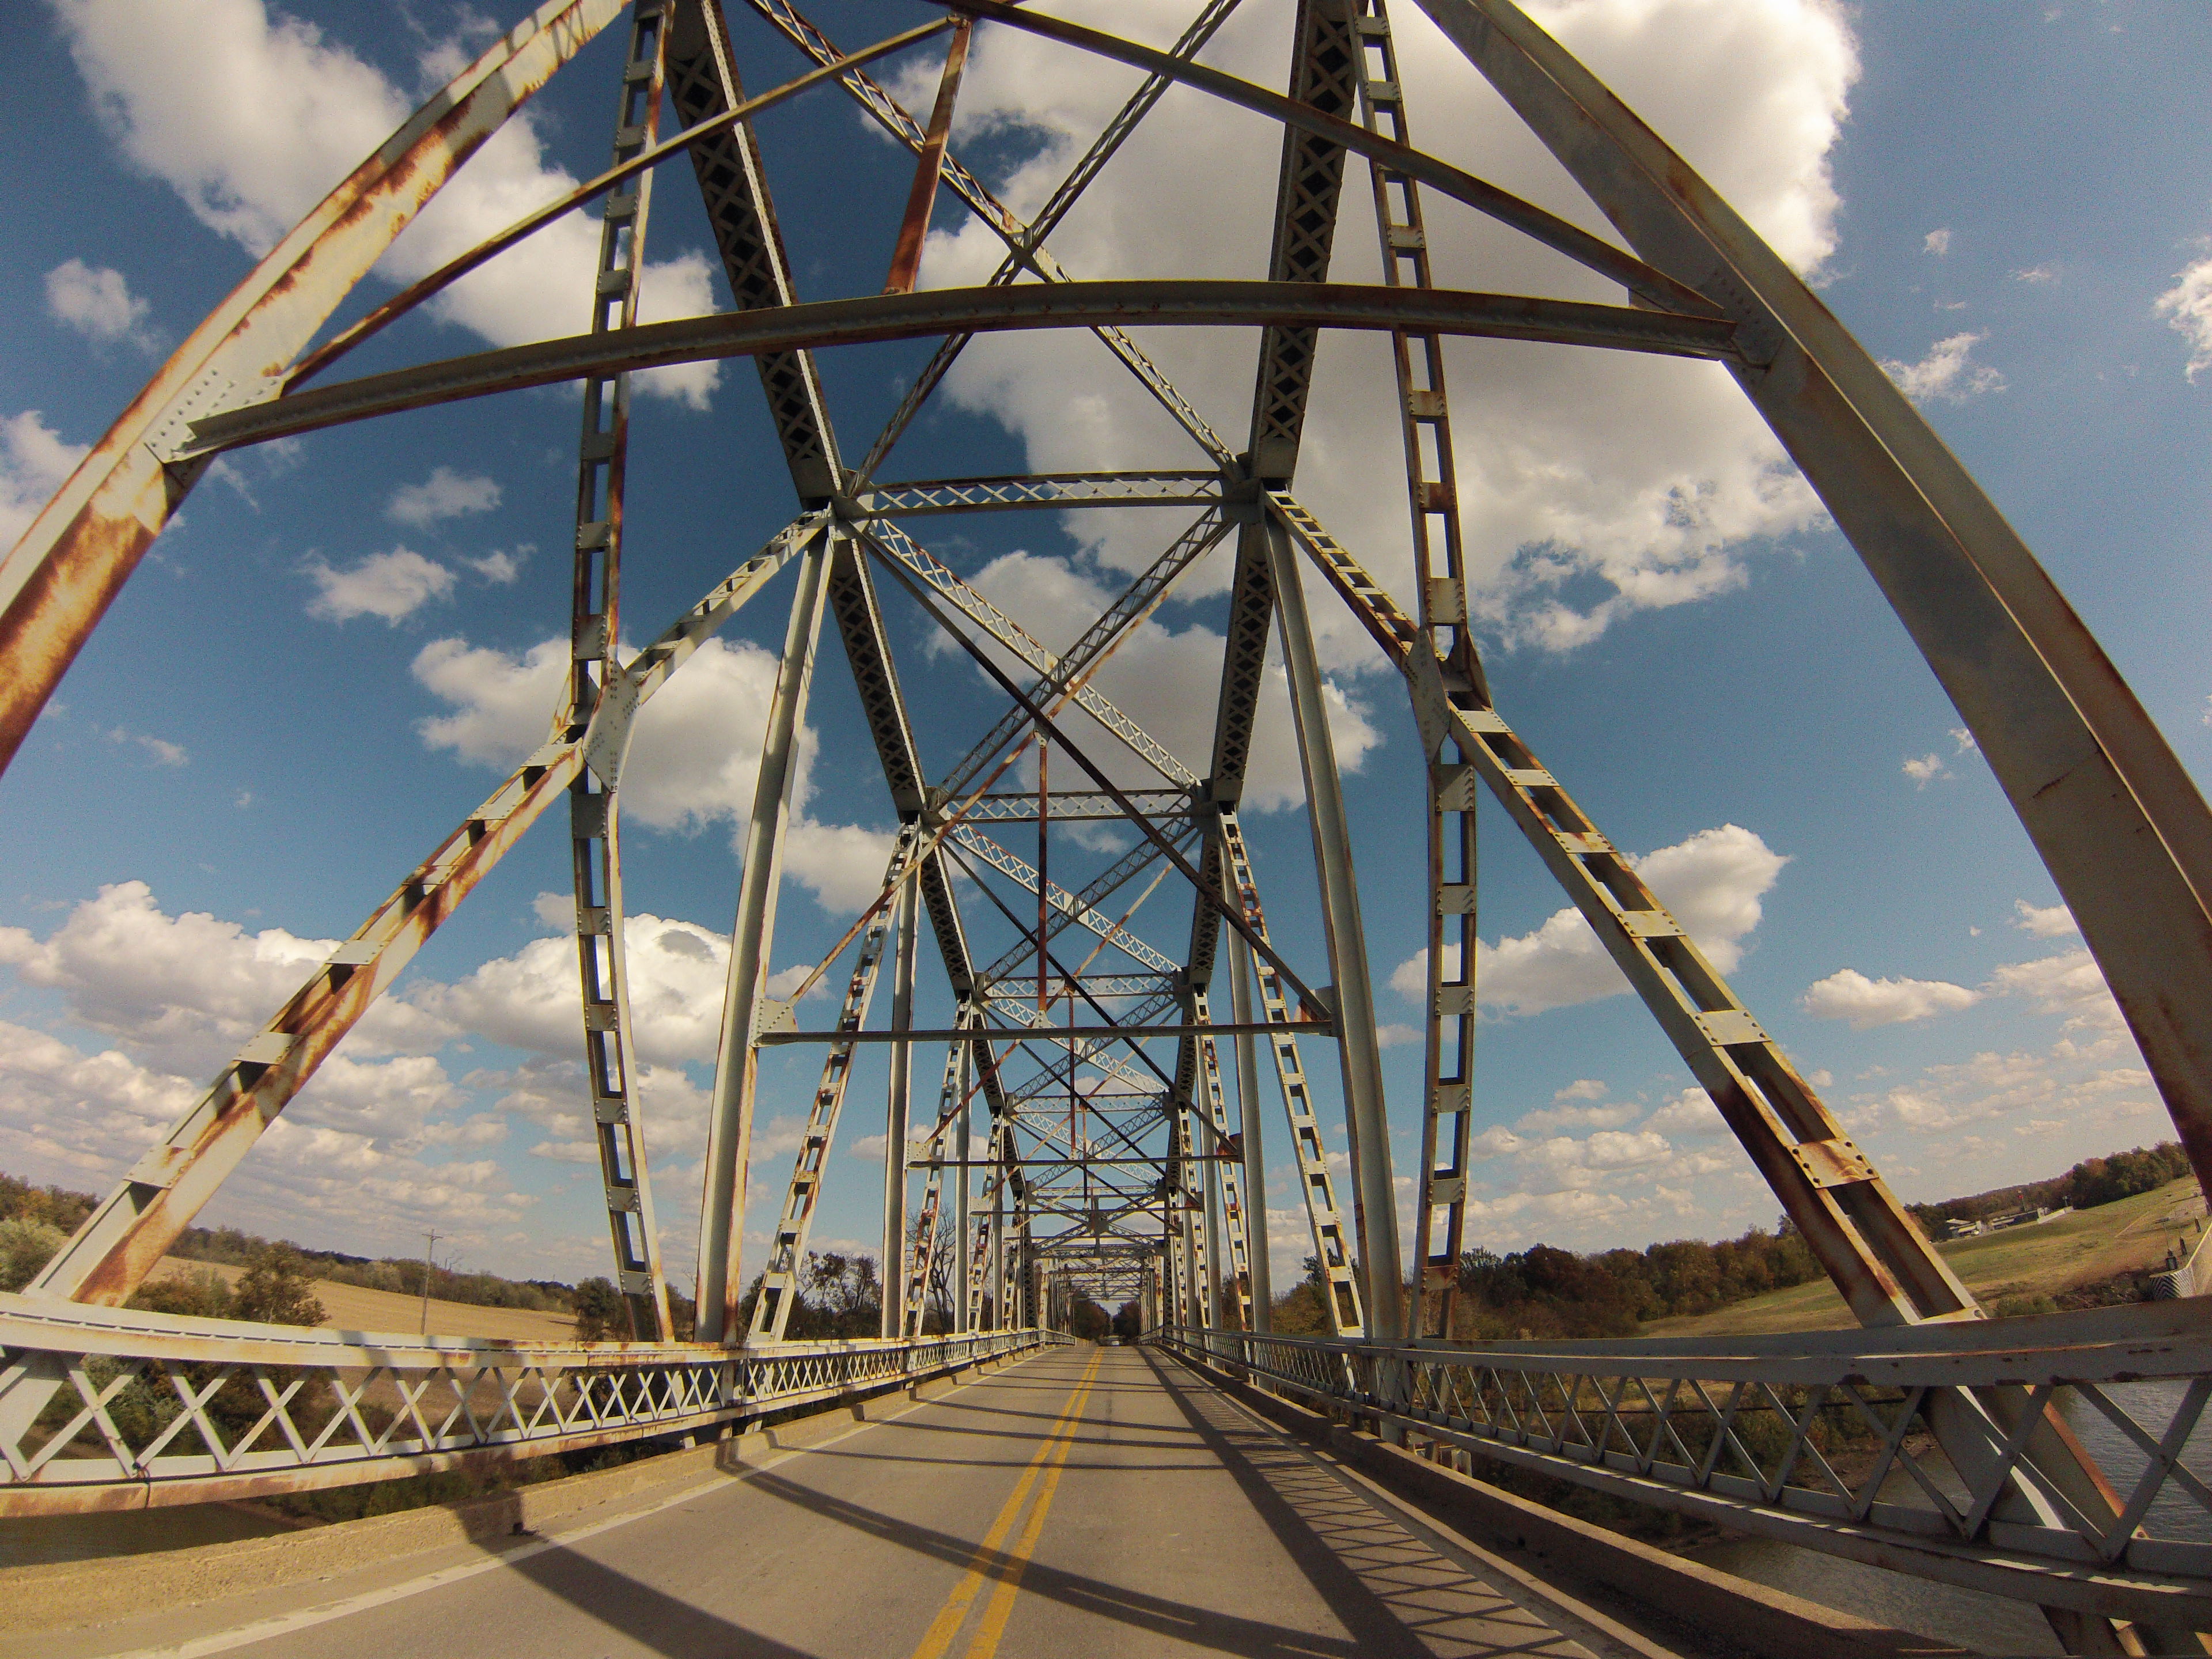


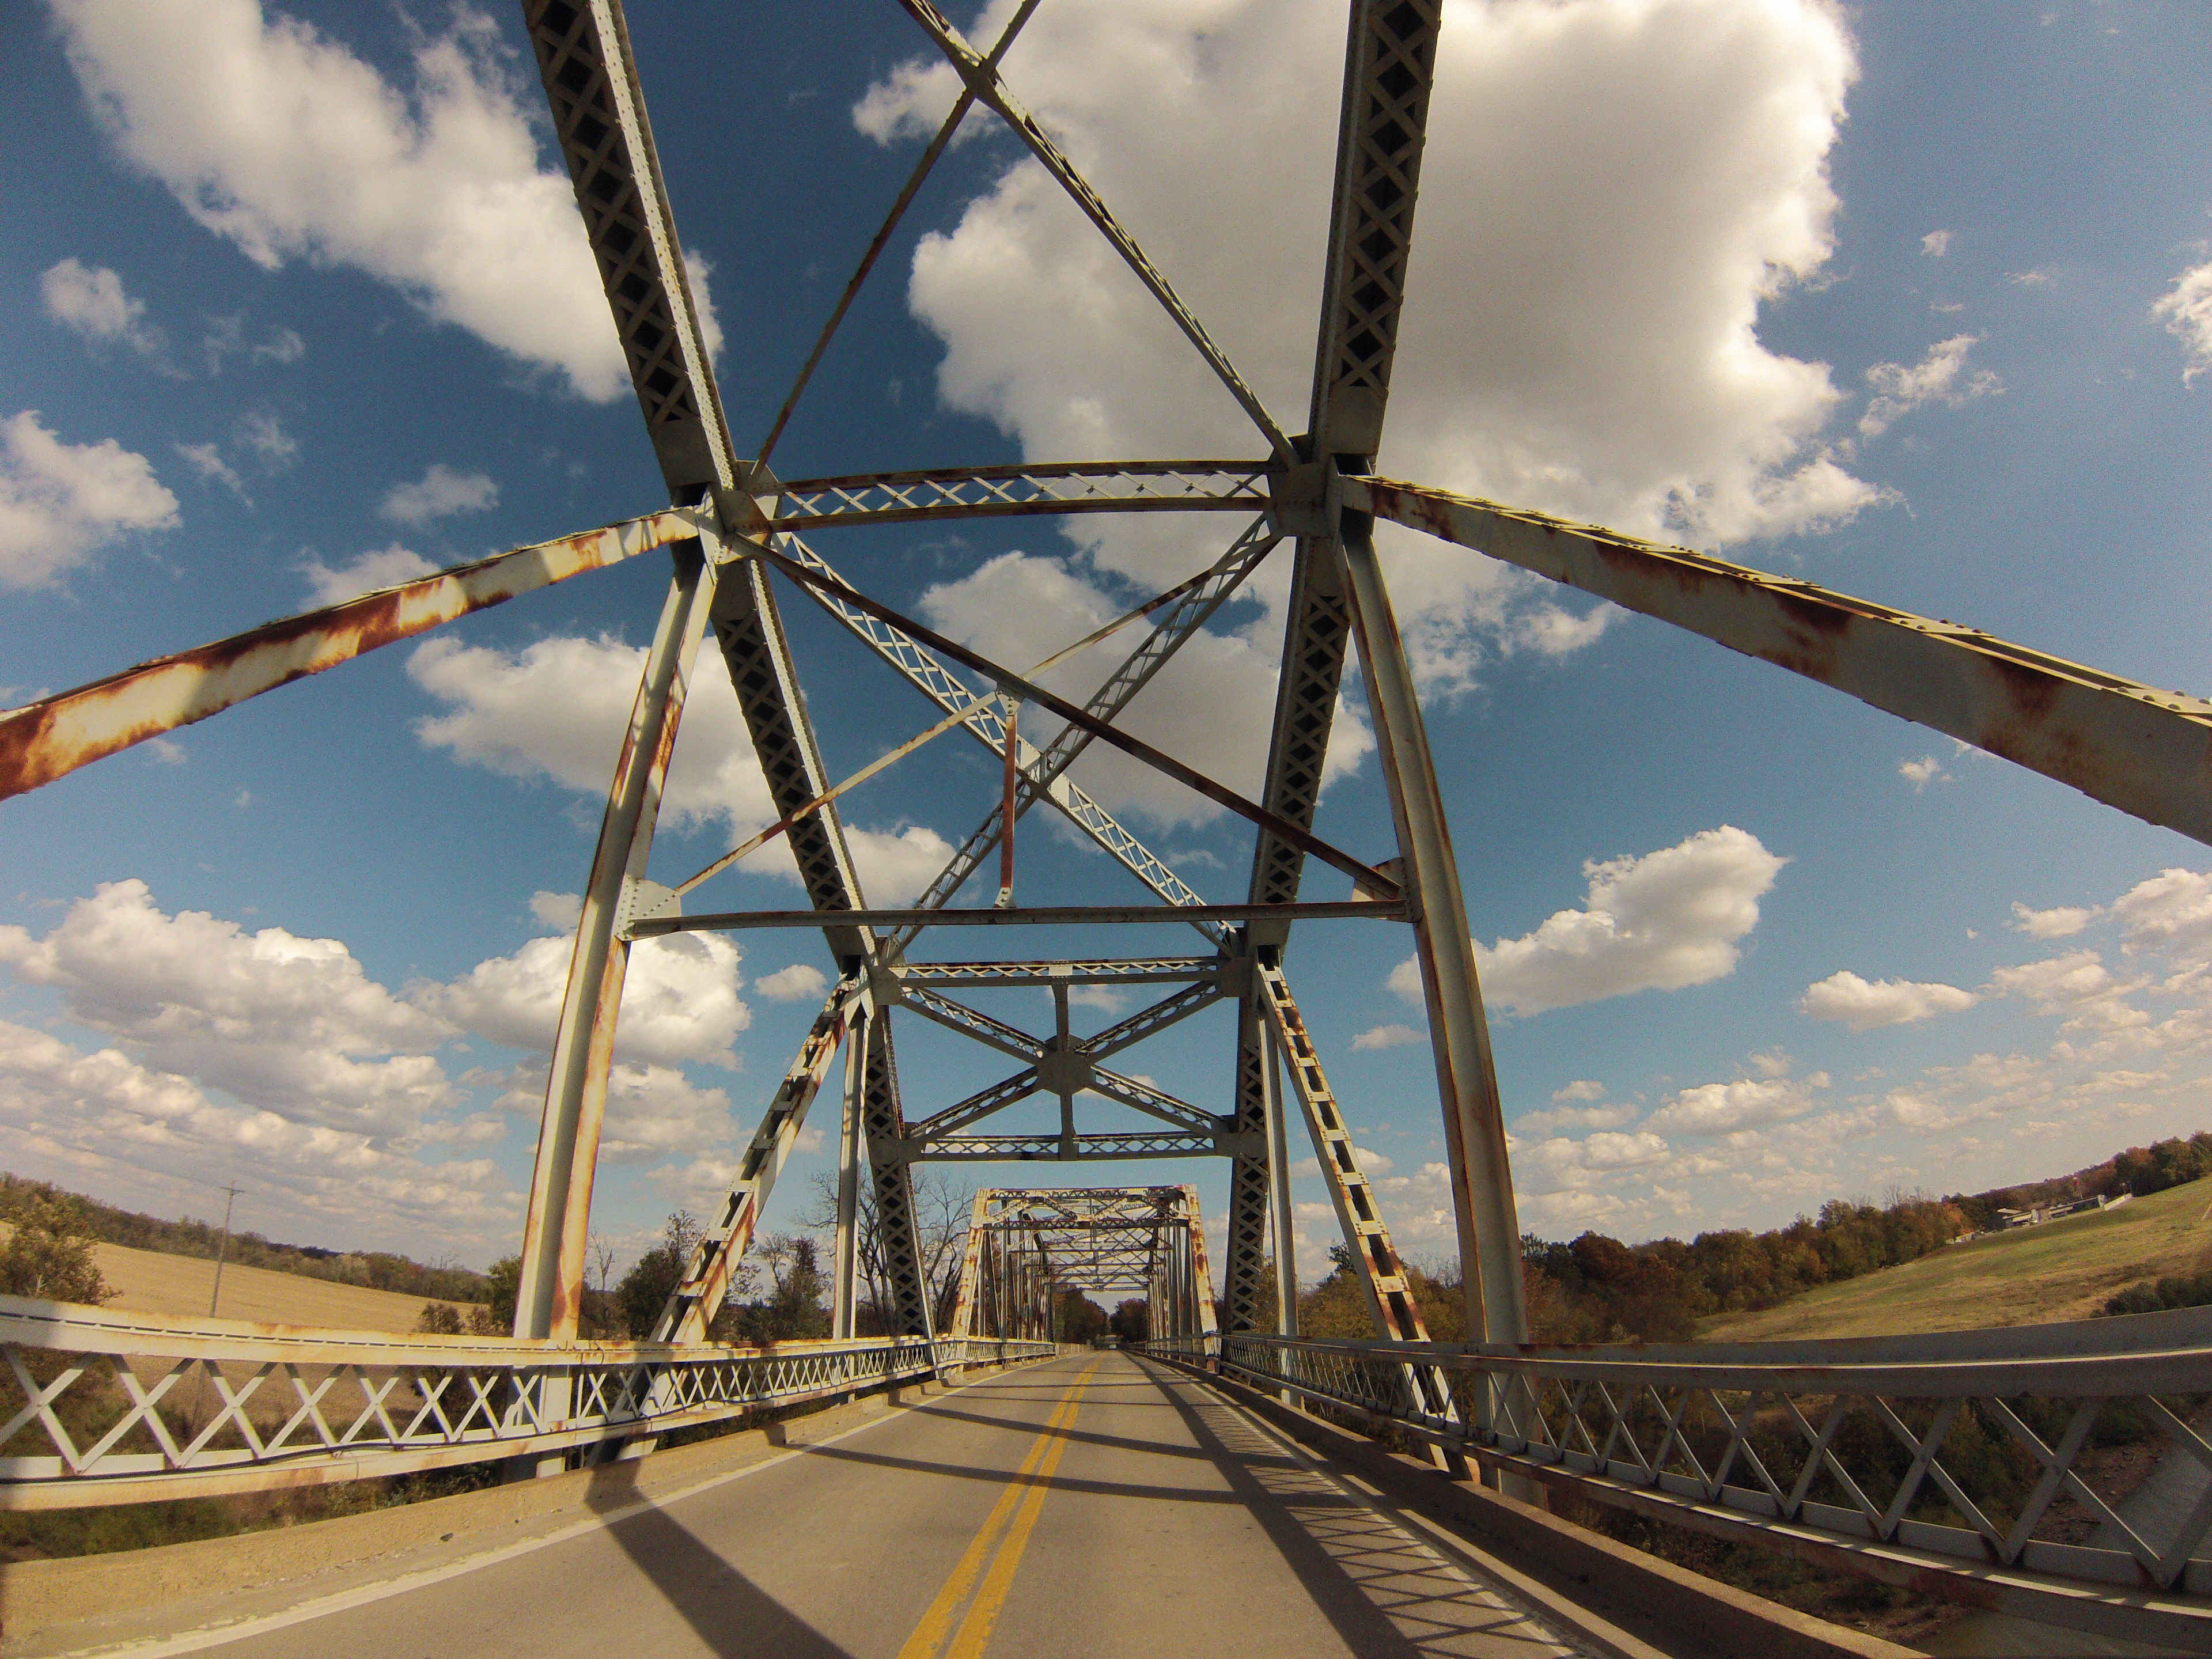


GoPro CarCam photos, eastbound crossing. Views on through truss spans.
![]()


GoPro CarCam photos, eastbound crossing. Views on eastern approach spans.
![]()

Railroad bridge seen from highway bridge.
![]()
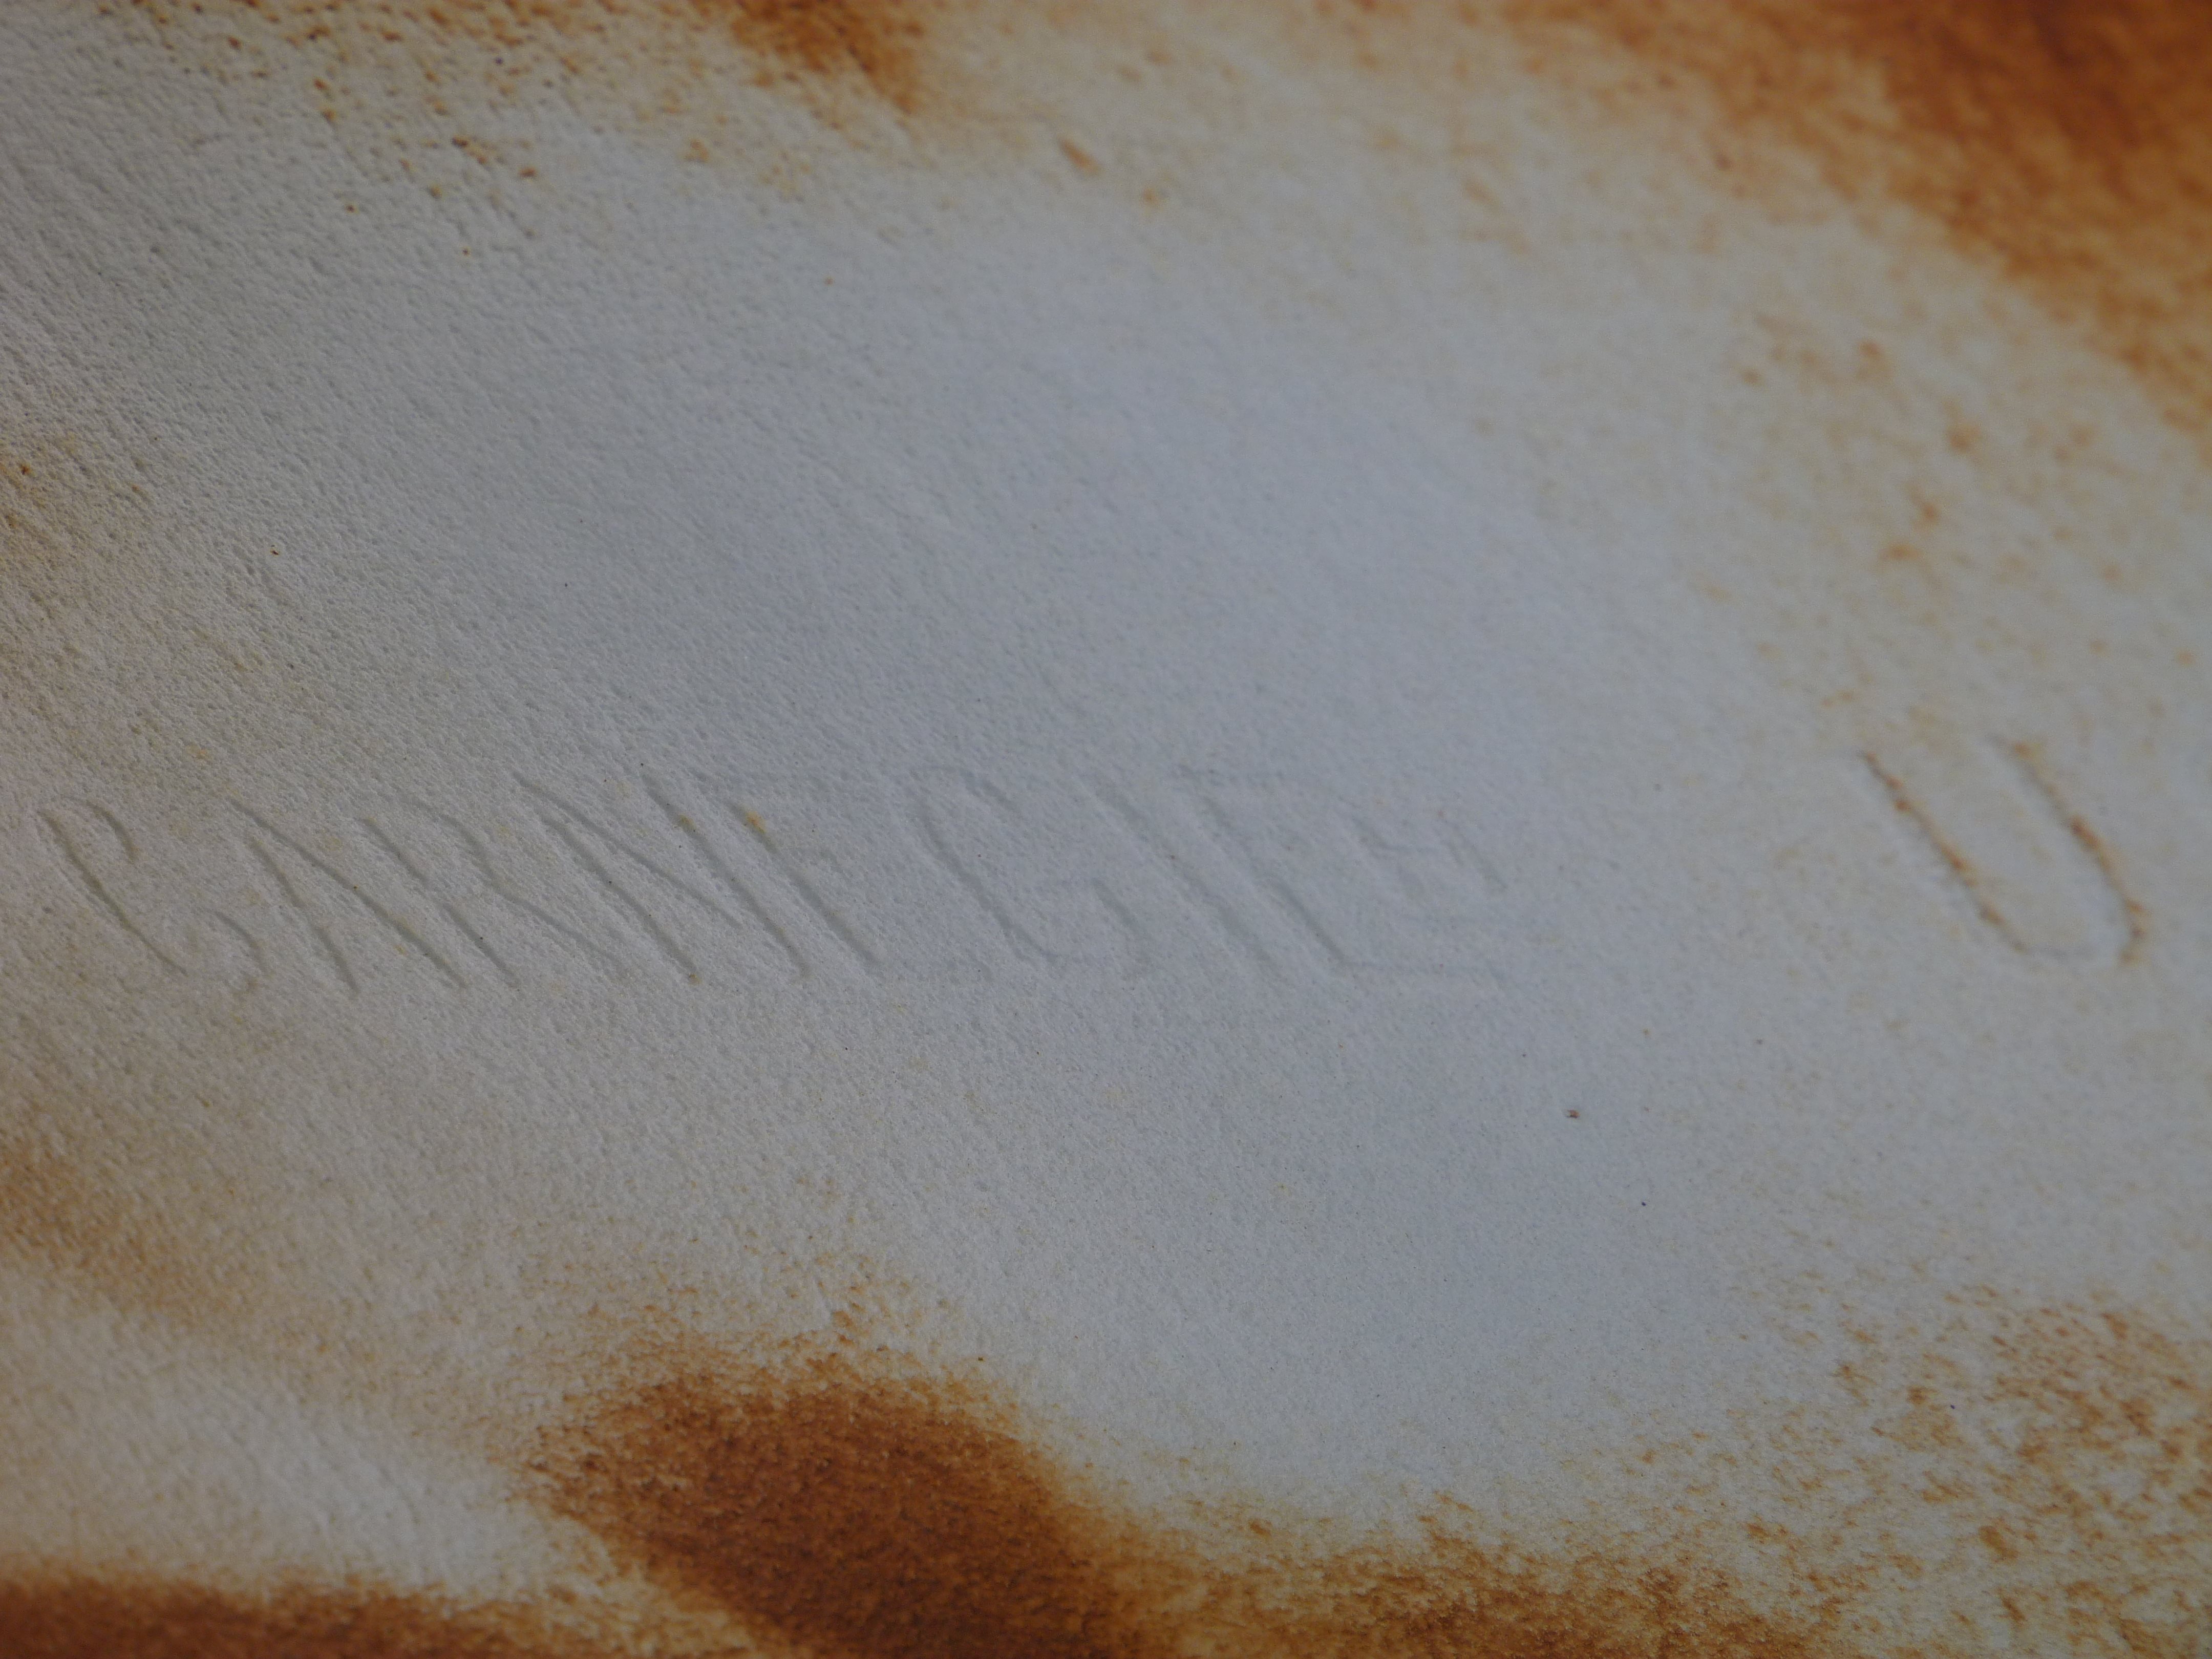
Carnegie brand.
![]()


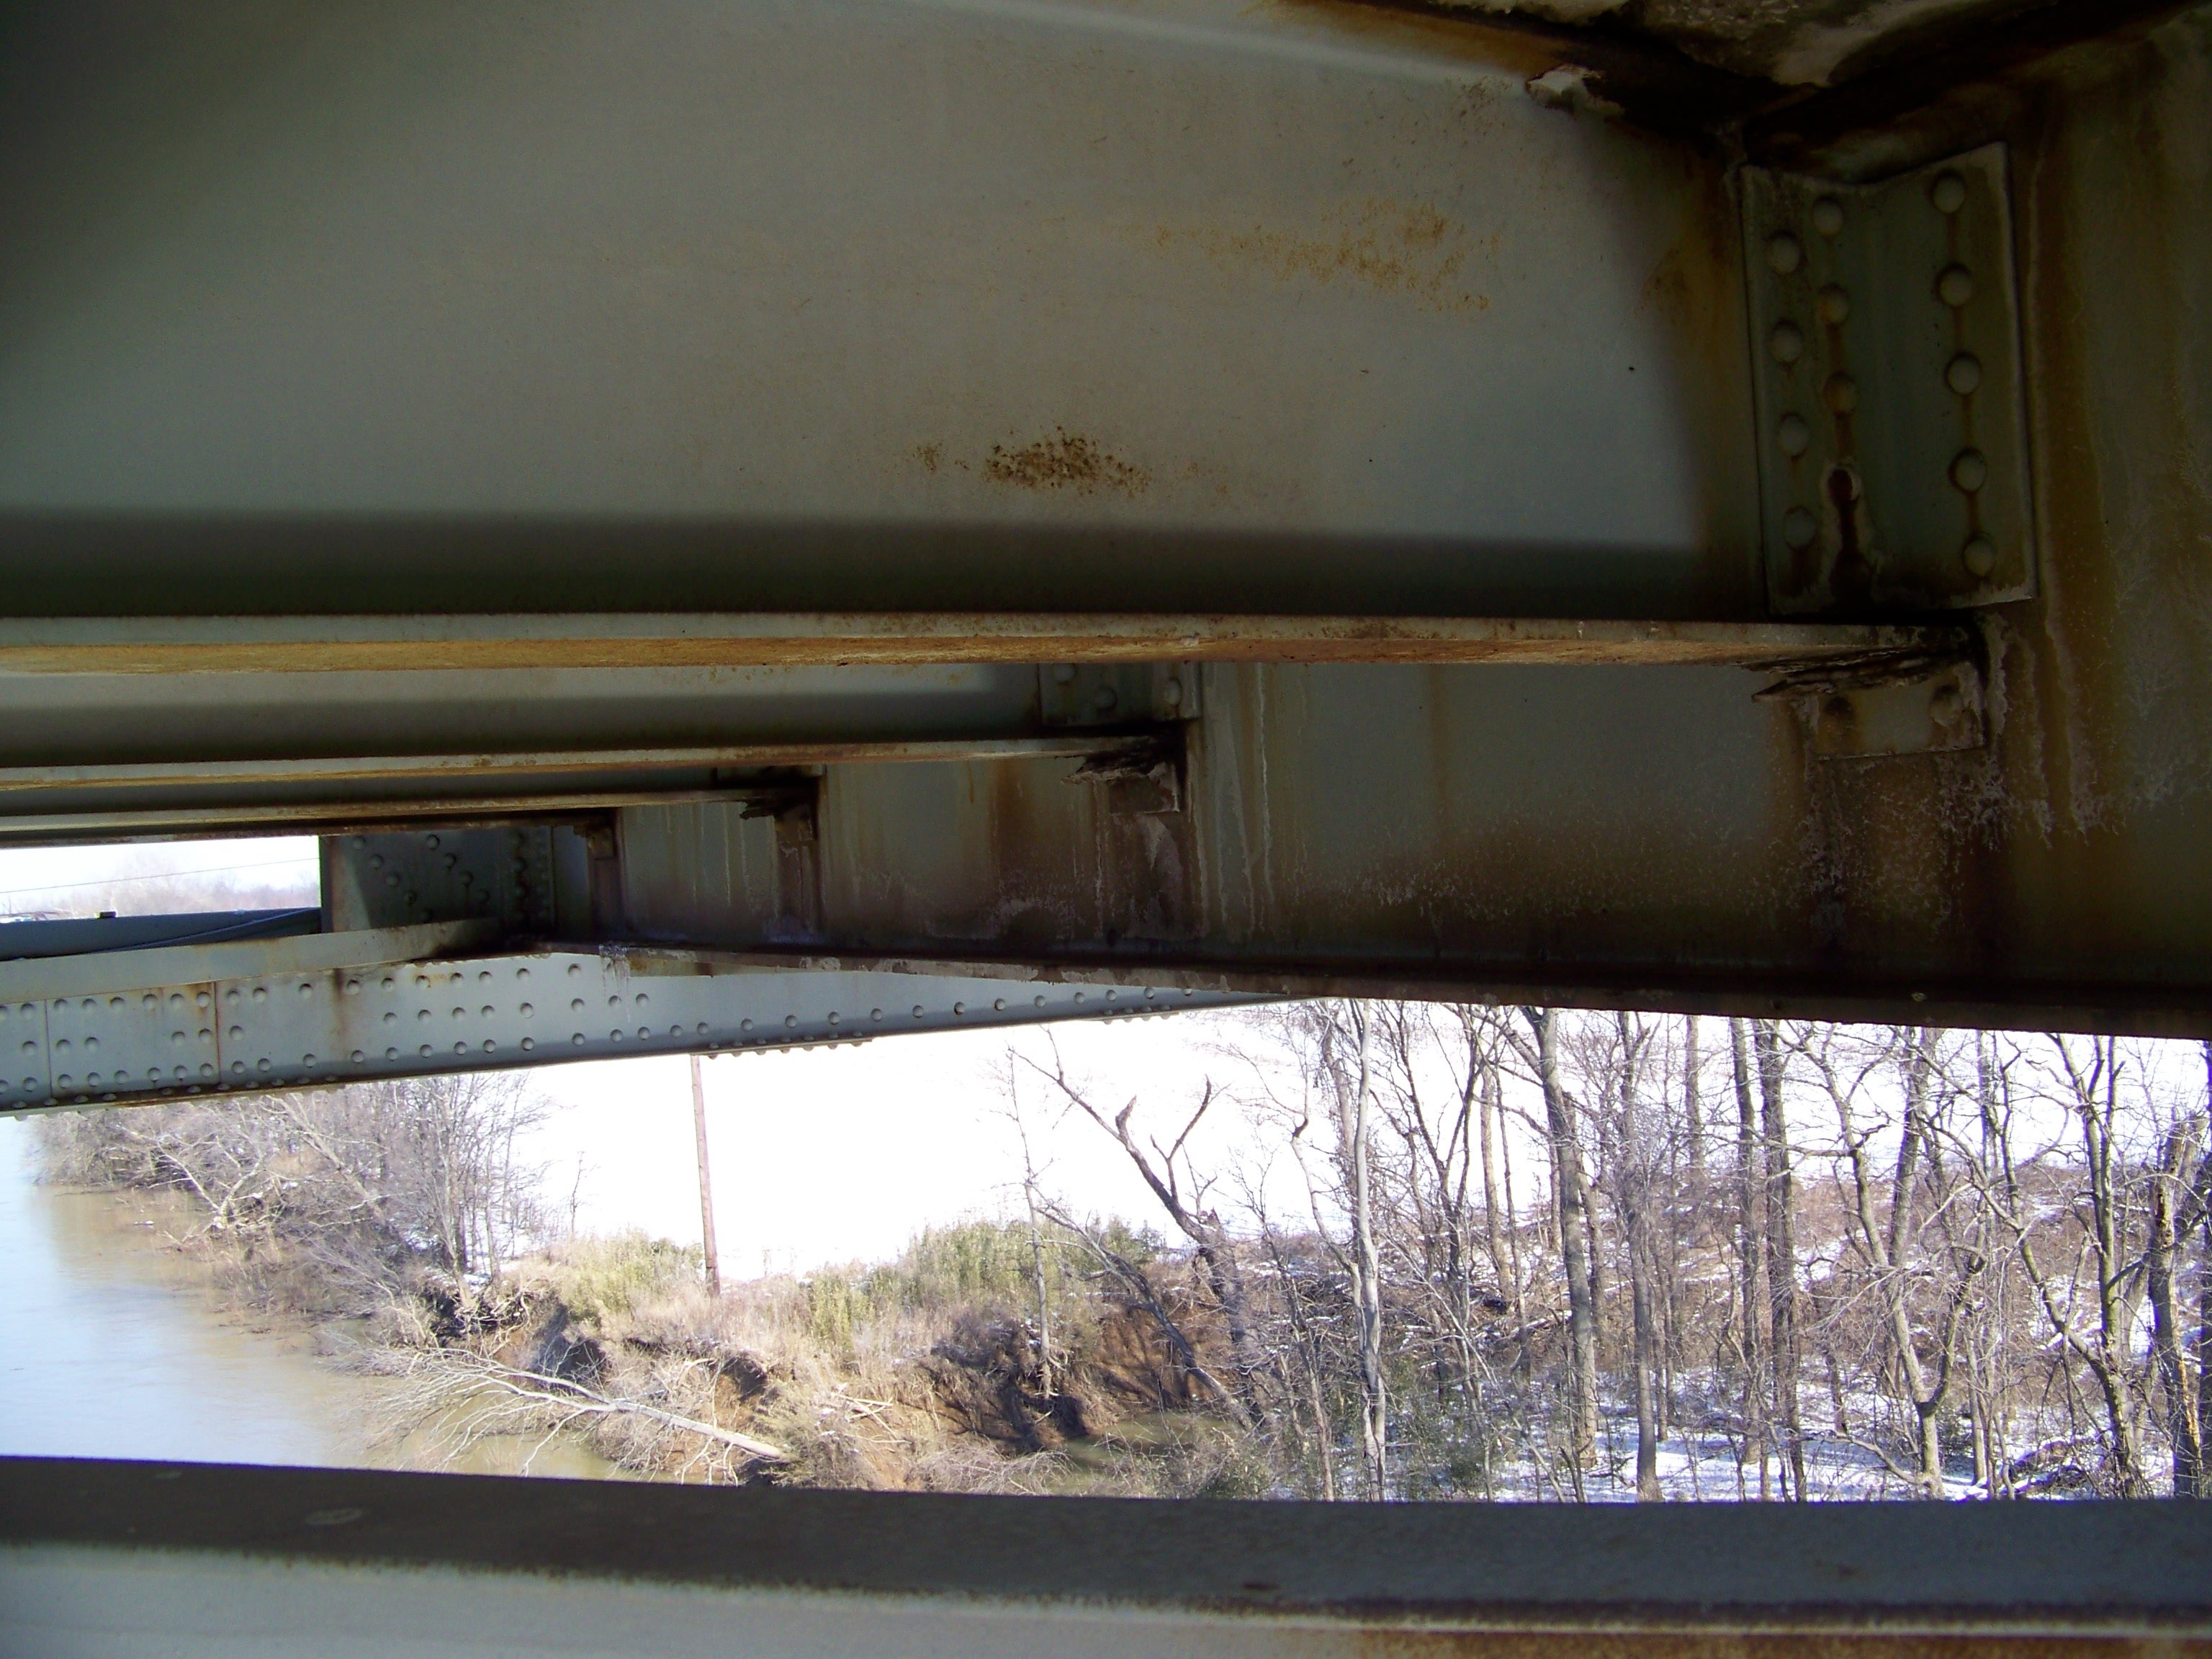

Photo Credit: KYTC
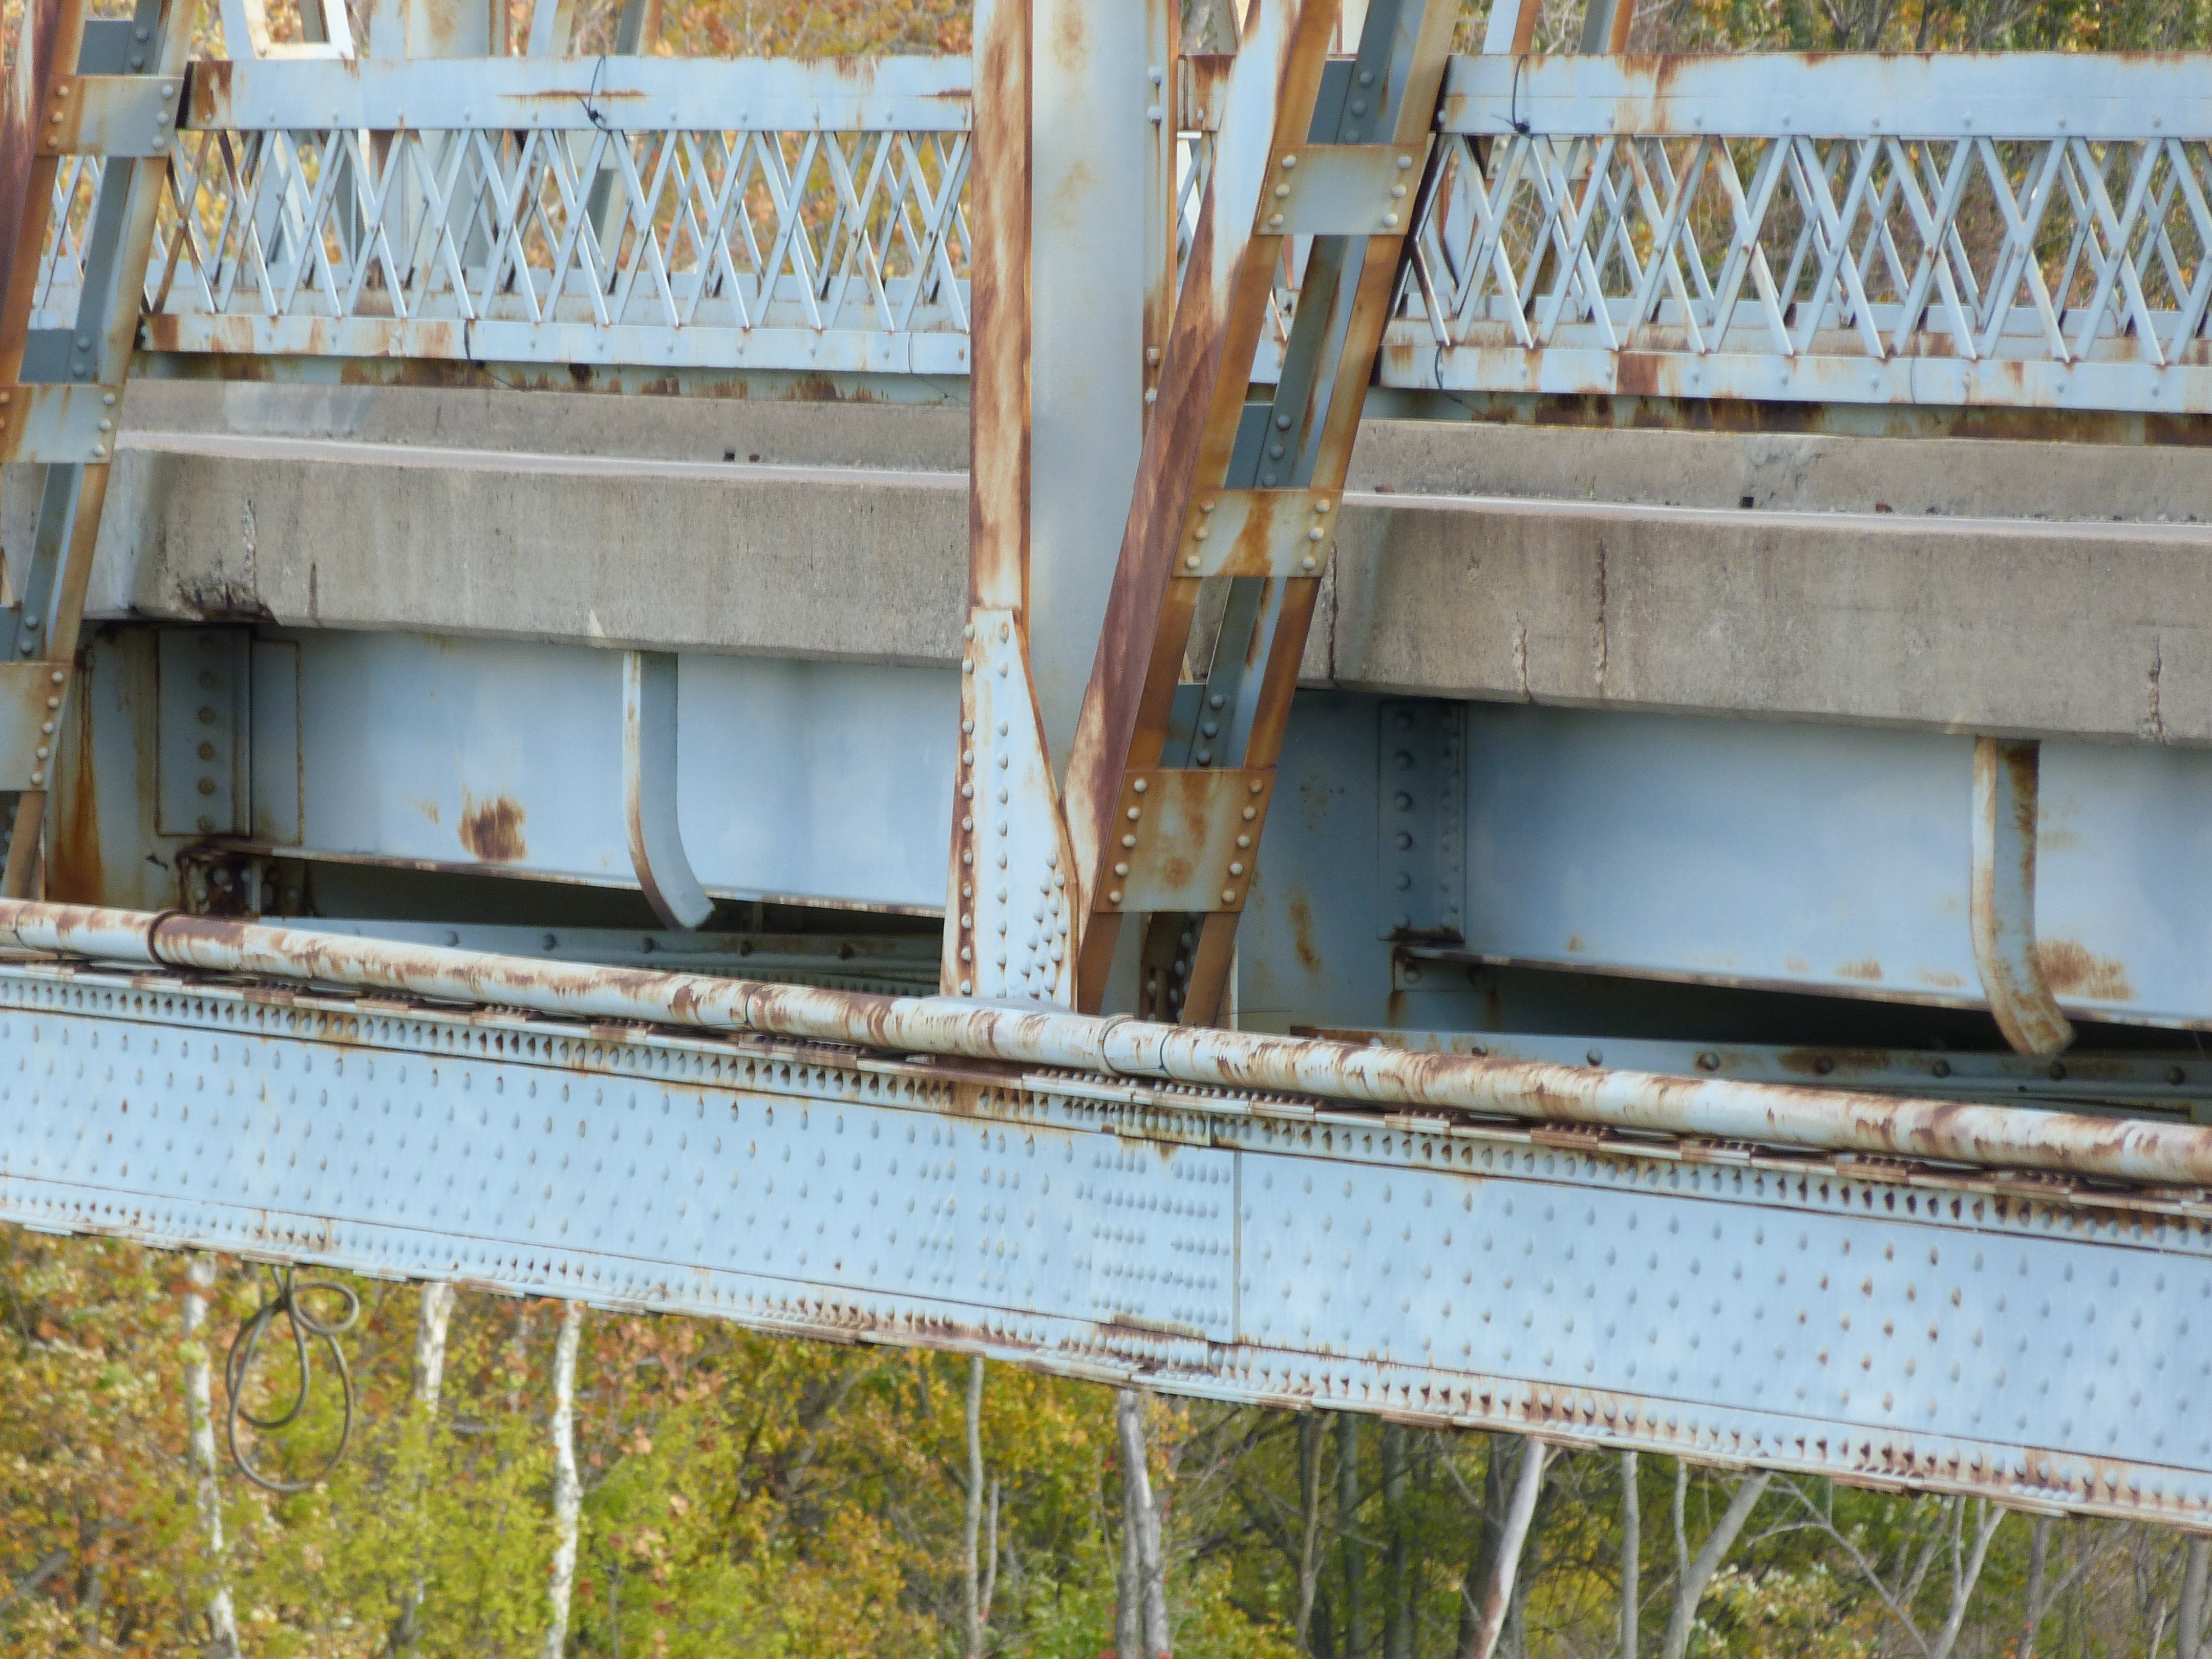
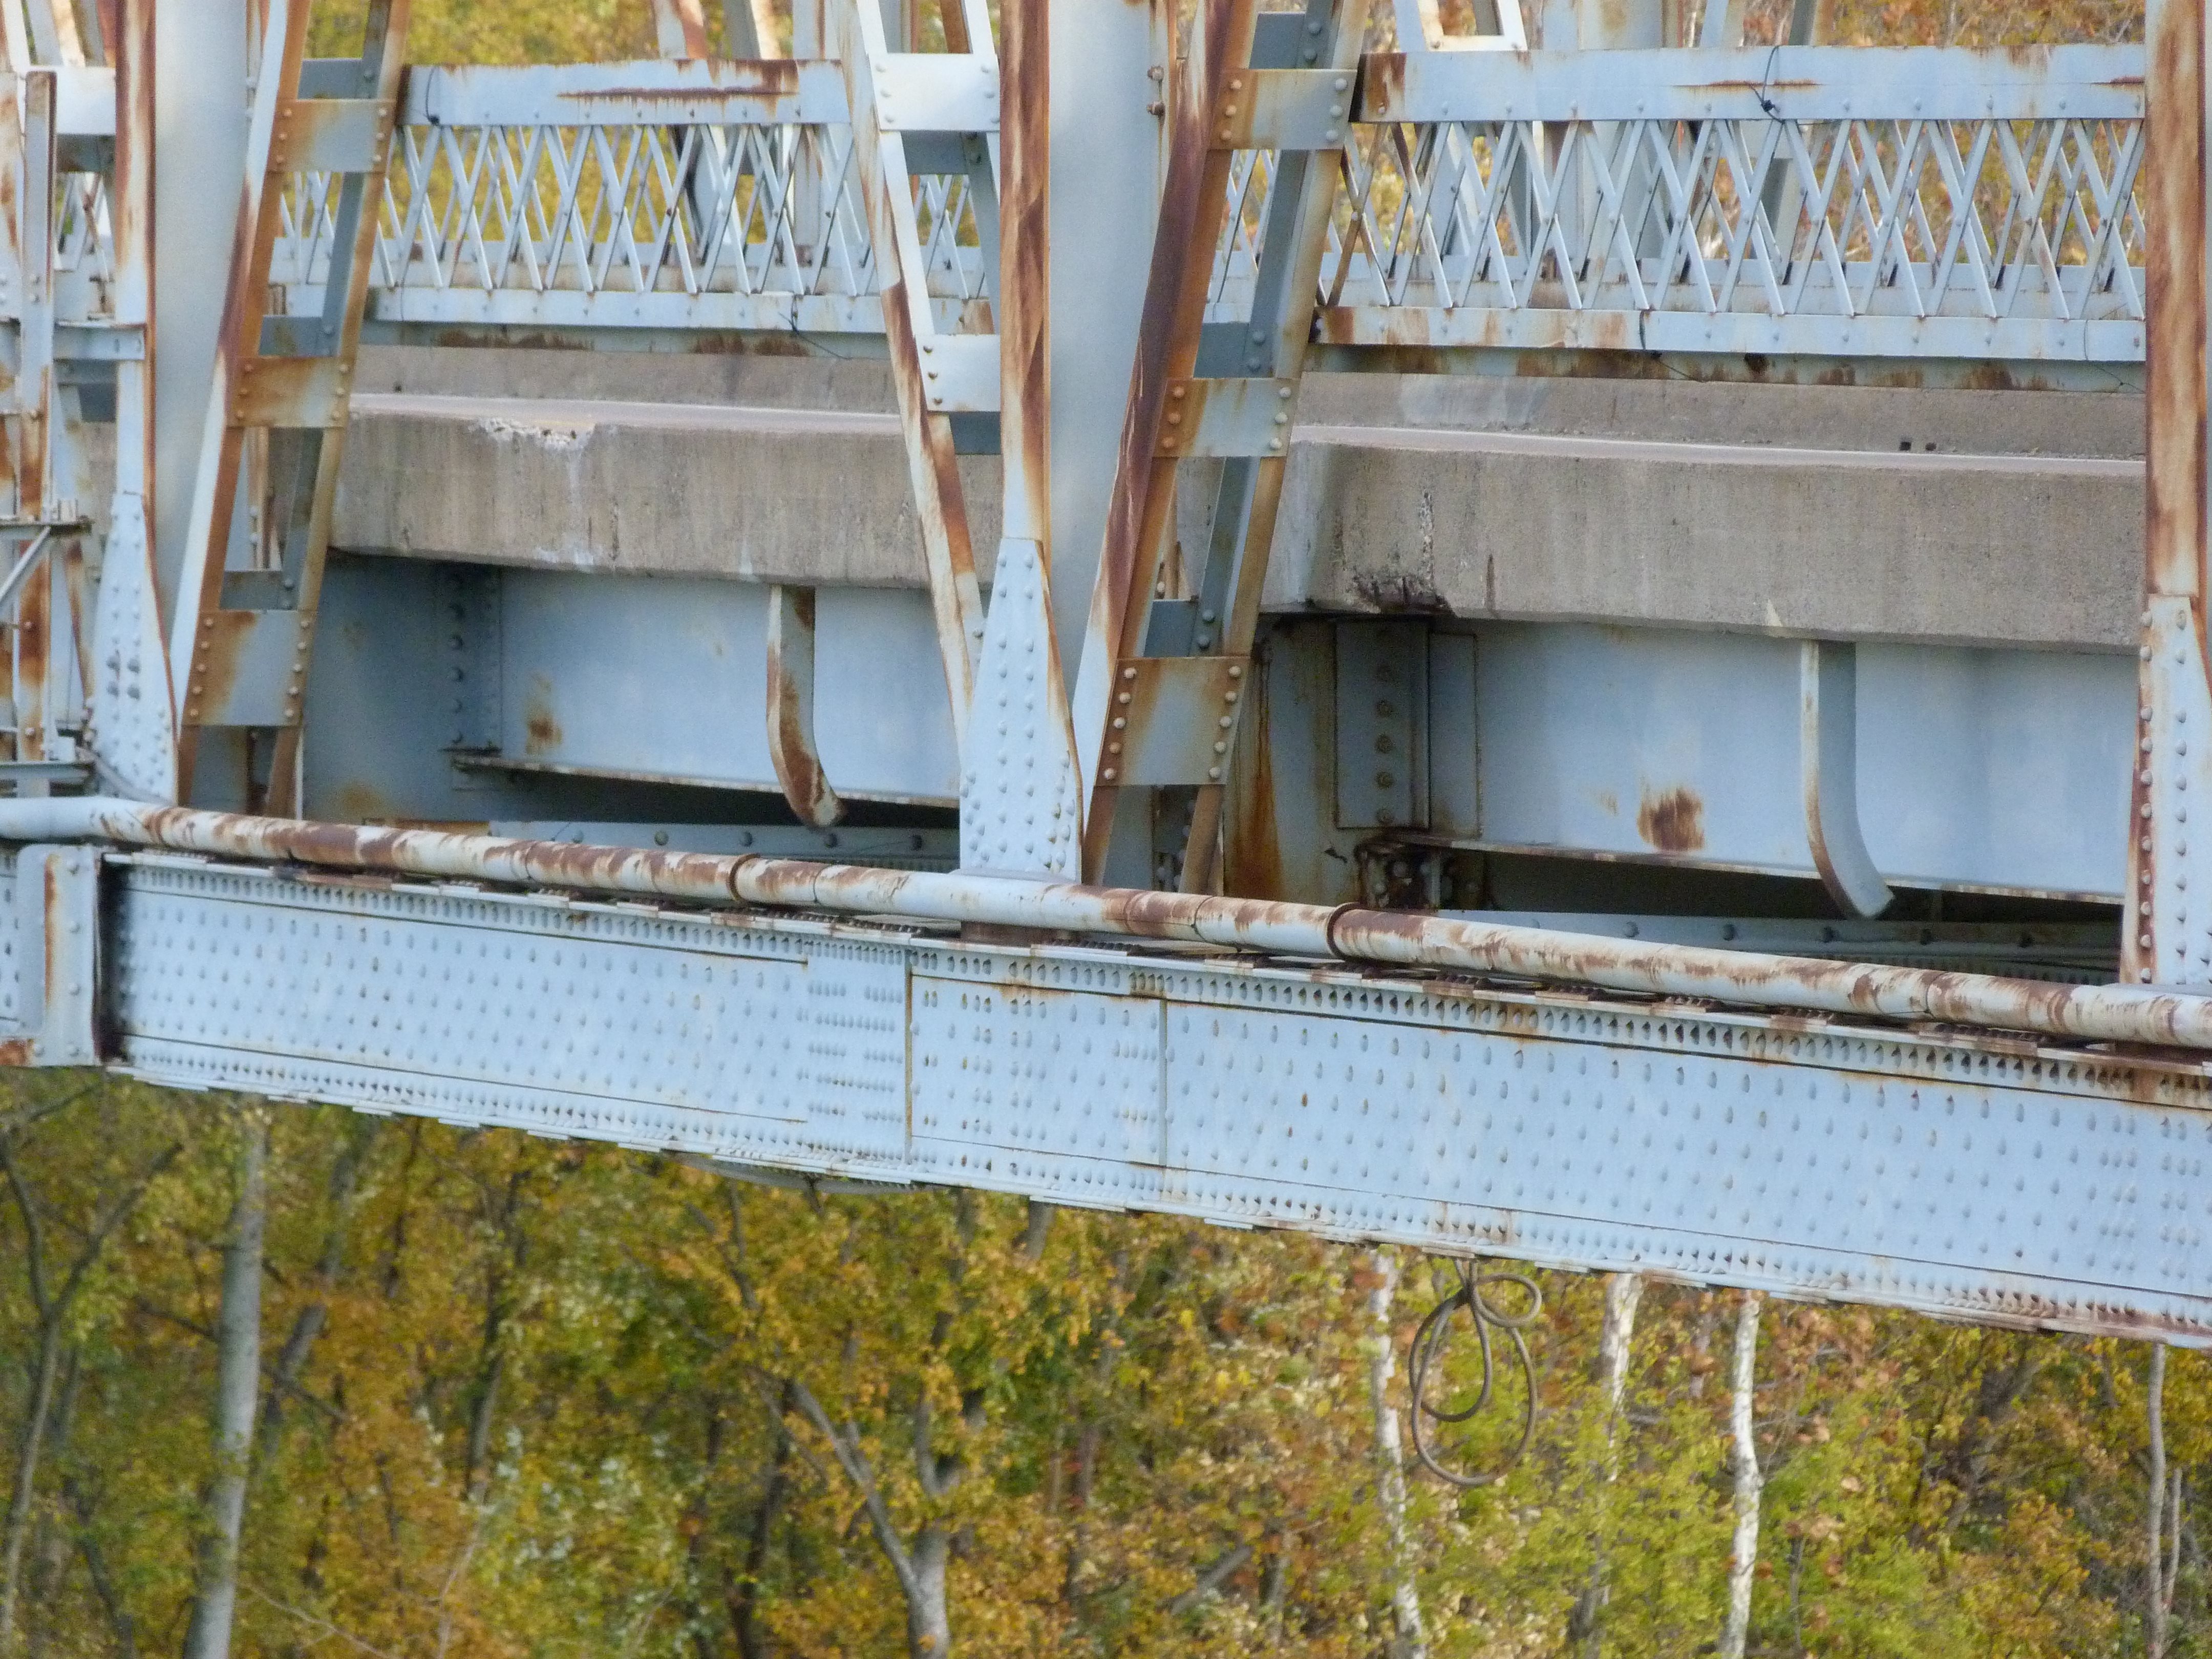
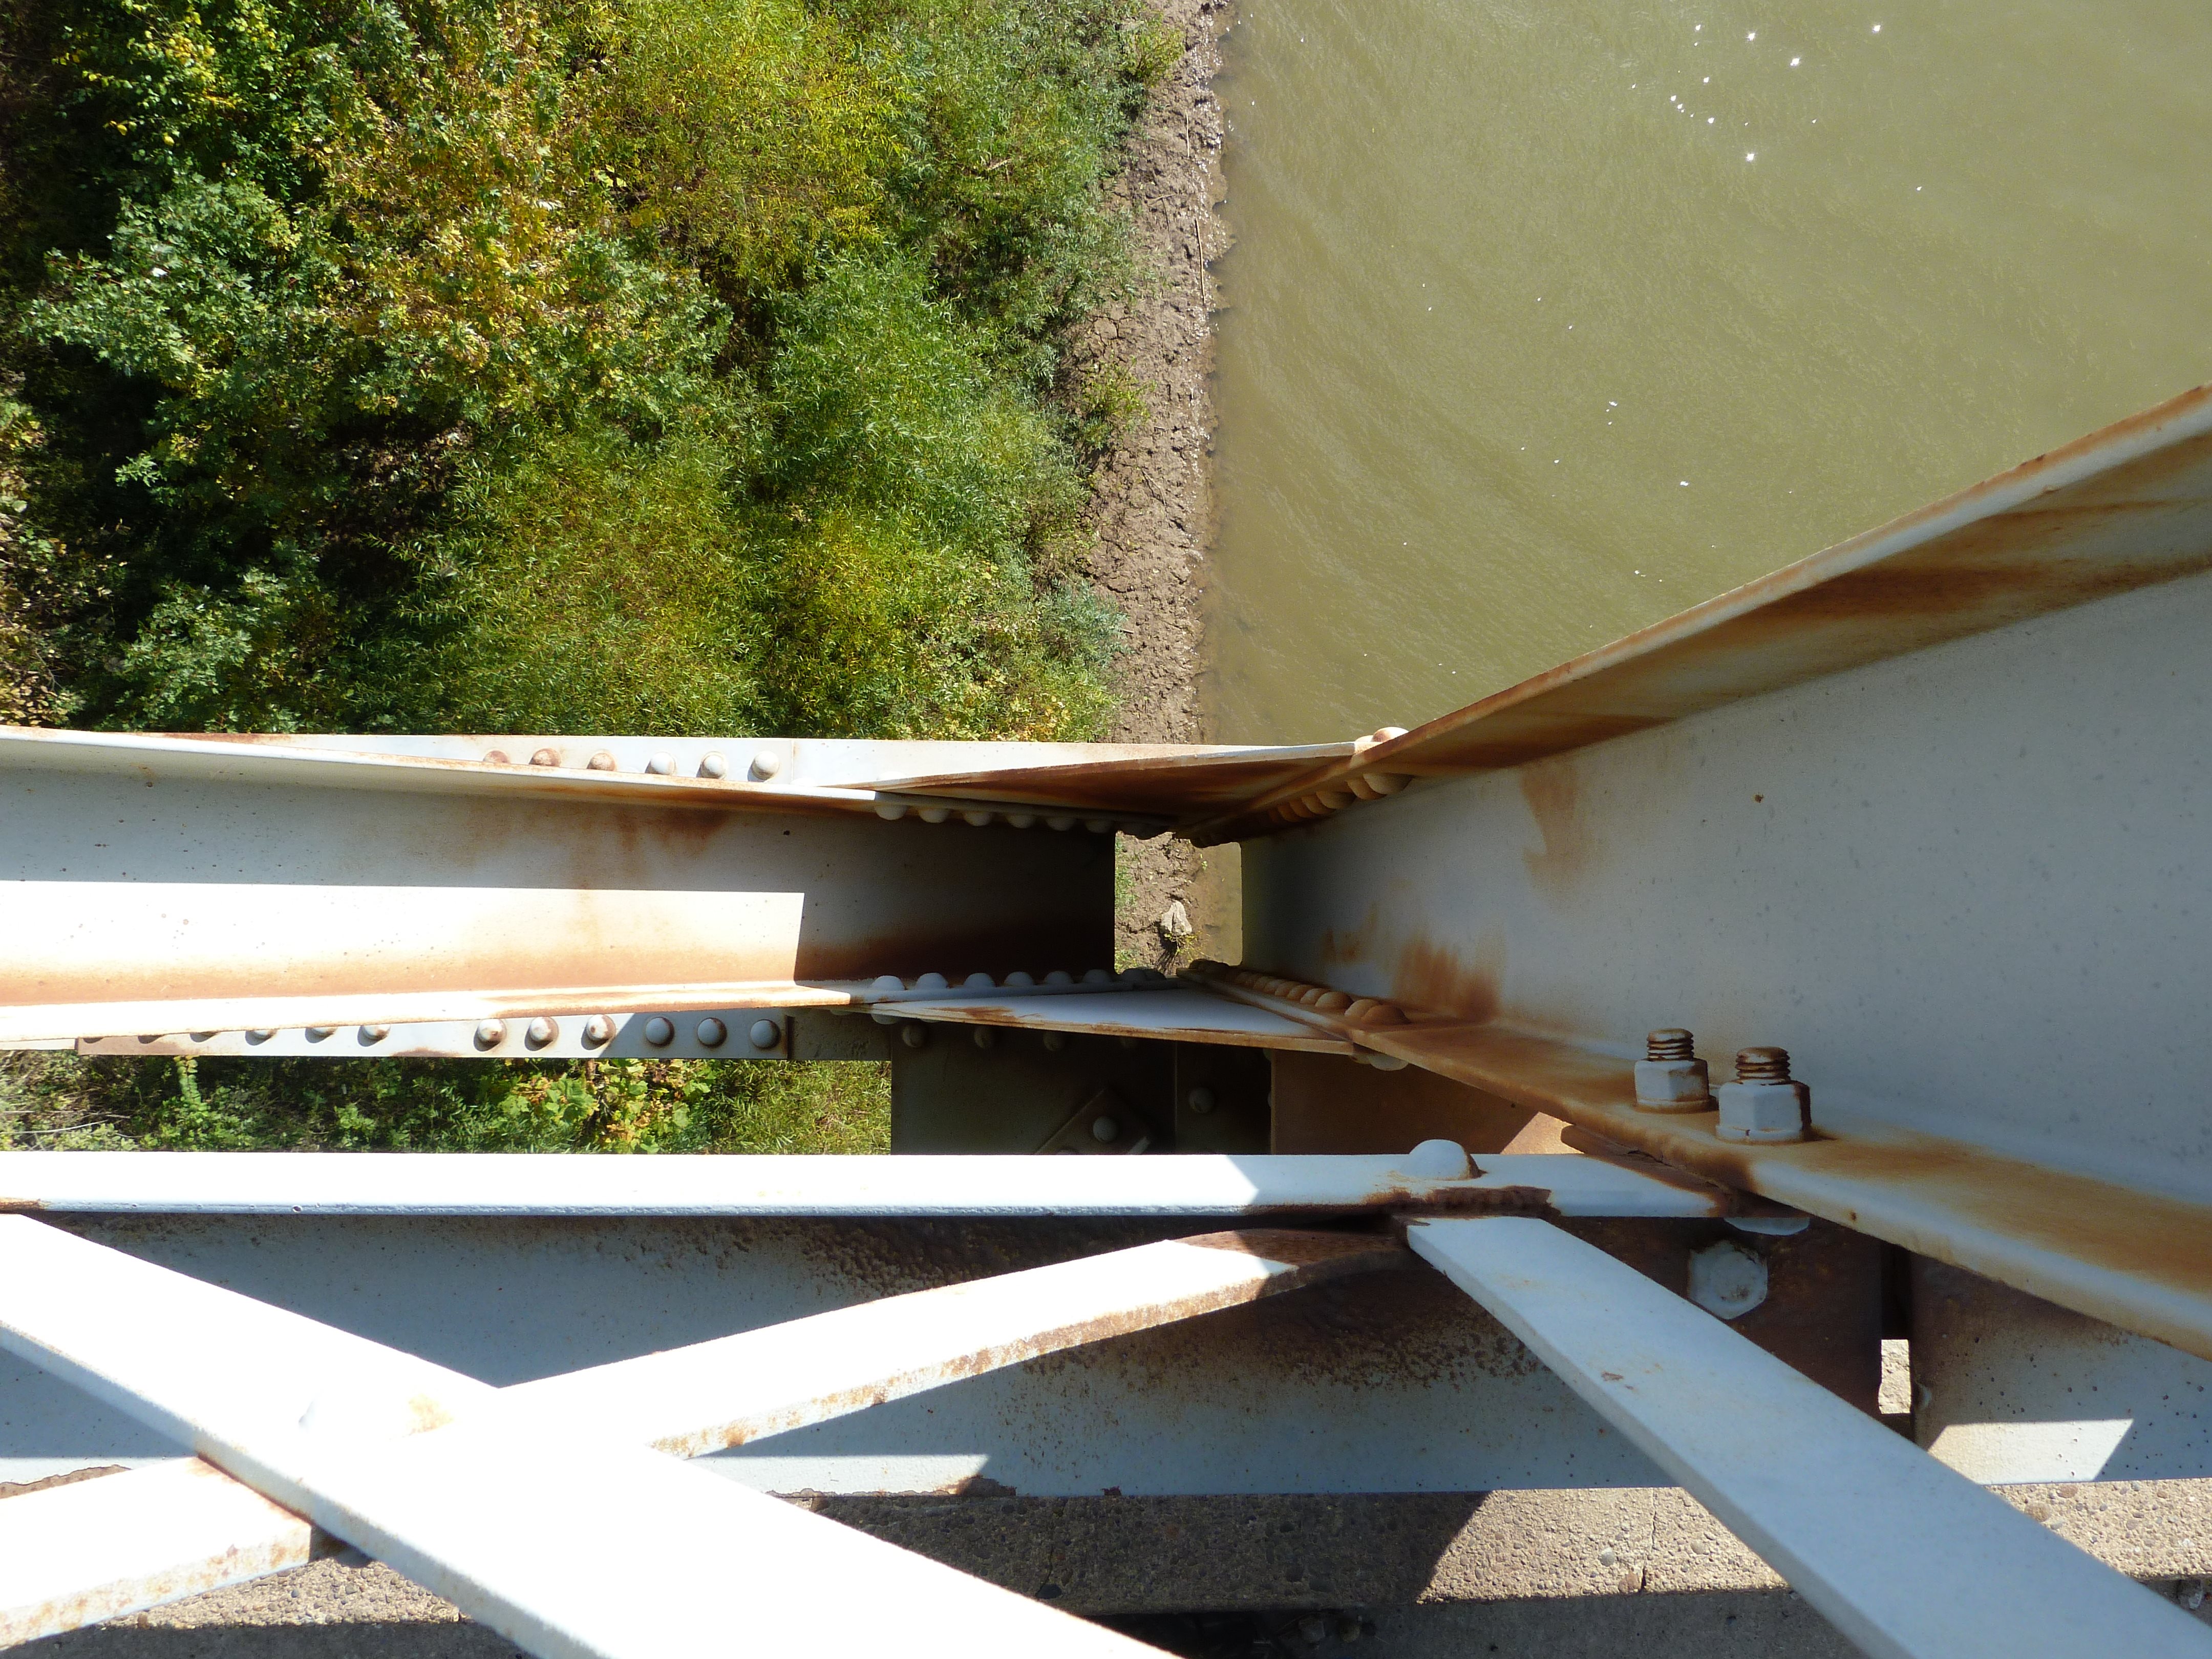
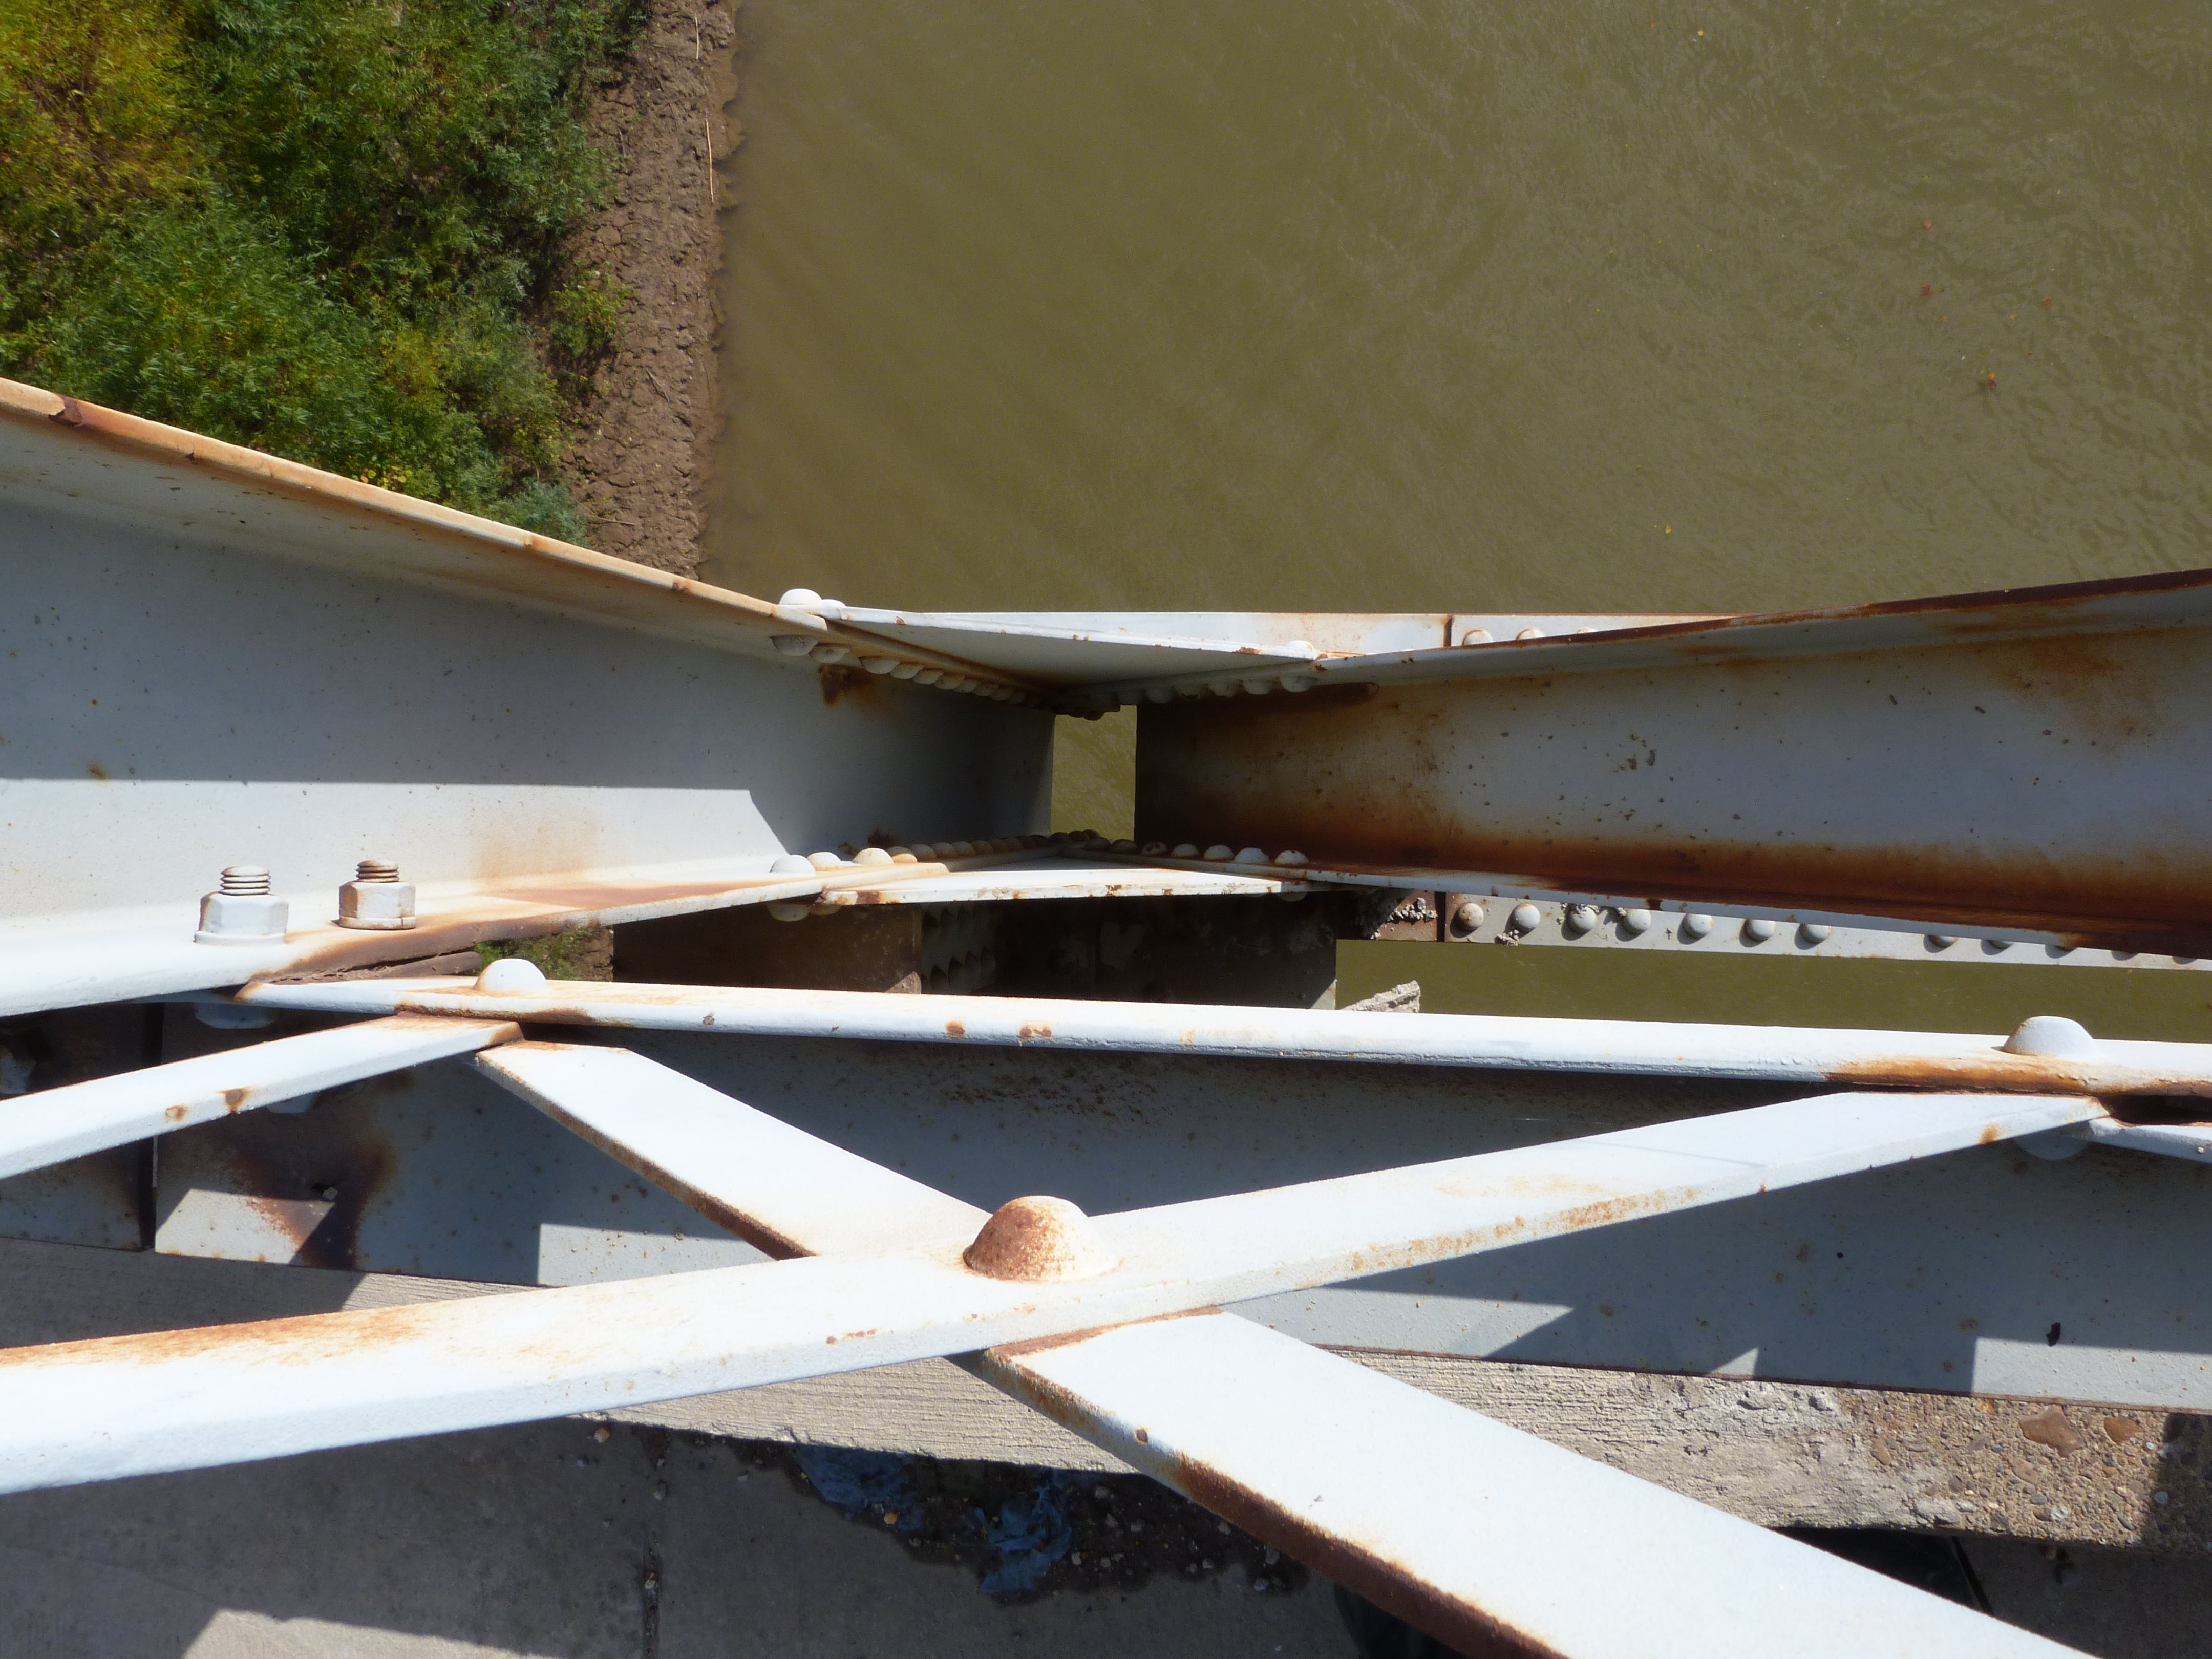
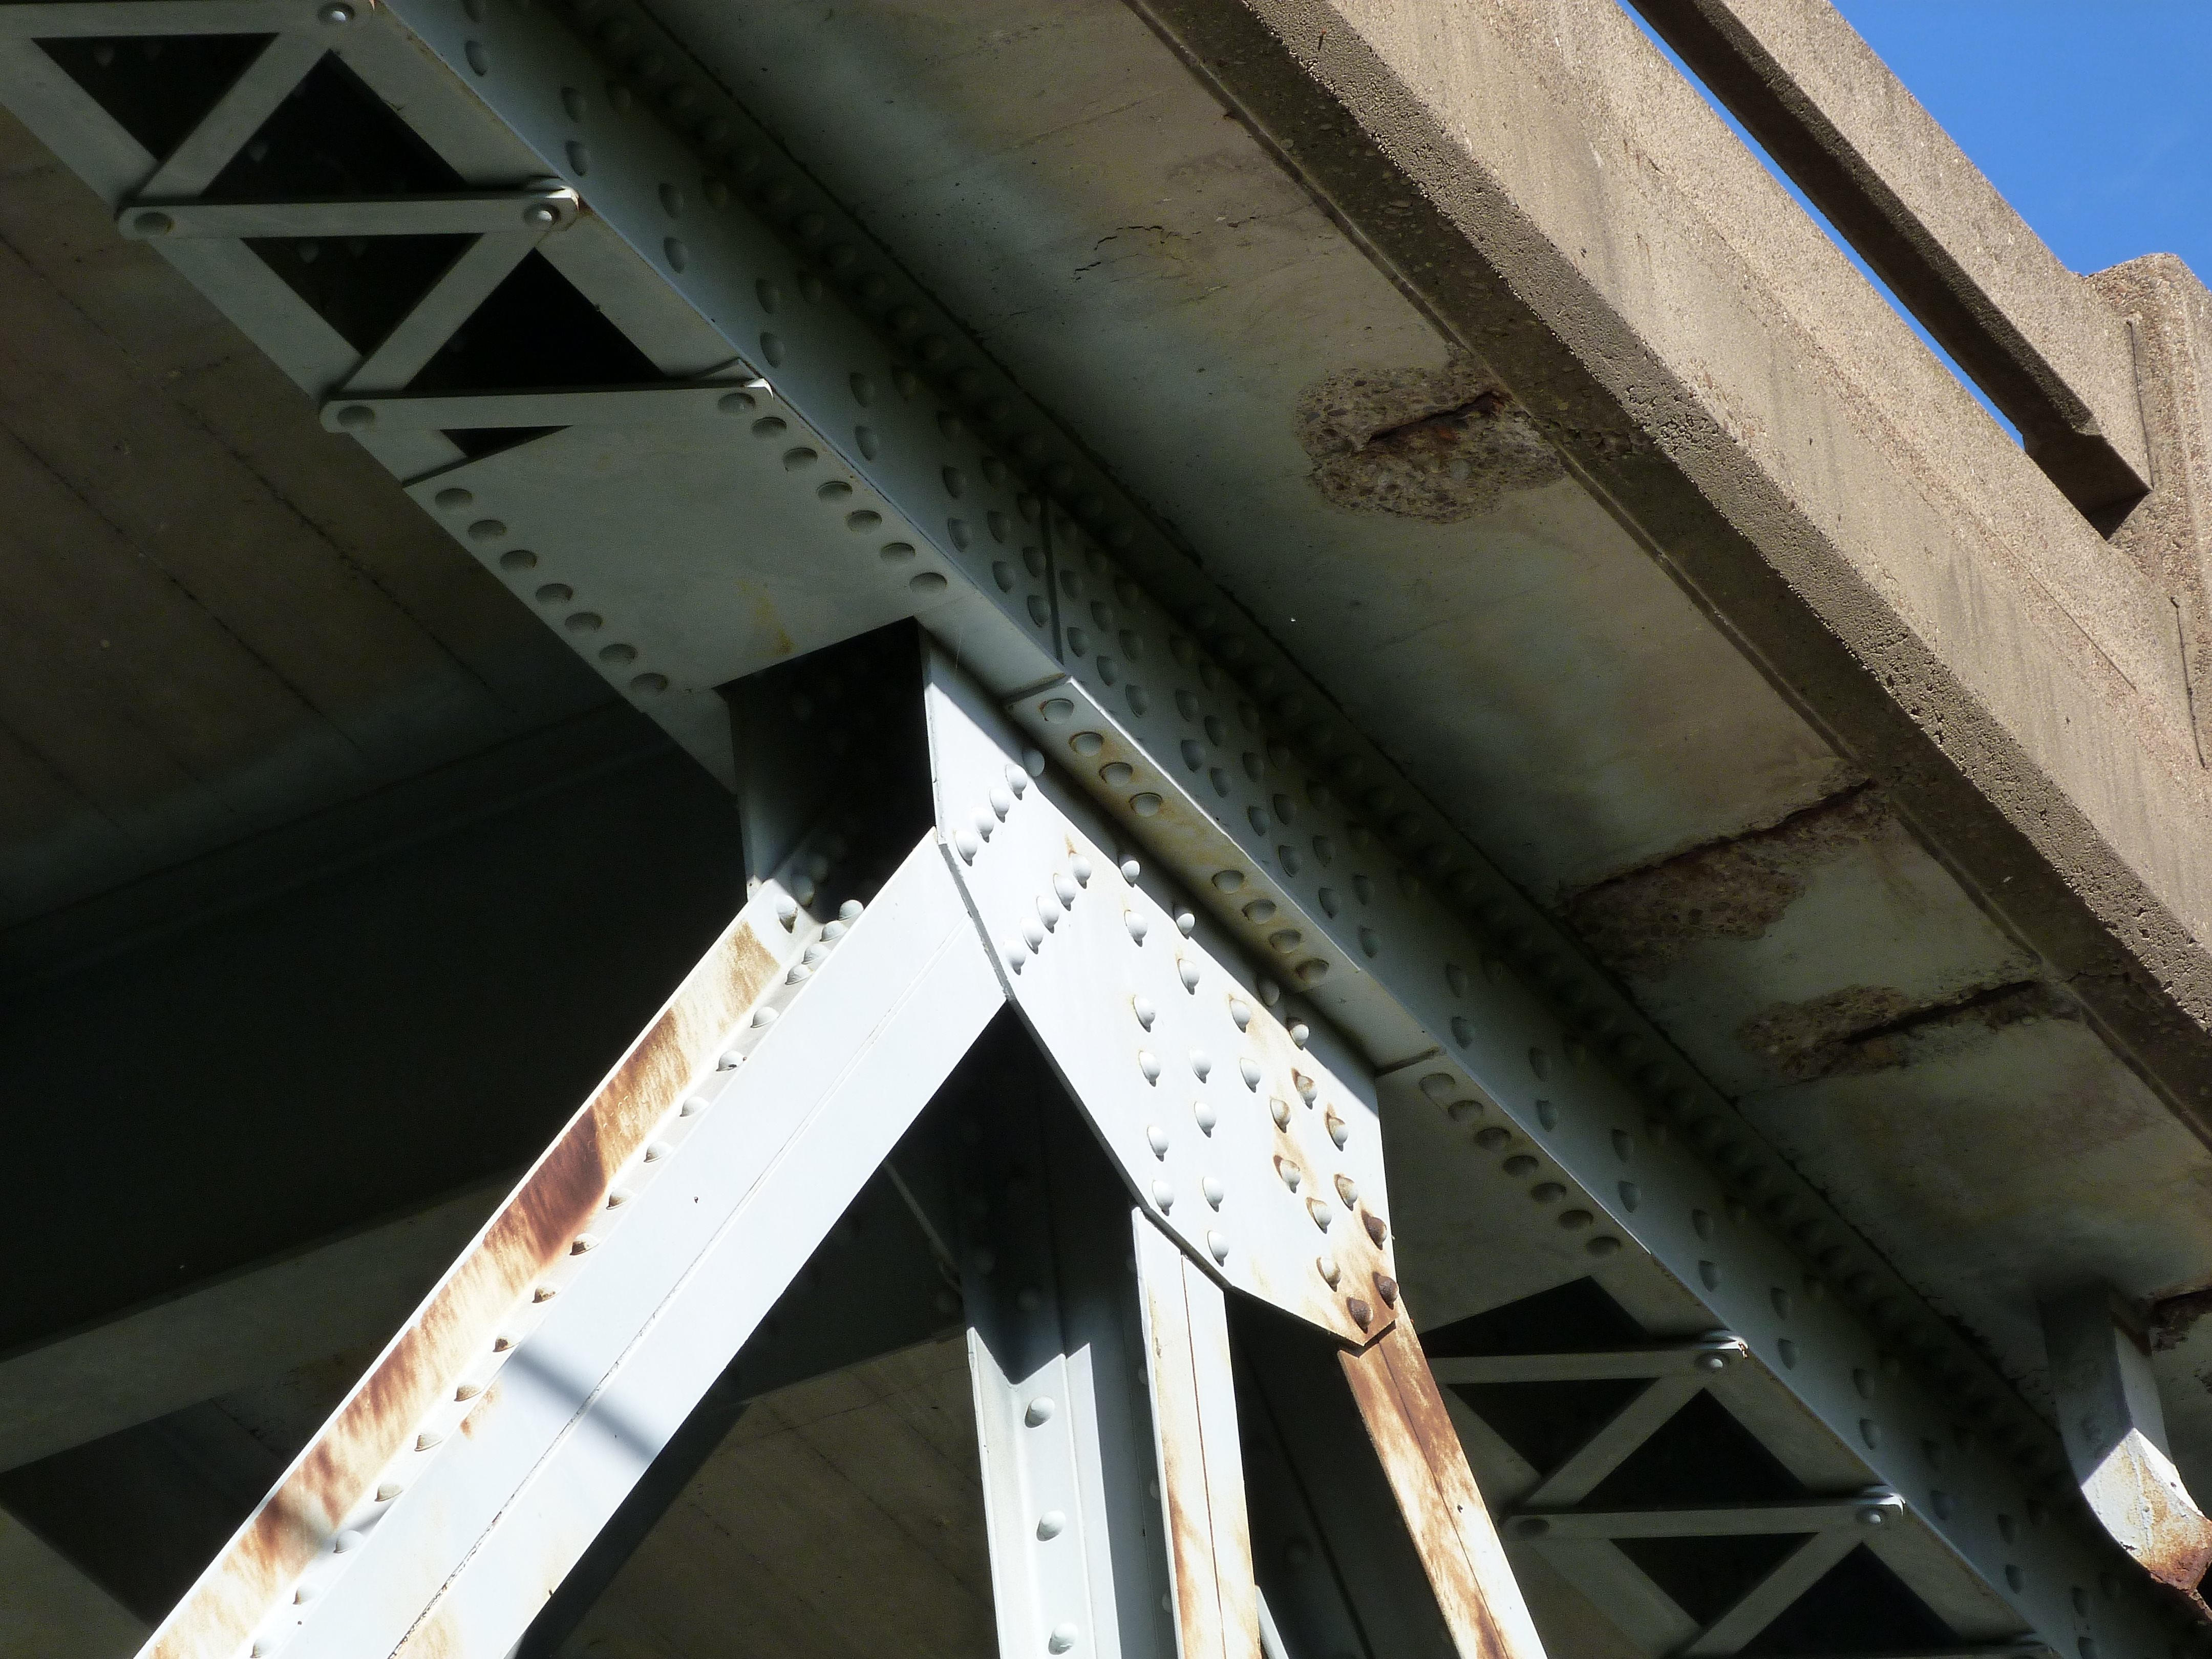
Views under bridge showing floor beams and deck stringers.
![]()
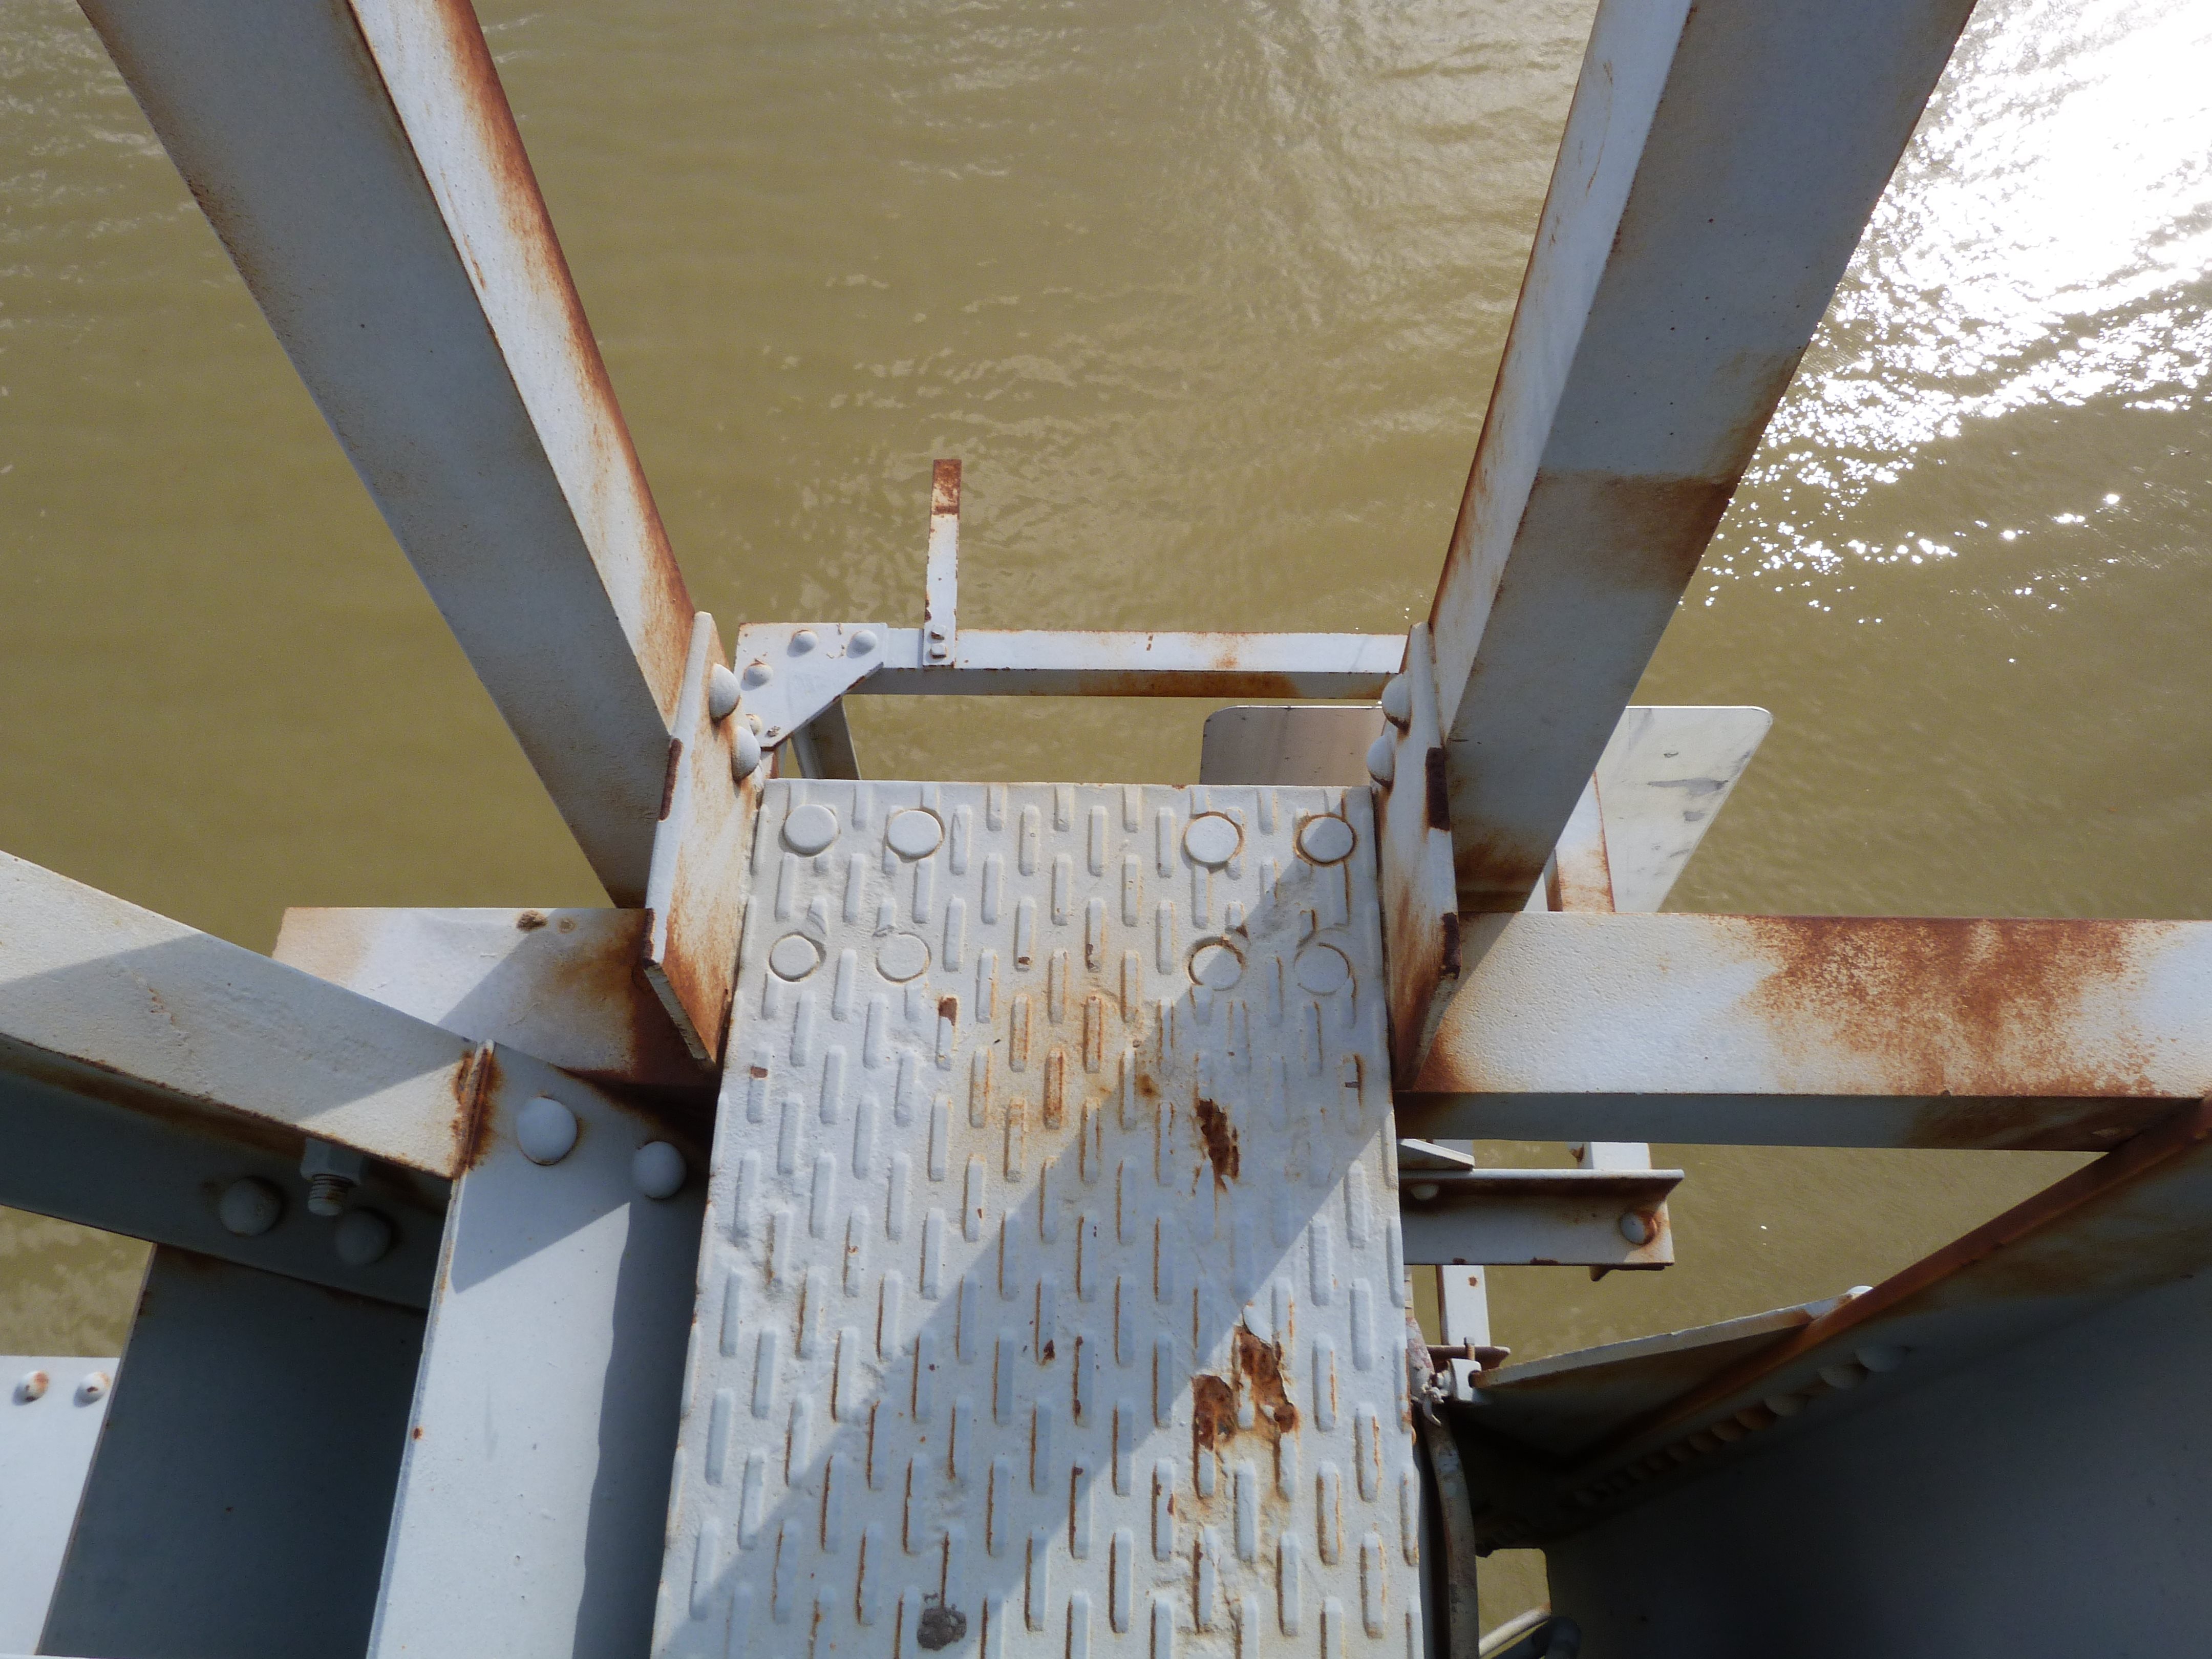


Platforms.
![]()


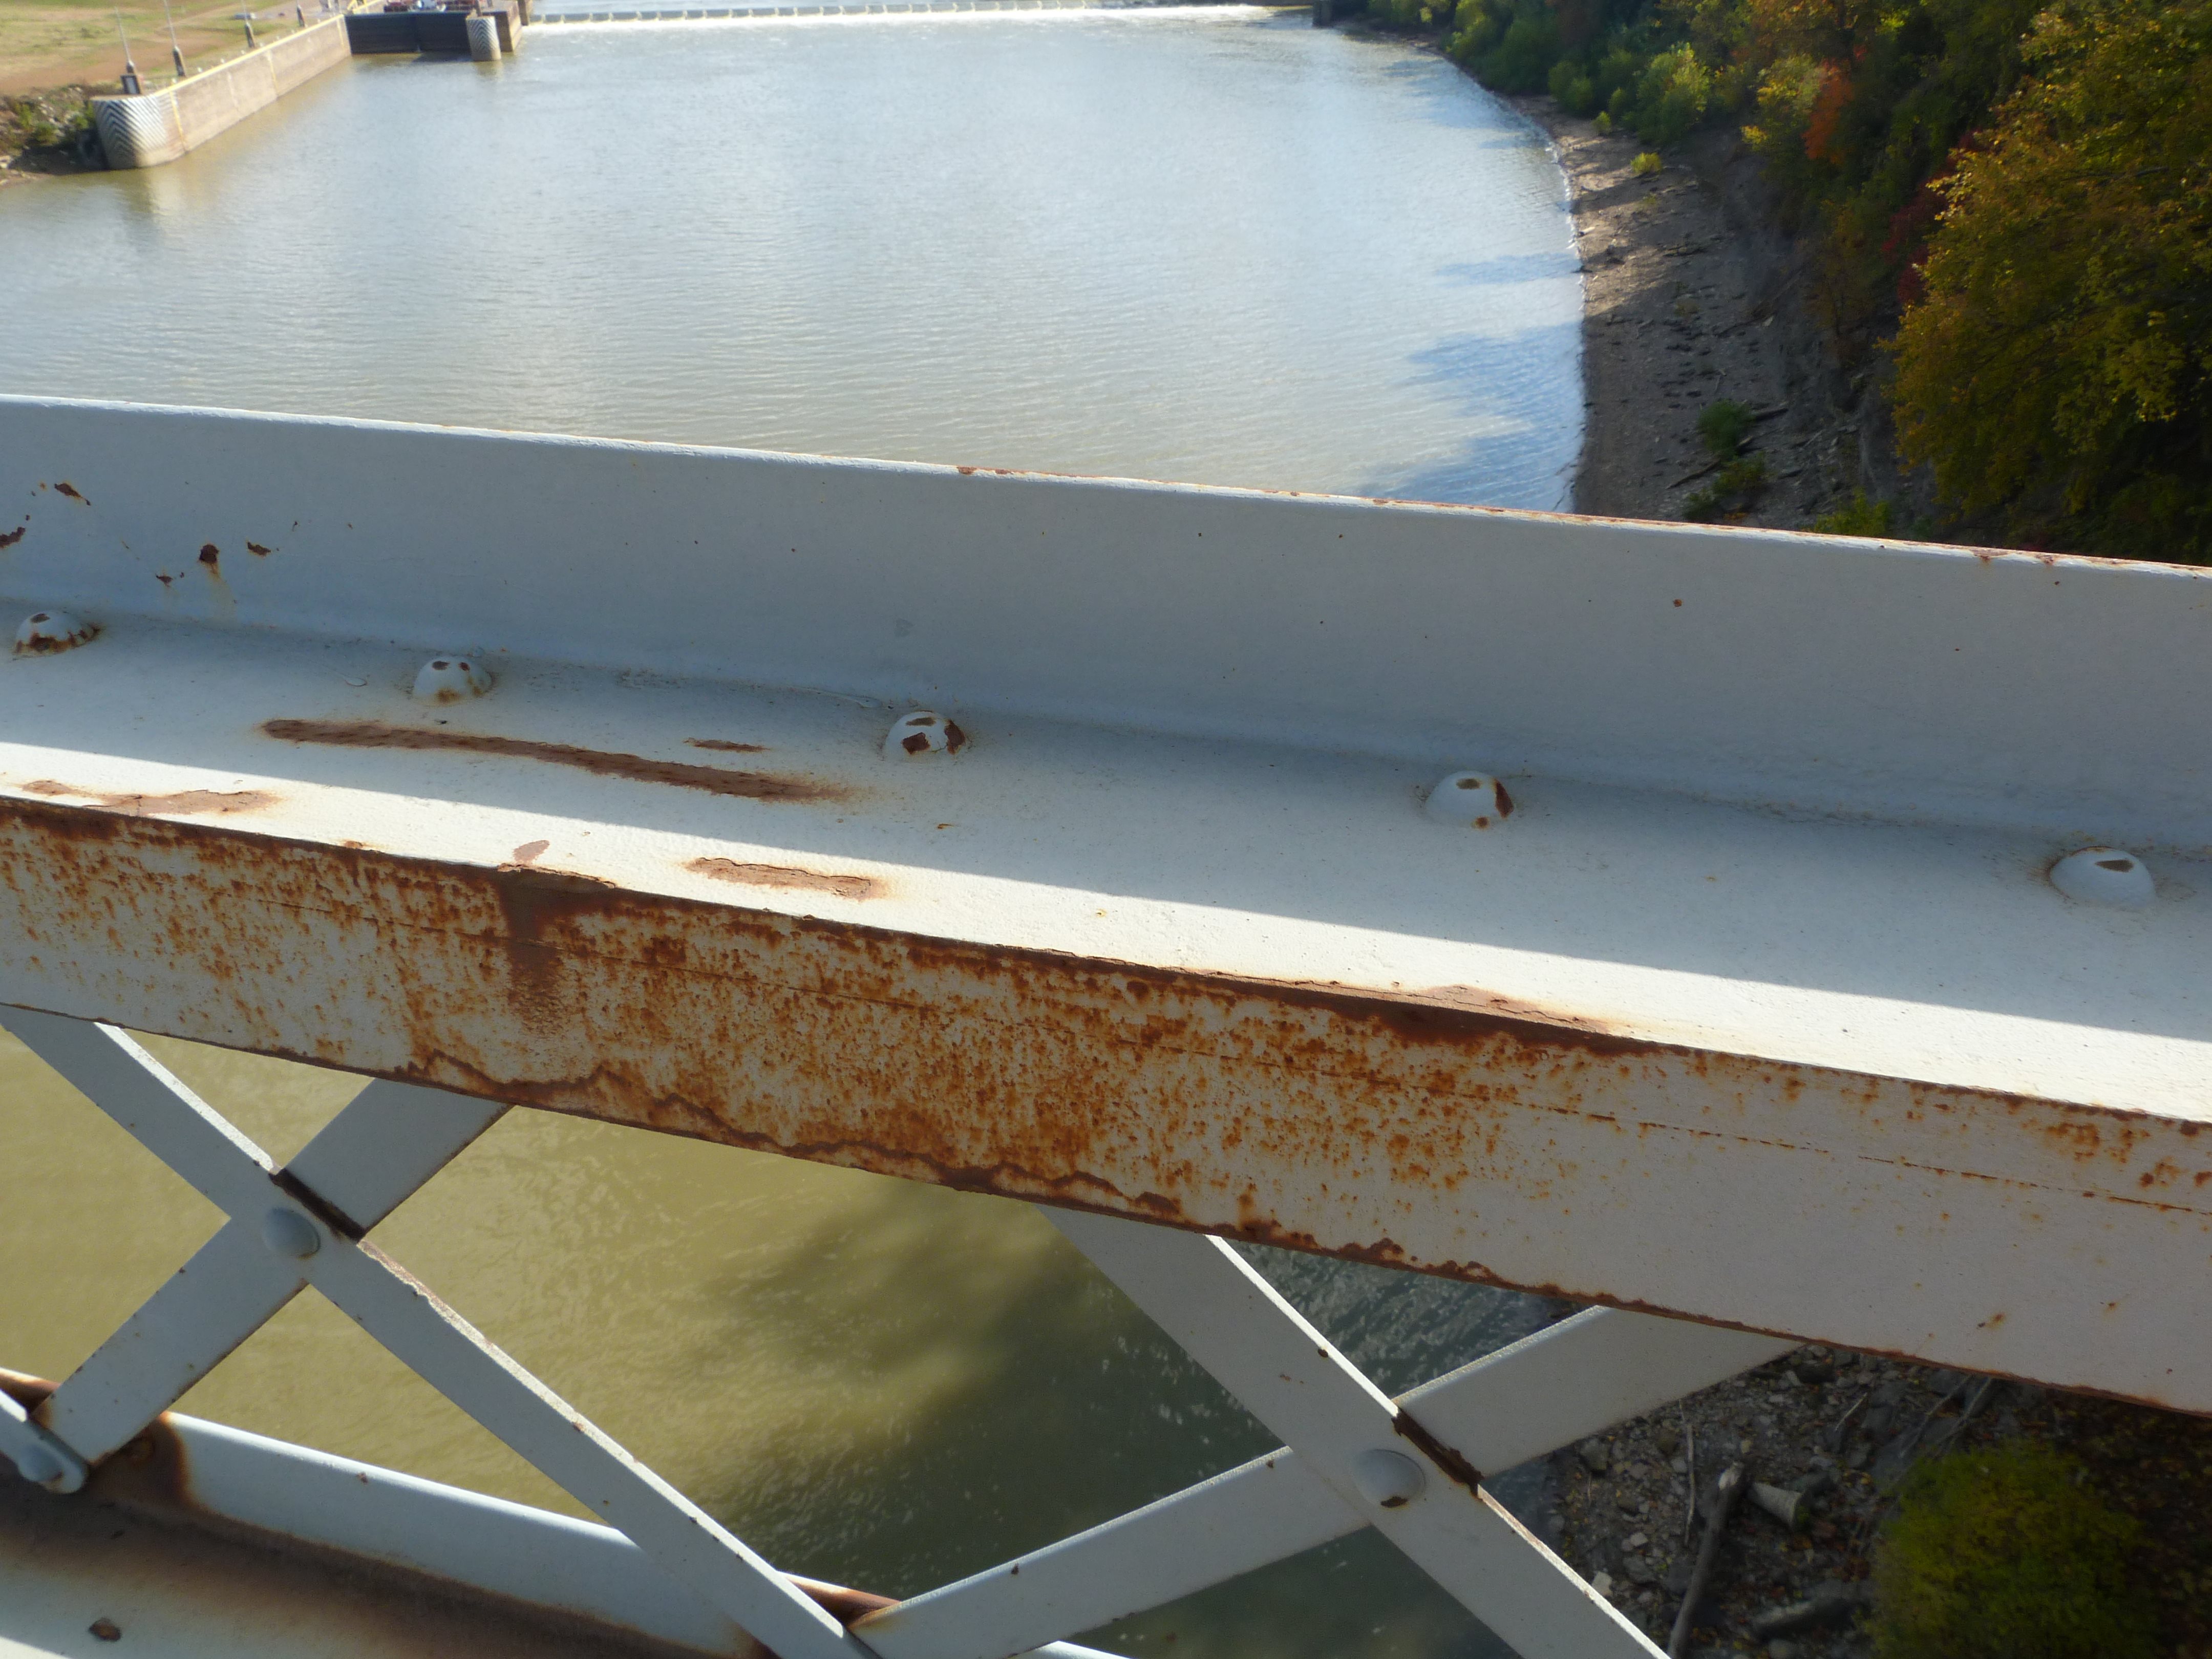

Railing.
![]()

Deck.
![]()


Bearing.
![]()

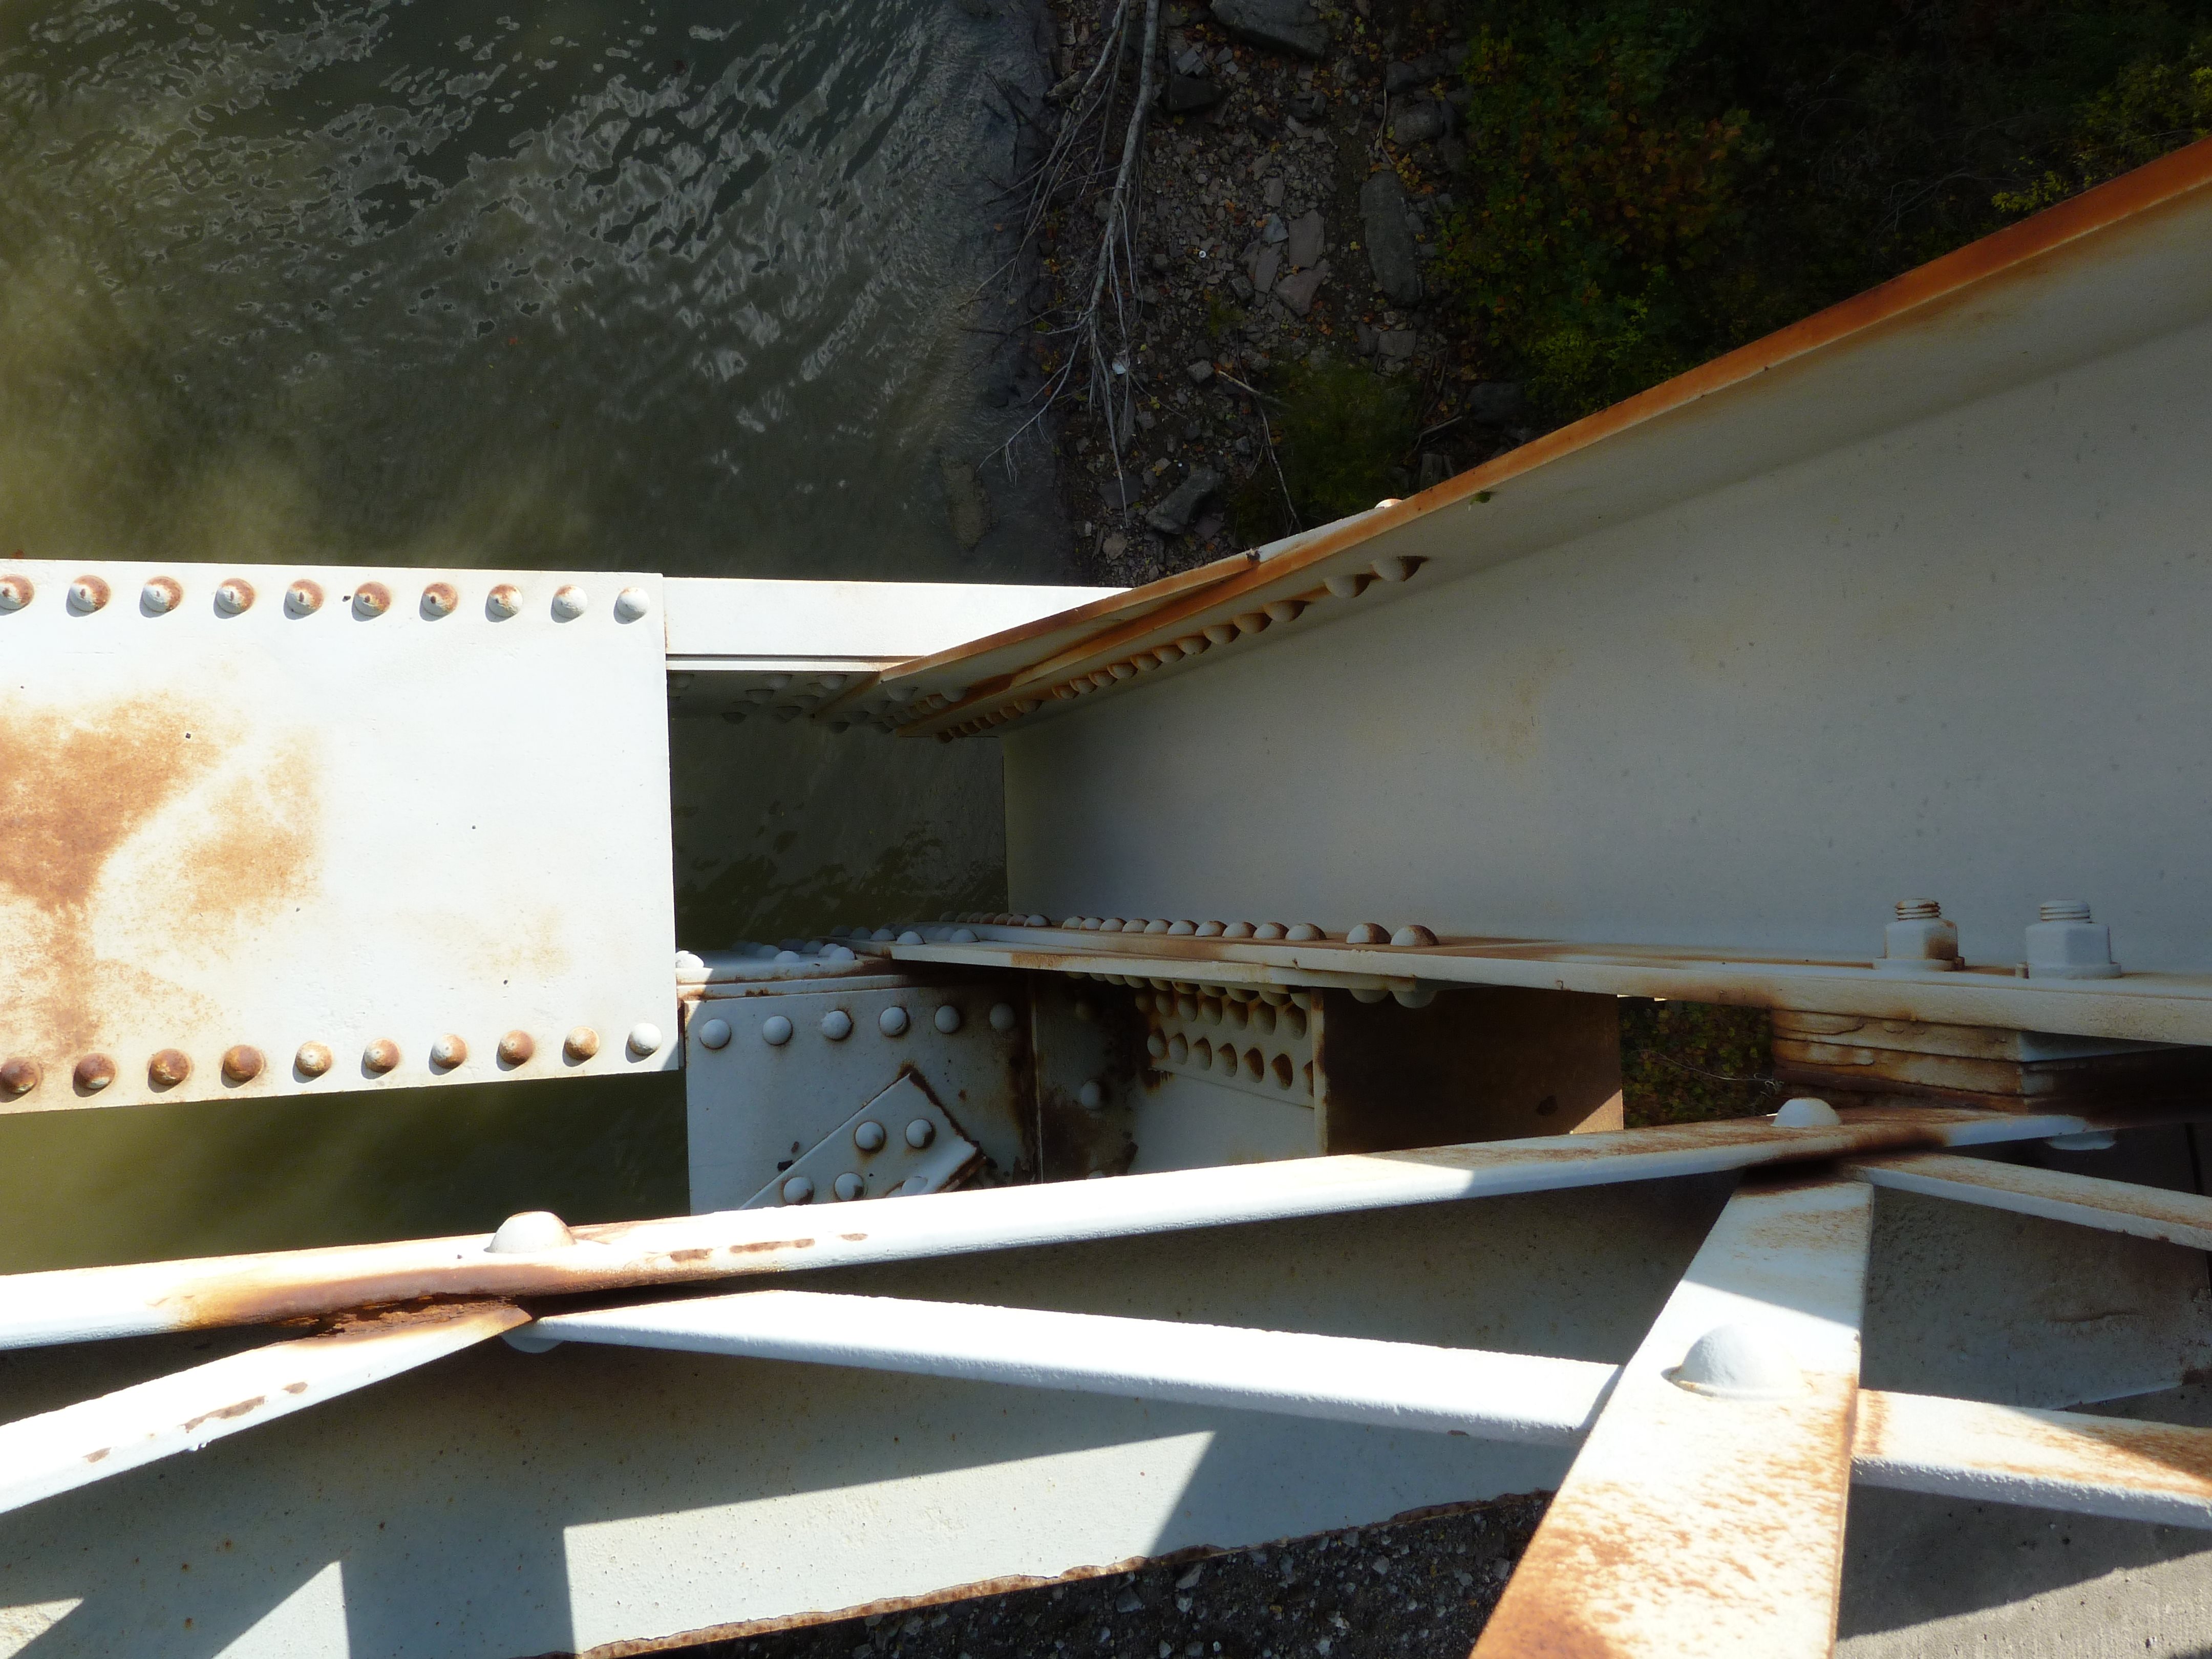
Pier.
![]()
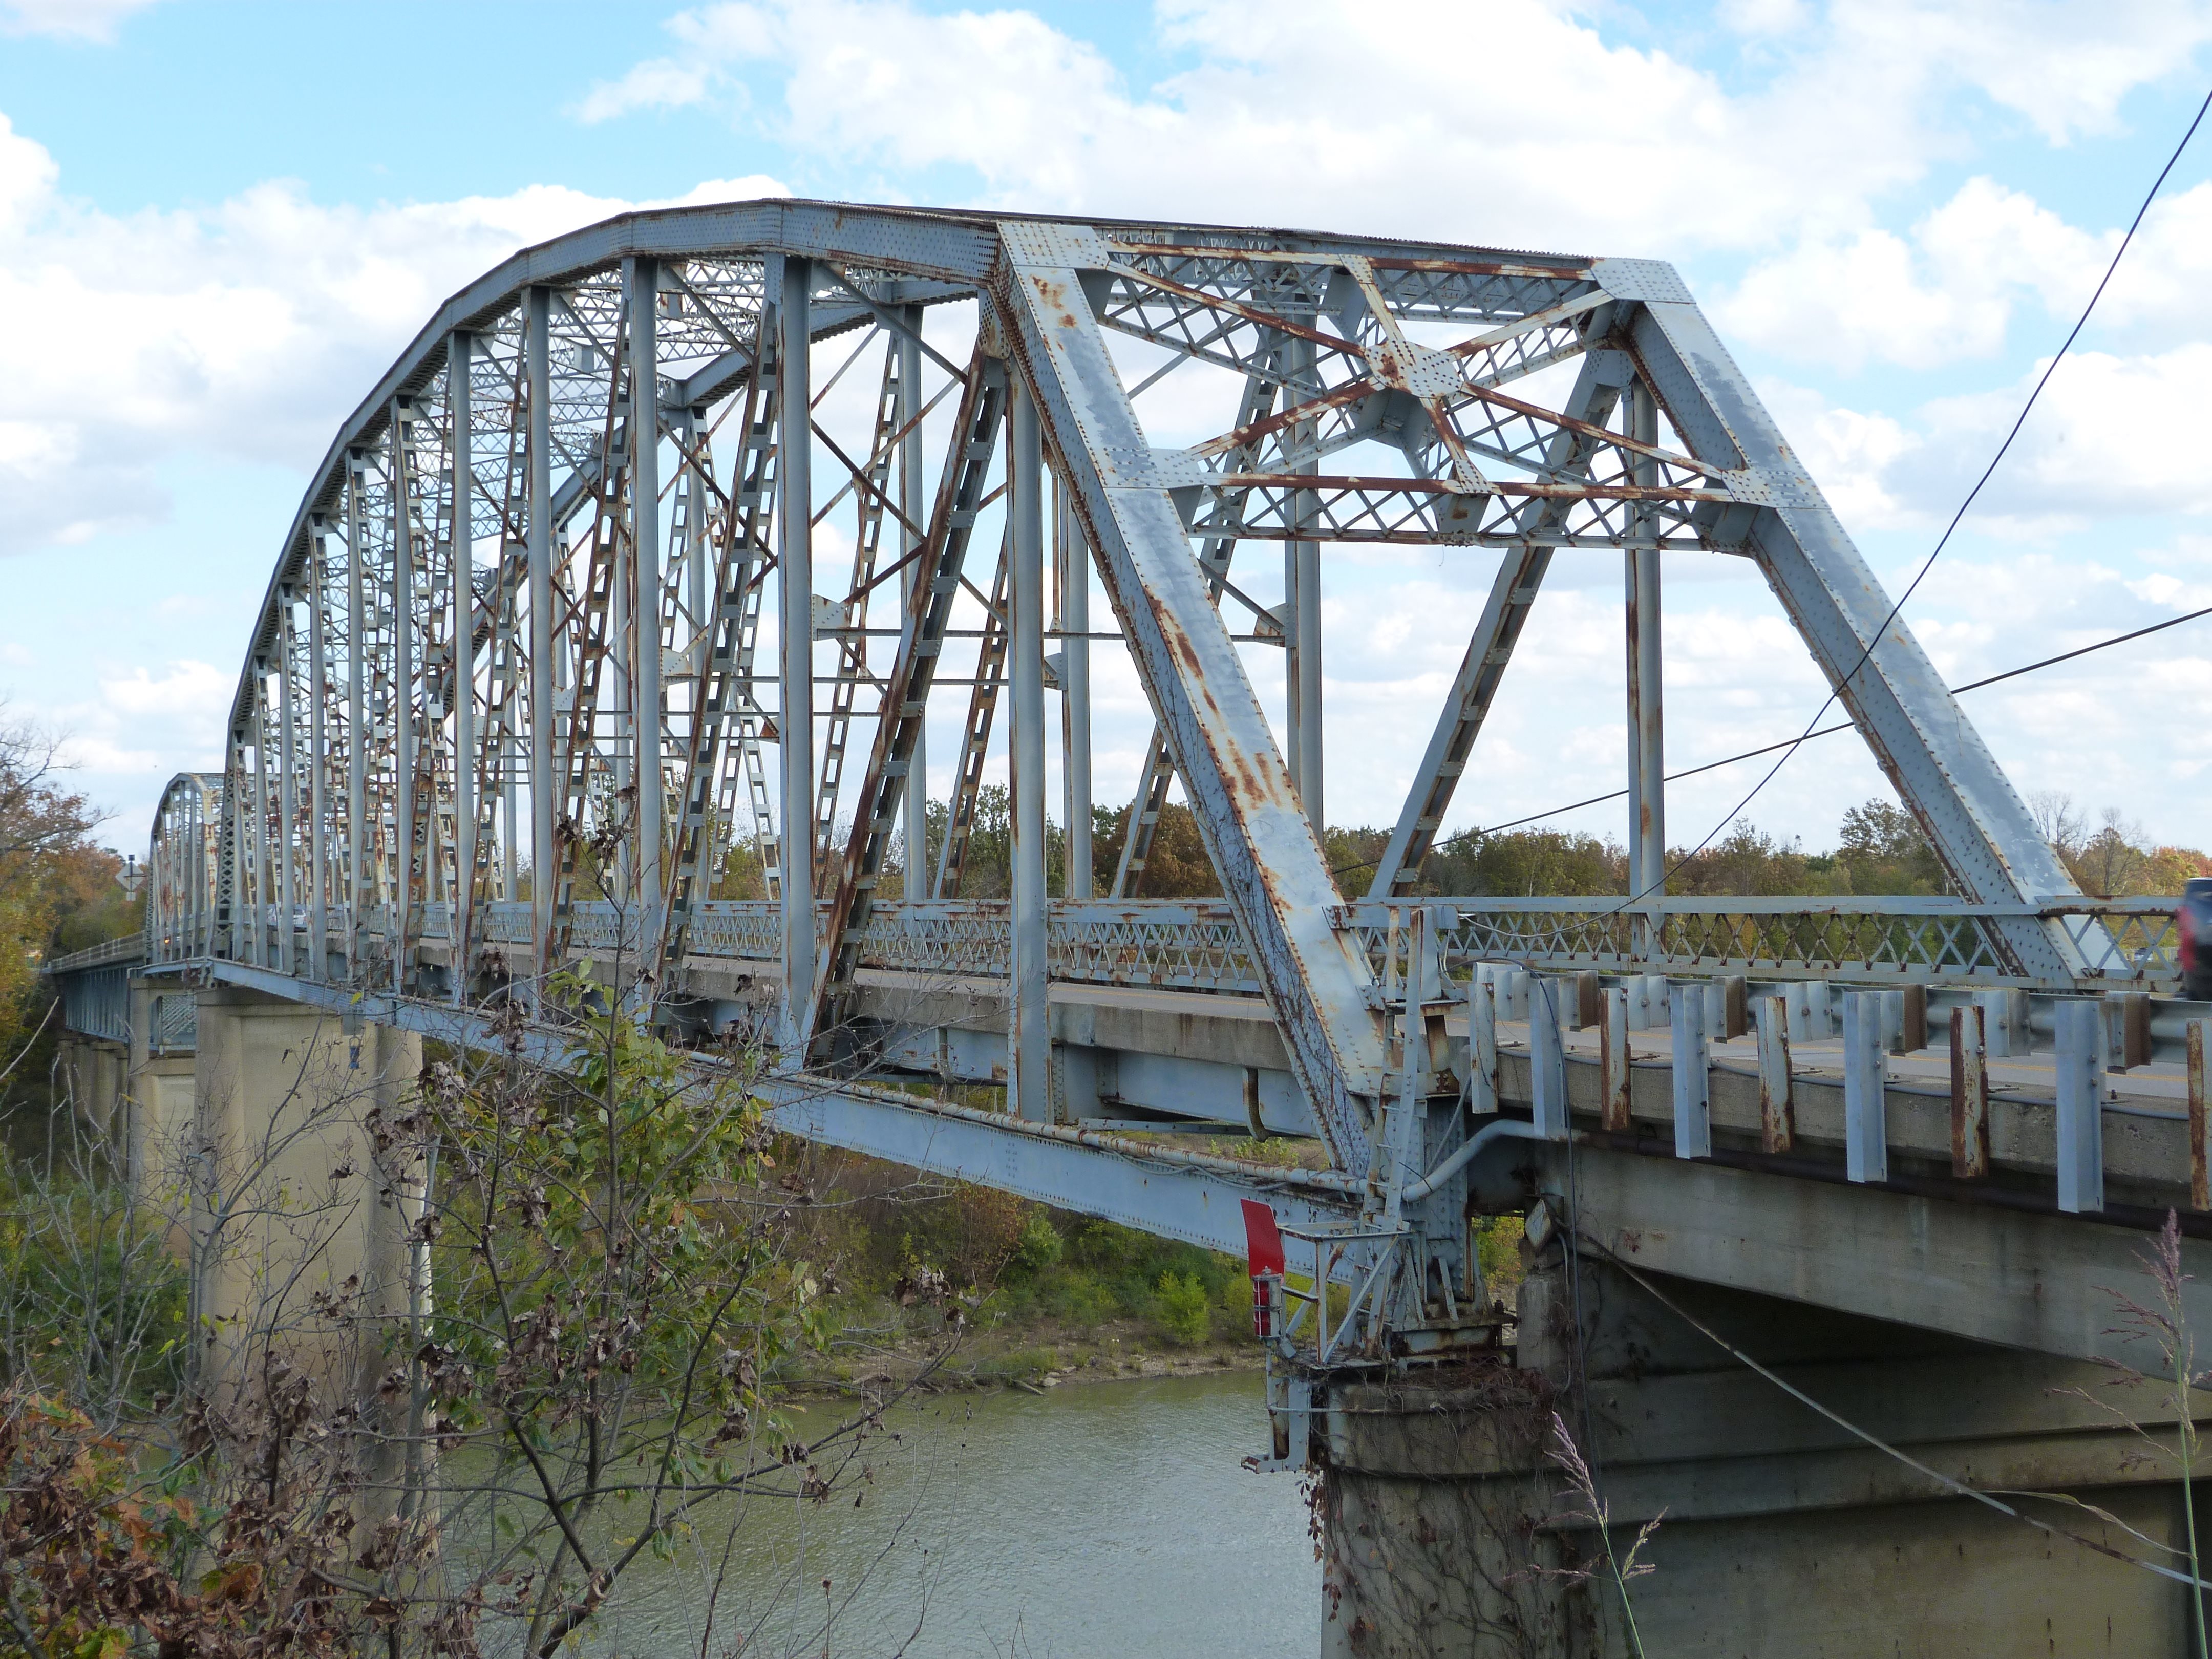
Details For Twelve Panel Parker Through Truss
![]()


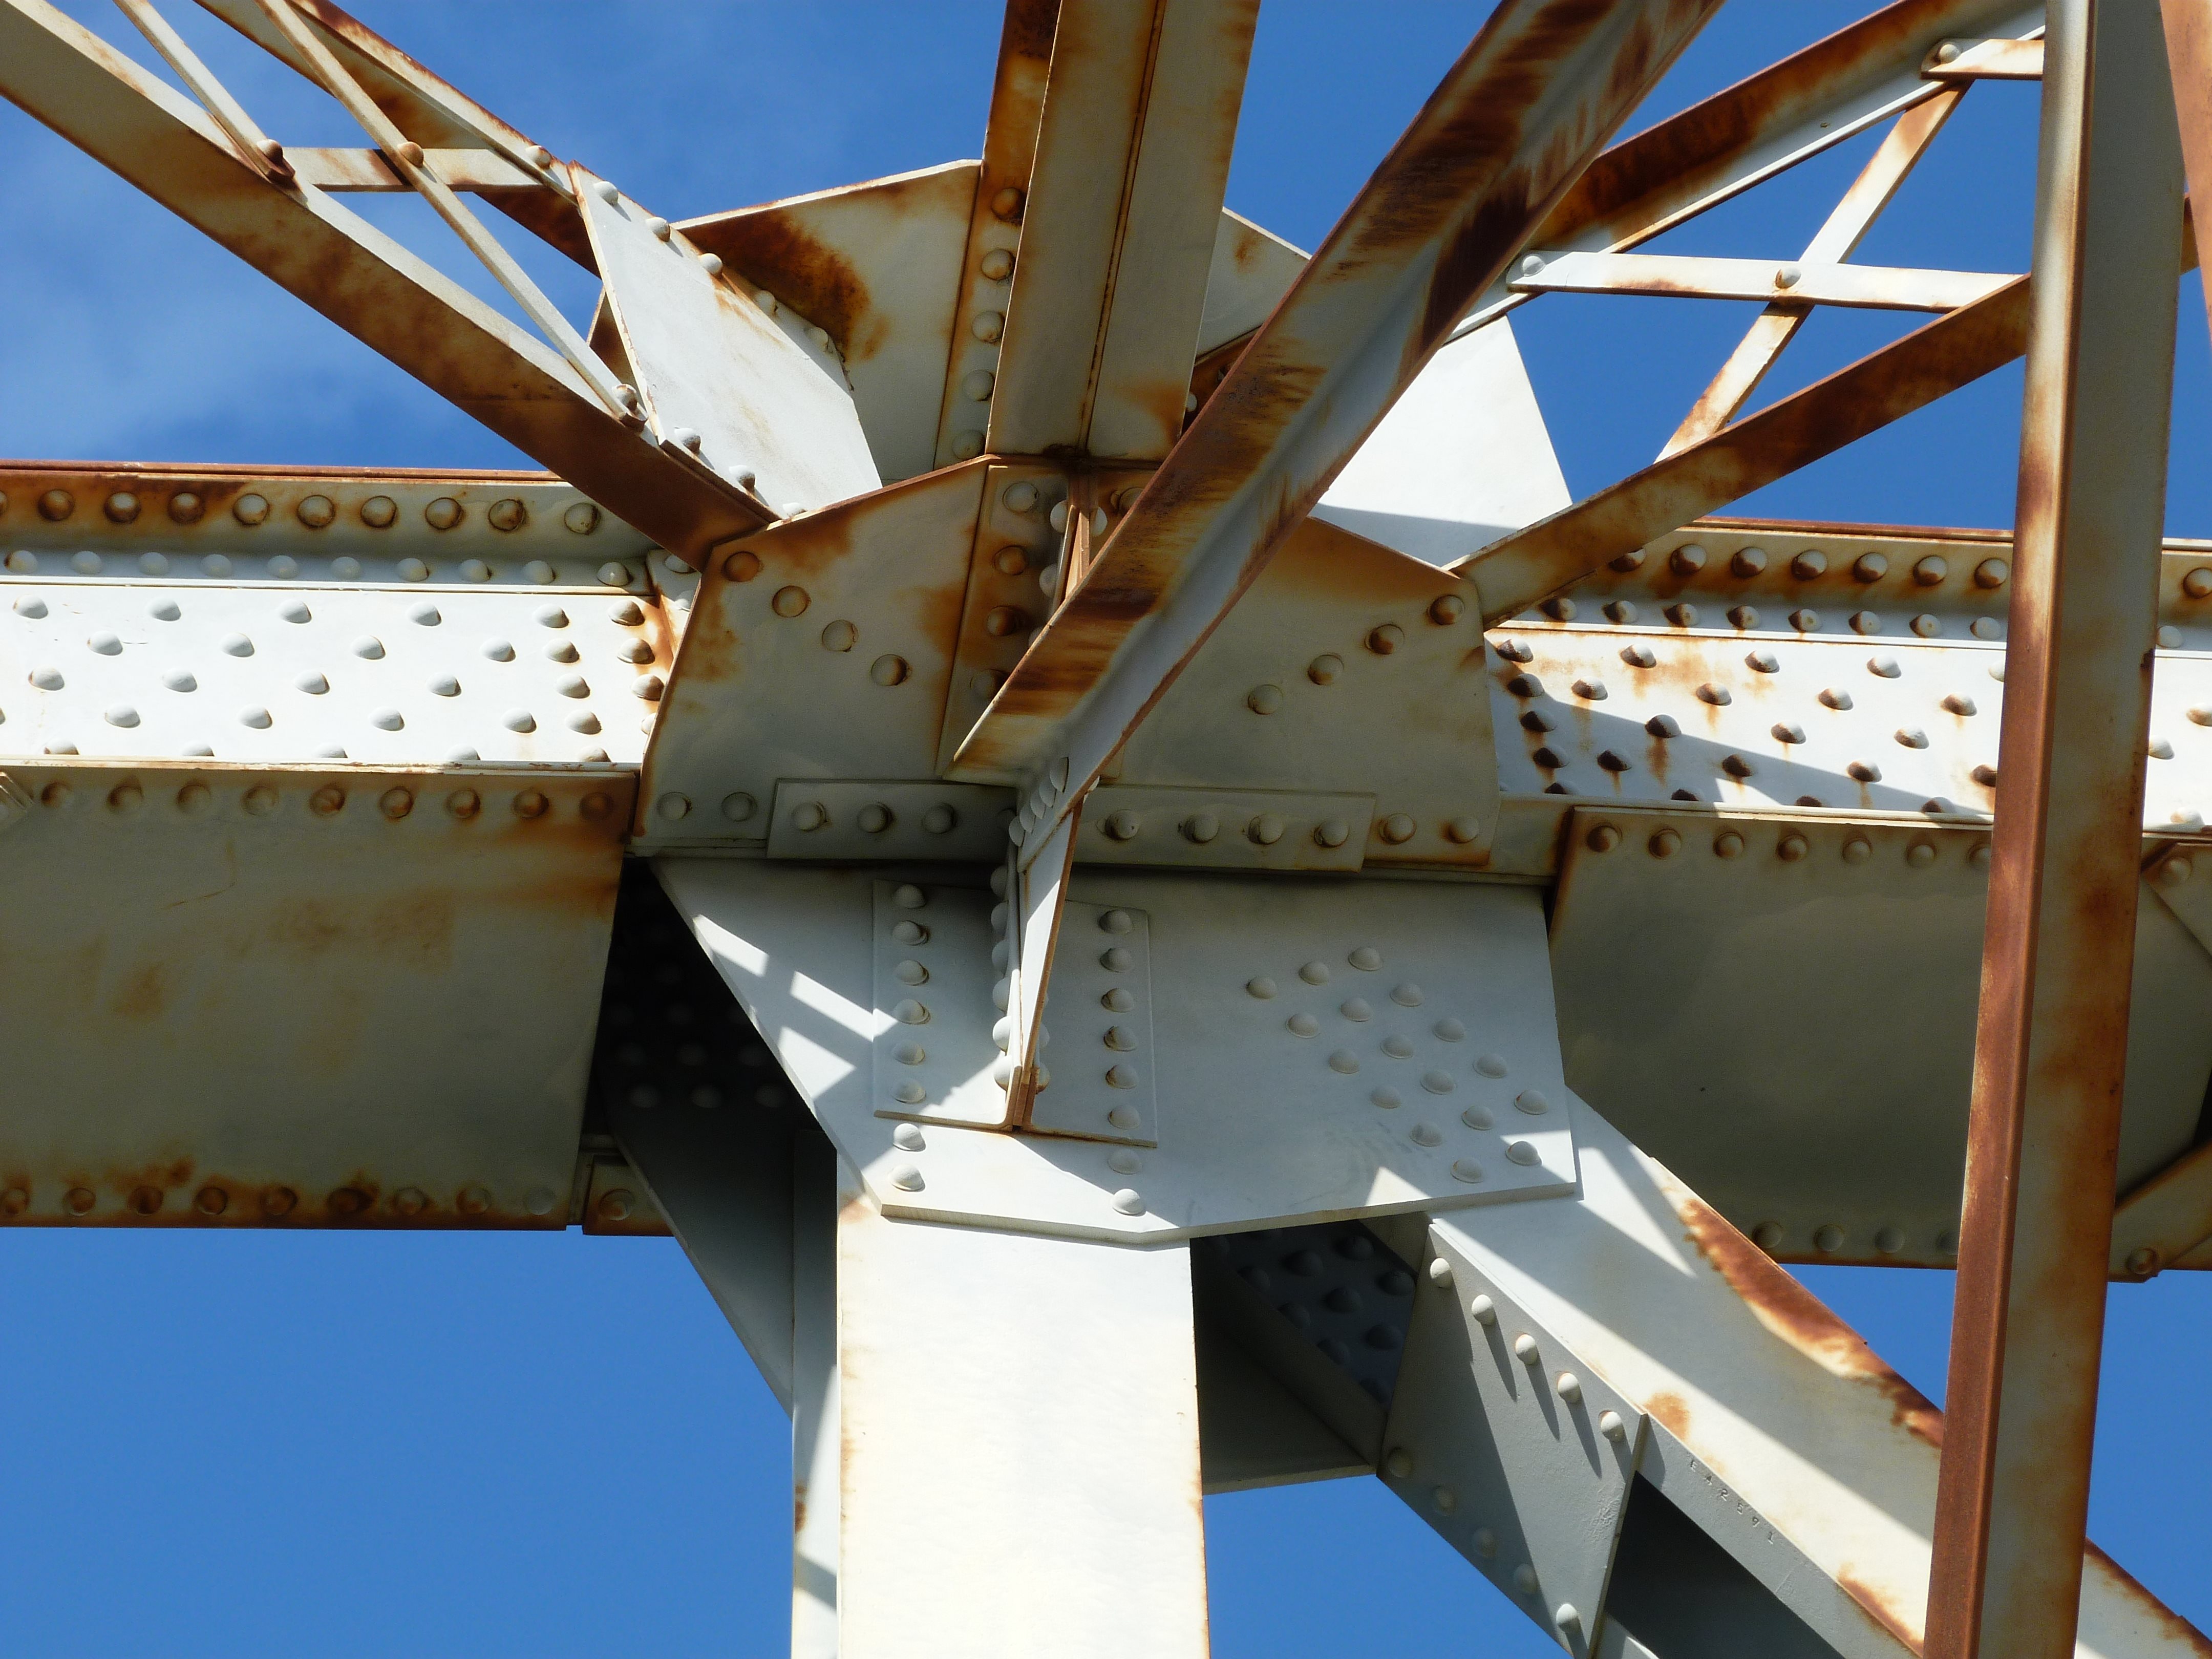
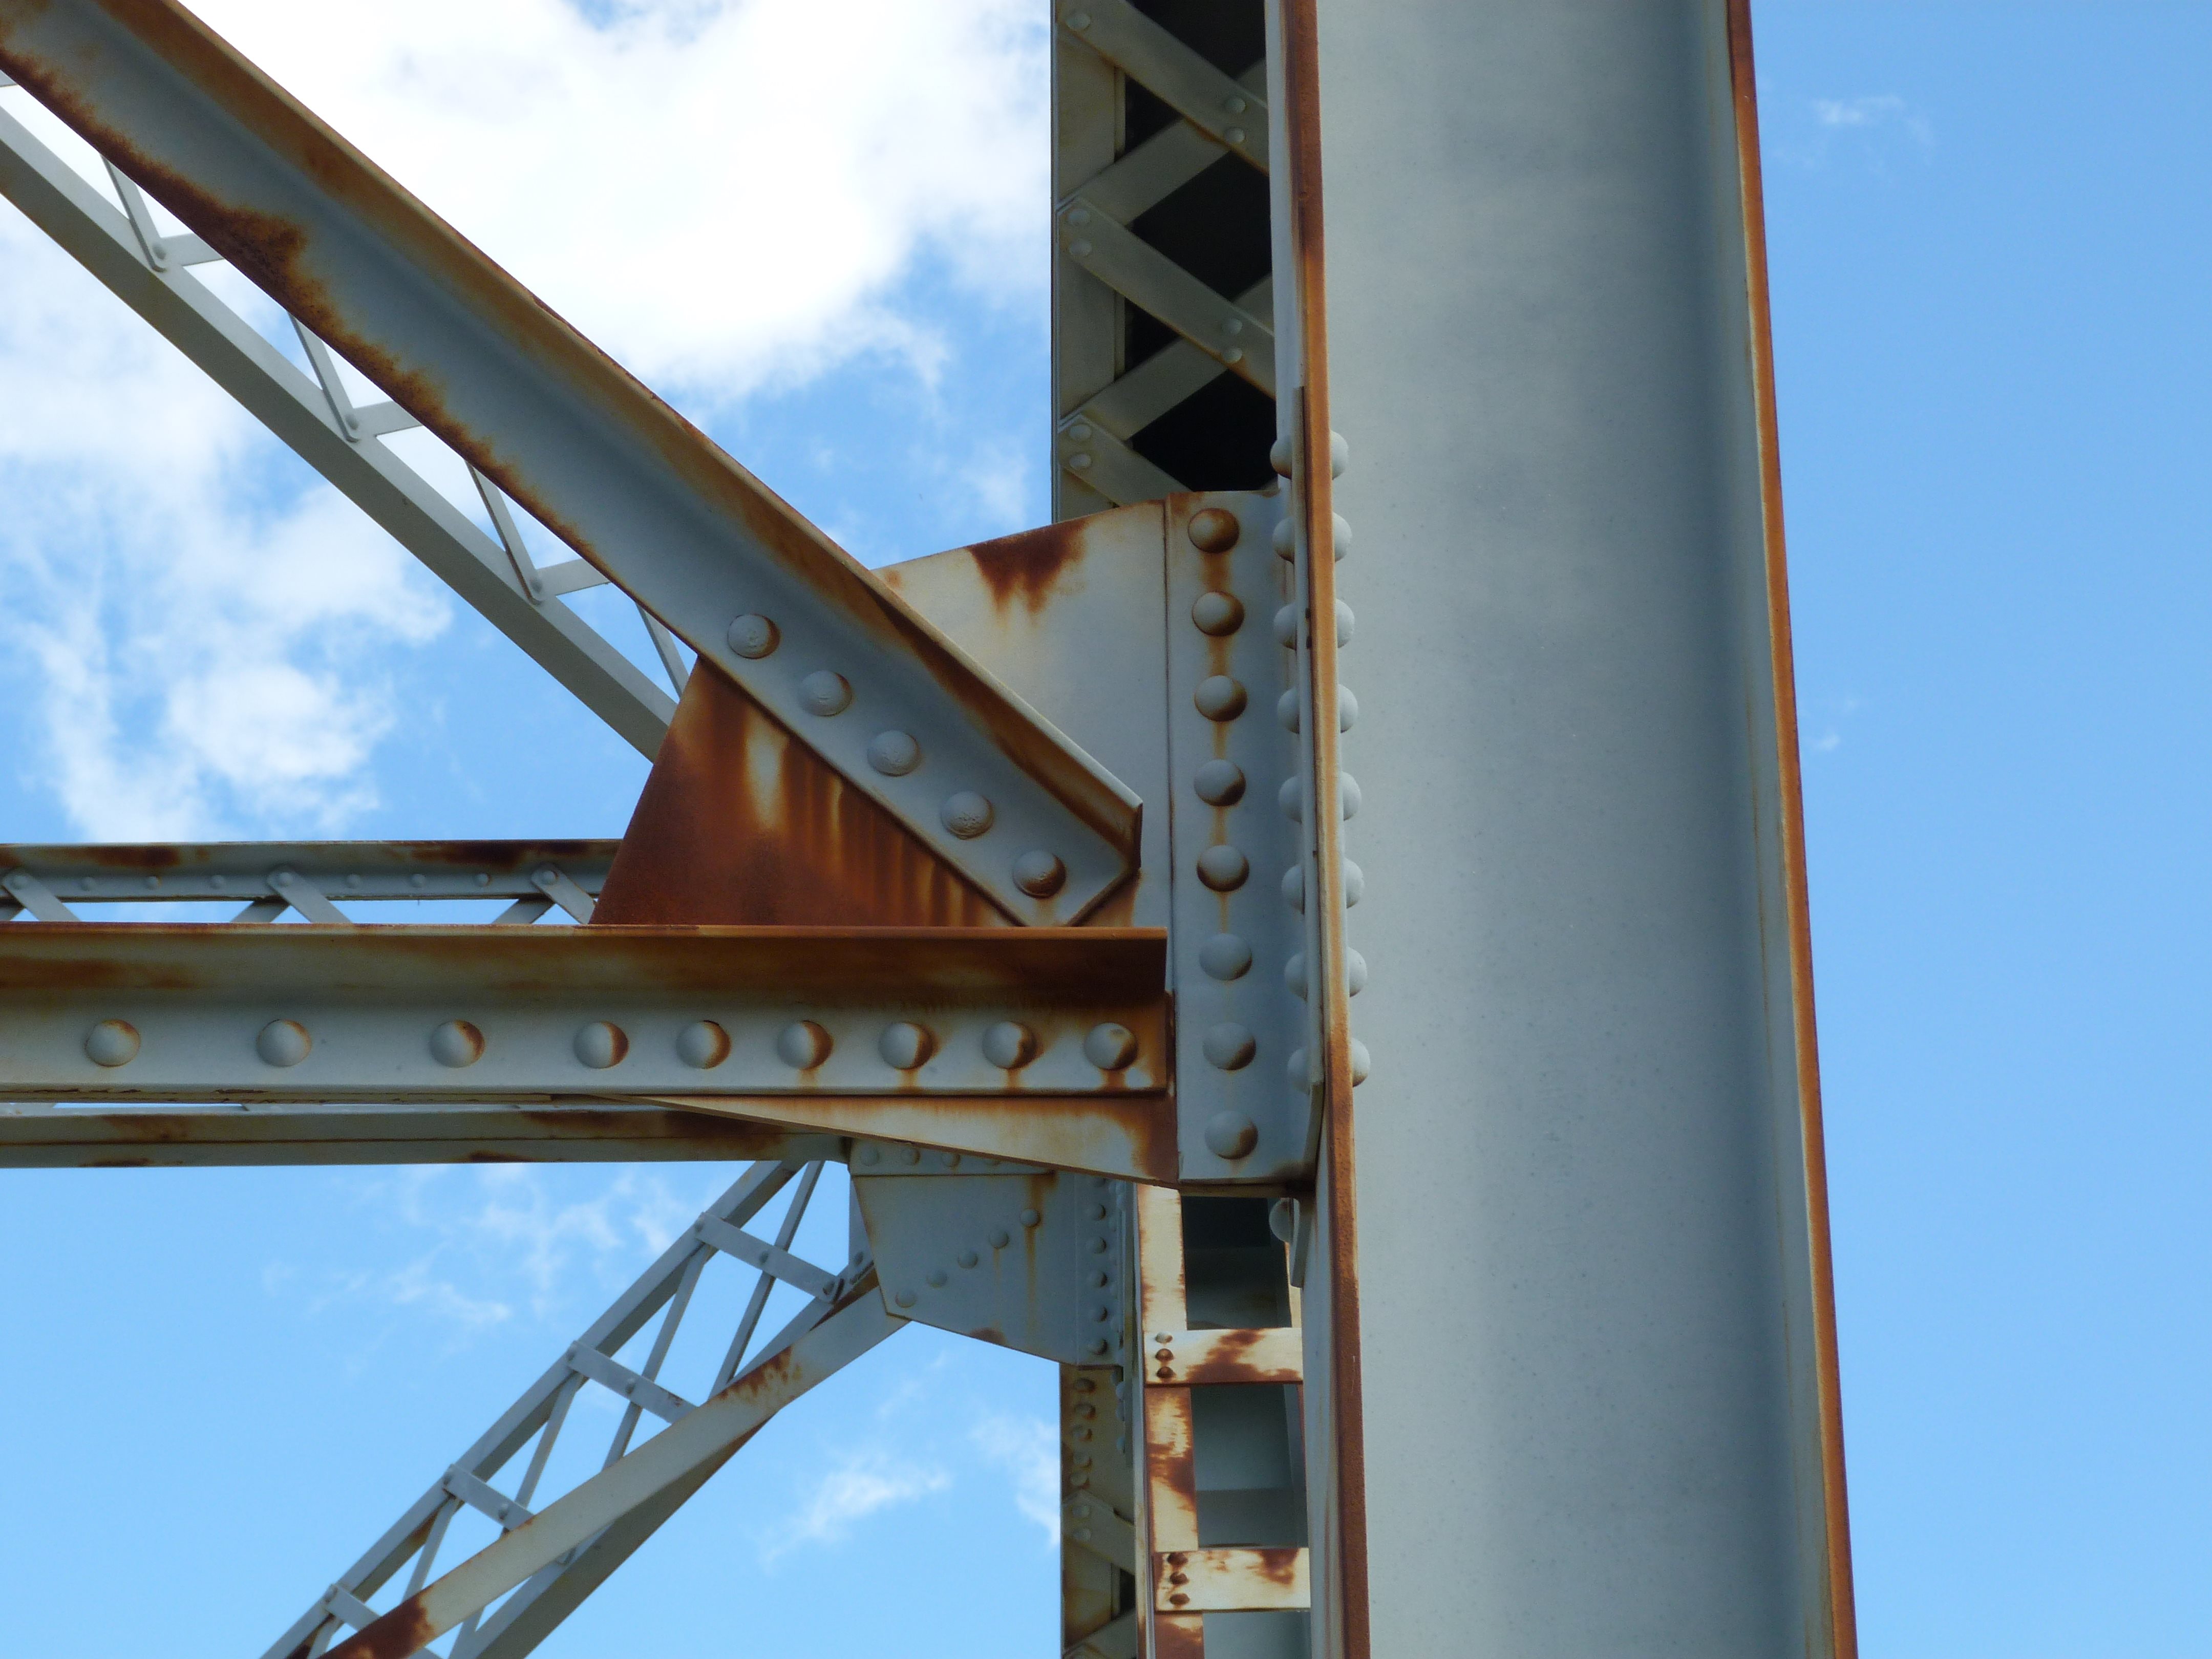
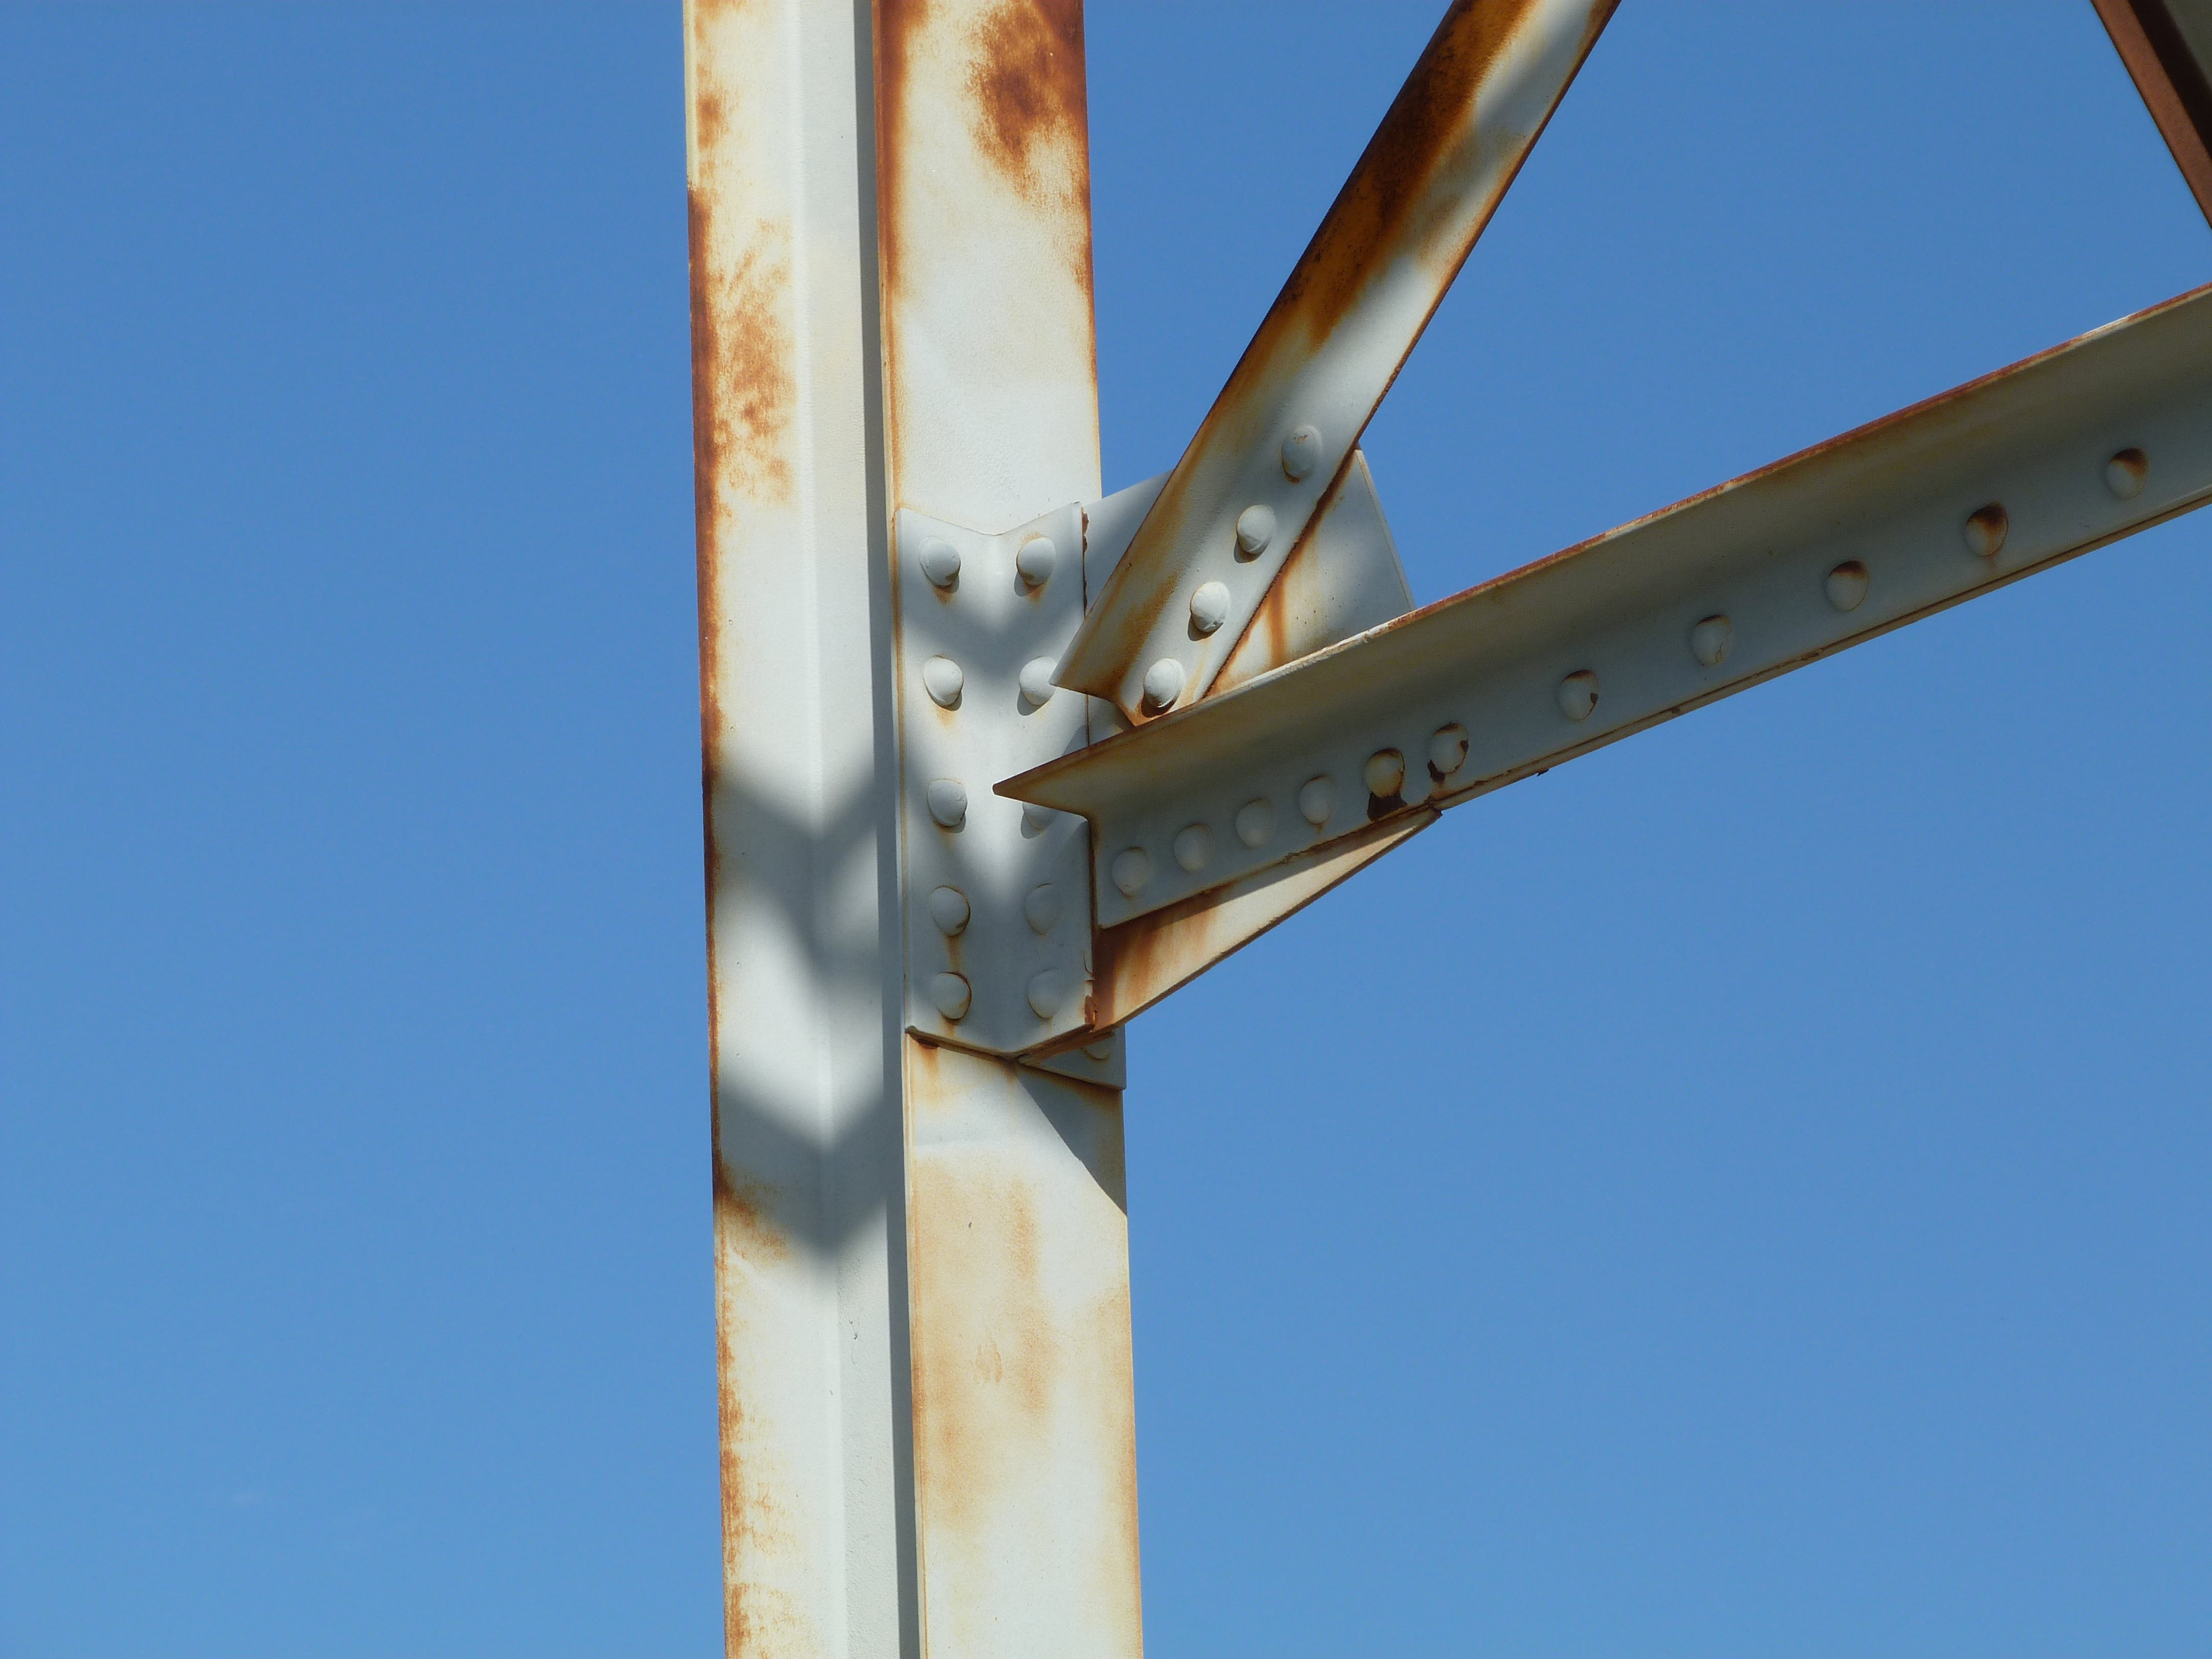
Top chord connections as viewed from beside bridge.
![]()
Top chord connections as viewed from on bridge.
![]()
Bottom chord connections as viewed from beside bridge.
![]()
Bottom chord connections as viewed from on bridge.
![]()
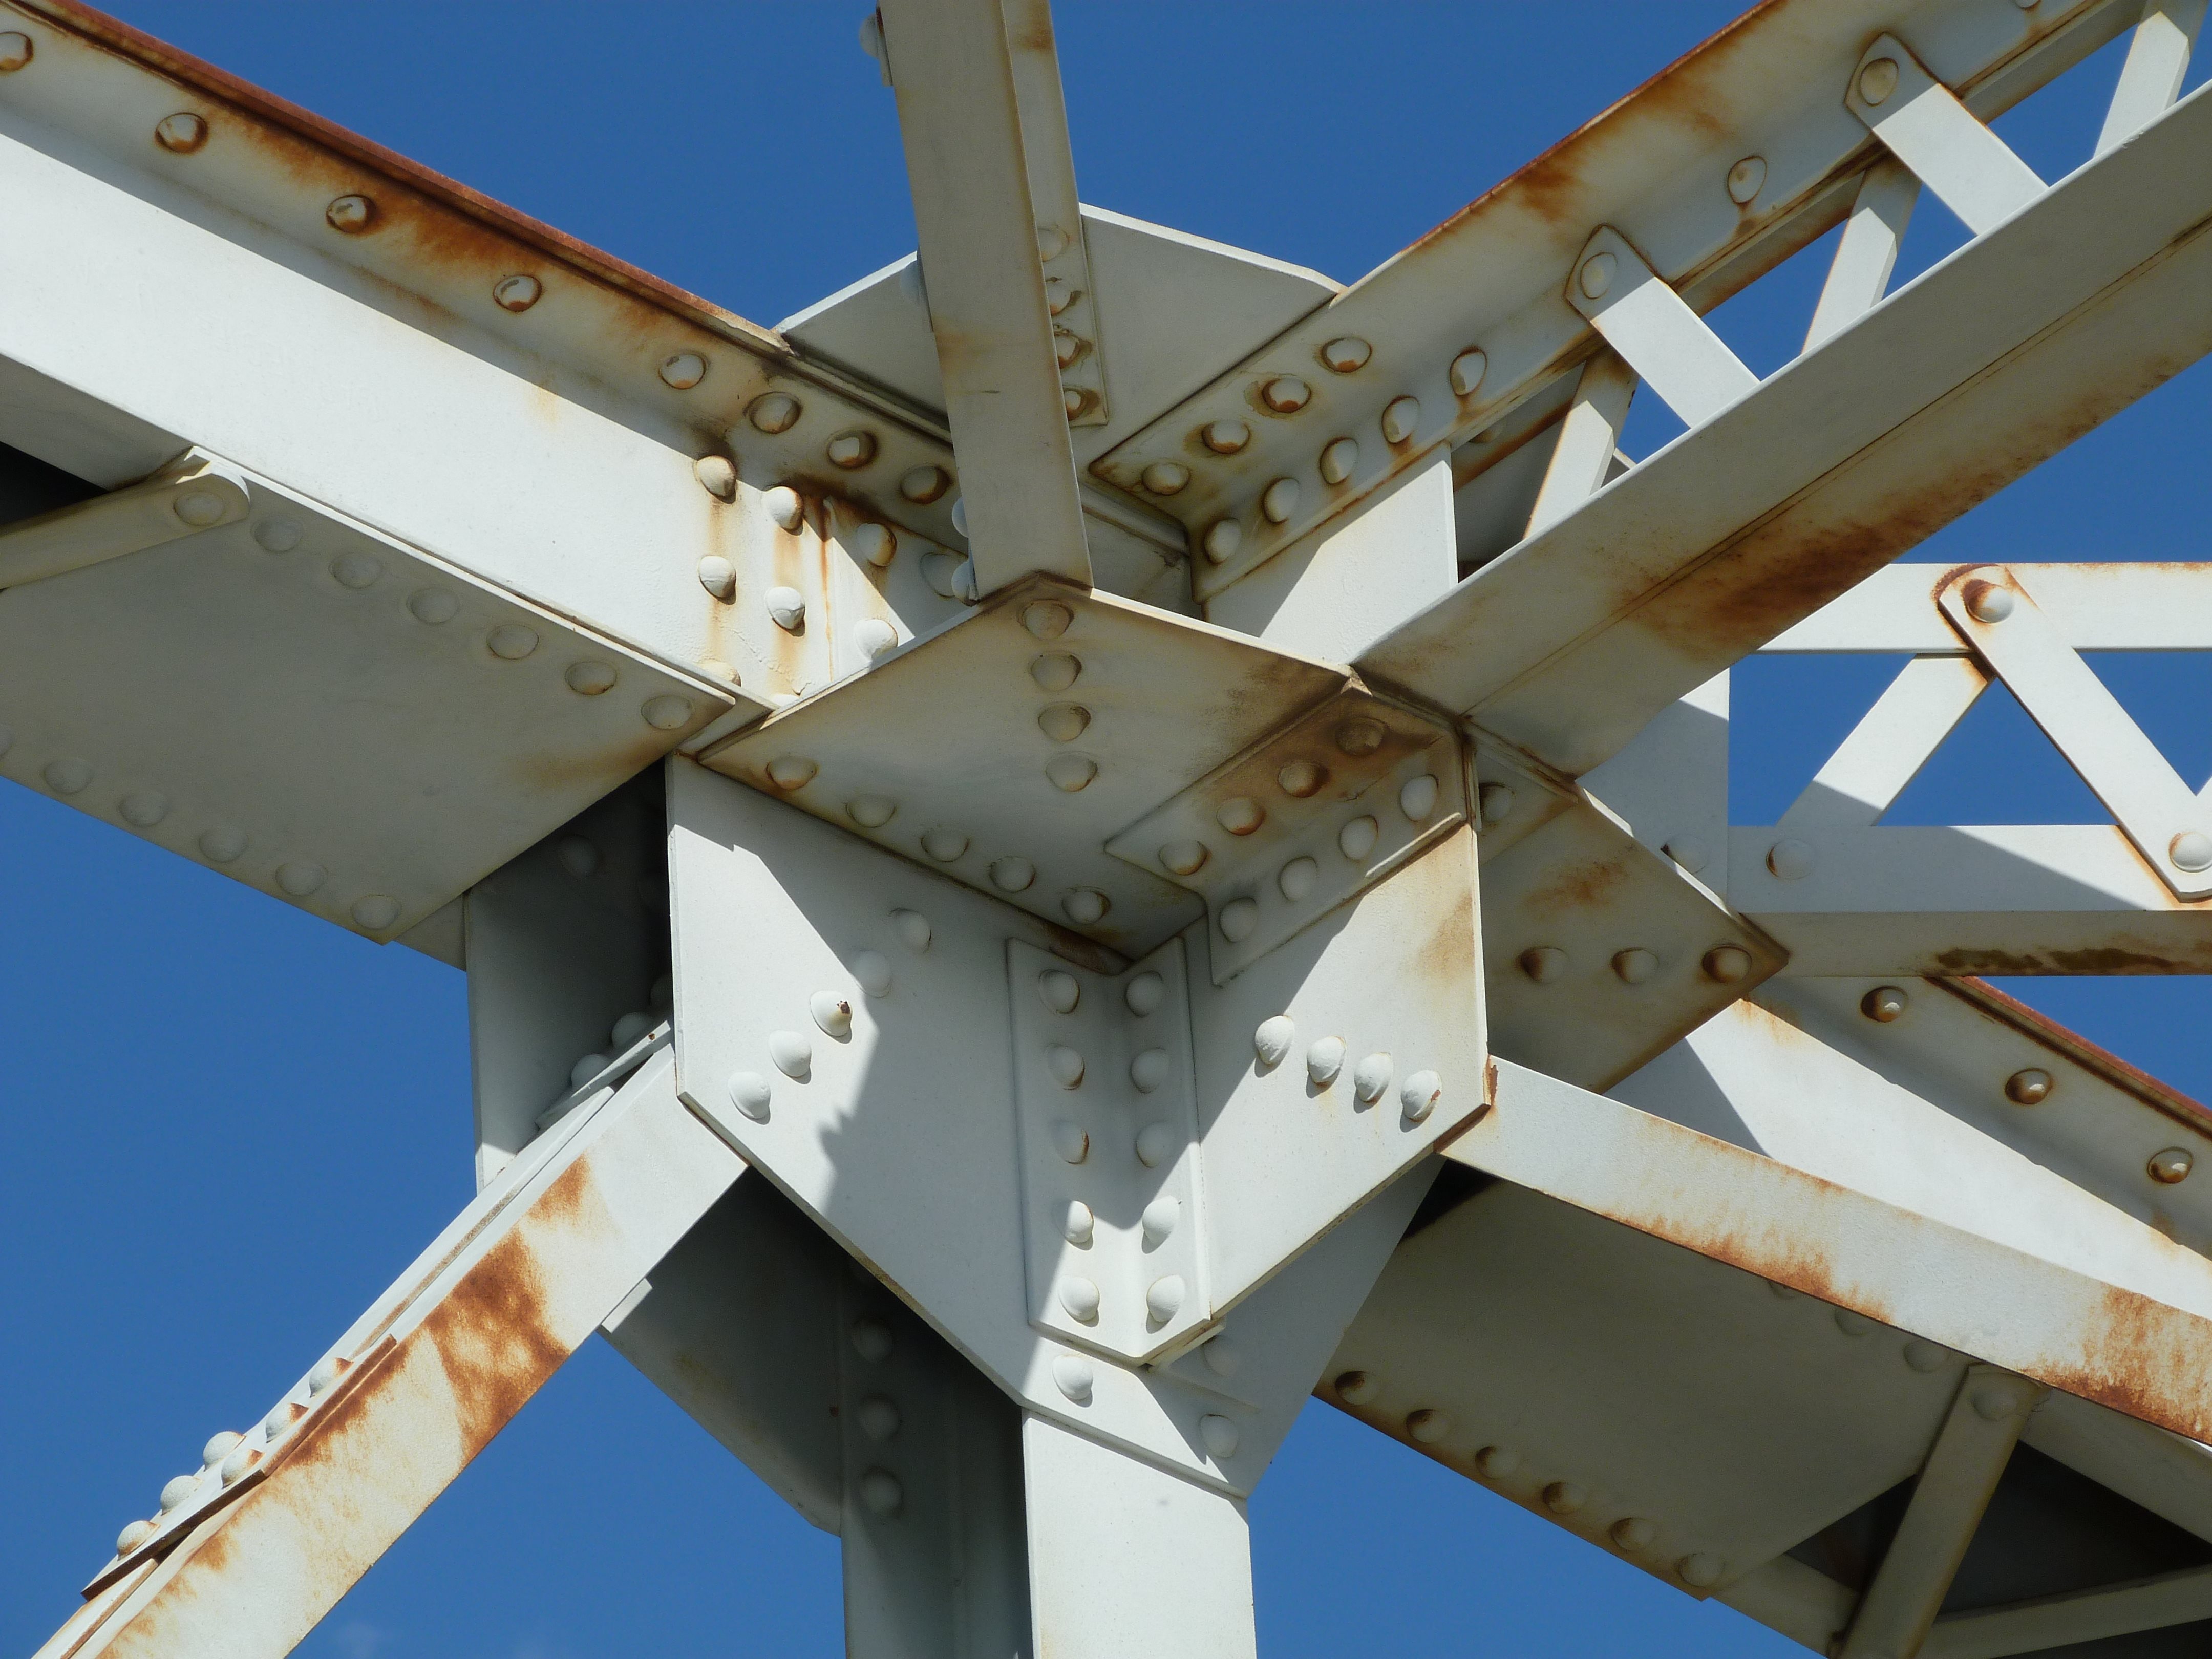
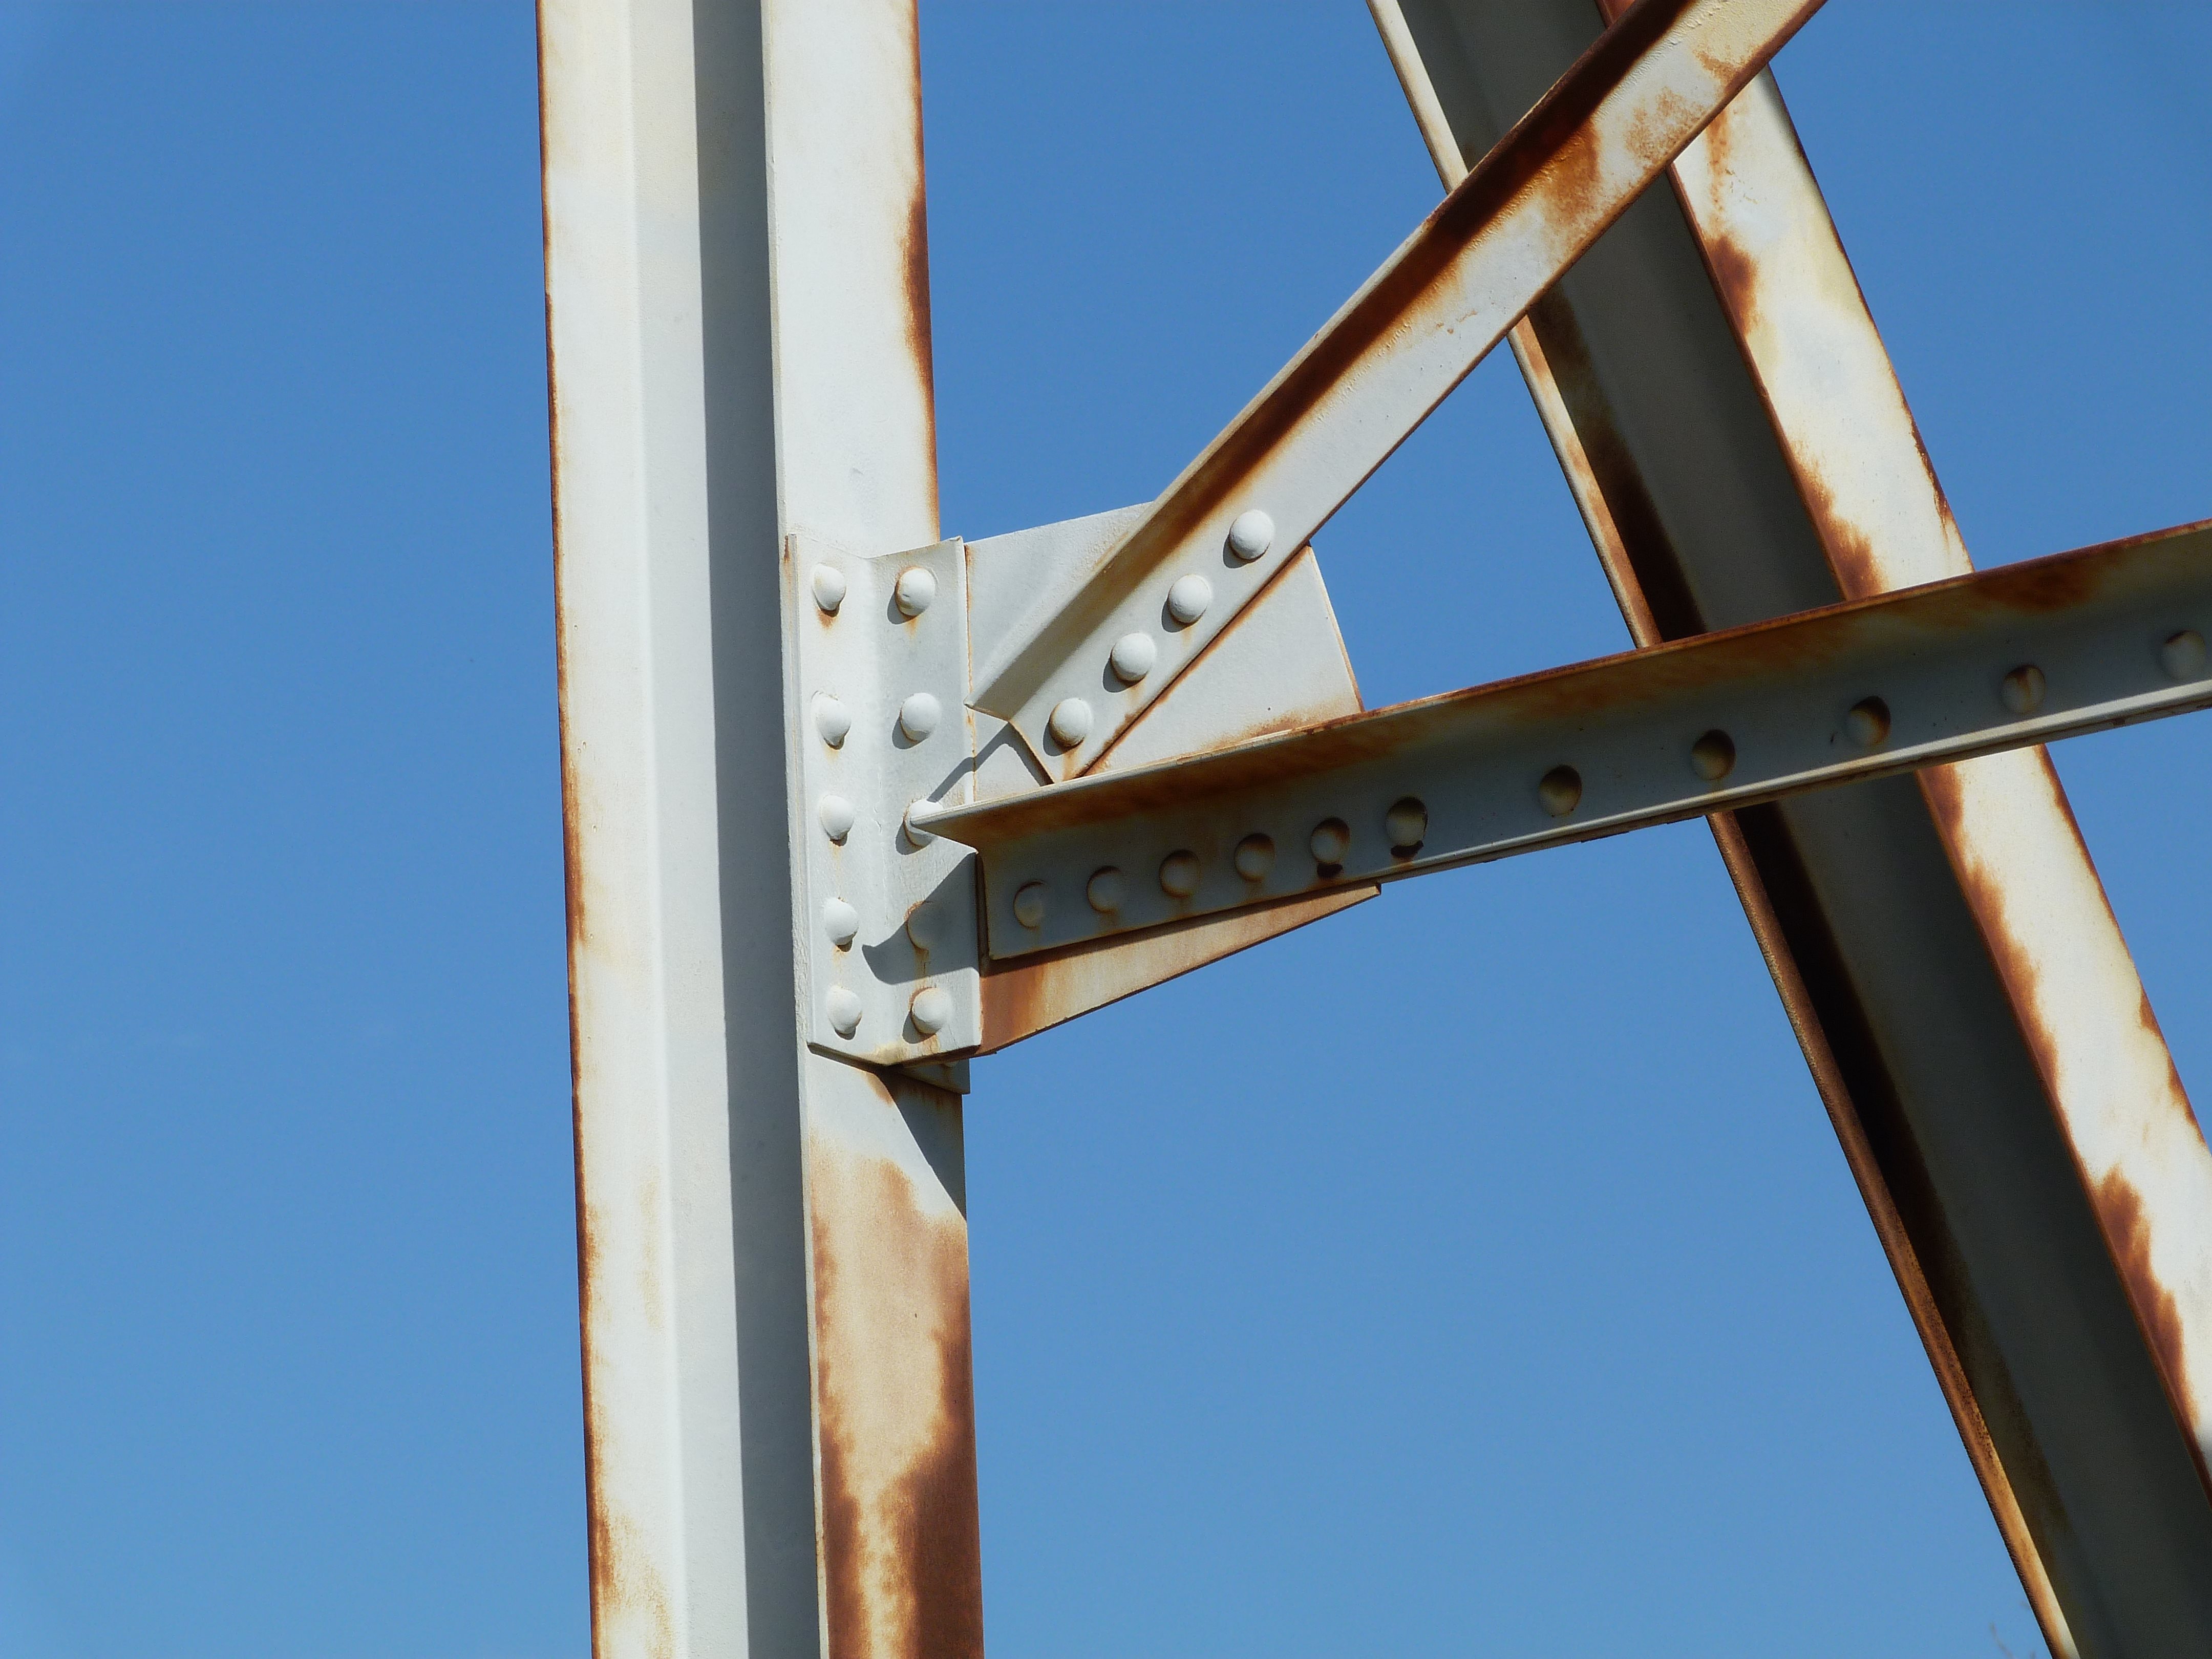
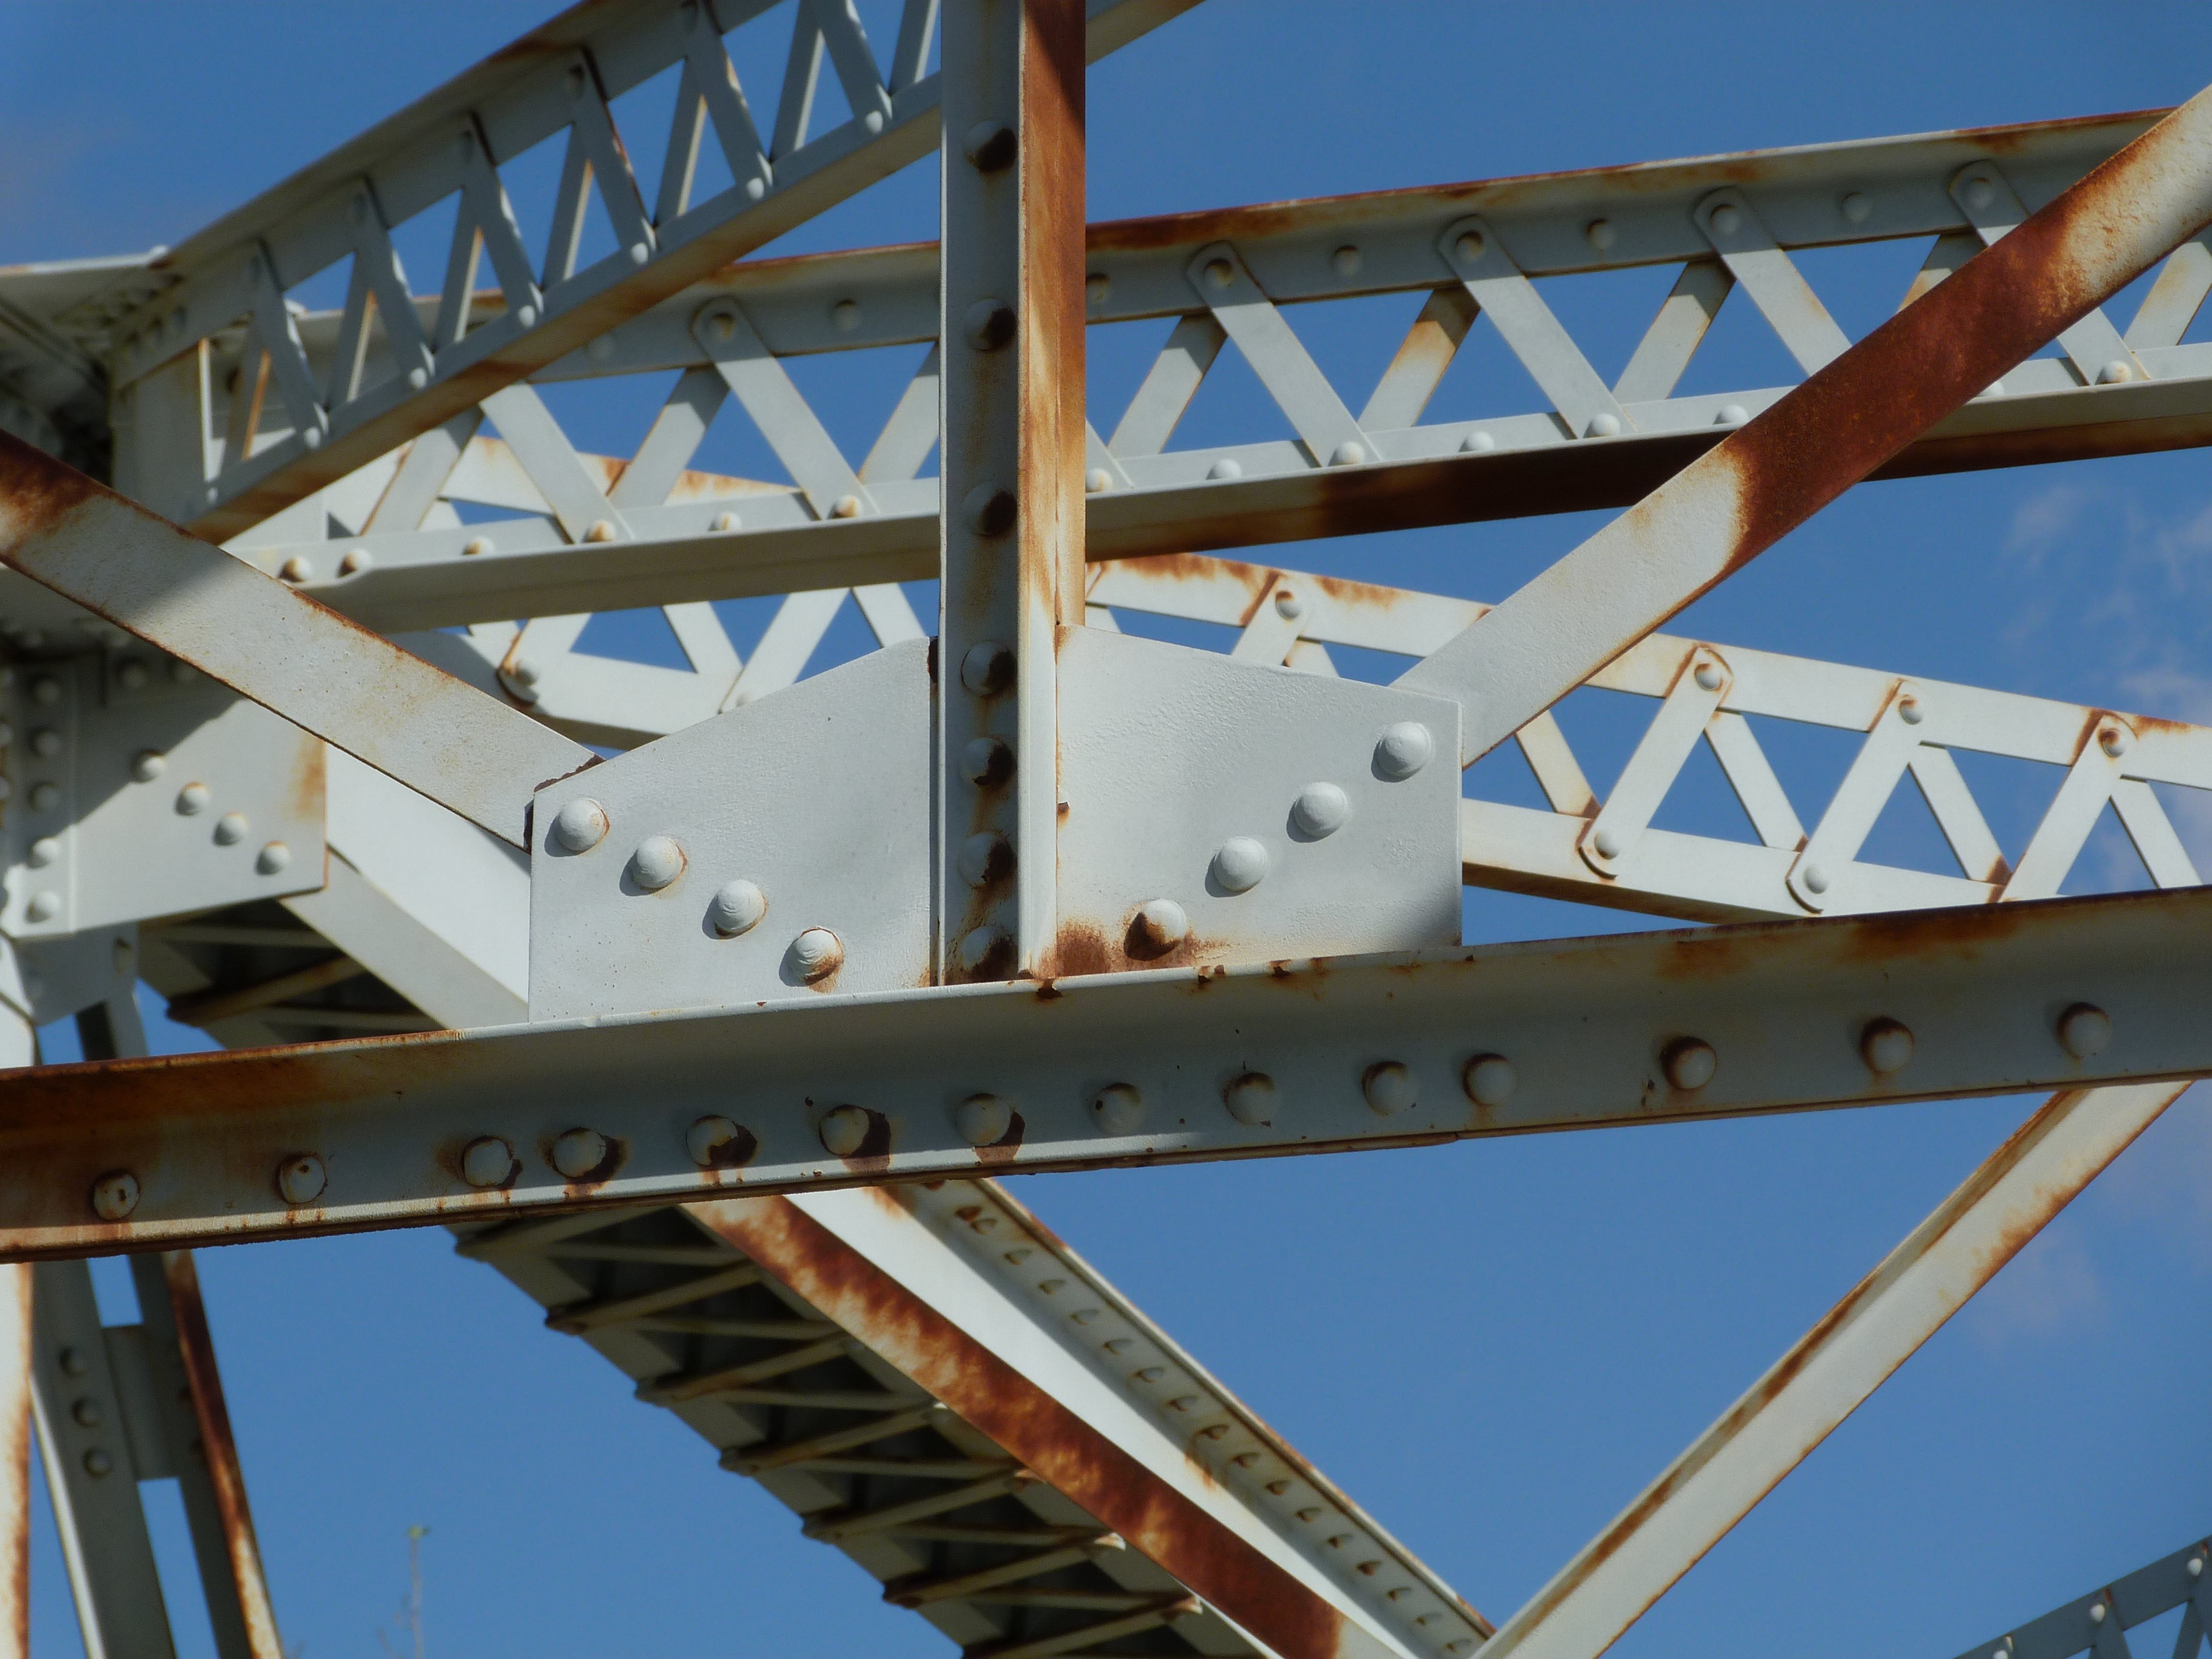
Intermediate connections as viewed from on bridge.
![]()

Vertical members.
![]()


Diagonal members.
![]()
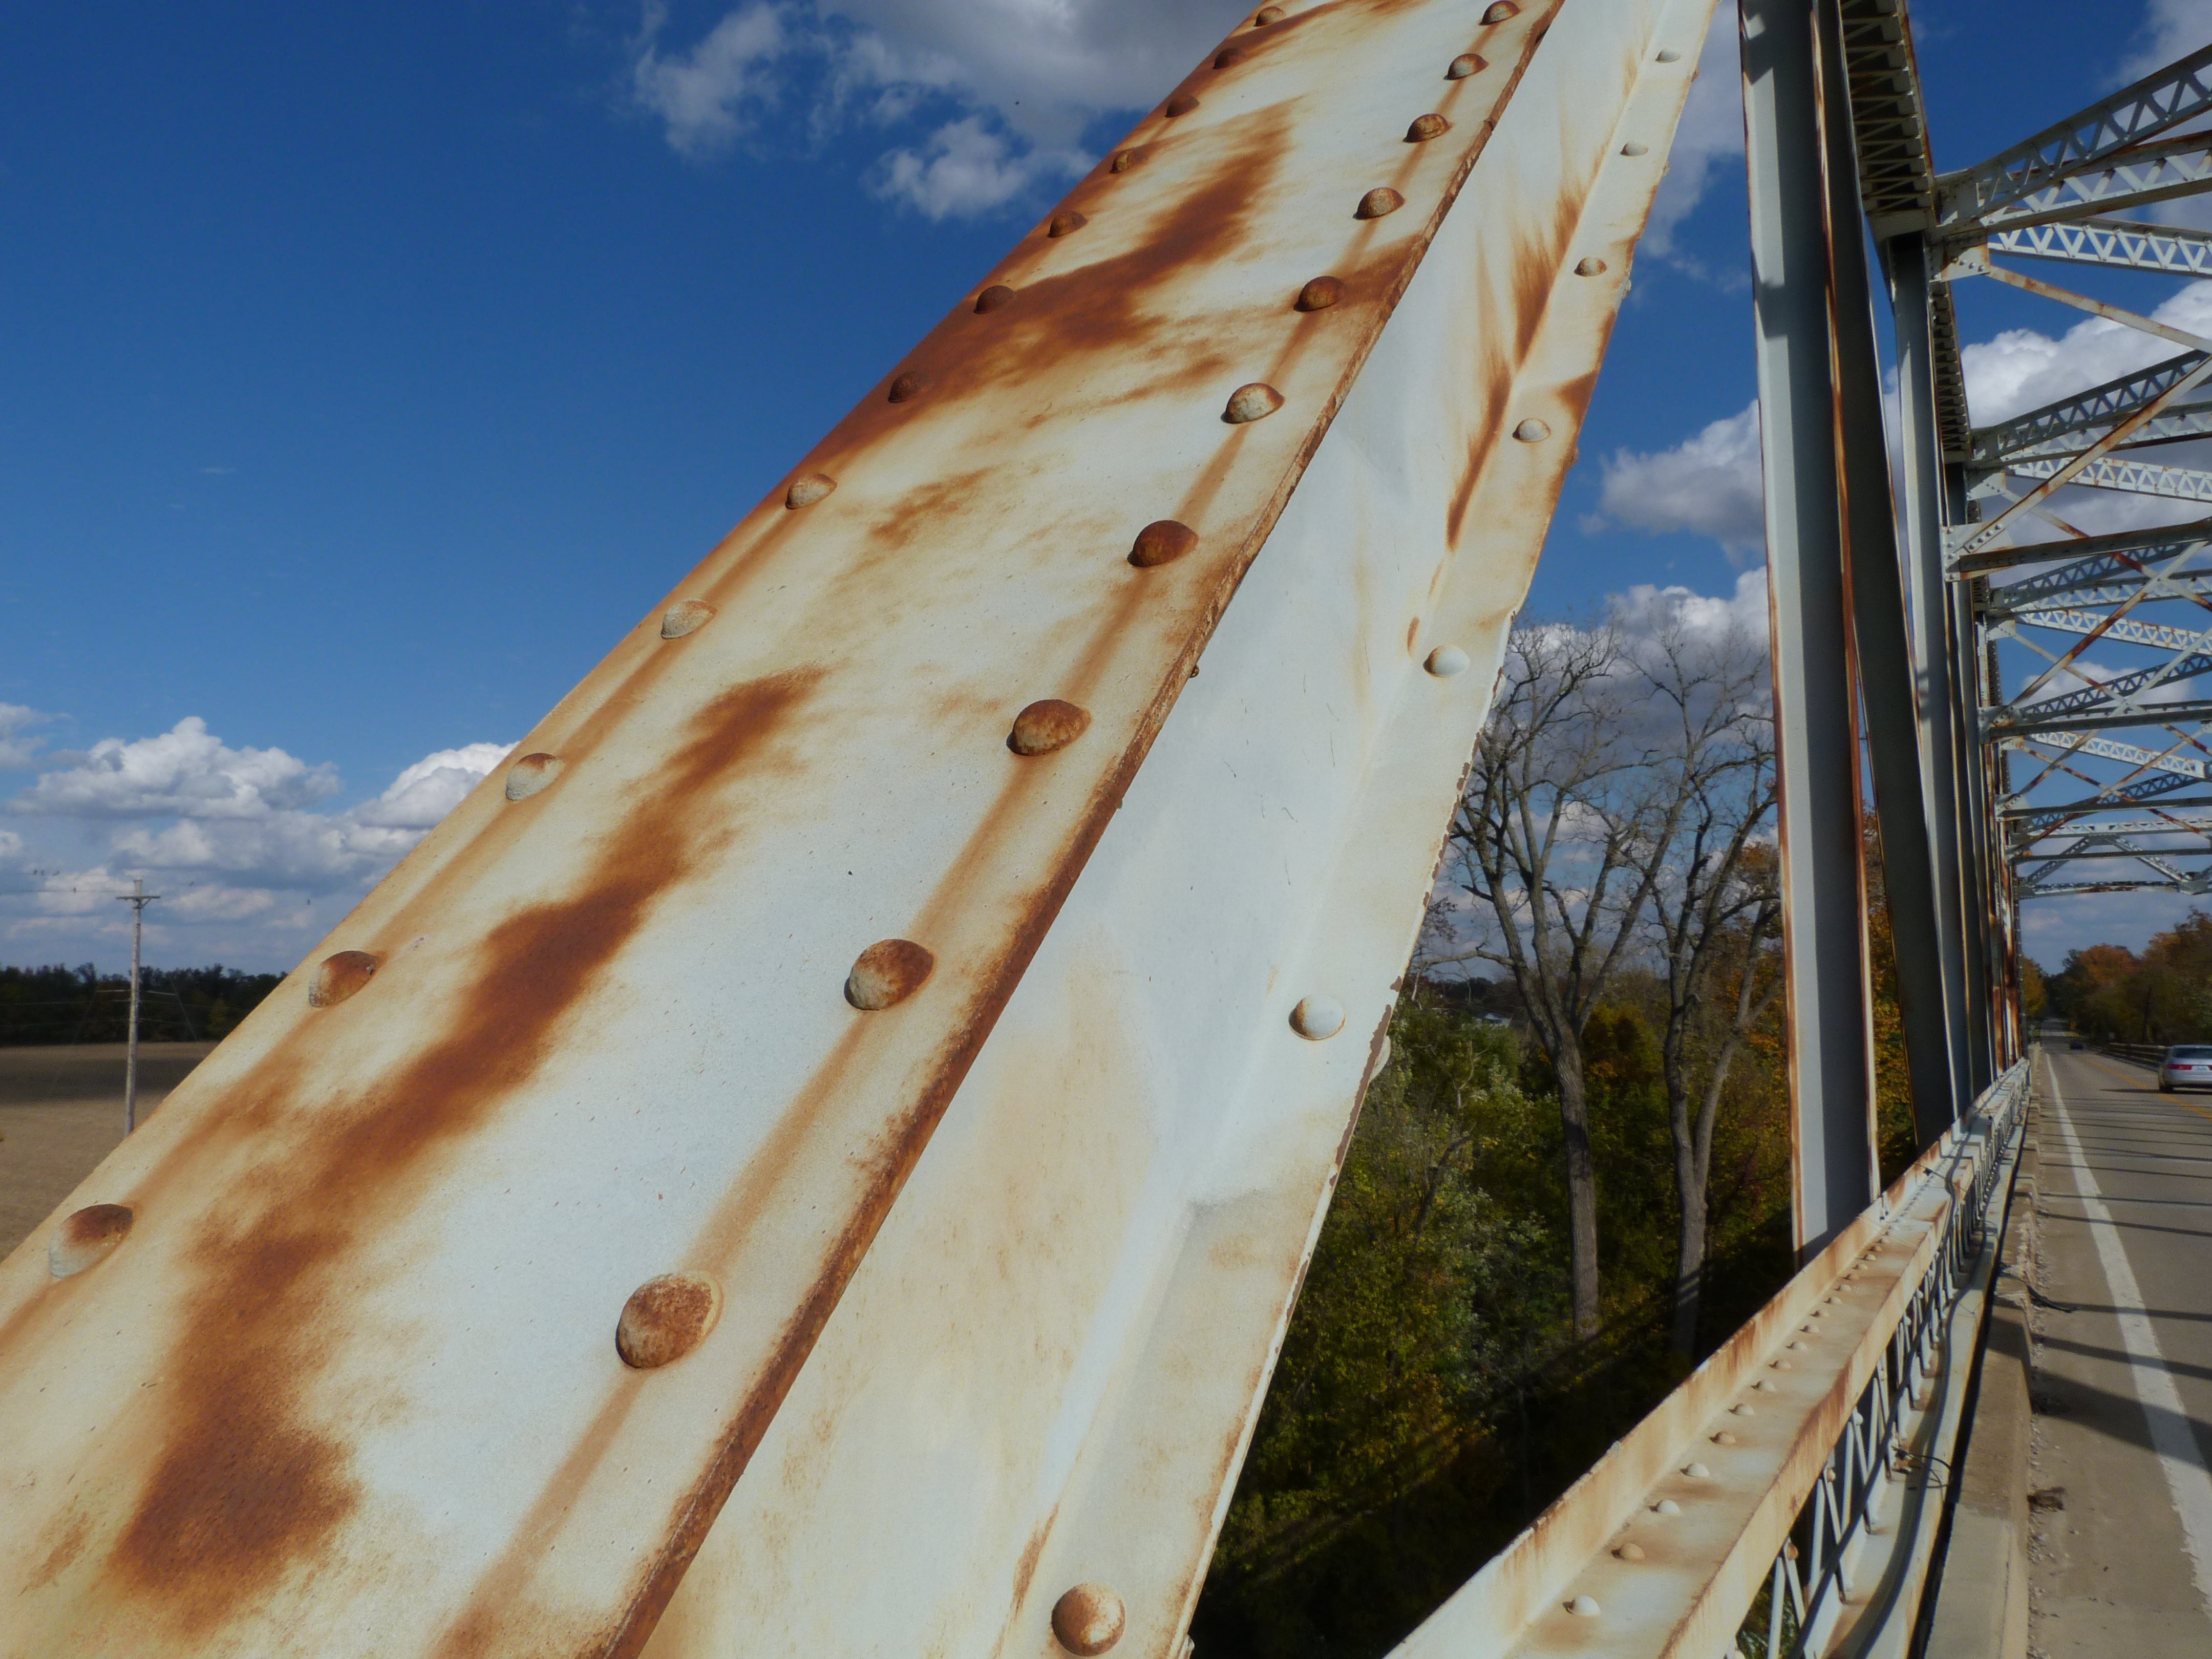
Top chord.
![]()


End post.
![]()
Bottom chord.
![]()


Portal bracing.
![]()


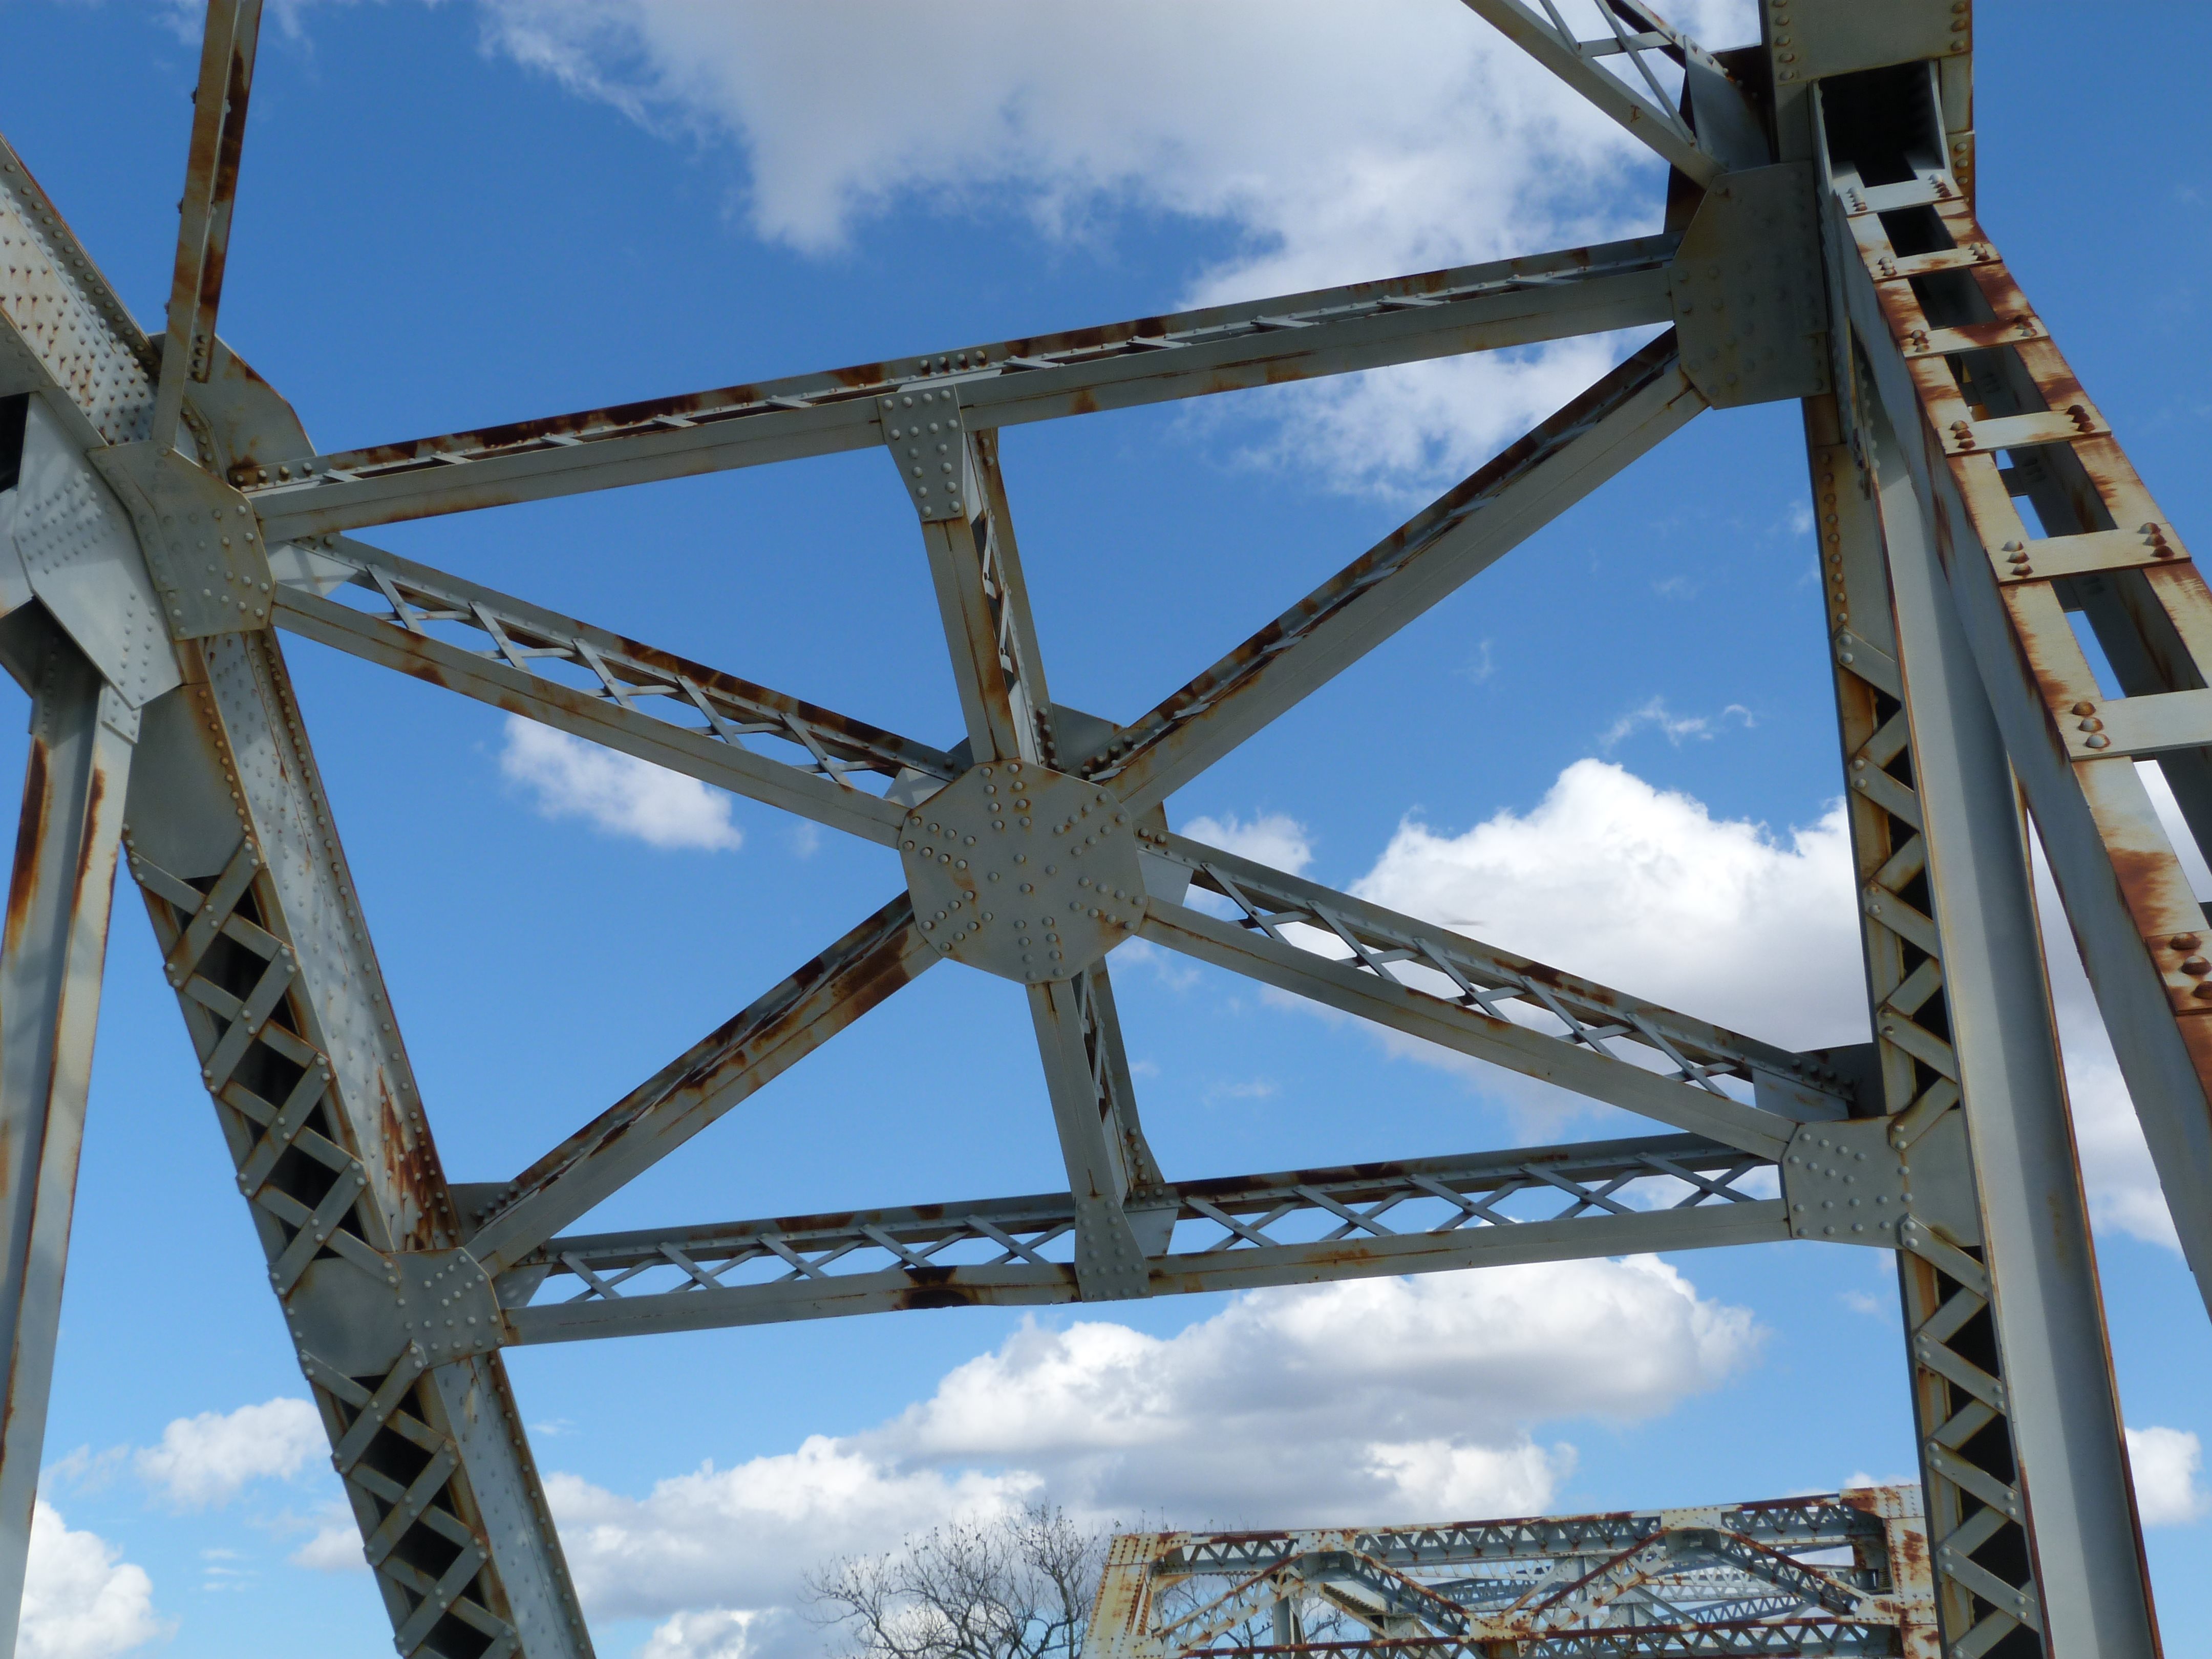
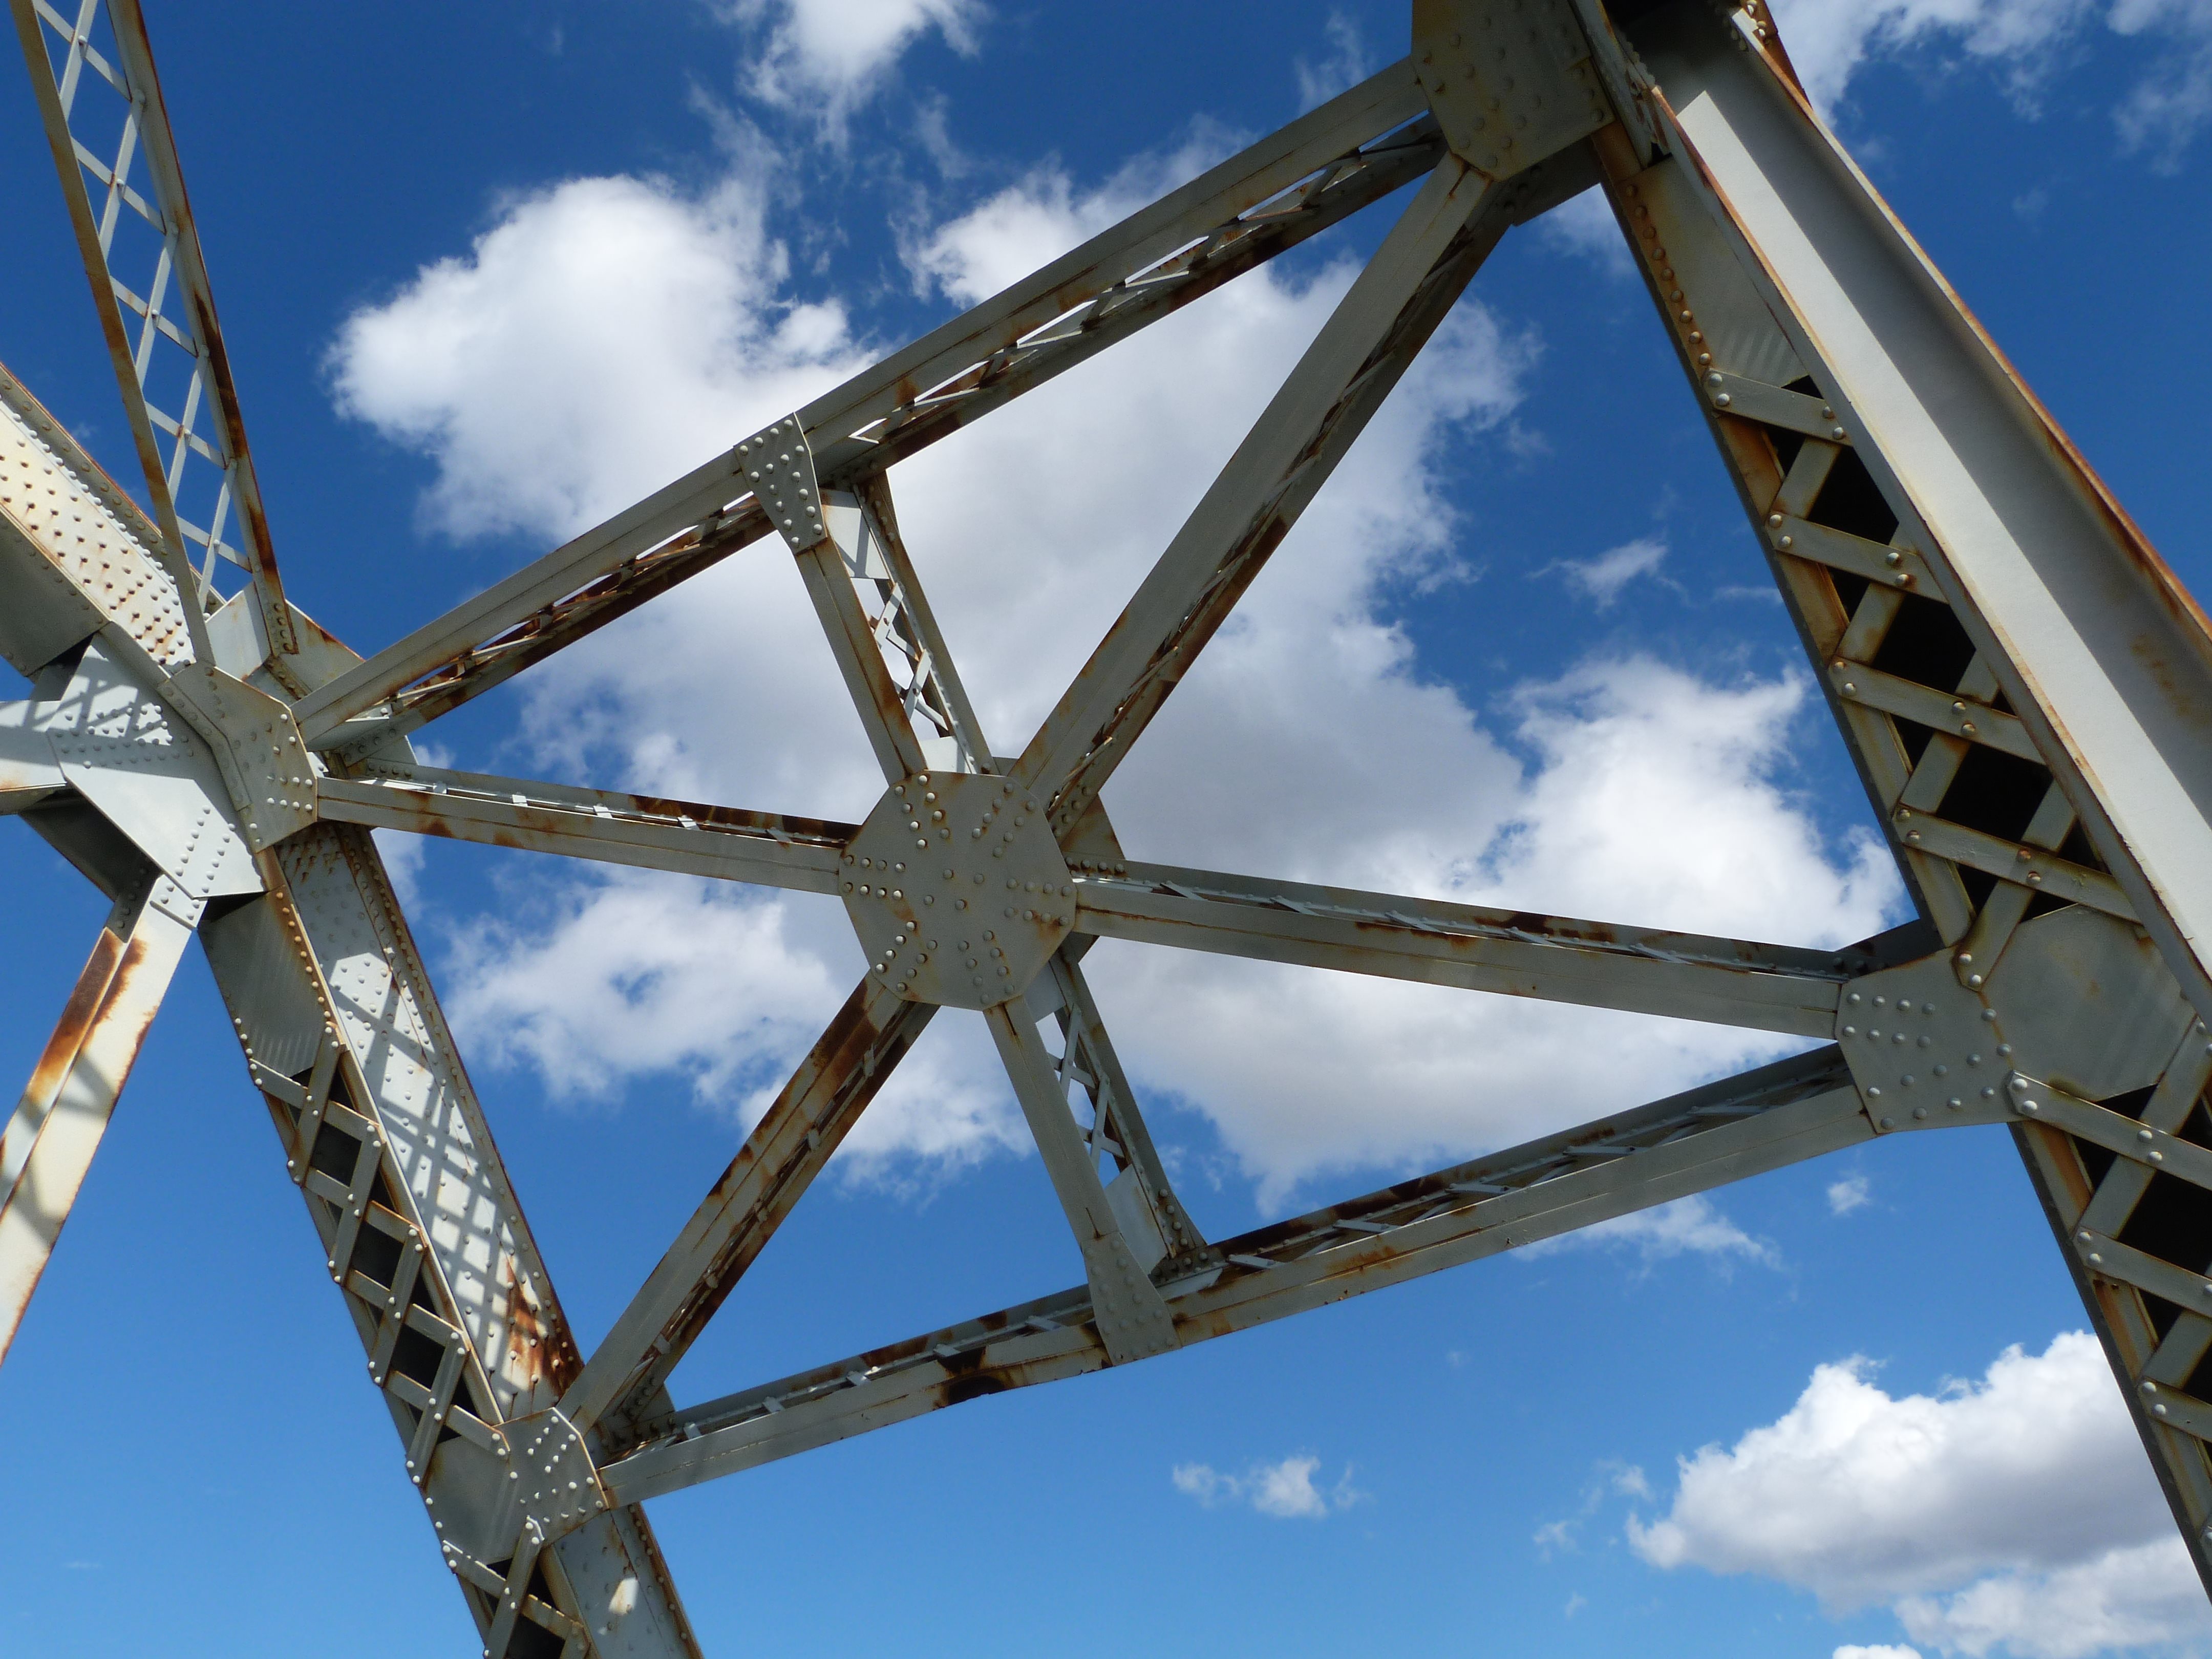
Sway bracing.
![]()

Sway bracing detail.
![]()


Sway bracing connections.
![]()


Lateral bracing details.
![]()
Details For Seven Panel Parker Through Truss
![]()


Top chord connections as viewed from on bridge.
![]()
Bottom chord connections as viewed from on bridge.
![]()

Intermediate connections as viewed from on bridge.
![]()
End posts.
![]()

Bottom chord.
![]()

Portal bracing.
![]()

Sway bracing.
![]()


Sway bracing connections.
![]()


Lateral bracing details.
![]()


Diagonal members.
![]()

Inspection note.
![]()
Details For Deck Truss Spans
![]()


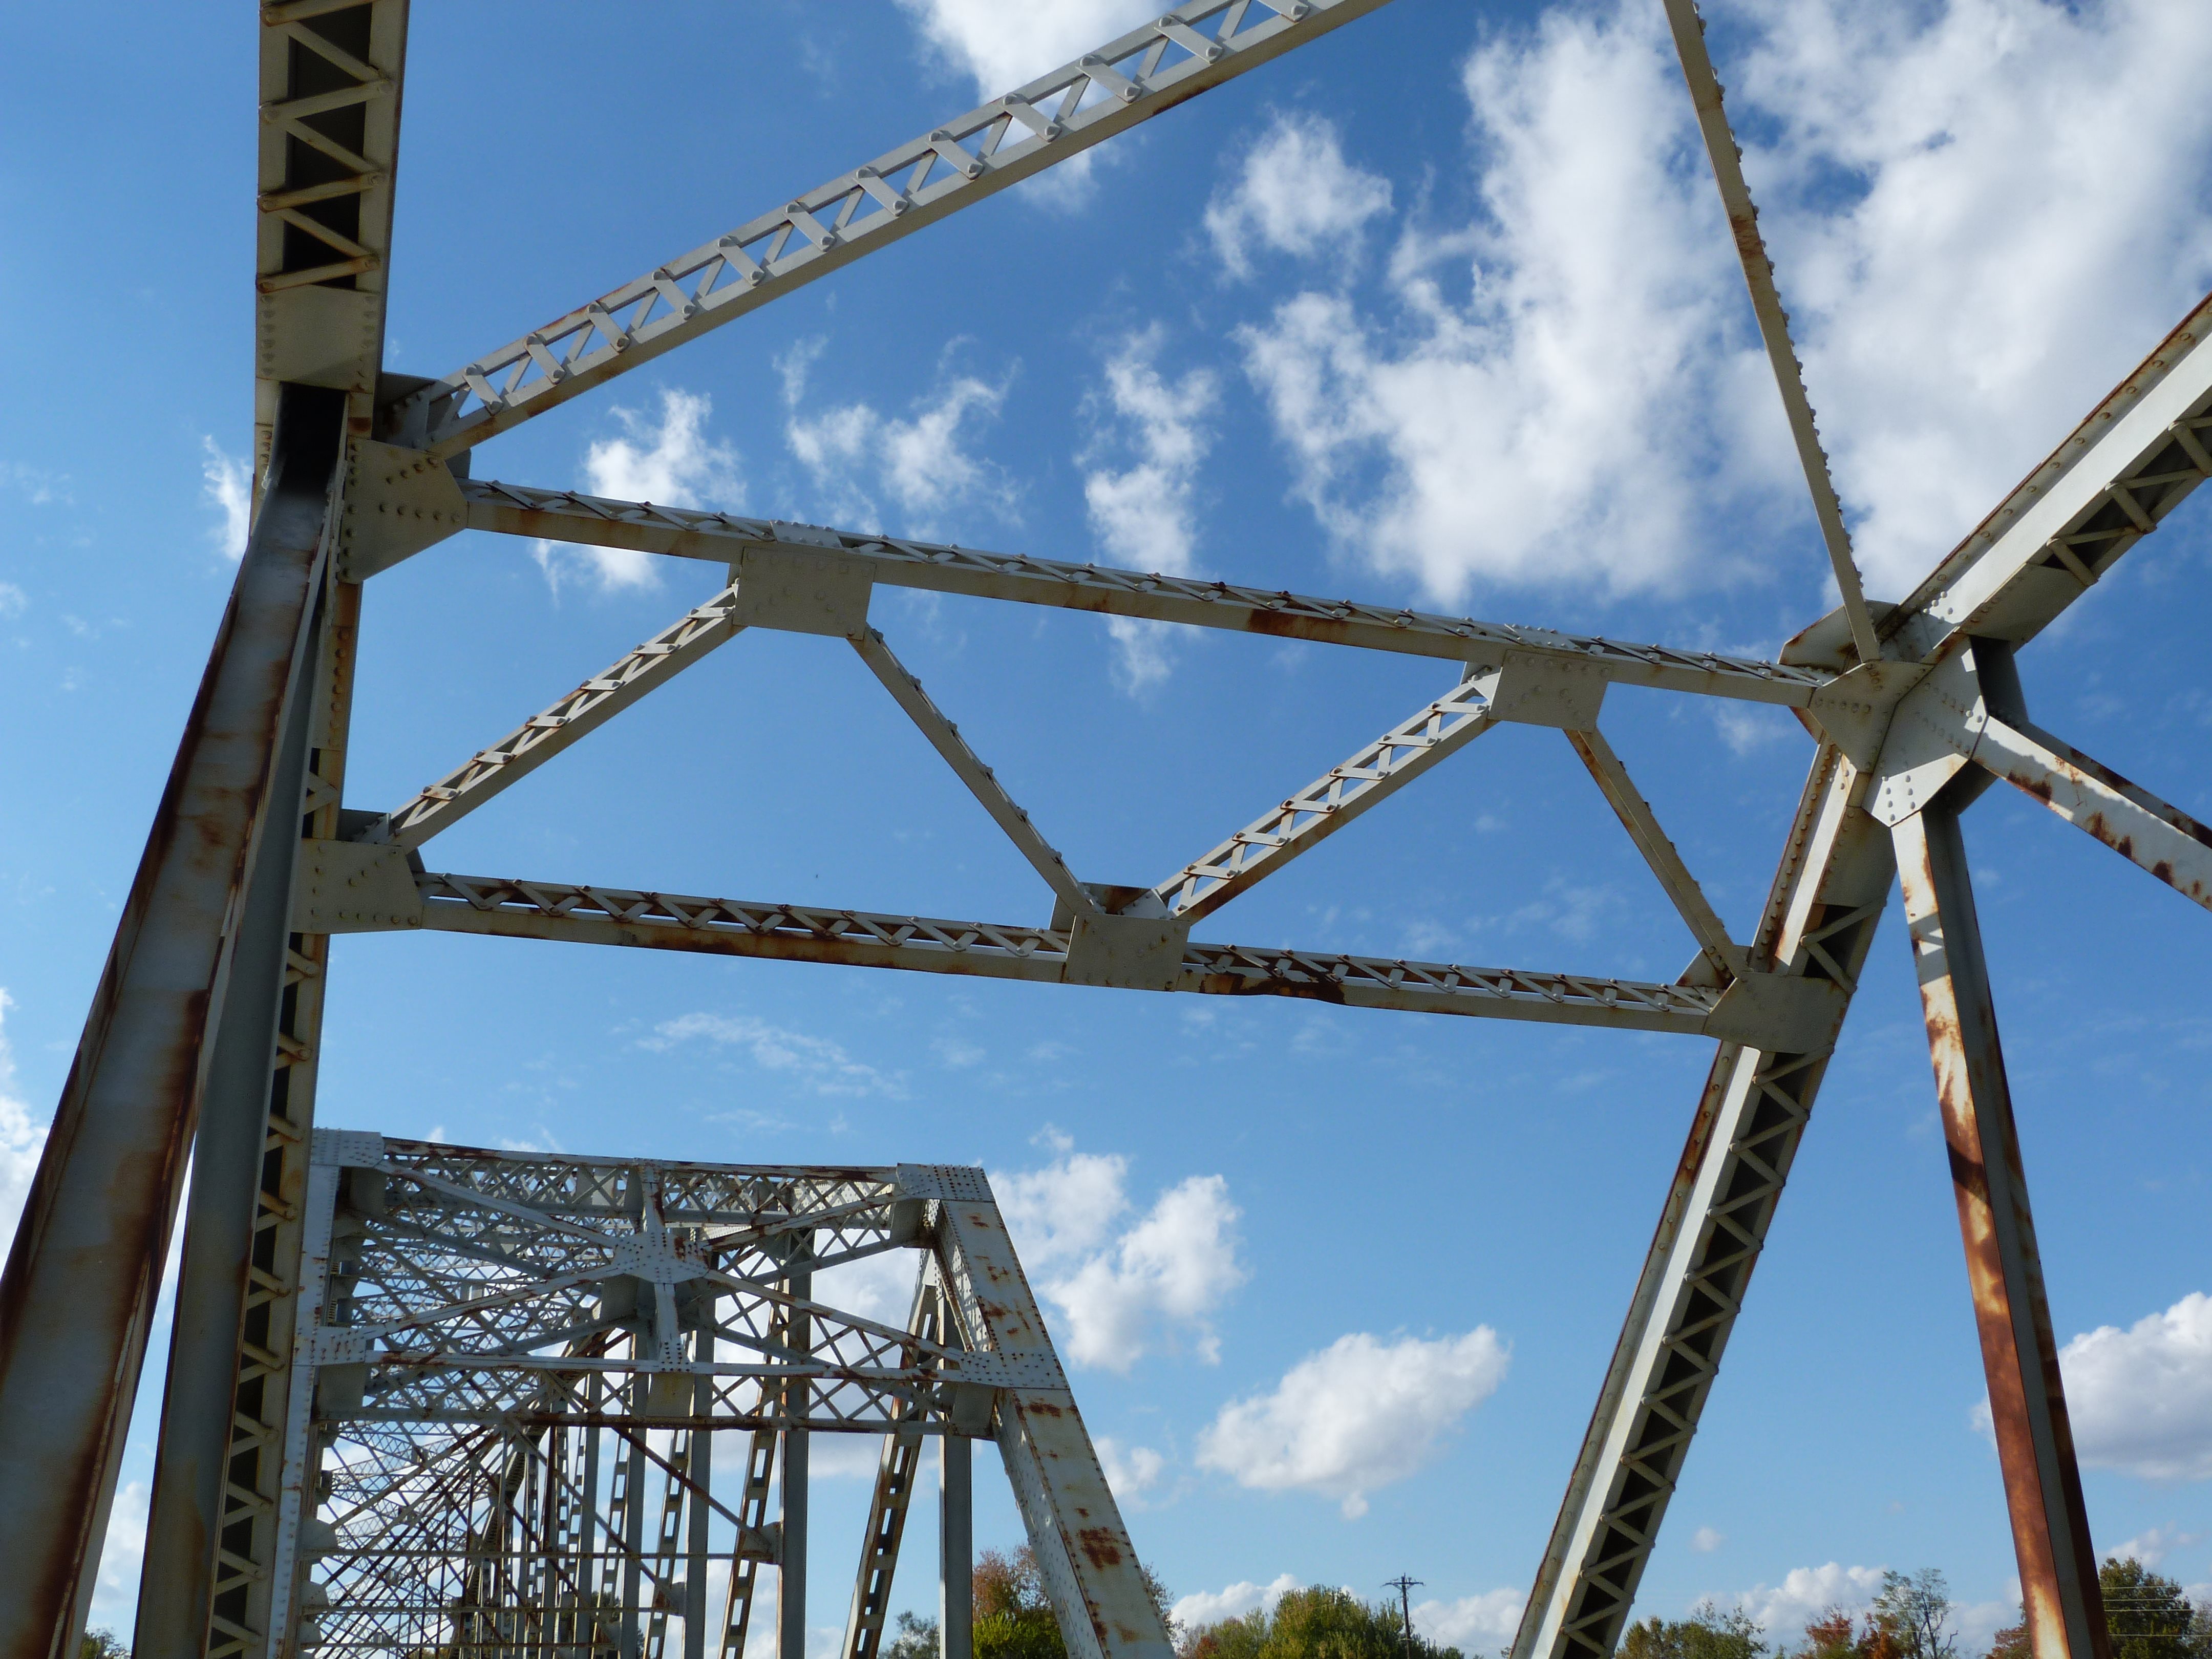
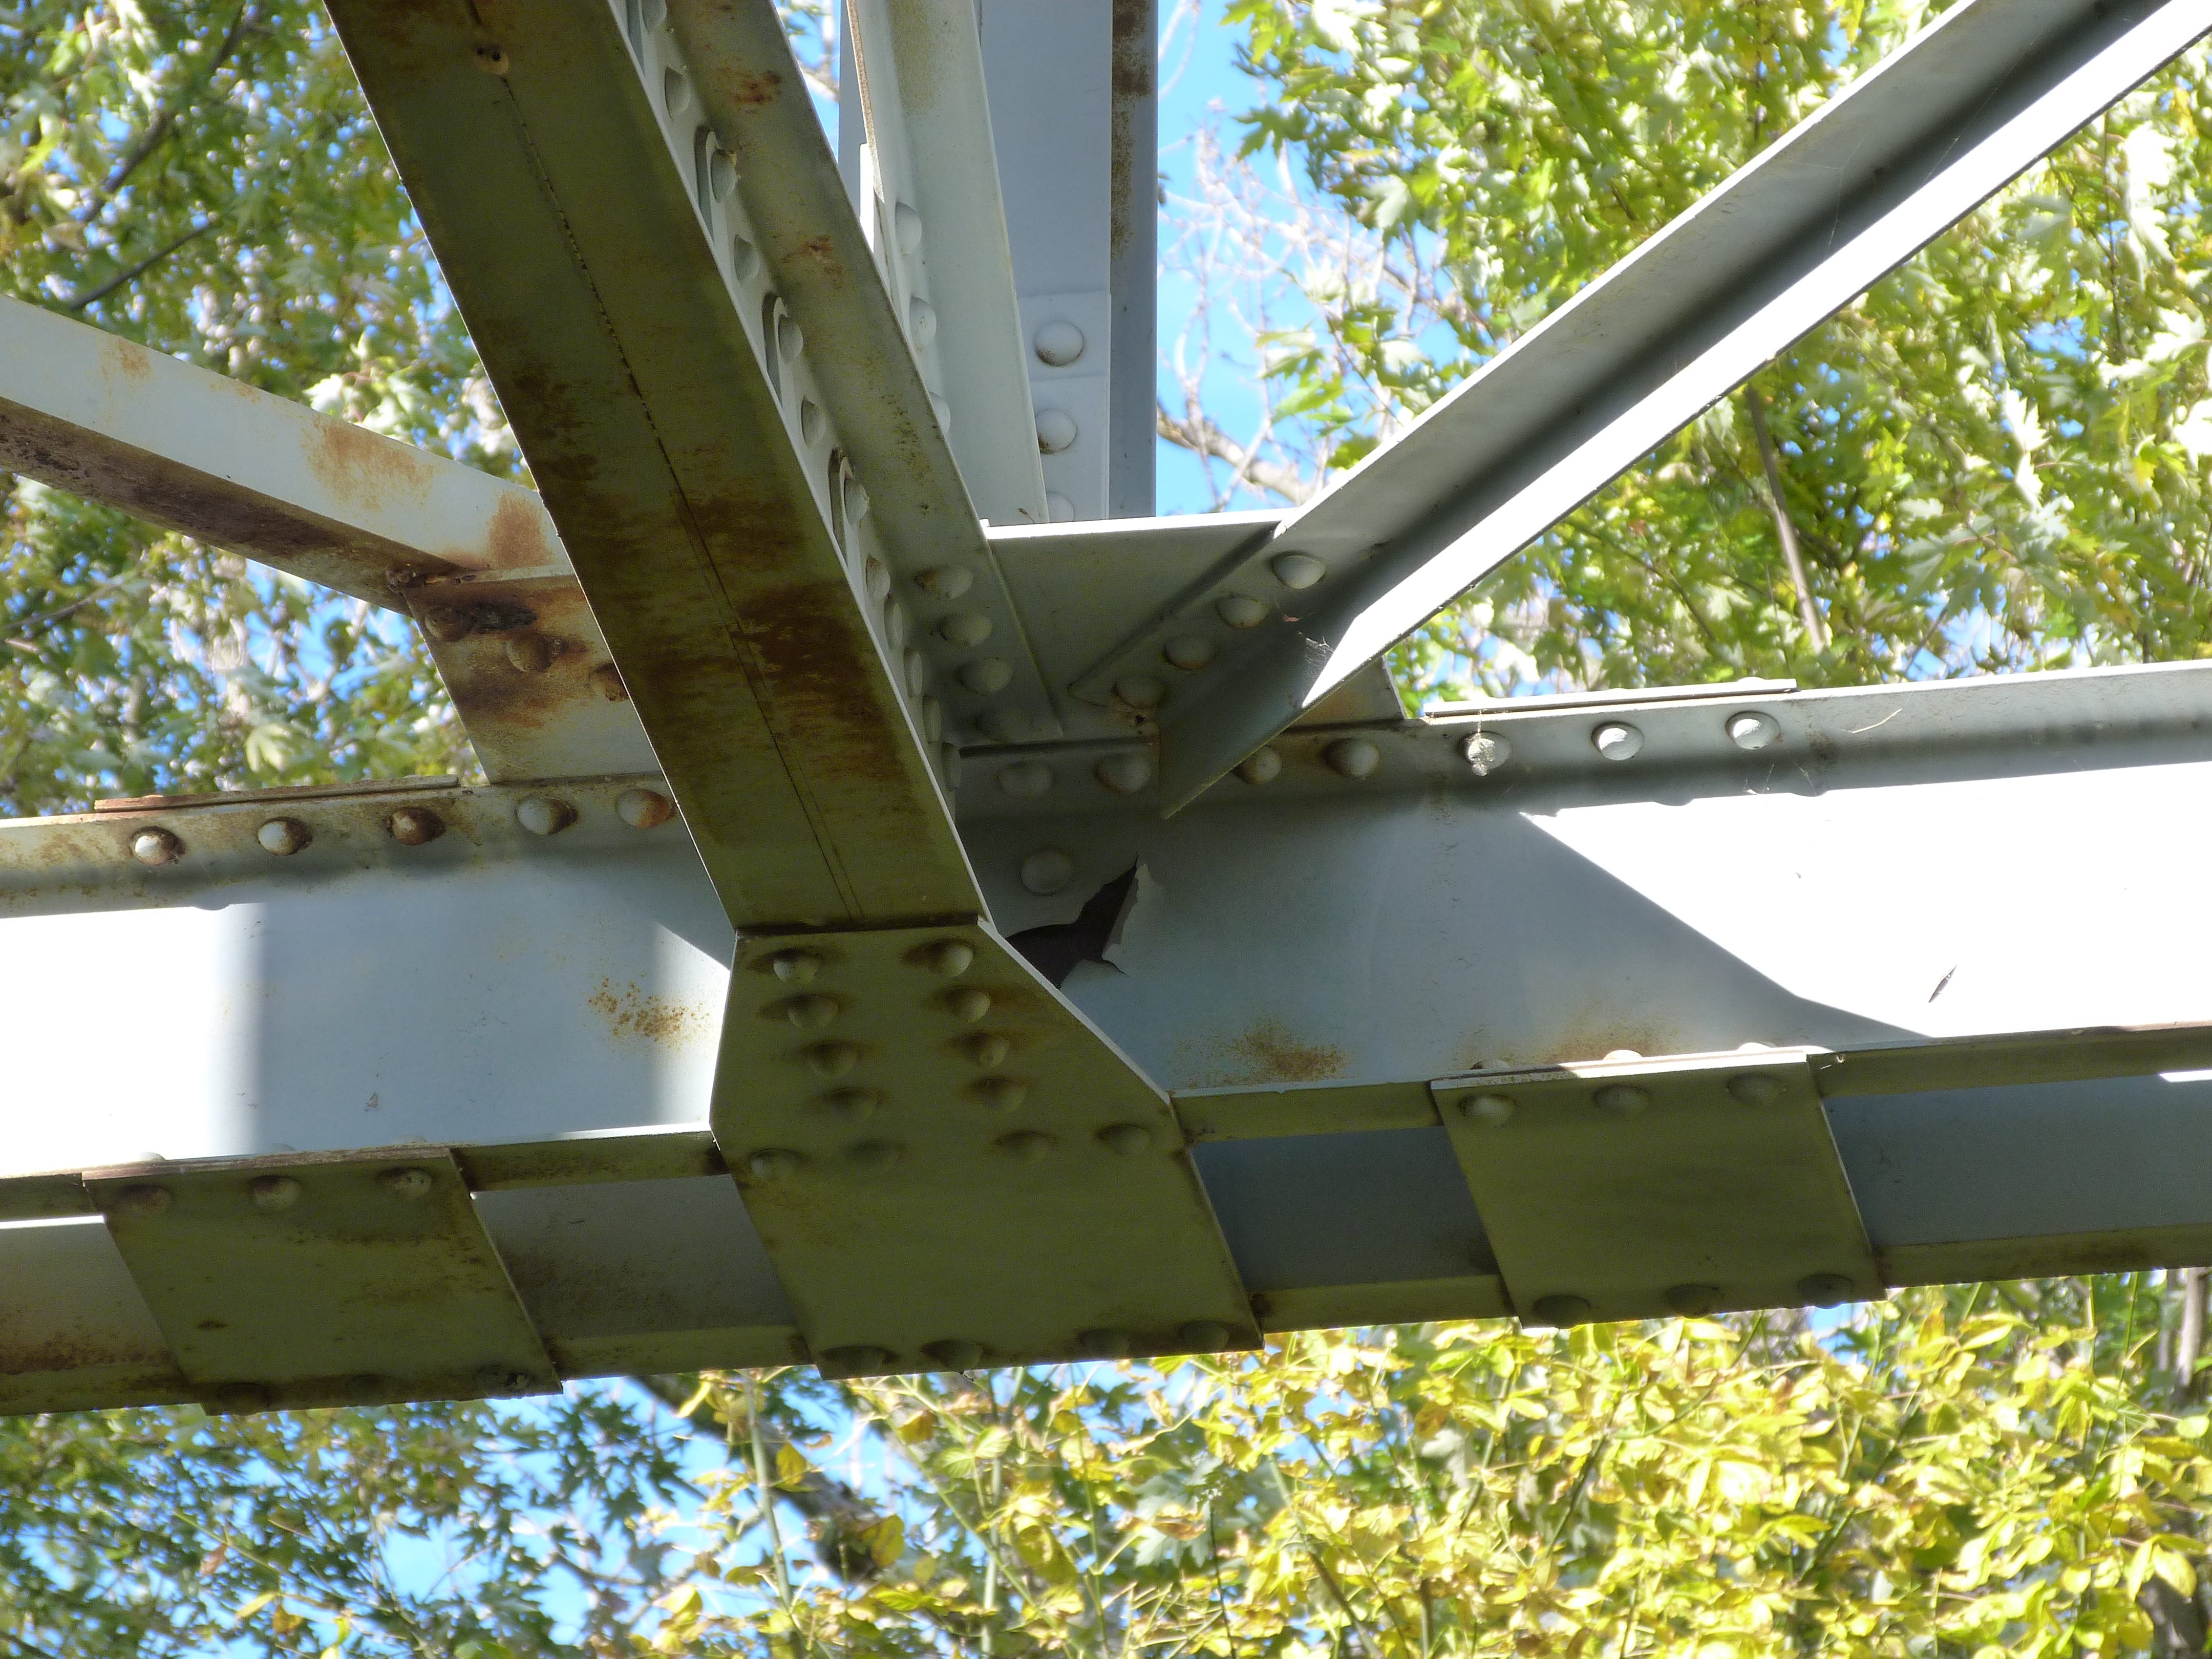
Views of truss web.
![]()

Looking through bracing.
![]()

View under span.
![]()


Top chord connections.
![]()


Bottom chord connections.
![]()

Bearing.
![]()

Top chord.
![]()
Detail For T-Beam Spans
![]()


Deck and railing overview for concrete t-beam spans.
![]()


T-beam details.
![]()

View under t-beam span.
![]()


Railing for t-beam spans.
![]()


Something unpleasant on the bridge...
![]()
![]()
| Back |
| Home |
| Top |

![]()