Uncredited photos on this page taken by: Nathan Holth. Unless stated in a caption, all photos are Copyright with All Rights Reserved. Learn about reuse of our photos.
![]()
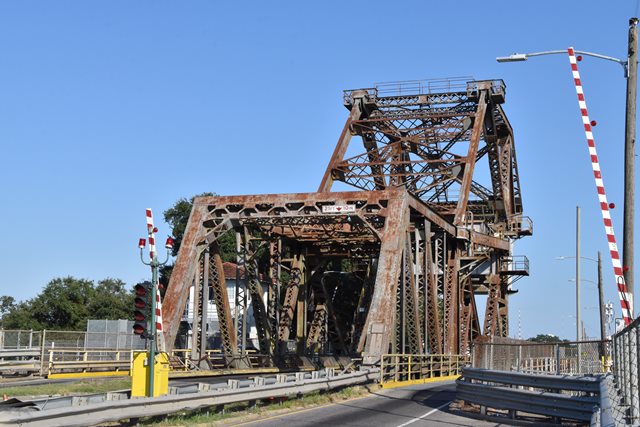
Oblique views from southwest quadrant.
![]()


Views beside bridge from southwest quadrant.
![]()
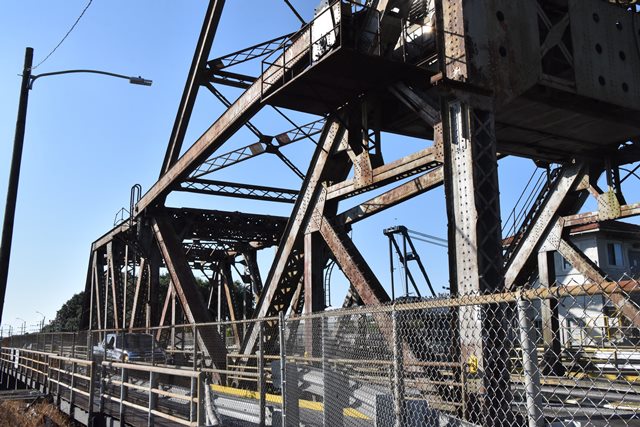


Views beside bridge from southeast quadrant.
![]()


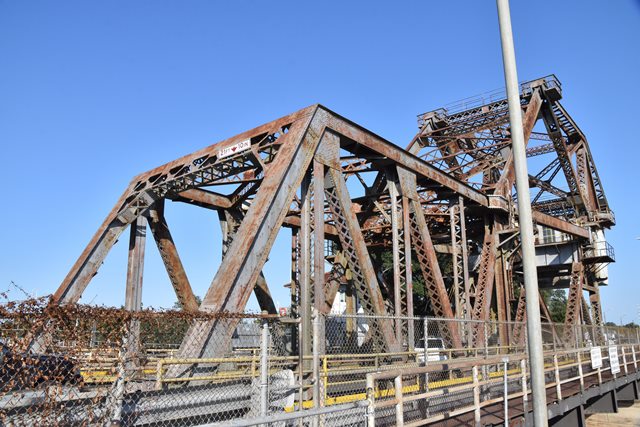
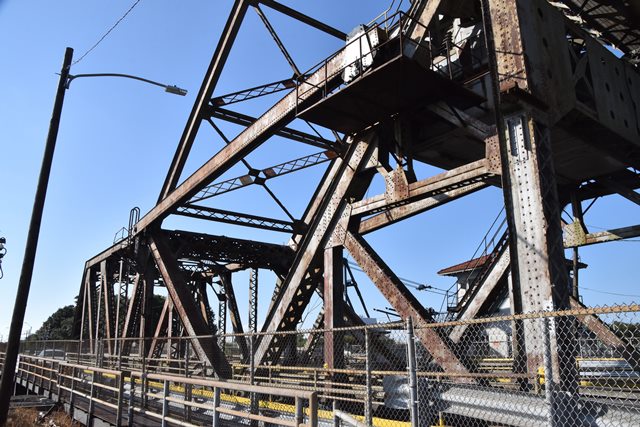
Oblique views from southeast quadrant.
![]()


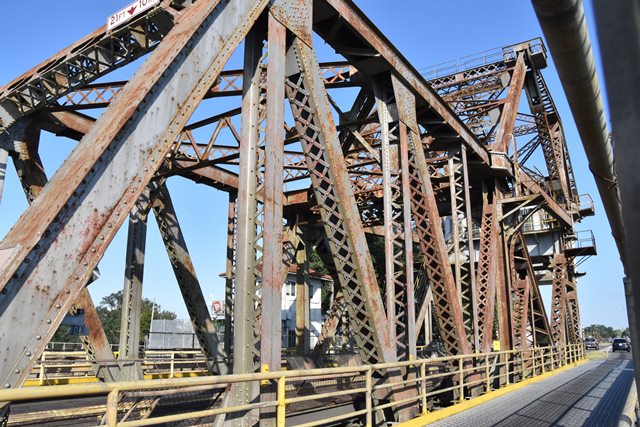
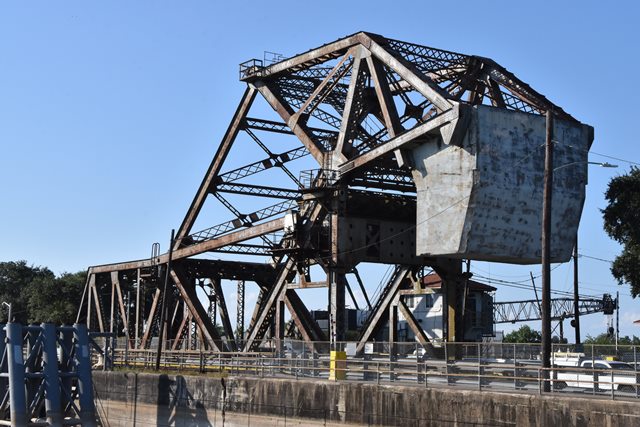
Oblique views from northeast quadrant.
![]()


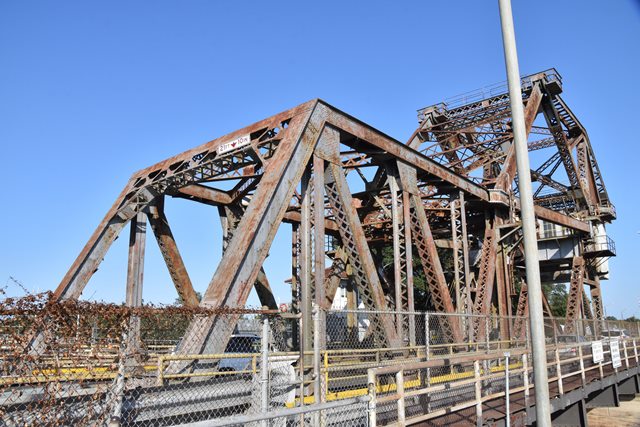
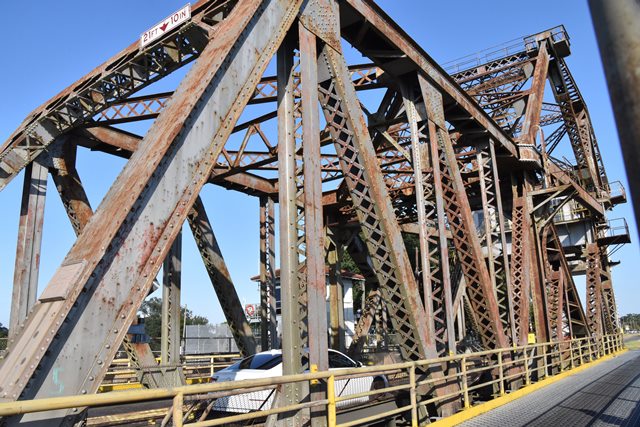
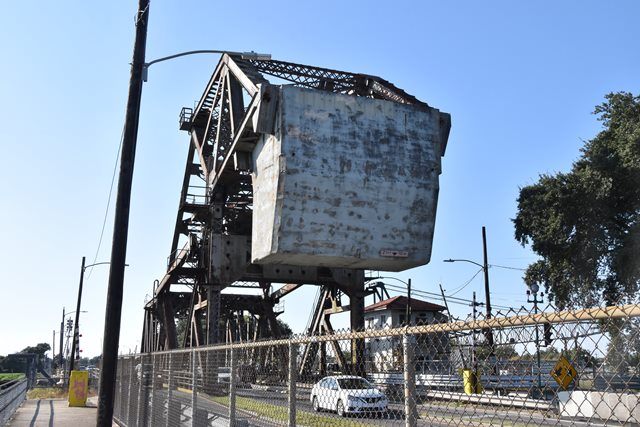
Elevation from southeast quadrant.
![]()


Photo Credit: C. Hanchey
Portal views showing bridge in raised position.
![]()
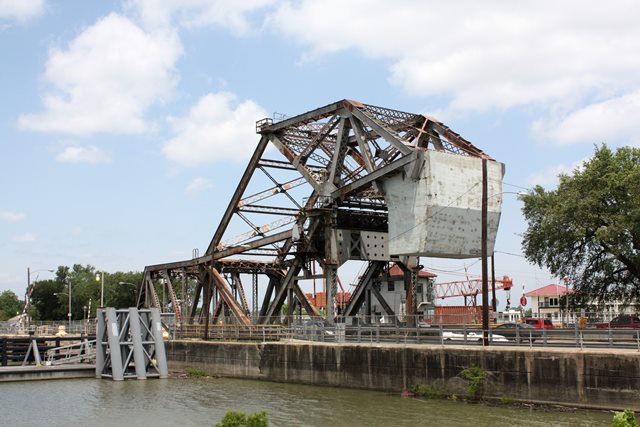
Photo Credit: C. Hanchey
Oblique view.
![]()


Photo Credit: C. Hanchey
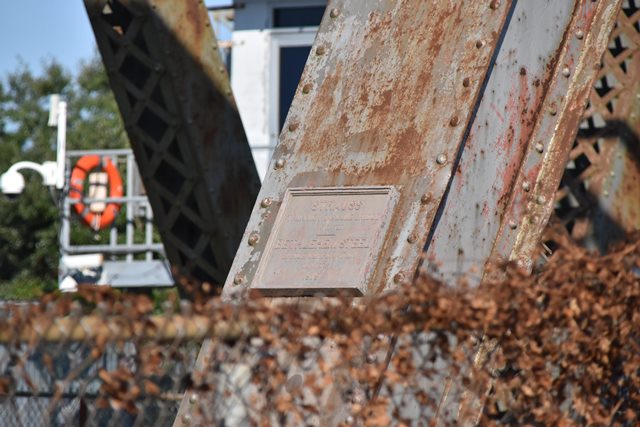
Plaque.
![]()


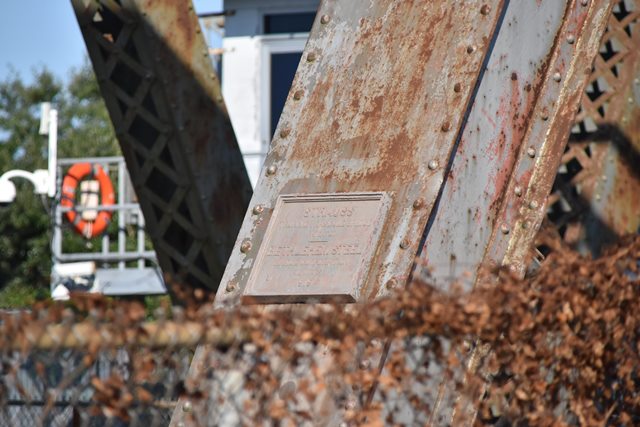


Plaque.
![]()
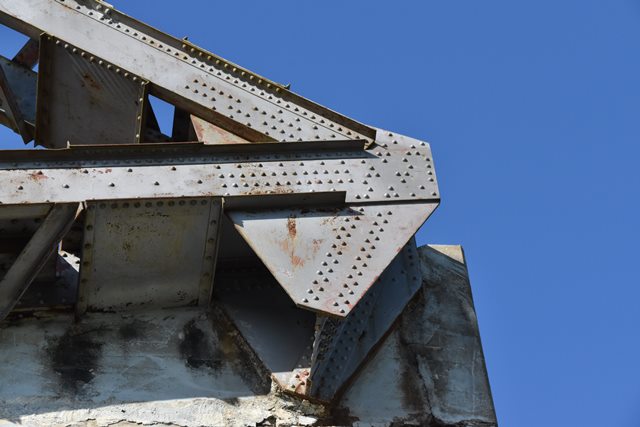


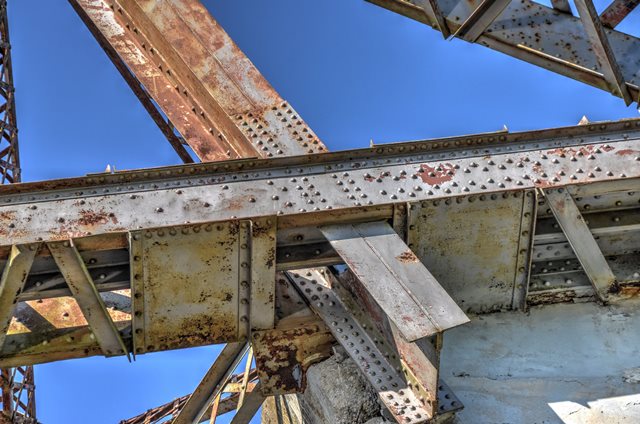


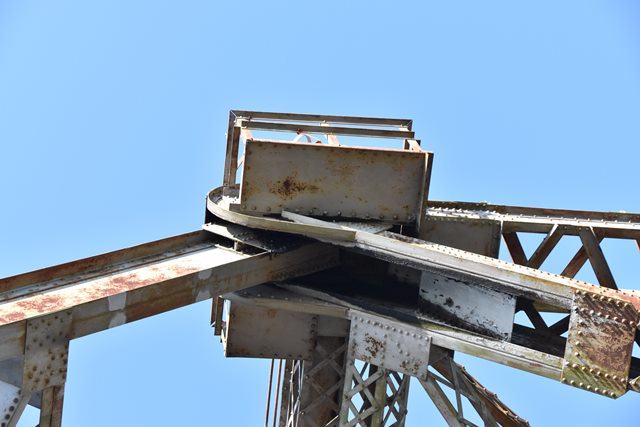
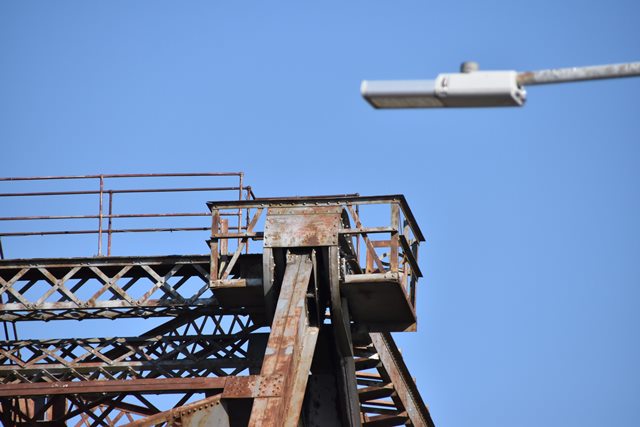
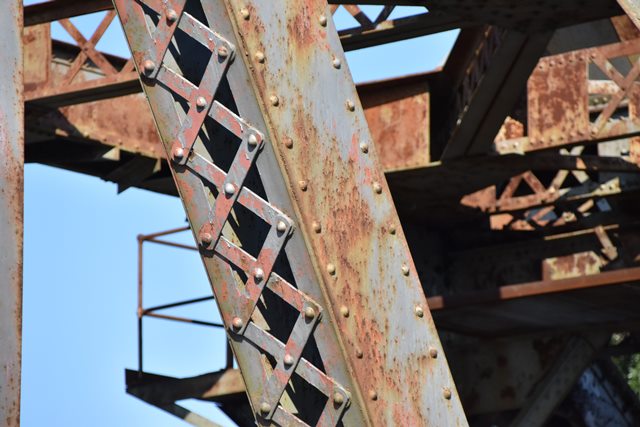
Rocking truss details.
![]()

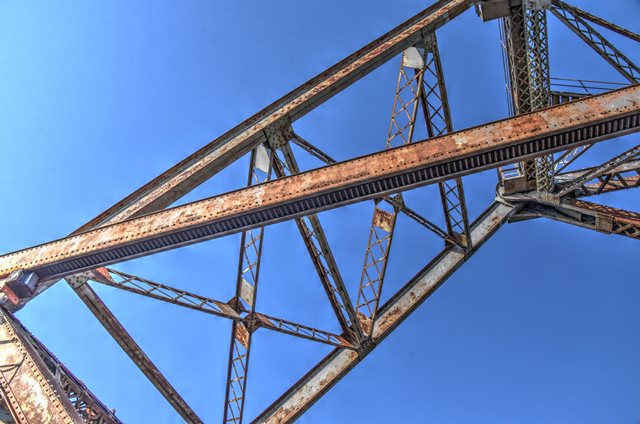

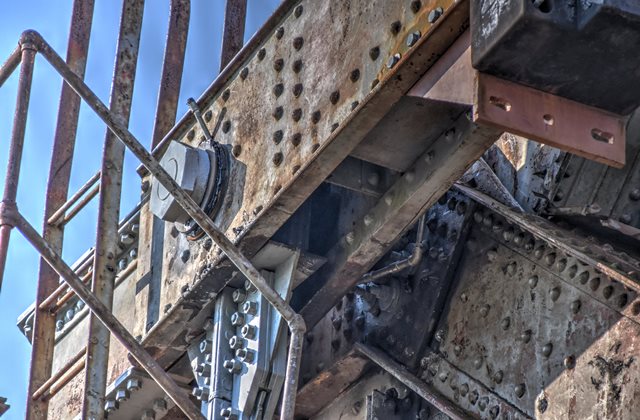
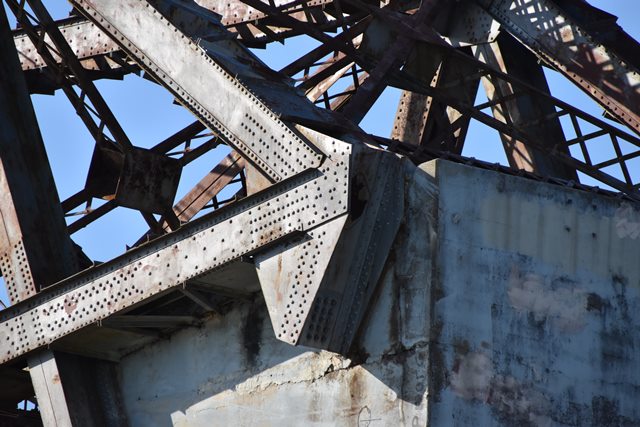
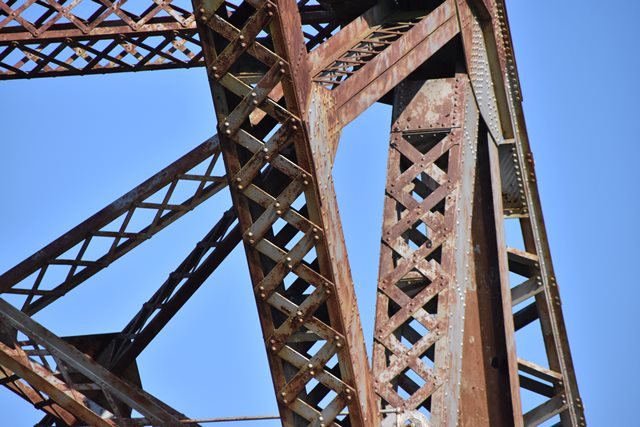
Looking up at link.
![]()


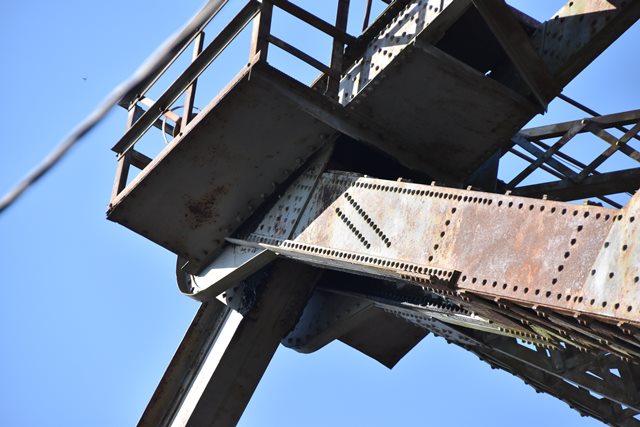
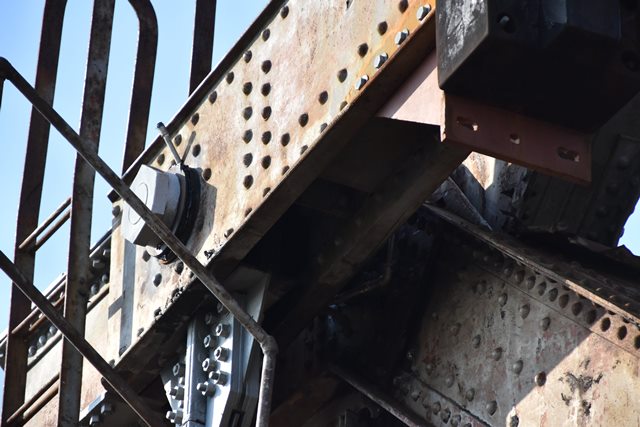
Link detail.
![]()


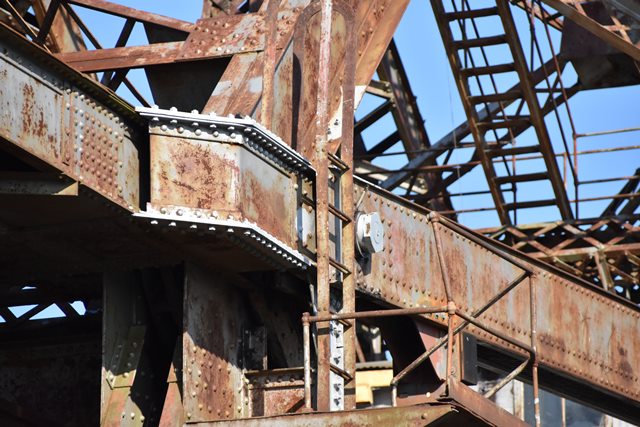
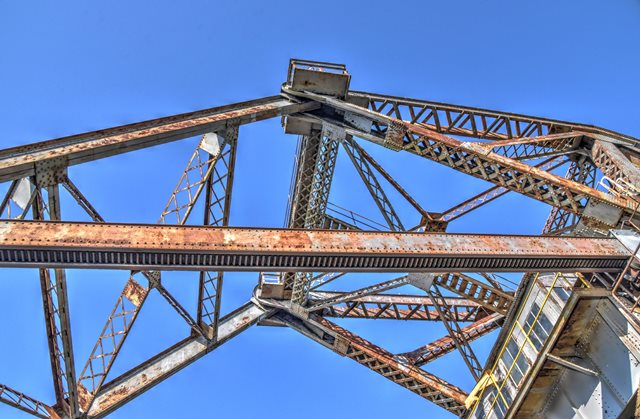
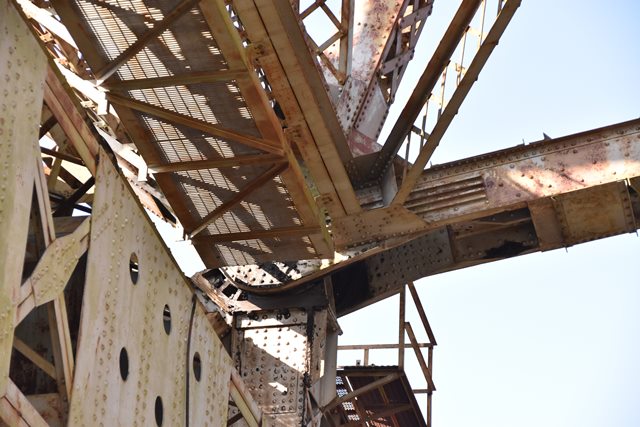
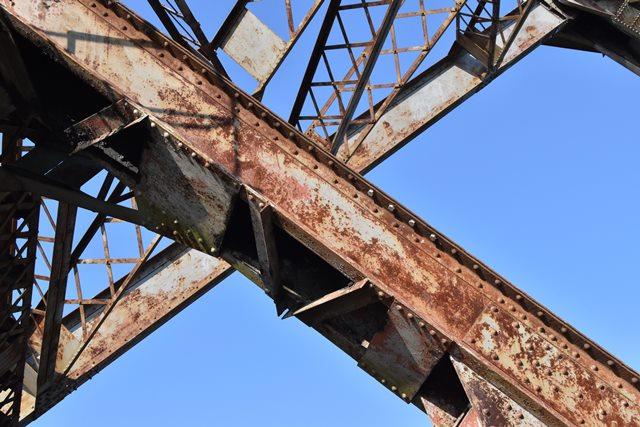
Looking up at rocking truss.
![]()

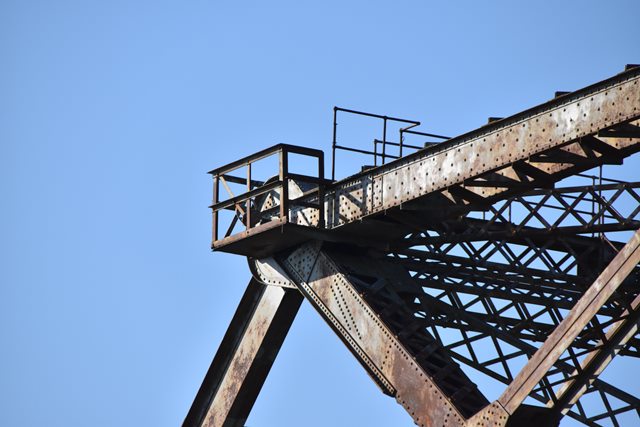
Main trunnion.
![]()


Counterweight trunnion.
![]()
First link pin.
![]()
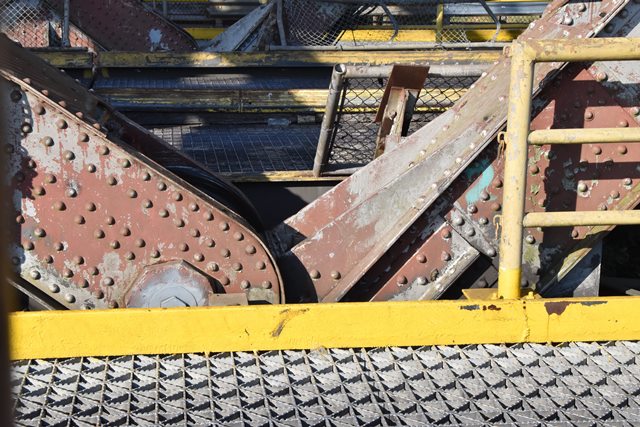
Second link pin and operating strut pin.
![]()
Operating strut.
![]()


Operating pinion.
![]()
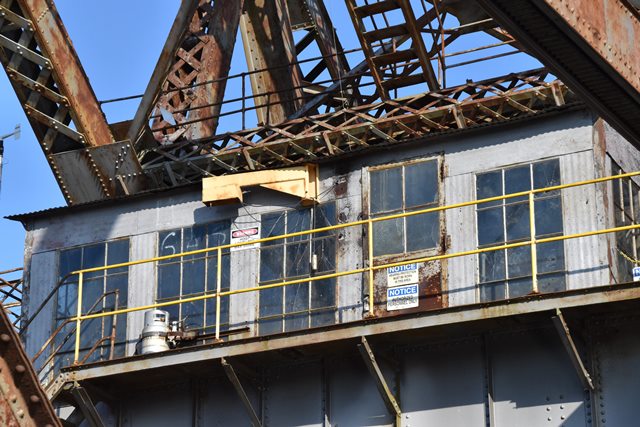
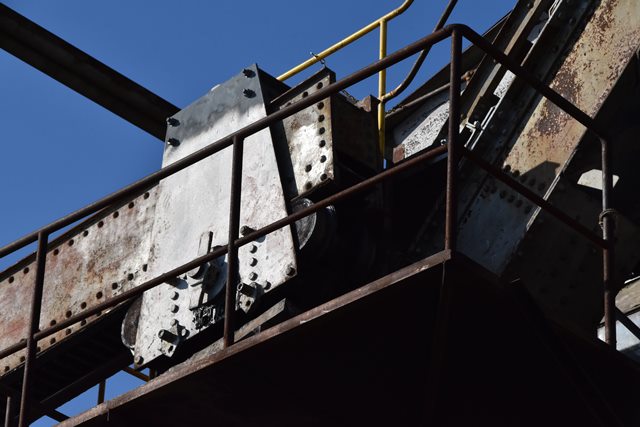
Machinery house.
![]()

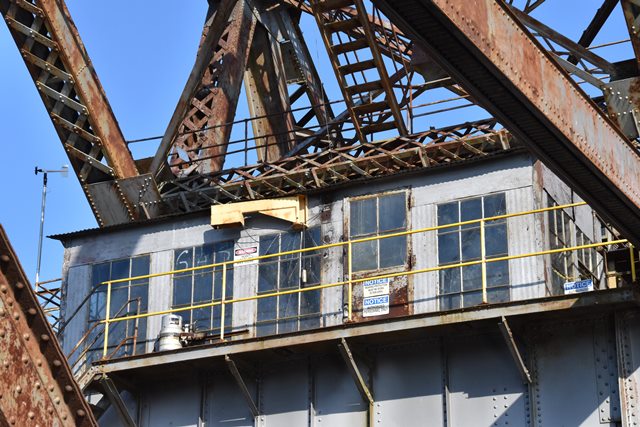
Bridgetender house.
![]()


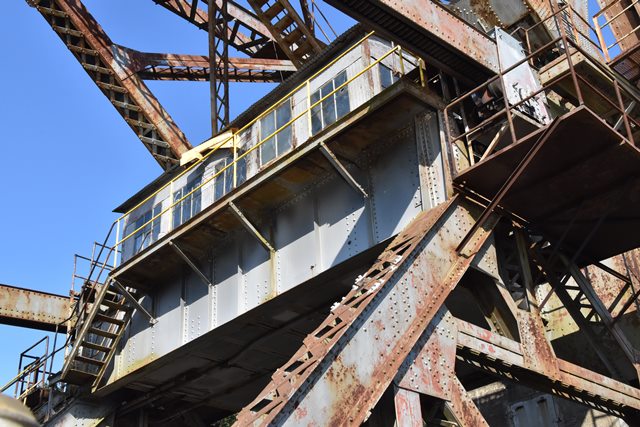
Counterweight frame details.
![]()


Top chord connections as viewed from beside bridge.
![]()

Intermediate connection.
![]()

Bracing.
![]()


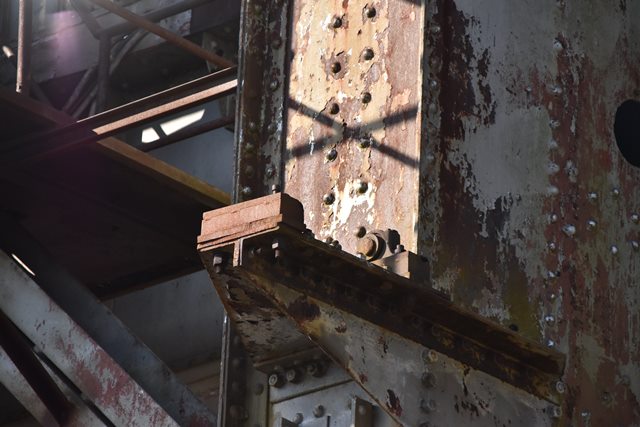
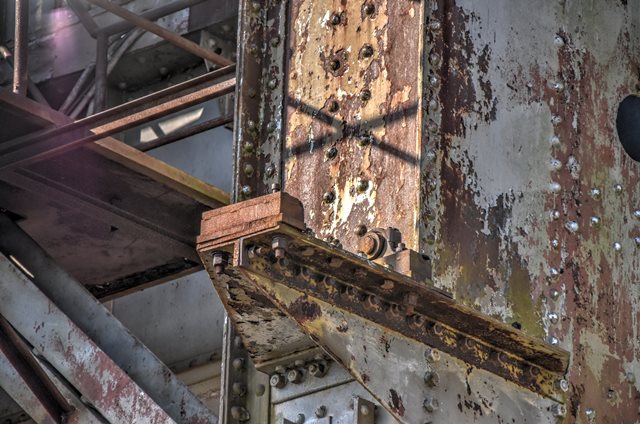
Misc. members.
![]()
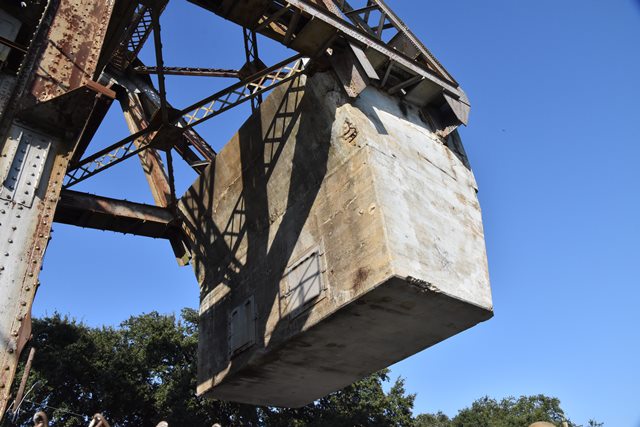
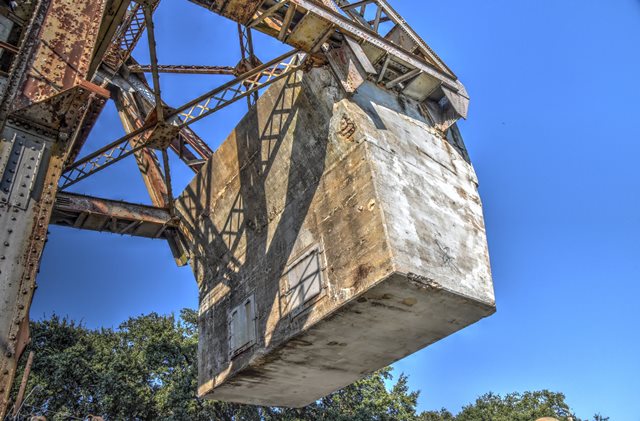


Counterweight.
![]()

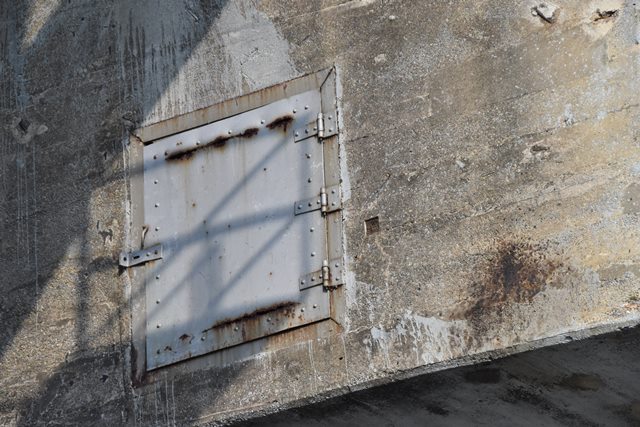


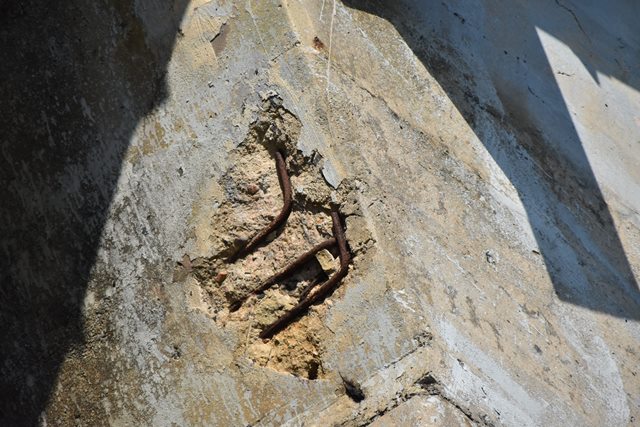
Access door on counterweight. This is likely where weights can be added or removed to maintain bridge balance.
![]()


Bumper.
![]()


Cantilevers.
![]()

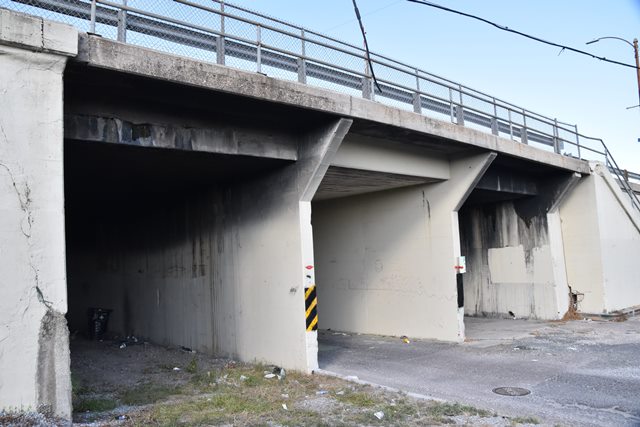
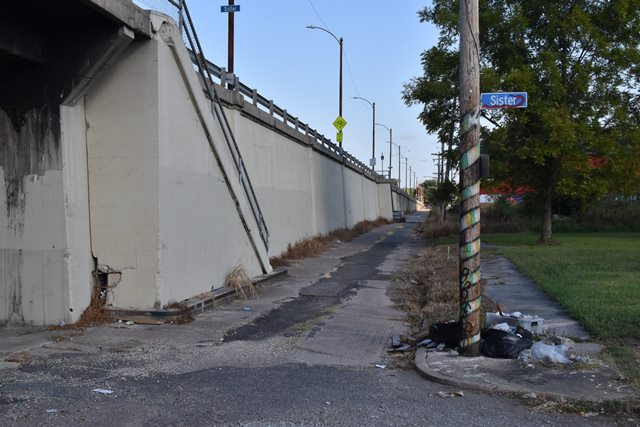
Overpass and approach ramp east of bridge.
![]()

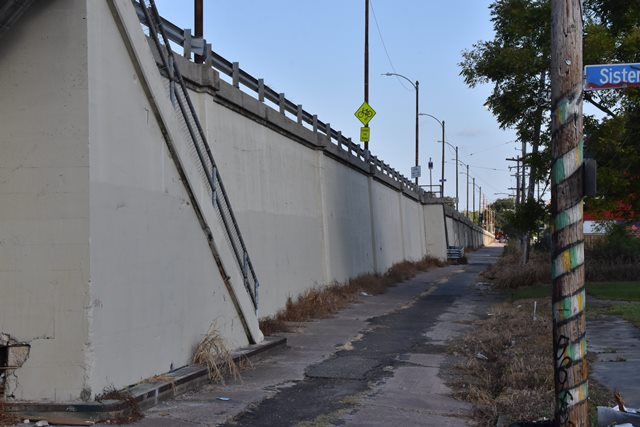
Sidewalk.
![]()


Building near bridge.
![]()
![]()
| Back |
| Home |
| Top |

![]()