
Uncredited photos on this page taken by: Nathan Holth. Unless stated in a caption, all photos are Copyright with All Rights Reserved. Learn about reuse of our photos.
![]()

Photo Credit: Ron Schott, CC BY-NC-SA 2.0, http://www.flickr.com/photos/rschott/1957787002/
Plaque.
![]()

Interpretive signage.
![]()
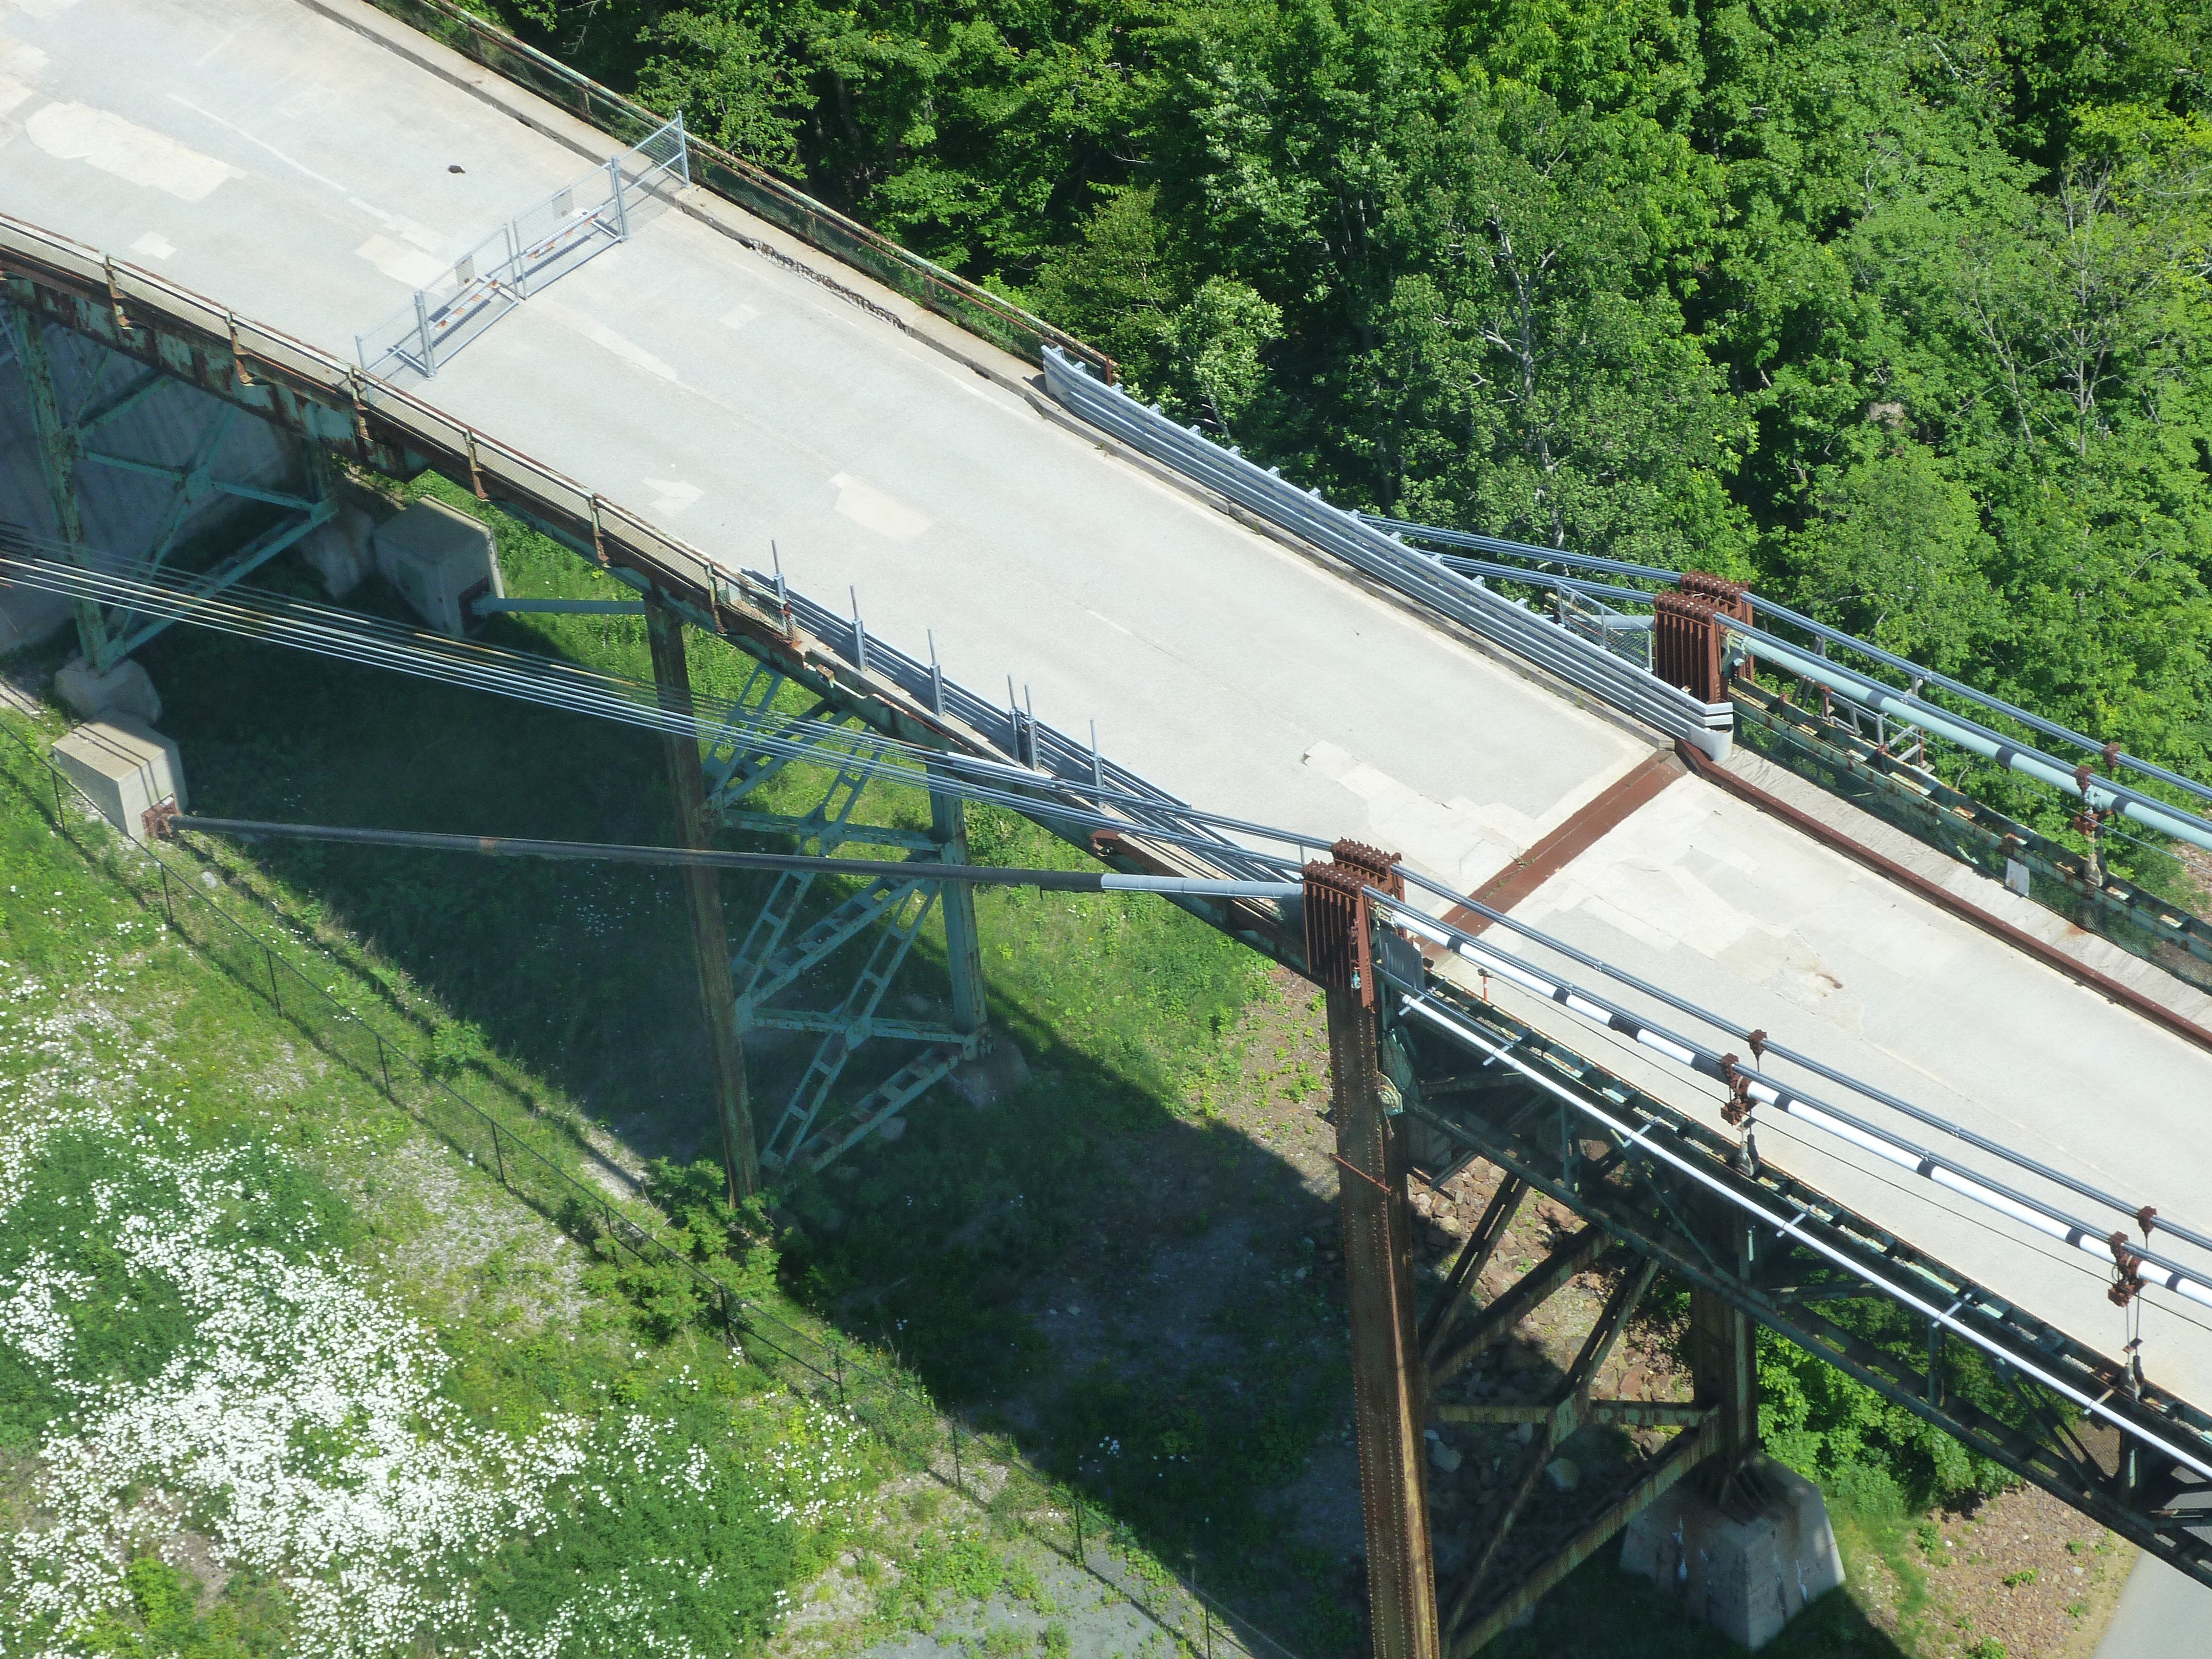

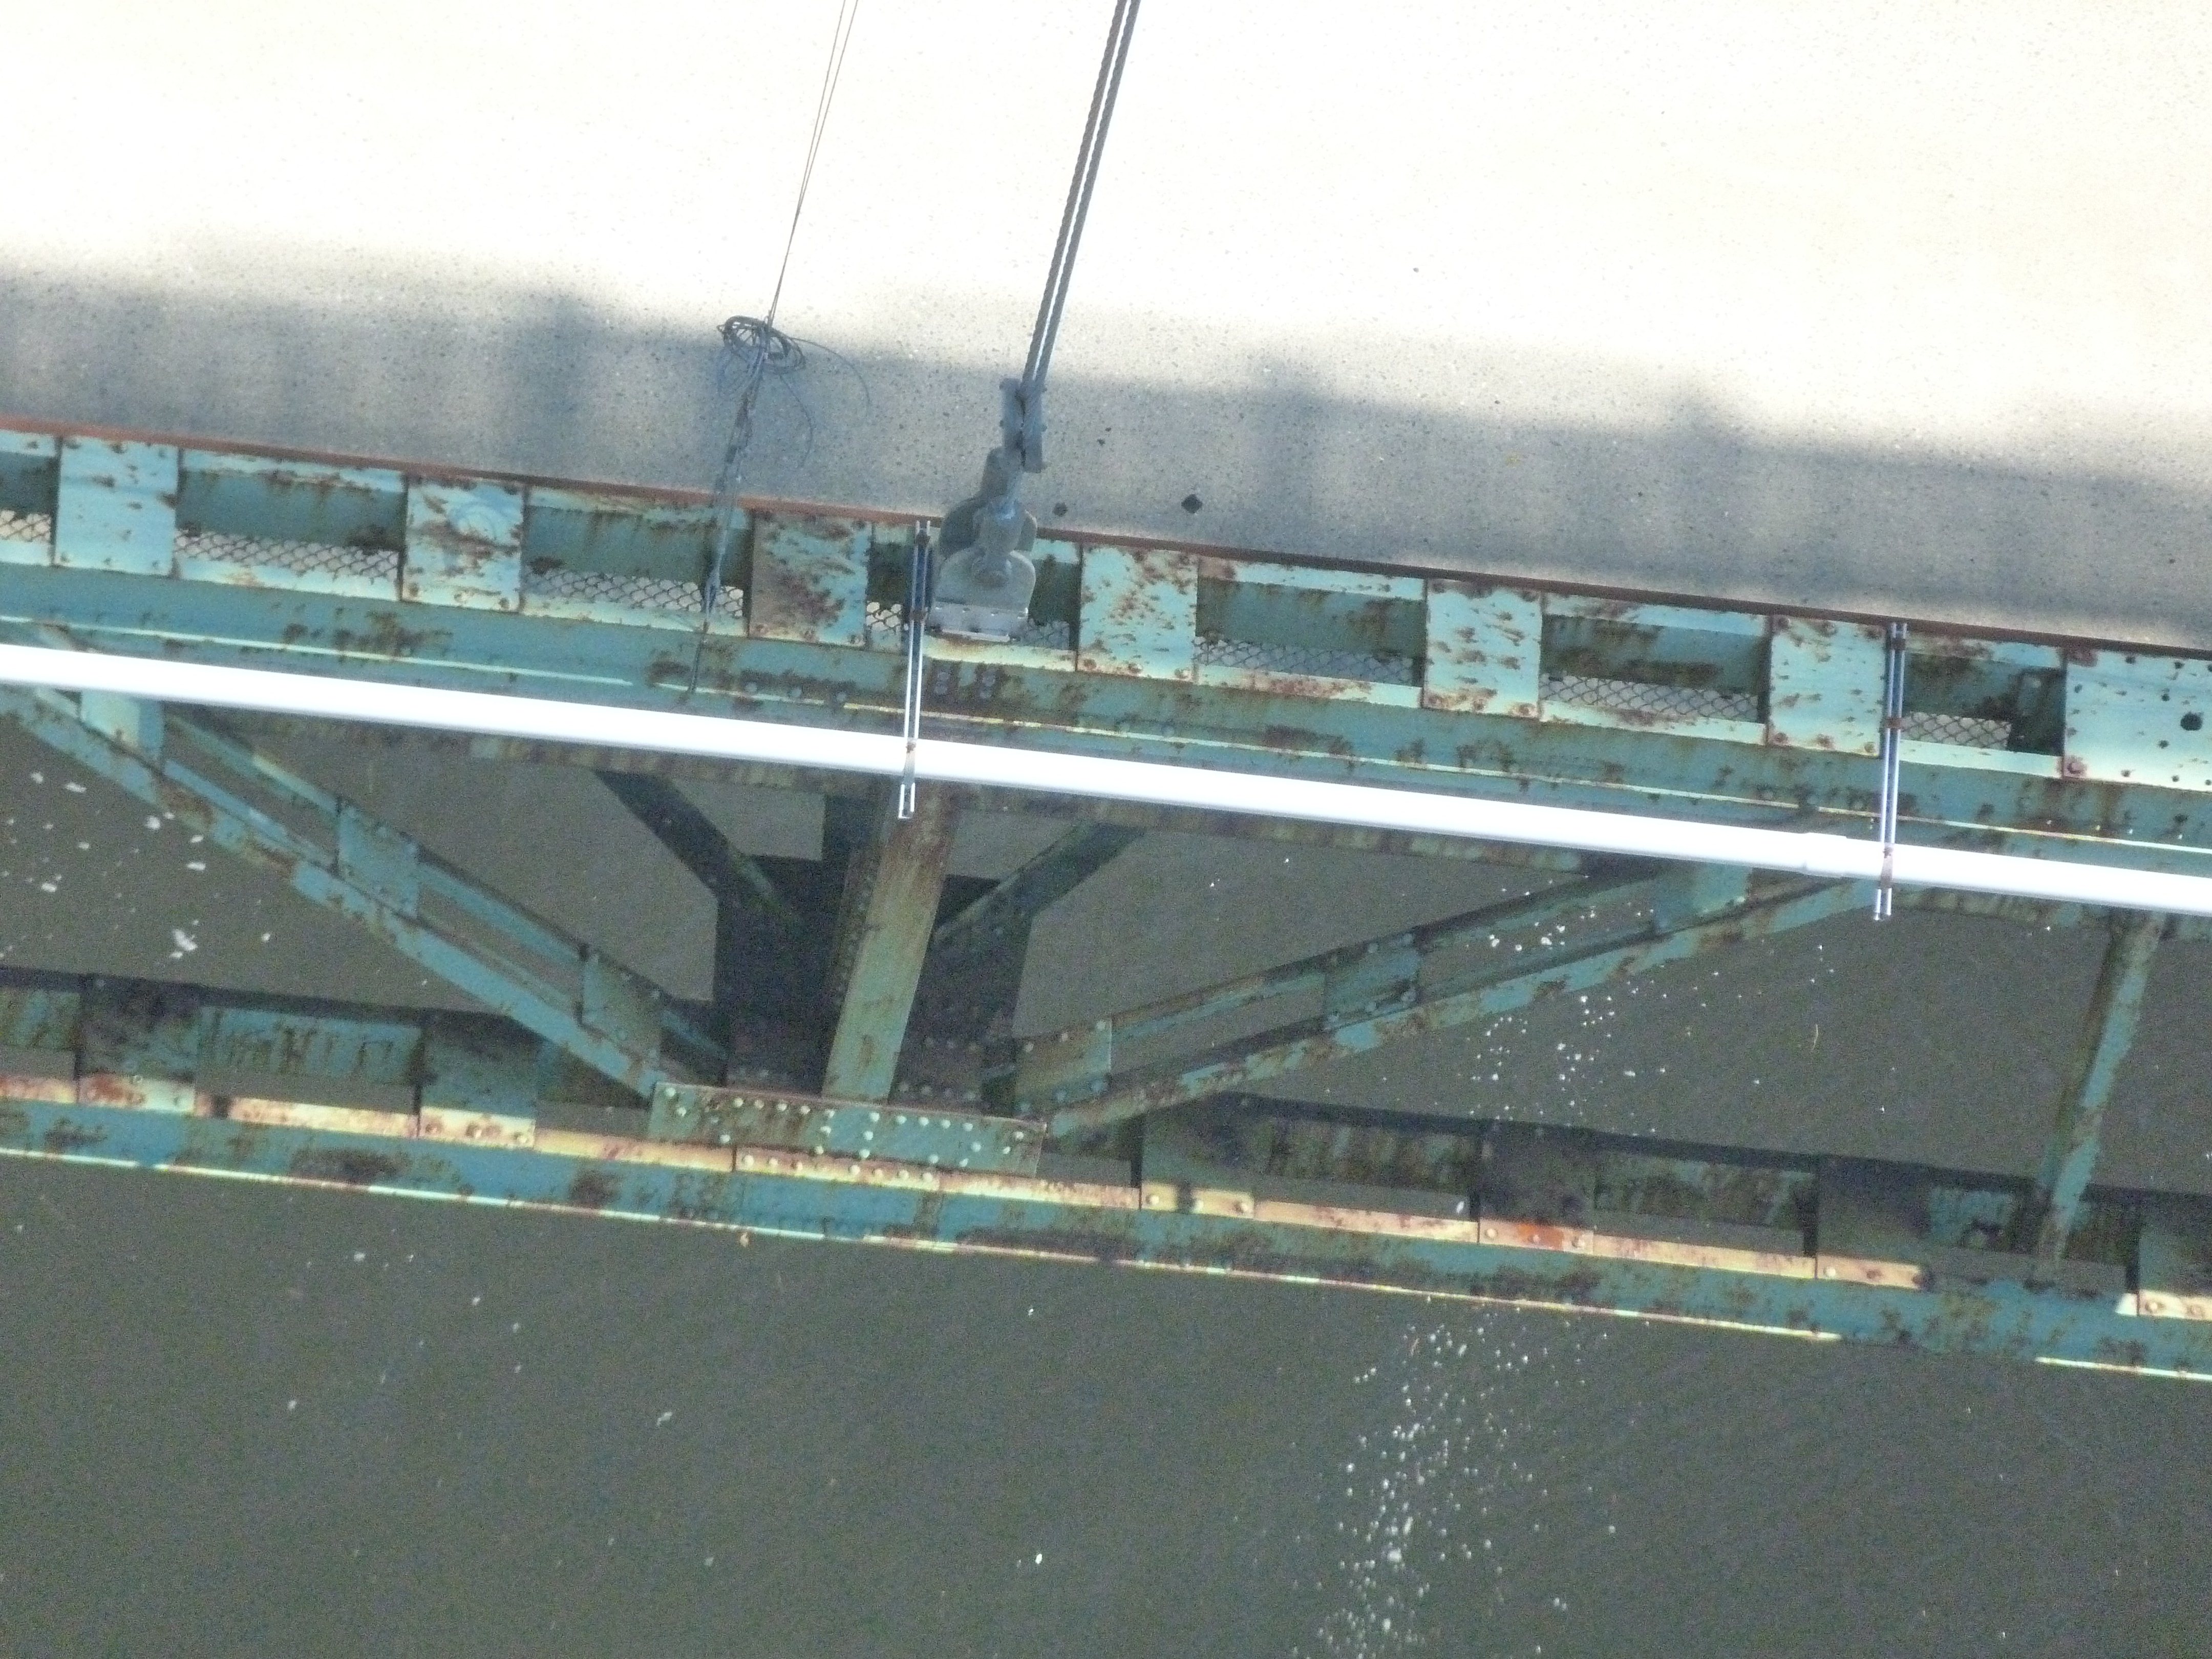
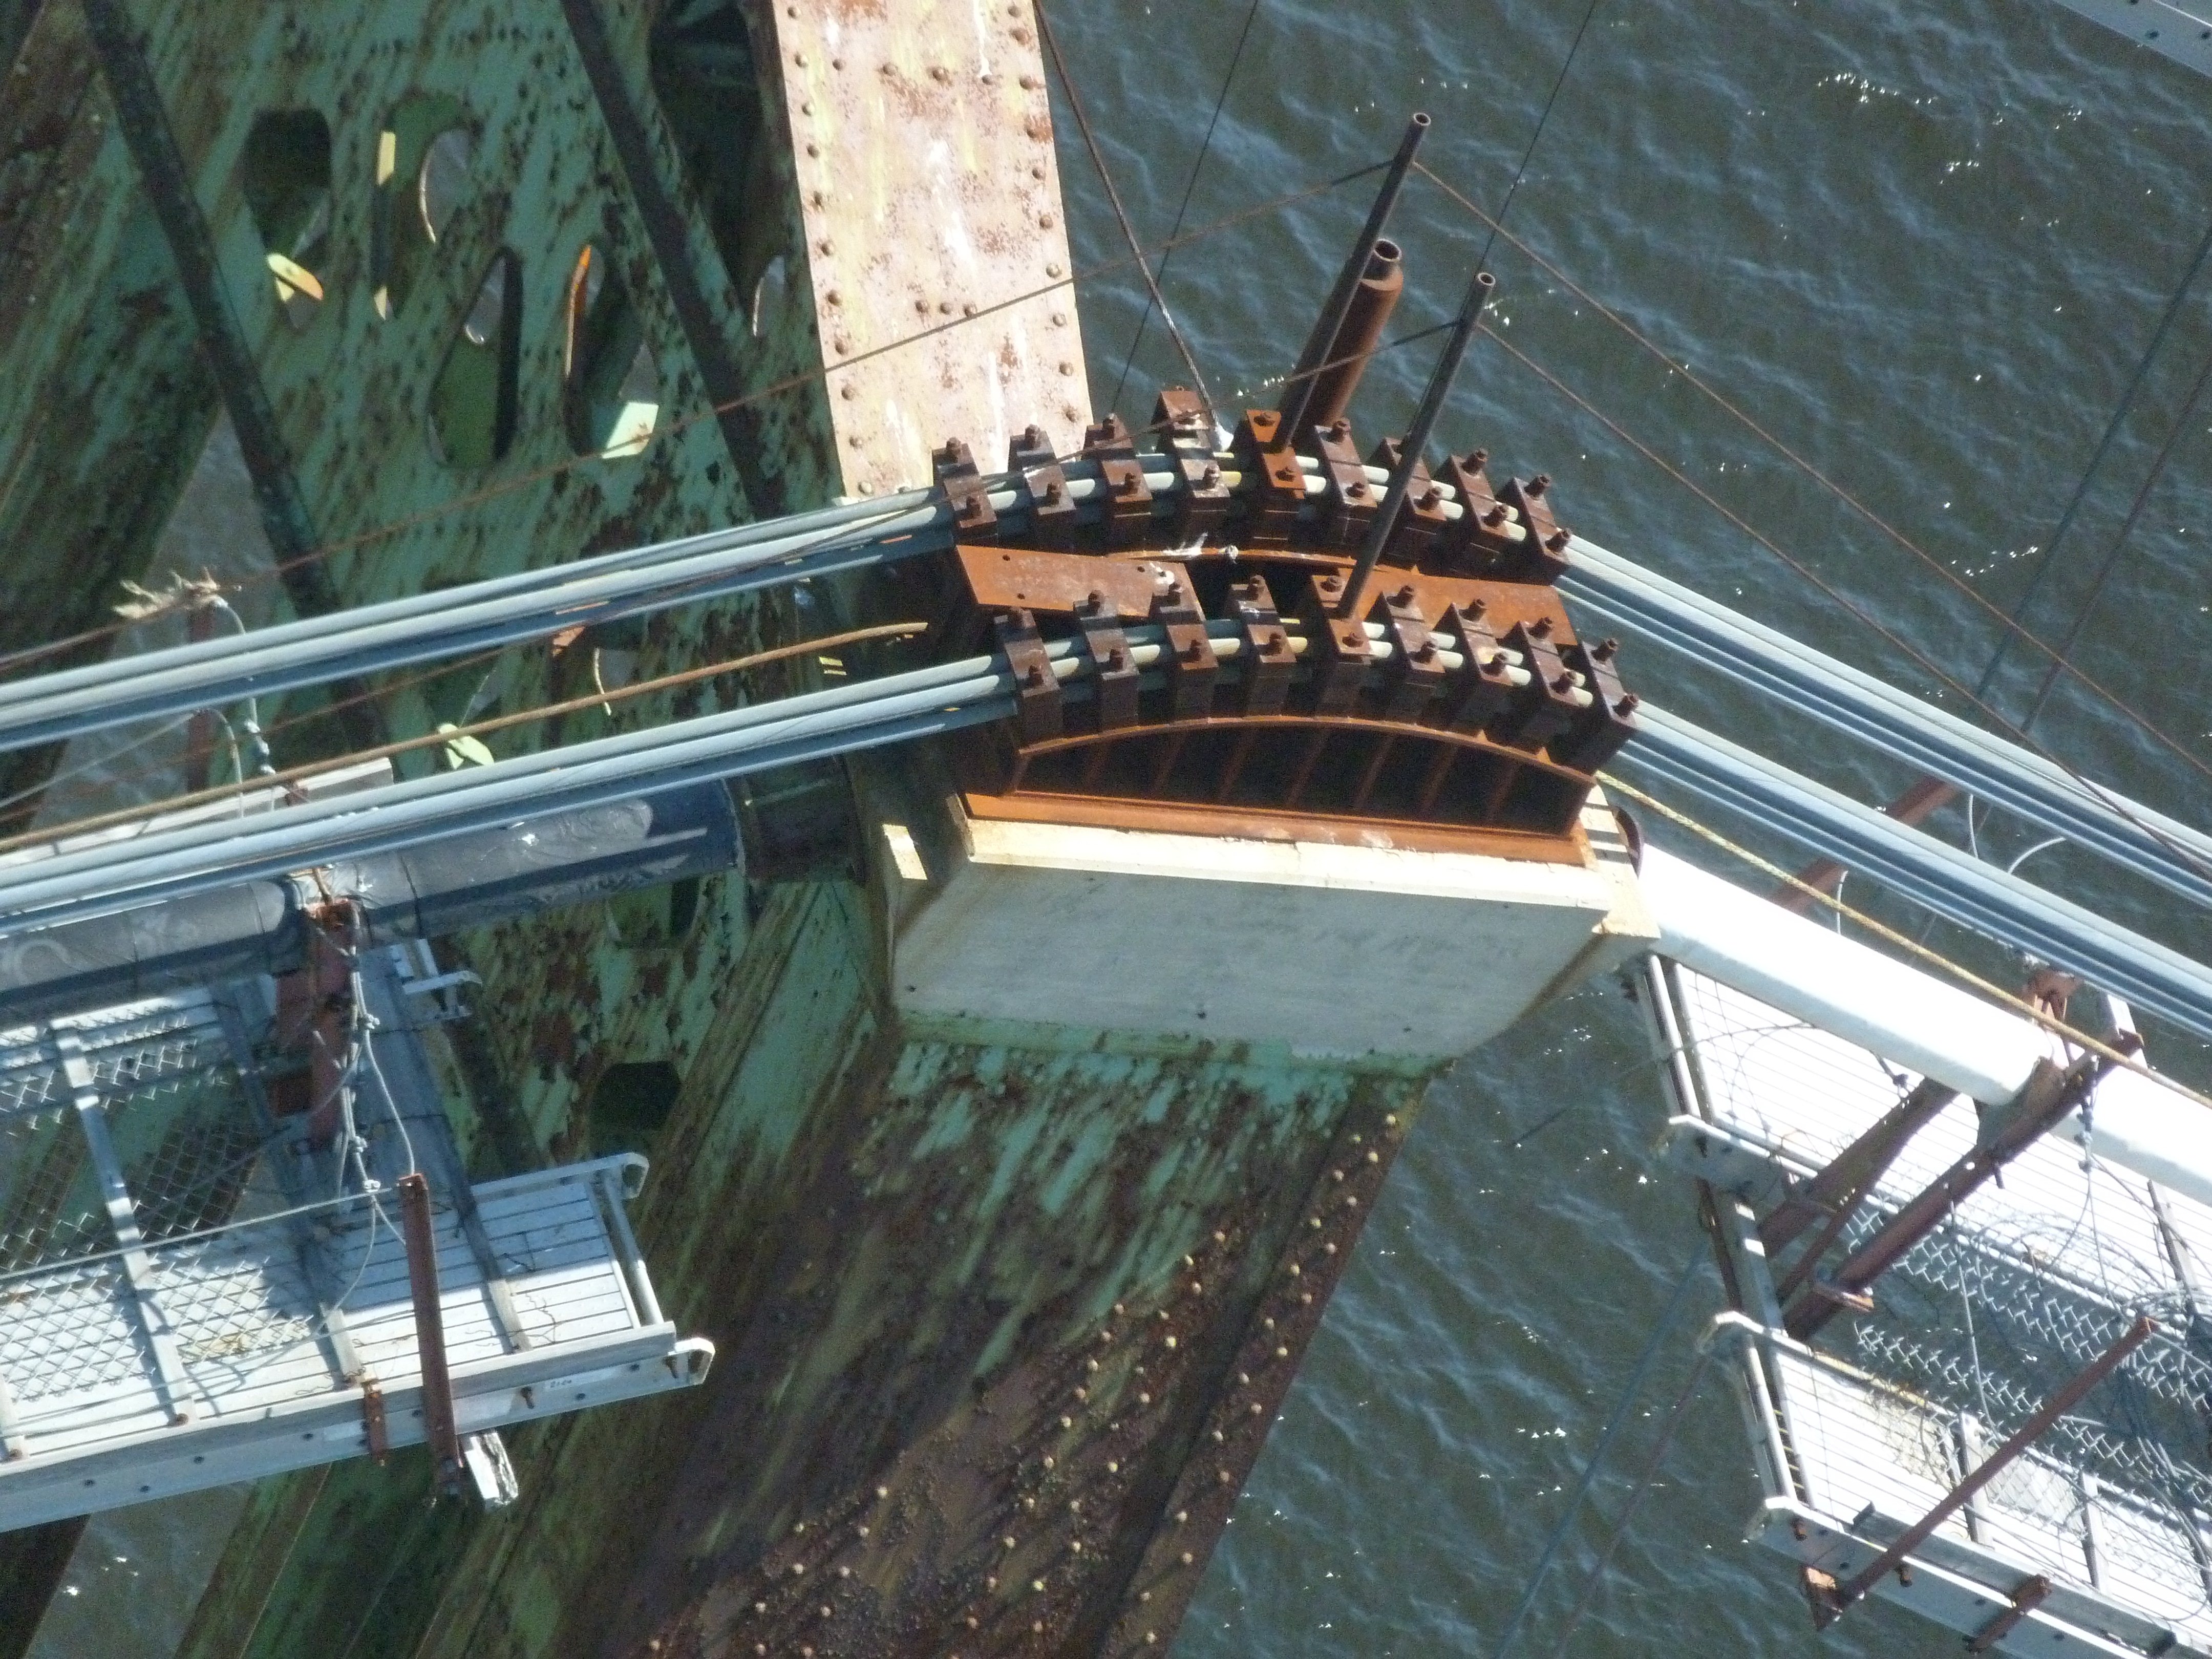
Looking down at cable bent and main cable.
![]()


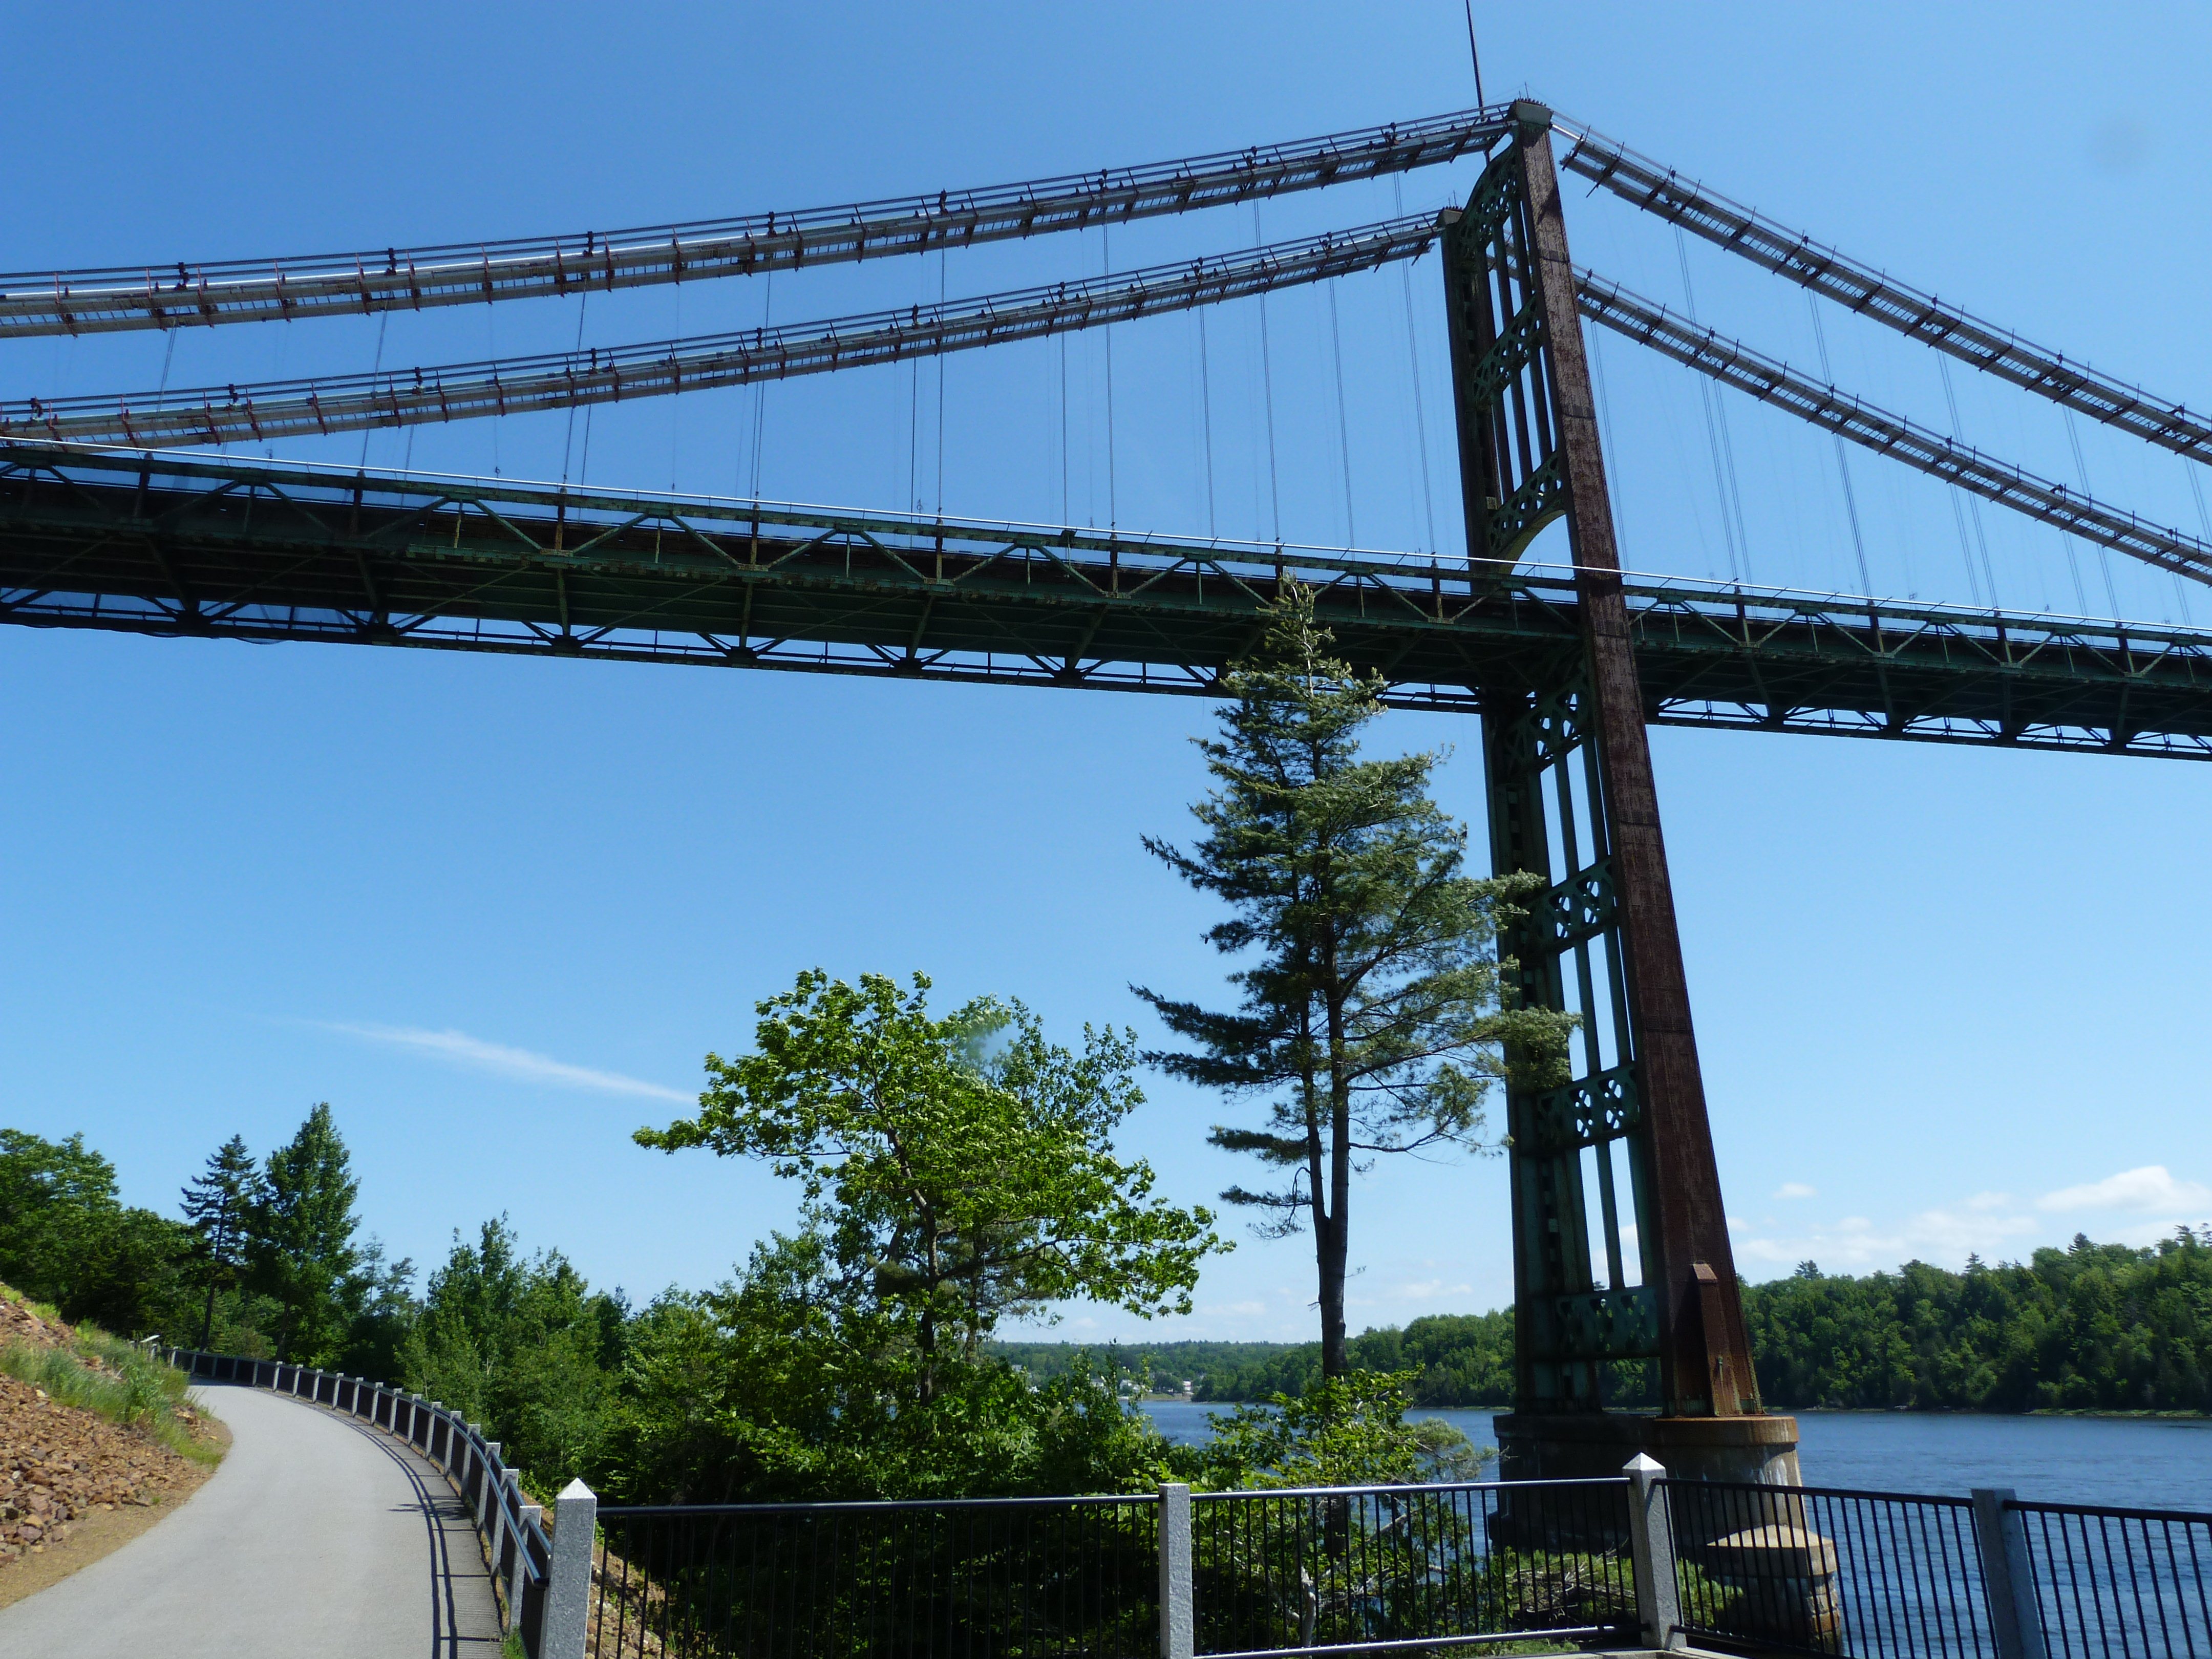
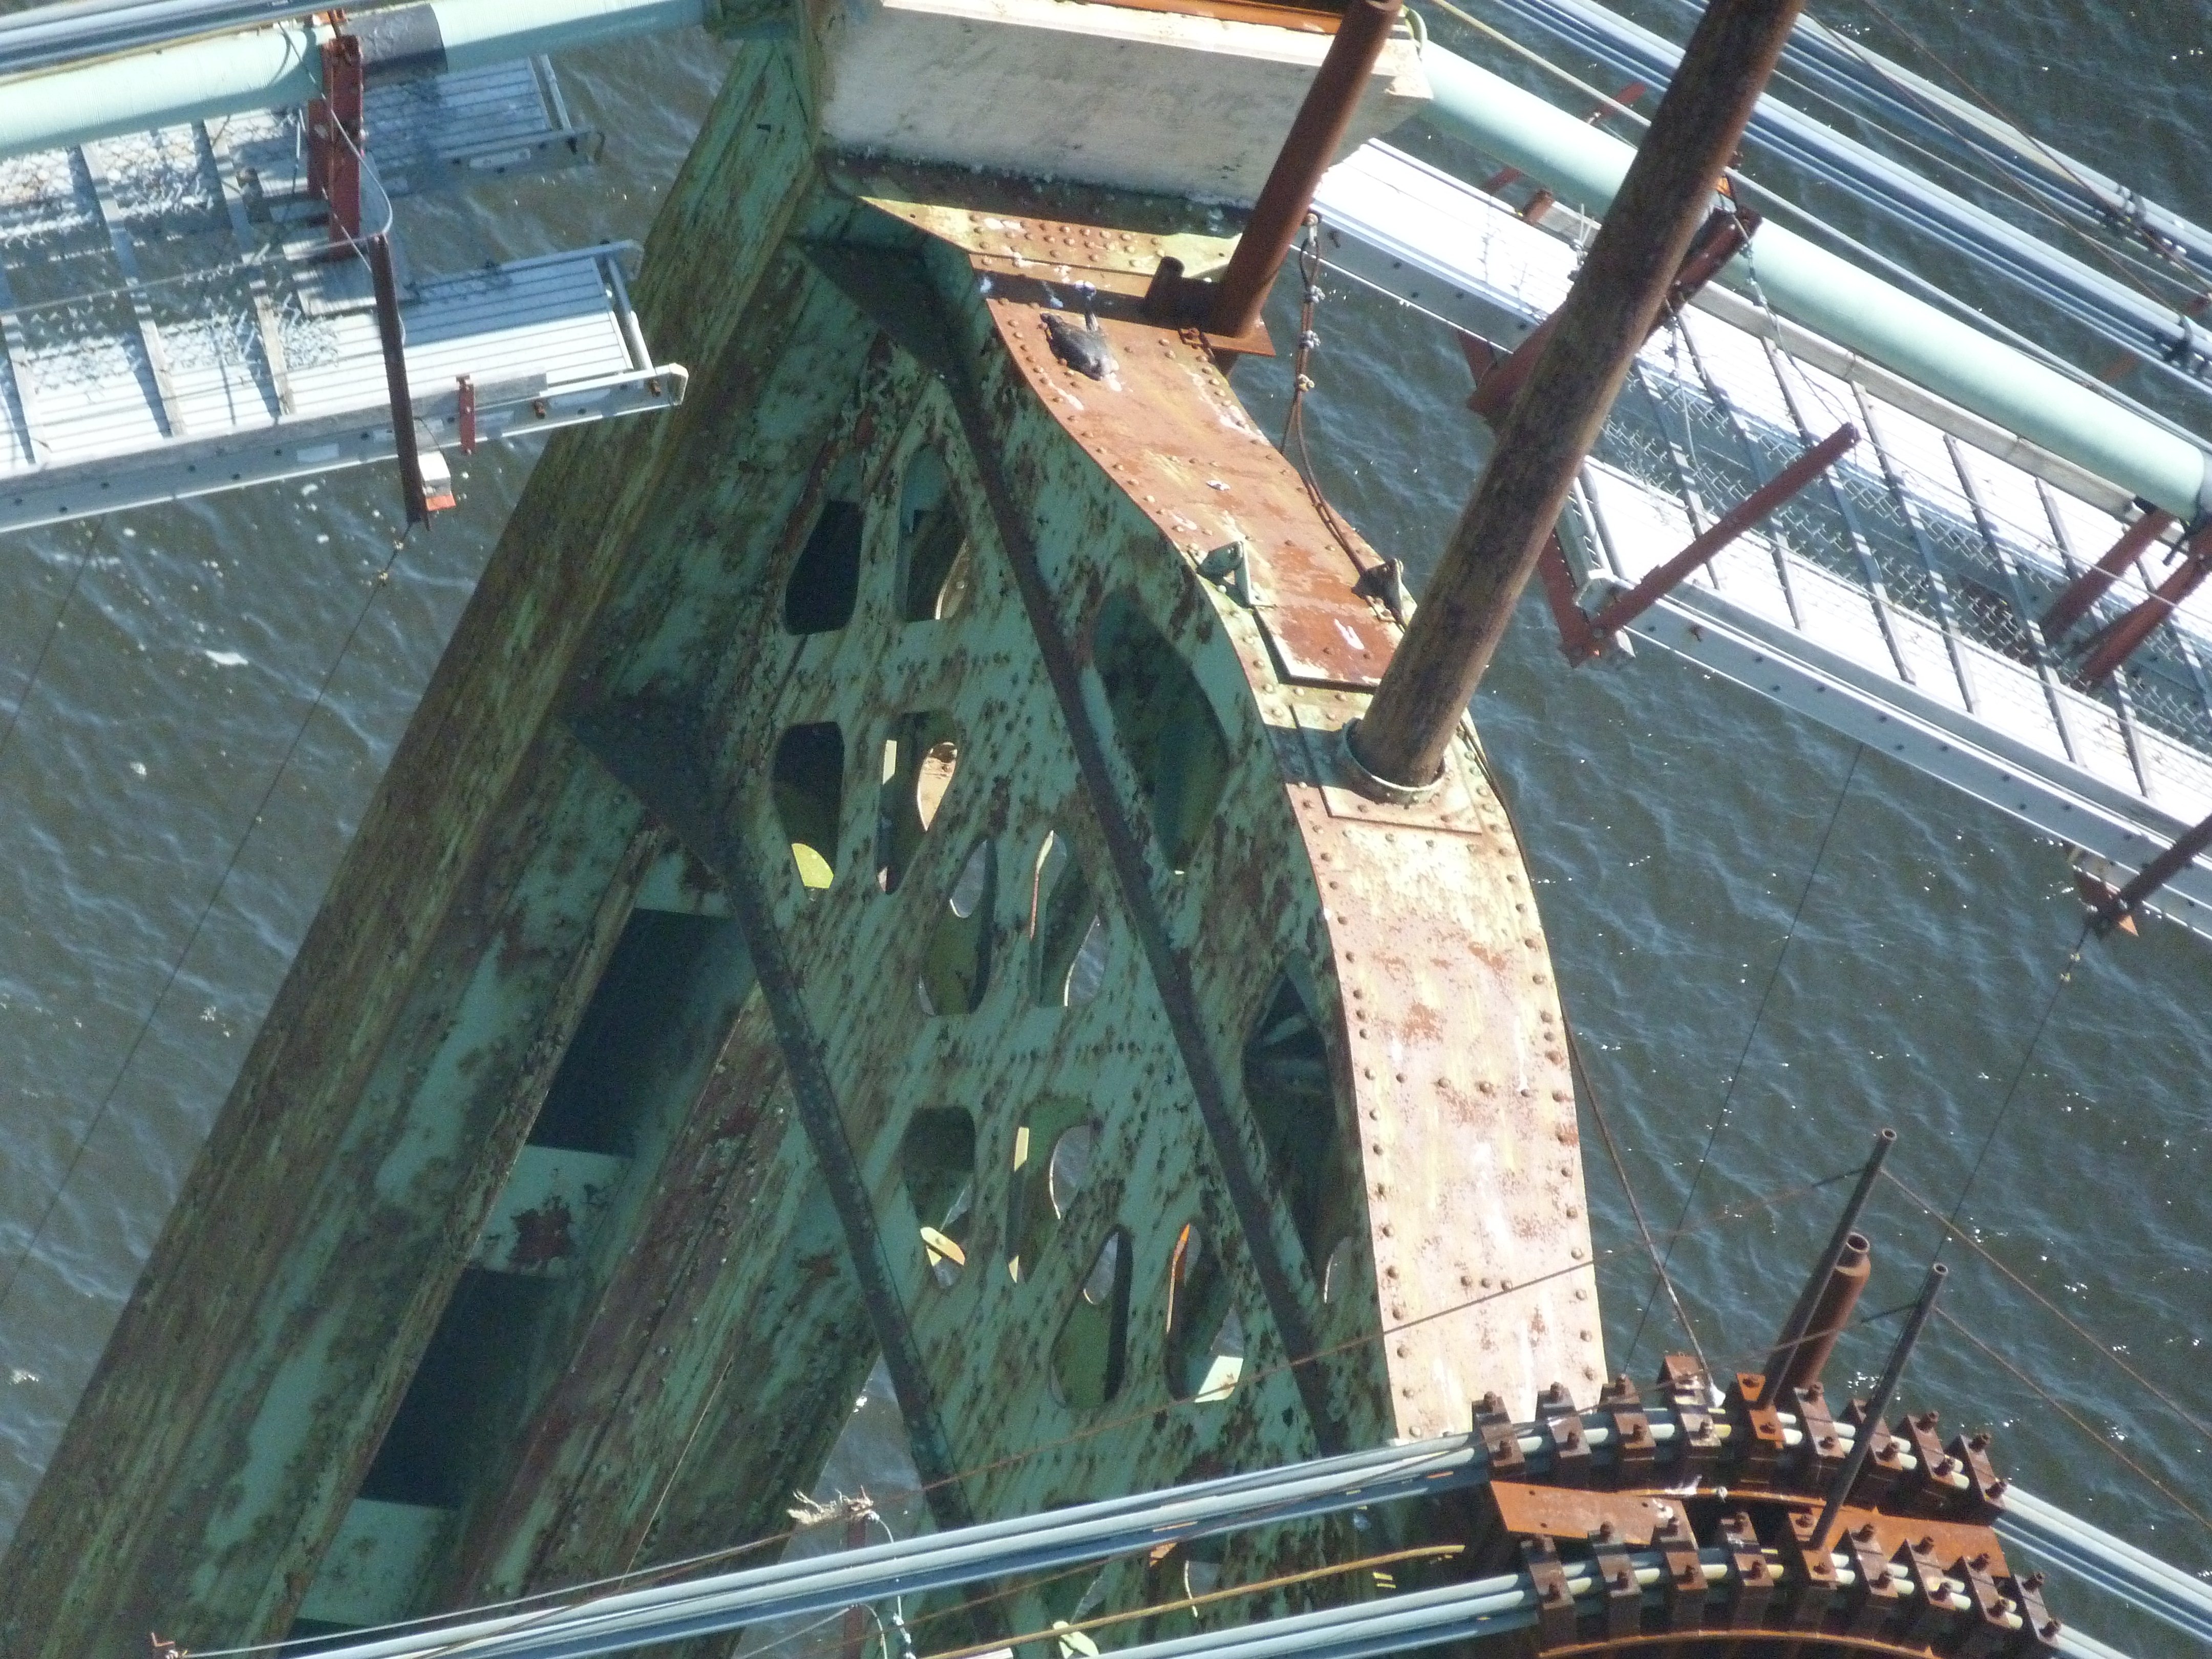
Views of tower.
![]()

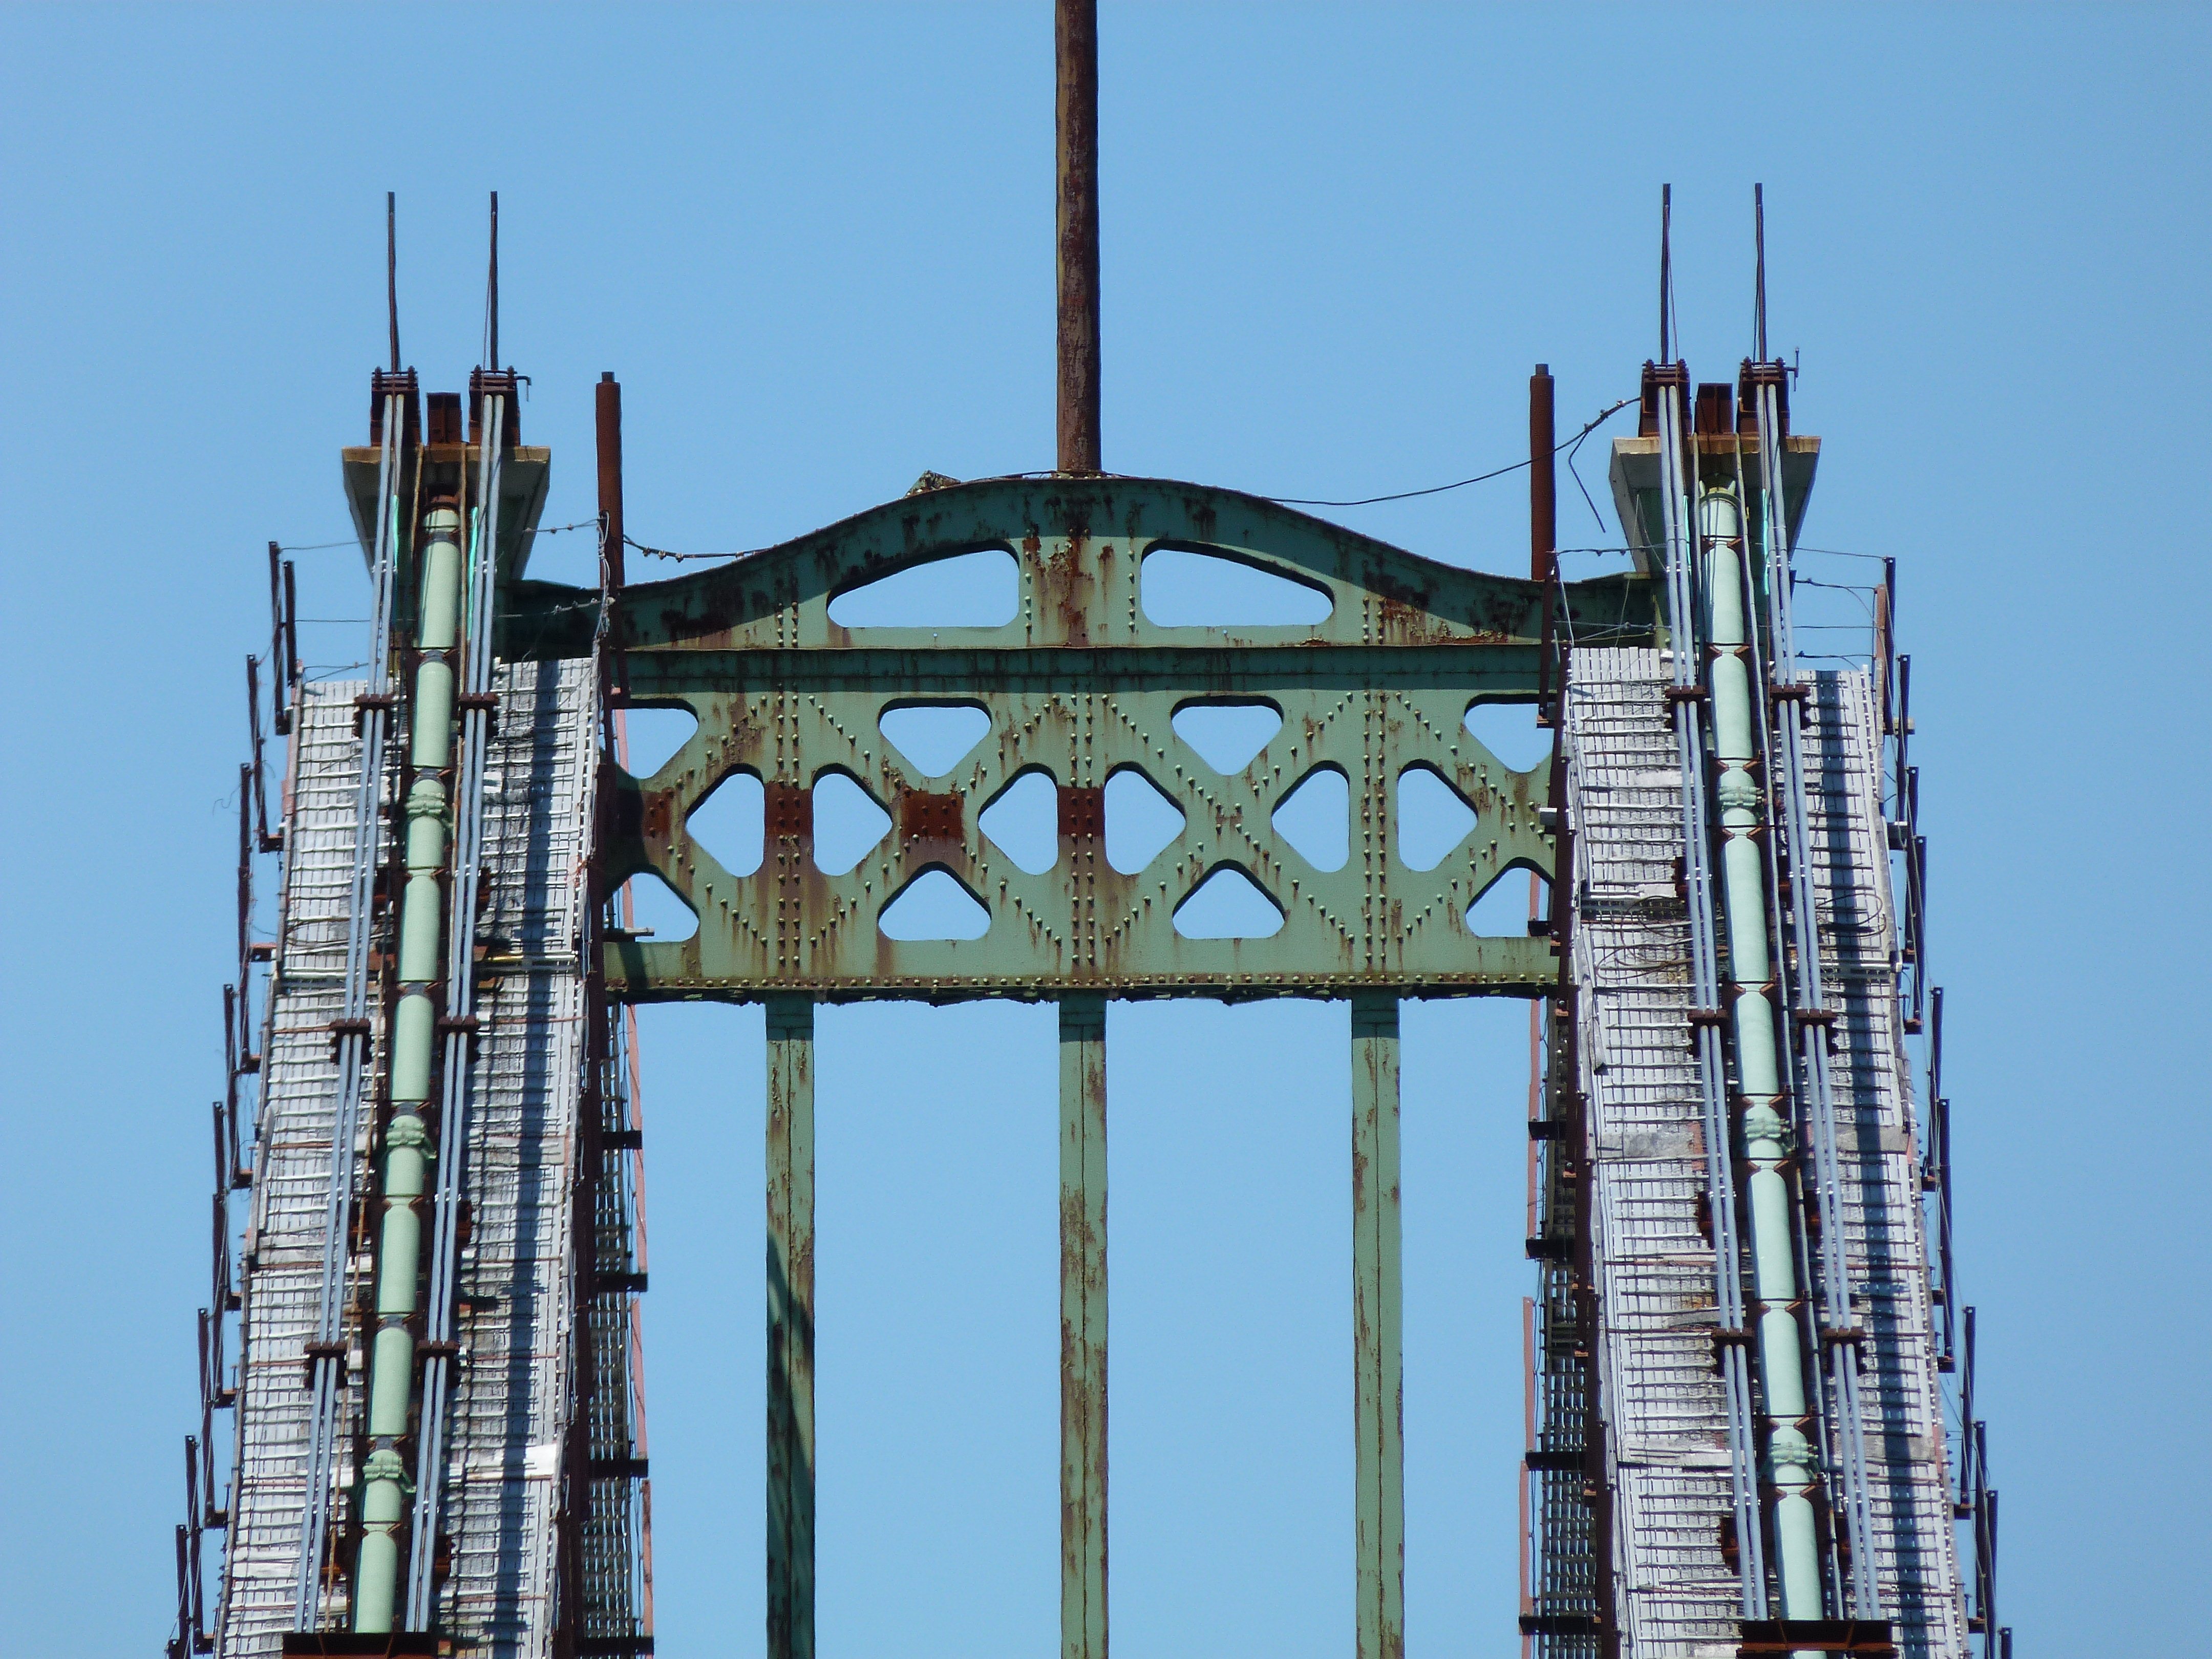

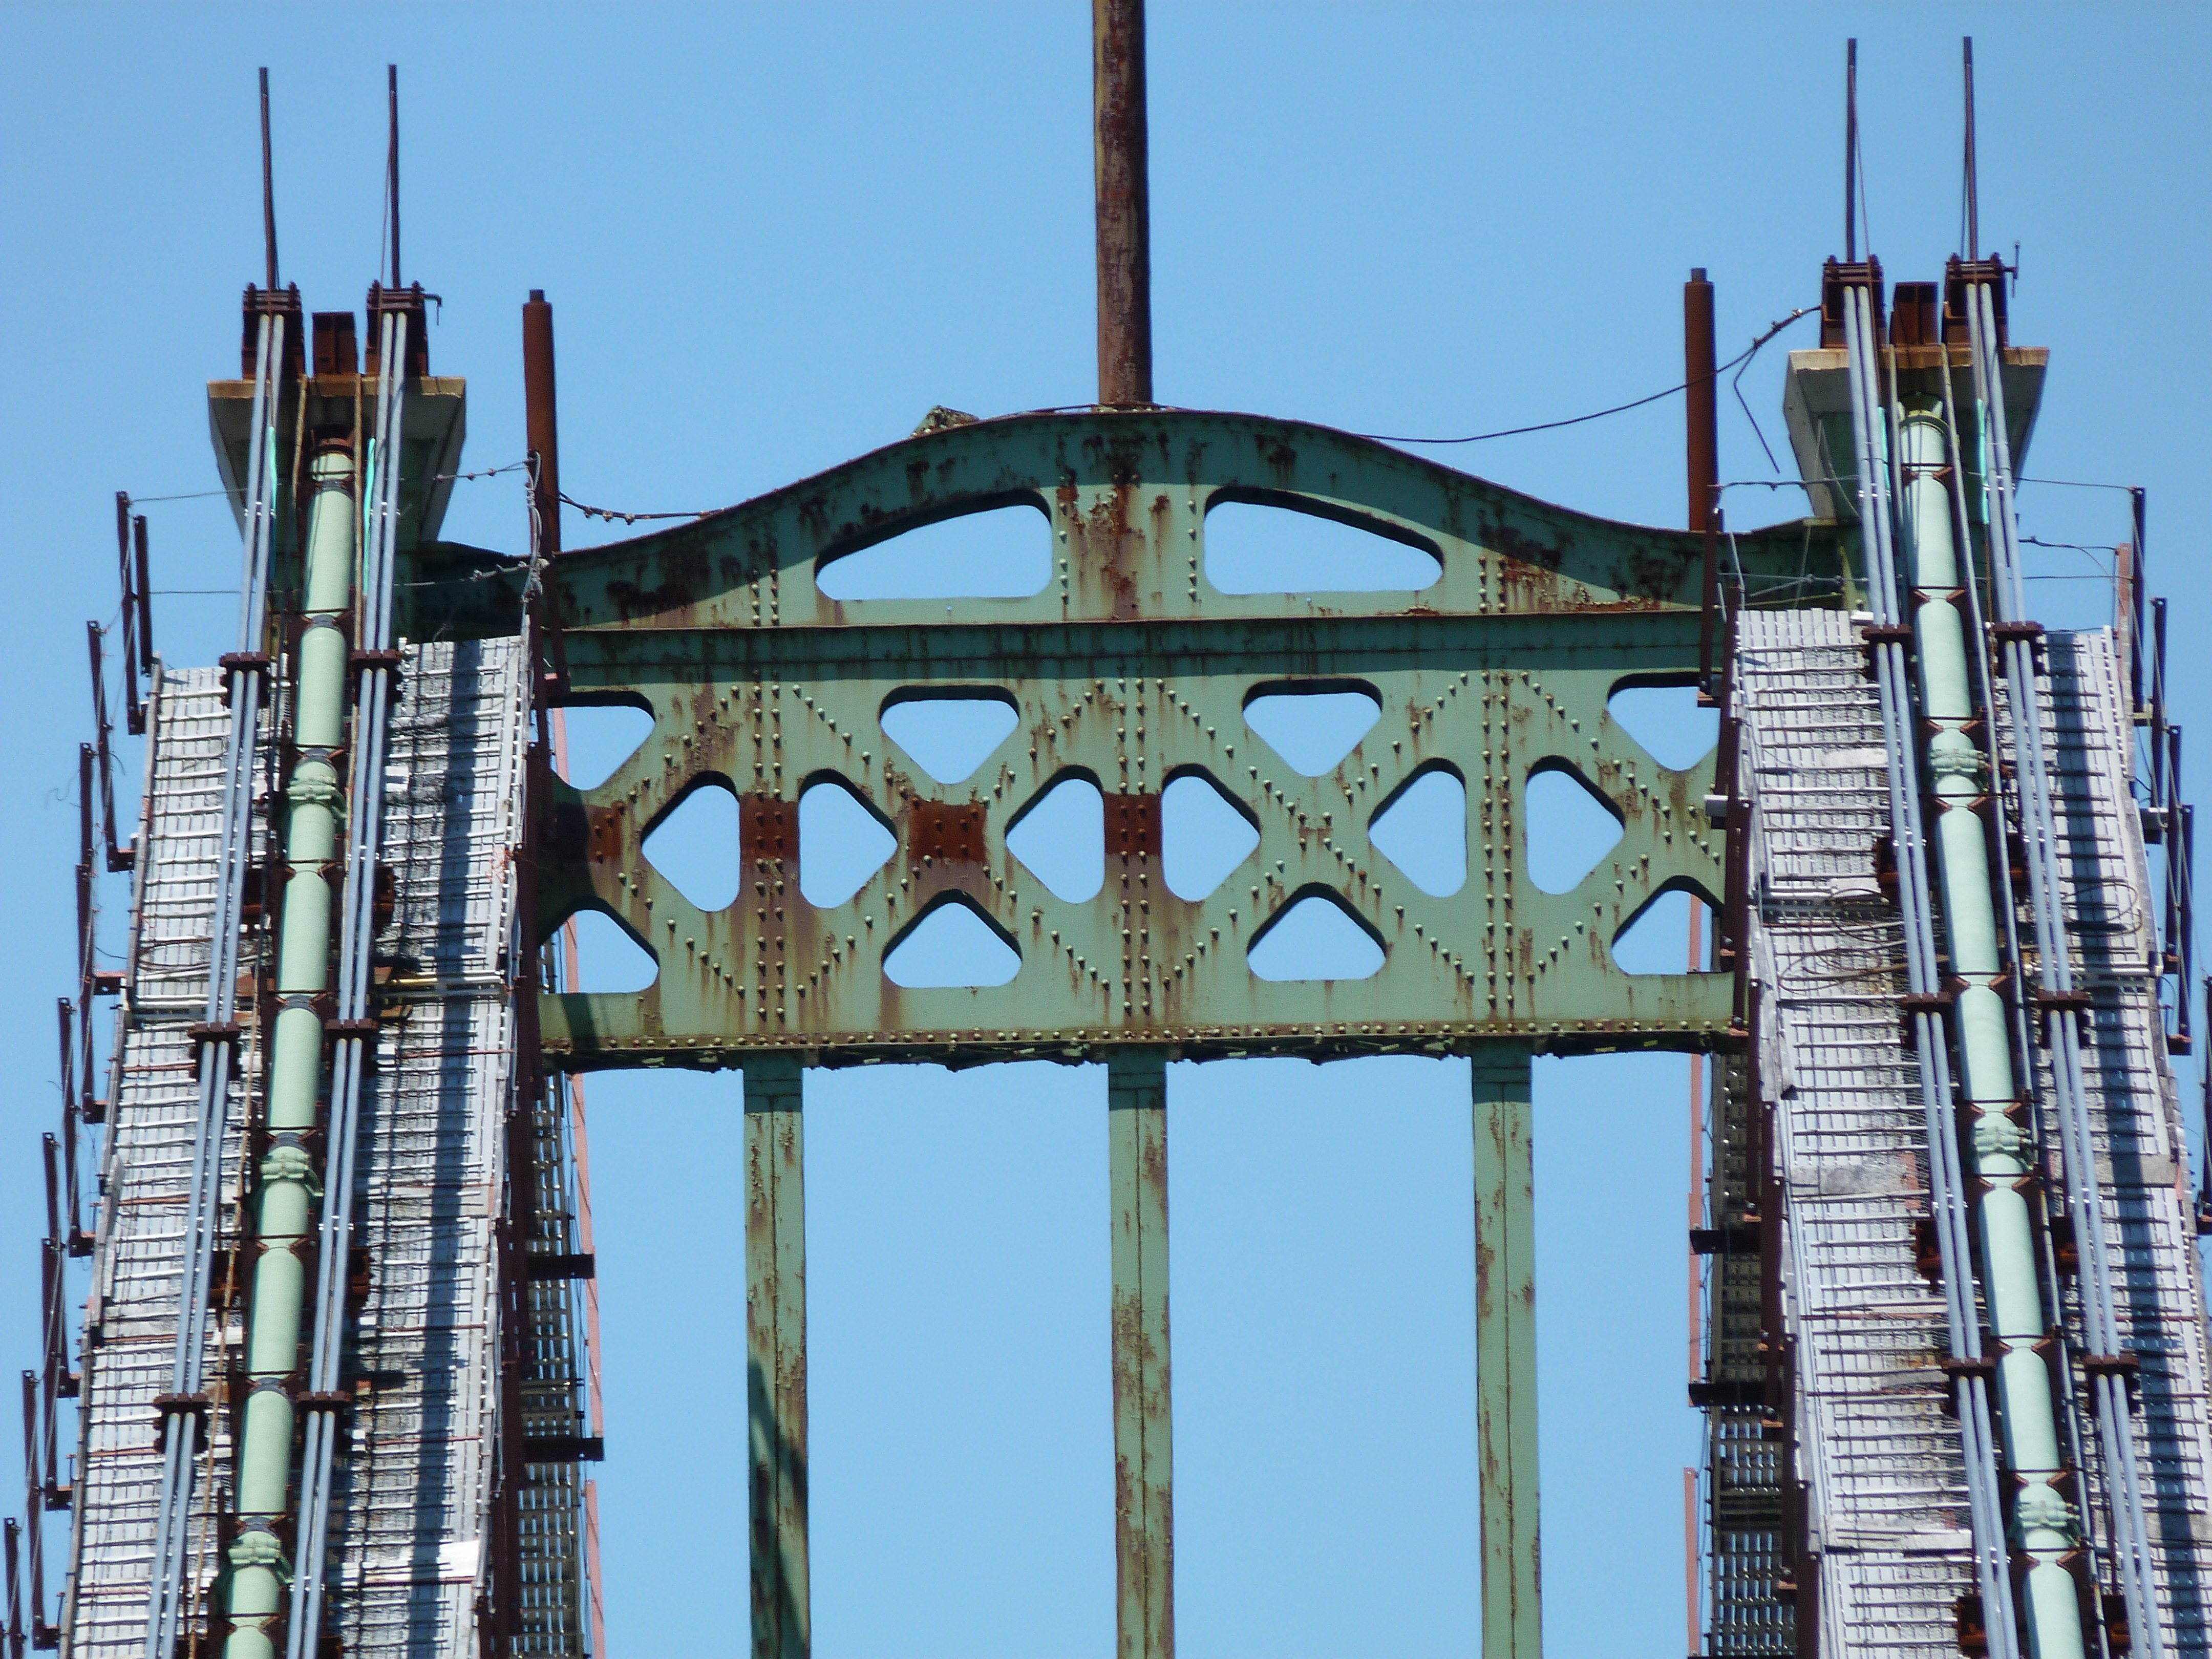


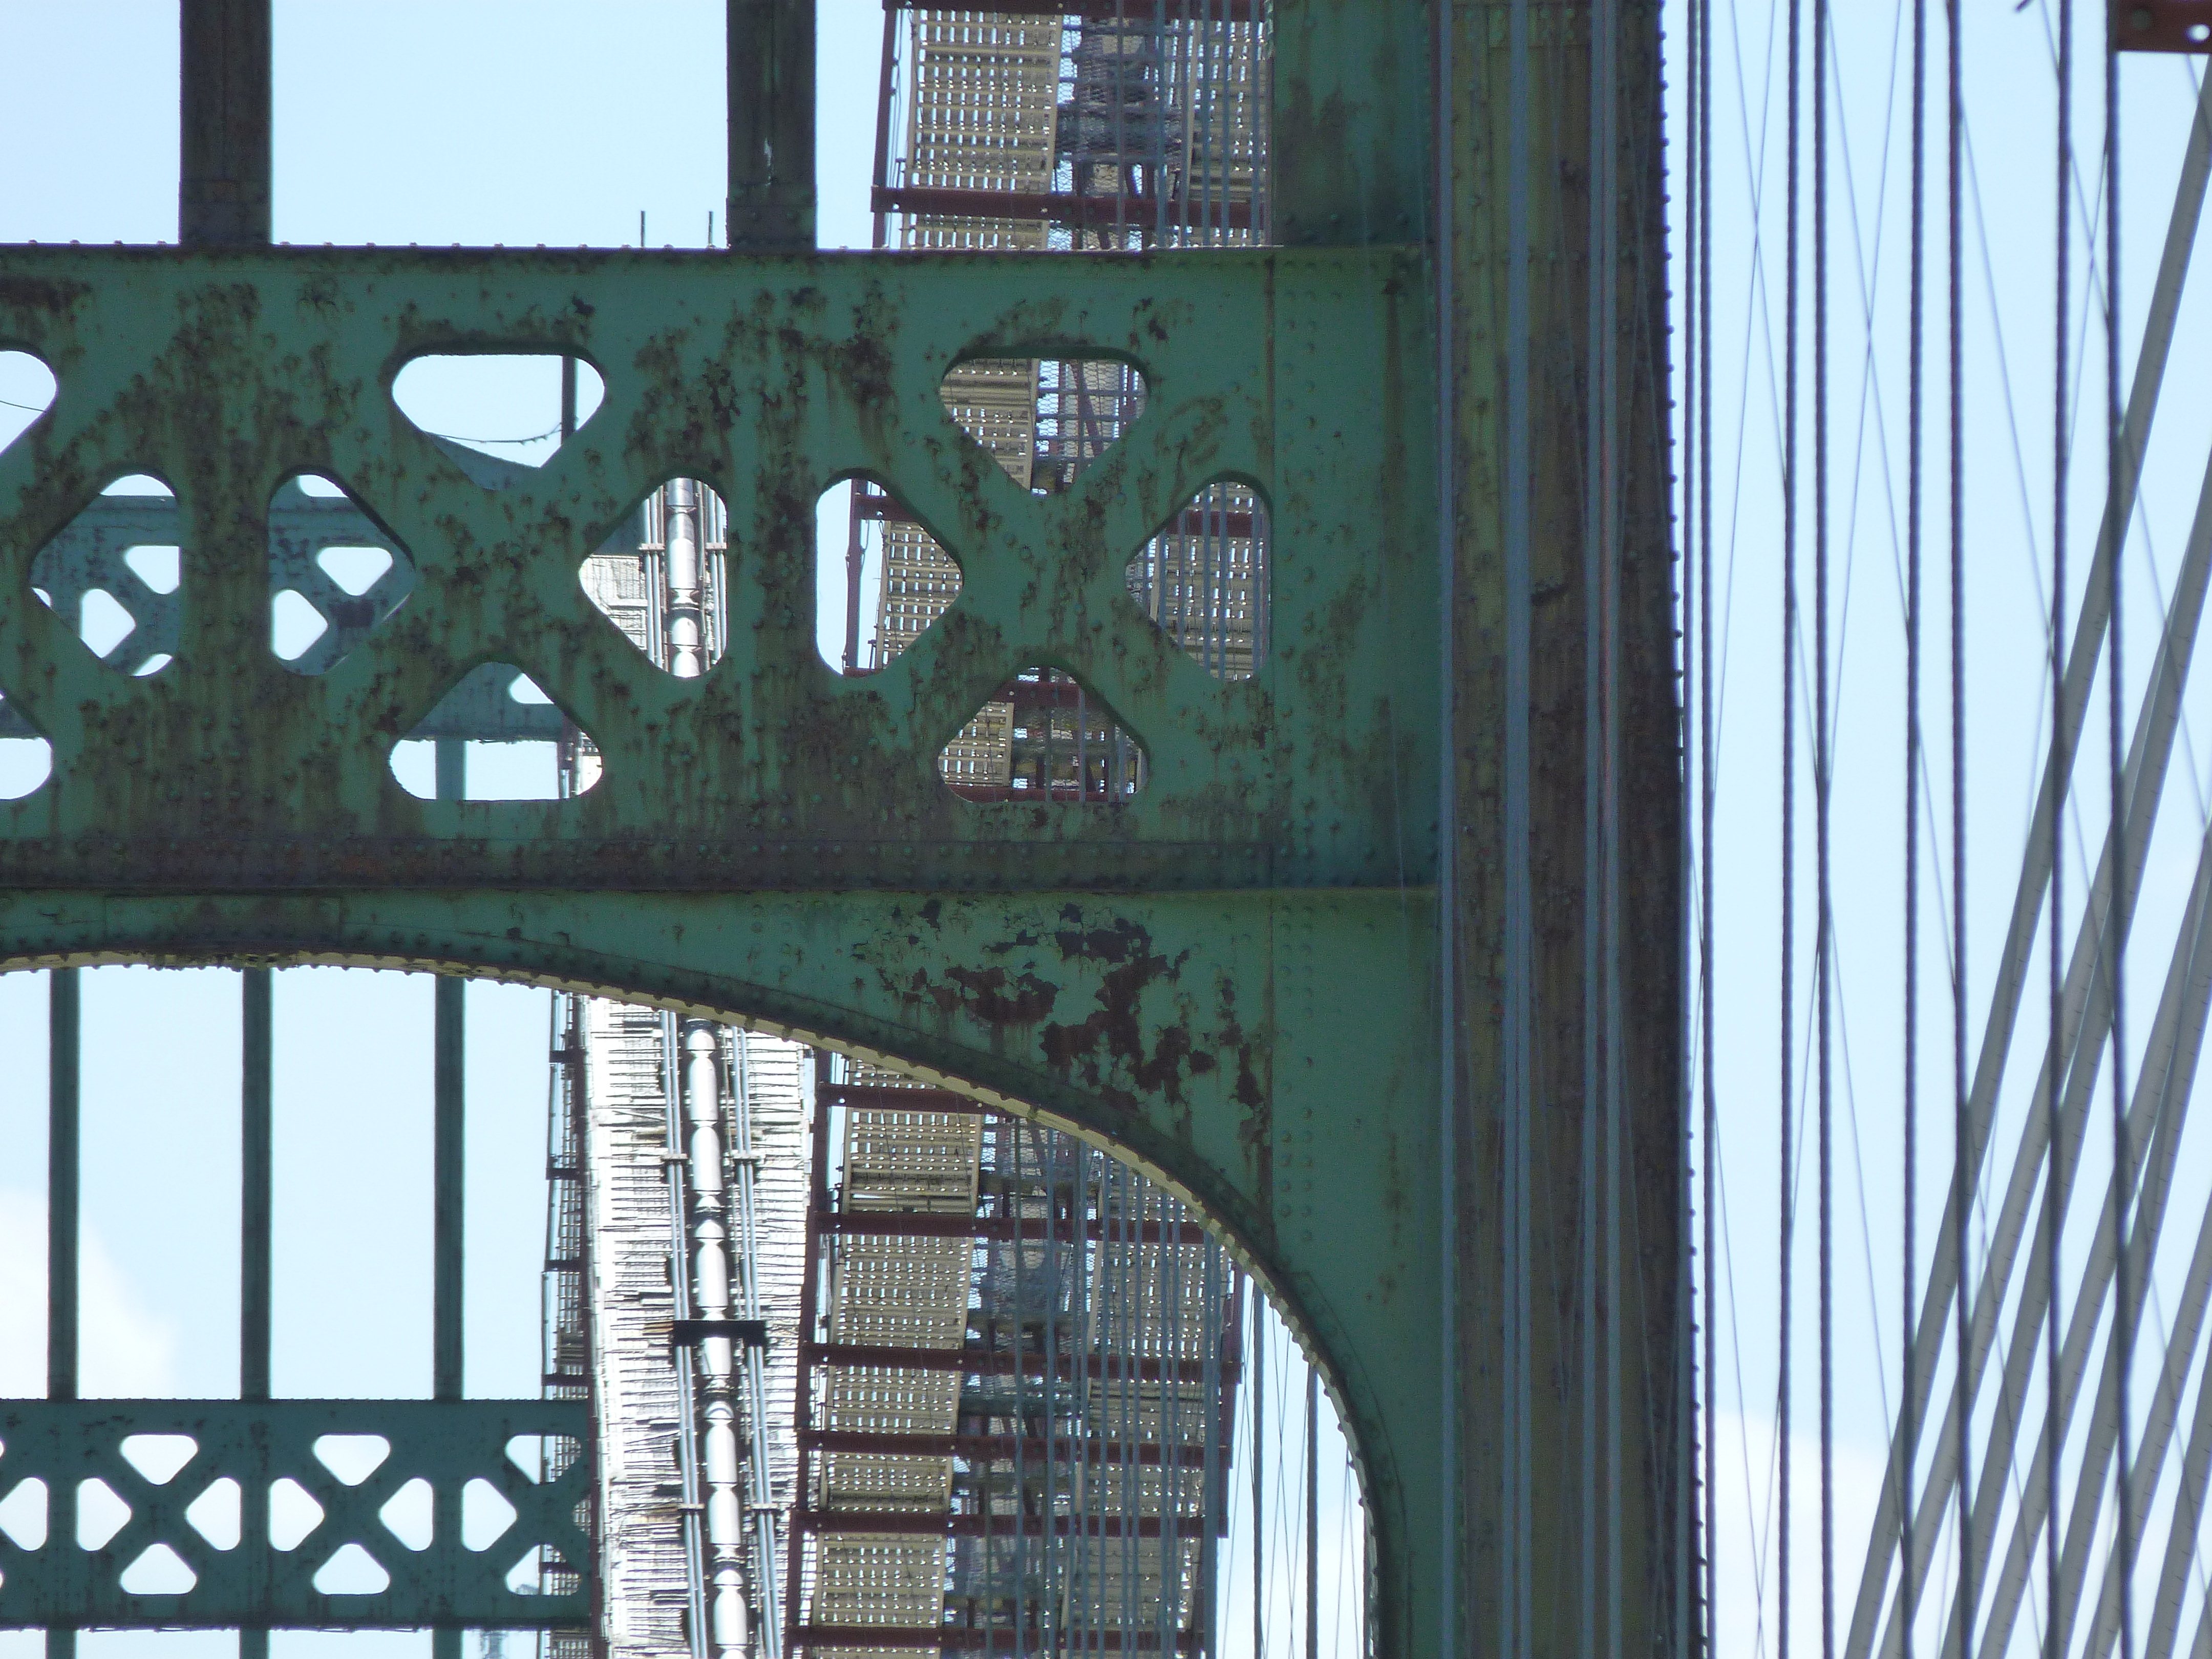

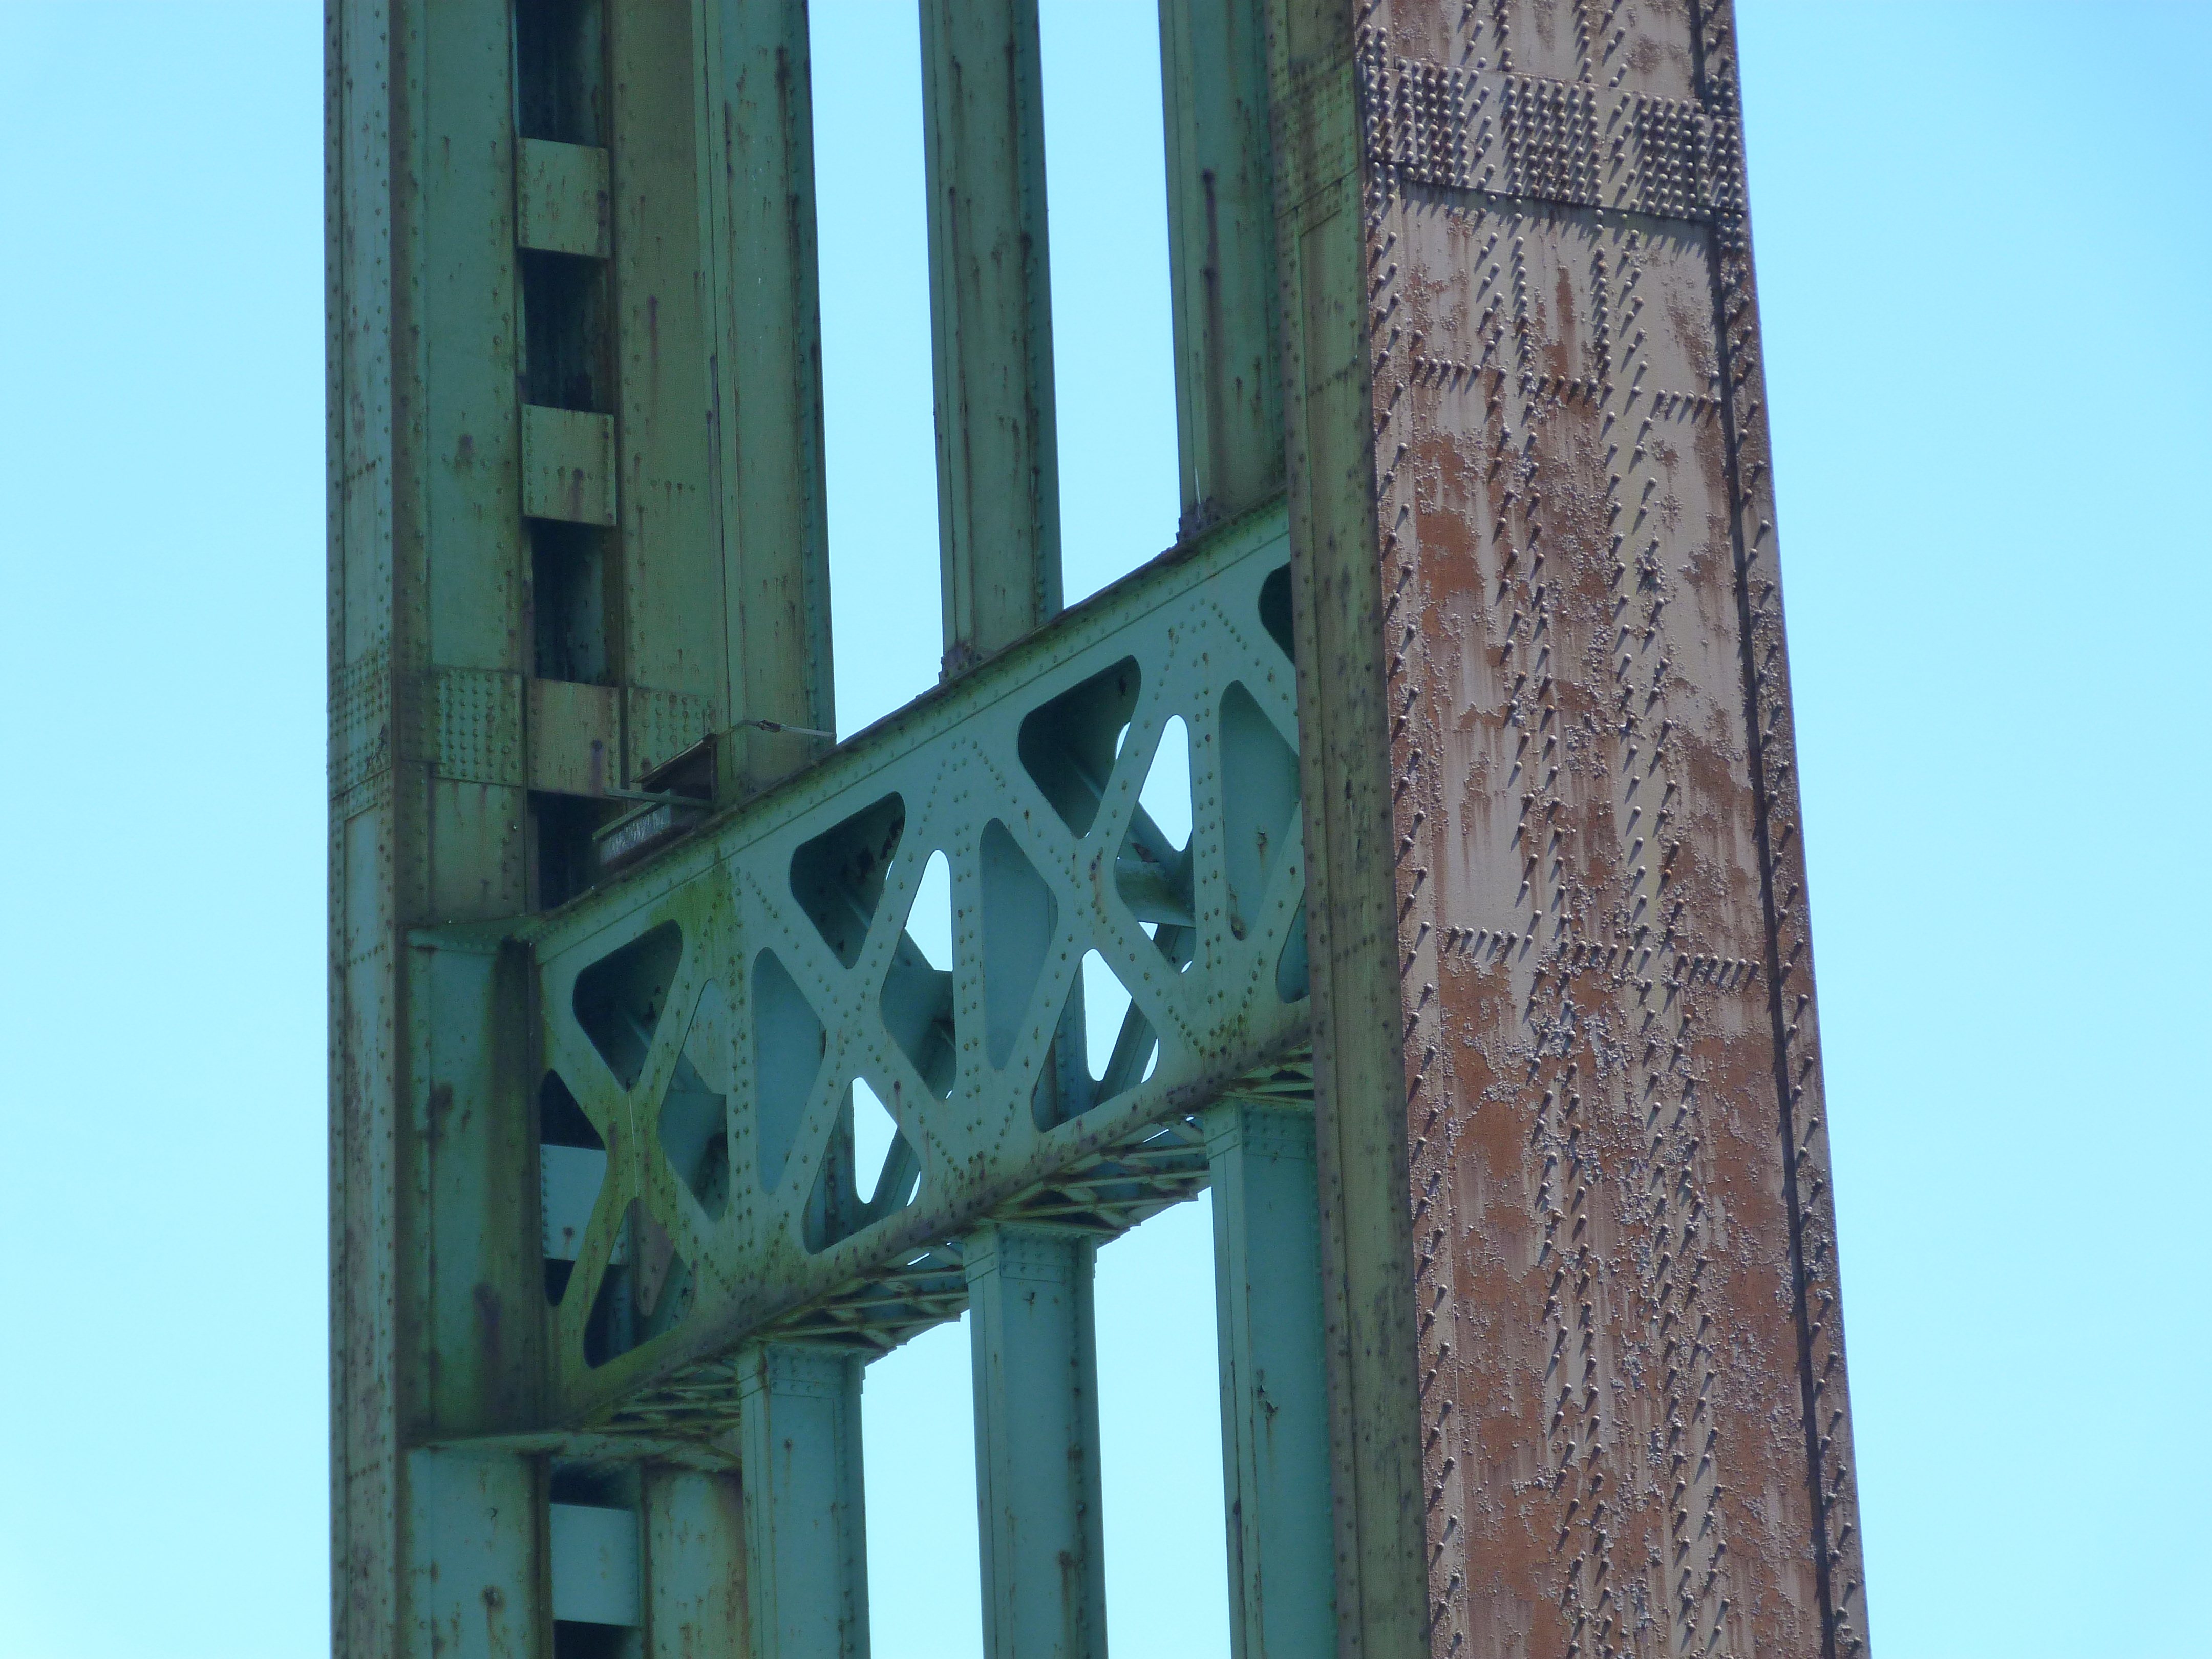
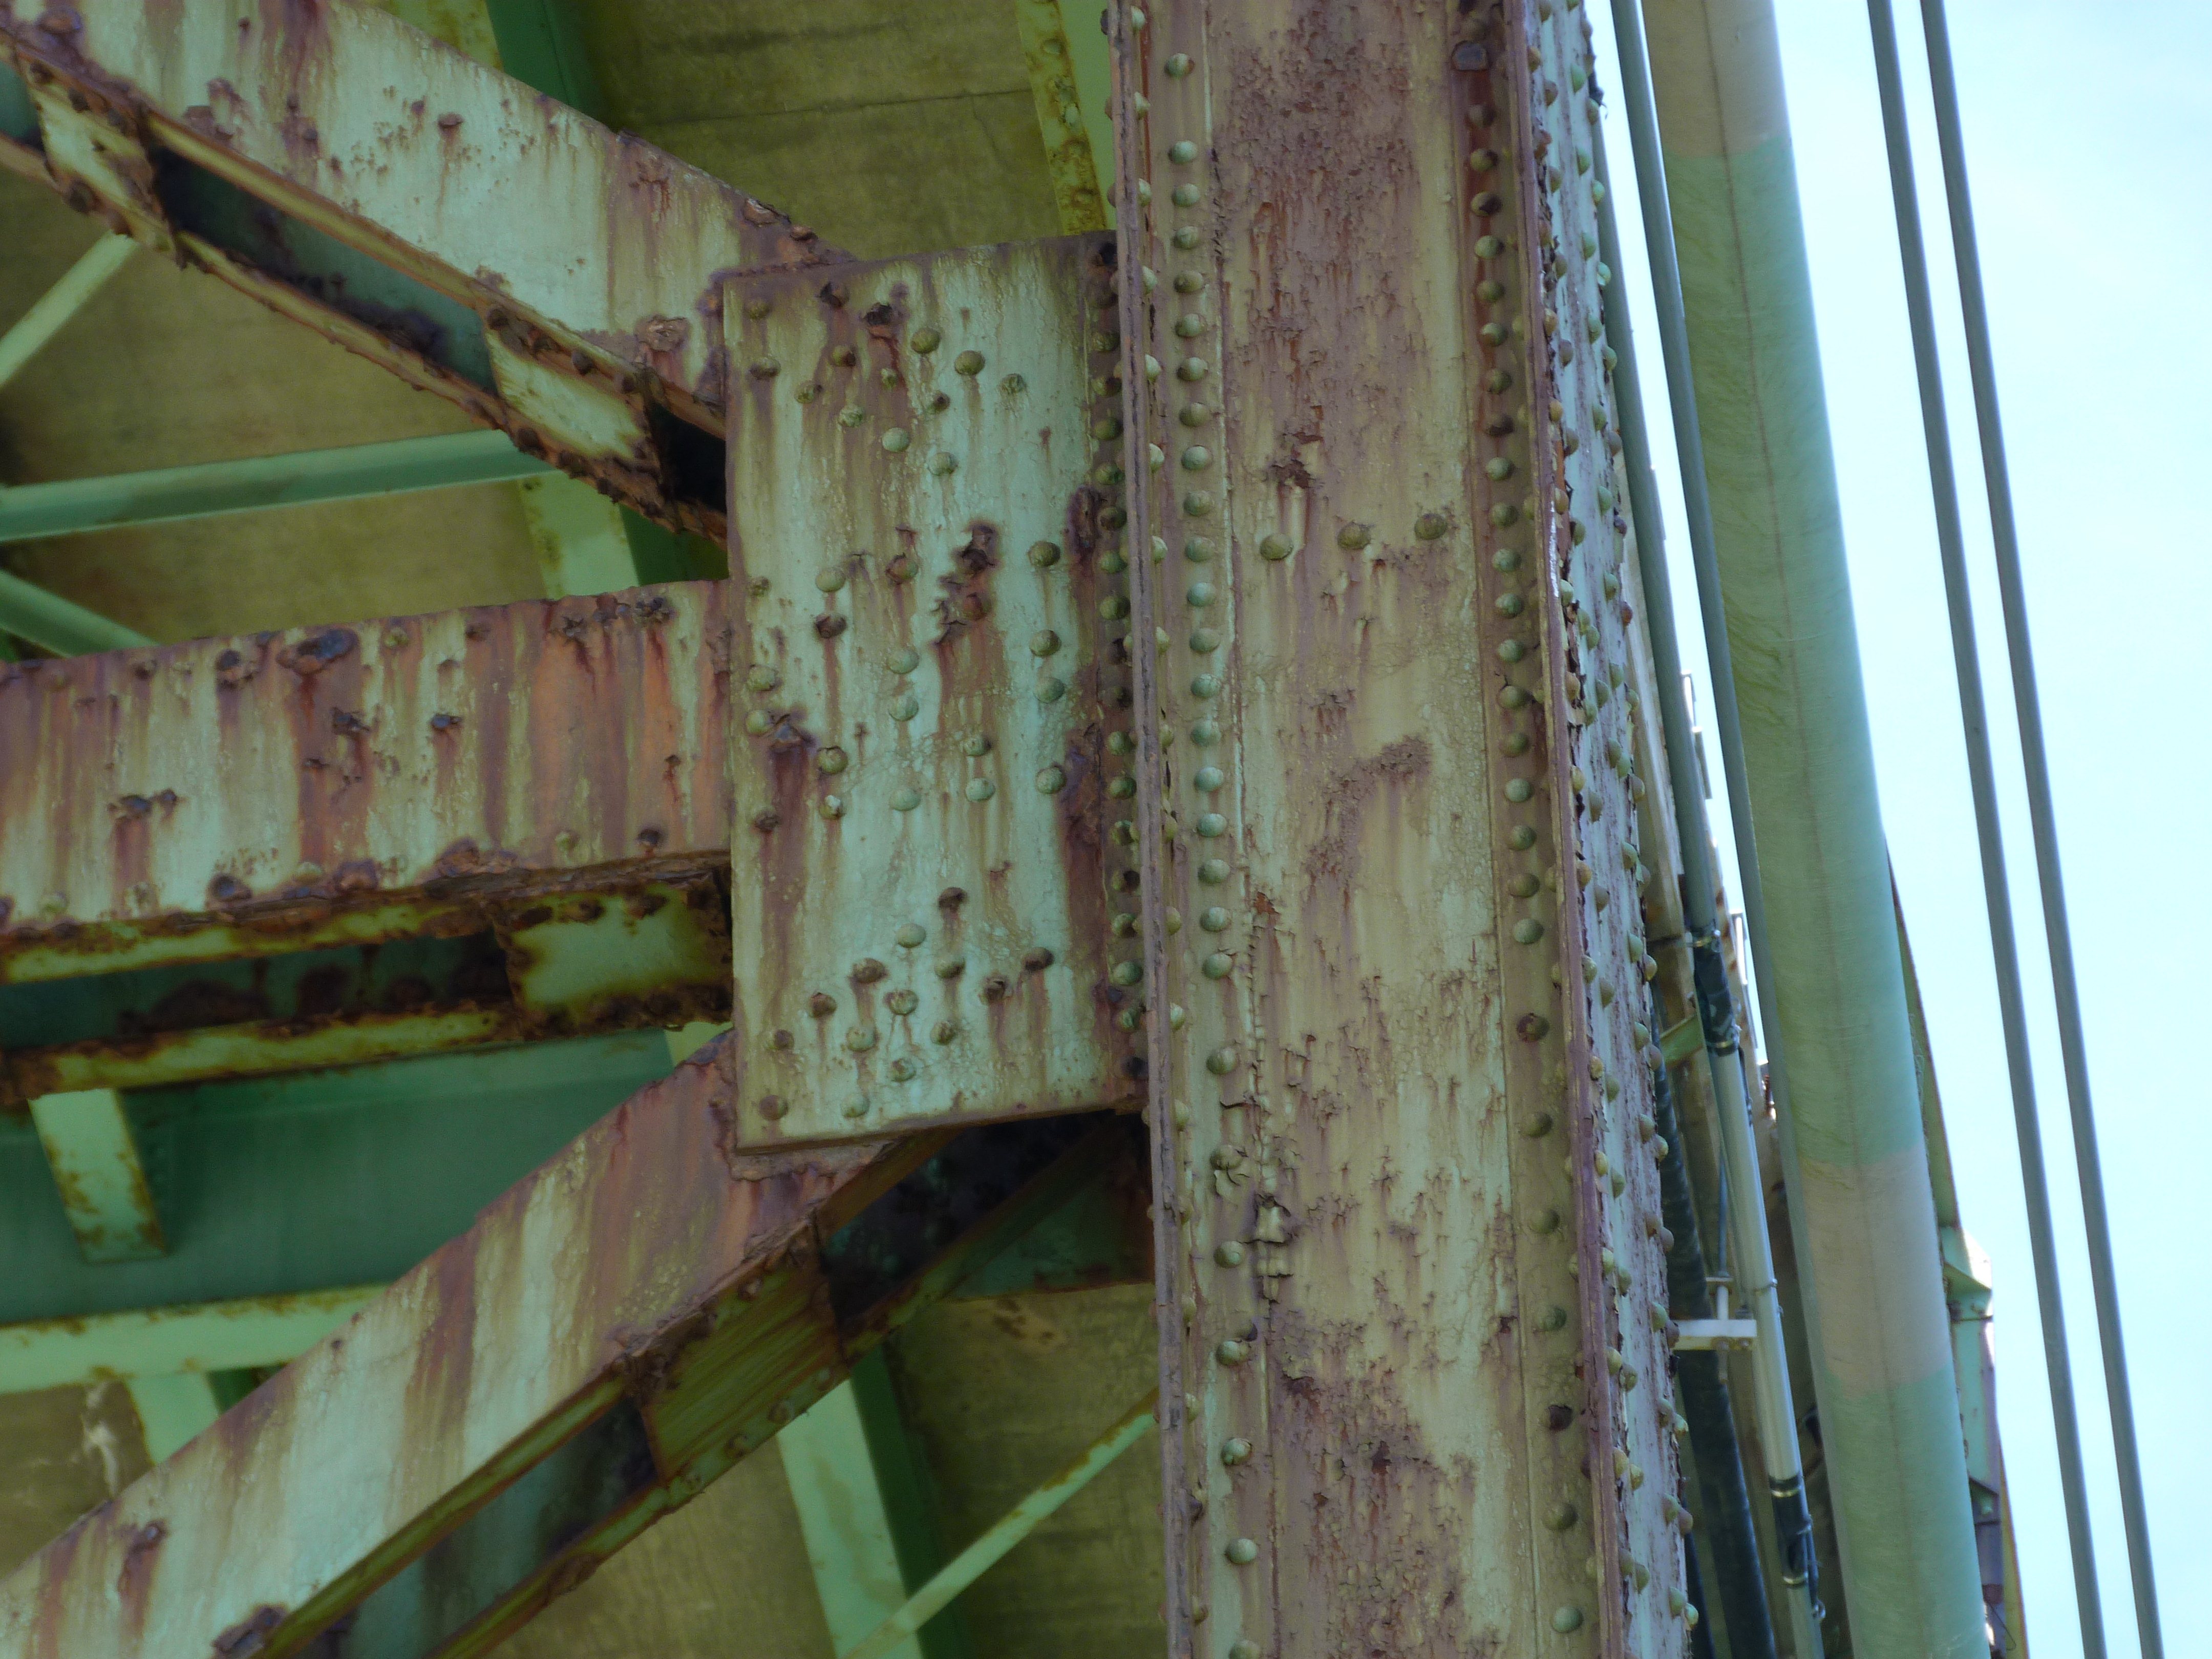
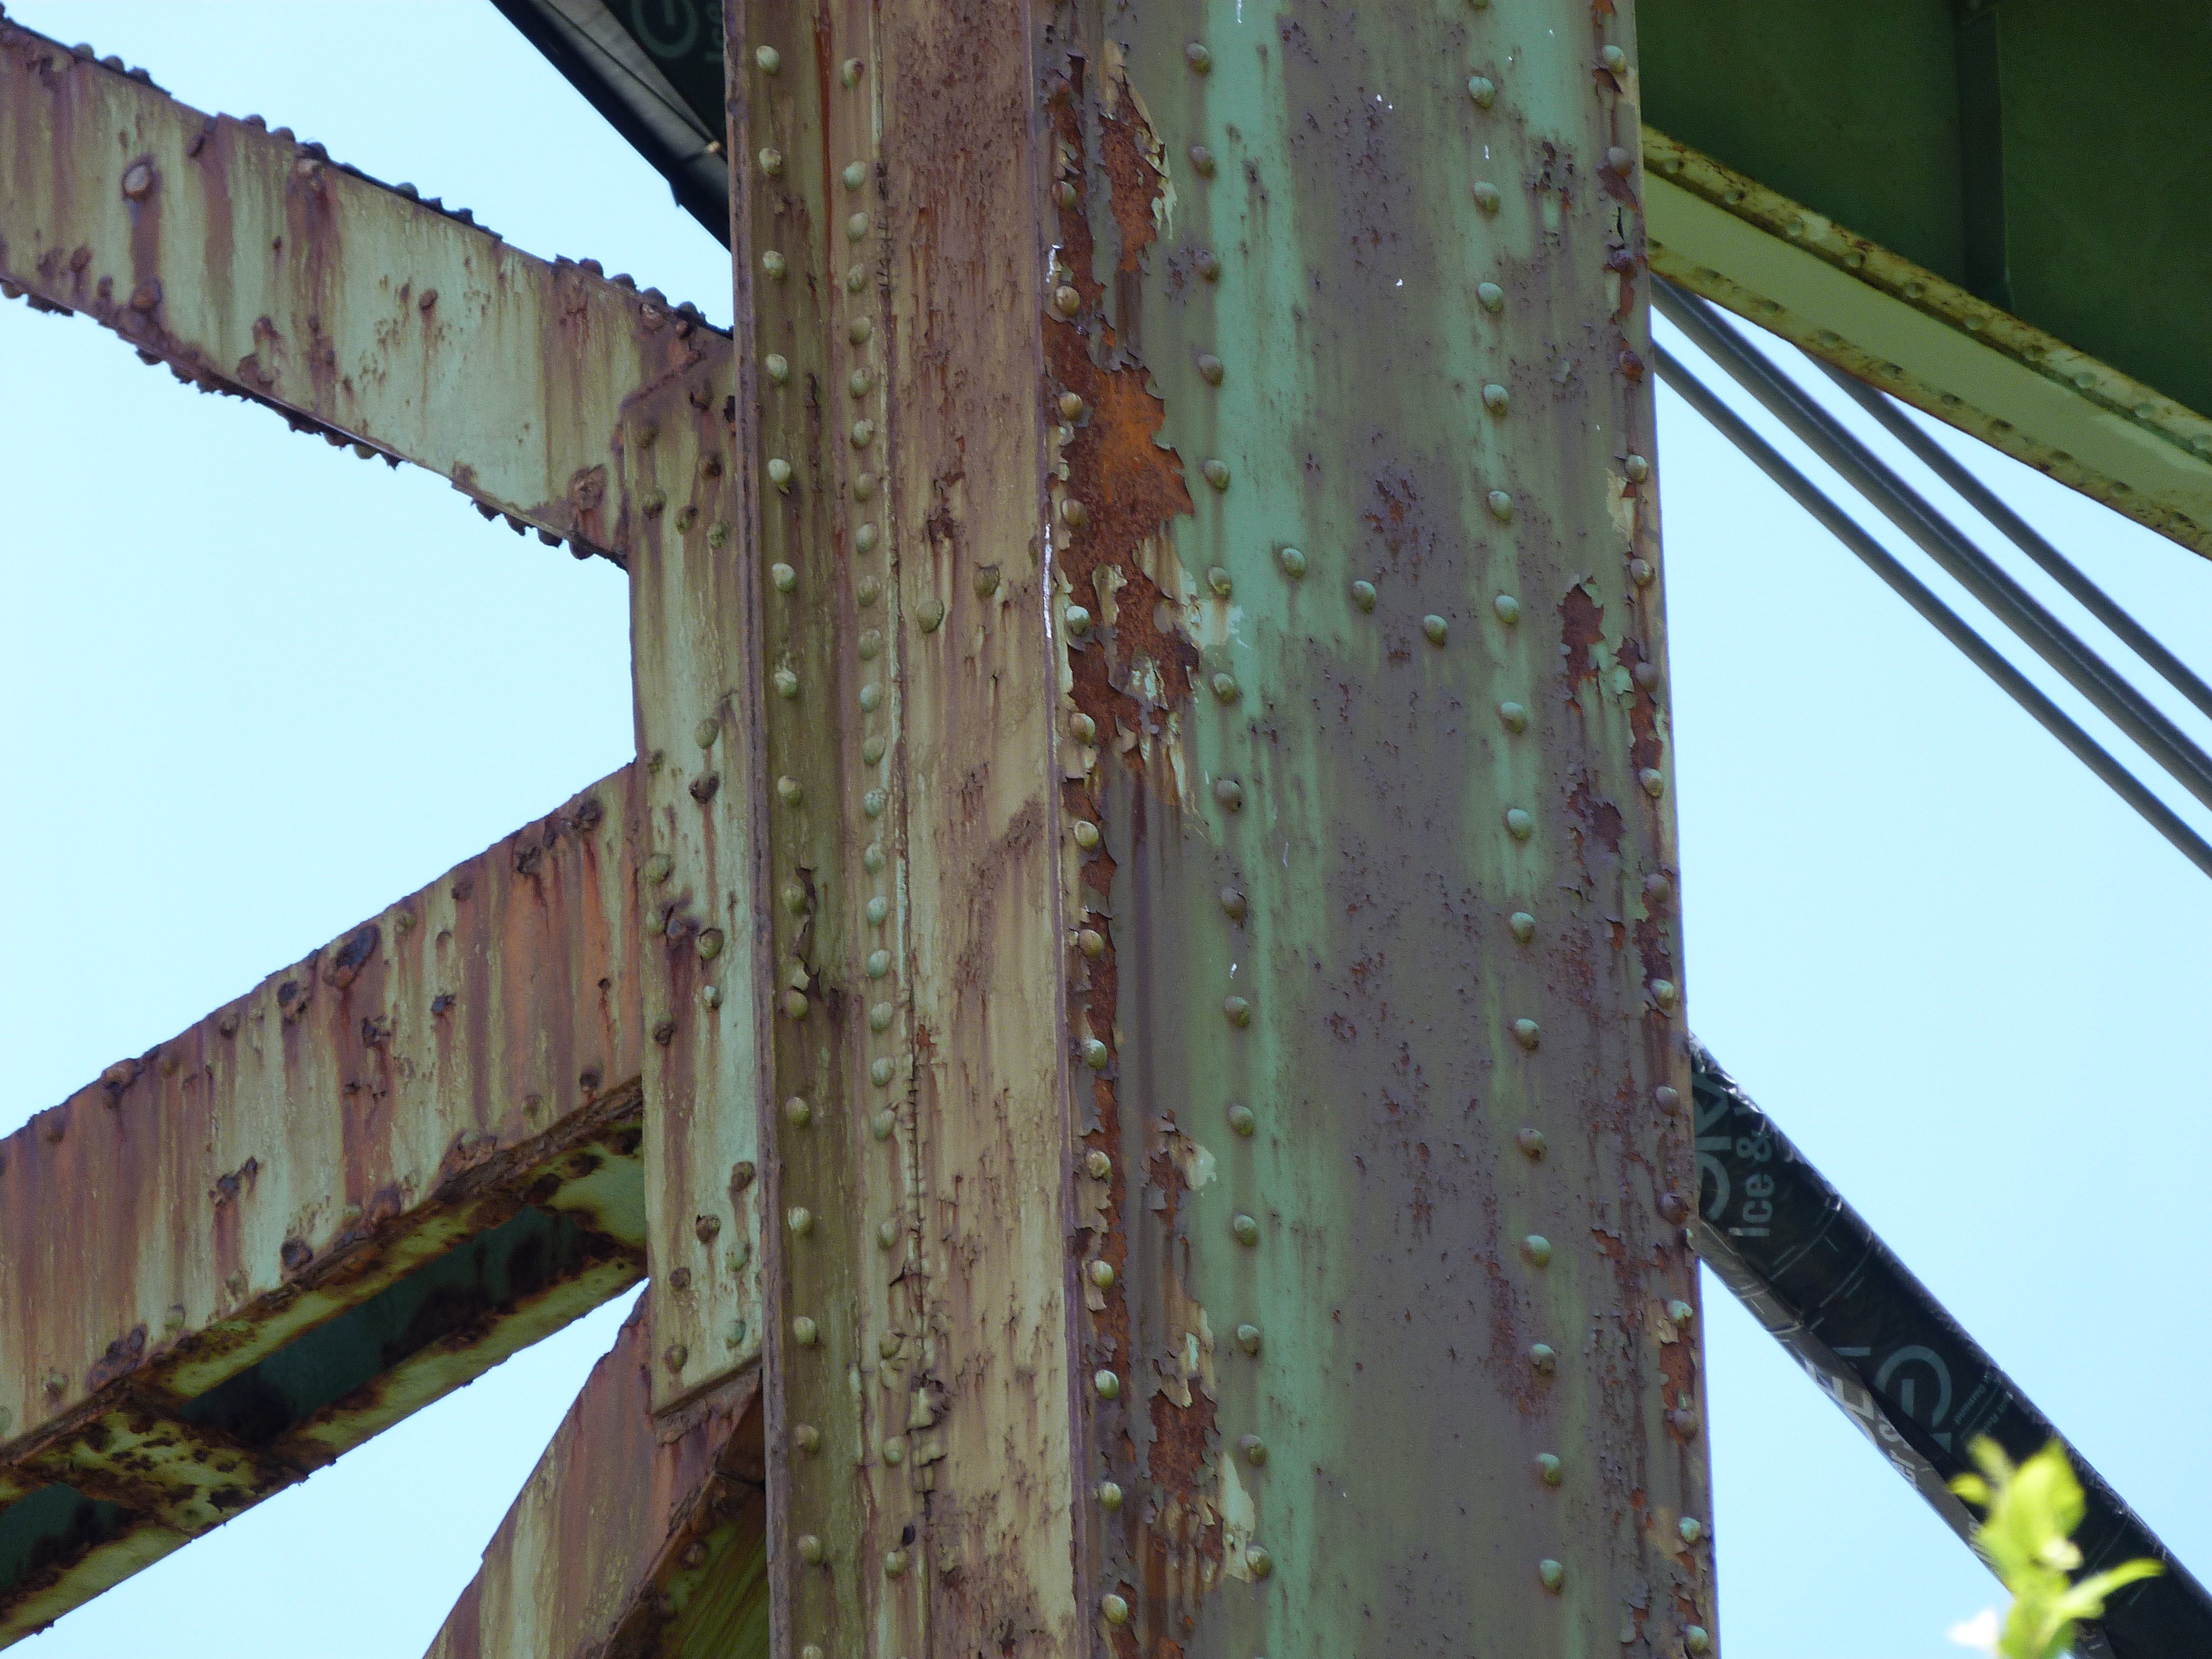
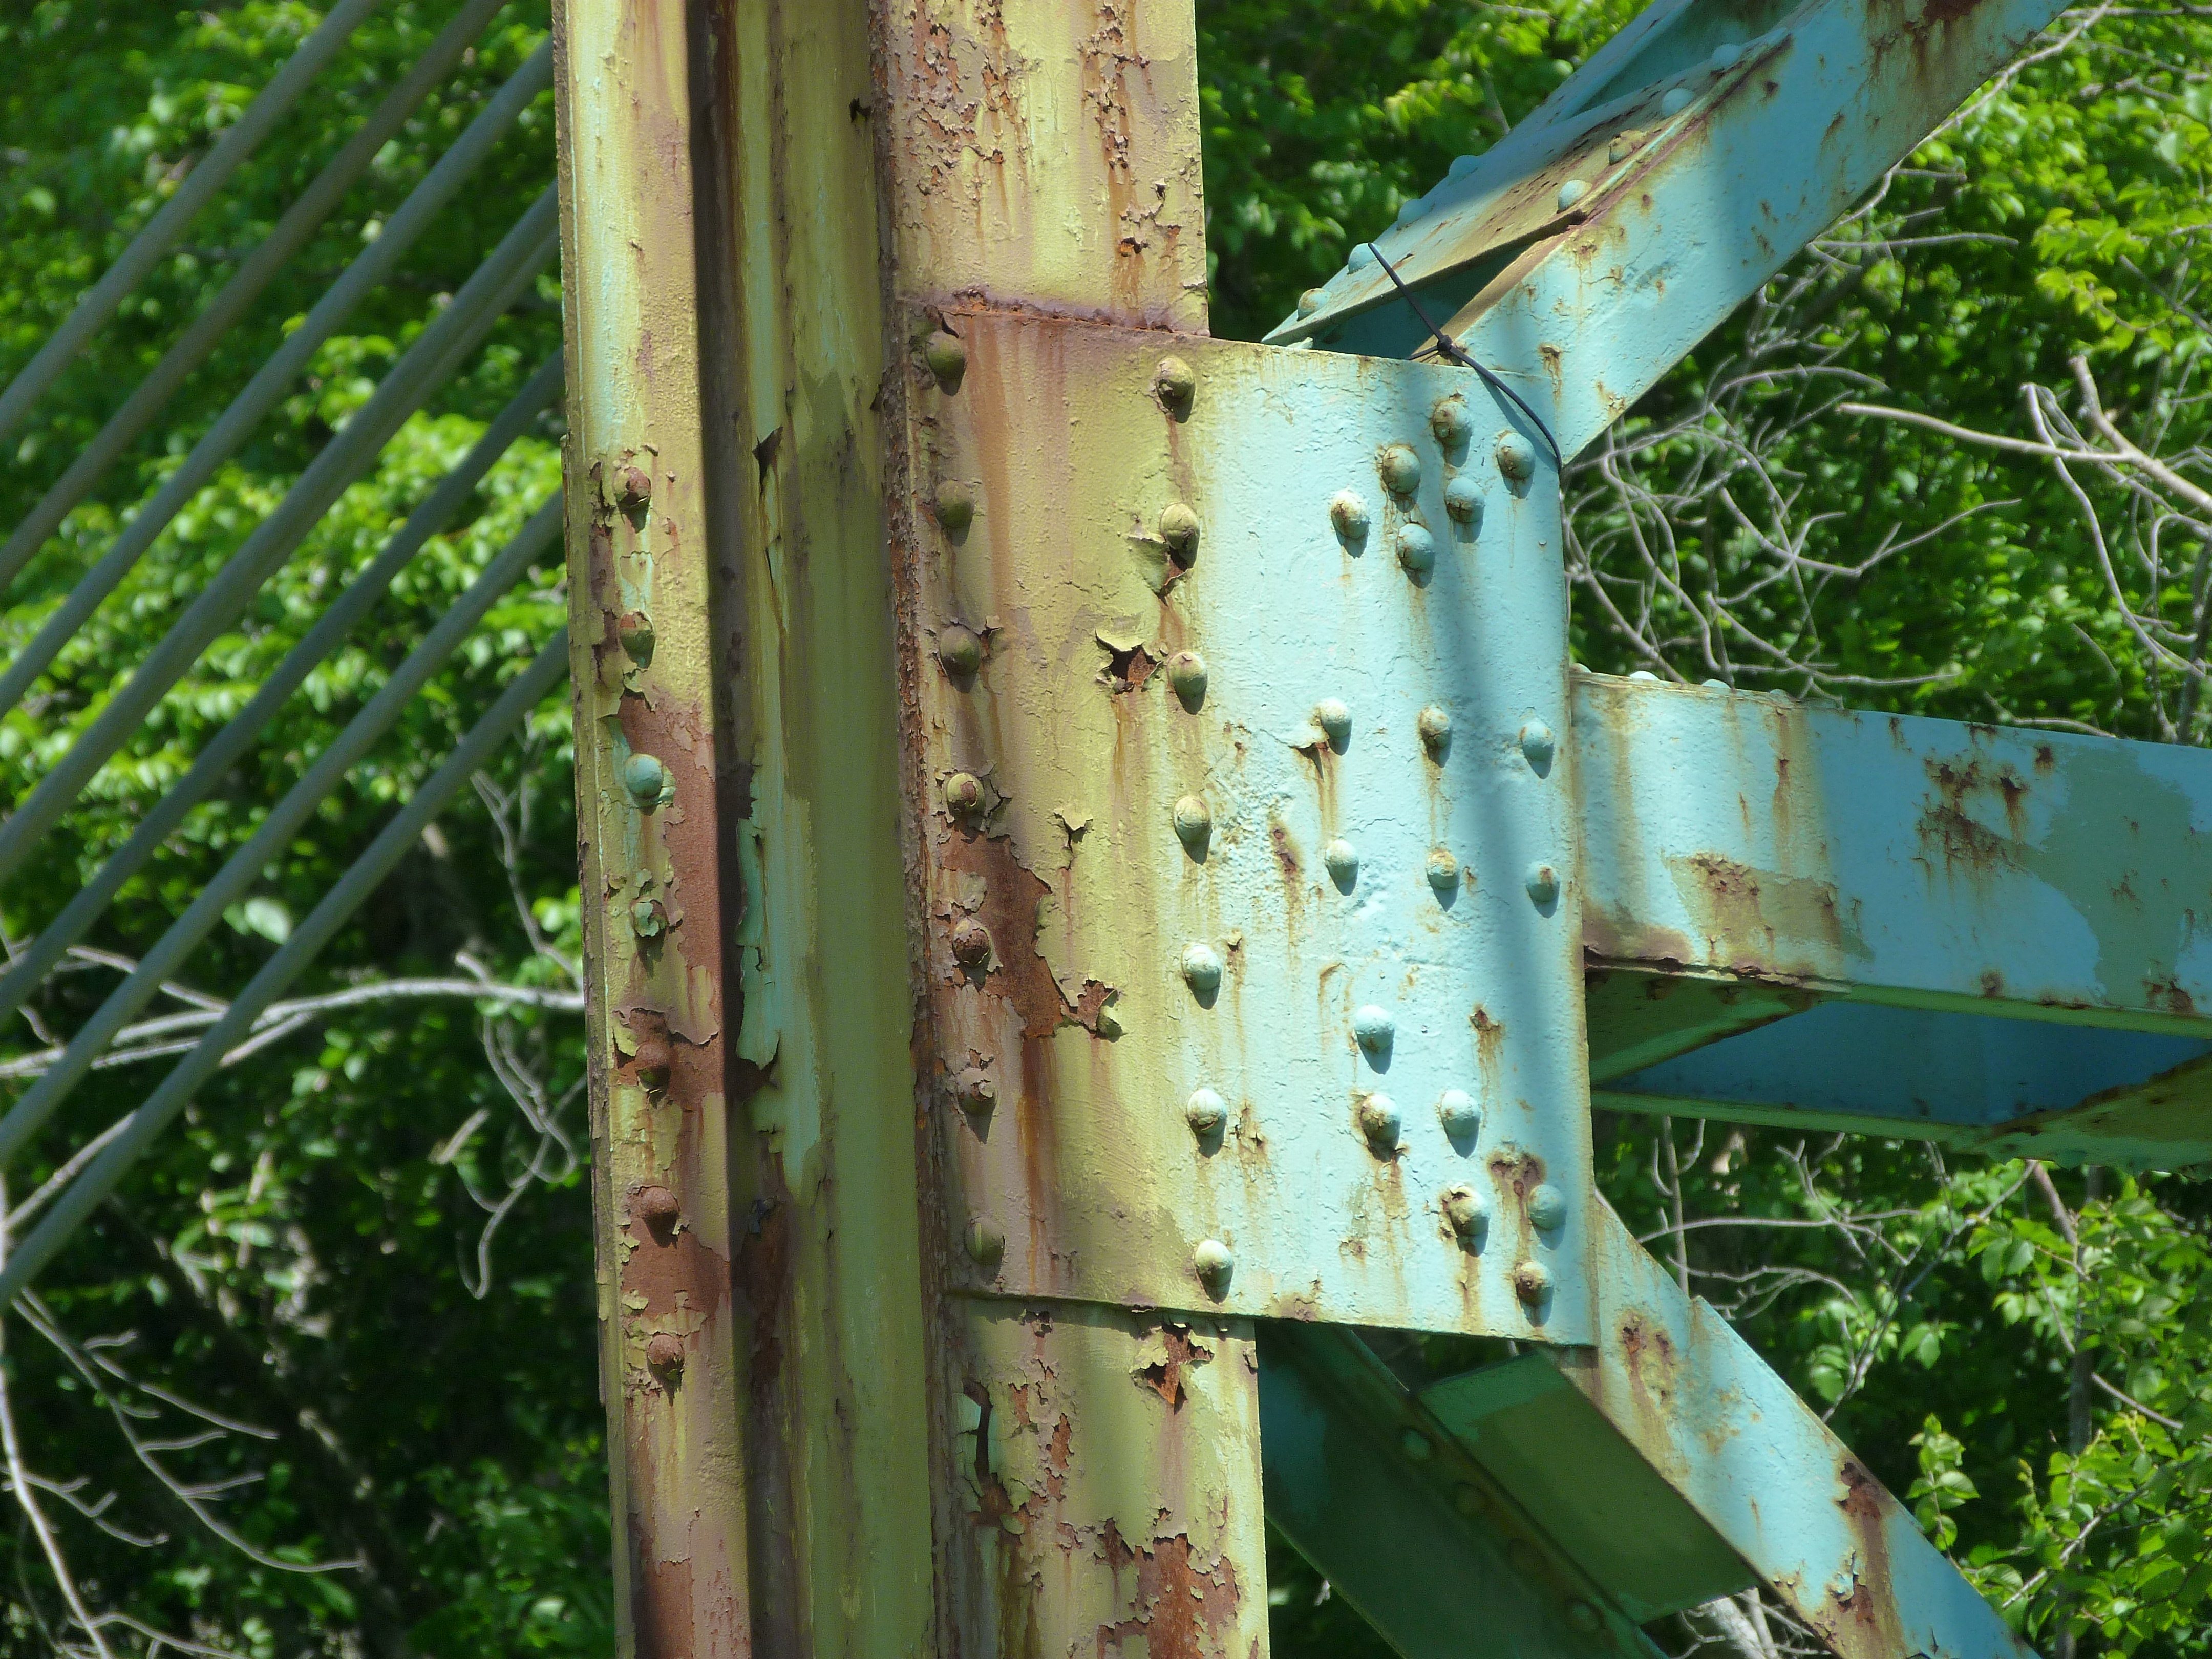
Tower details above roadway level.
![]()

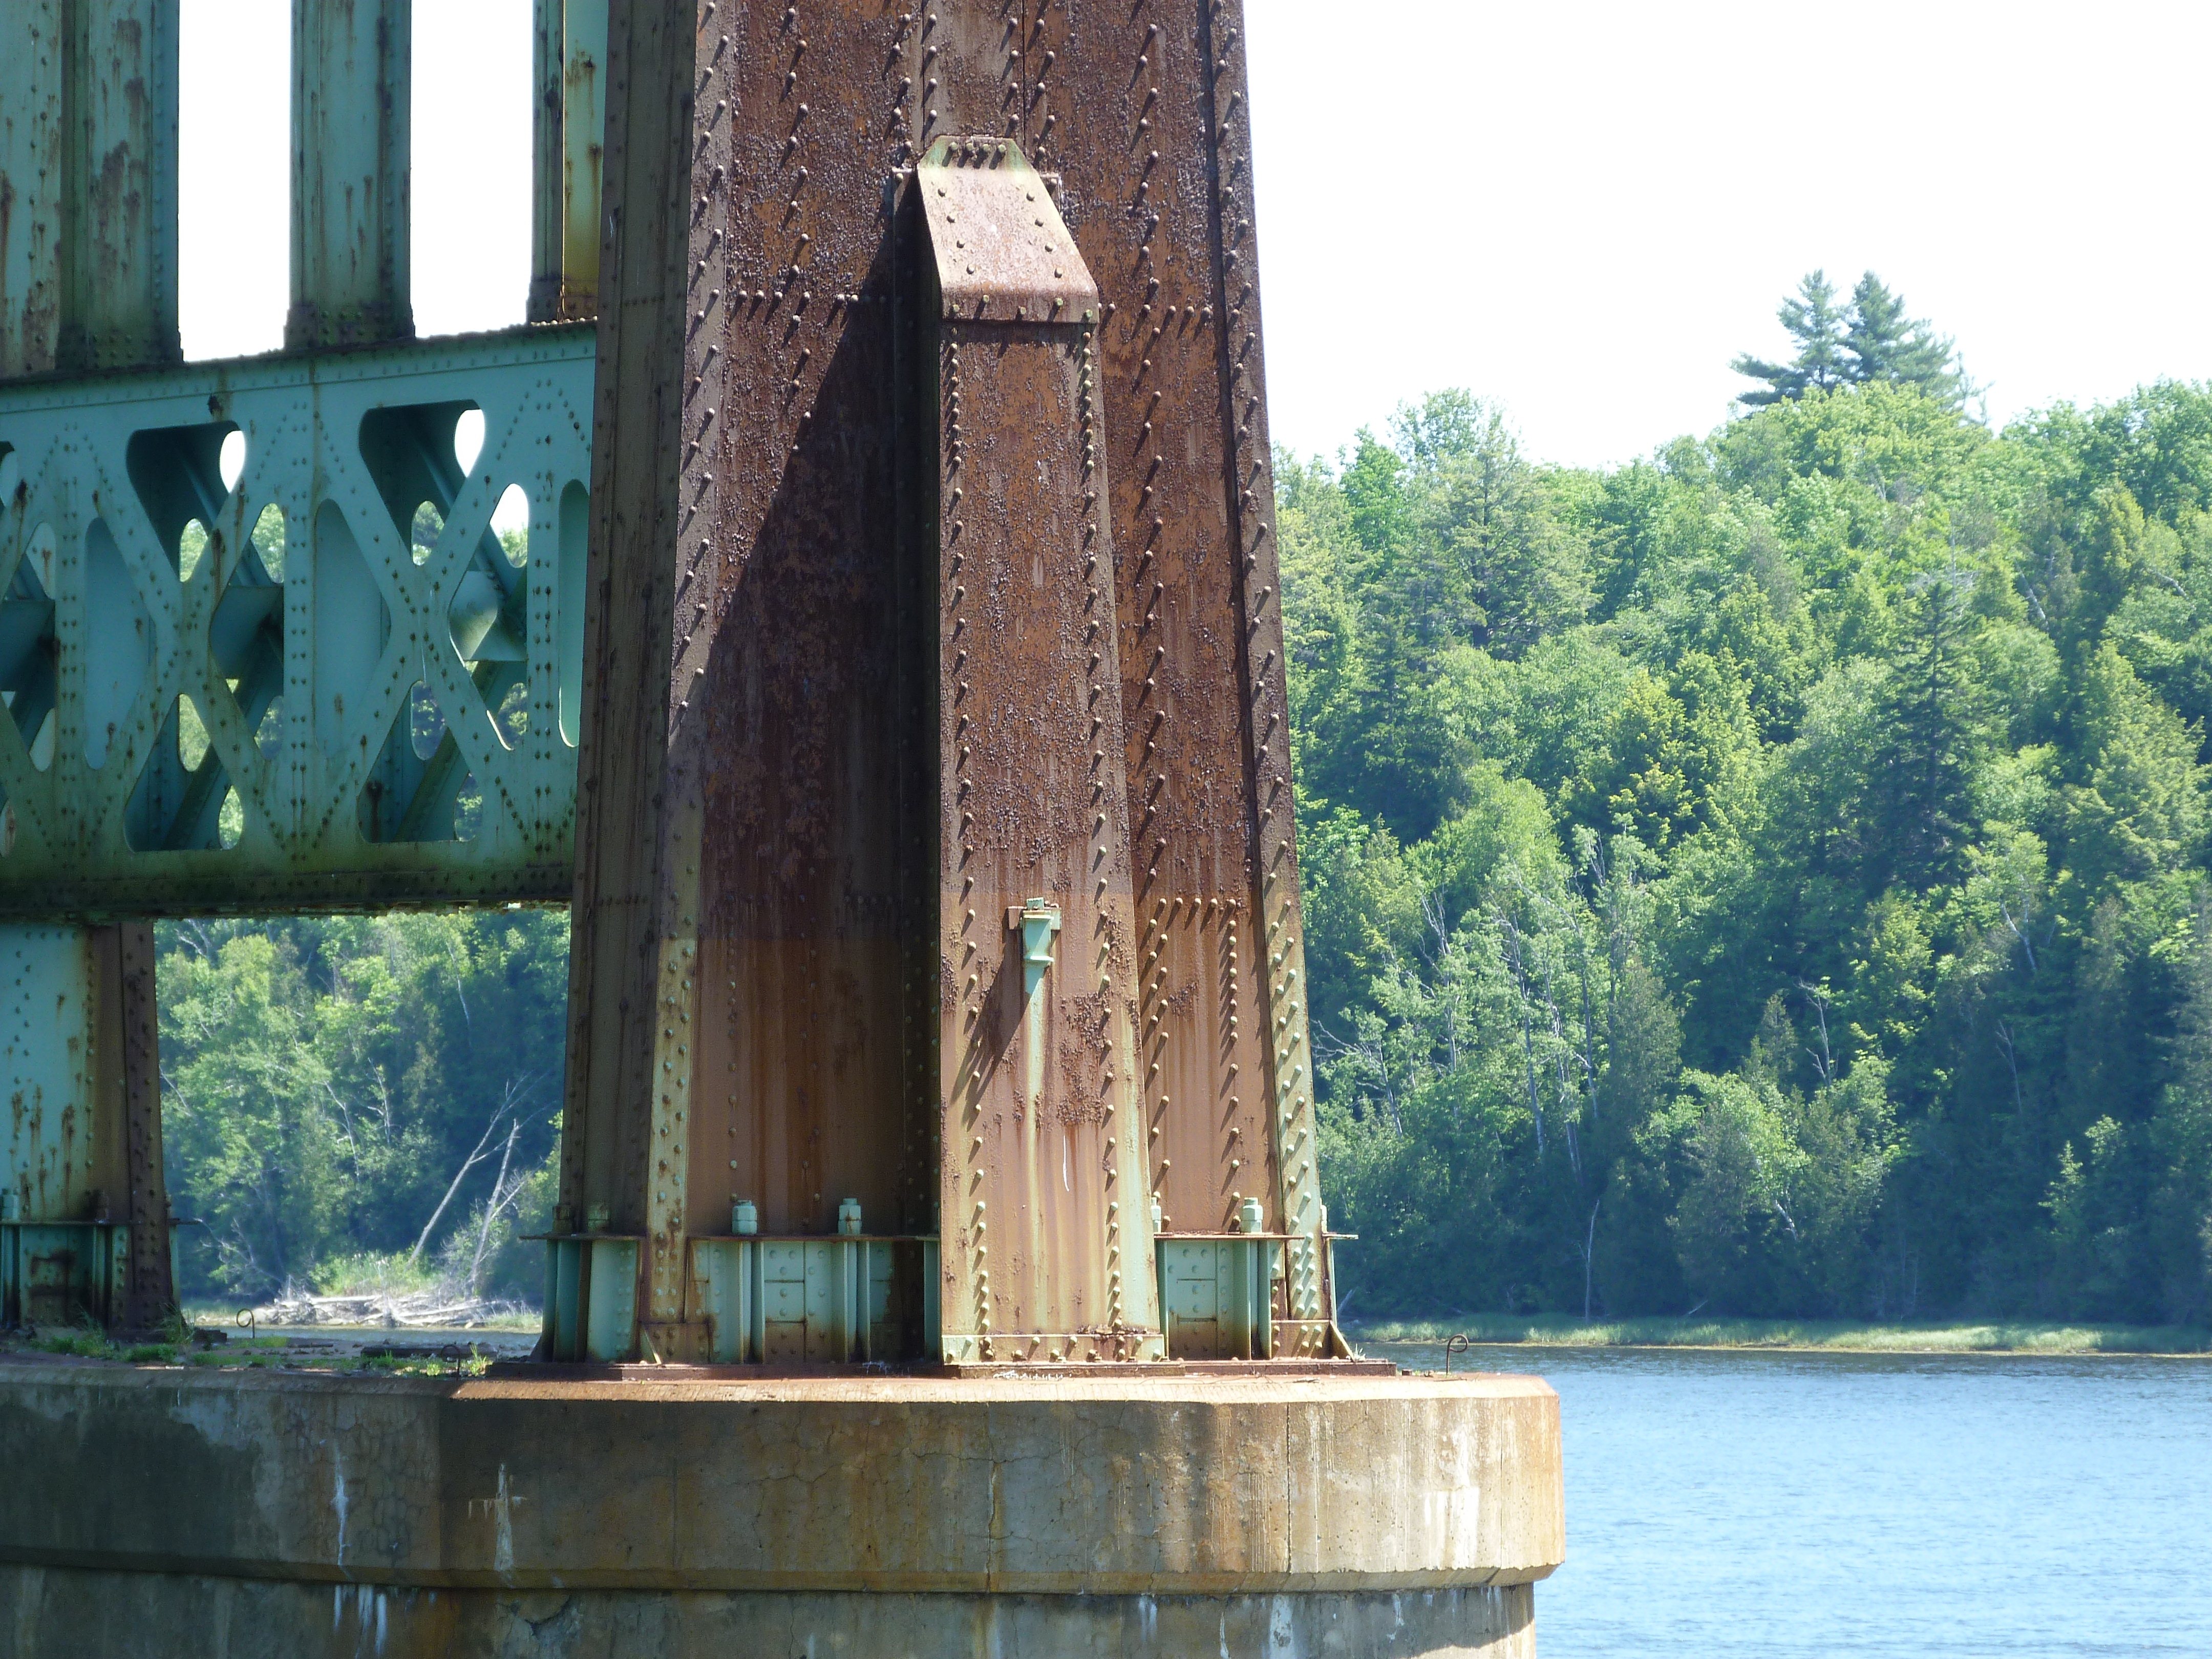
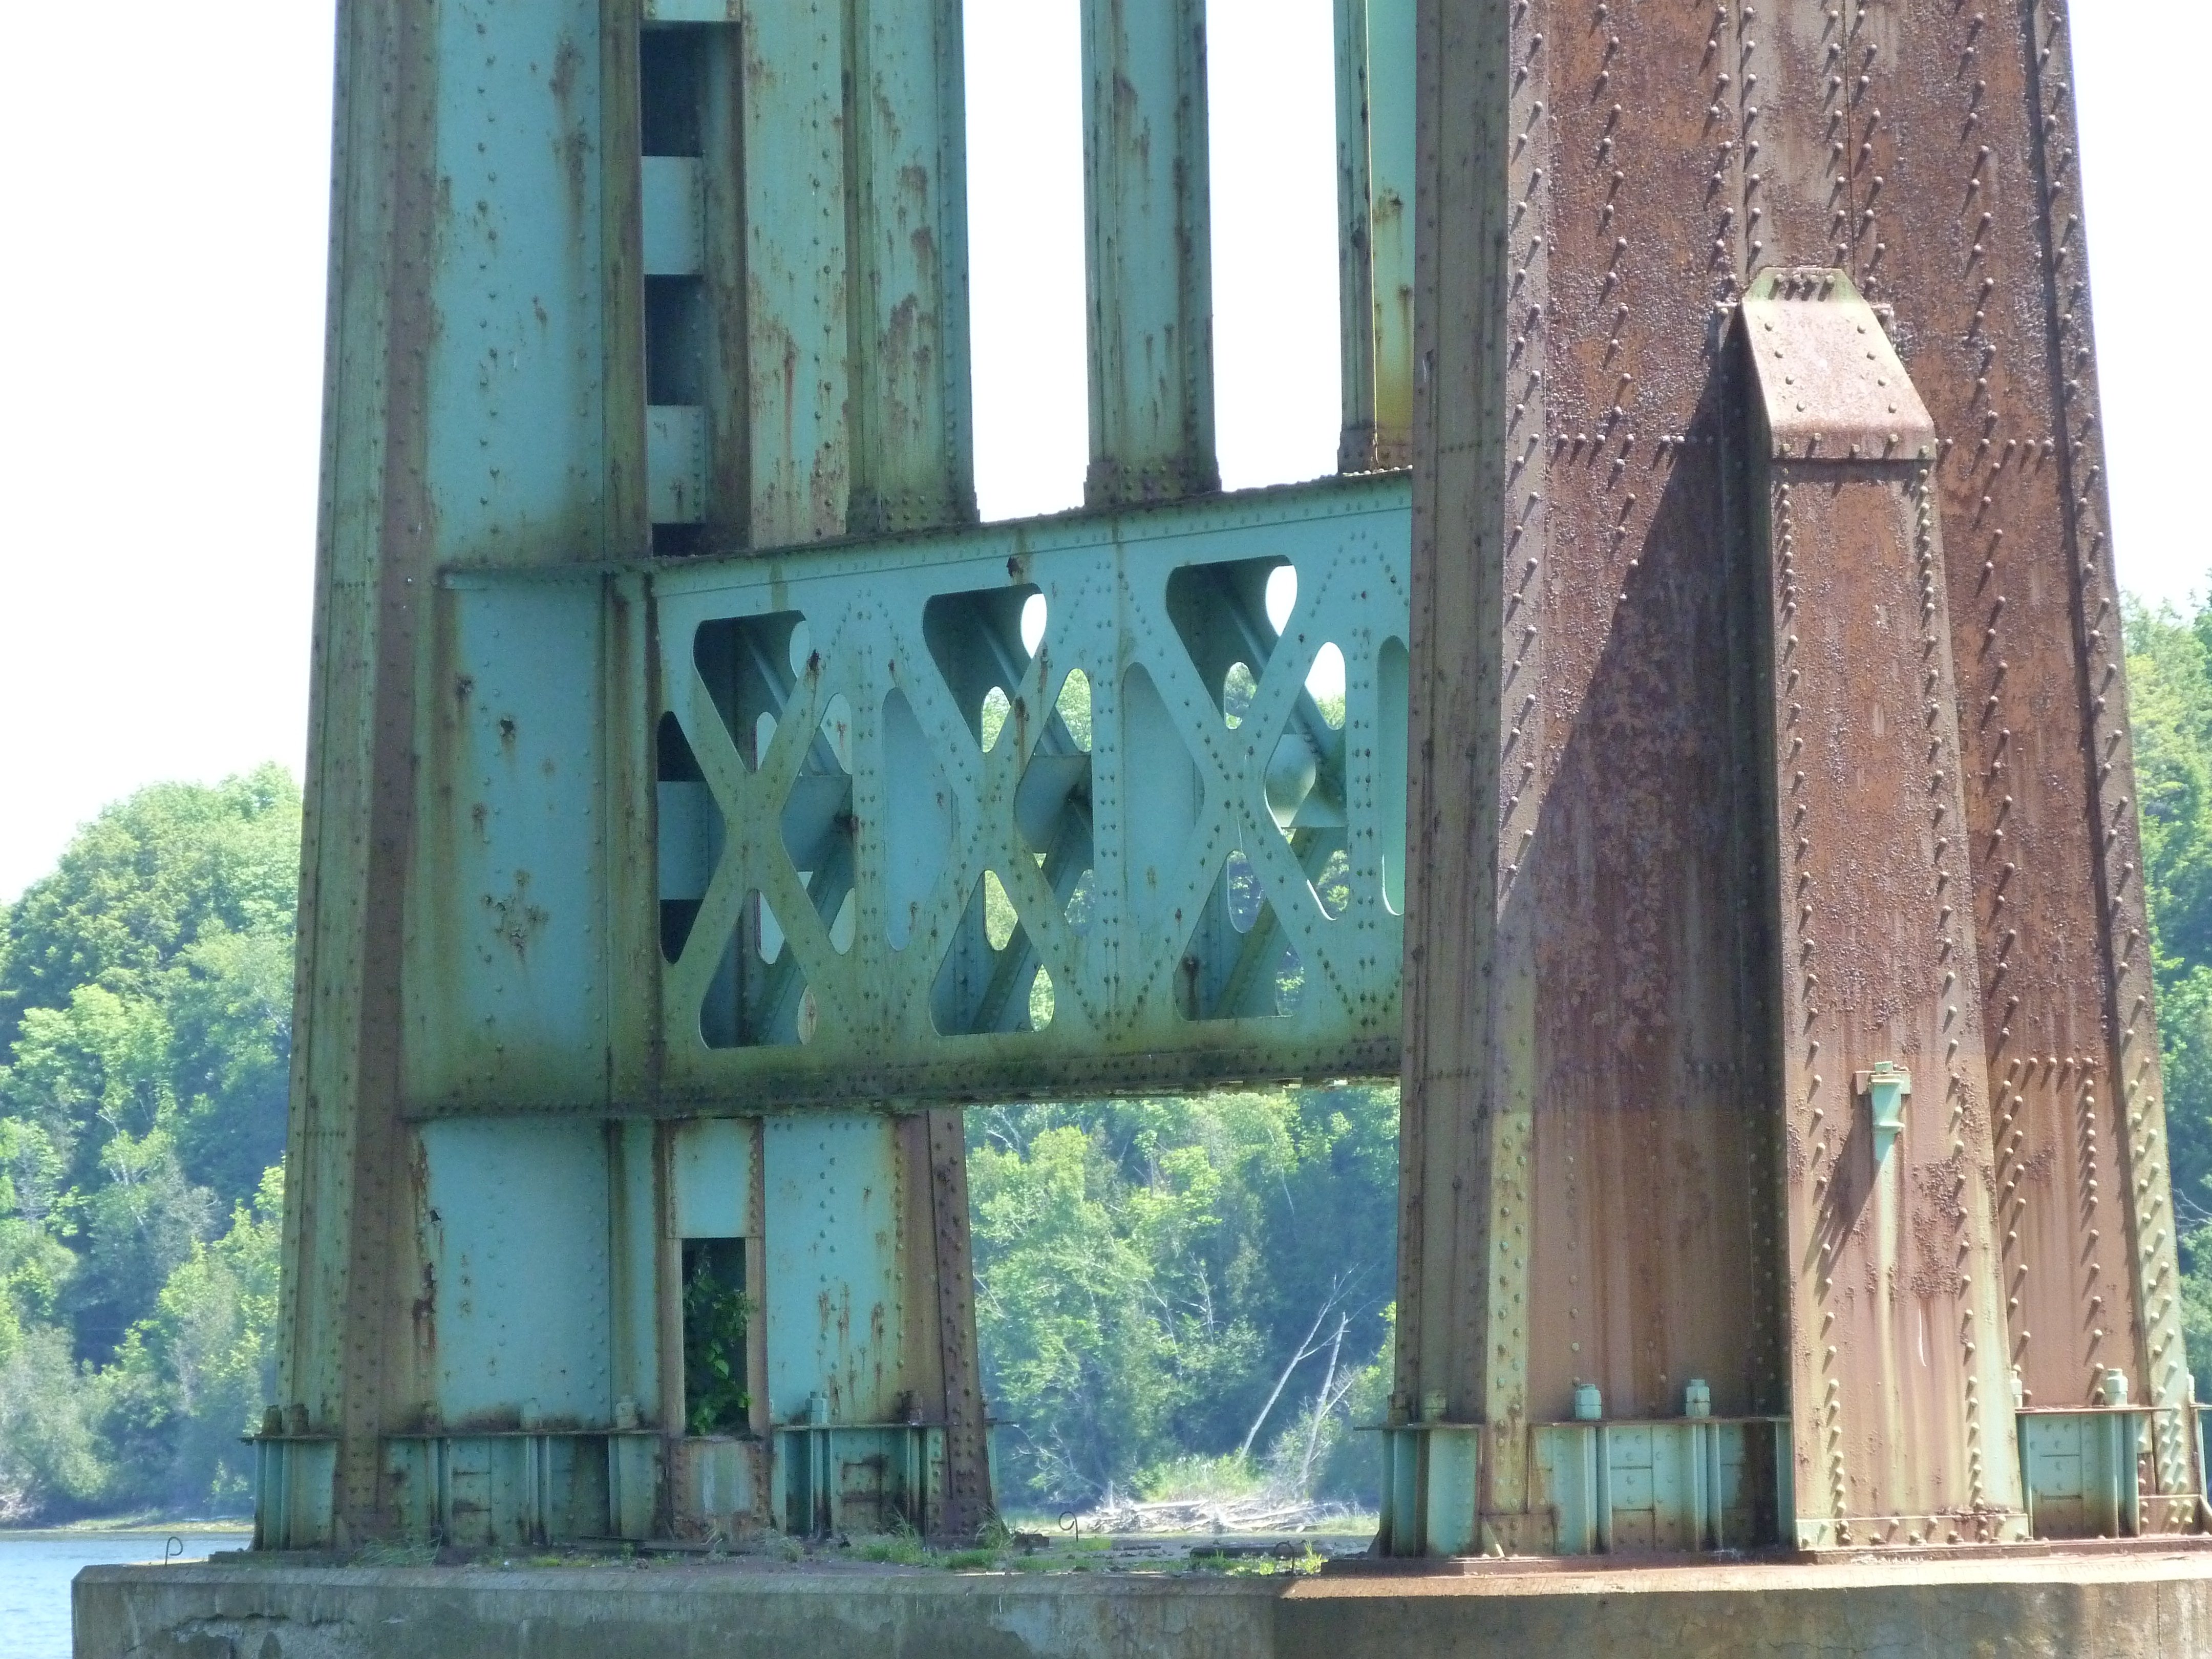

Tower details below roadway level.
![]()

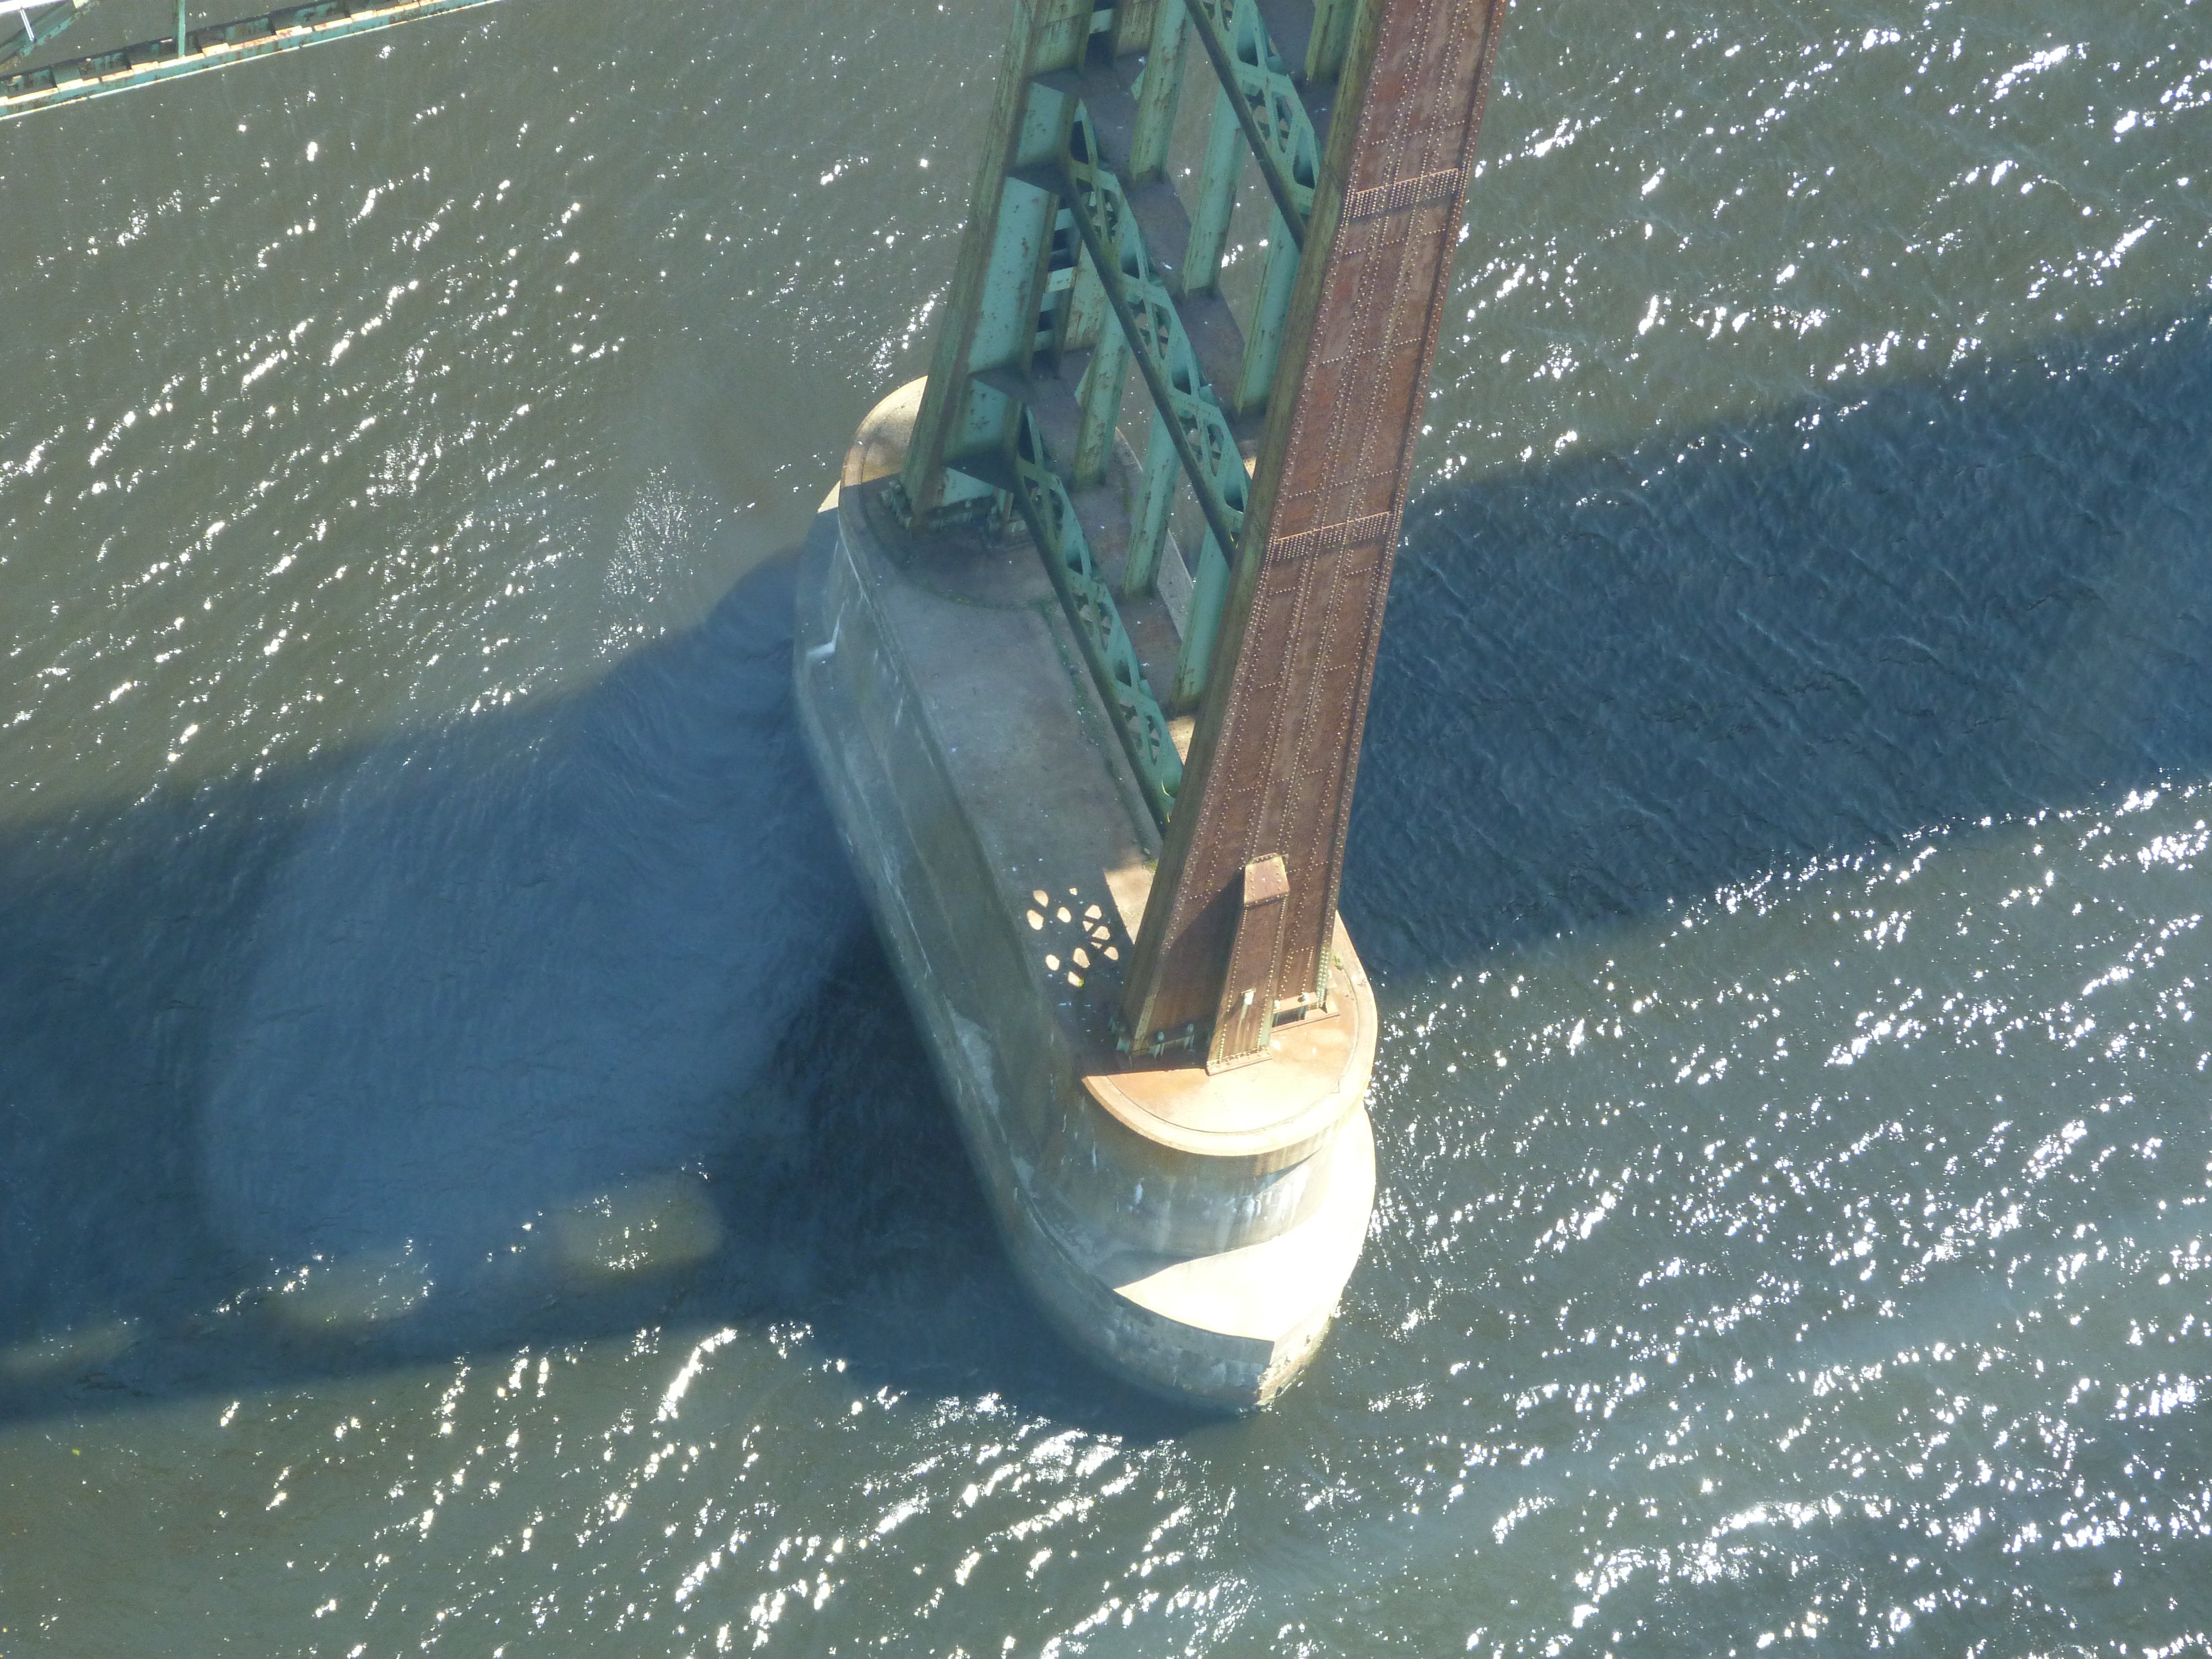
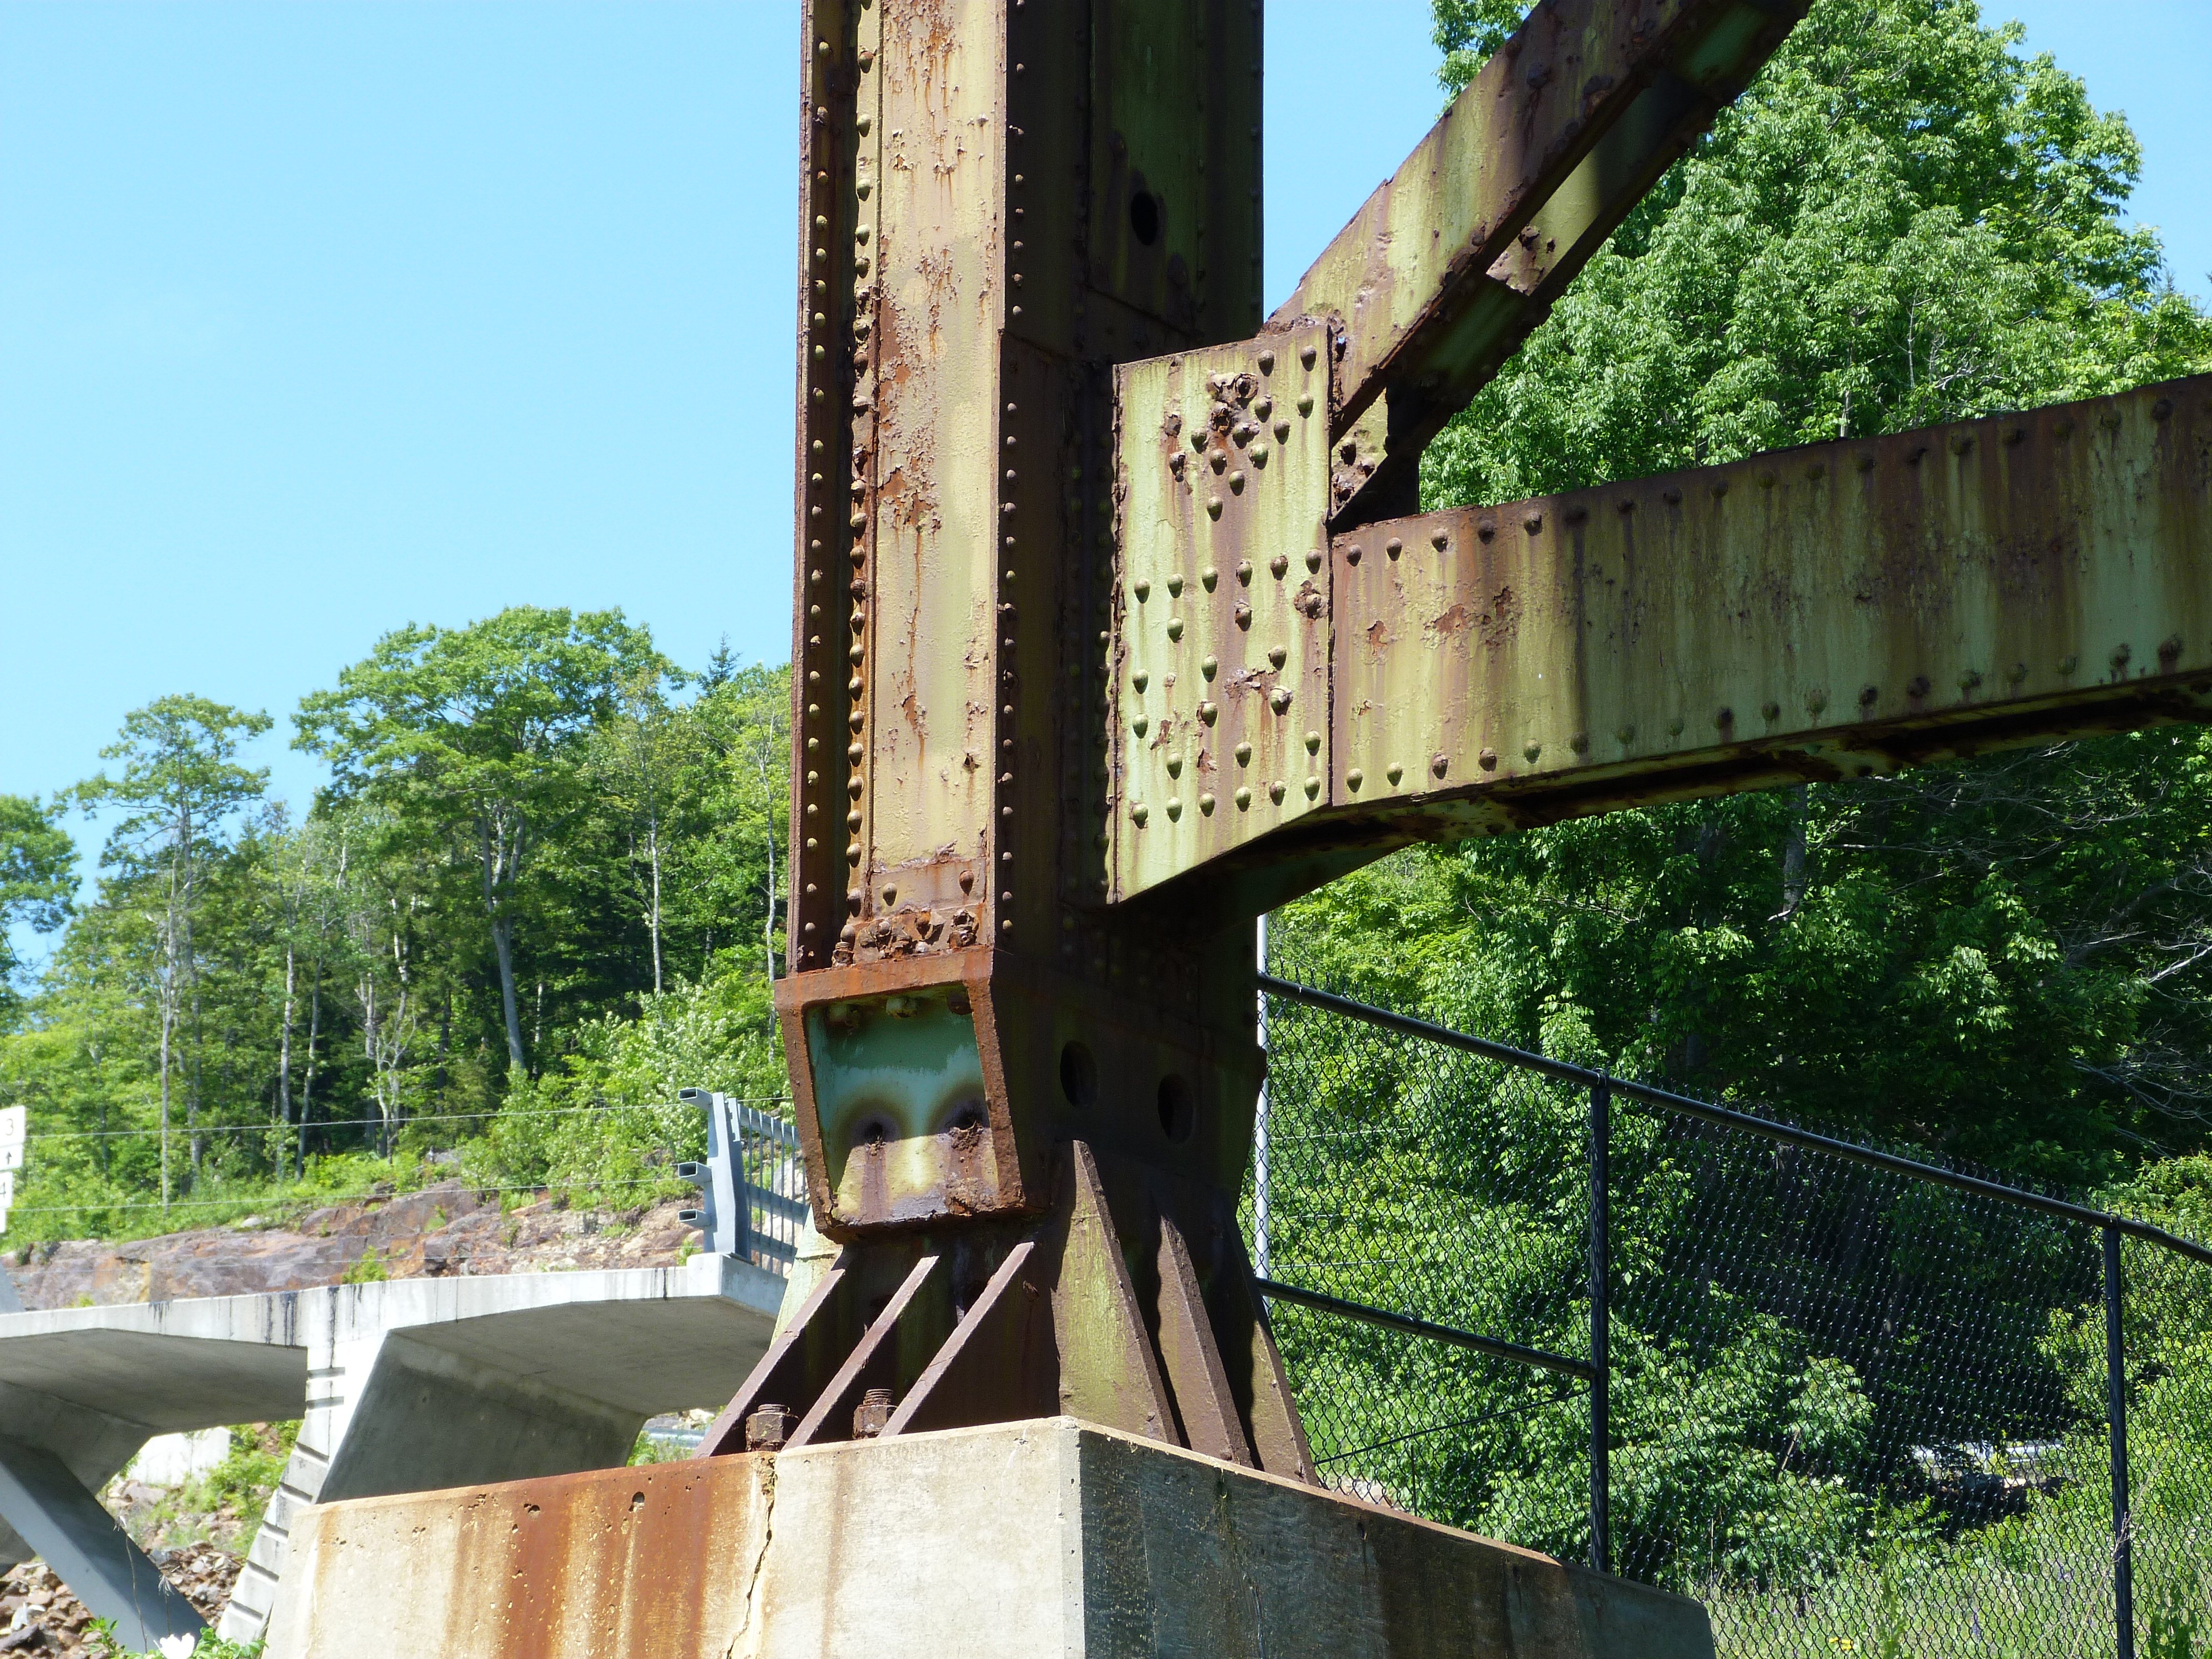
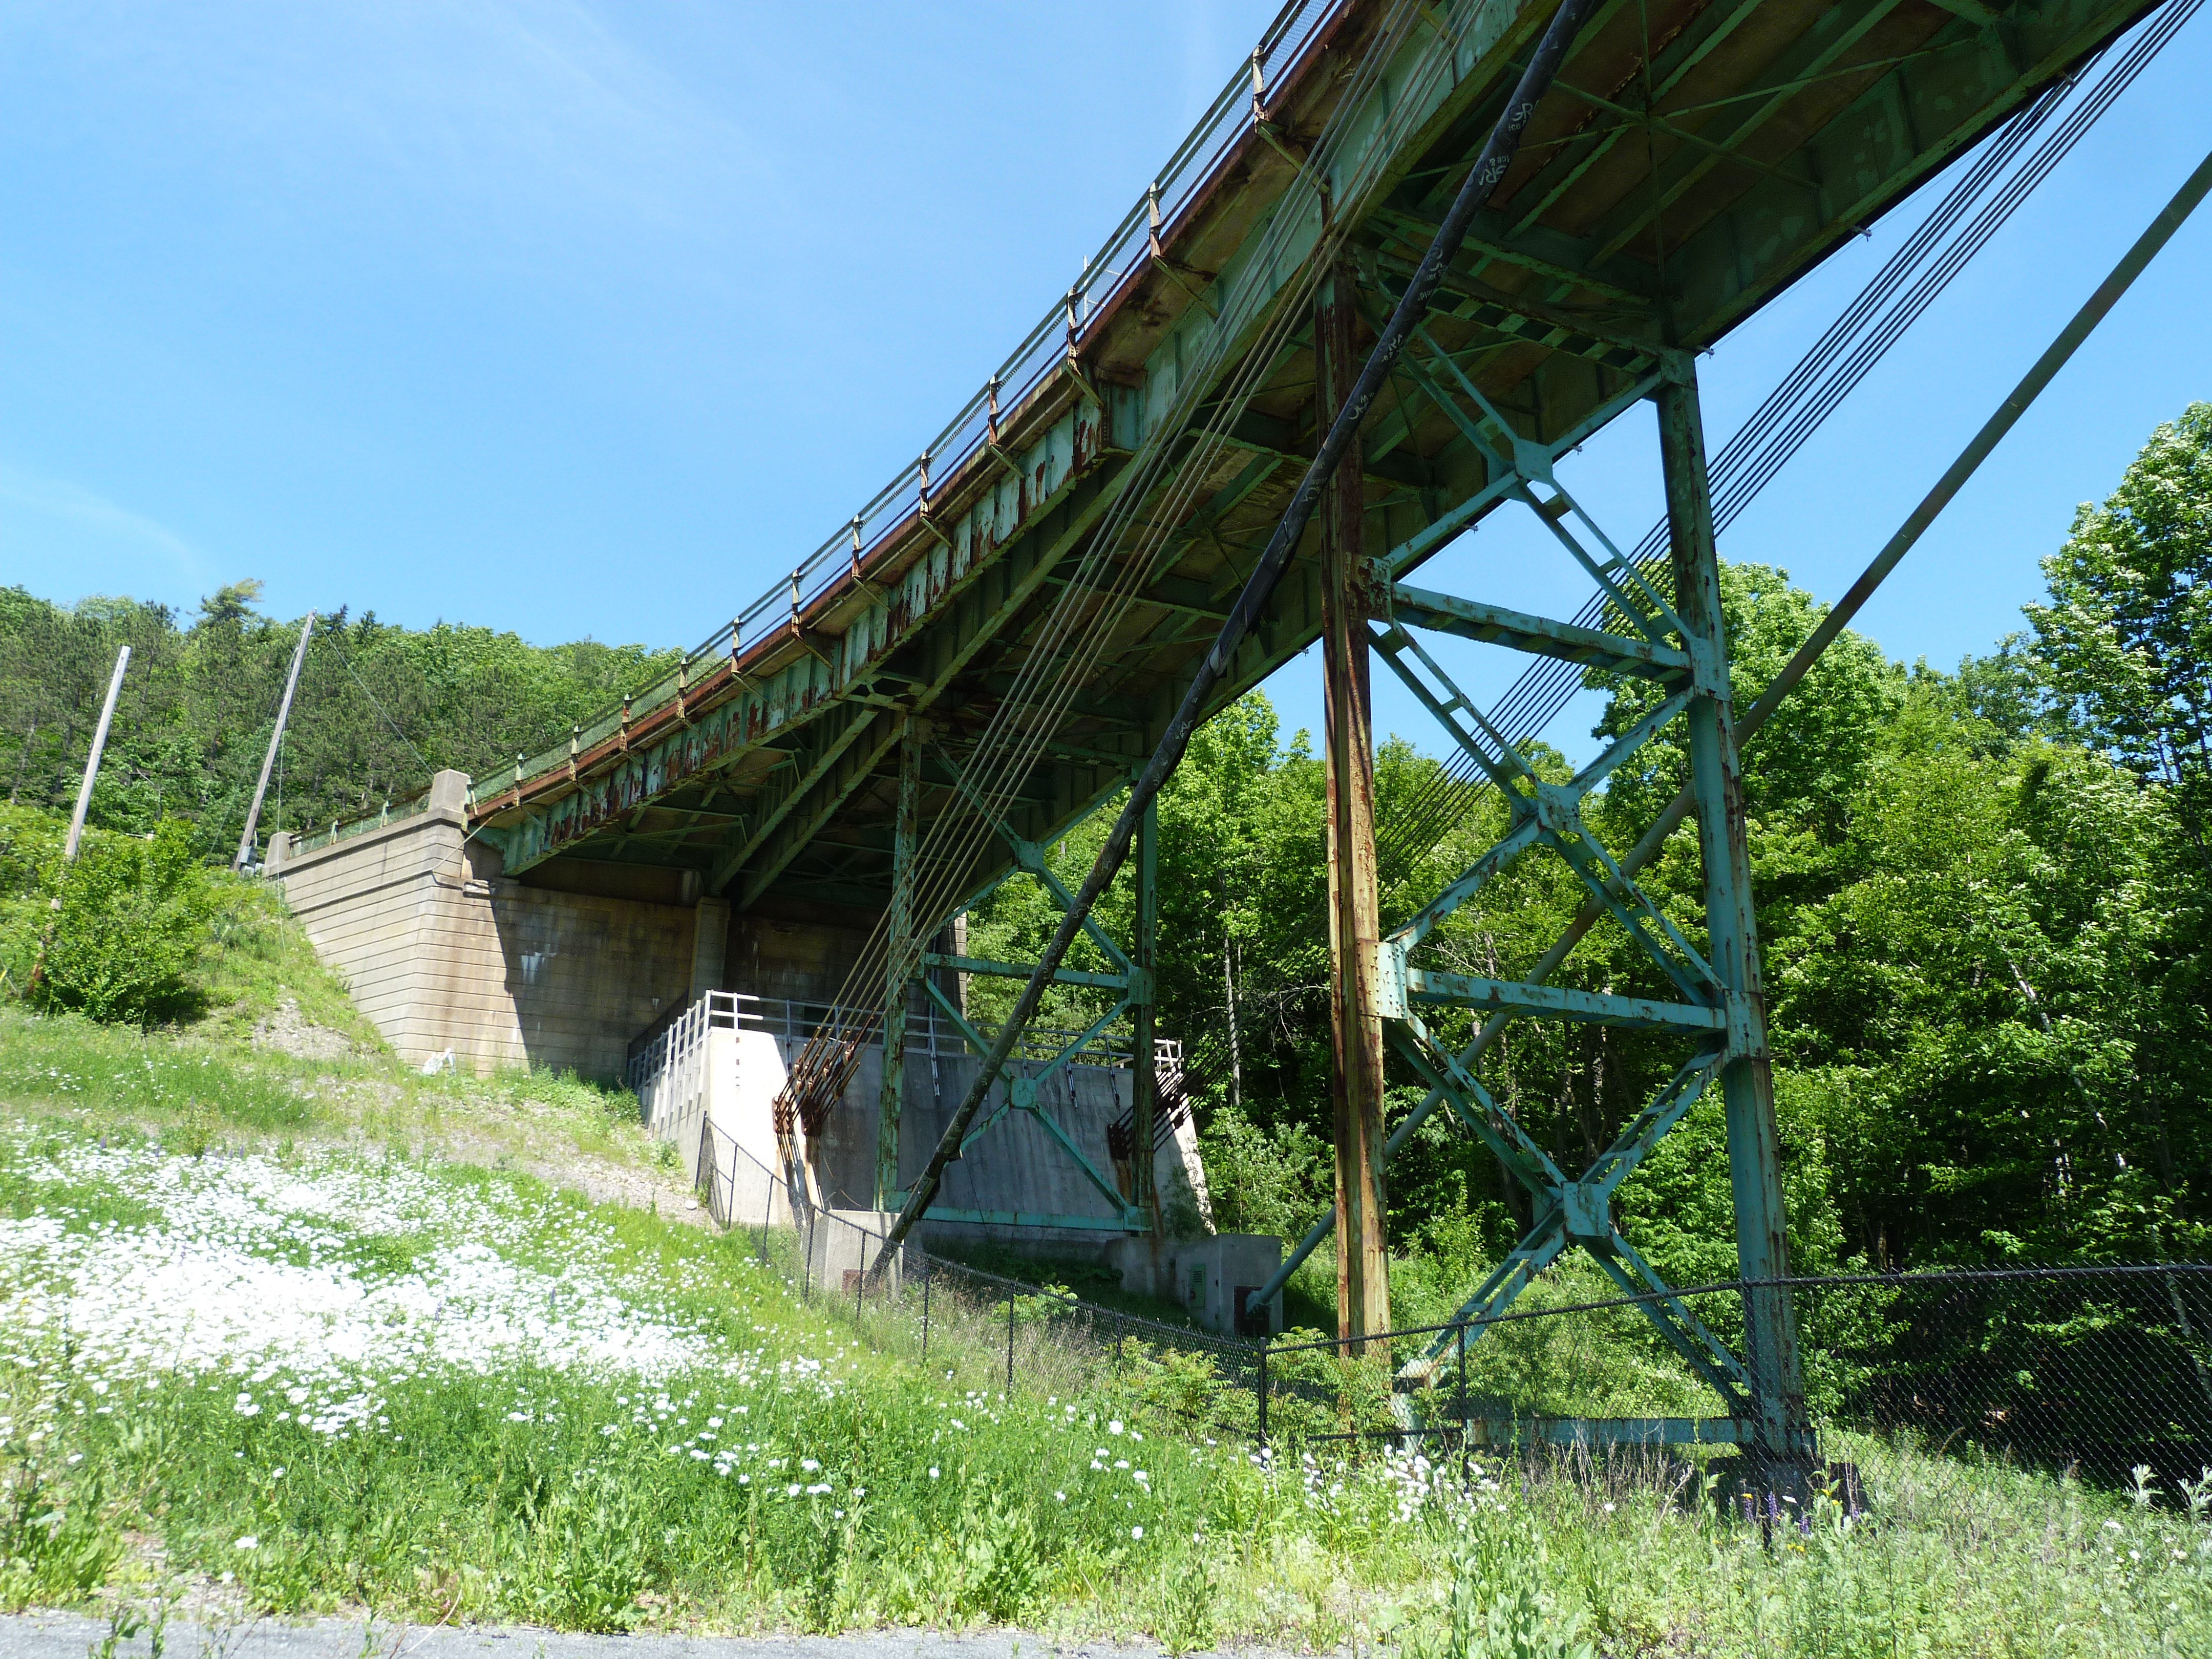
Main tower pier.
![]()
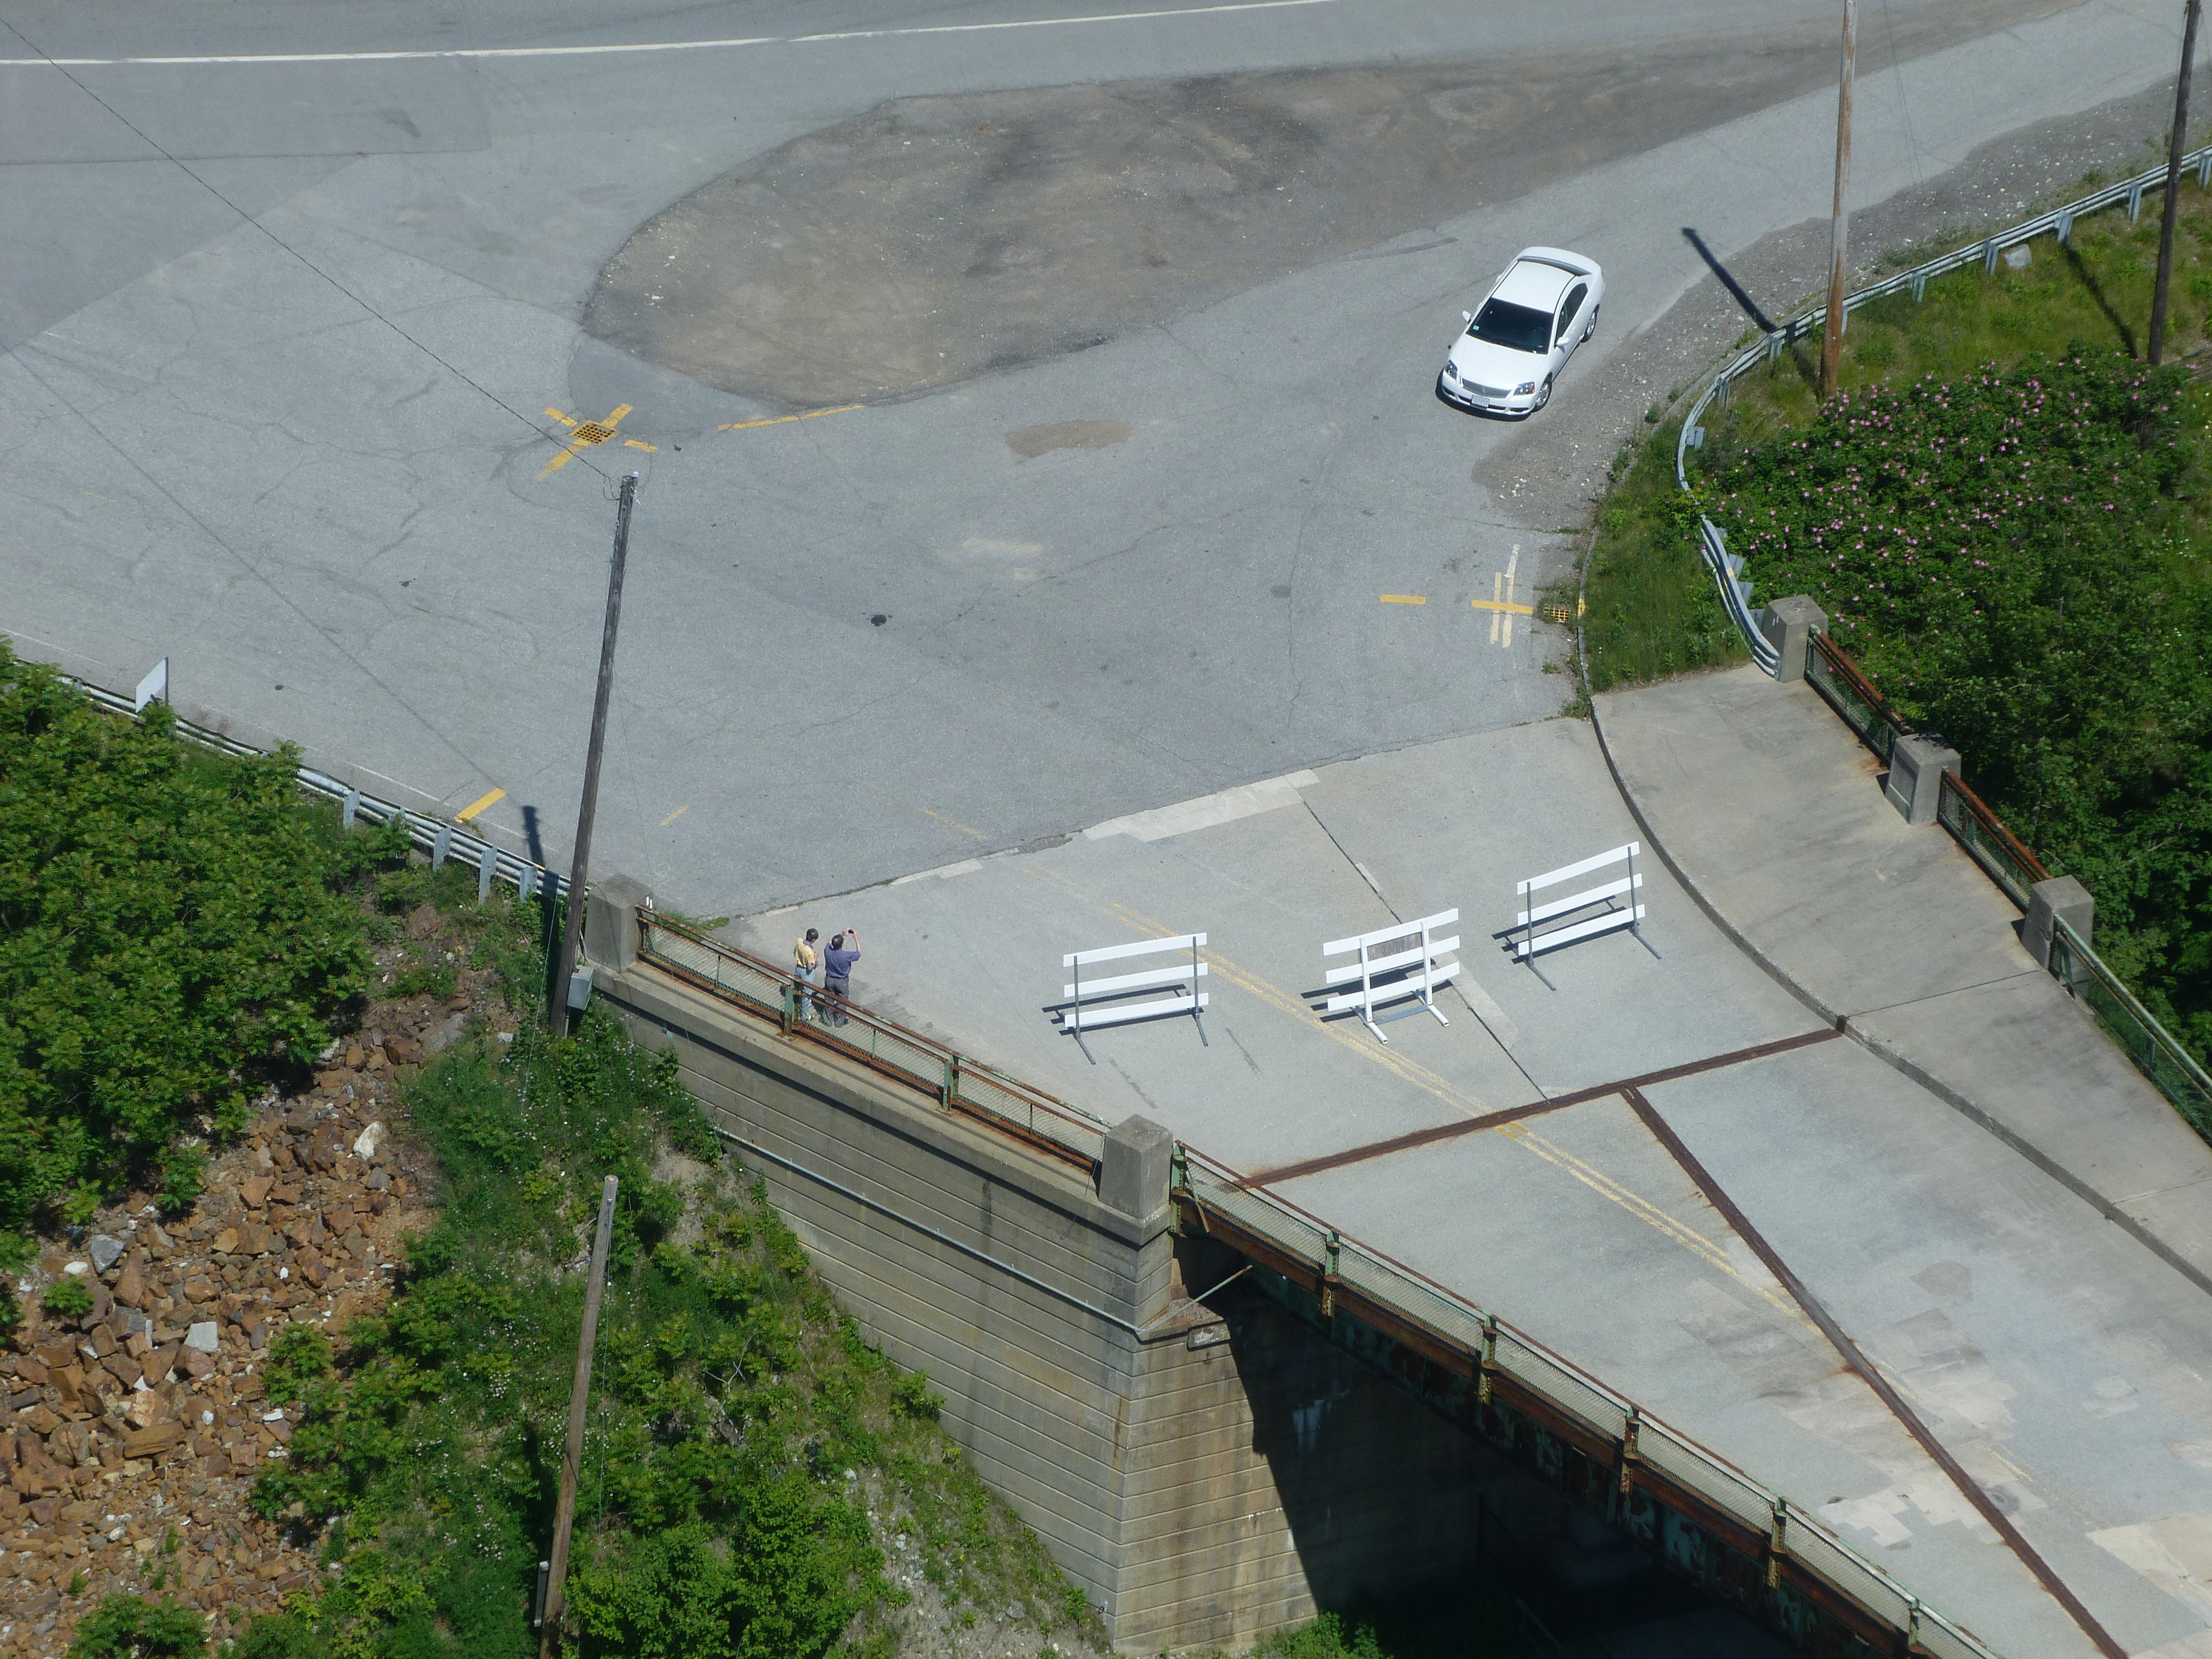

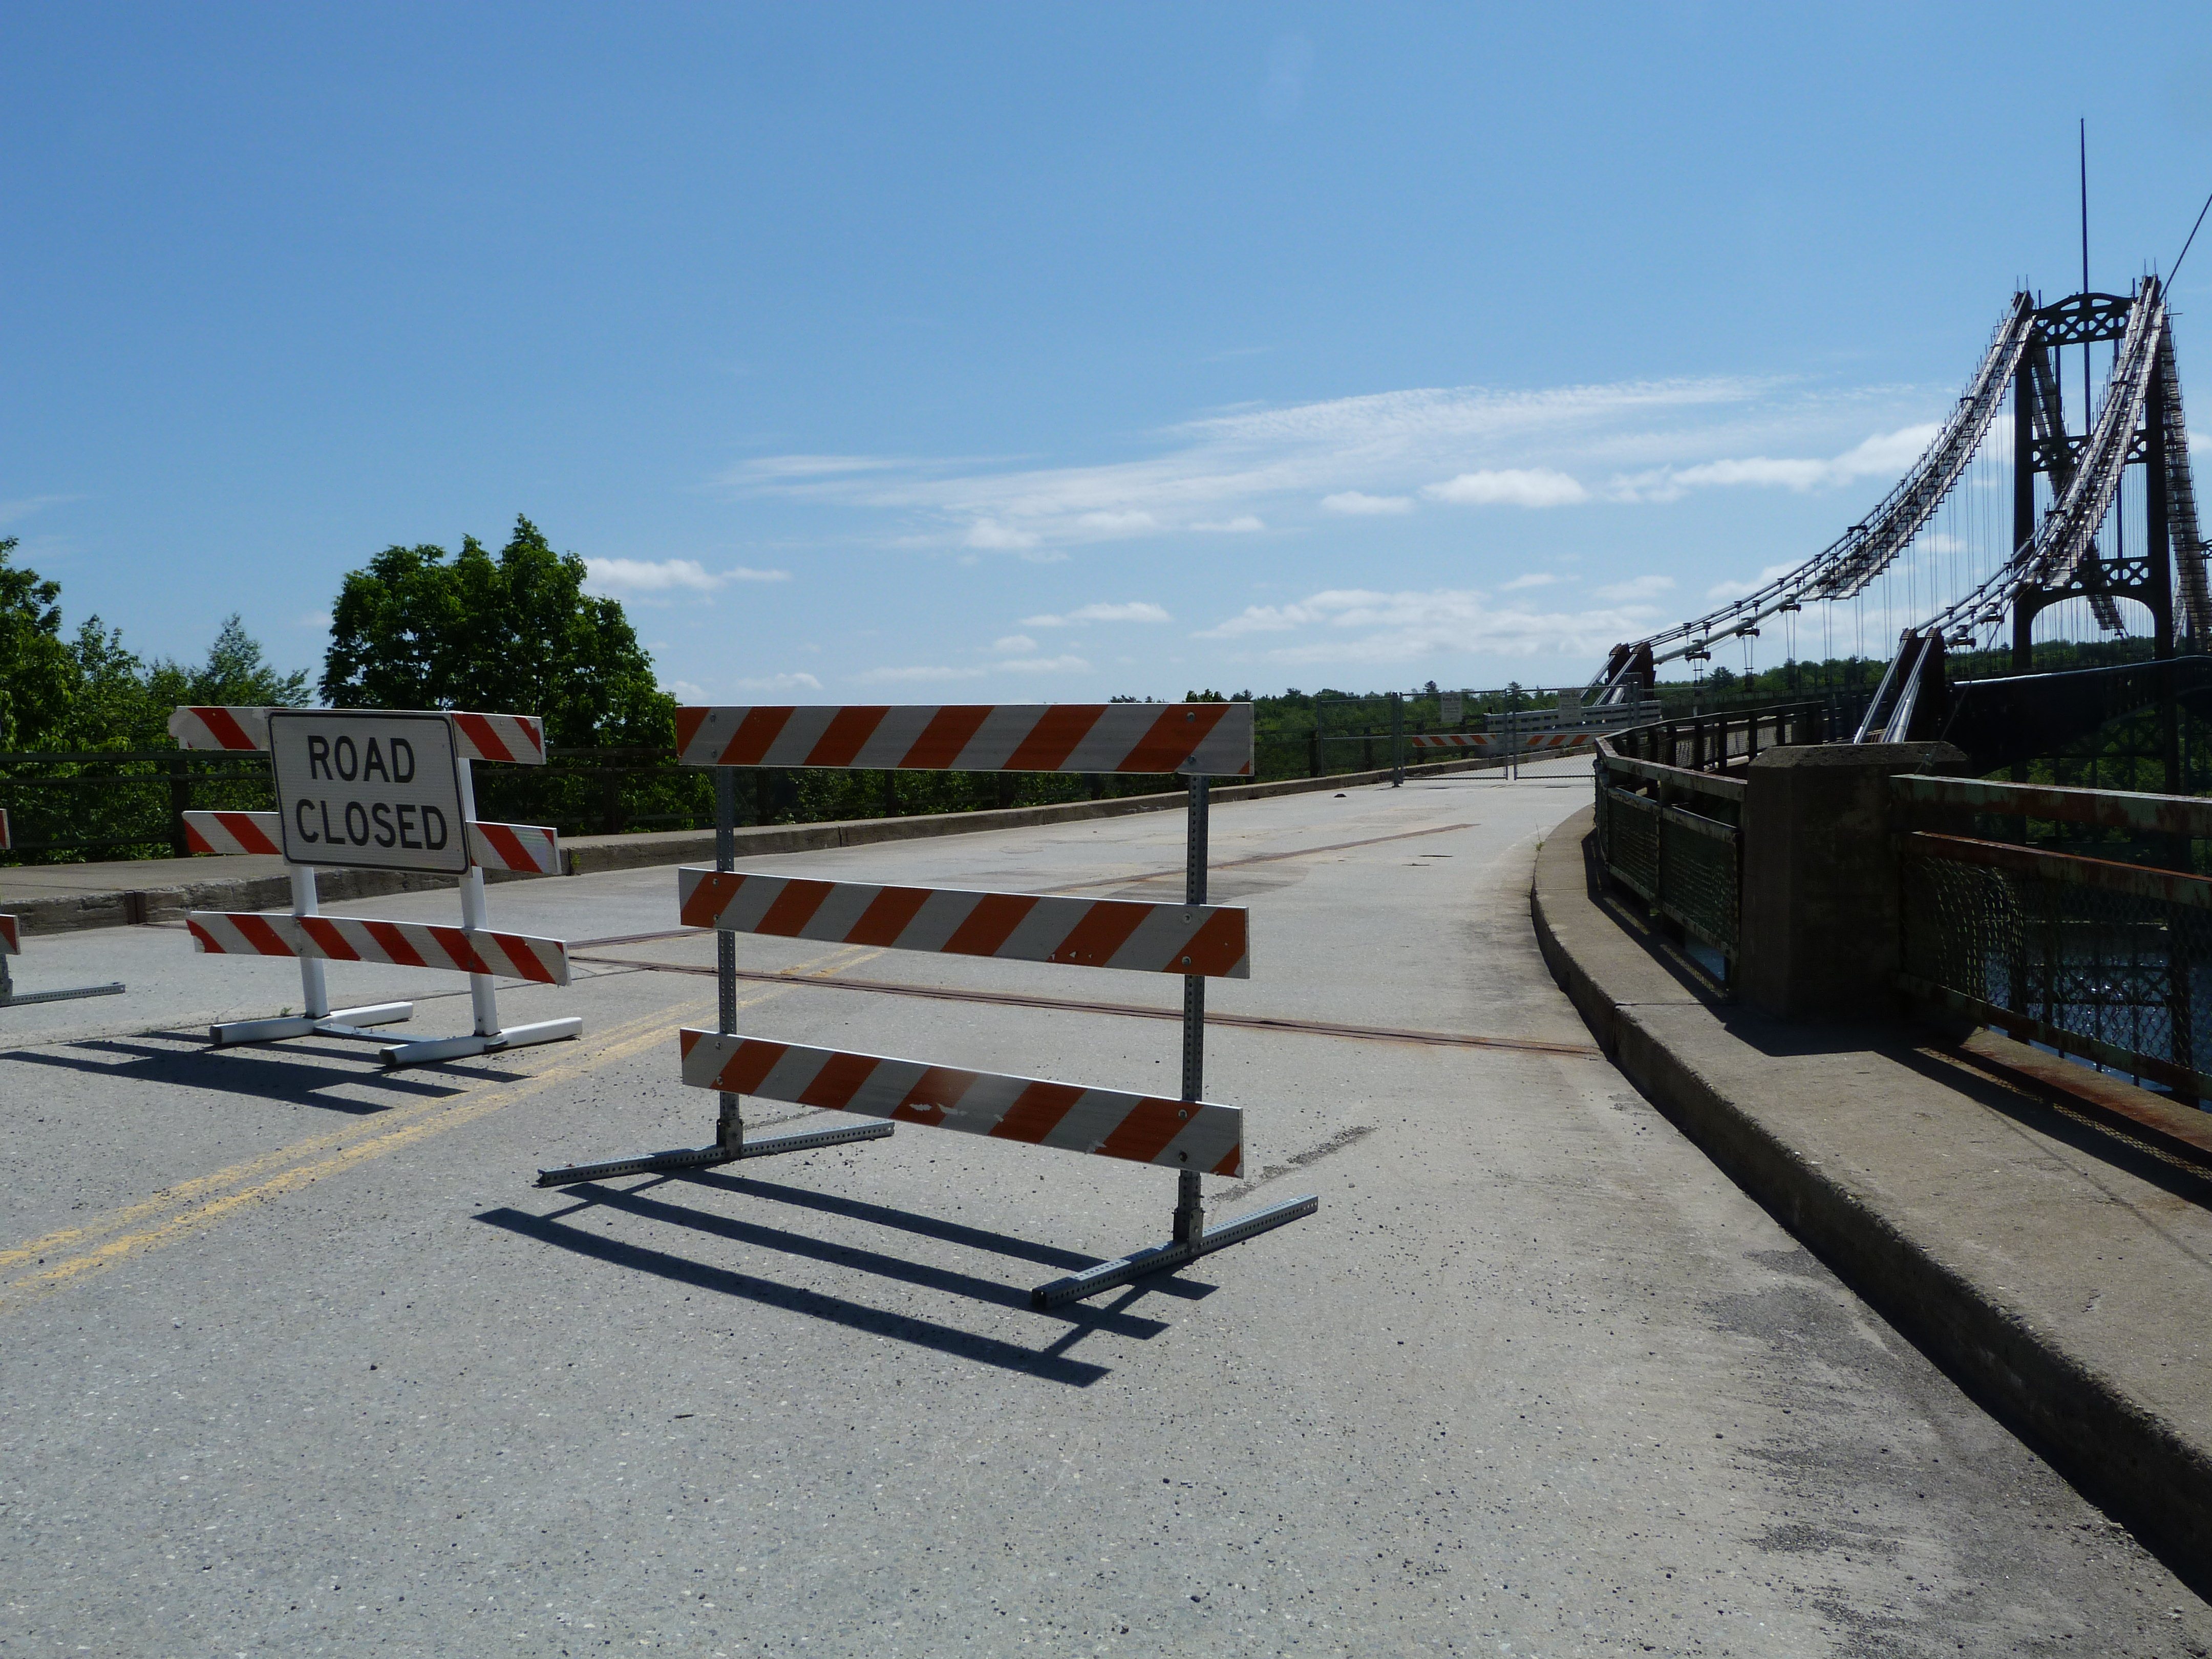
Views of the western end of the bridge.
![]()

View of the deck.
![]()


Railing.
![]()


Suspender connections to stiffening truss.
![]()


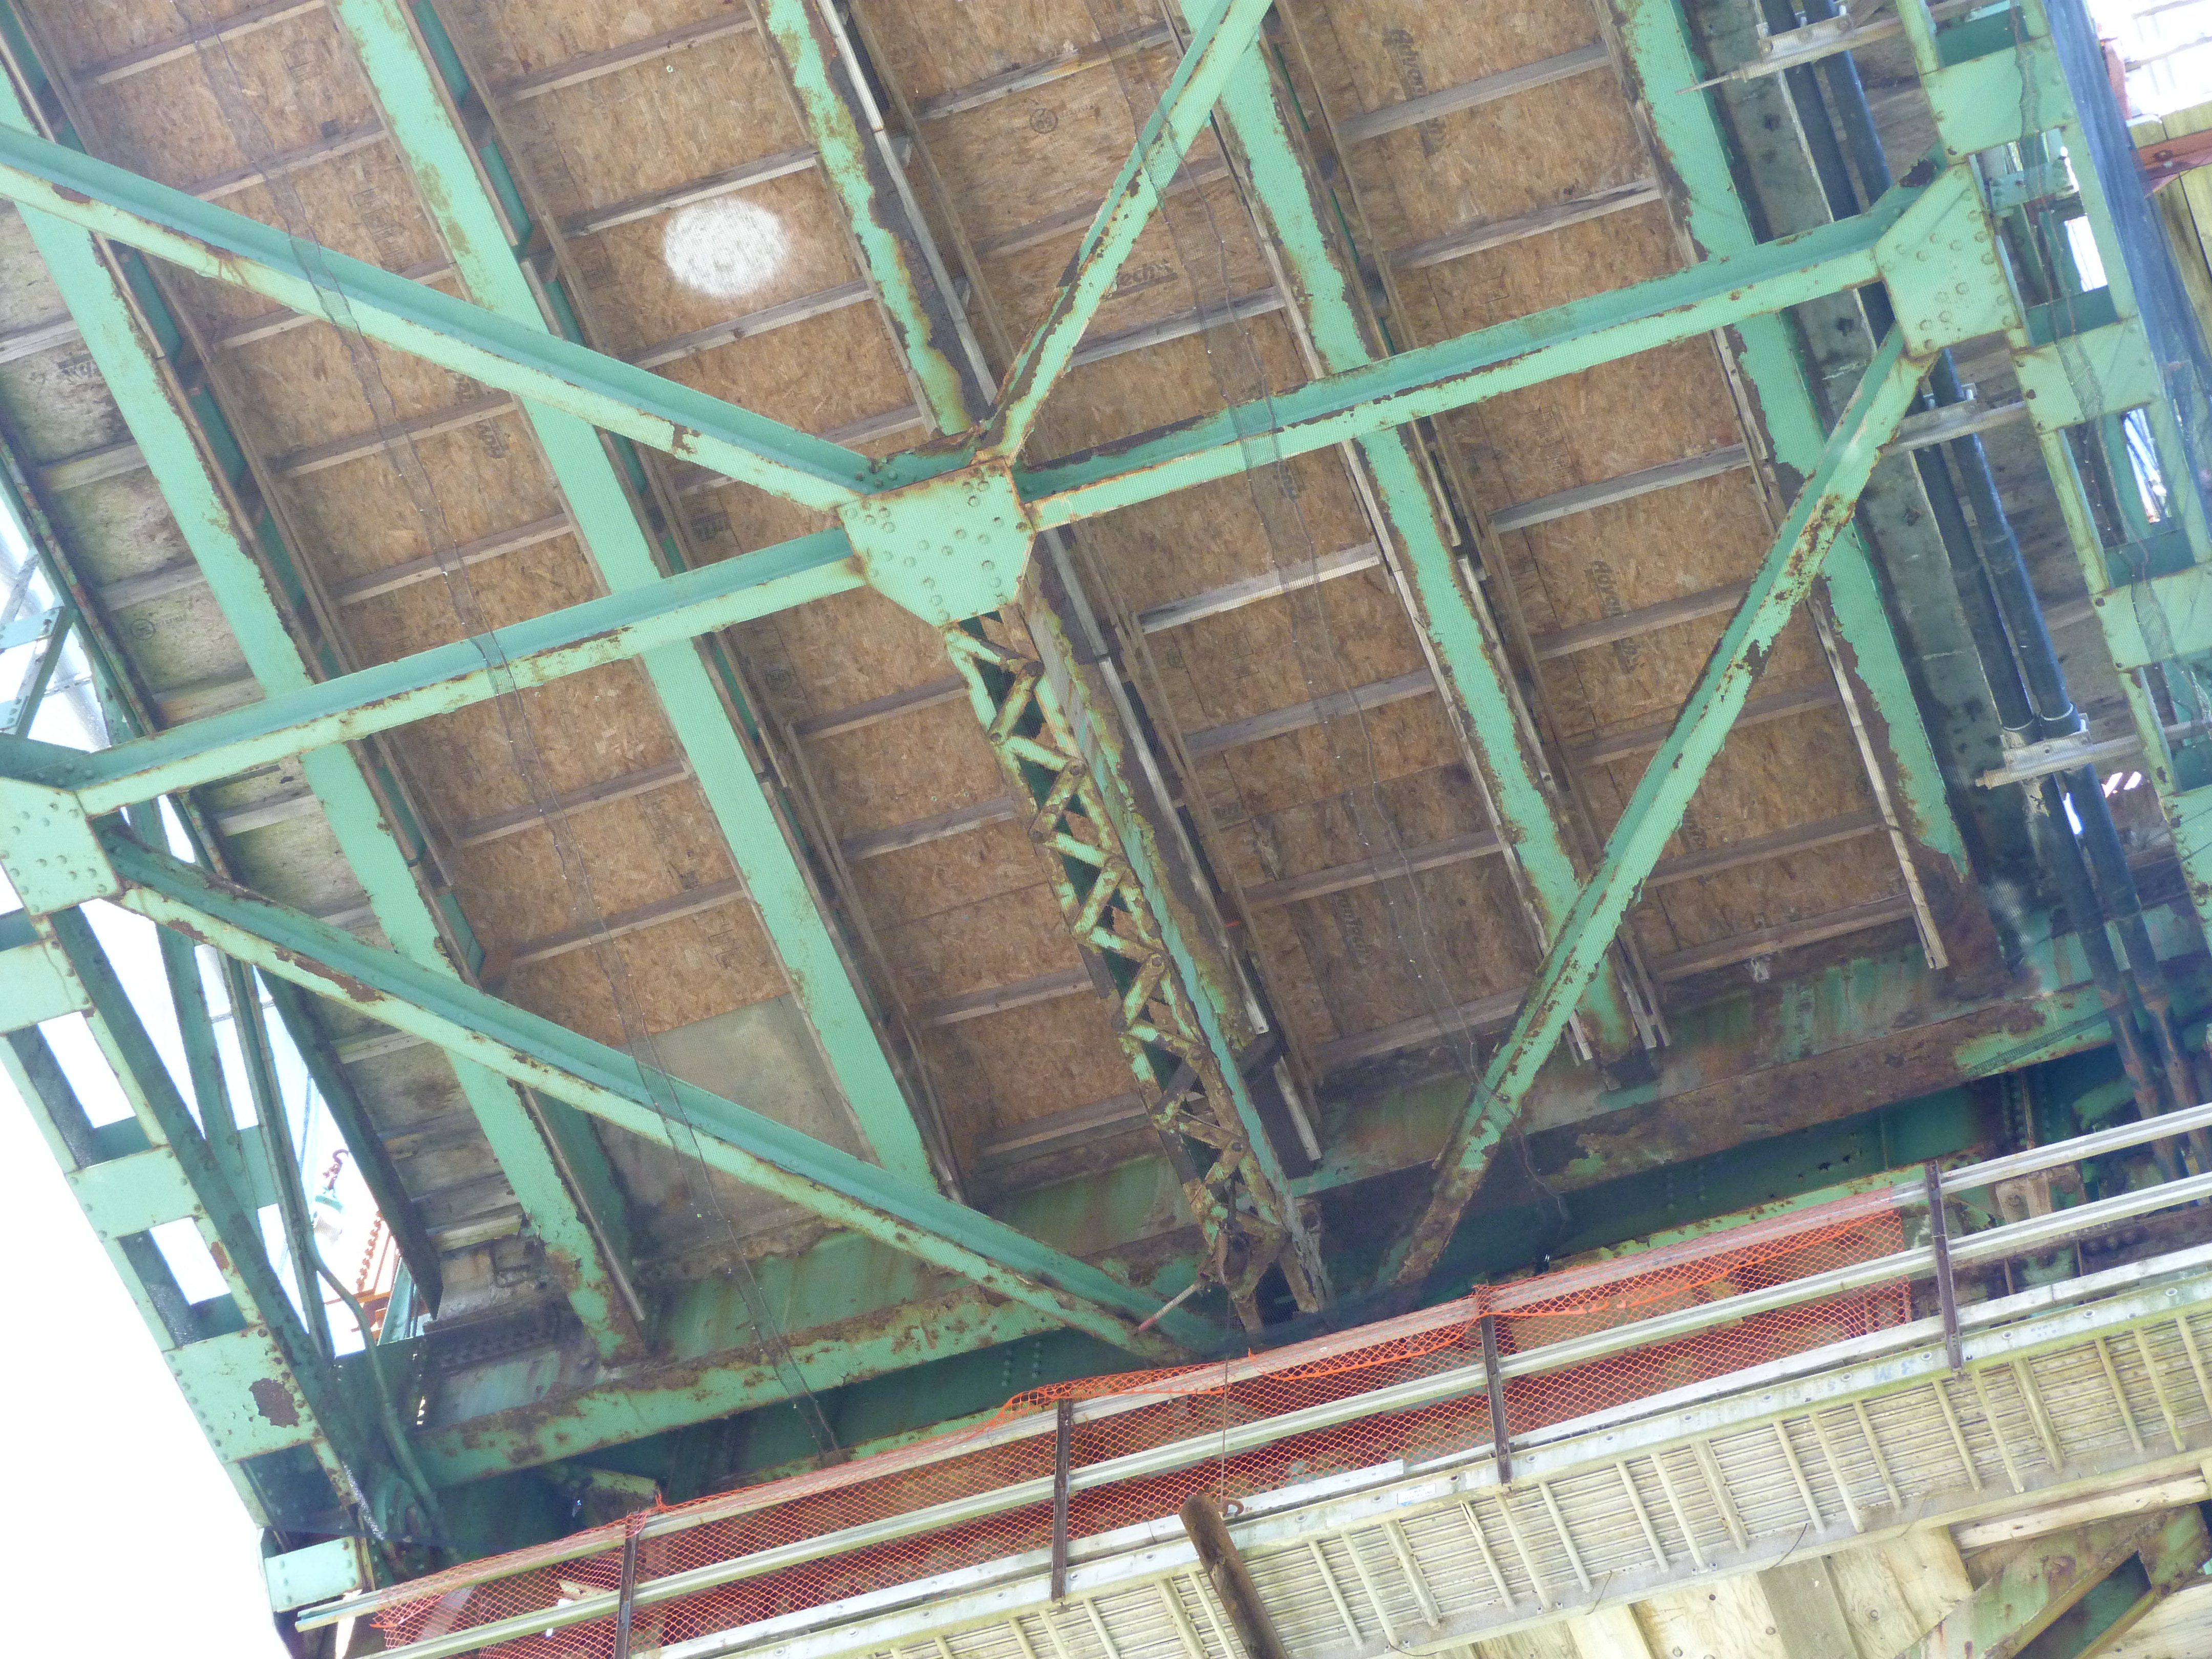
Views of stiffening truss.
![]()


Looking down at stiffening truss and suspender connections.
![]()


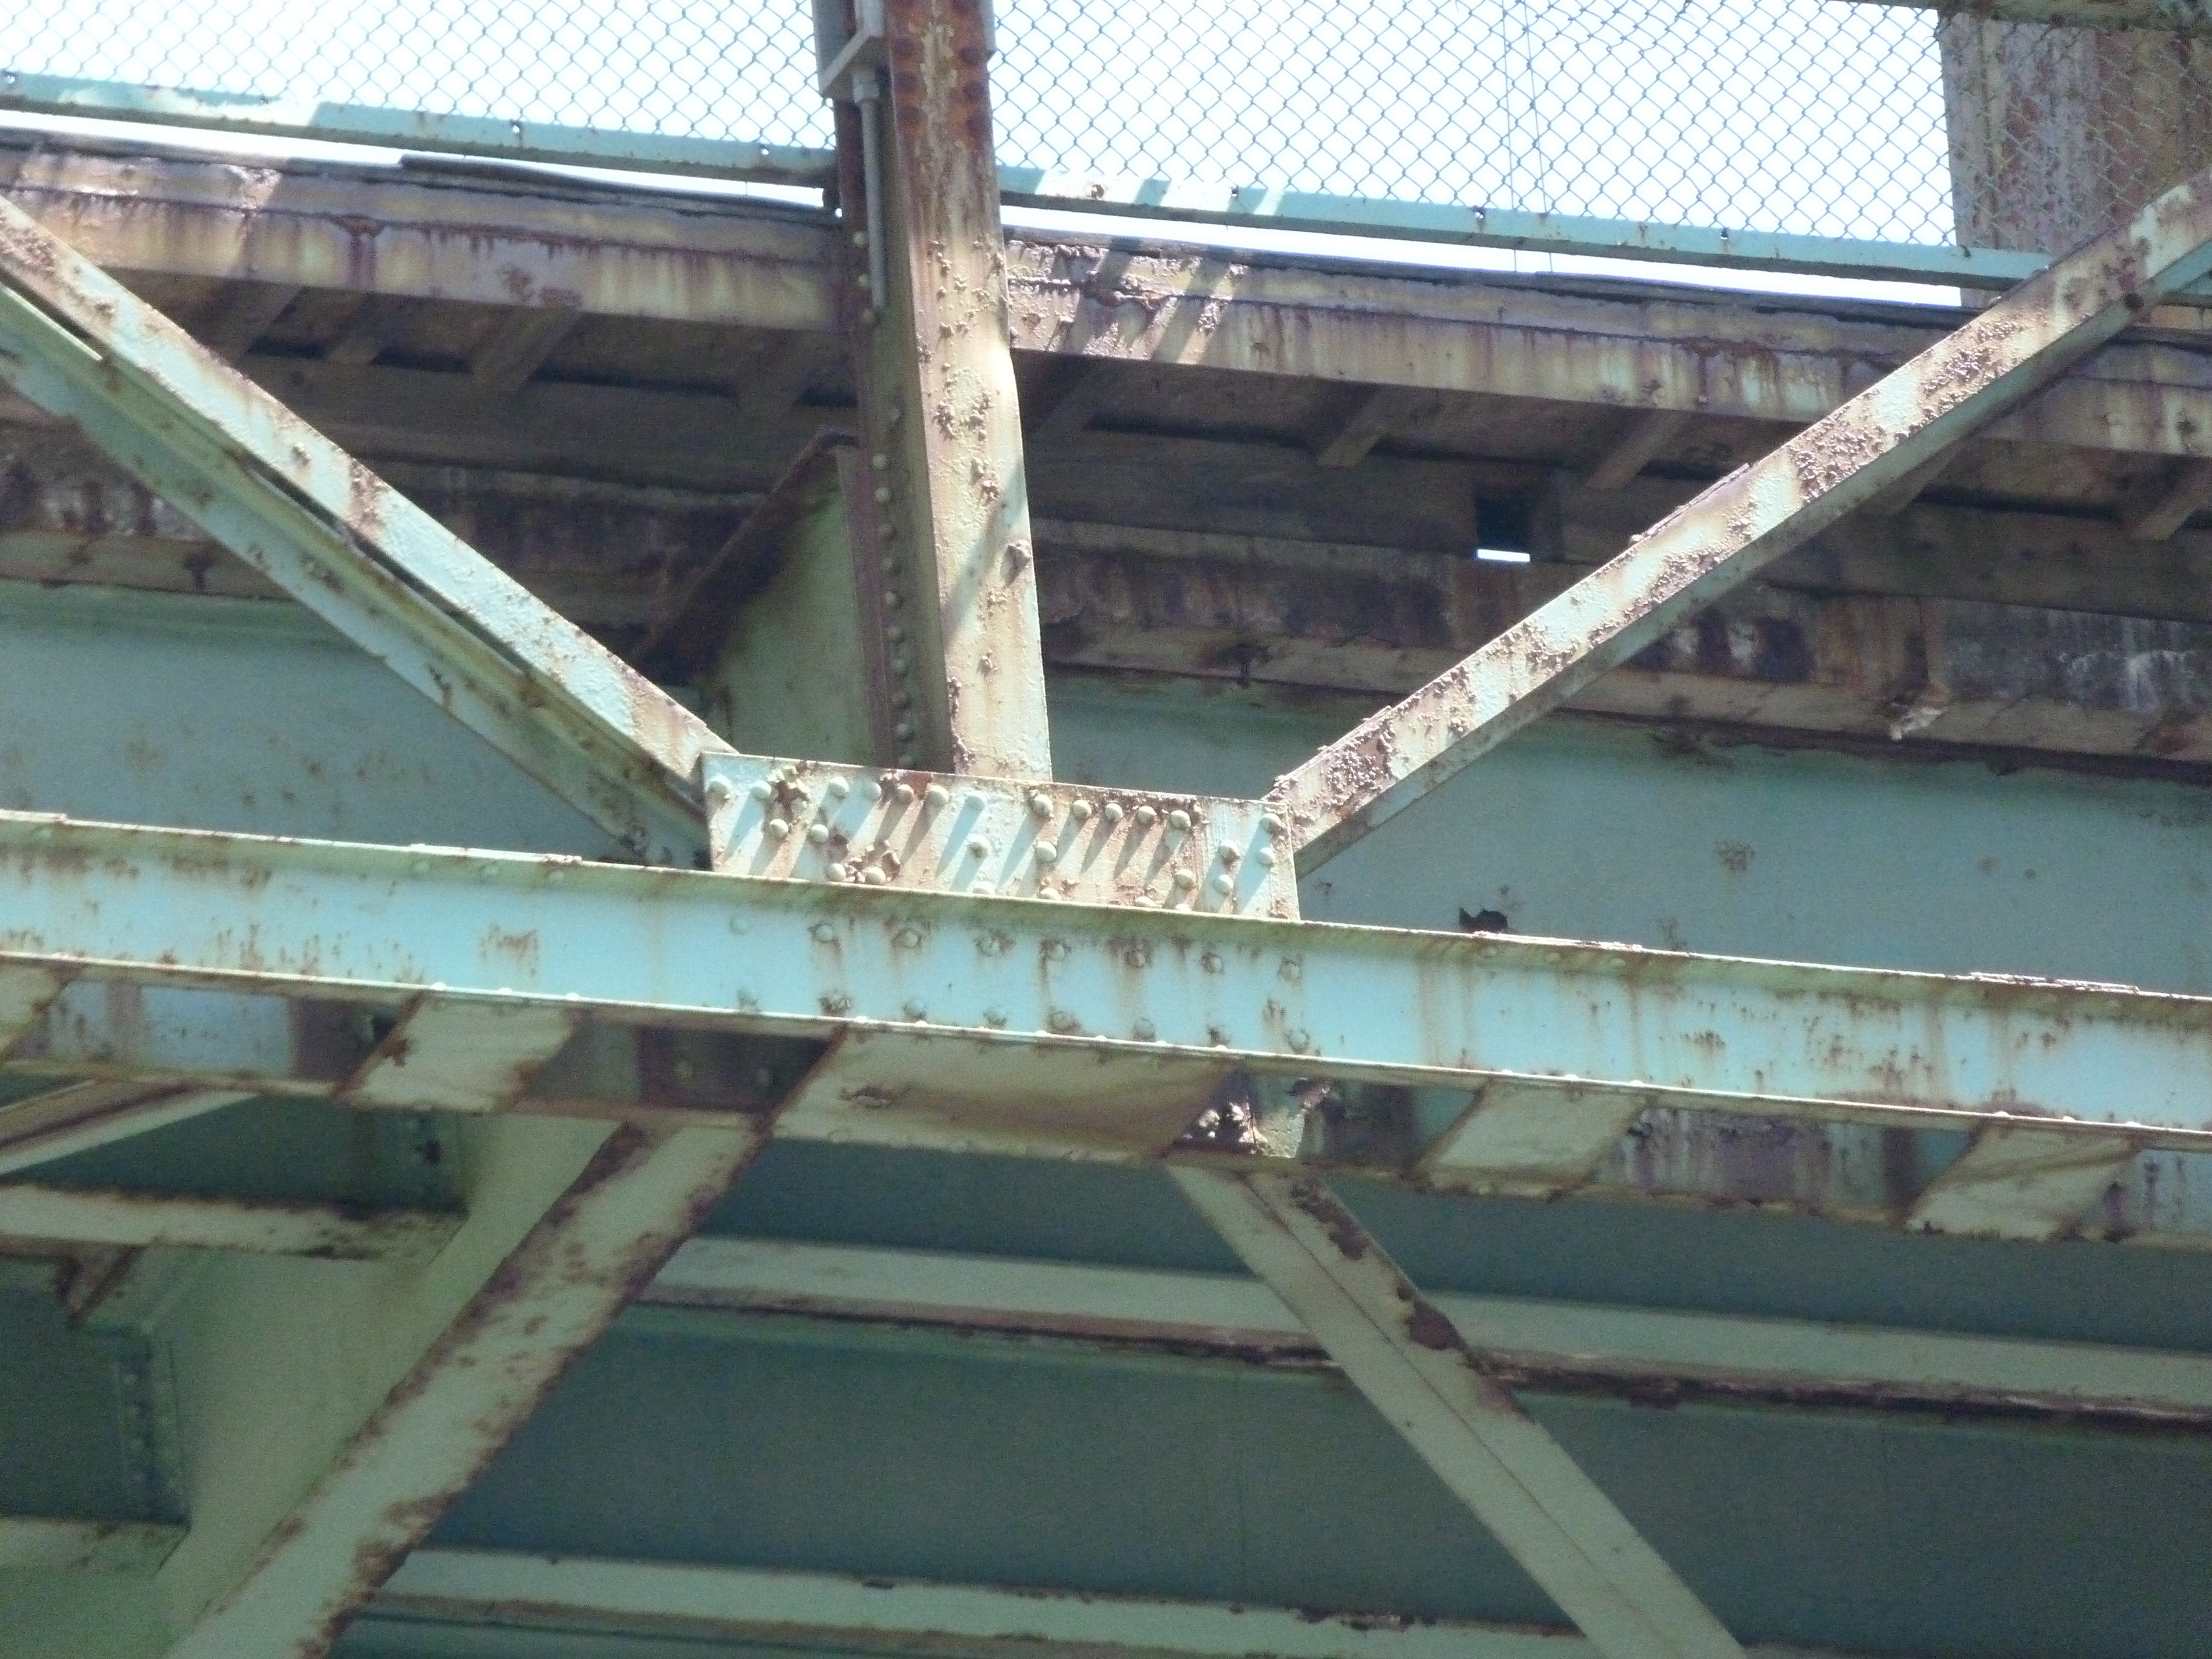
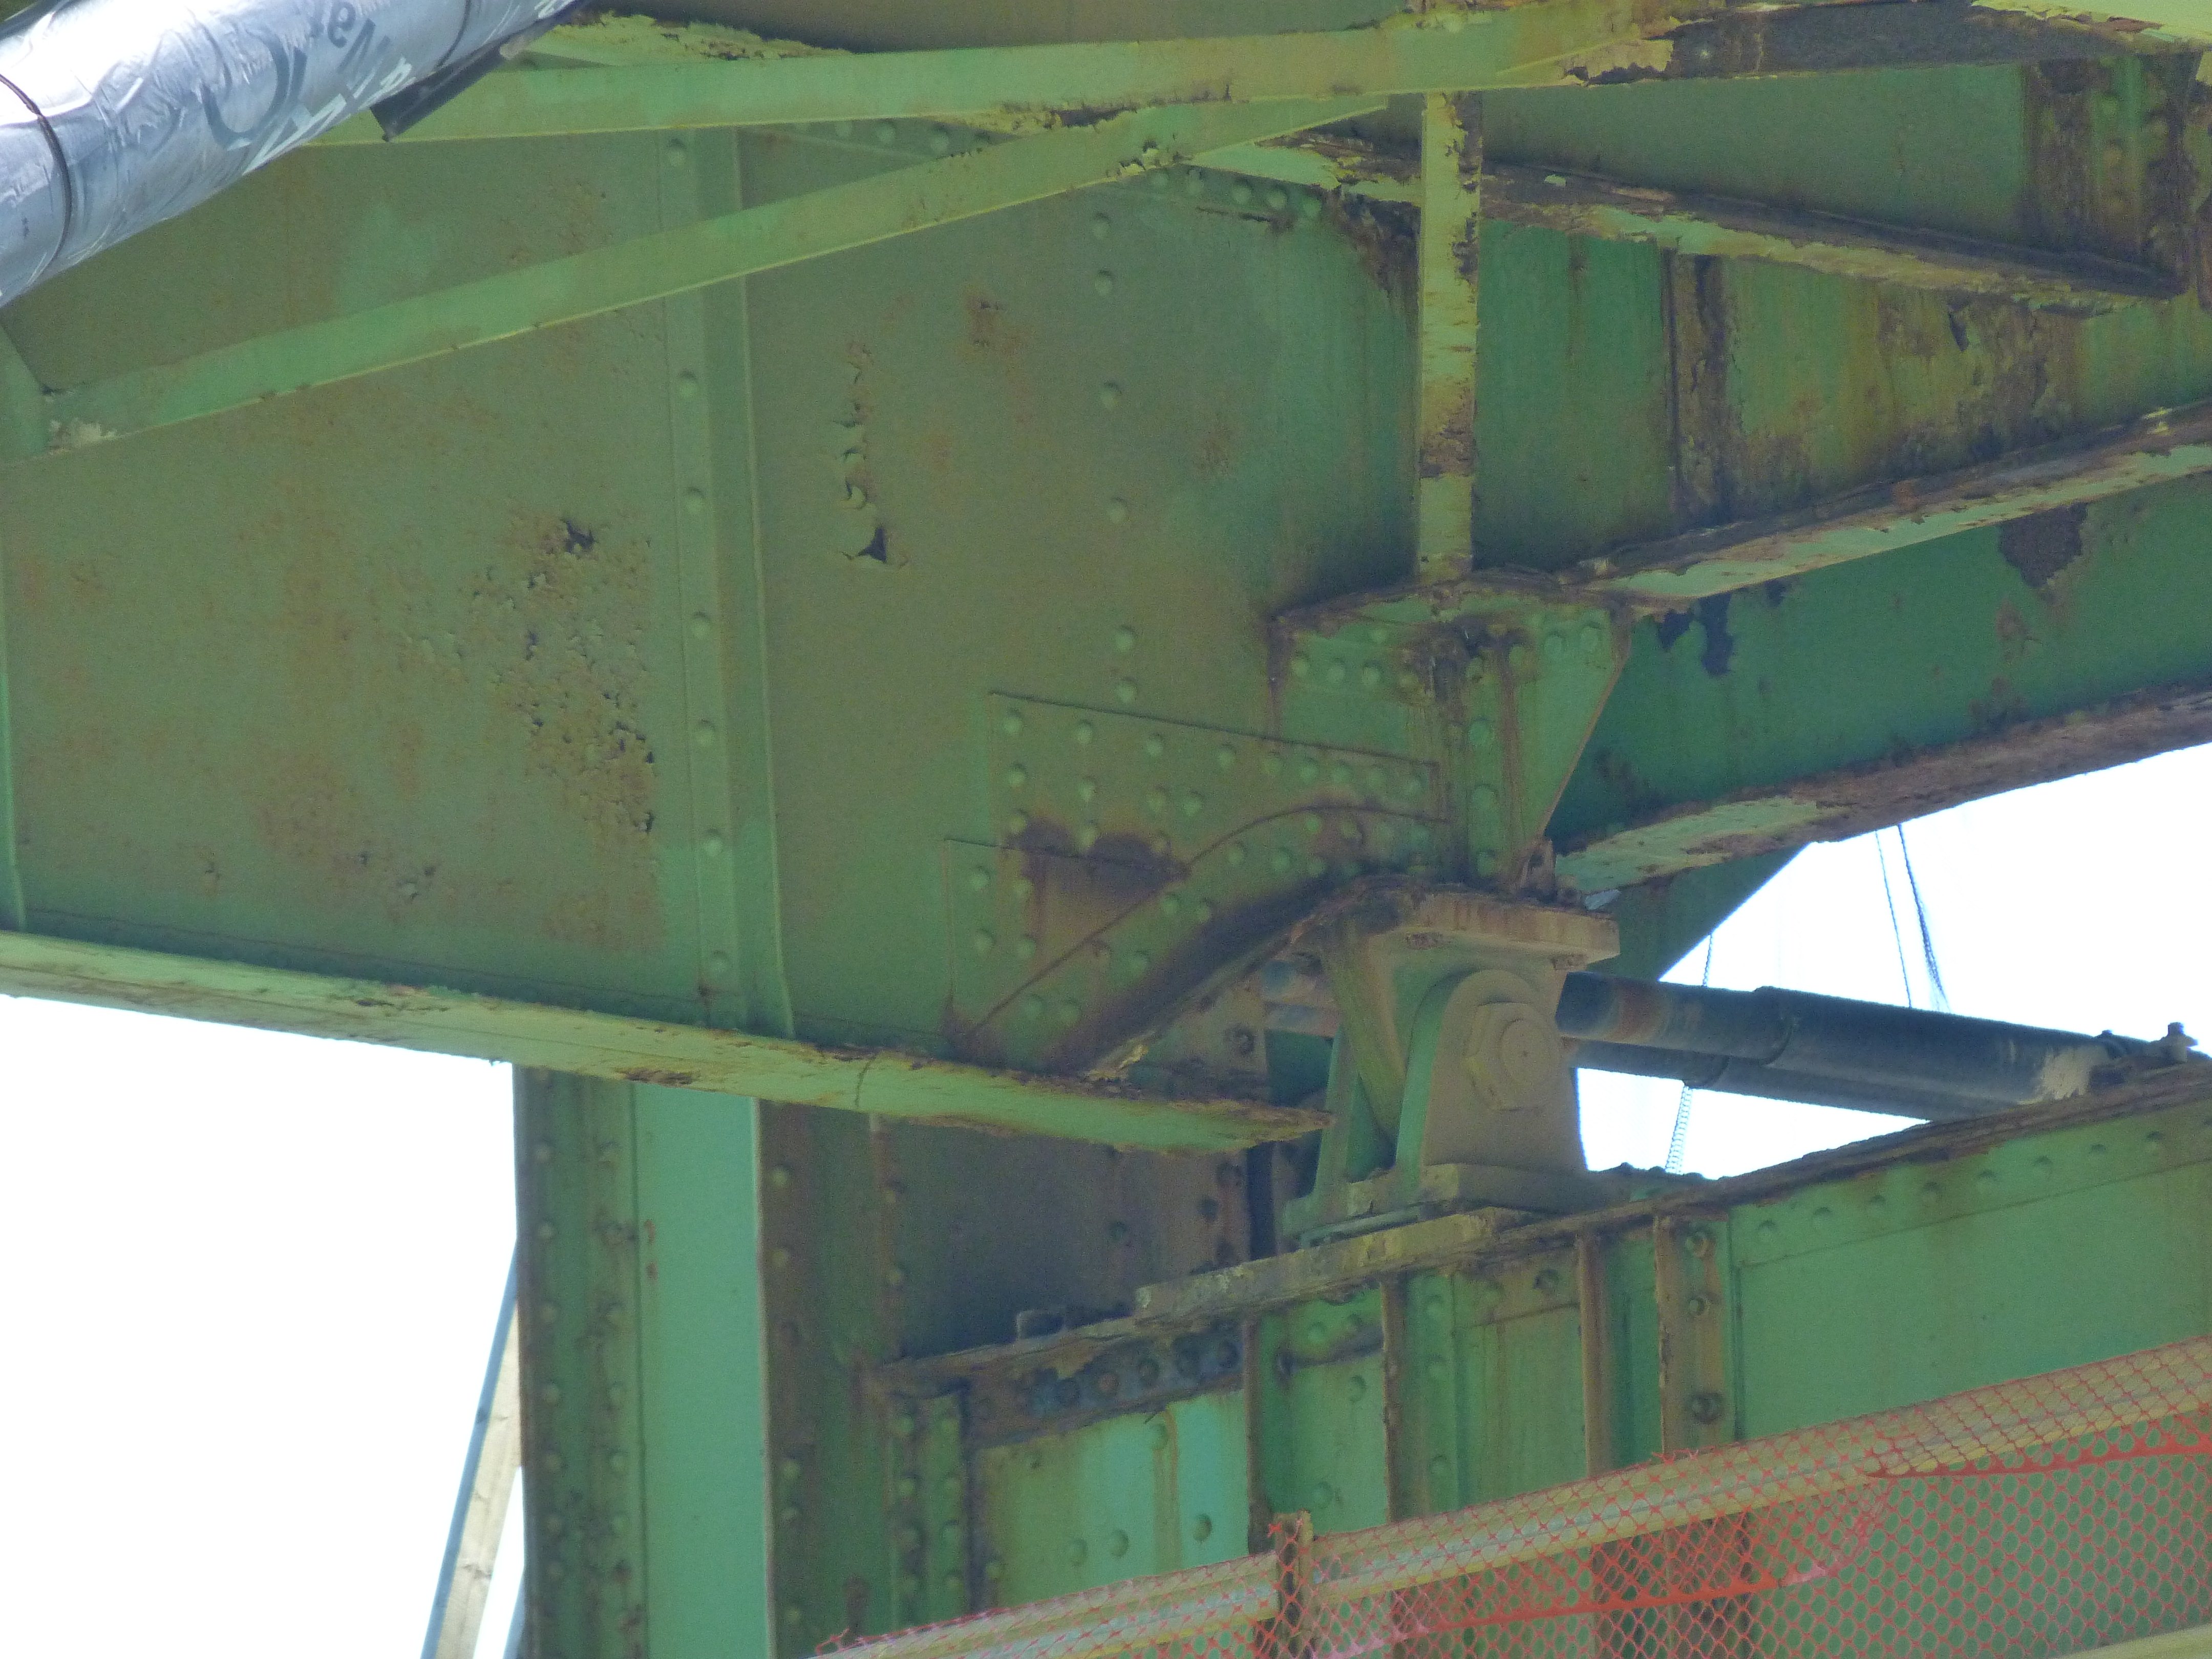
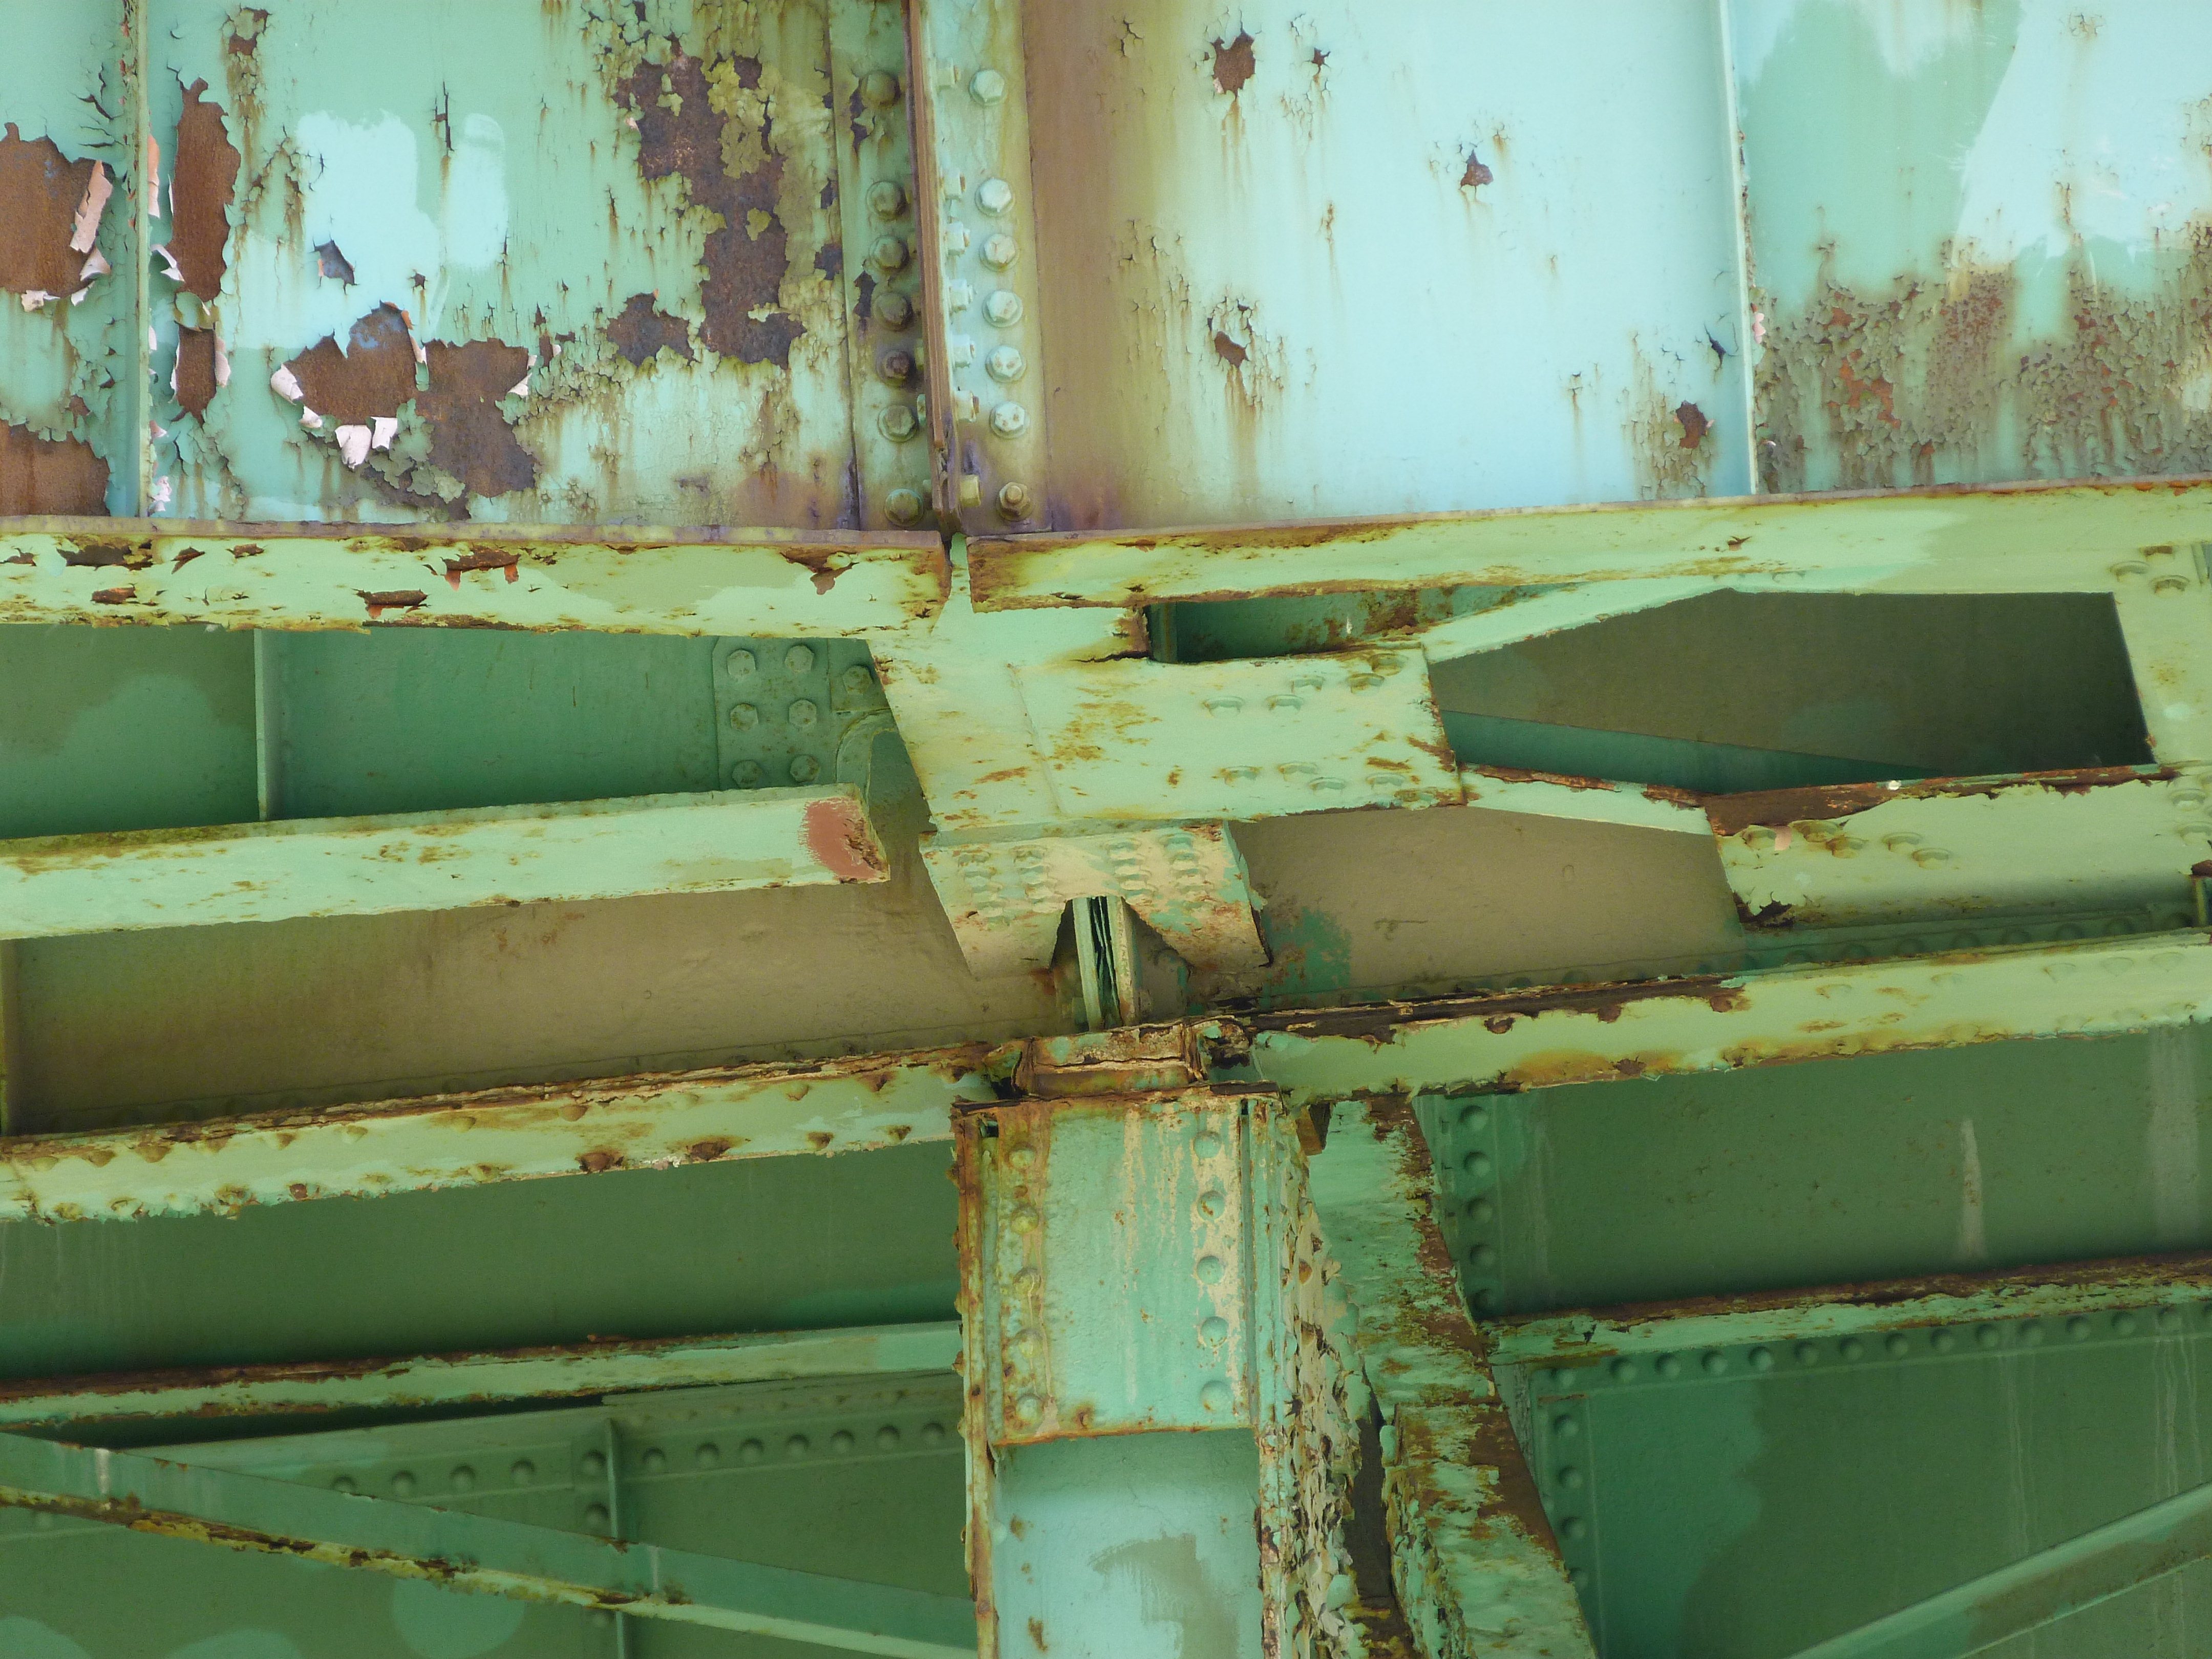
Top chord connections as viewed from below bridge.
![]()


Bottom chord connections as viewed from below bridge.
![]()


Pin connection at end of stiffening truss at cable bent.
![]()
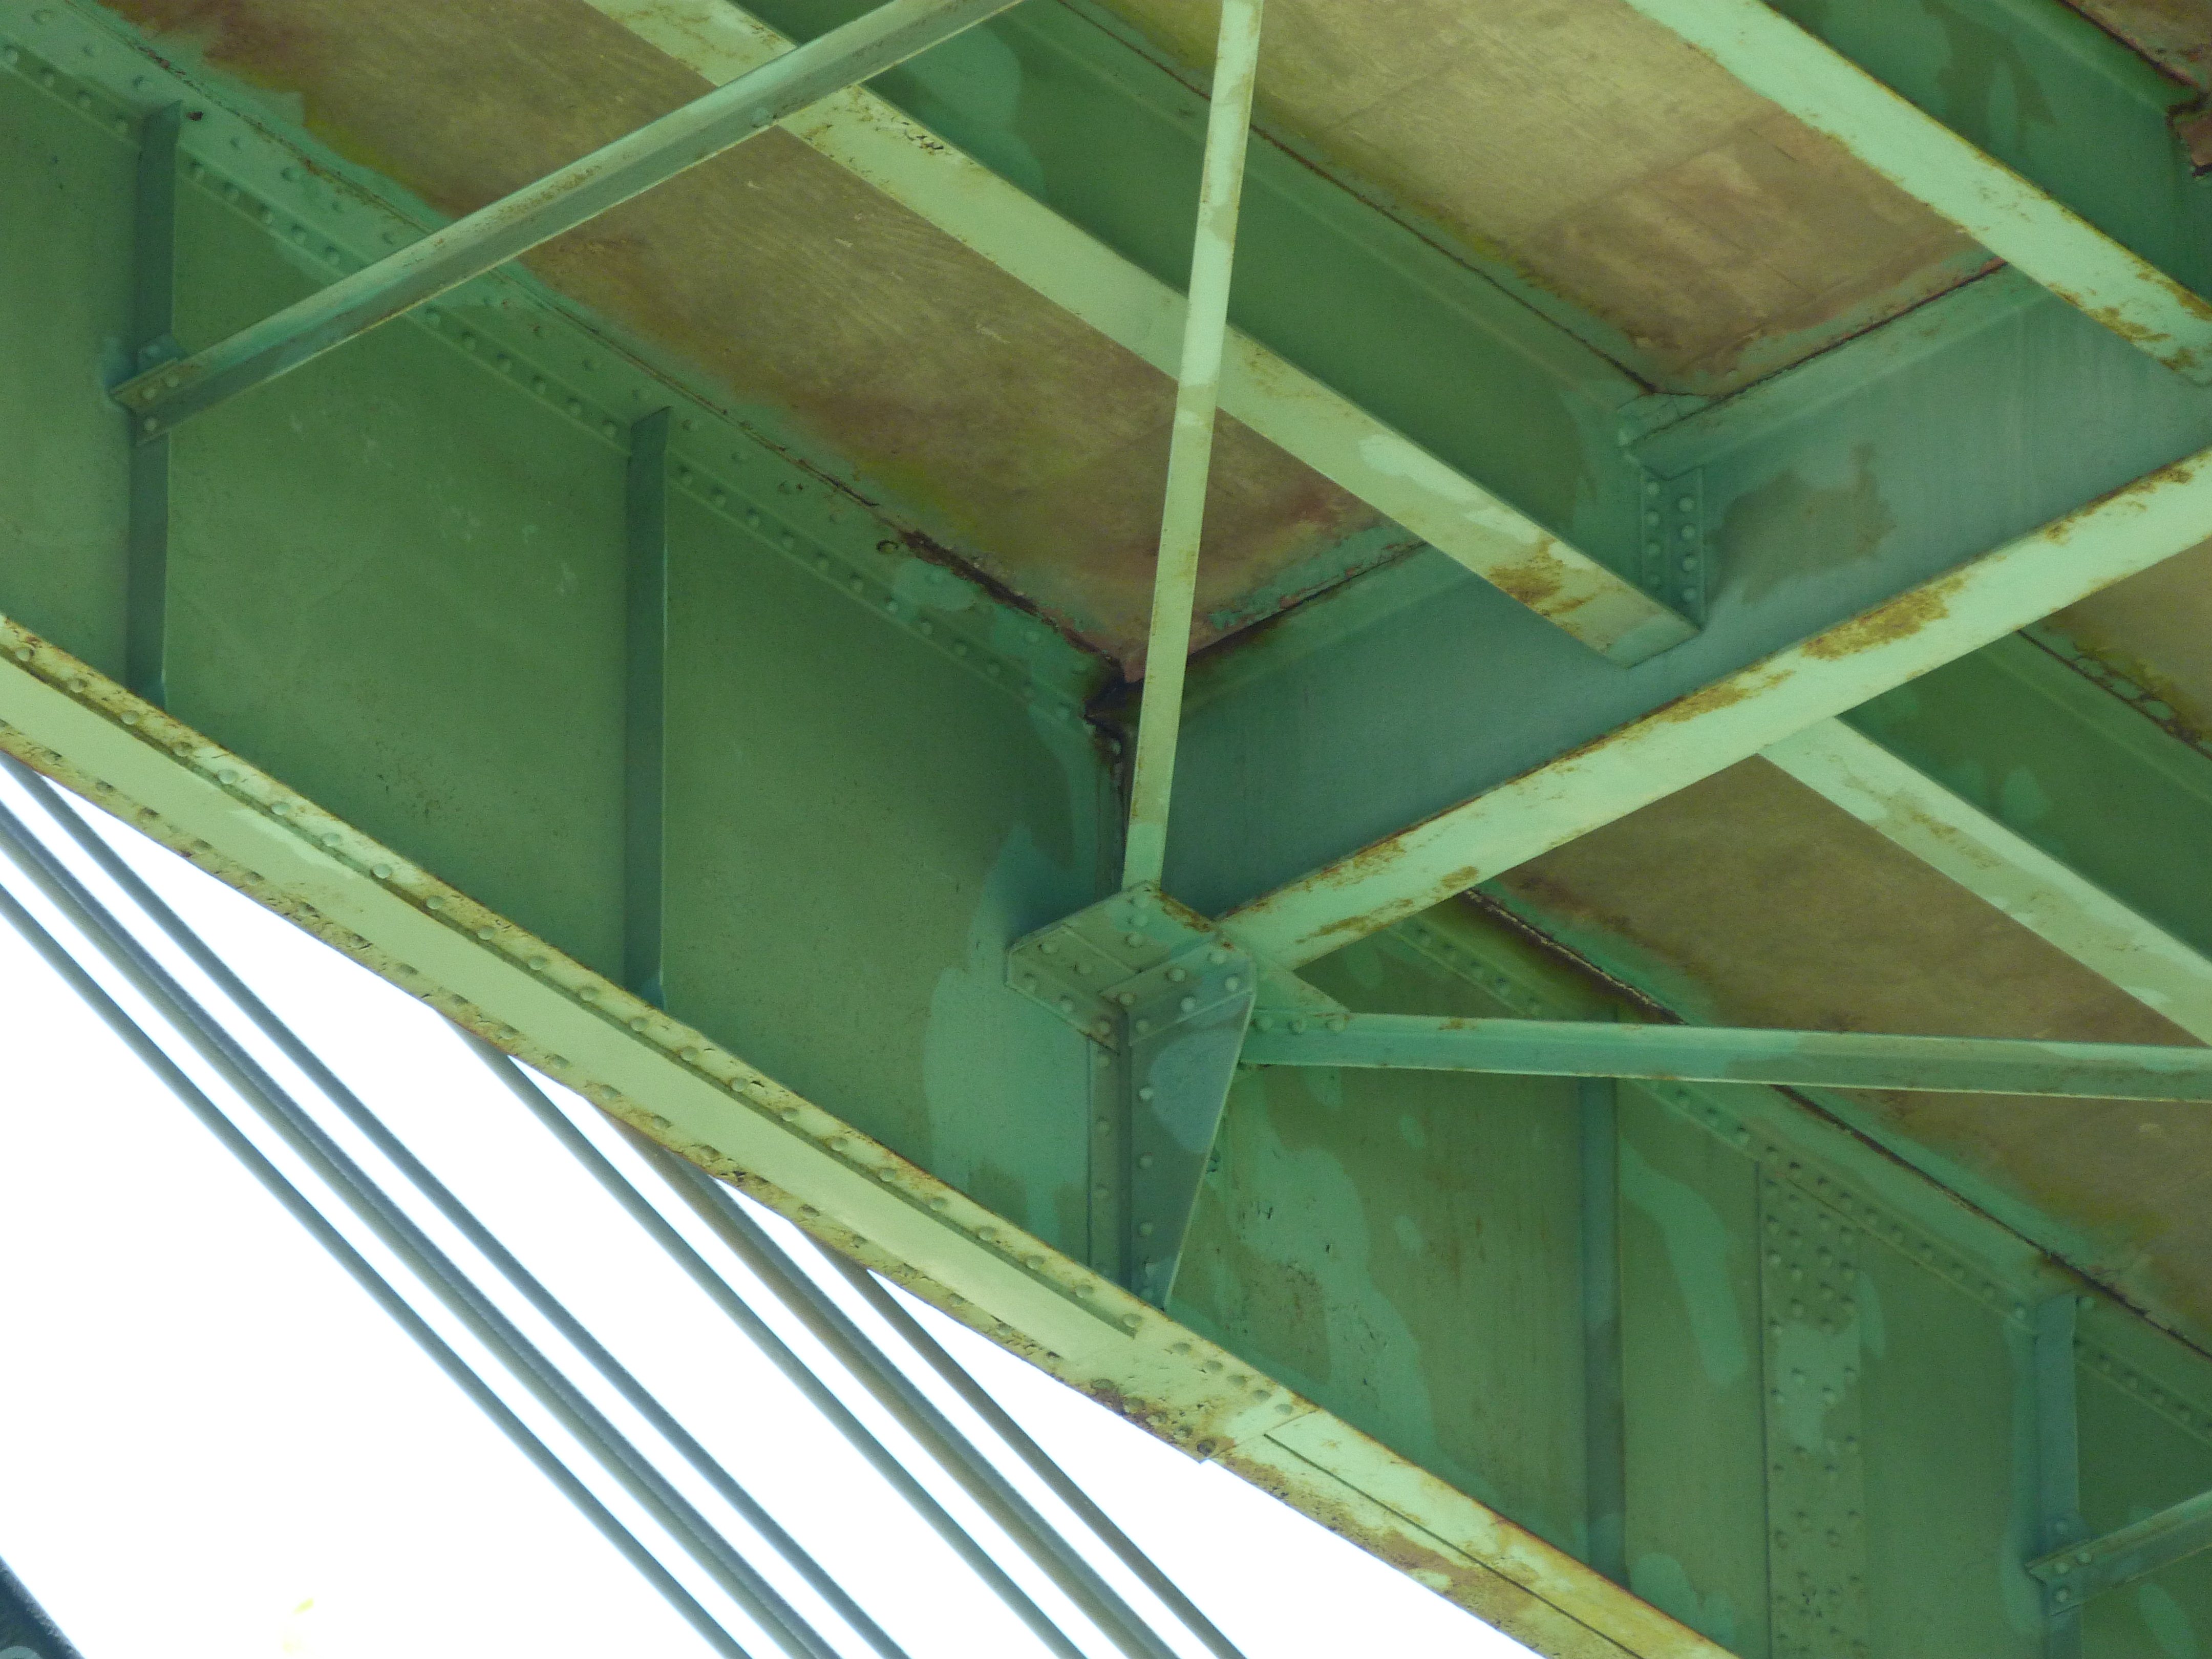

Deck girder detail.
![]()


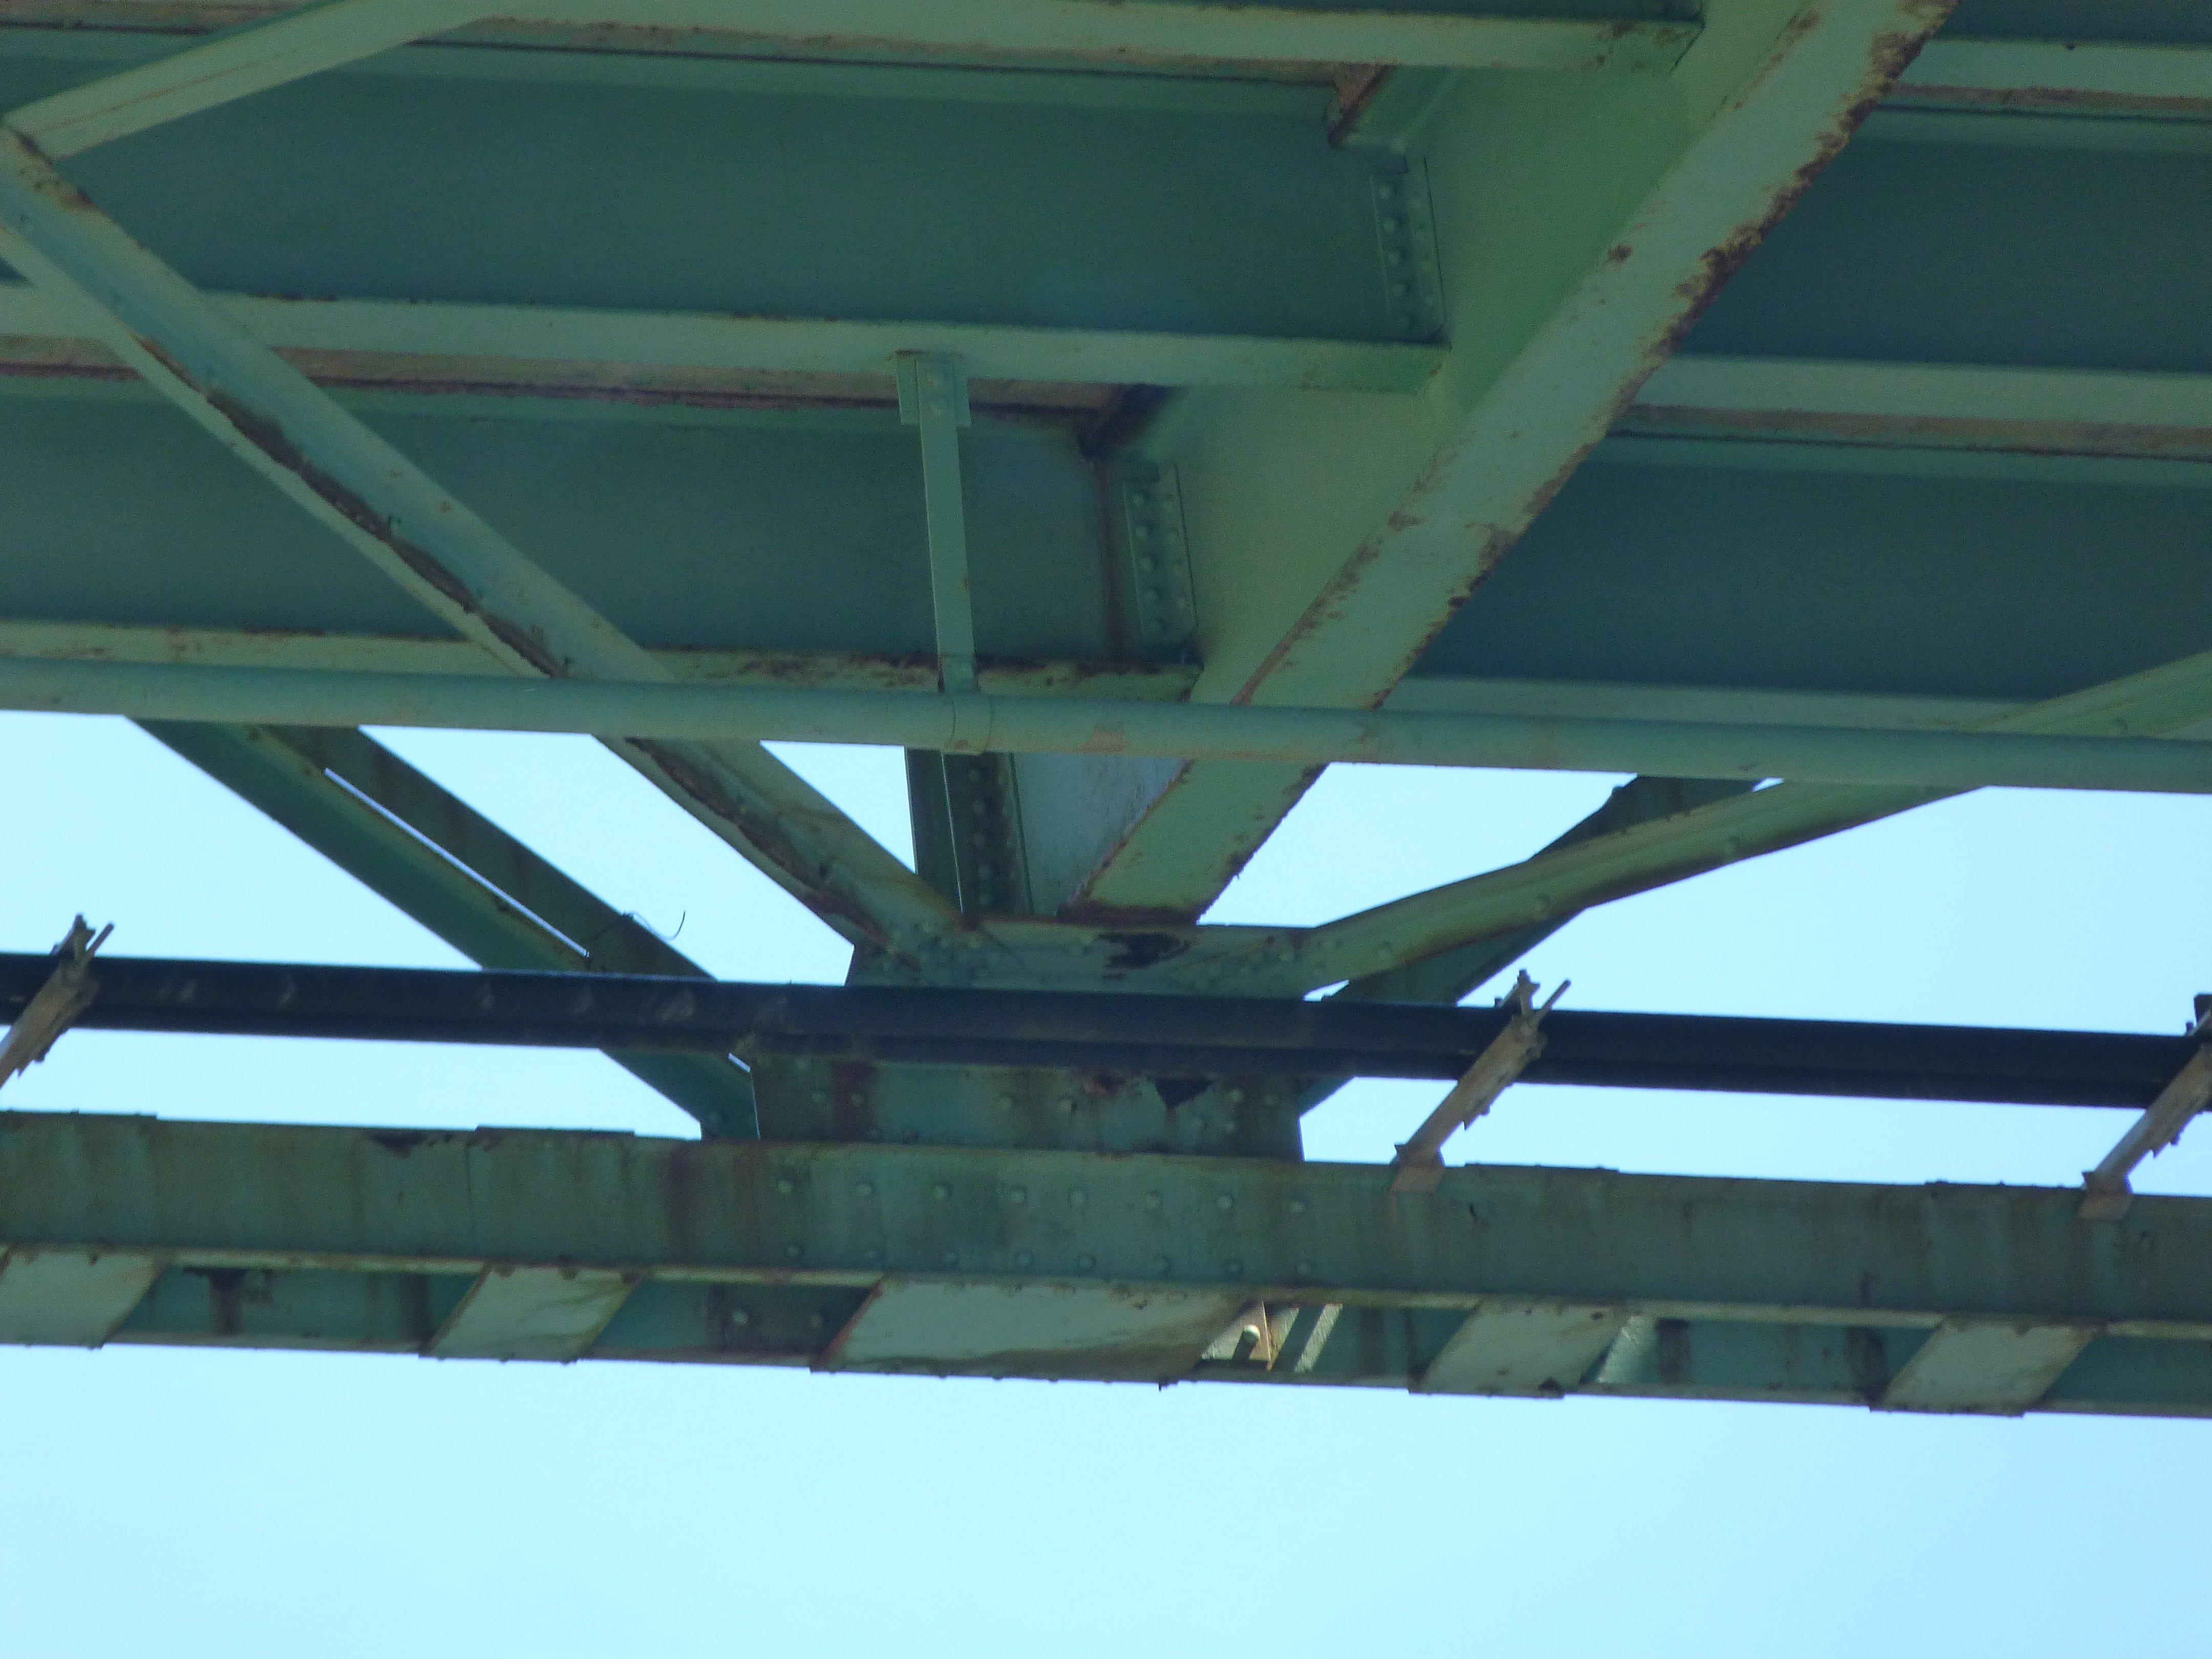
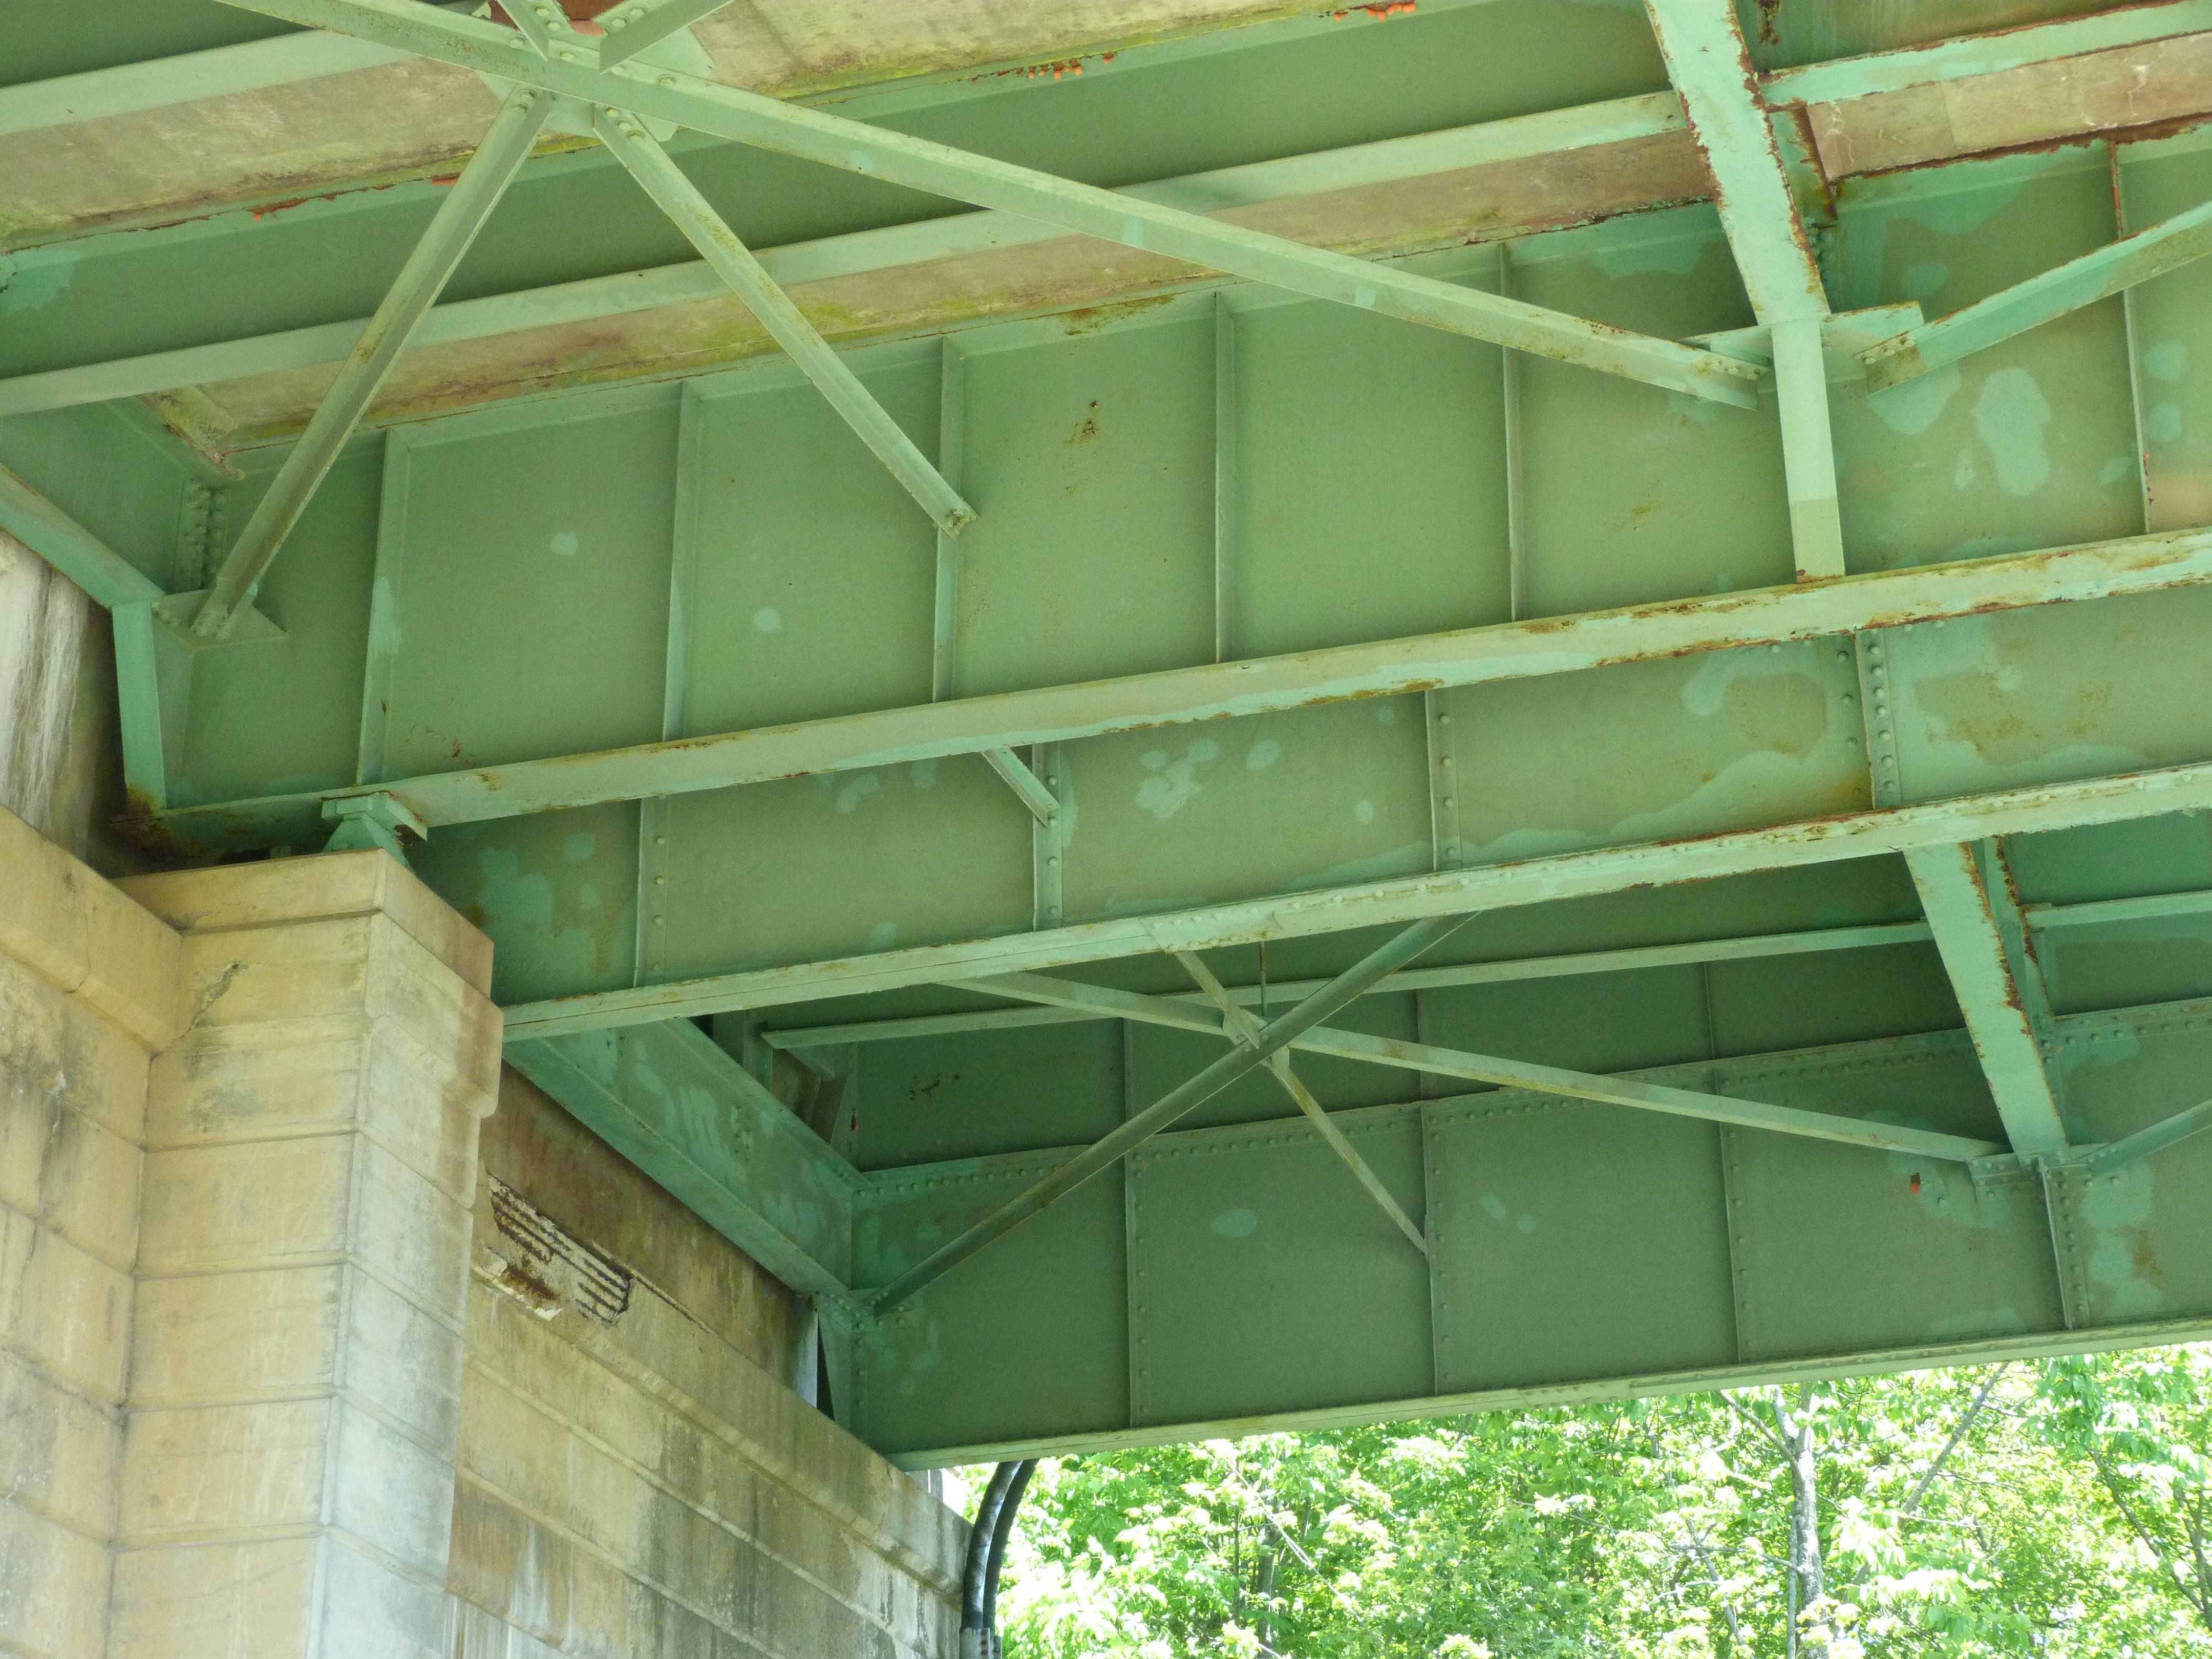
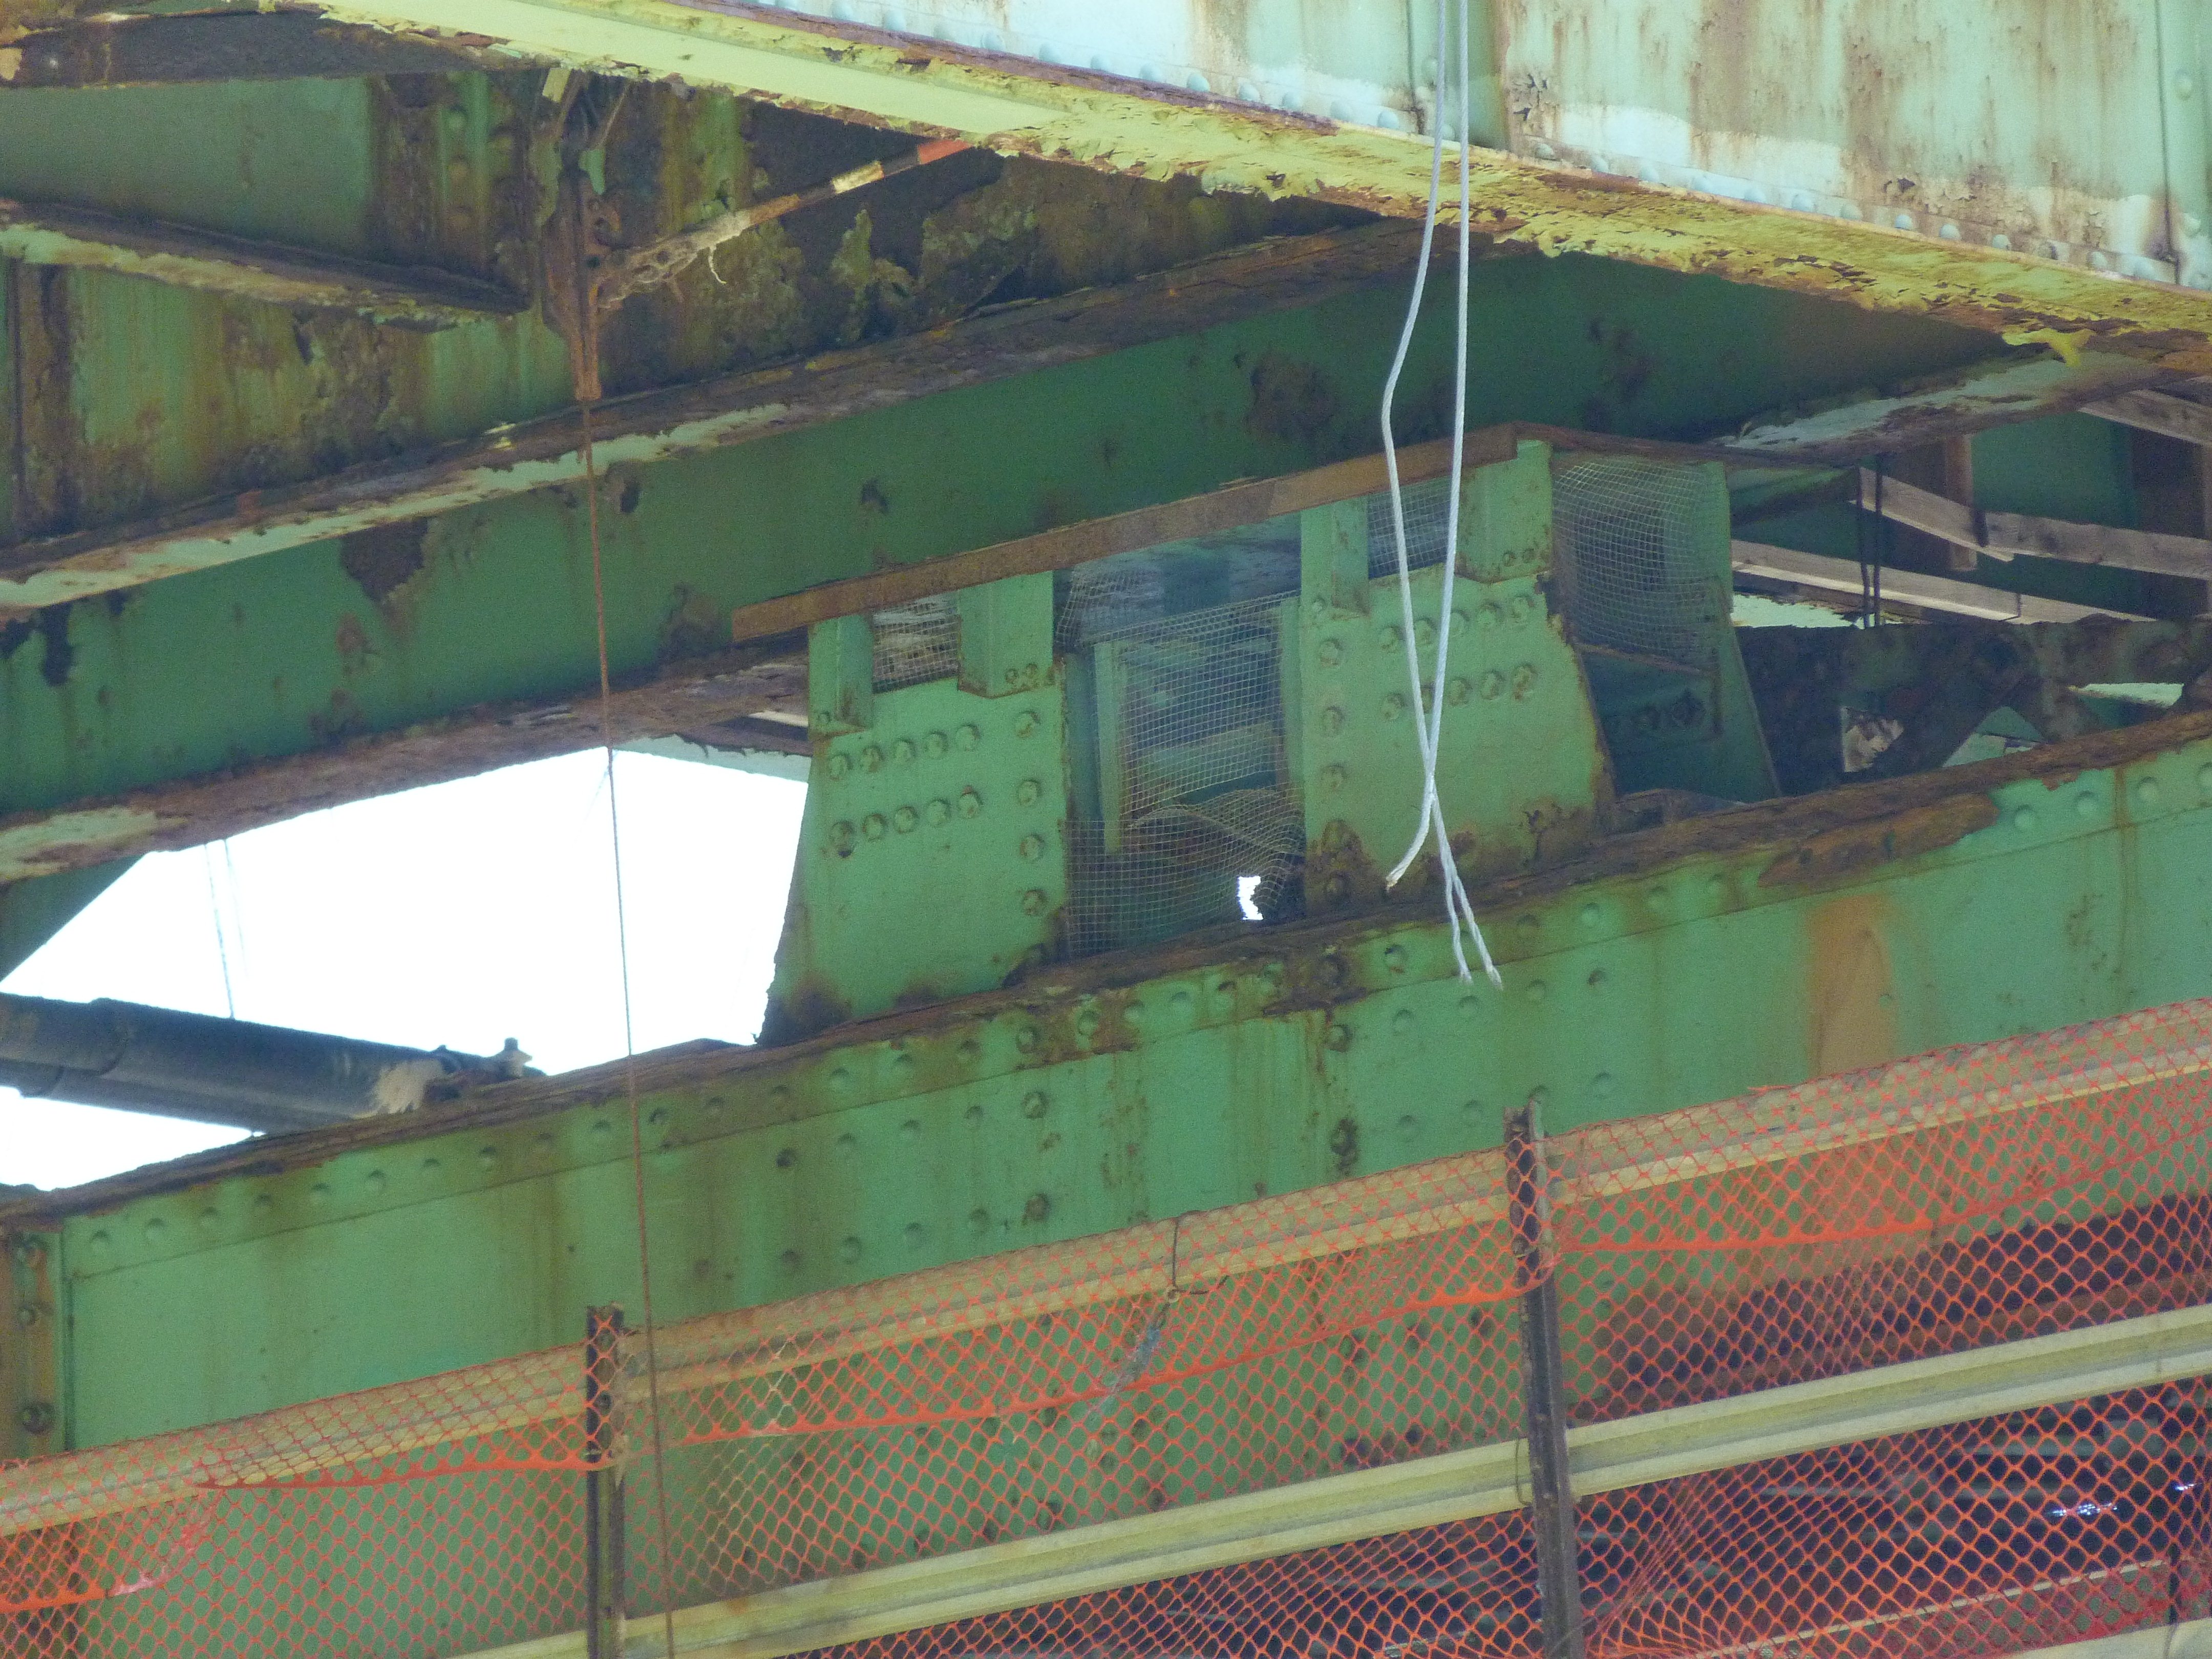
Floor beams.
![]()


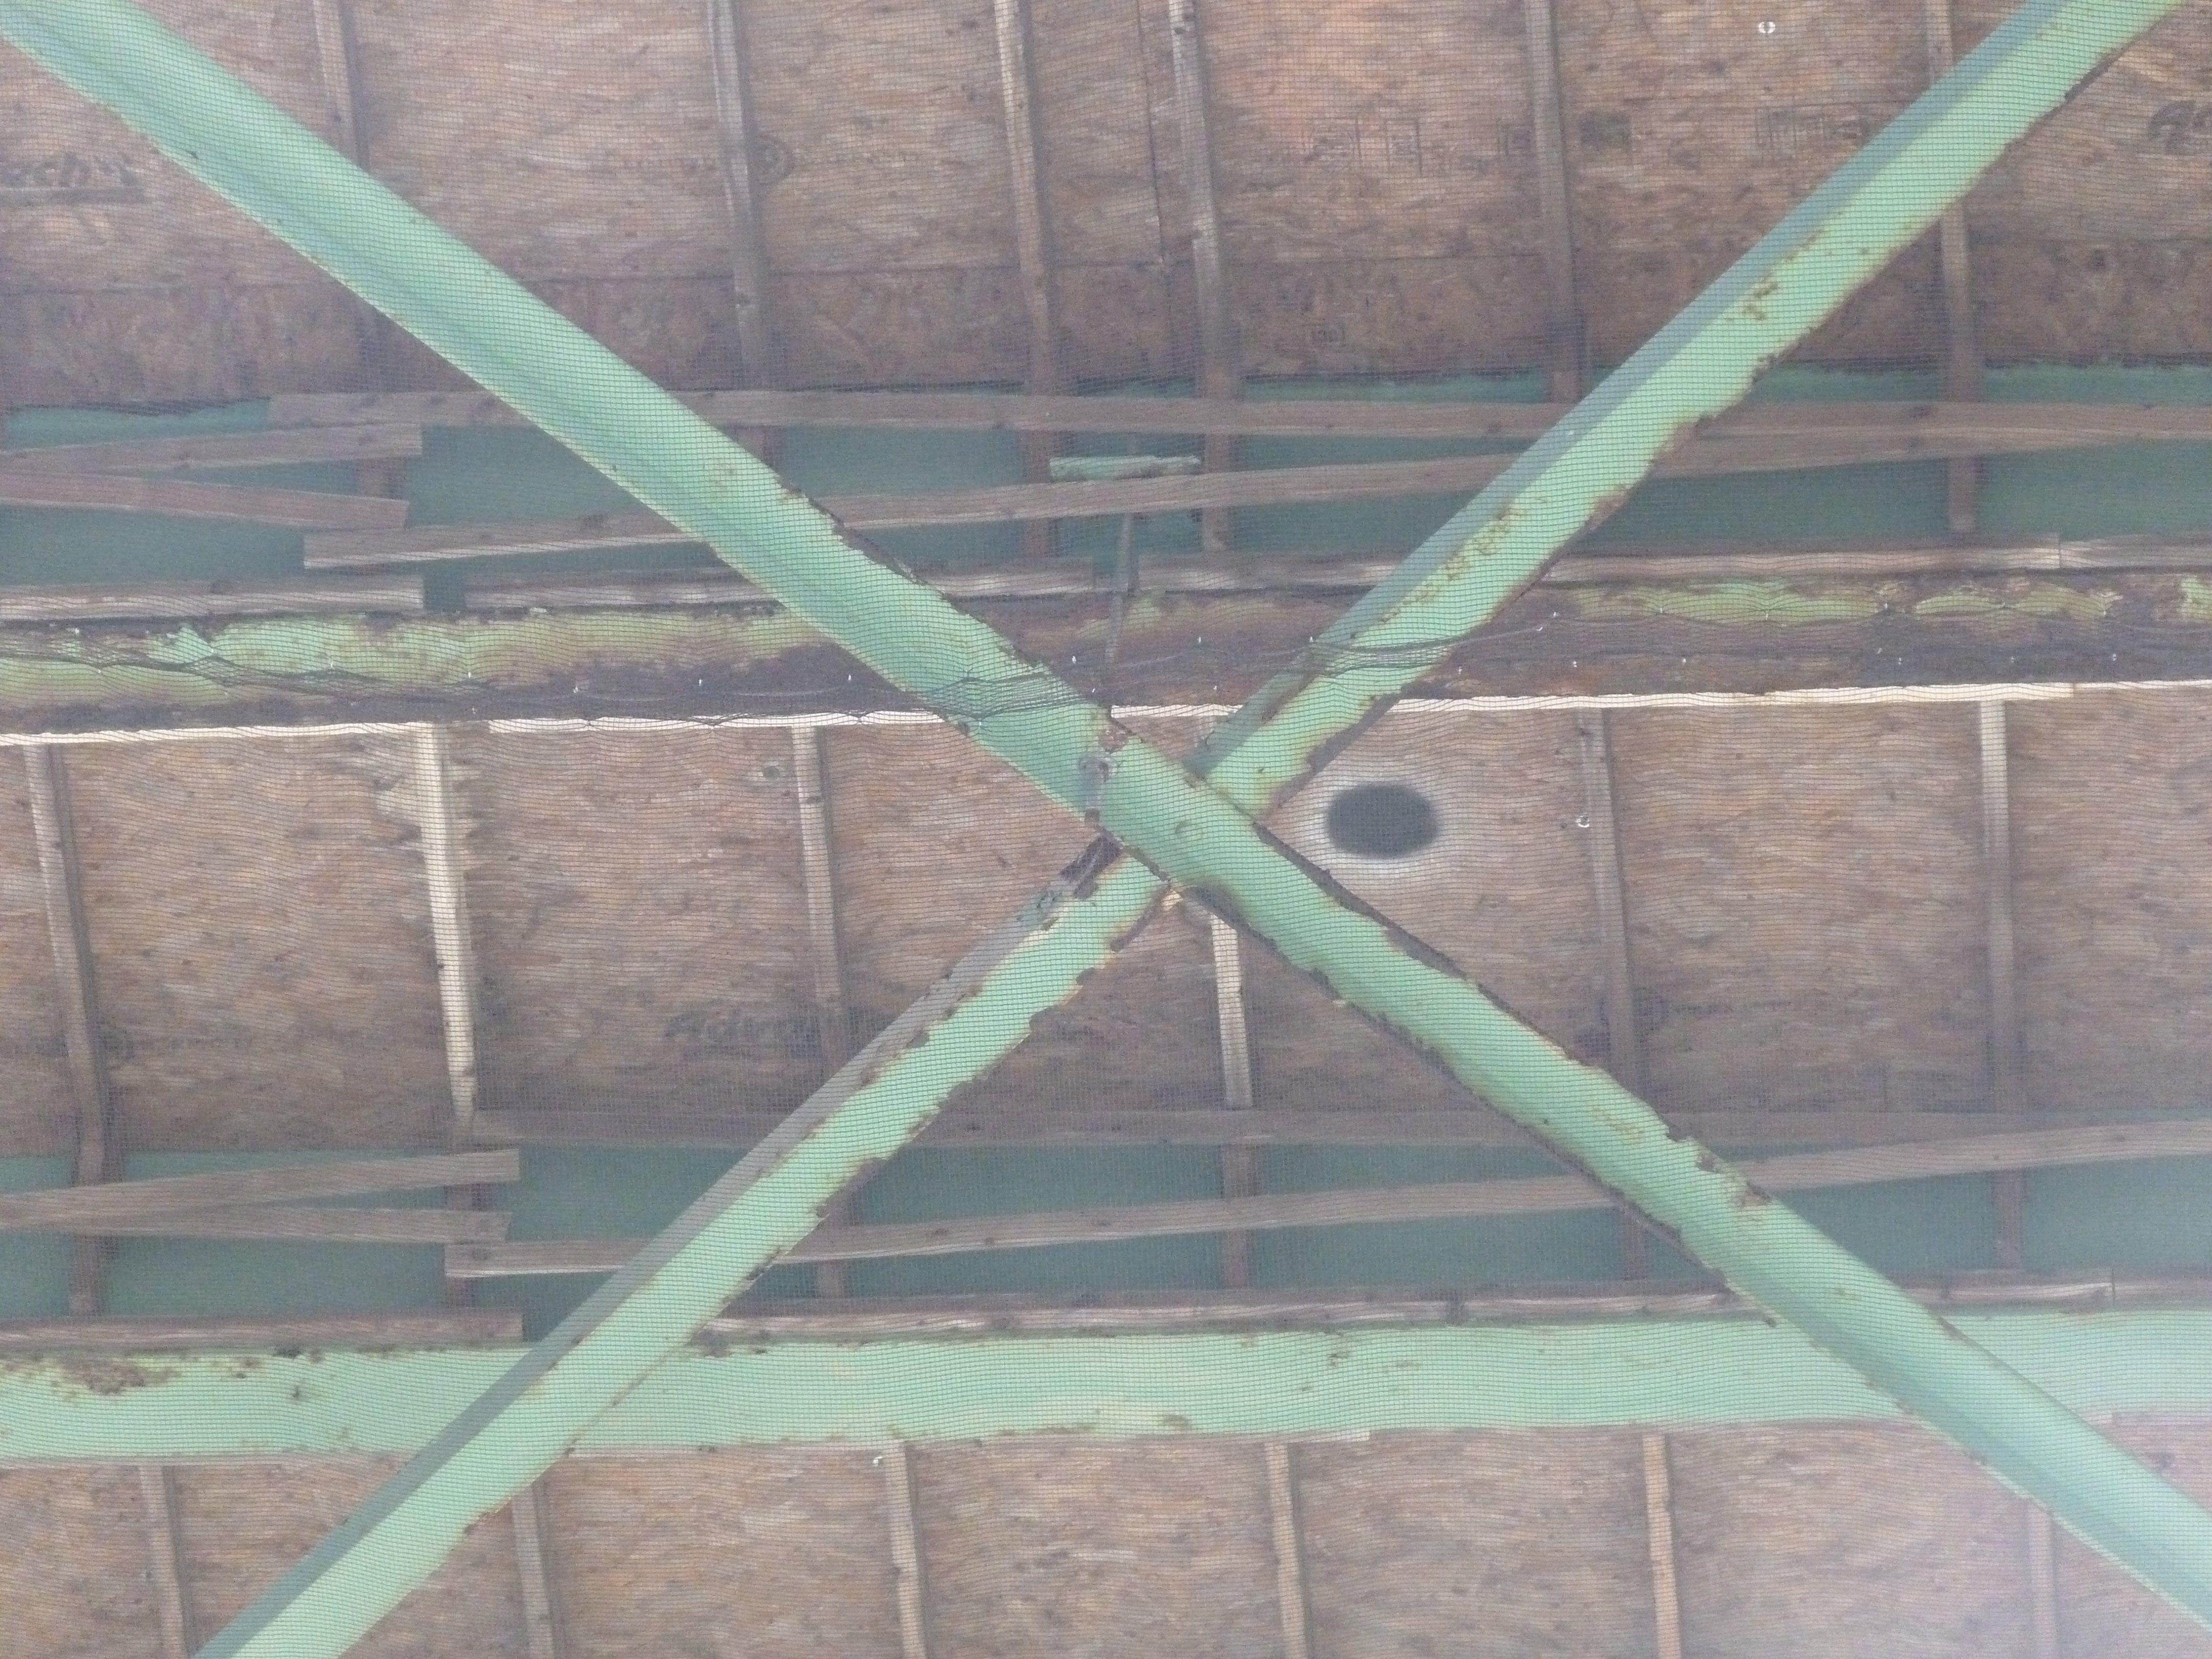
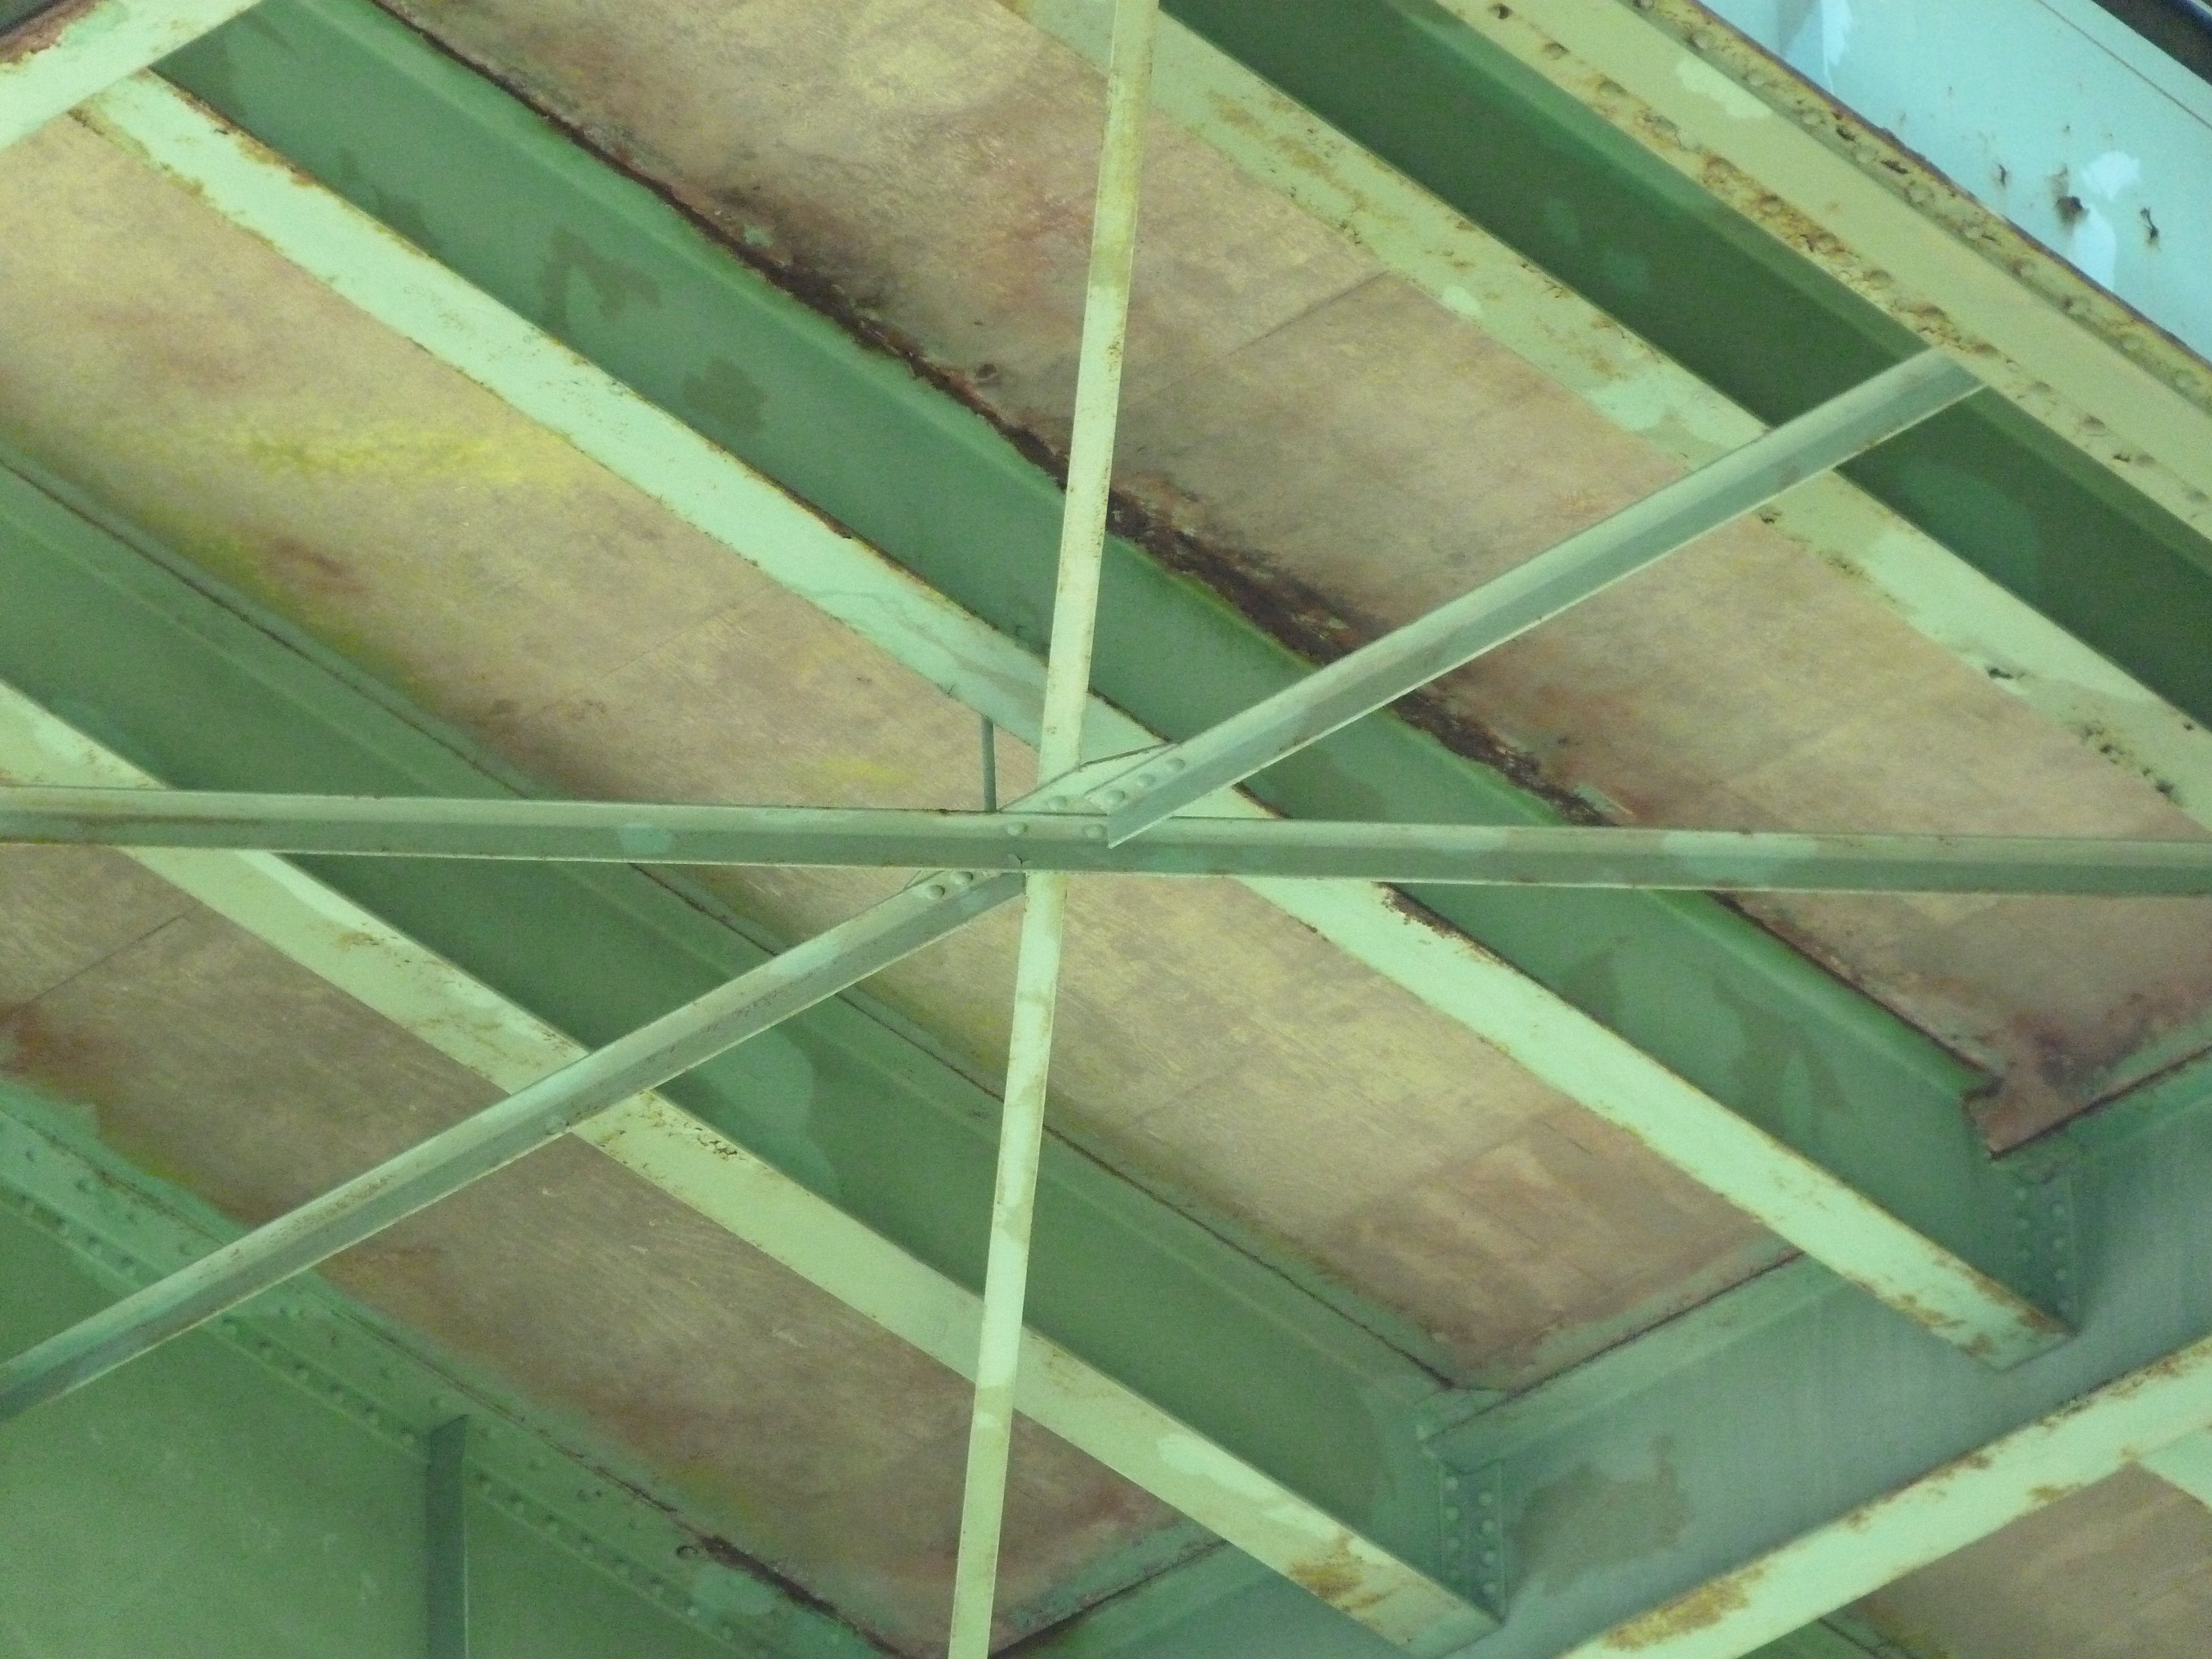

Lateral bracing and associated connections under bridge deck.
![]()

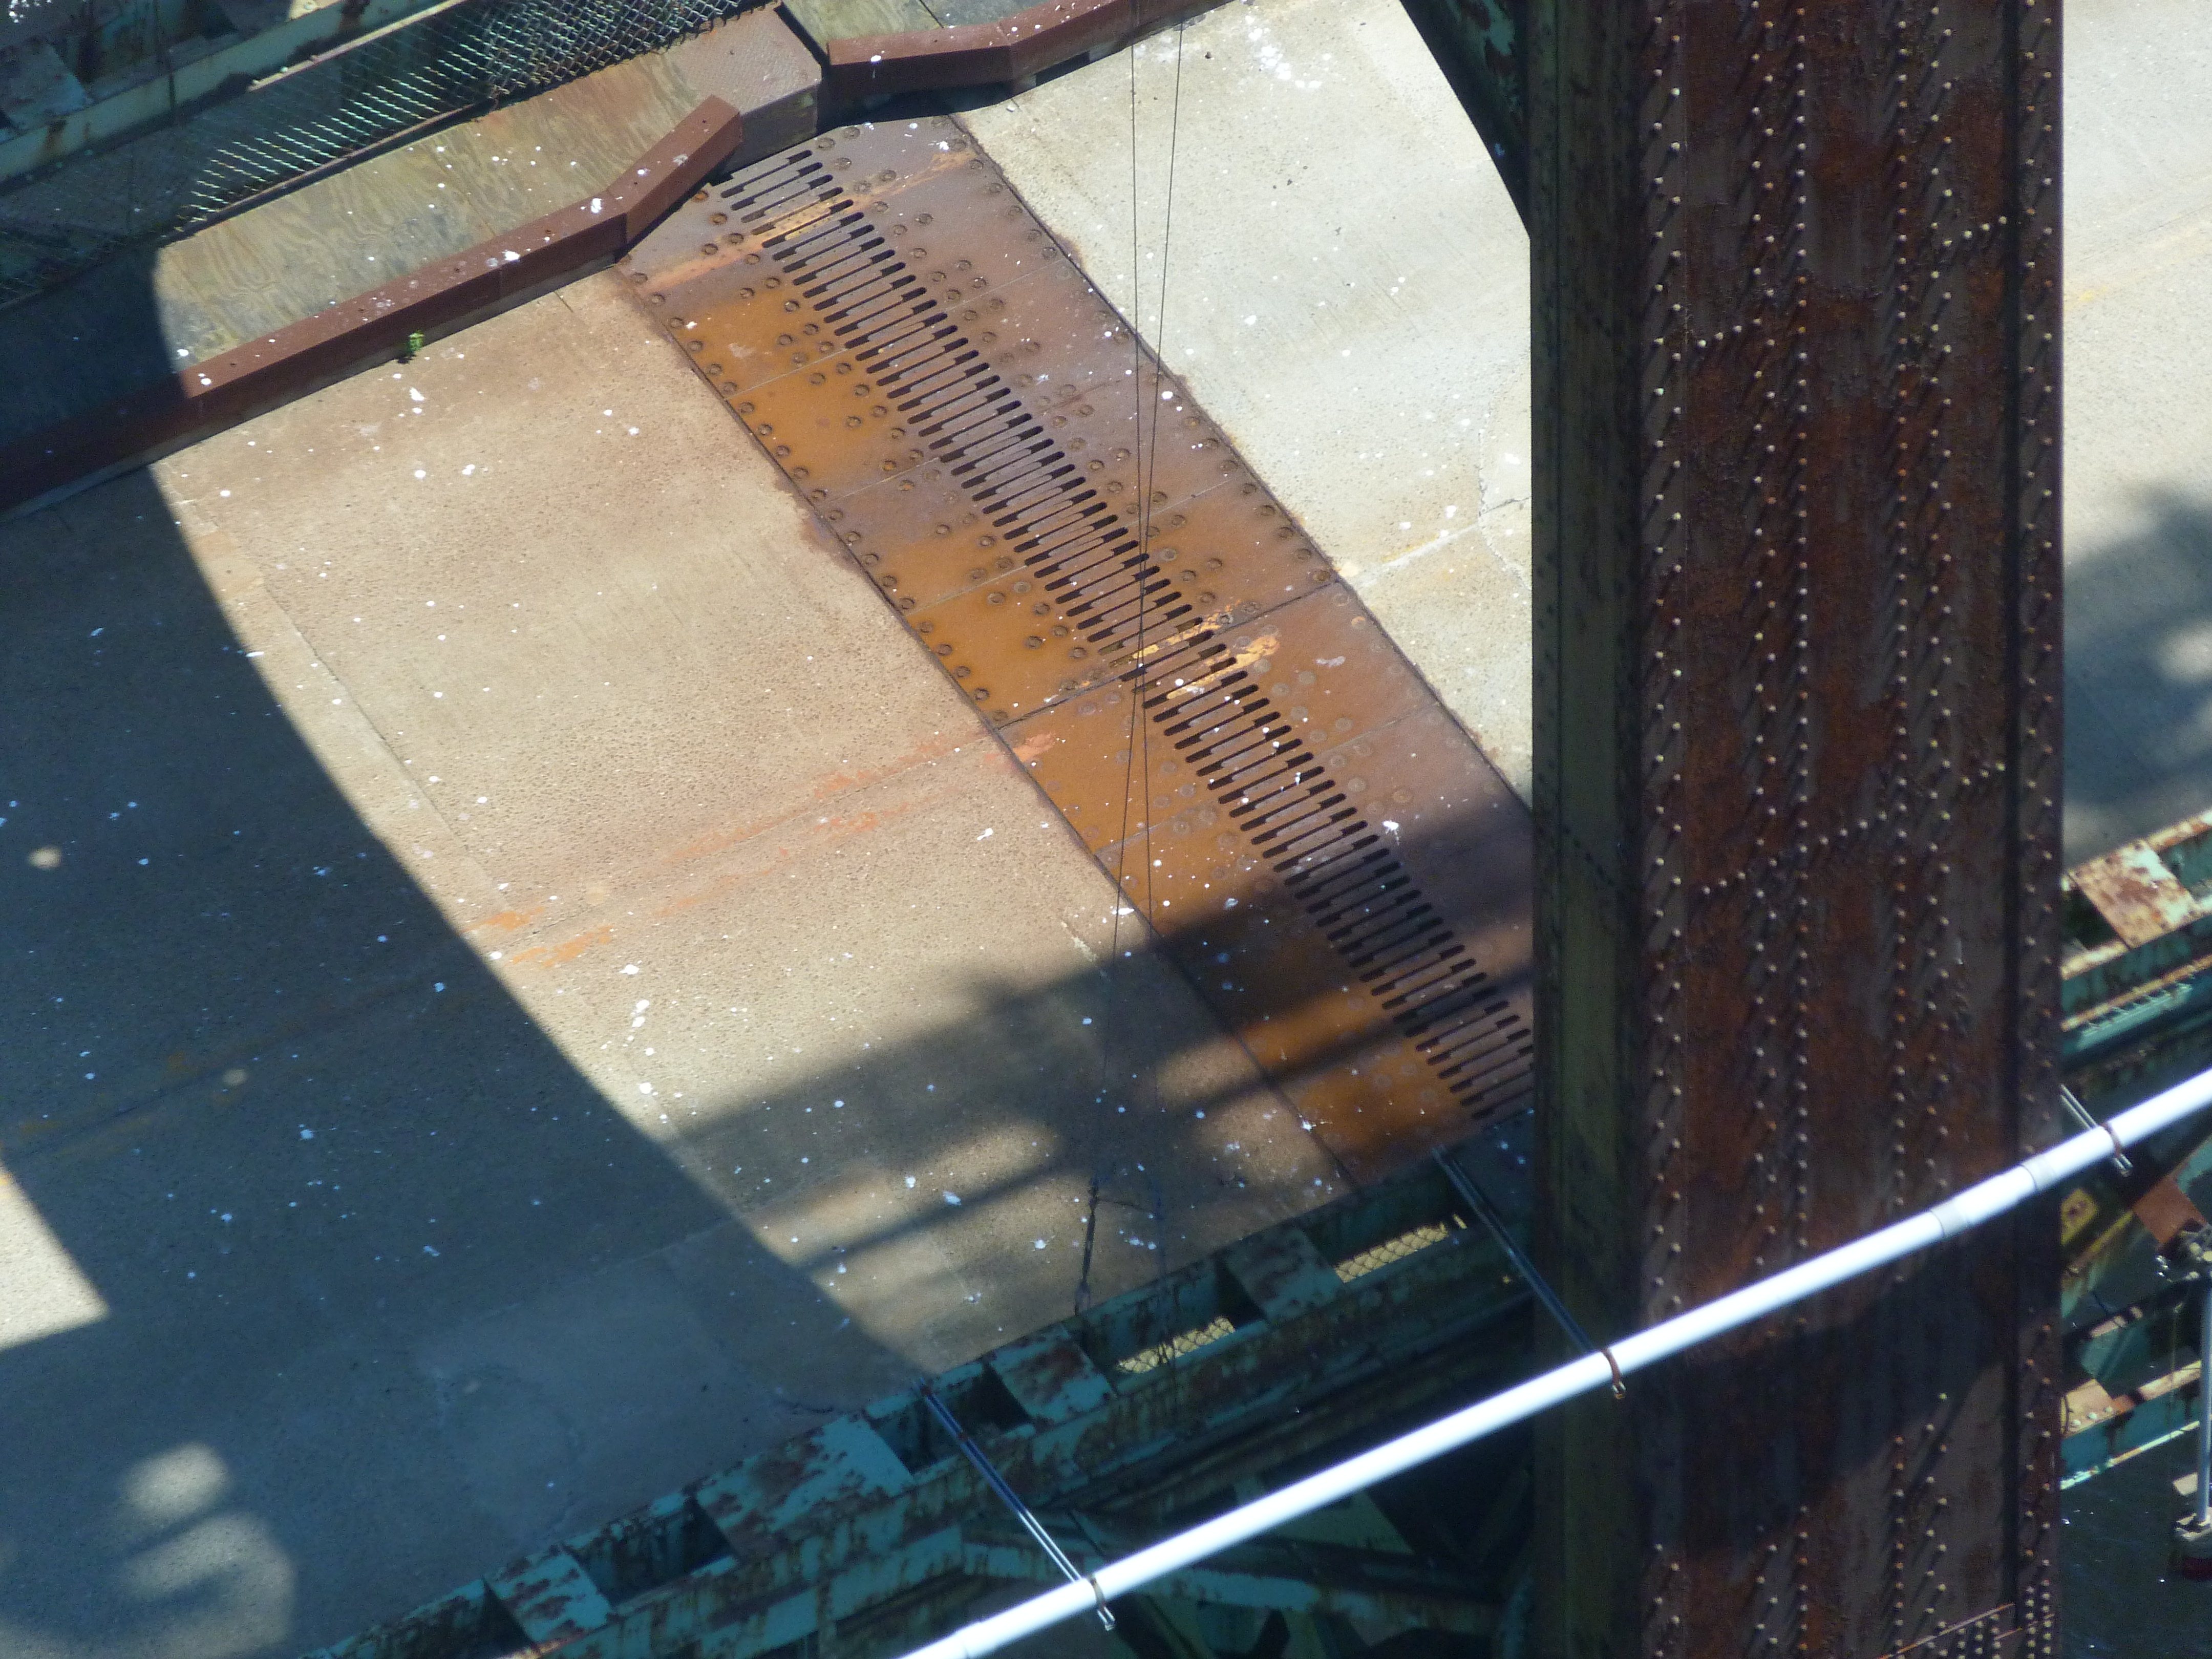
Finger dam expansion joint.
![]()


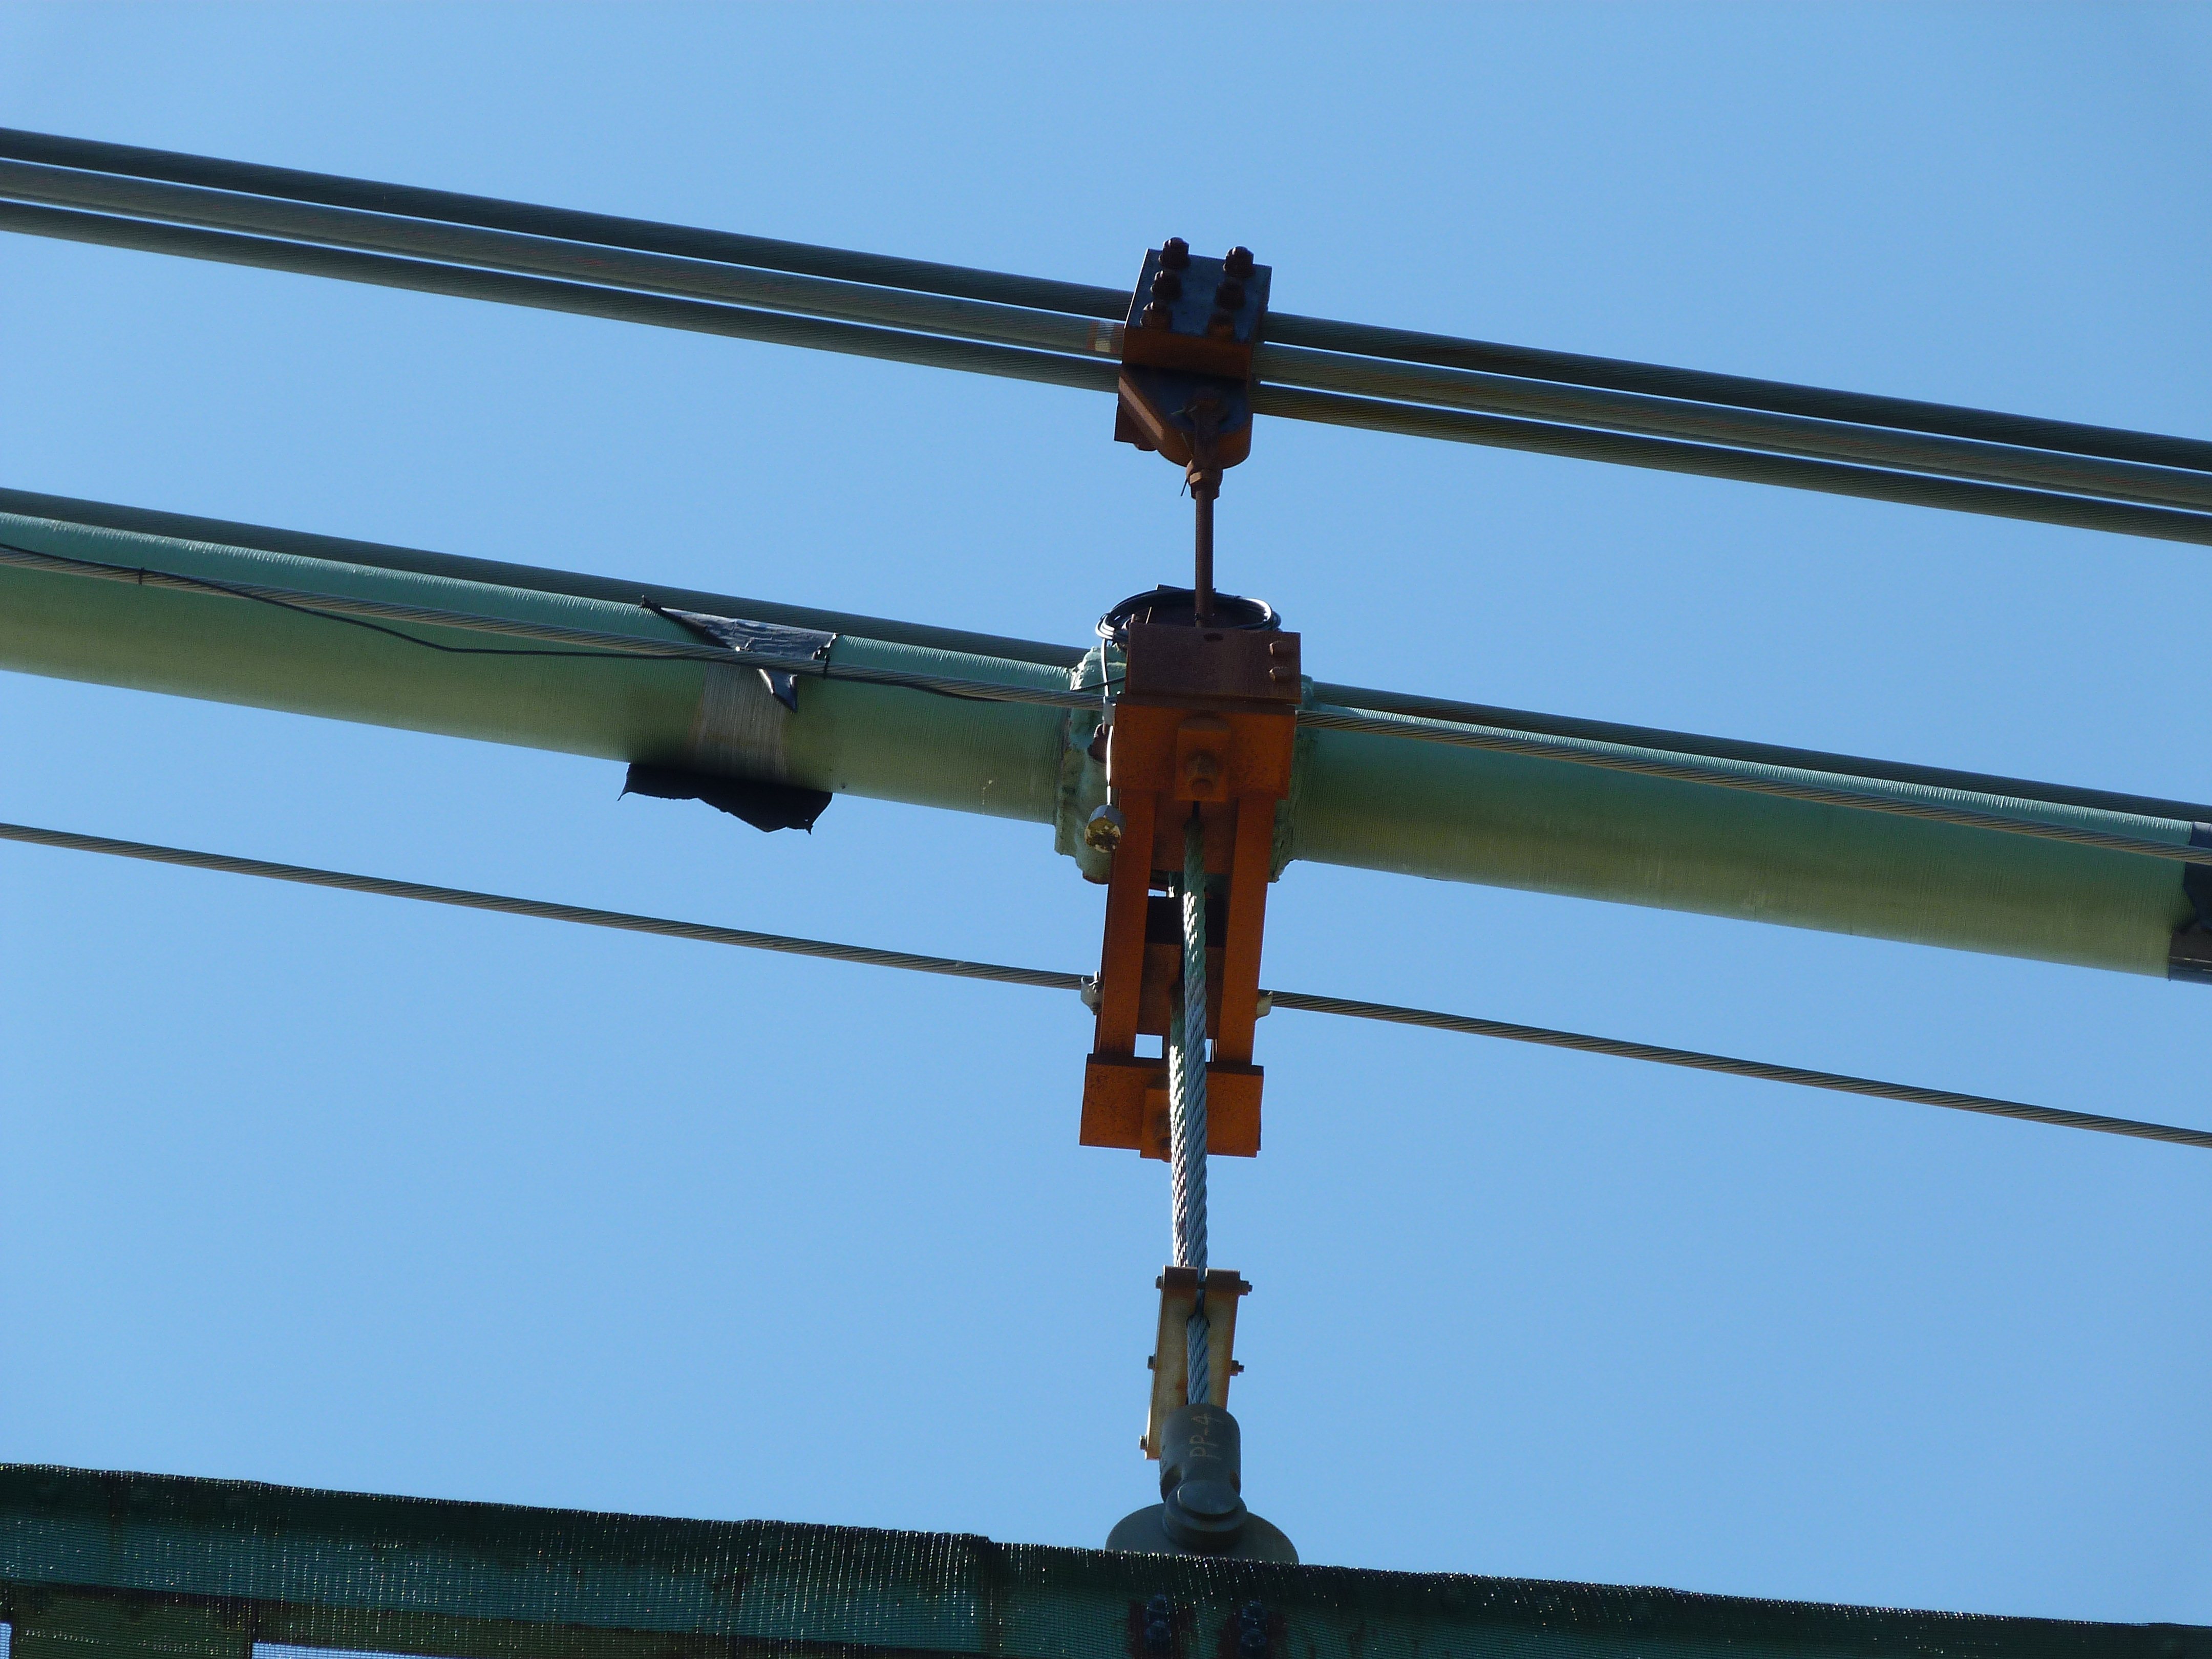
Main cable.
![]()


Western approach spans.
![]()
Eastern approach spans.
![]()

Western suspended span.
![]()


Girder details at western end of bridge.
![]()
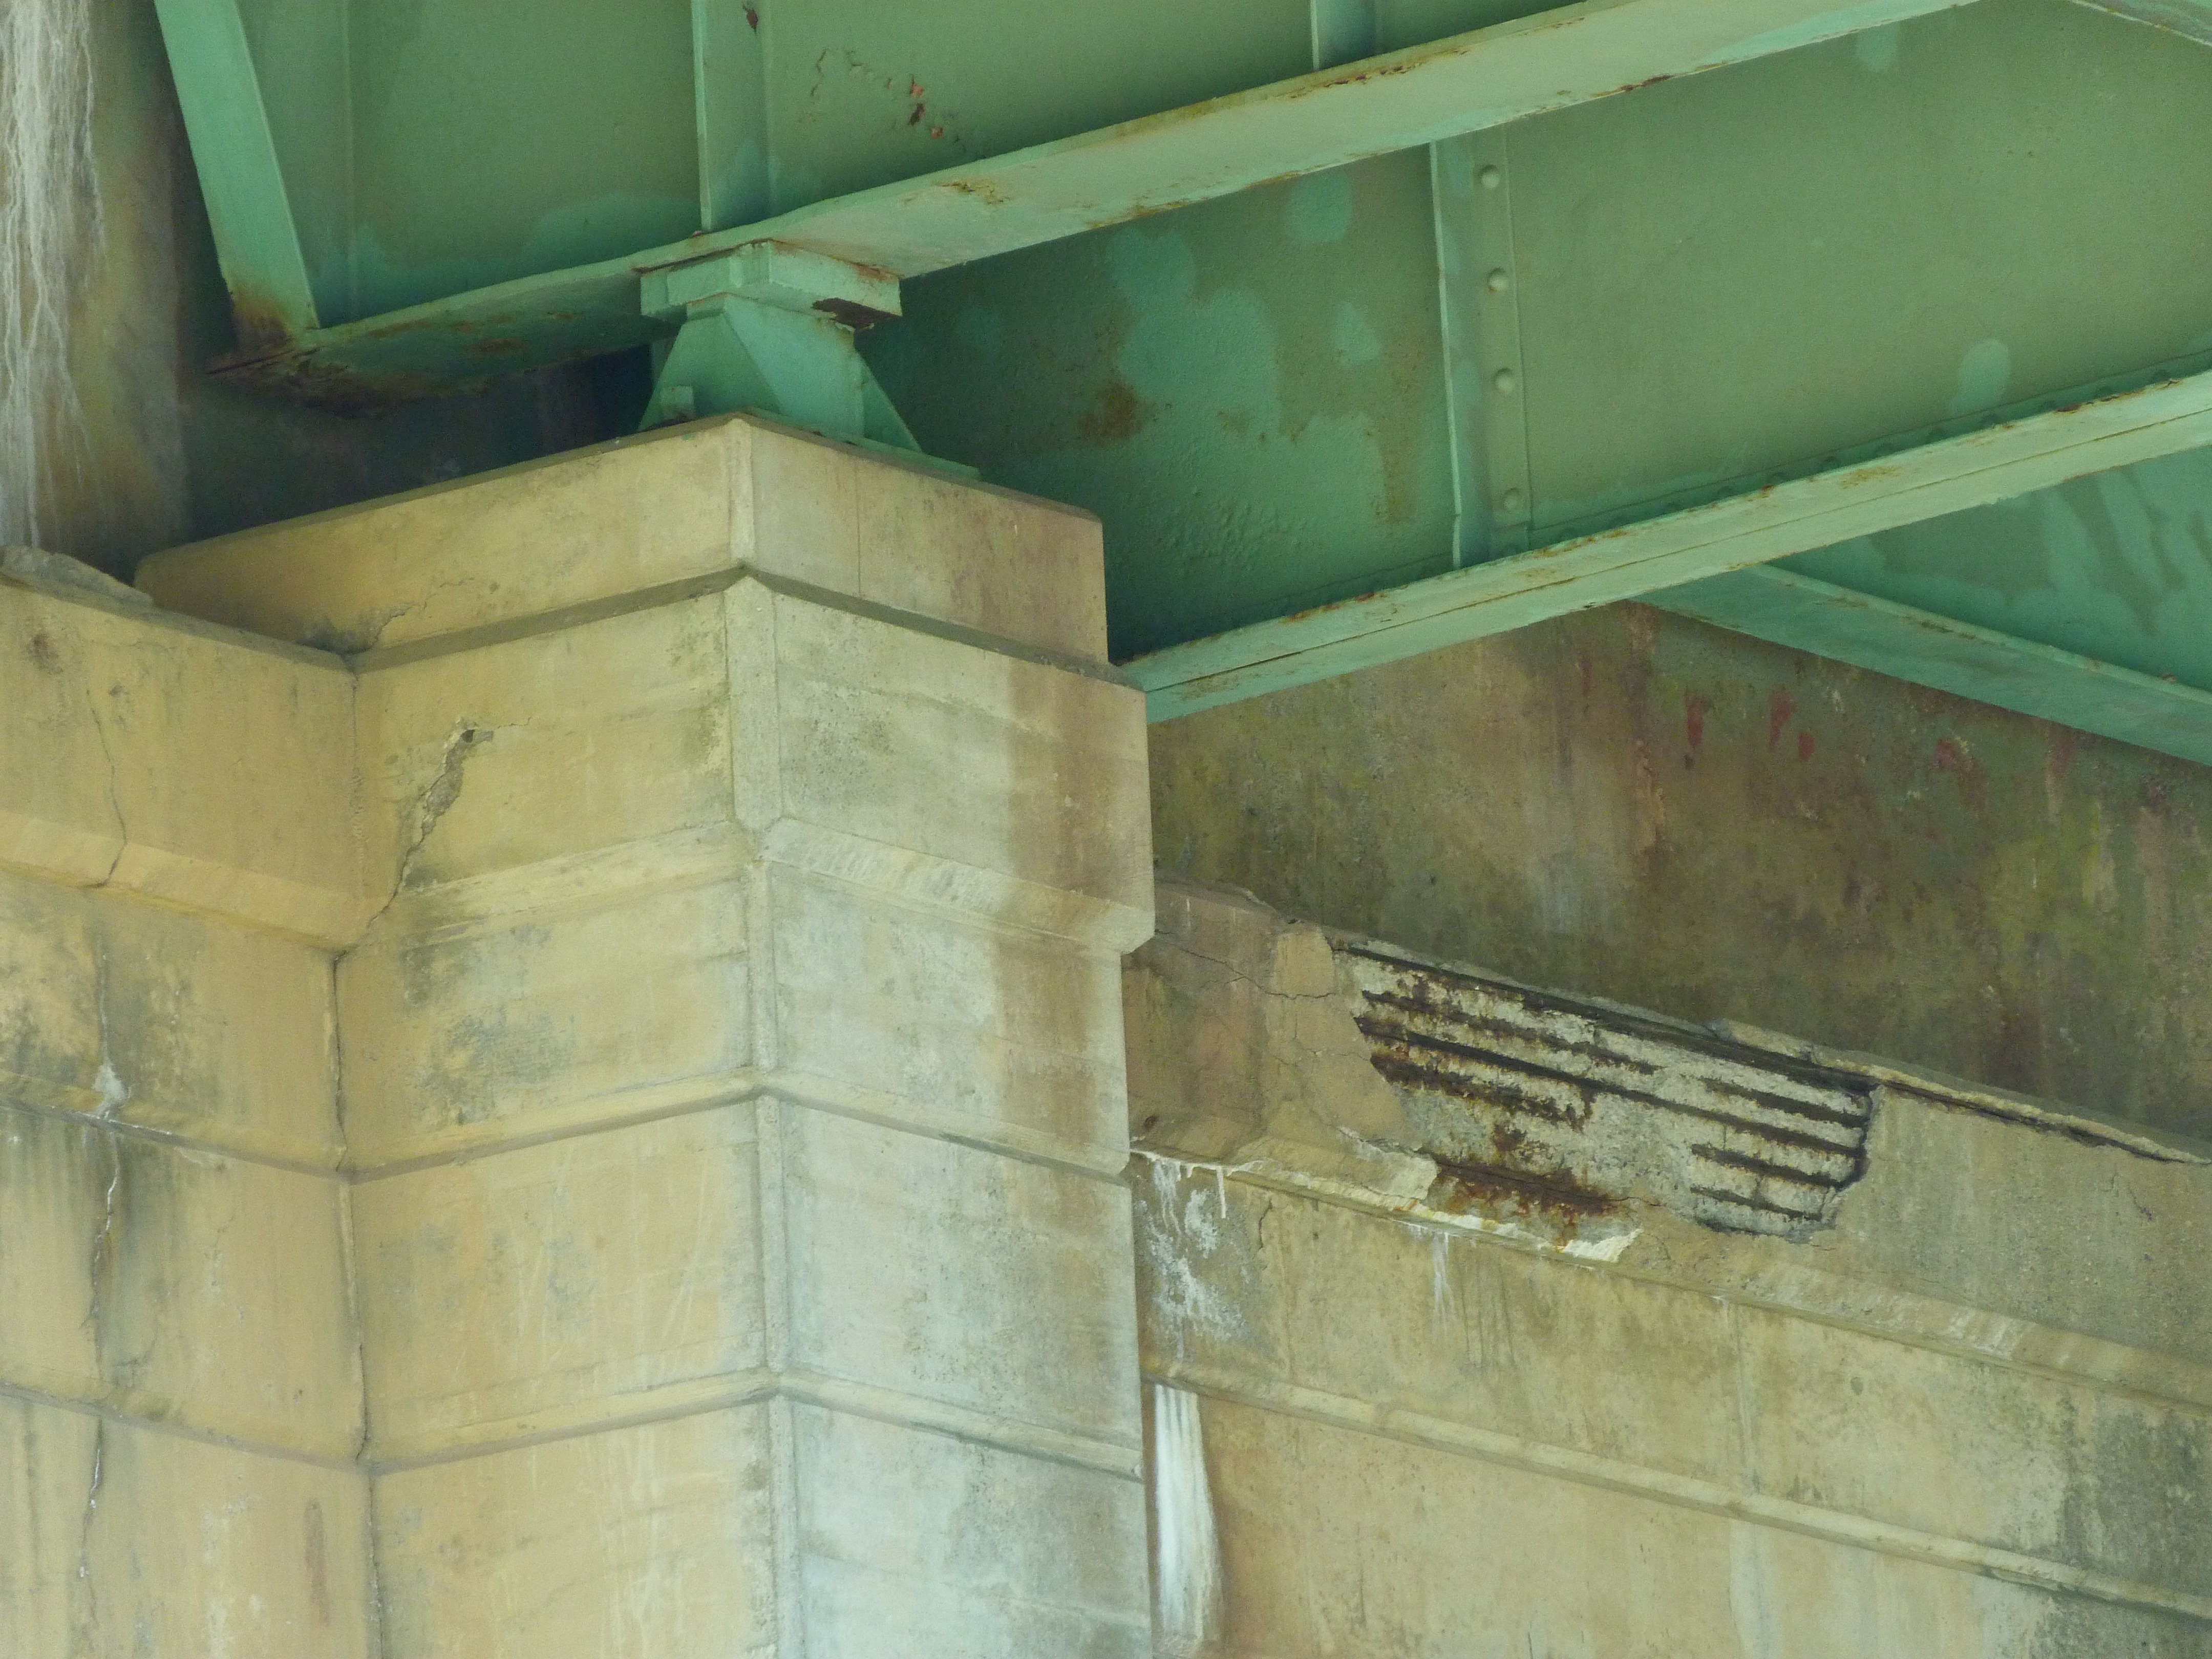
Various bearings.
![]()


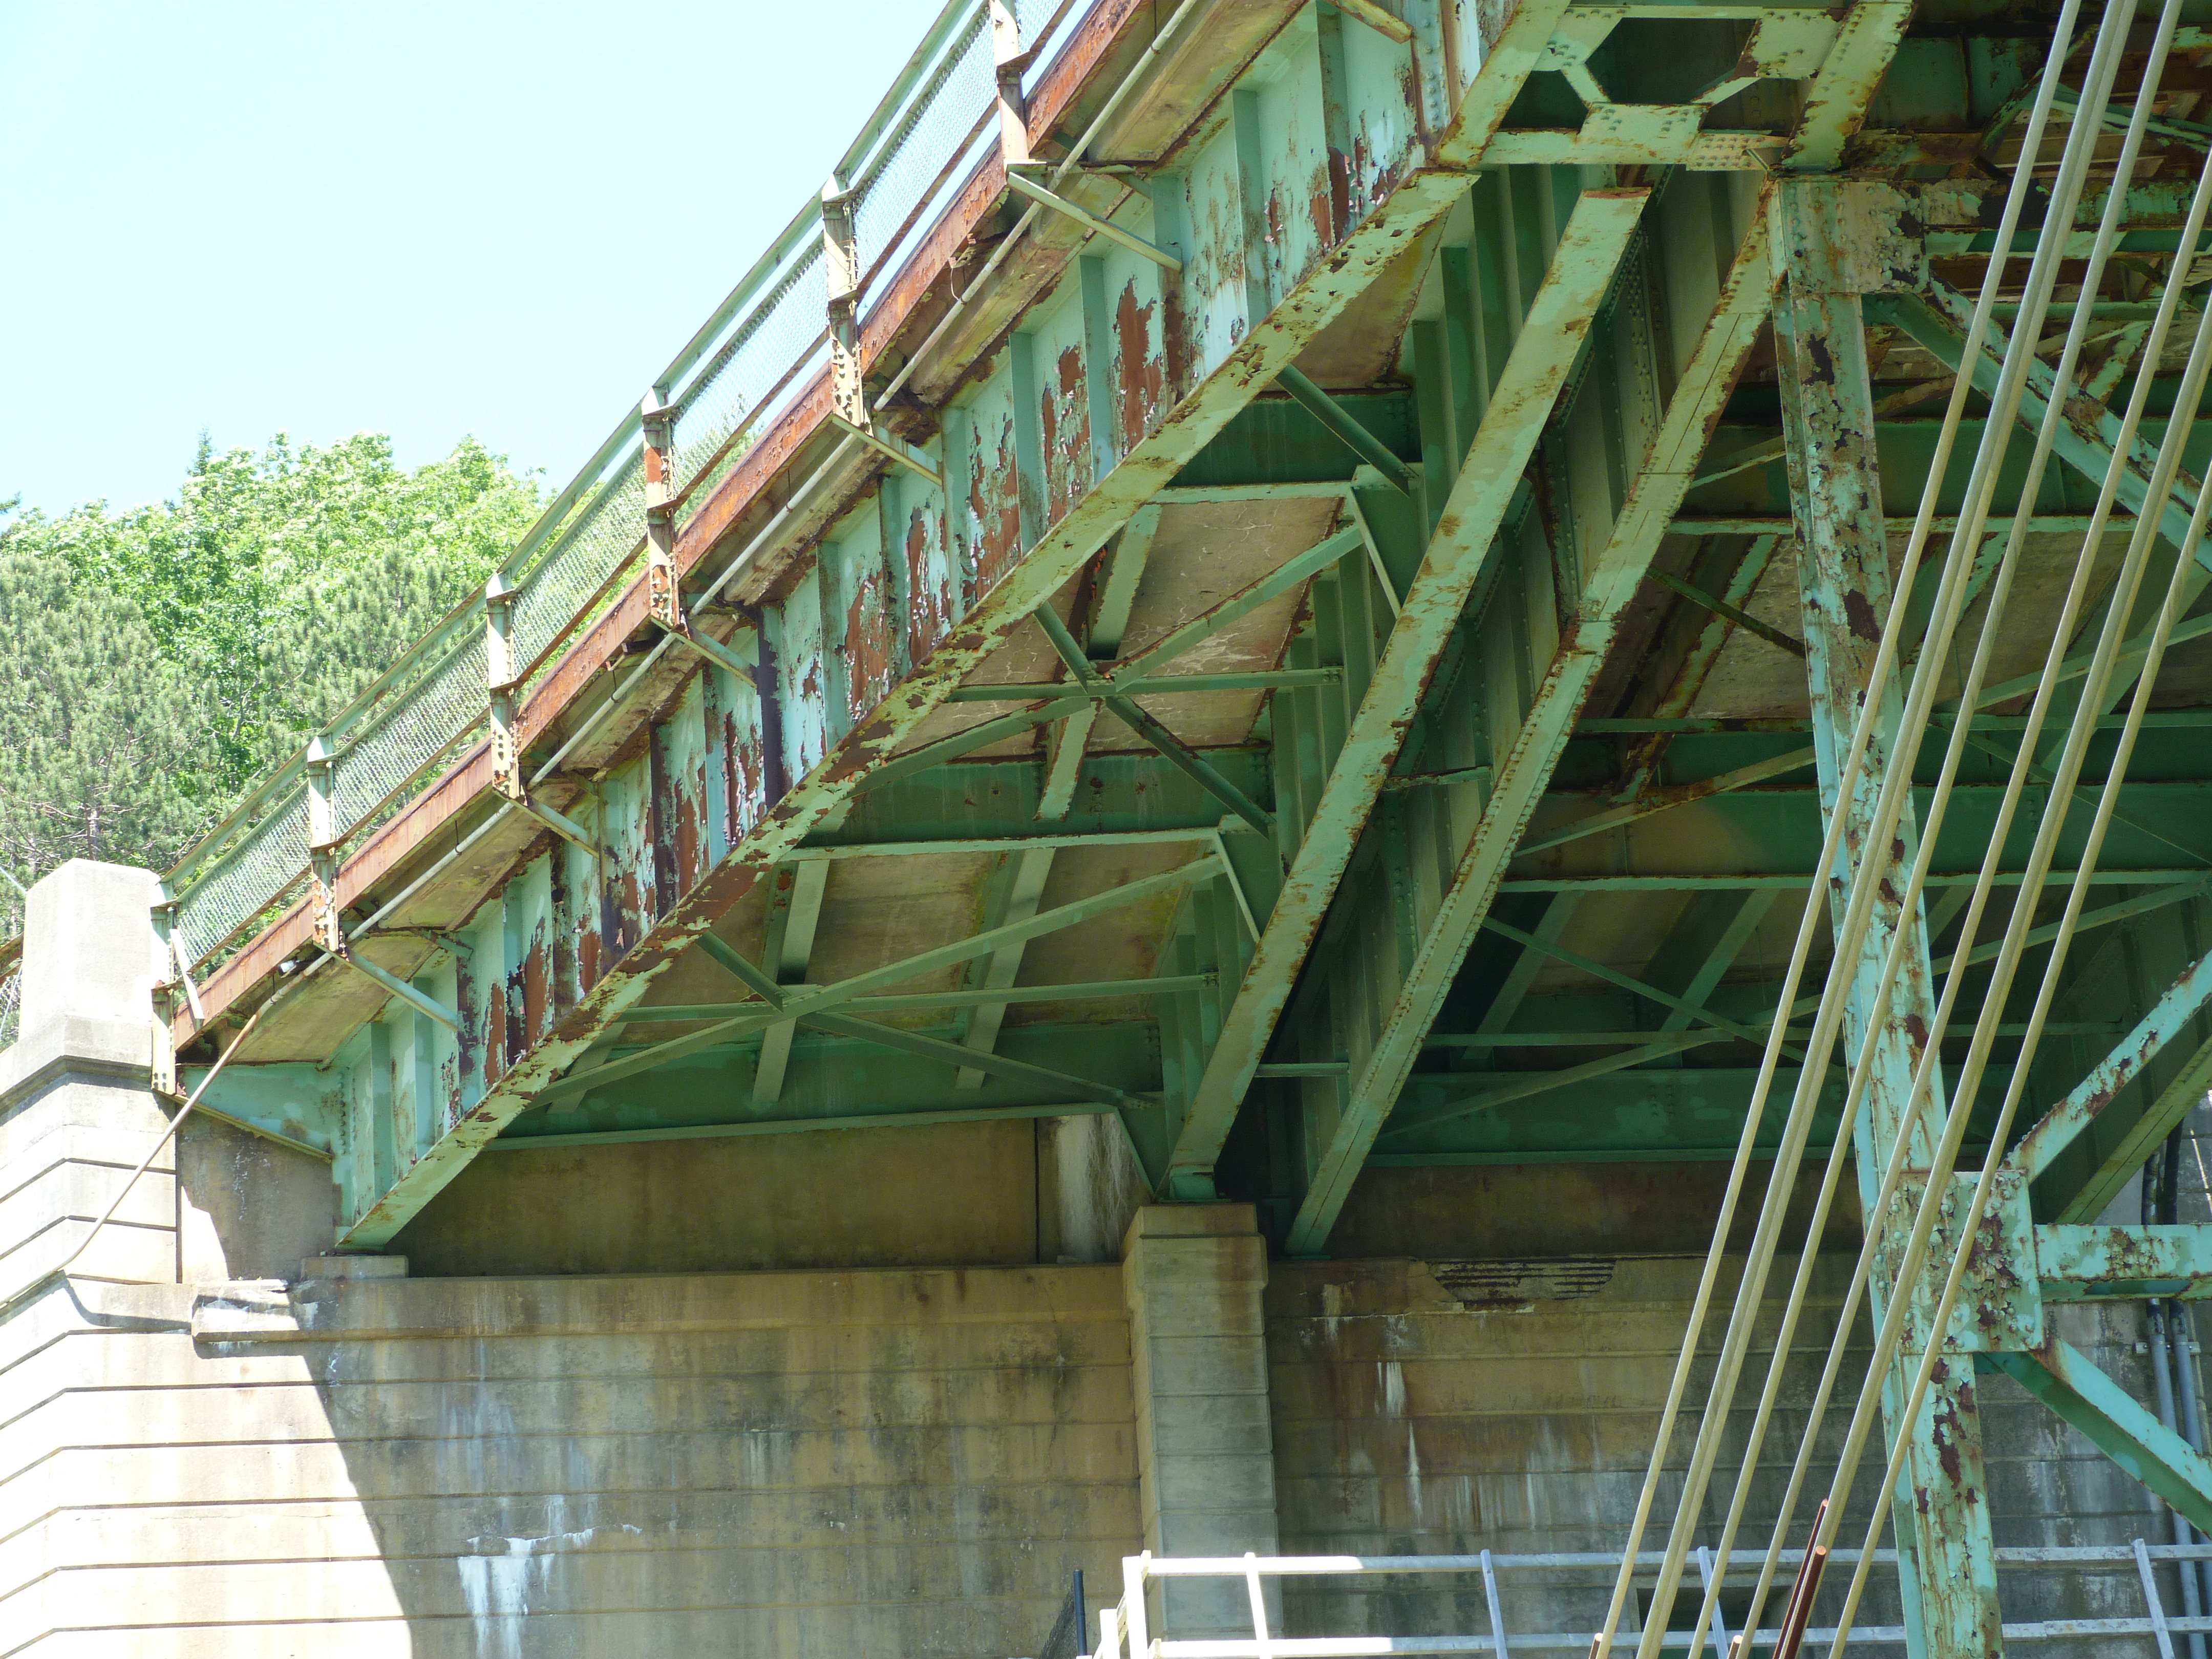
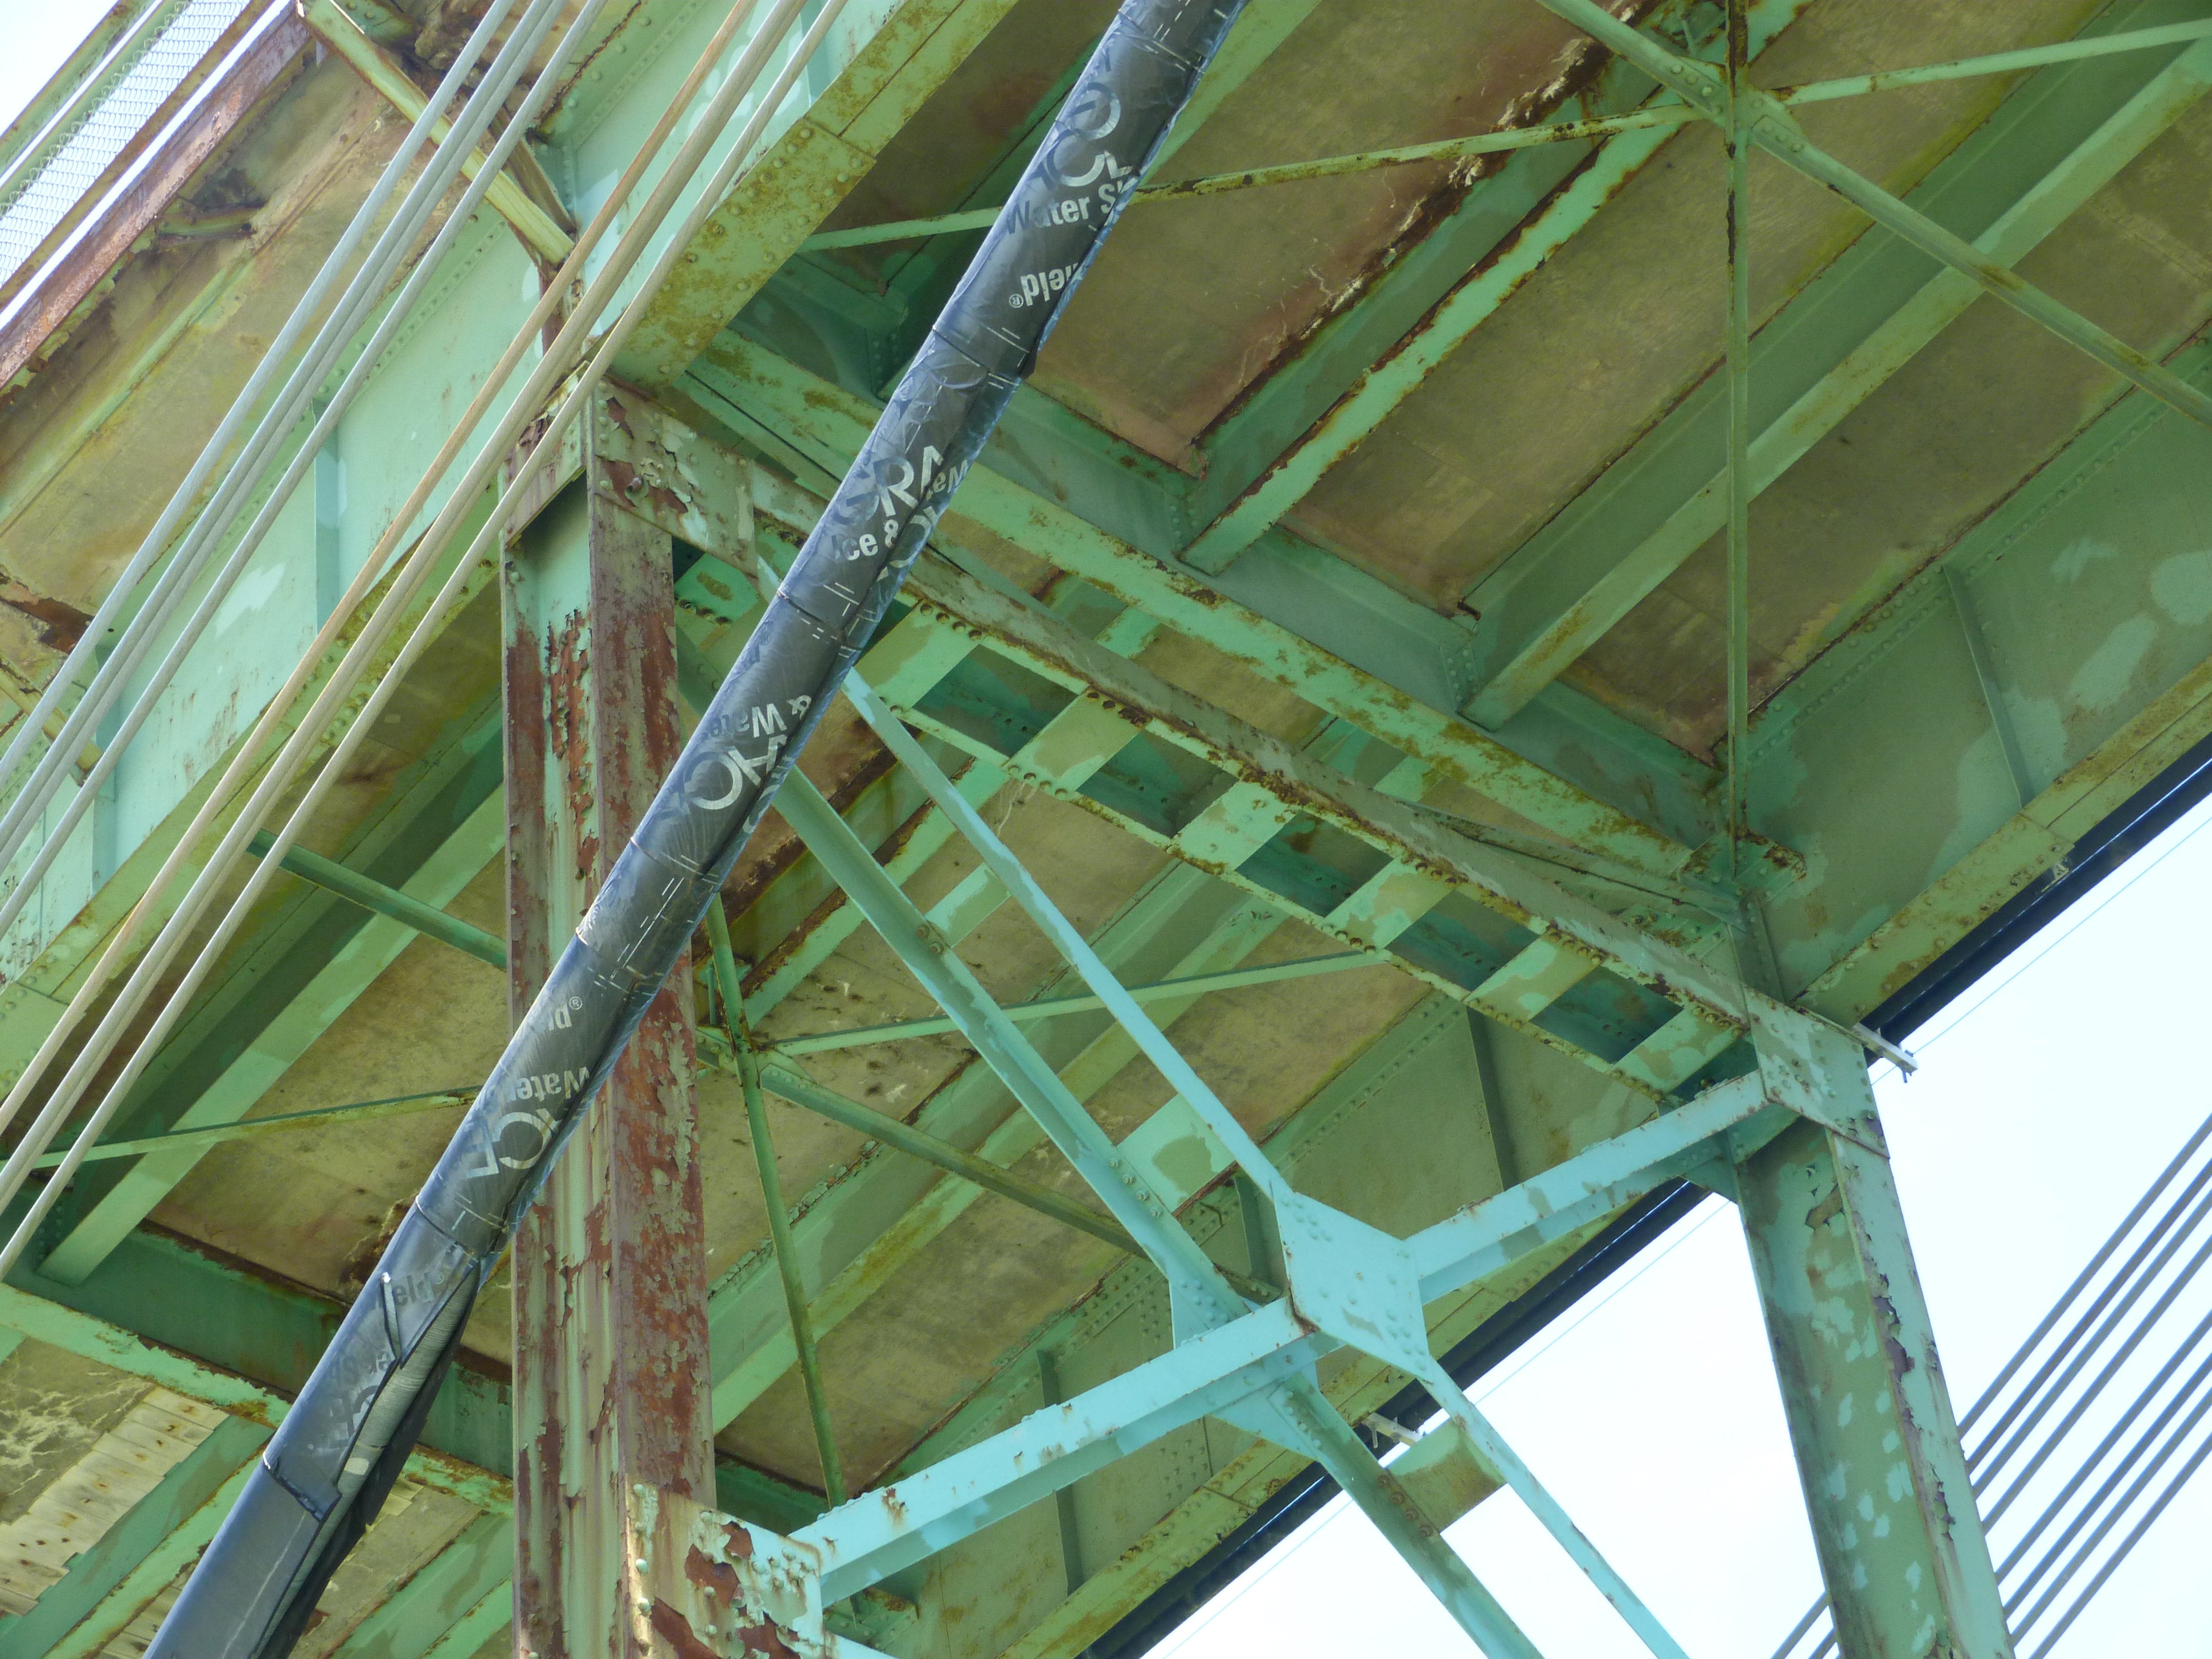
Views under bridge.
![]()

Cable saddle on tower.
![]()


Saddle at cable bent.
![]()


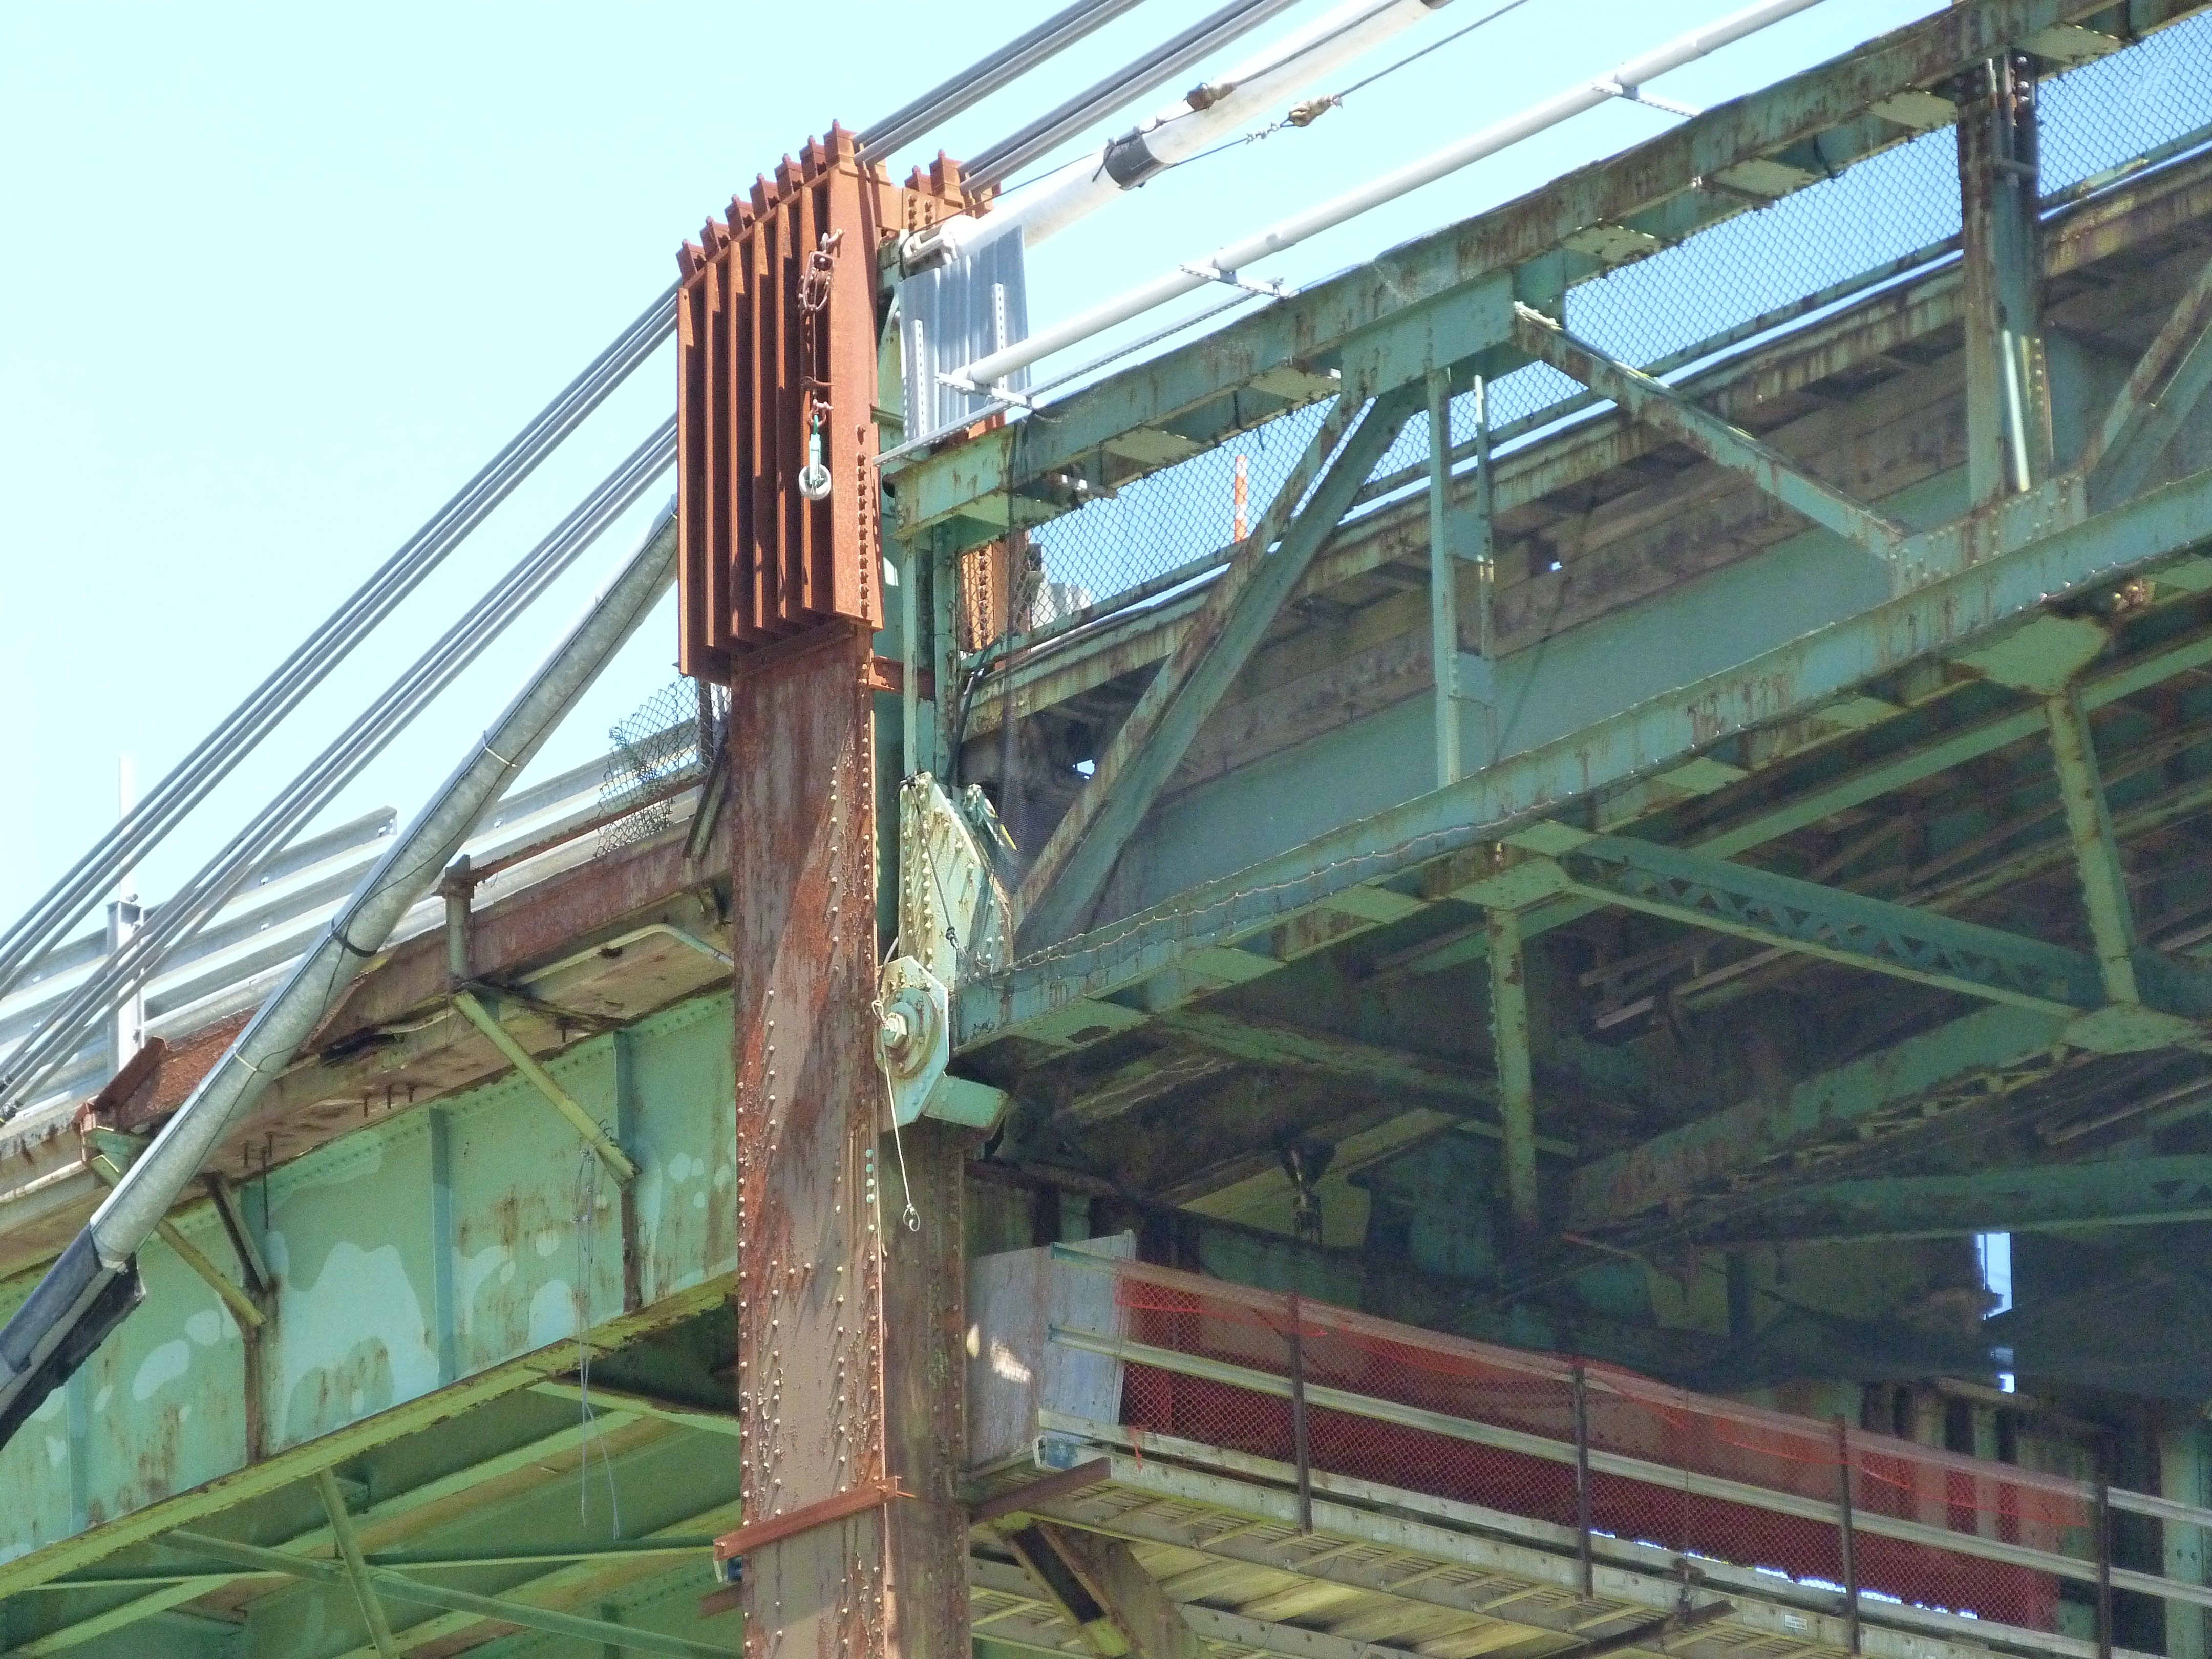
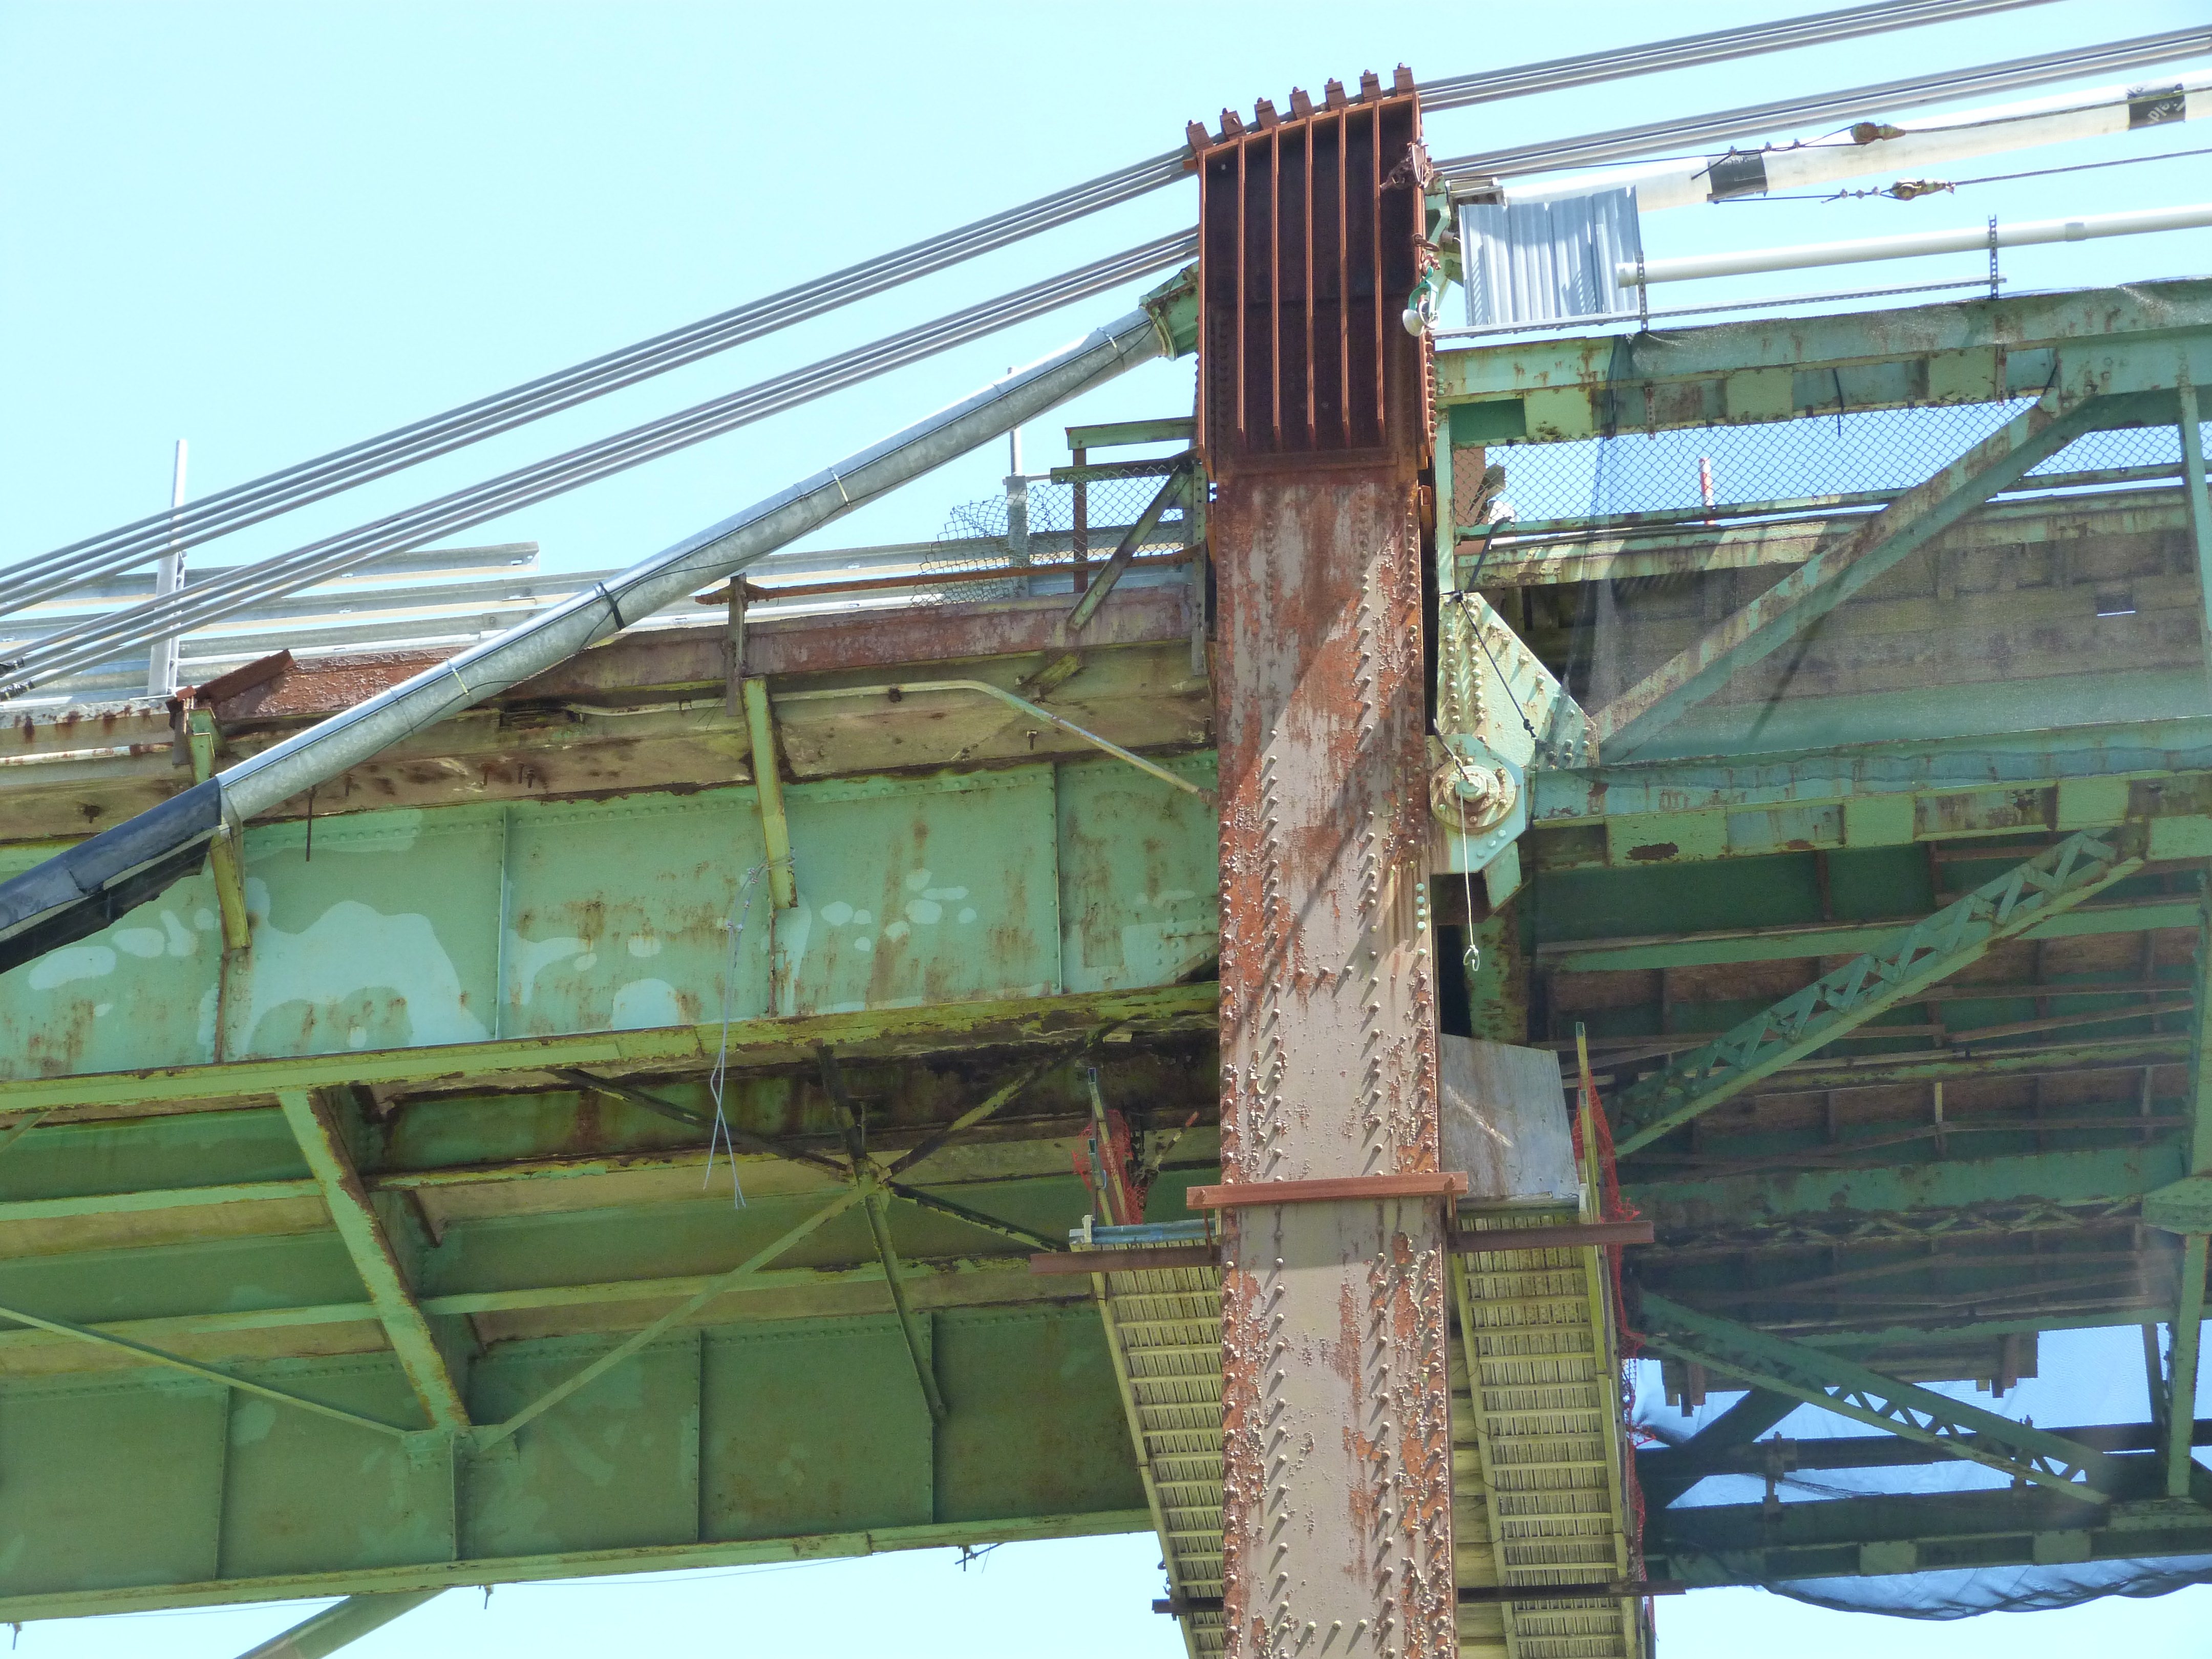
Cable bent bearings.
![]()
Additional cable bent details.
![]()
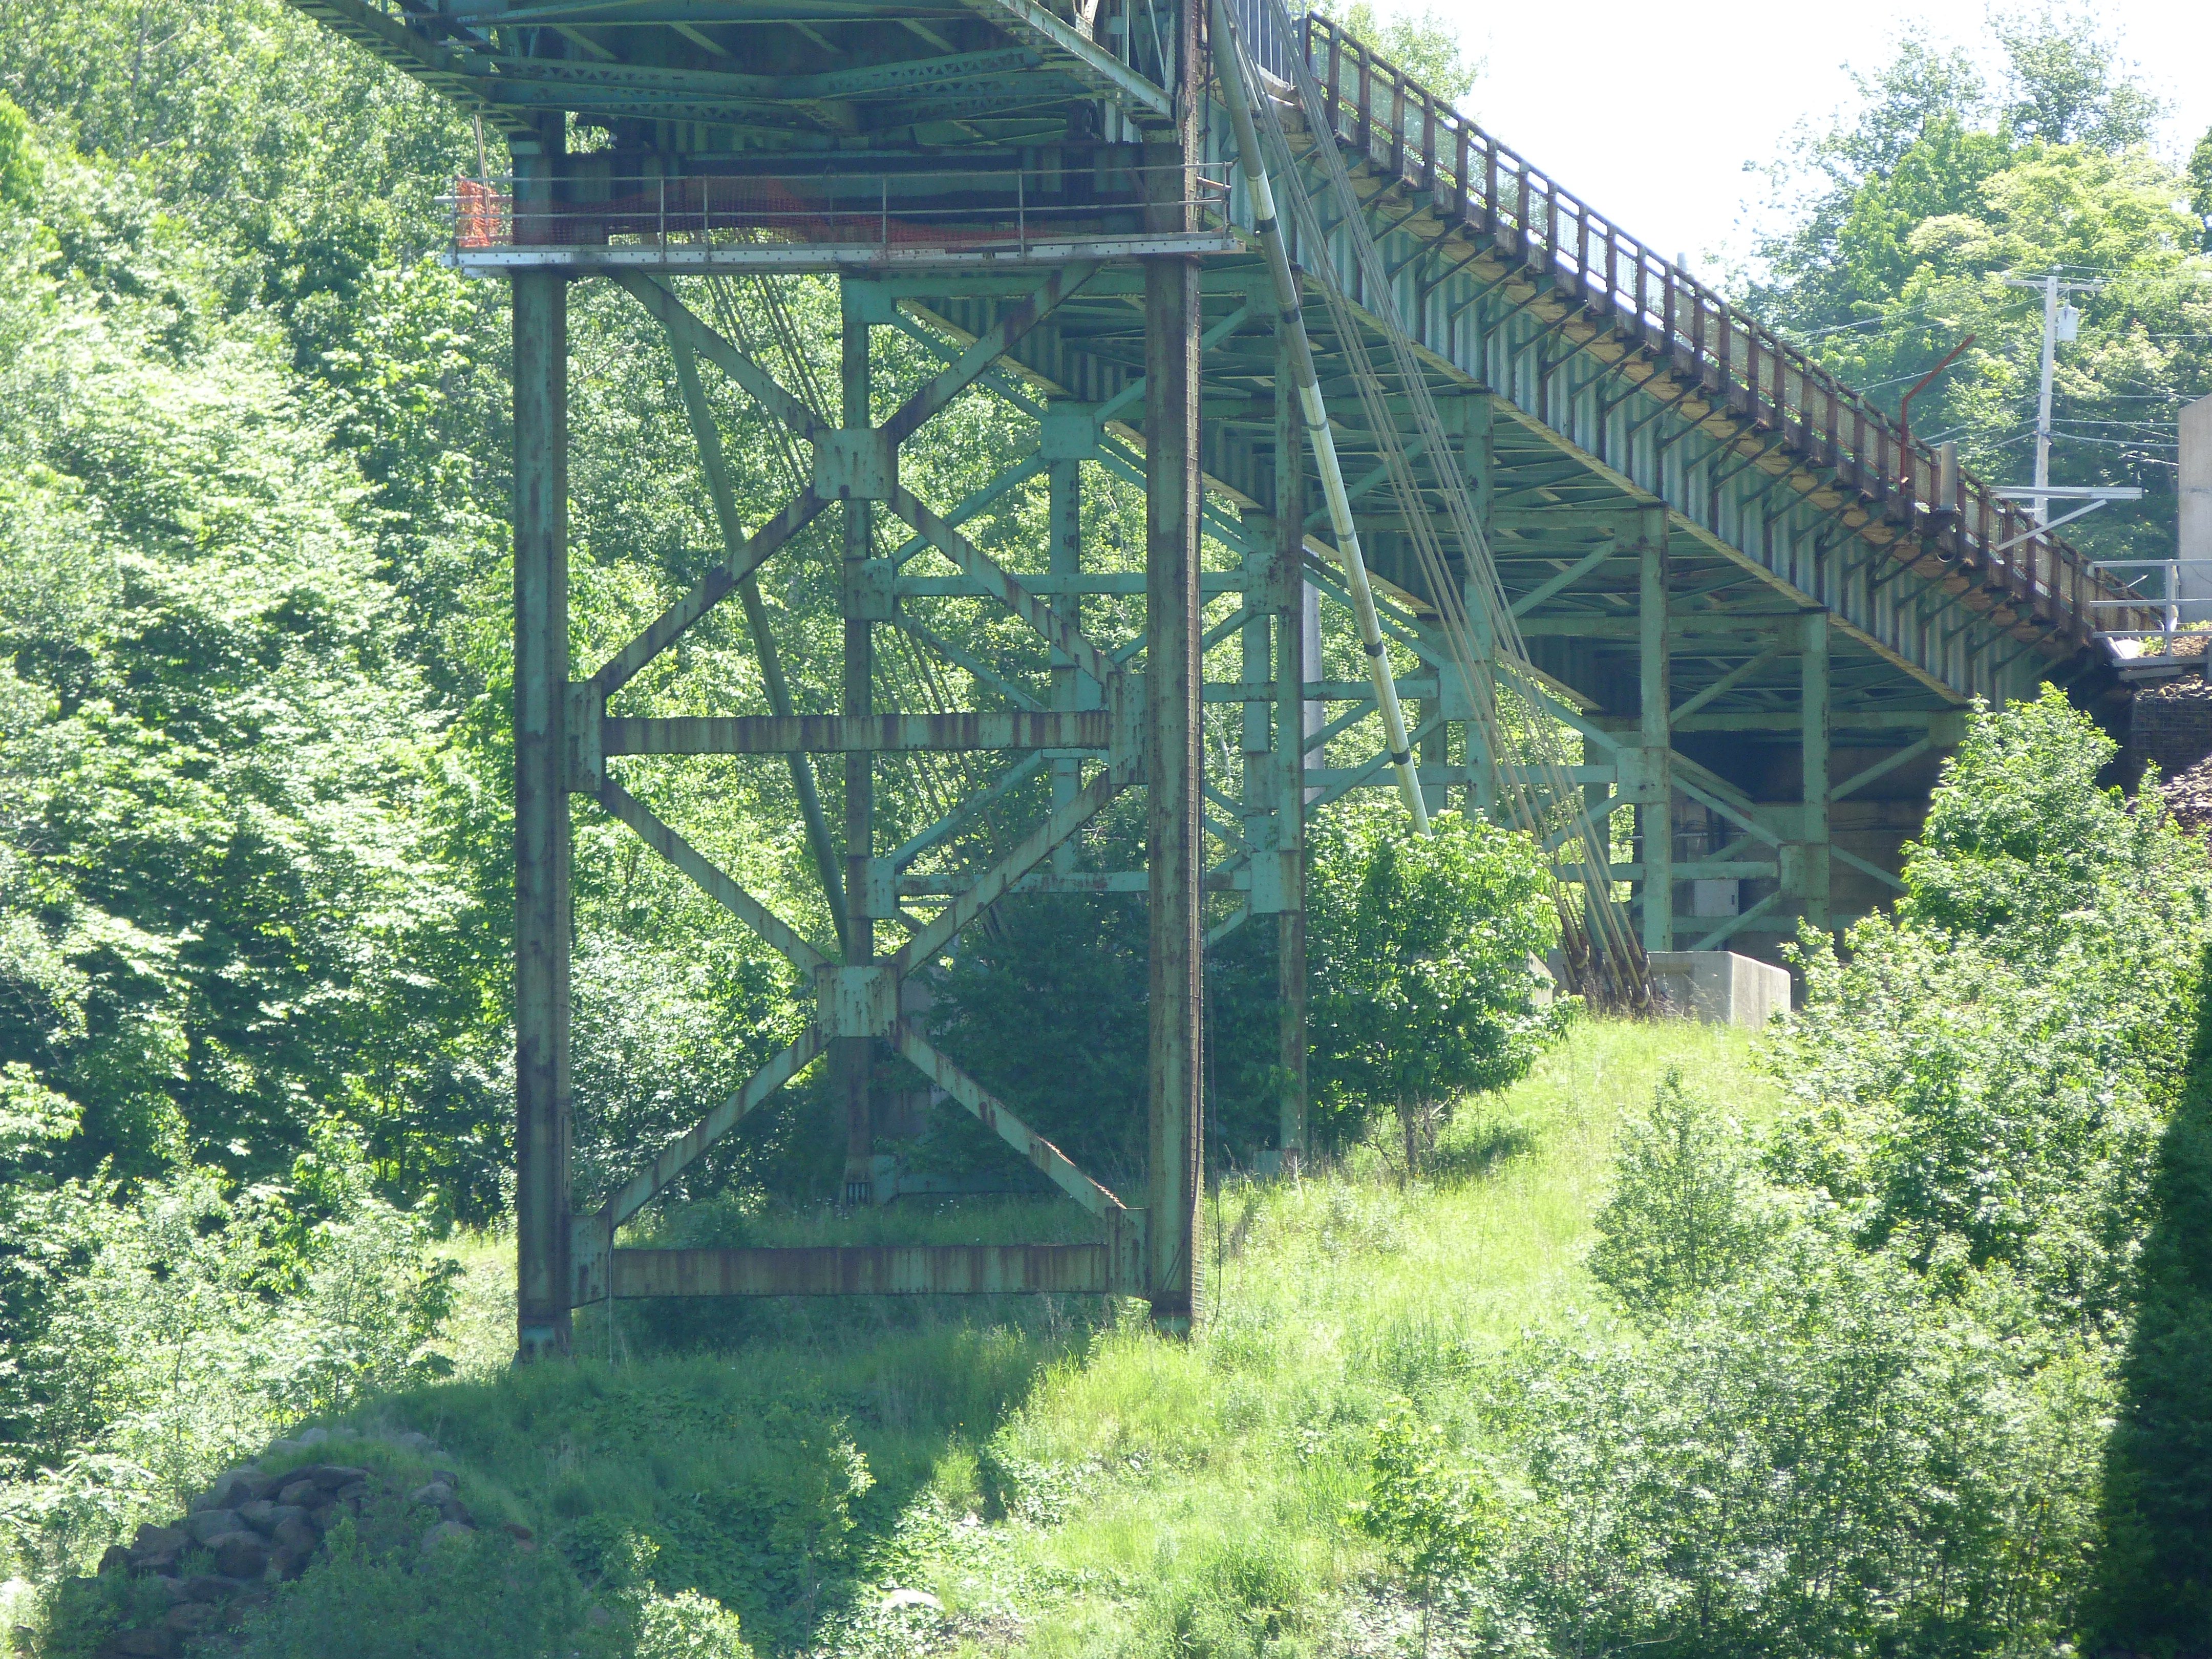
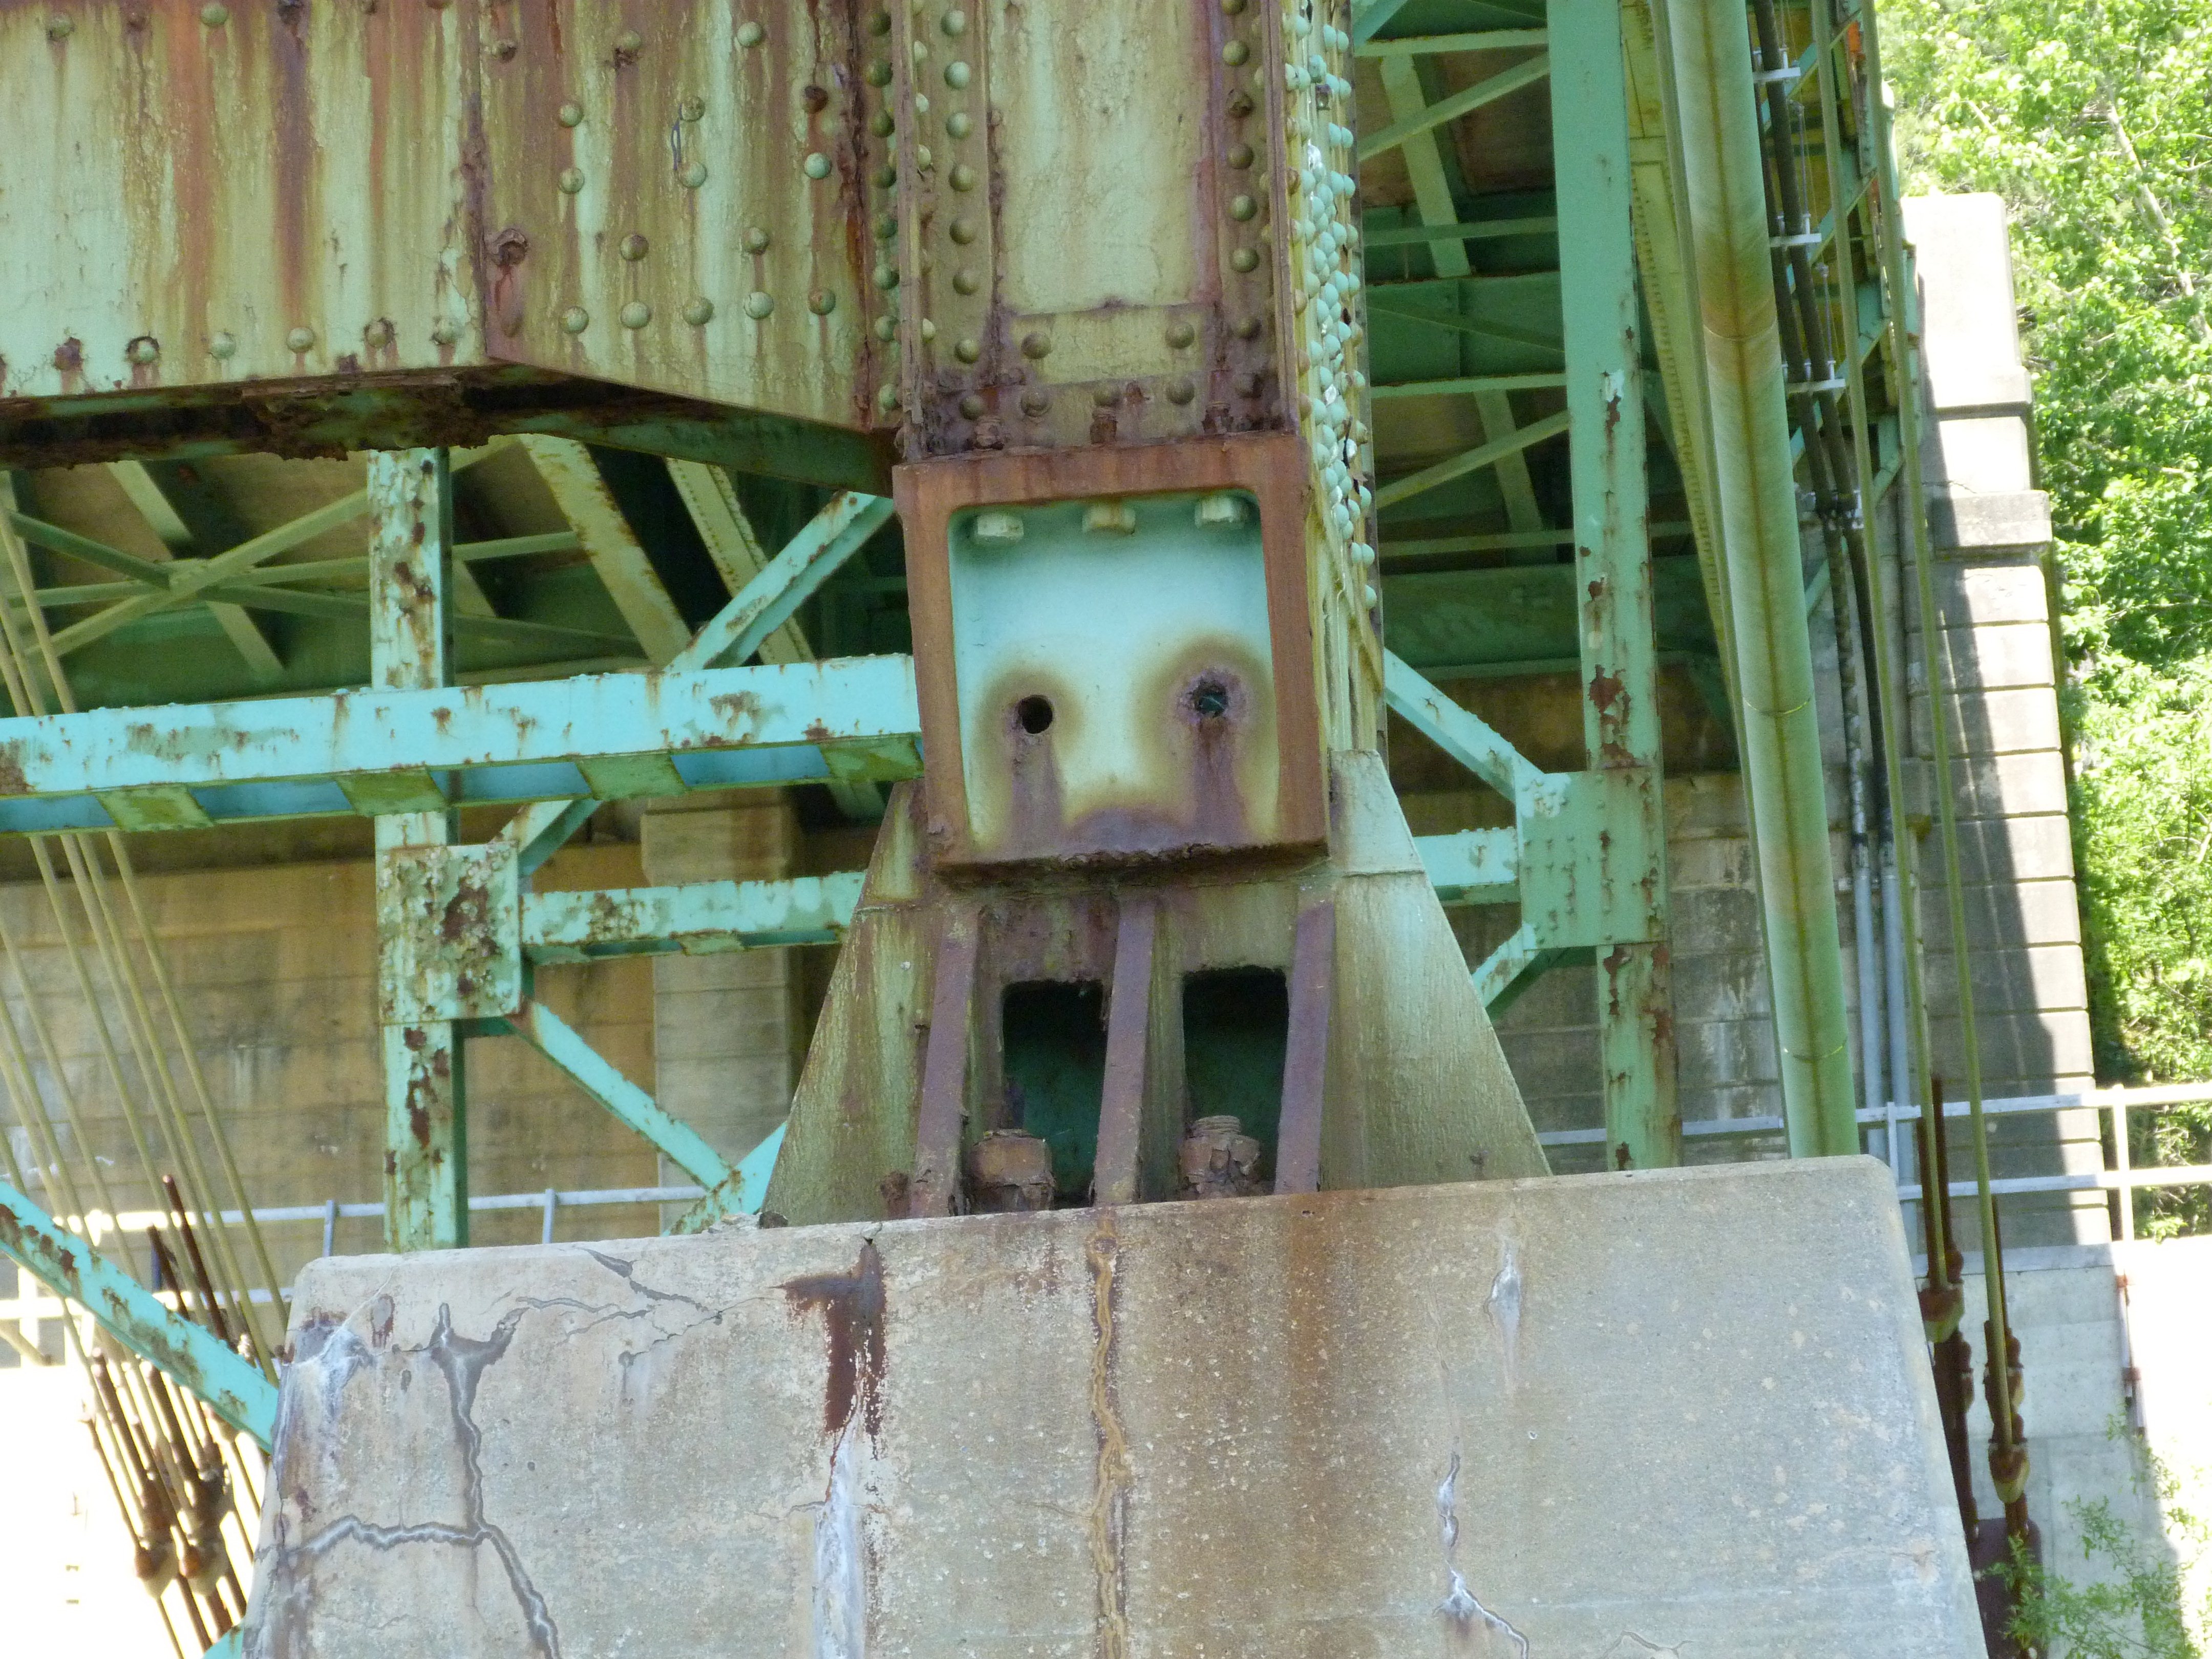
Approach span bent.
![]()

Details of approach span bents.
![]()

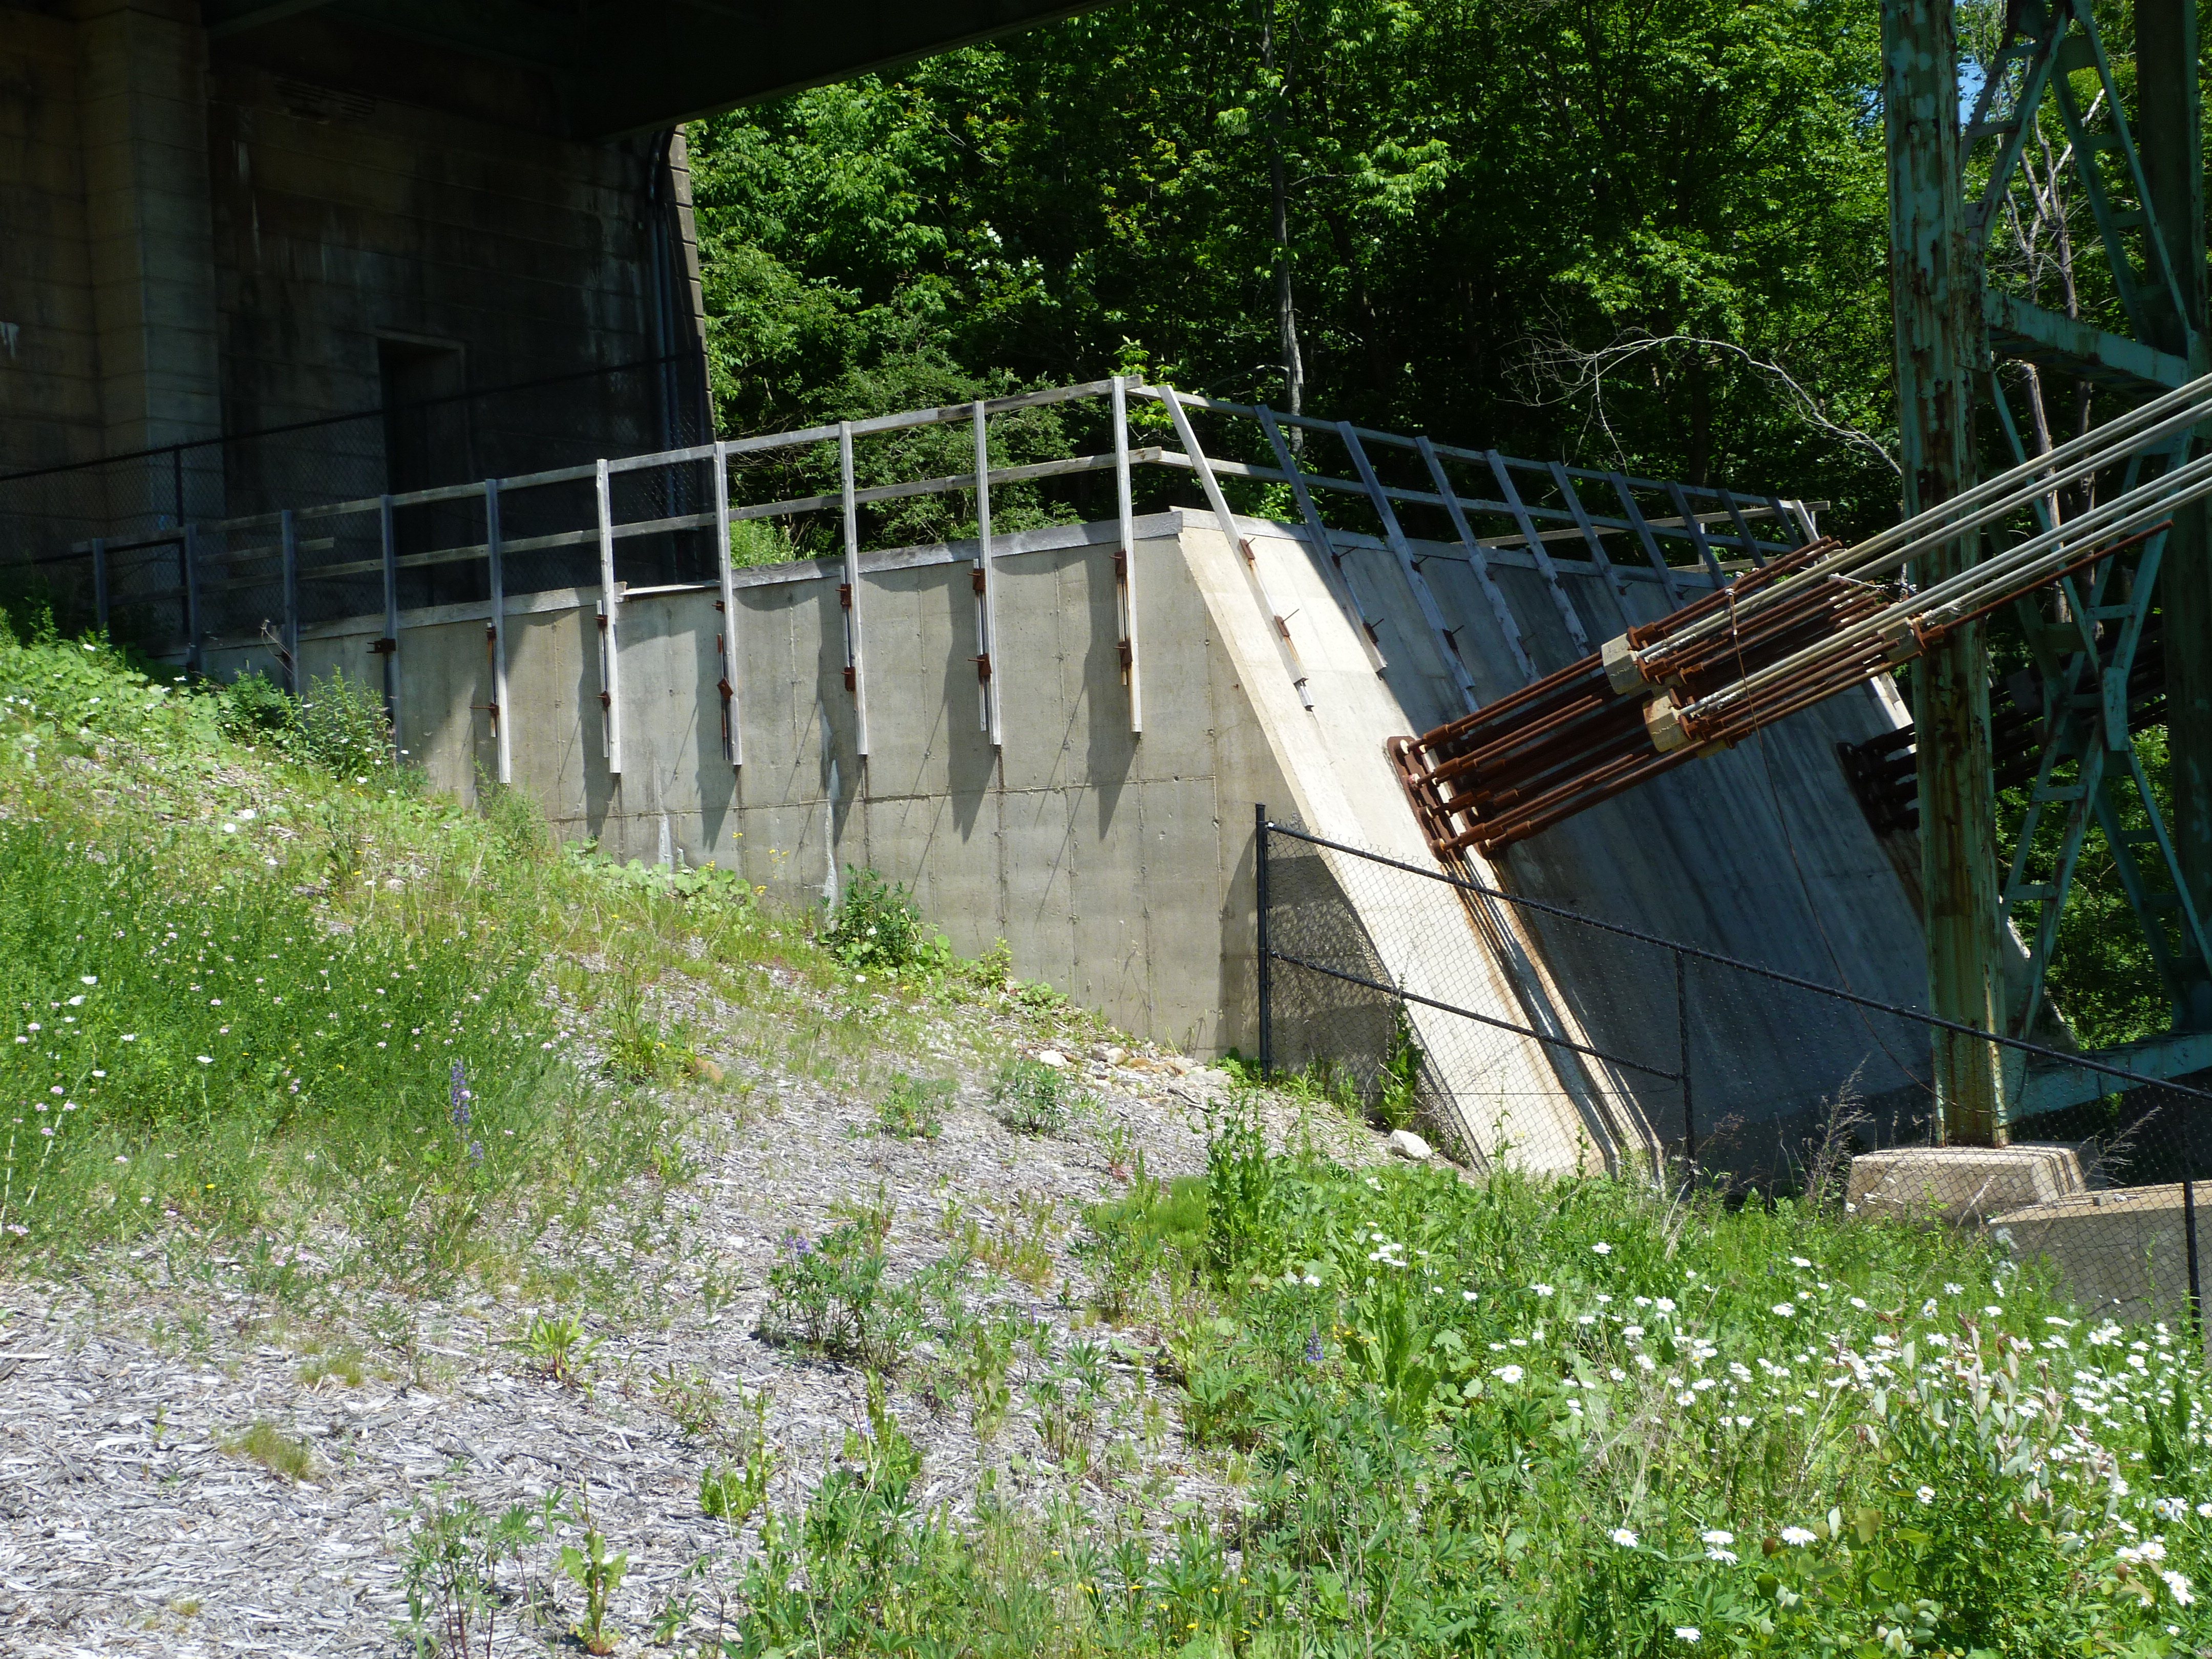
Overview showing anchorages and abutment.
![]()


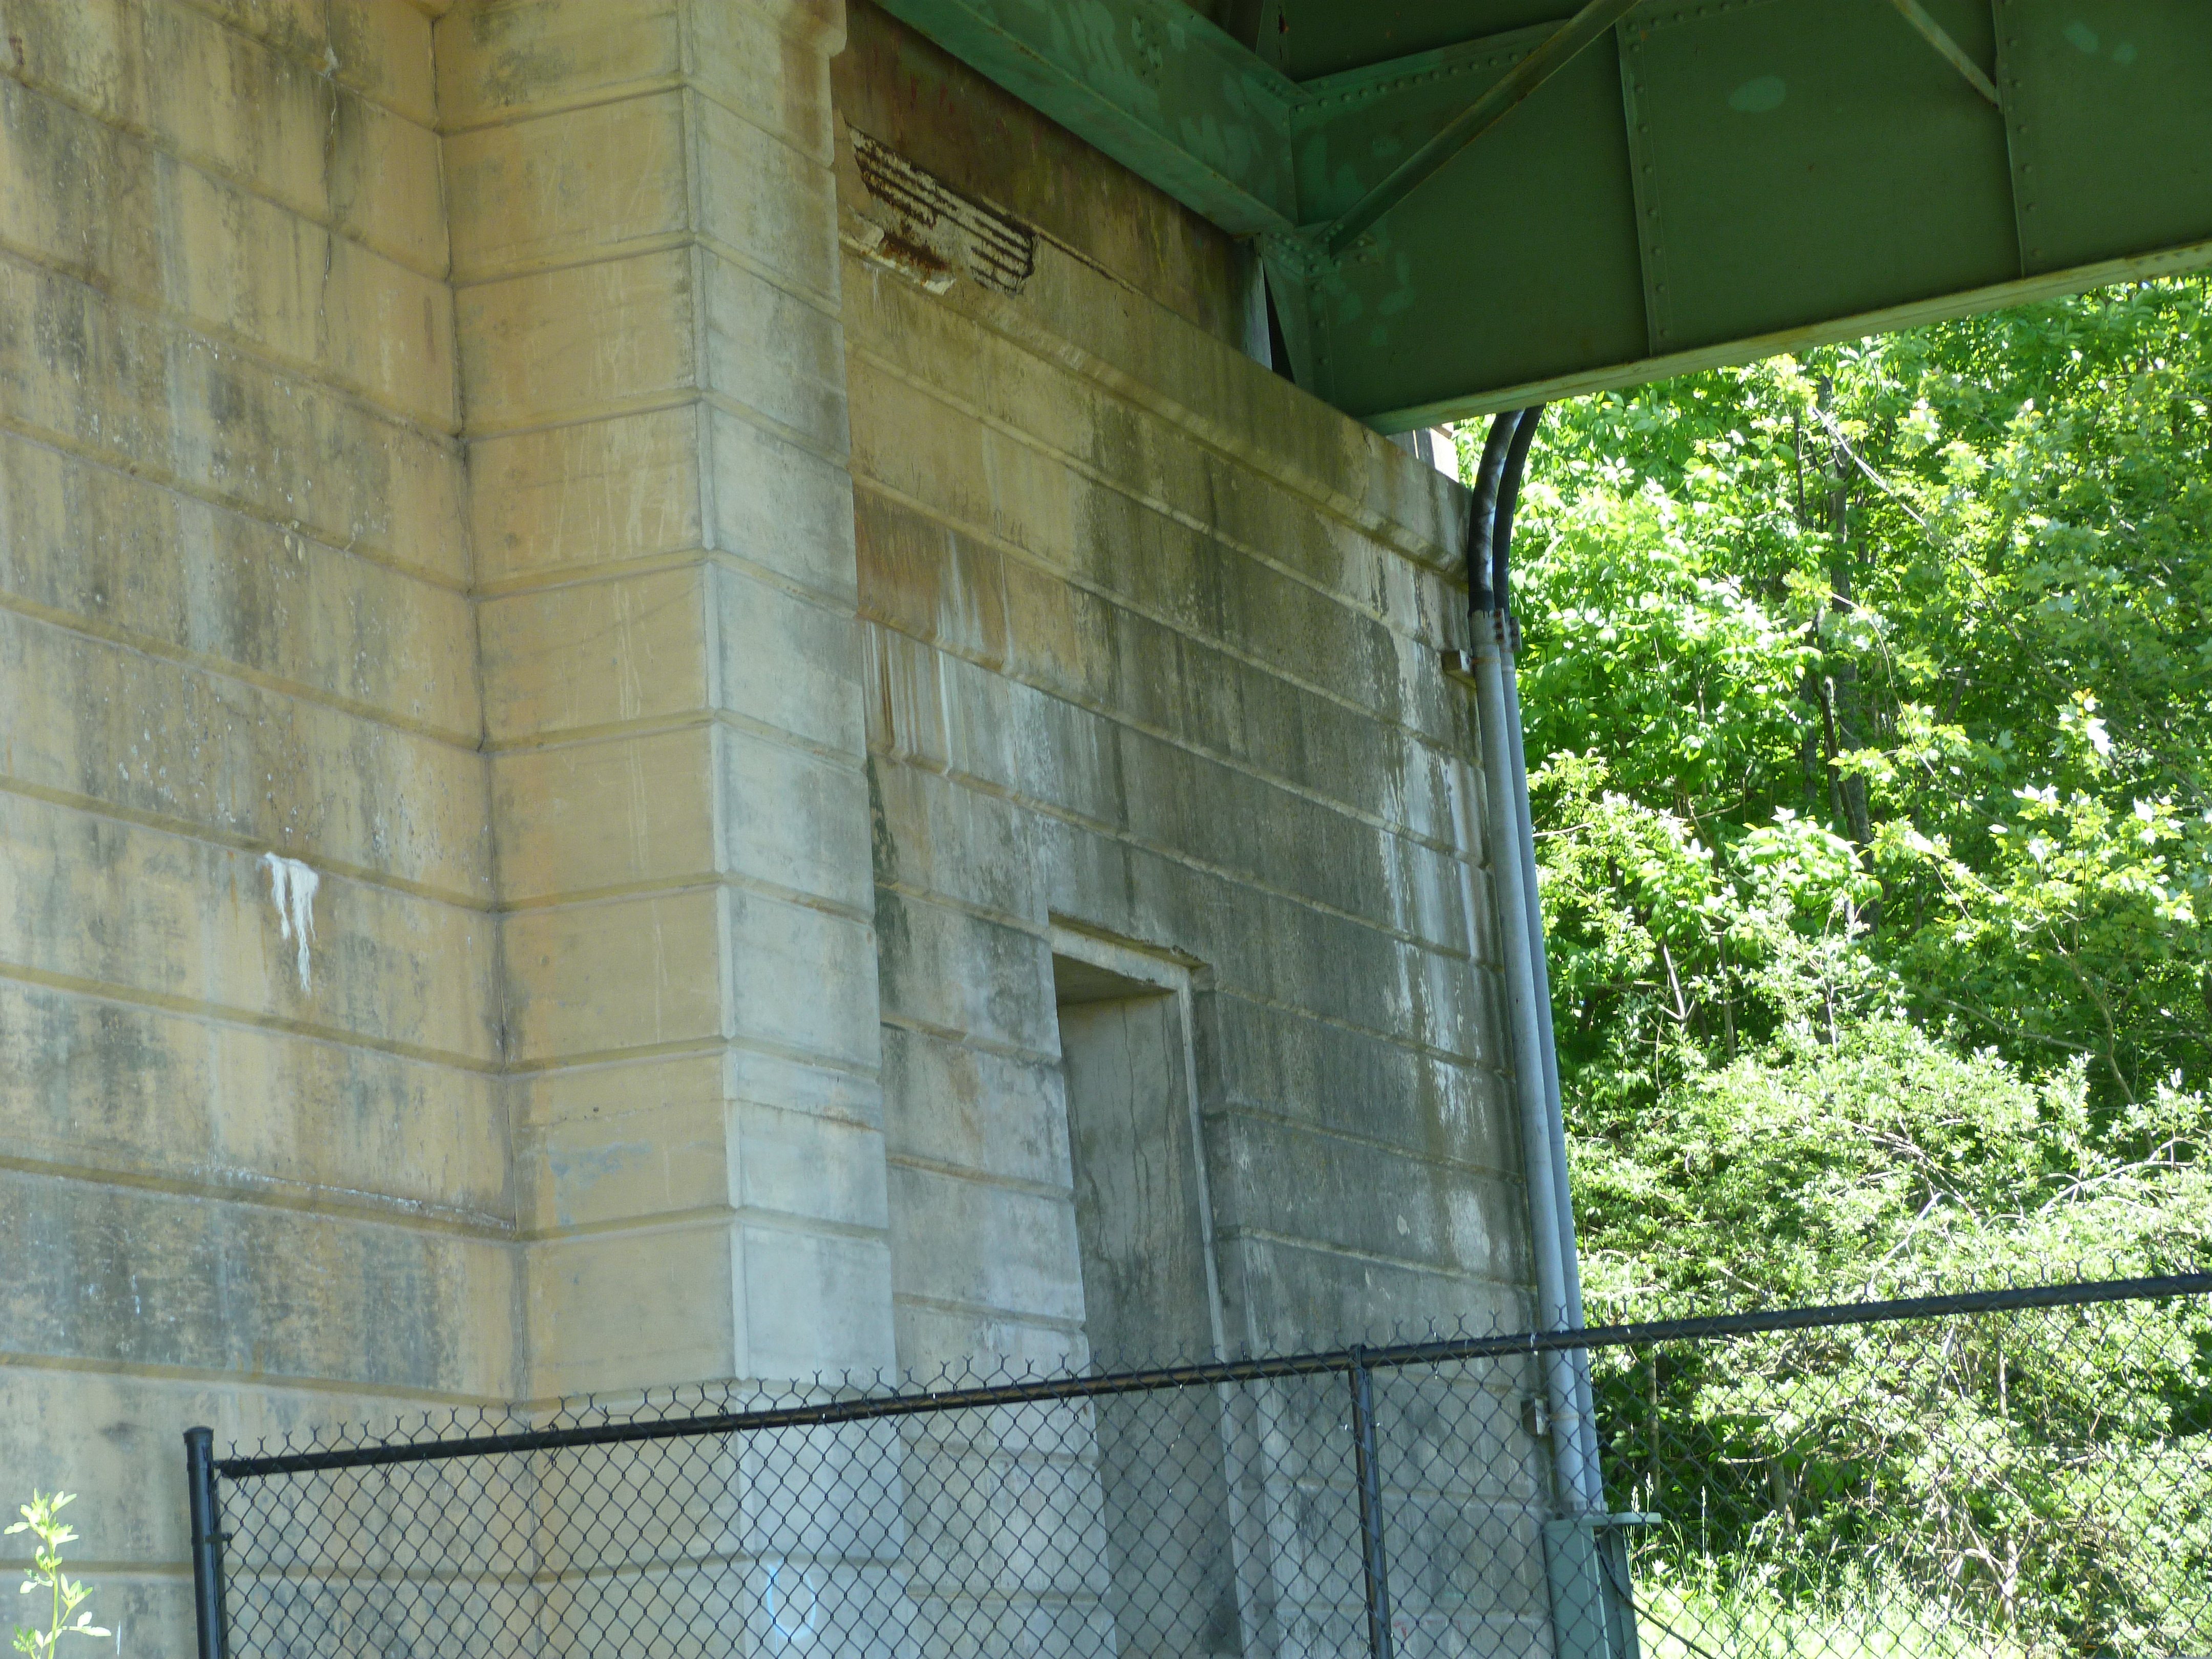


Abutment.
![]()
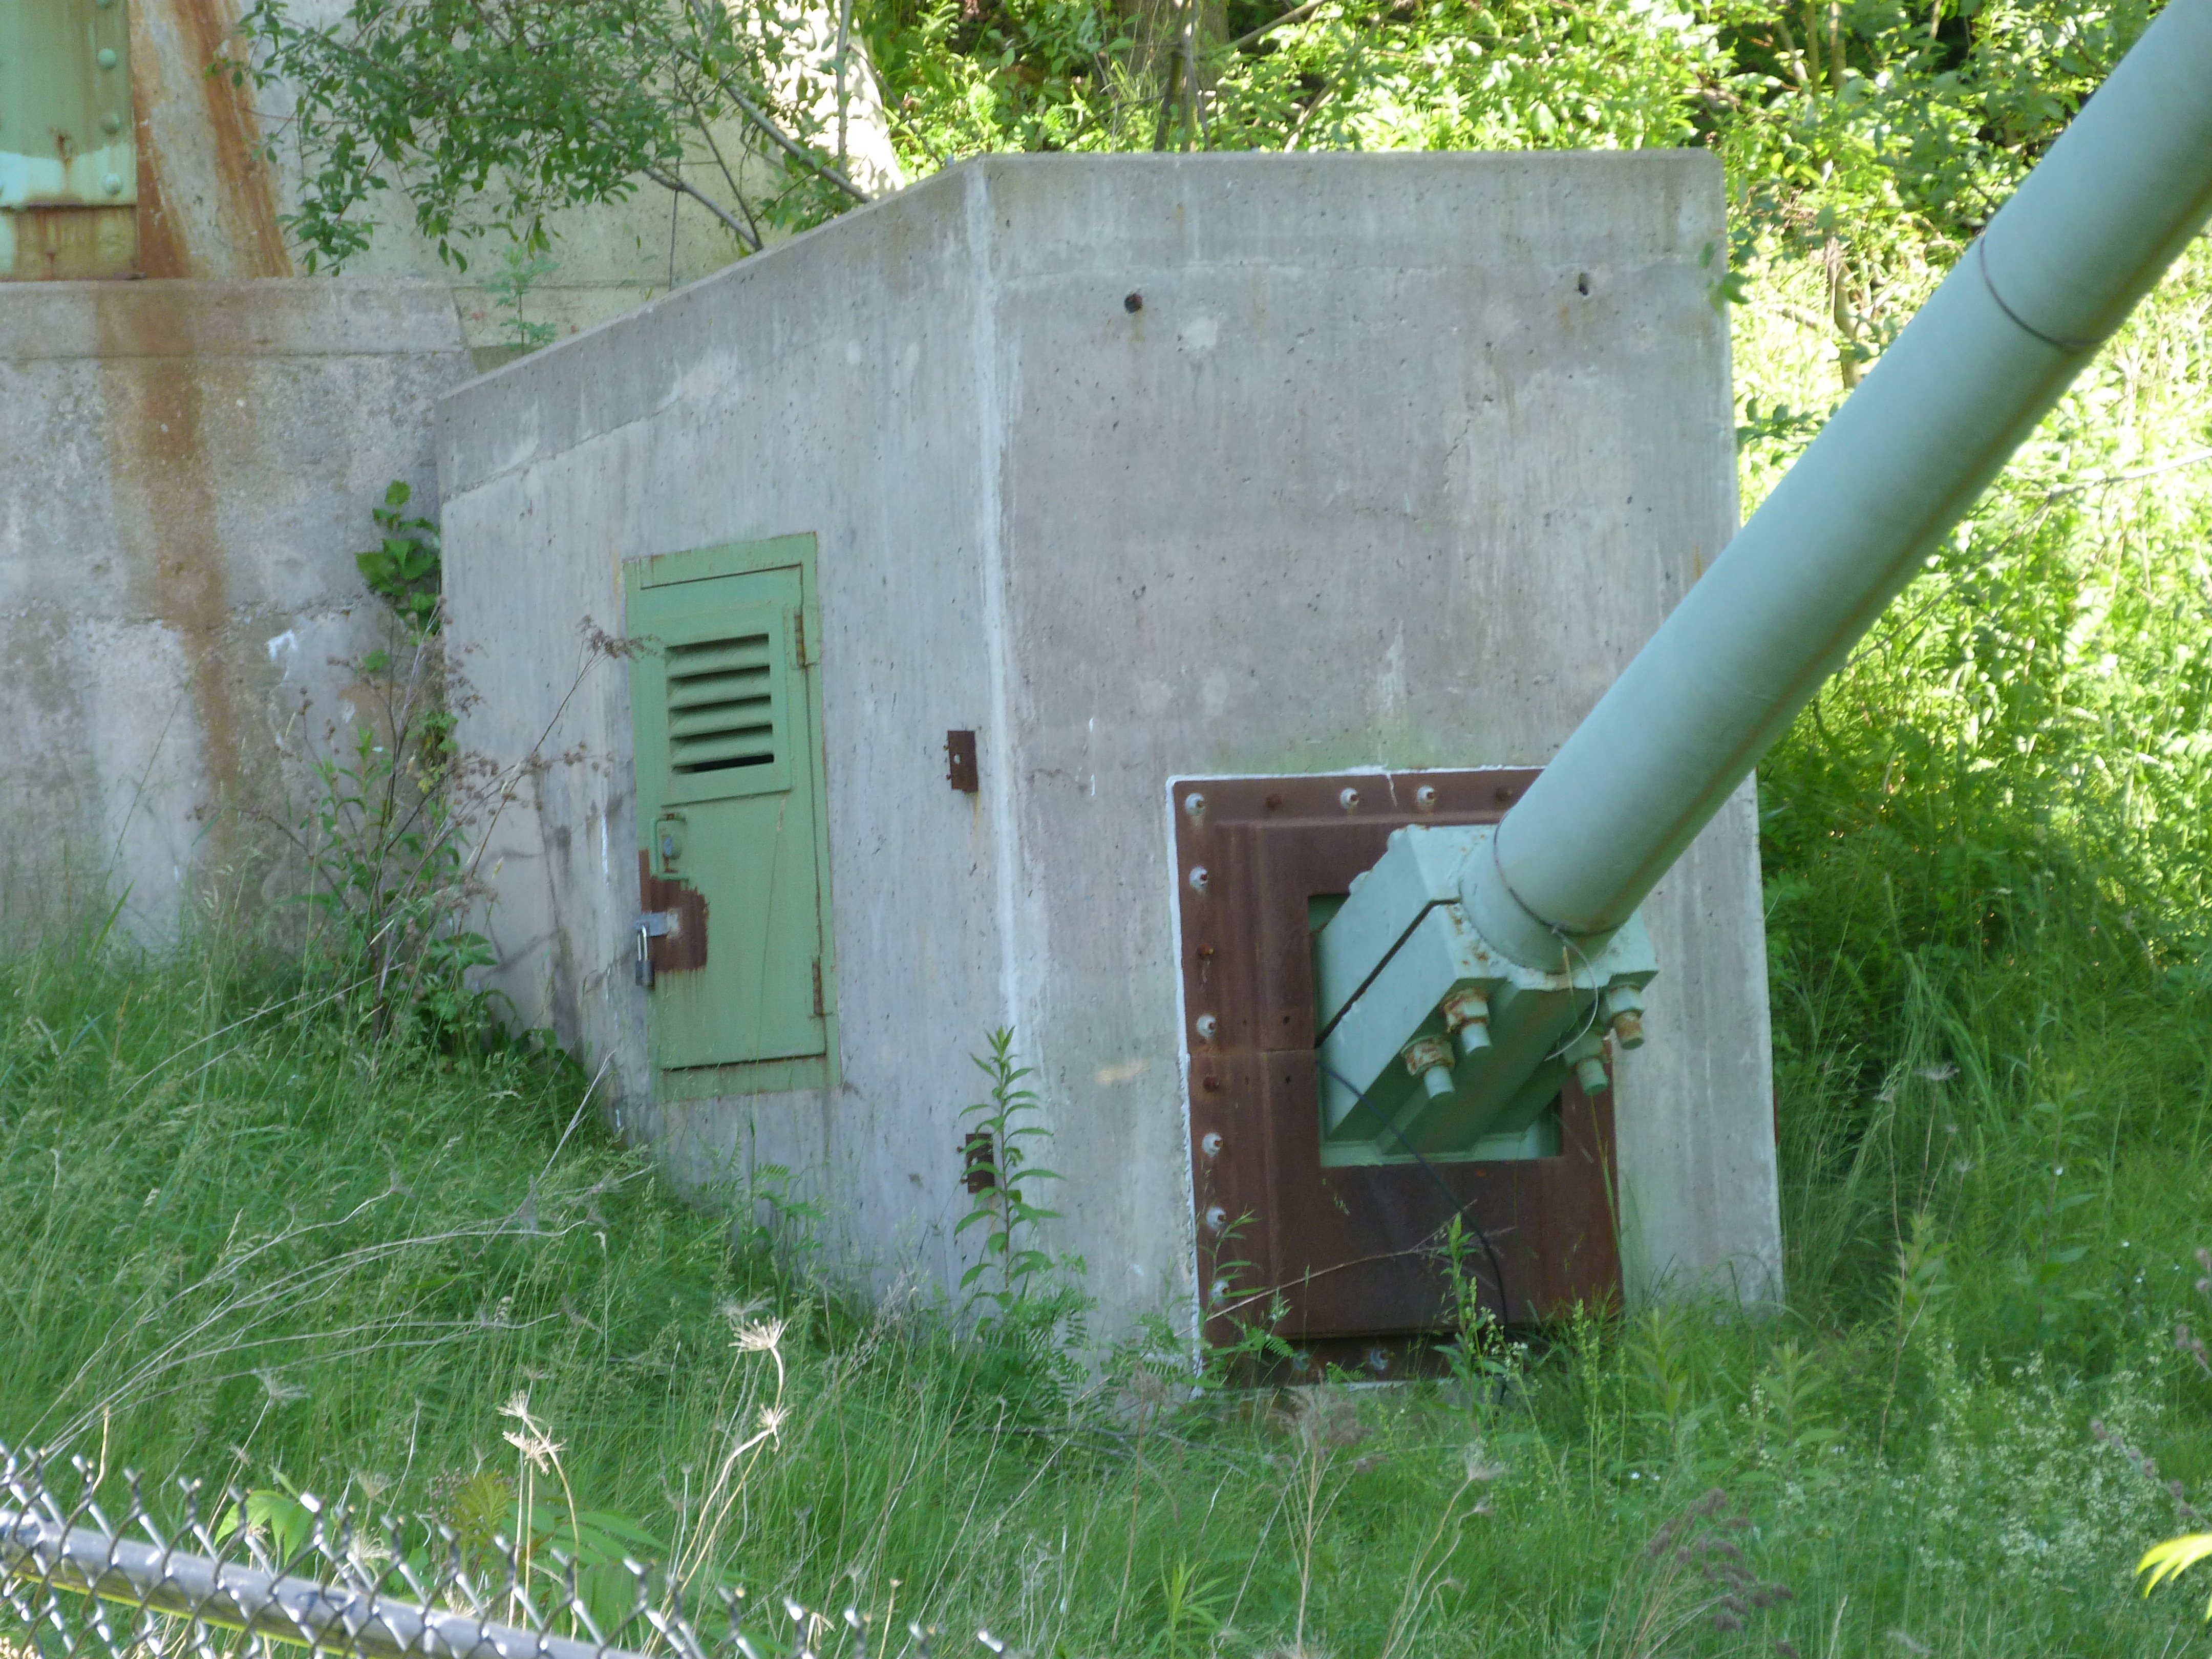
Anchorage.
![]()

Anchorage details.
![]()

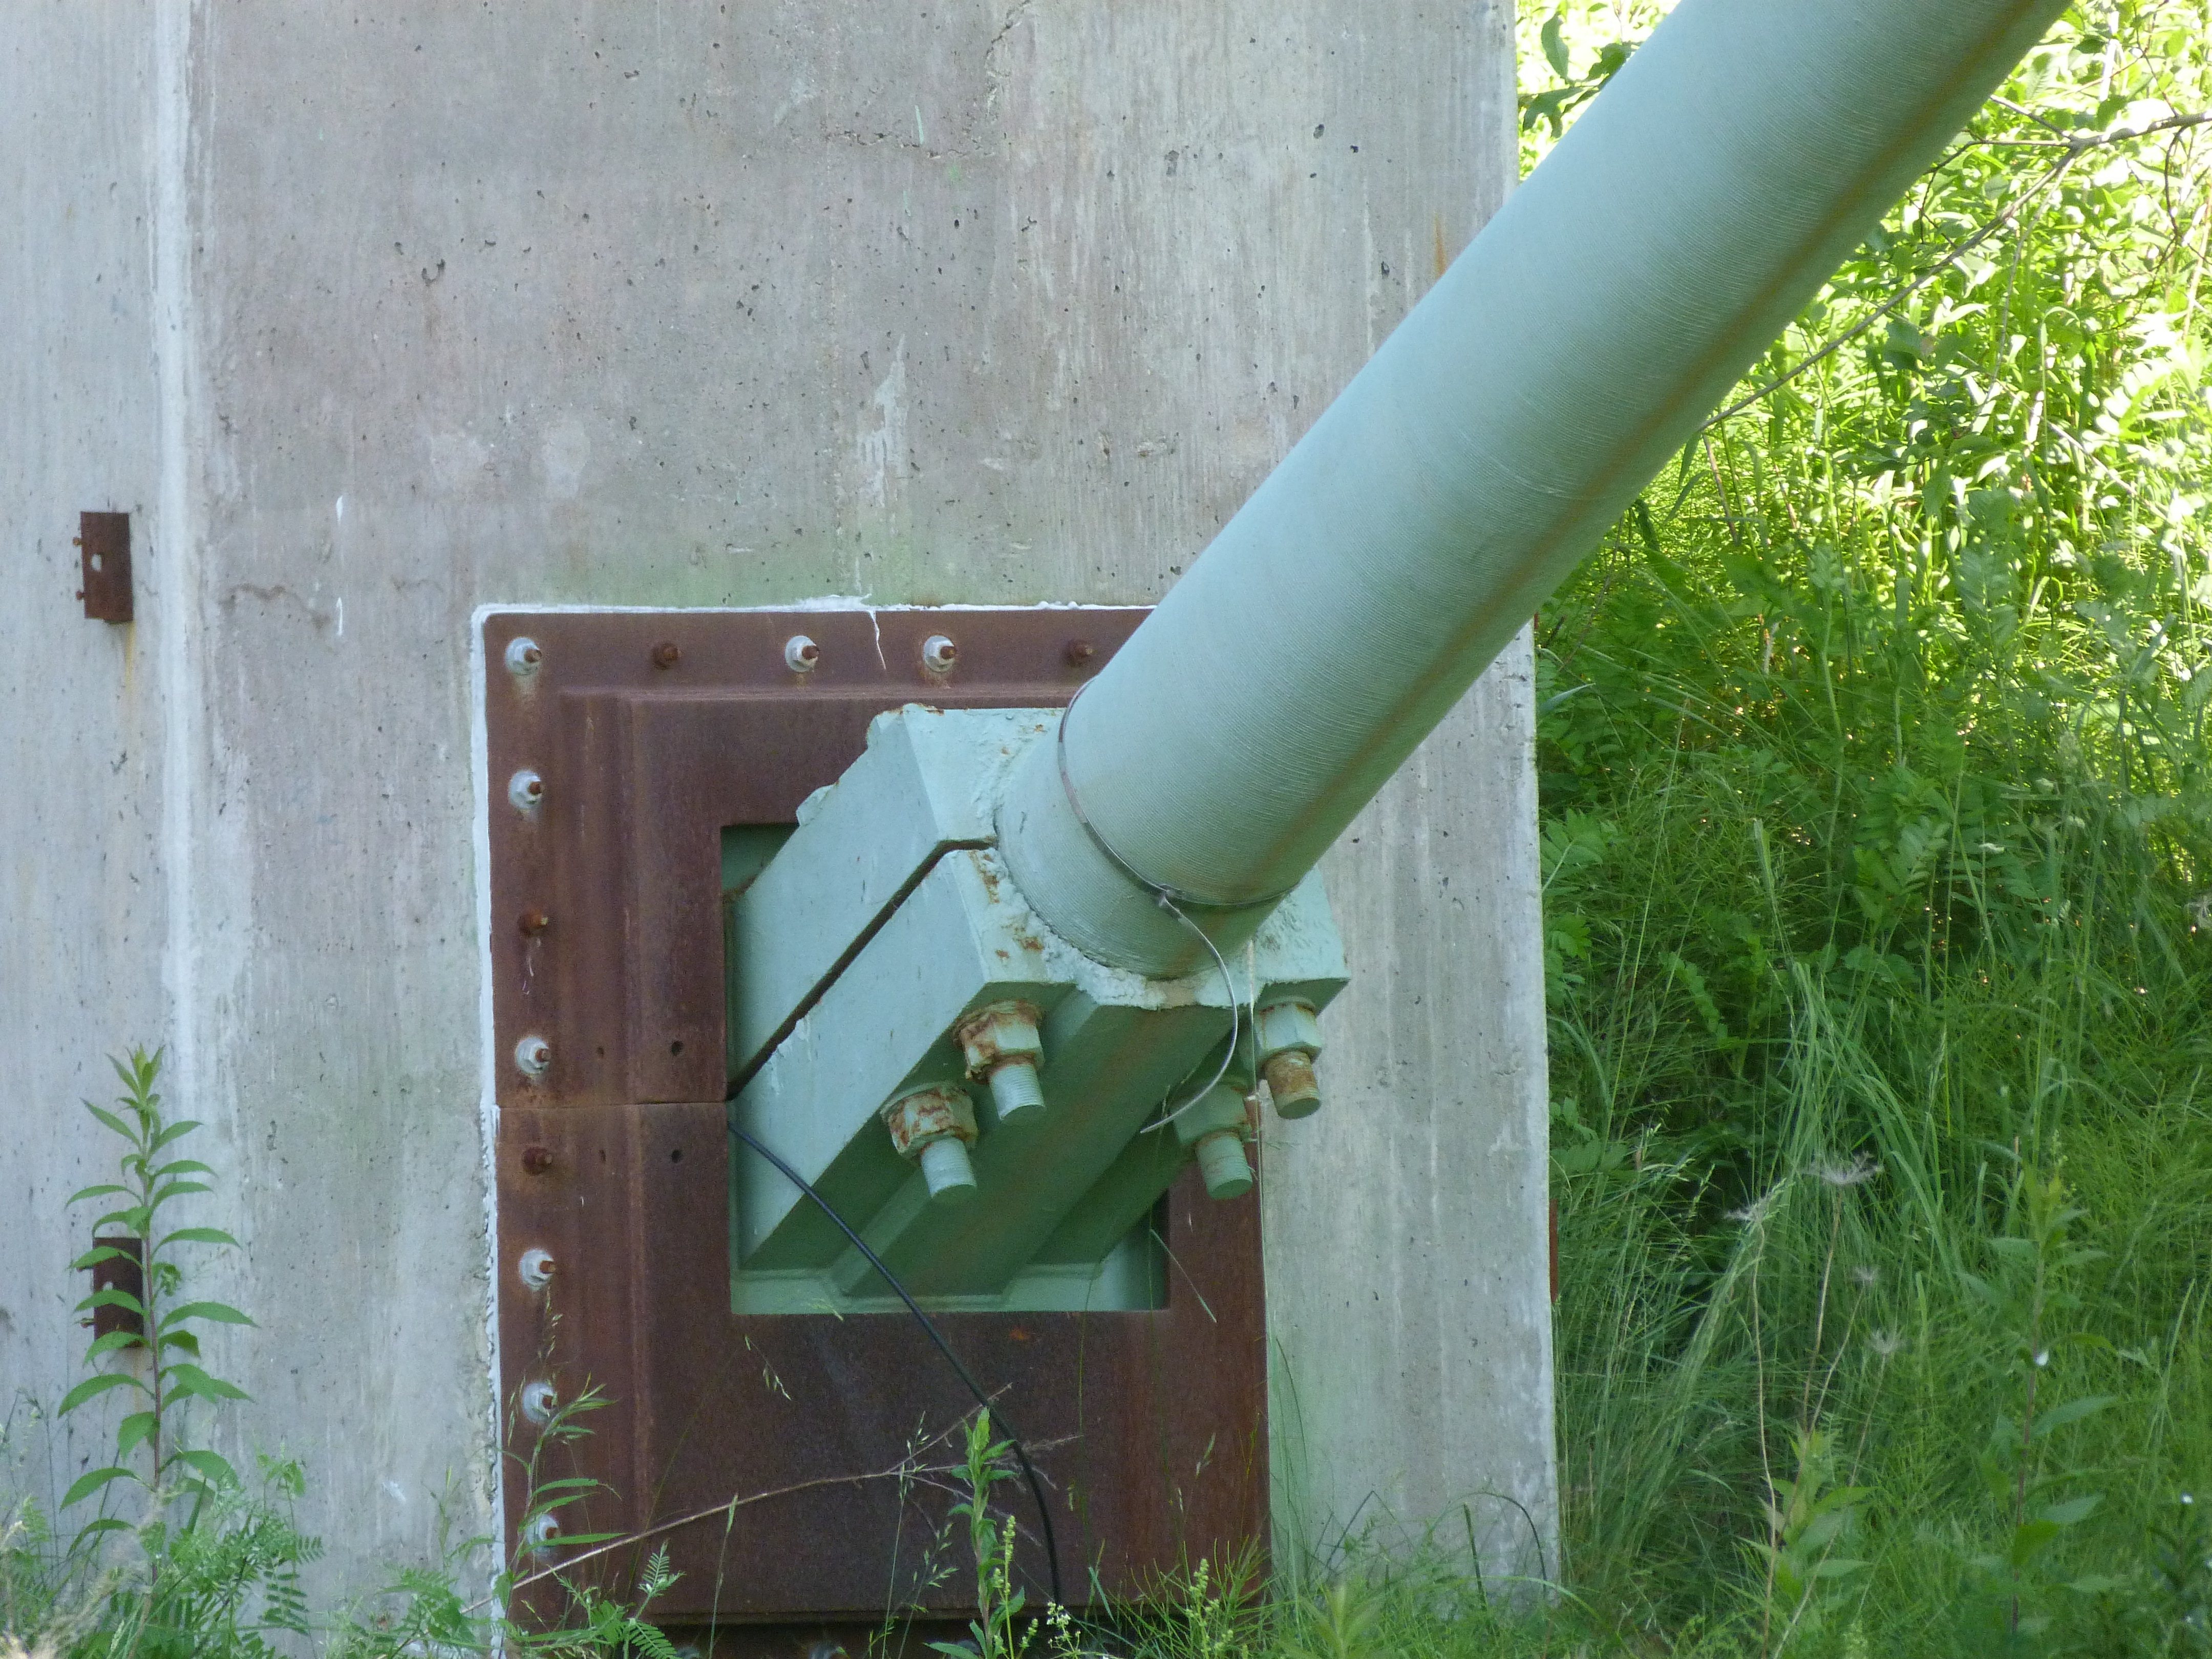
Supplemental cable anchorage.
![]()
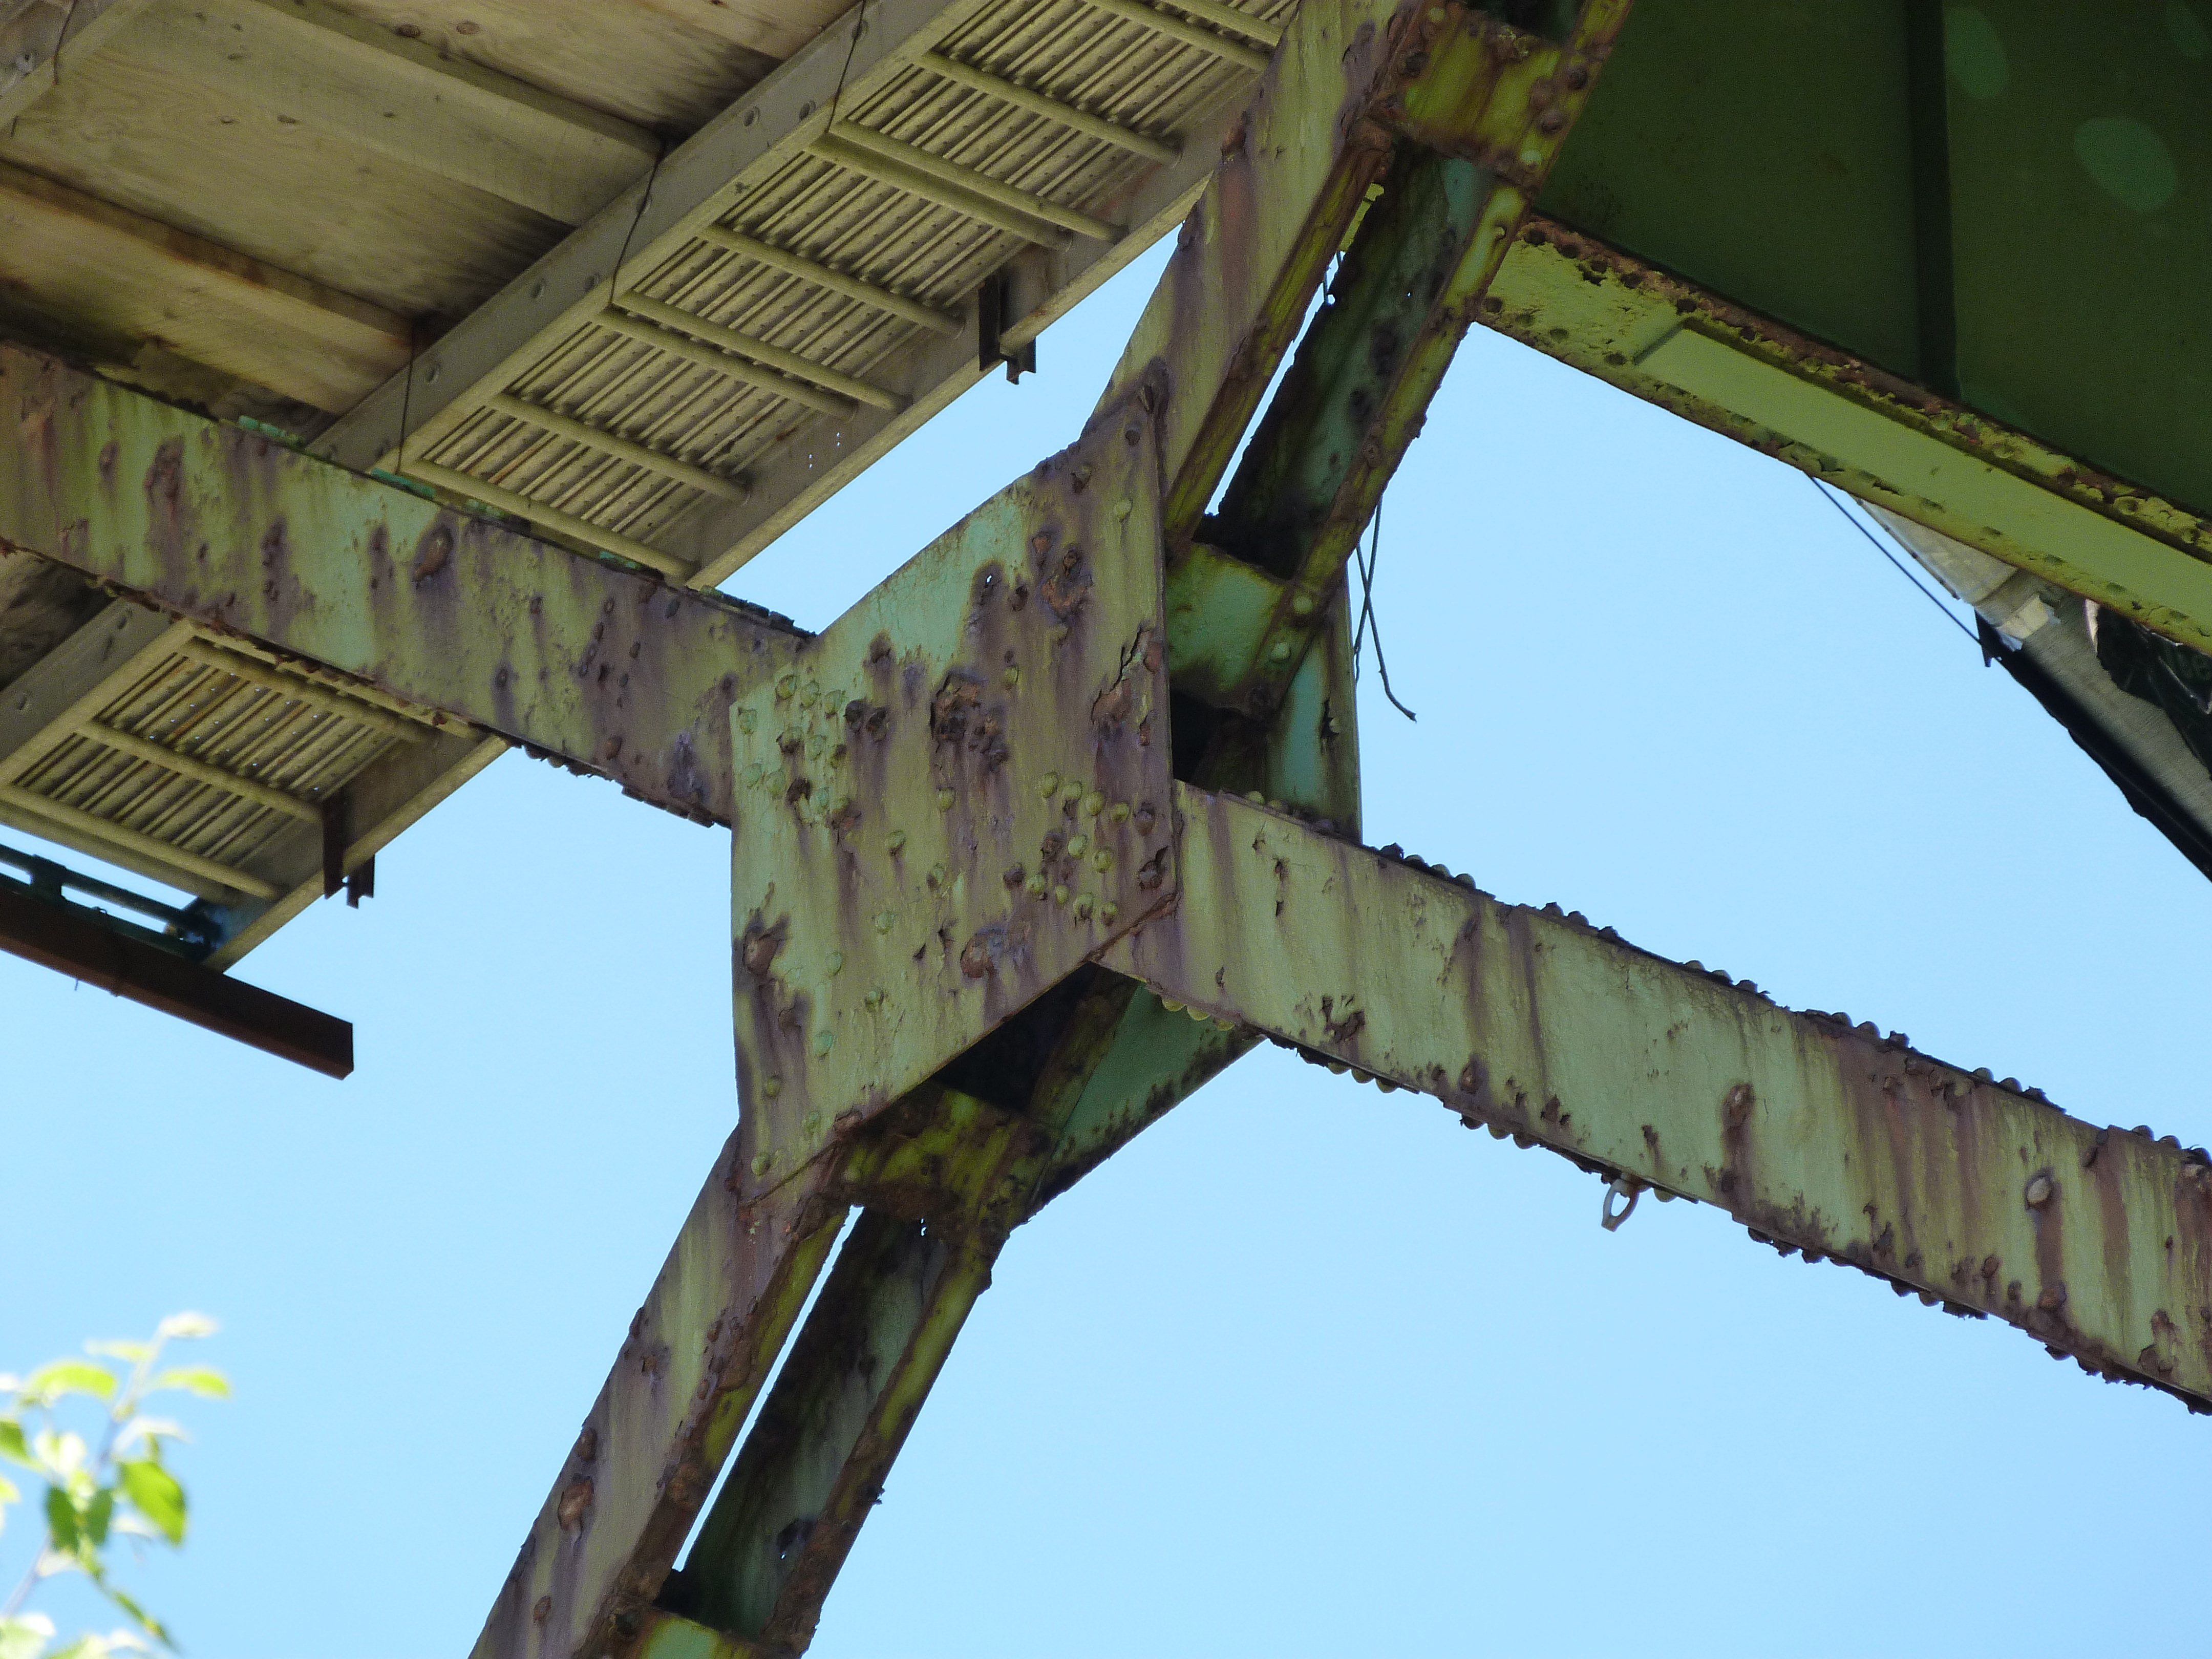

Bracing connections on bent.
![]()
![]()
| Back |
| Home |
| Top |

![]()