
Uncredited photos on this page taken by: Nathan Holth and Rick McOmber. Unless stated in a caption, all photos are Copyright with All Rights Reserved. Learn about reuse of our photos.
![]()
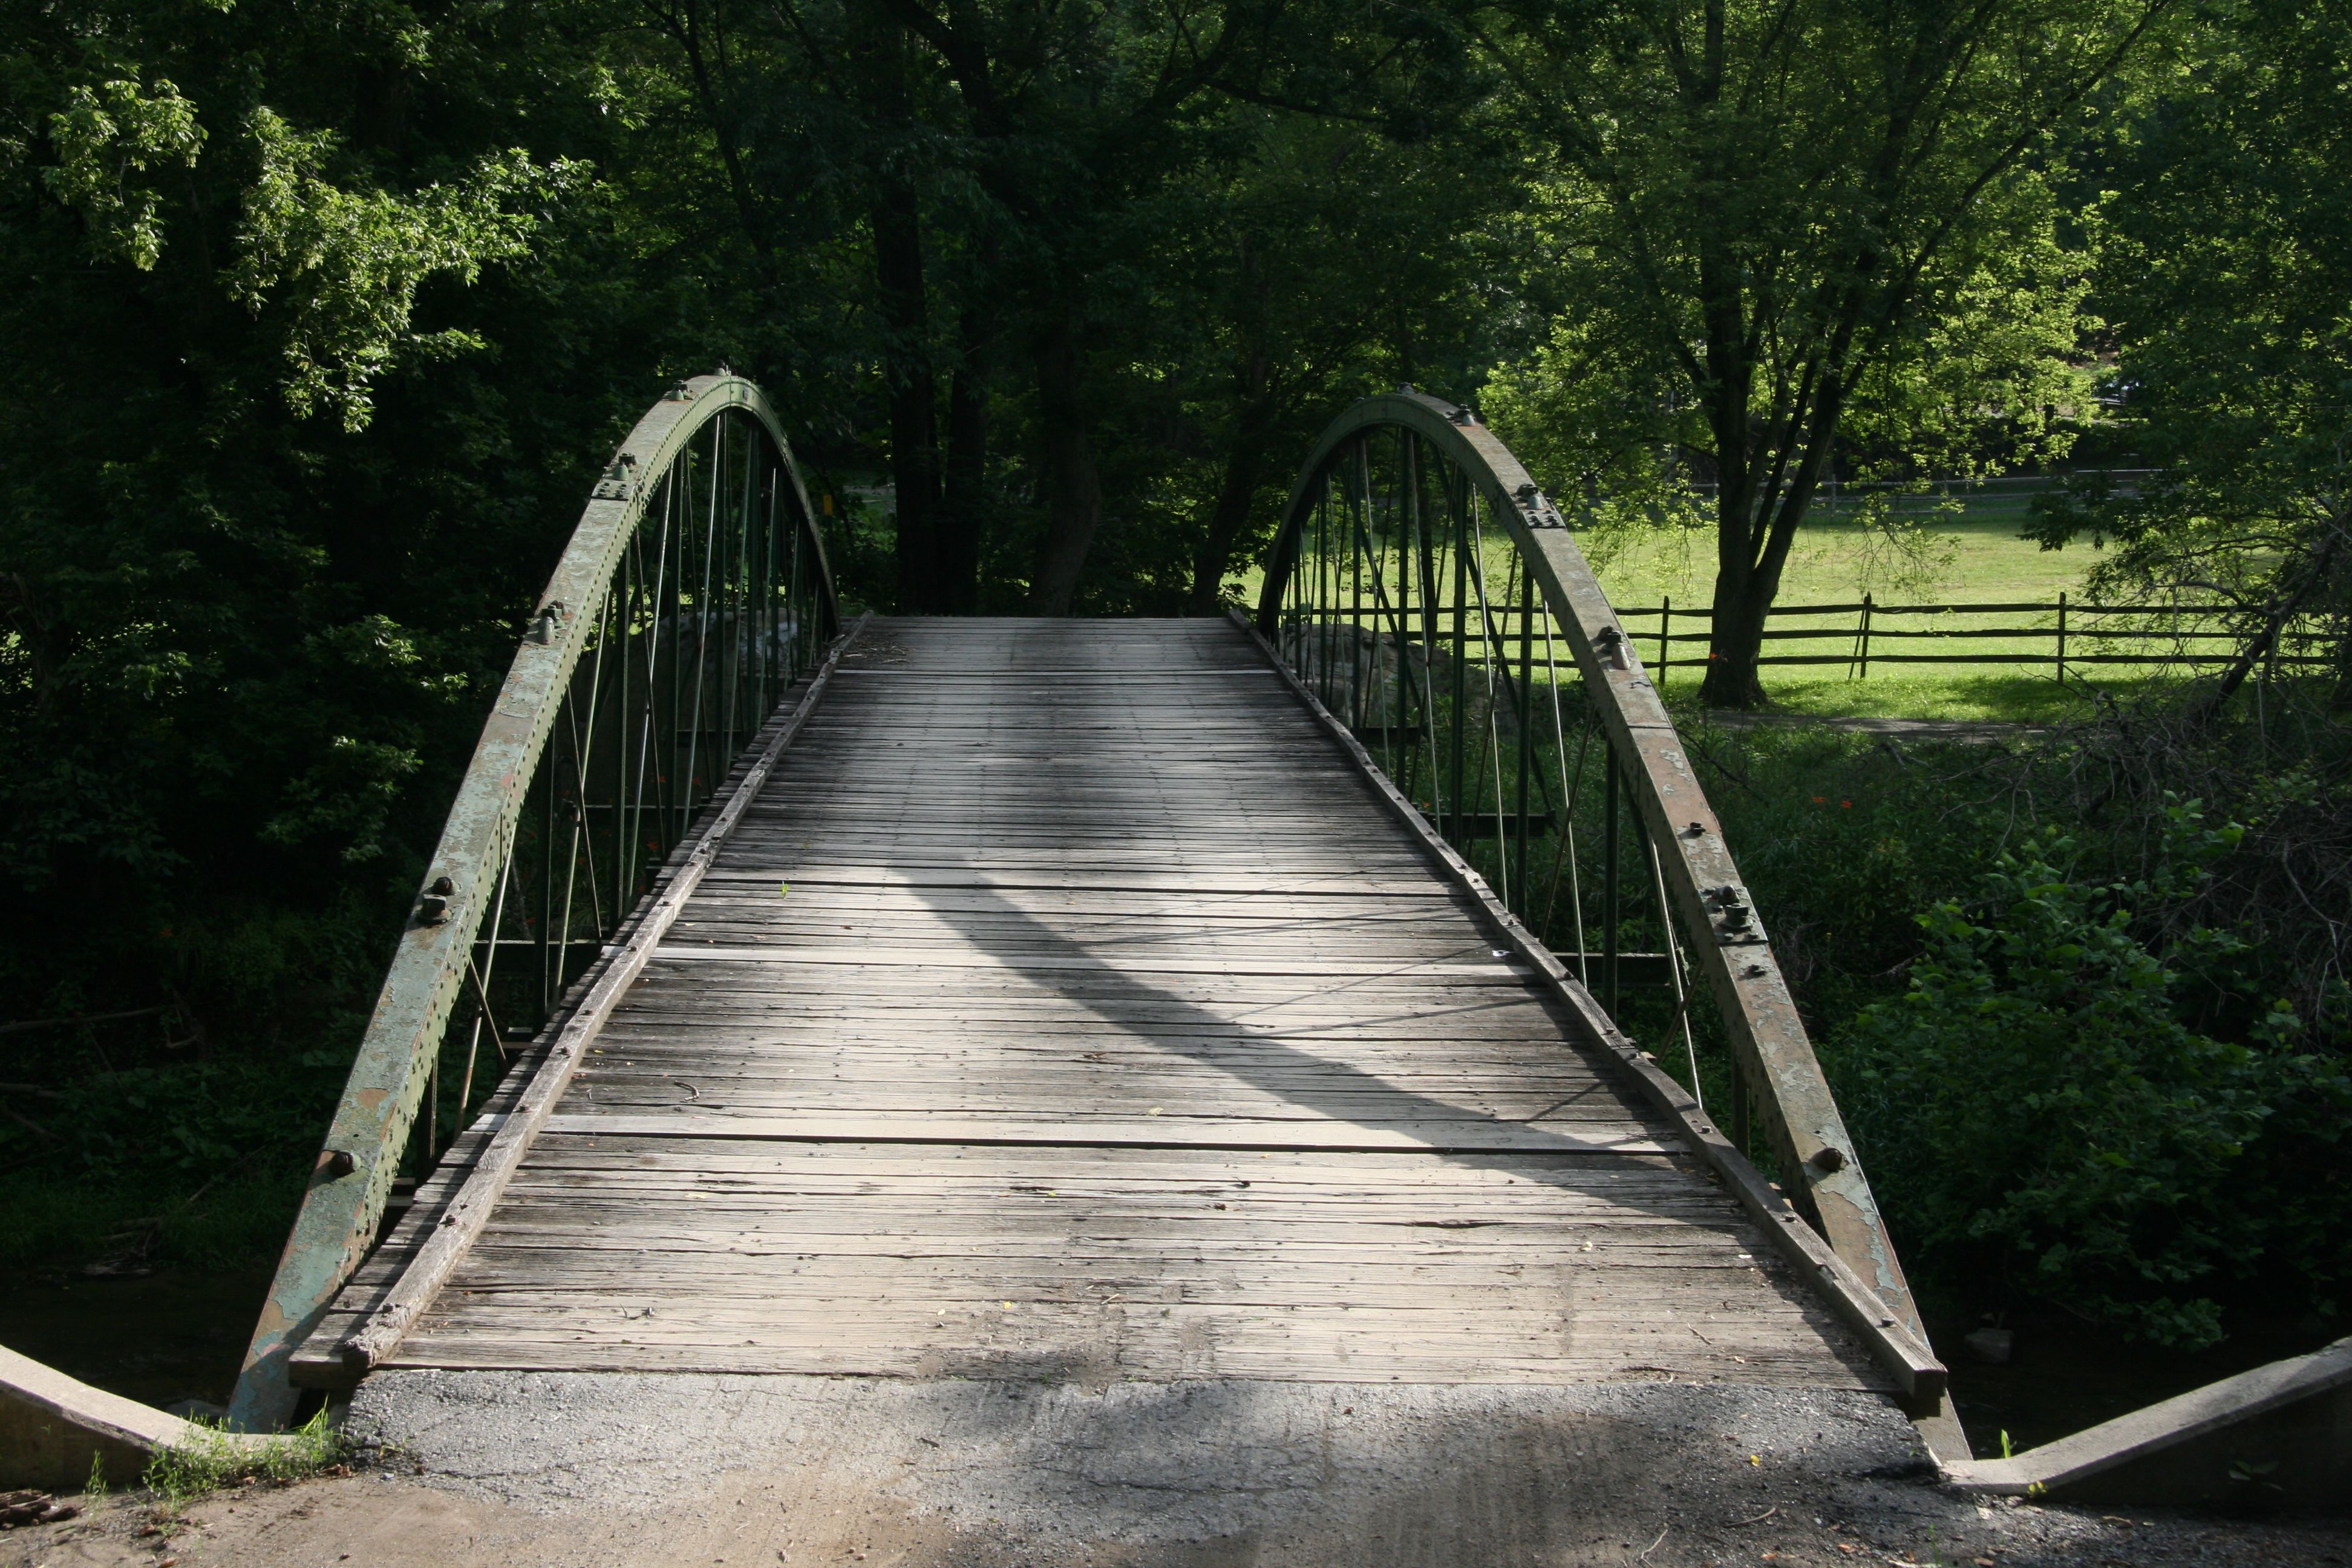


Portal views.
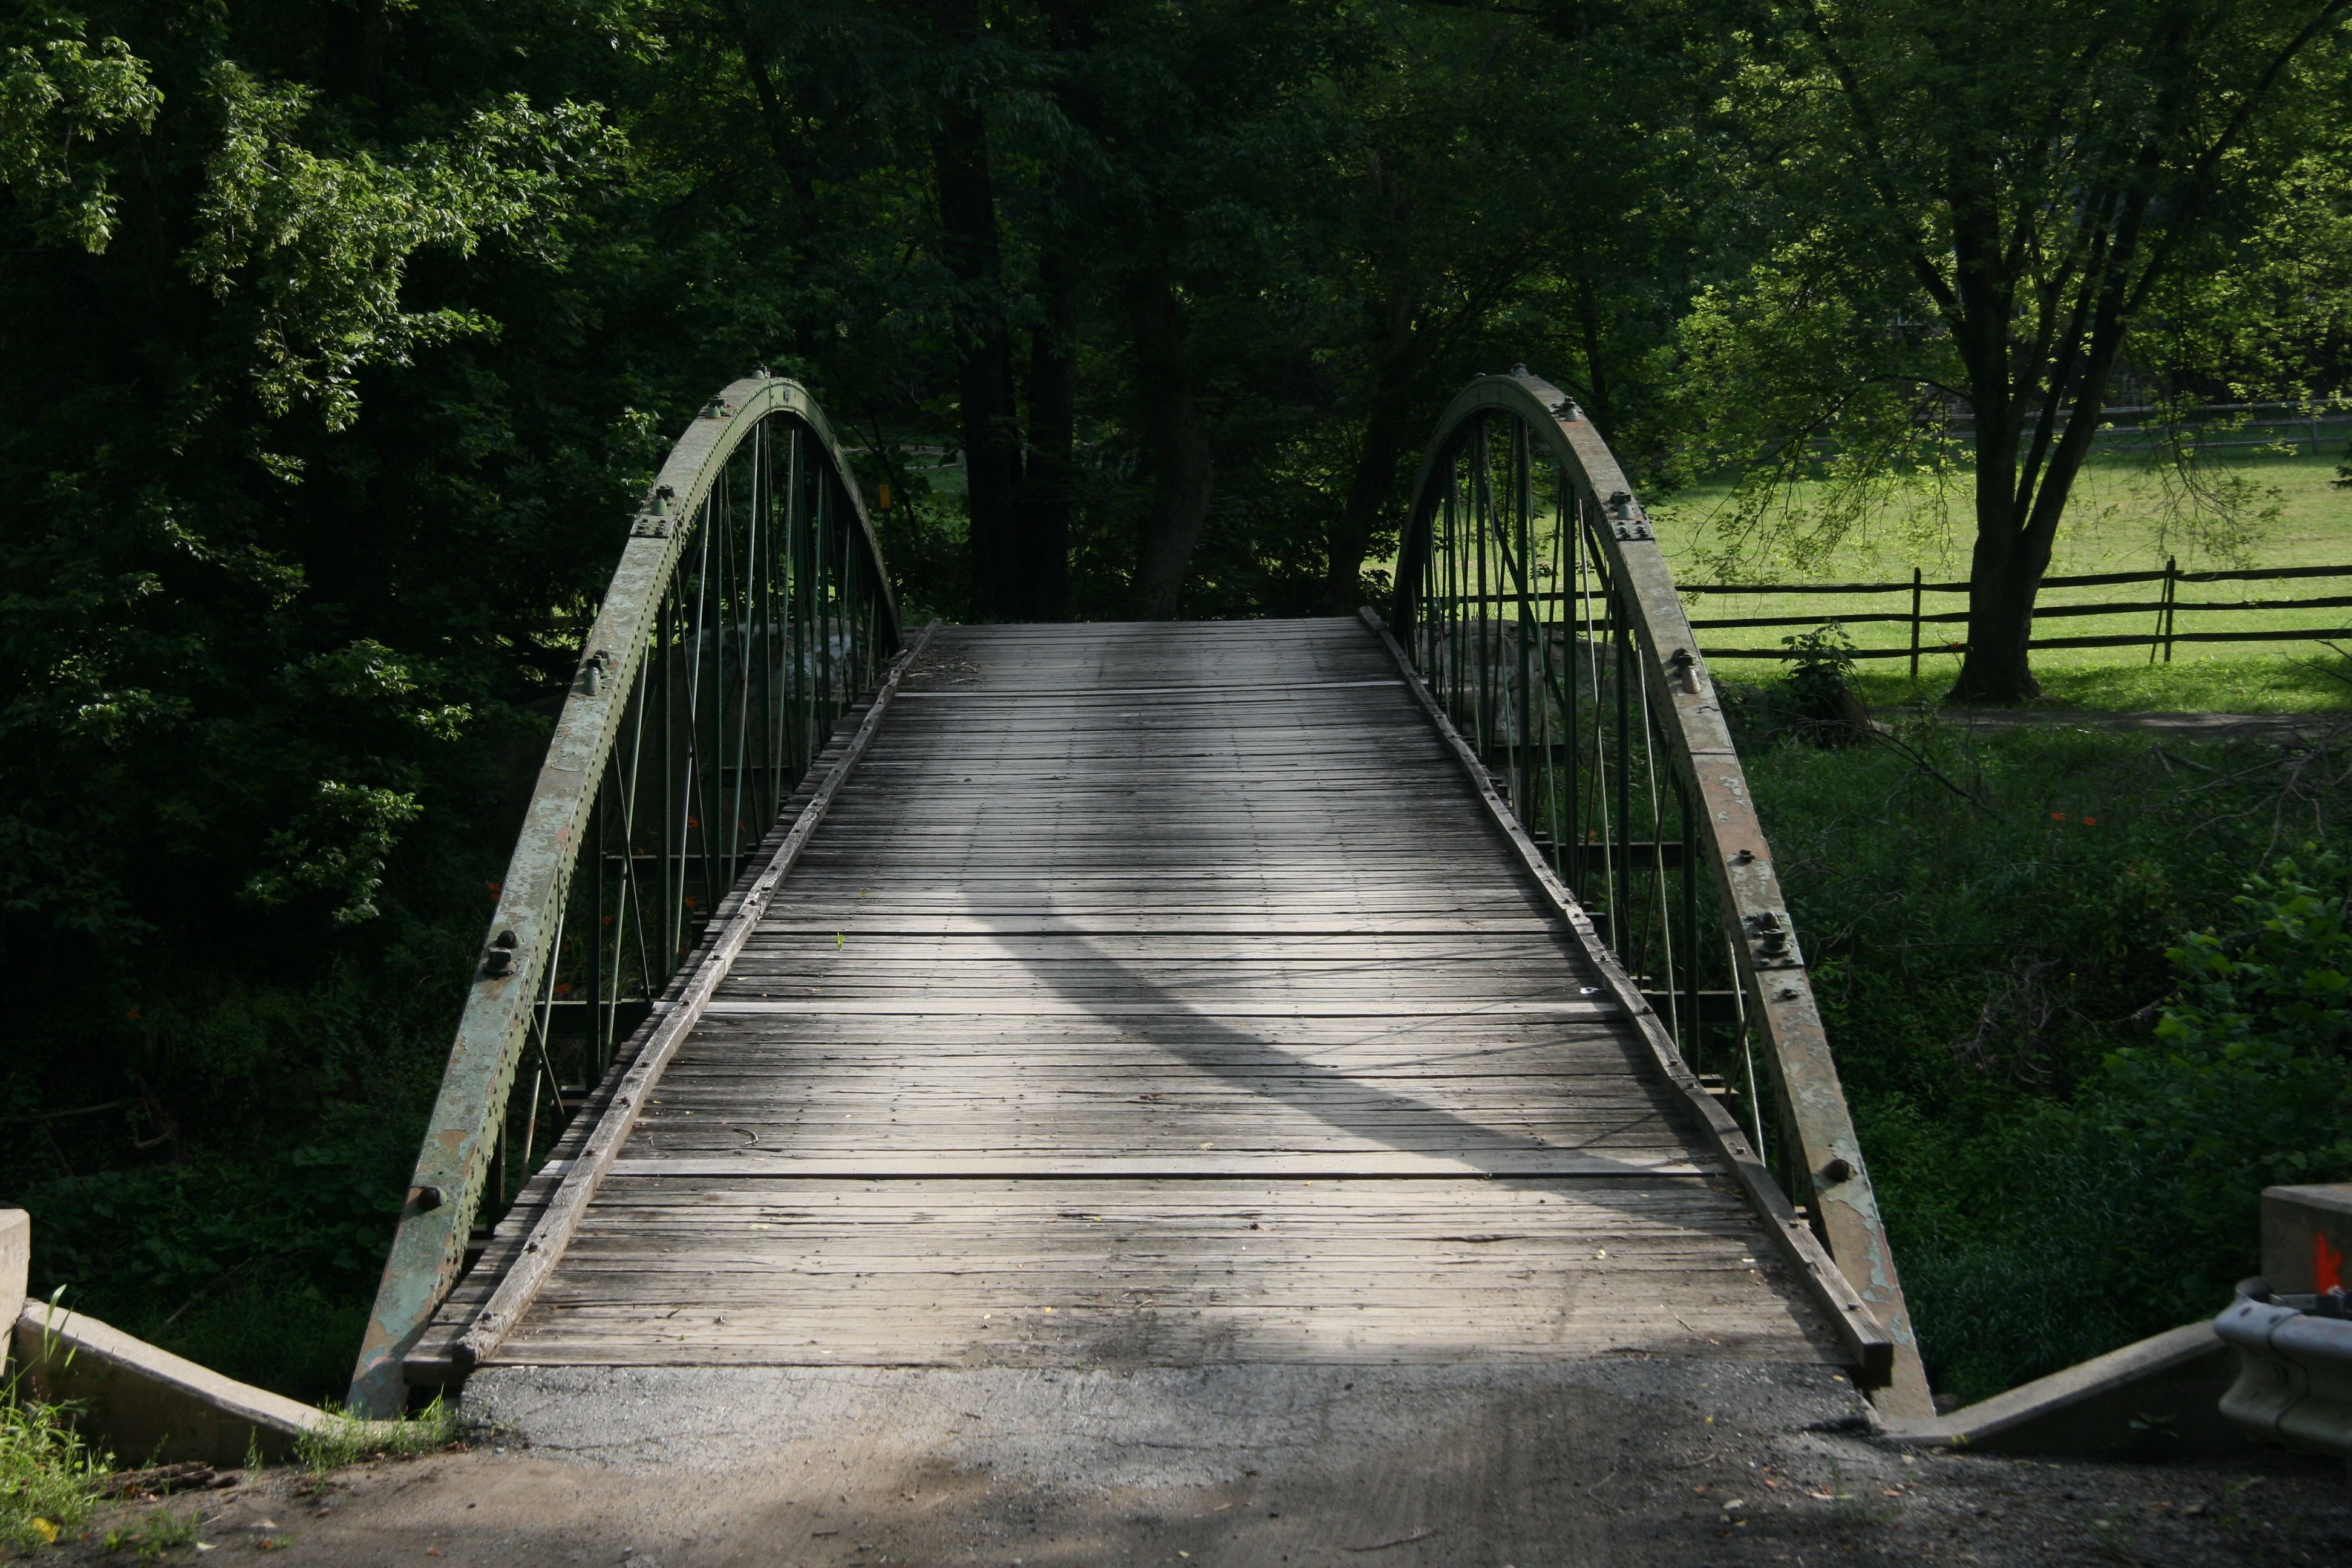
![]()


Portal views on bridge.
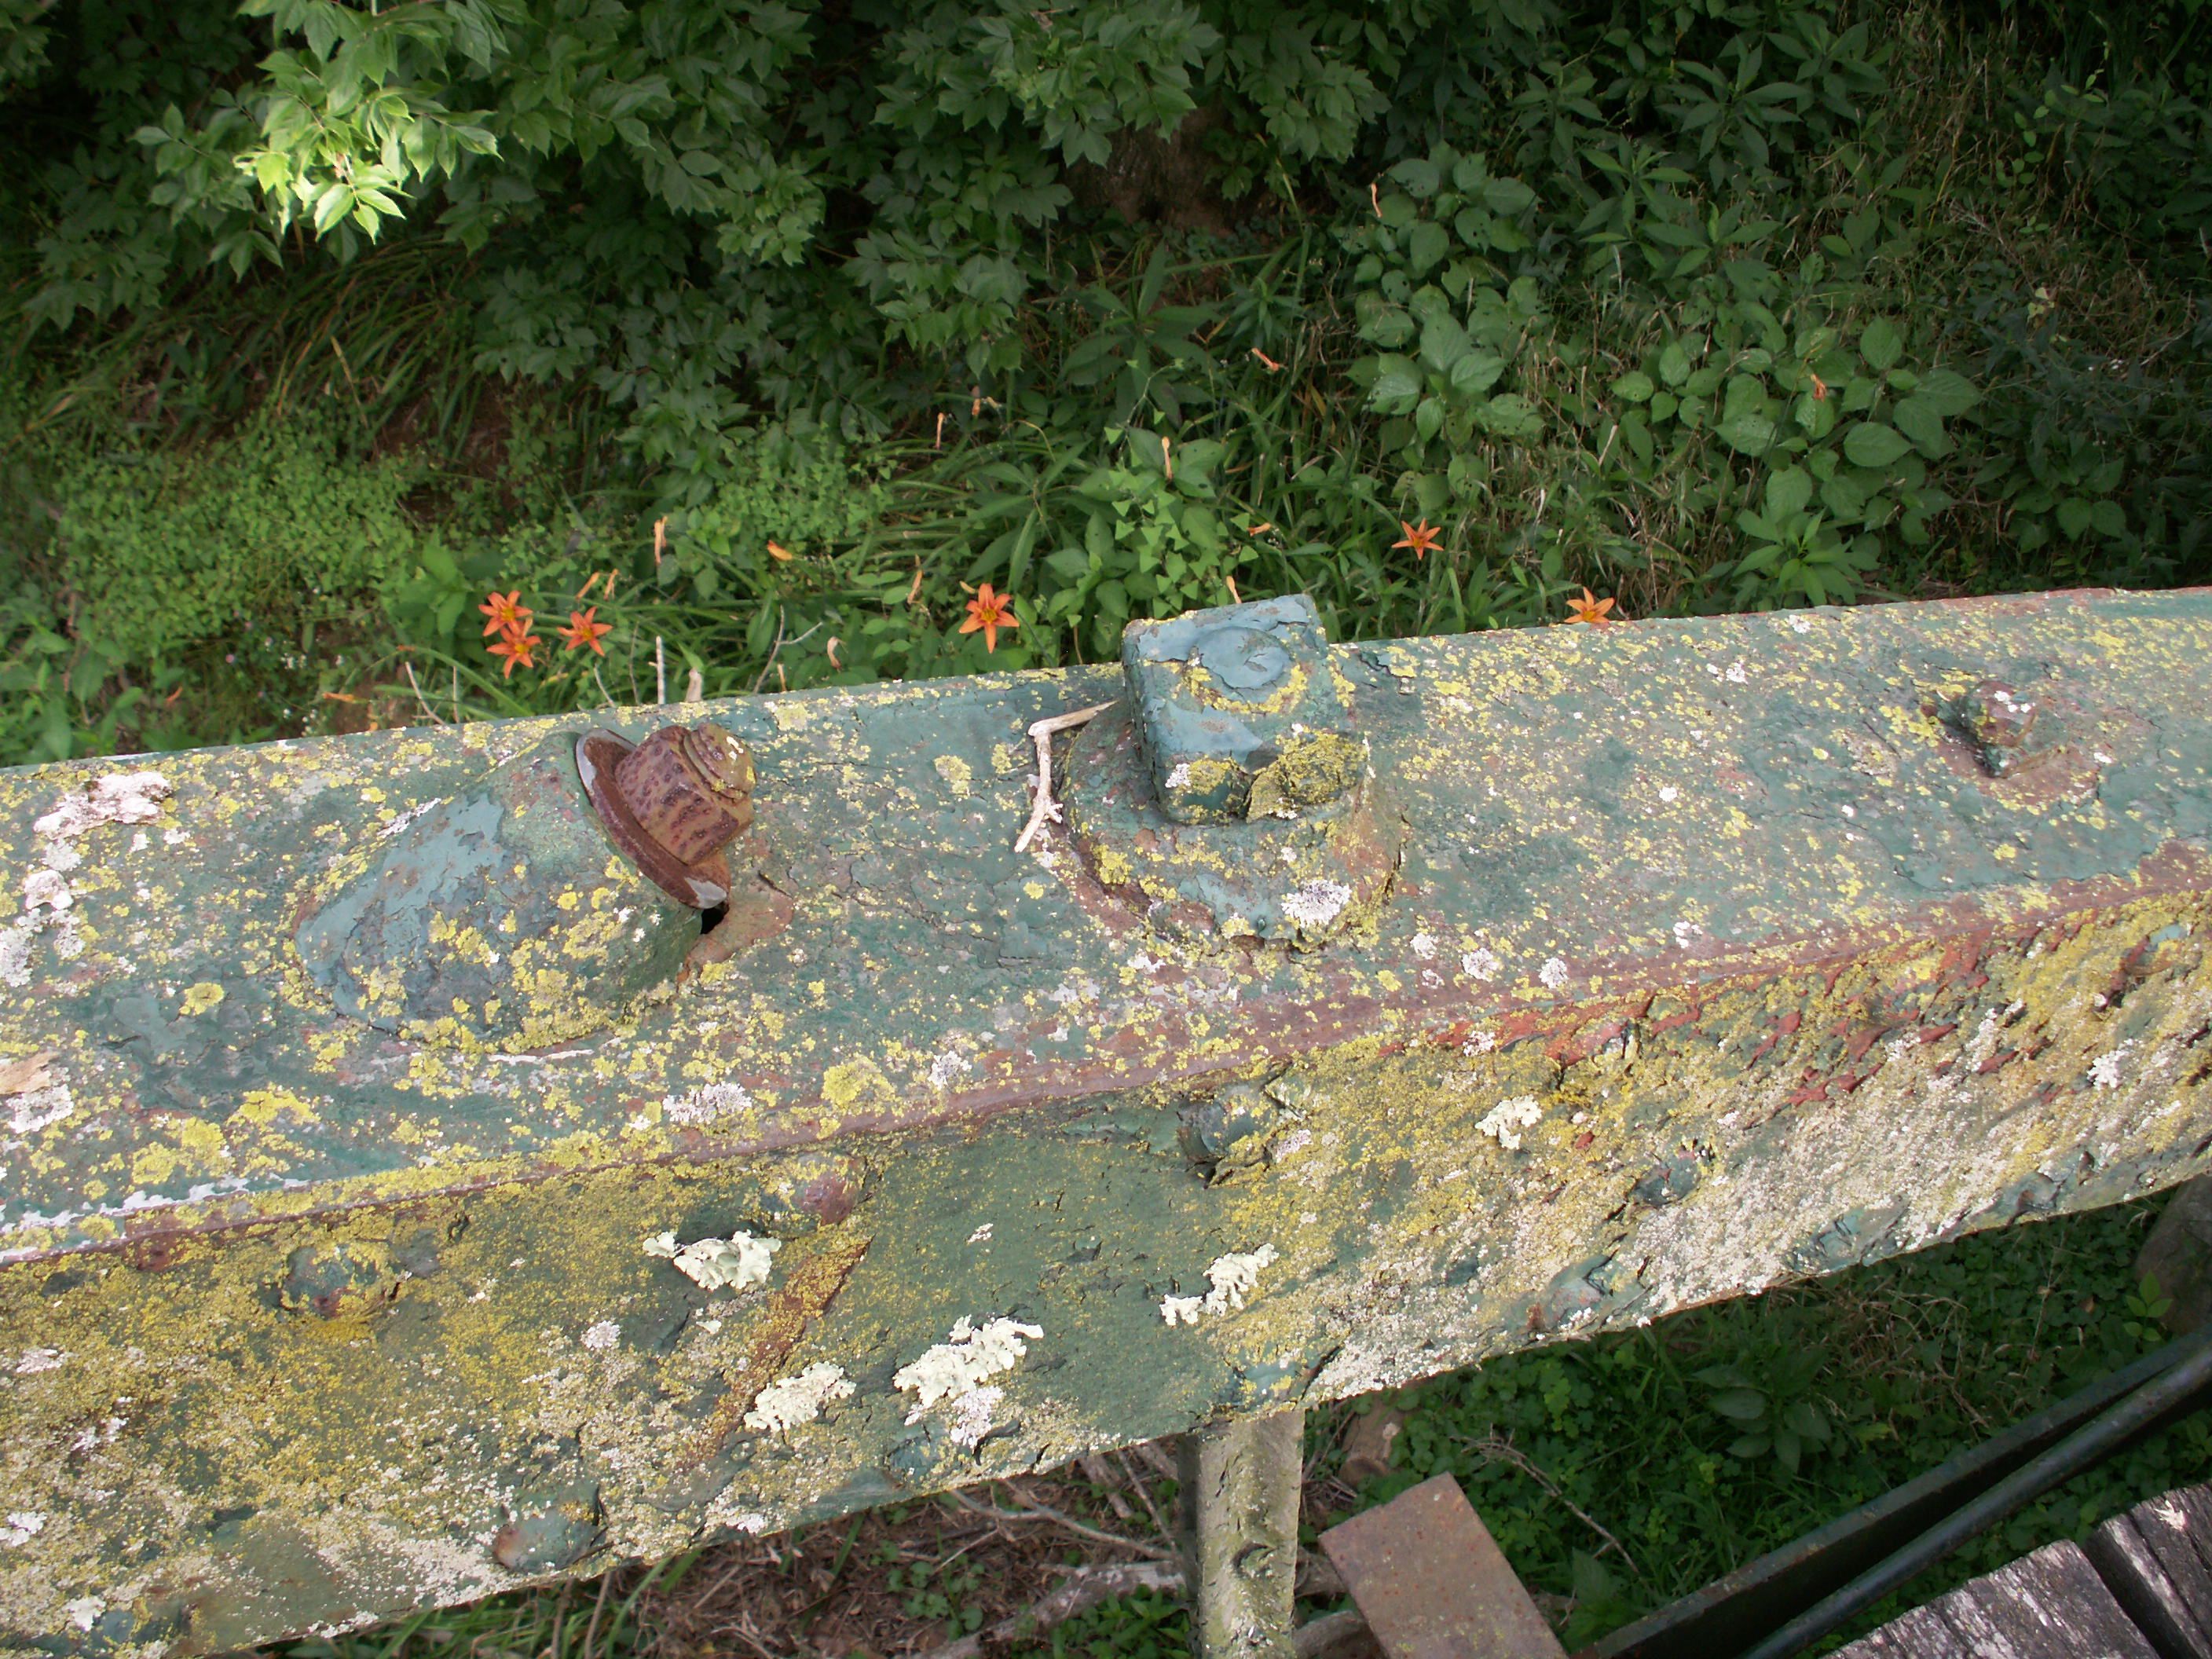
![]()


Views beside bridge.
![]()
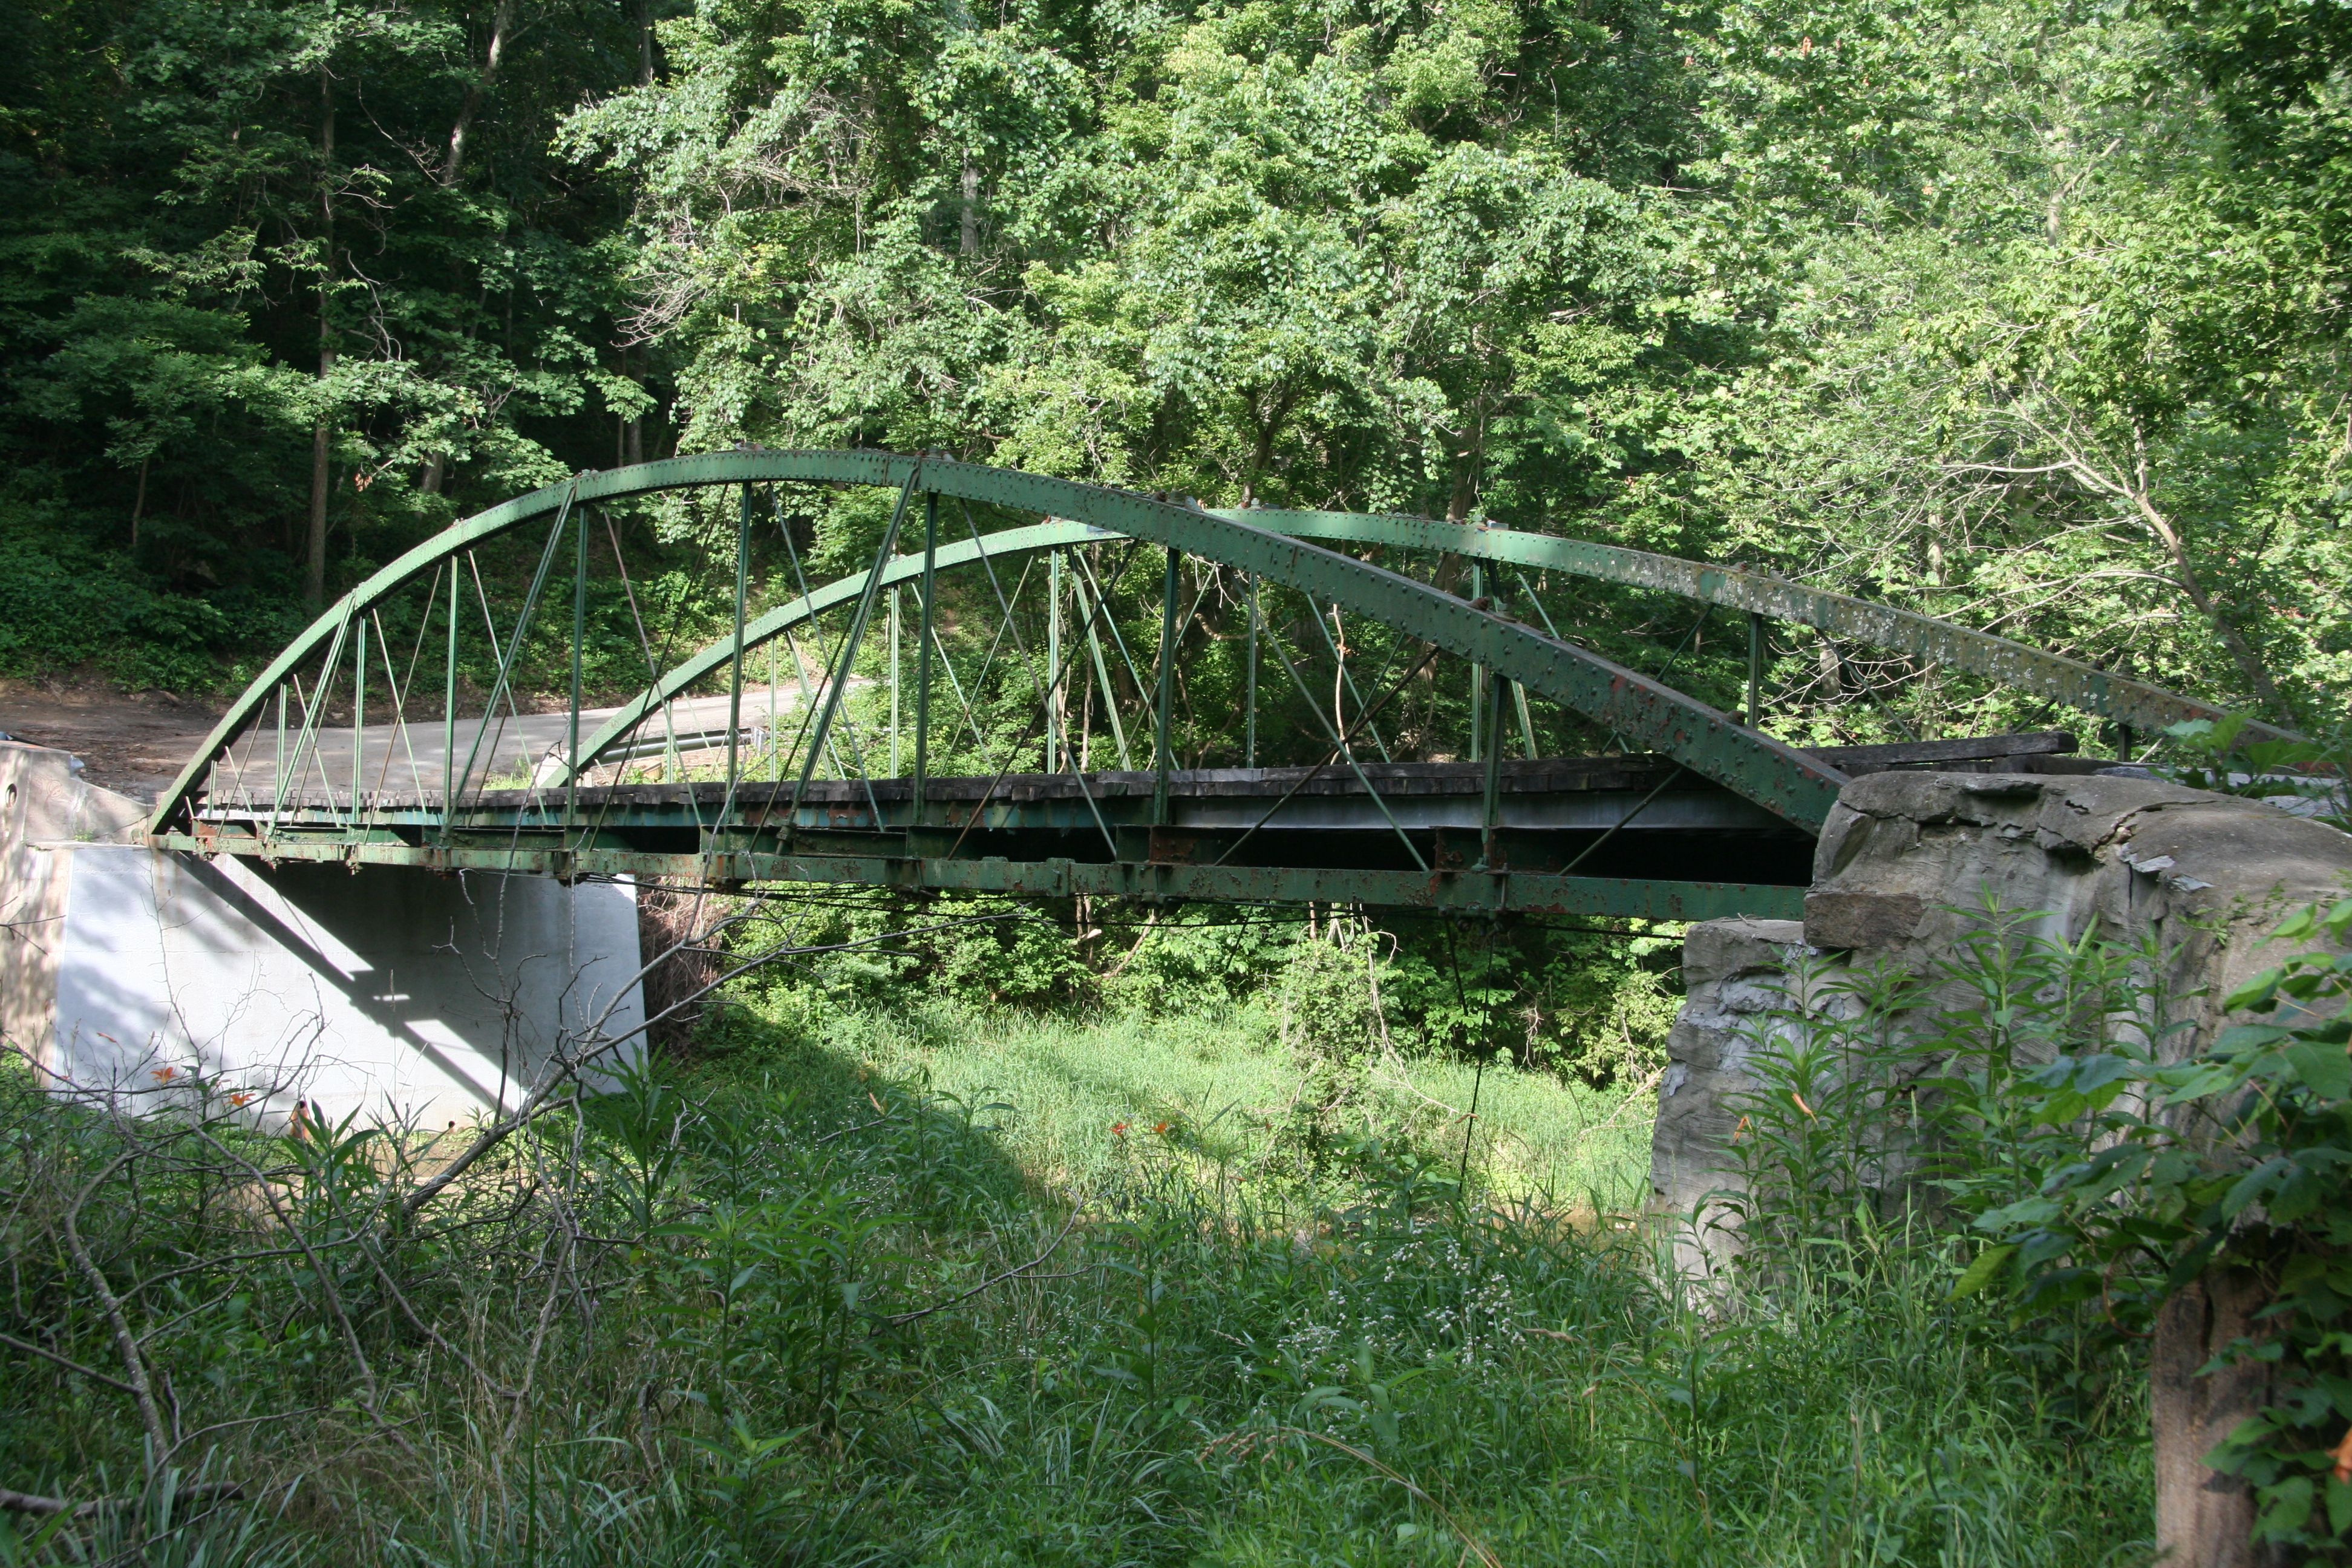
Elevation.
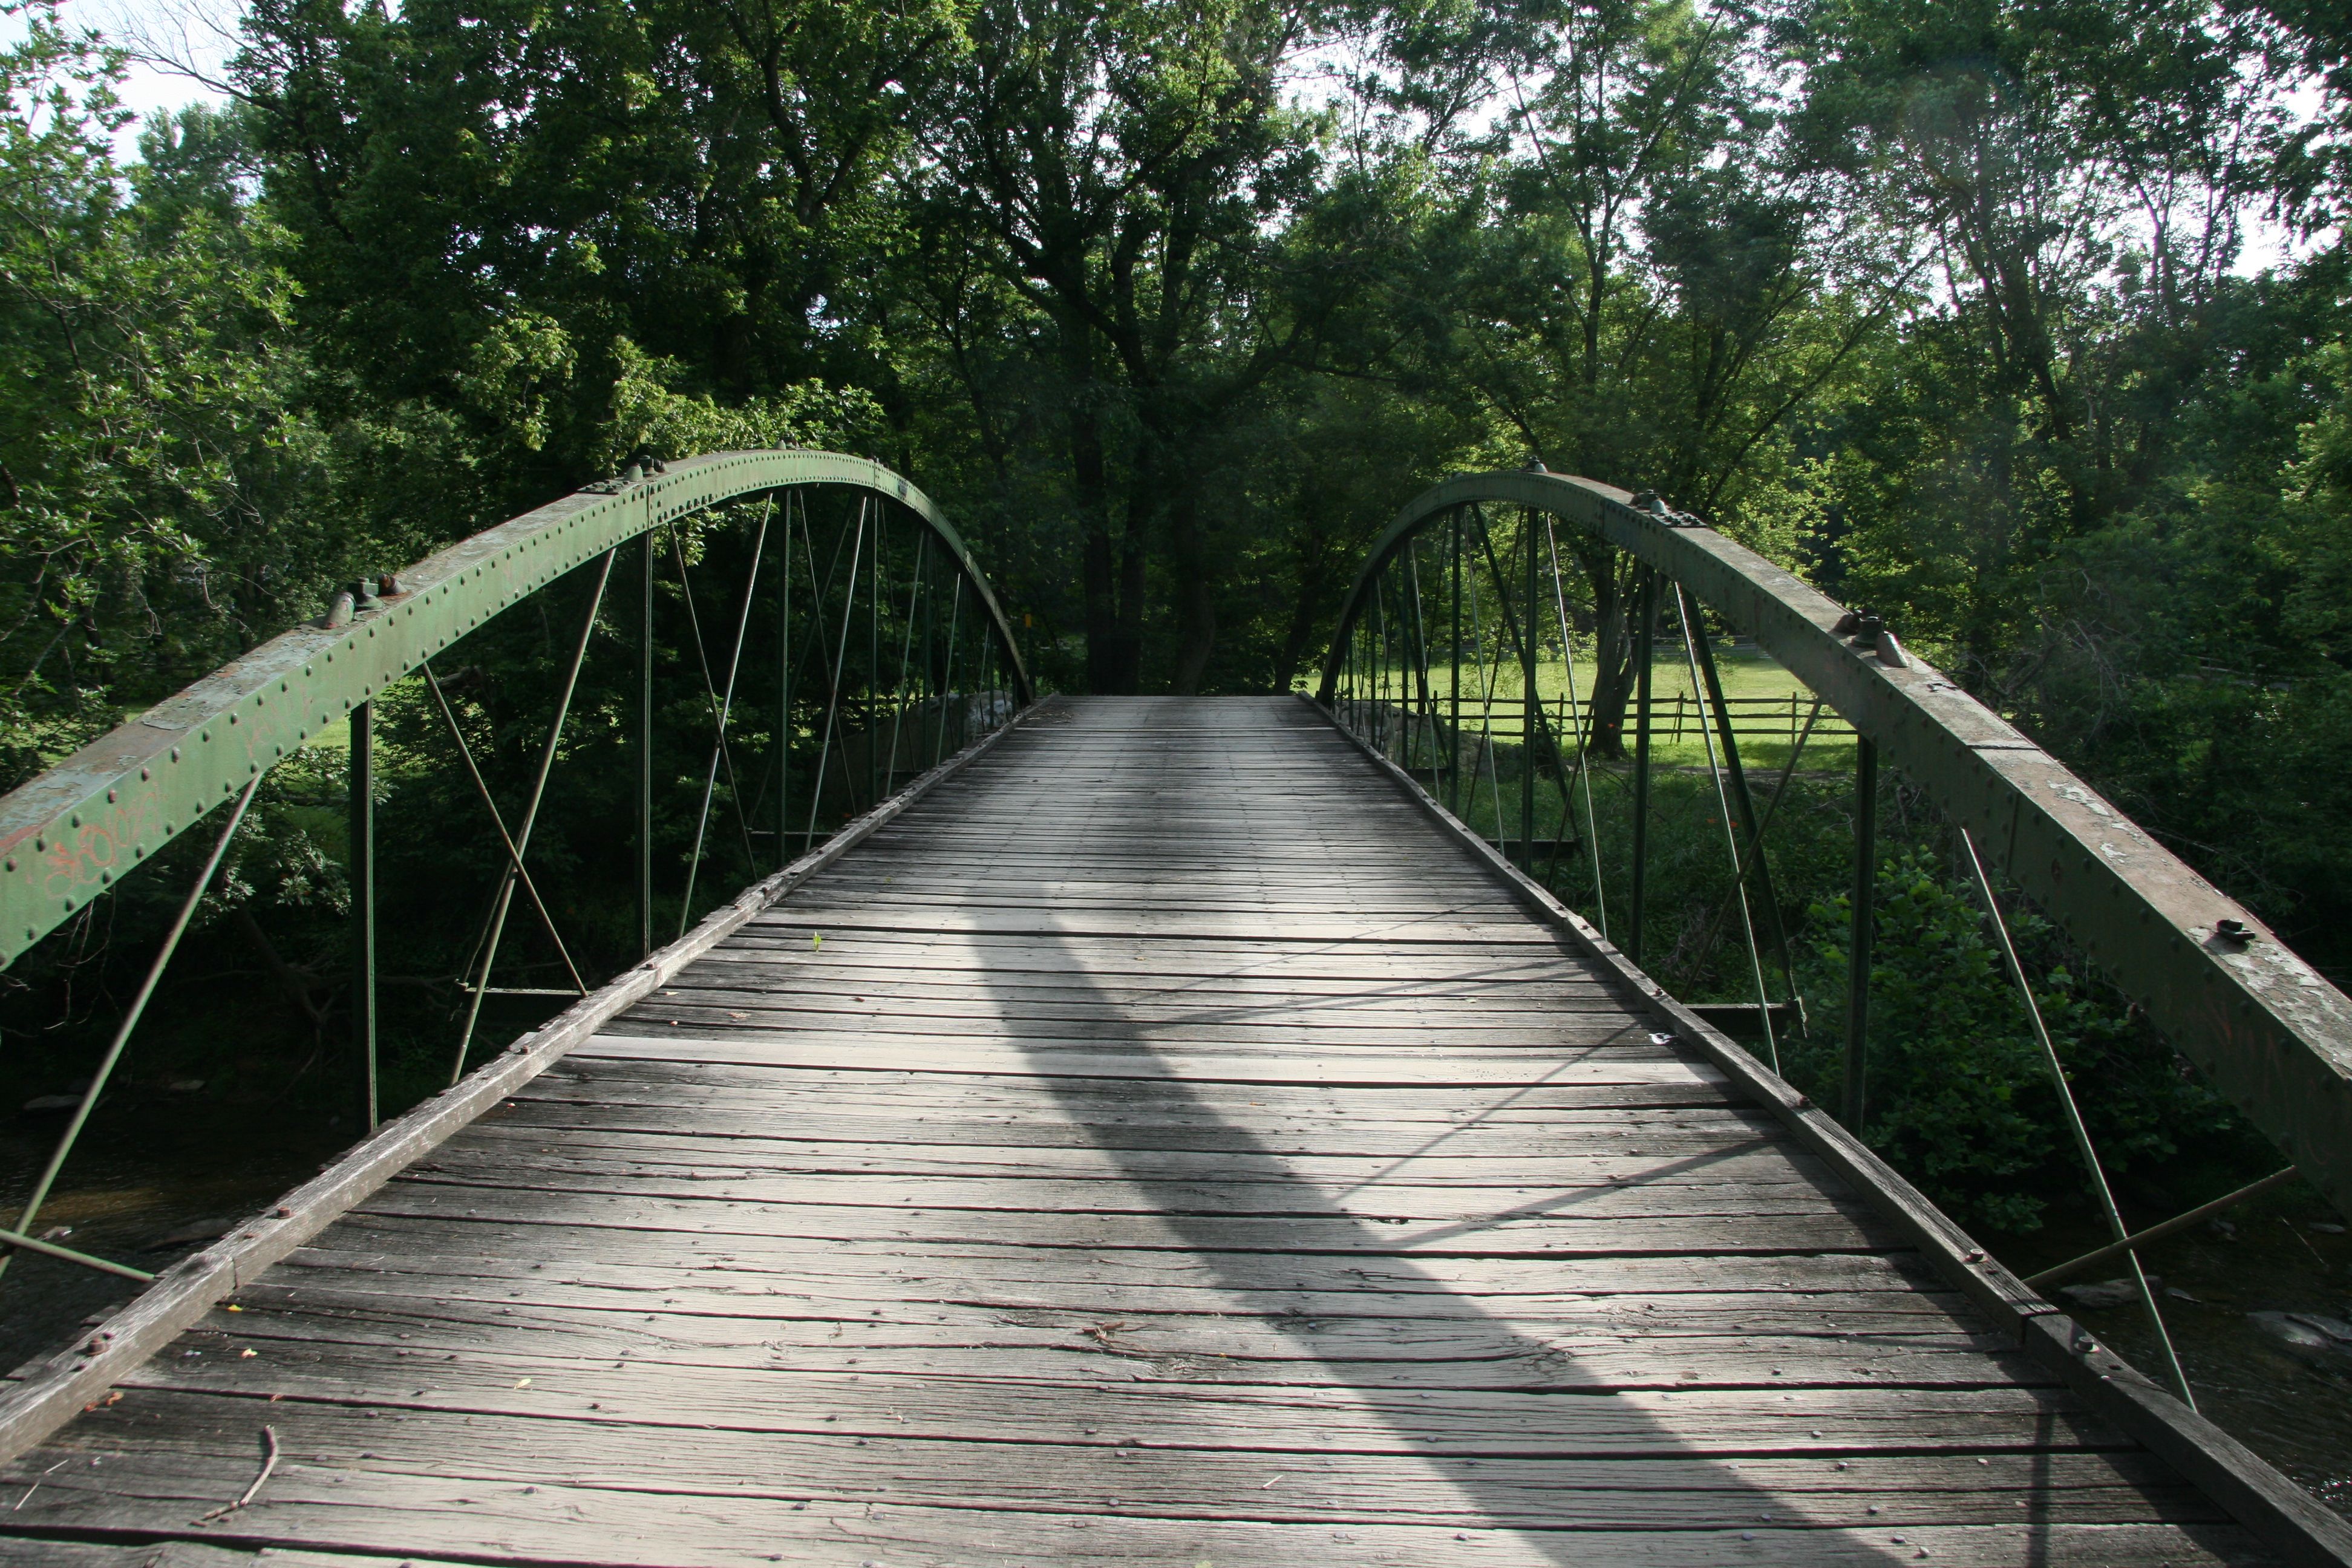
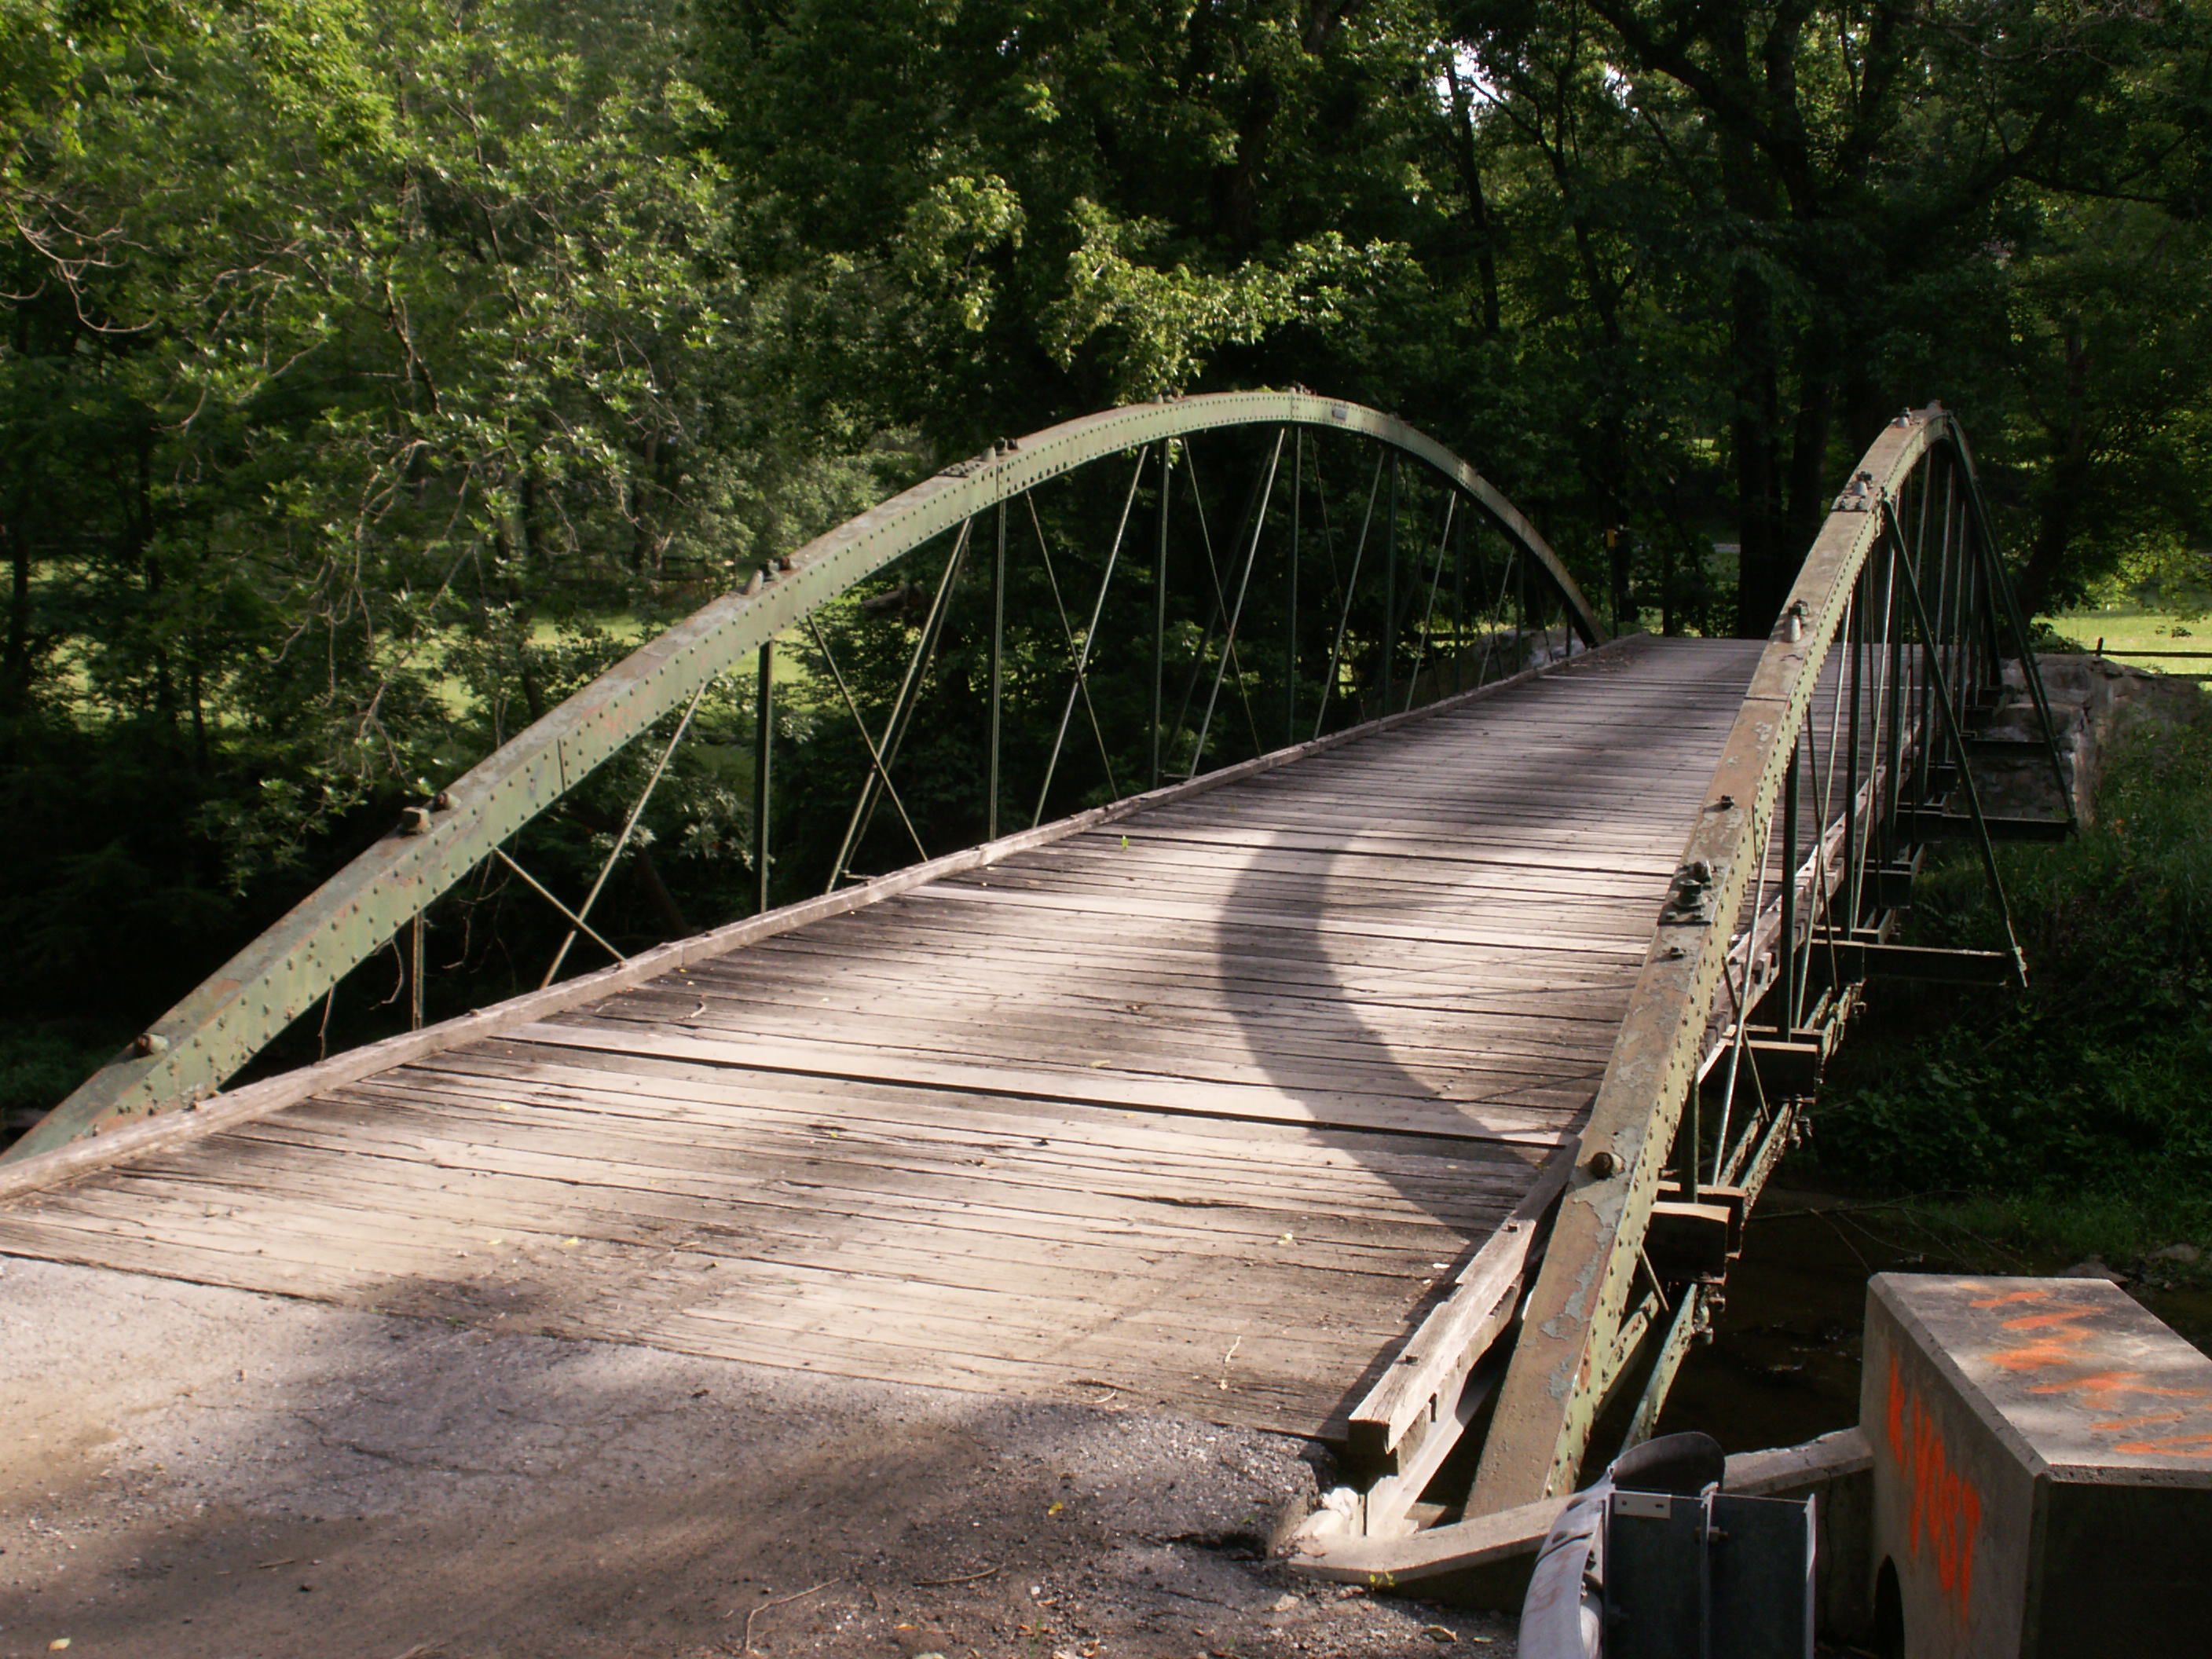
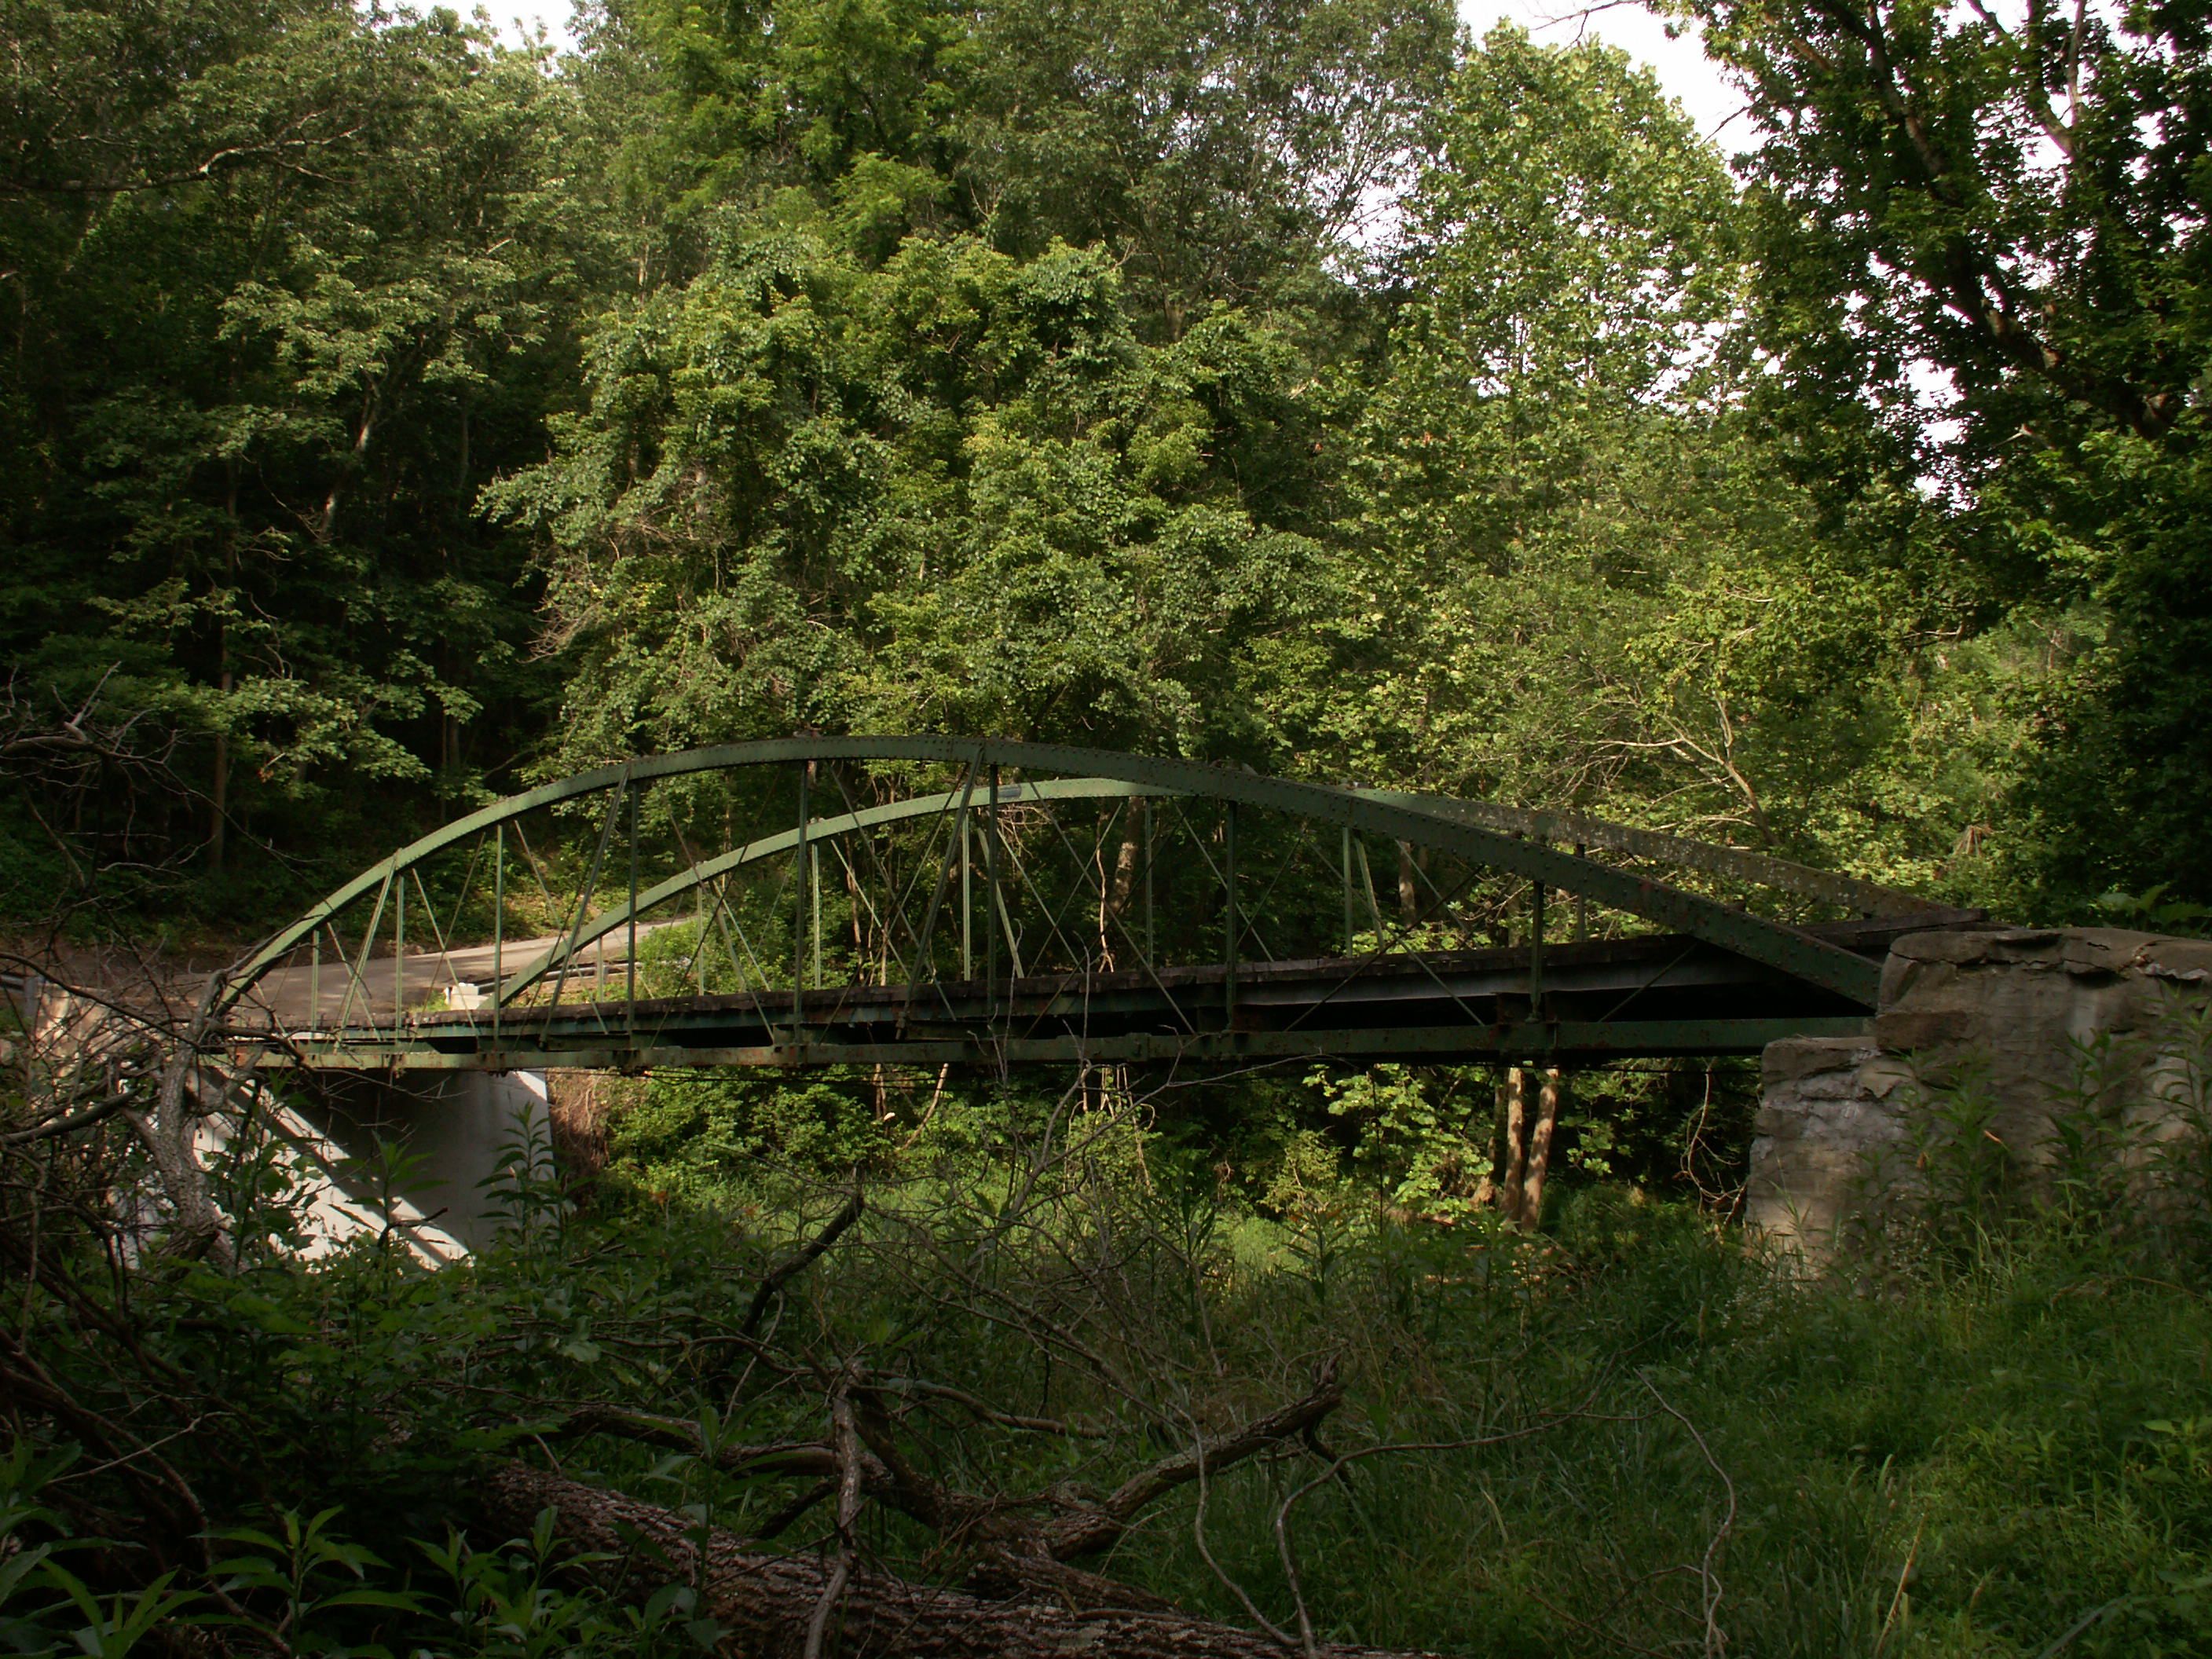
![]()


Oblique views.
![]()


Various views of the truss web.
![]()
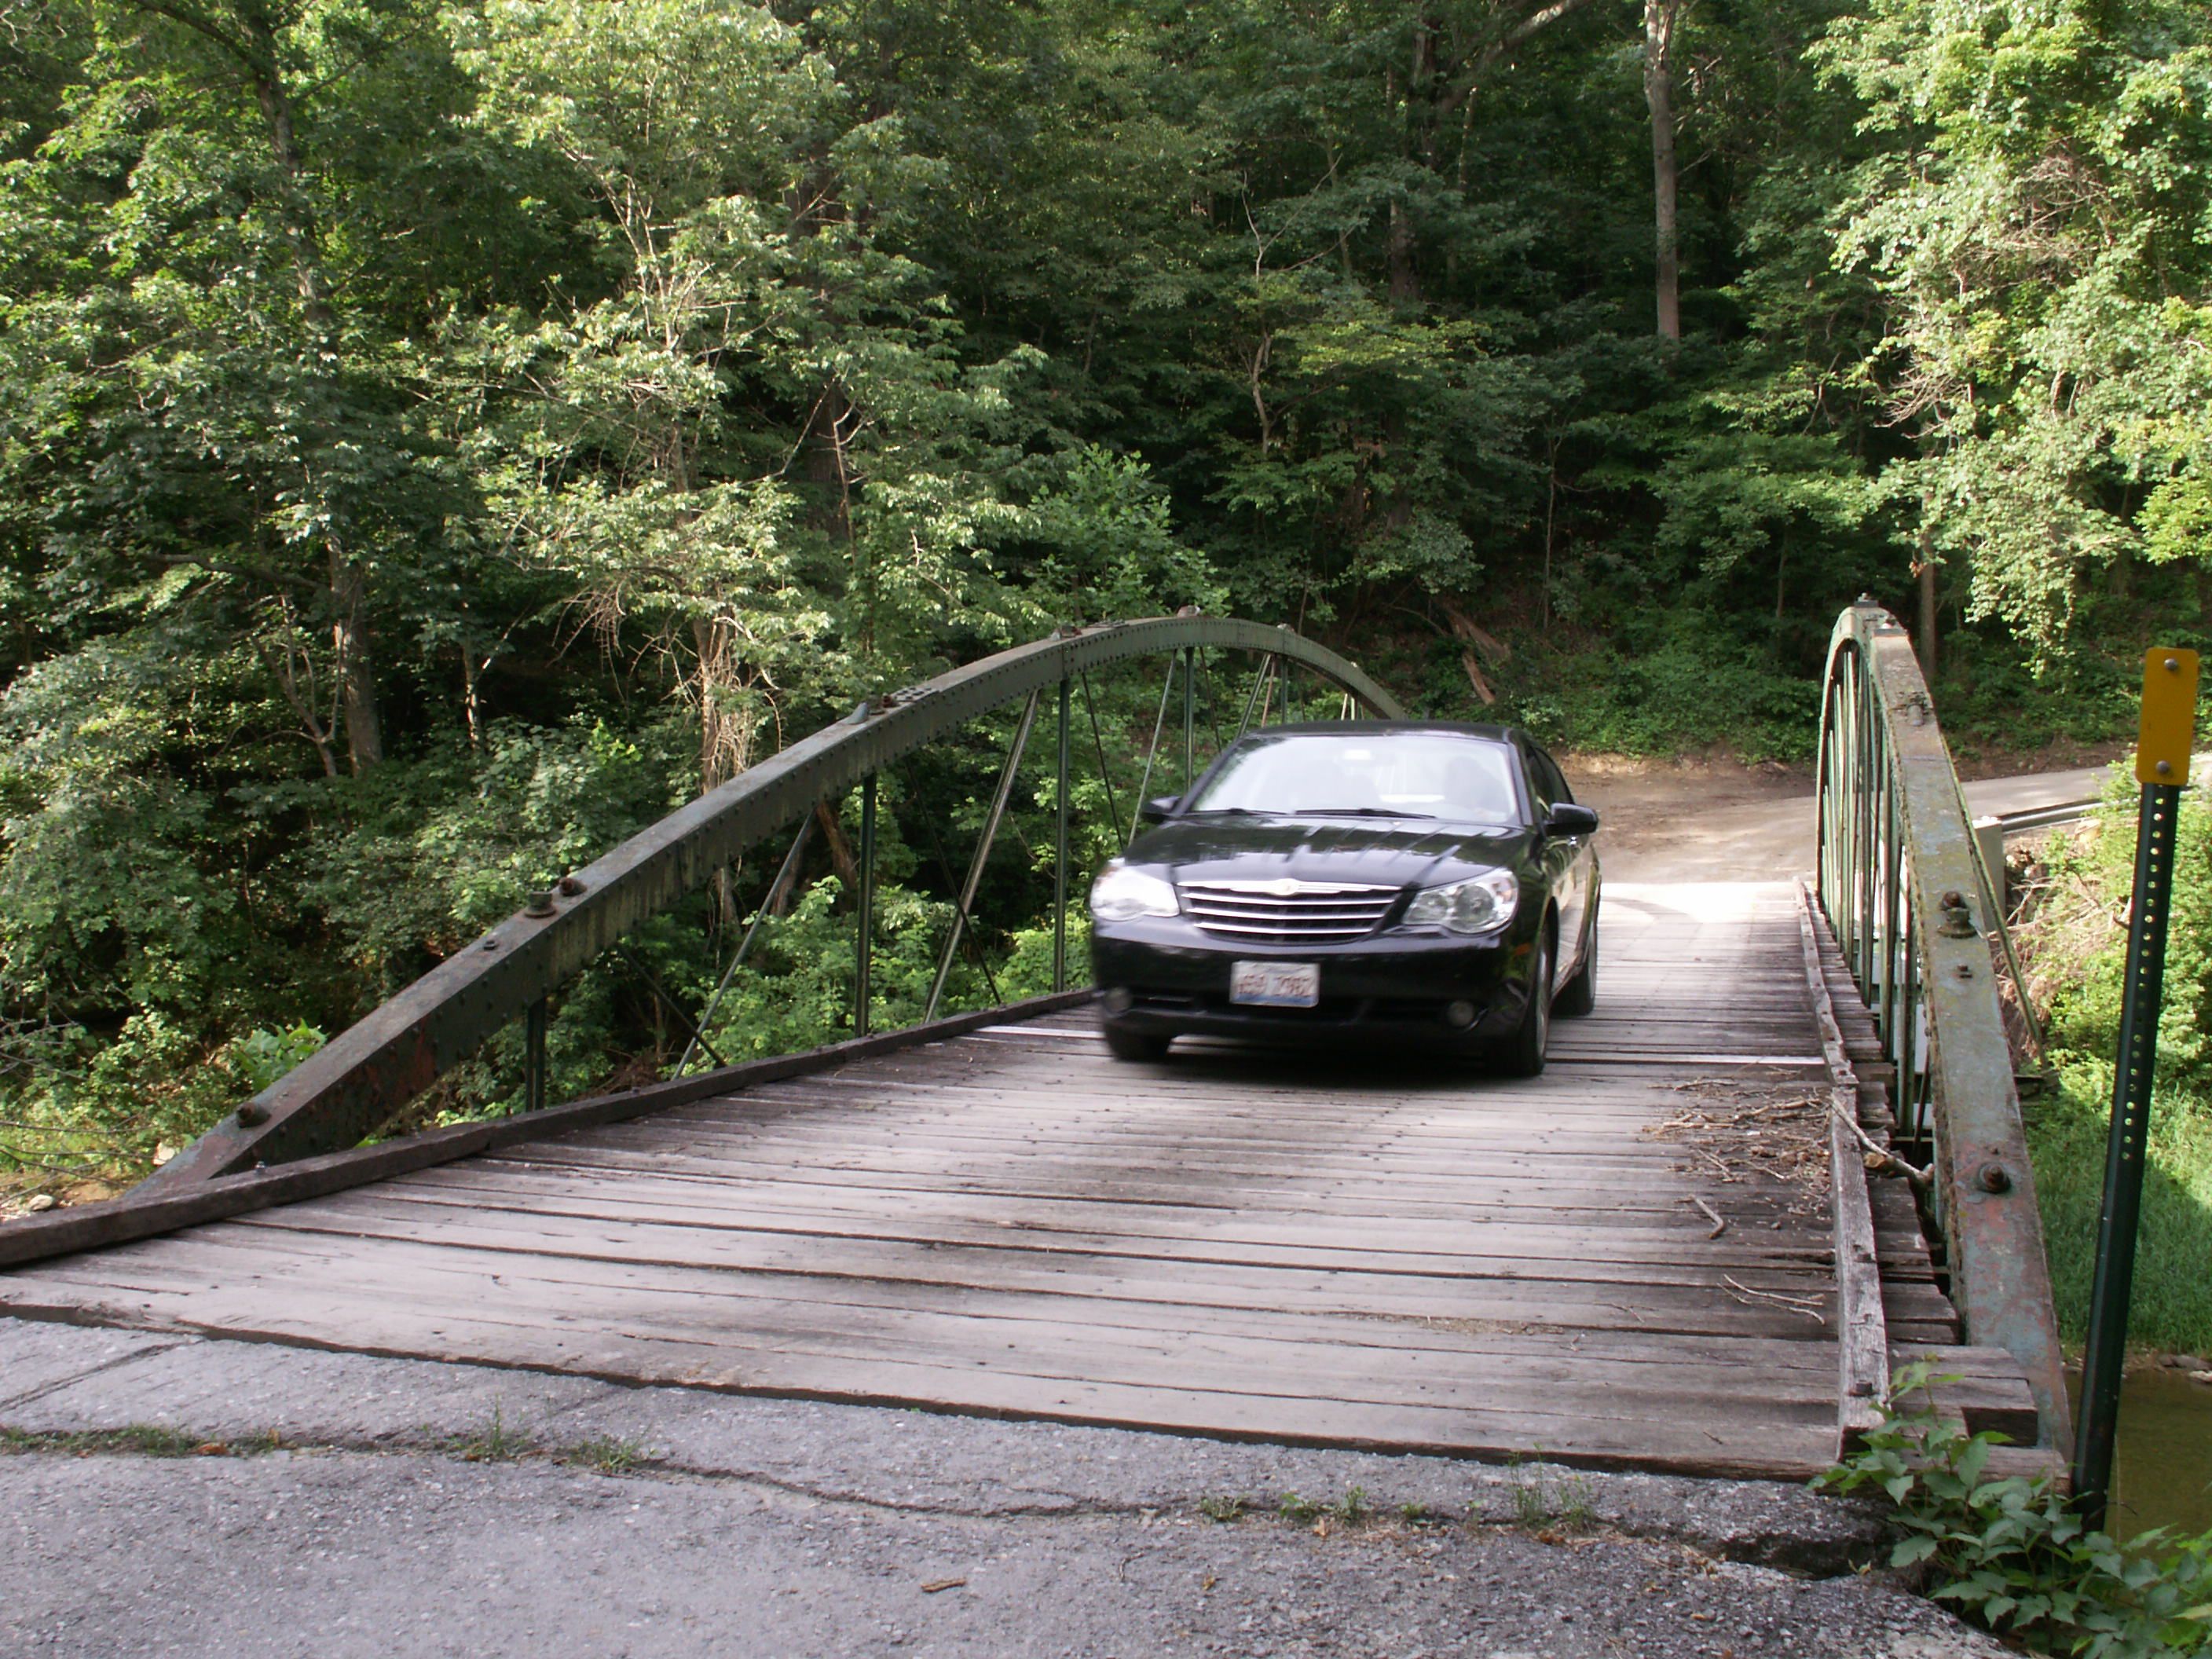
Traffic on bridge.
![]()
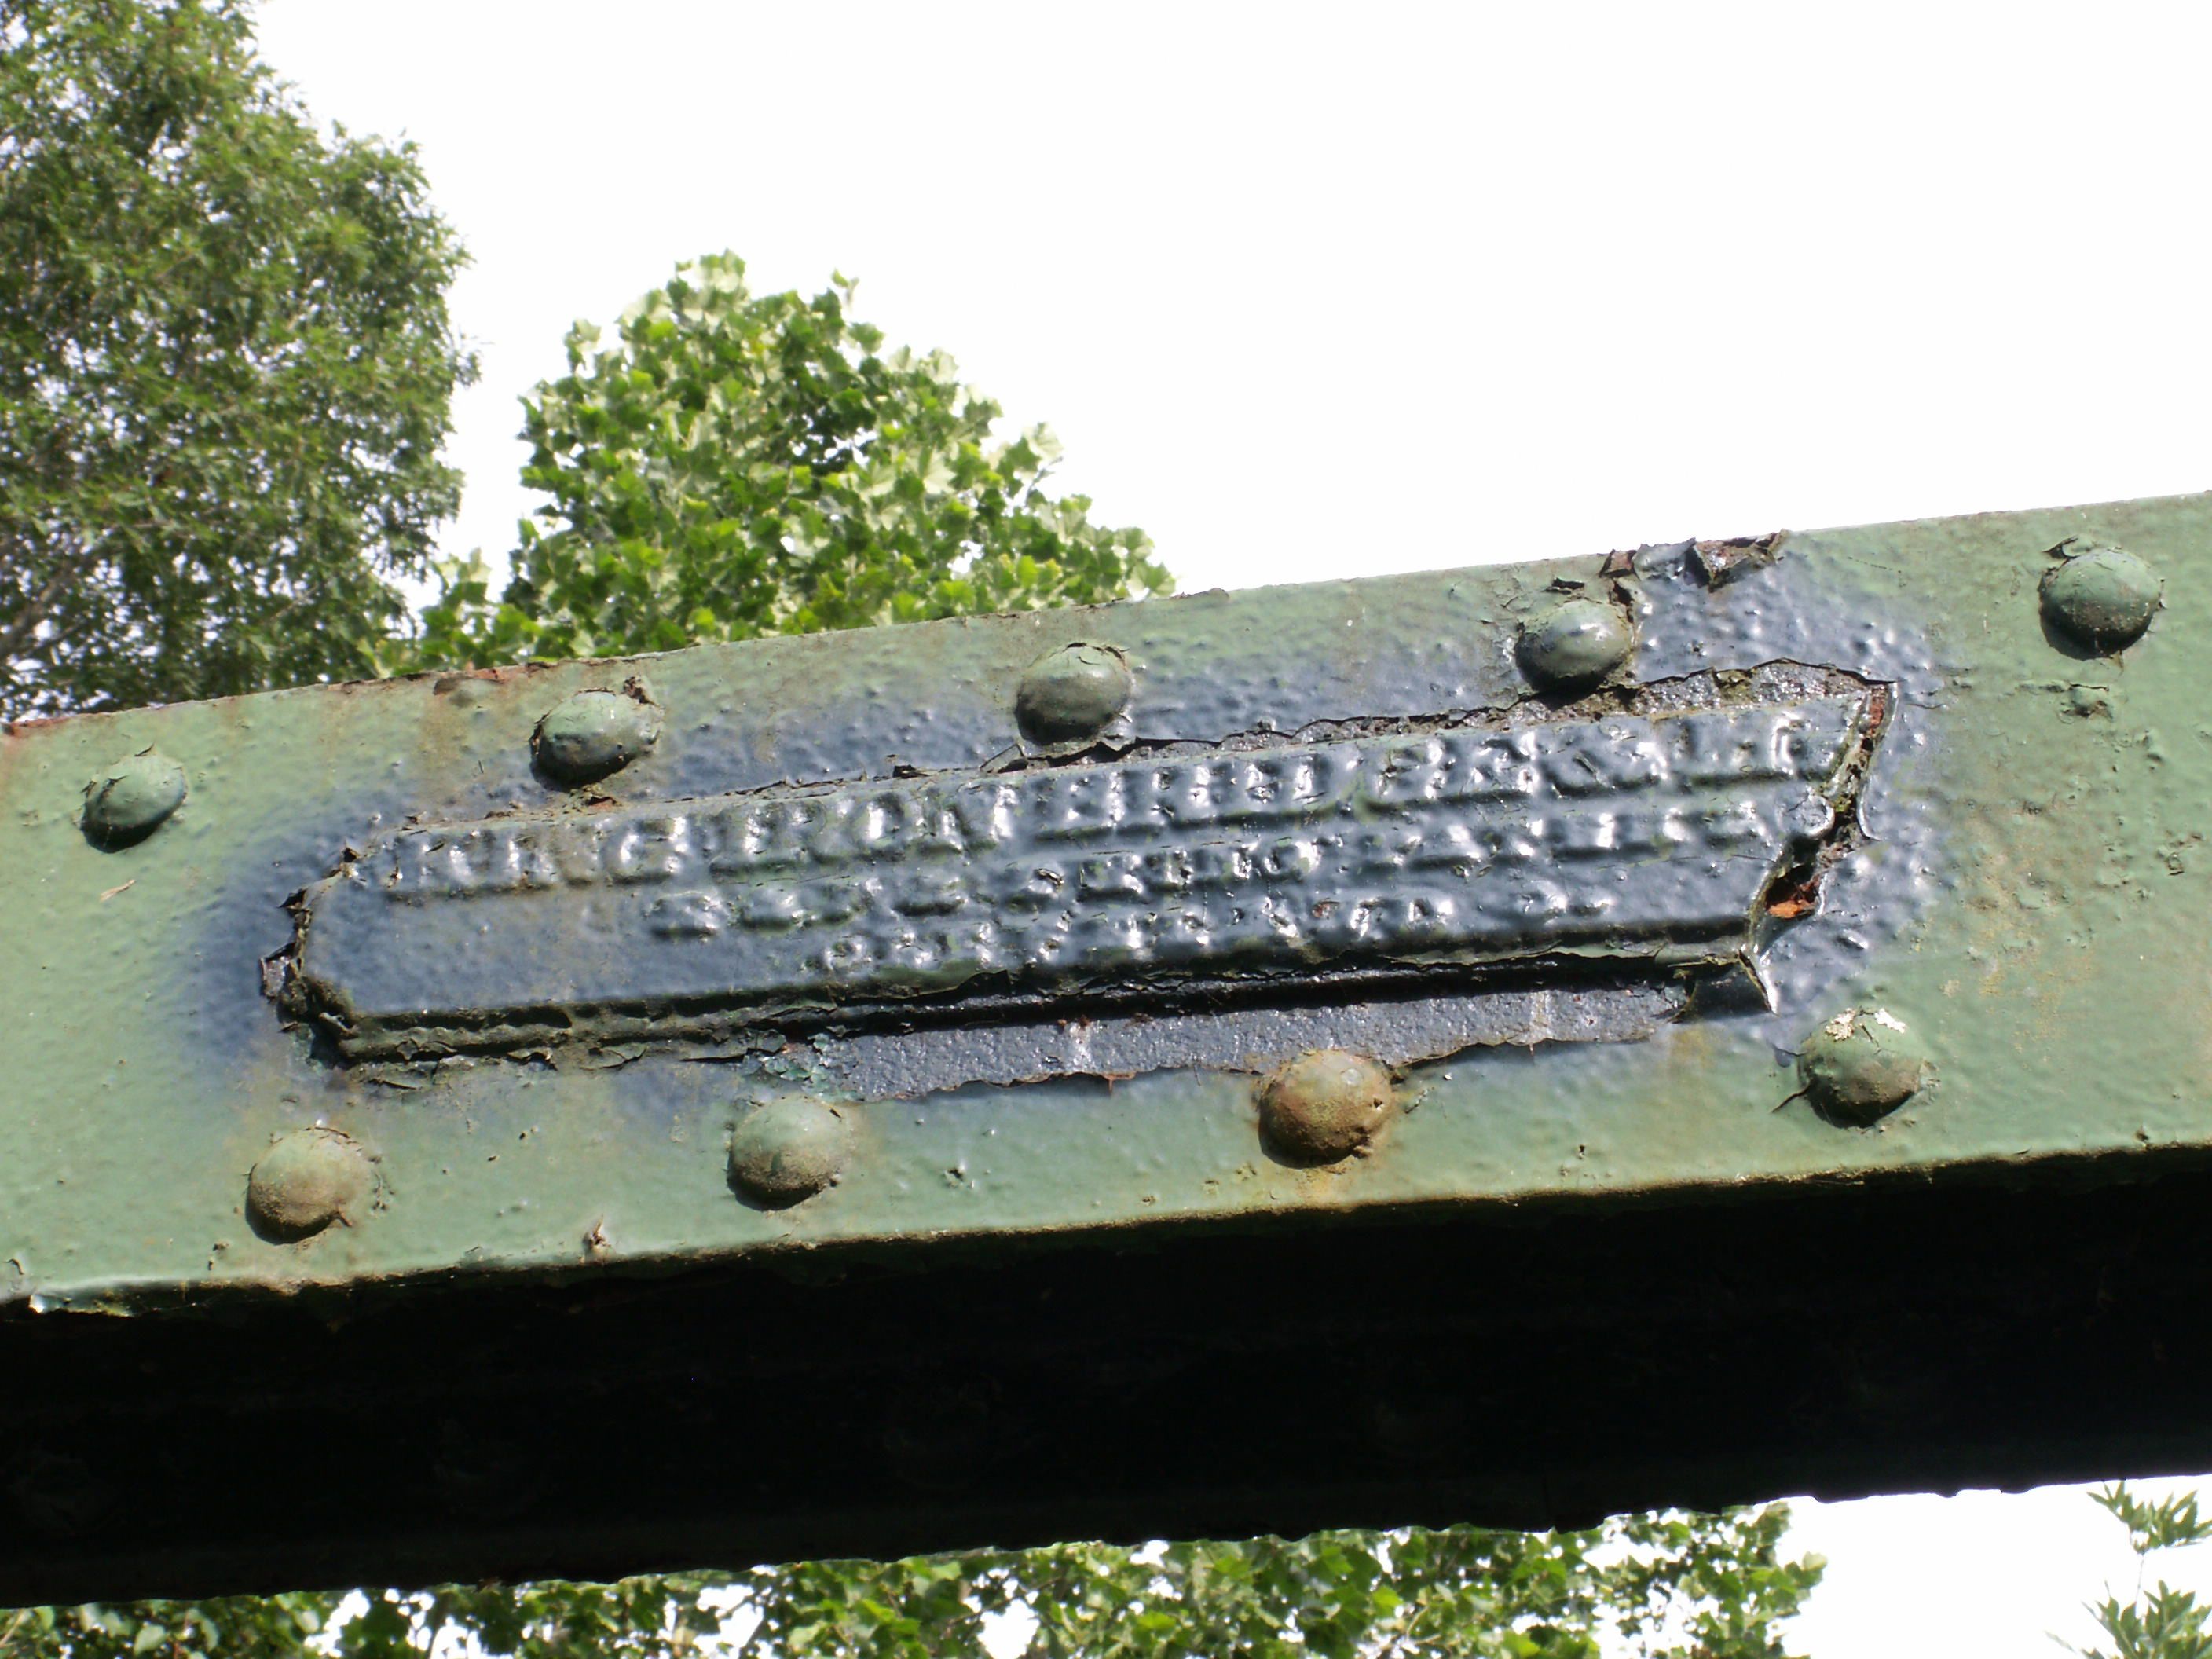


Builder plaque.
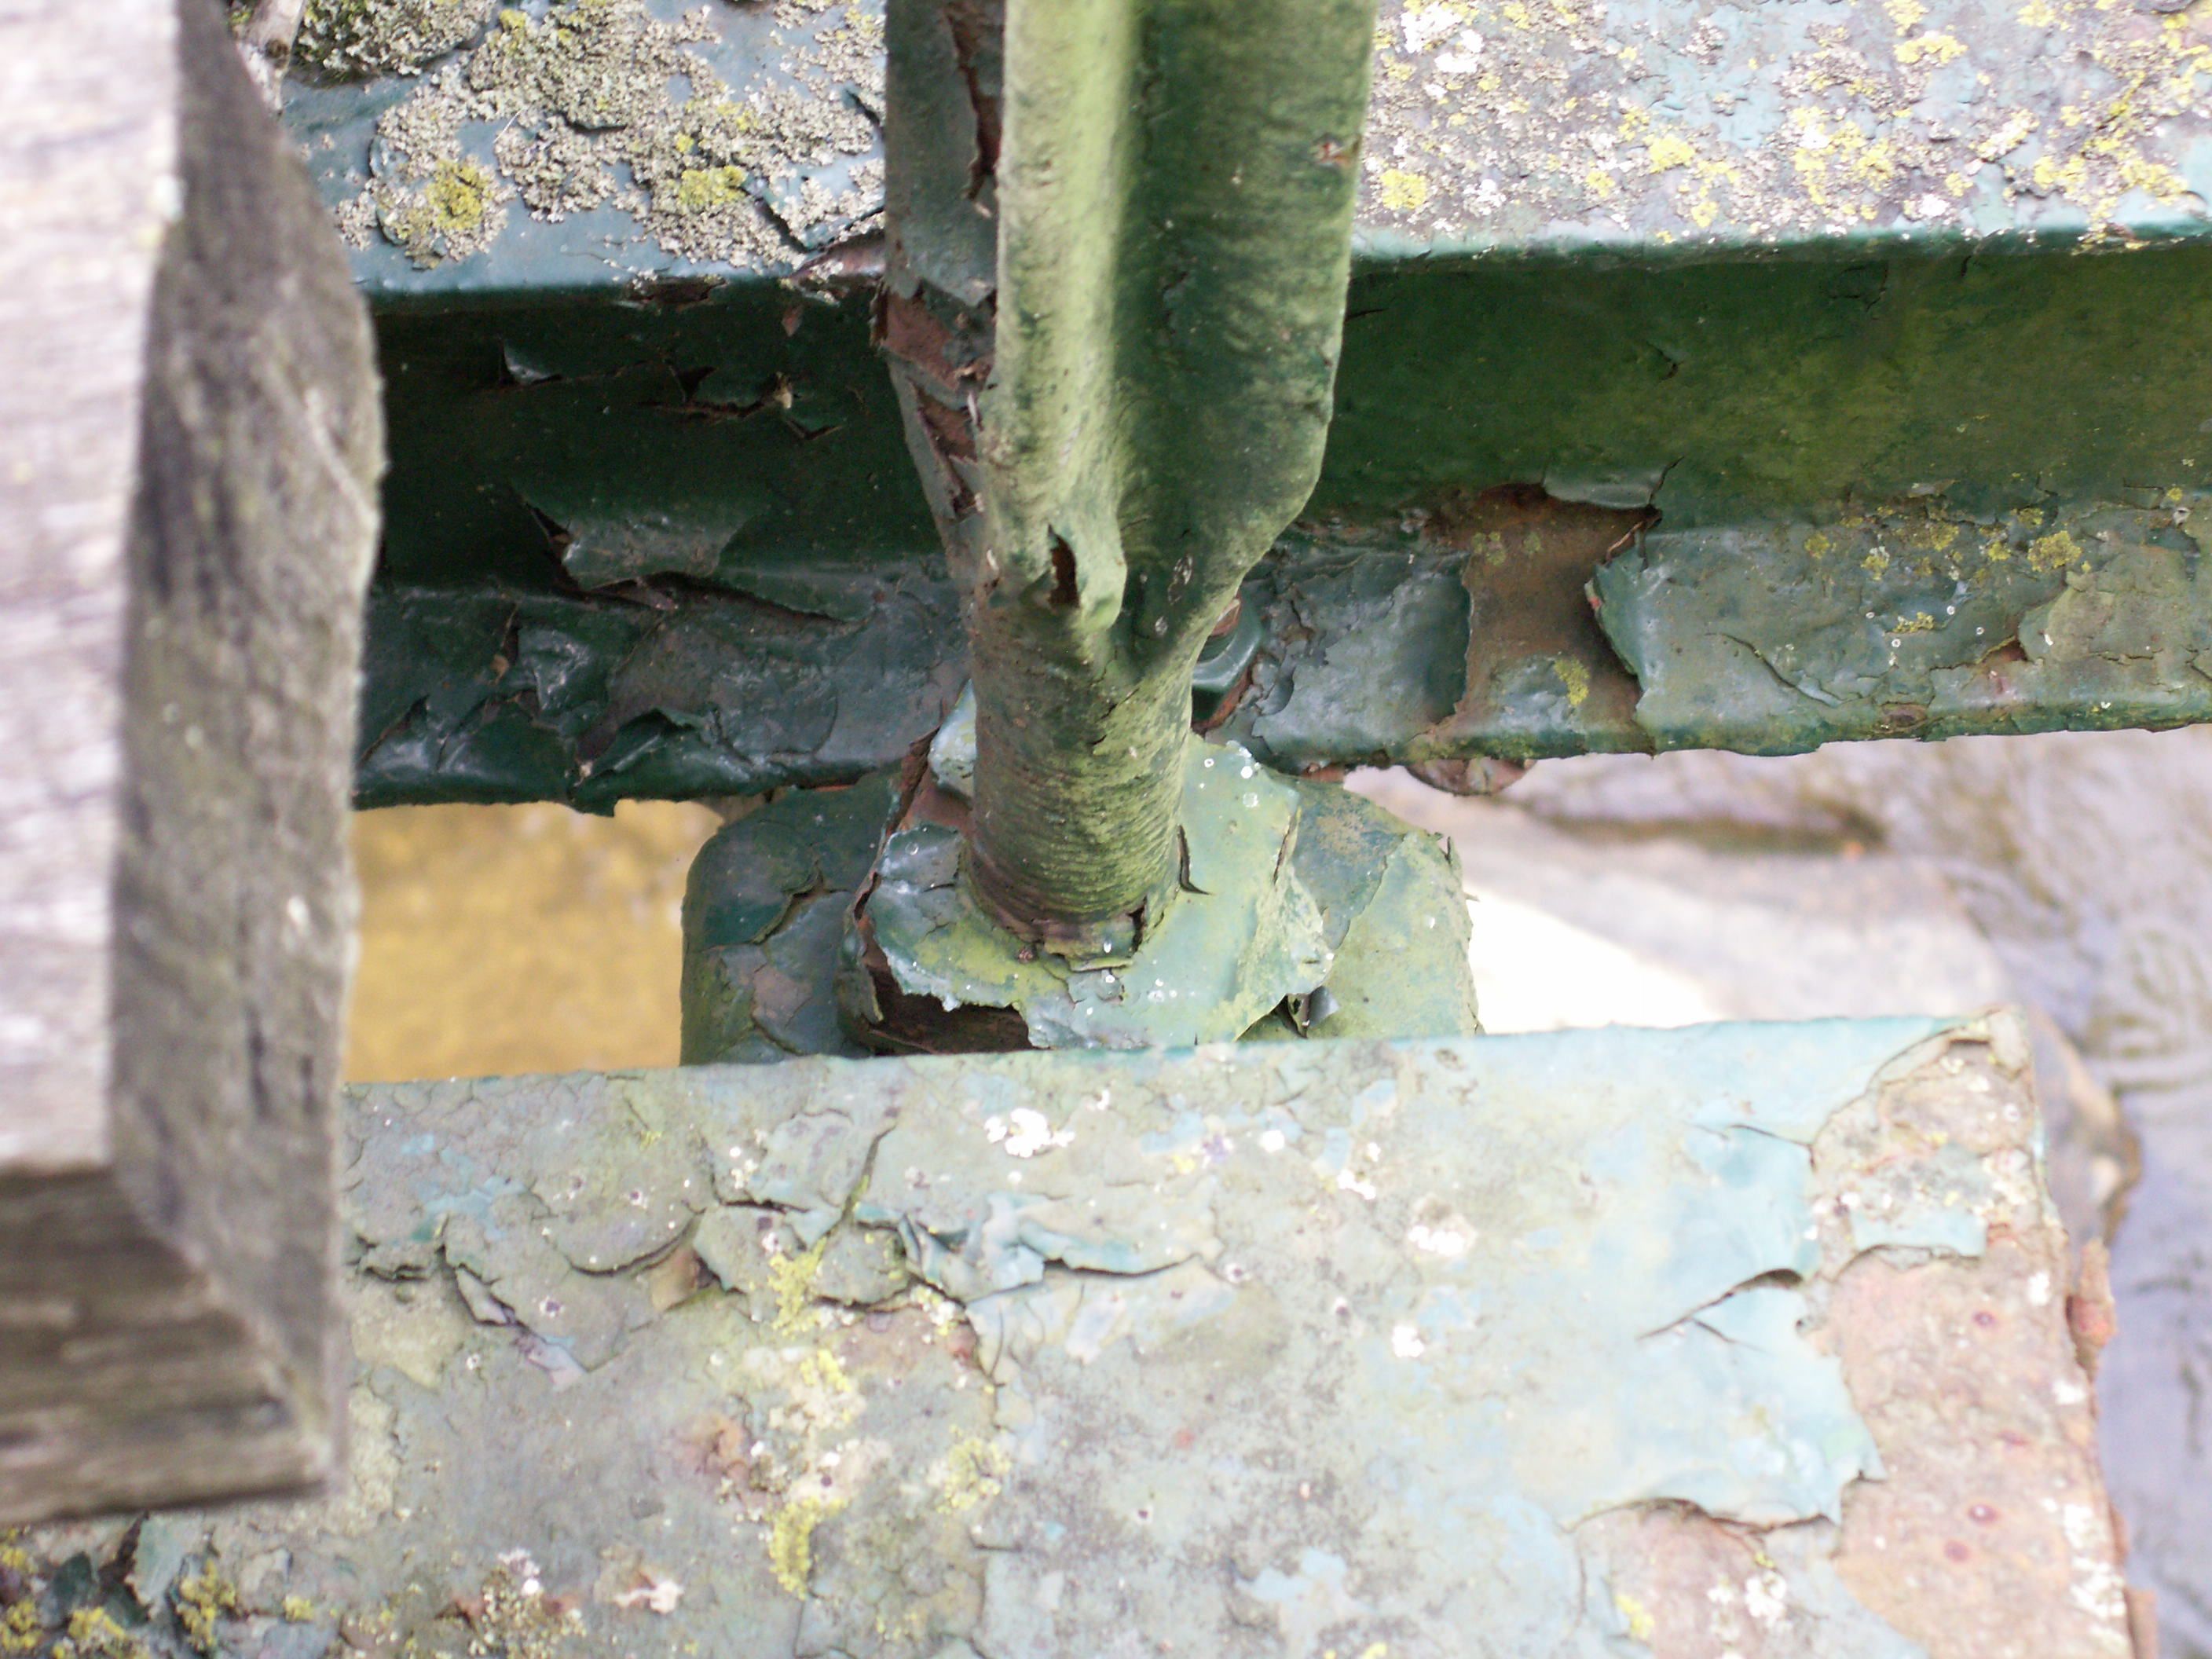
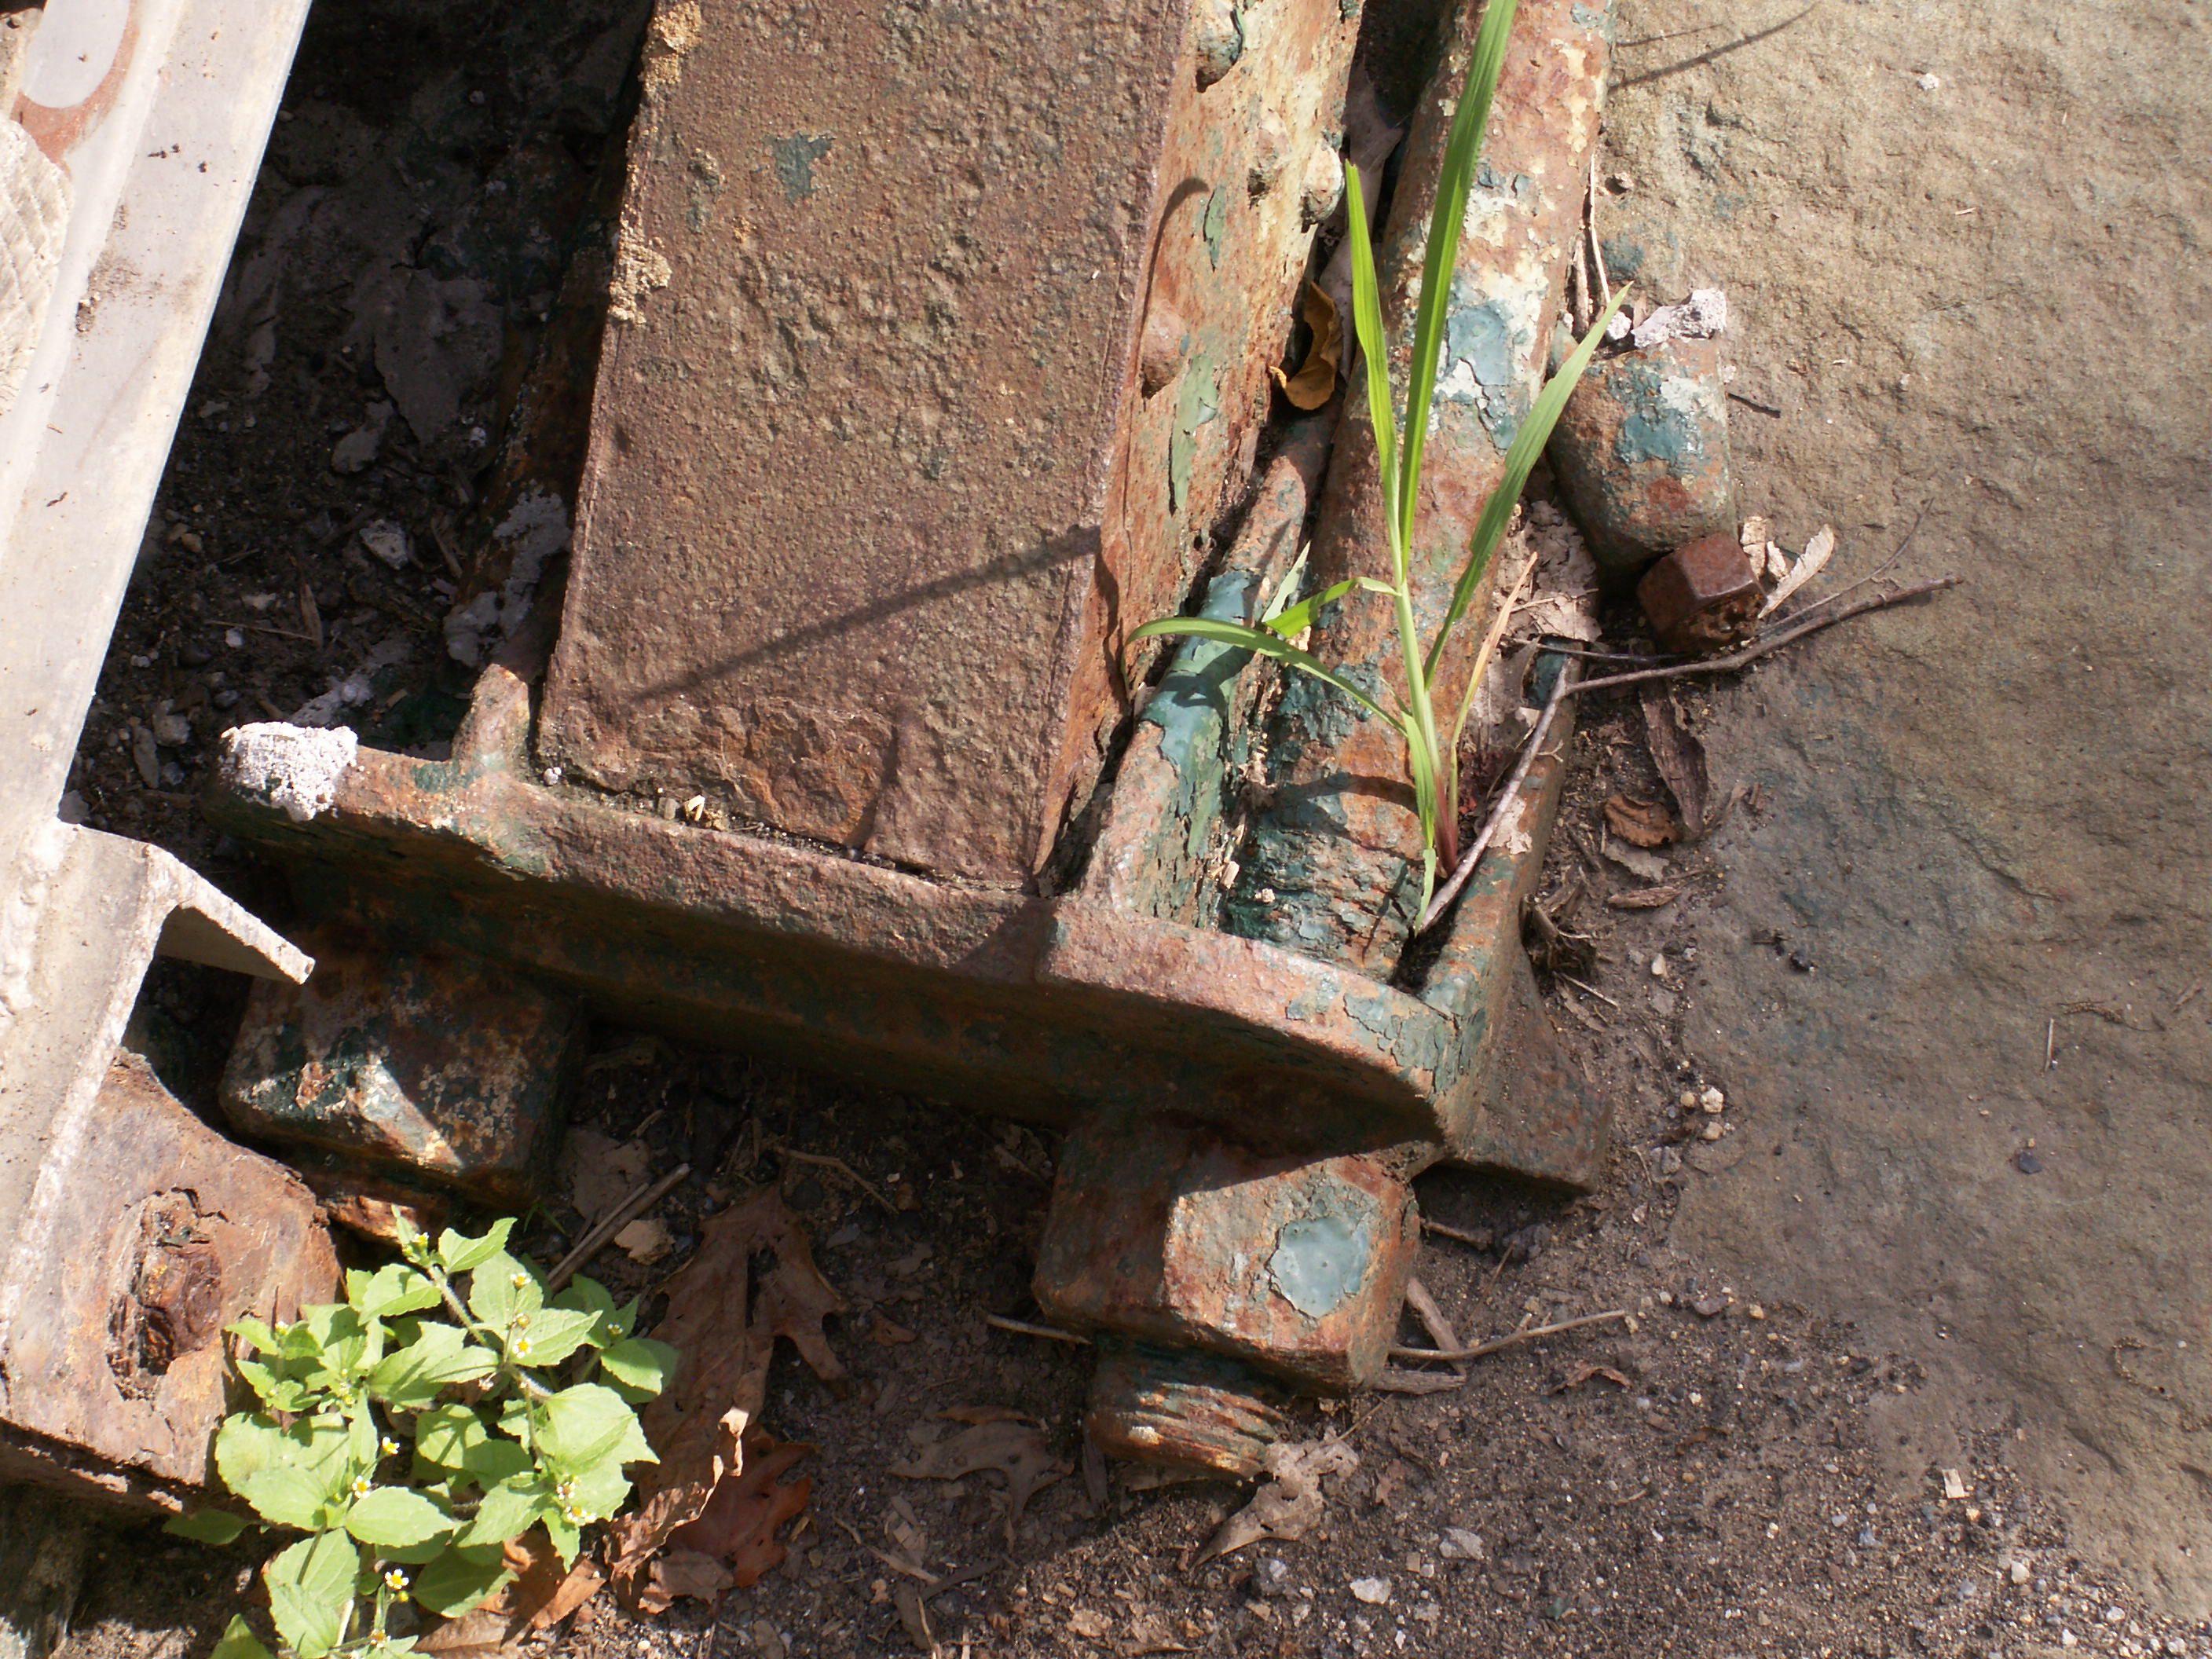
![]()


Bottom chord connection details highlighting the unusual way the floorbeam rests on the bottom chord.
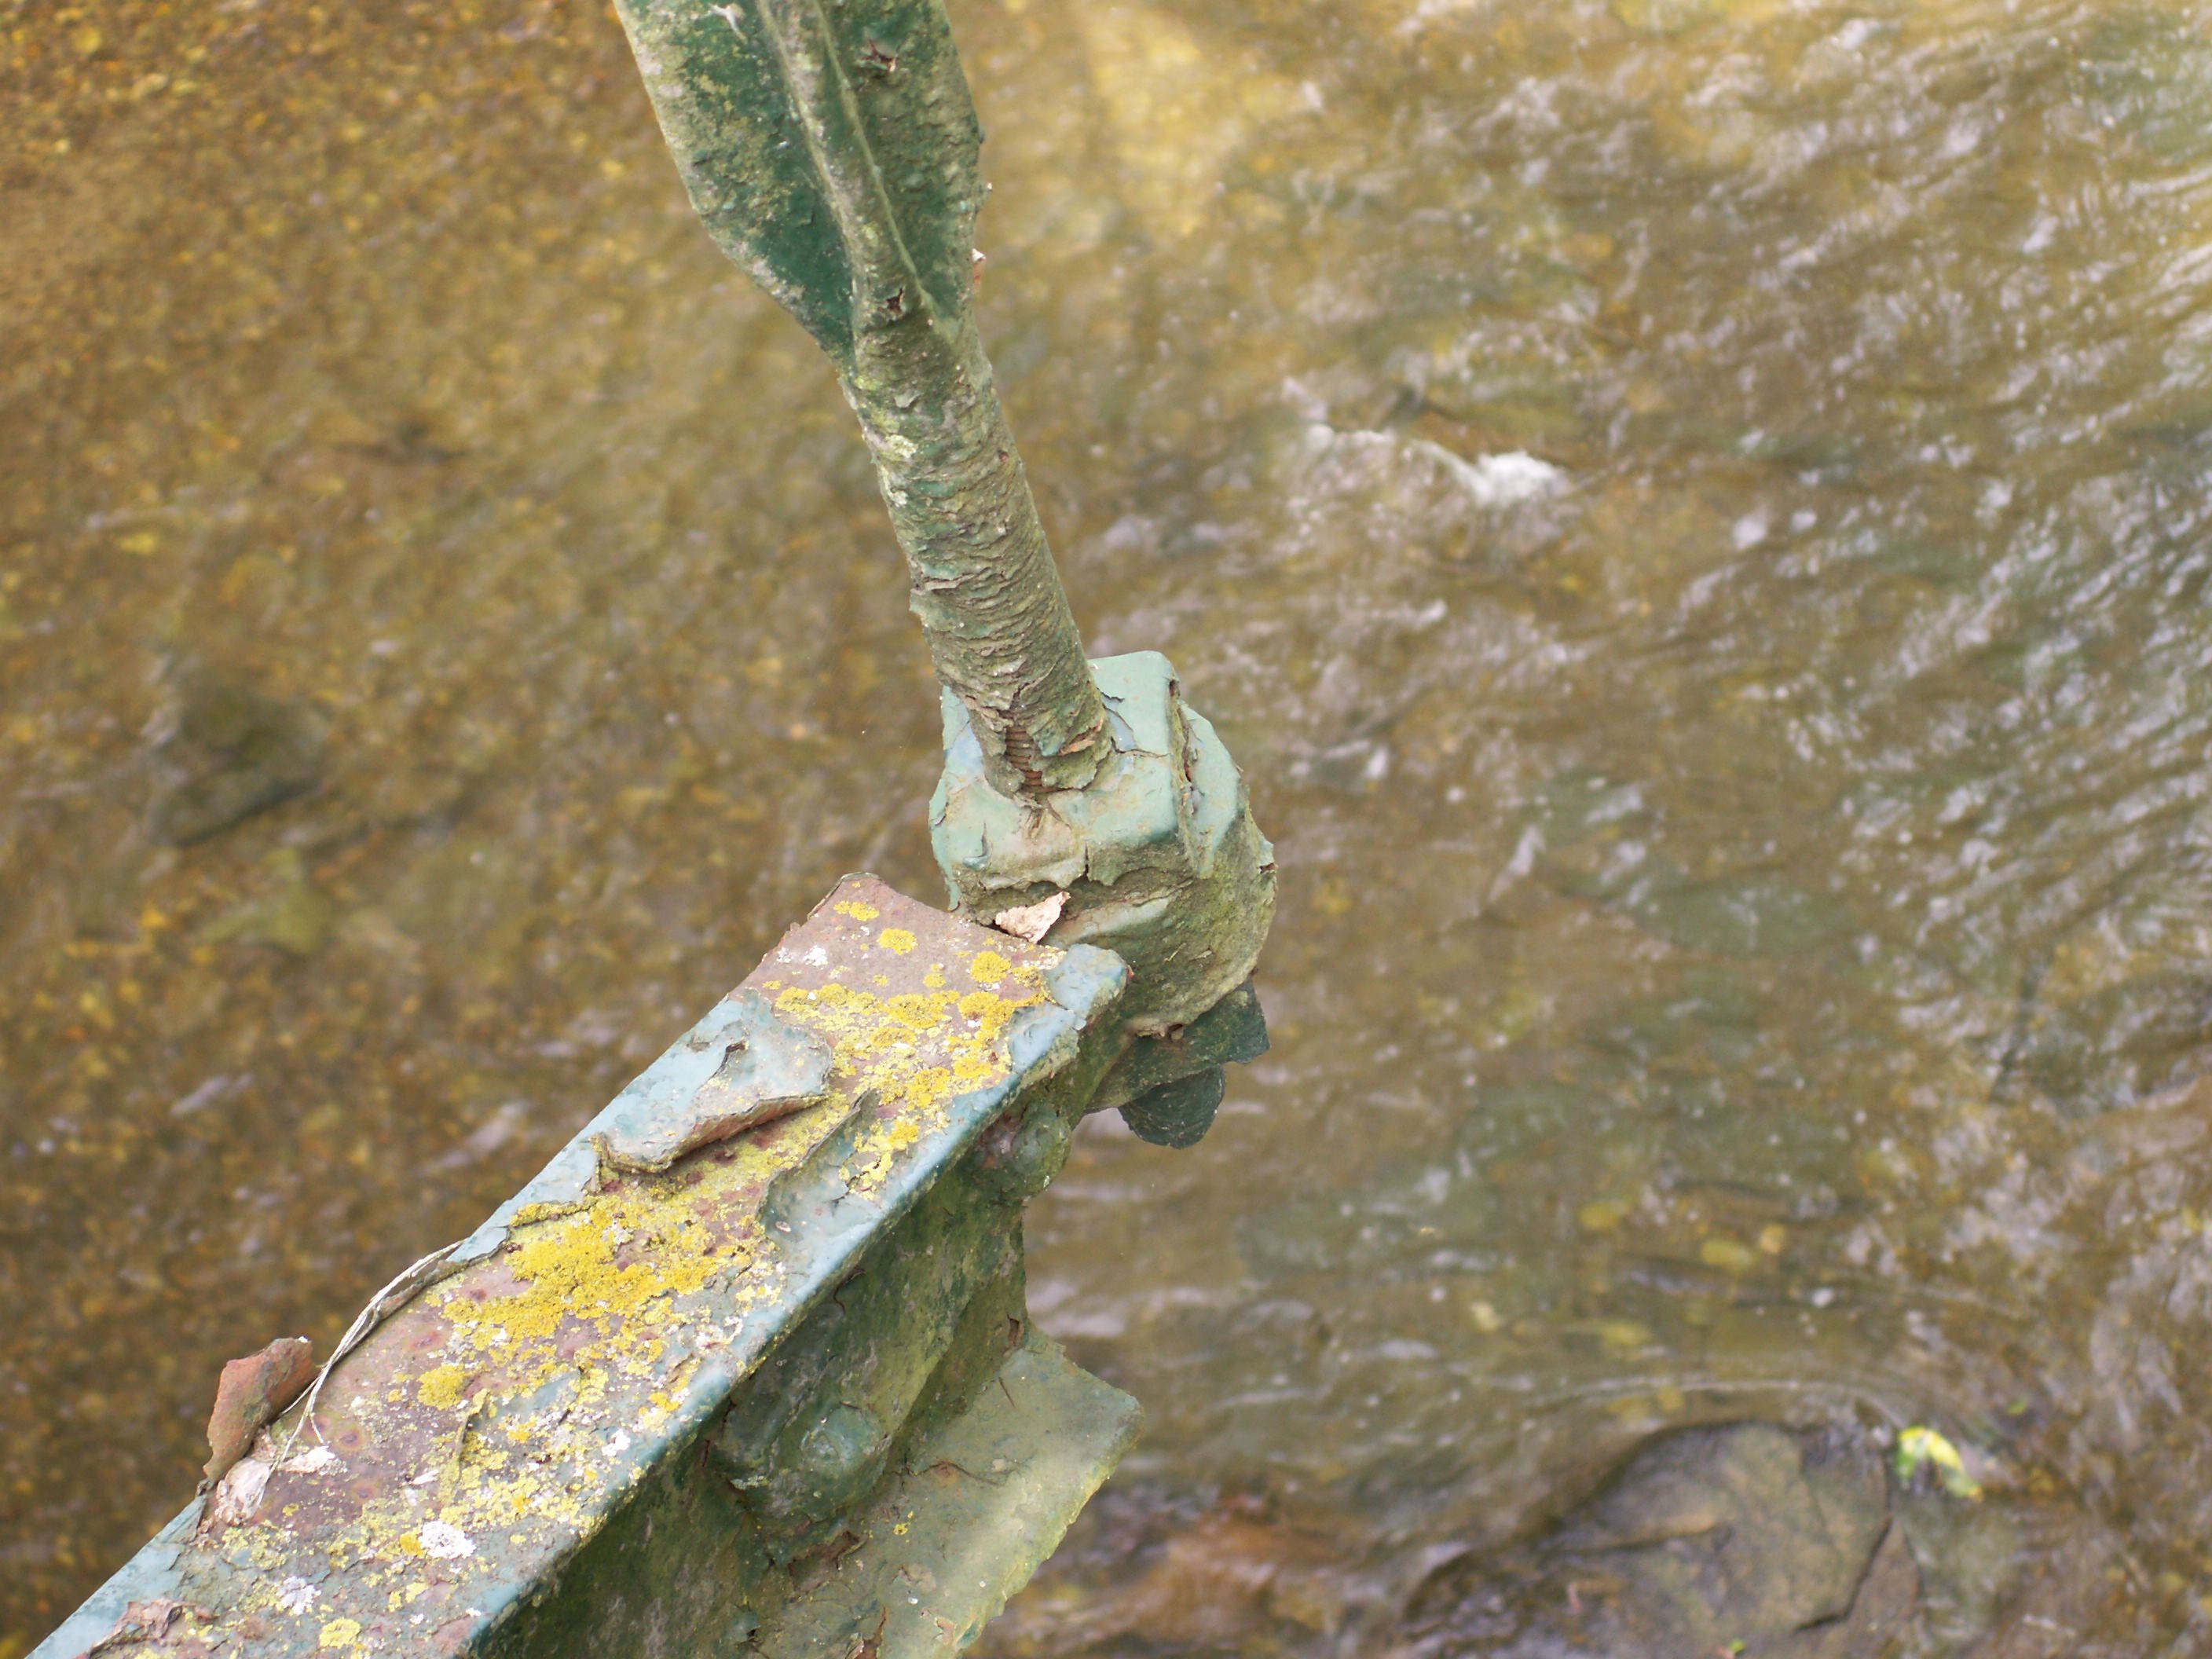
![]()


Bottom chord connection details showing the way the vertical member is connected to the bottom chord, with dual floorbeams, one on each side.
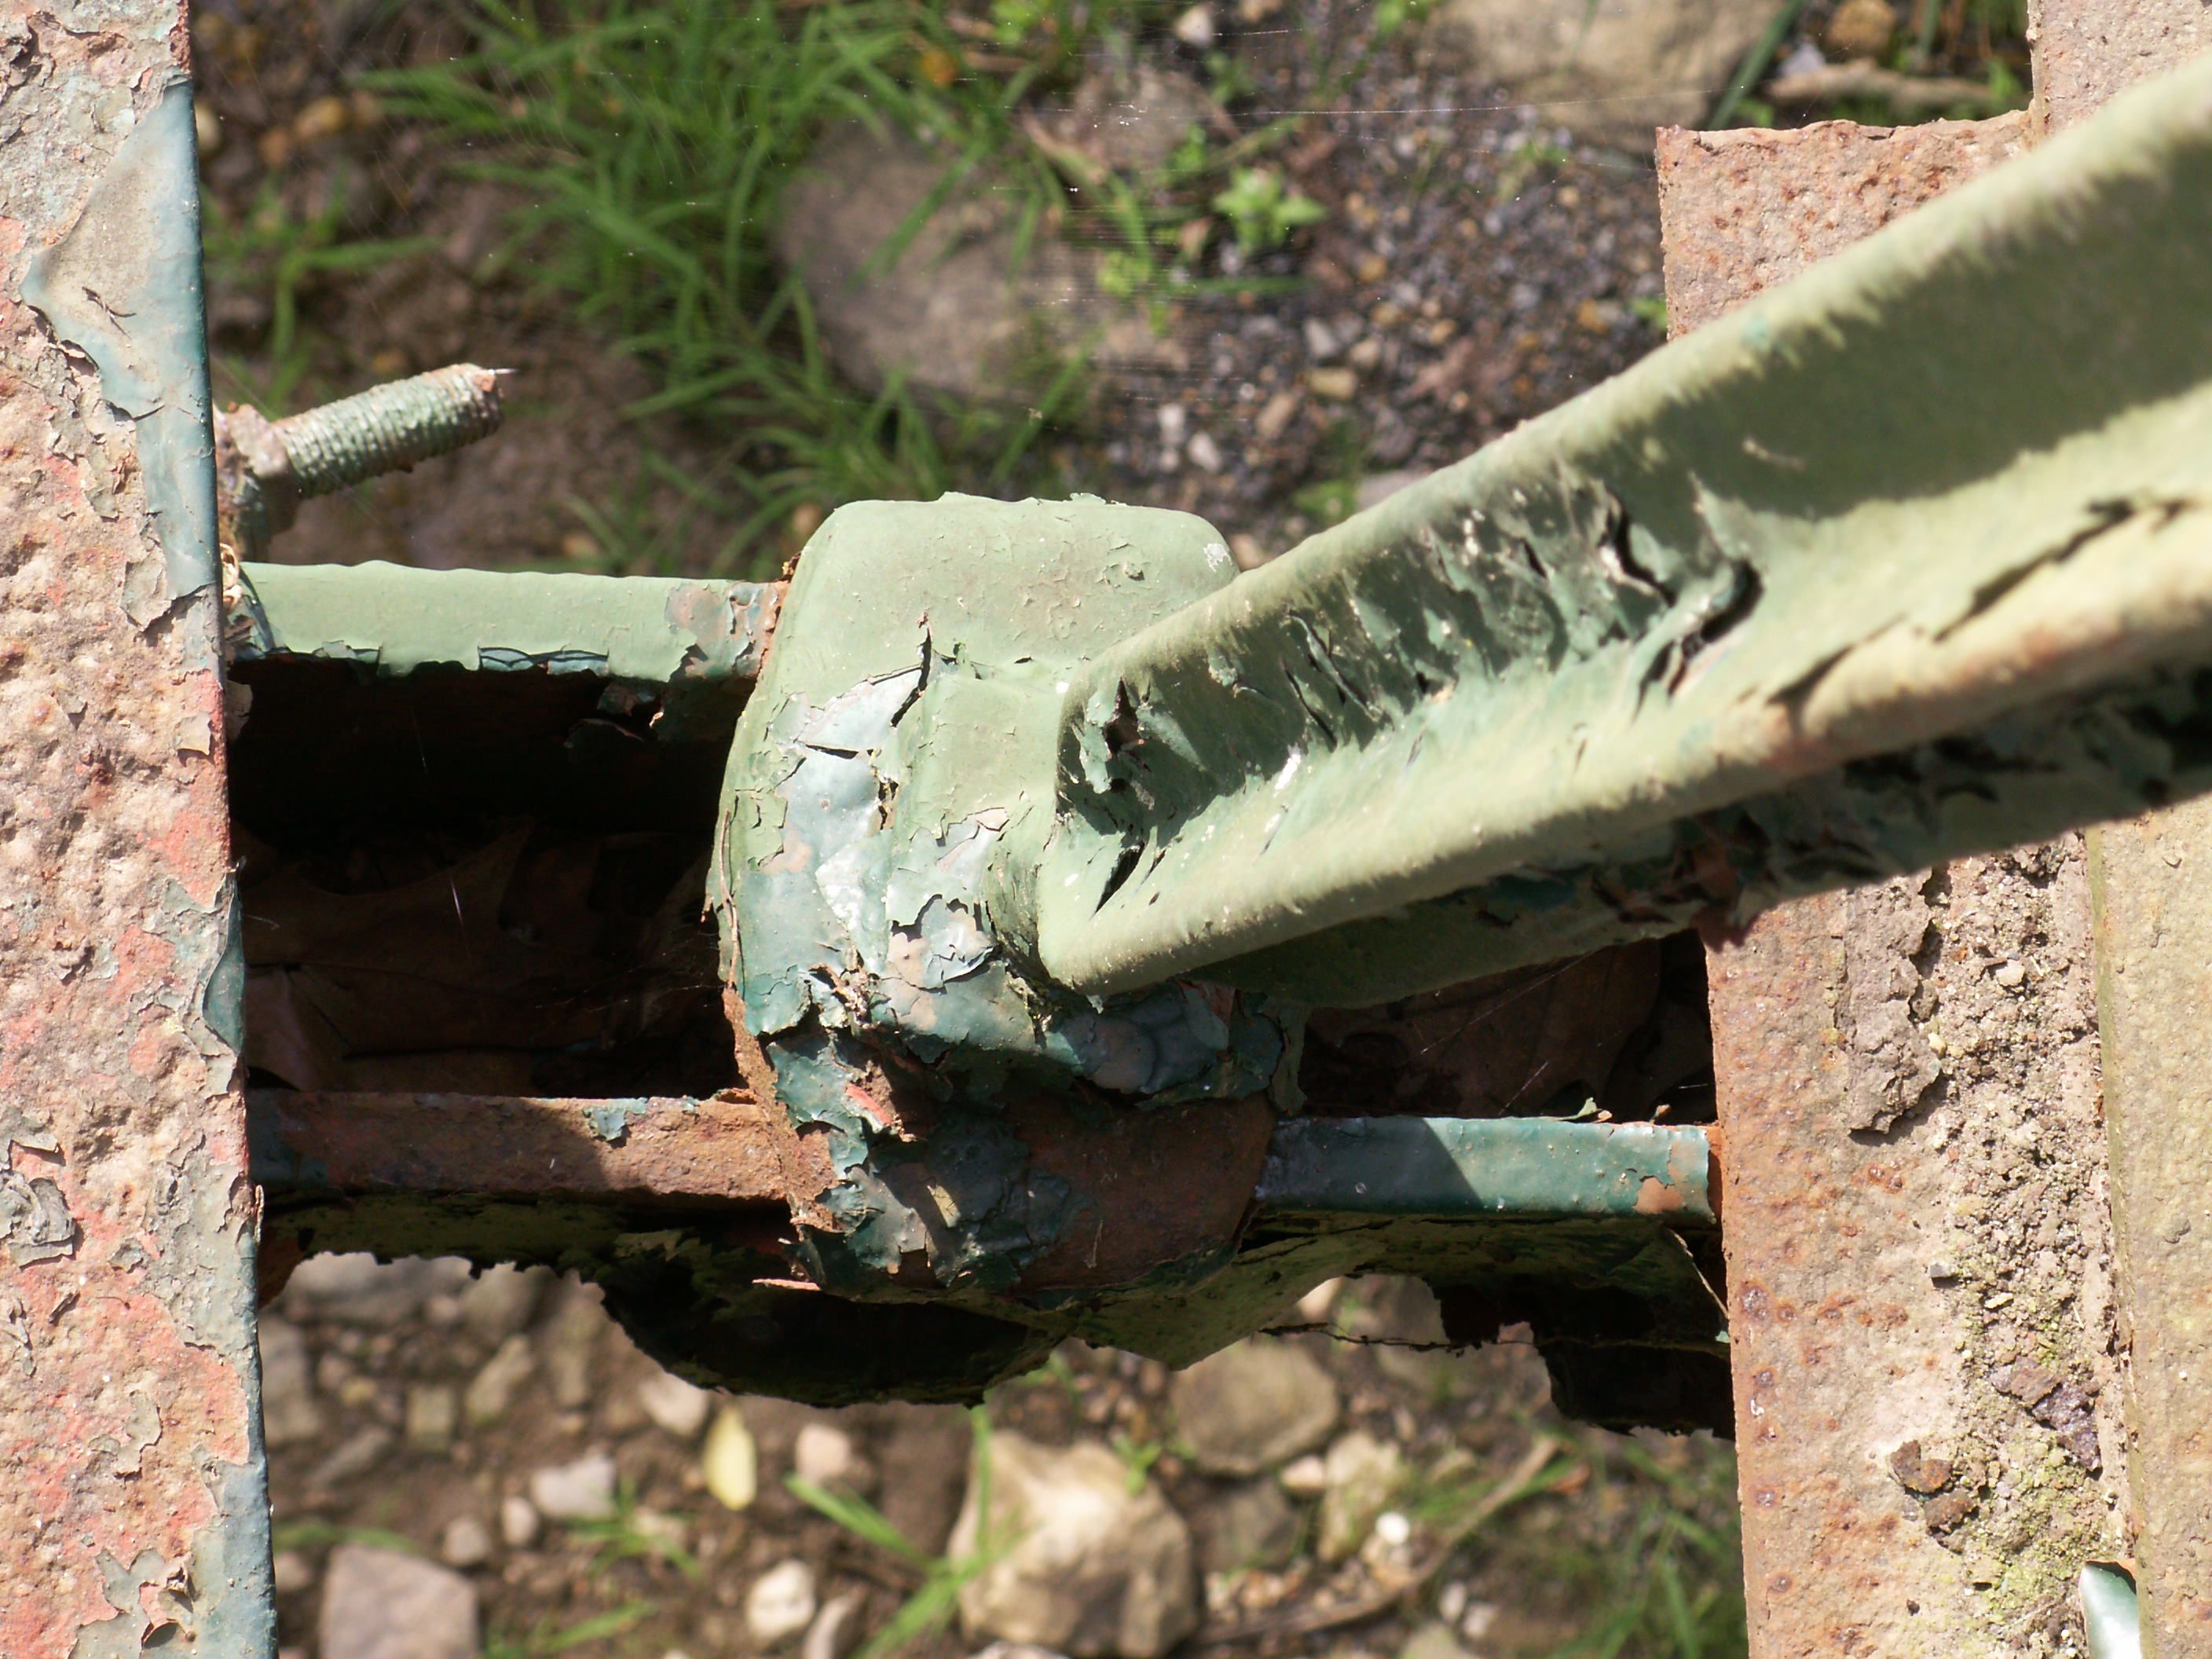
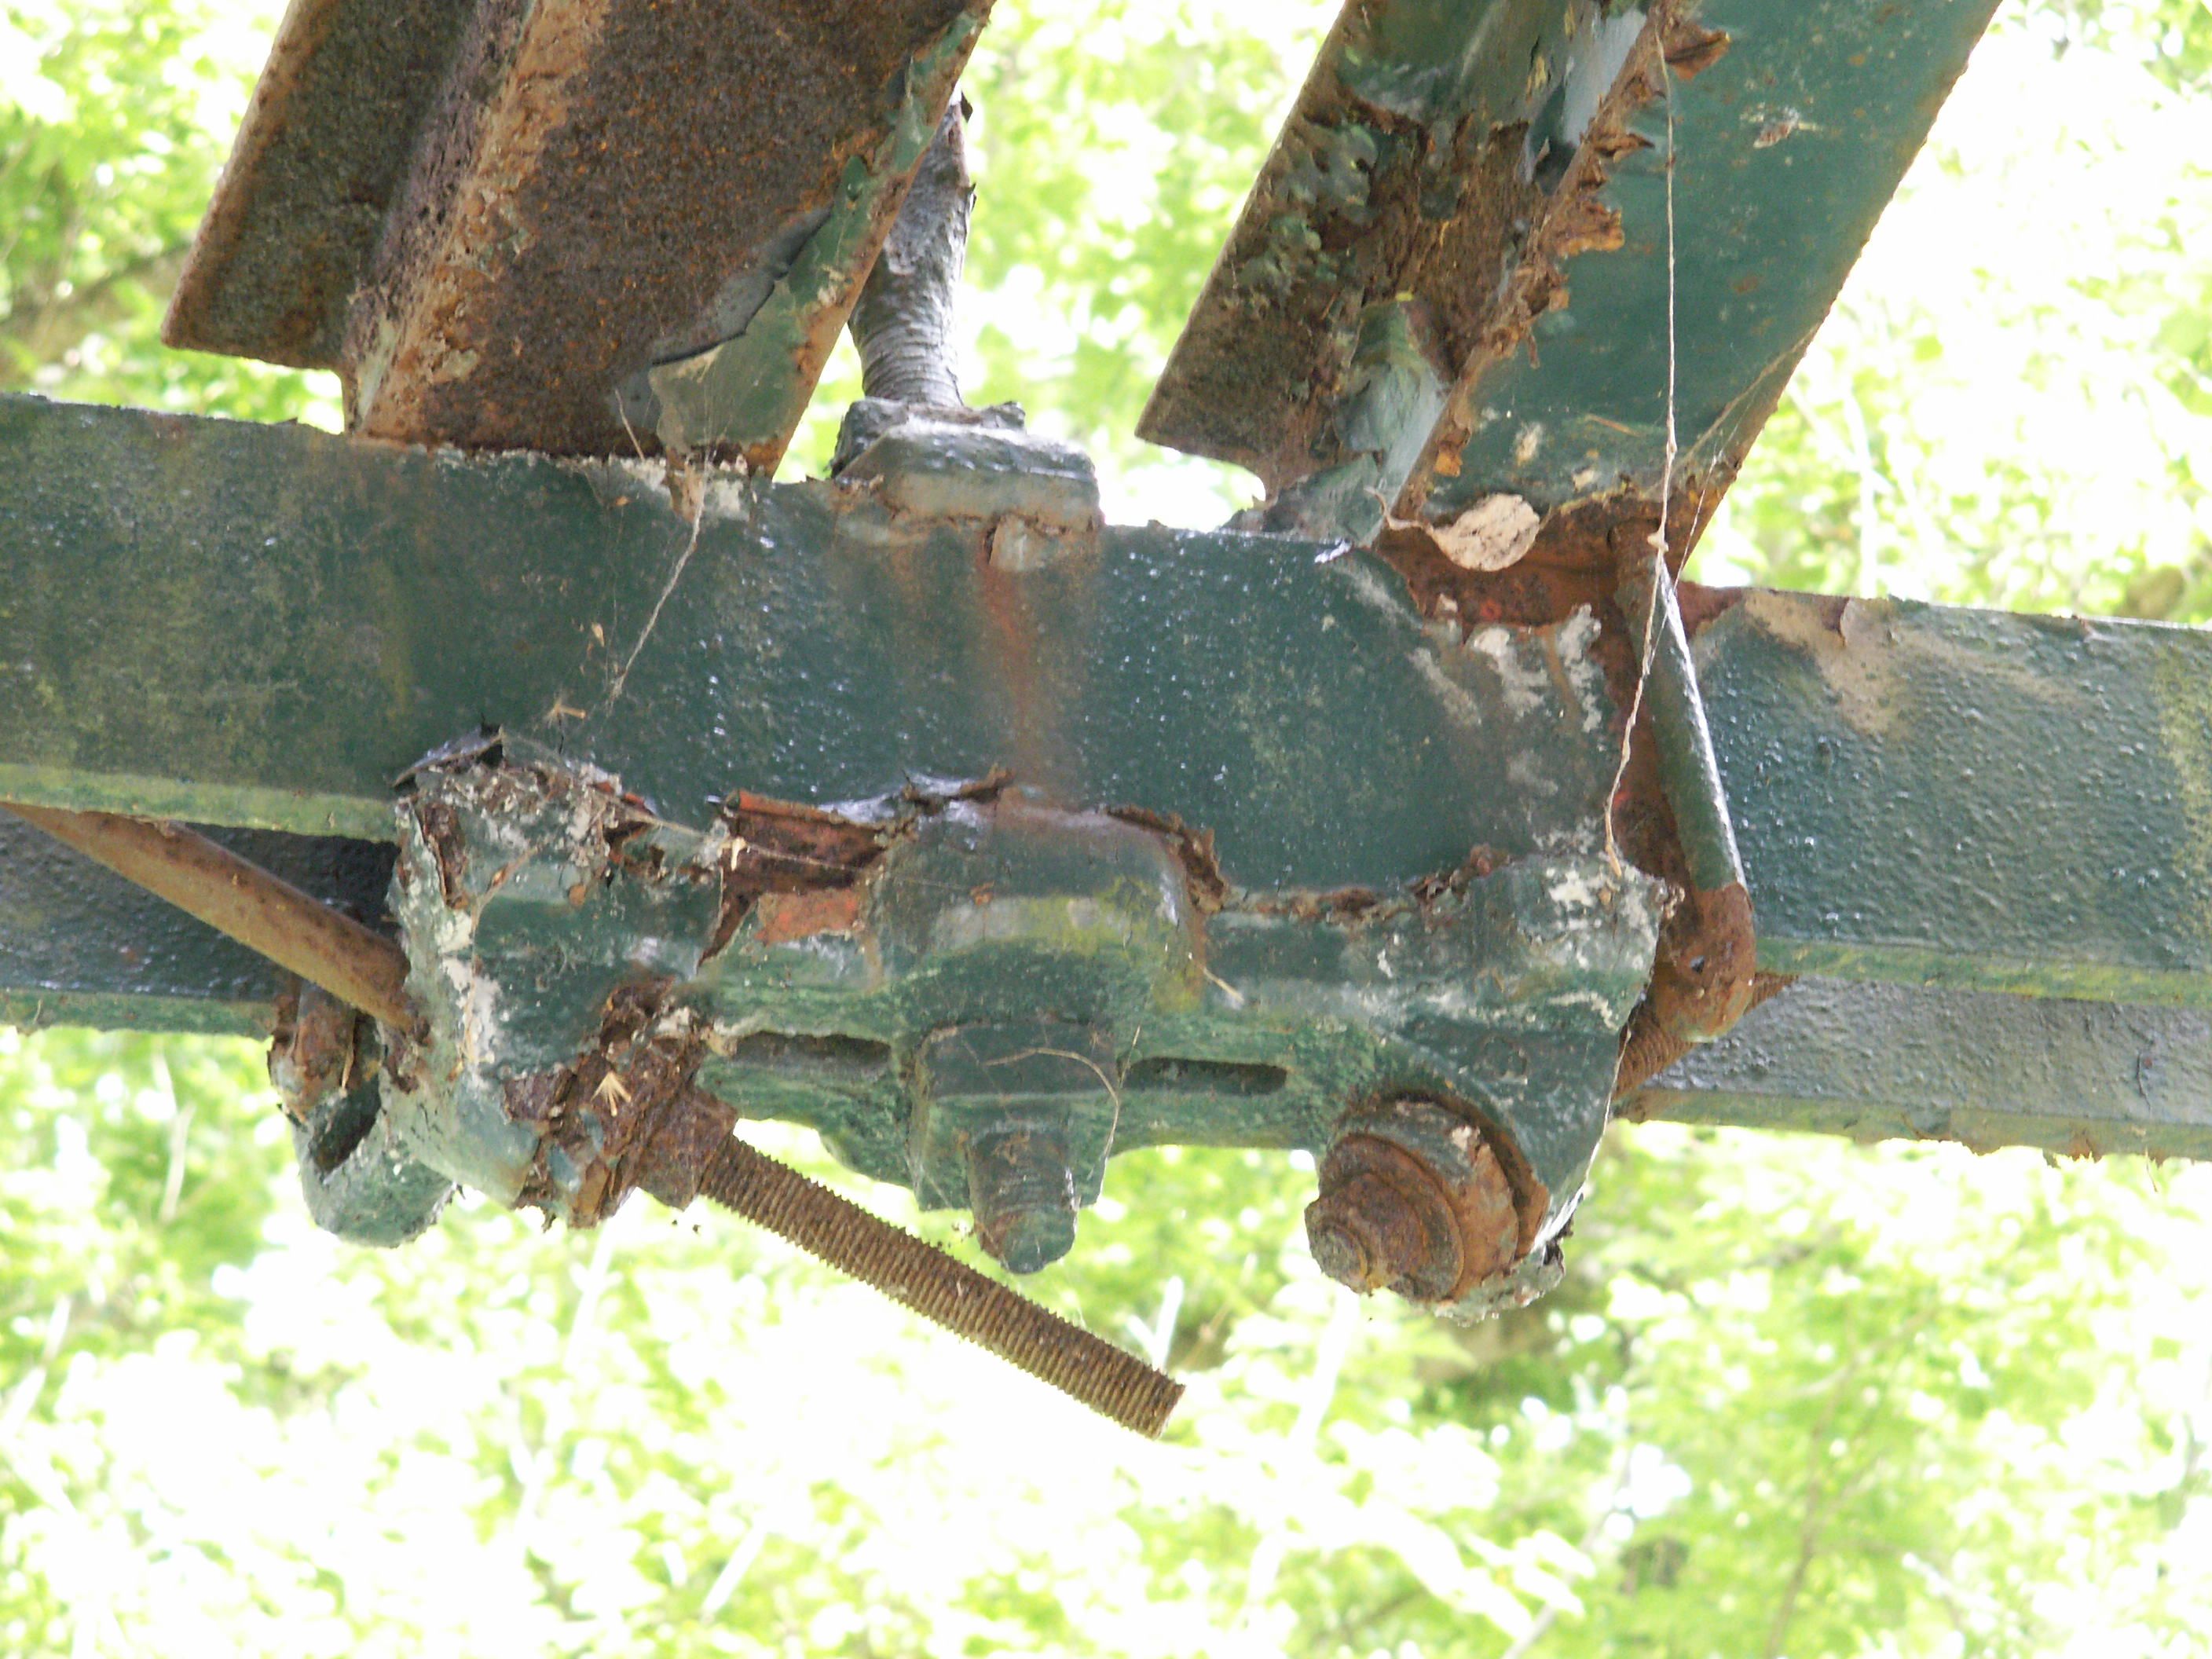
![]()
Outrigger detail at bottom chord. There are essentially three floorbeams here, the longer one holds the outrigger.
![]()

Bottom chord connection at end of bridge.
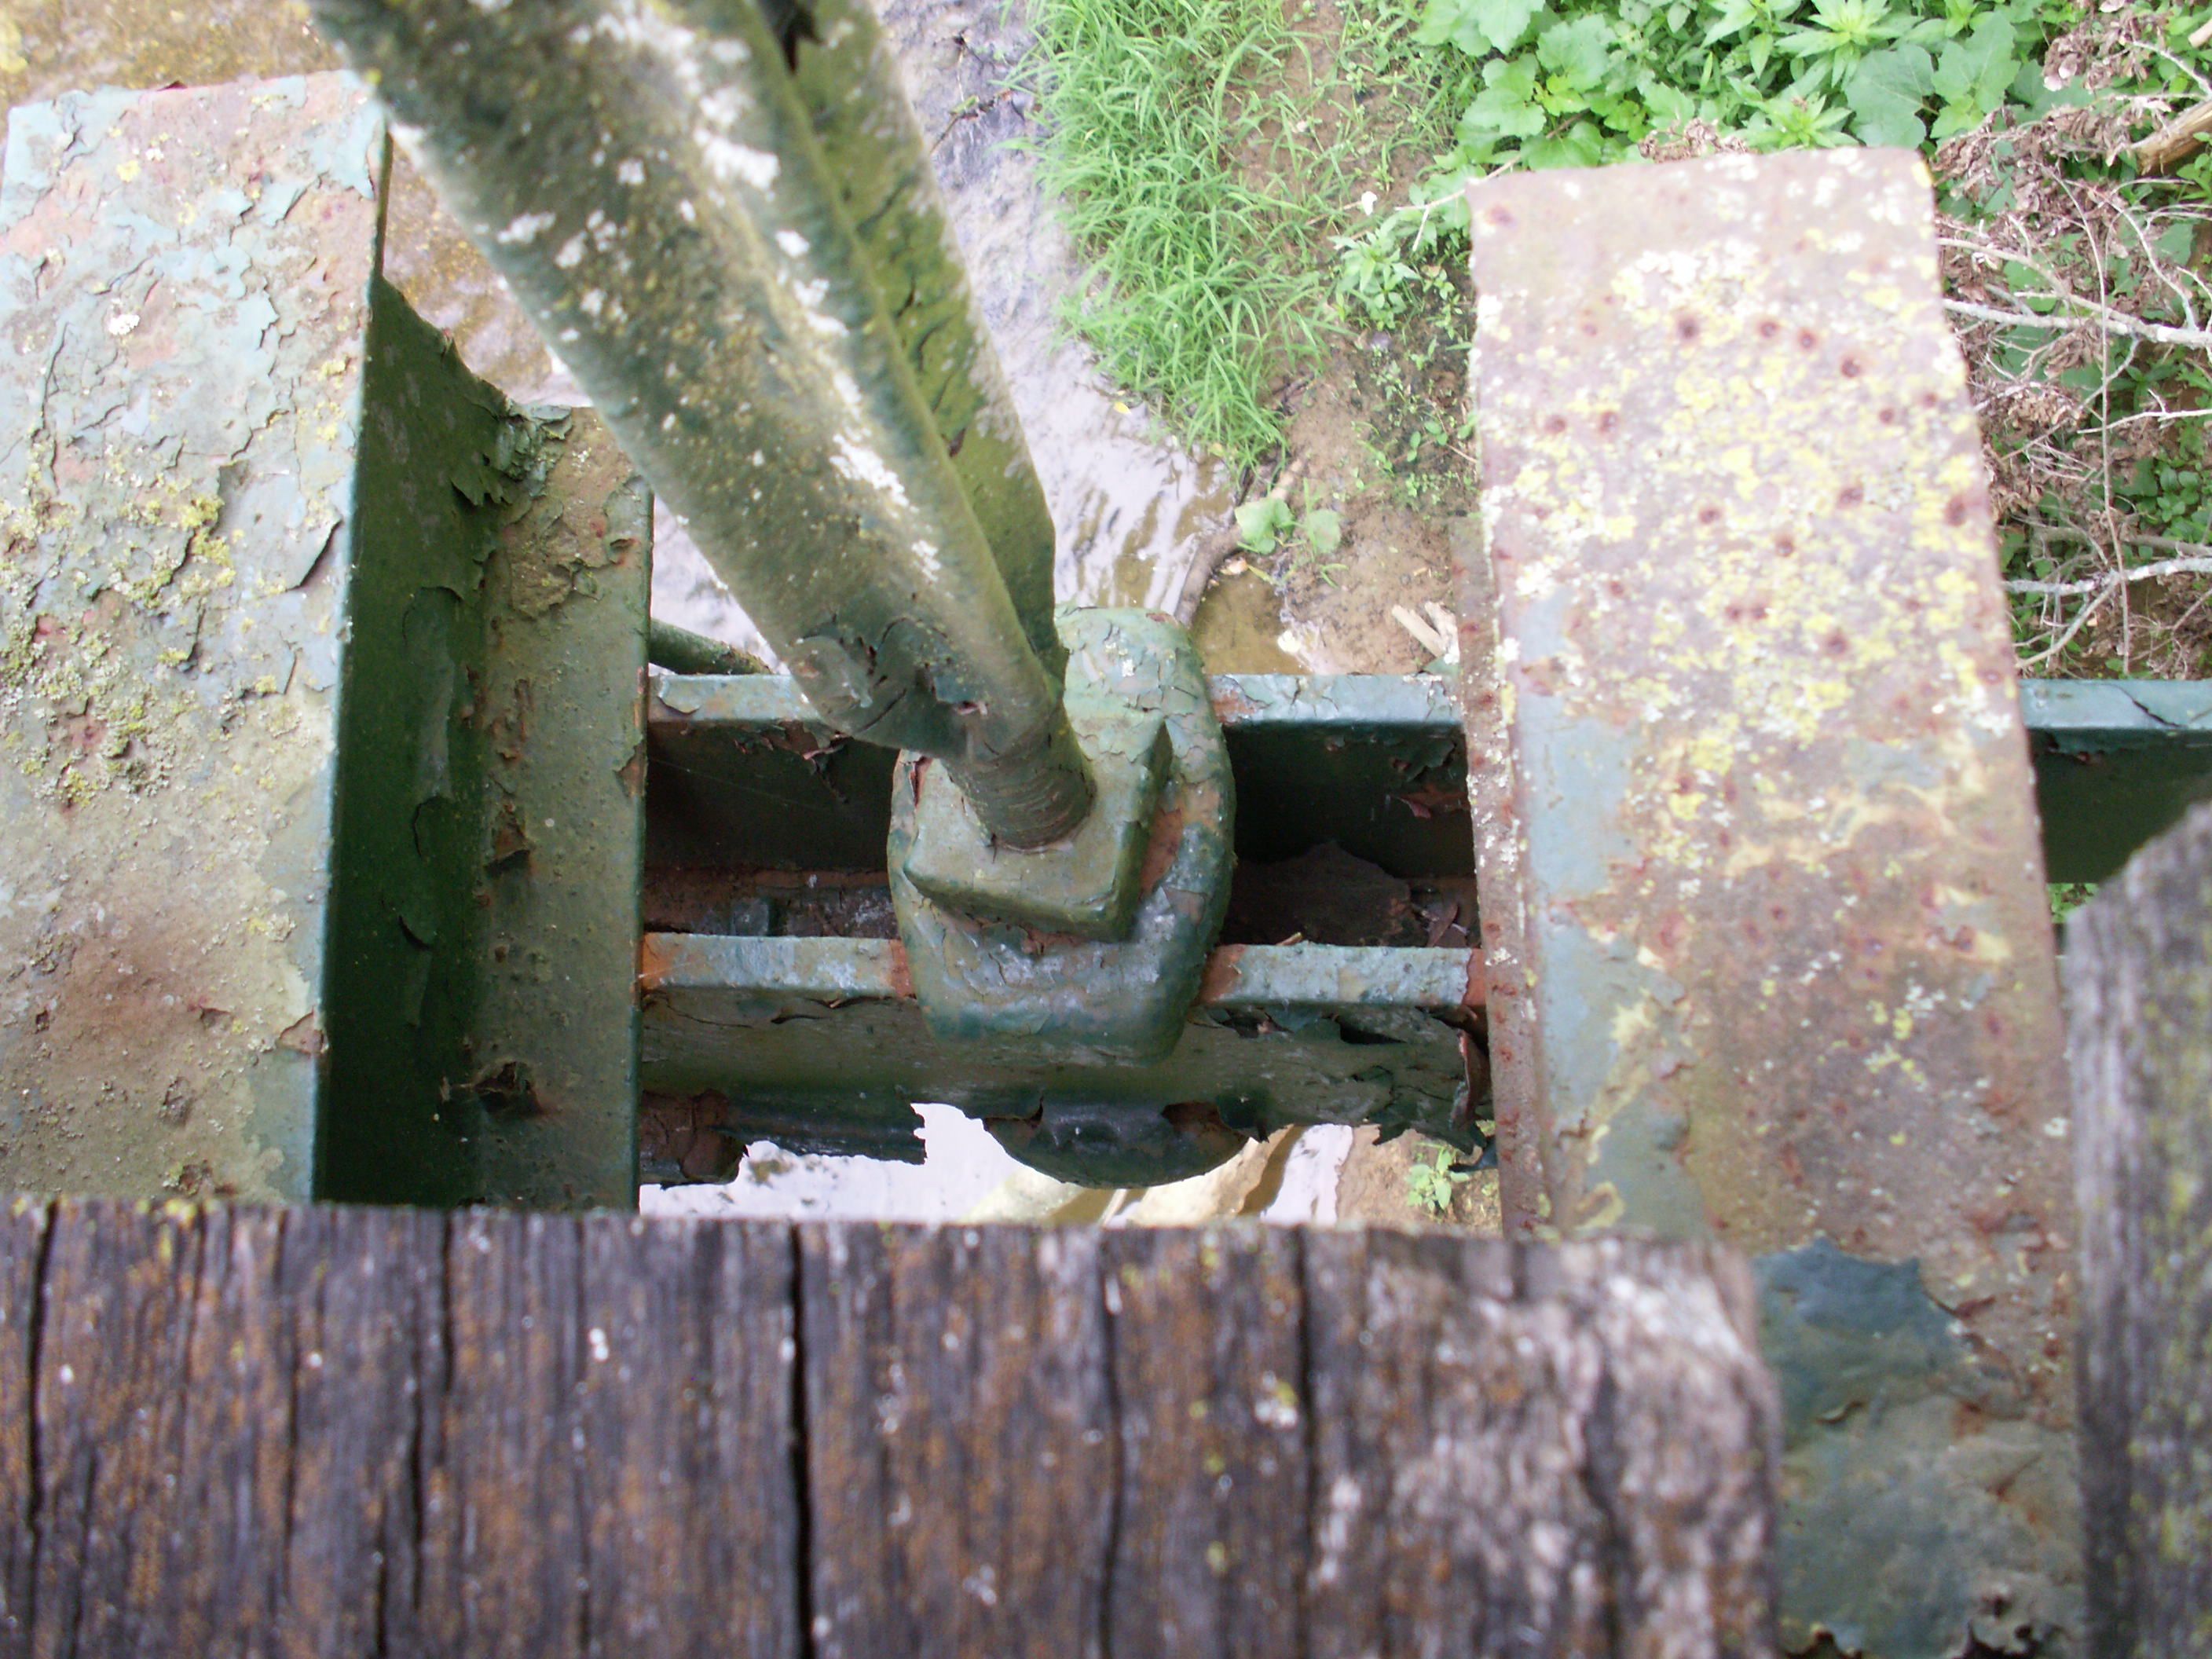
![]()

Bottom chord connection with diagonal connection detail.
![]()


Bottom chord detail showing where the stock ends were bolted together.
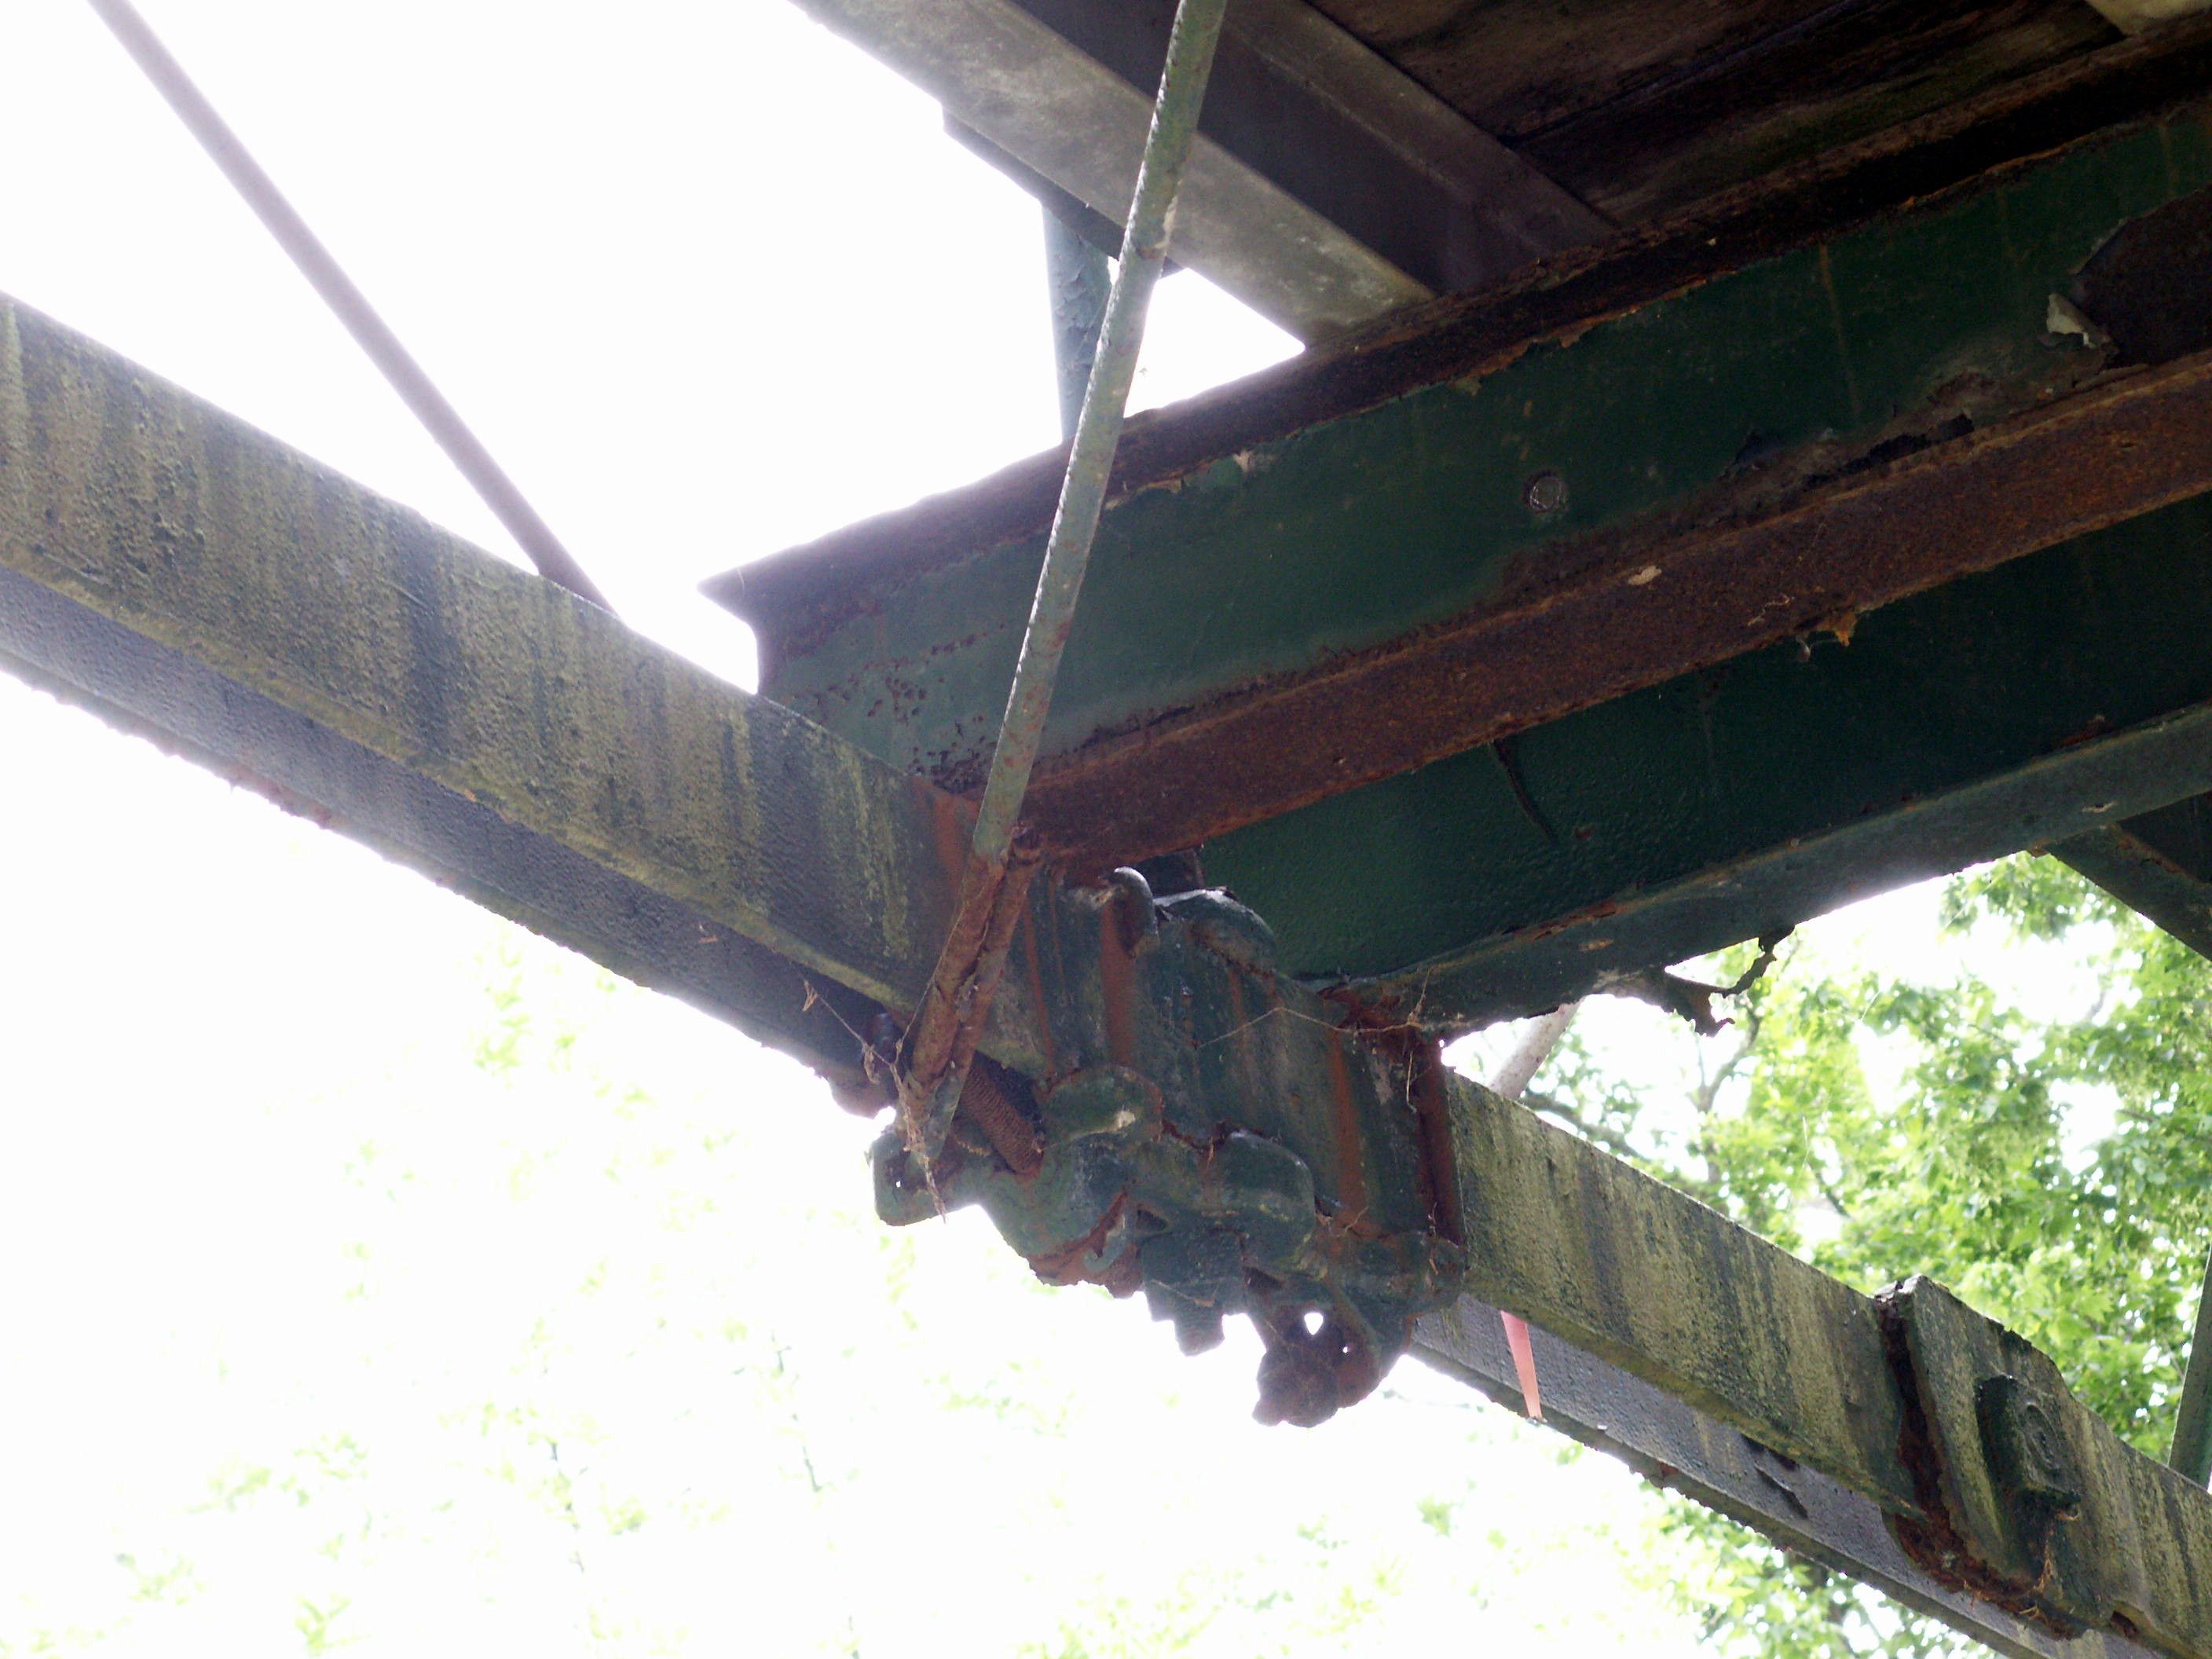
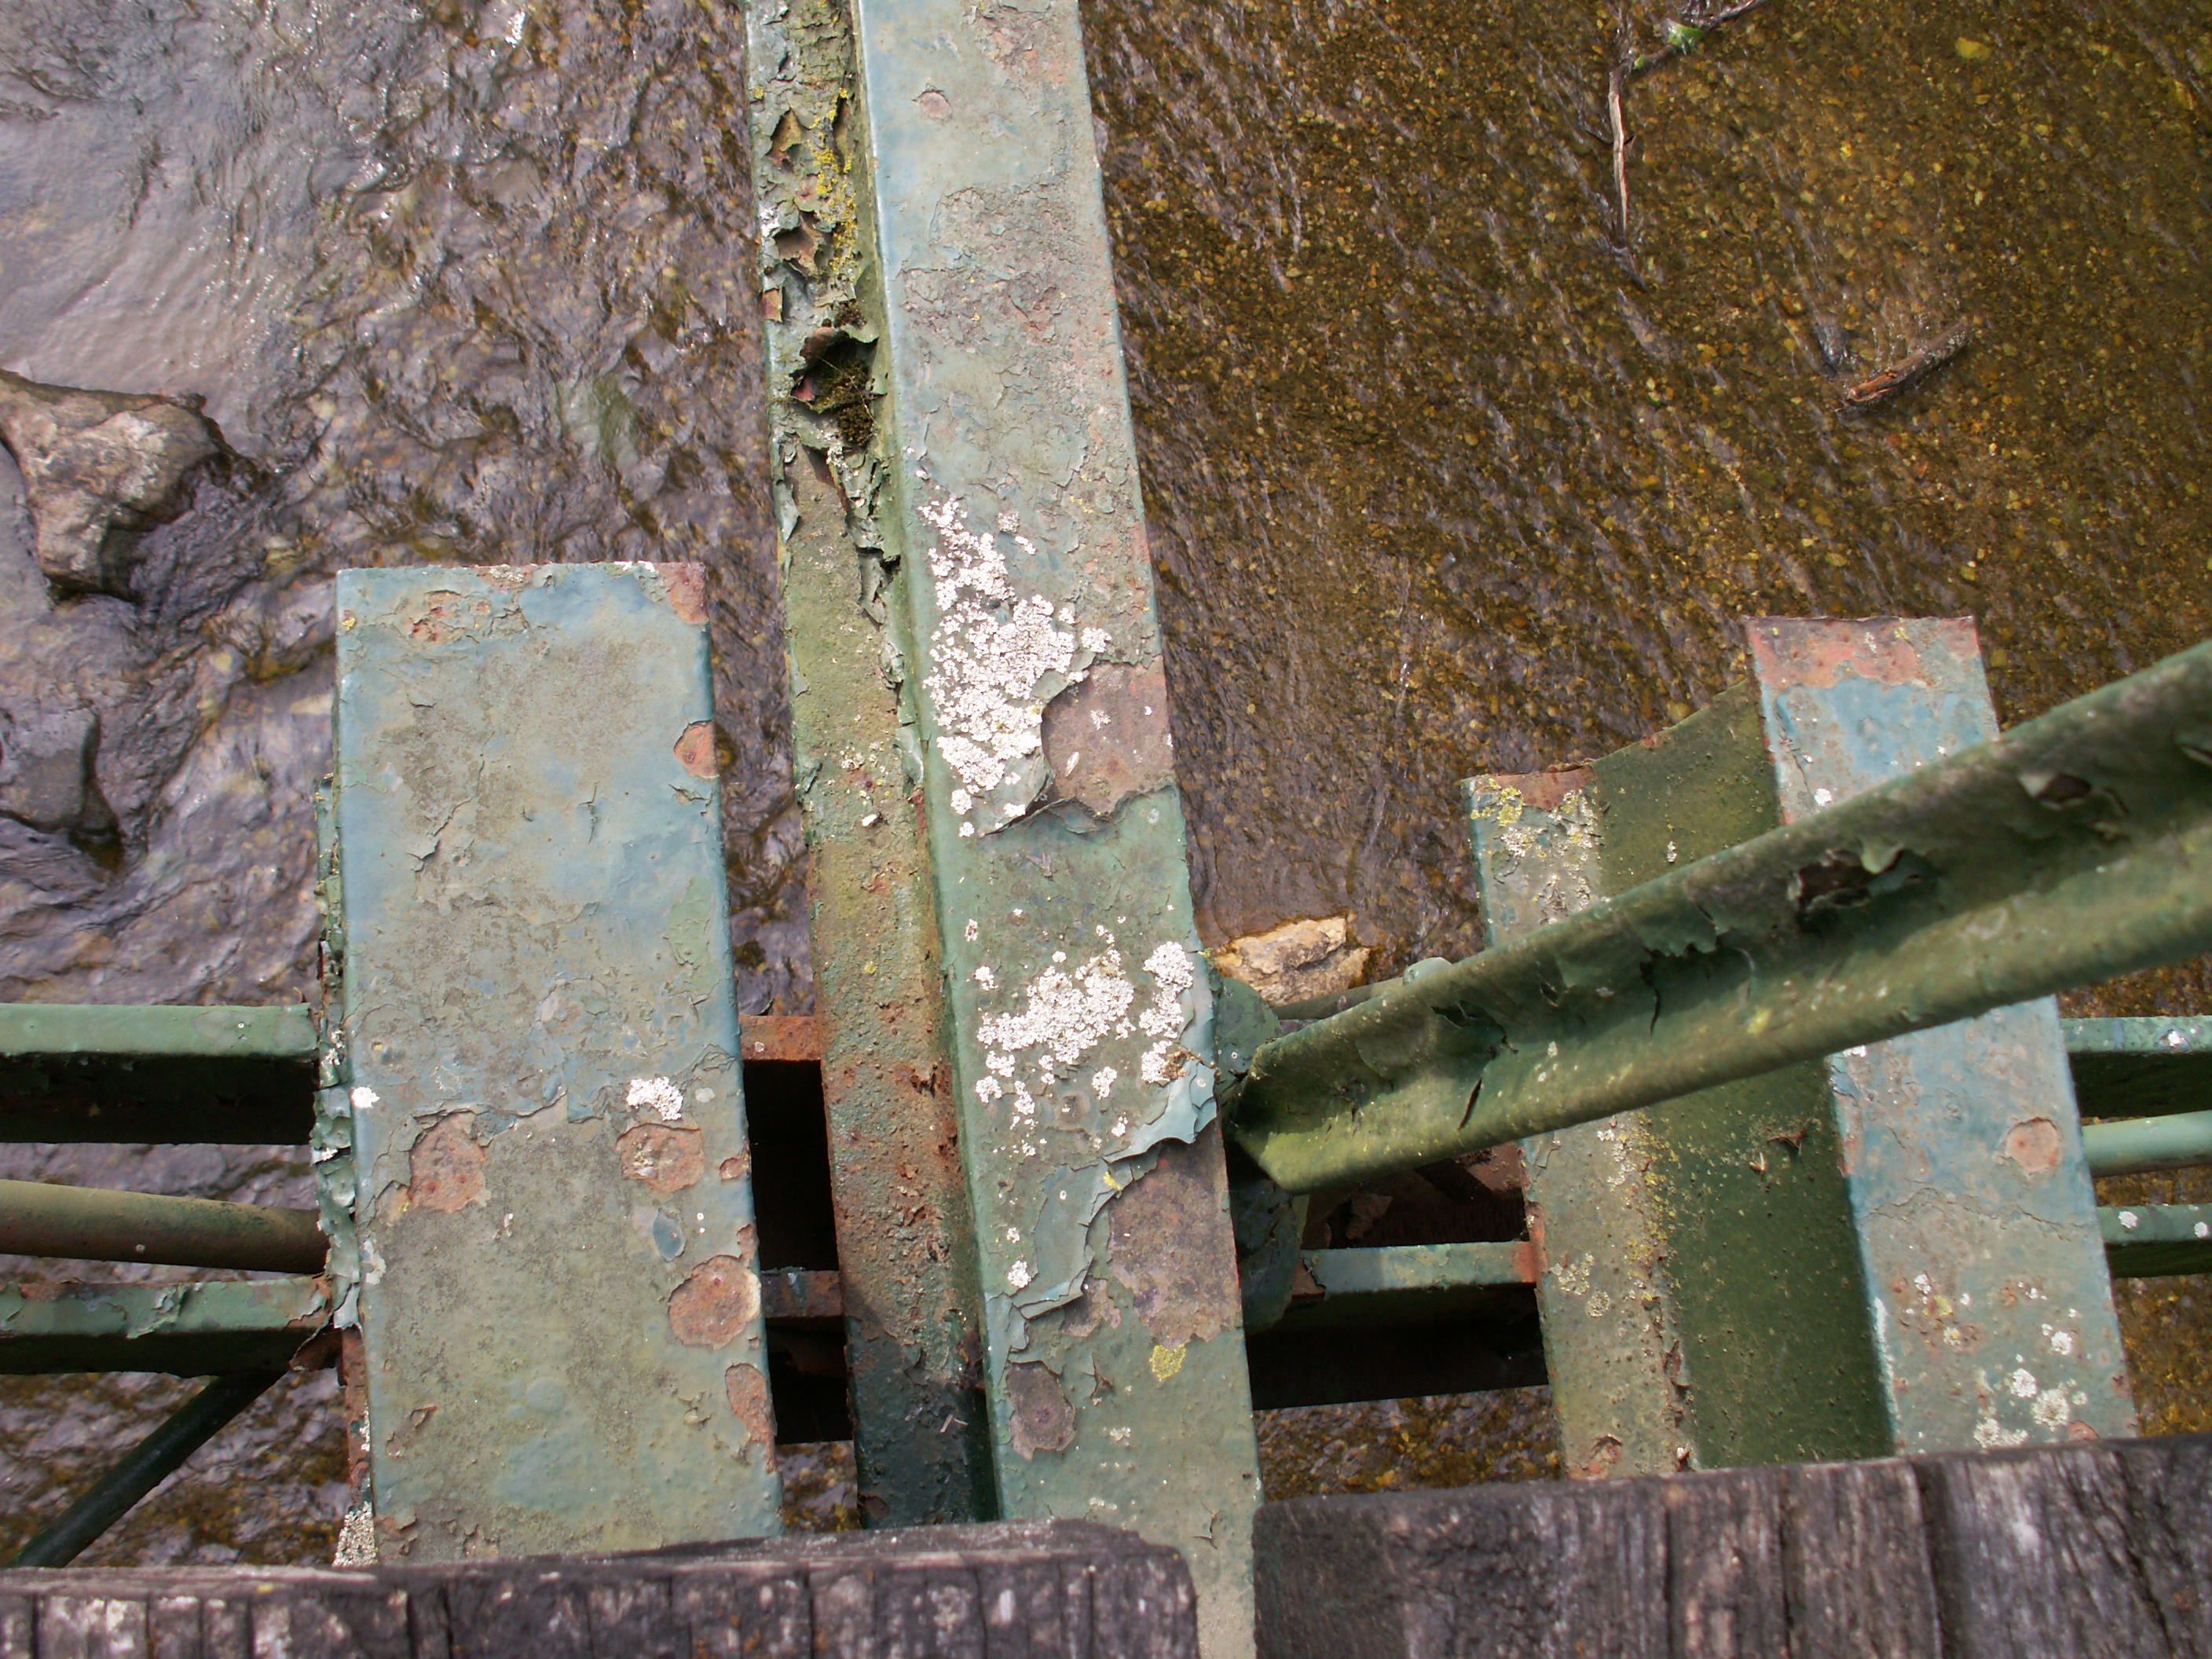
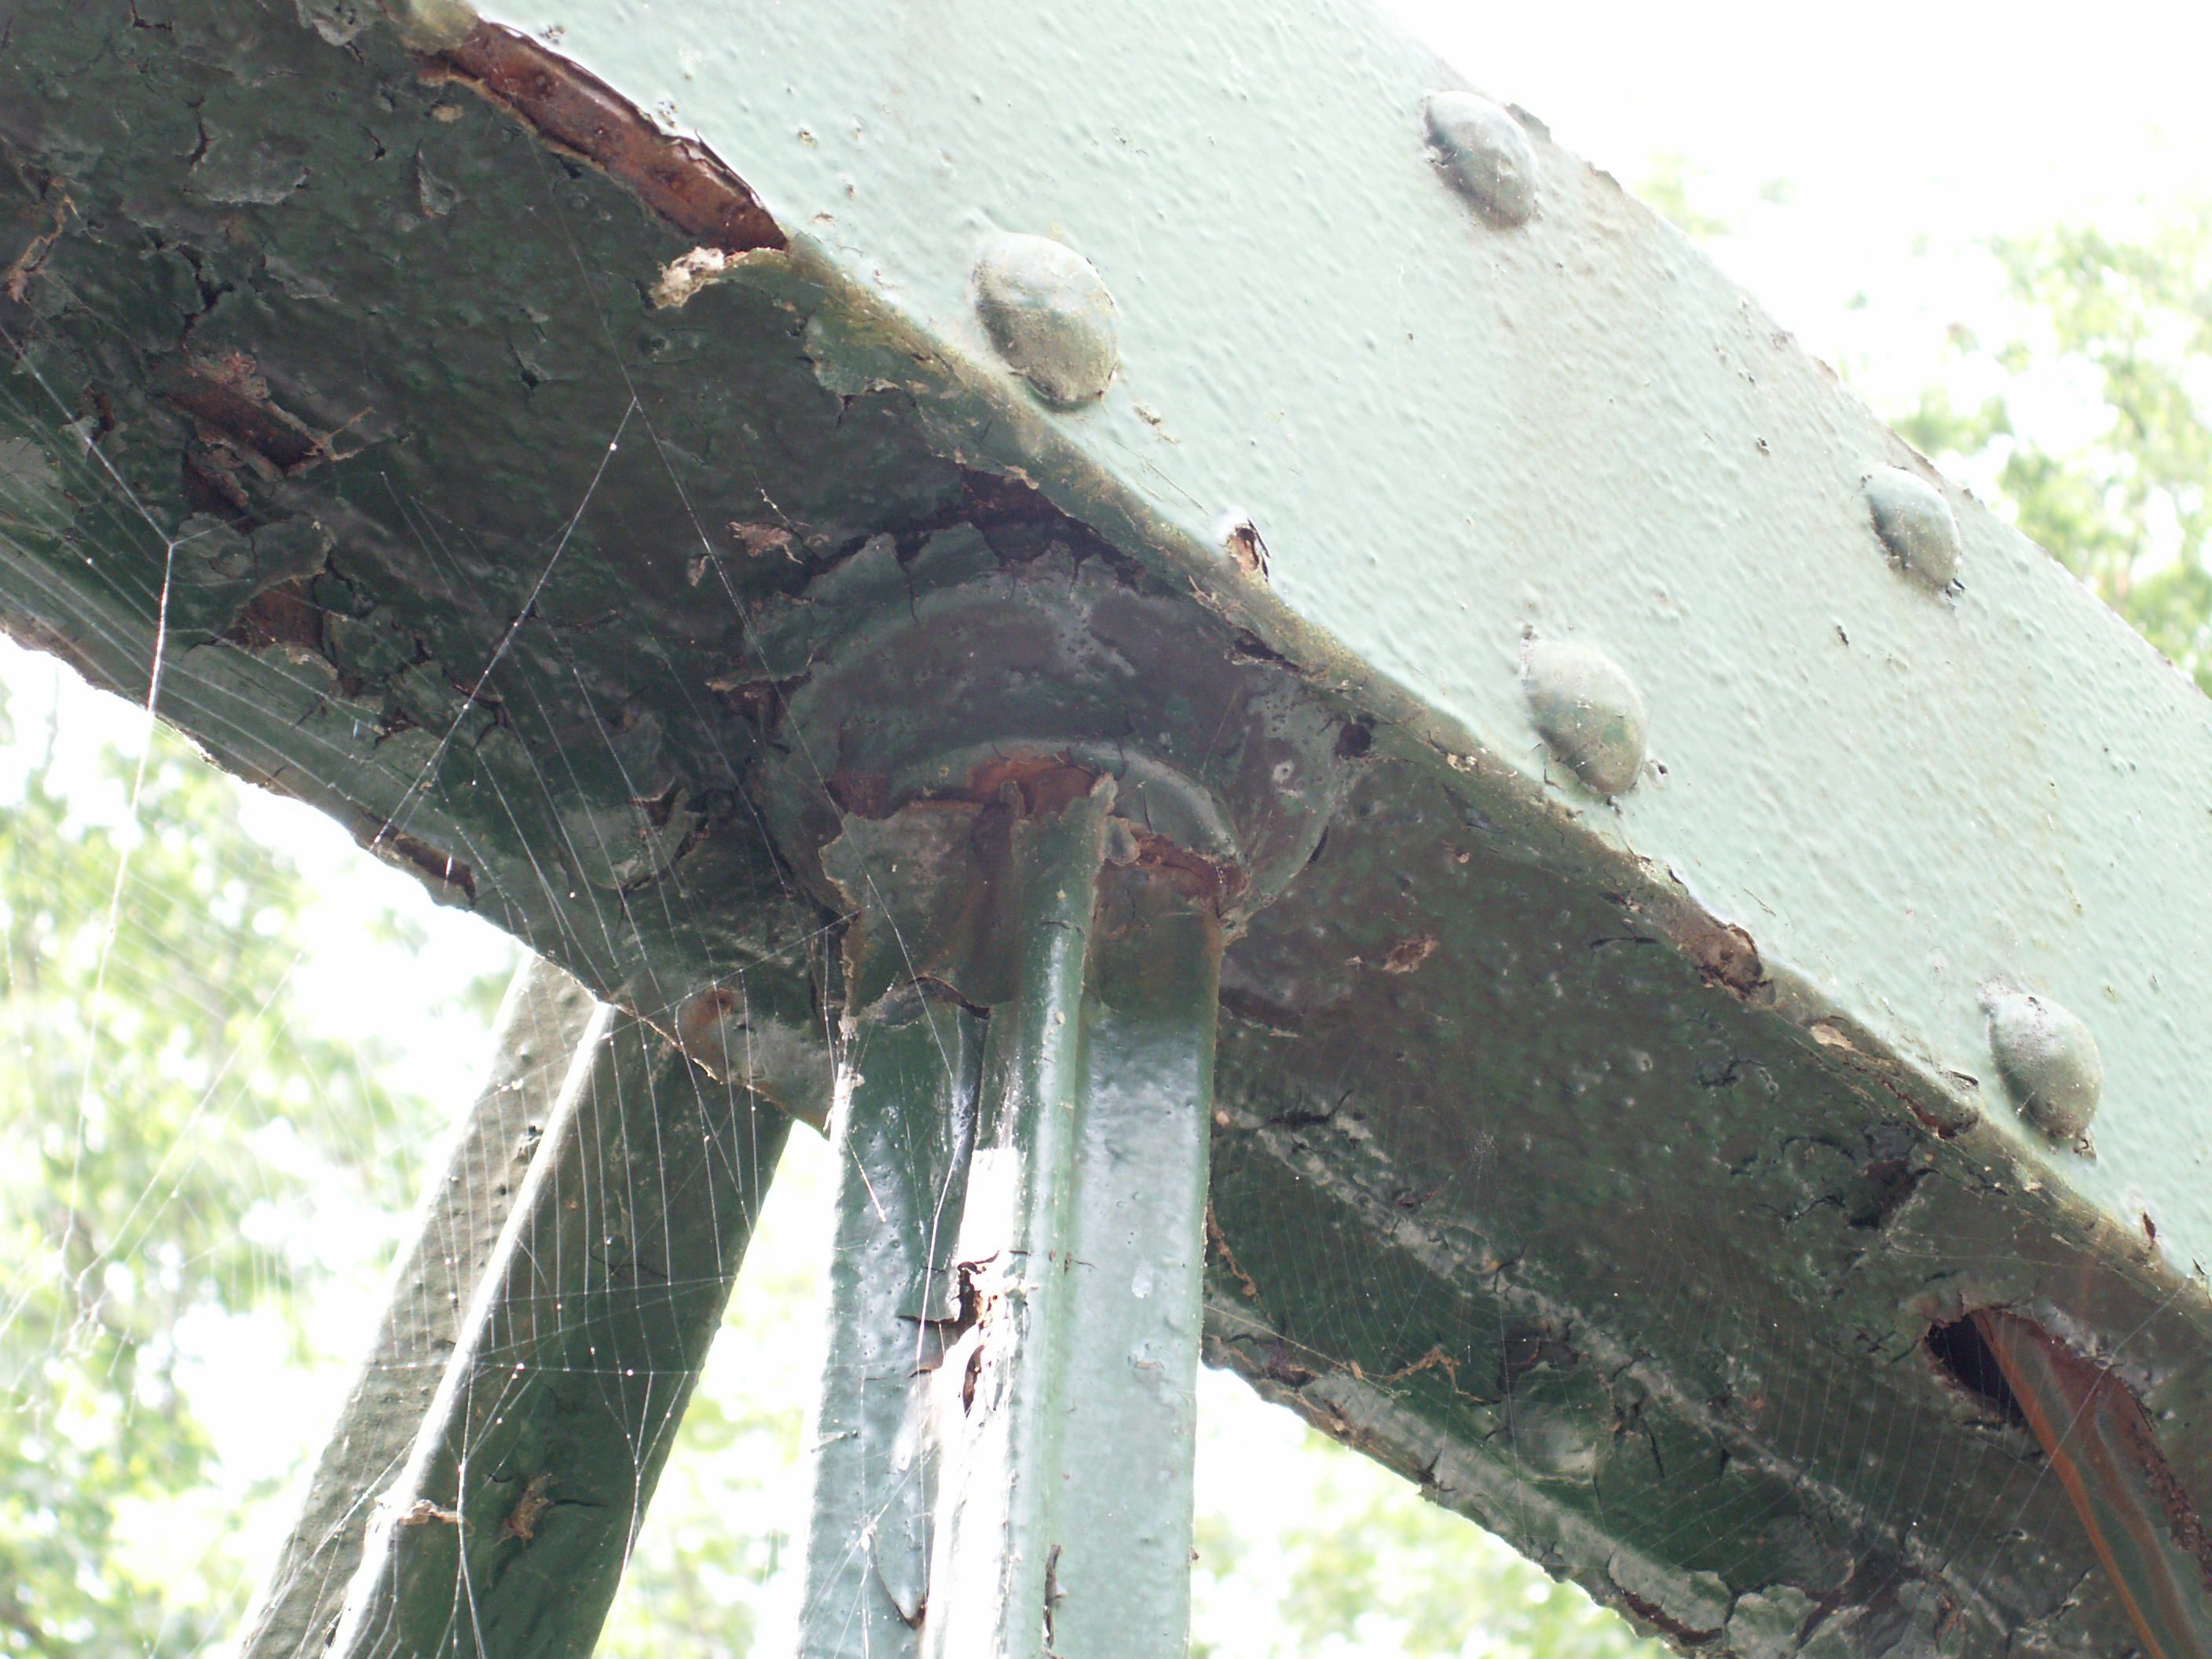
![]()

View under the bridge.
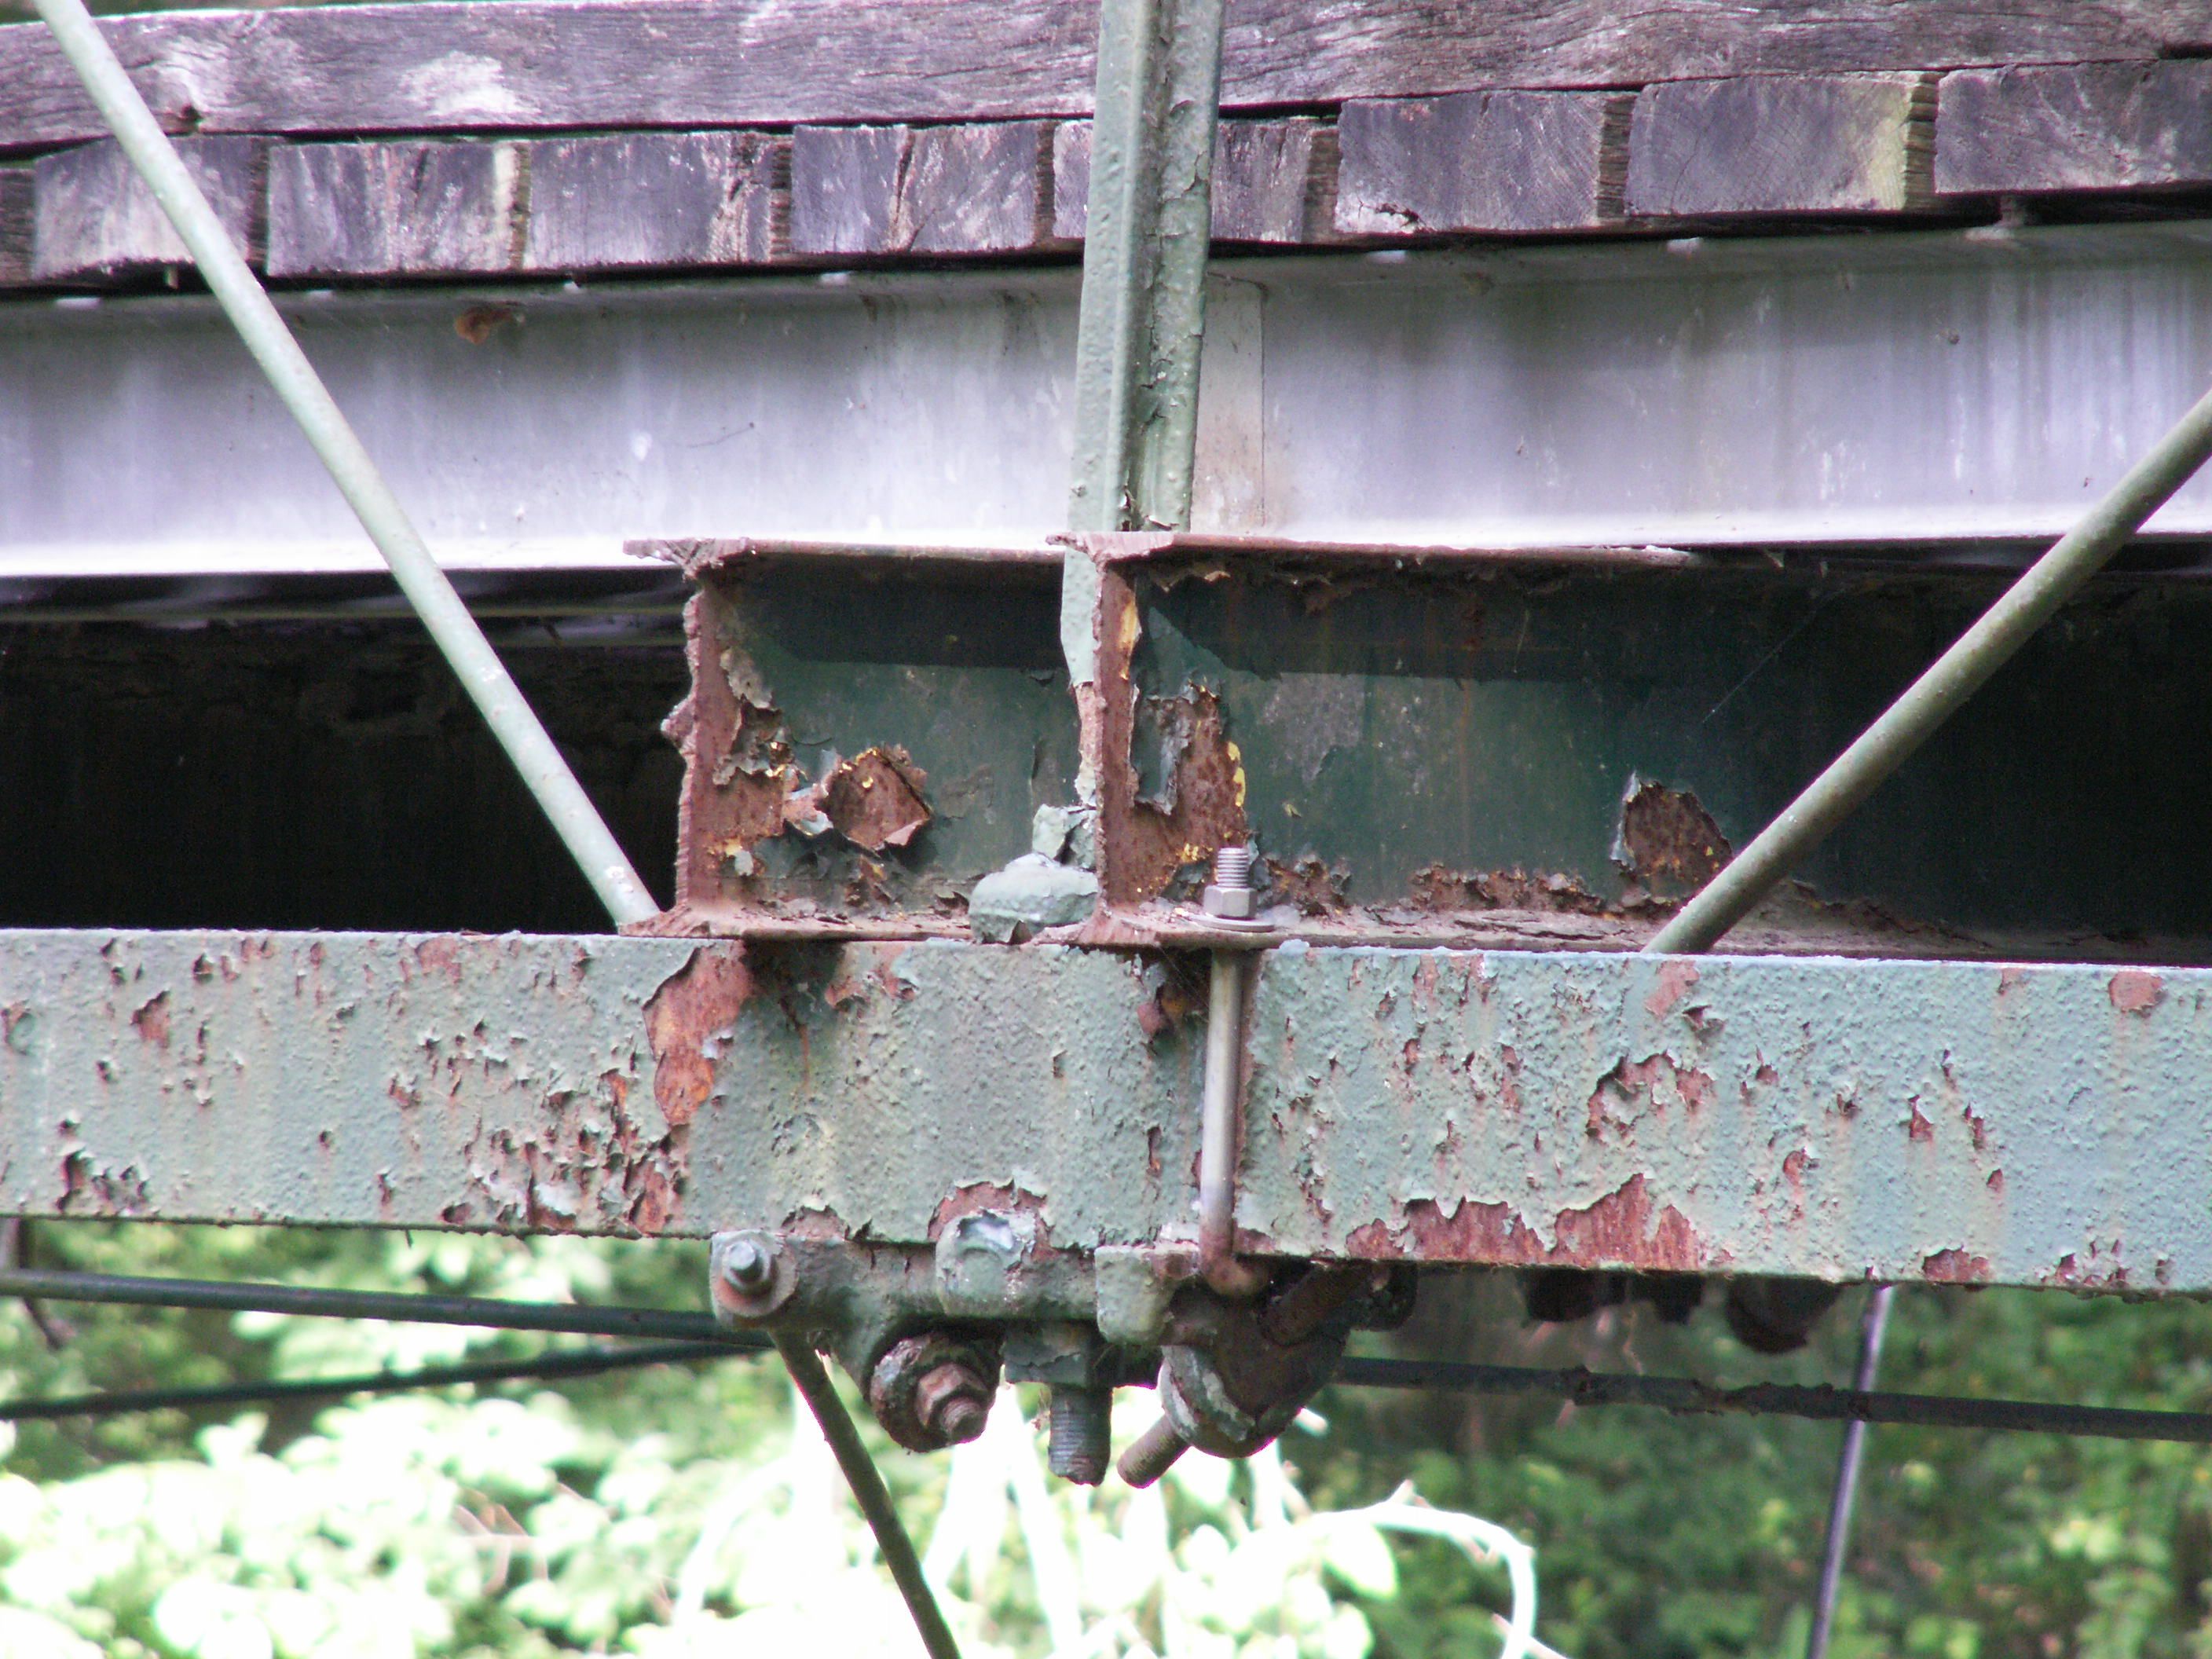
![]()

Two floorbeams where most truss bridges usually have one.
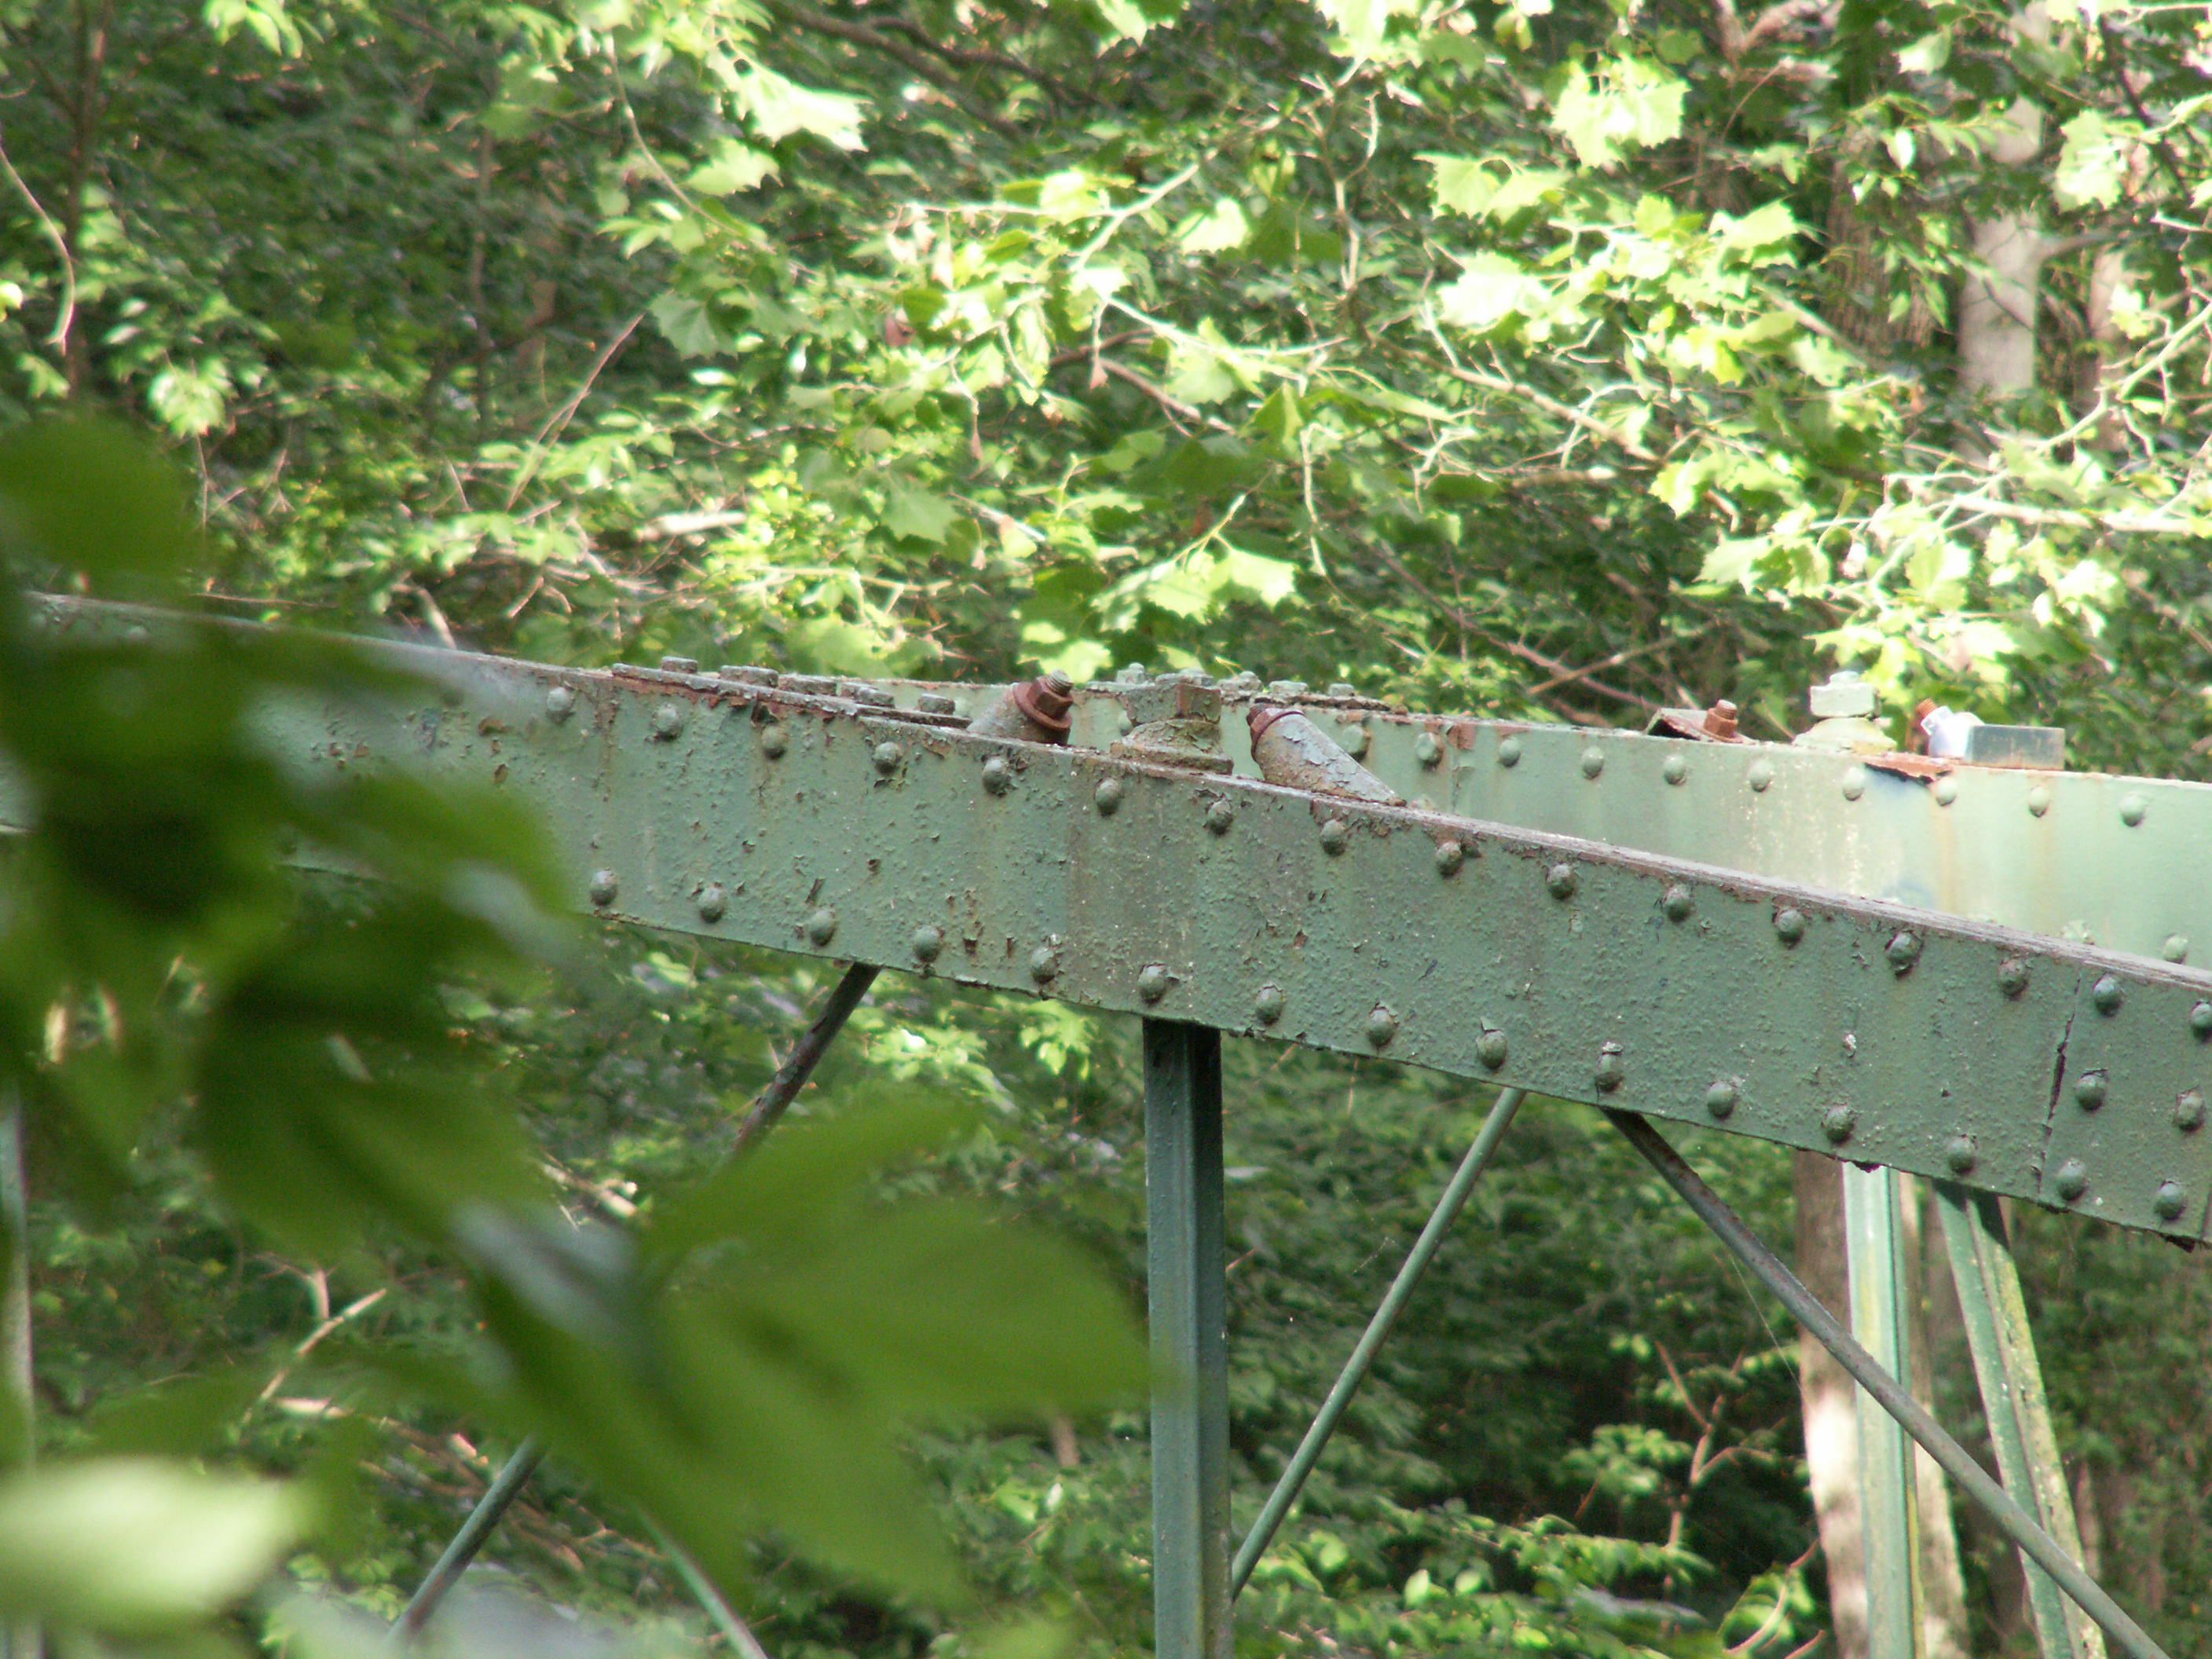
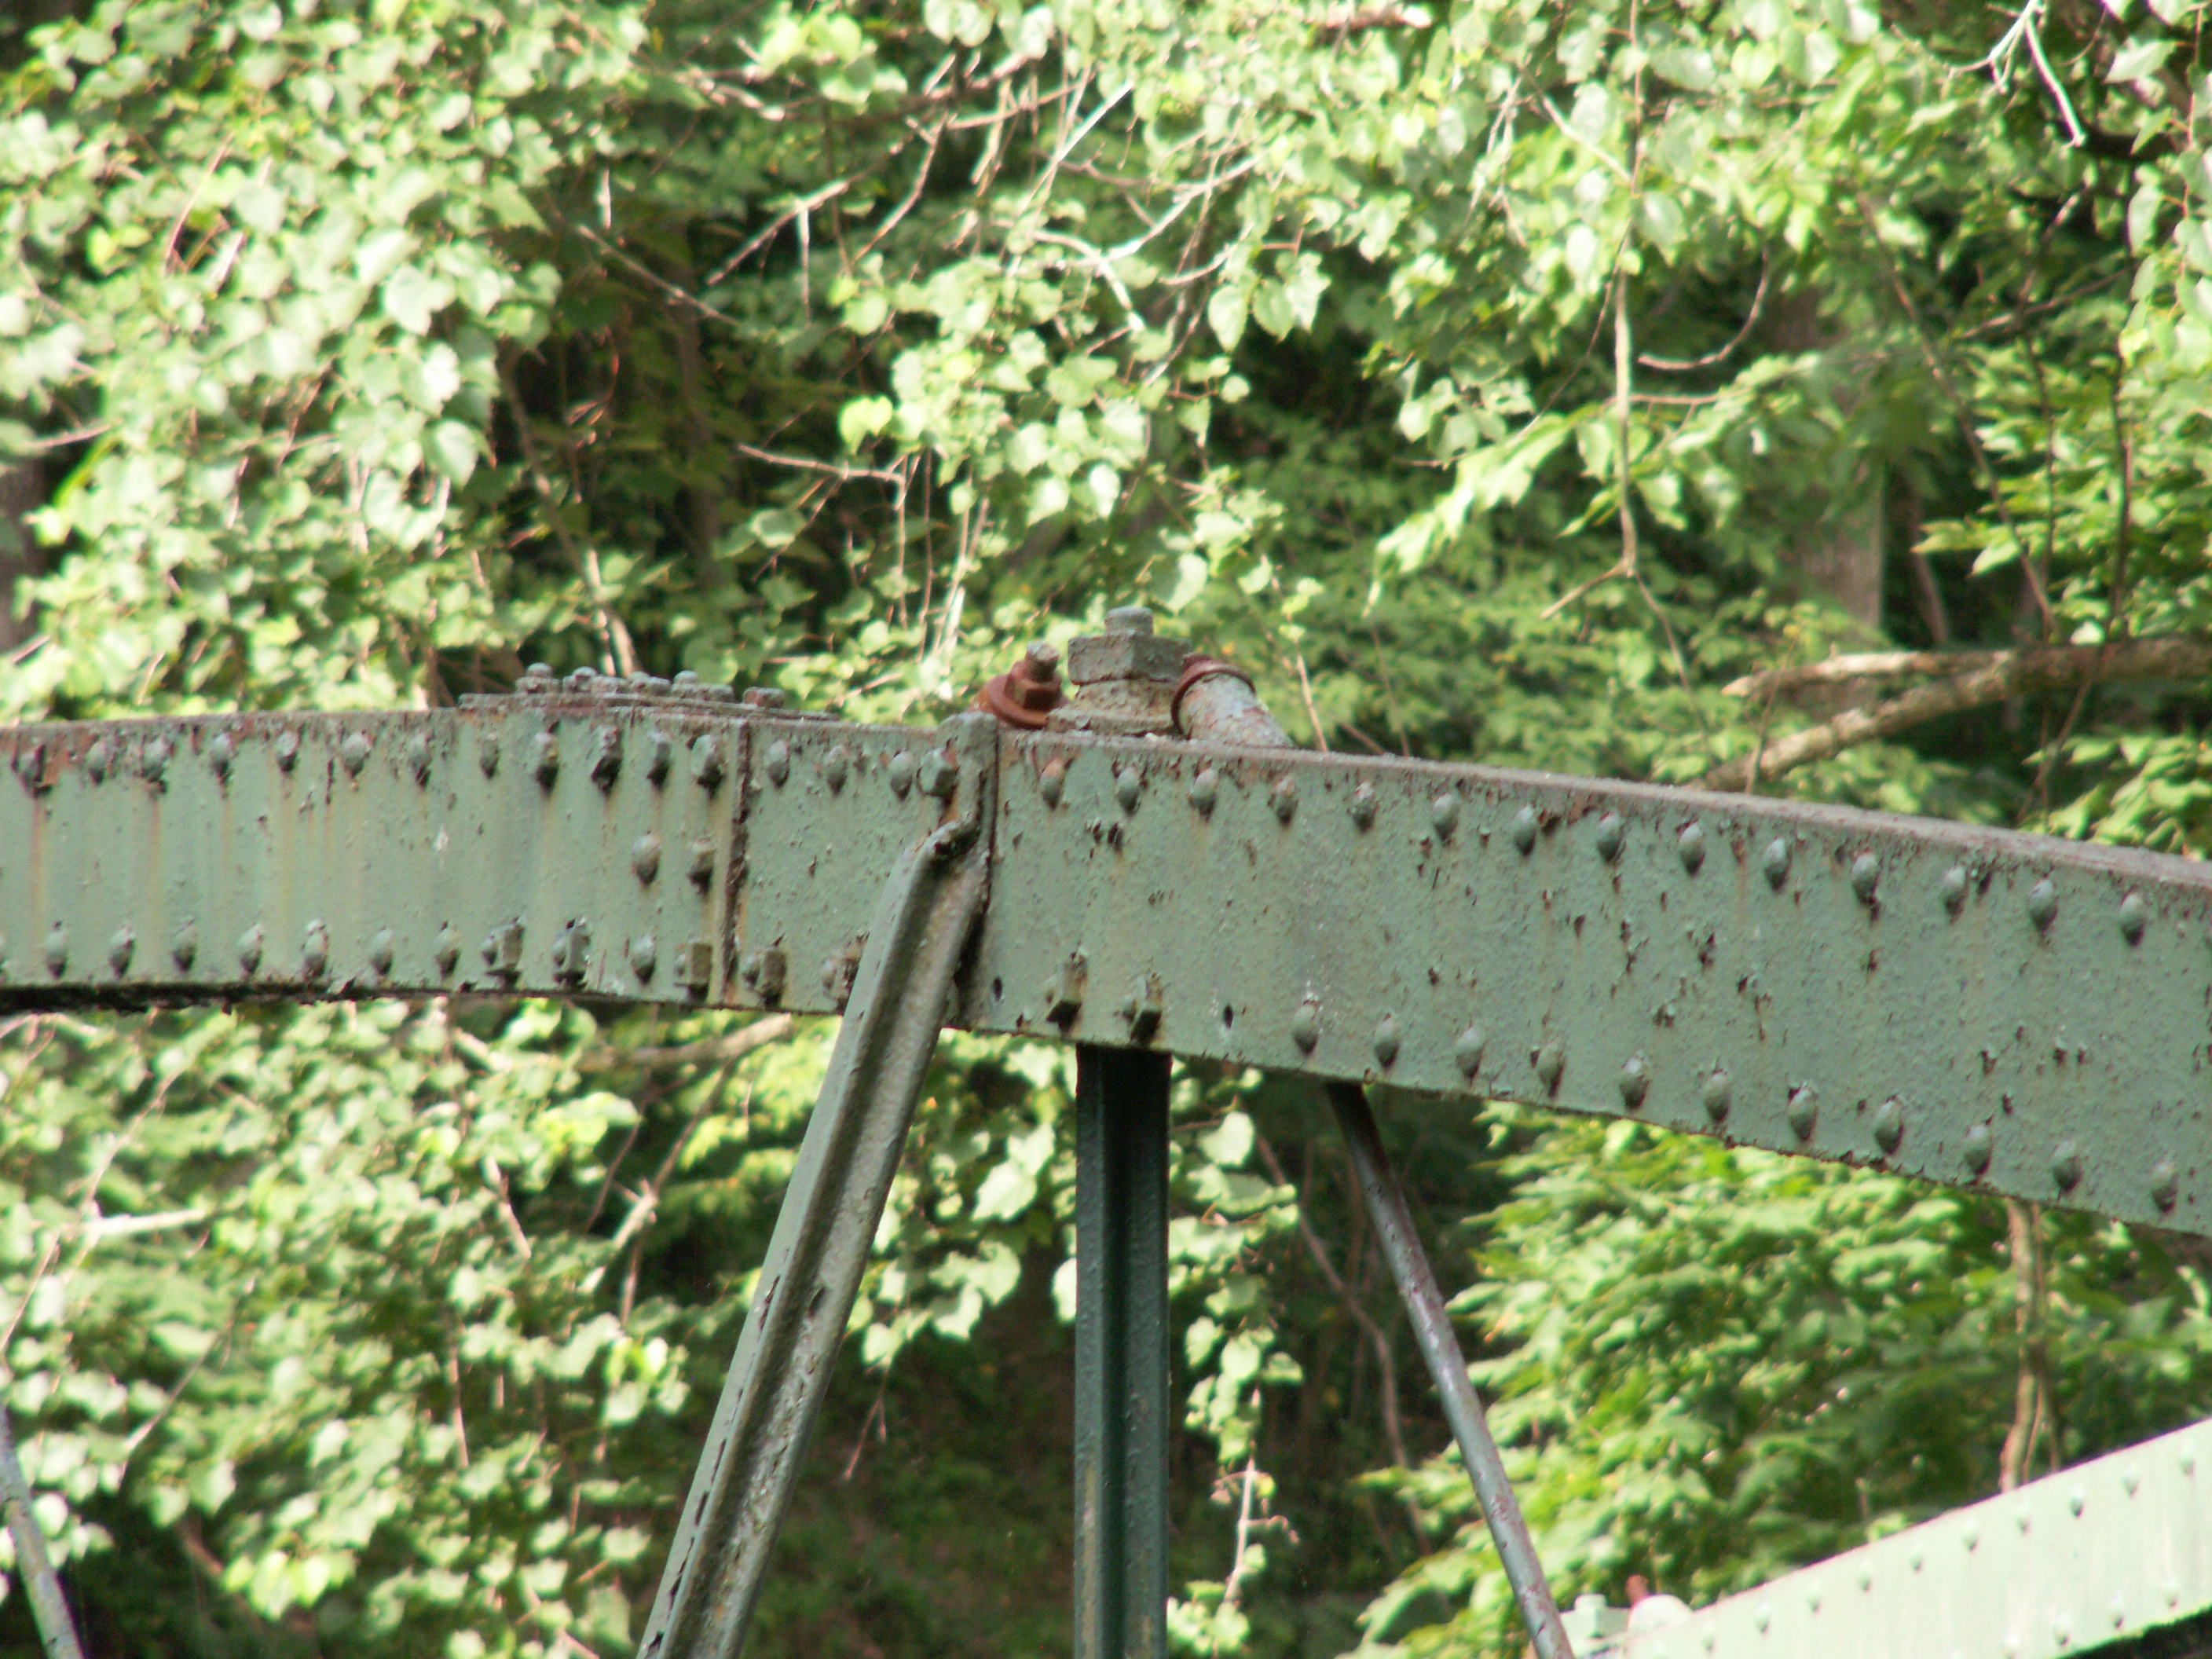
![]()


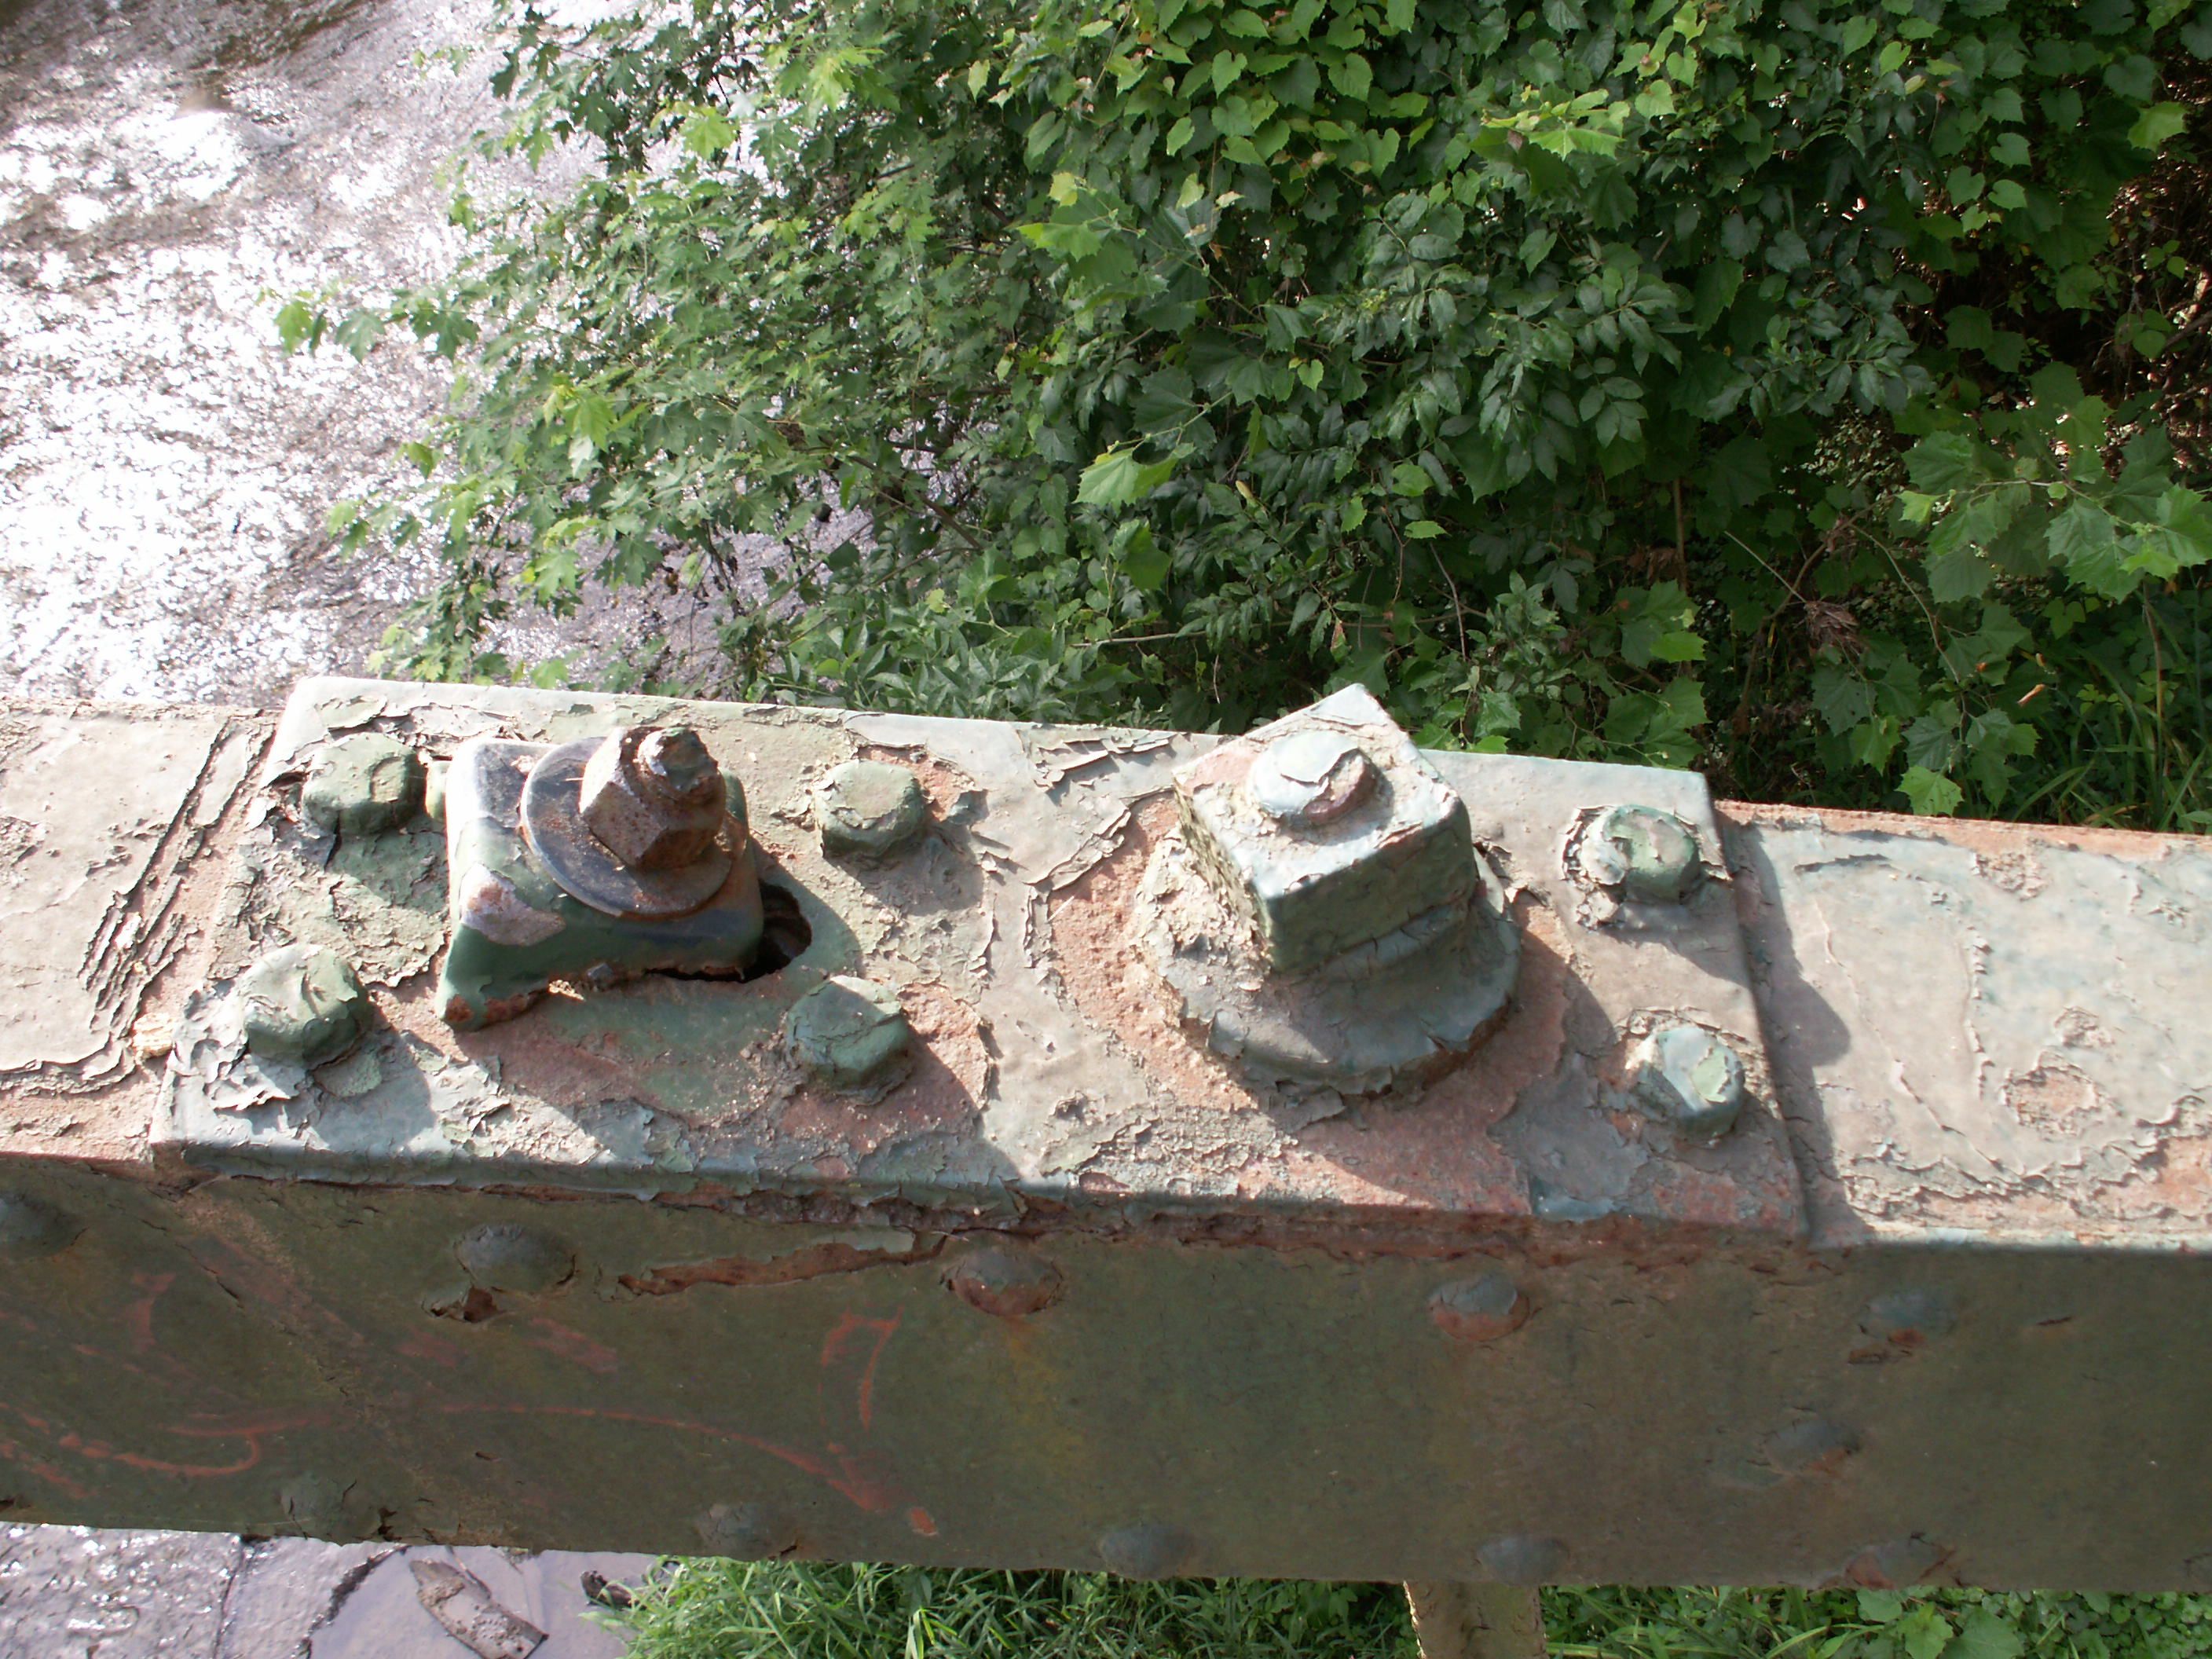


Top chord connections as viewed from on bridge.
![]()
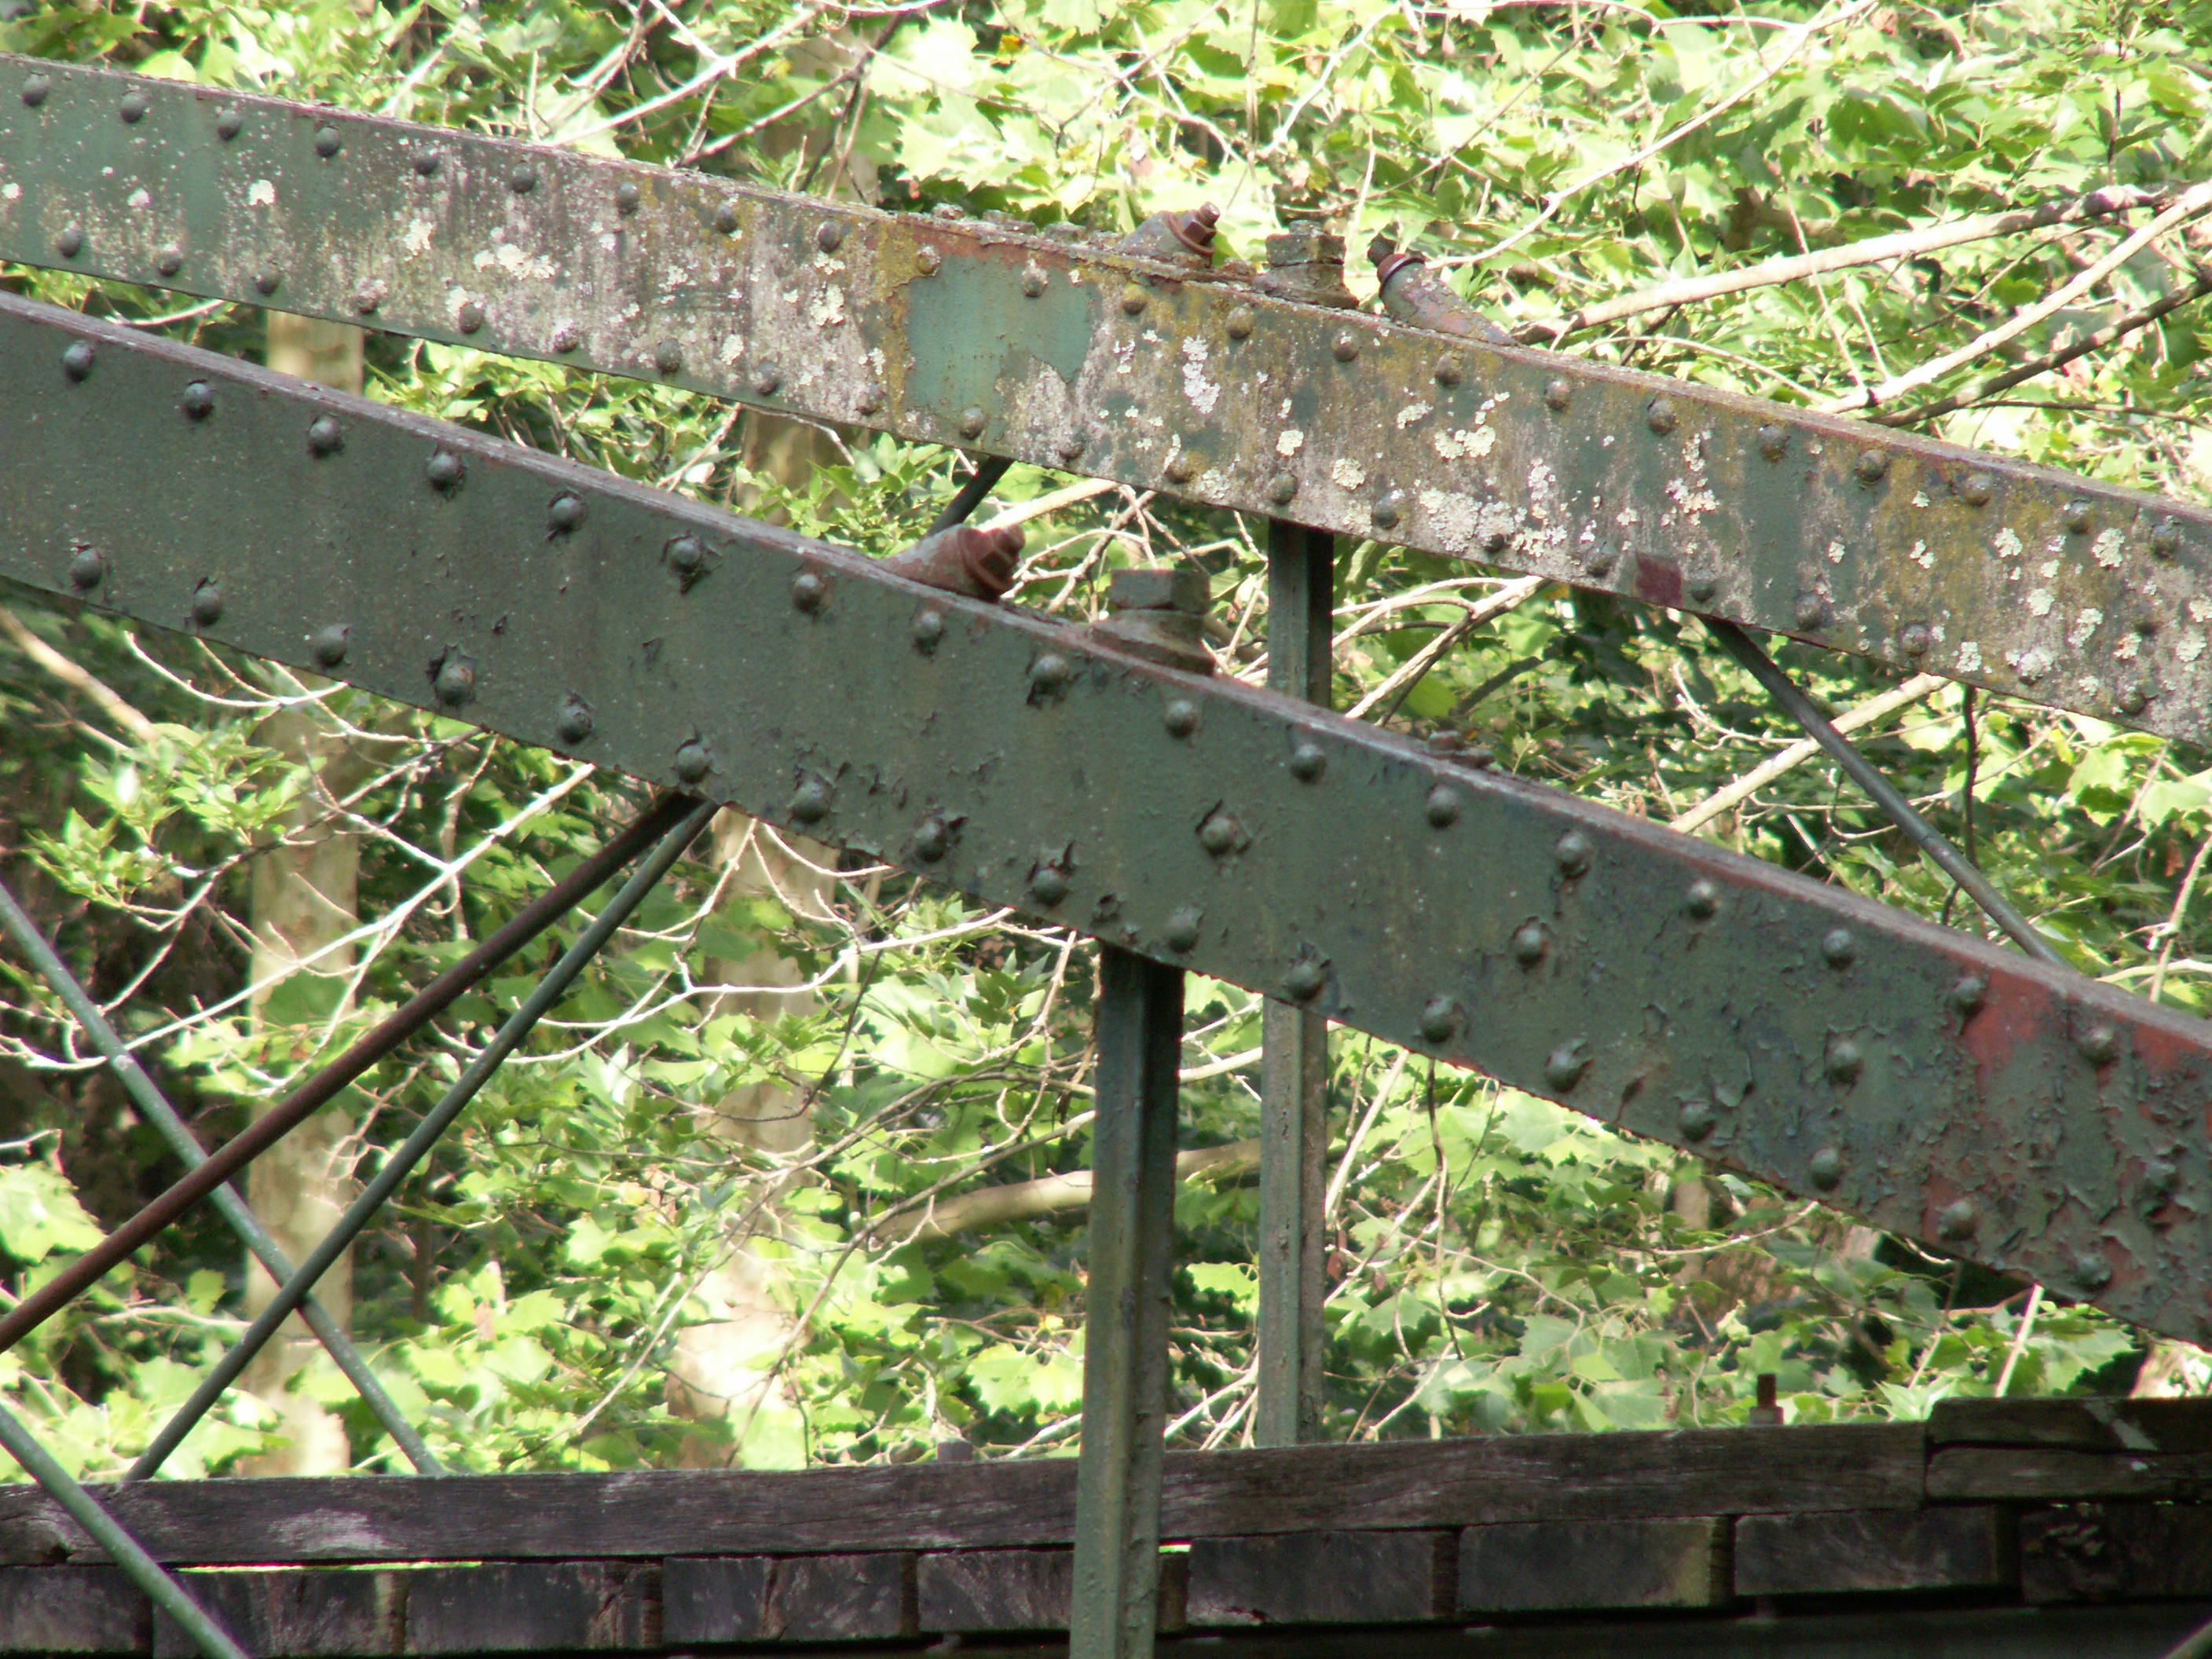

Top chord connections as viewed from beside bridge.
![]()

Western abutment date stamp showing when it was rebuilt.
![]()
![]()
| Back |
| Home |
| Top |

![]()