
Uncredited photos on this page taken by: Dave Michaels. Unless stated in a caption, all photos are Copyright with All Rights Reserved. Learn about reuse of our photos.
![]()

Original / Full Size
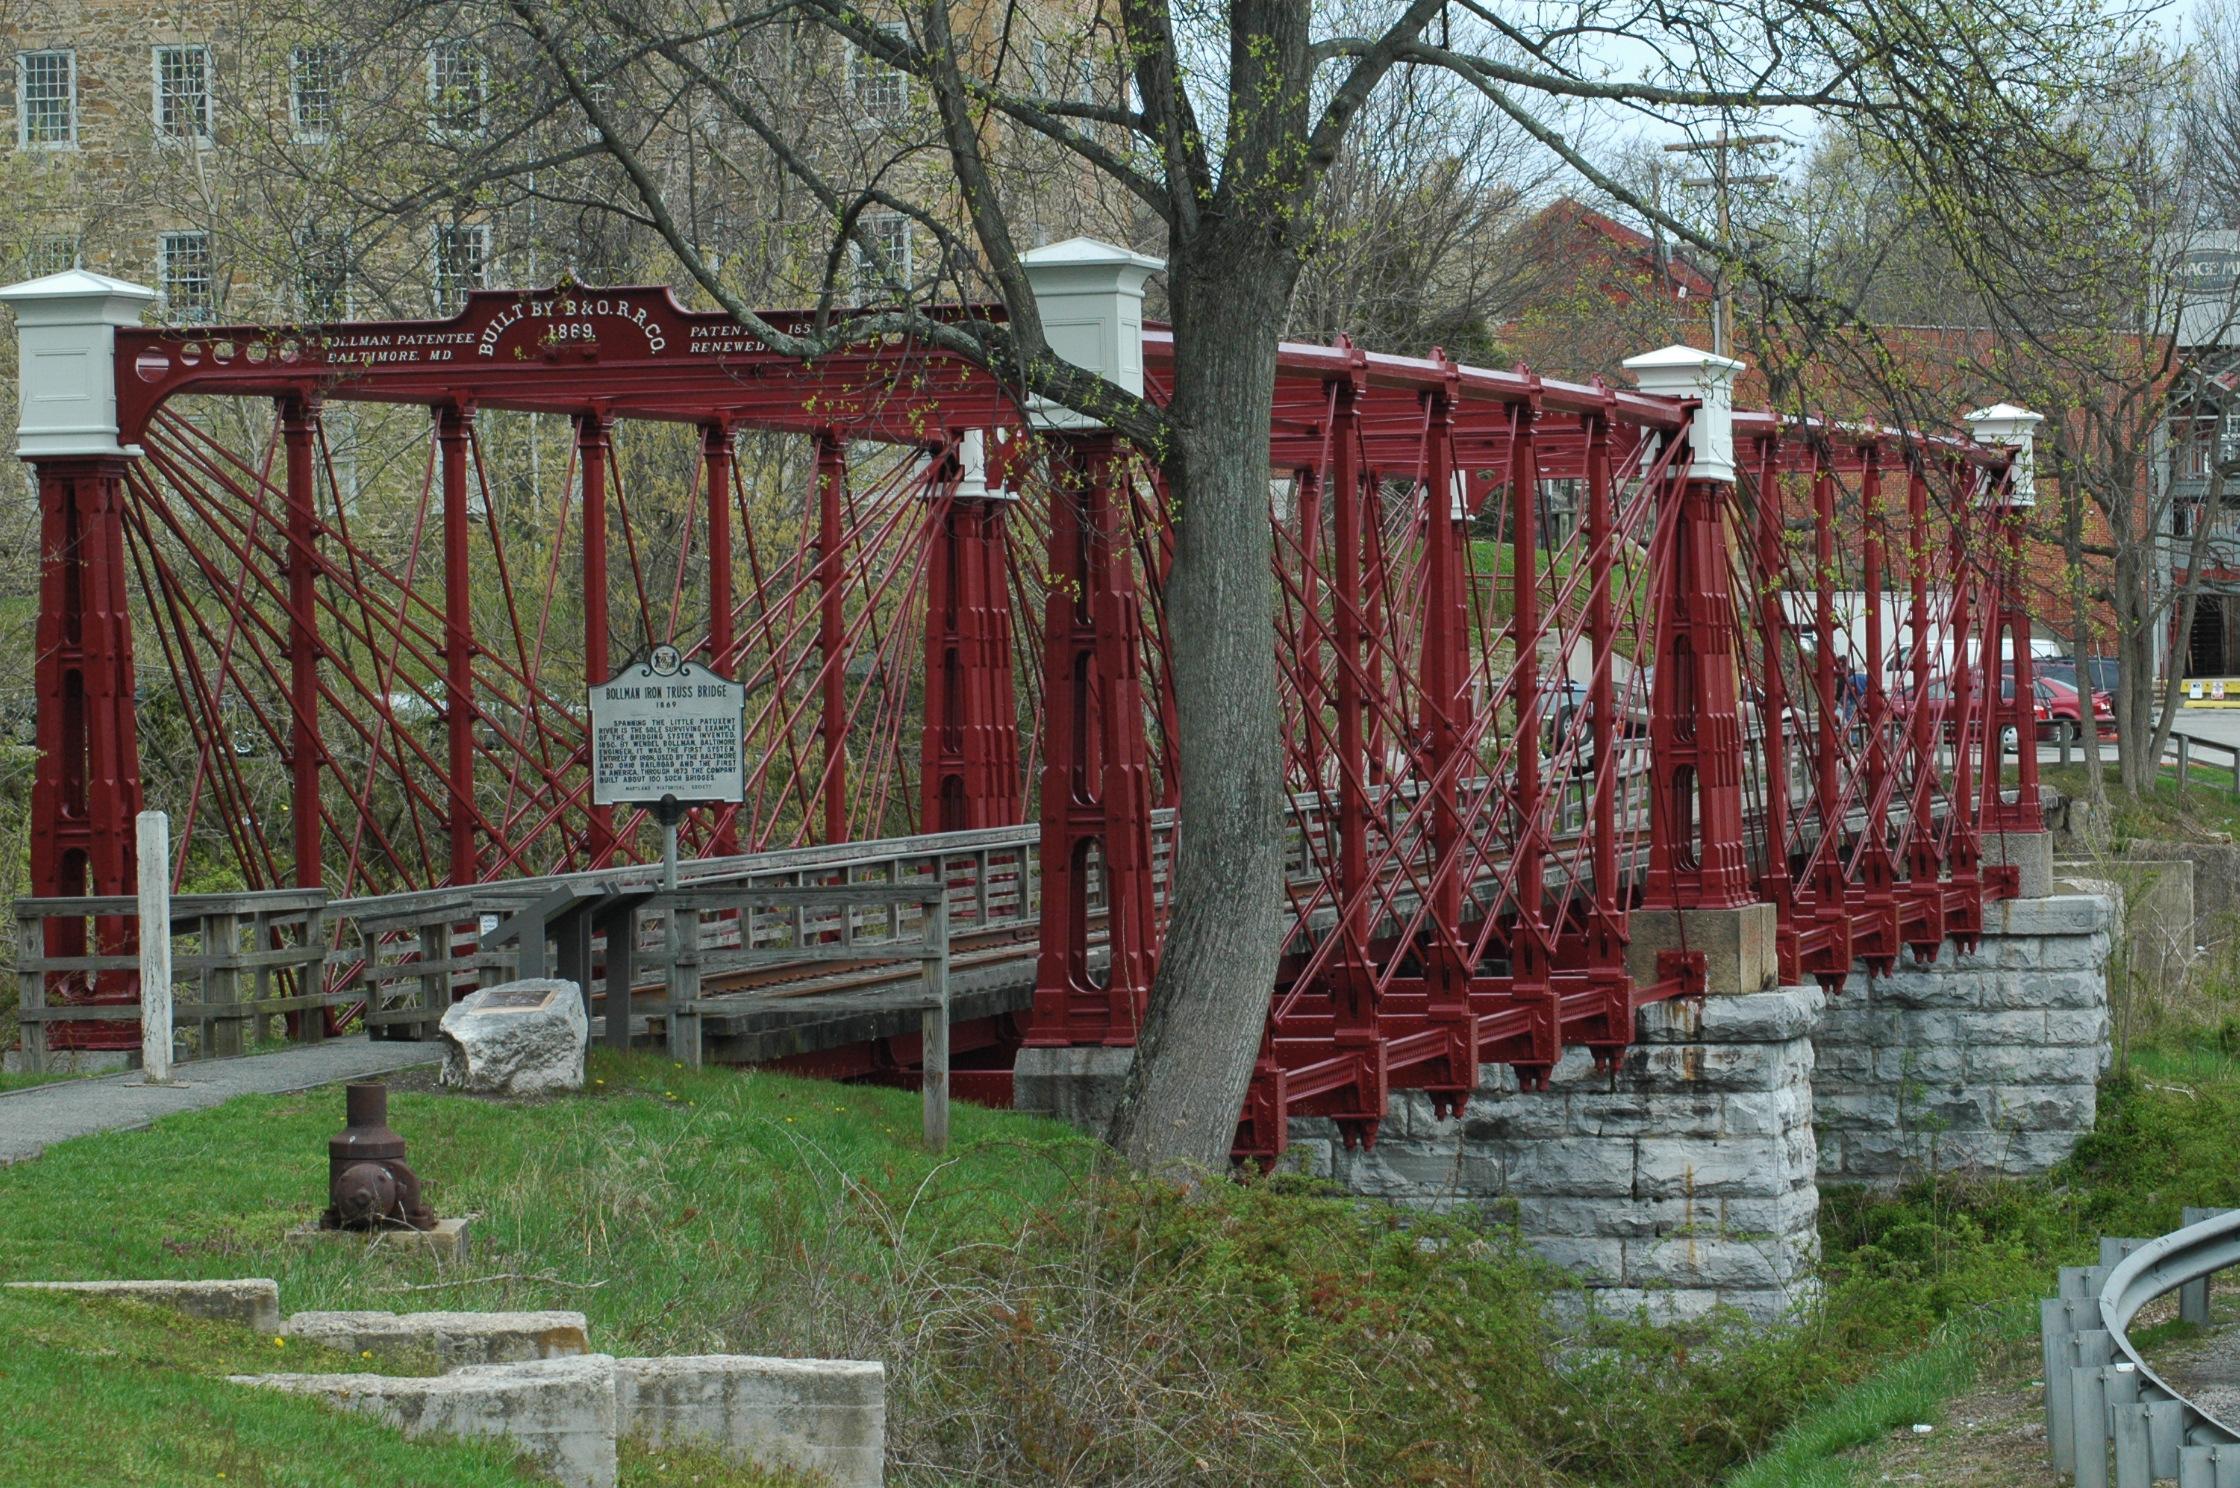
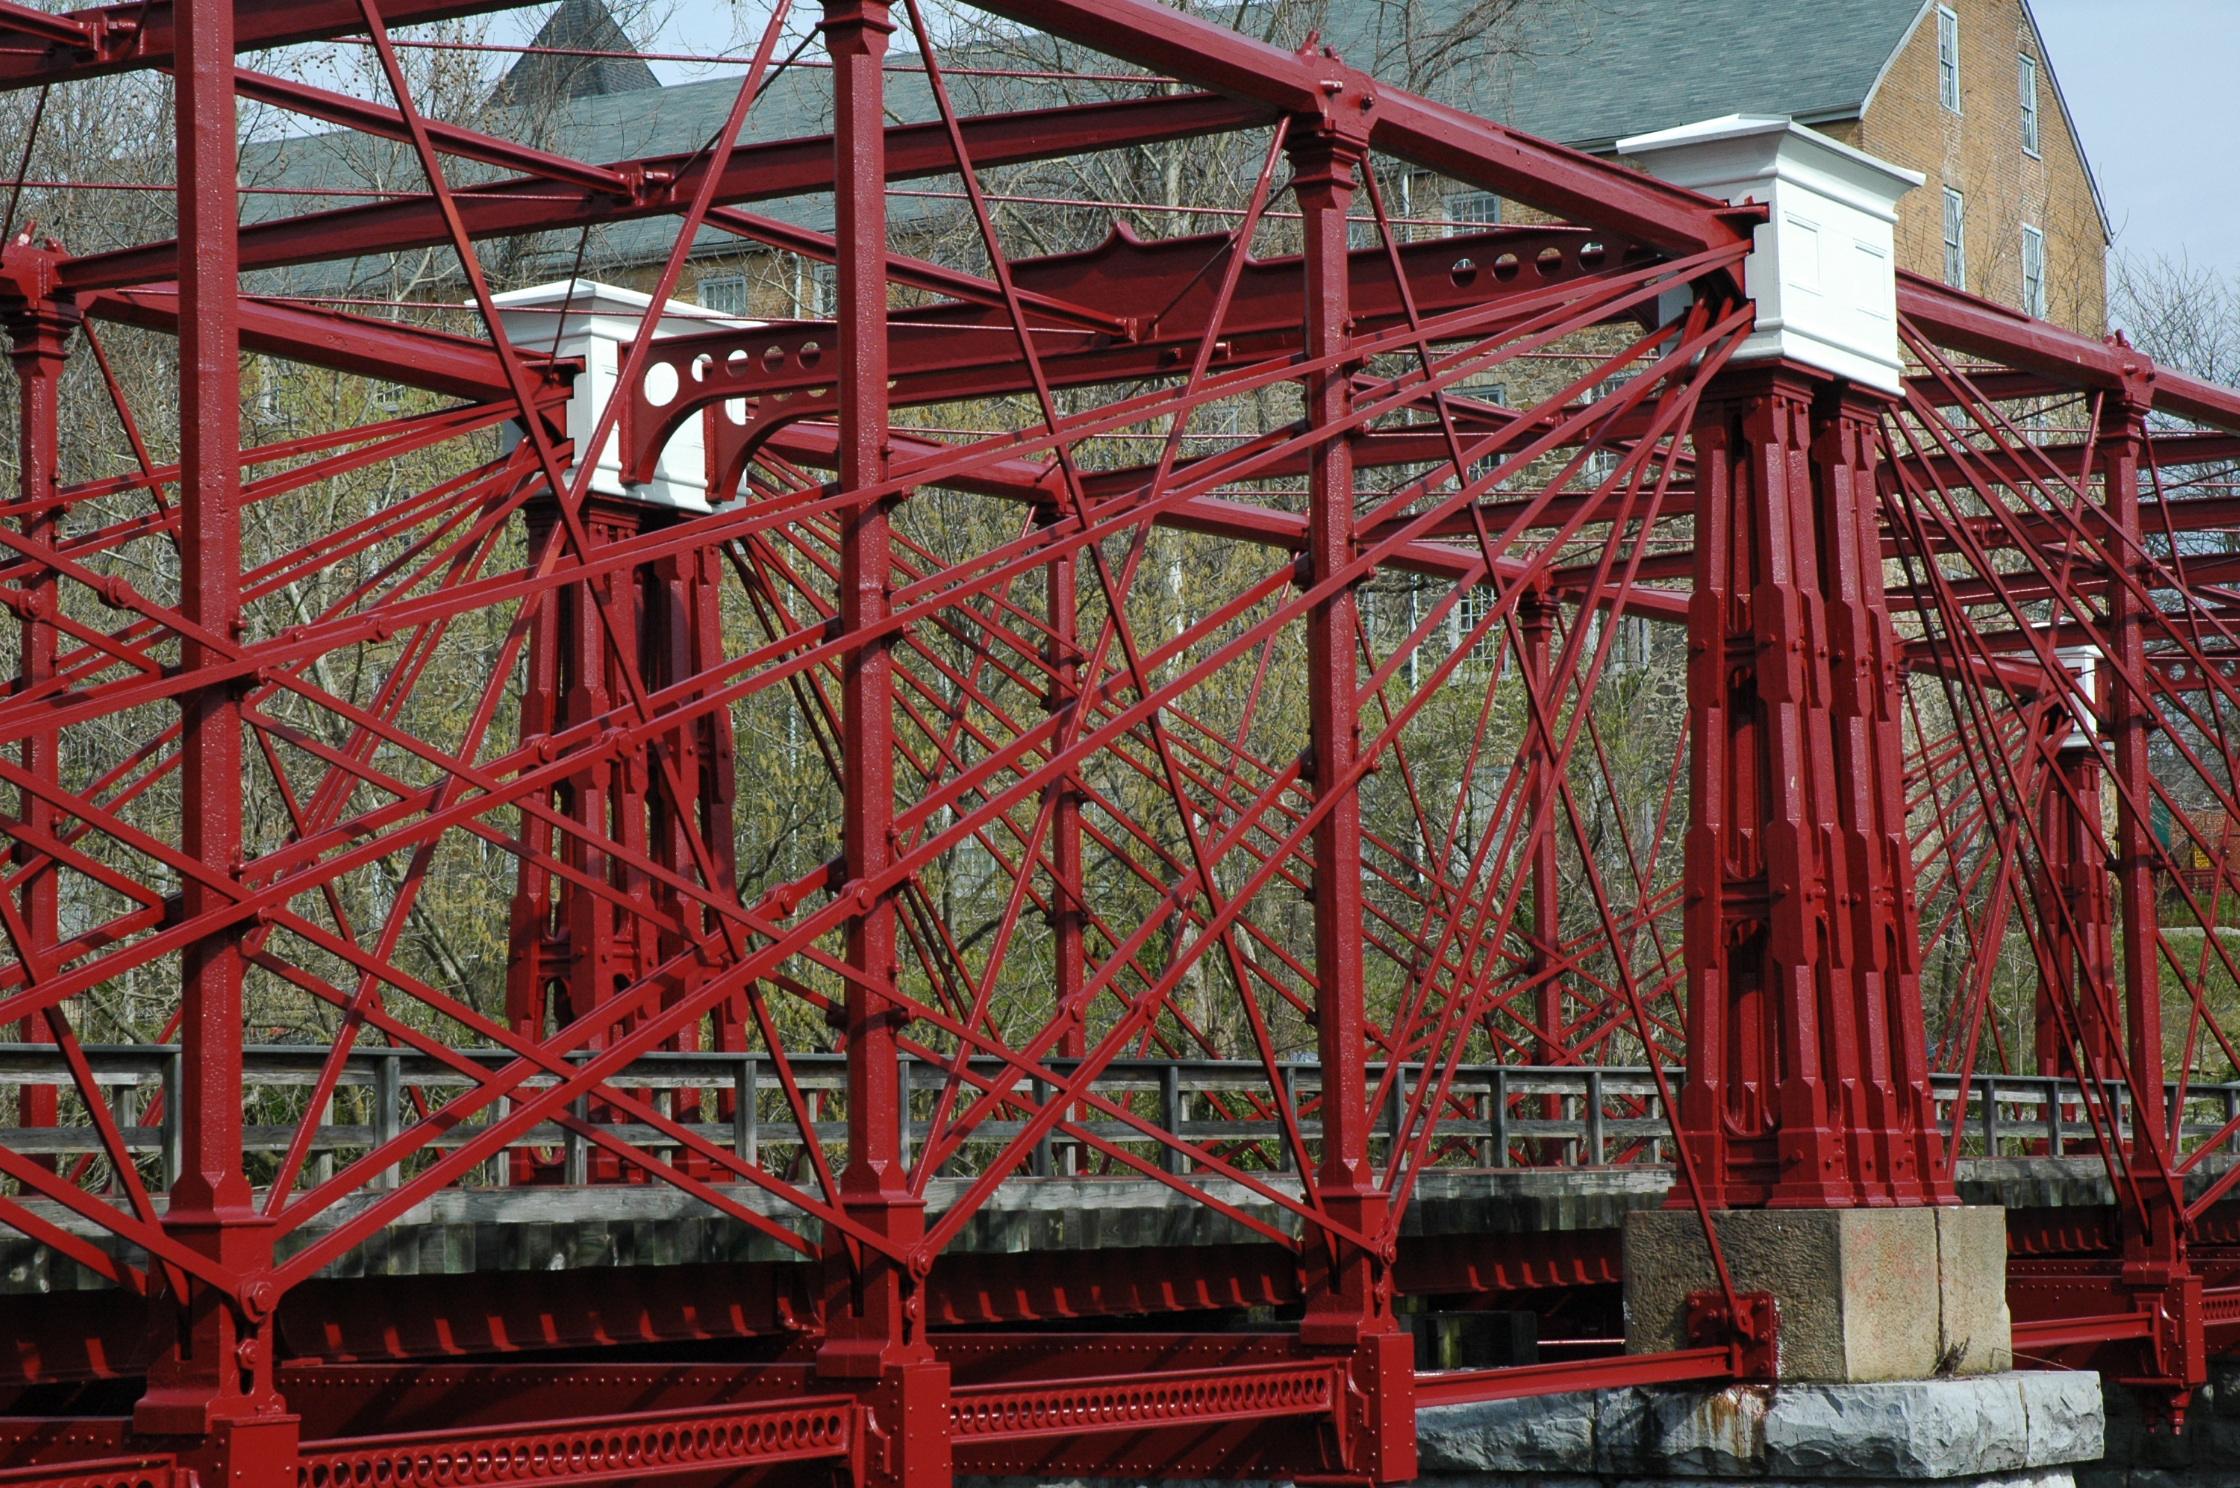
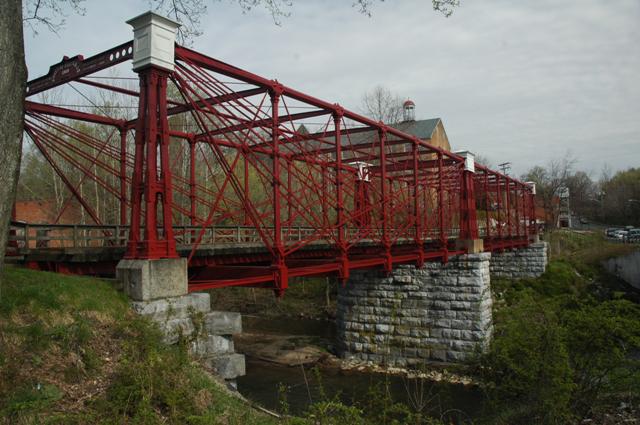
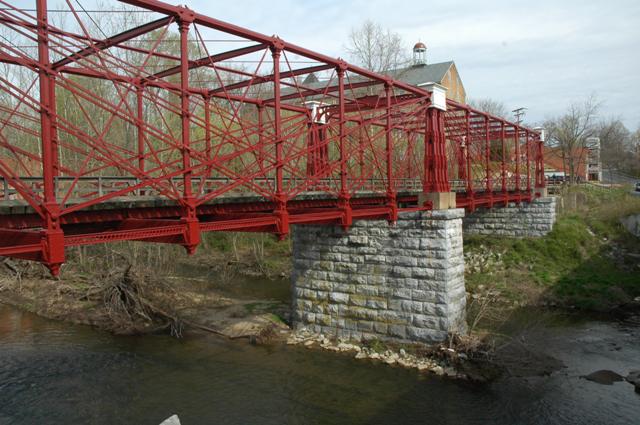
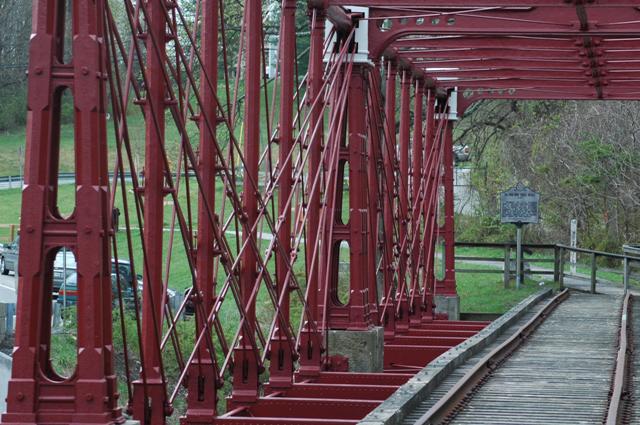
Zoomed oblique views.
![]()


Original / Full Size
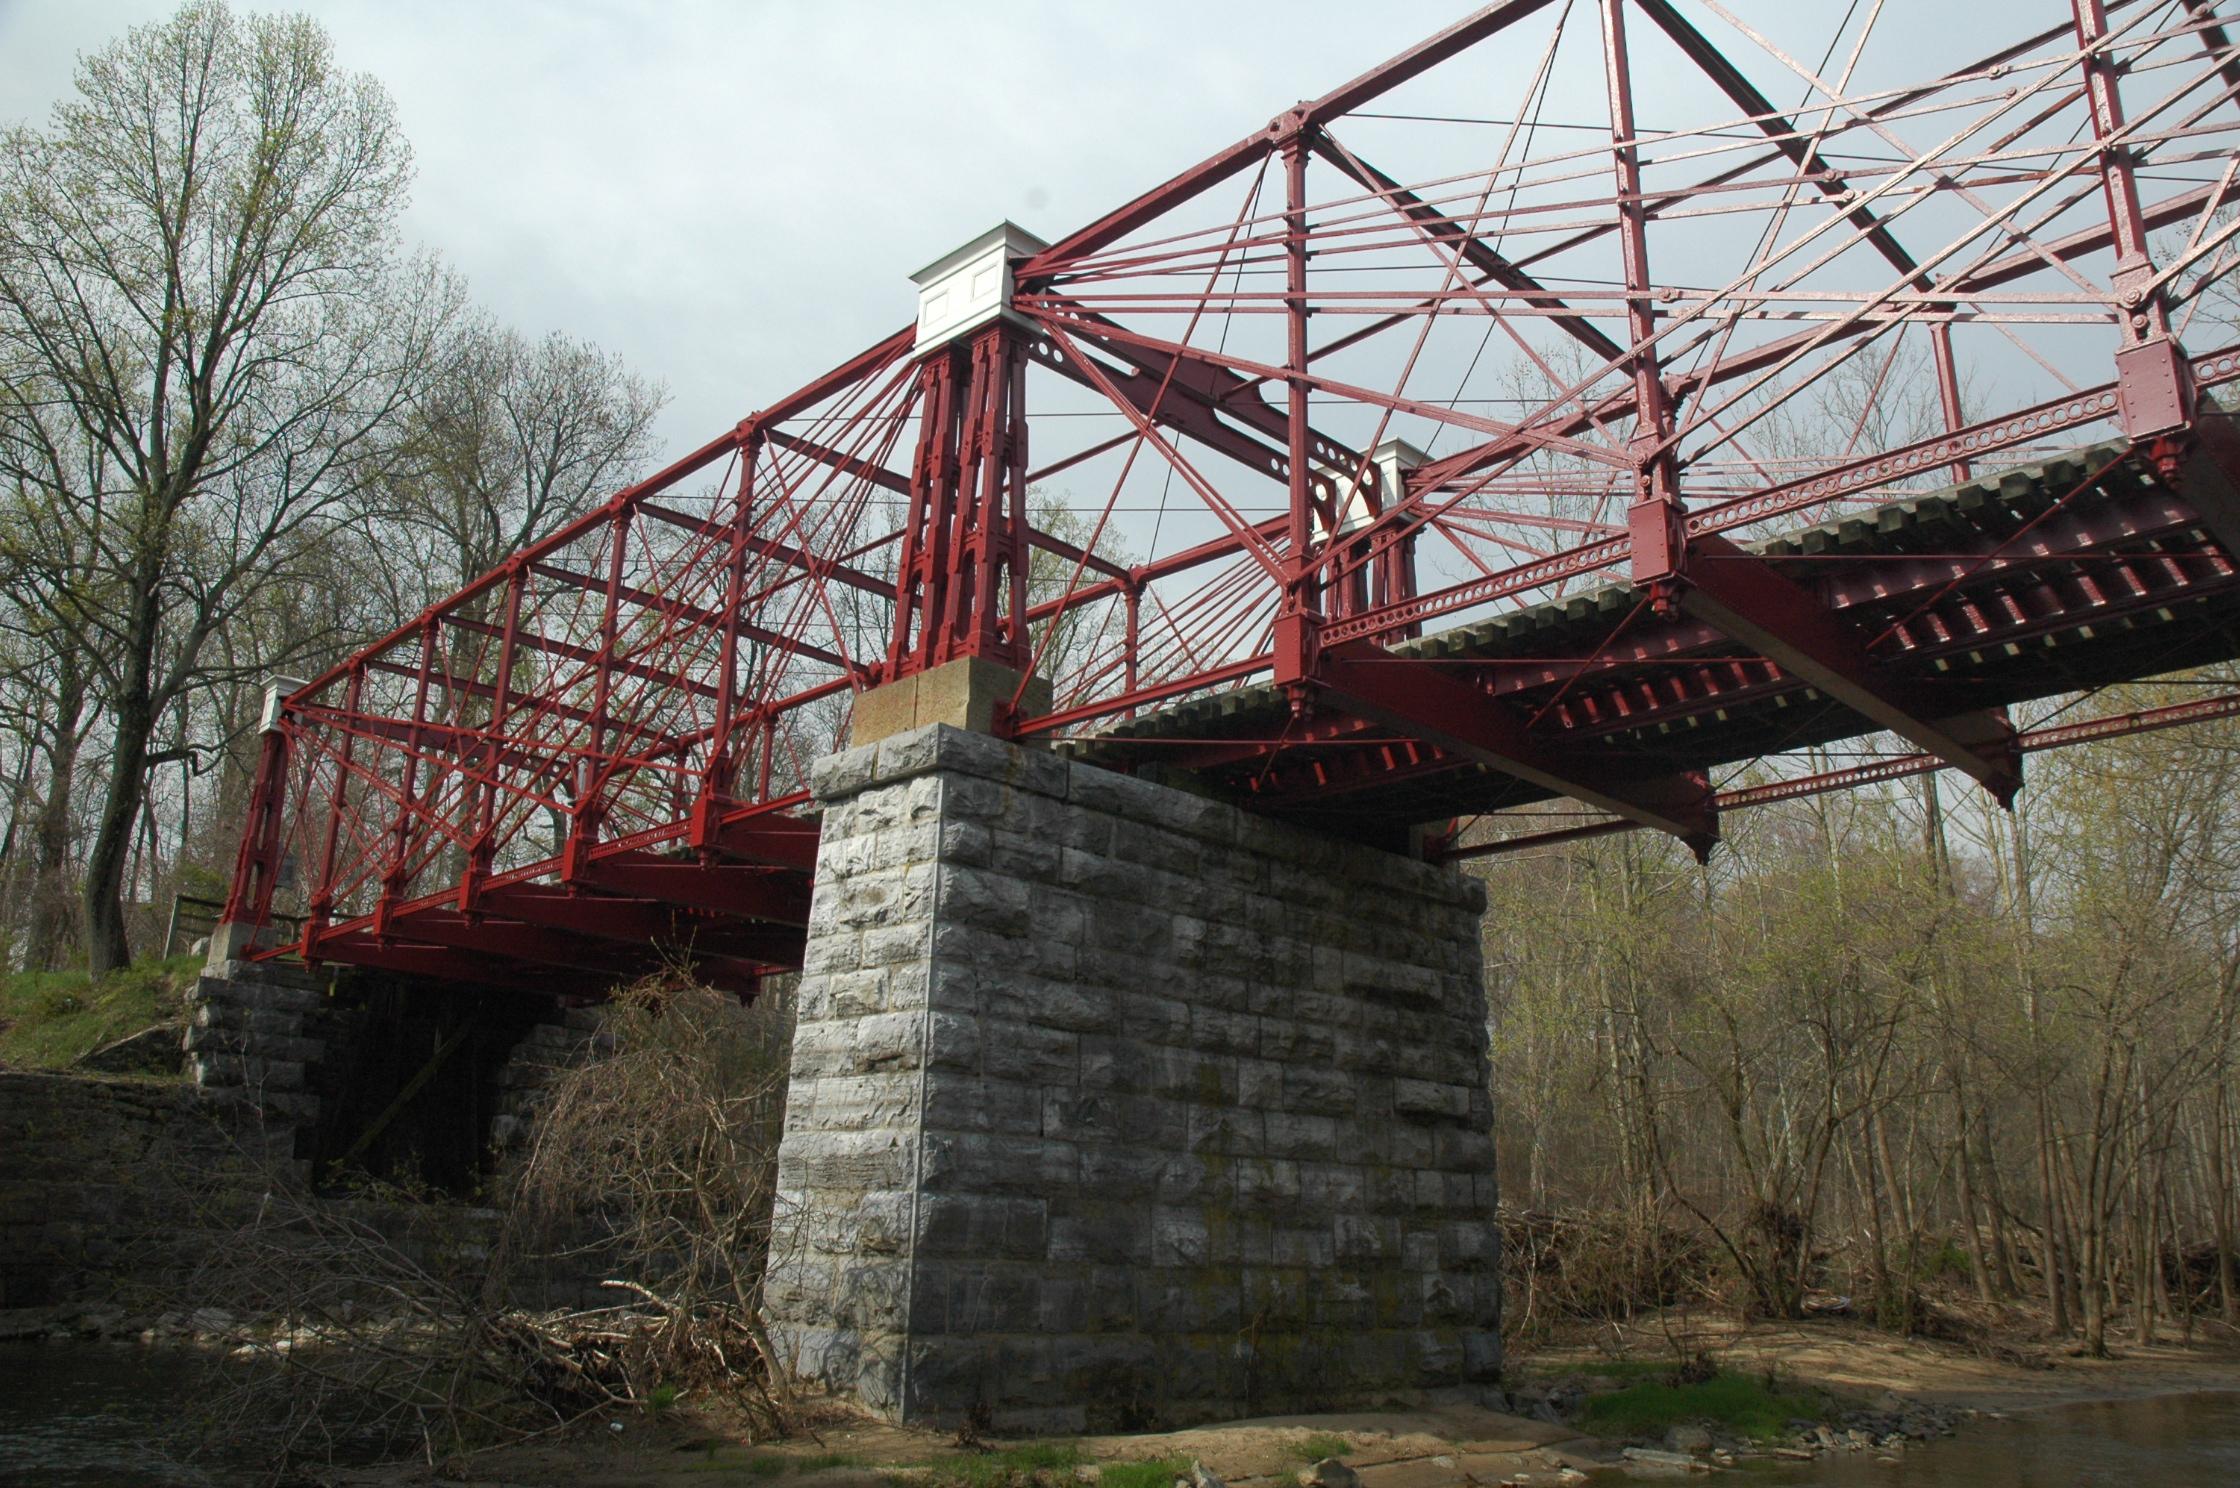
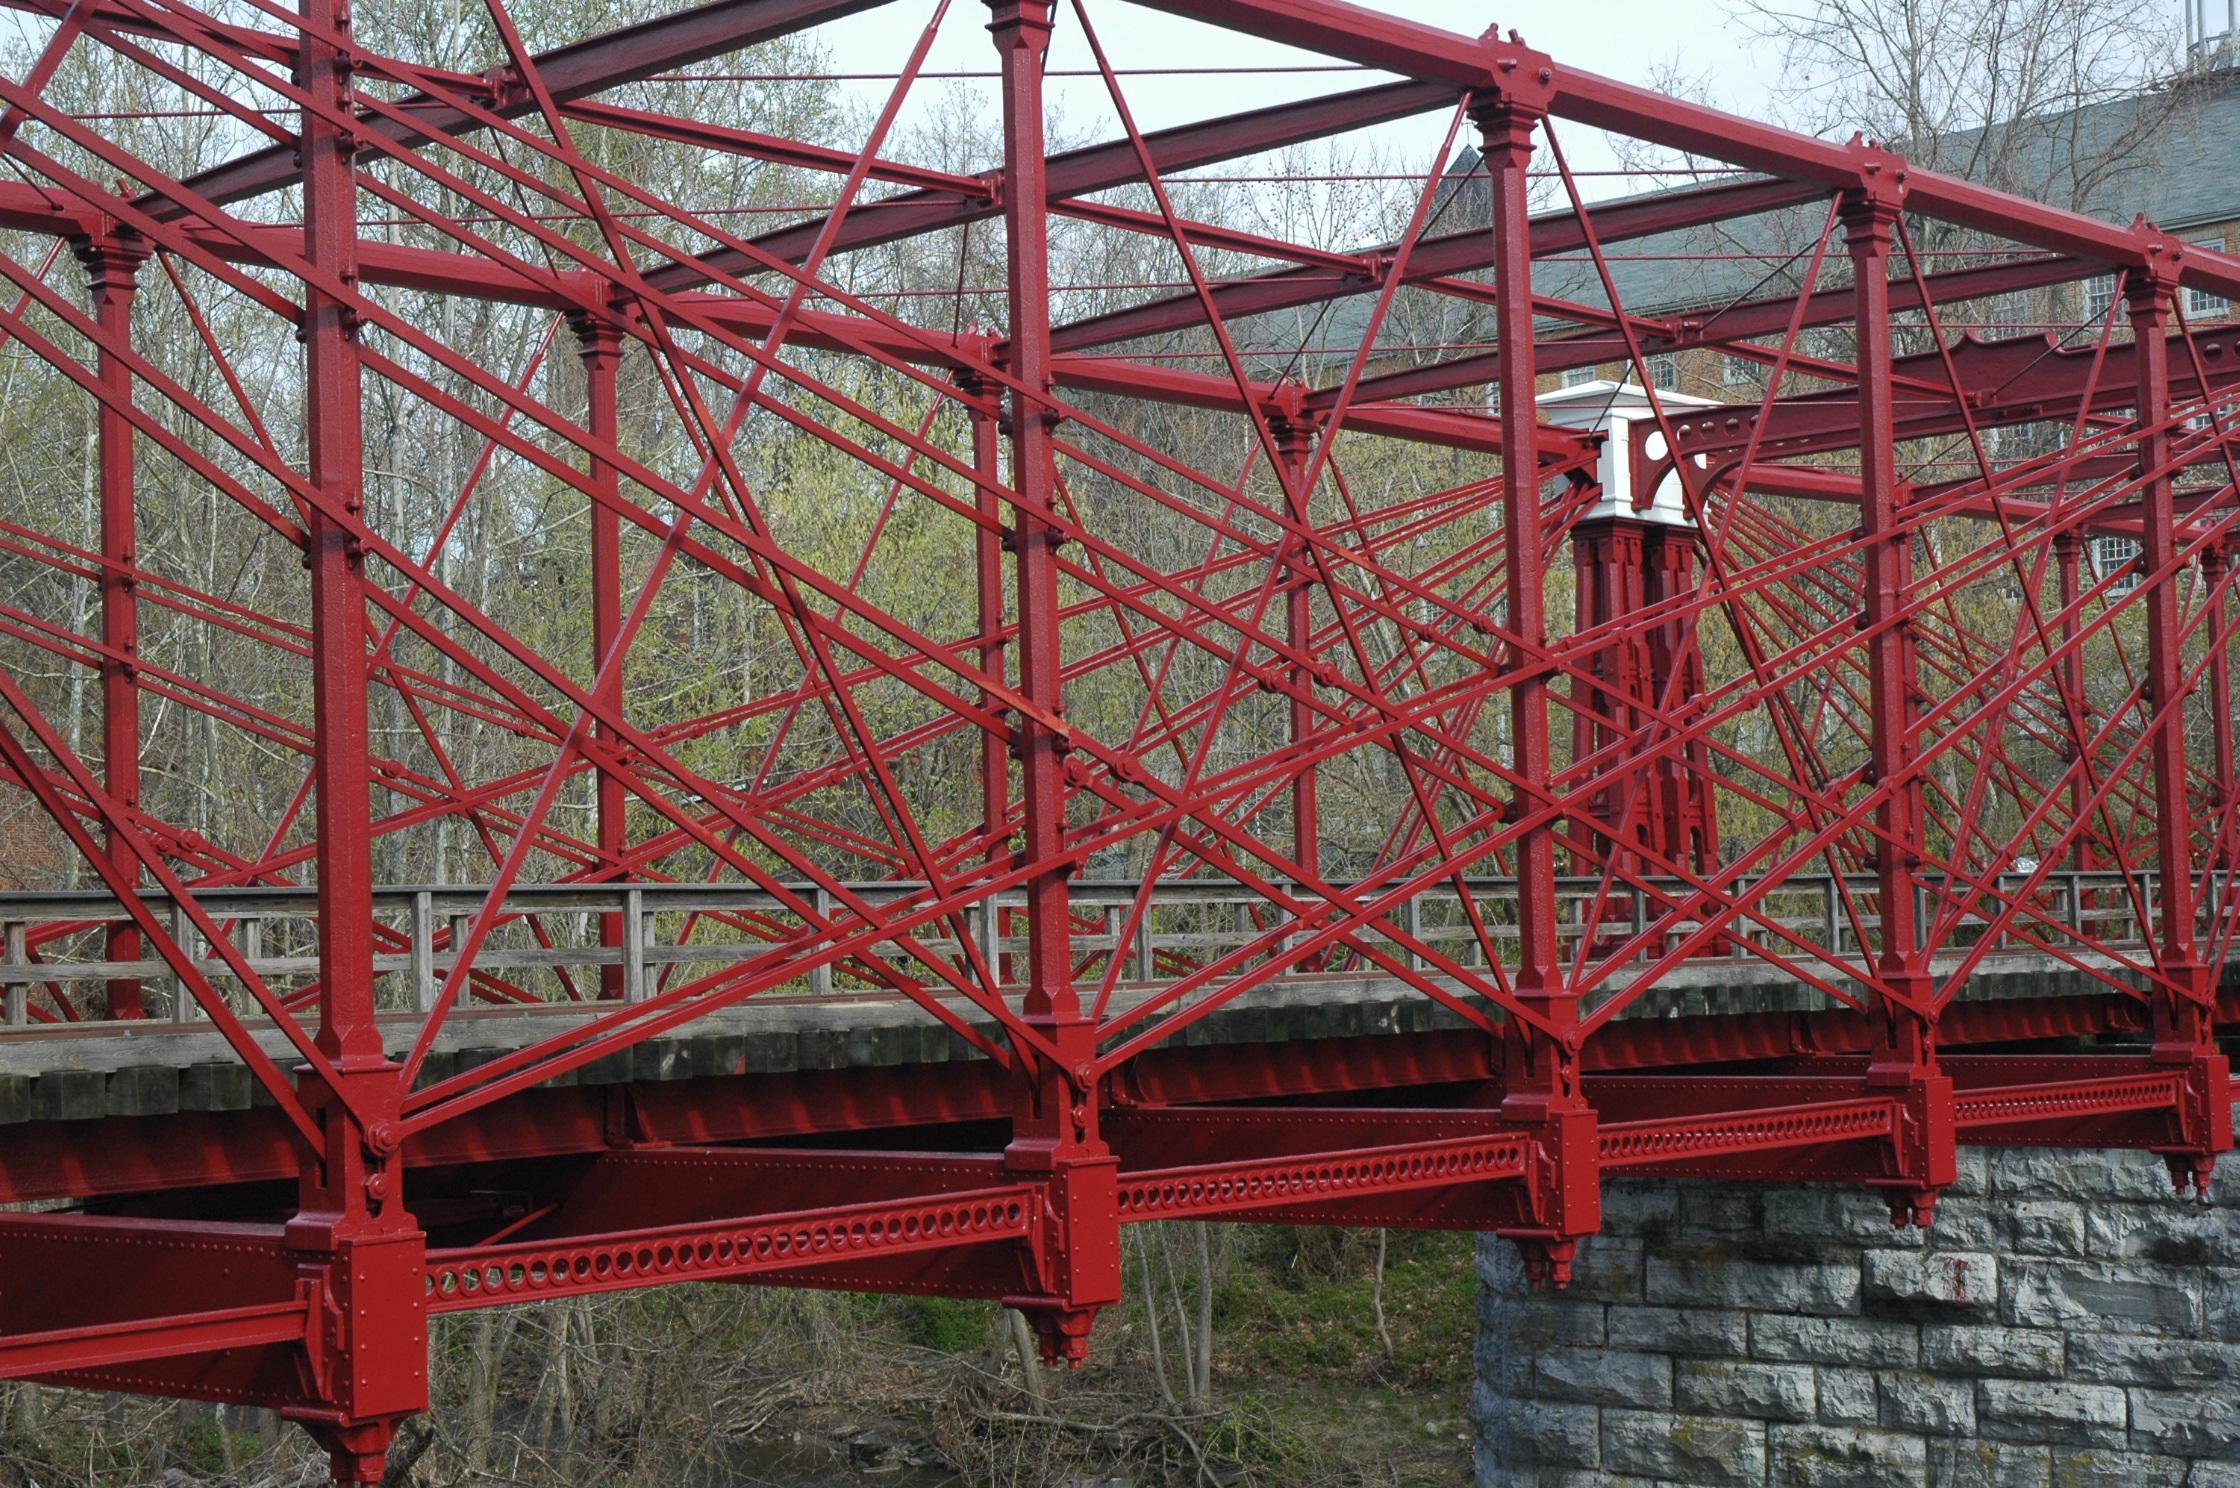
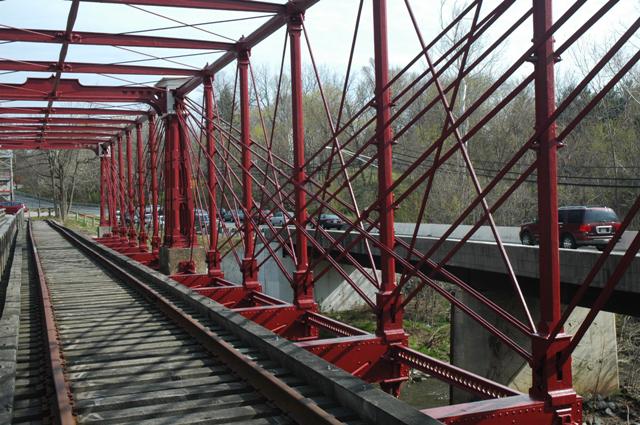
Various side views.
![]()


Original / Full Size
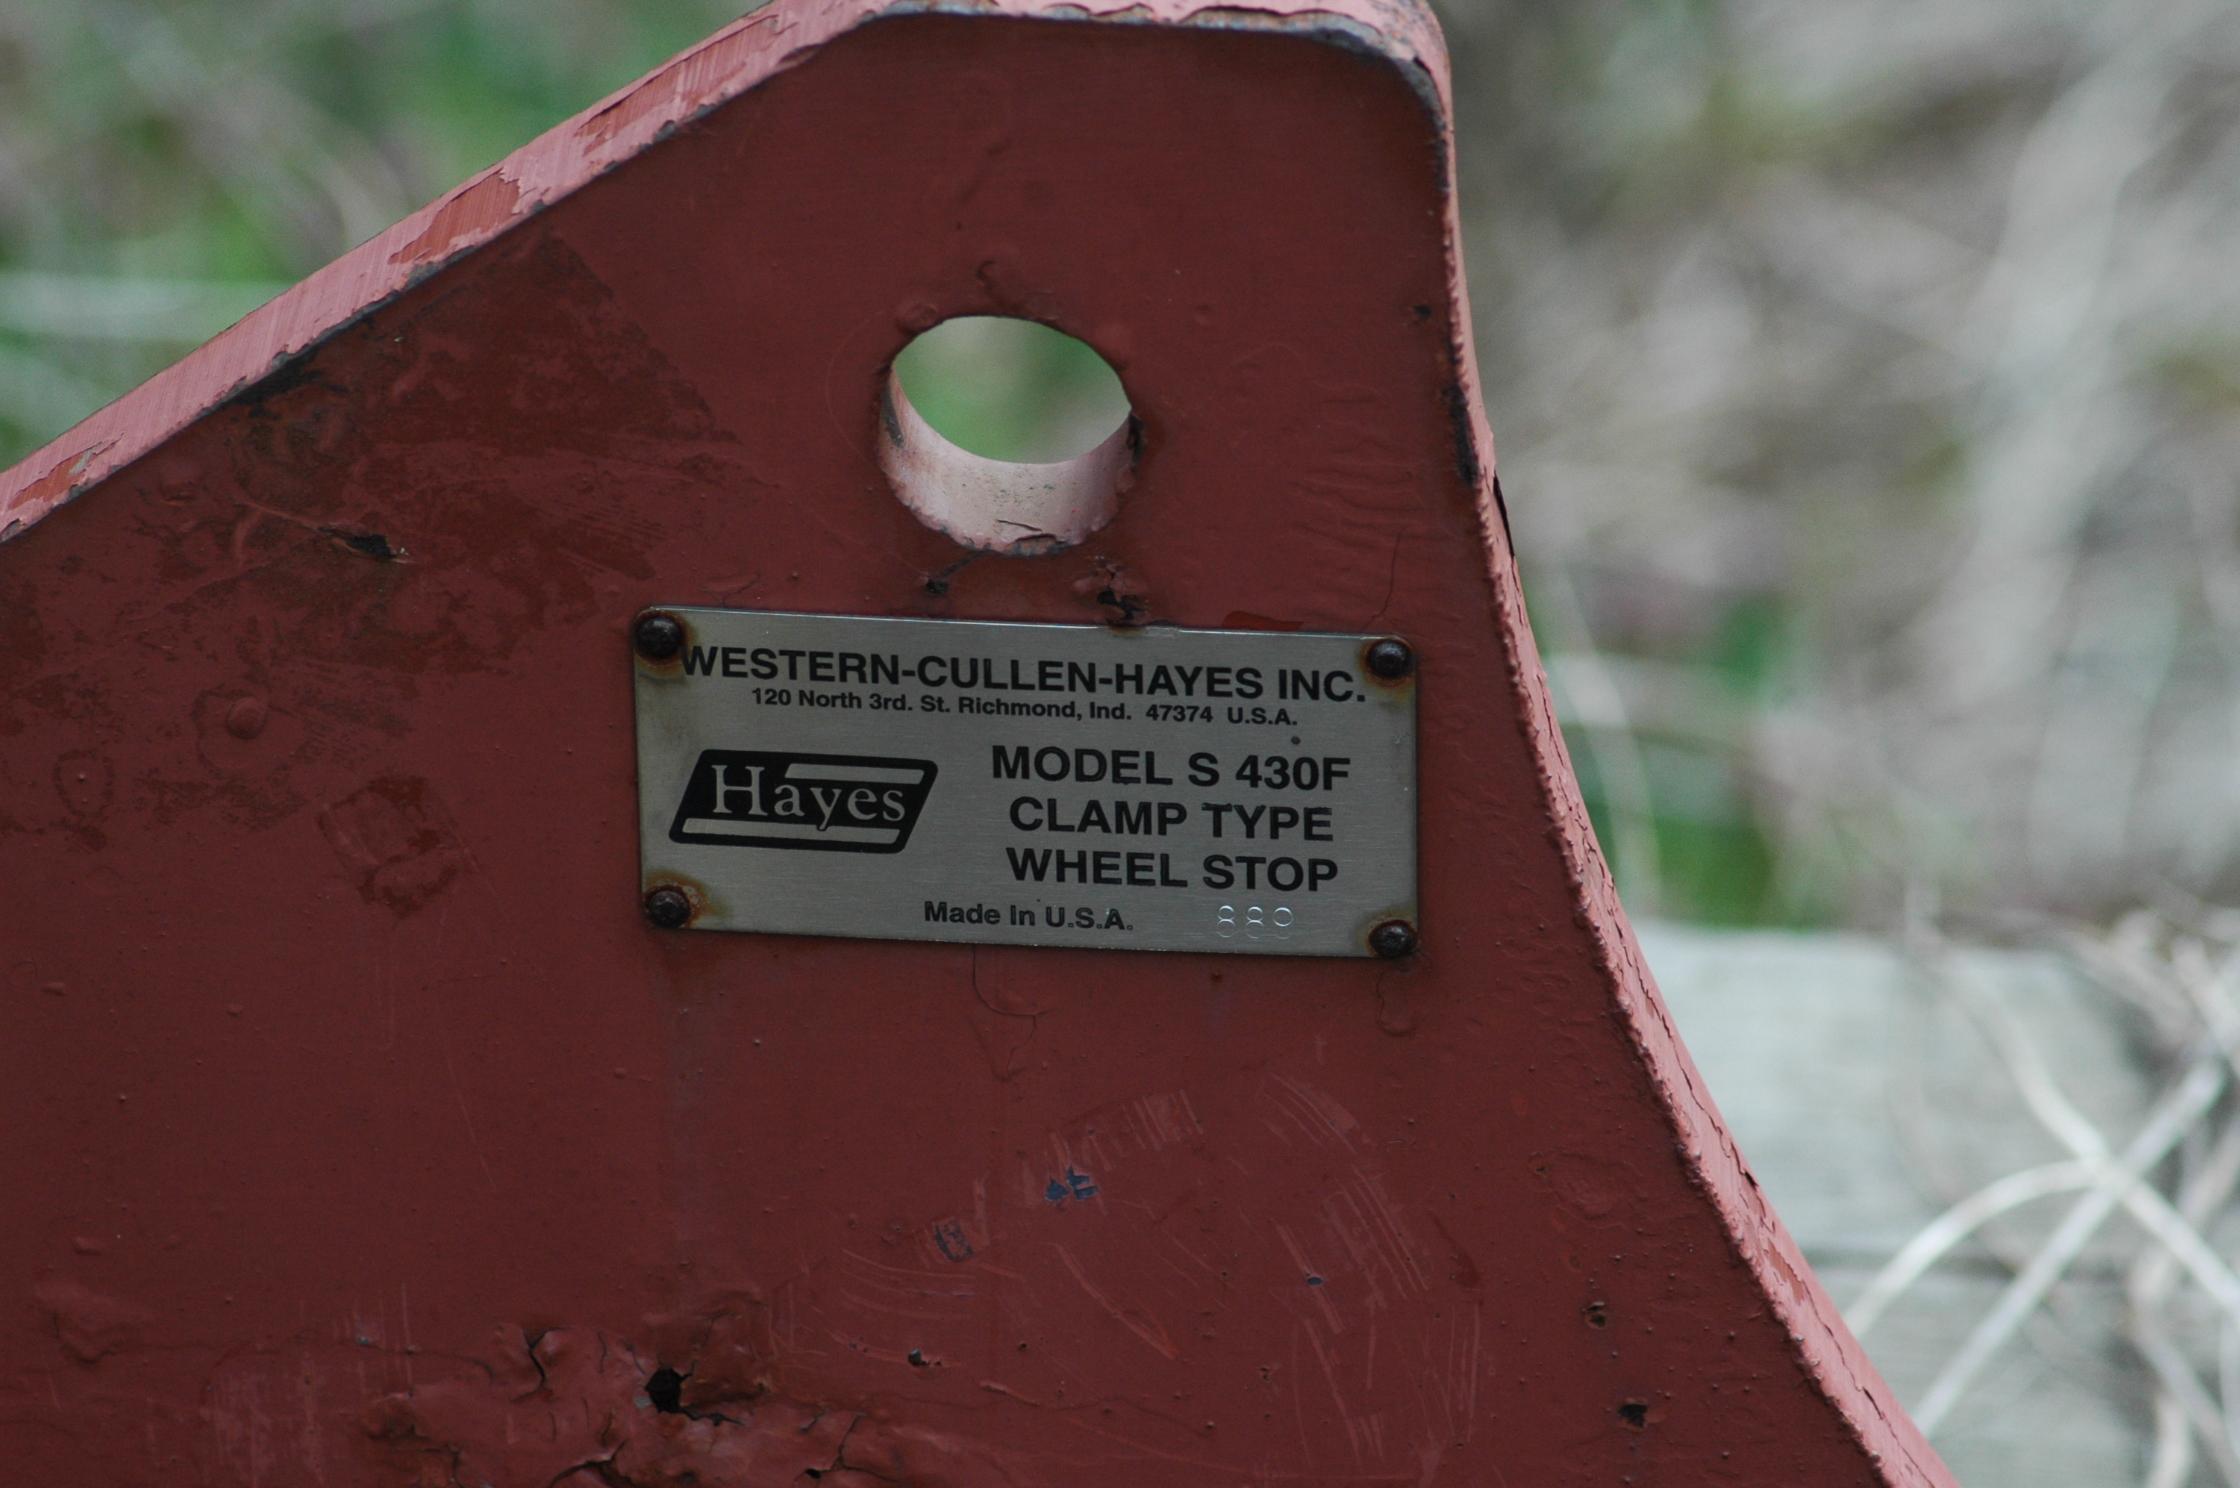
Views of interpretive and other modern plaques on and near the bridge.
![]()


Original / Full Size
Views of builder plaque.
![]()
Original / Full Size
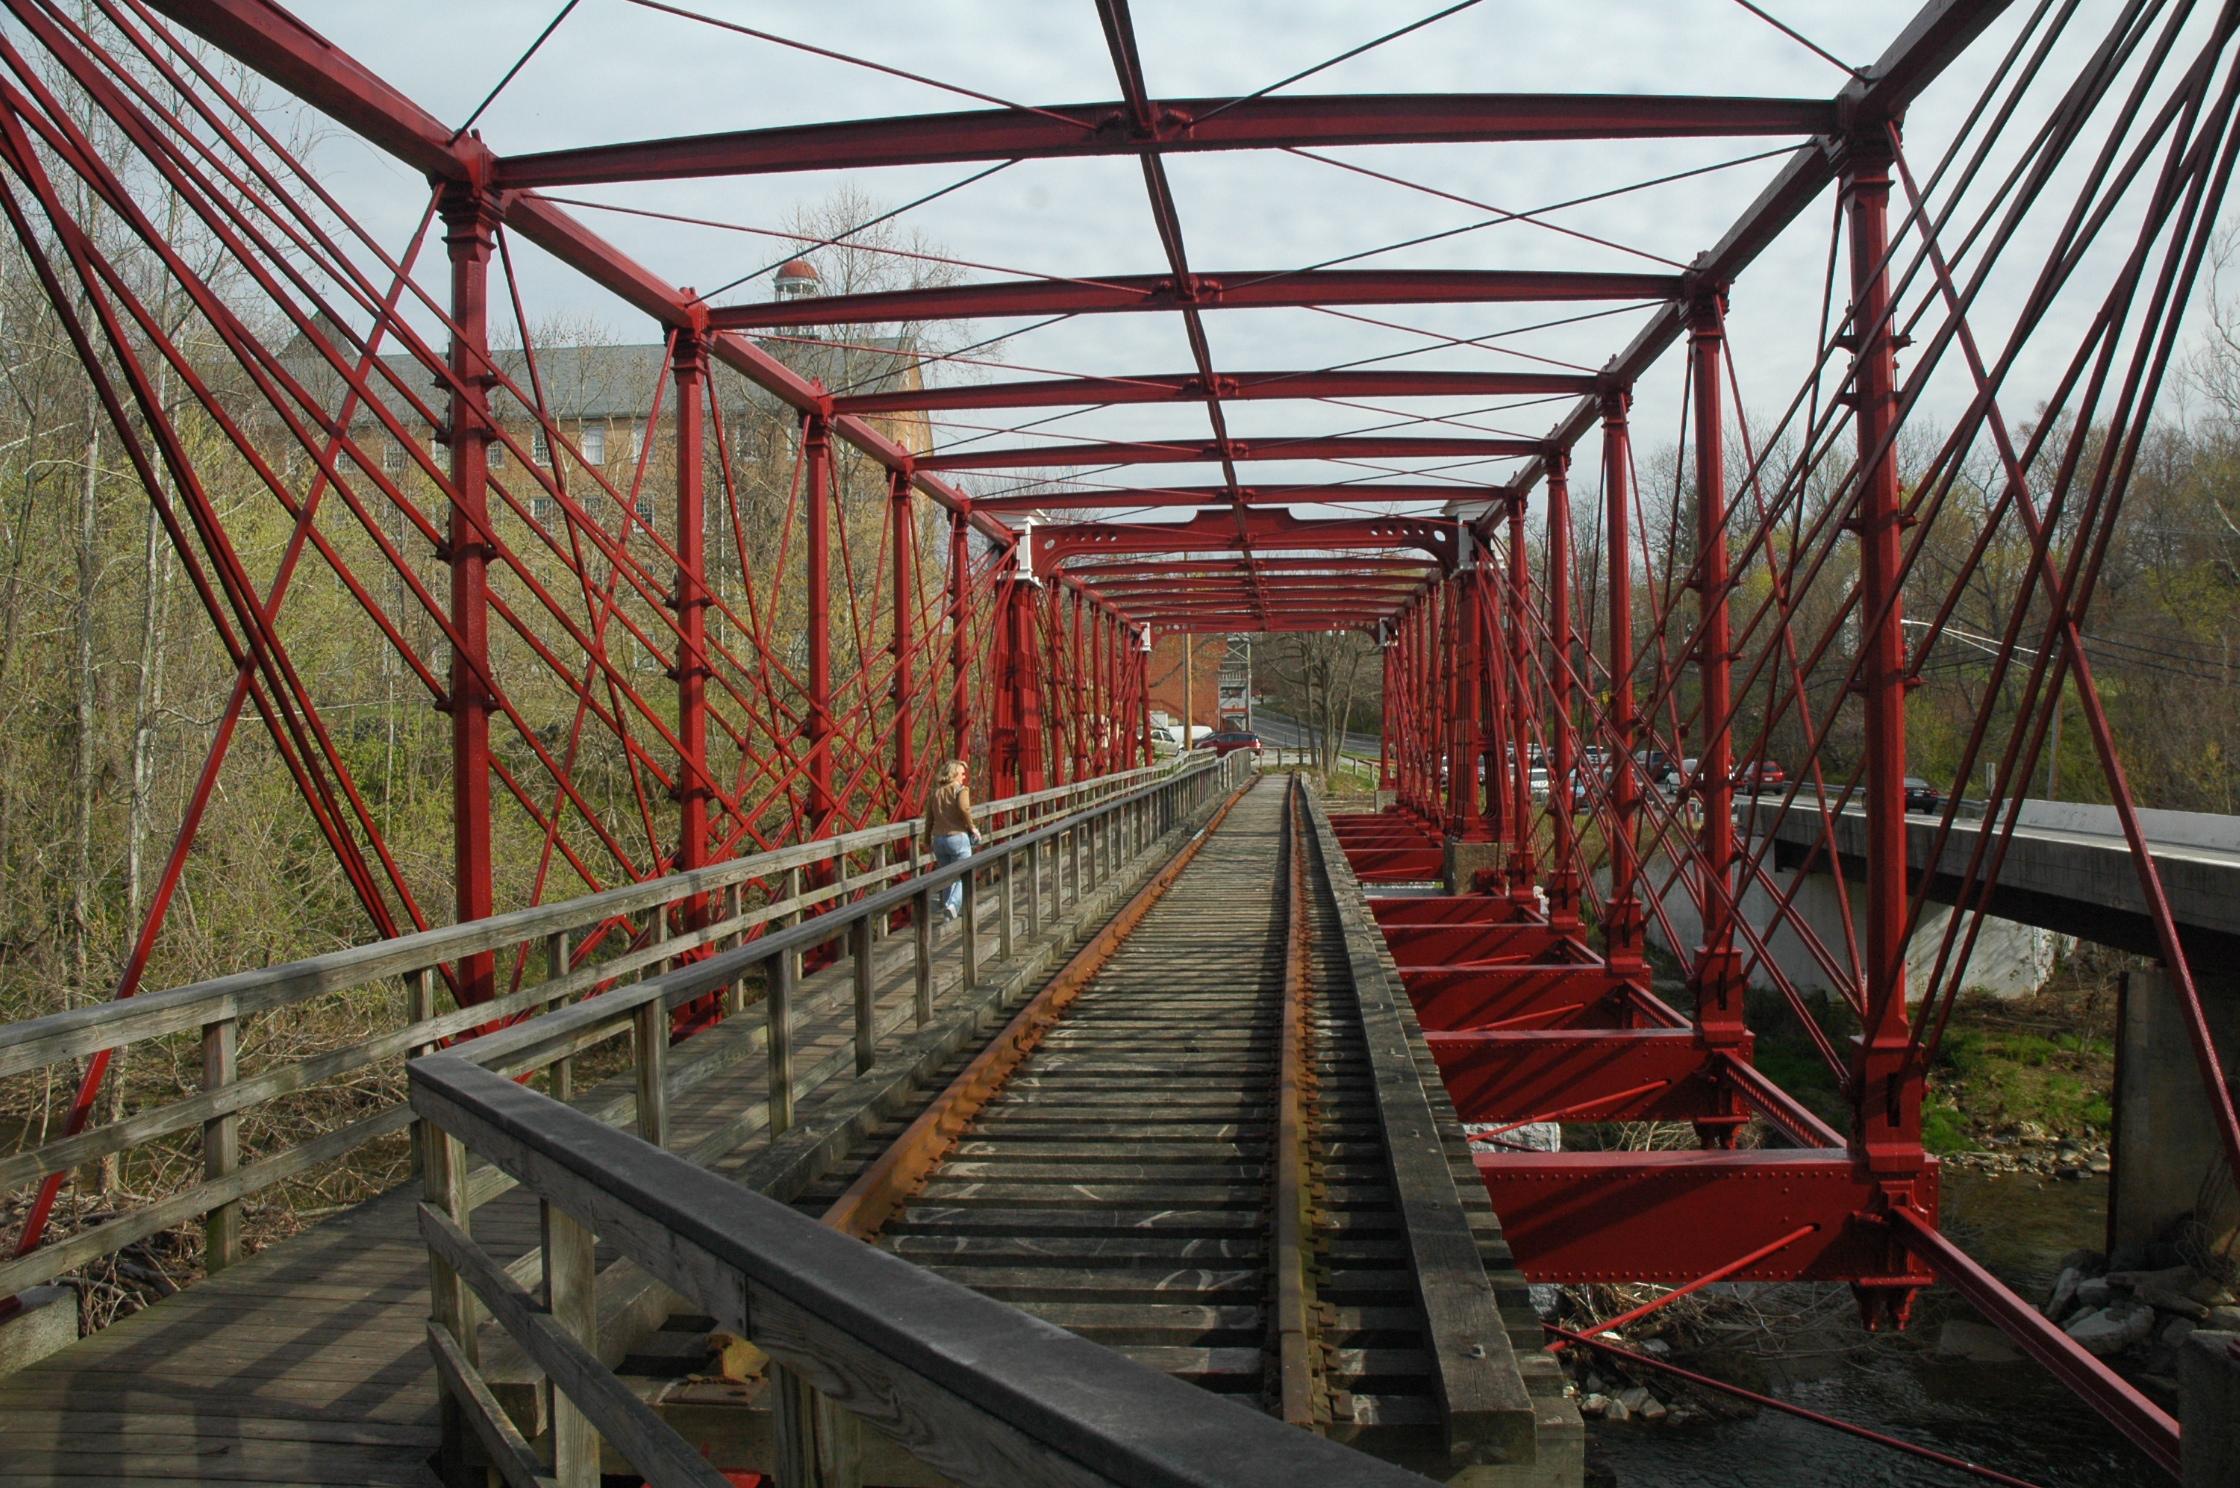
View of bridge.
![]()

Original / Full Size
View of end post.
![]()

Original / Full Size
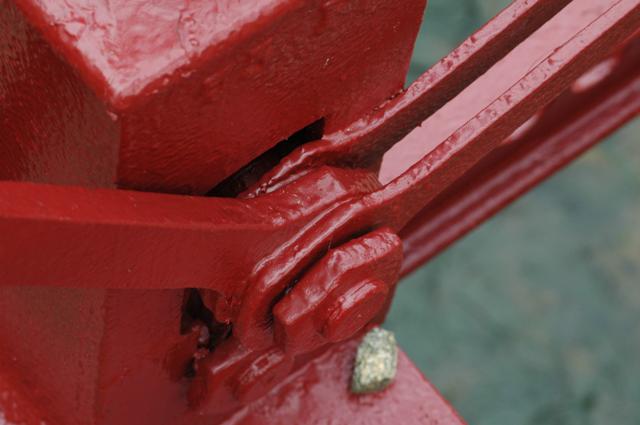
View of diagonal members.
![]()


Original / Full Size
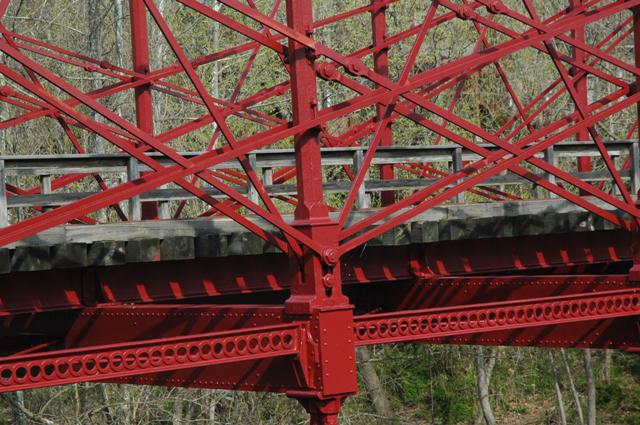
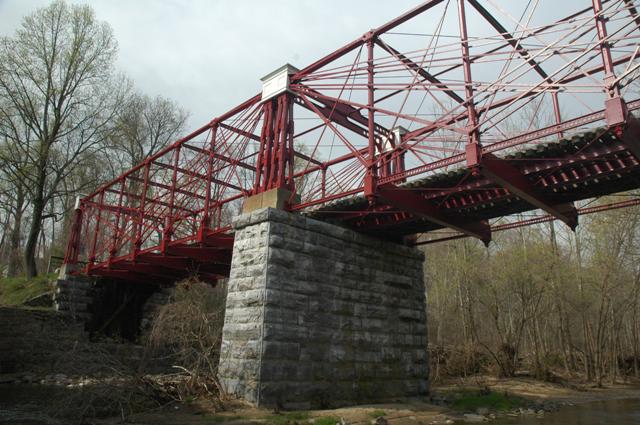
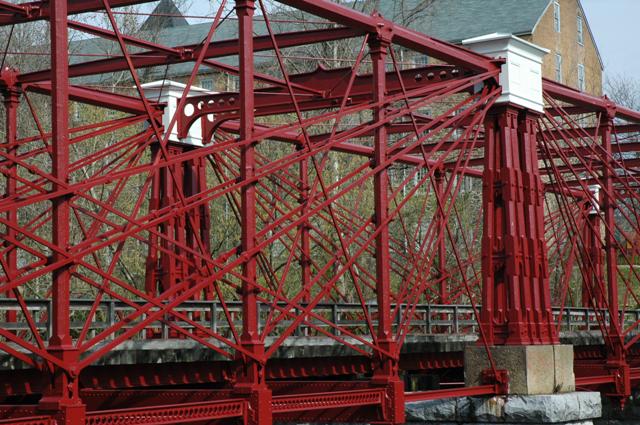
Various views showing the Bollman truss configuration.
![]()


Bottom chord connections.
![]()

Zoom views of bottom chord and connections.
![]()

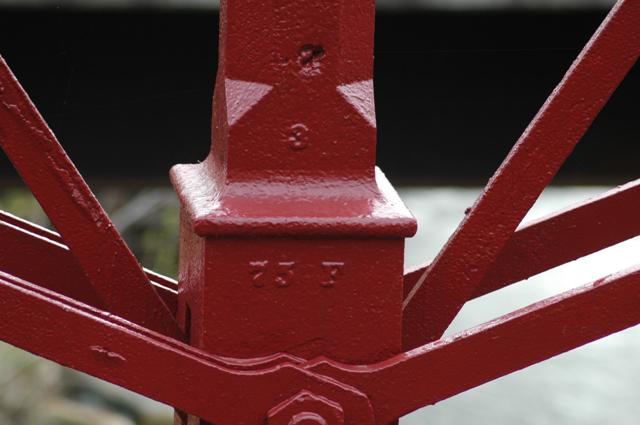

Markings on the verticals near the bottom chord connections.
![]()


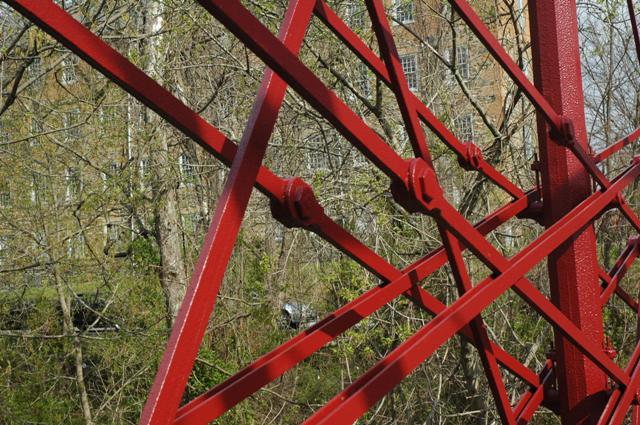

Views of diagonal members.
![]()
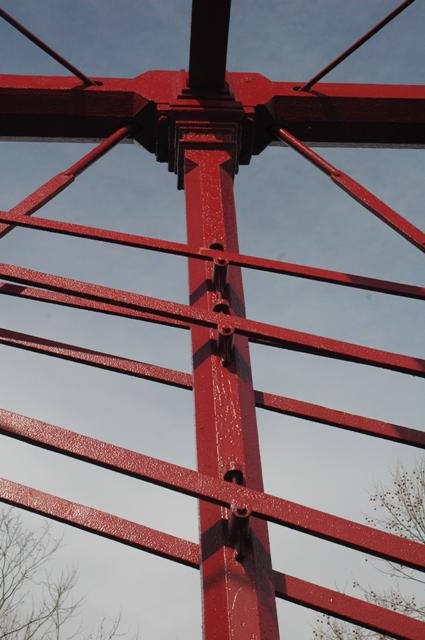
View of vertical member and top chord connection.
![]()


Top chord connections at end post. They are enclosed in a protective wooden assembly, which was part of the original design and was restored.
![]()


Views of the endposts.
![]()

Connection along diagonal member.
![]()
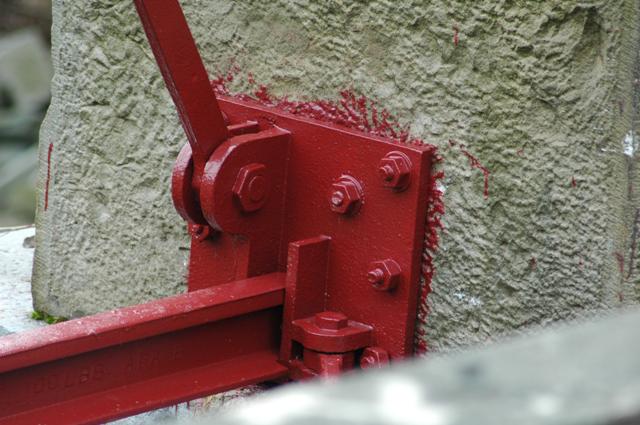
This appears to be a modern connection at the end of the bottom chord. Indeed, the bottom chord on the last section is a railroad rail and likely not original.
![]()


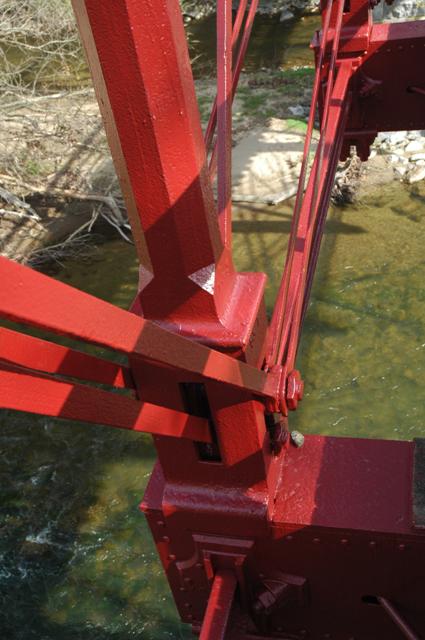
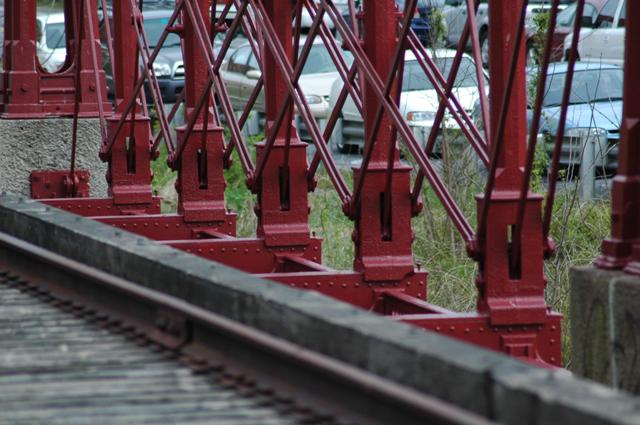
Views under the deck.
![]()


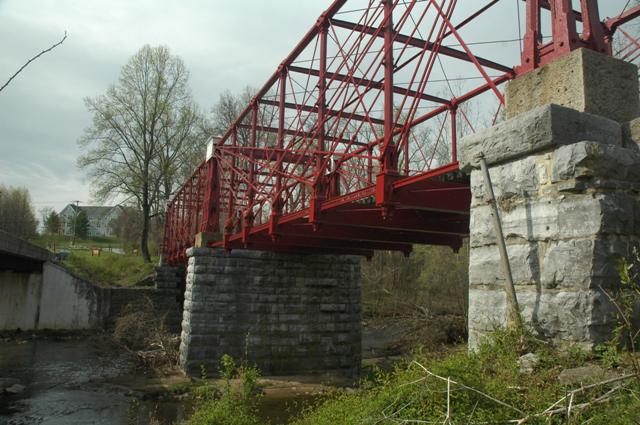
Views of stone piers and abutments.
![]()

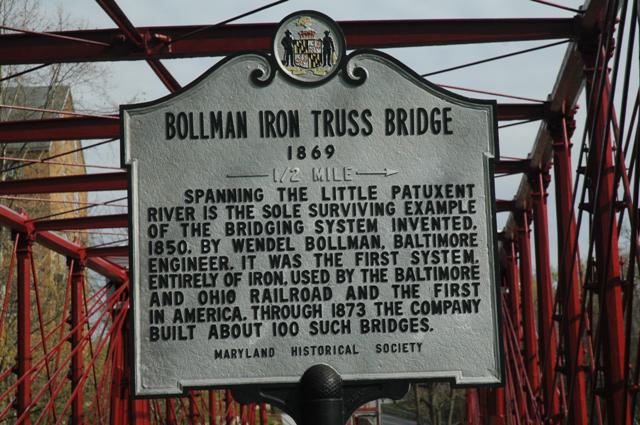


Views of interpretive and other modern plaques on and near the bridge.
![]()


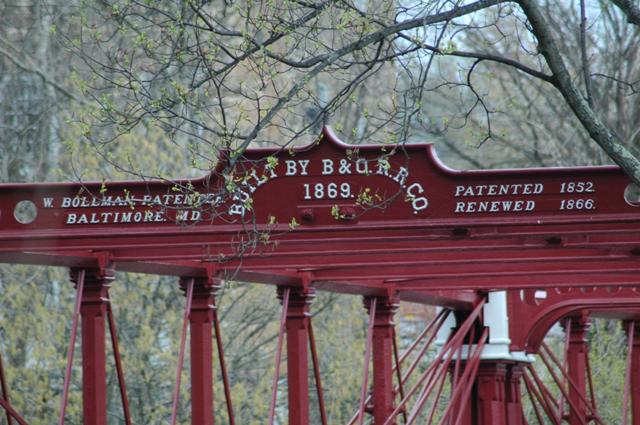
Views of builder plaque.
![]()


Zoomed oblique views.
![]()

Various side views.
![]()

Portal view on bridge.
![]()


Various views showing the Bollman truss configuration.
![]()

Savage Mill building located near bridge.
![]()
![]()
| Back |
| Home |
| Top |

![]()