
Uncredited photos on this page taken by: Nathan Holth. Unless stated in a caption, all photos are Copyright with All Rights Reserved. Learn about reuse of our photos.
![]()
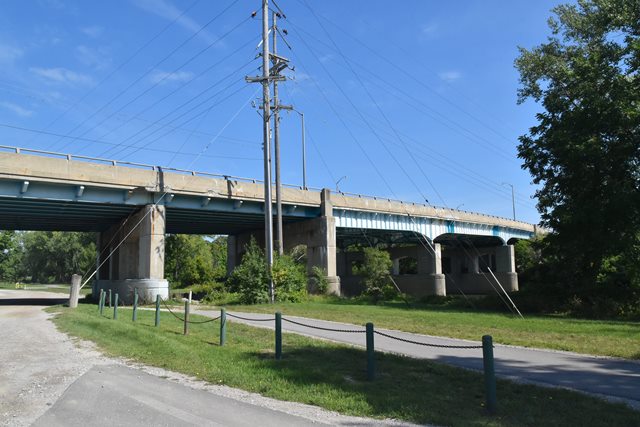


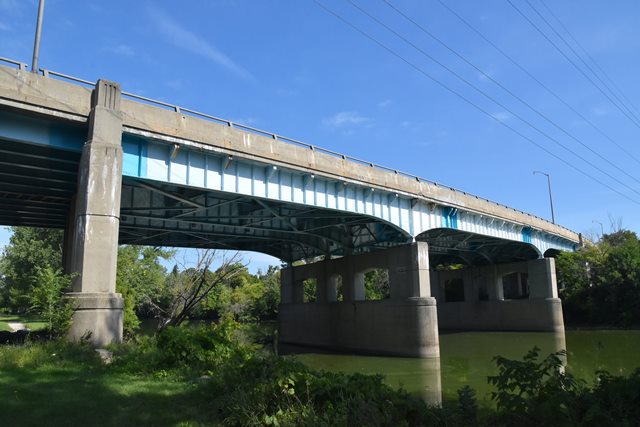
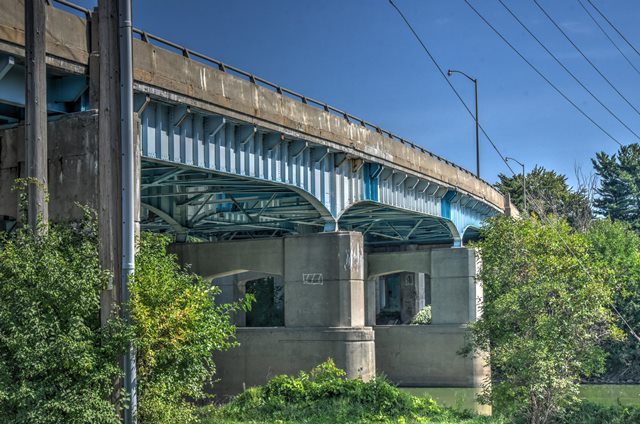
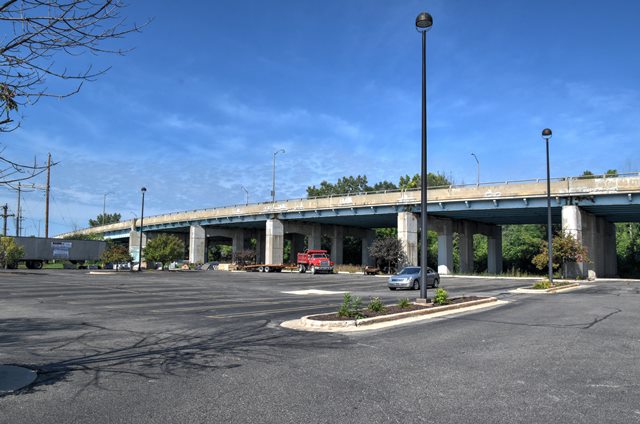
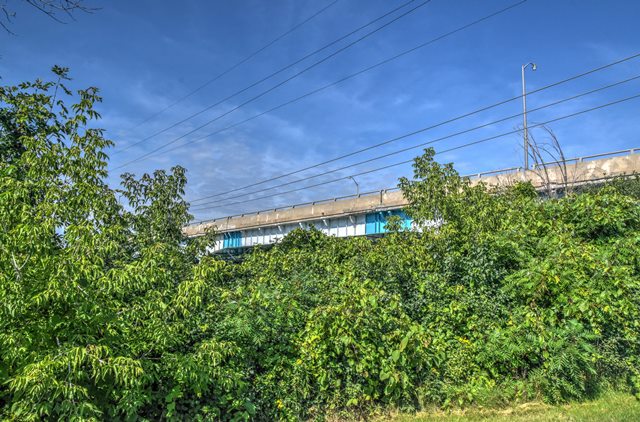
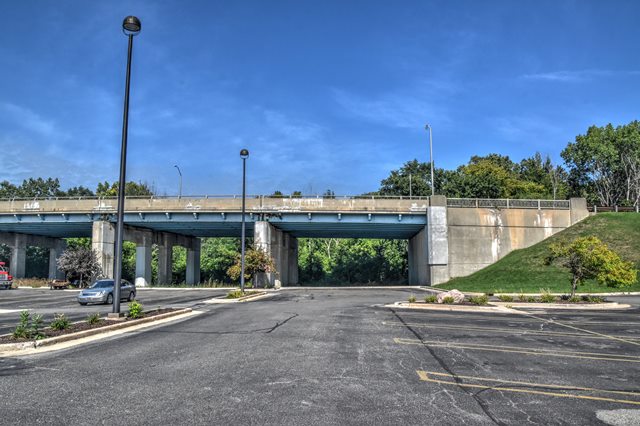
Elevation from southwest quadrant.
![]()


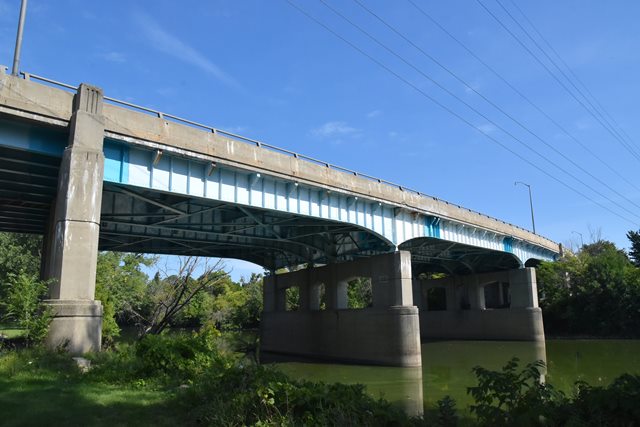


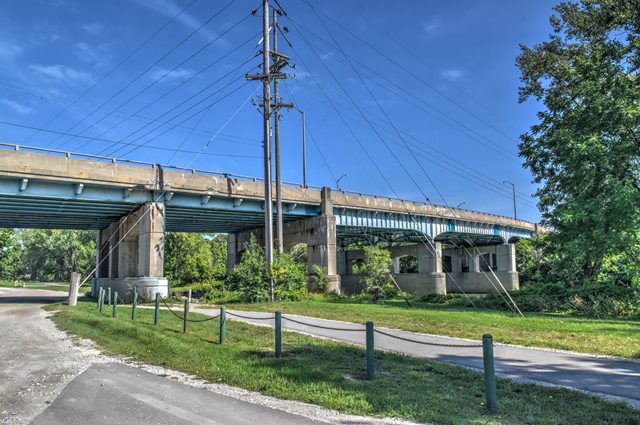
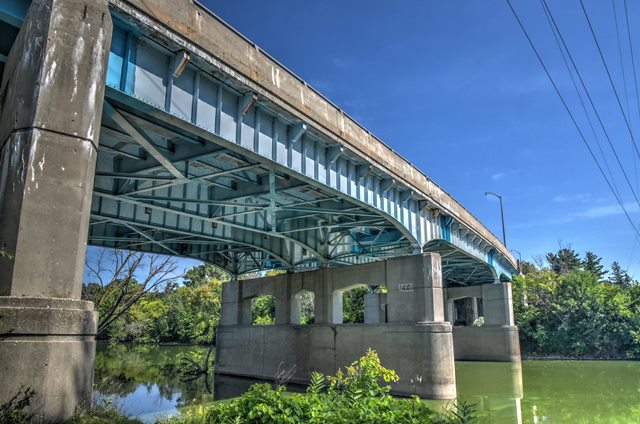
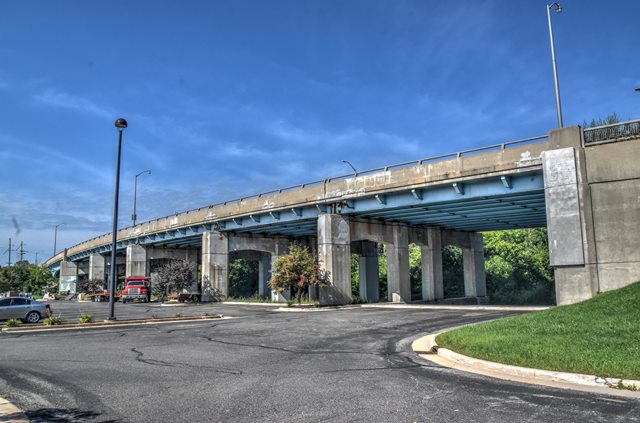
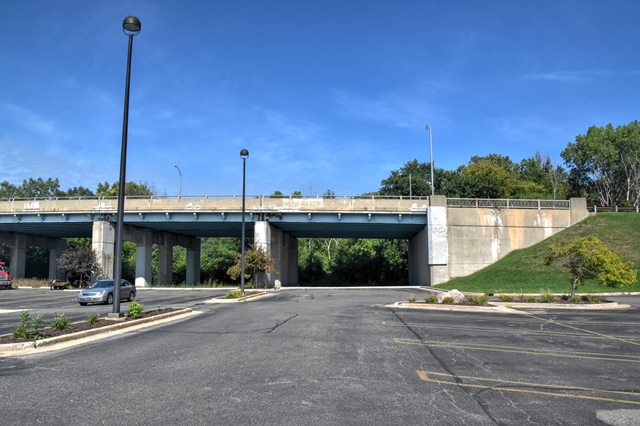
Main spans elevation from southwest quadrant.
![]()


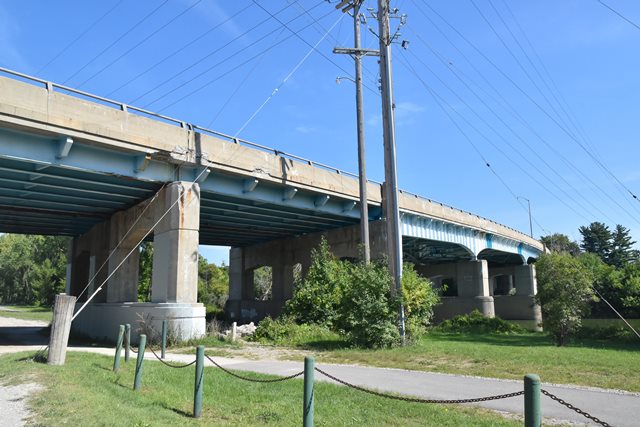
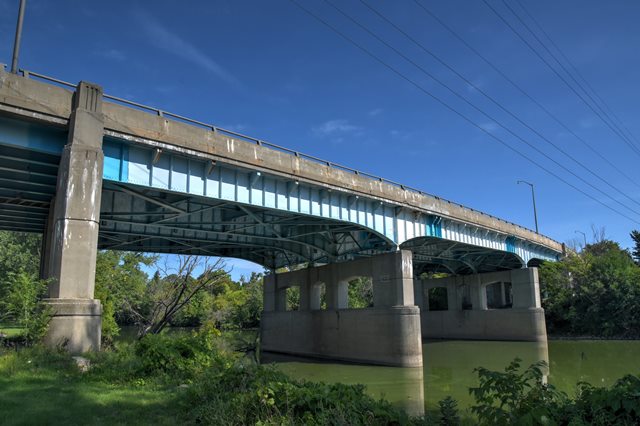
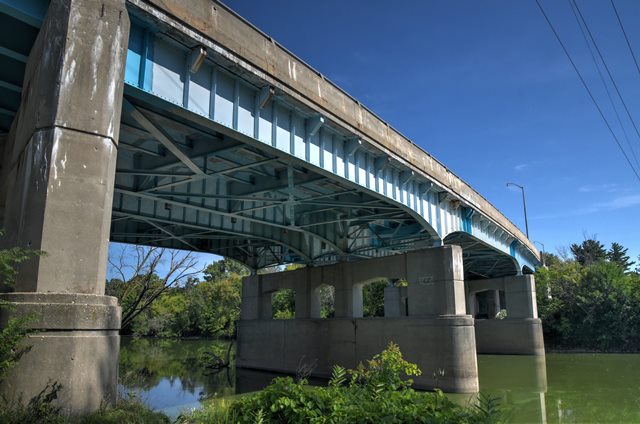
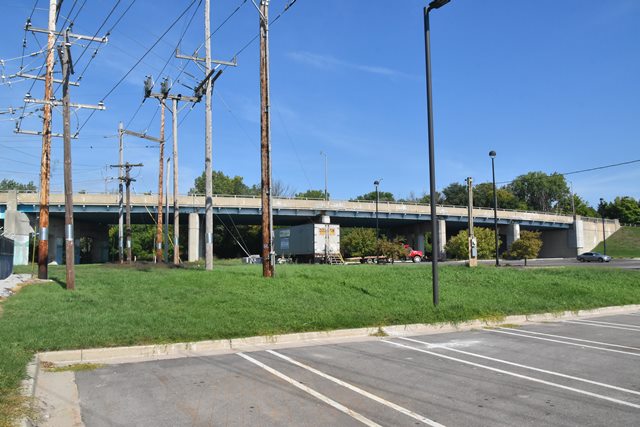
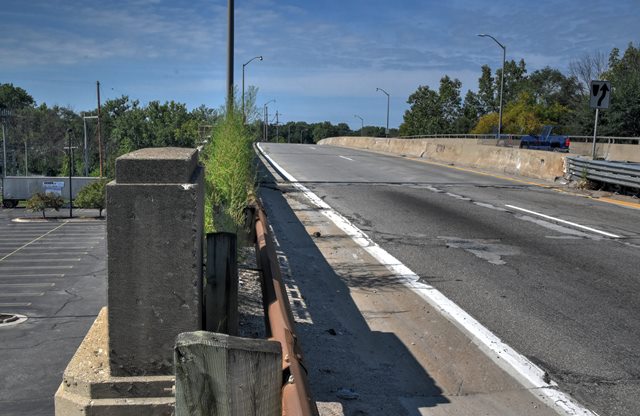
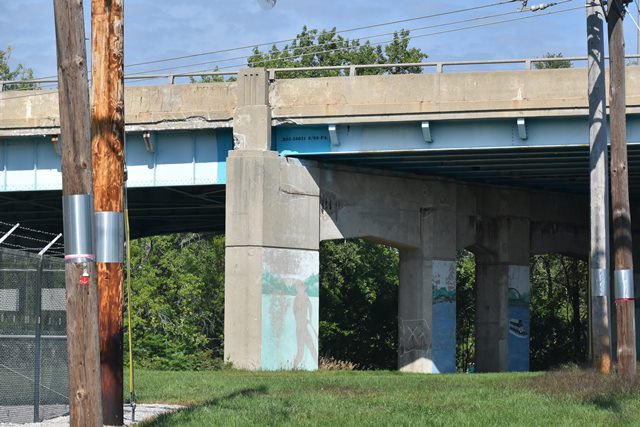
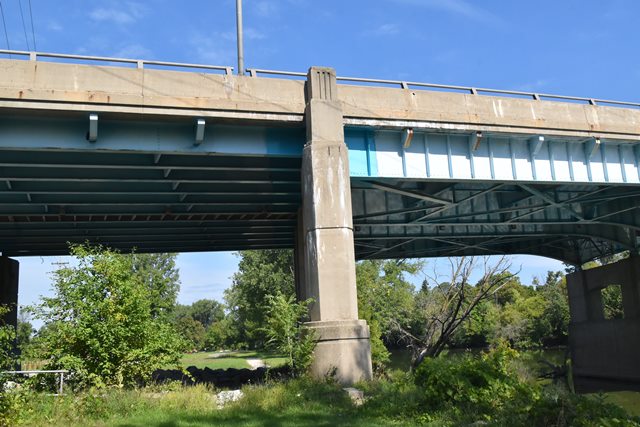
Views beside bridge from southwest quadrant.
![]()


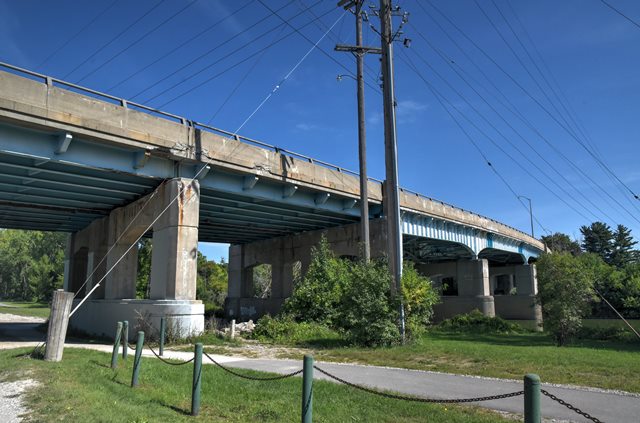
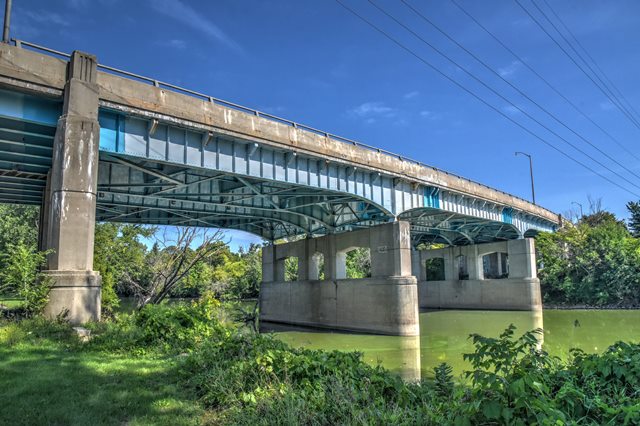
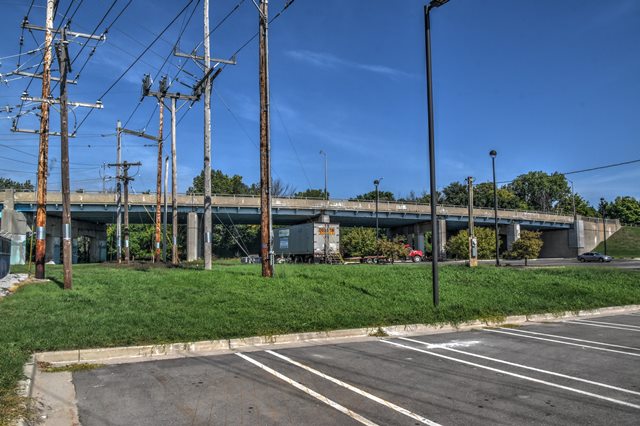
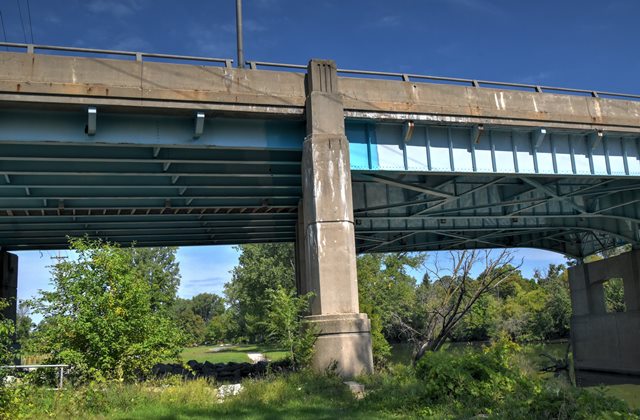
Views beside main spans from southwest quadrant.
![]()

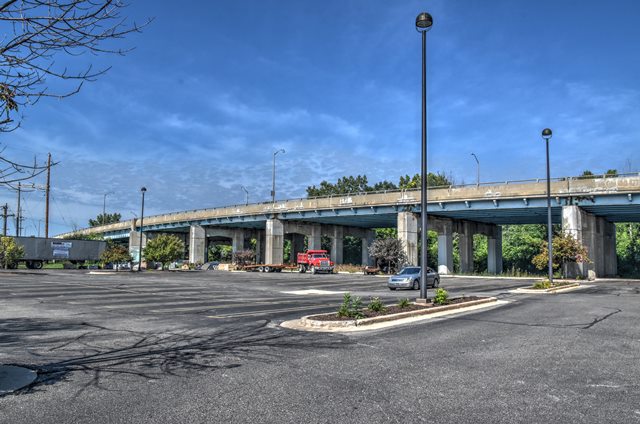


Elevation from southeast quadrant.
![]()


Oblique views from southeast quadrant.
![]()

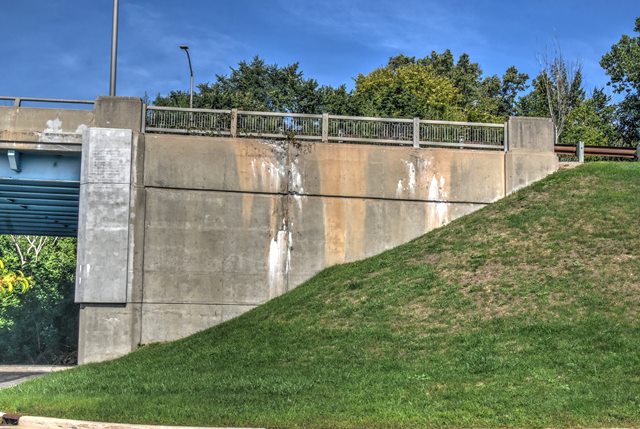


East abutment.
![]()


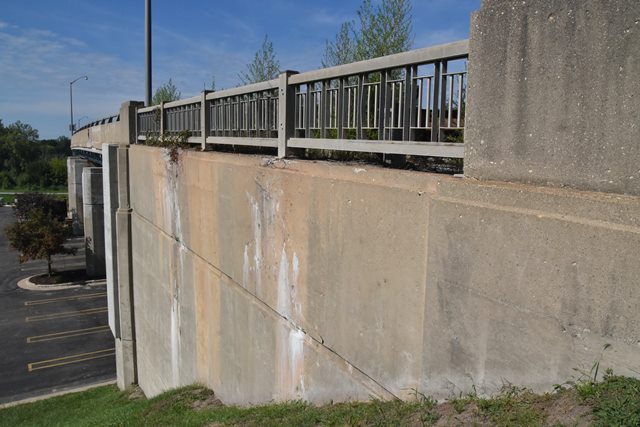
West abutment.
![]()


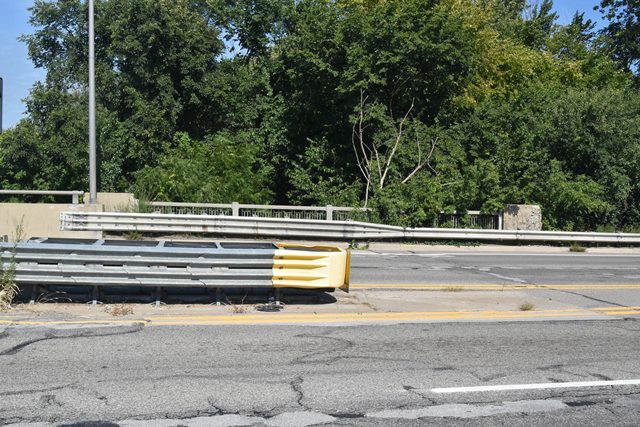


Abutment railing.
![]()


Stringer approach spans.
![]()


Details of stringer approach spans.
![]()
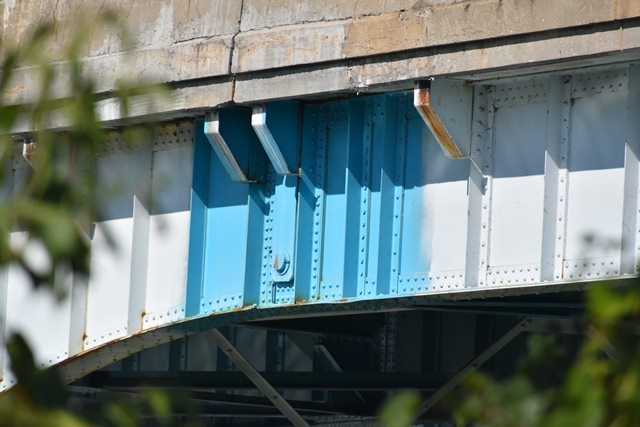


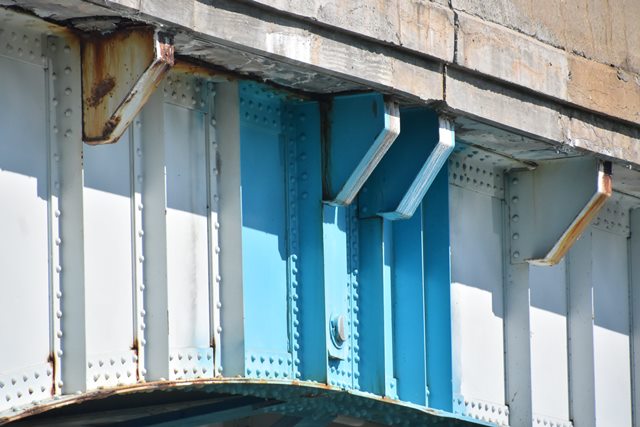


Pin and hanger for suspended span.
![]()


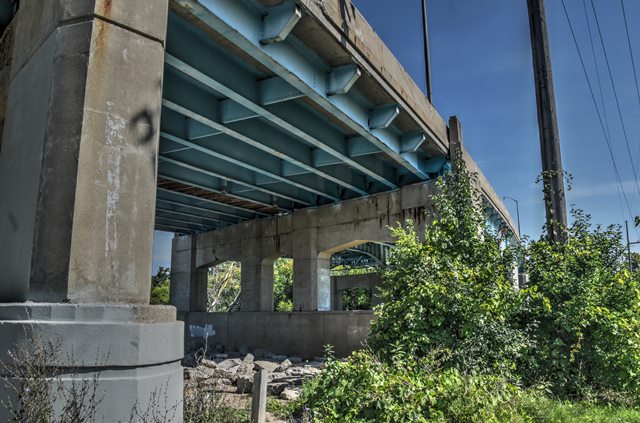
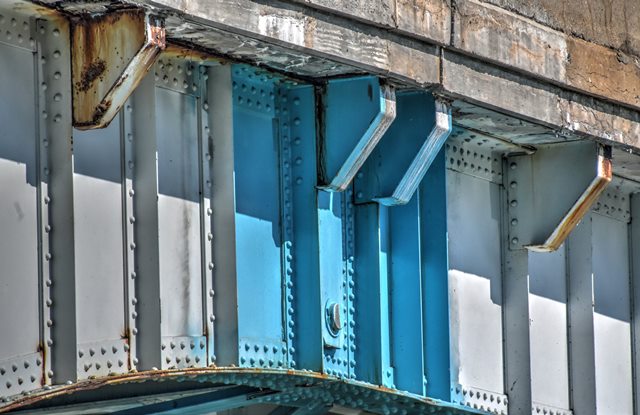
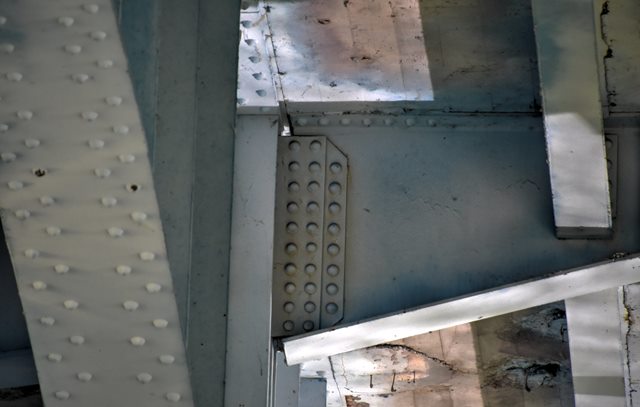
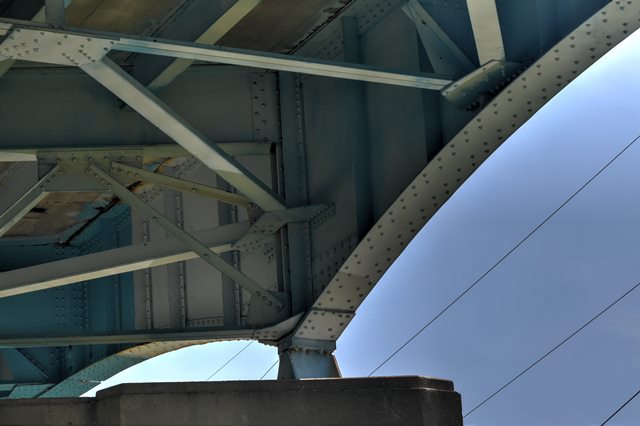
Girder details.
![]()


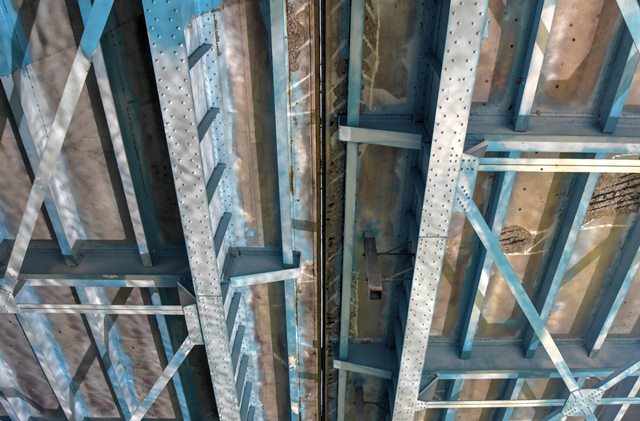


View under bridge showing tiny gap between the two superstructures.
![]()
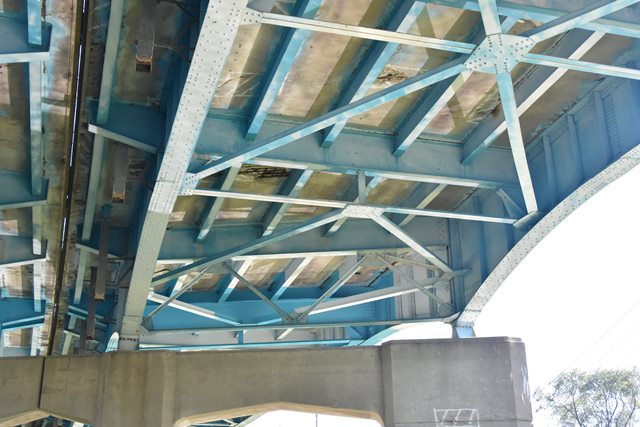

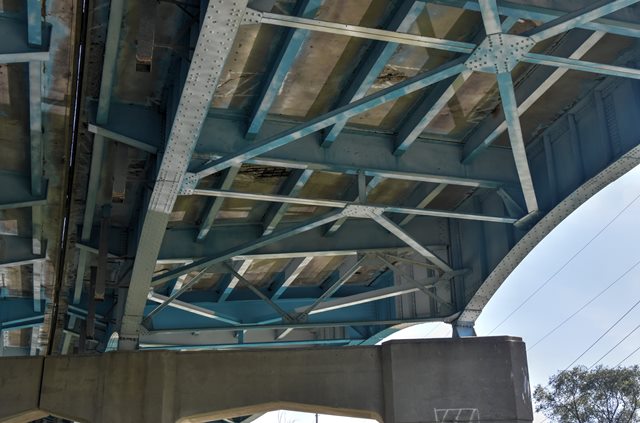


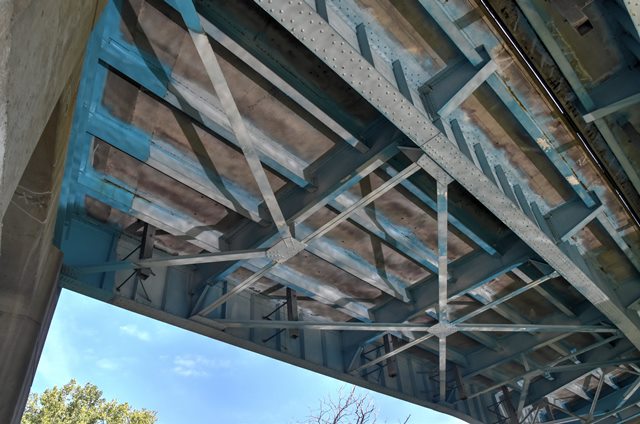


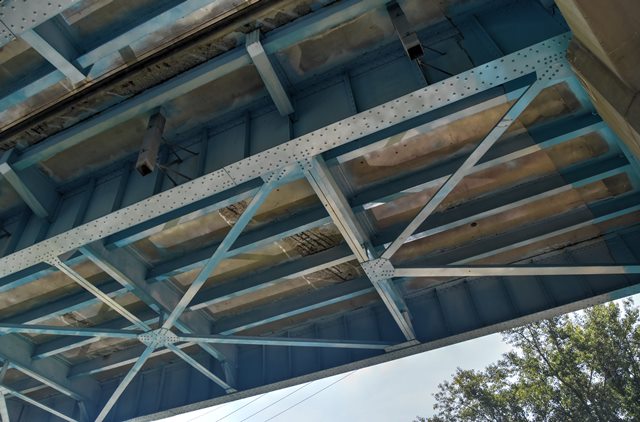


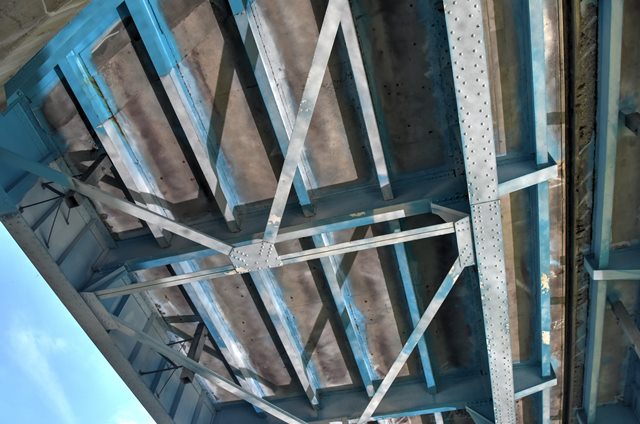


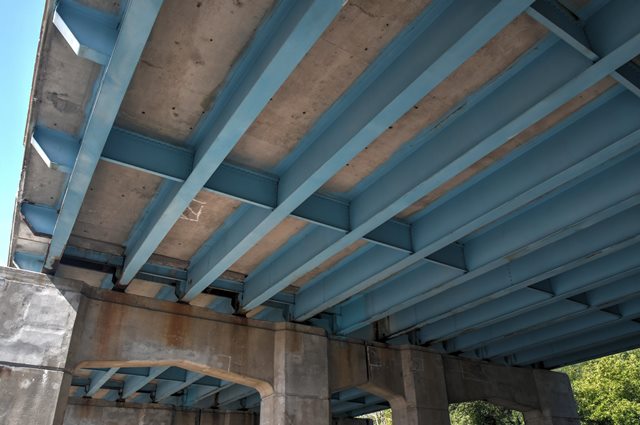
Views under girder spans.
![]()


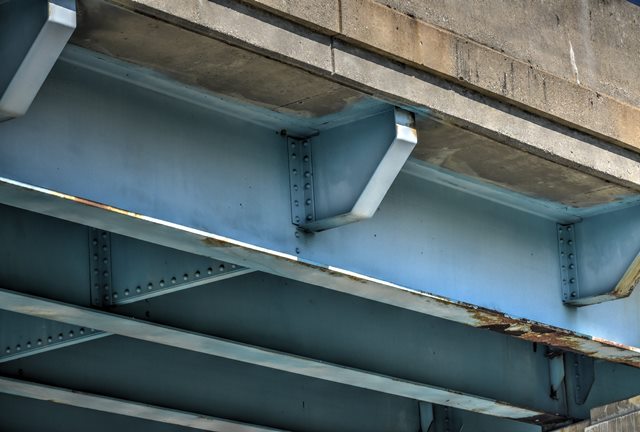

Deck cantilevers.
![]()


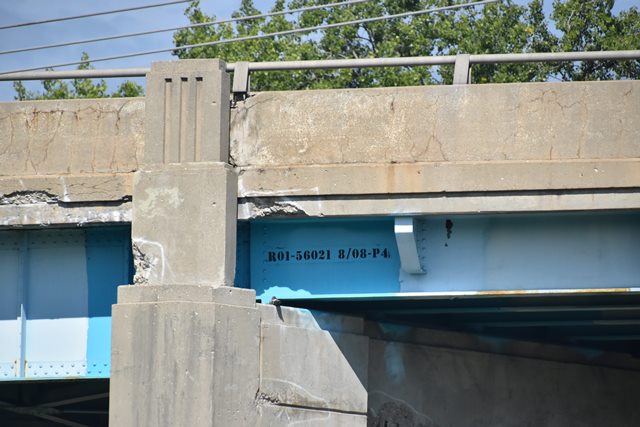
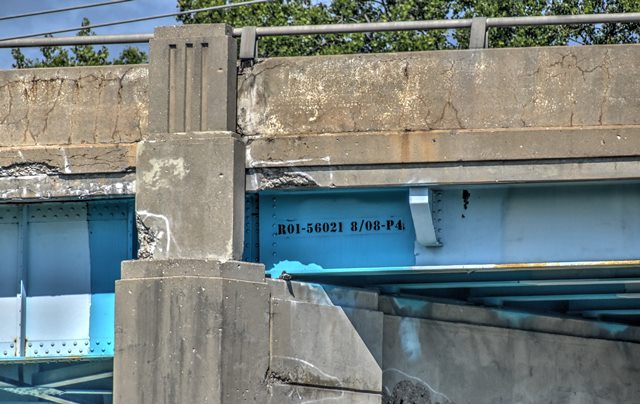
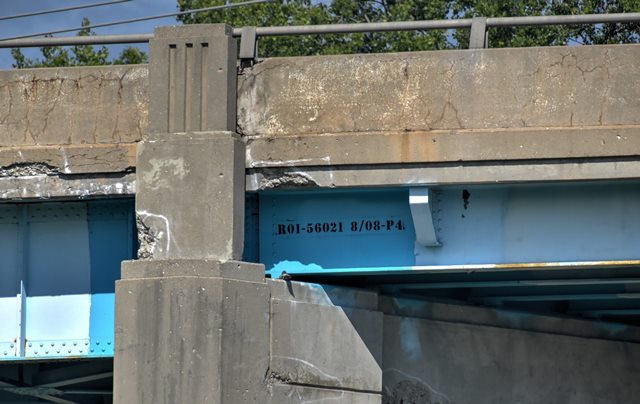


Pier details.
![]()


Bearings.
![]()
![]()
| Back |
| Home |
| Top |

![]()