
Uncredited photos on this page taken by: Nathan Holth. Unless stated in a caption, all photos are Copyright with All Rights Reserved. Learn about reuse of our photos.
![]()
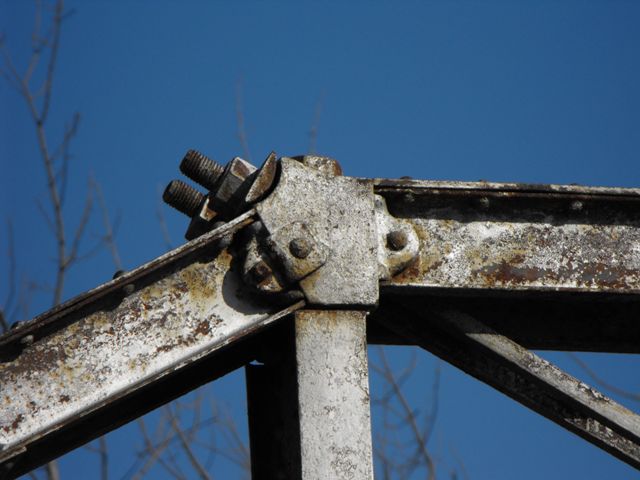


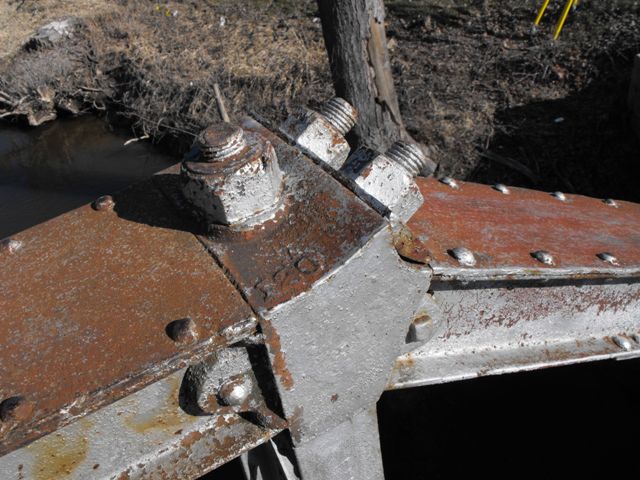
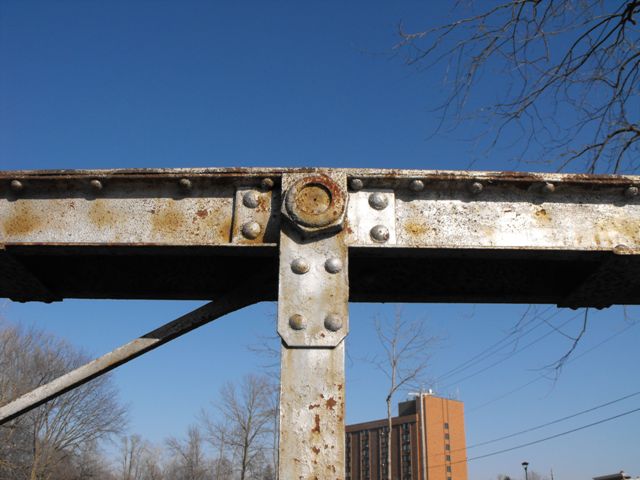
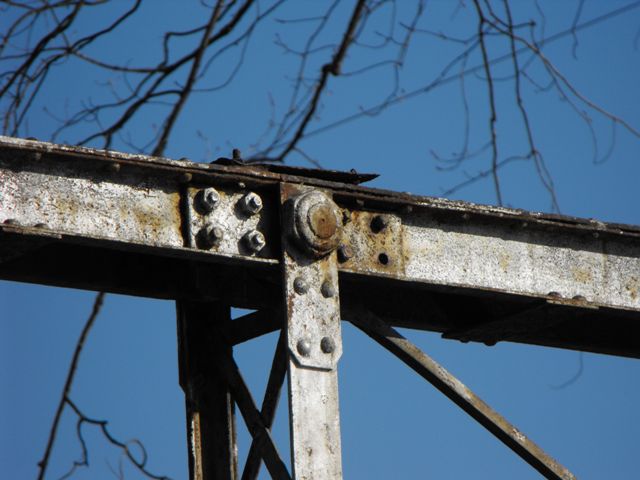
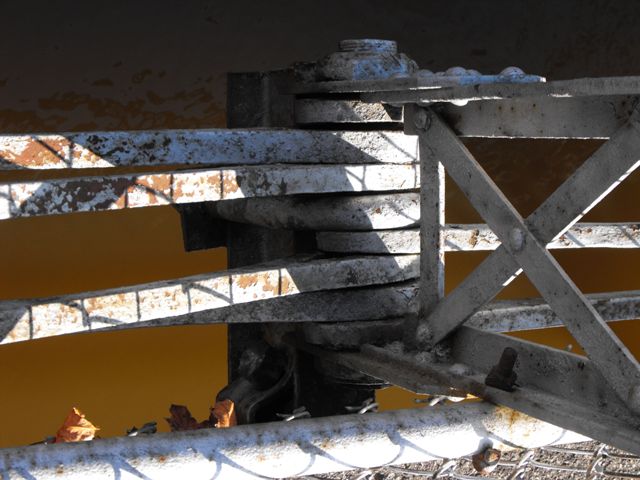
Distinctive top chord connection at end post: as viewed from beside bridge.
![]()


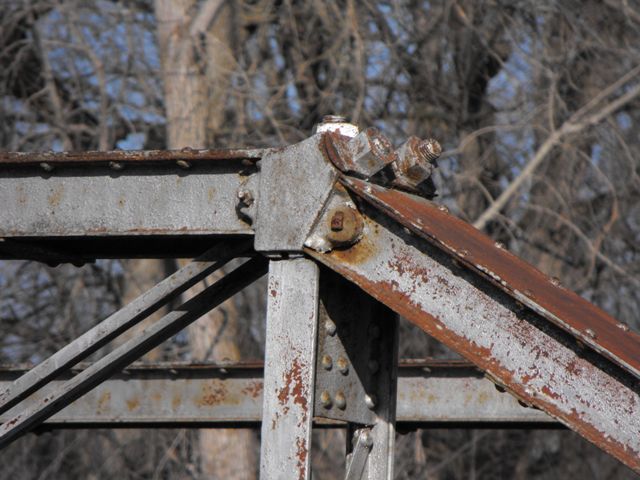
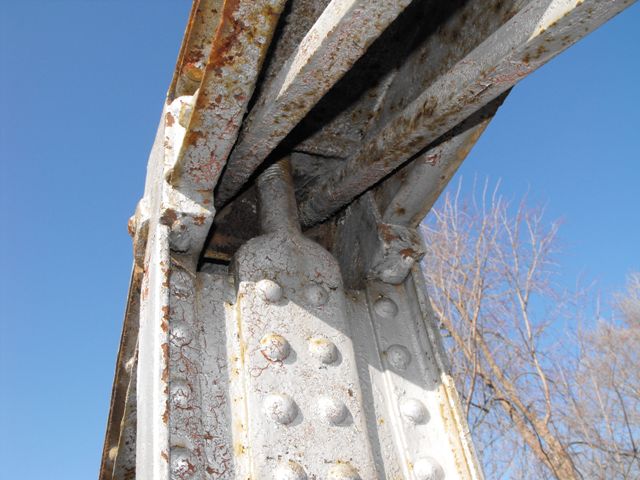
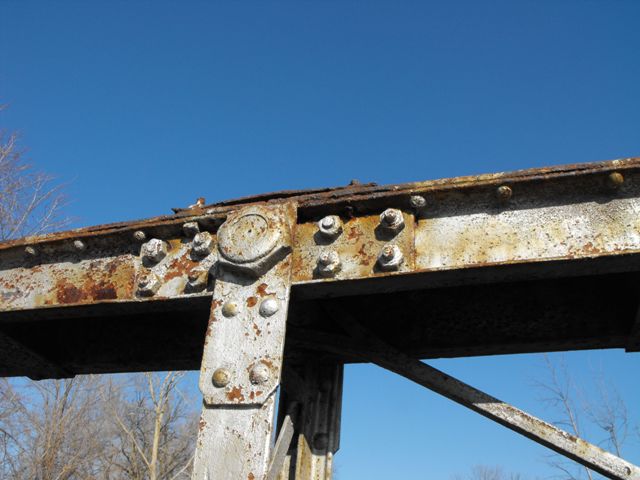
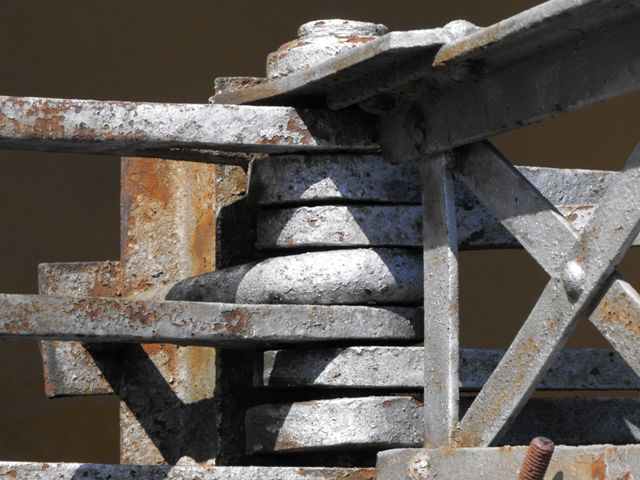
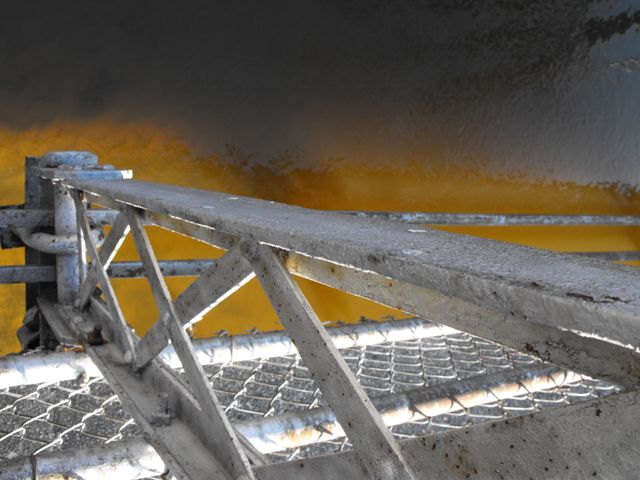
Distinctive top chord connection at end post: as viewed from on bridge.
![]()
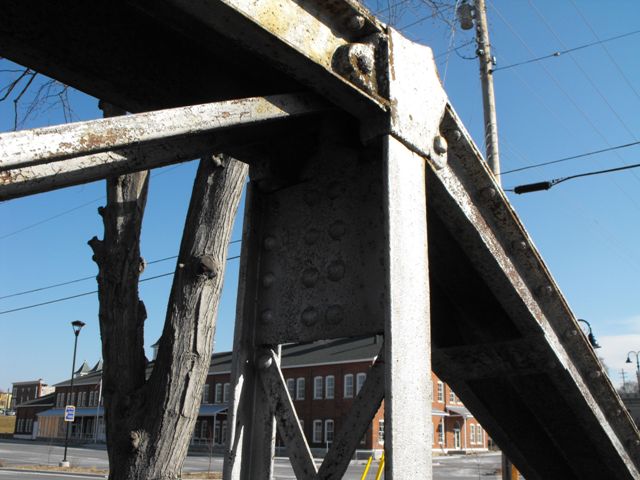
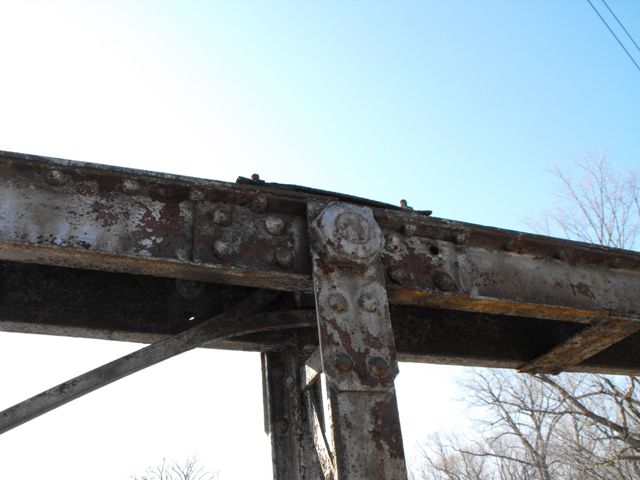
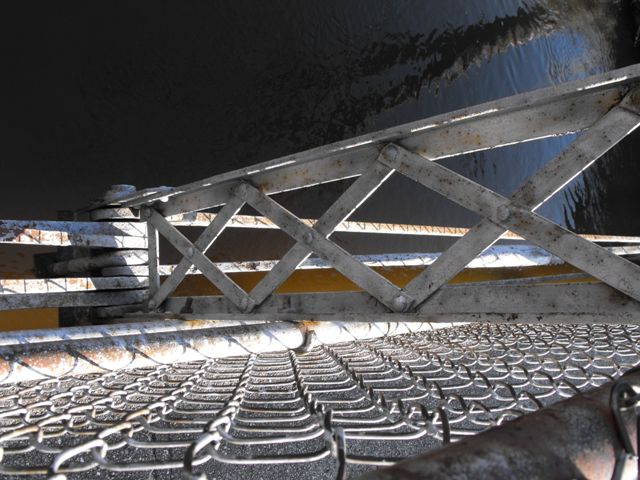
Distinctive top chord connection at end post: looking down from above.
![]()

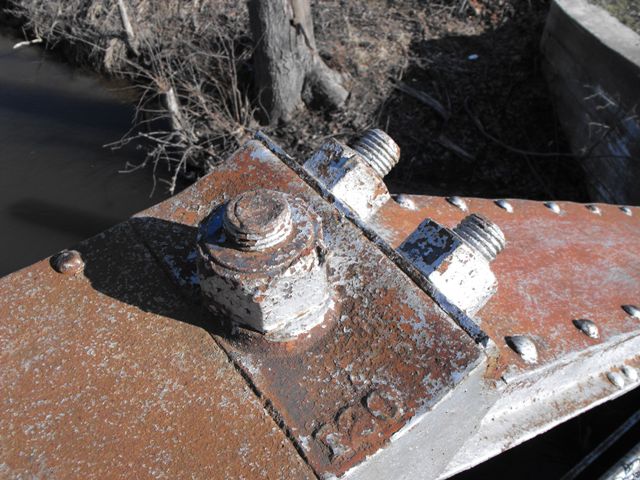
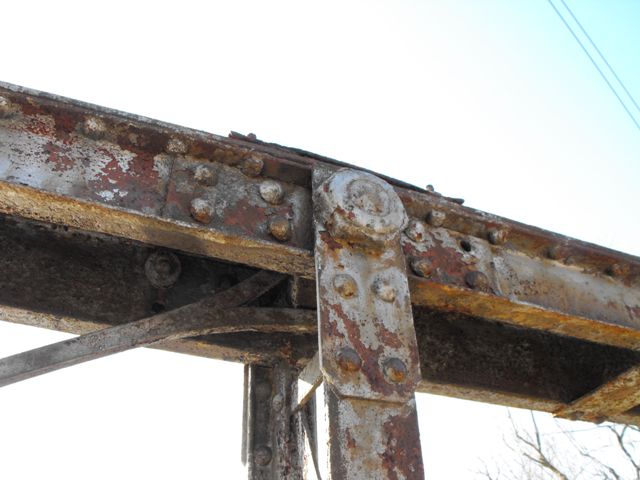
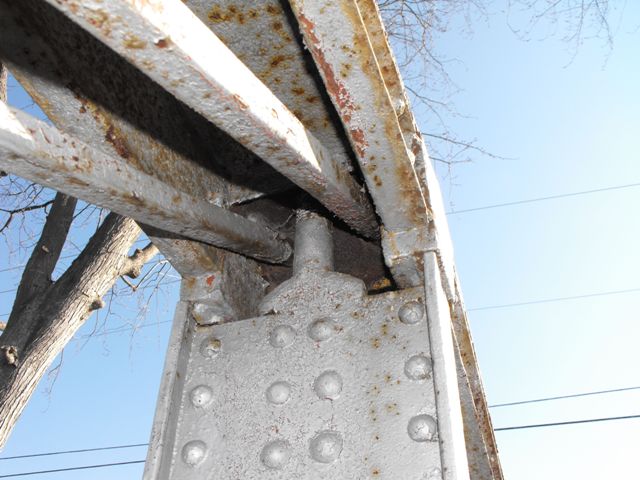
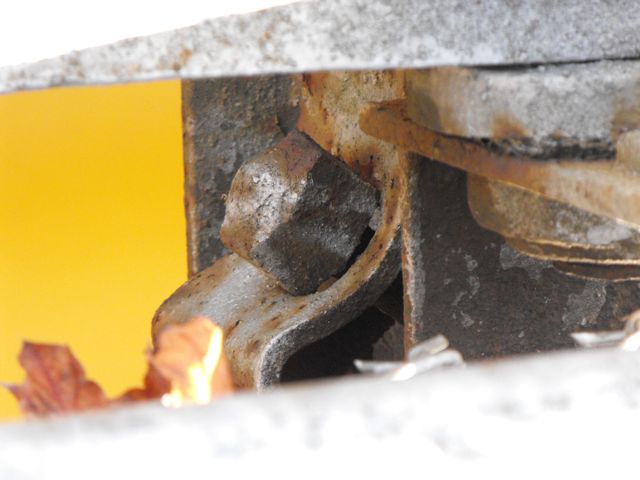
Distinctive top chord connection at end post: detail underneath top chord cover plate.
![]()


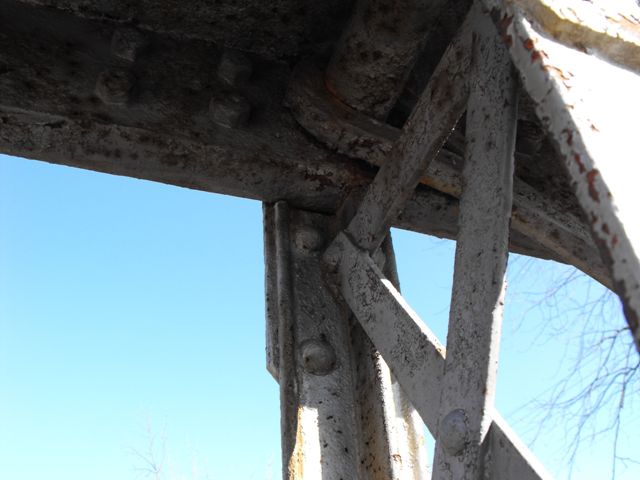
Top chord connections as viewed from on bridge.
![]()


Top chord connections detail underneath top chord cover plate.
![]()

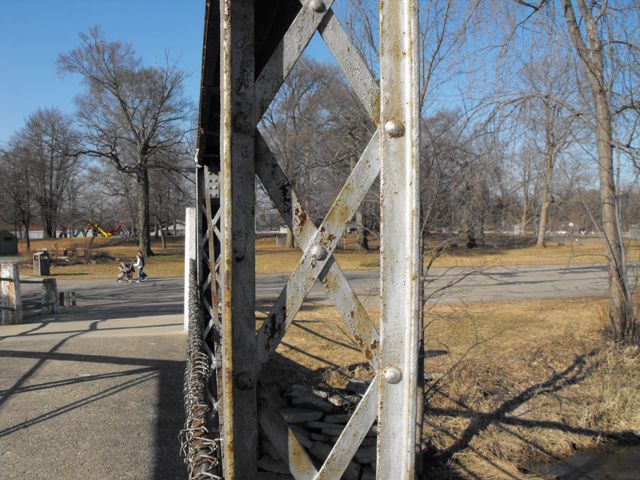
Top chord connections as viewed from beside bridge.
![]()


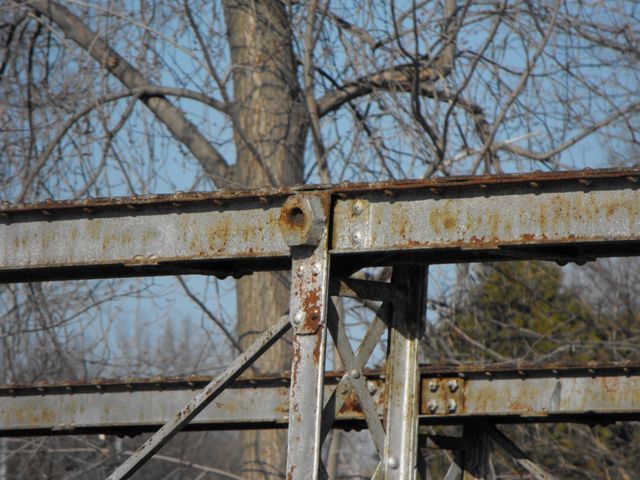
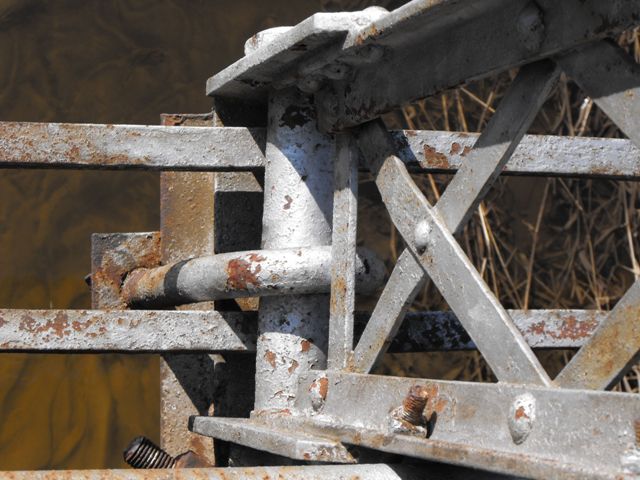
Distinctive bolted connection details at end post / bottom chord connection.
![]()


Bottom chord connections as viewed from beside bridge.
![]()


Bottom chord connections as viewed from on bridge.
![]()
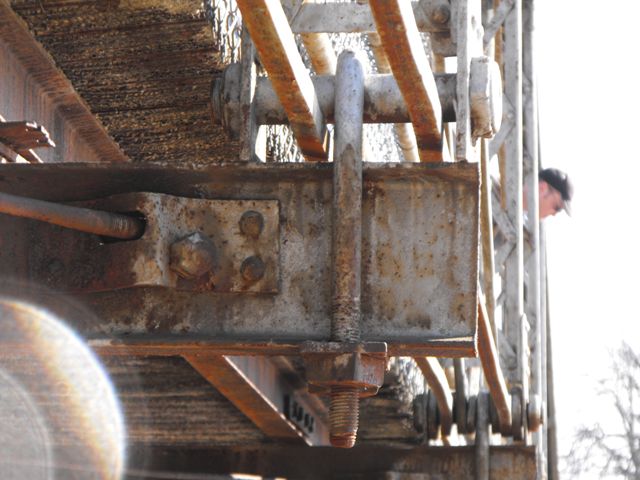
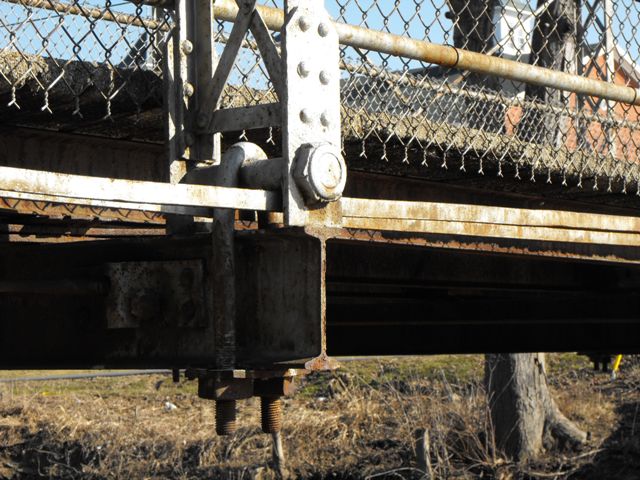
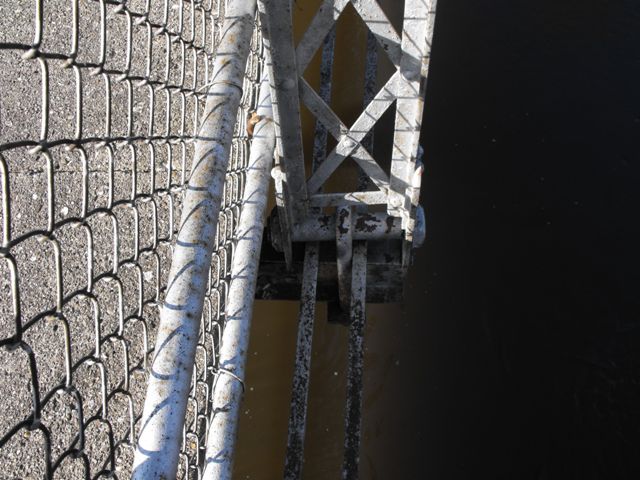
Lateral bracing connections under deck.
![]()
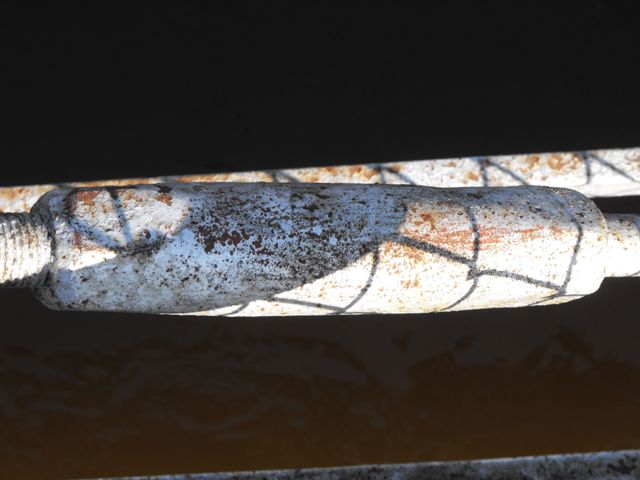

Turnbuckle.
![]()

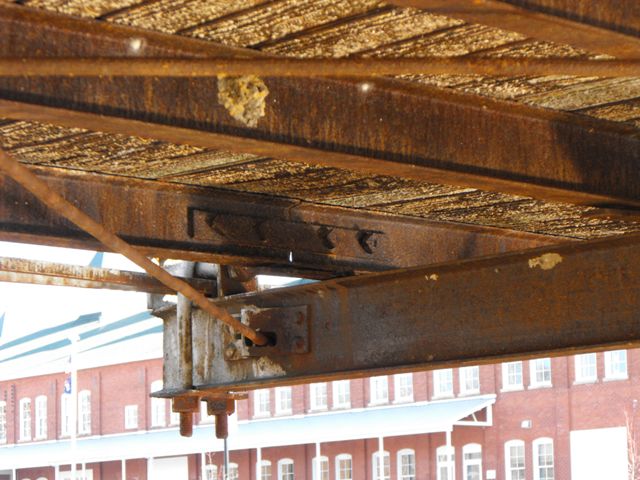
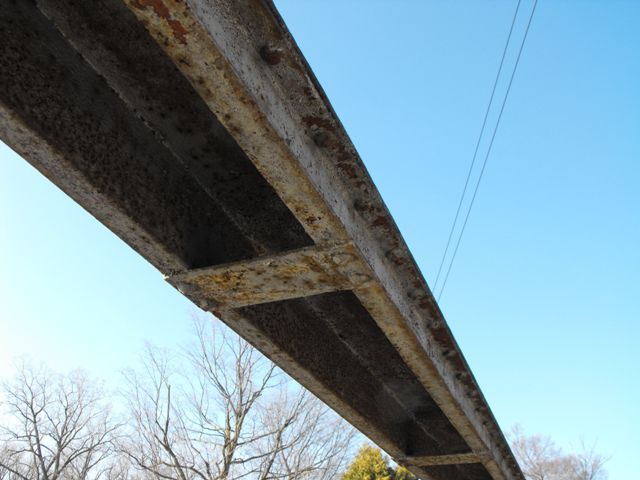
Details under deck, showing floor beams and stringers.
![]()


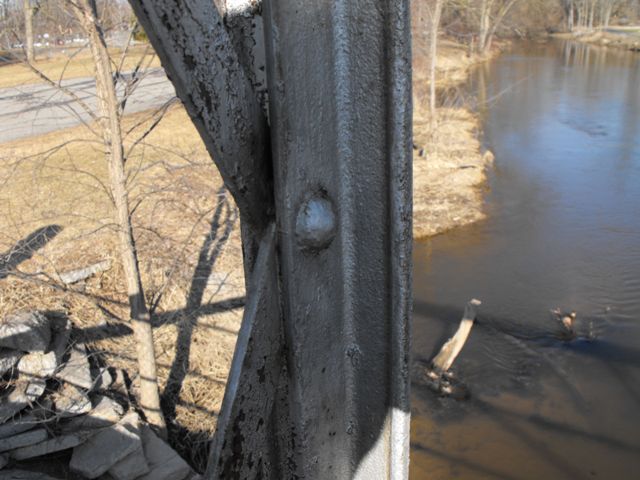
Vertical members.
![]()


Details showing the unusual all-in-one T-shaped beams that compose the vertical member built-up beams. These beams are wider on one side to accommodate the width of the lattice, and also feature a "lip" on the edges, making them unusual. Photos with thumbs are an attempt to show the difference in width.
![]()


Top chord.
![]()


End post.
![]()

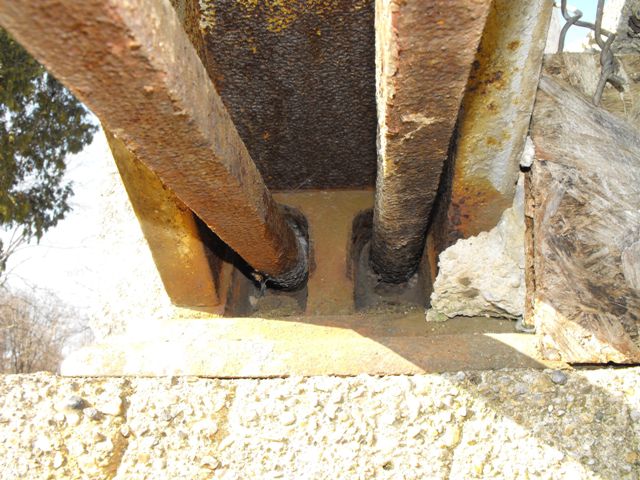
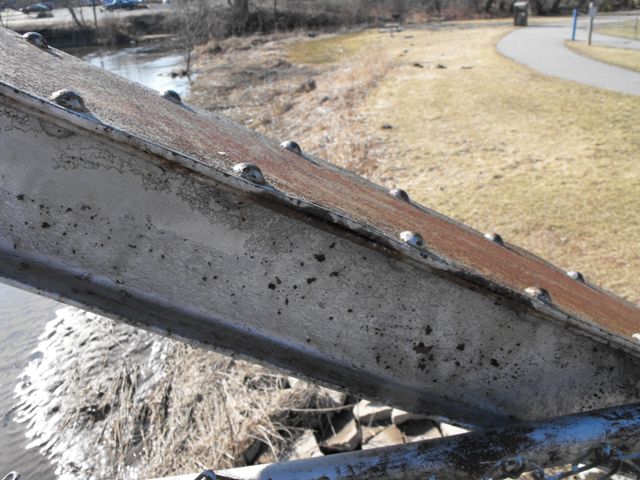
Abutment.
![]()
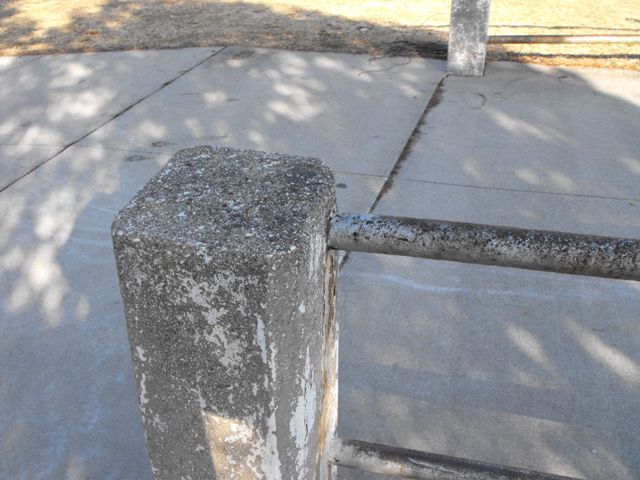
Approach railing and post detail.
![]()
![]()
| Back |
| Home |
| Top |

![]()