
Uncredited photos on this page taken by: Nathan Holth. Unless stated in a caption, all photos are Copyright with All Rights Reserved. Learn about reuse of our photos.
![]()


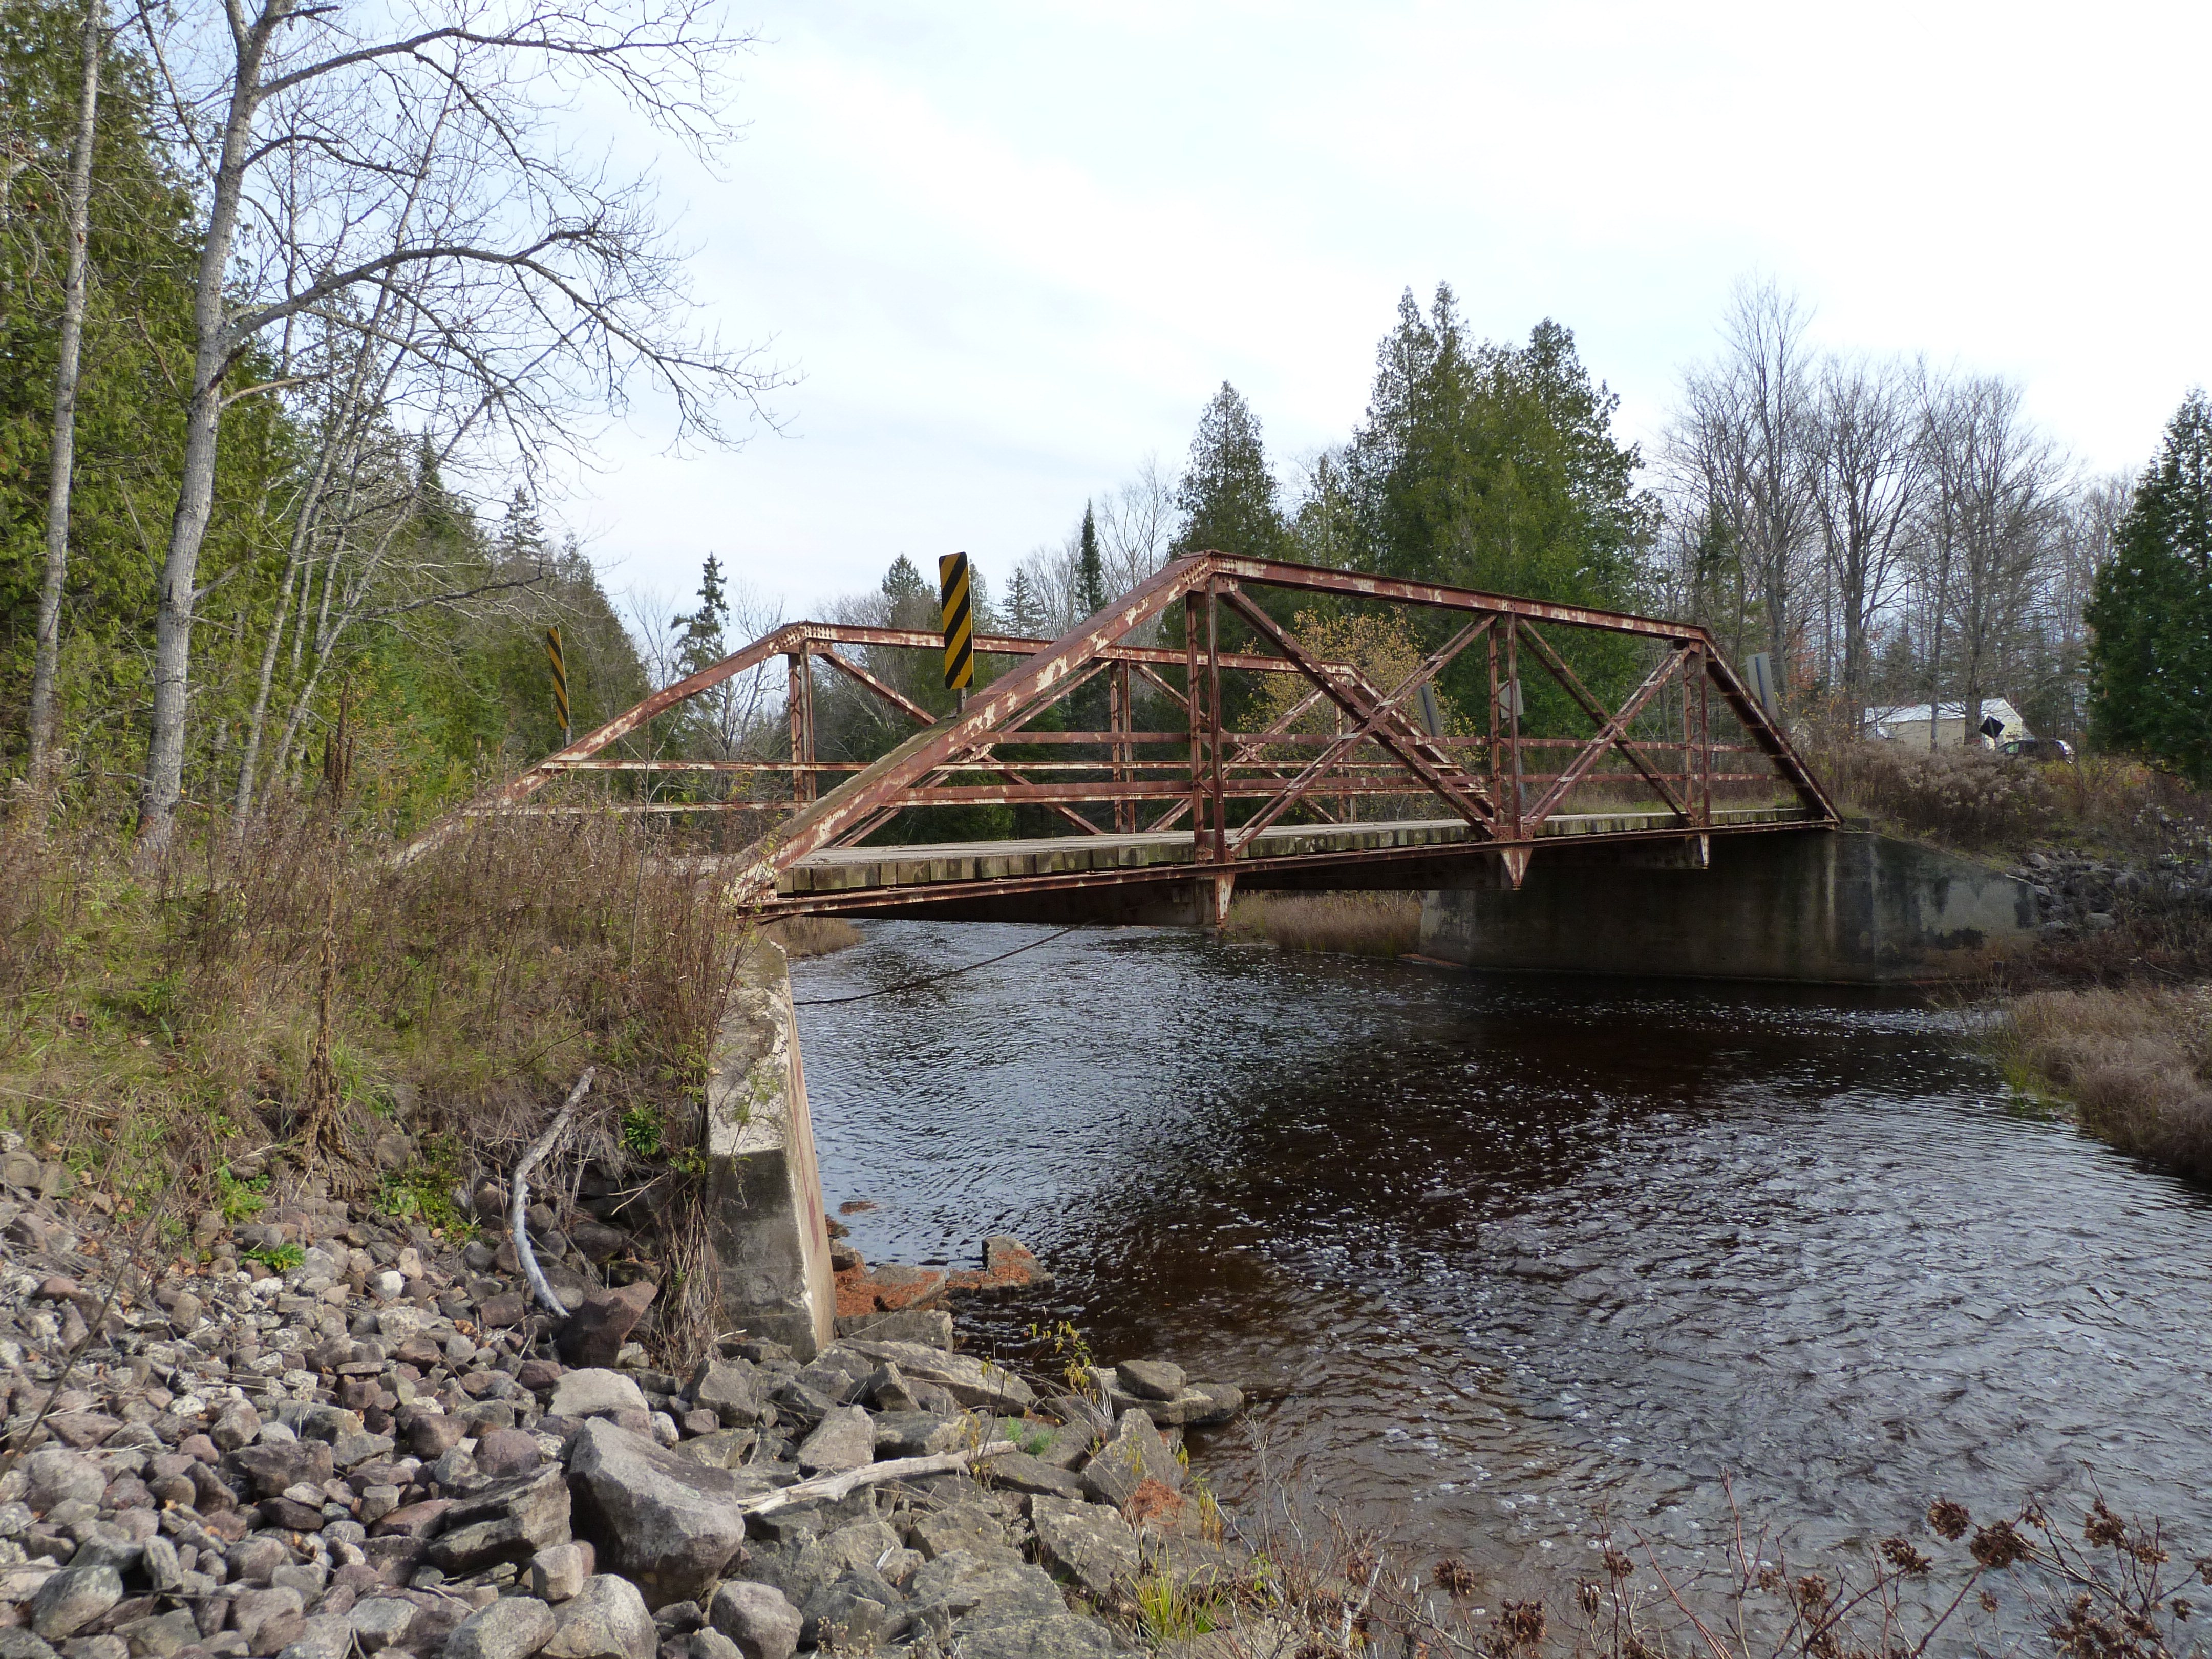
Portal views facing south.
![]()


Portal views facing north.
![]()
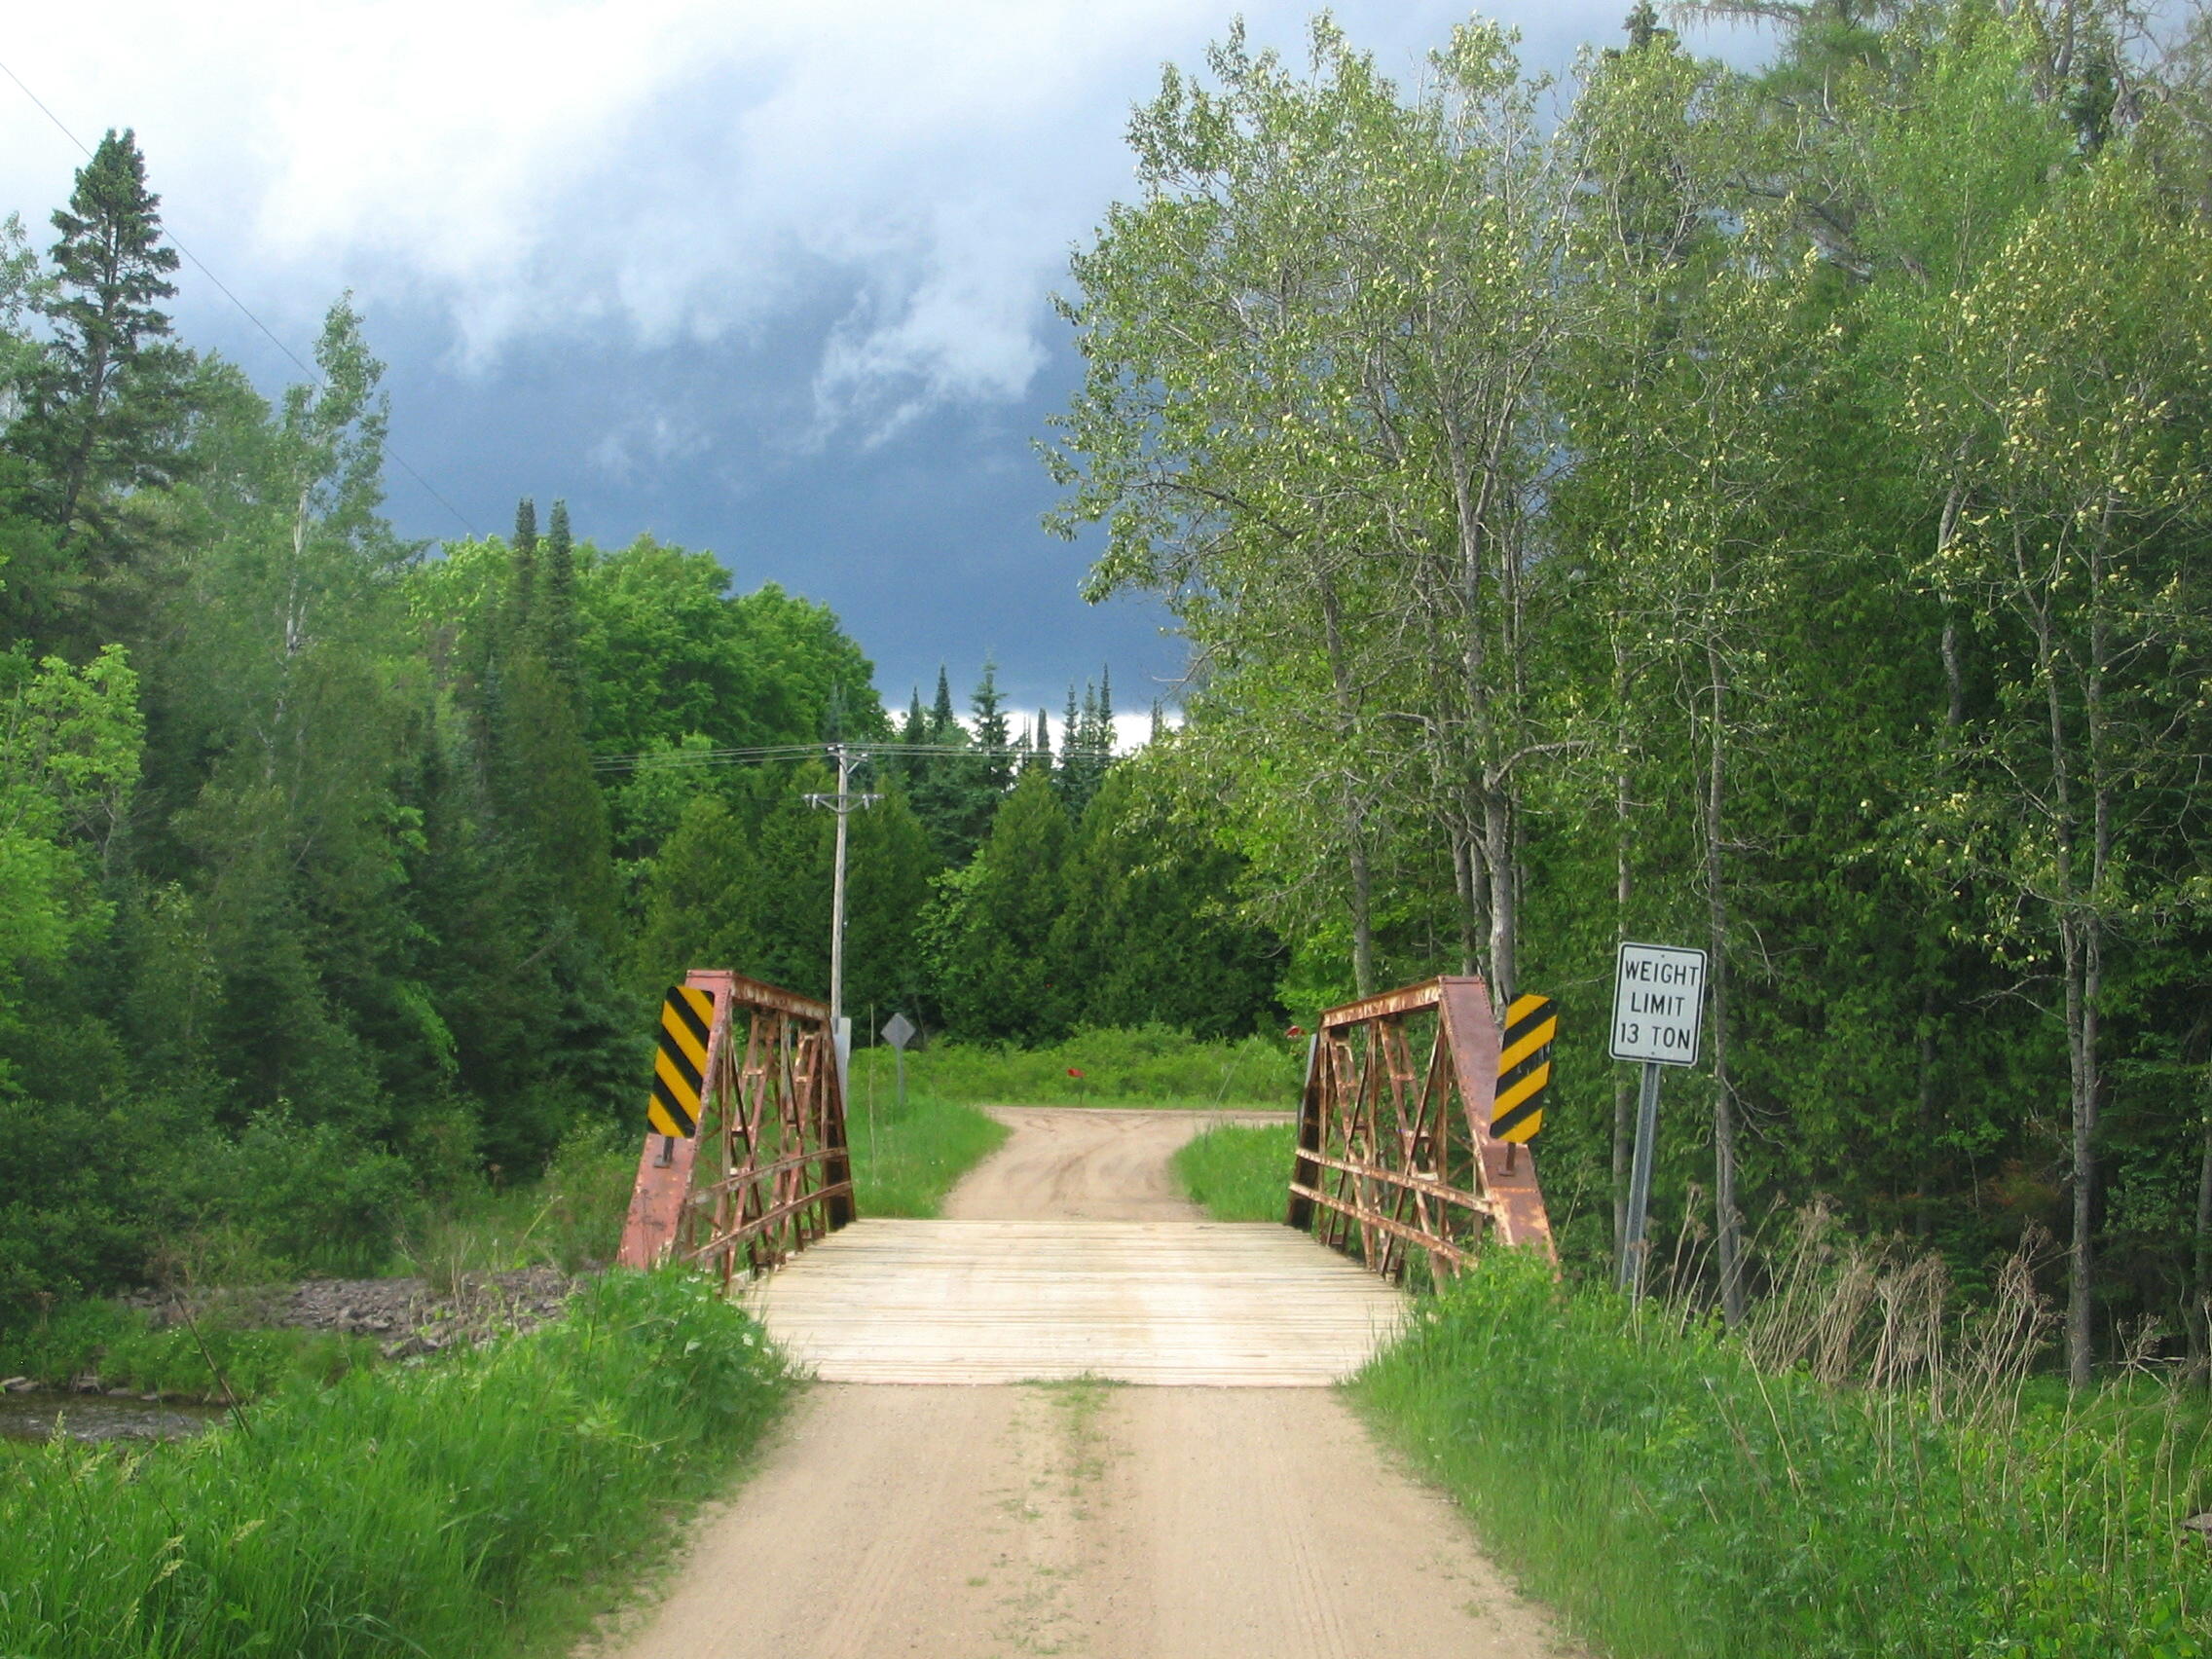

Photo Credit: Randy Mulder
Distant portal views.
![]()


Photo Credit: Randy Mulder
Portal views.
![]()

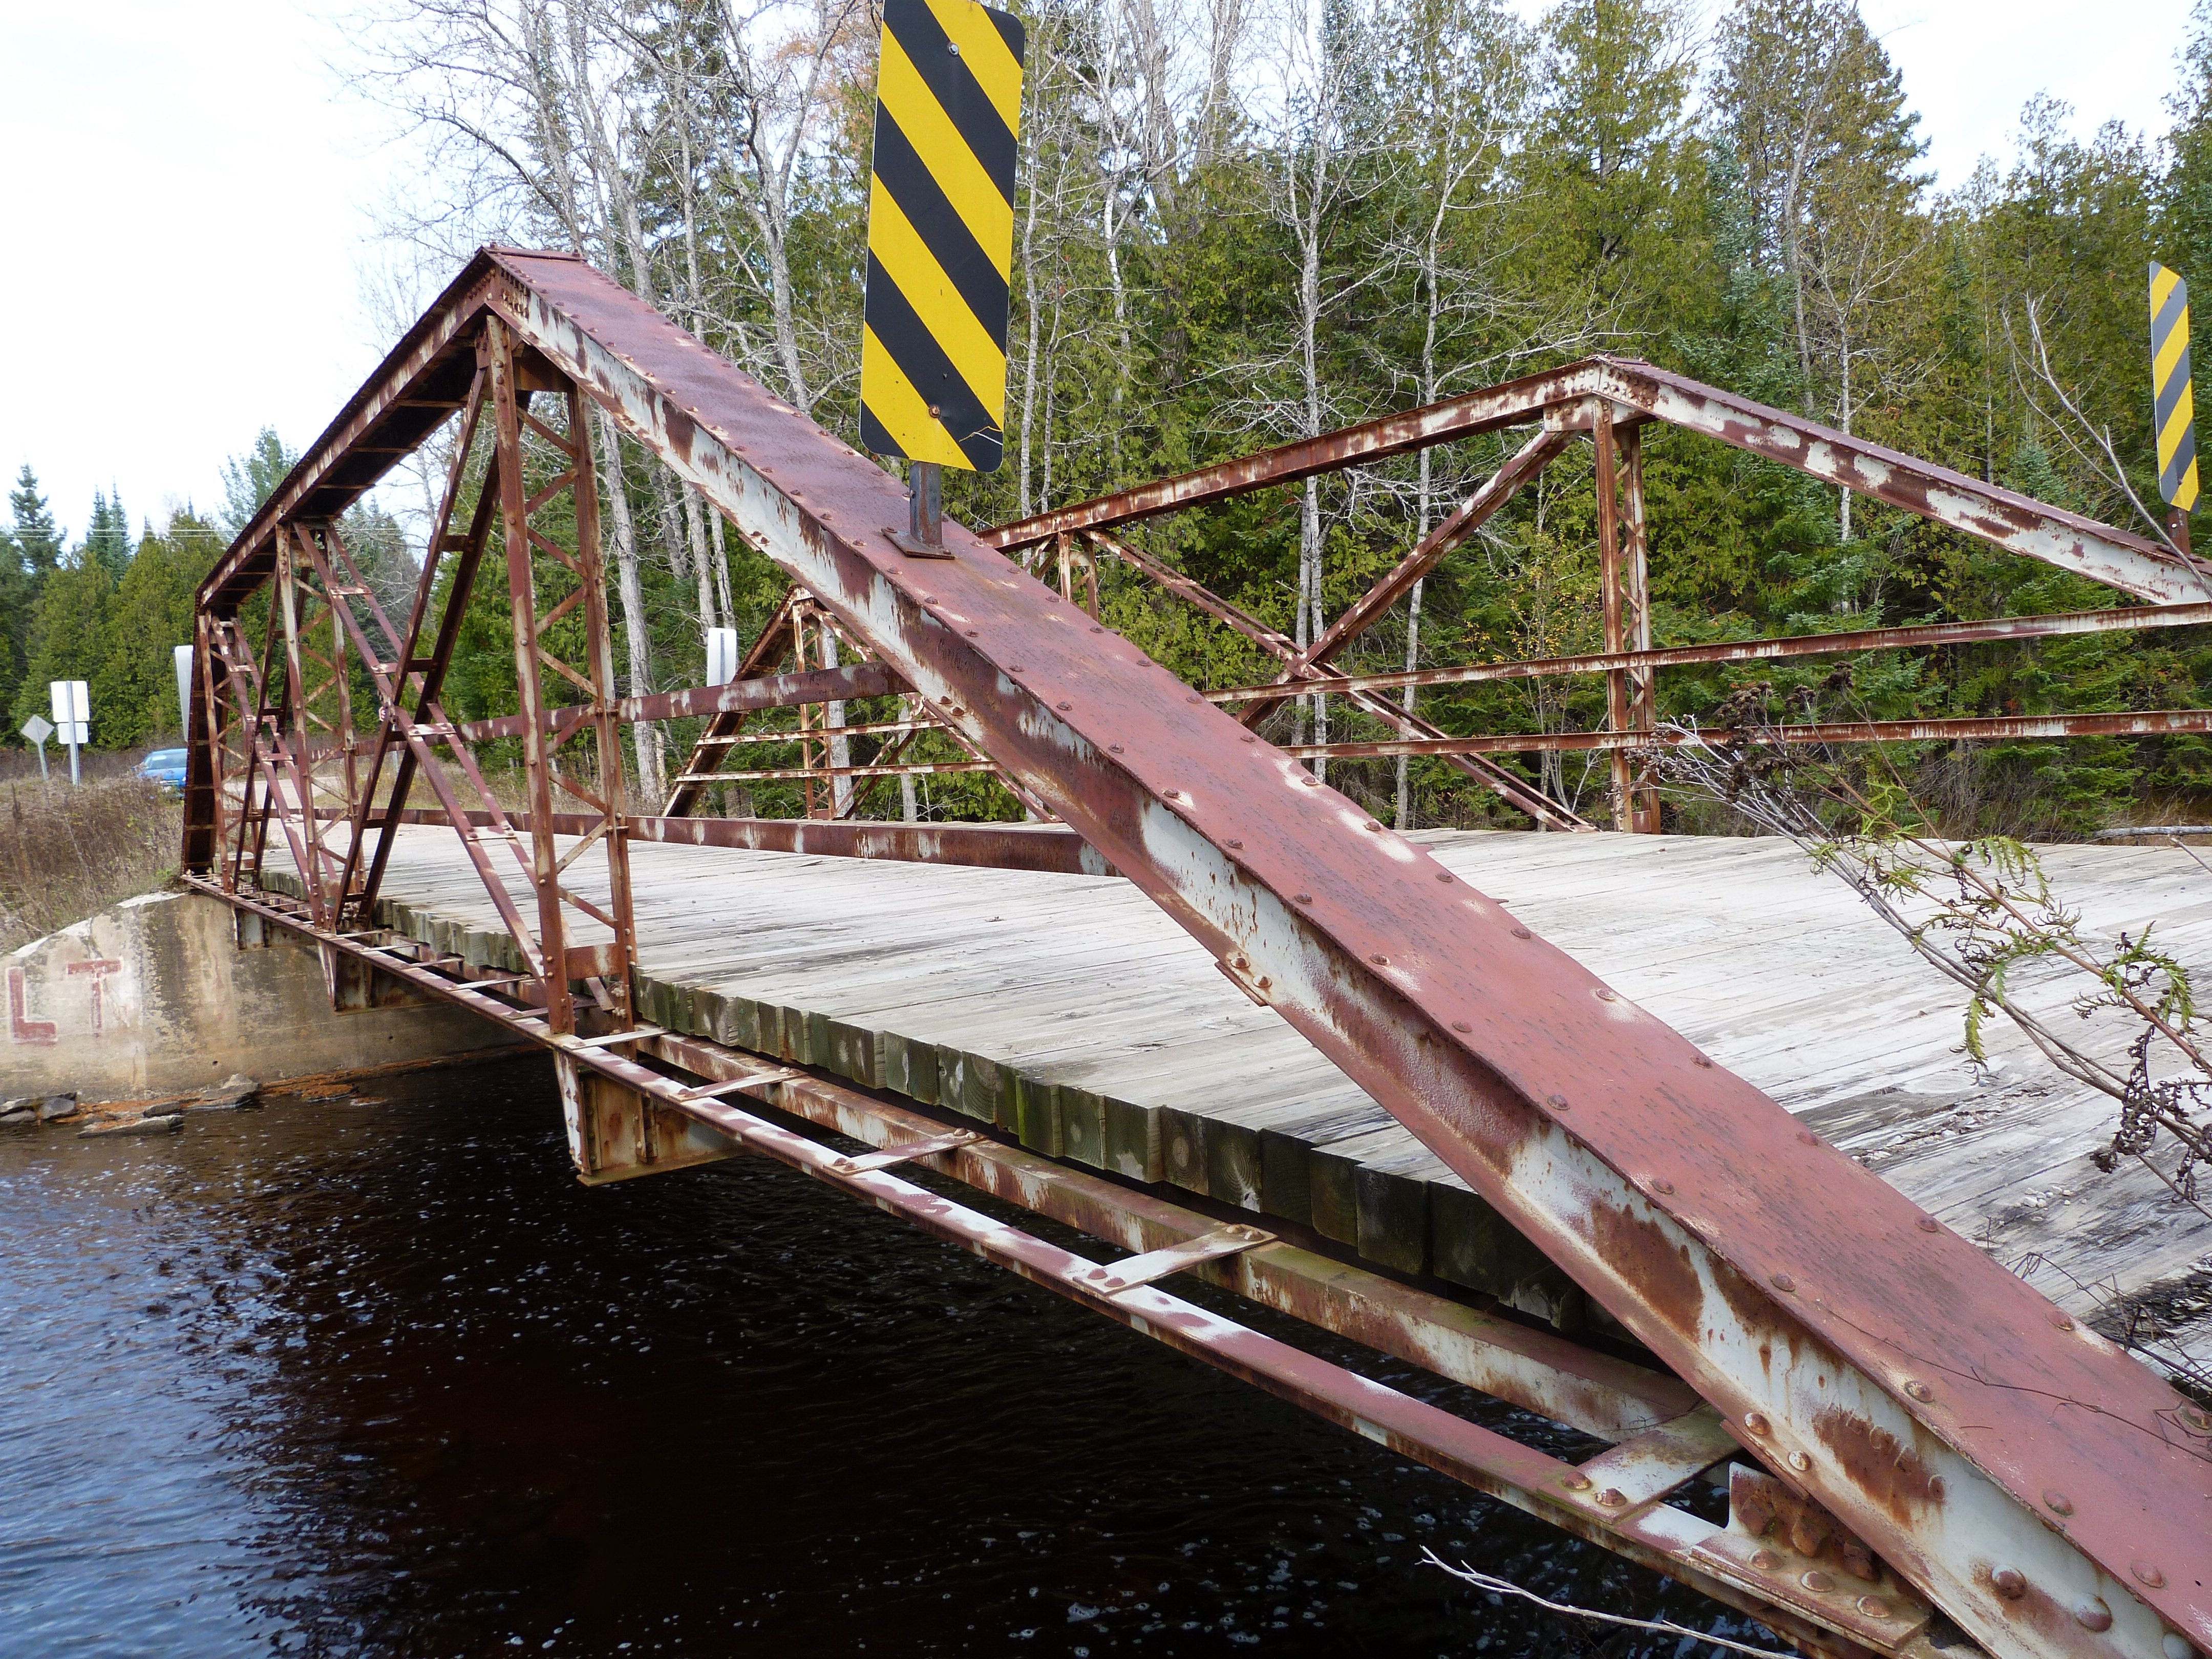


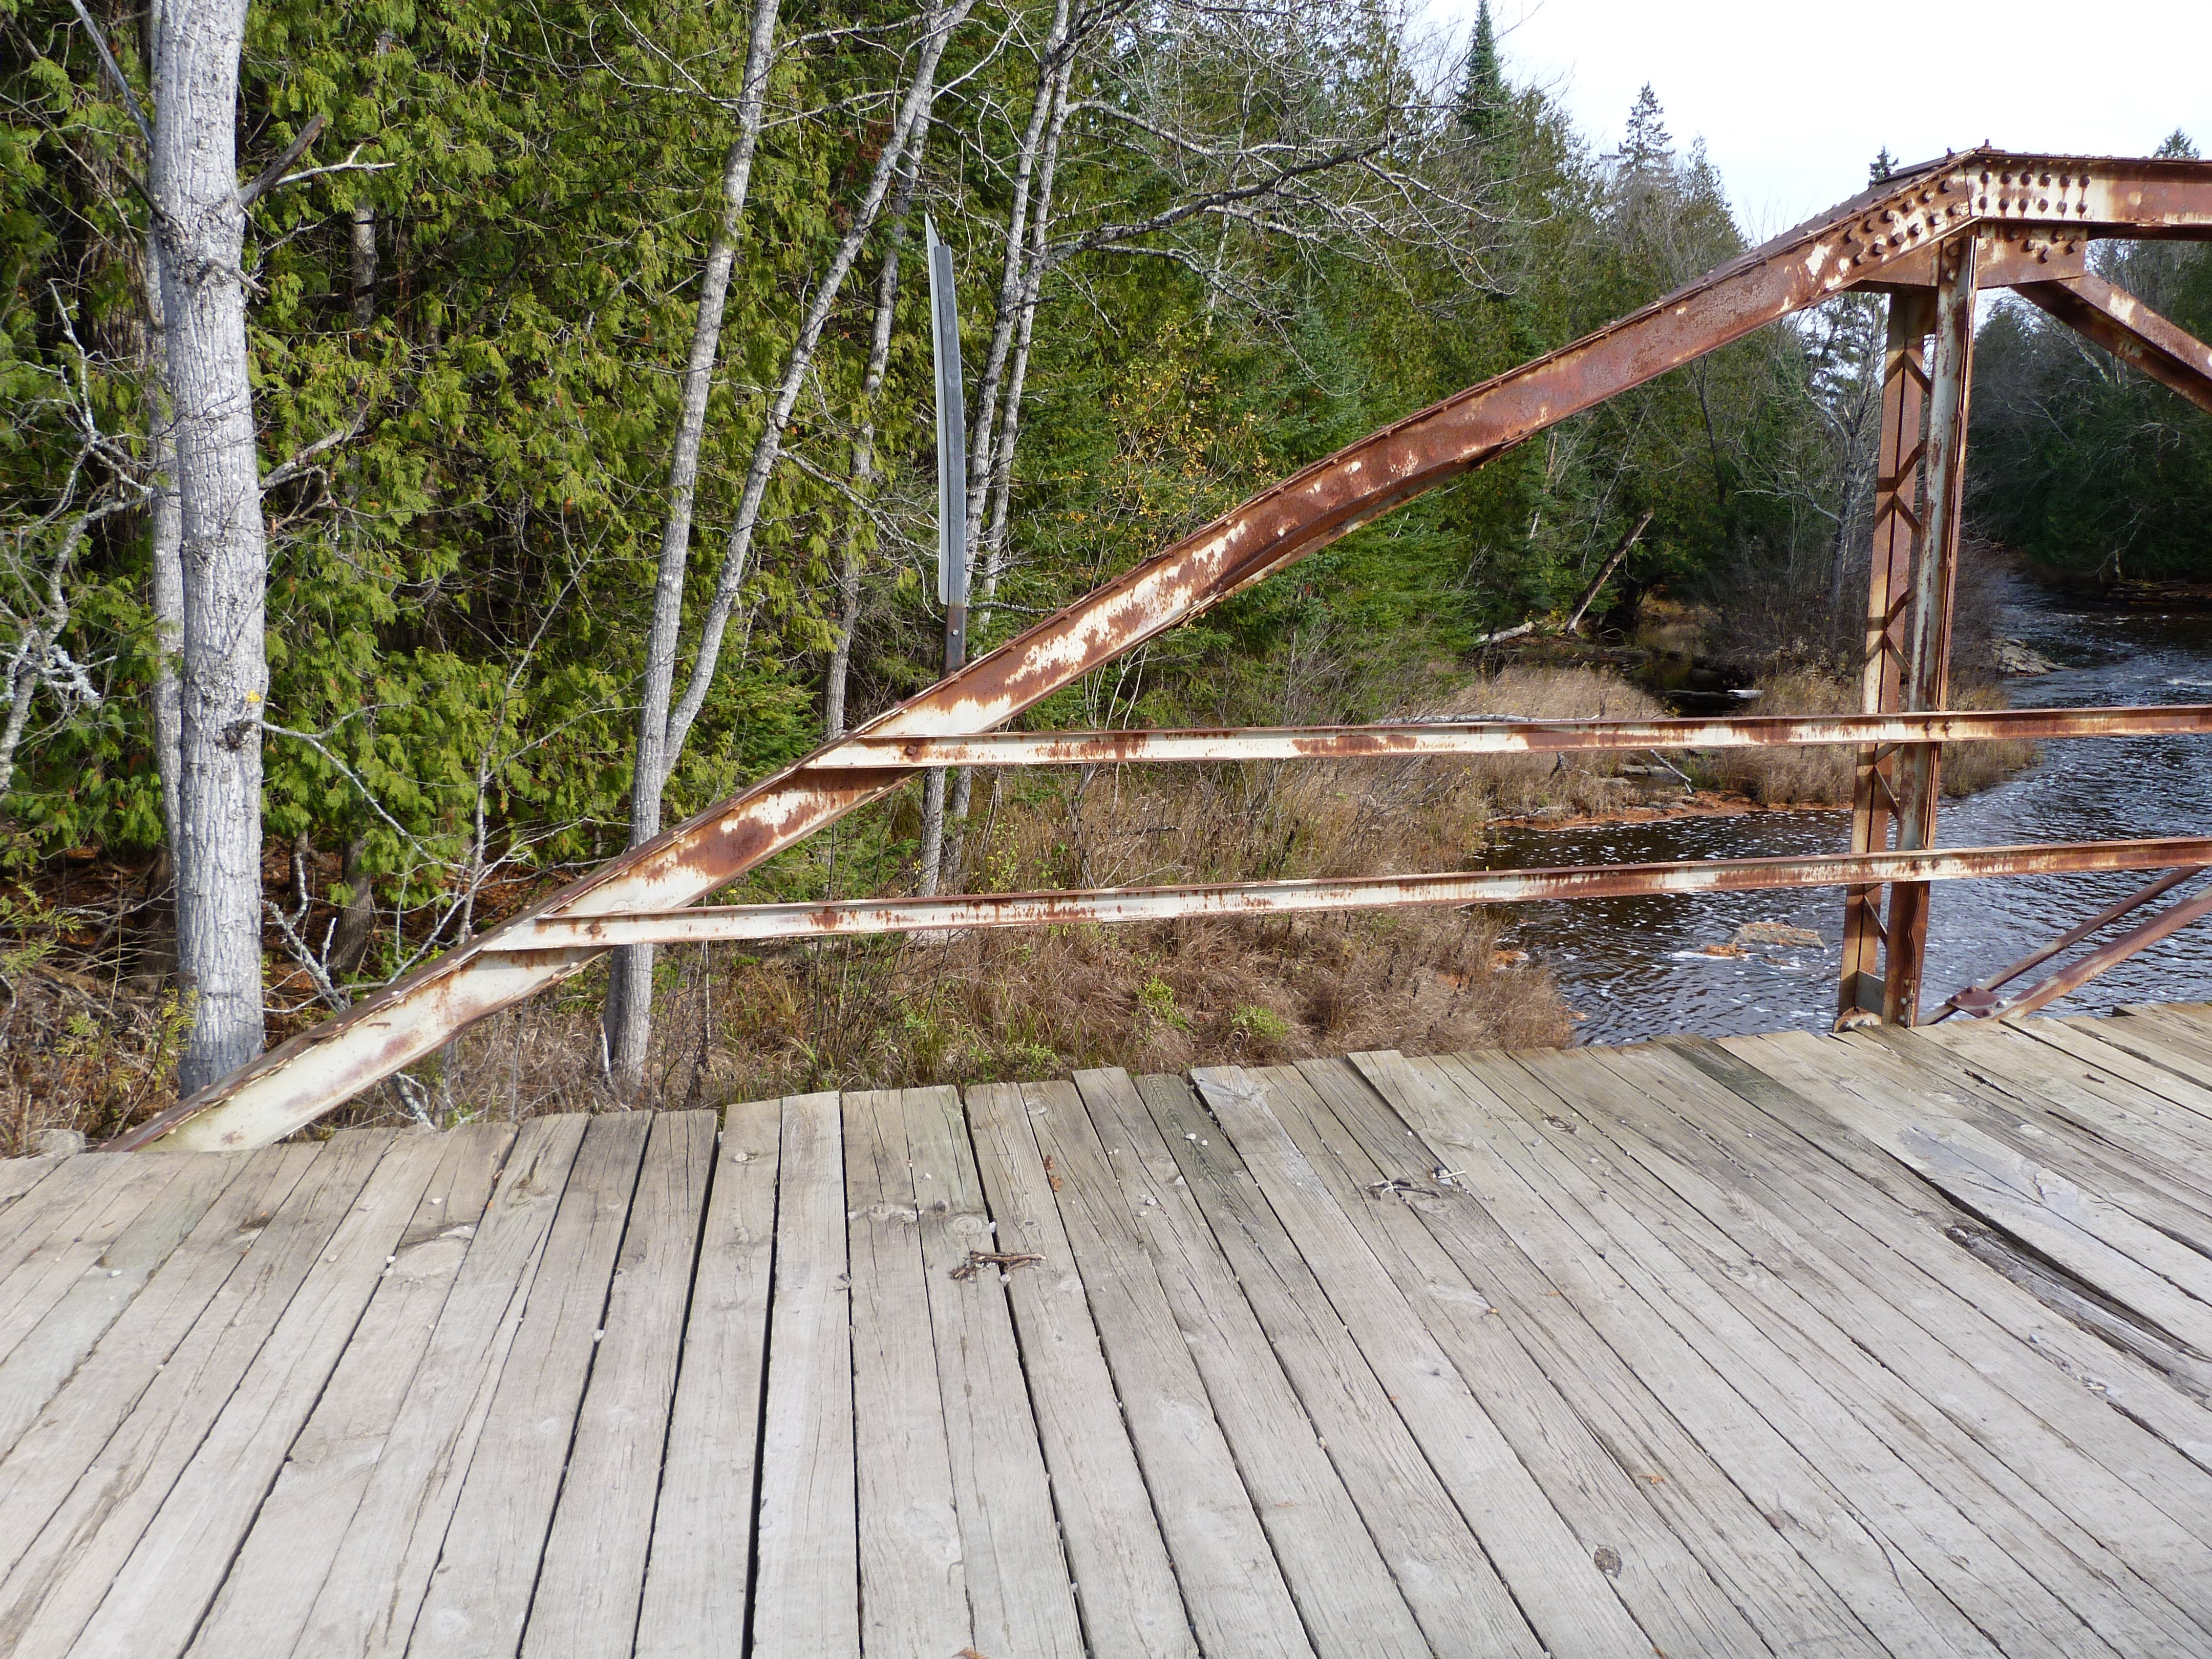
Views beside bridge from southwest quadrant.
![]()
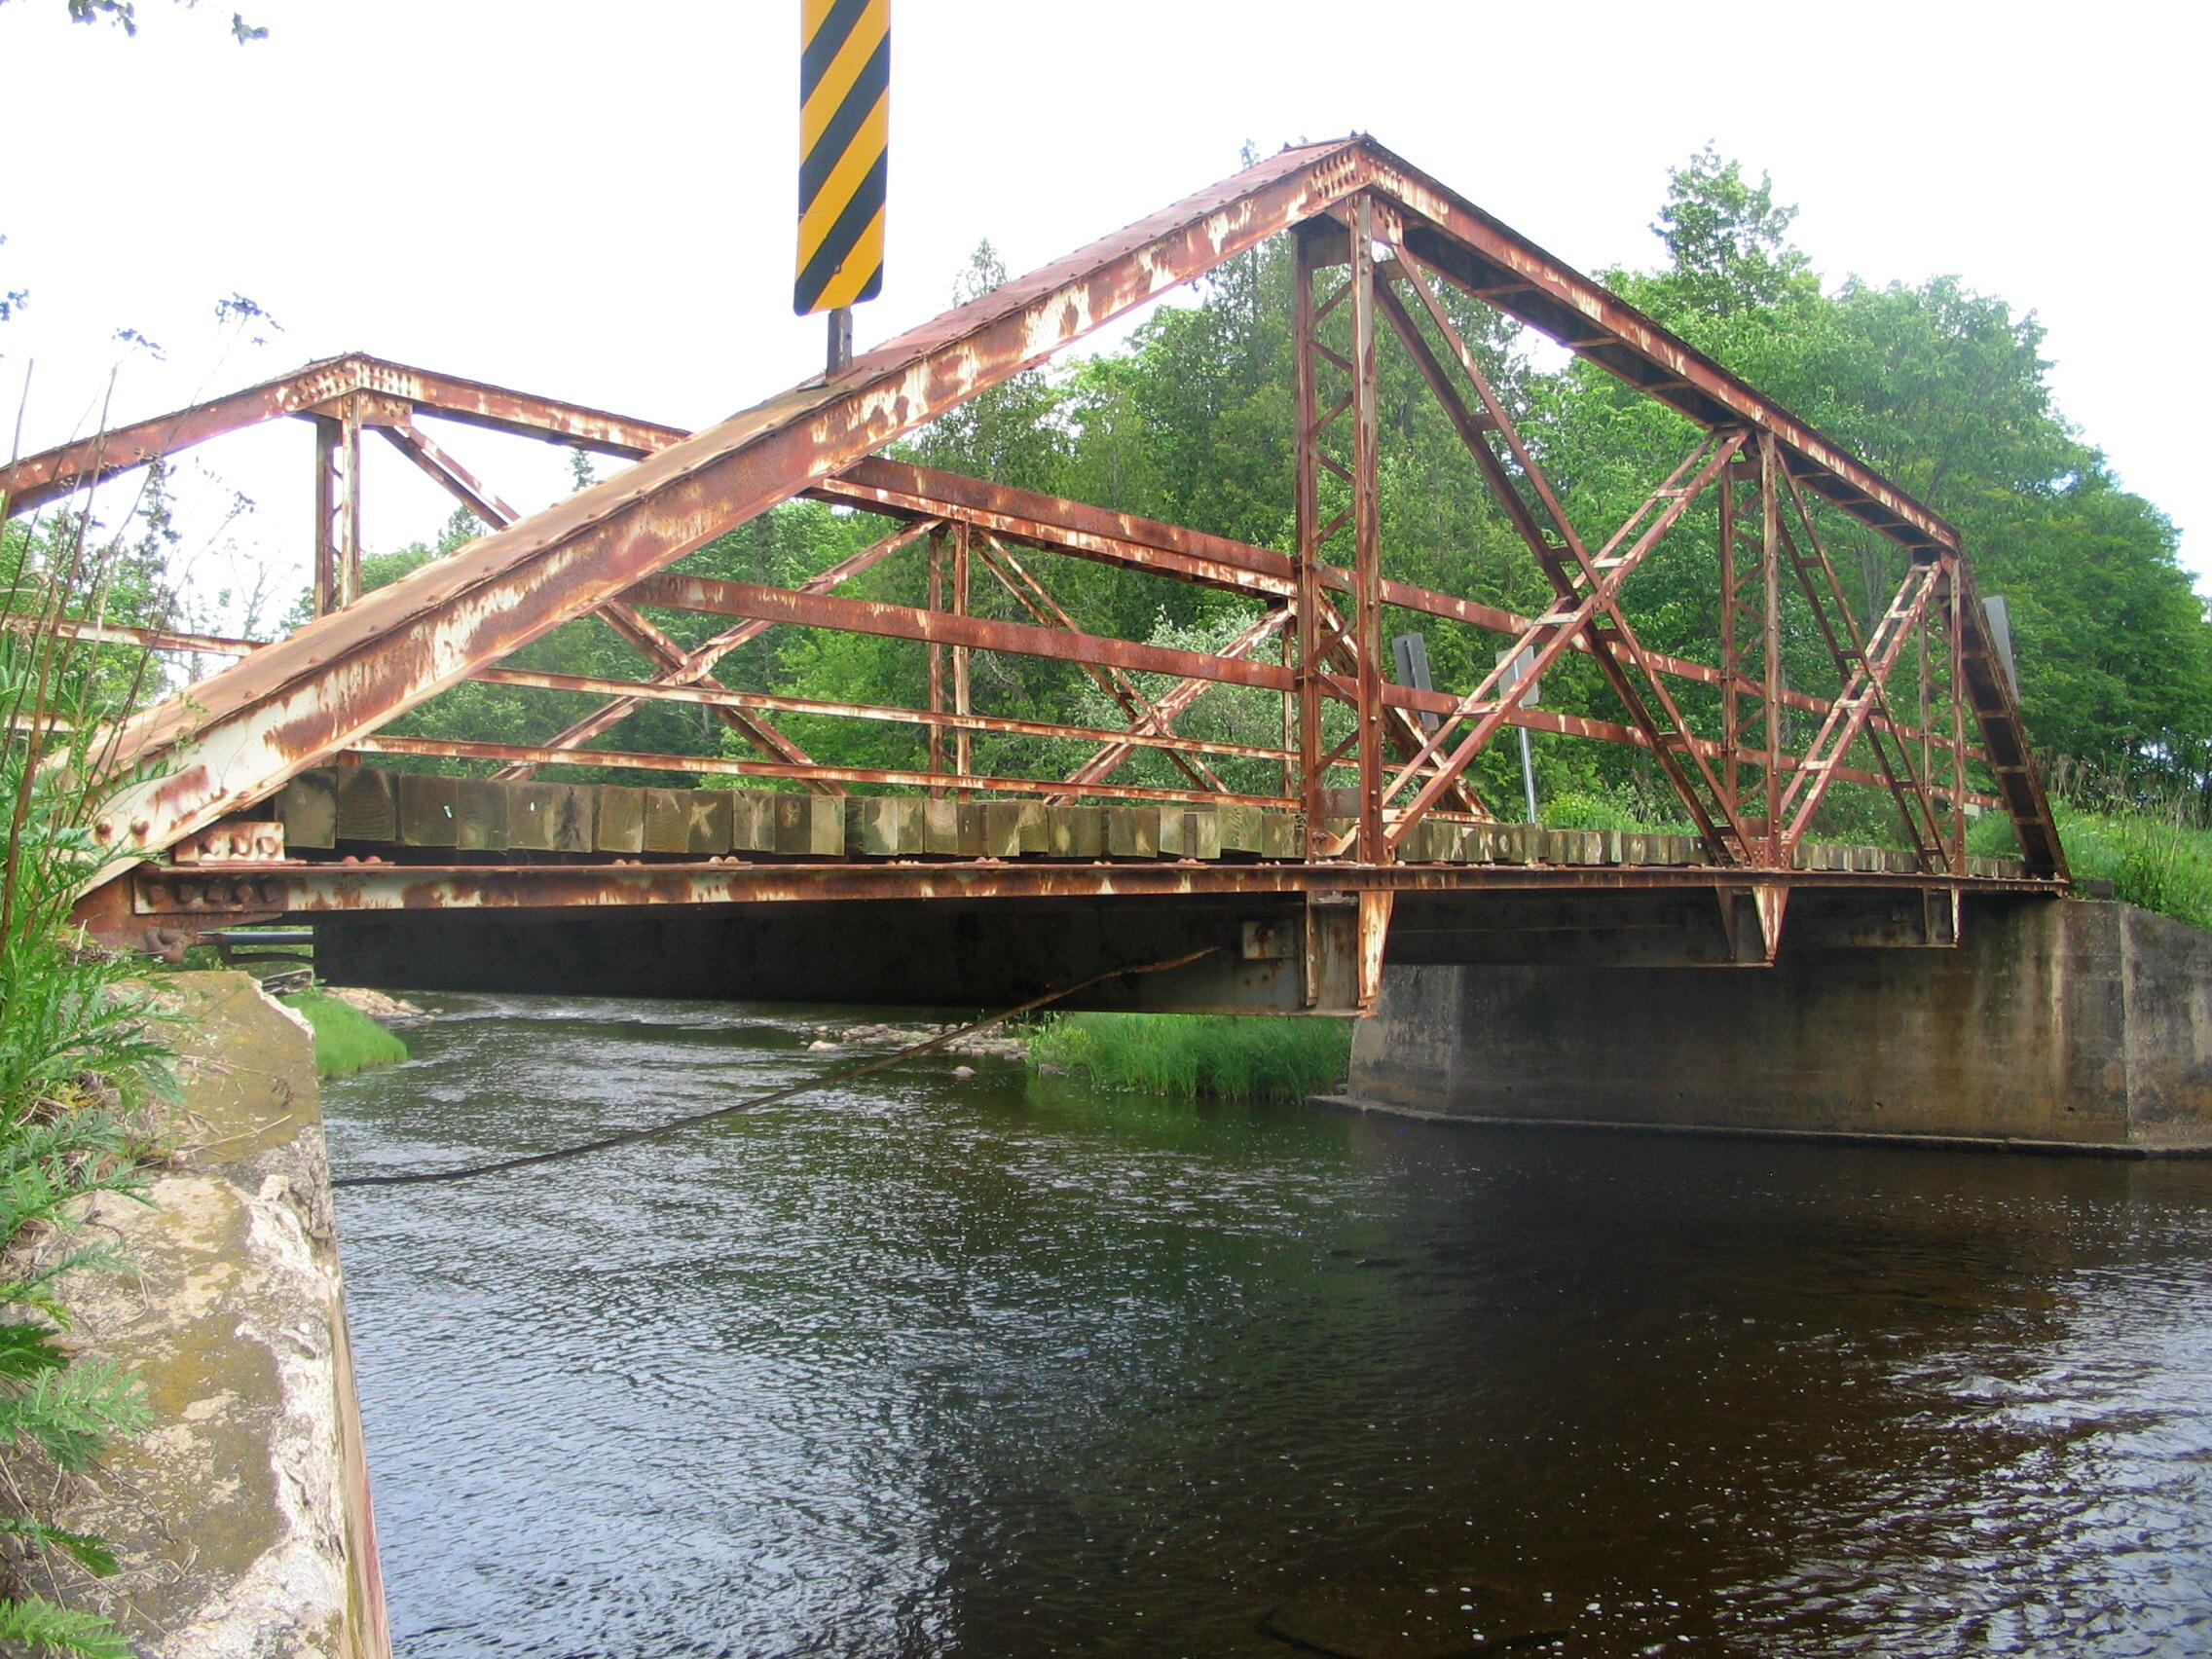
Photo Credit: Randy Mulder
View beside bridge.
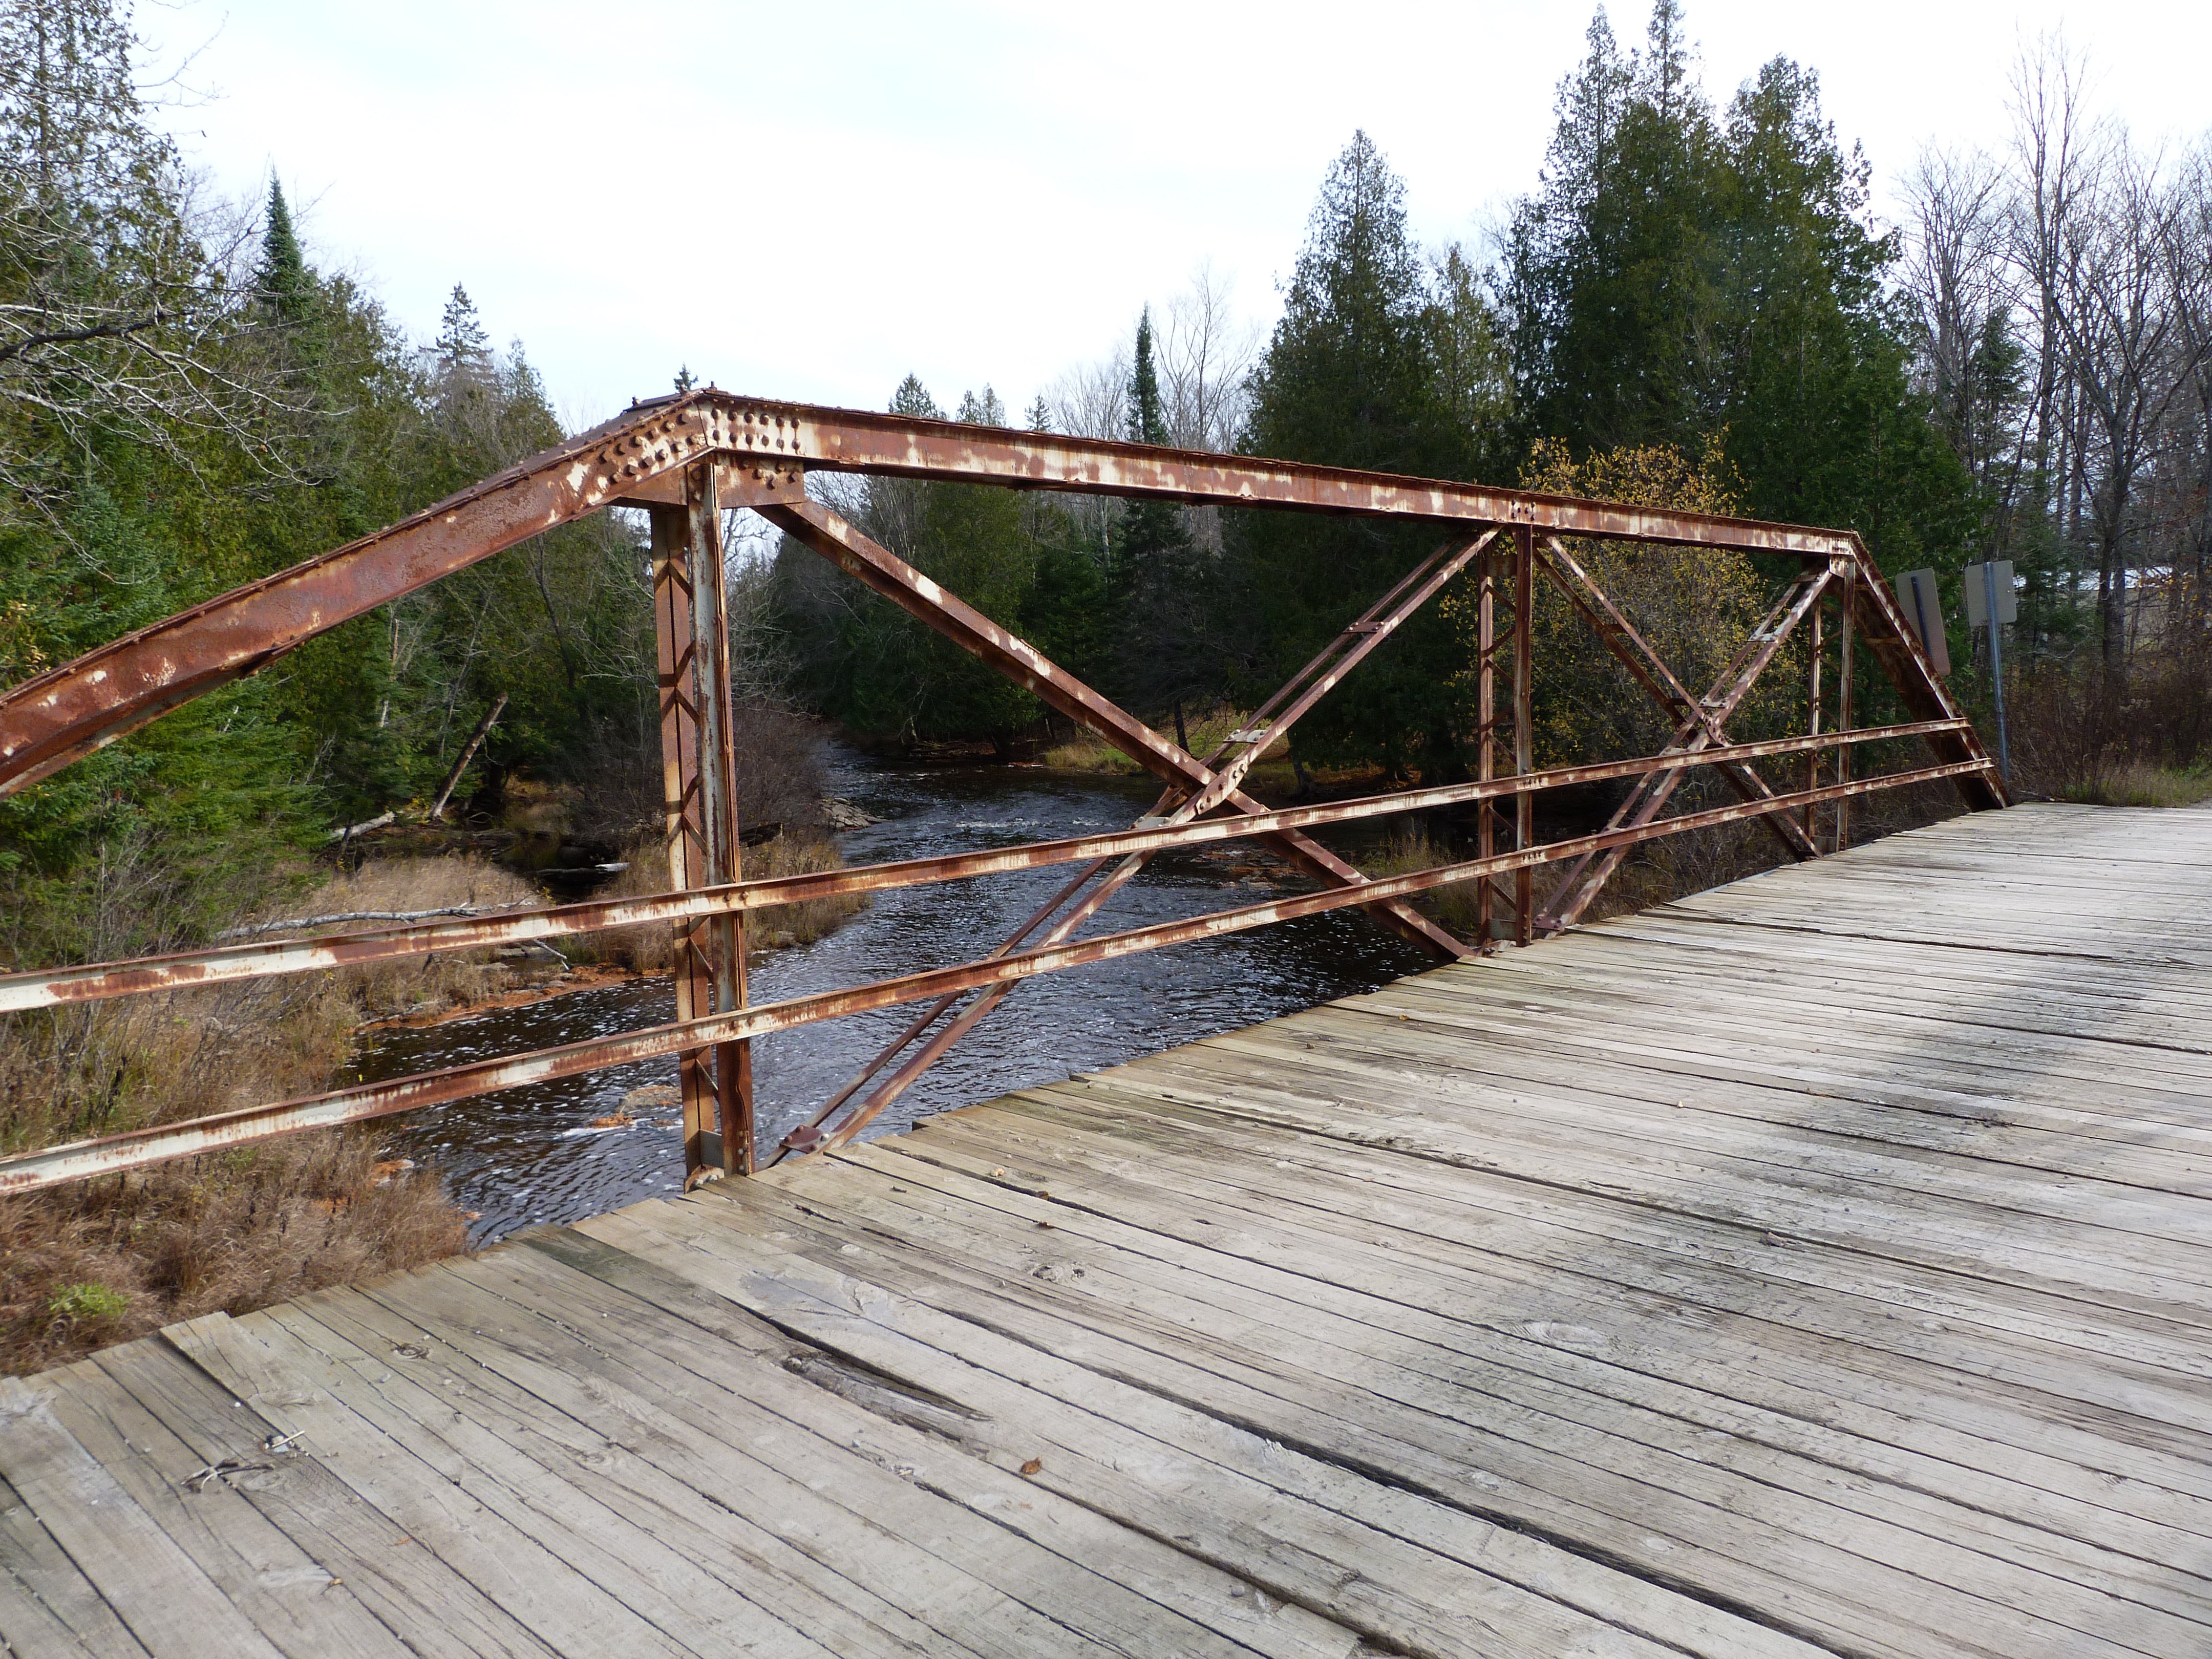
![]()


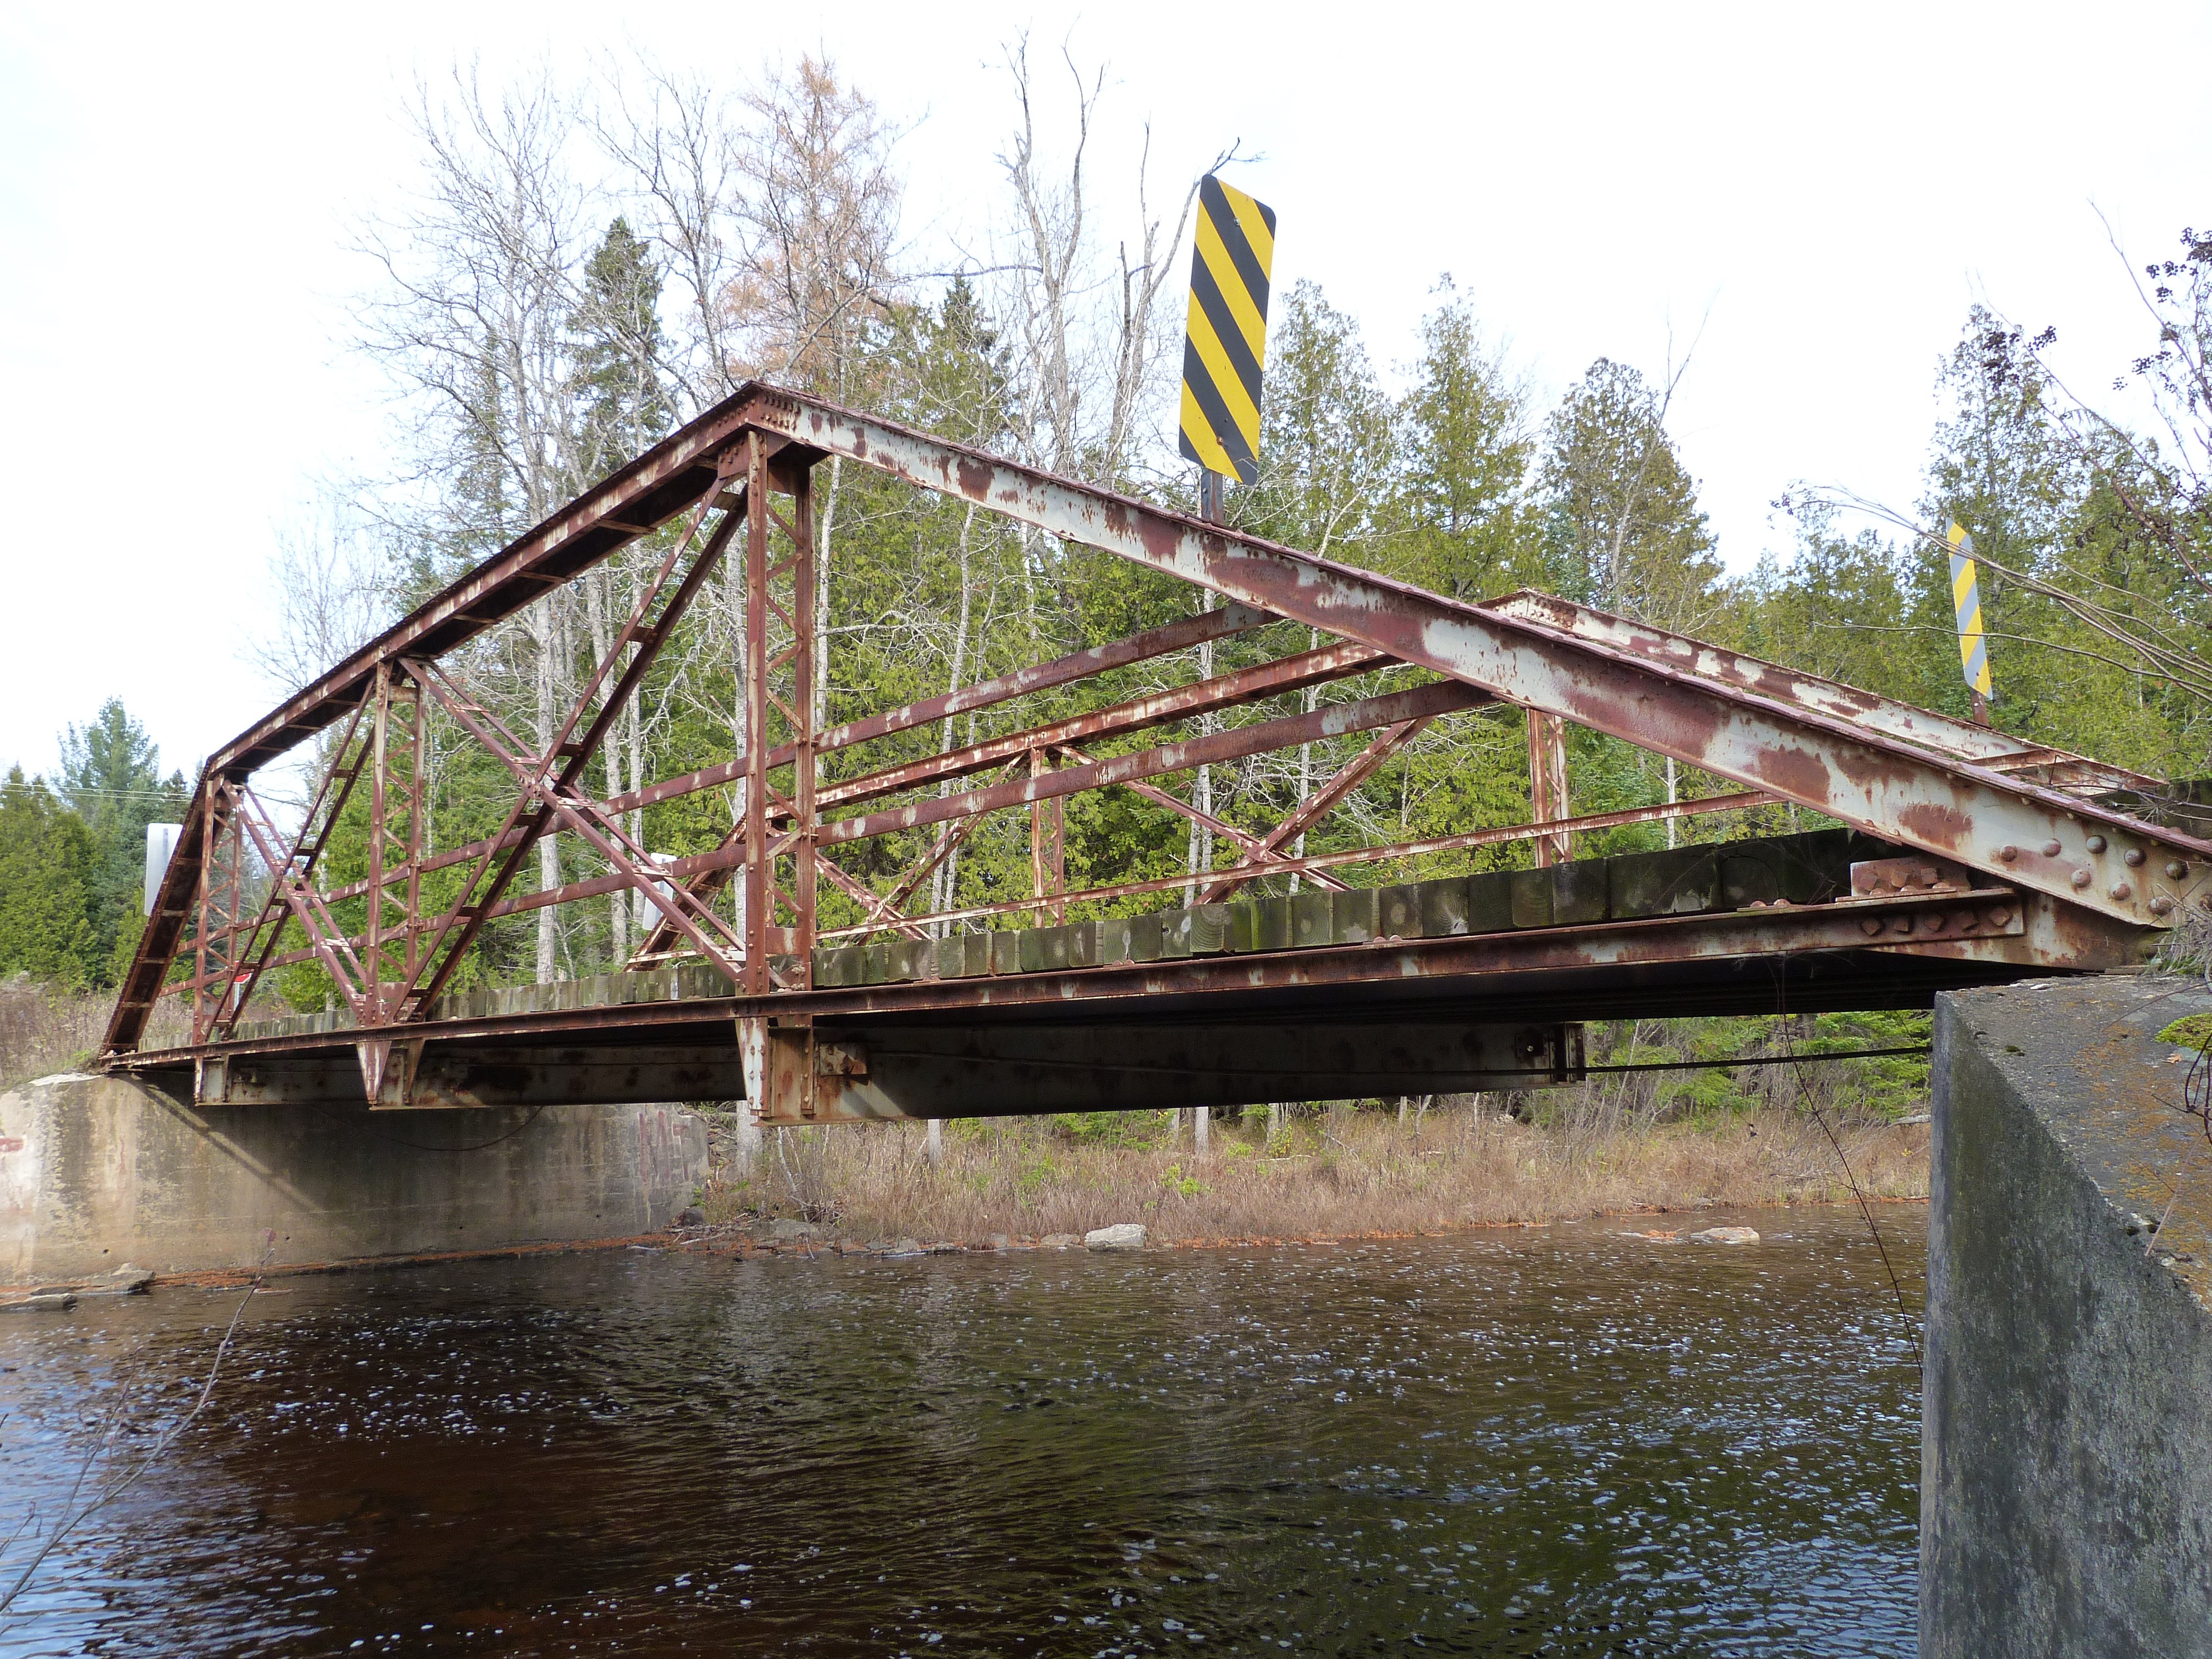
Elevation from northwest quadrant.
![]()


Photo Credit: Randy Mulder
Elevation.
![]()


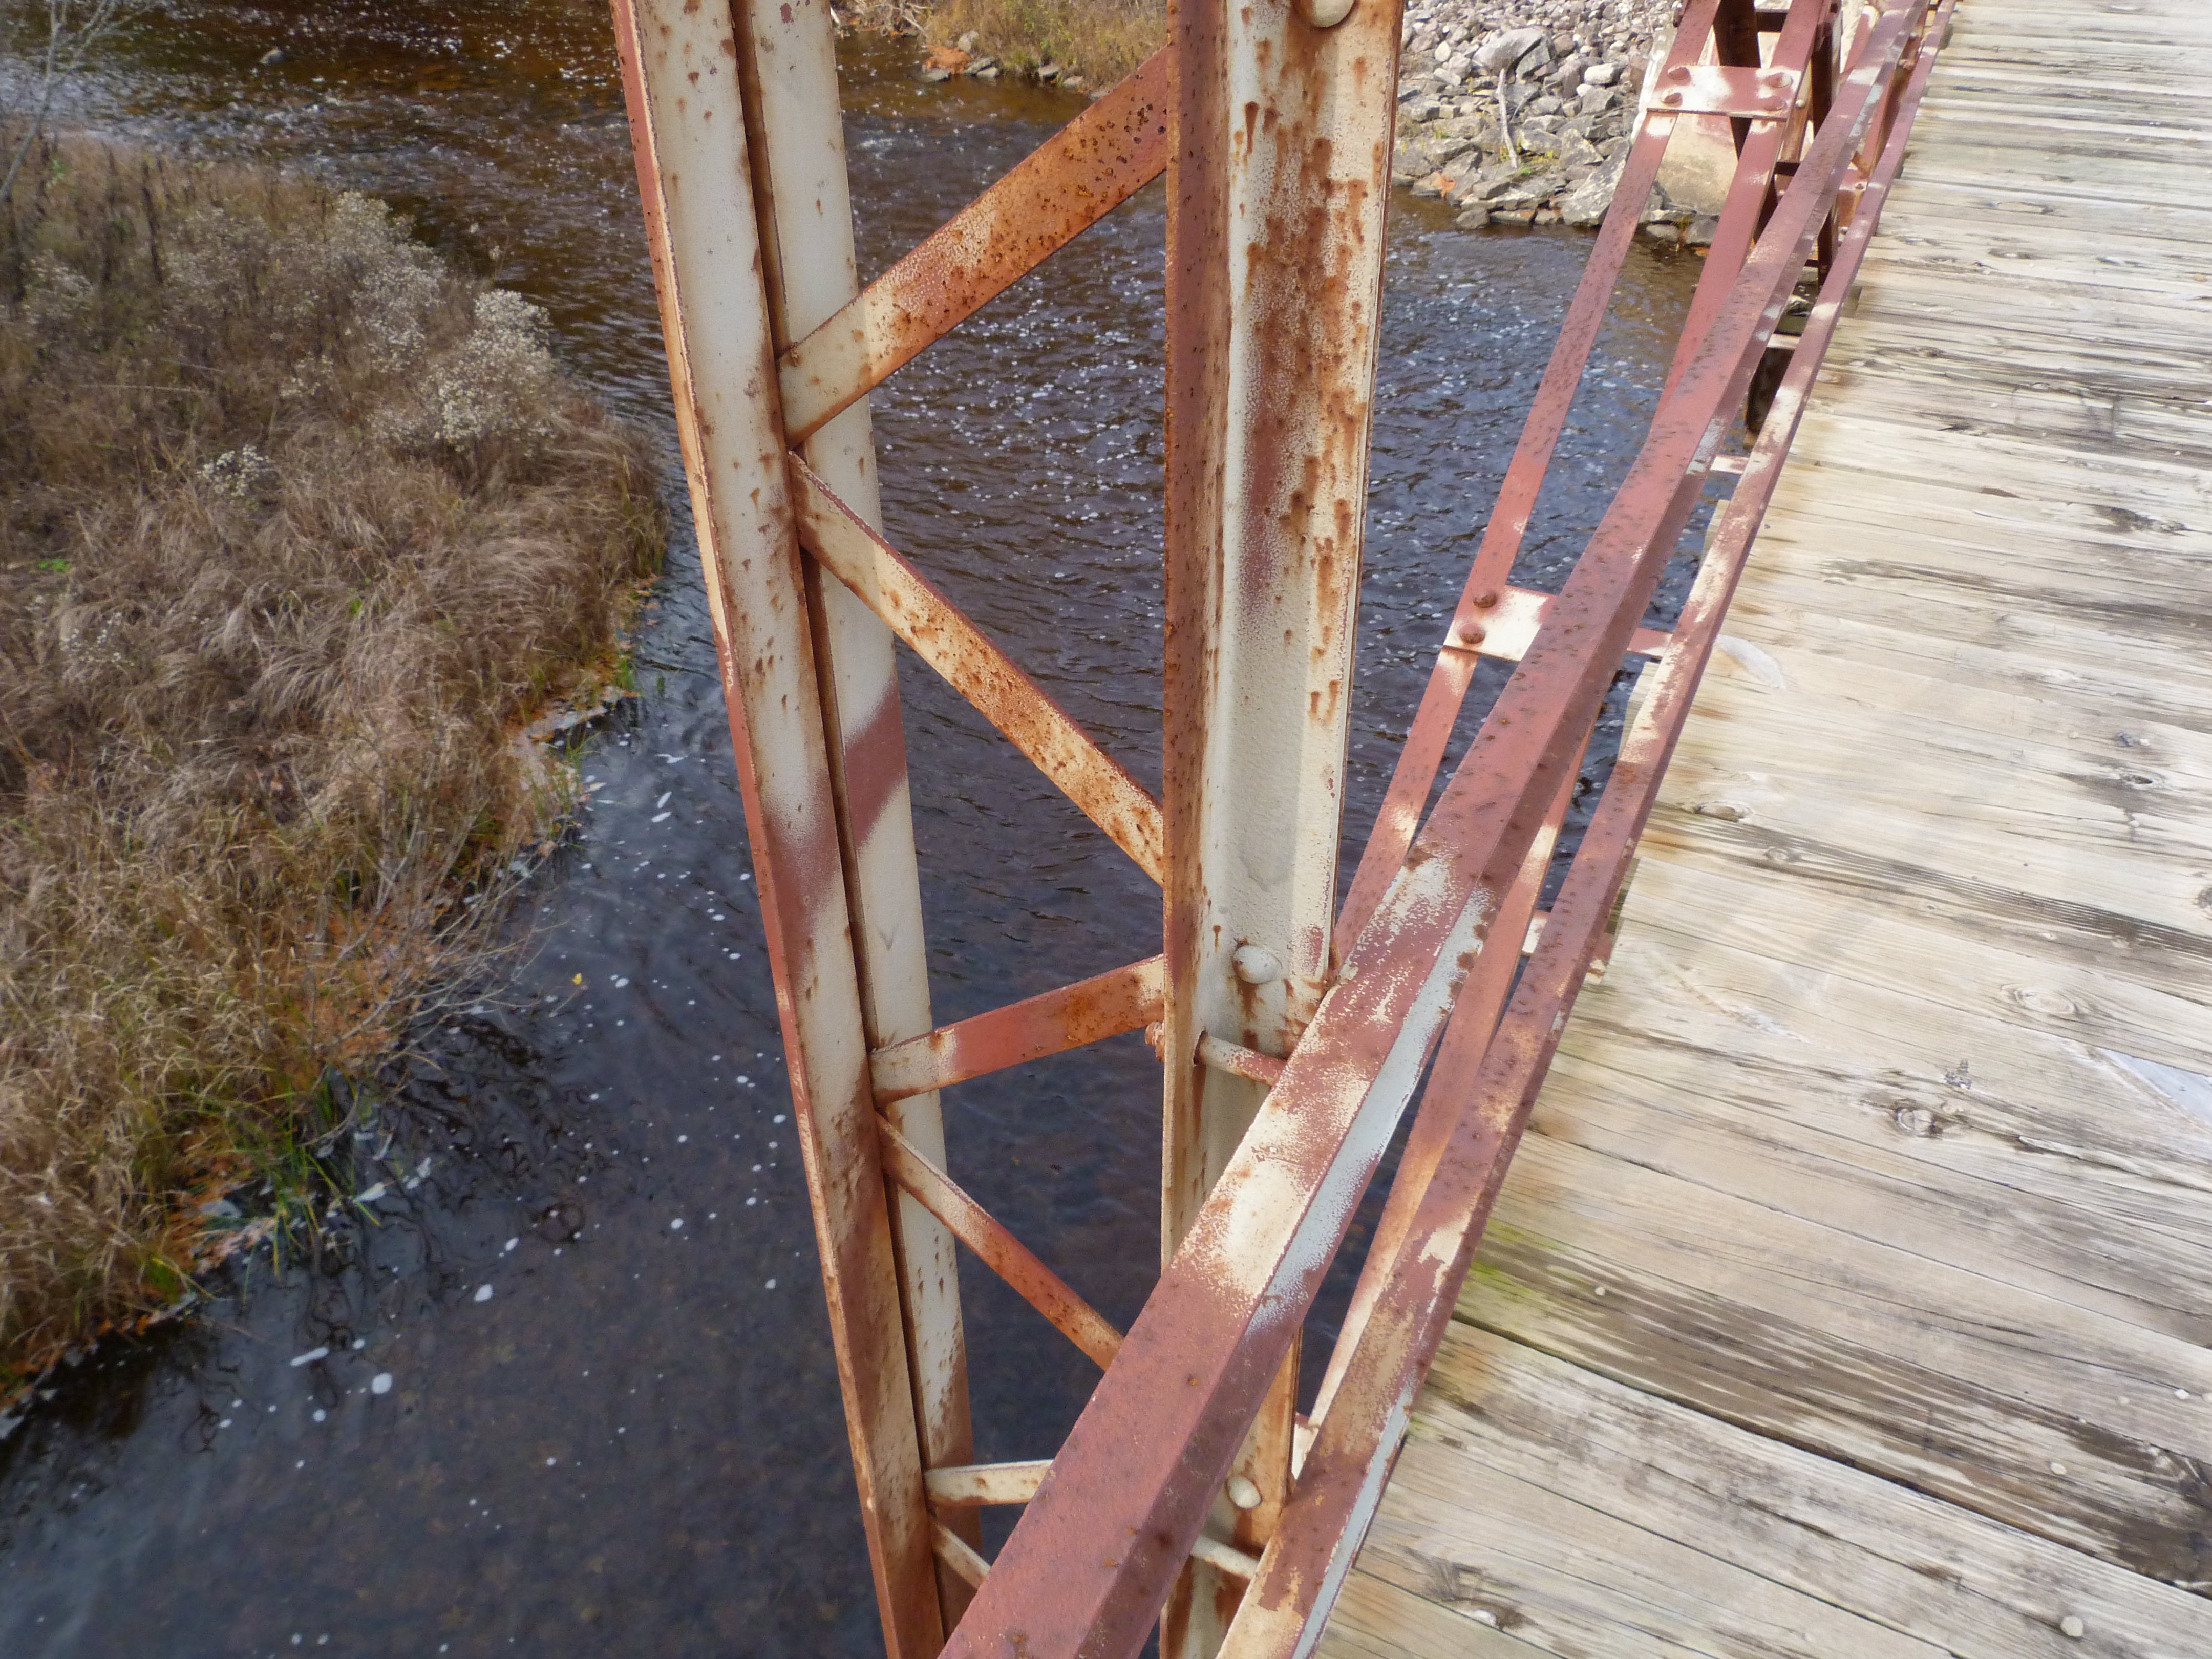
Views of truss web.
![]()

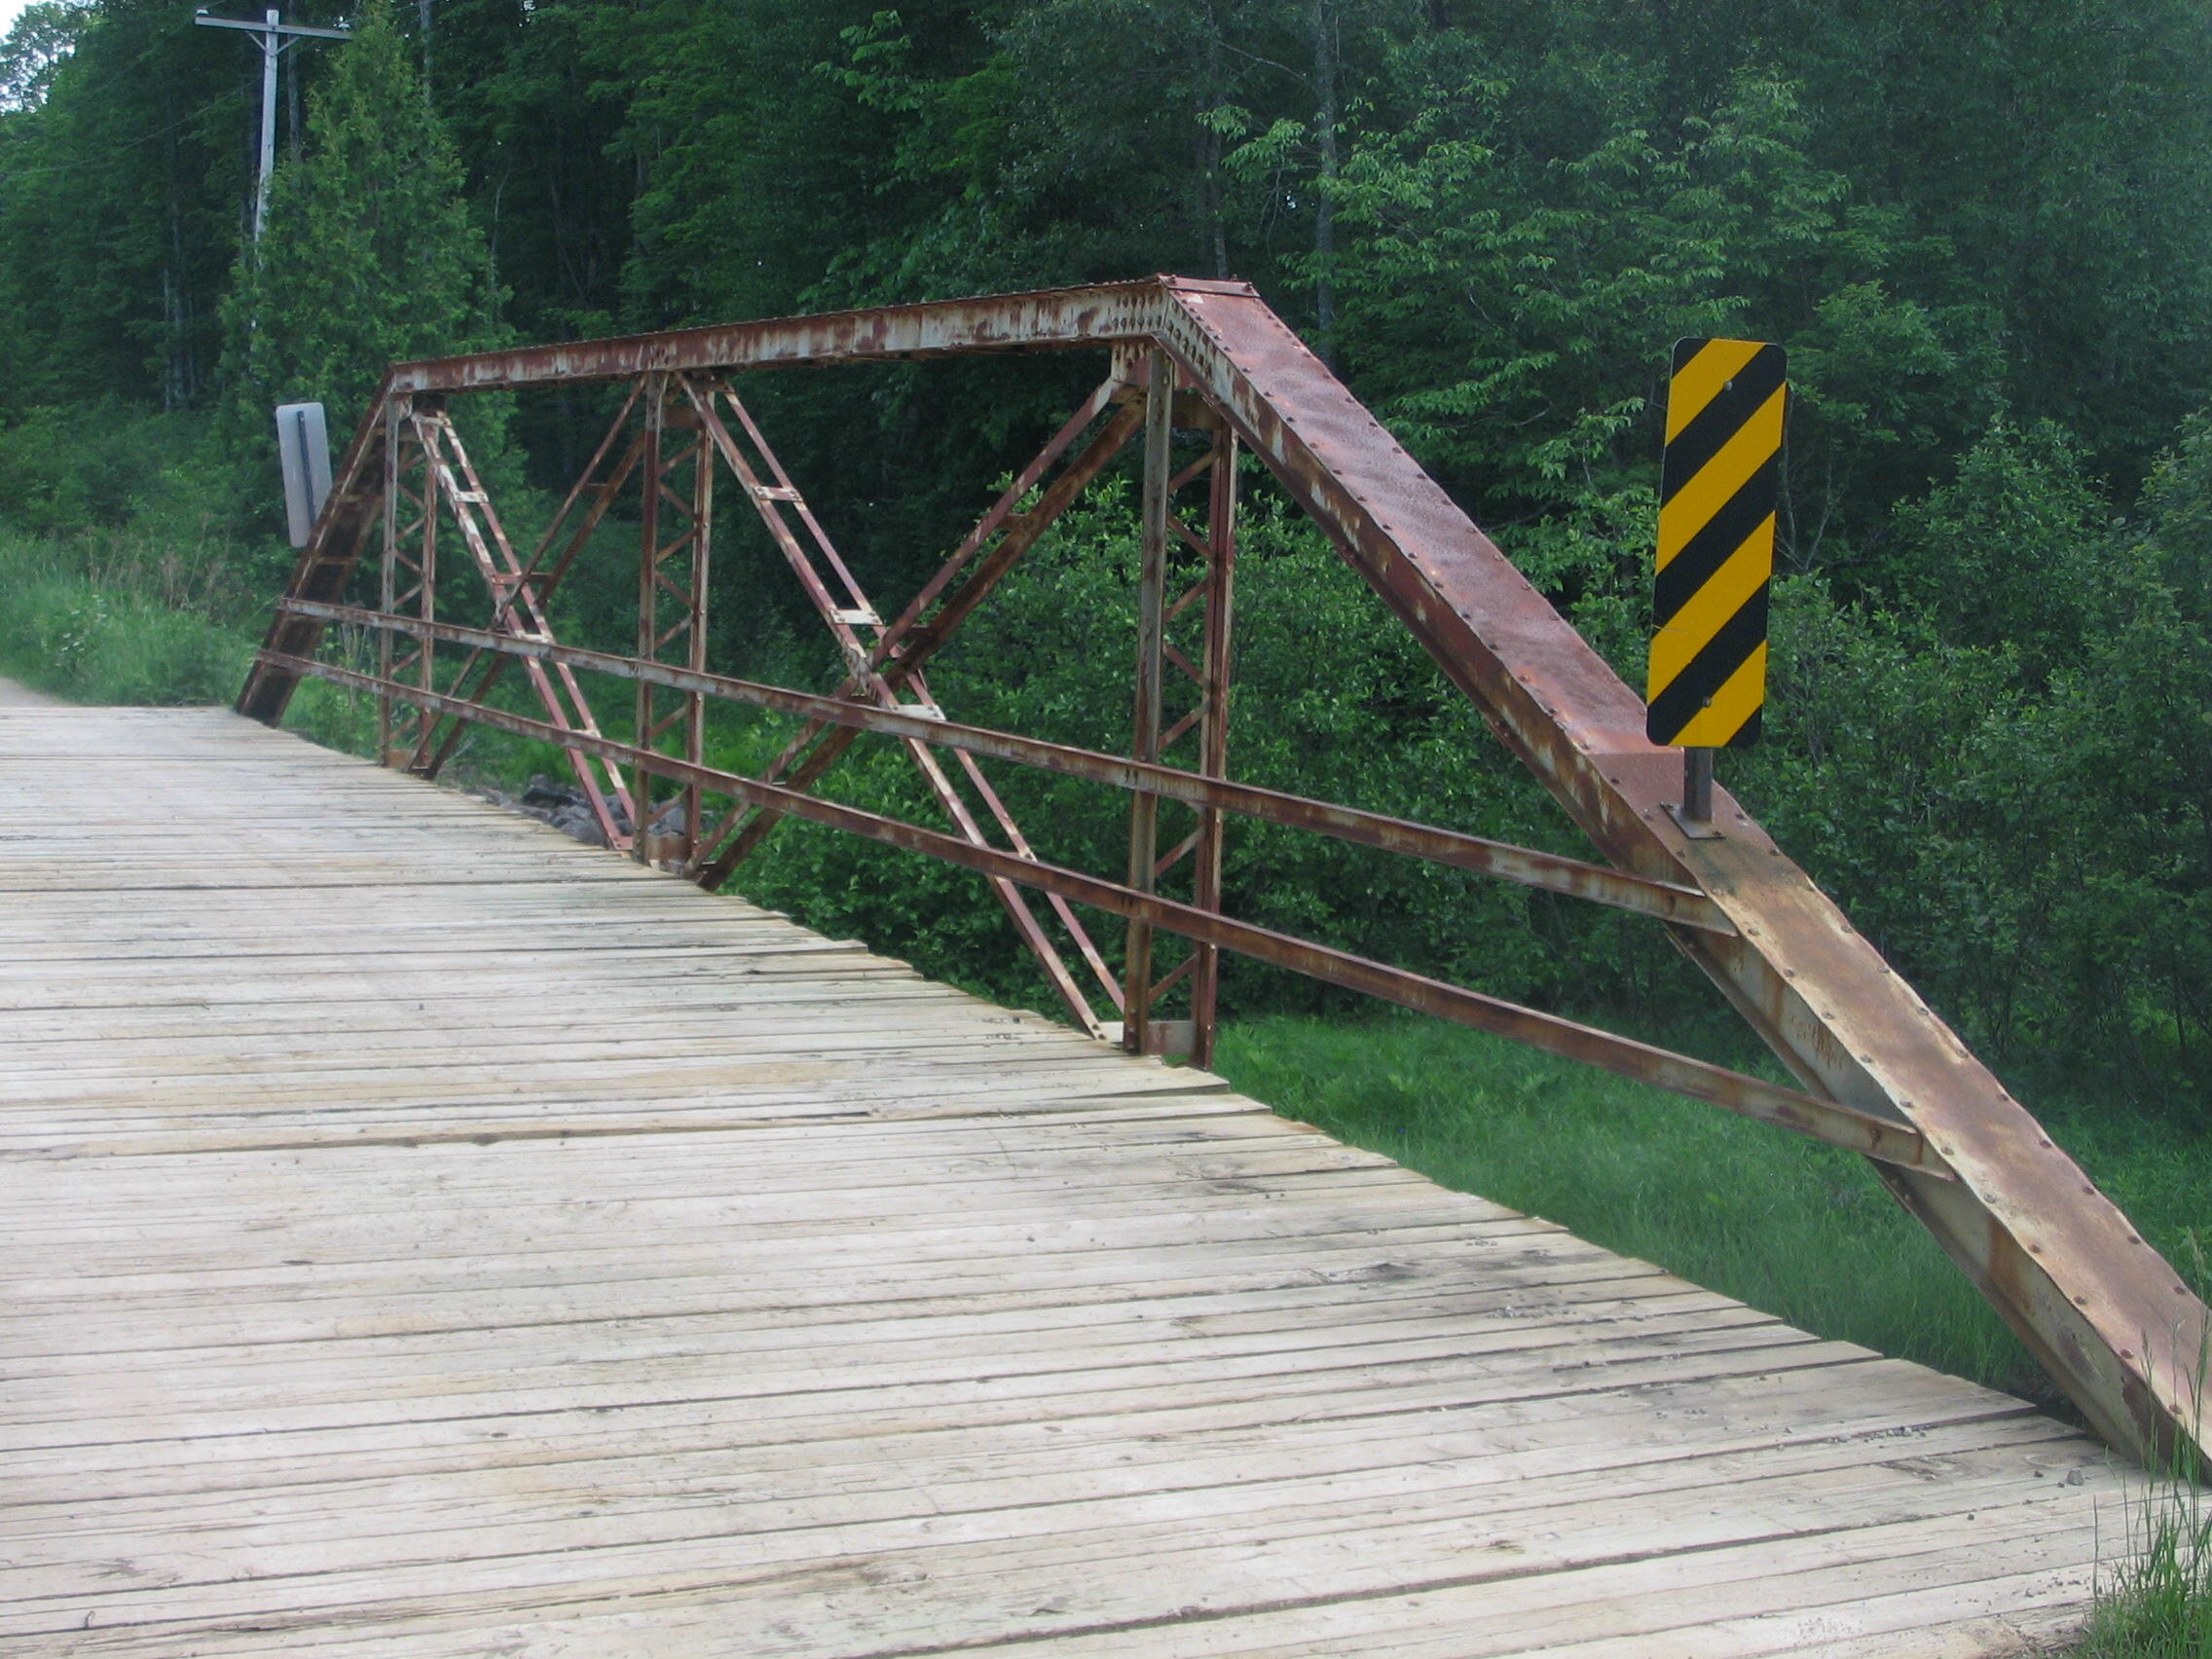
Photo Credit: Randy Mulder
Truss web.
![]()


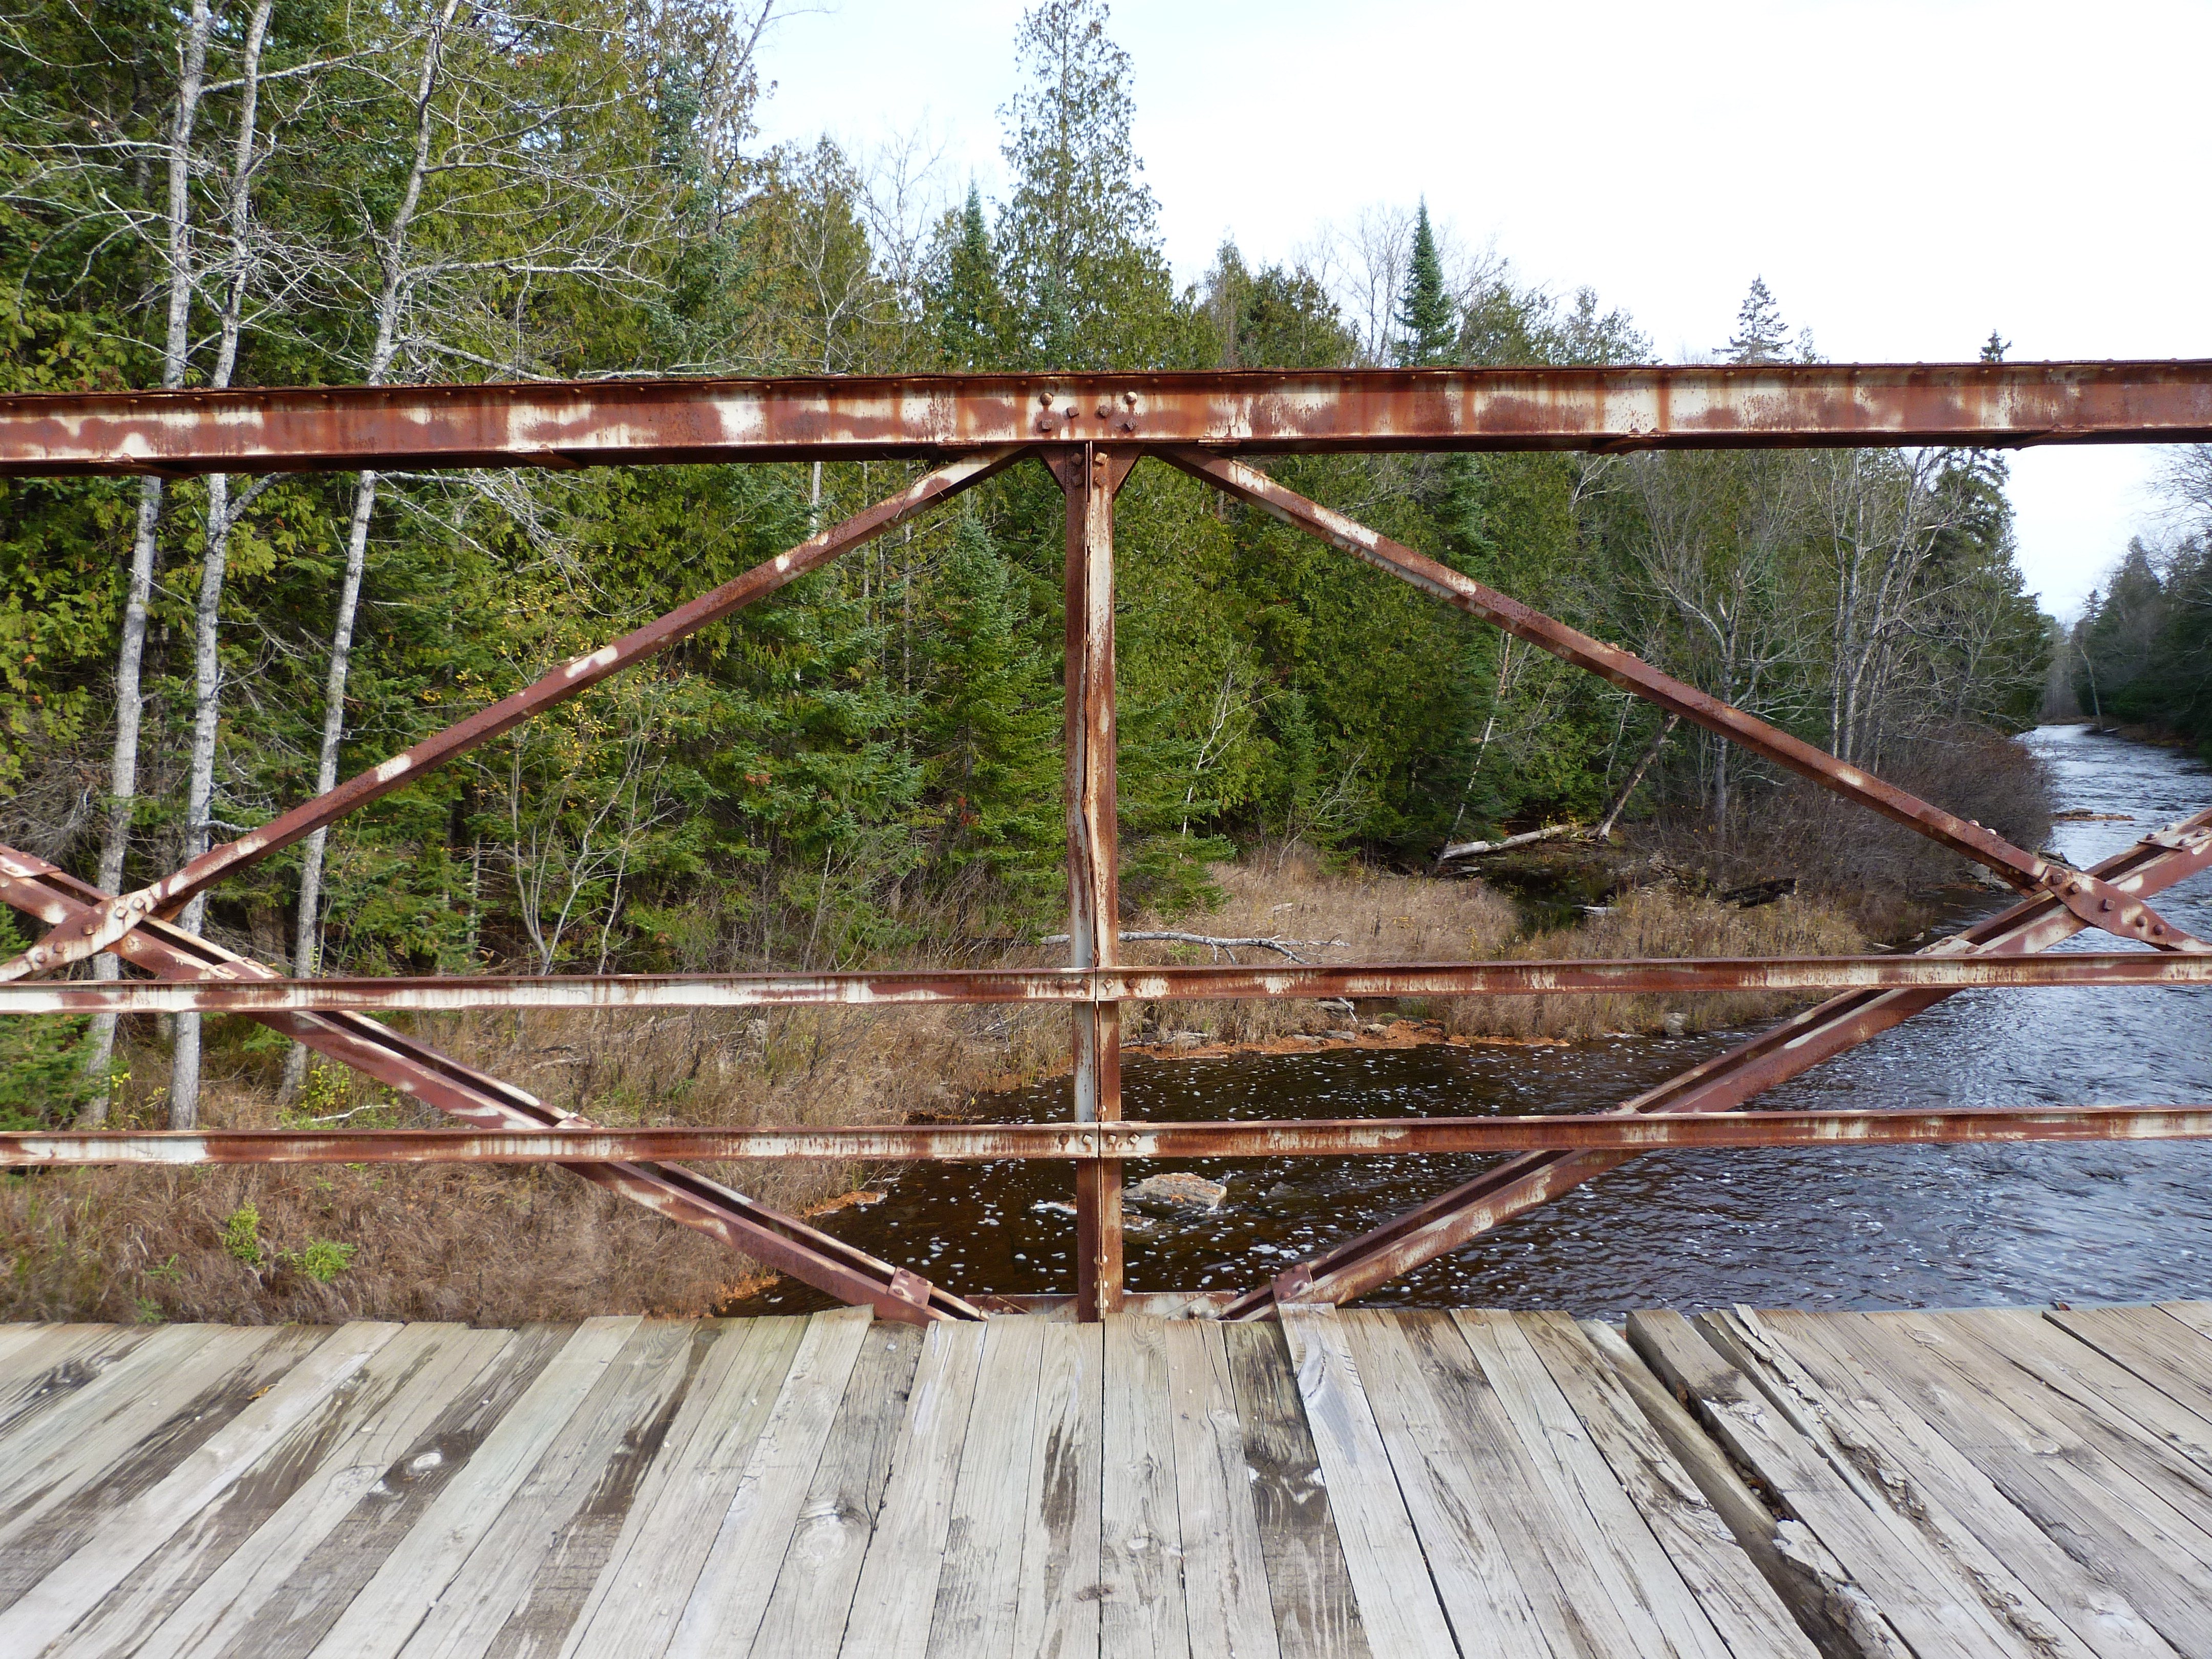
Truss panels.
![]()
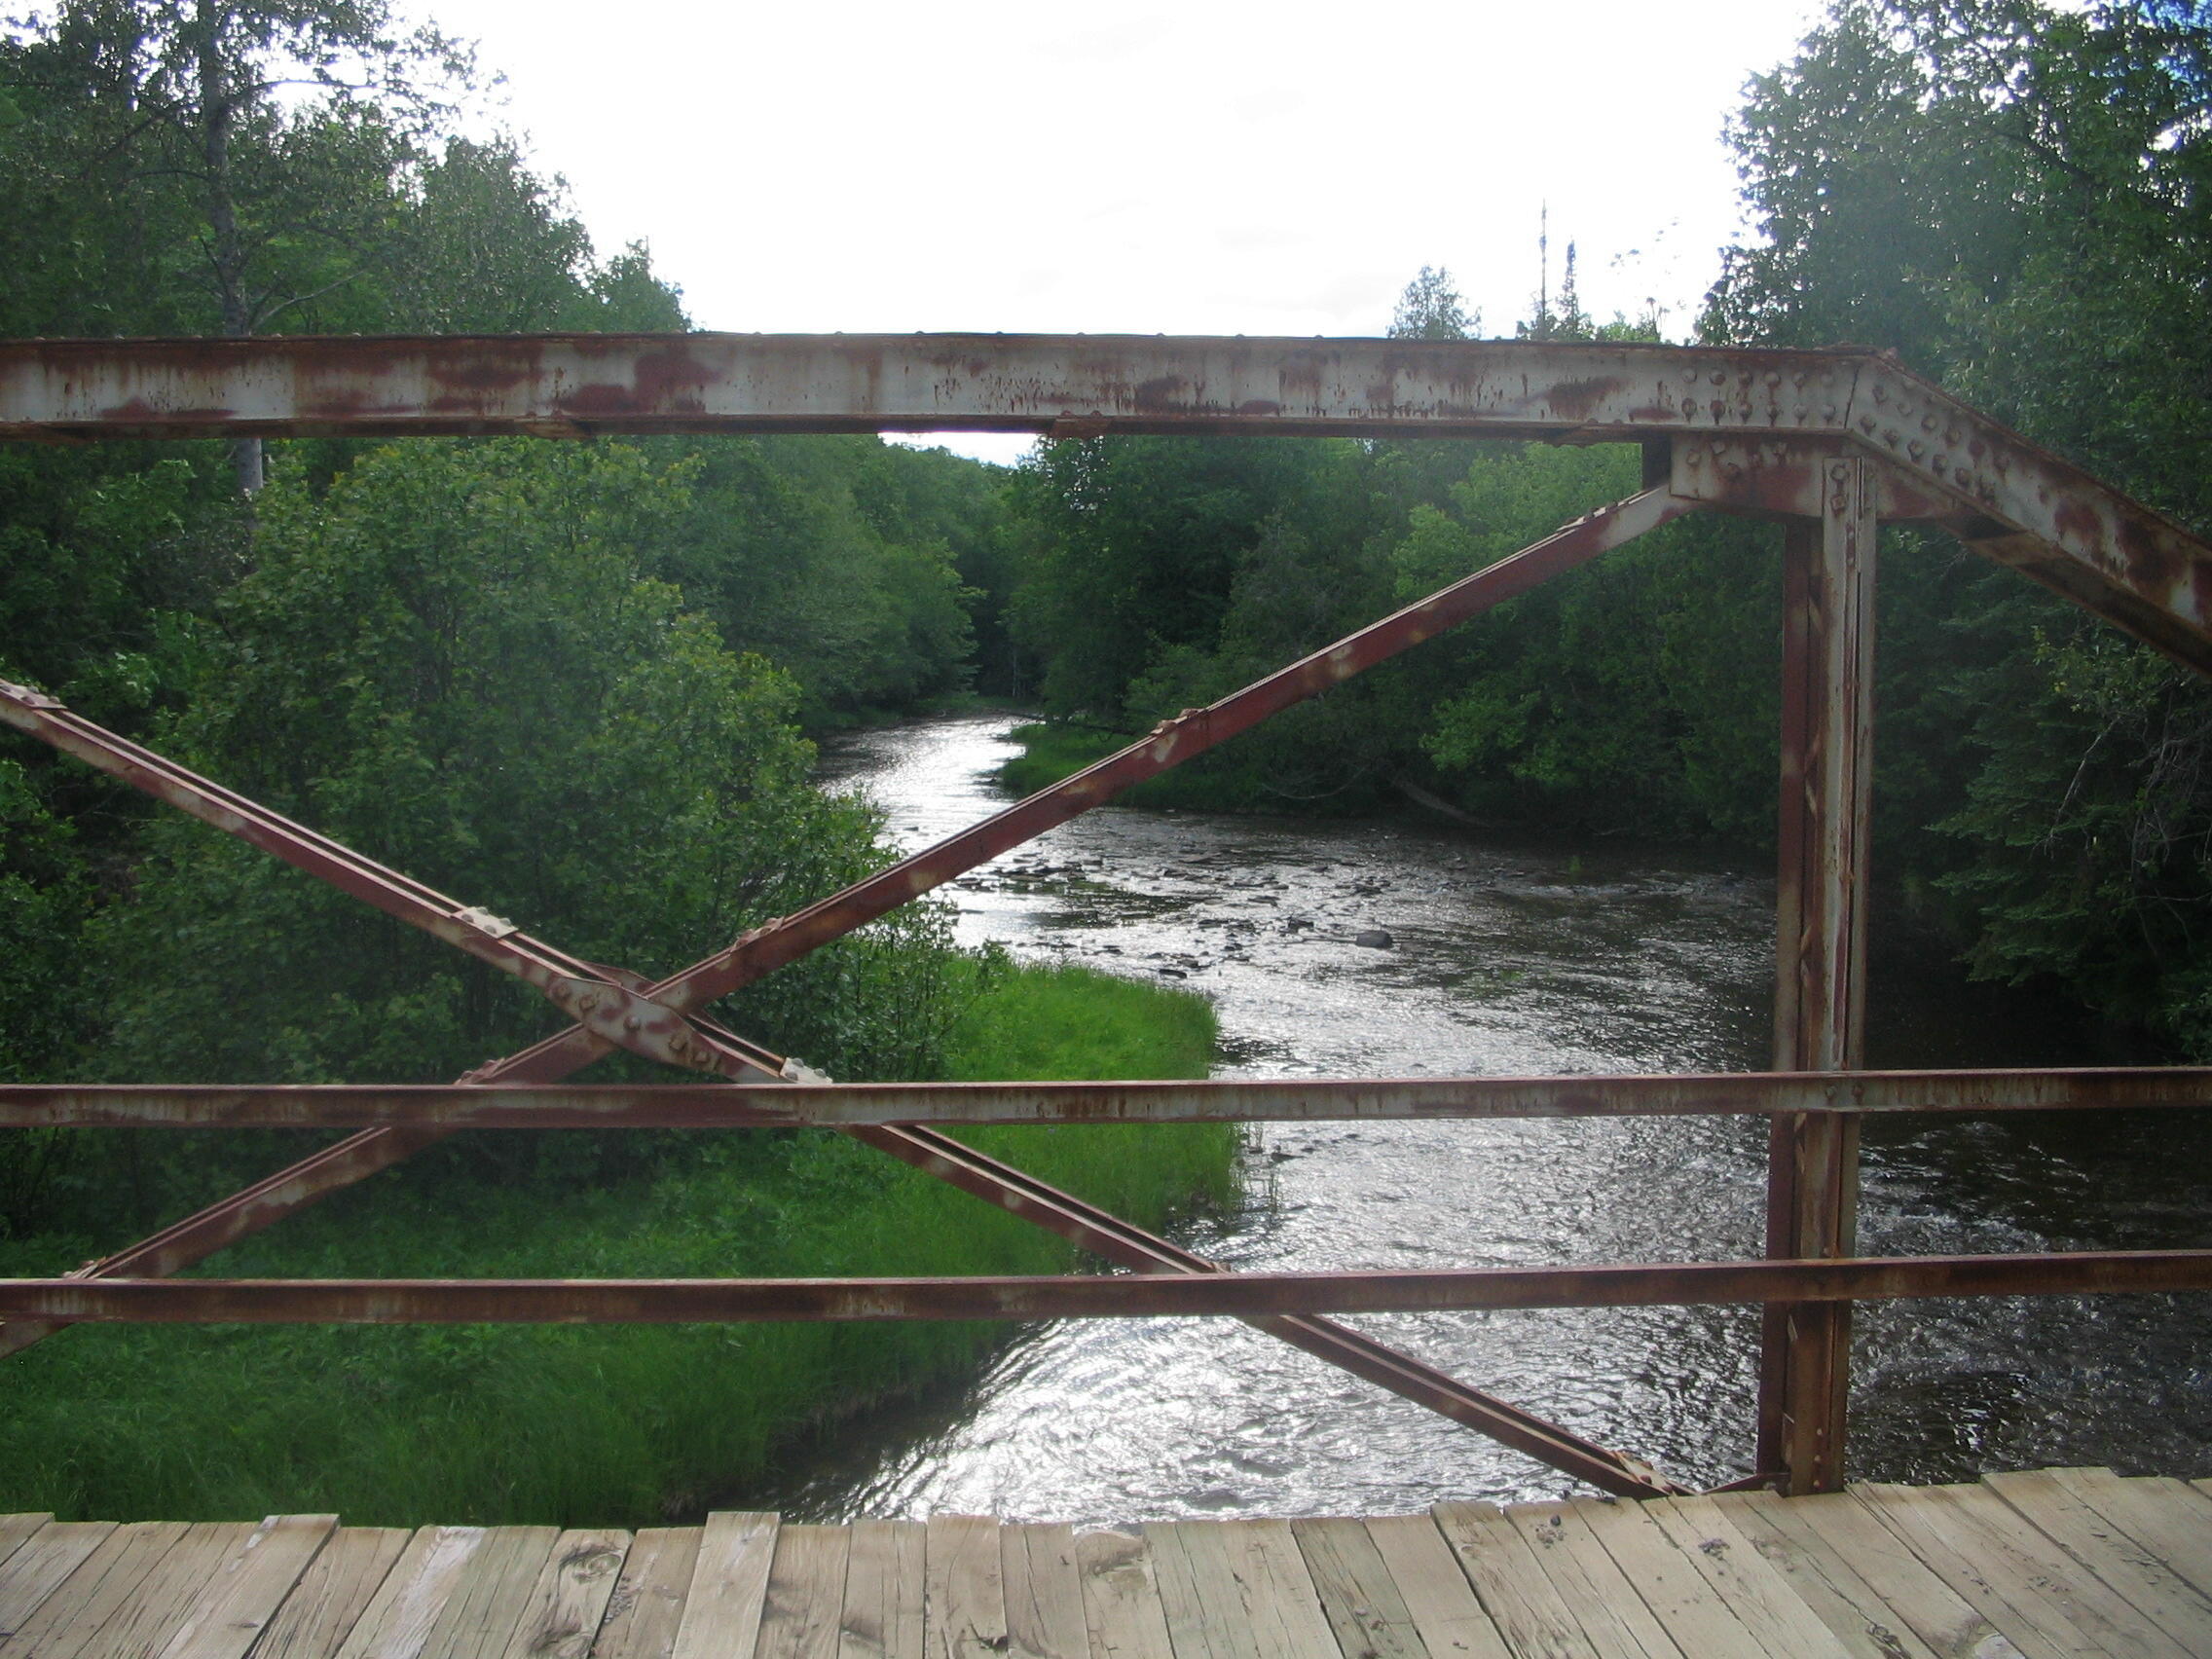
Photo Credit: Randy Mulder
Panel.
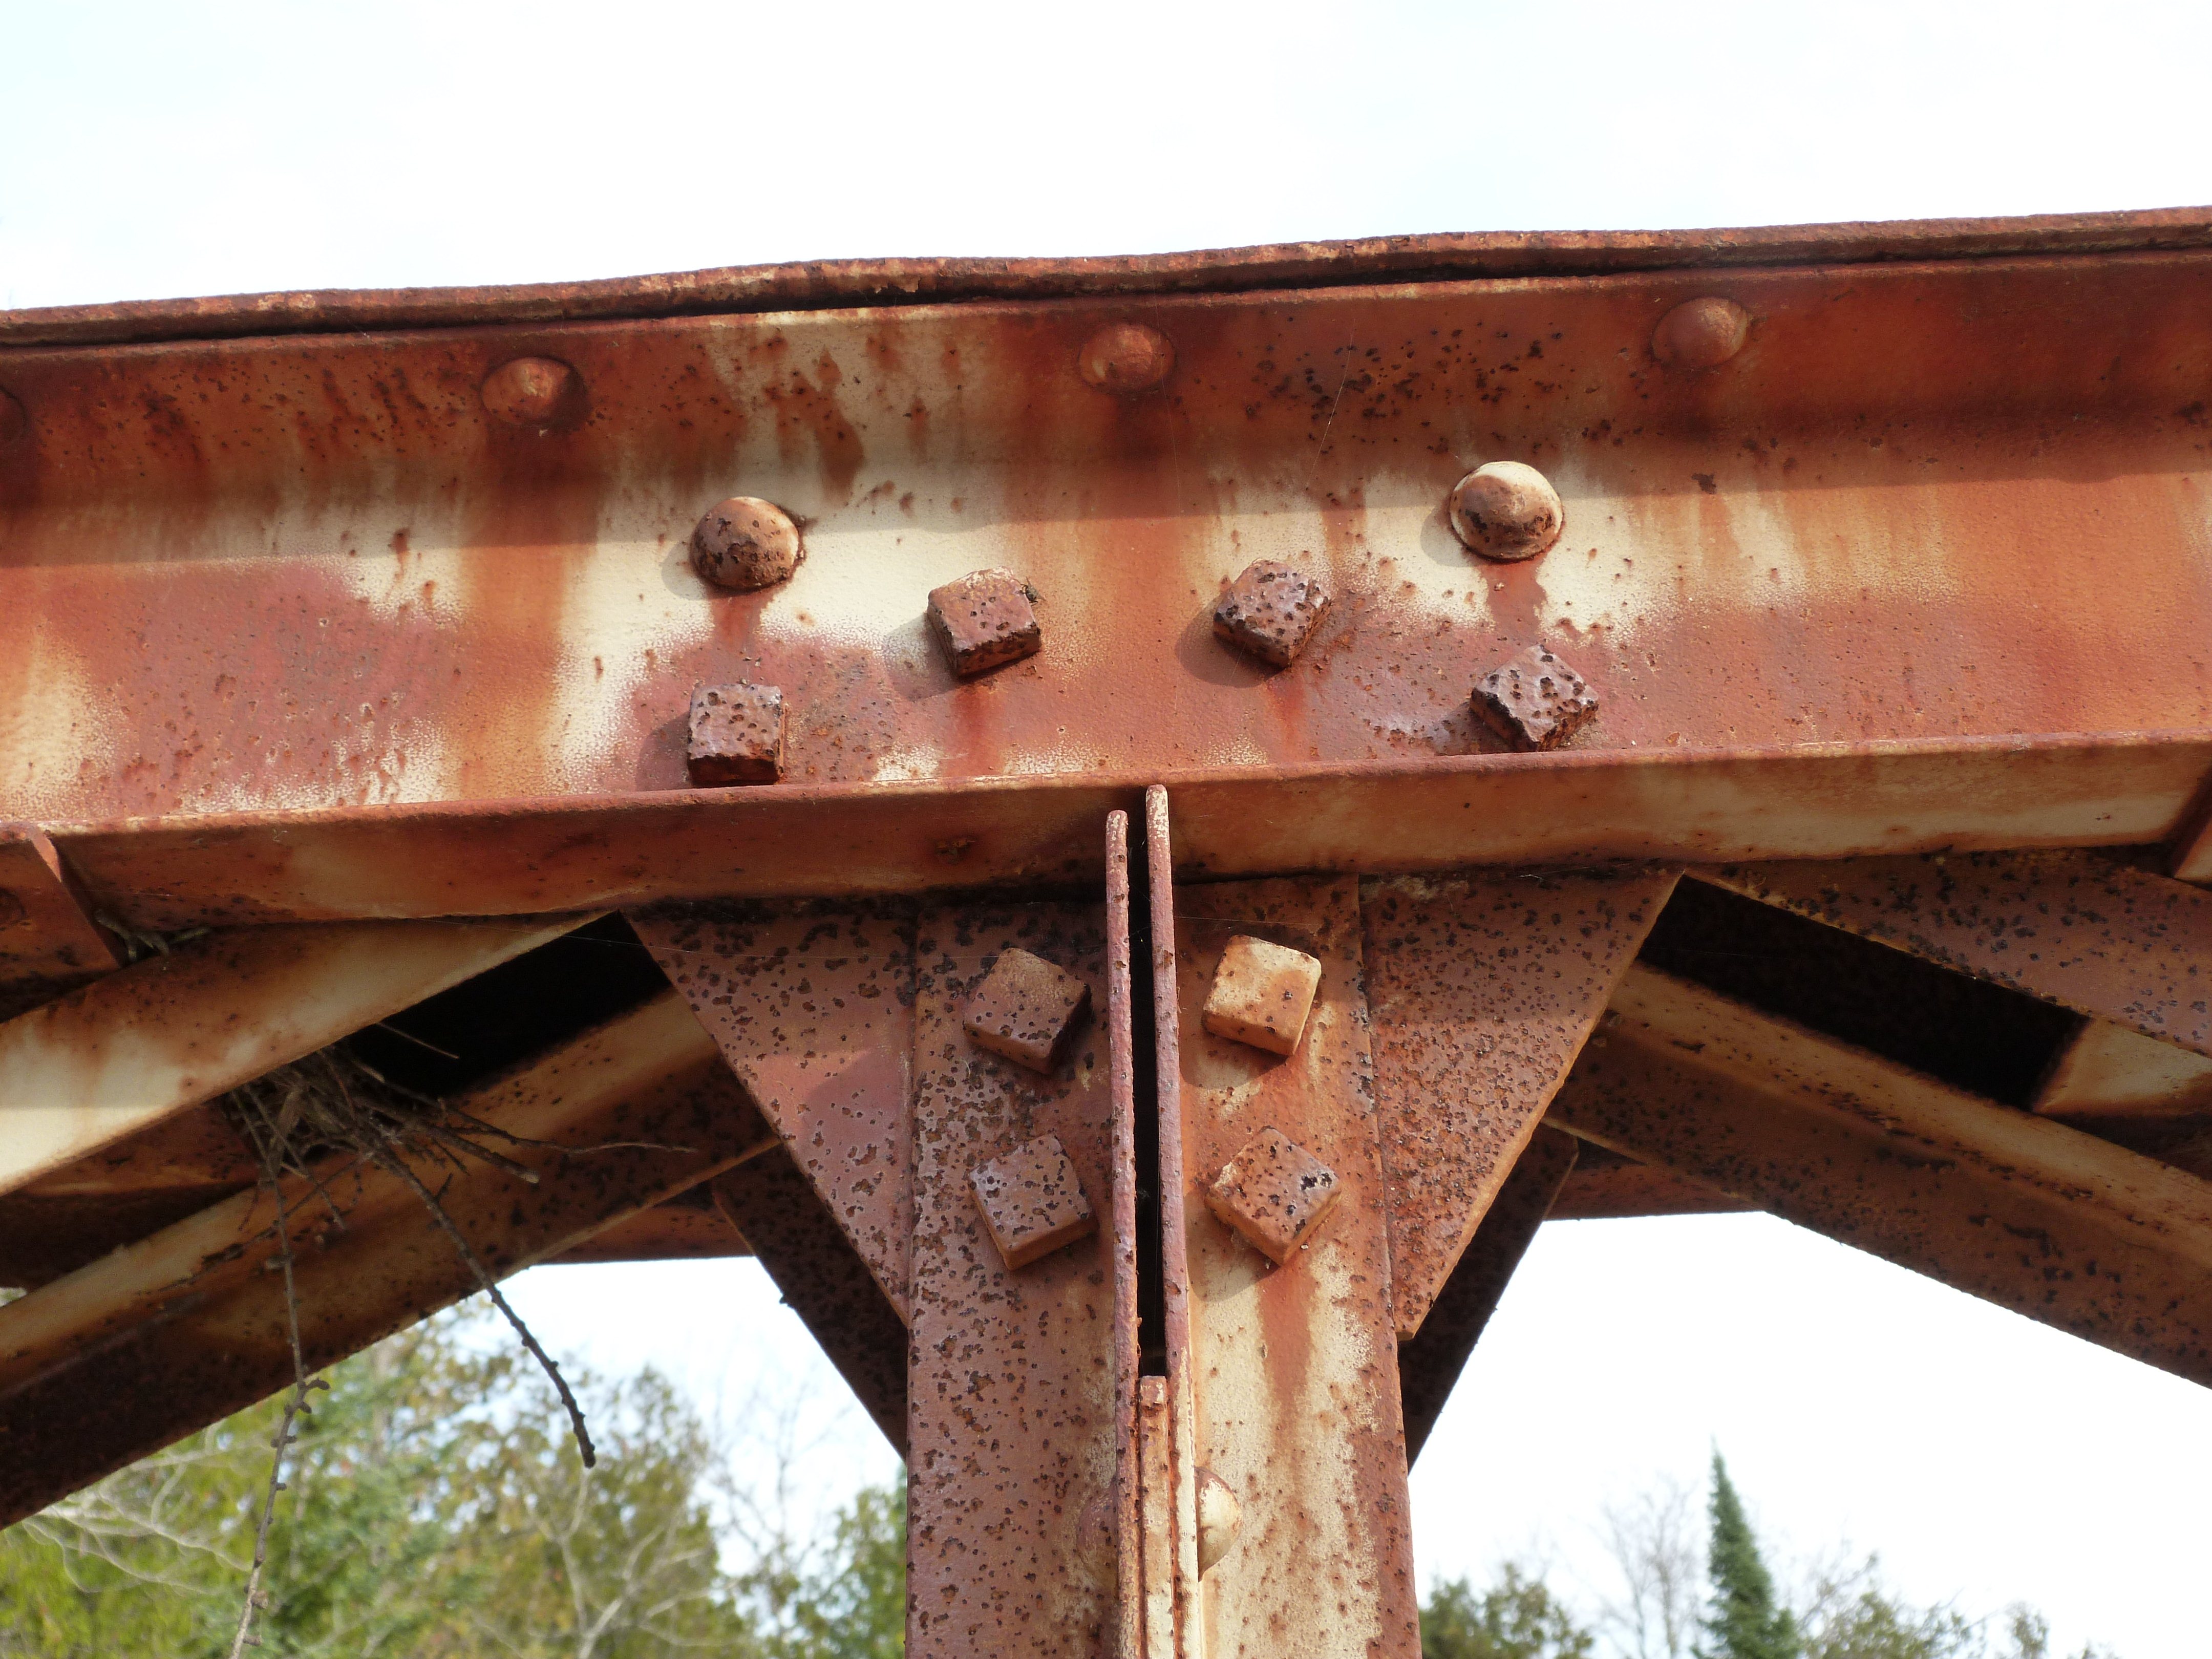
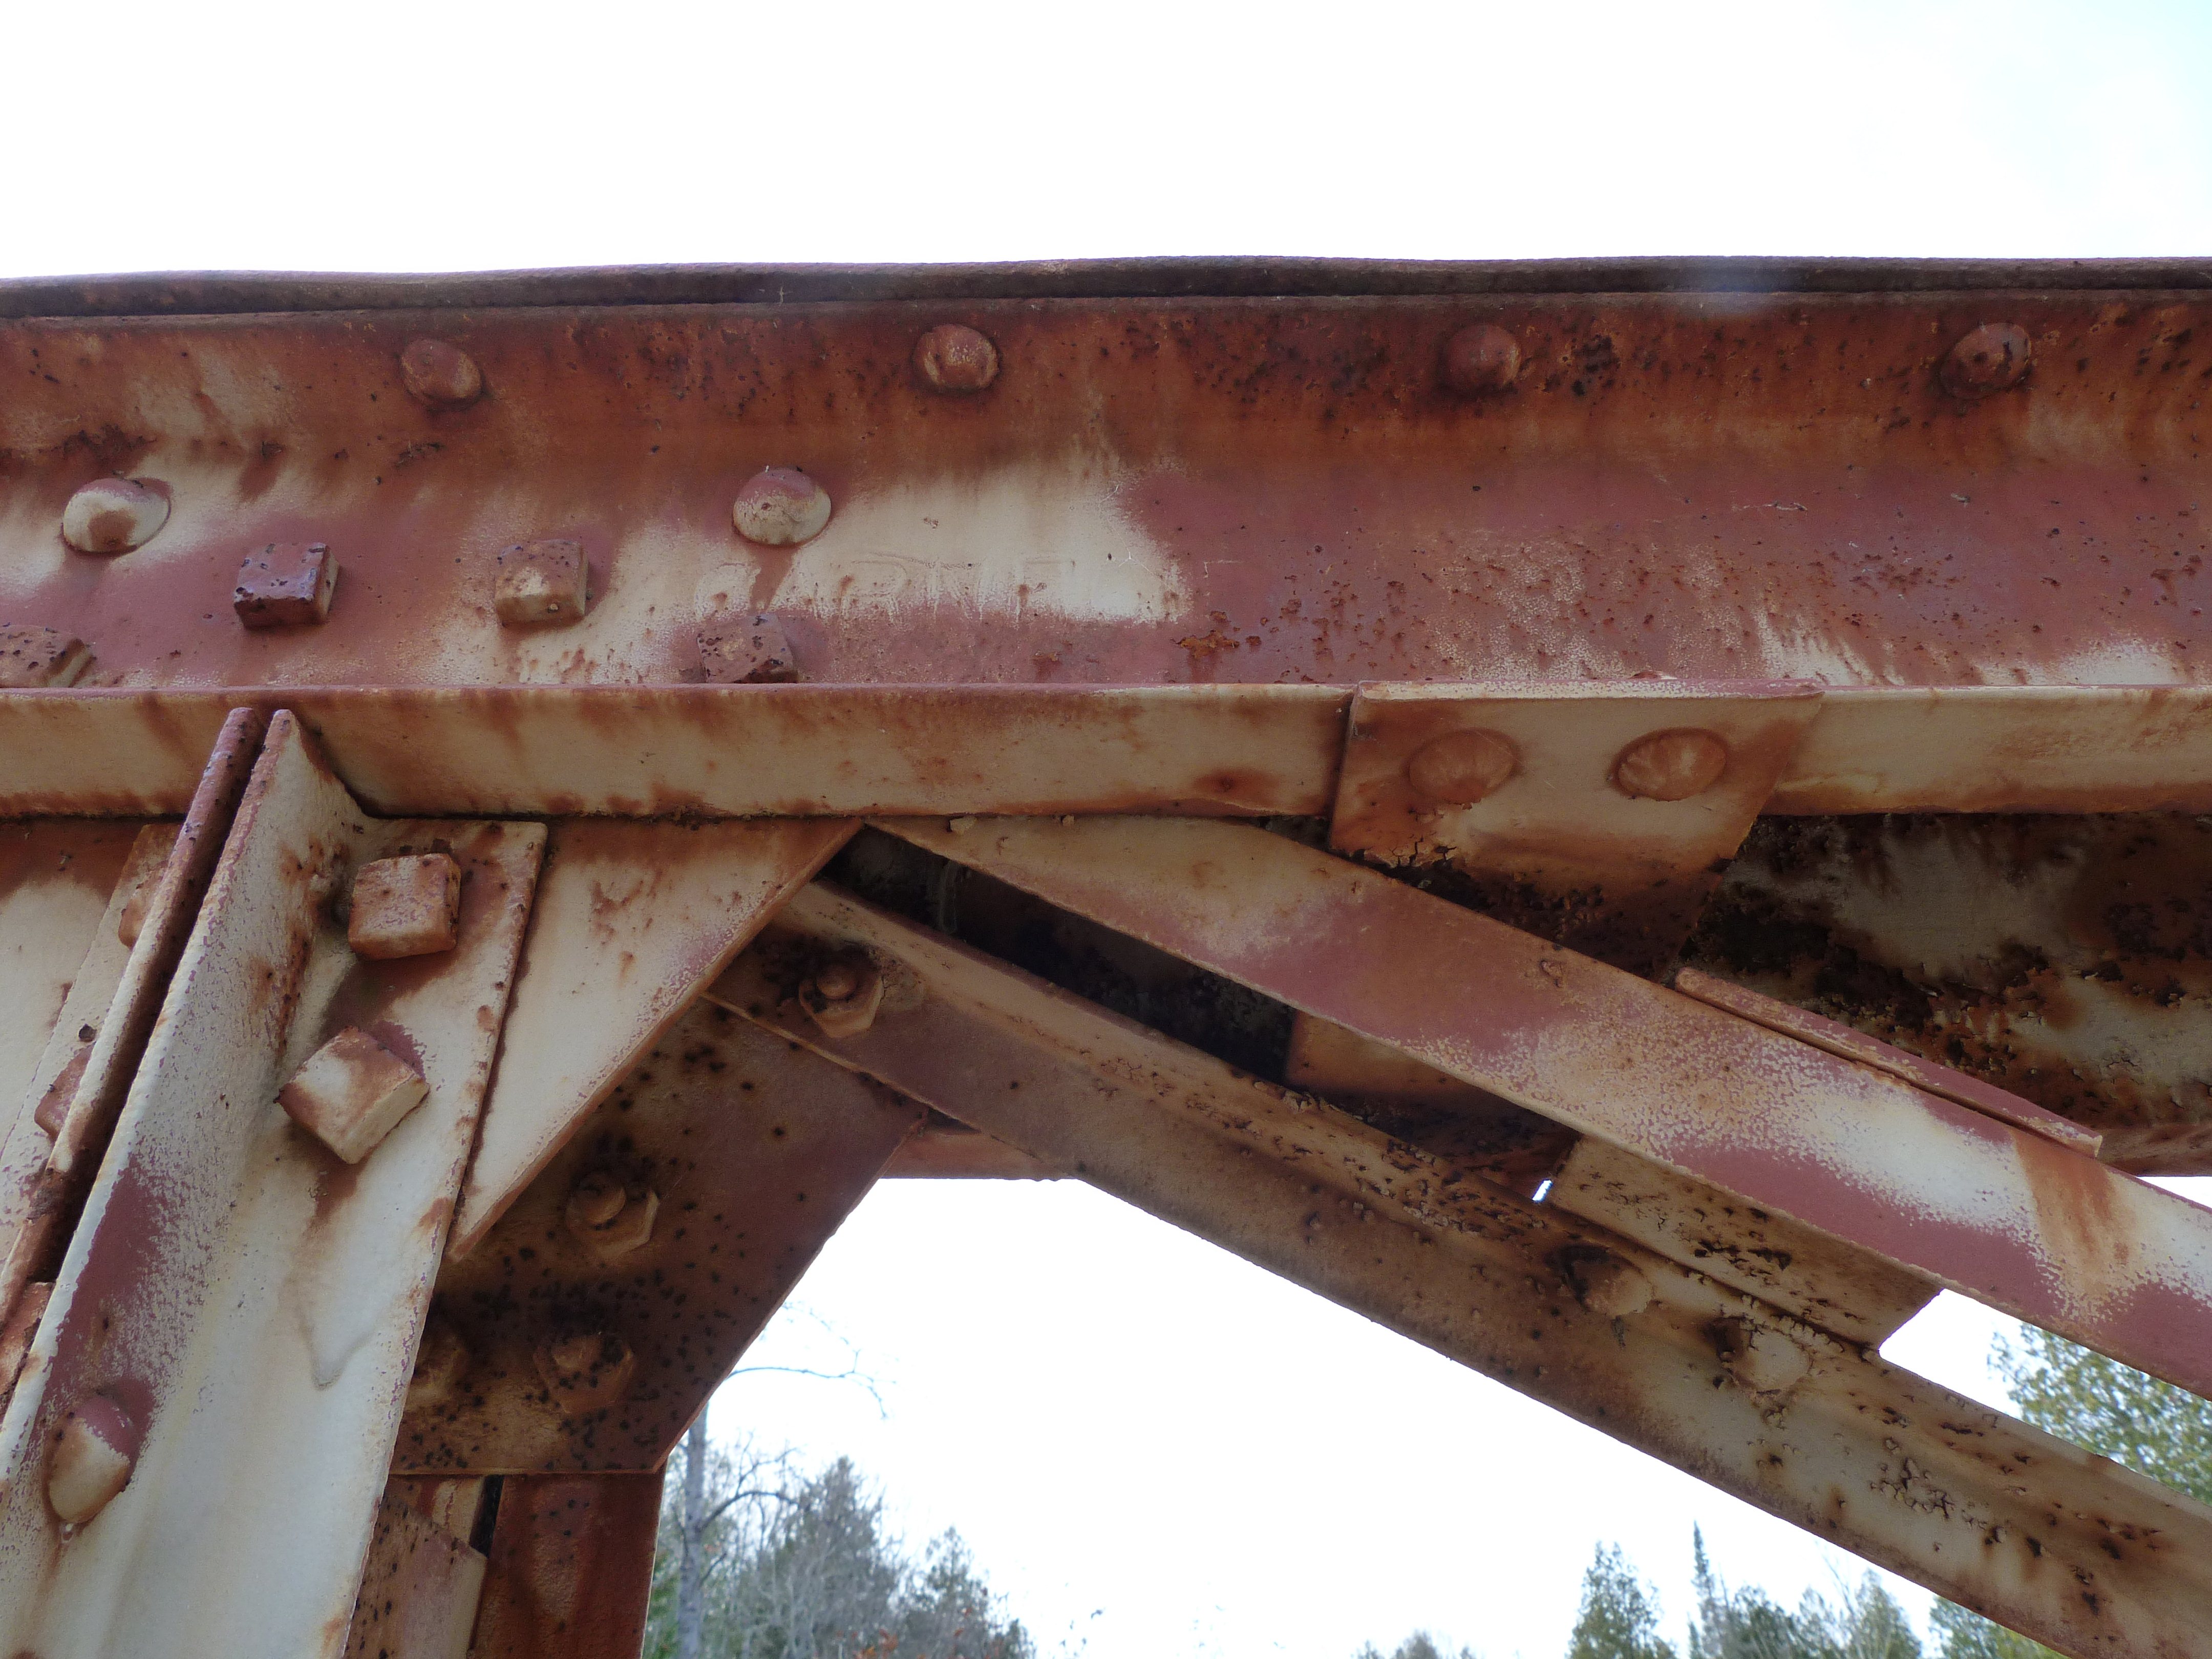
![]()

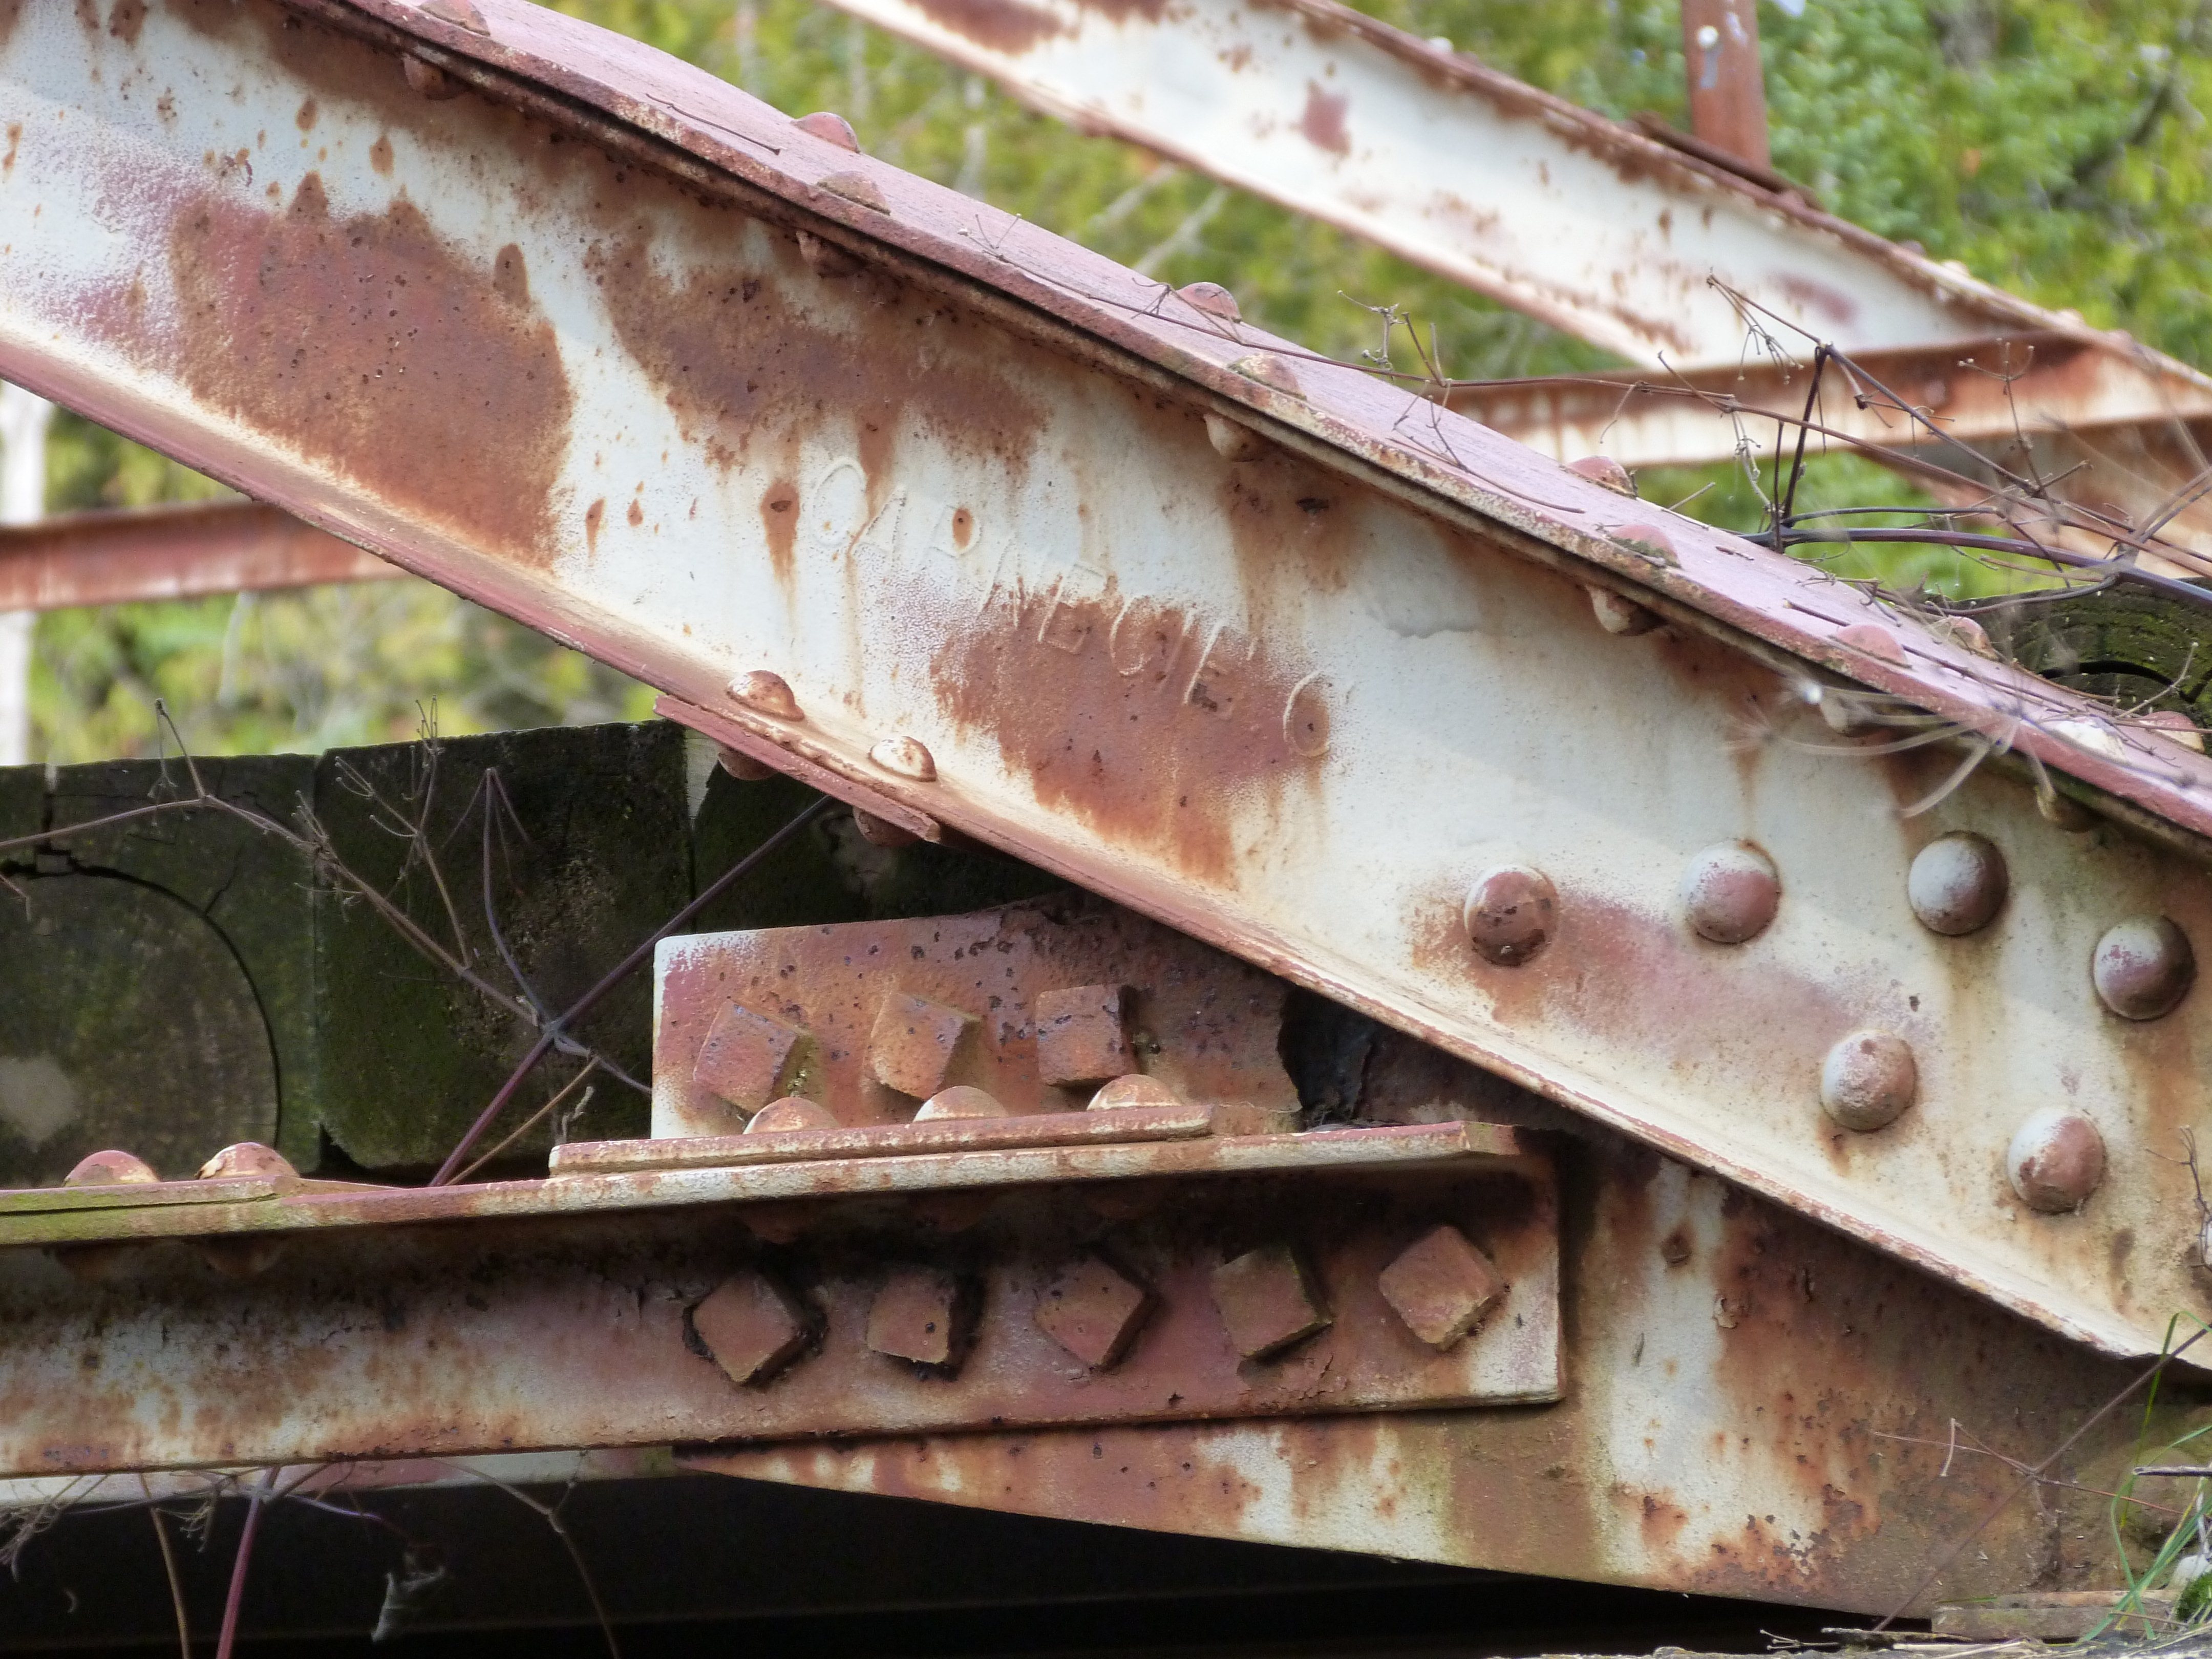
Carnegie brand.
![]()


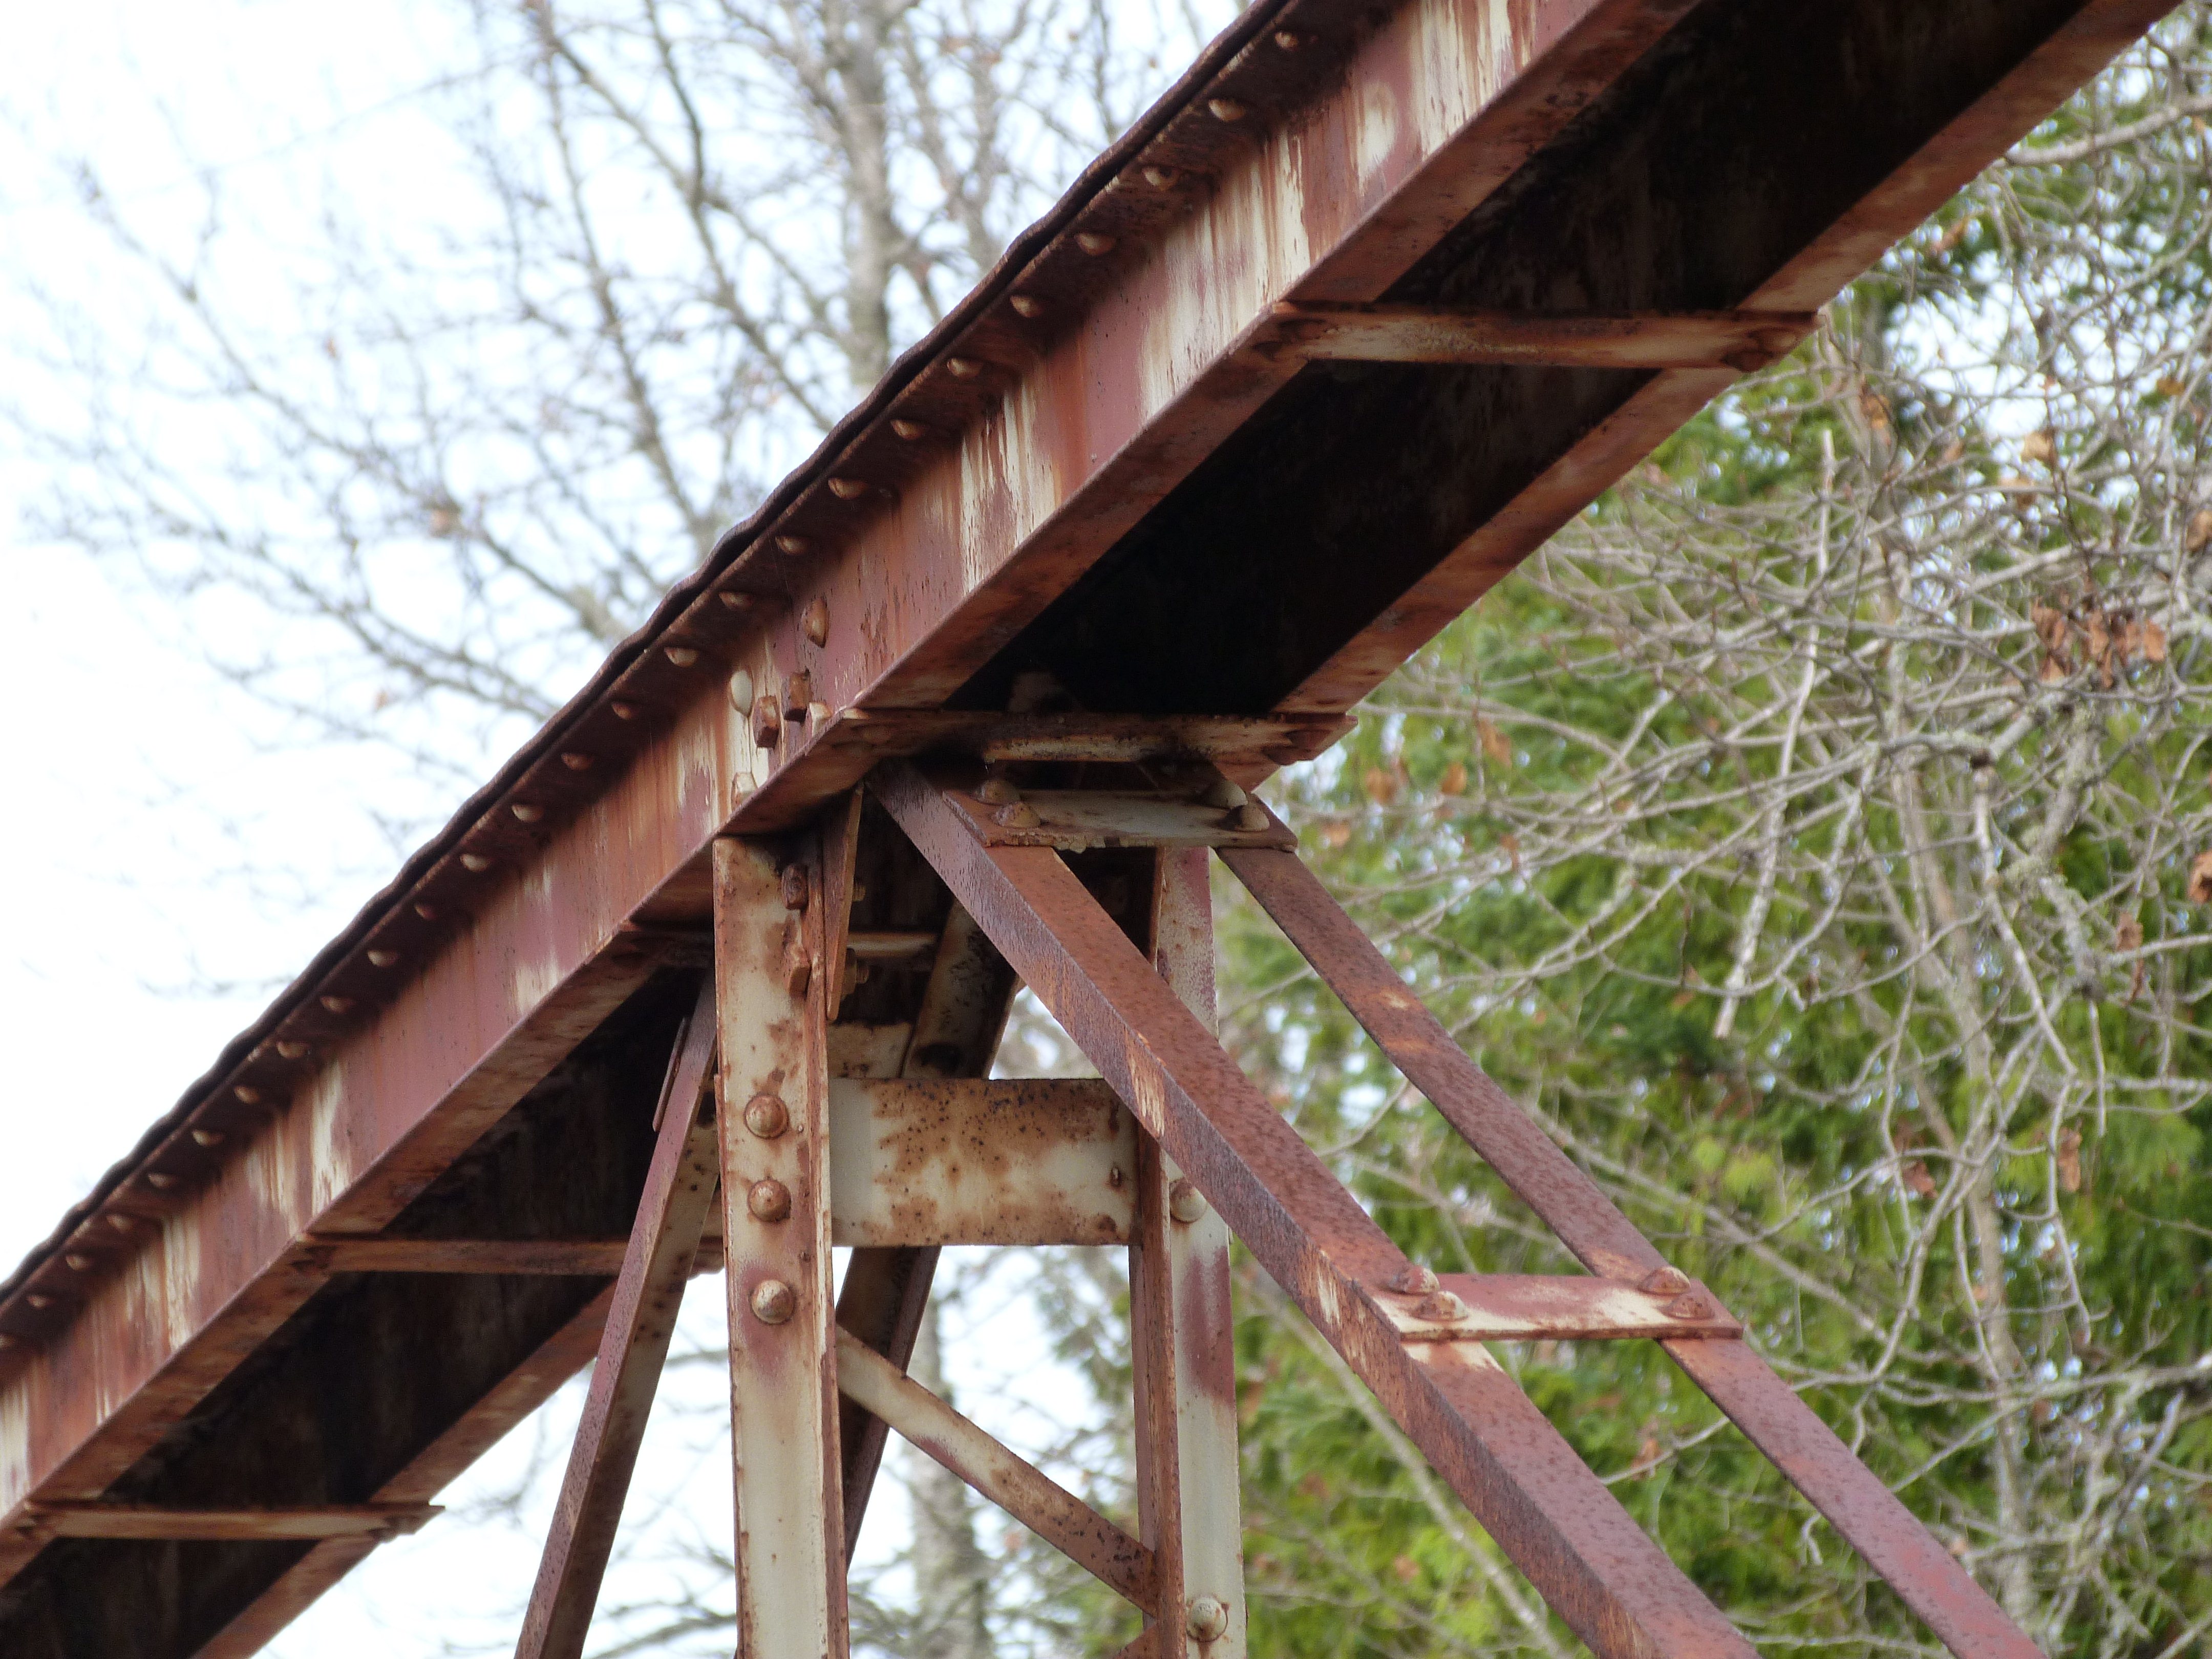
Top chord connections as viewed from beside bridge.
![]()


Top chord connections as viewed from on bridge.
![]()

Photo Credit: Randy Mulder
Top chord connection.
![]()


Bottom chord connections as viewed from beside bridge.
![]()


Bottom chord connections as viewed from on bridge.
![]()

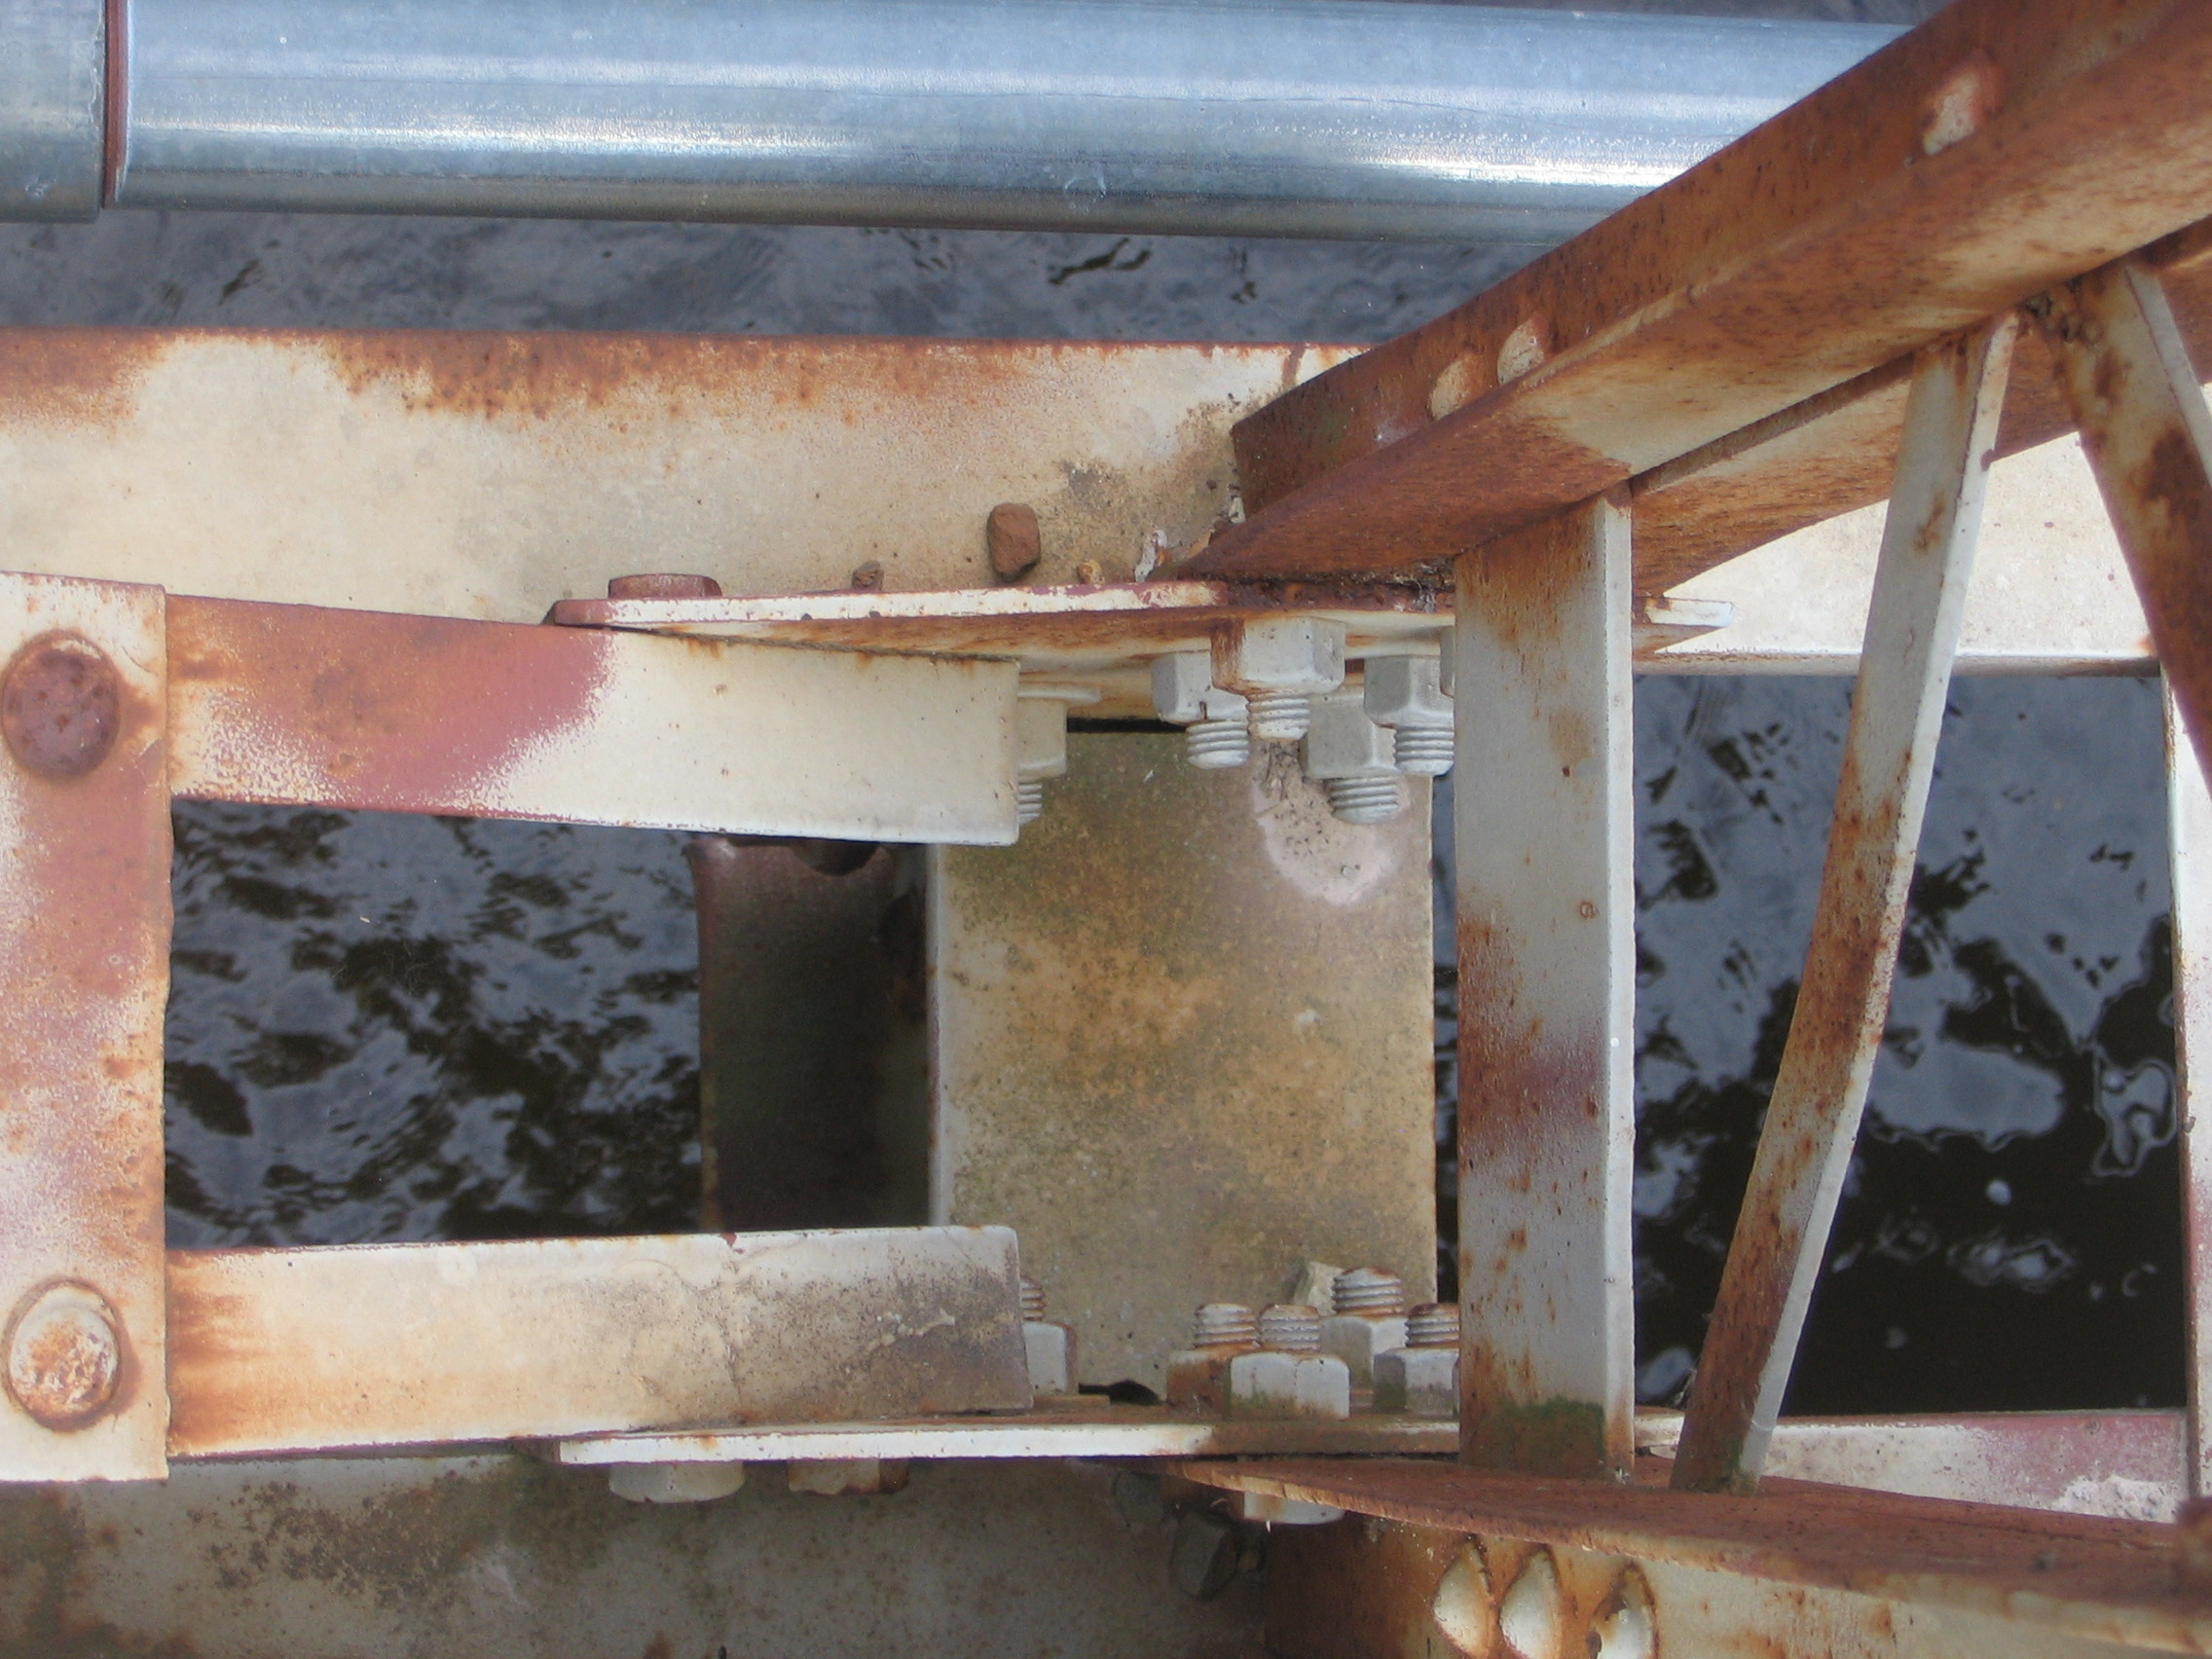
Photo Credit: Randy Mulder
Bottom chord connections.
![]()


Intermediate connection.
![]()
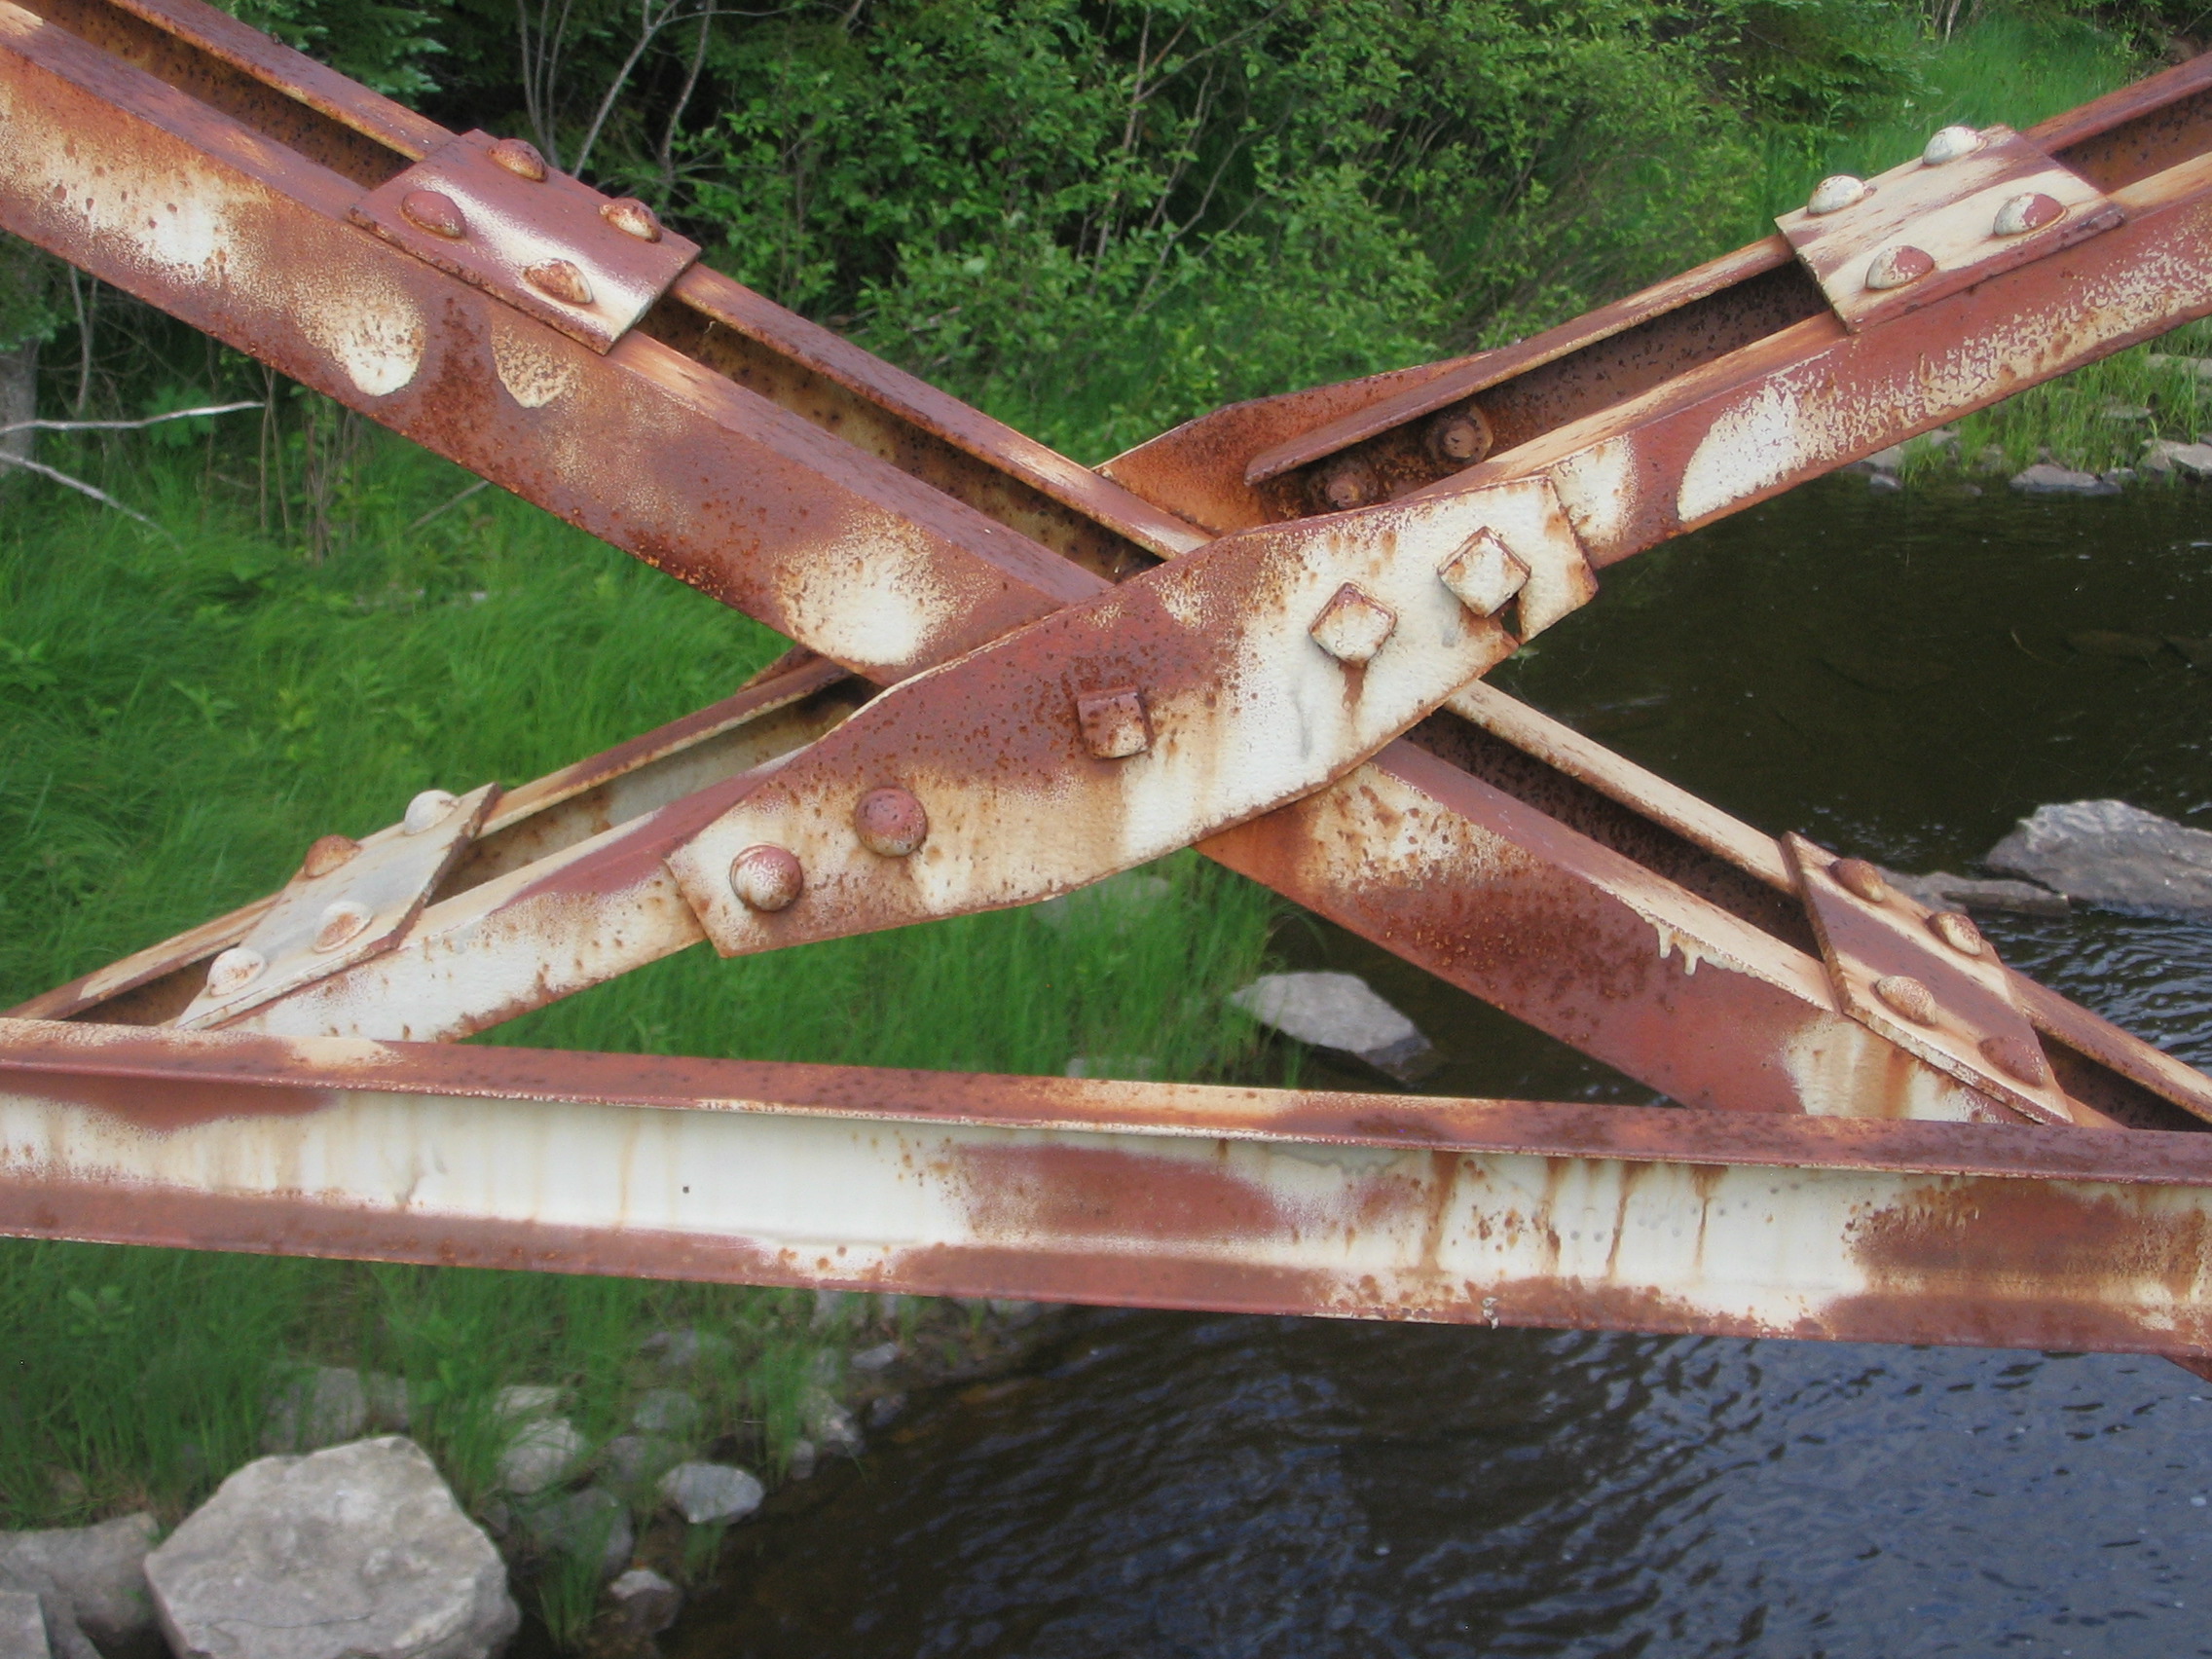
Photo Credit: Randy Mulder
Intermediate connection.
![]()


Bearings.
![]()
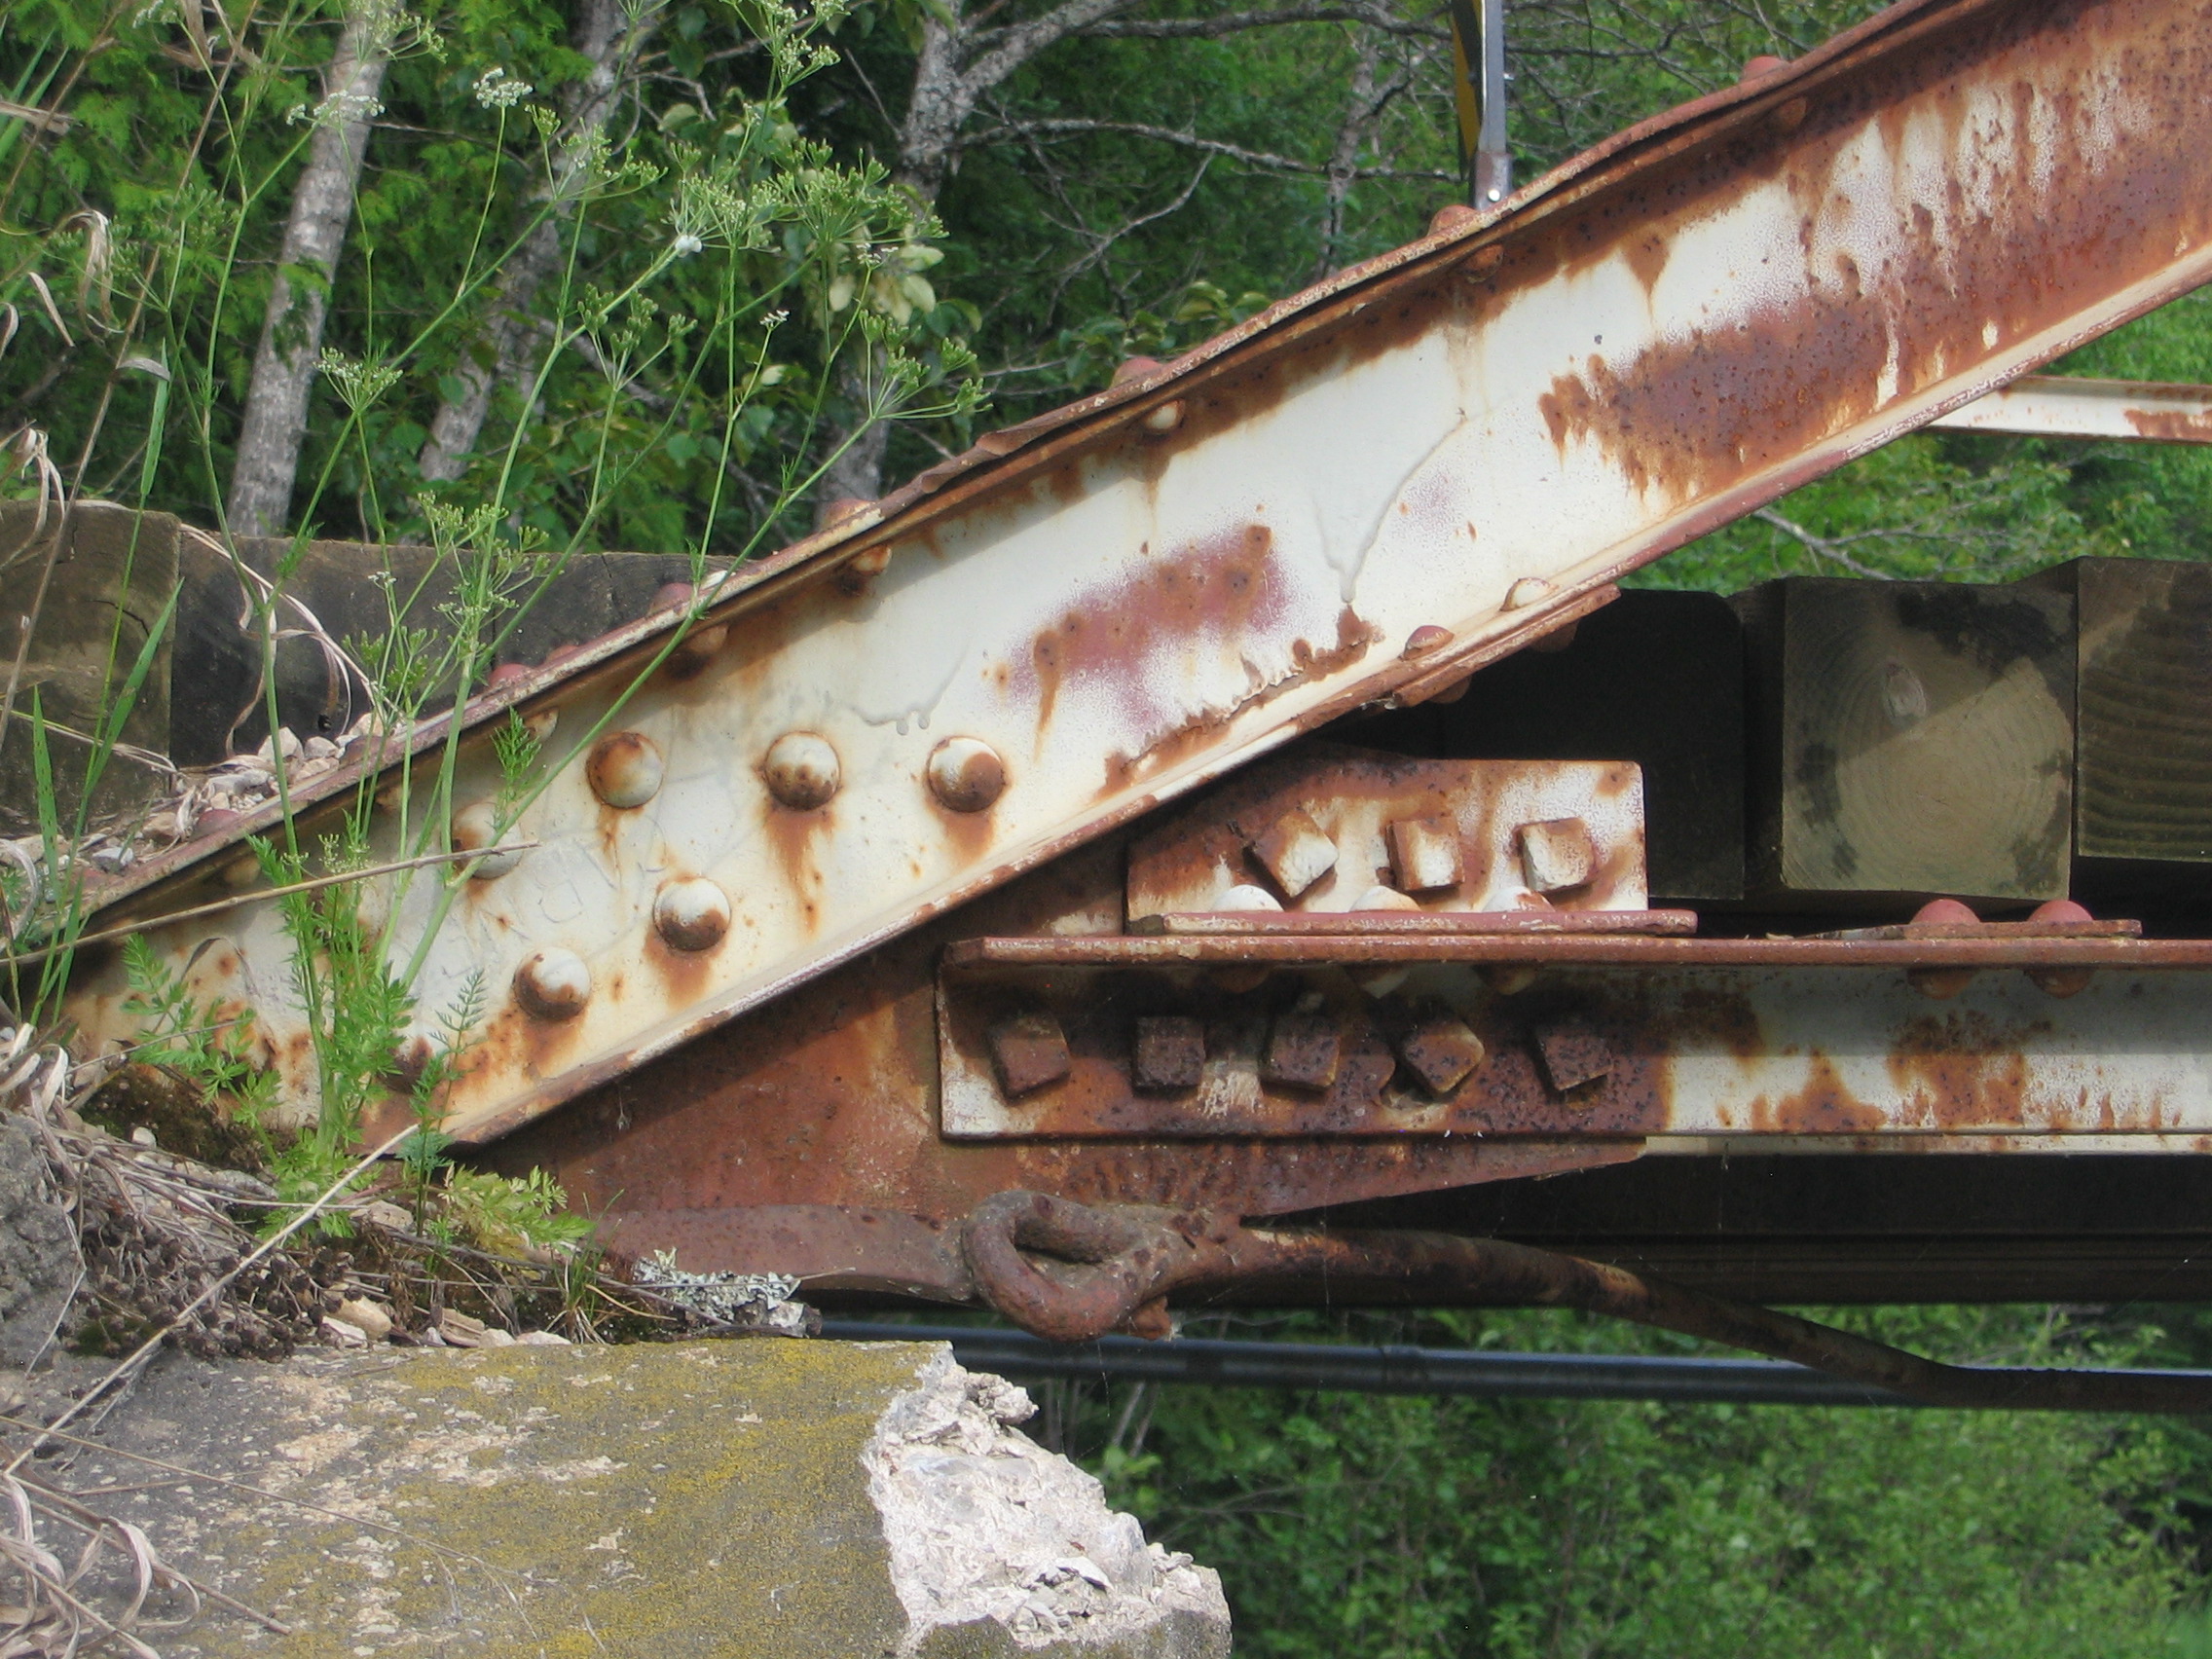
Photo Credit: Randy Mulder
Bearings.
![]()


Vertical members.
![]()

Photo Credit: Randy Mulder
Vertical member.
![]()


Diagonal members.
![]()
Bottom chord.
![]()

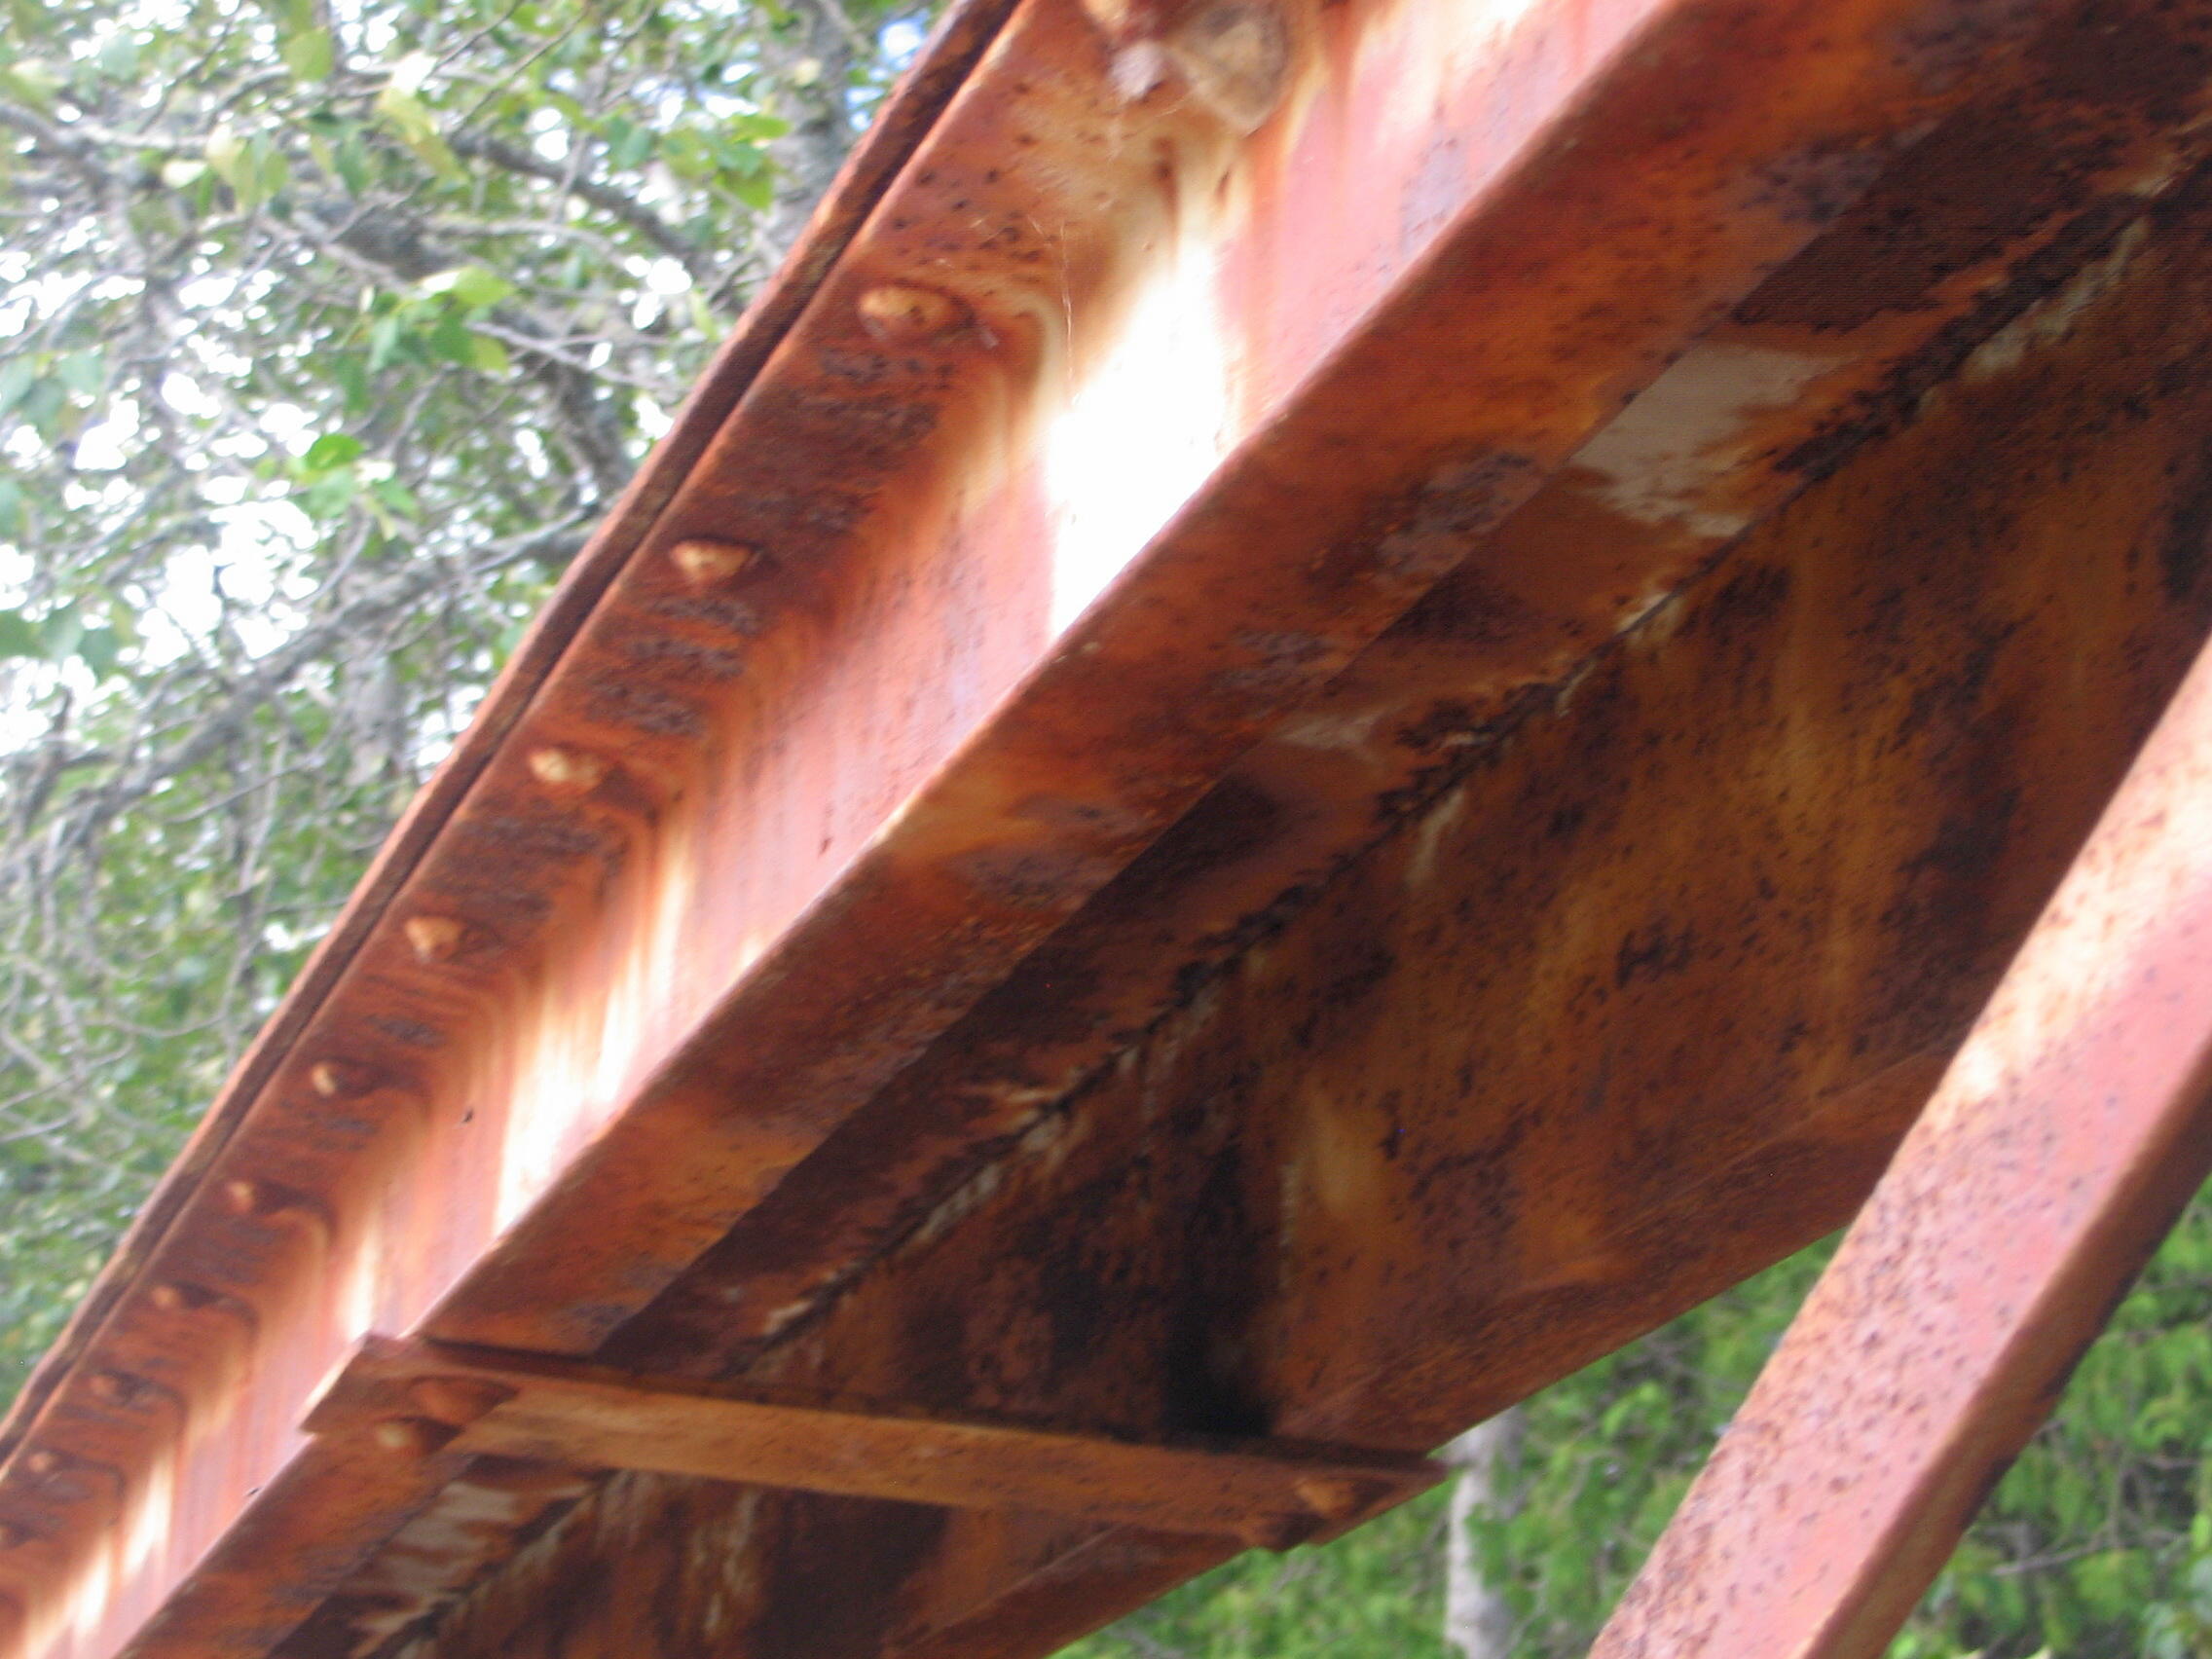
Photo Credit: Randy Mulder
Top chord and end post.
![]()

End post.
![]()

Photo Credit: Randy Mulder
Impact damage to end post.
![]()

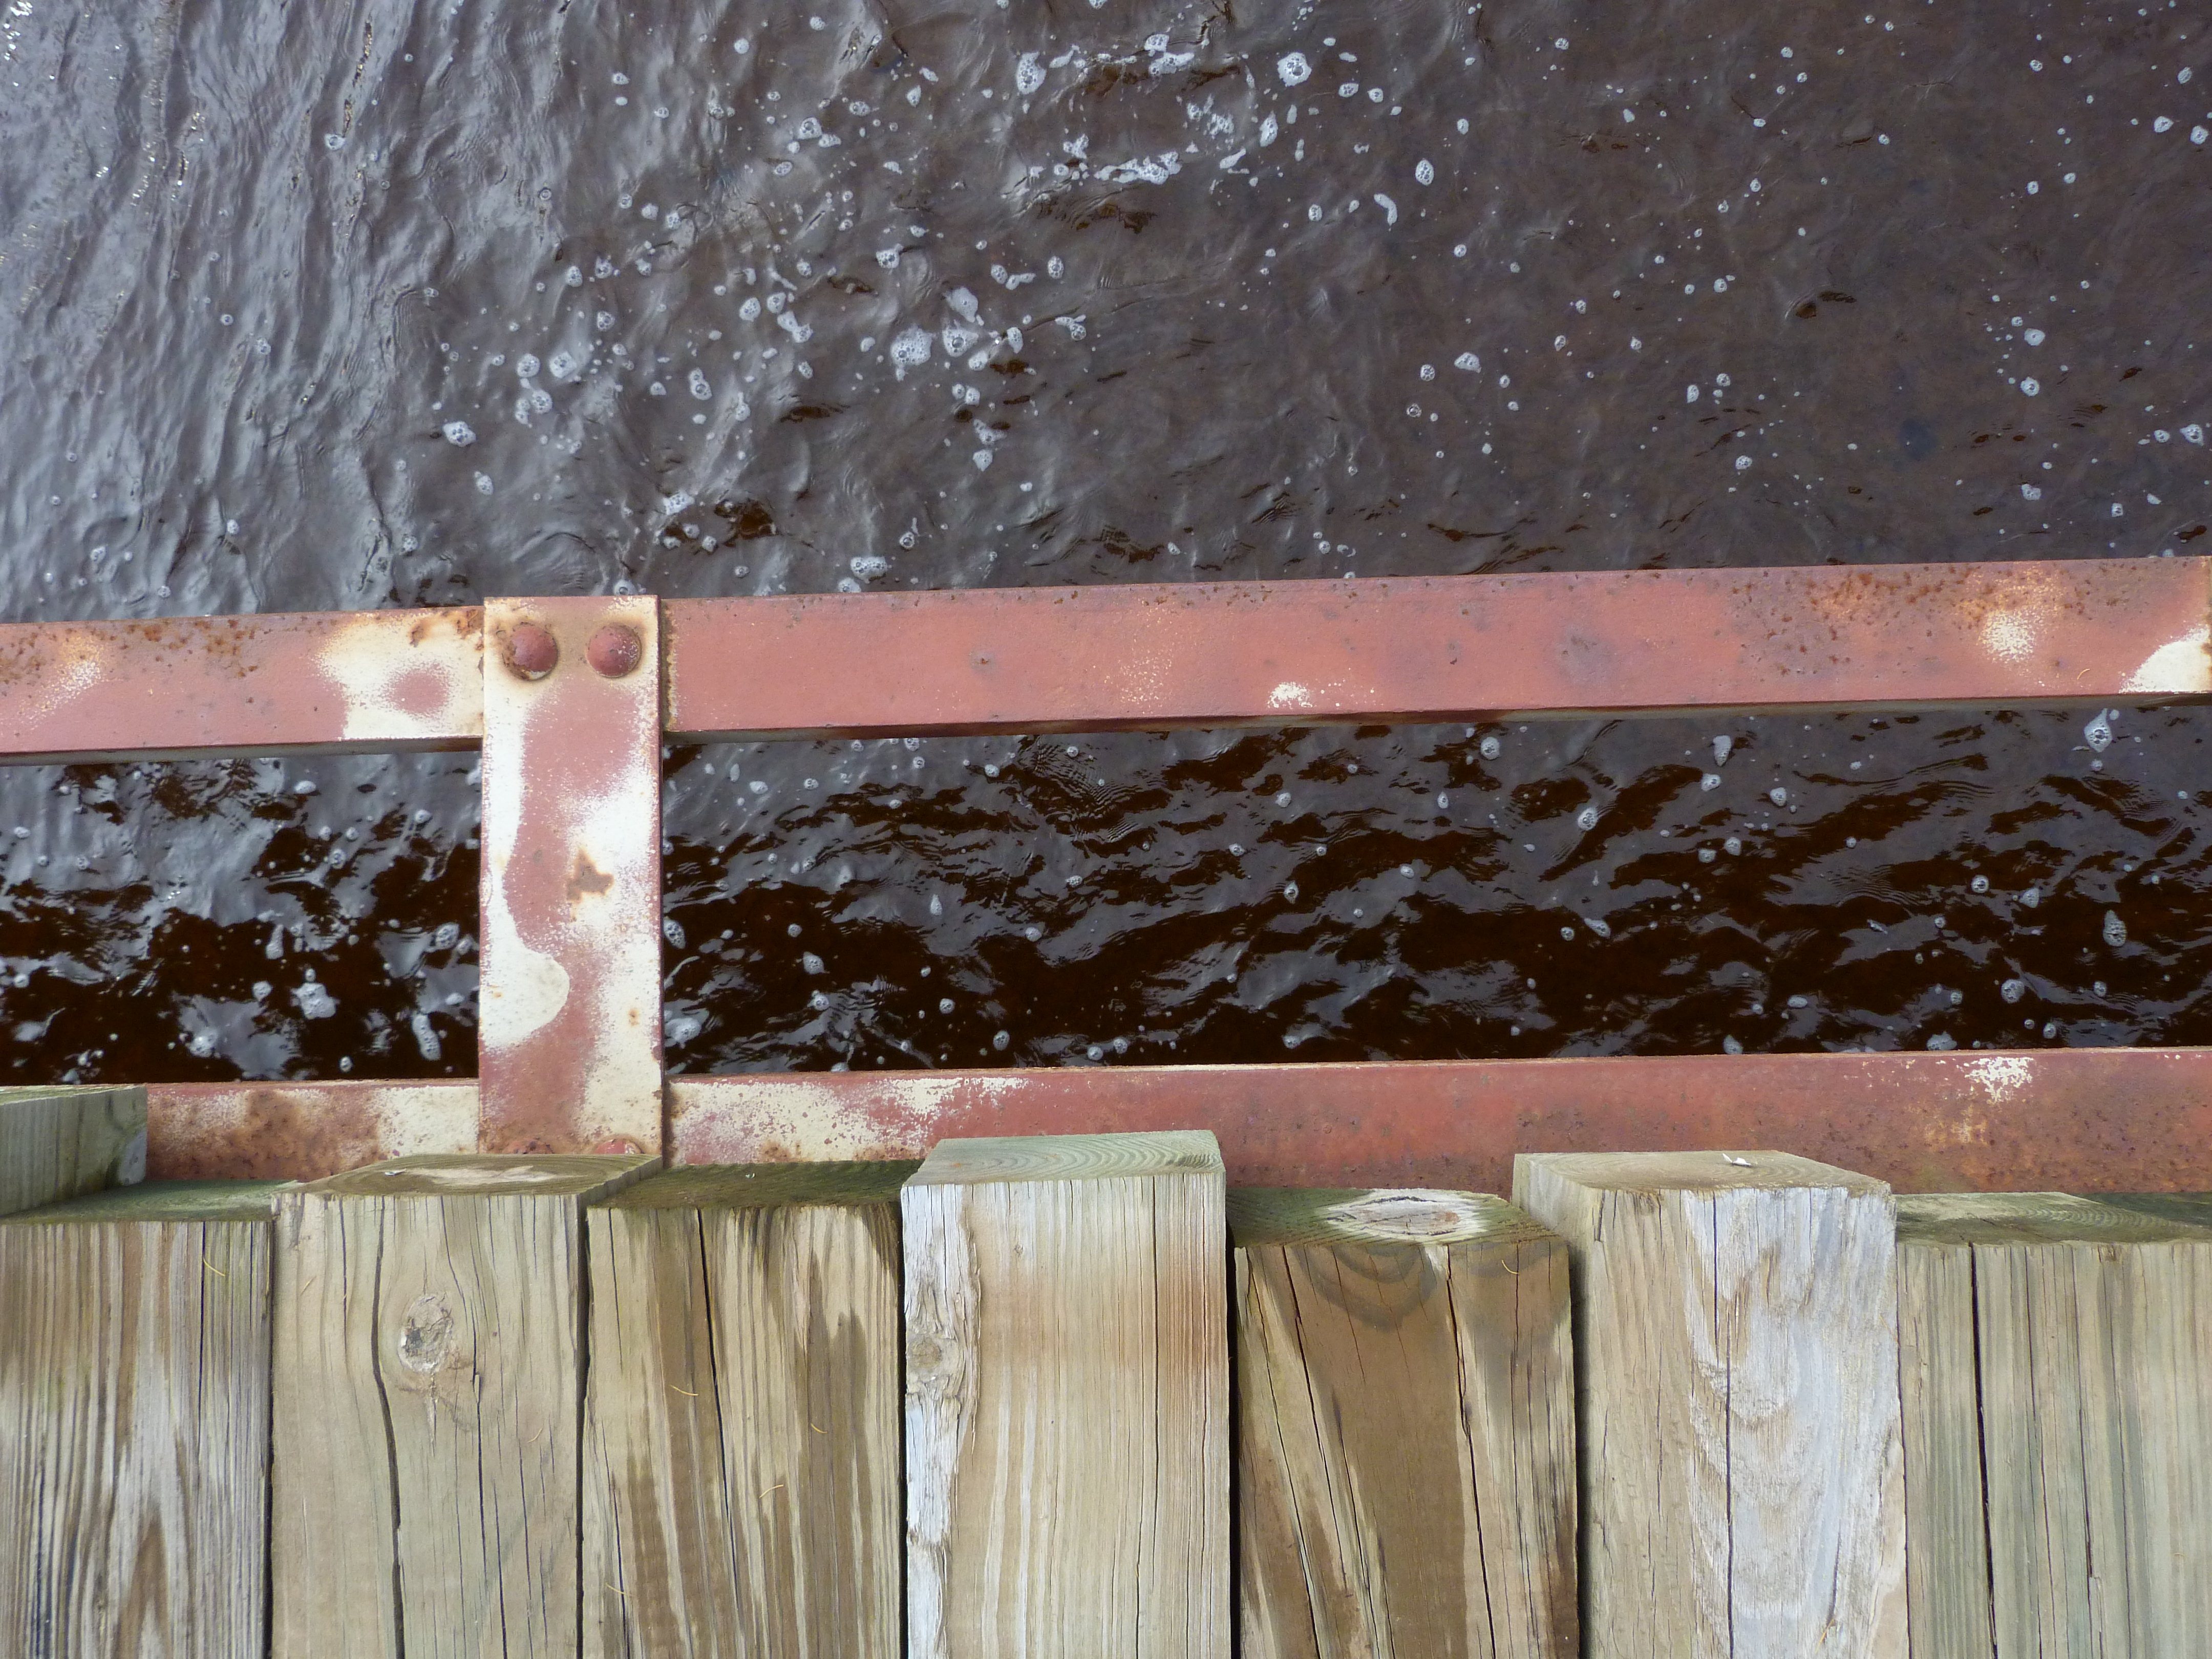
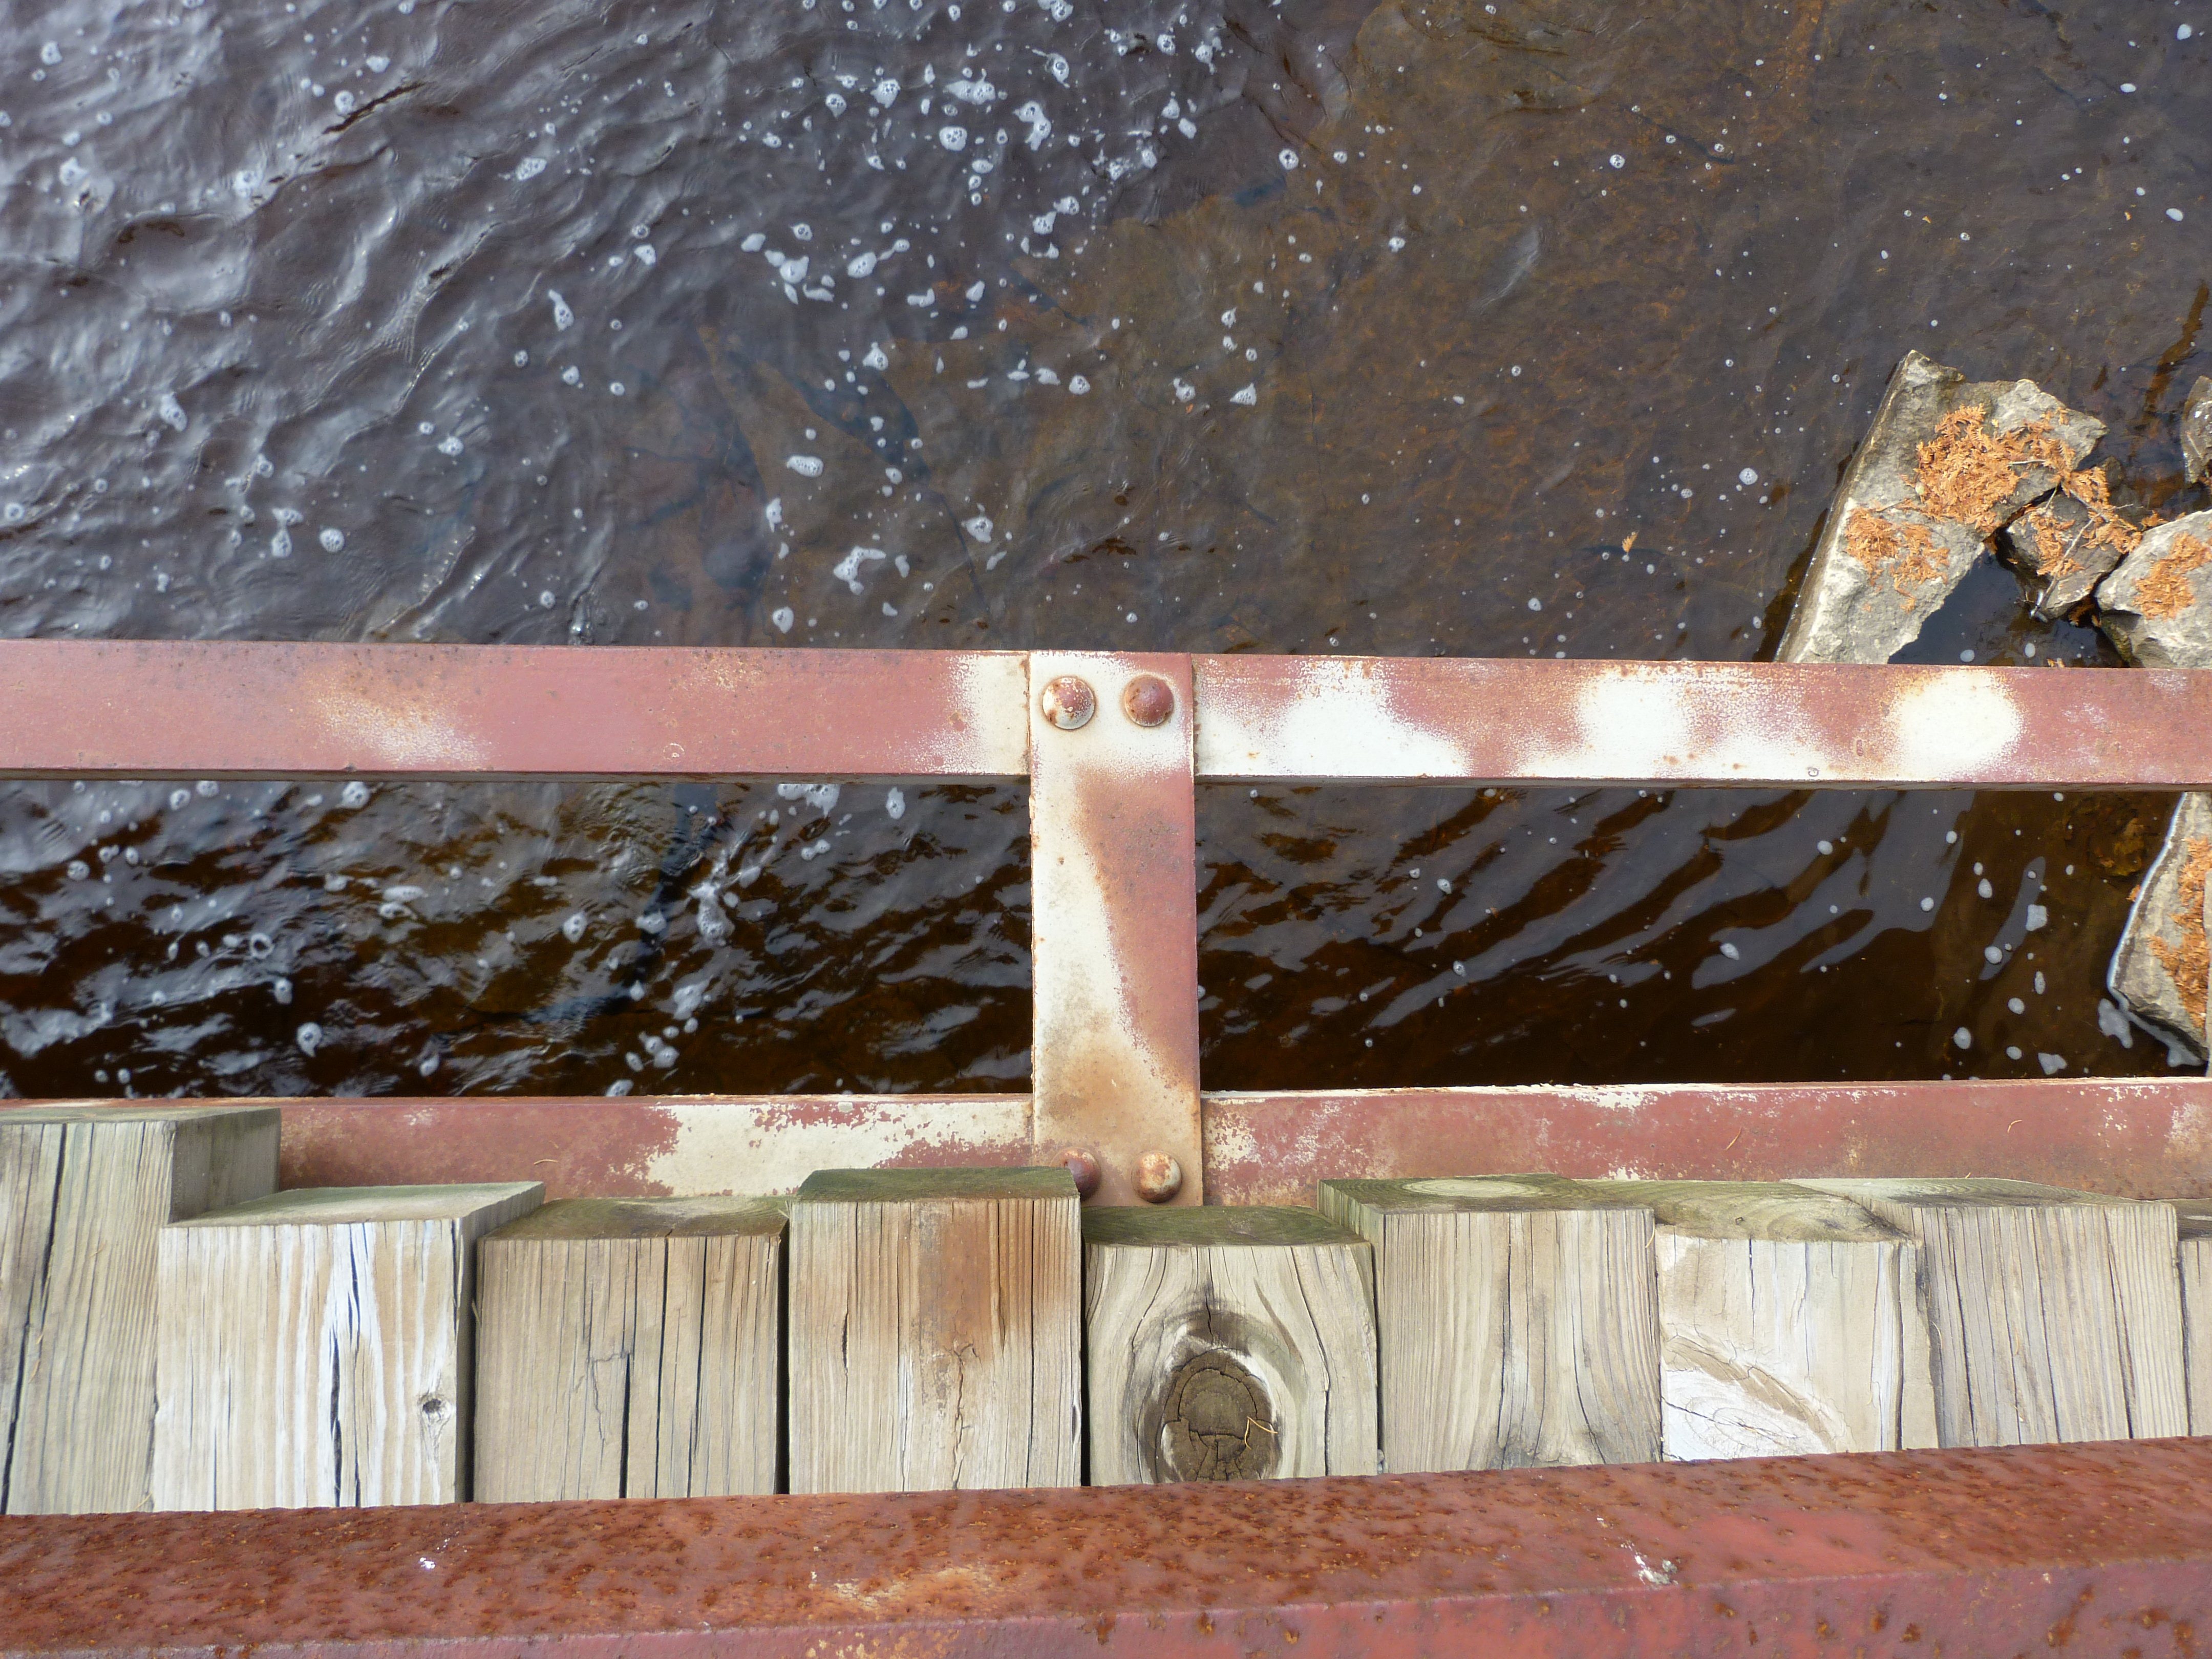
Railing.
![]()

View under bridge.
![]()

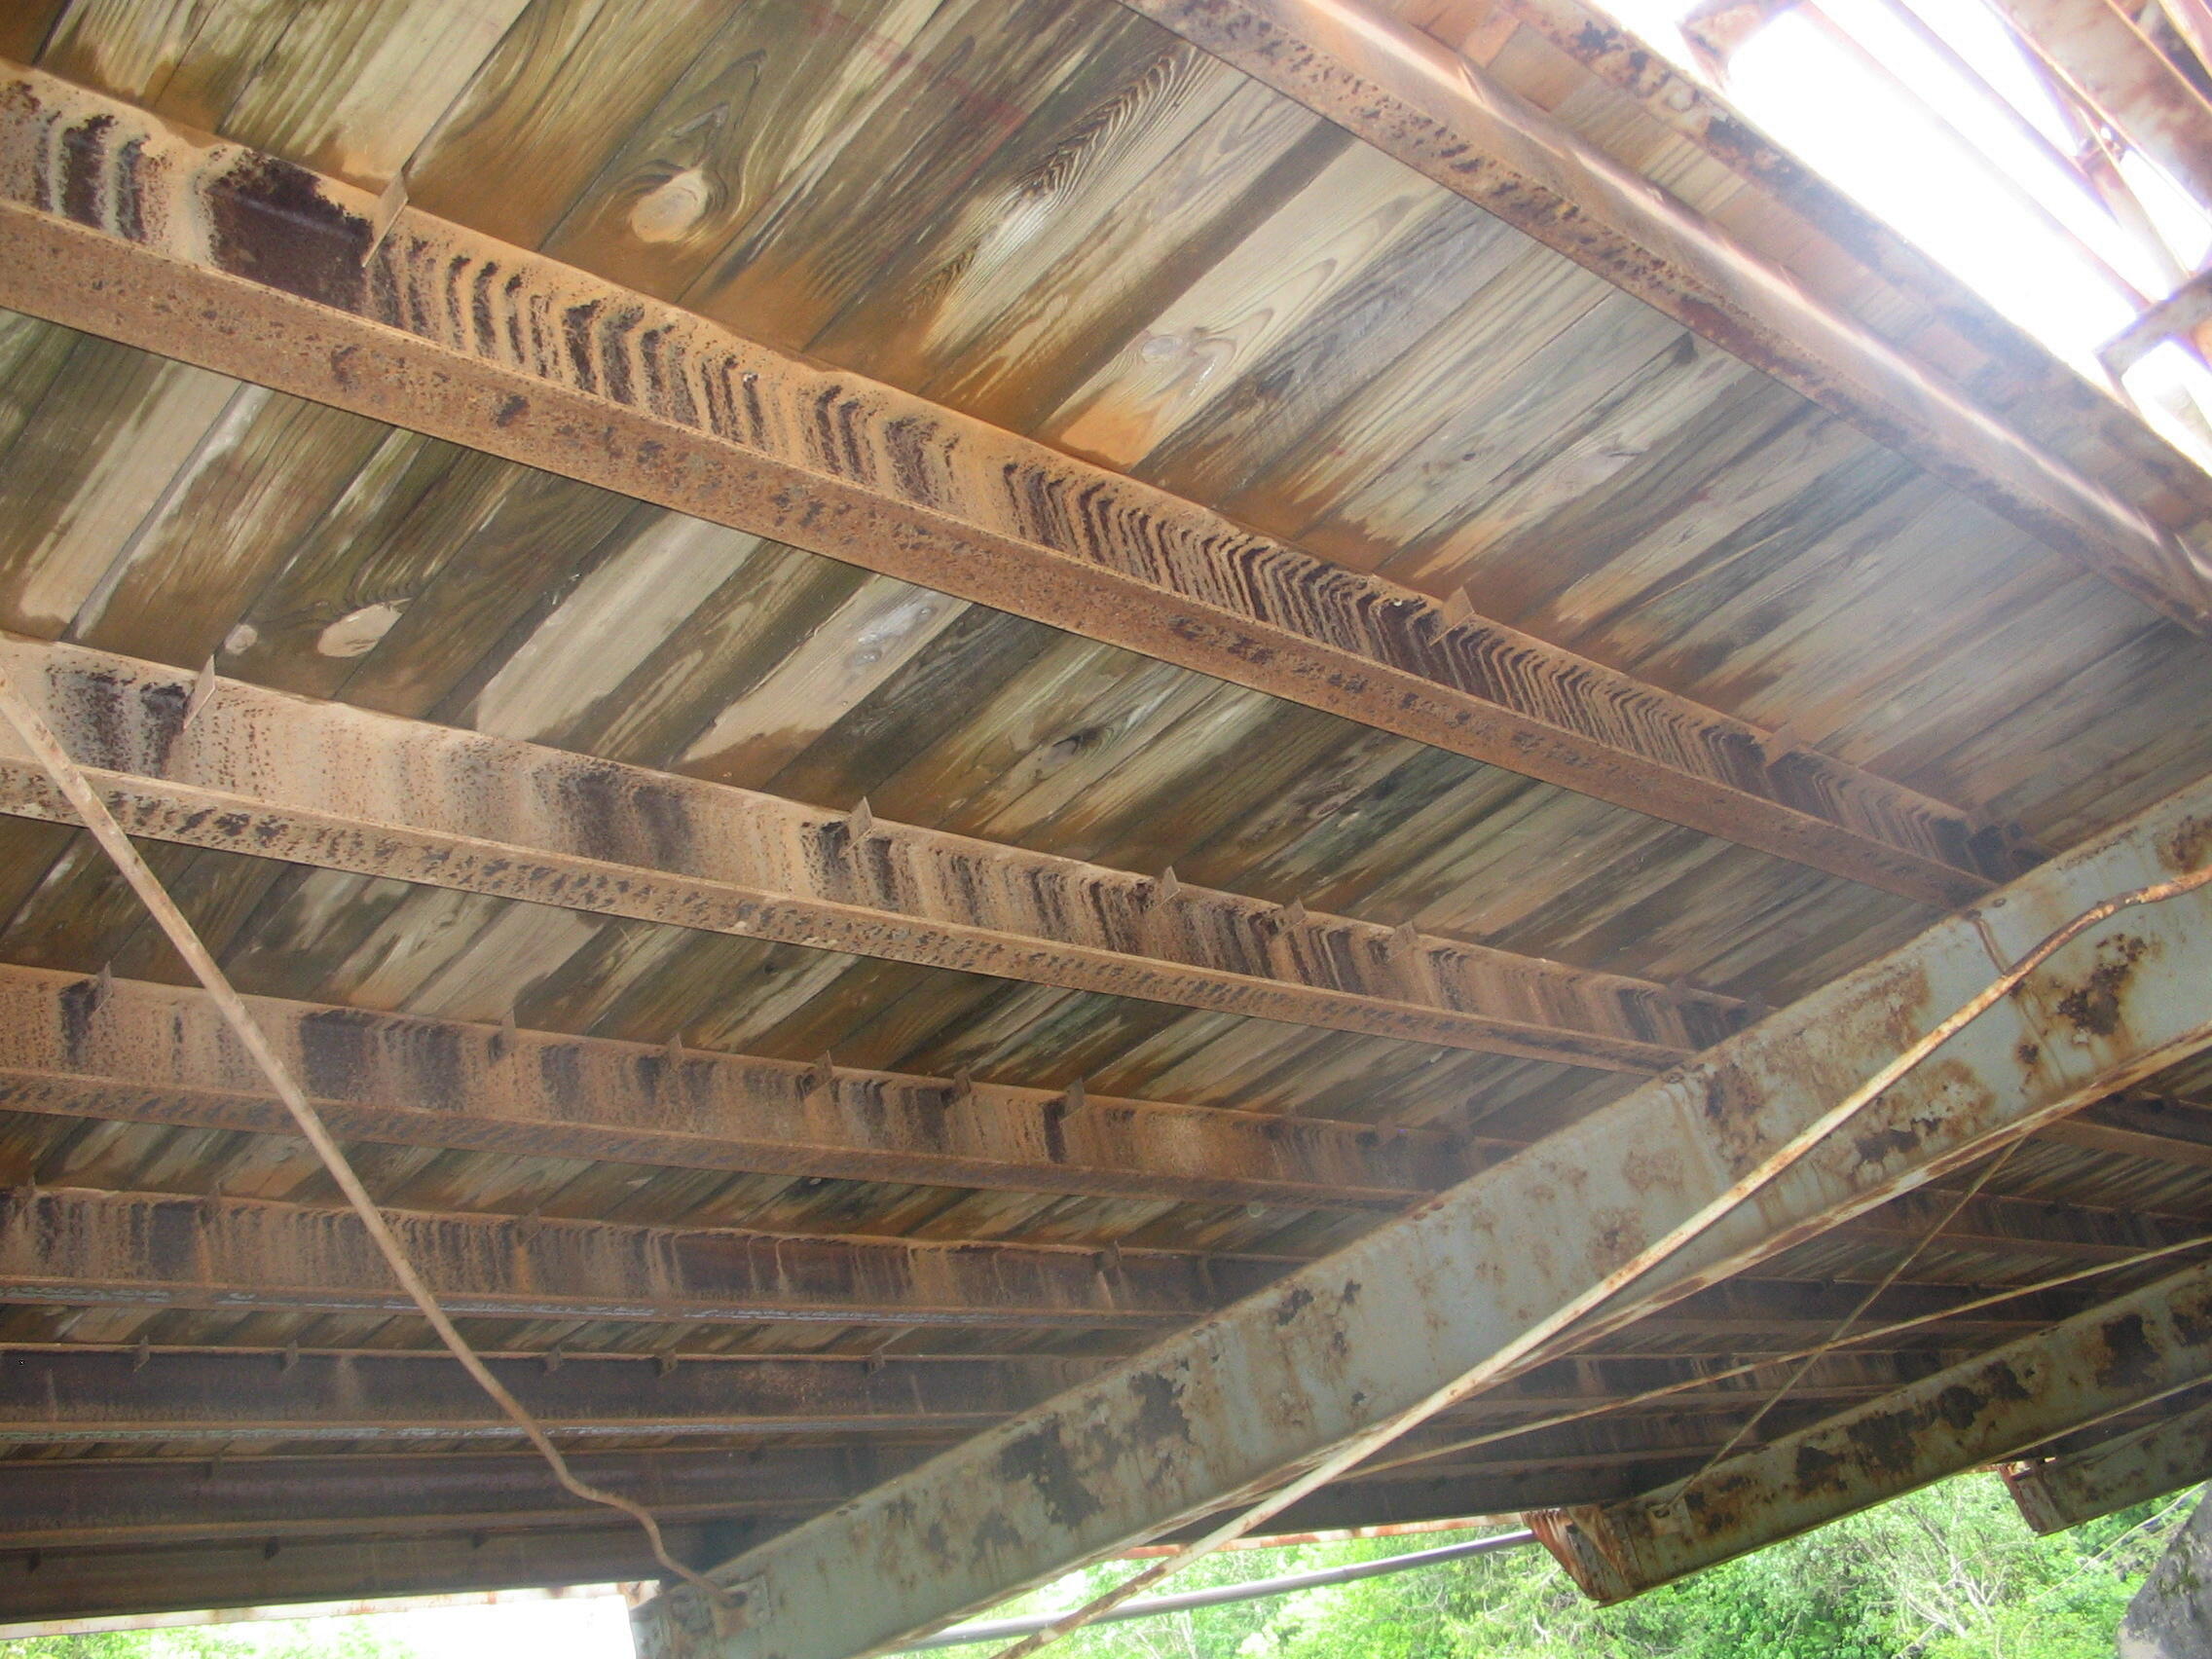
Photo Credit: Randy Mulder
Views under bridge.
![]()
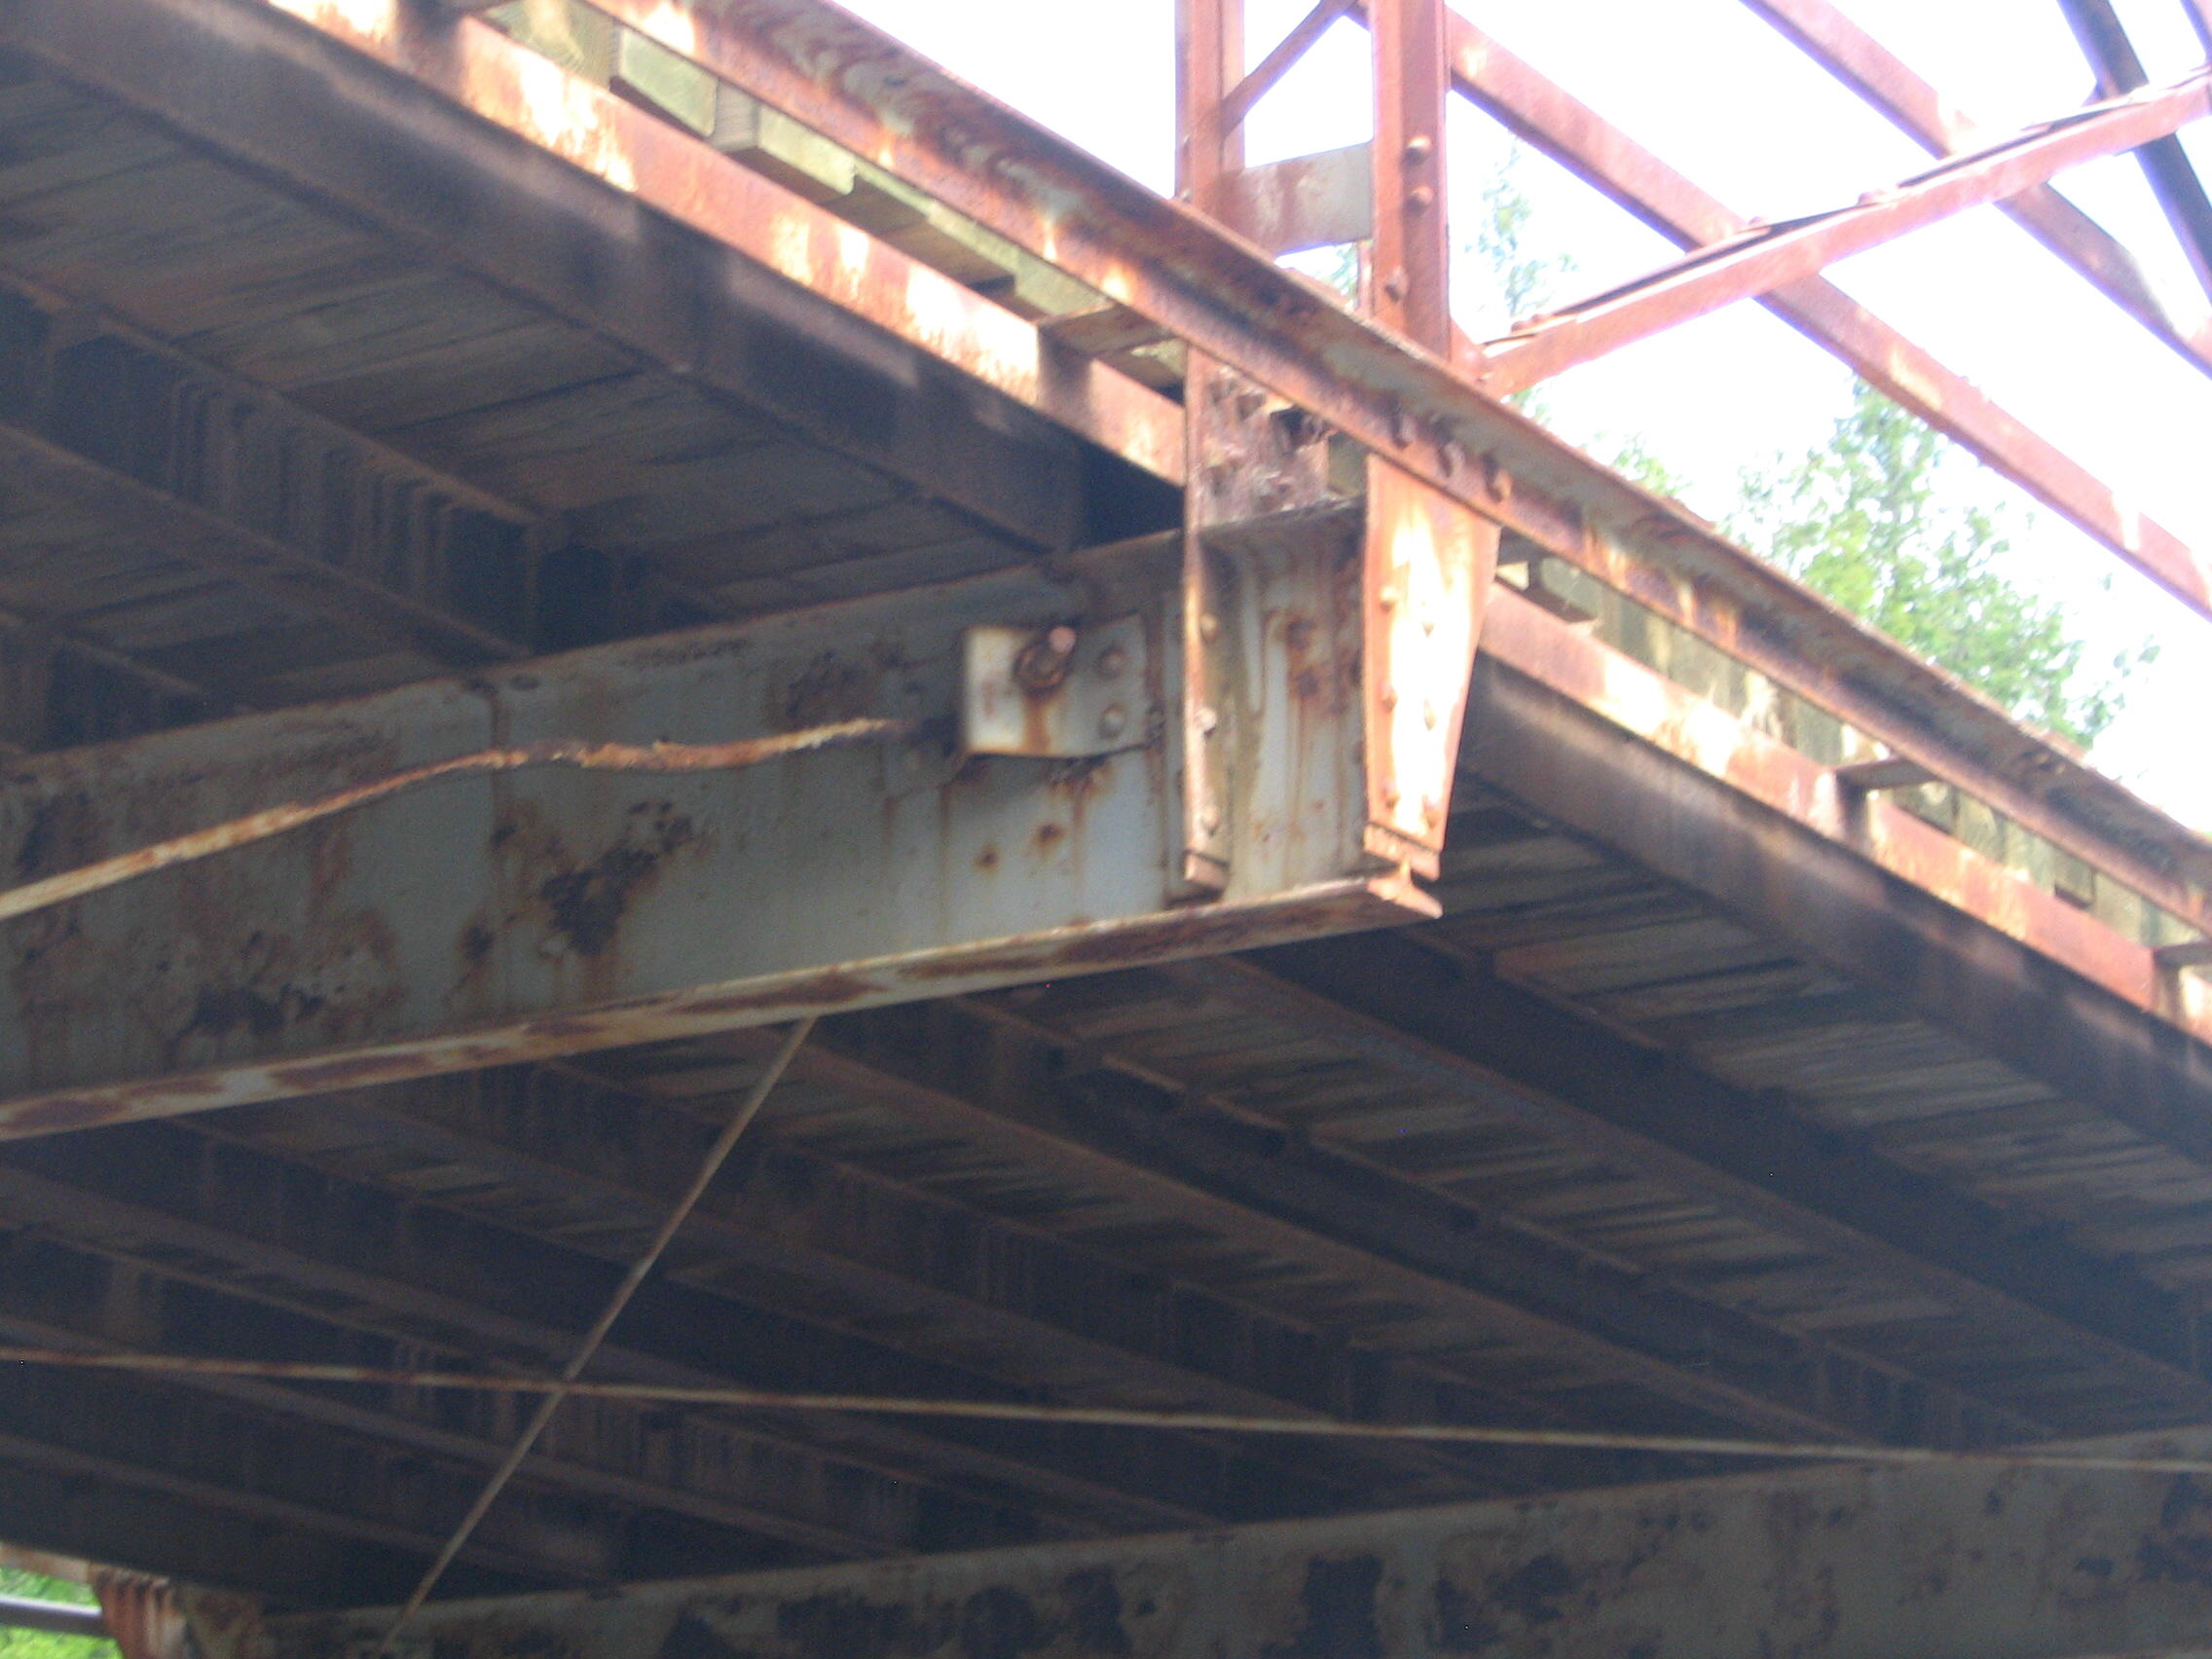

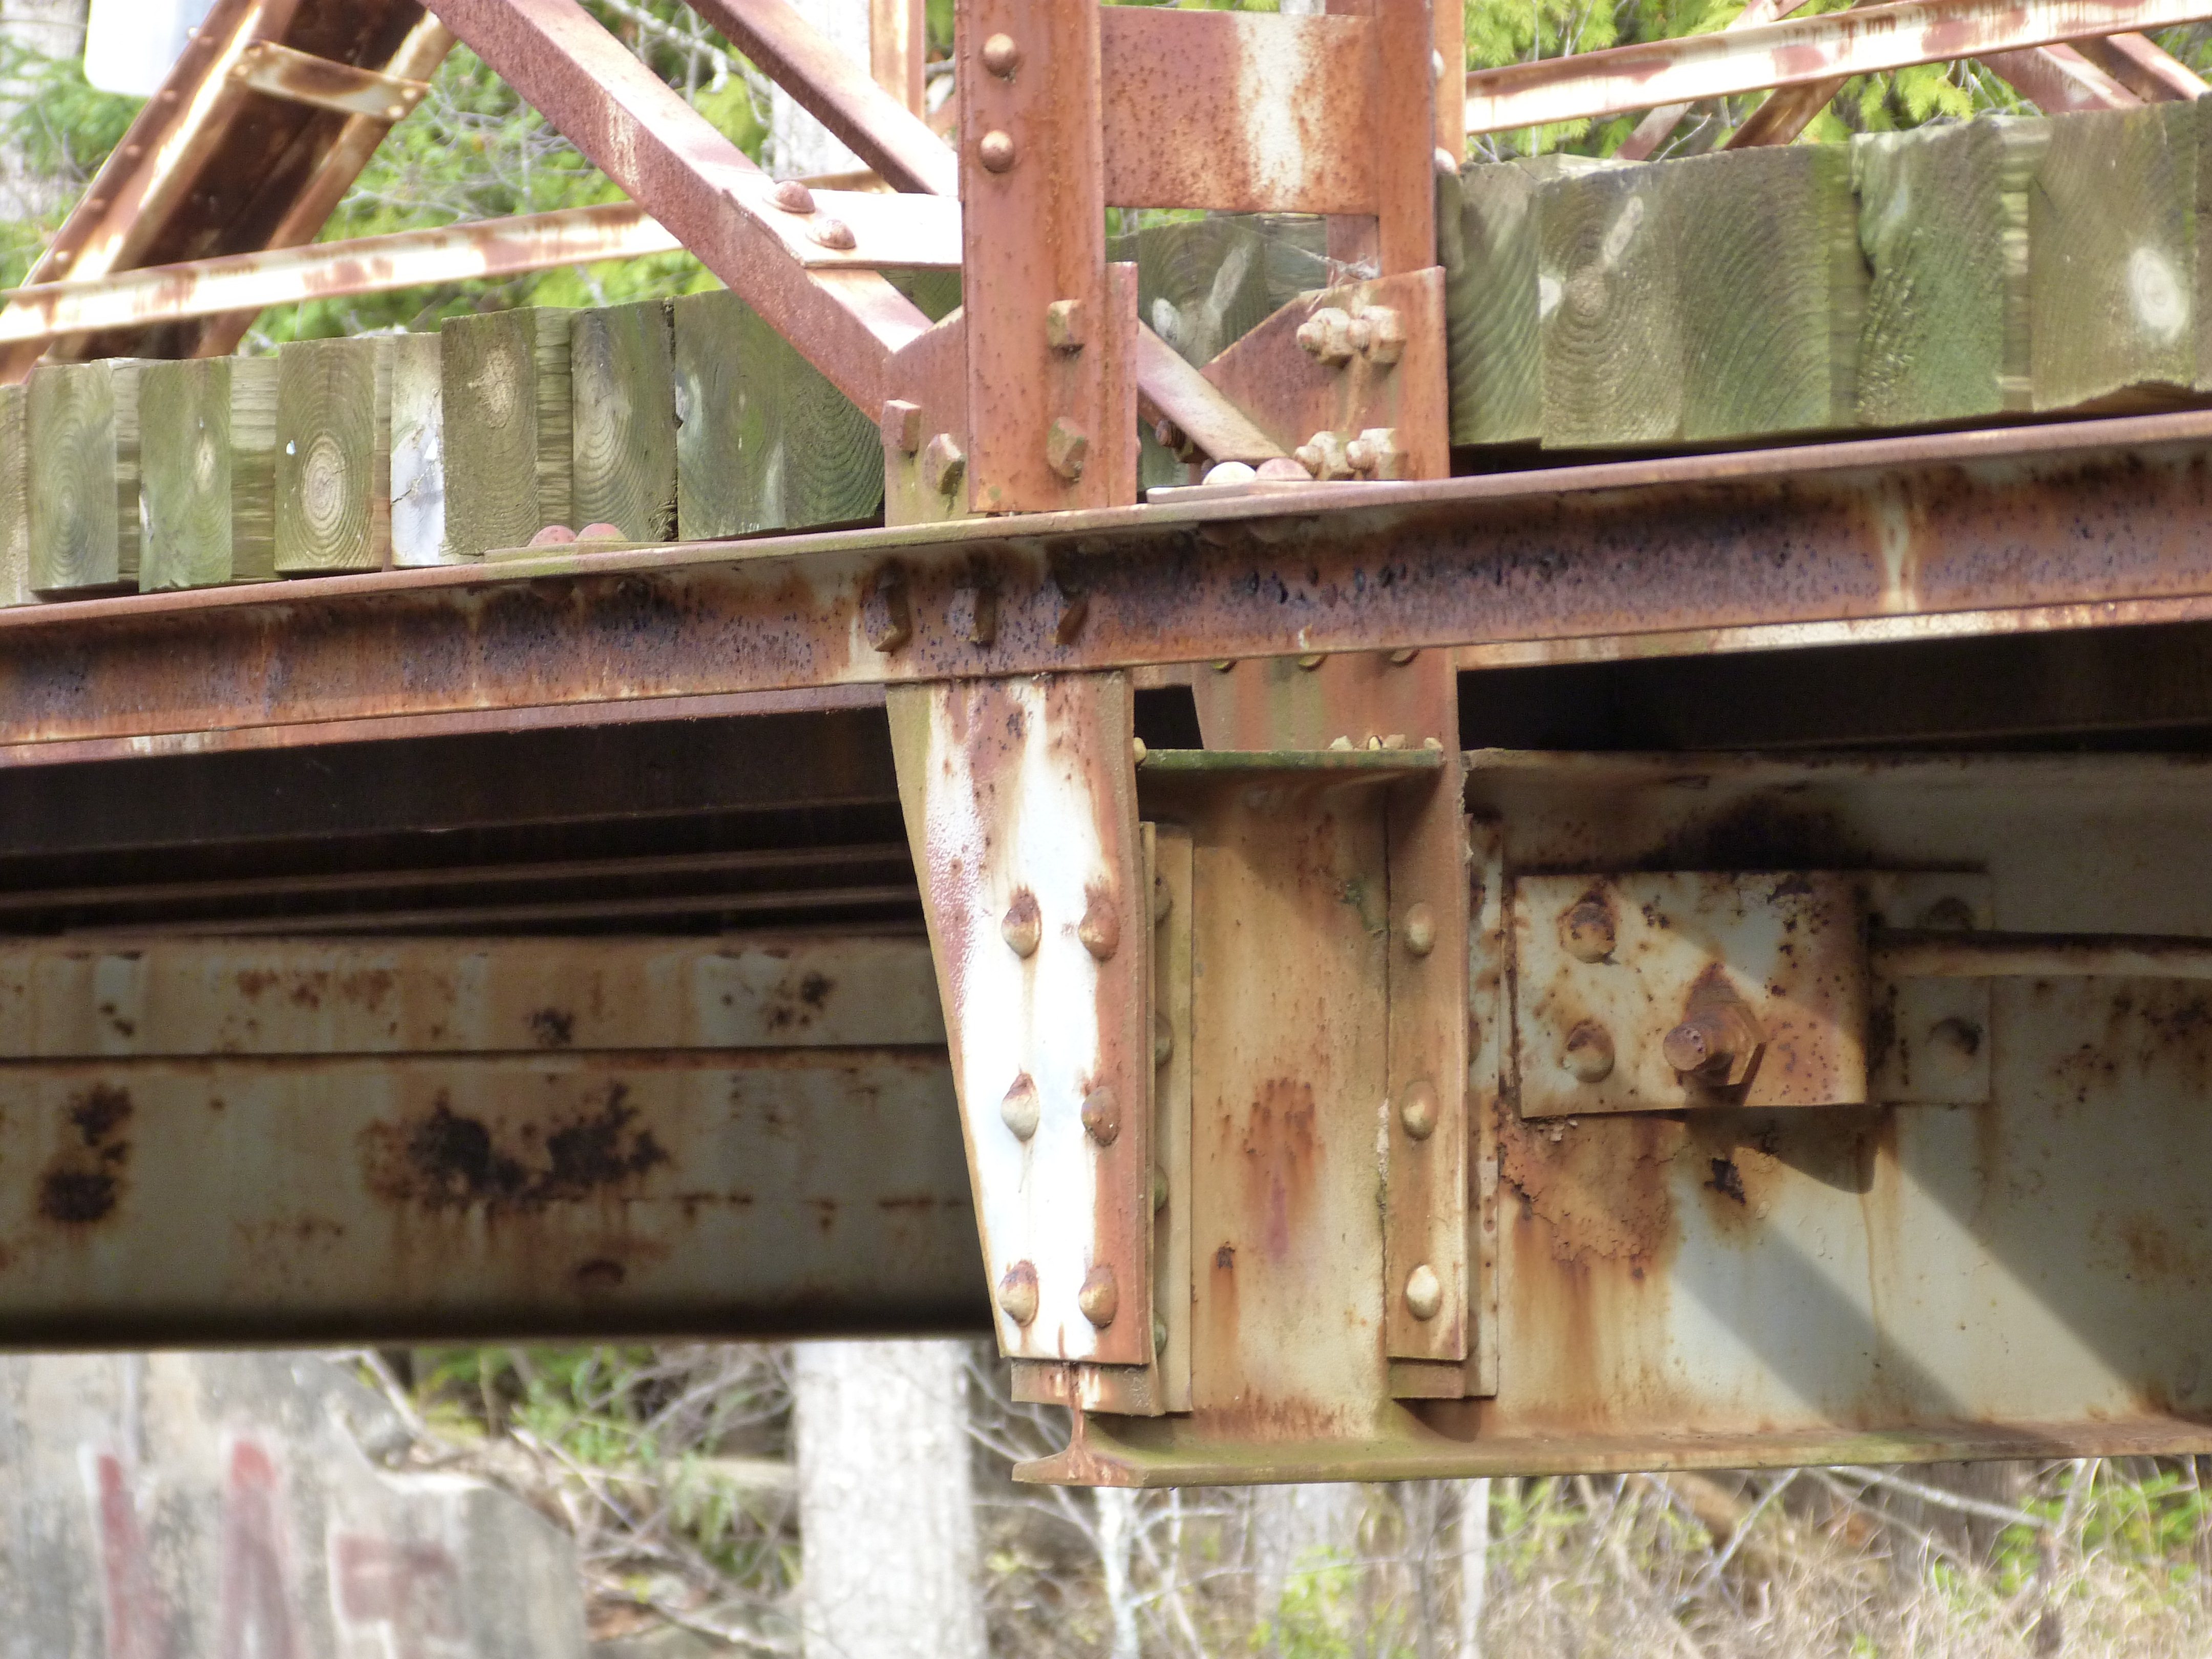
Photo Credit: Randy Mulder
Floorbeam.
![]()
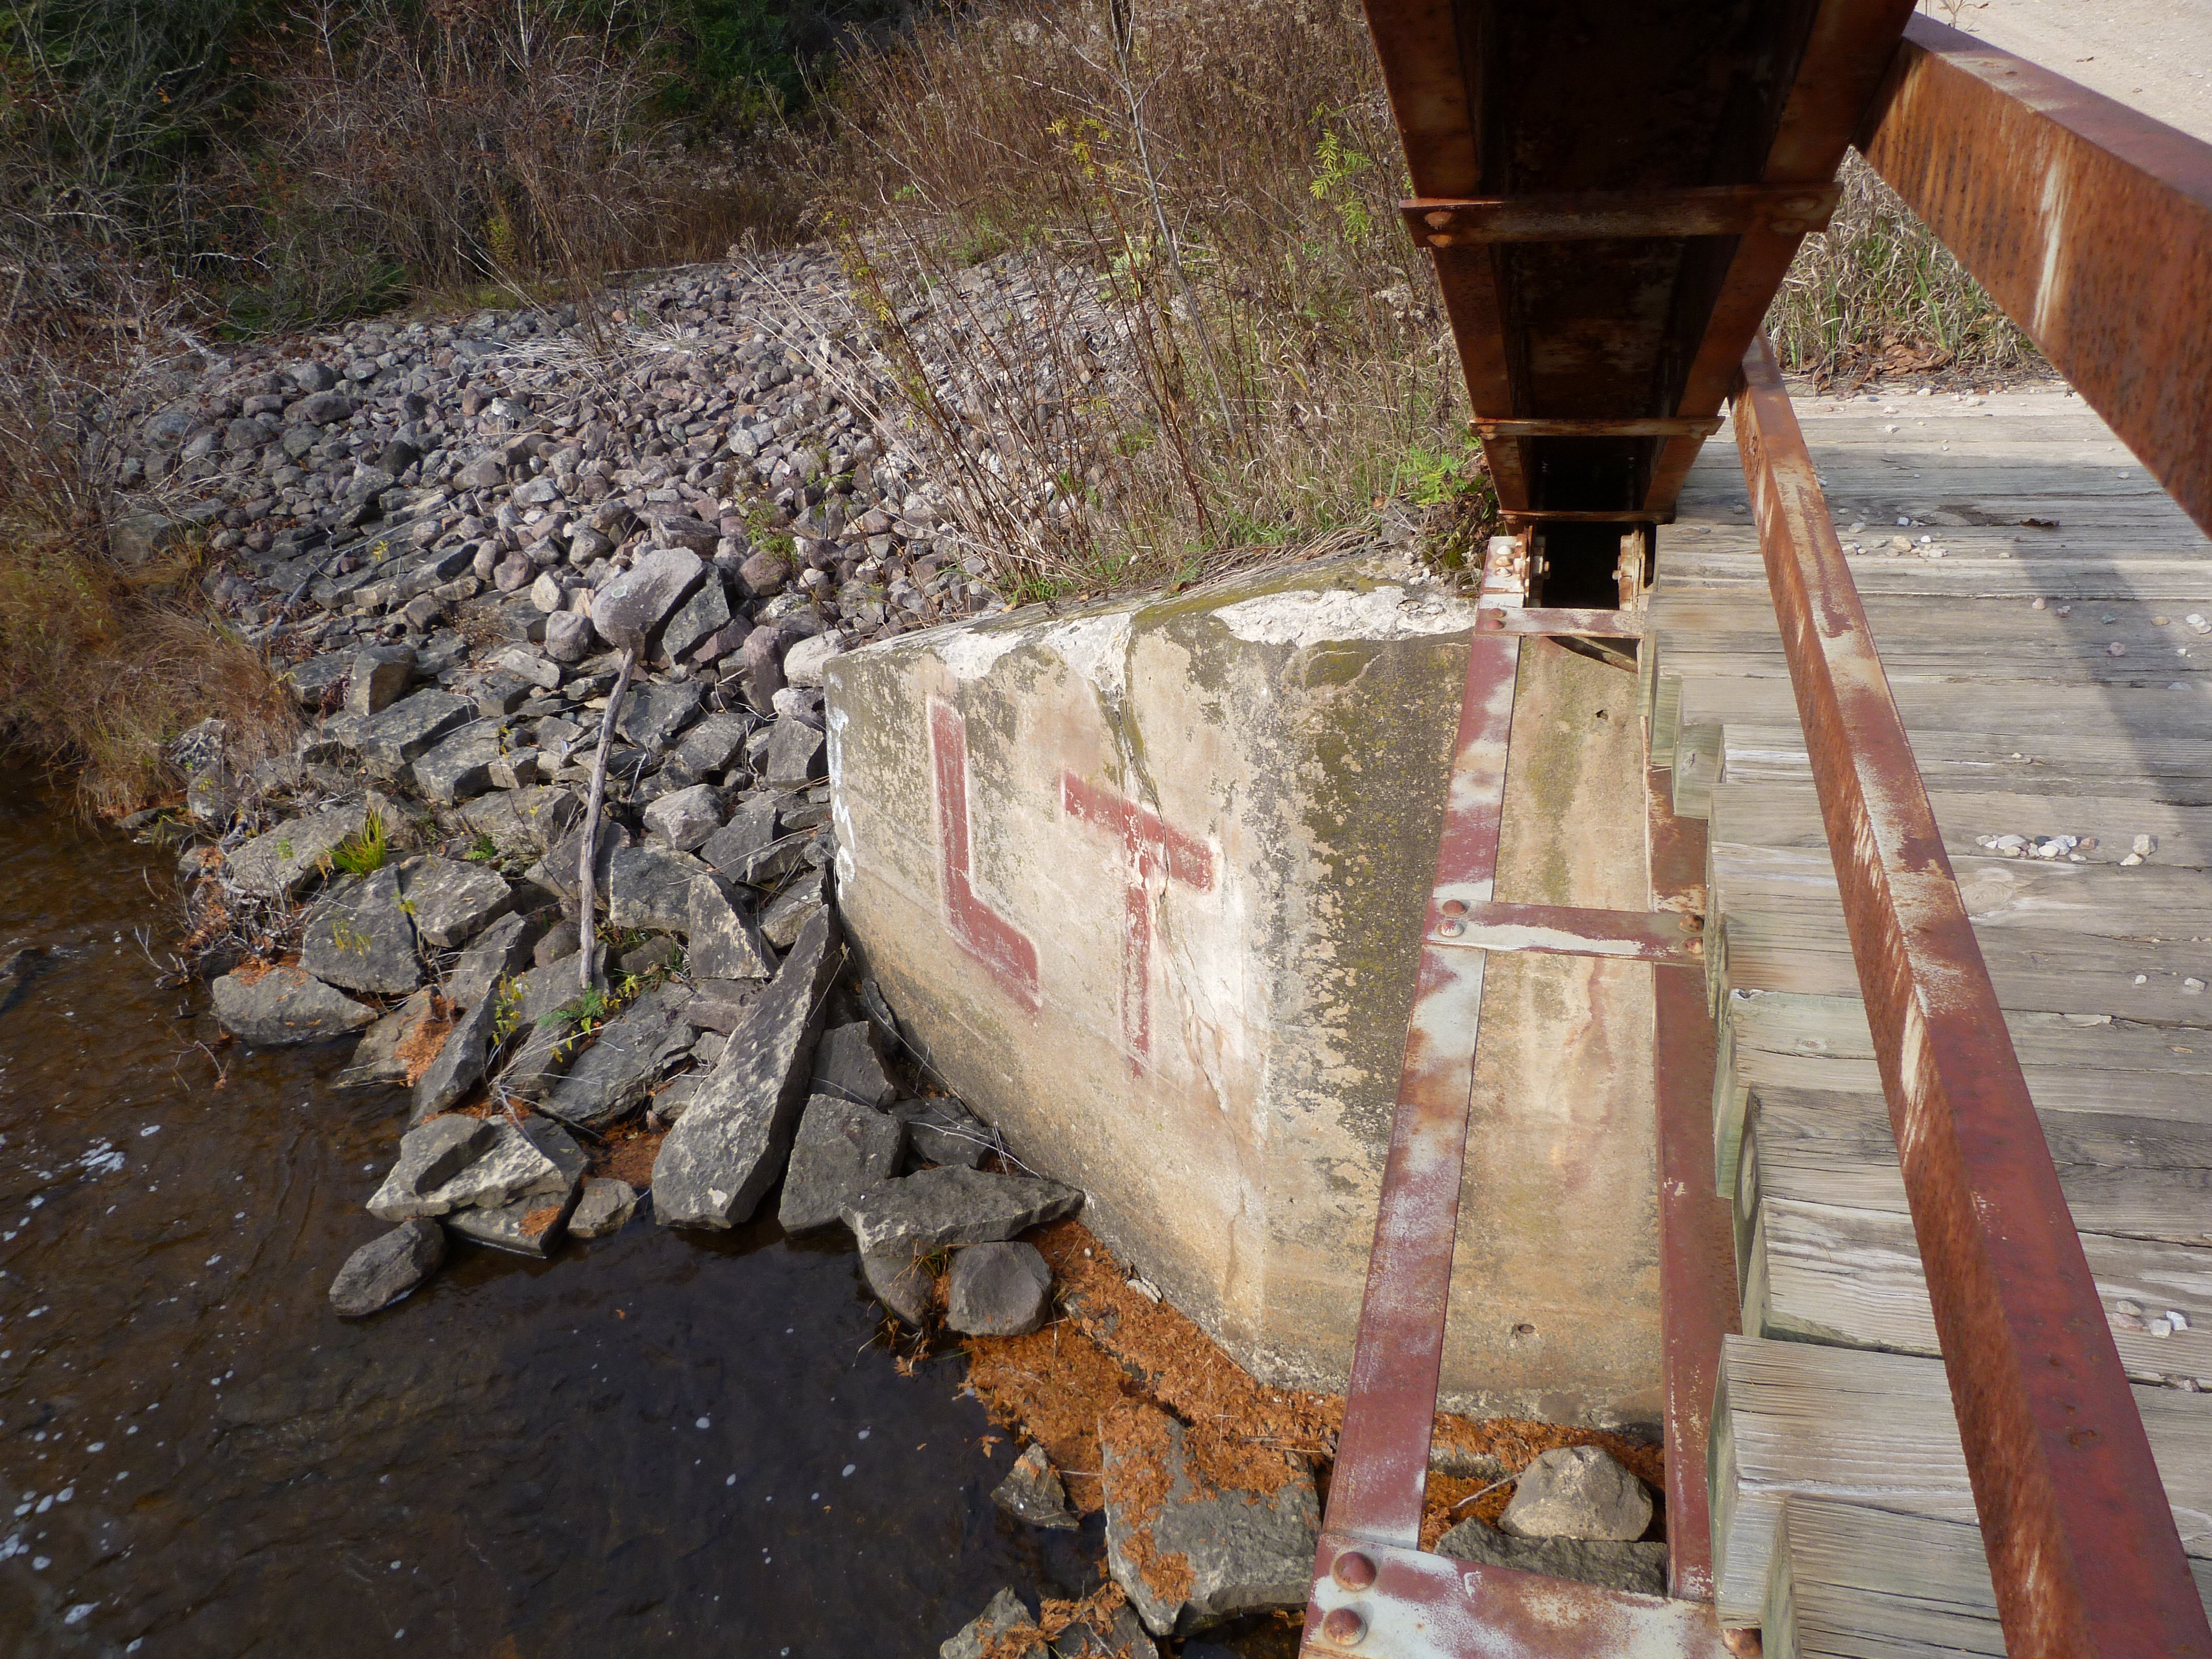

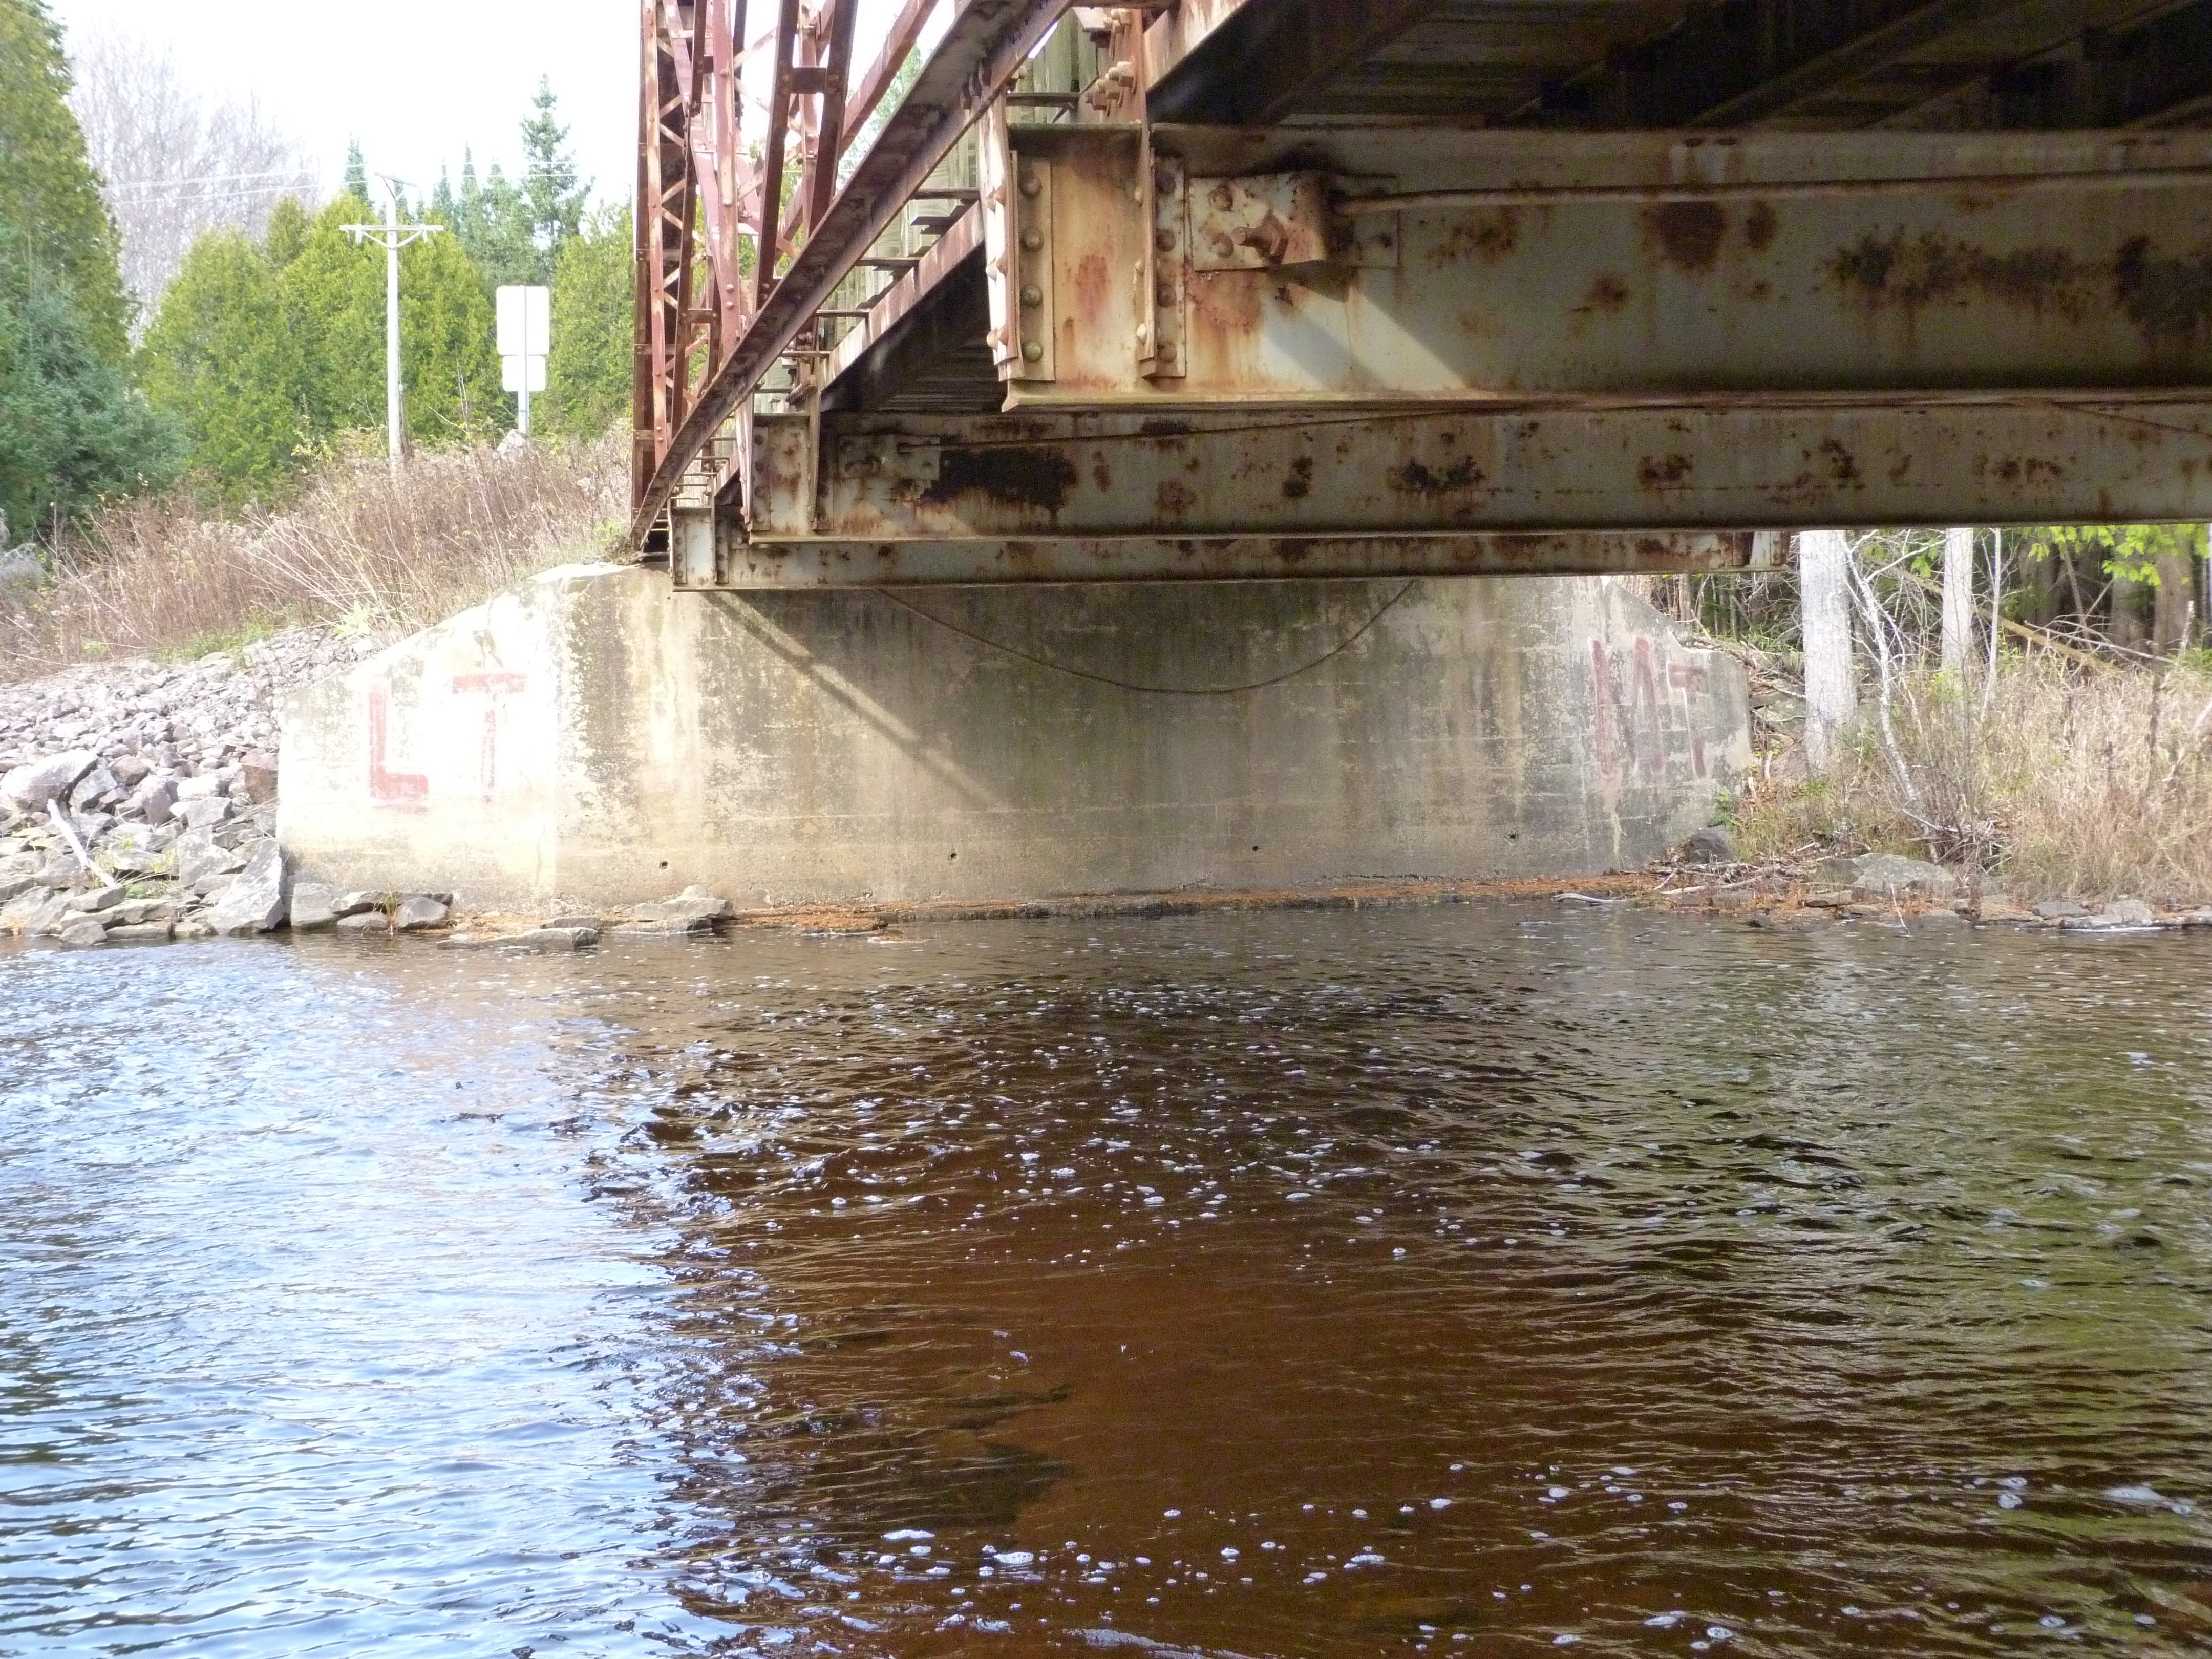
Abutments.
![]()


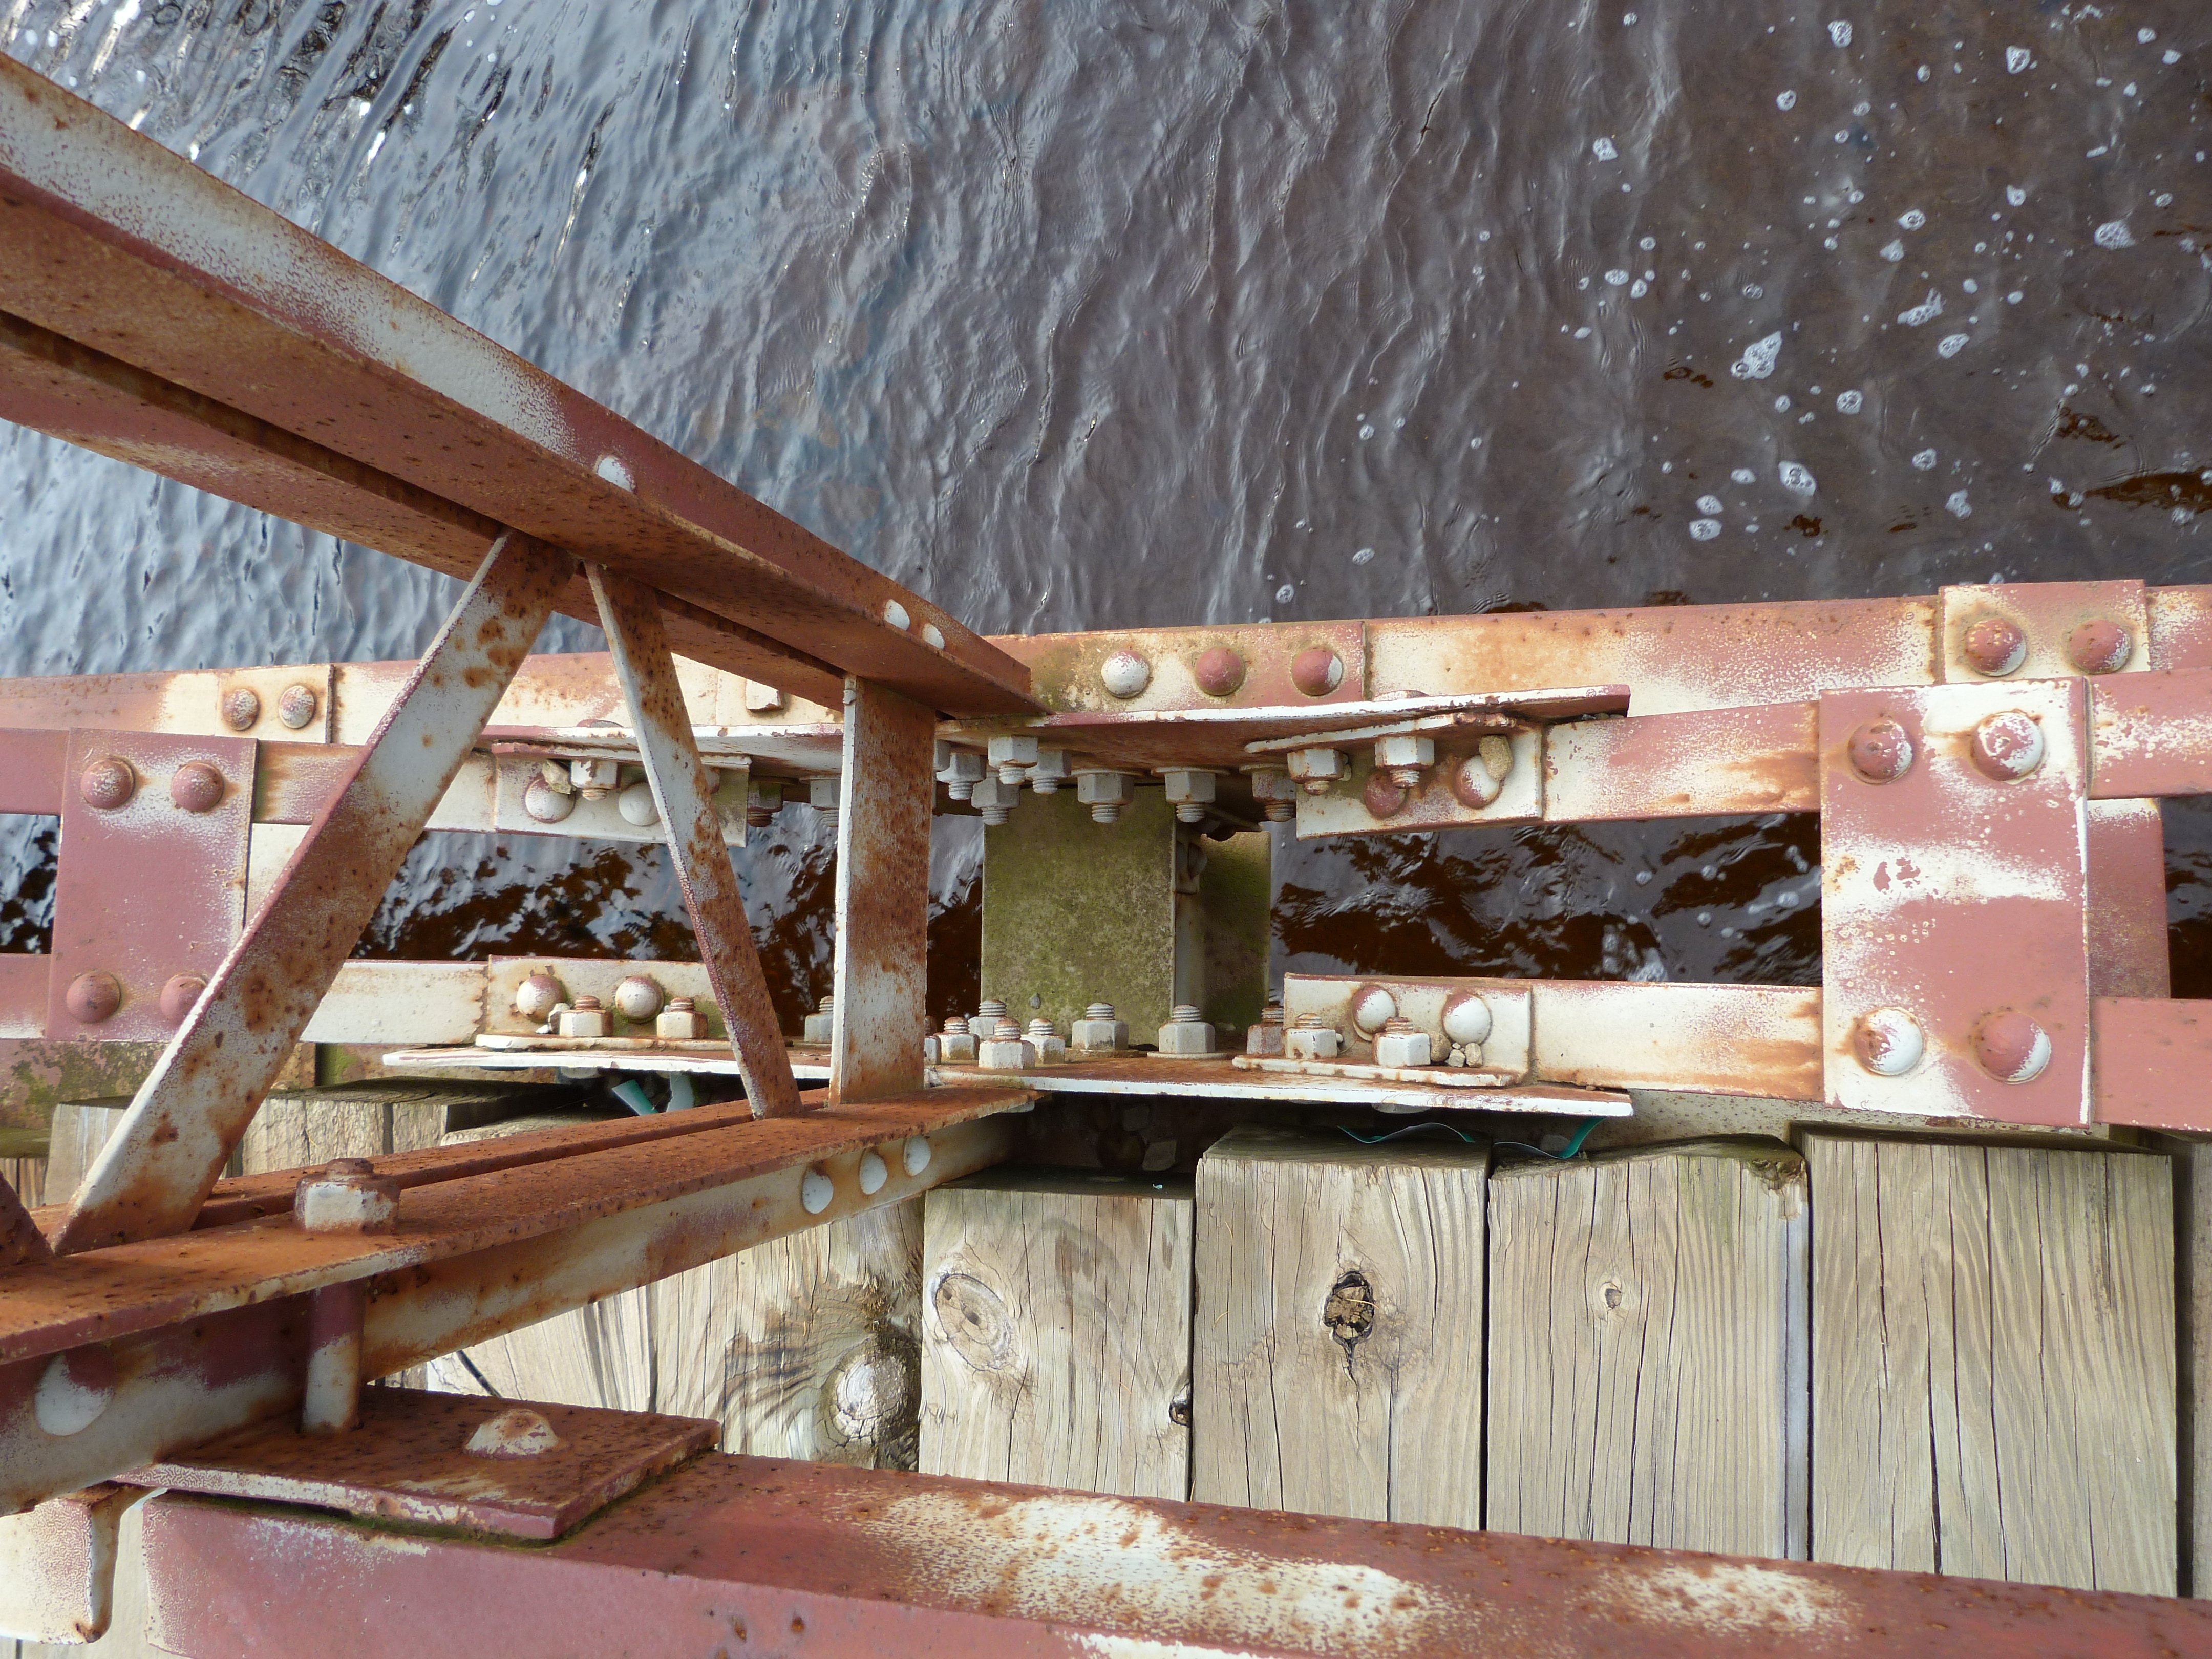
Photo Credit: Randy Mulder
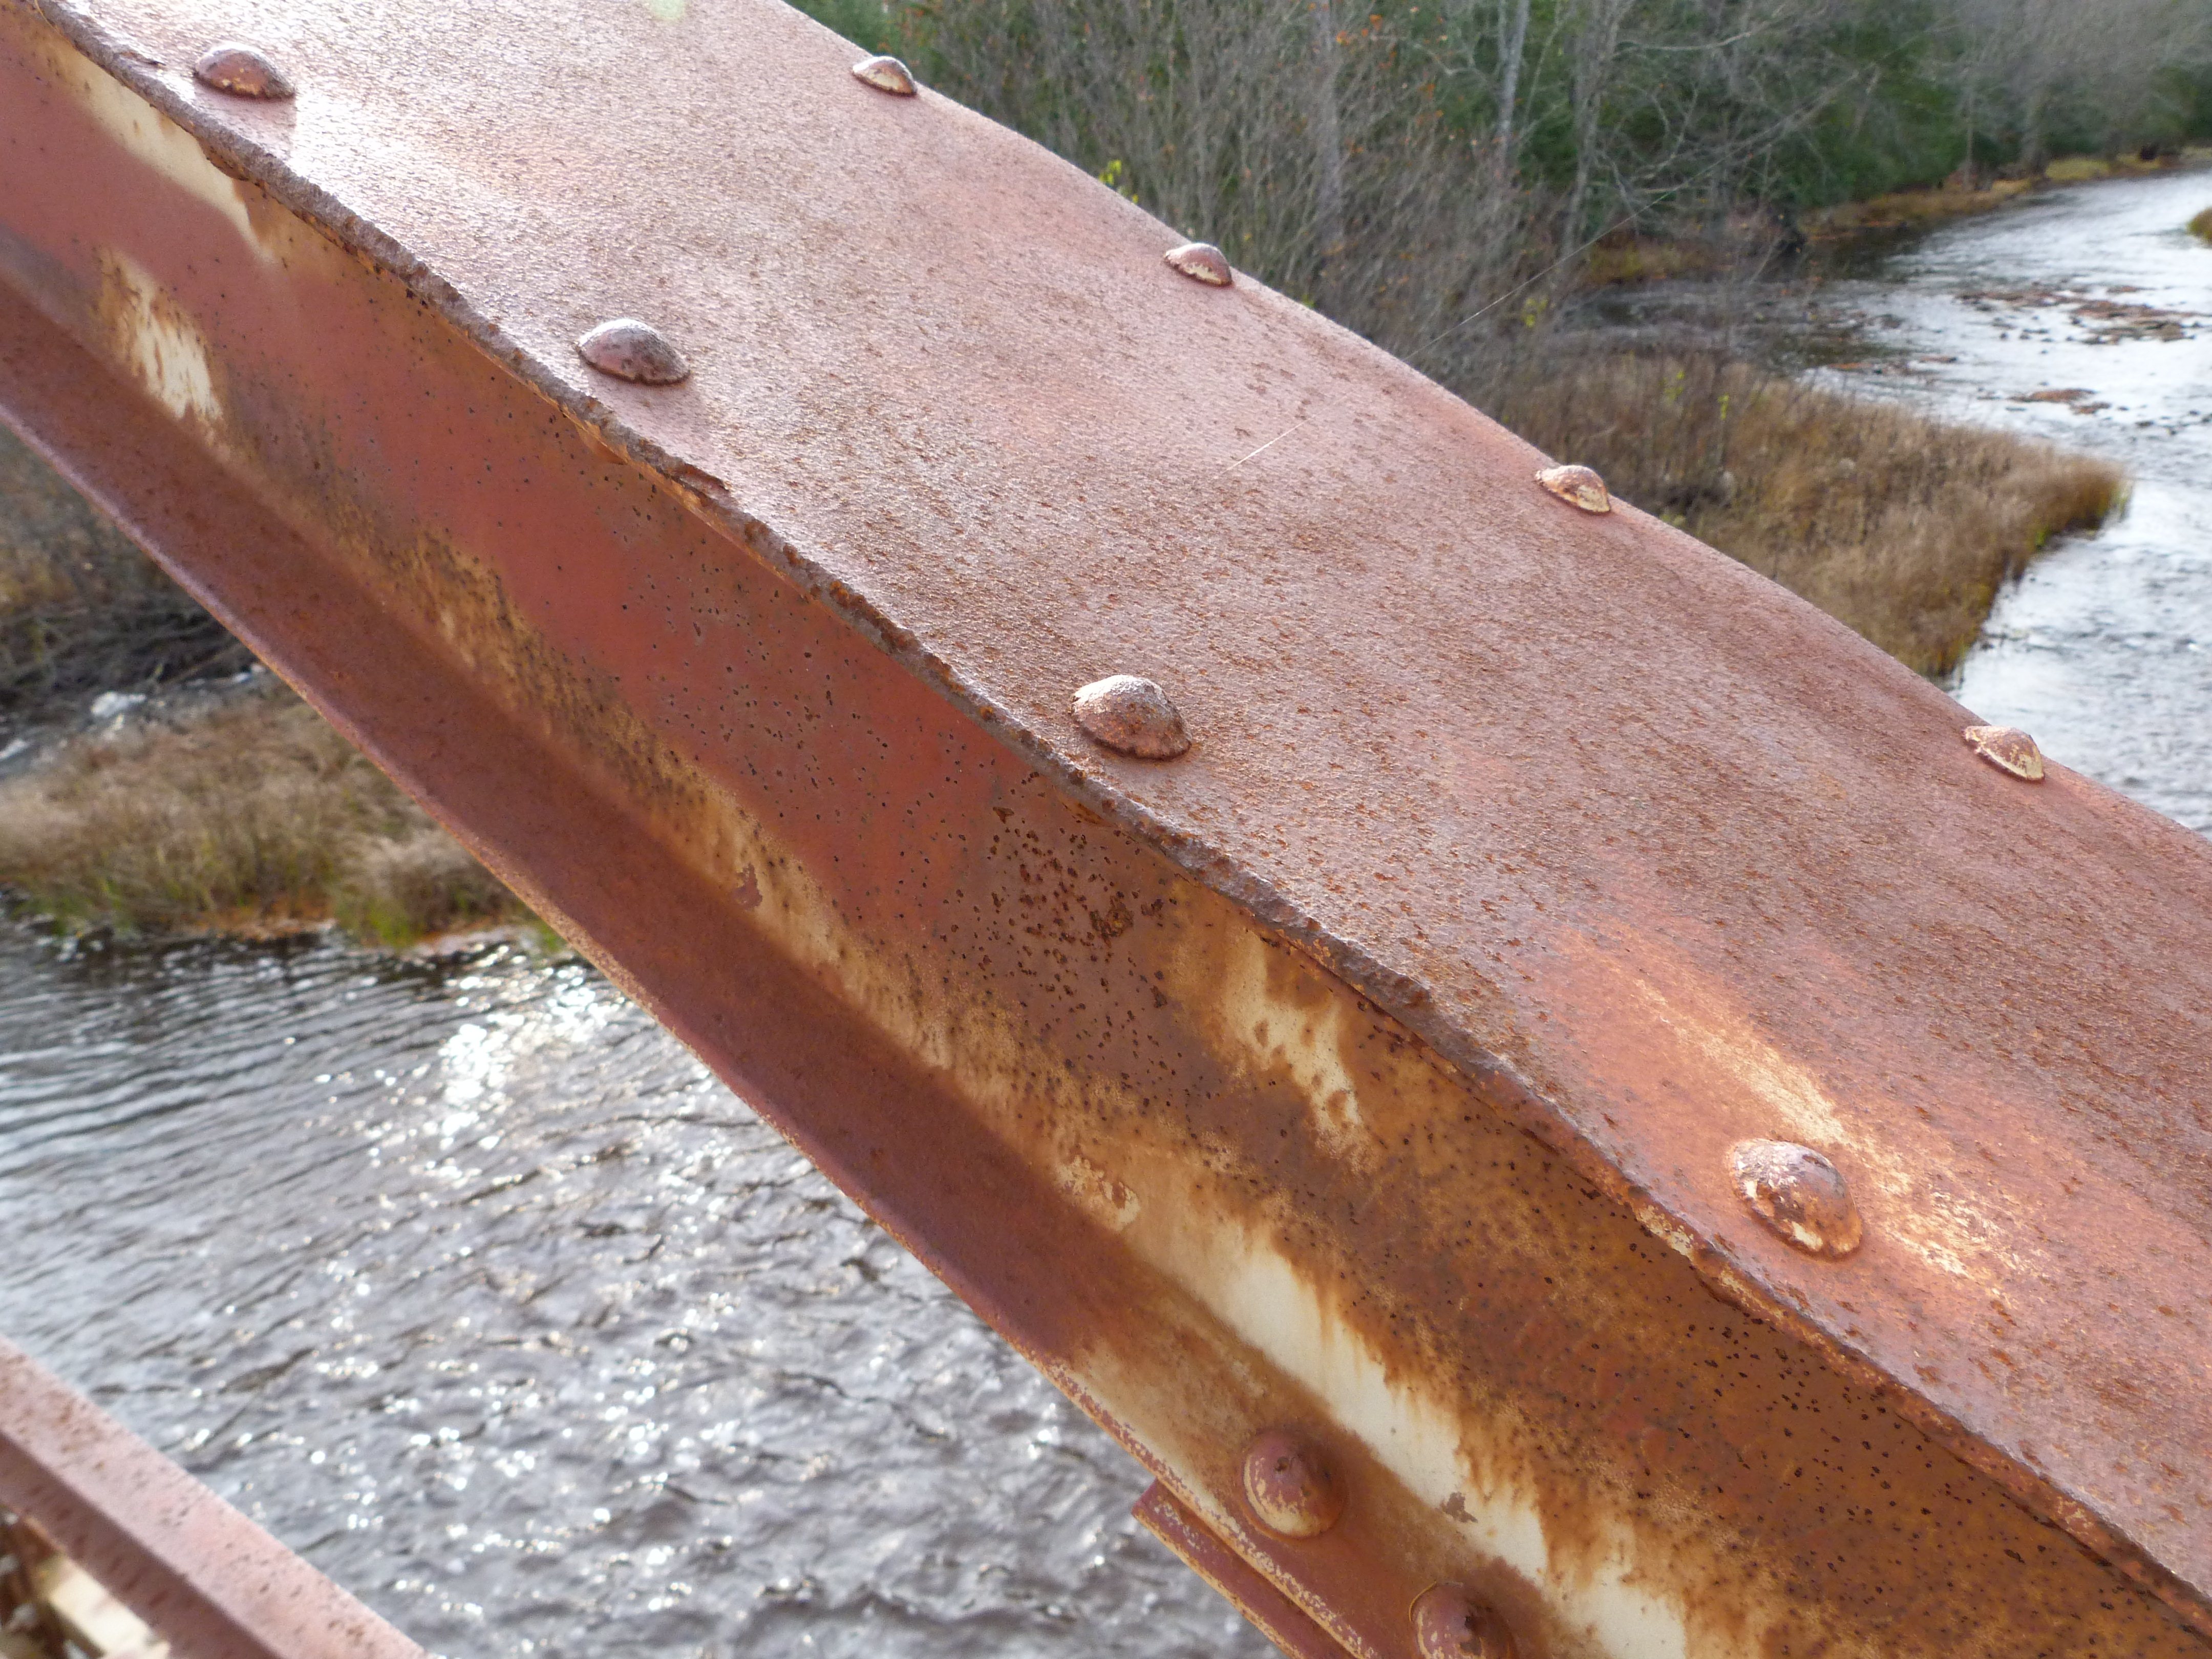
Bolts on bridge which may be from field connections.
![]()
![]()
| Back |
| Home |
| Top |

![]()