Uncredited photos on this page taken by: Nathan Holth. Unless stated in a caption, all photos are Copyright with All Rights Reserved. Learn about reuse of our photos.
![]()
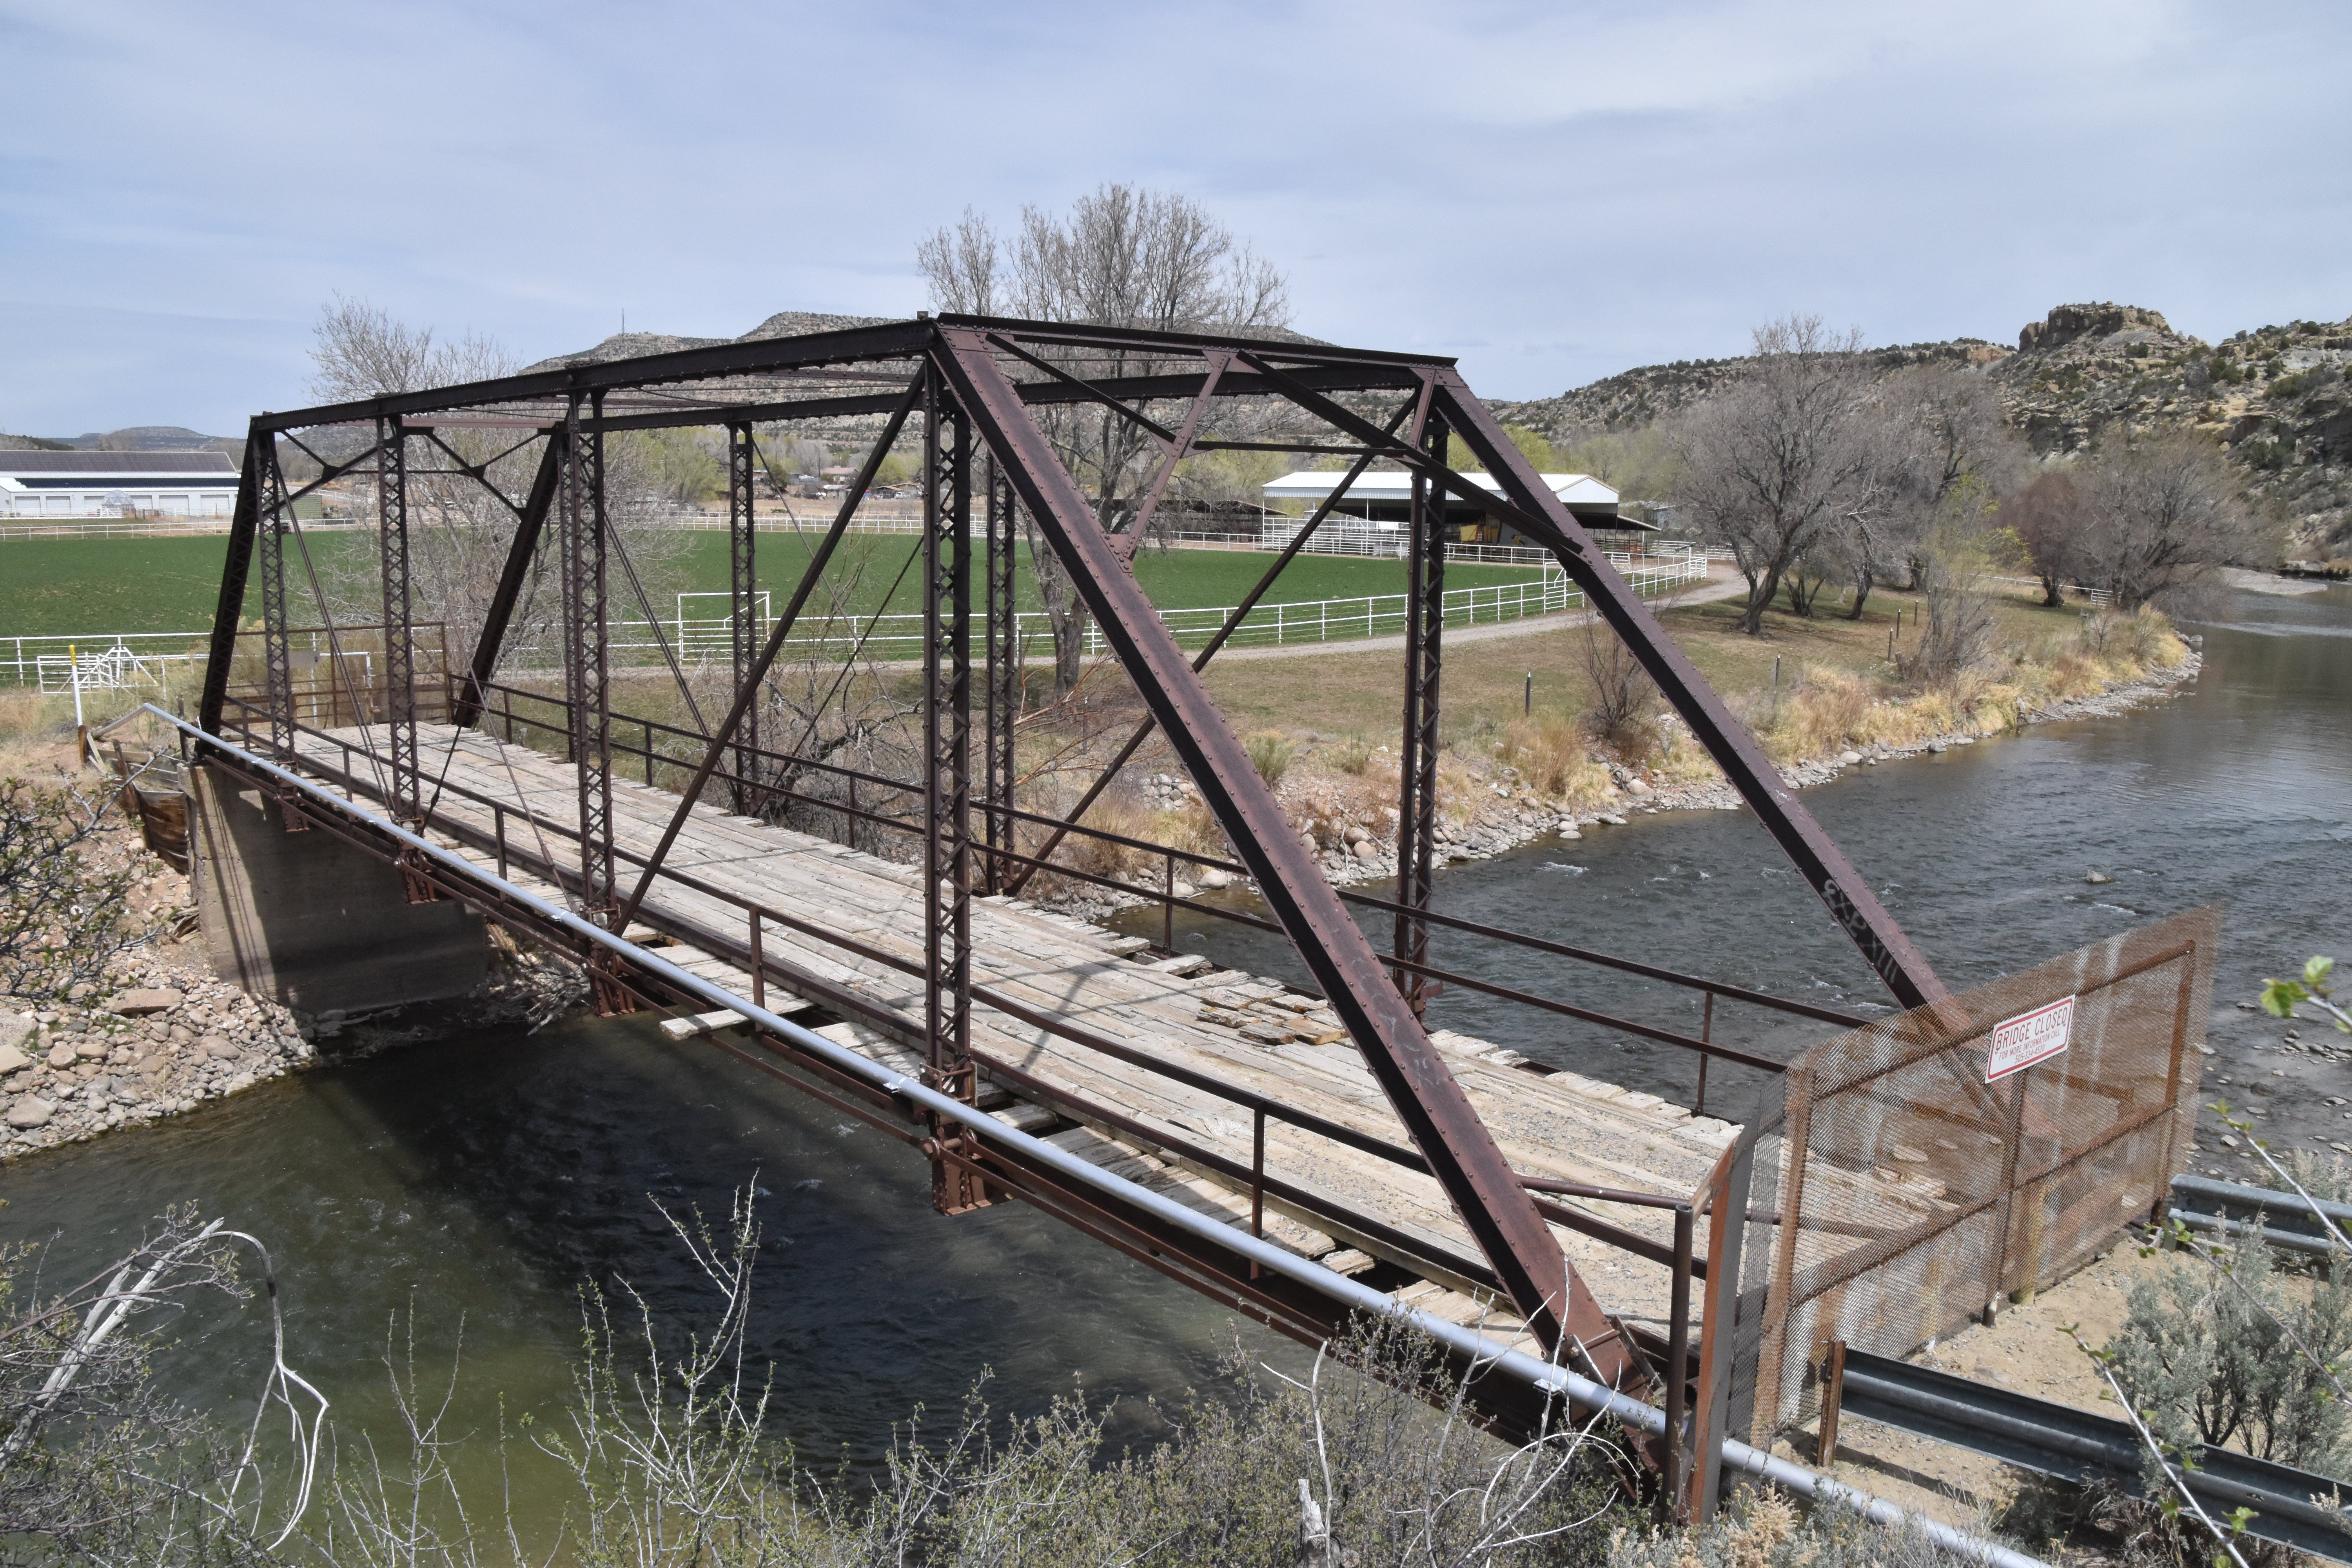


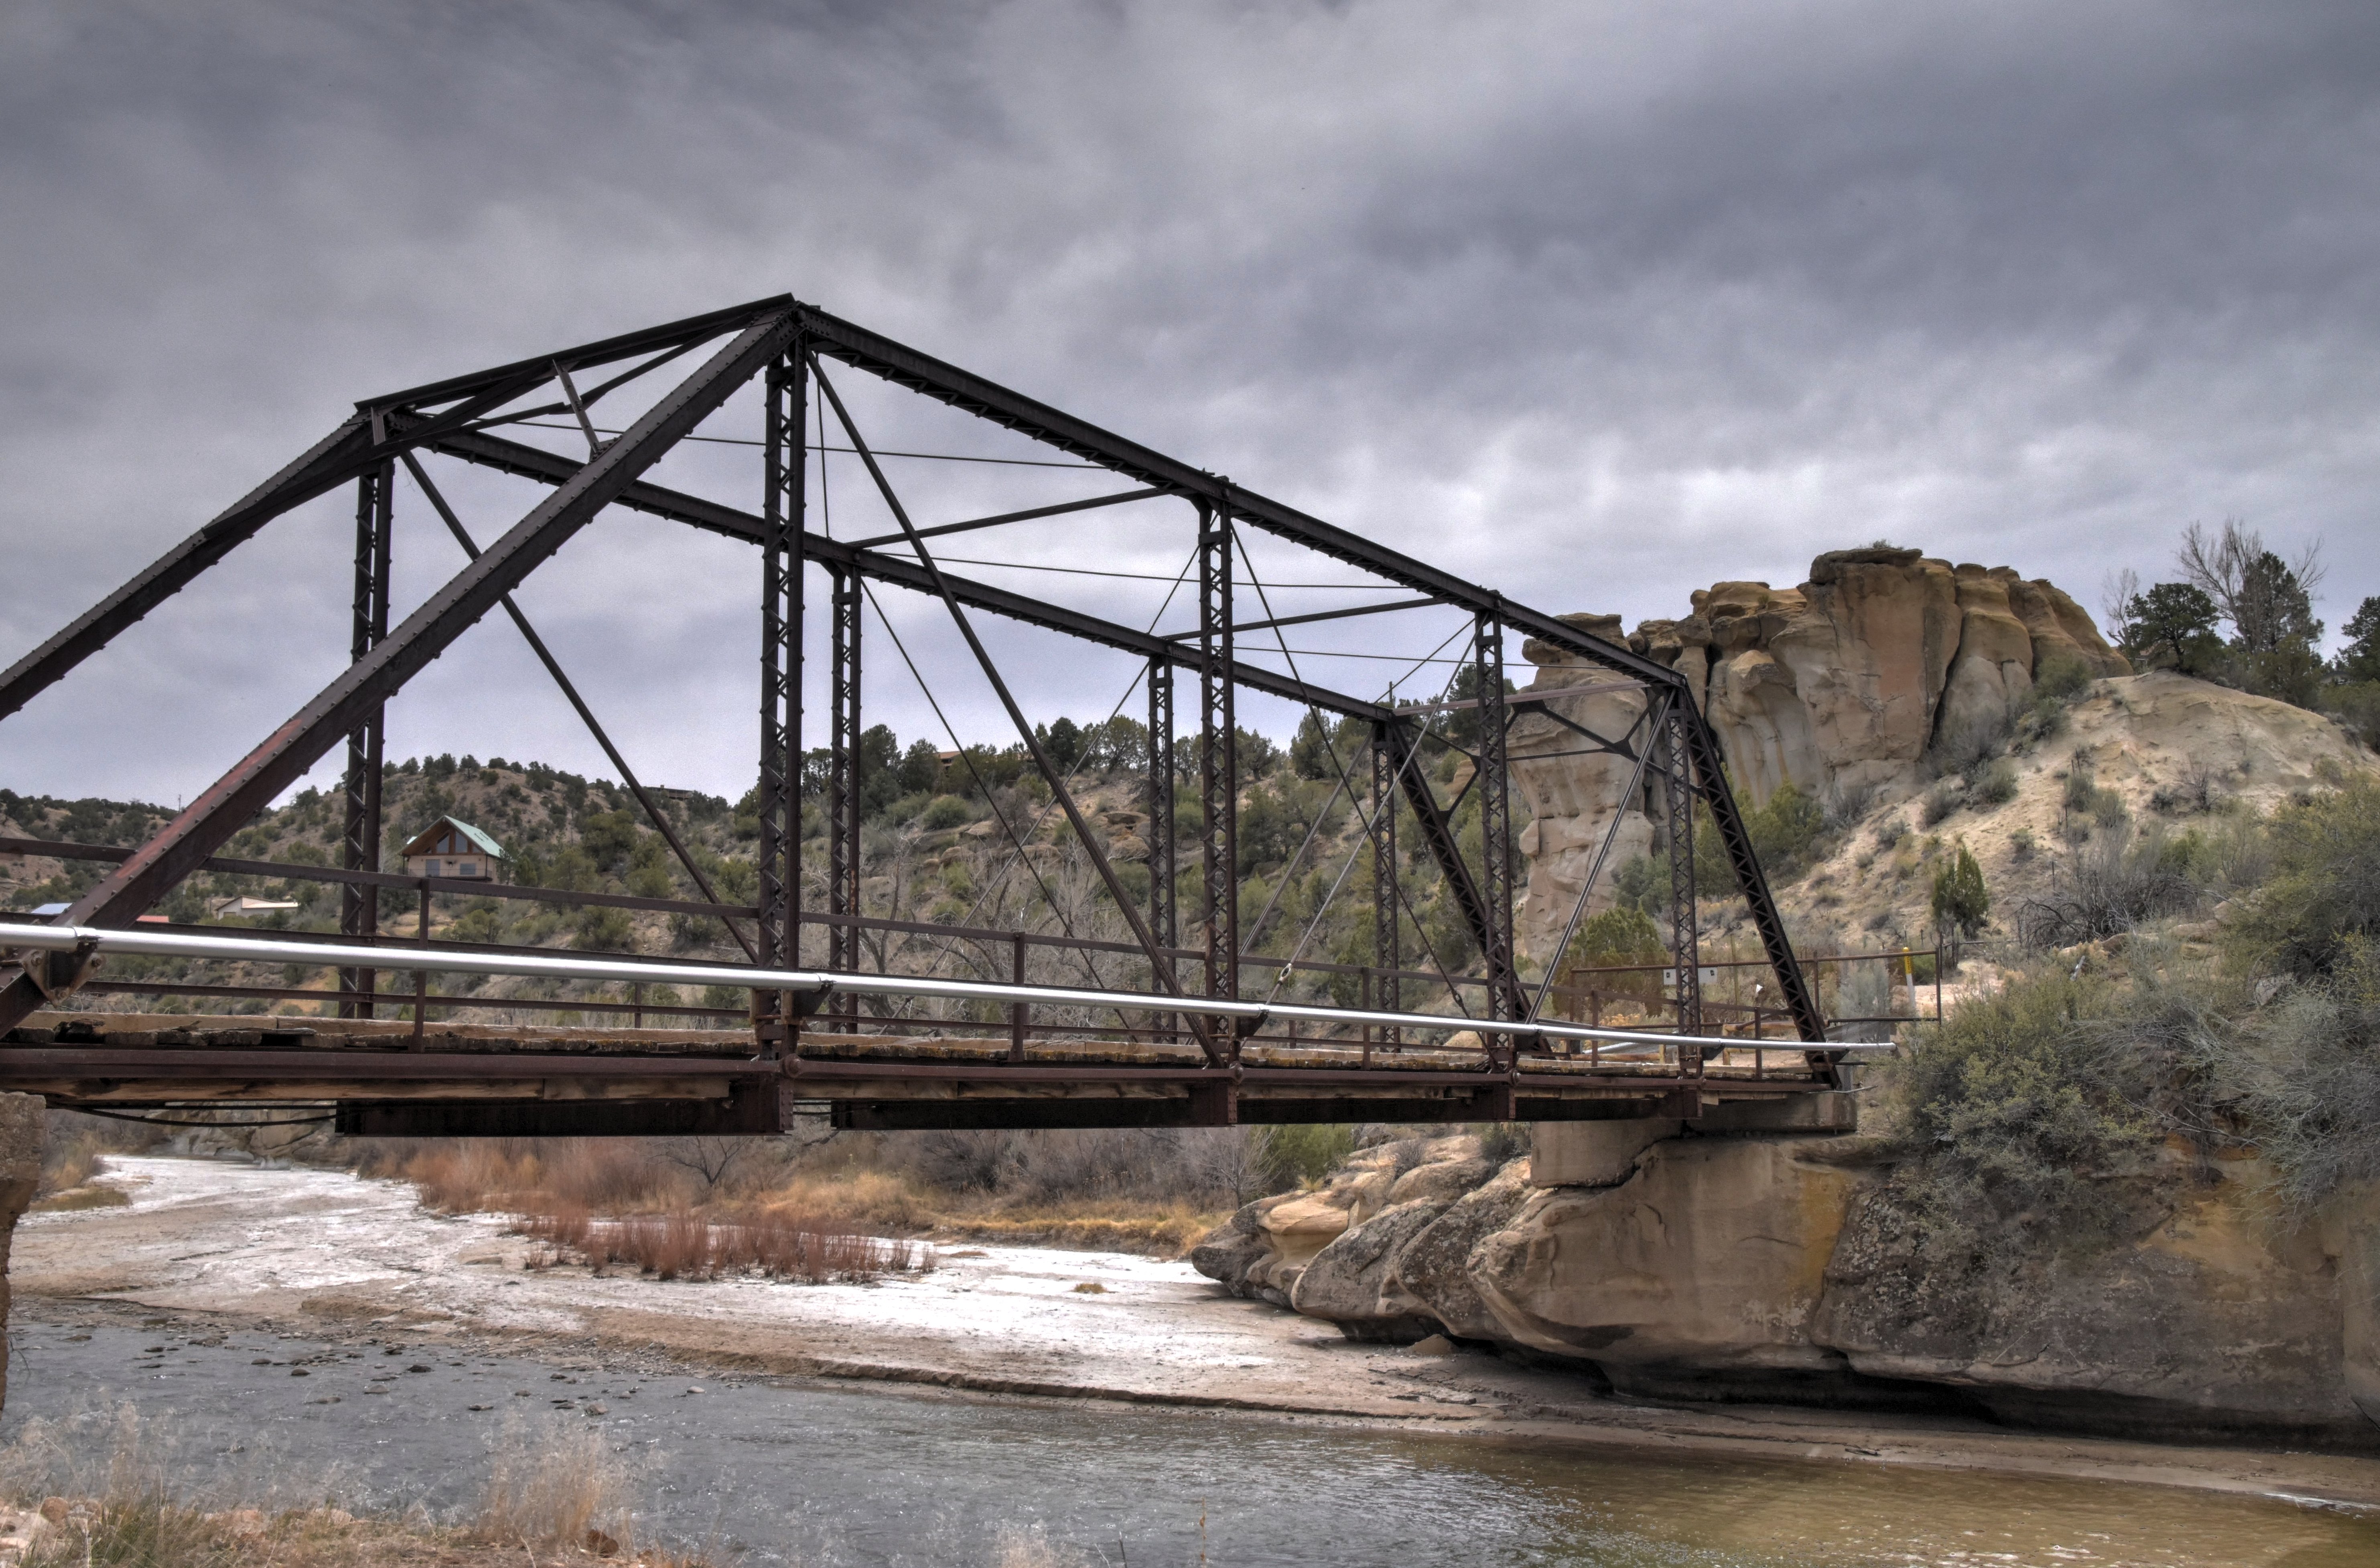
Oblique views from southwest quadrant.
![]()


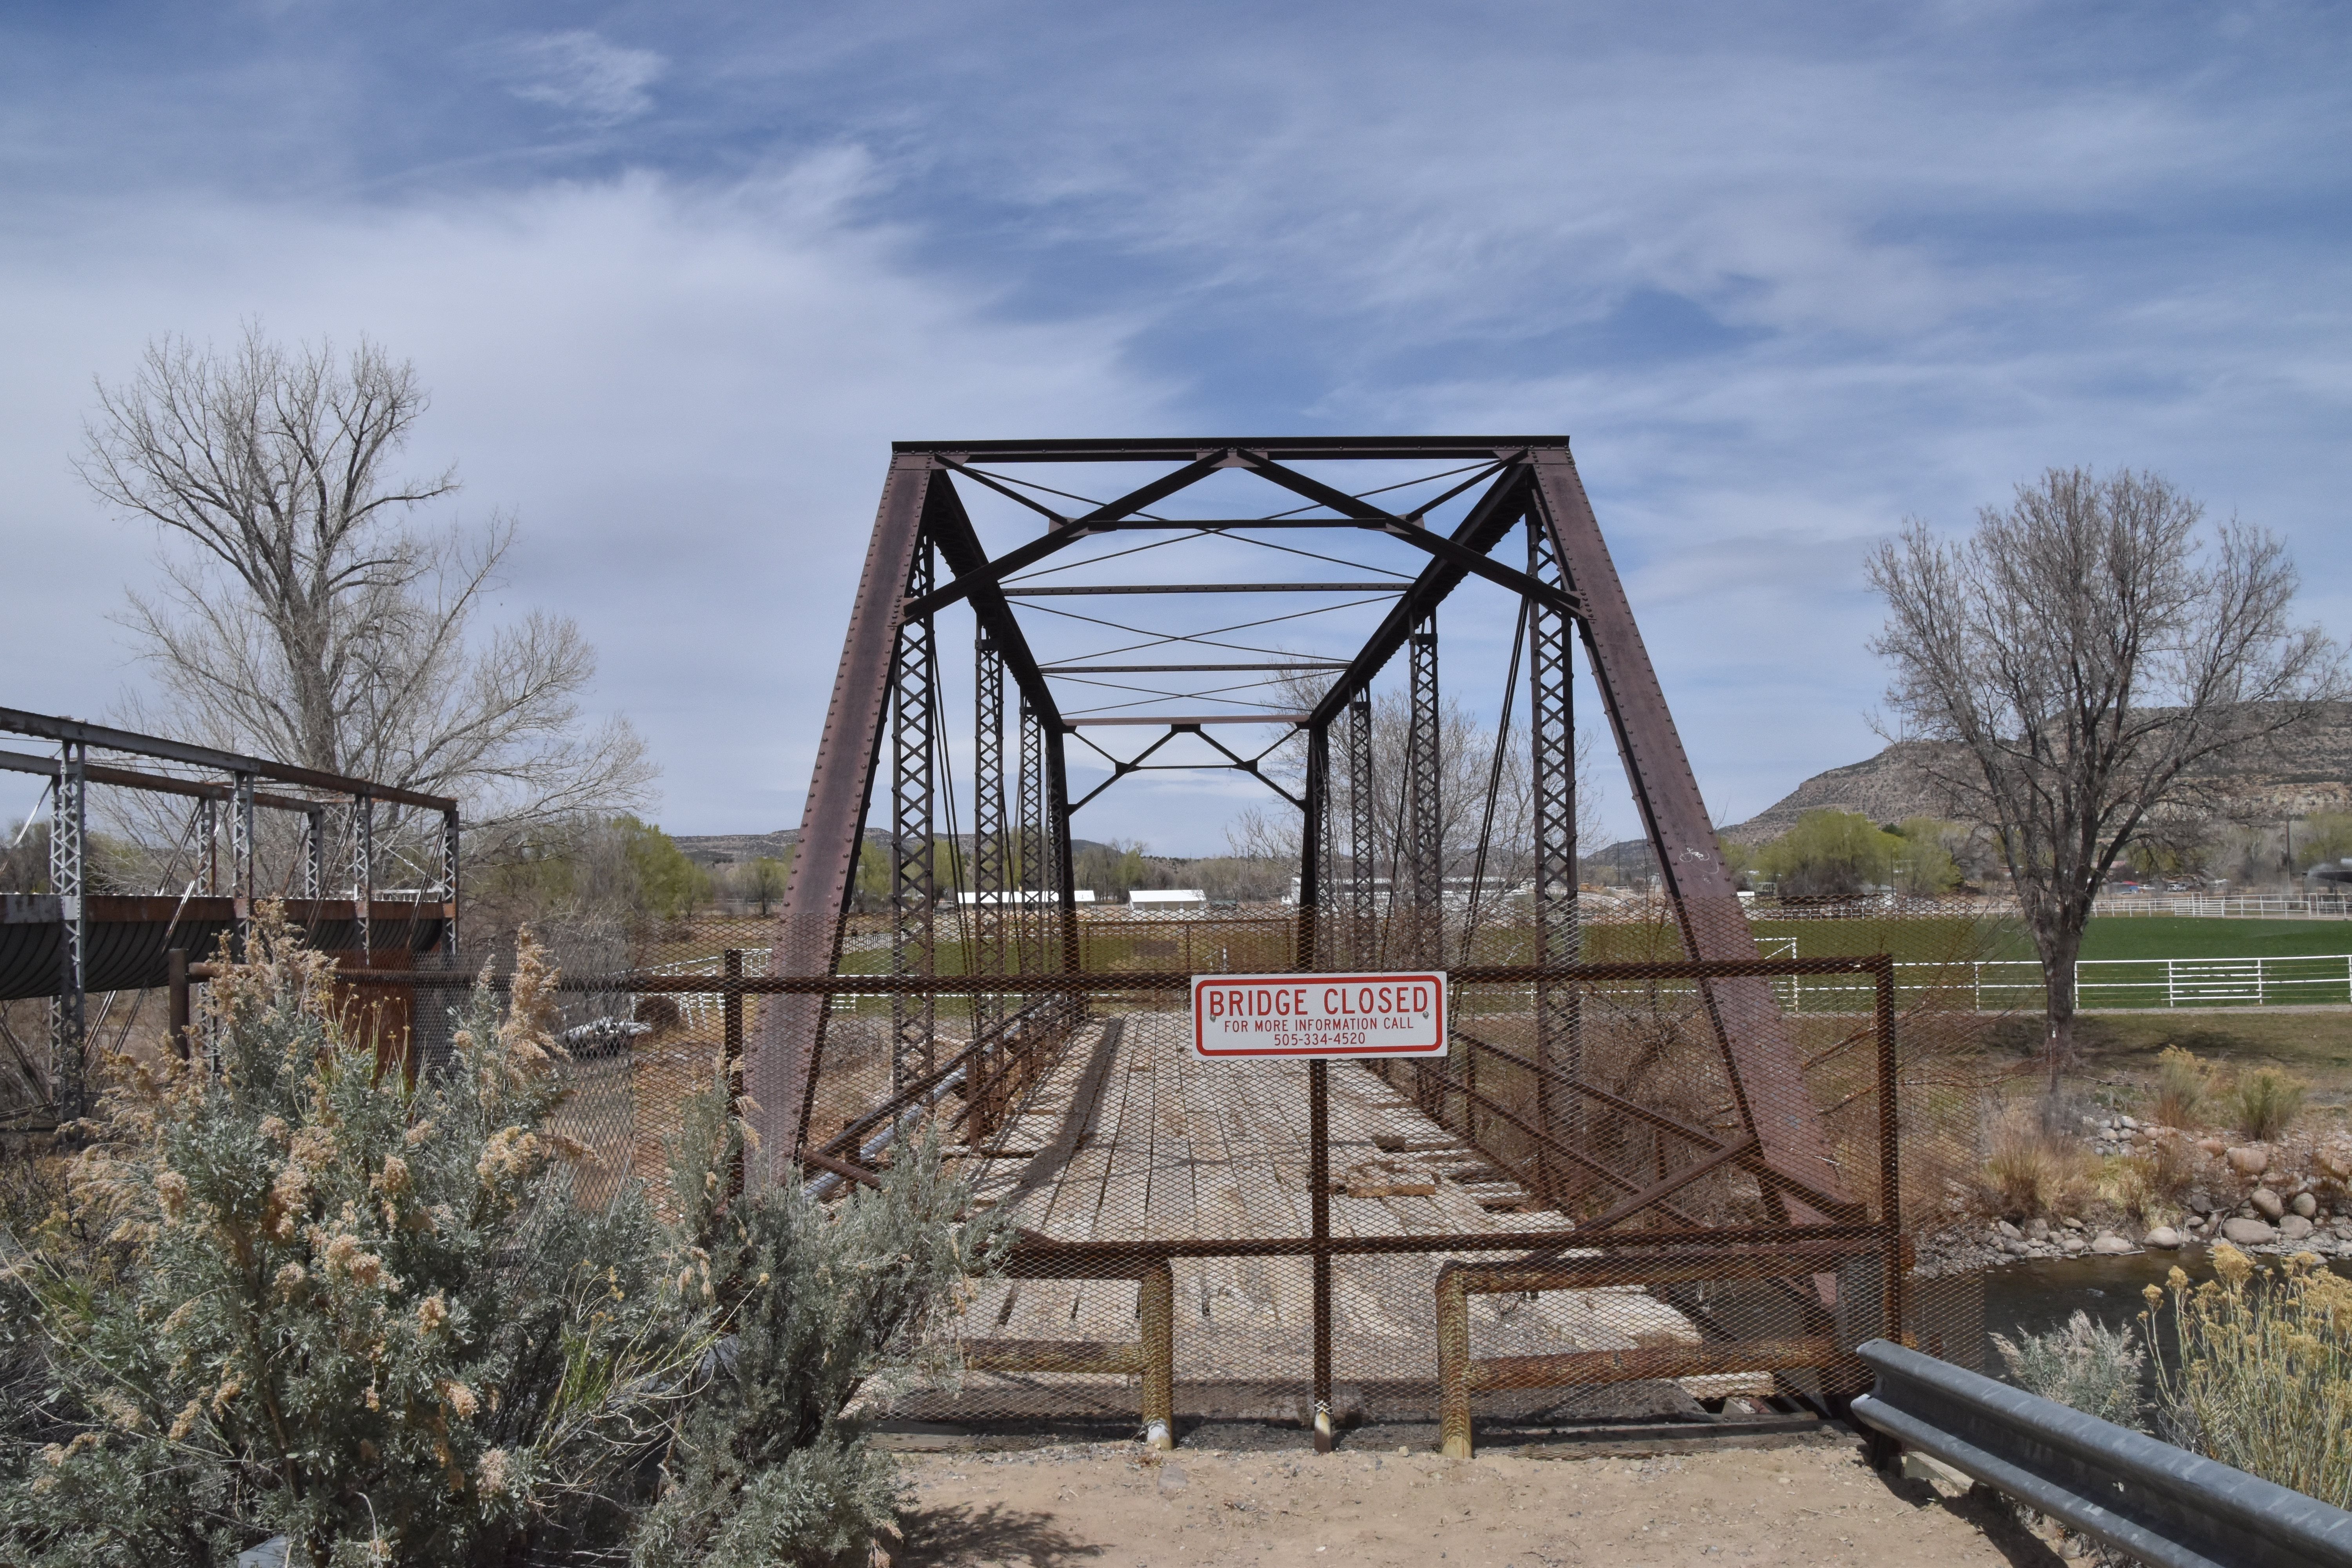


Portal views facing north.
![]()
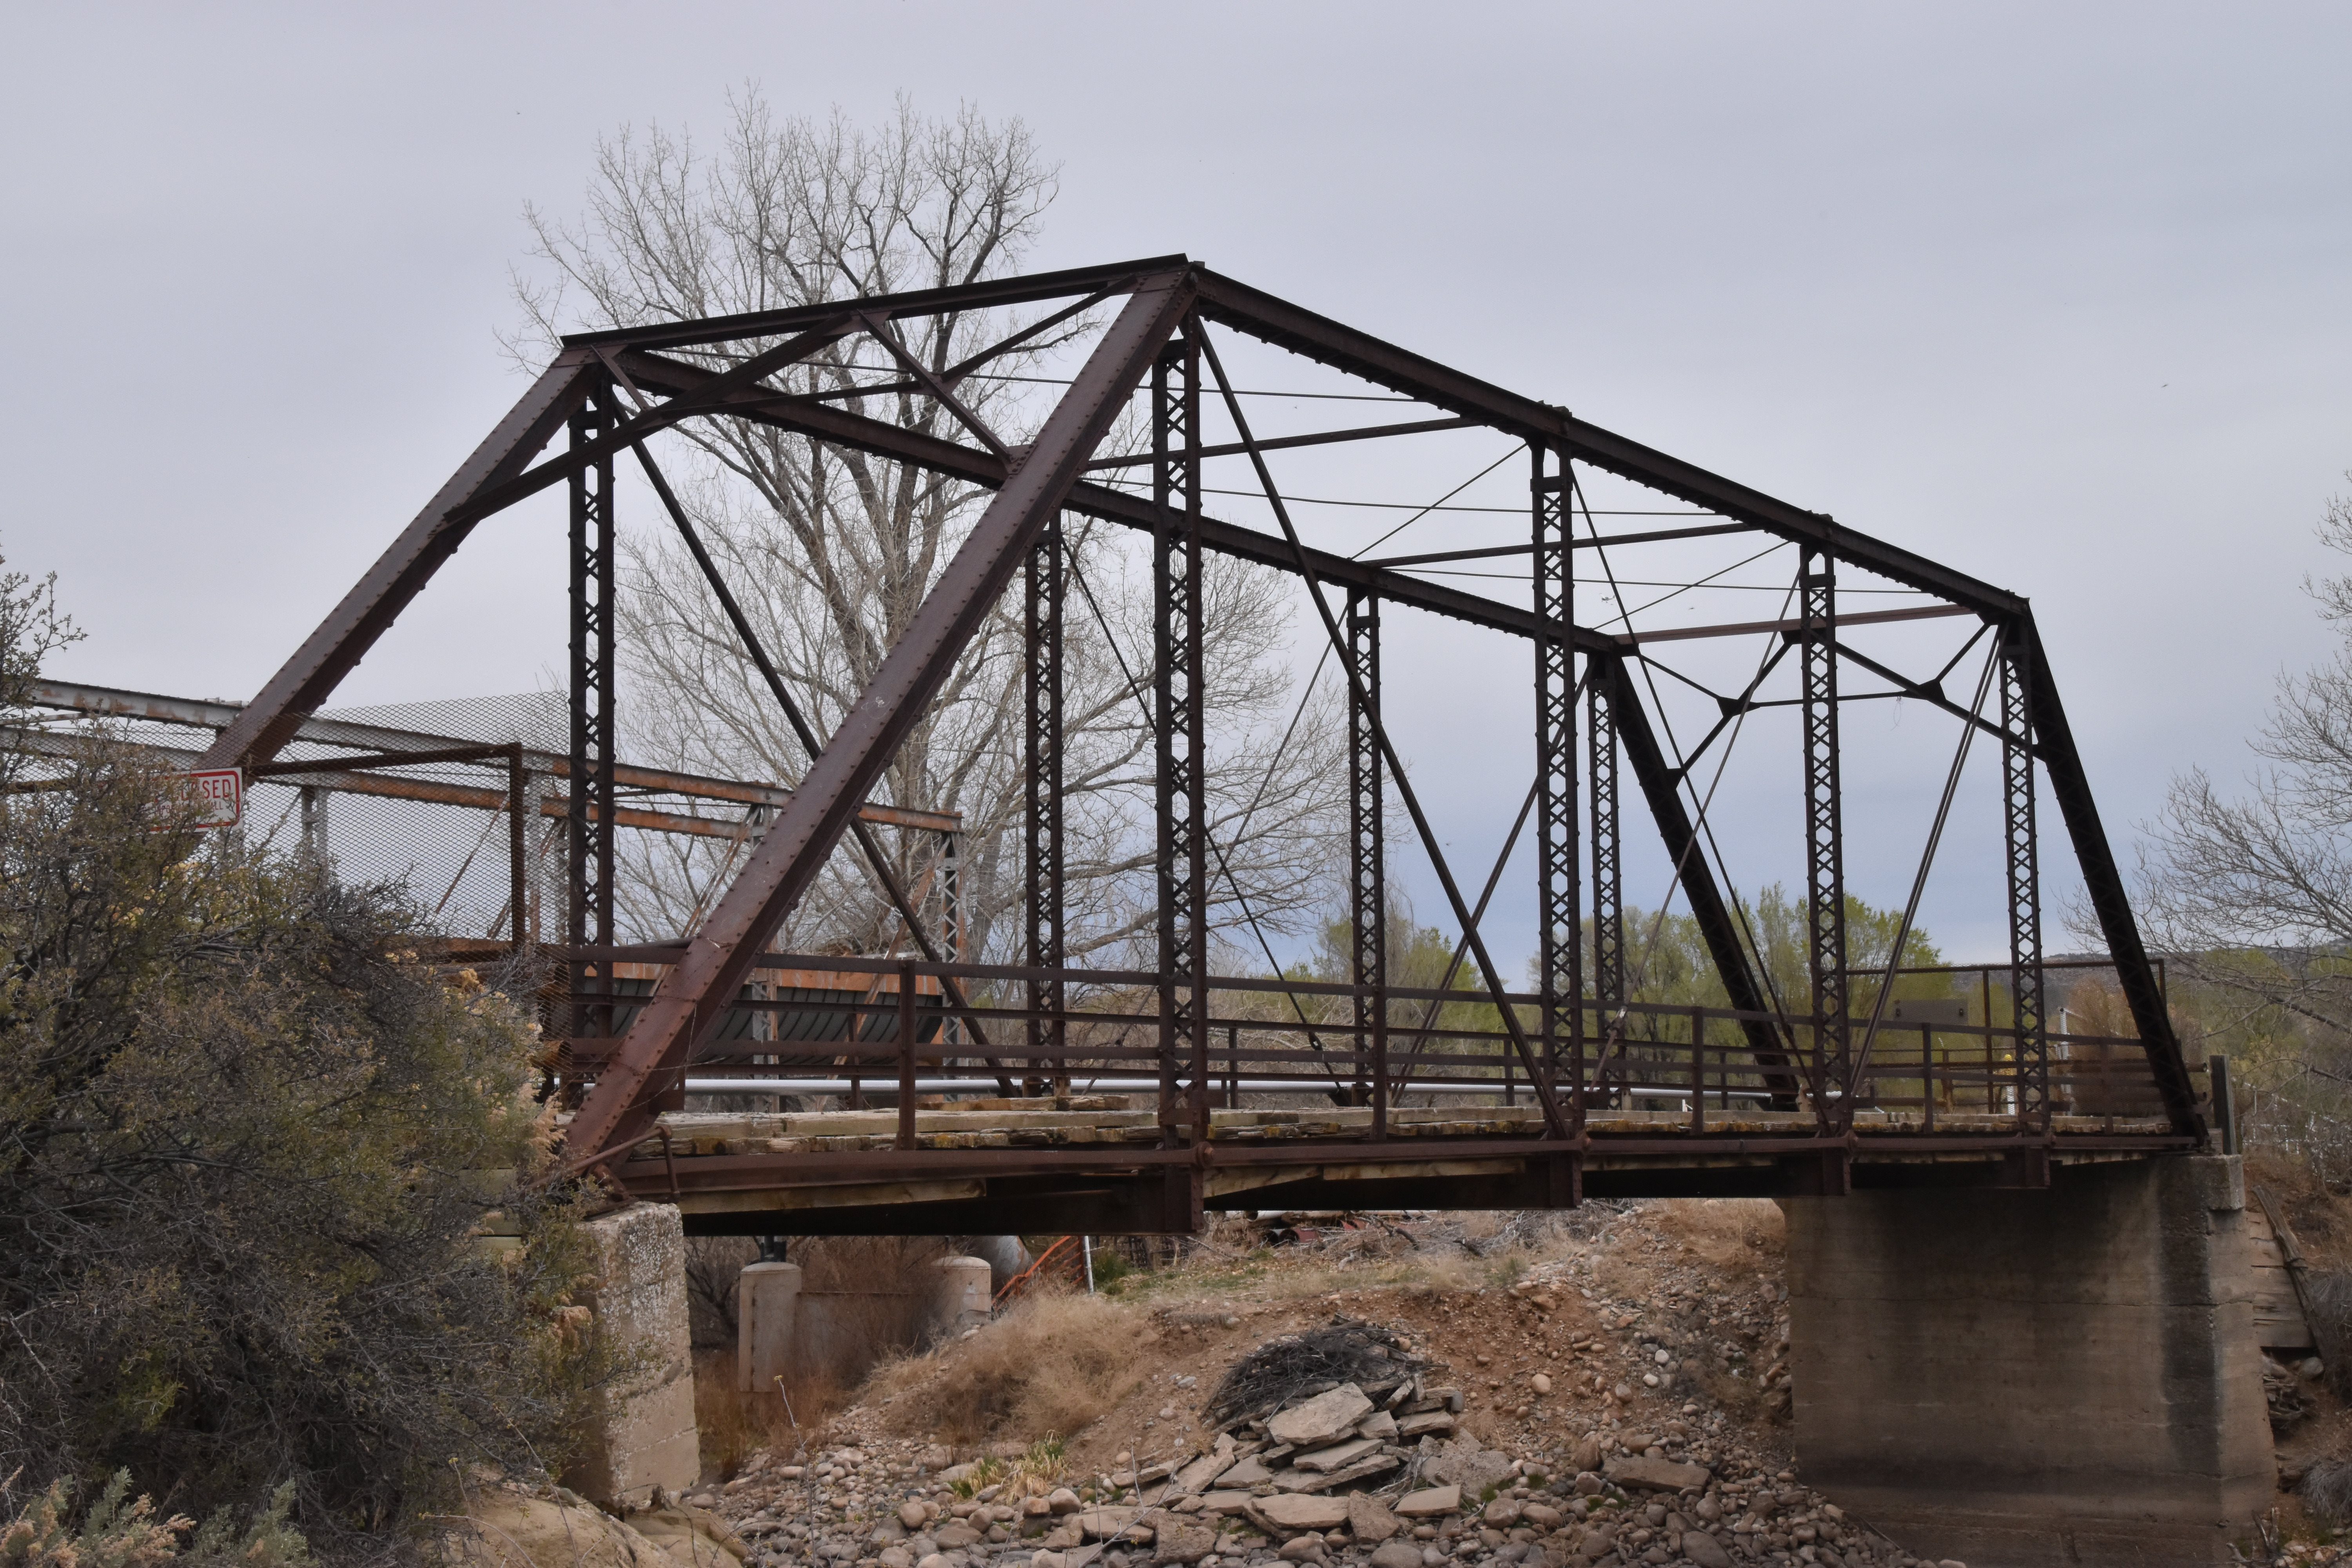


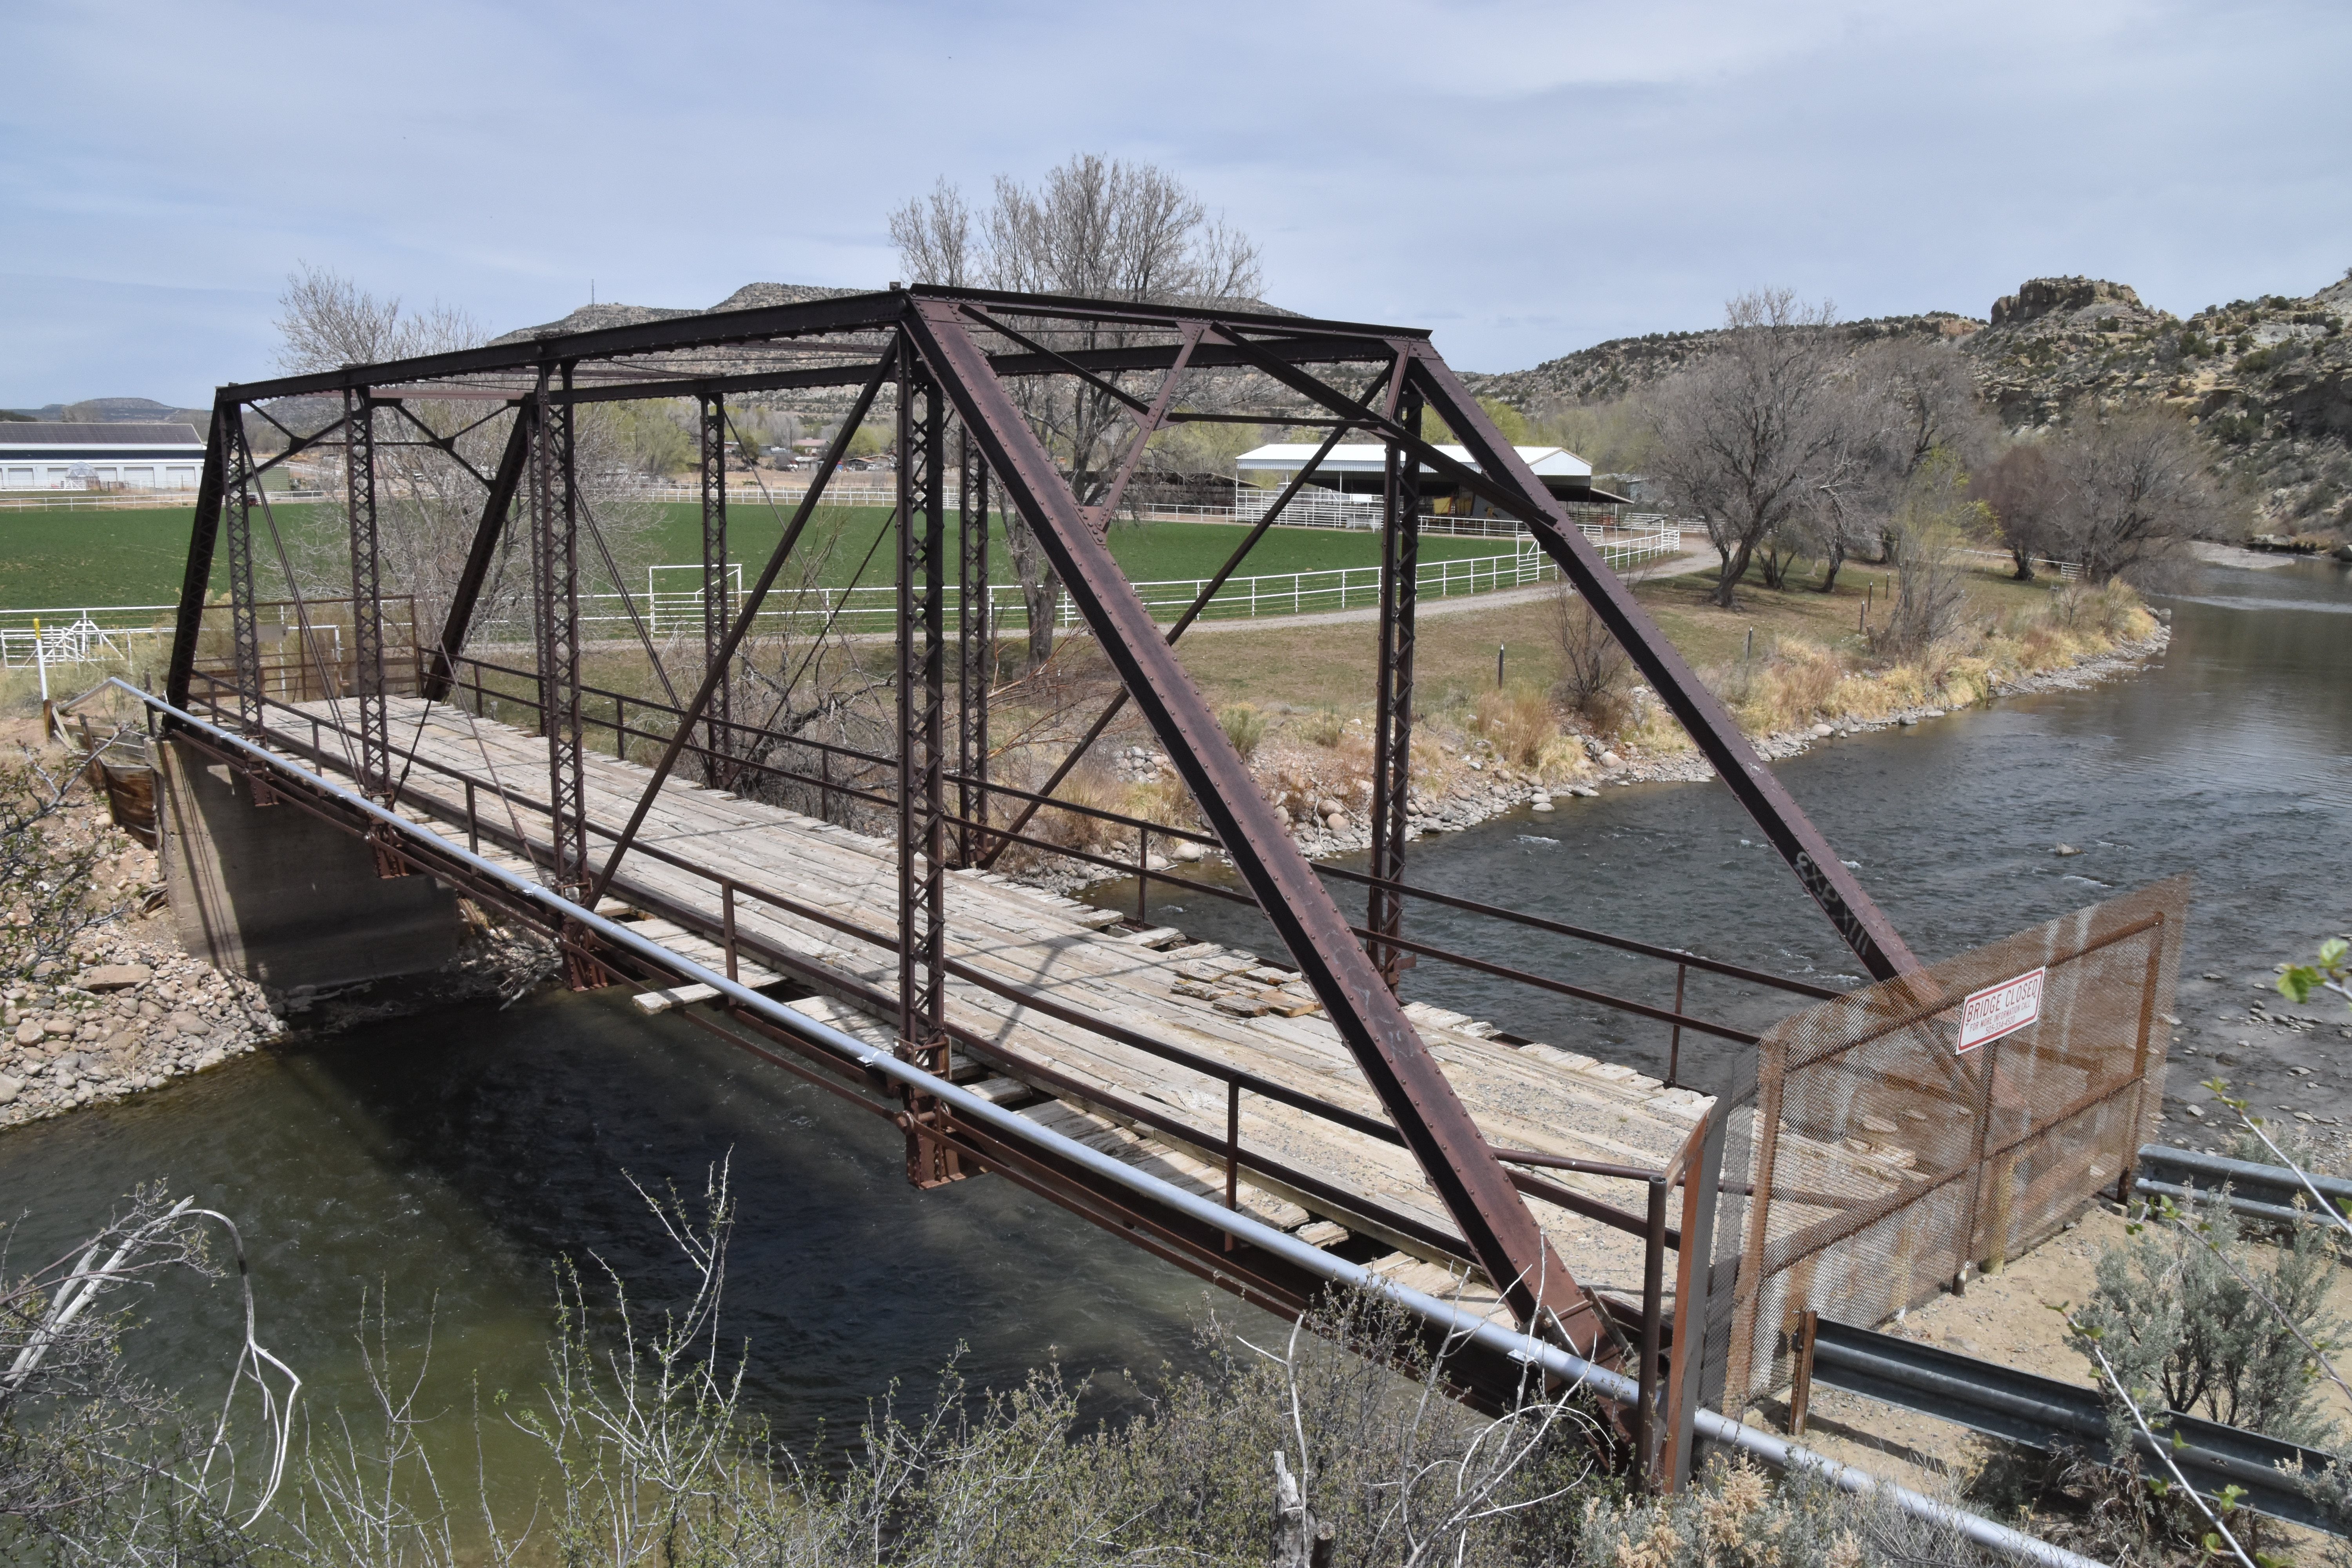
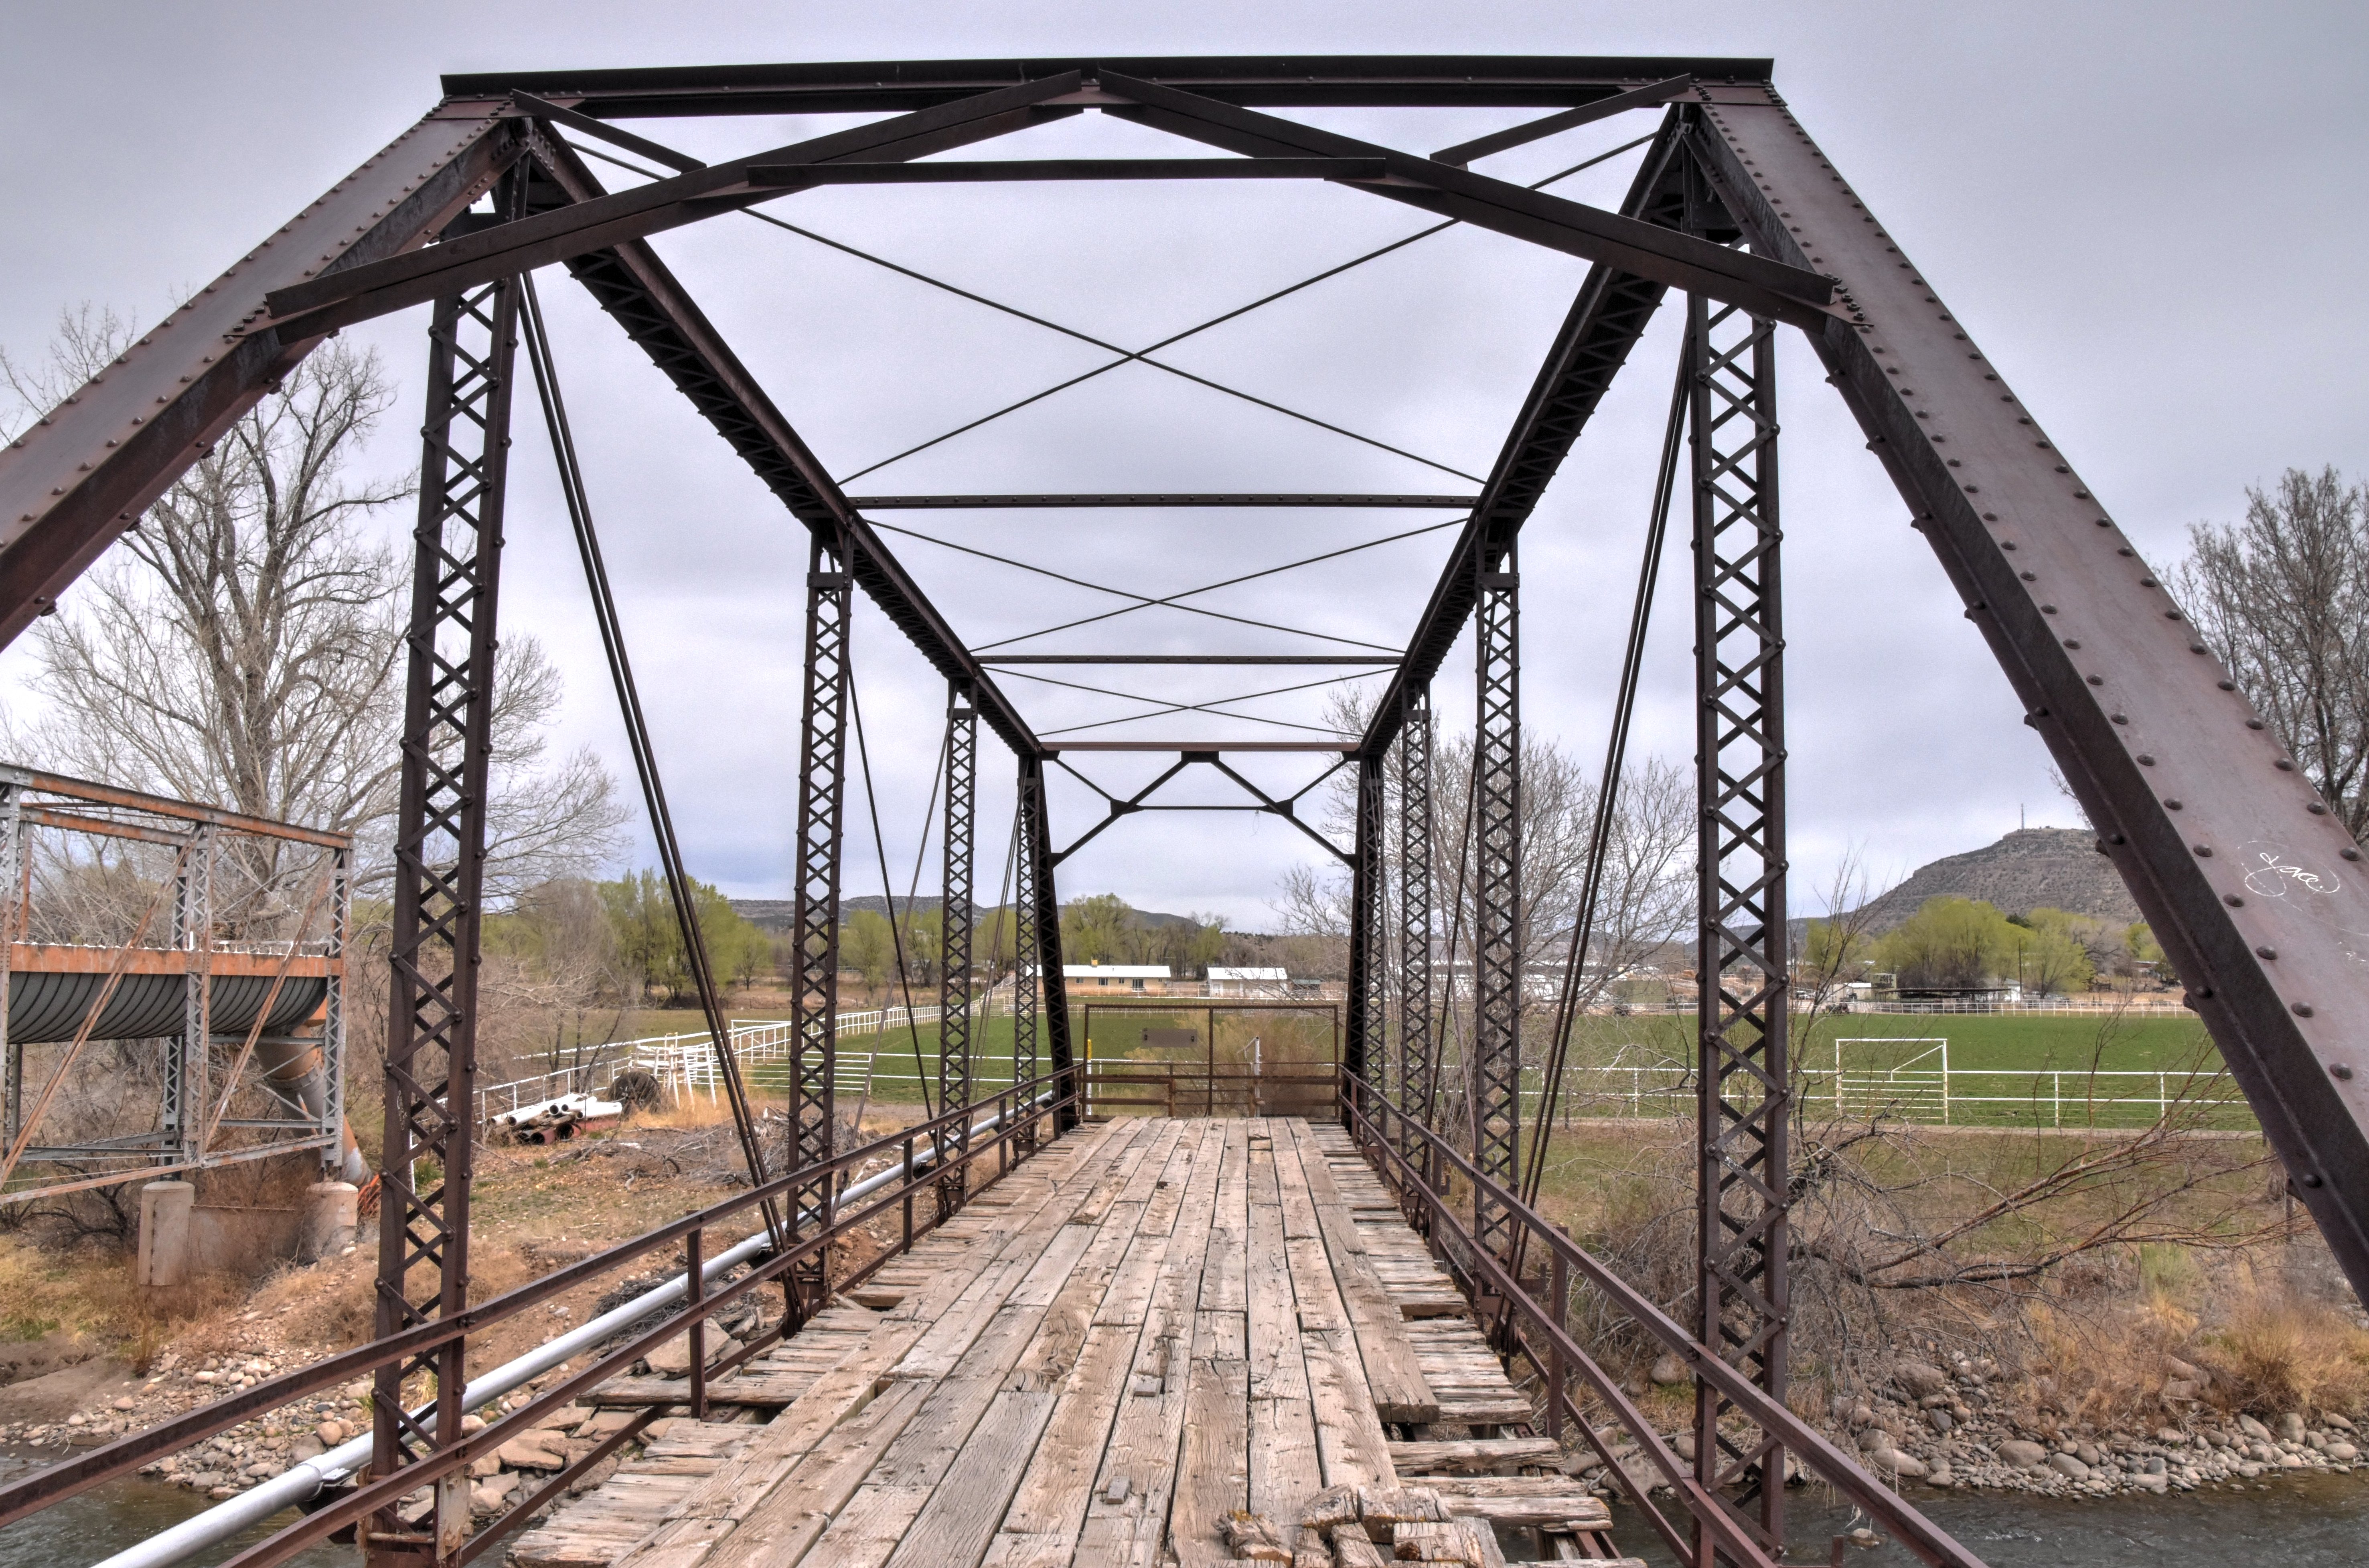
Oblique views from southeast quadrant.
![]()


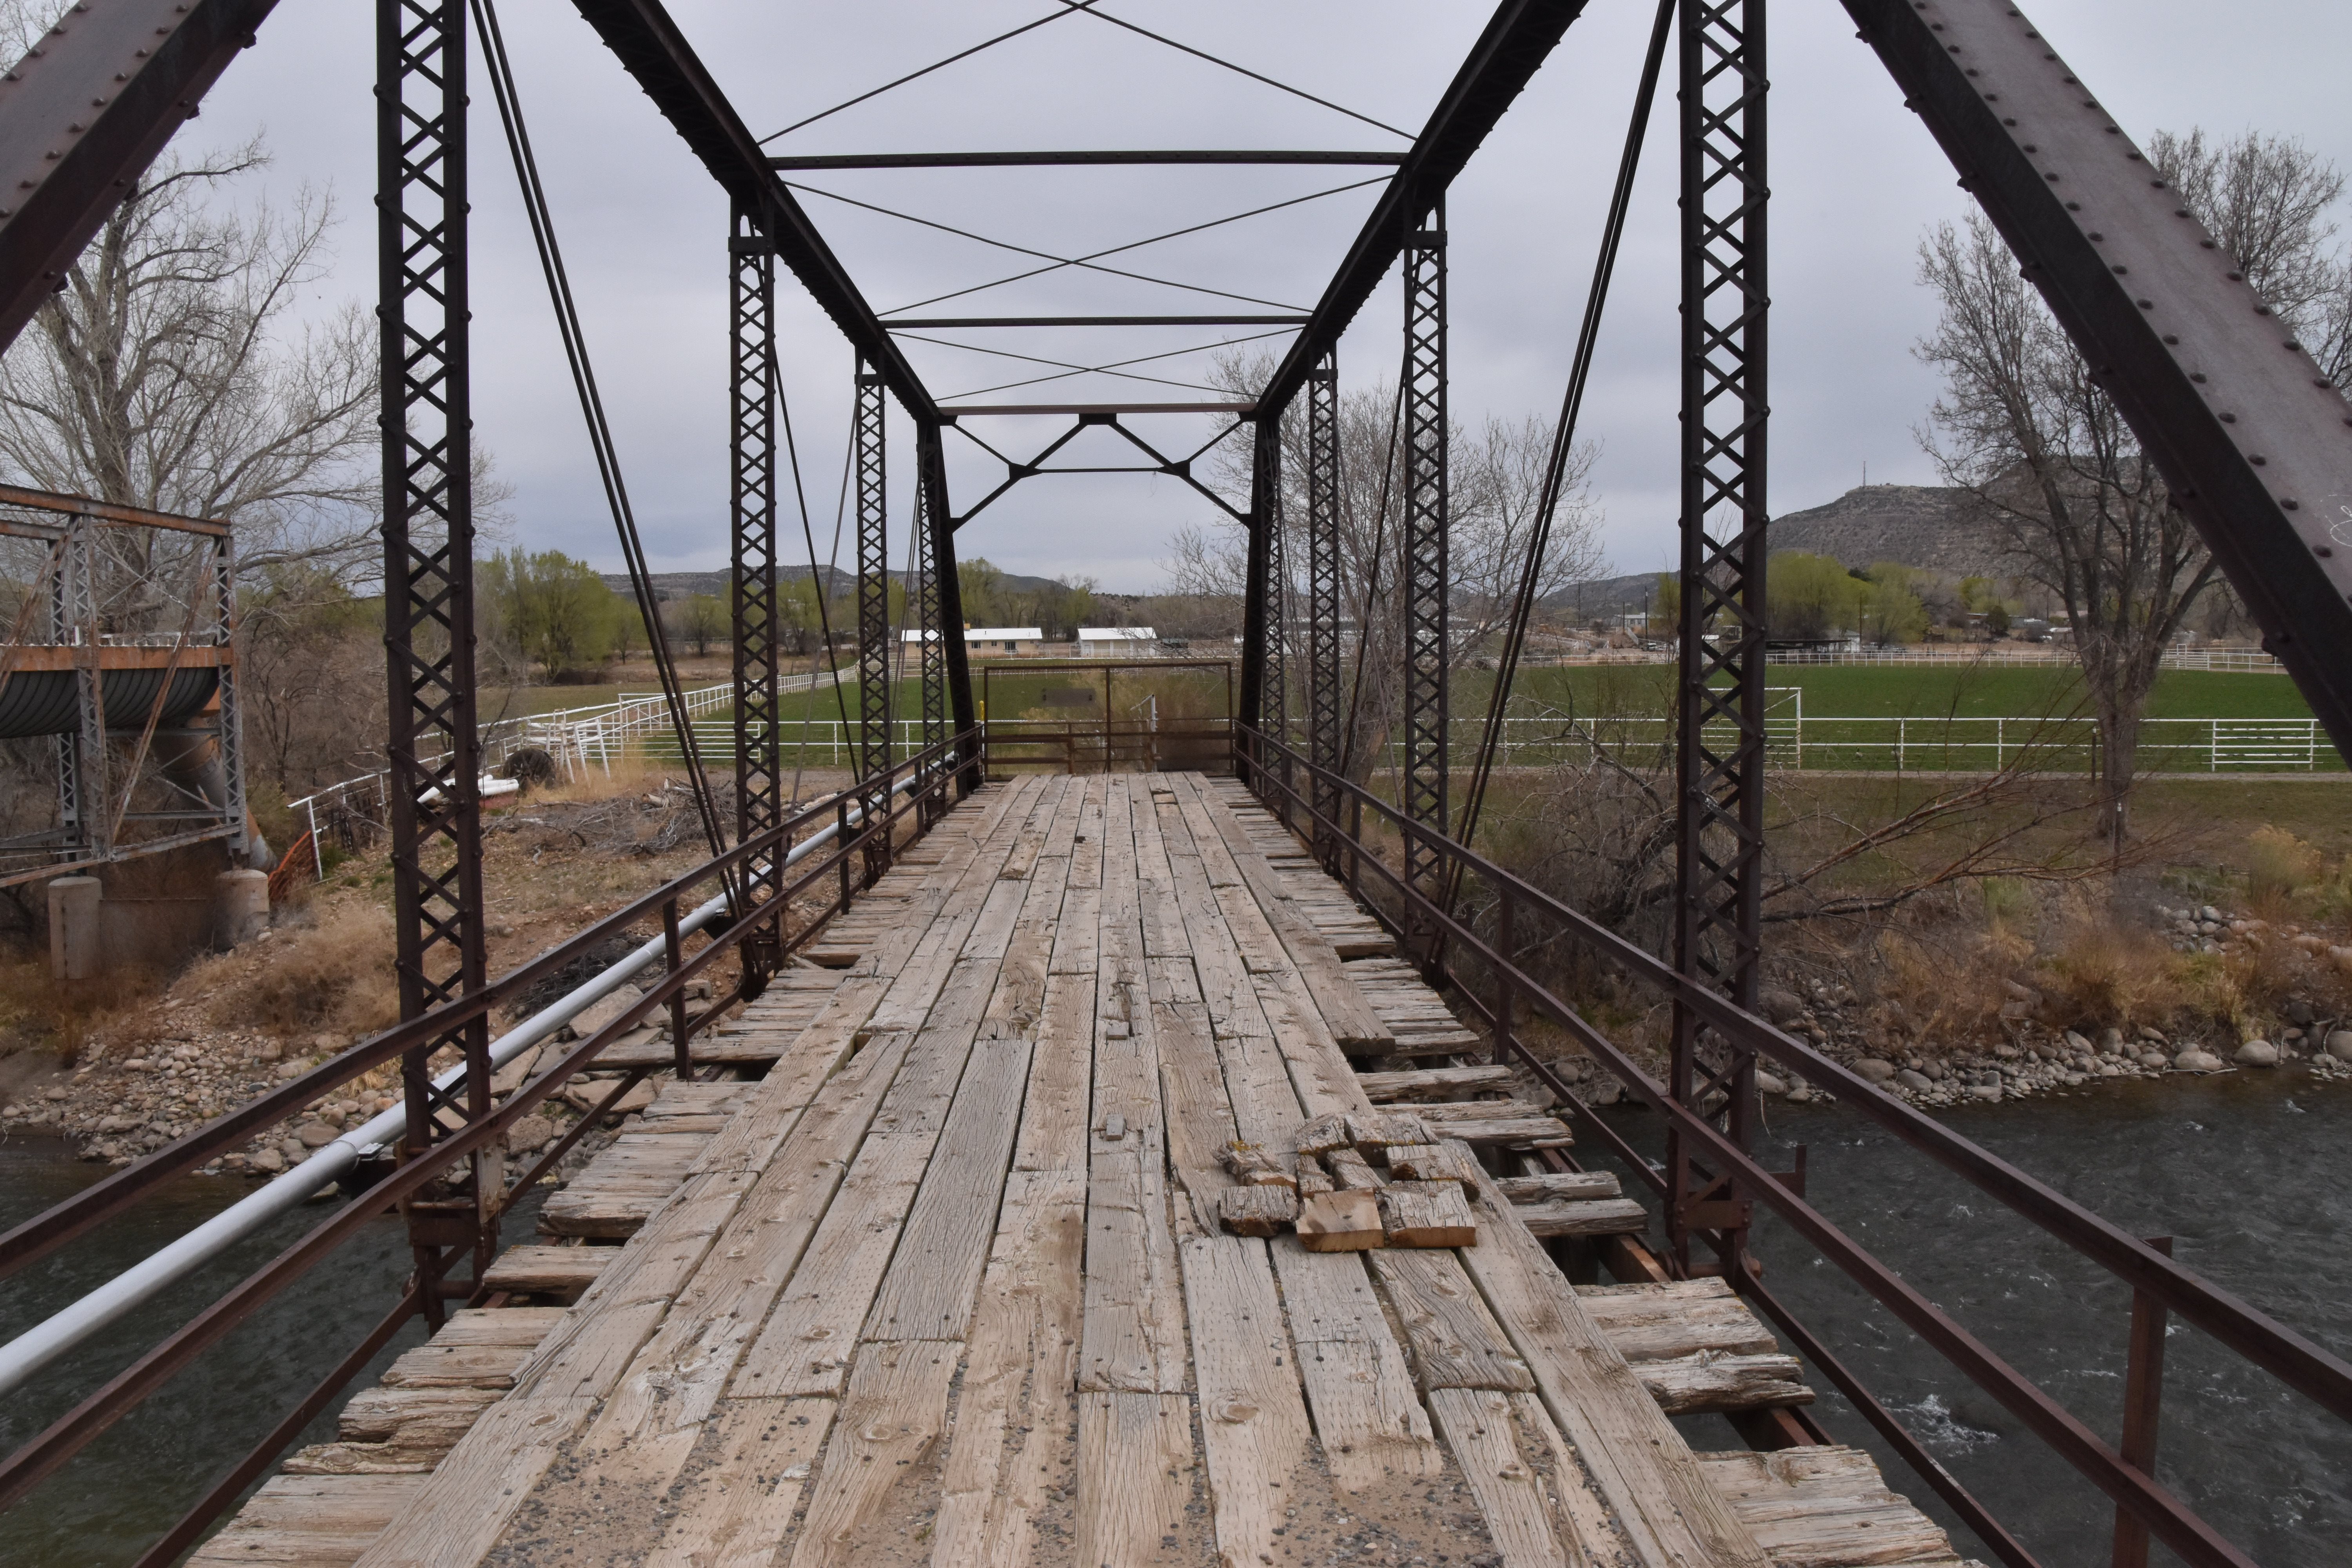
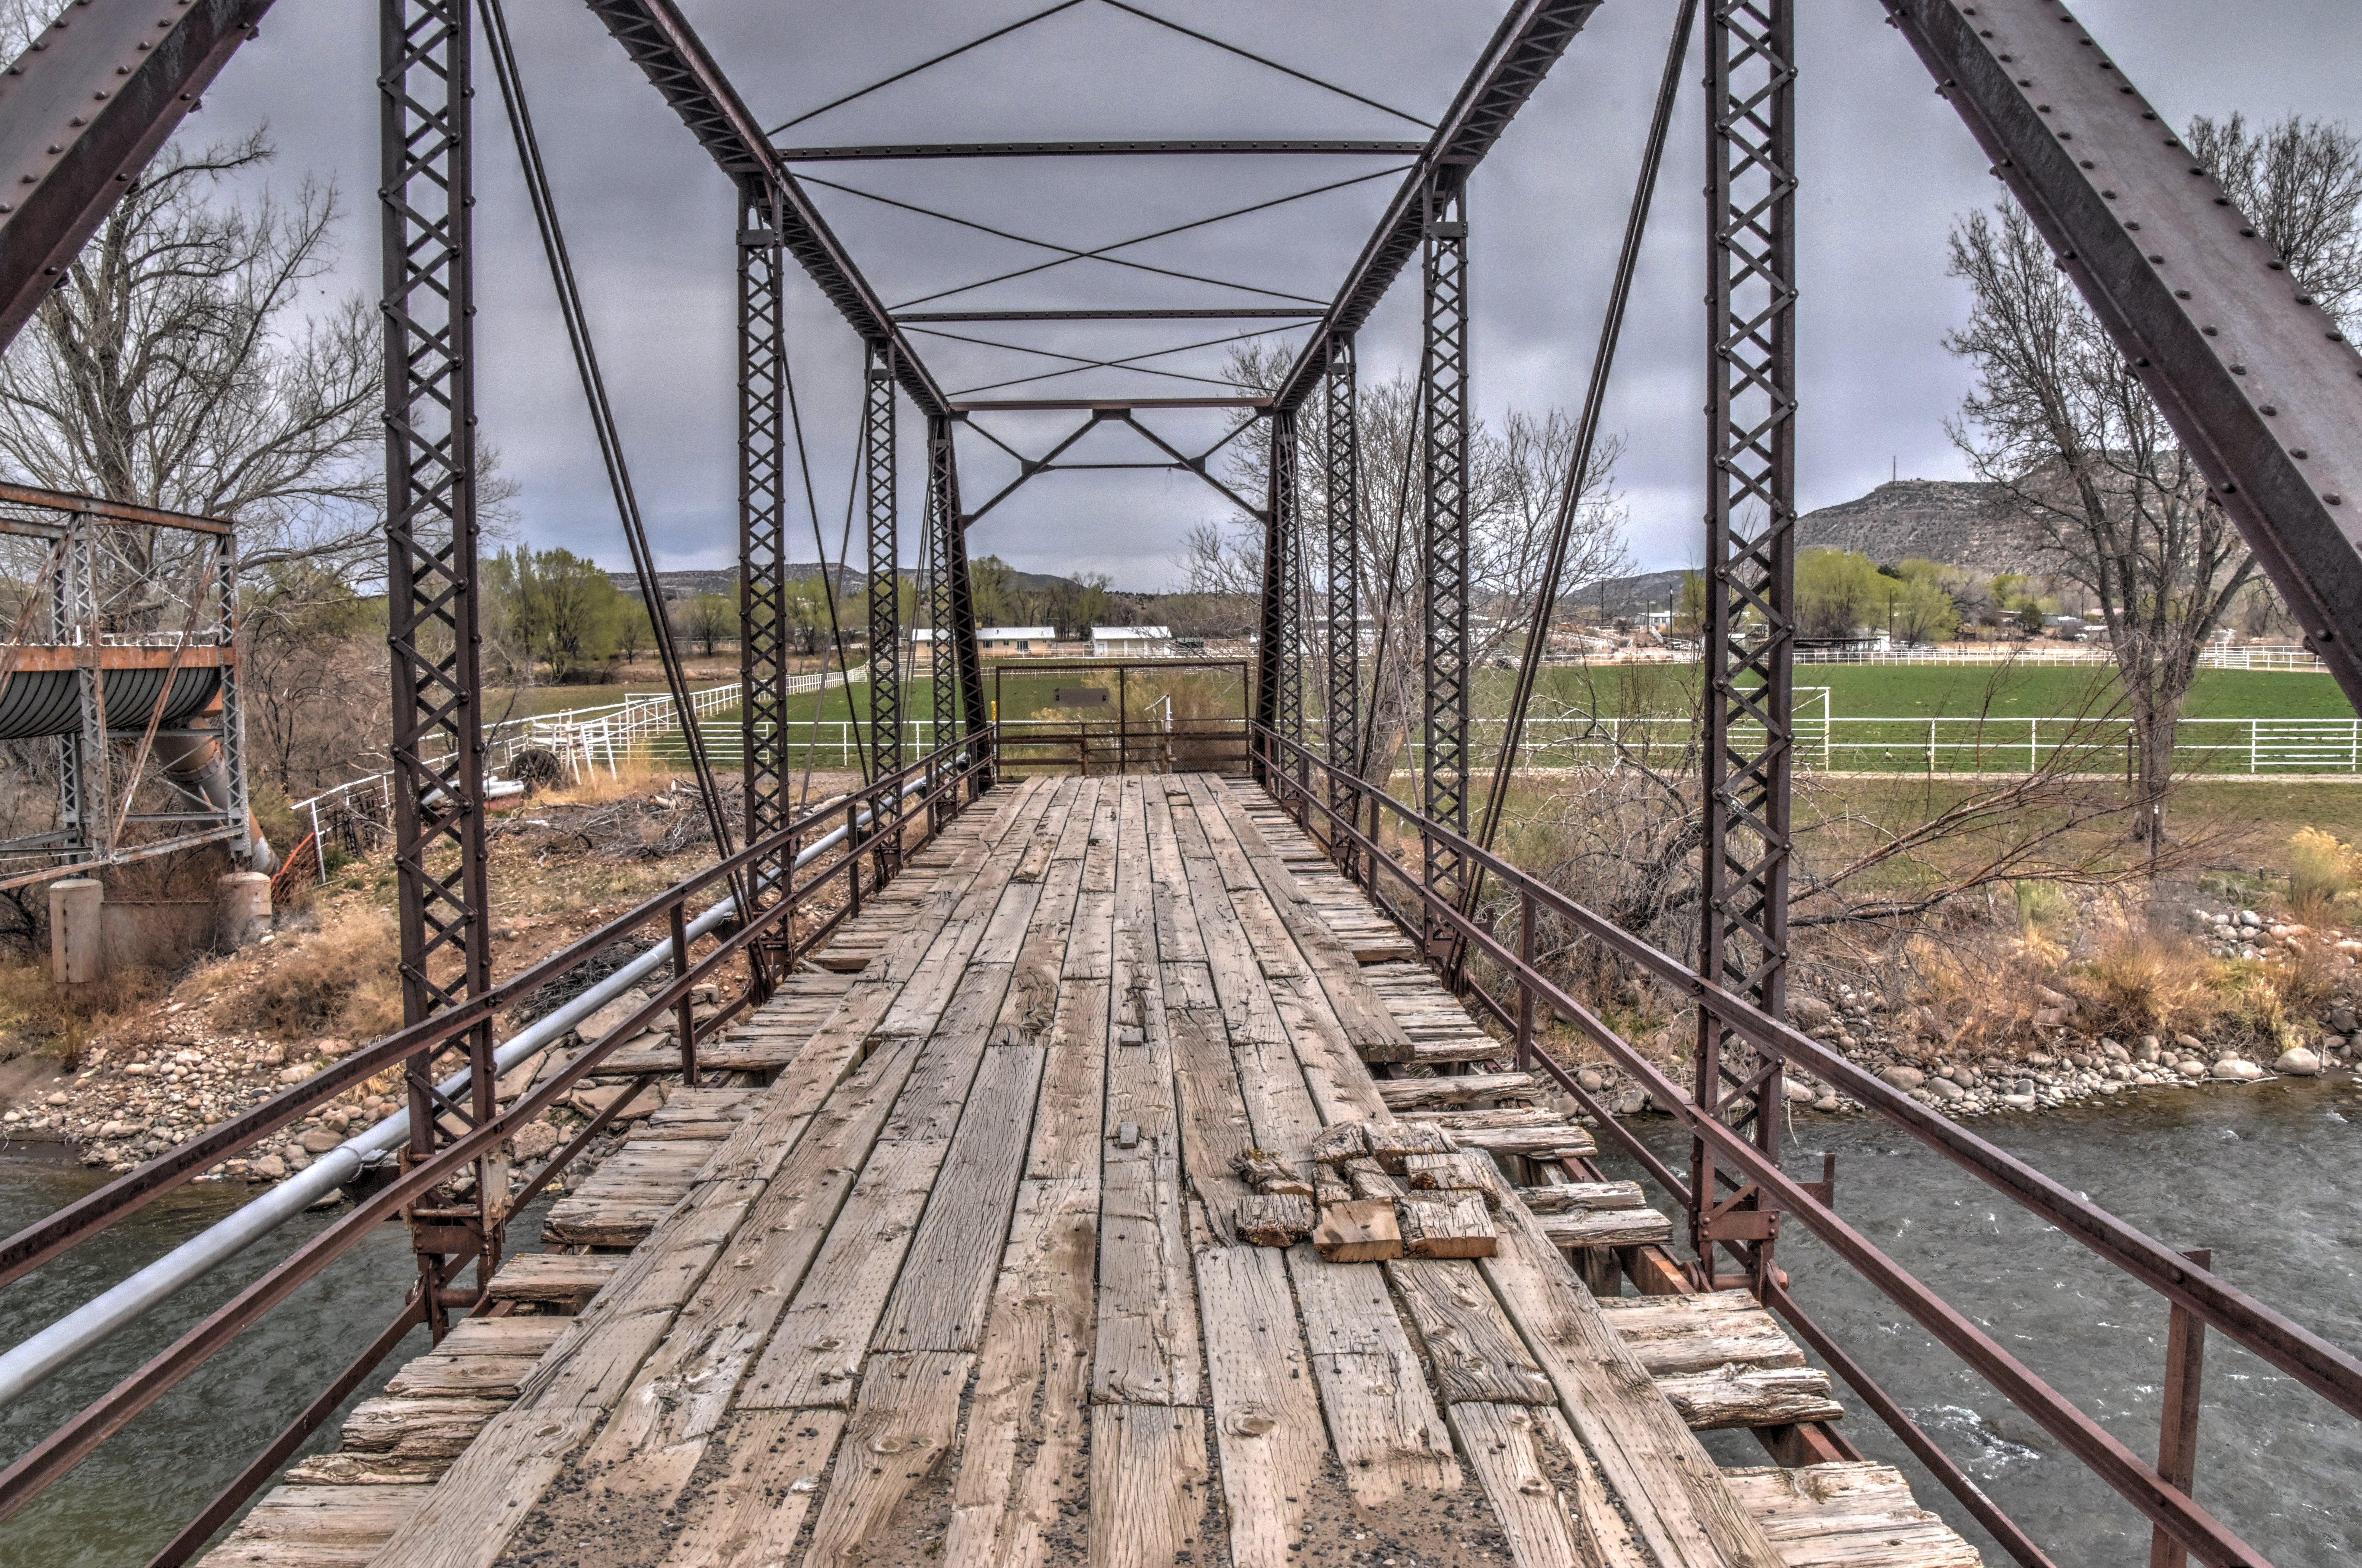
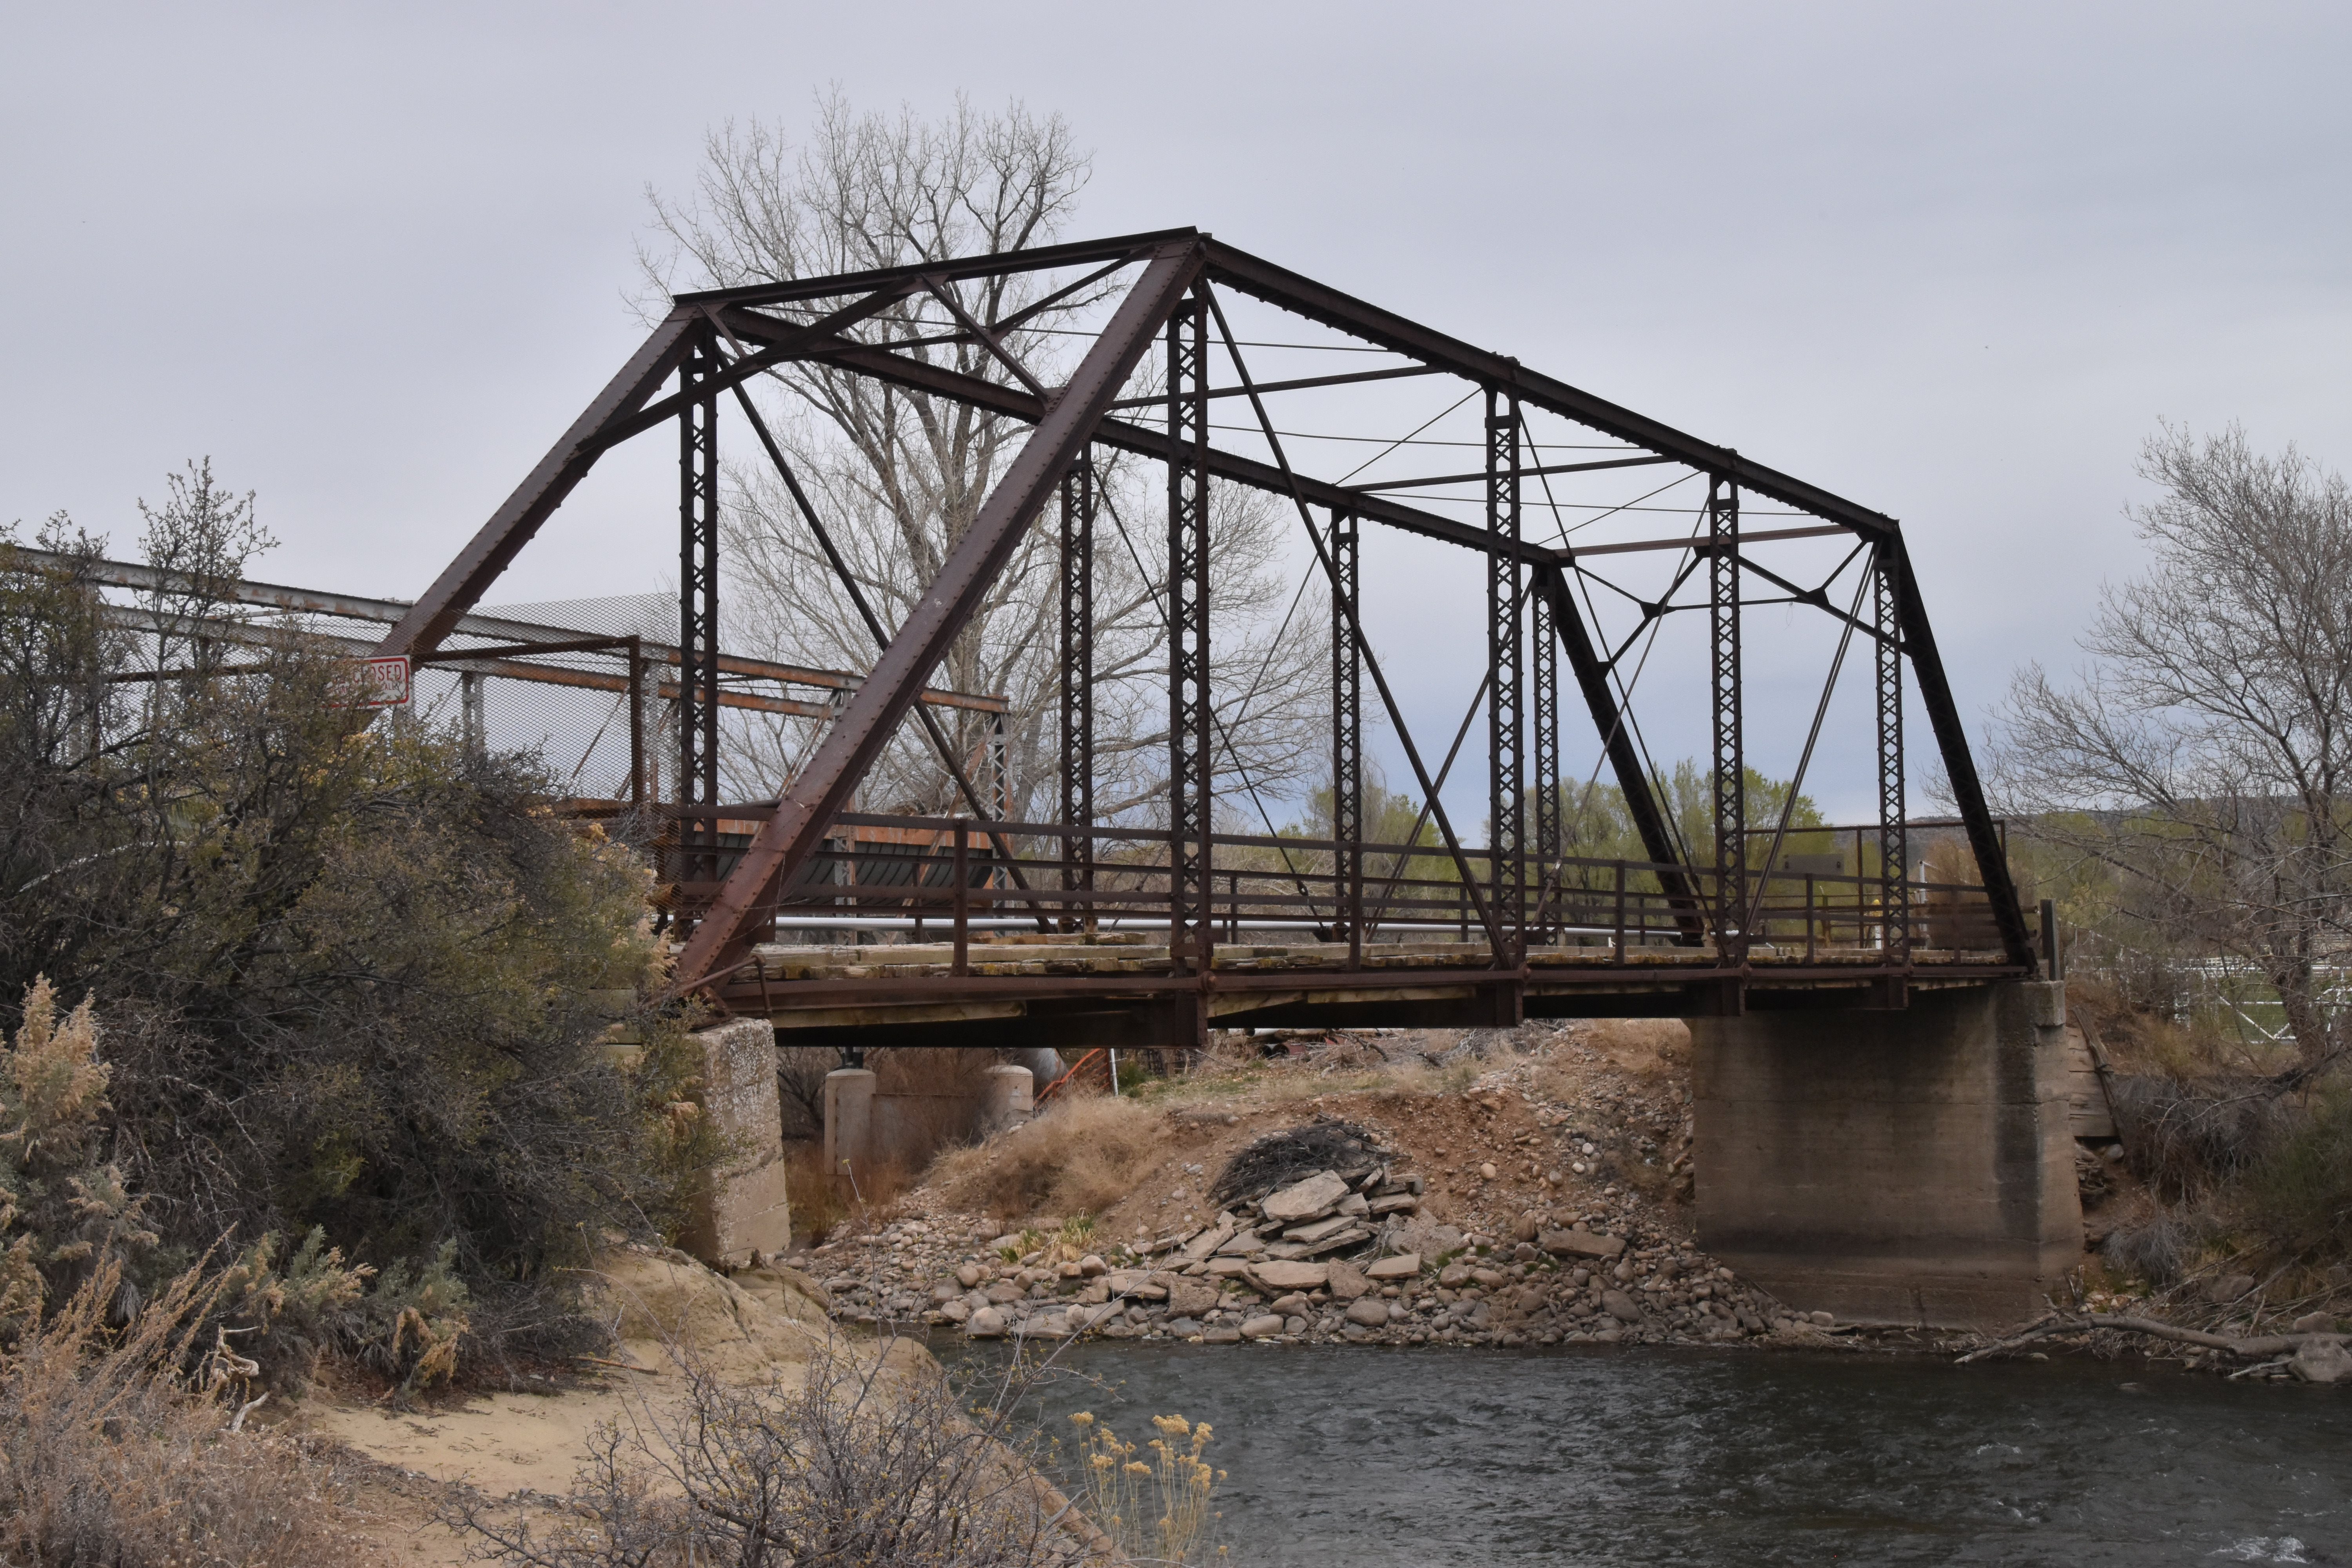
Views beside bridge from southeast quadrant.
![]()


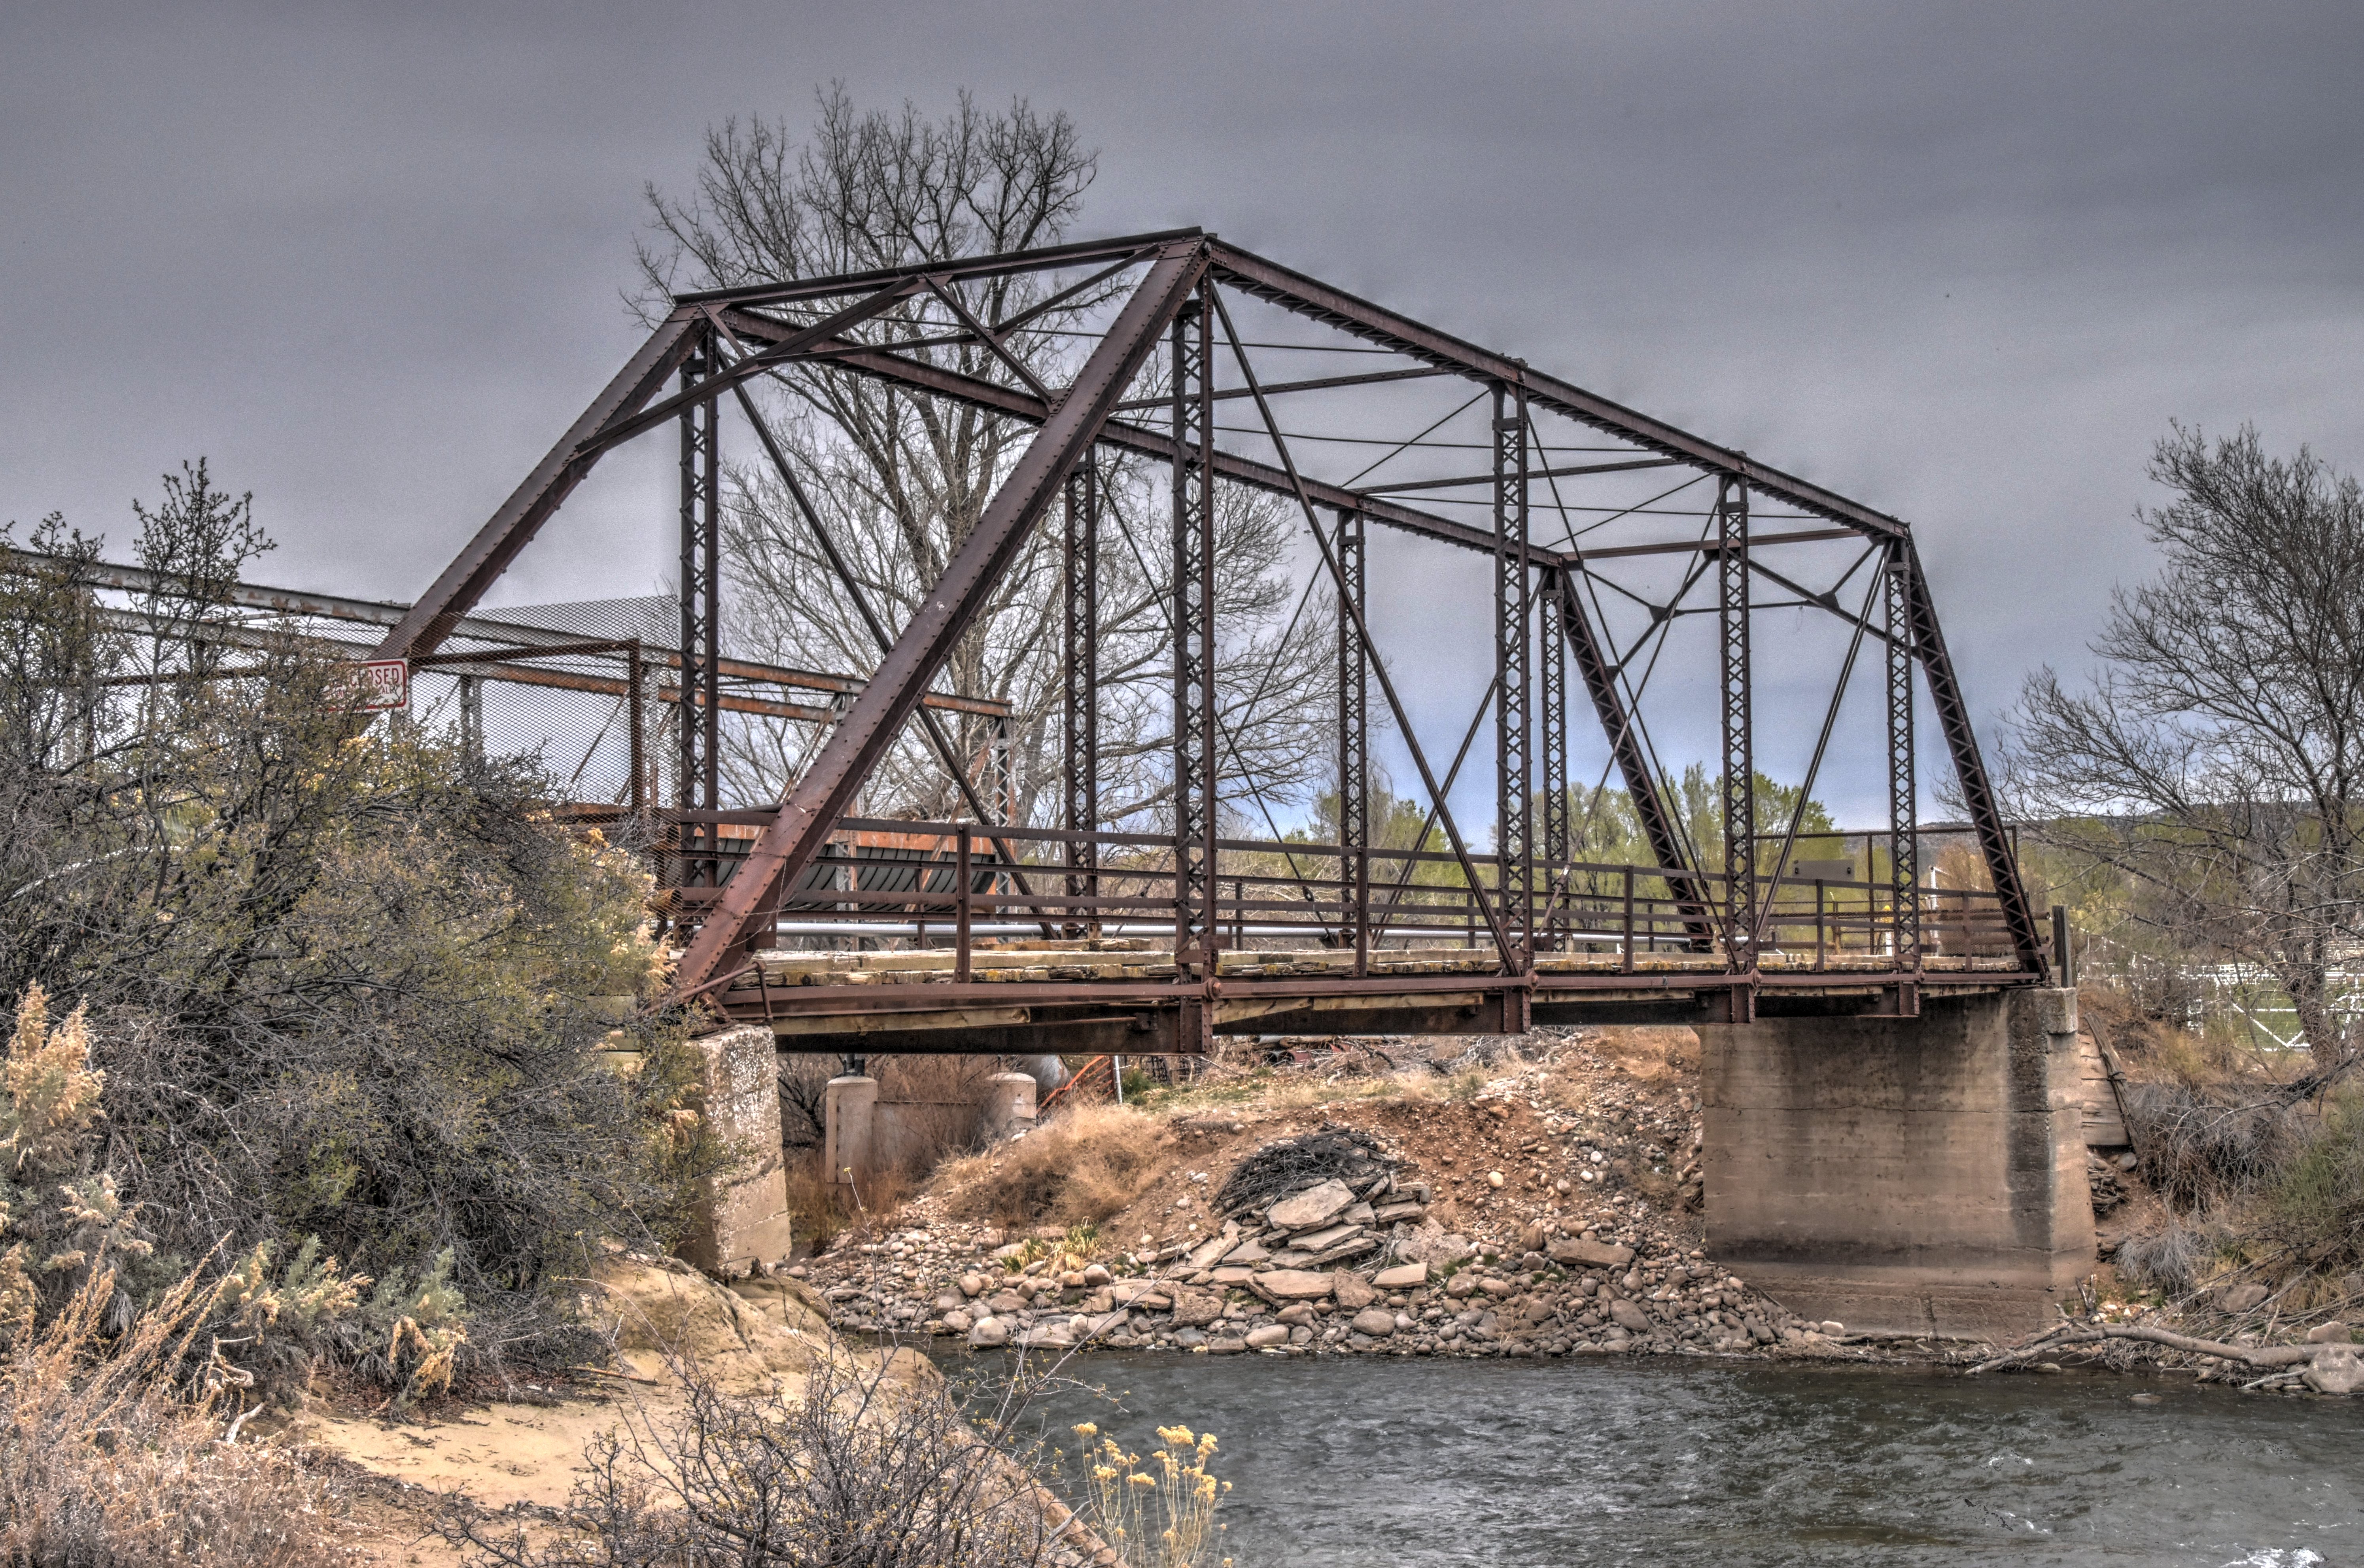
Views beside bridge from northwest quadrant.
![]()


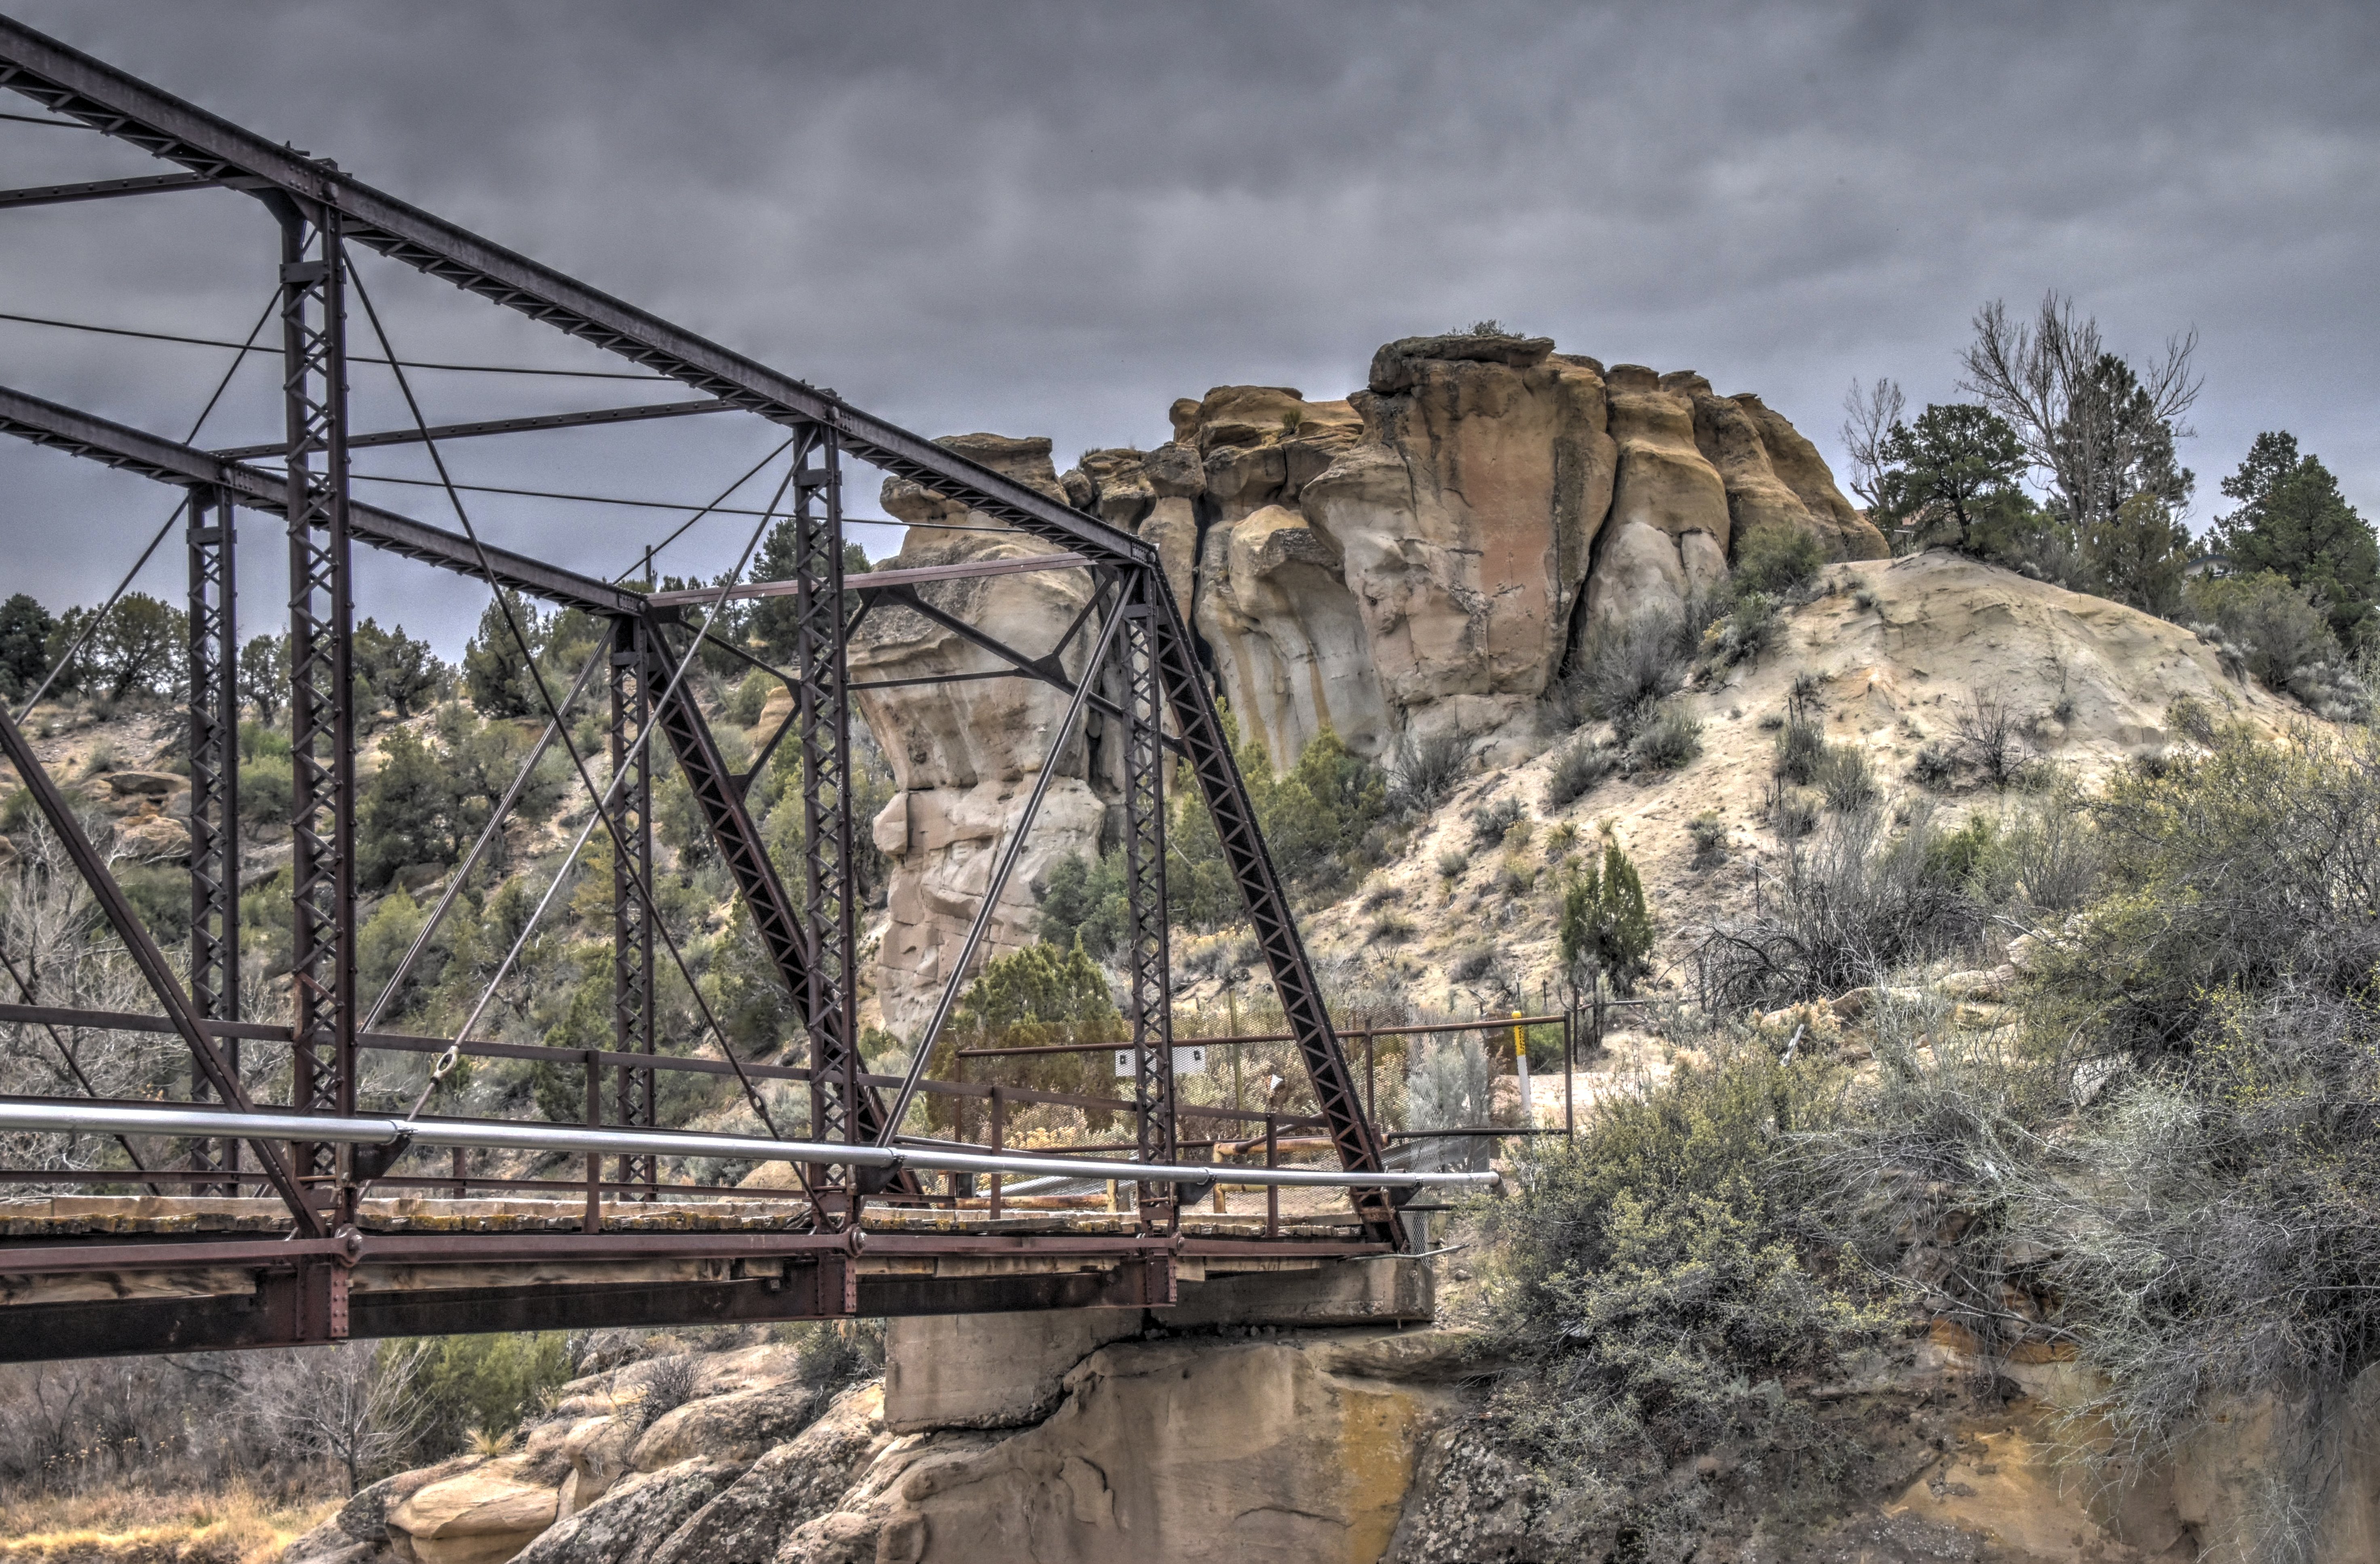
Oblique views from northwest quadrant.
![]()


Views showing the Flume Bridge next to the highway bridge. Views facing south.
![]()


Views showing the Flume Bridge next to the highway bridge. Views facing north.
![]()


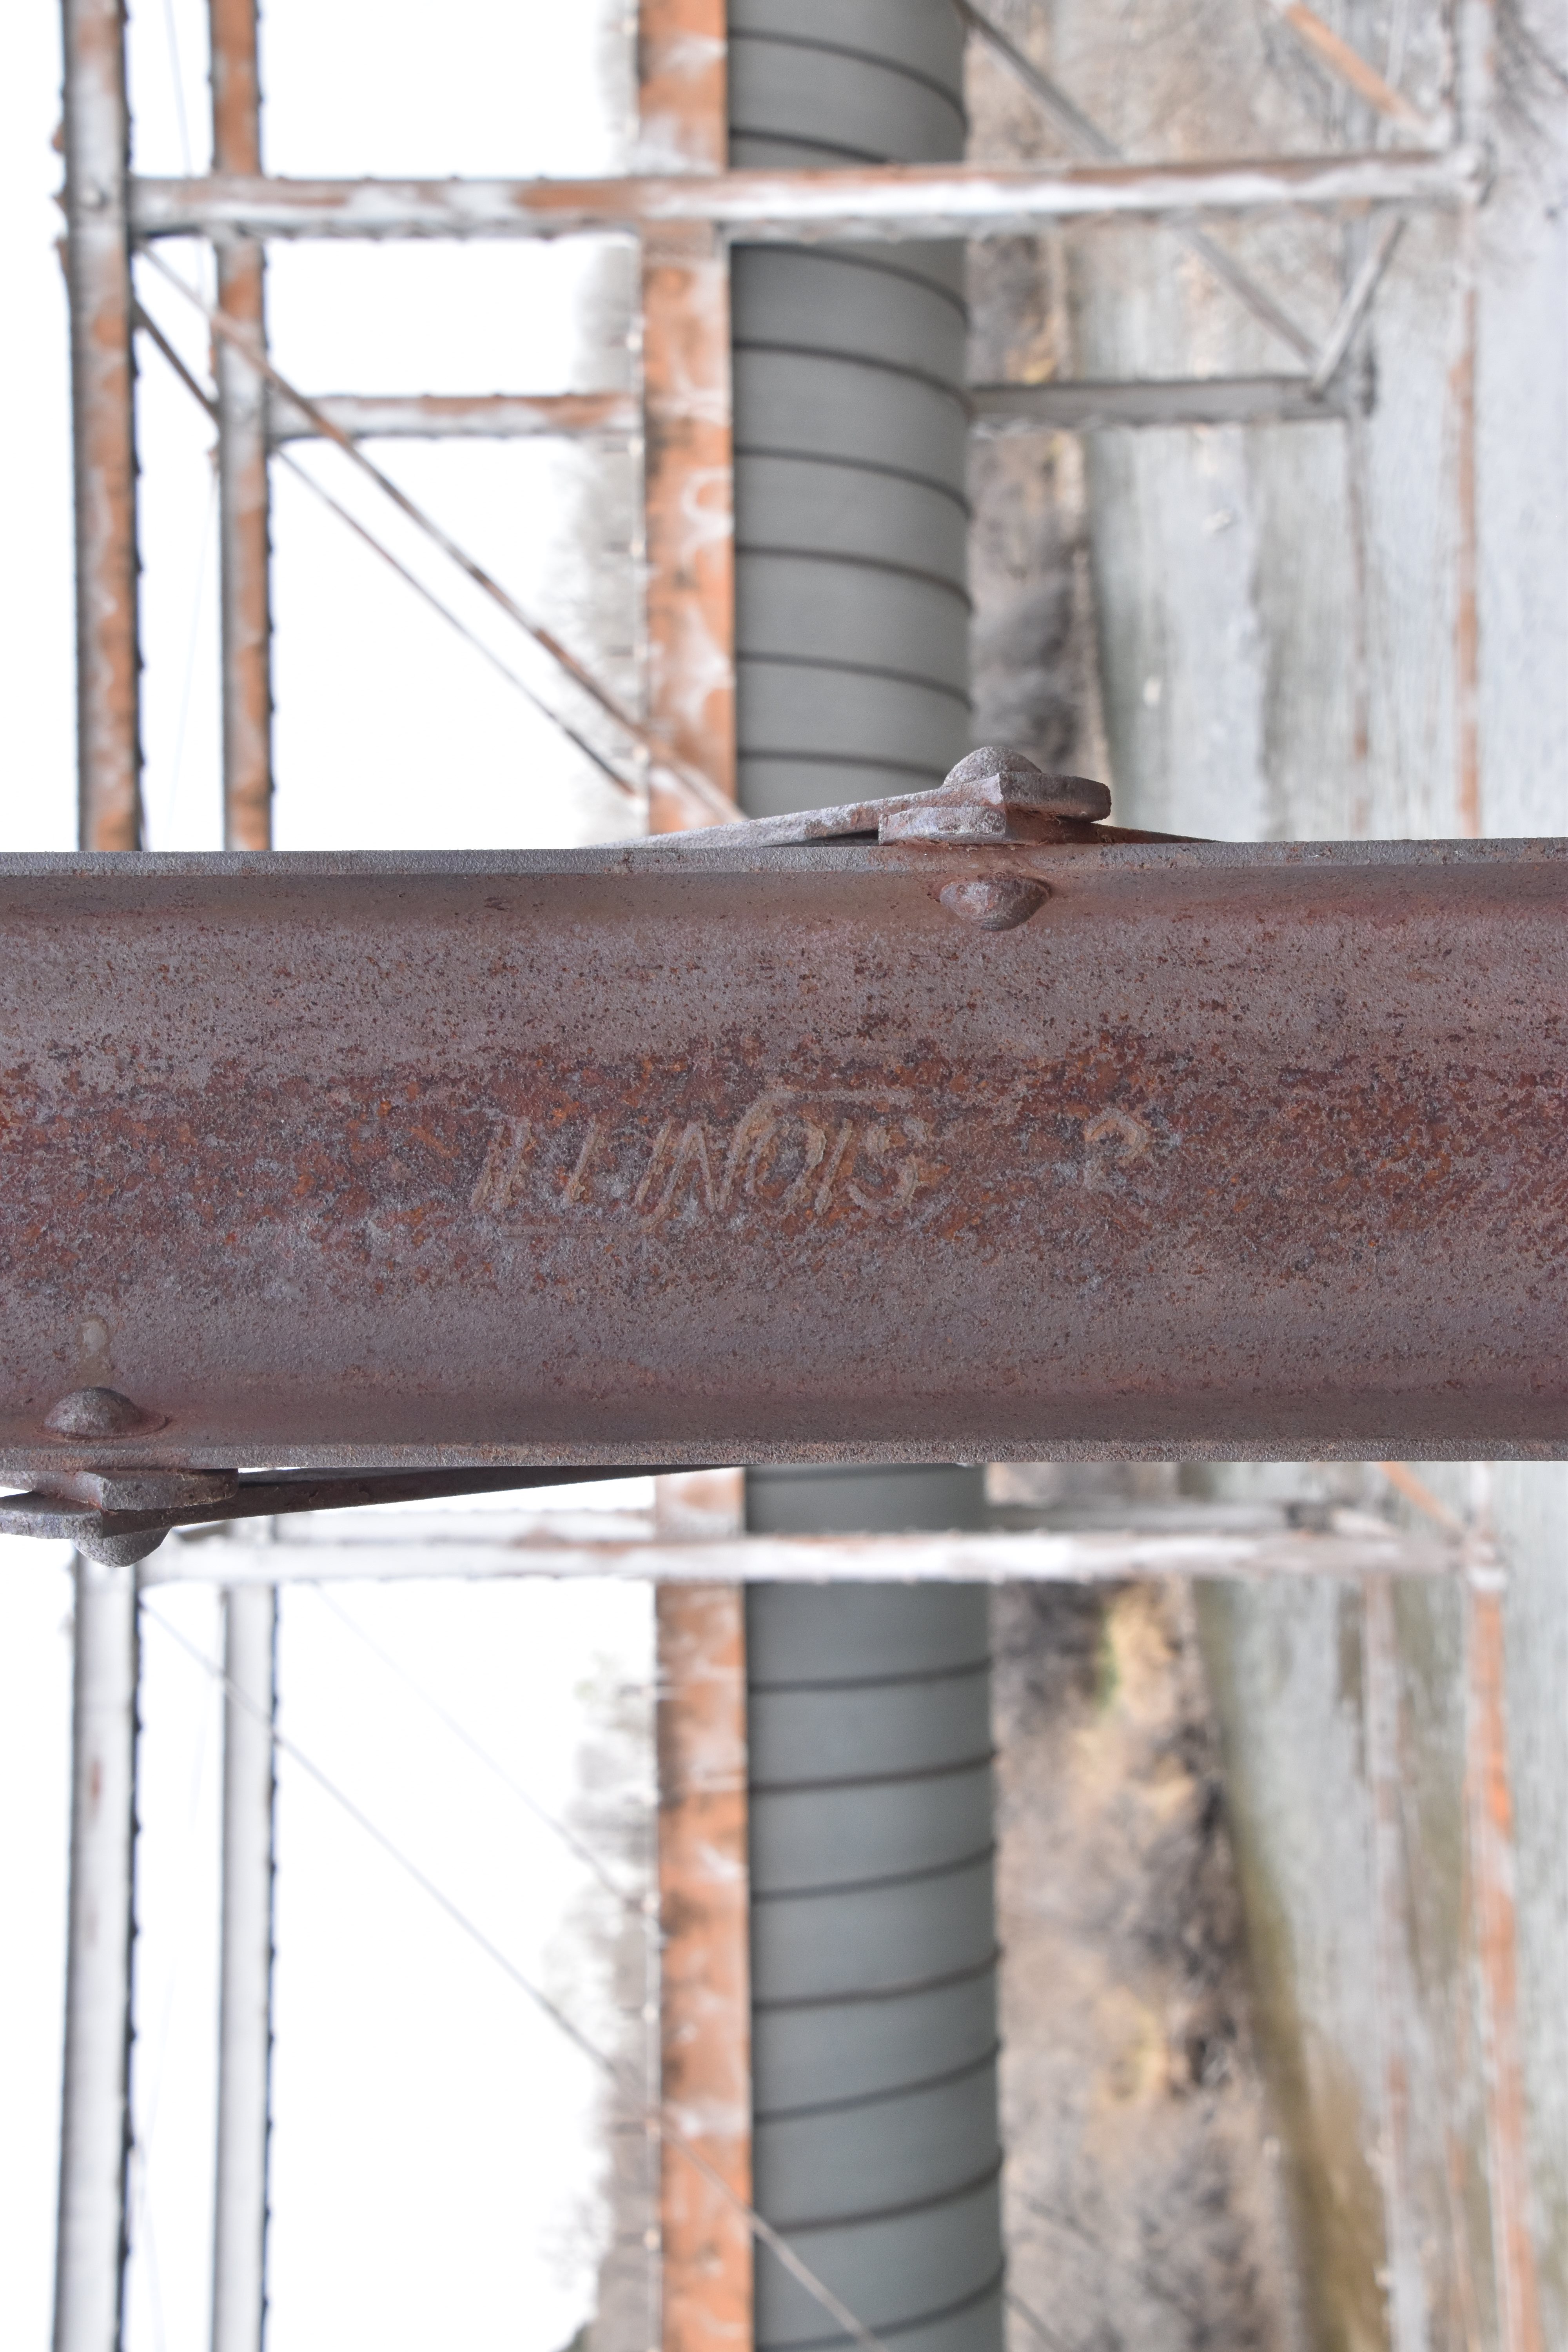


Illinois 2 brand.
![]()


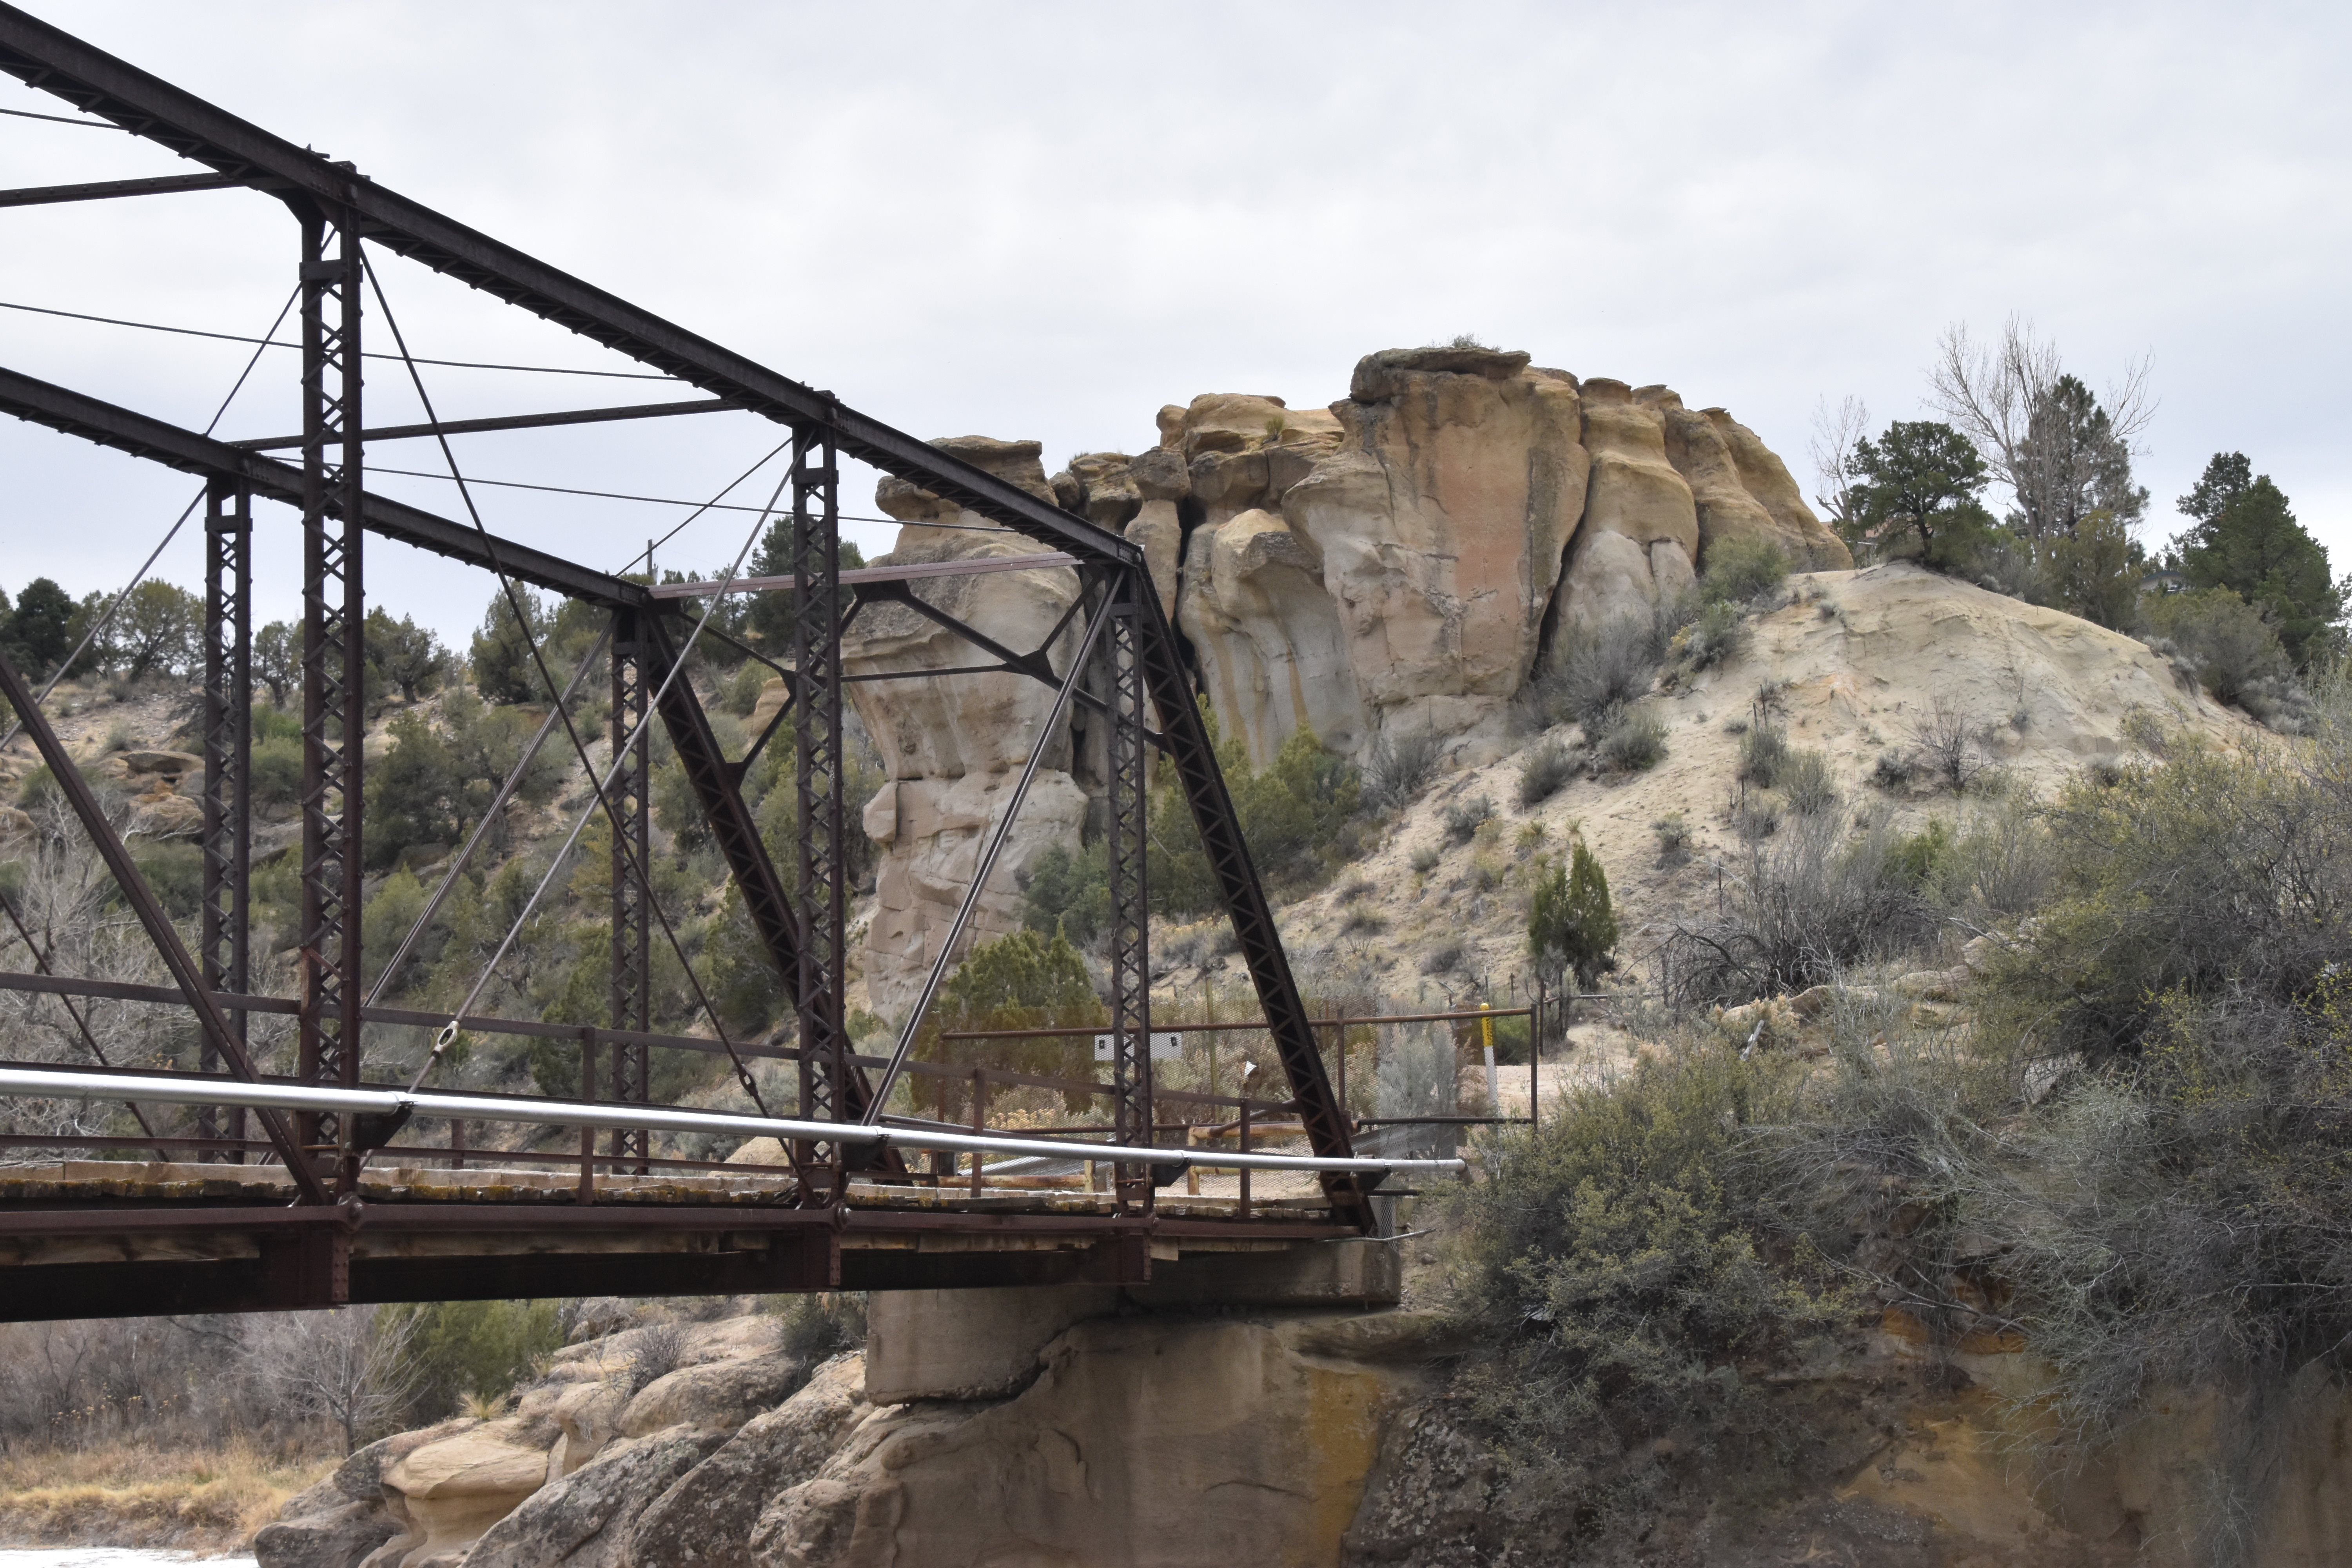

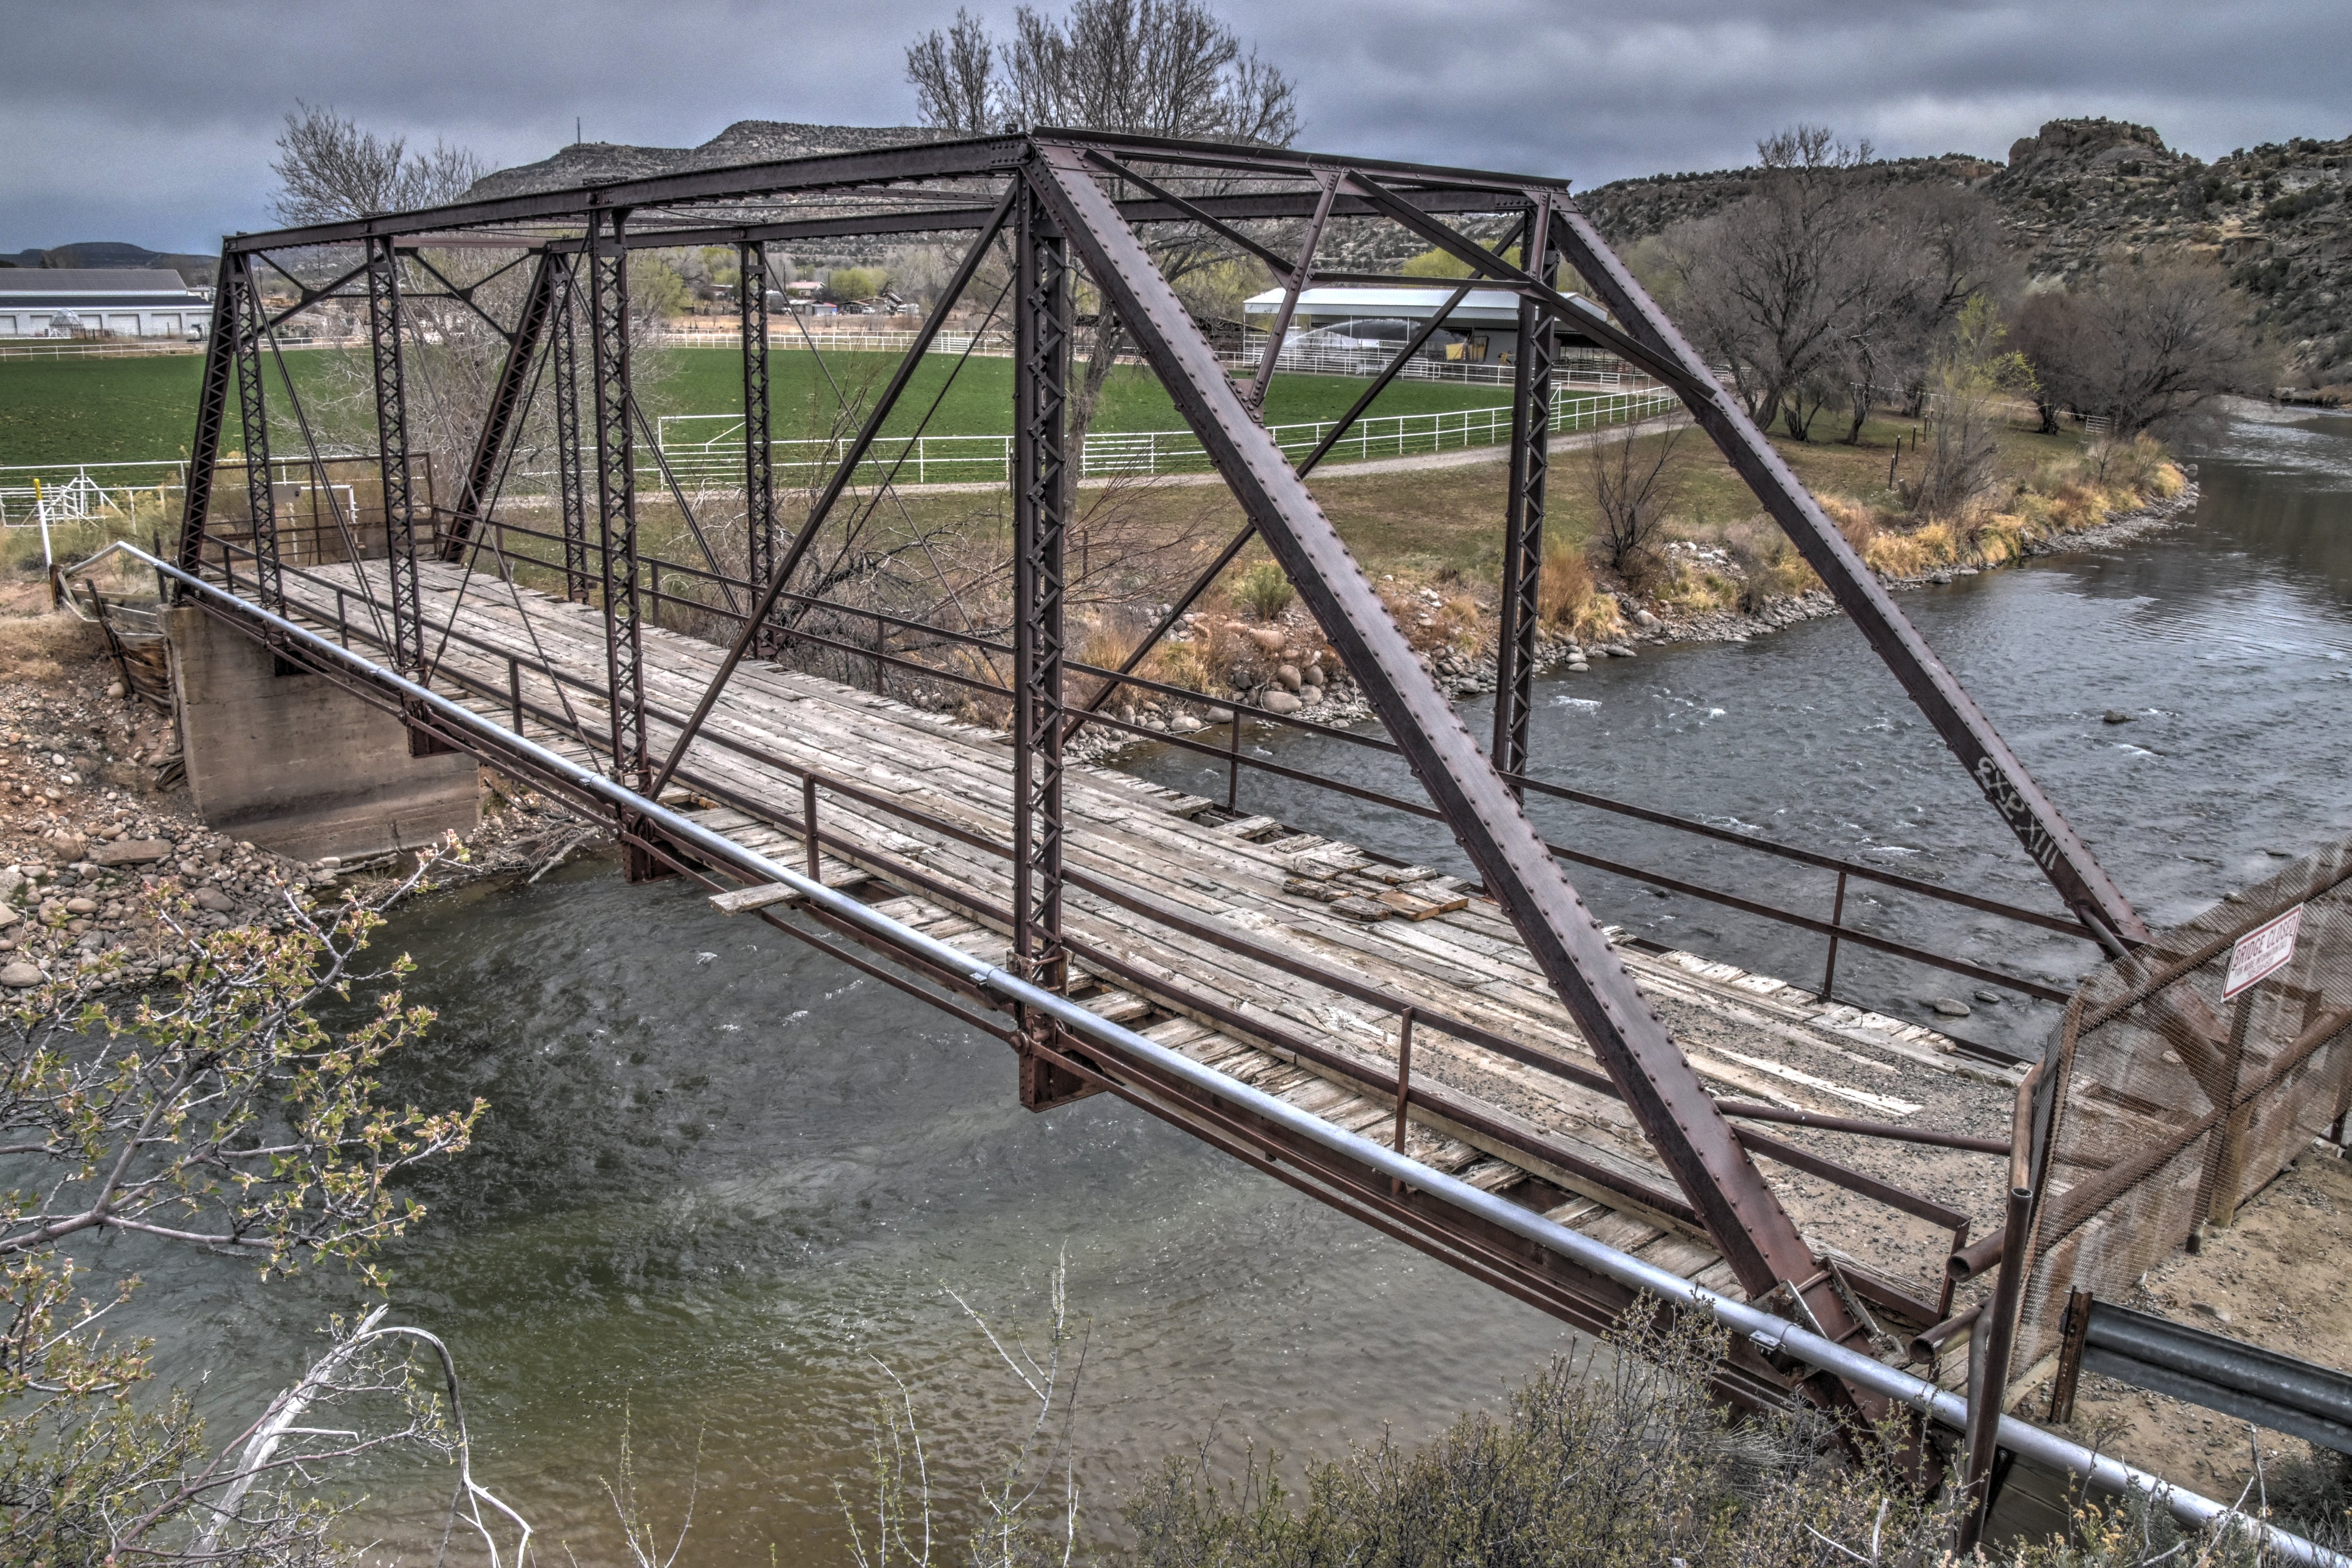
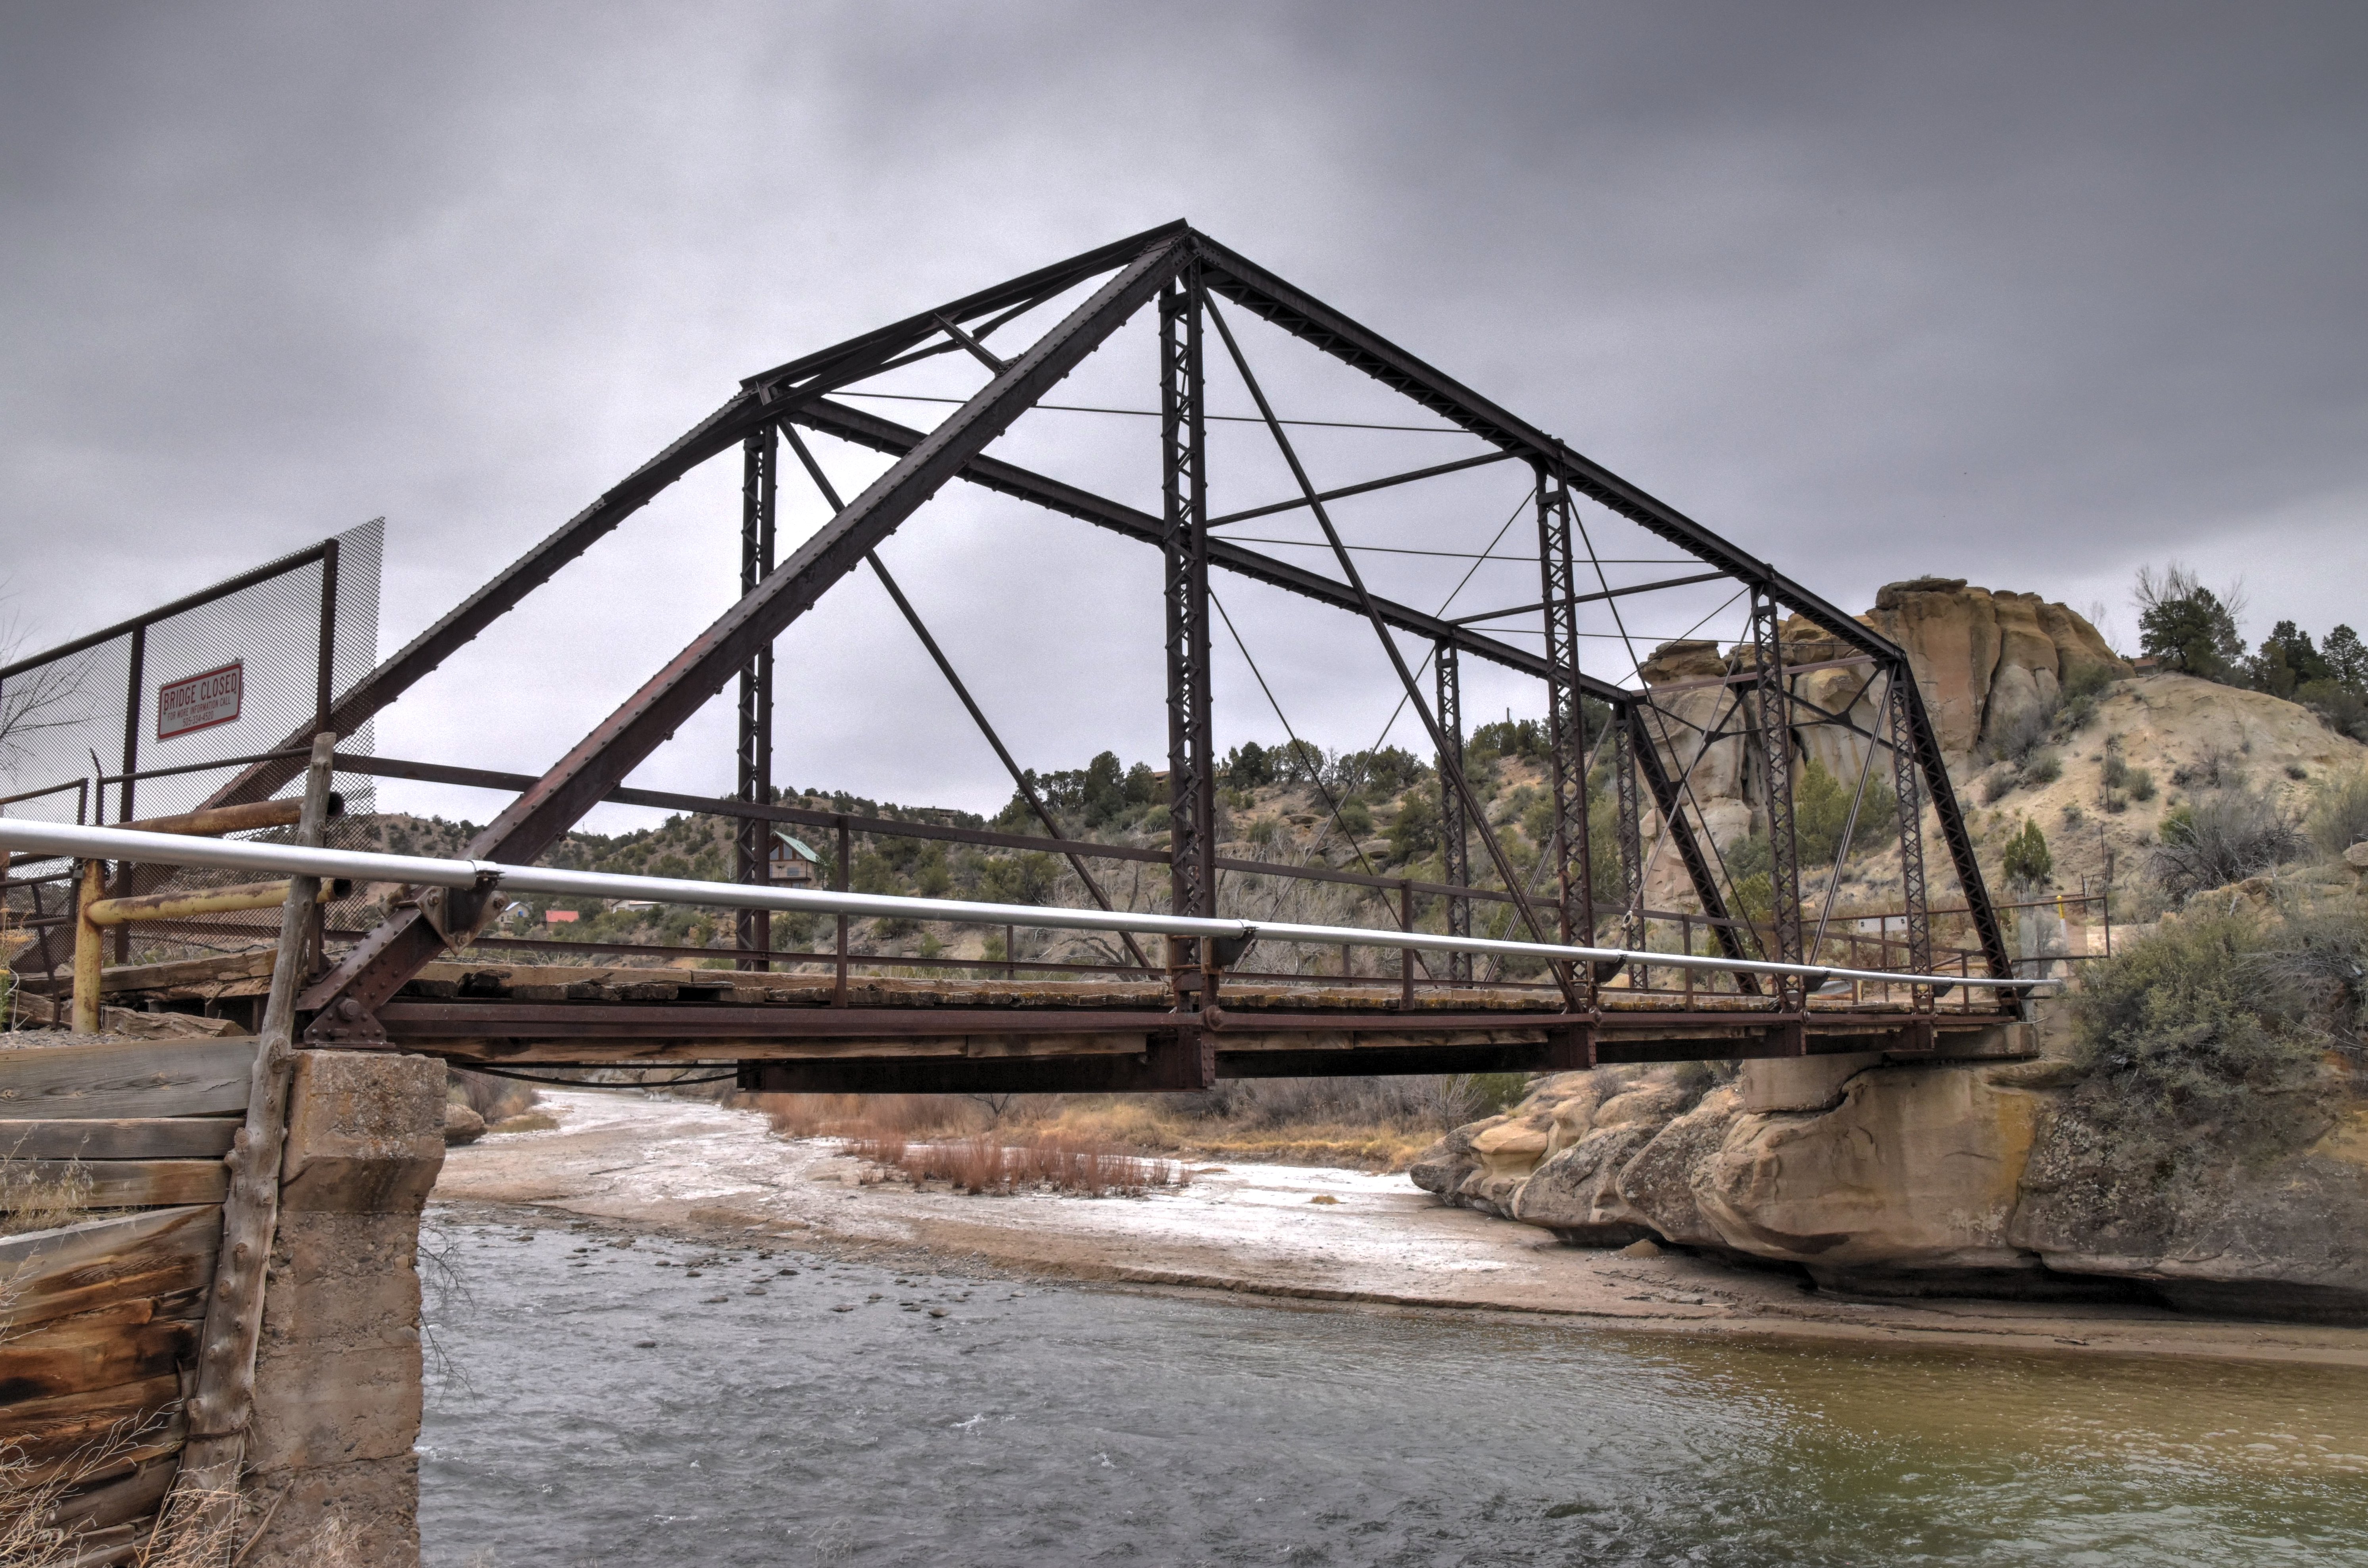
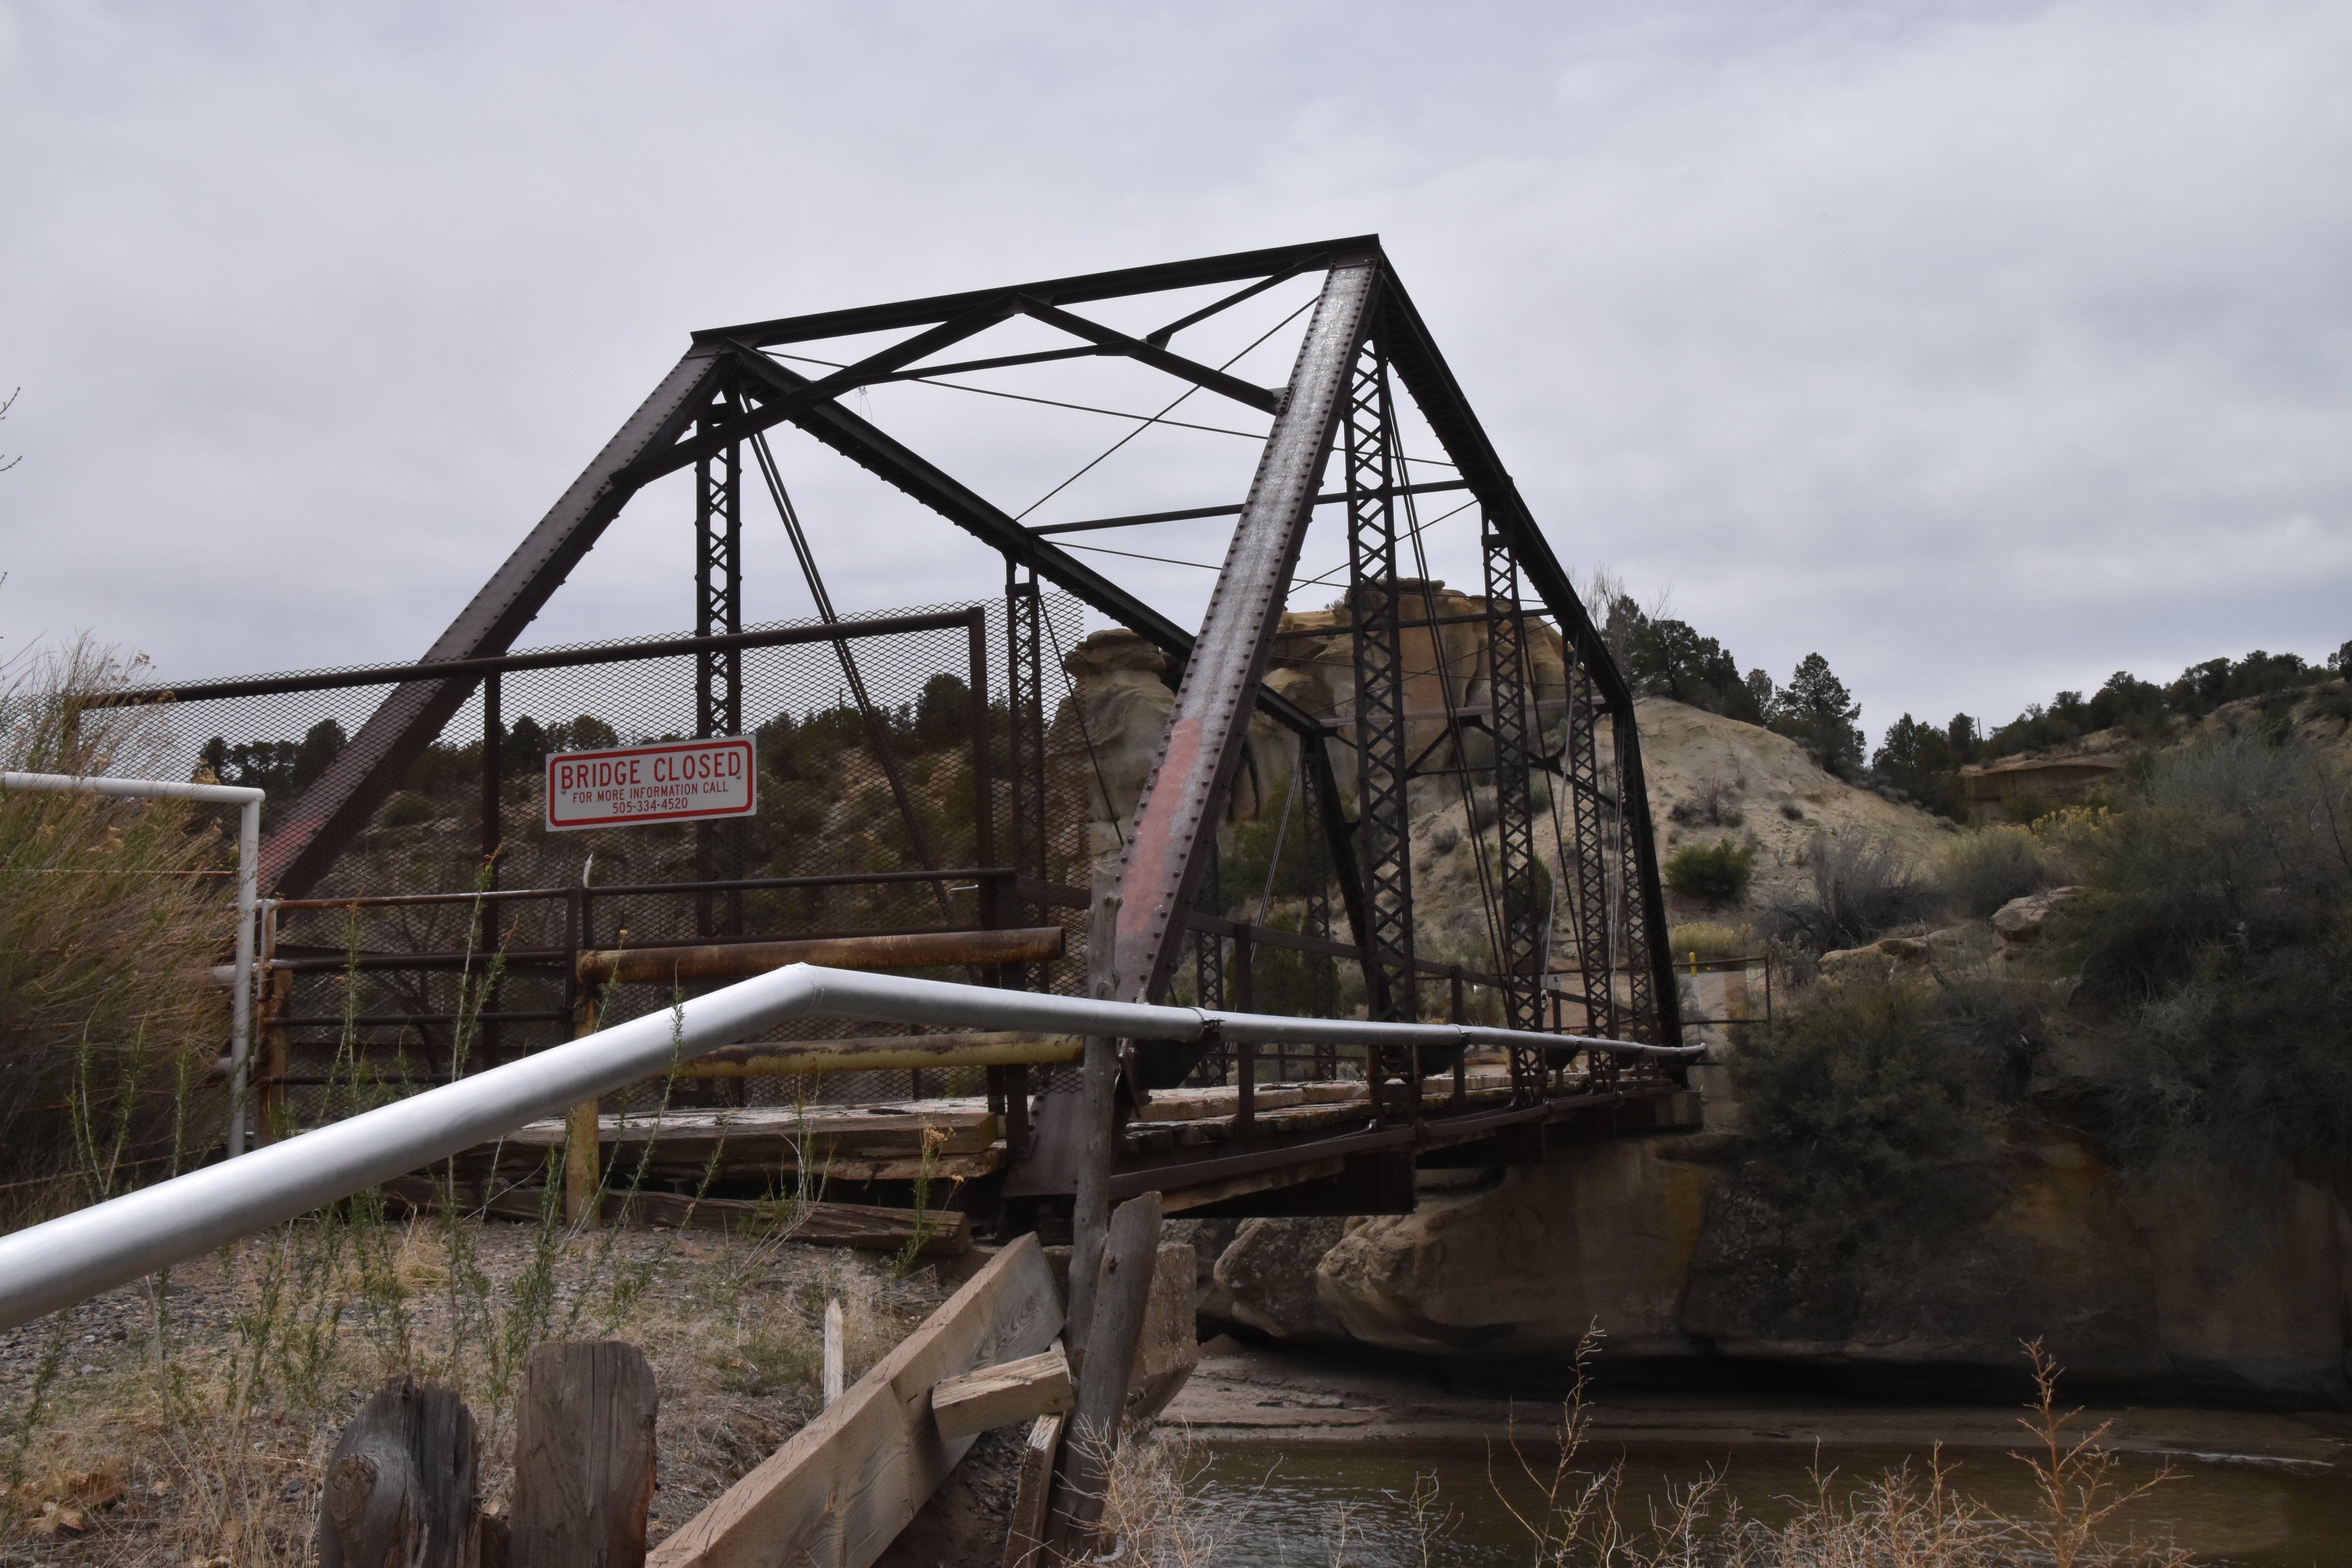
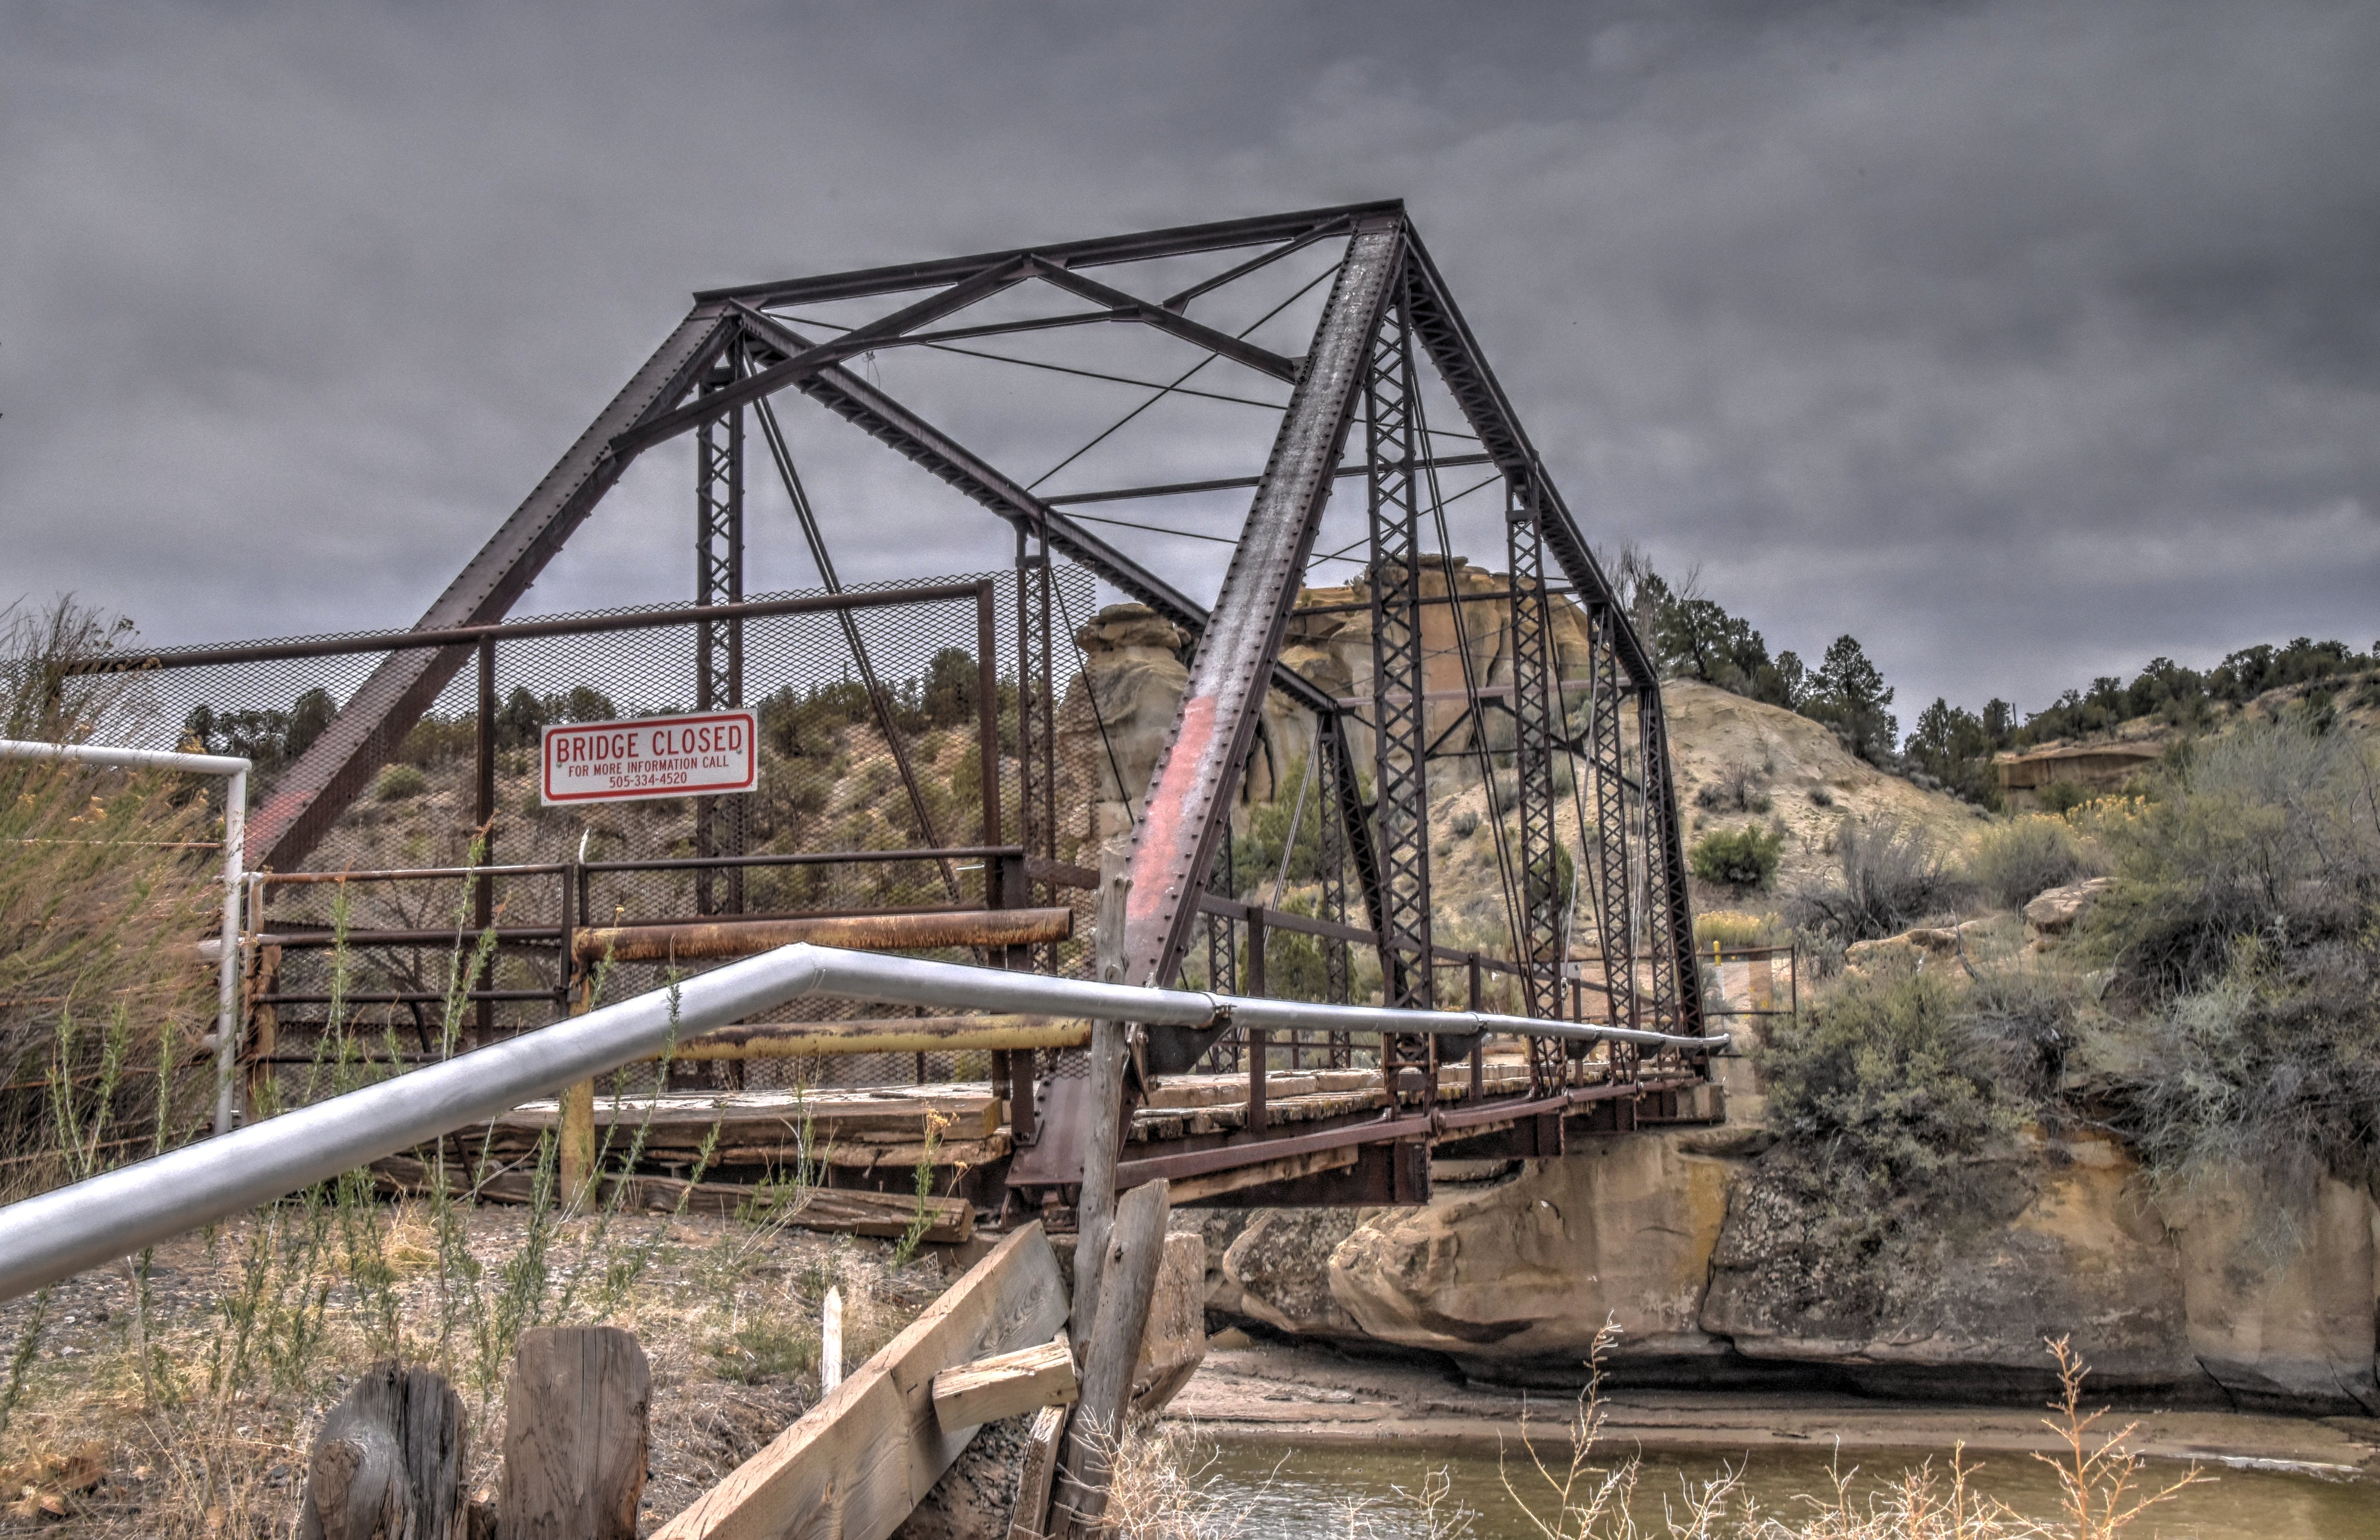
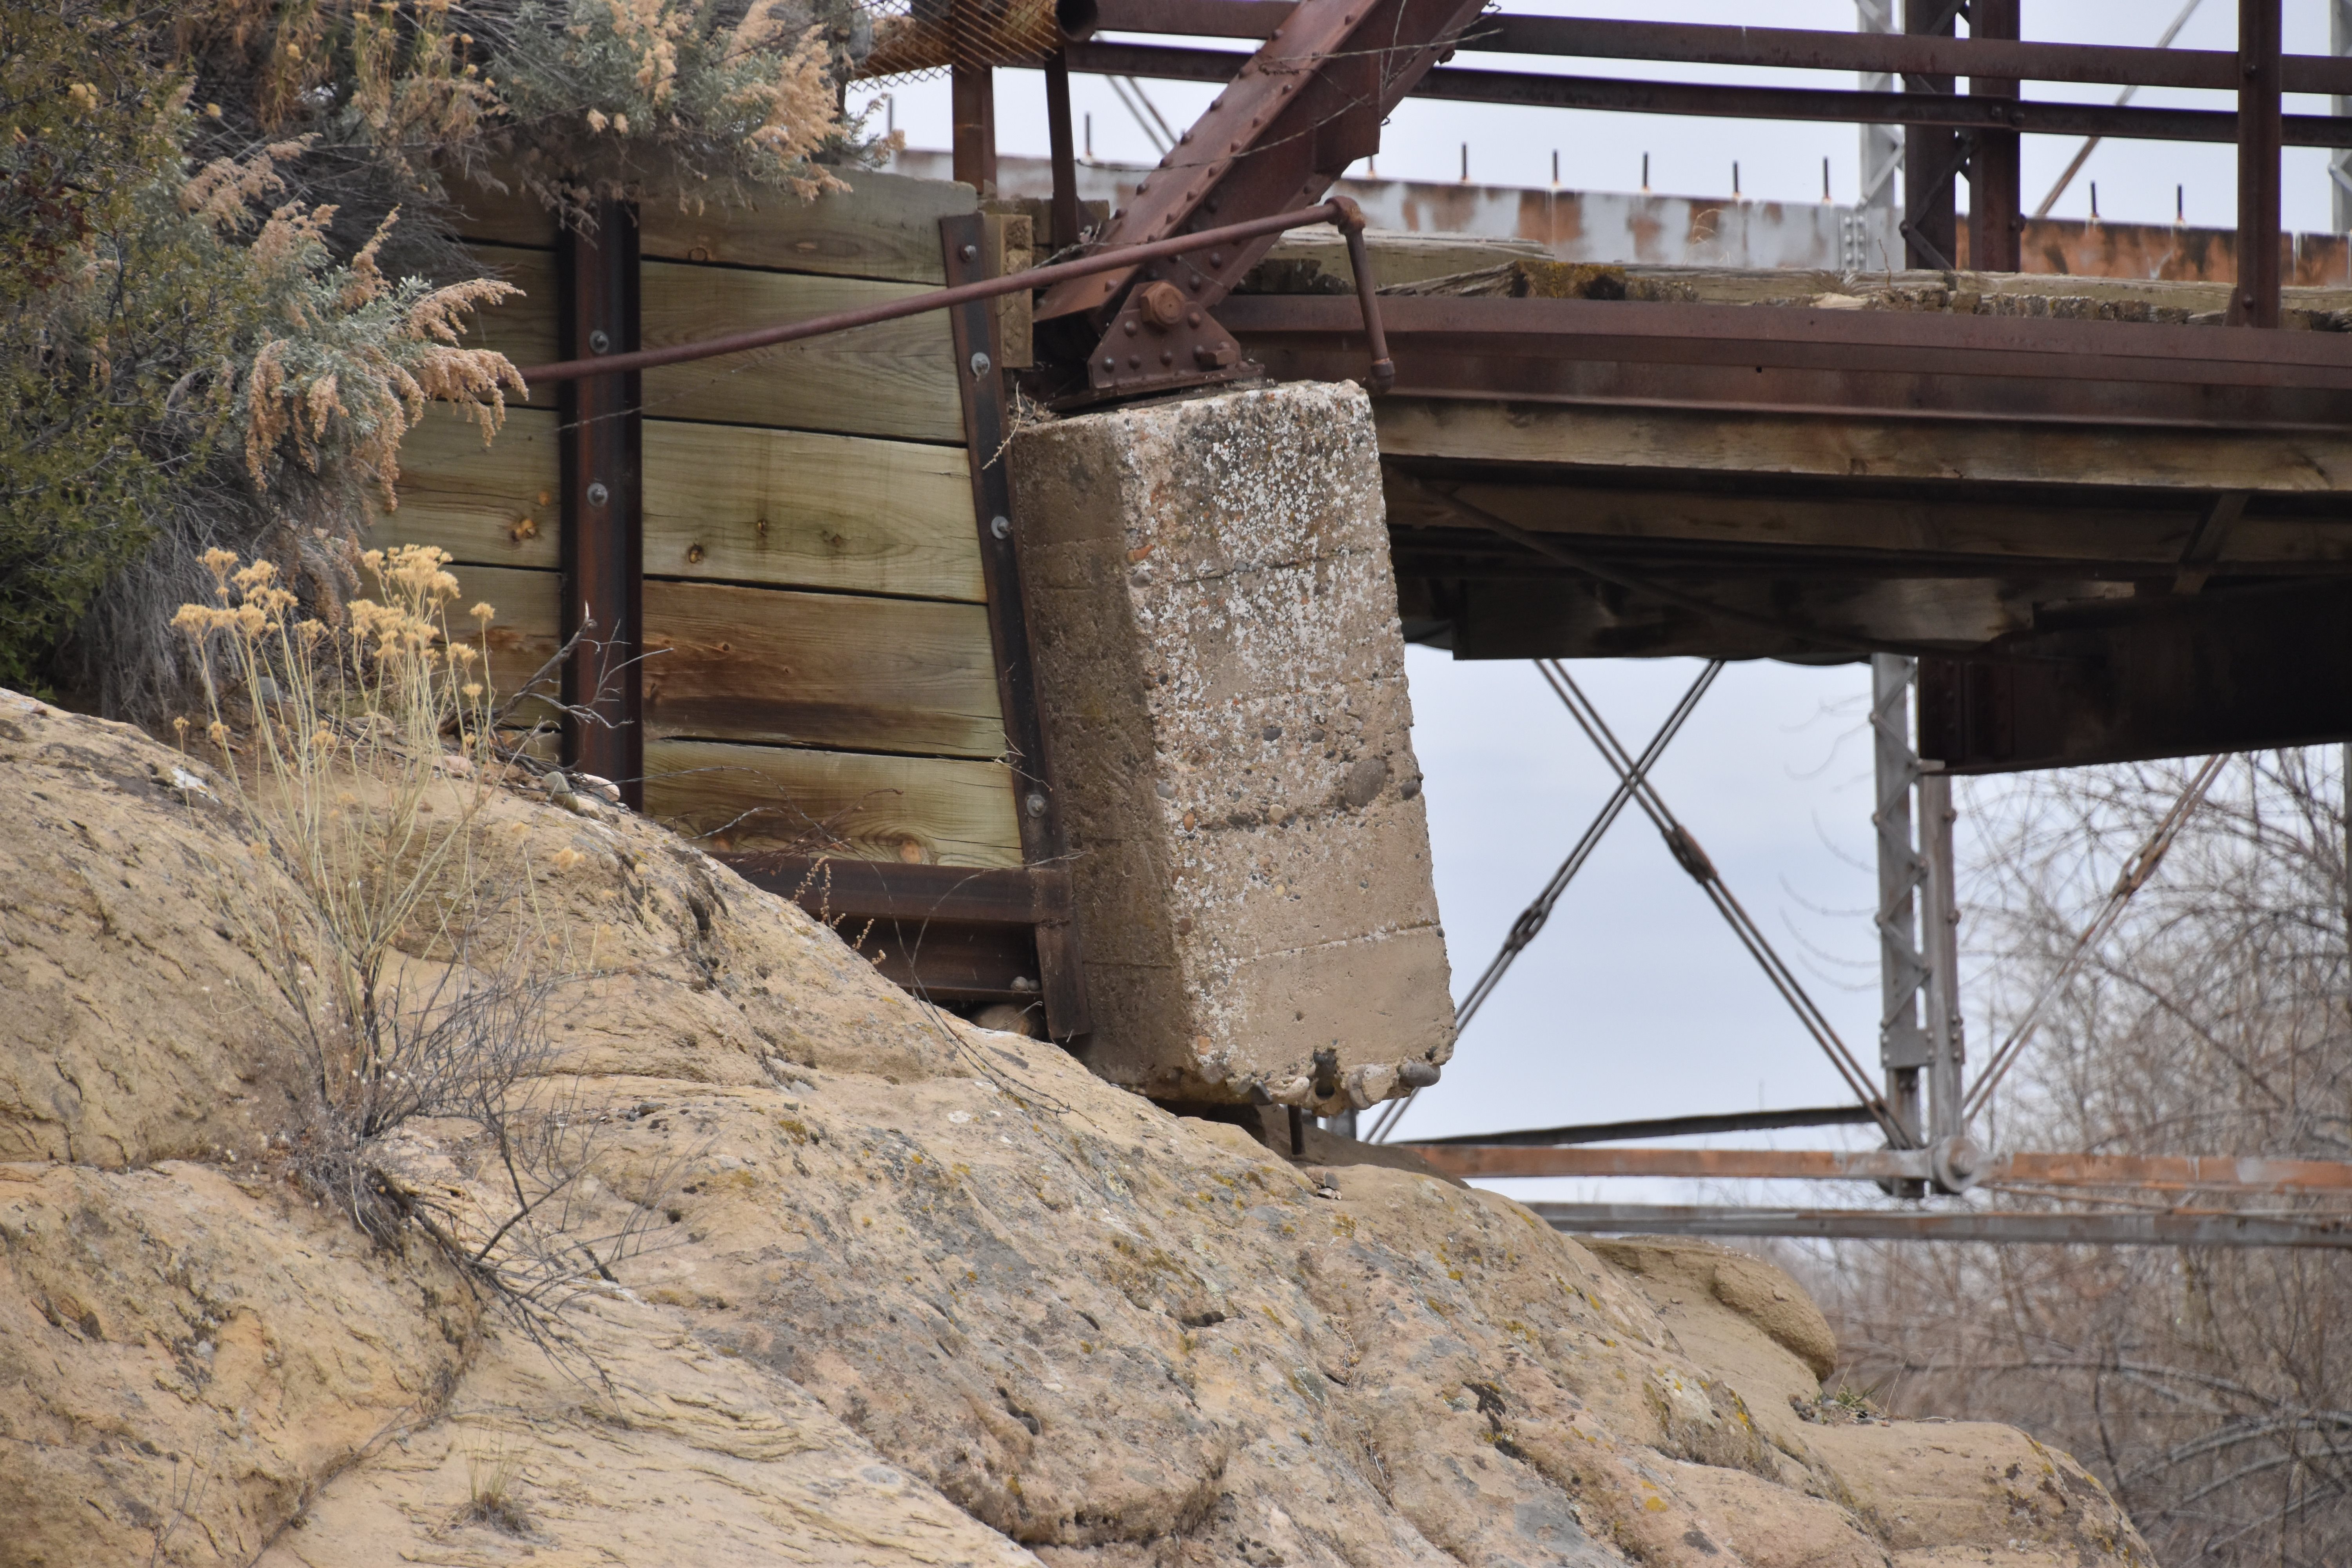
Views beside bridge showing rocky outcrop in brackground. Views from northwest quadrant.
![]()
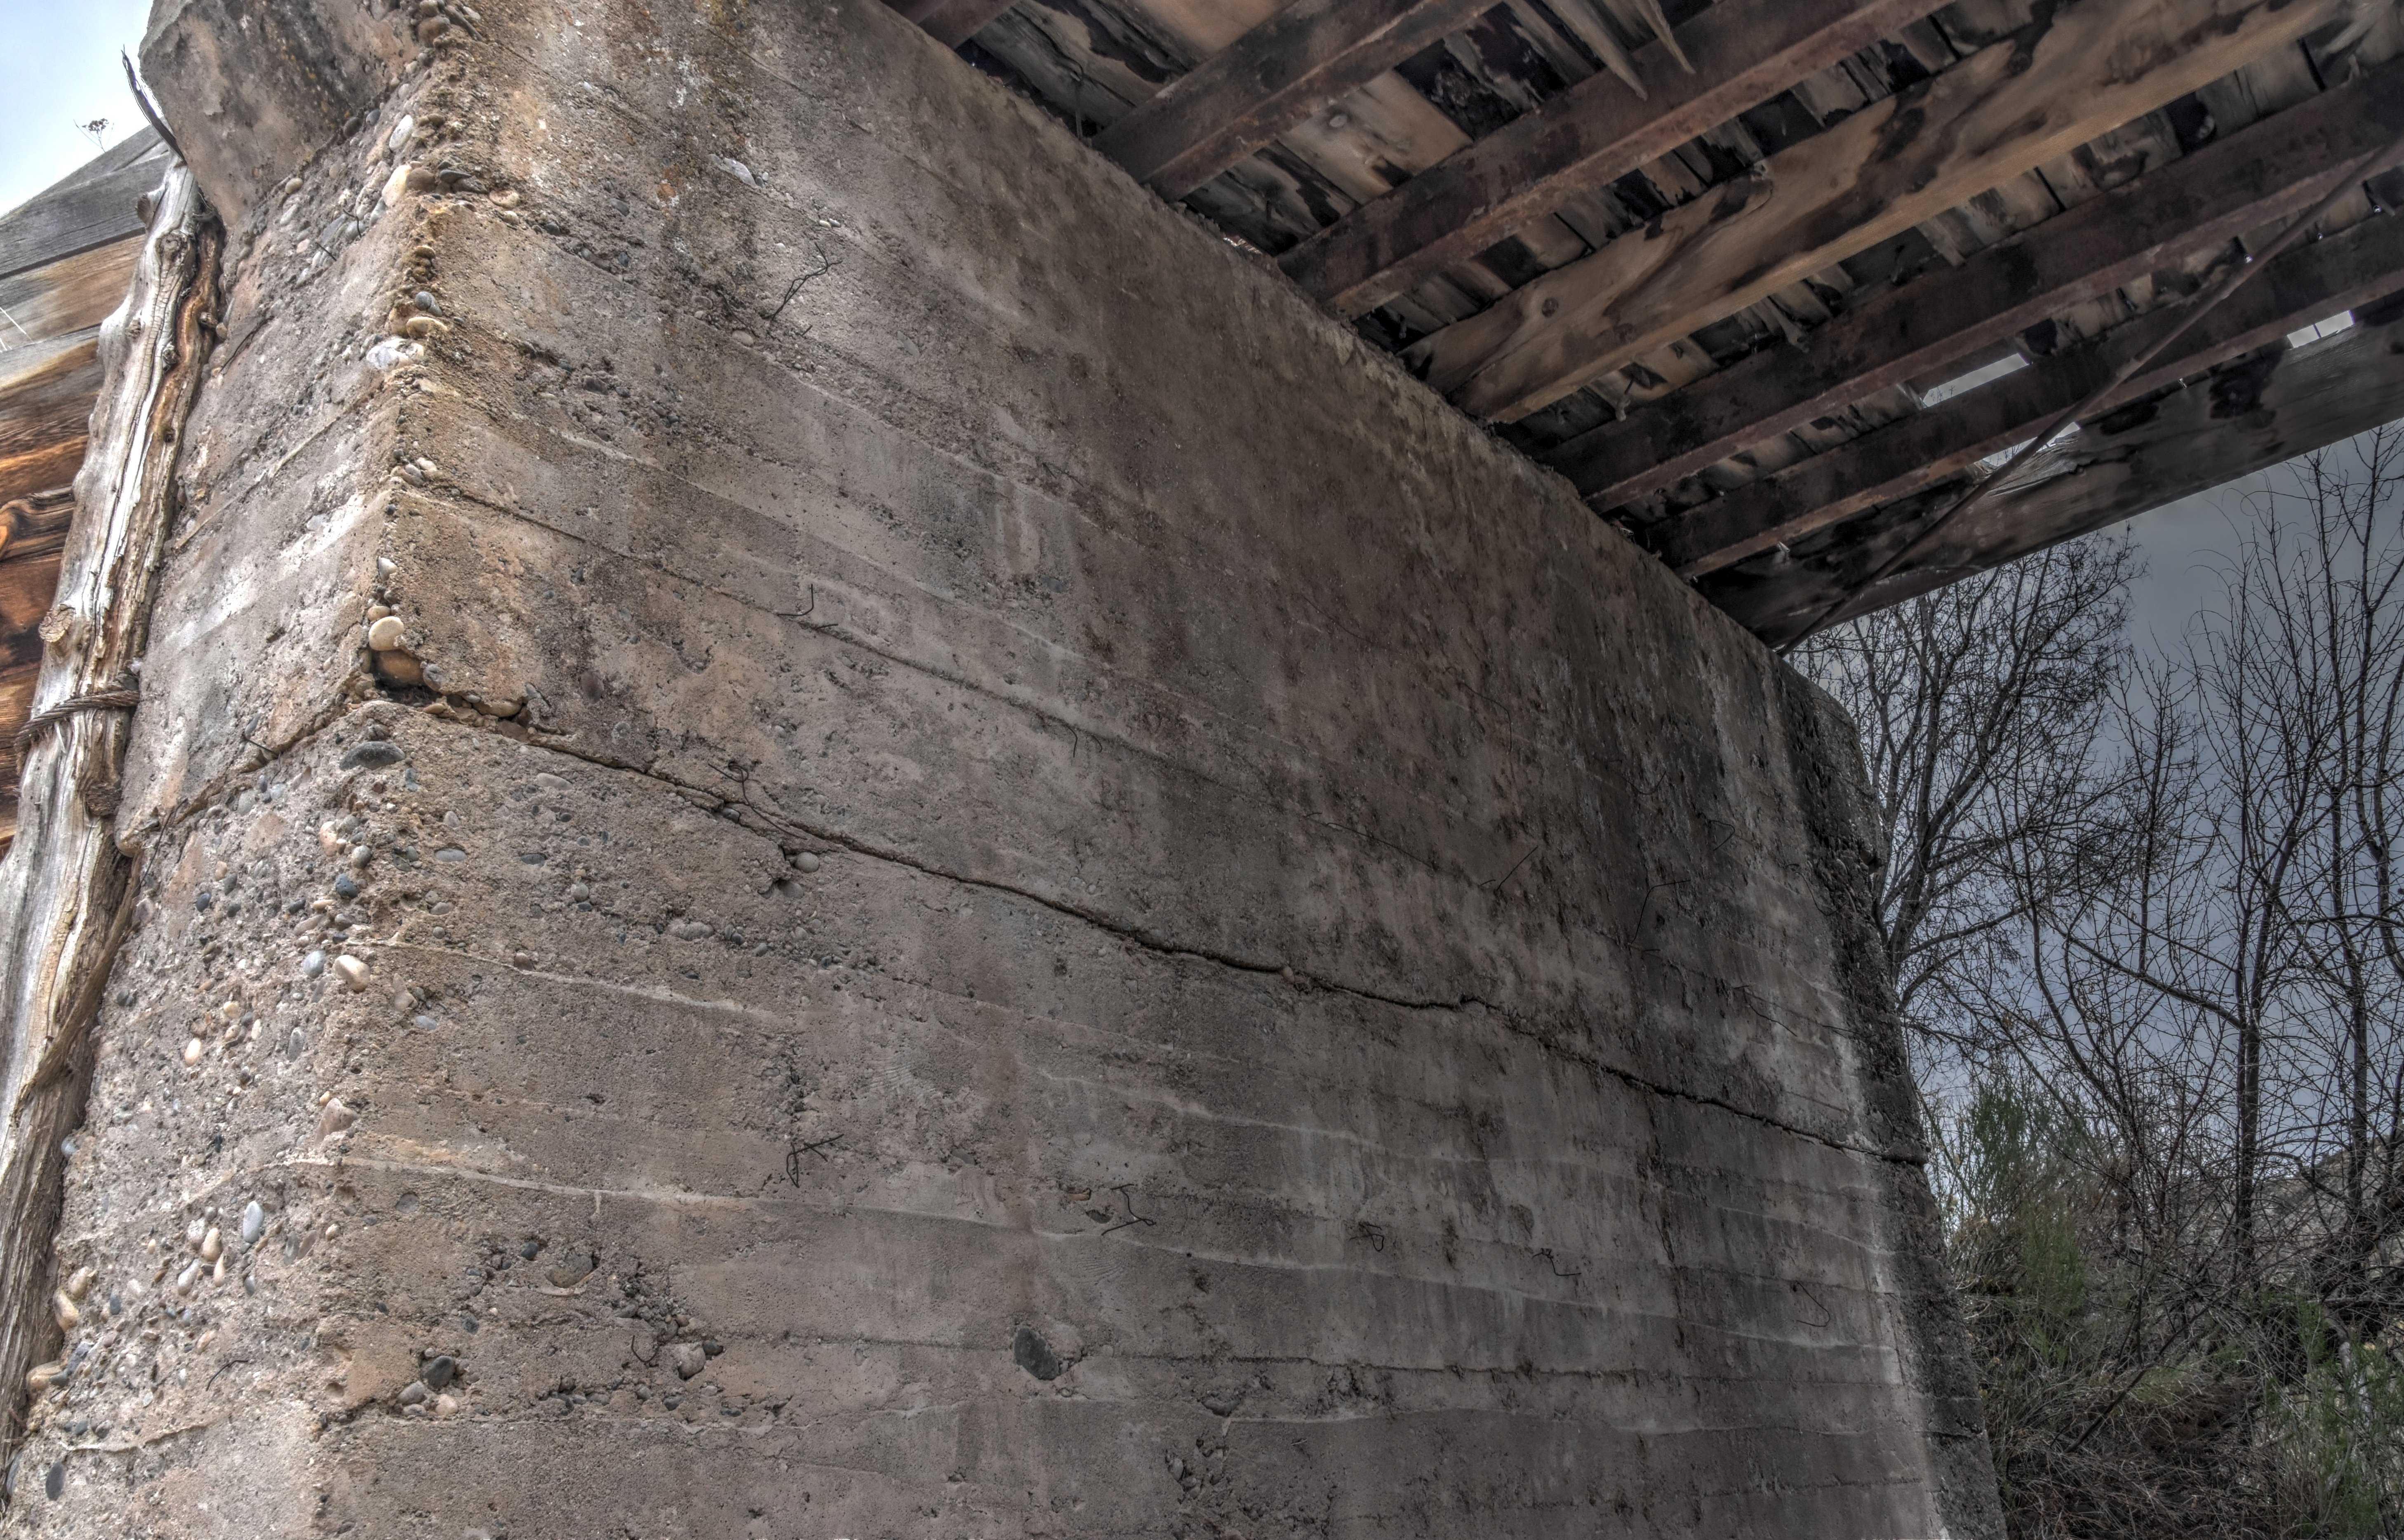
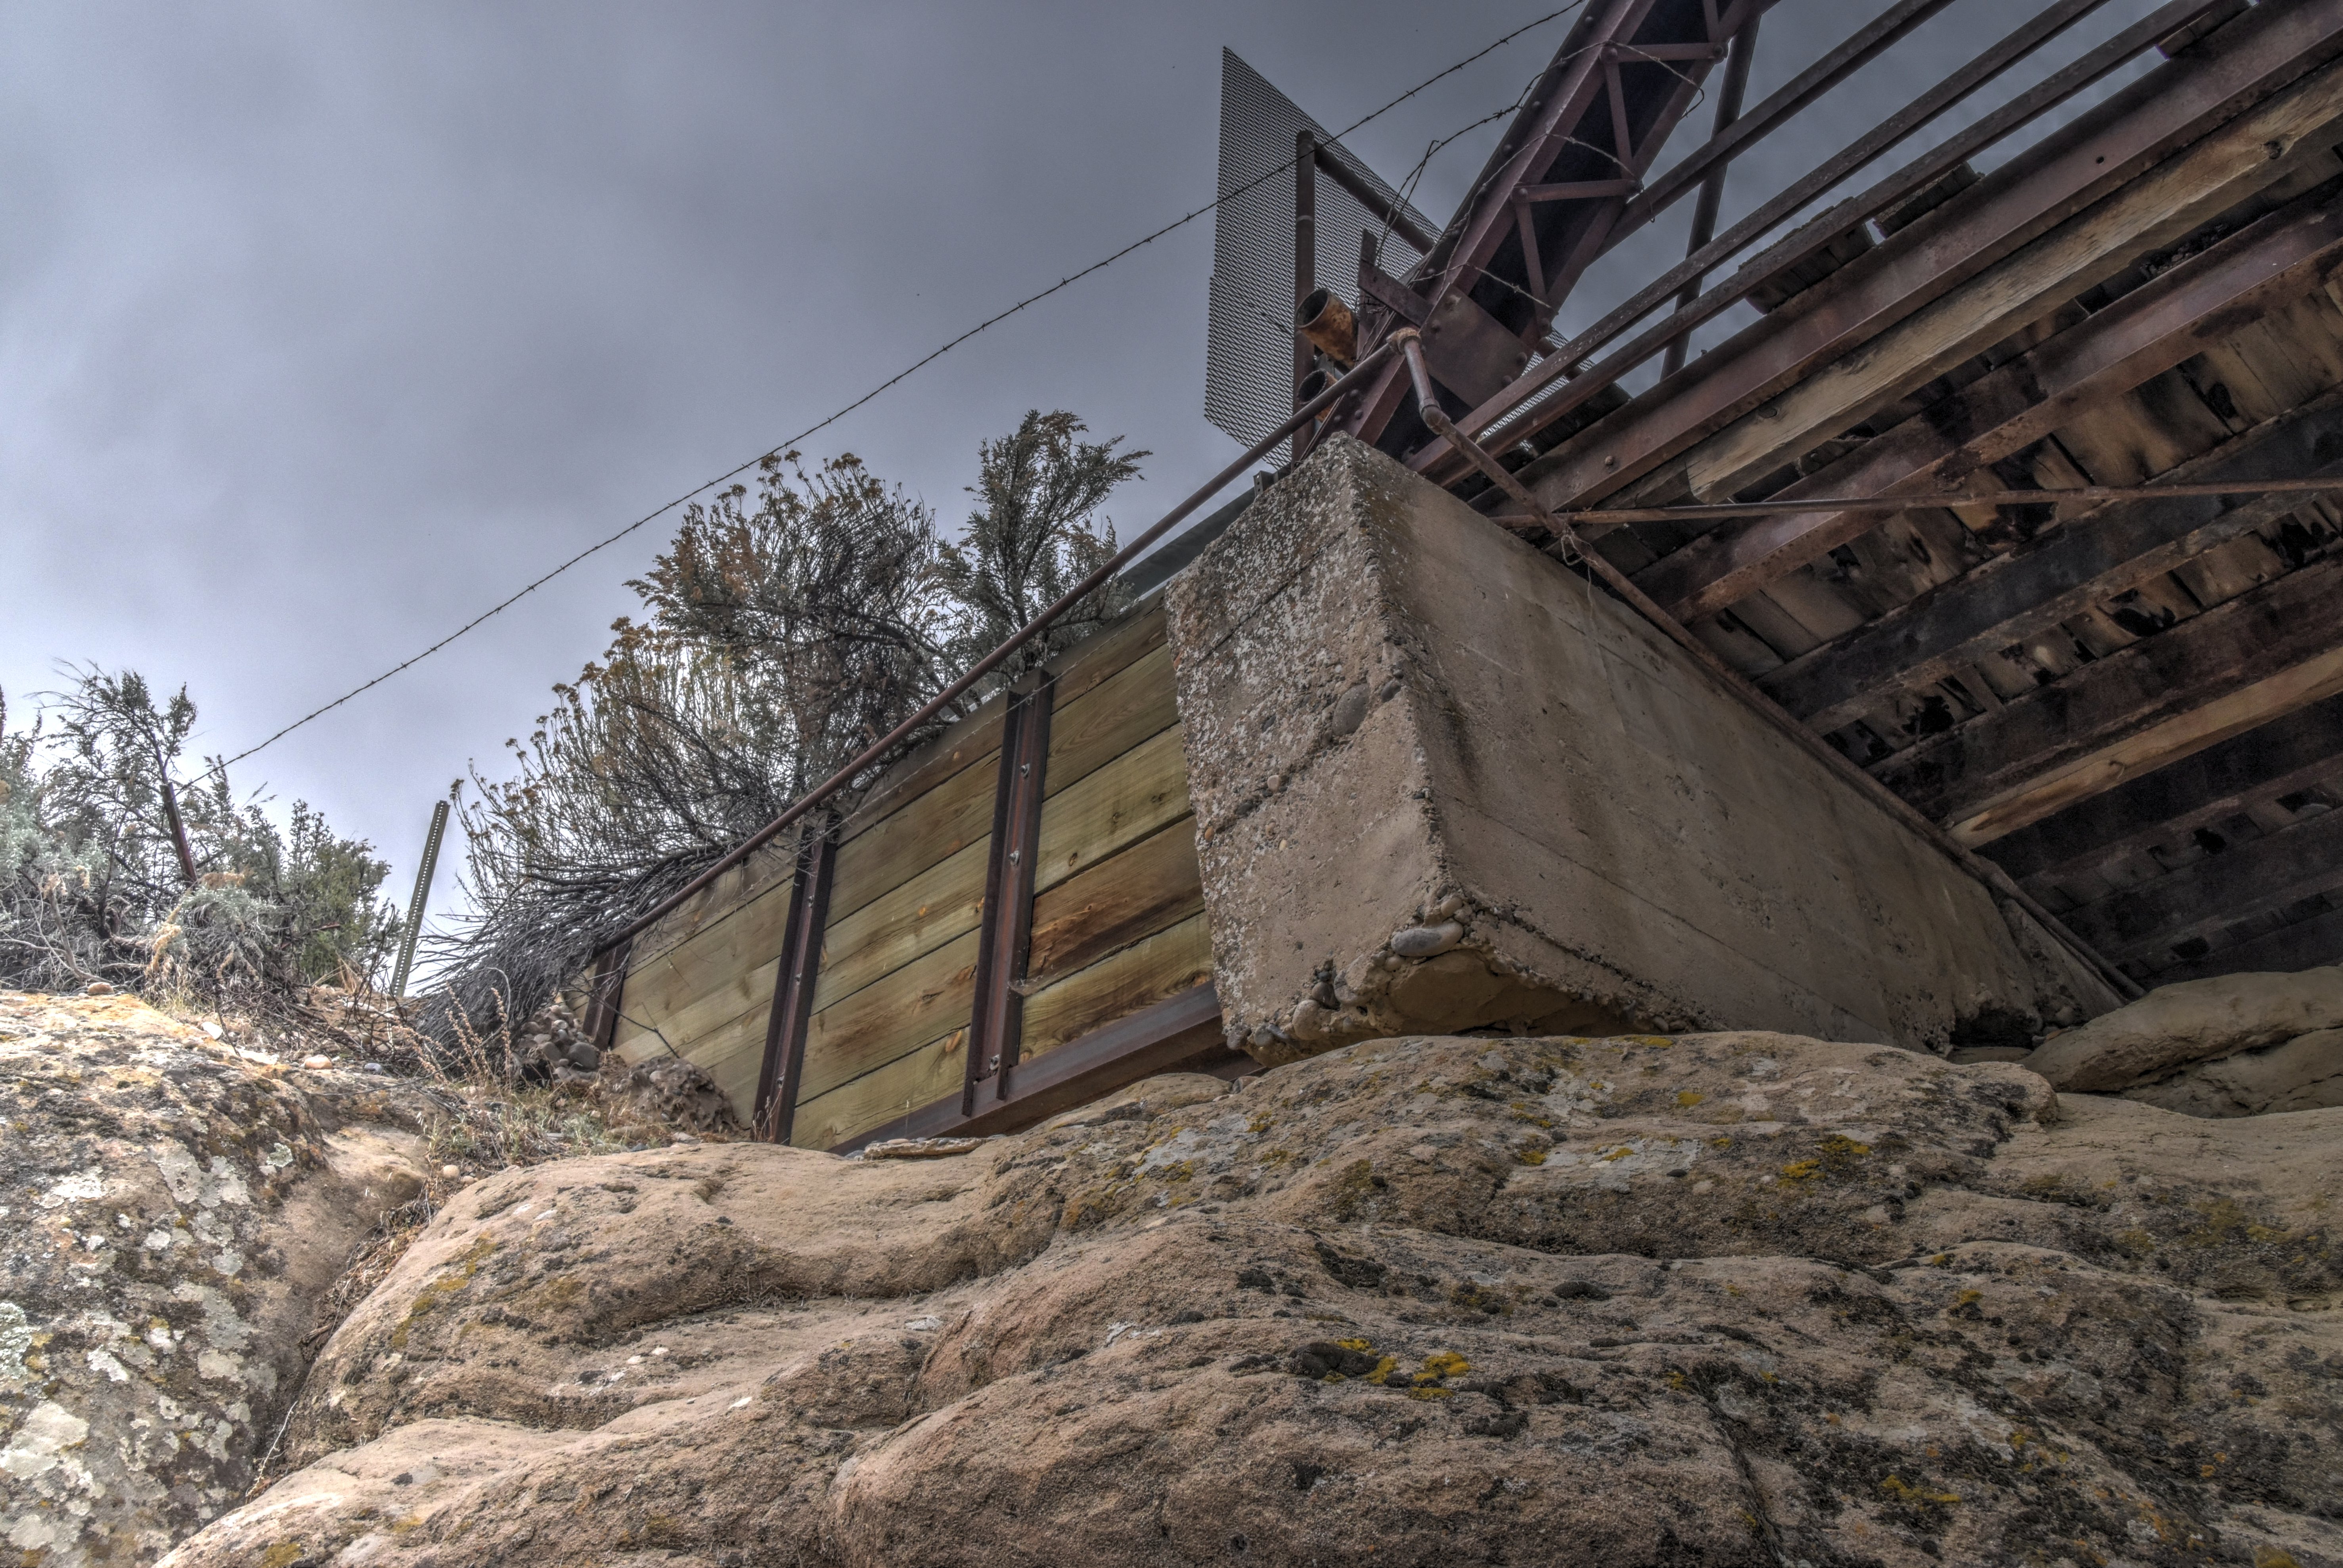
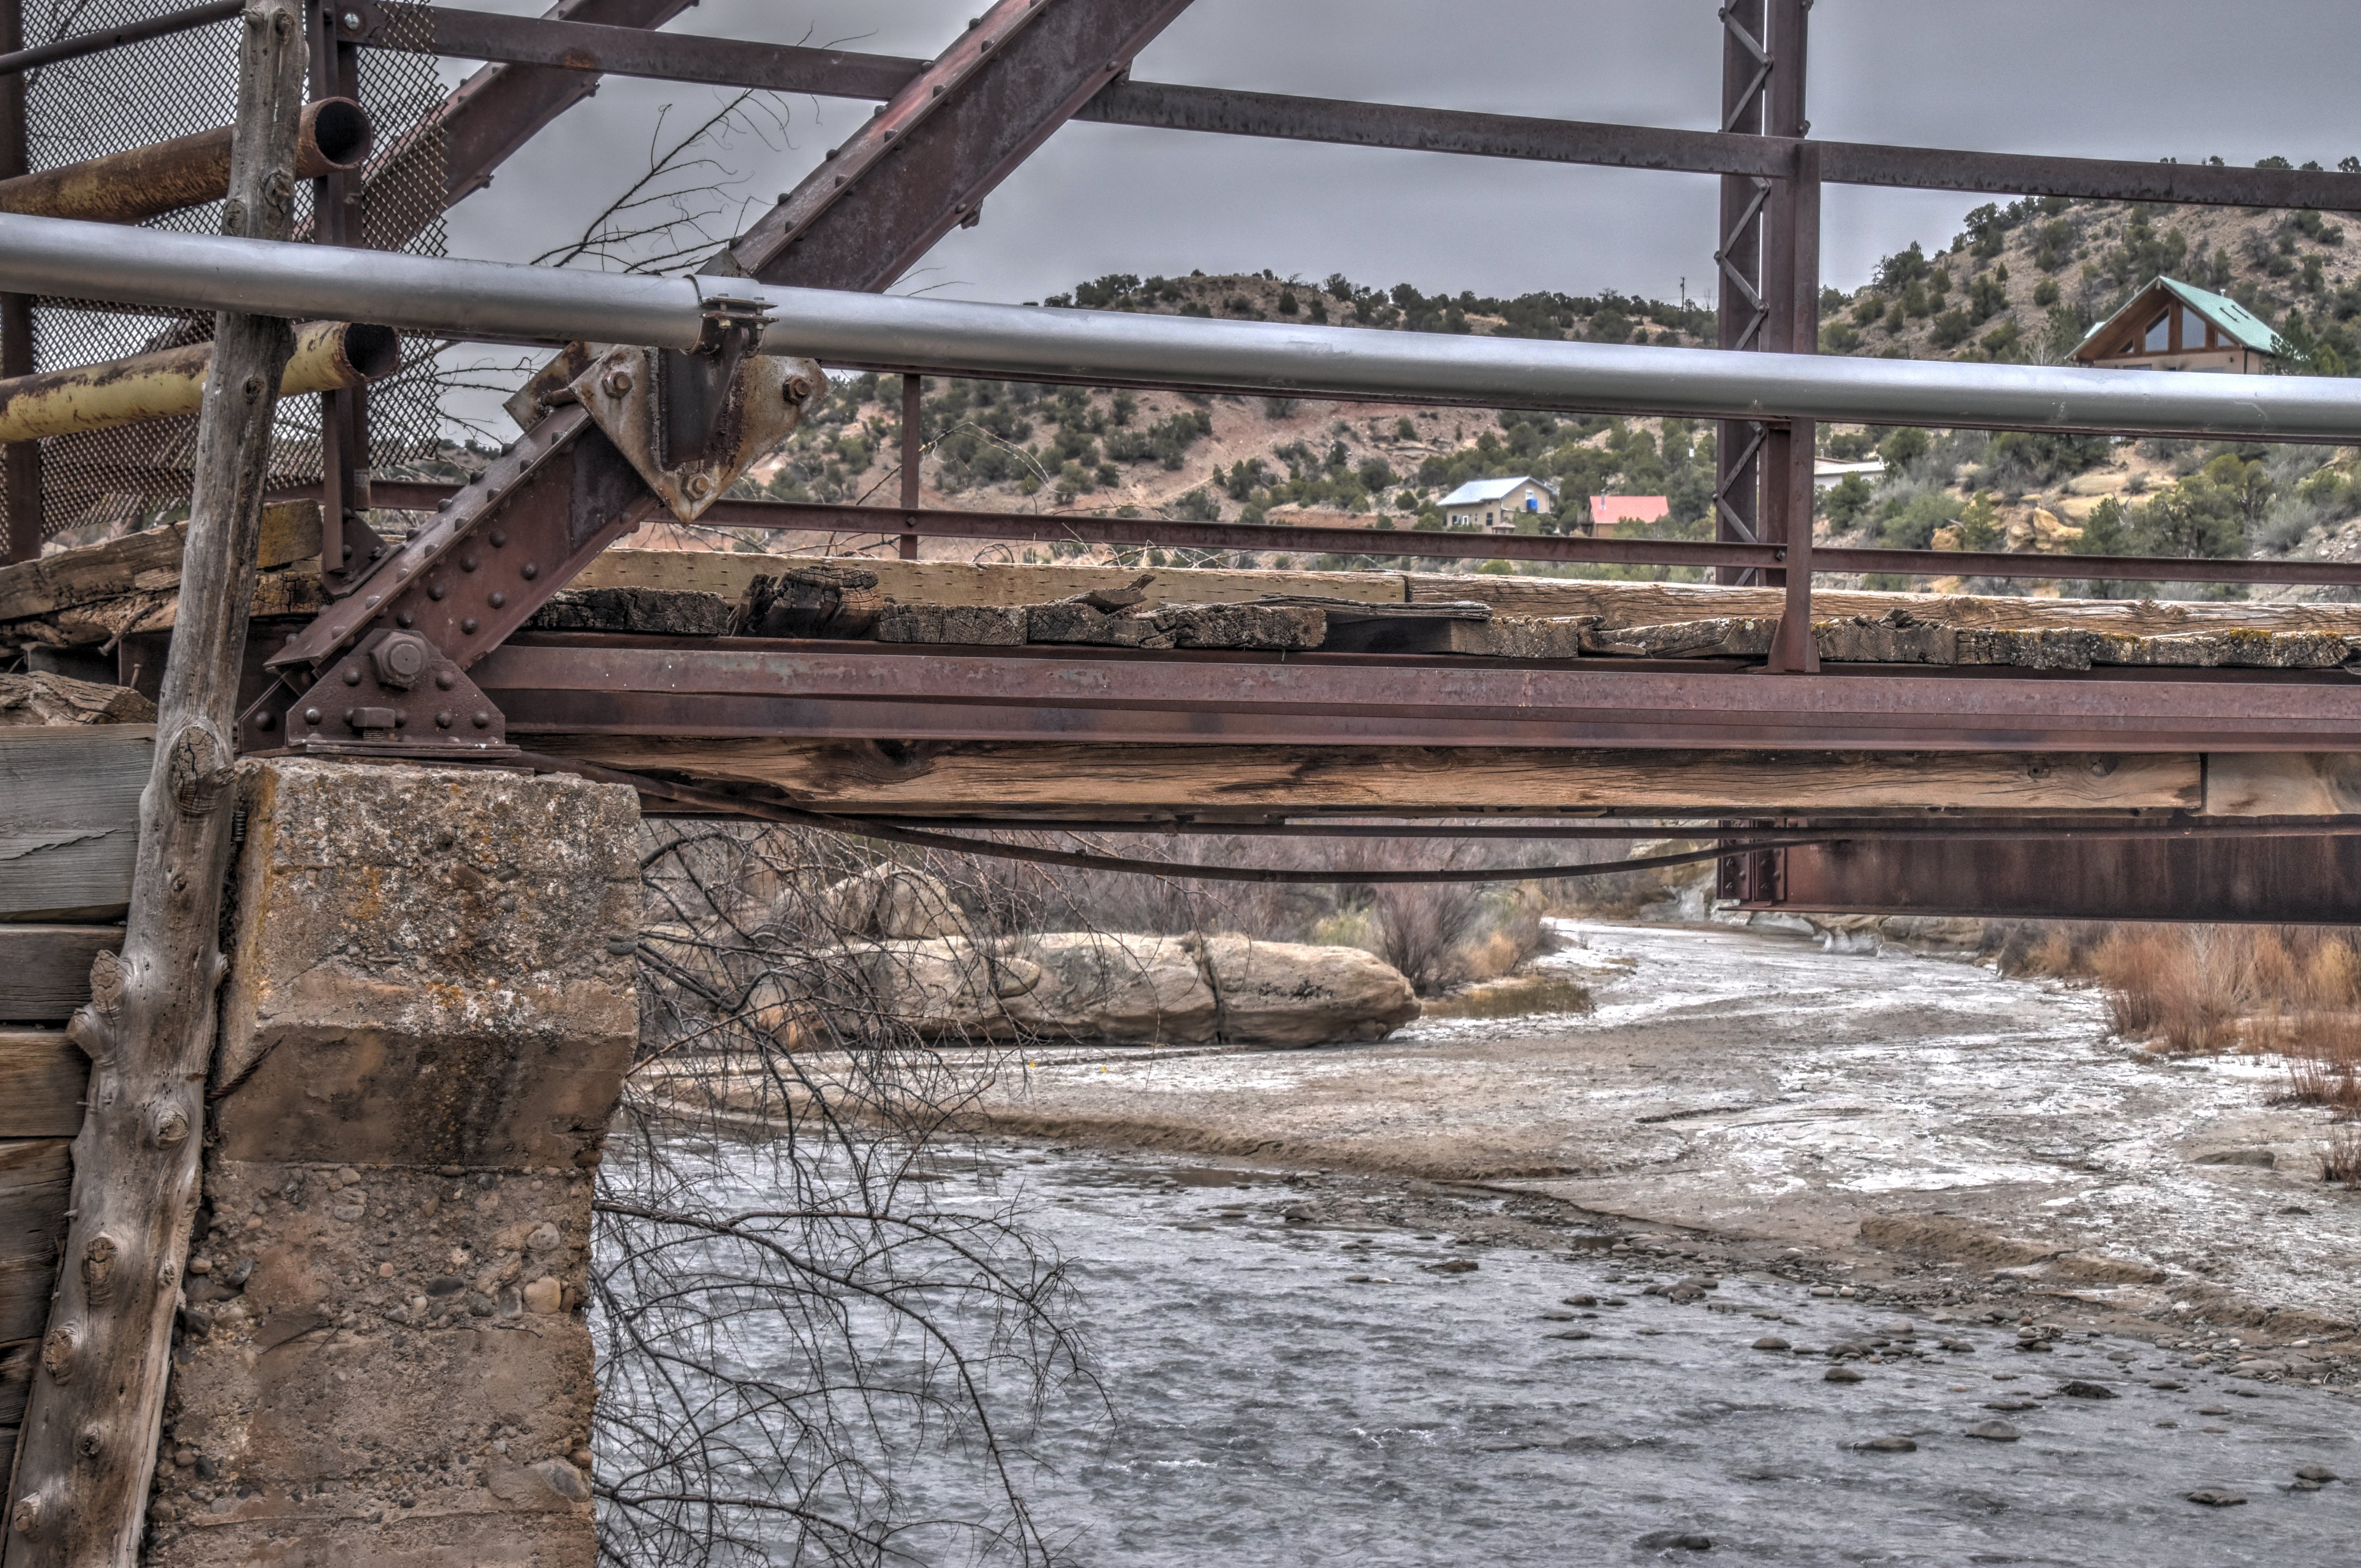
North abutment.
![]()


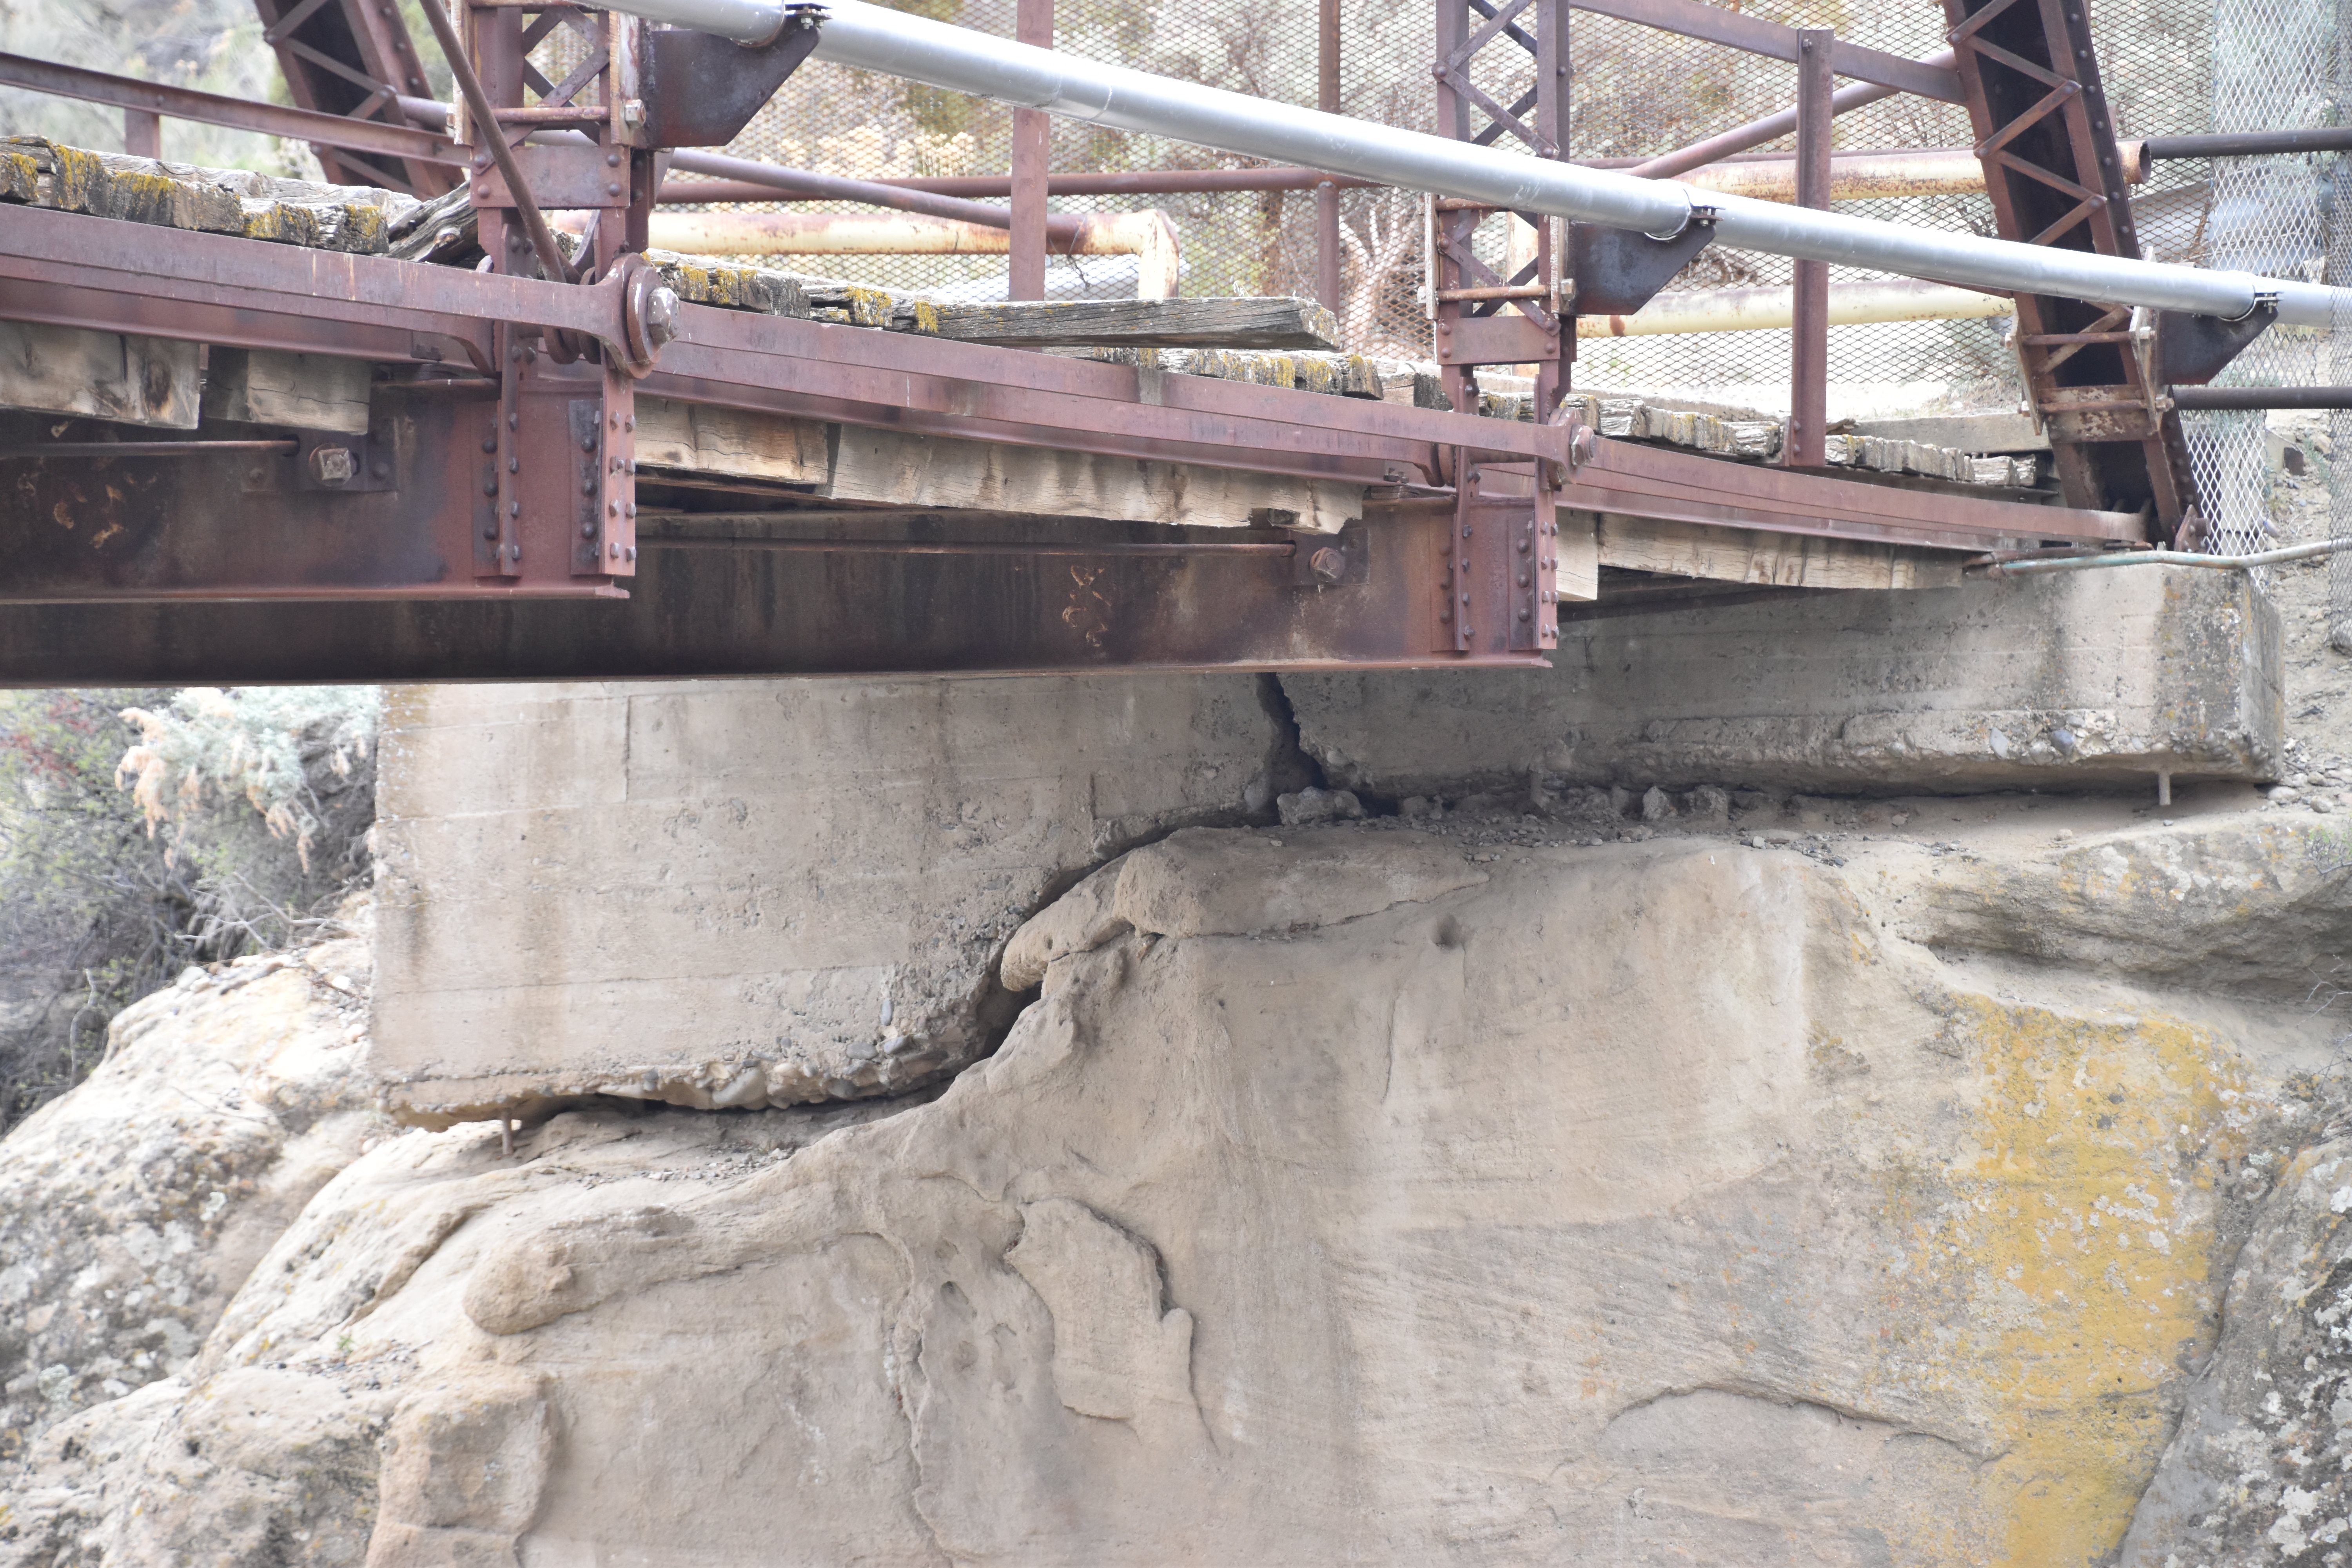


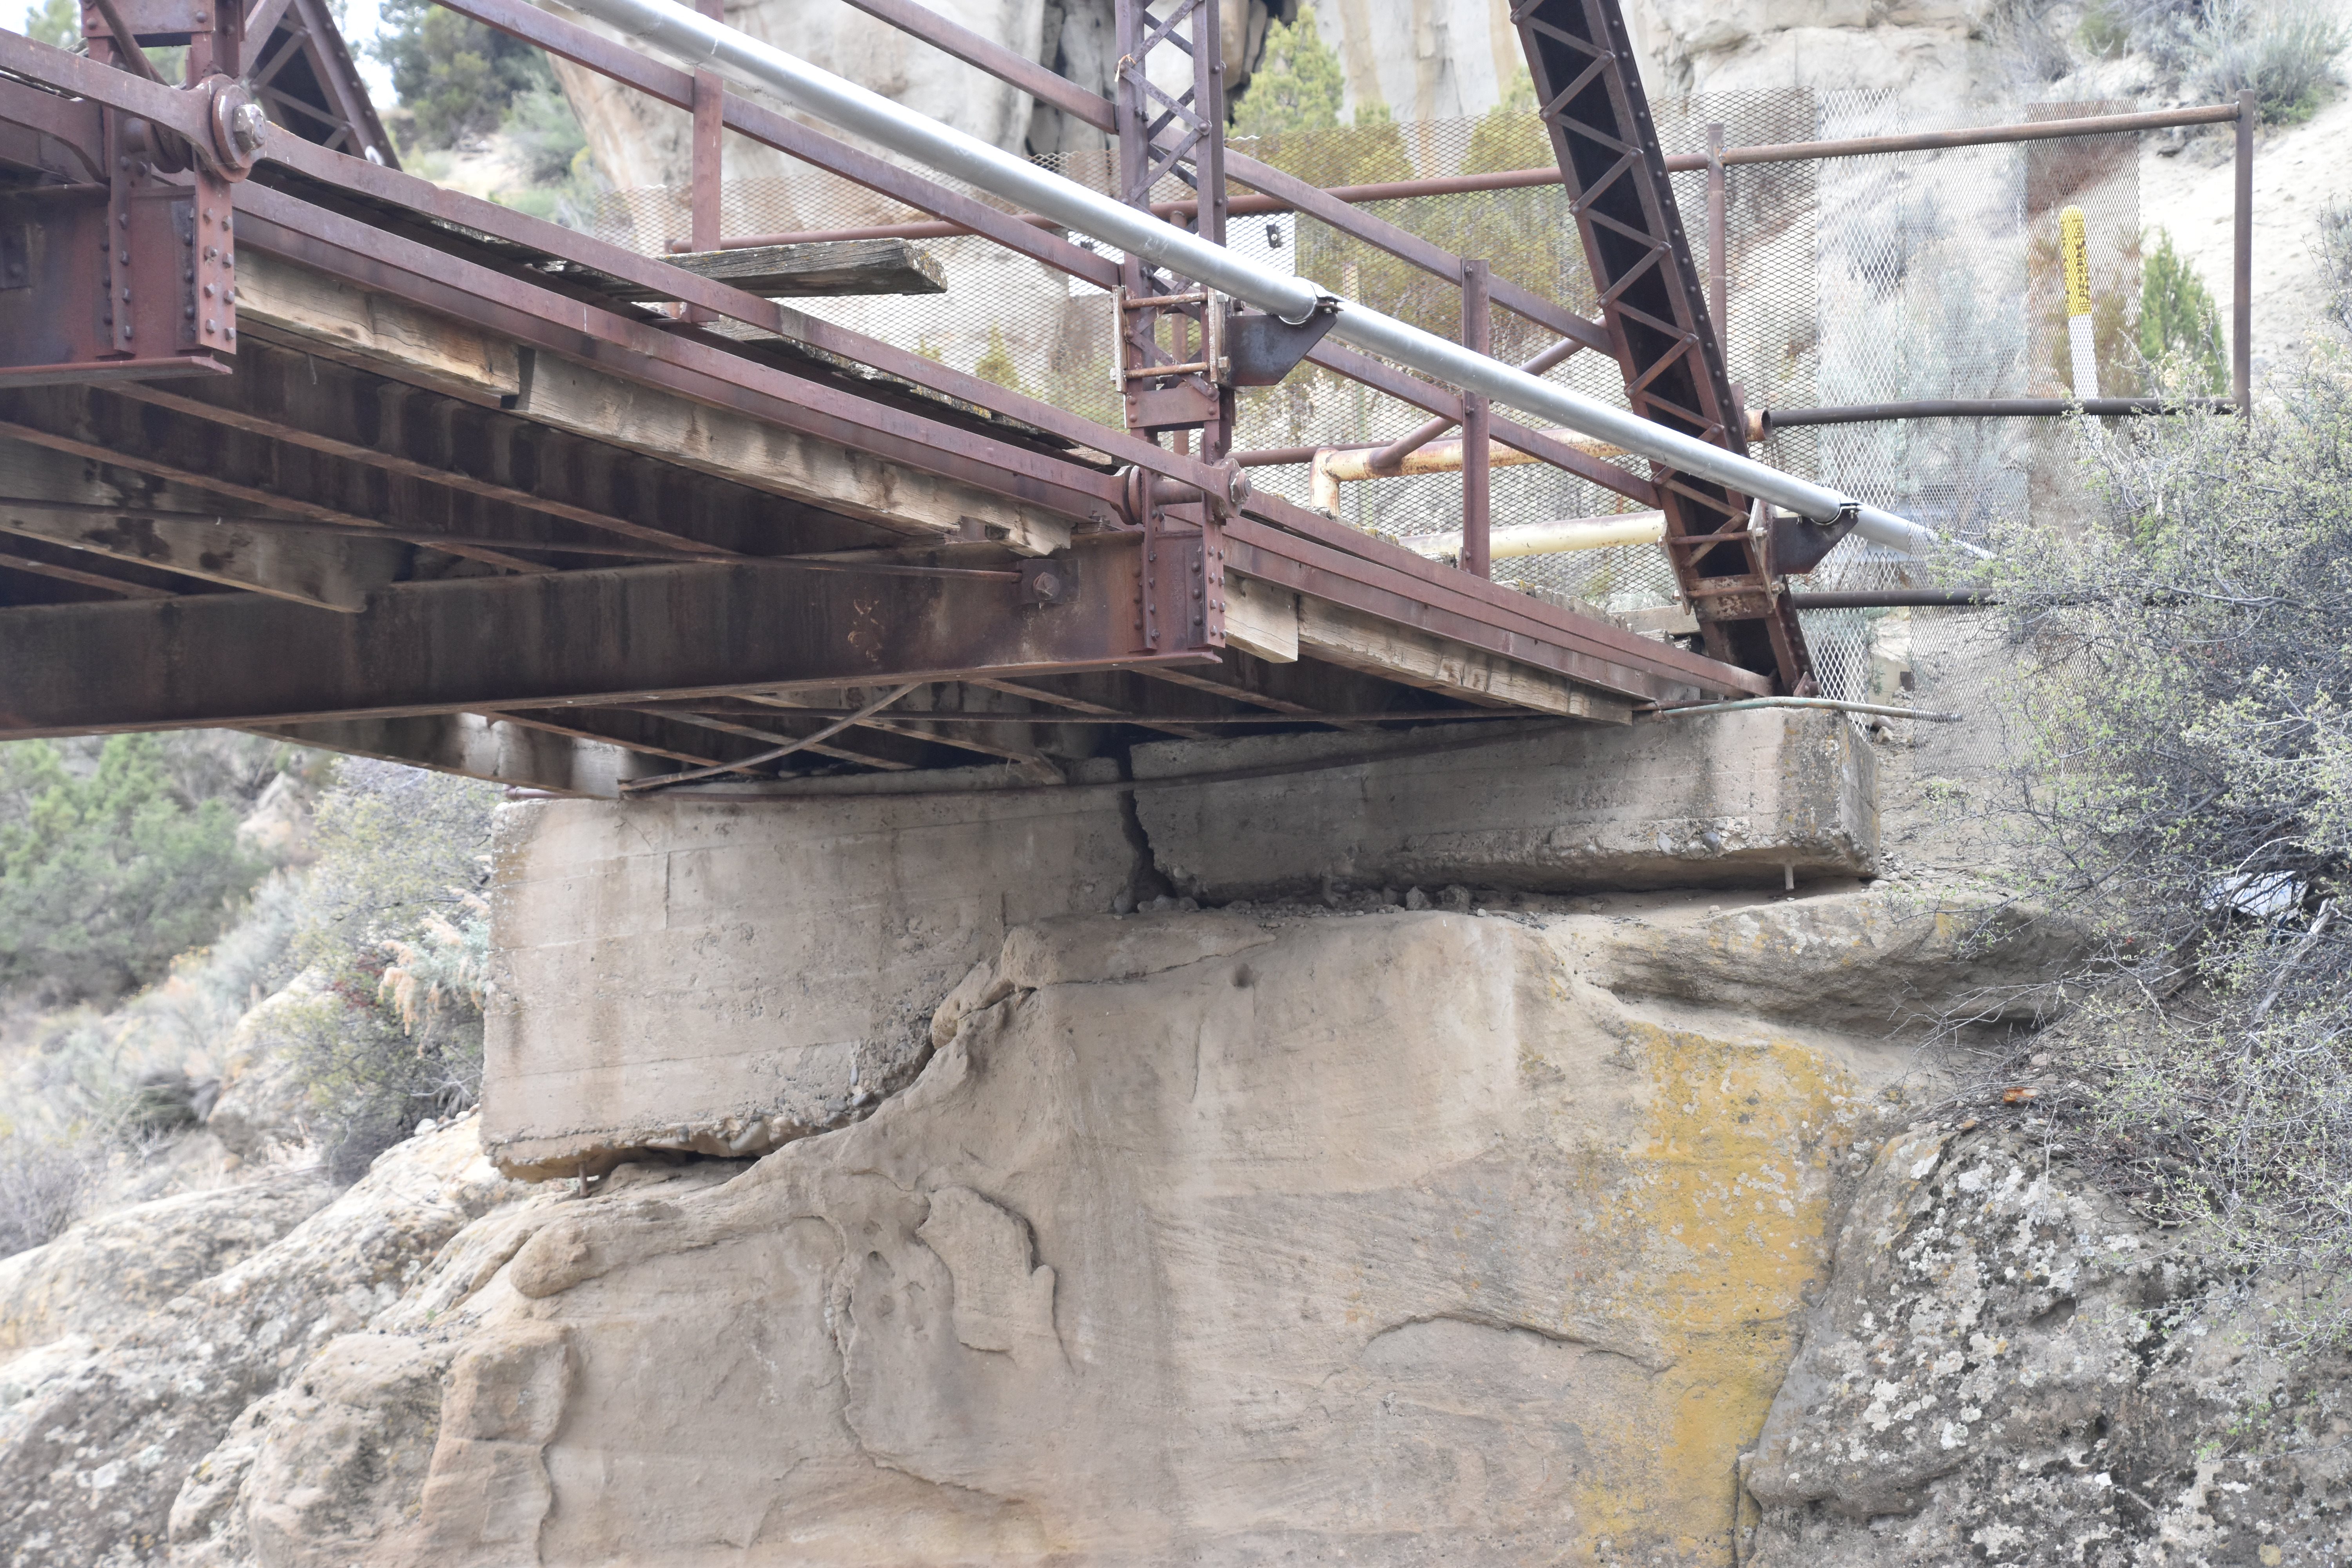
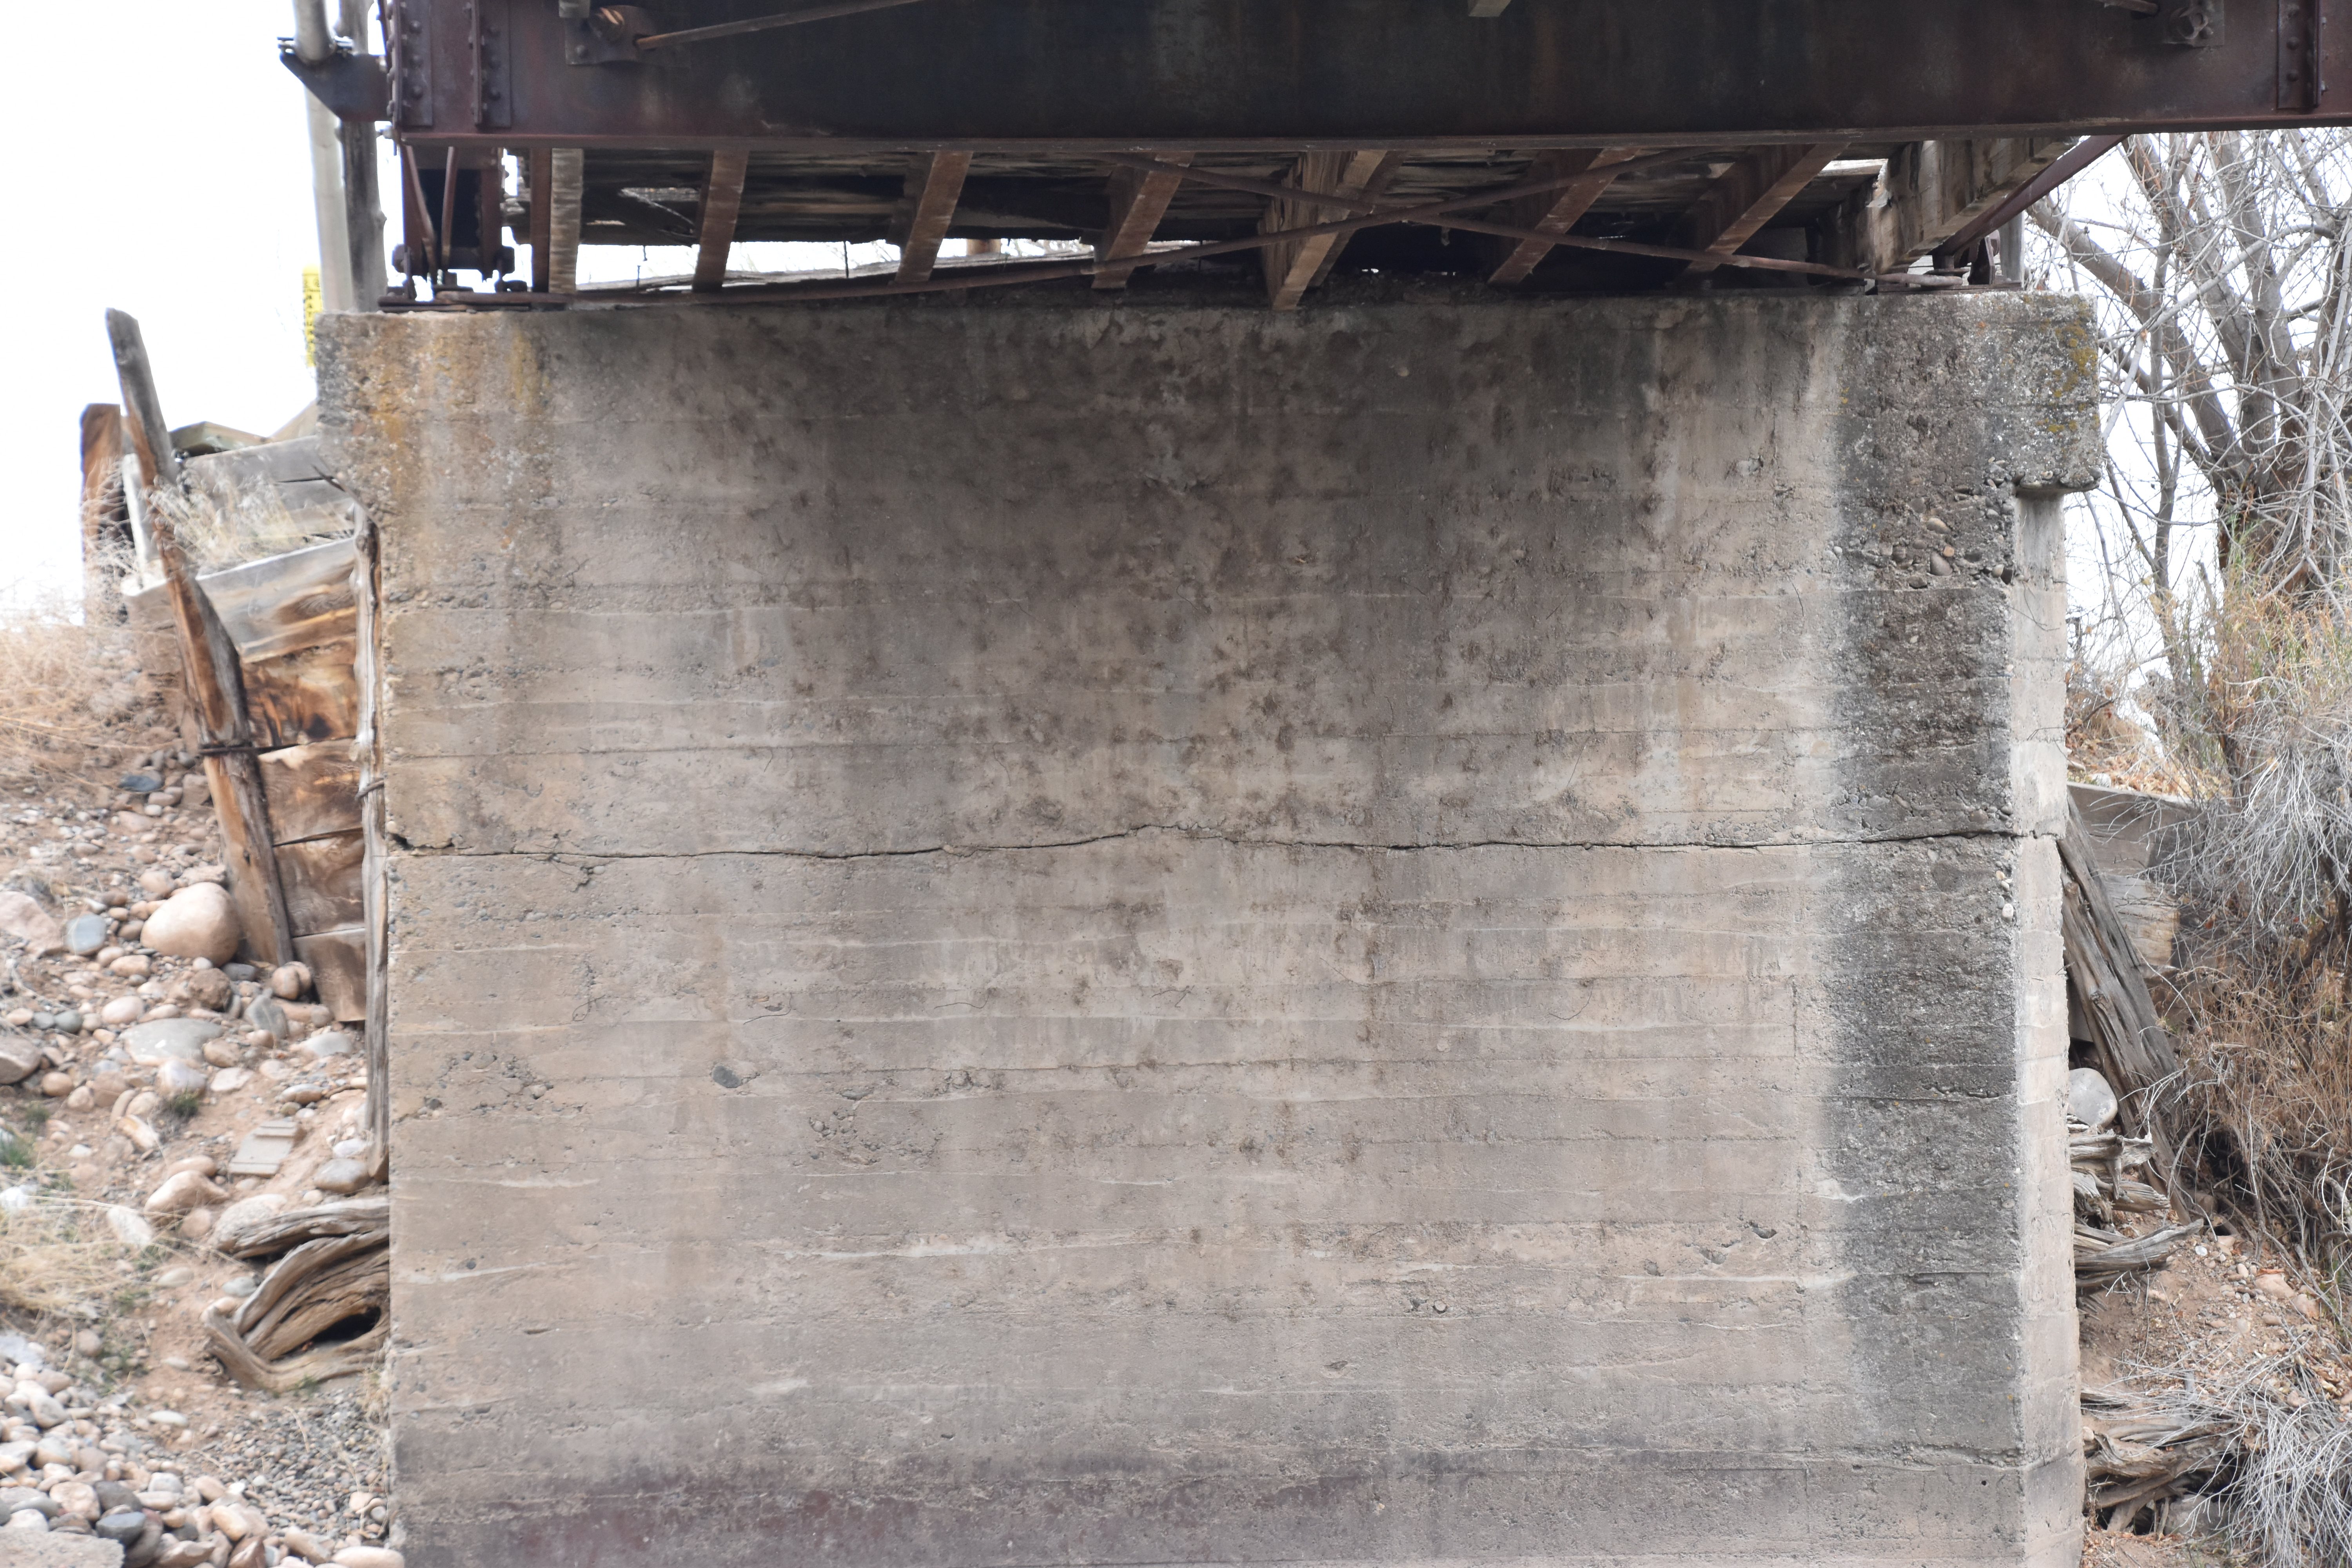
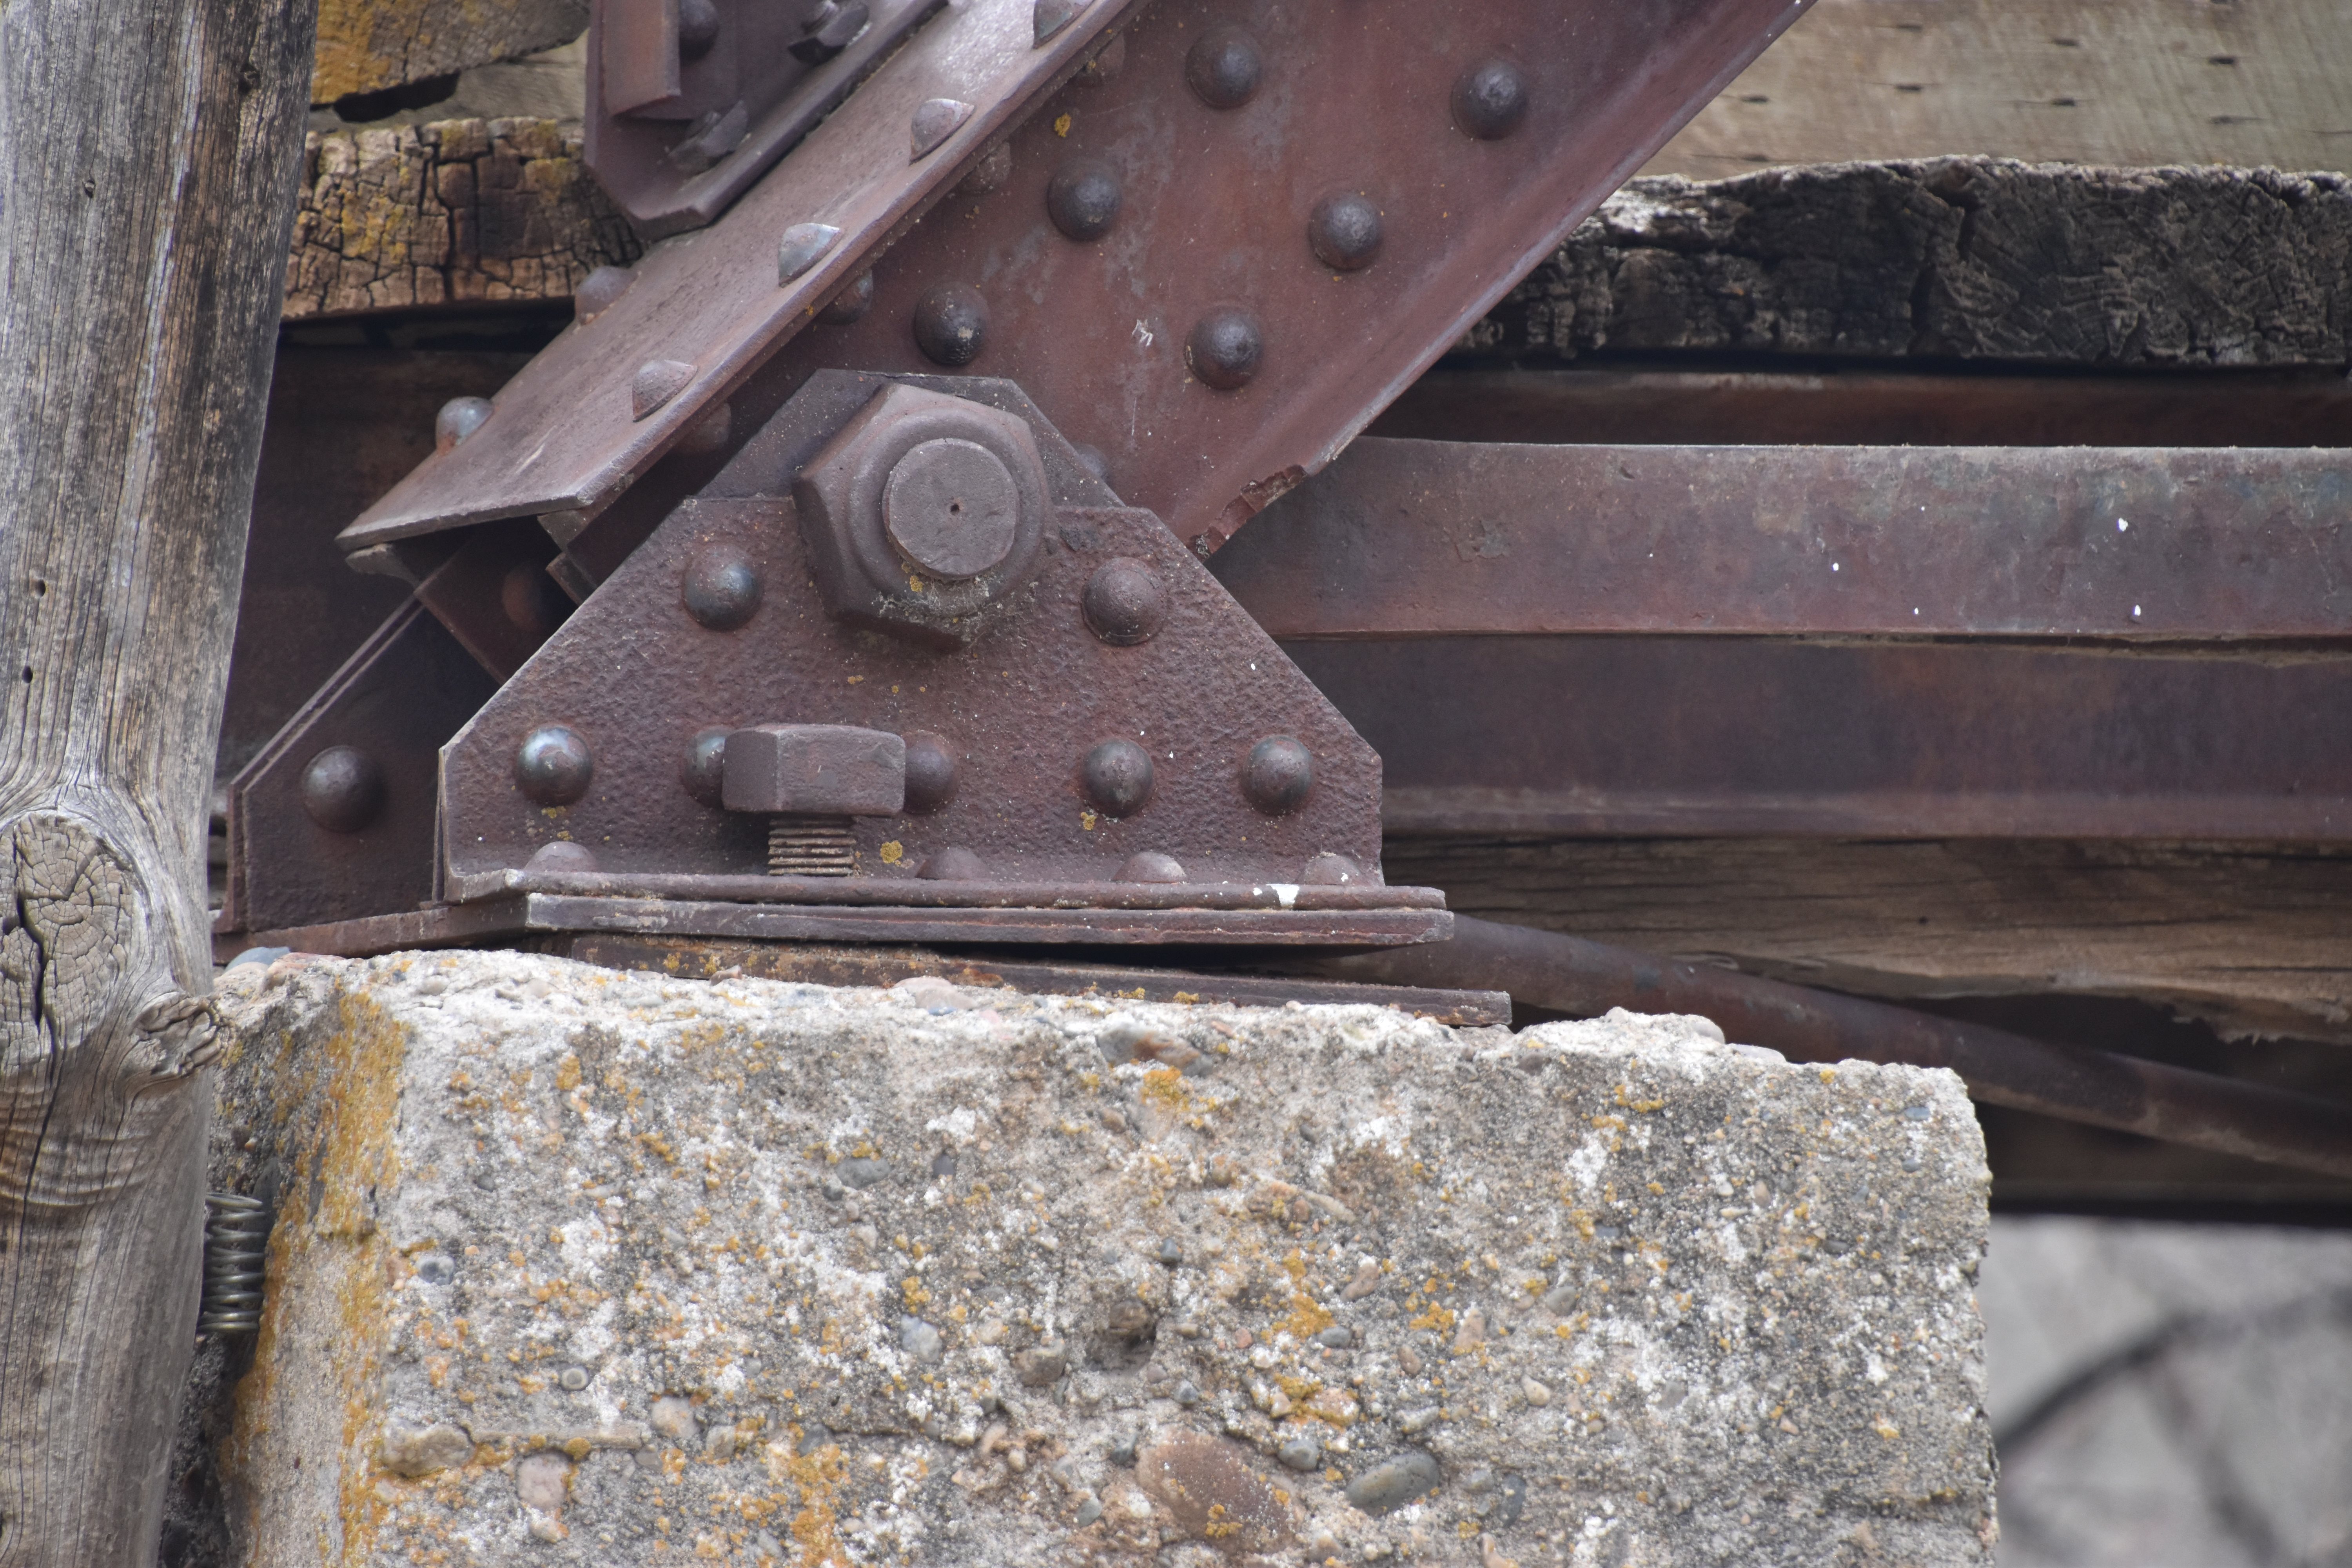
South abutment as viewed from north side of river.
![]()


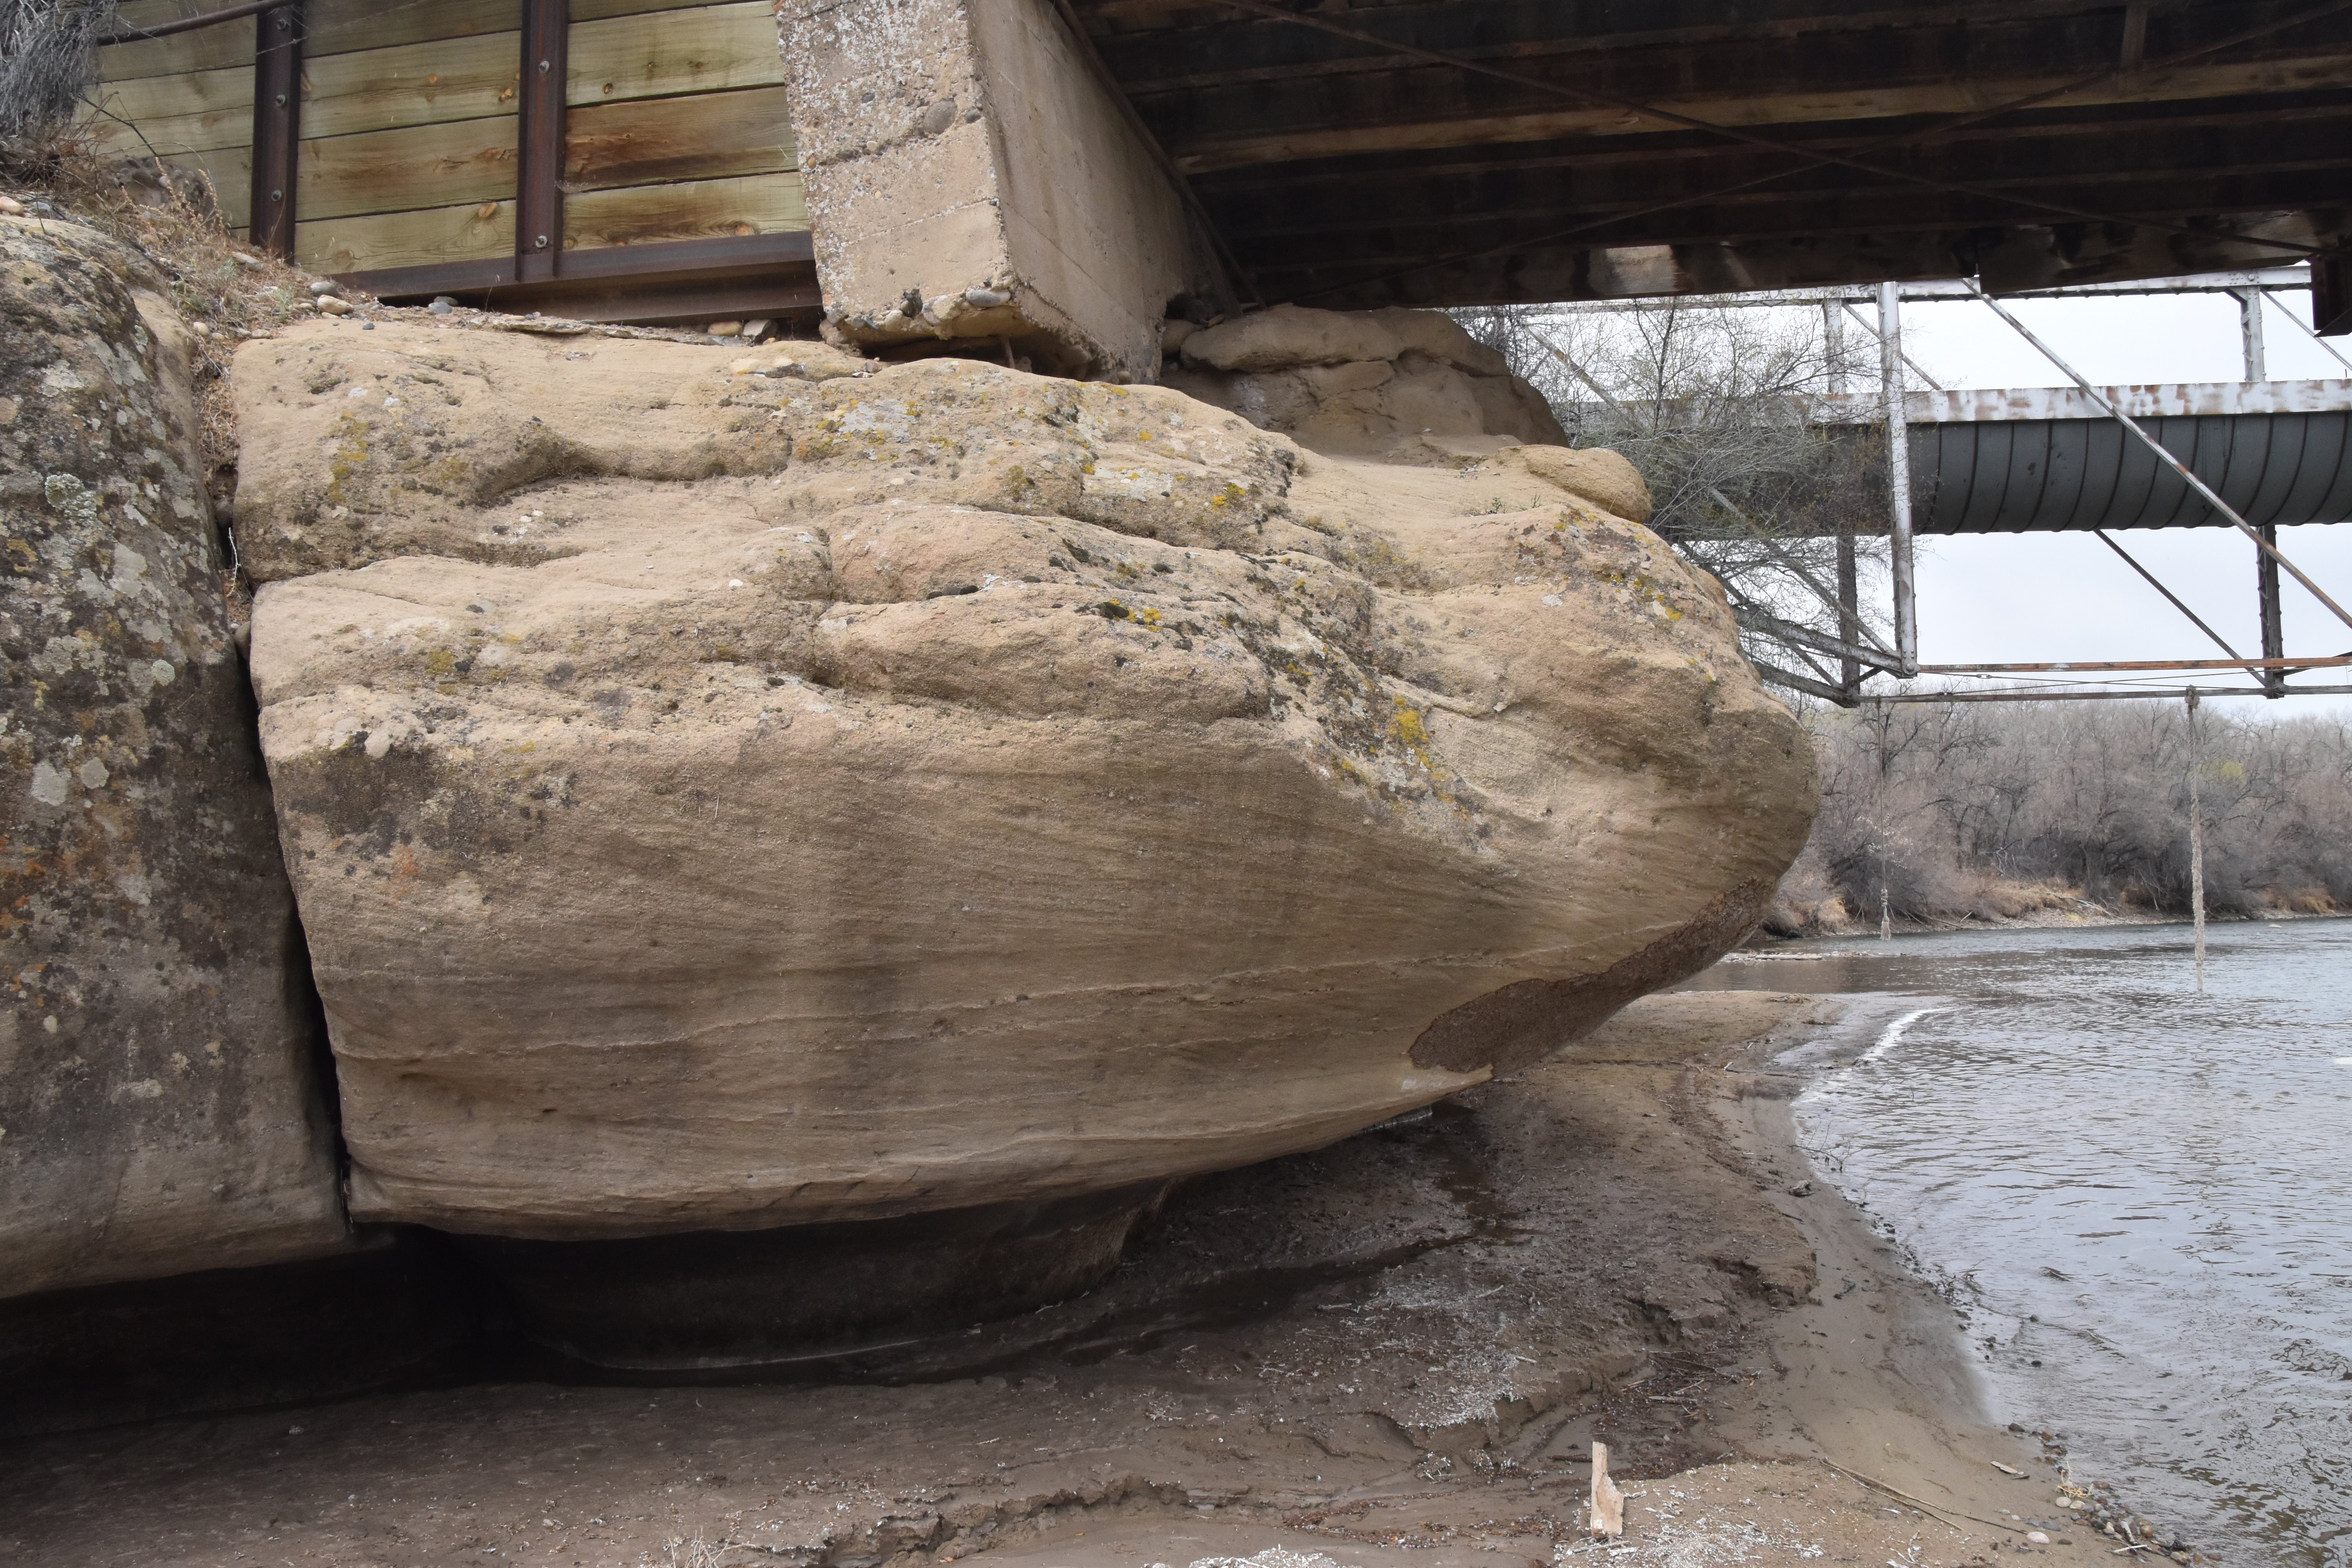
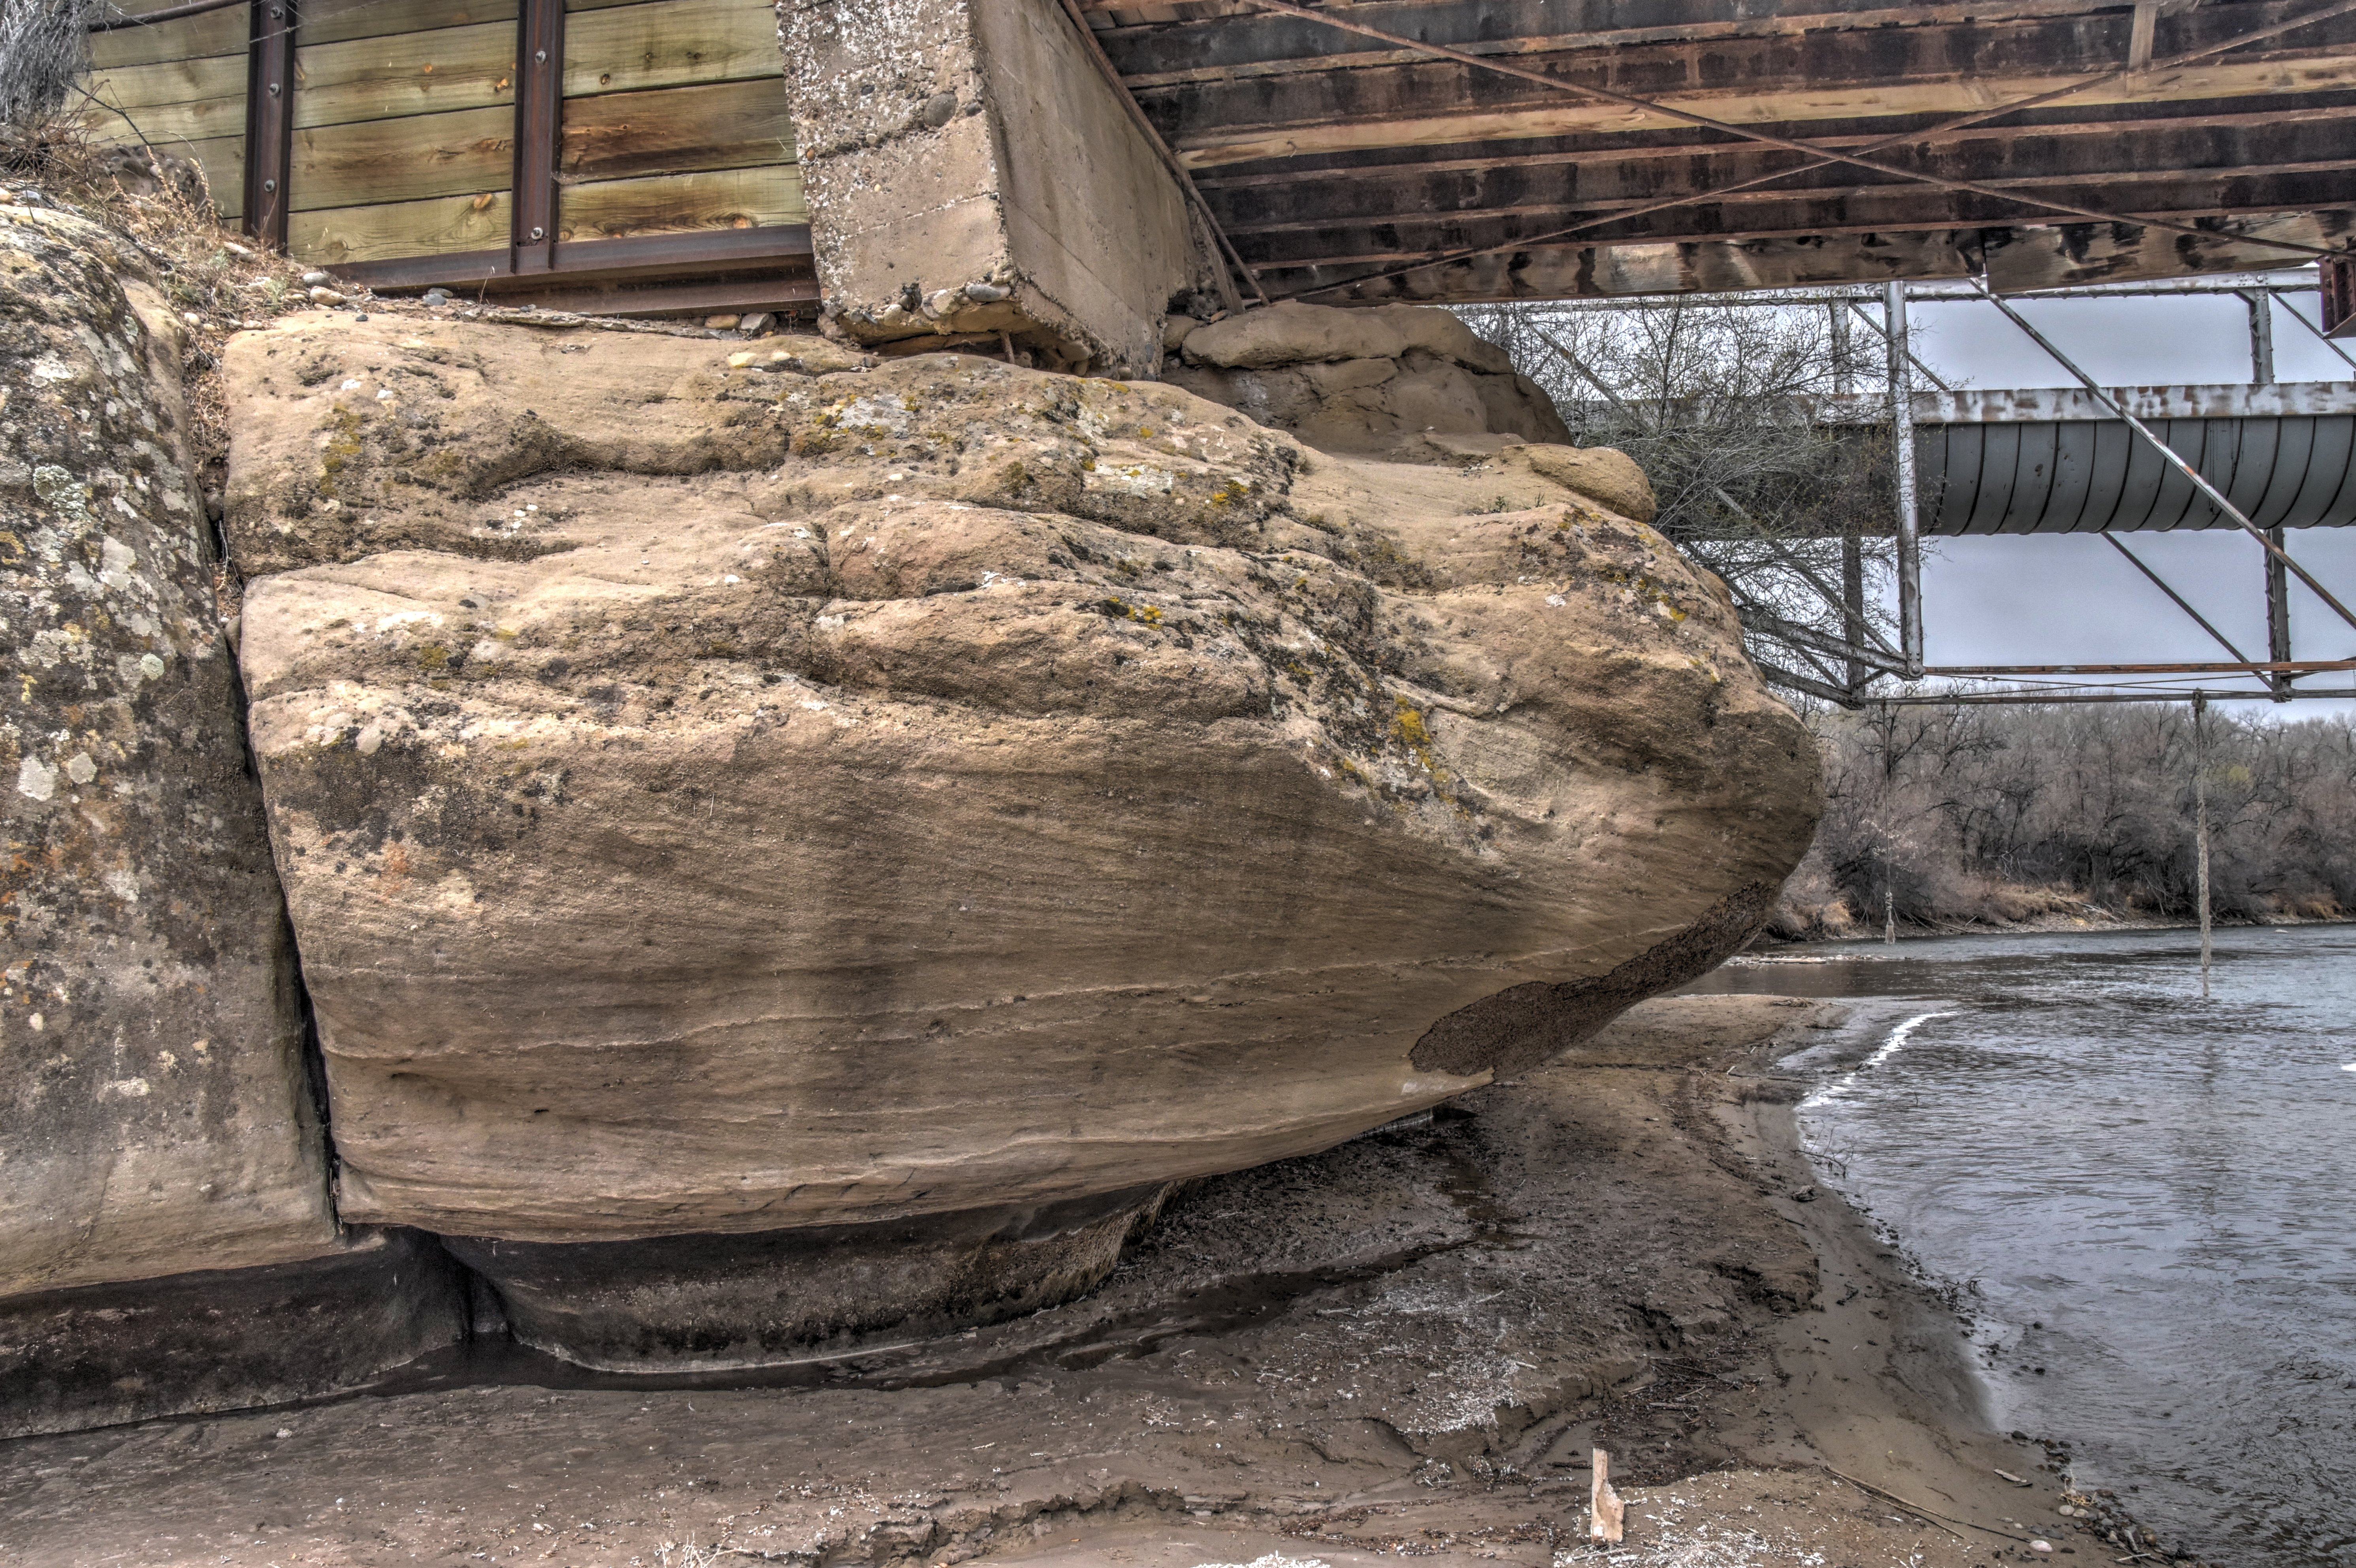


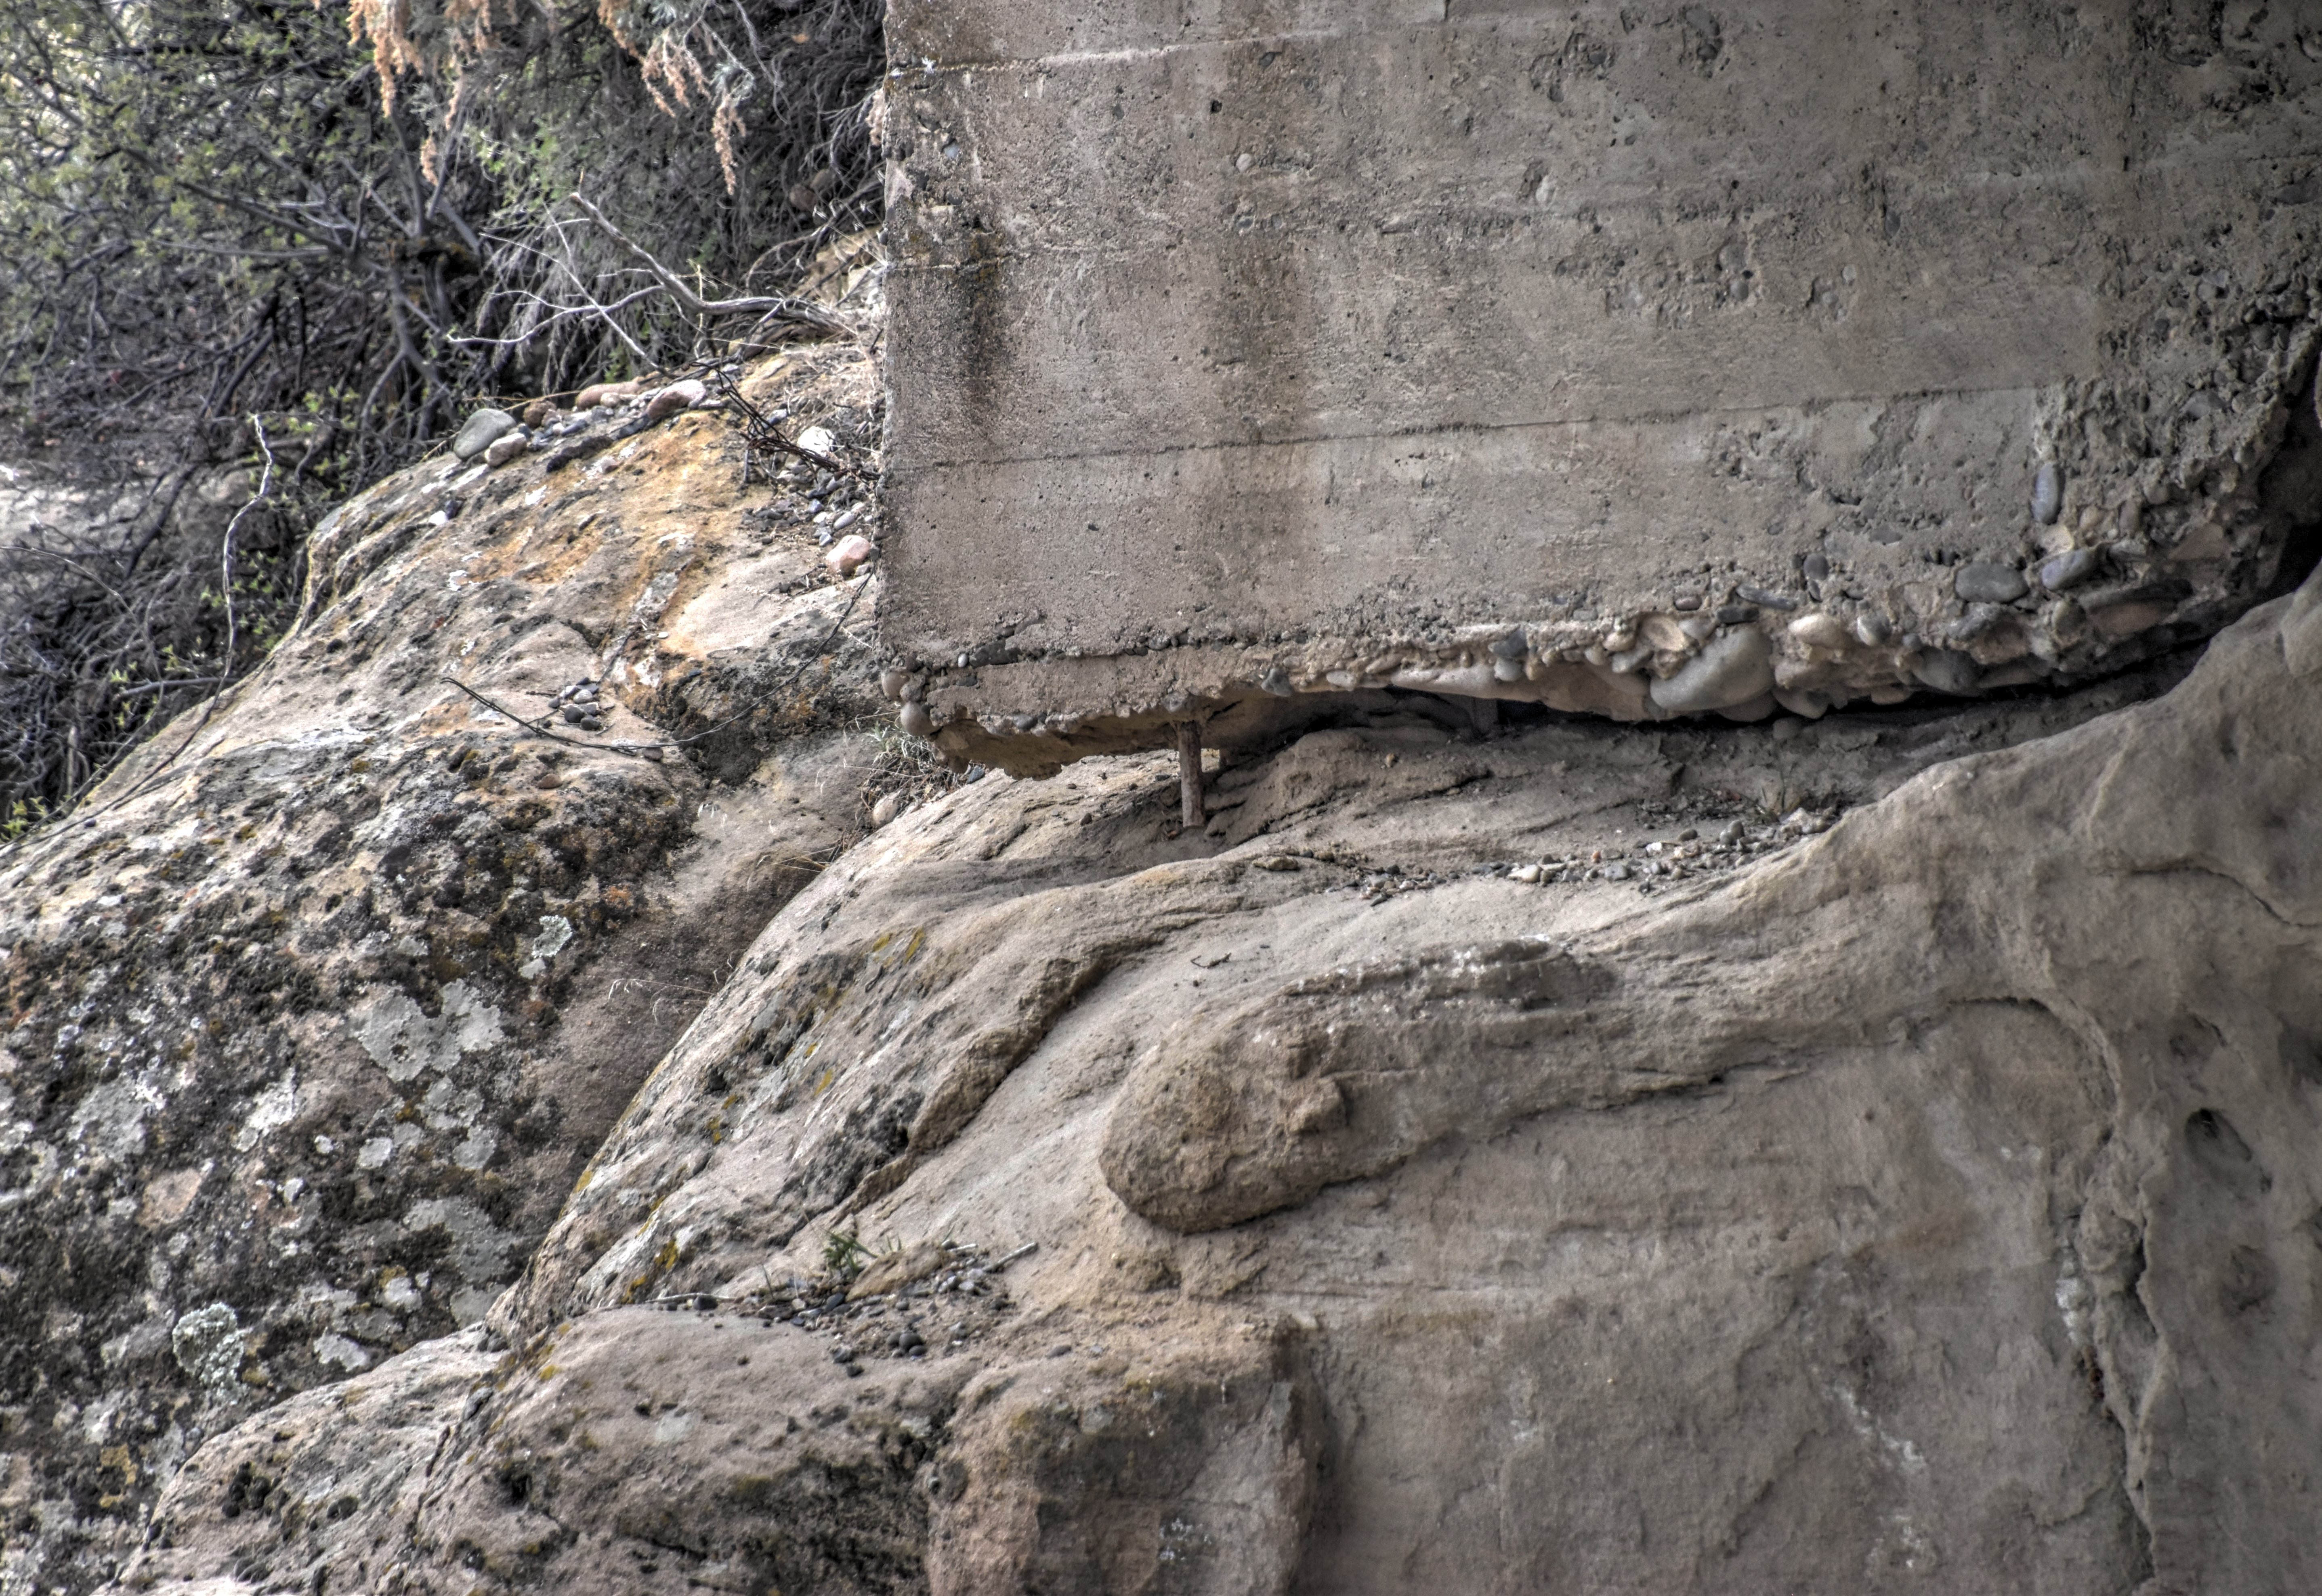
South abutment as viewed from south side of river.
![]()
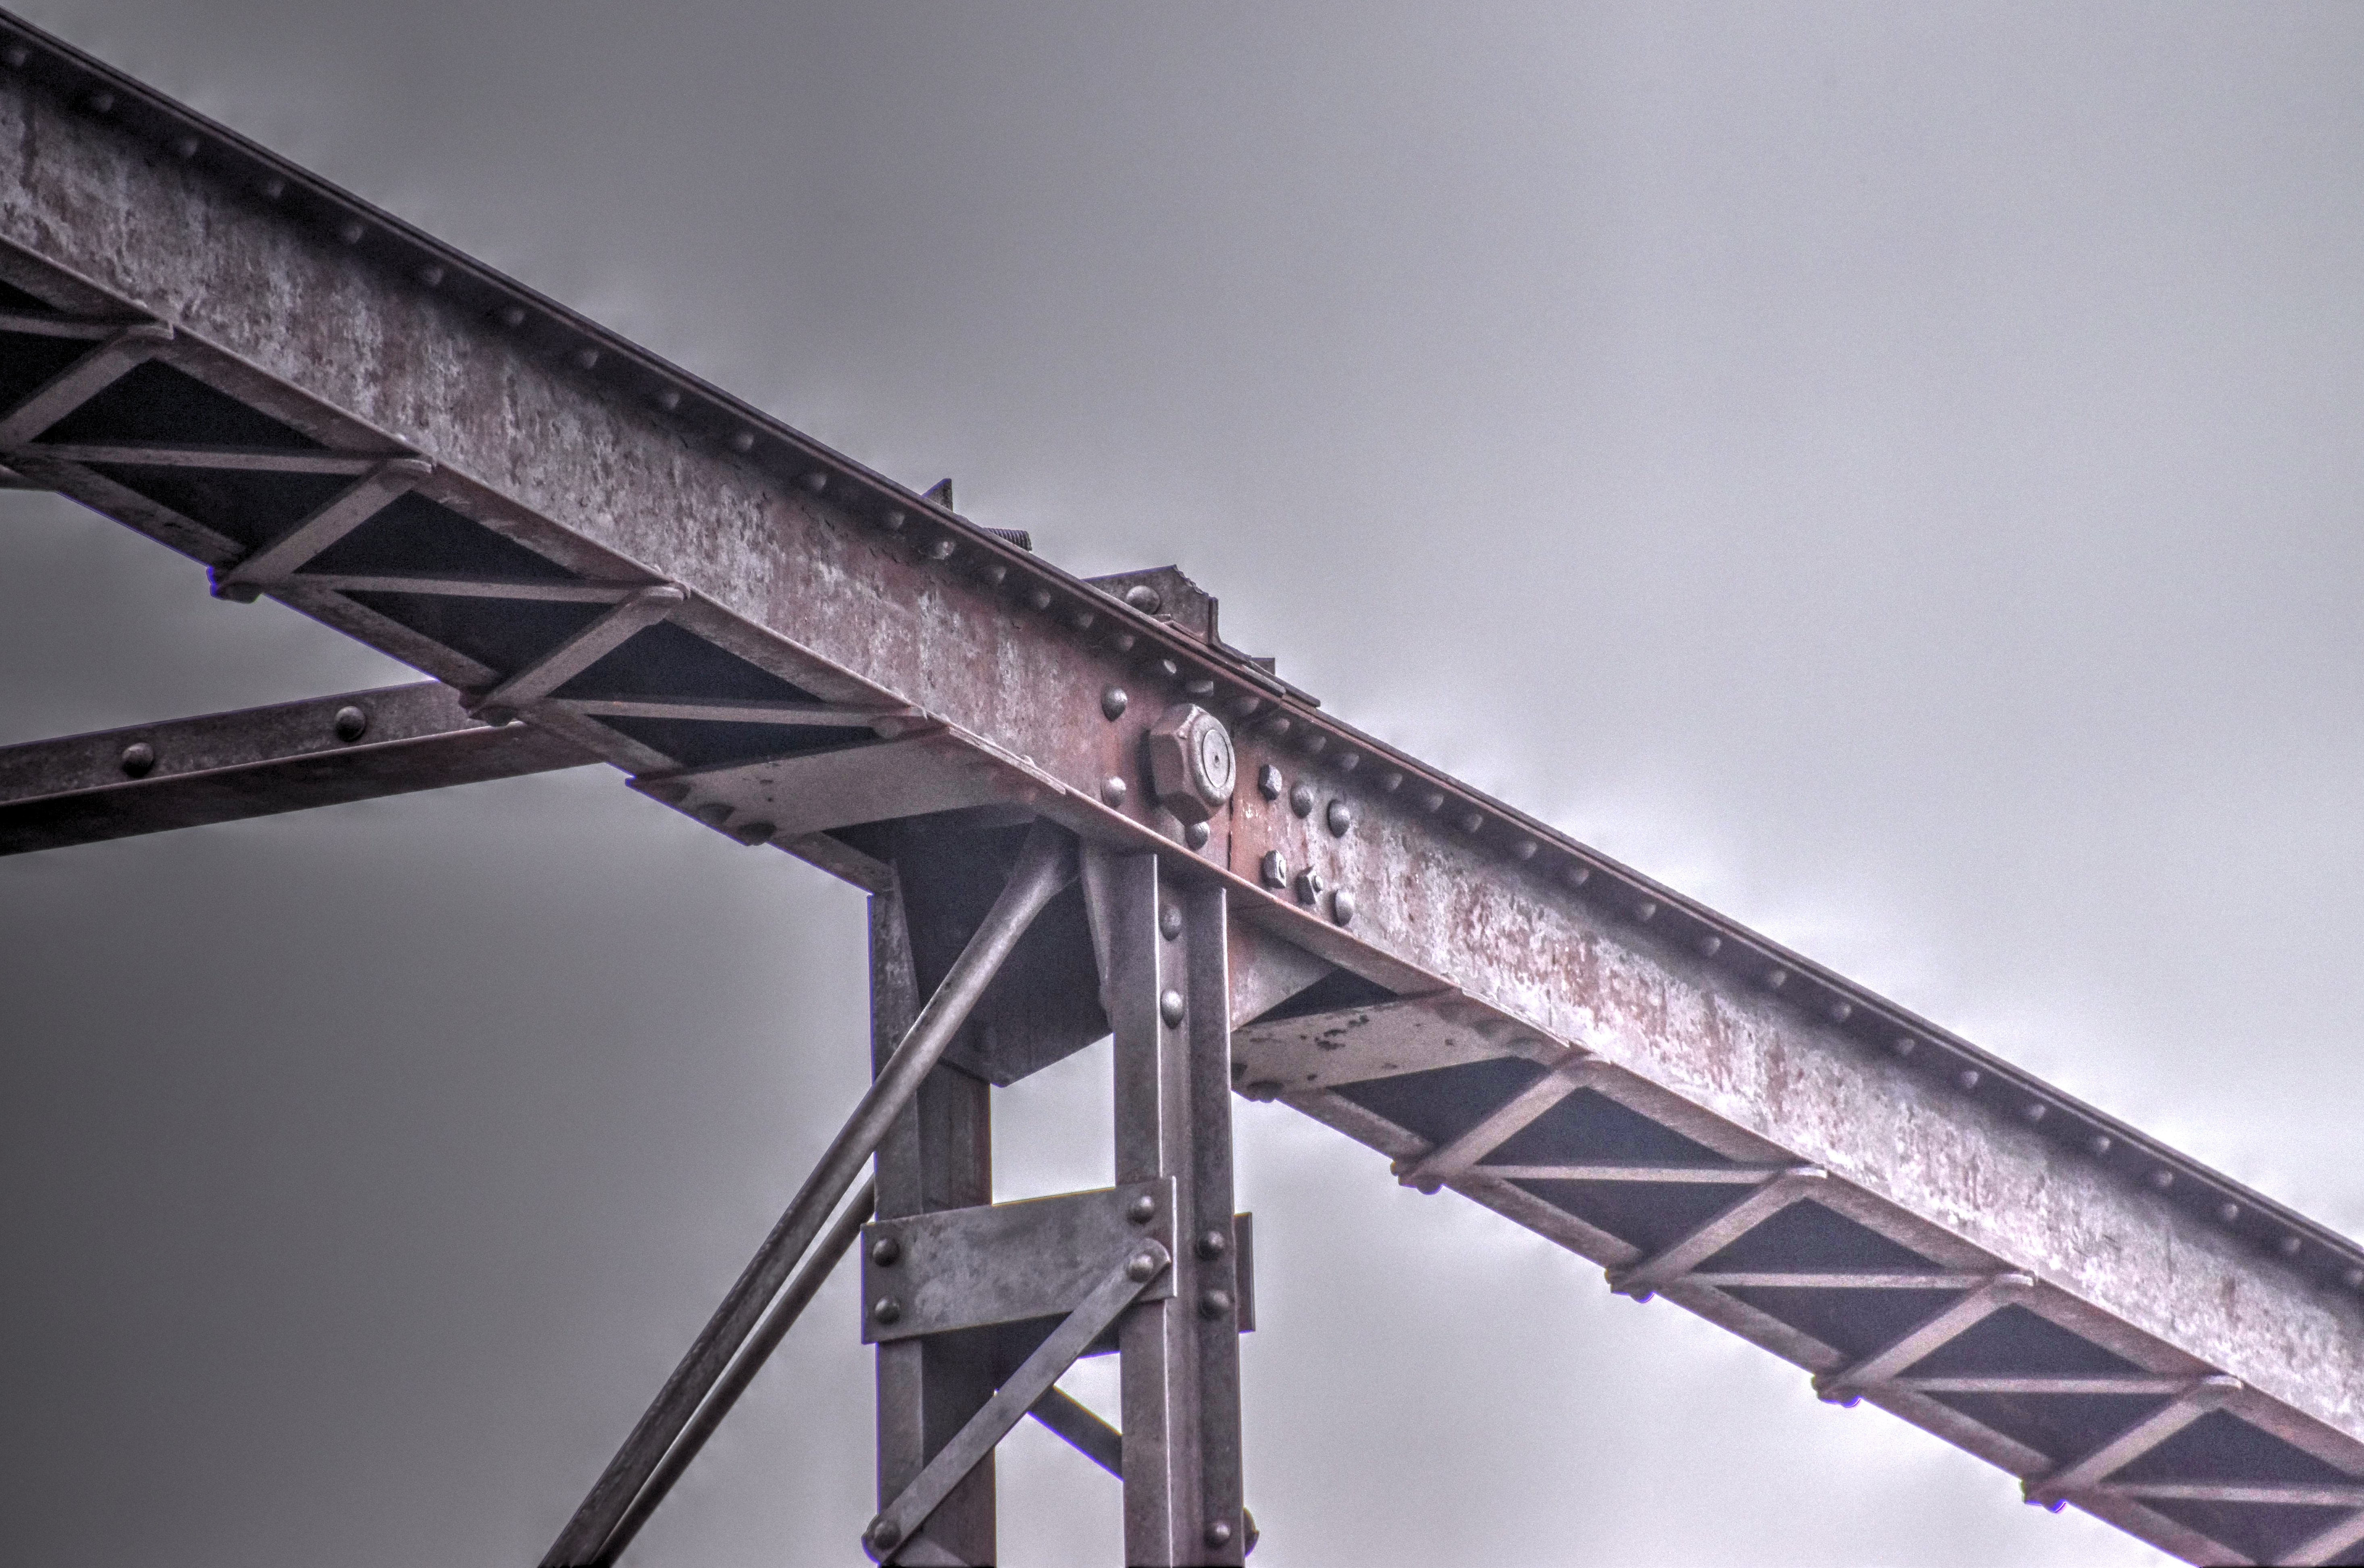


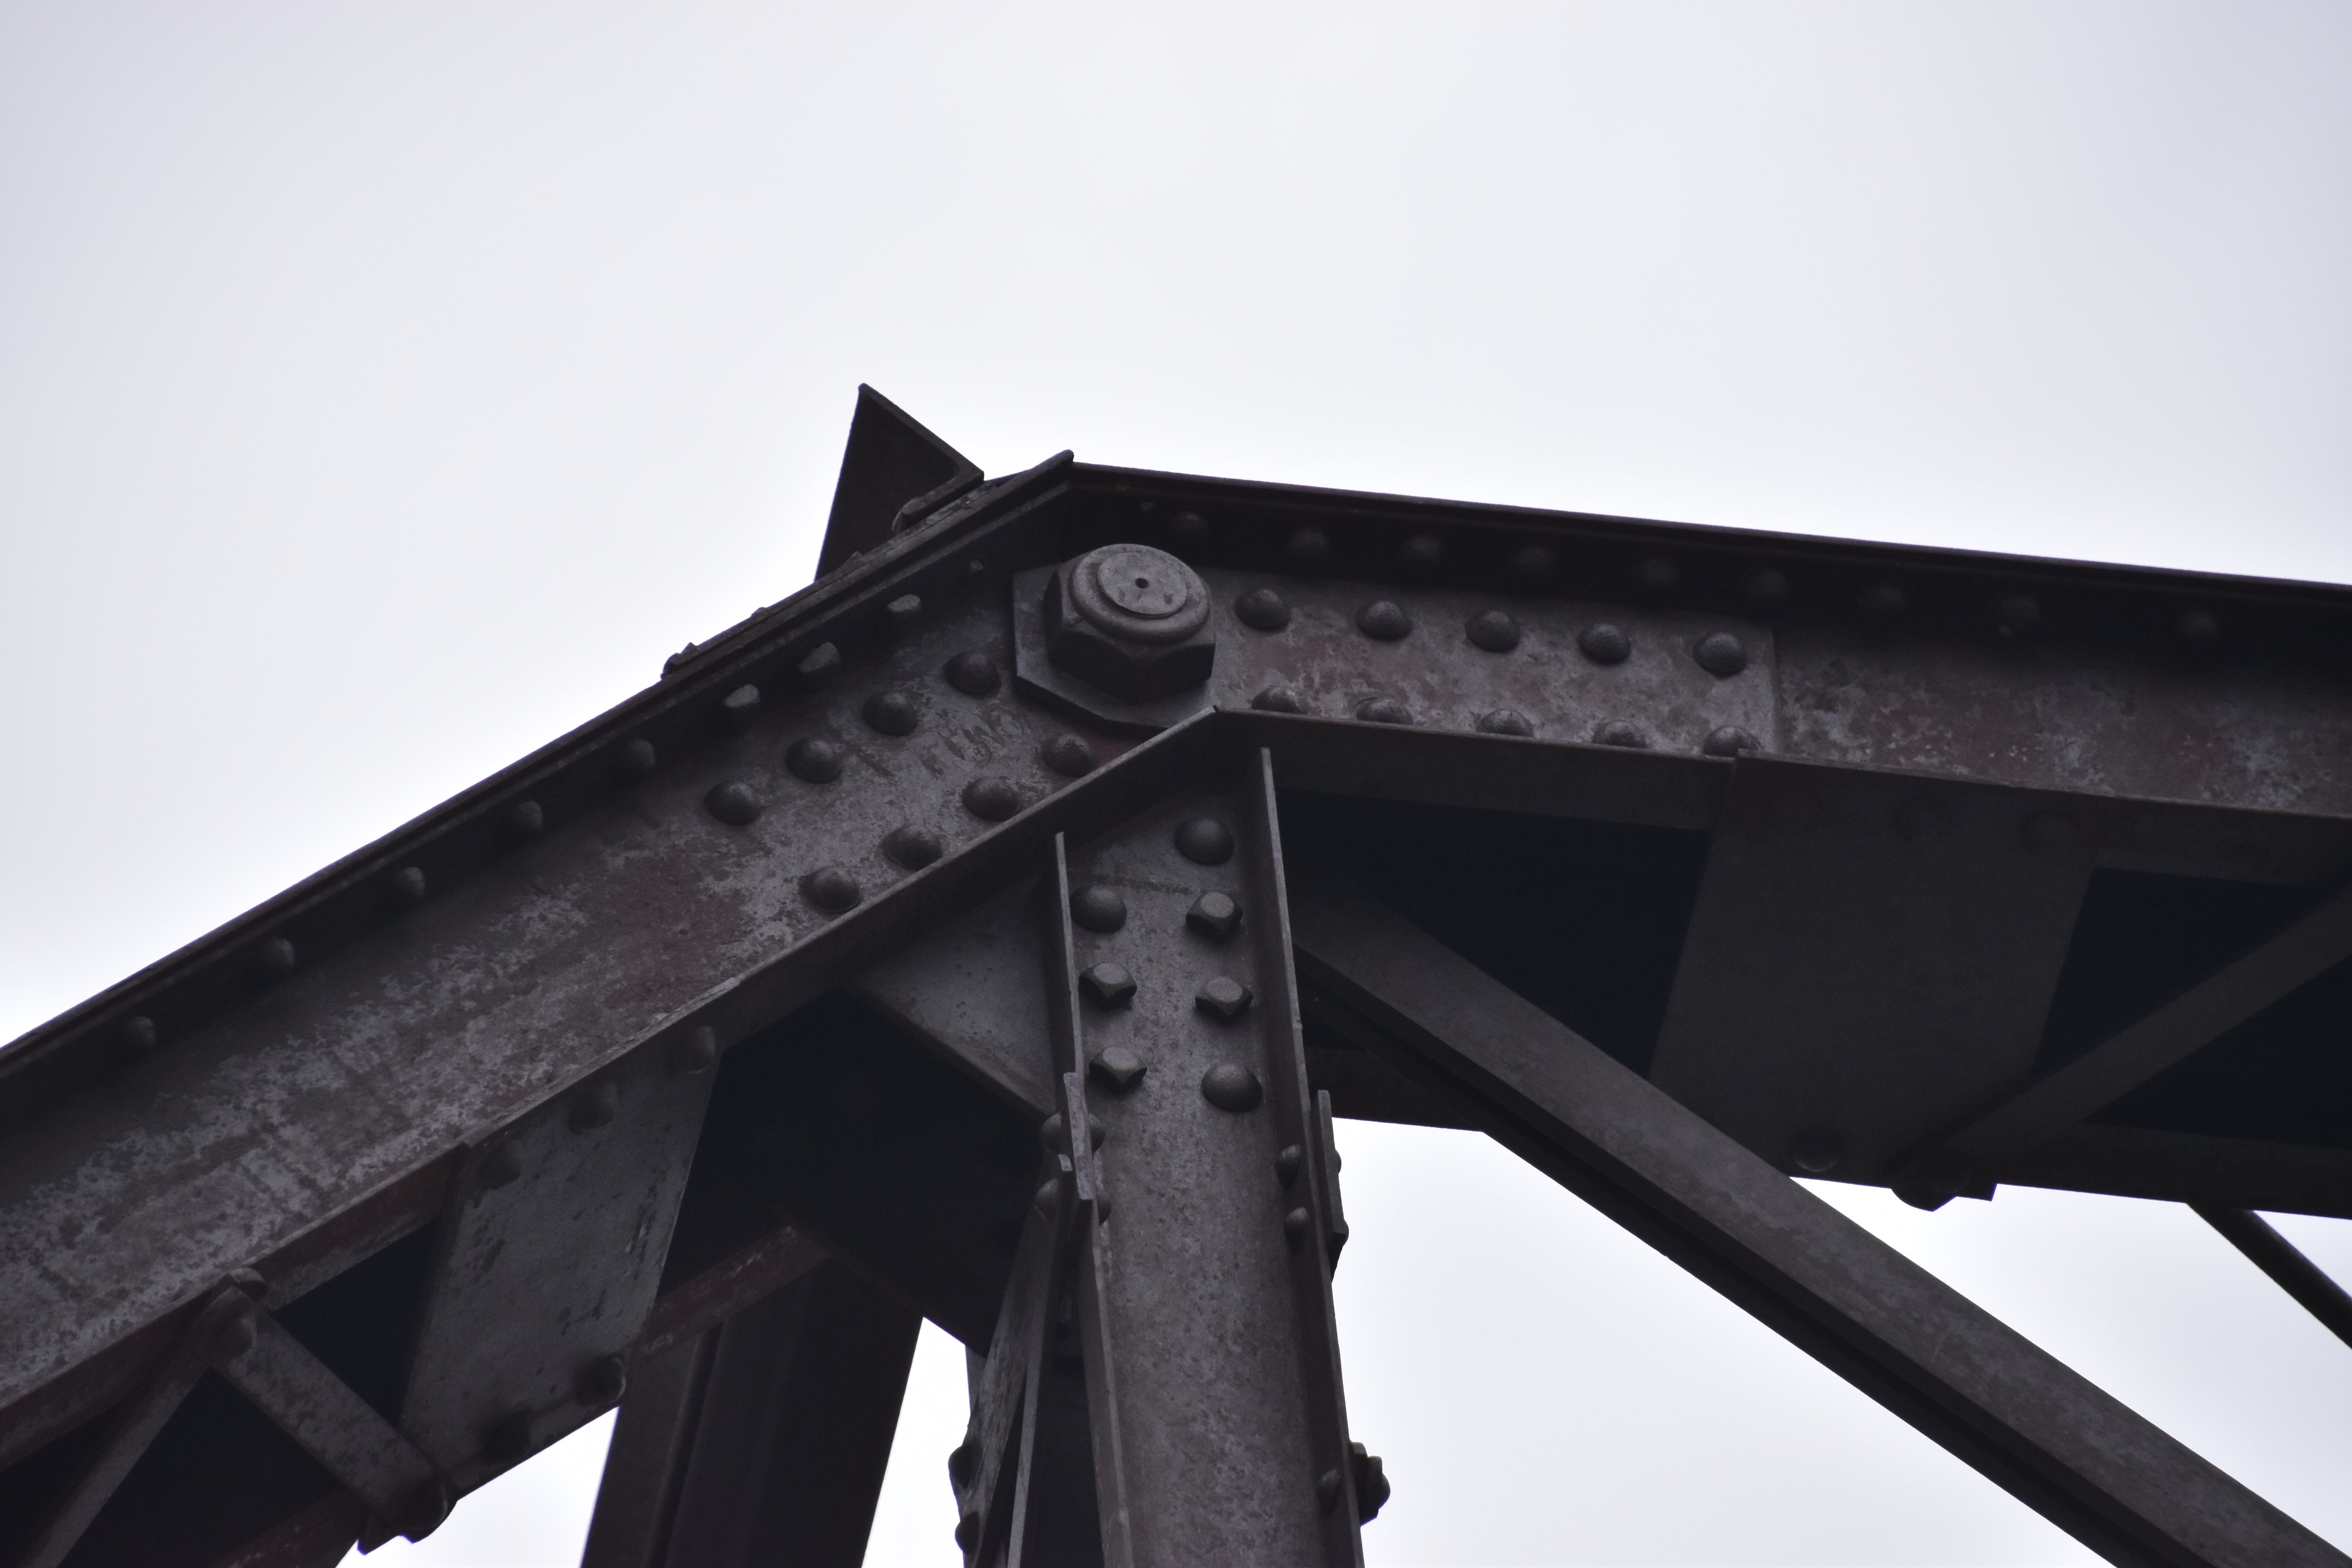

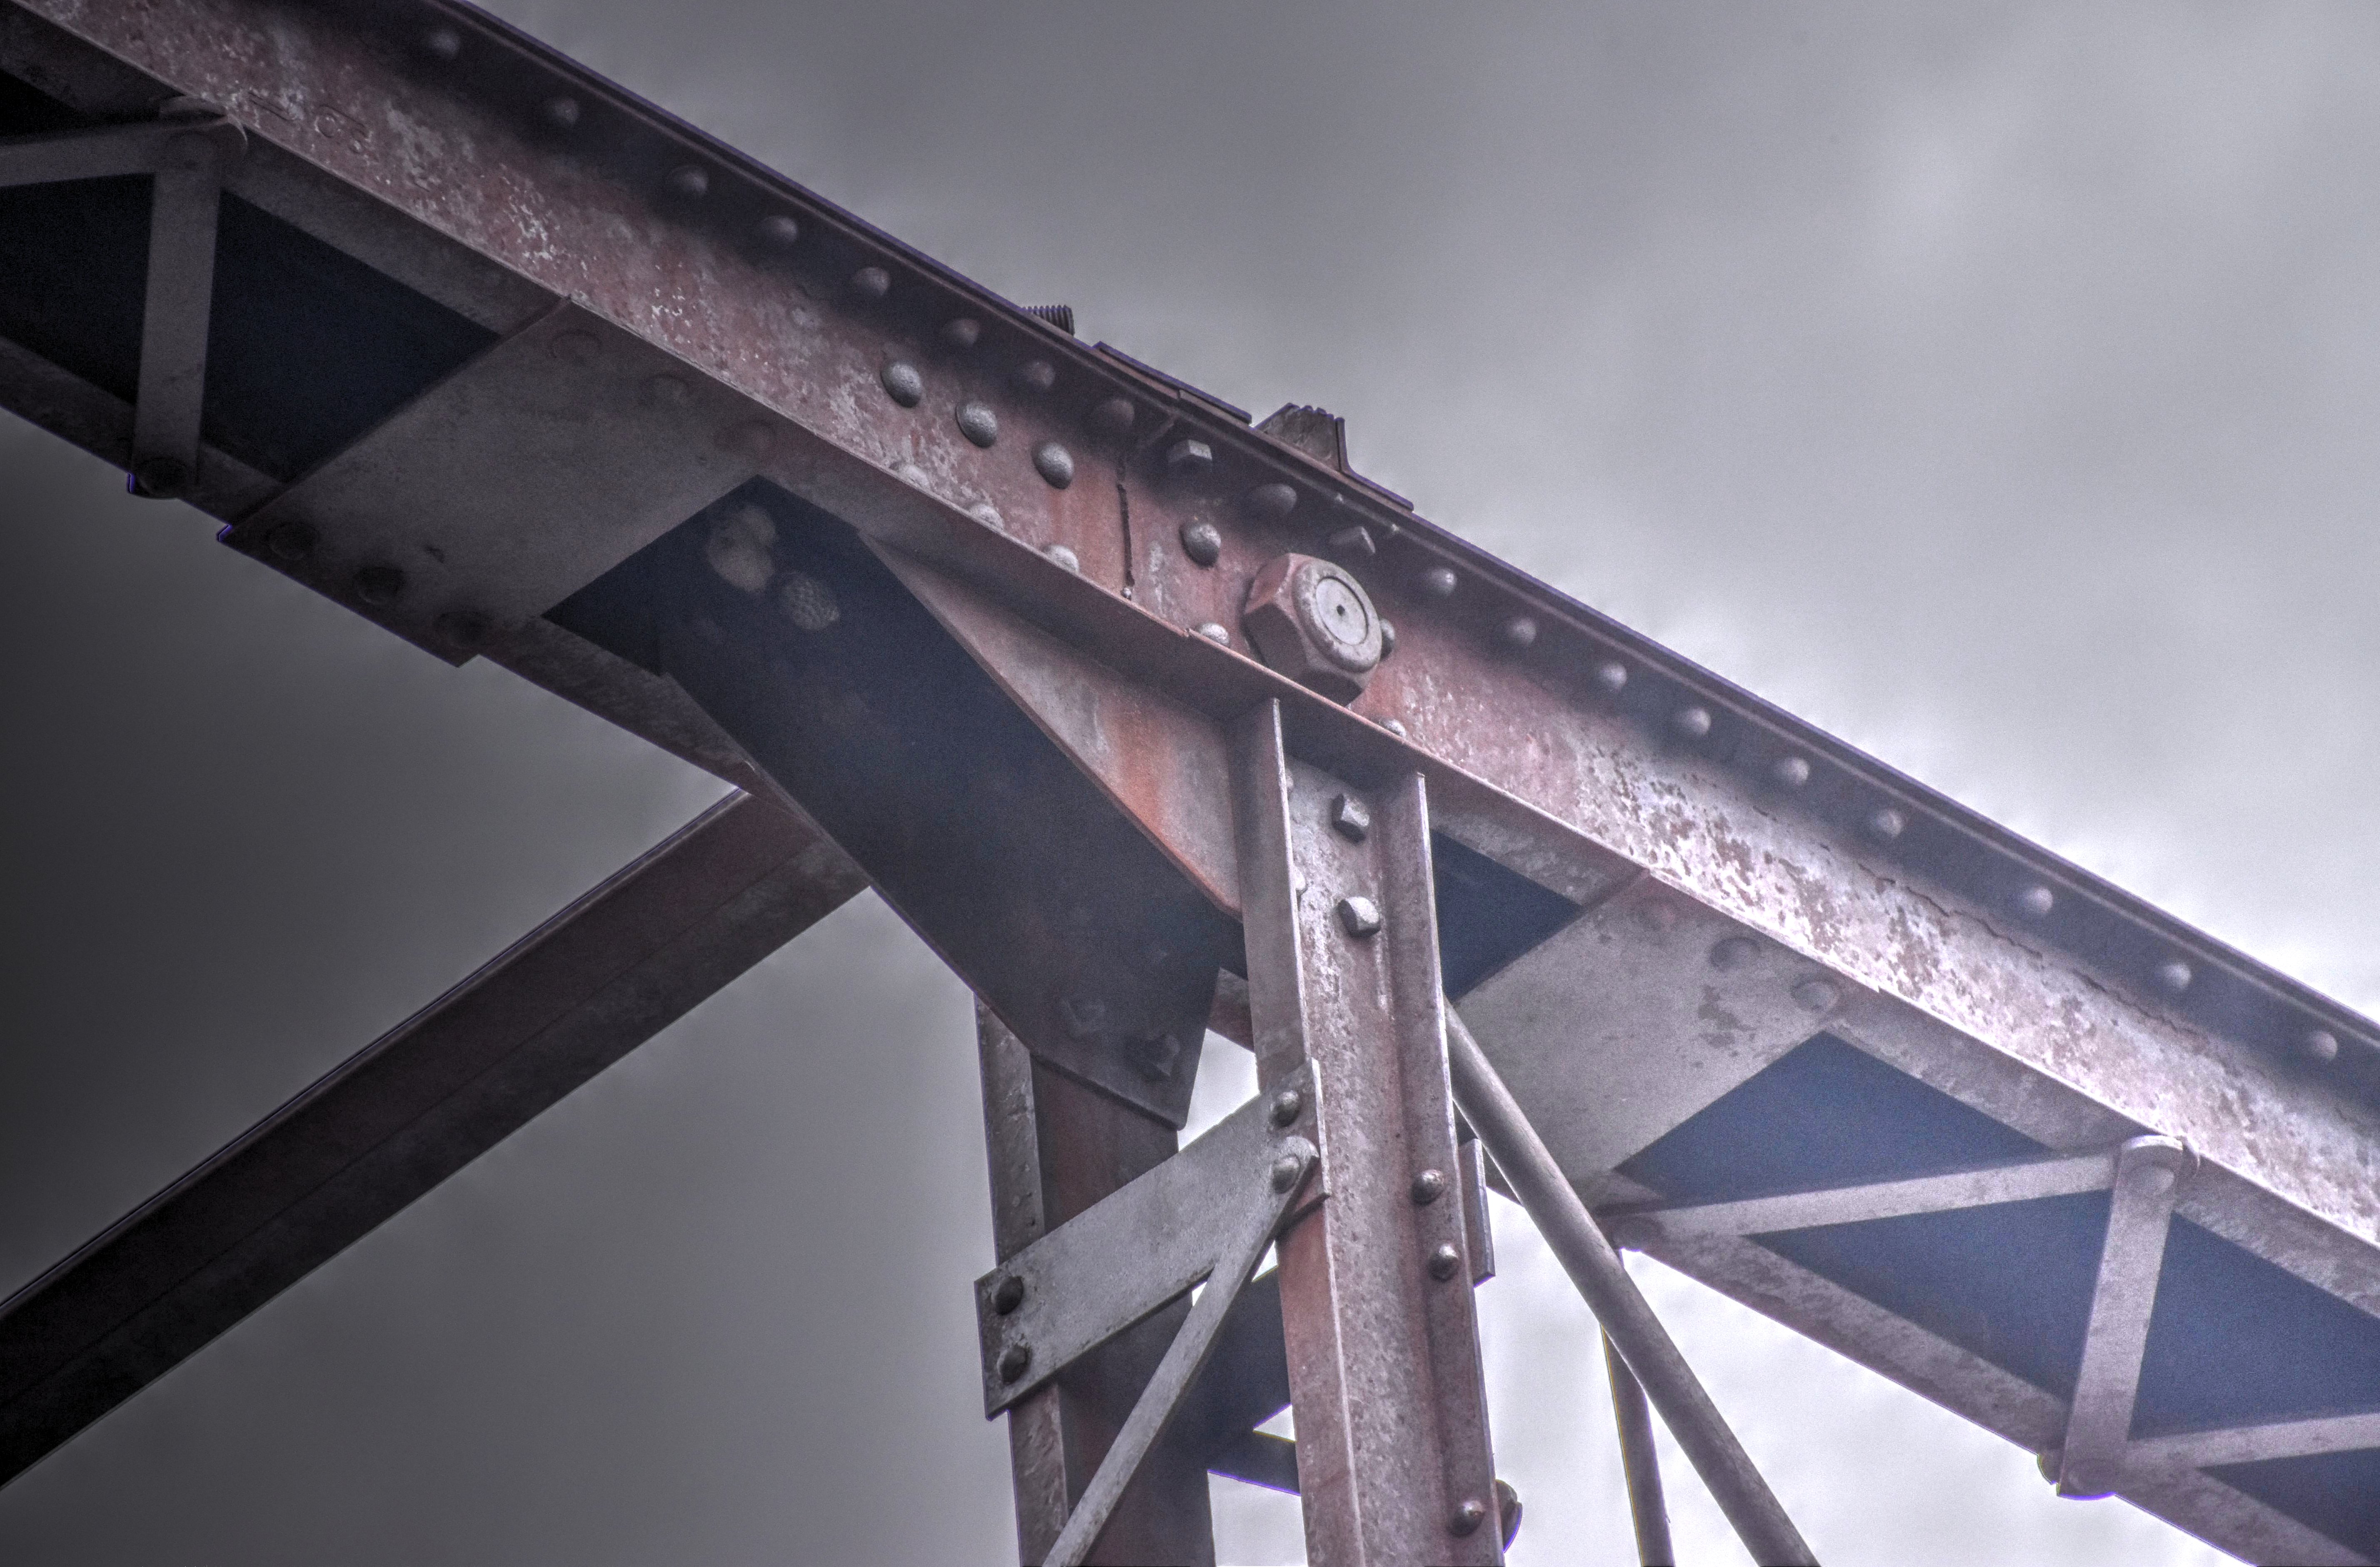
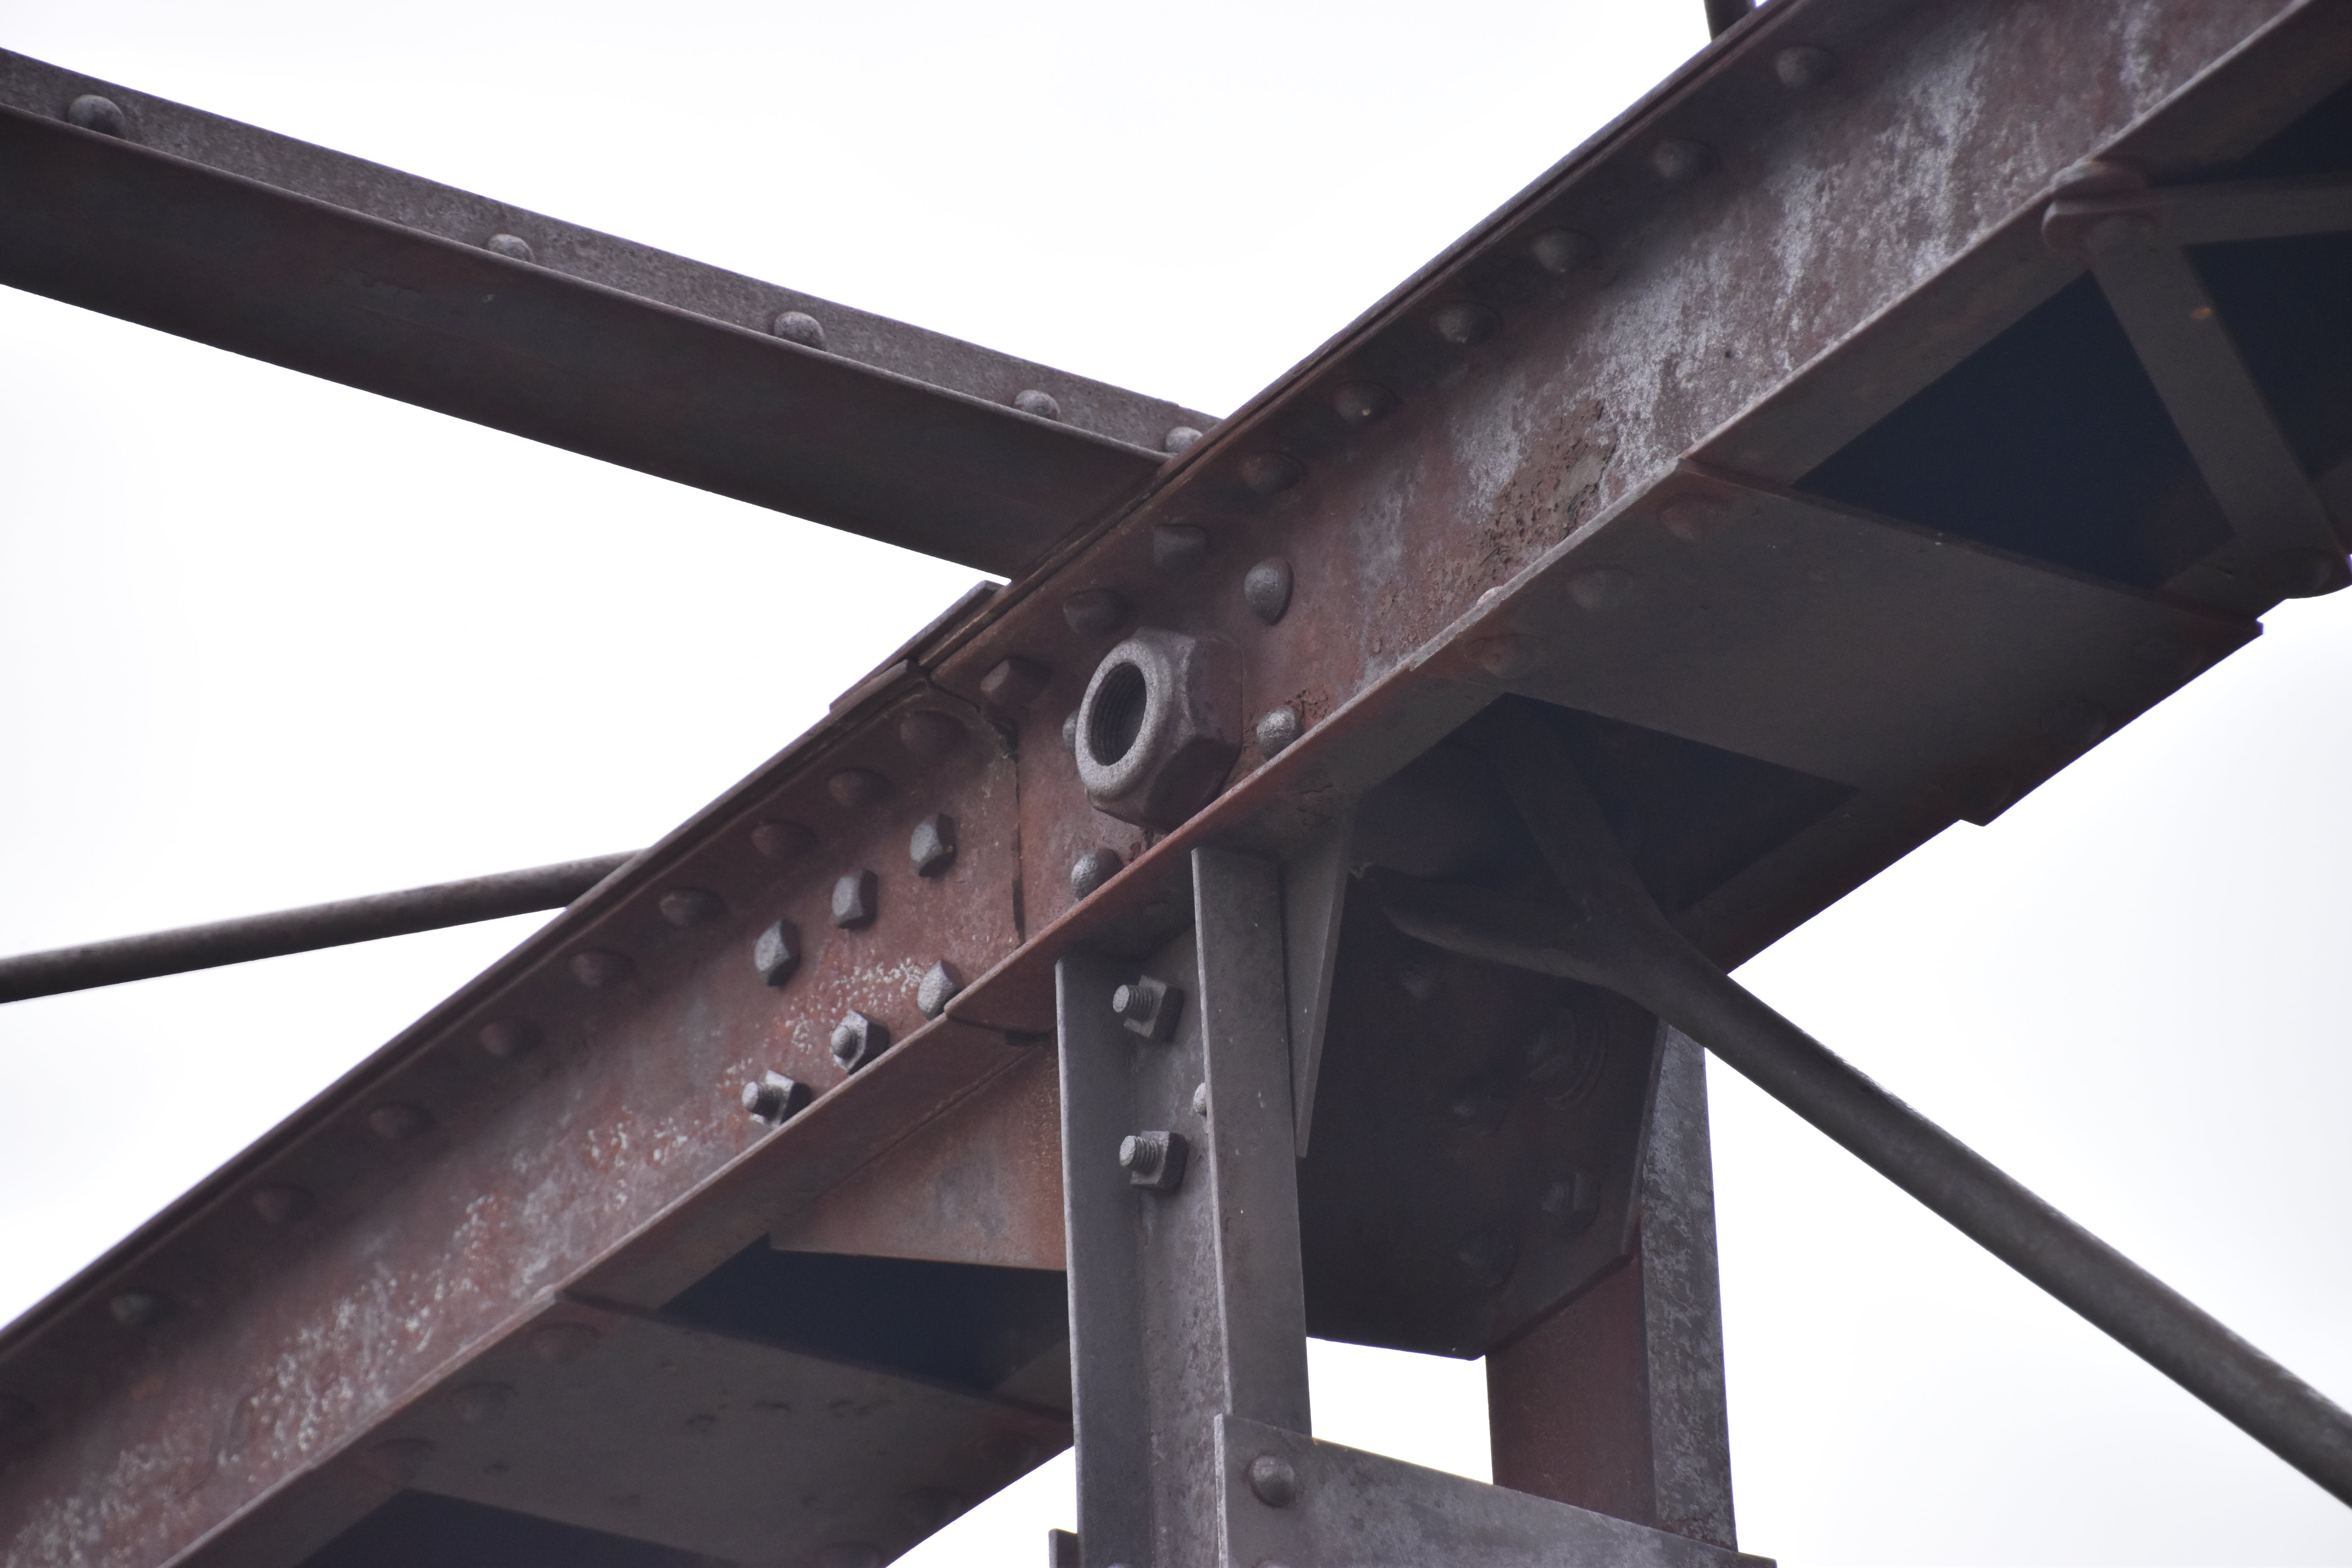
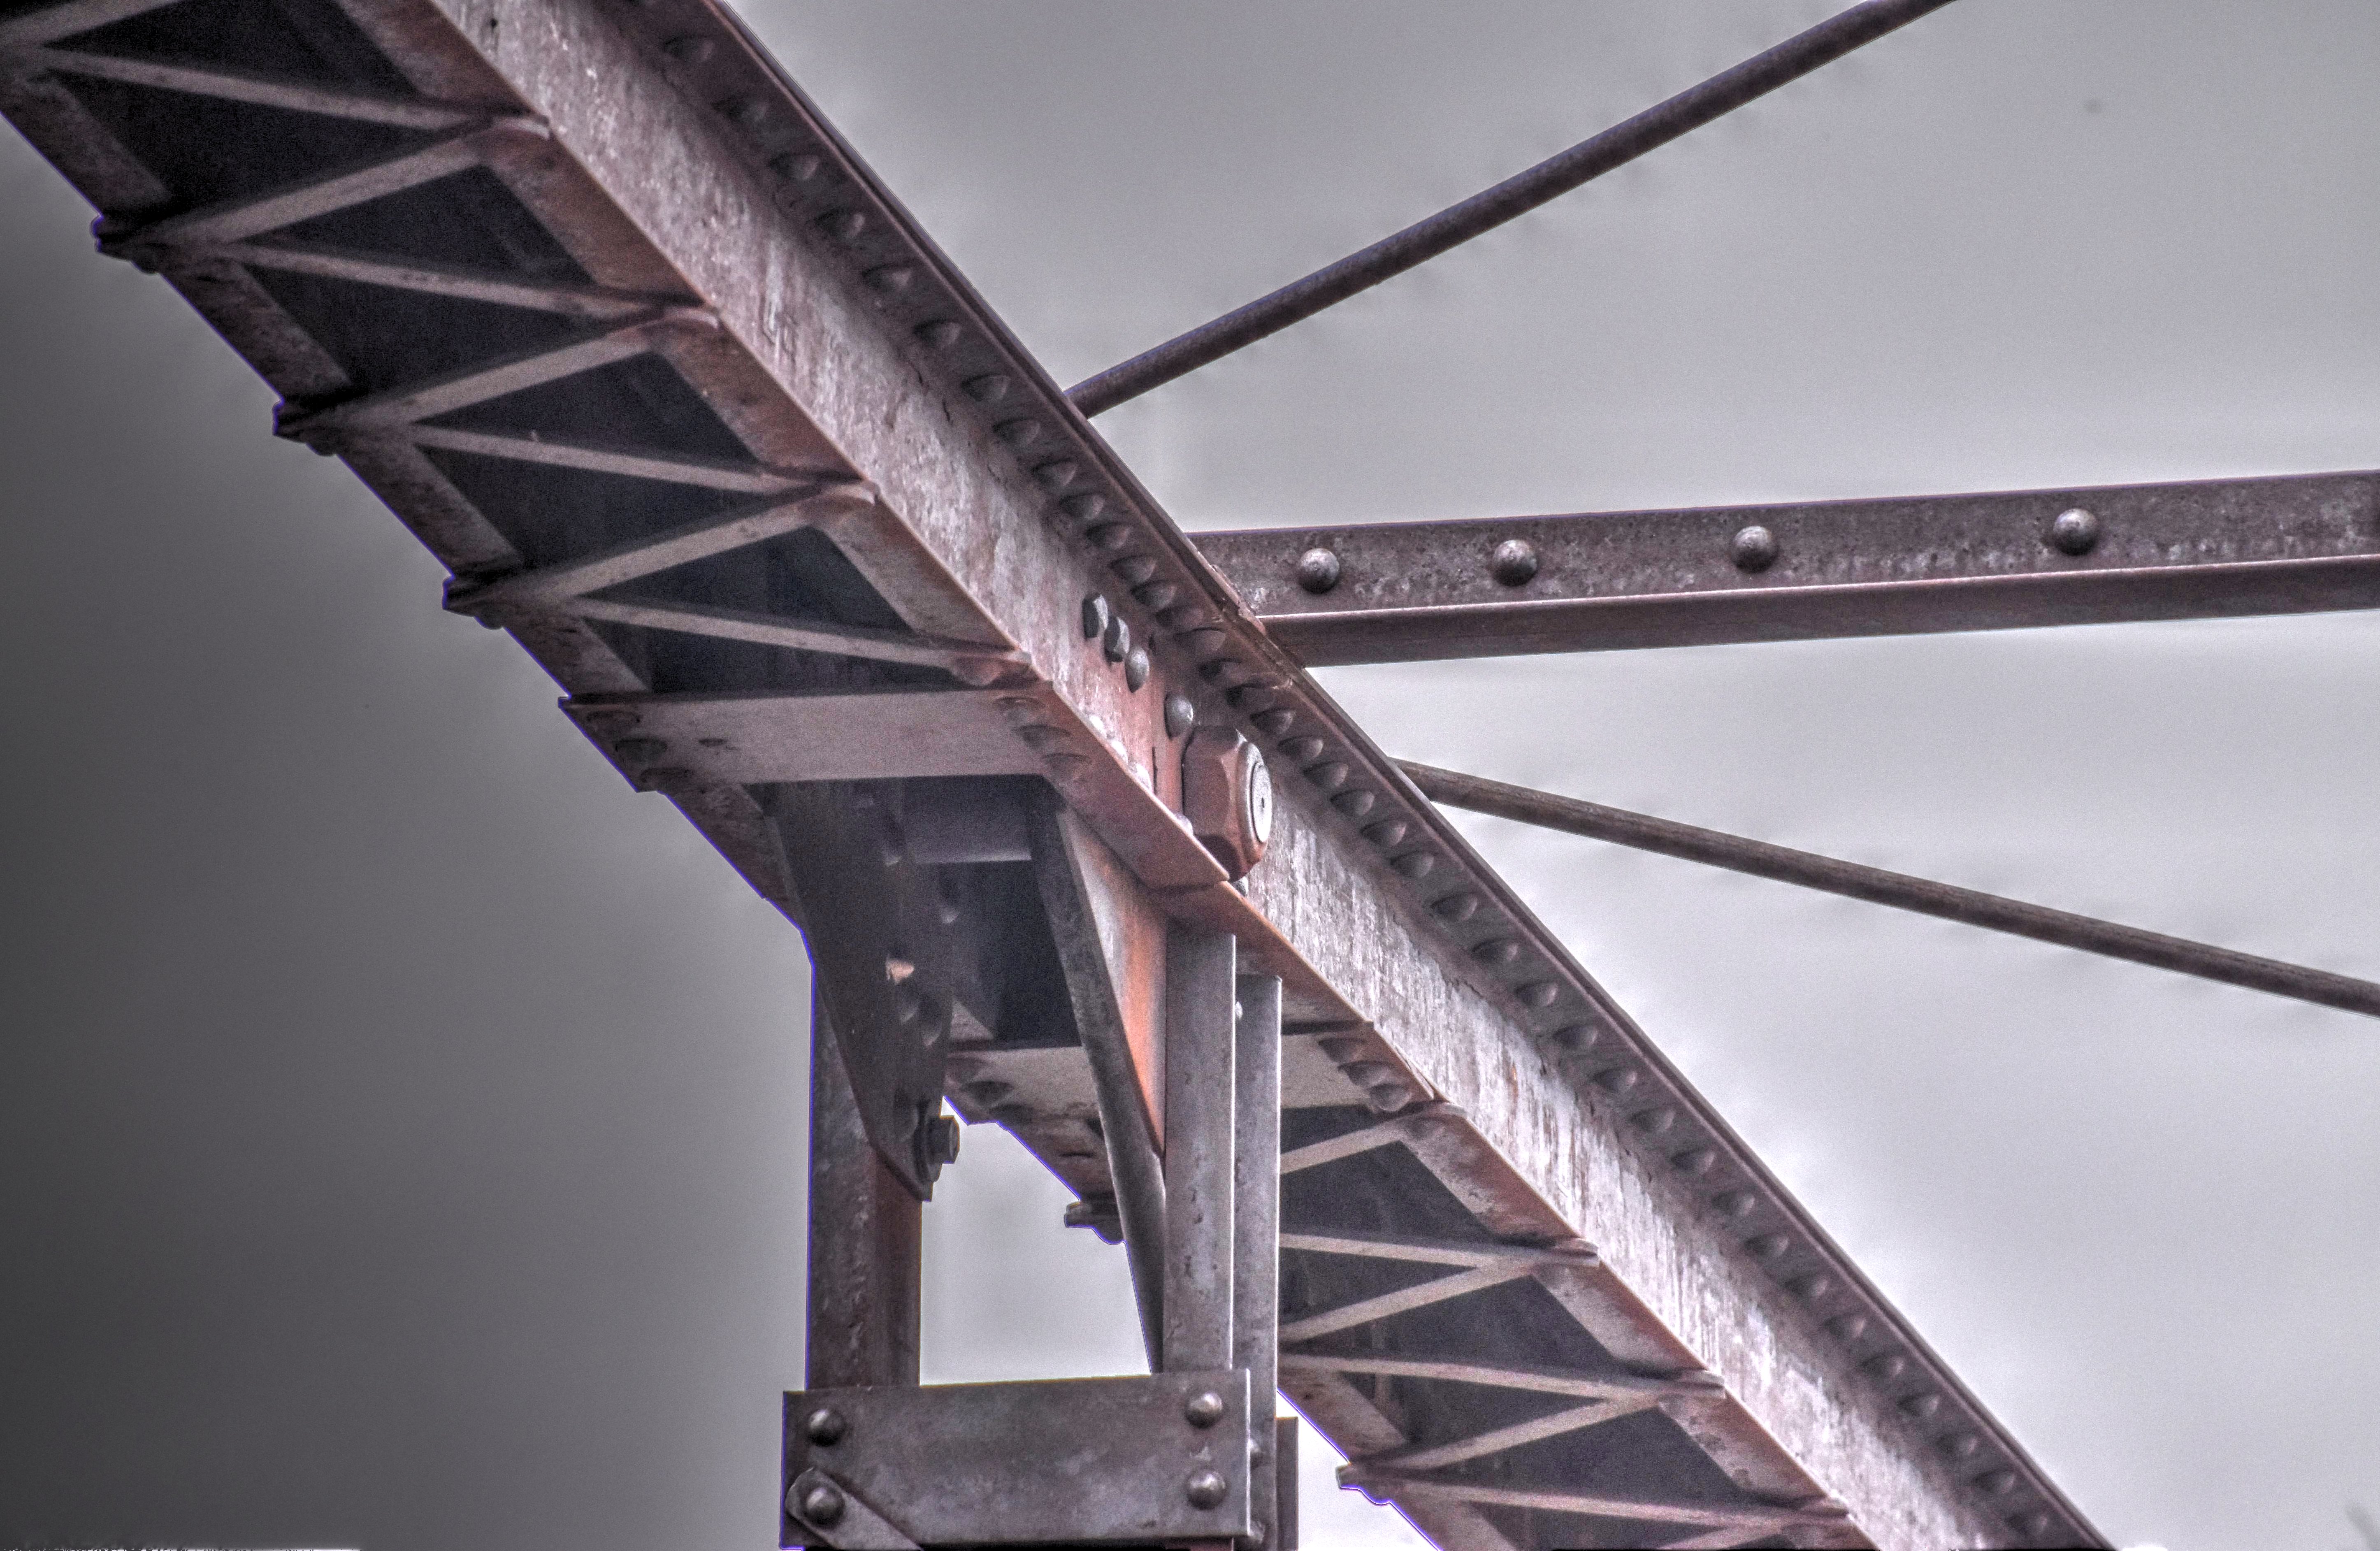
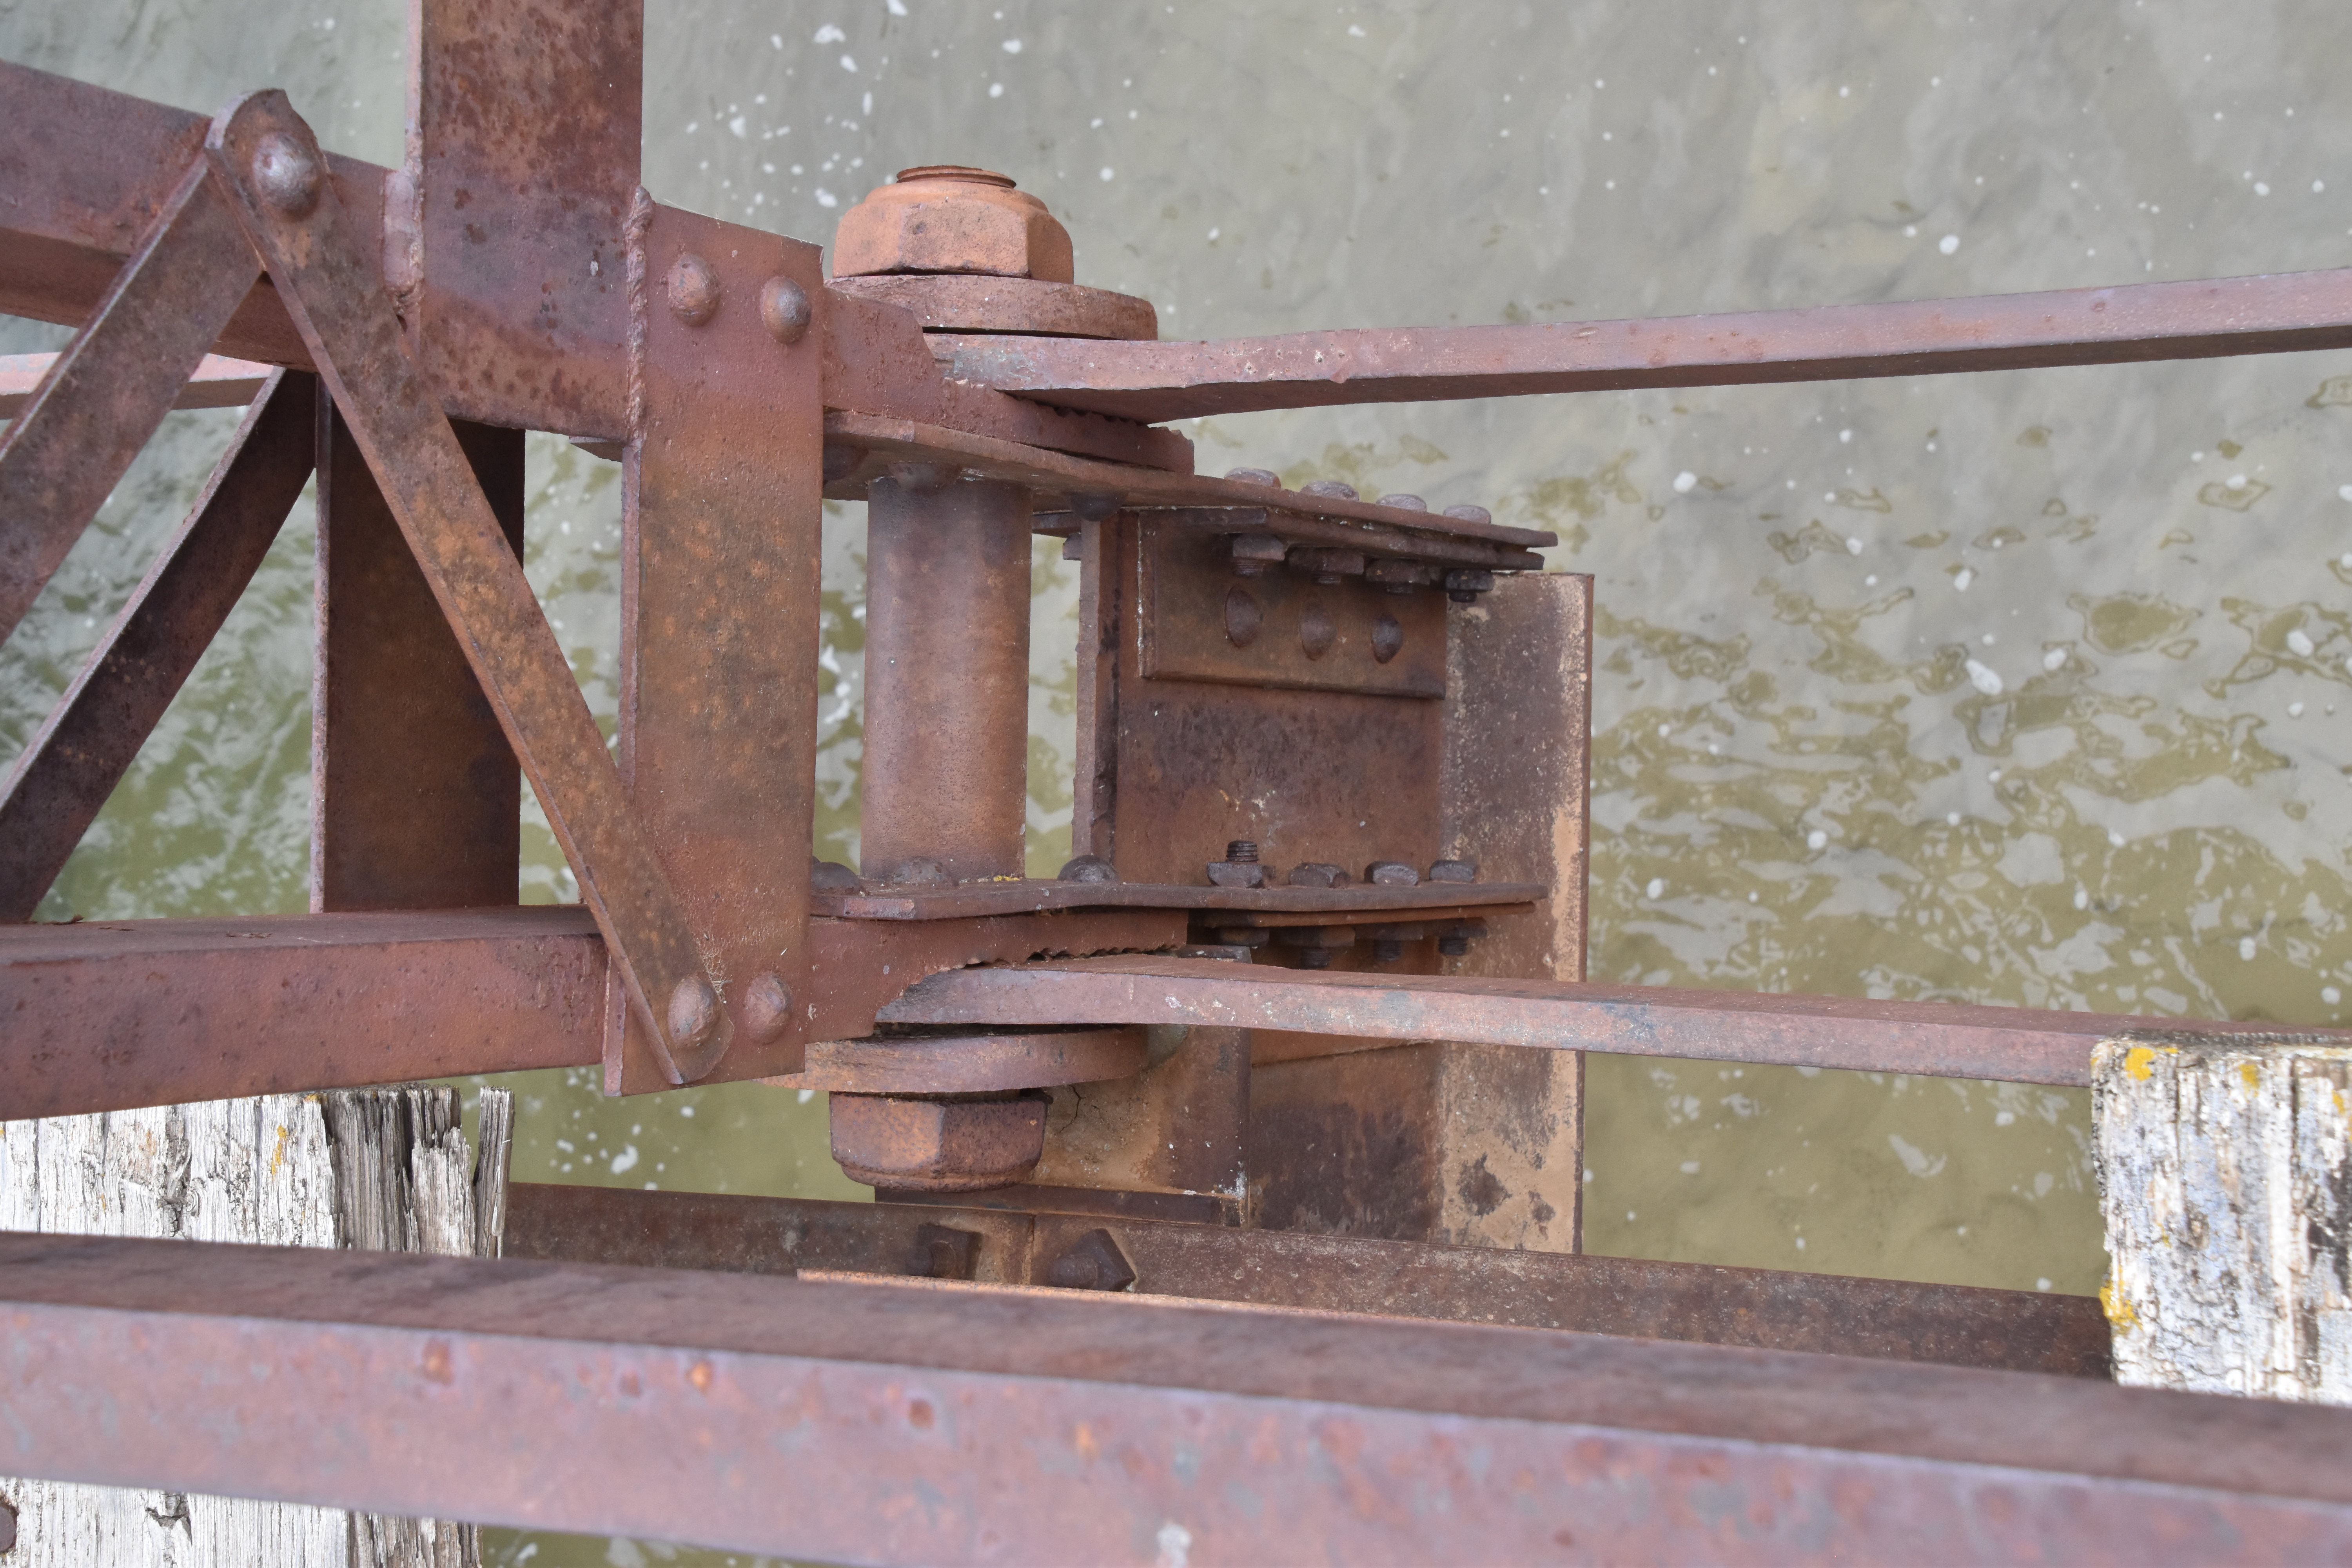
Top chord connections as viewed from beside bridge.
![]()
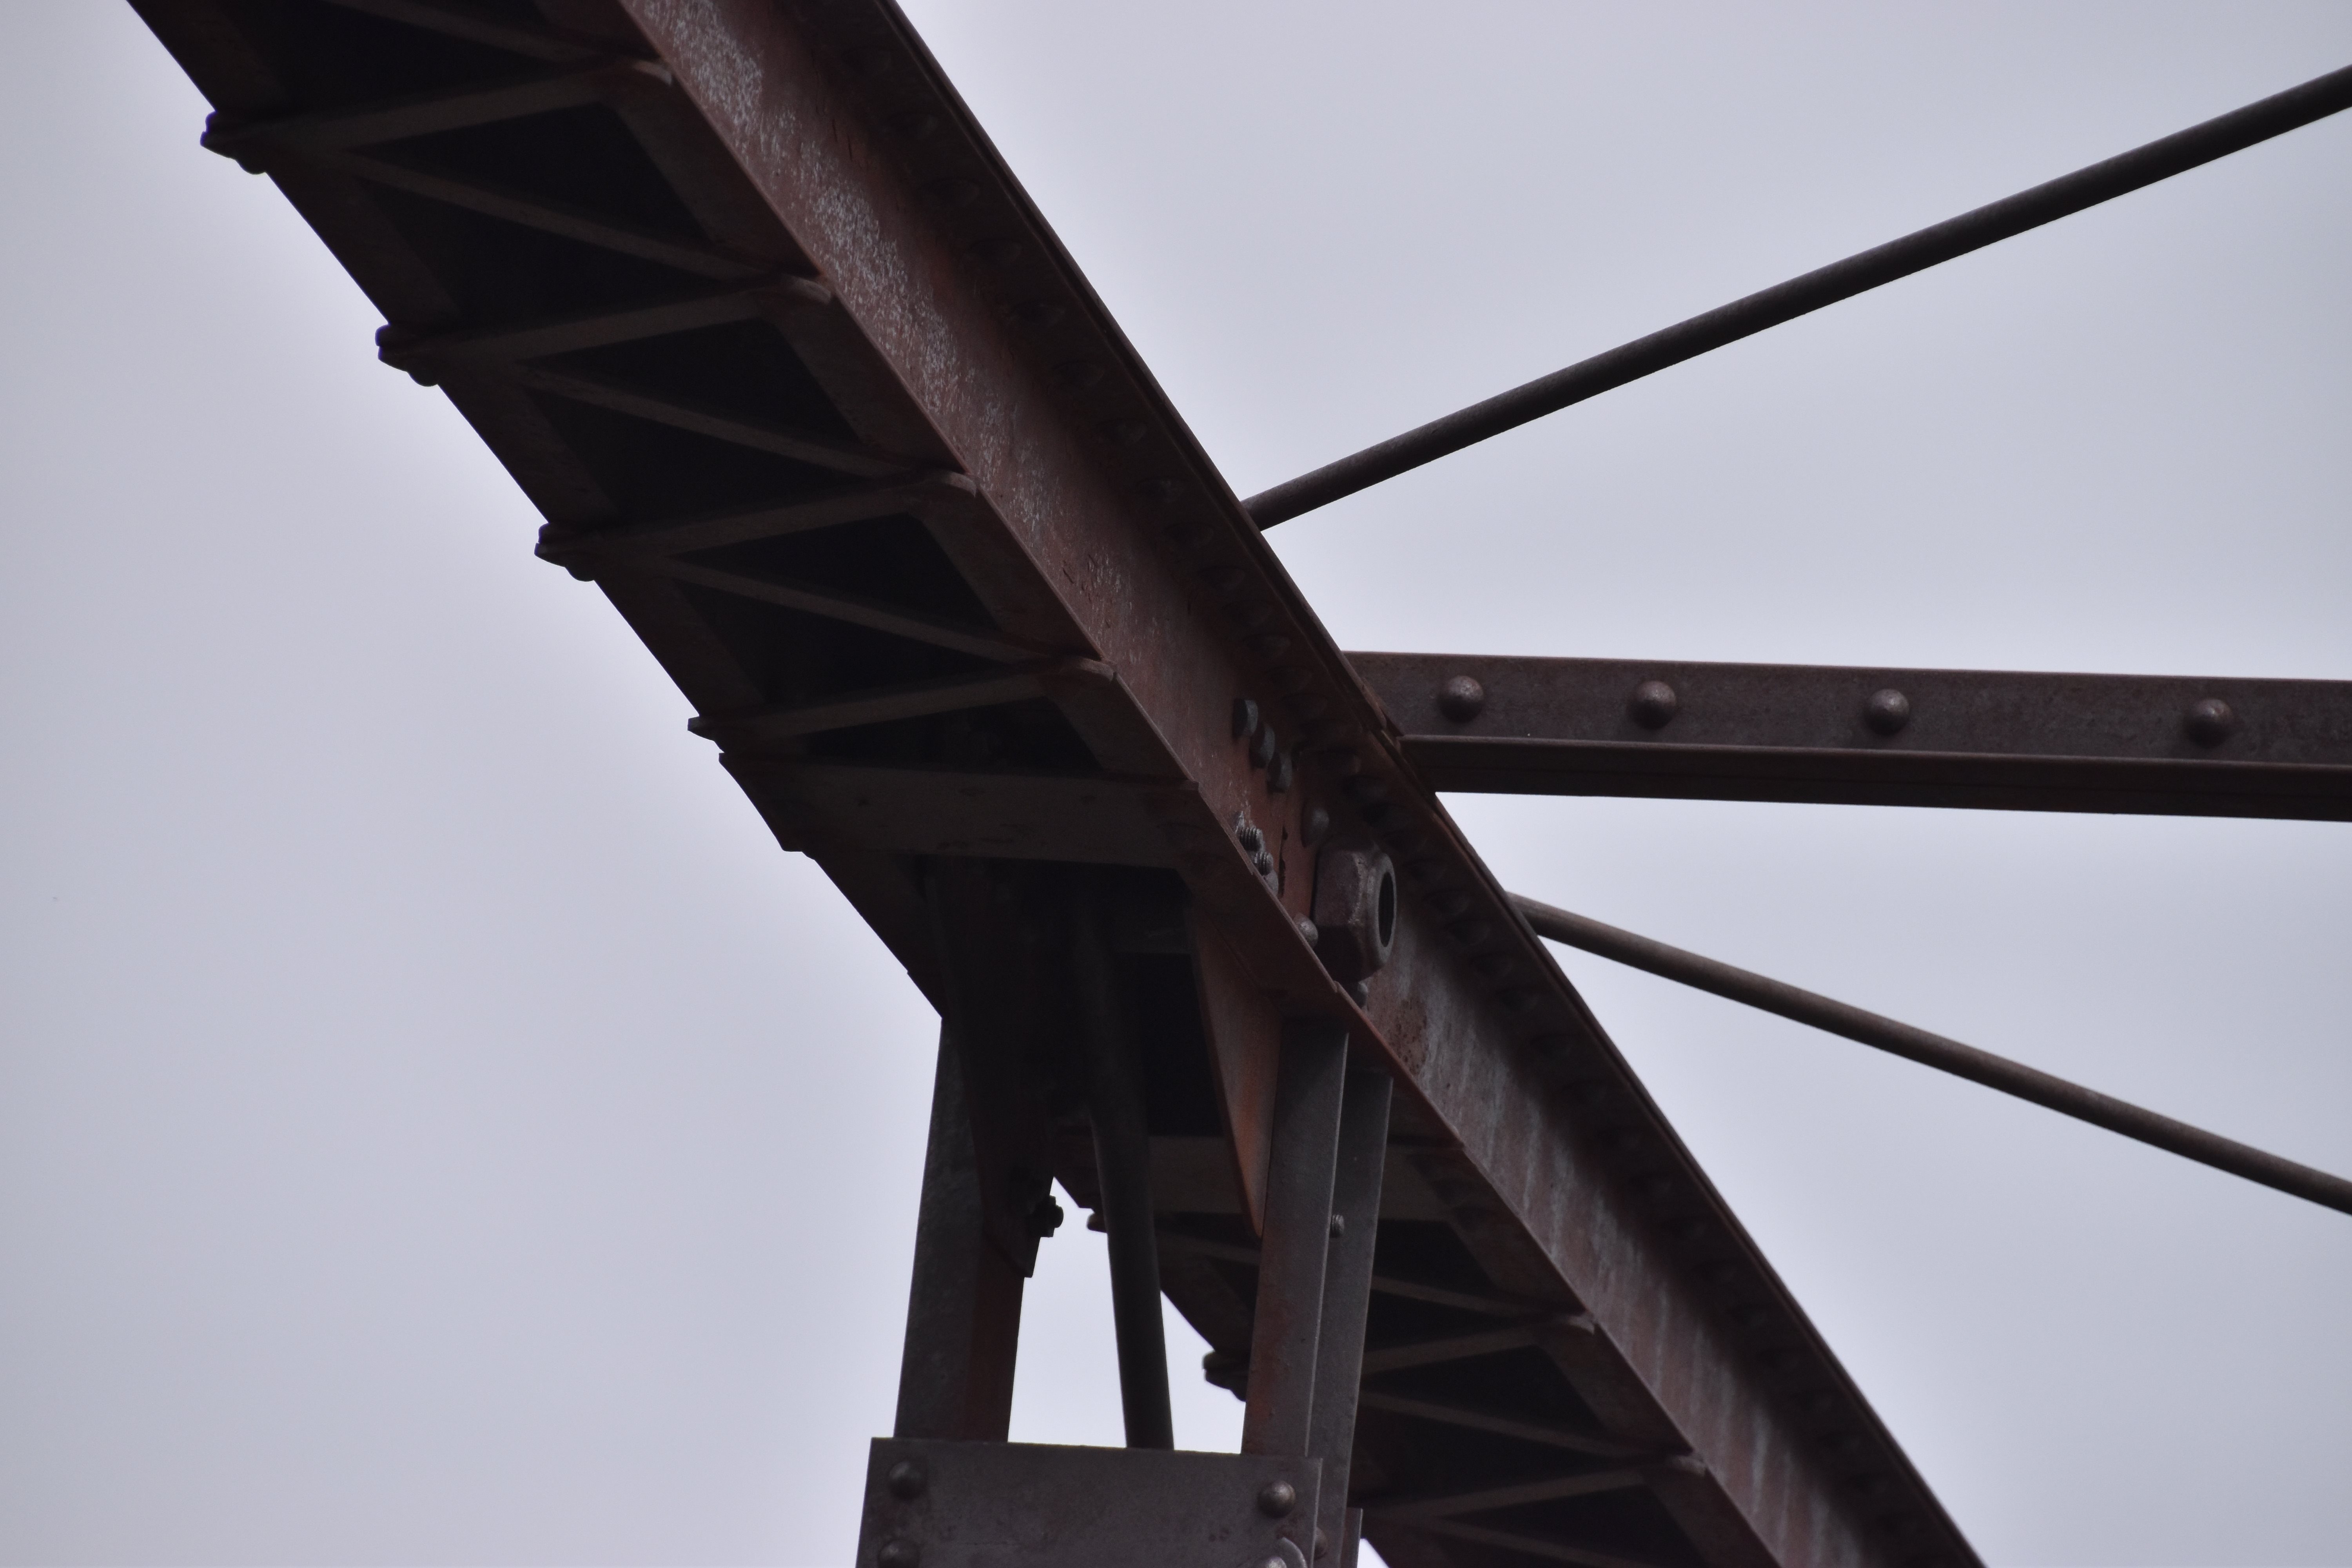
Top chord connections as viewed from on bridge.
![]()


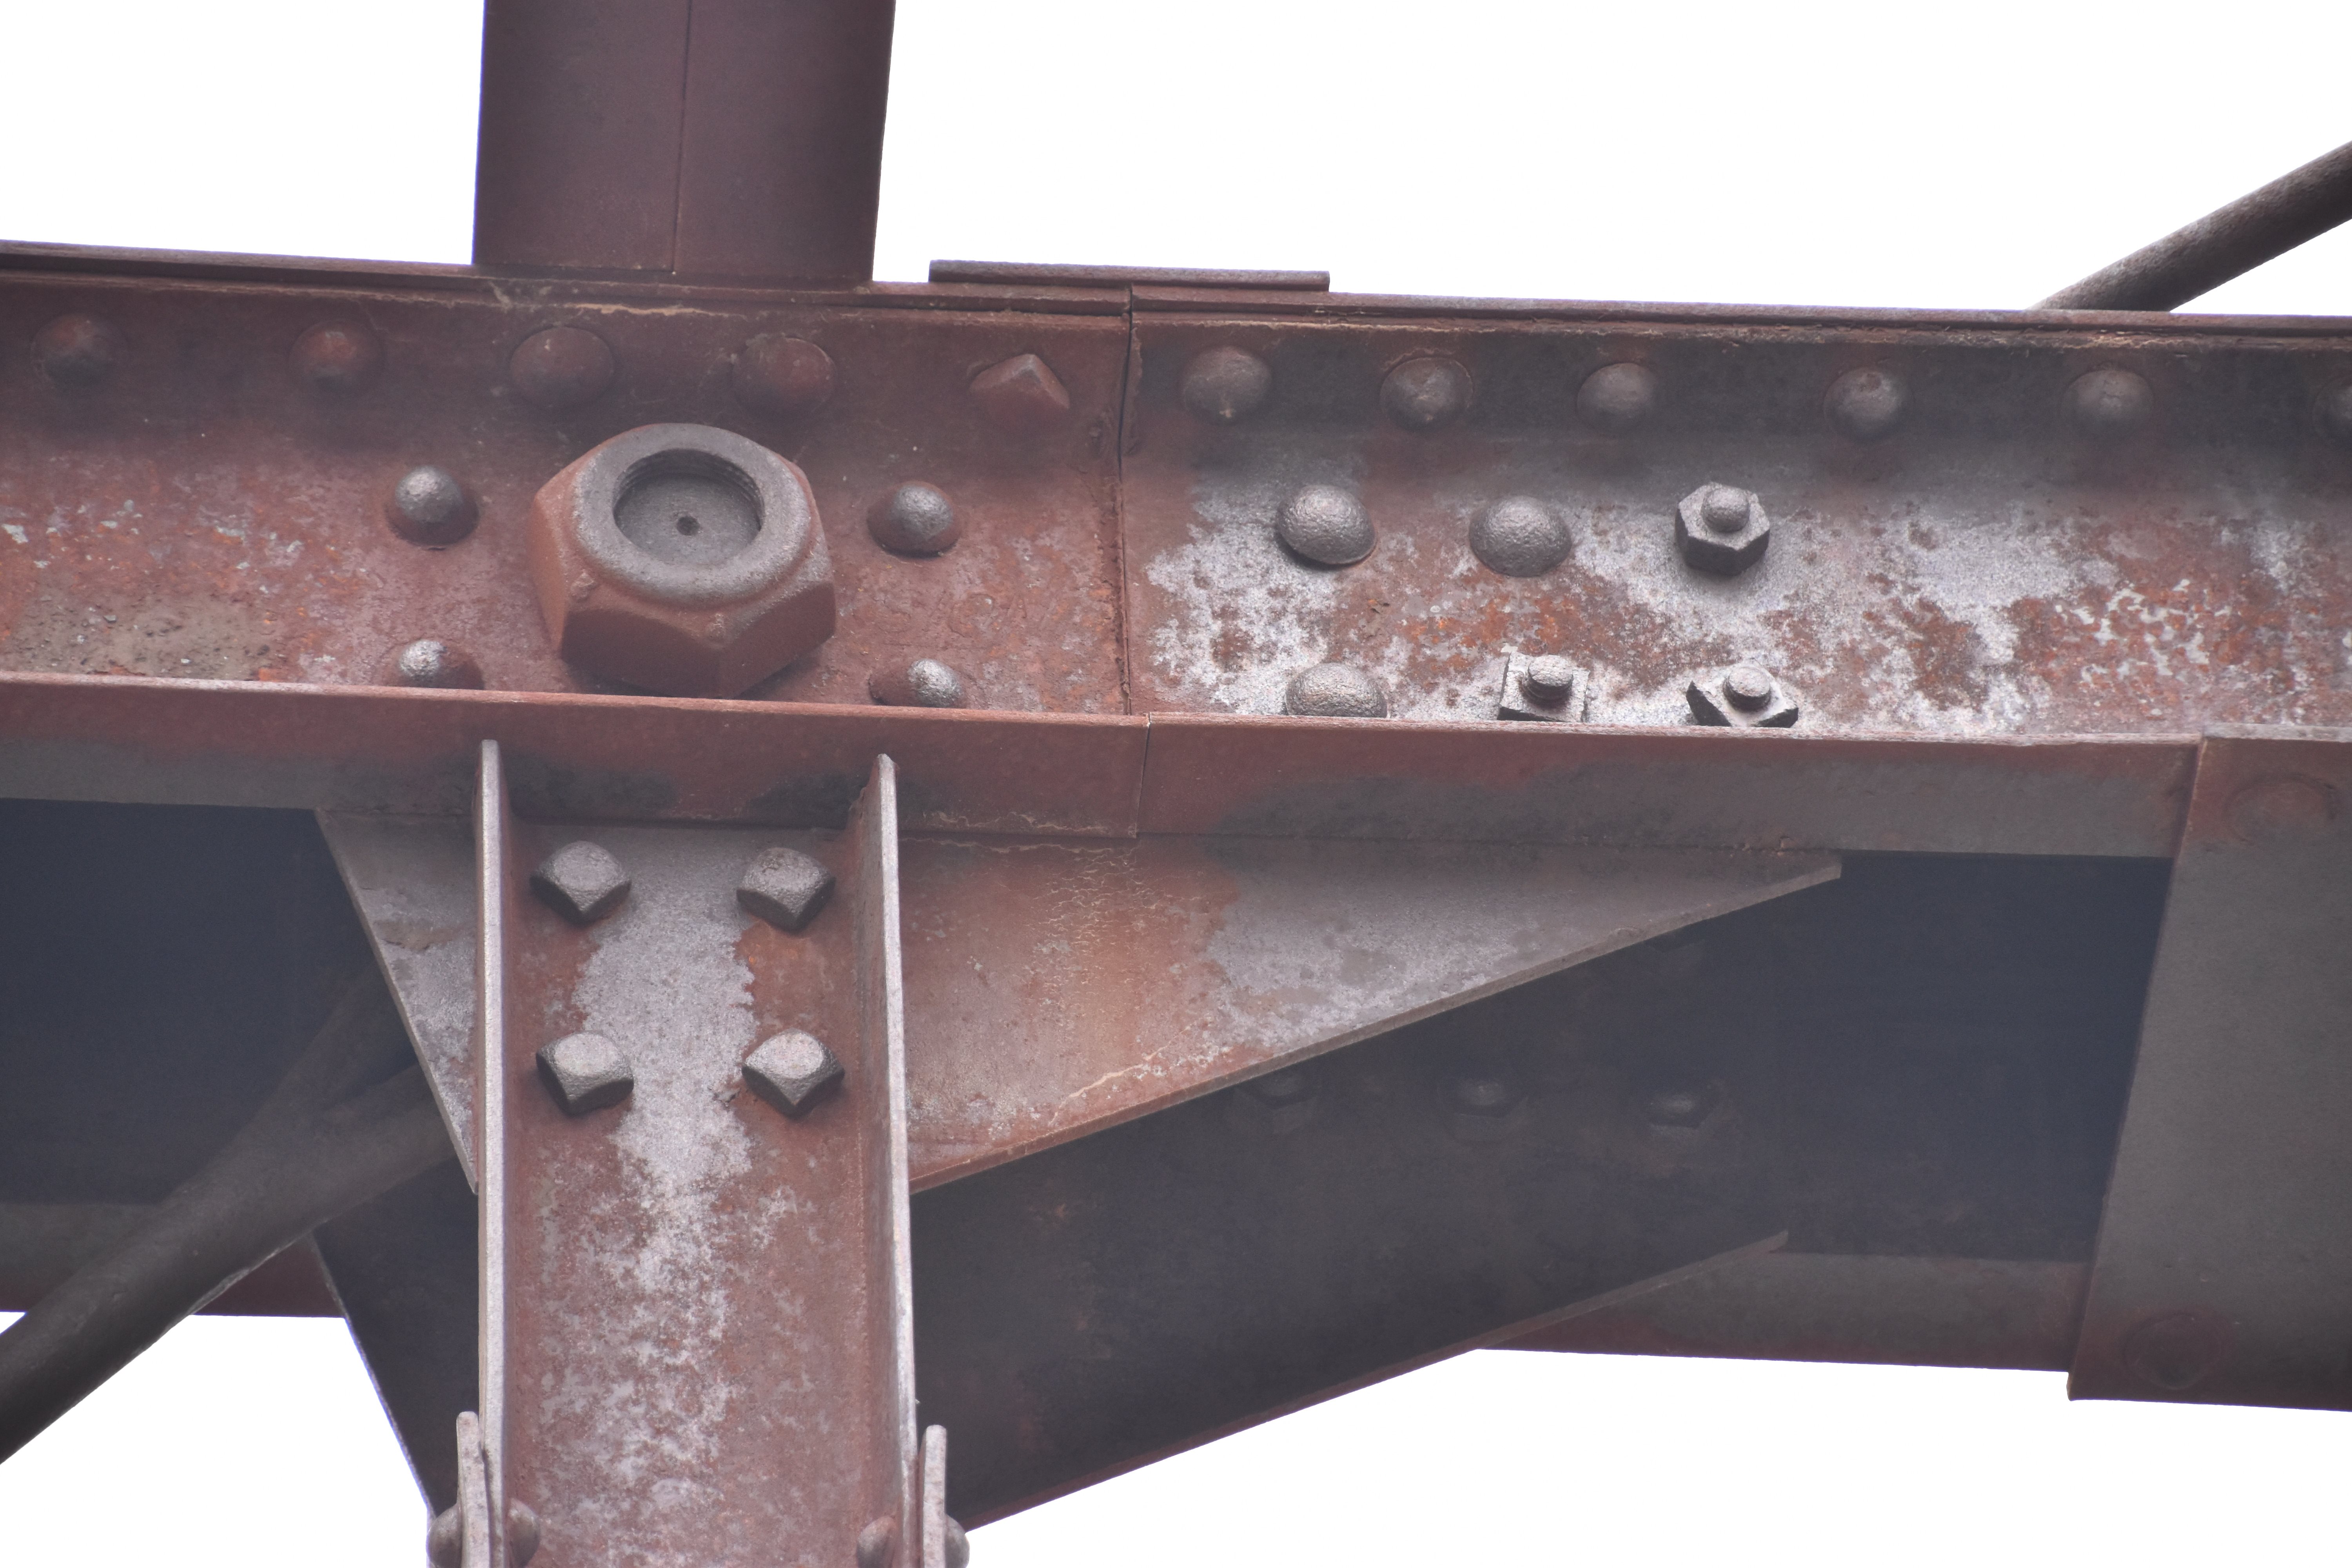
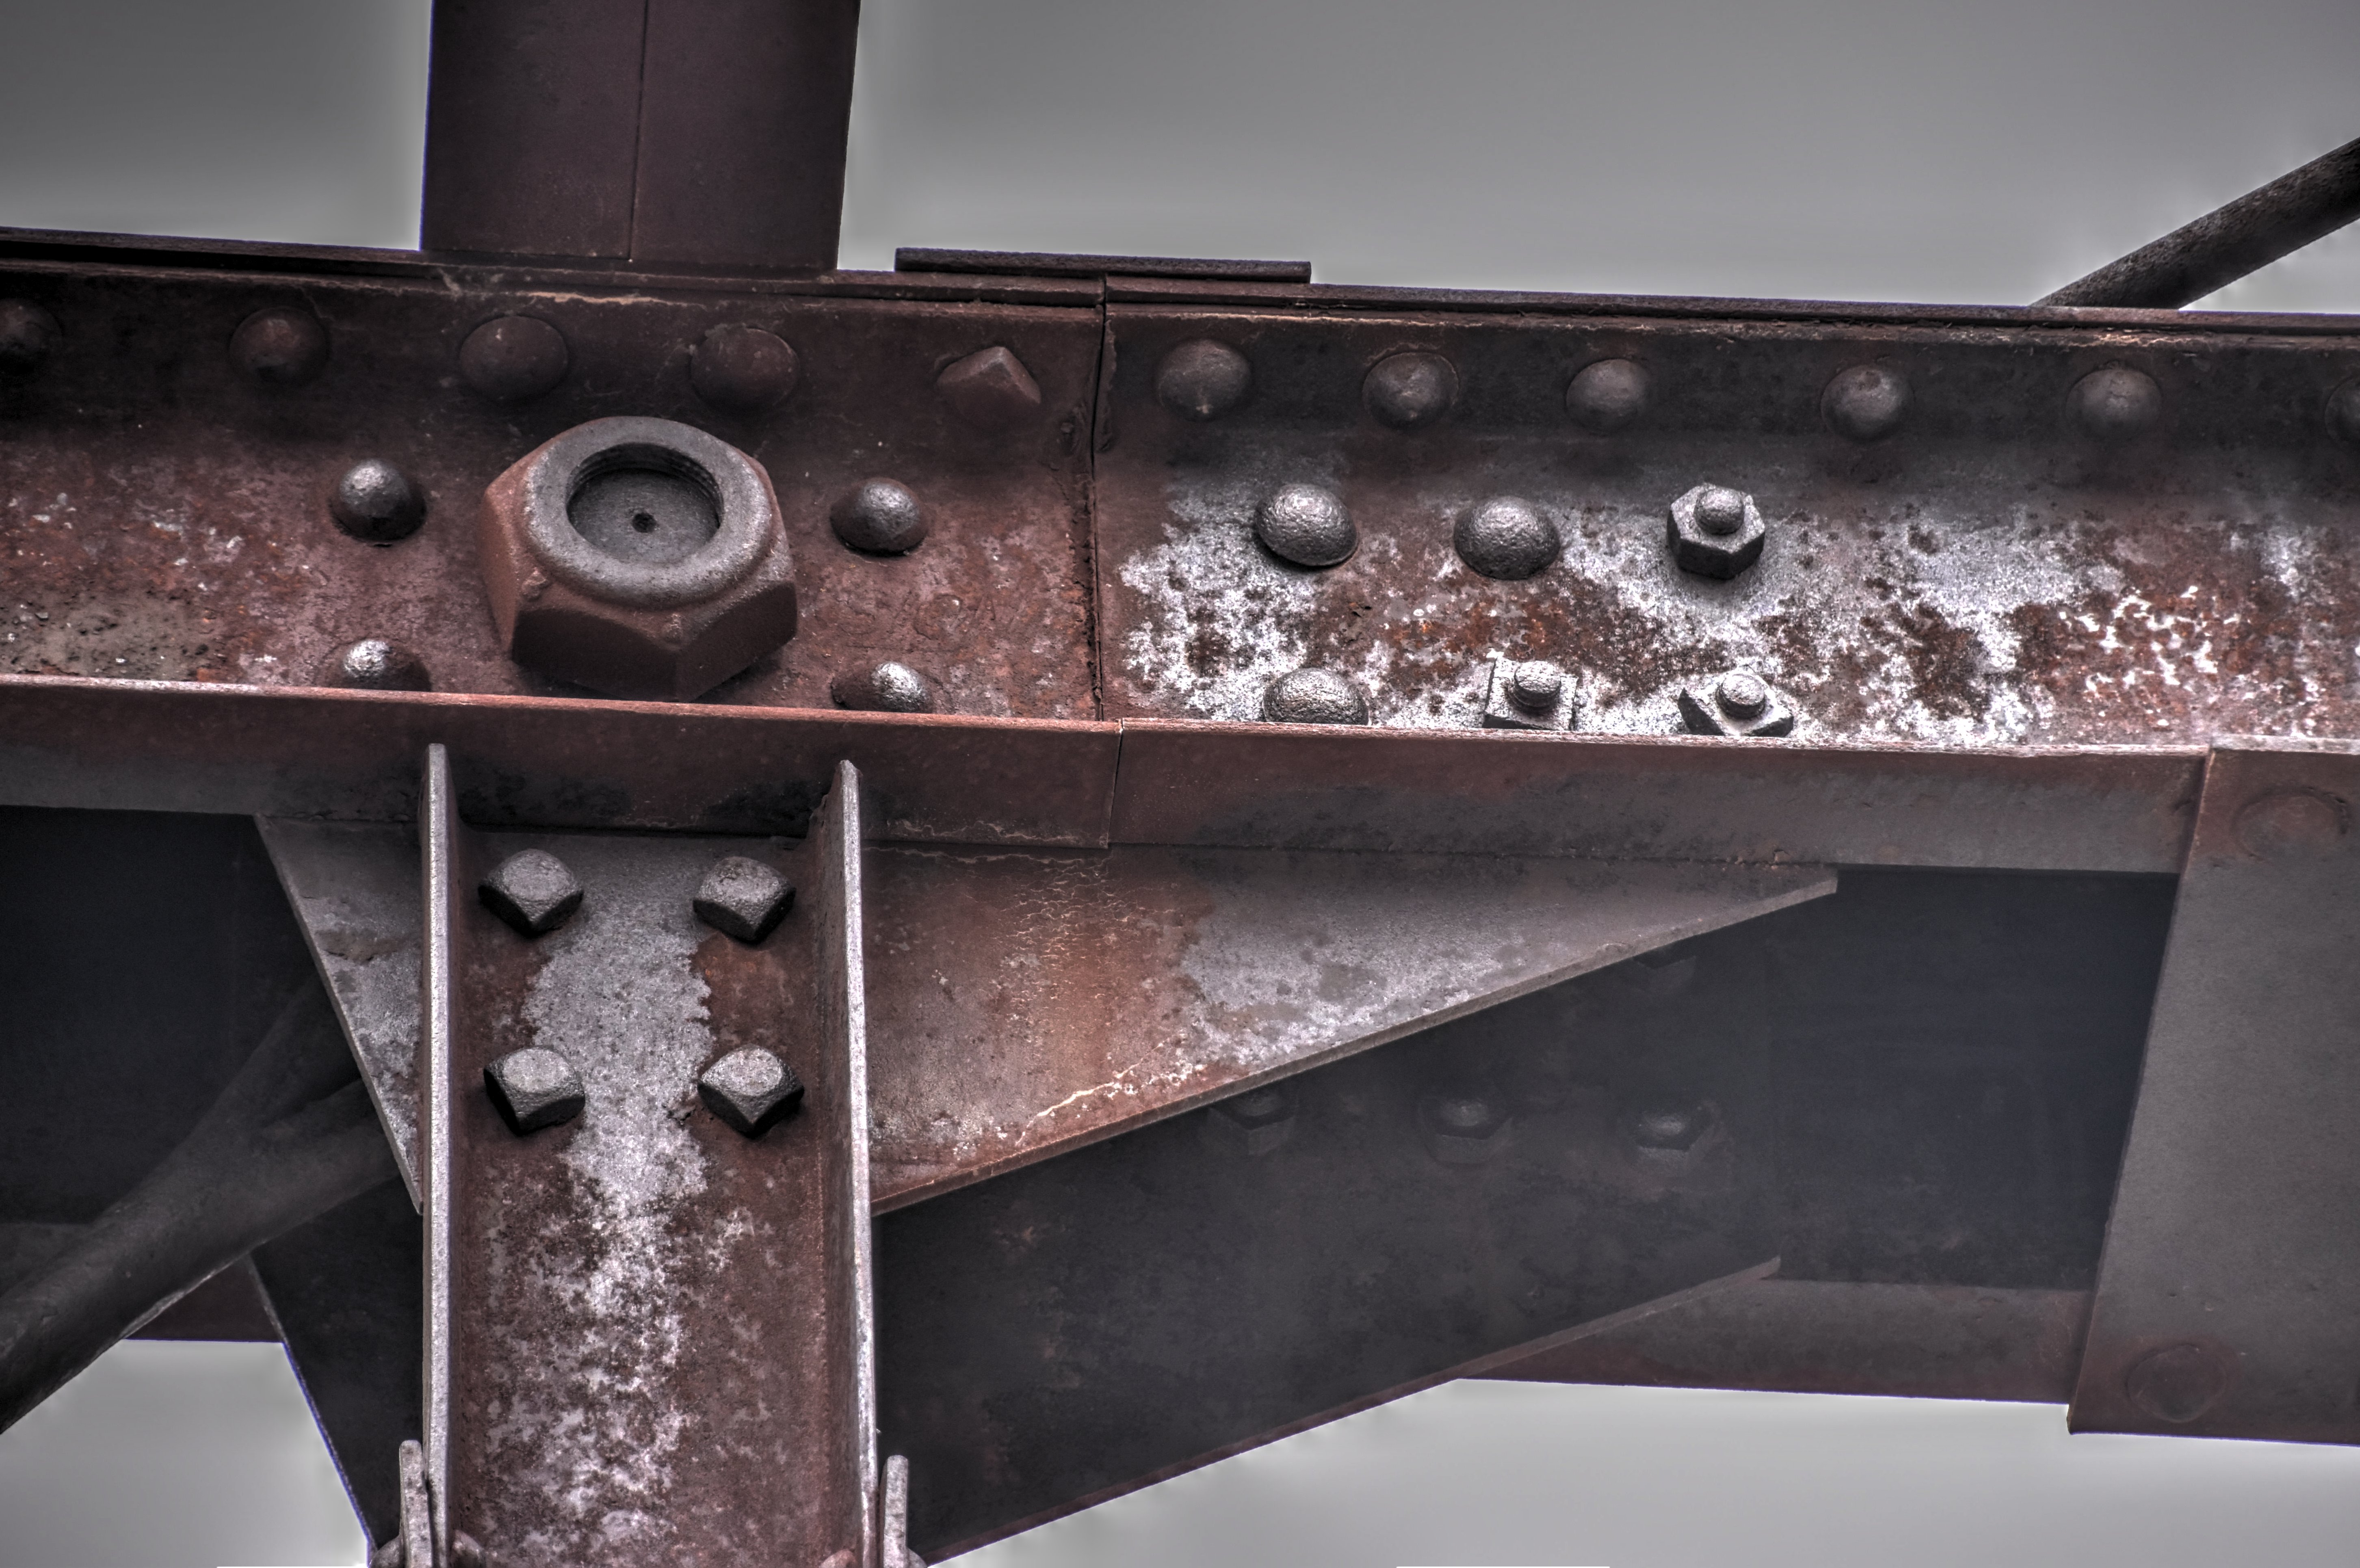
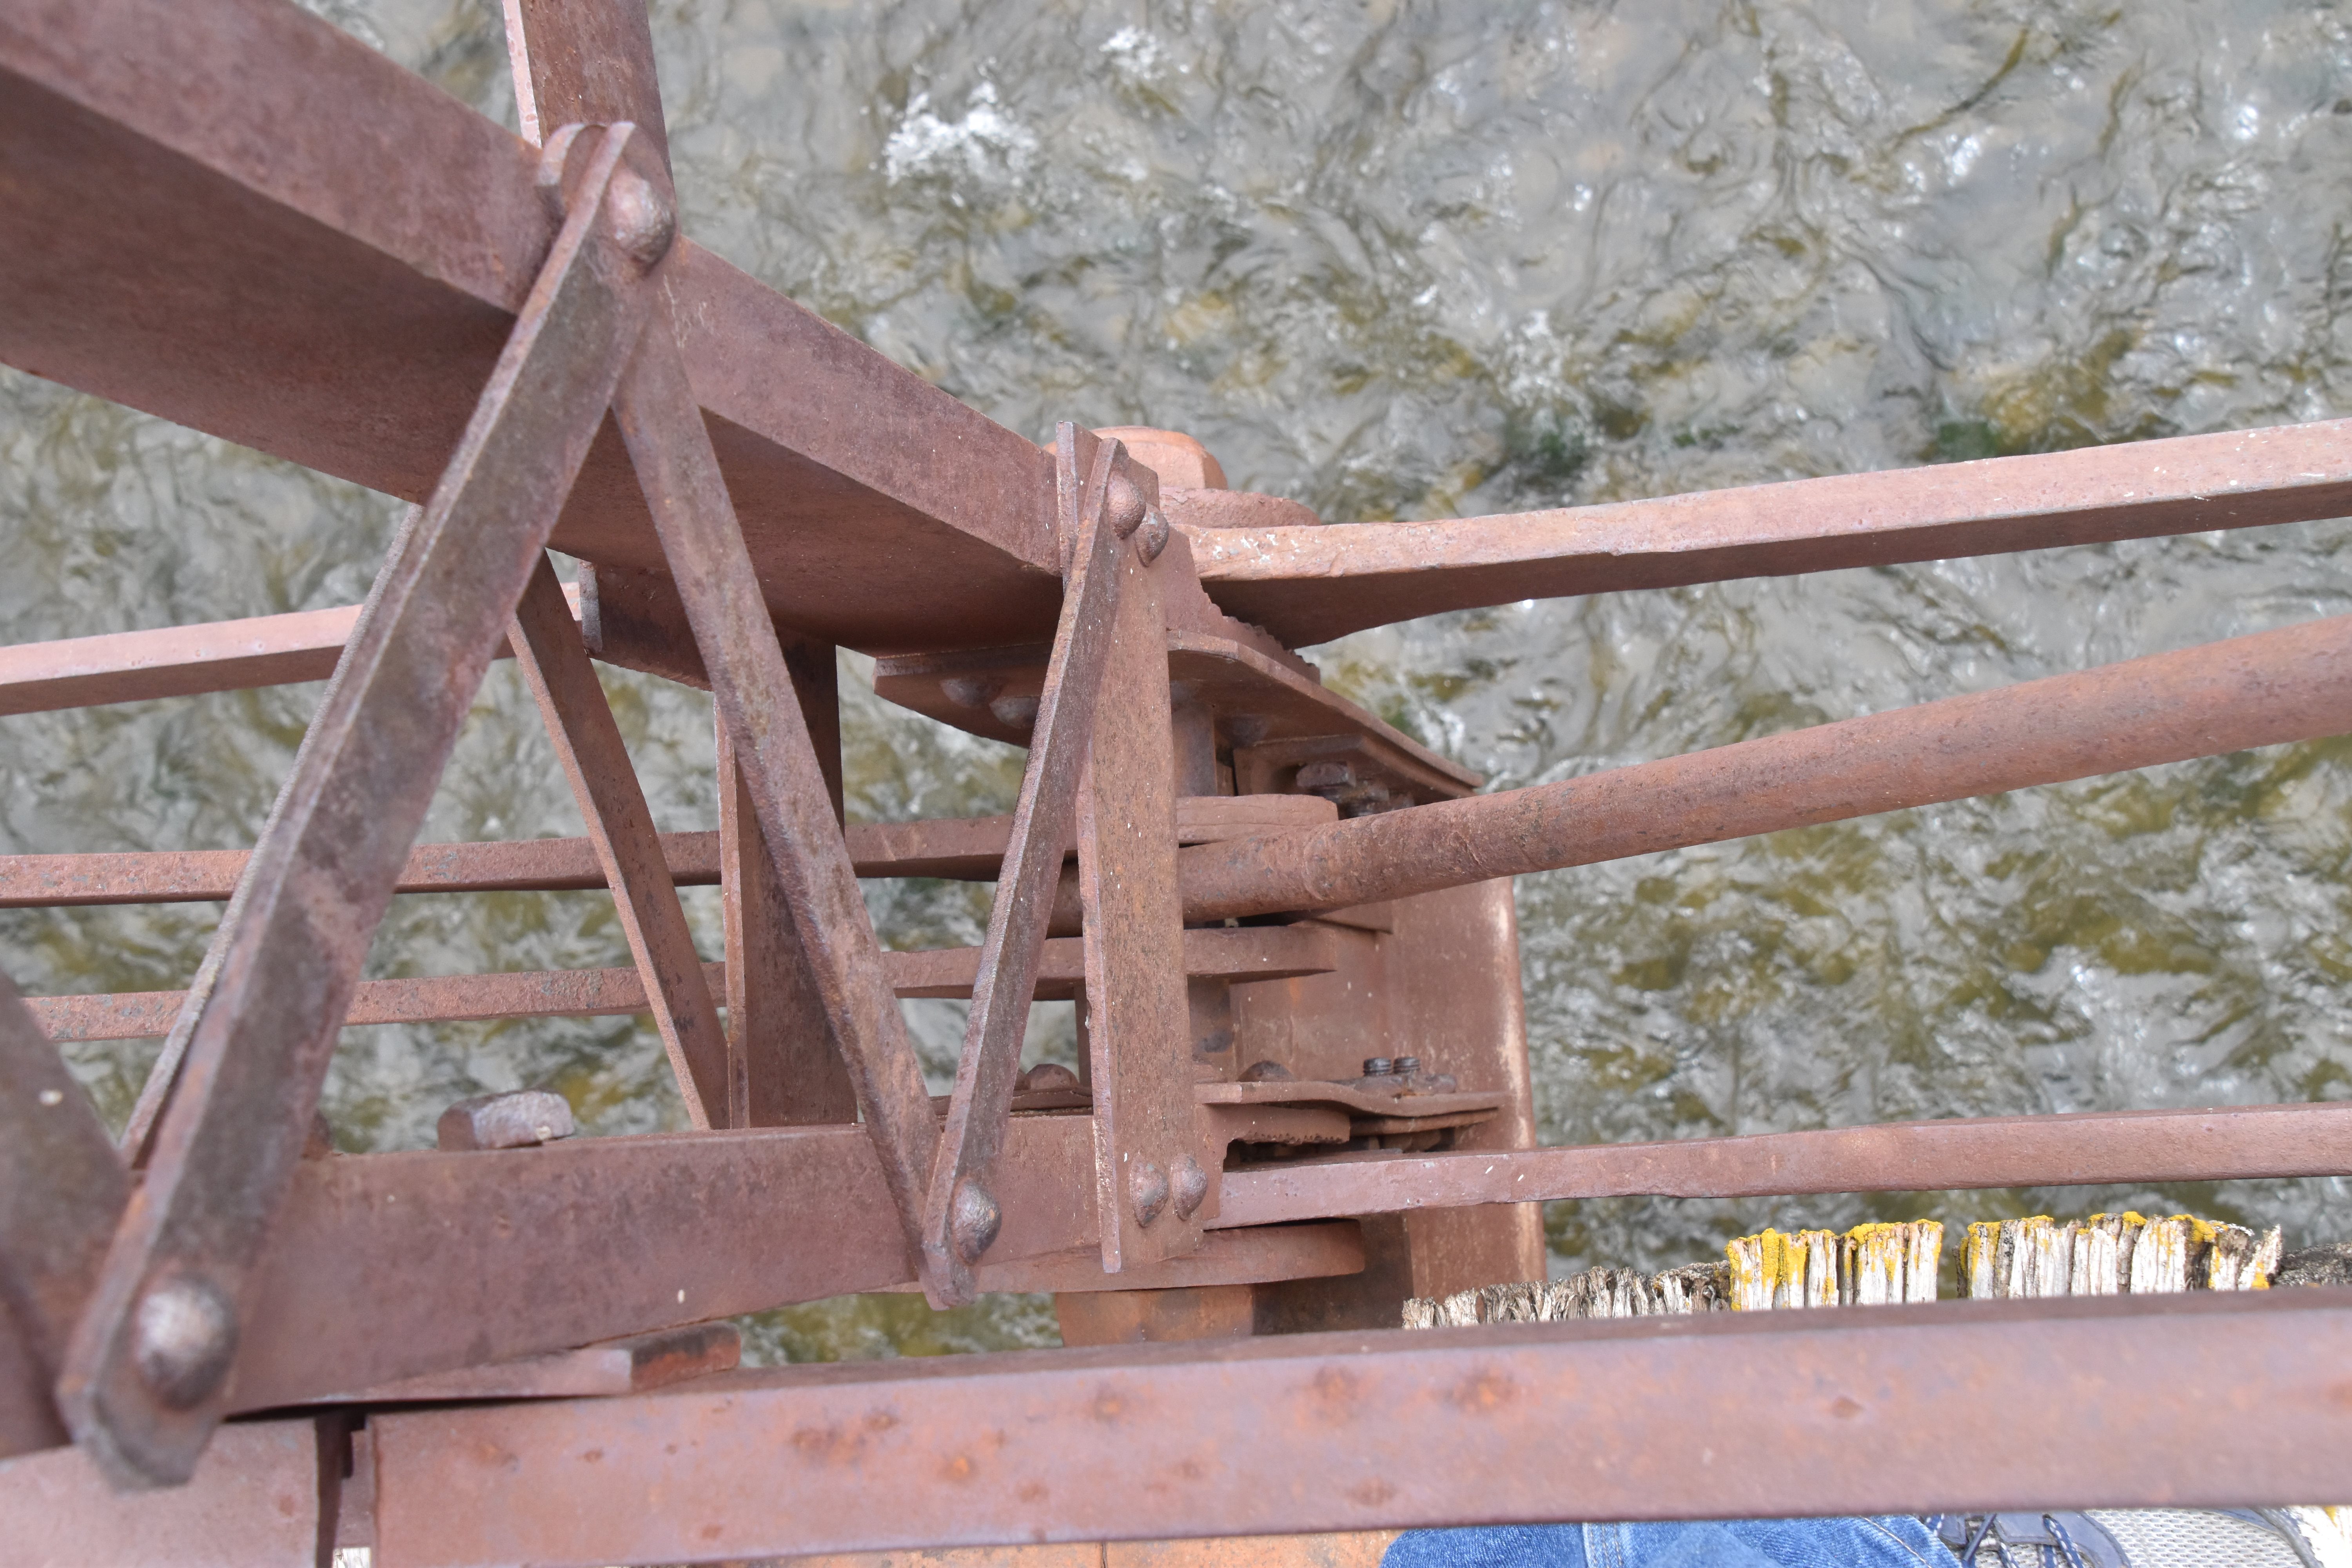
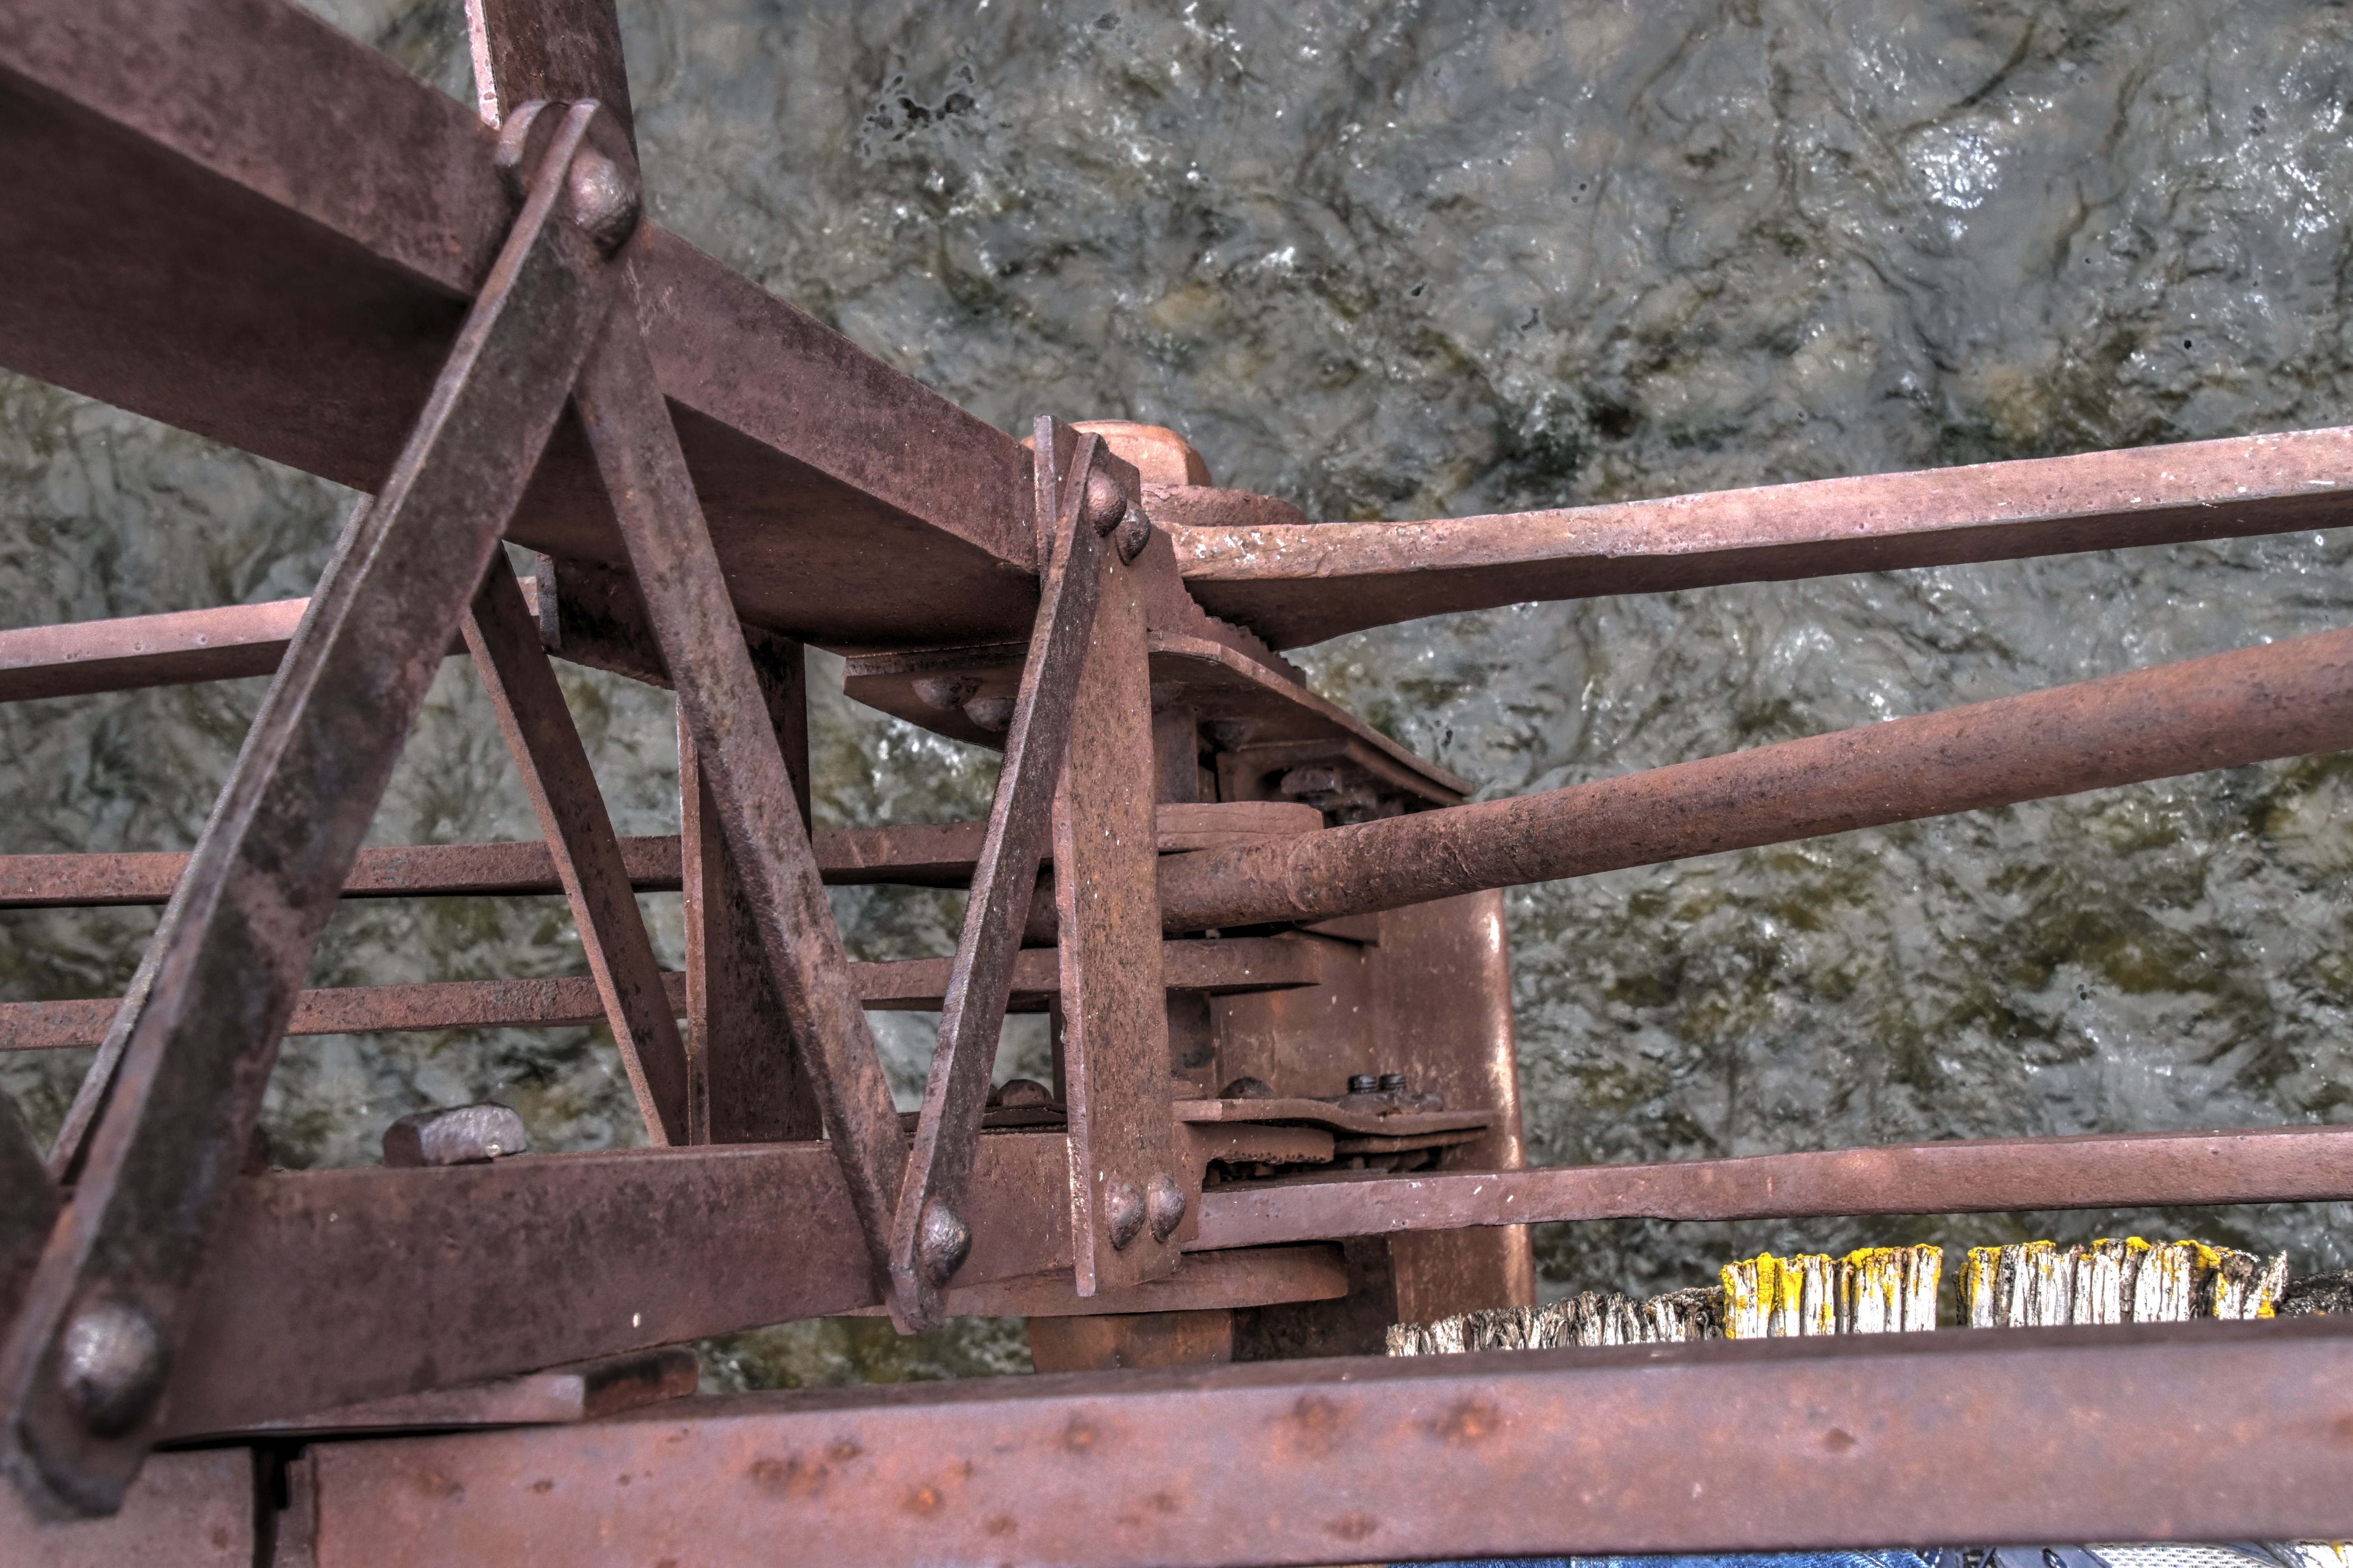
Top chord splice detail.
![]()


Bottom chord connections as viewed from beside bridge.
![]()


Bottom chord connections as viewed from on bridge.
![]()


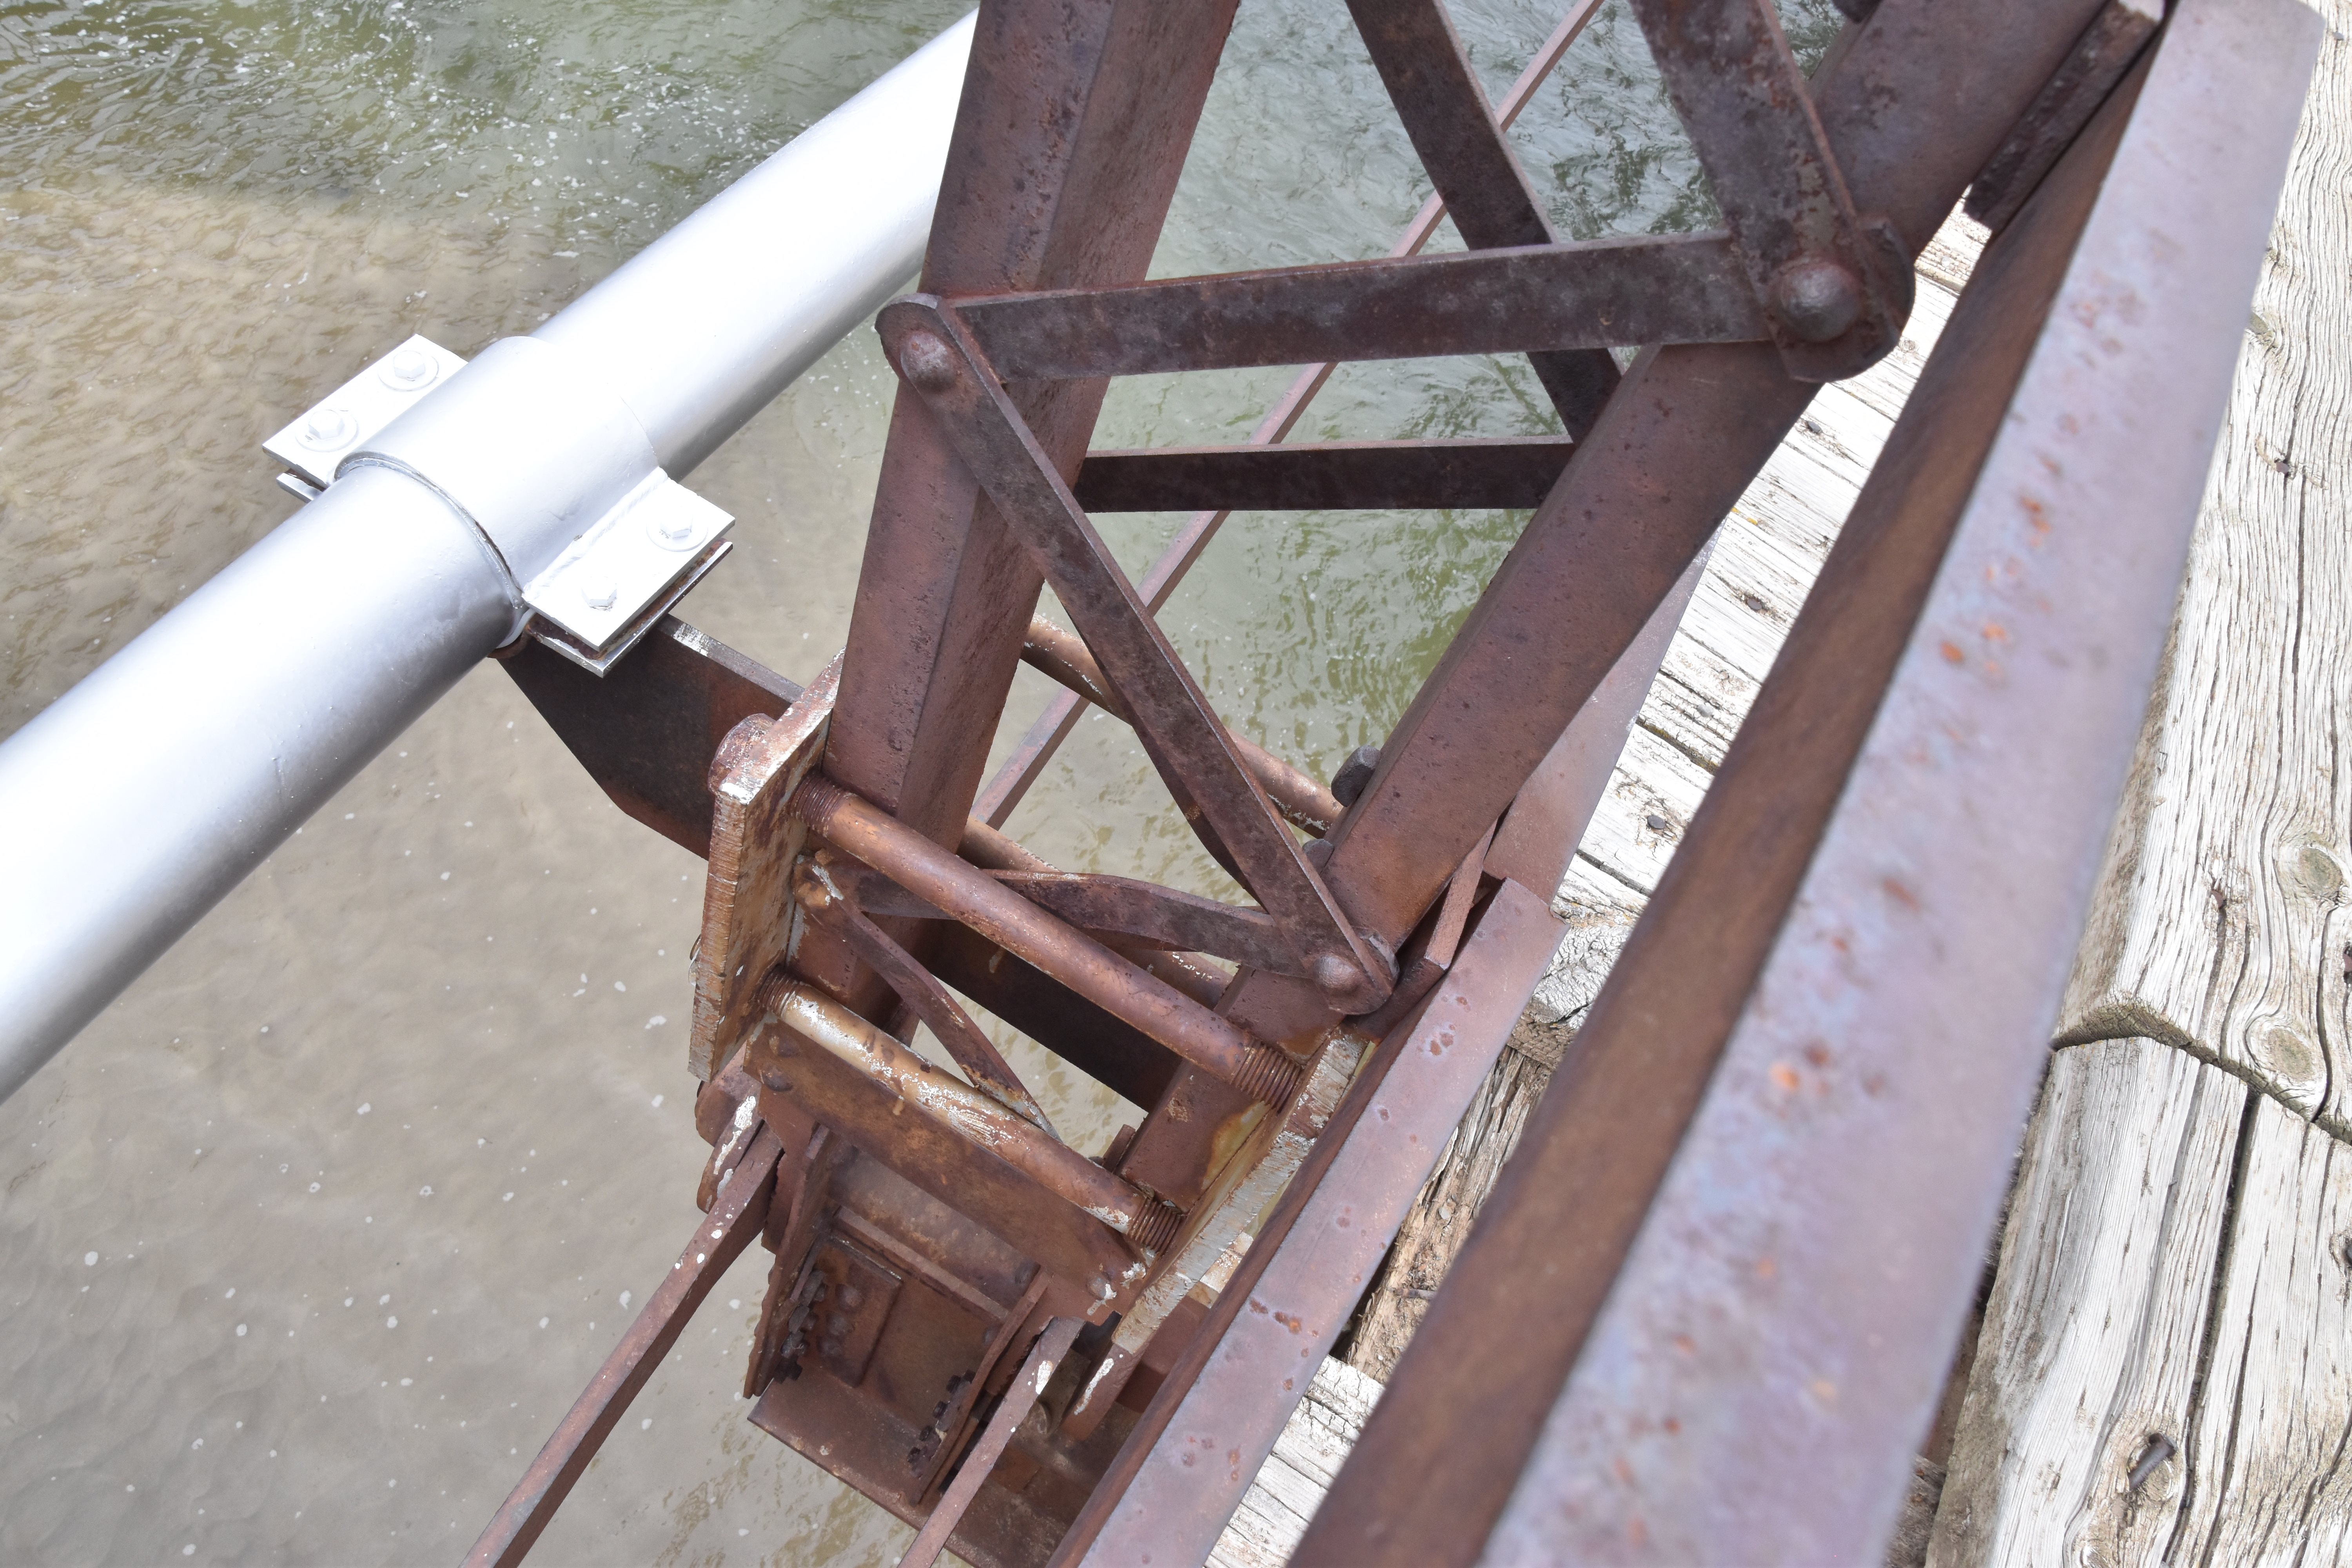
Eyebar detail at bottom chord connections.
![]()


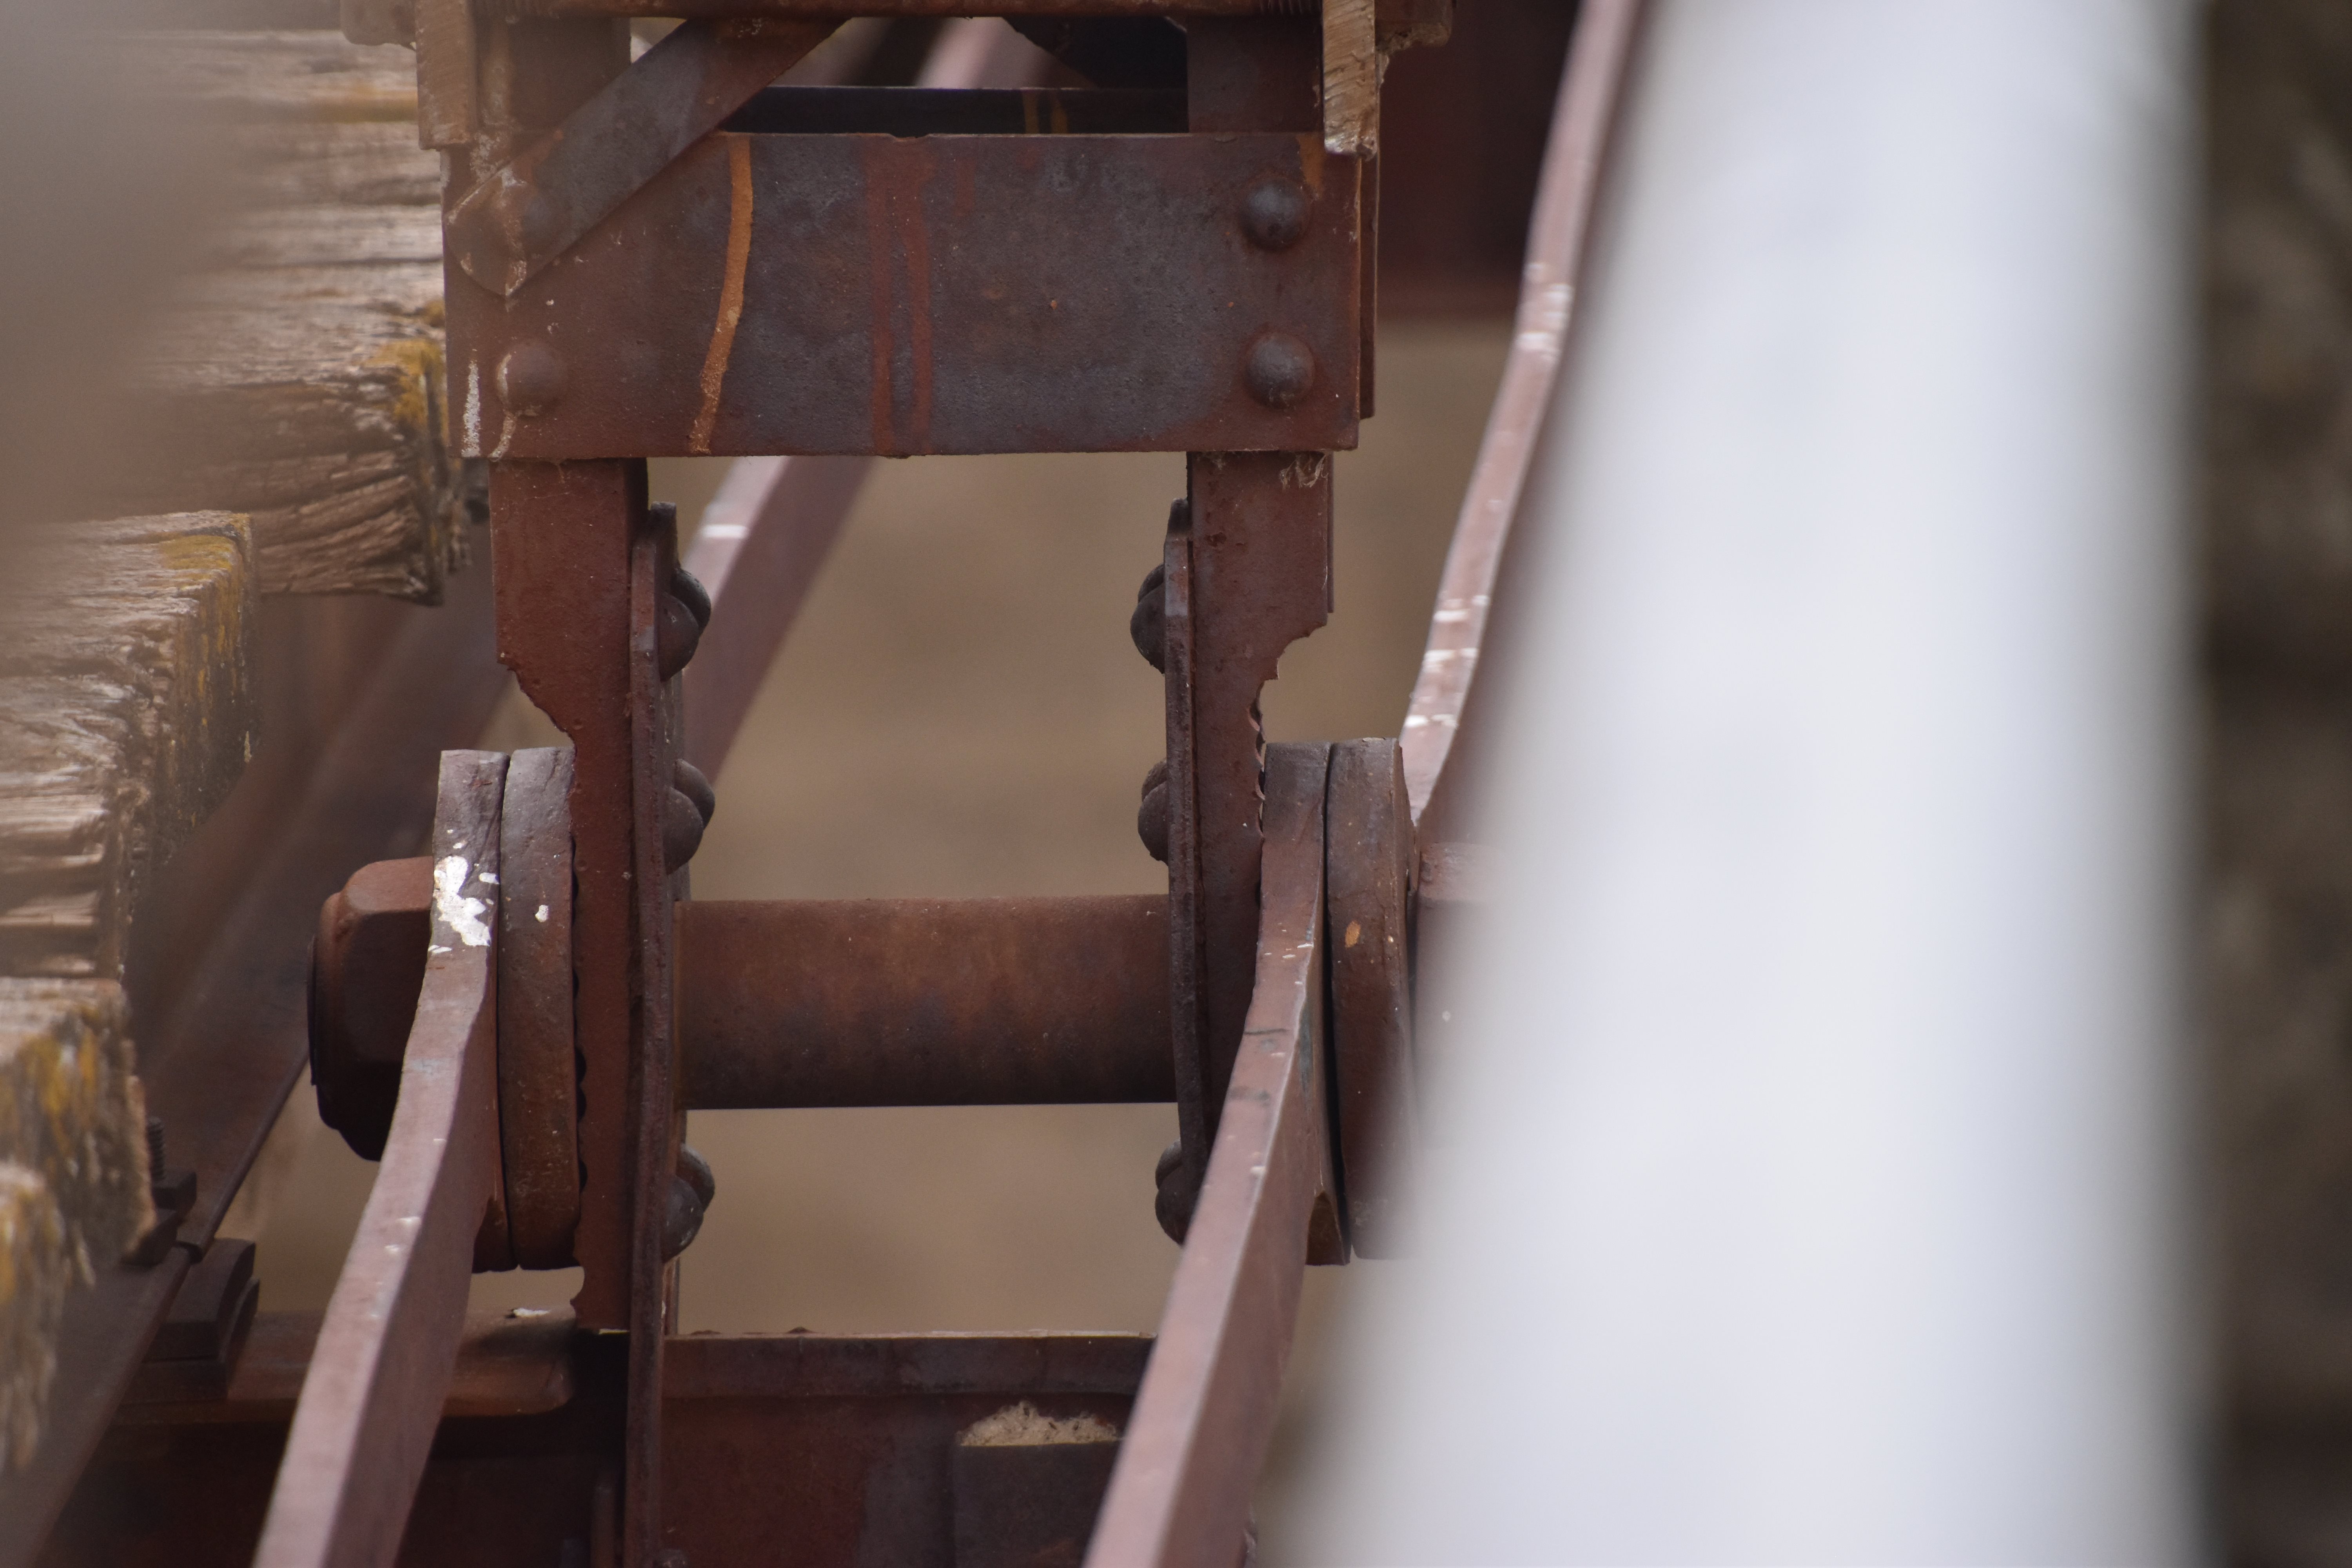
Bottom chord connections as viewed from under bridge.
![]()
Views under bridge.
![]()


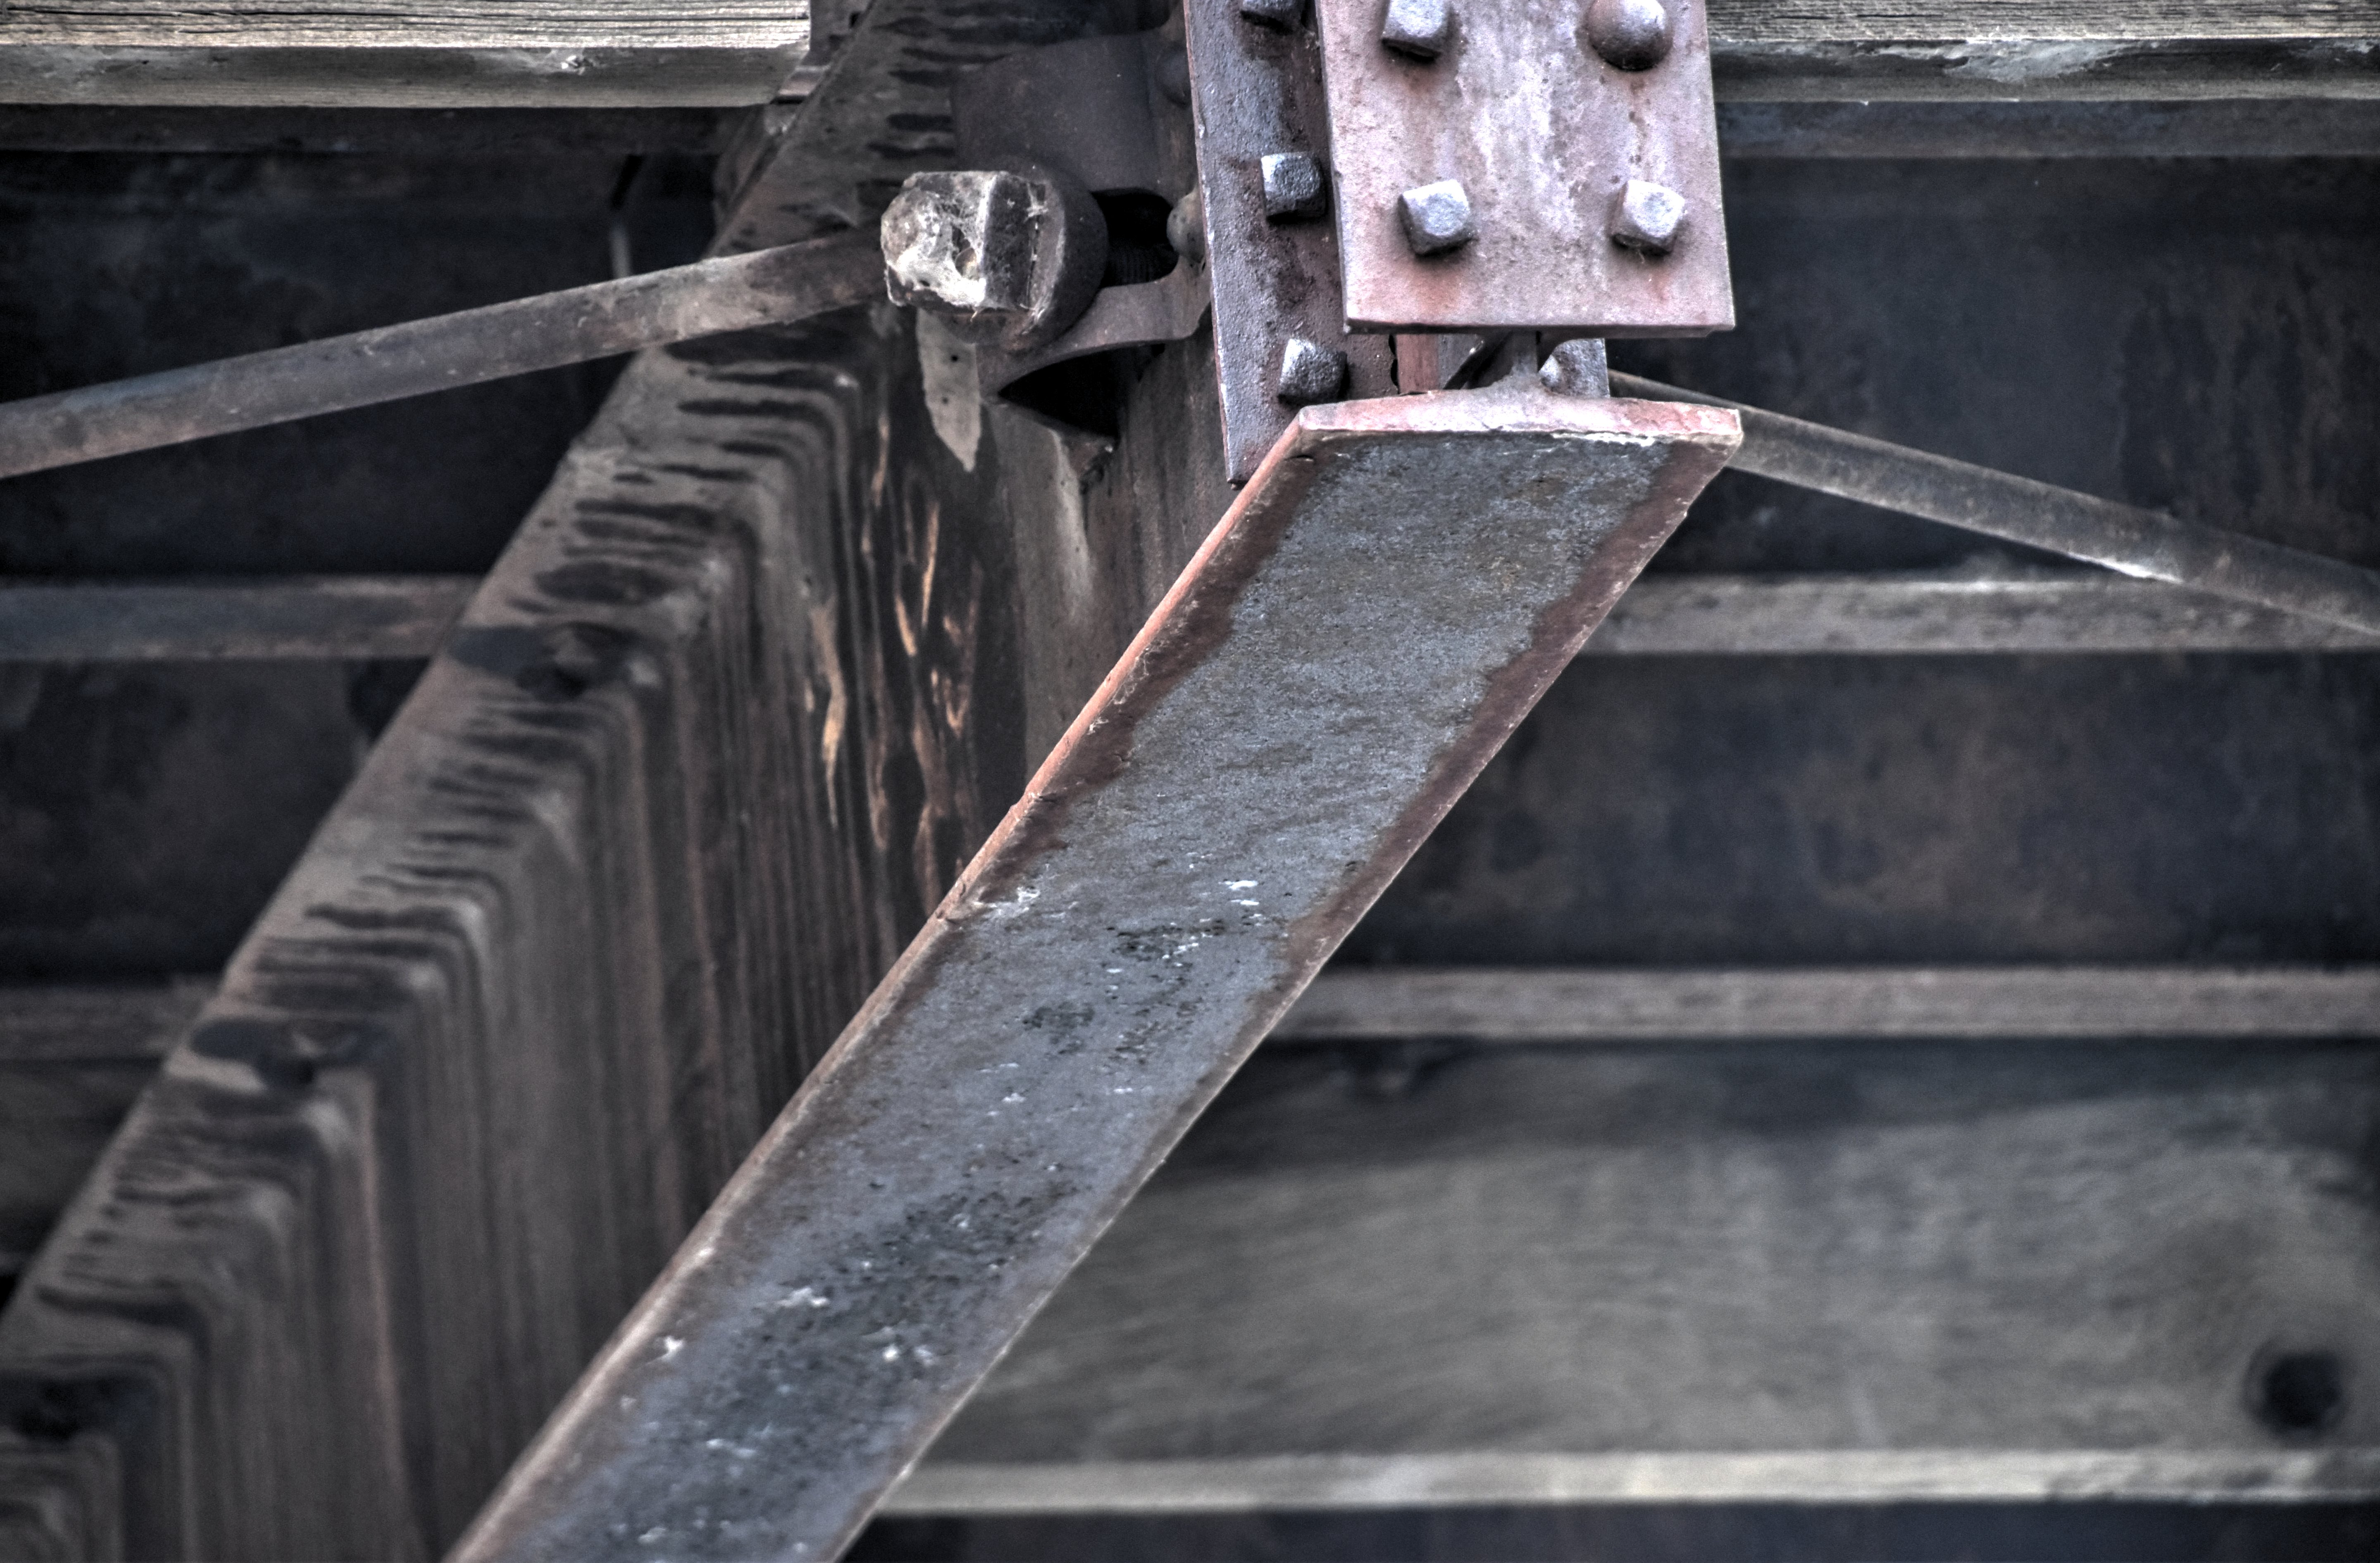
Deck stringer attachments to floorbeams.
![]()


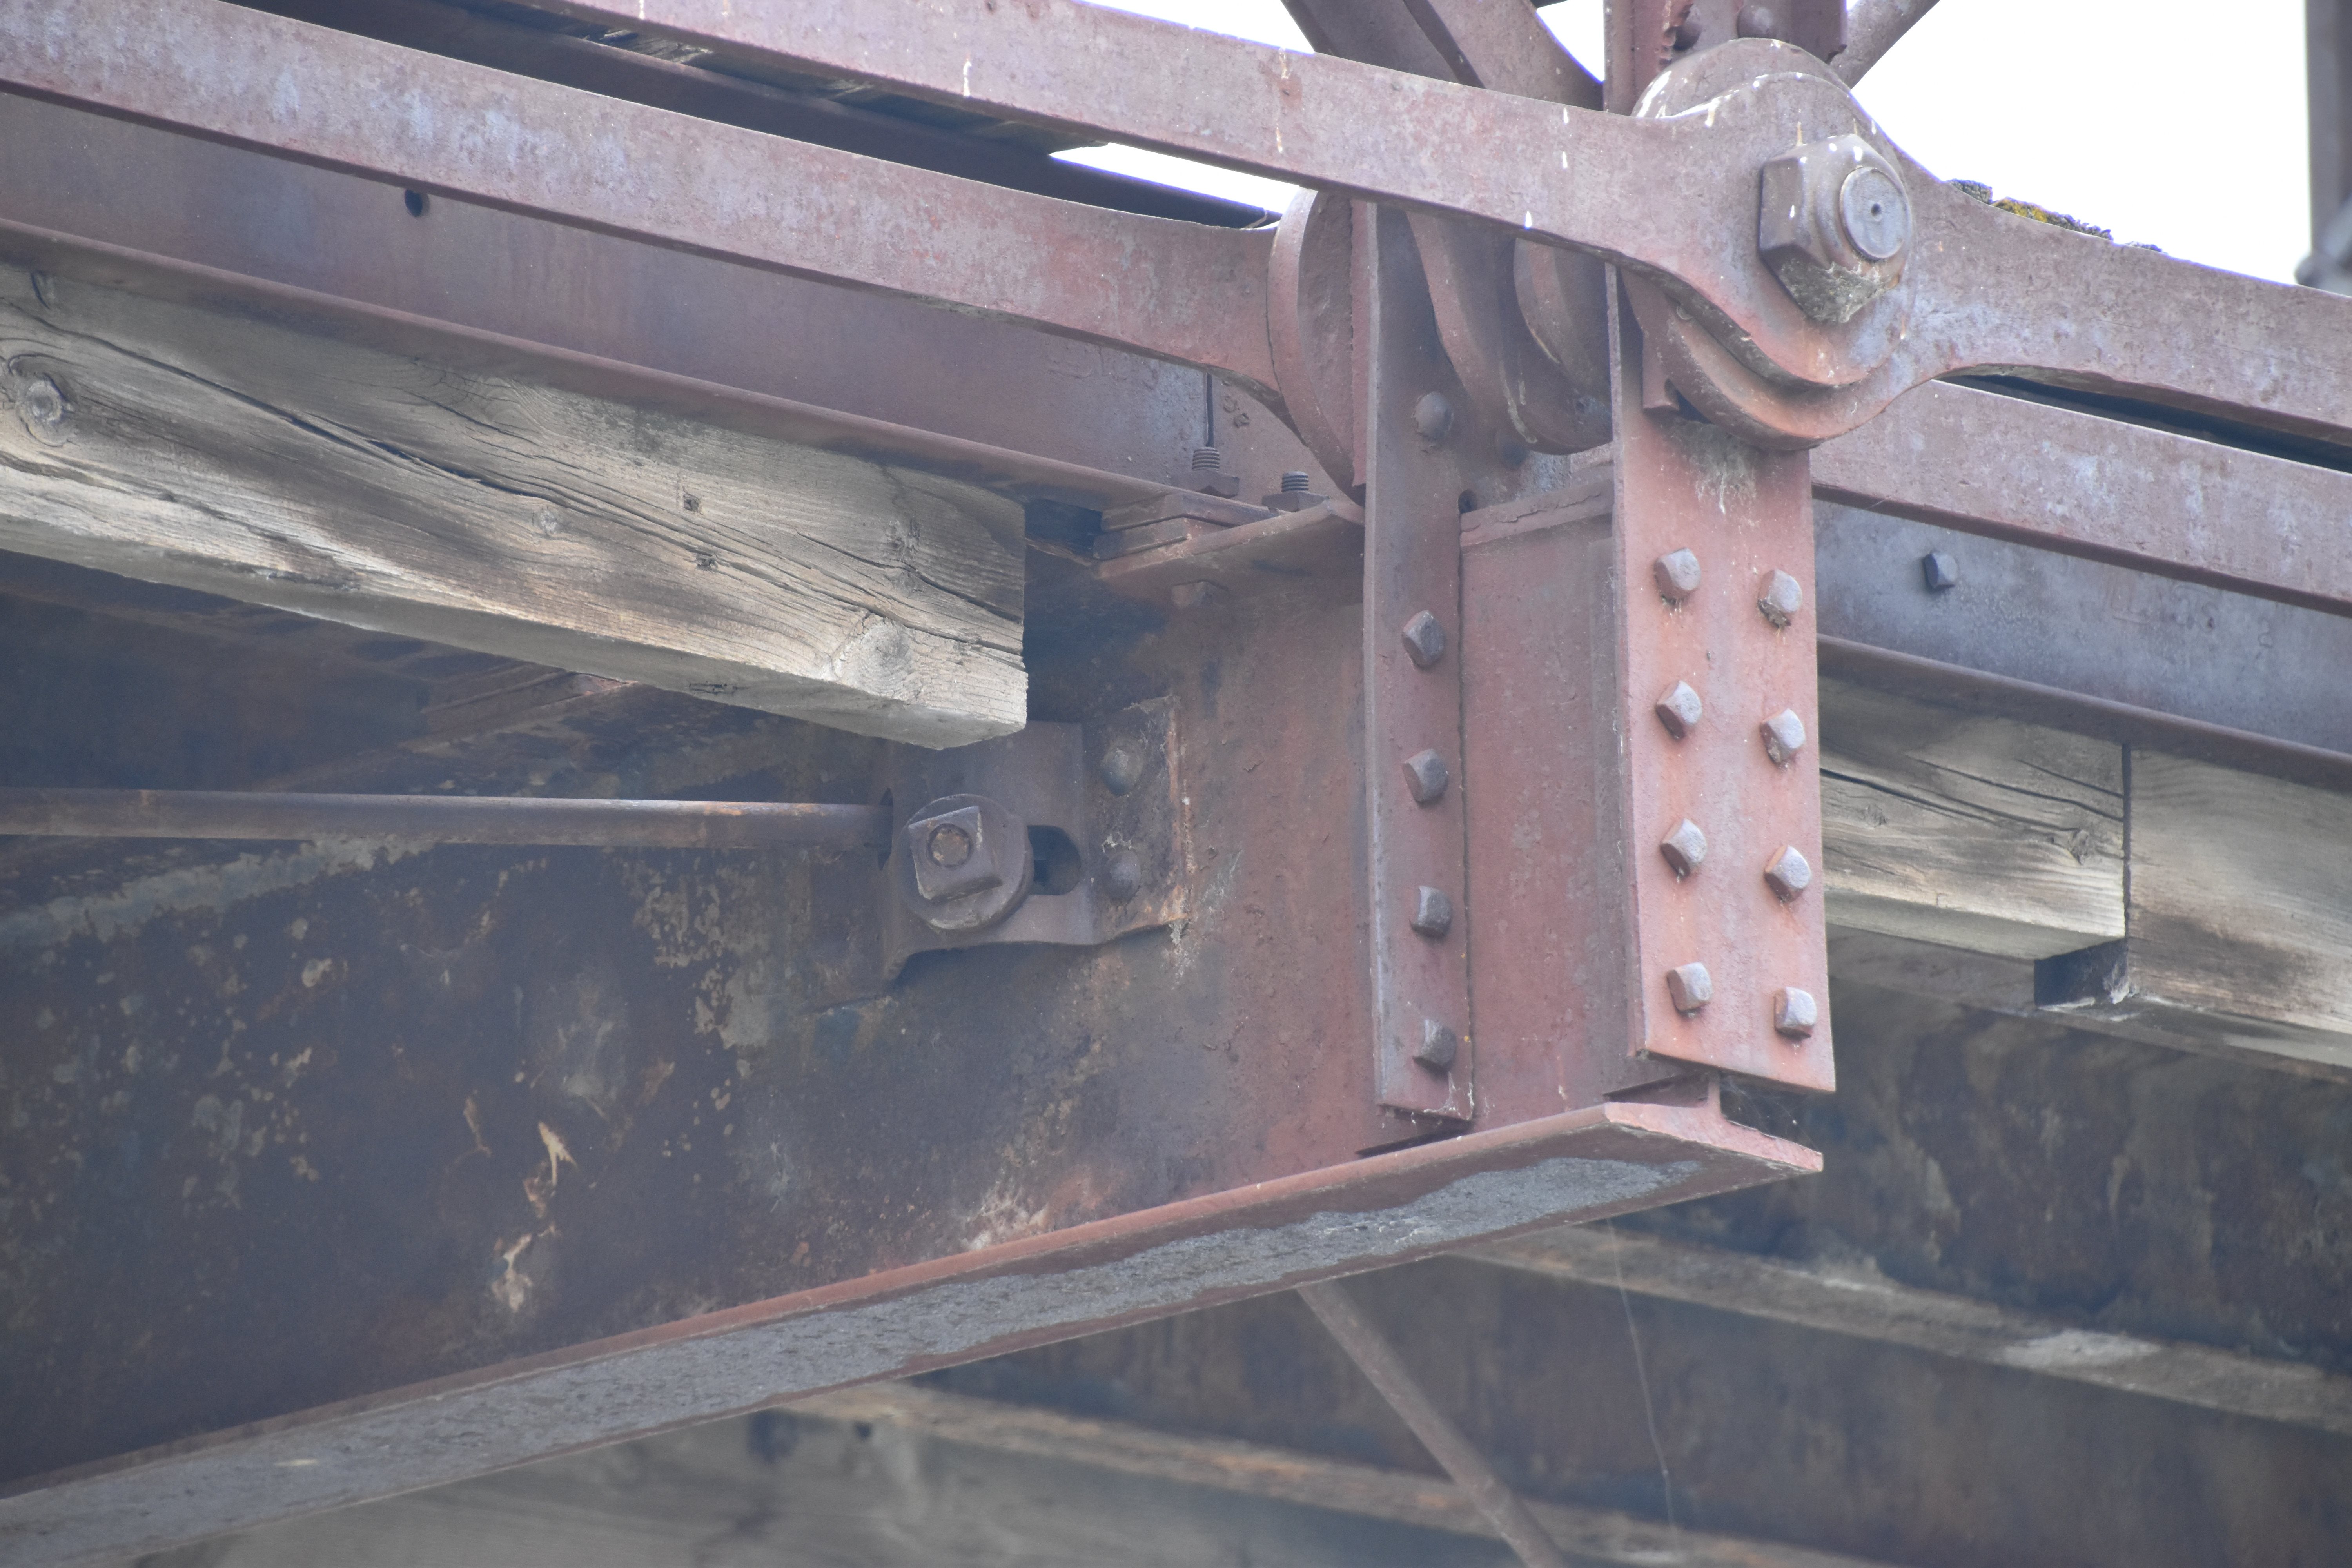


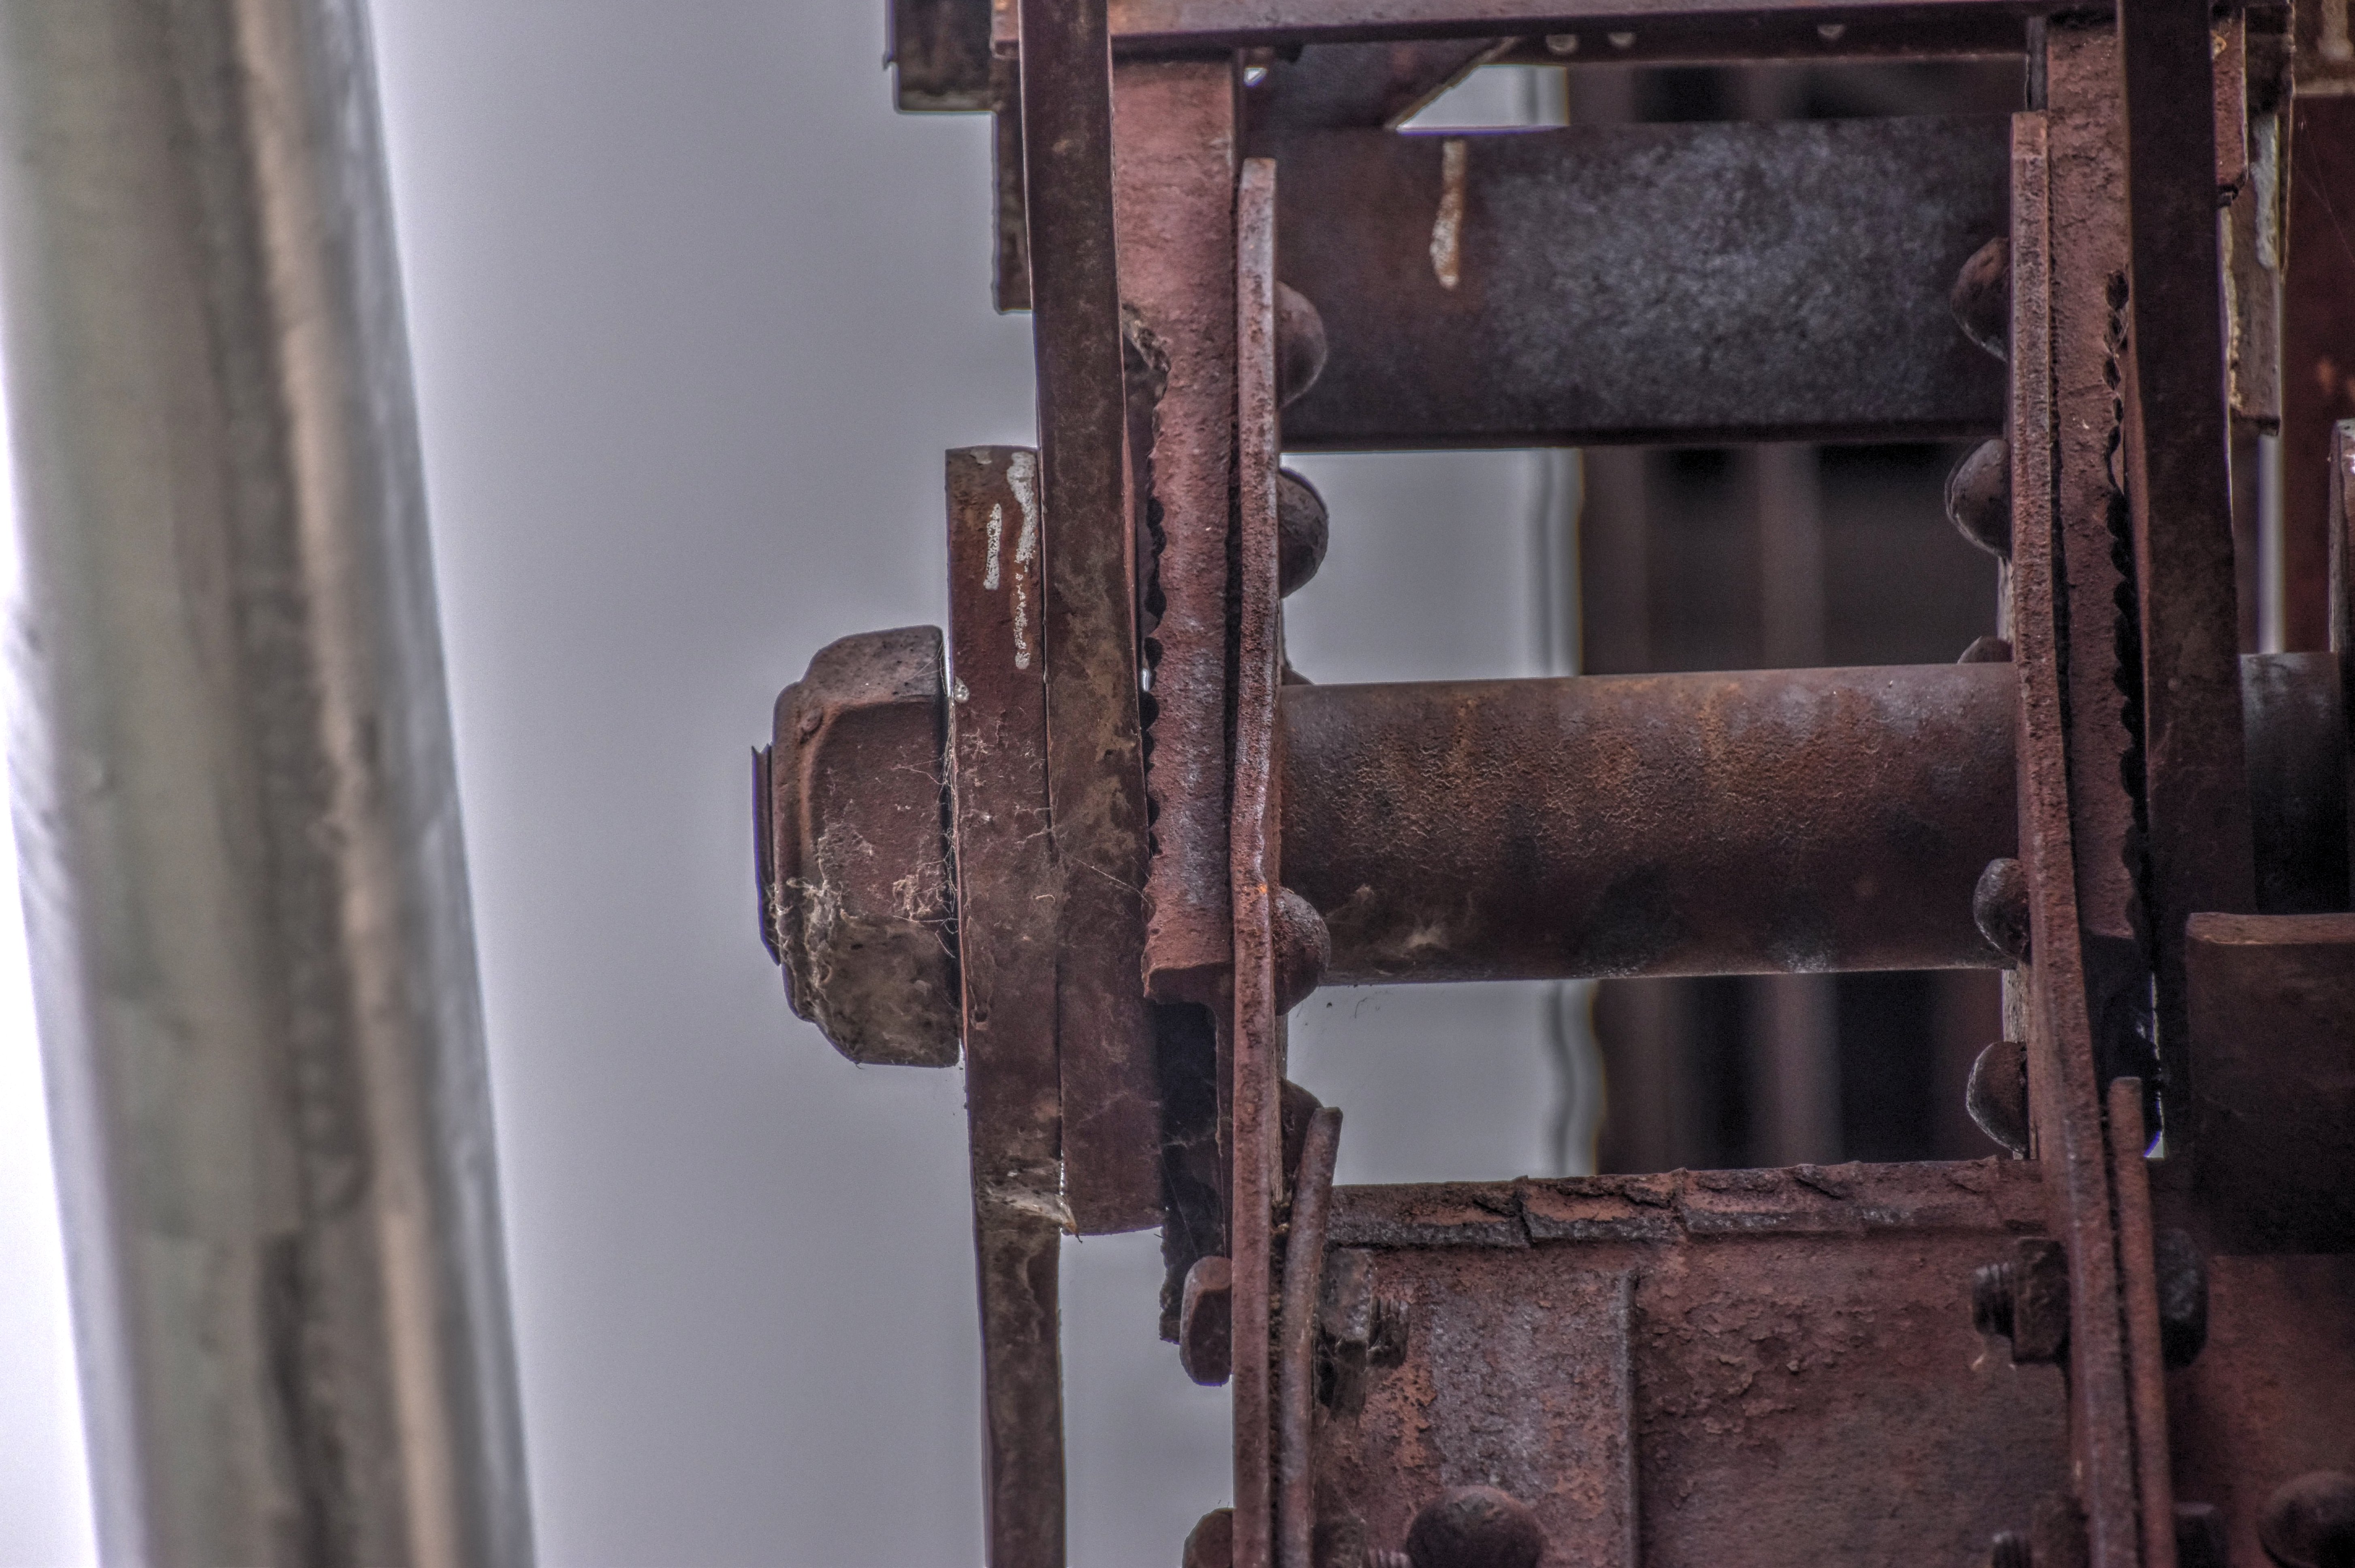
Lateral bracing connection to floorbeams.
![]()


Fascia channel detail.
![]()


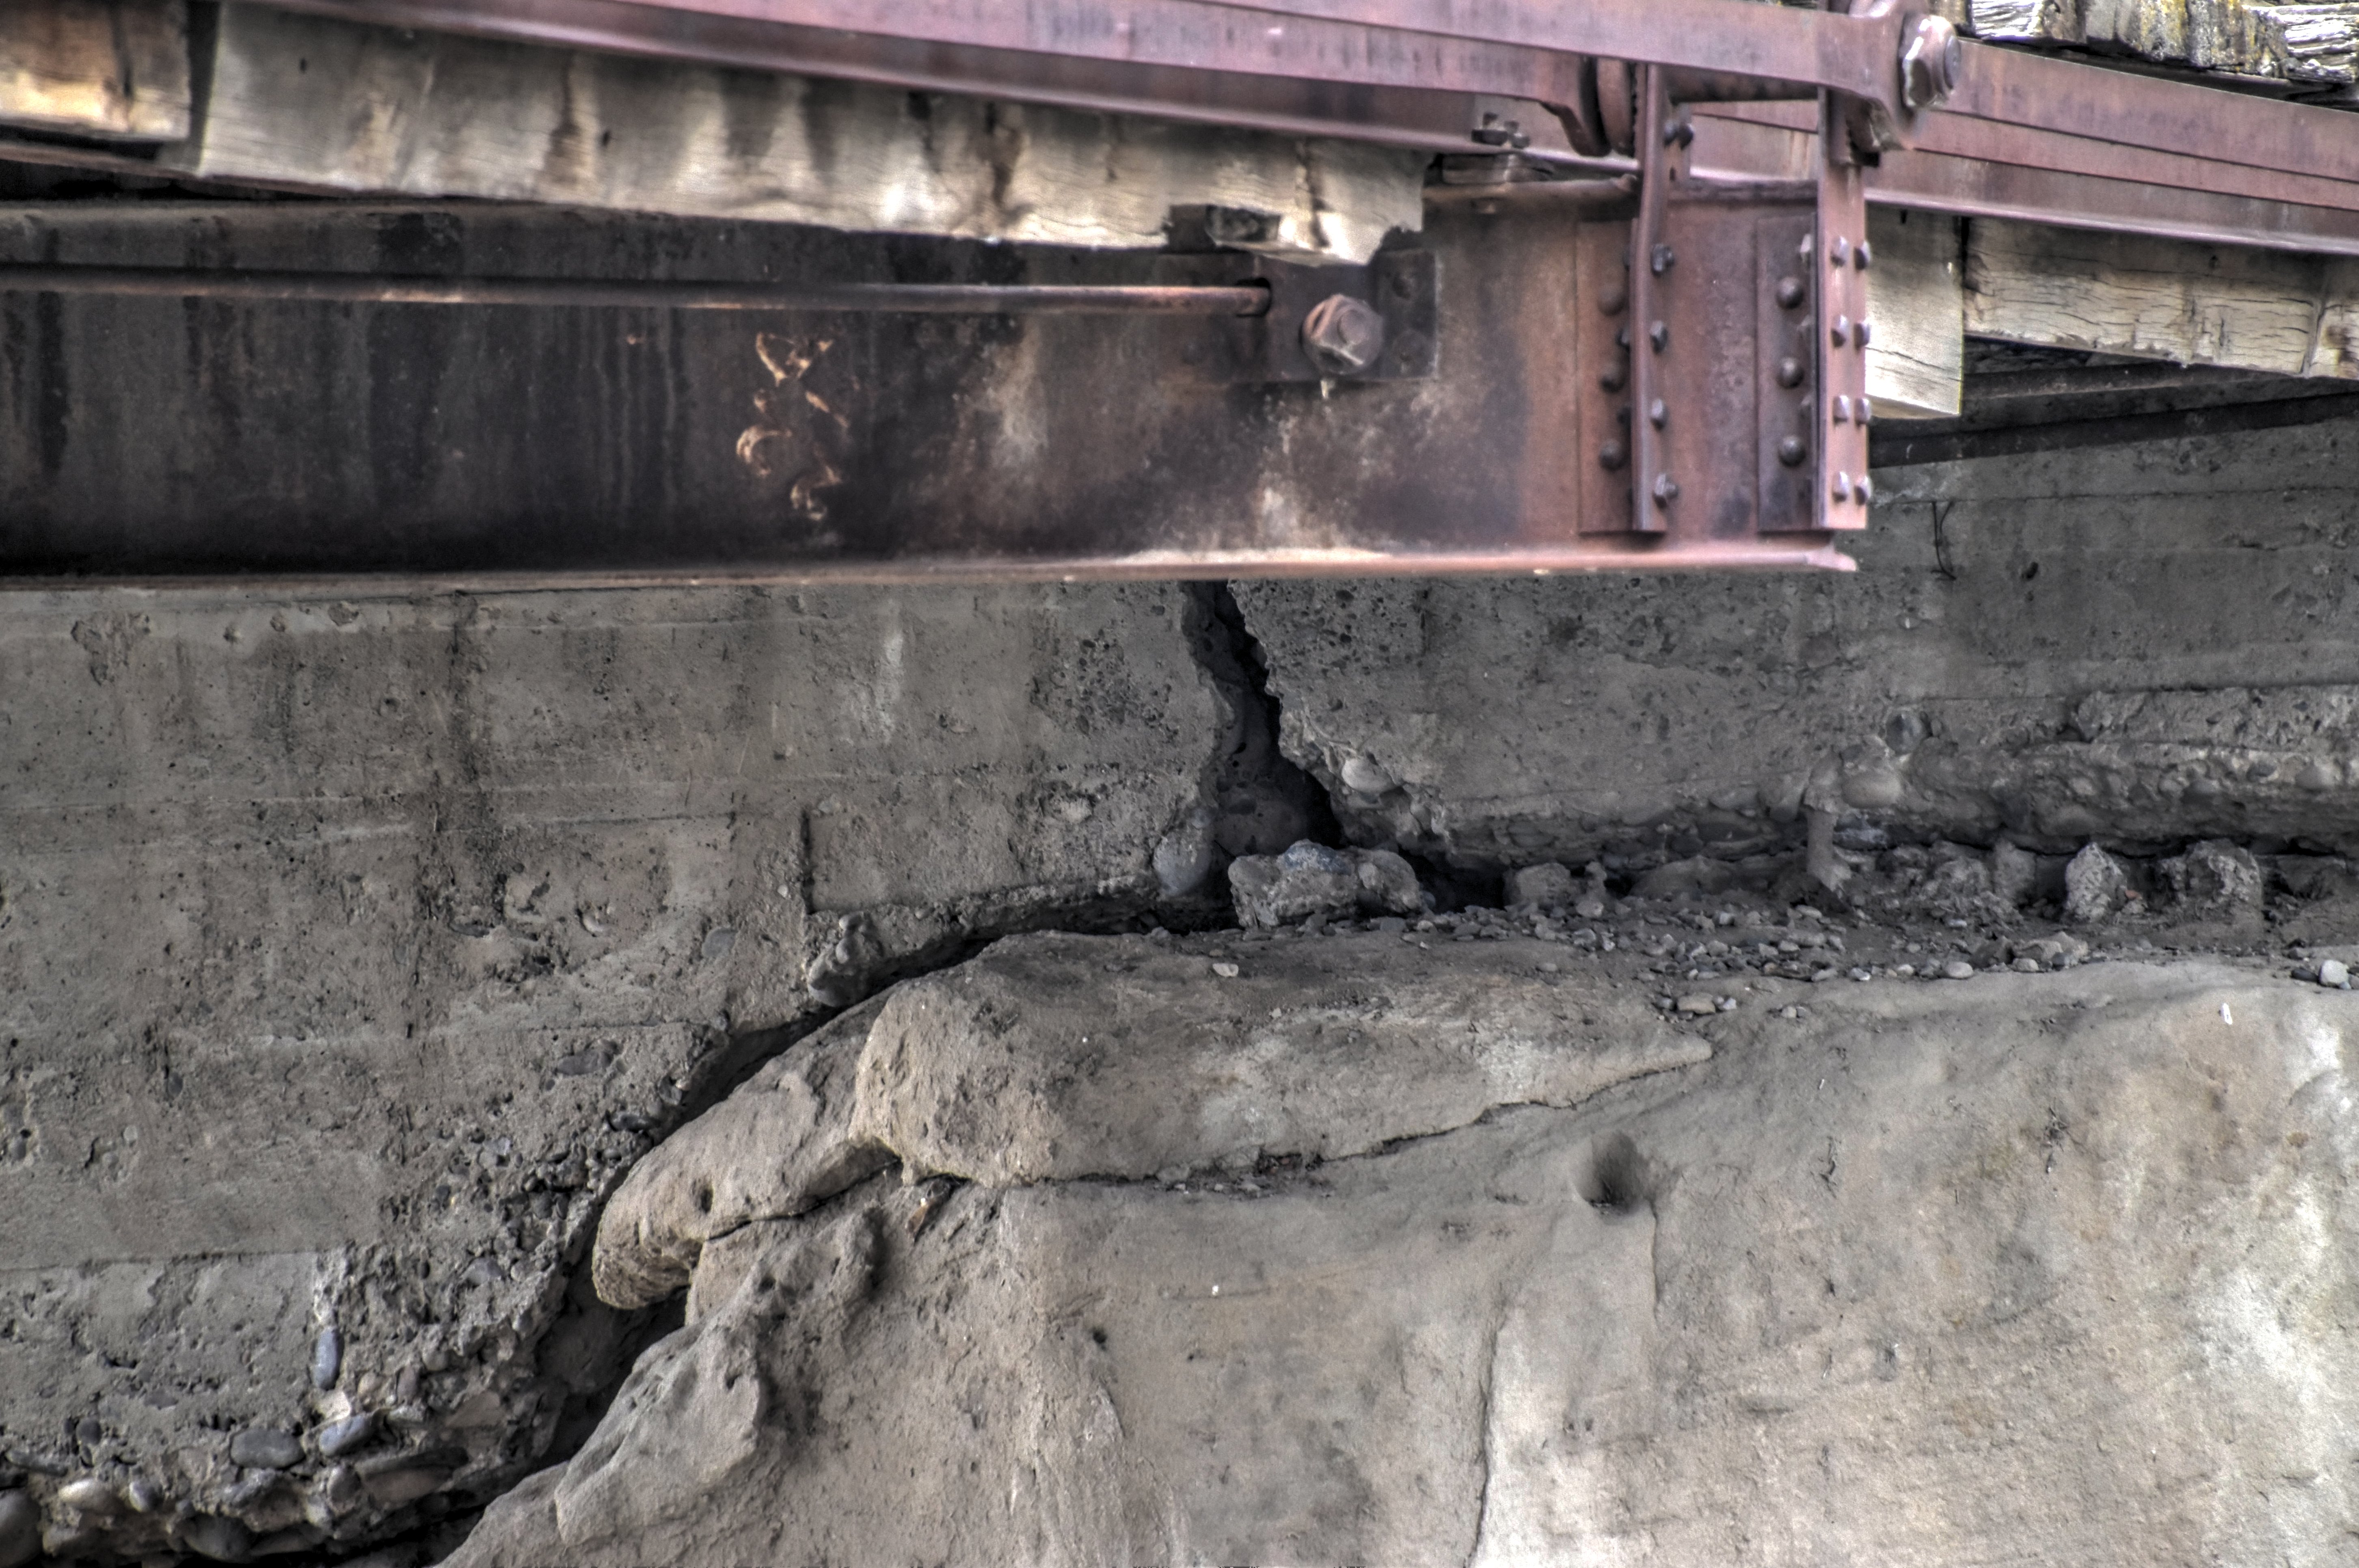
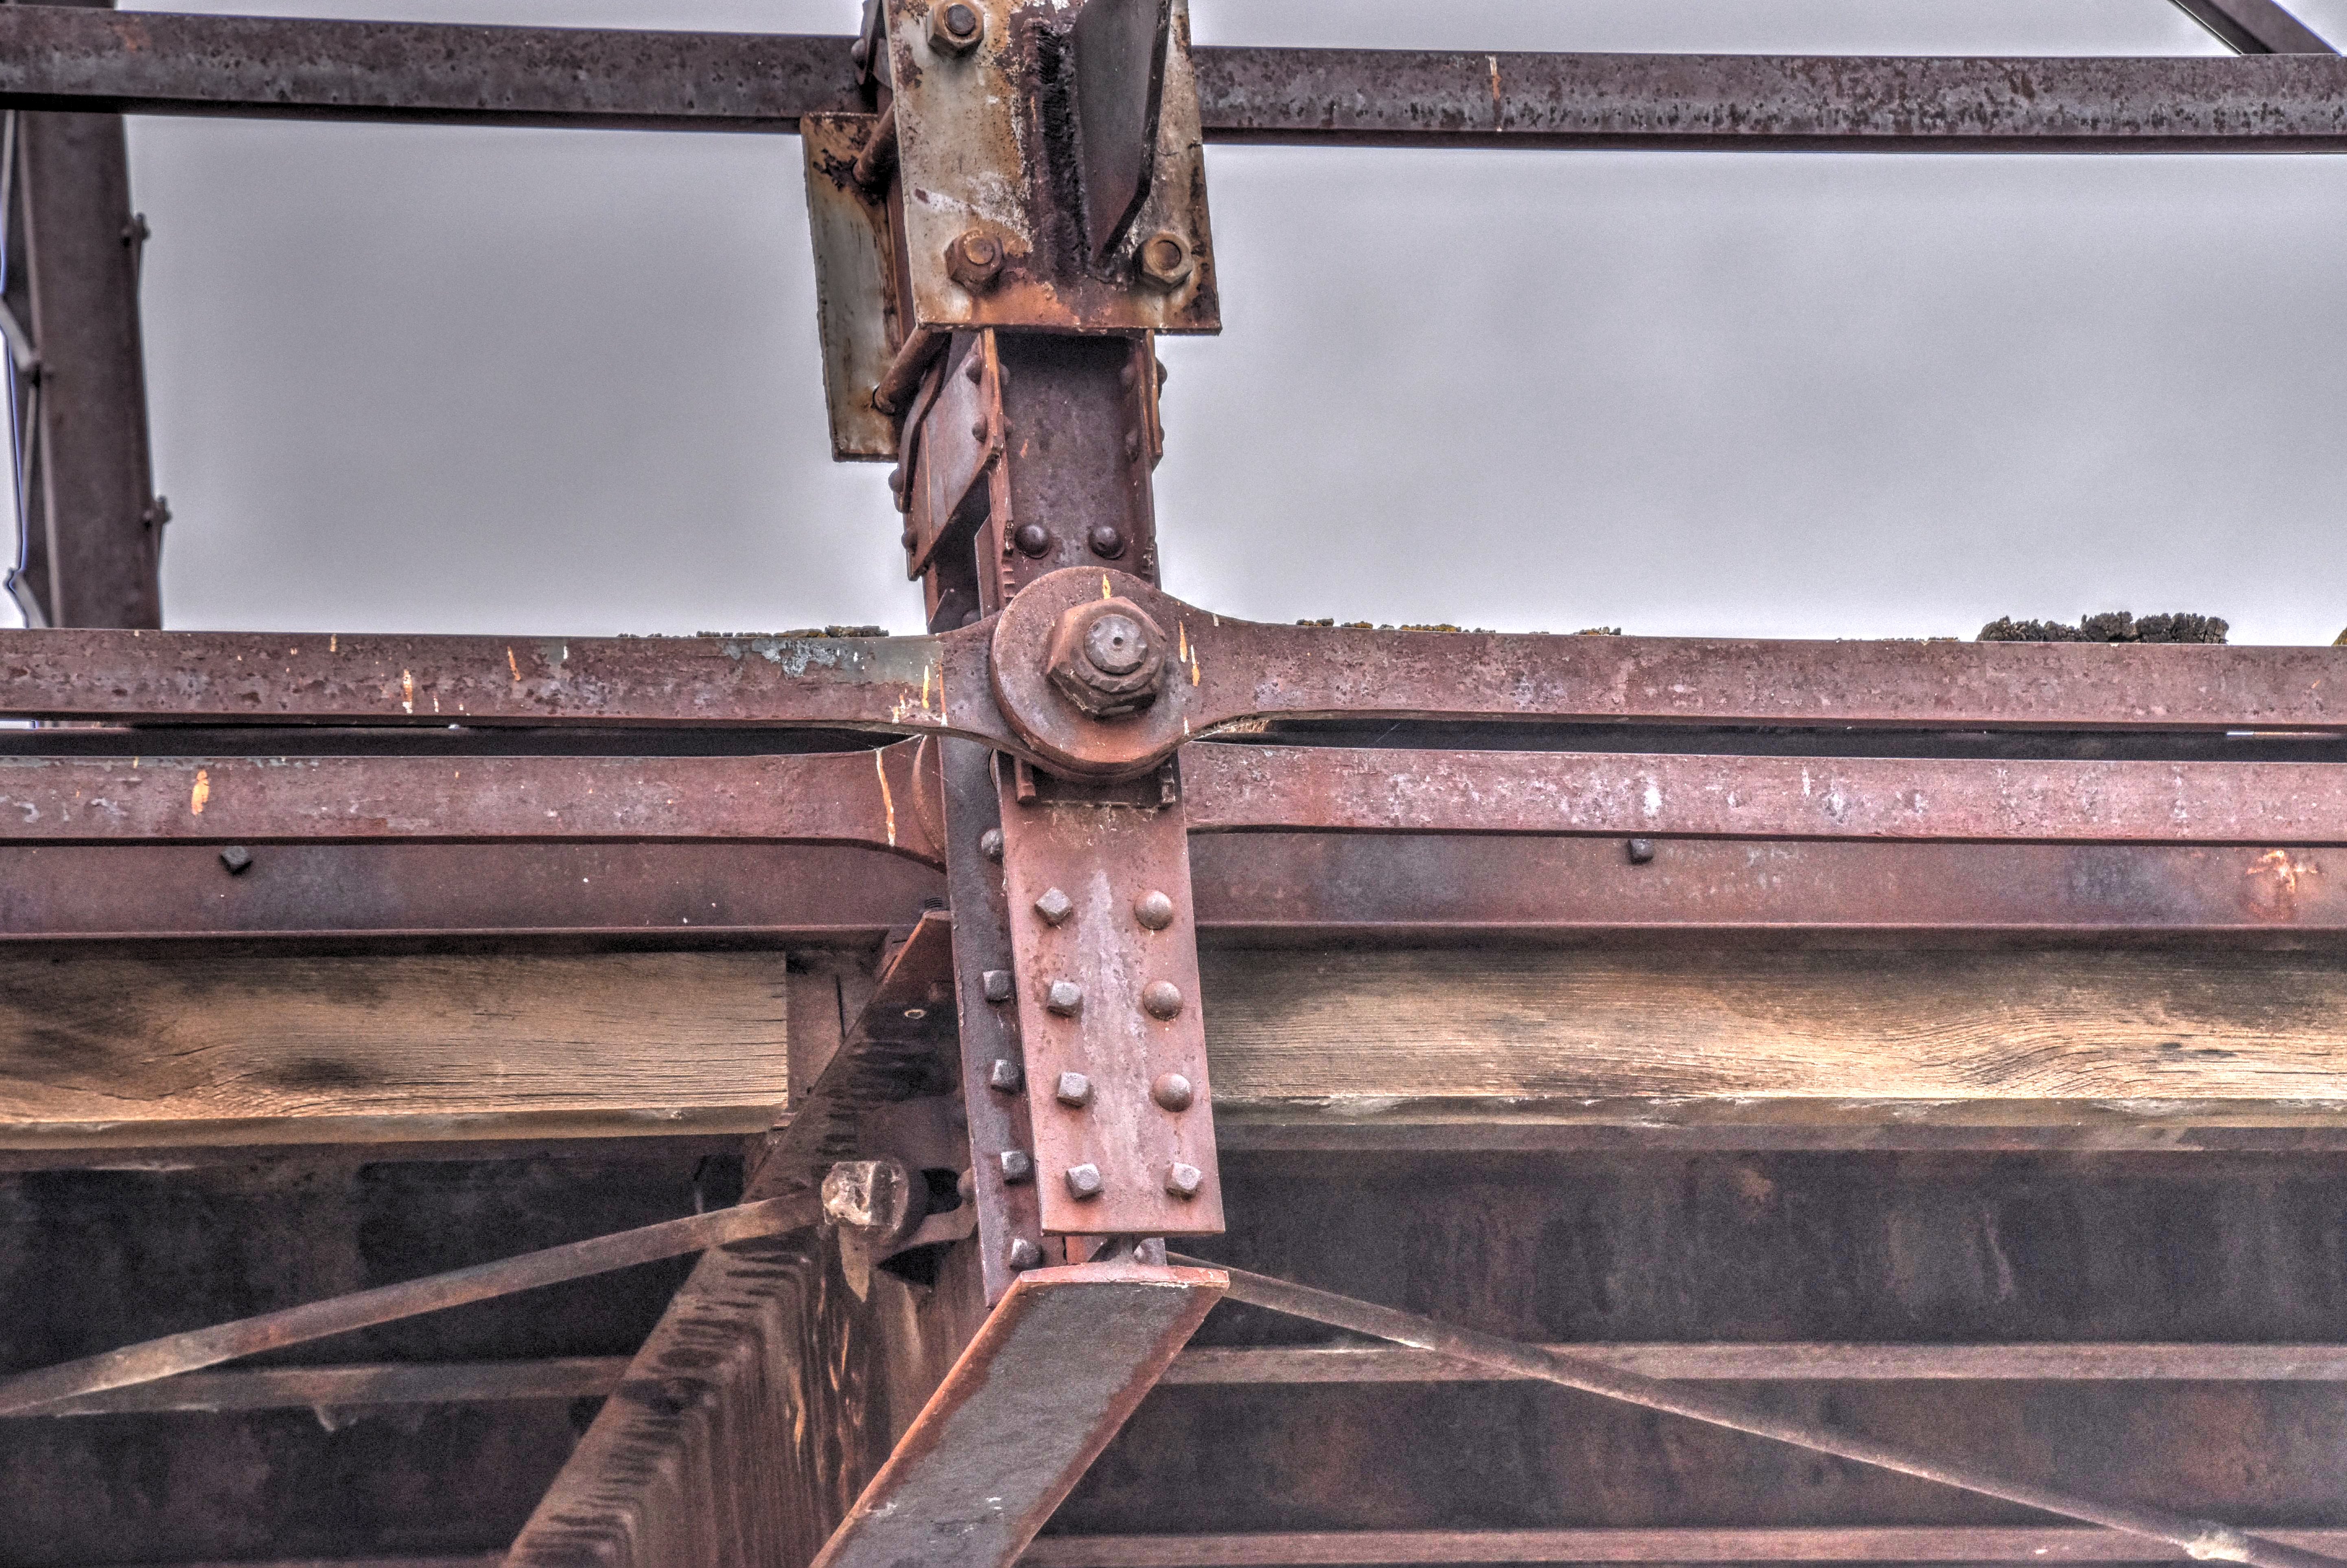
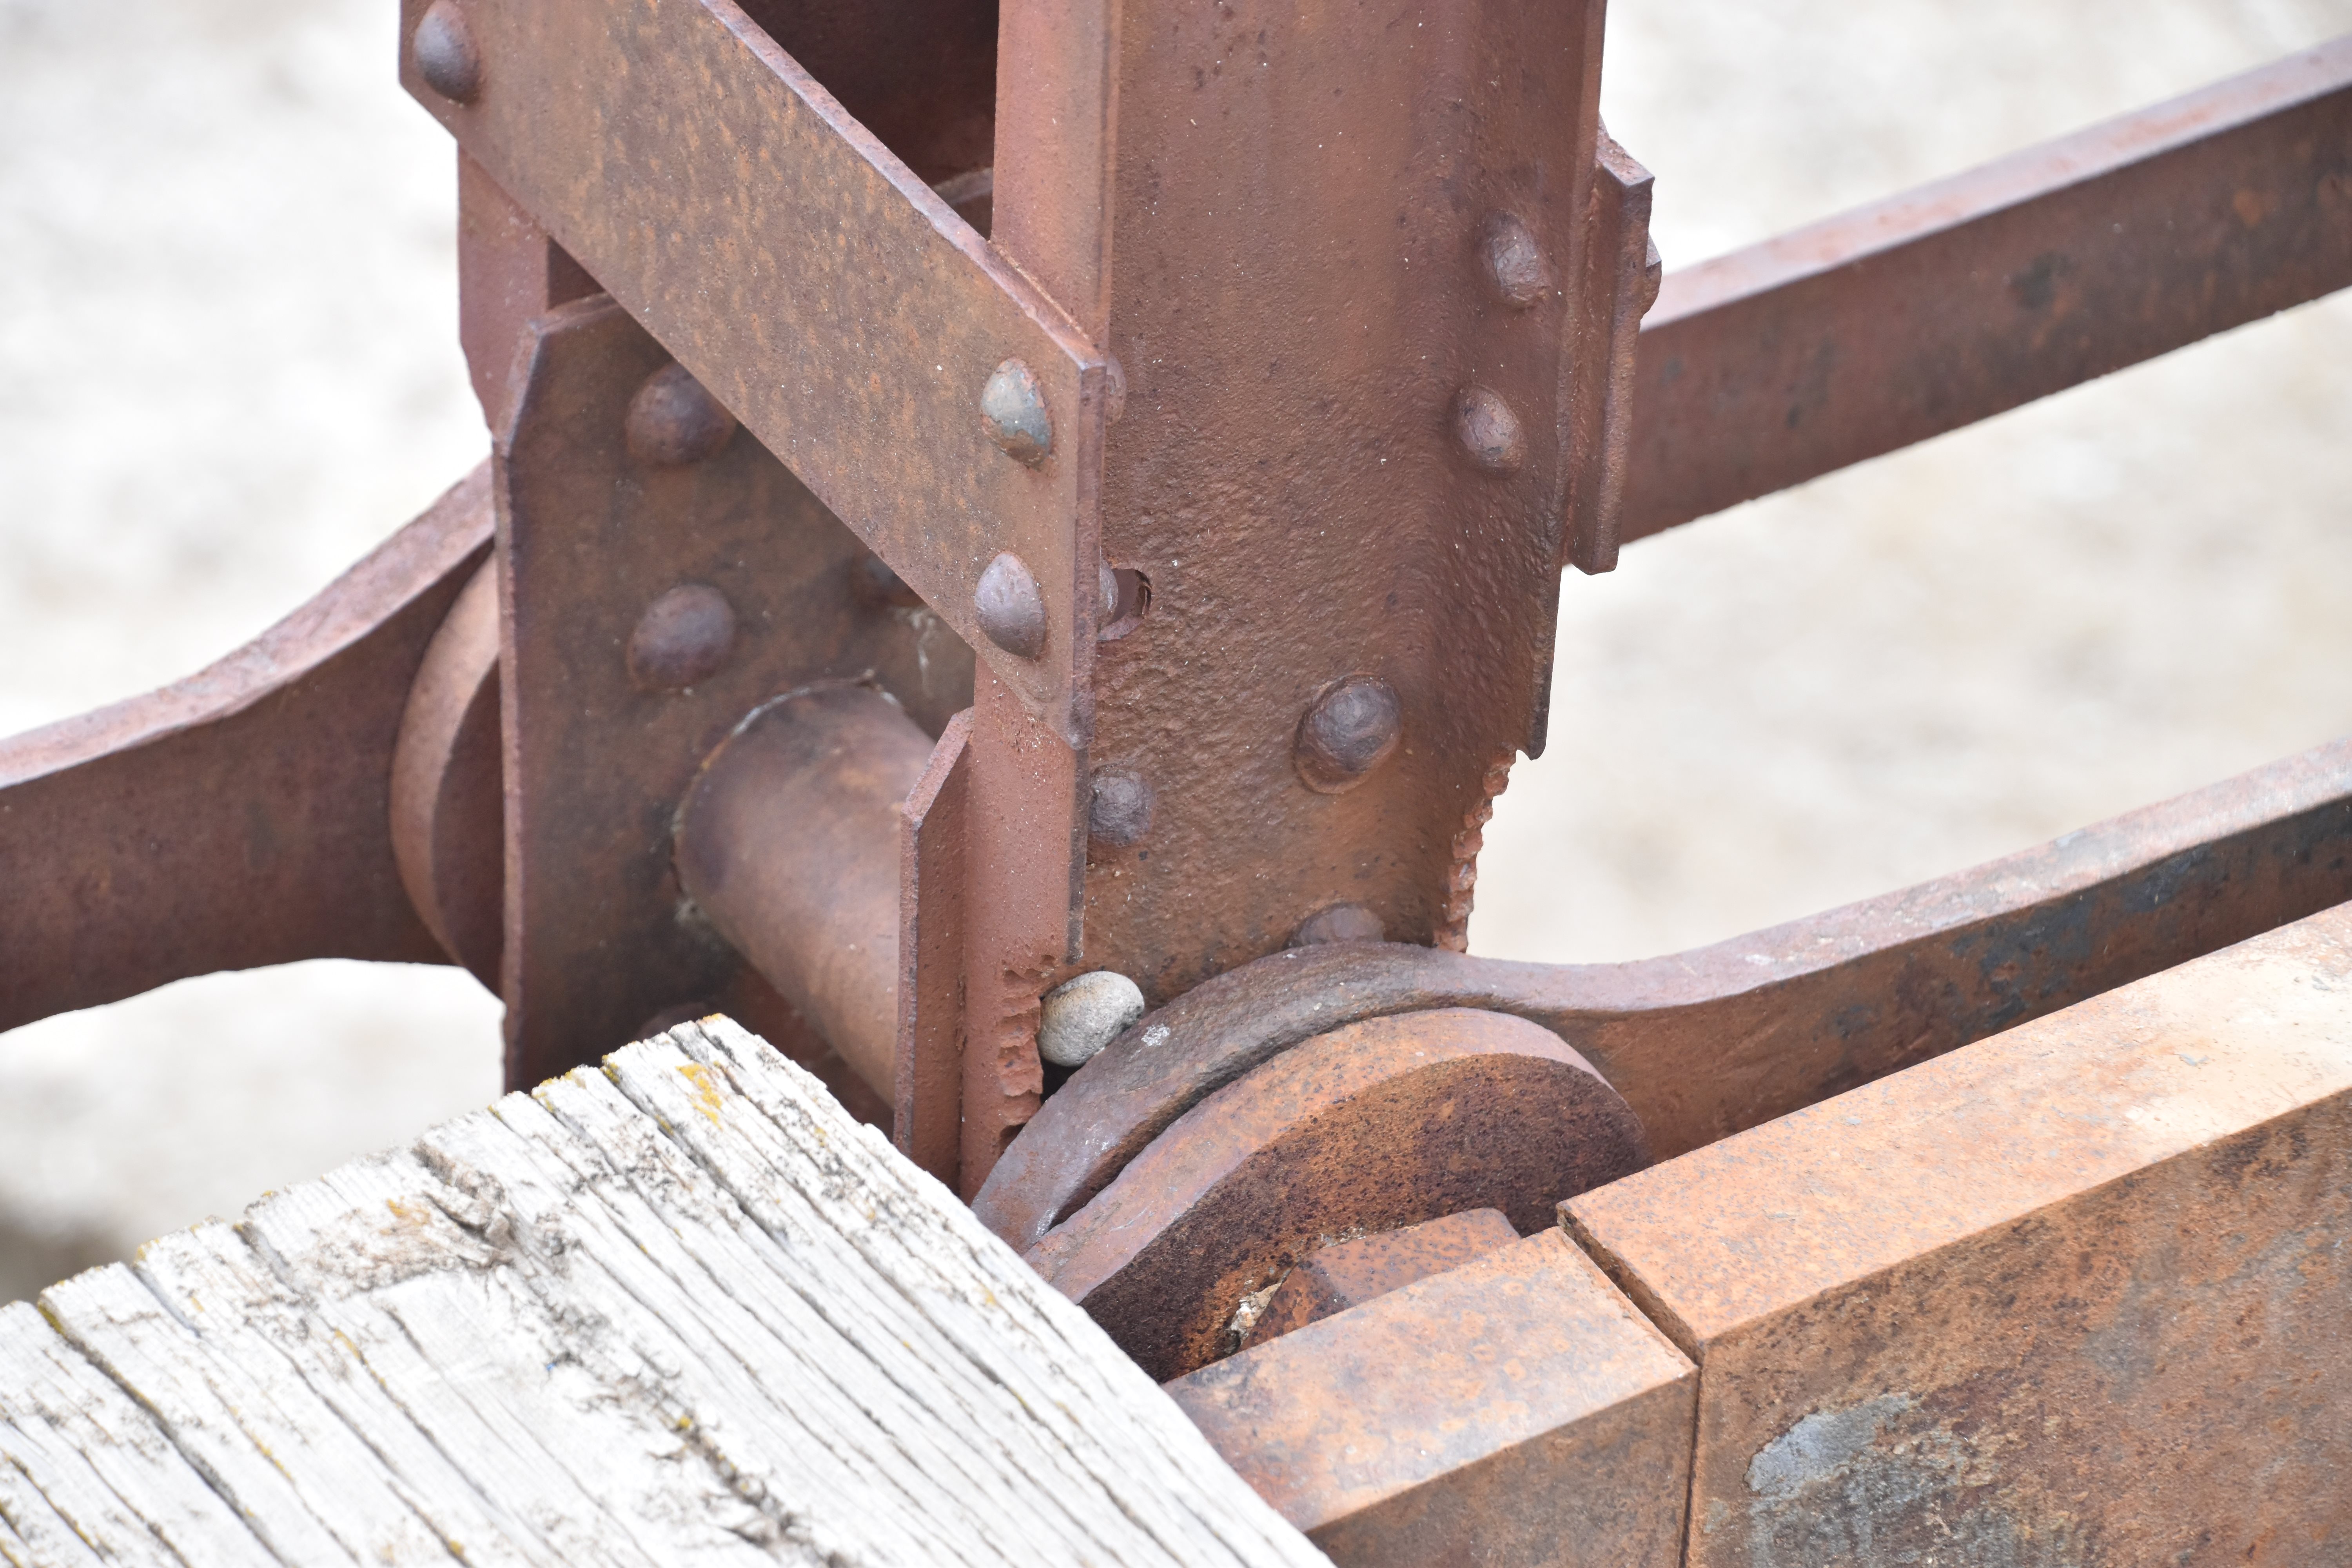
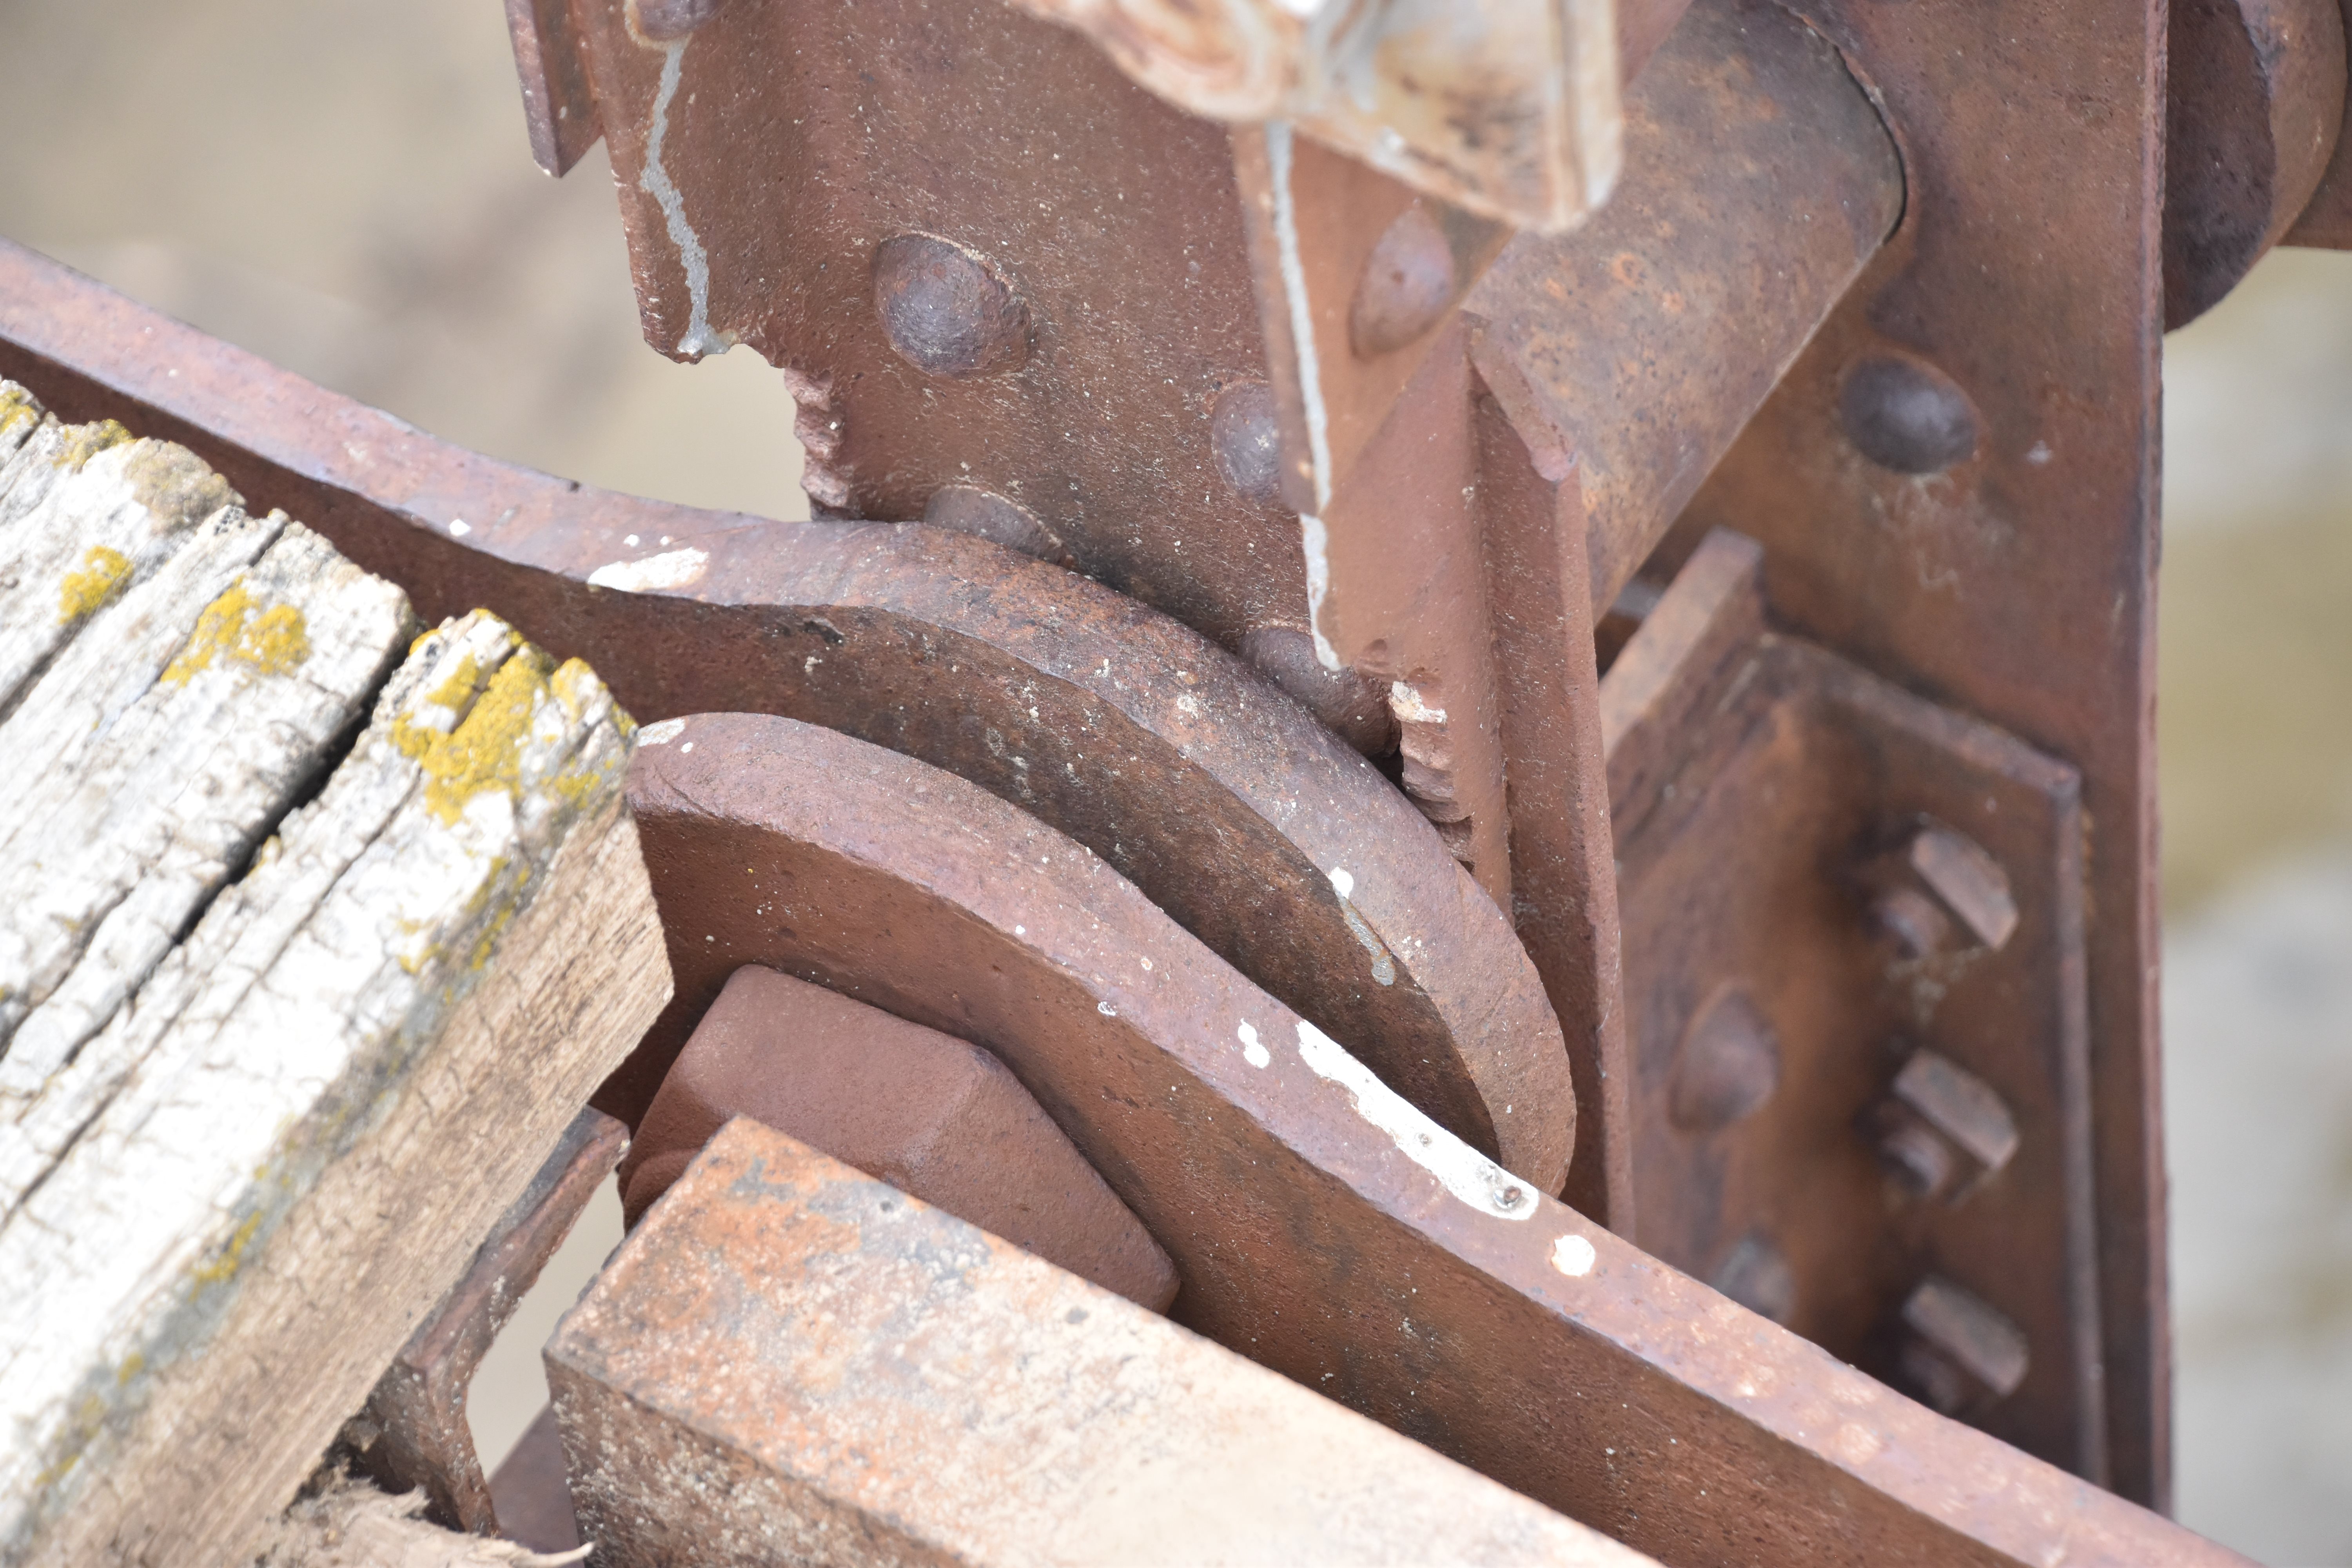
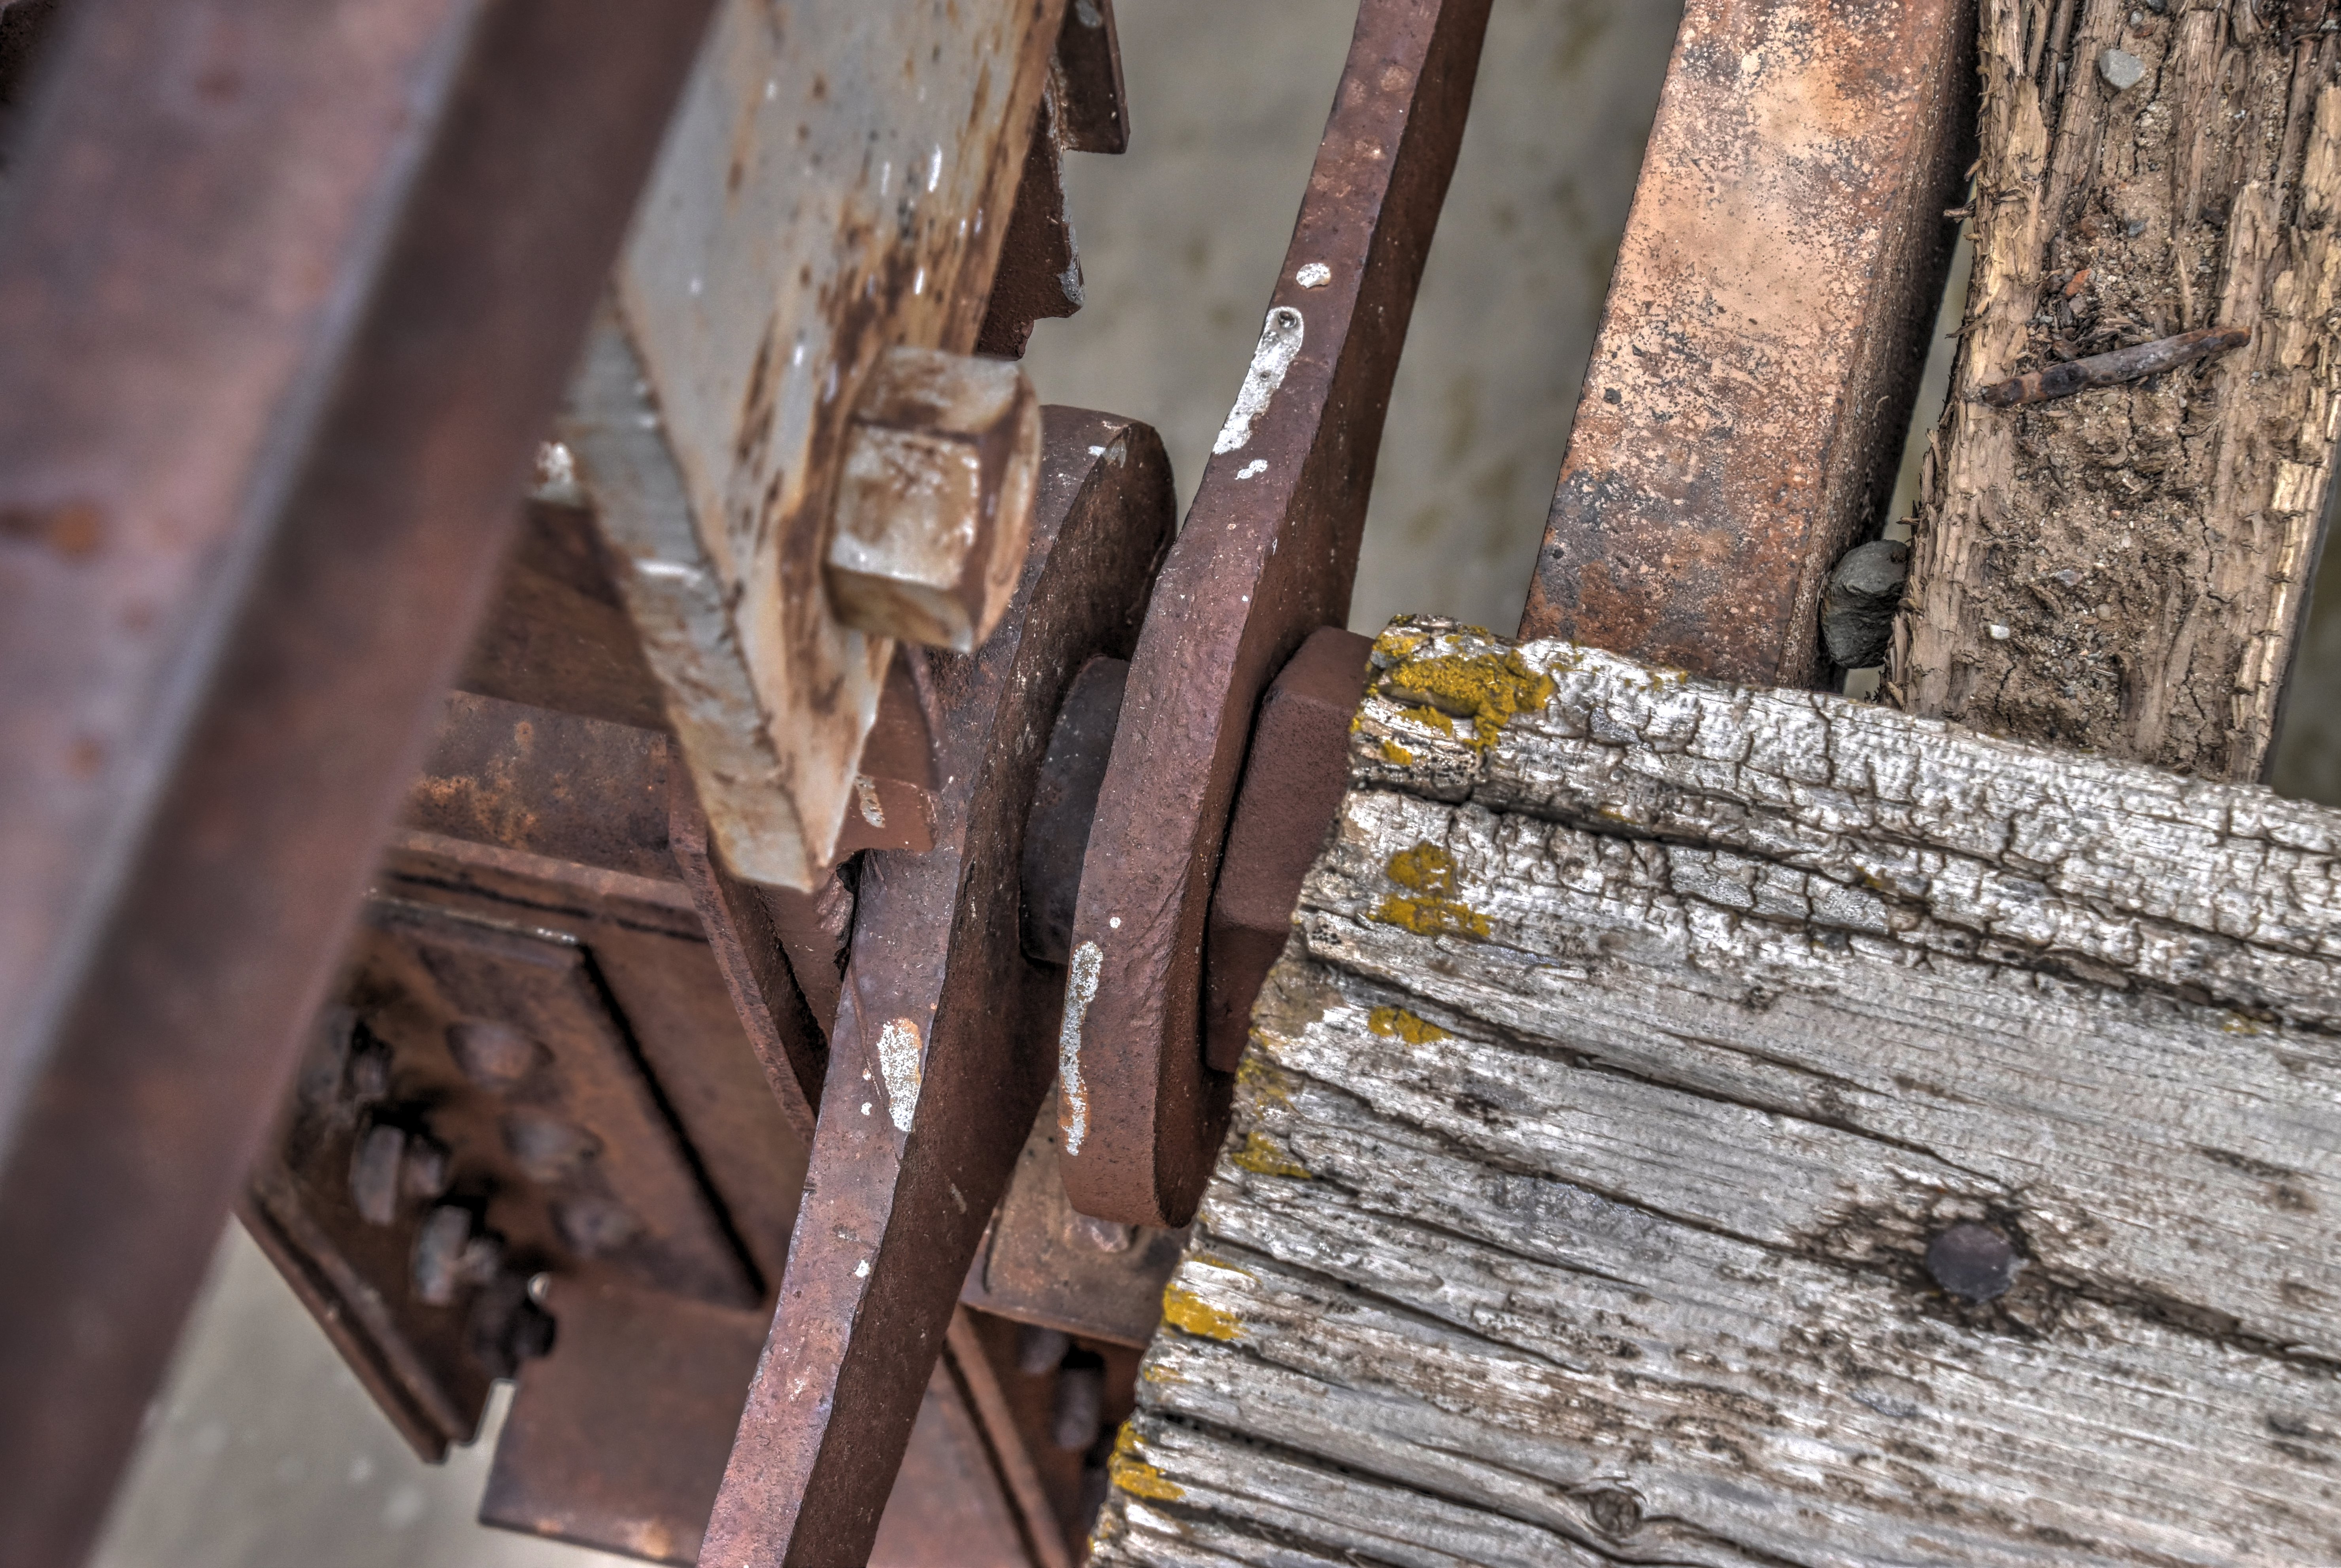
Bearings.
![]()


Bearing details.
![]()

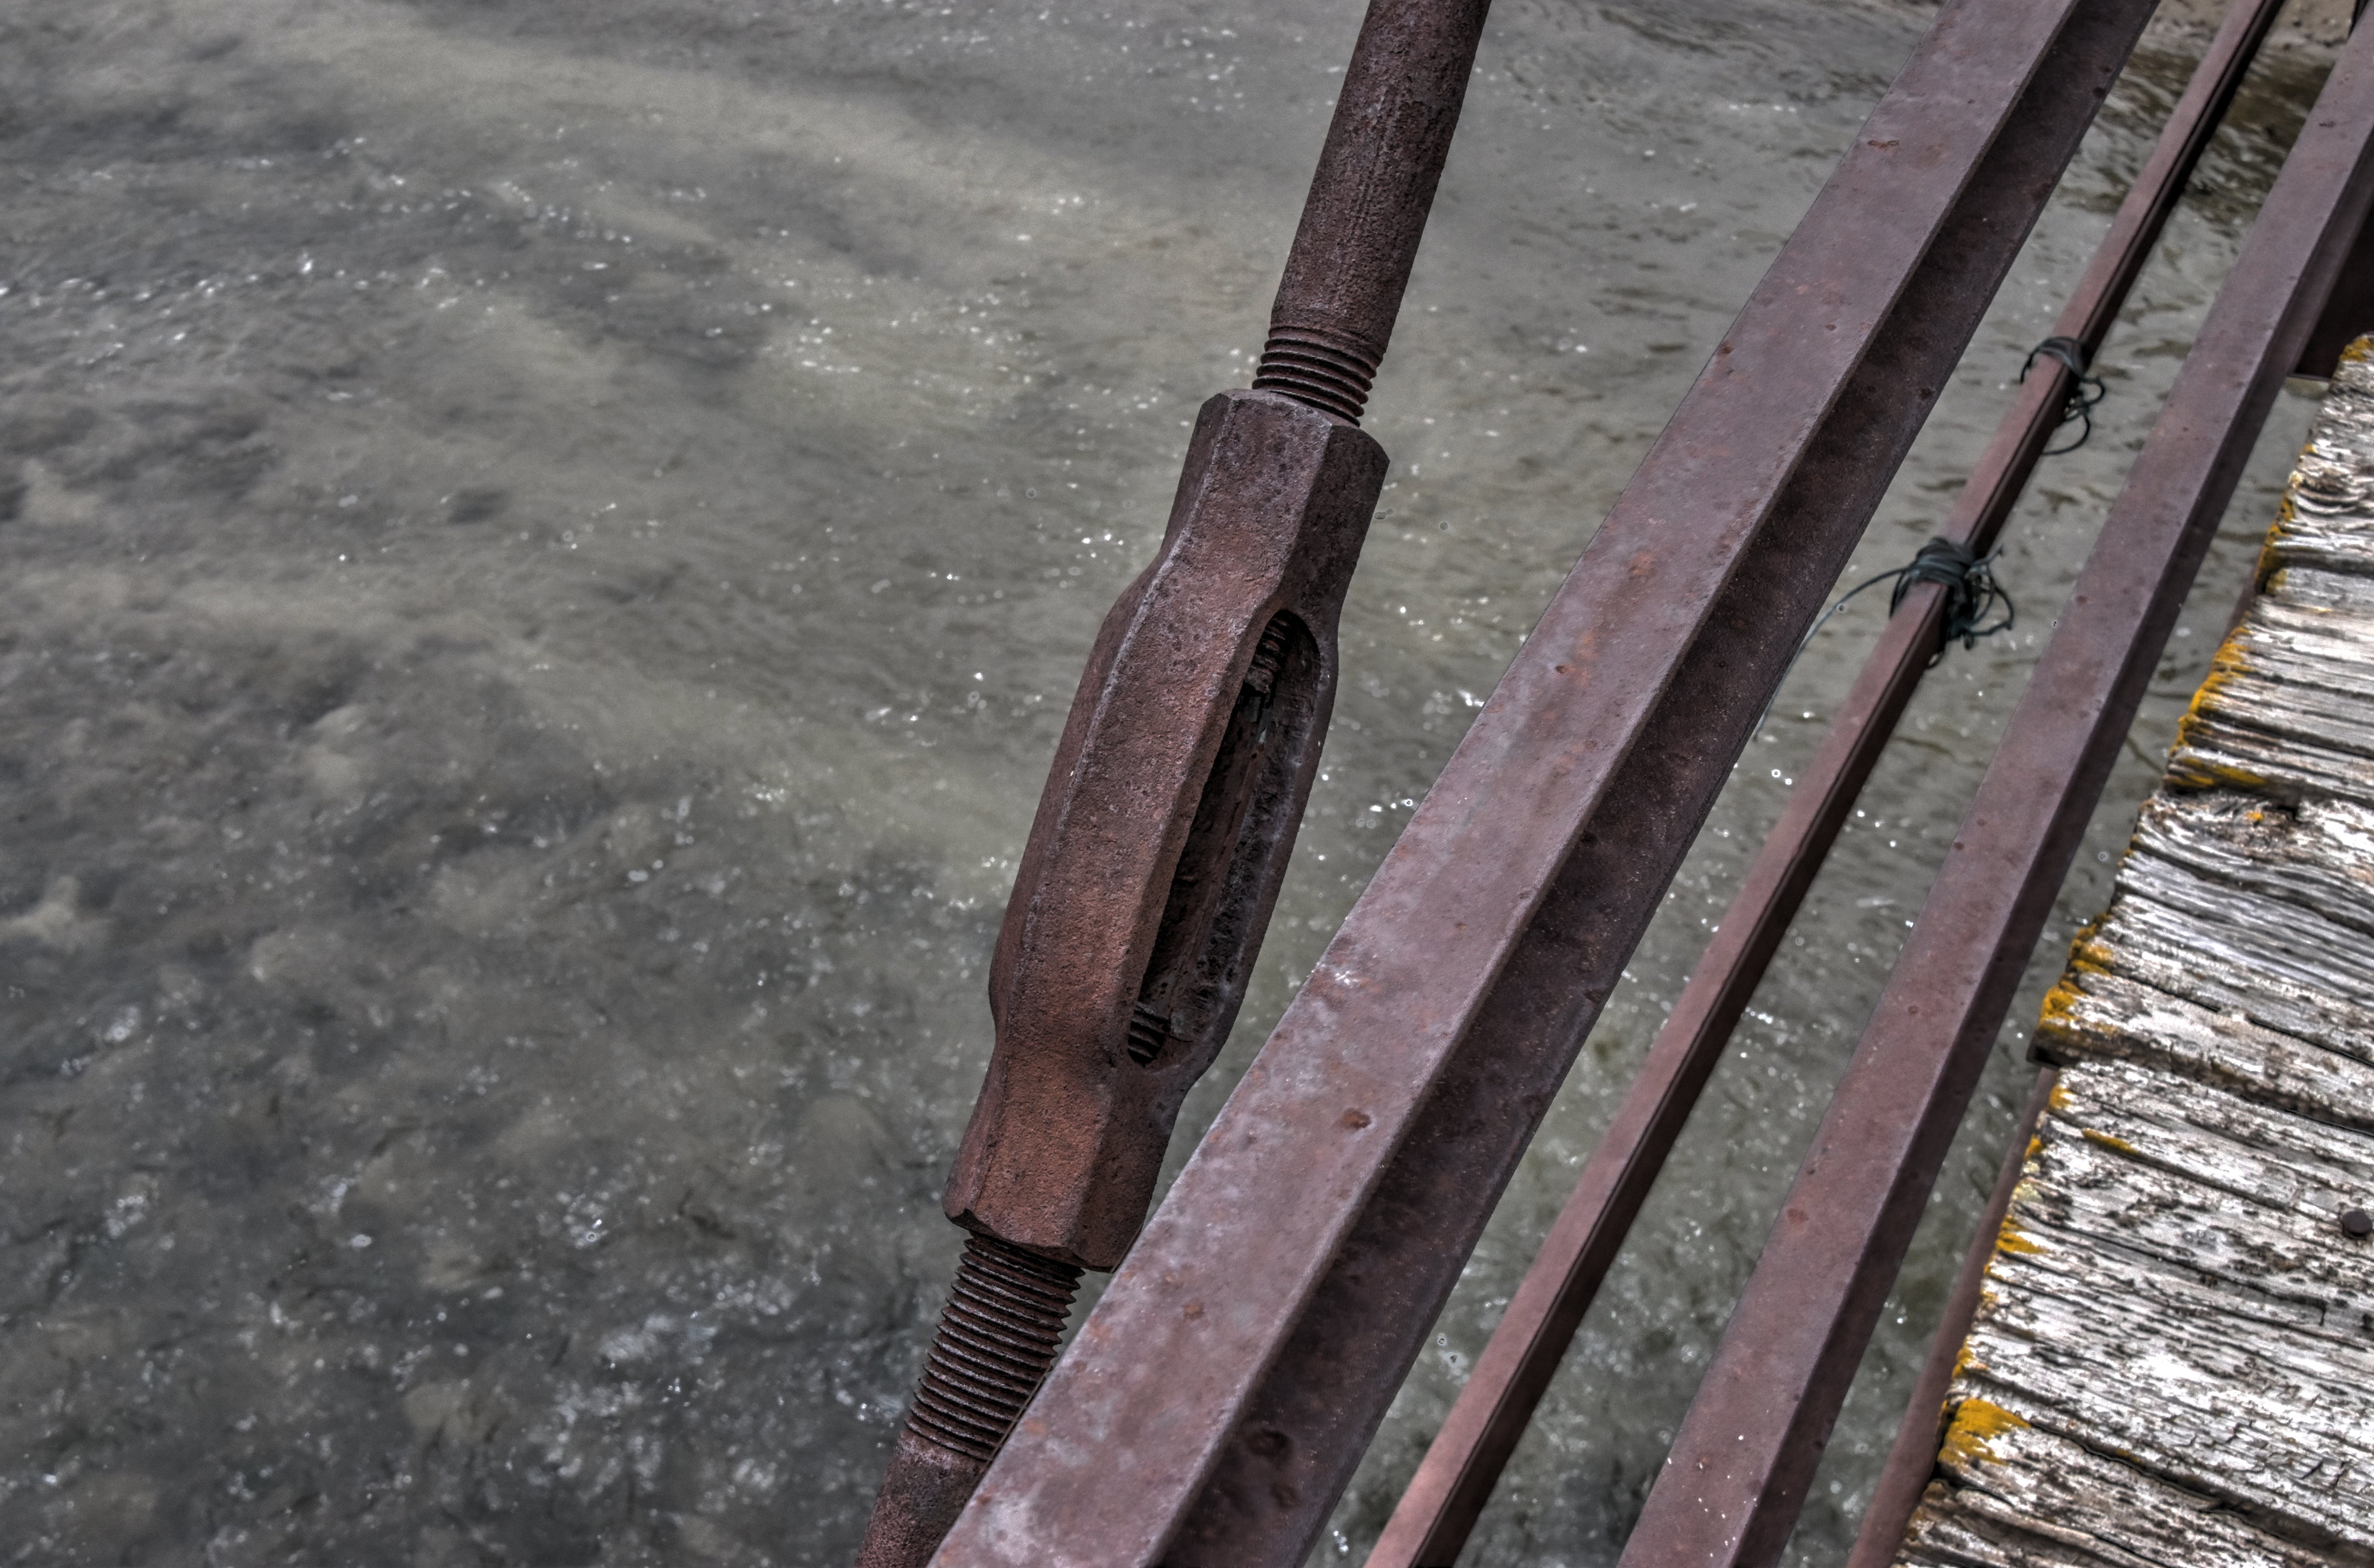
Turnbuckle on diagonal member.
![]()


Vertical members.
![]()

Top chord.
![]()


End post detail. Mill scale visible on rivet.
![]()


Mill scale on underside of floorbeam.
![]()


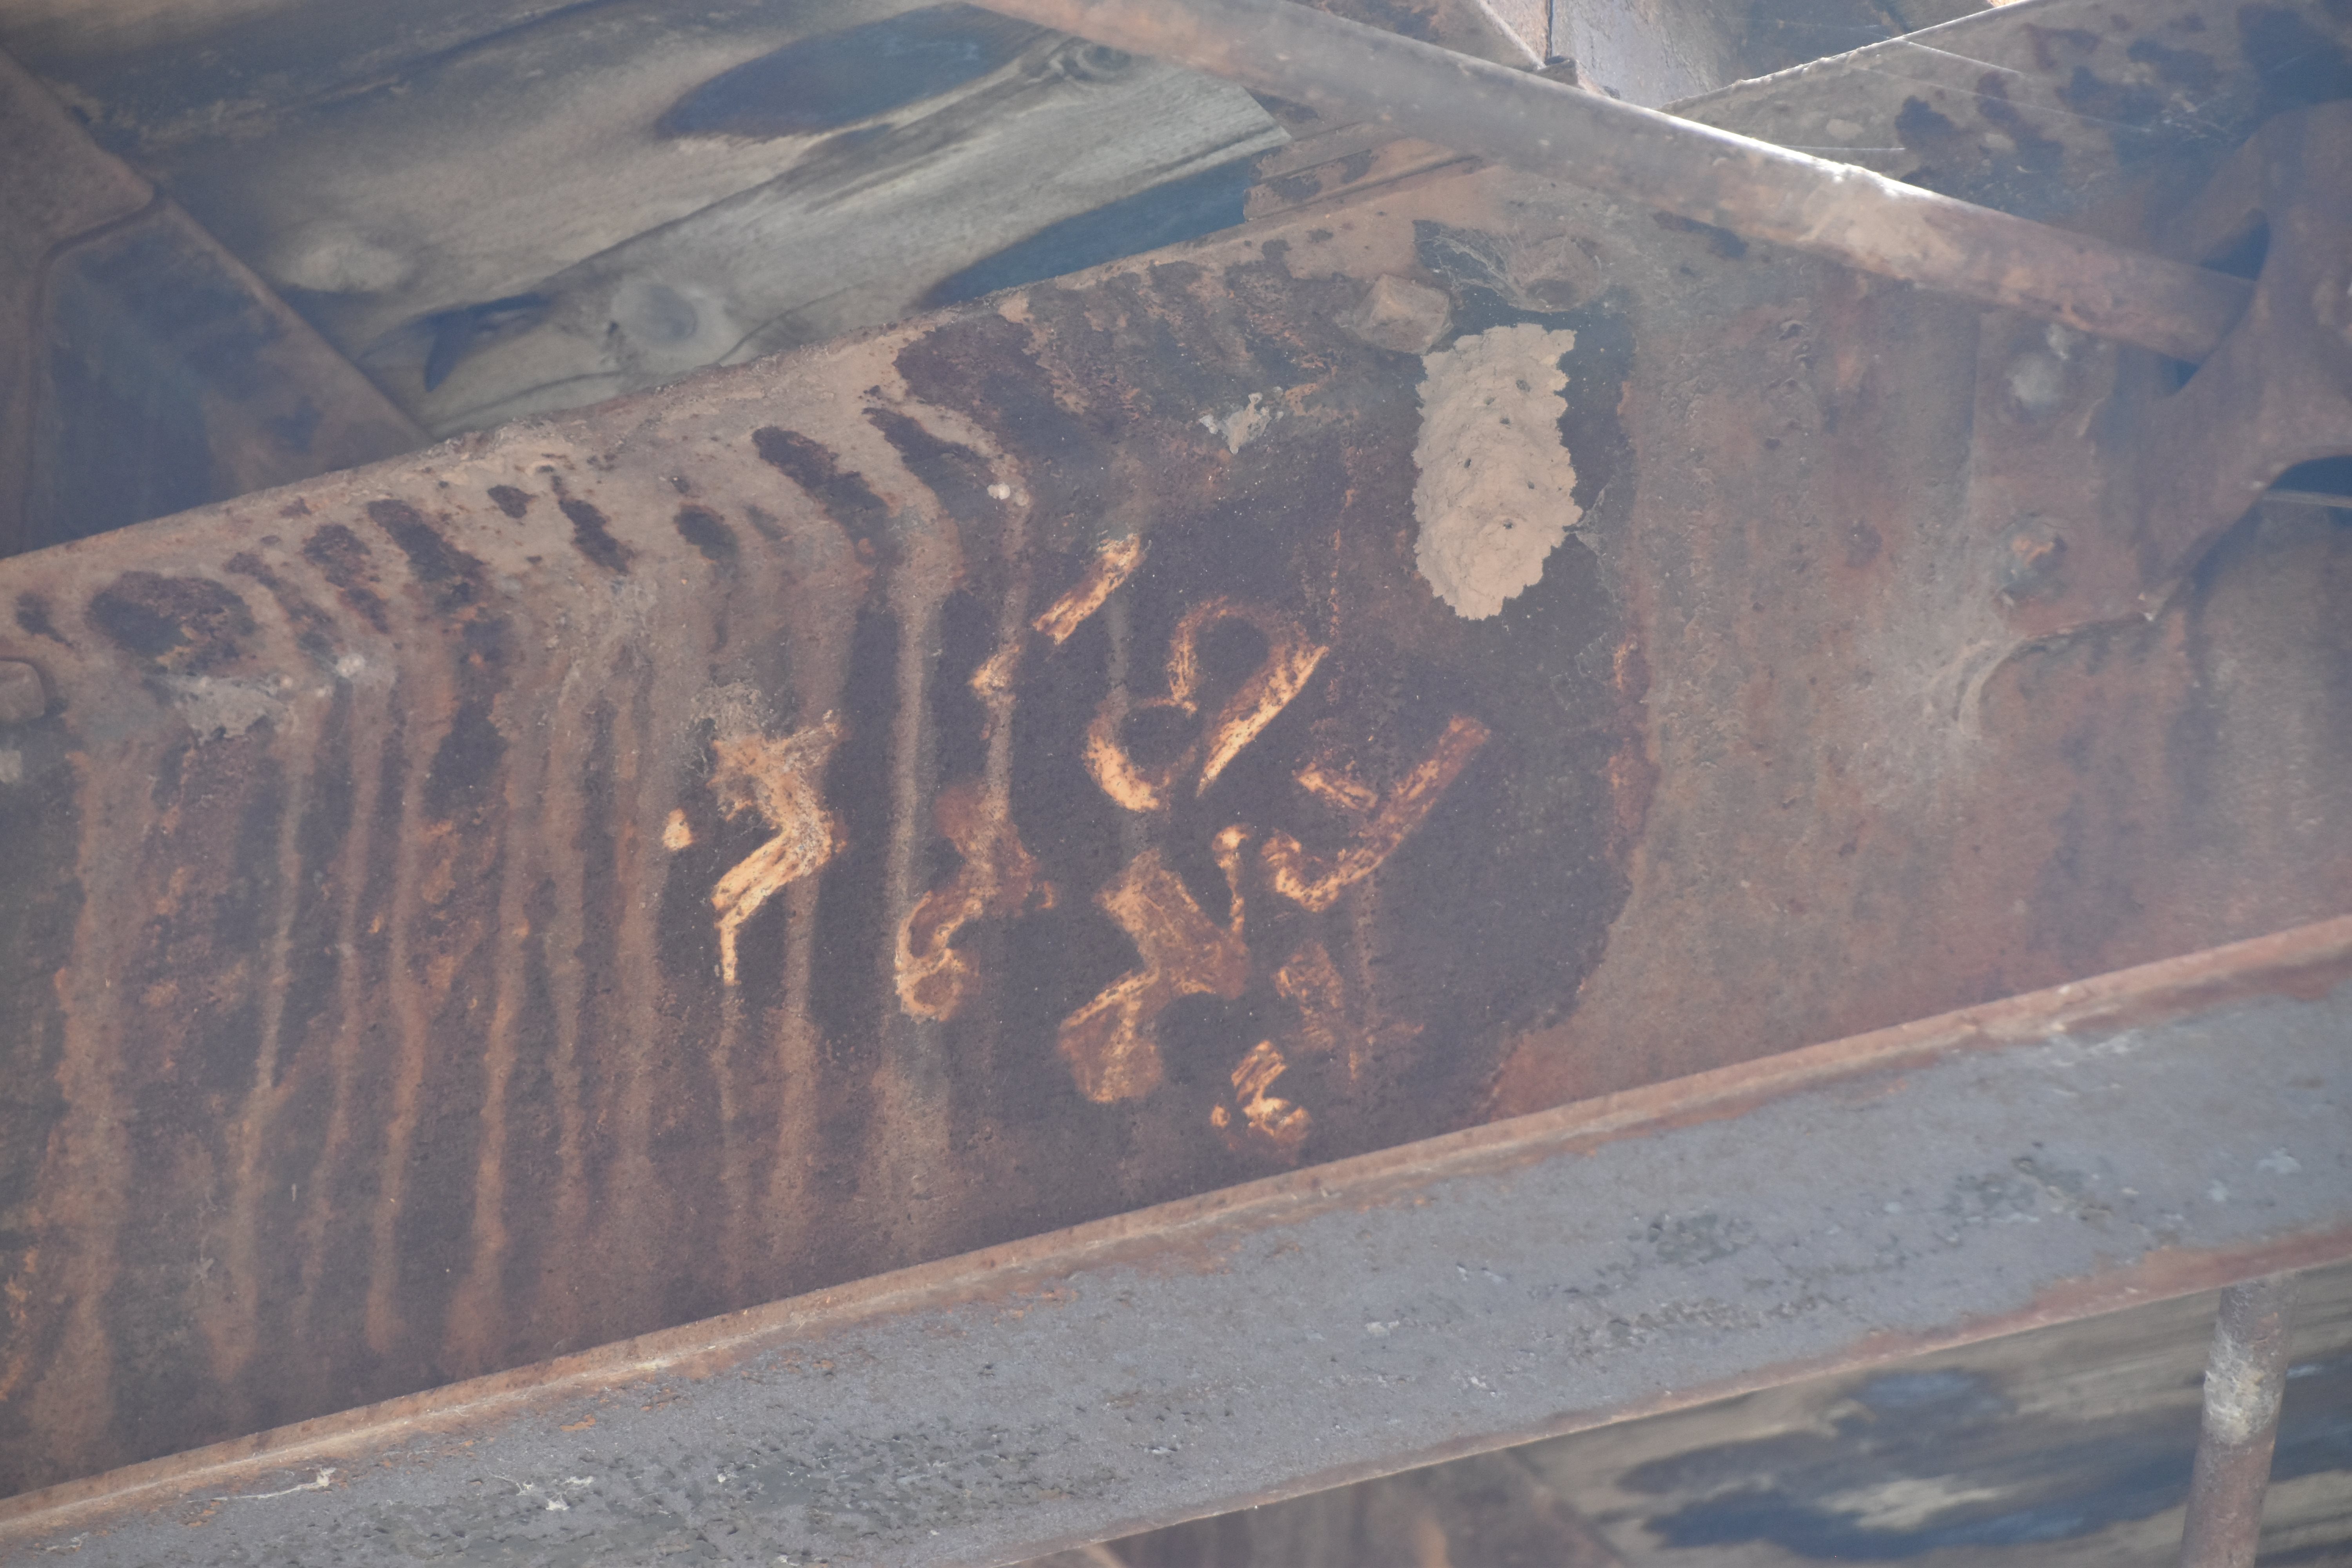


Painted part numbers on floorbeams.
![]()


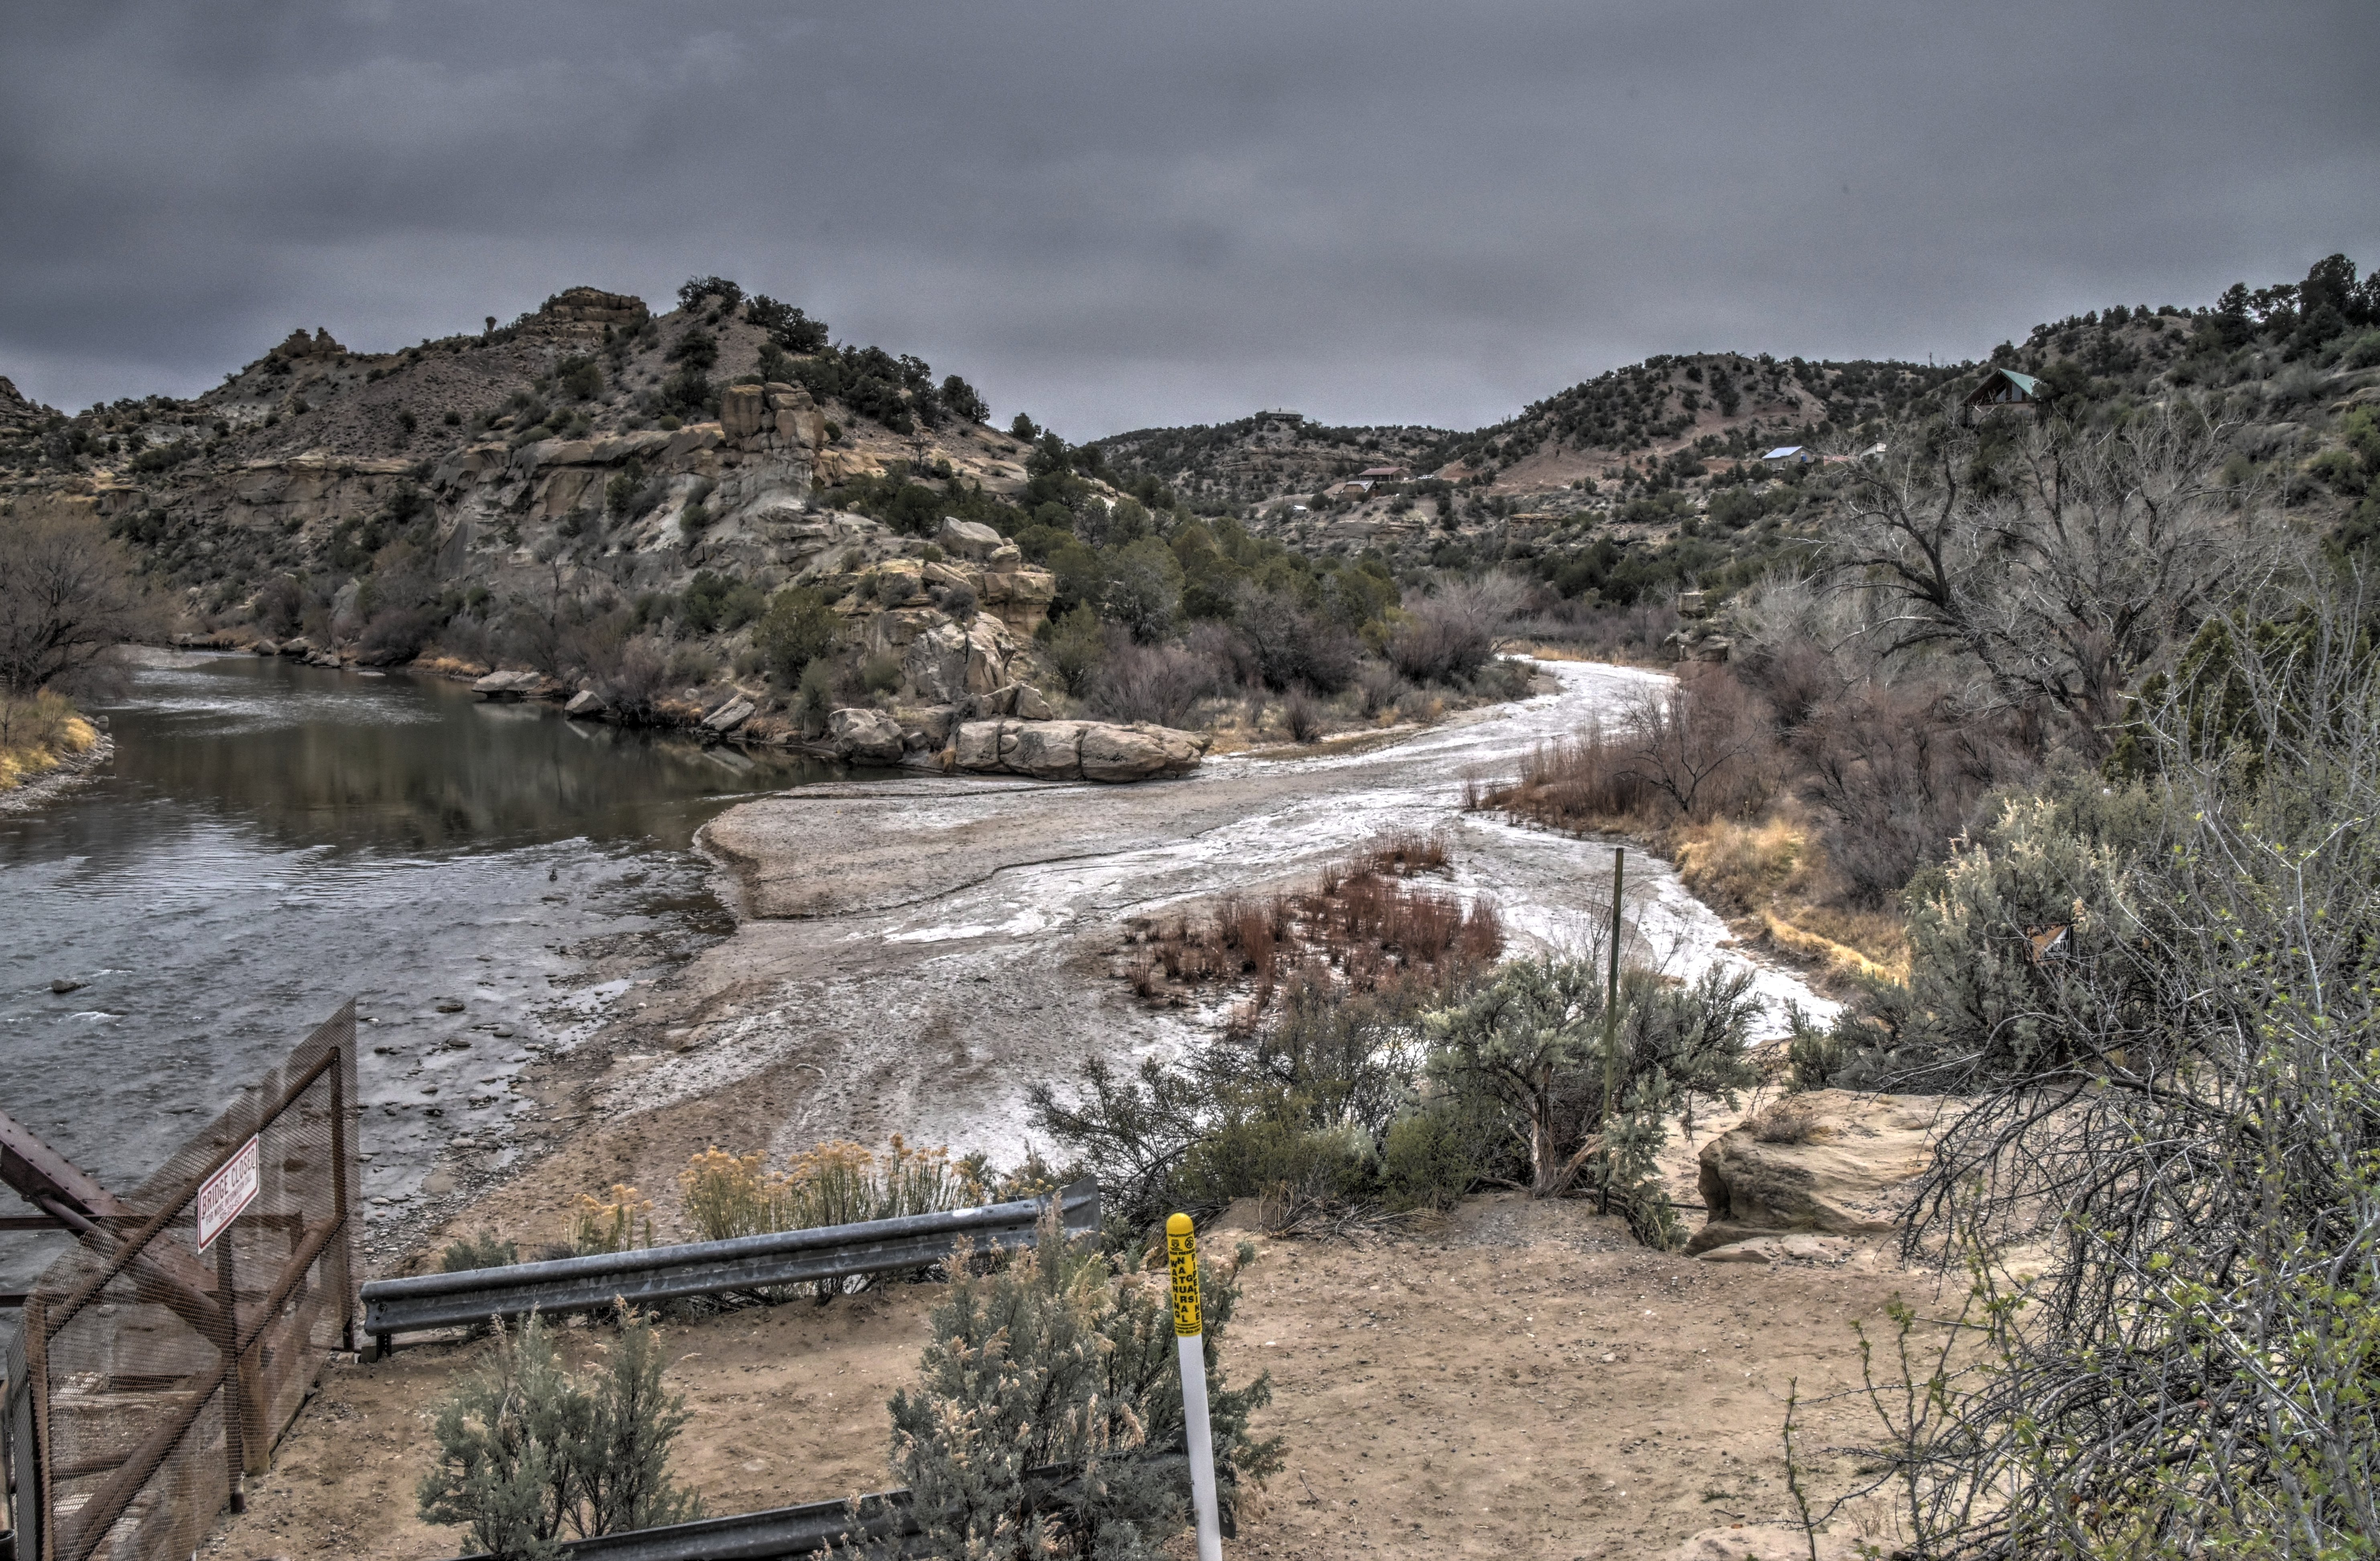


Scenery around and near bridge.
![]()
![]()
| Back |
| Home |
| Top |

![]()