Uncredited photos on this page taken by: Nathan Holth and Rick McOmber. Unless stated in a caption, all photos are Copyright with All Rights Reserved. Learn about reuse of our photos.
![]()


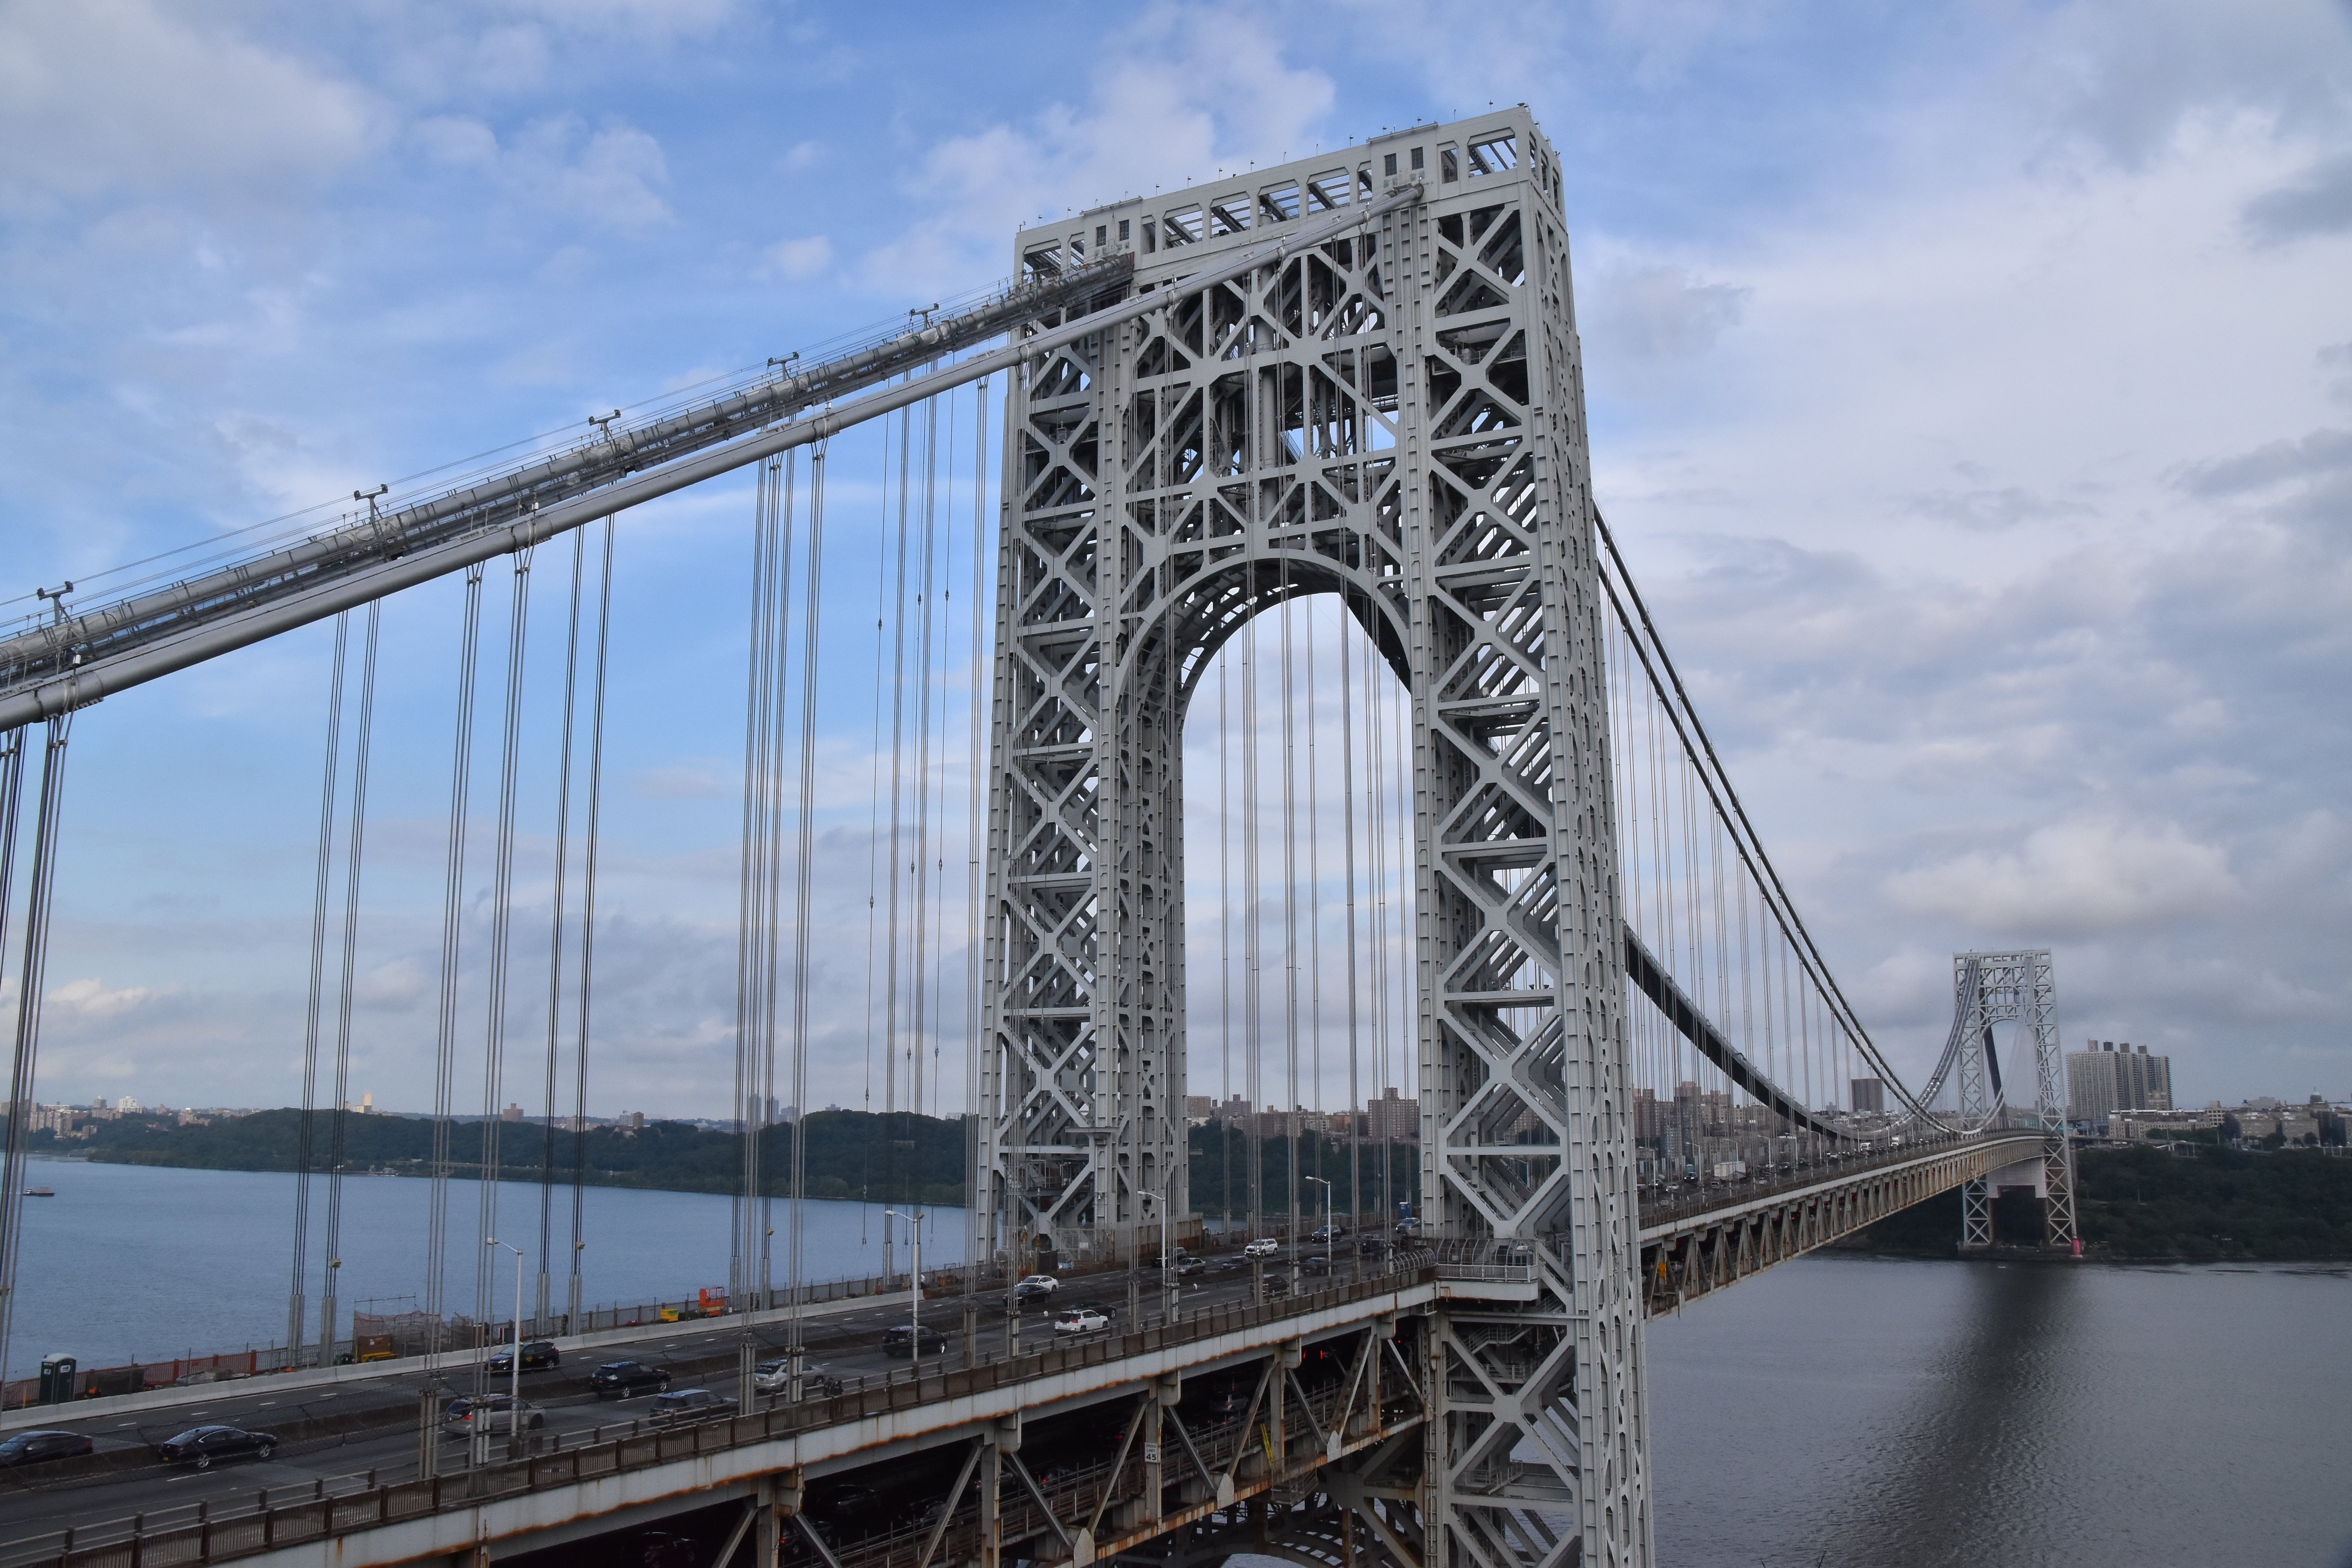


Views beside bridge from southwest quadrant.
![]()
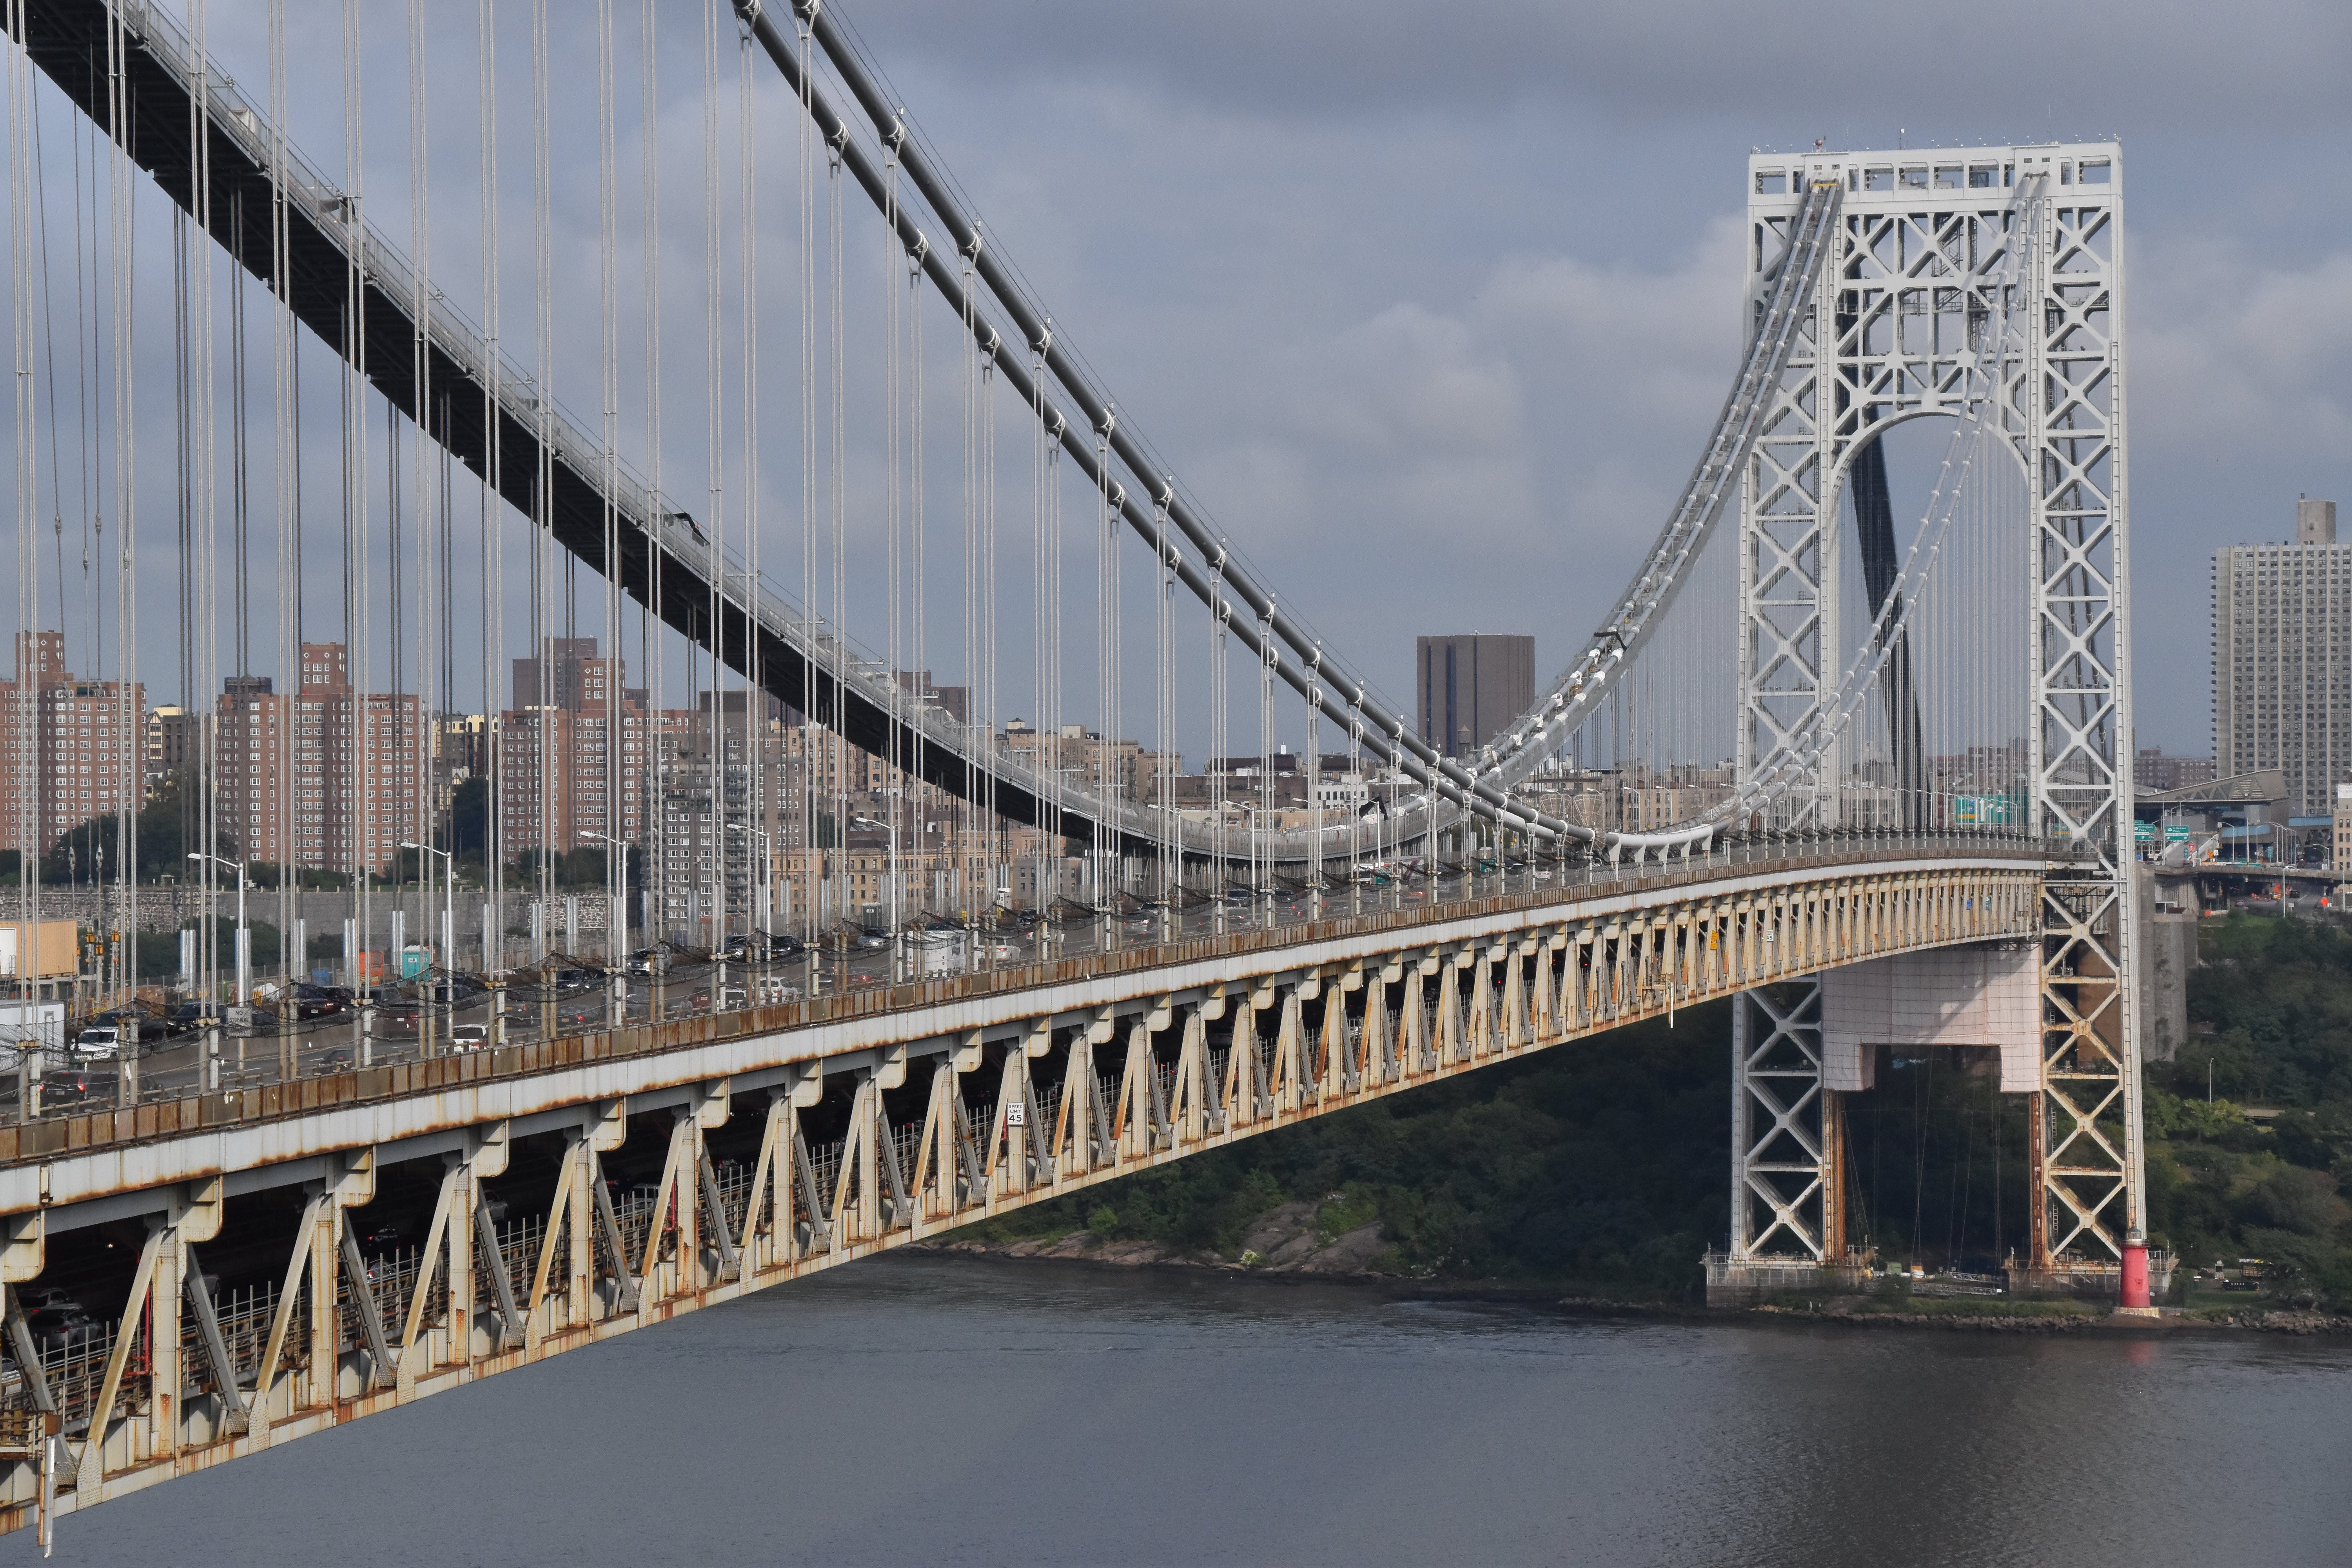
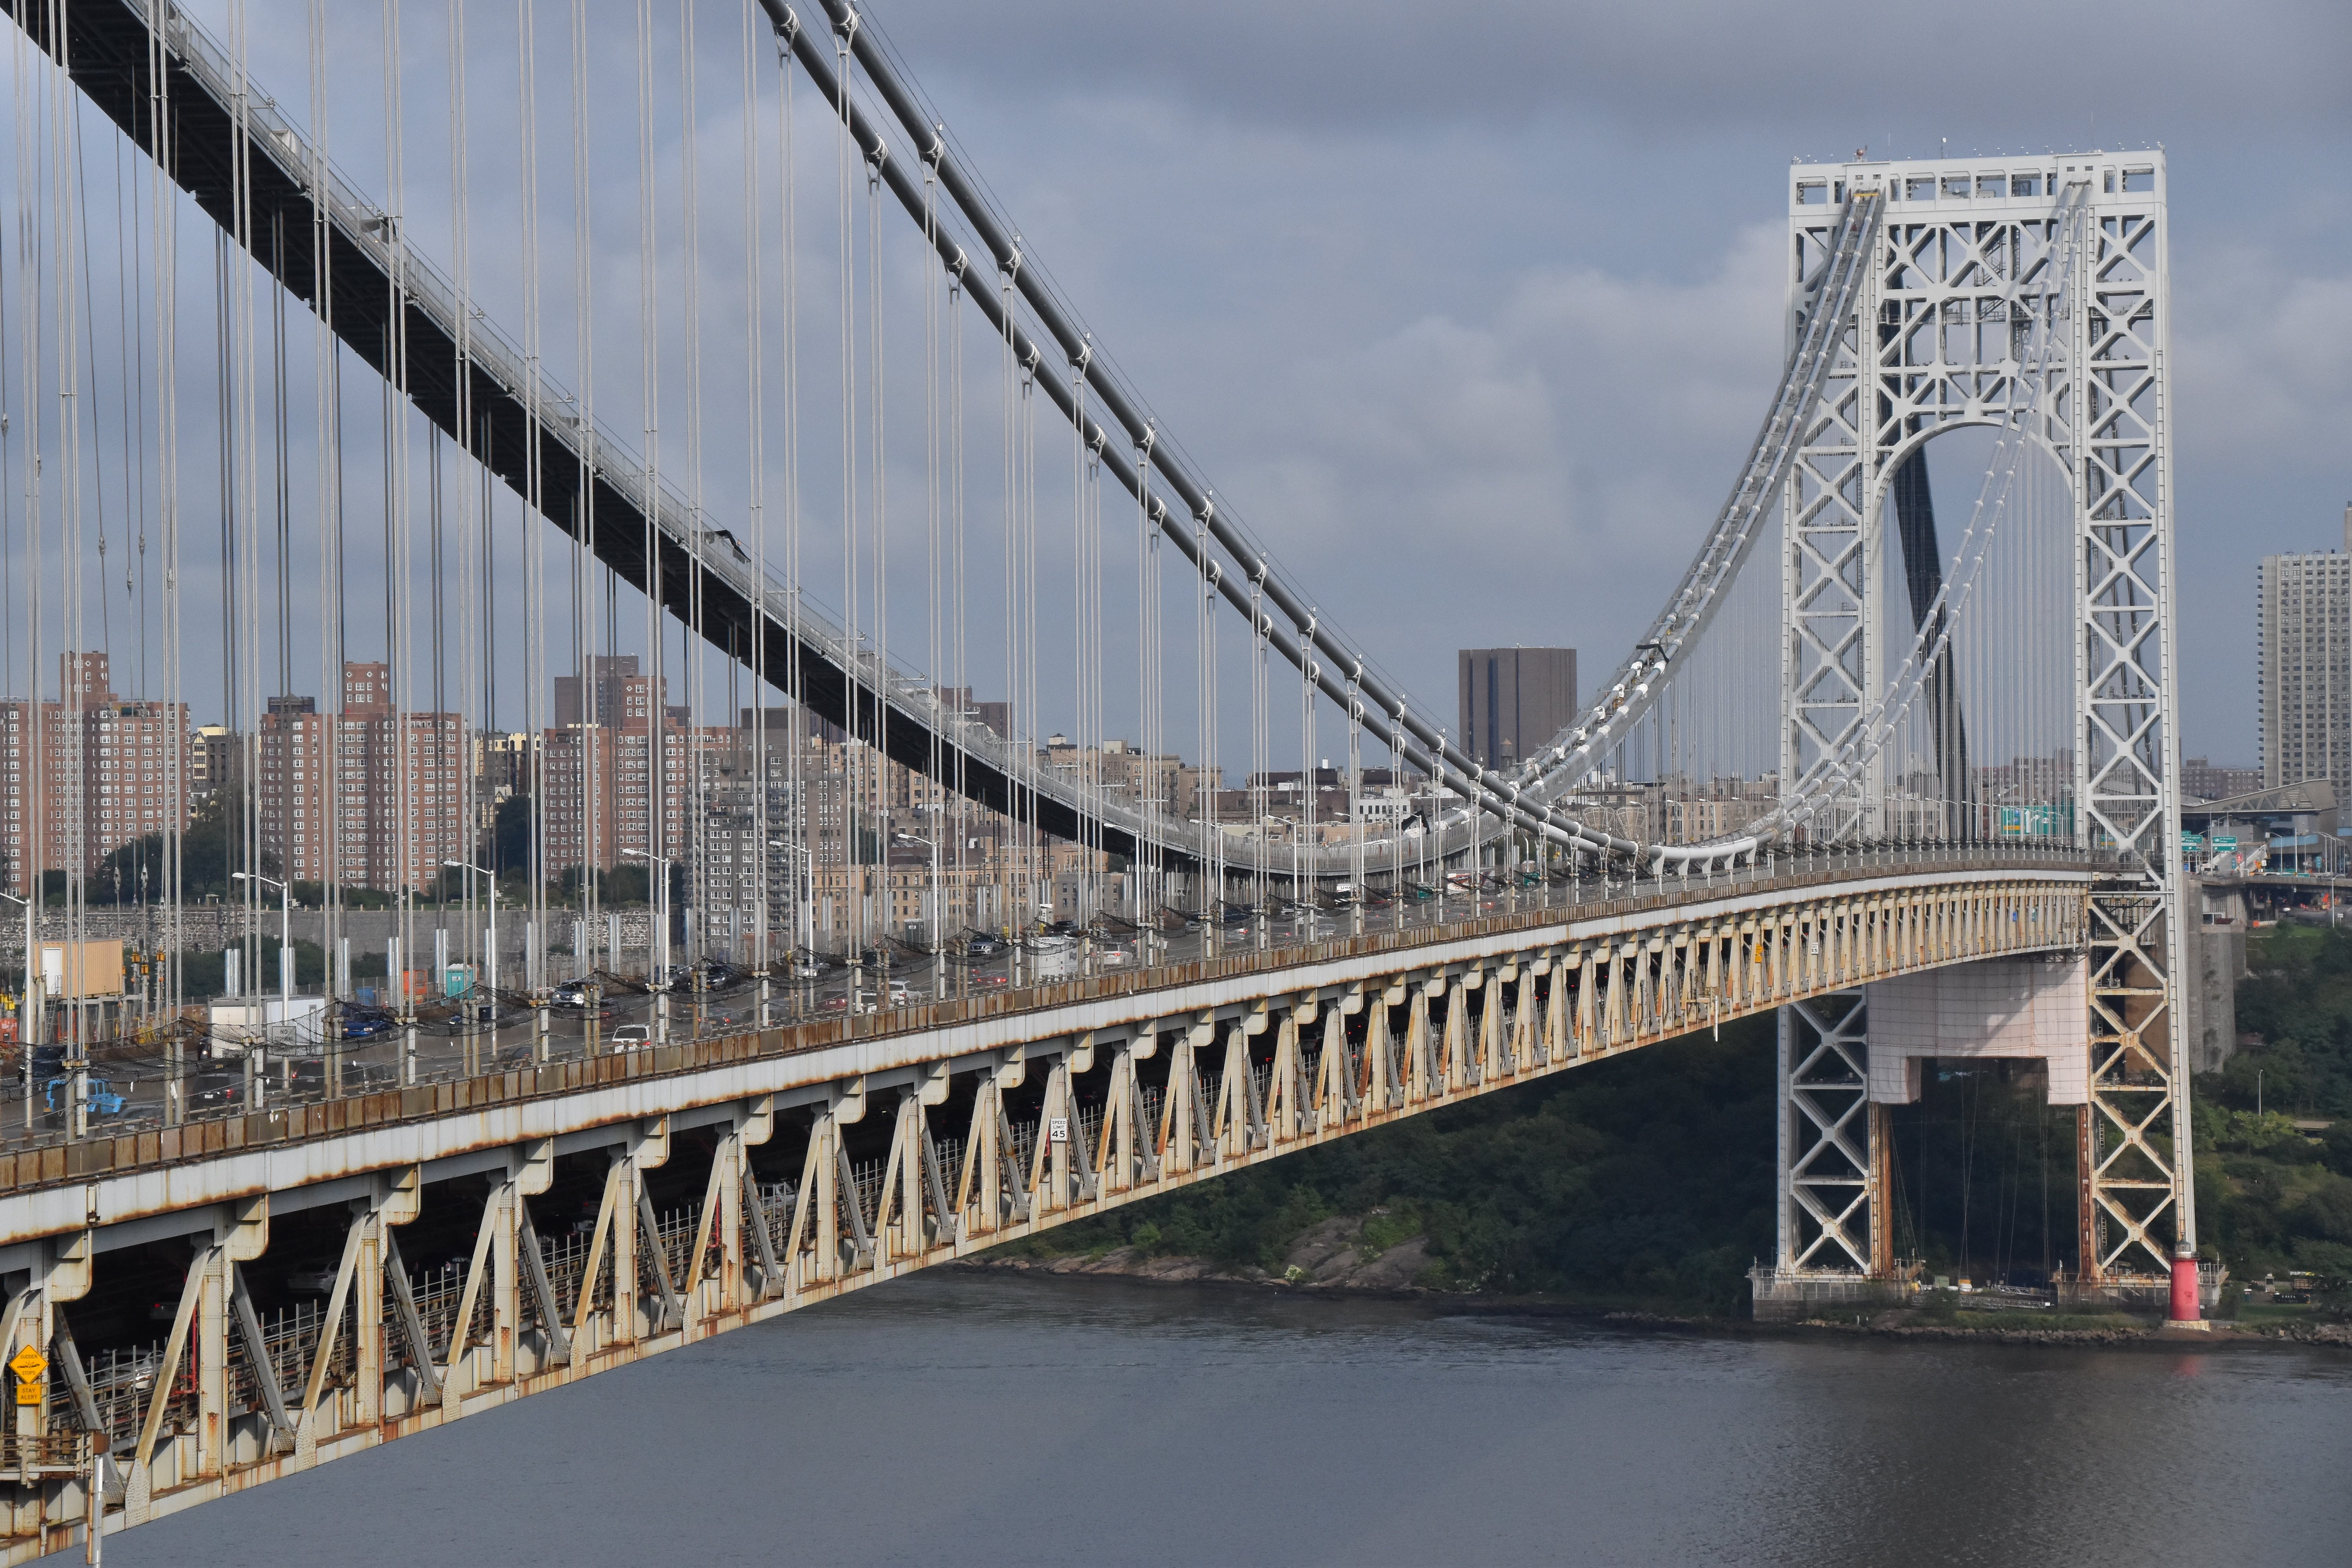

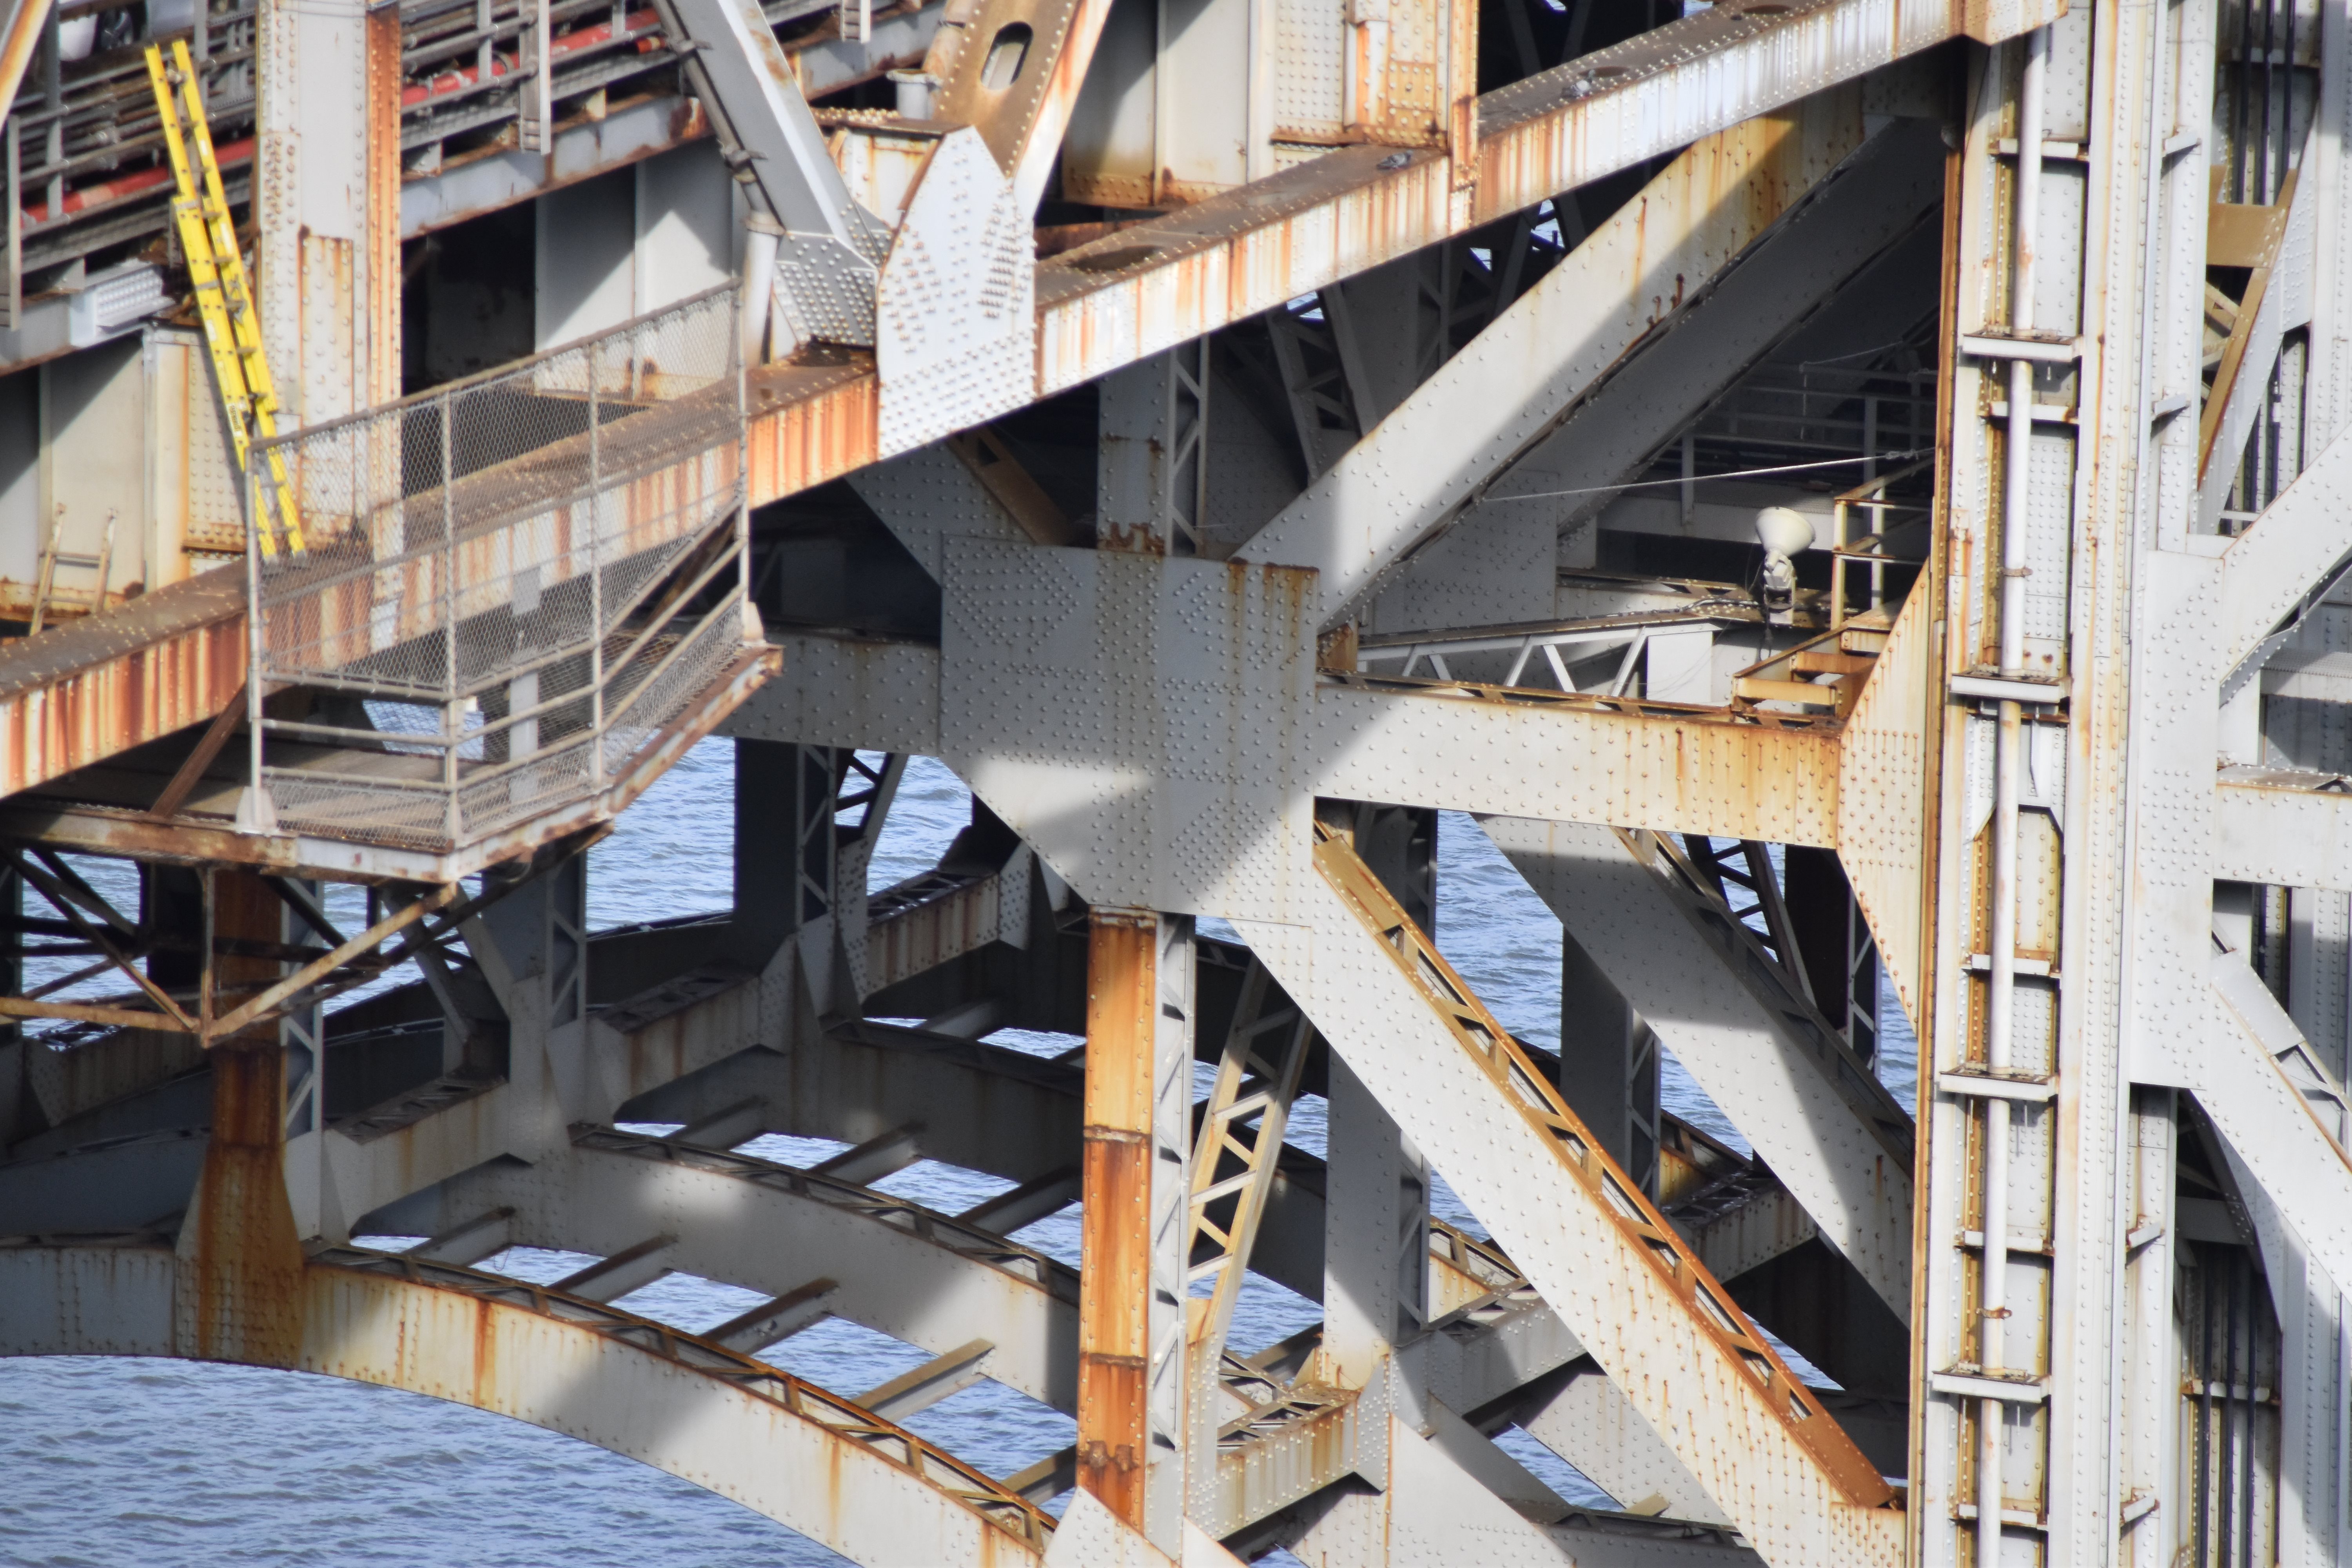
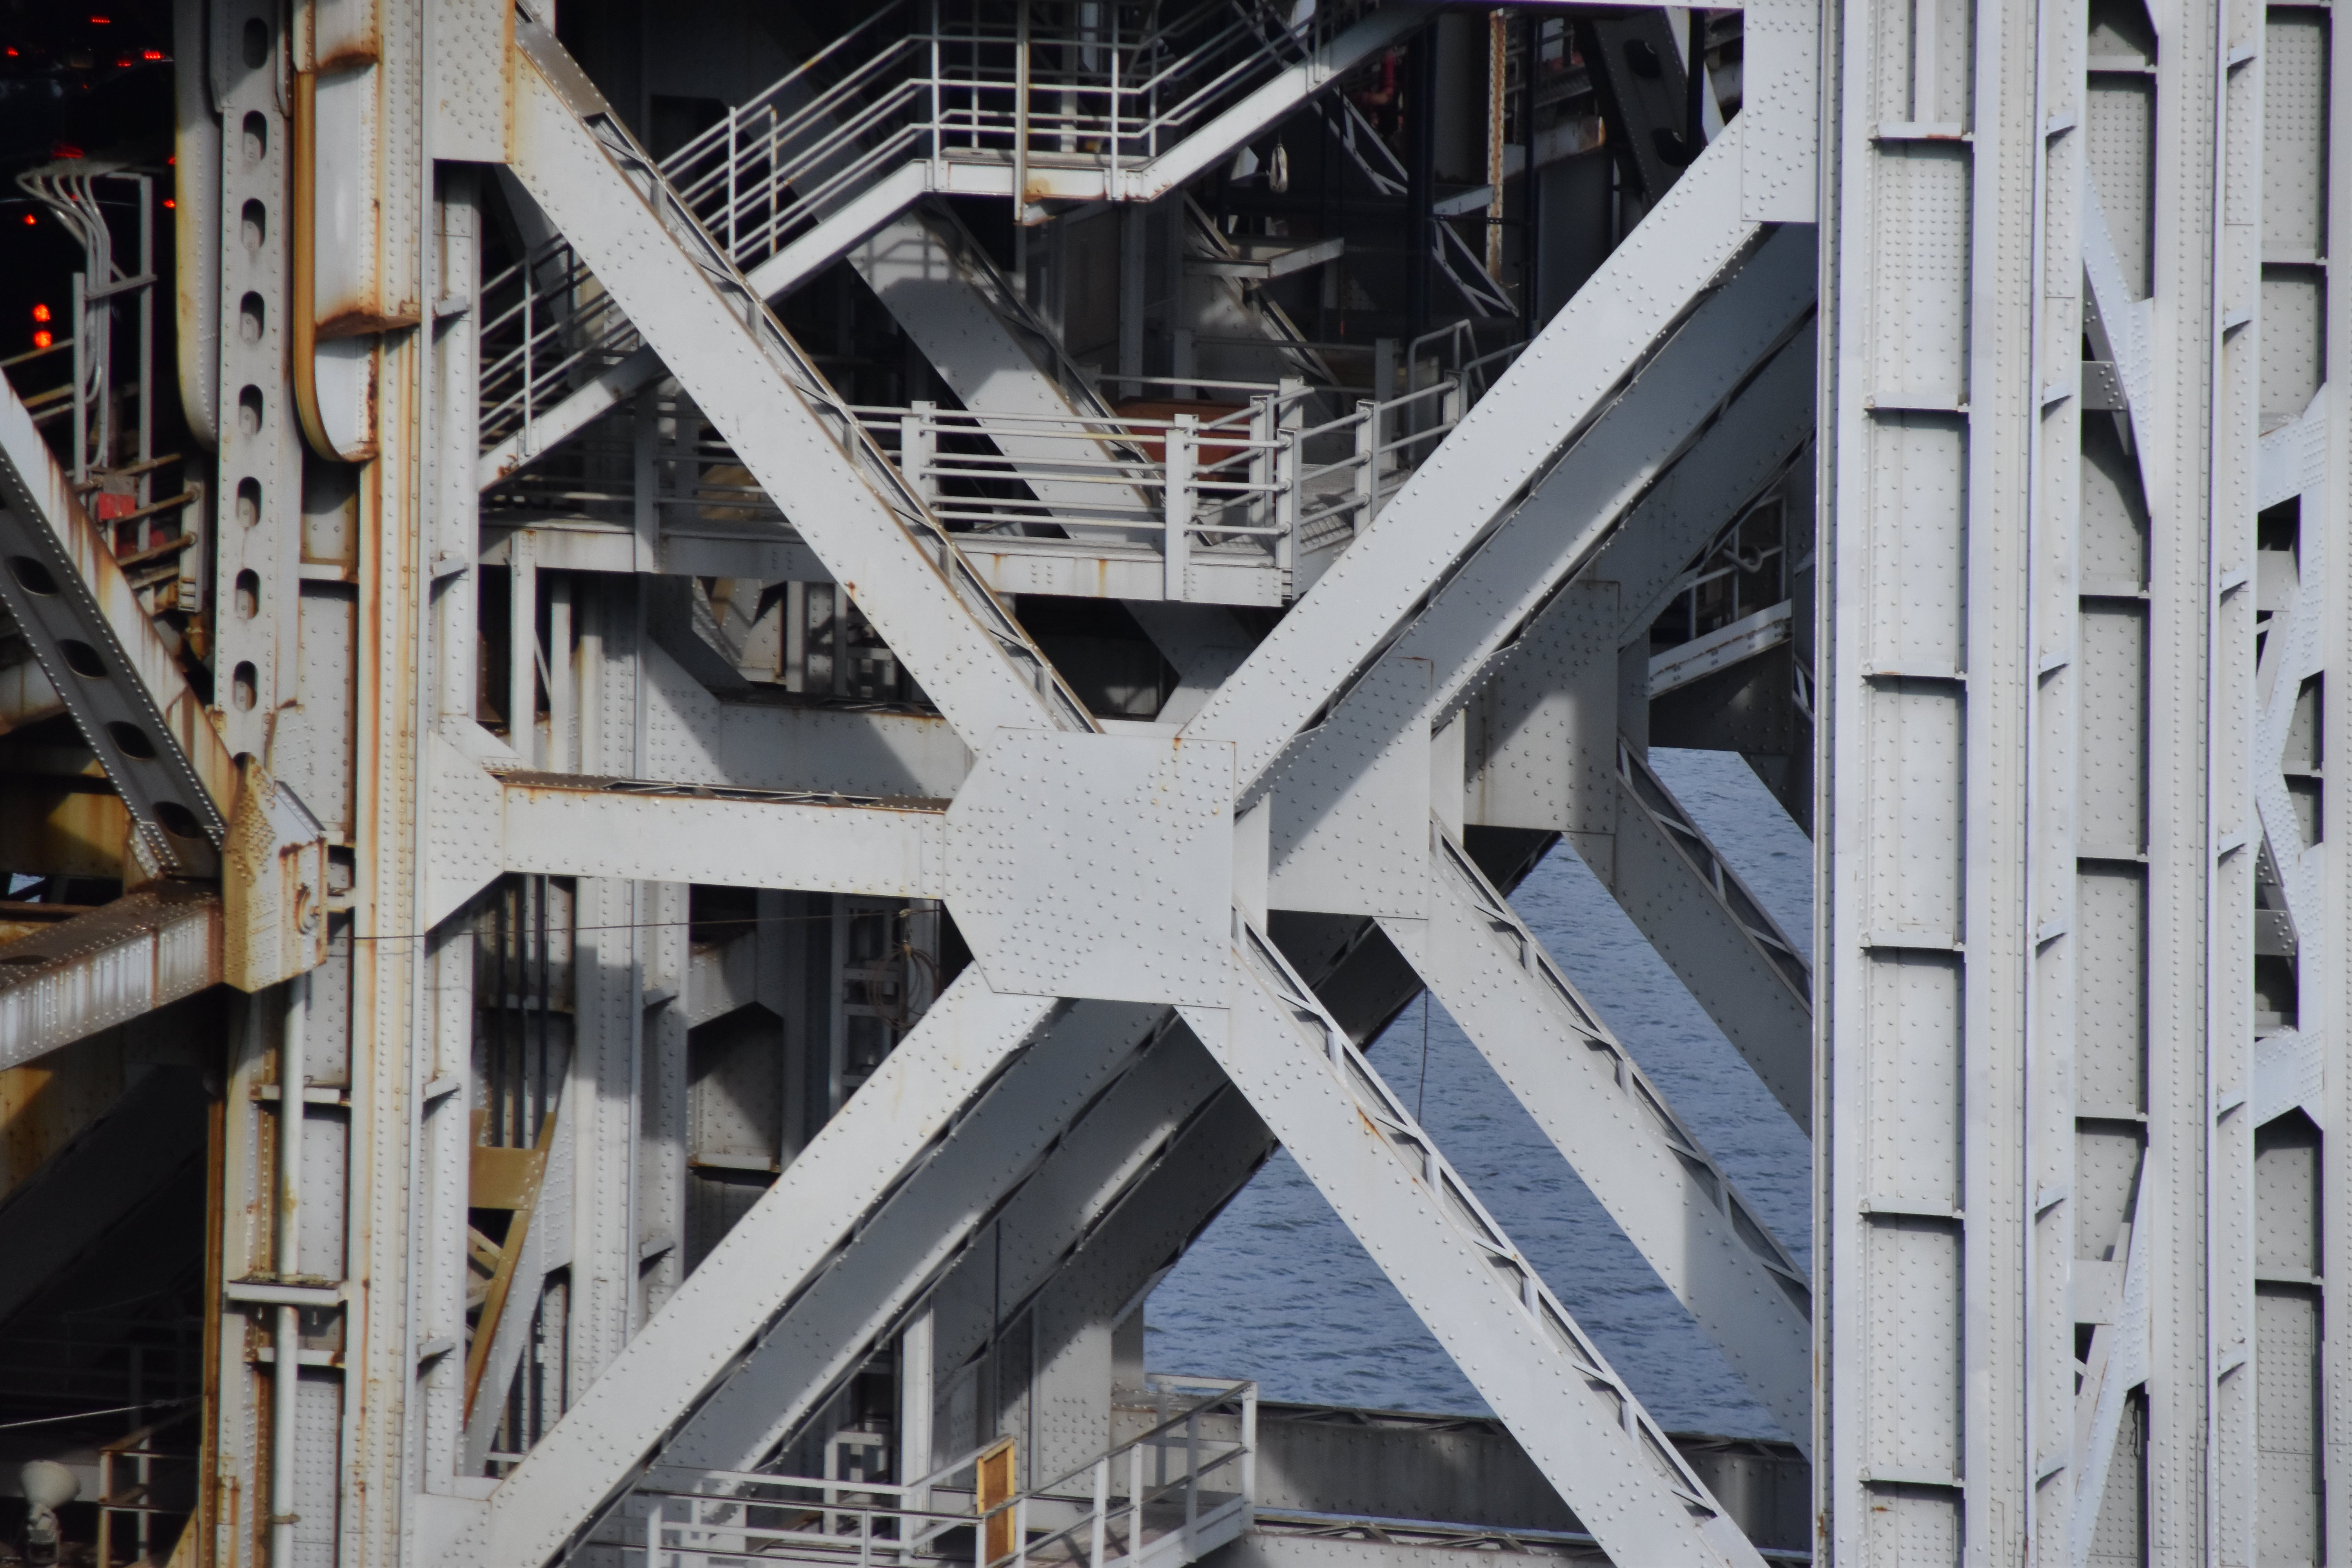
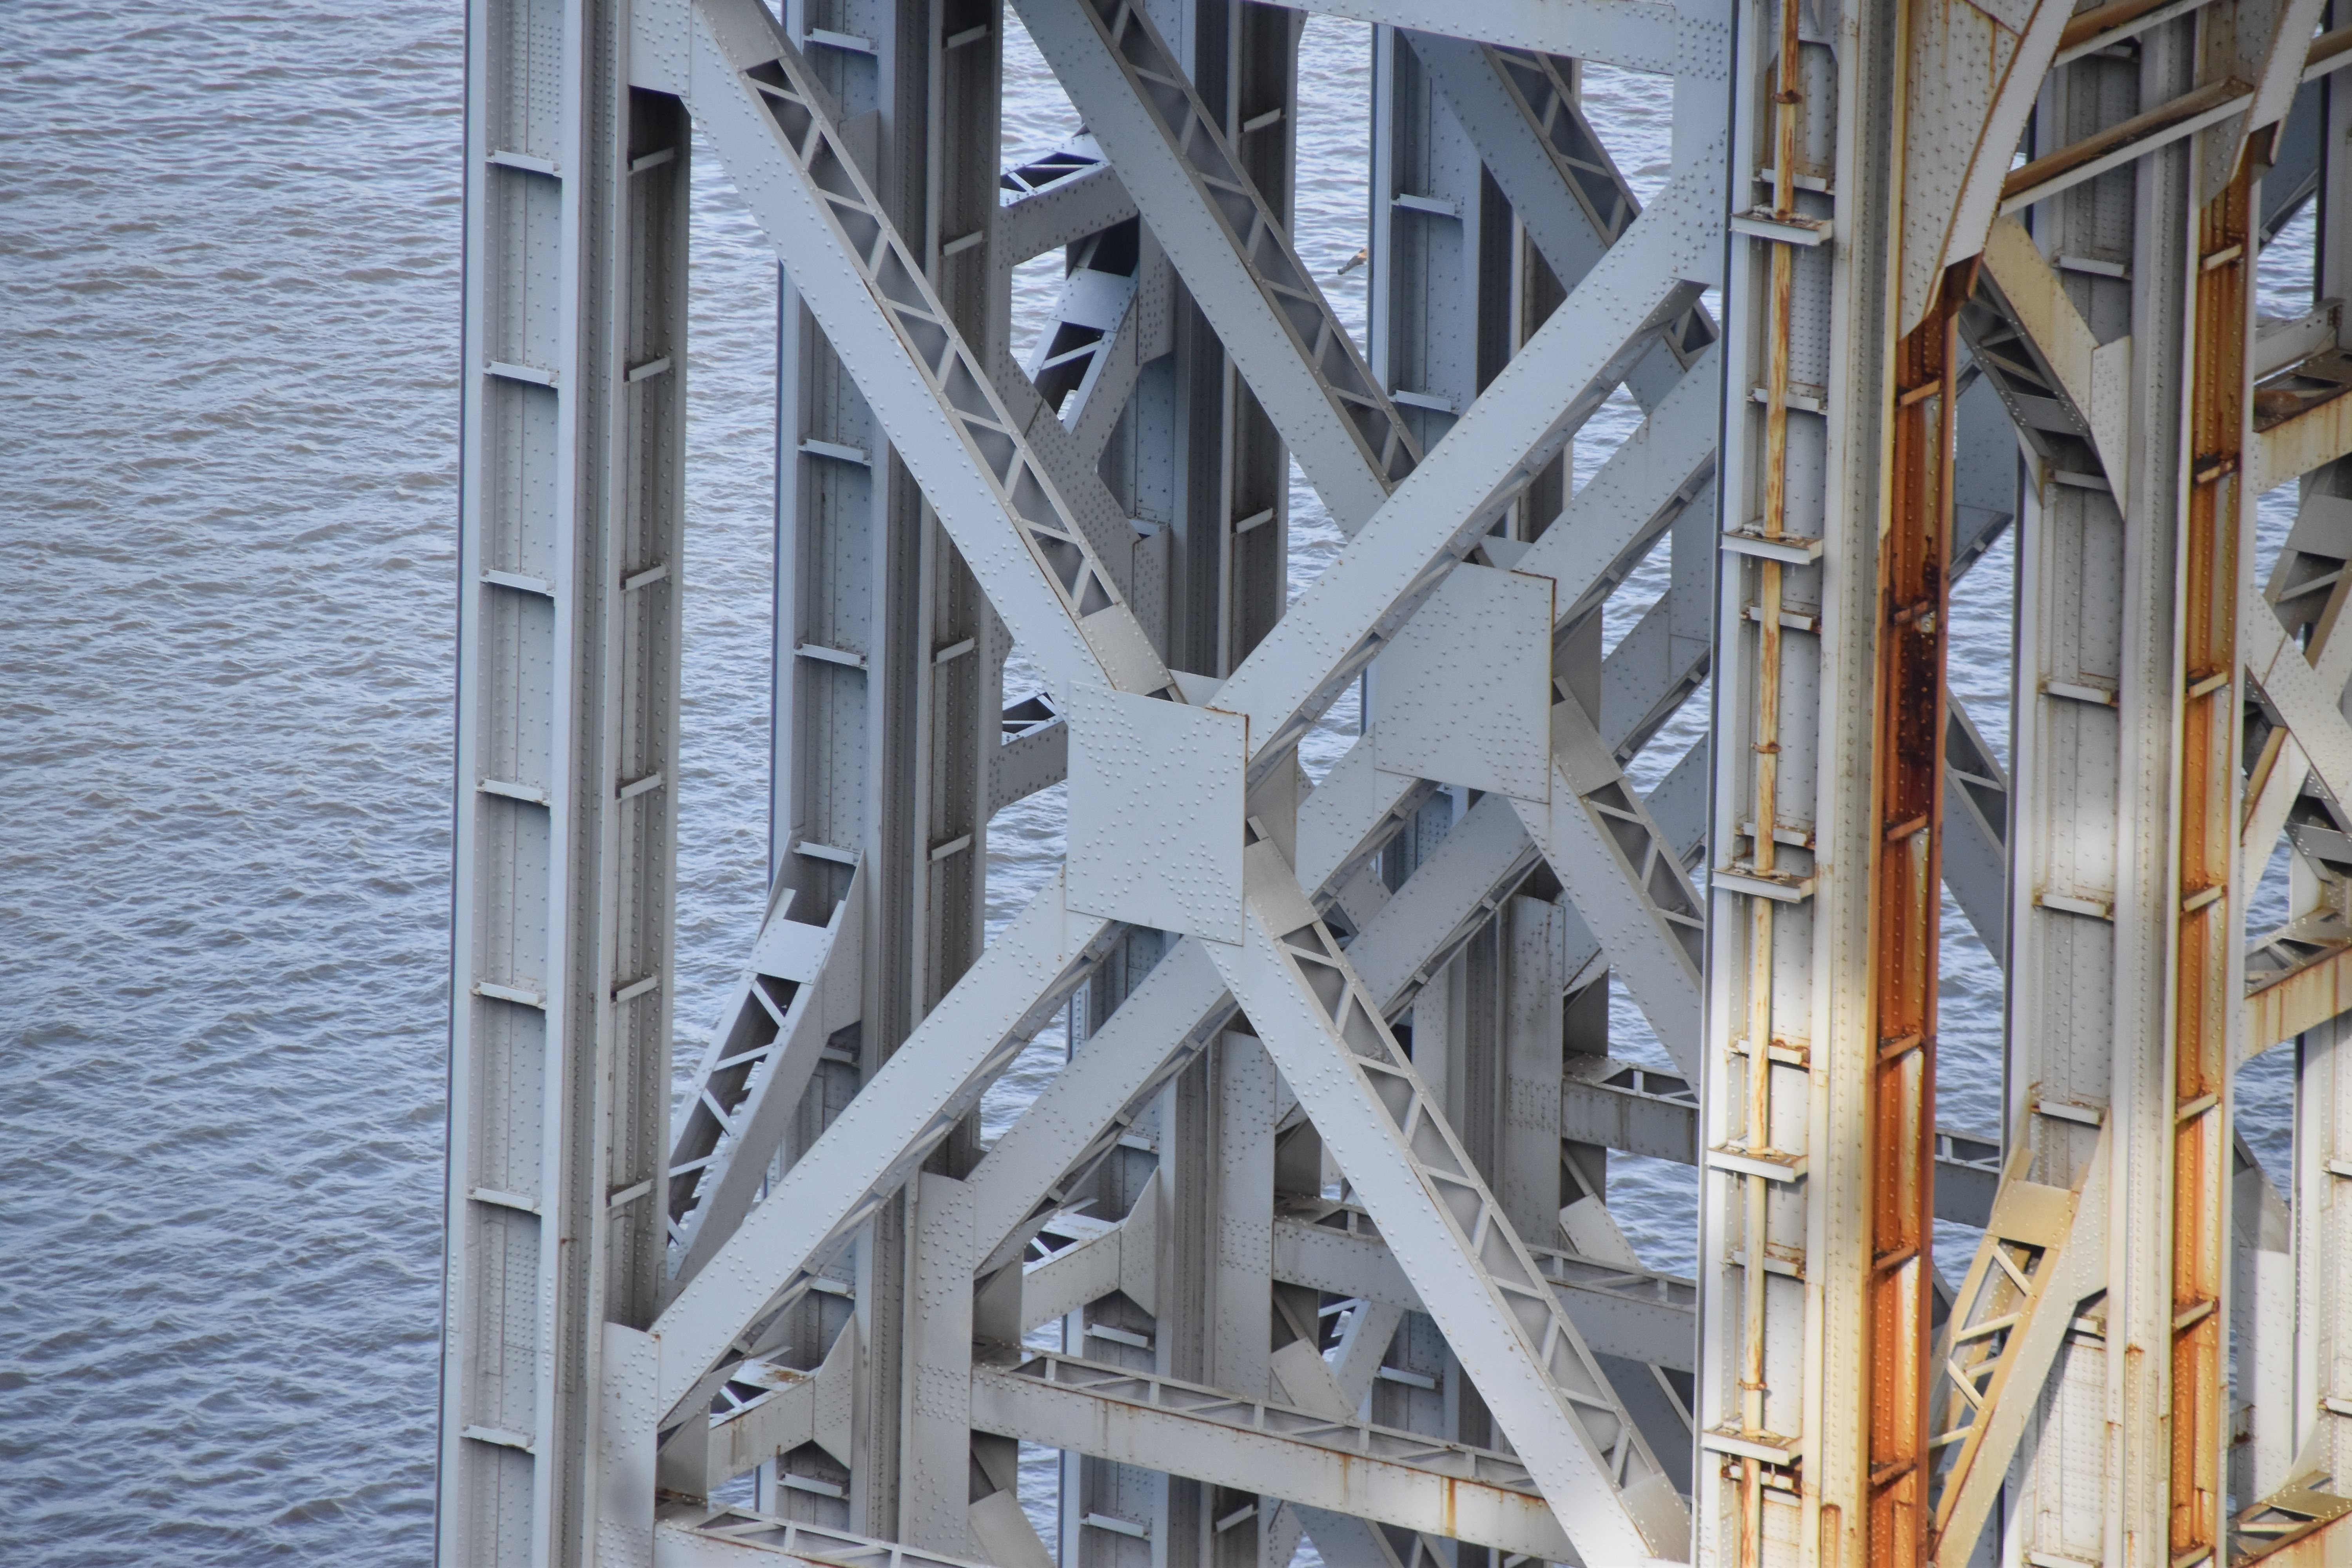
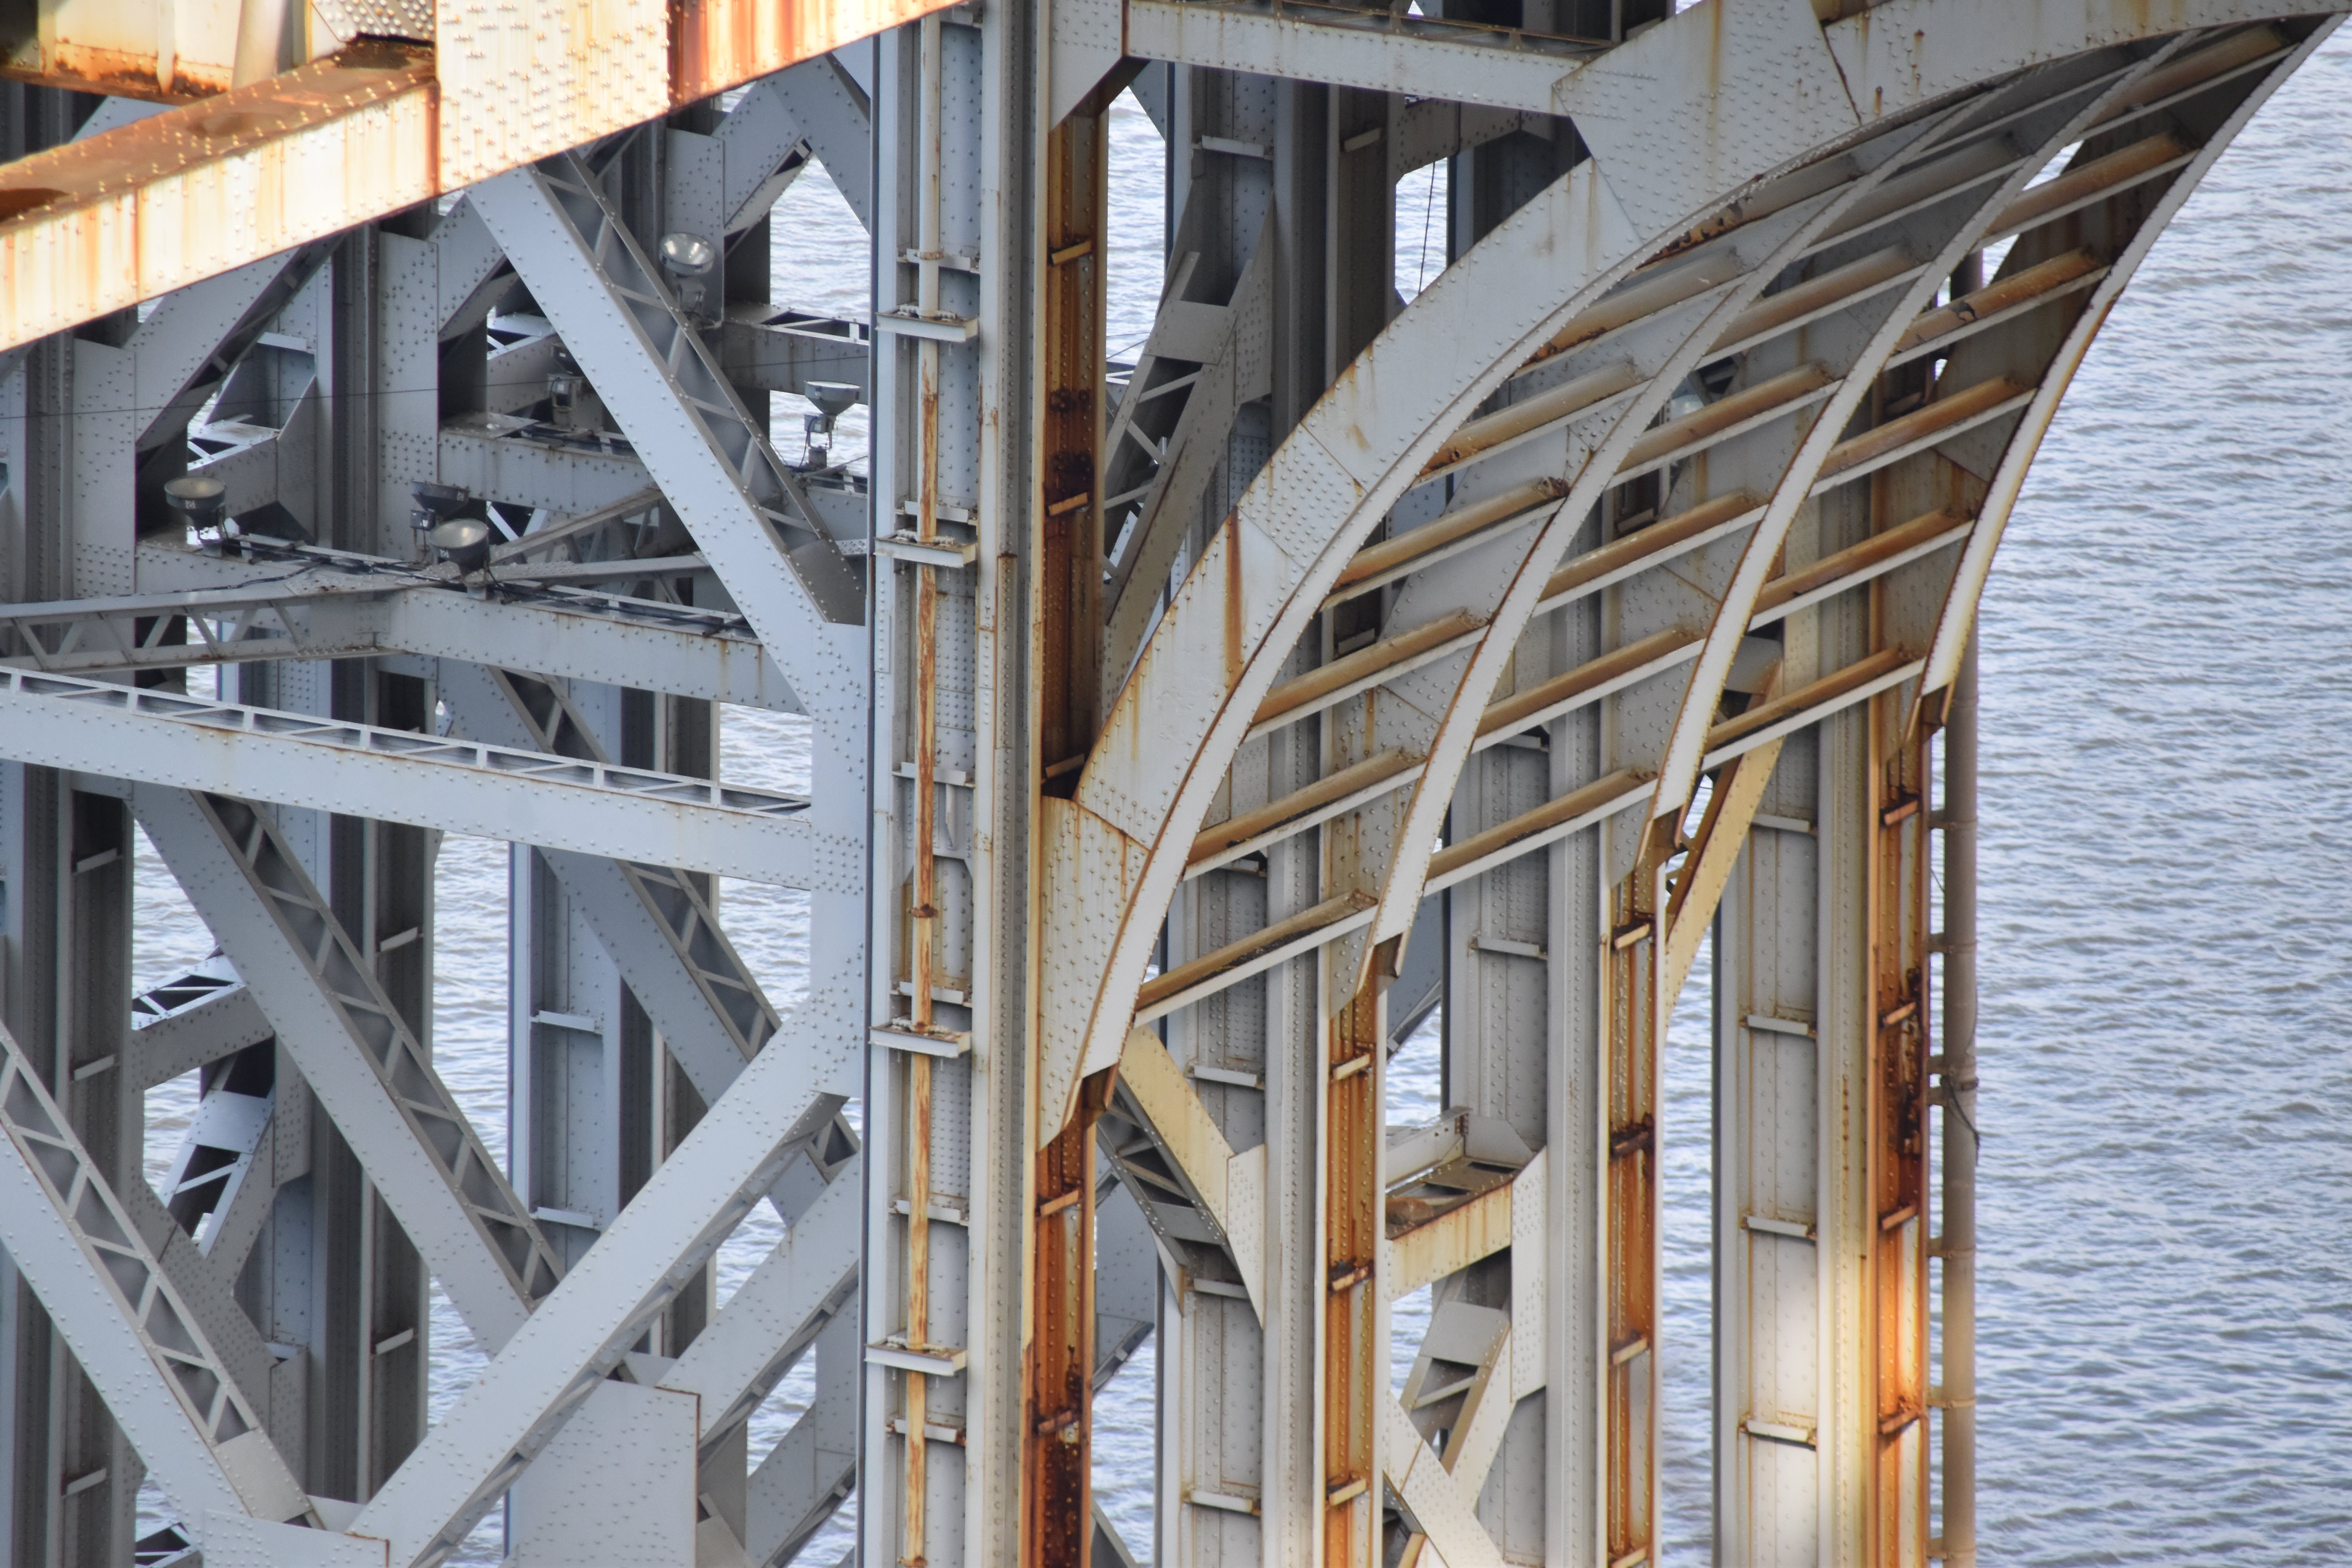
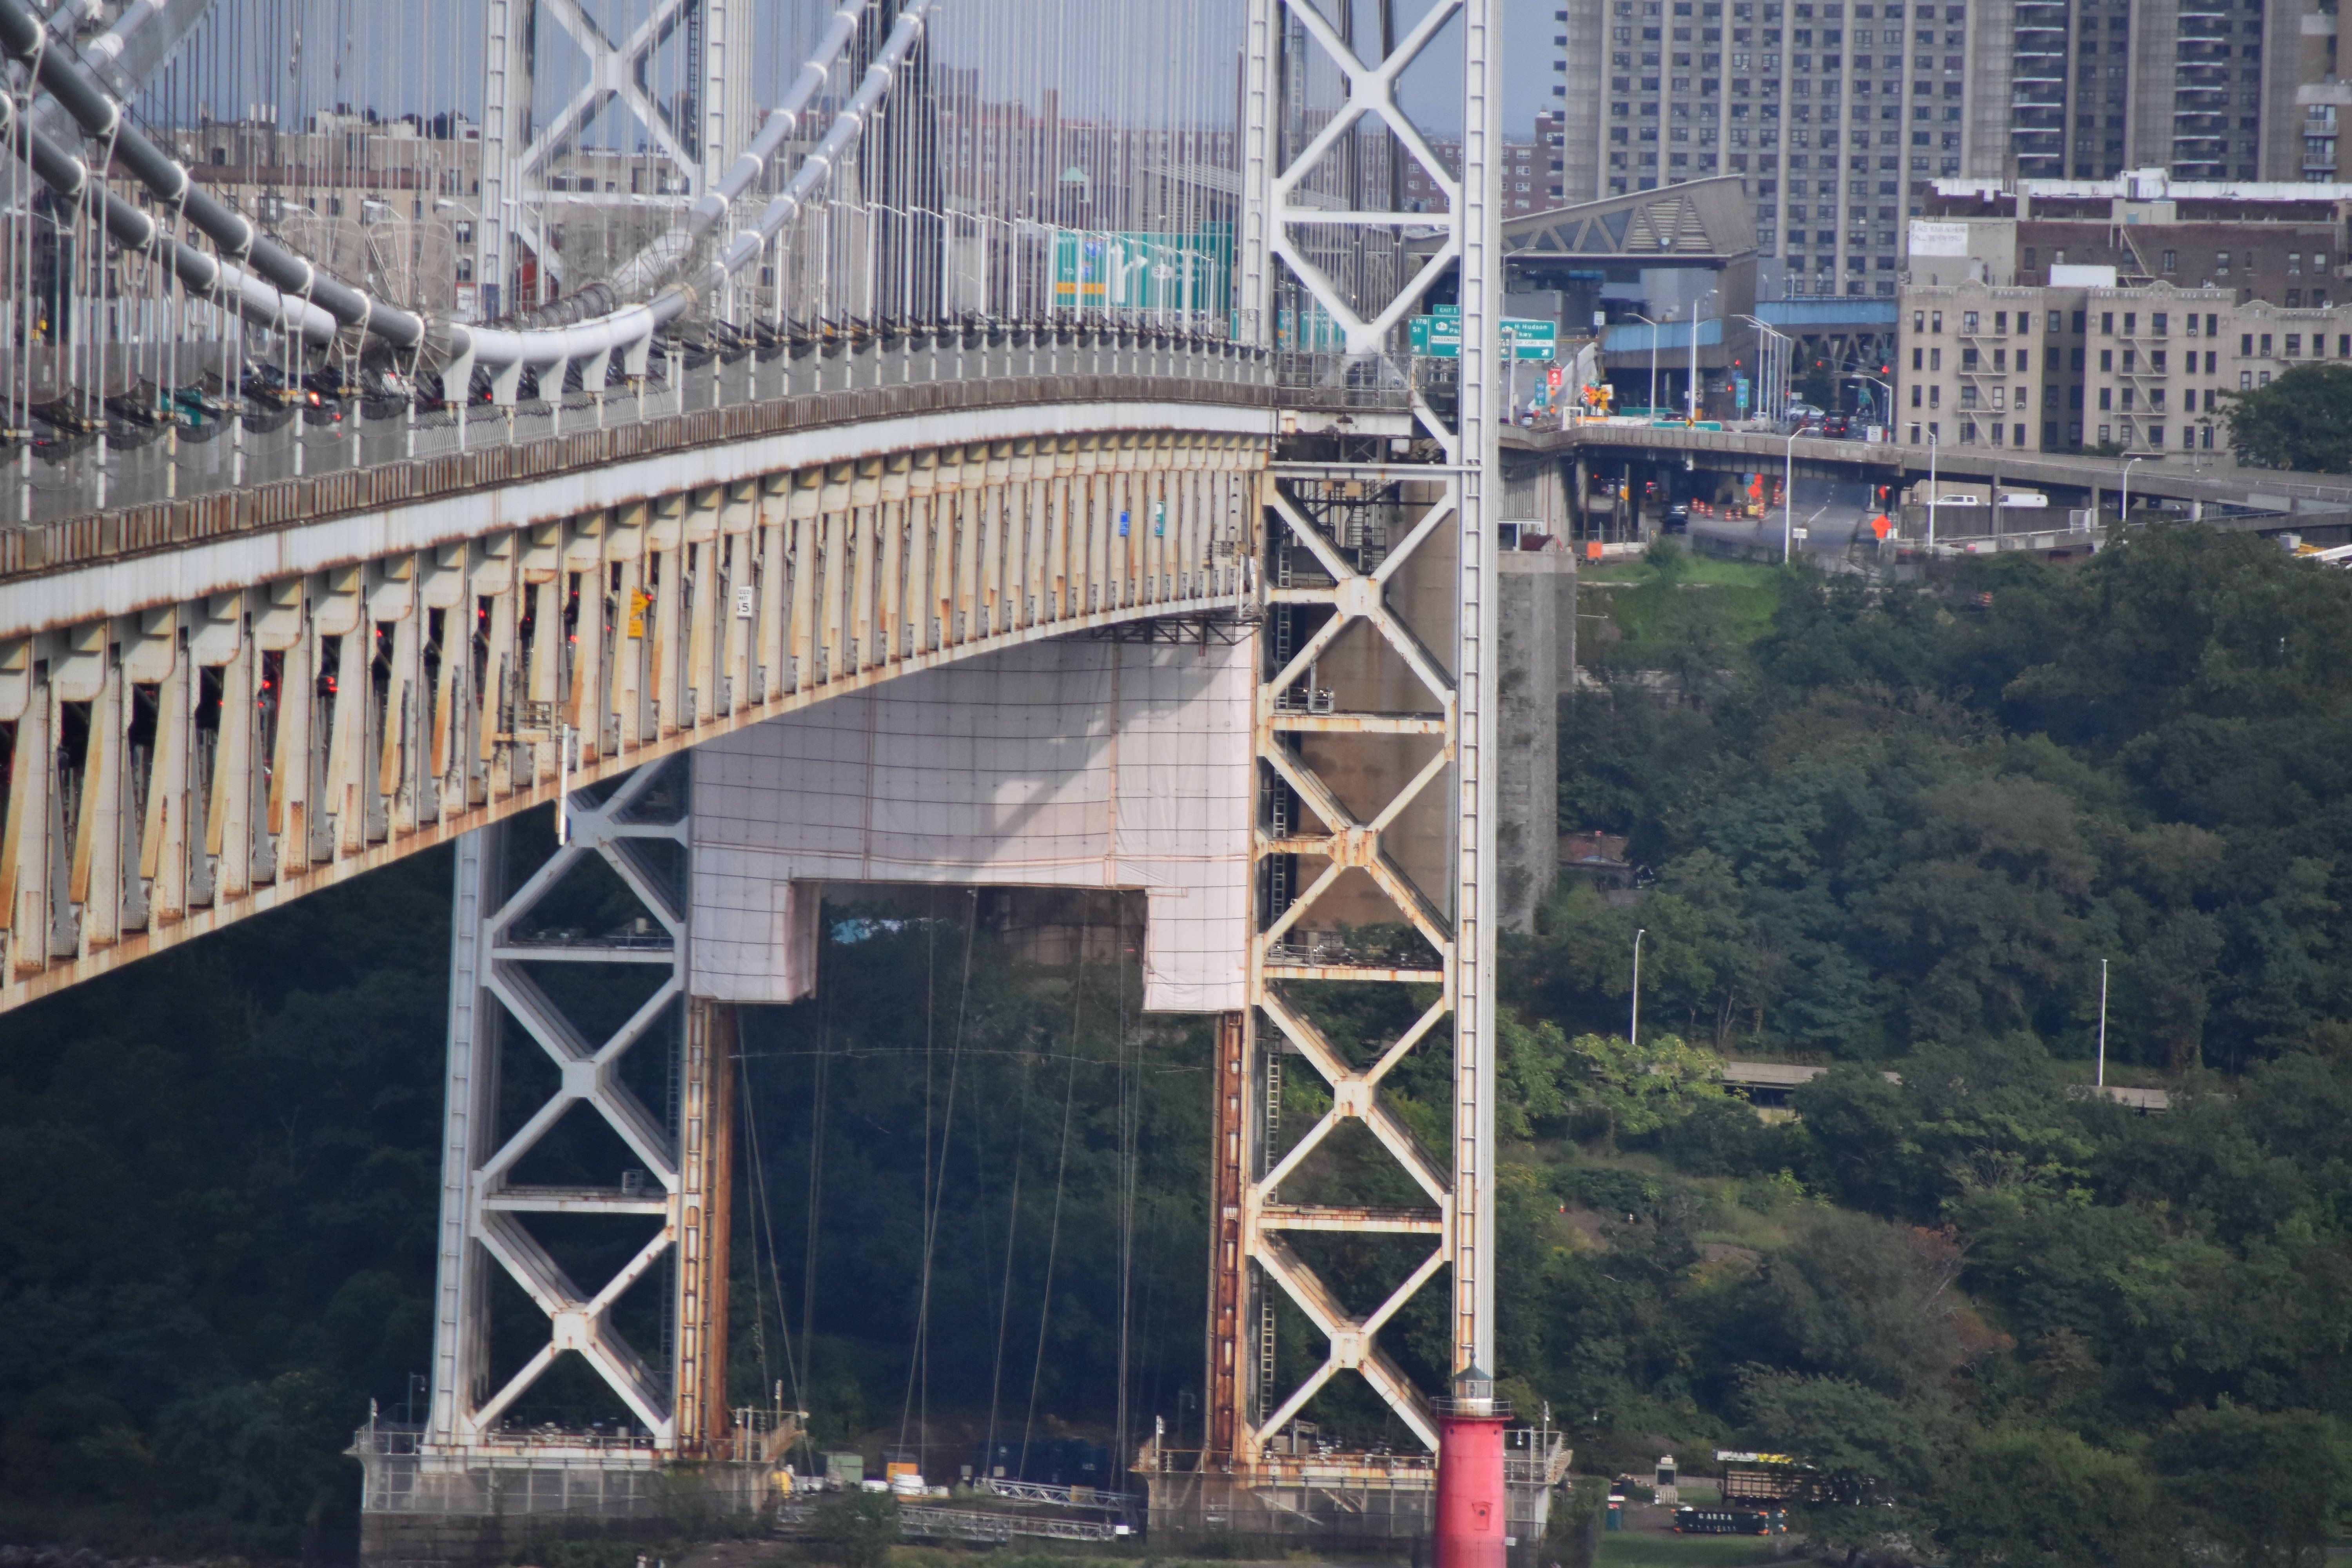
Zoomed views beside bridge from southwest quadrant.
![]()
![]()

![]()

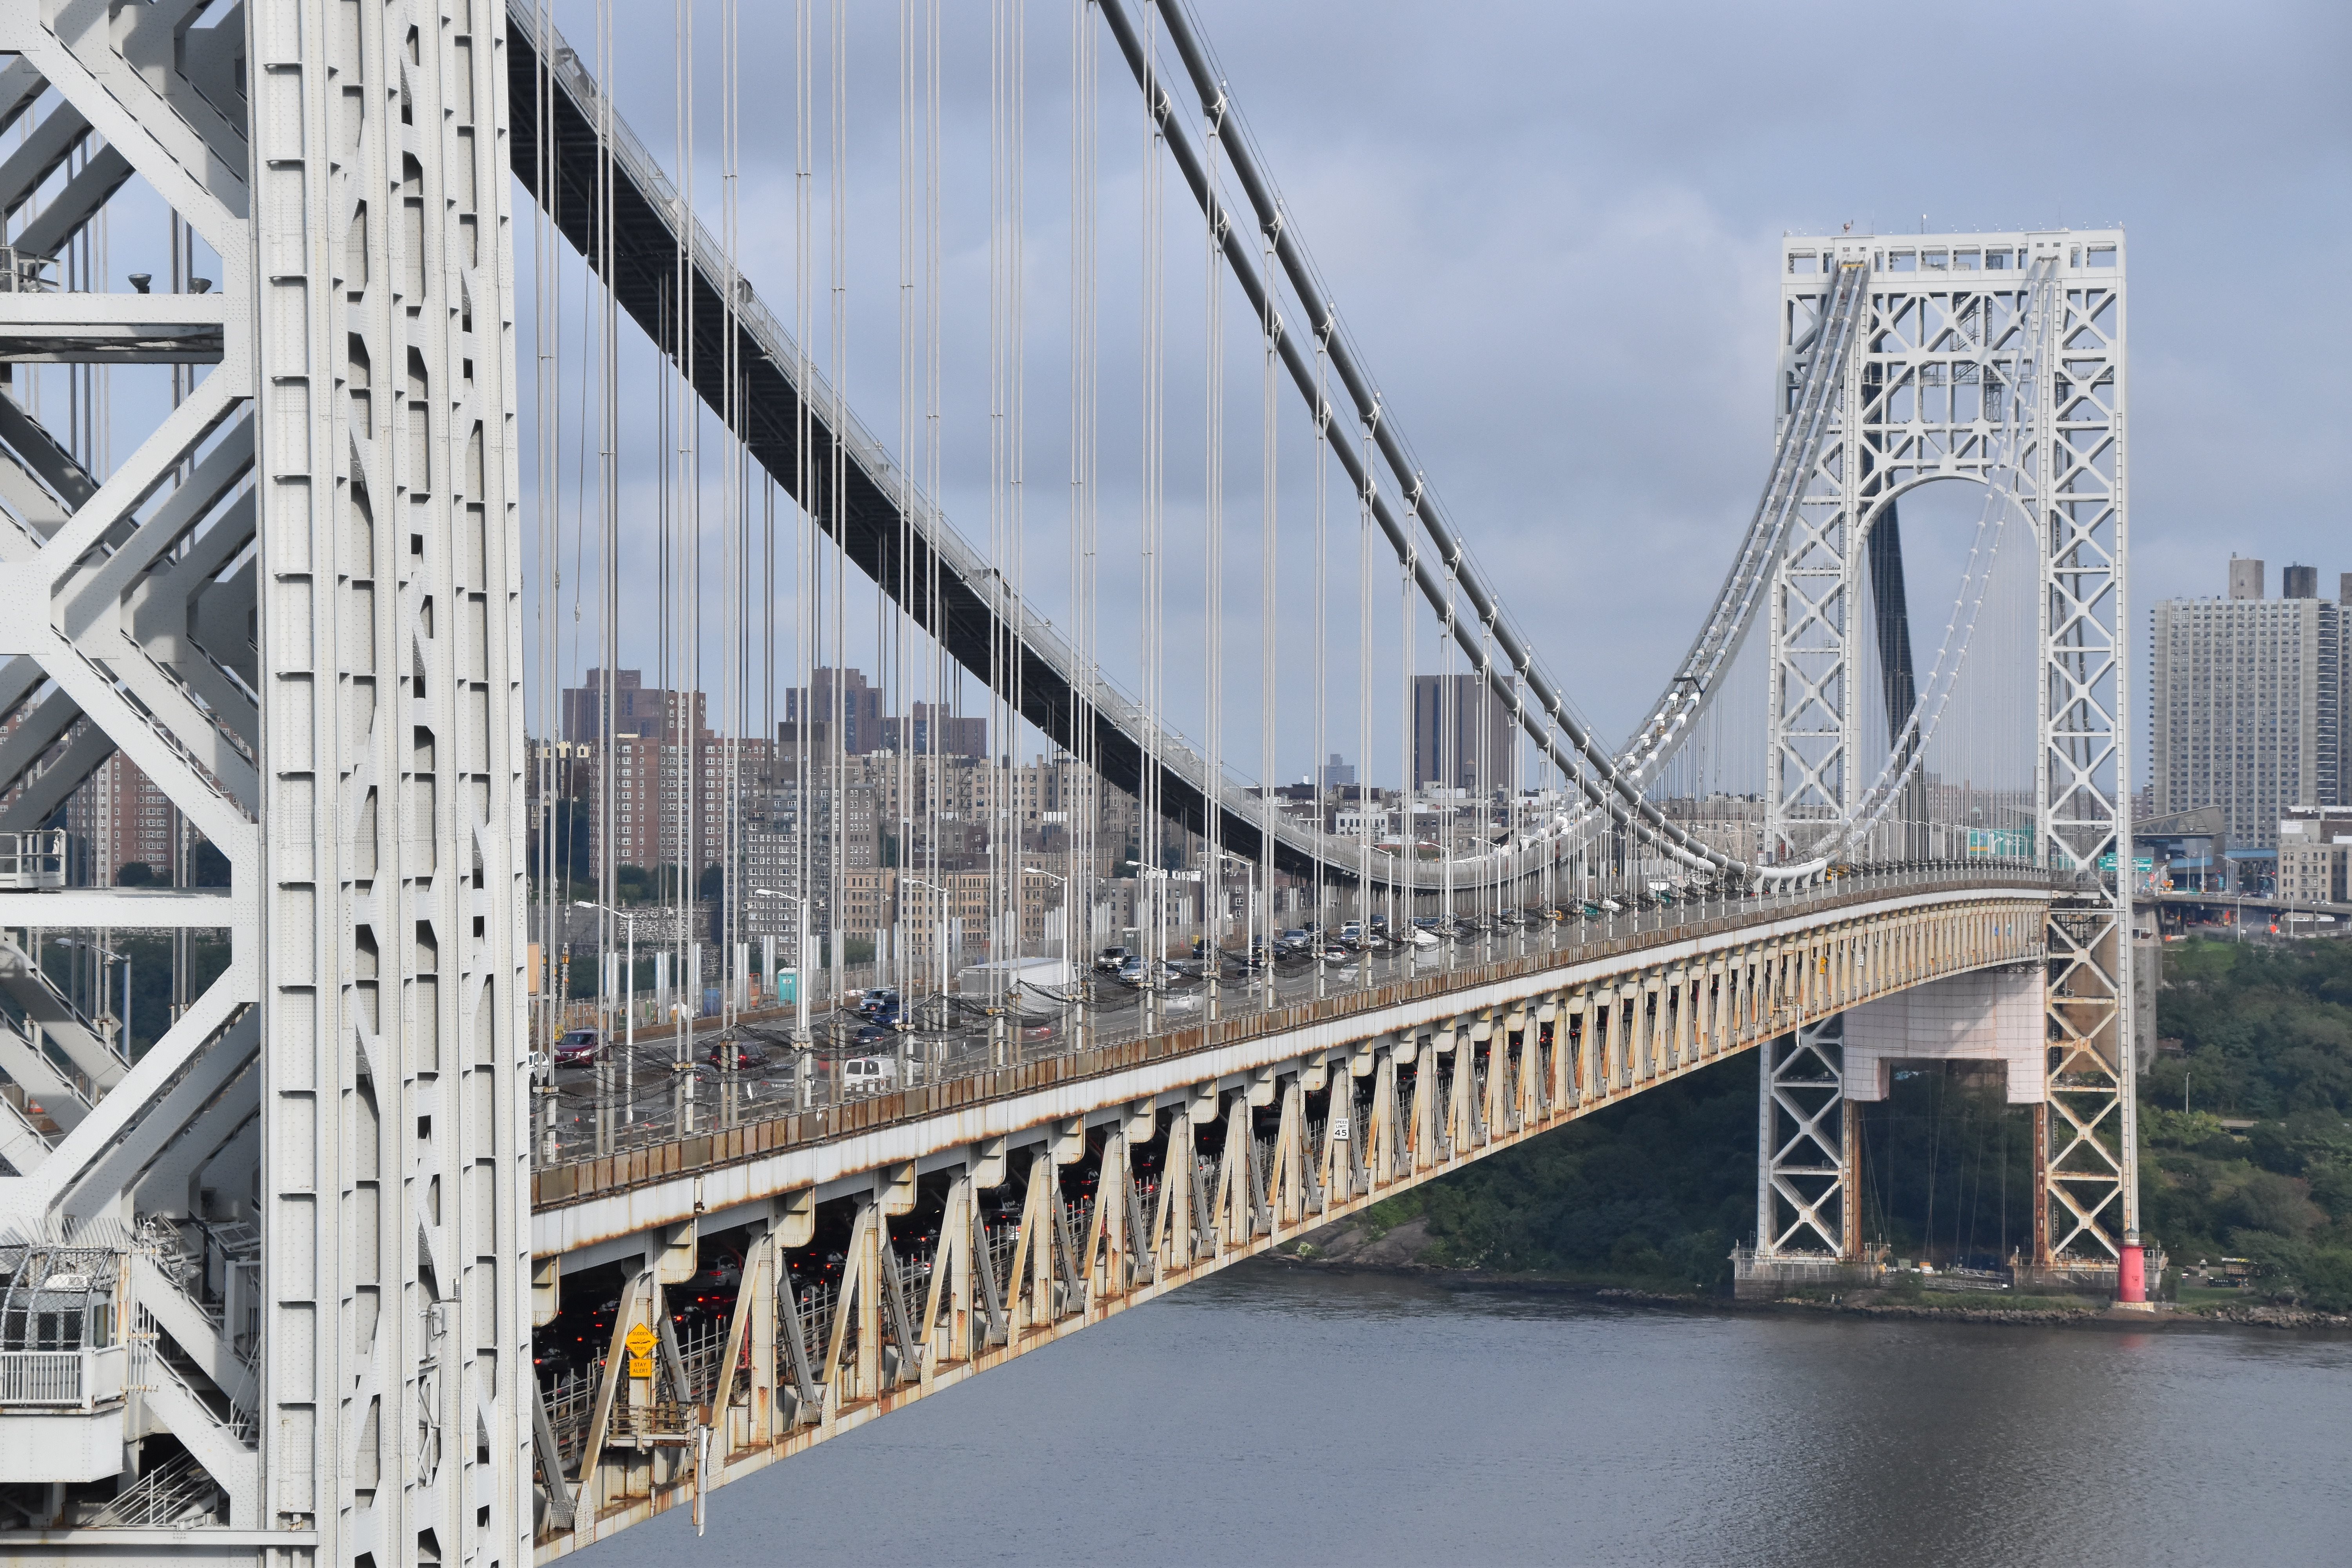
Panoramic views beside bridge from southwest quadrant.
![]()


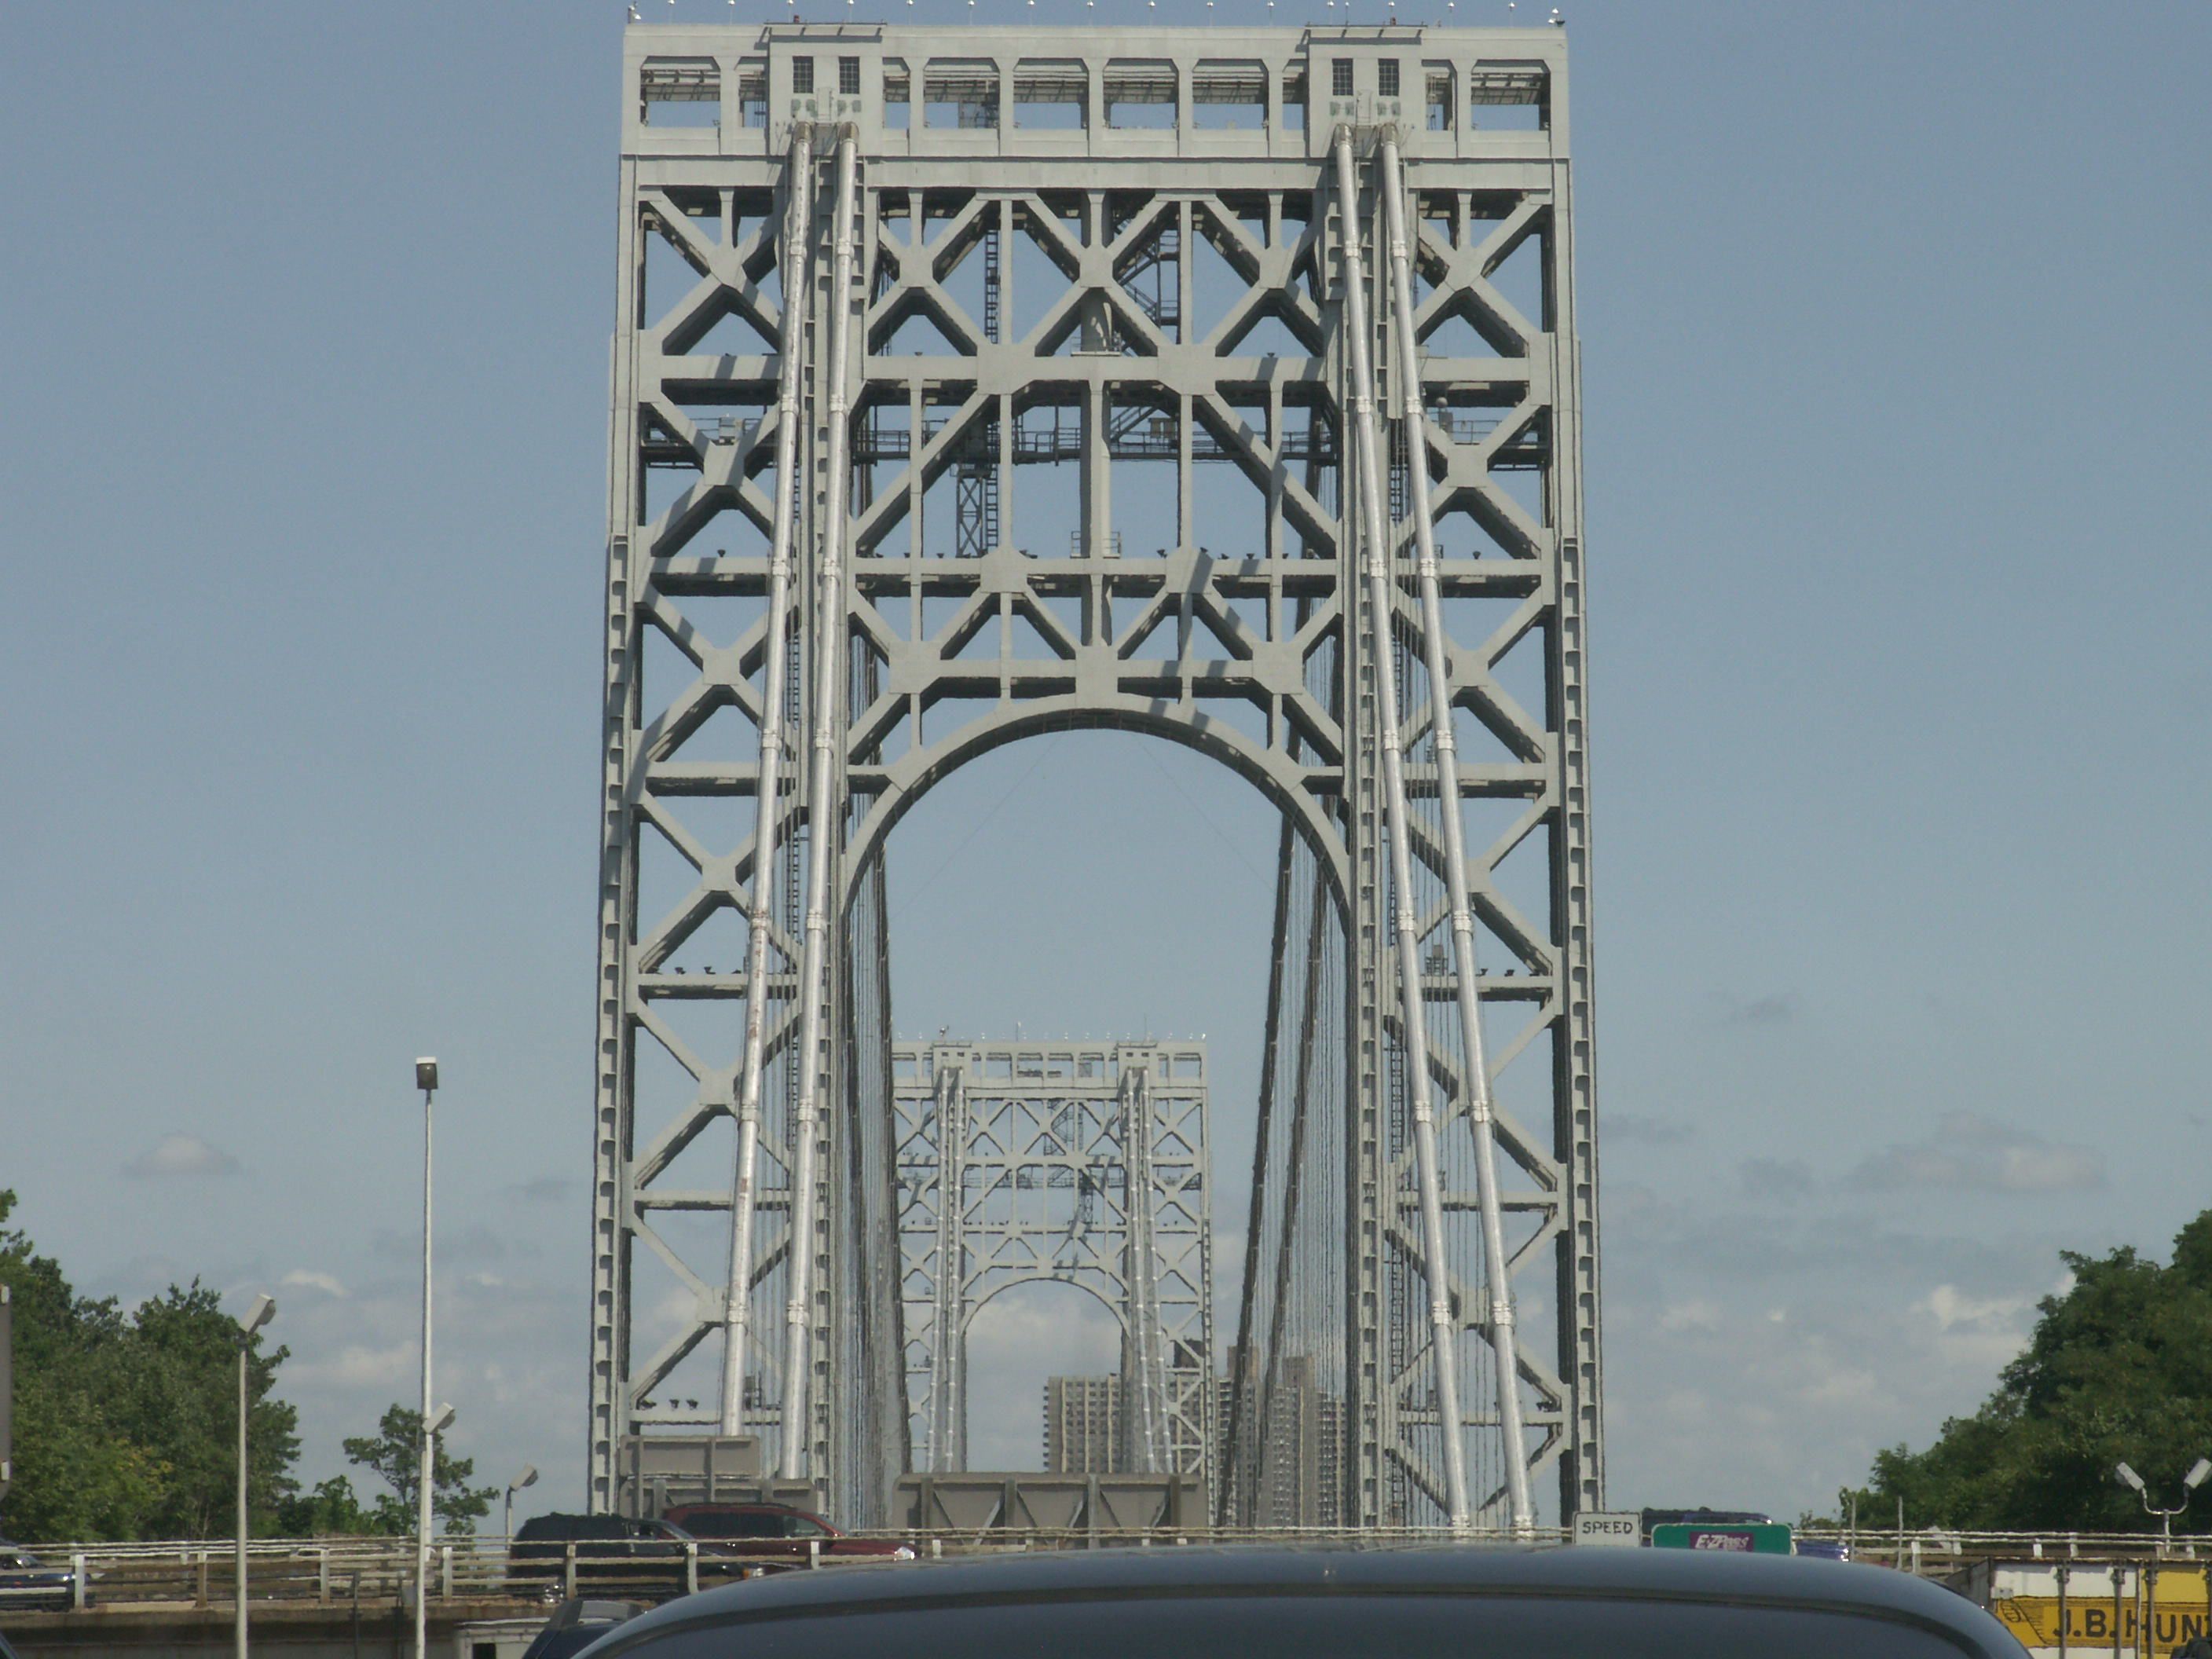
Portal views approaching bridge traveling eastbound.
![]()


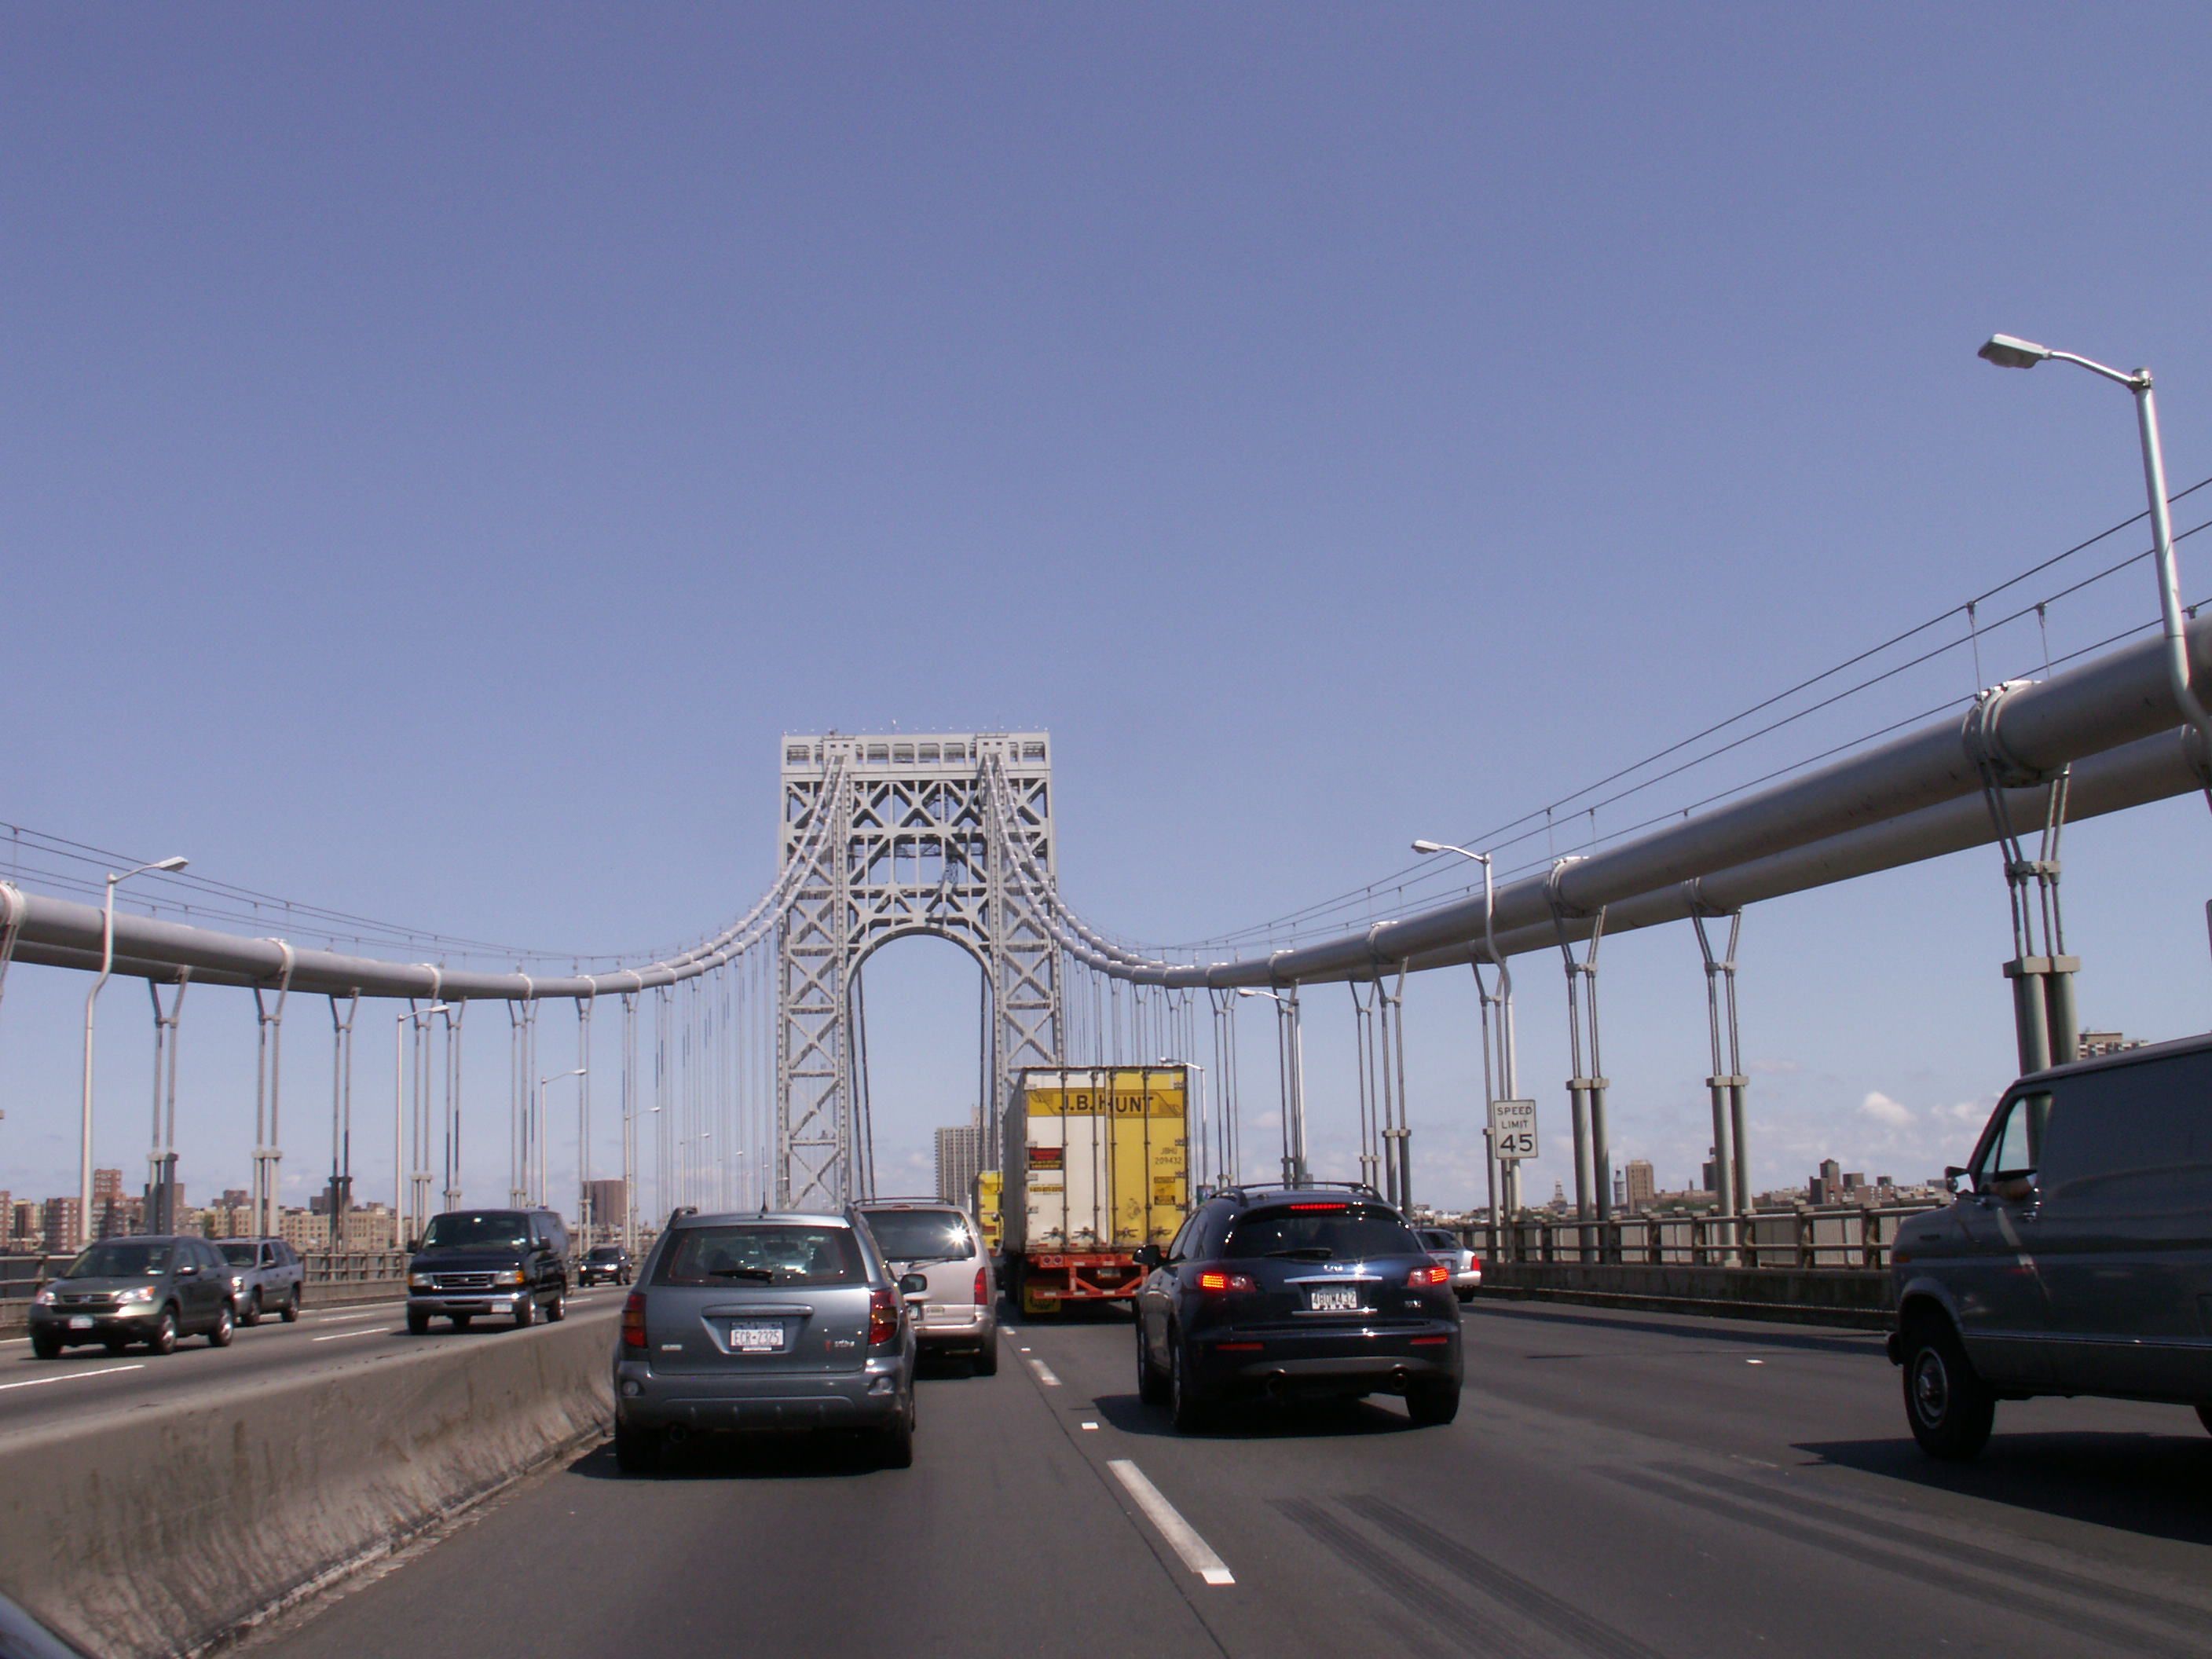
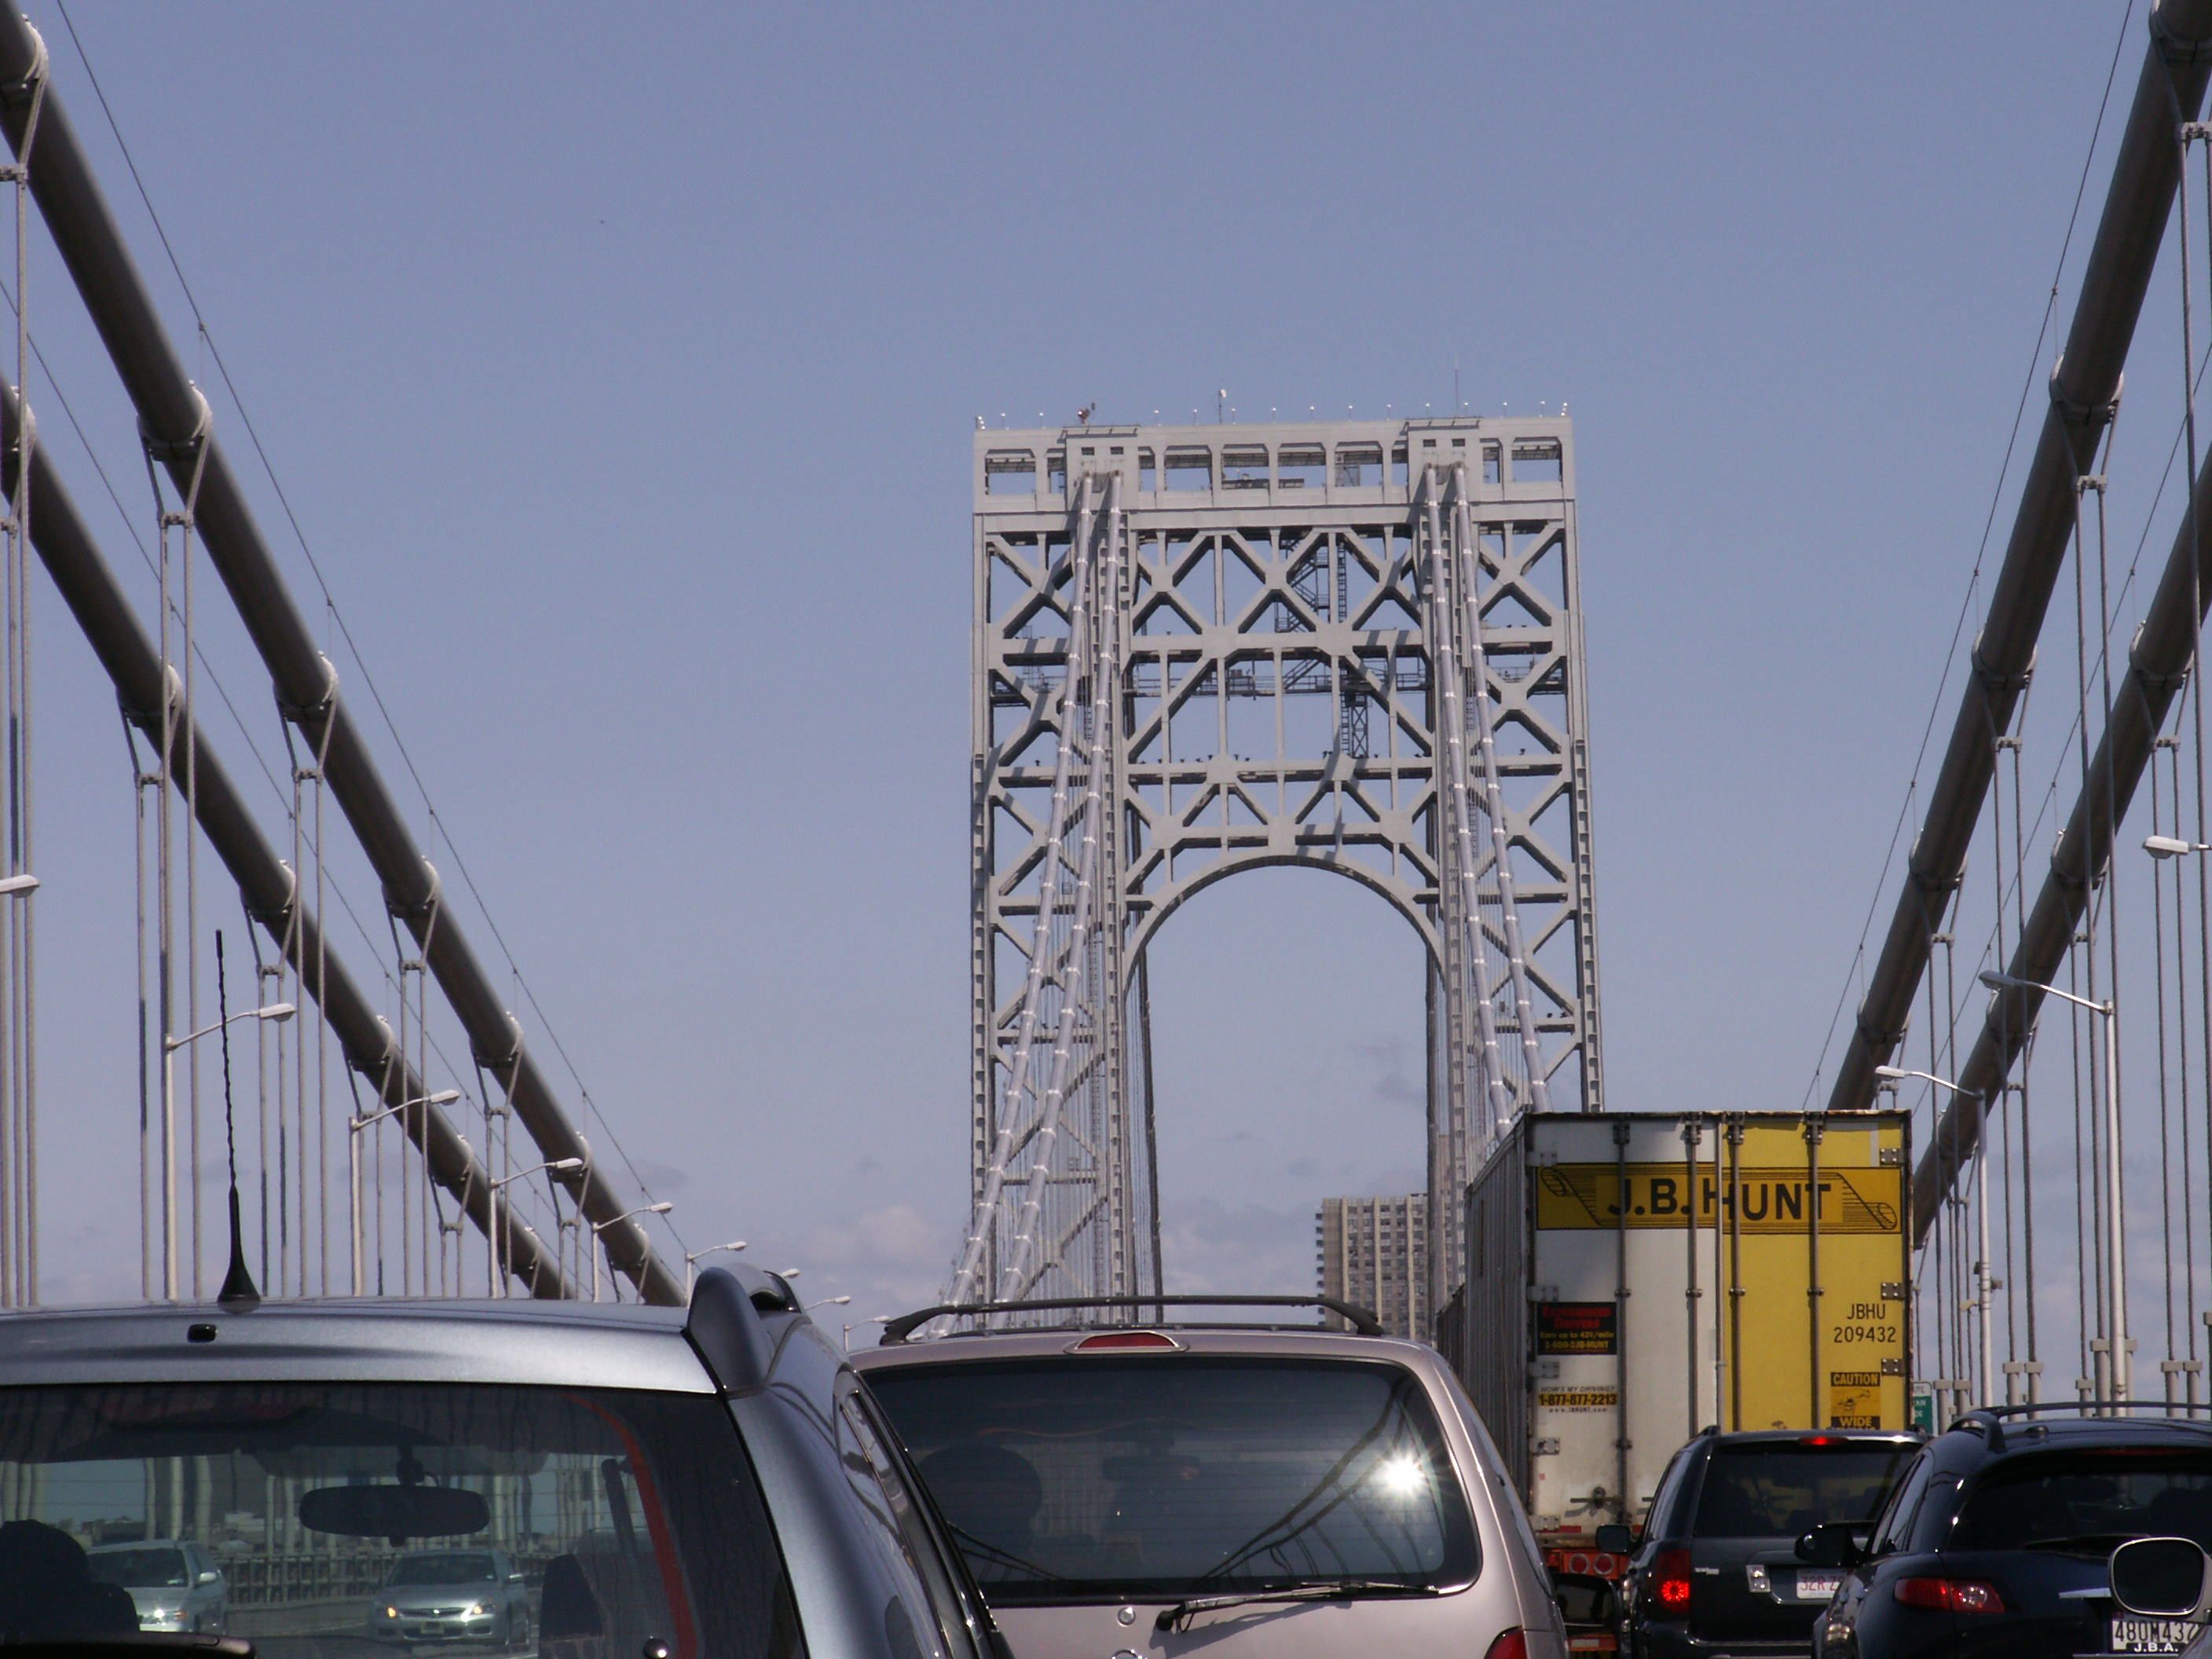
Portal views facing eastbound on main span.
![]()


Interpretive sign.
![]()
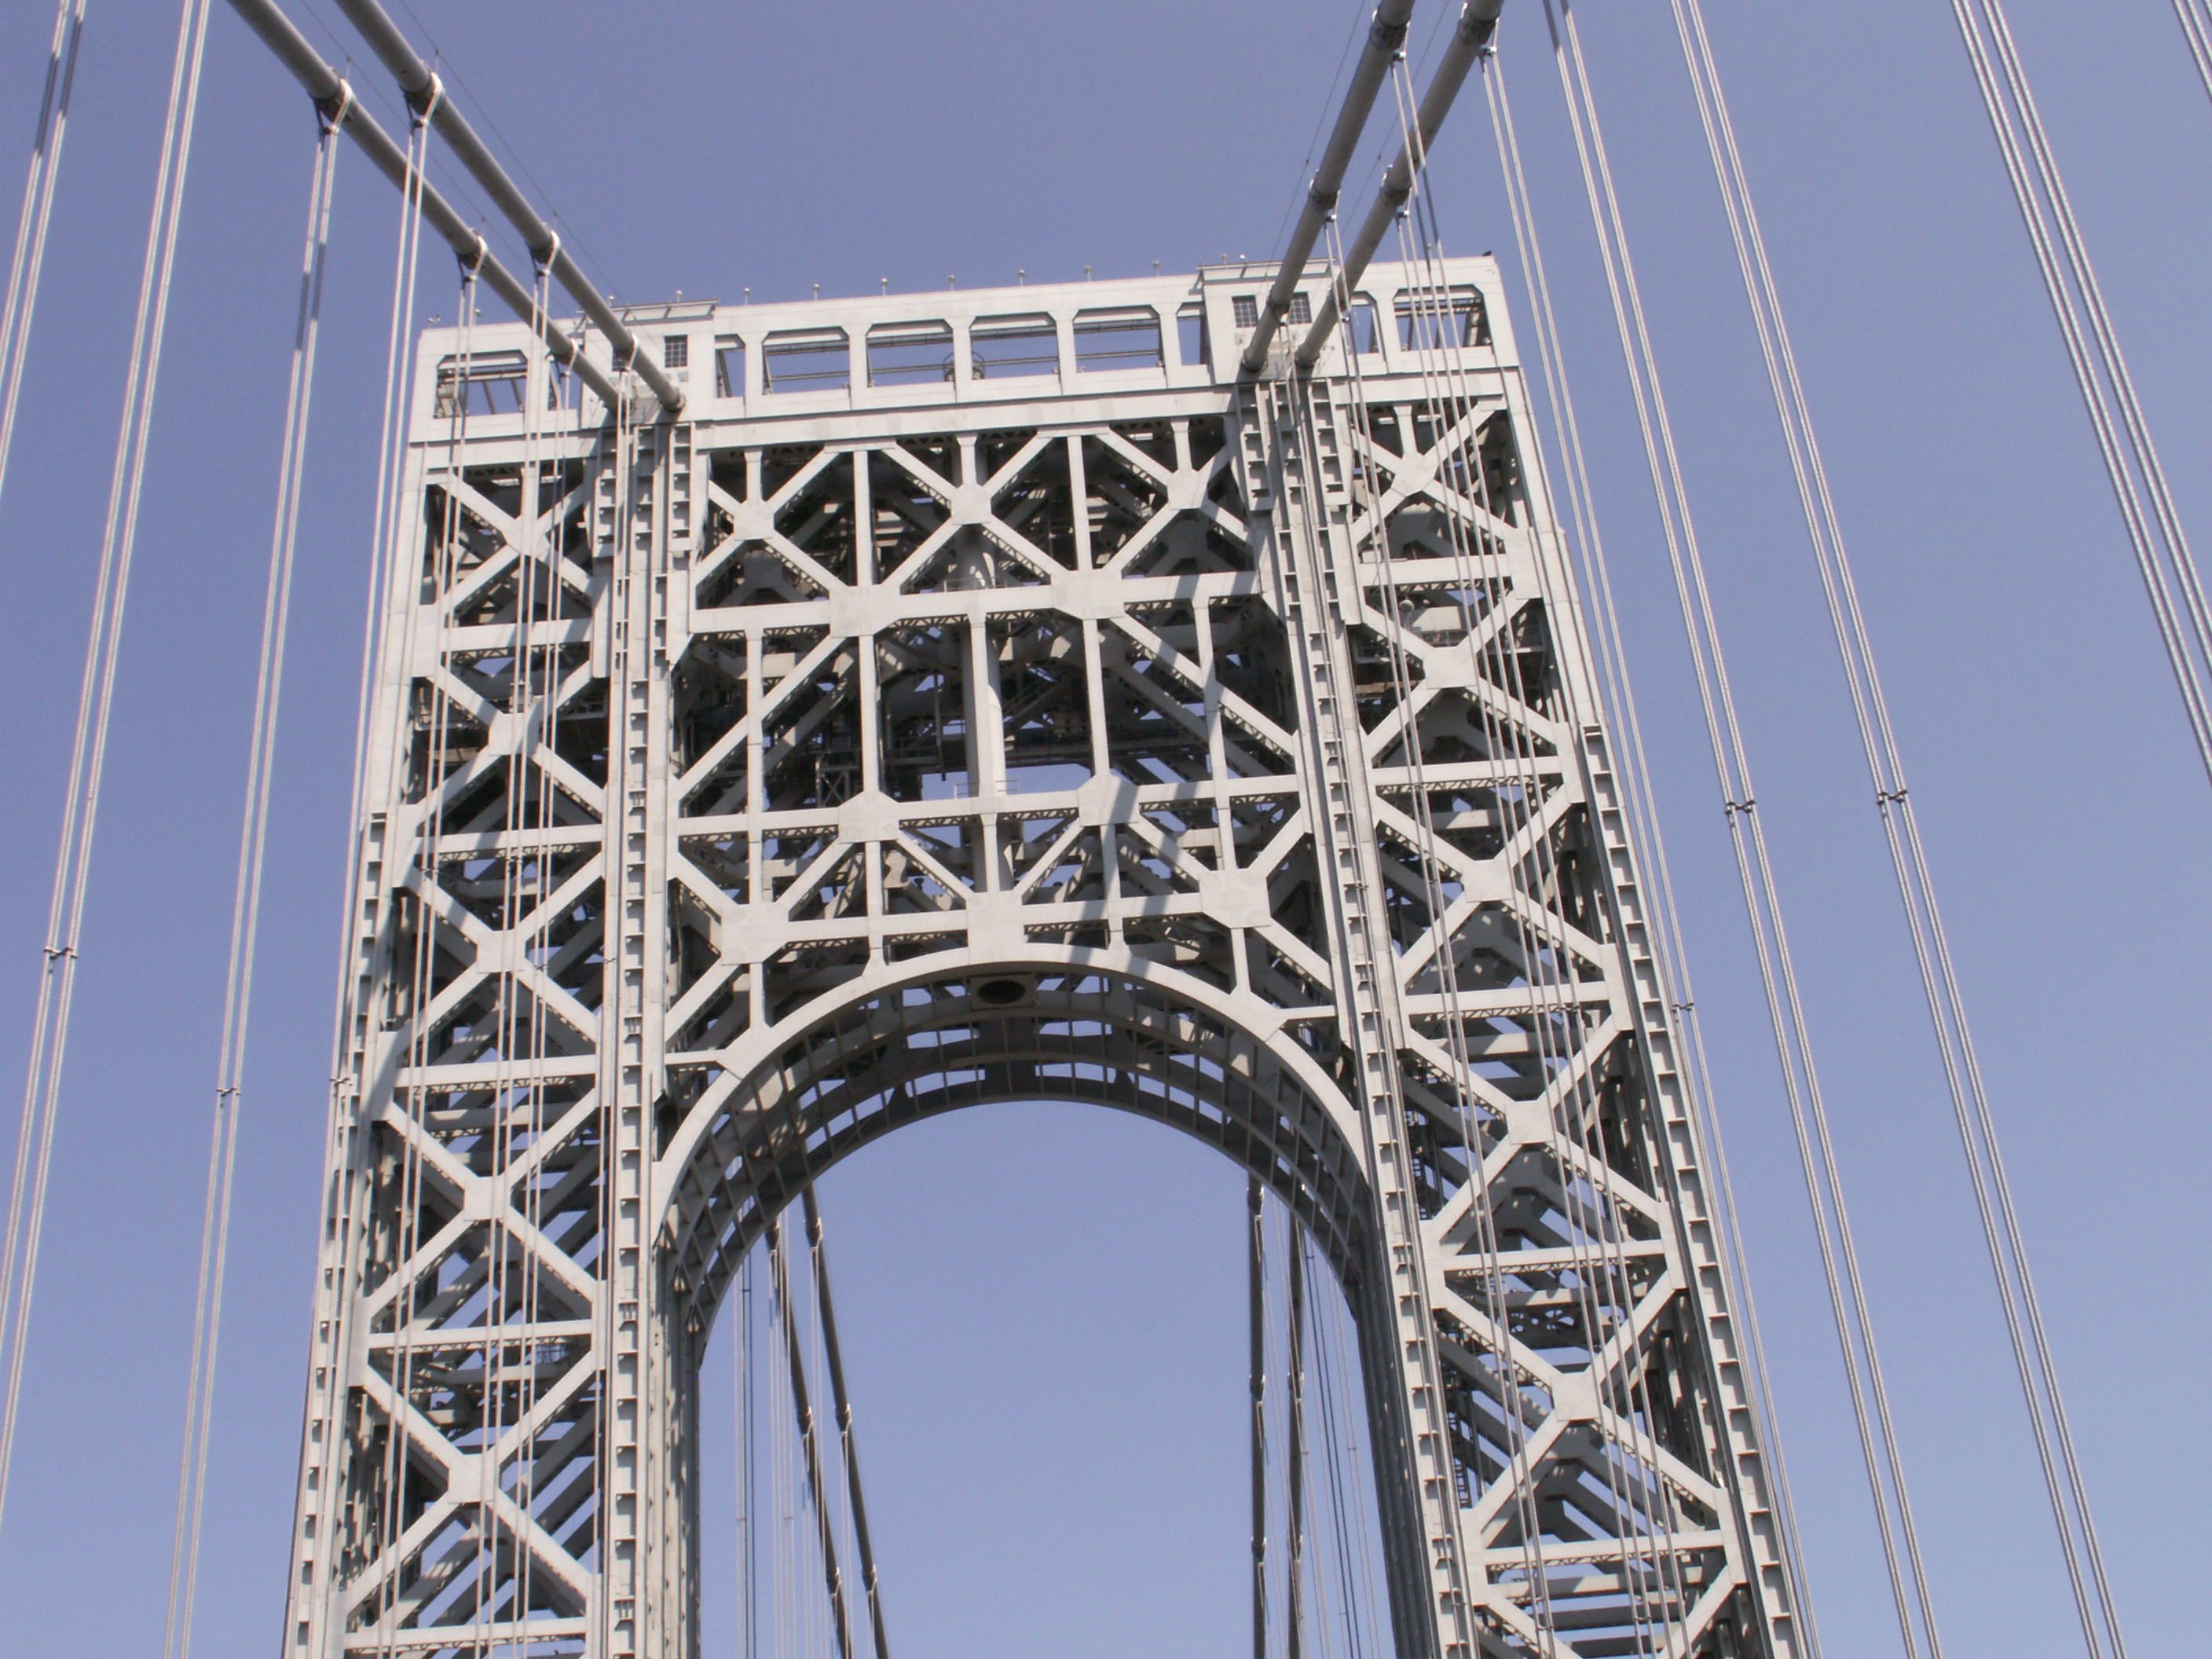
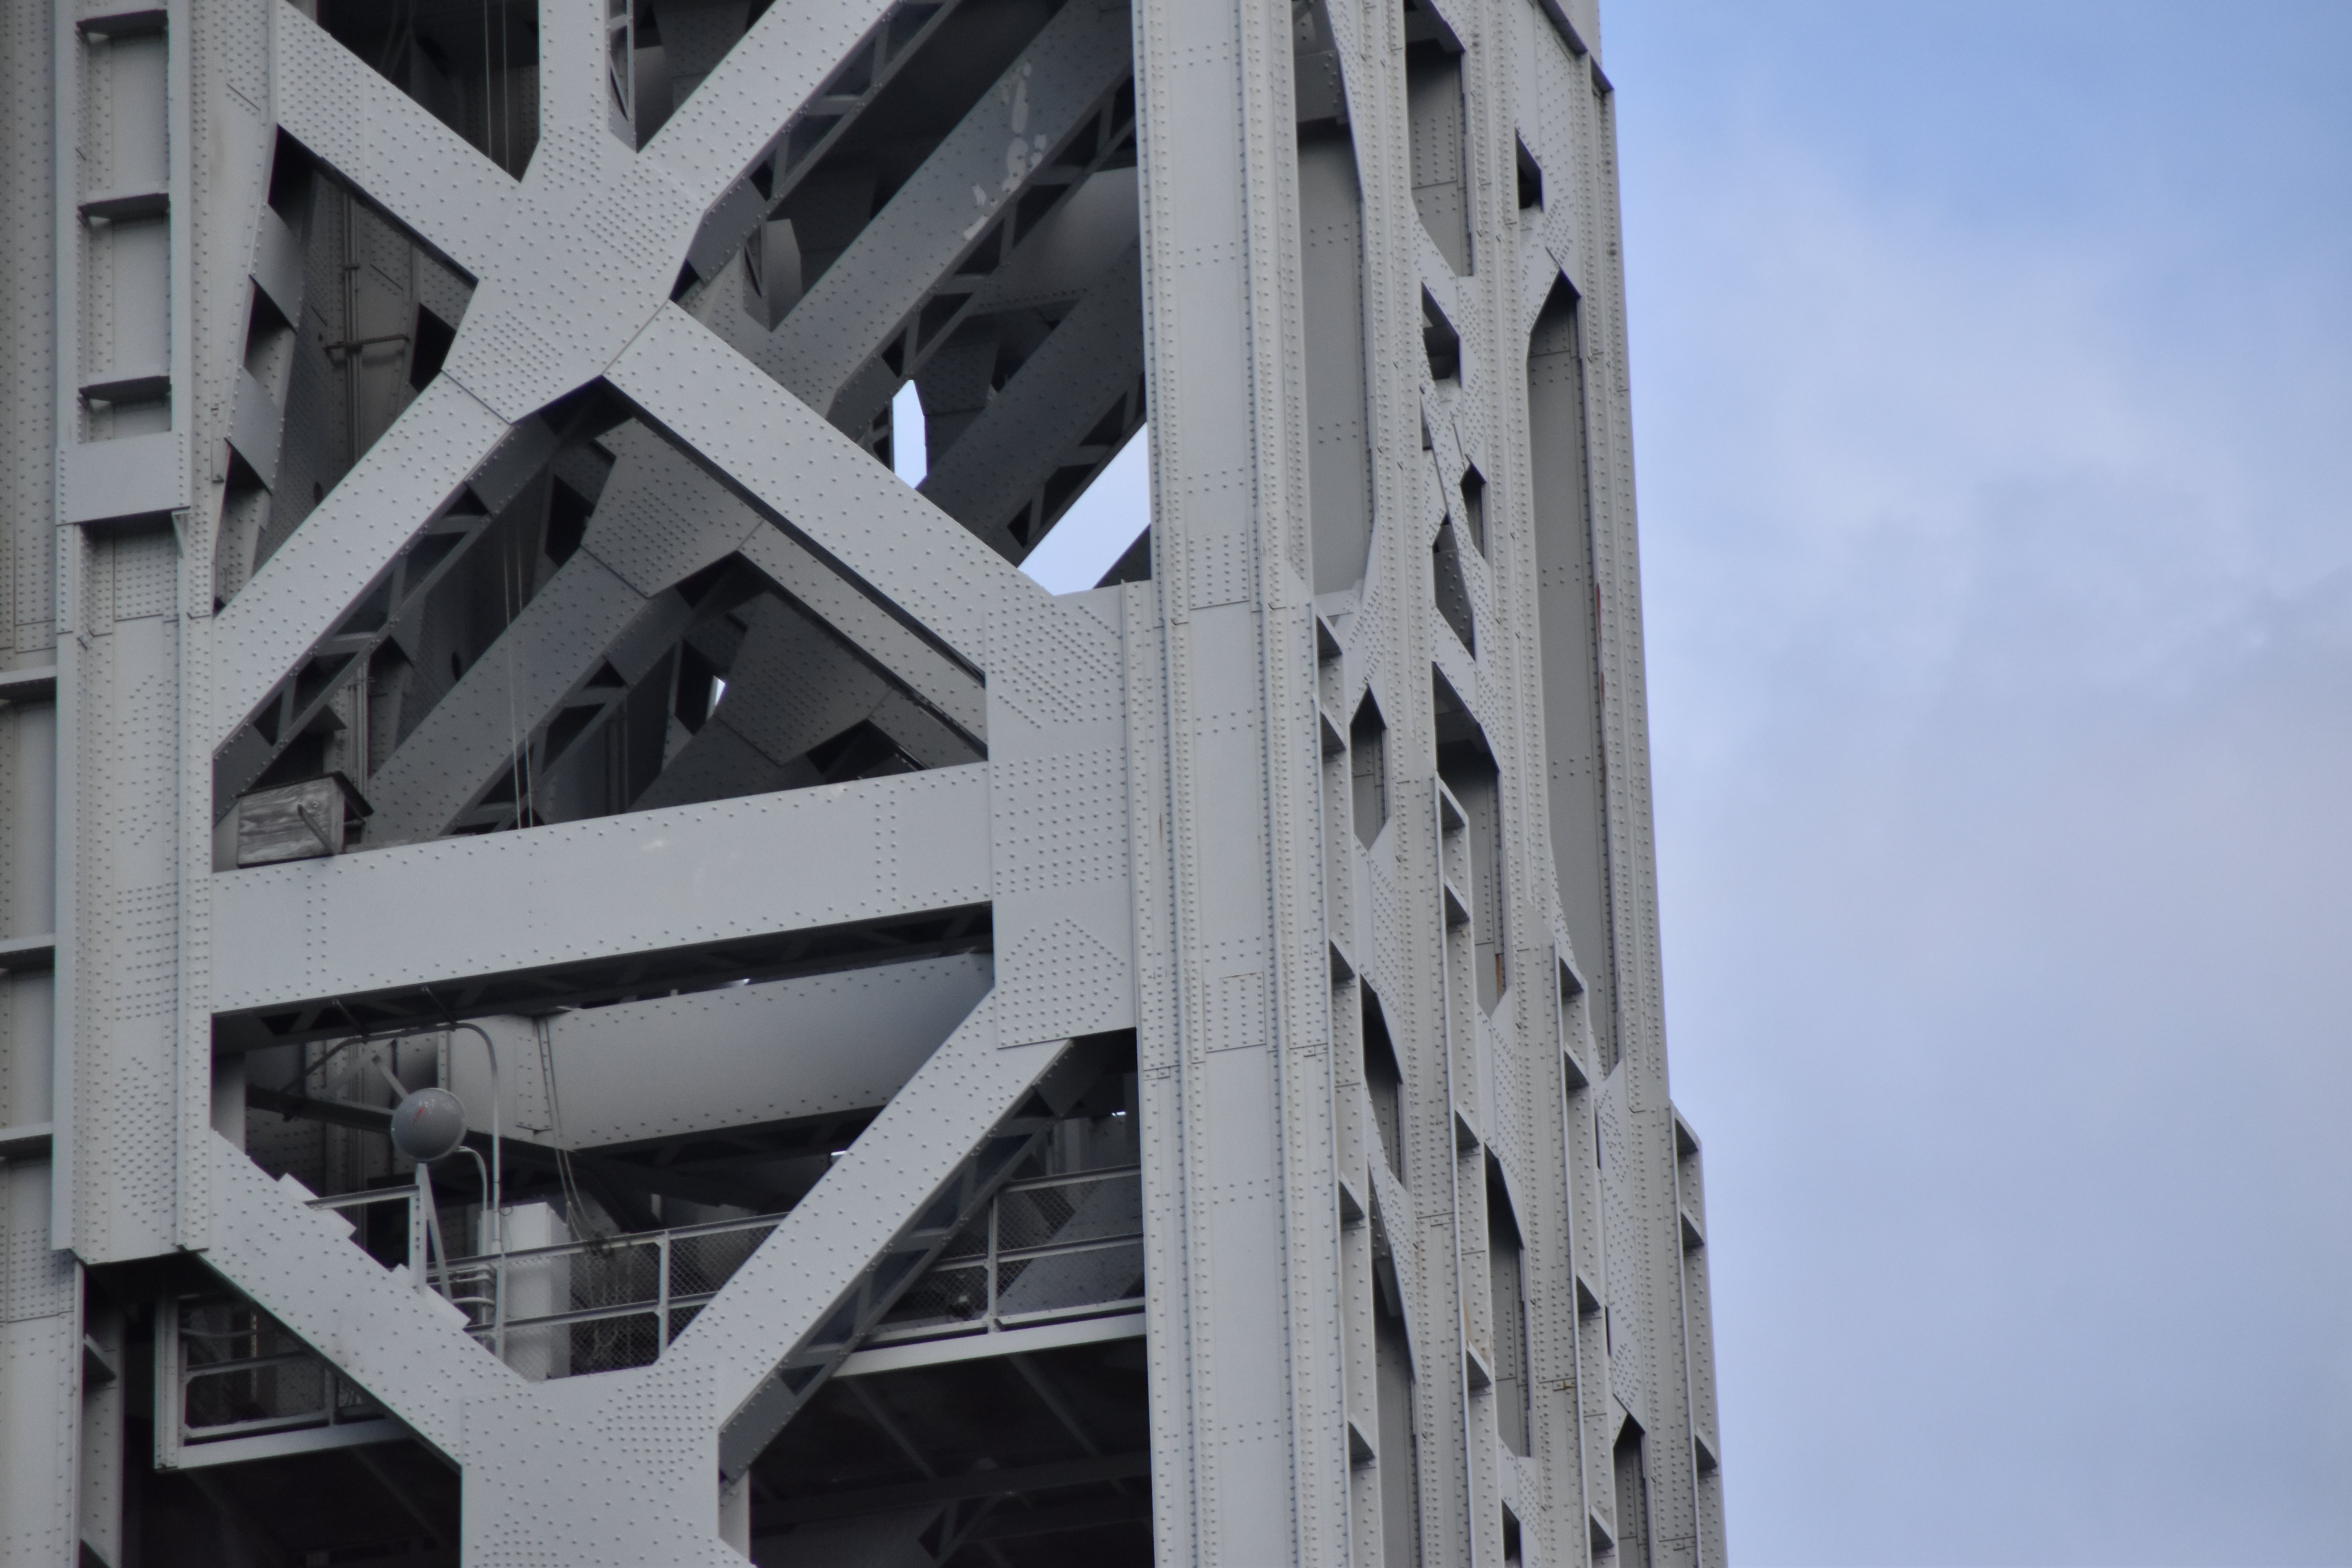
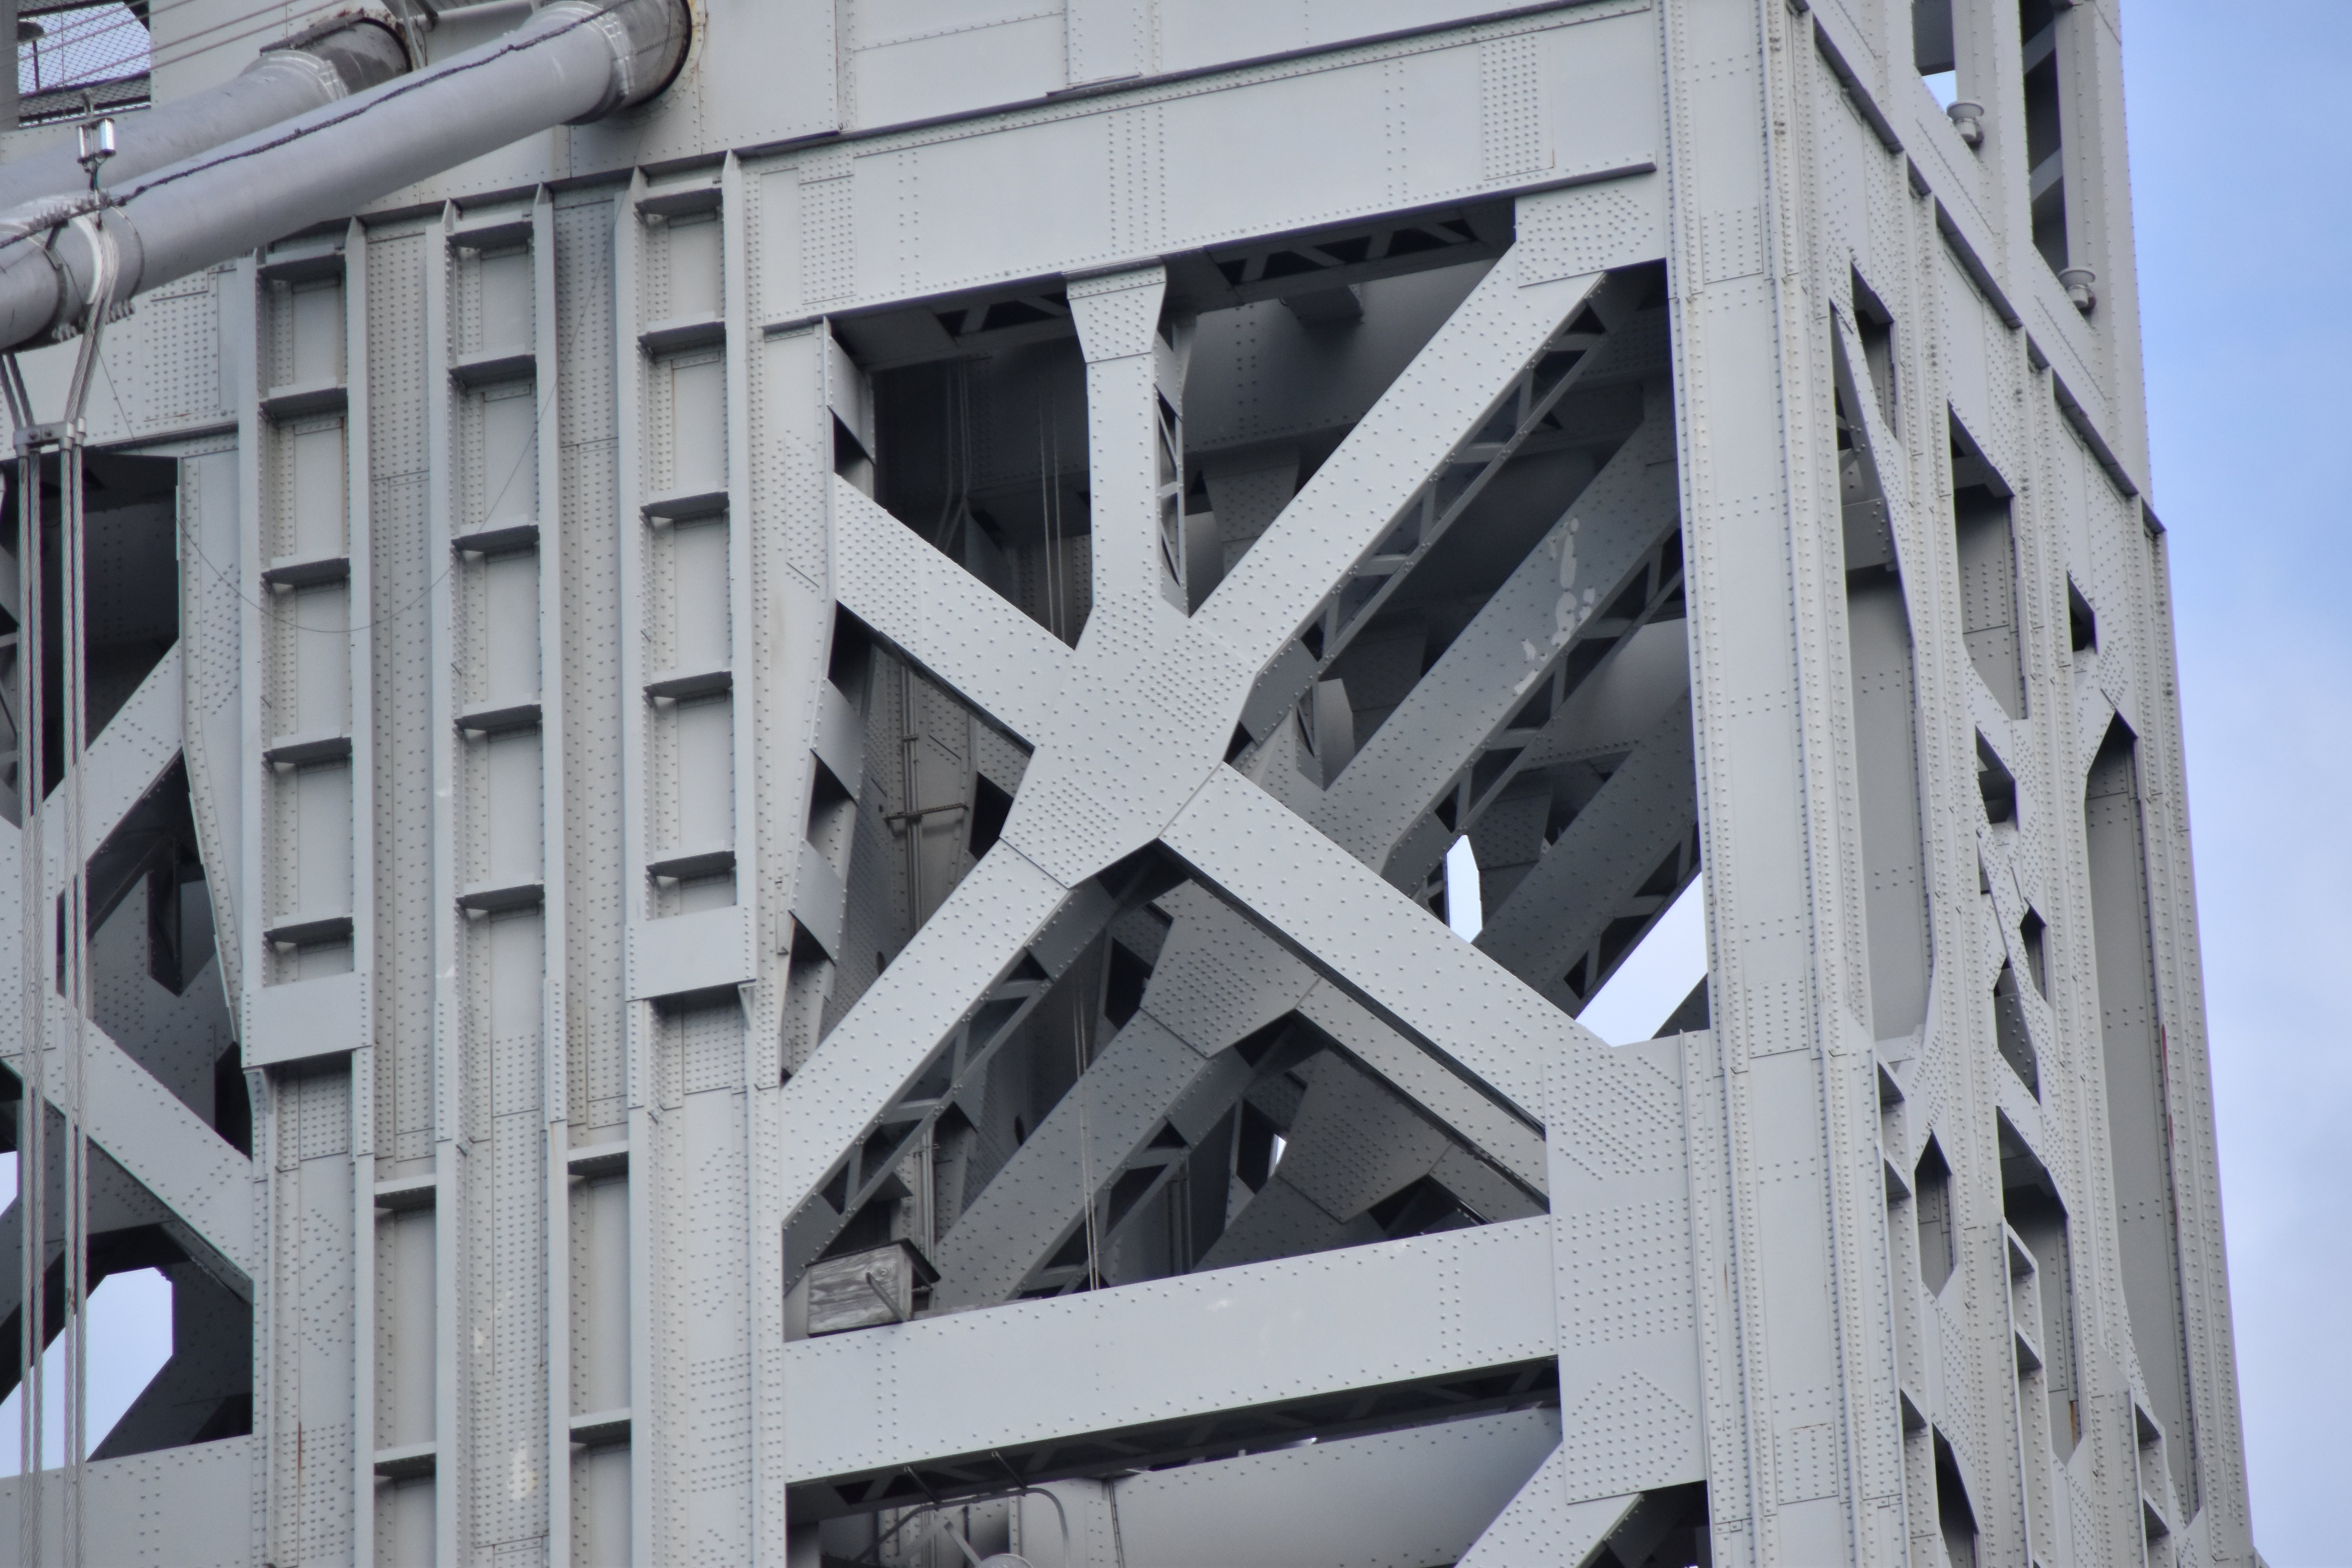
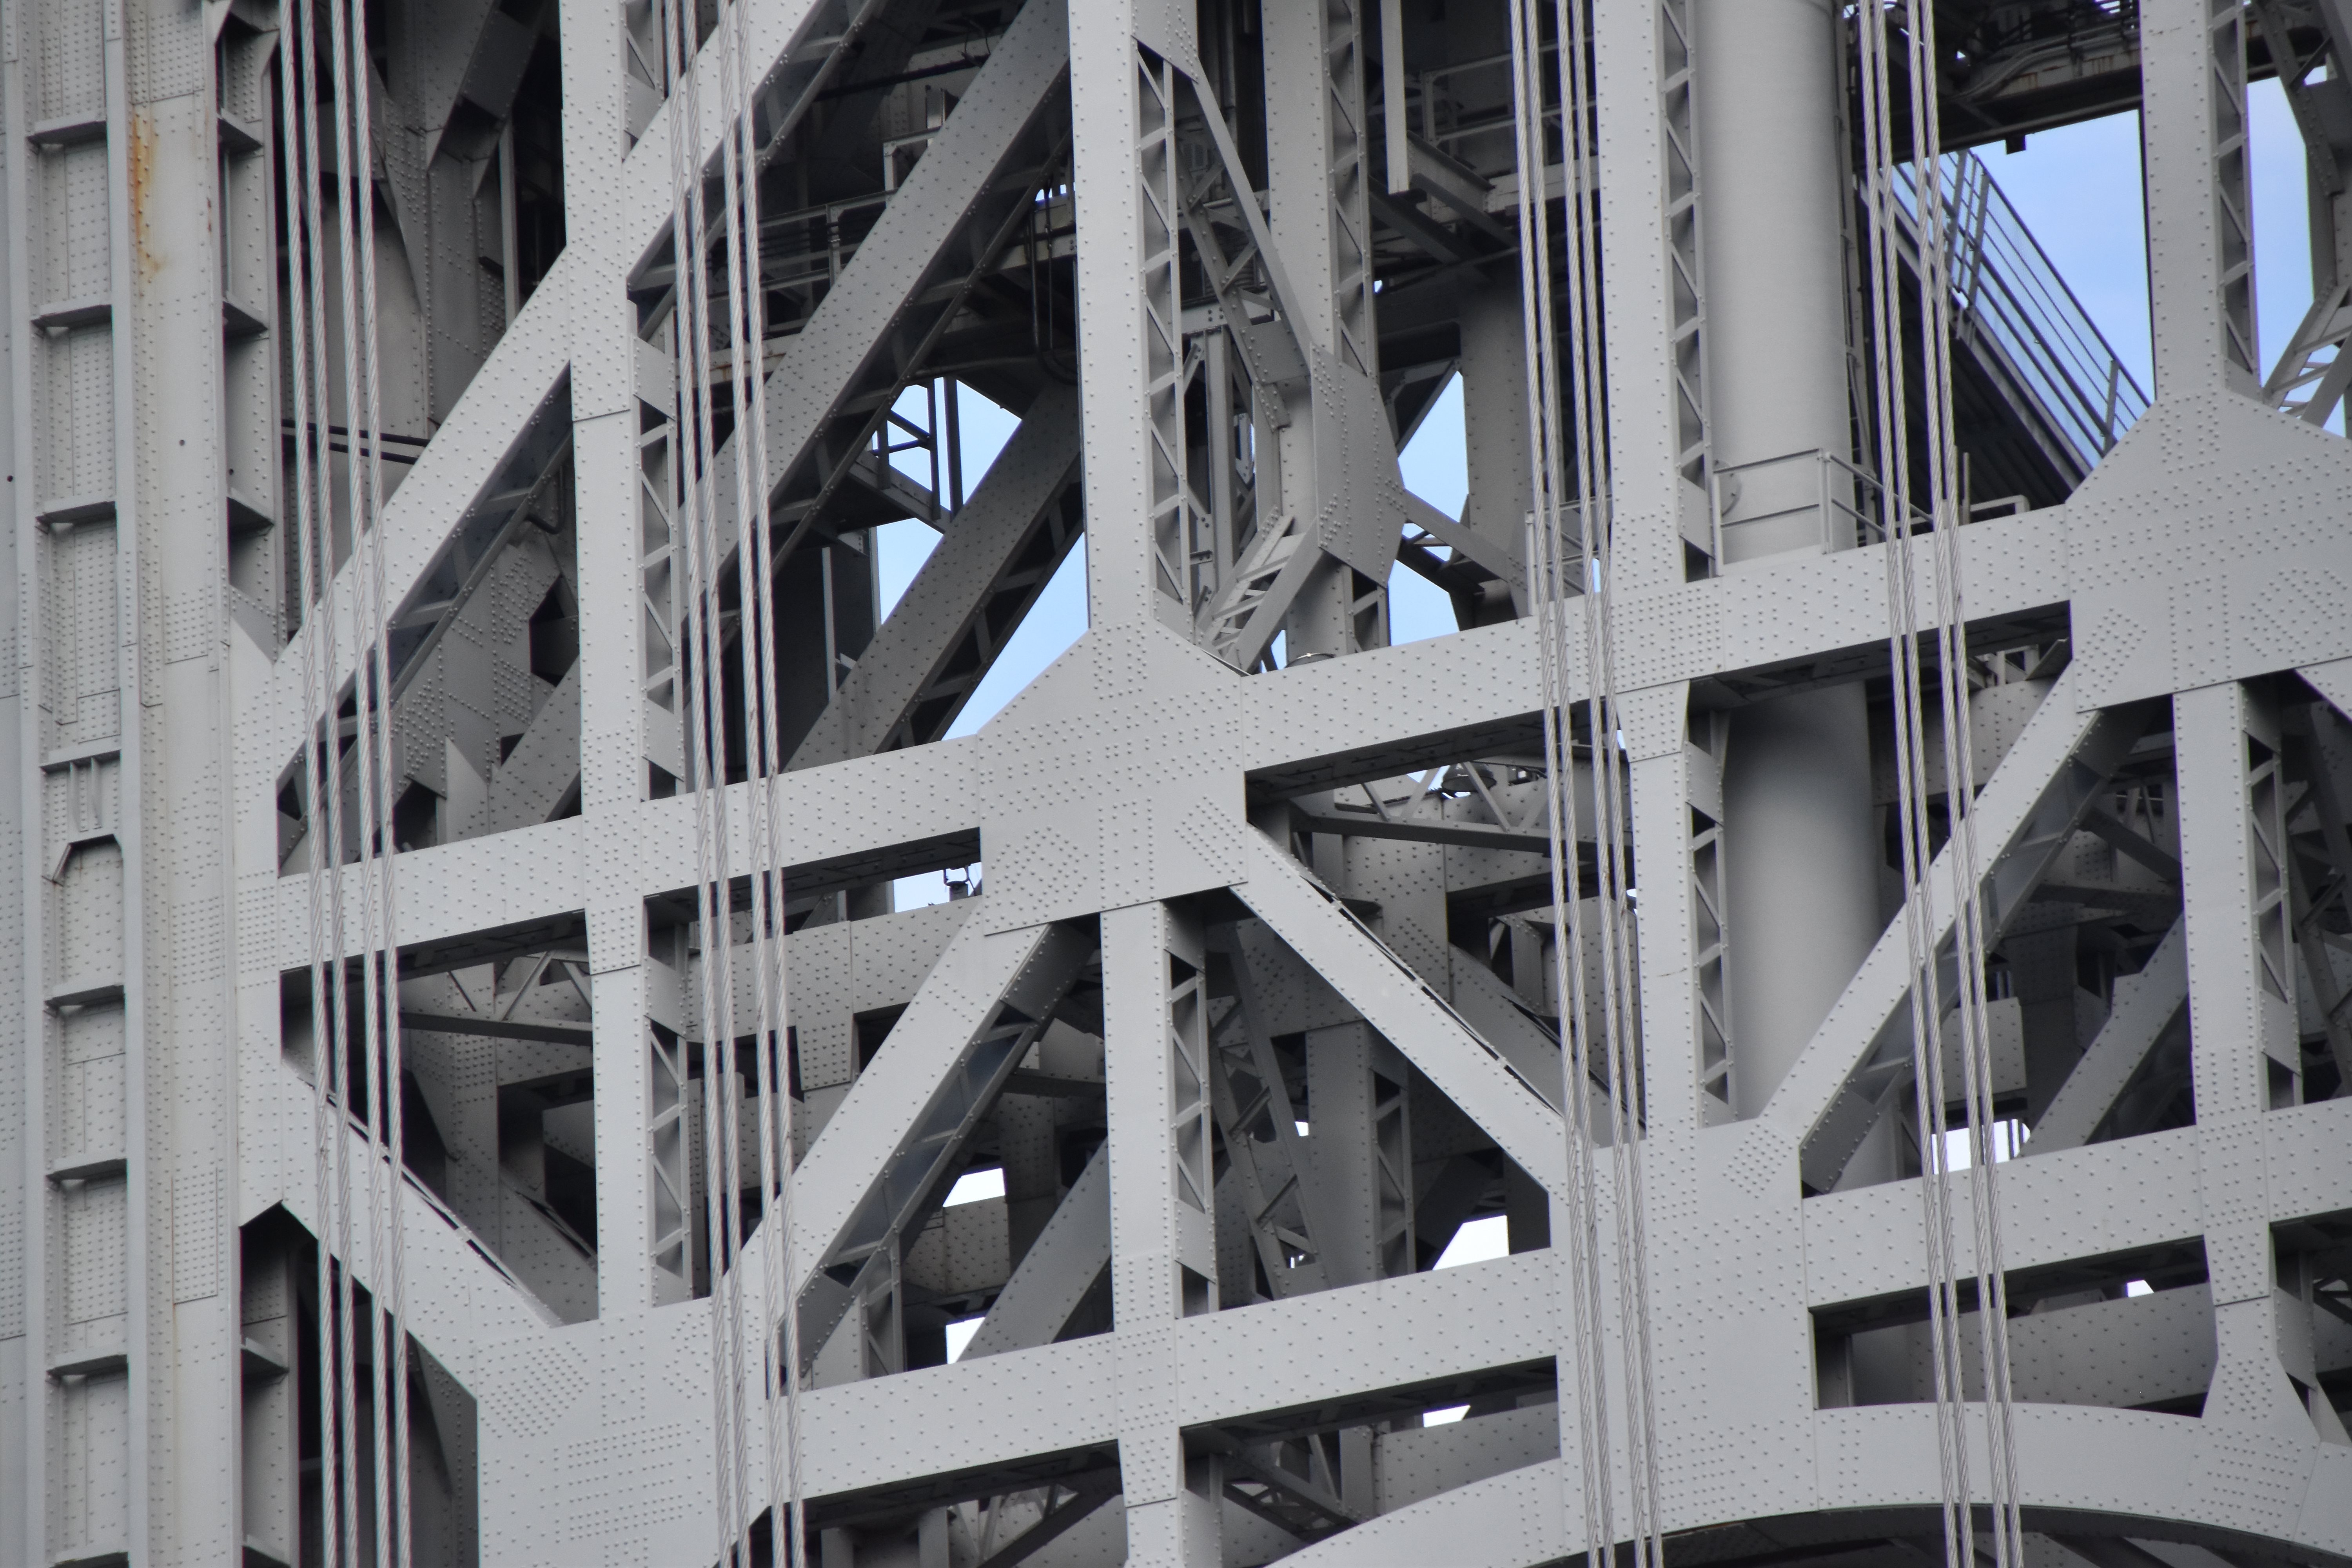
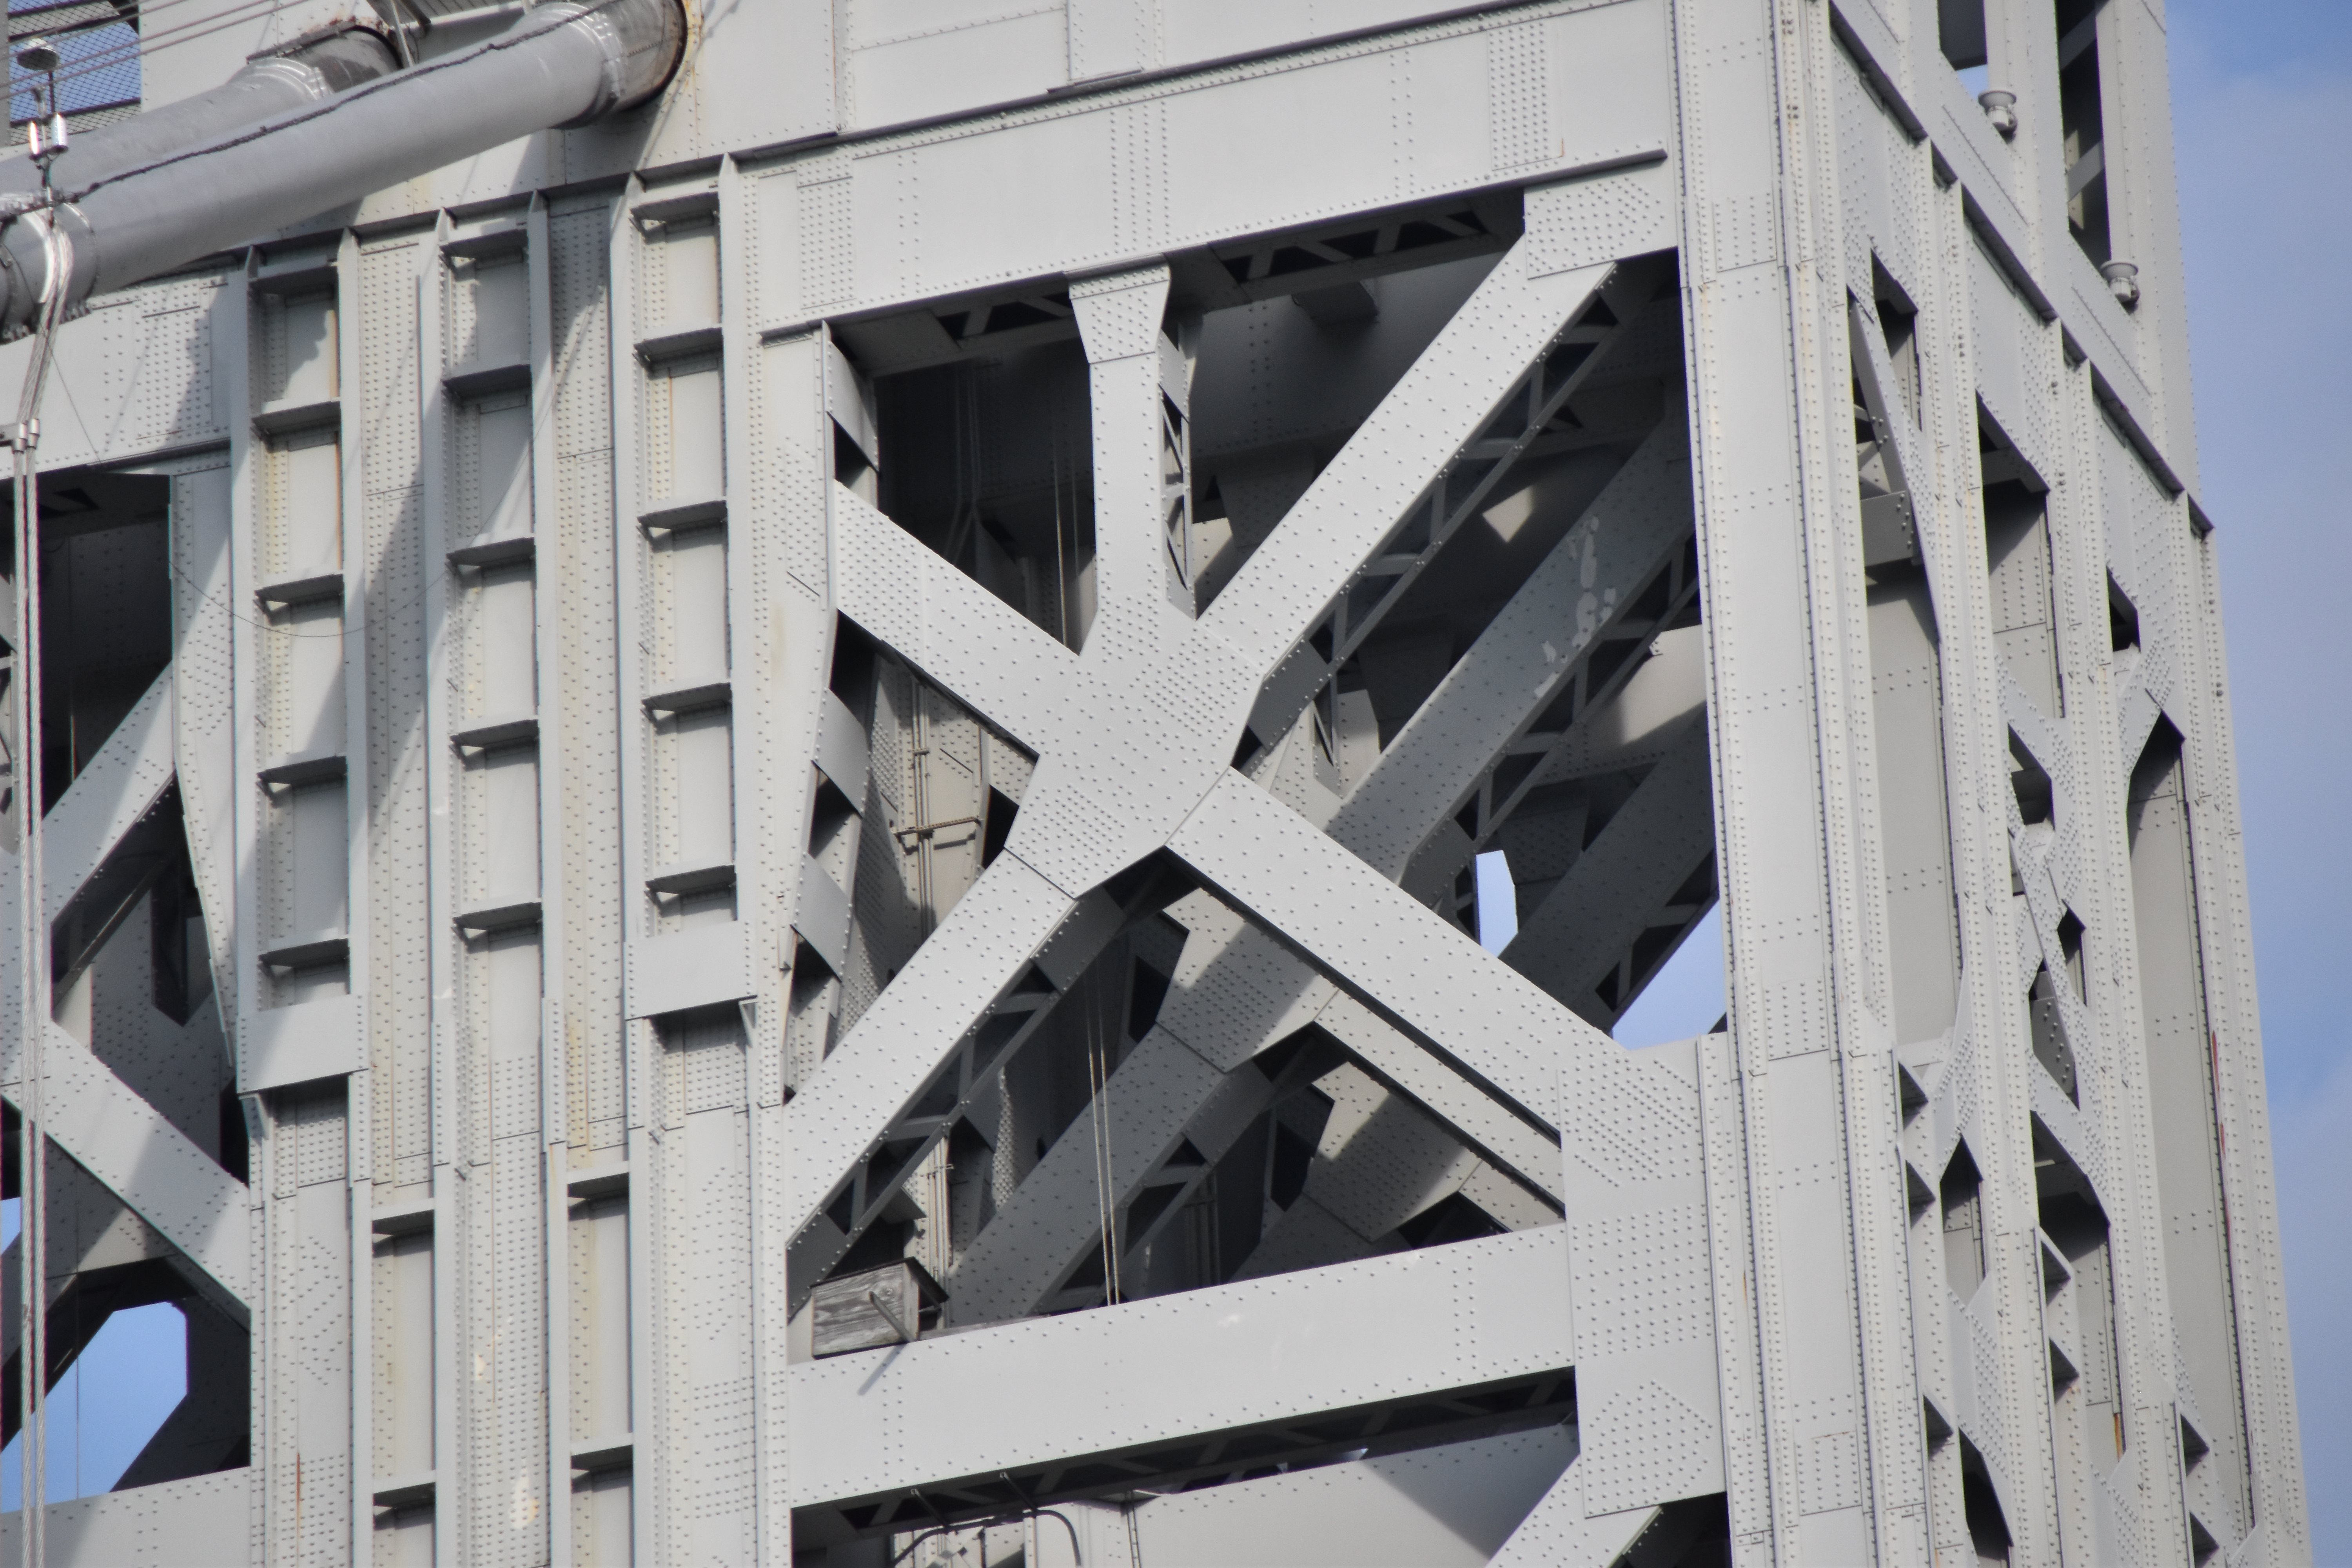
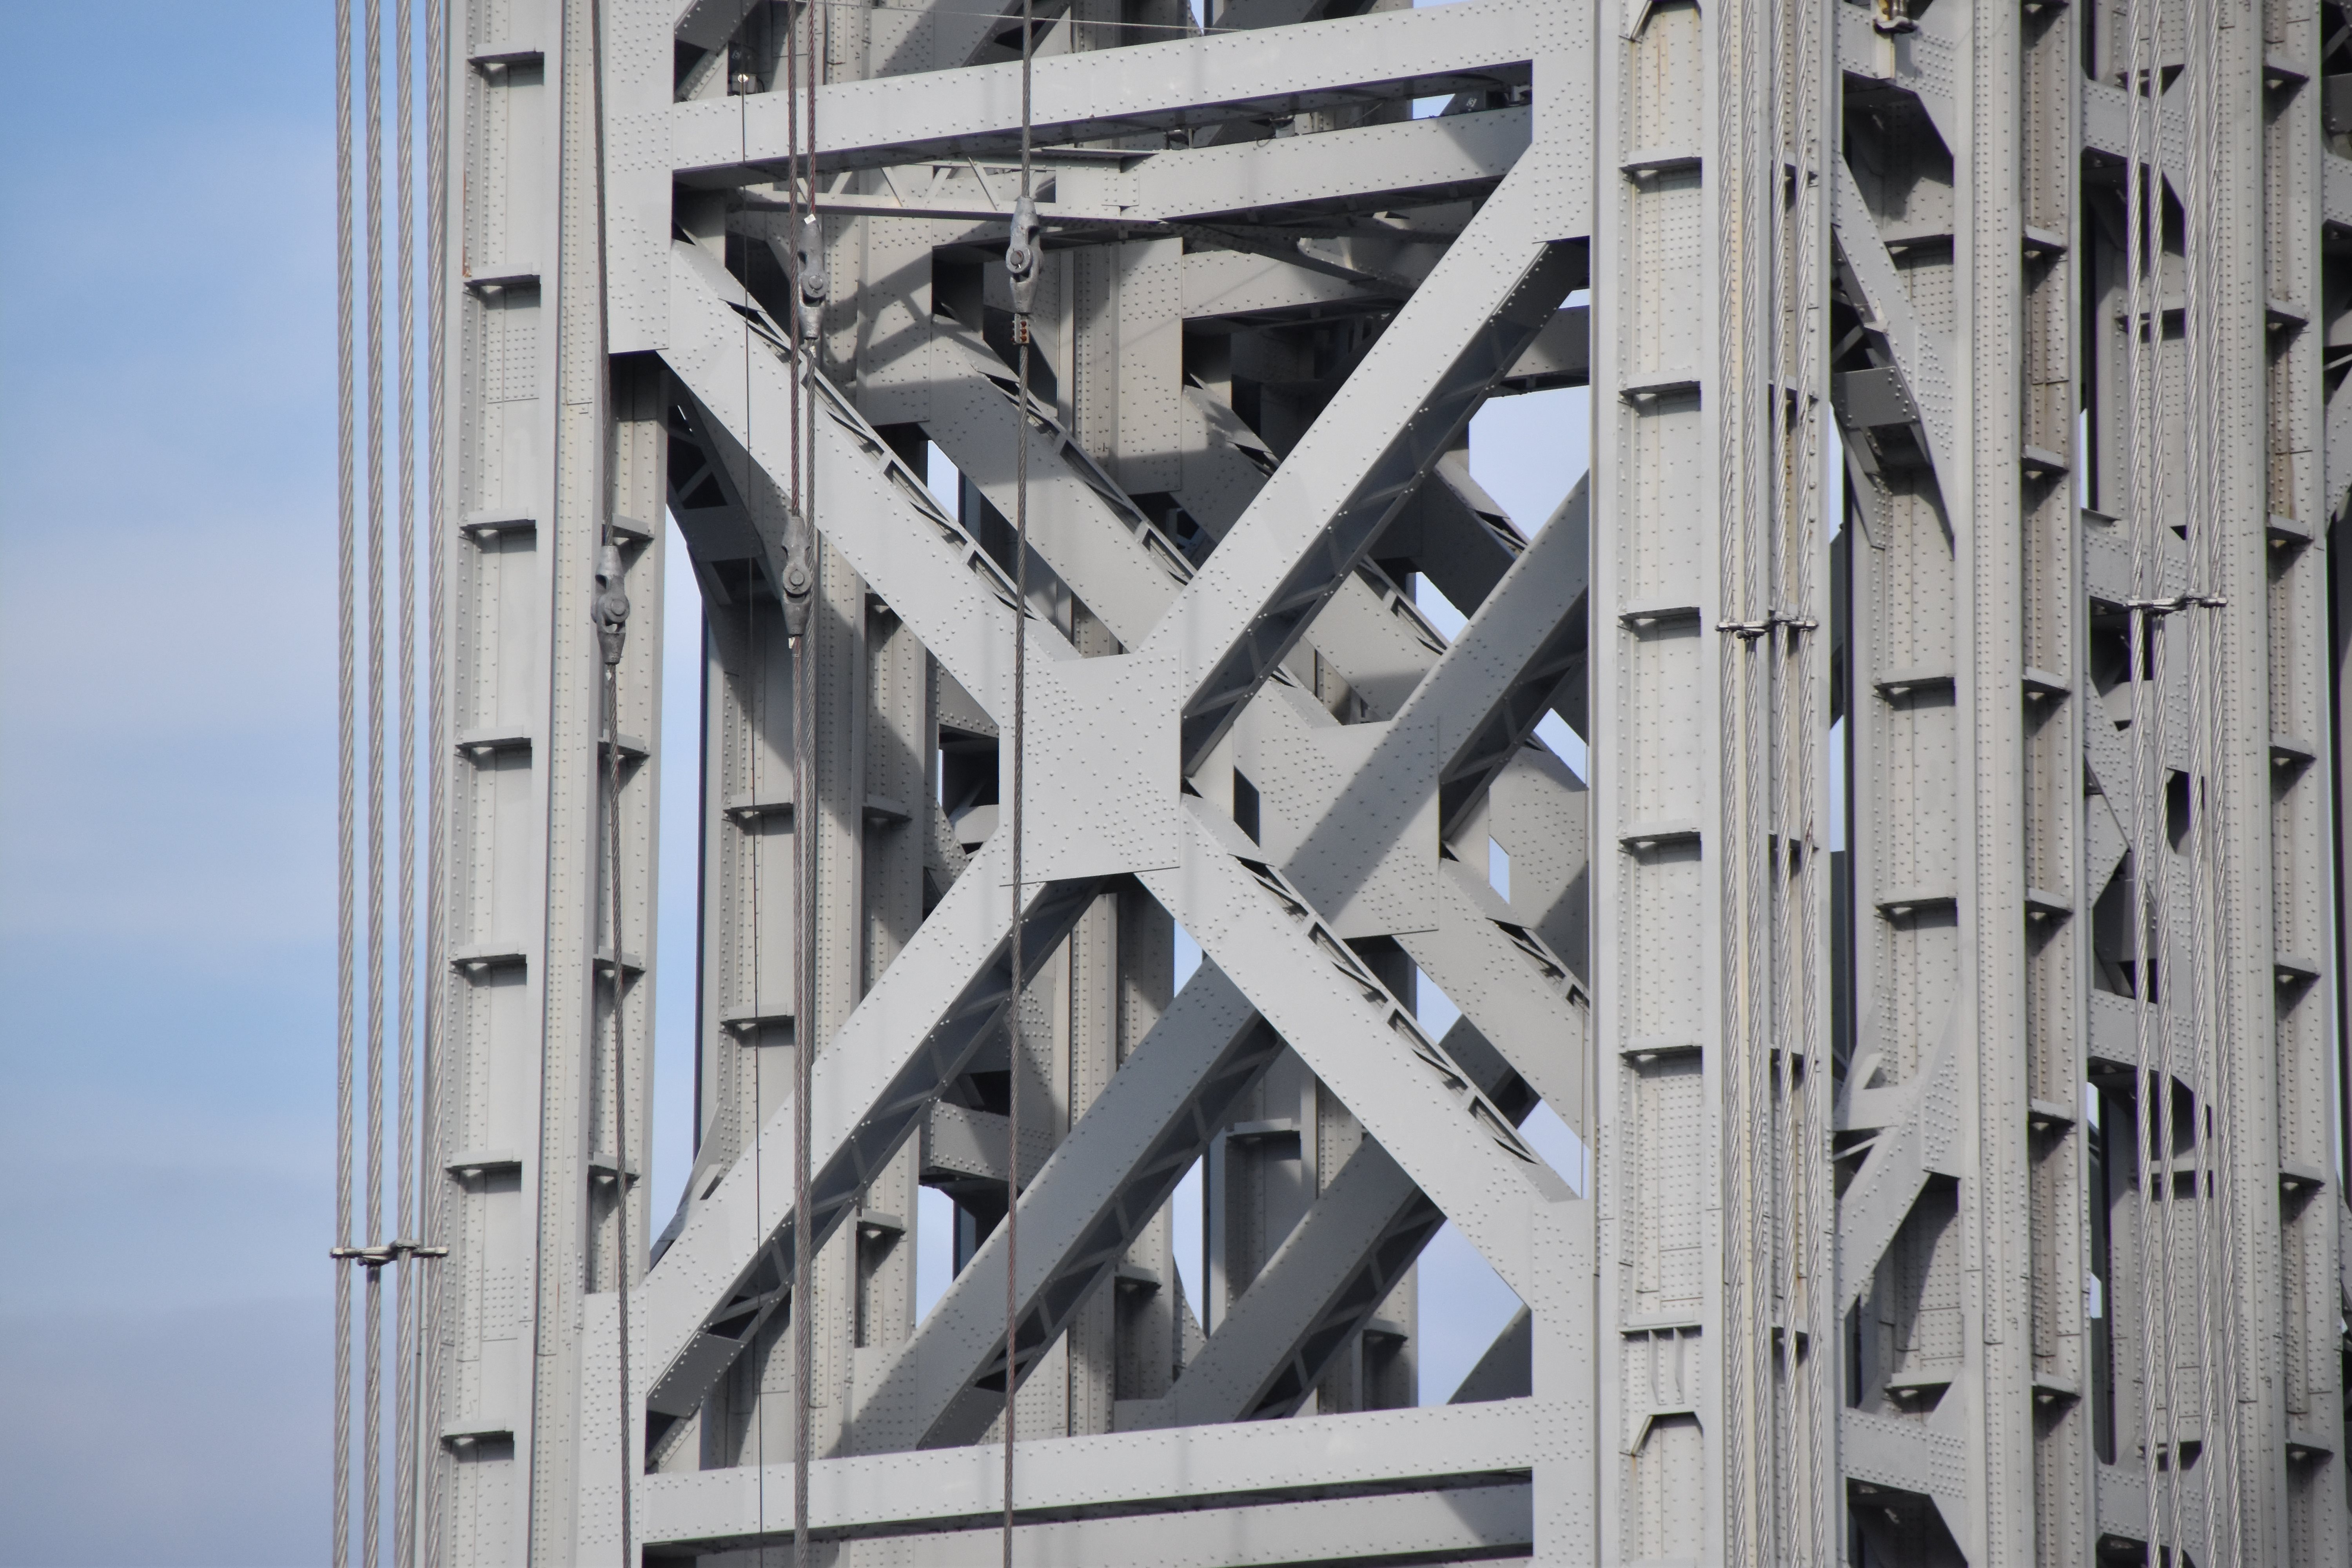
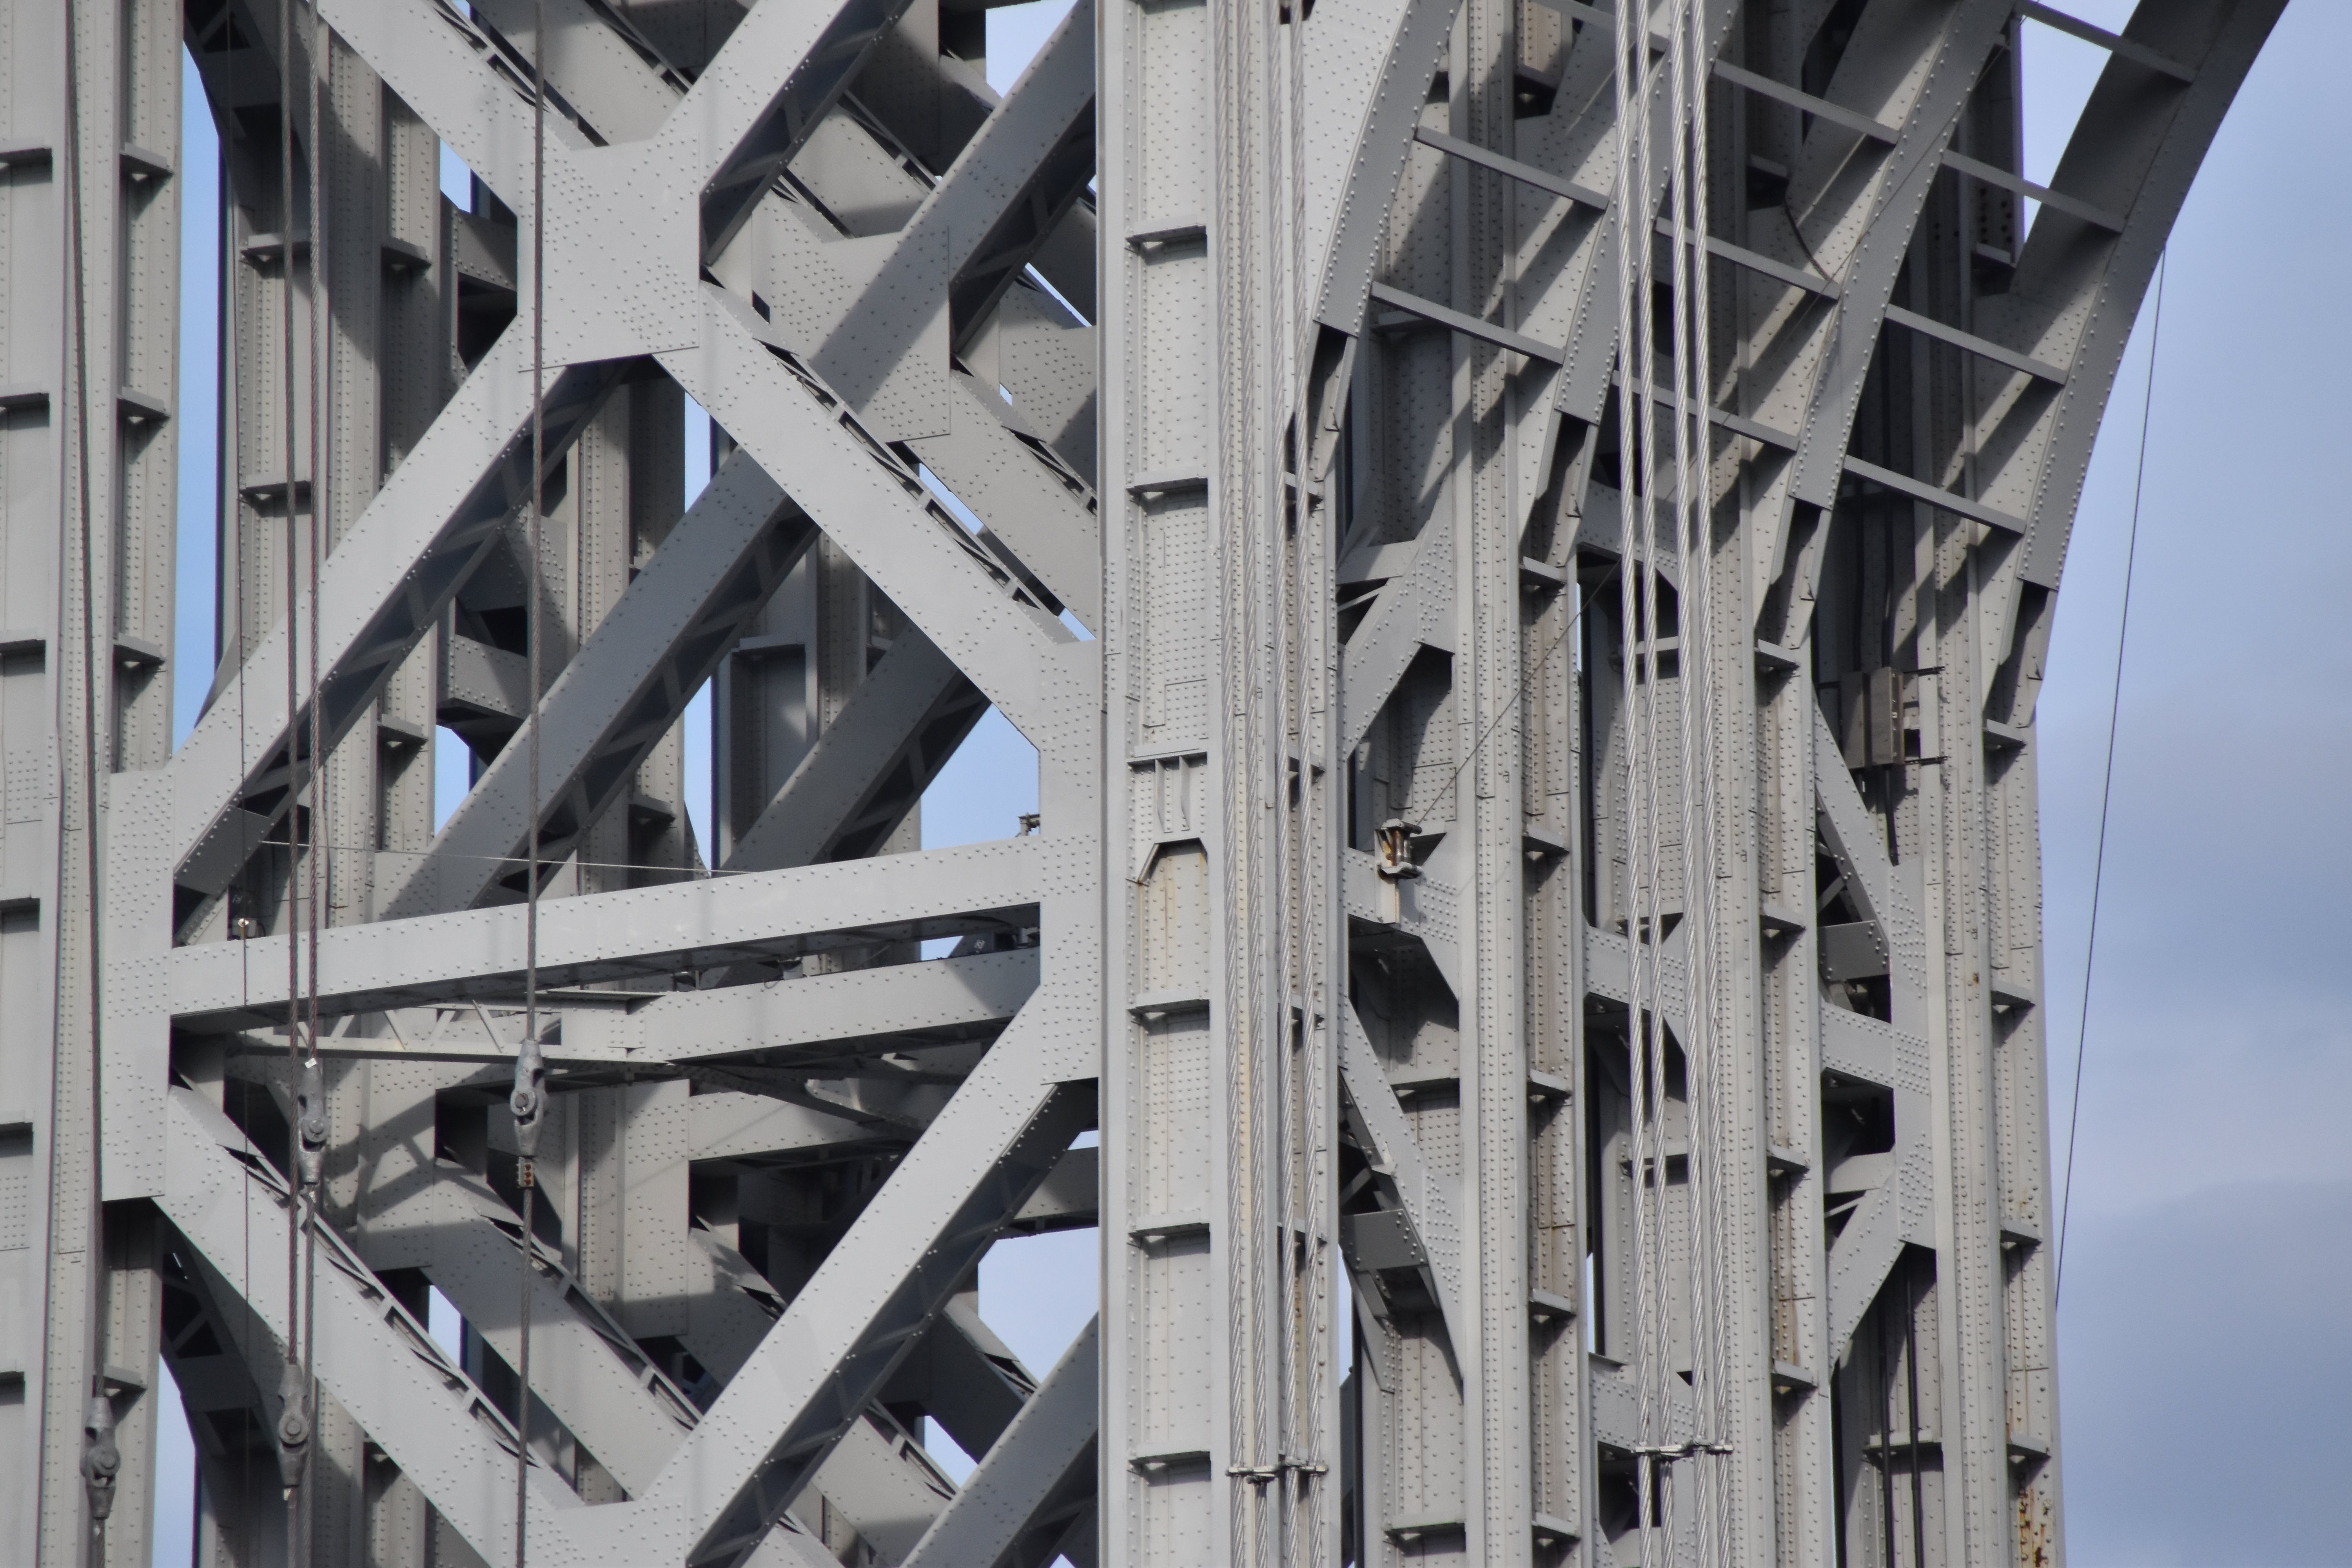
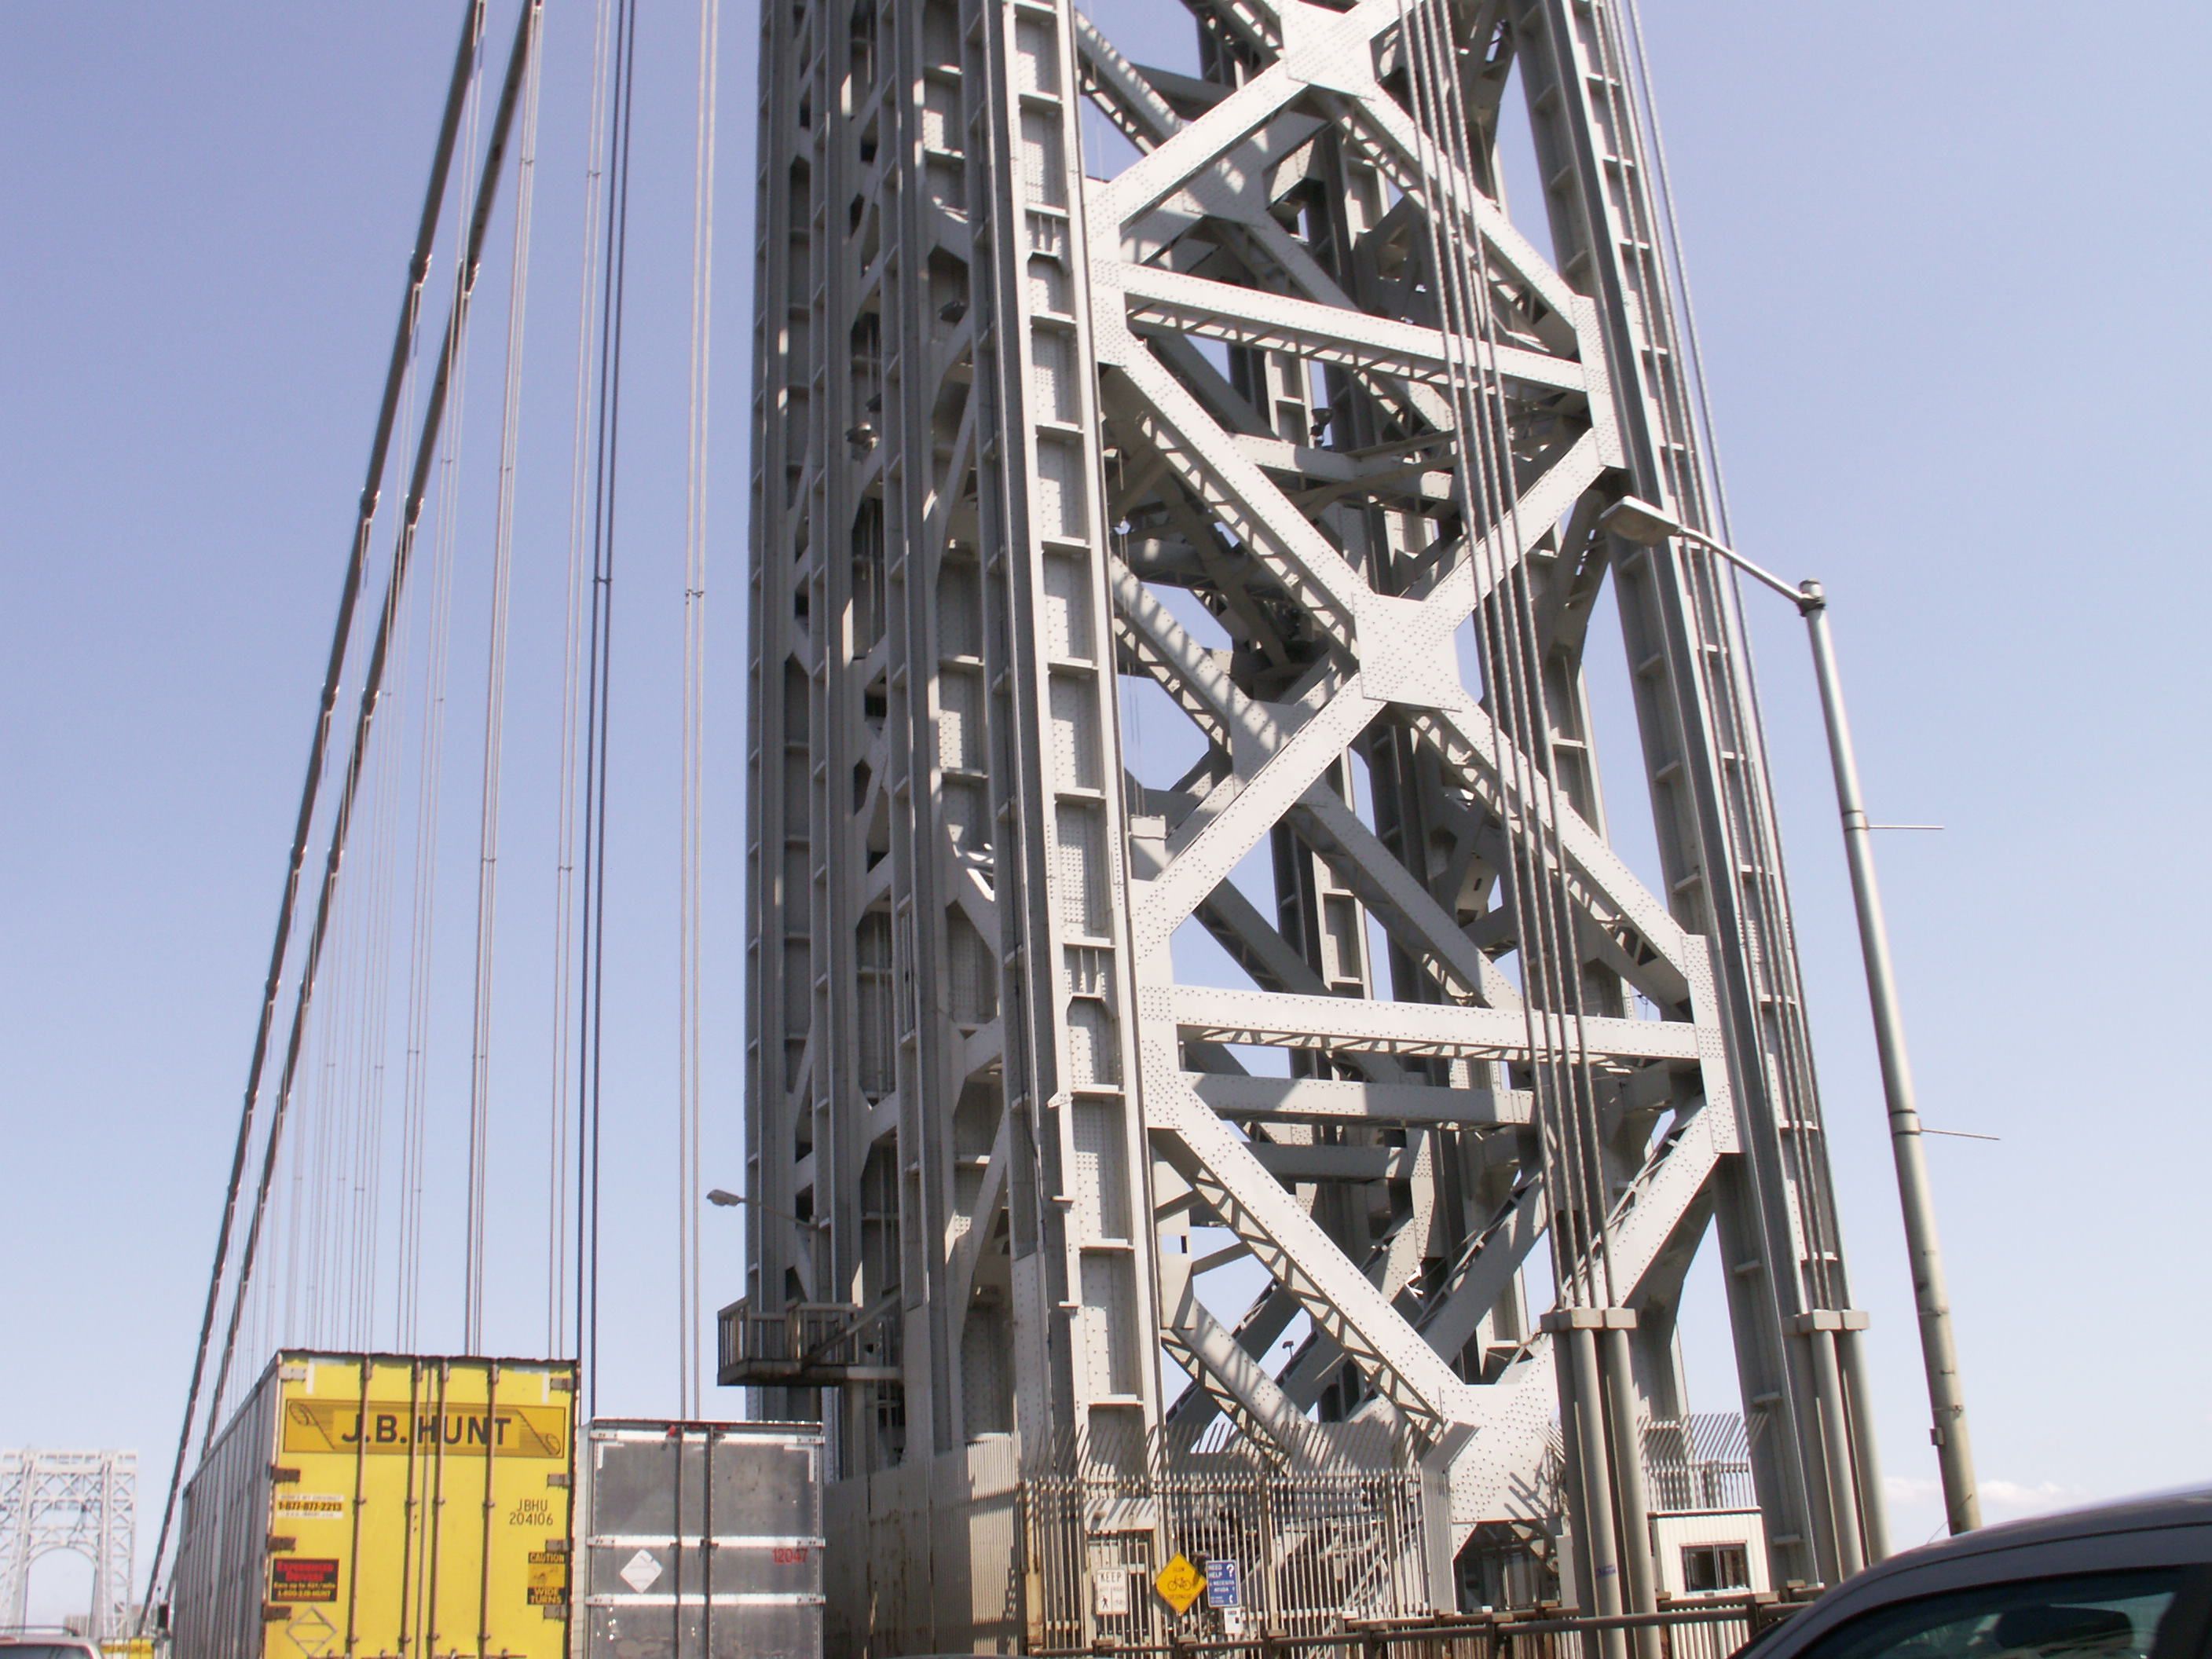
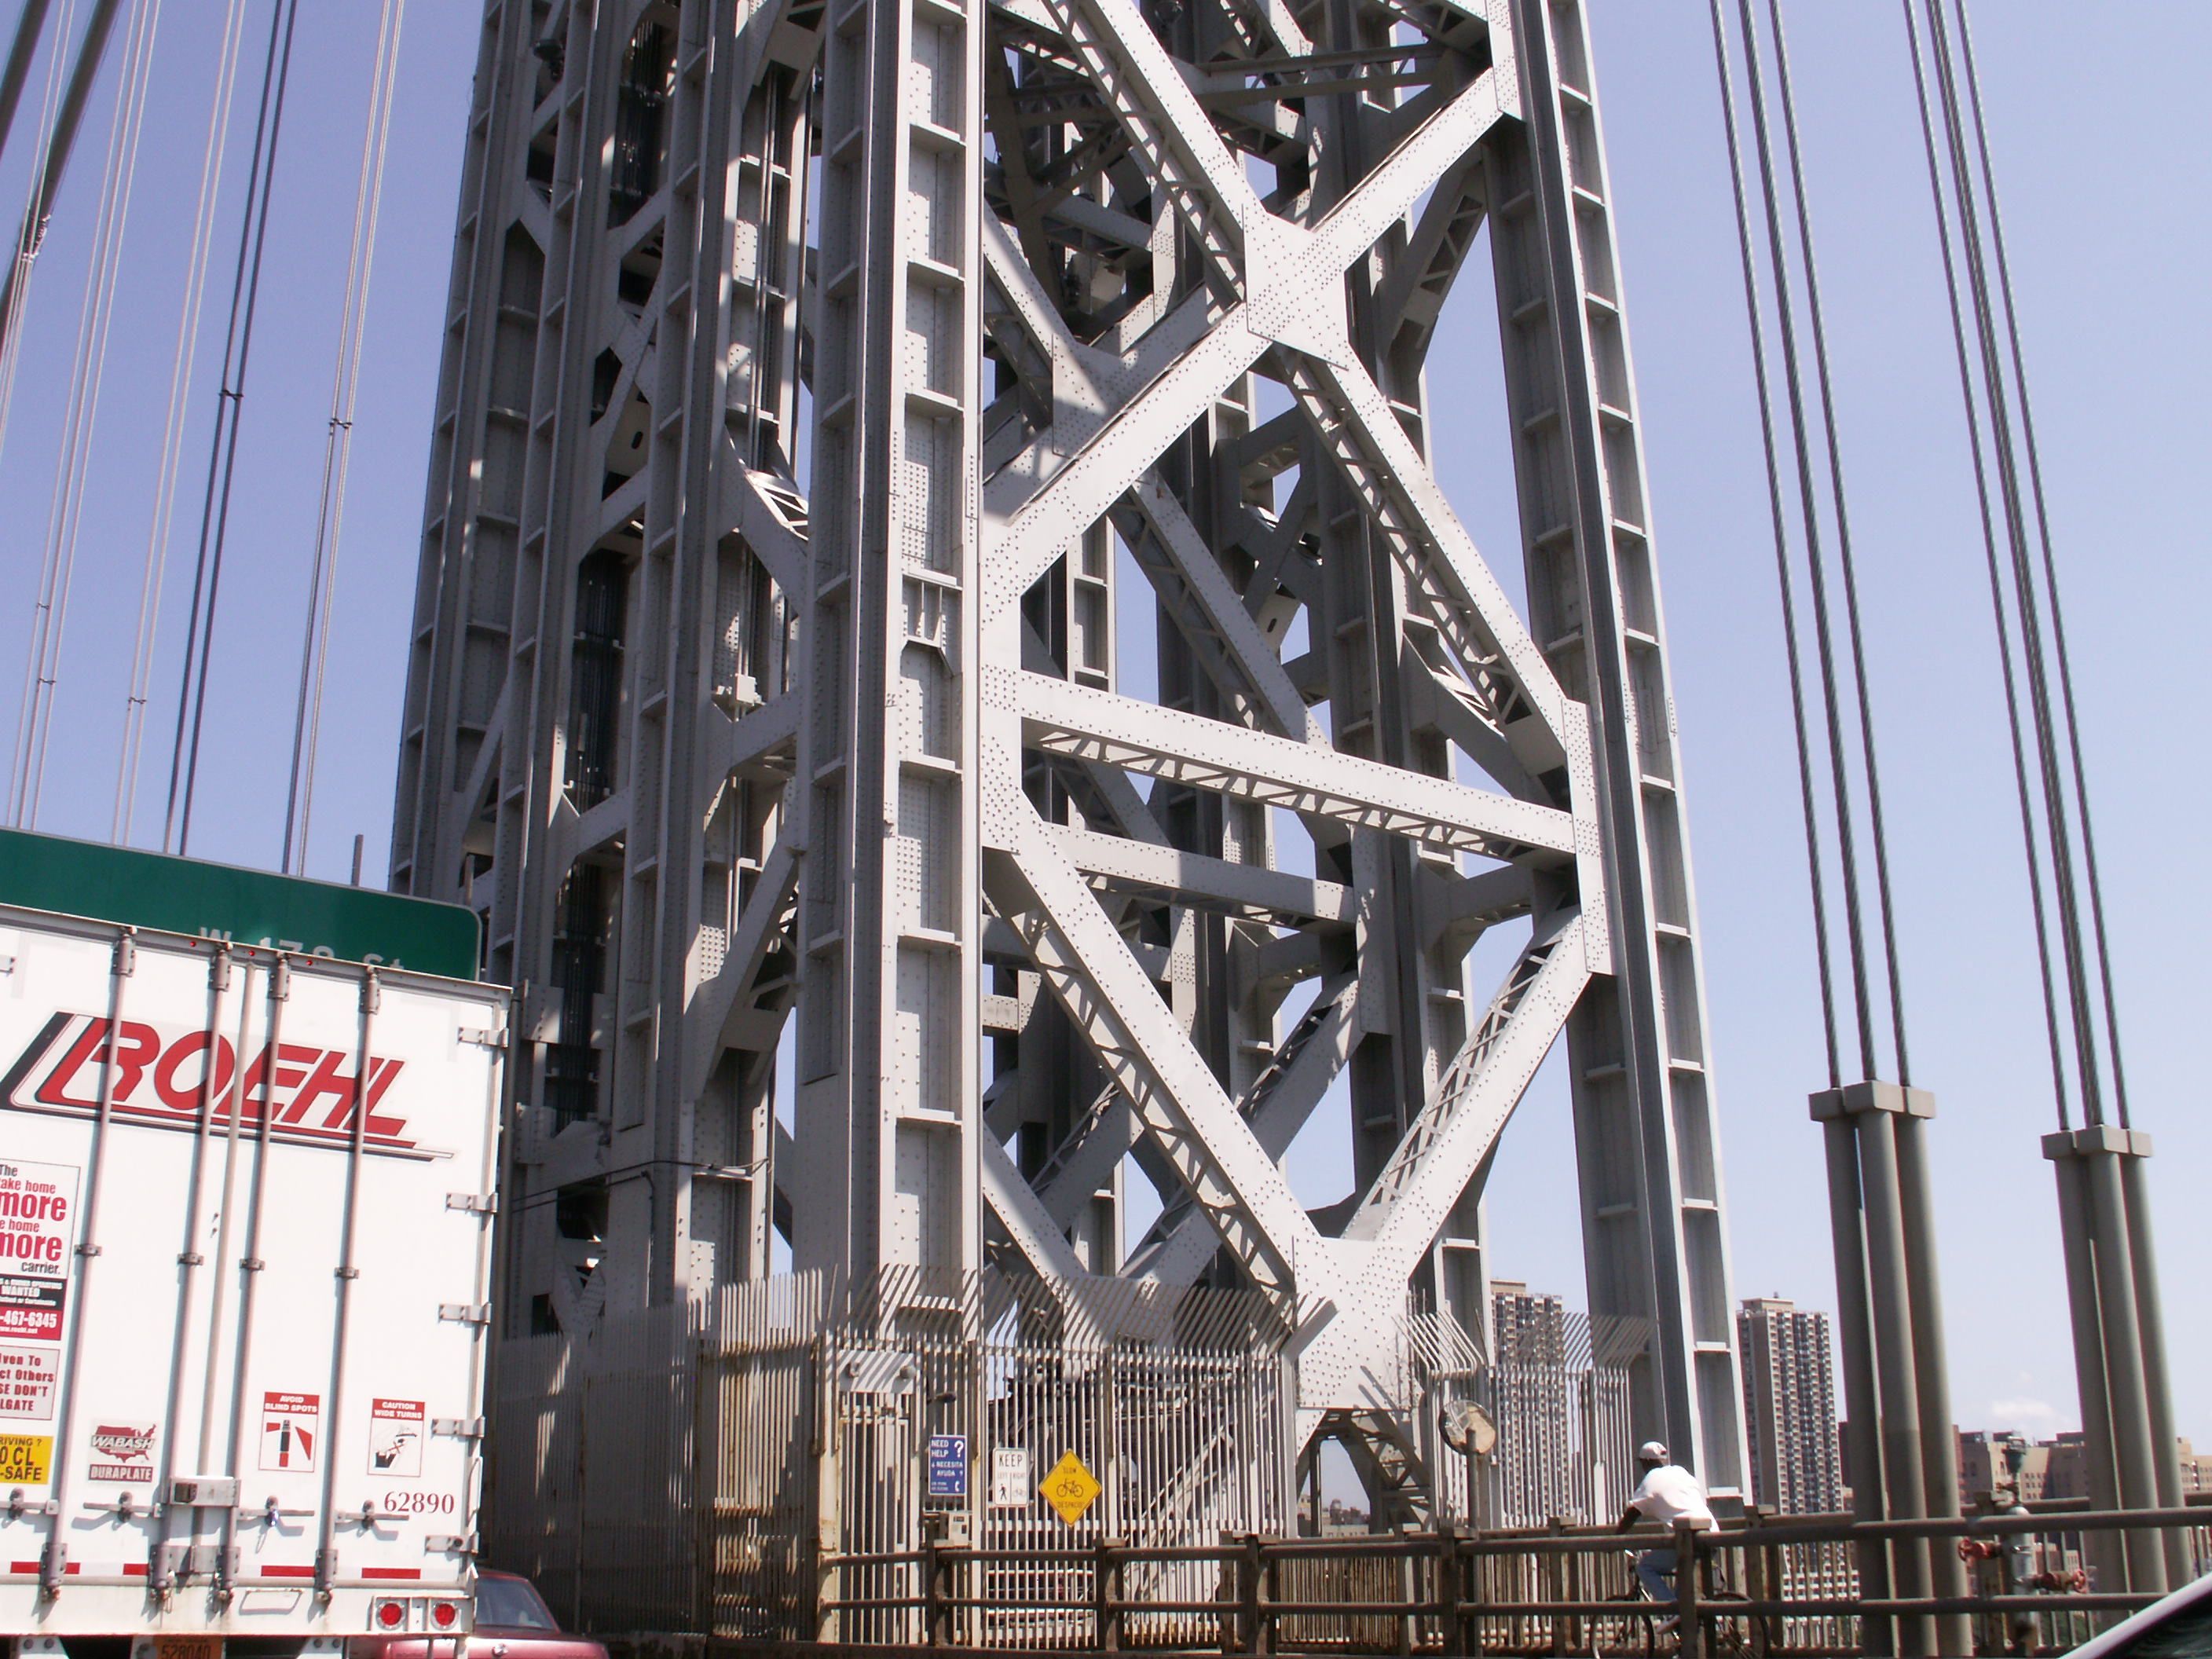
Towers.
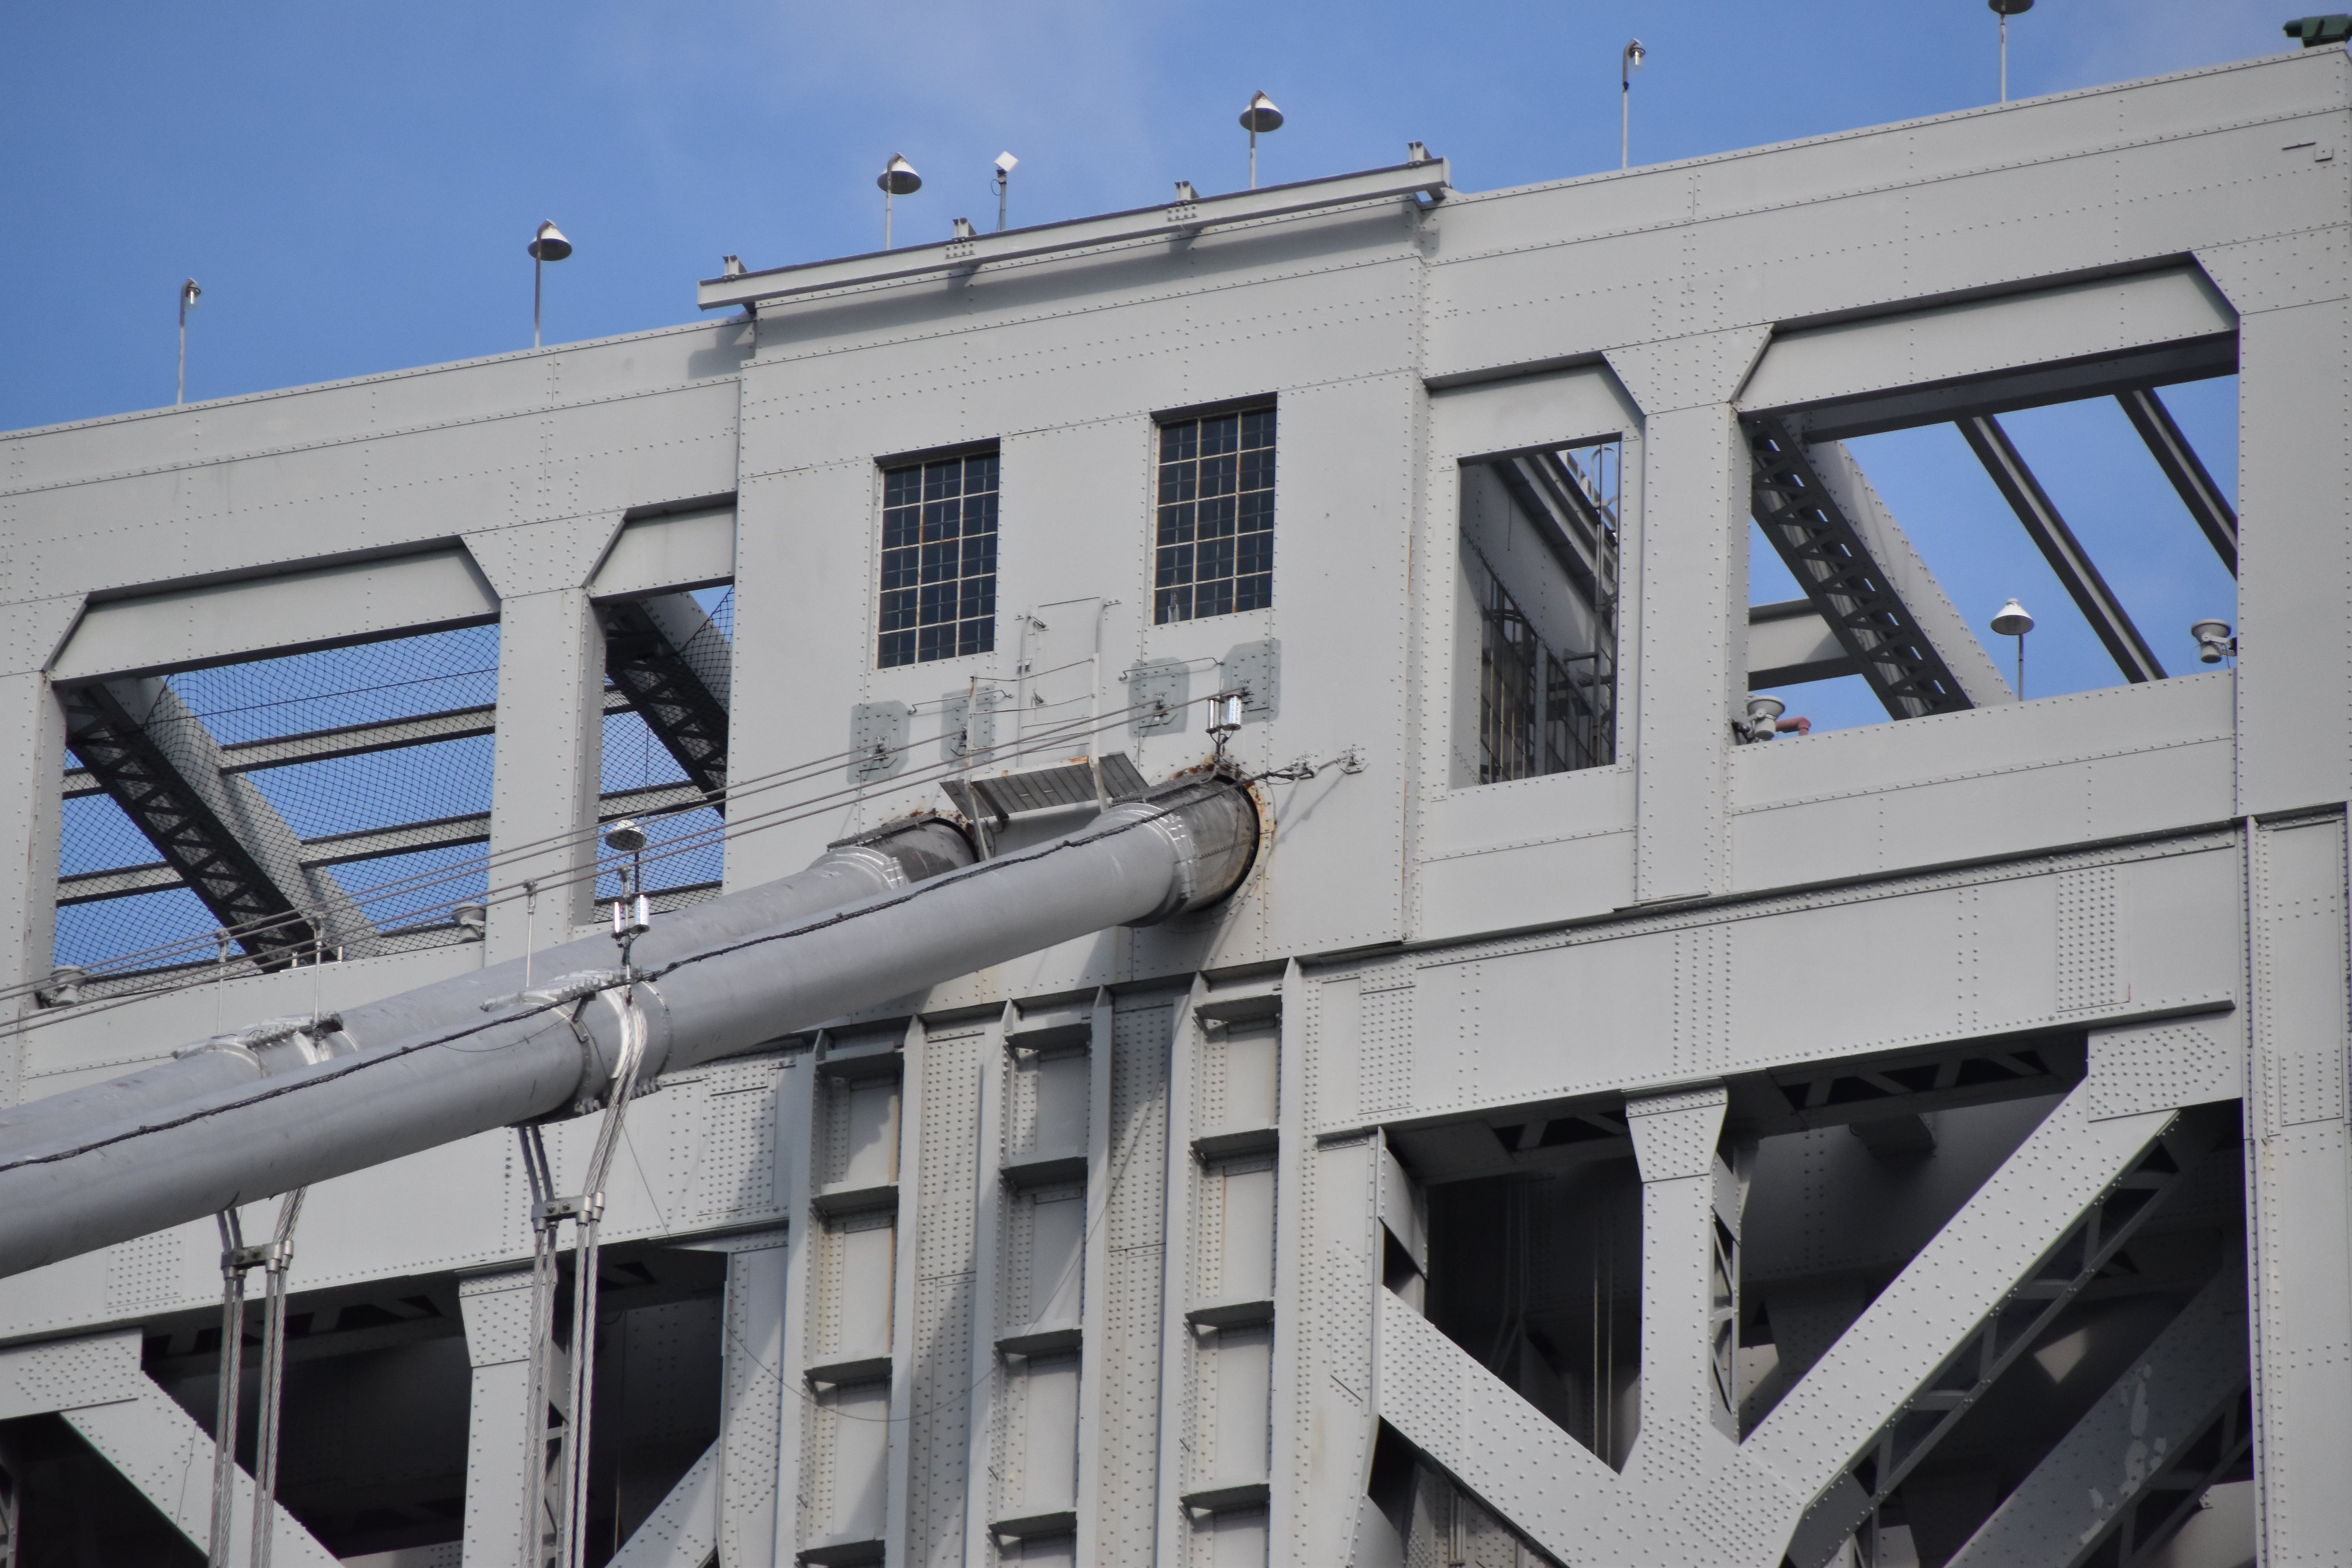
![]()
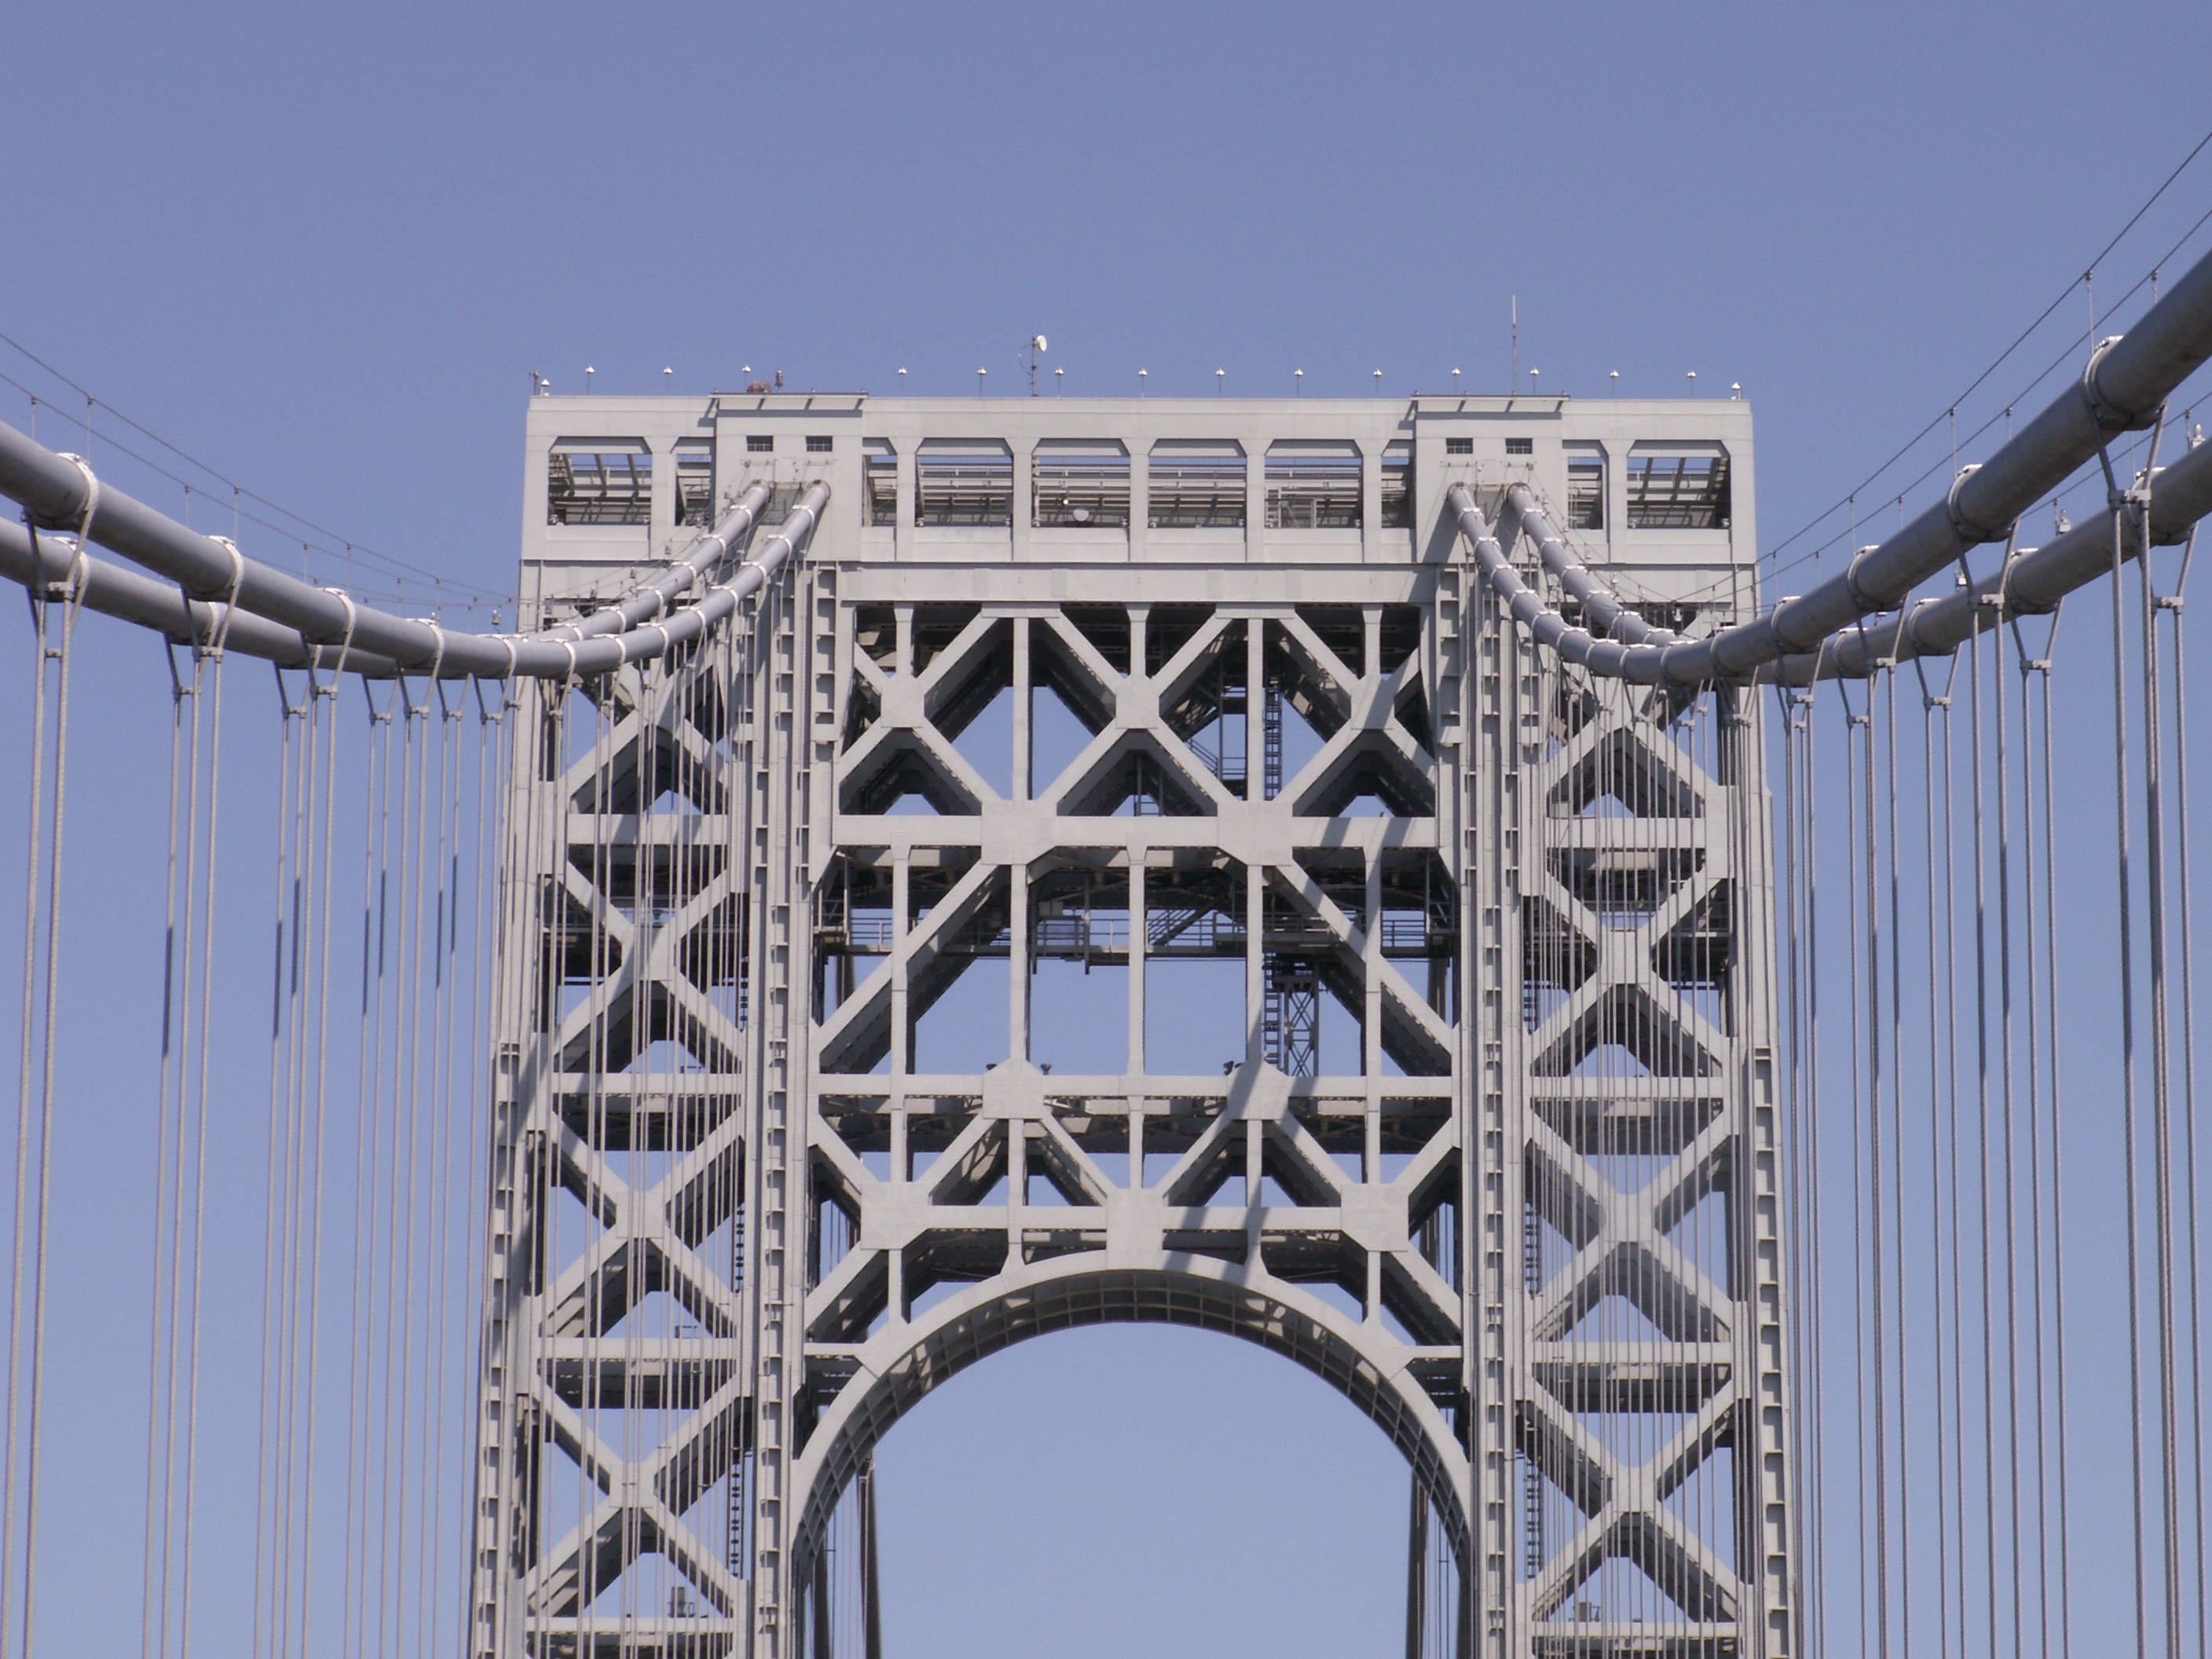
Detail where cable enters the tower (saddle is inside tower).
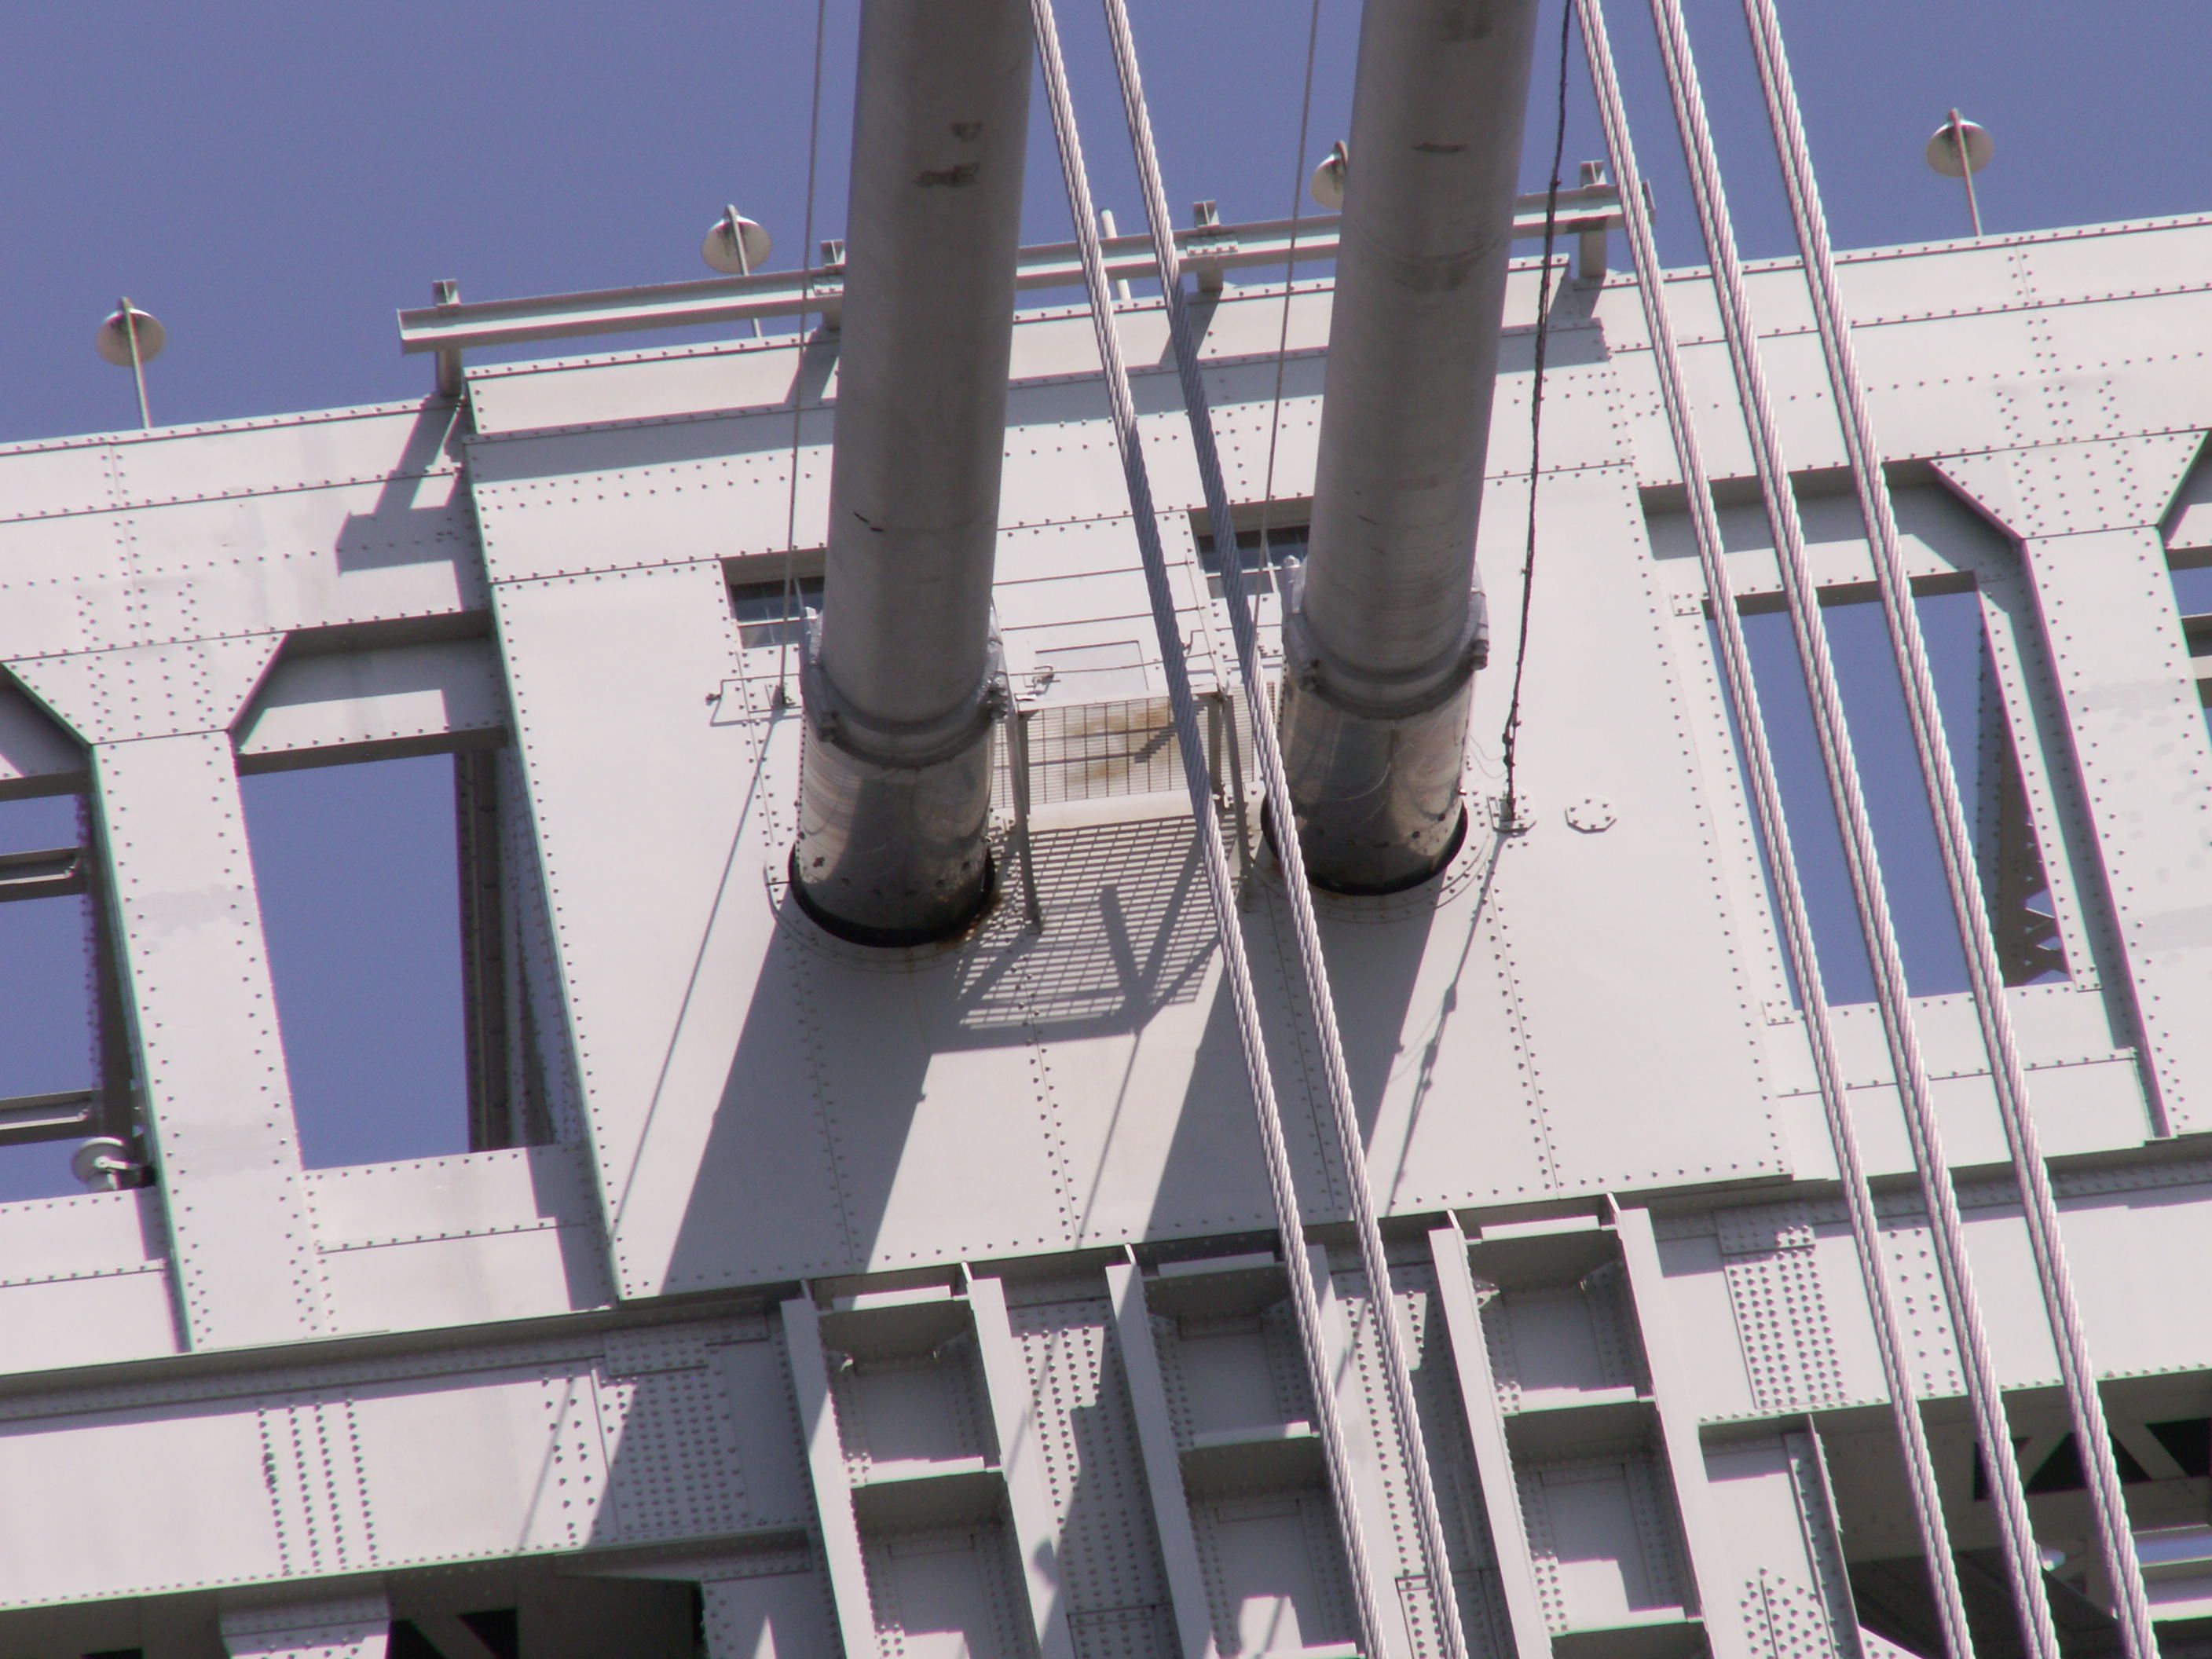
![]()


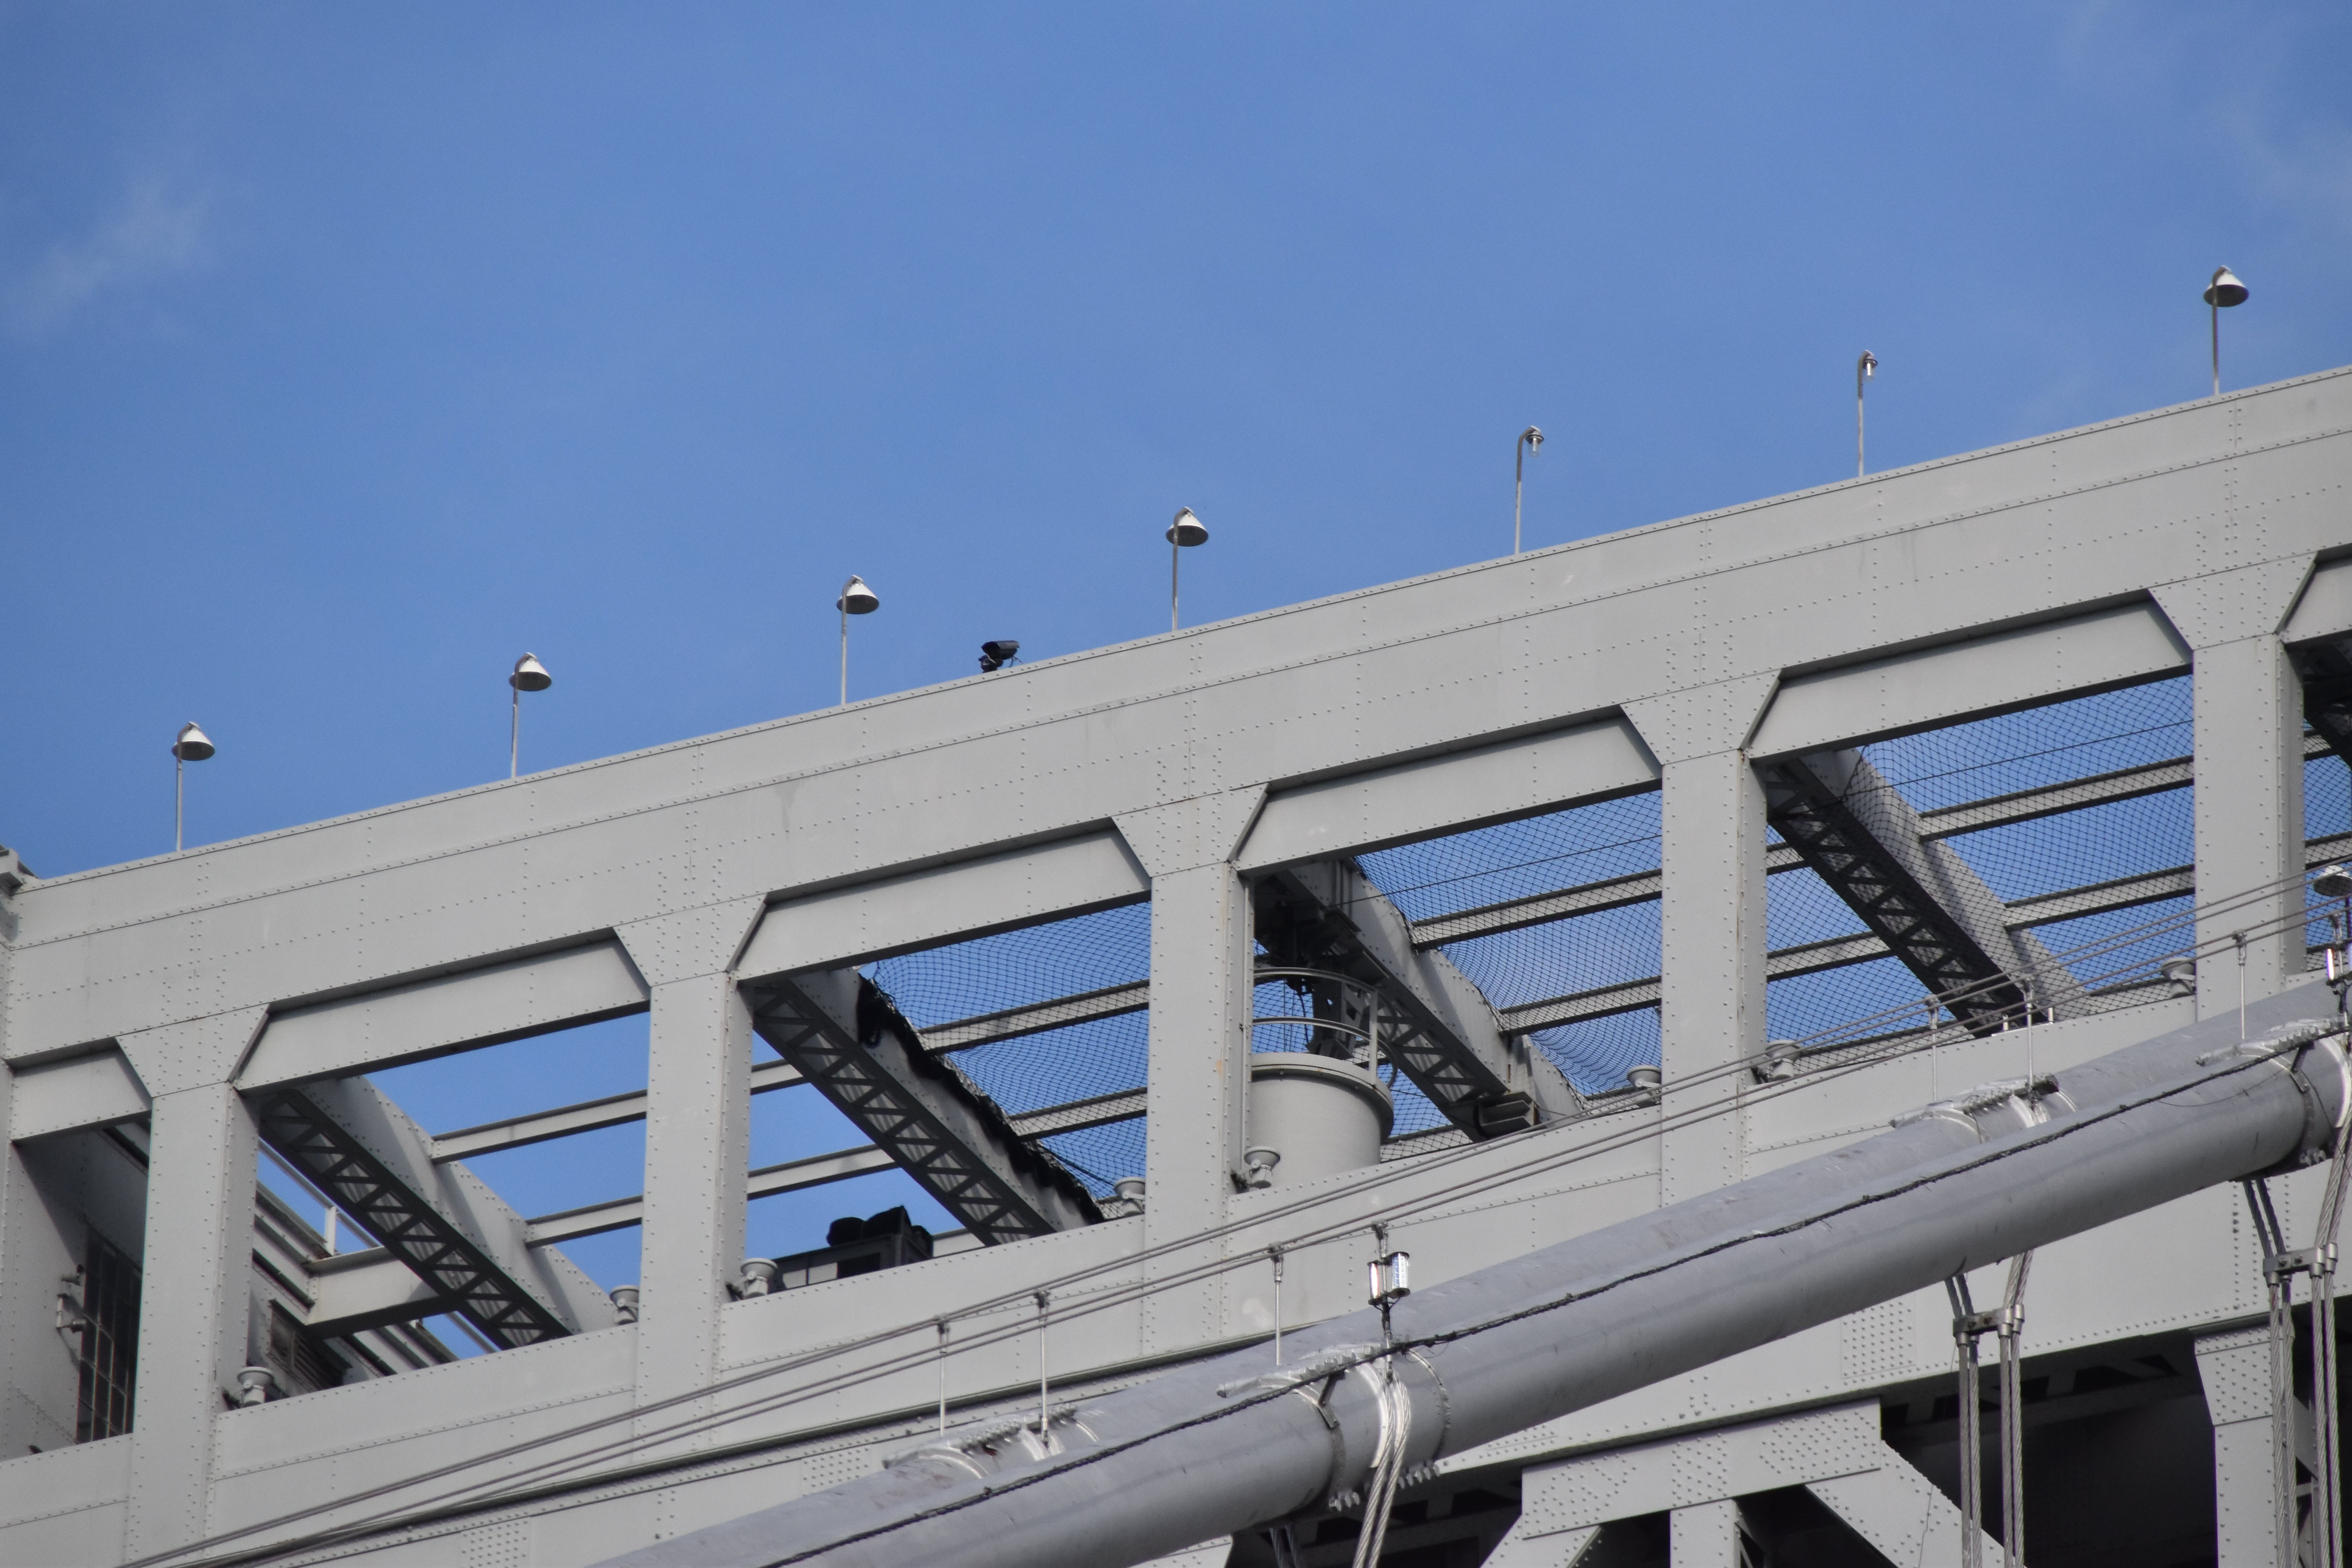


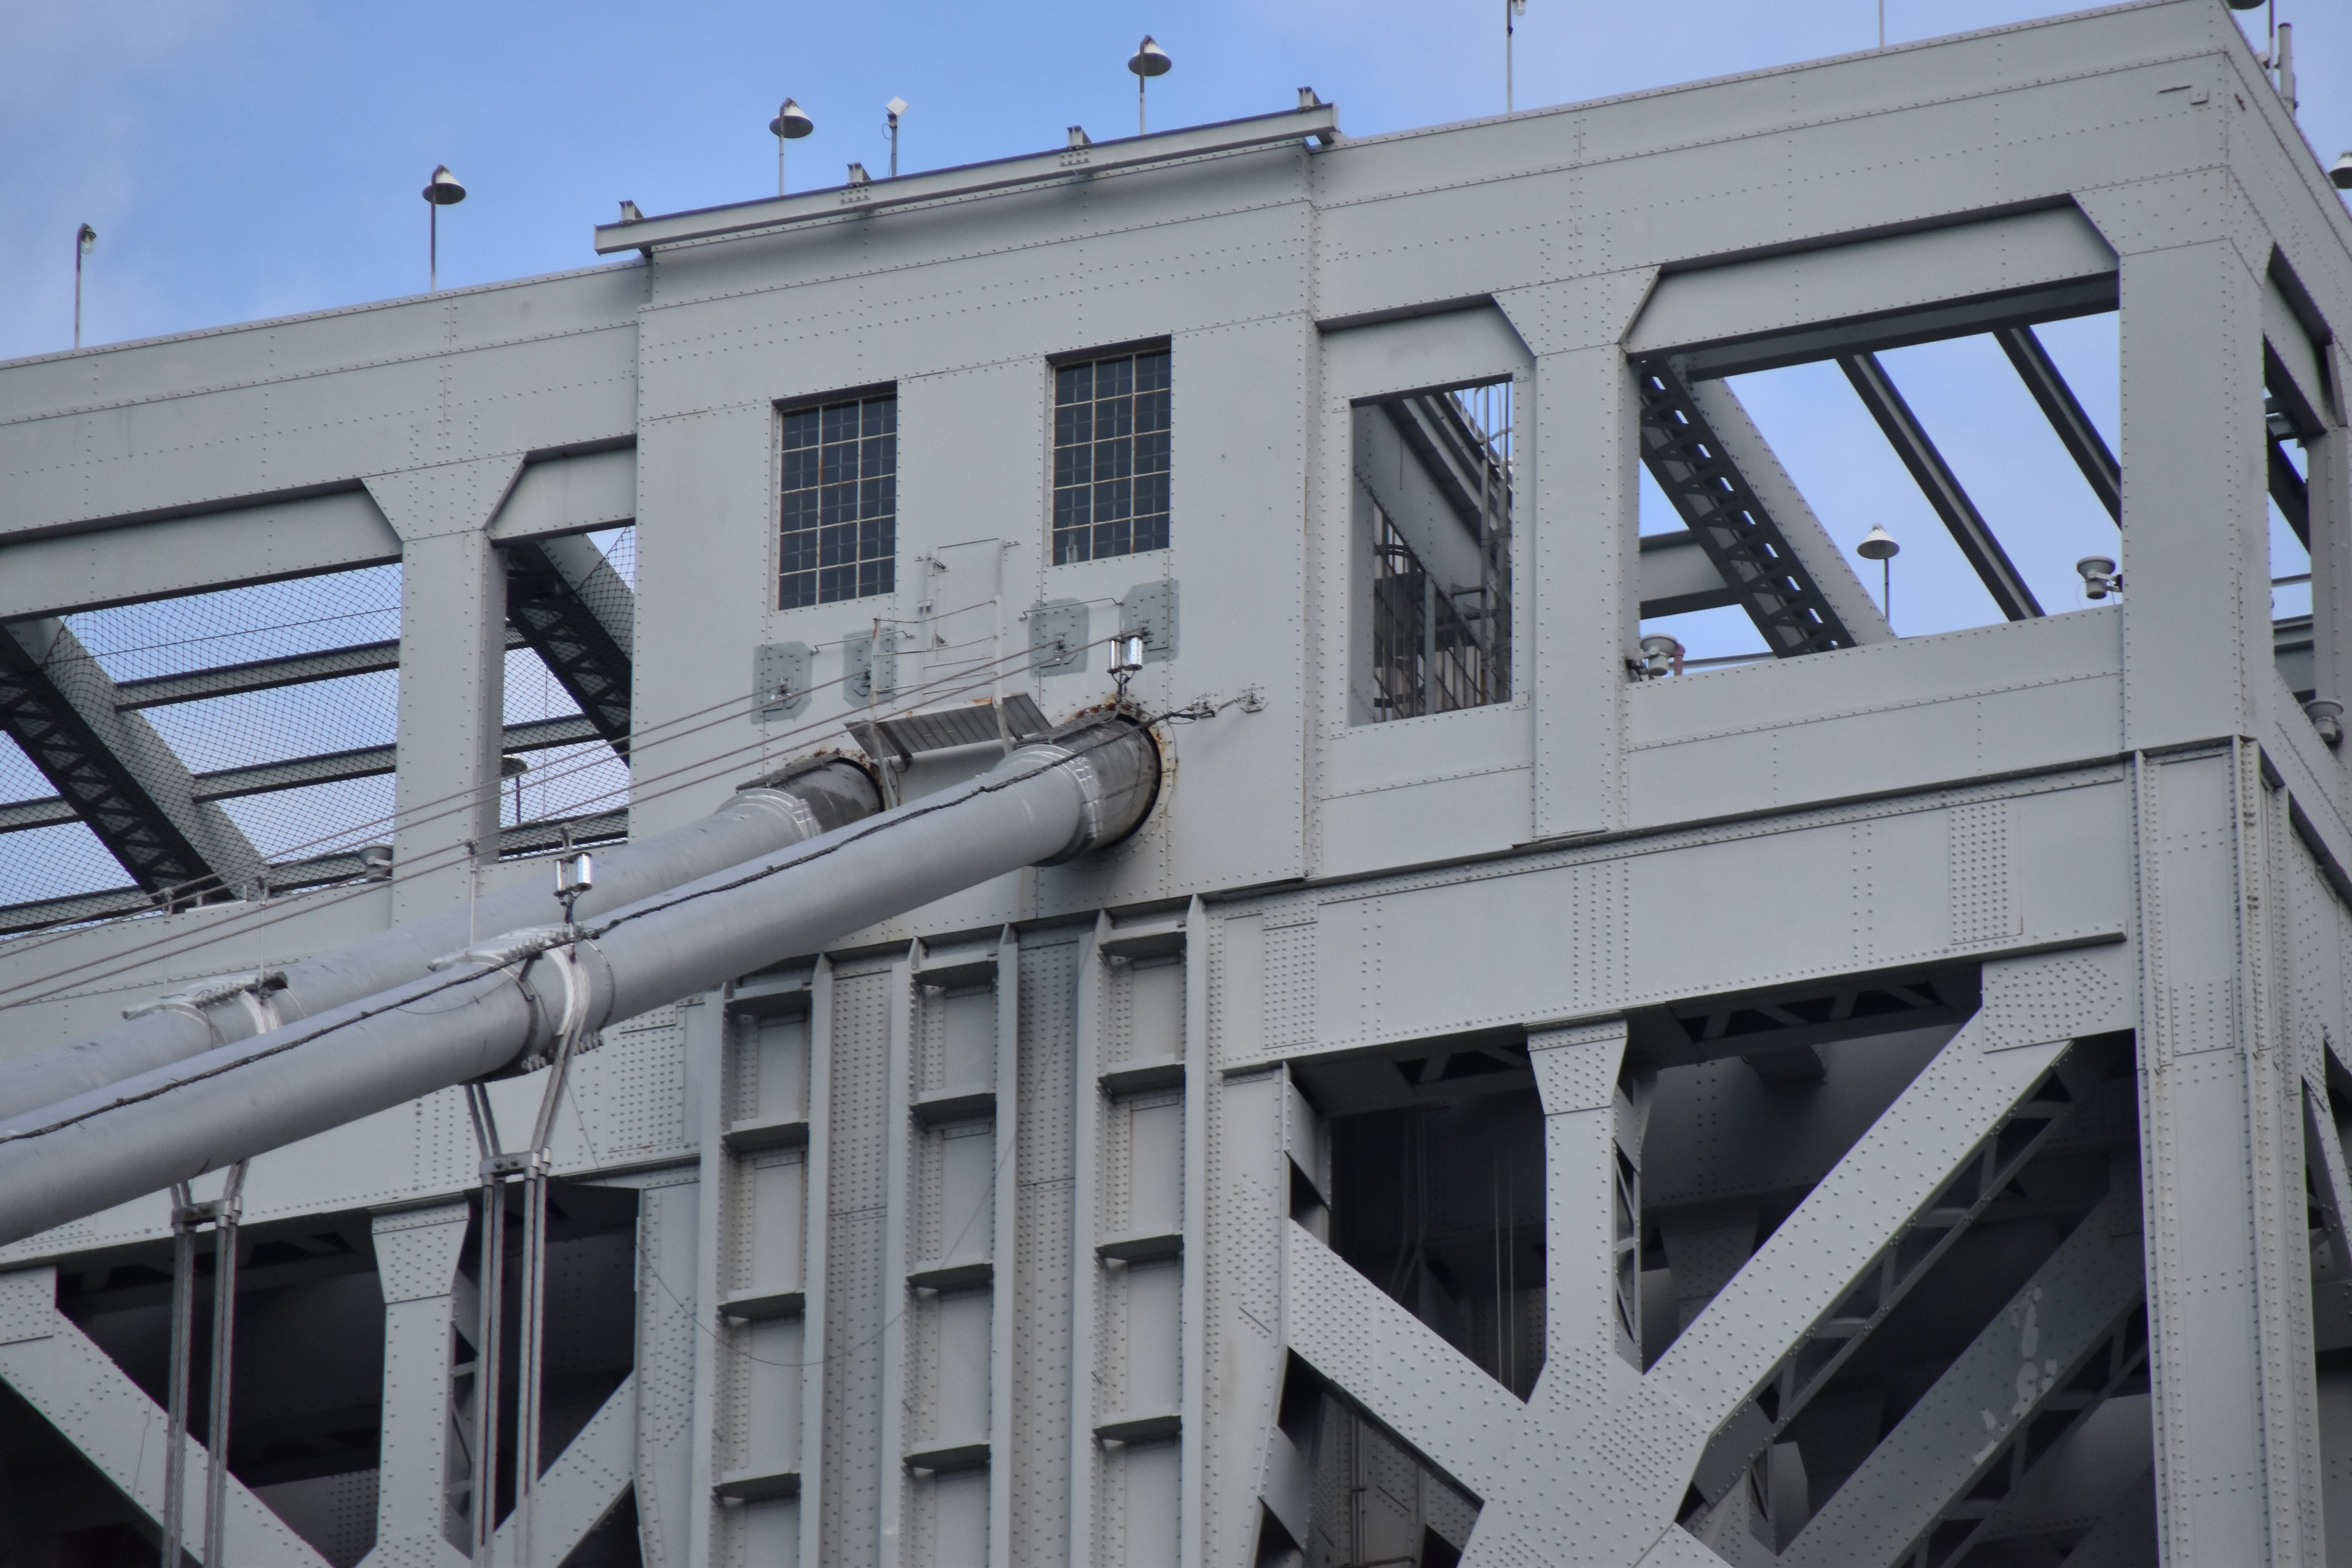
Tower details above deck.
![]()
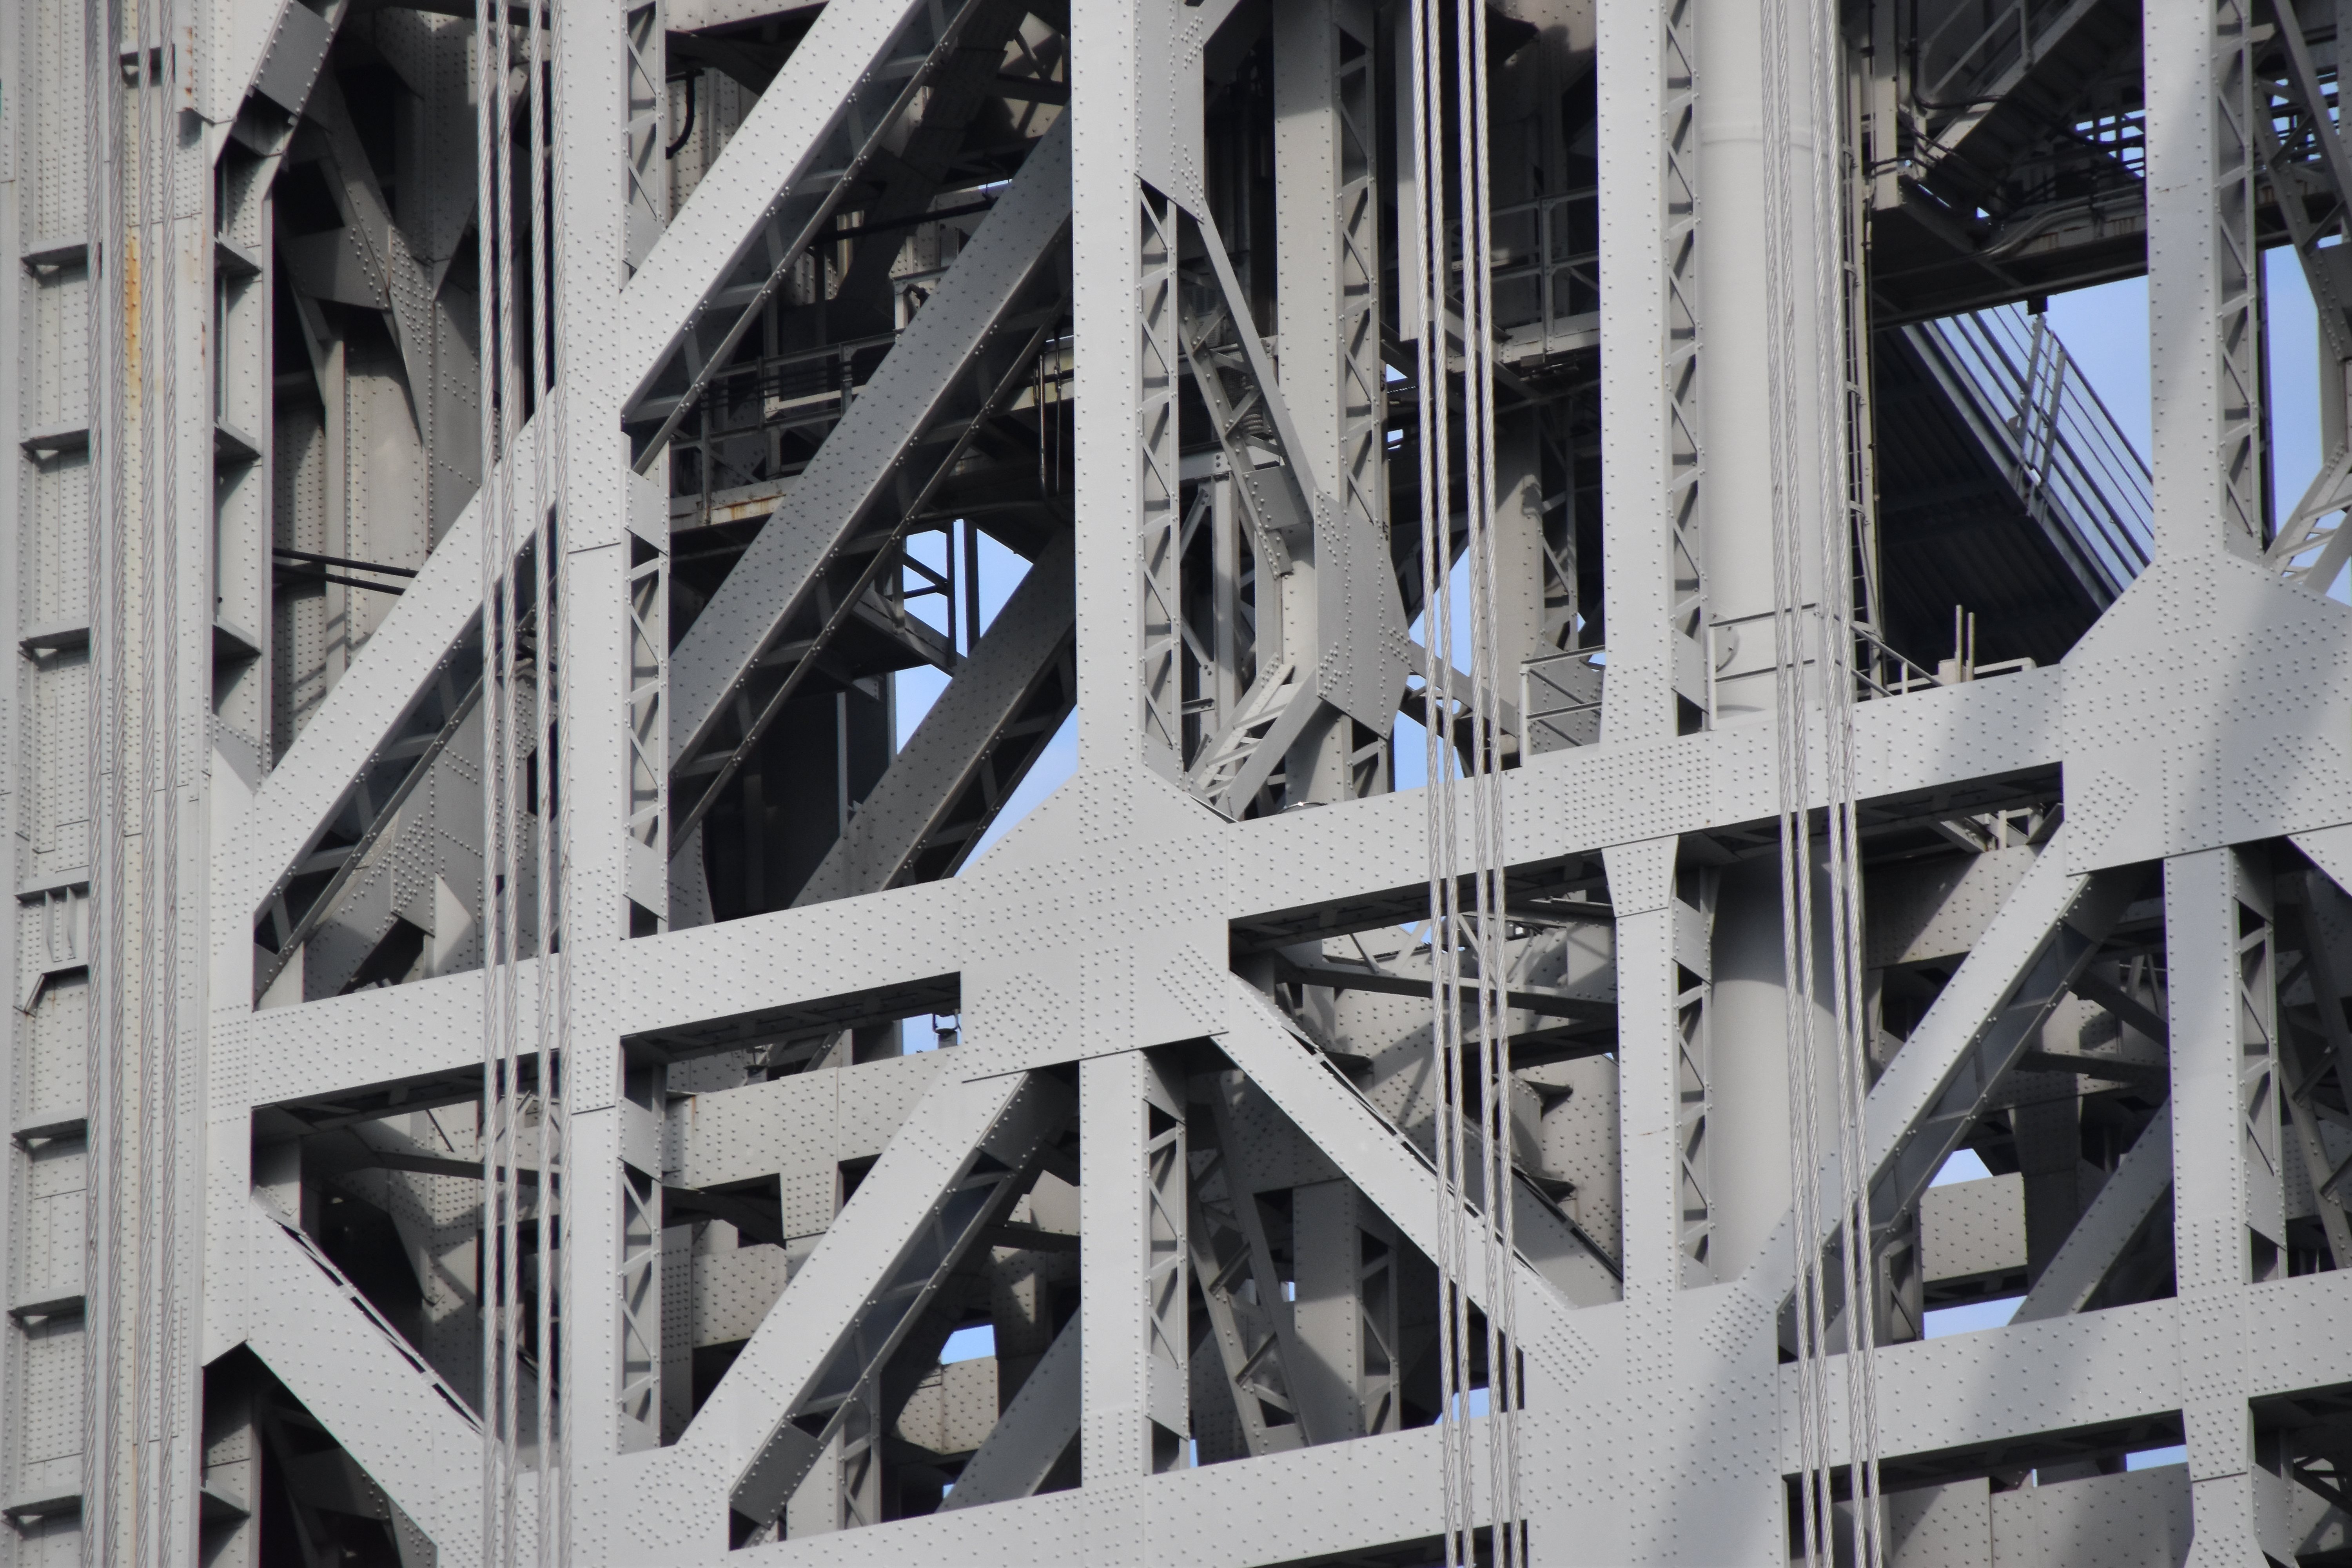
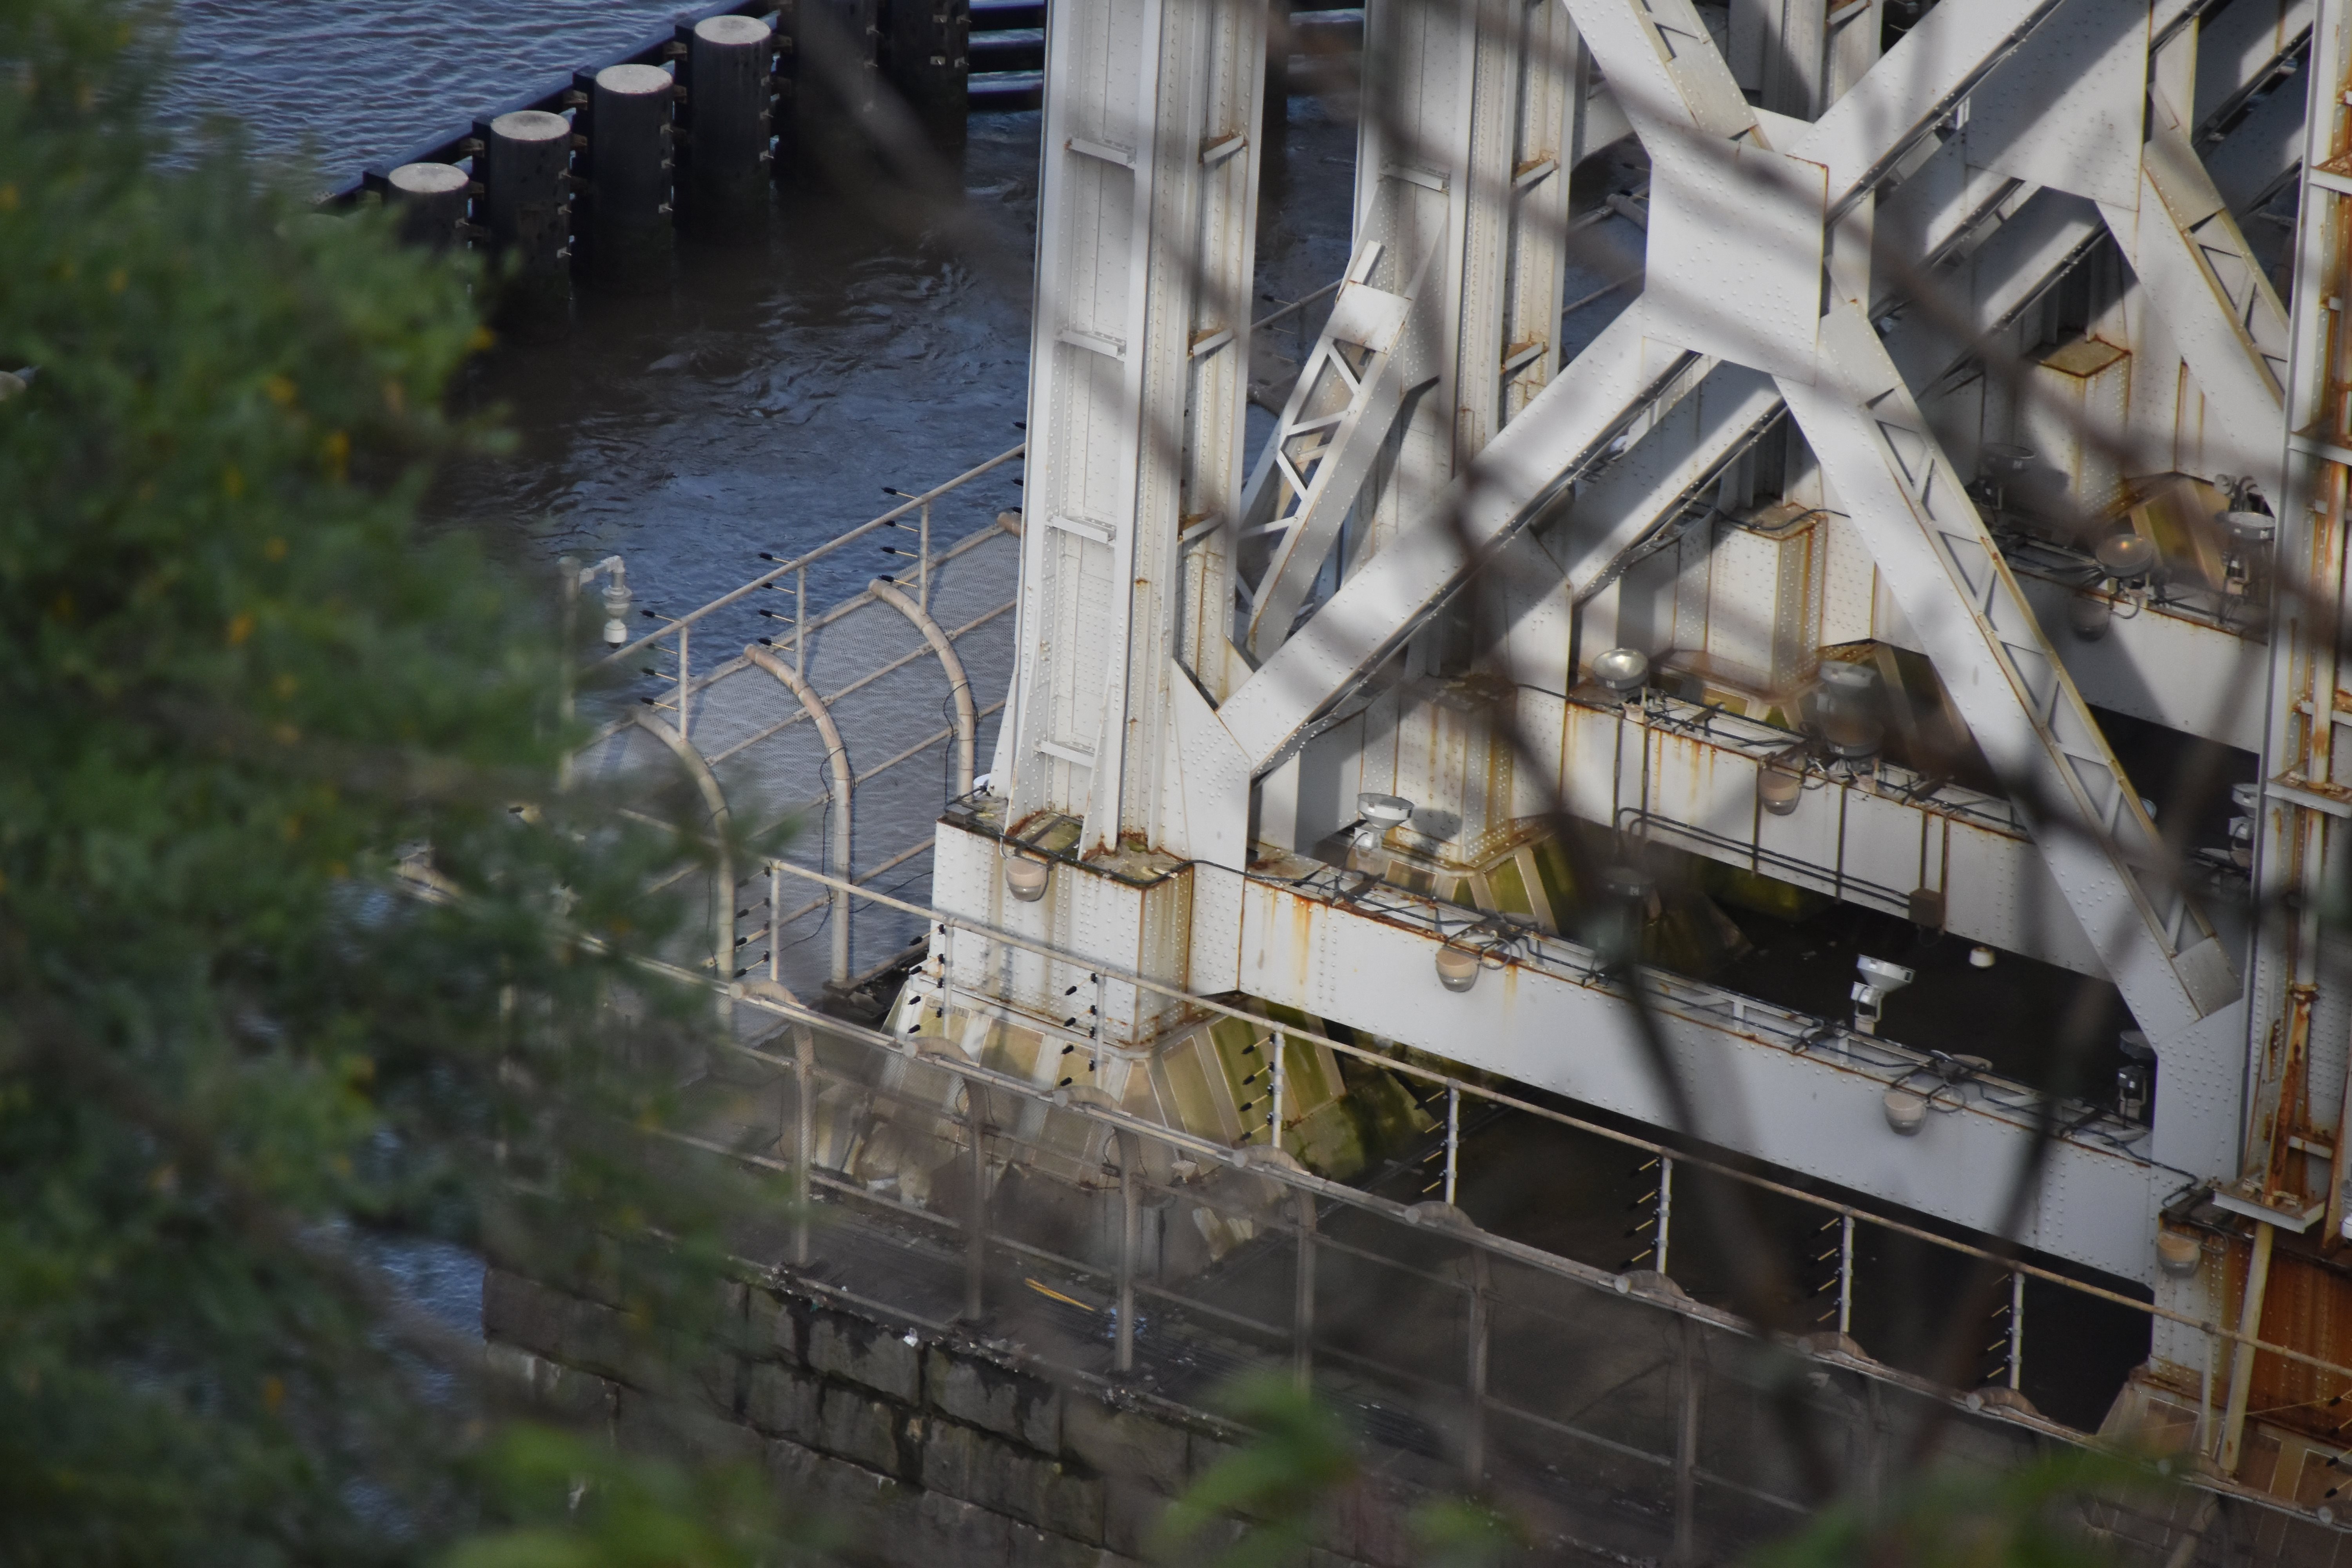
Tower details below deck.
![]()

Tower bearings.
![]()

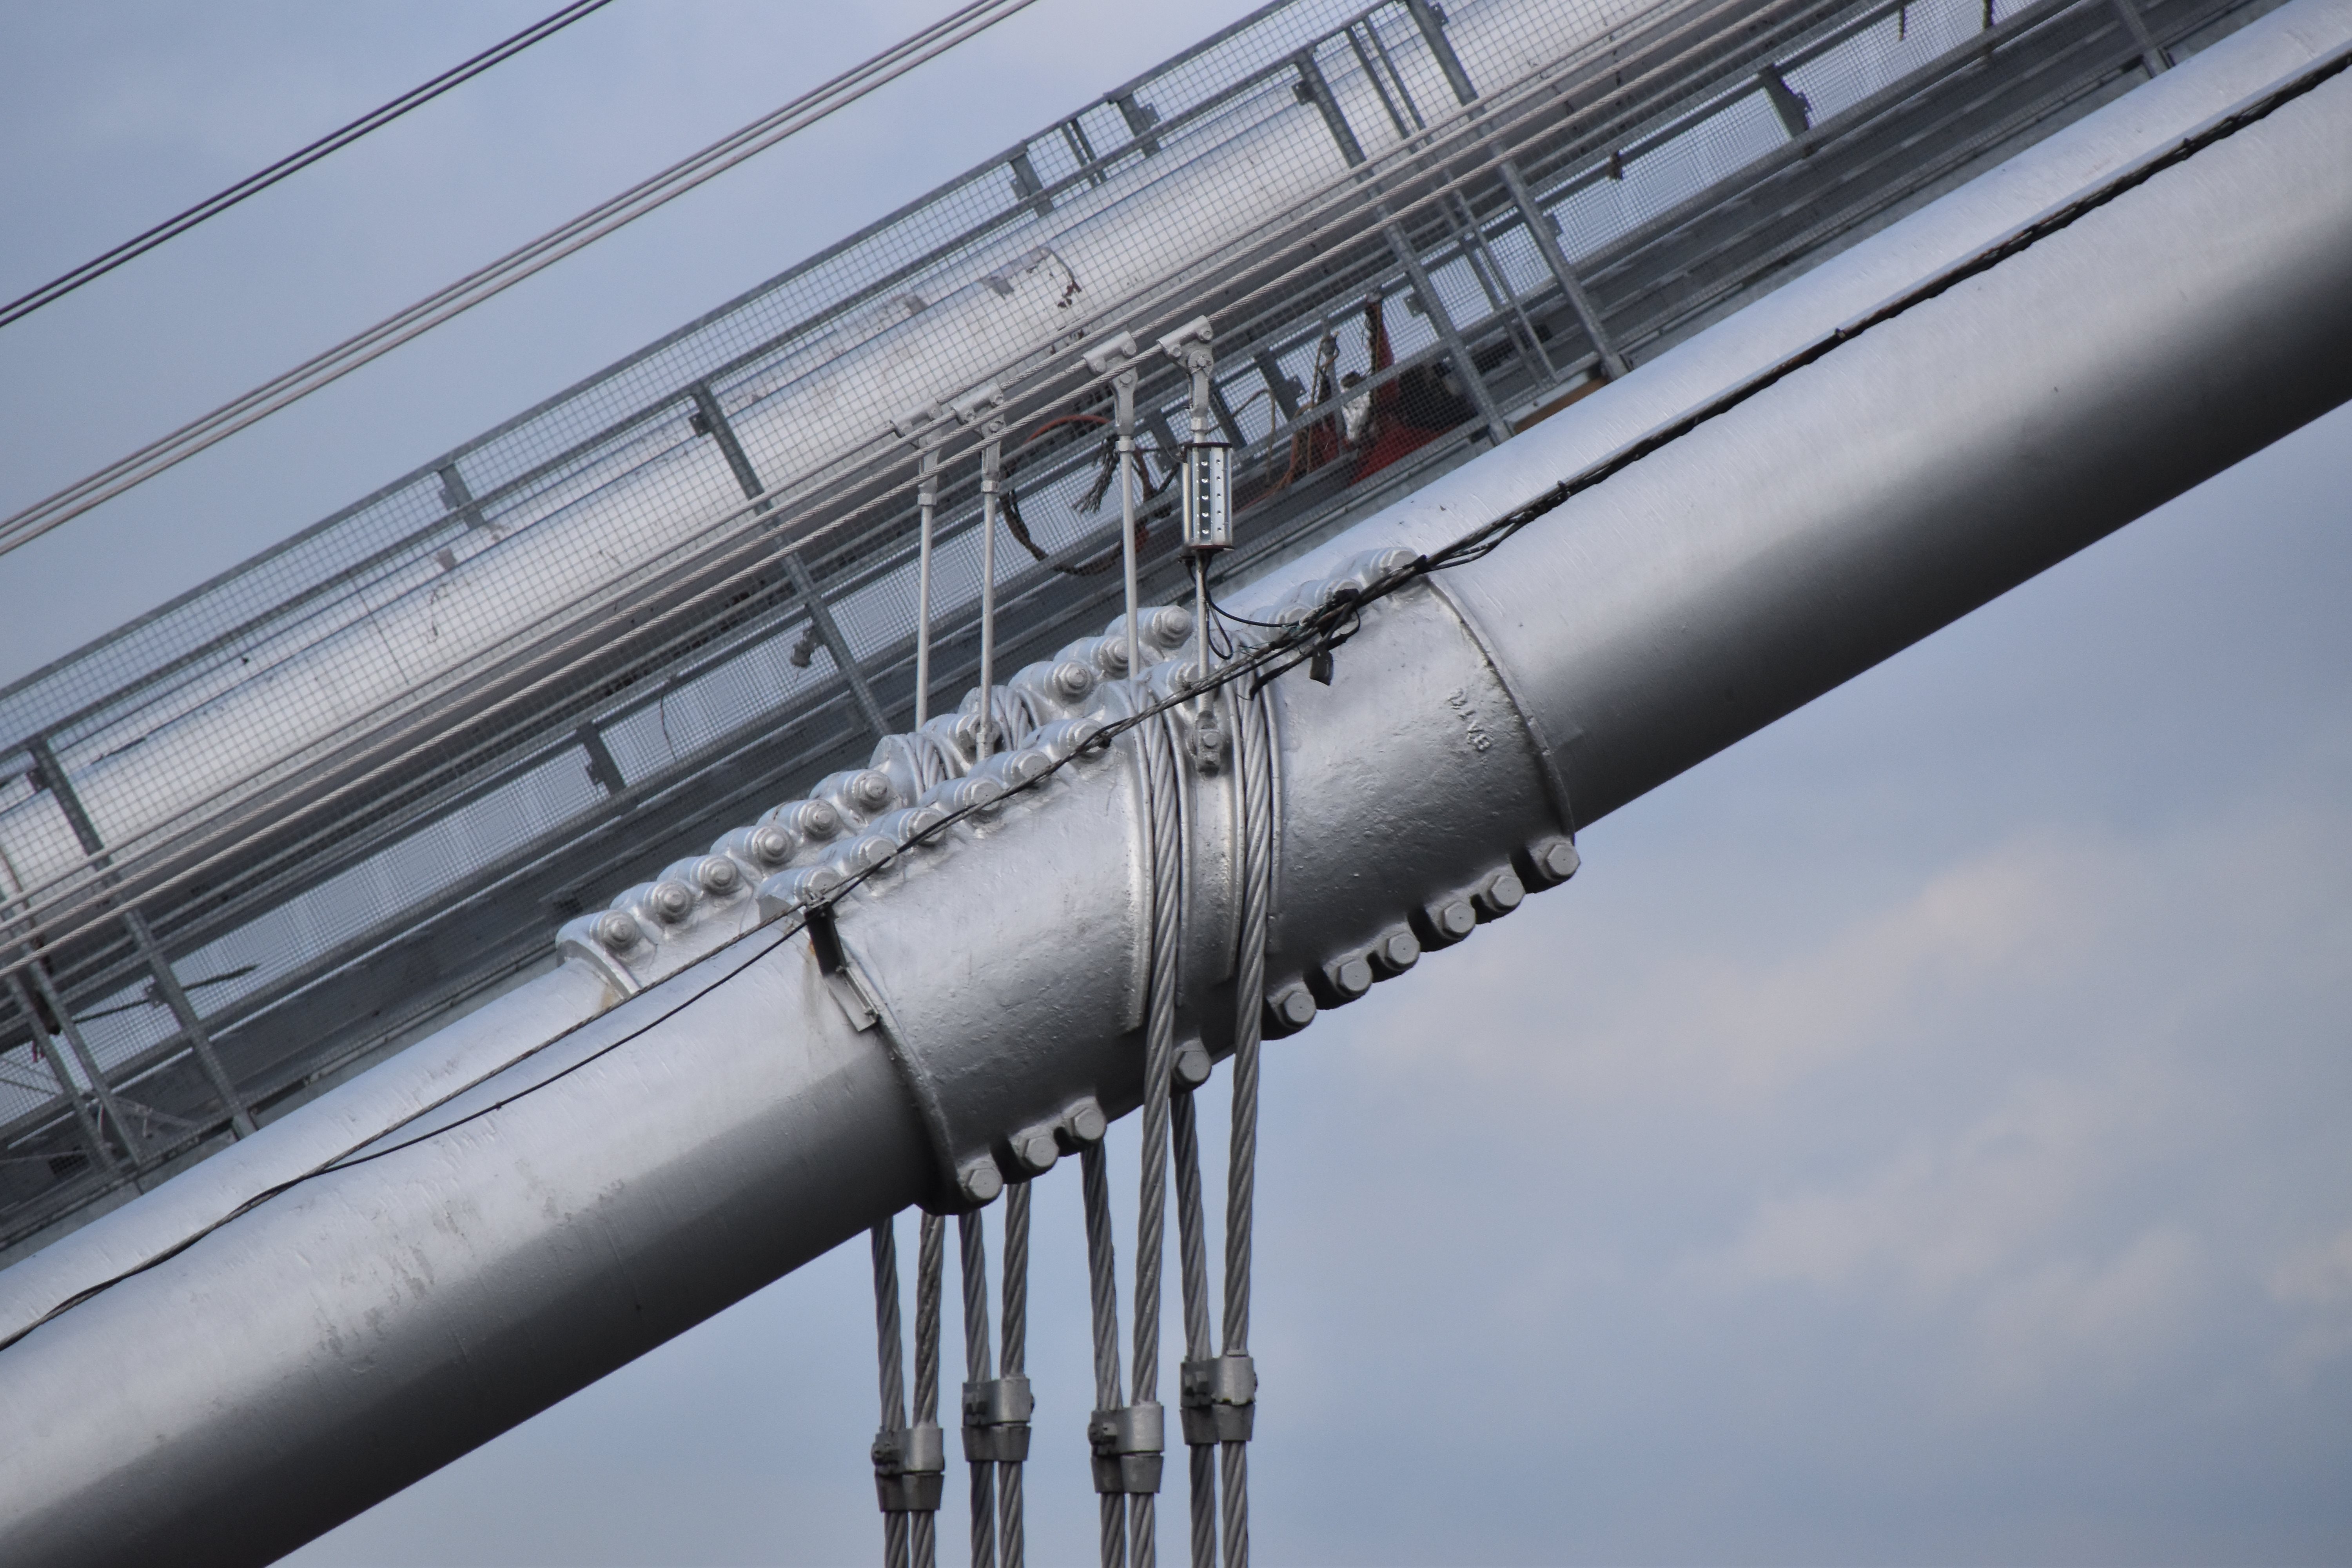

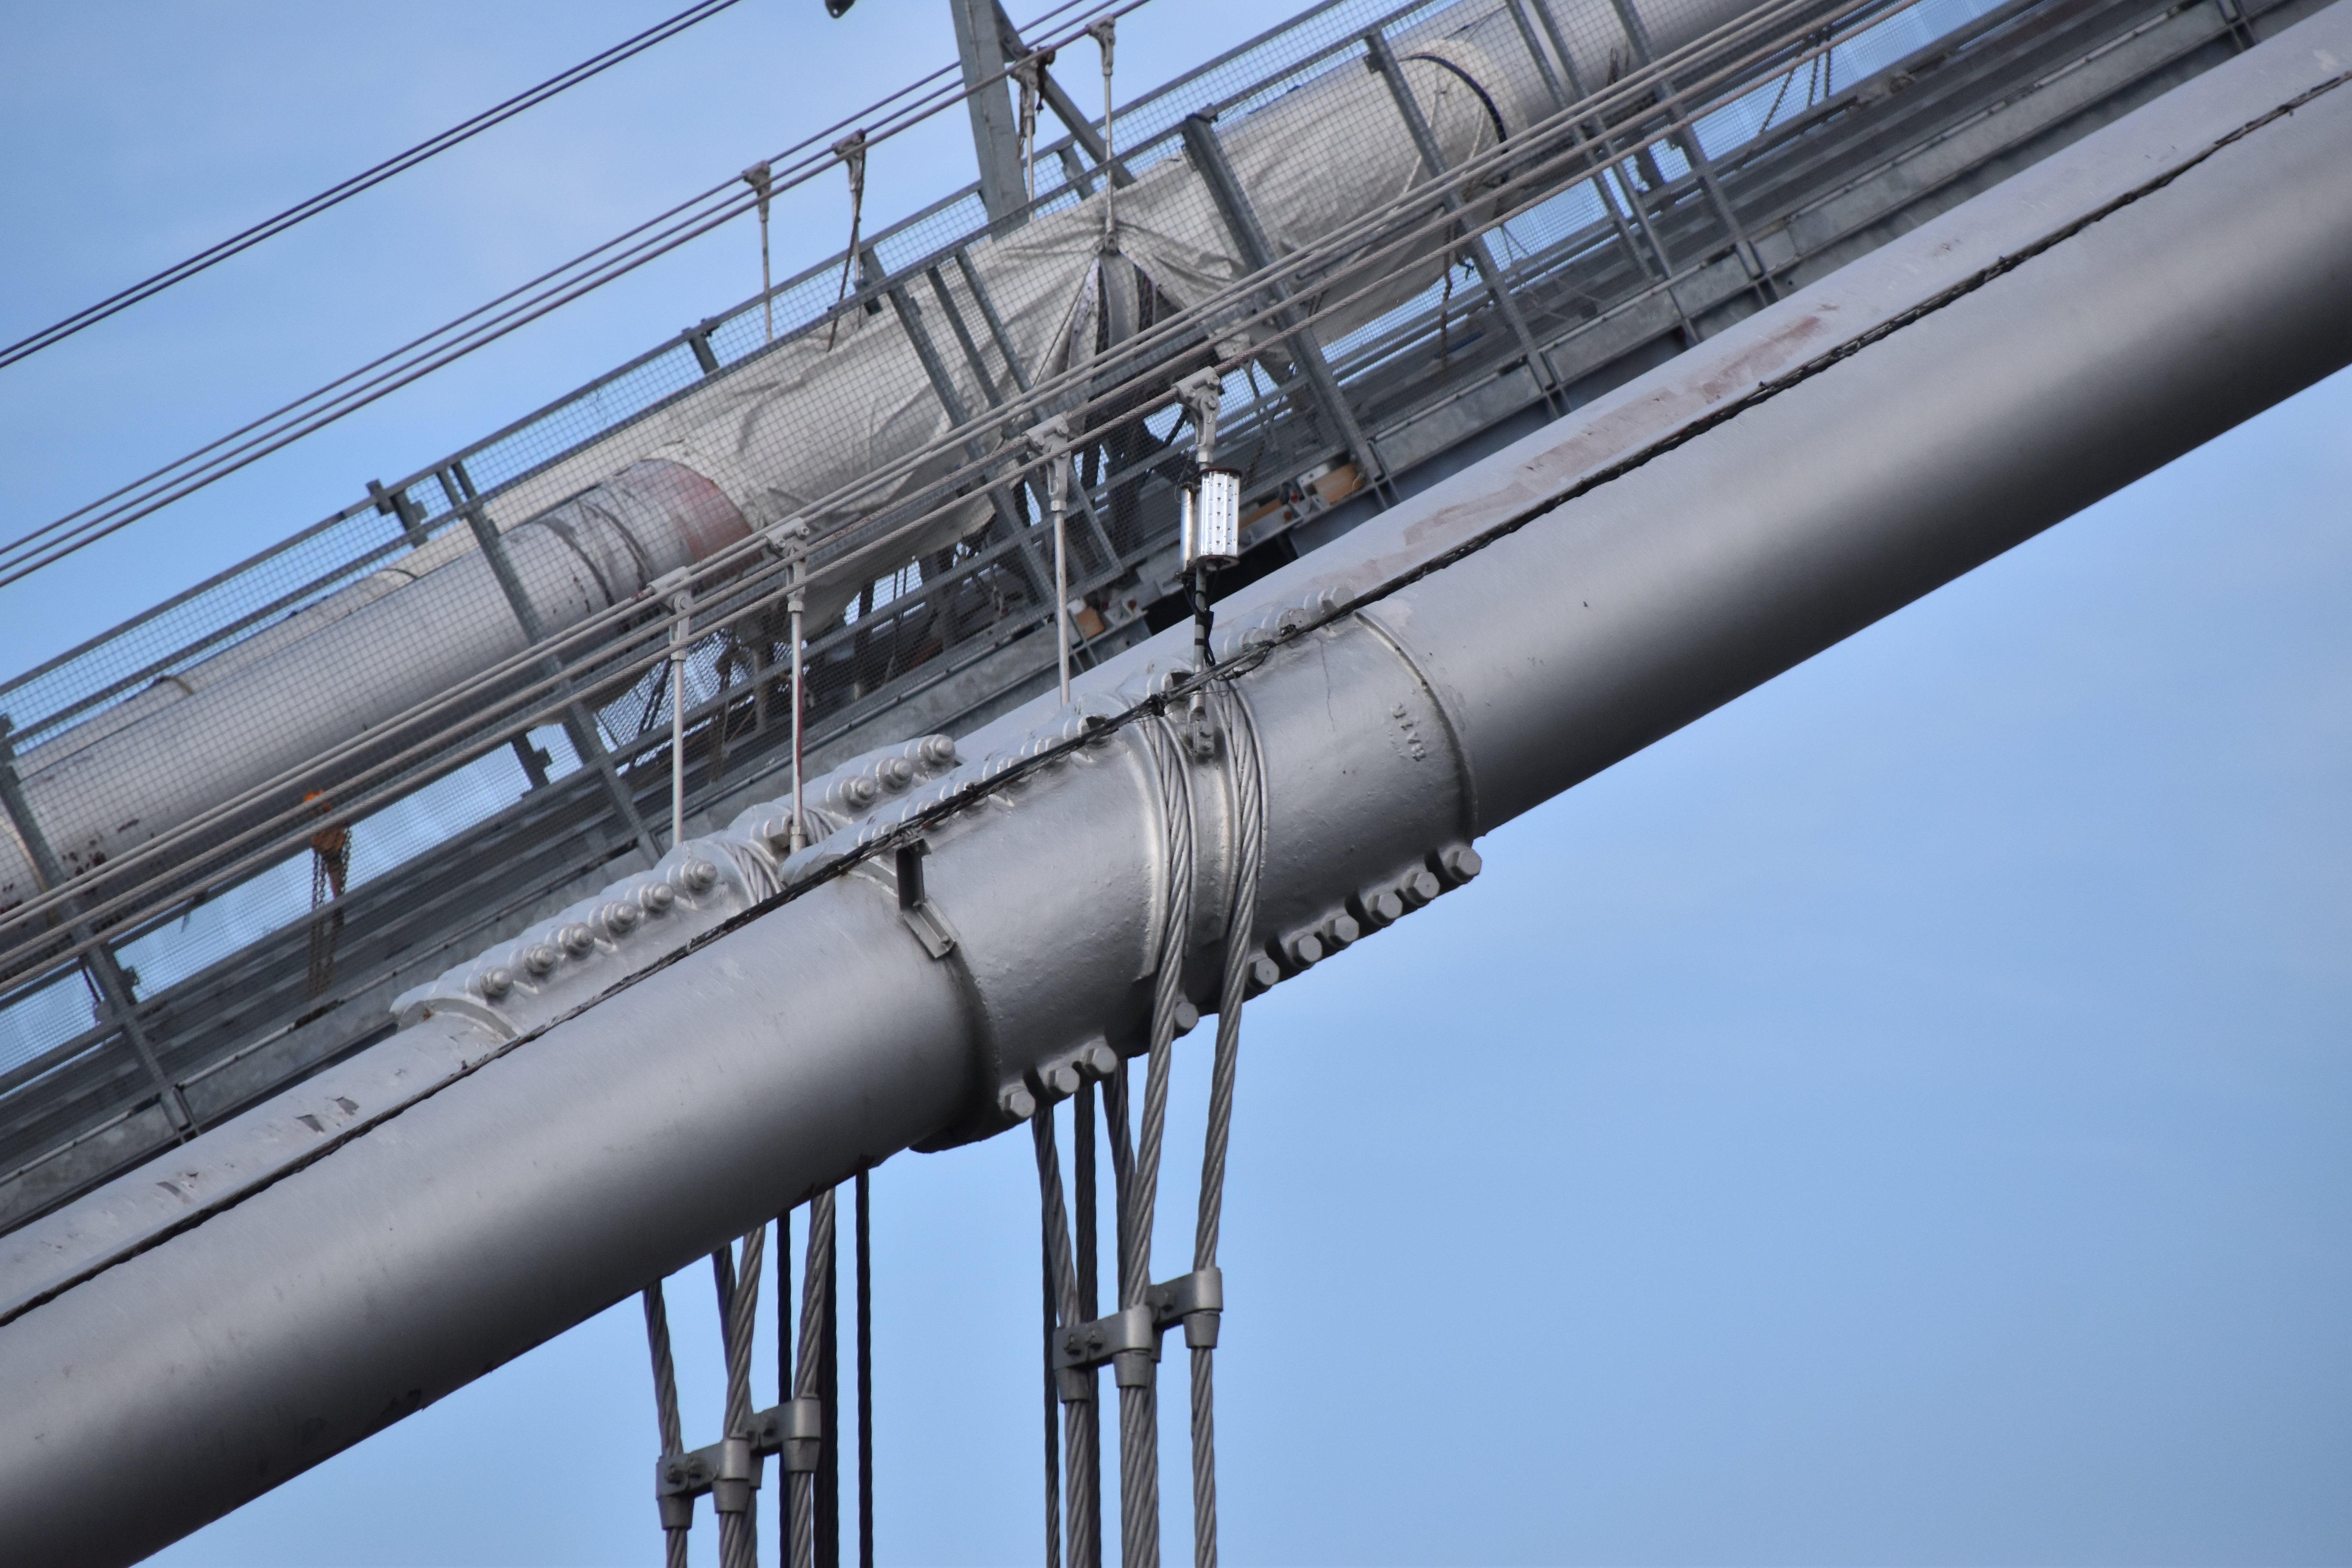


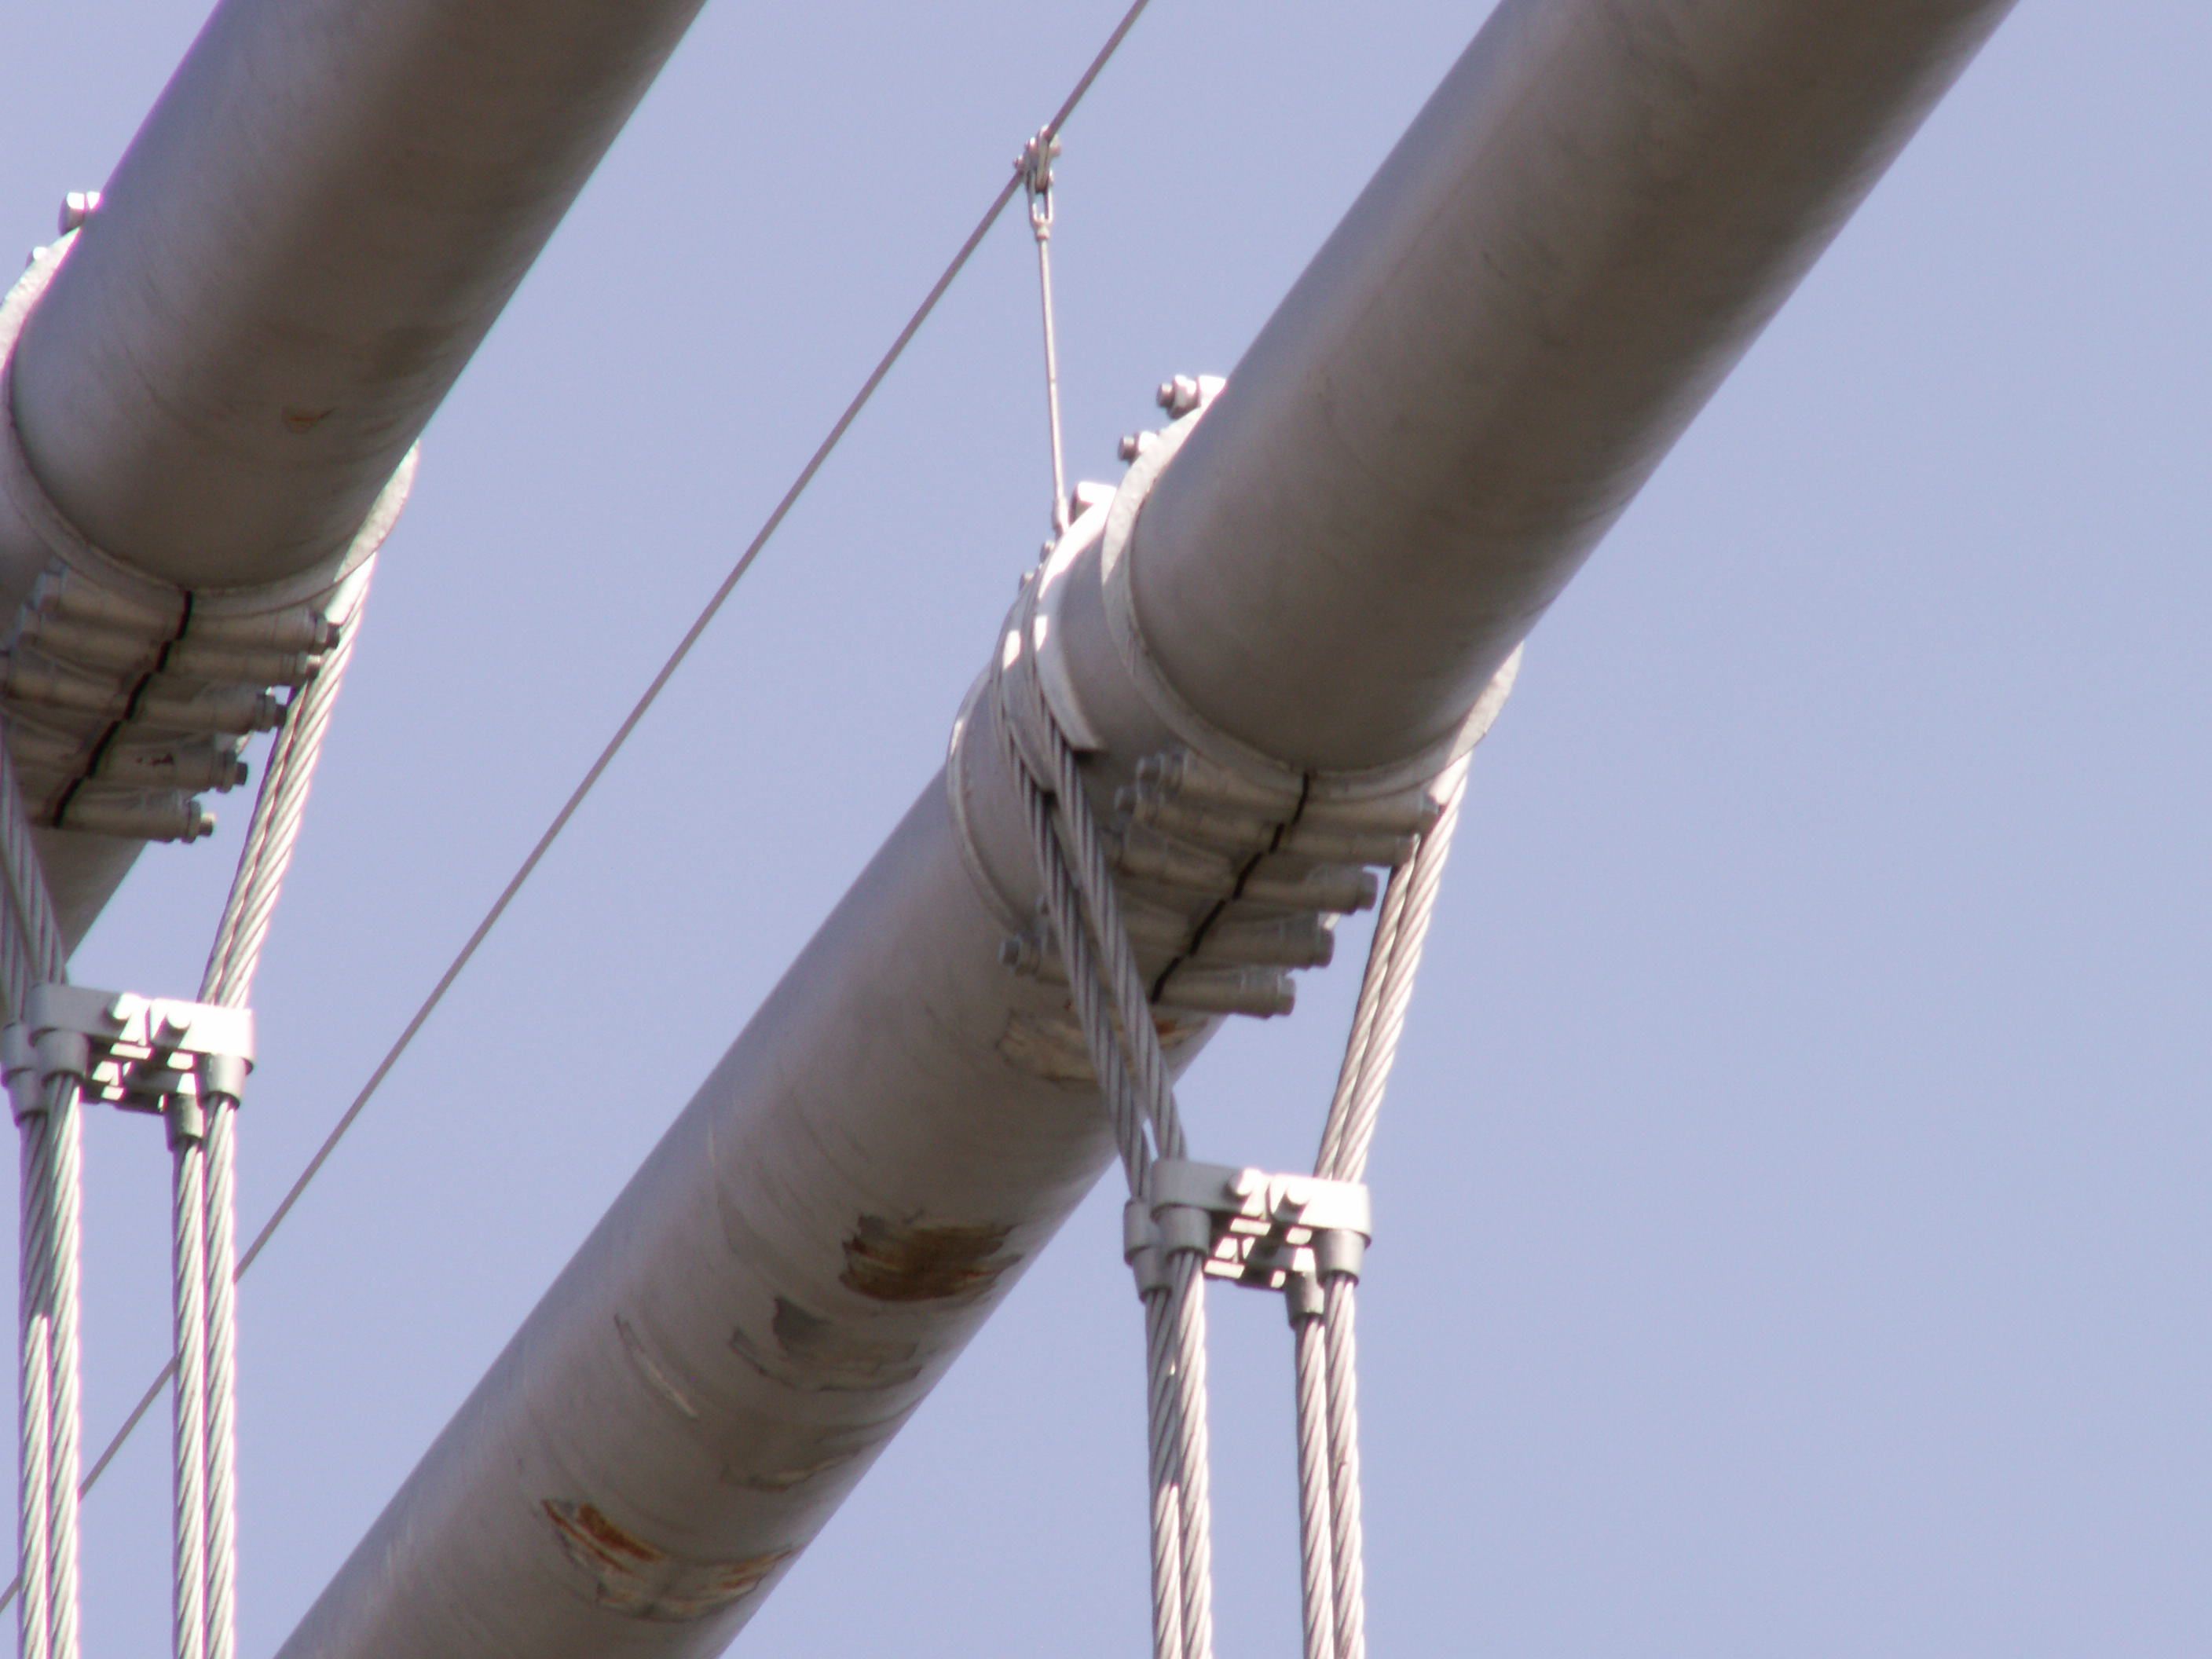
Main cable details.
![]()
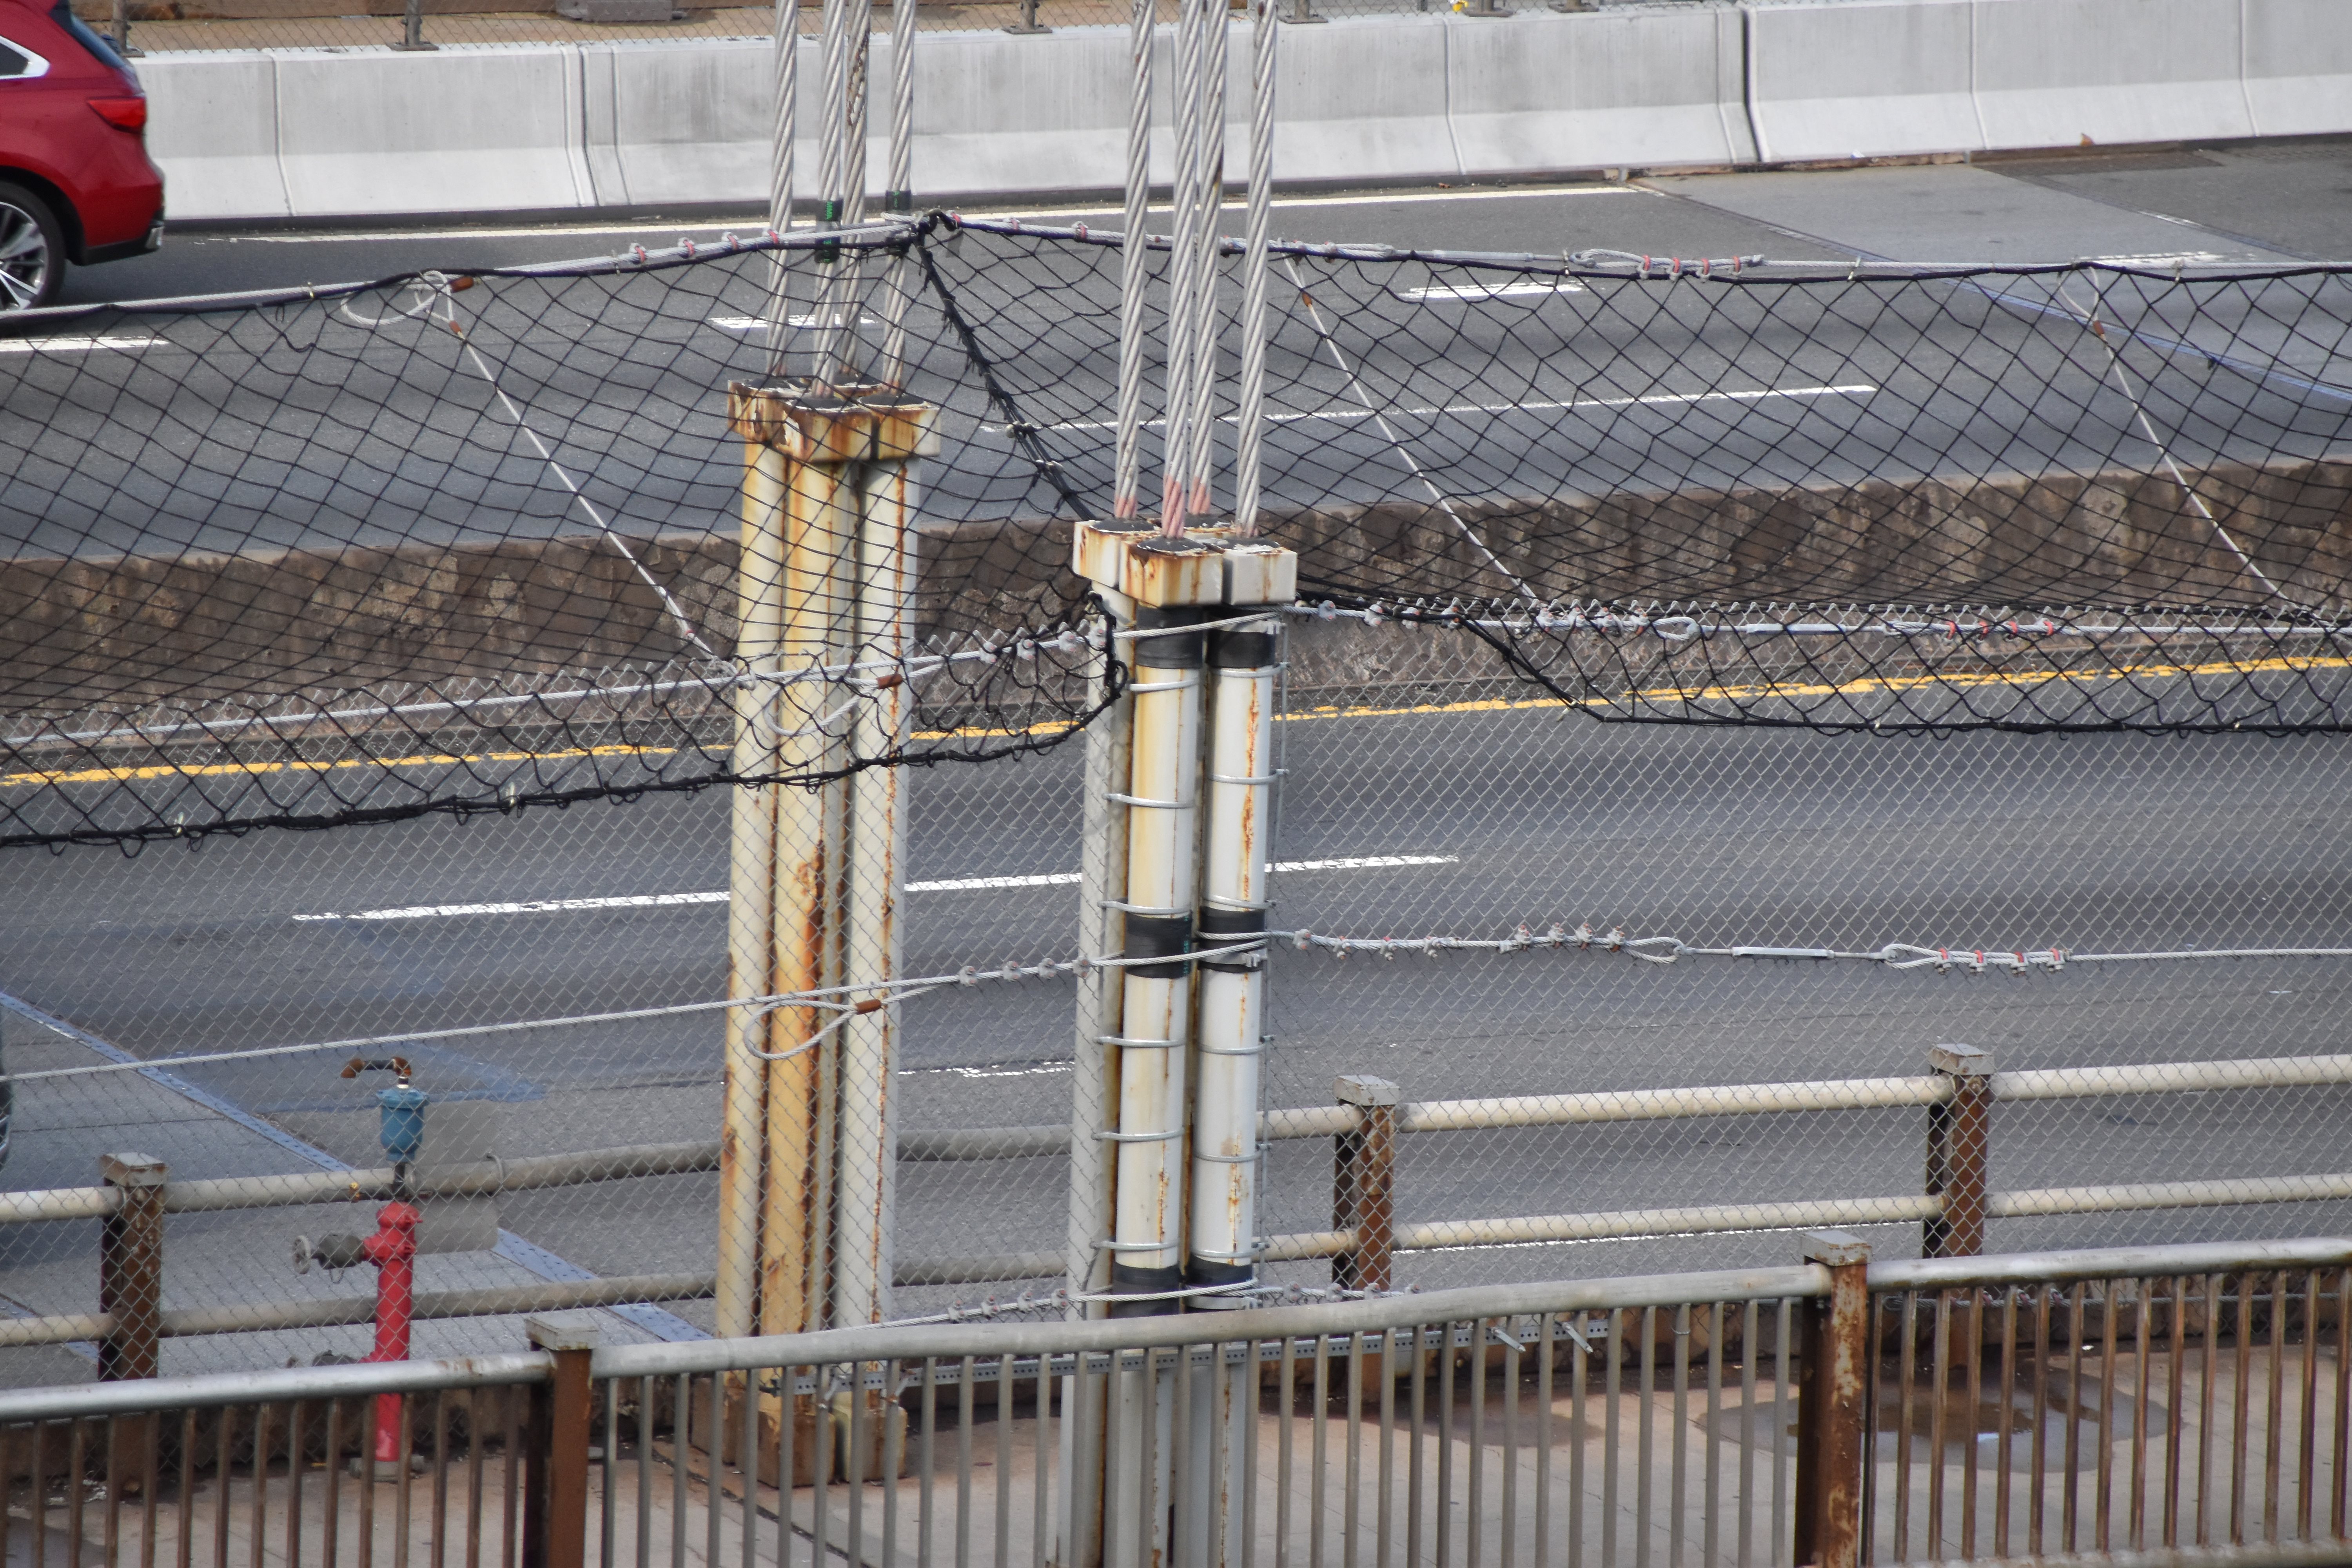

Suspenders.
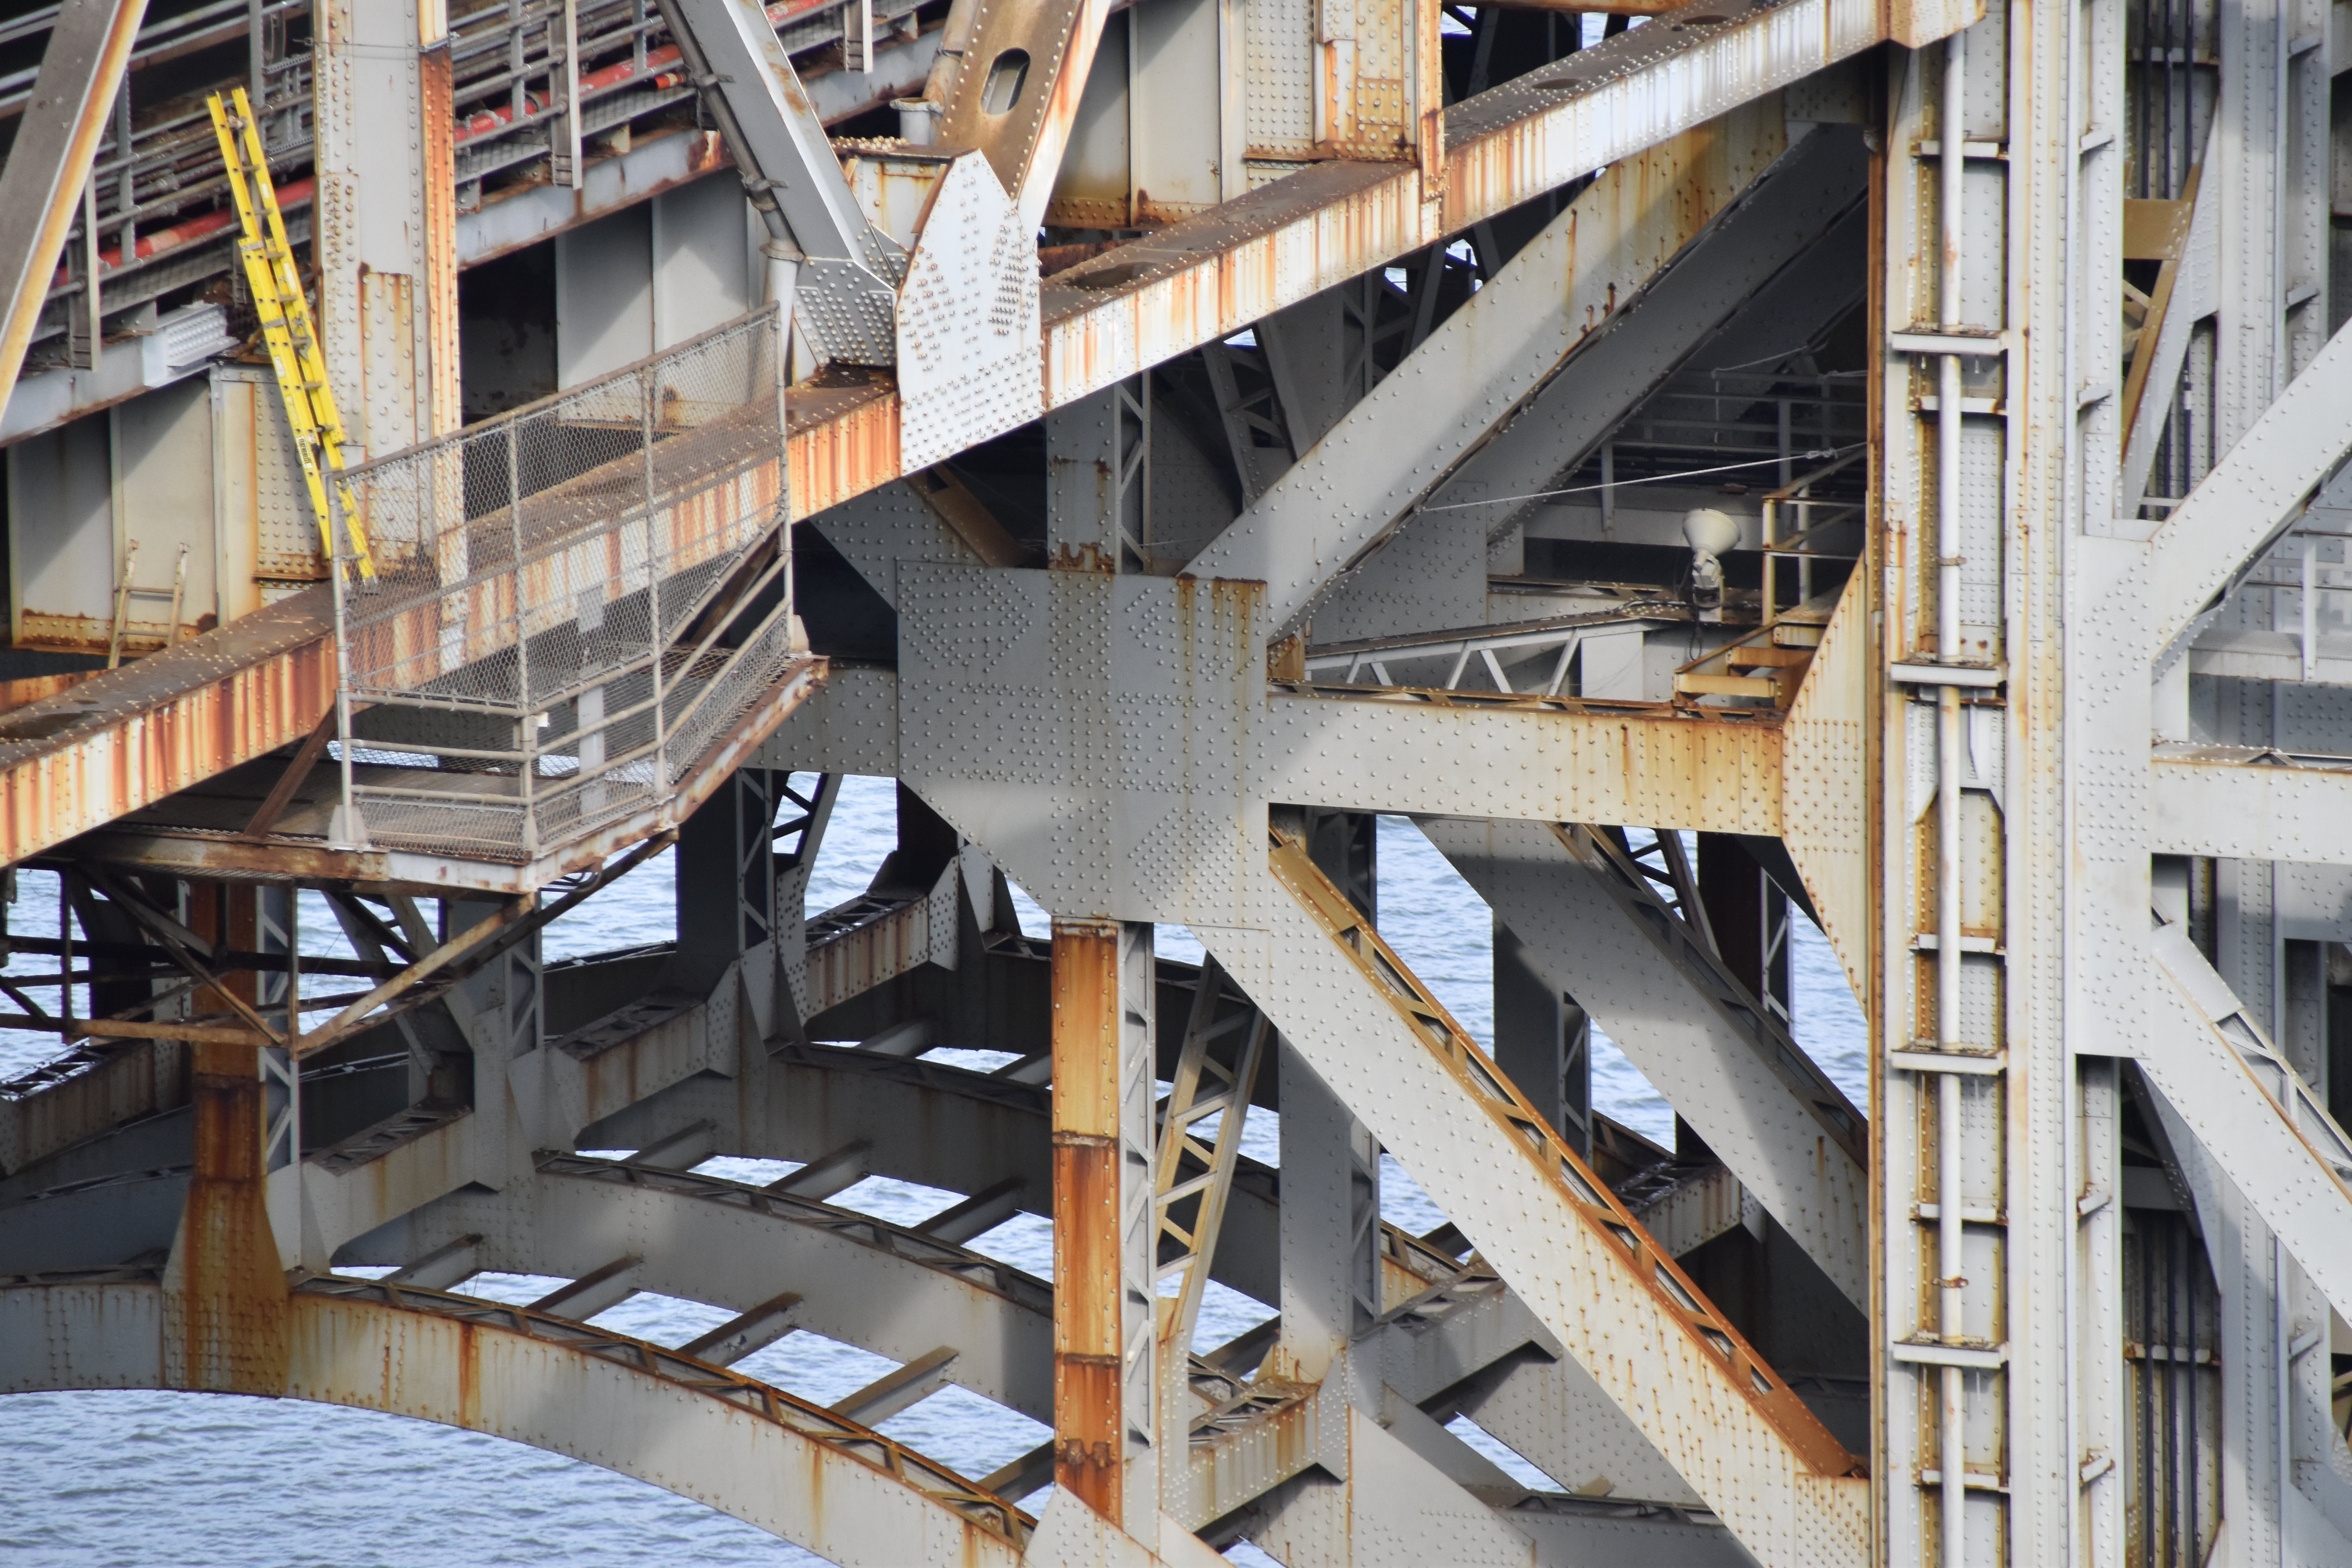
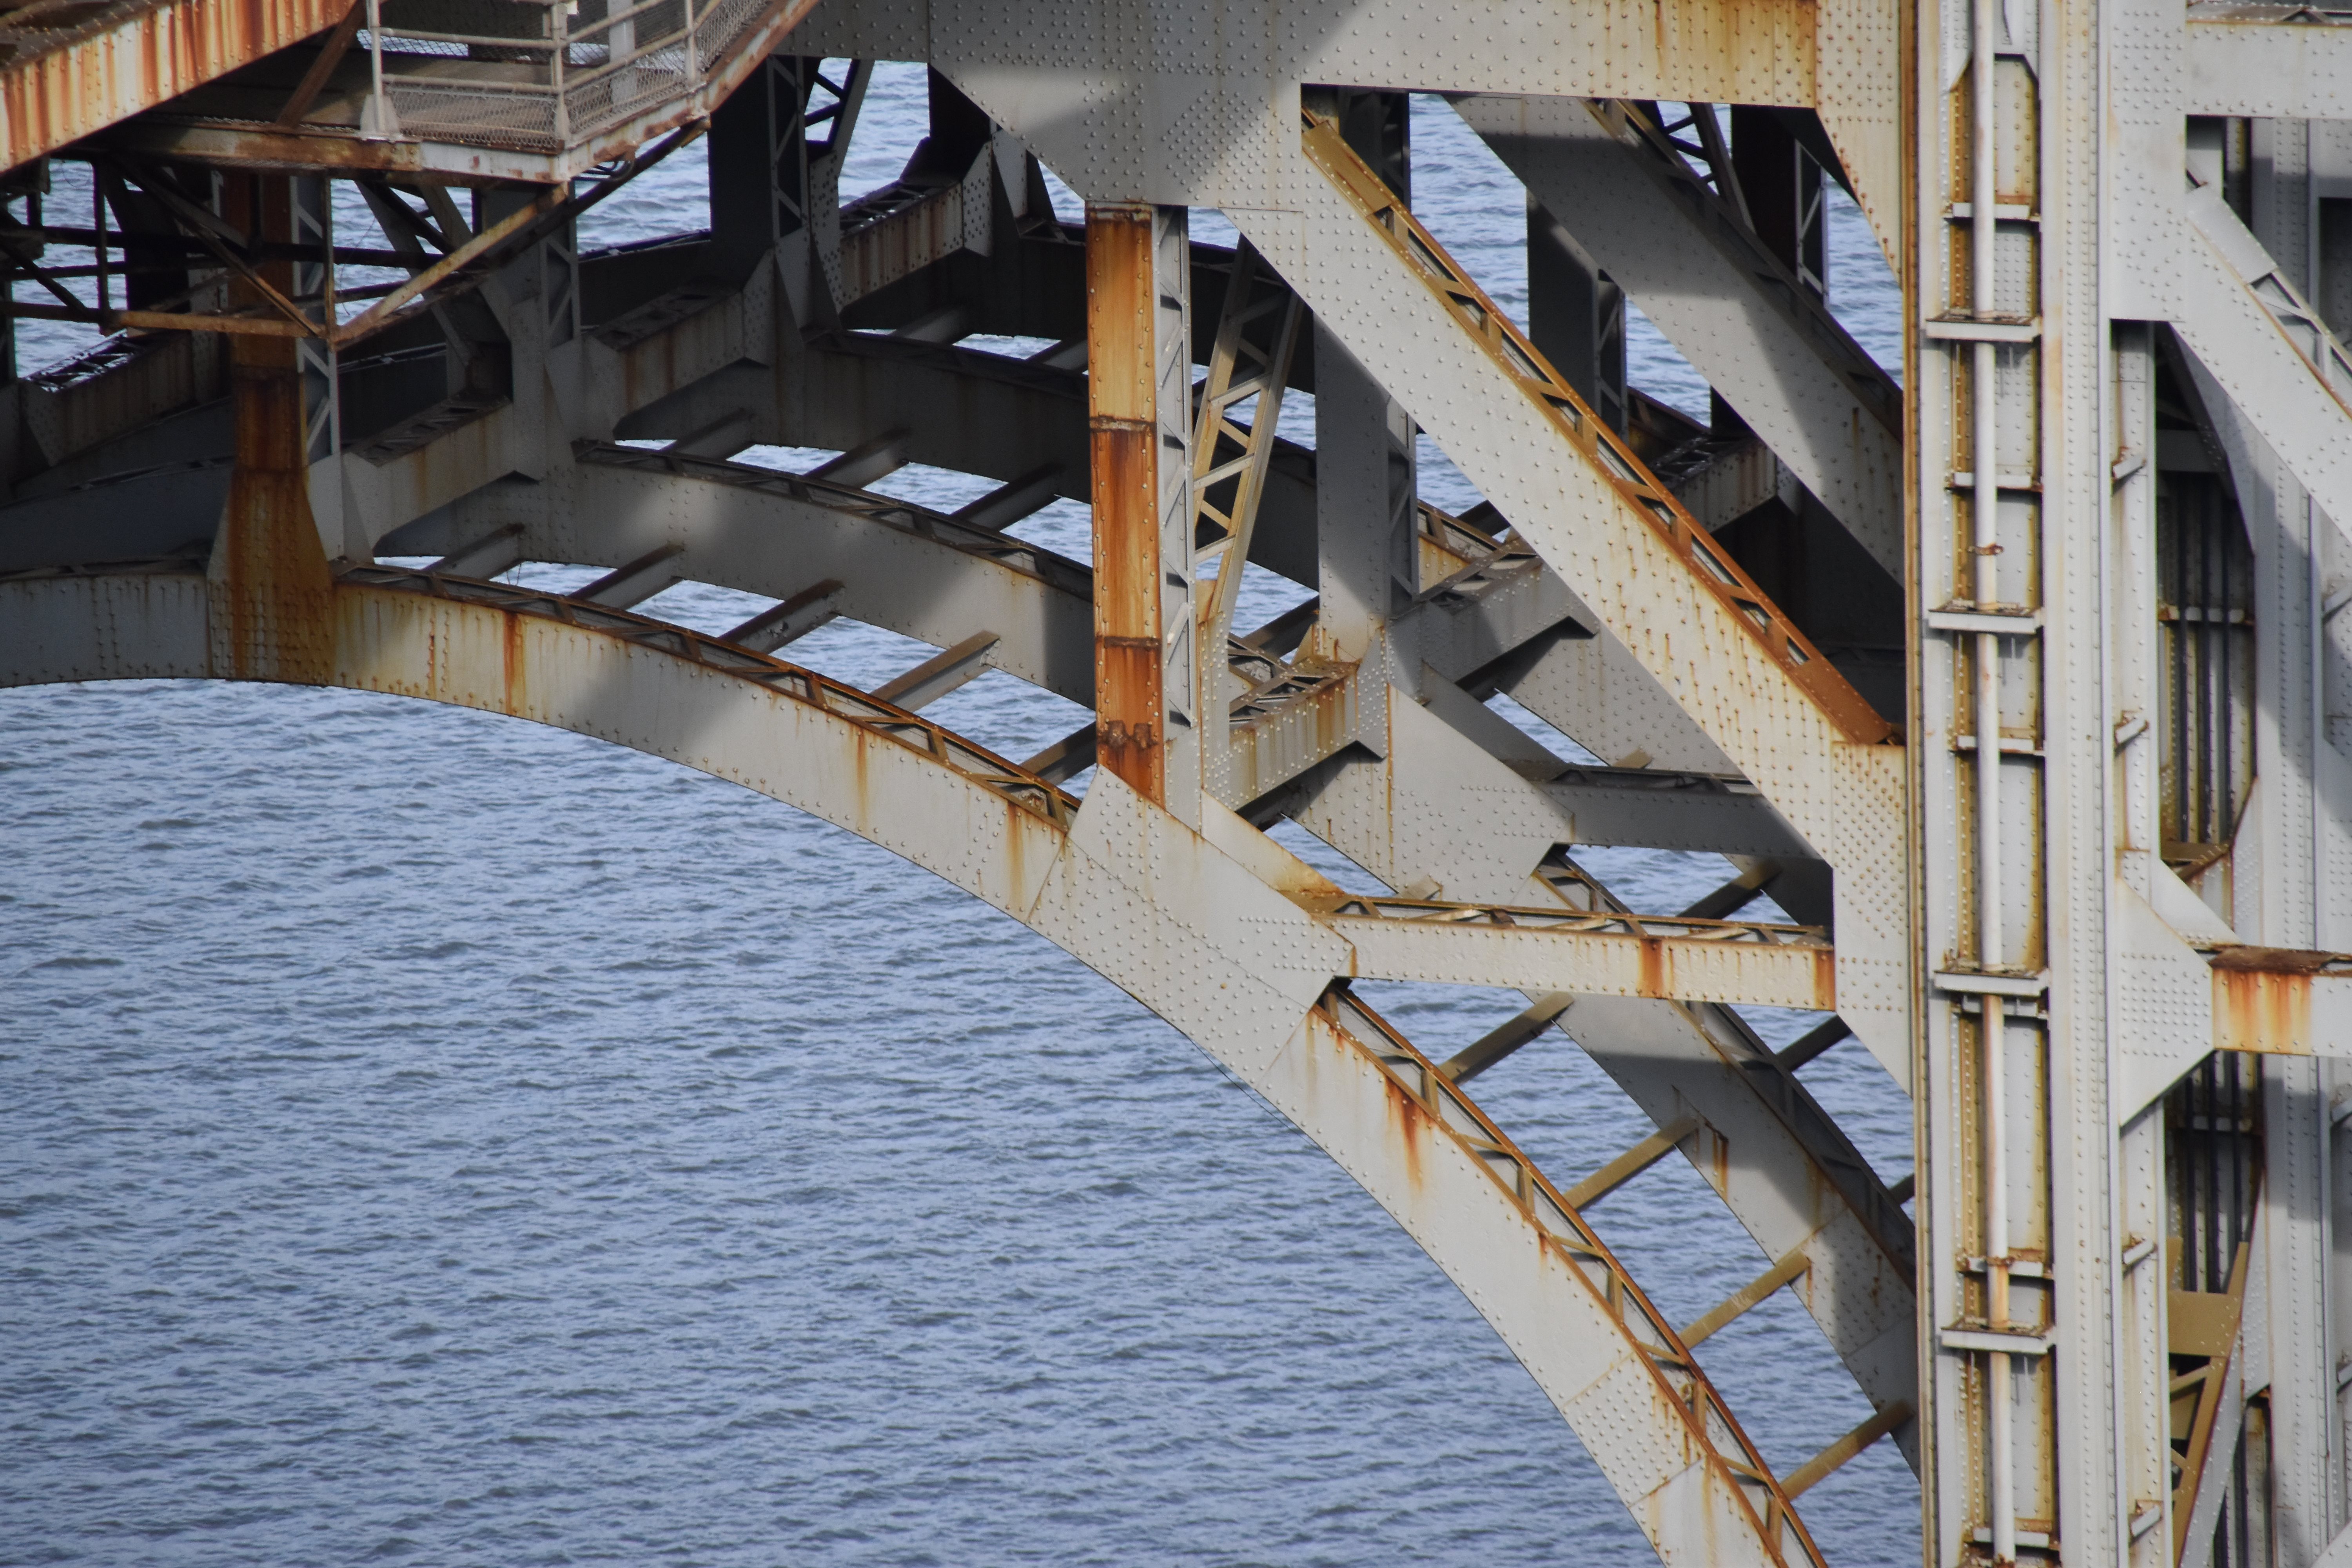
![]()

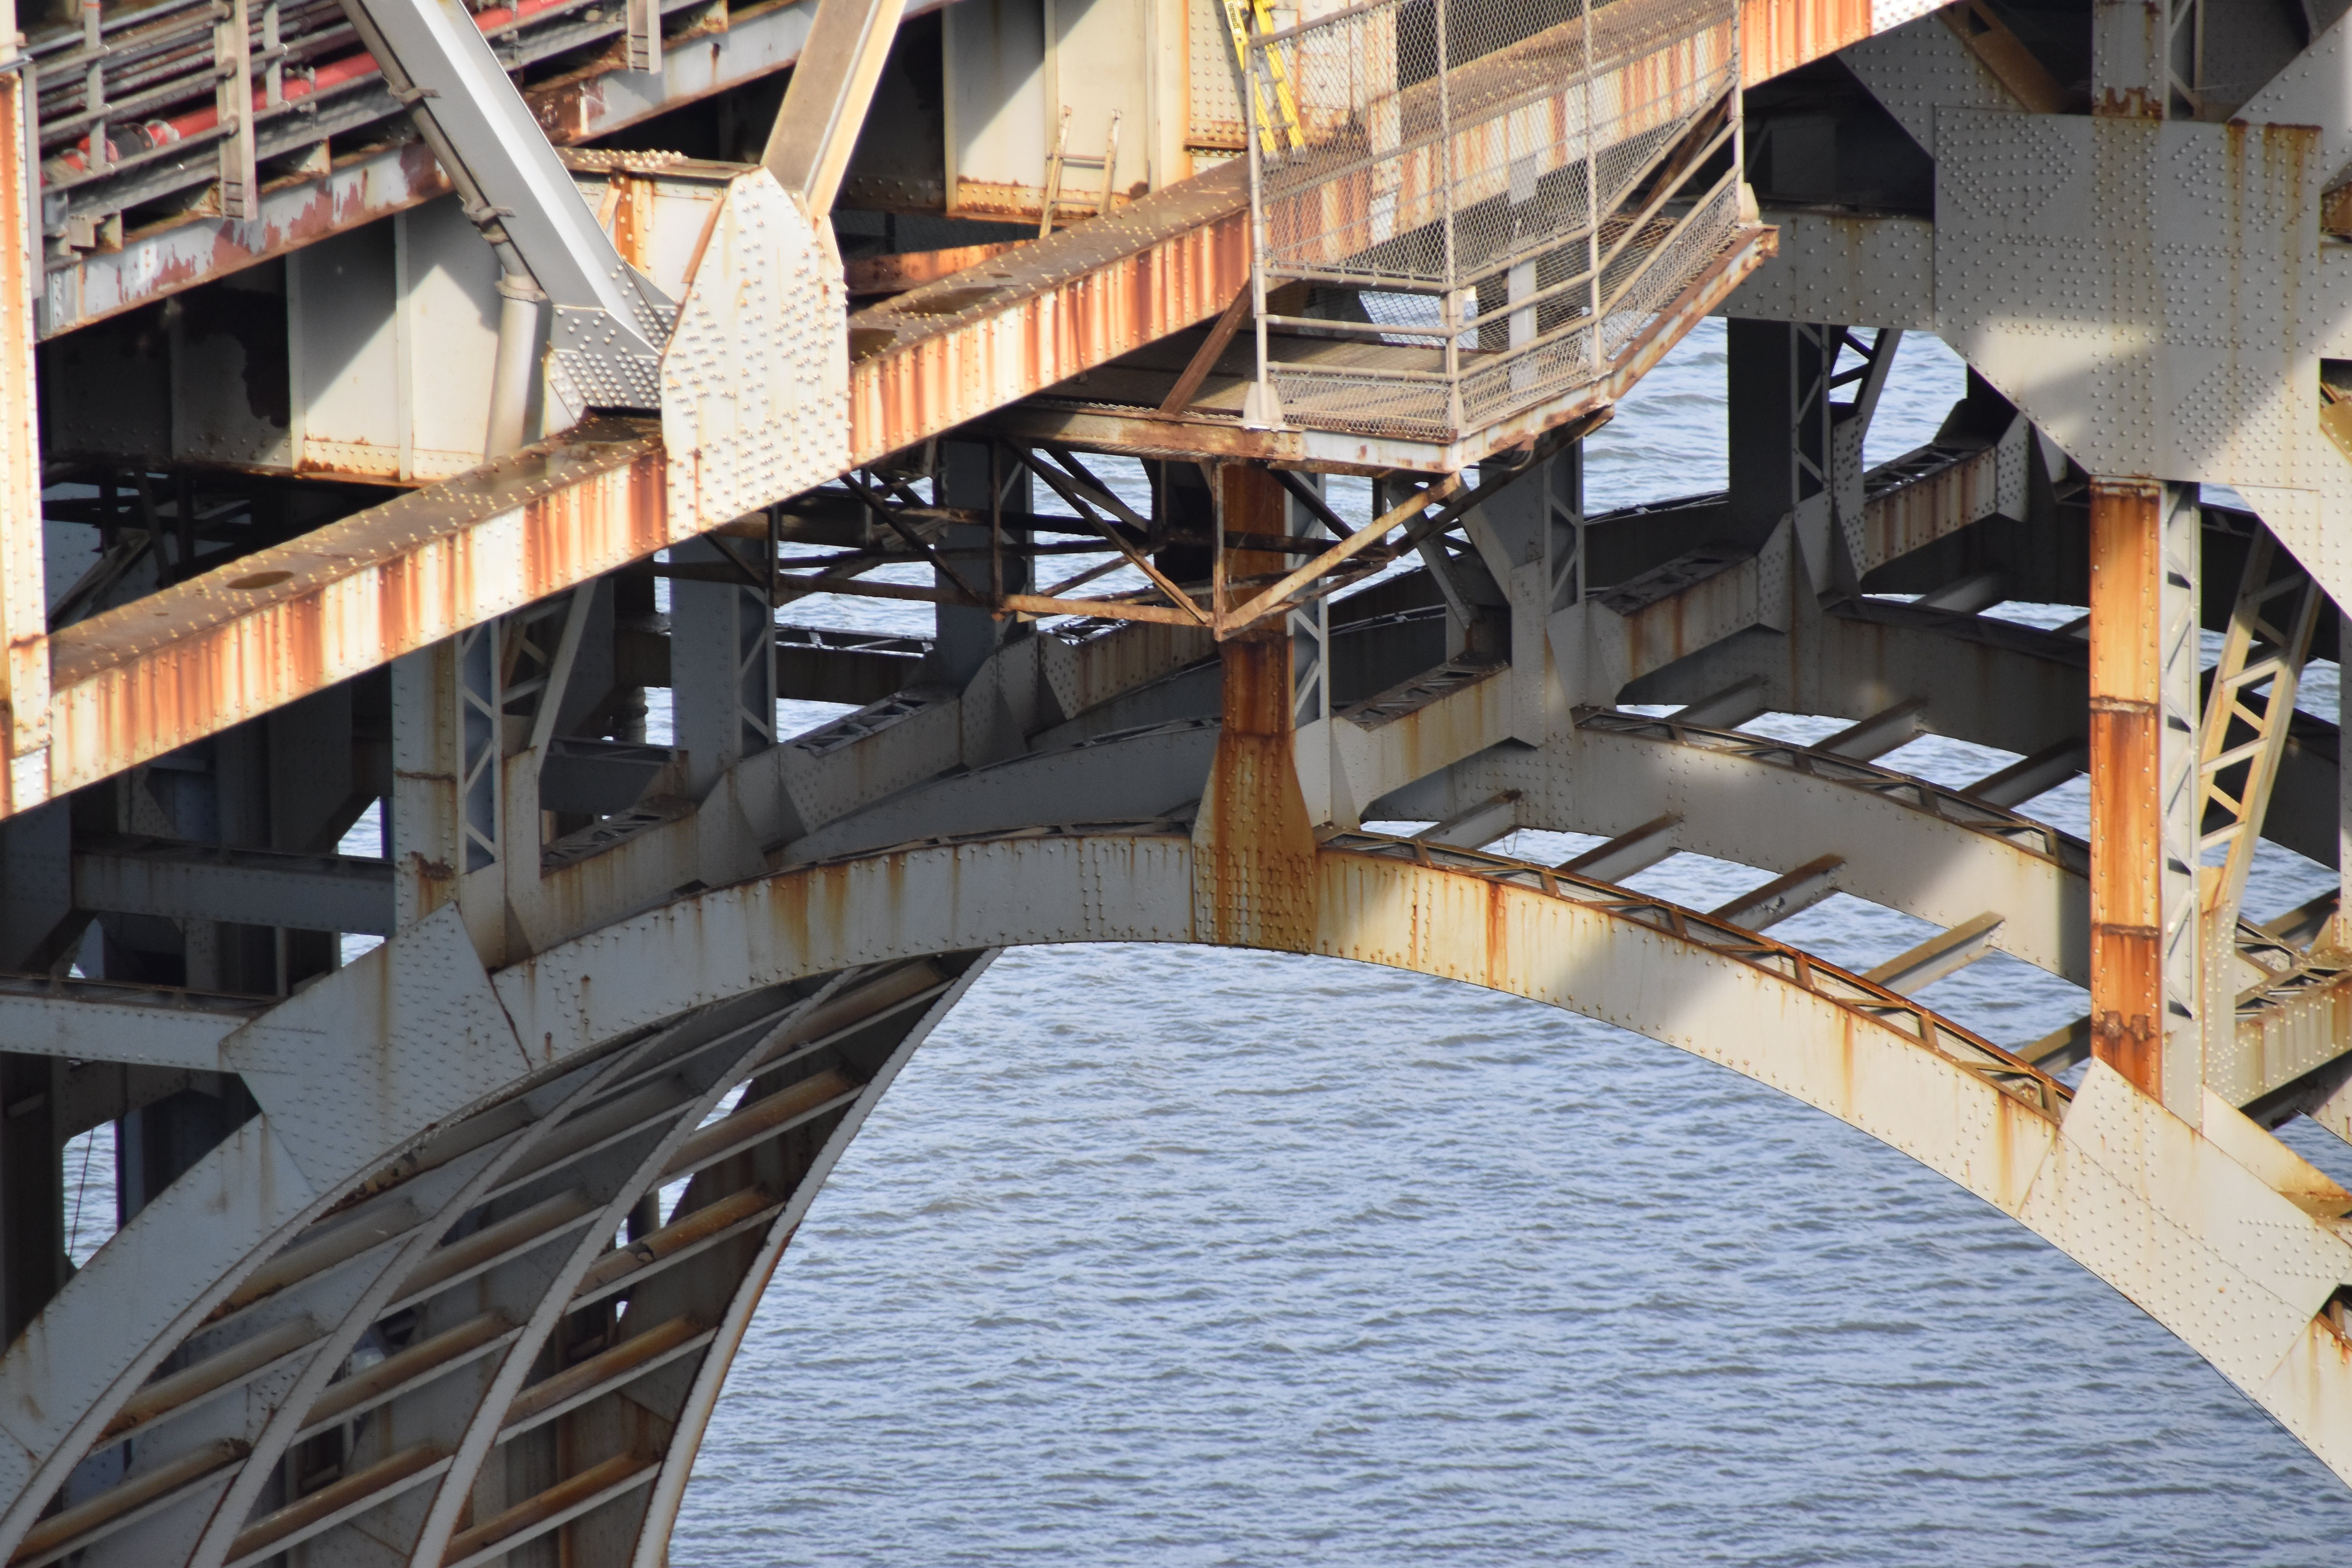
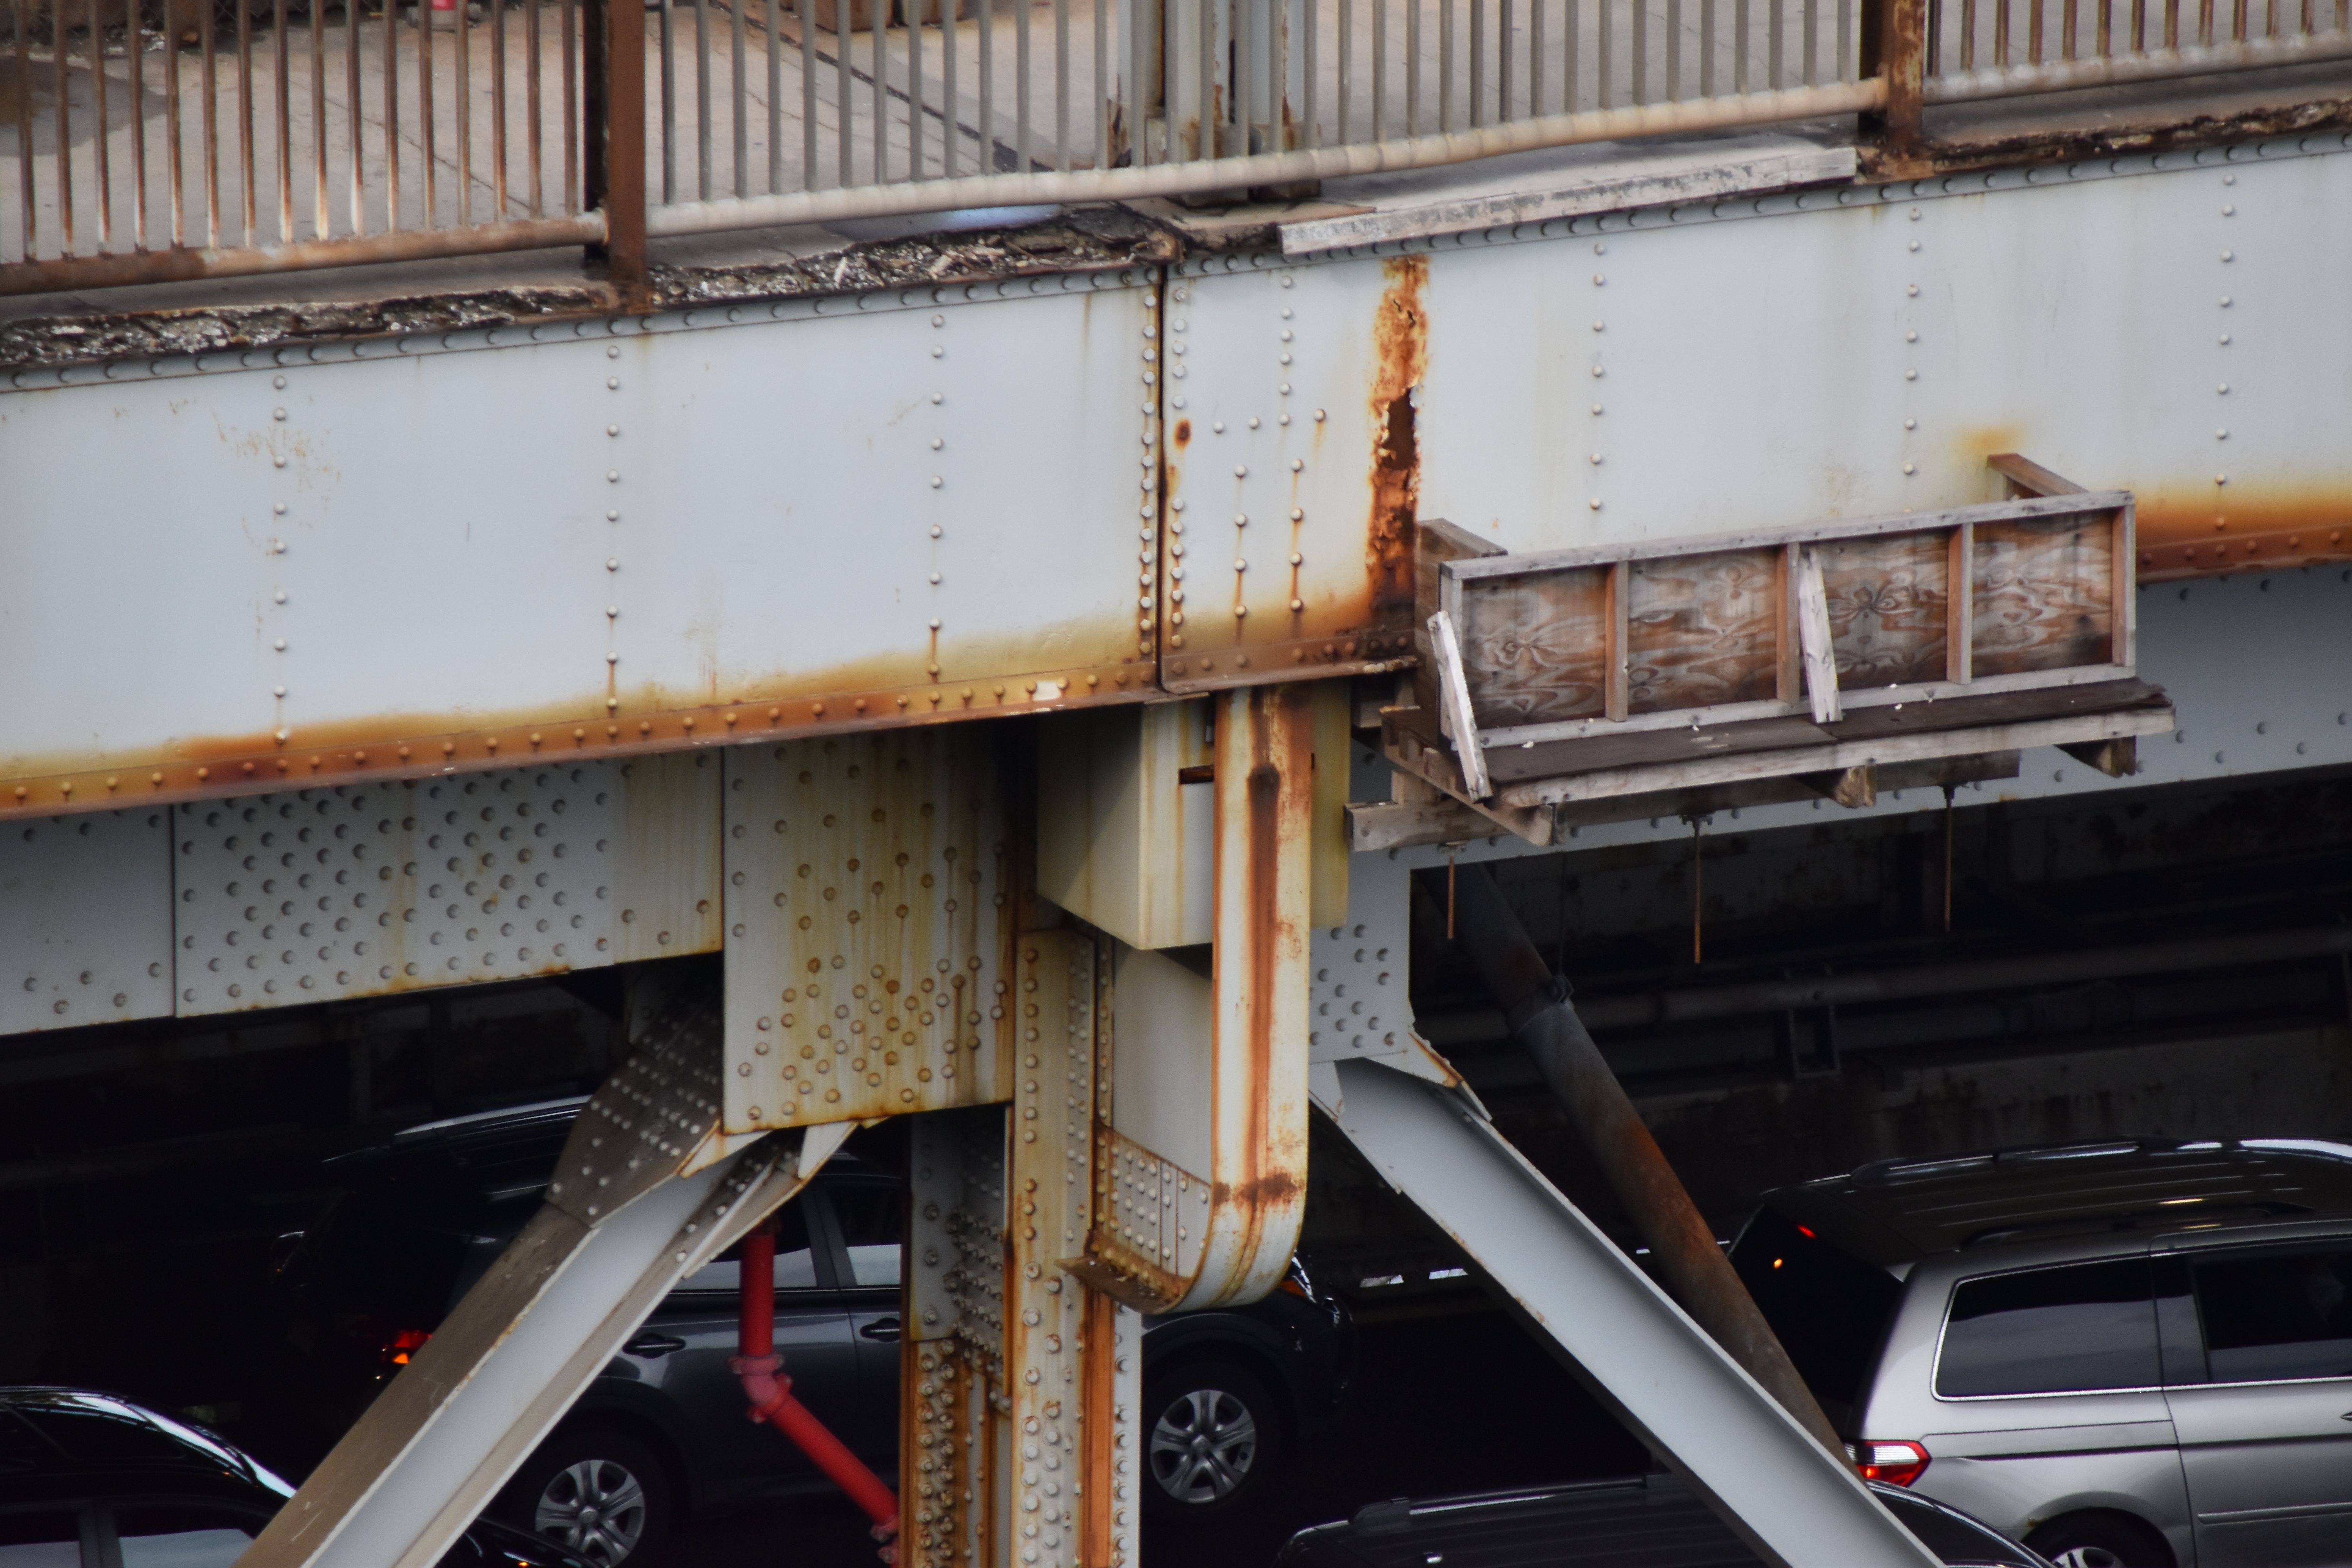
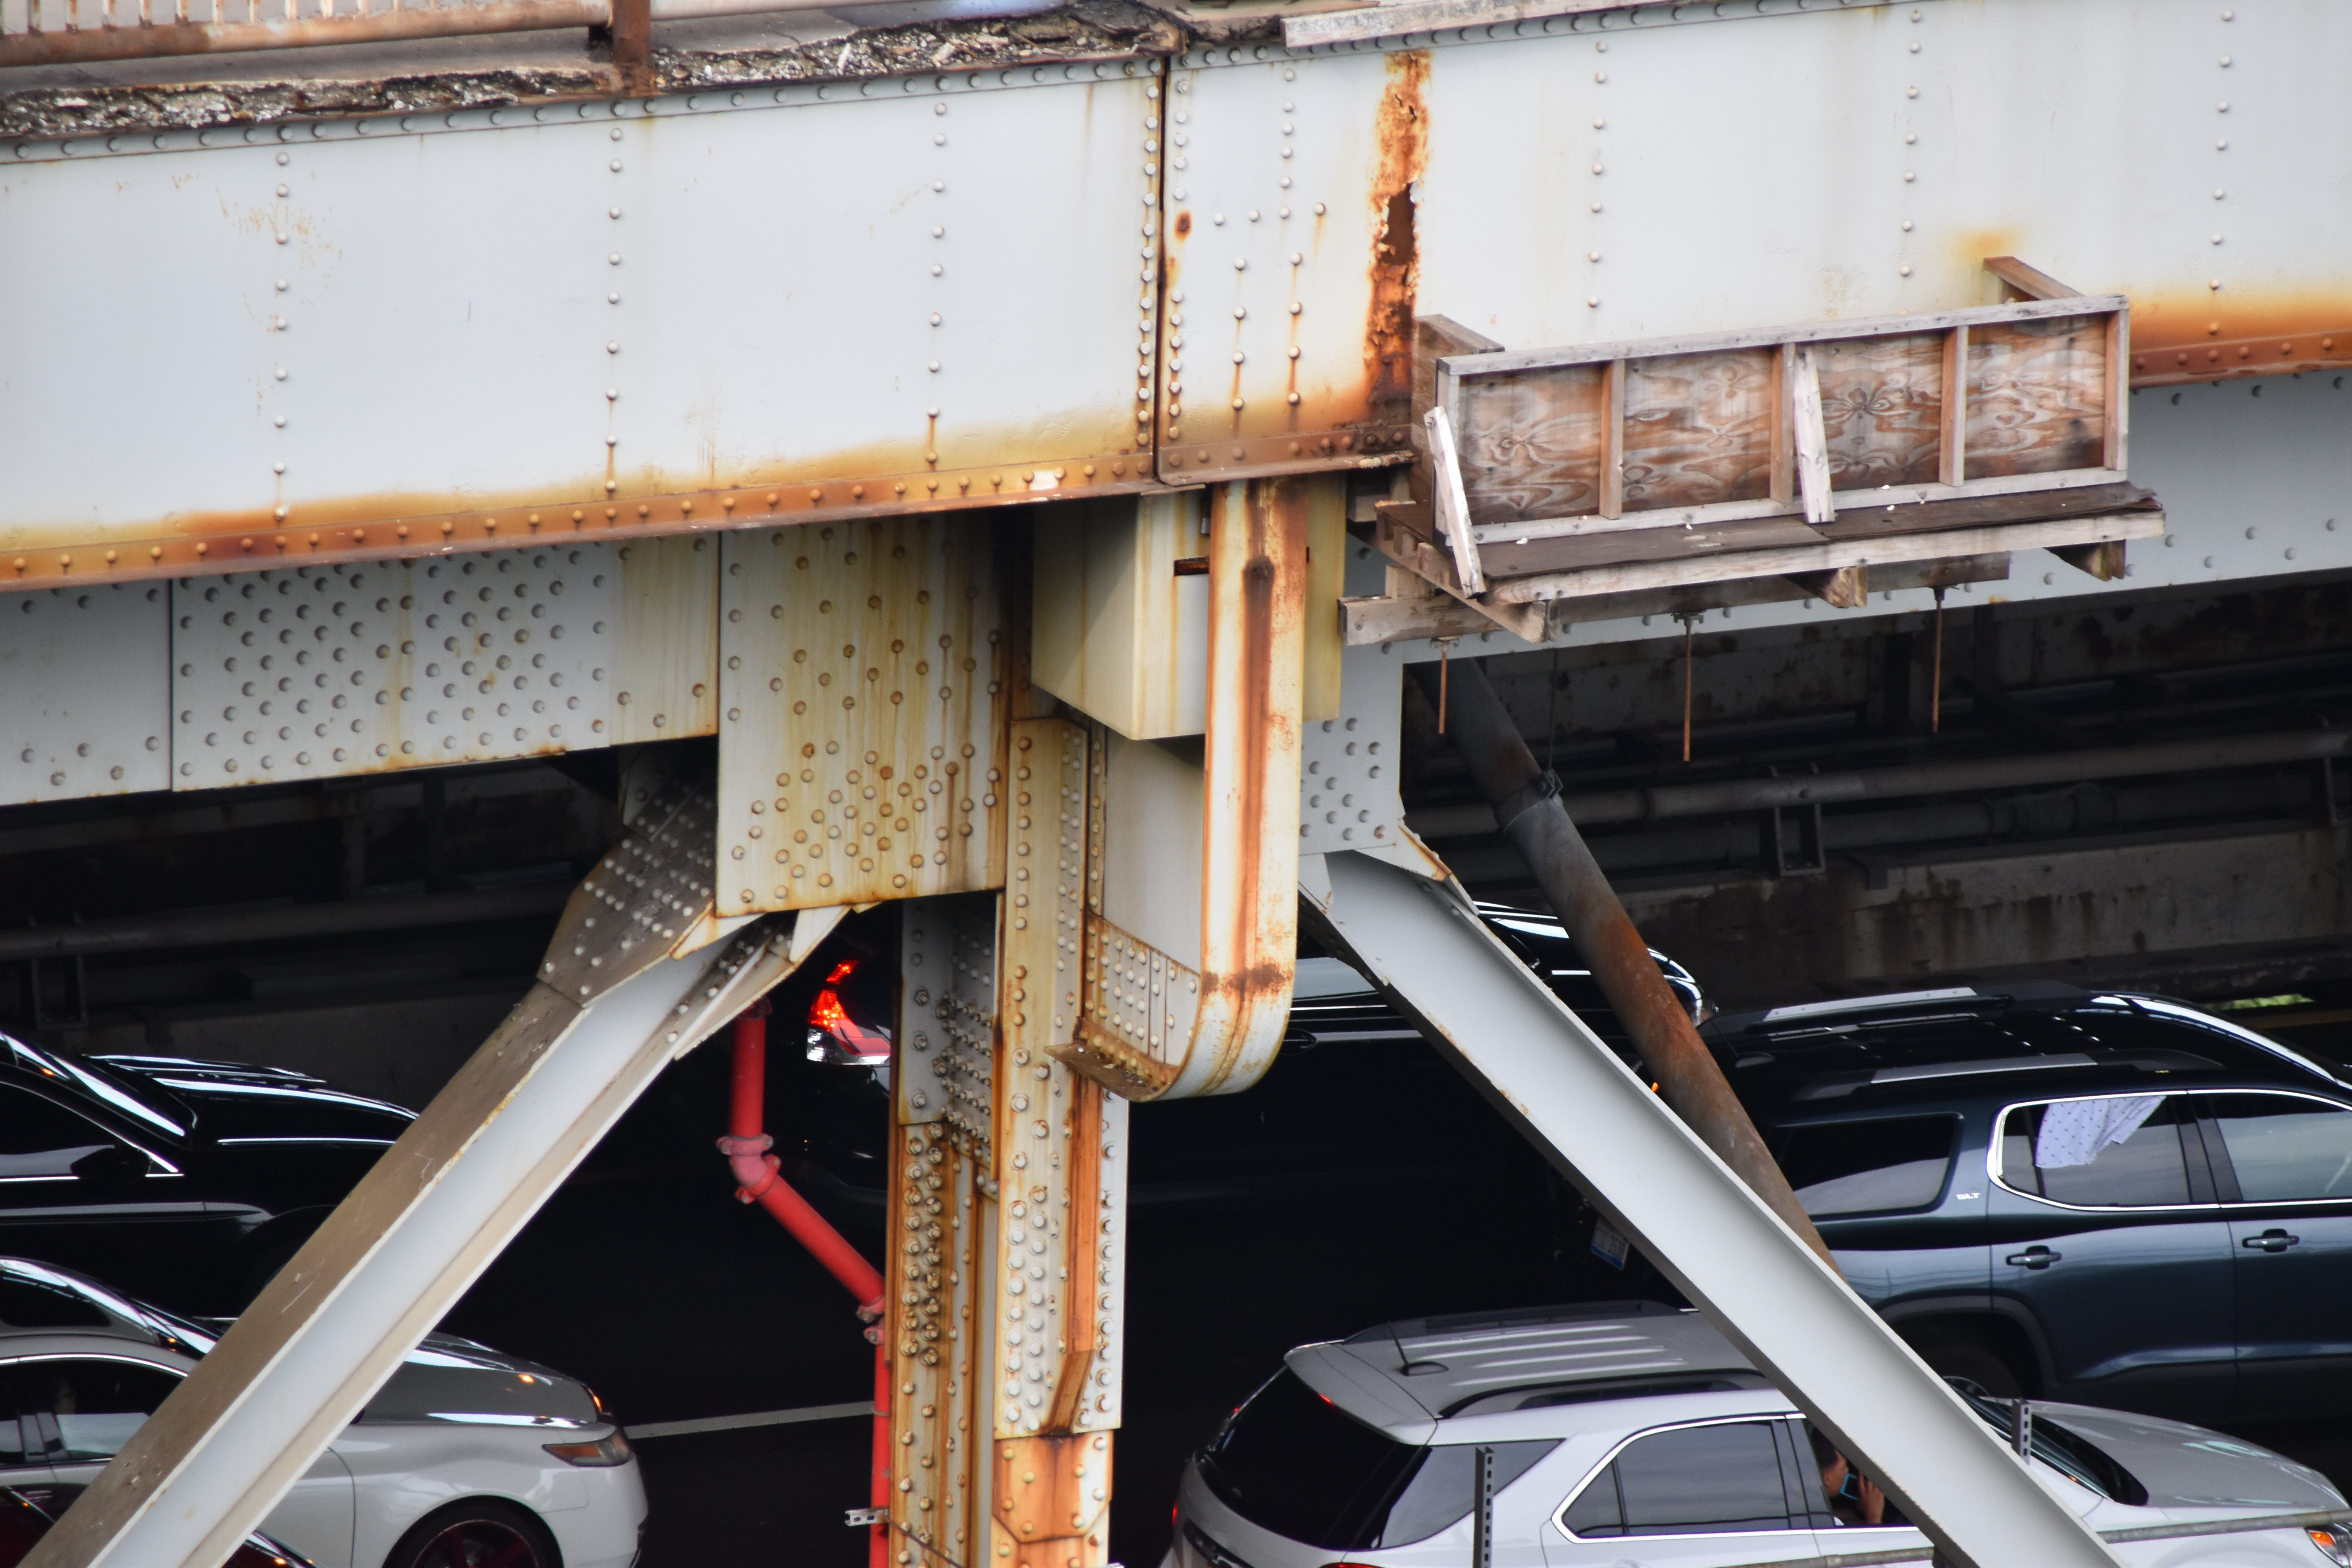
Stiffening truss.
![]()
Top chord connections as viewed from beside bridge.
![]()


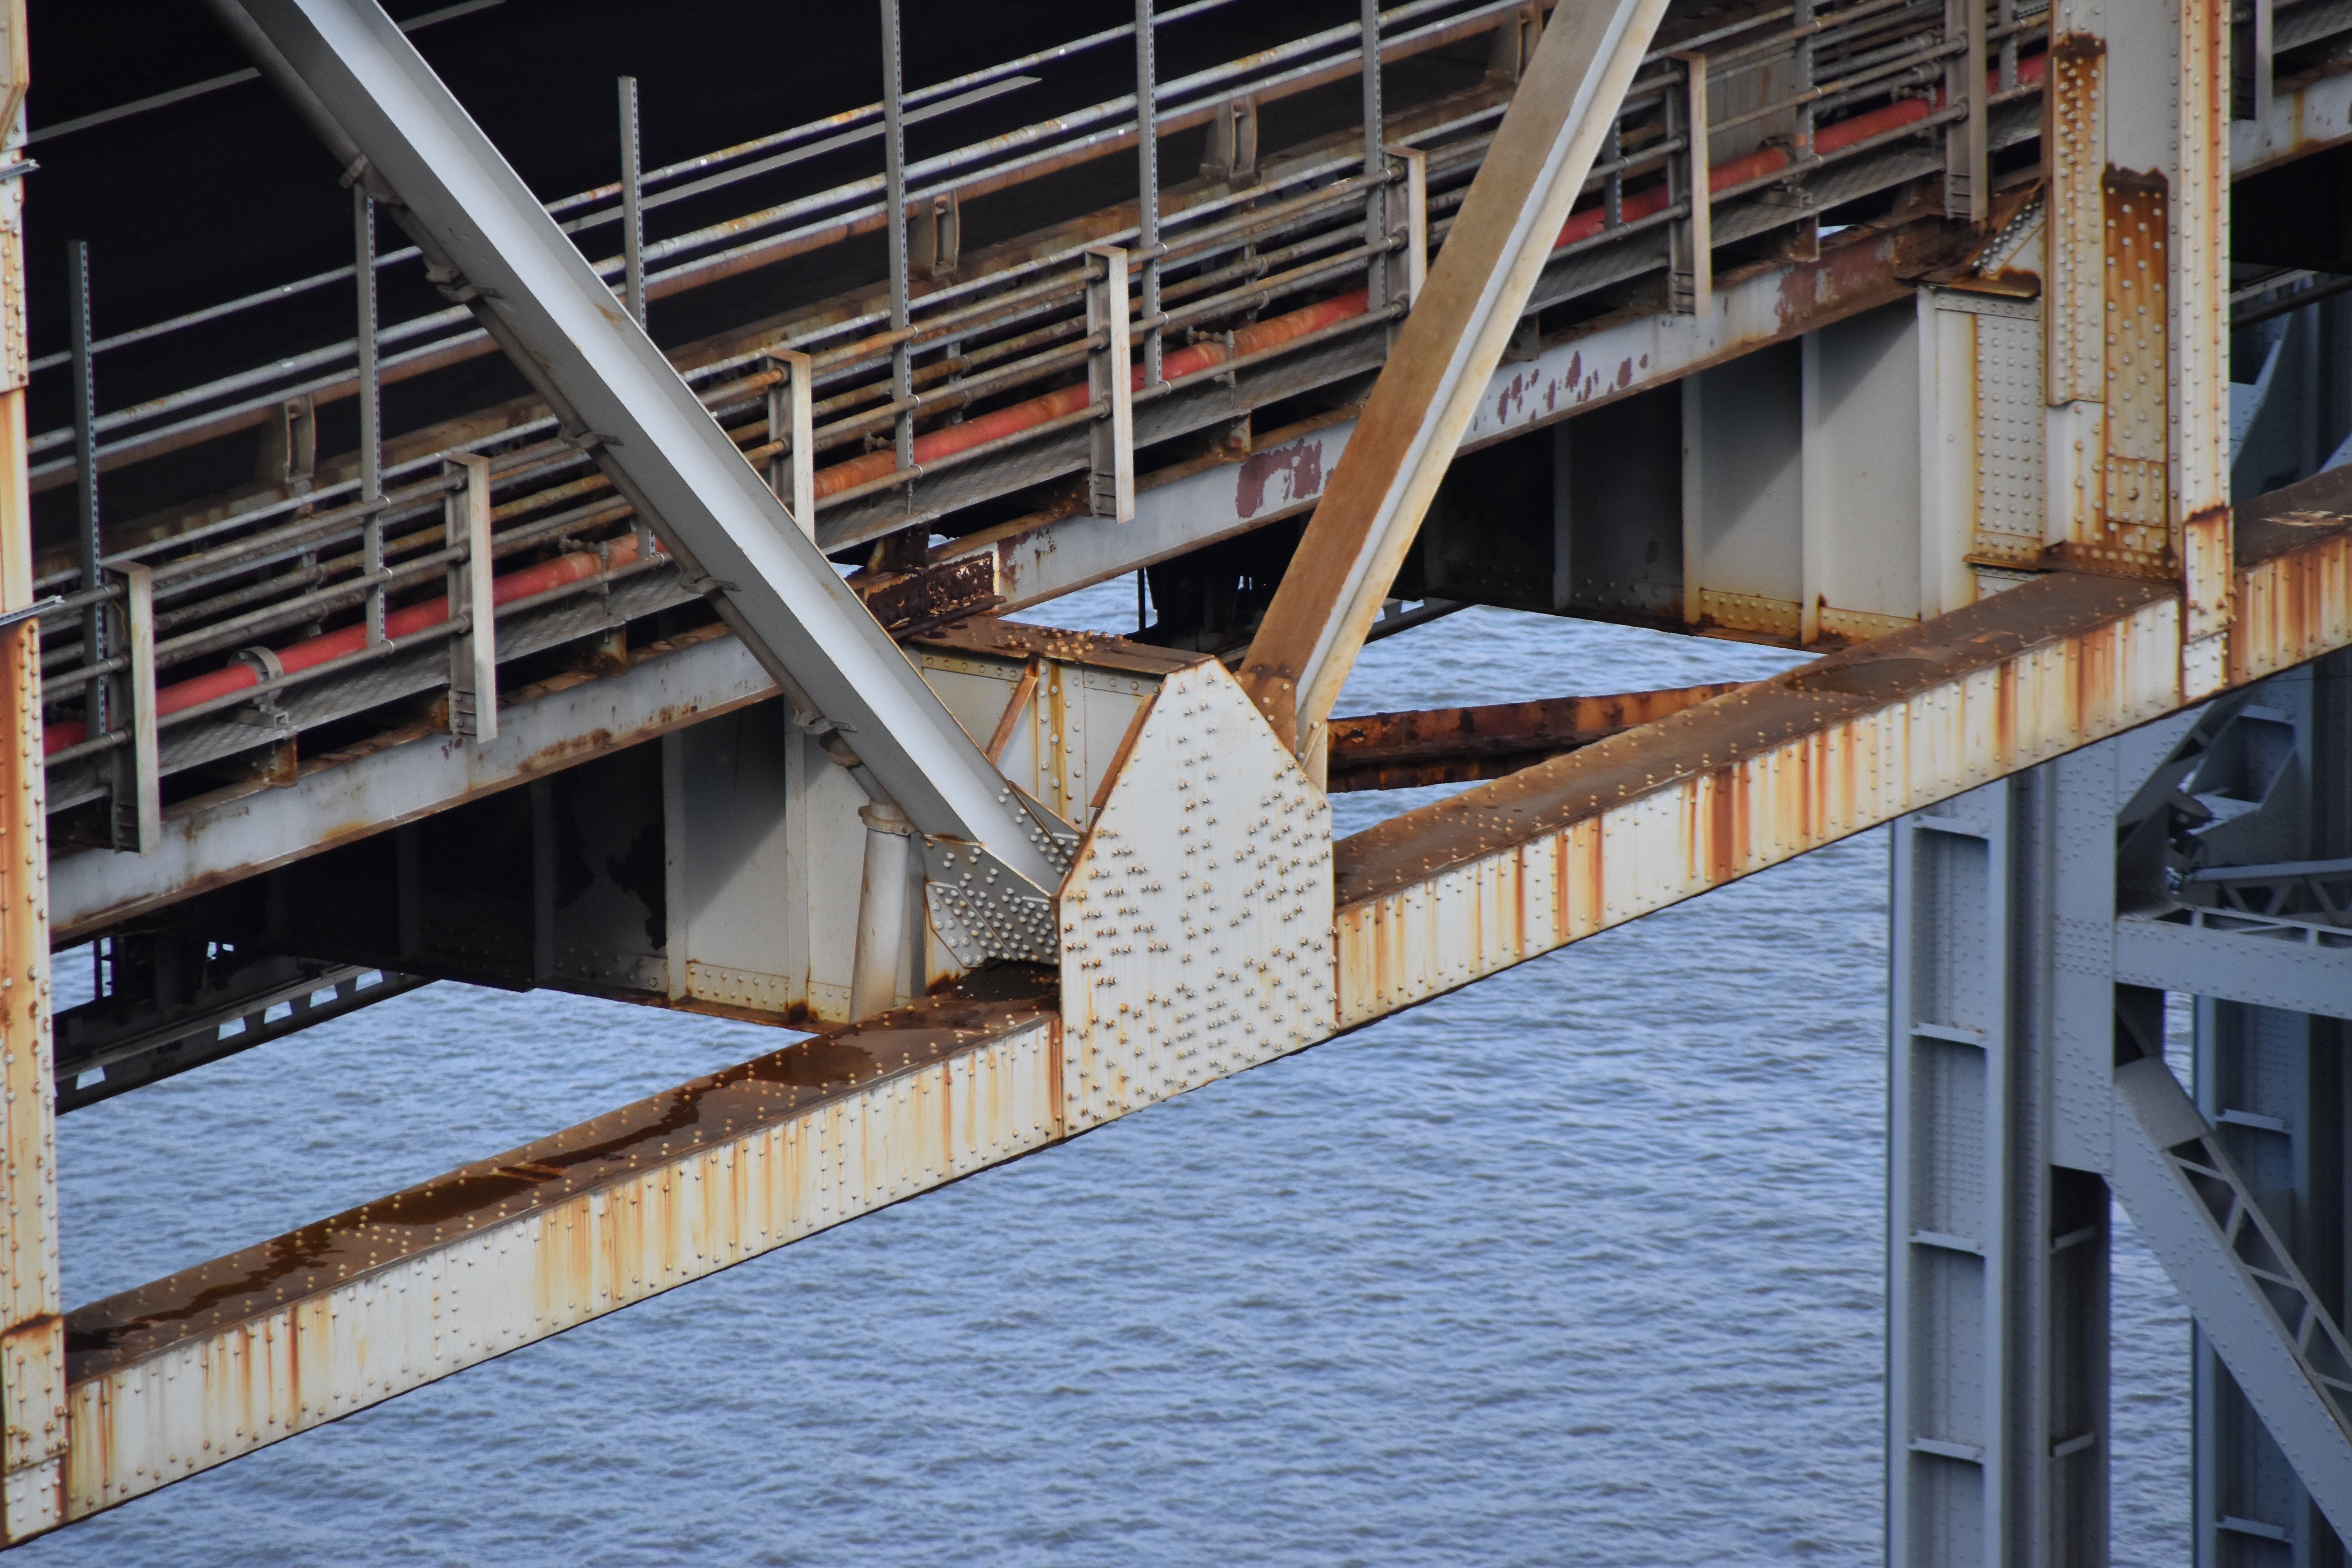
Bottom chord connections as viewed from beside bridge.
![]()

Walkway railing.
![]()

Deck.
![]()


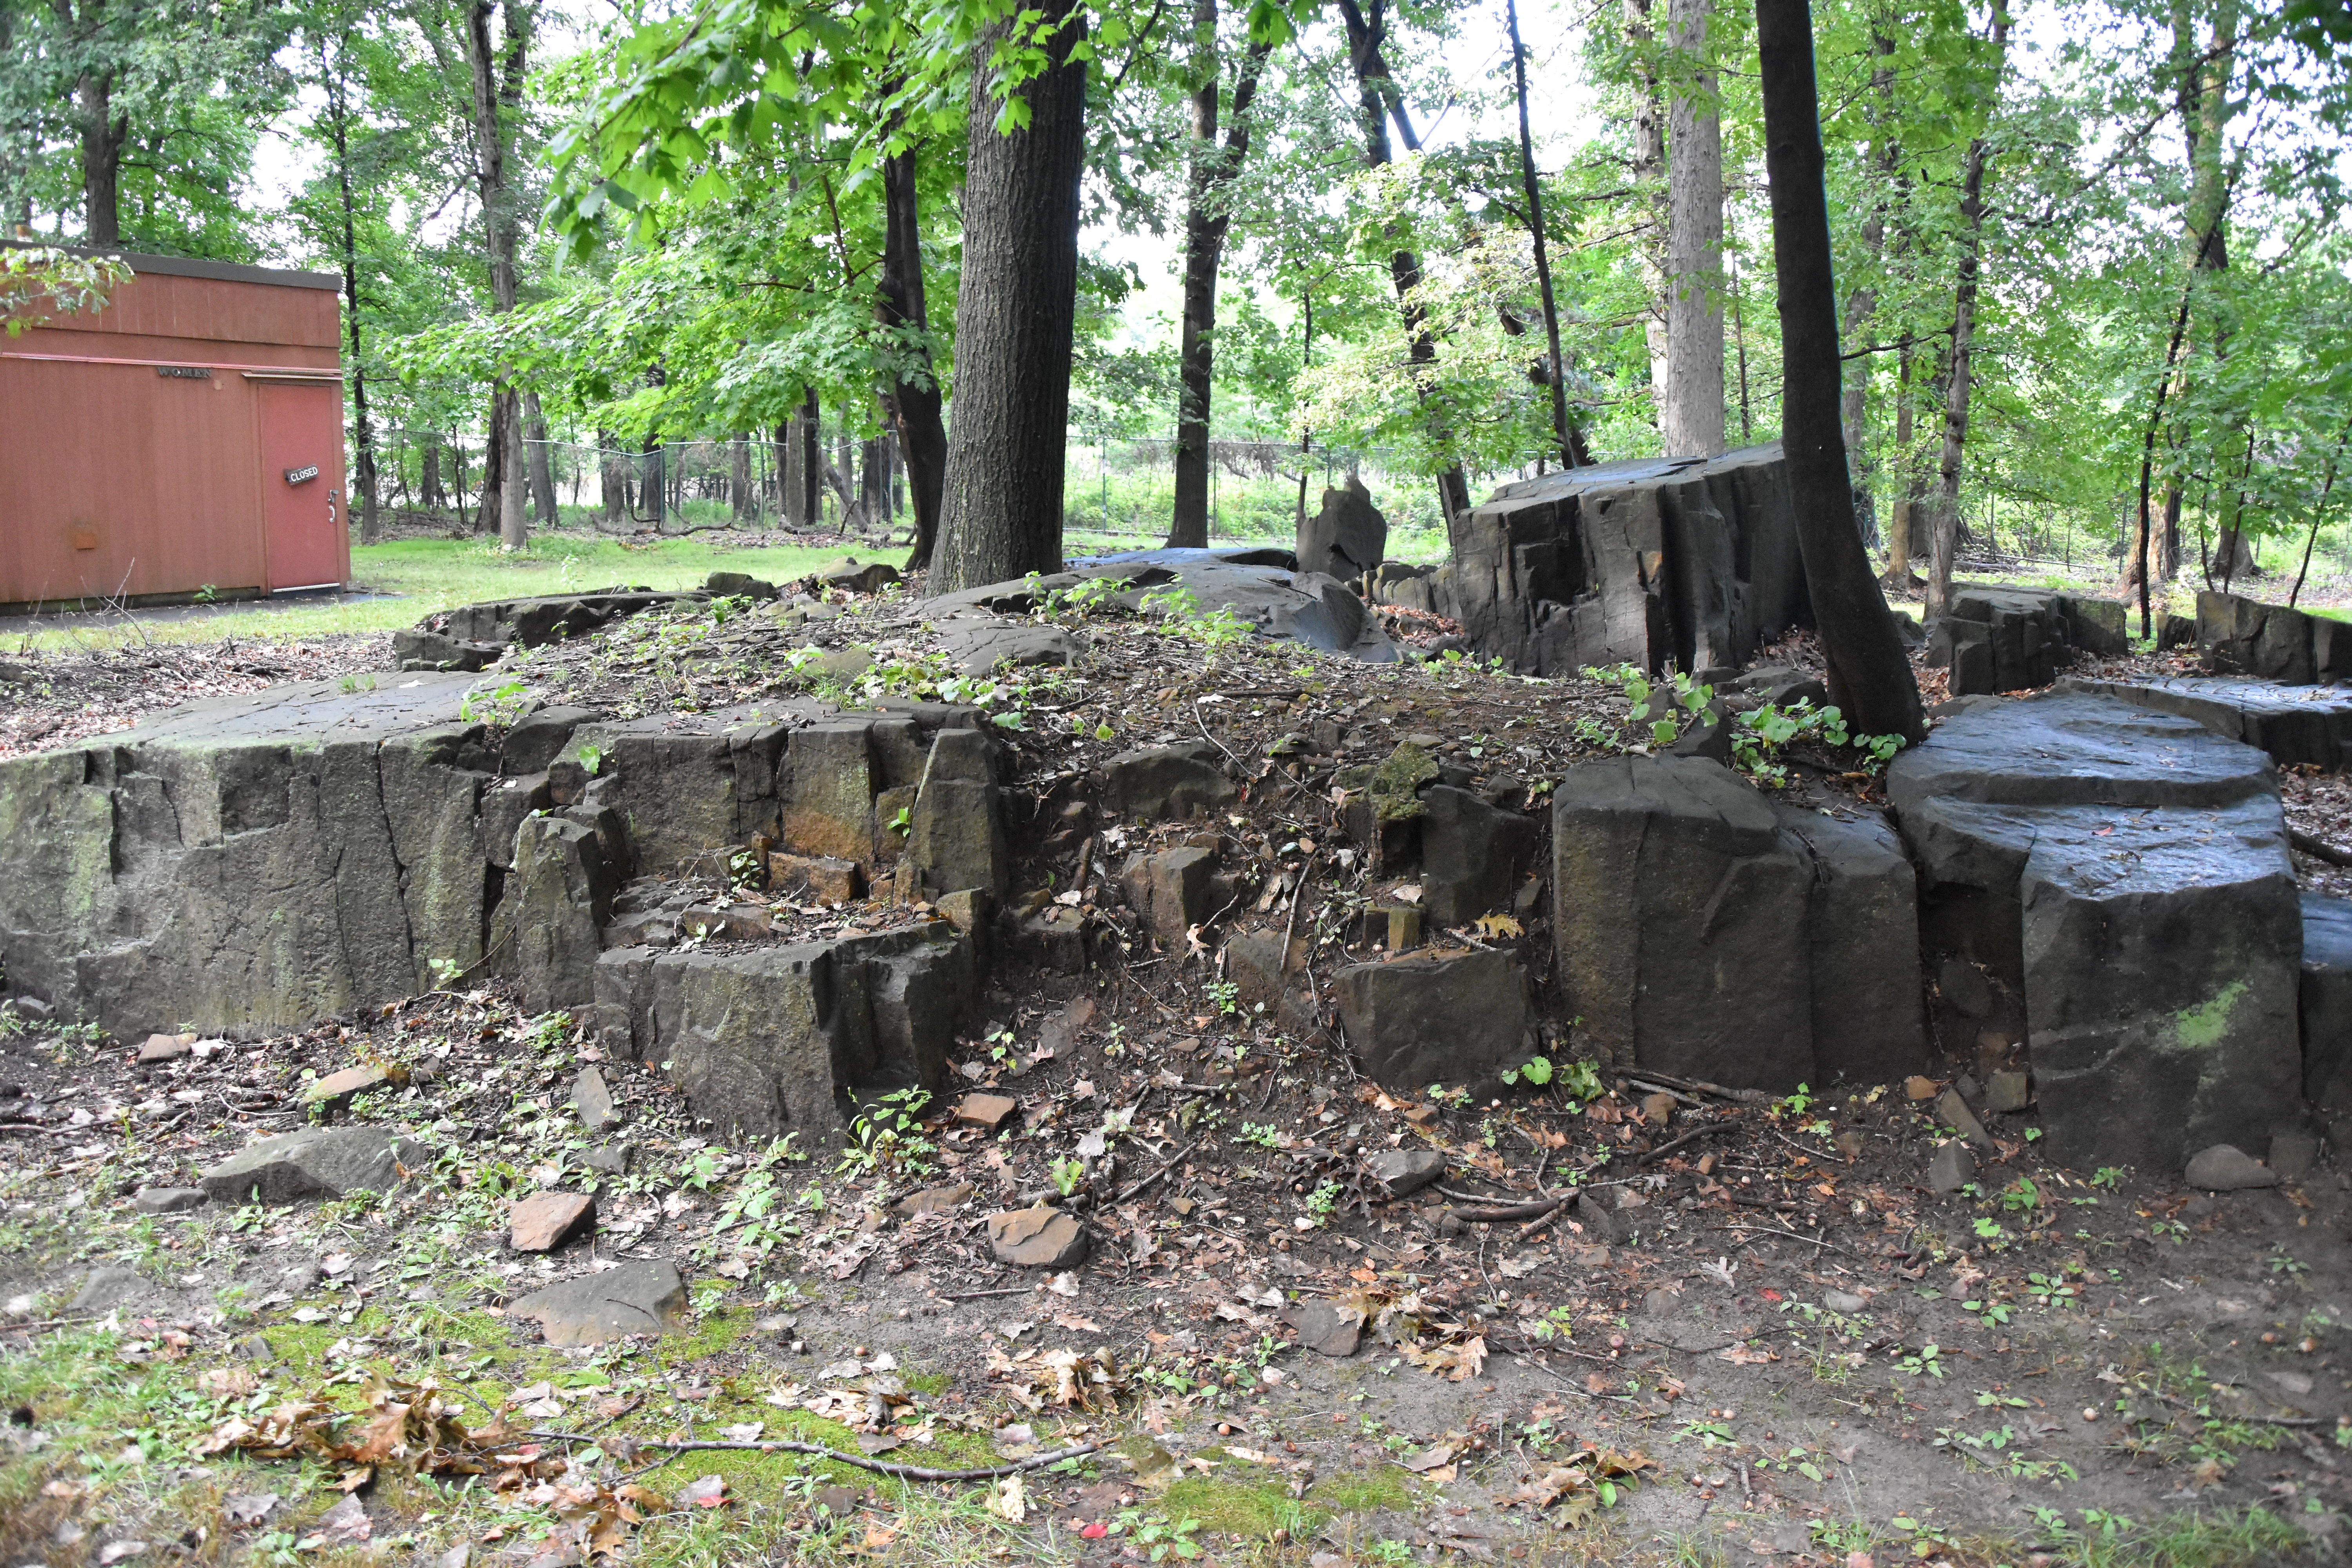
Surrounding area.
![]()
![]()
| Back |
| Home |
| Top |

![]()