
Uncredited photos on this page taken by: Nathan Holth and Rick McOmber. Unless stated in a caption, all photos are Copyright with All Rights Reserved. Learn about reuse of our photos.
![]()


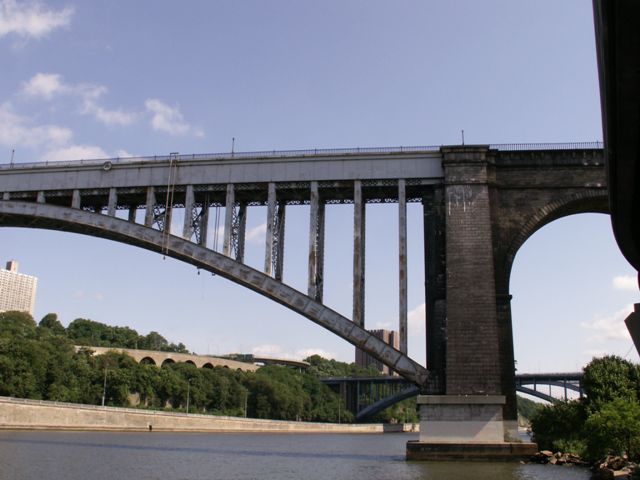

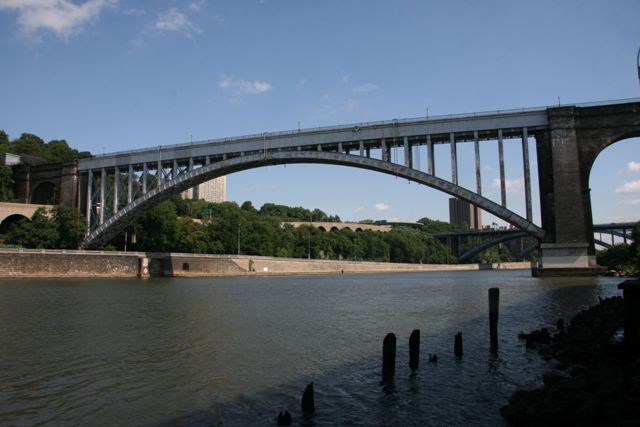
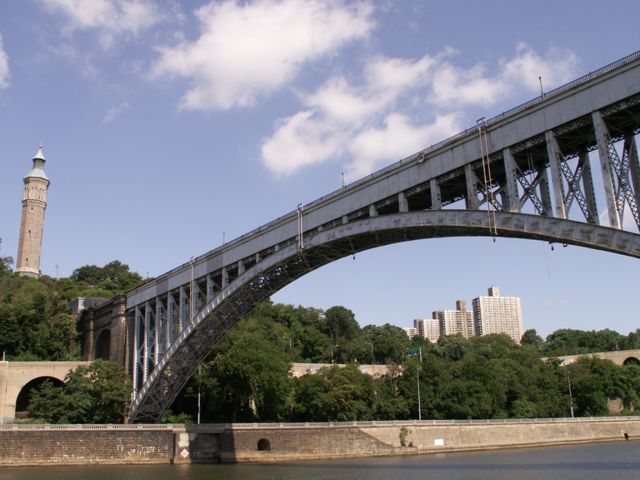
Various overviews designed to show the three key parts of this bridge: the stone arch spans, the watchtower, and the main arch span.
![]()


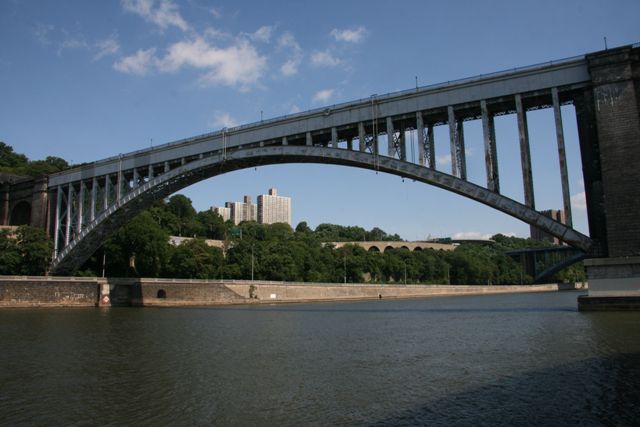


Elevation.
![]()
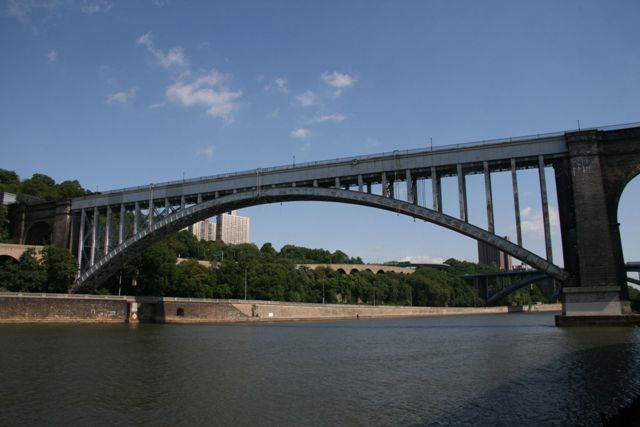
Views beside bridge.
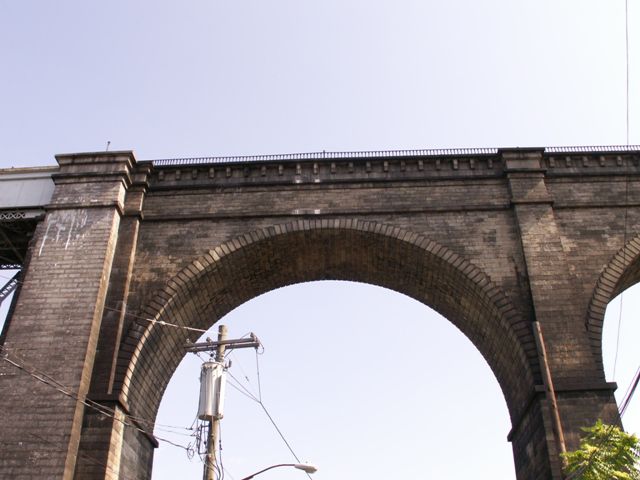
![]()
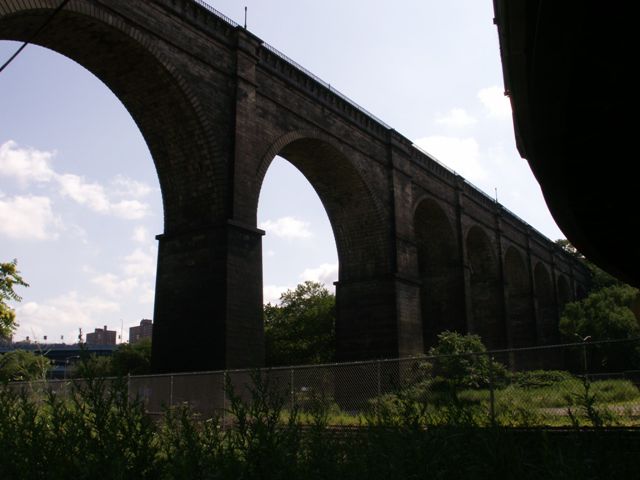
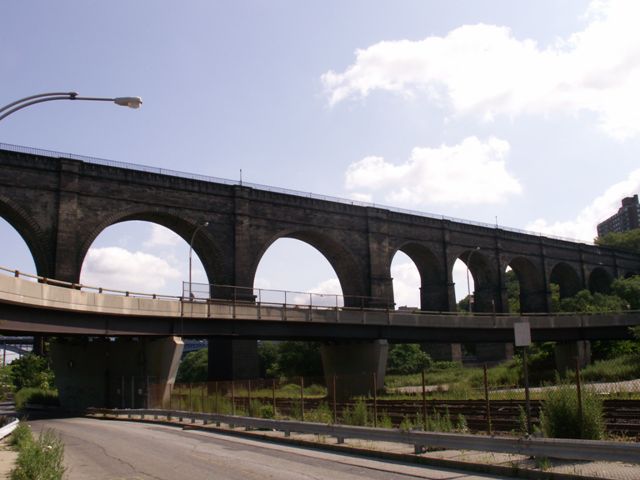
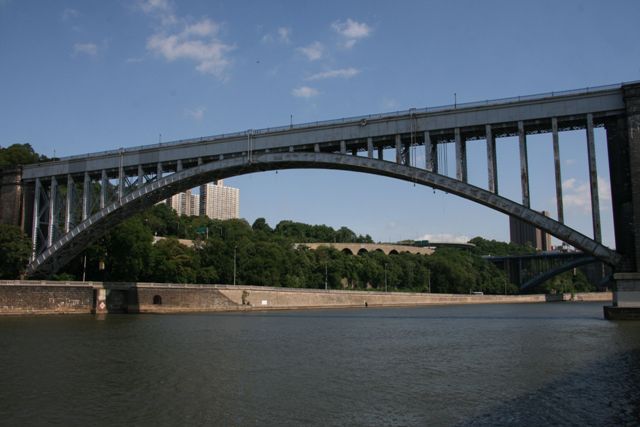
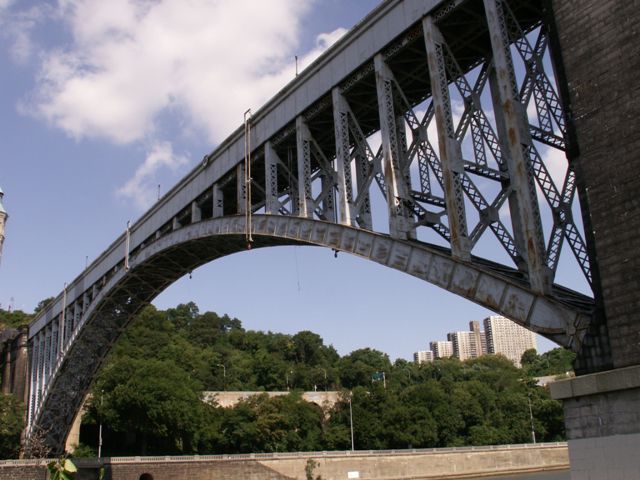
Arch spans elevation.
![]()
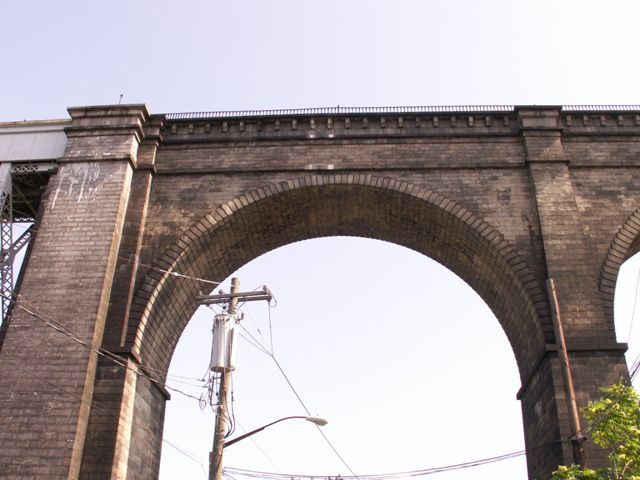

Individual arch span elevation.
![]()
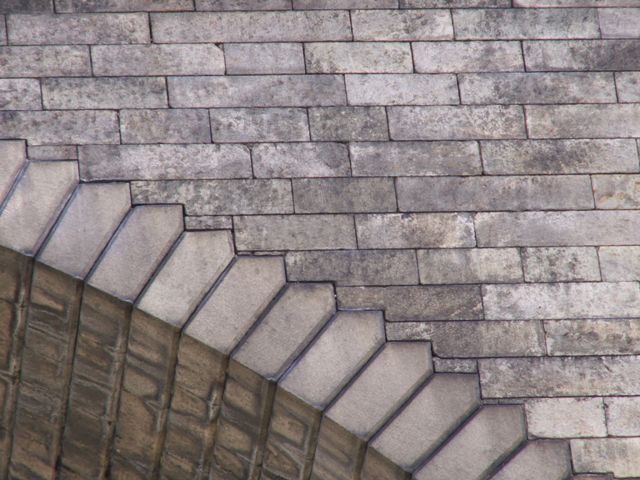

Arch span details.
![]()


Bridge sign for arch spans.
![]()

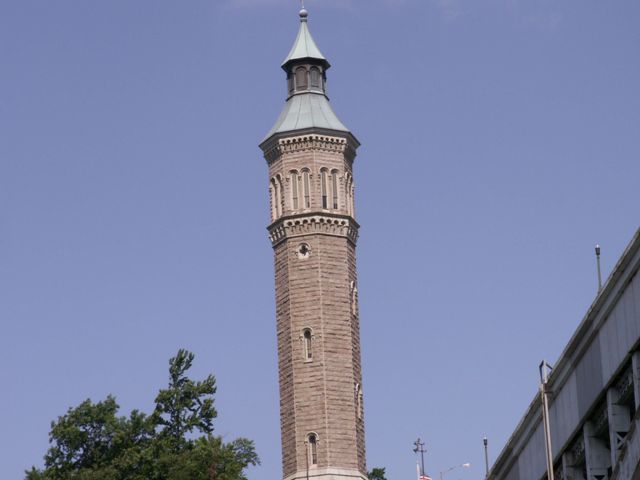
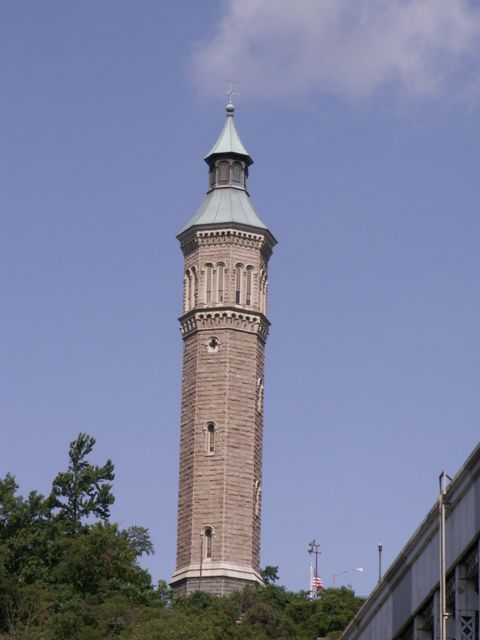

Views of the Watchtower.
![]()


Plaque for arch span.
![]()


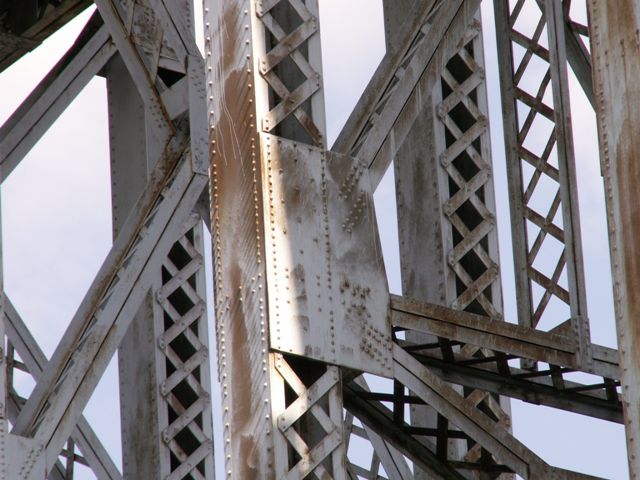


Connection details on arch span.
![]()

Center of arch span.
![]()
![]()
| Back |
| Home |
| Top |

![]()


