
Uncredited photos on this page taken by: Nathan Holth and Rick McOmber. Unless stated in a caption, all photos are Copyright with All Rights Reserved. Learn about reuse of our photos.
![]()


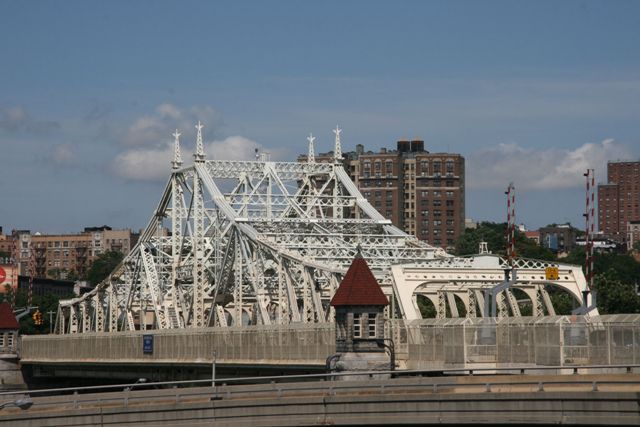
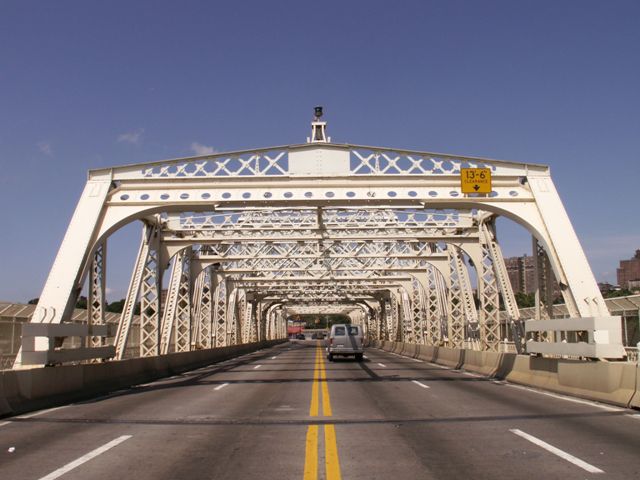
Overview of bridge, showing both through truss spans.
![]()
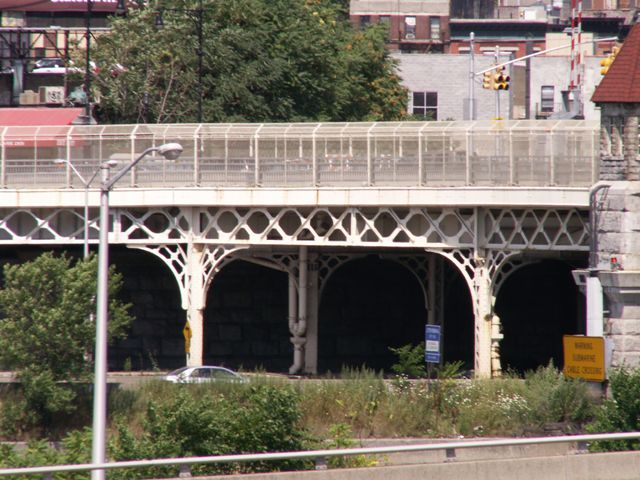
Deck truss approach spans.
![]()

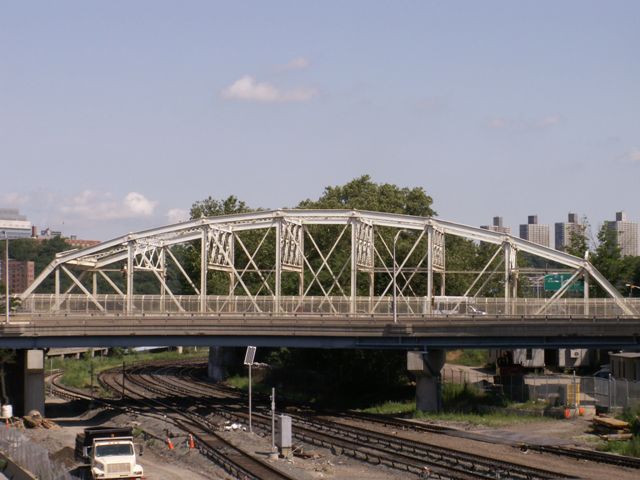
Mid-span elevation.
![]()
Mid-span elevation of approach span.
![]()


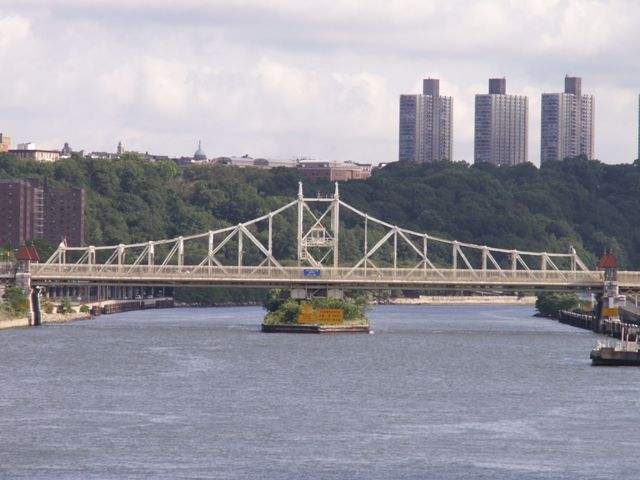
Elevation.
![]()


Oblique views.
![]()


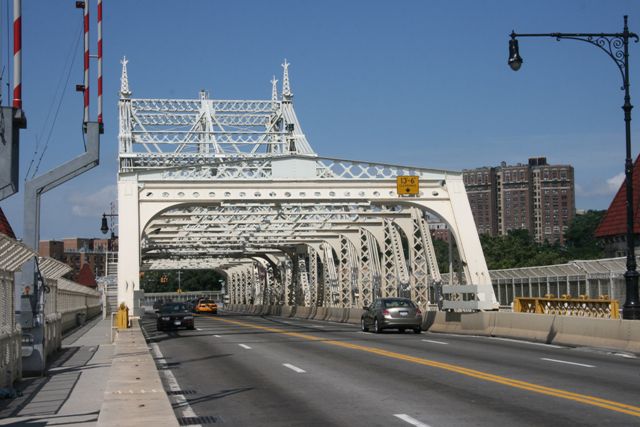
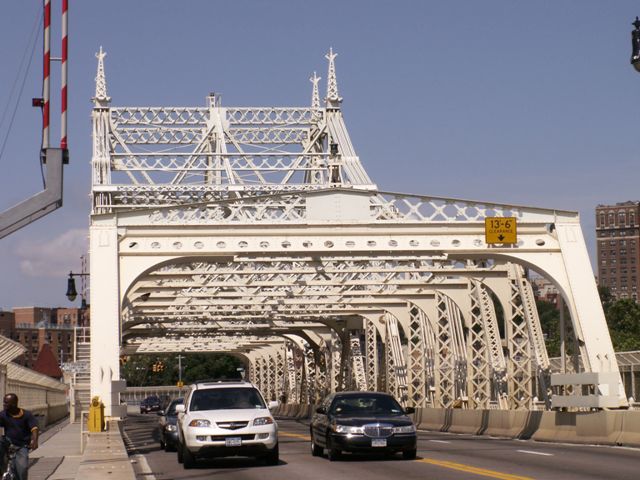
Portal views of swing span.
![]()

Portal view on swing span.
![]()

Portal views of approach span.
![]()


Views from beside roadway showing swing span.
![]()


Views from beside roadway showing approach span.
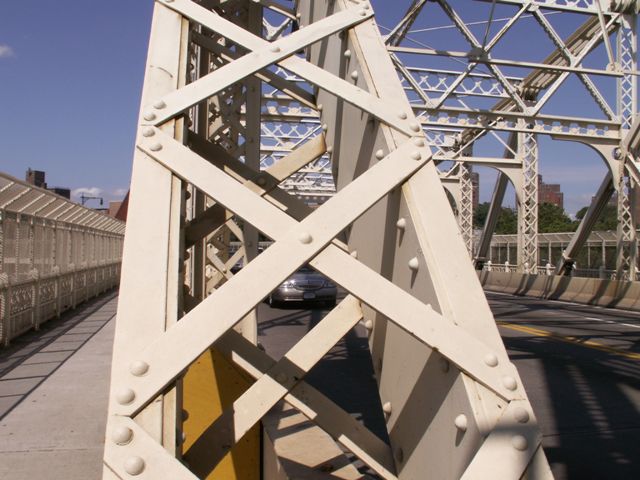
![]()


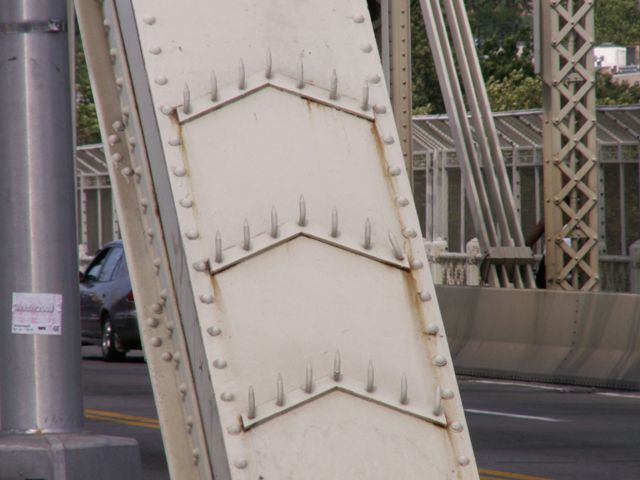
Truss web.
![]()
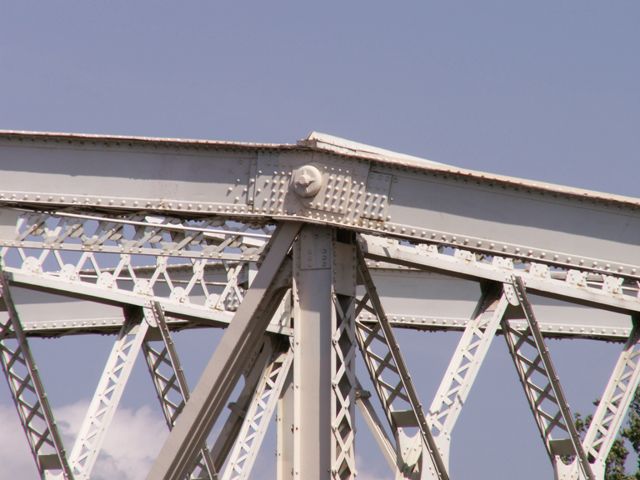


Top chord connections as viewed from beside bridge.
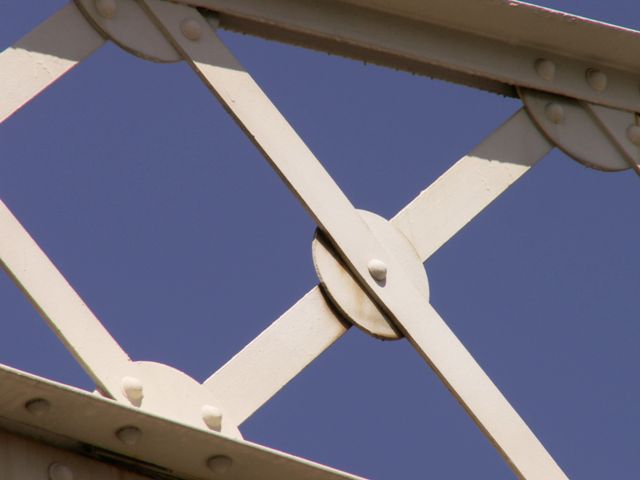
![]()

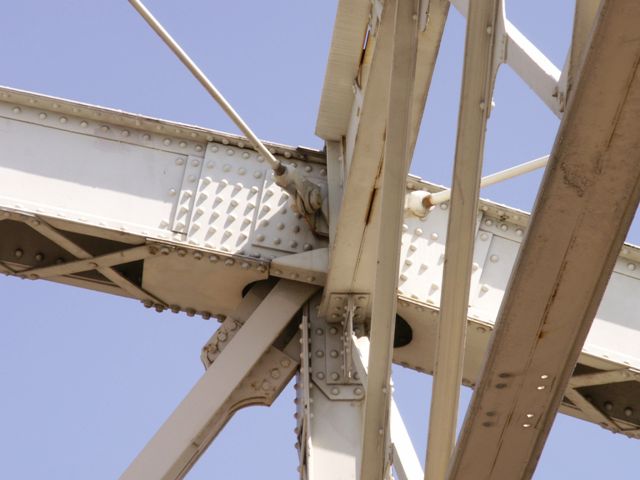


Top chord connections as viewed from on bridge.
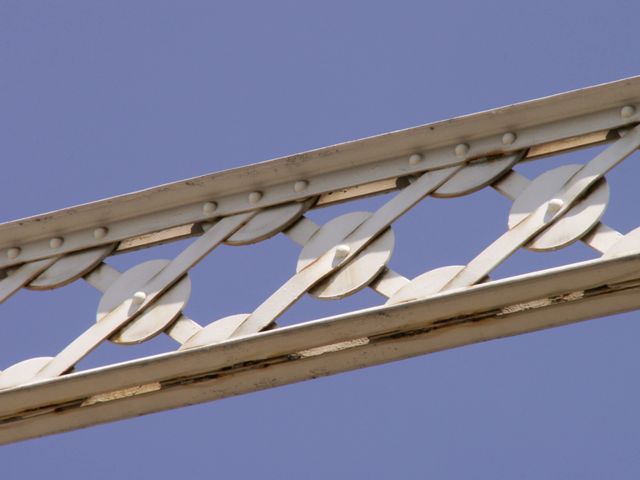
![]()

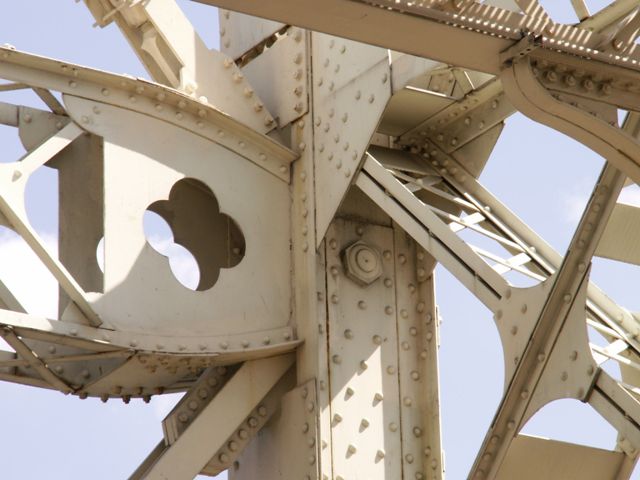
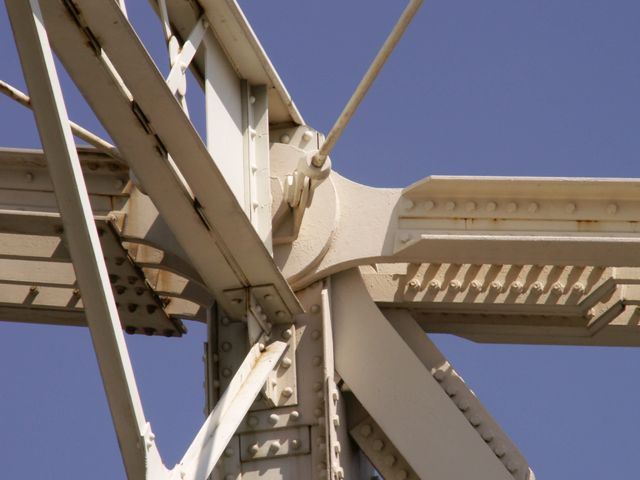
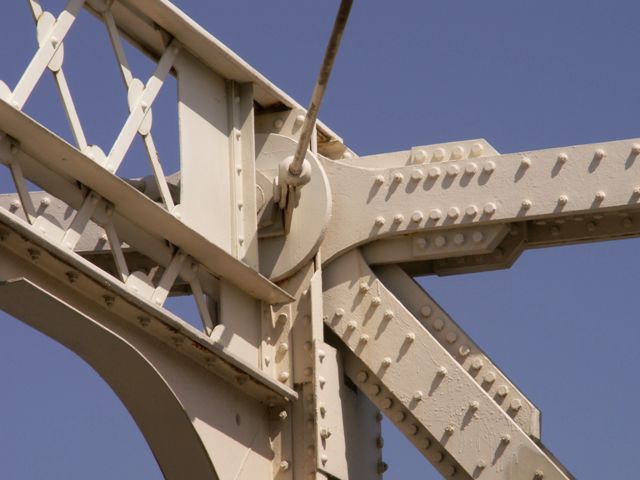
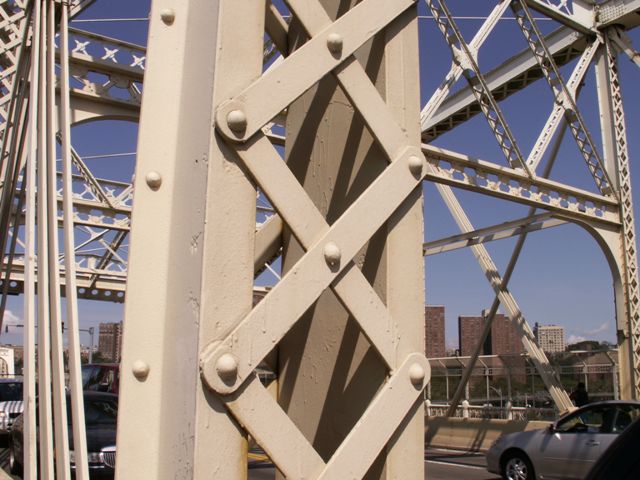
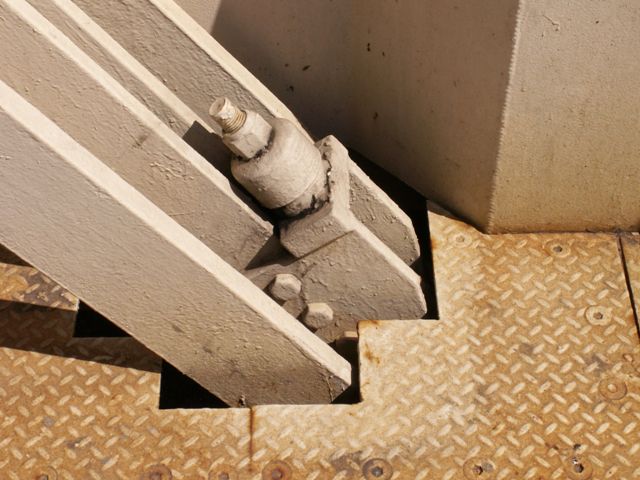
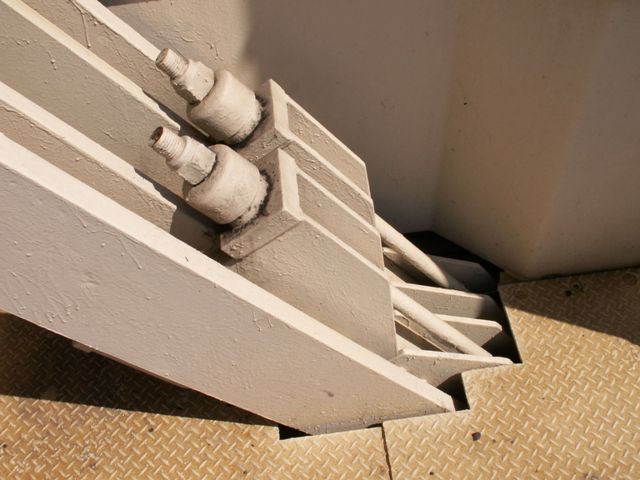
Intermediate connections.
![]()

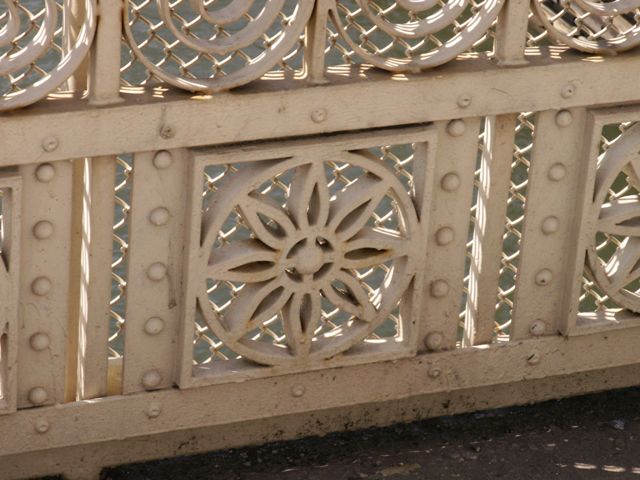

Railing.
![]()

Carnegie brand.
![]()


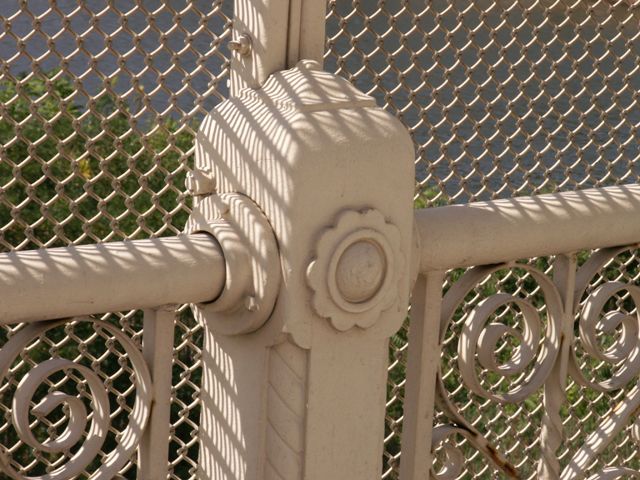
Decorative finials.
![]()


End post.
![]()


Verticals.
![]()


Diagonals.
![]()


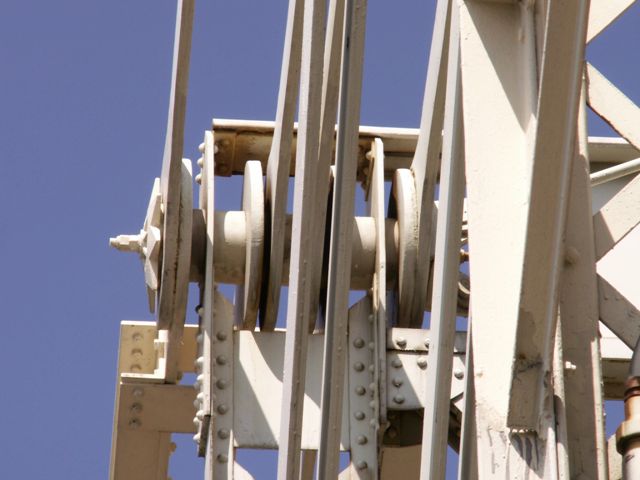
Bracing and central tower.
![]()


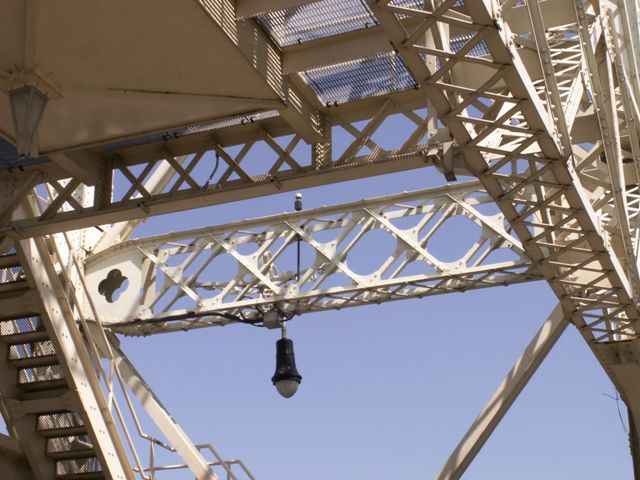

Sway bracing.
![]()


Portal bracing.
![]()


This gate originally served to stop traffic when the bridge operated. It swung out on hinges.
![]()

Bridge building.
![]()

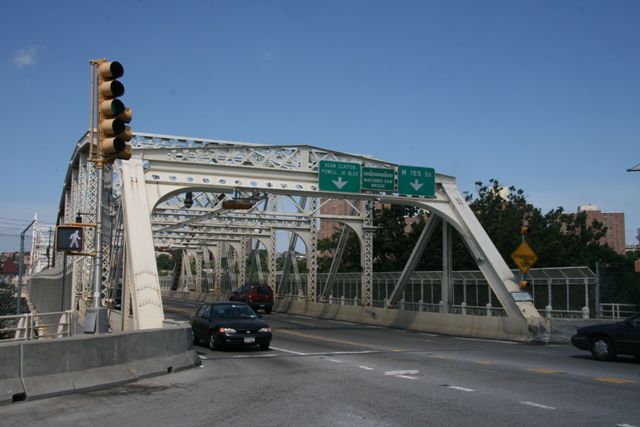
Signage for bridge.
![]()
![]()
| Back |
| Home |
| Top |

![]()