Uncredited photos on this page taken by: Nathan Holth. Unless stated in a caption, all photos are Copyright with All Rights Reserved. Learn about reuse of our photos.
![]()

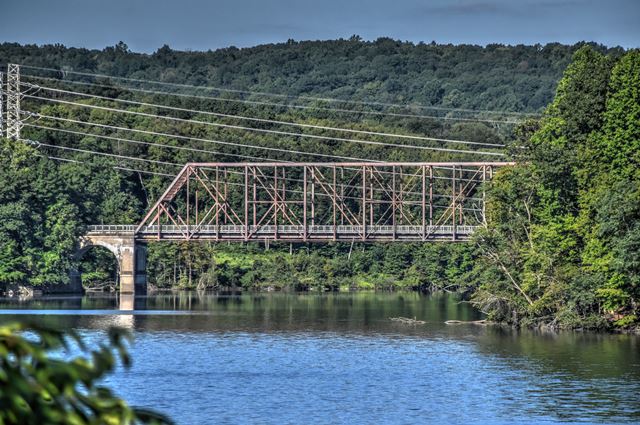


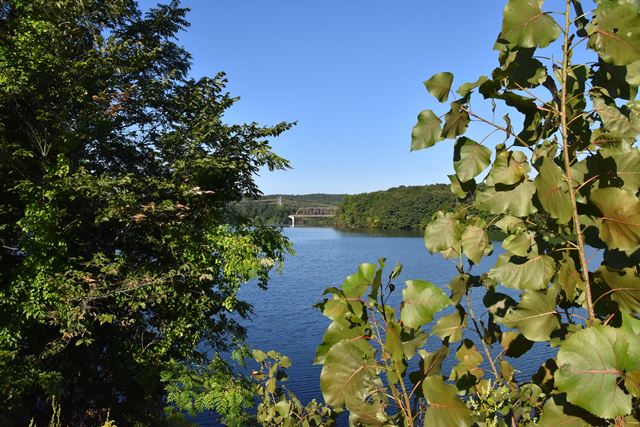


Distant east elevation.
![]()


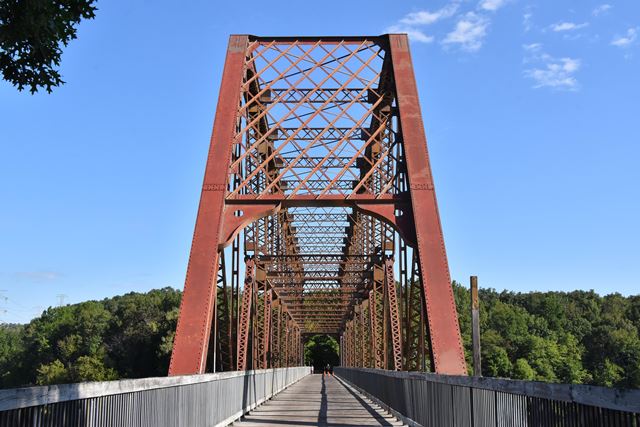
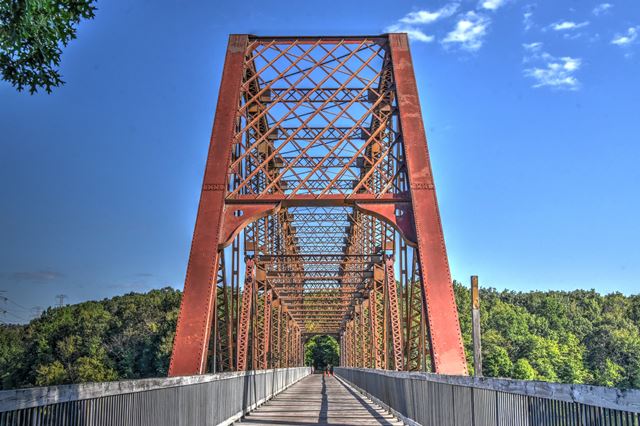


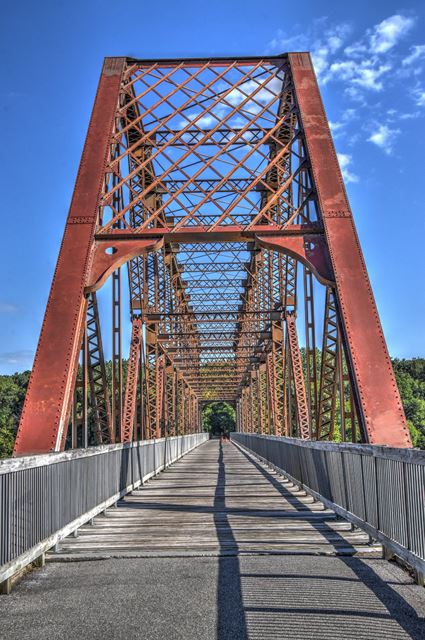


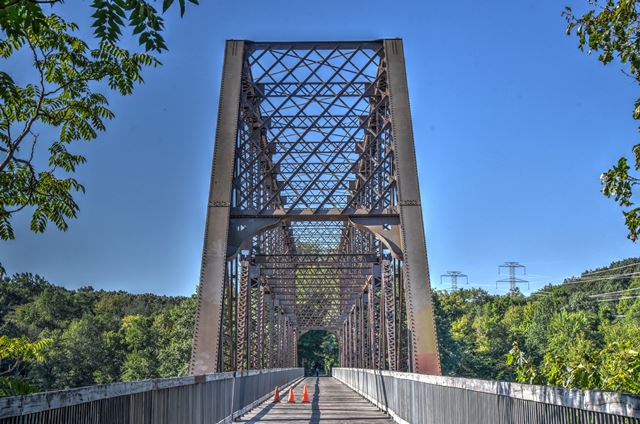
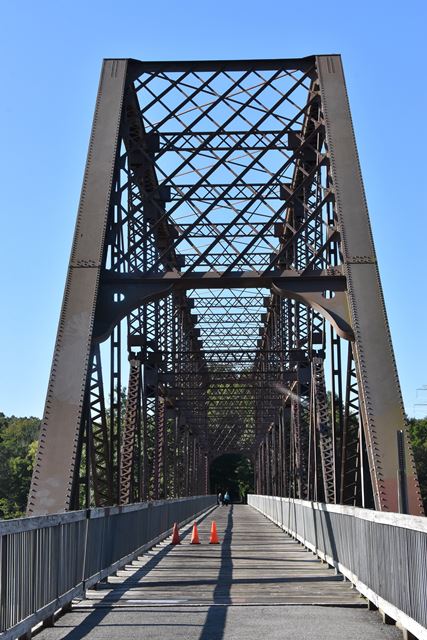
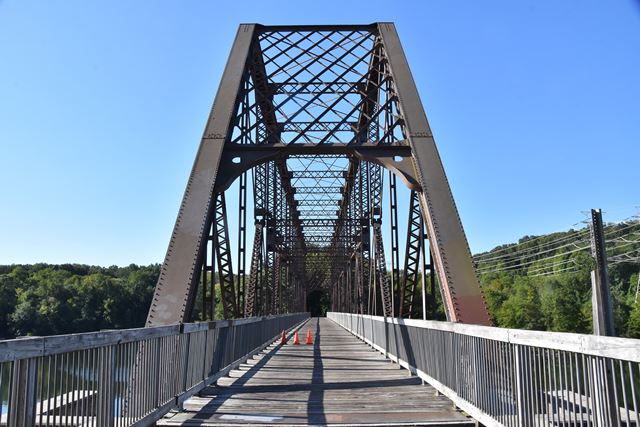
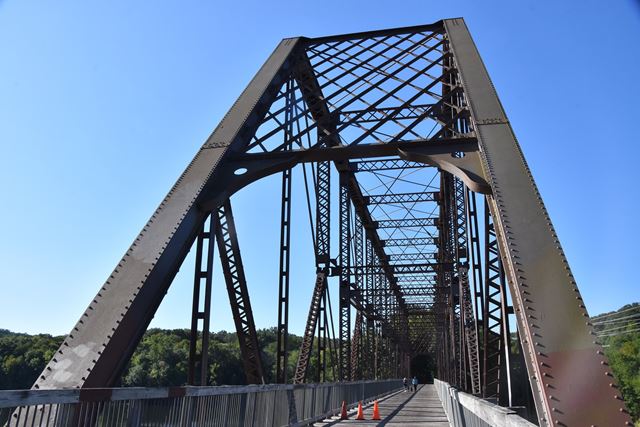
Portal views facing north.
![]()
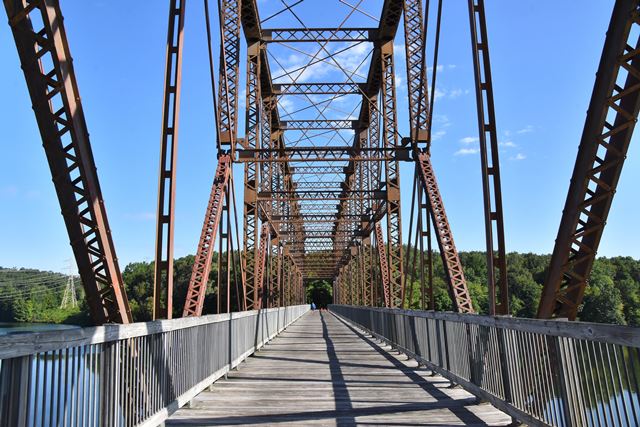


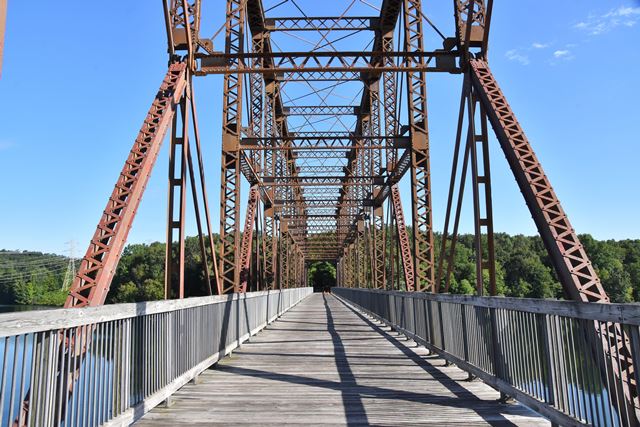
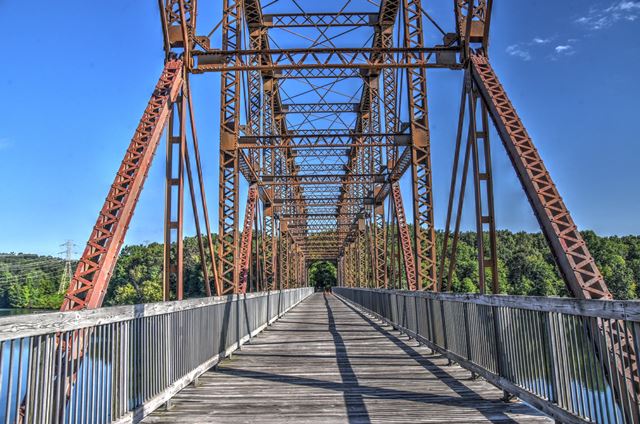

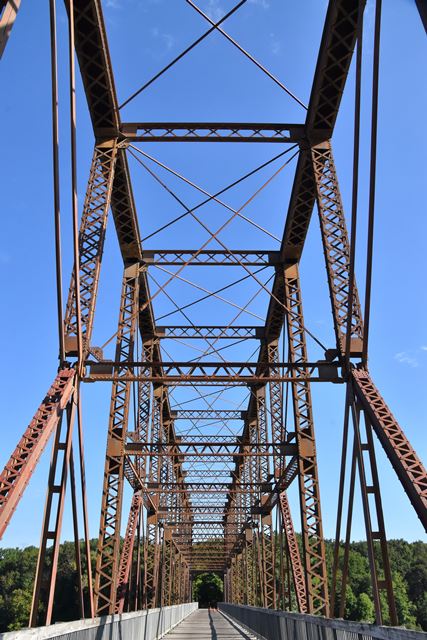


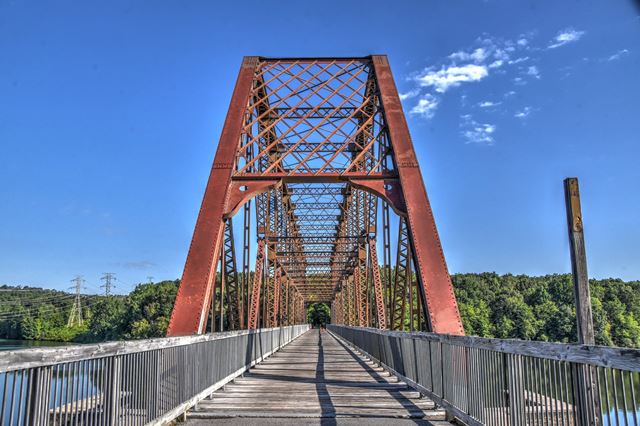
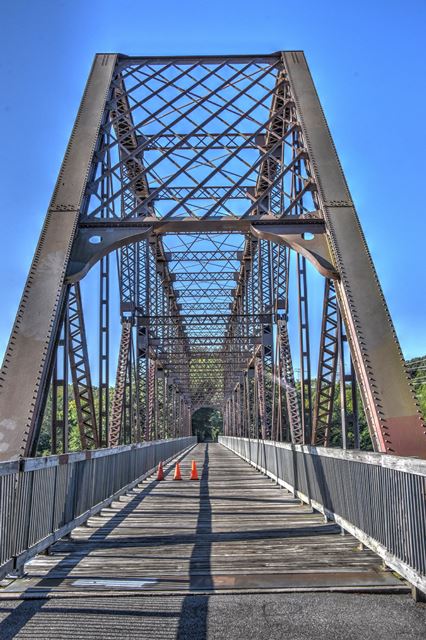
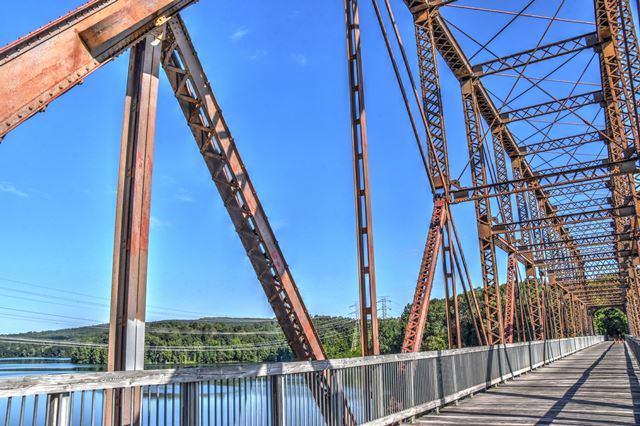
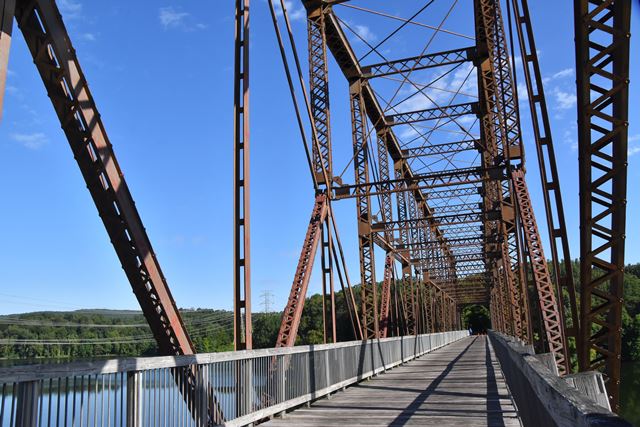
Portal views on bridge facing north.
![]()


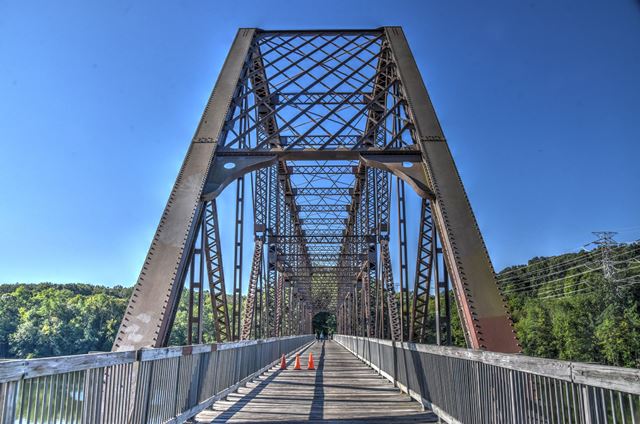


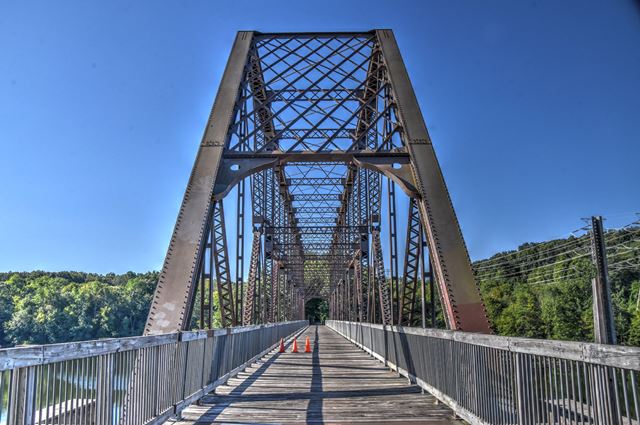


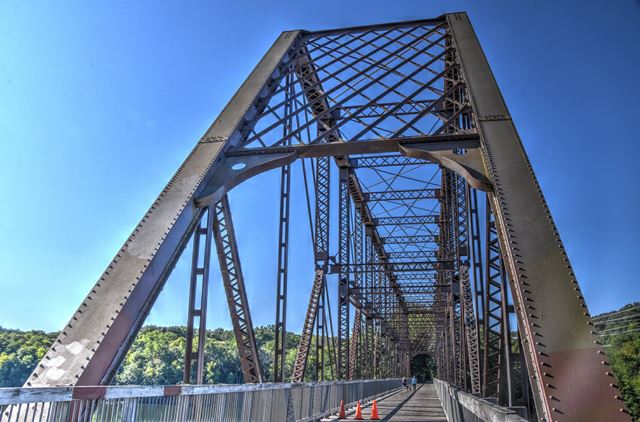
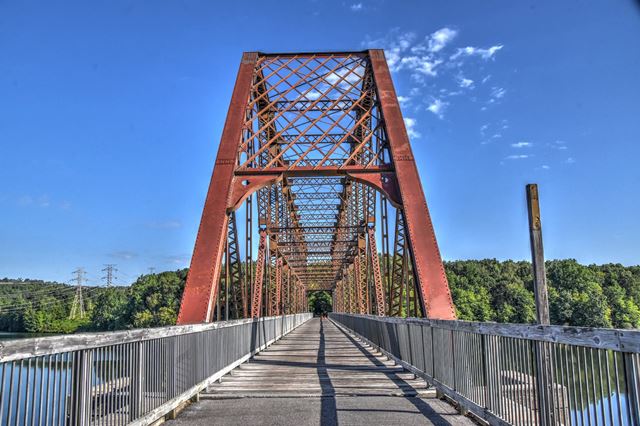
Portal views facing south.
![]()
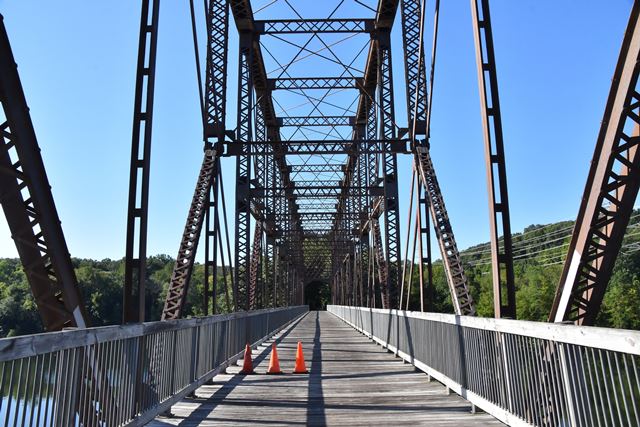


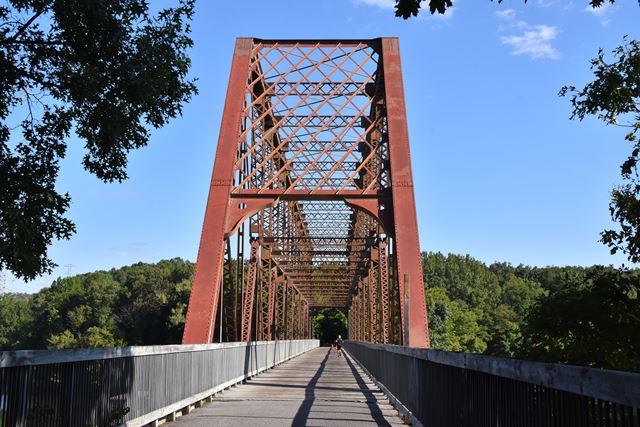
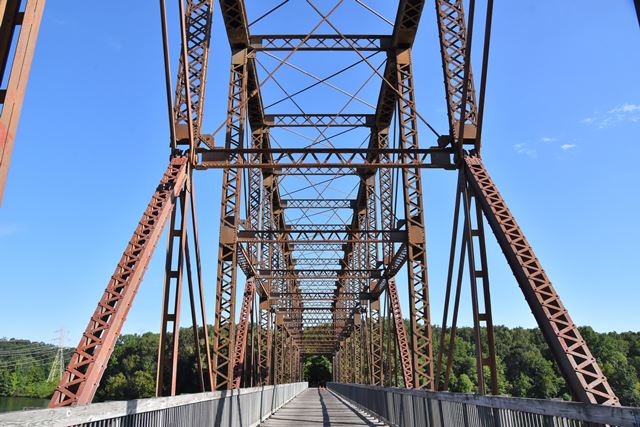
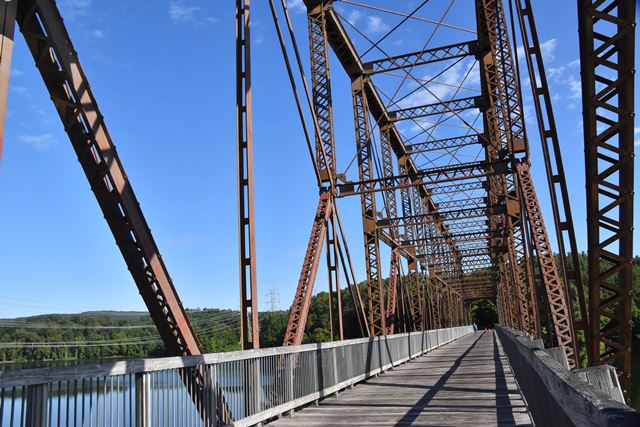
Portal views on bridge facing south.
![]()


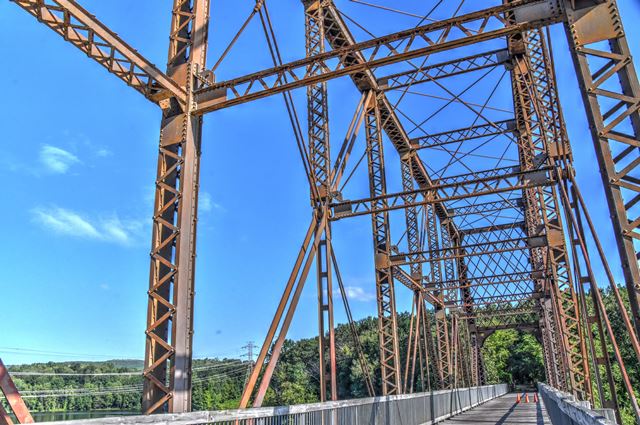


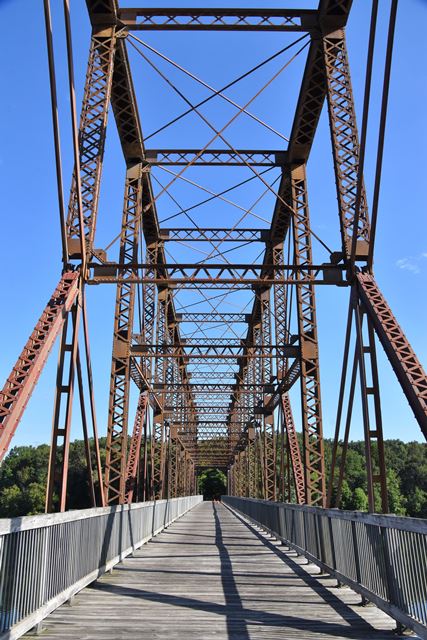
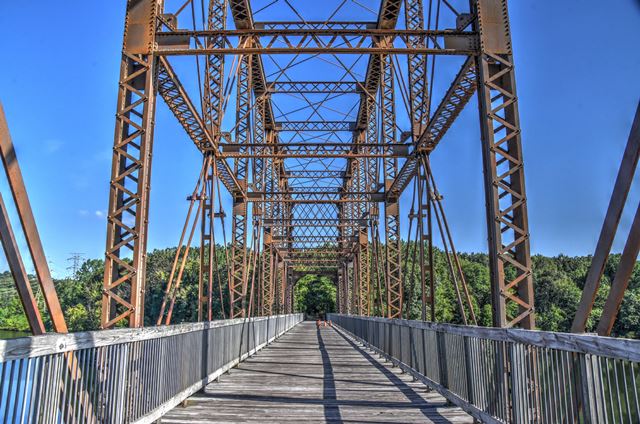
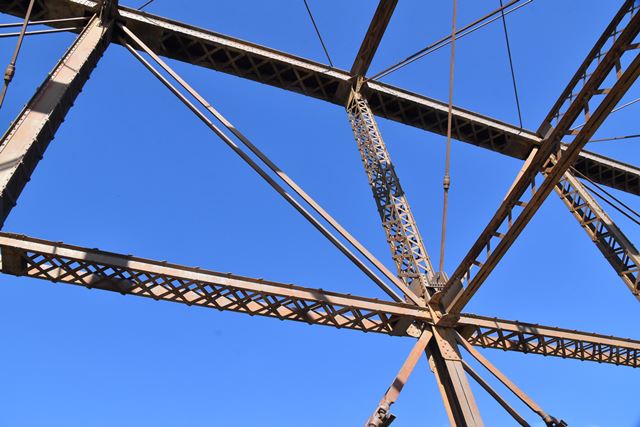
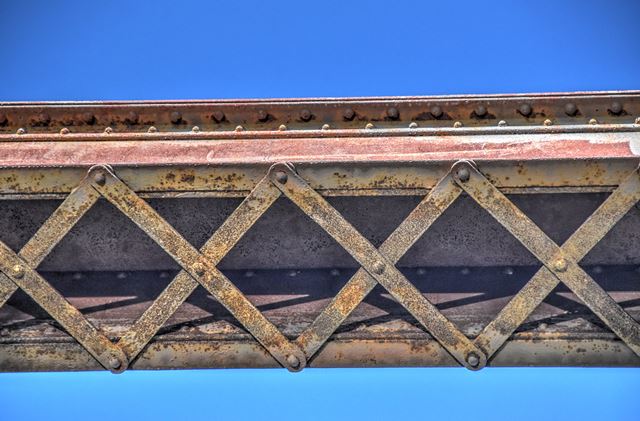
Views of truss web.
![]()


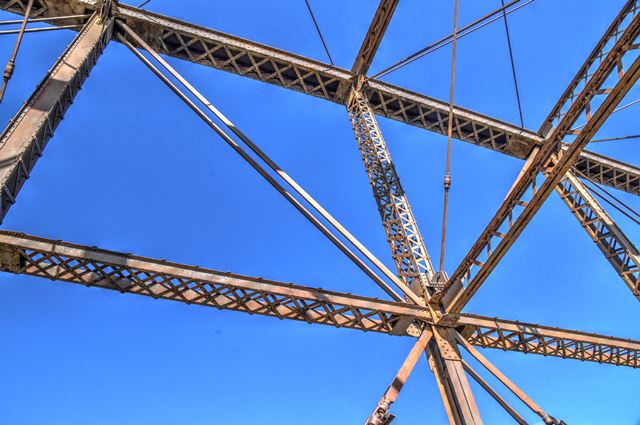


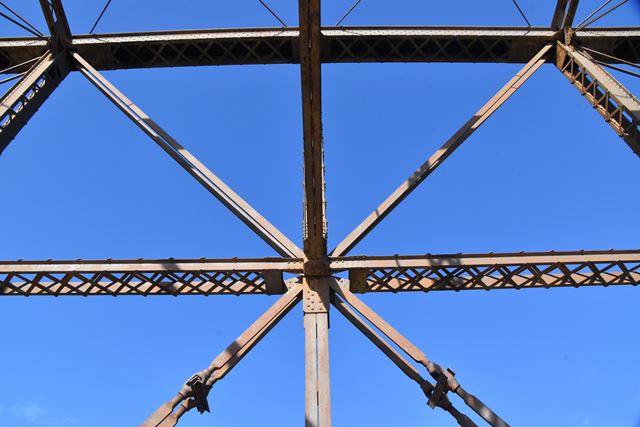


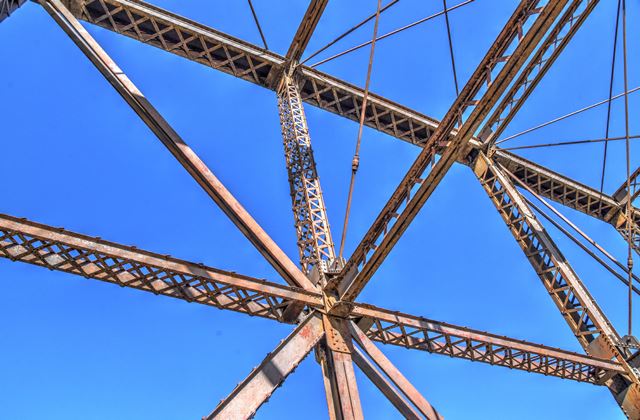


Truss members and panels.
![]()

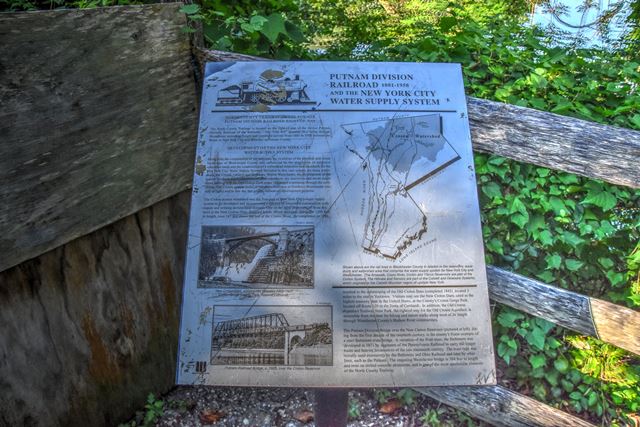
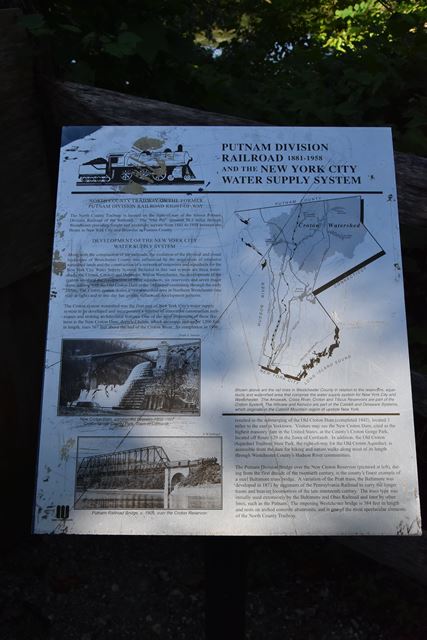
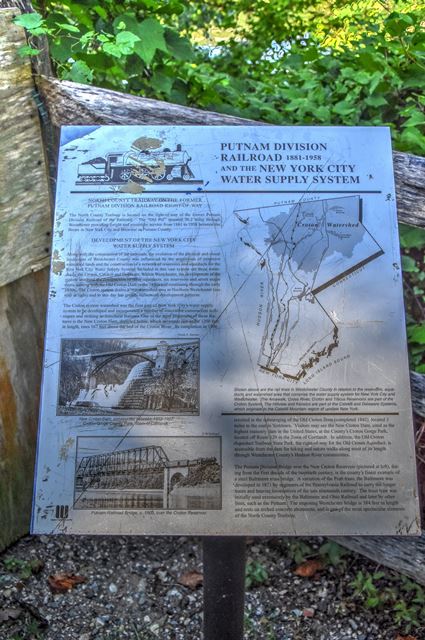
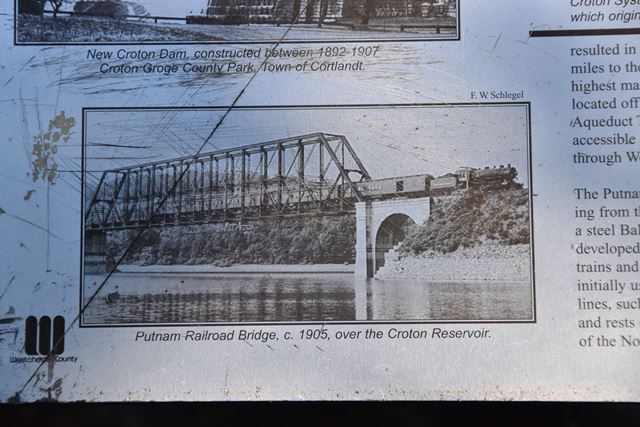


Interpretive signage.
![]()
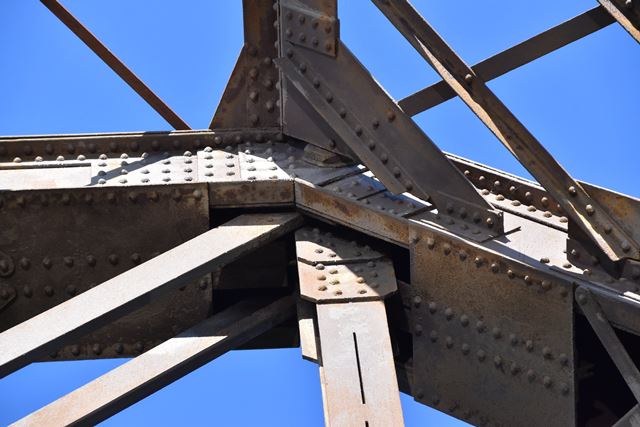

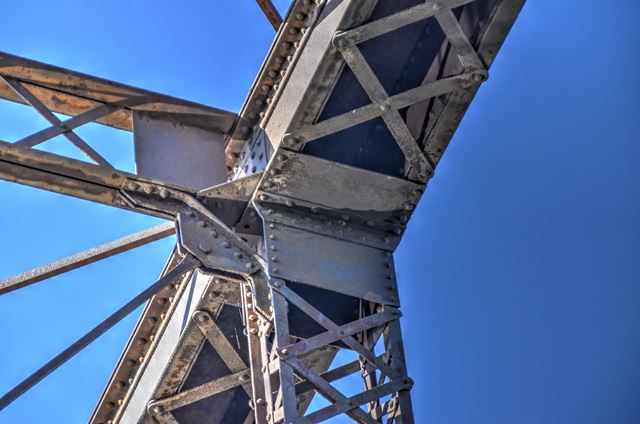

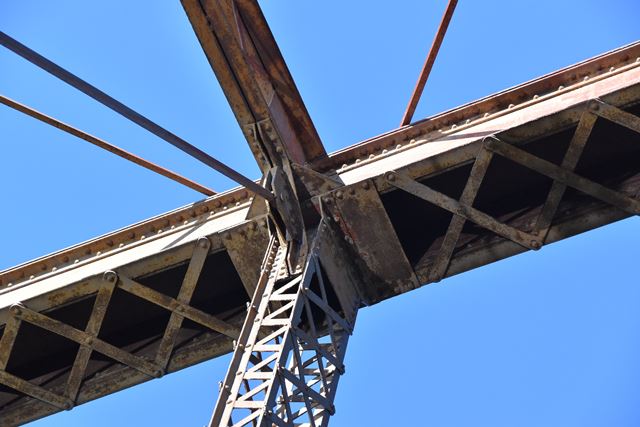

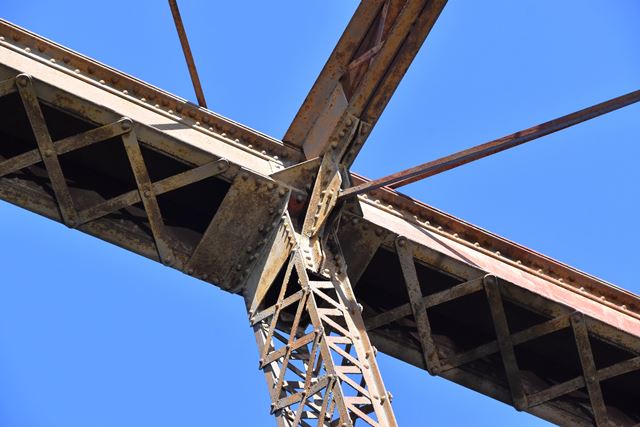
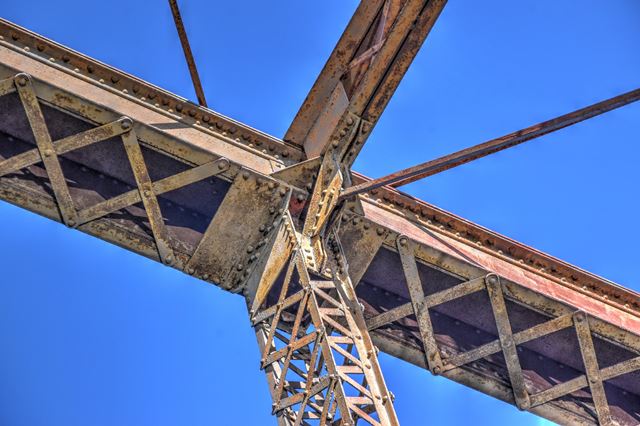


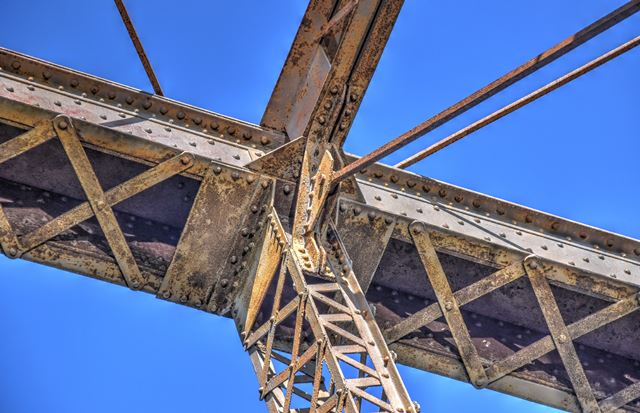
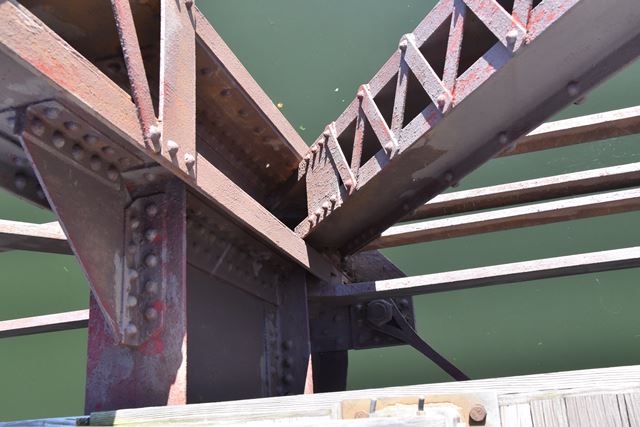
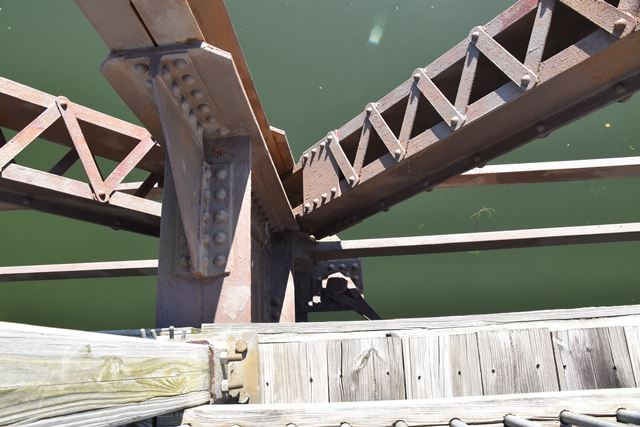
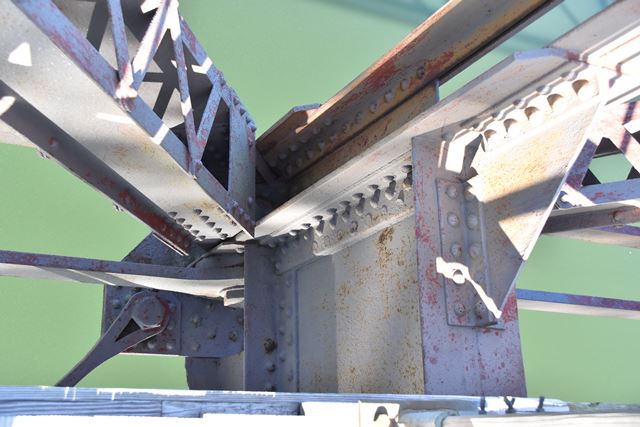
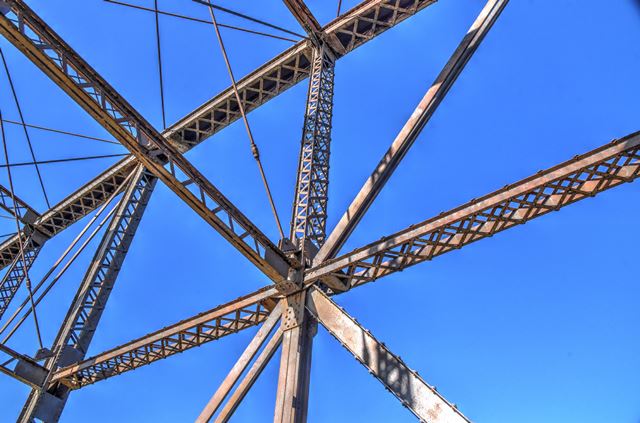
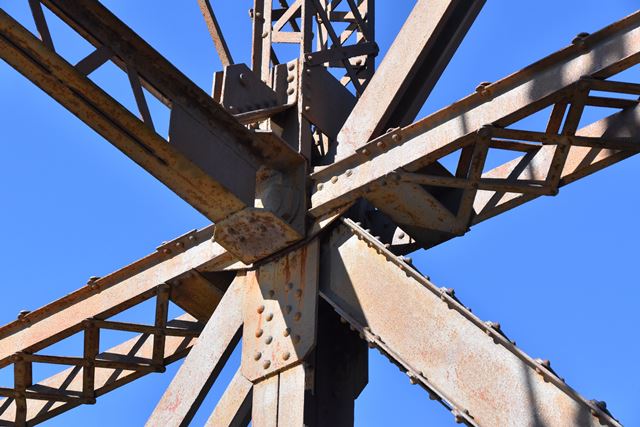
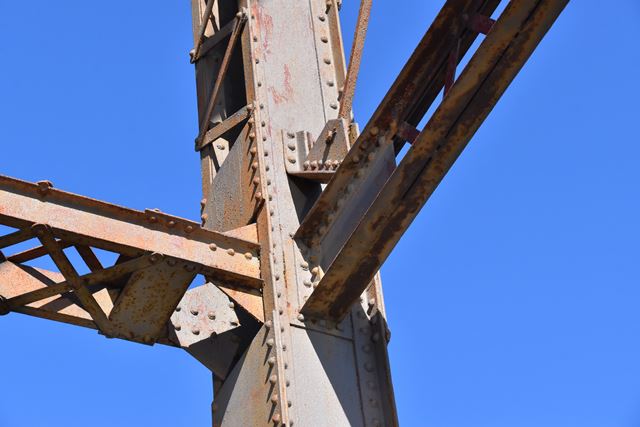
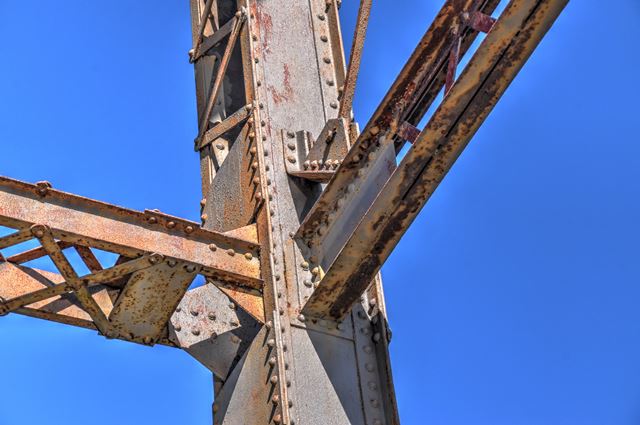
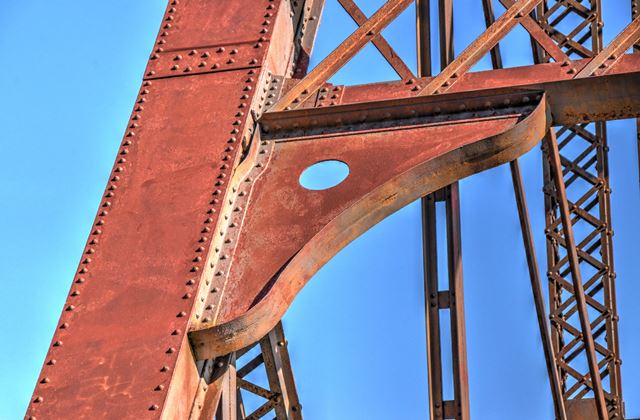
Top chord connections as viewed from on bridge.
![]()
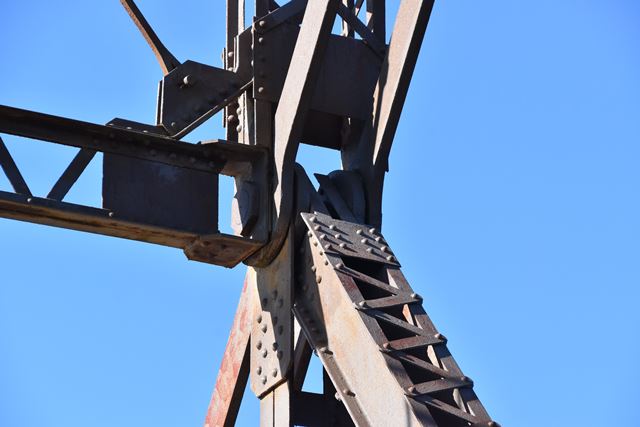
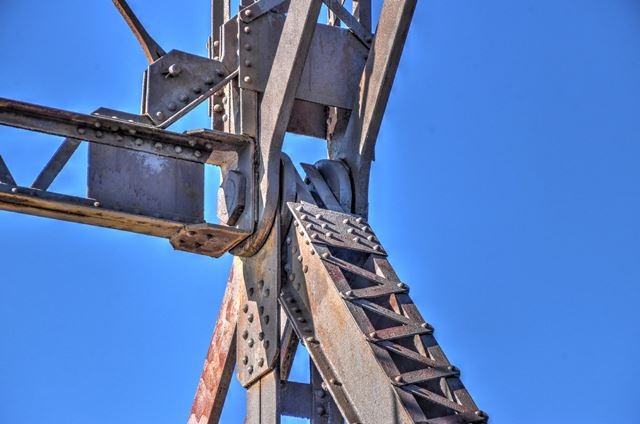


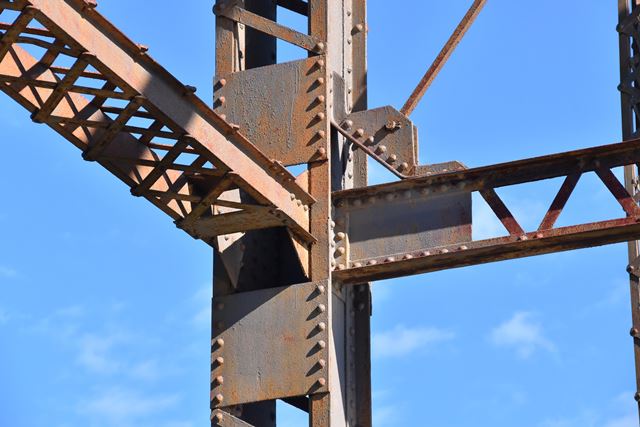


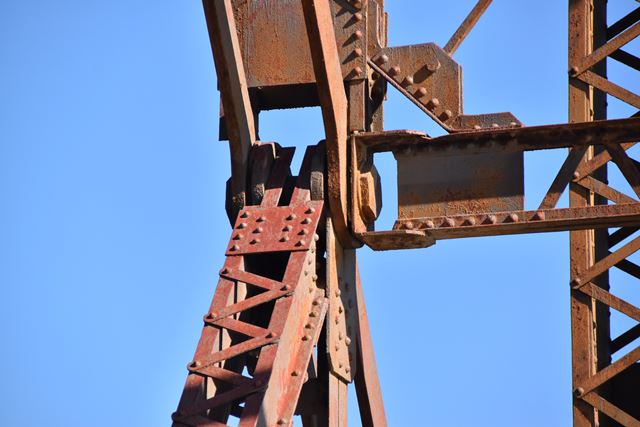


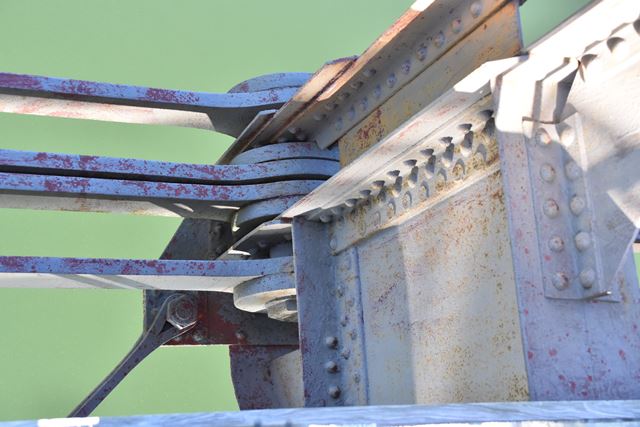
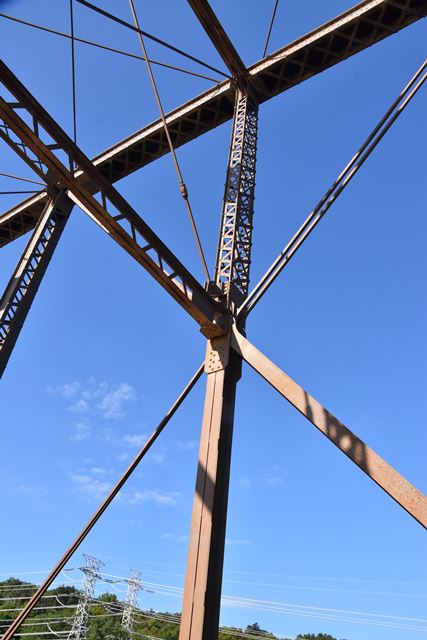
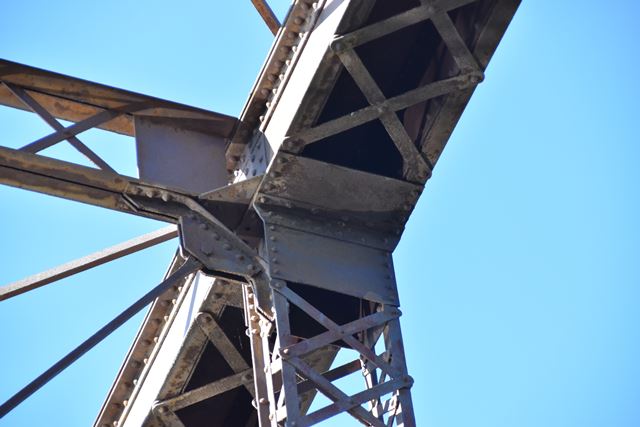
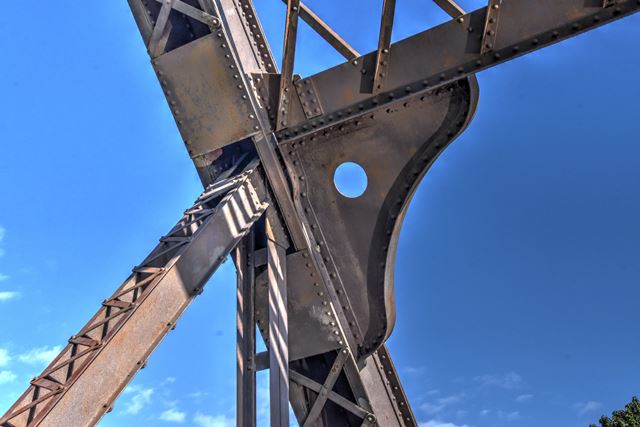
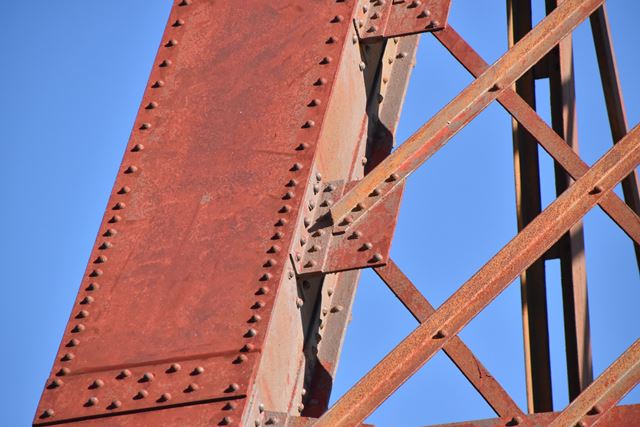
Intermediate connections as viewed from on bridge.
![]()
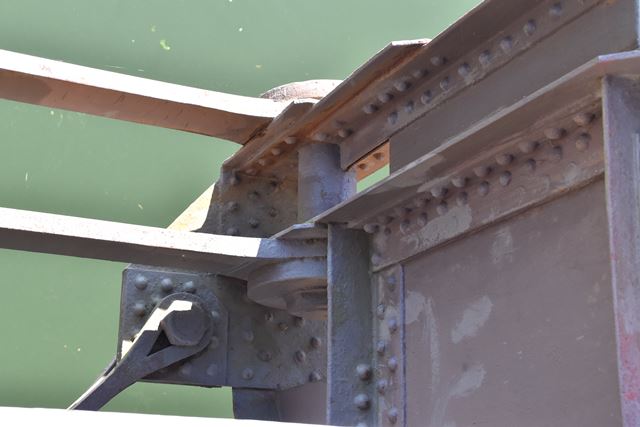
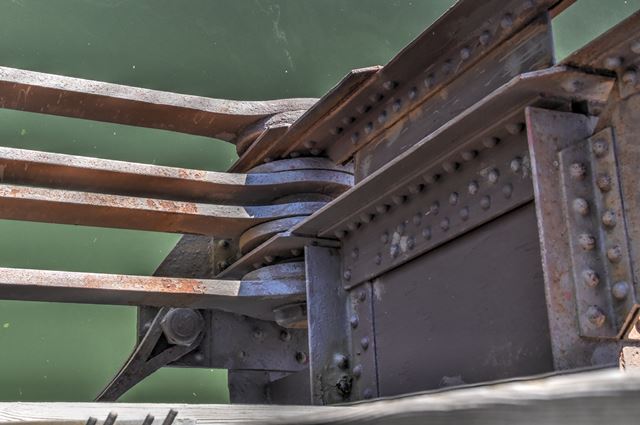
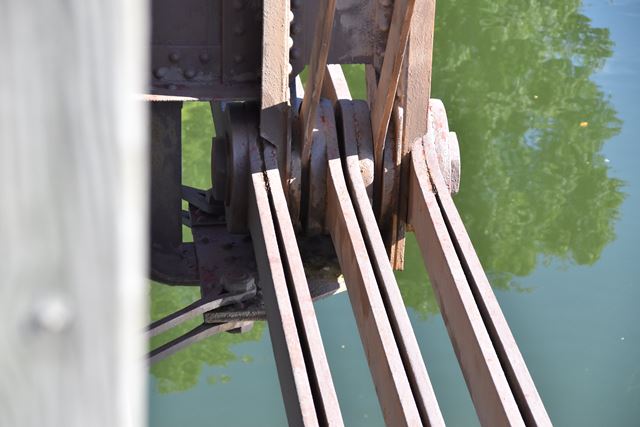
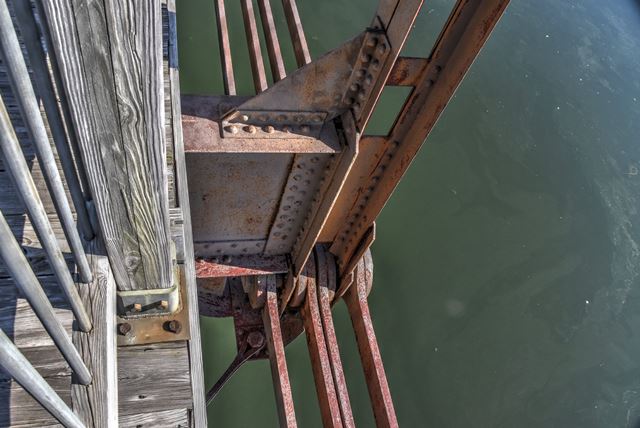
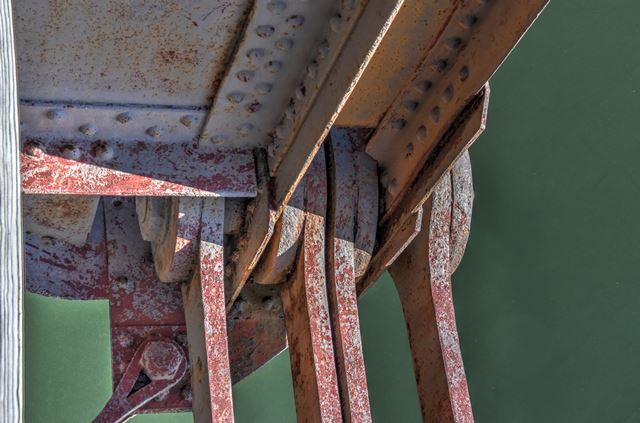
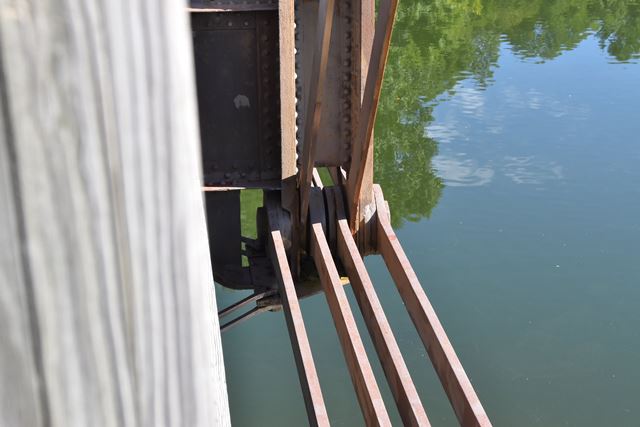
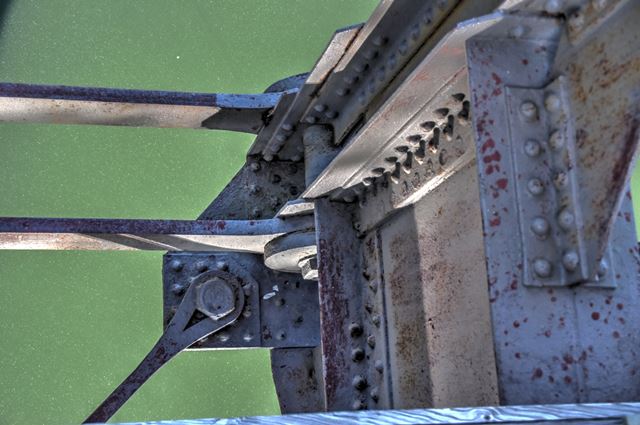
Bottom chord connections as viewed from on bridge.
![]()

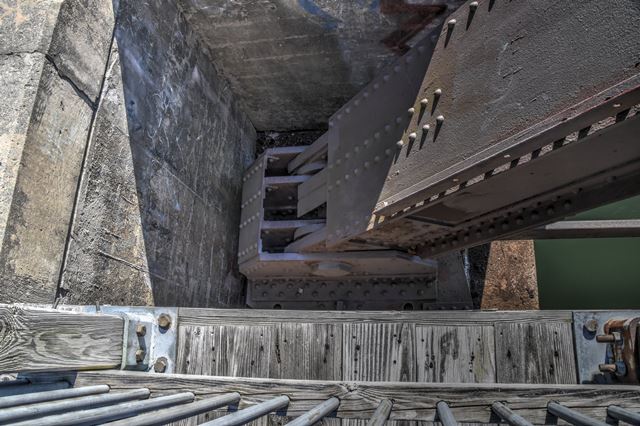


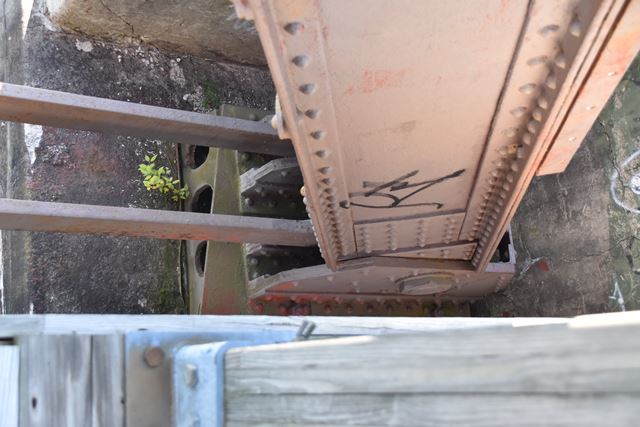

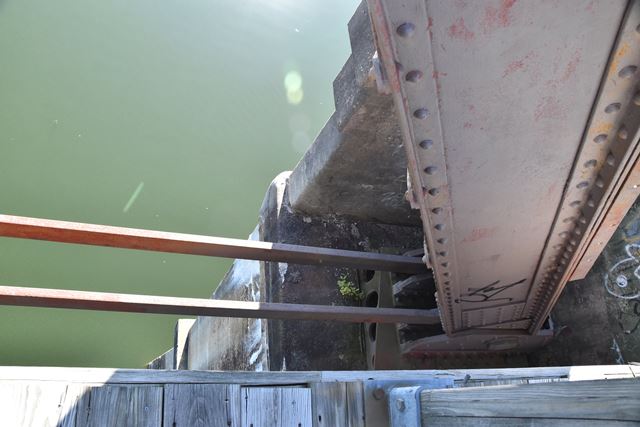
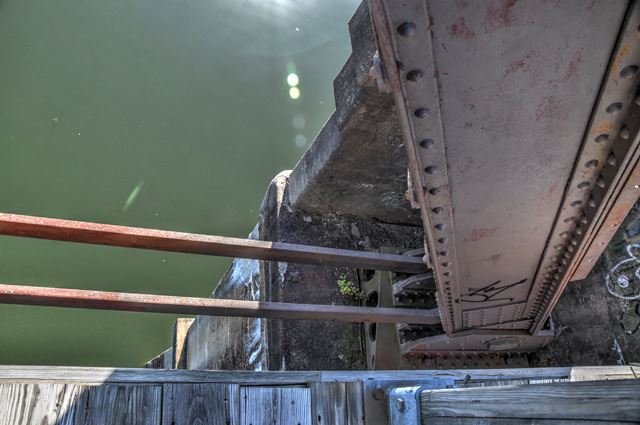
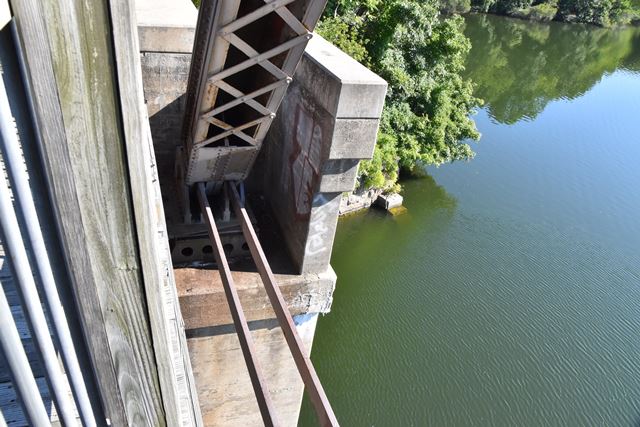
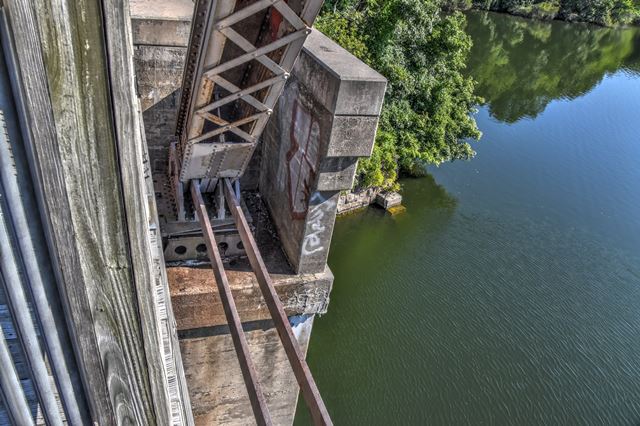
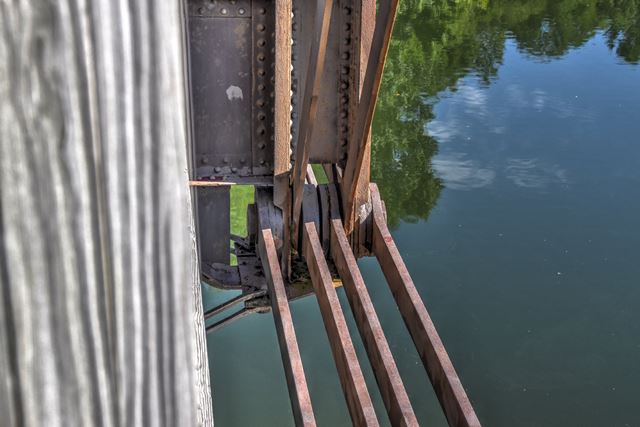
Bearings.
![]()

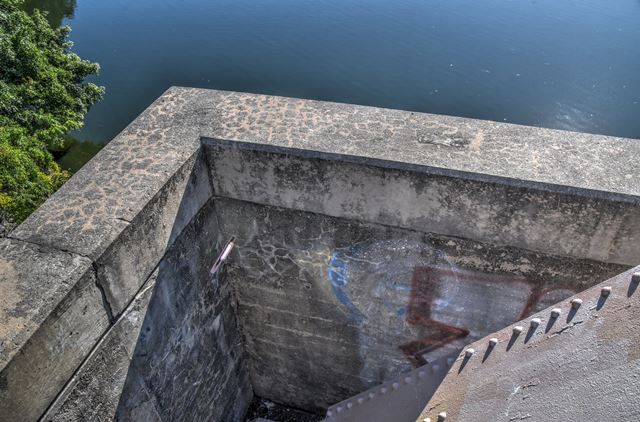
Concrete pier and approach detail.
![]()
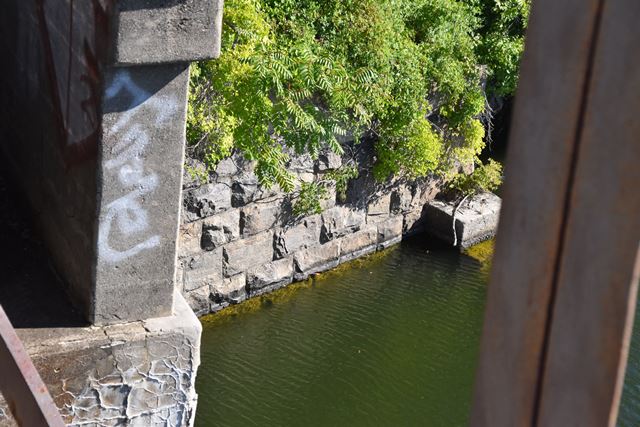
Stone portion of abutment from the previous bridge at this location.
![]()


Portal bracing exterior.
![]()


Portal bracing interior.
![]()


Portal bracing detail. There is possibly a Phoenix brand on one of the angles, but it is difficult to discern in the photos.
![]()


Portal bracing knee.
![]()

Sway bracing.
![]()


Sway bracing details.
![]()
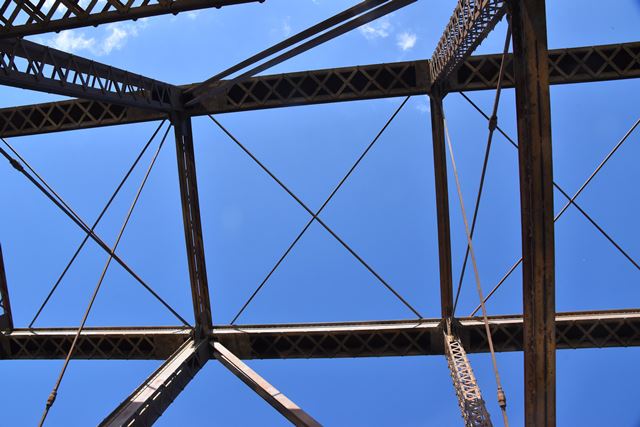

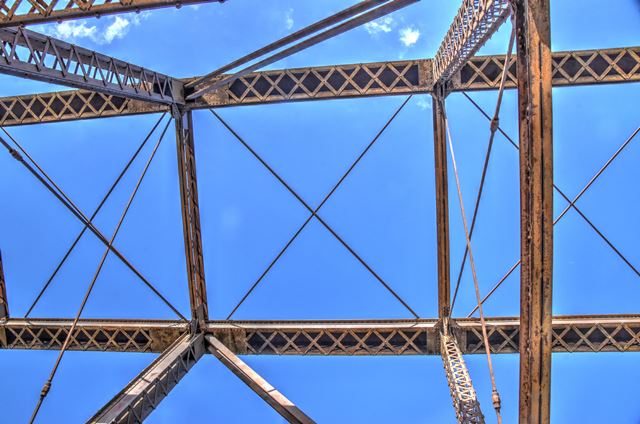
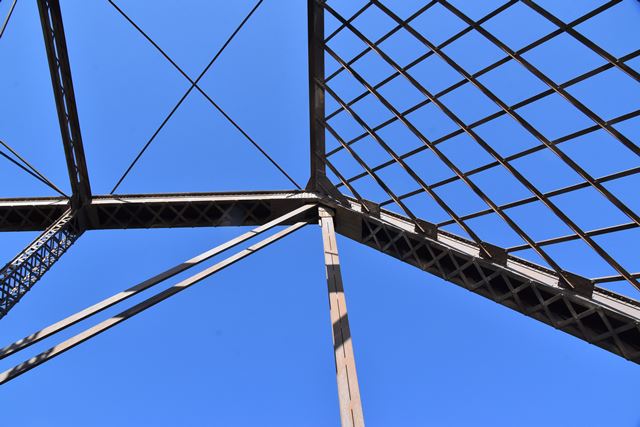
Upper lateral bracing.
![]()


Lower lateral bracing connection.
![]()
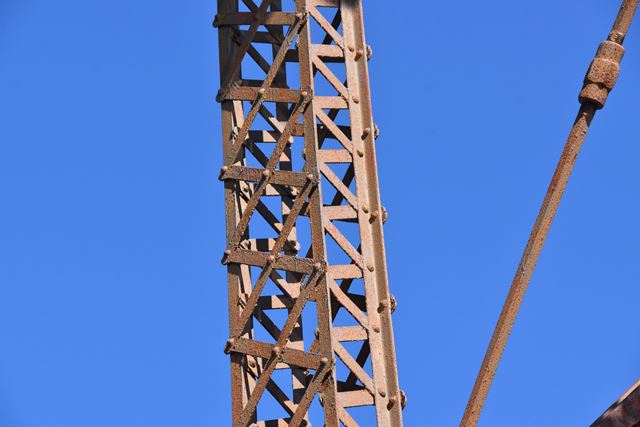
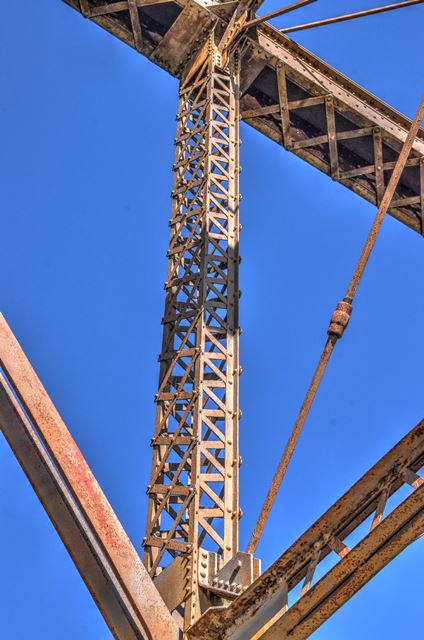
Vertical members.
![]()
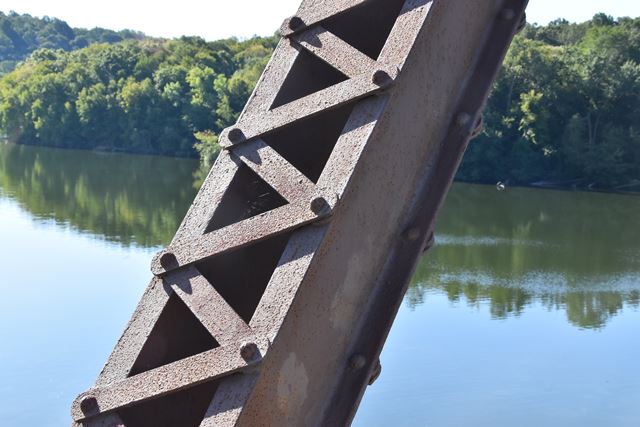

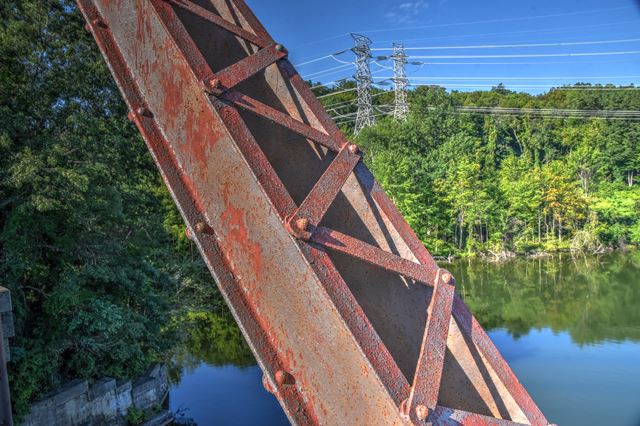


Diagonal members.
![]()

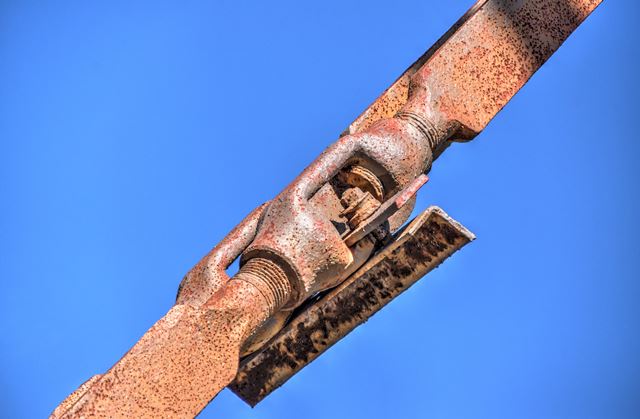
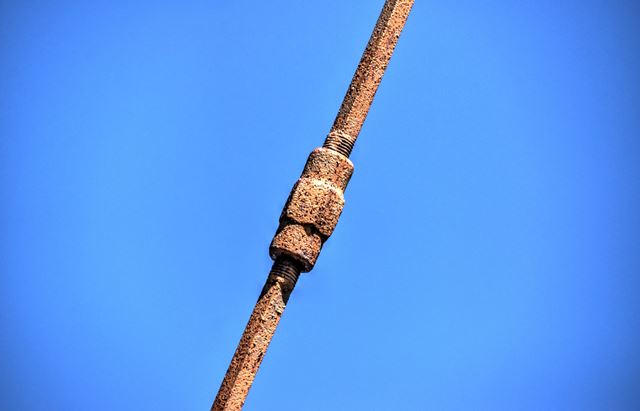
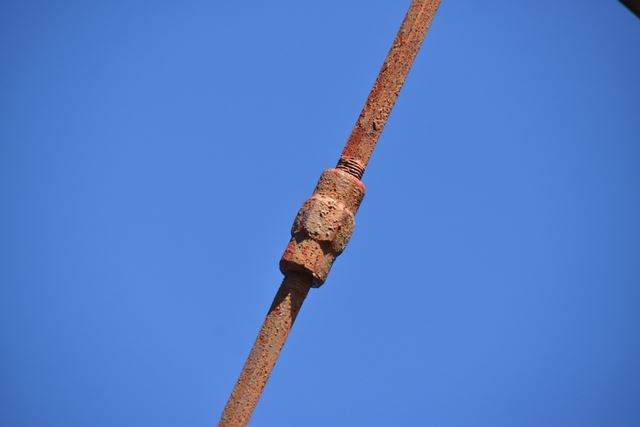
Turnbuckles on diagonal members.
![]()


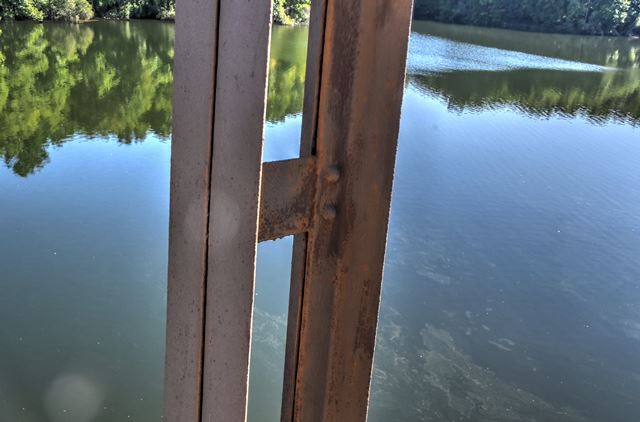
Horizontal member.
![]()


Top chord.
![]()


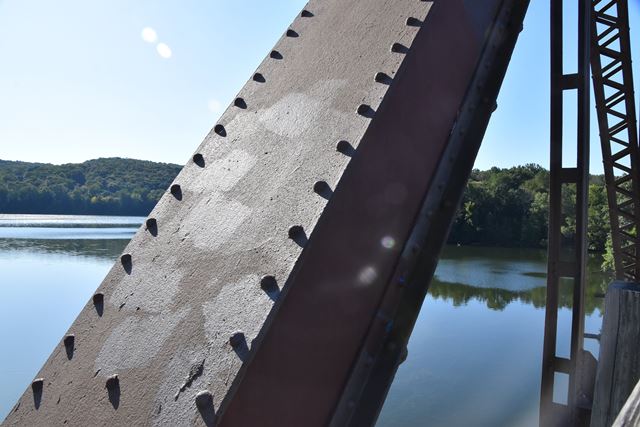
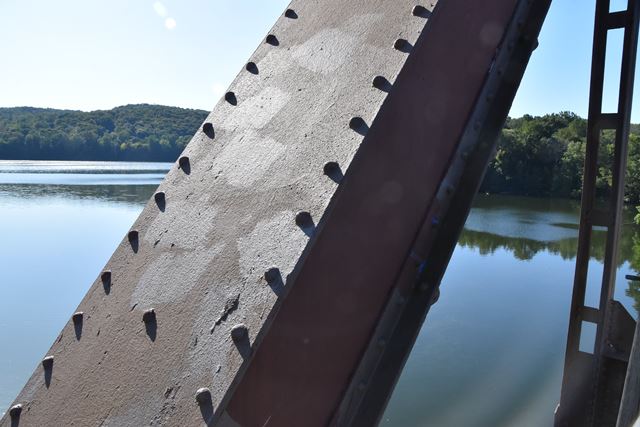


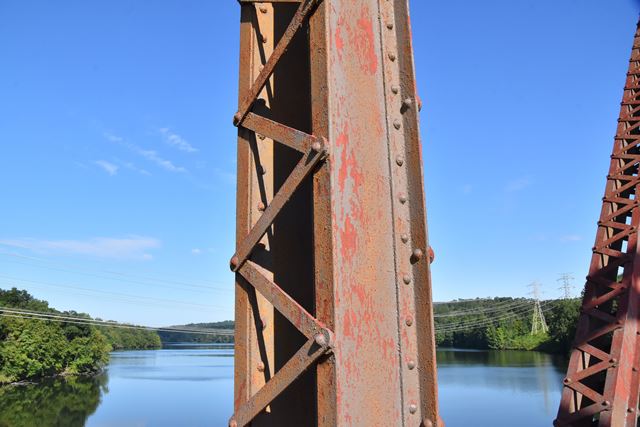
End post.
![]()

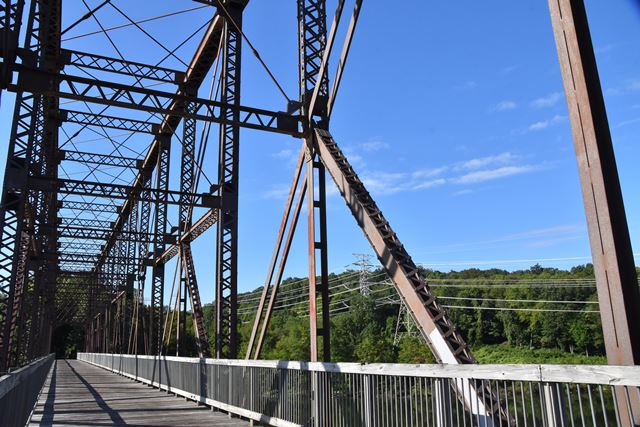
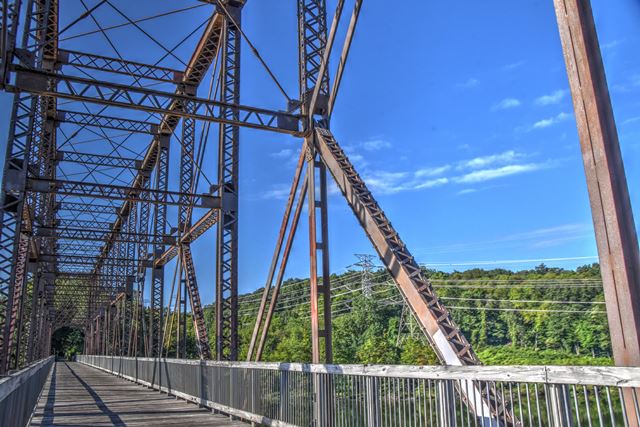
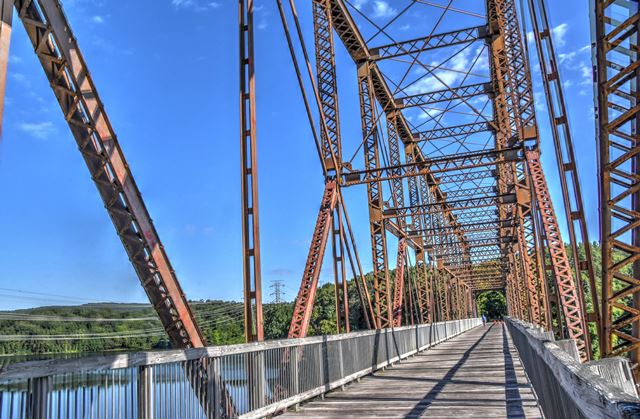
Views from bridge.
![]()
![]()
| Back |
| Home |
| Top |

![]()