Uncredited photos on this page taken by: Nathan Holth. Unless stated in a caption, all photos are Copyright with All Rights Reserved. Learn about reuse of our photos.
![]()


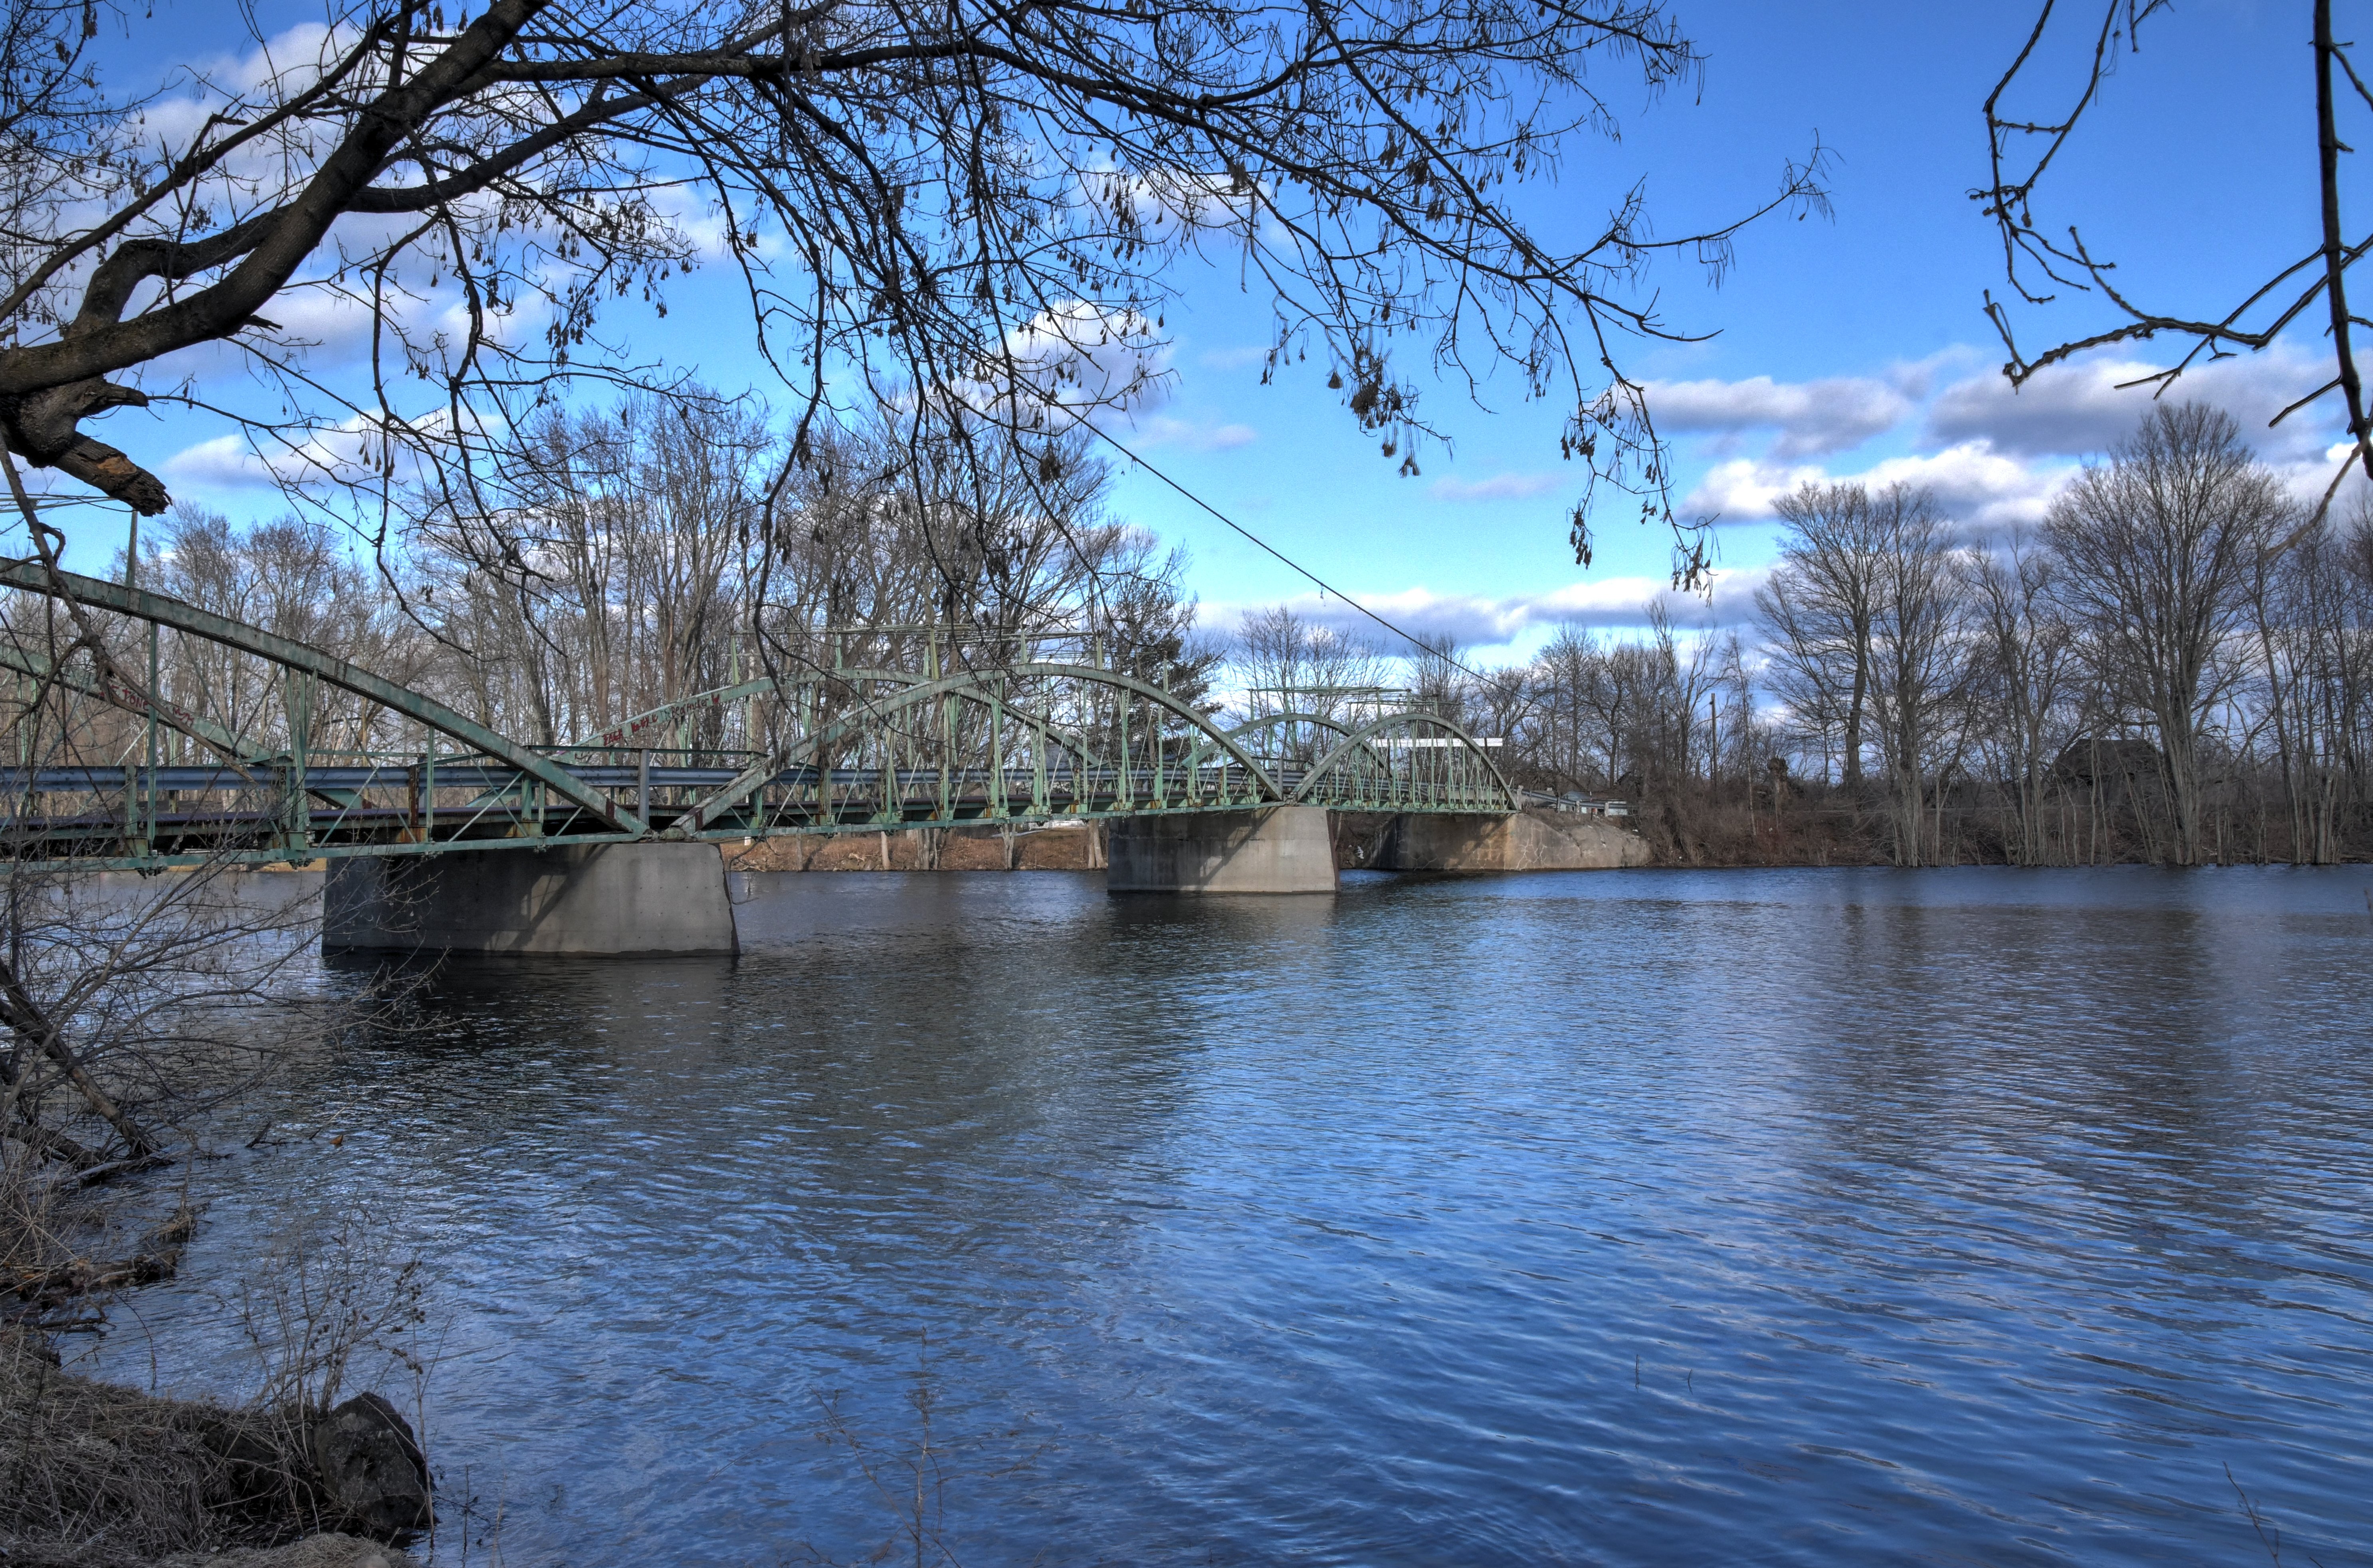


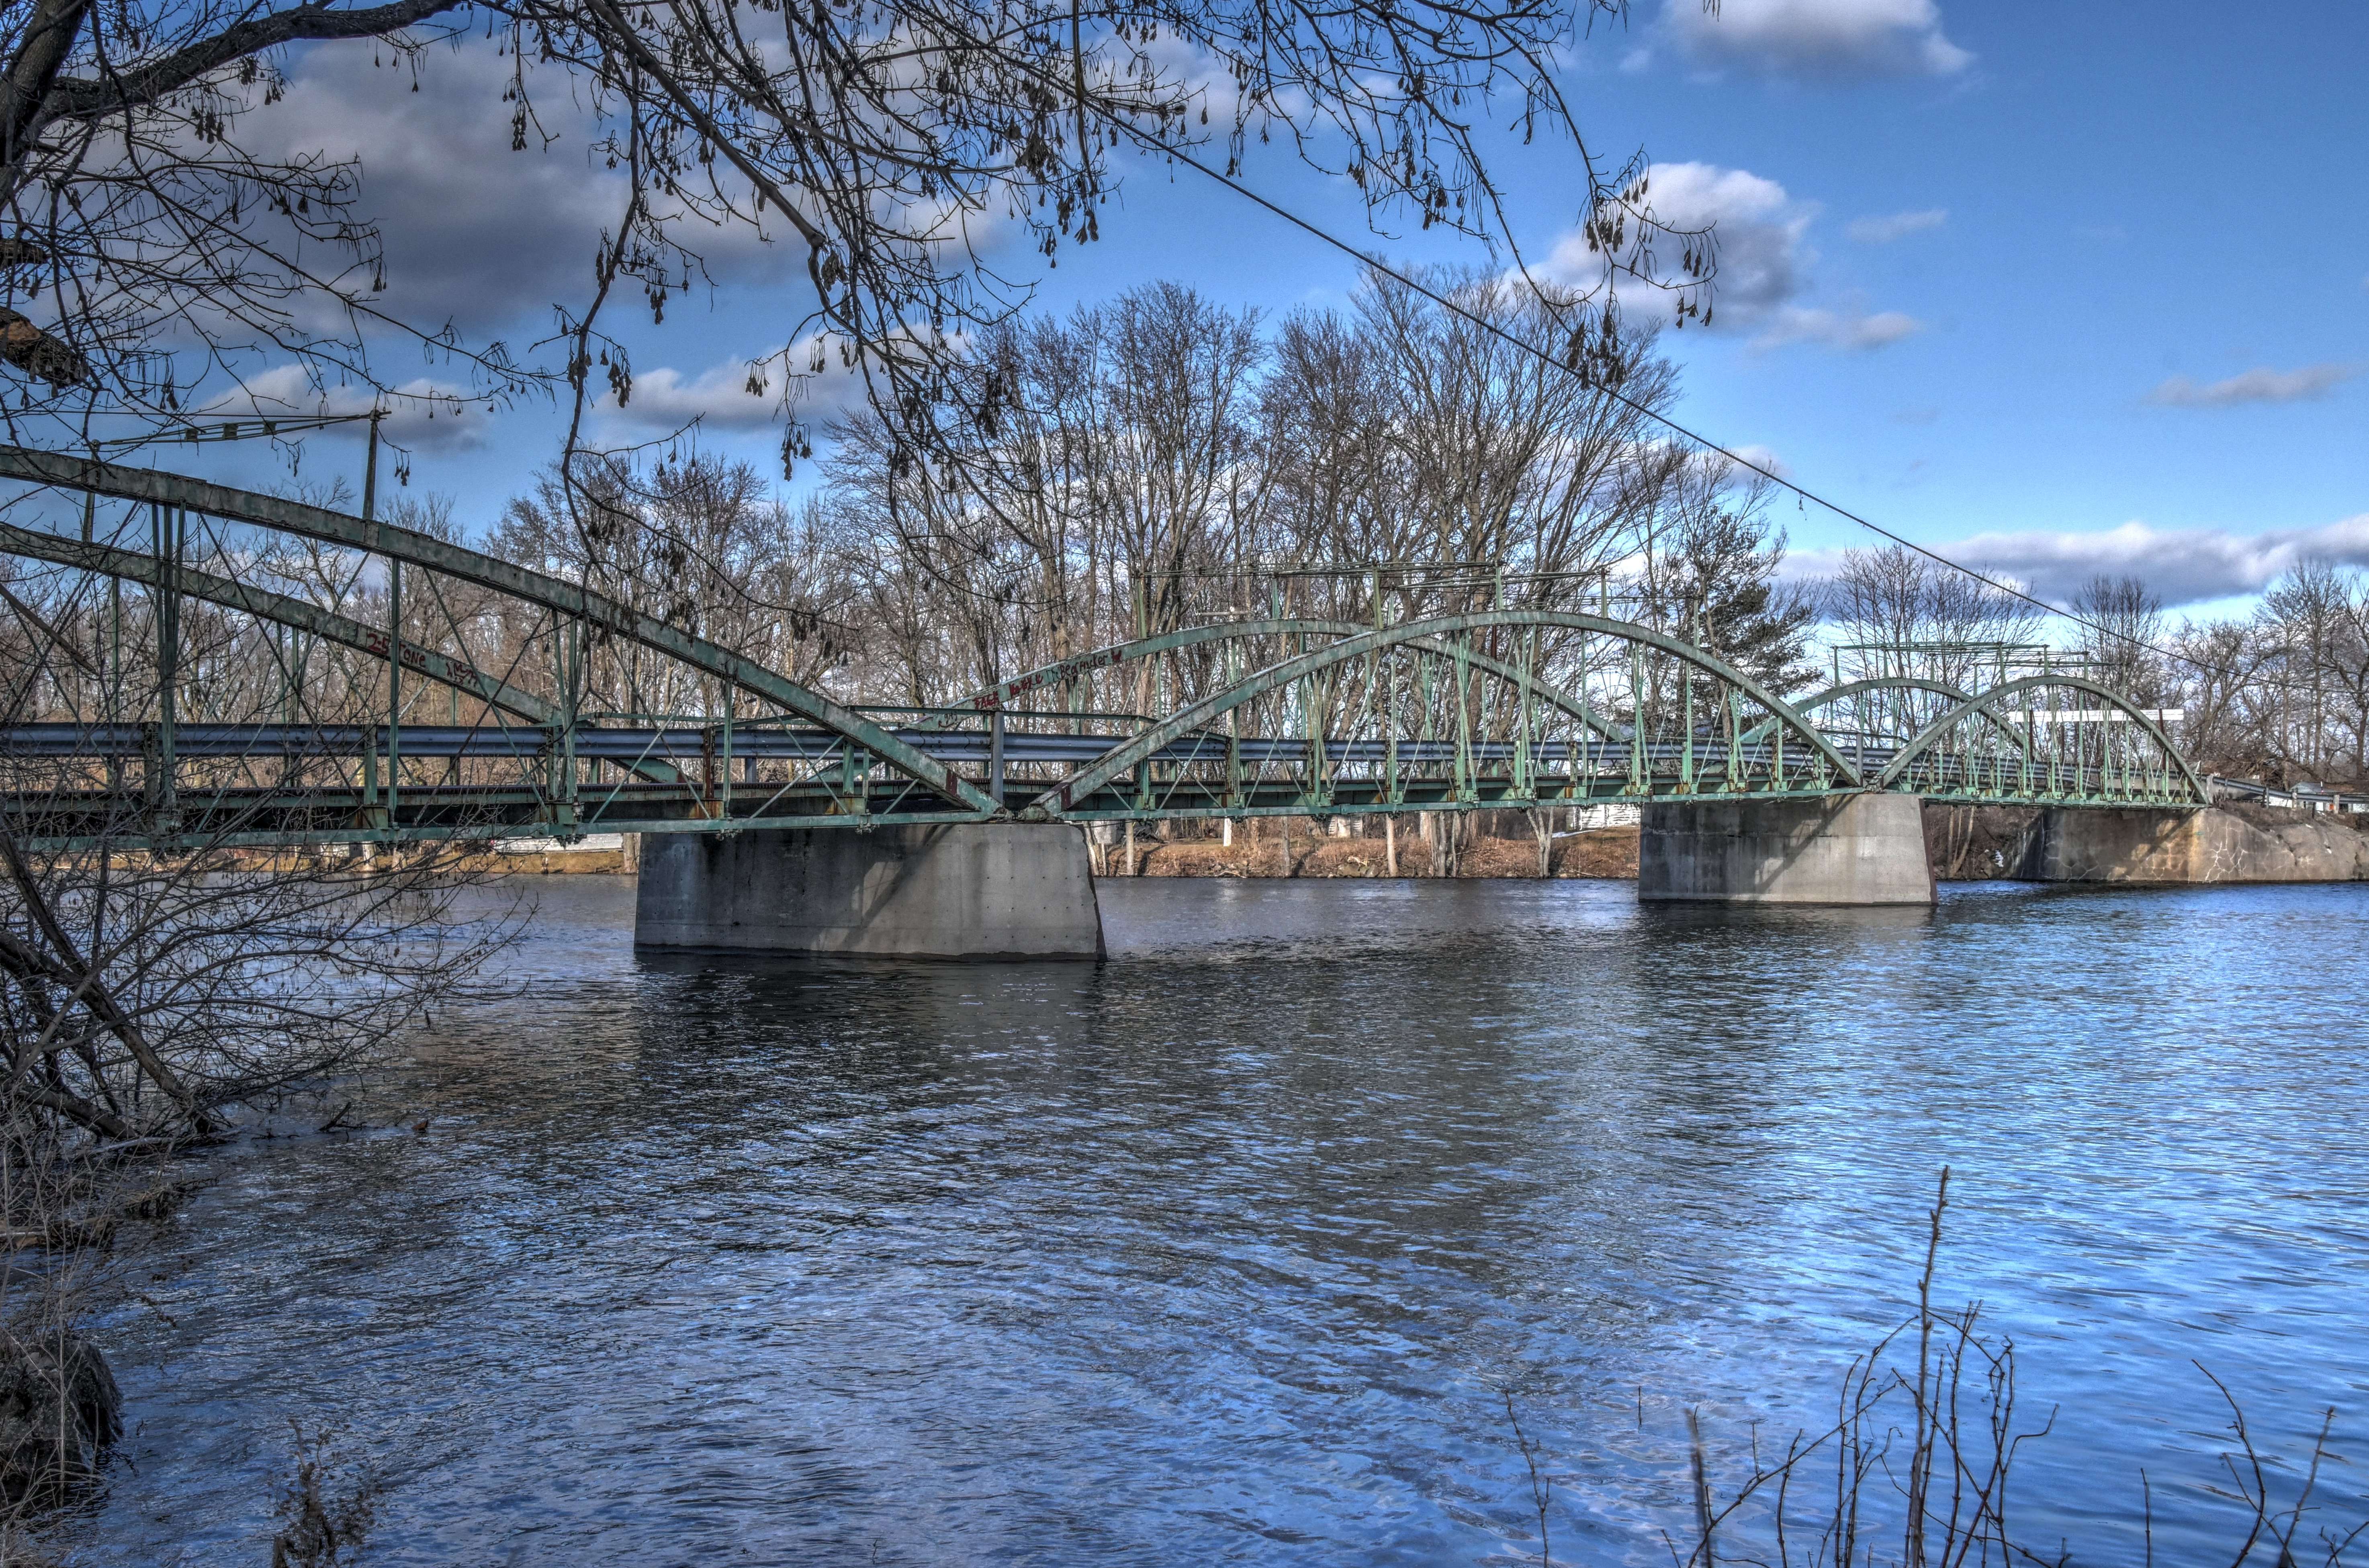


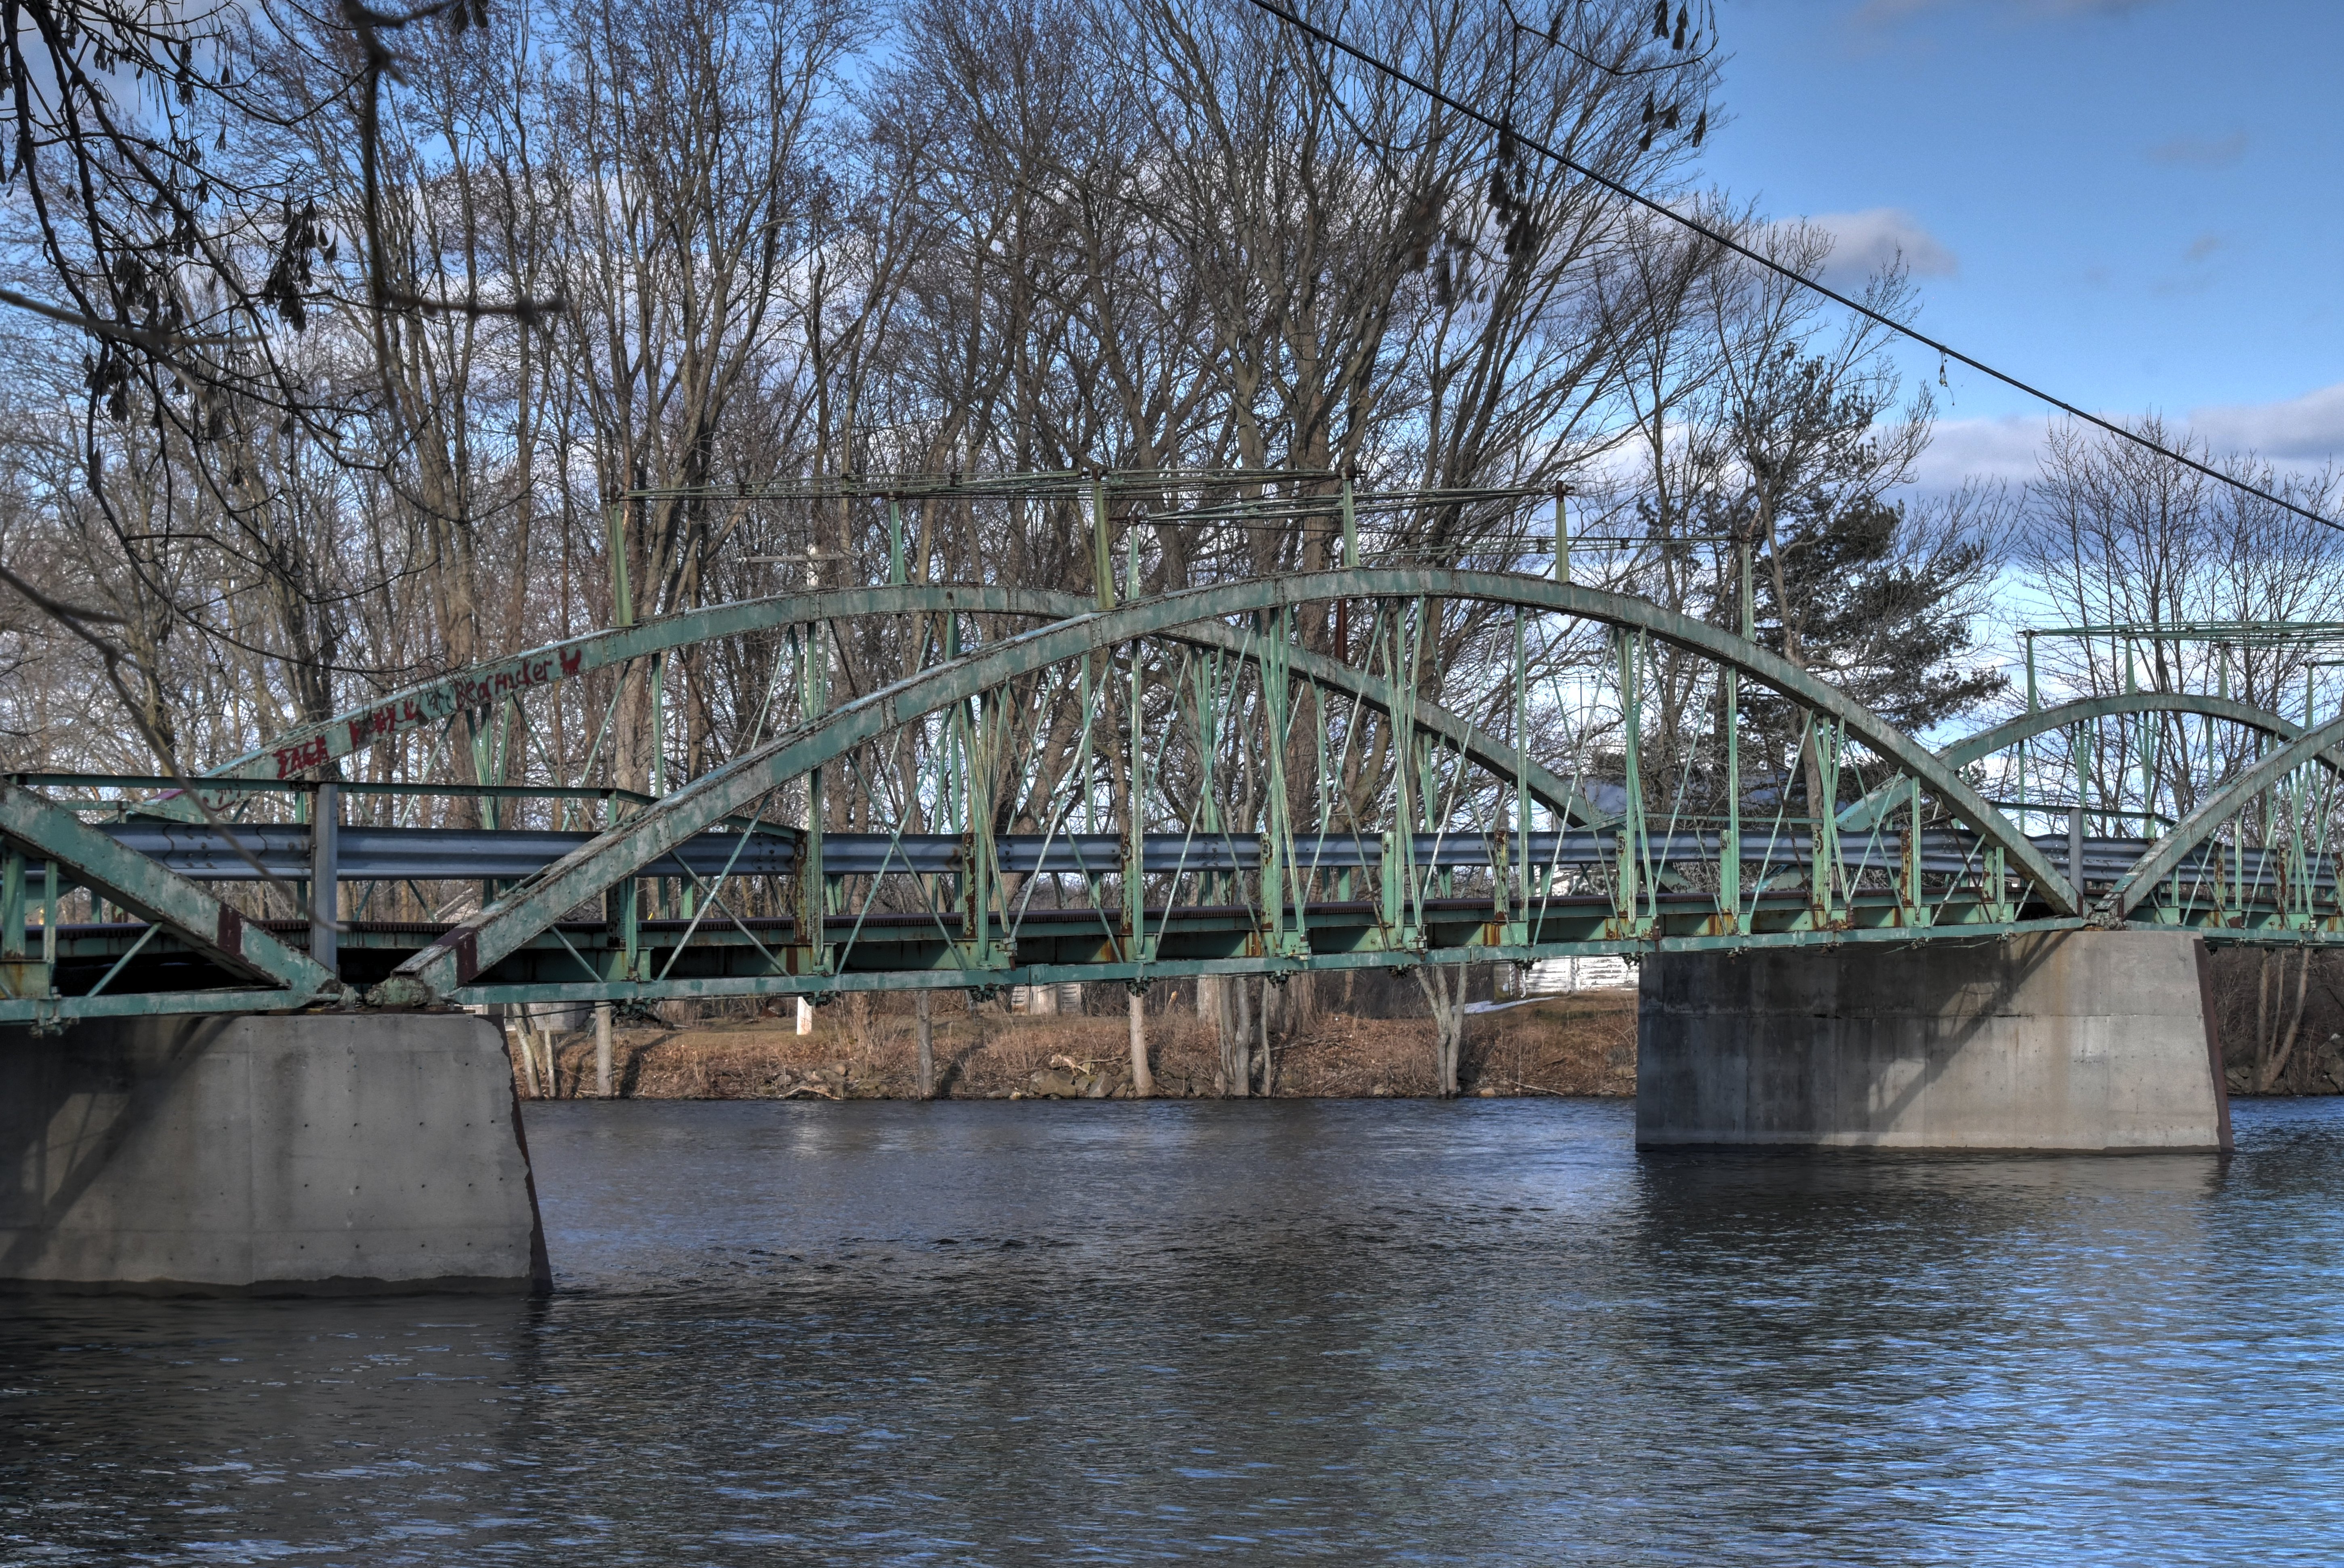
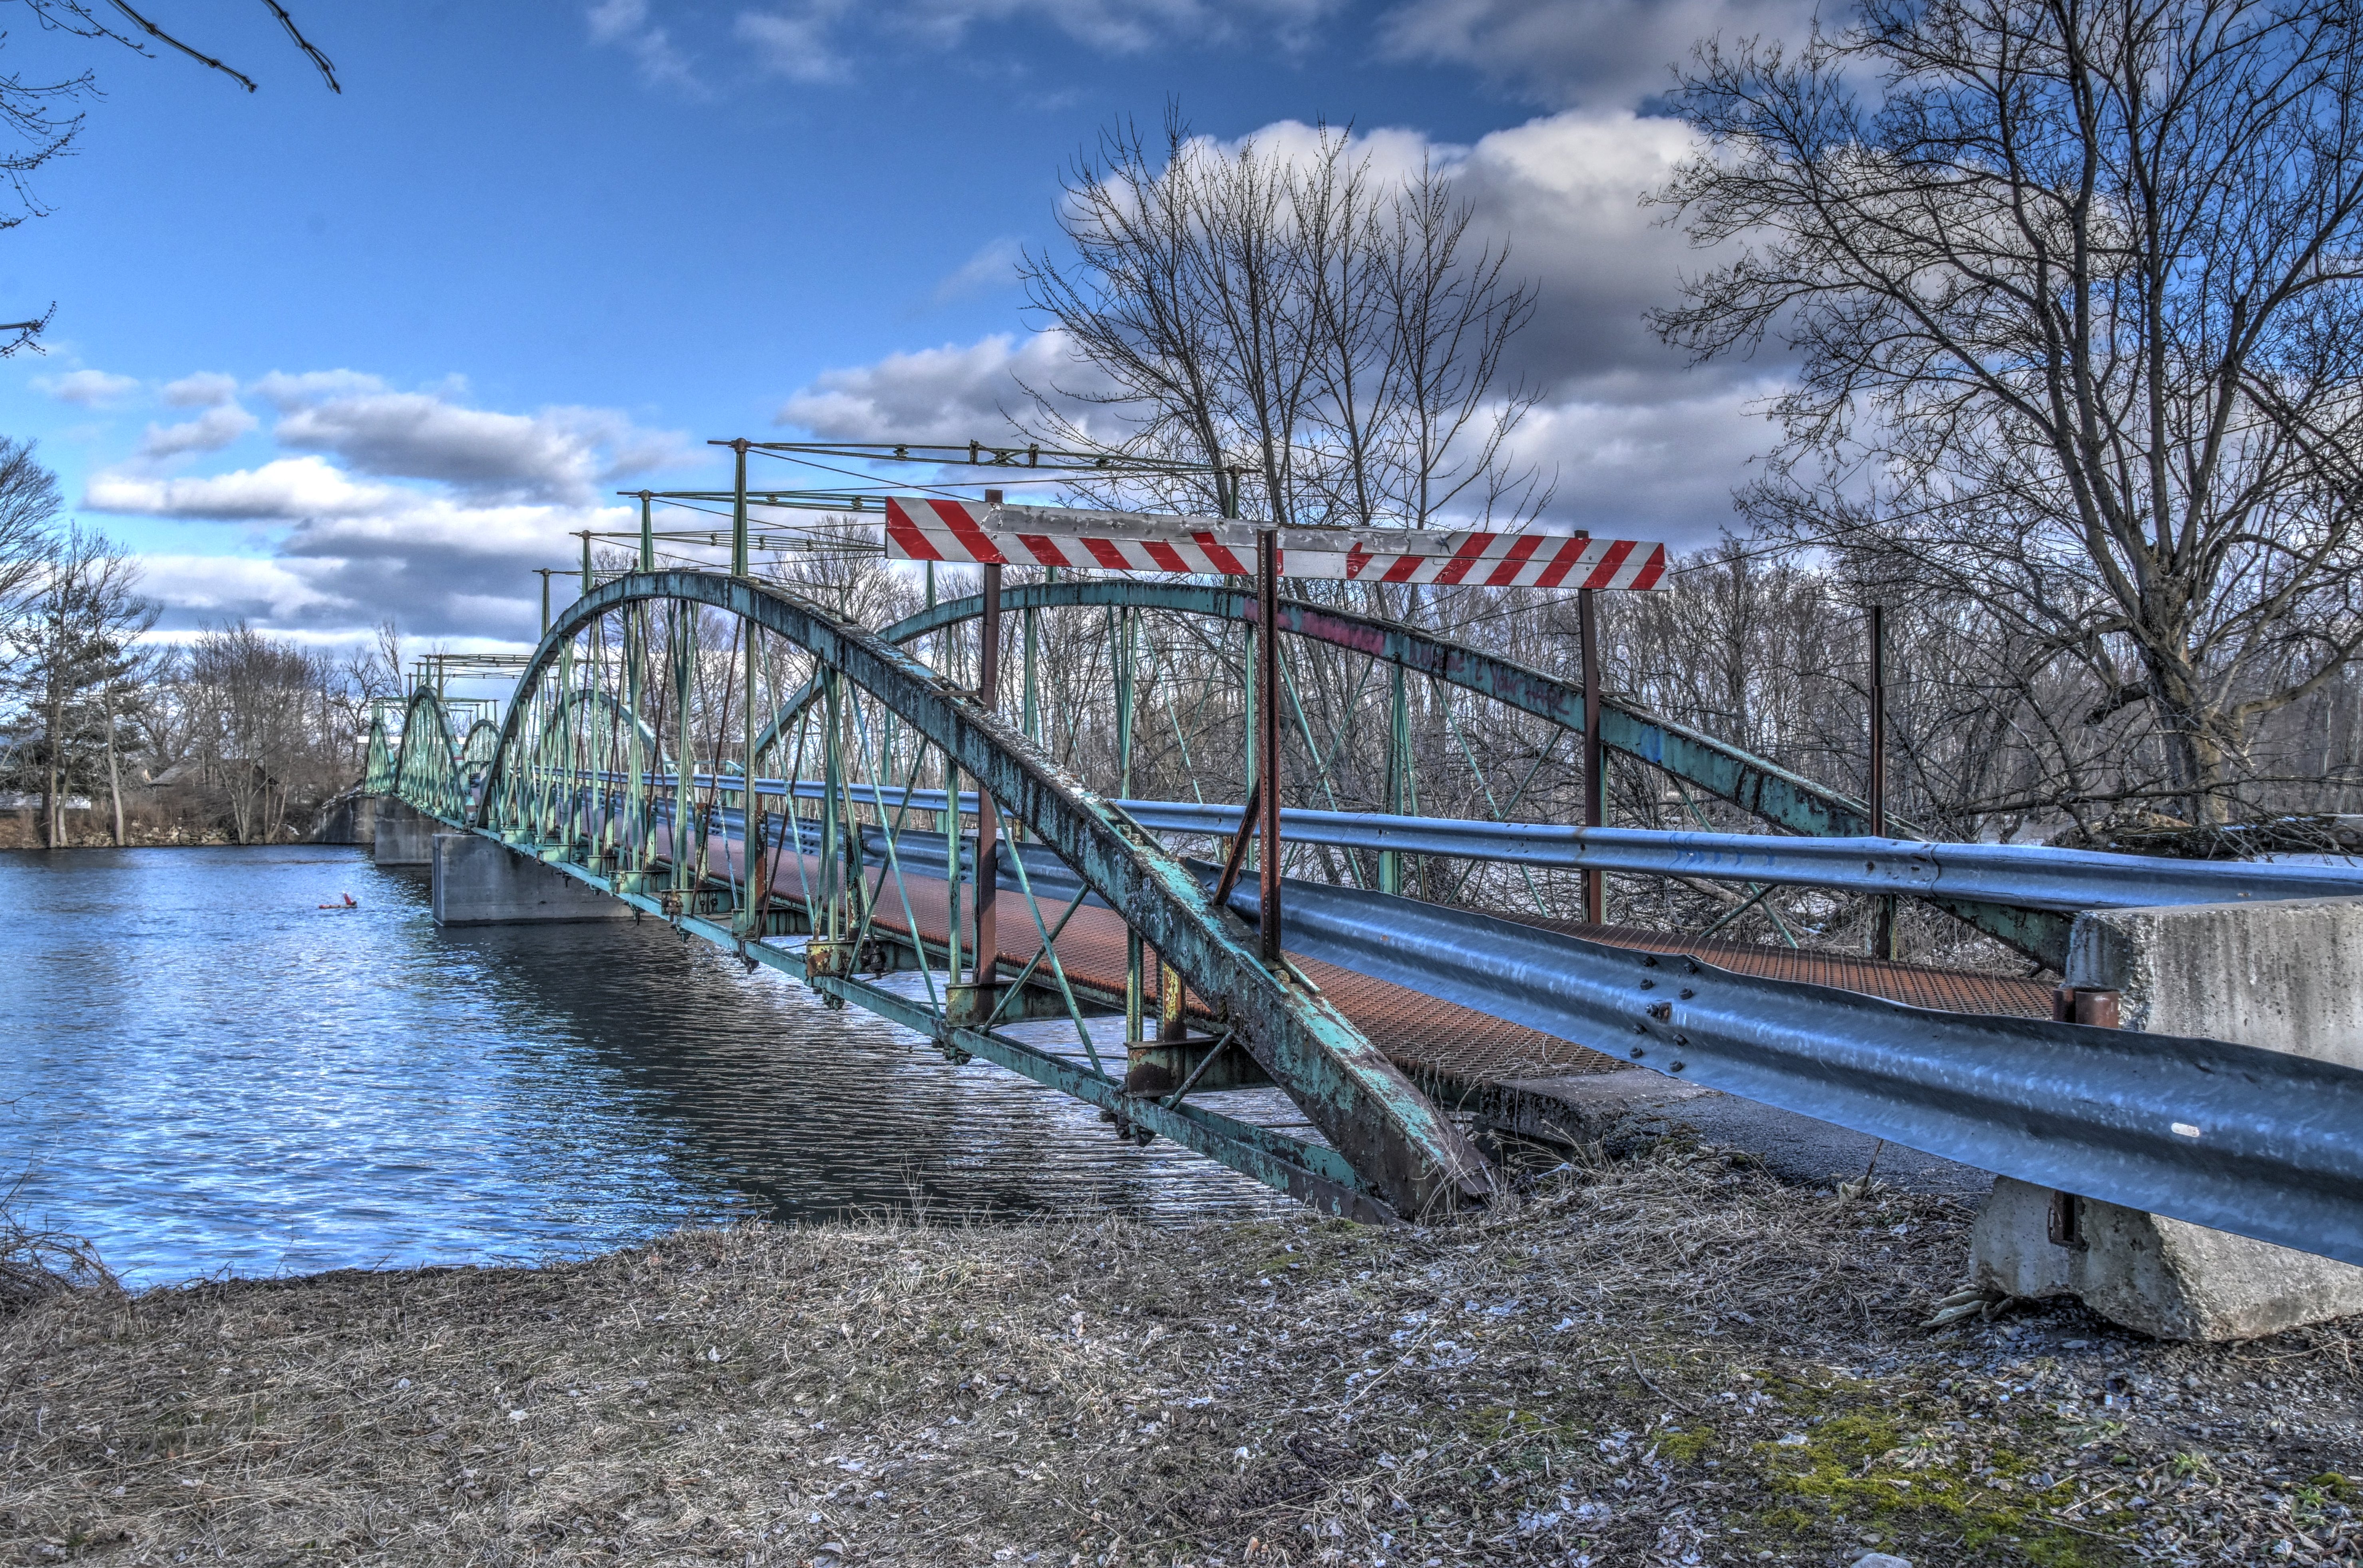
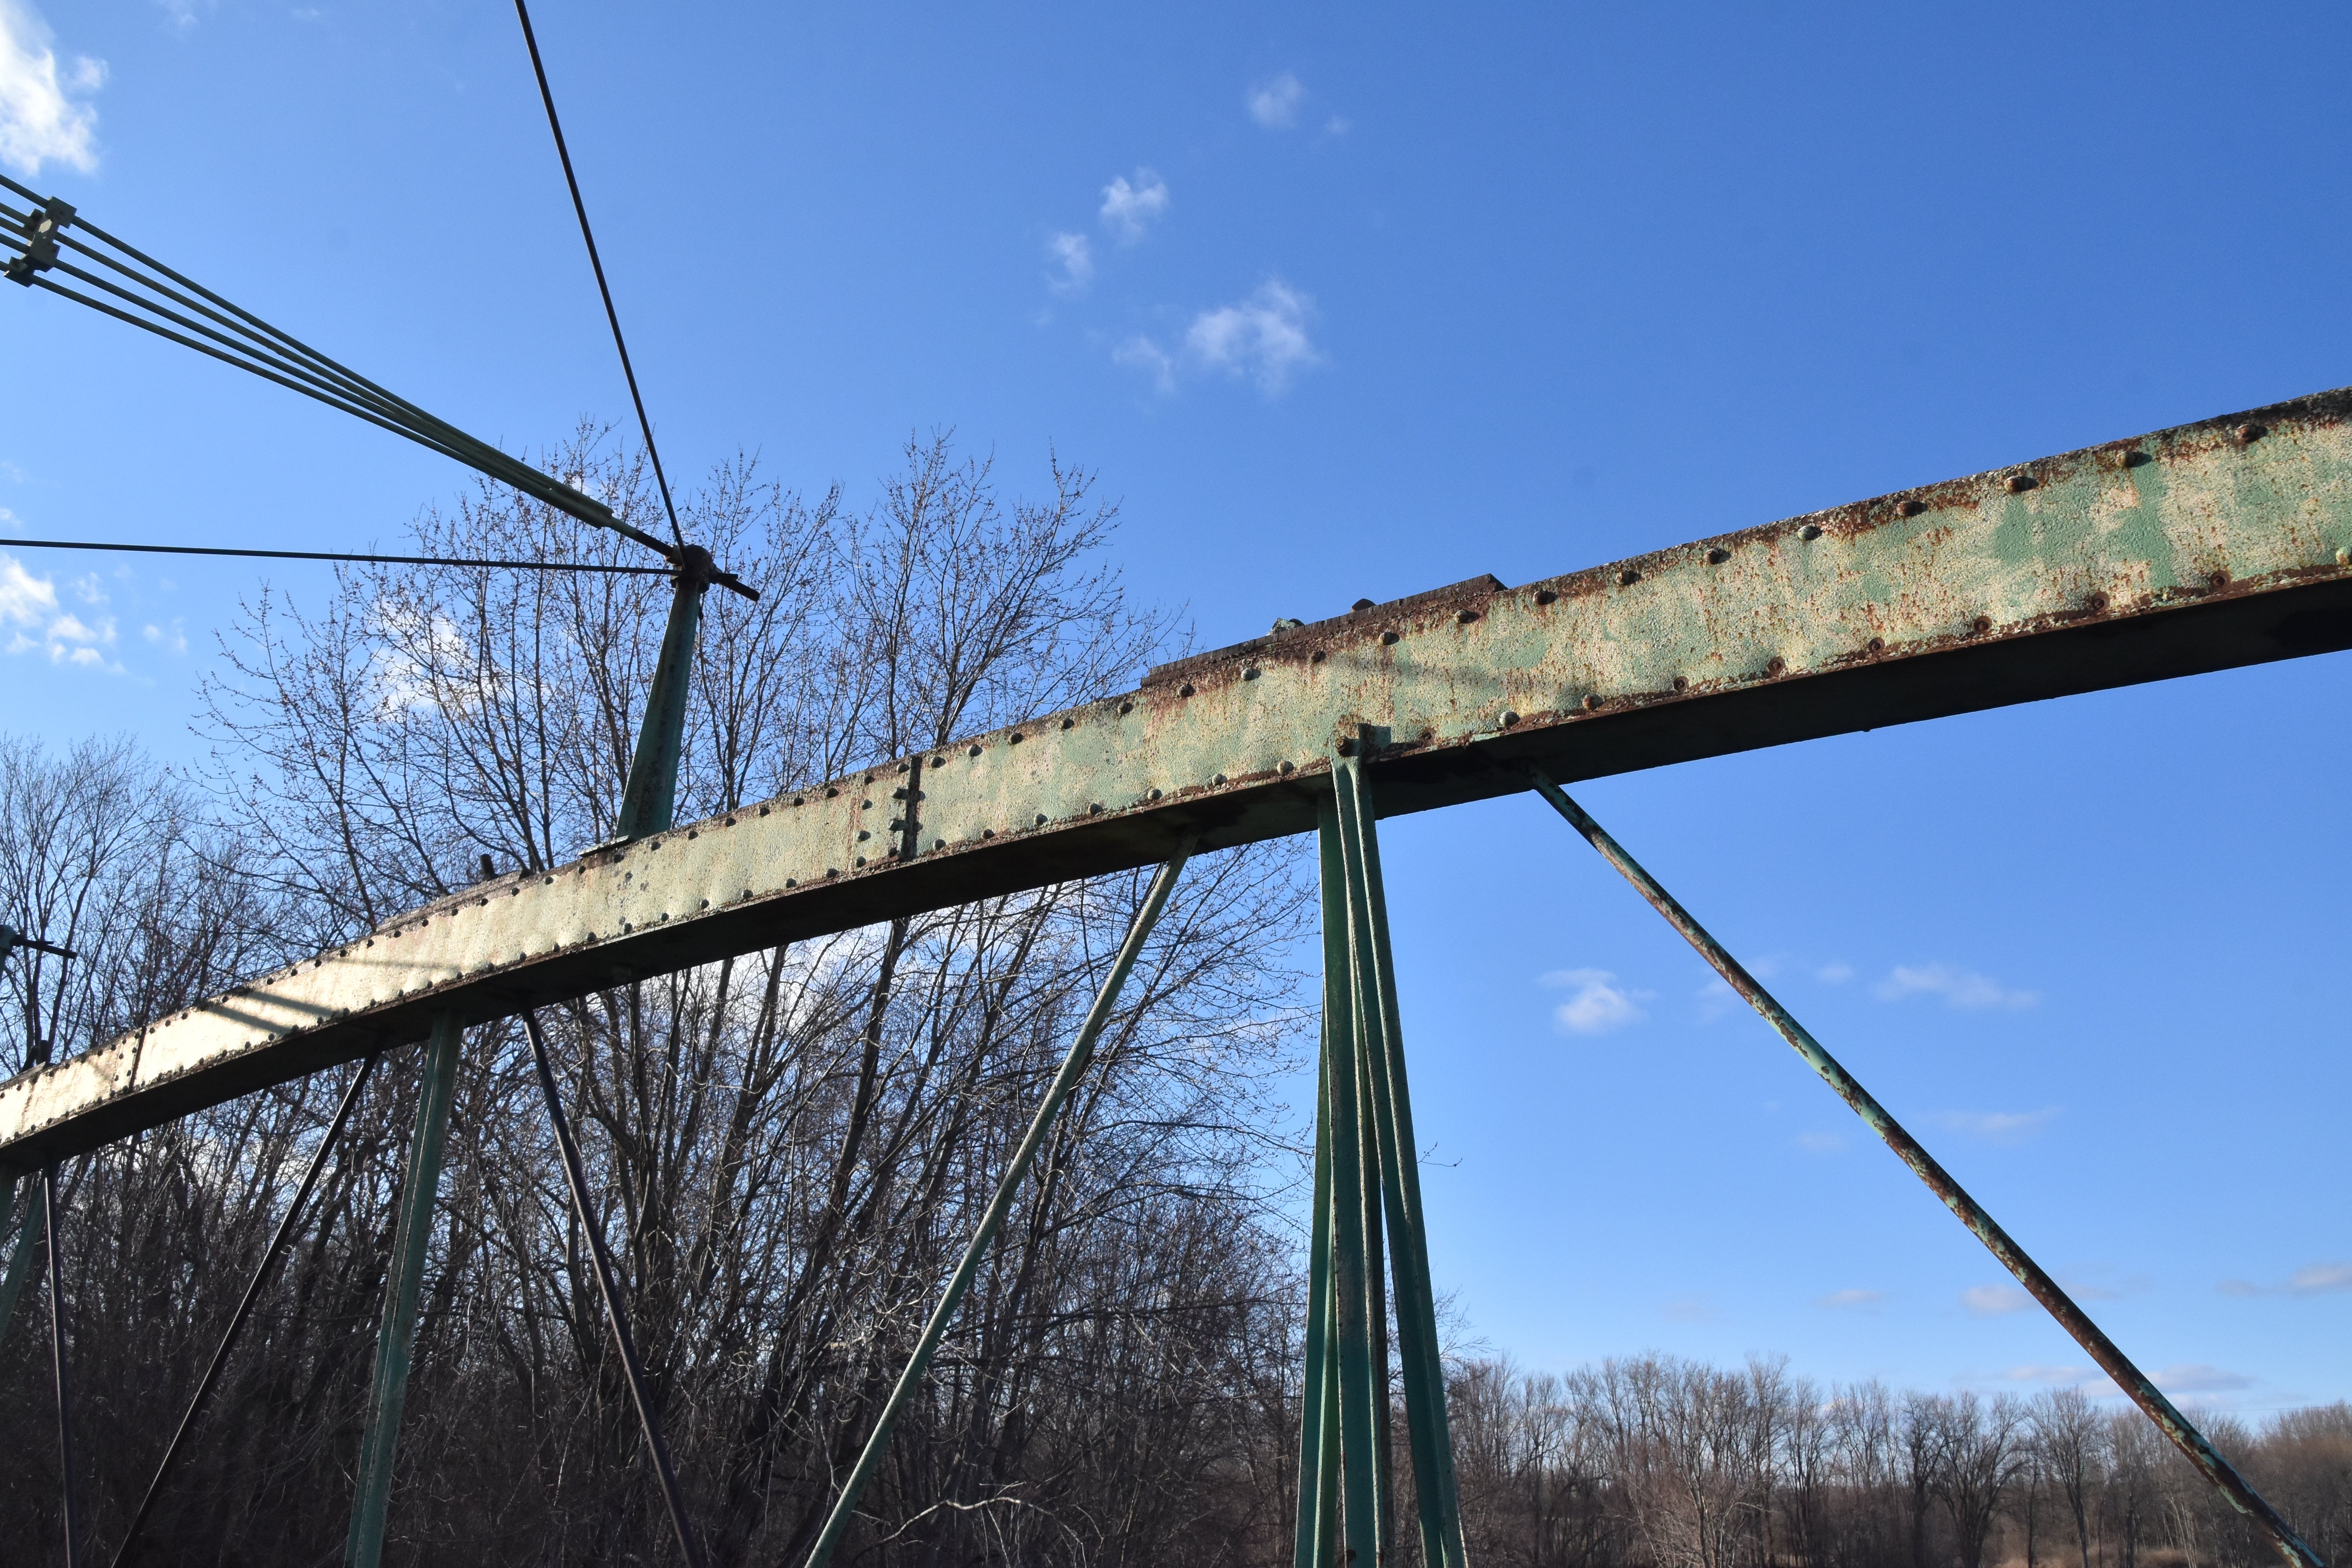
Elevation from southwest quadrant.
![]()
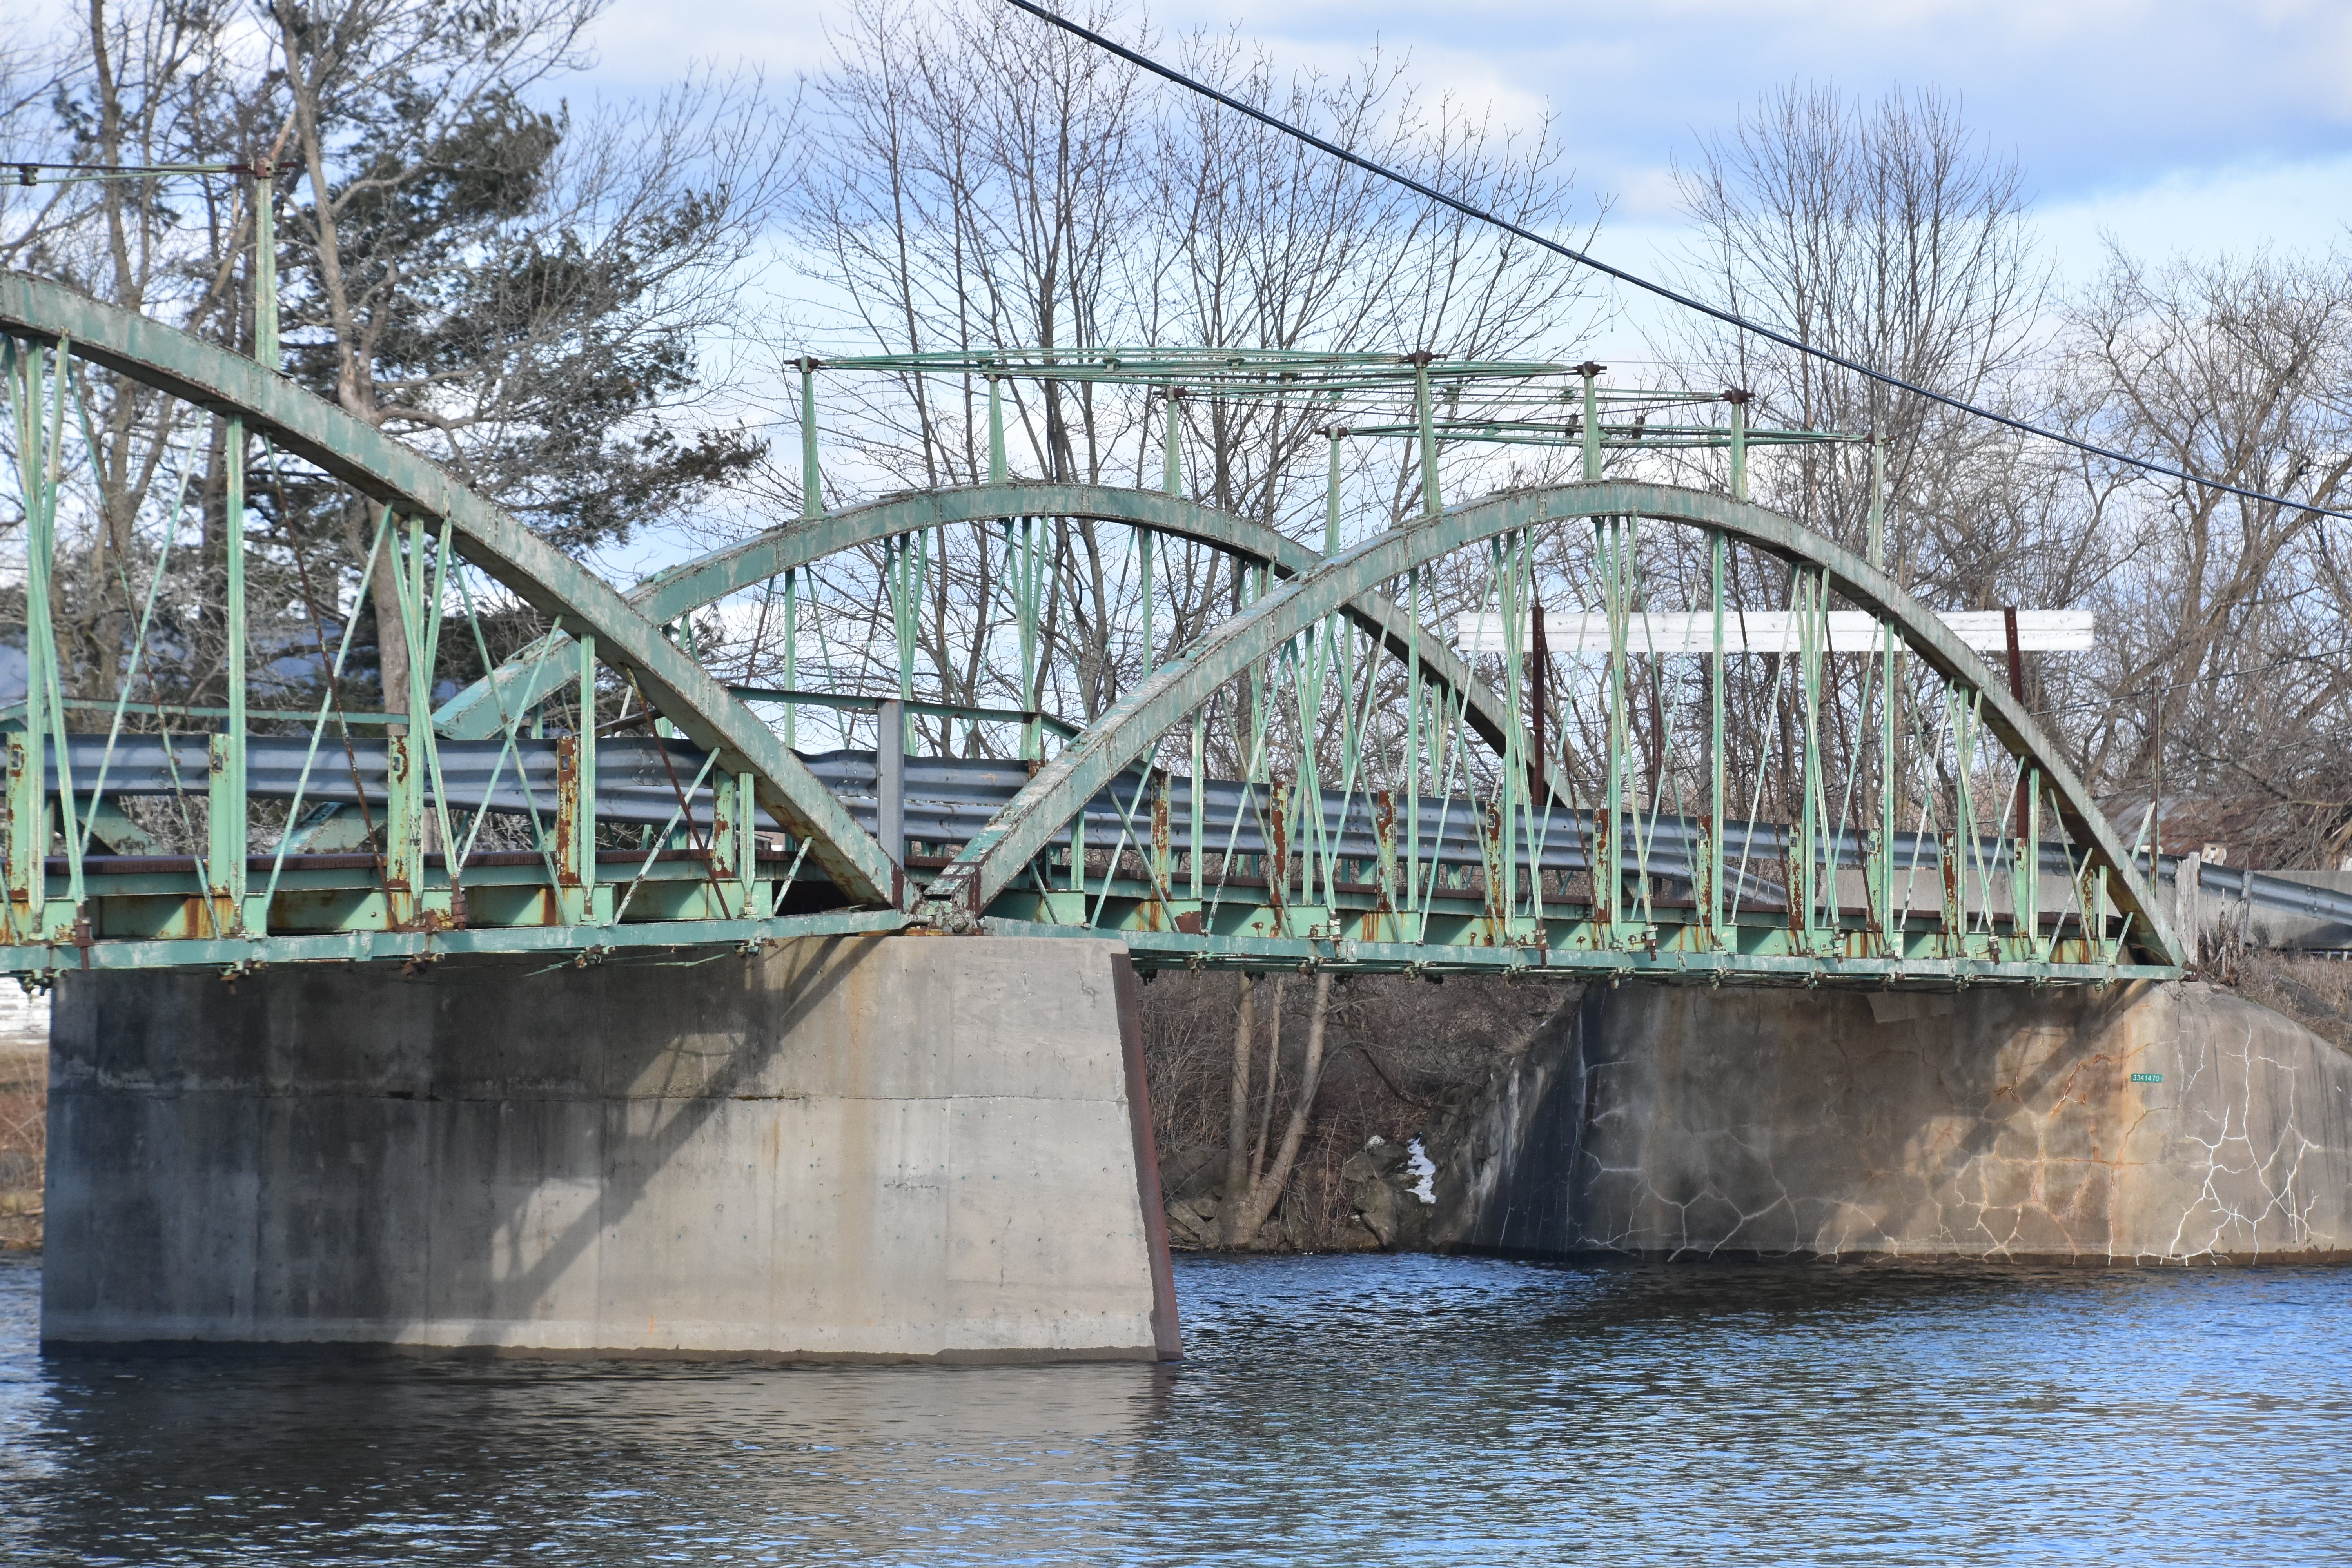
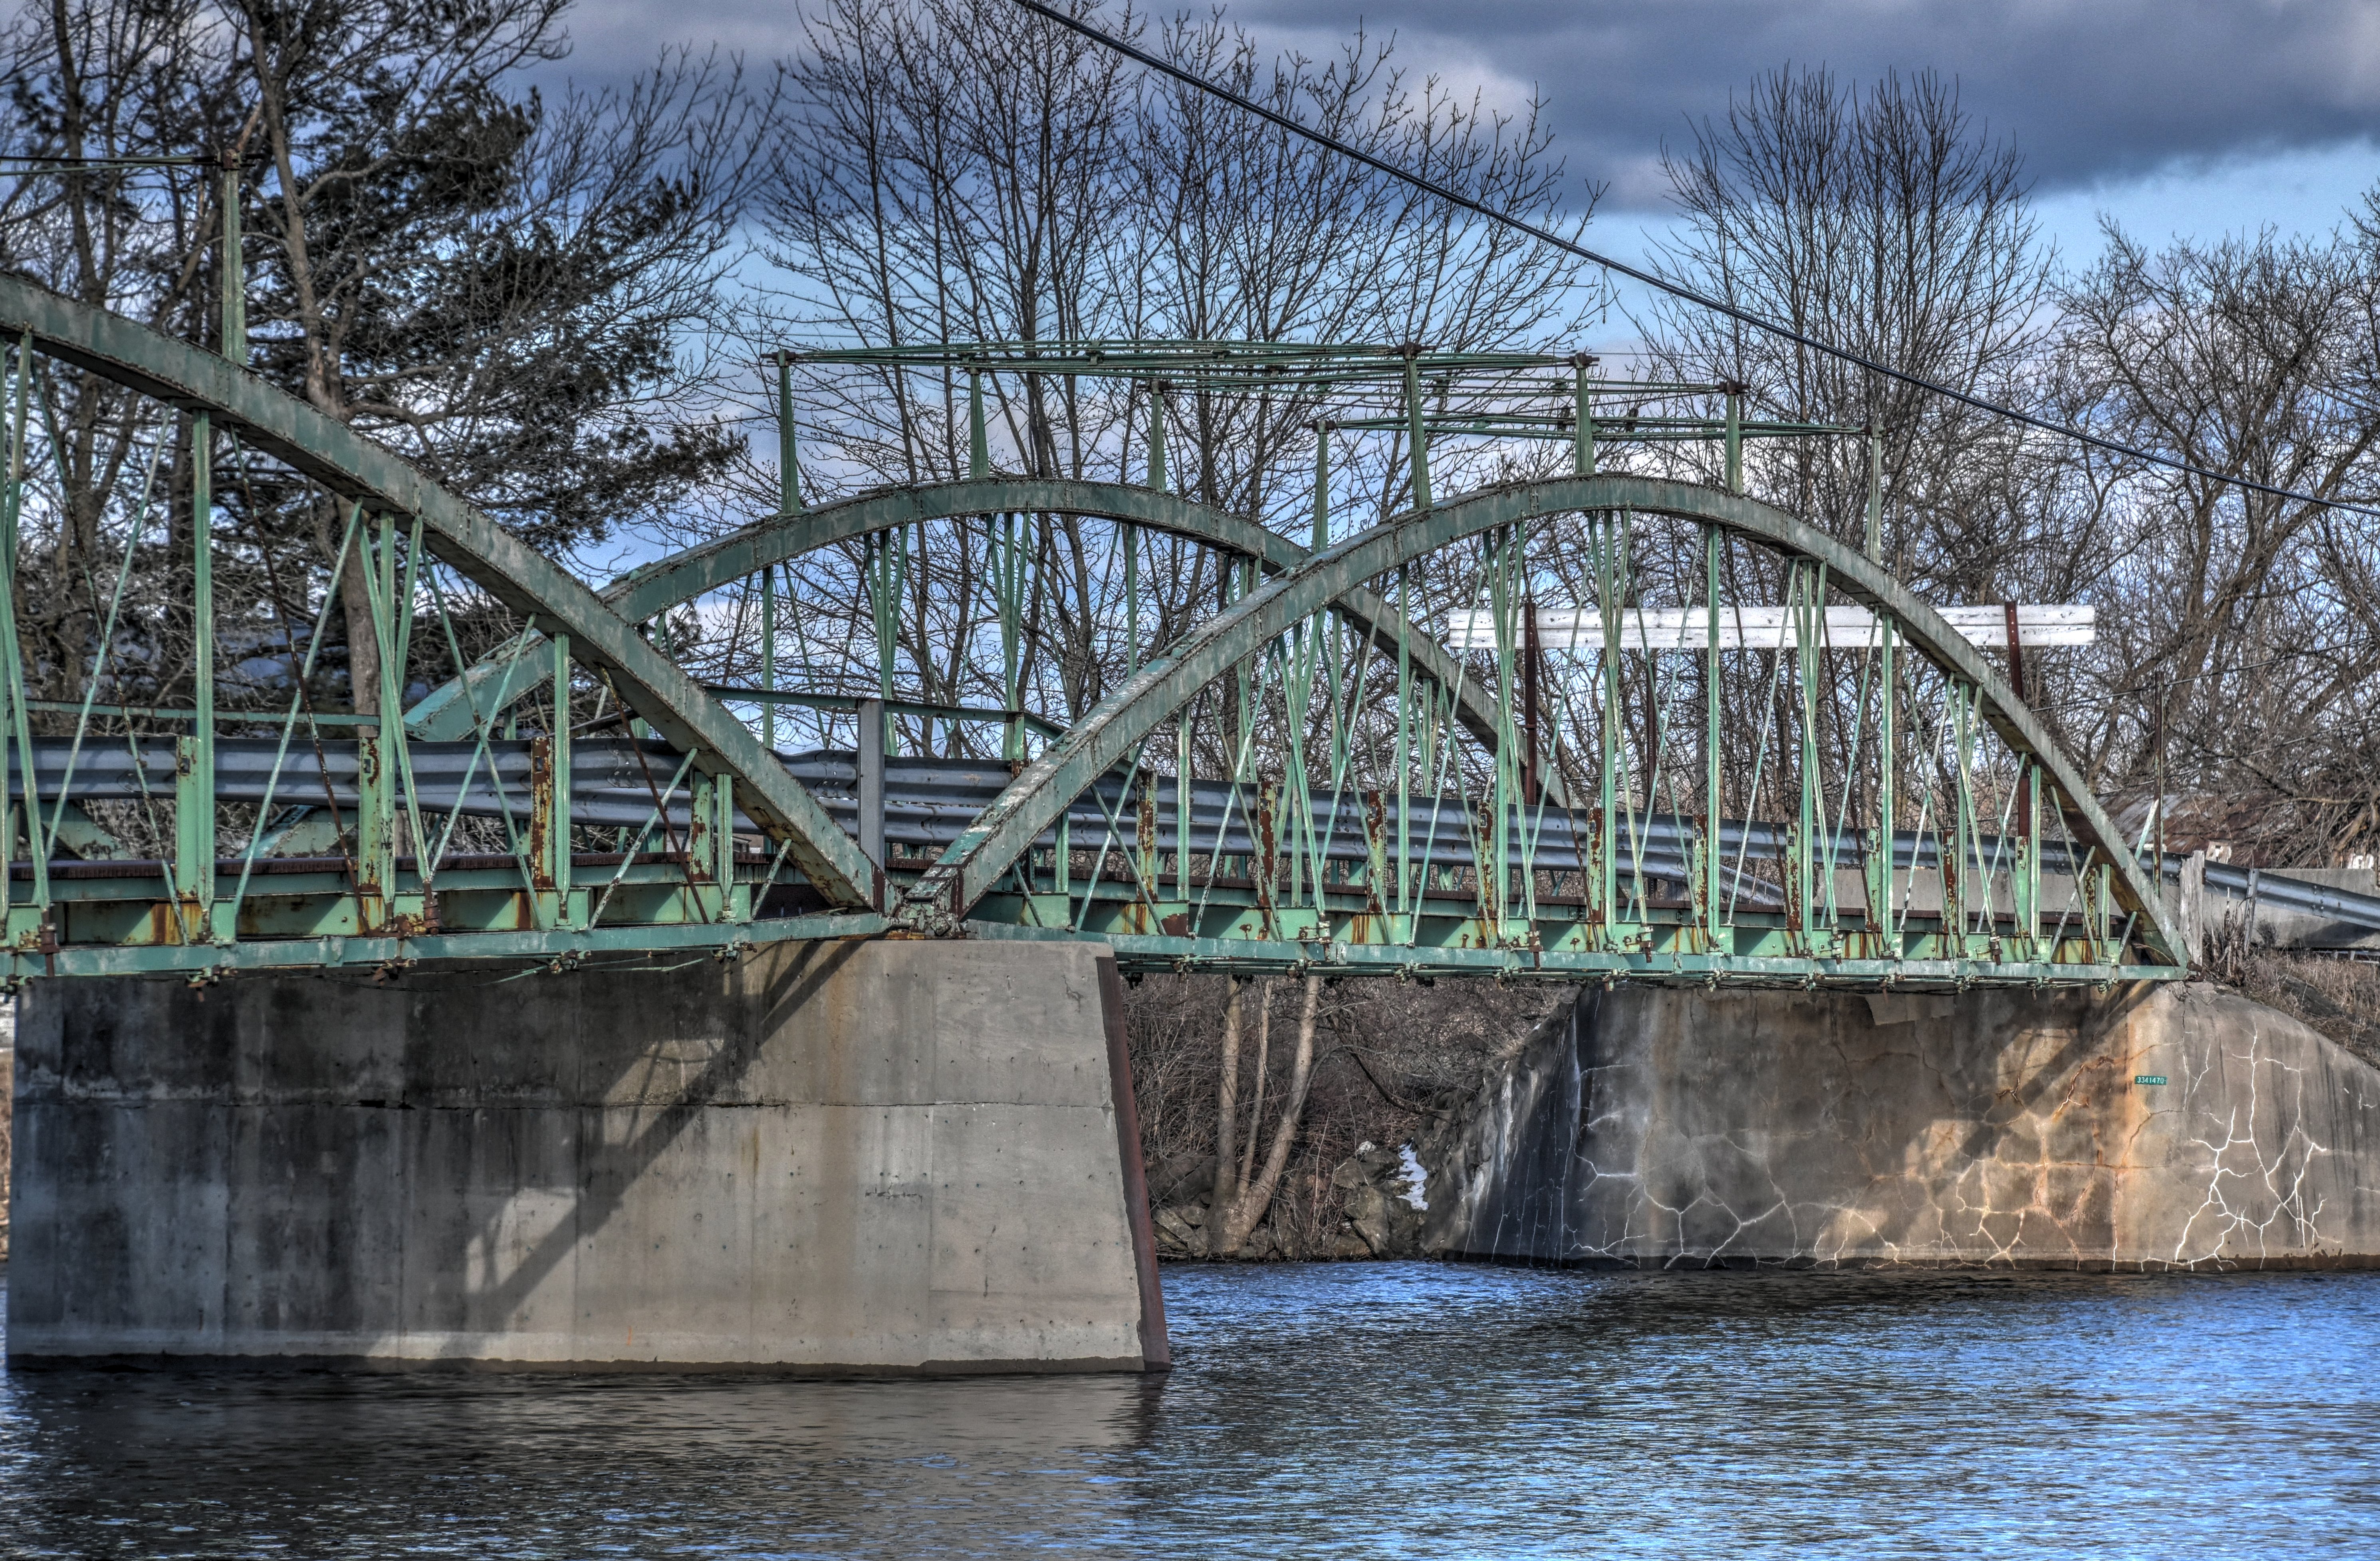


Elevation of individual spans from southwest quadrant.
![]()


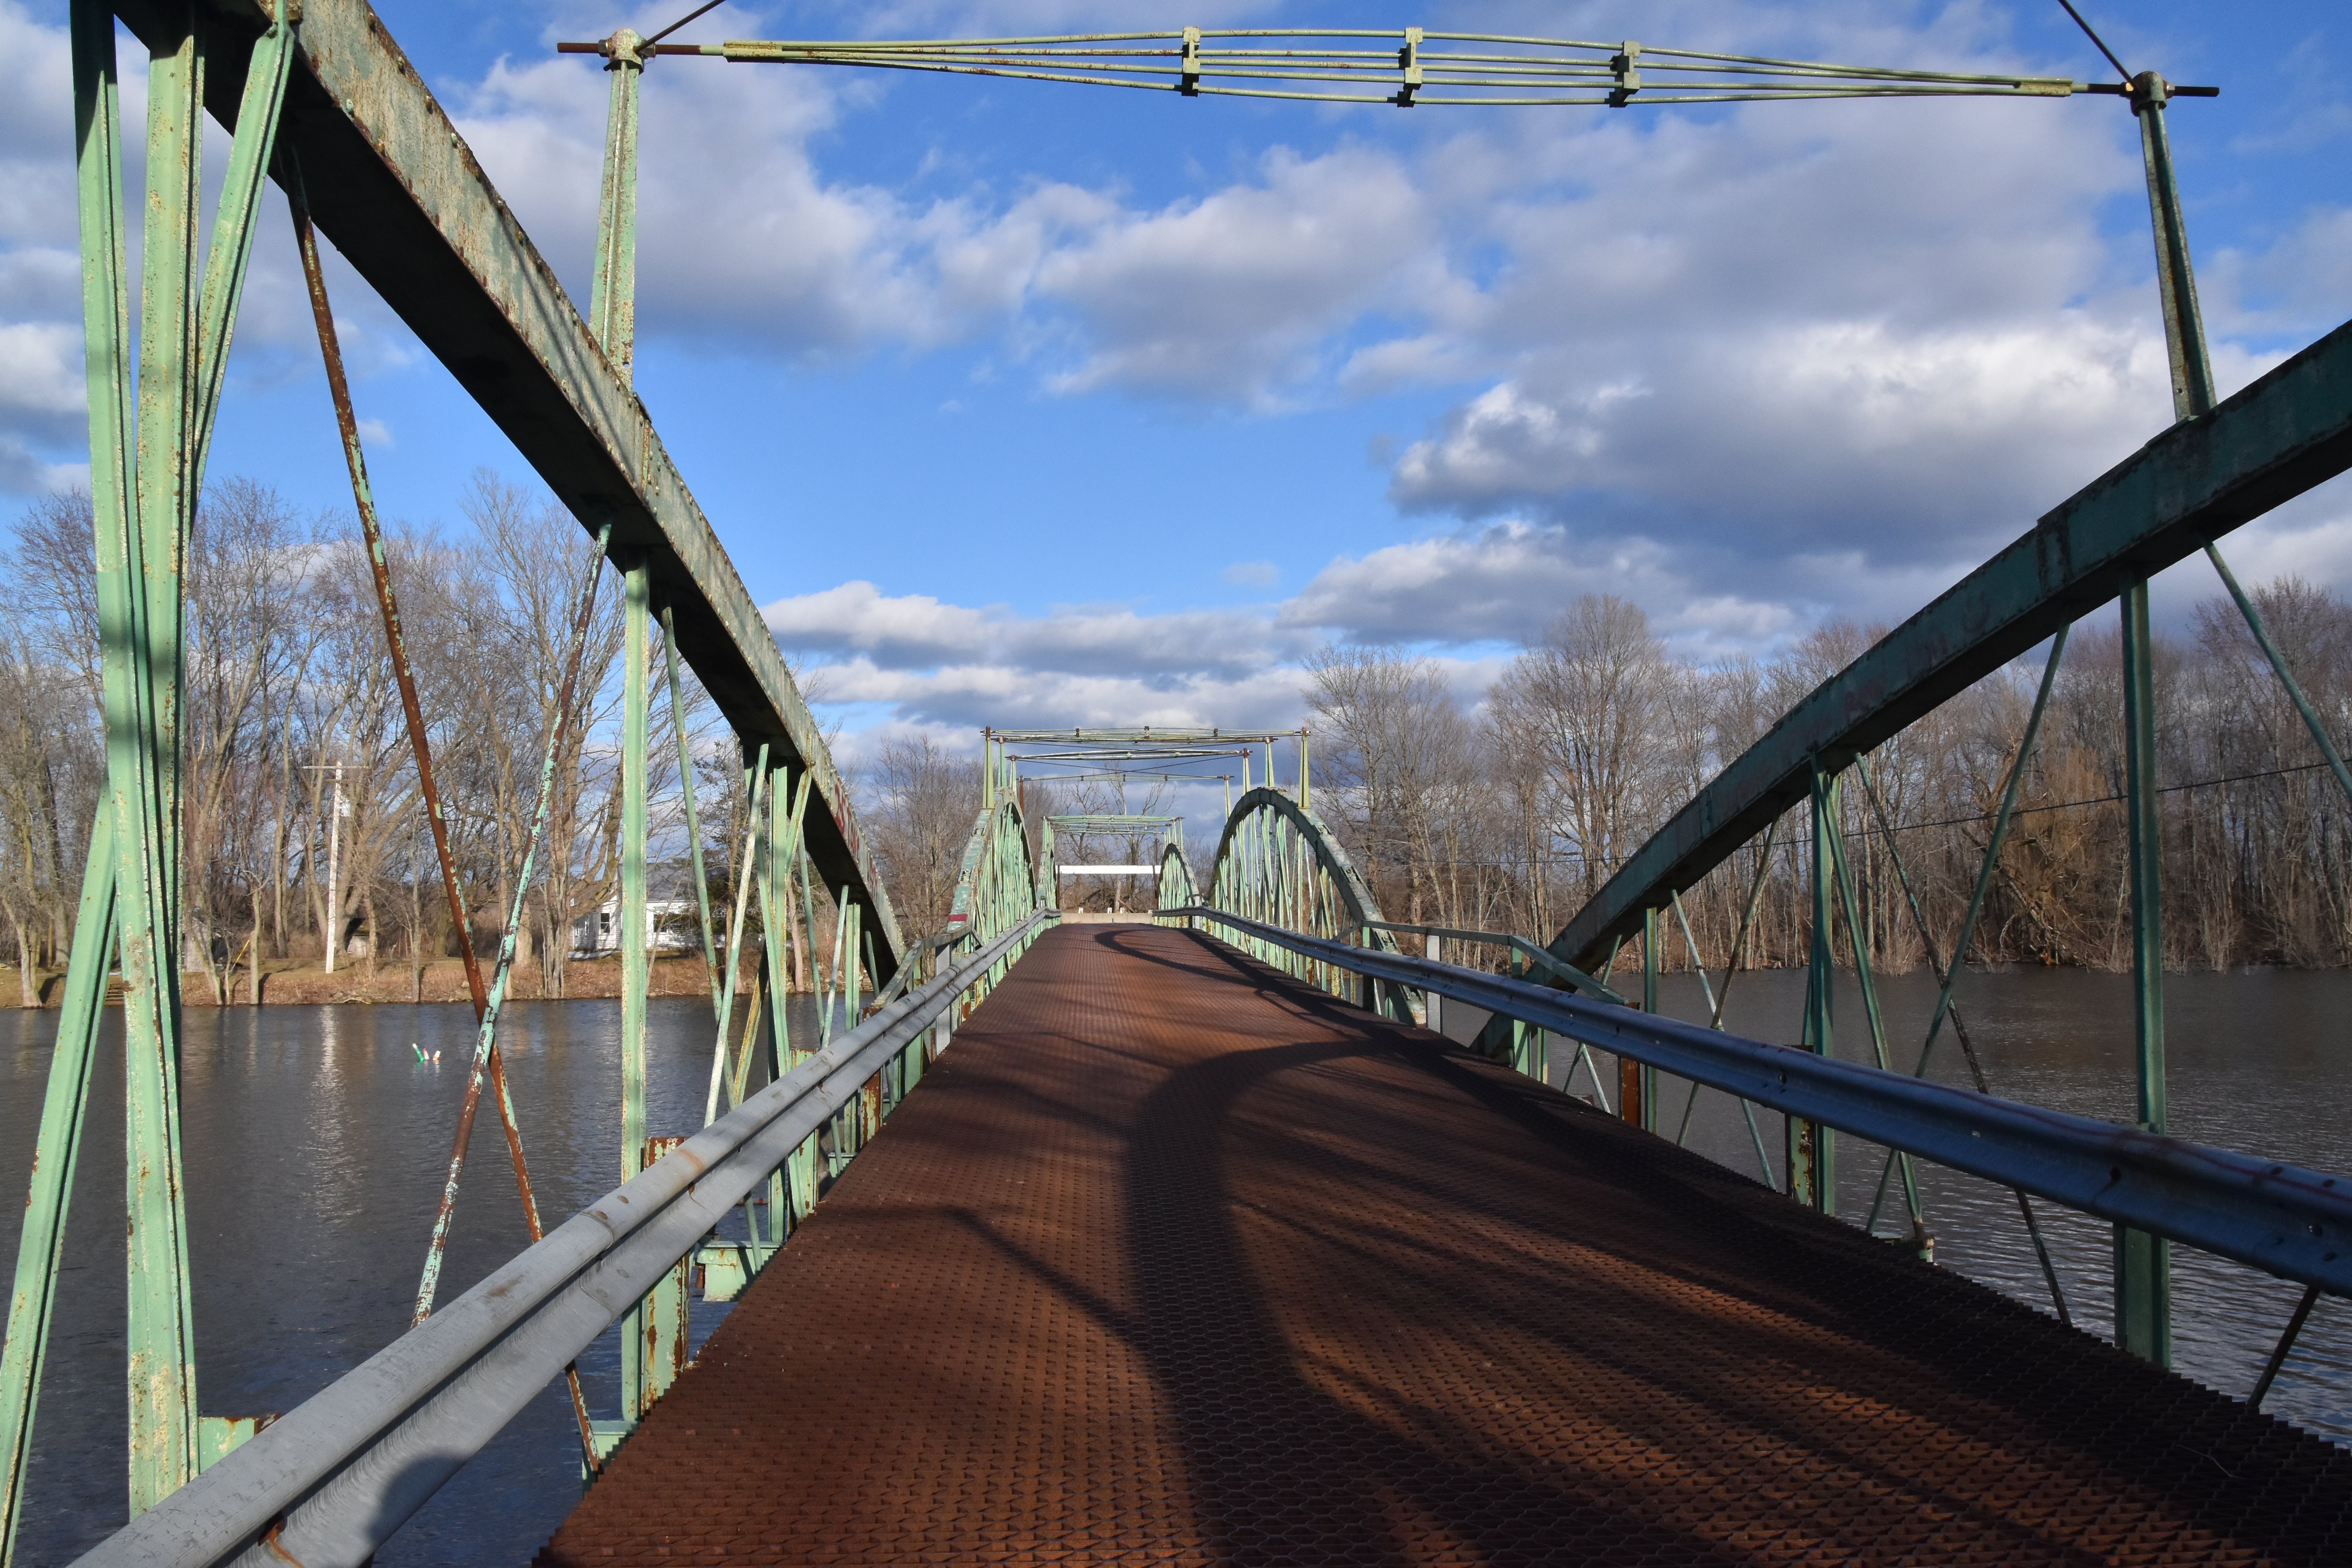
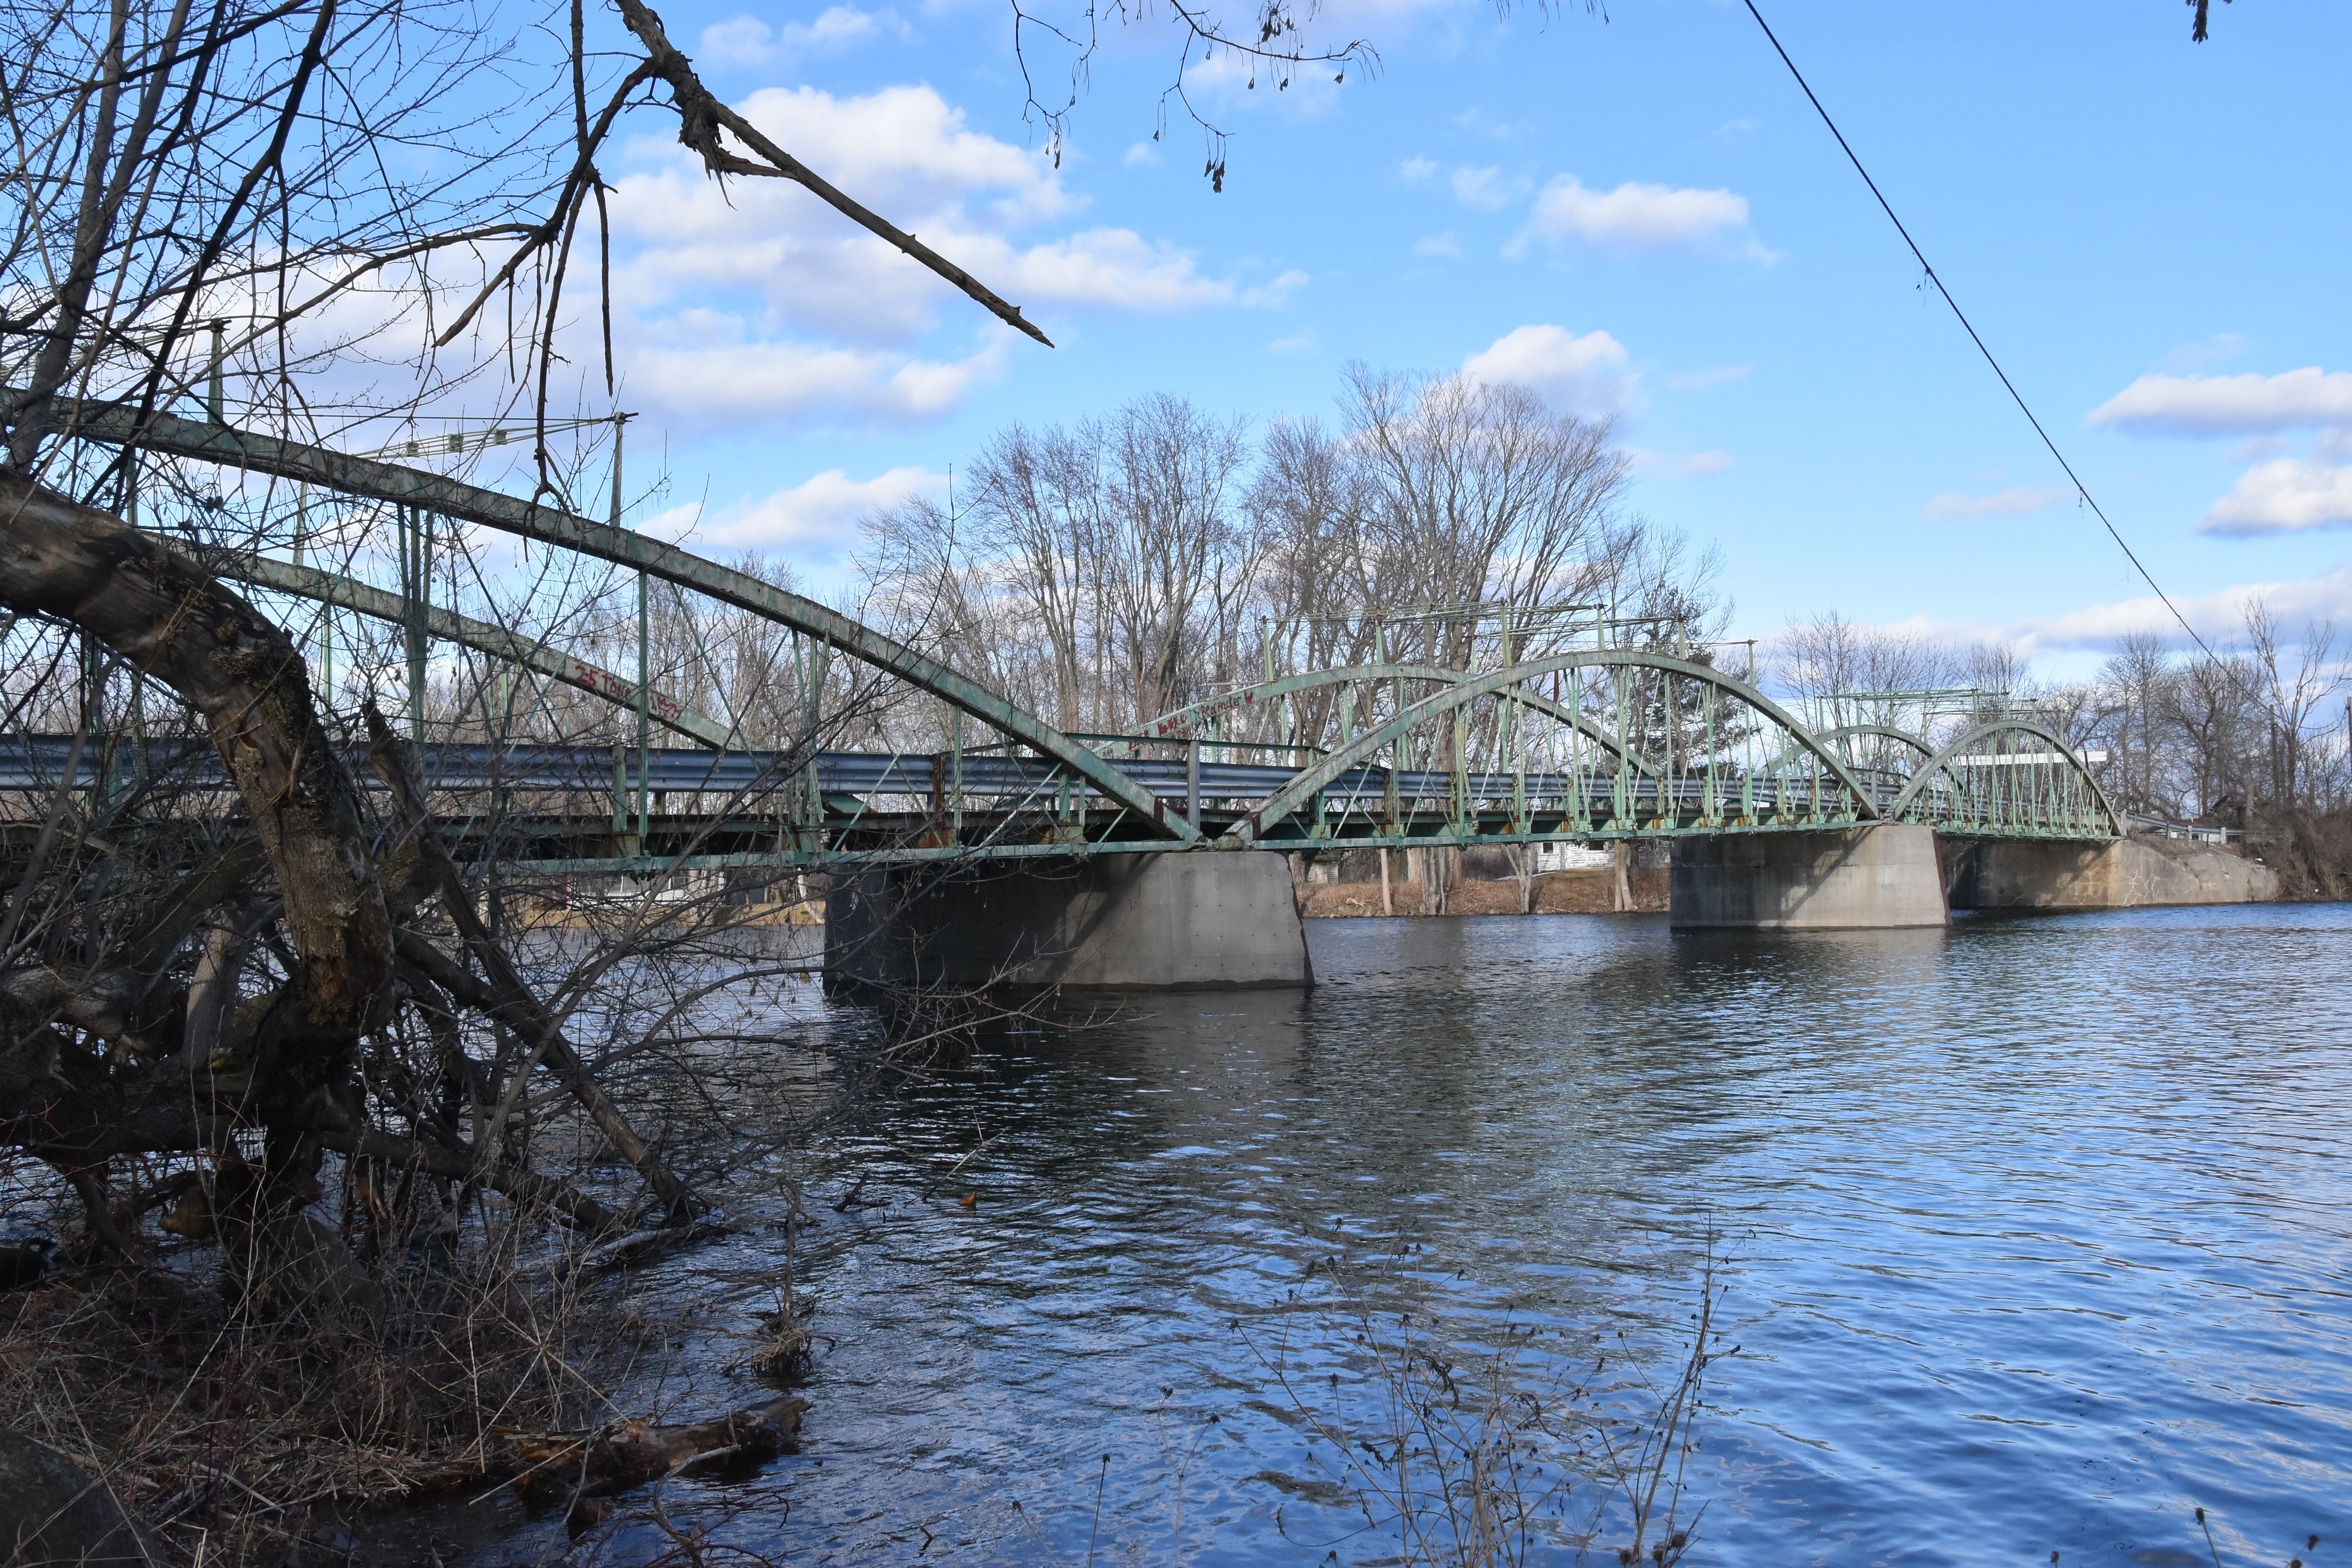
Oblique views from northwest quadrant.
![]()
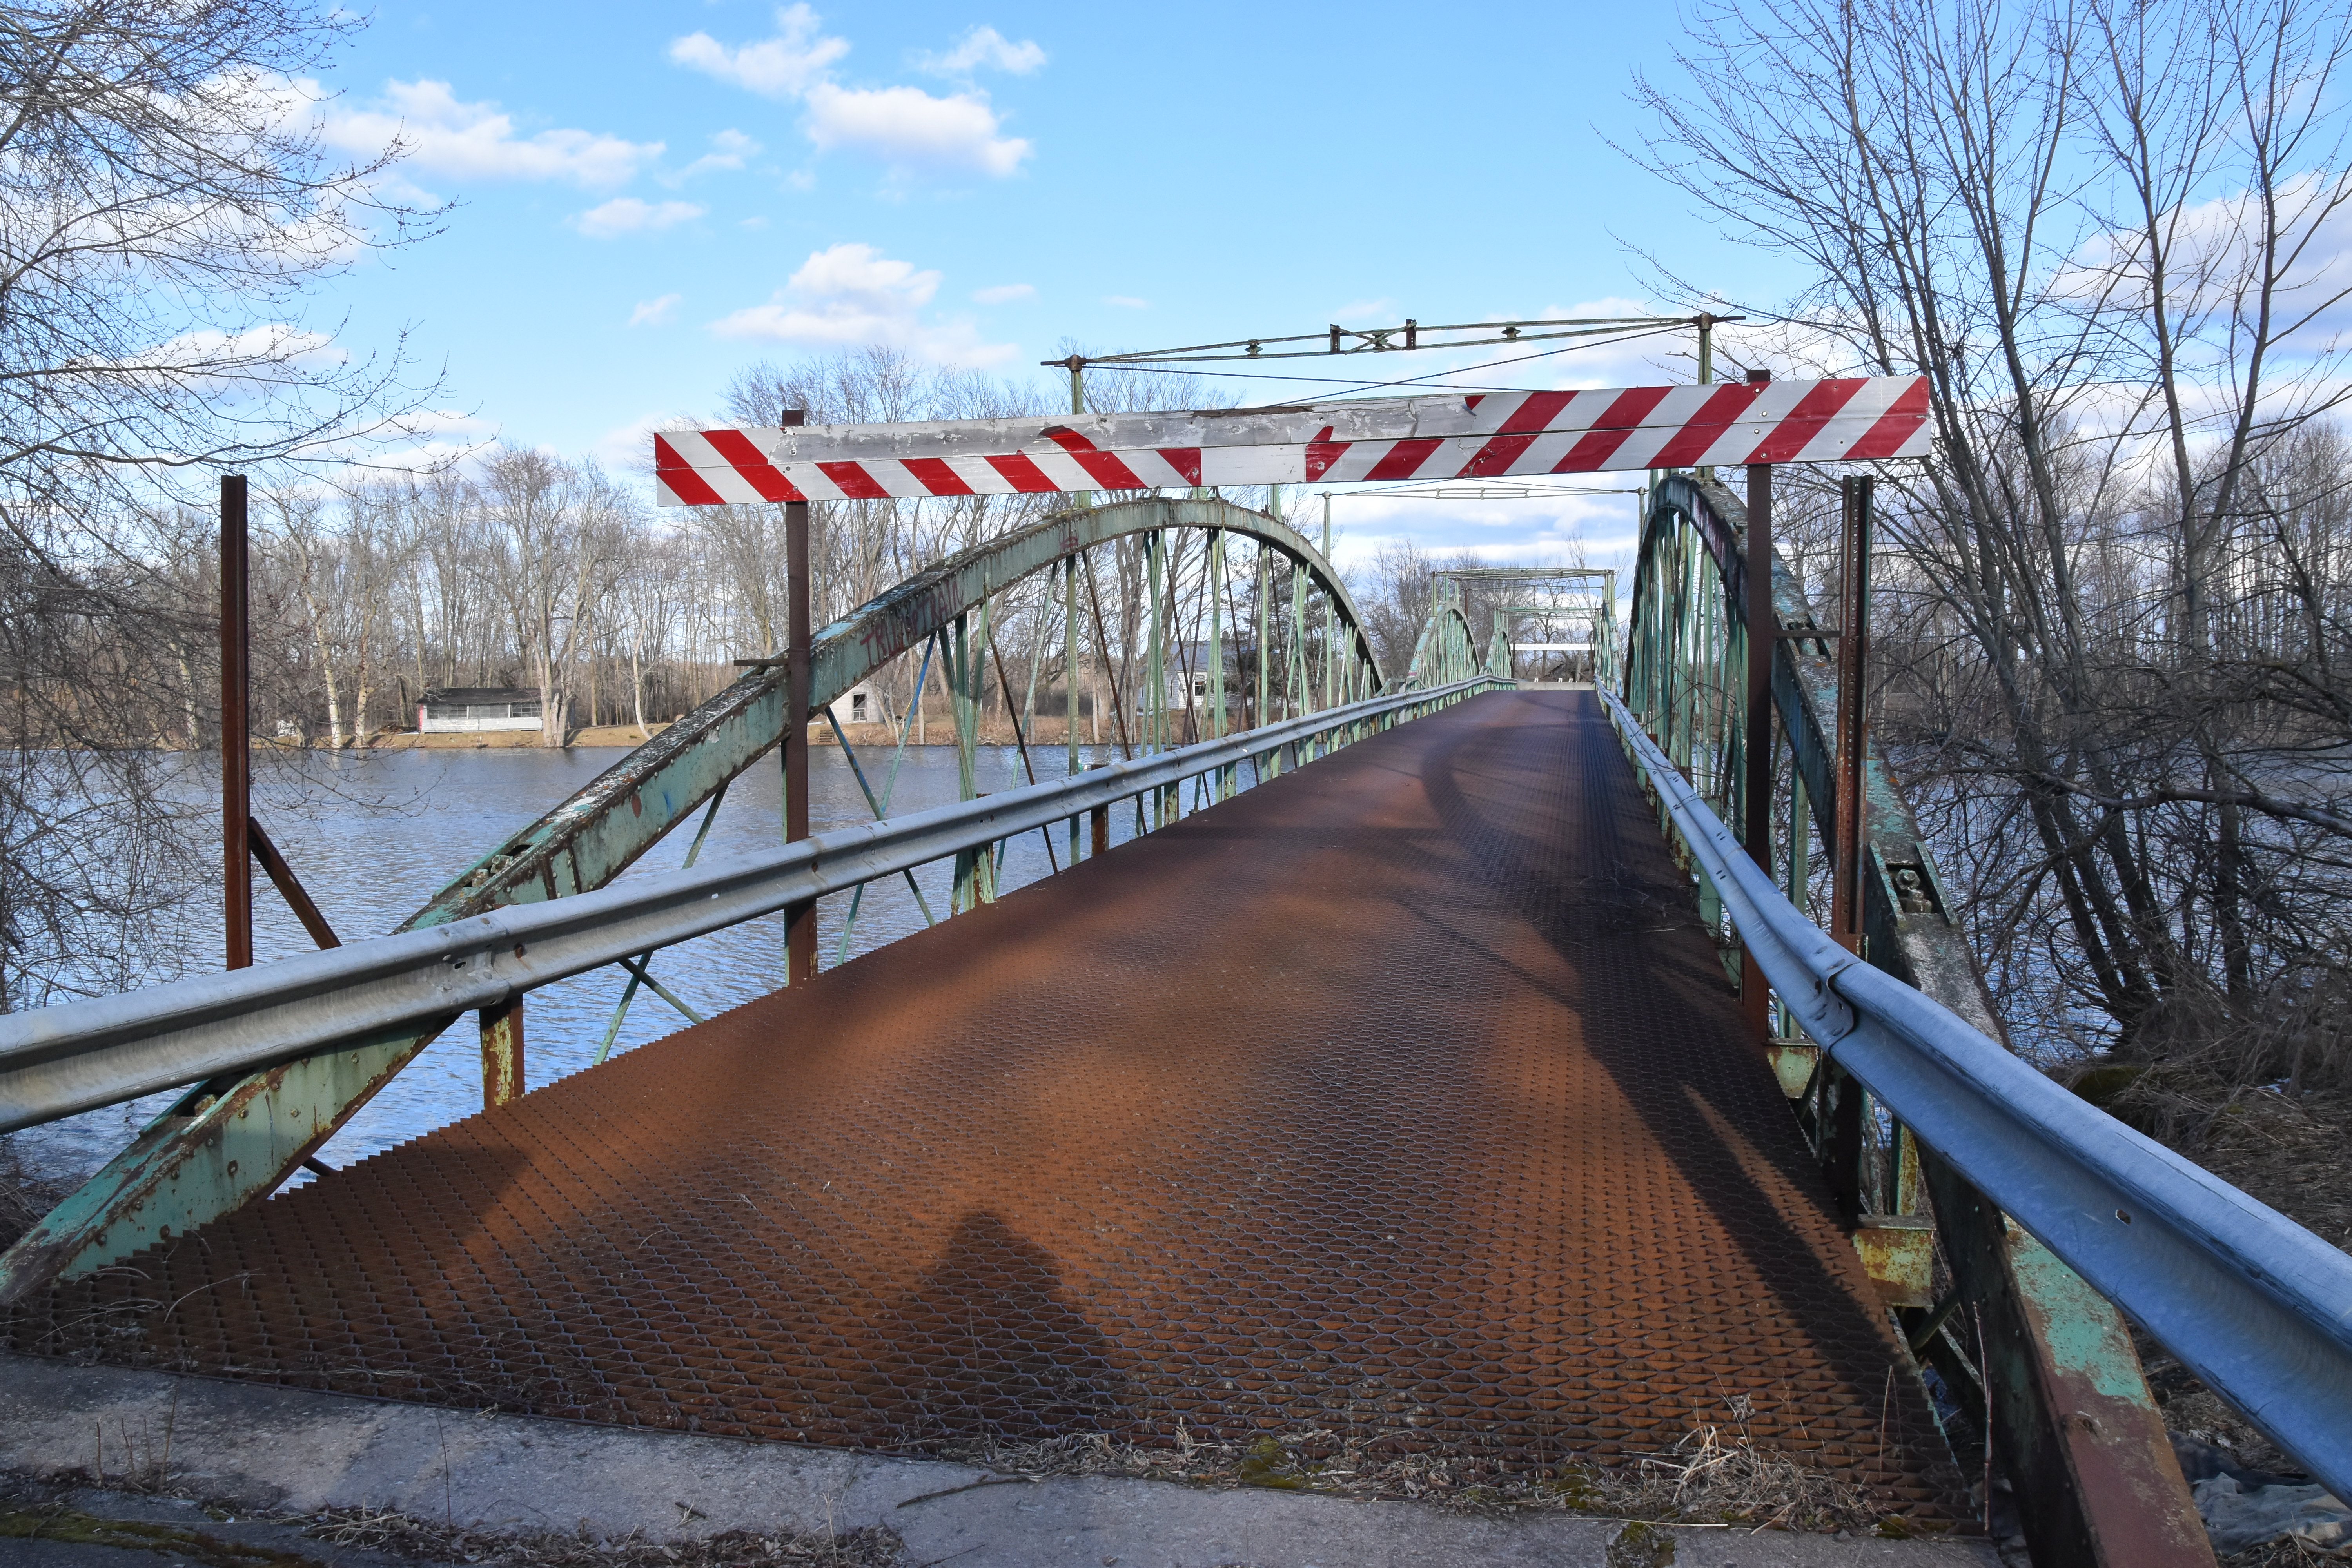
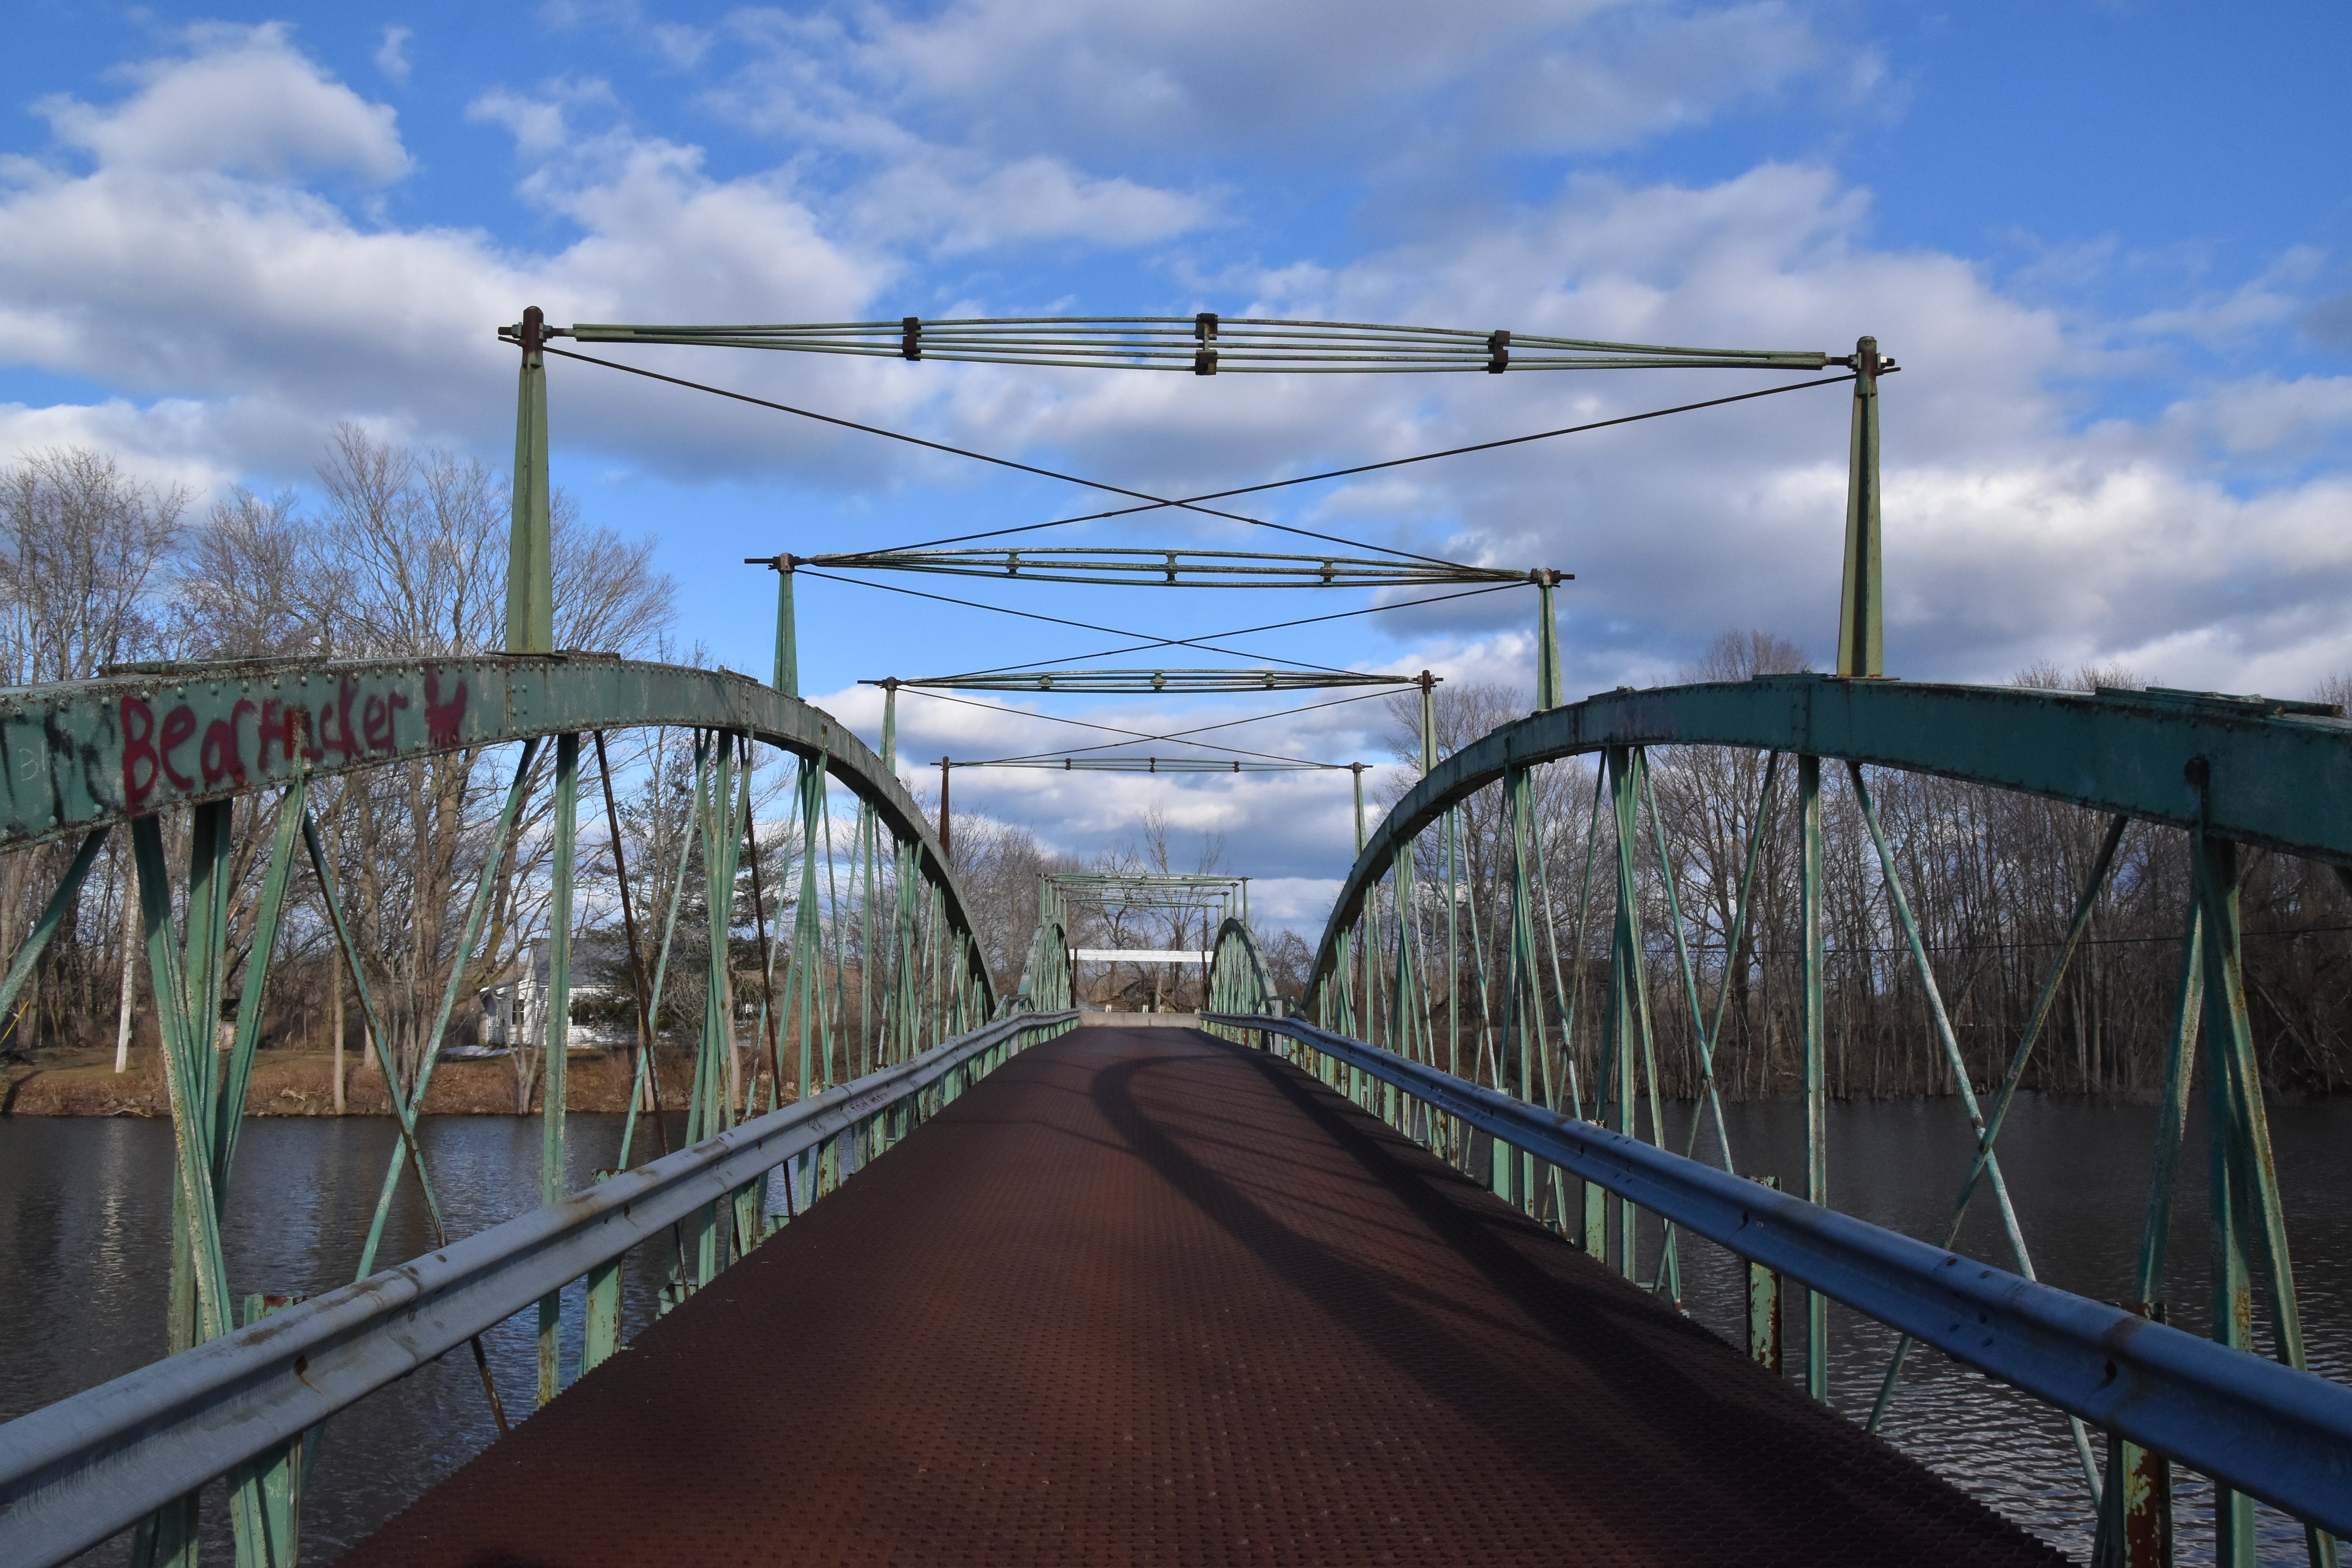
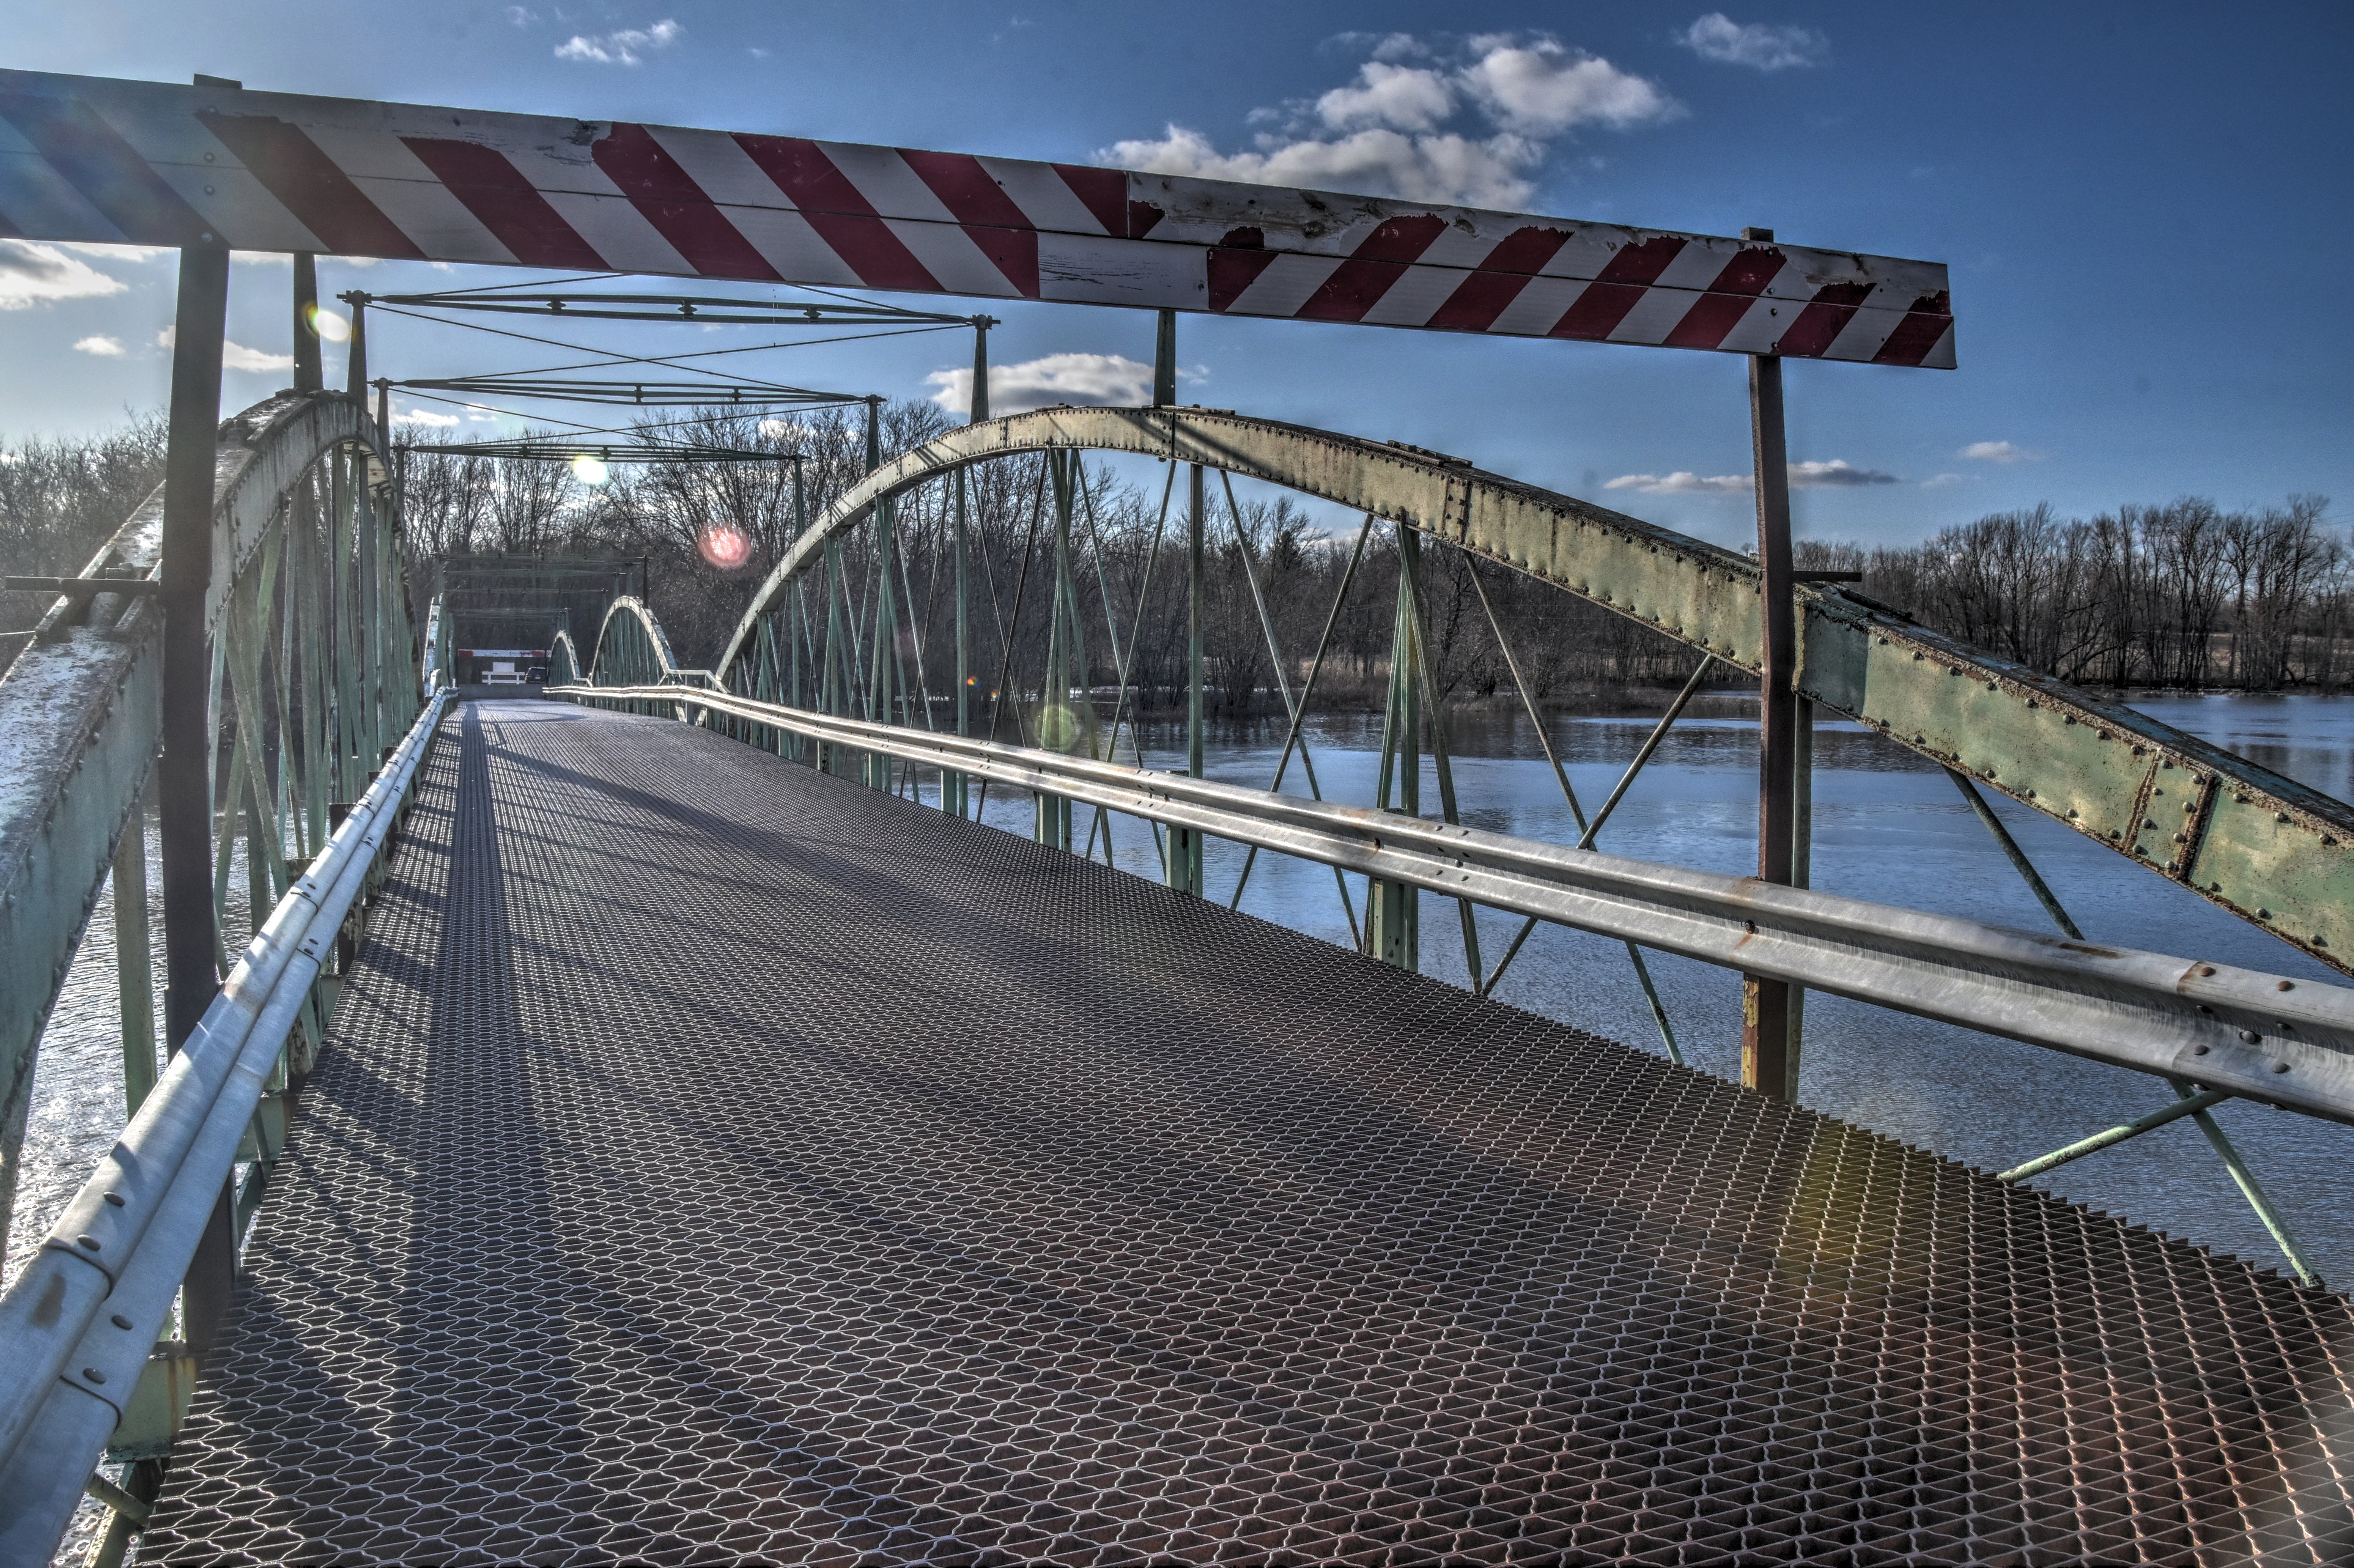
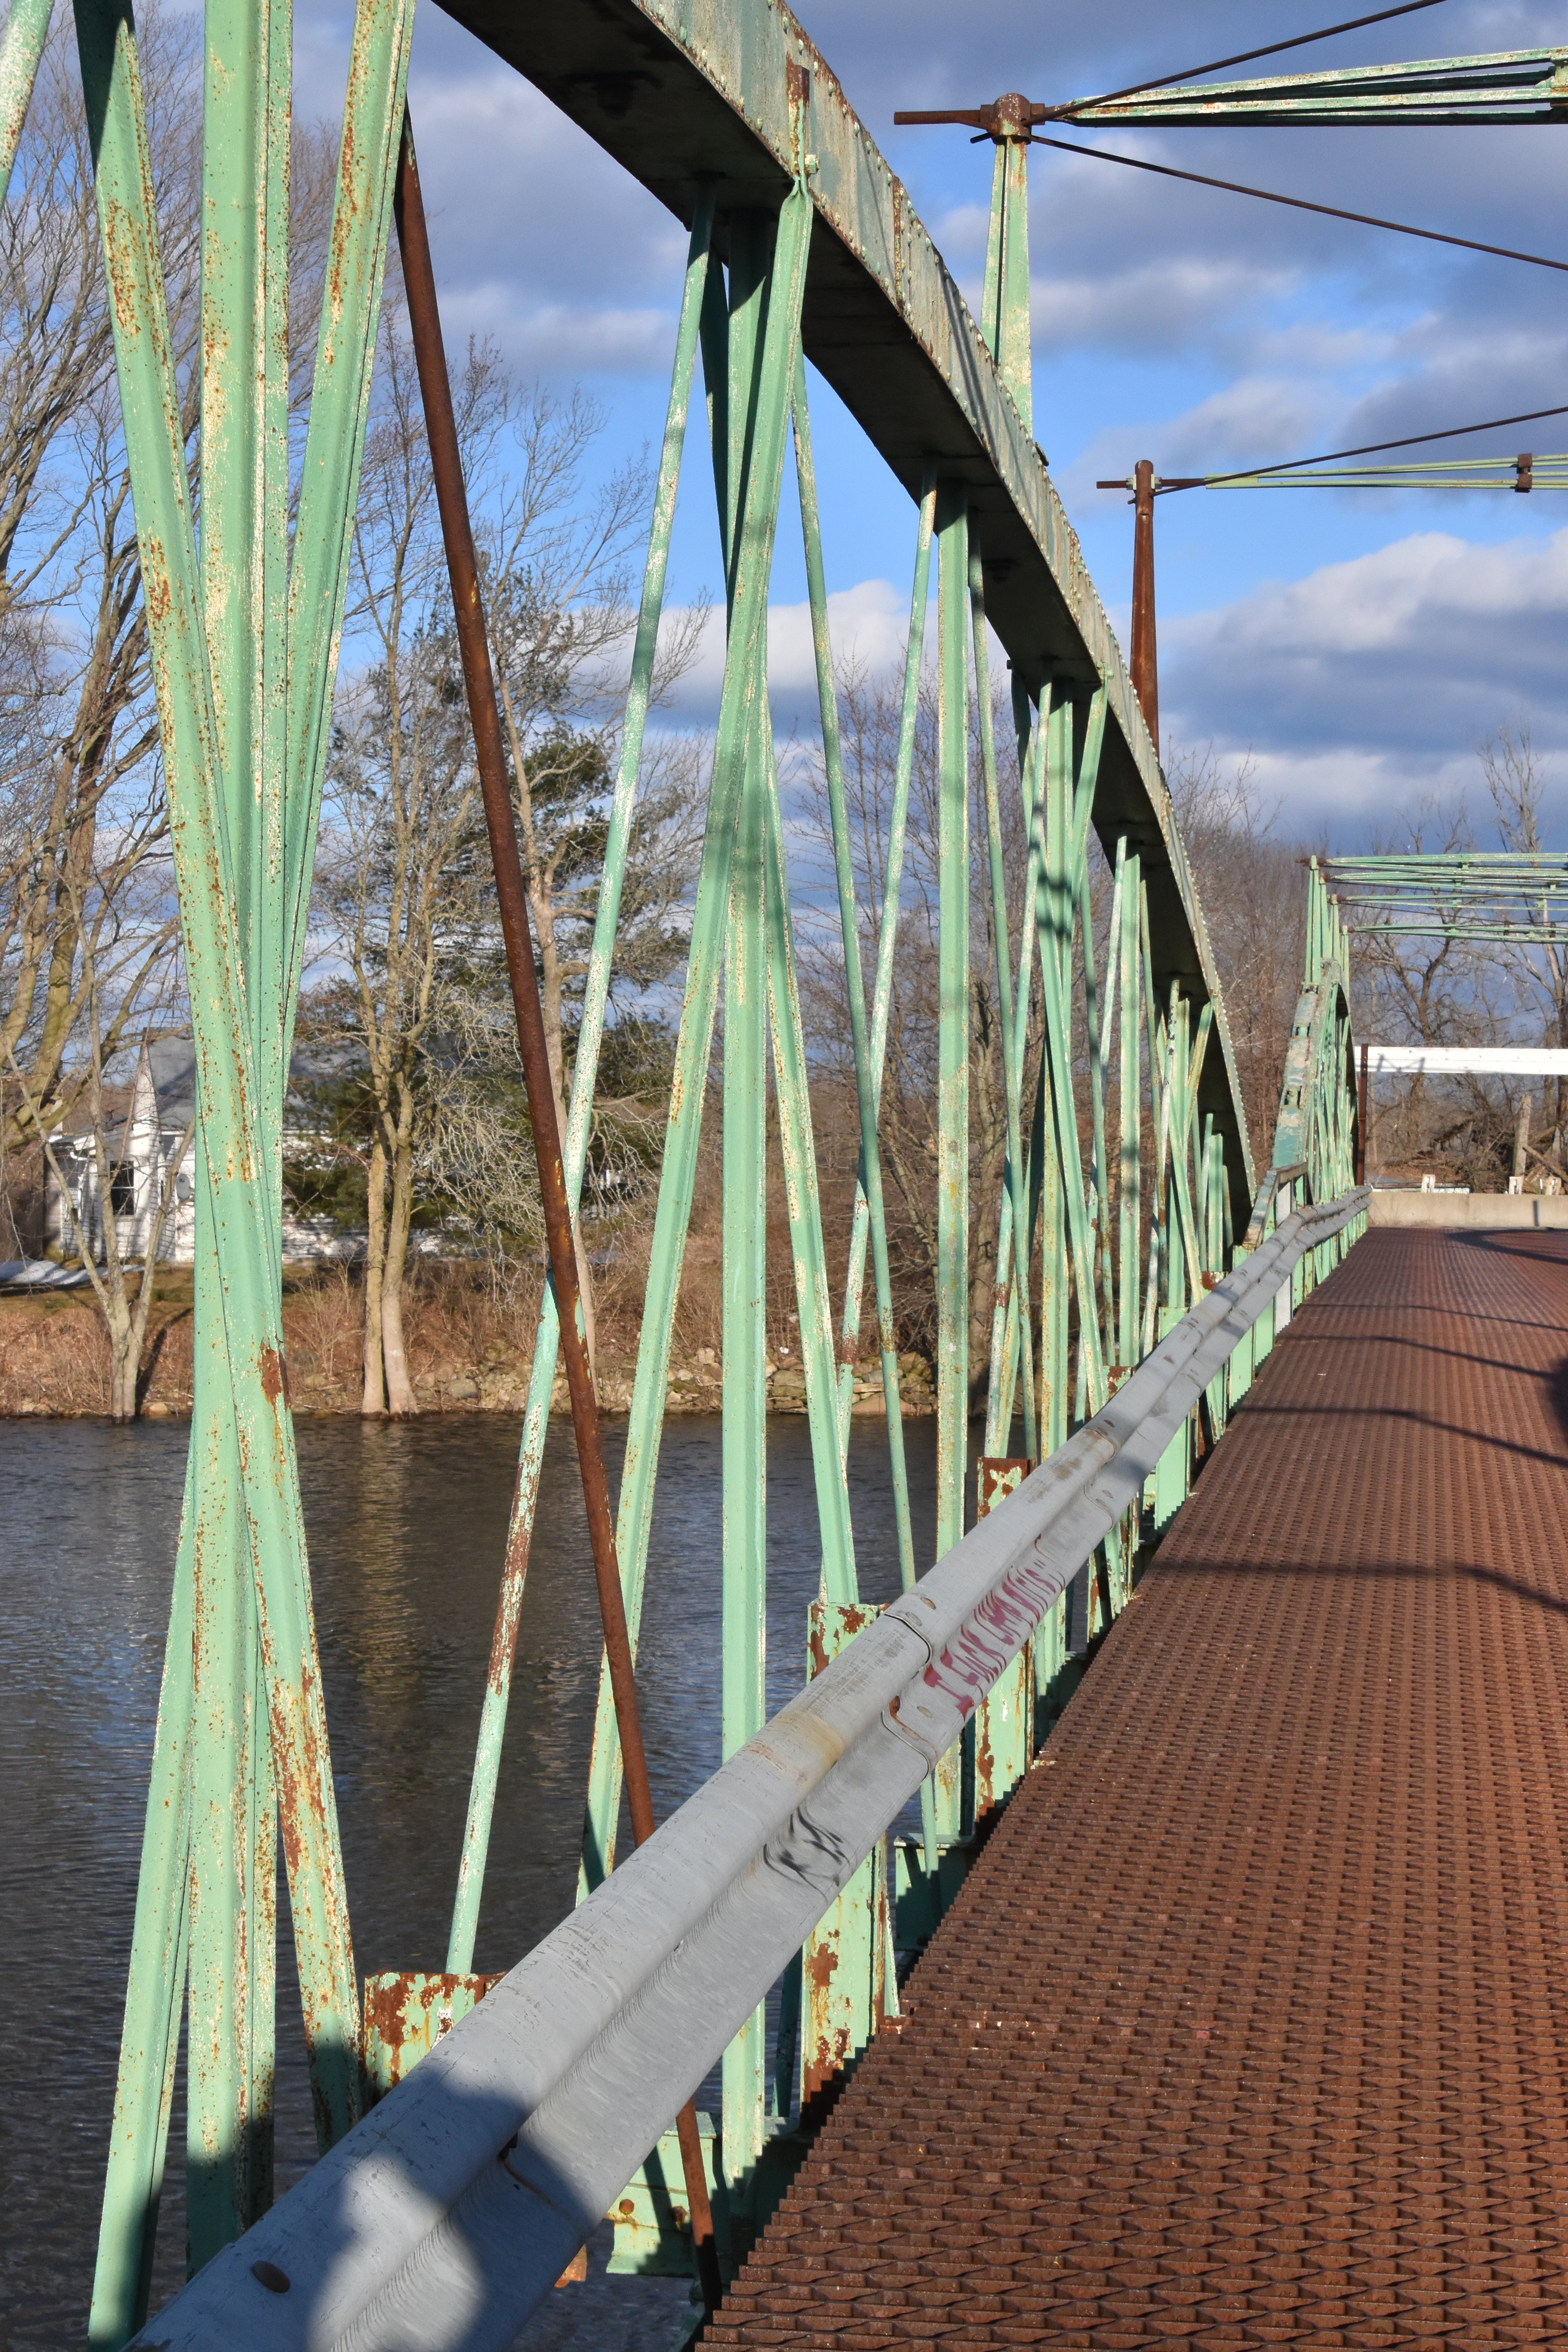
Portal views facing east.
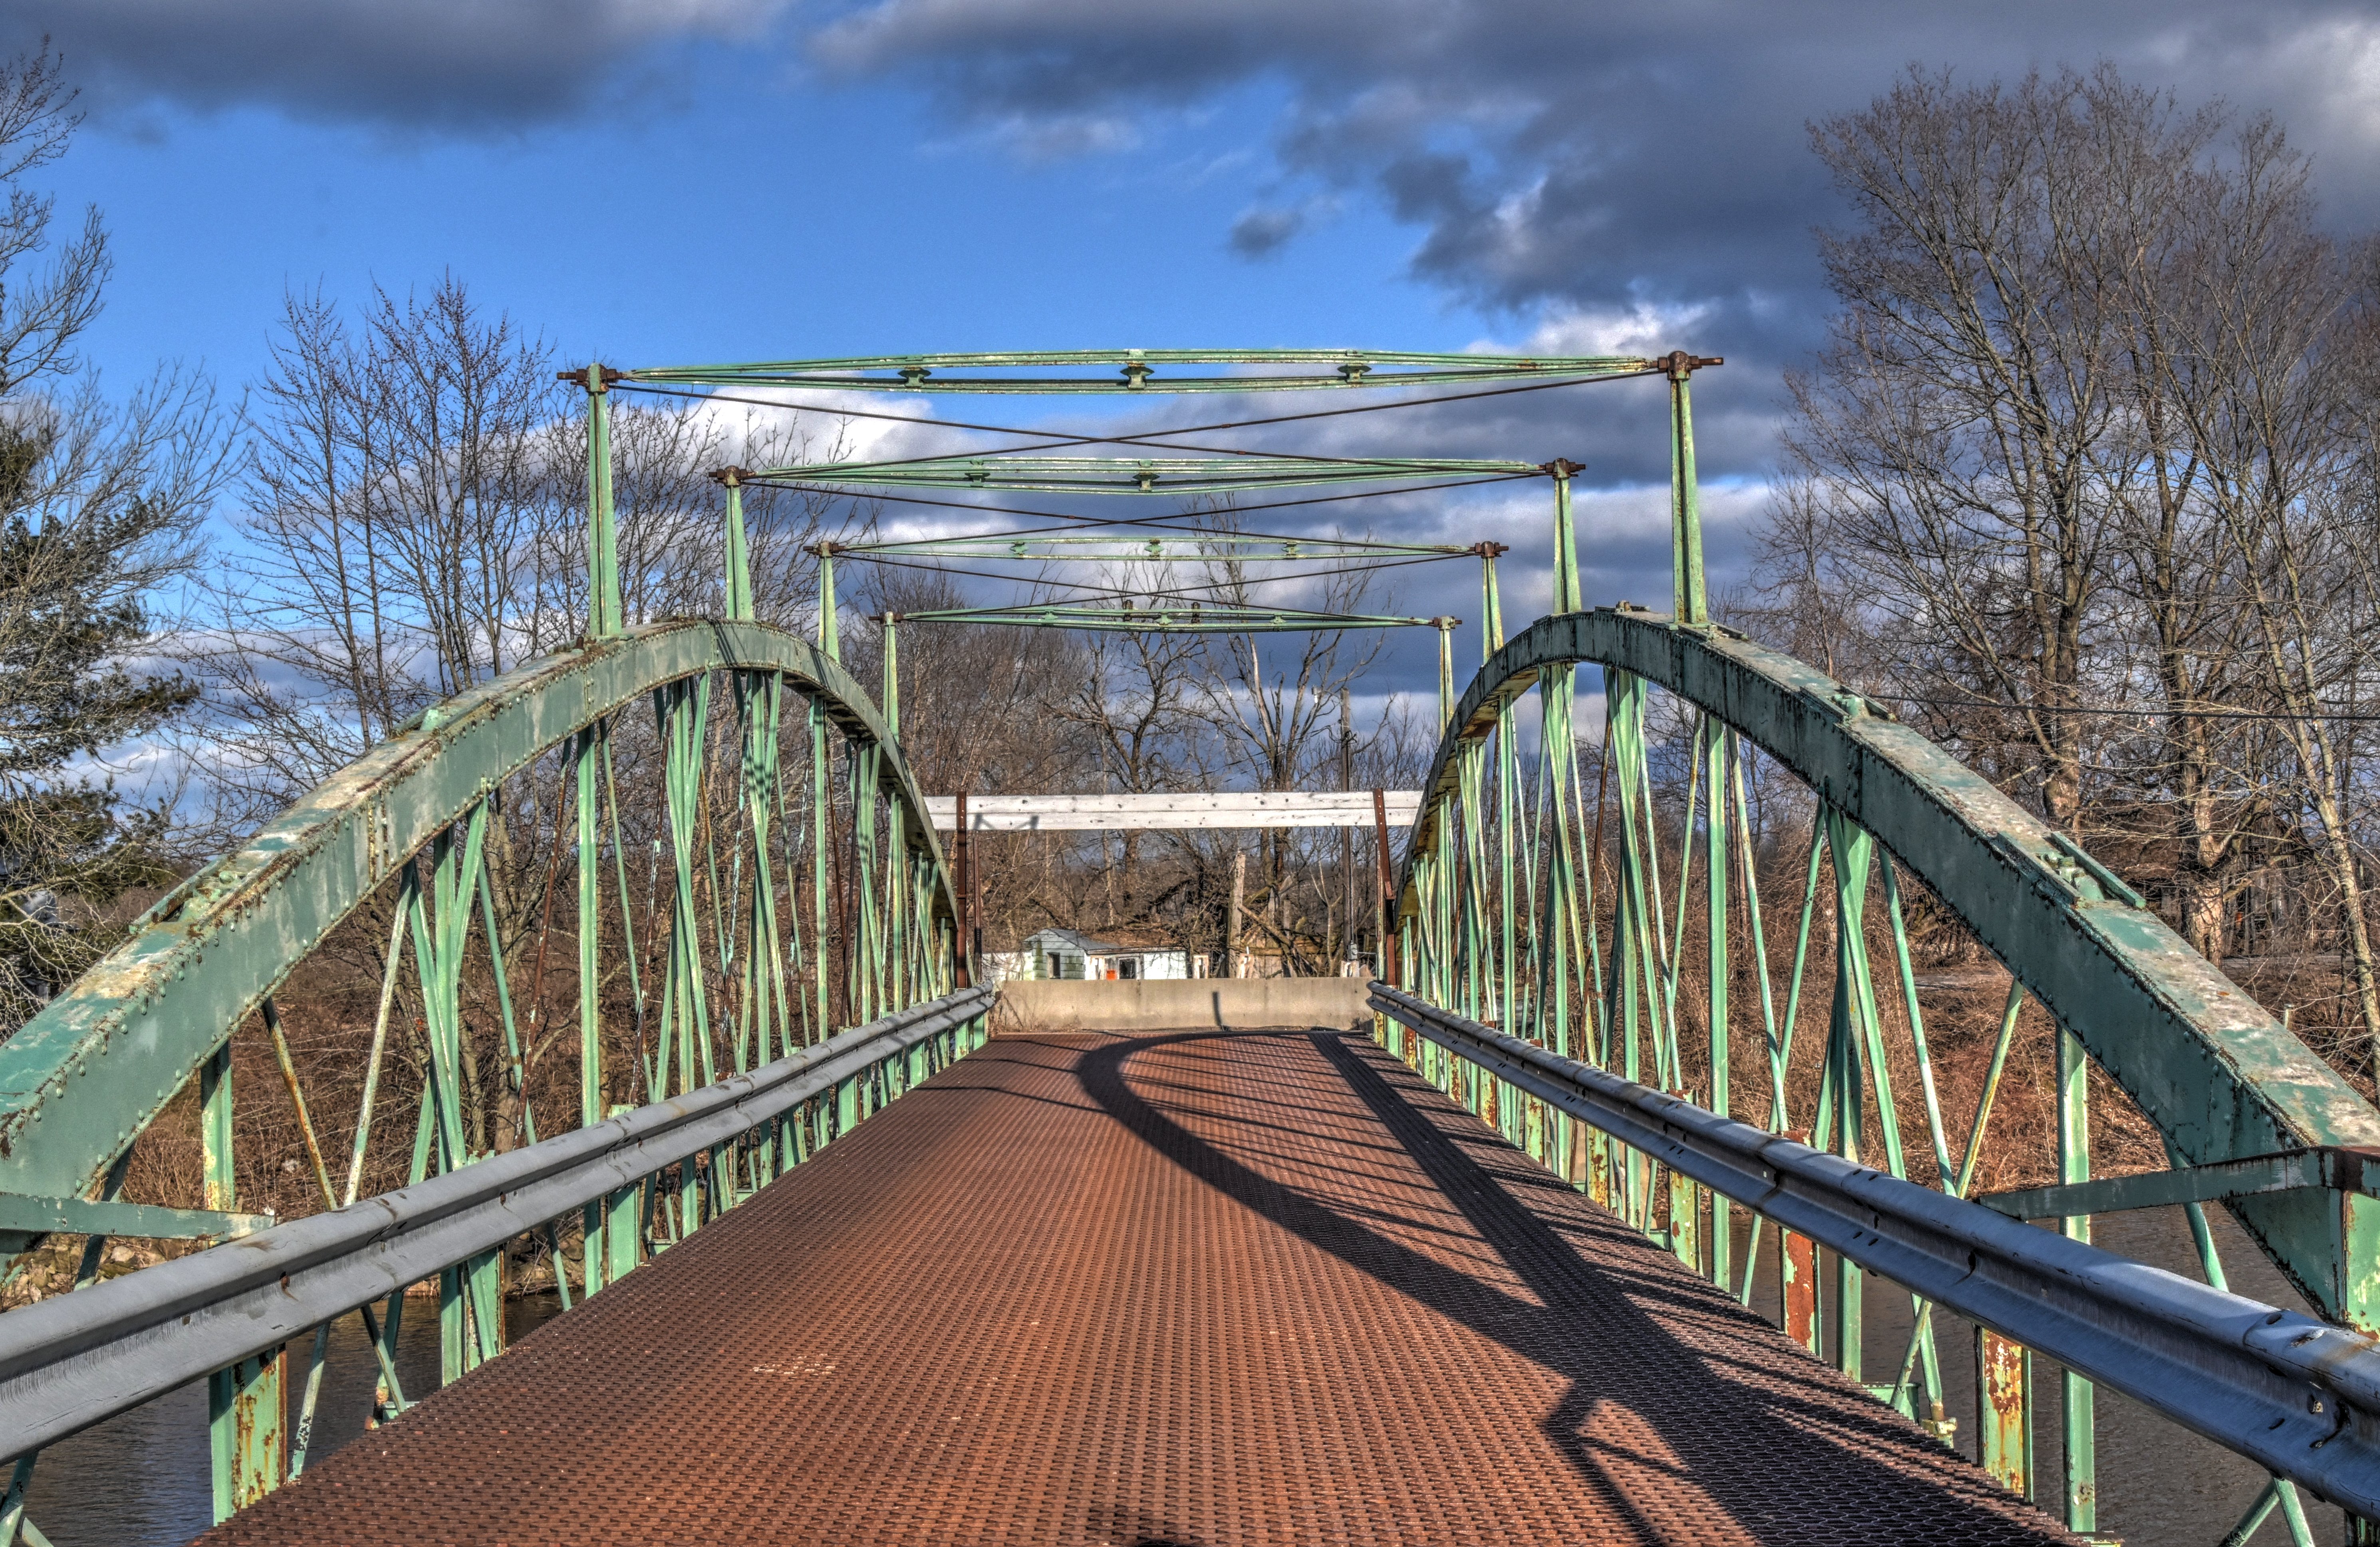
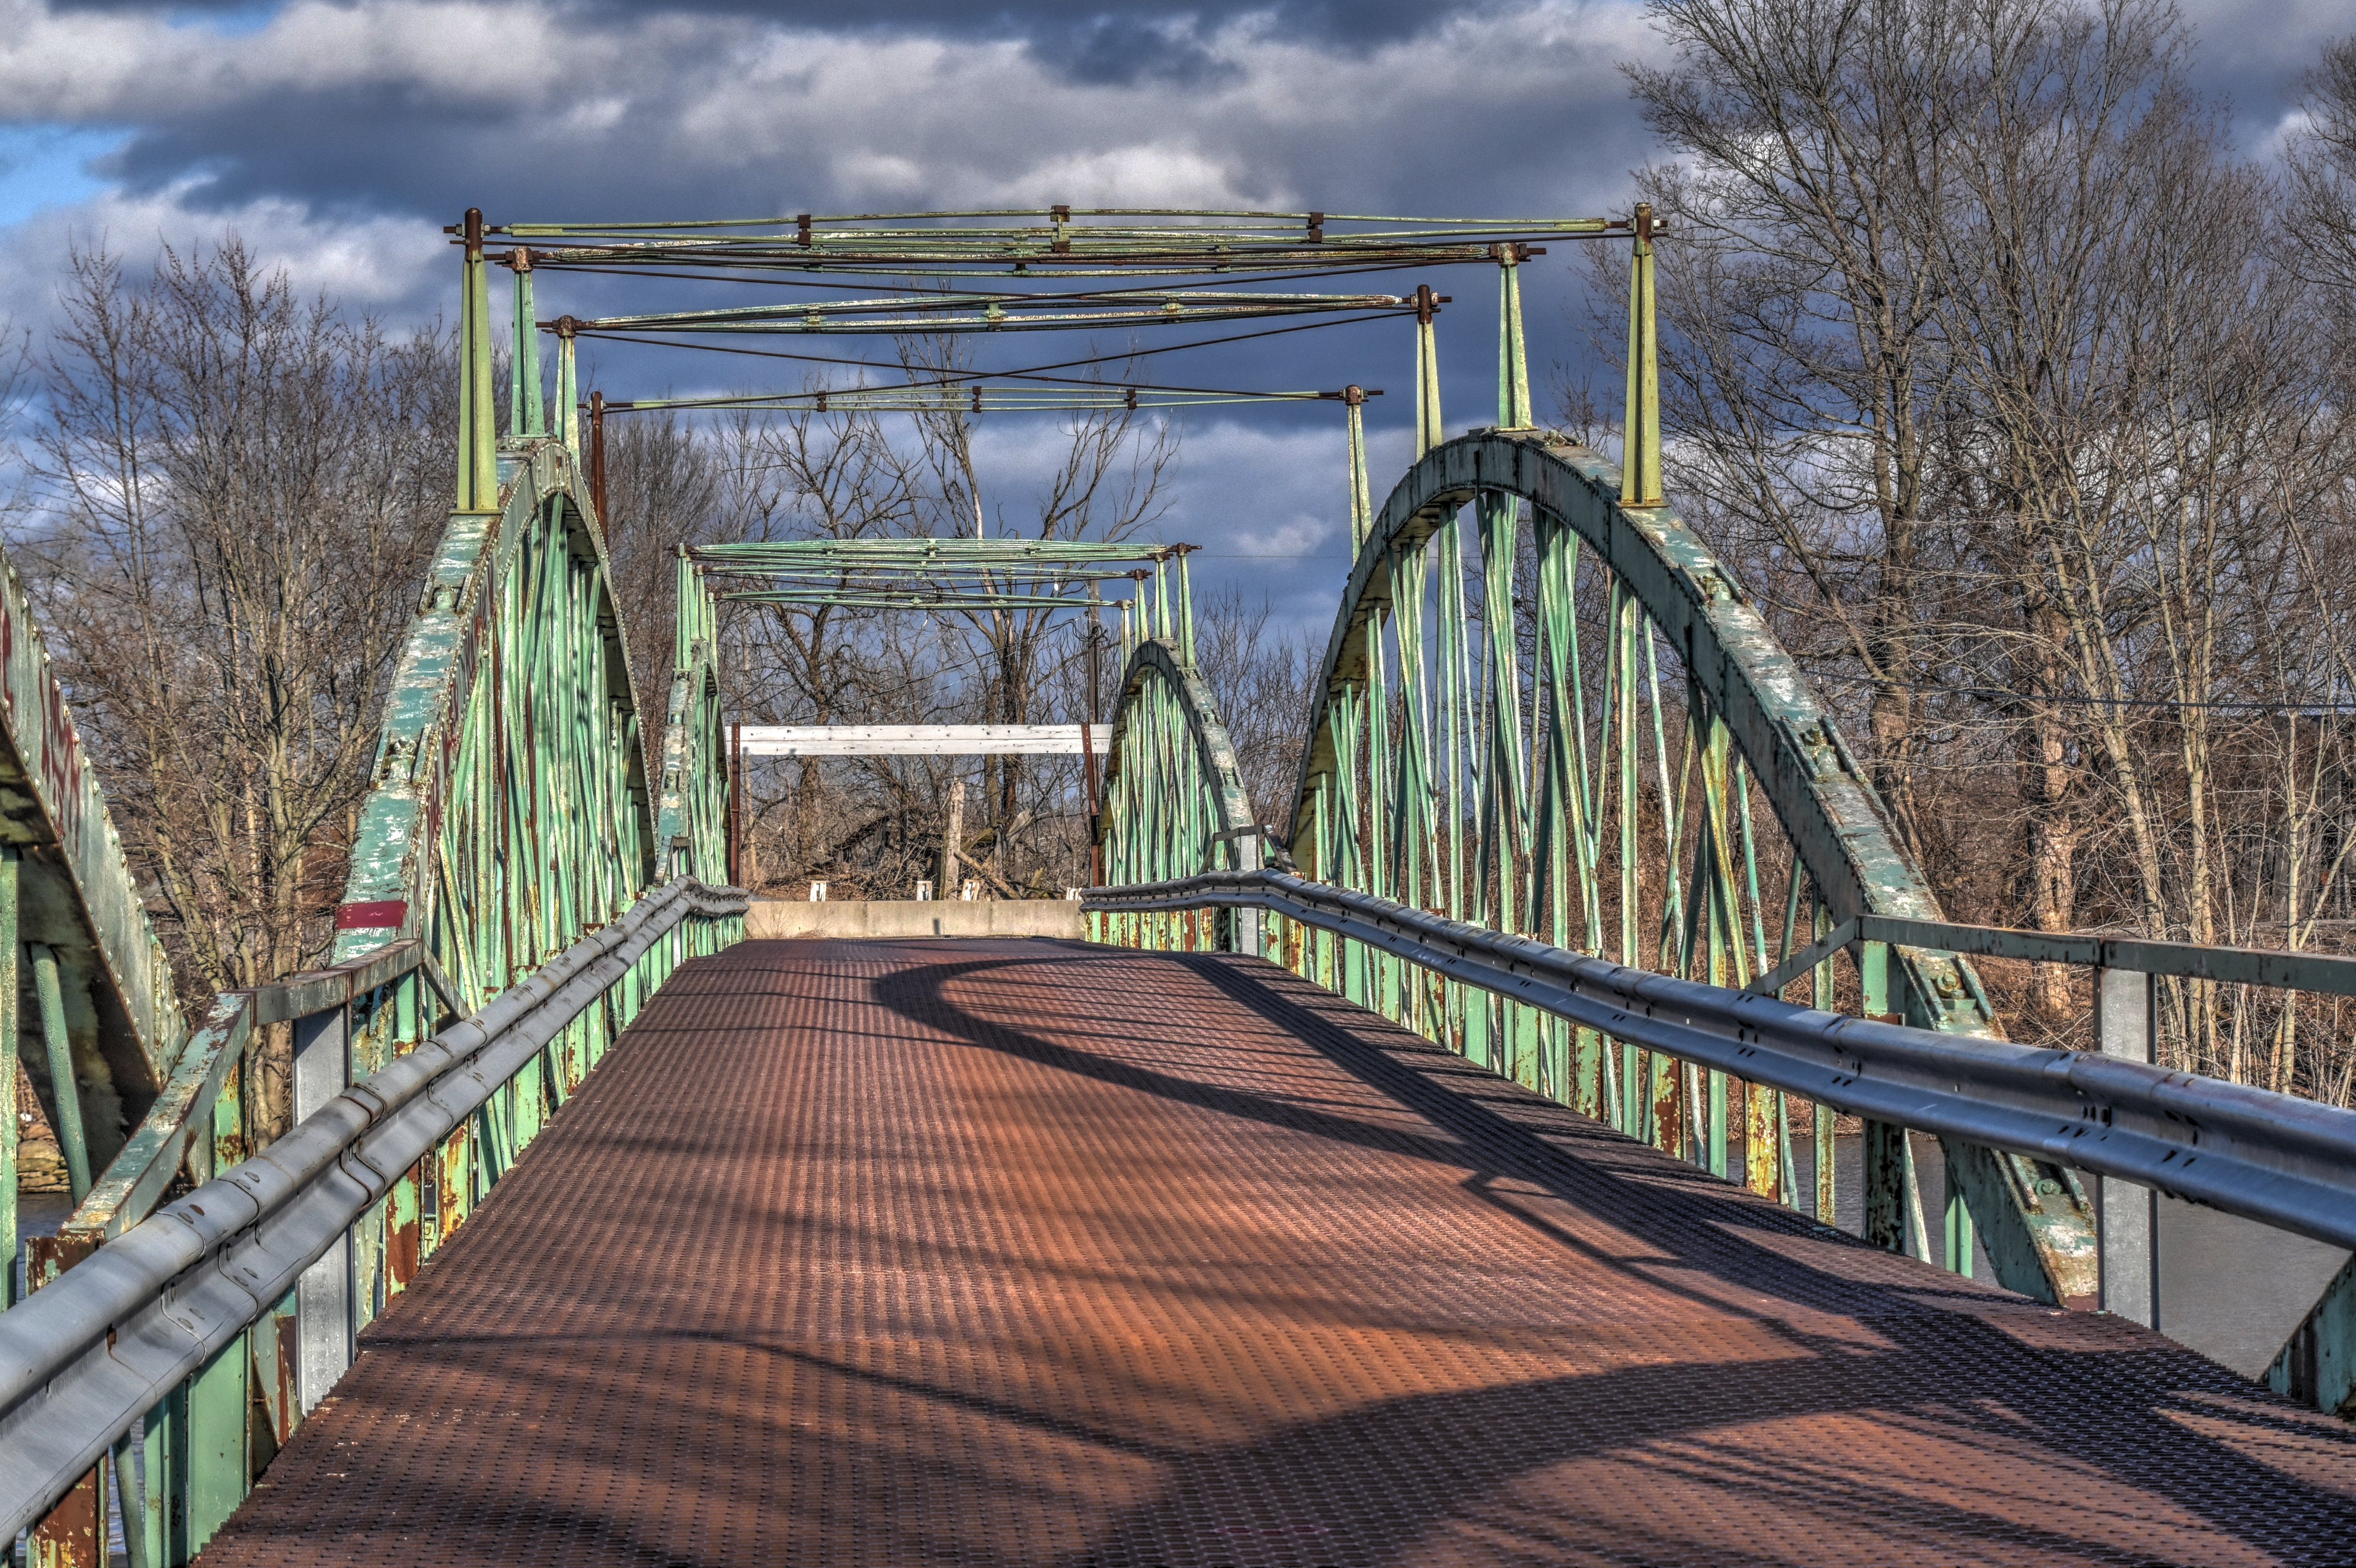
![]()
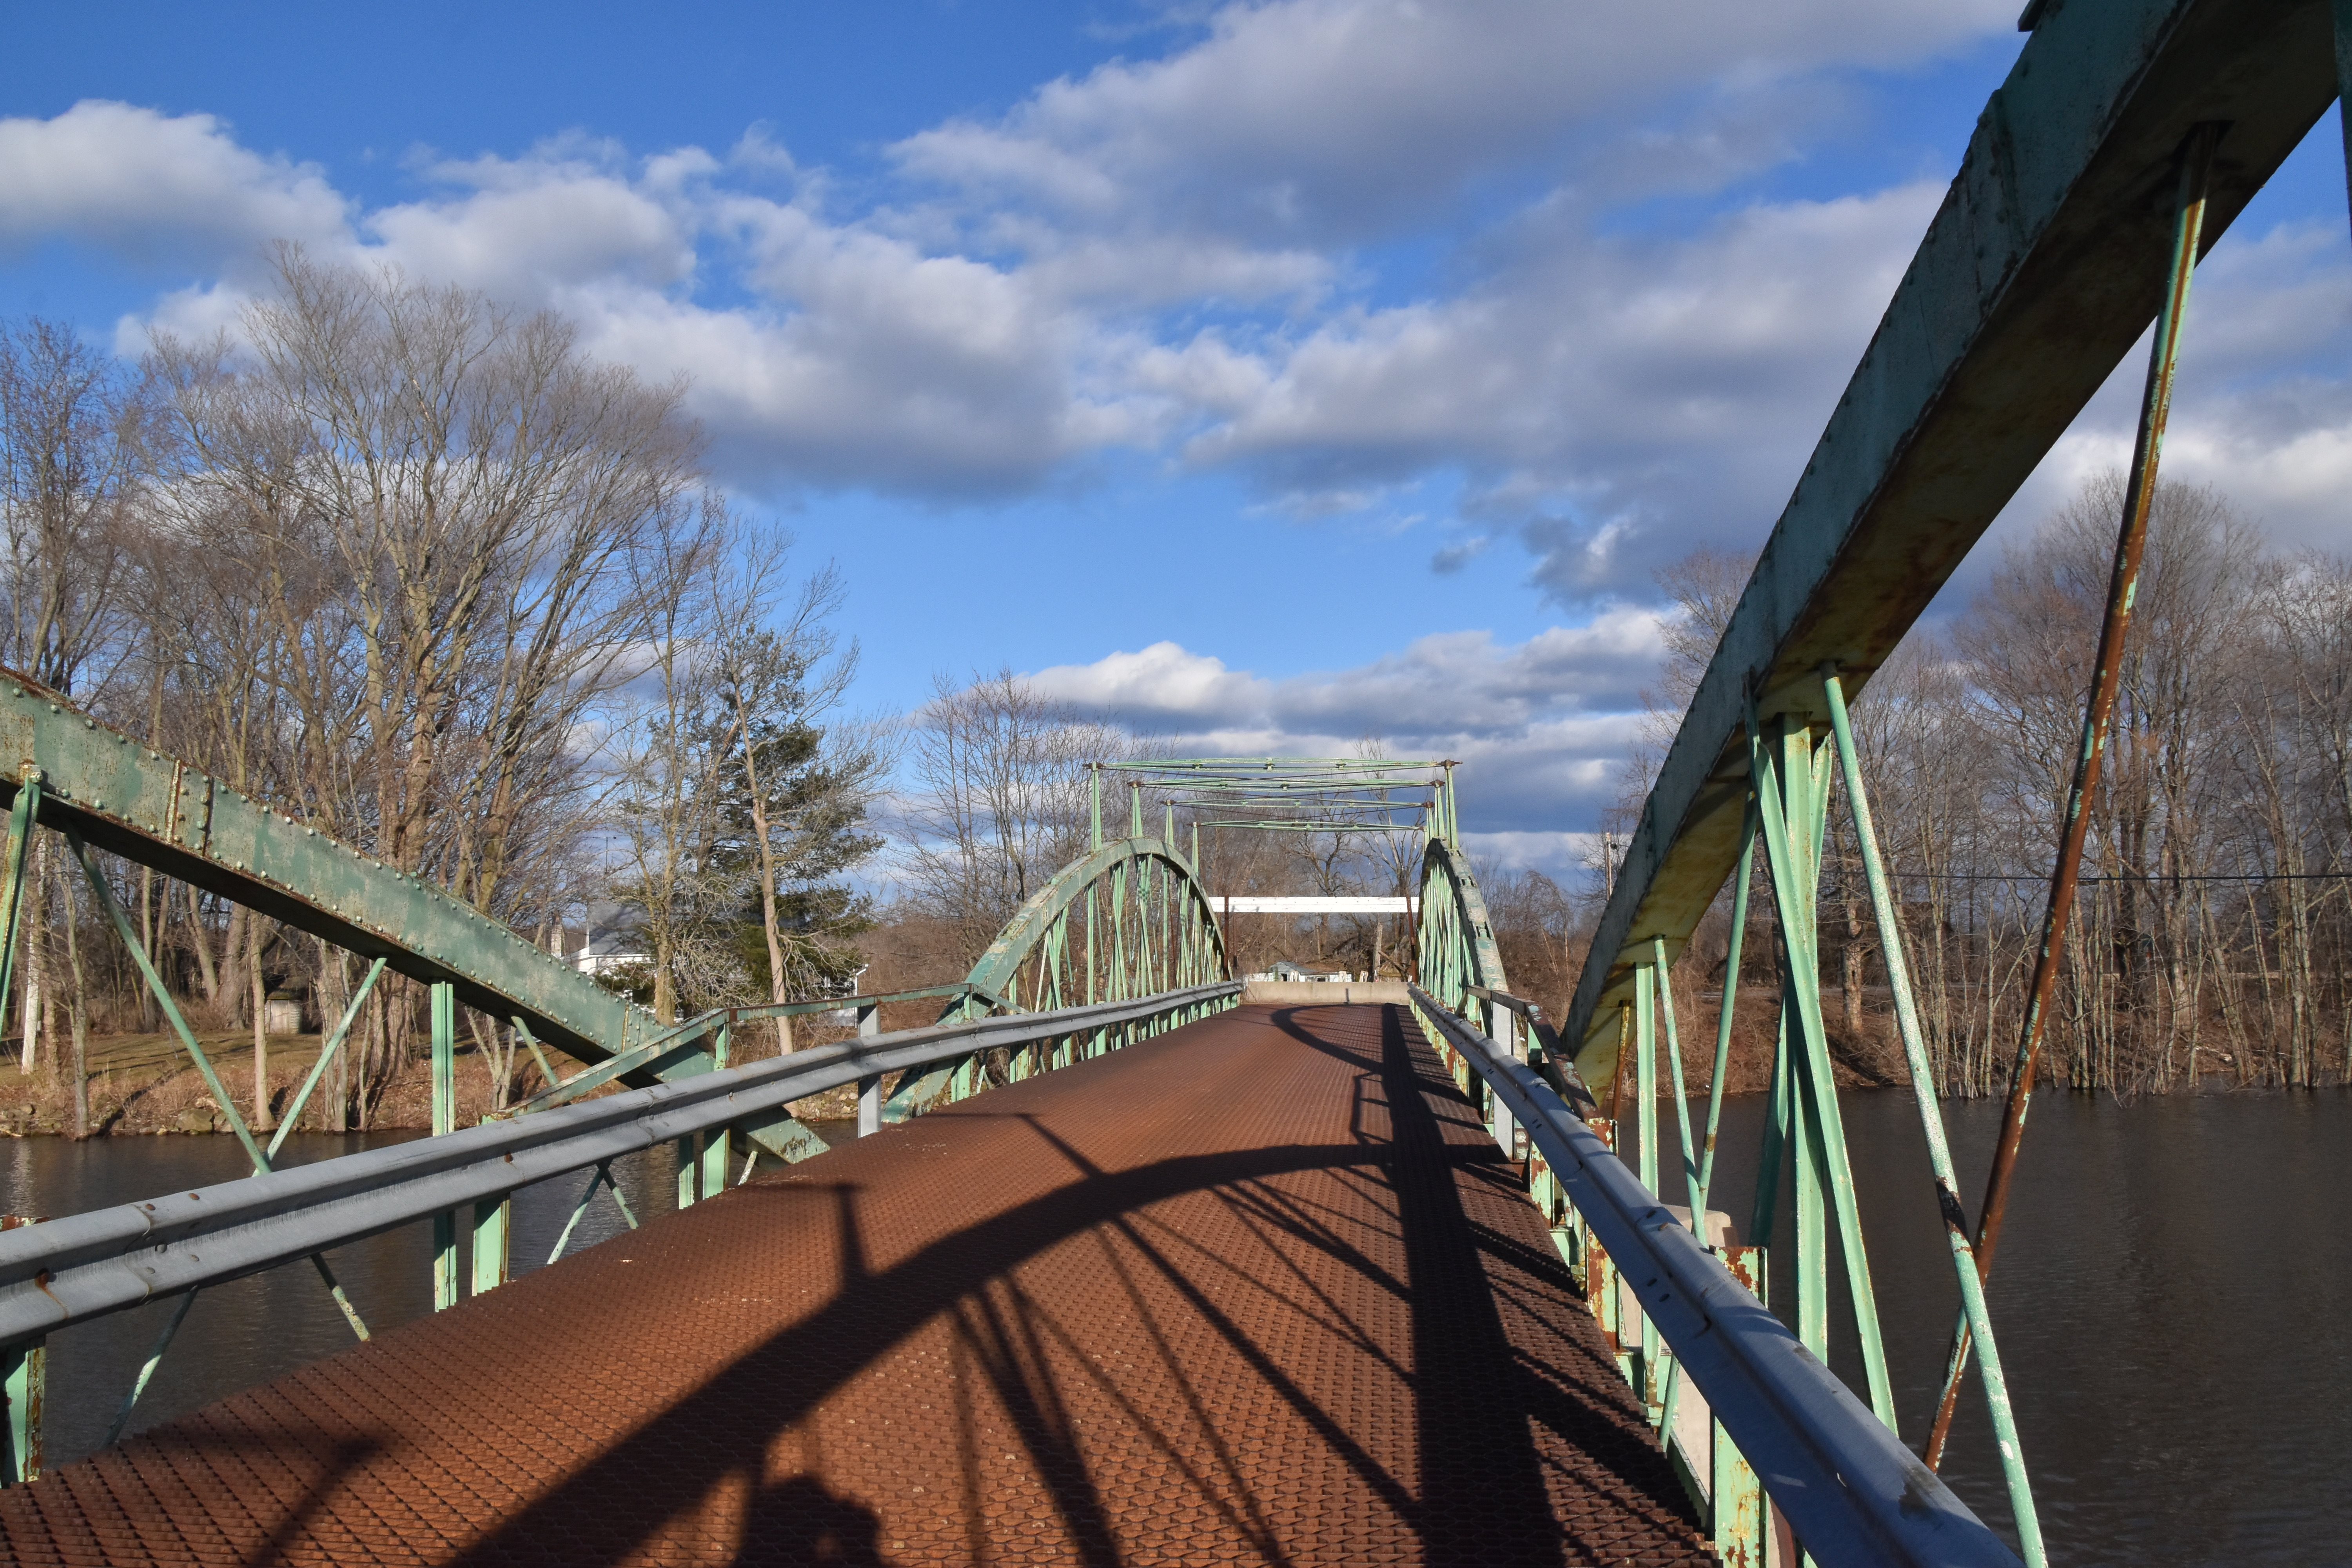
Portal views on bridge facing east.
![]()


Portal views facing west.
![]()

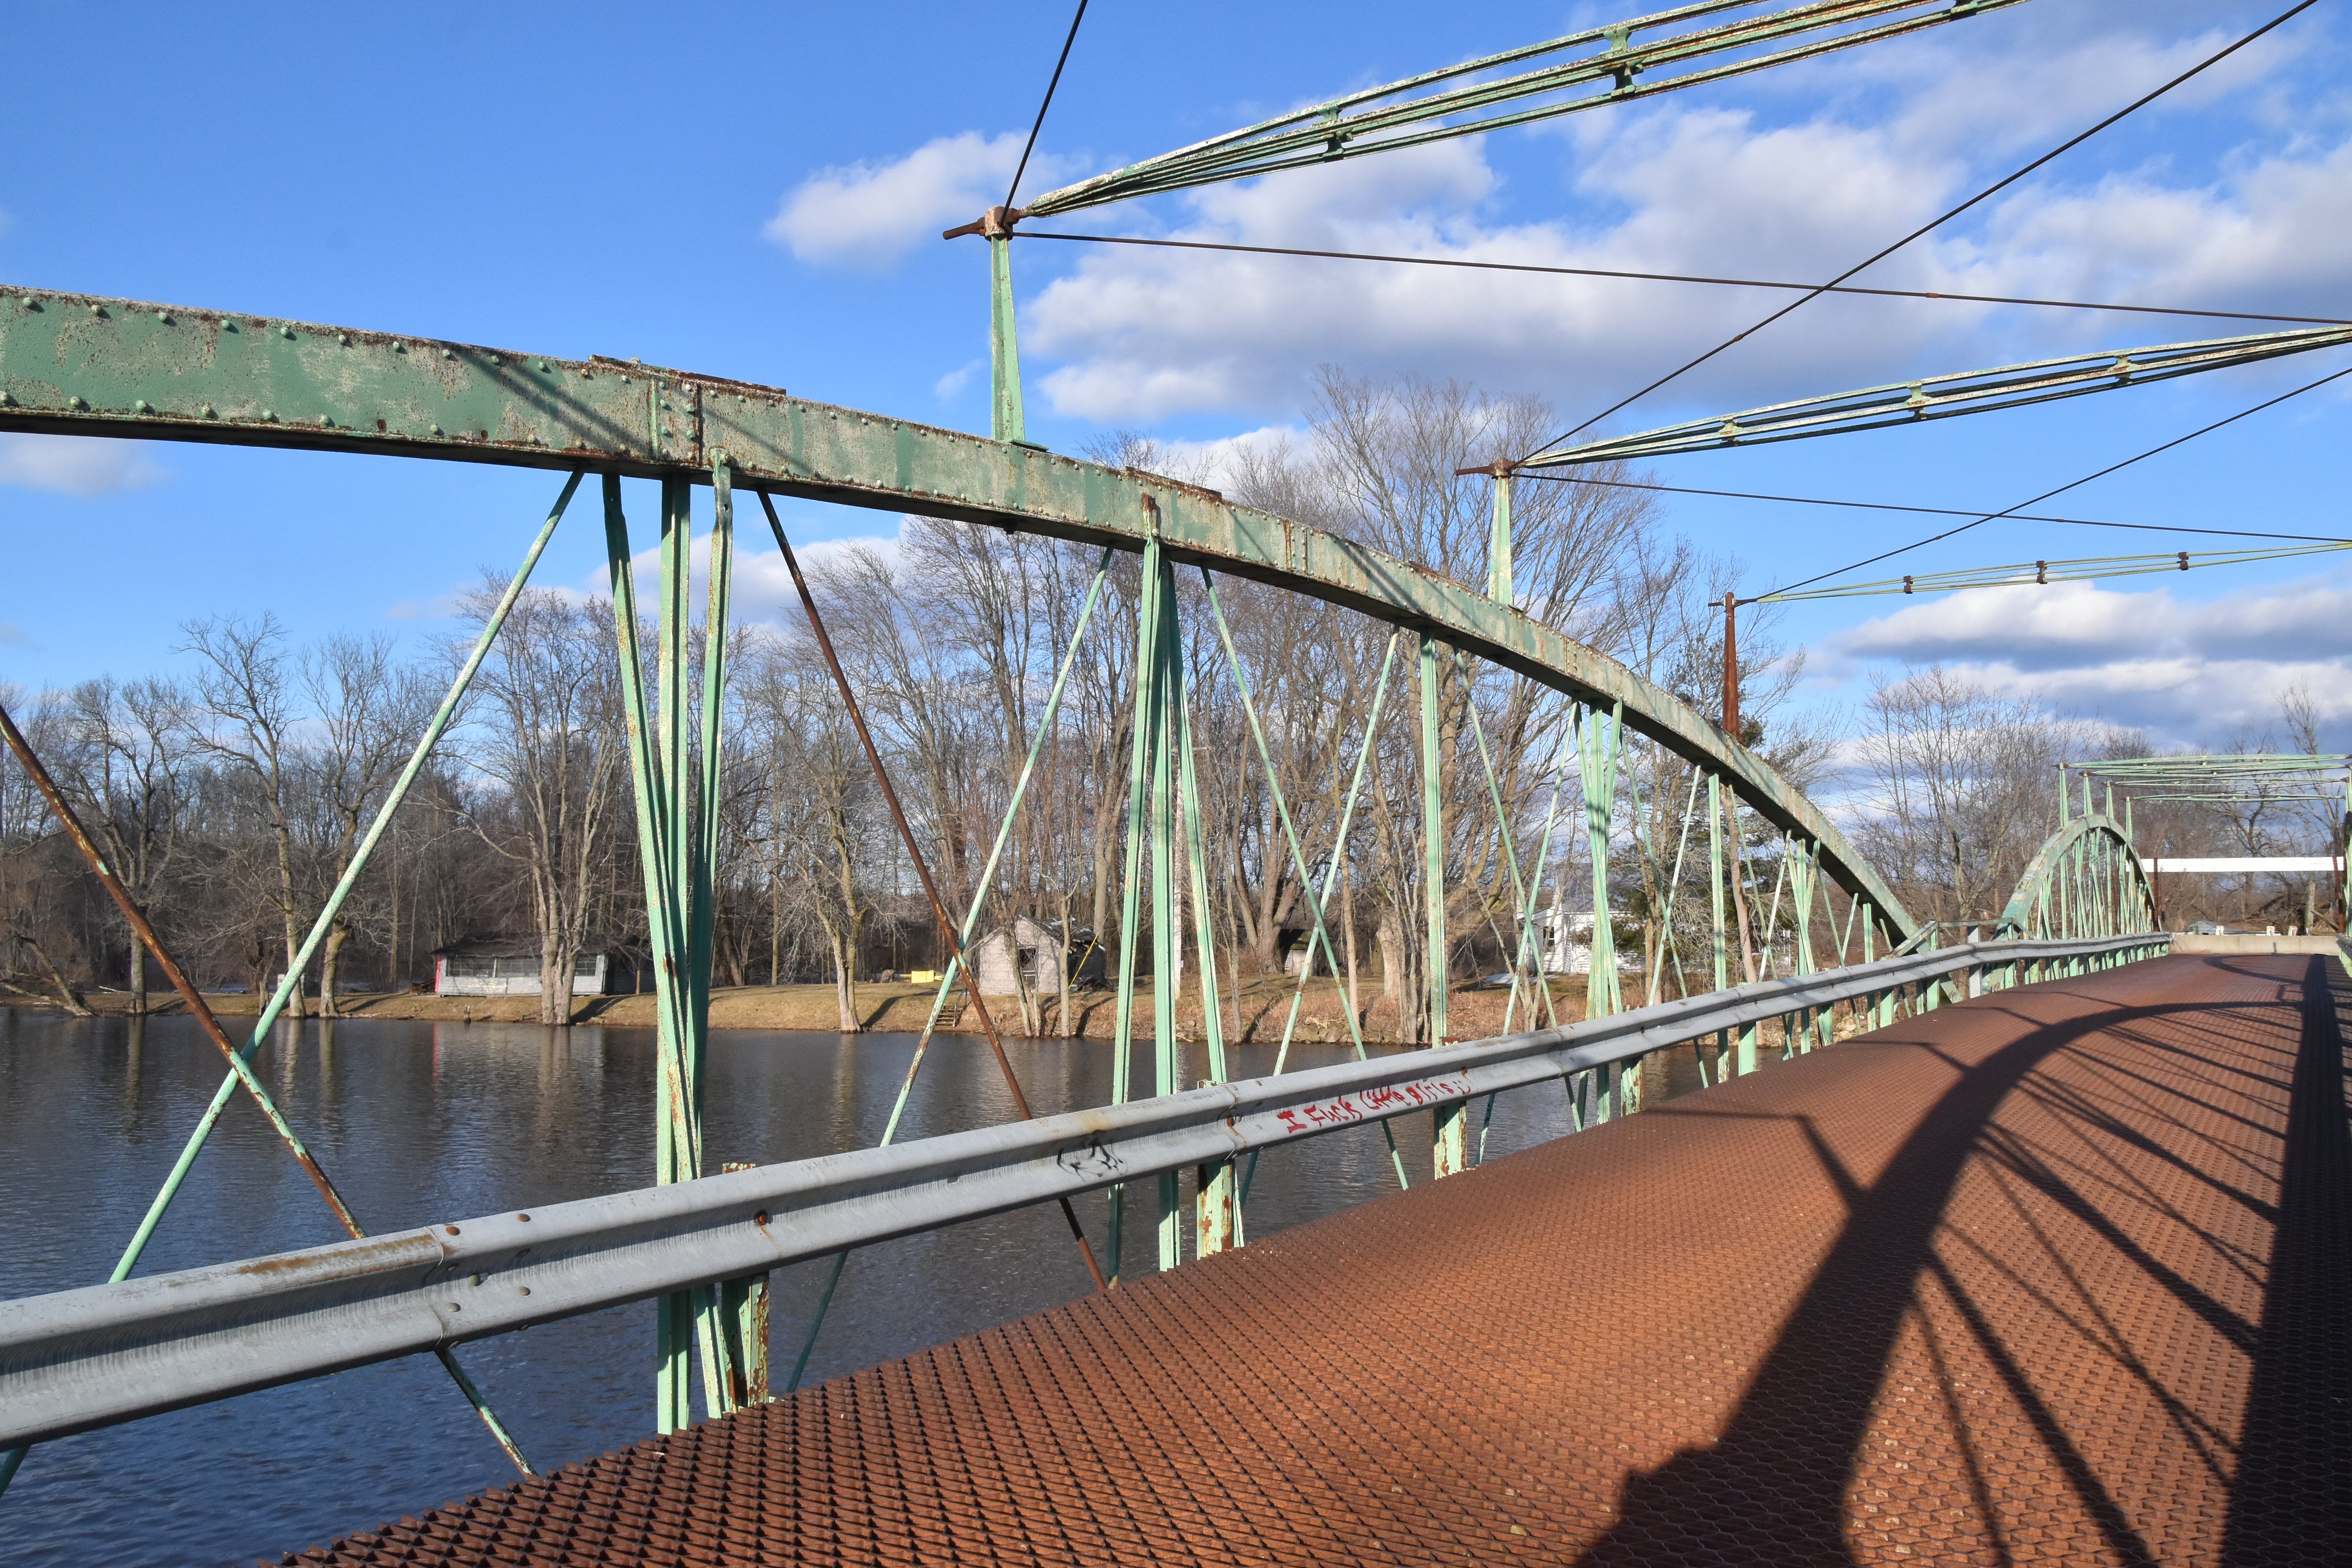
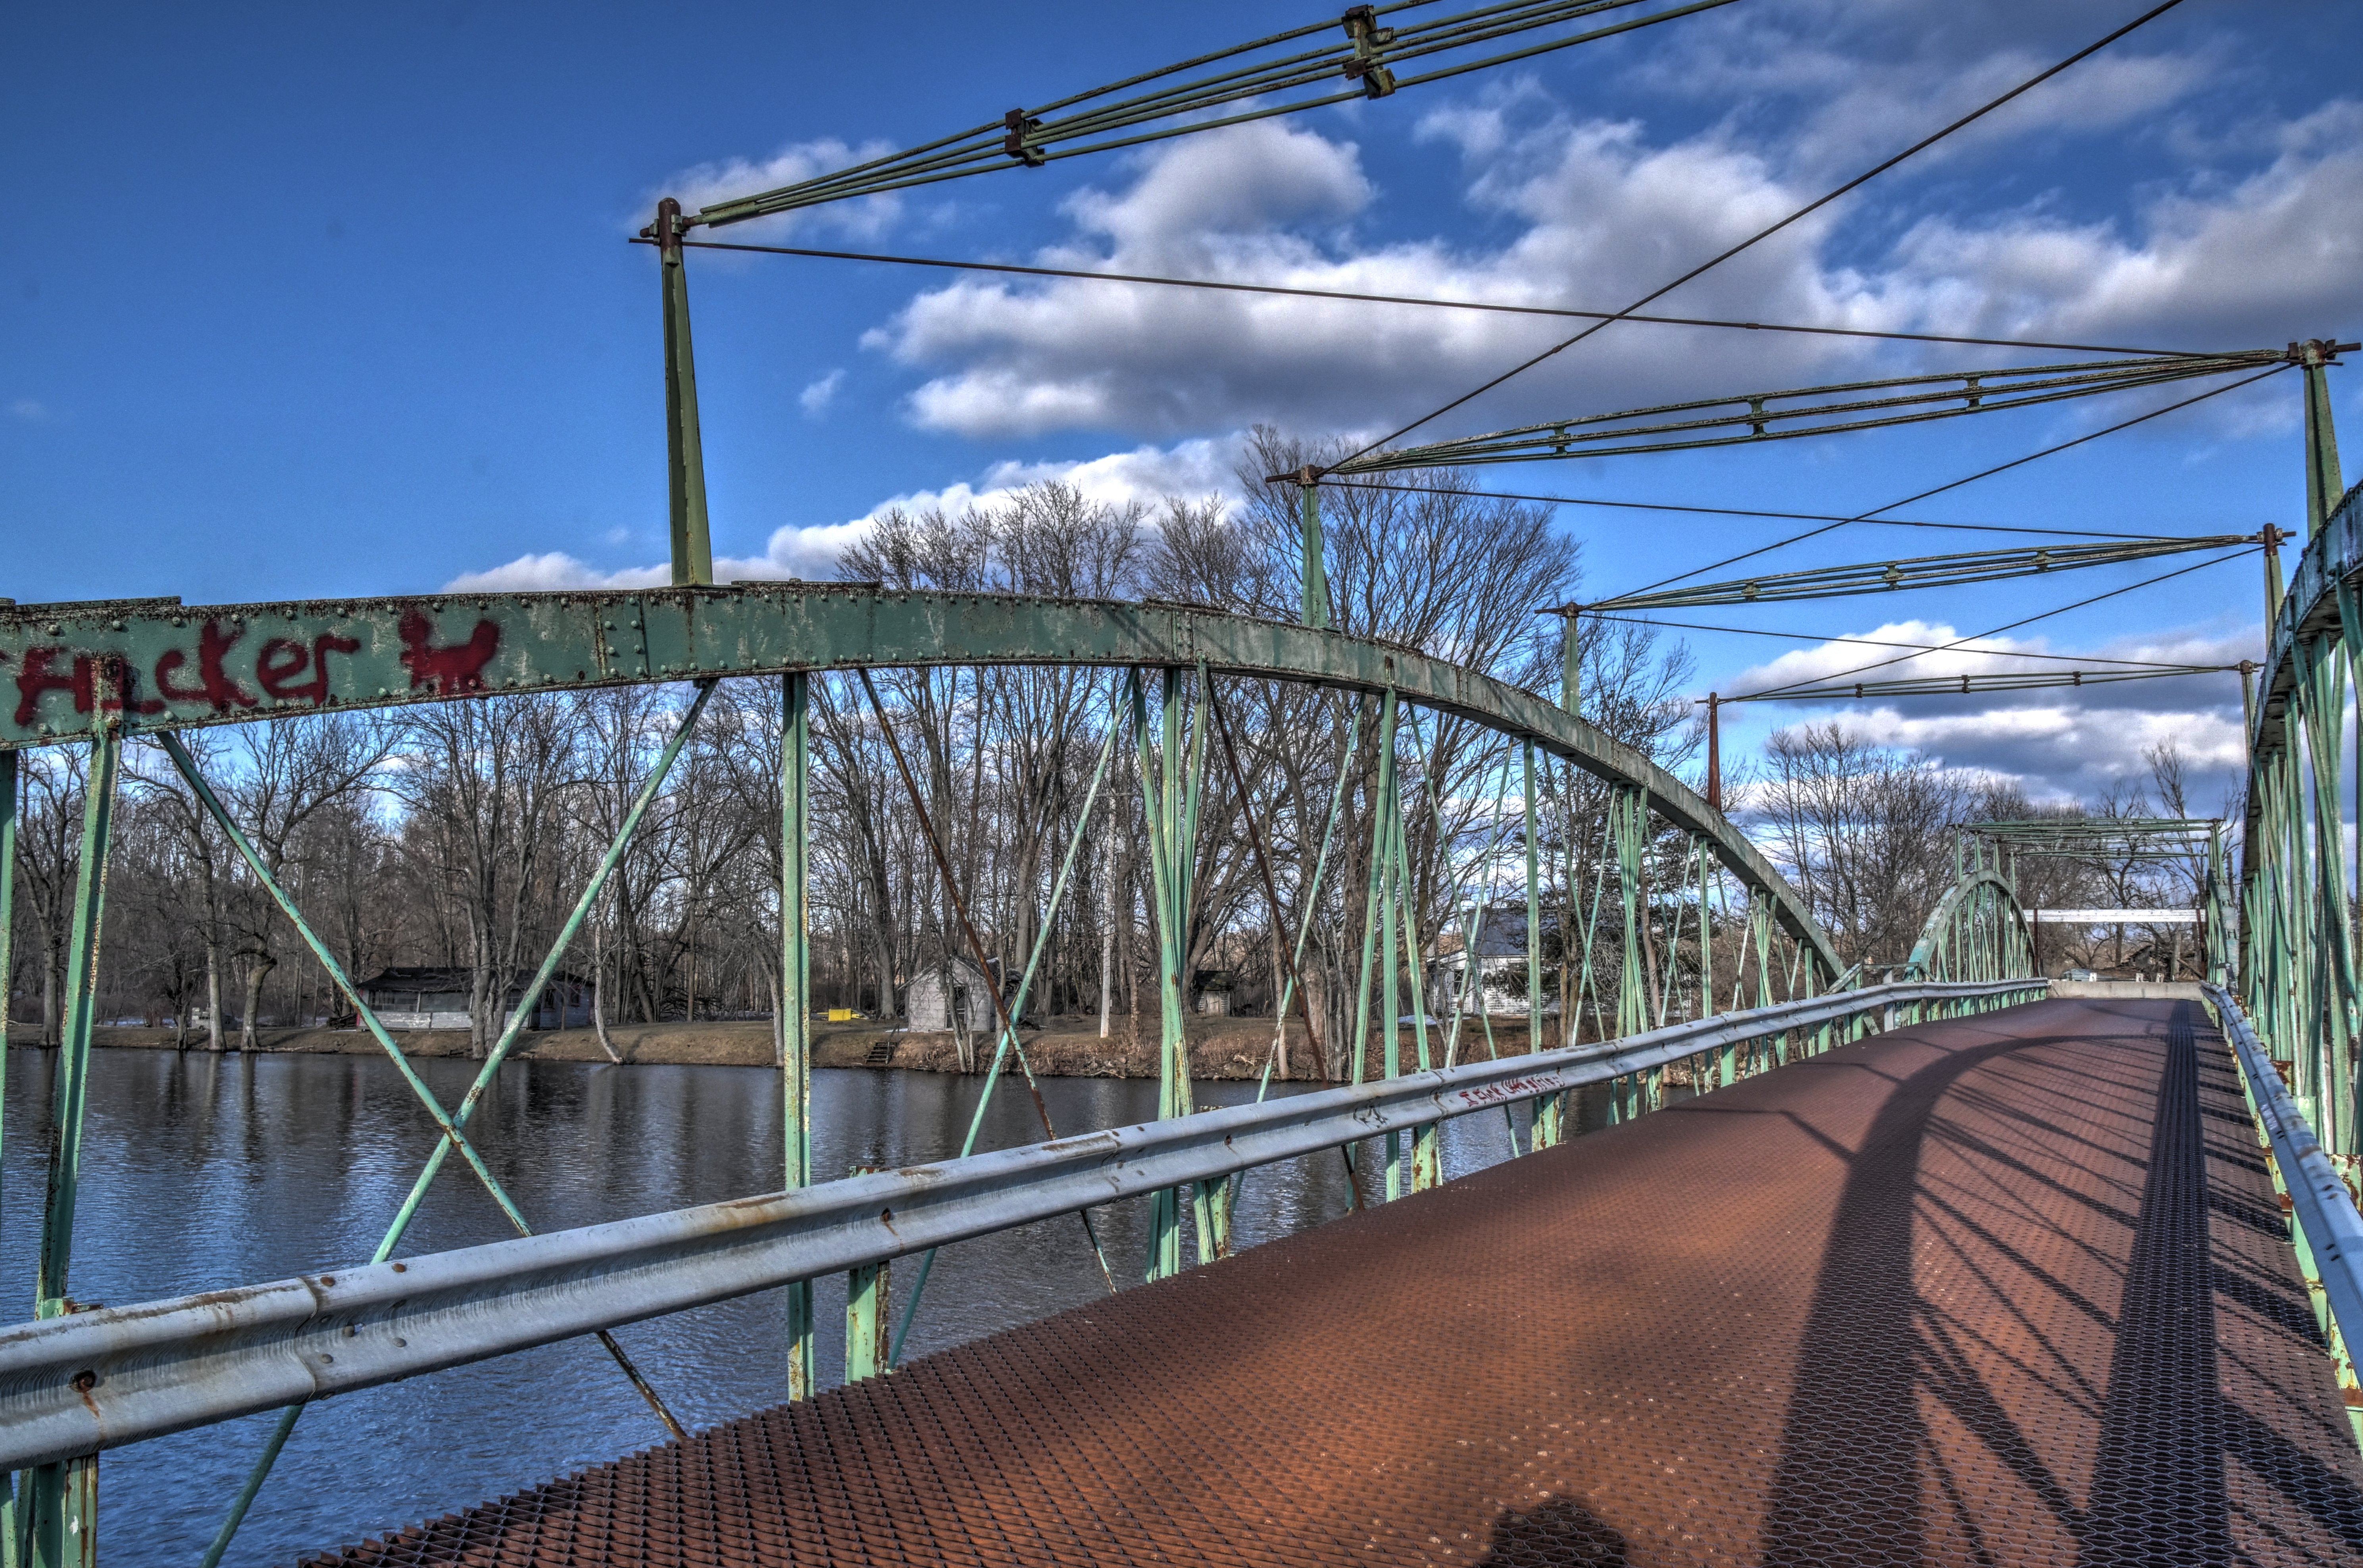


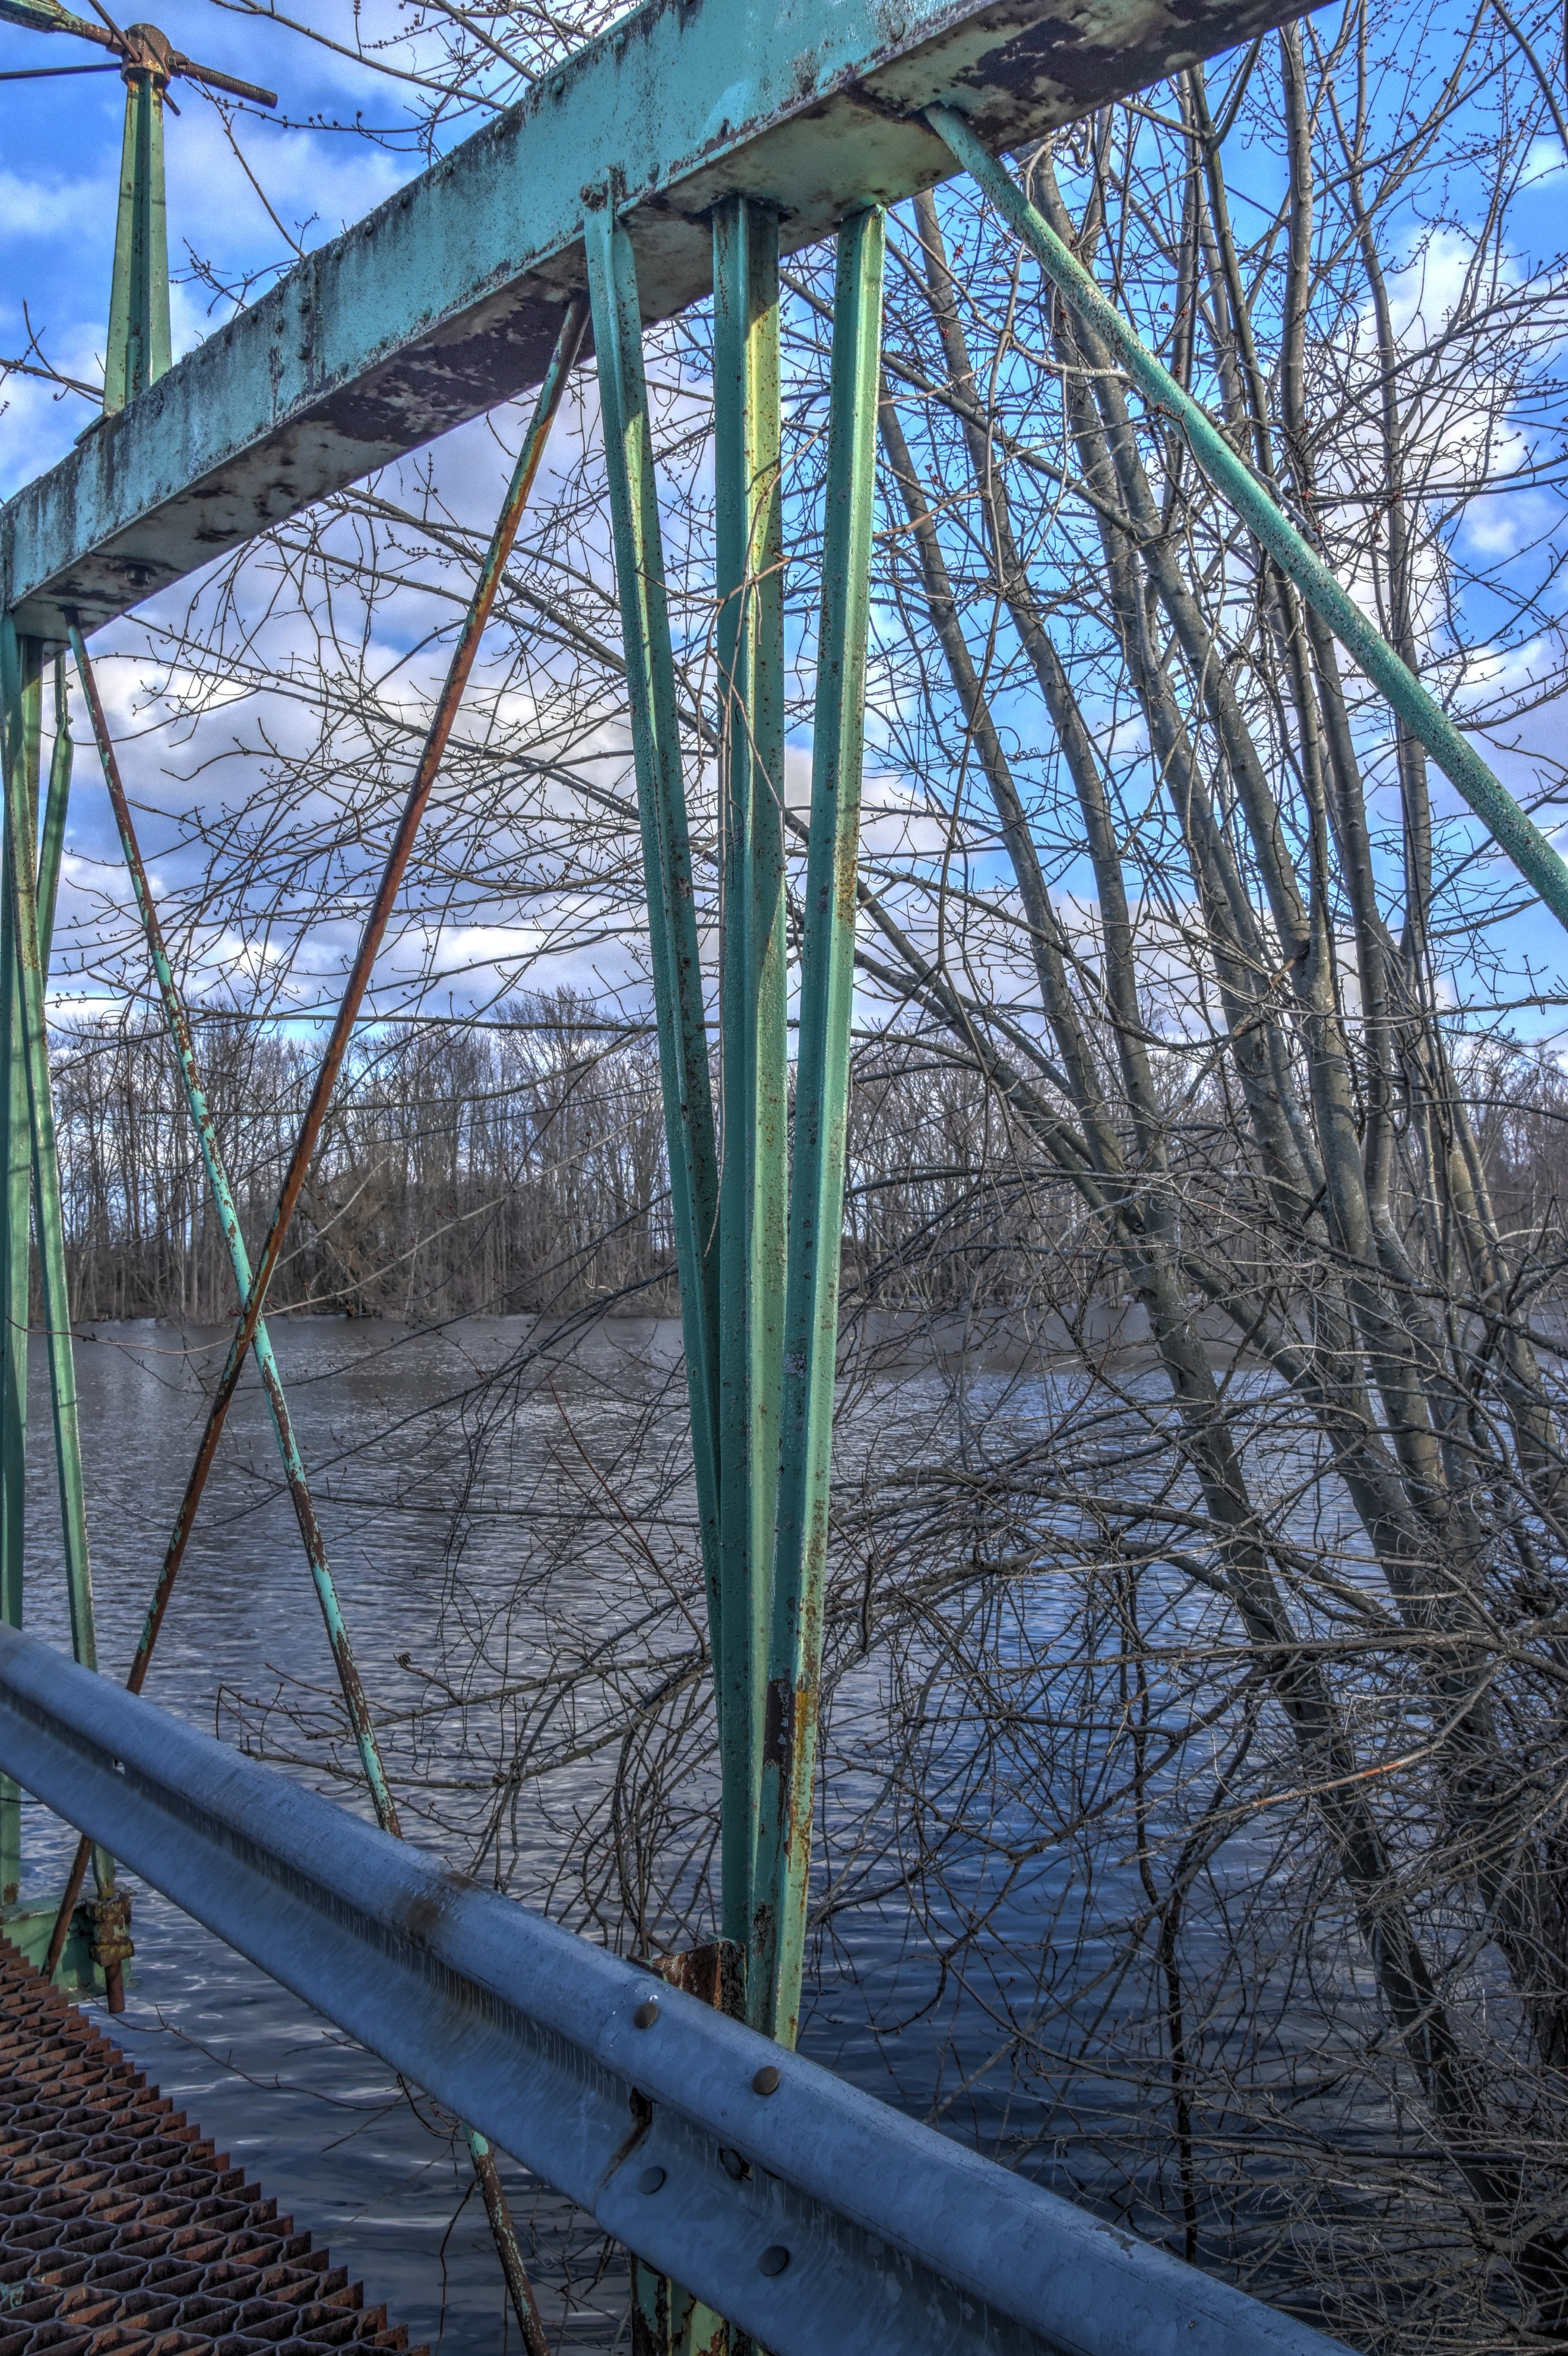
Views of truss web.
![]()


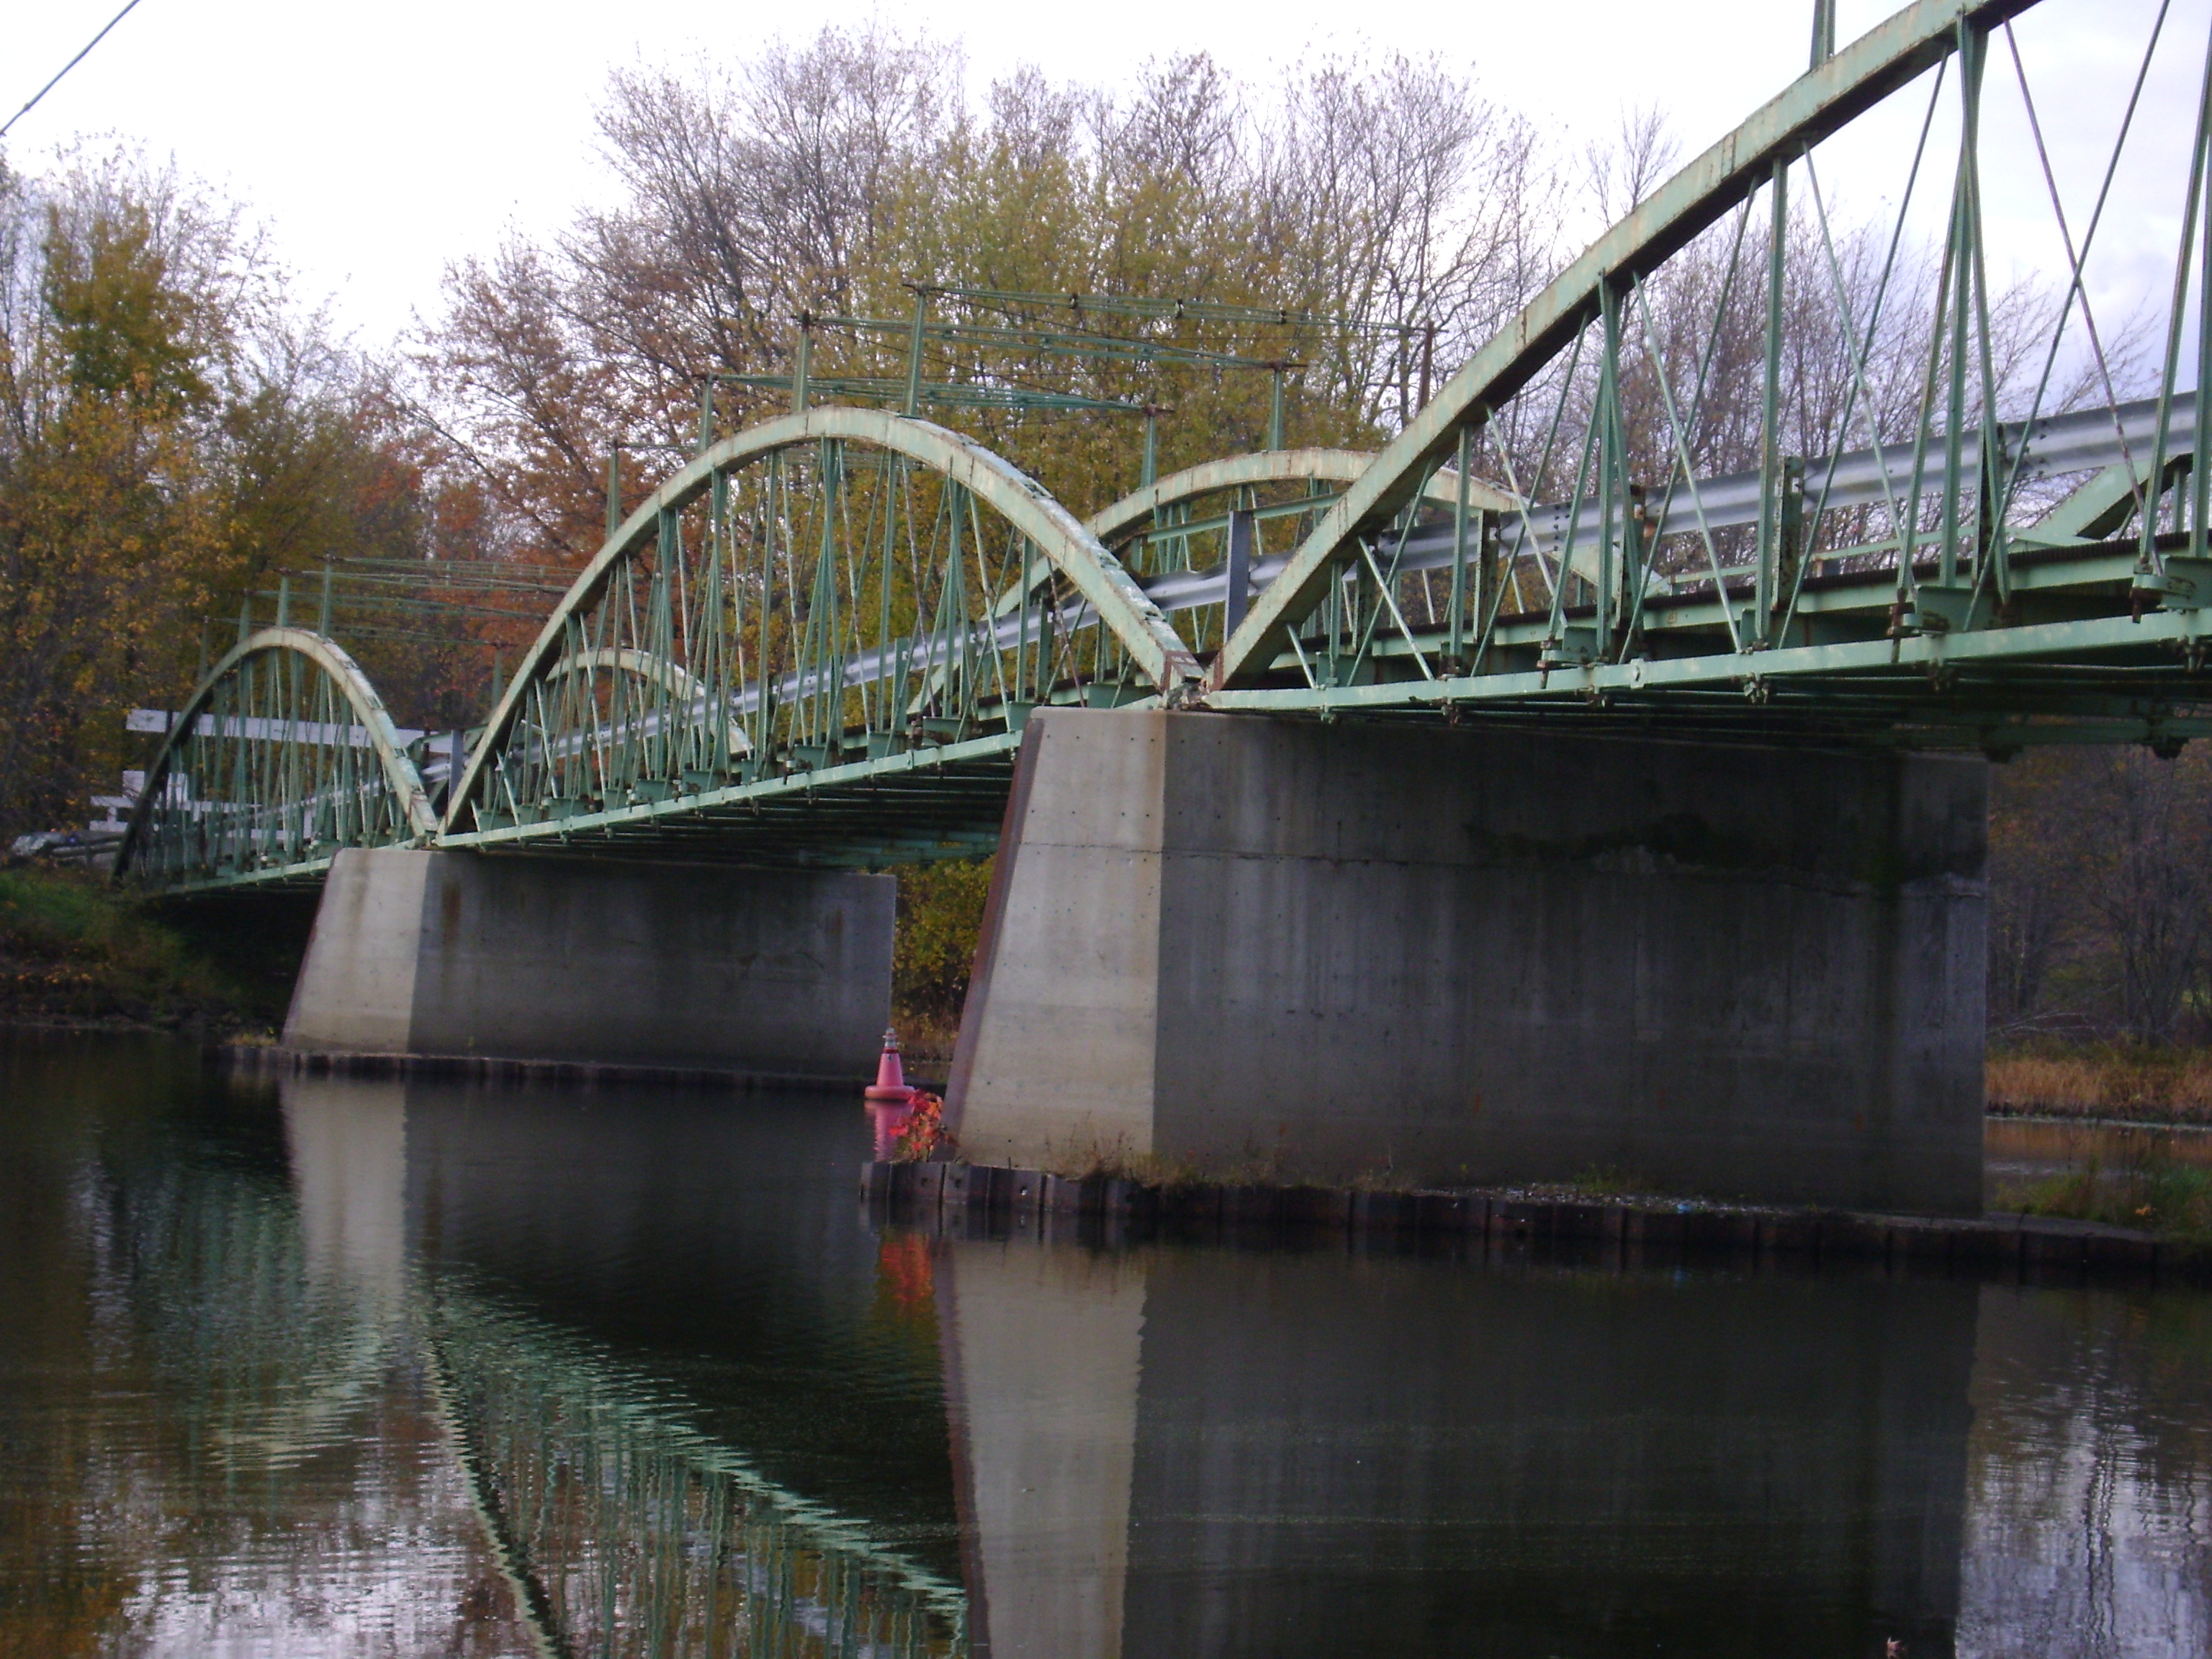
Photo Credit: Marc Scotti
View beside bridge from southeast quadrant.
![]()


Photo Credit: Marc Scotti
Views beside bridge from northwest quadrant.
![]()

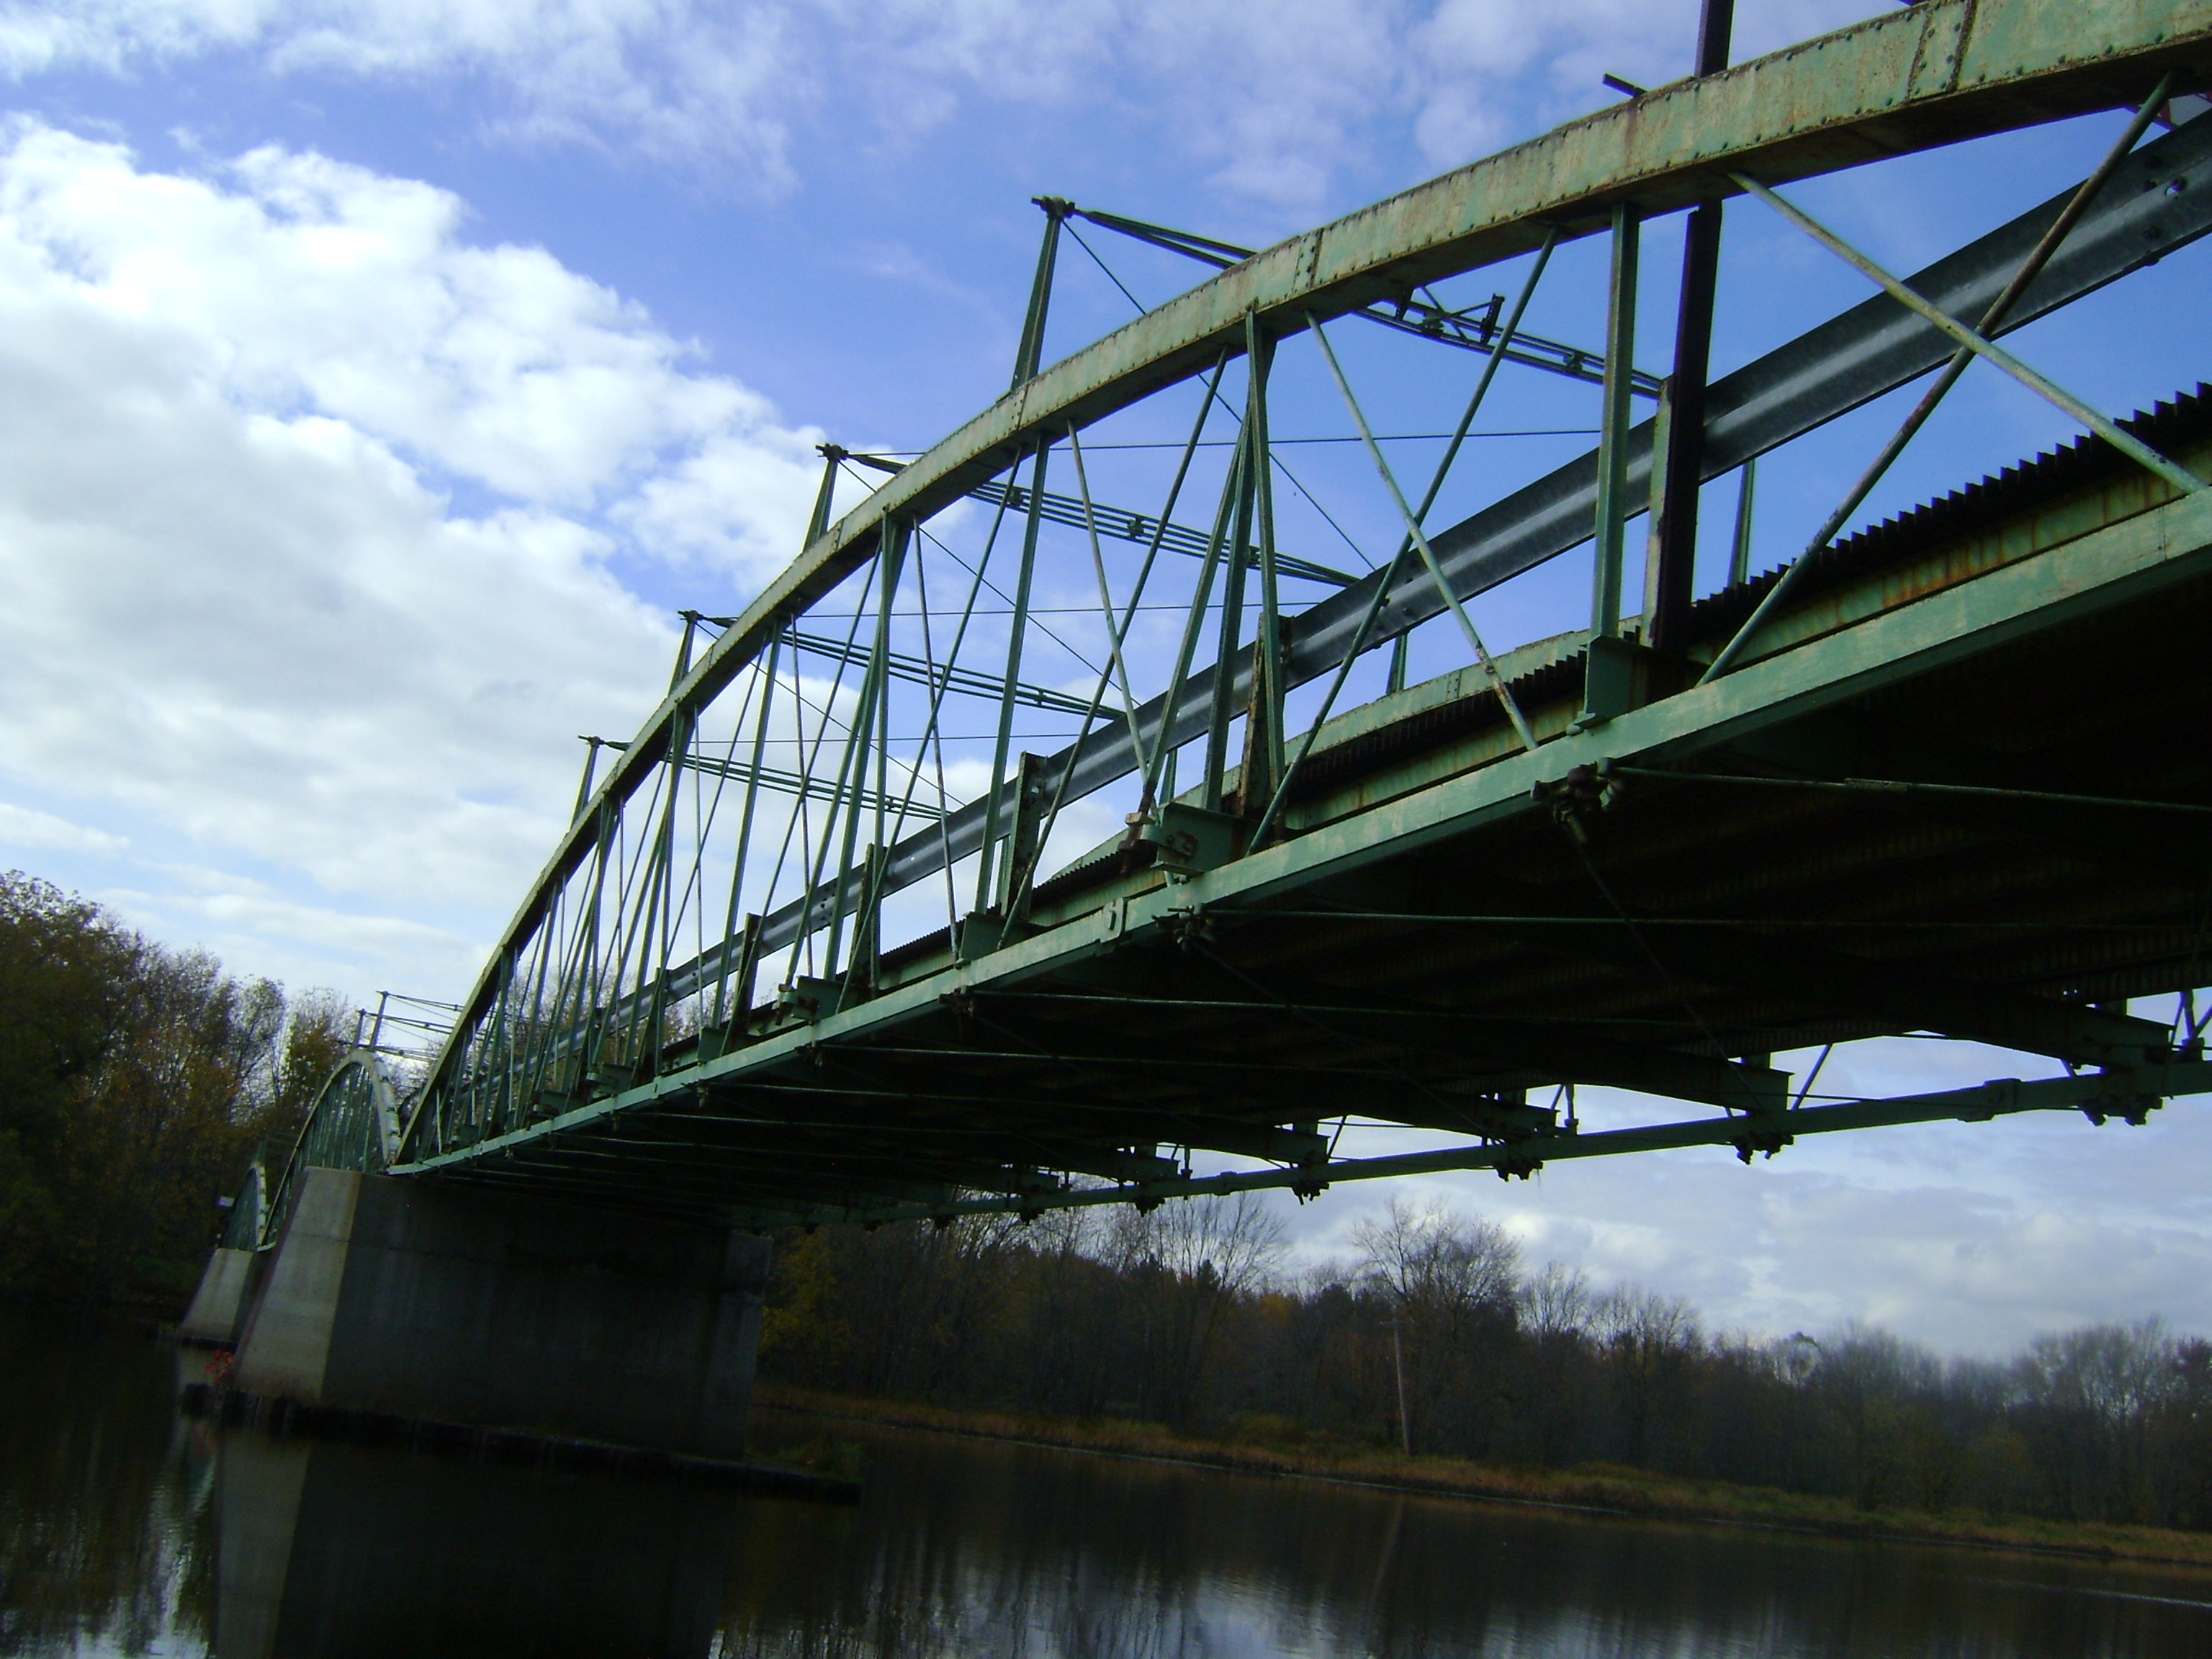
Photo Credit: Marc Scotti
Views beside bridge.
![]()
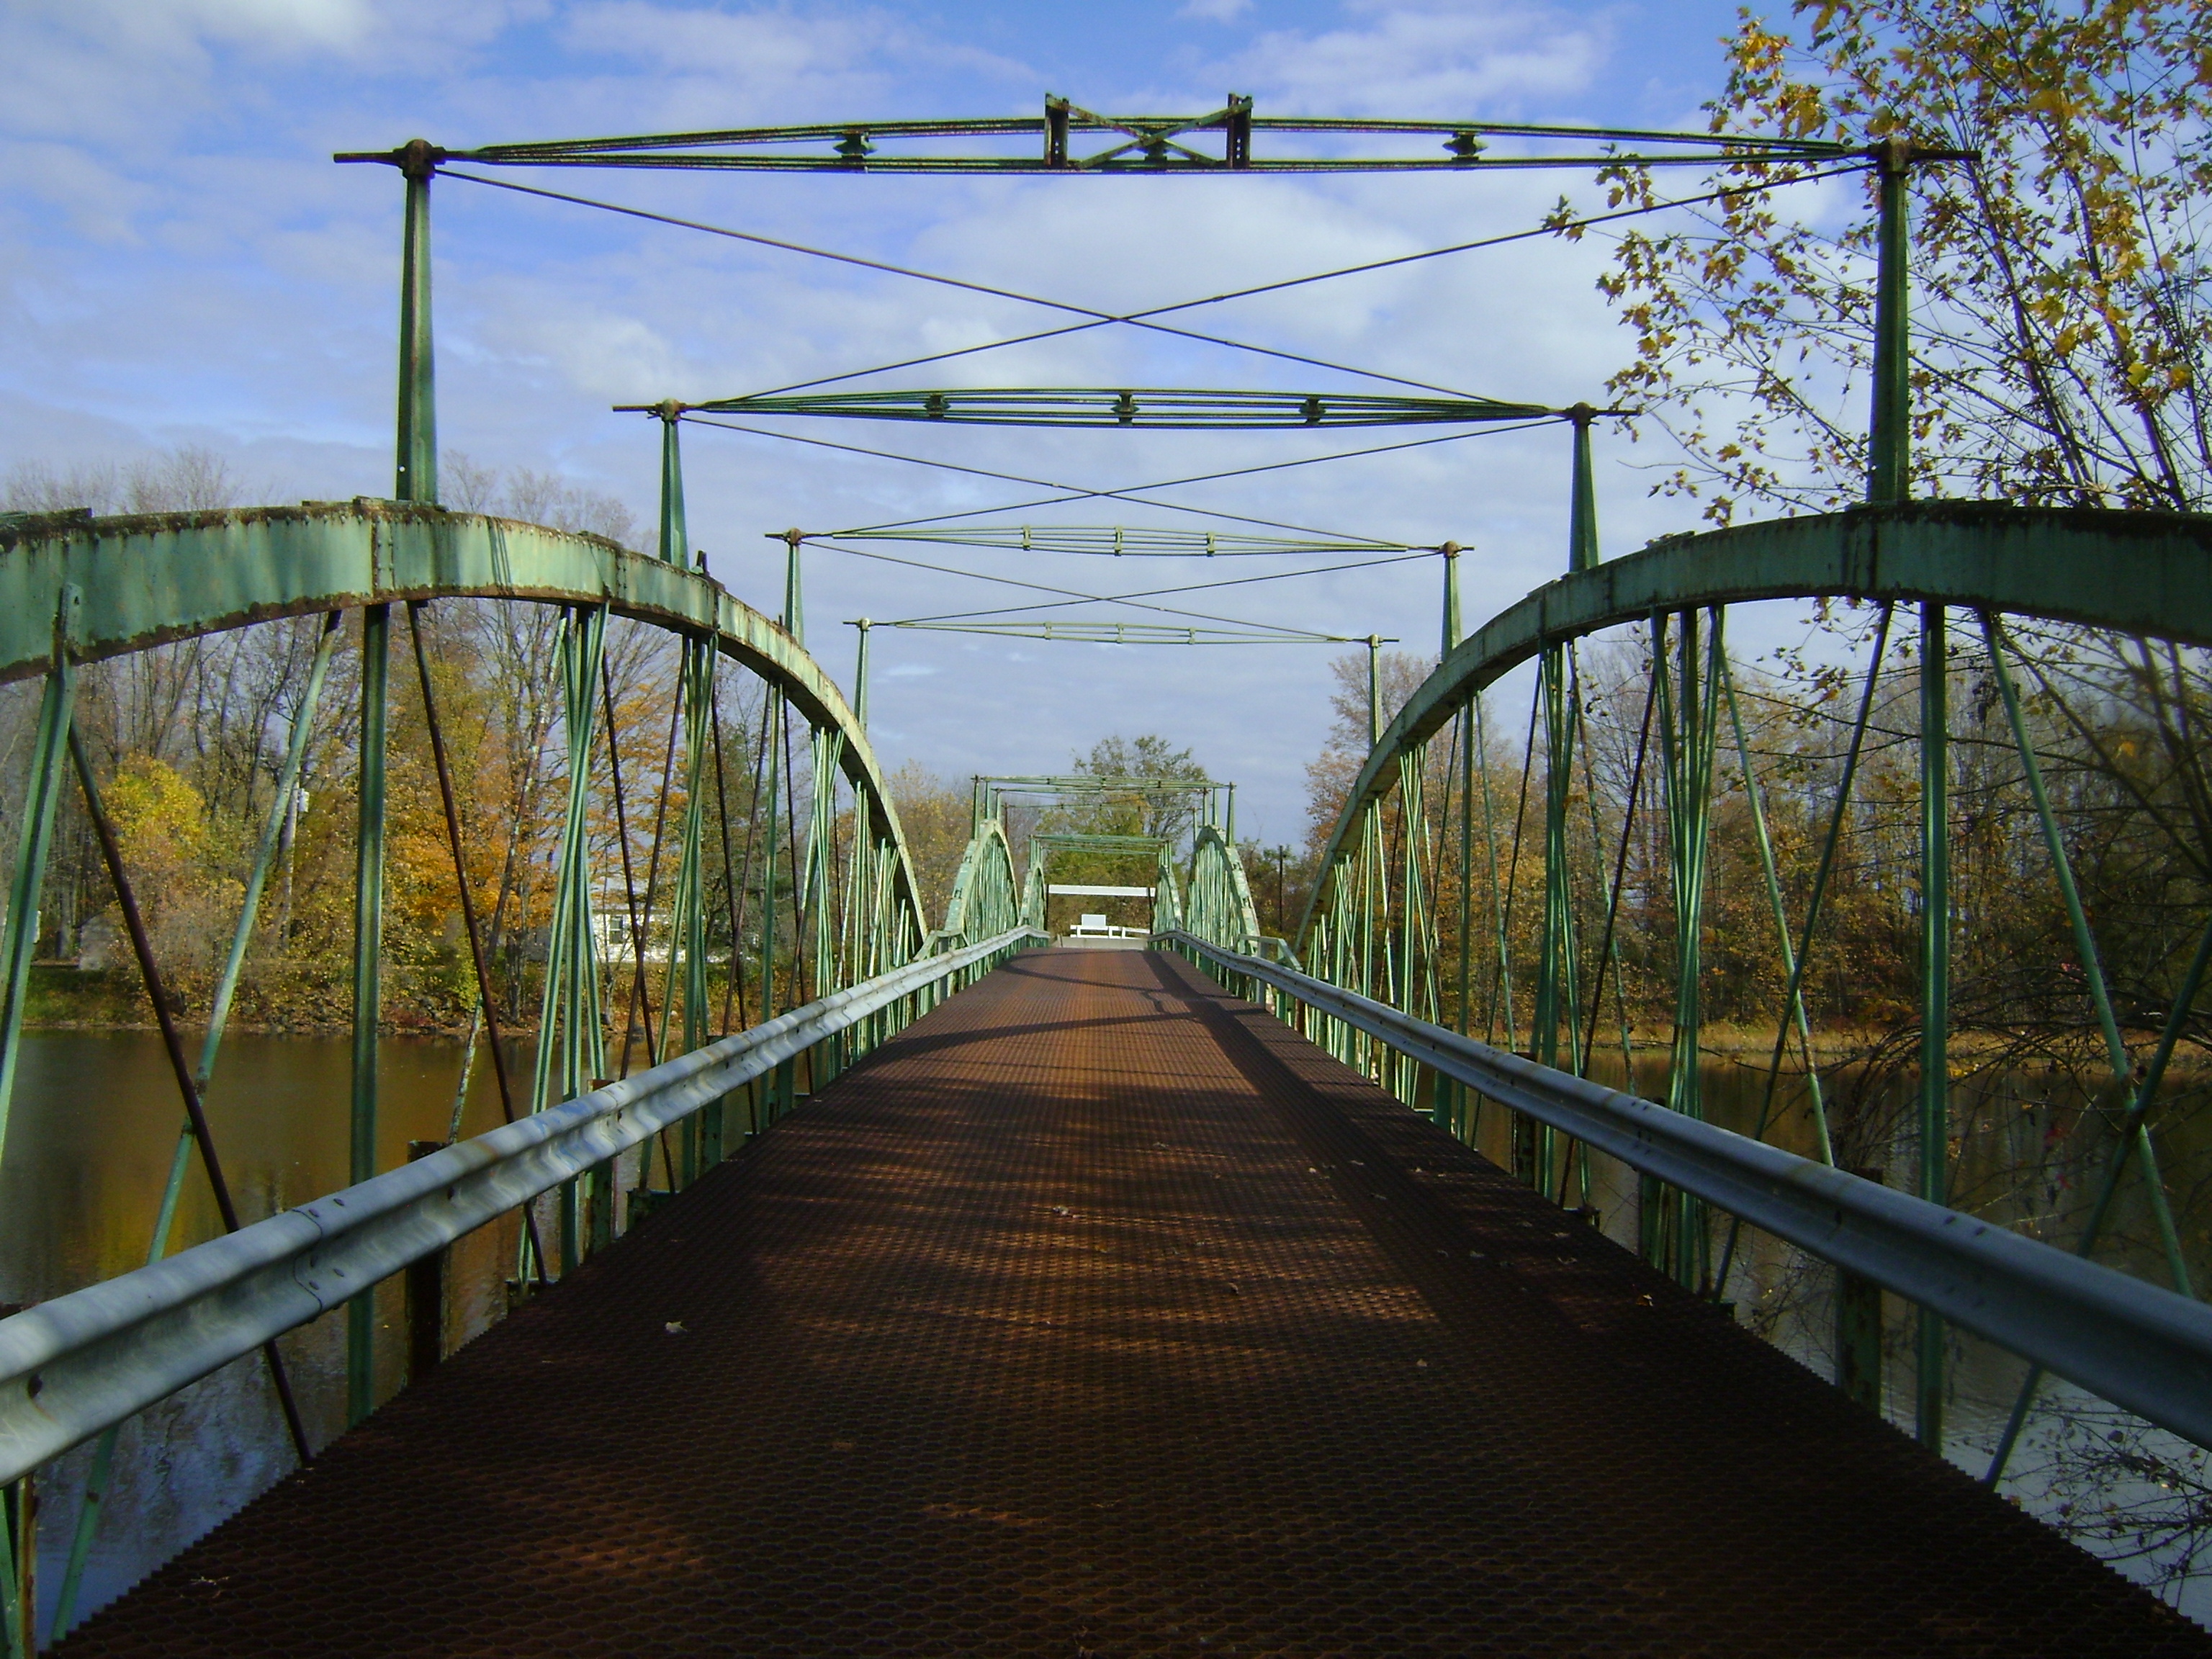

Photo Credit: Marc Scotti
Portal view on bridge facing east.
![]()

Photo Credit: Marc Scotti
Portal view on bridge facing west.
![]()

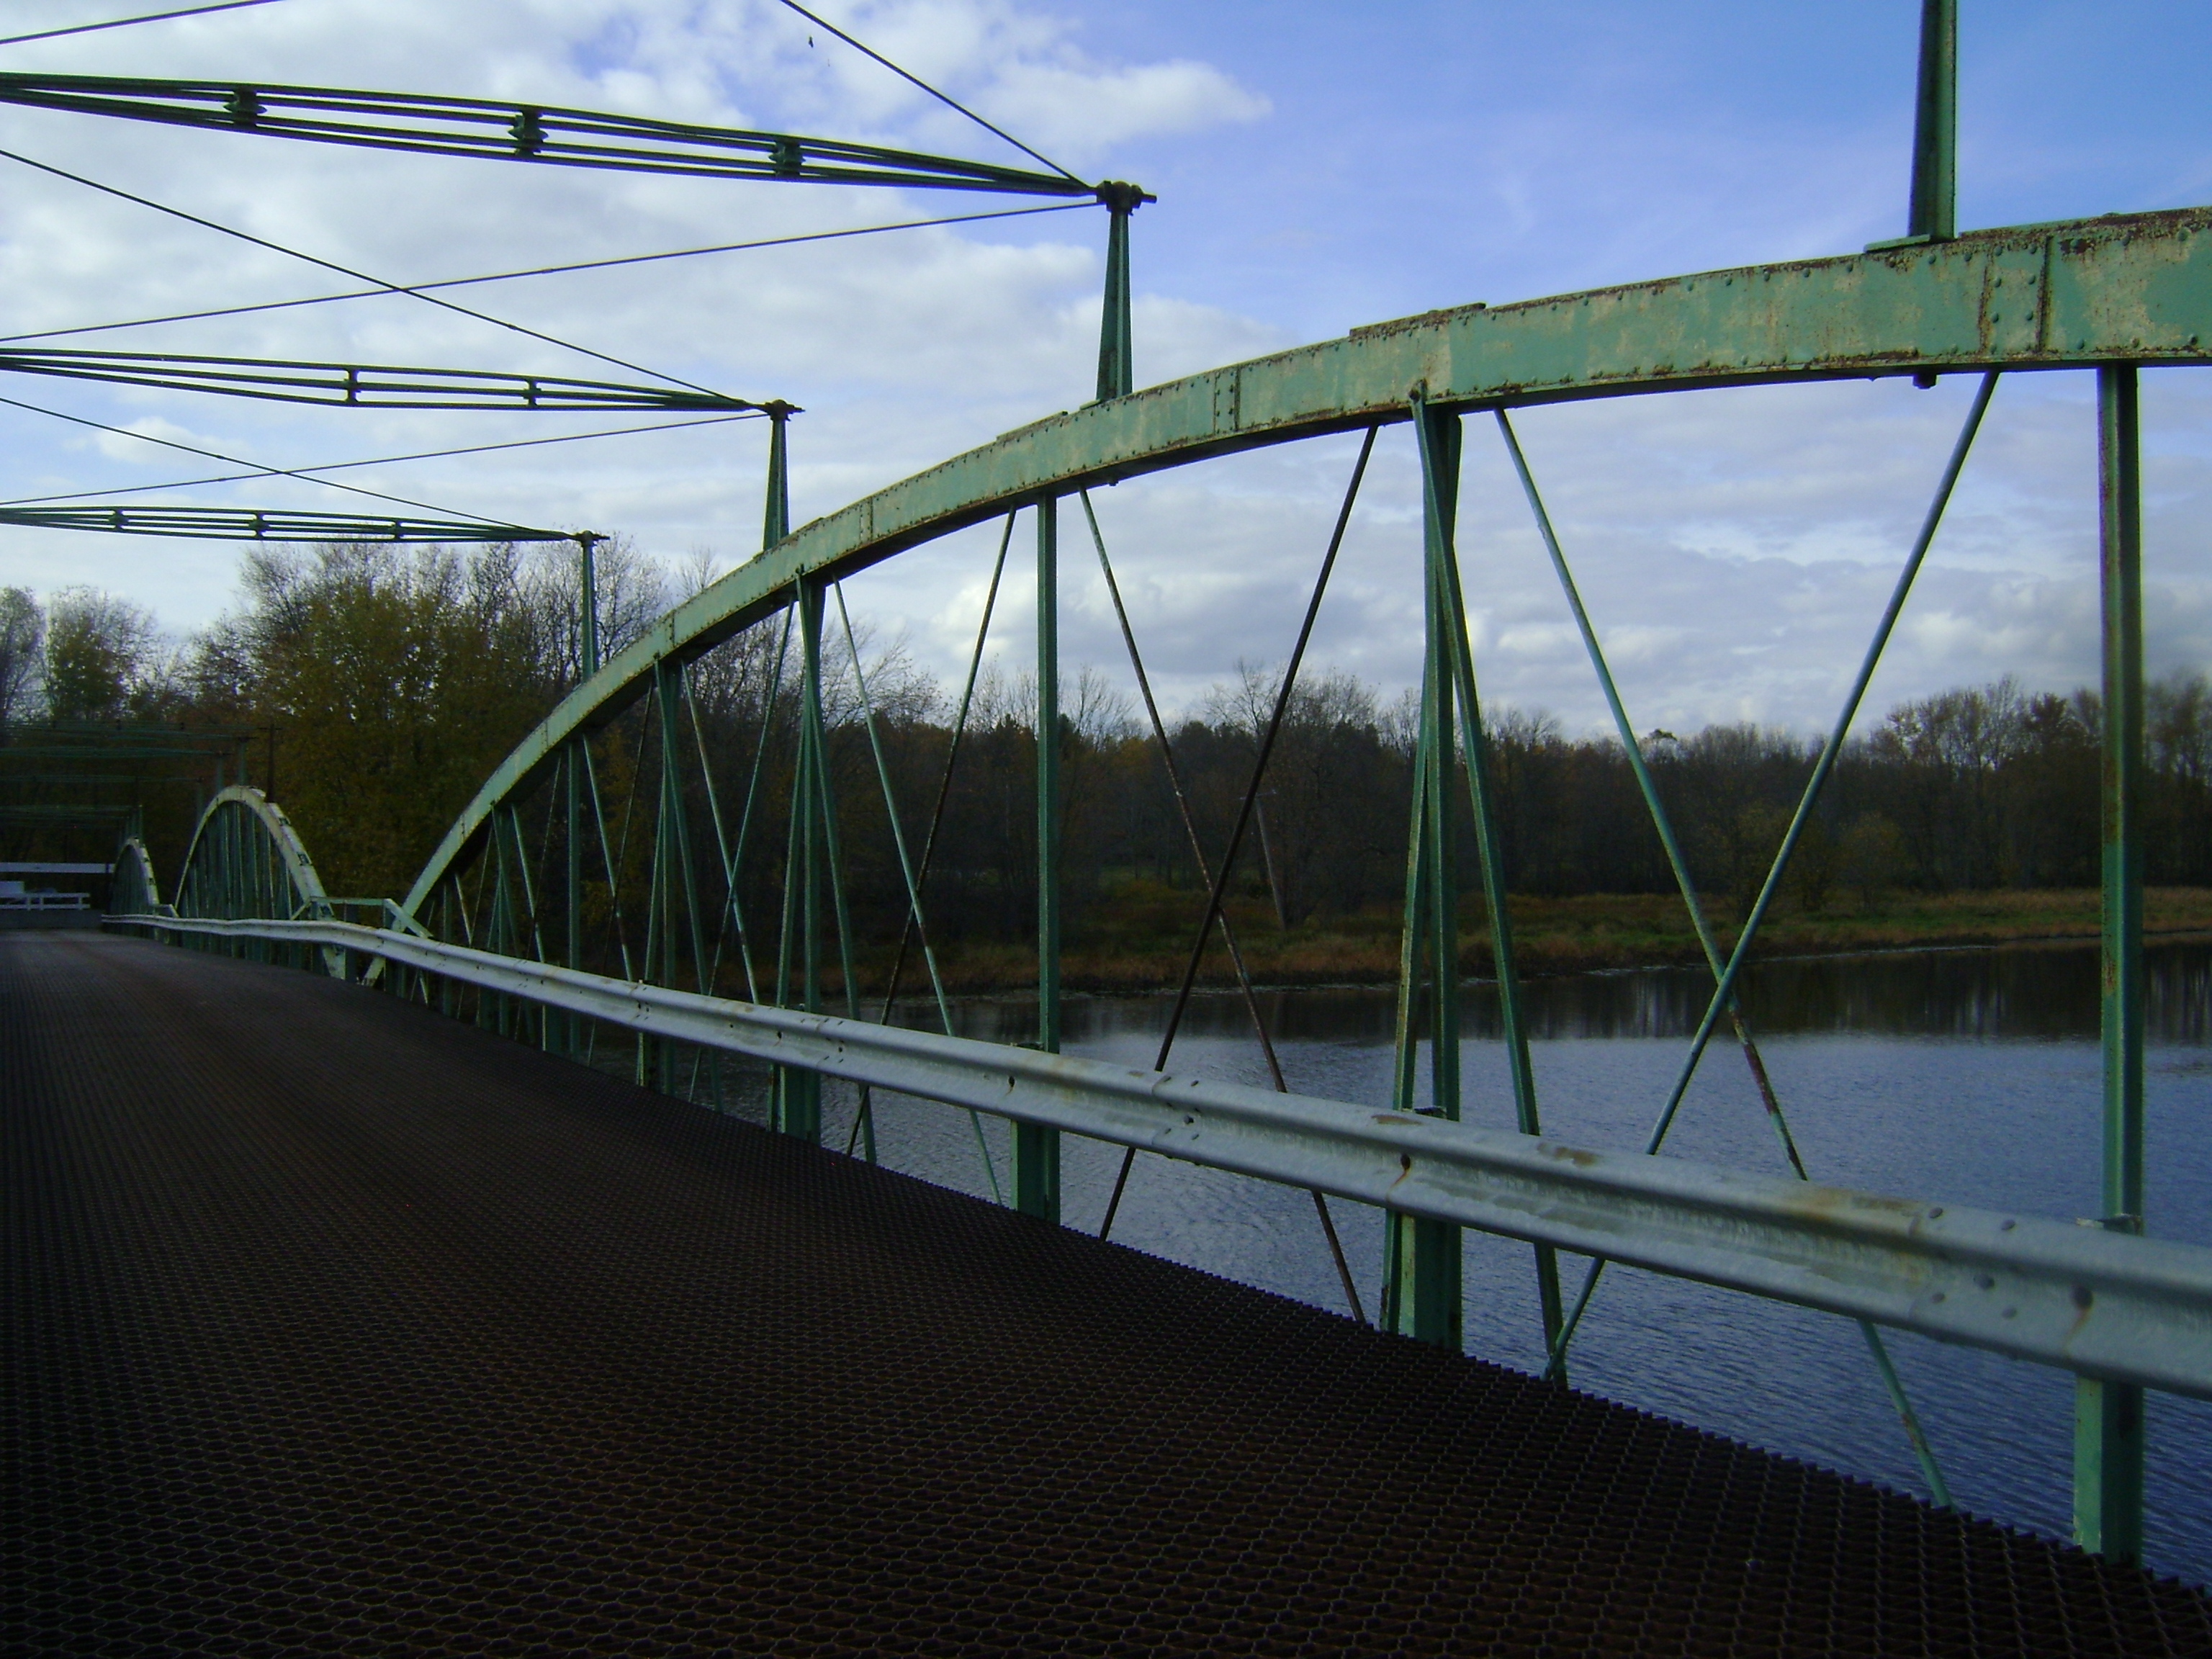

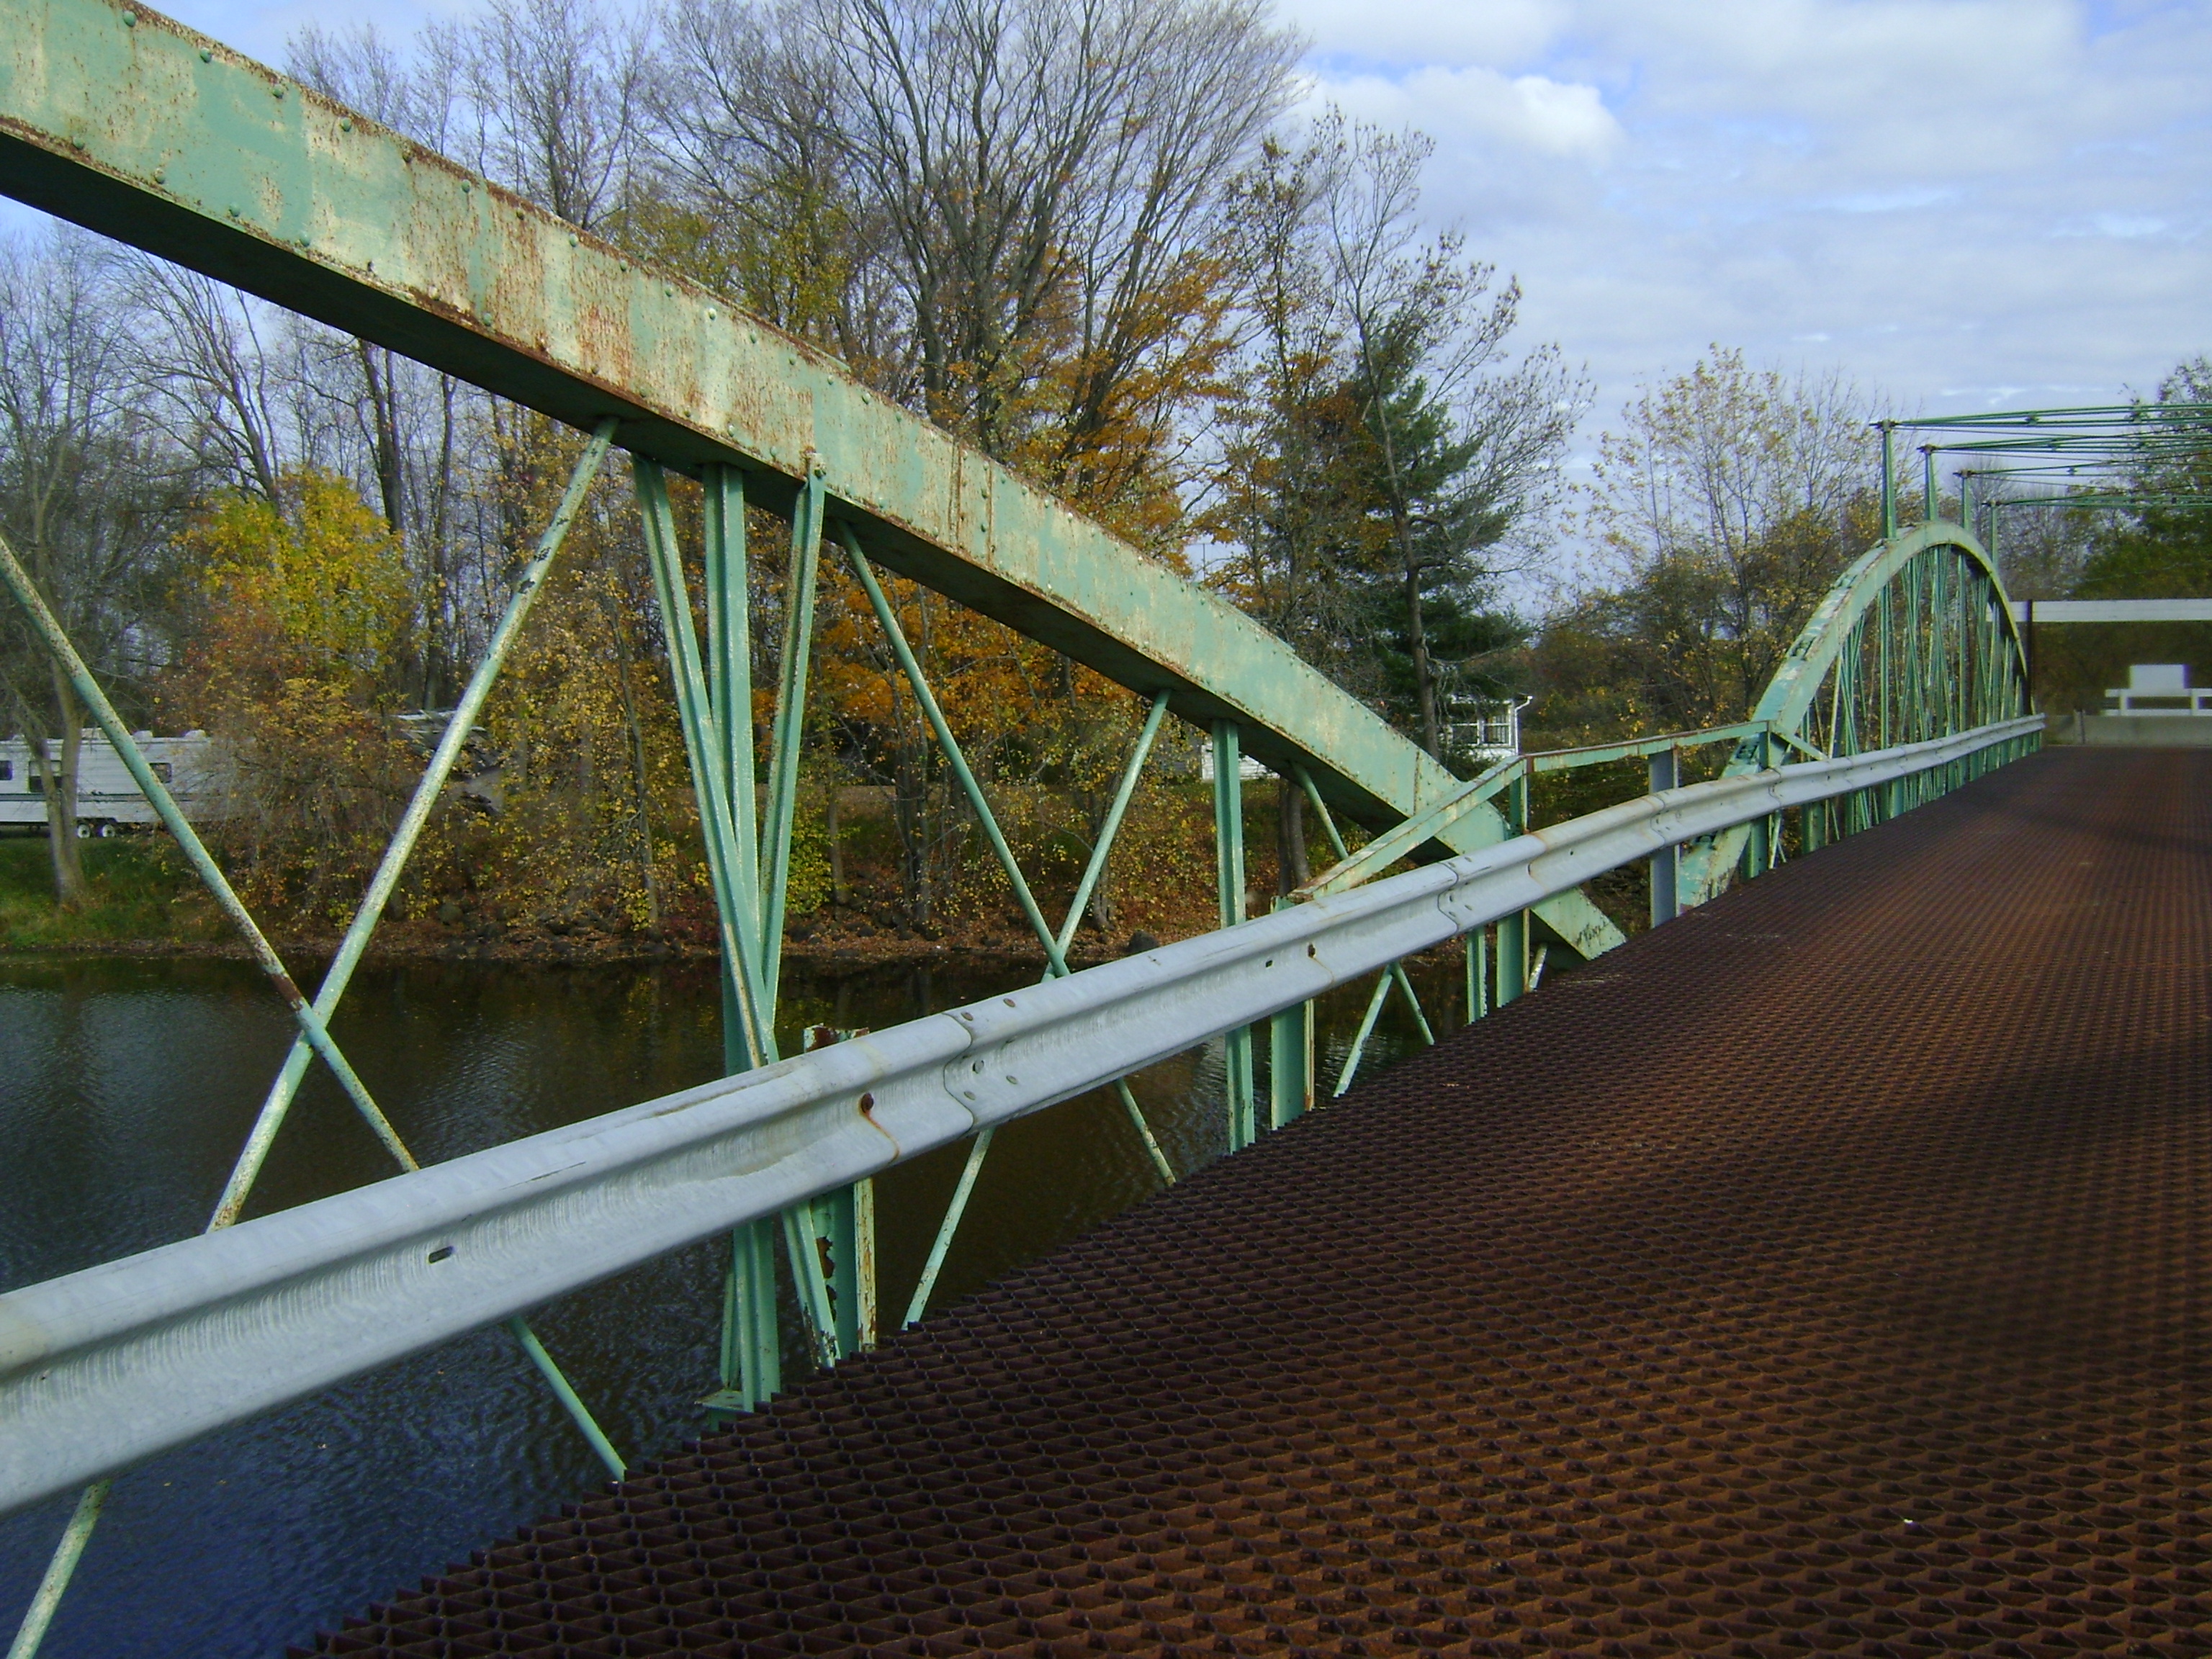

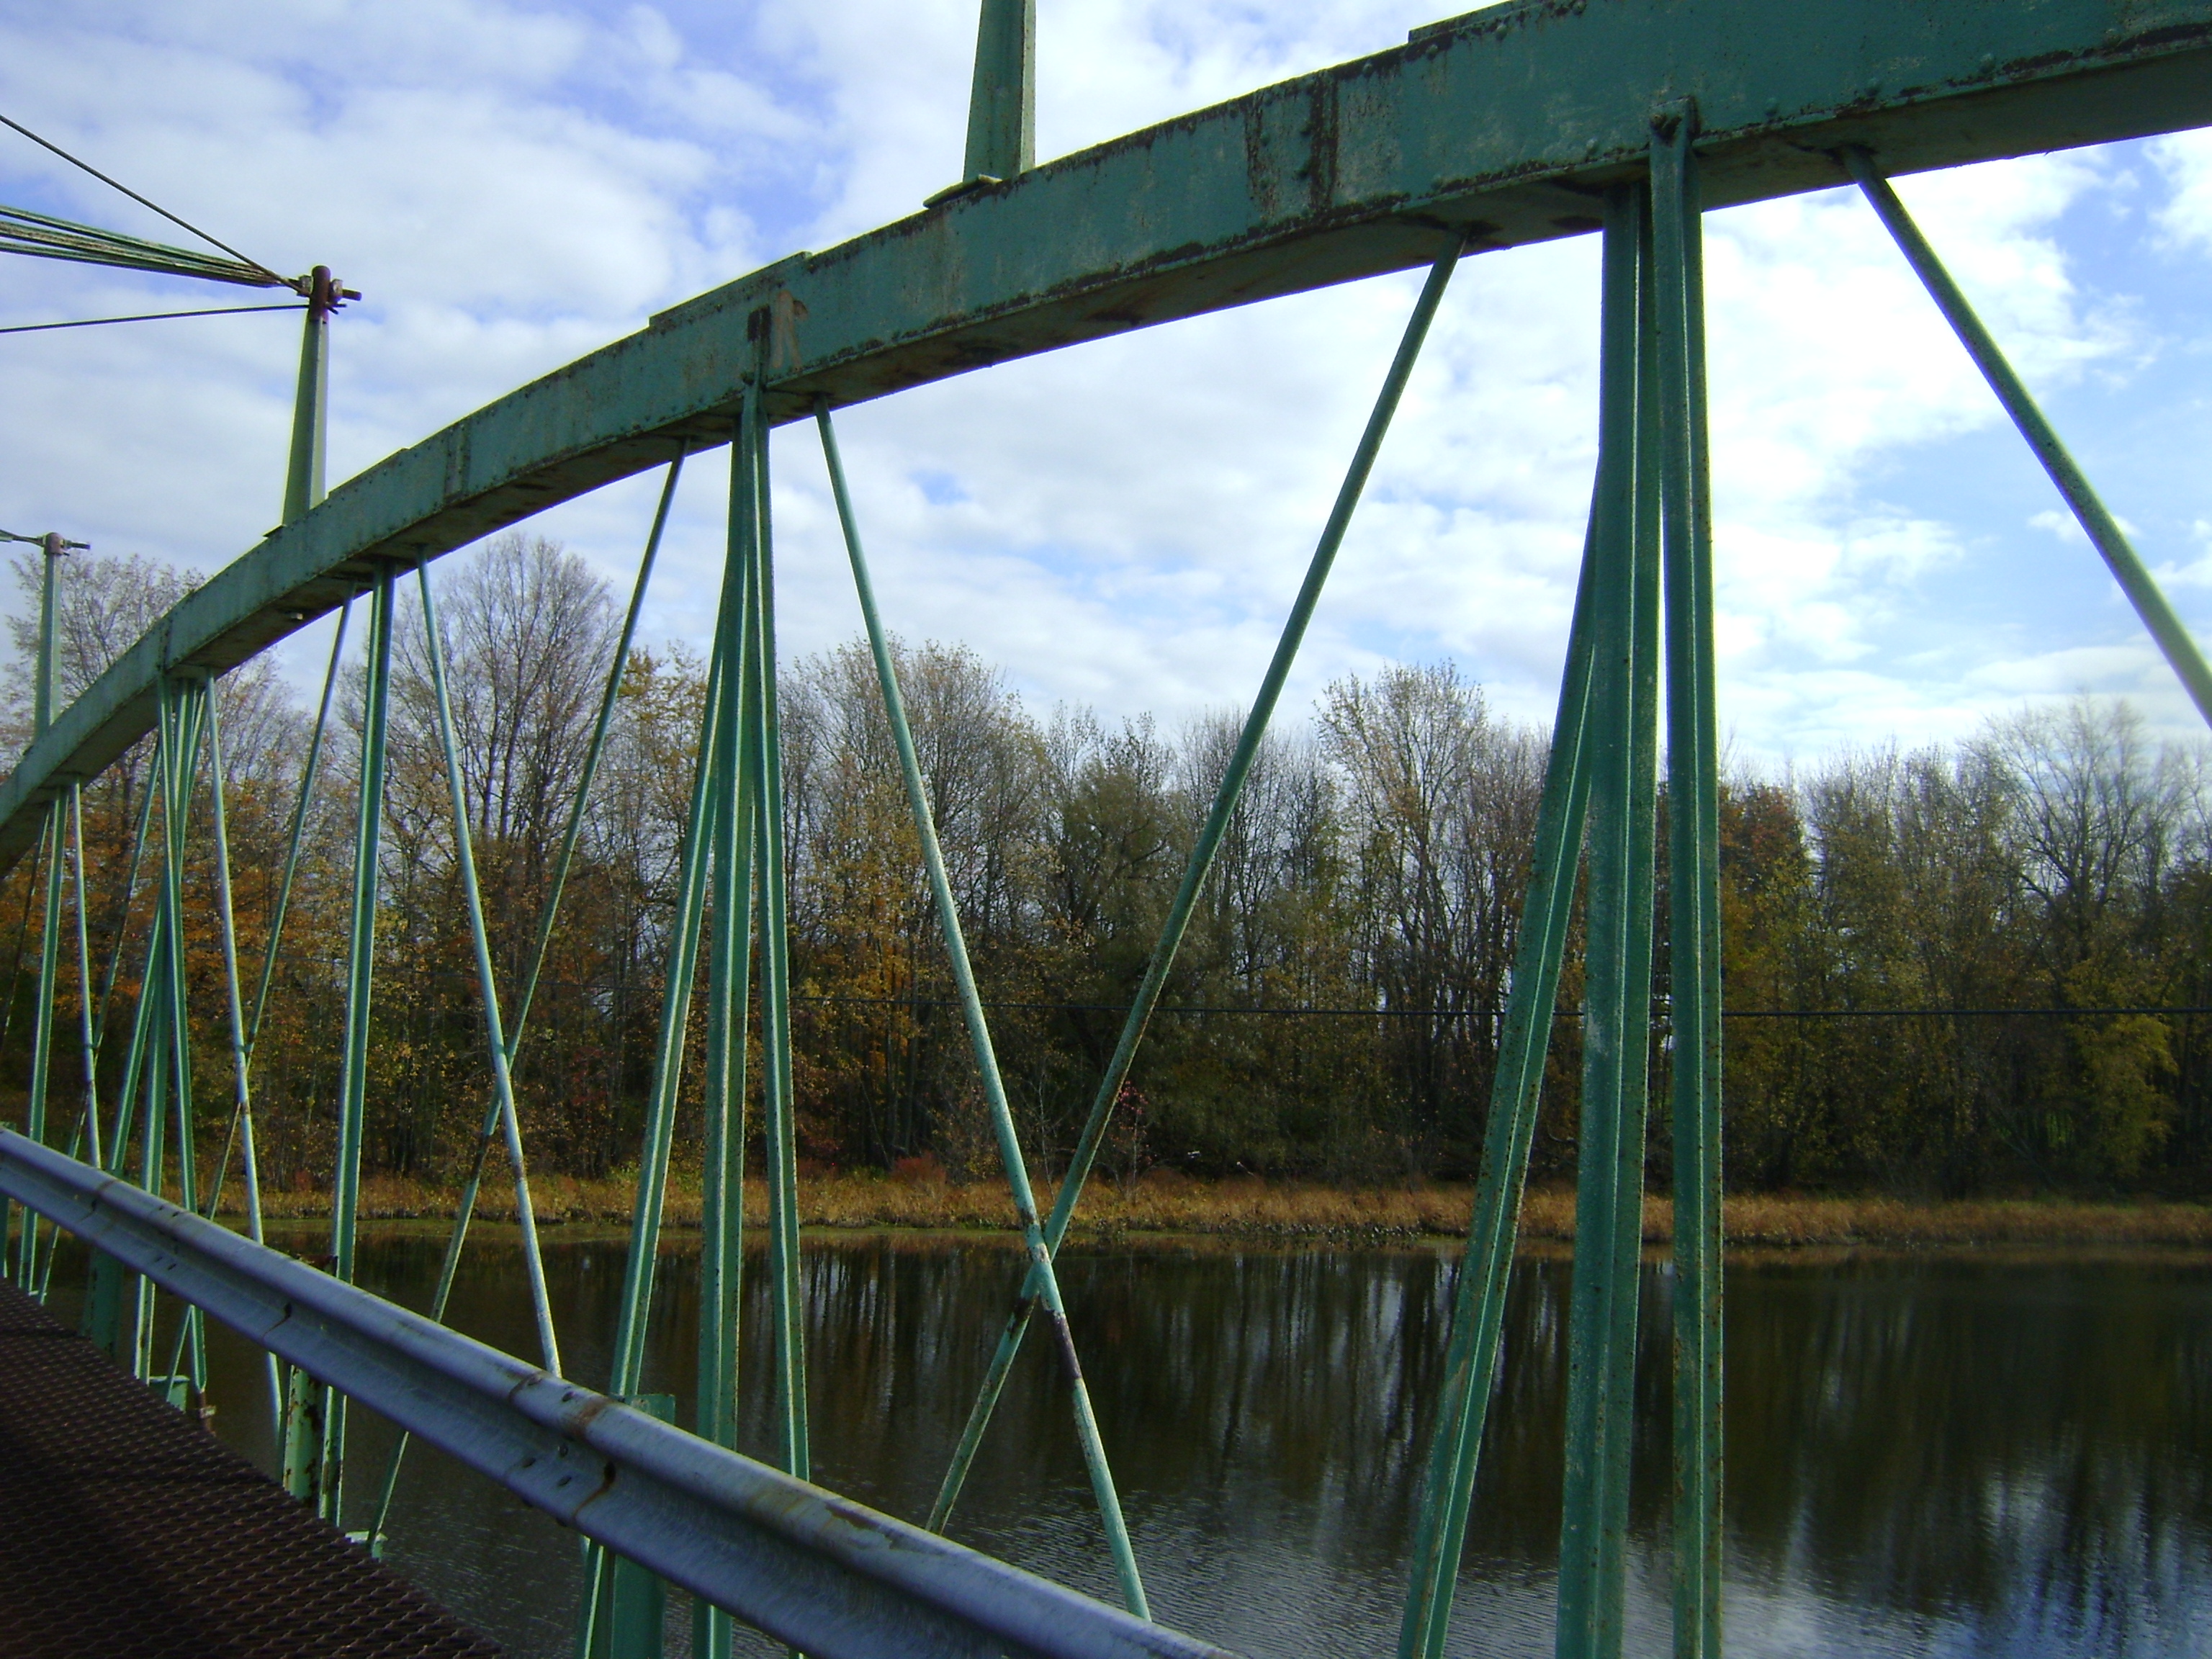

Photo Credit: Marc Scotti
Views of truss web.
![]()


Photo Credit: Marc Scotti
Approach to bridge.
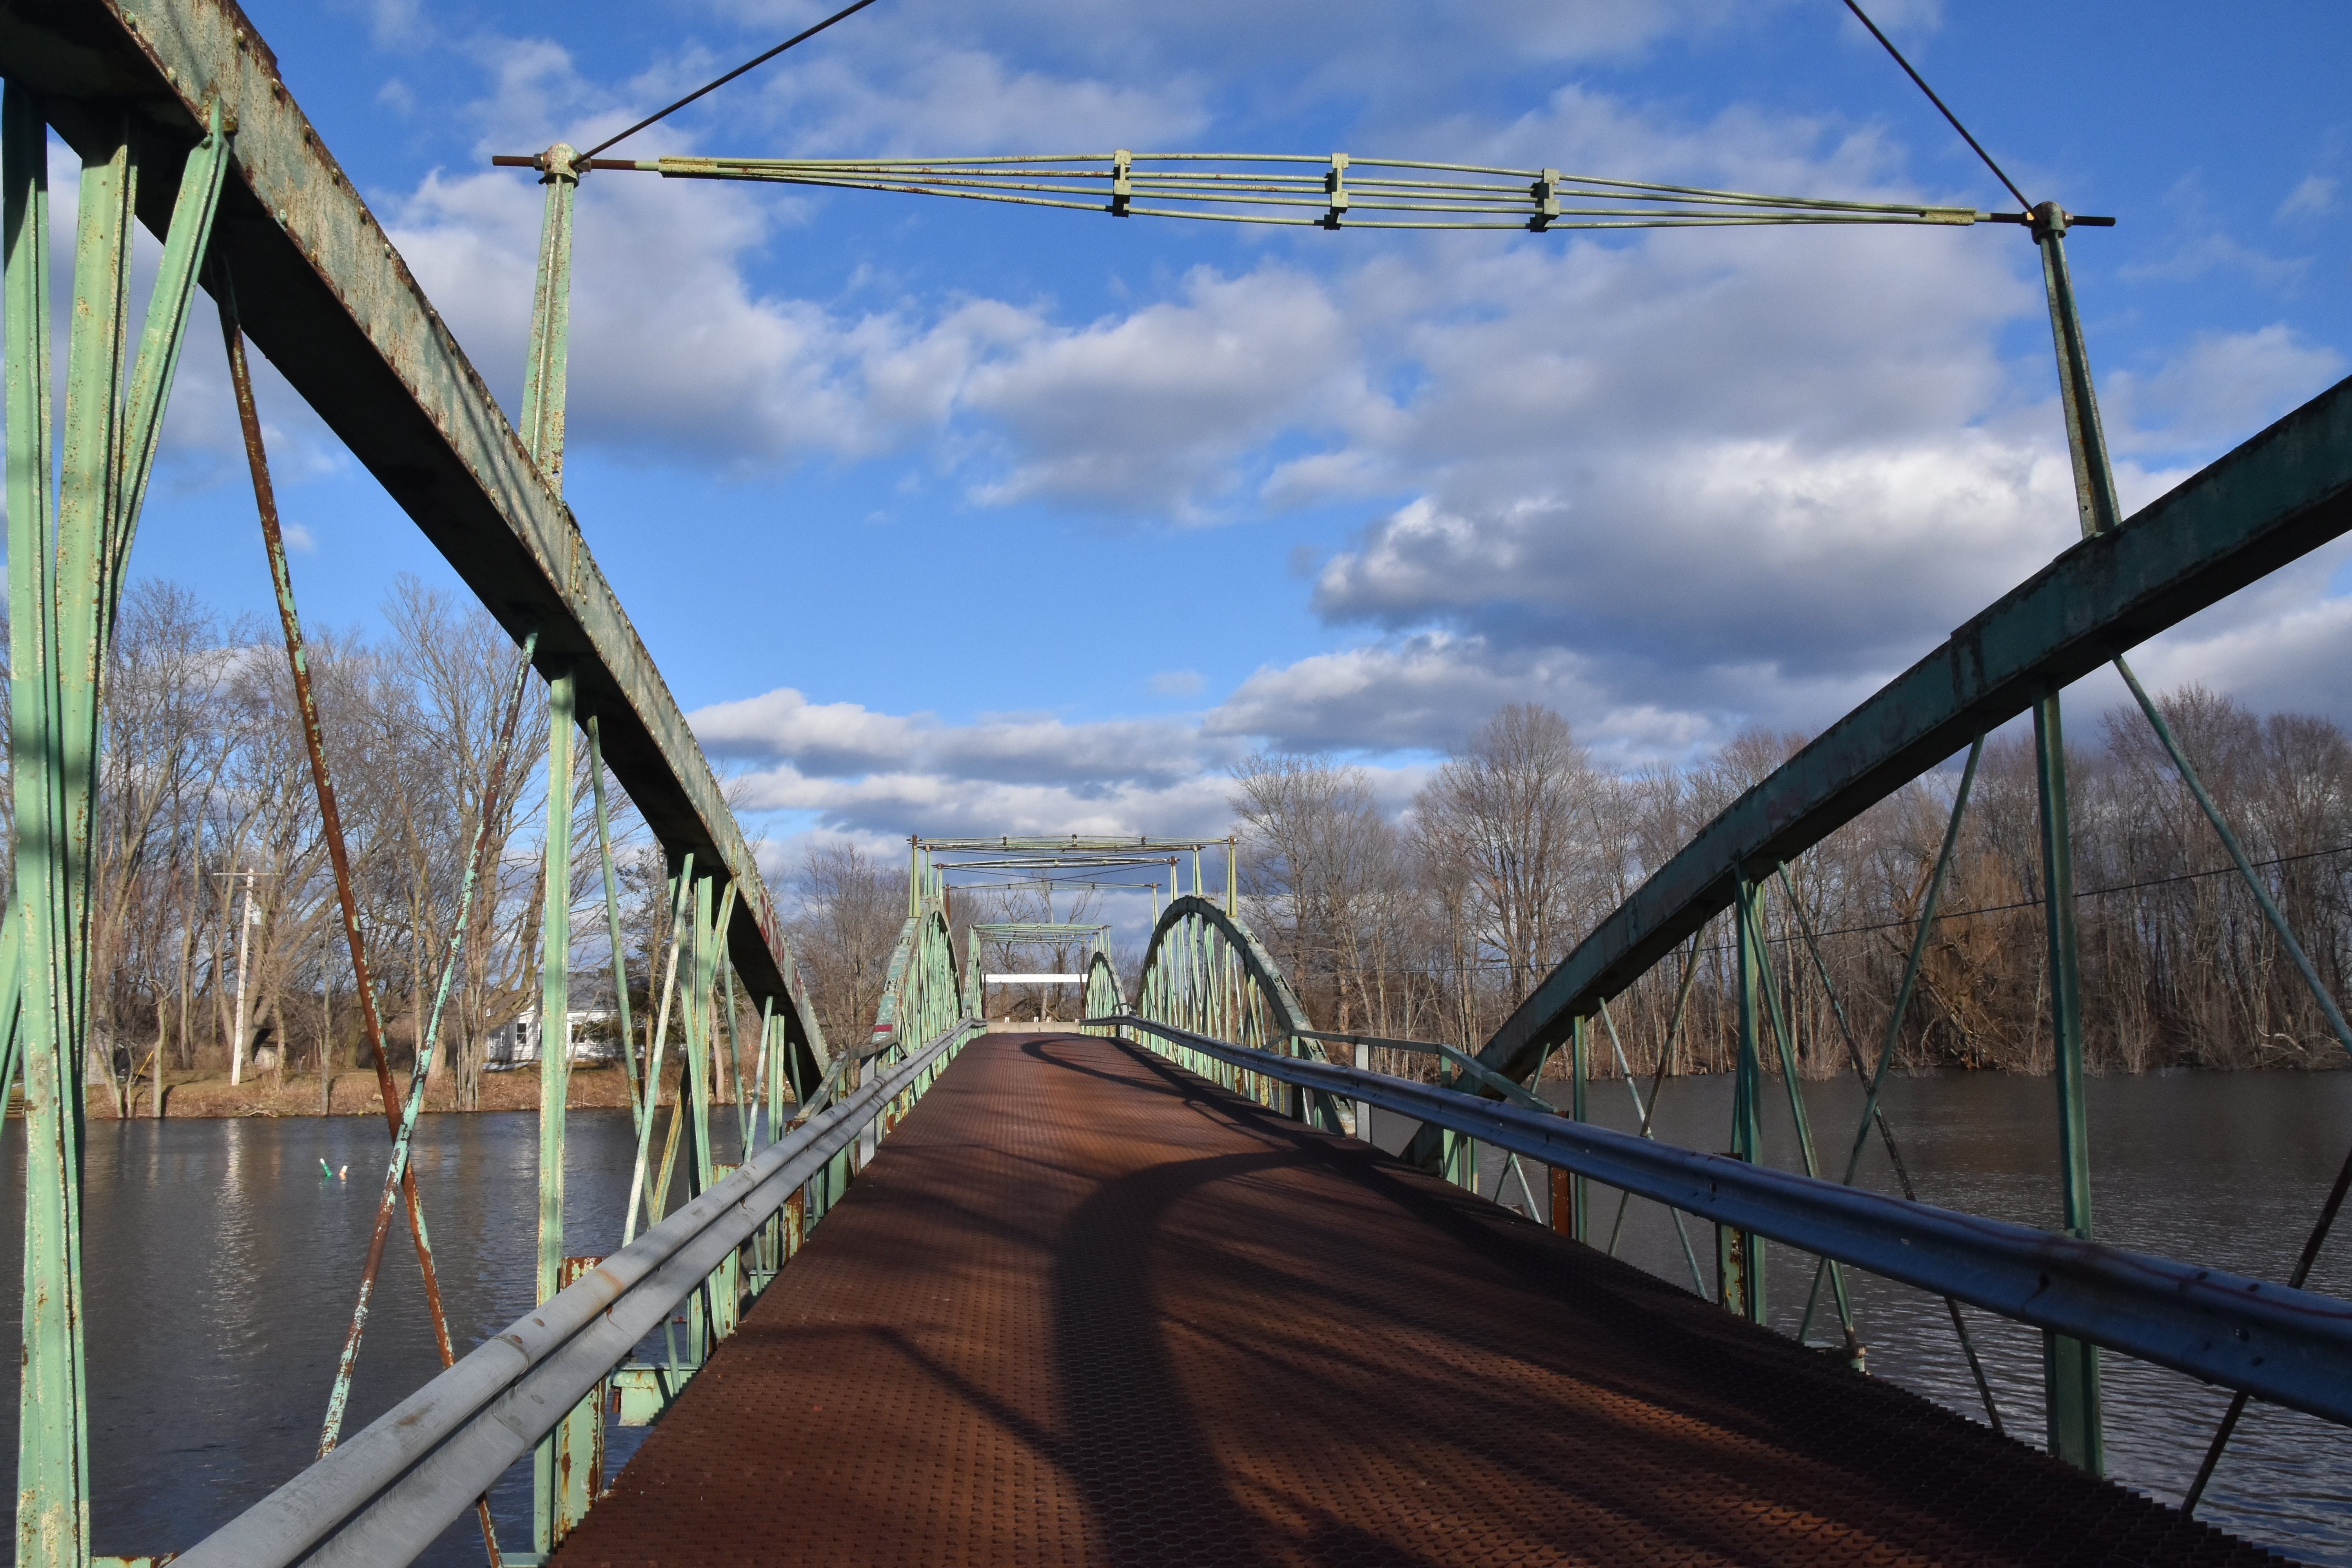
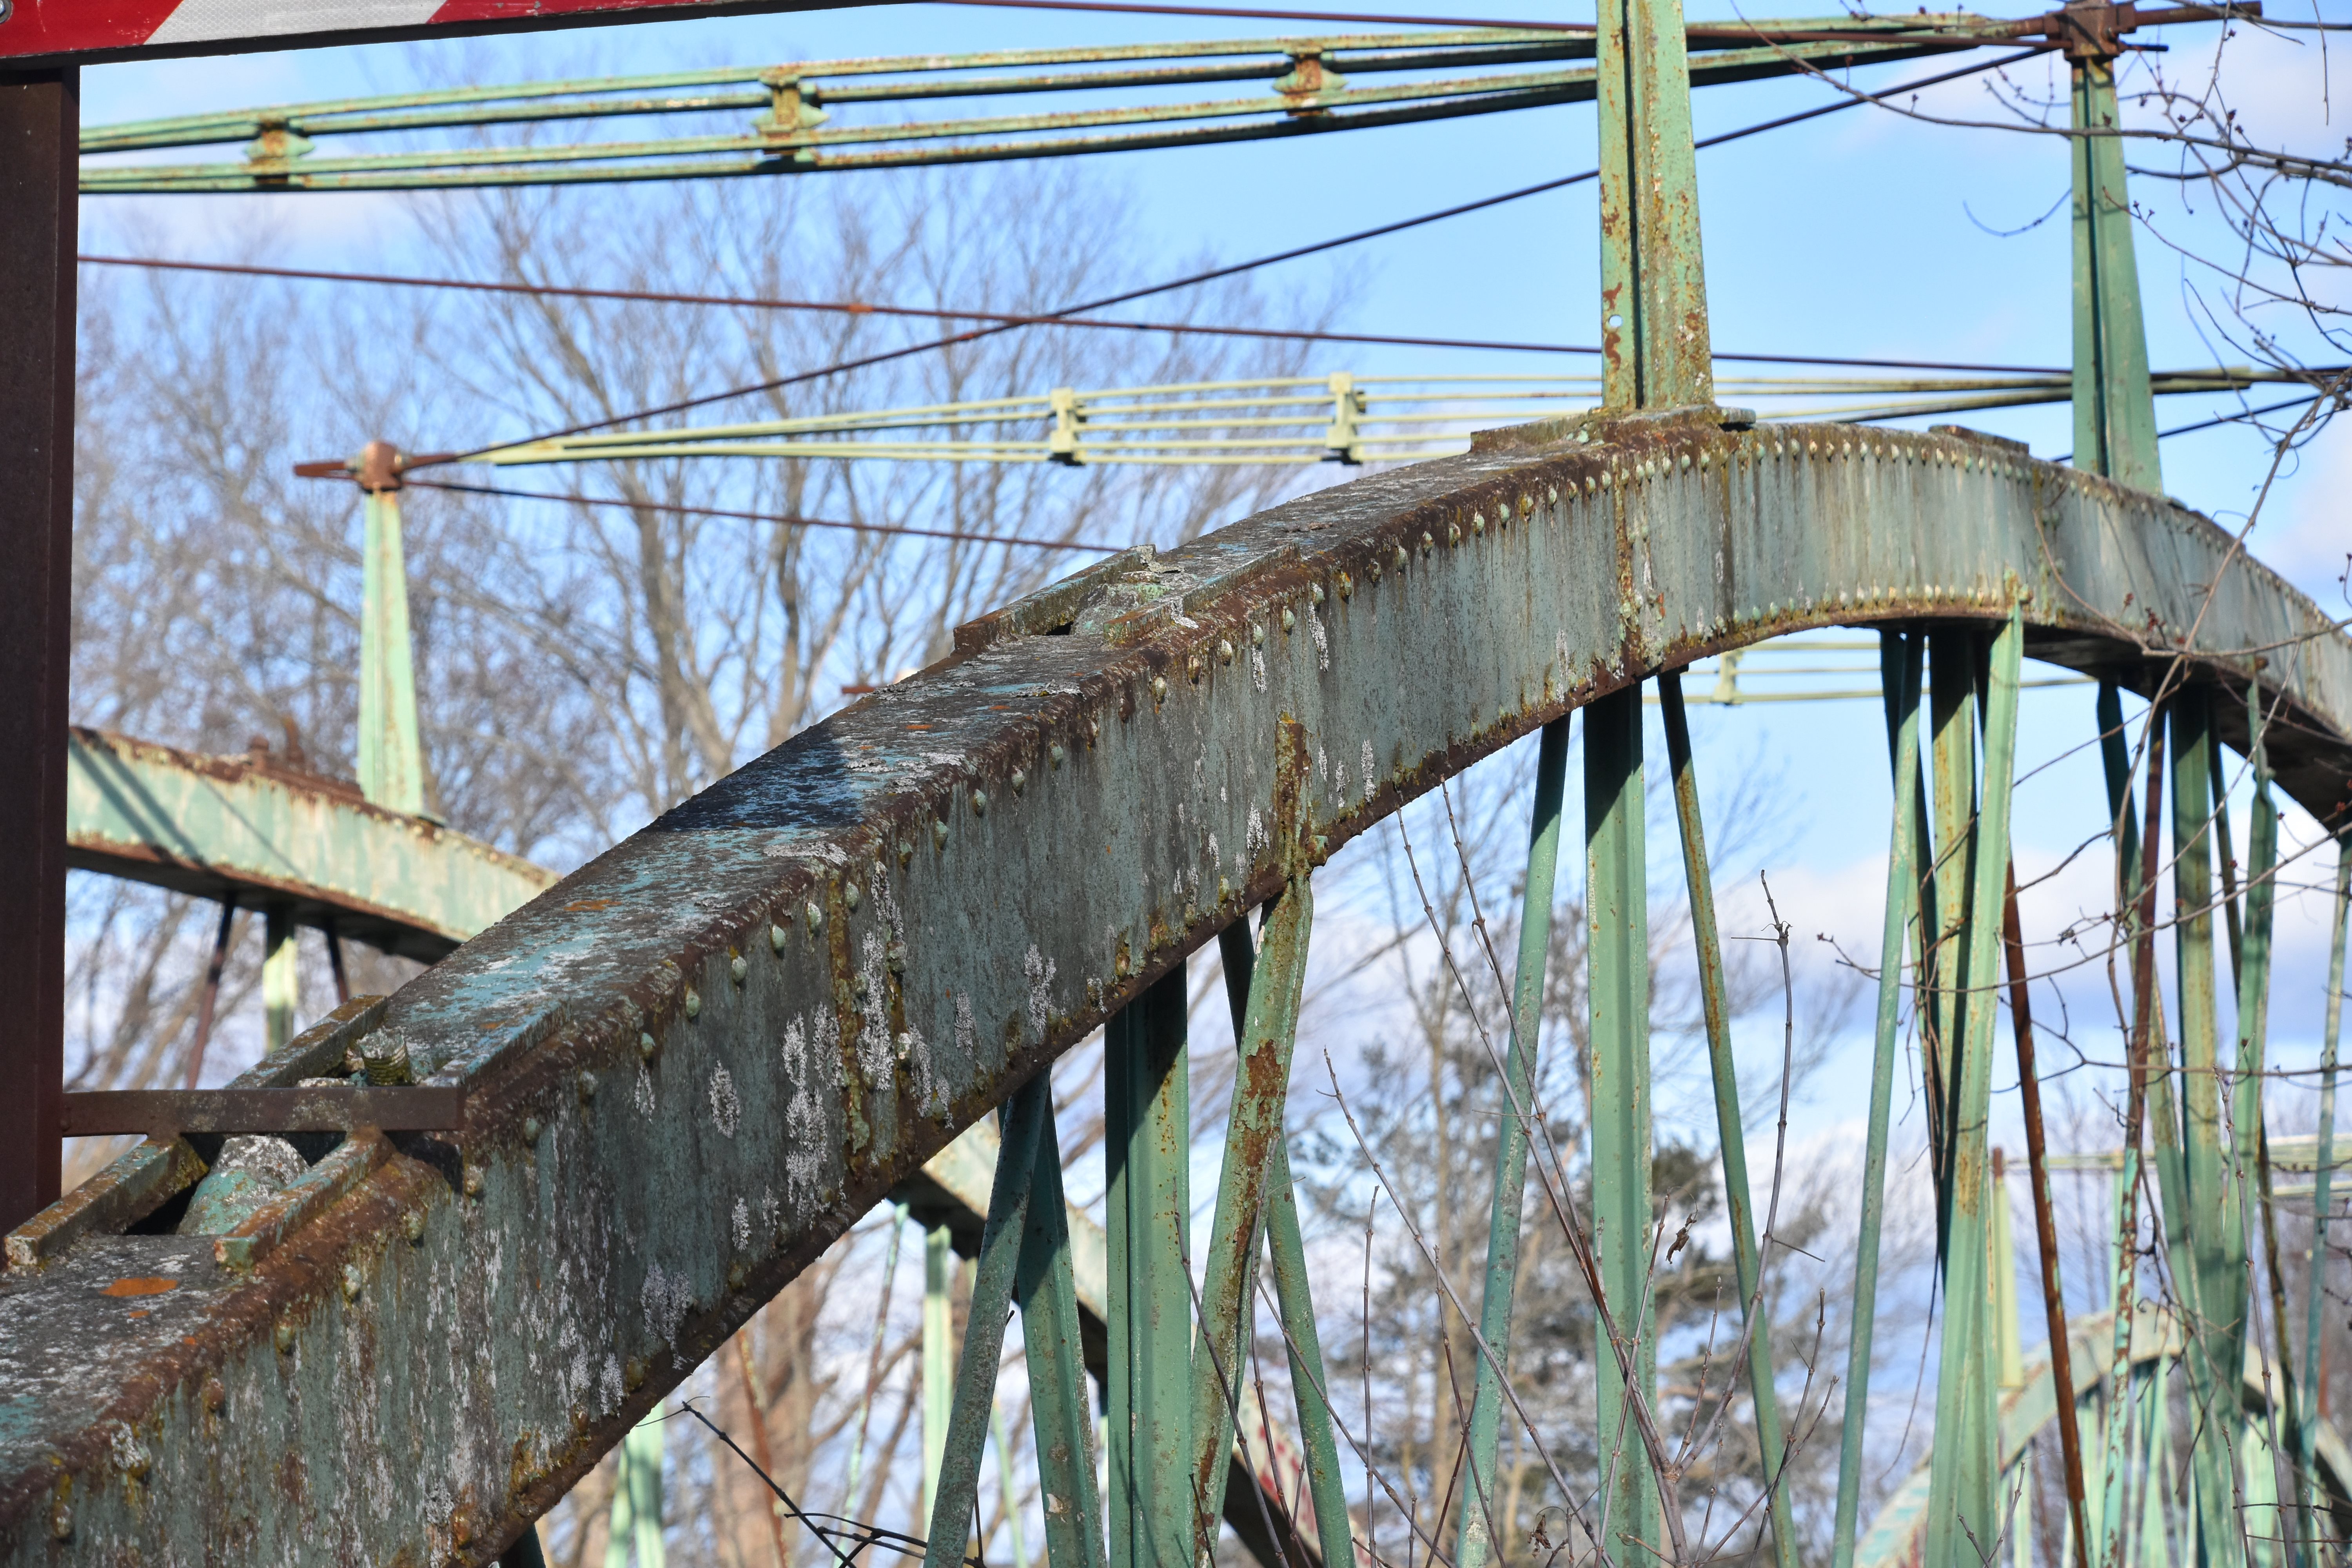
![]()


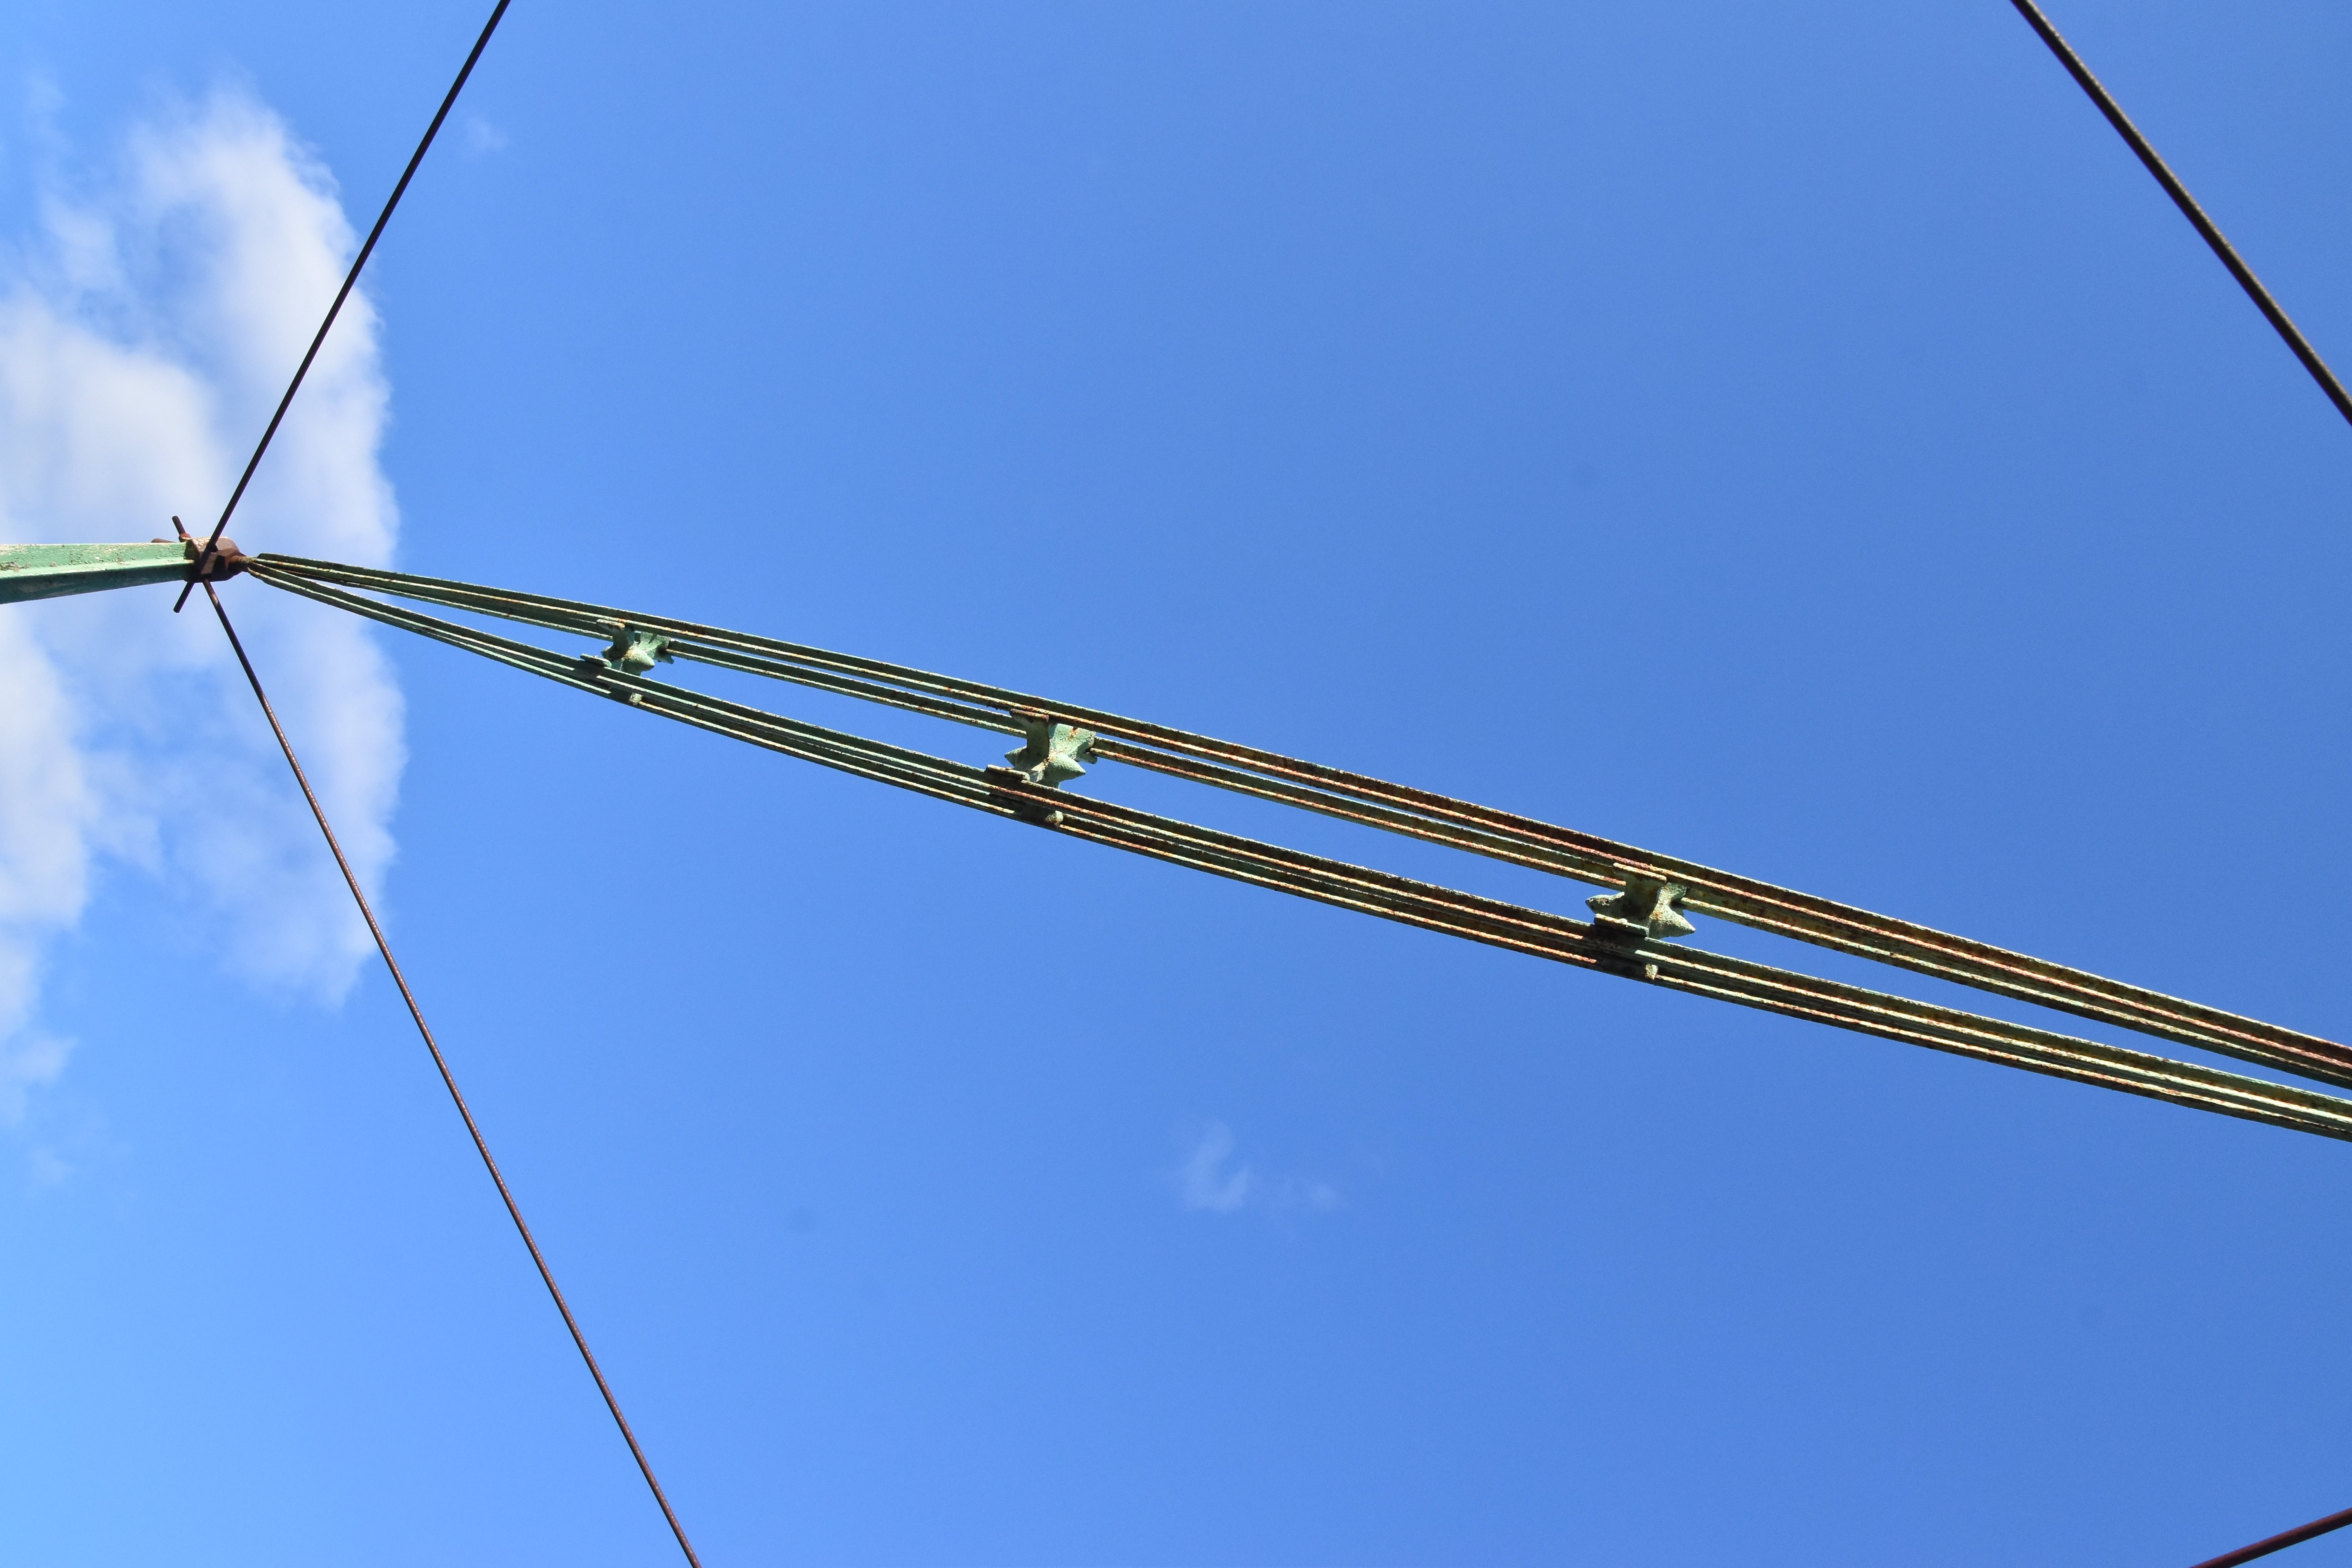


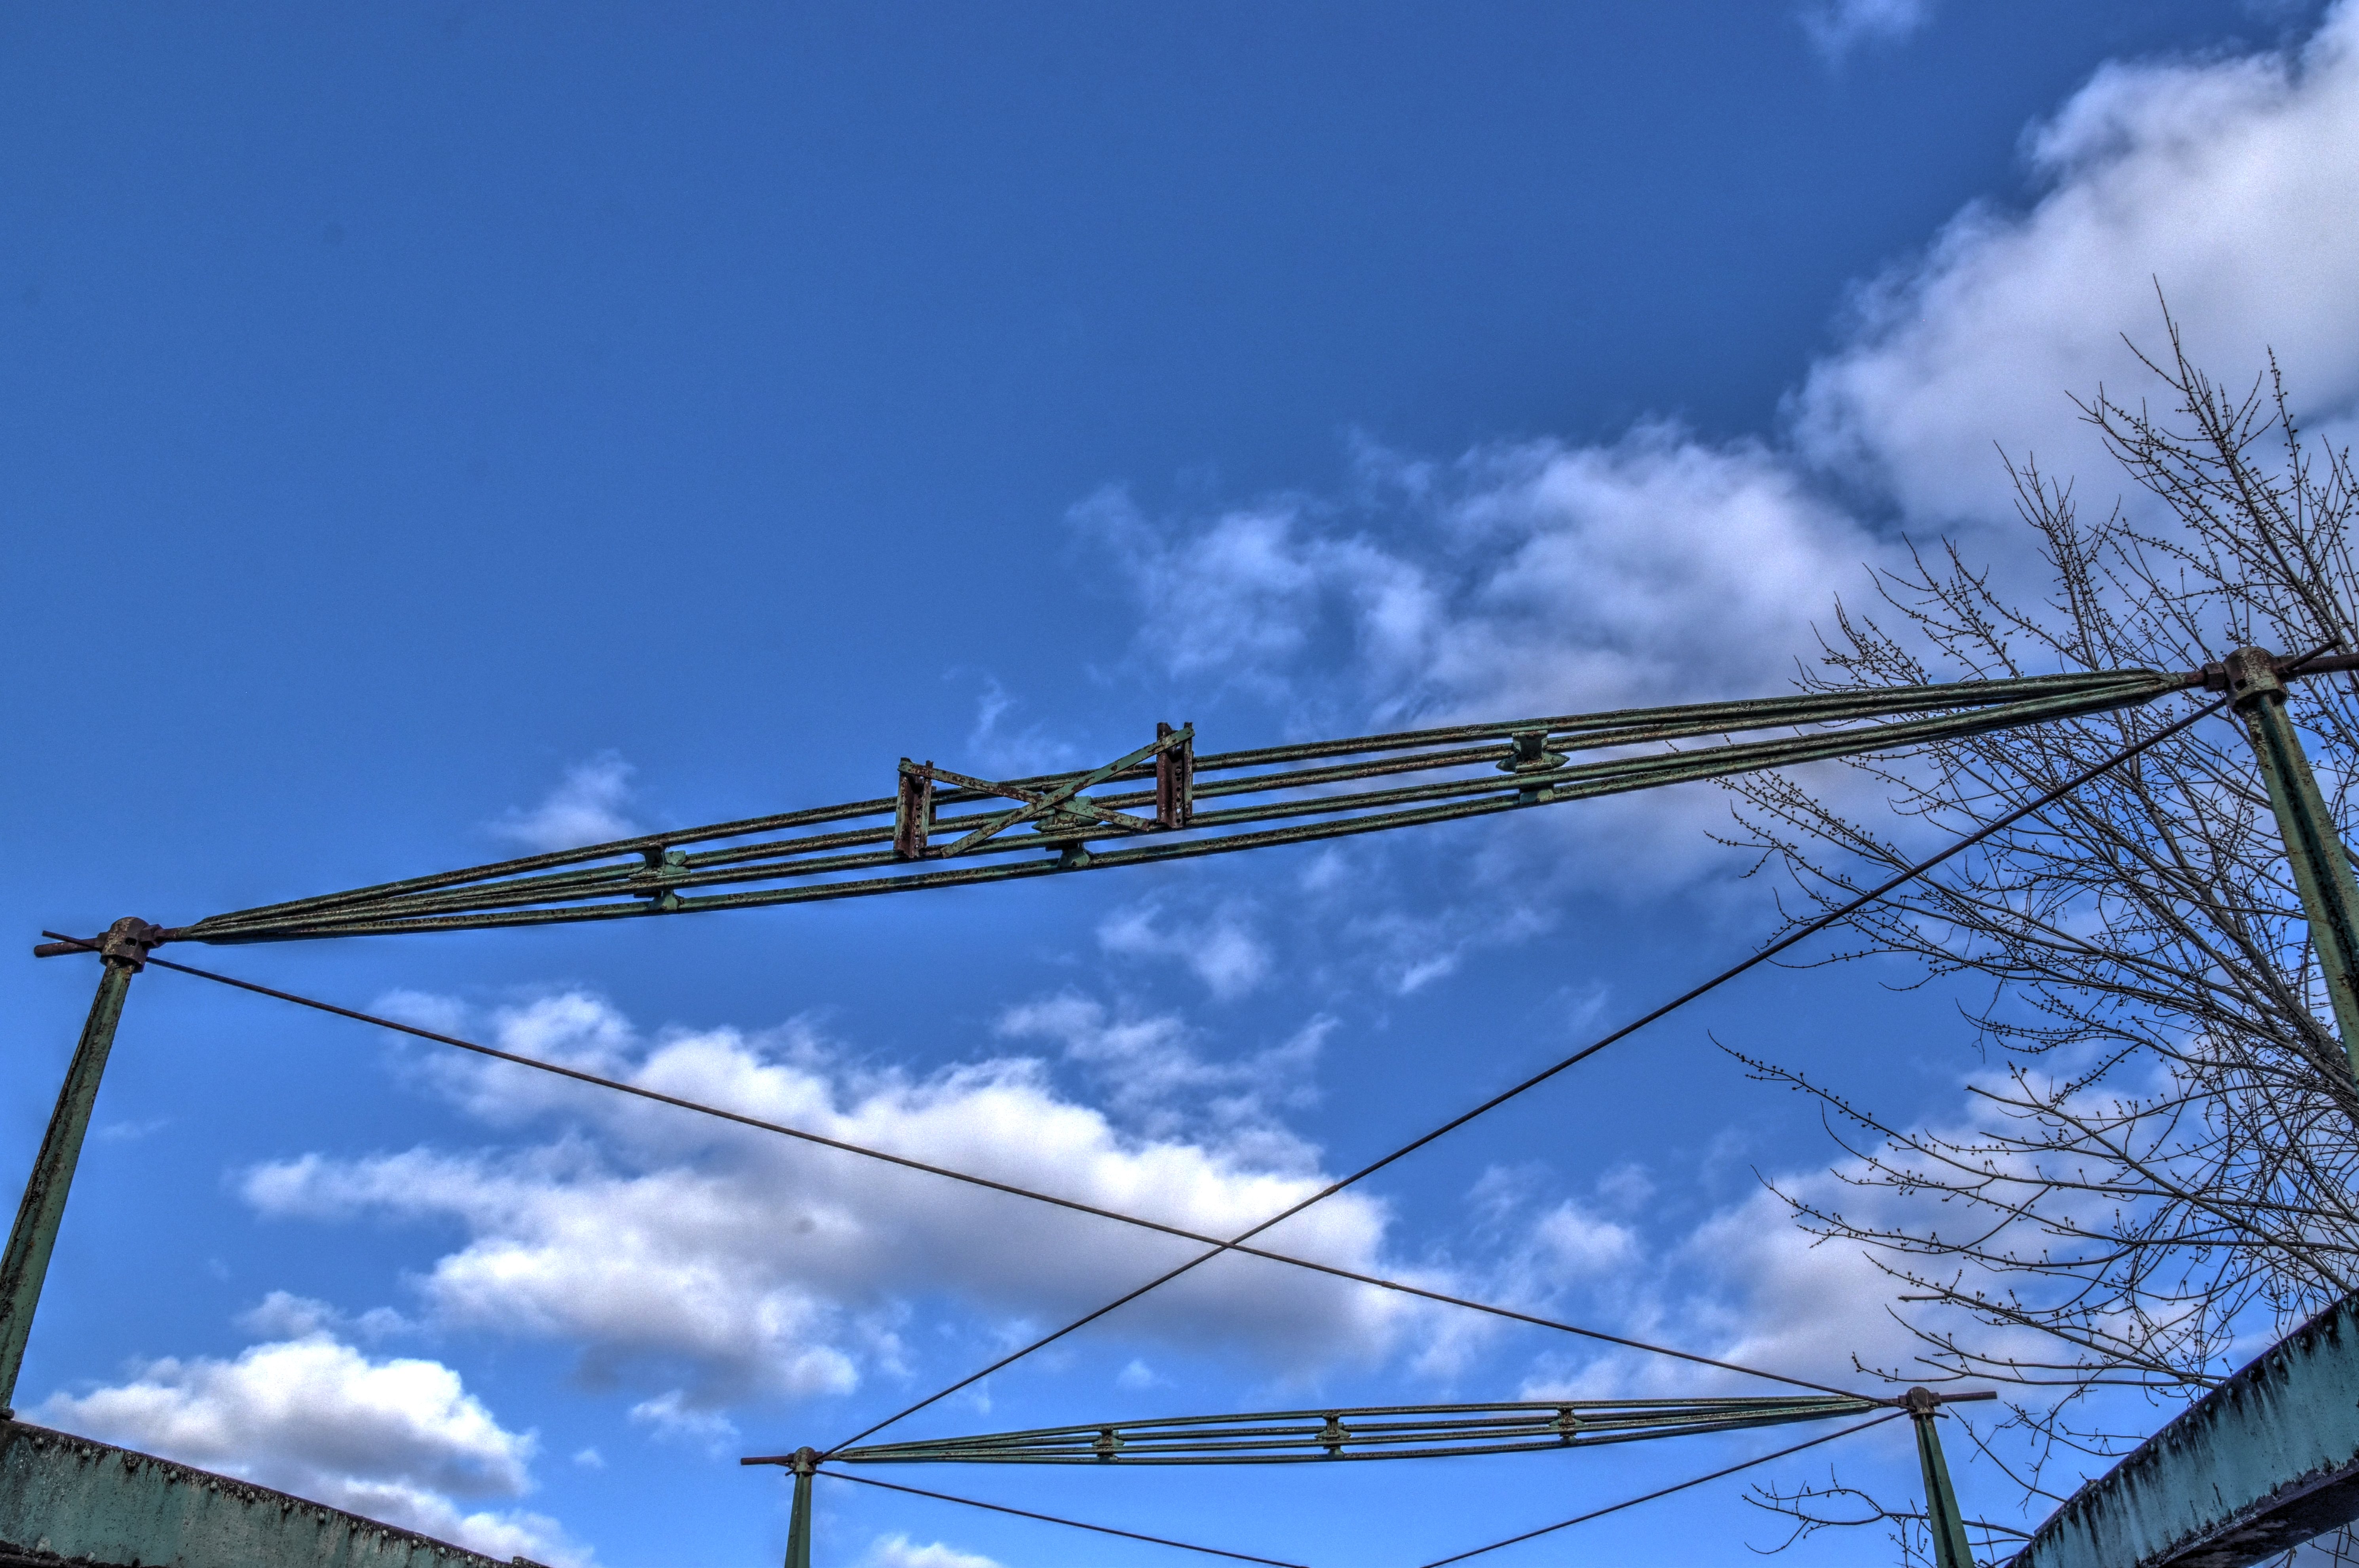

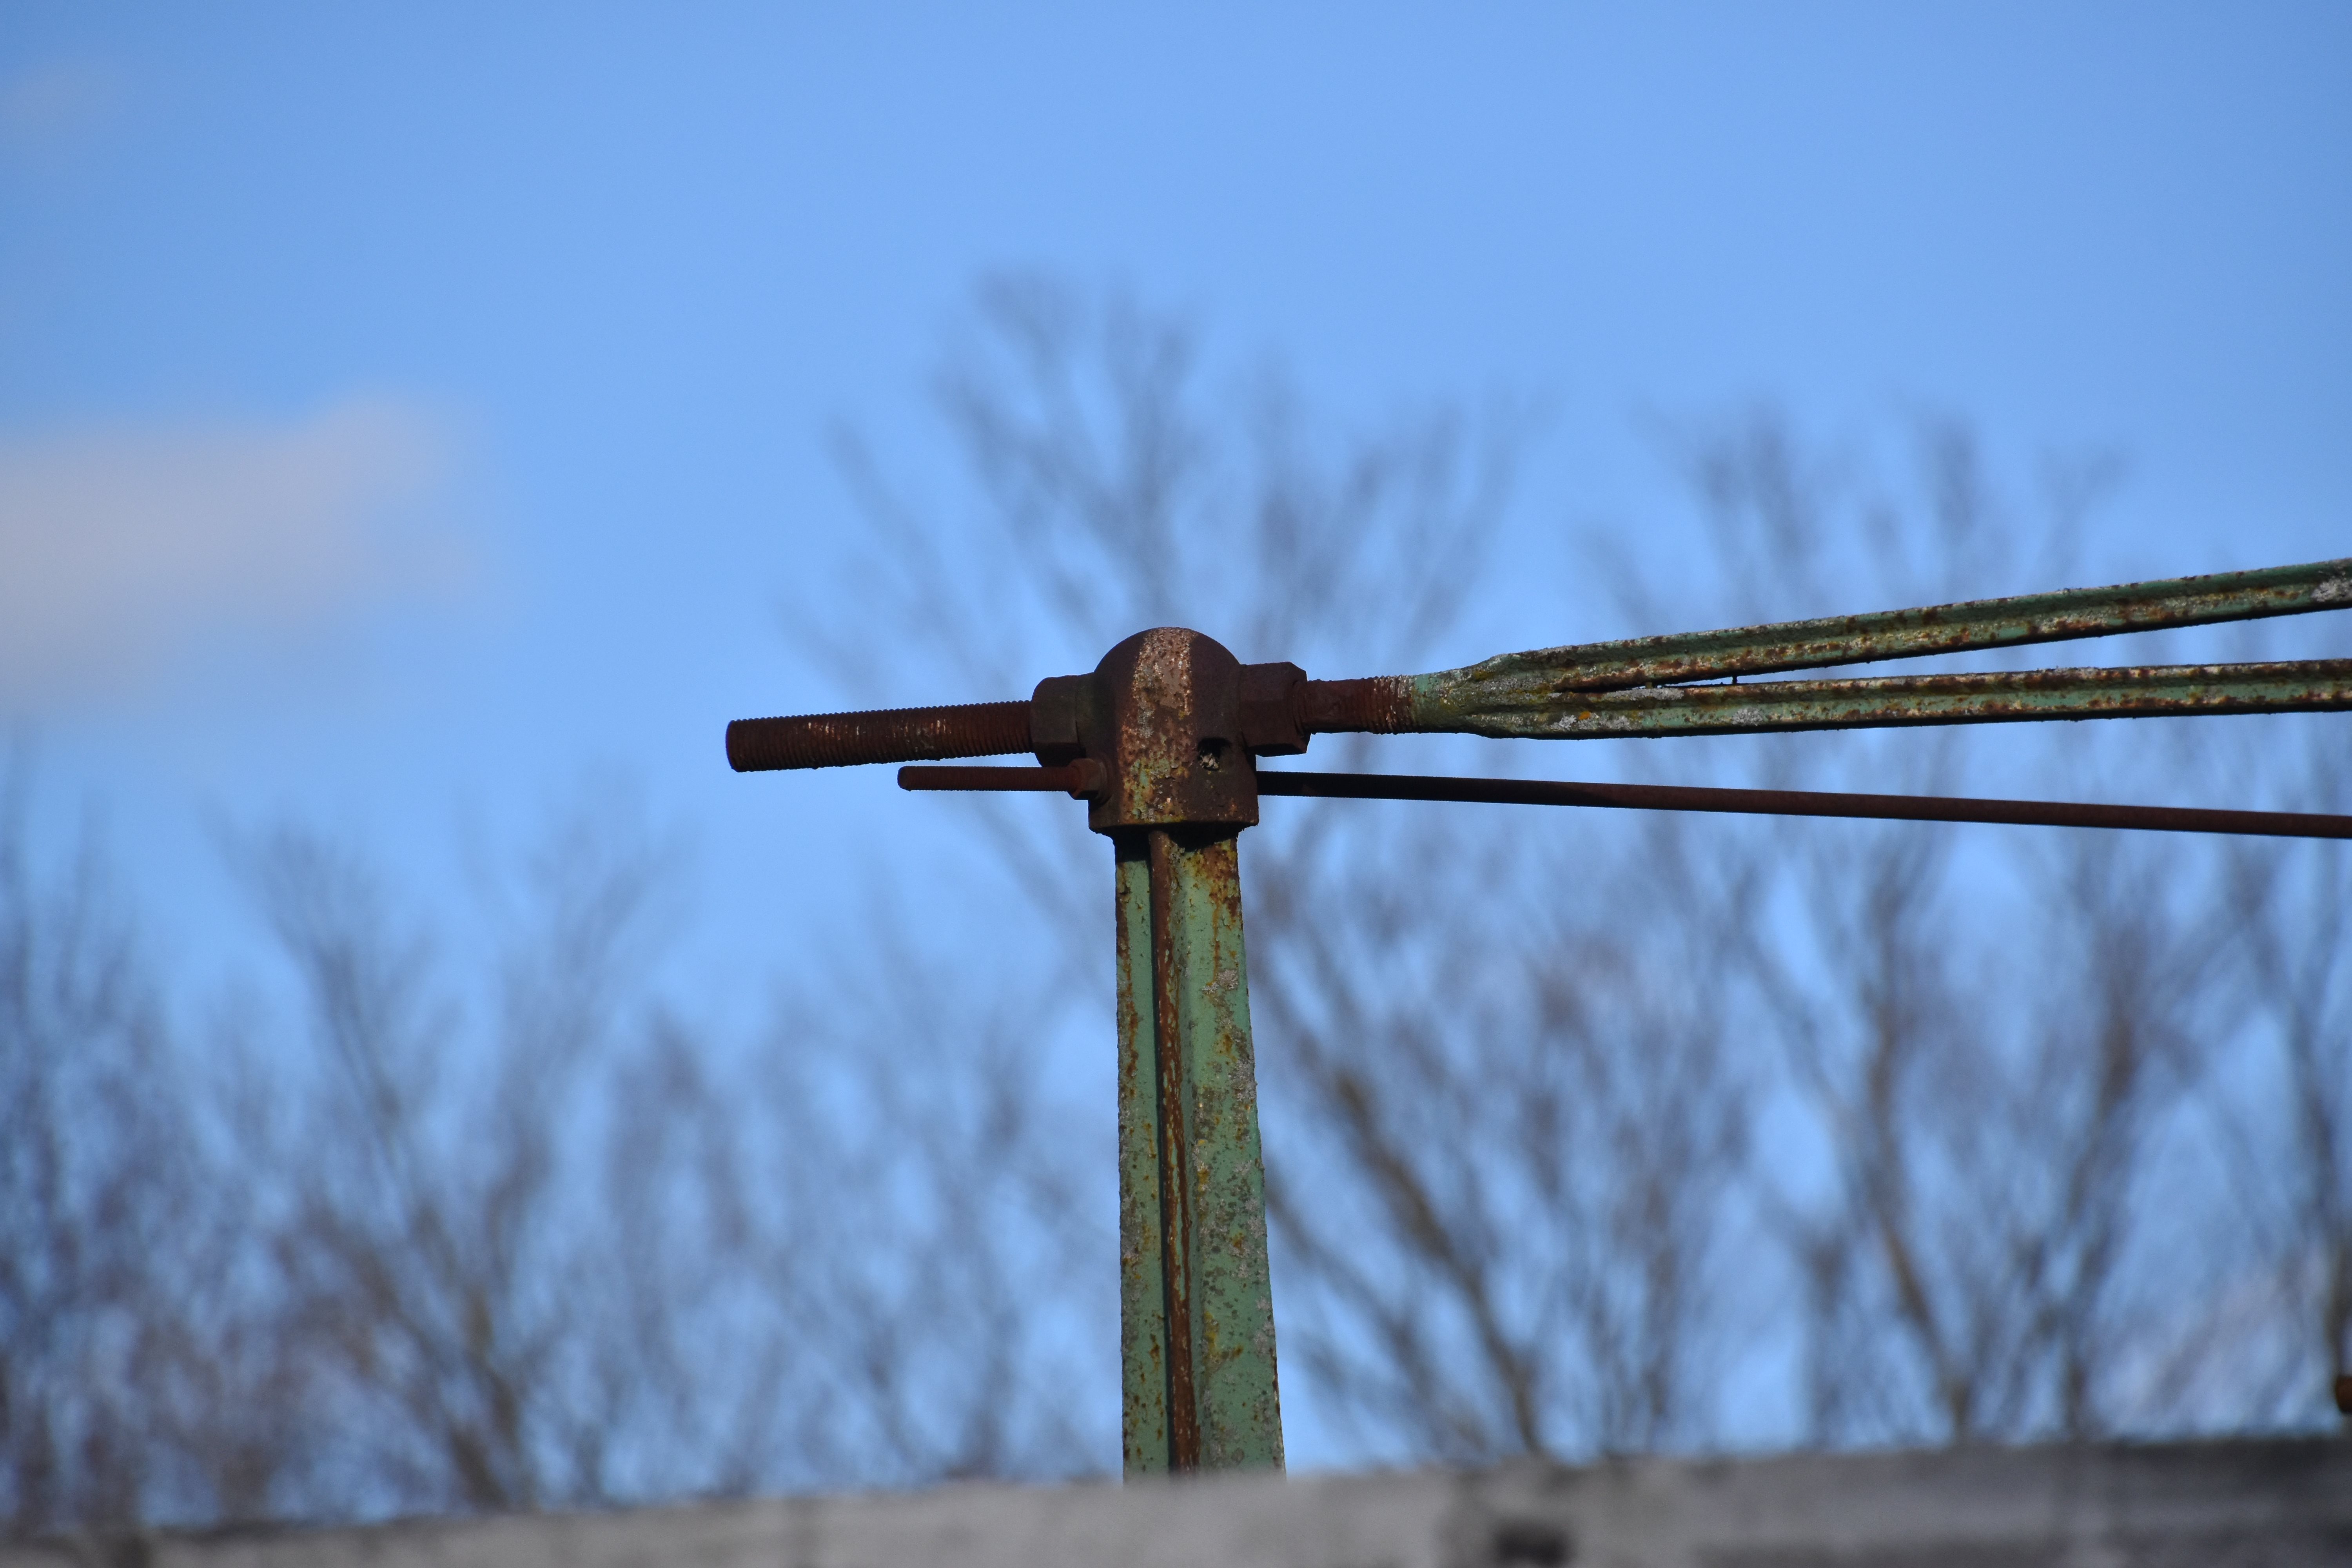
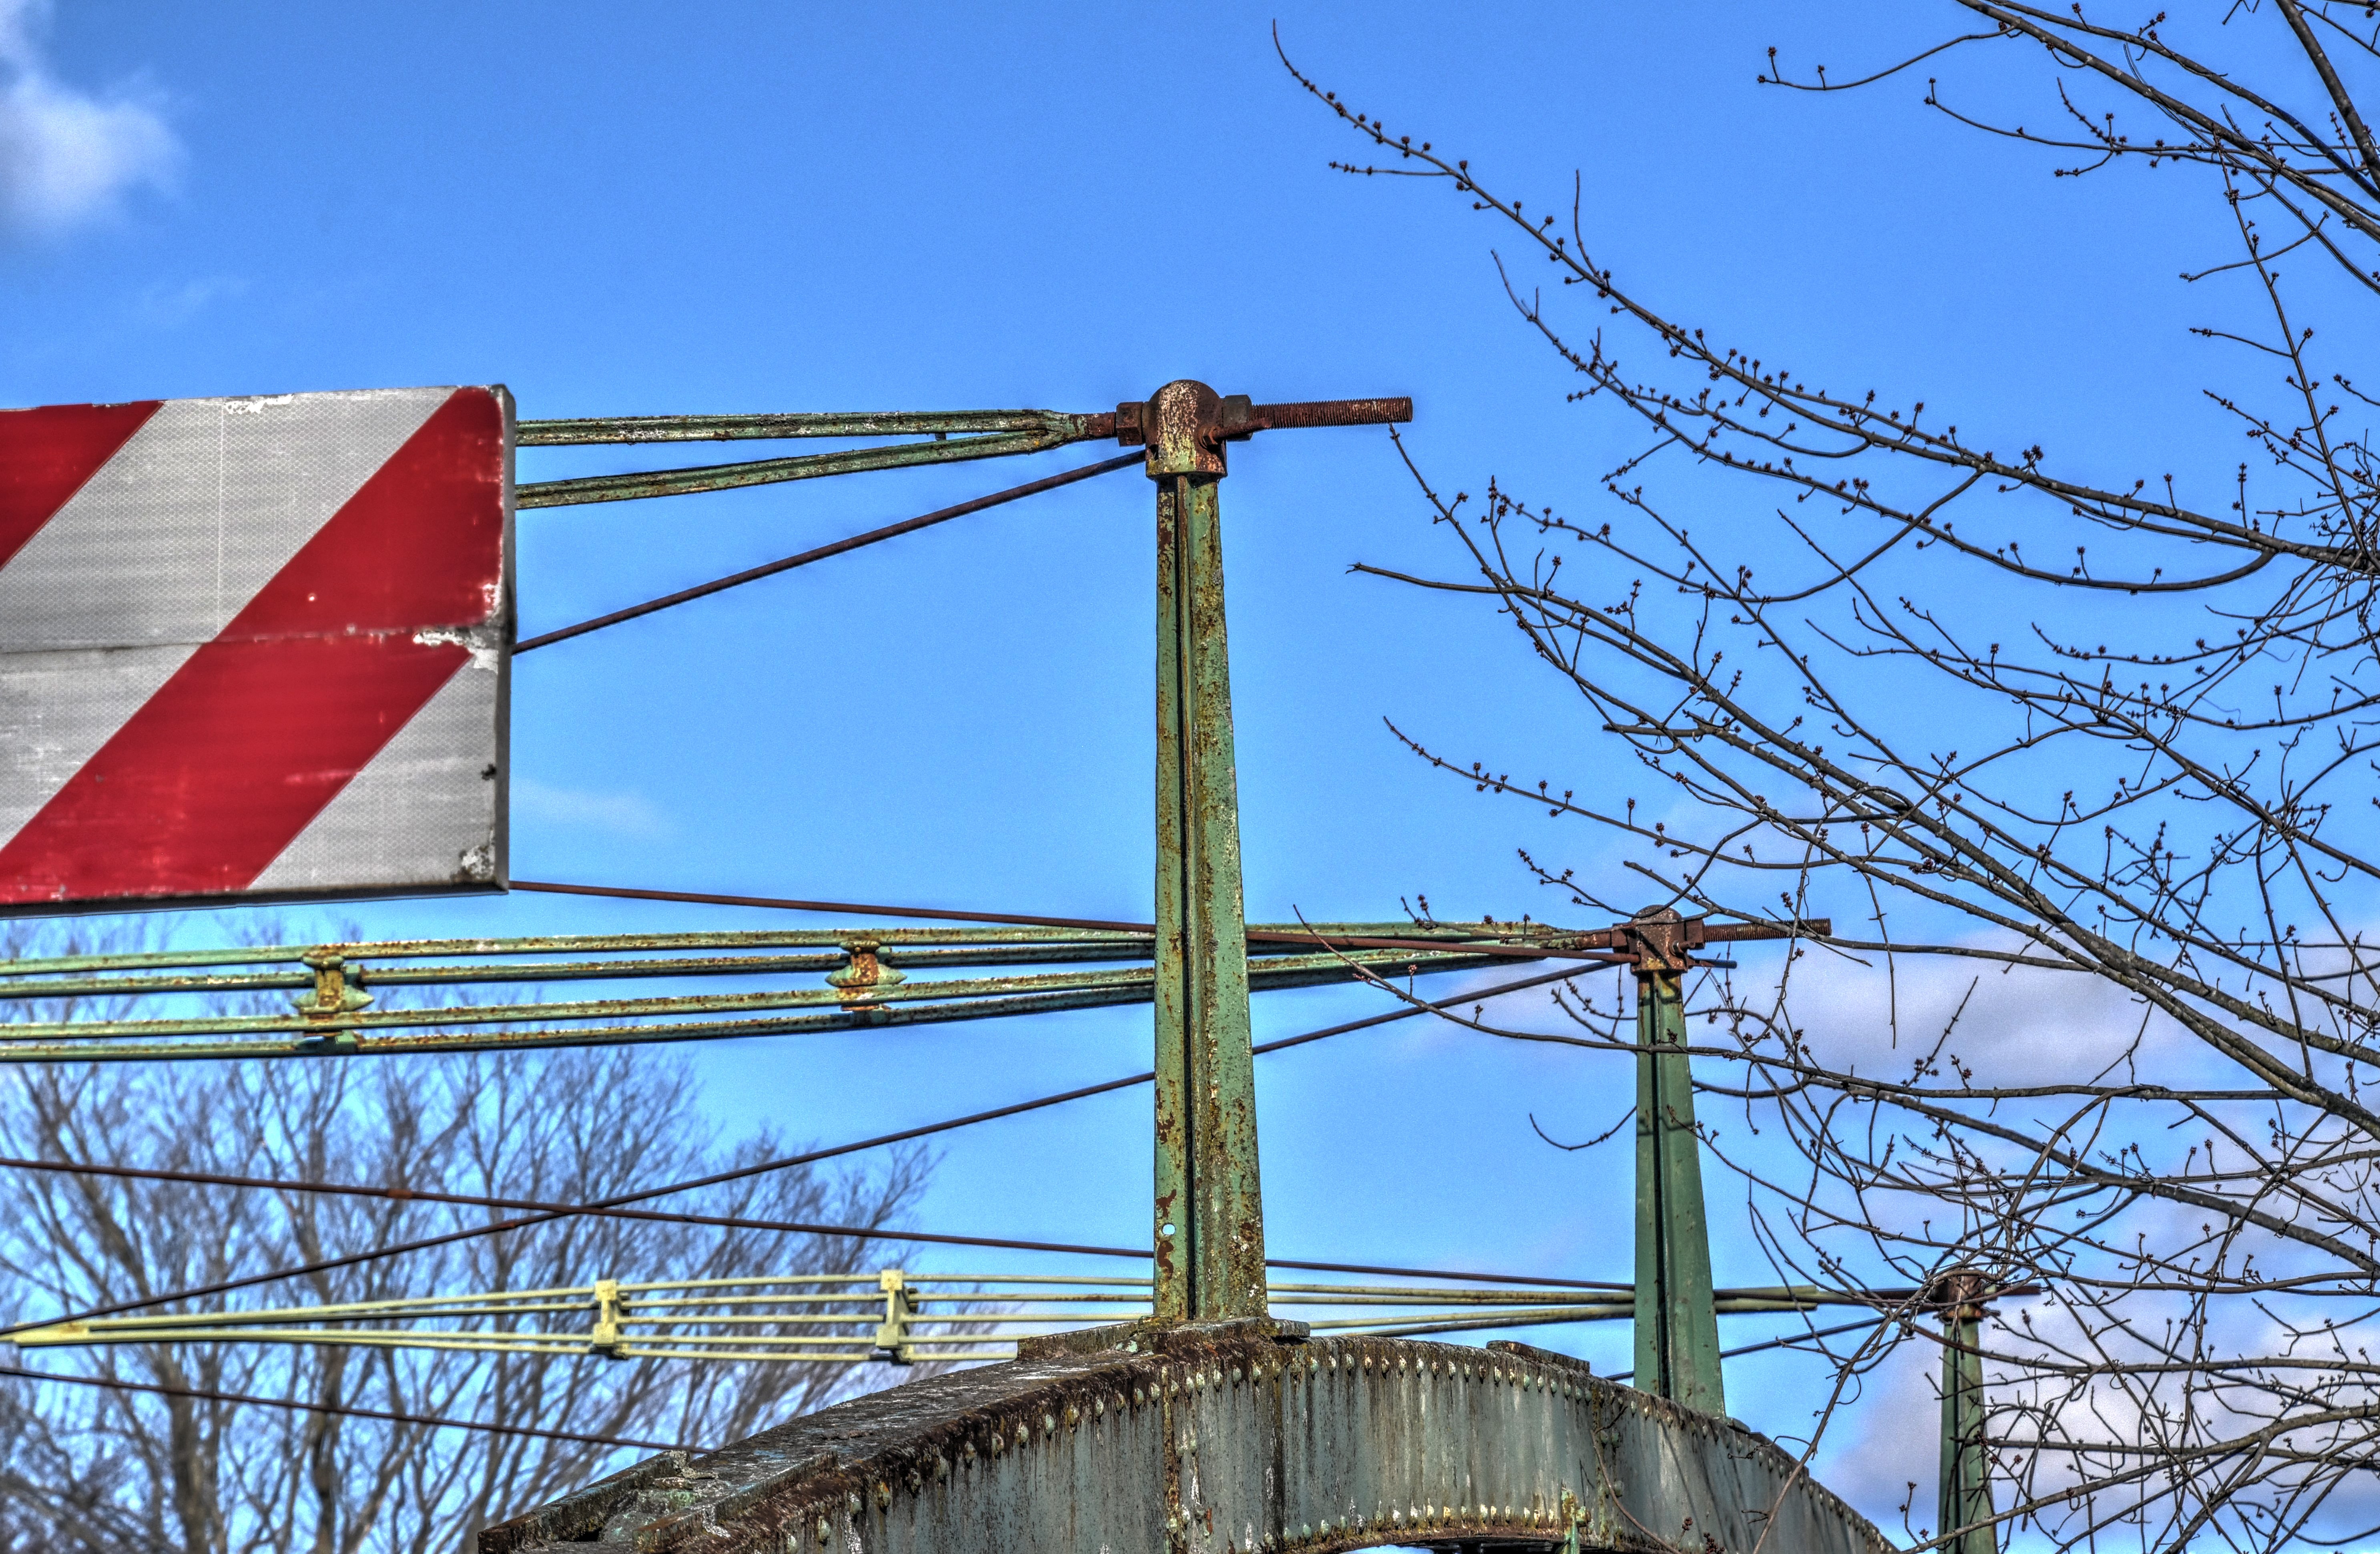
Overview of original sway bracing.
![]()
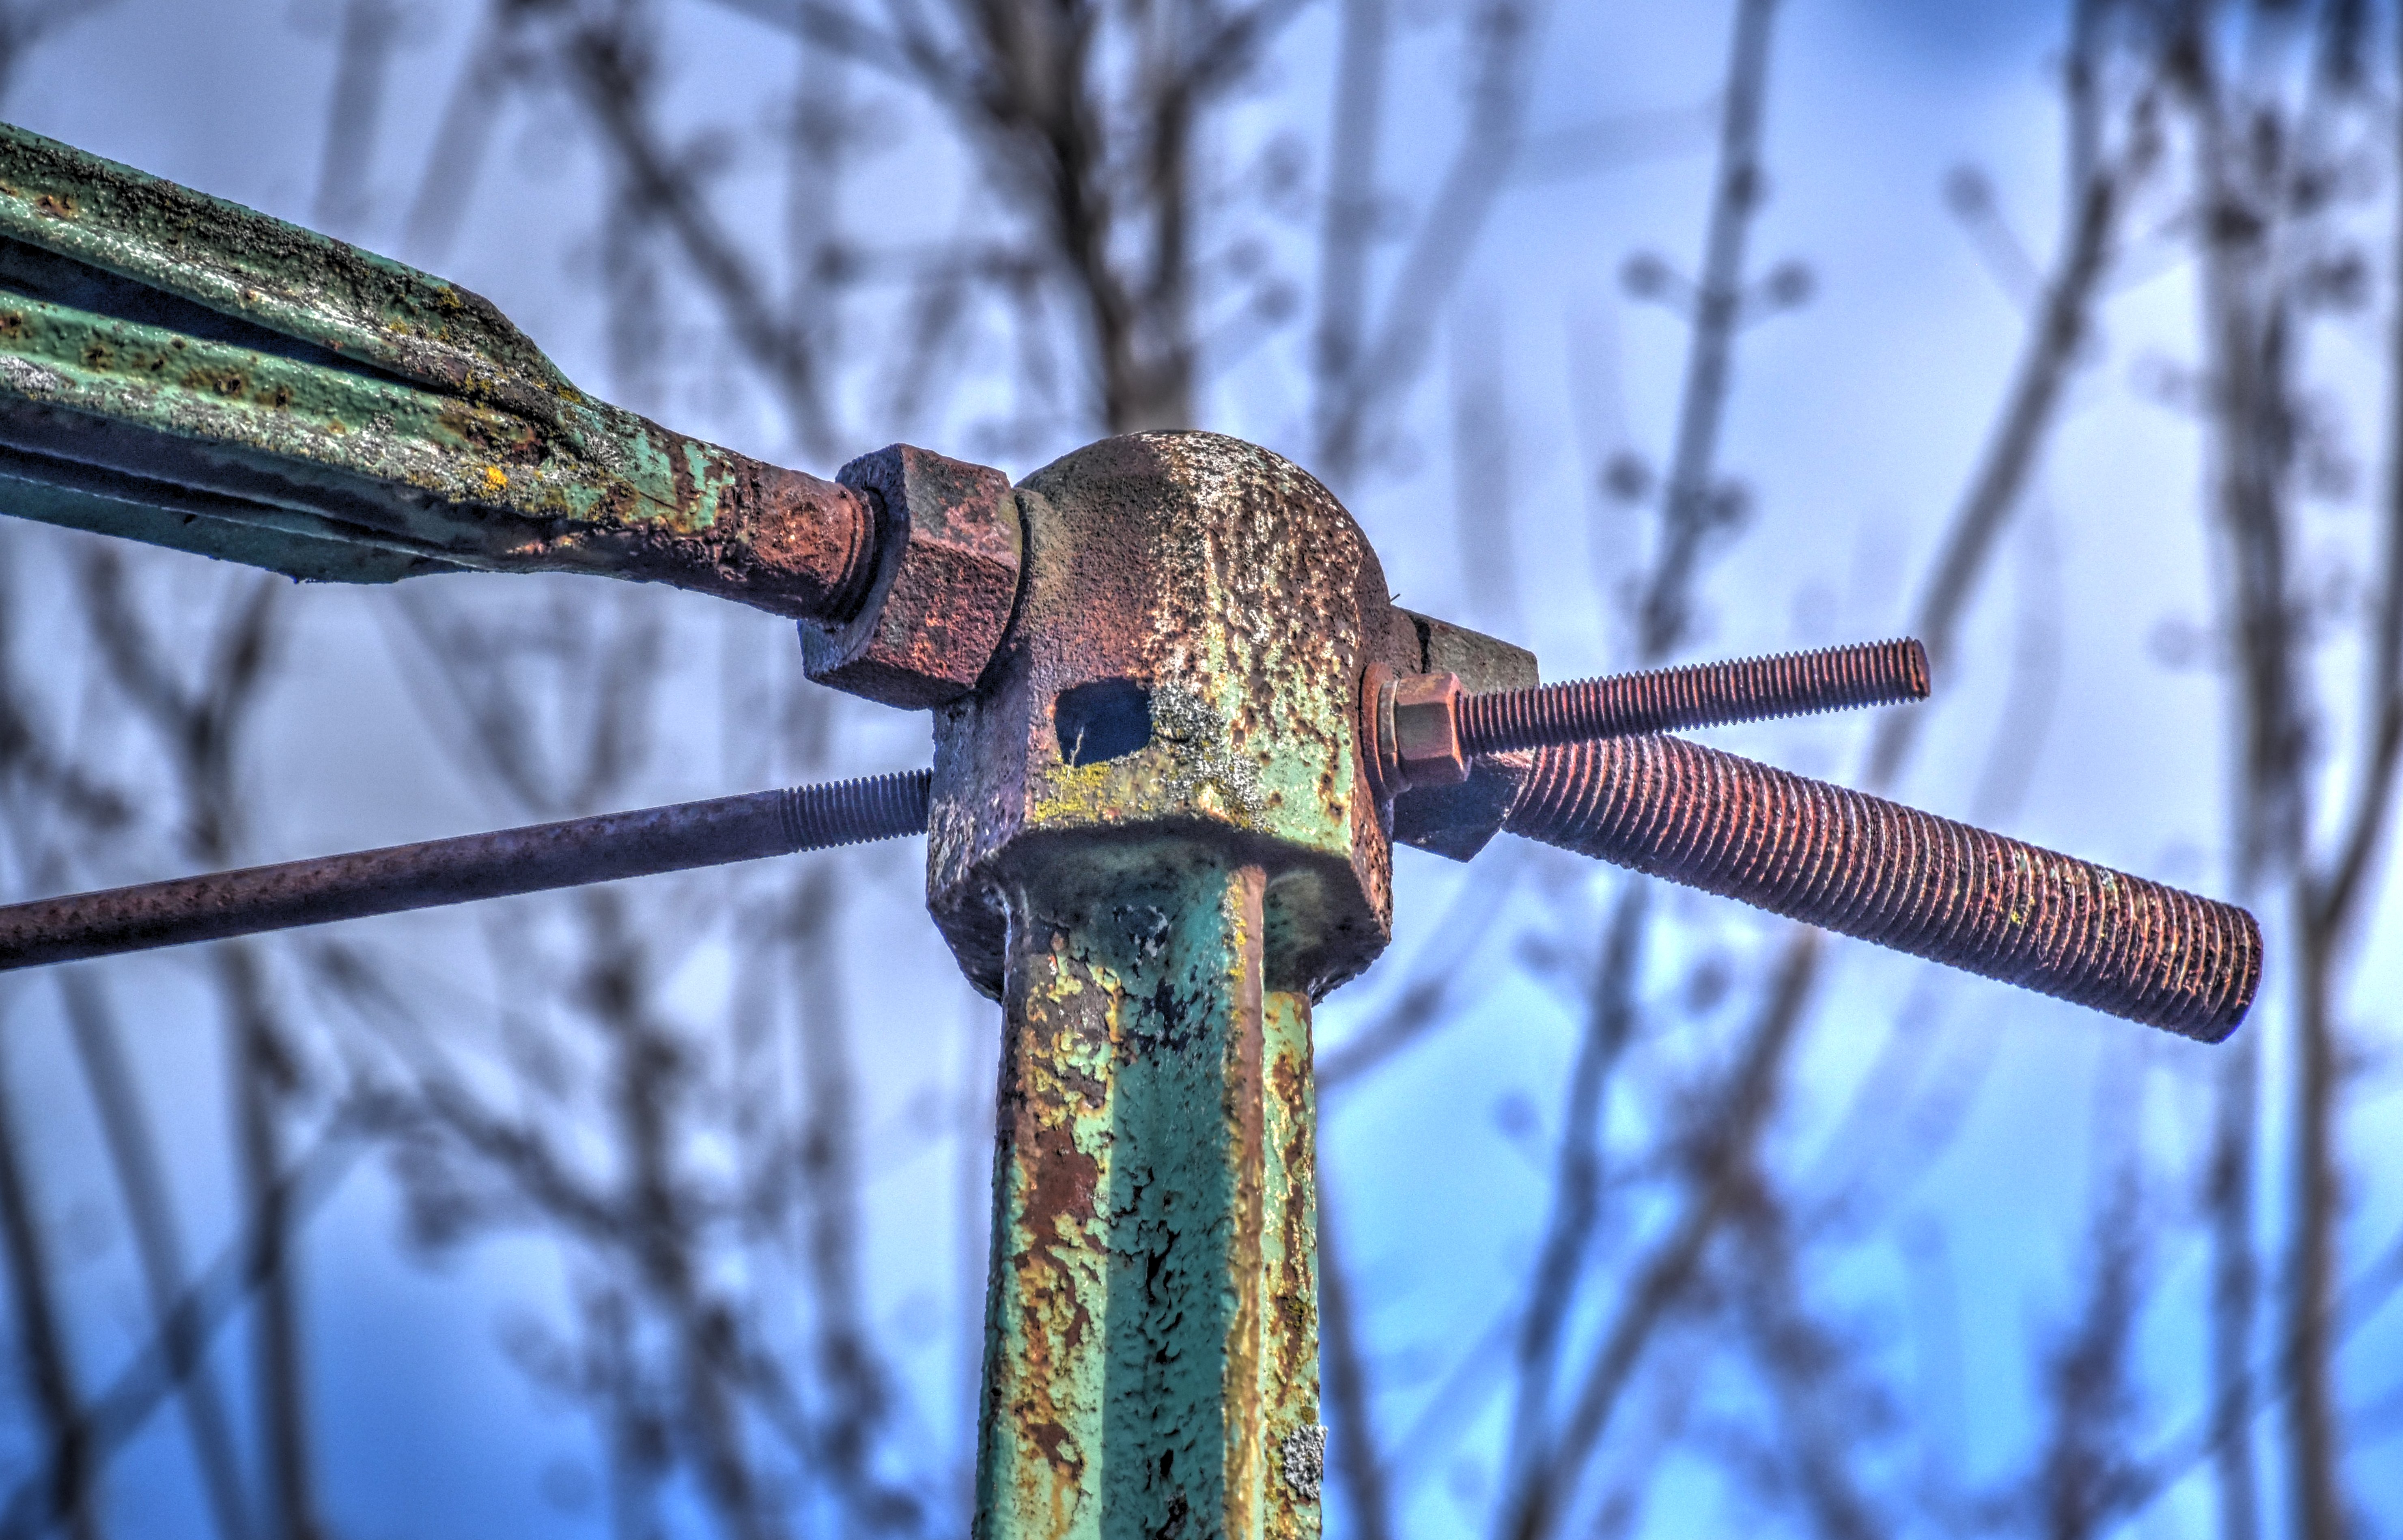


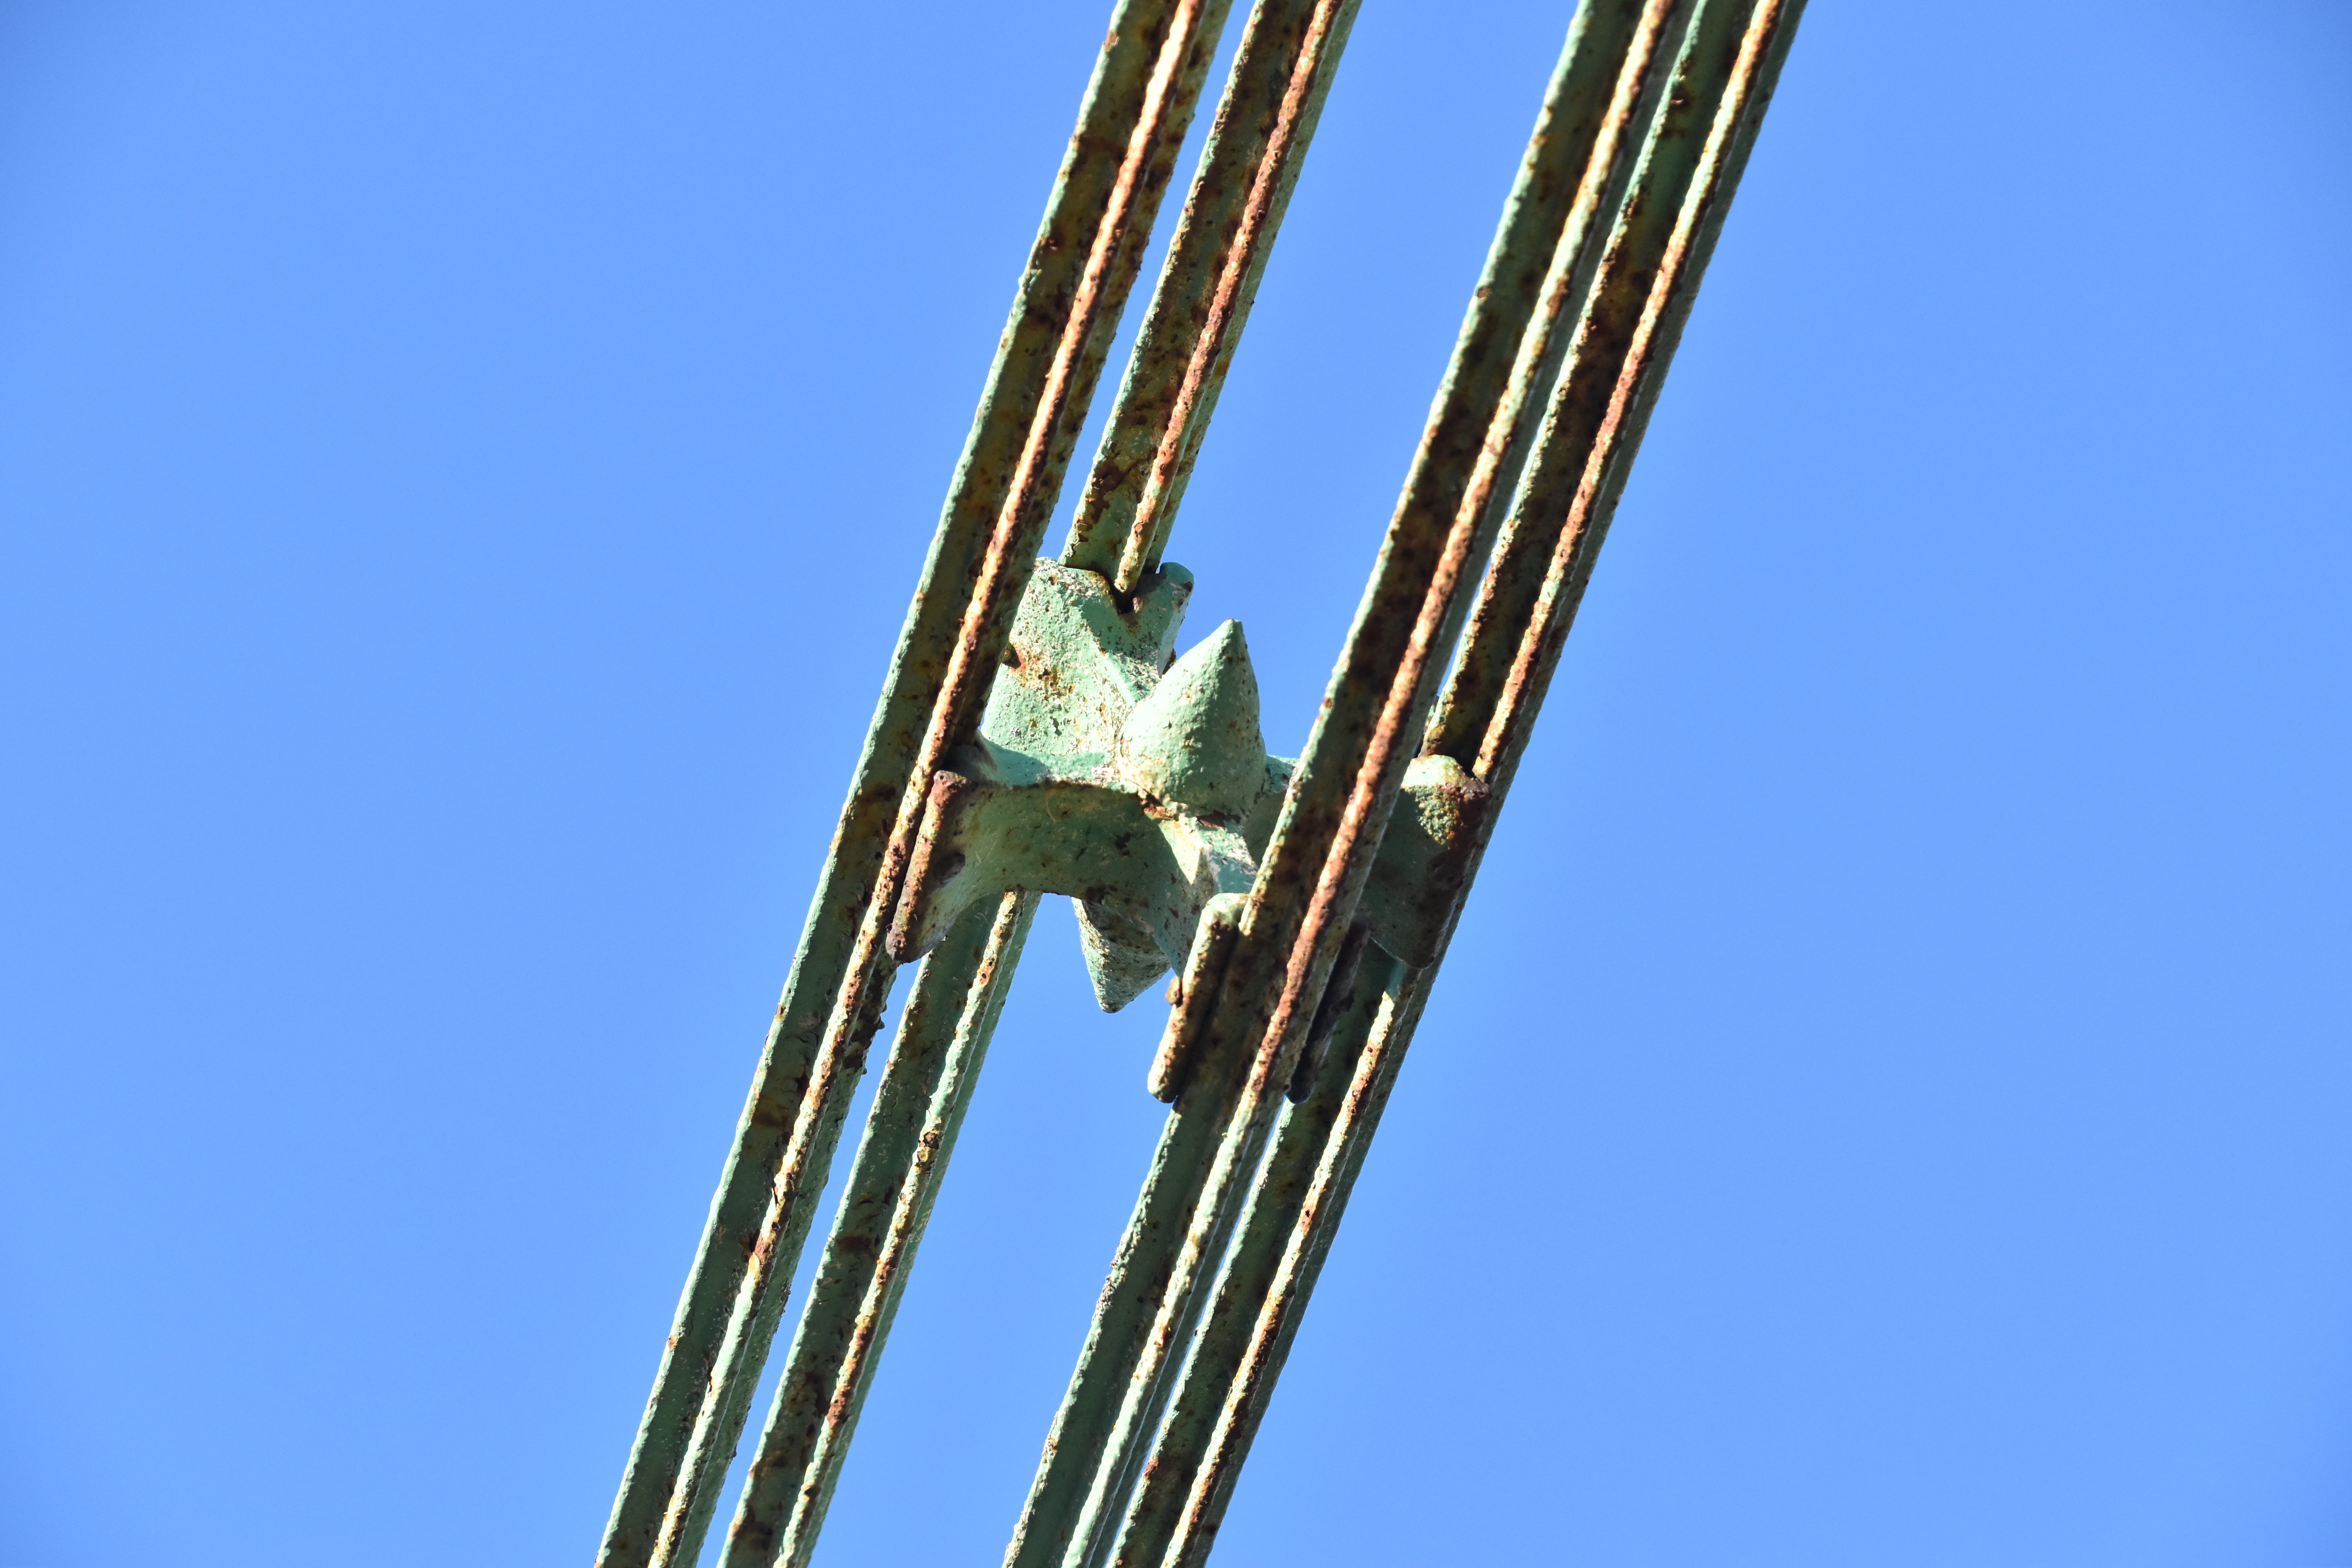
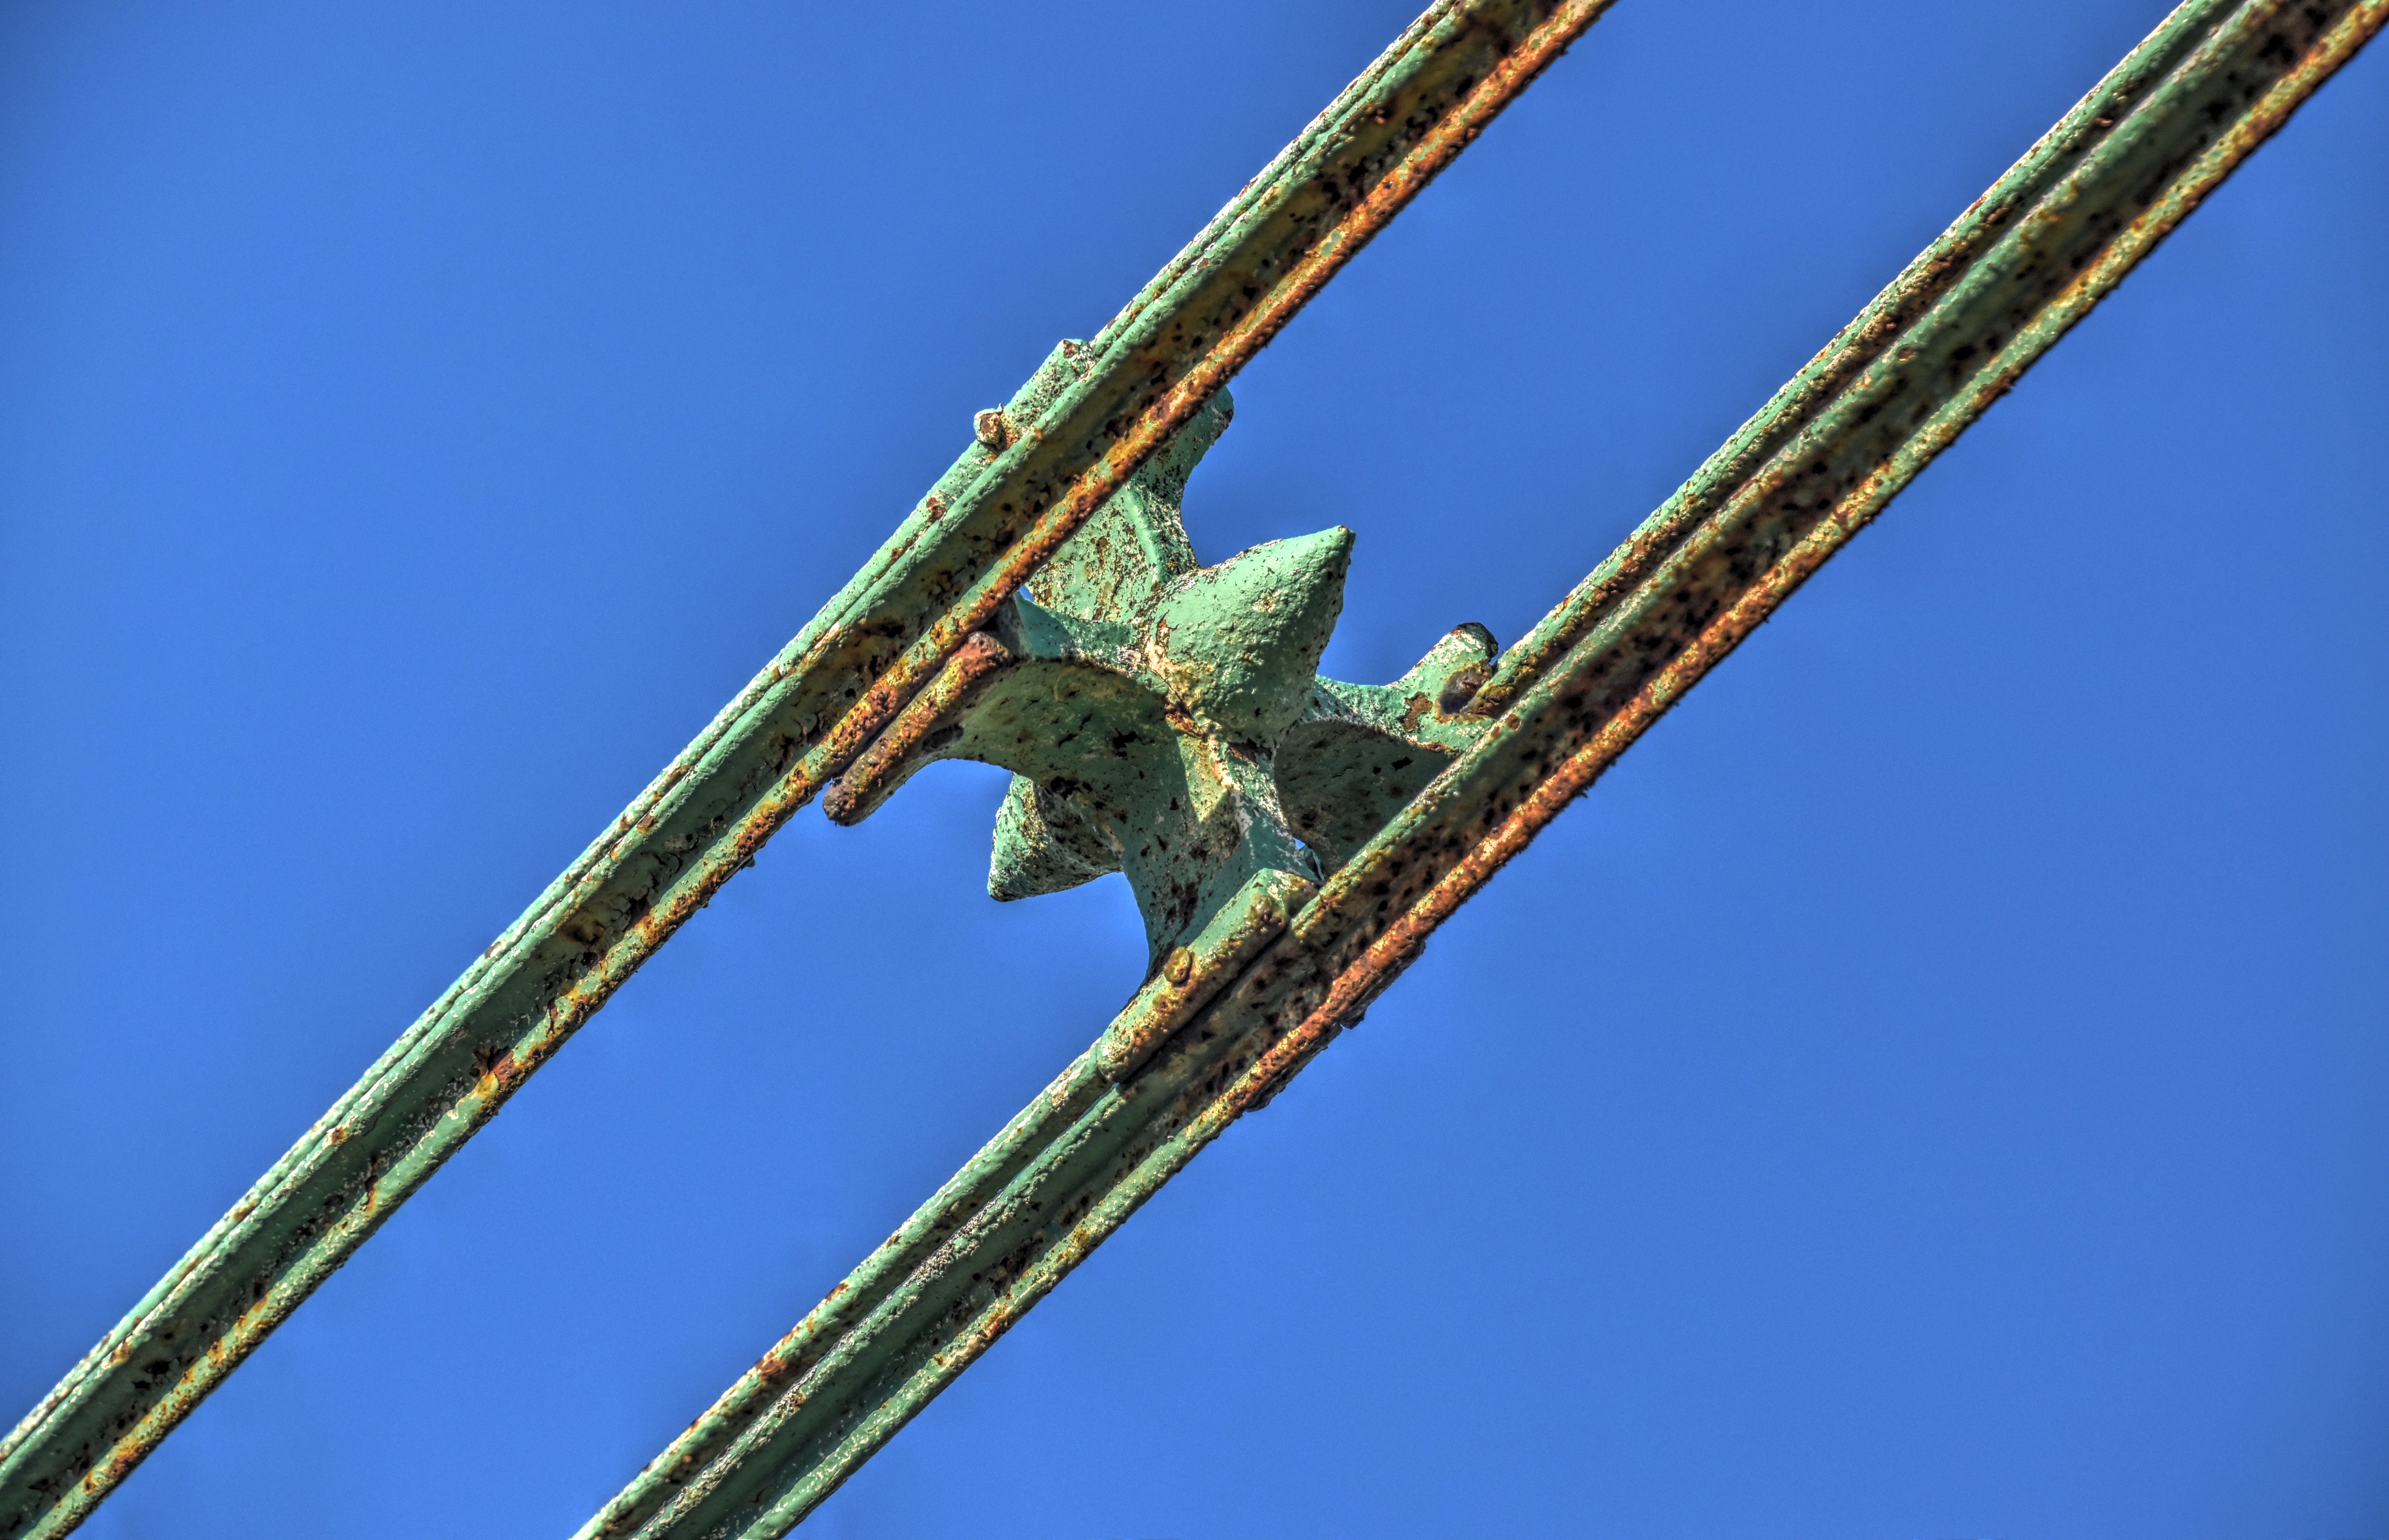
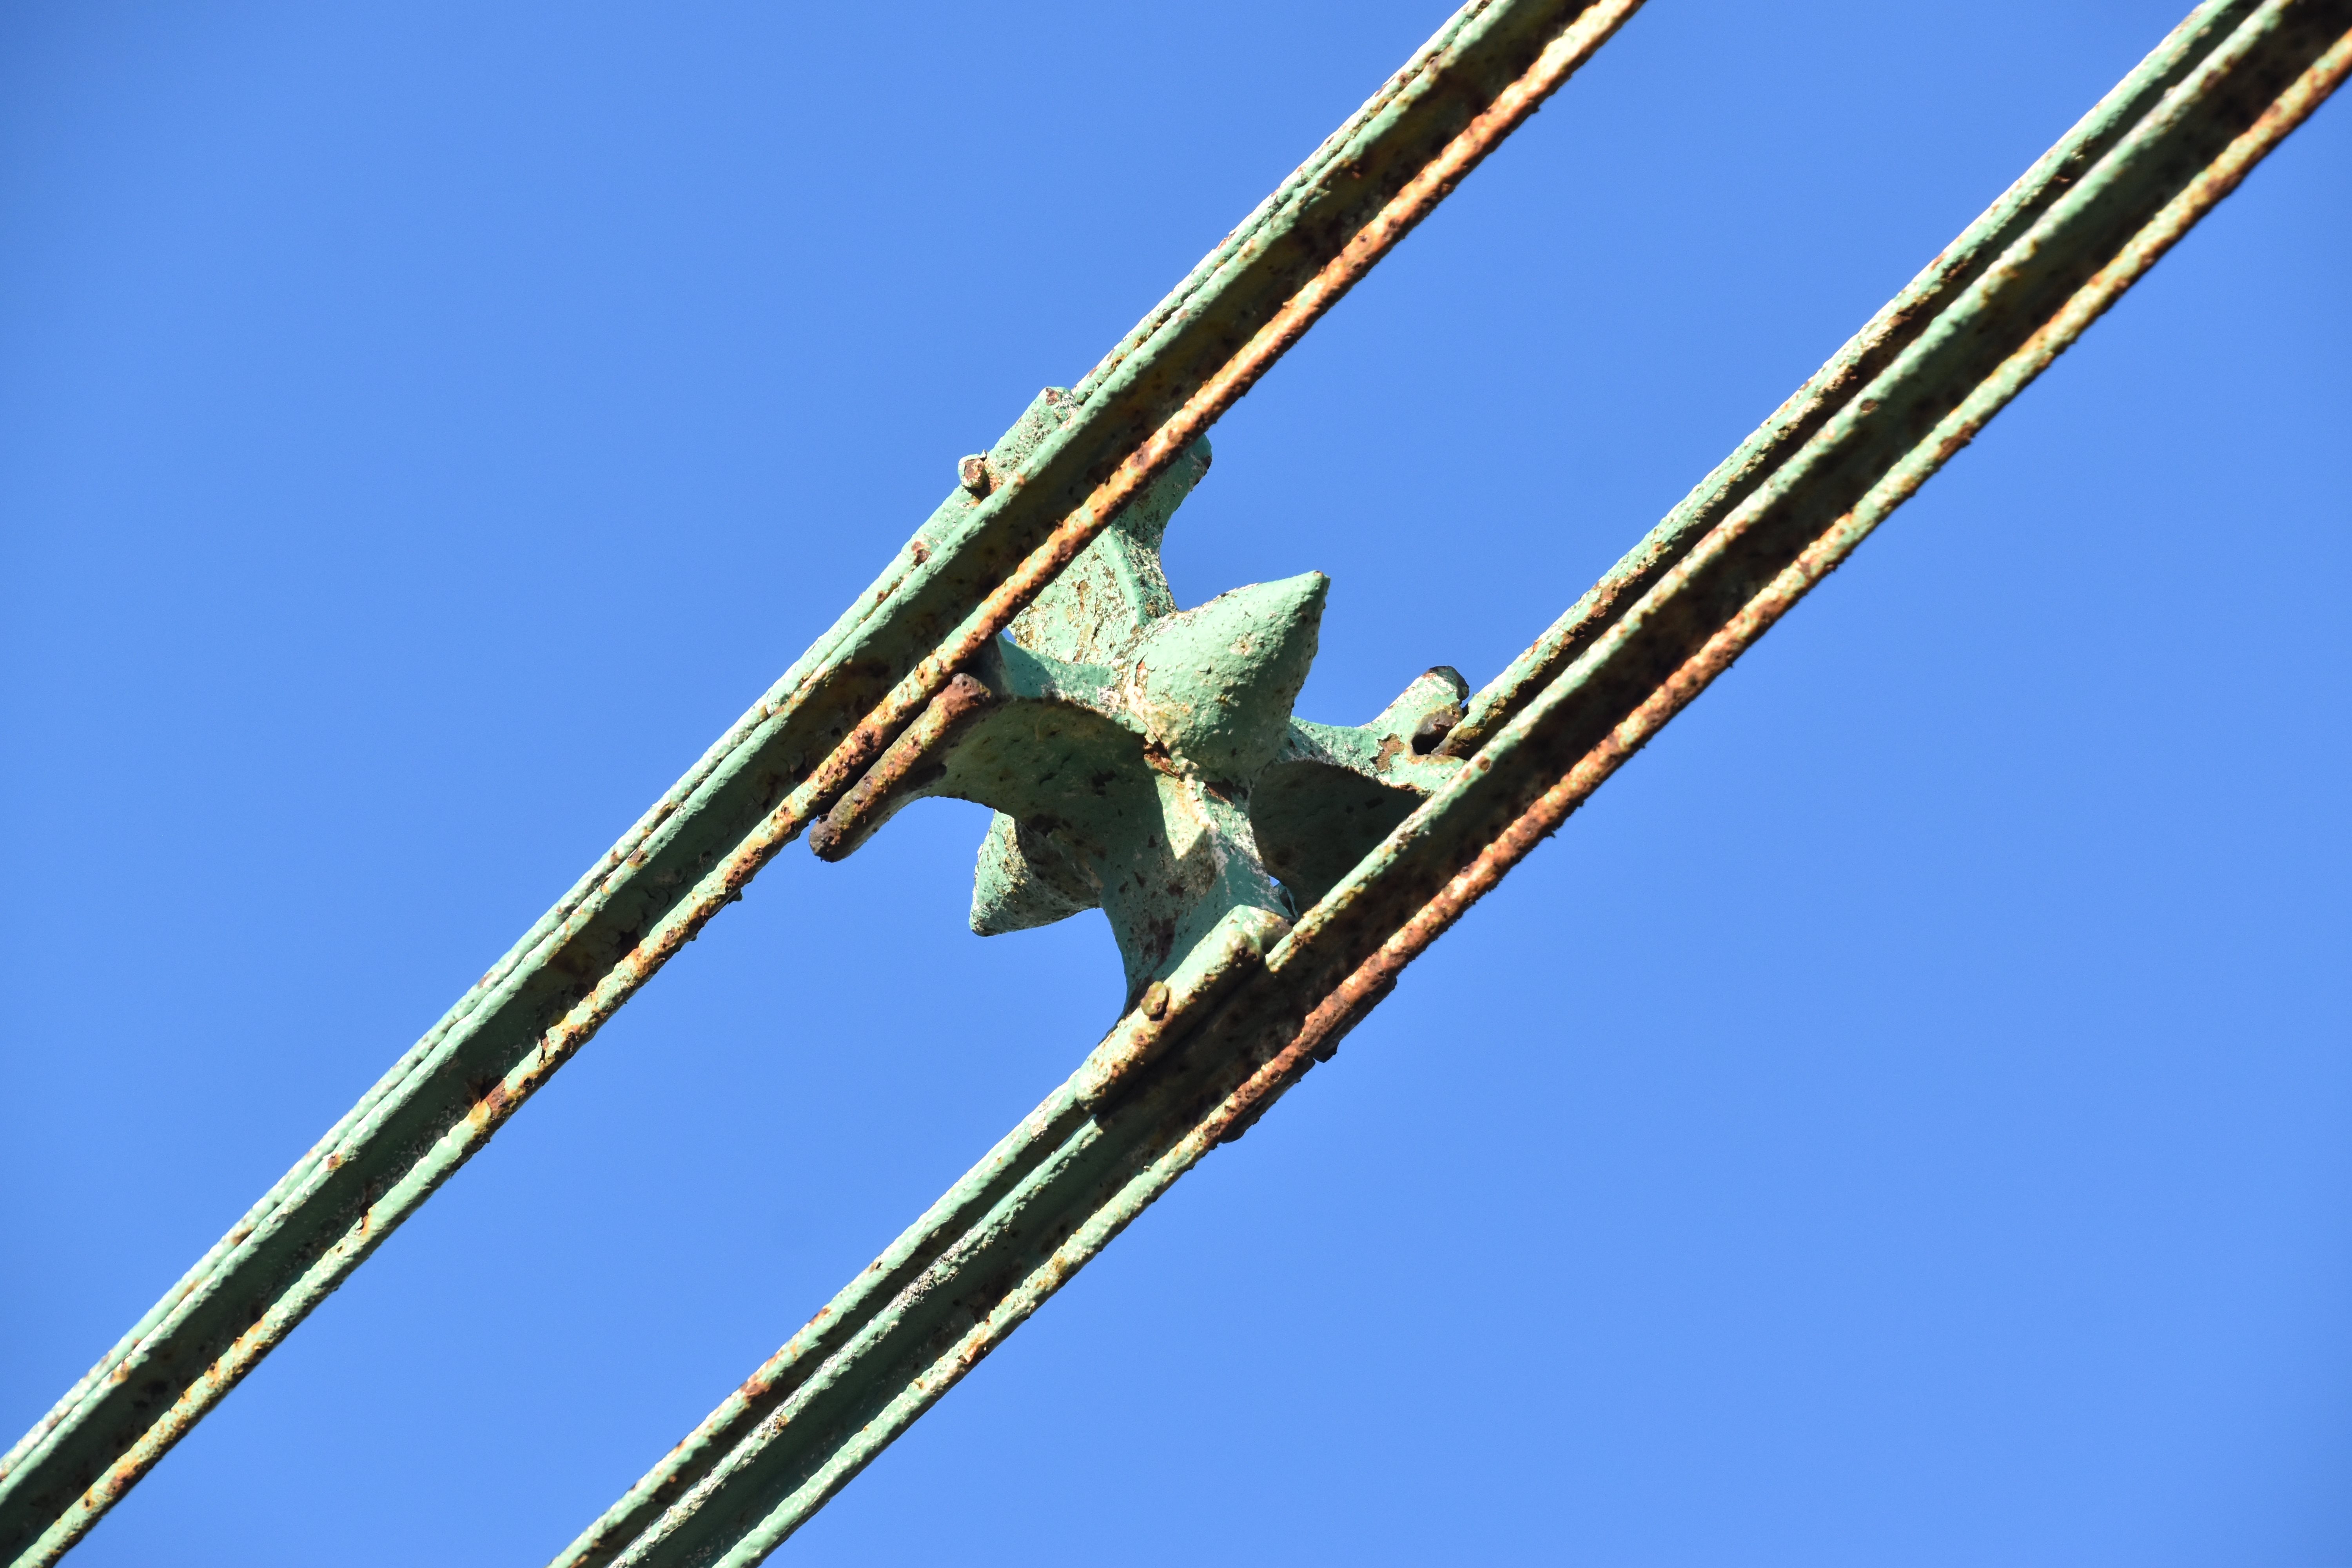
Original sway bracing detail at end showing forged weld of the star iron.
![]()

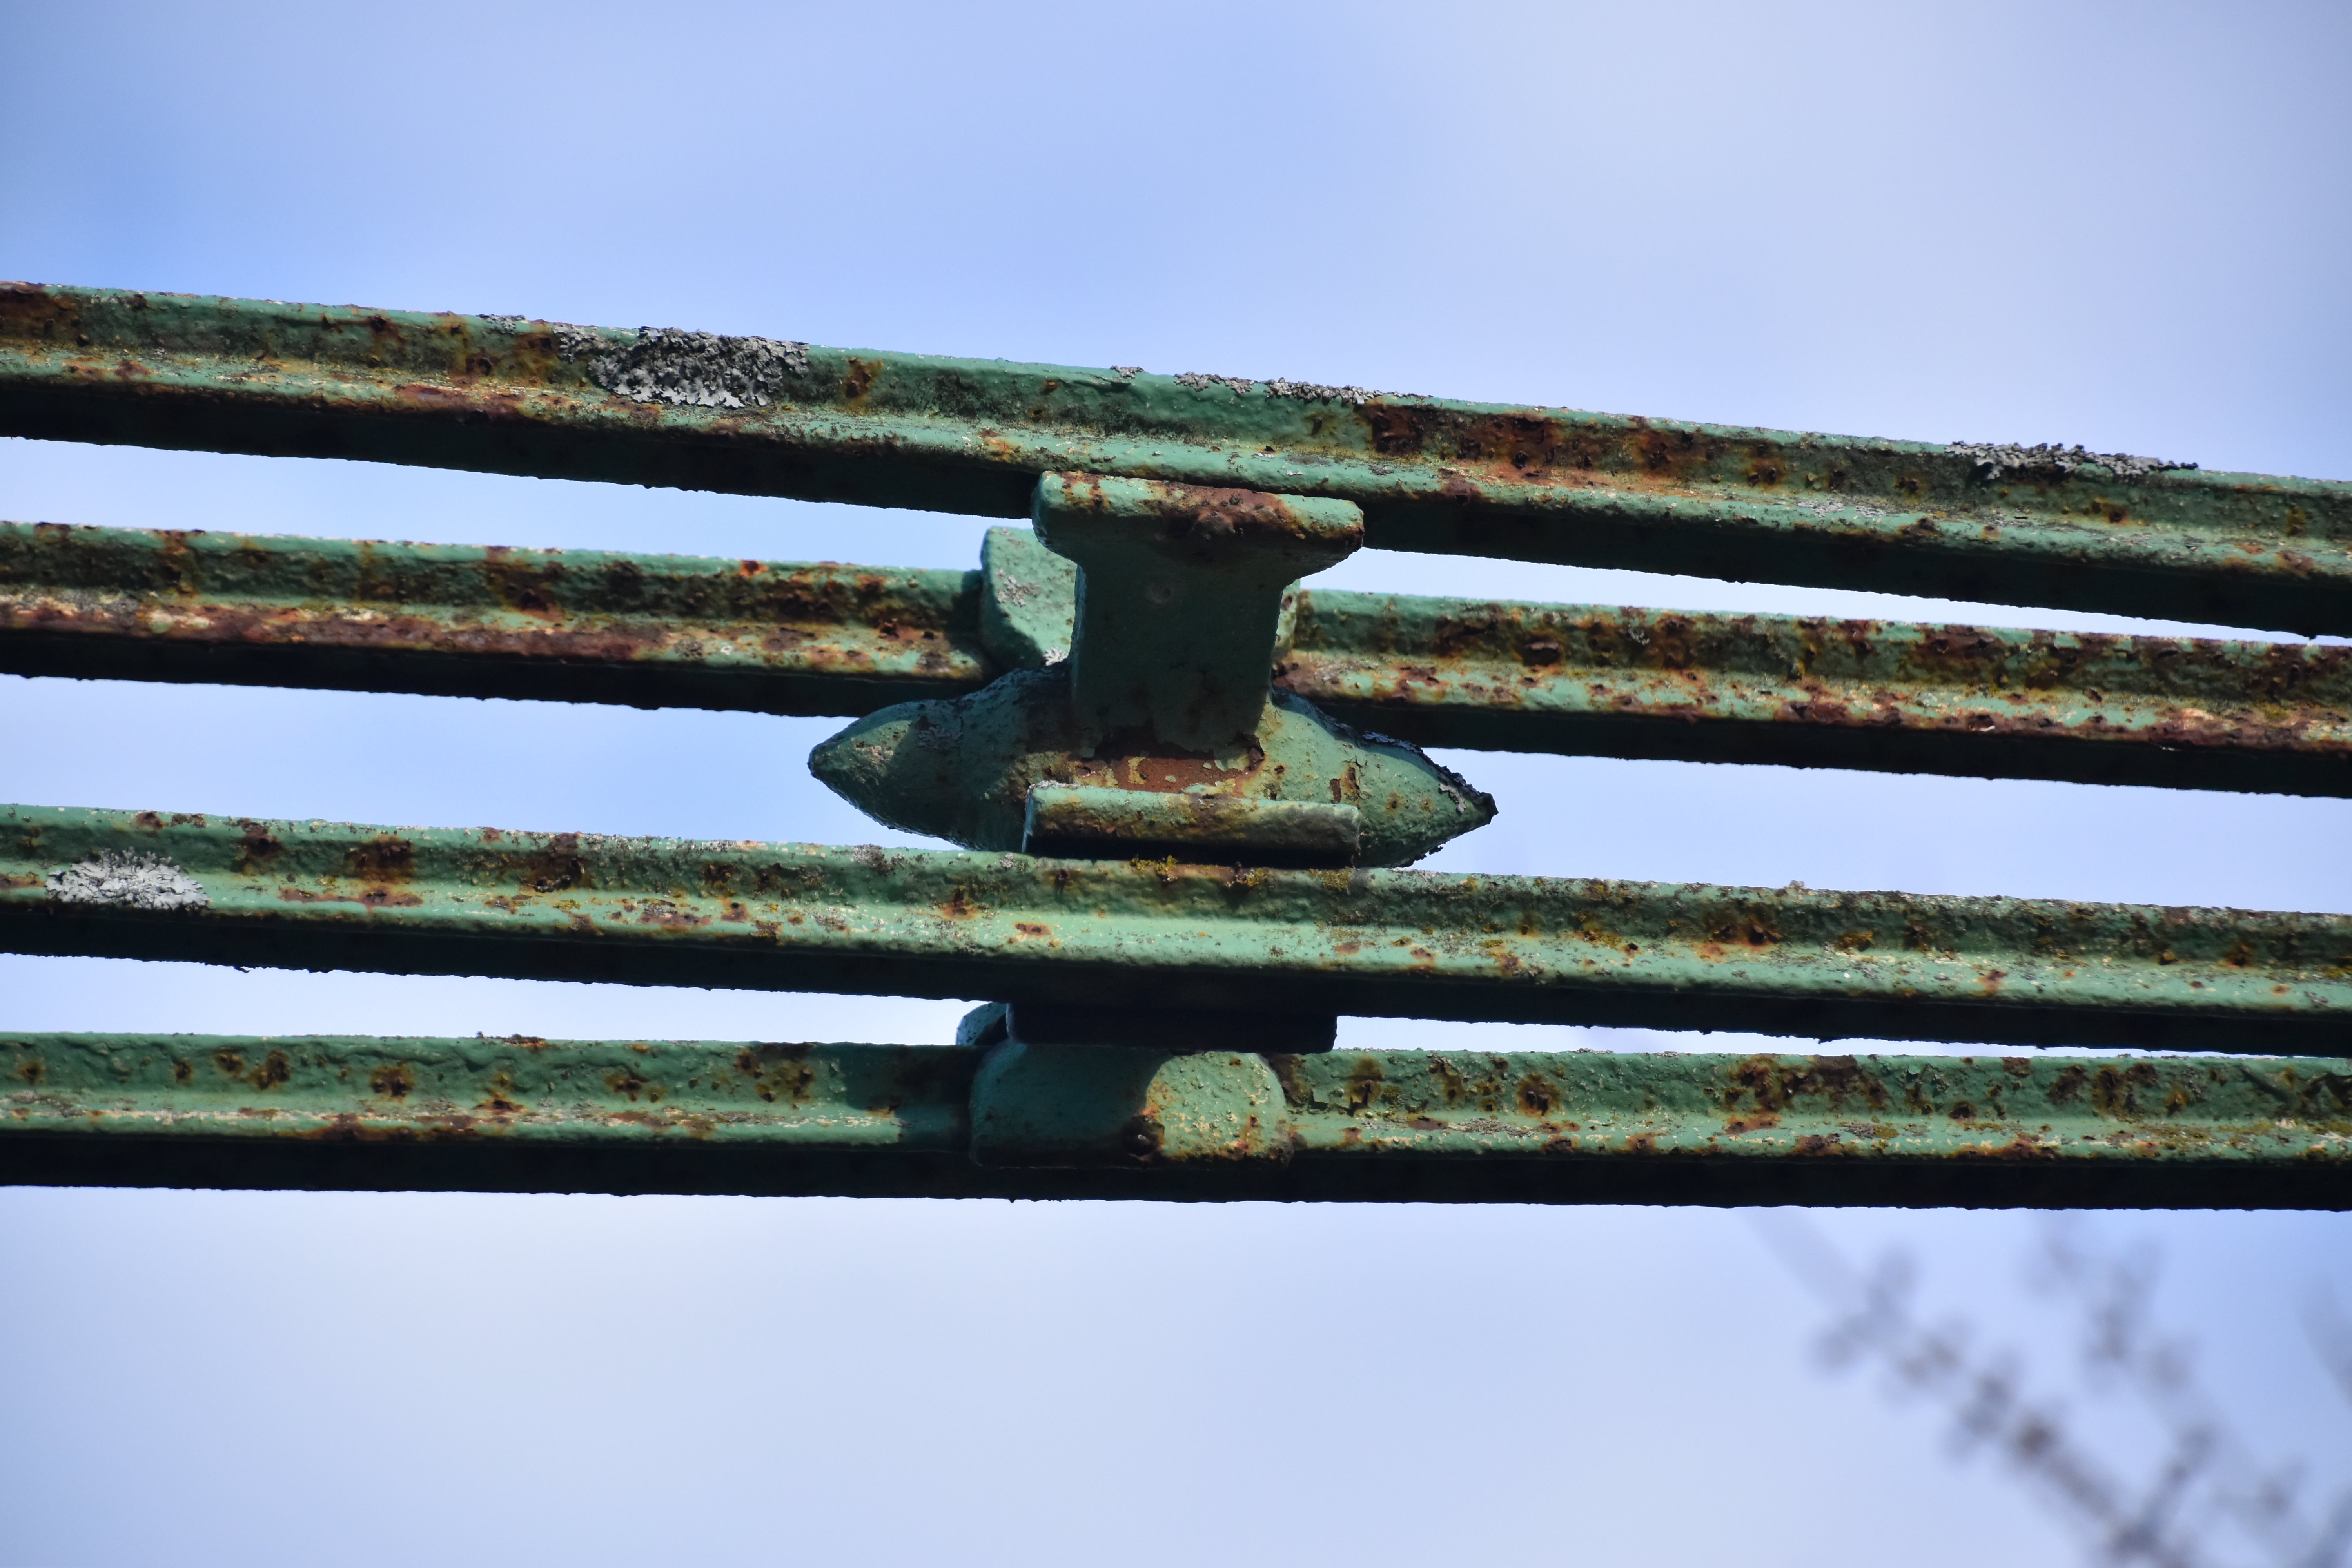


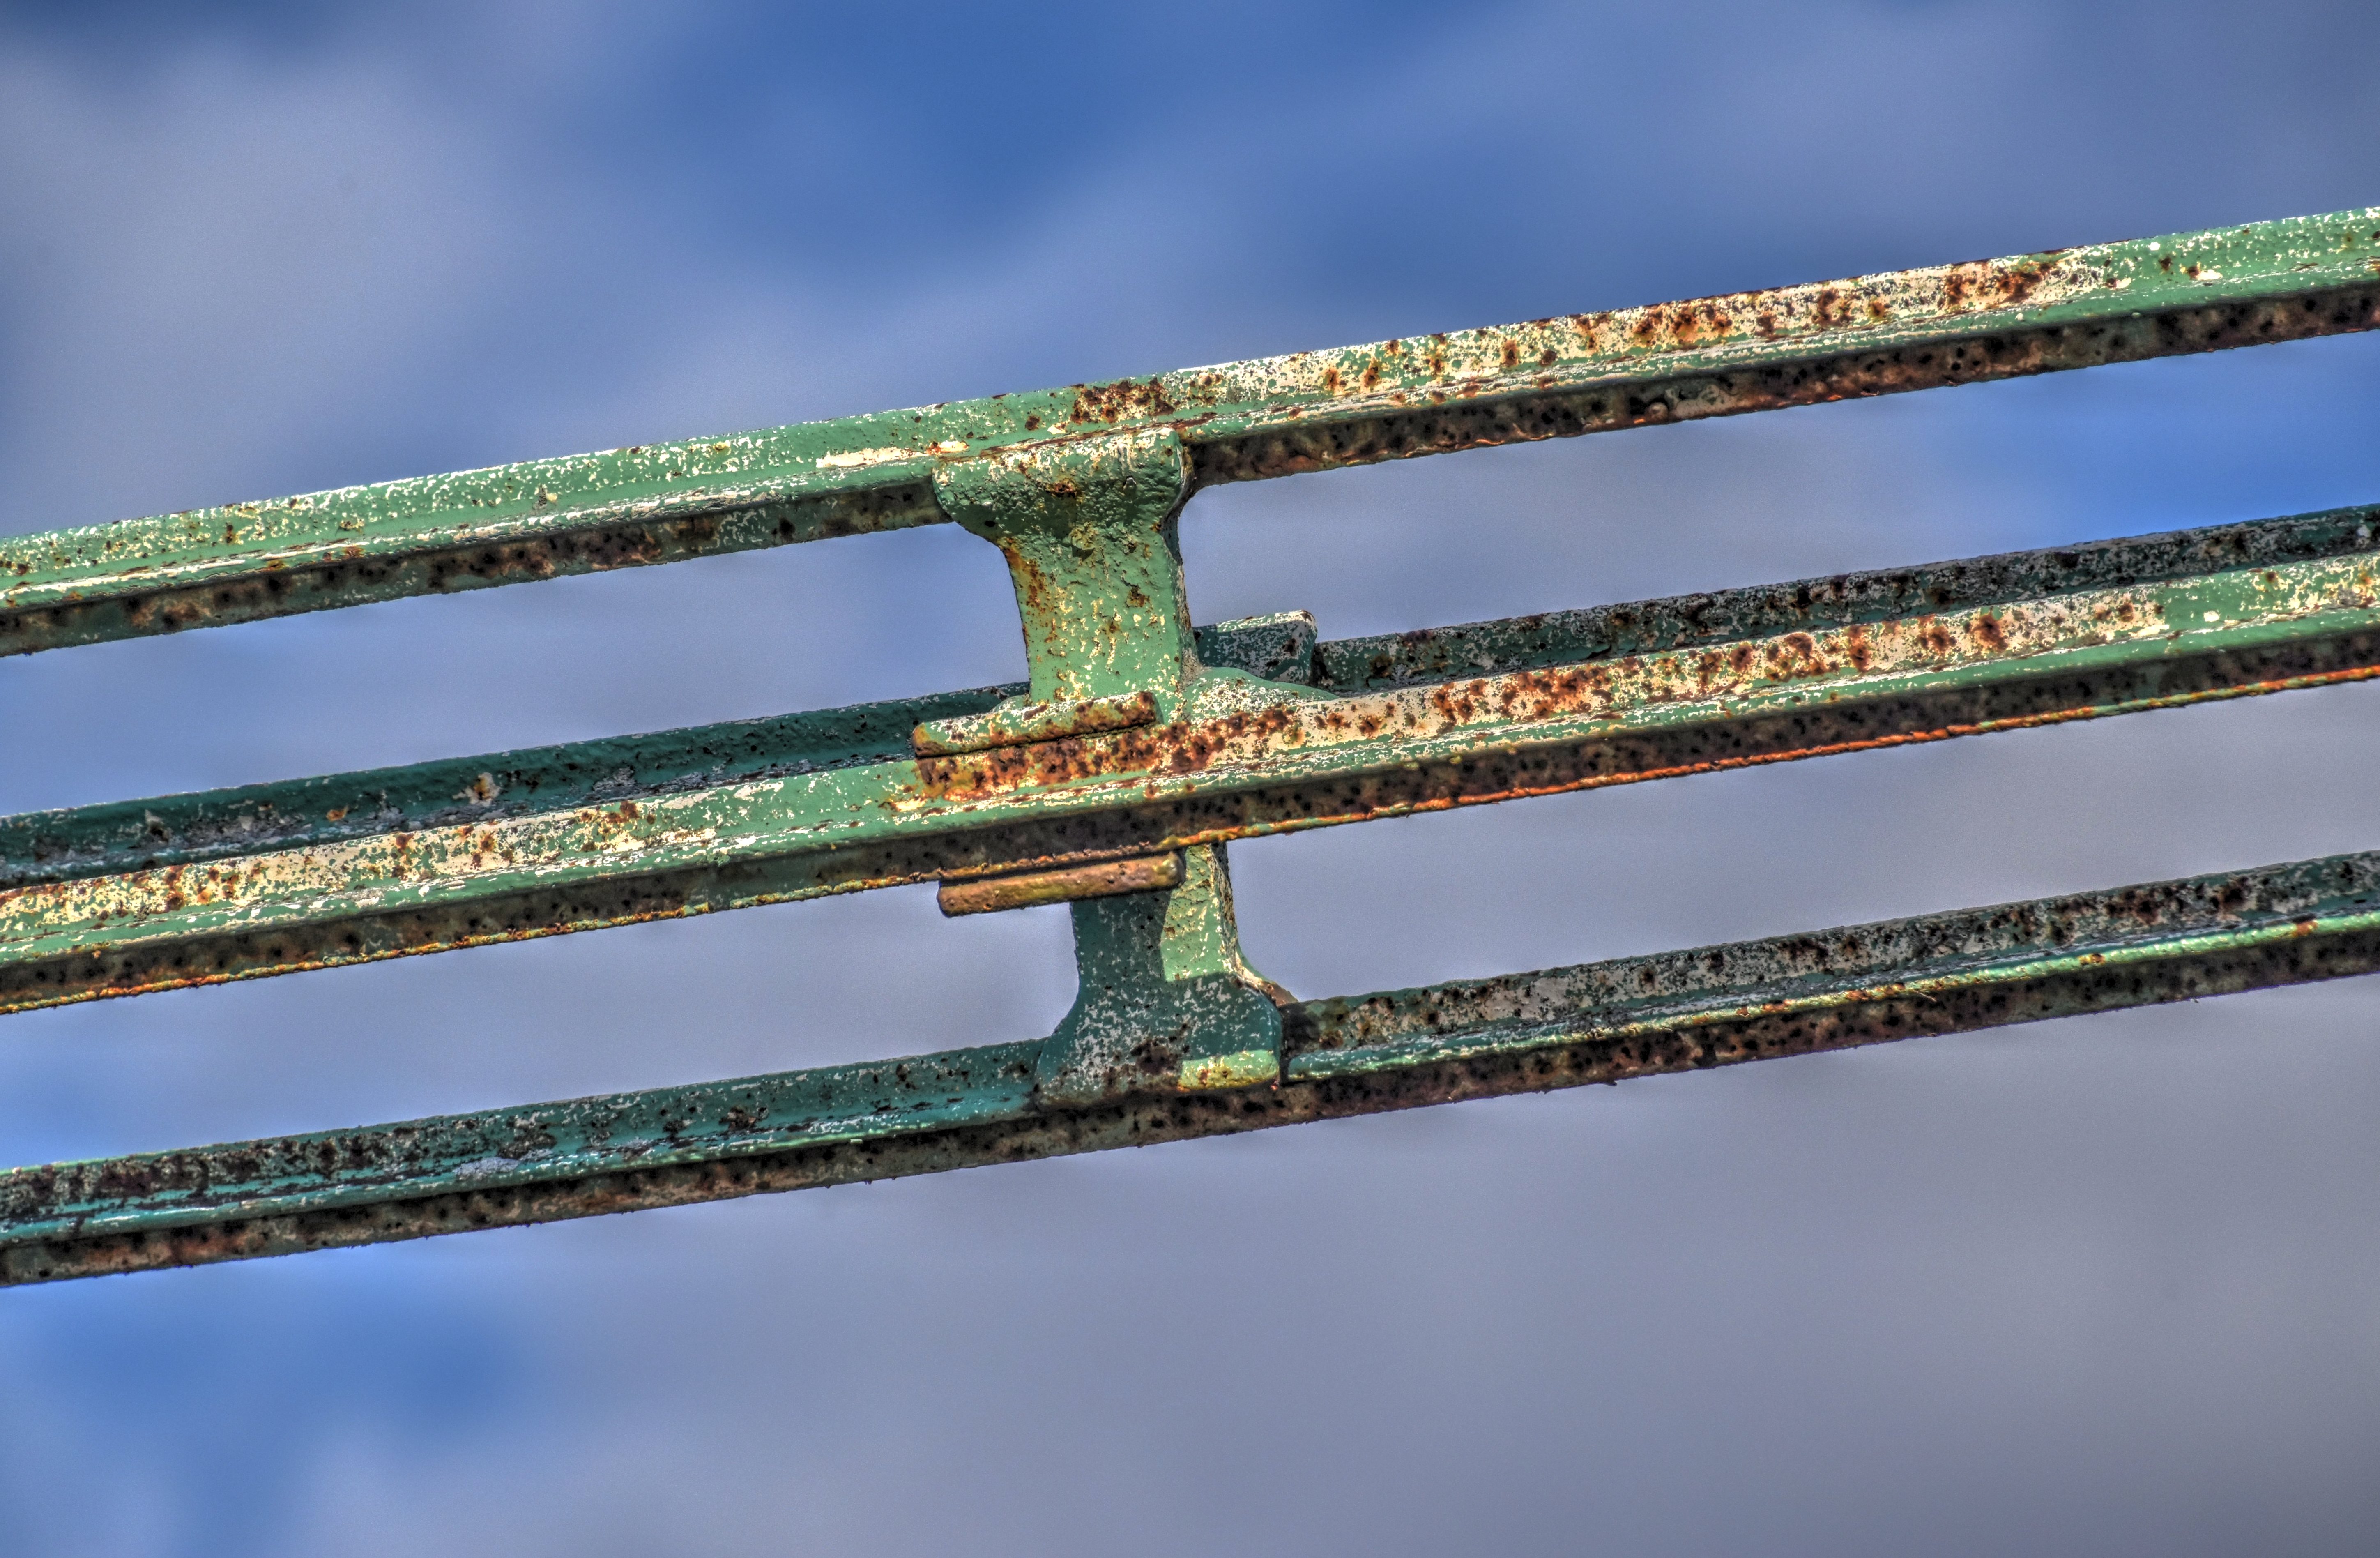


Original sway bracing detail showing cast iron spacers.
![]()

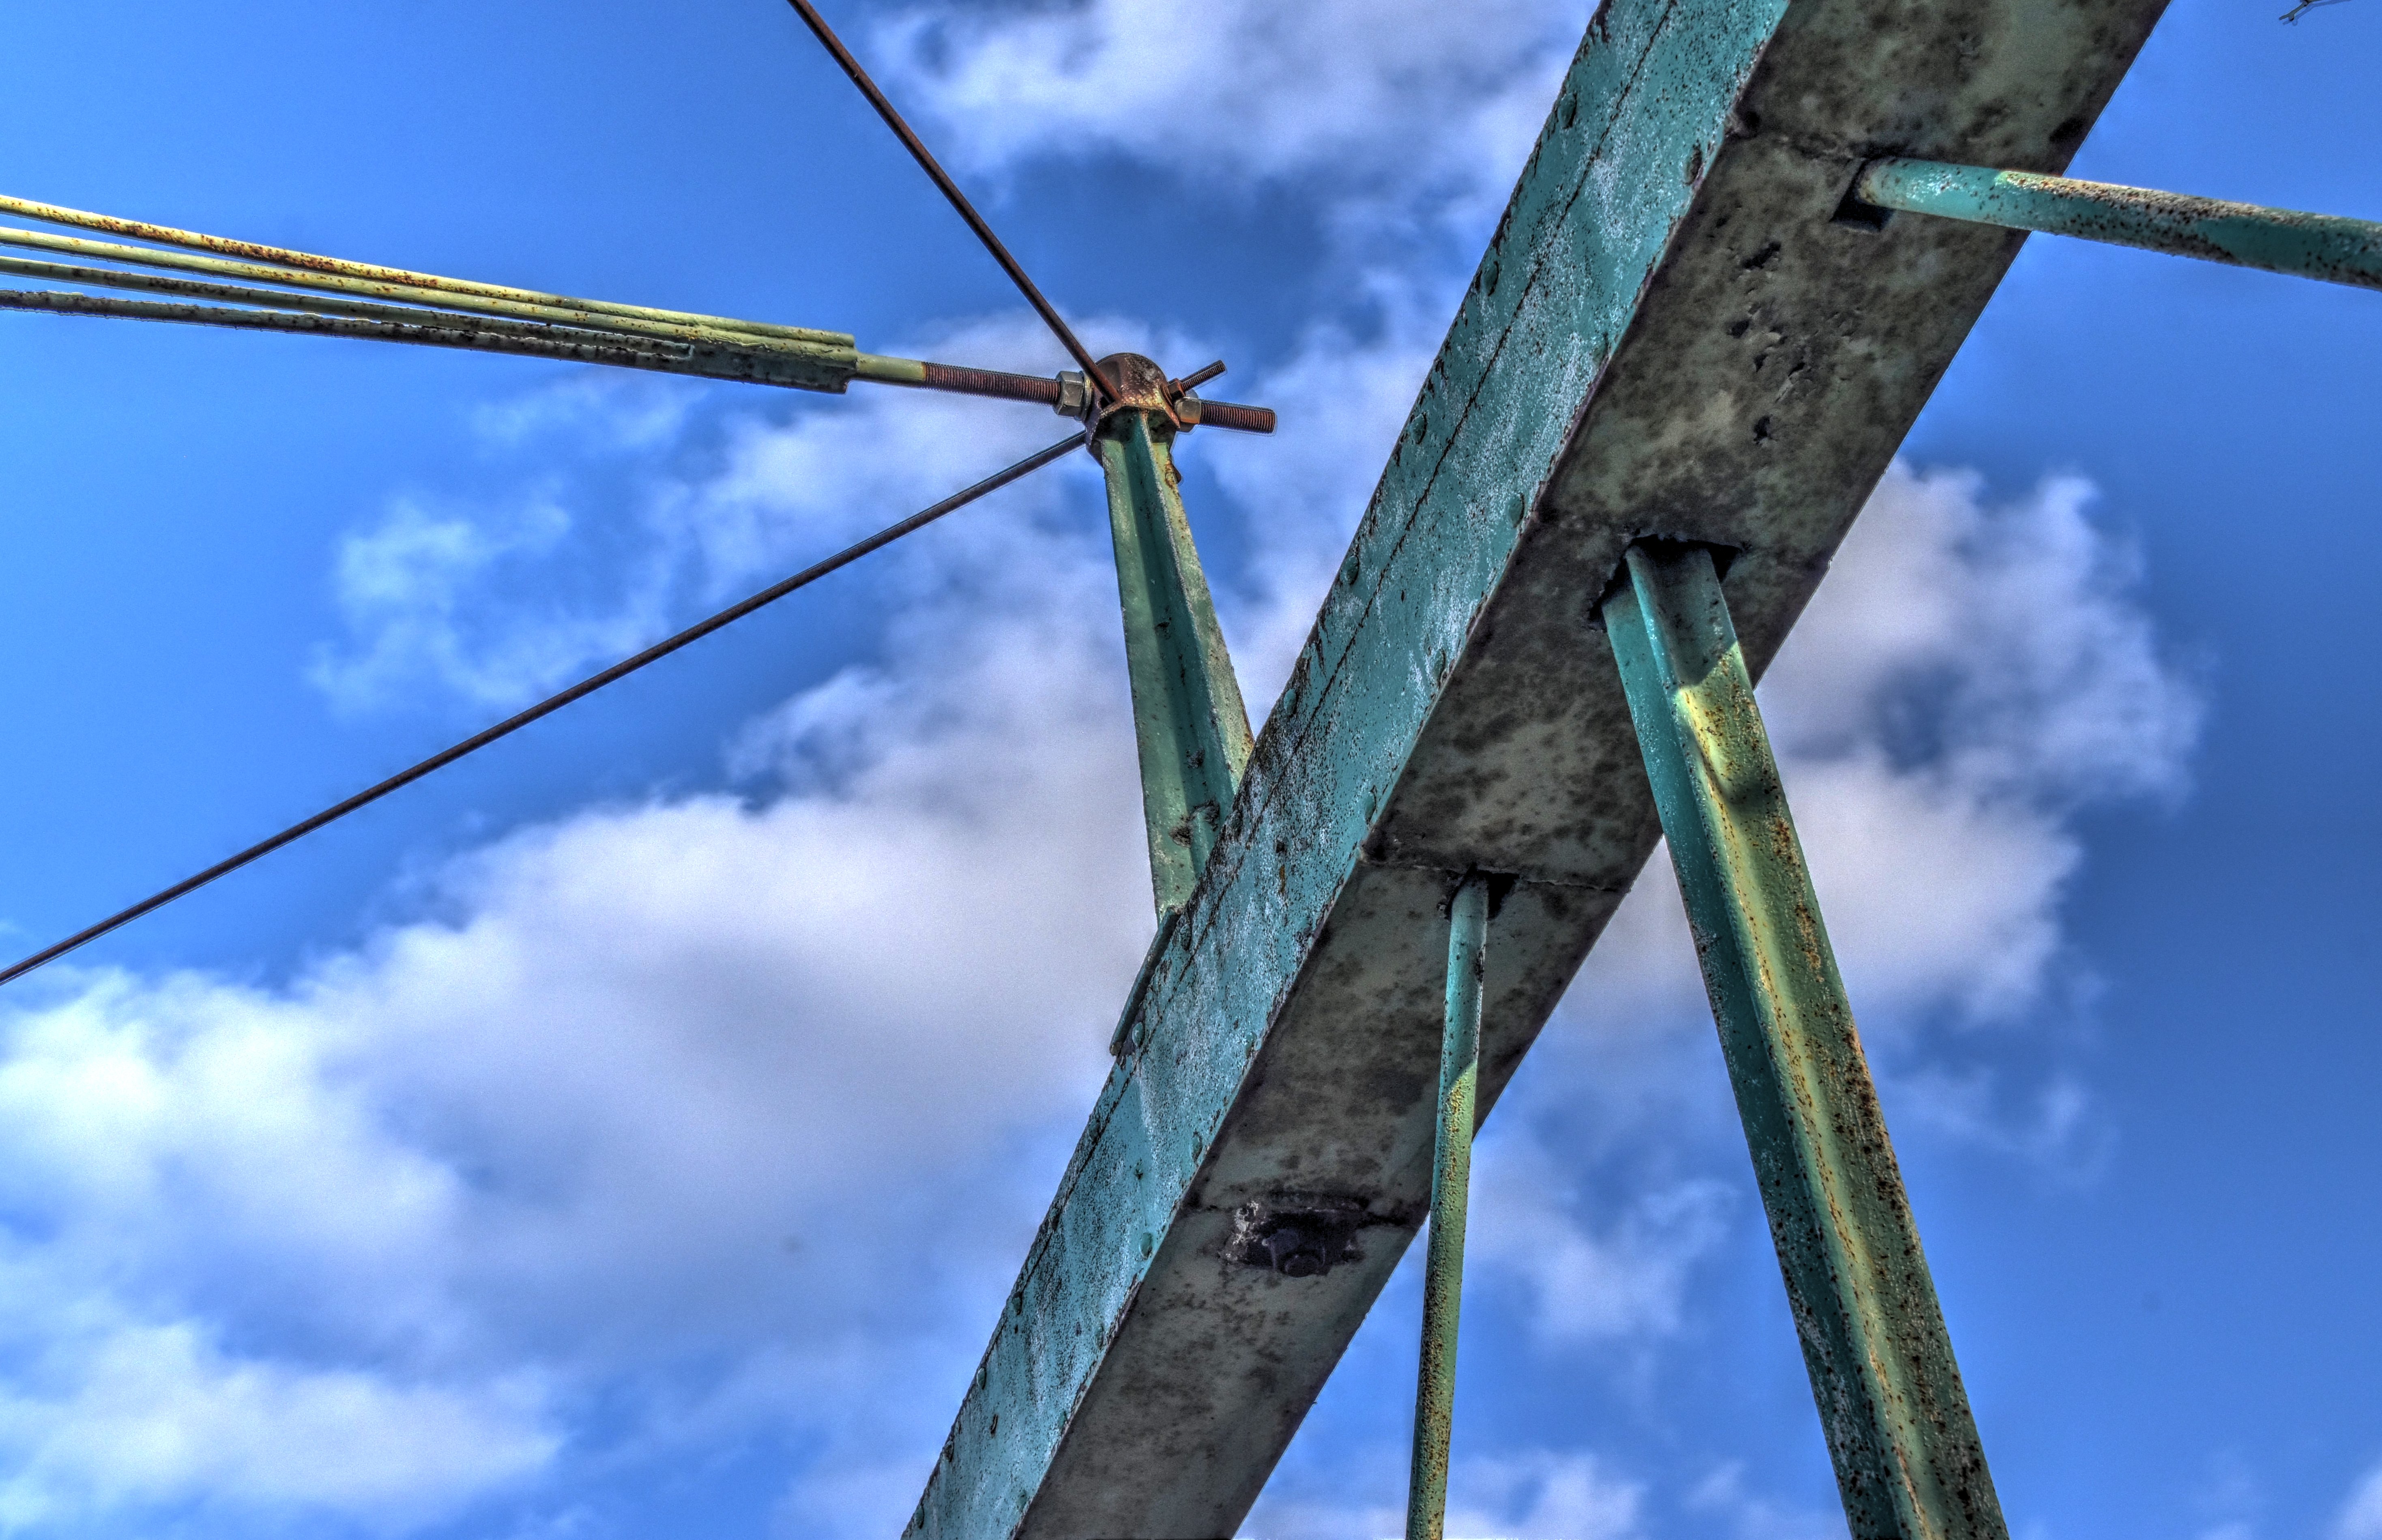


Sway bracing cast iron posts.
![]()
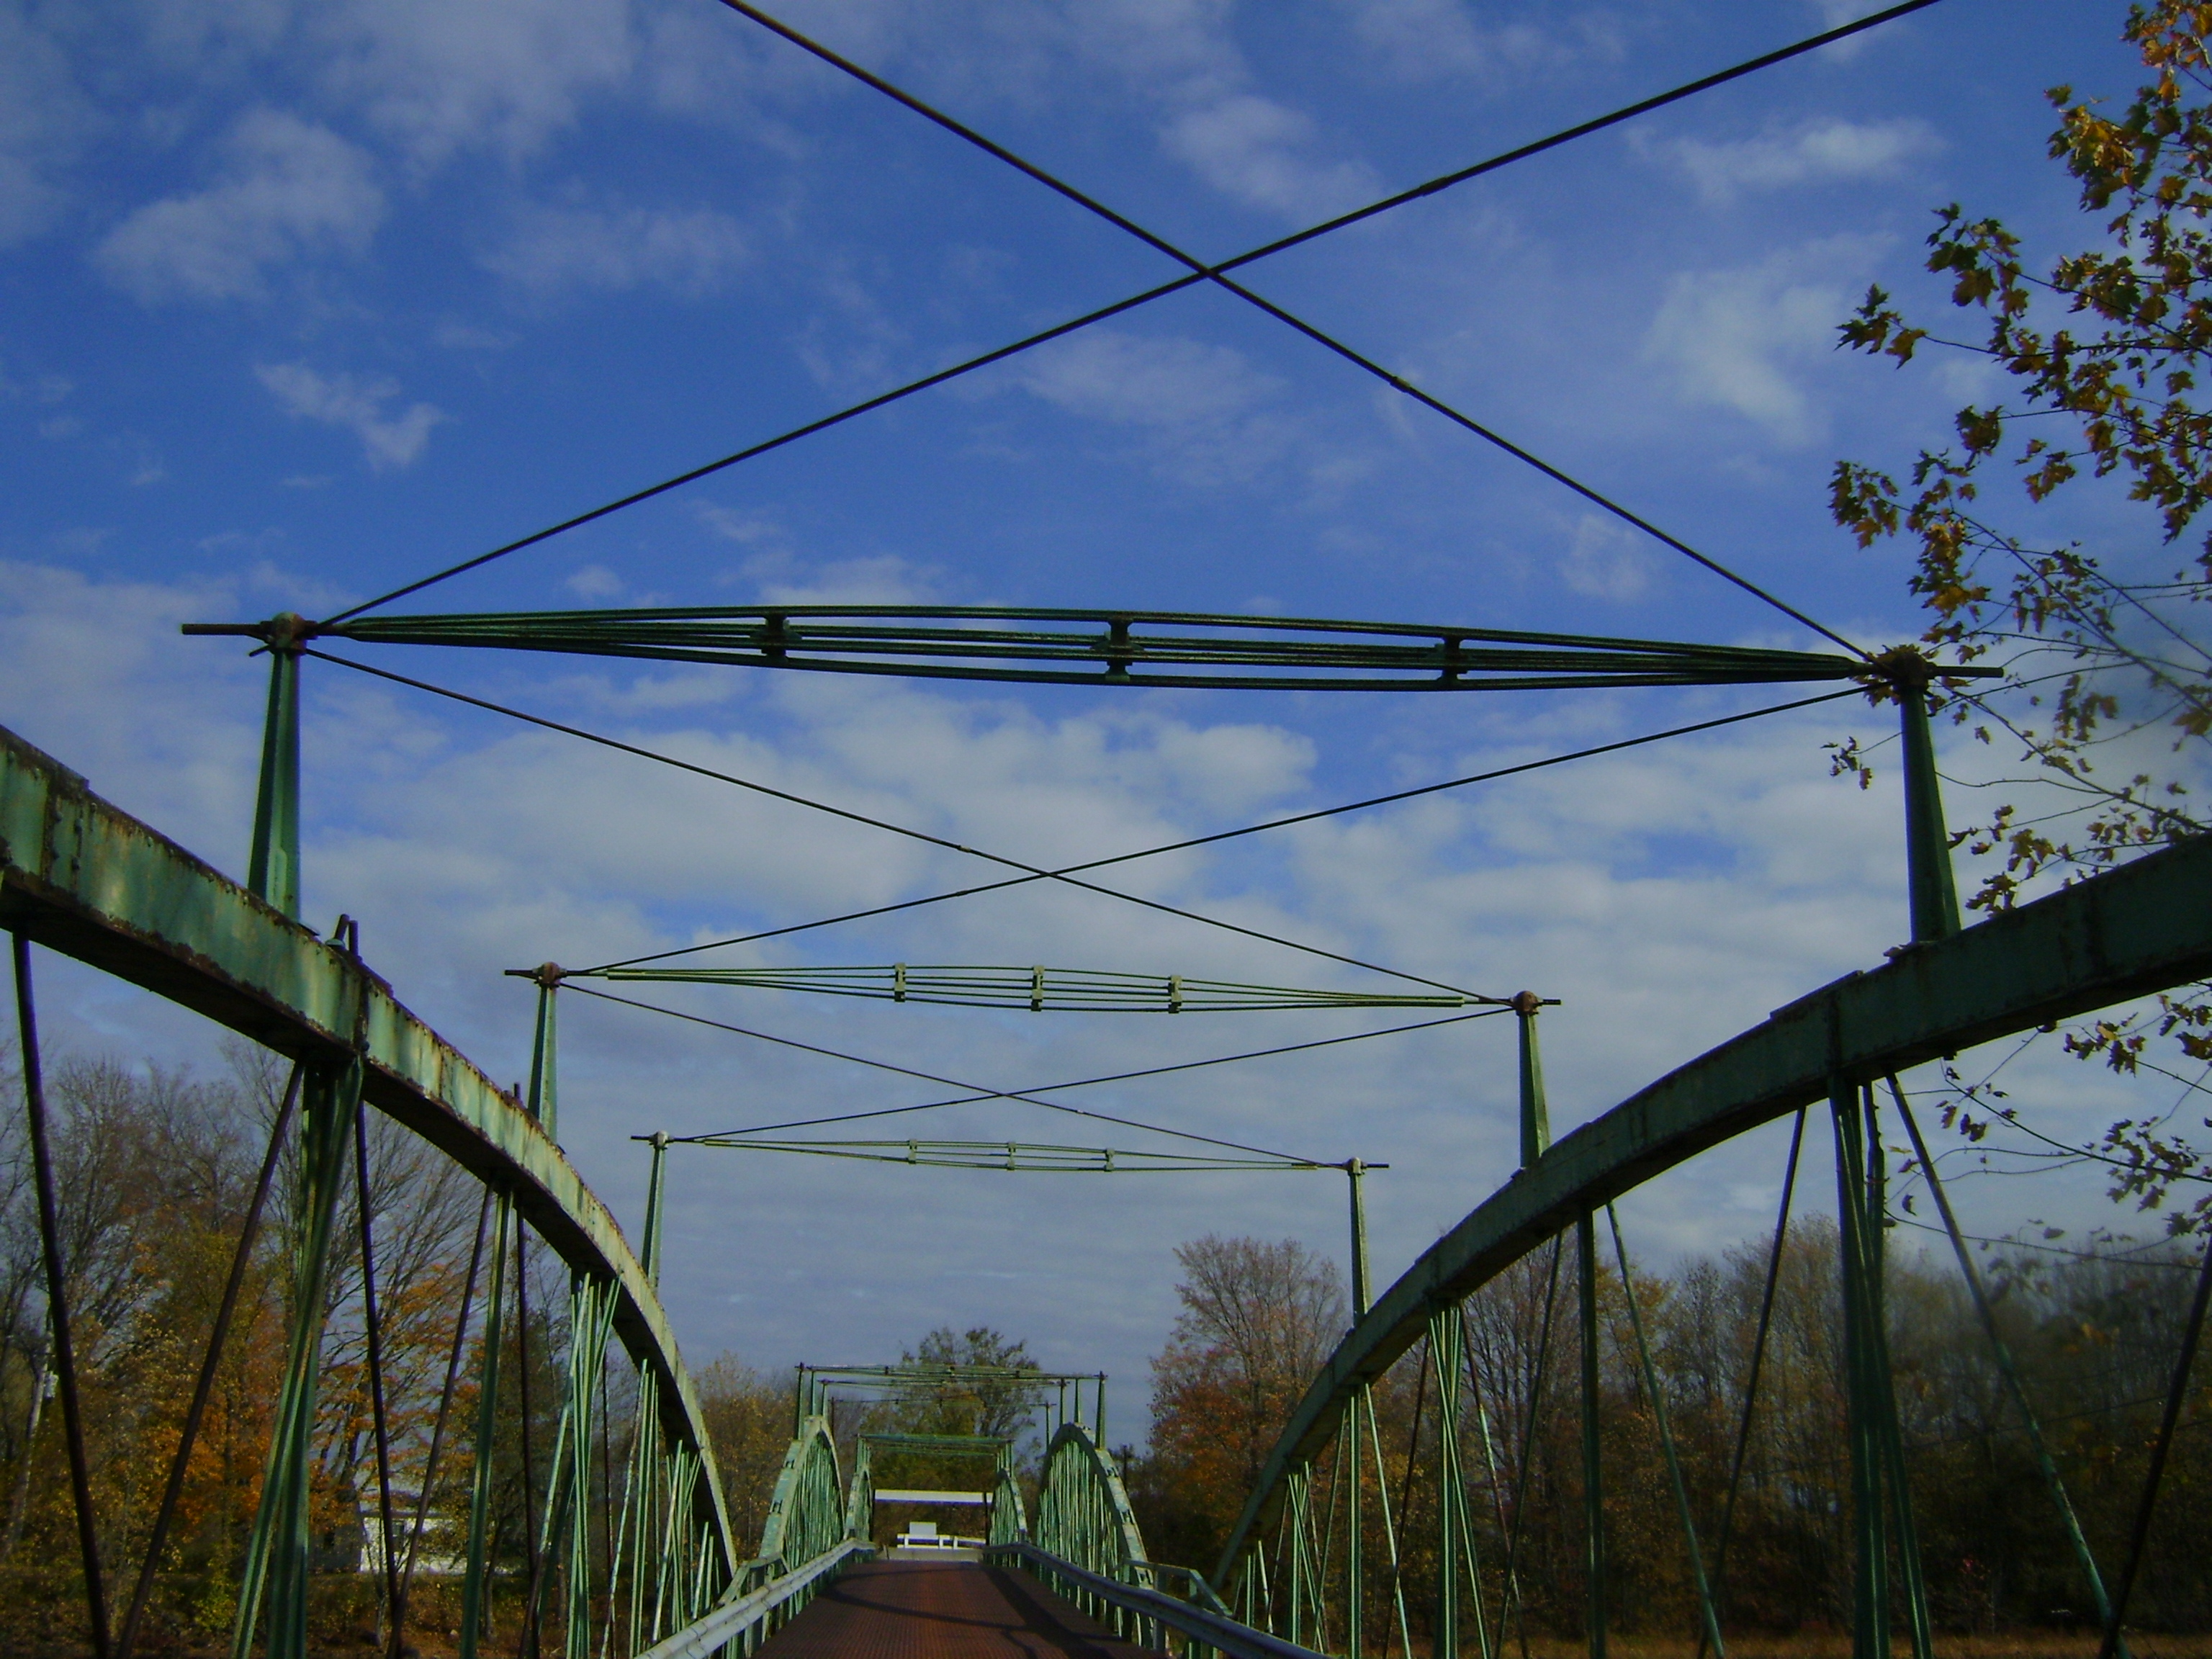
Photo Credit: Marc Scotti
Overview of original sway bracing.
![]()


Photo Credit: Marc Scotti
Sway bracing cast iron posts.
![]()


Overview of replacement sway bracing.
![]()

Photo Credit: Marc Scotti
Detail of replacement sway bracing.
![]()

Overview of lower lateral bracing rod layout.
![]()
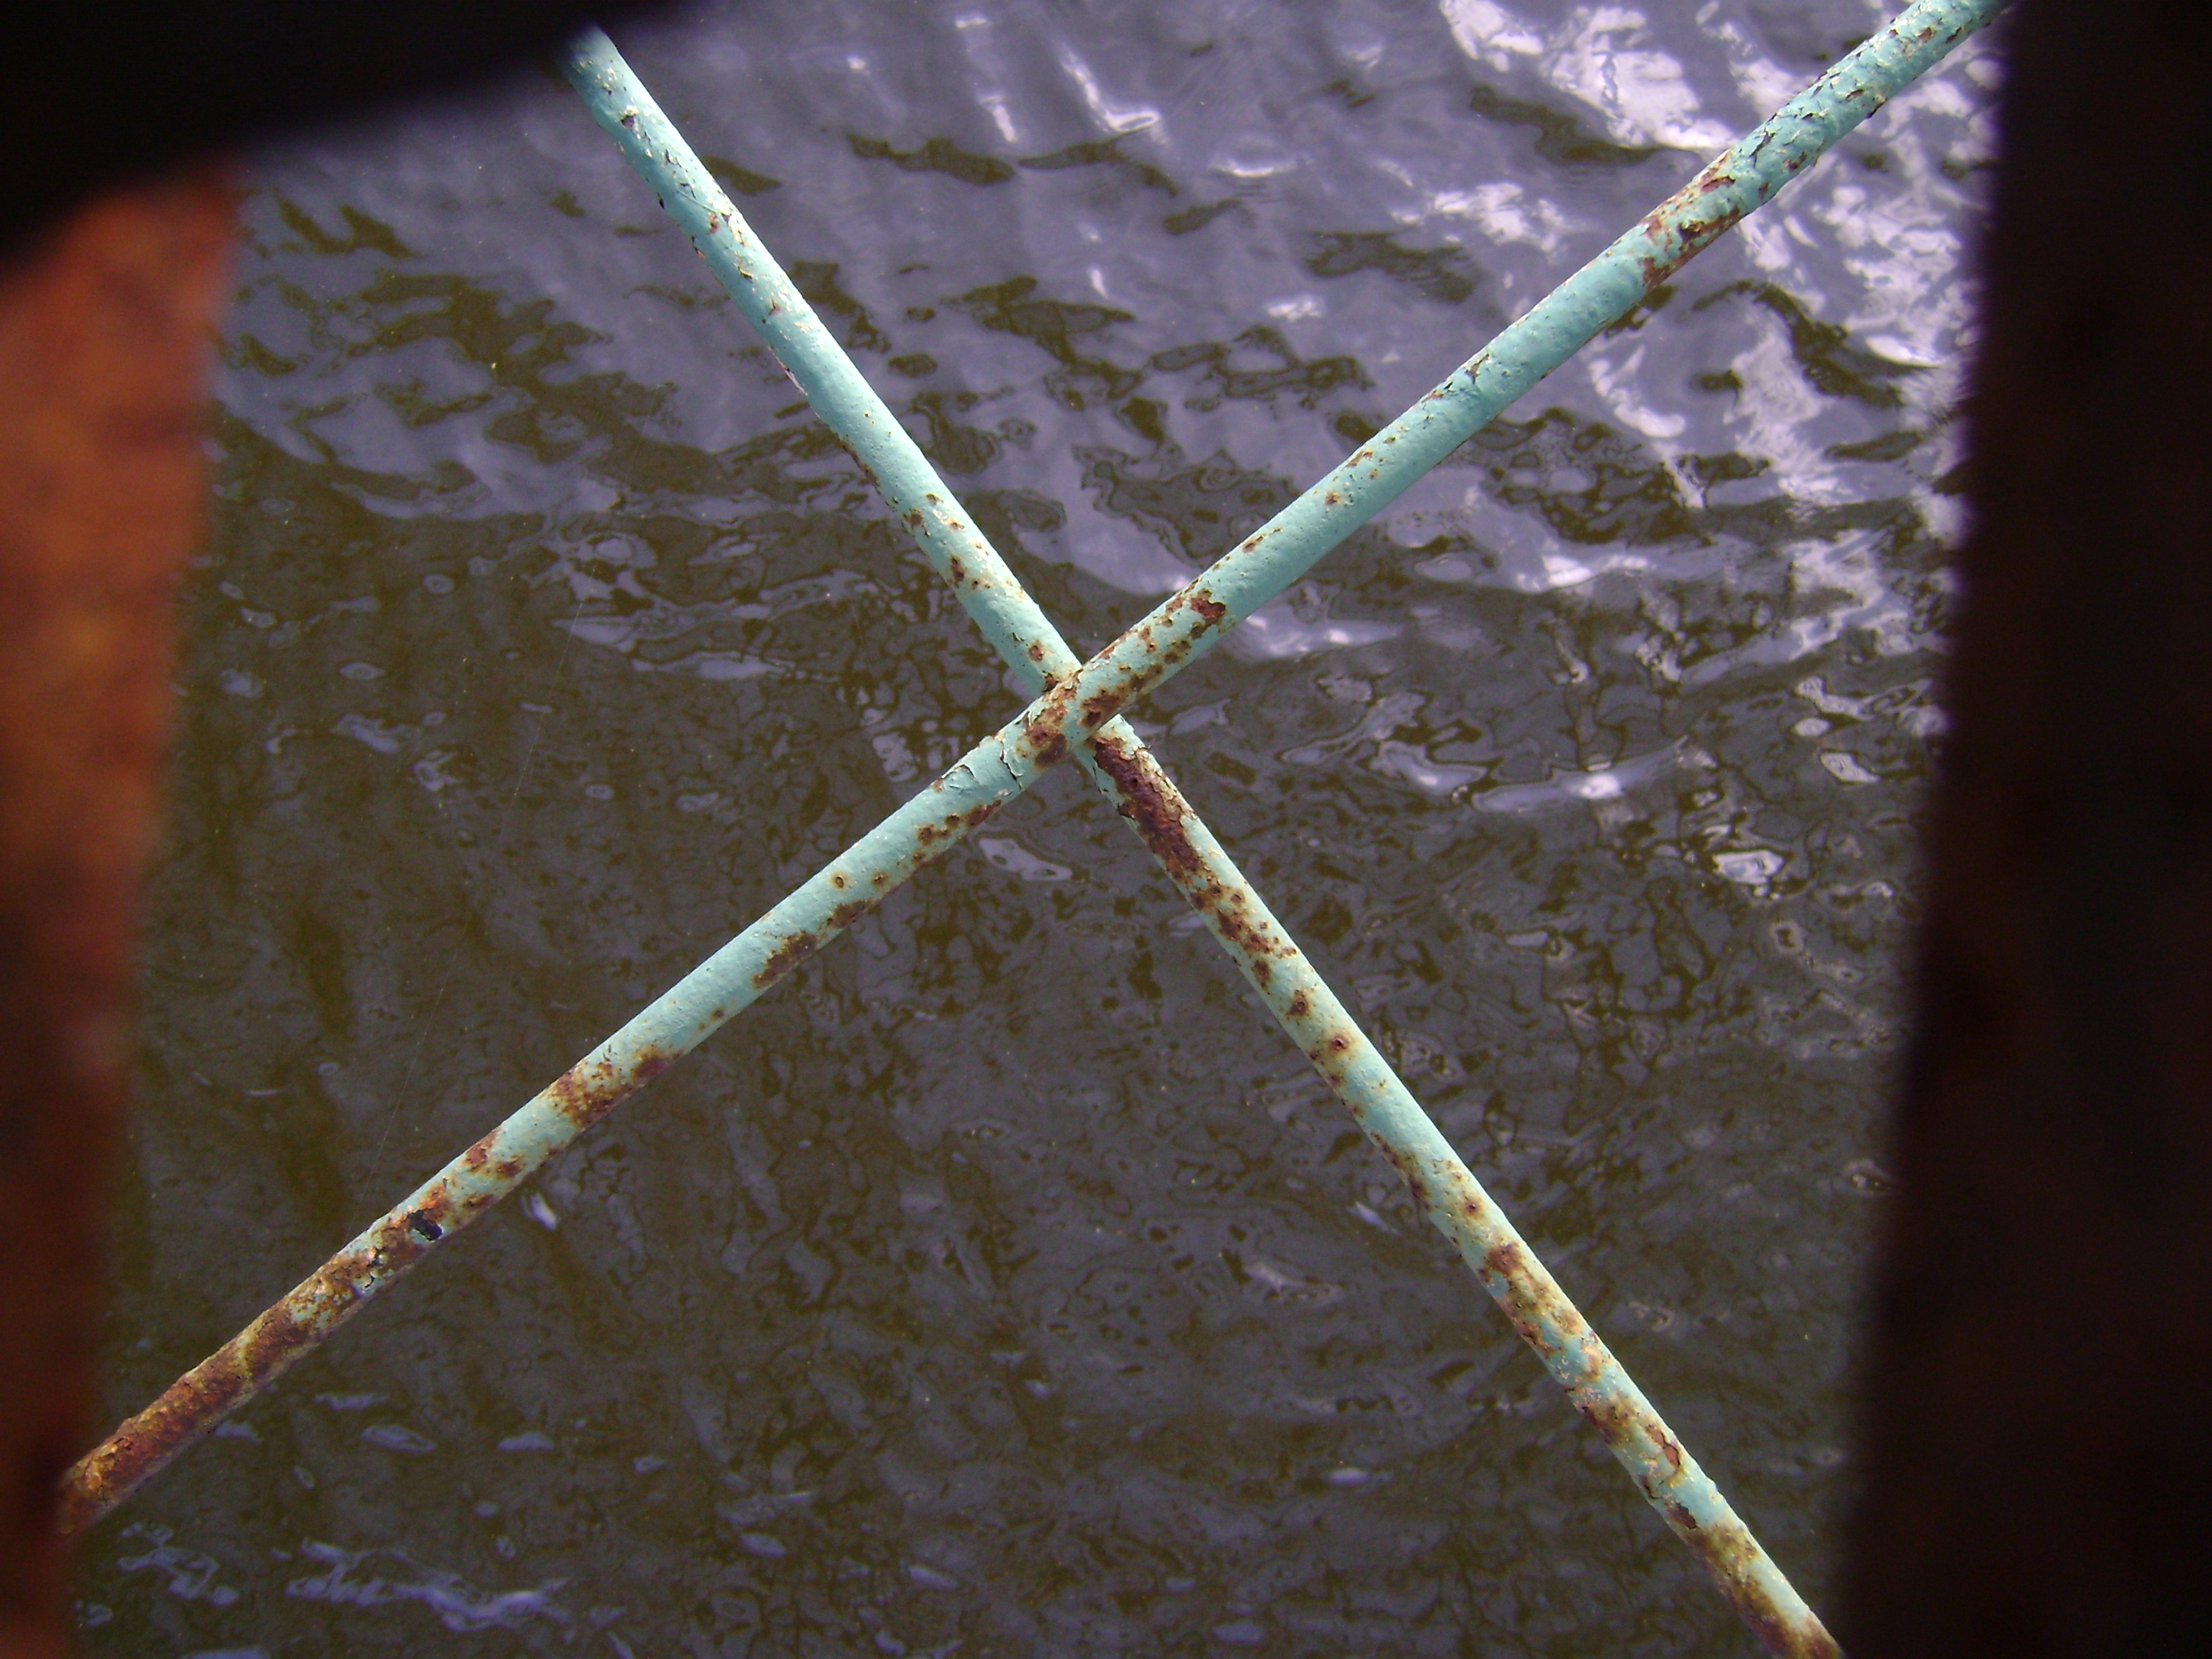
Photo Credit: Marc Scotti
Lower lateral bracing detail.
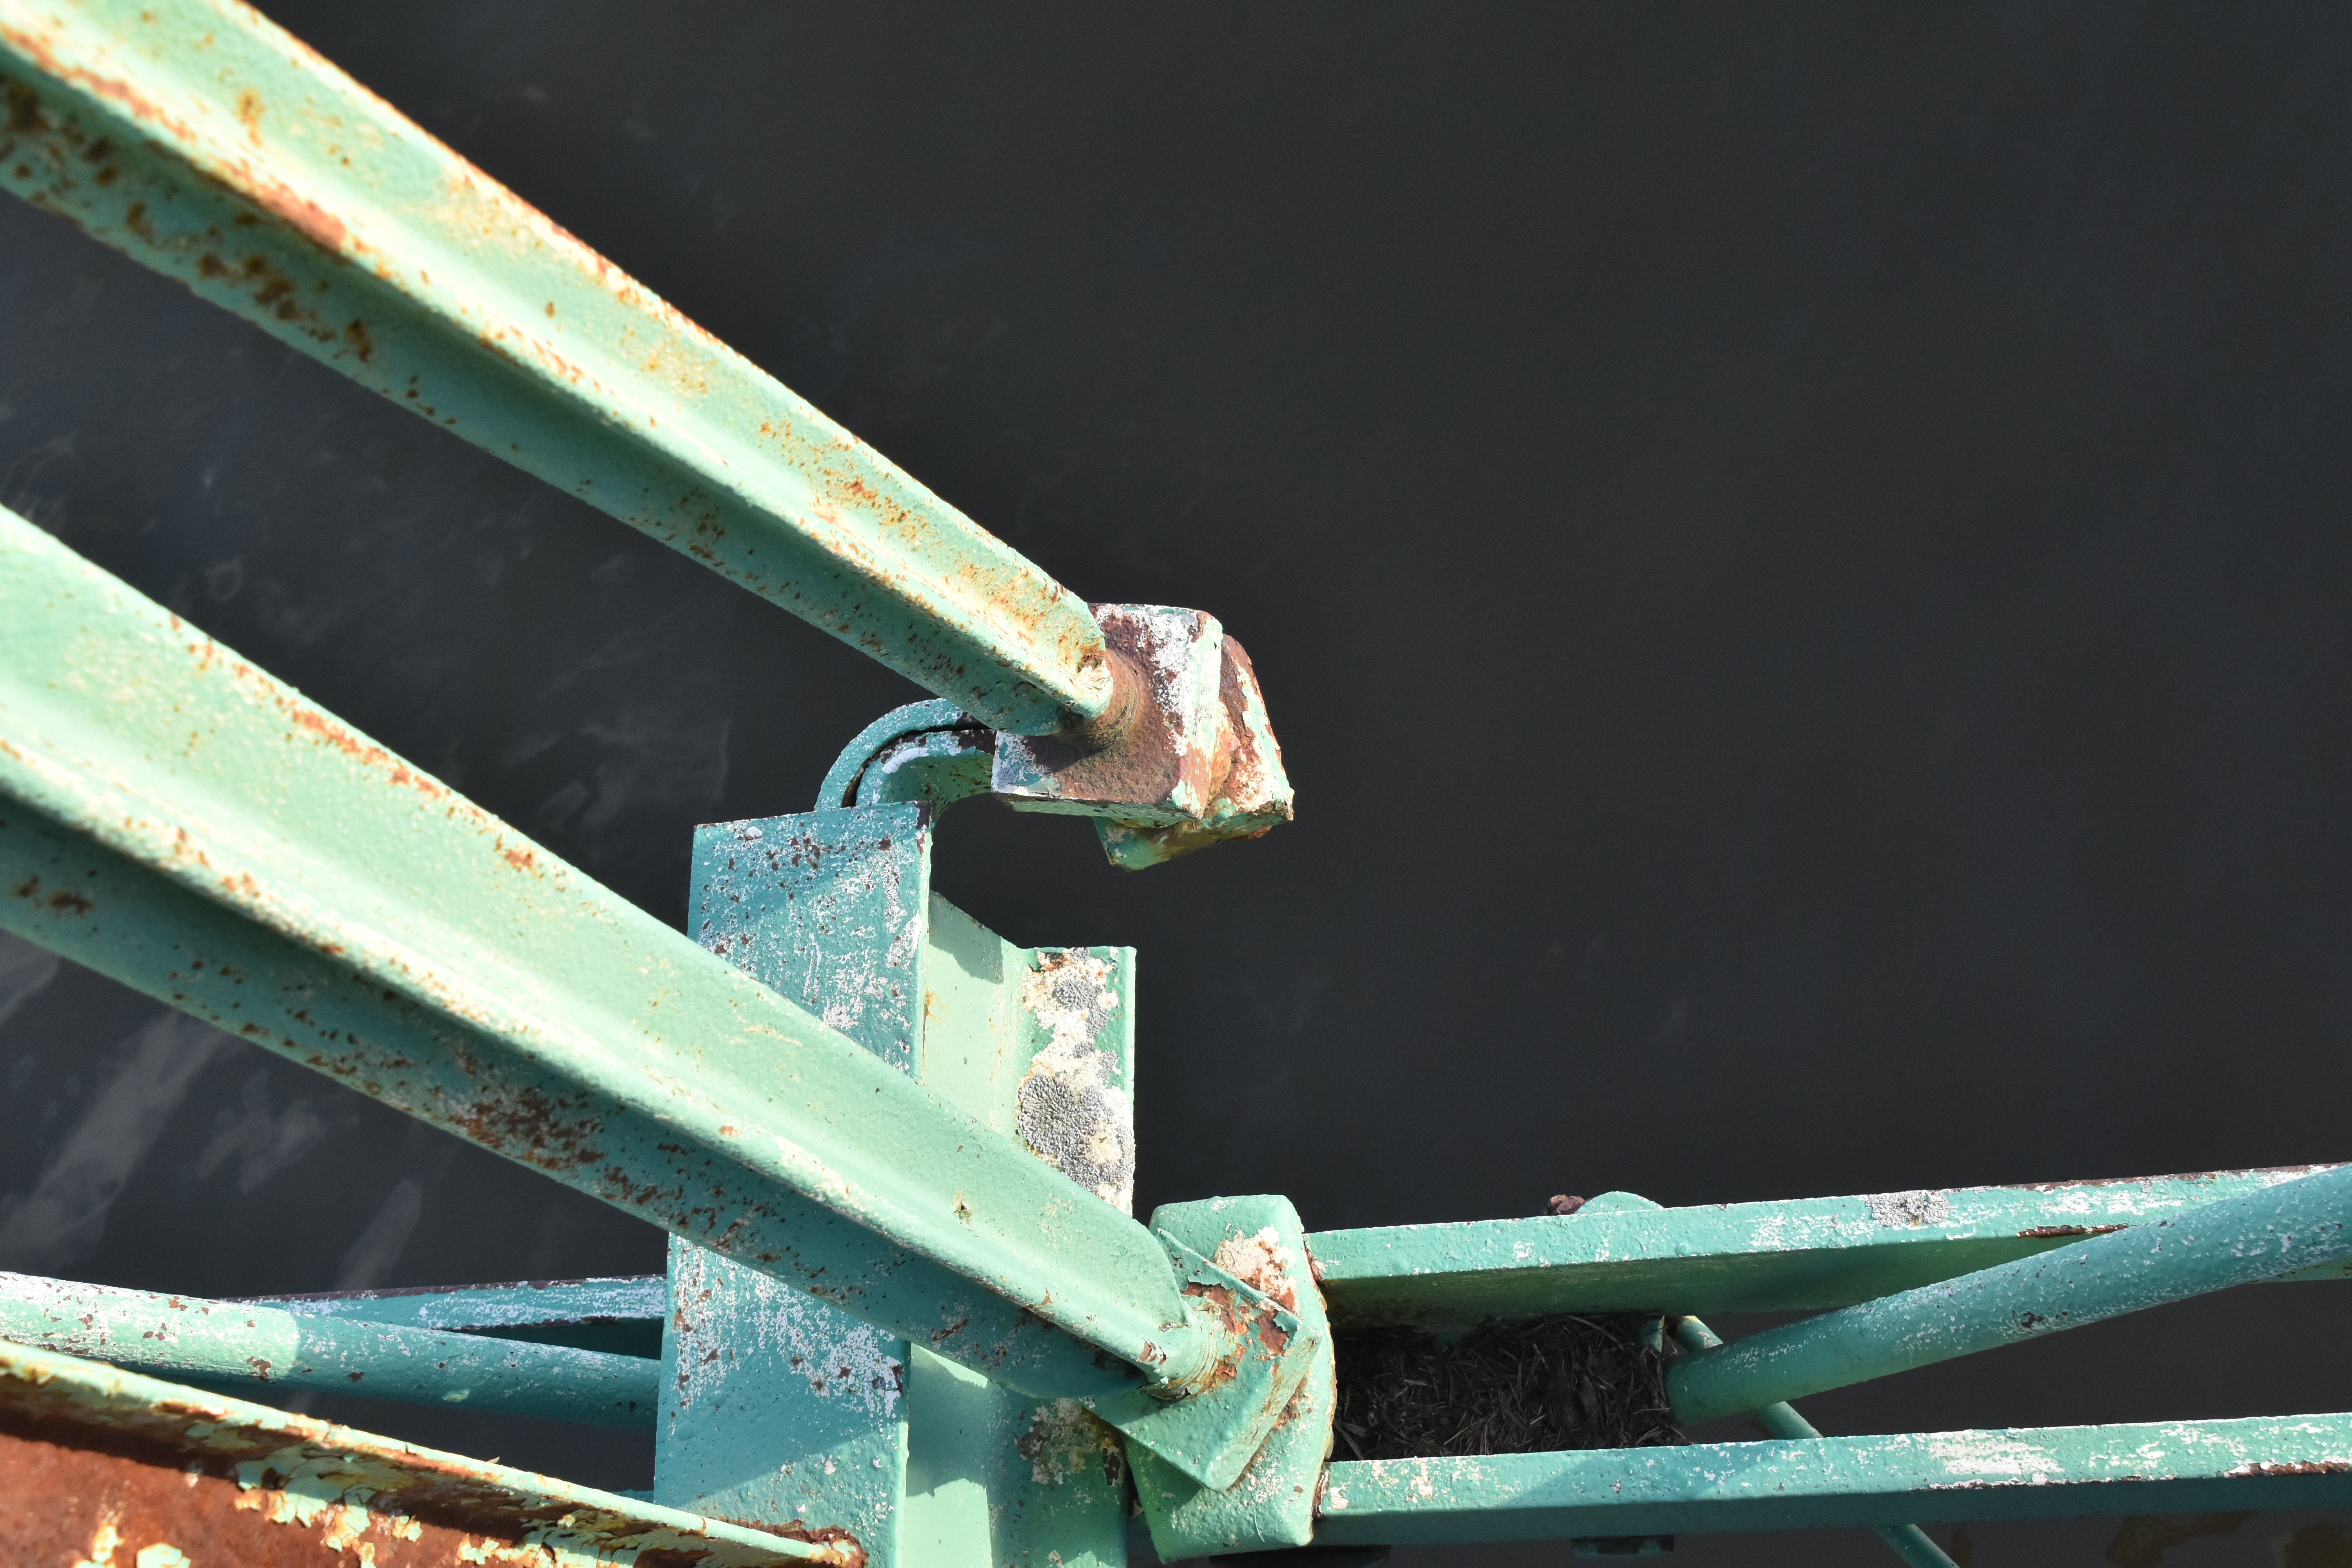
![]()


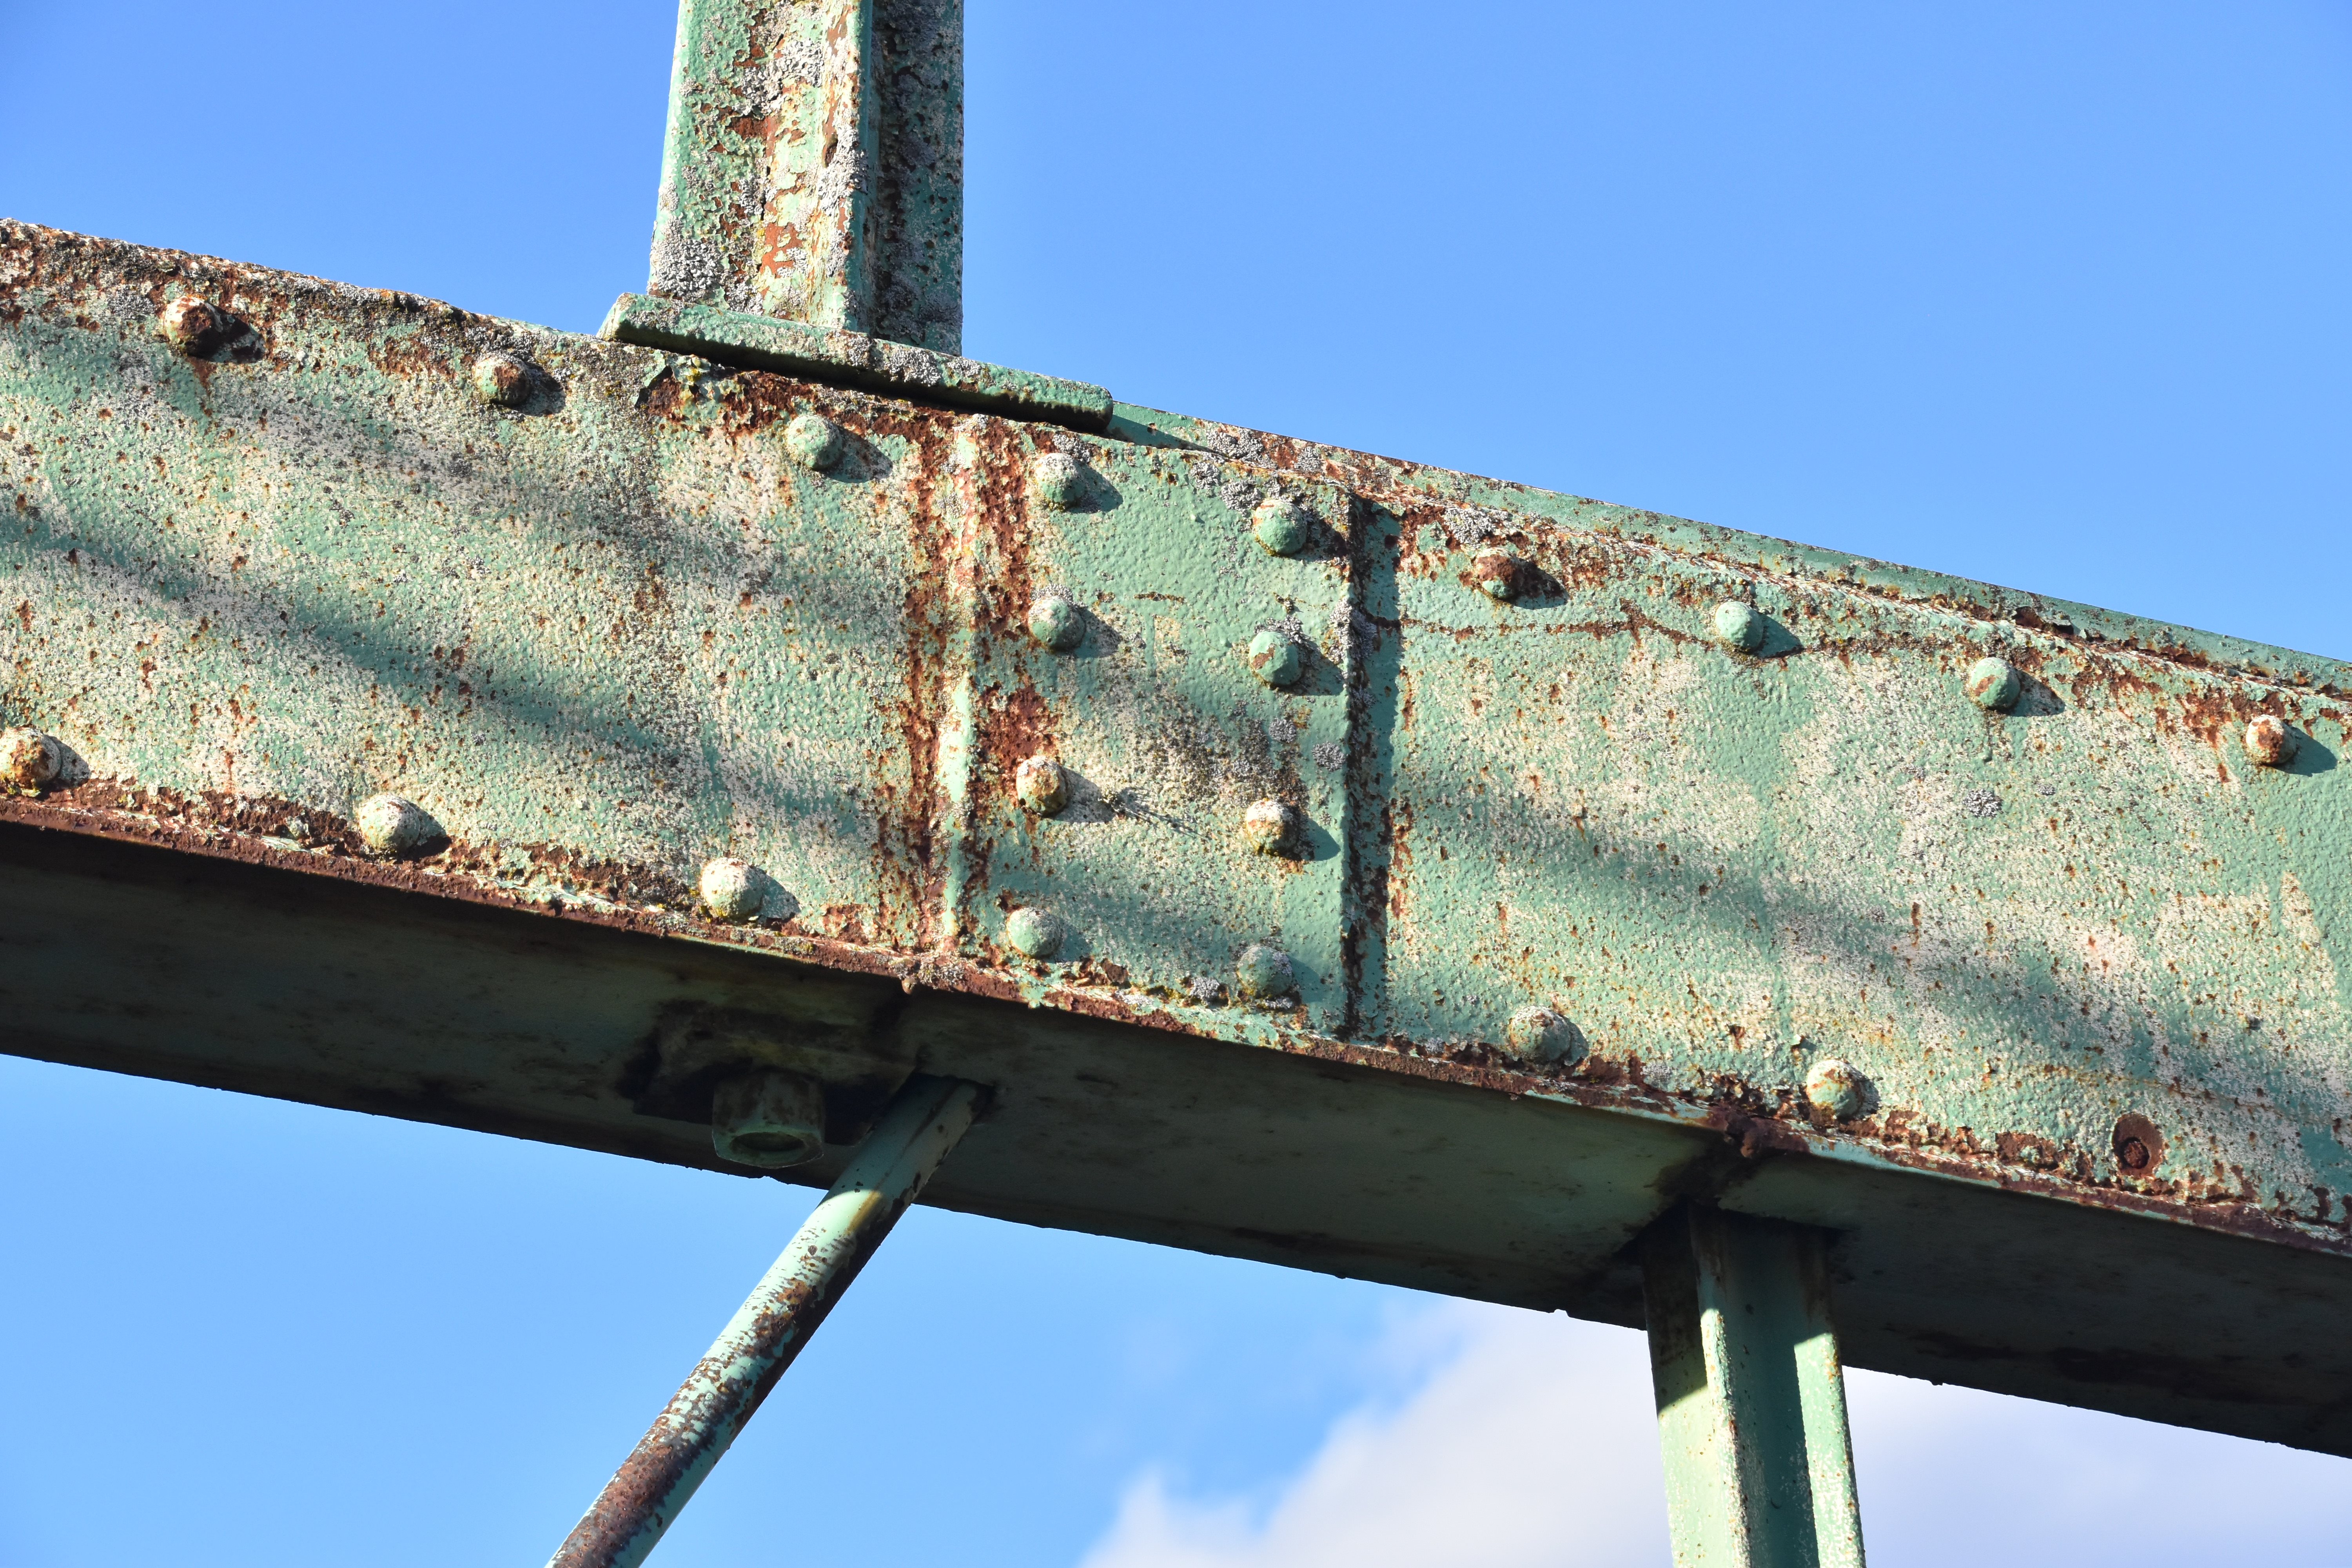
Top chord connections as viewed from beside bridge.
![]()


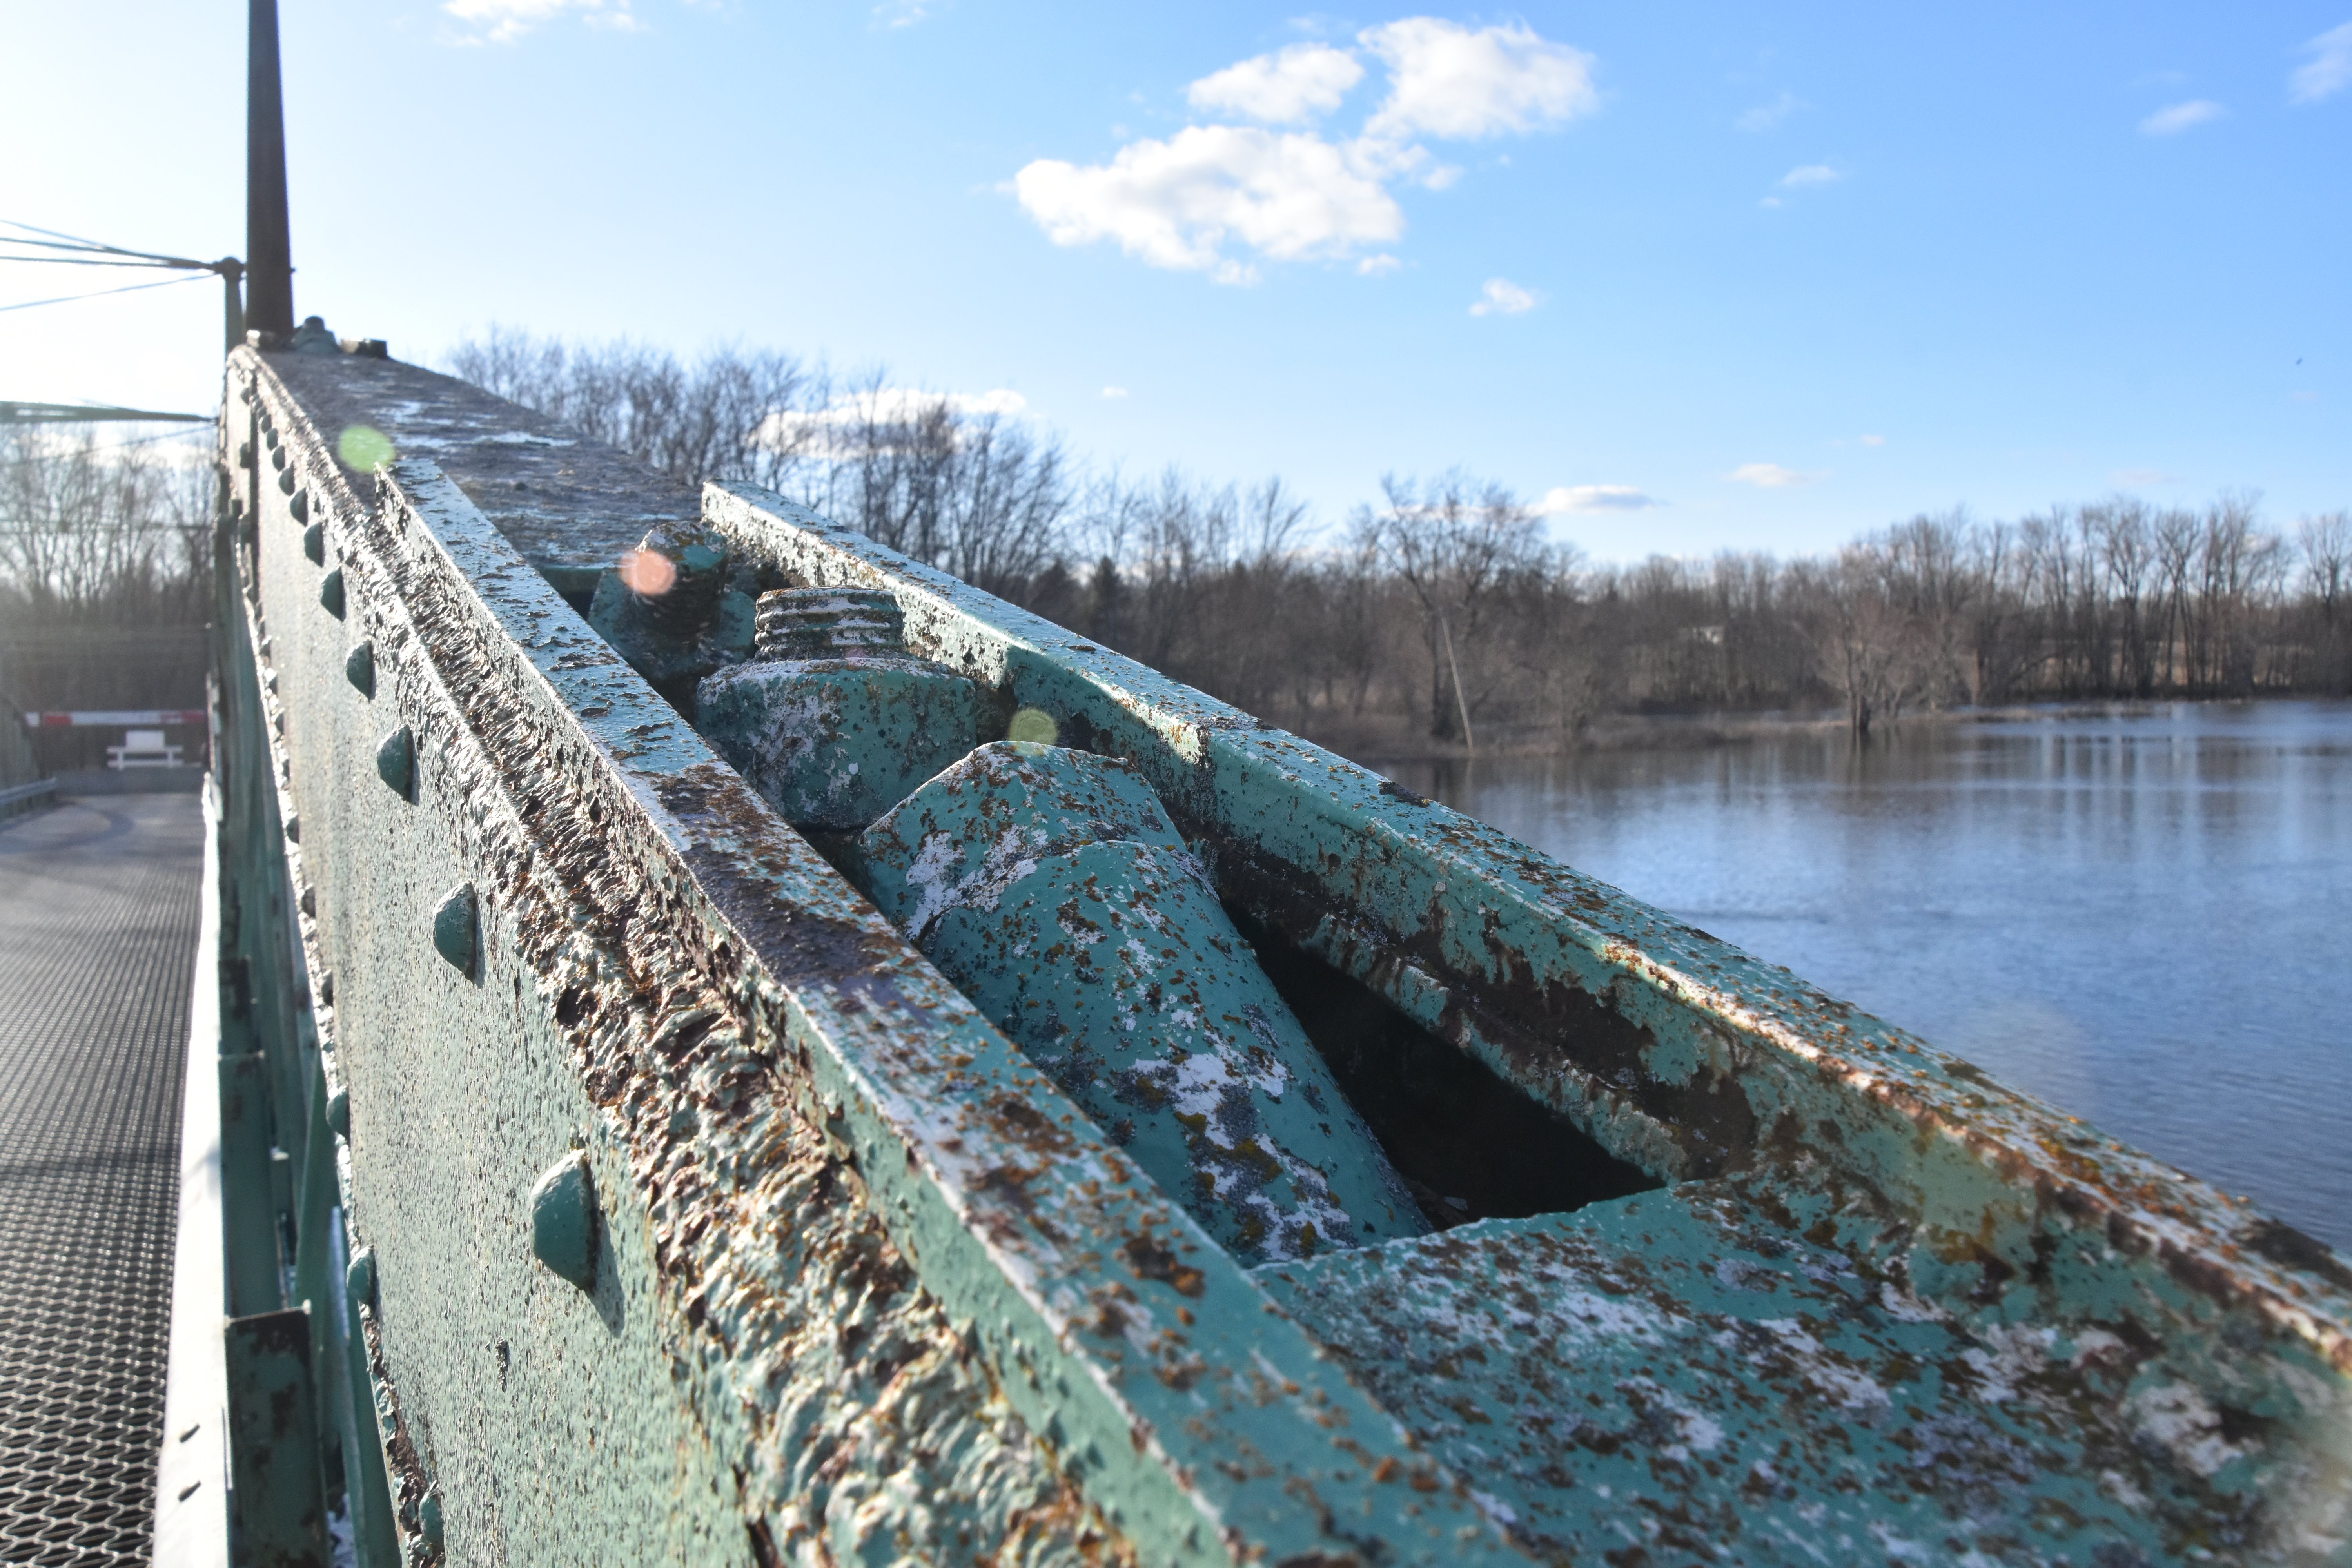


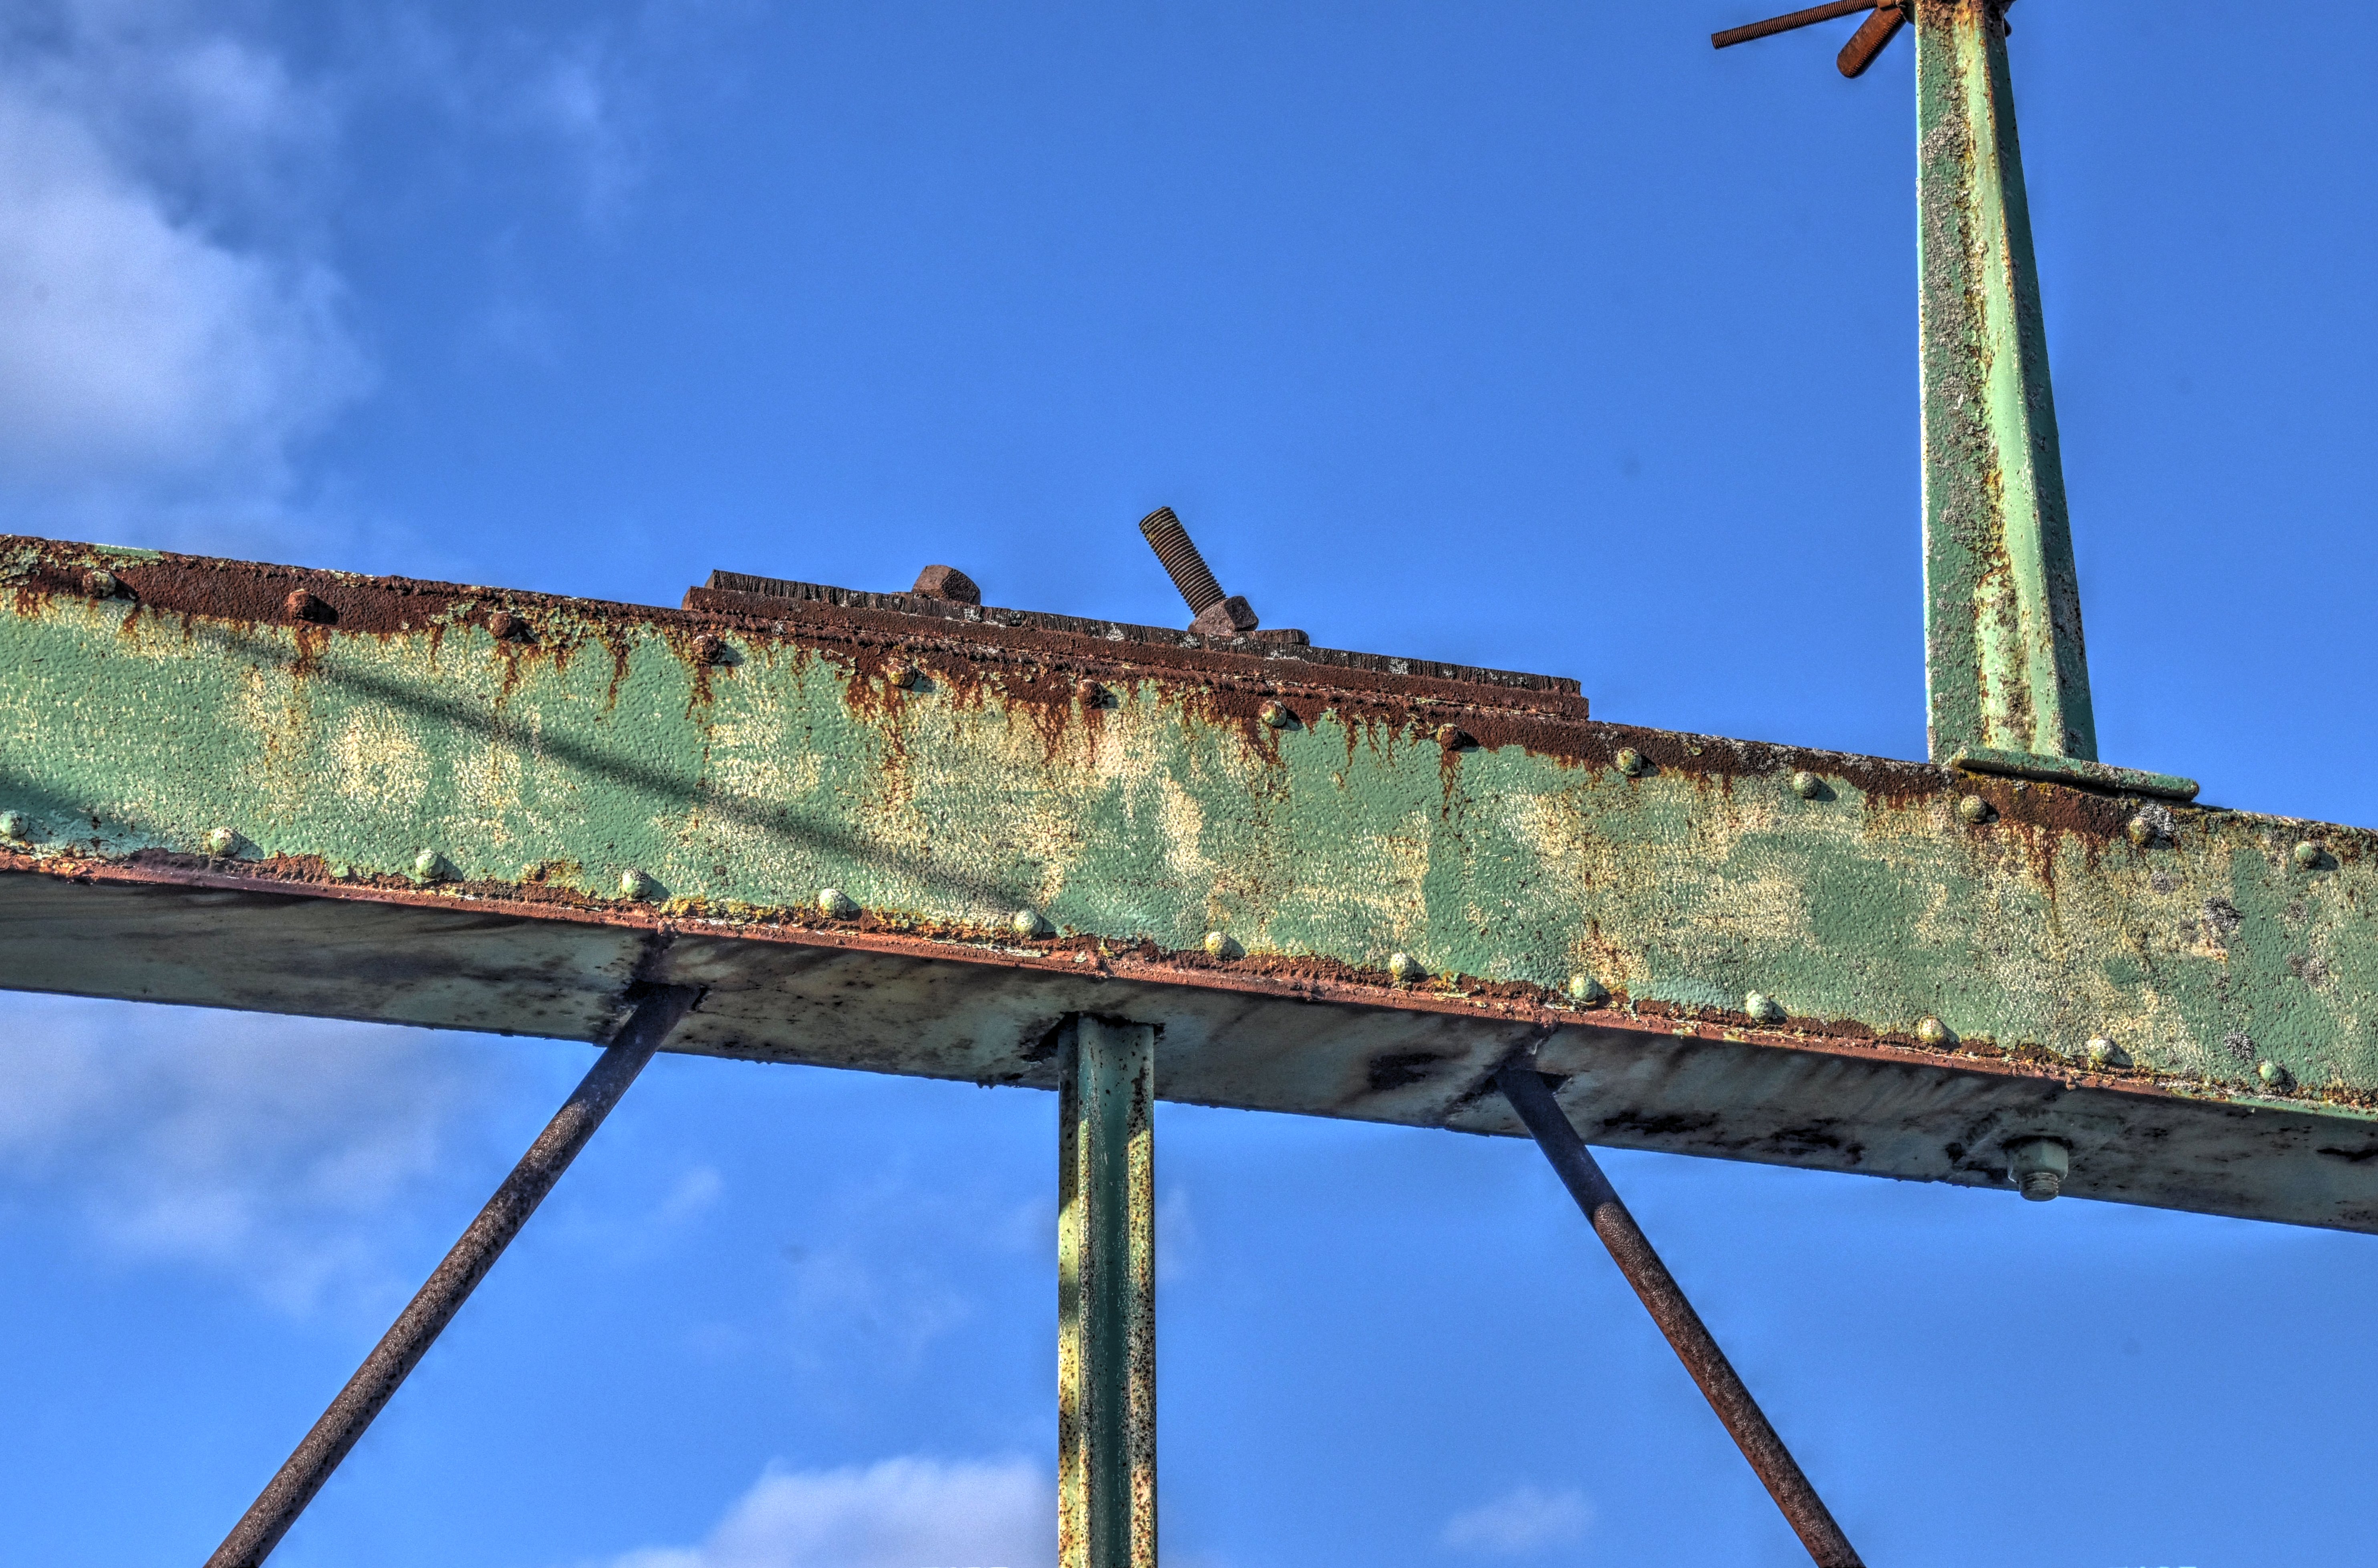
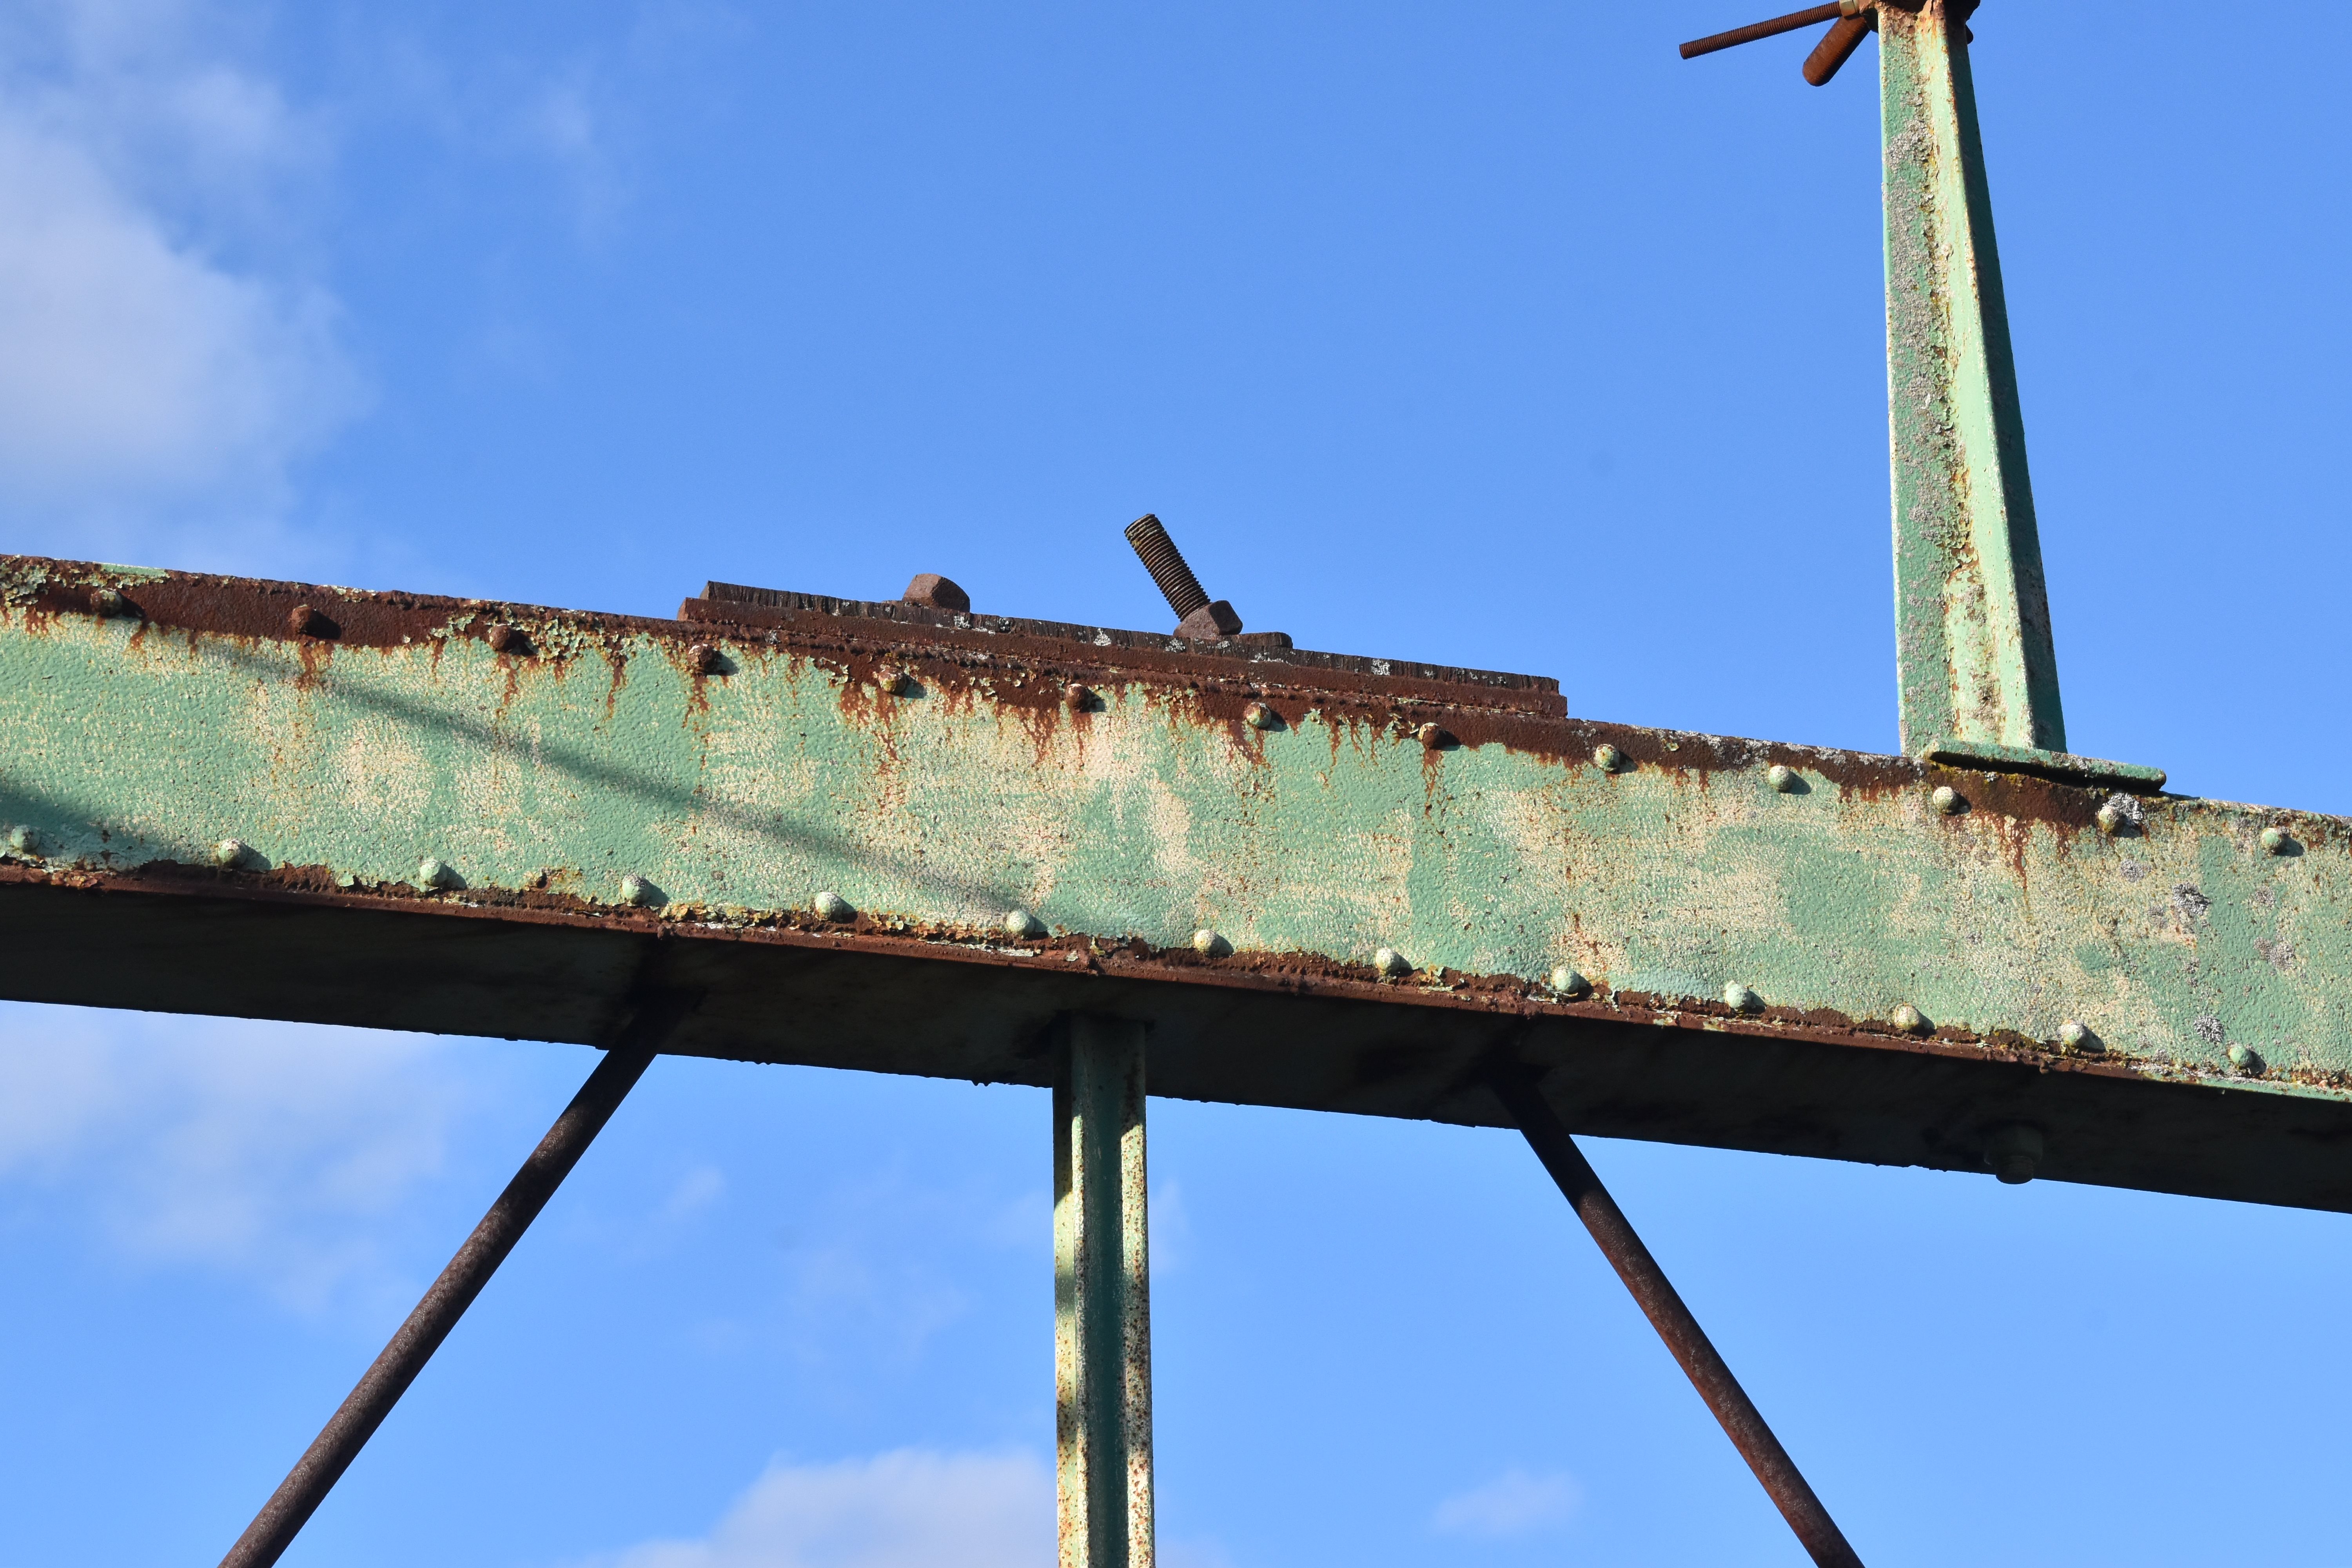

Top chord connections as viewed from on bridge.
![]()
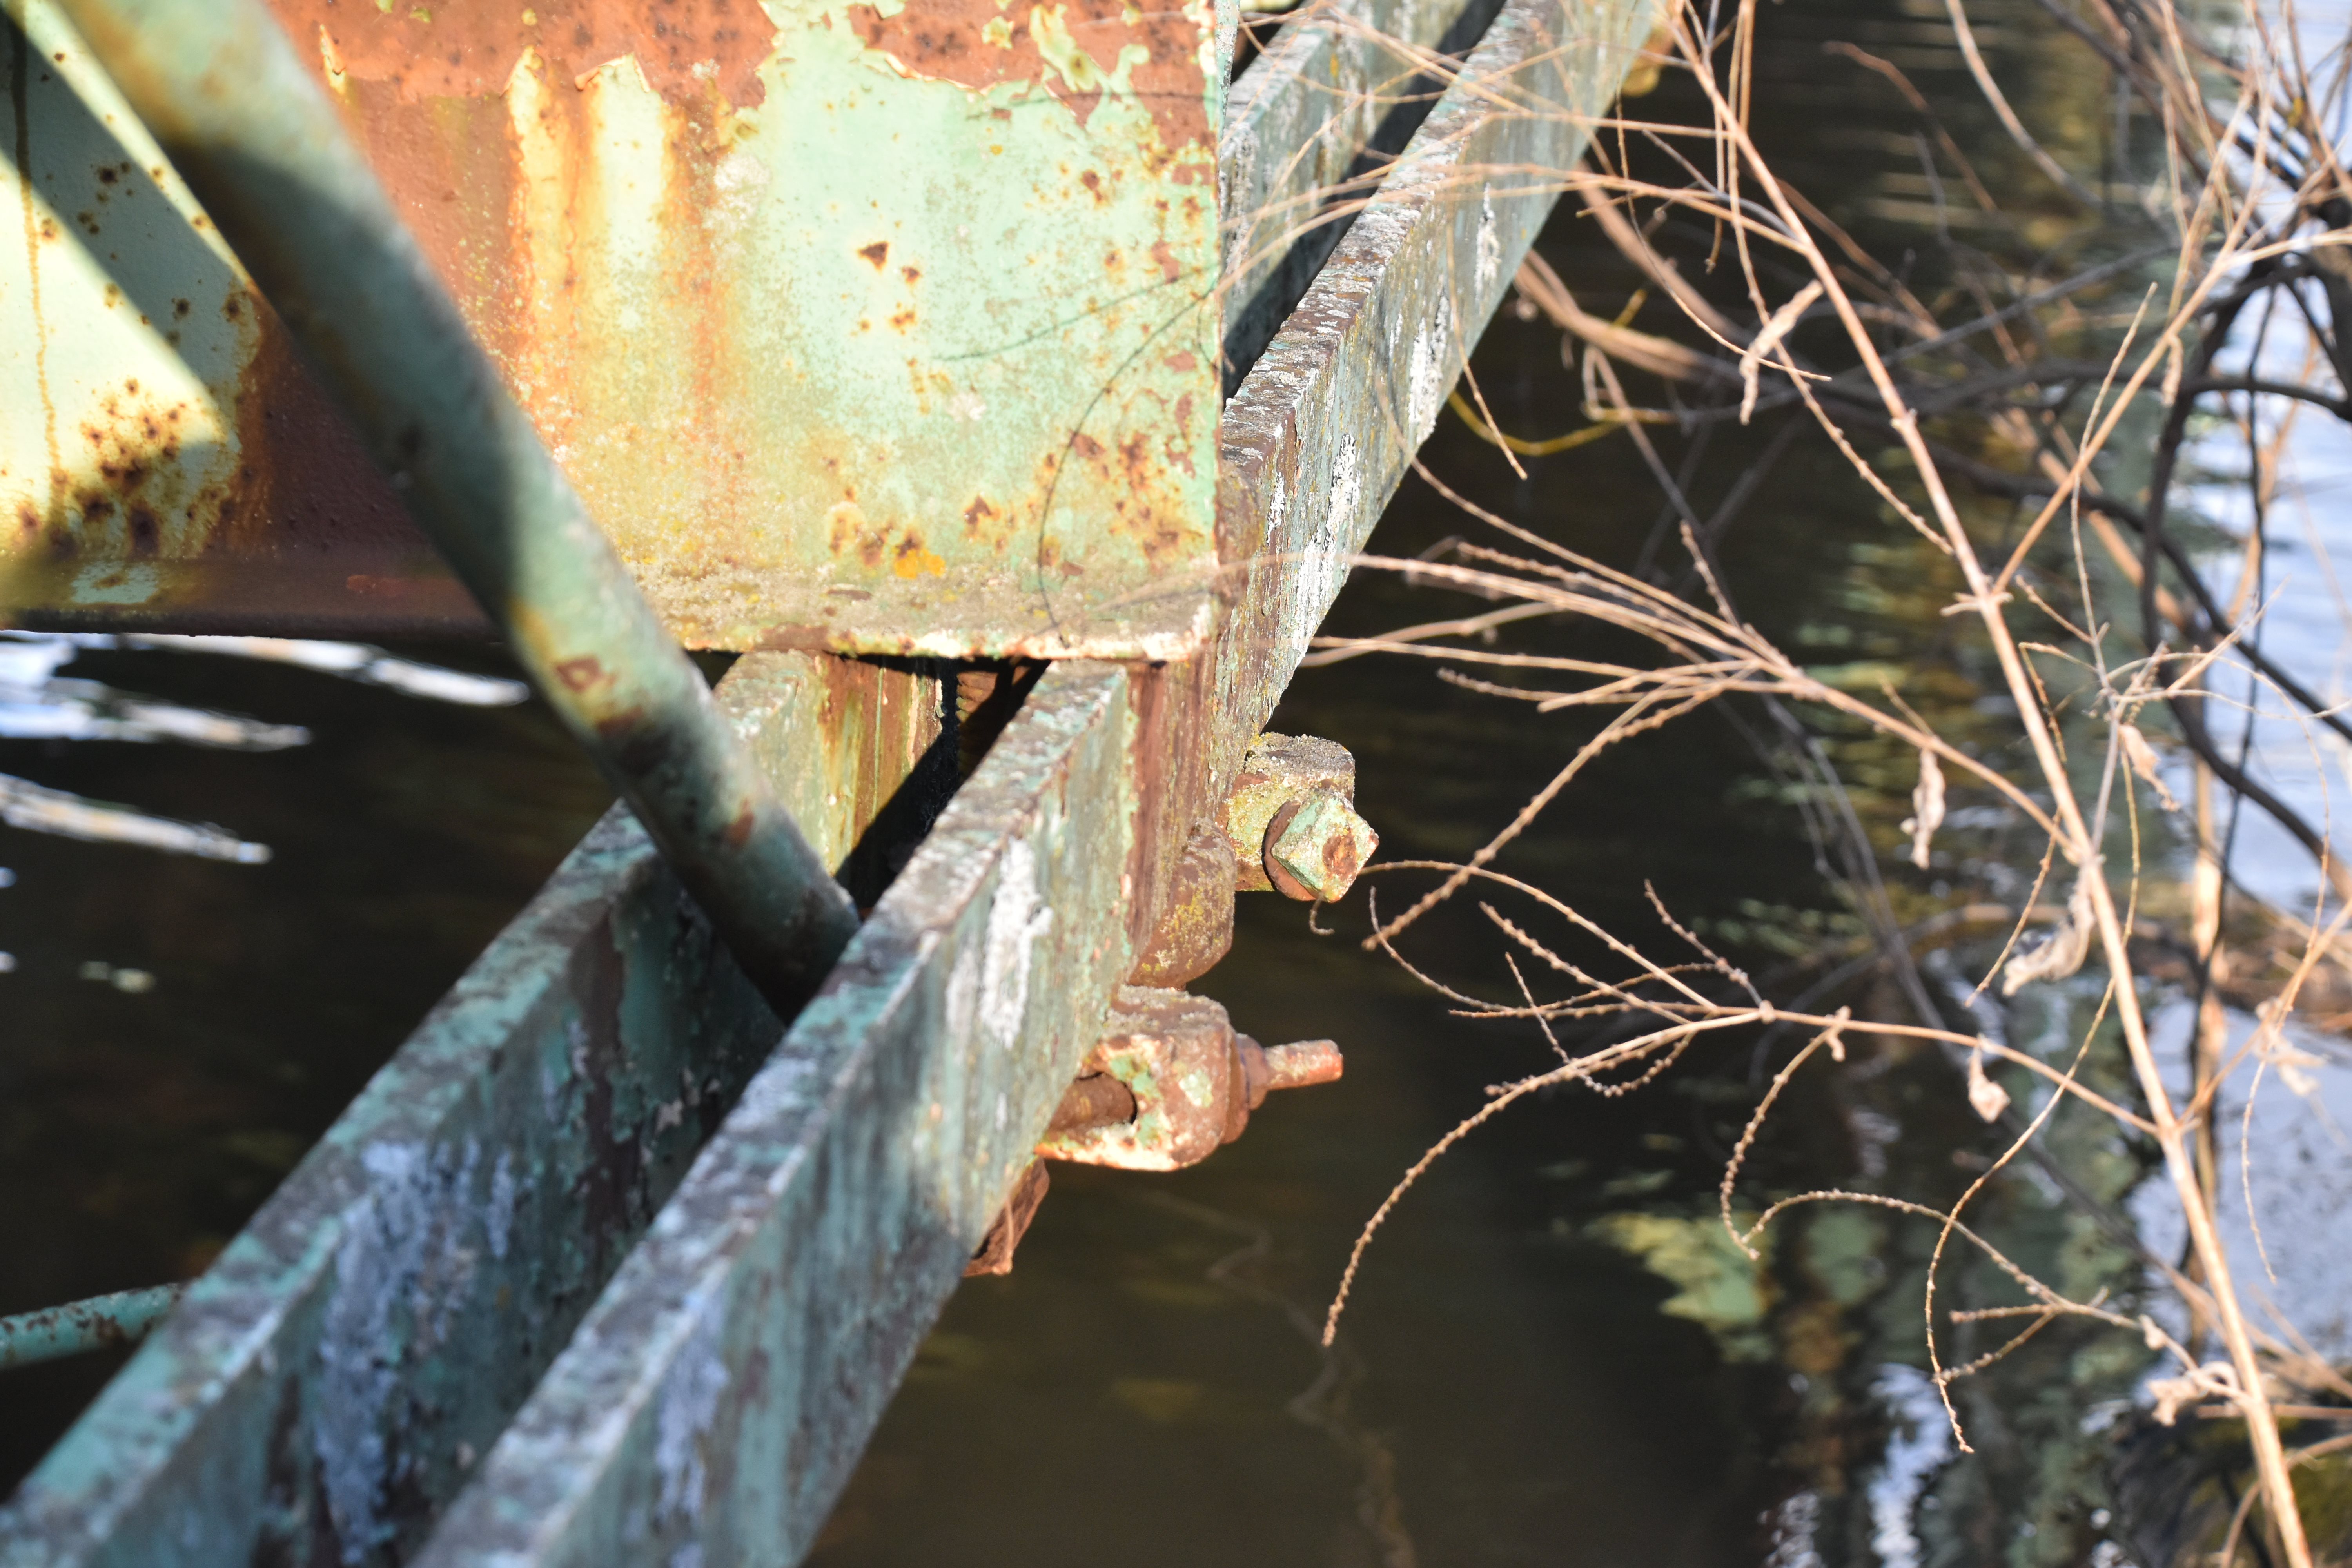


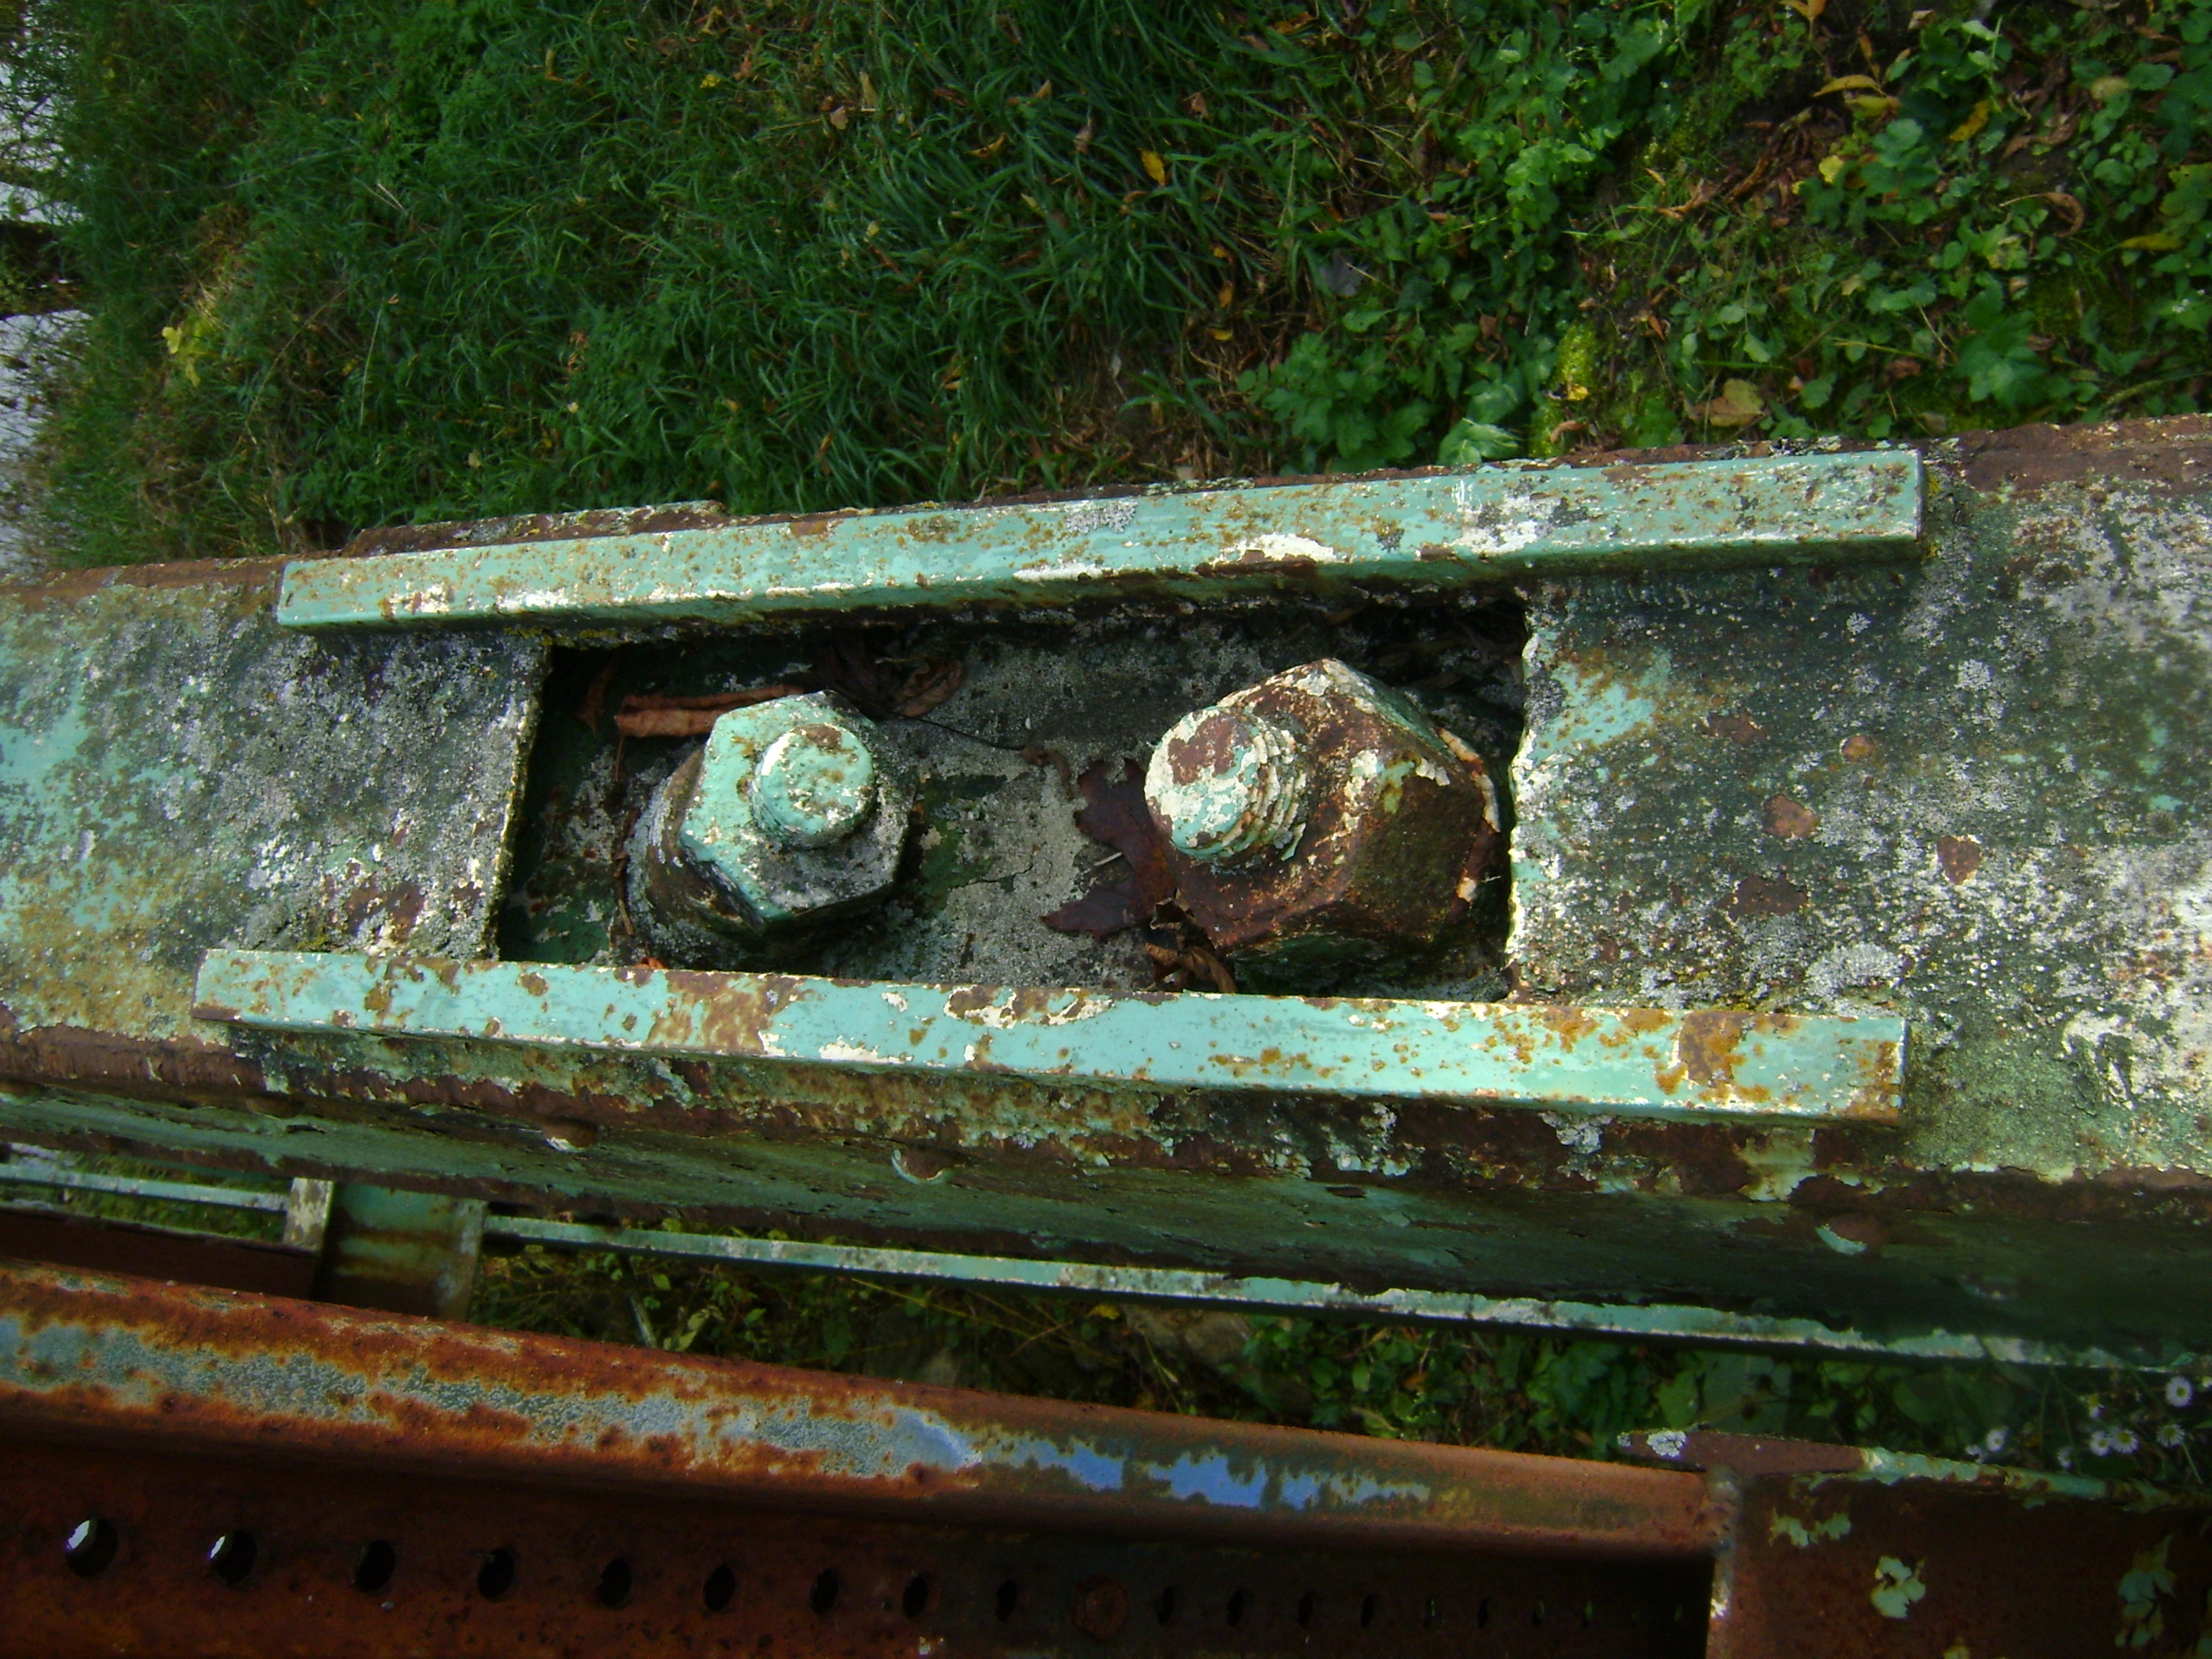
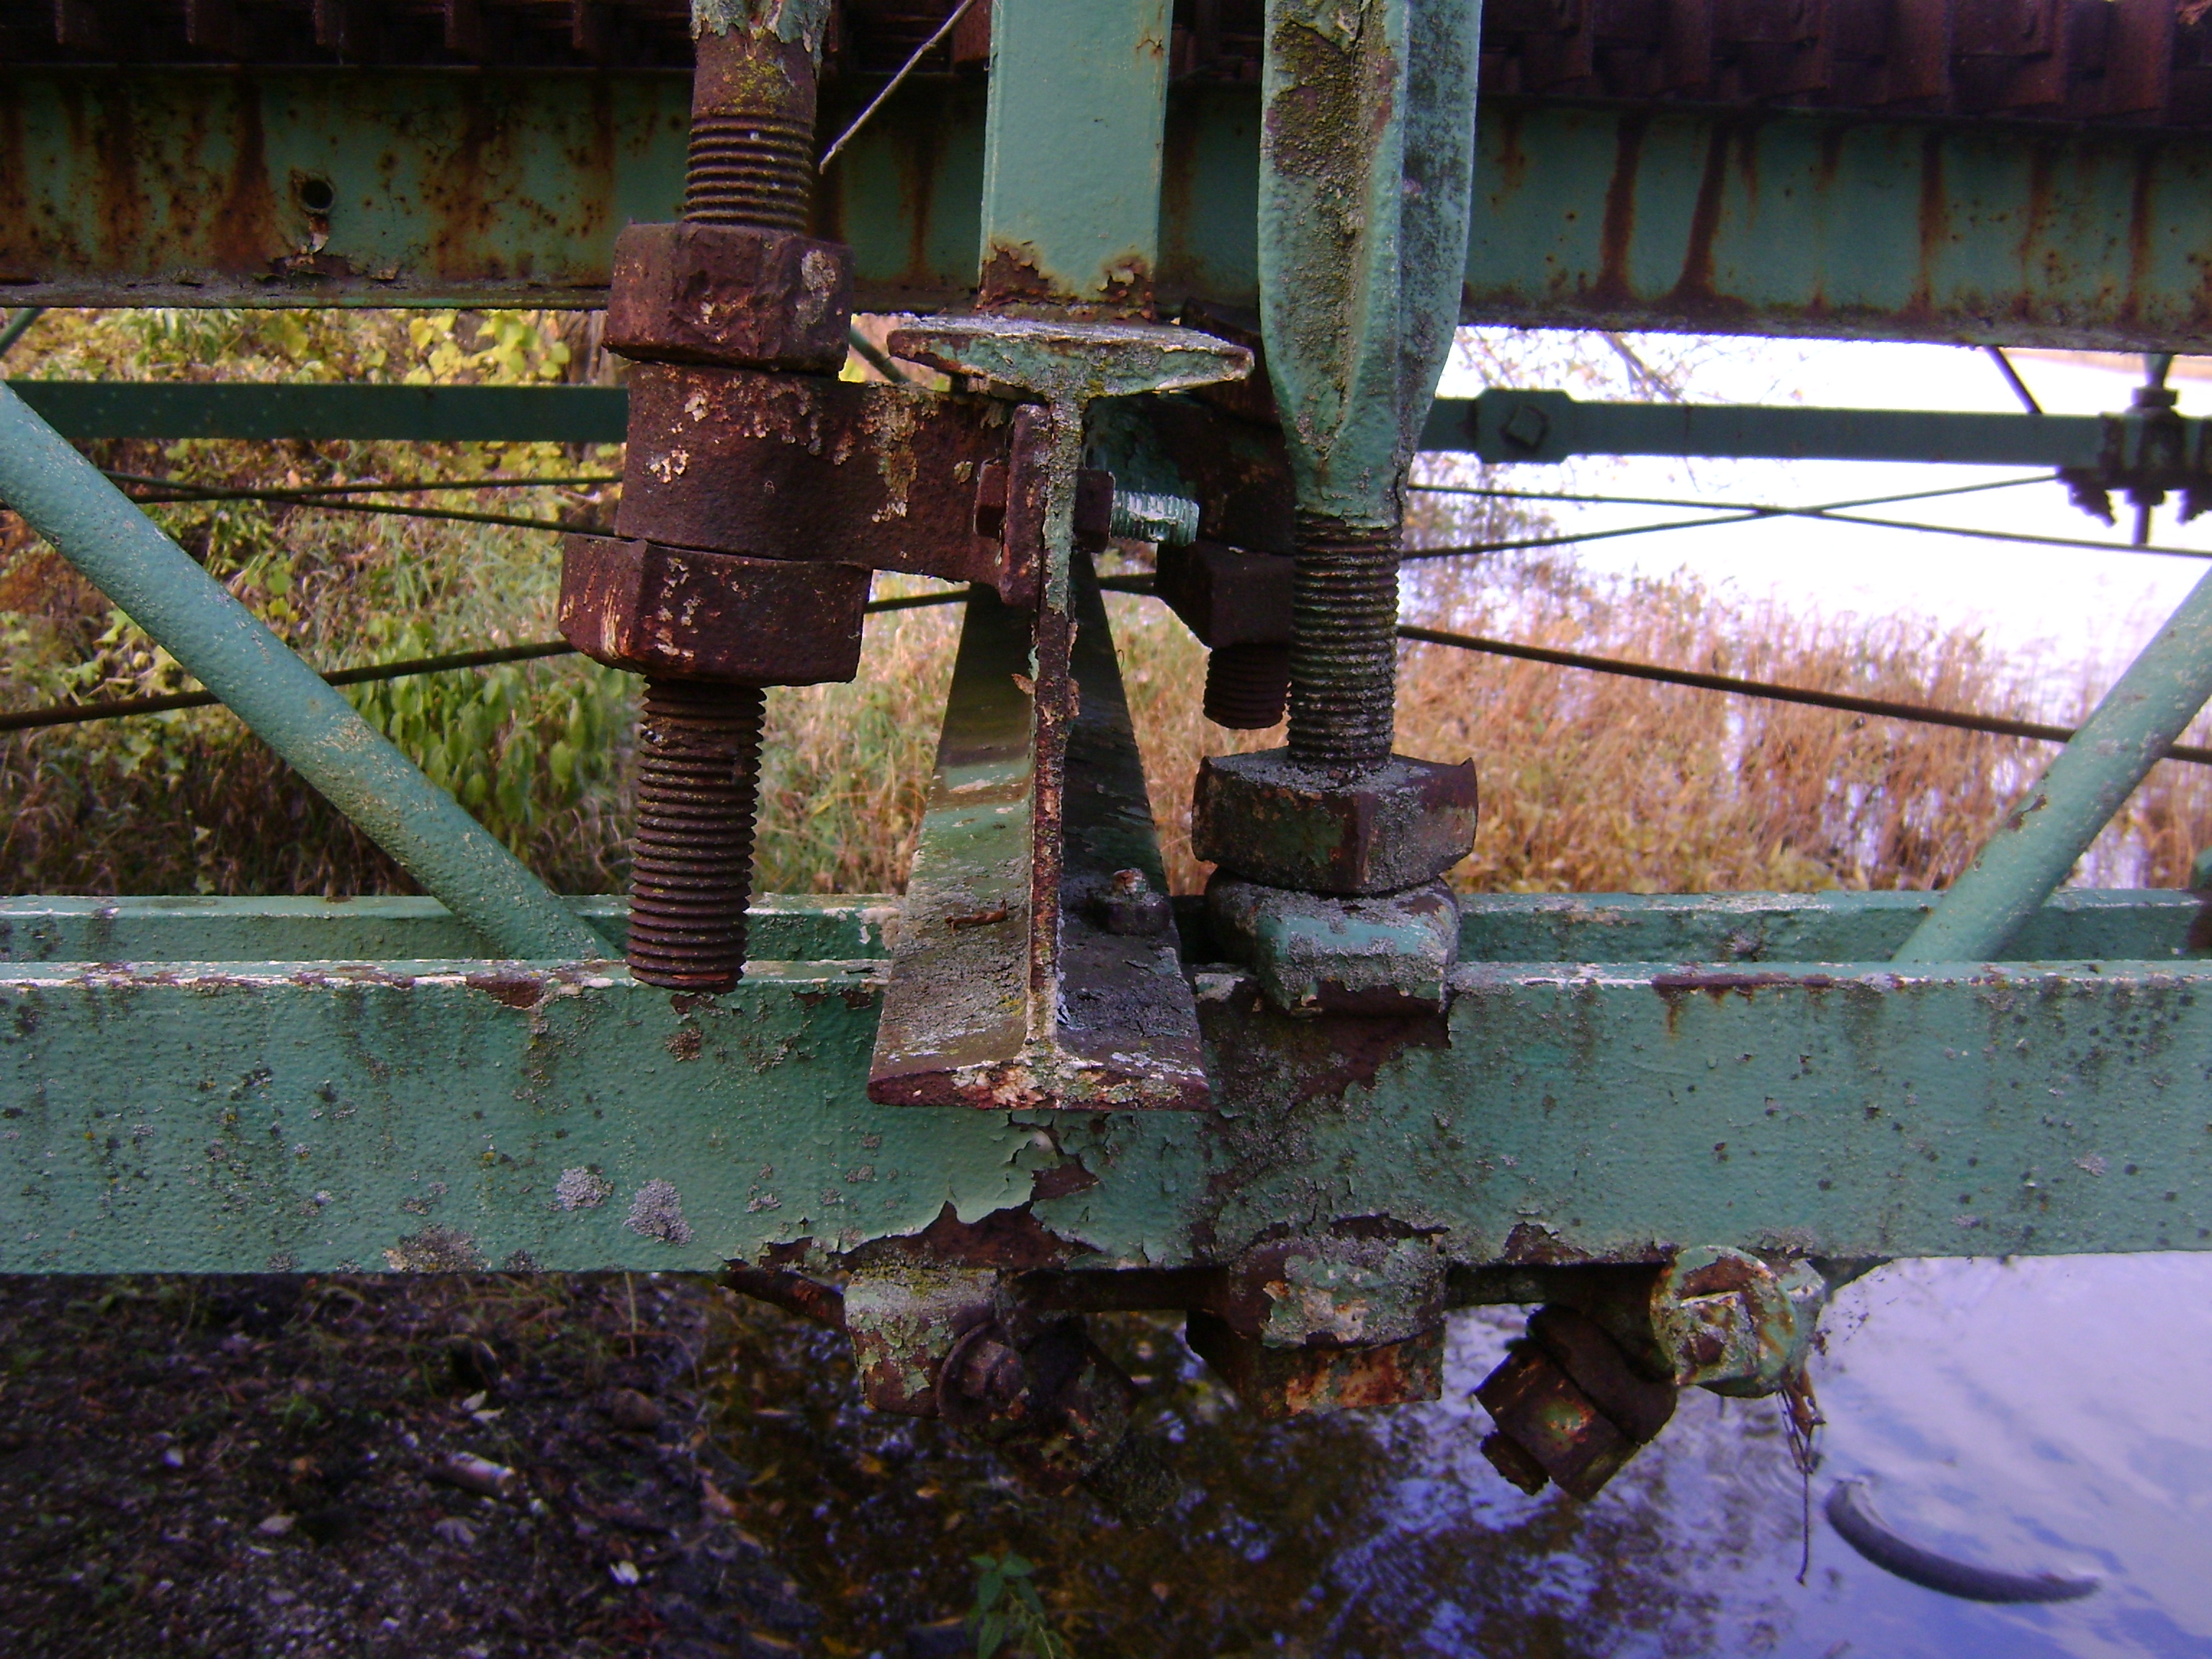
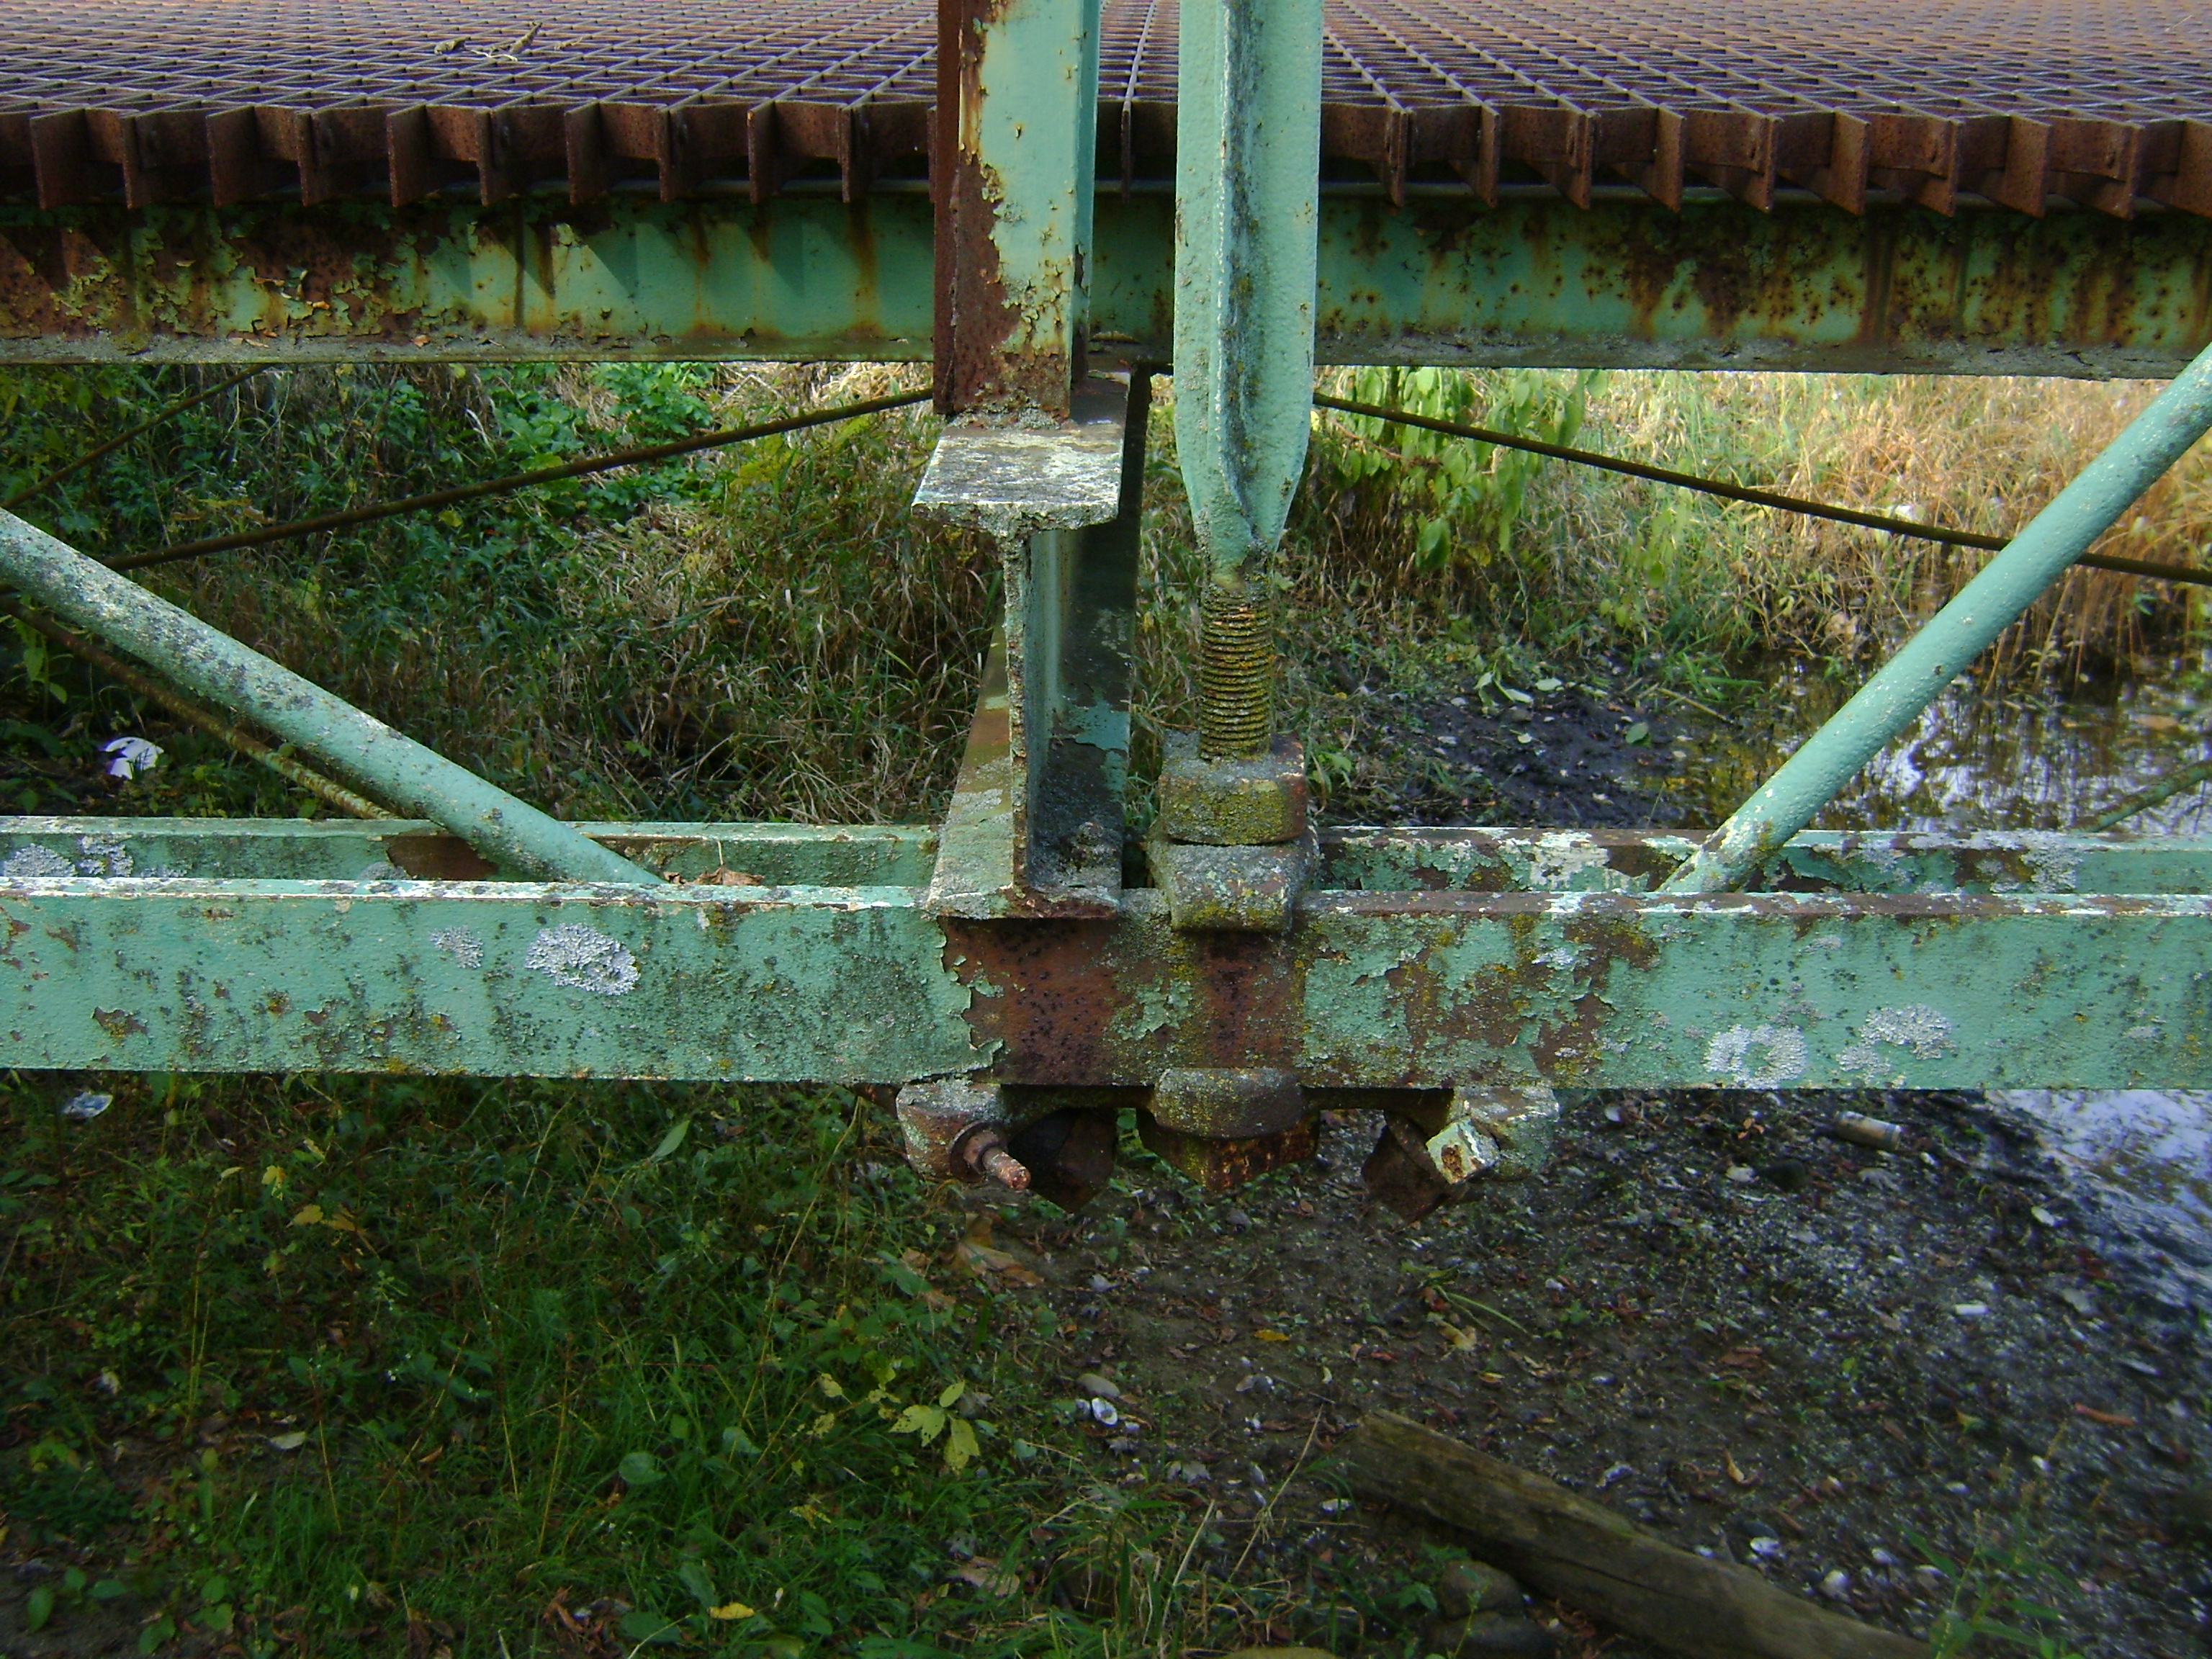
Bottom chord connections as viewed from beside bridge.
![]()
Bottom chord connections as viewed from on bridge.
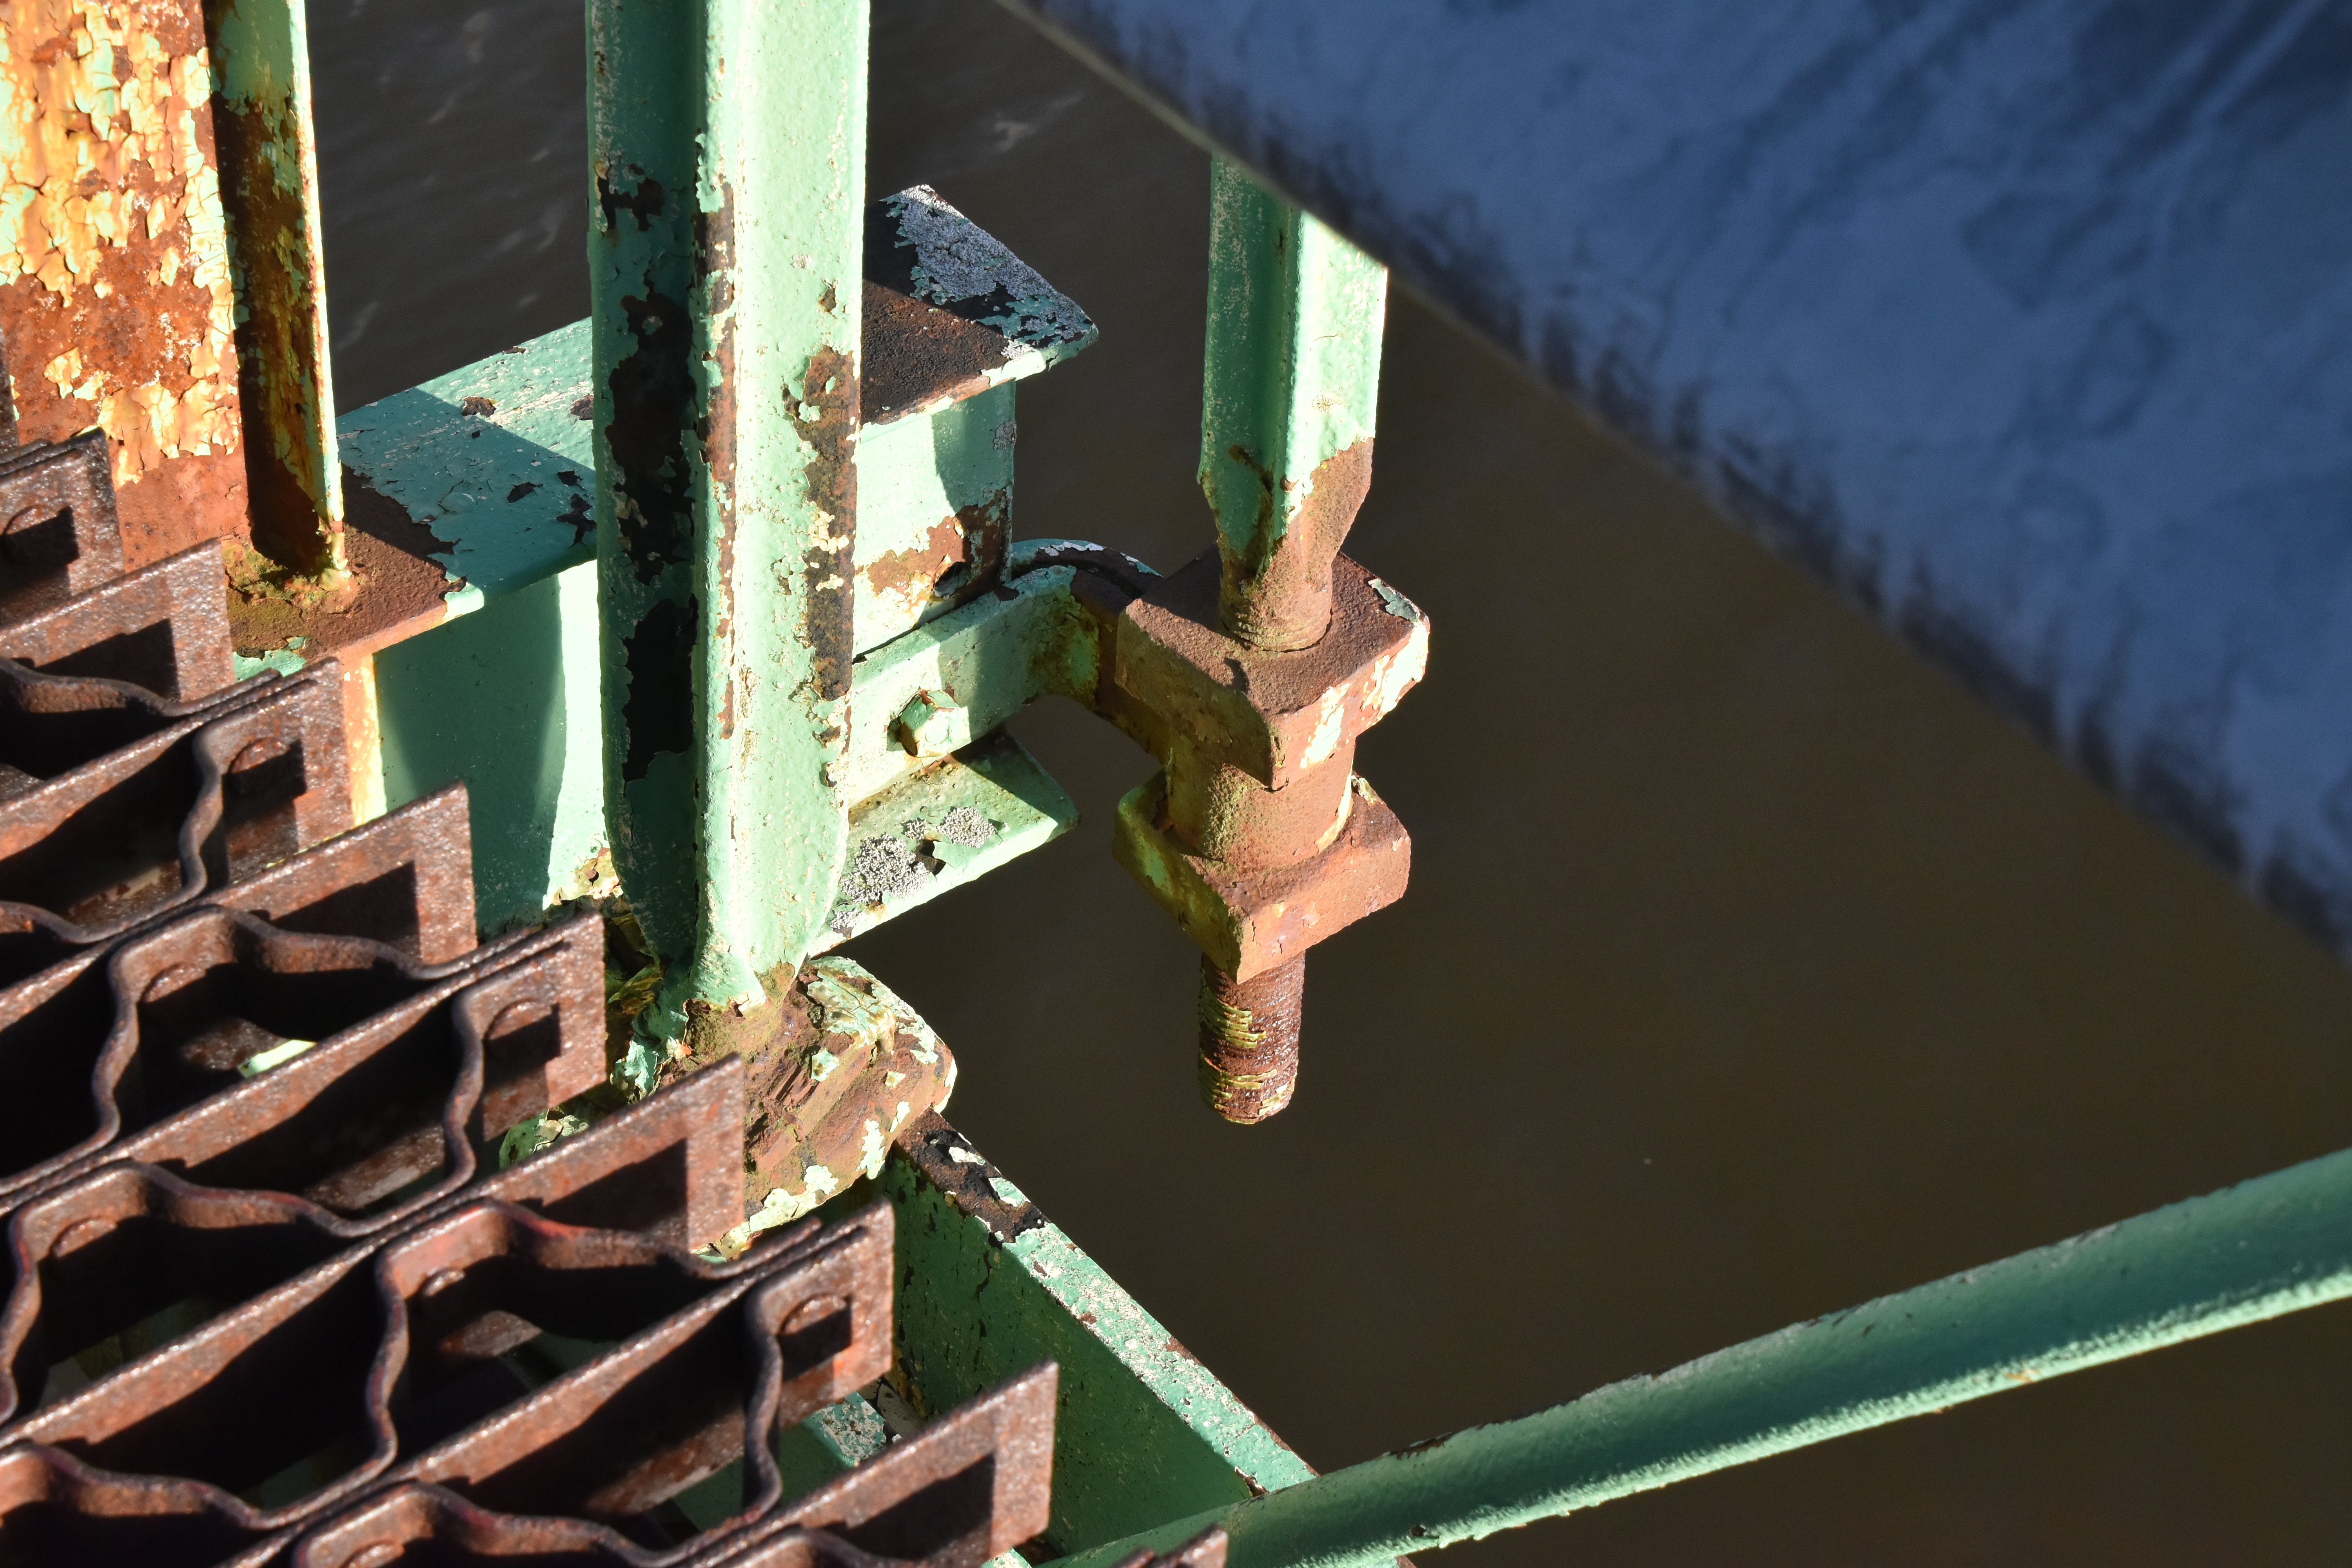
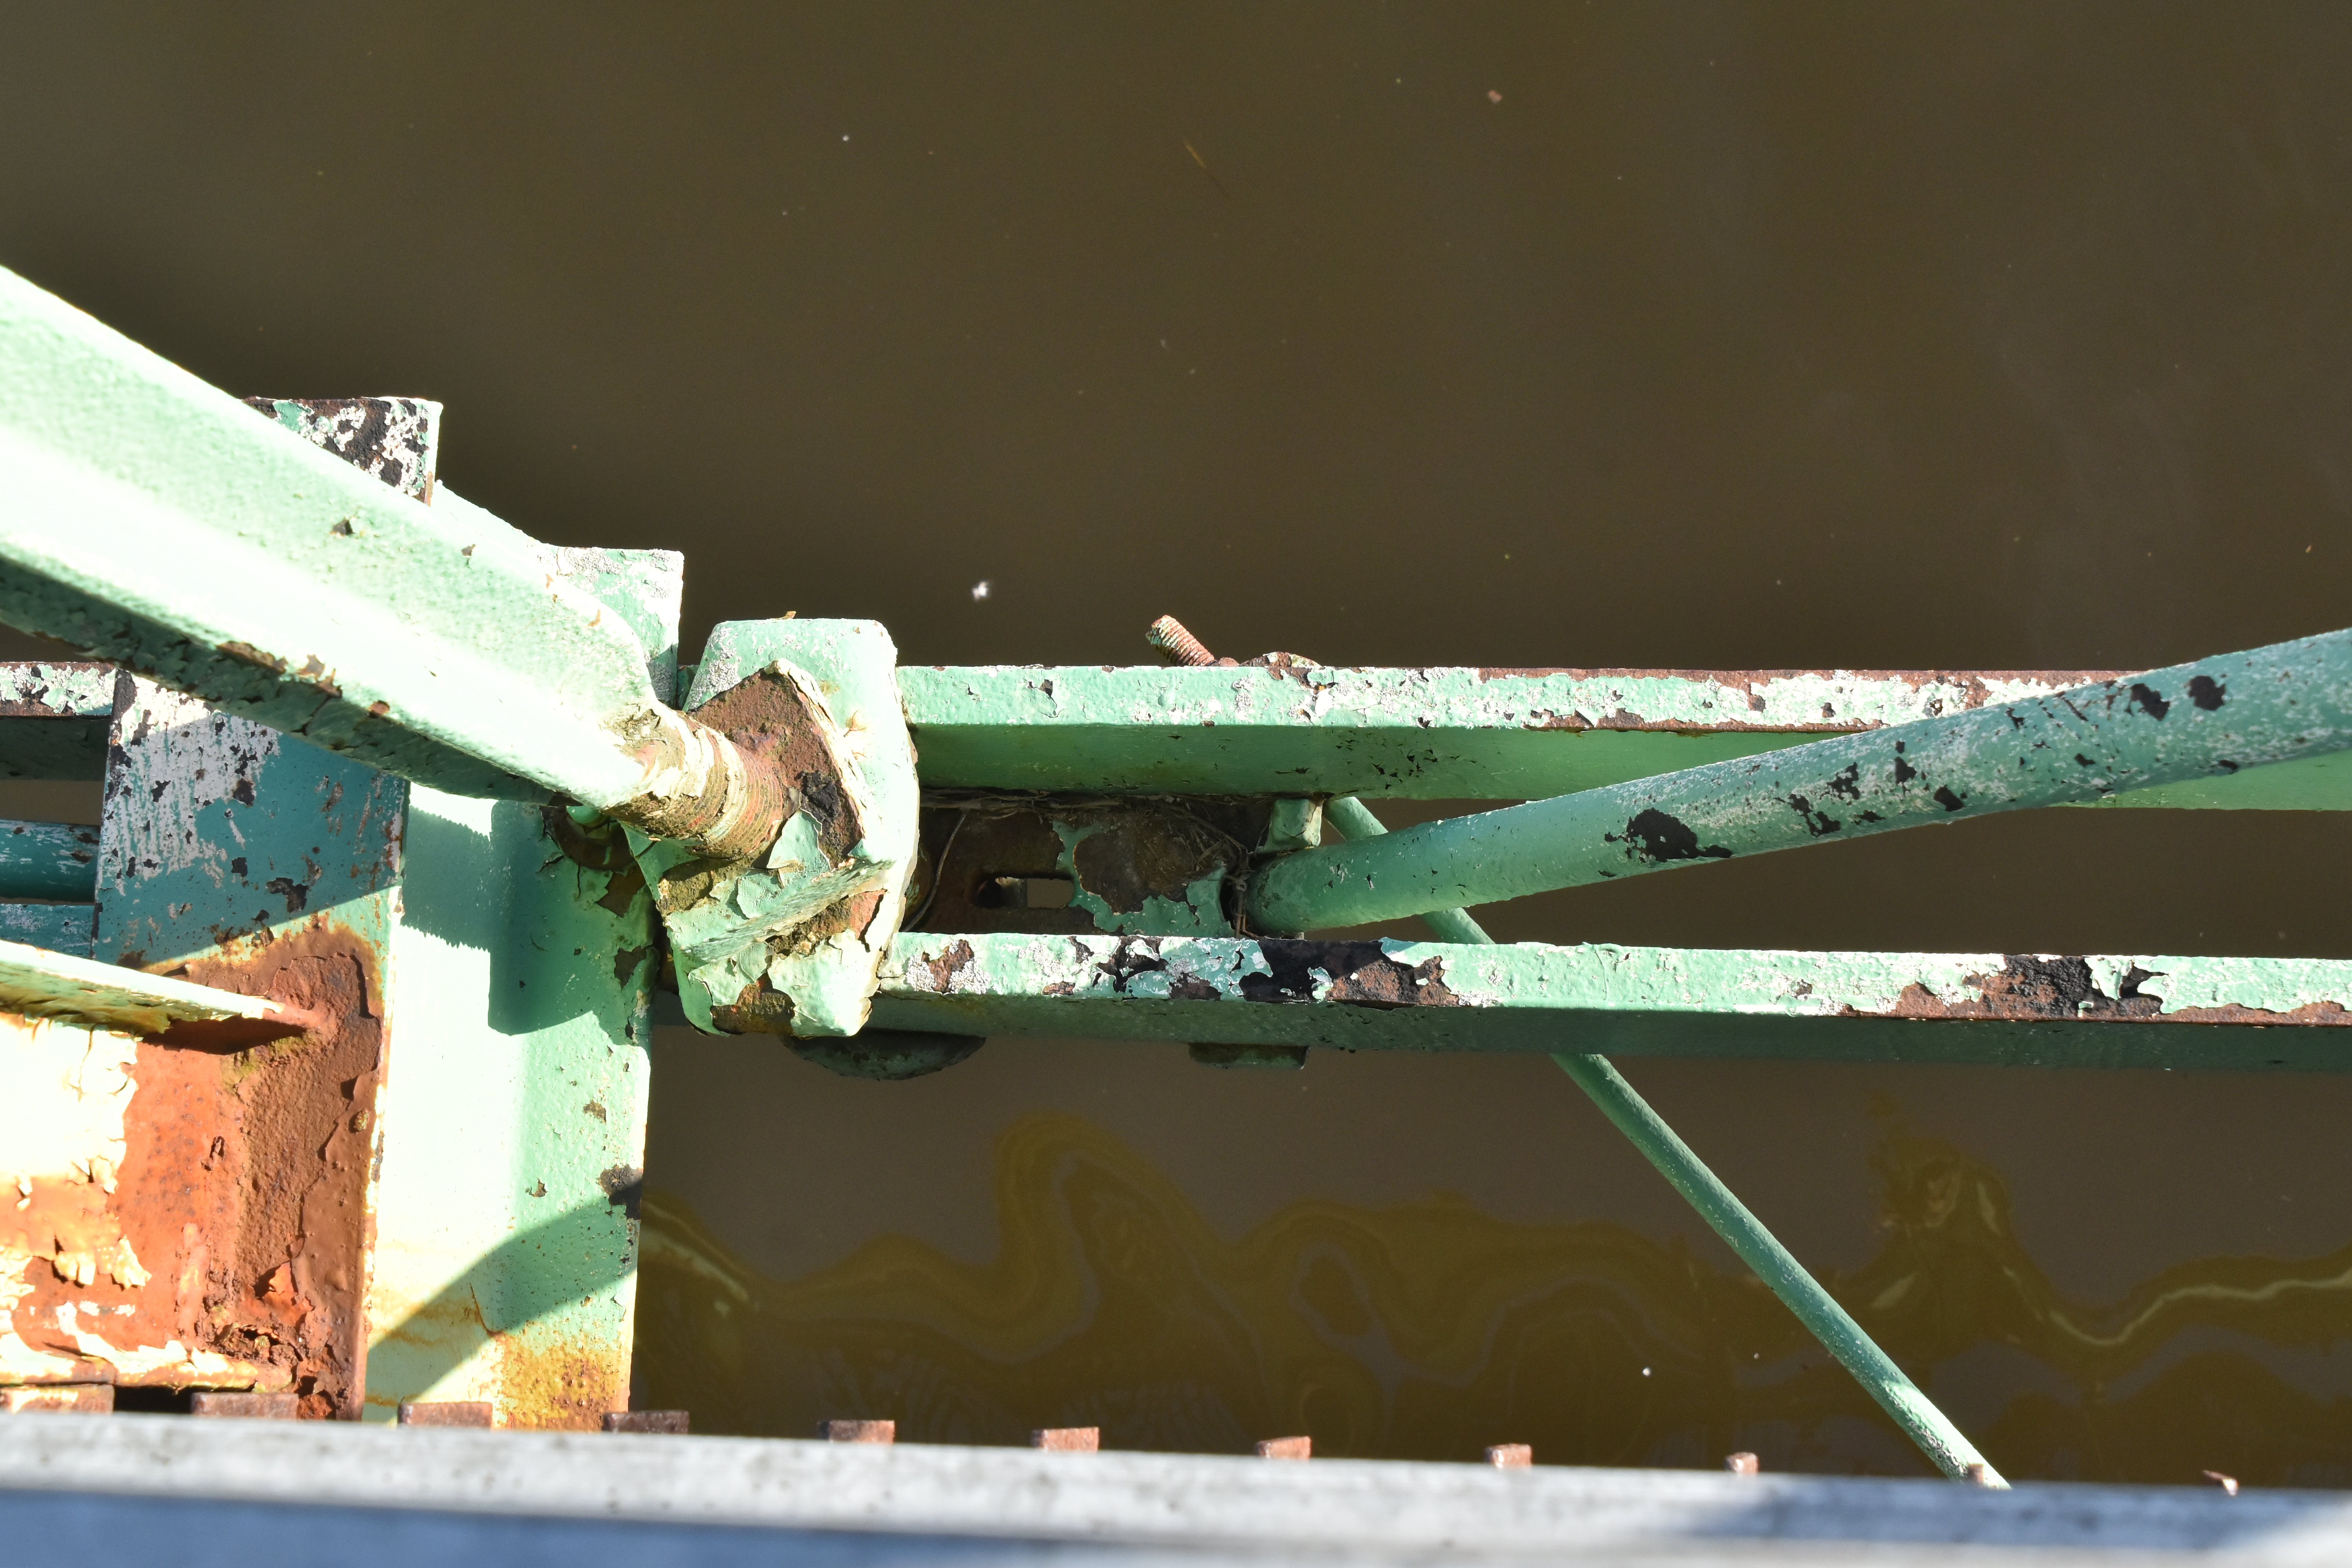
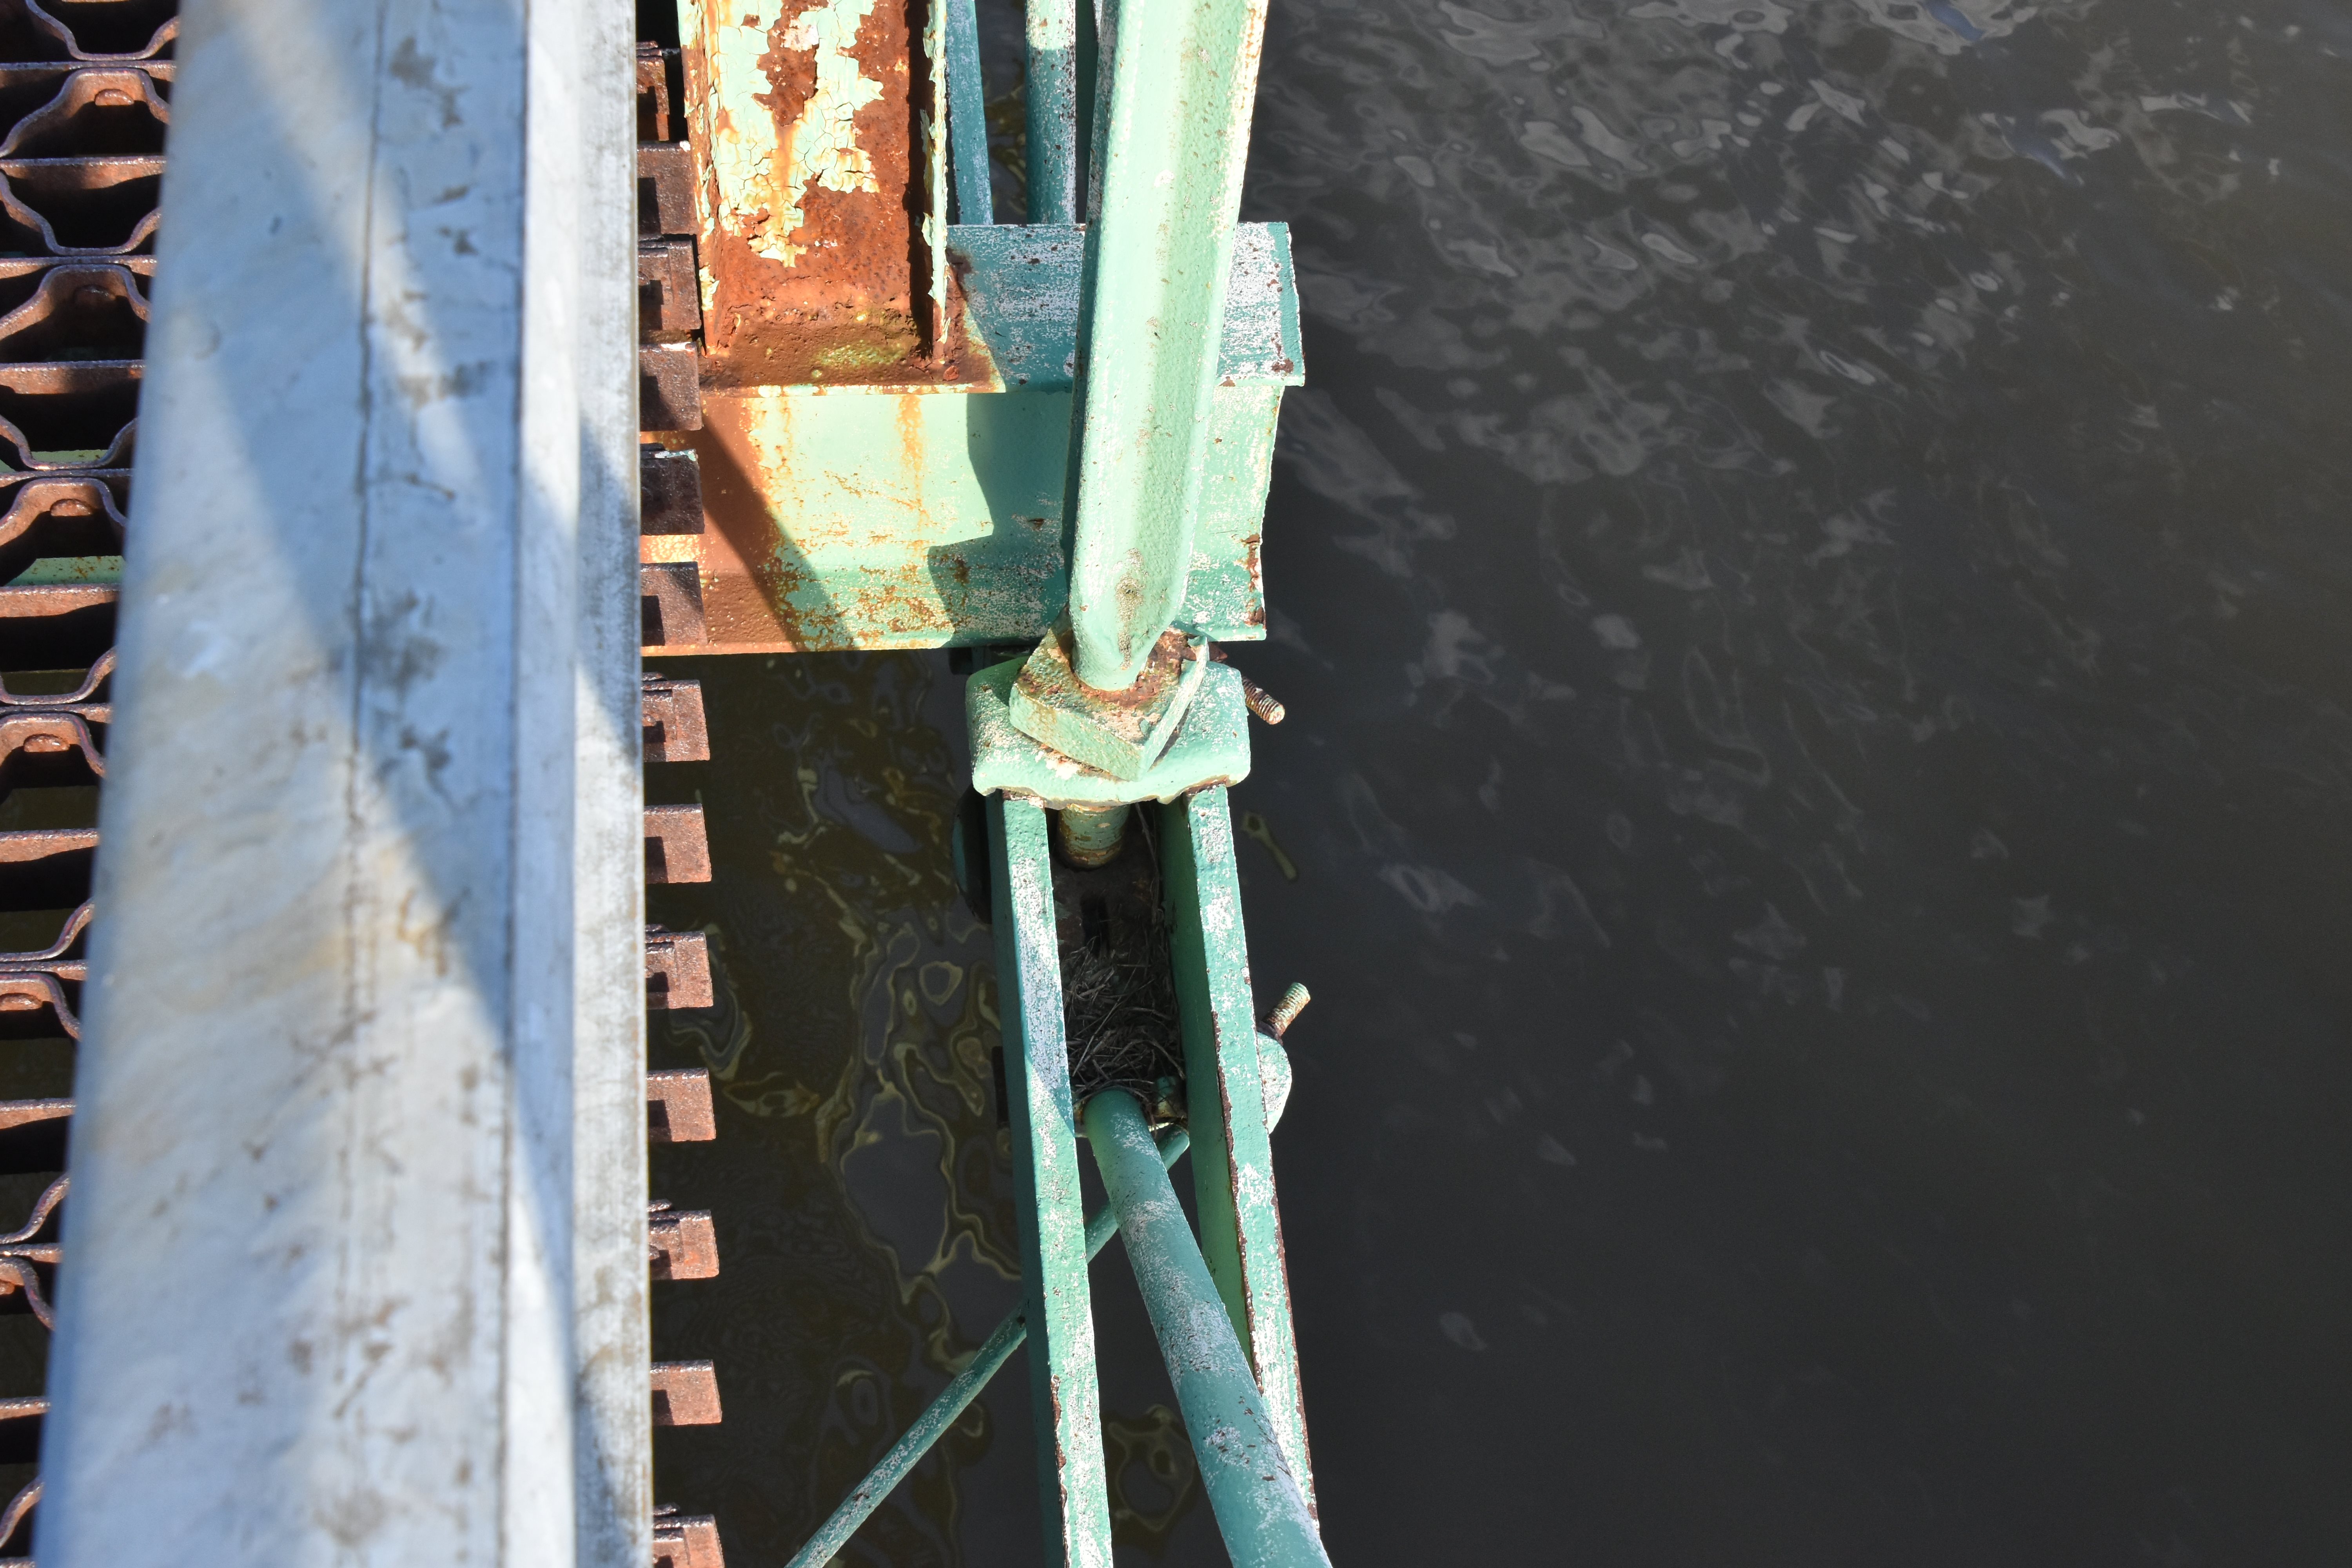
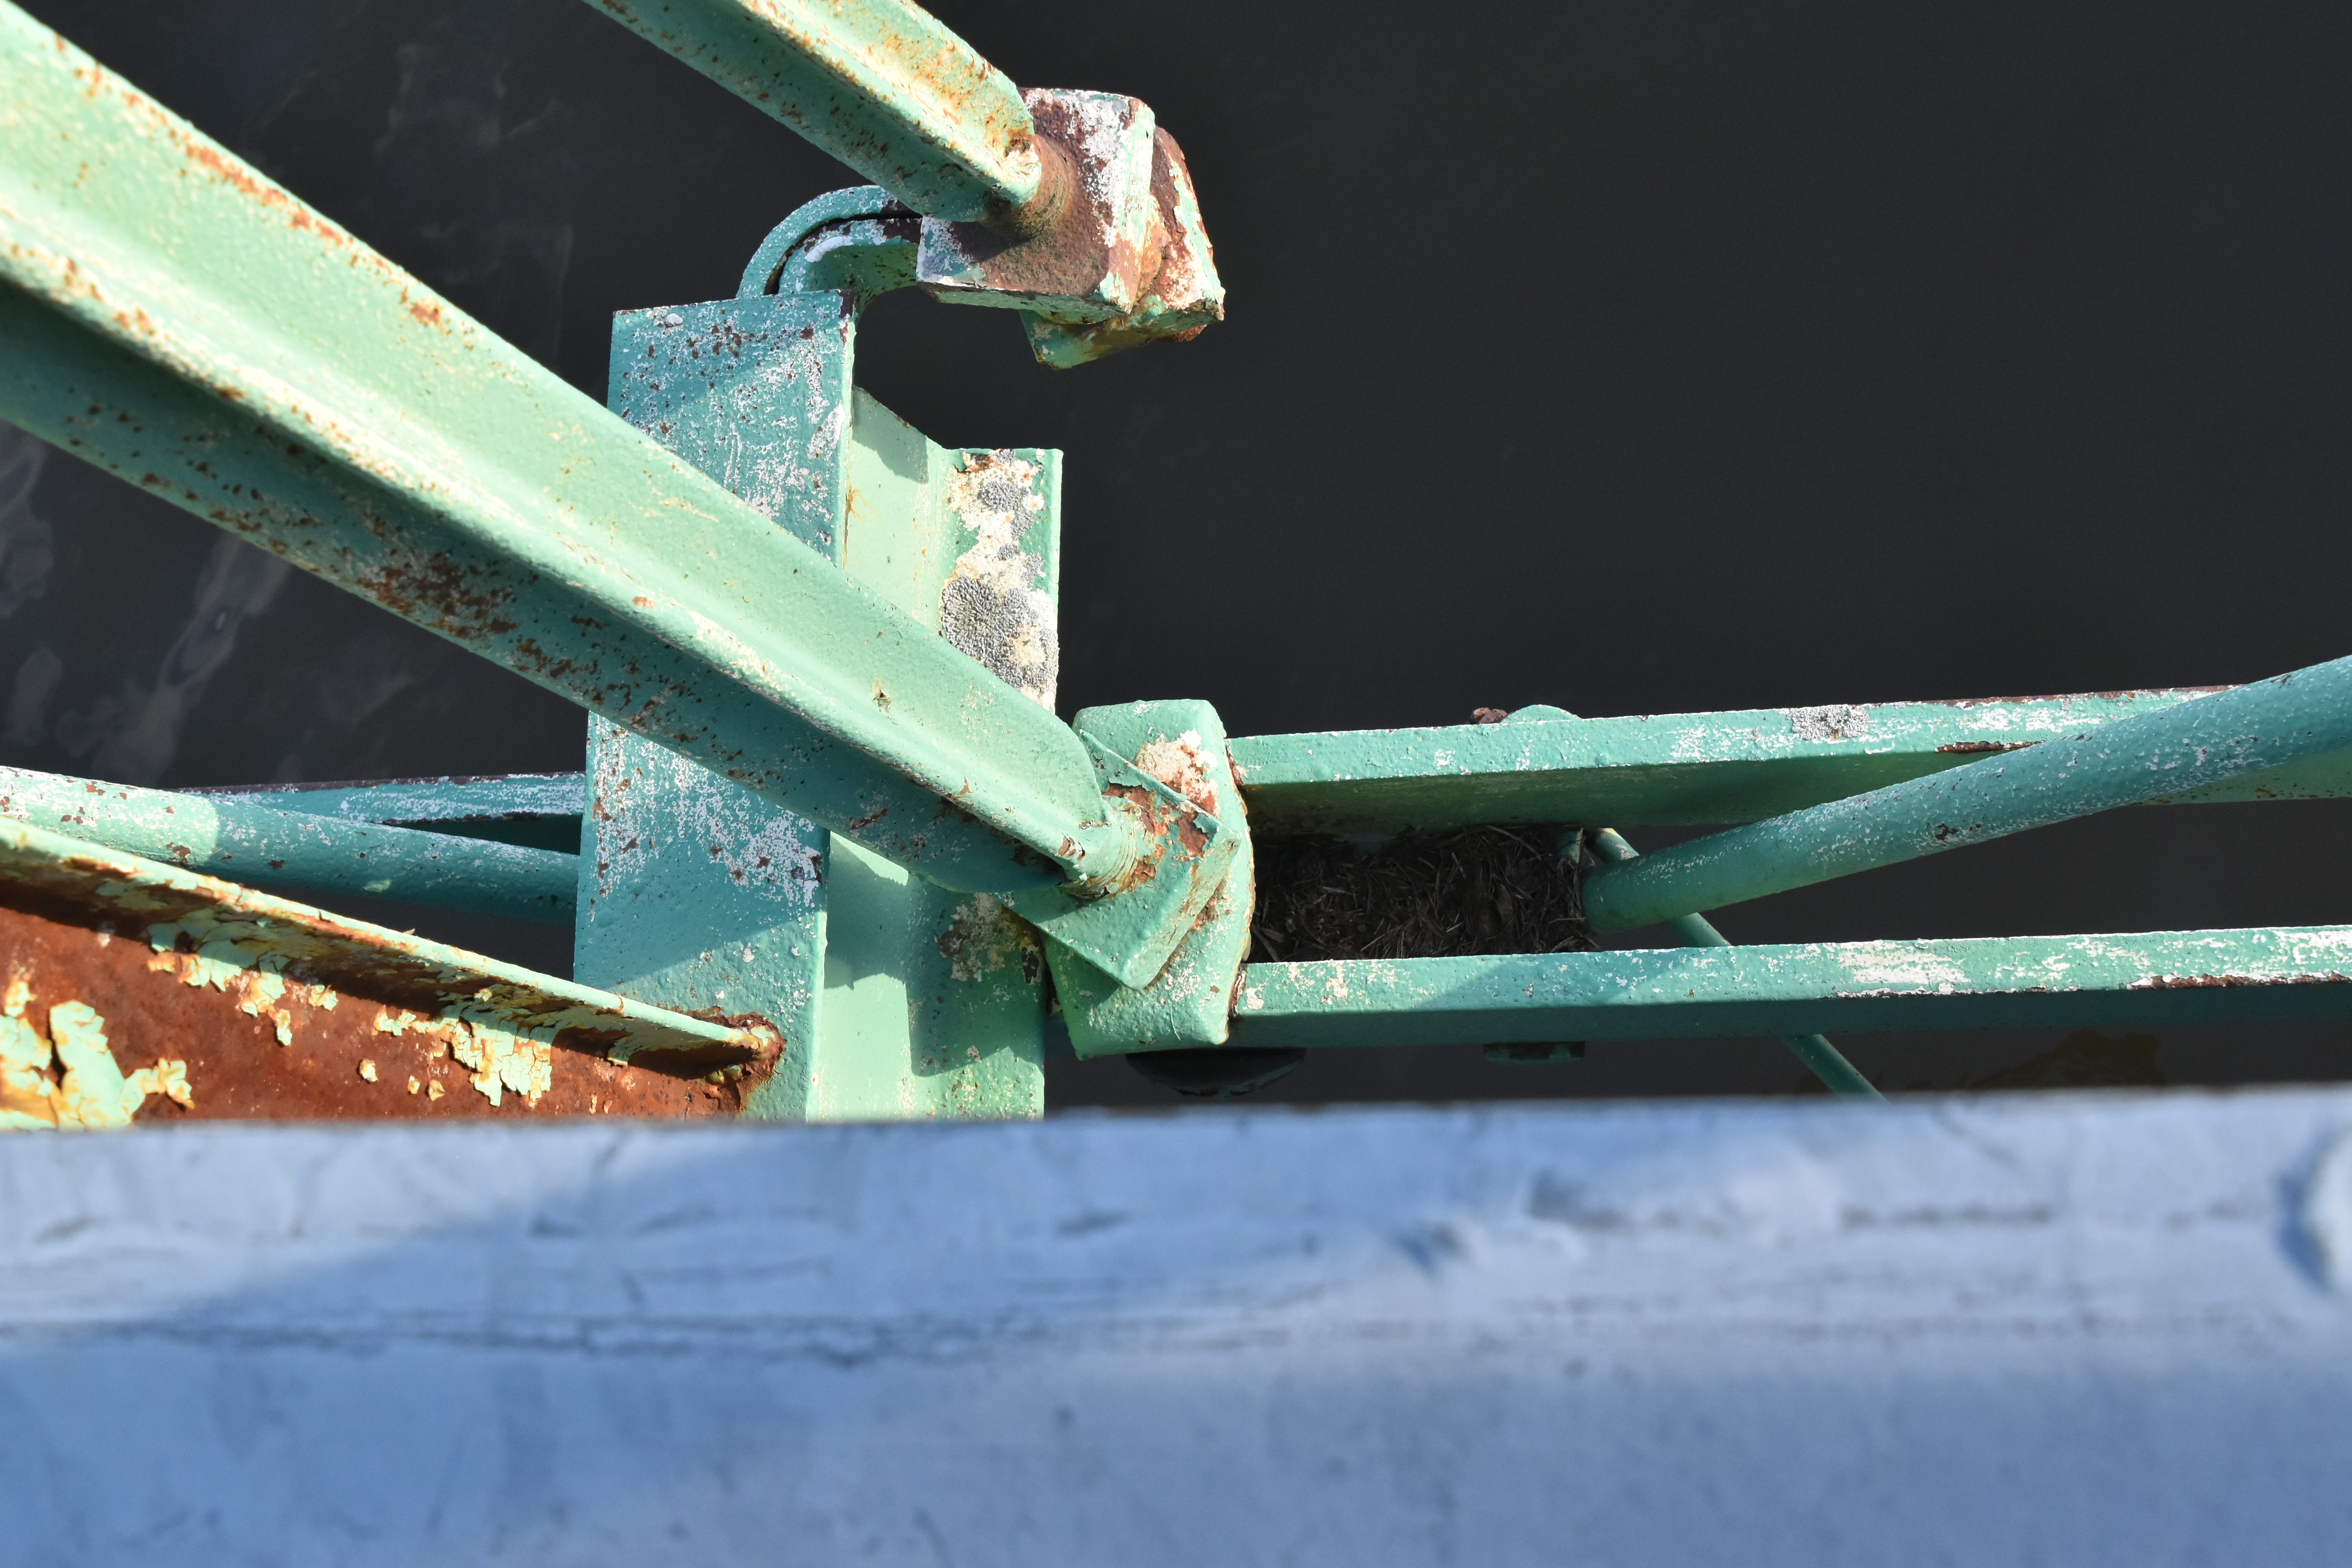
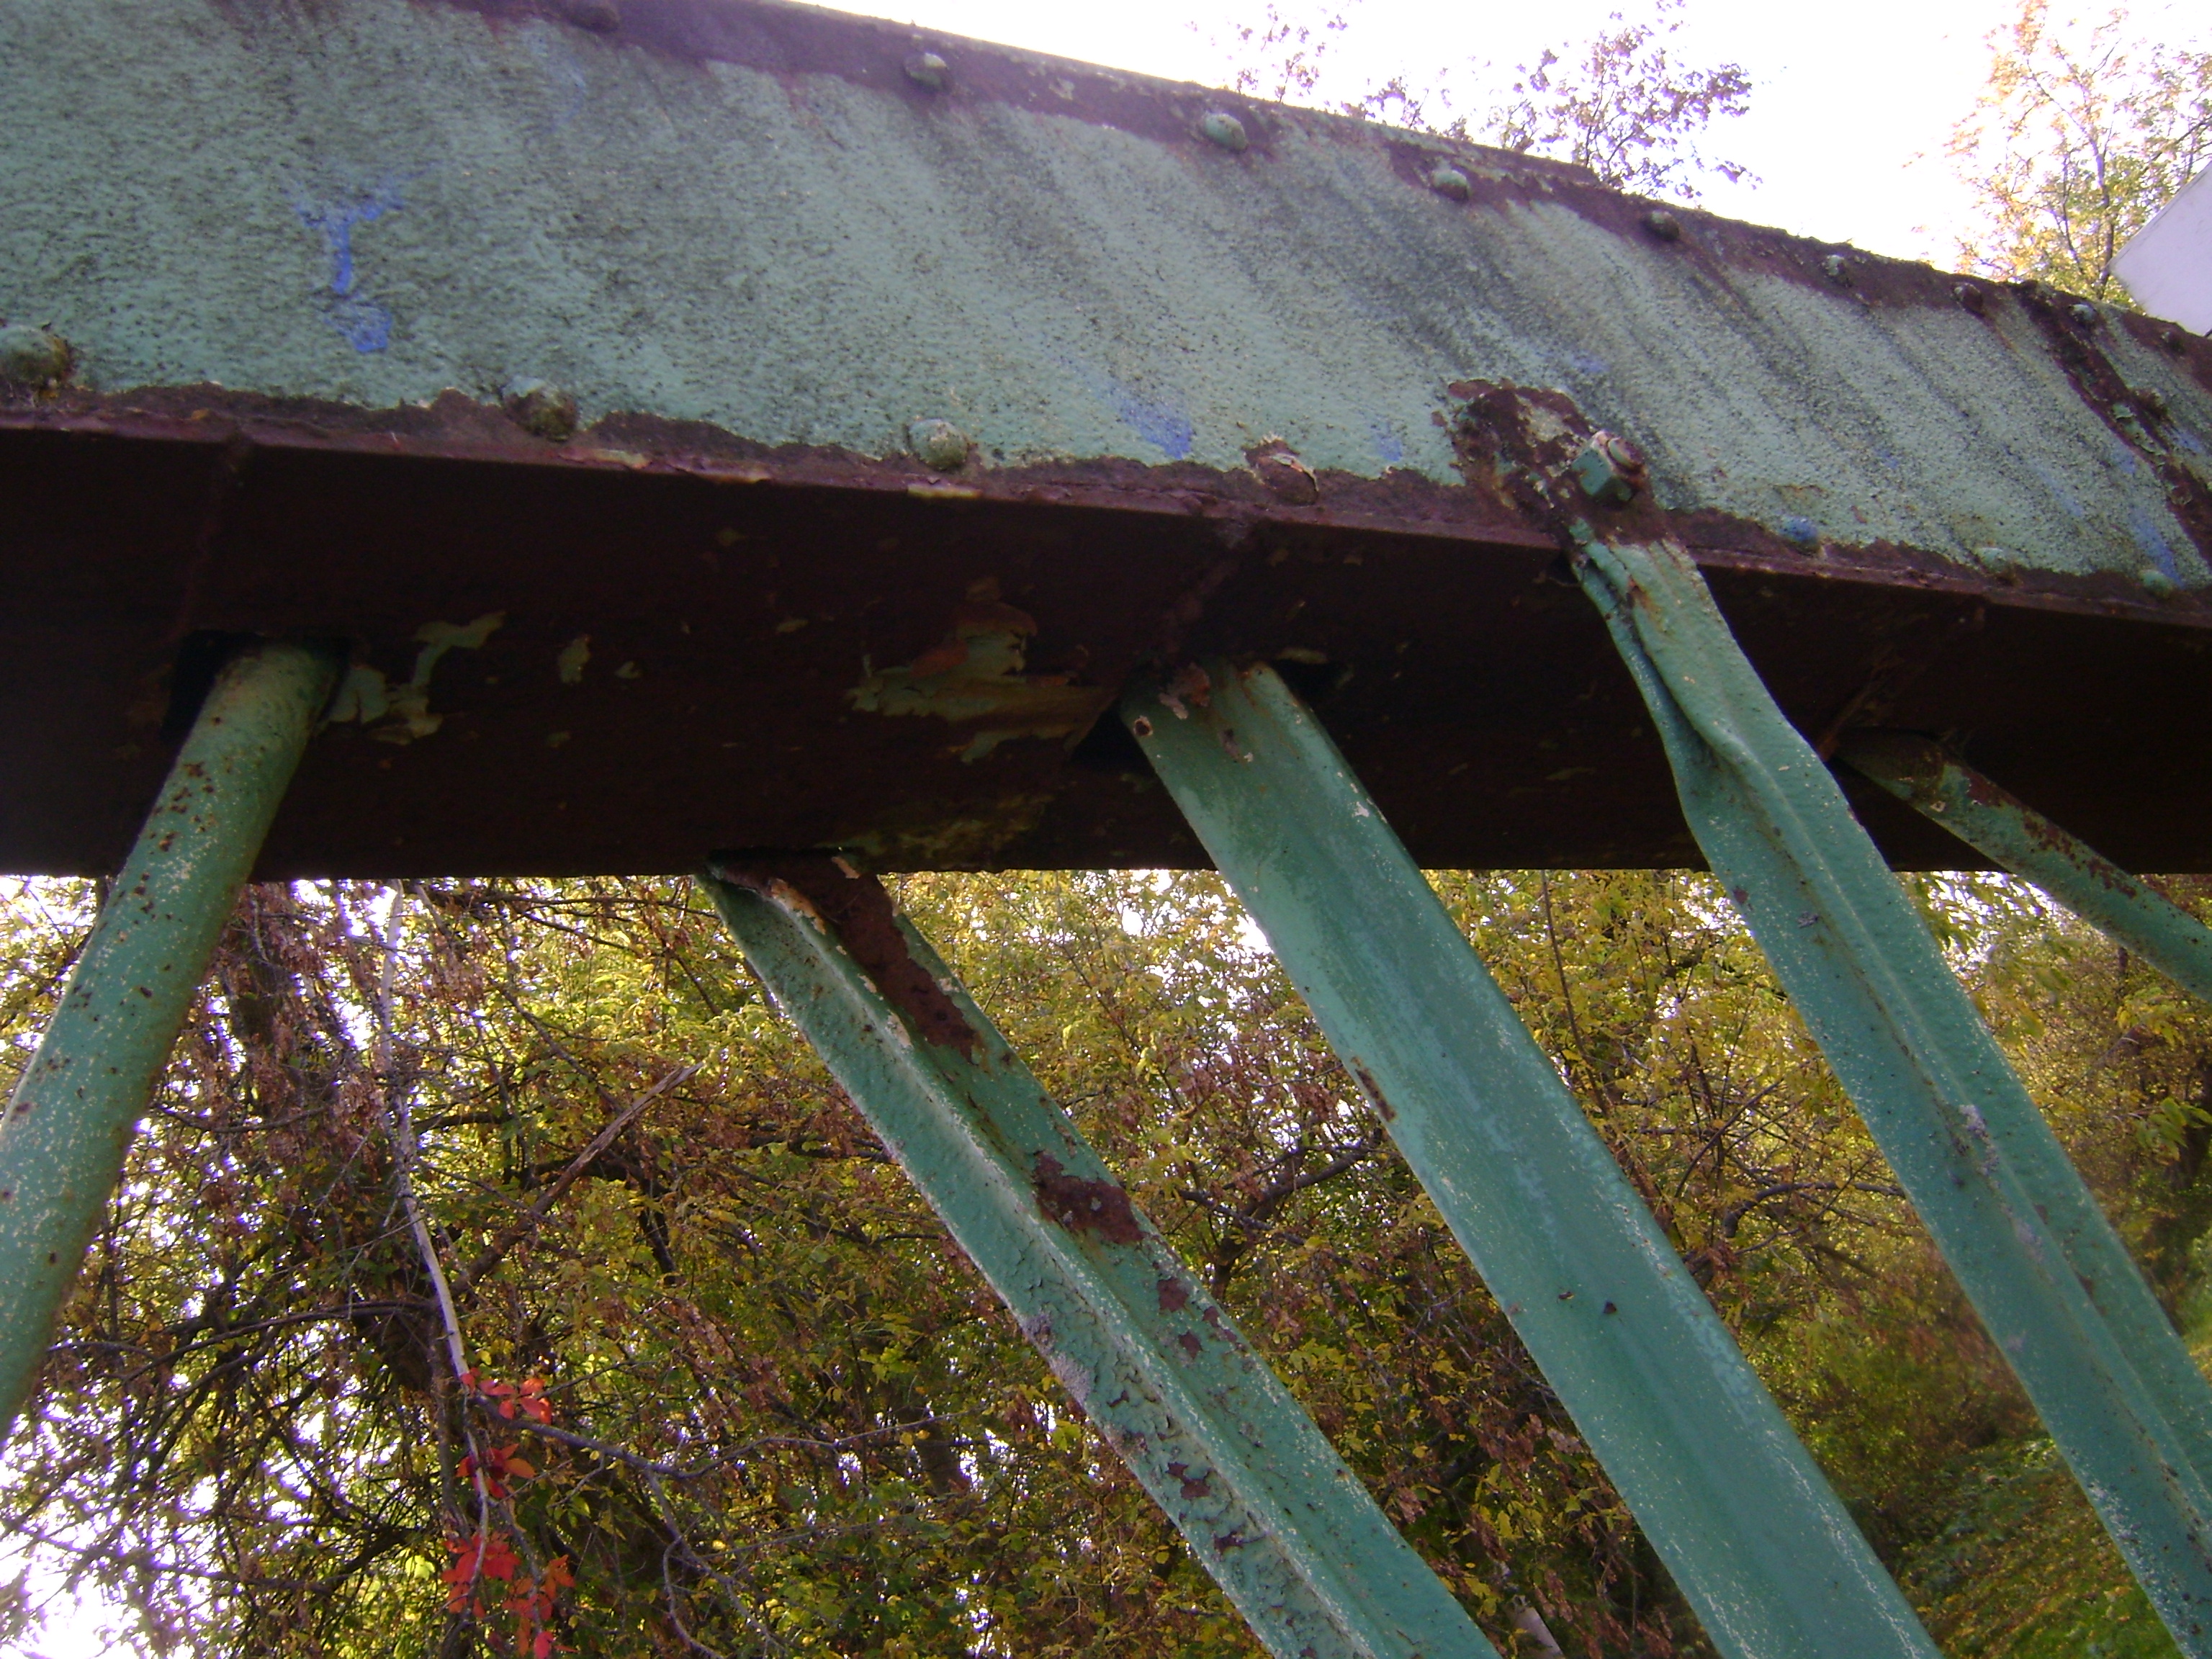
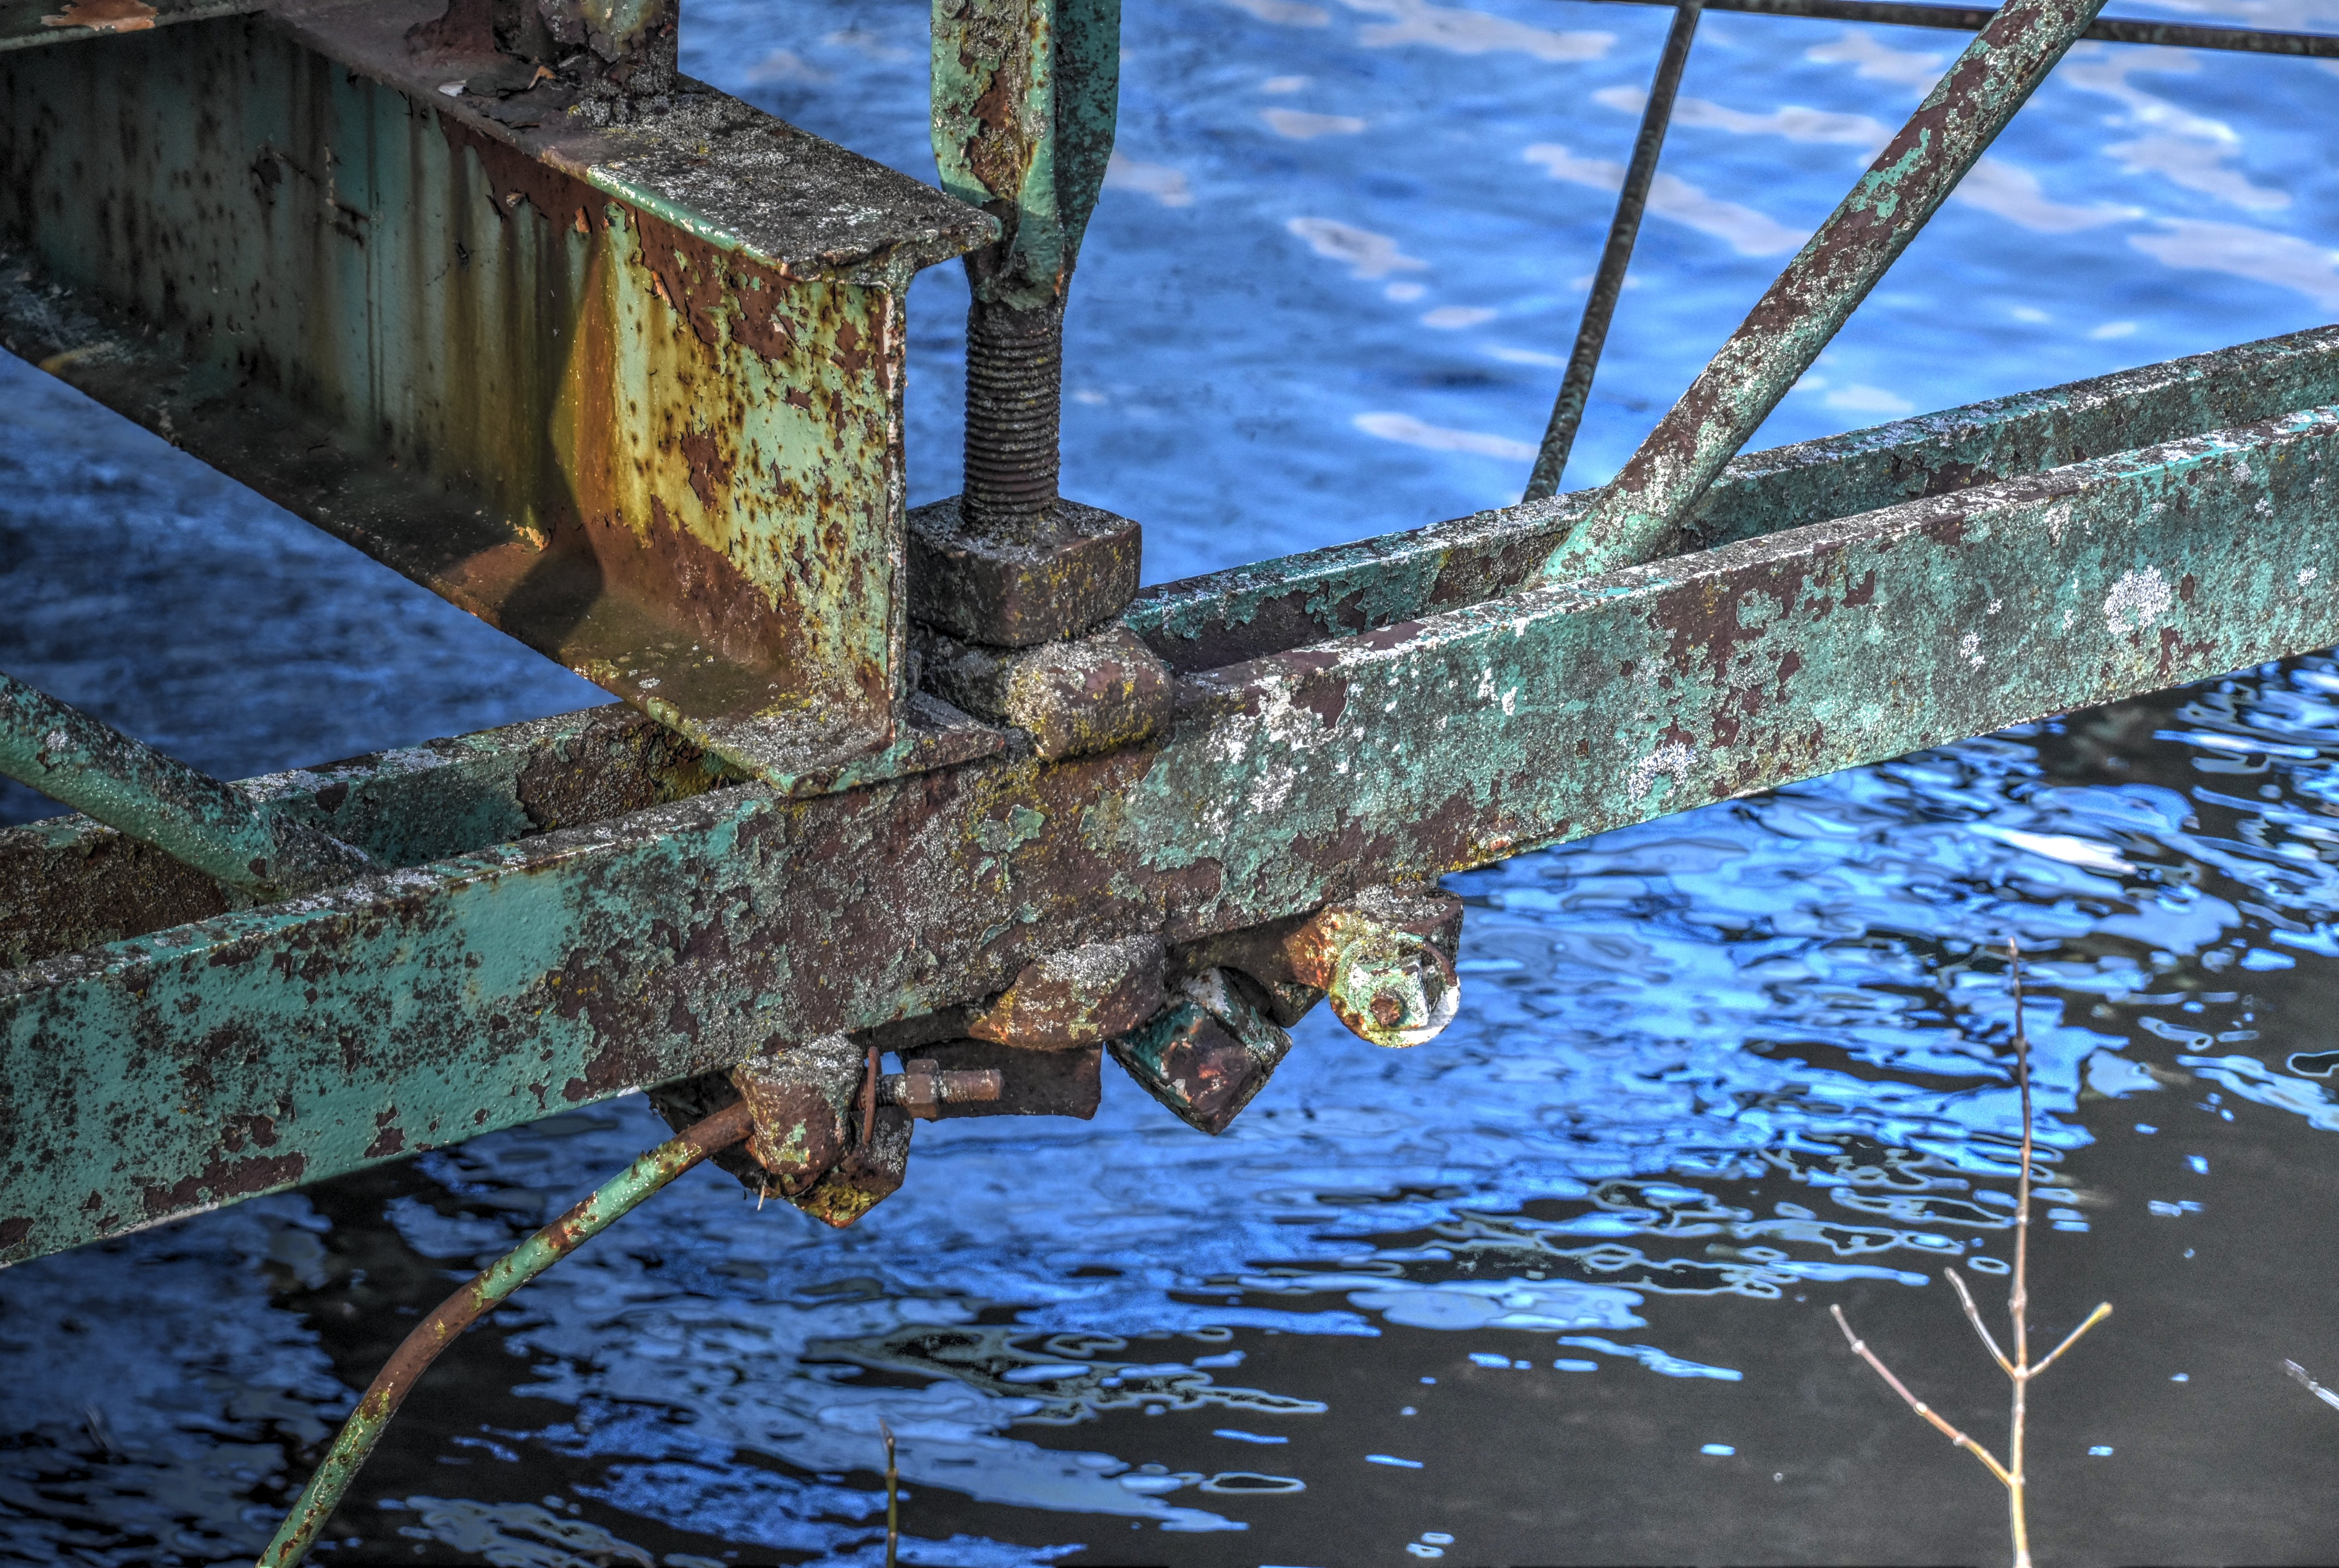
![]()
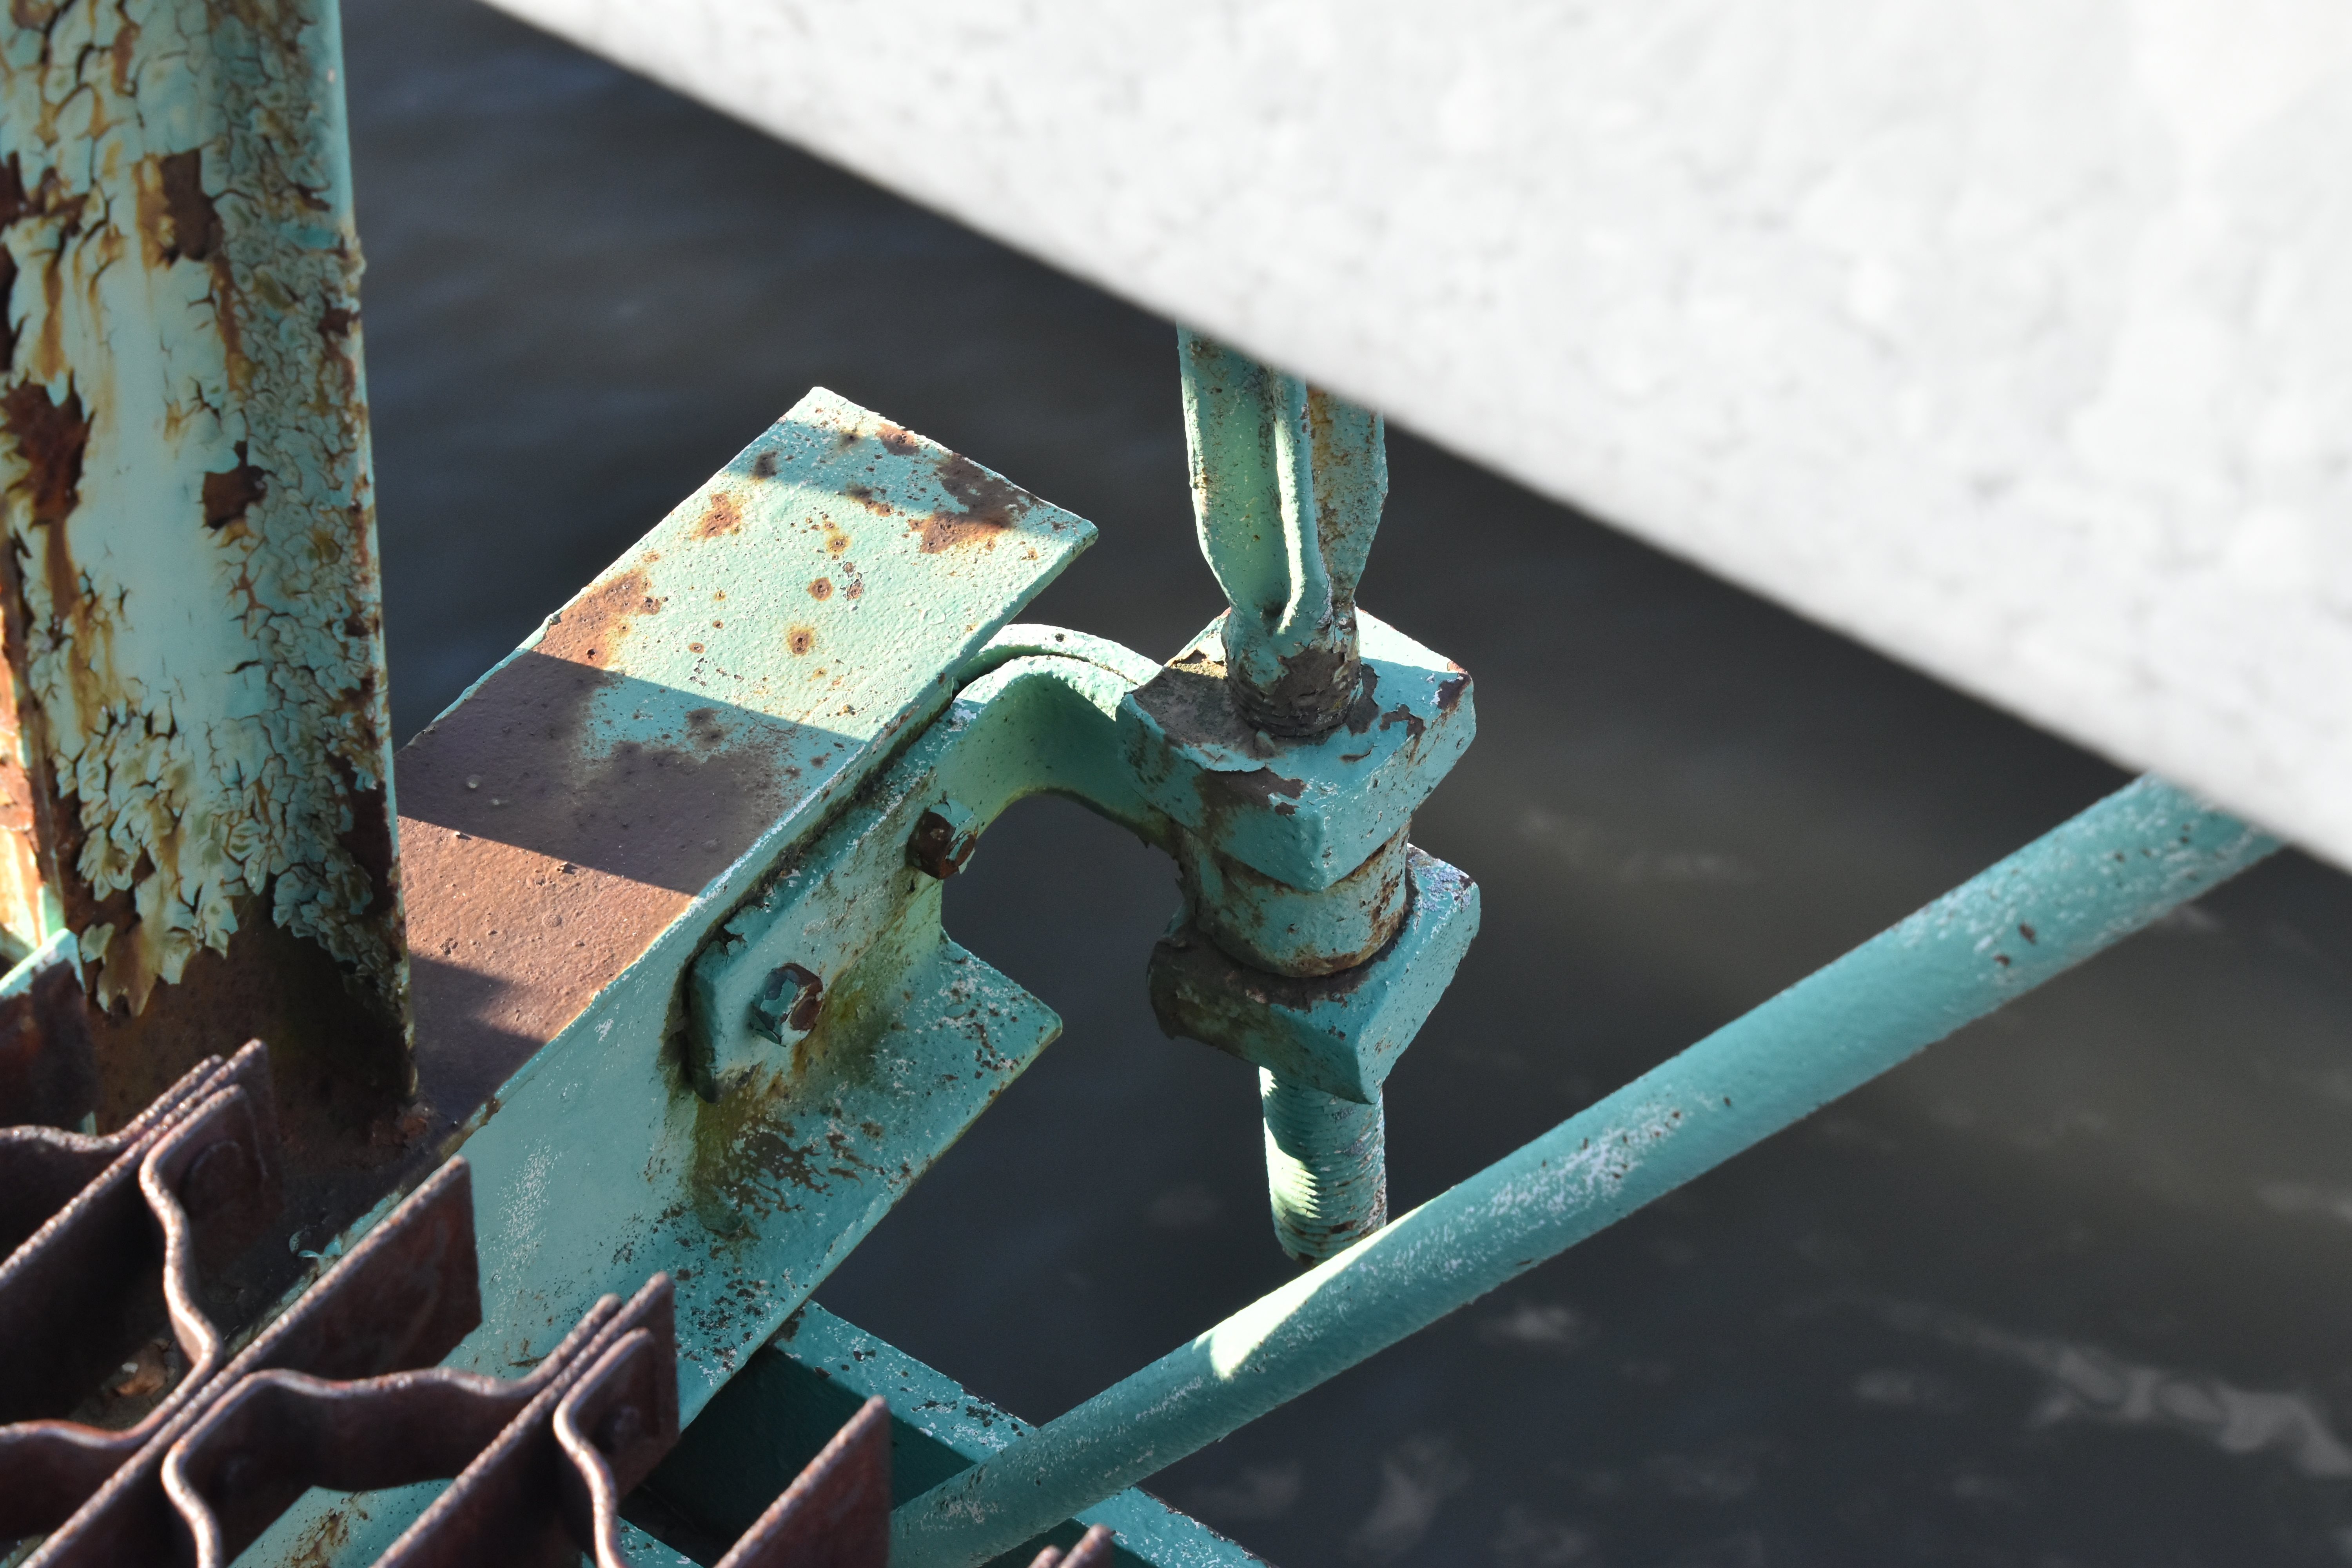

Outrigger connection to floorbeam.
![]()
Photo Credit: Marc Scotti
Top chord connections as viewed from on bridge.
![]()

Bottom chord connections as viewed from beside bridge.
![]()
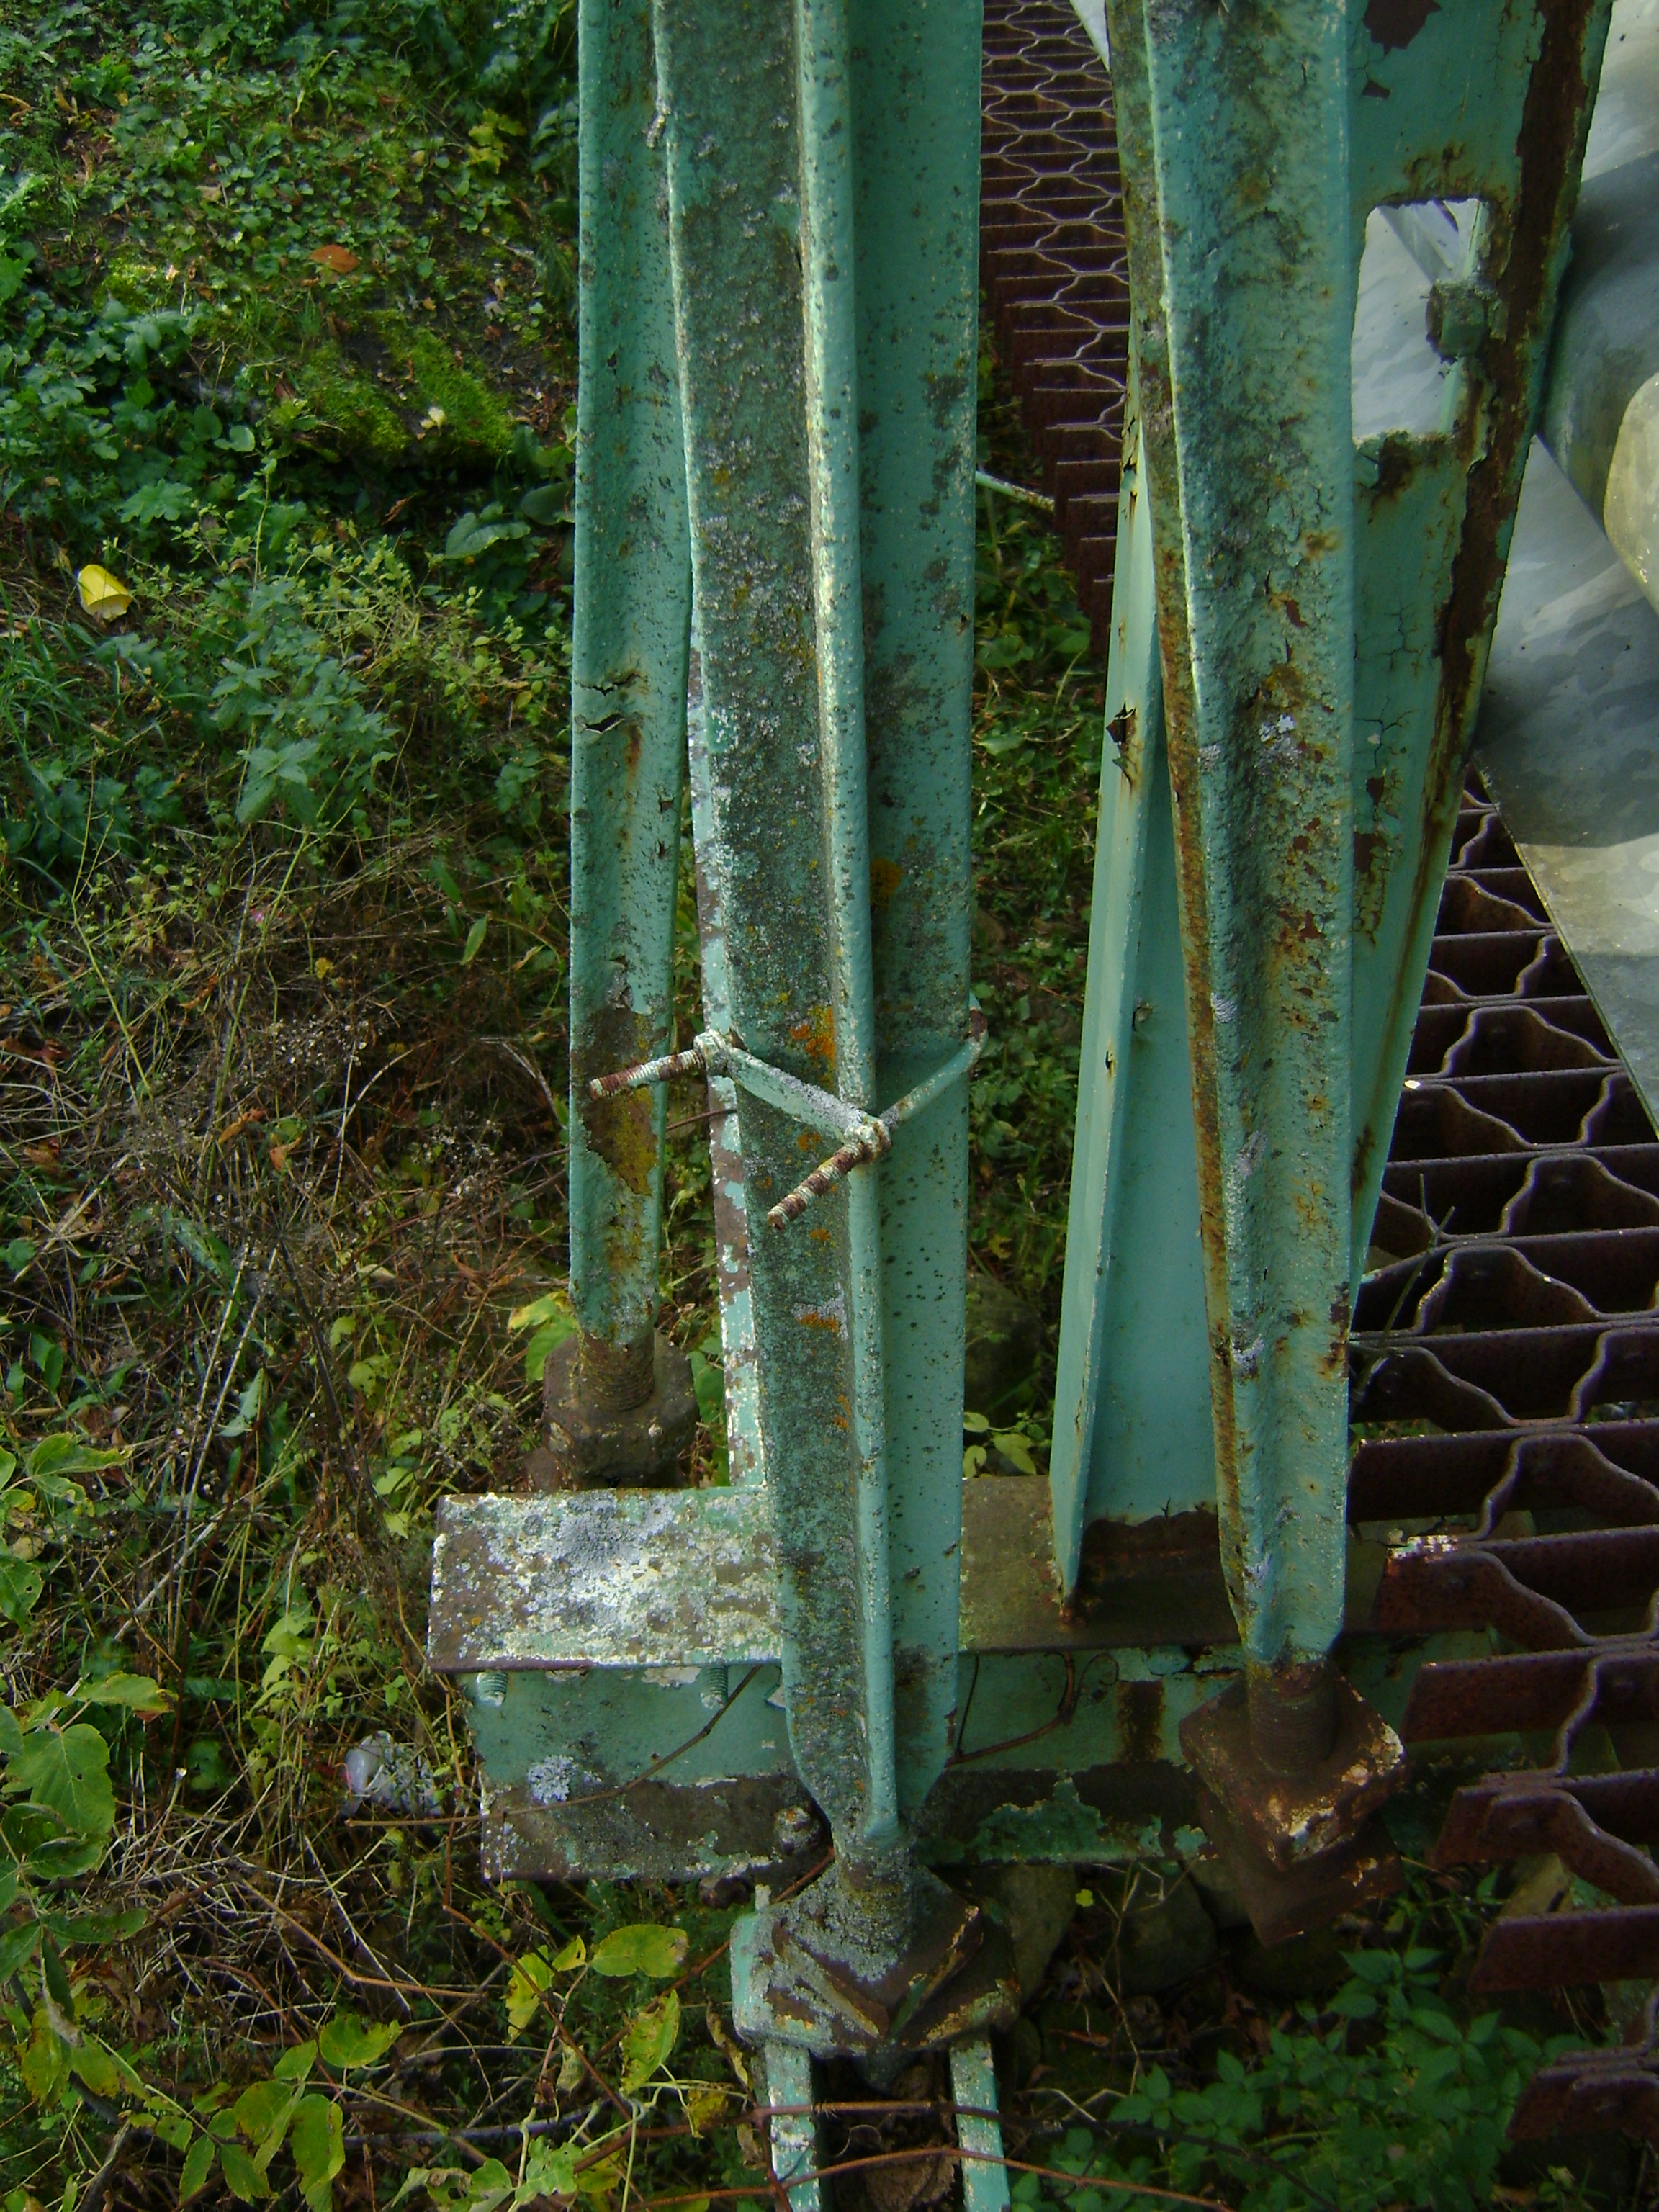
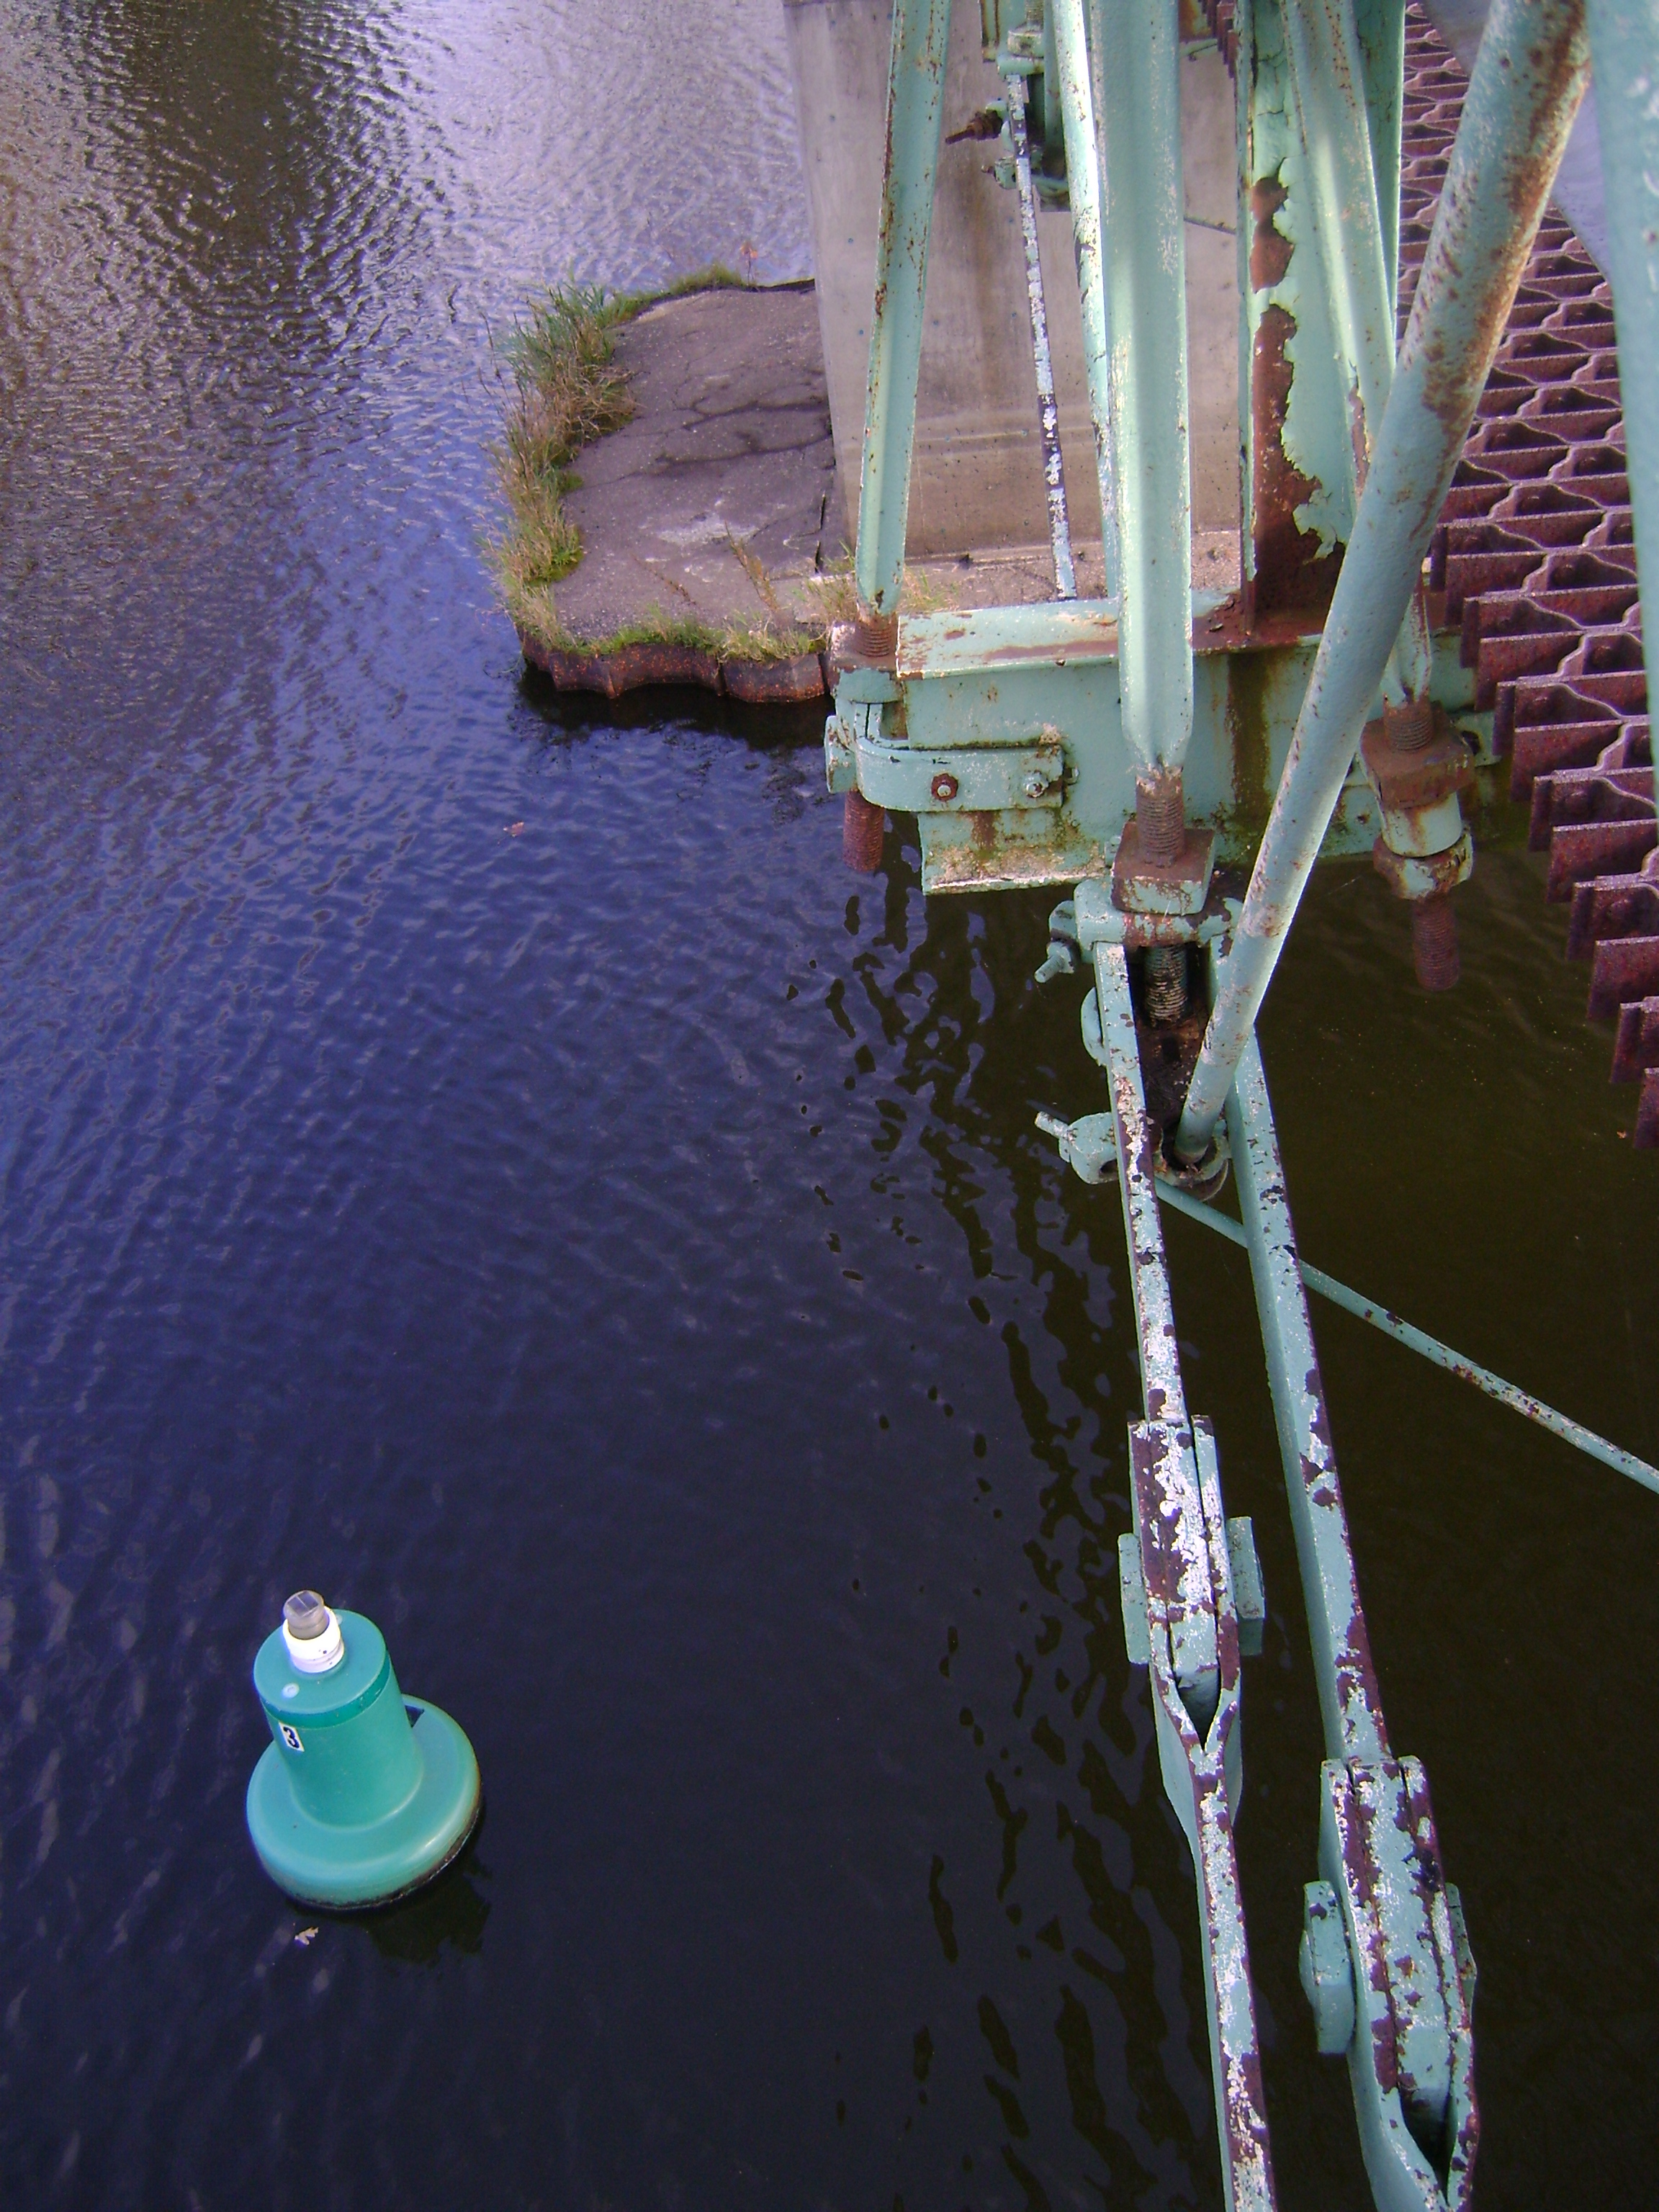
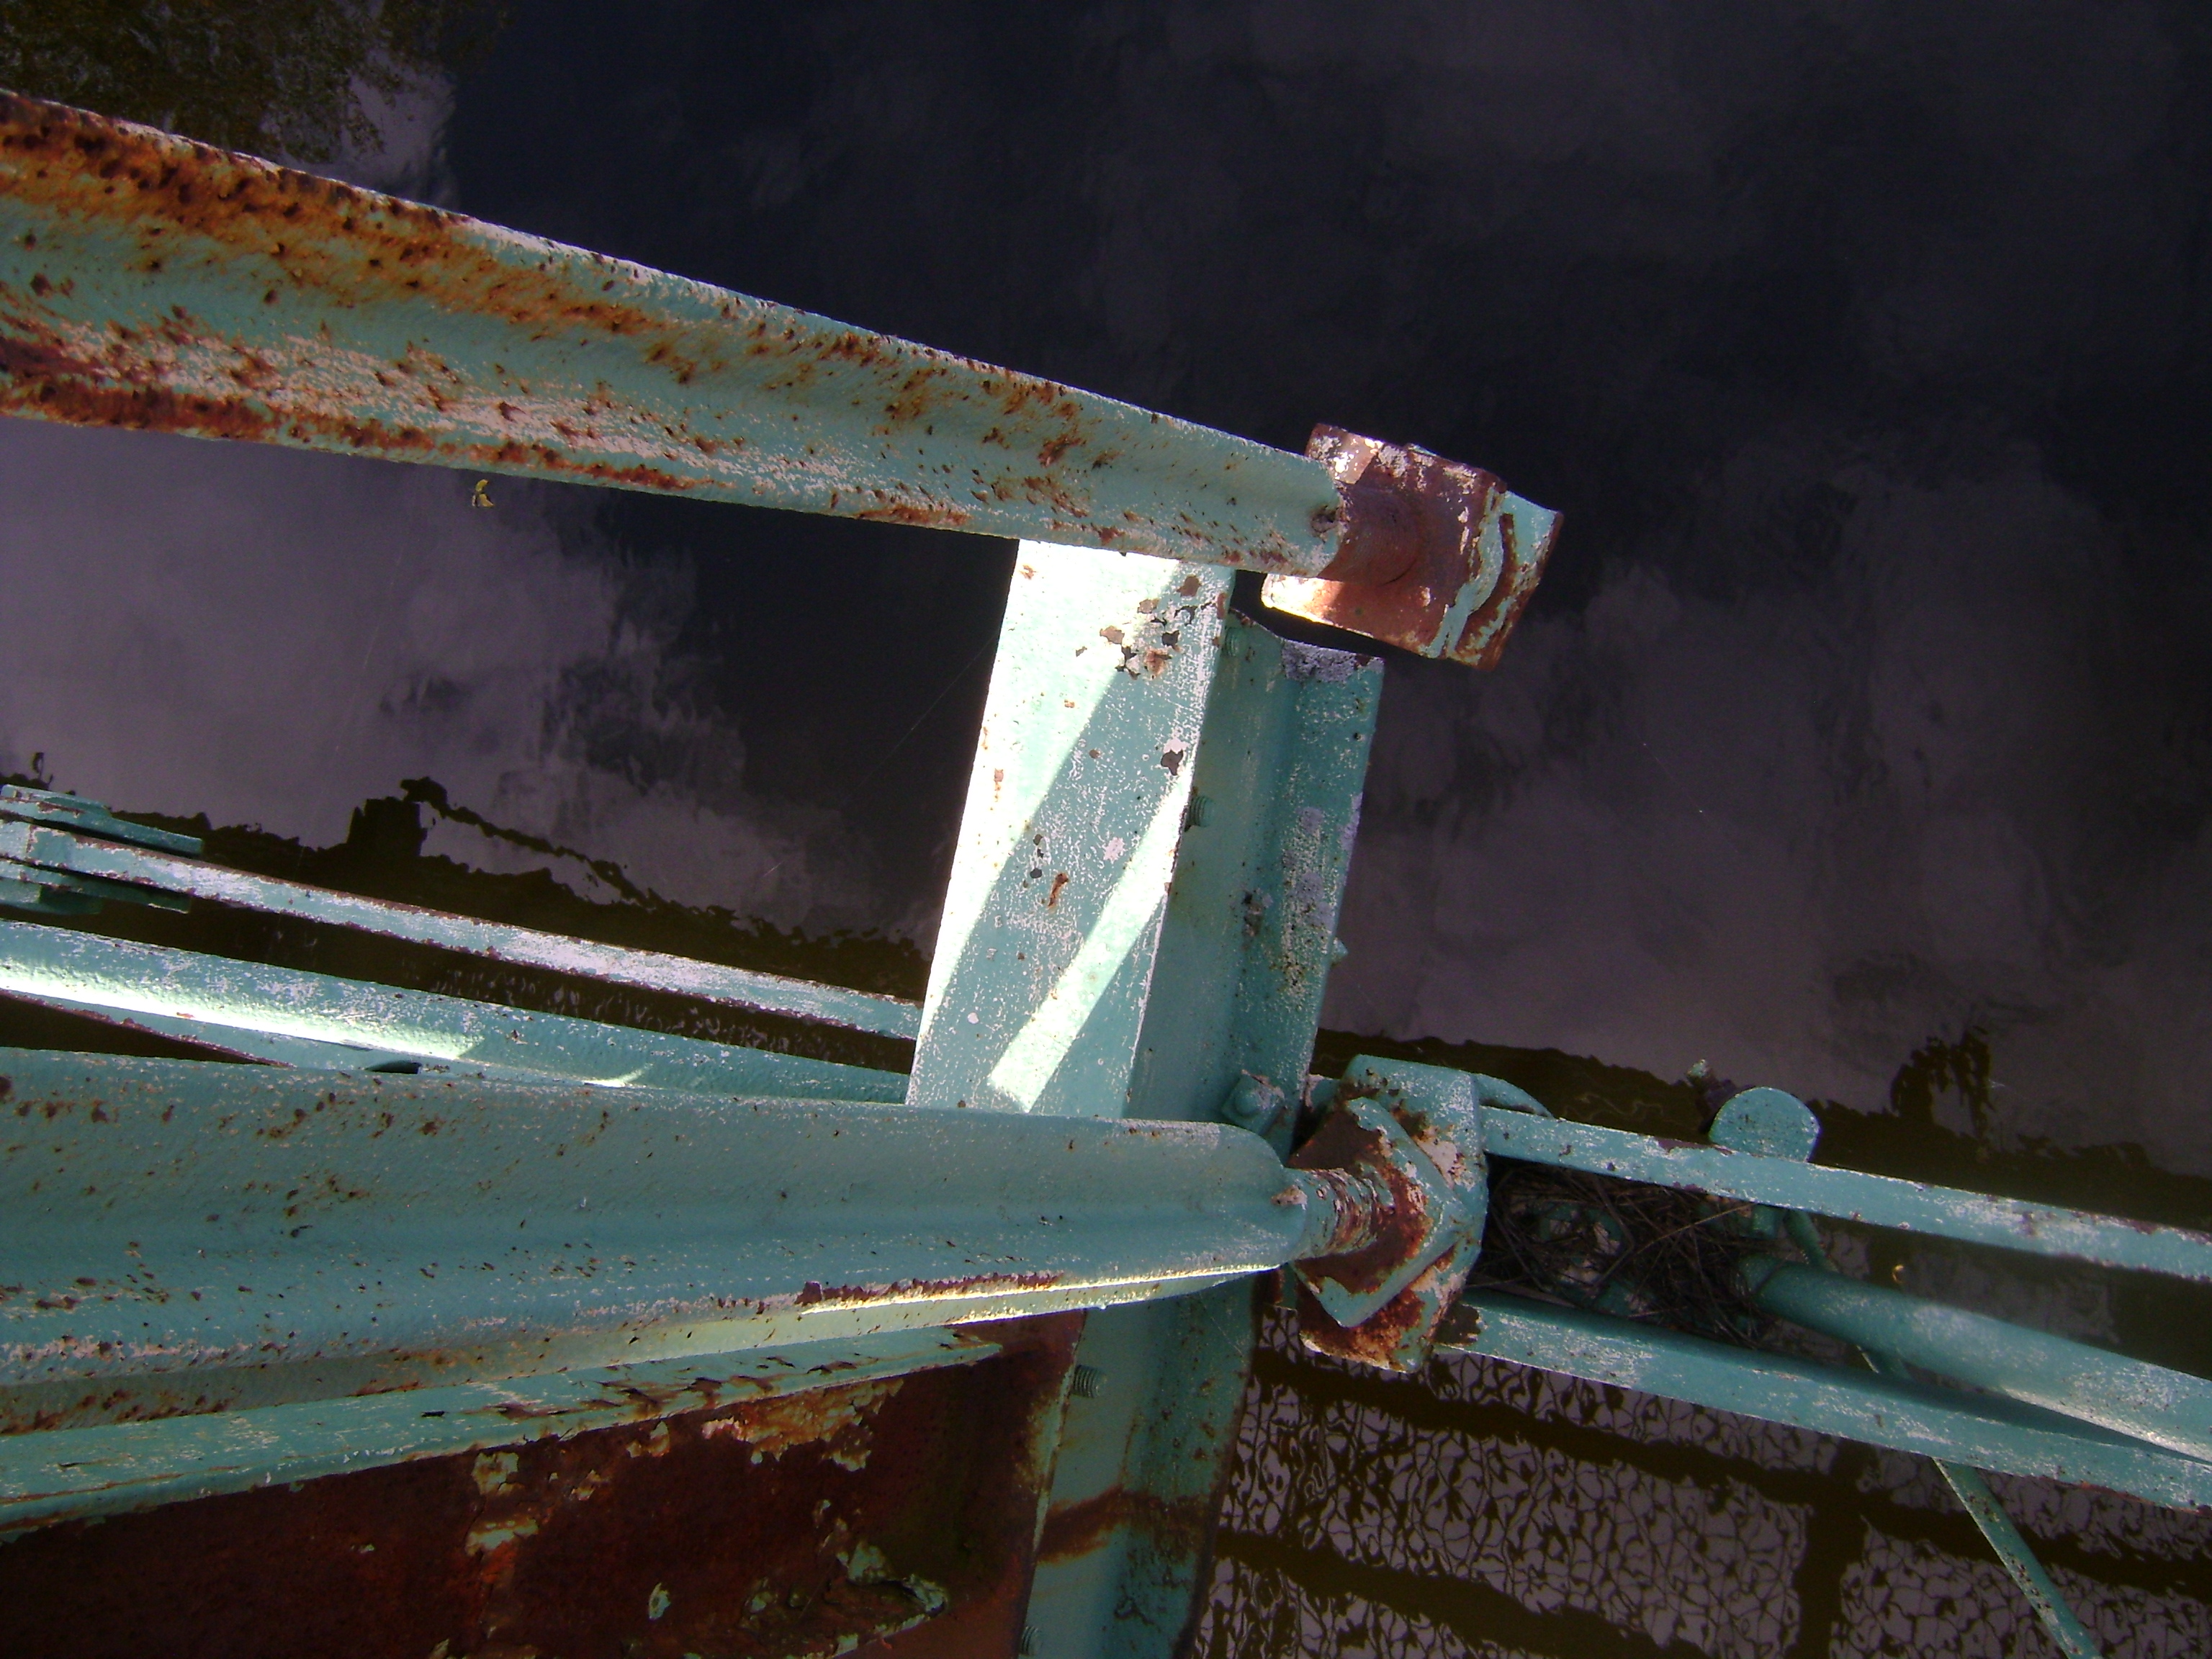

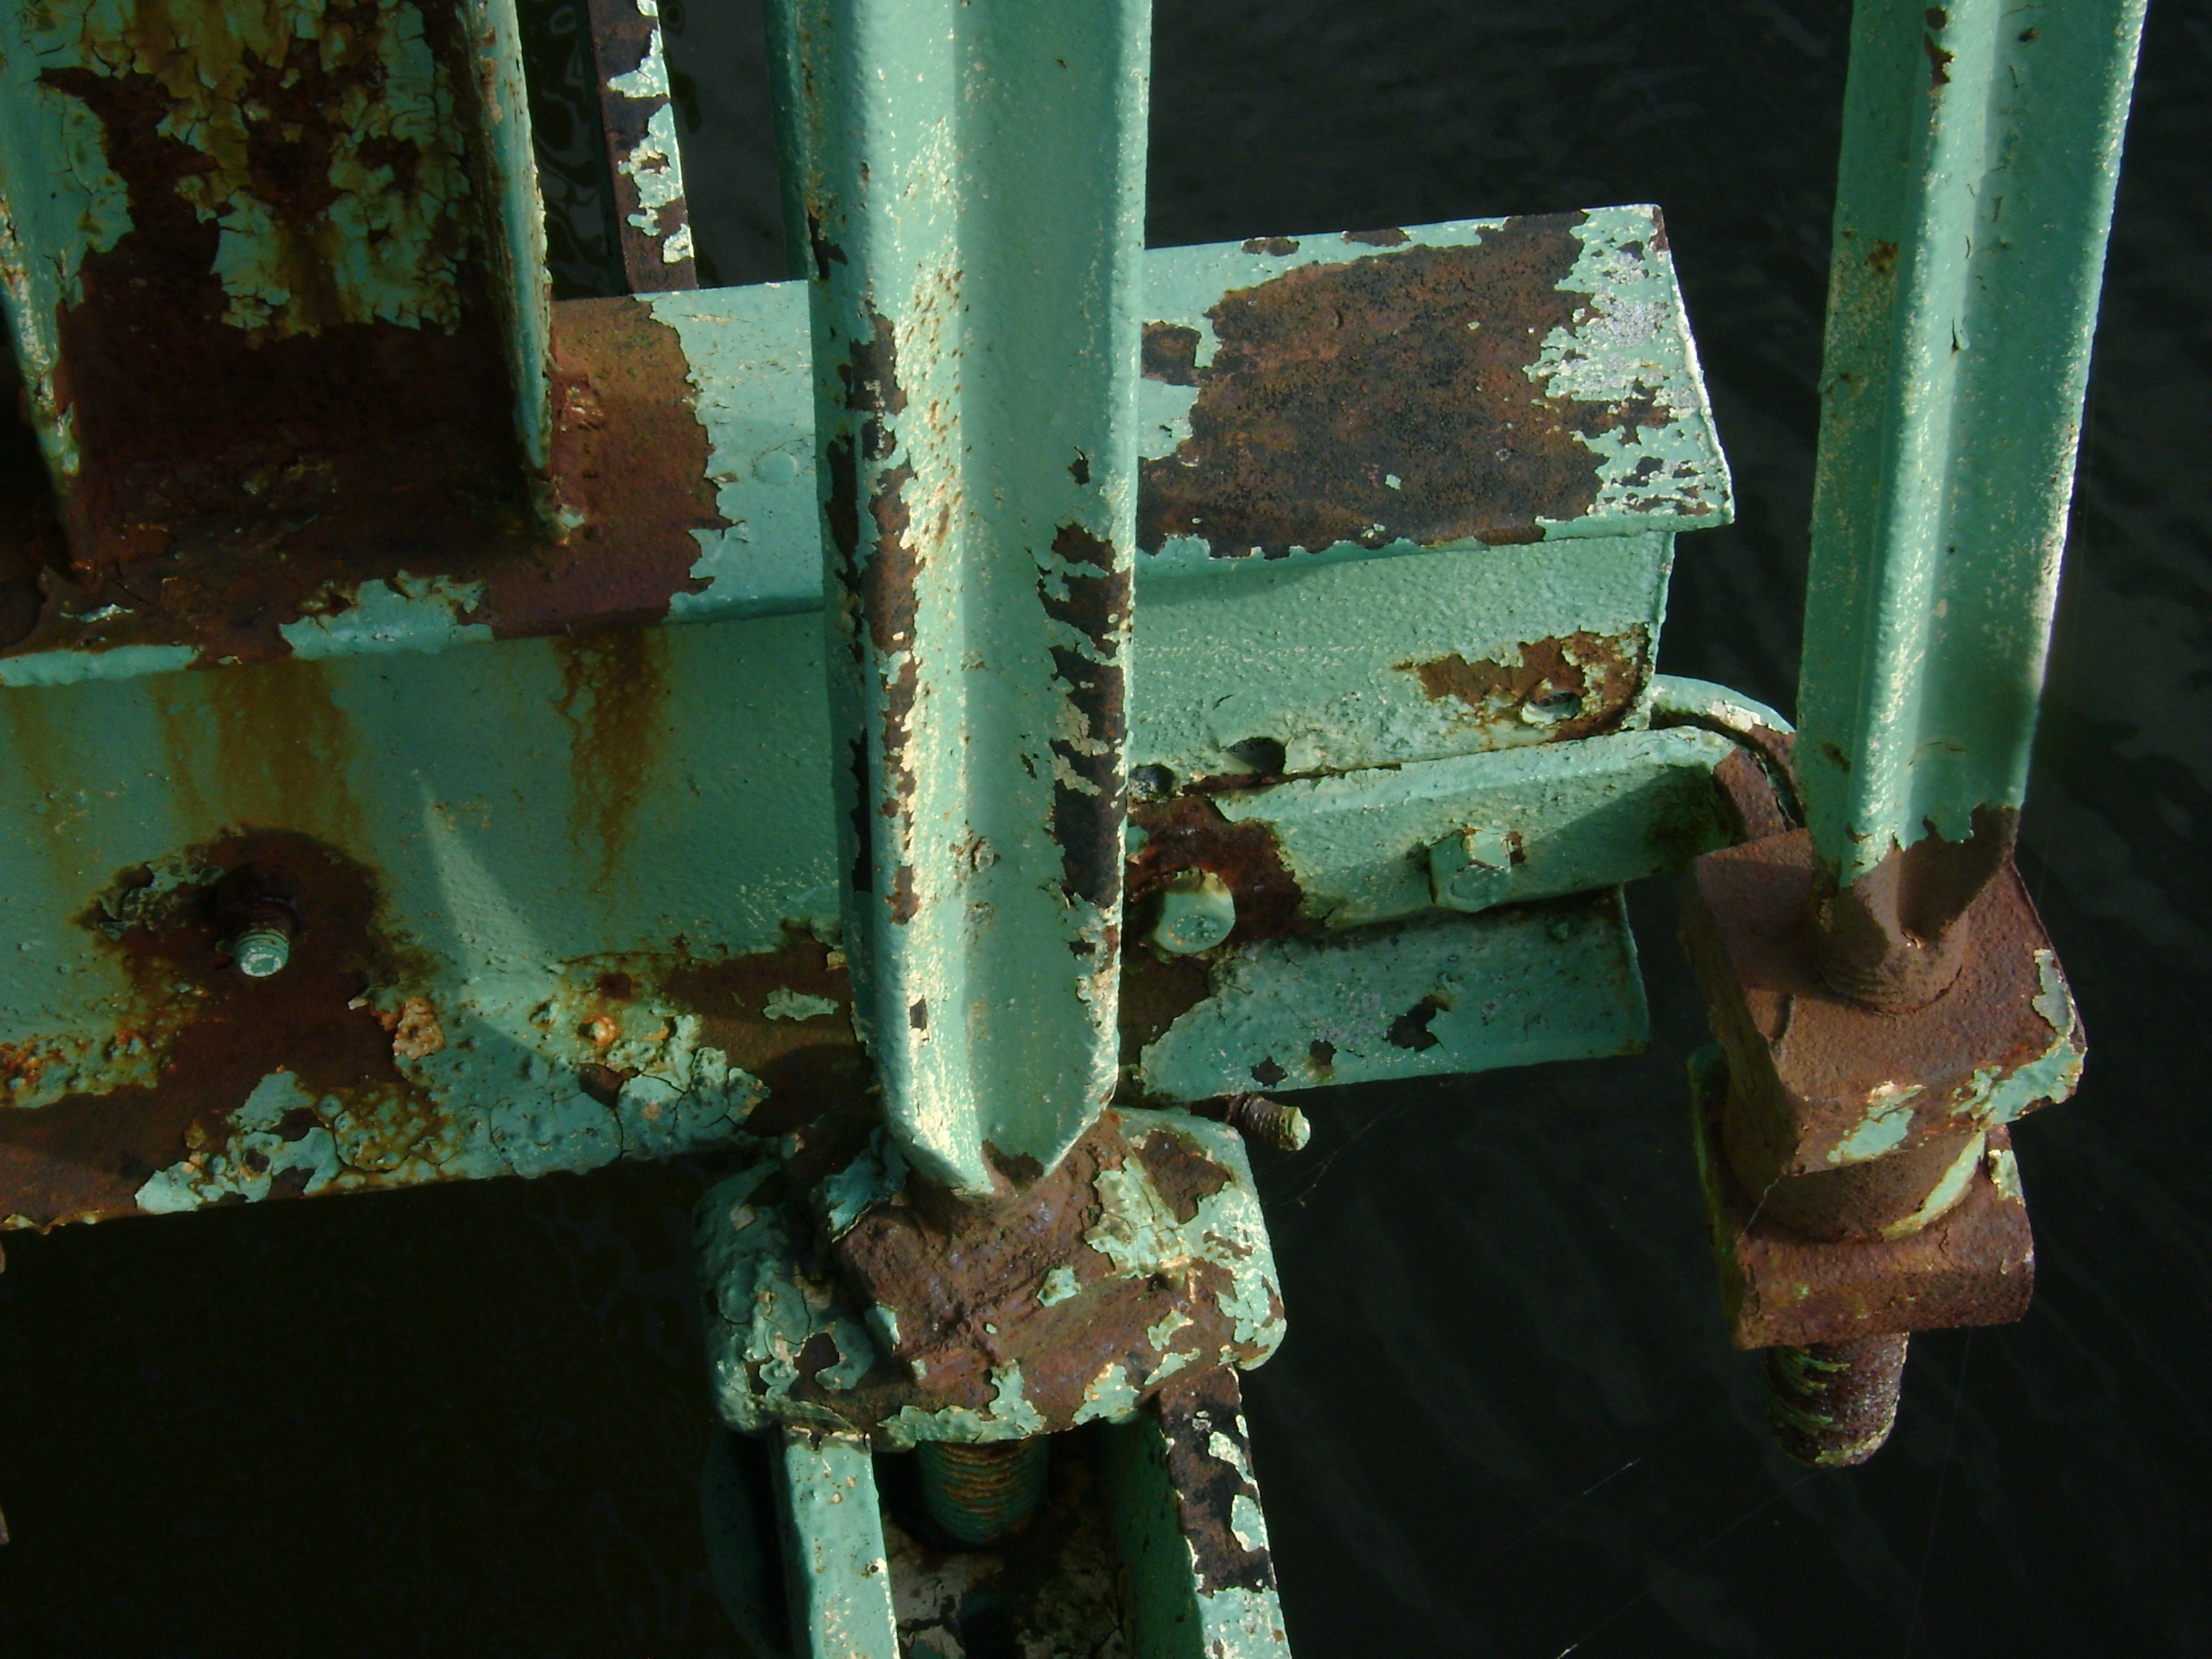


Photo Credit: Marc Scotti
Bottom chord connections as viewed from on bridge.
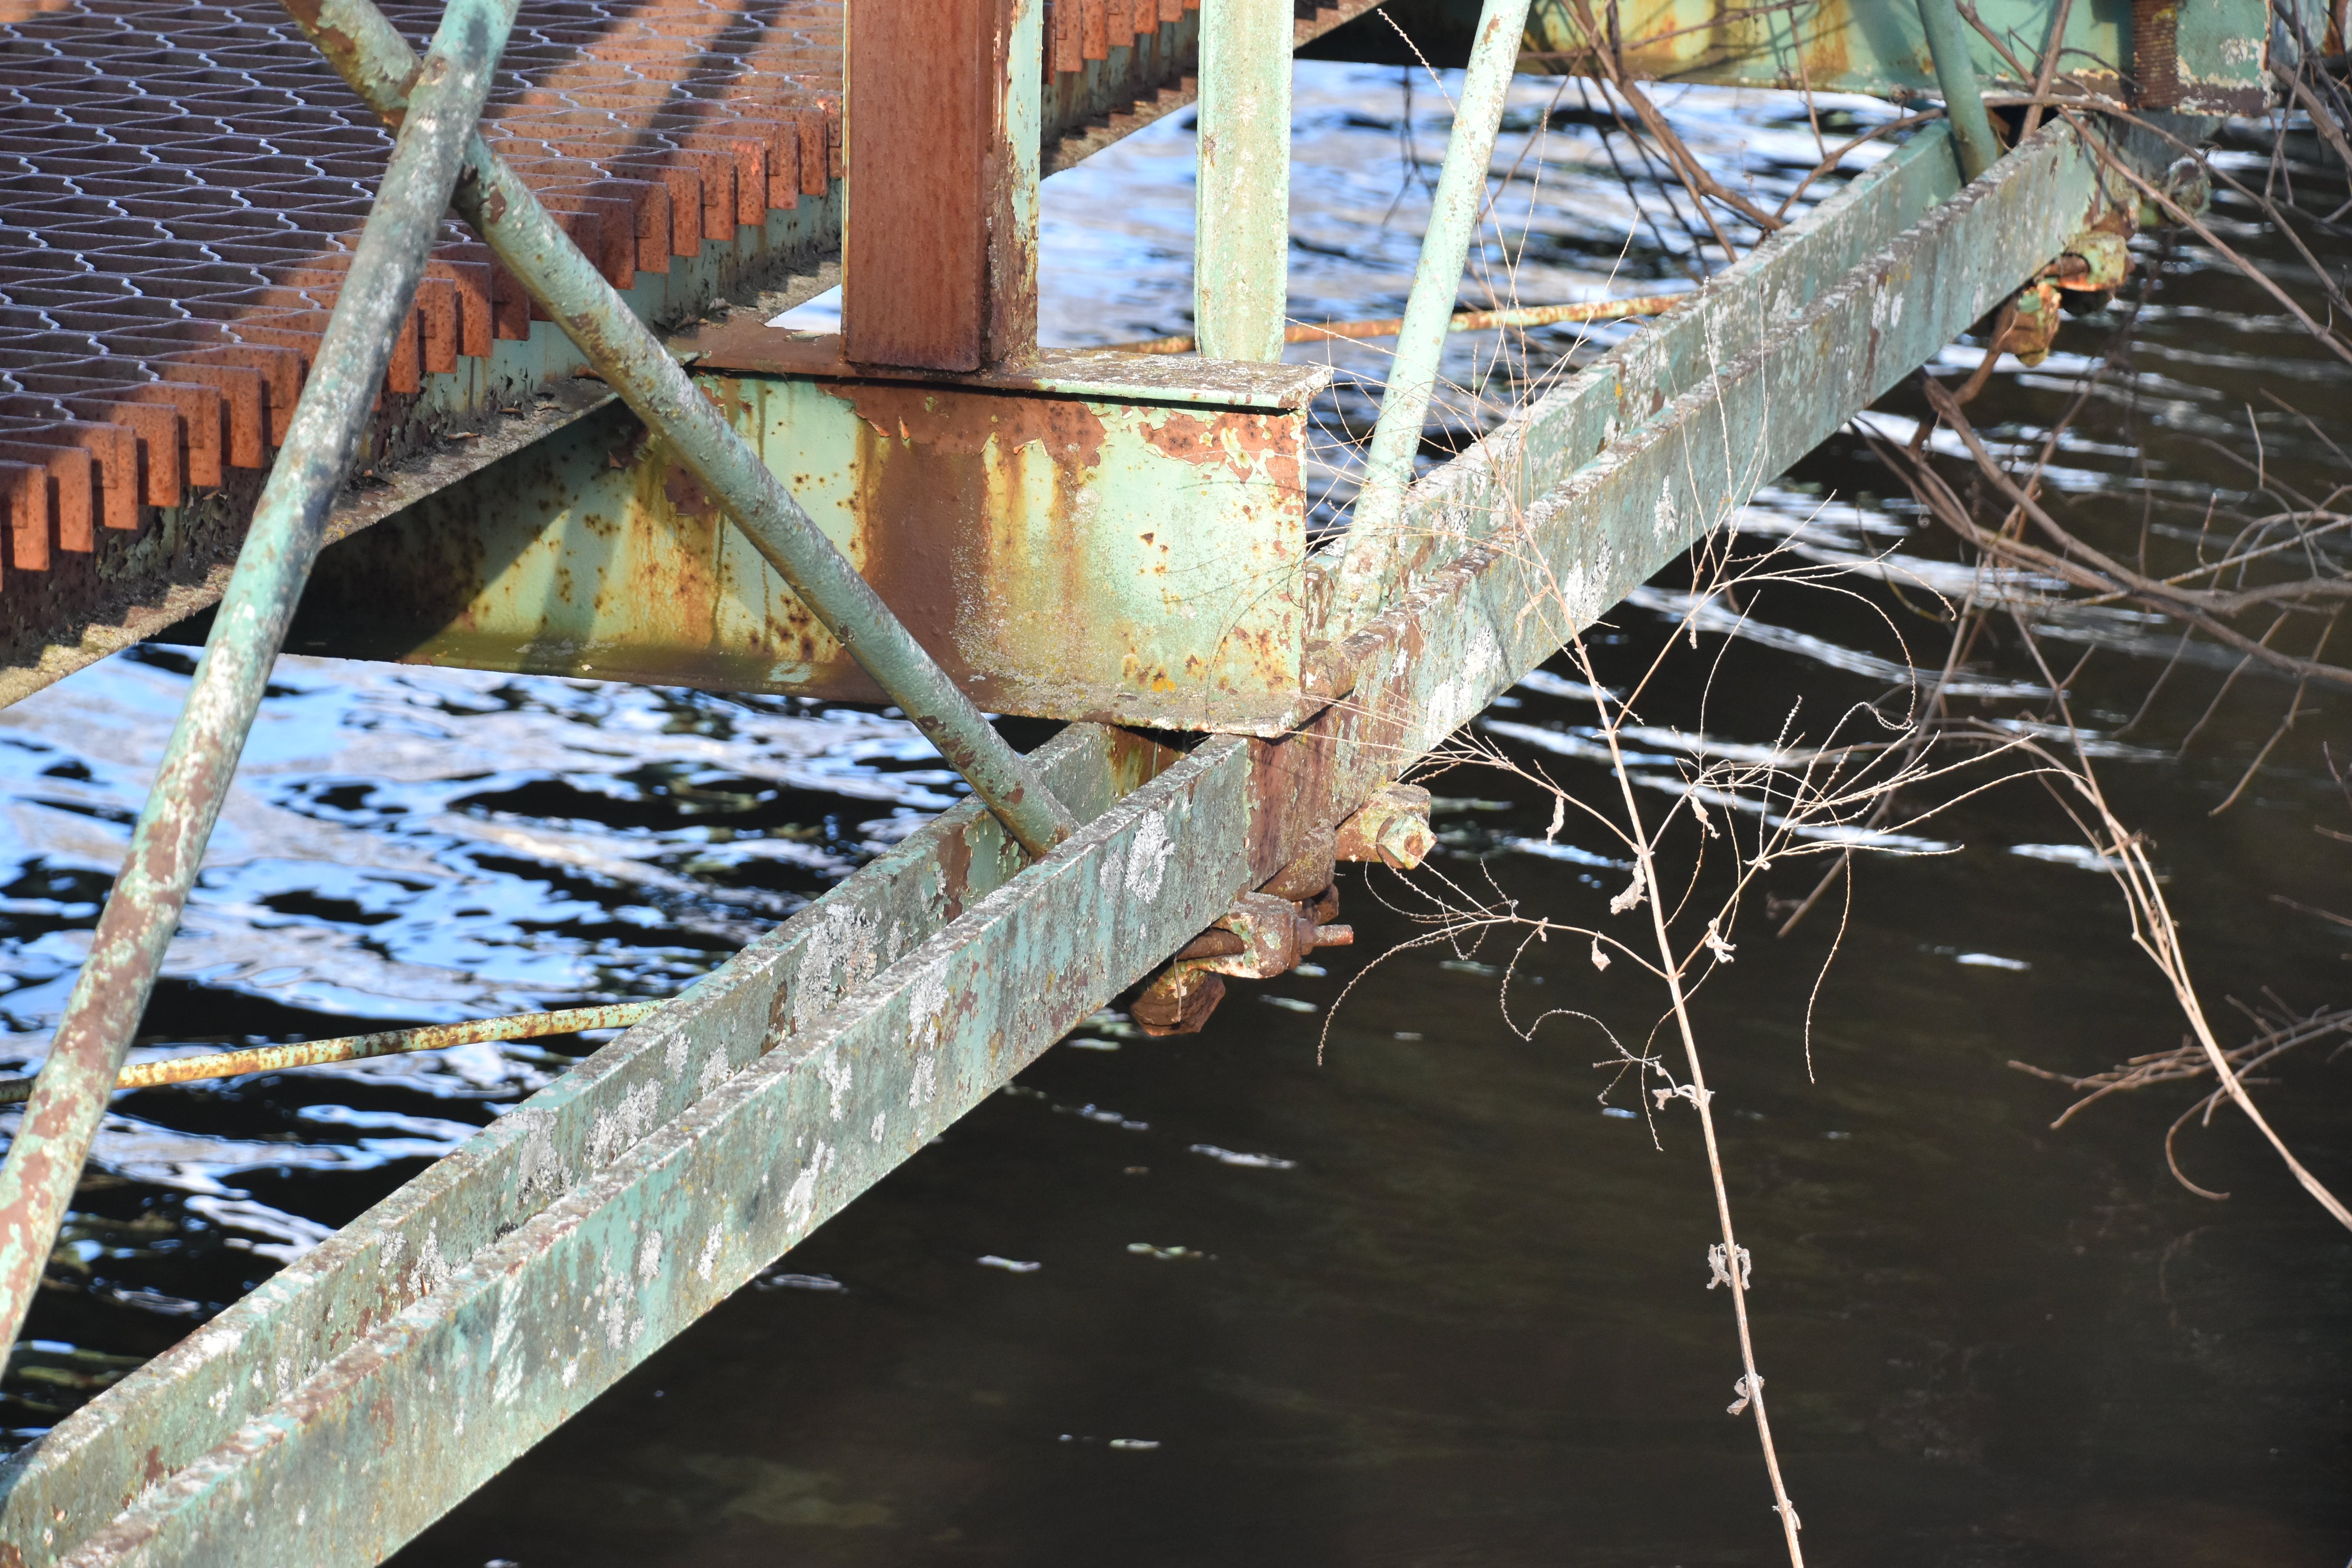
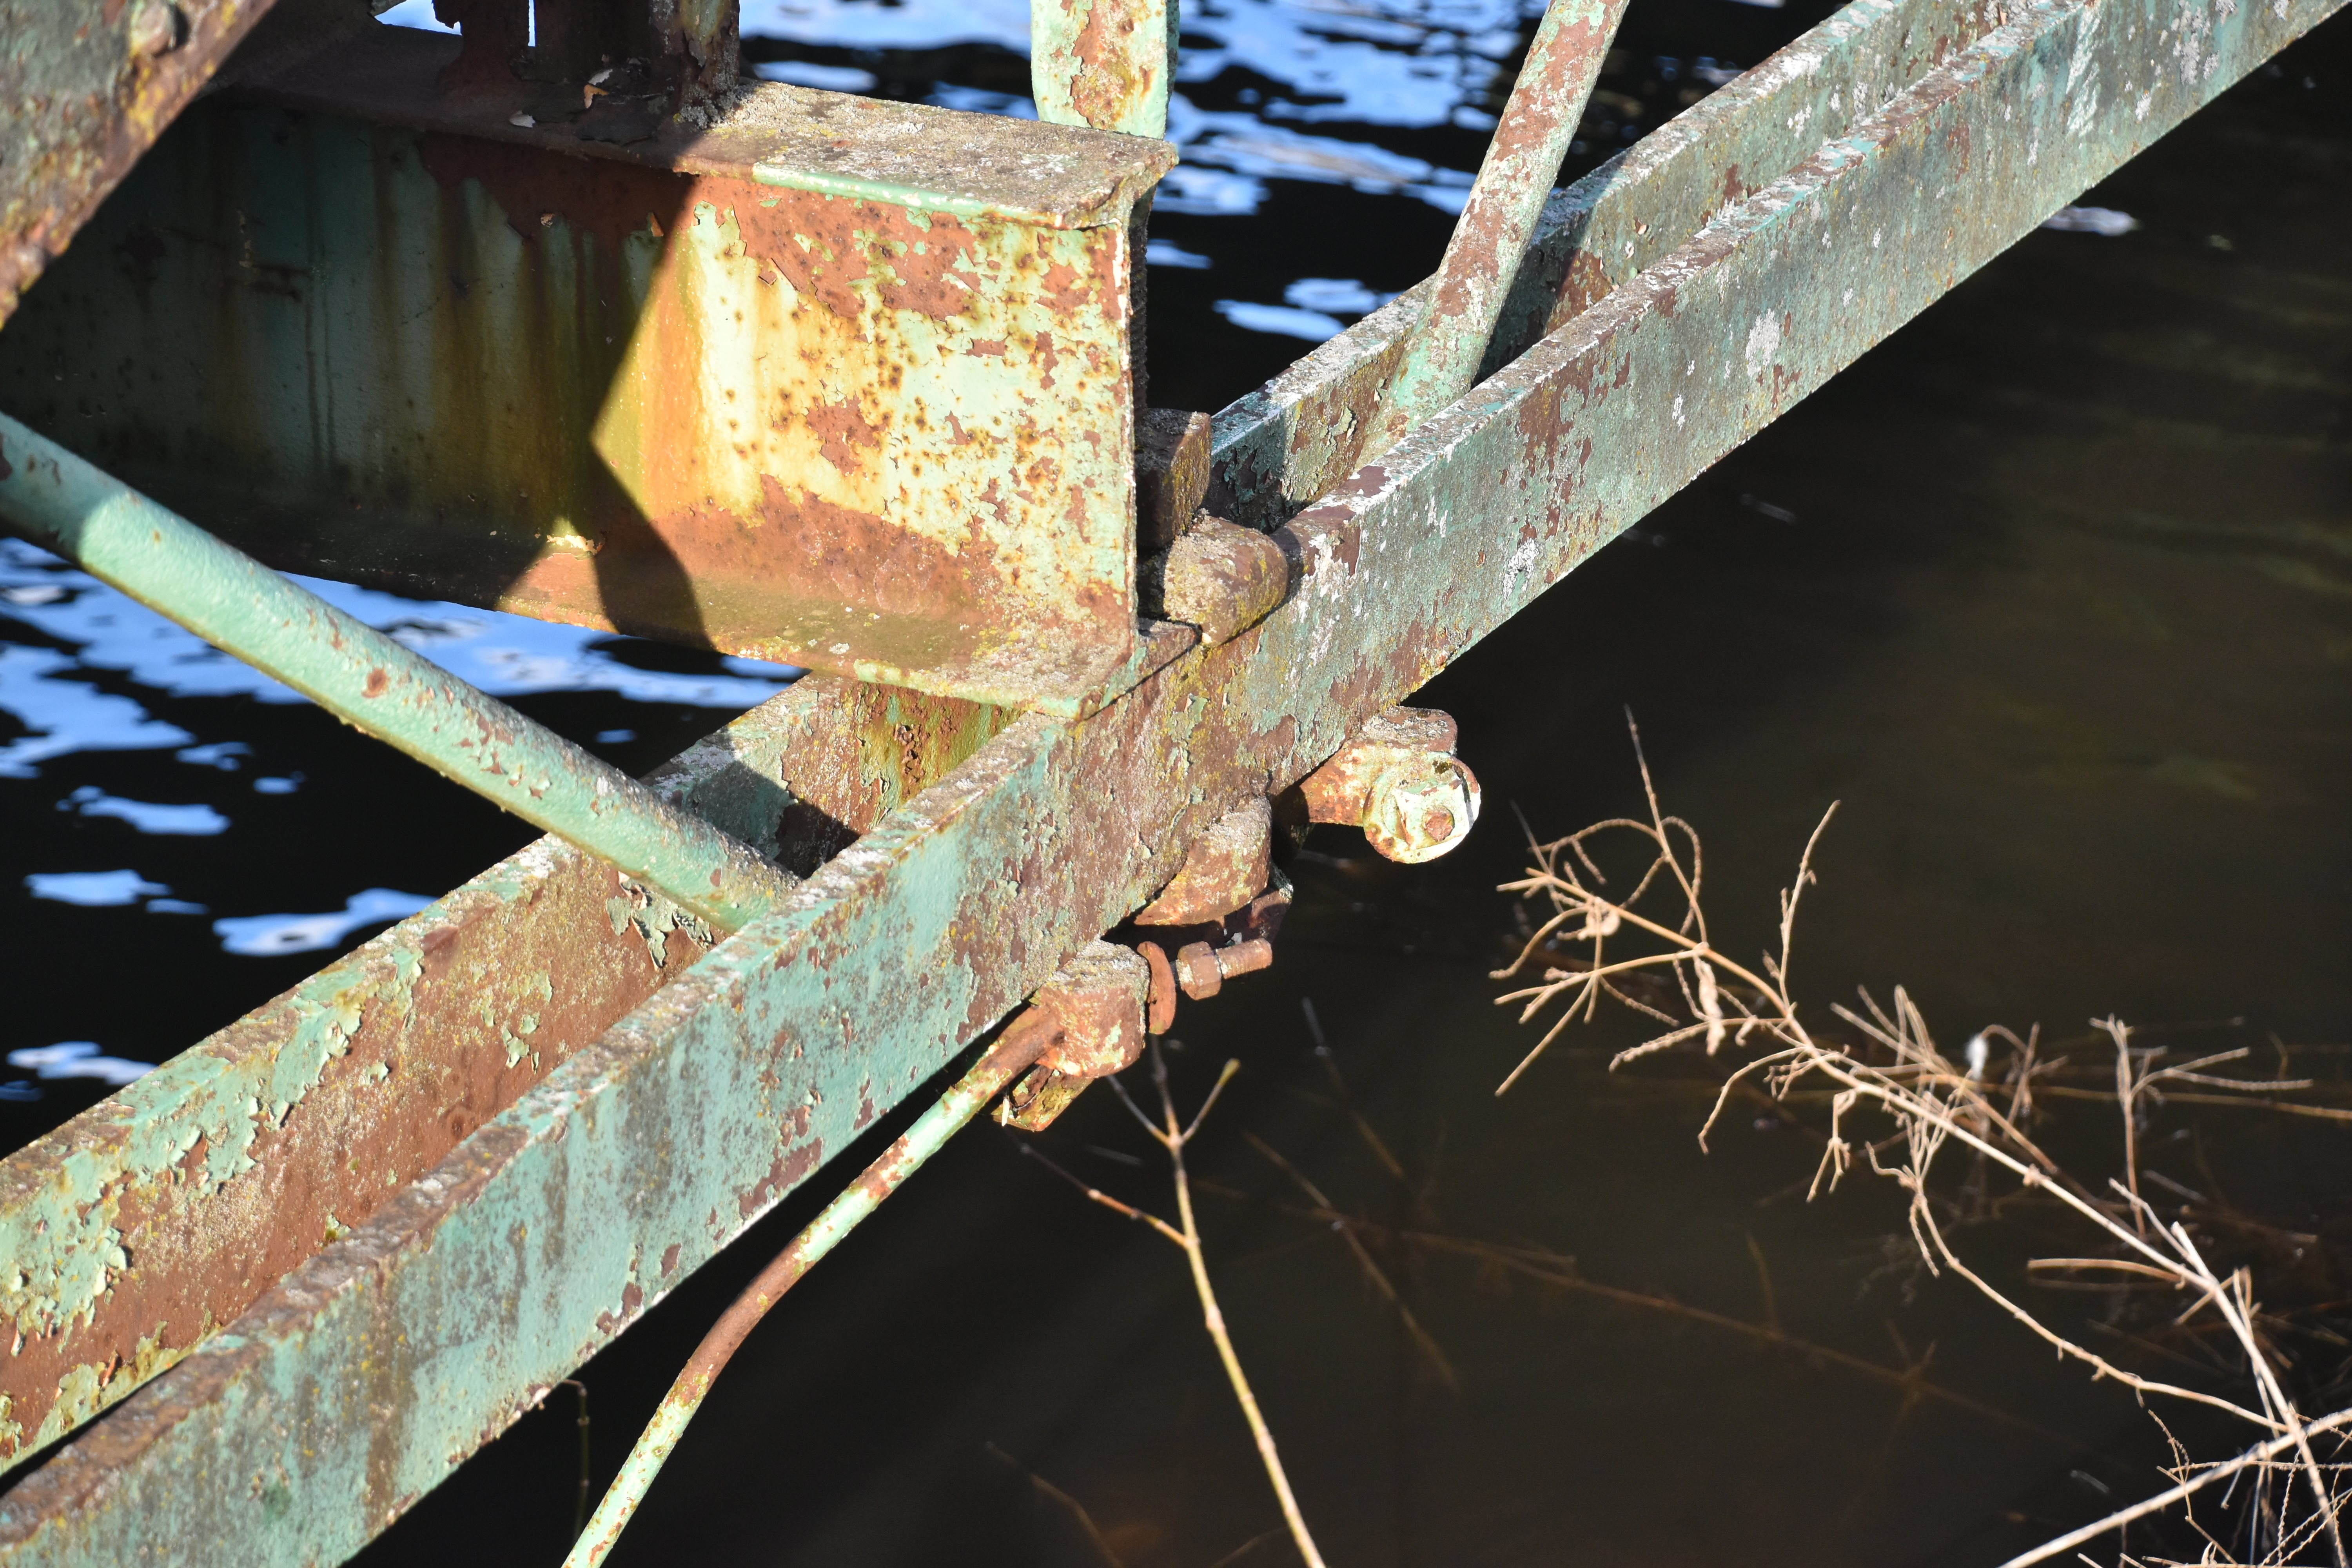
![]()

Photo Credit: Marc Scotti
Outrigger connection to floorbeam.
![]()
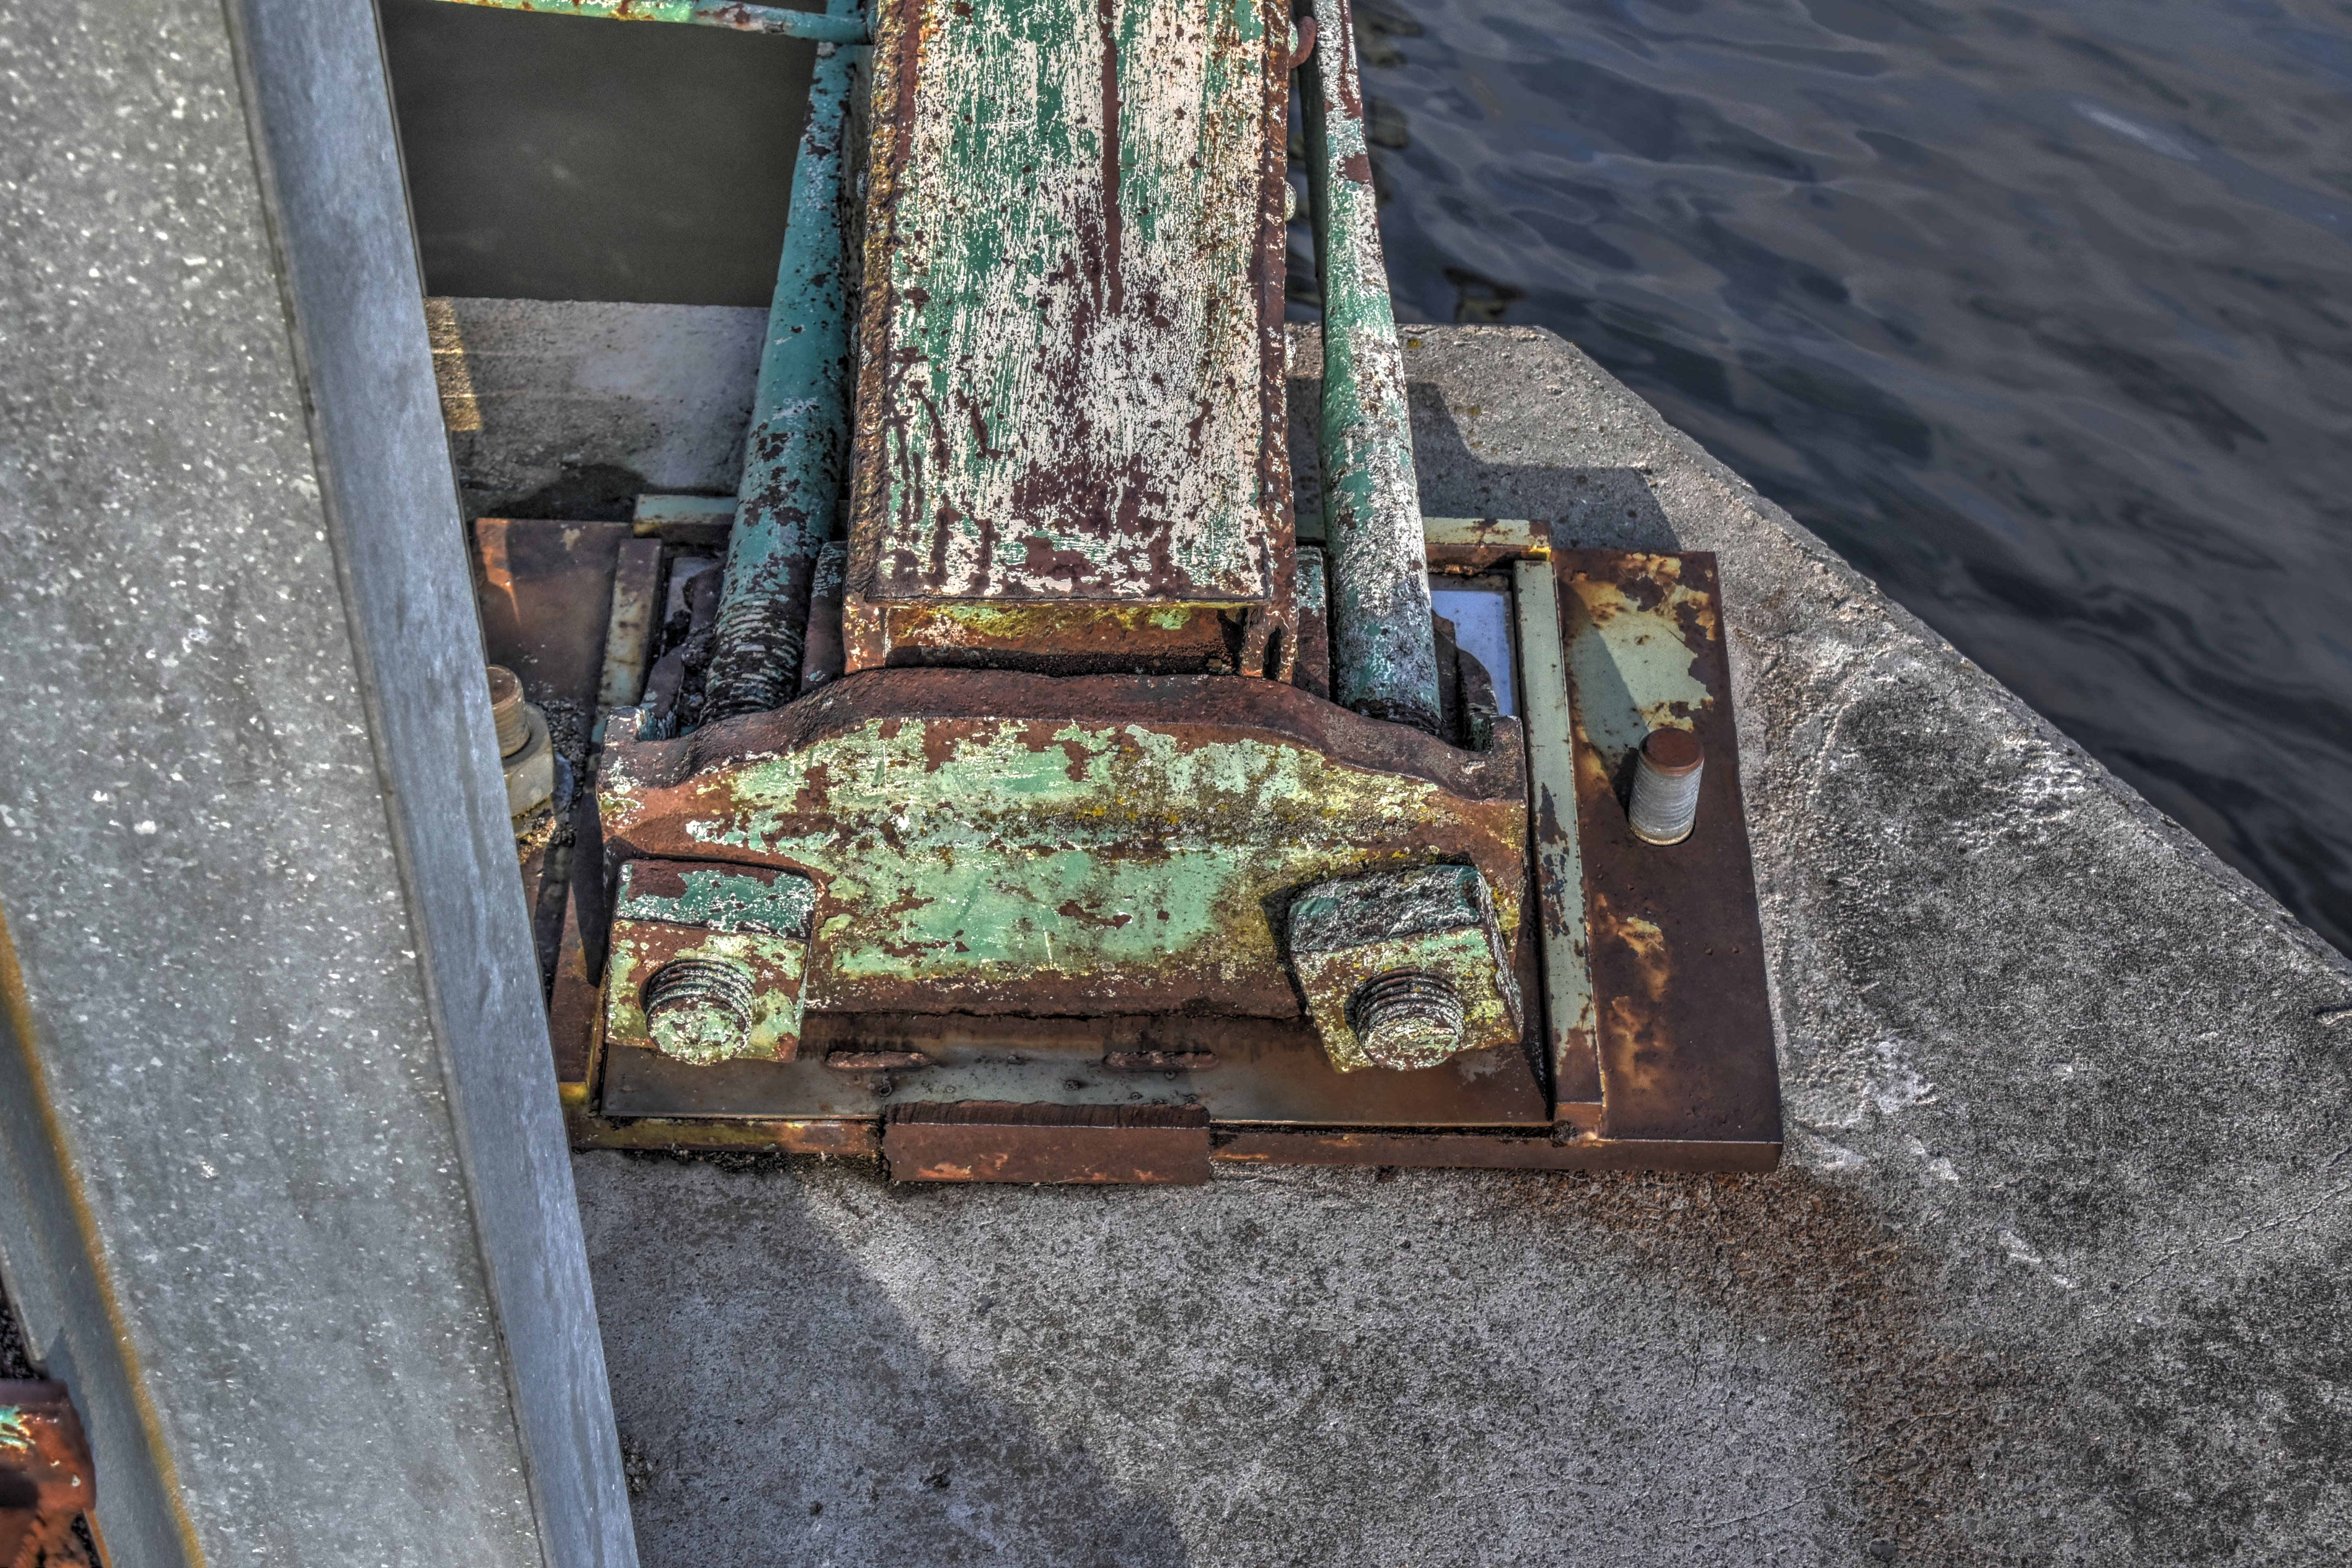

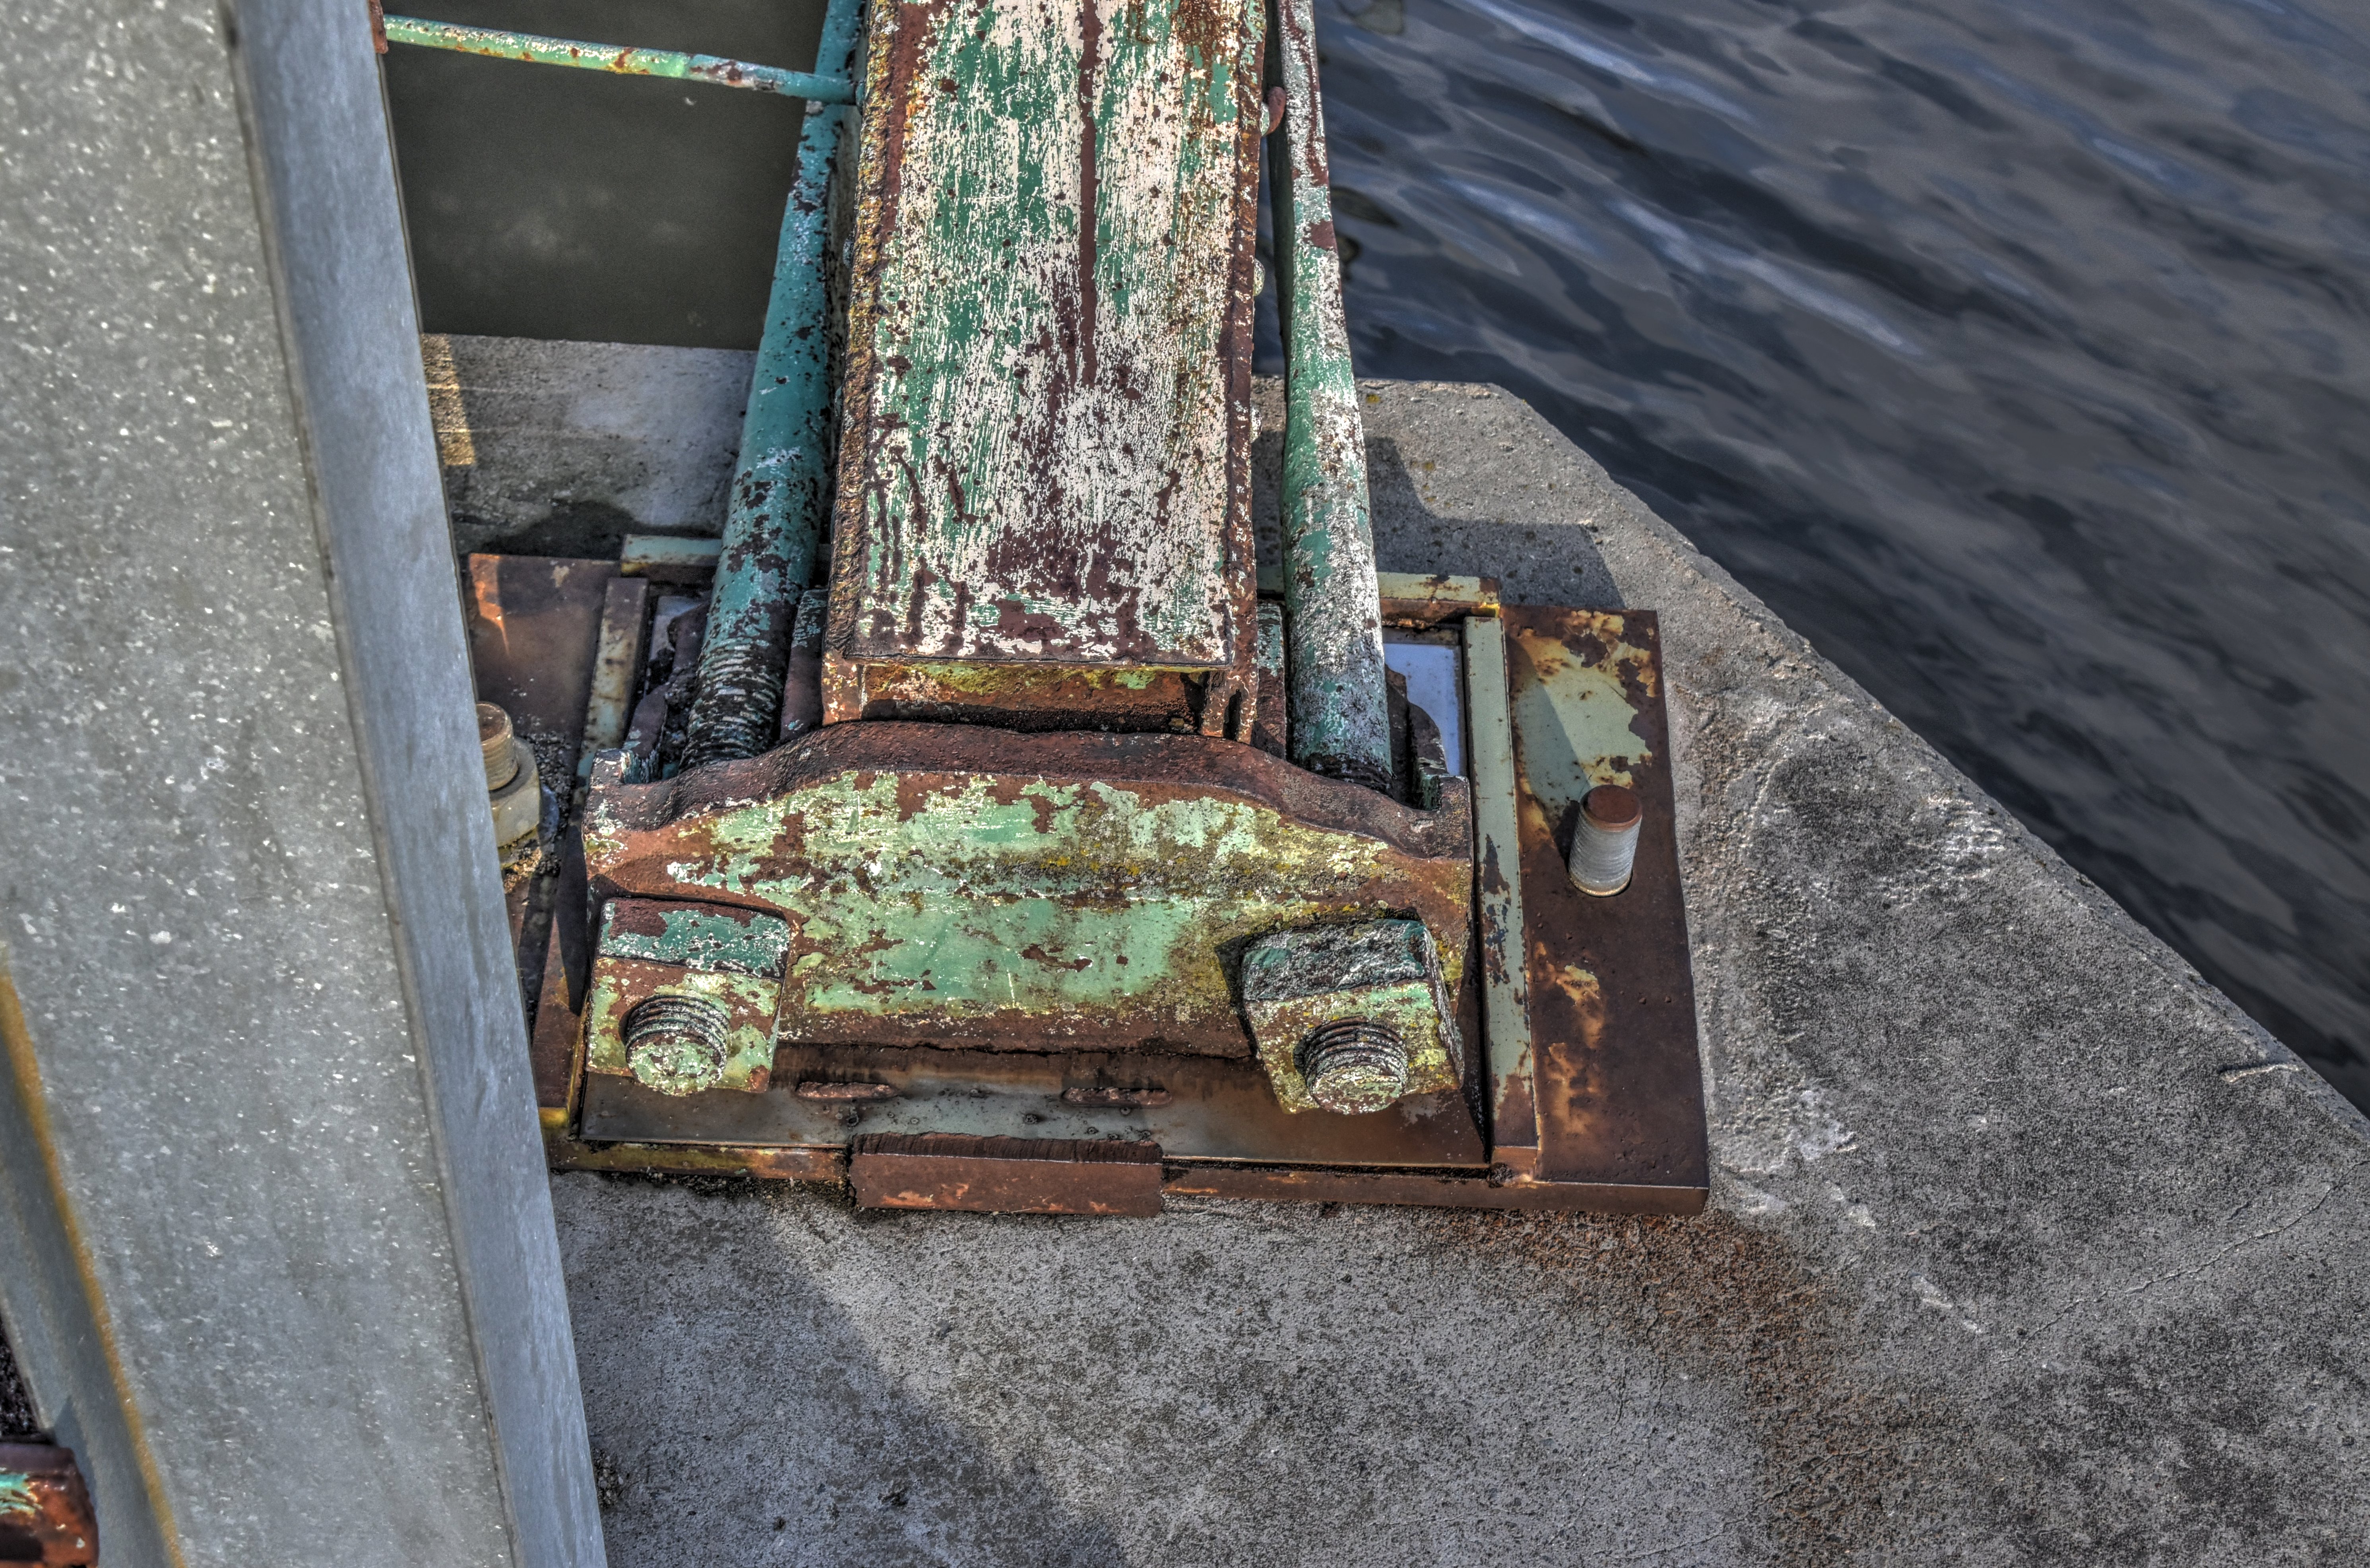
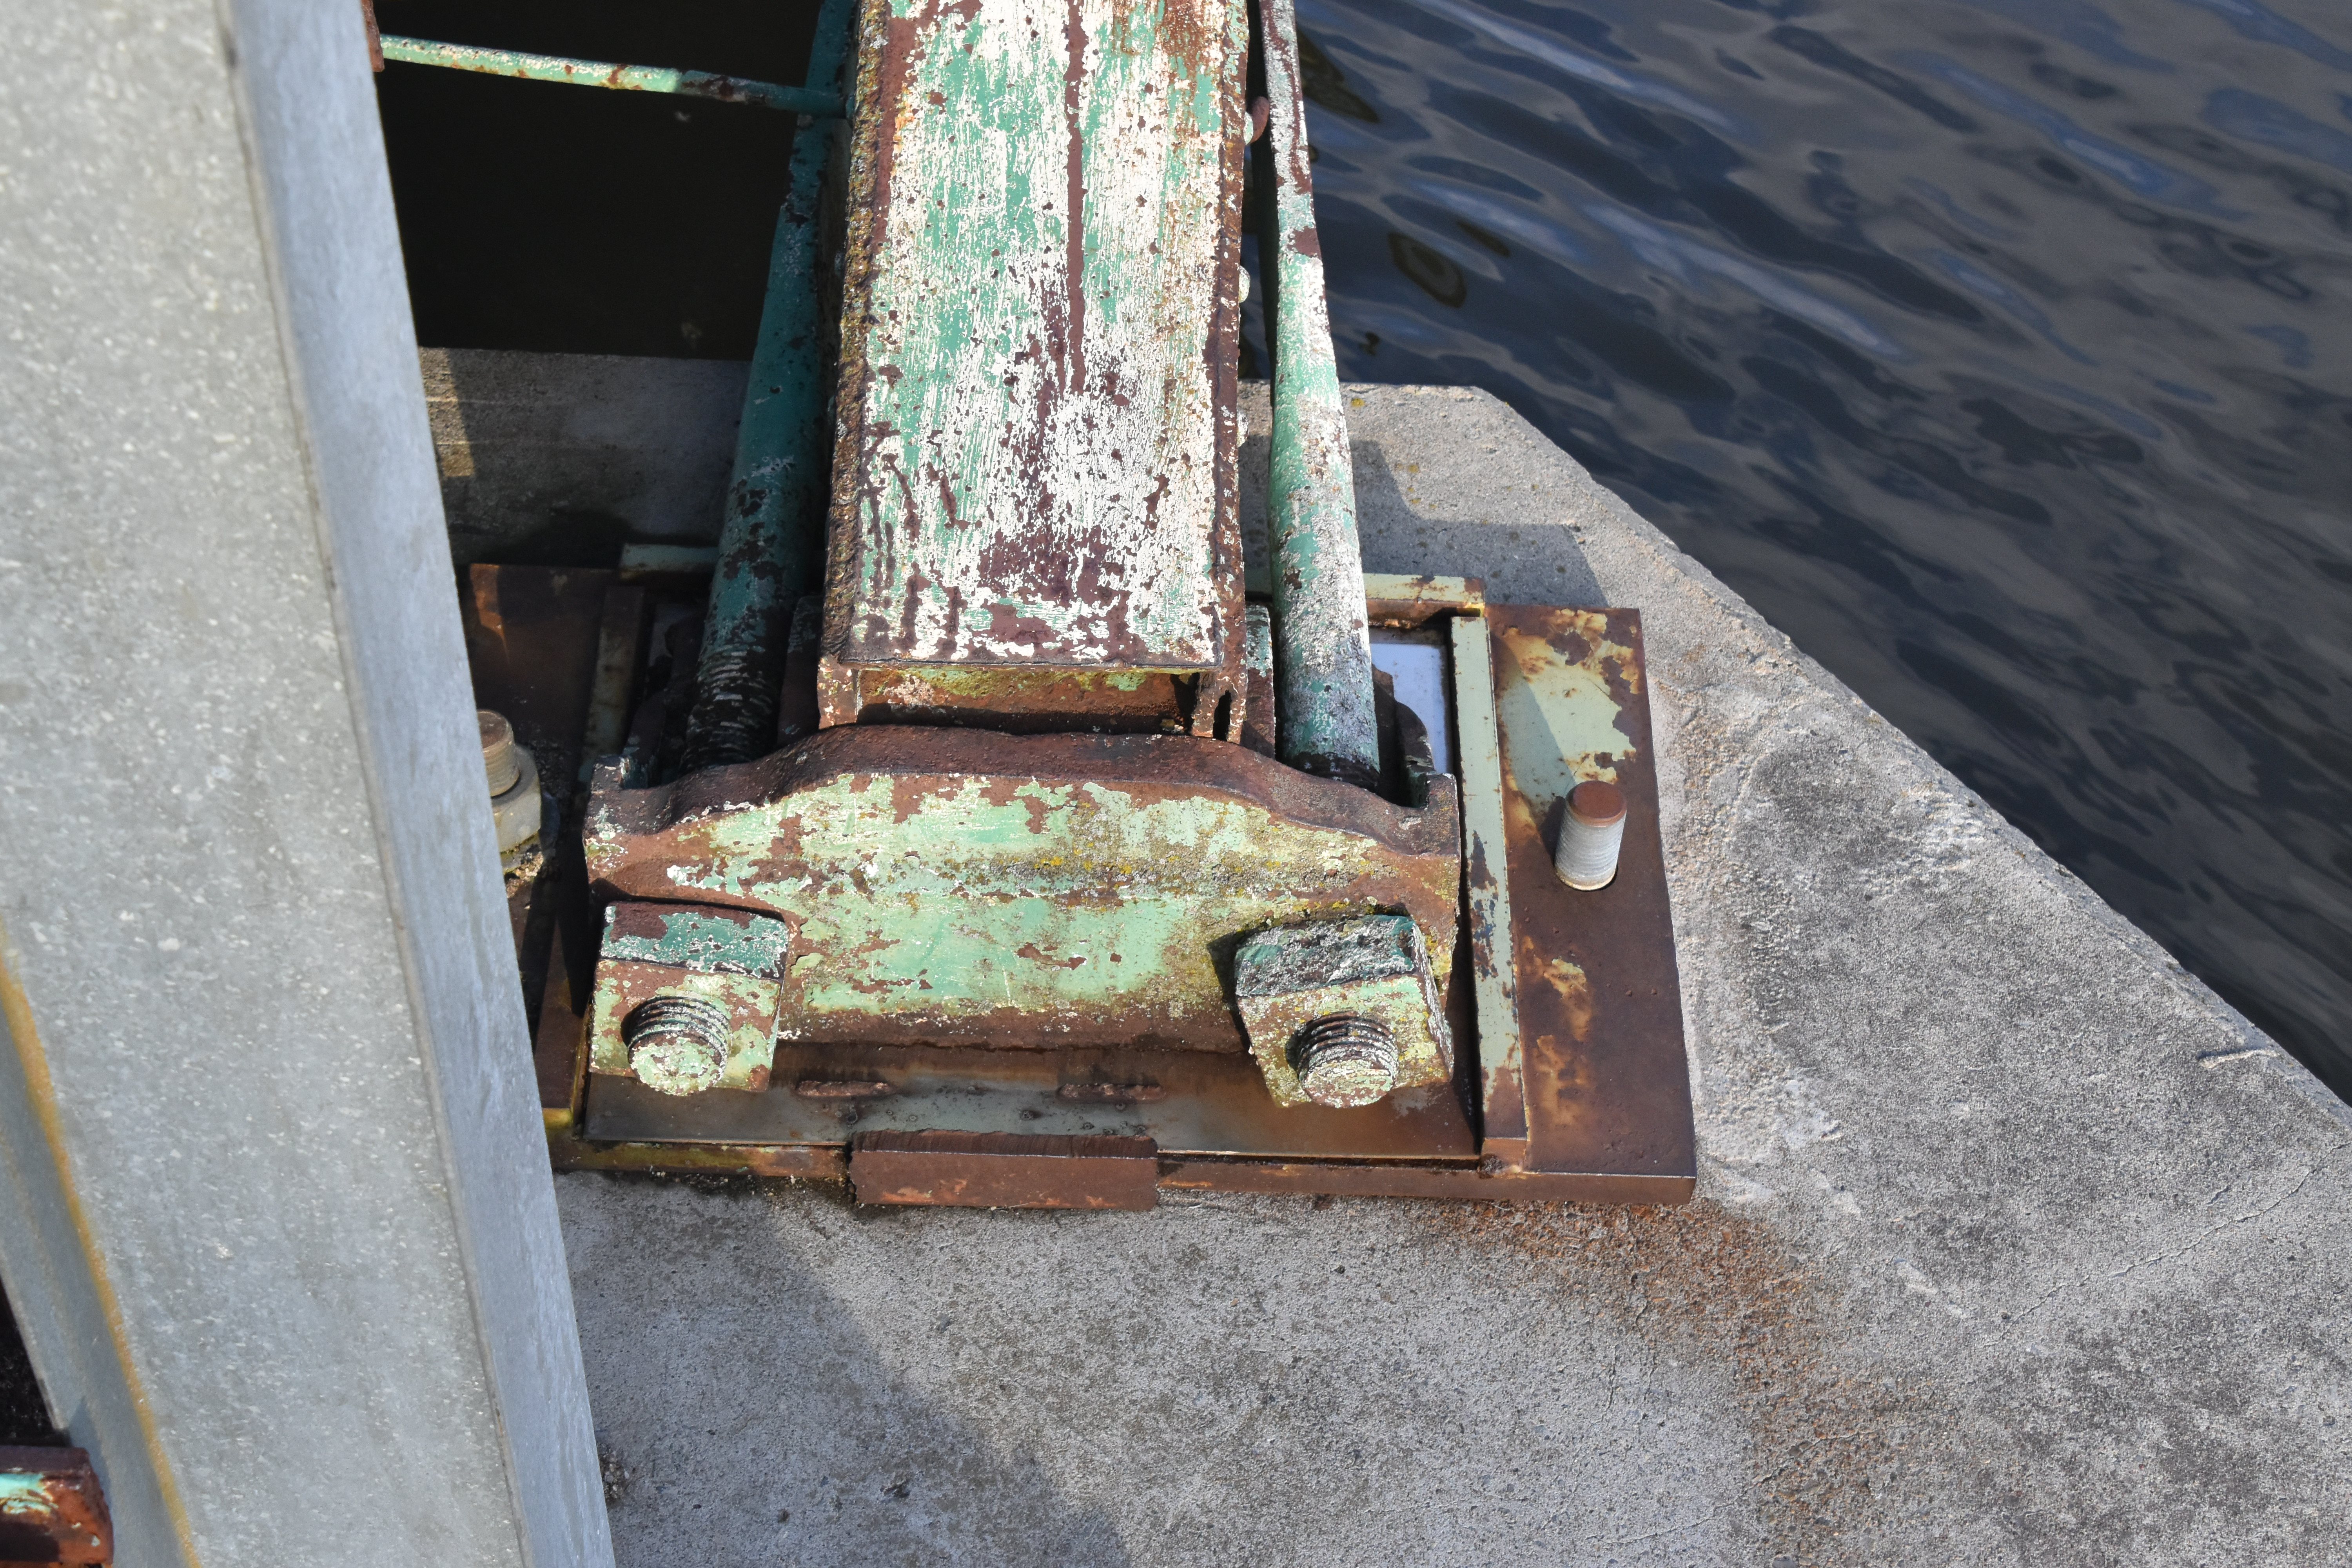
Bearings at piers.
![]()
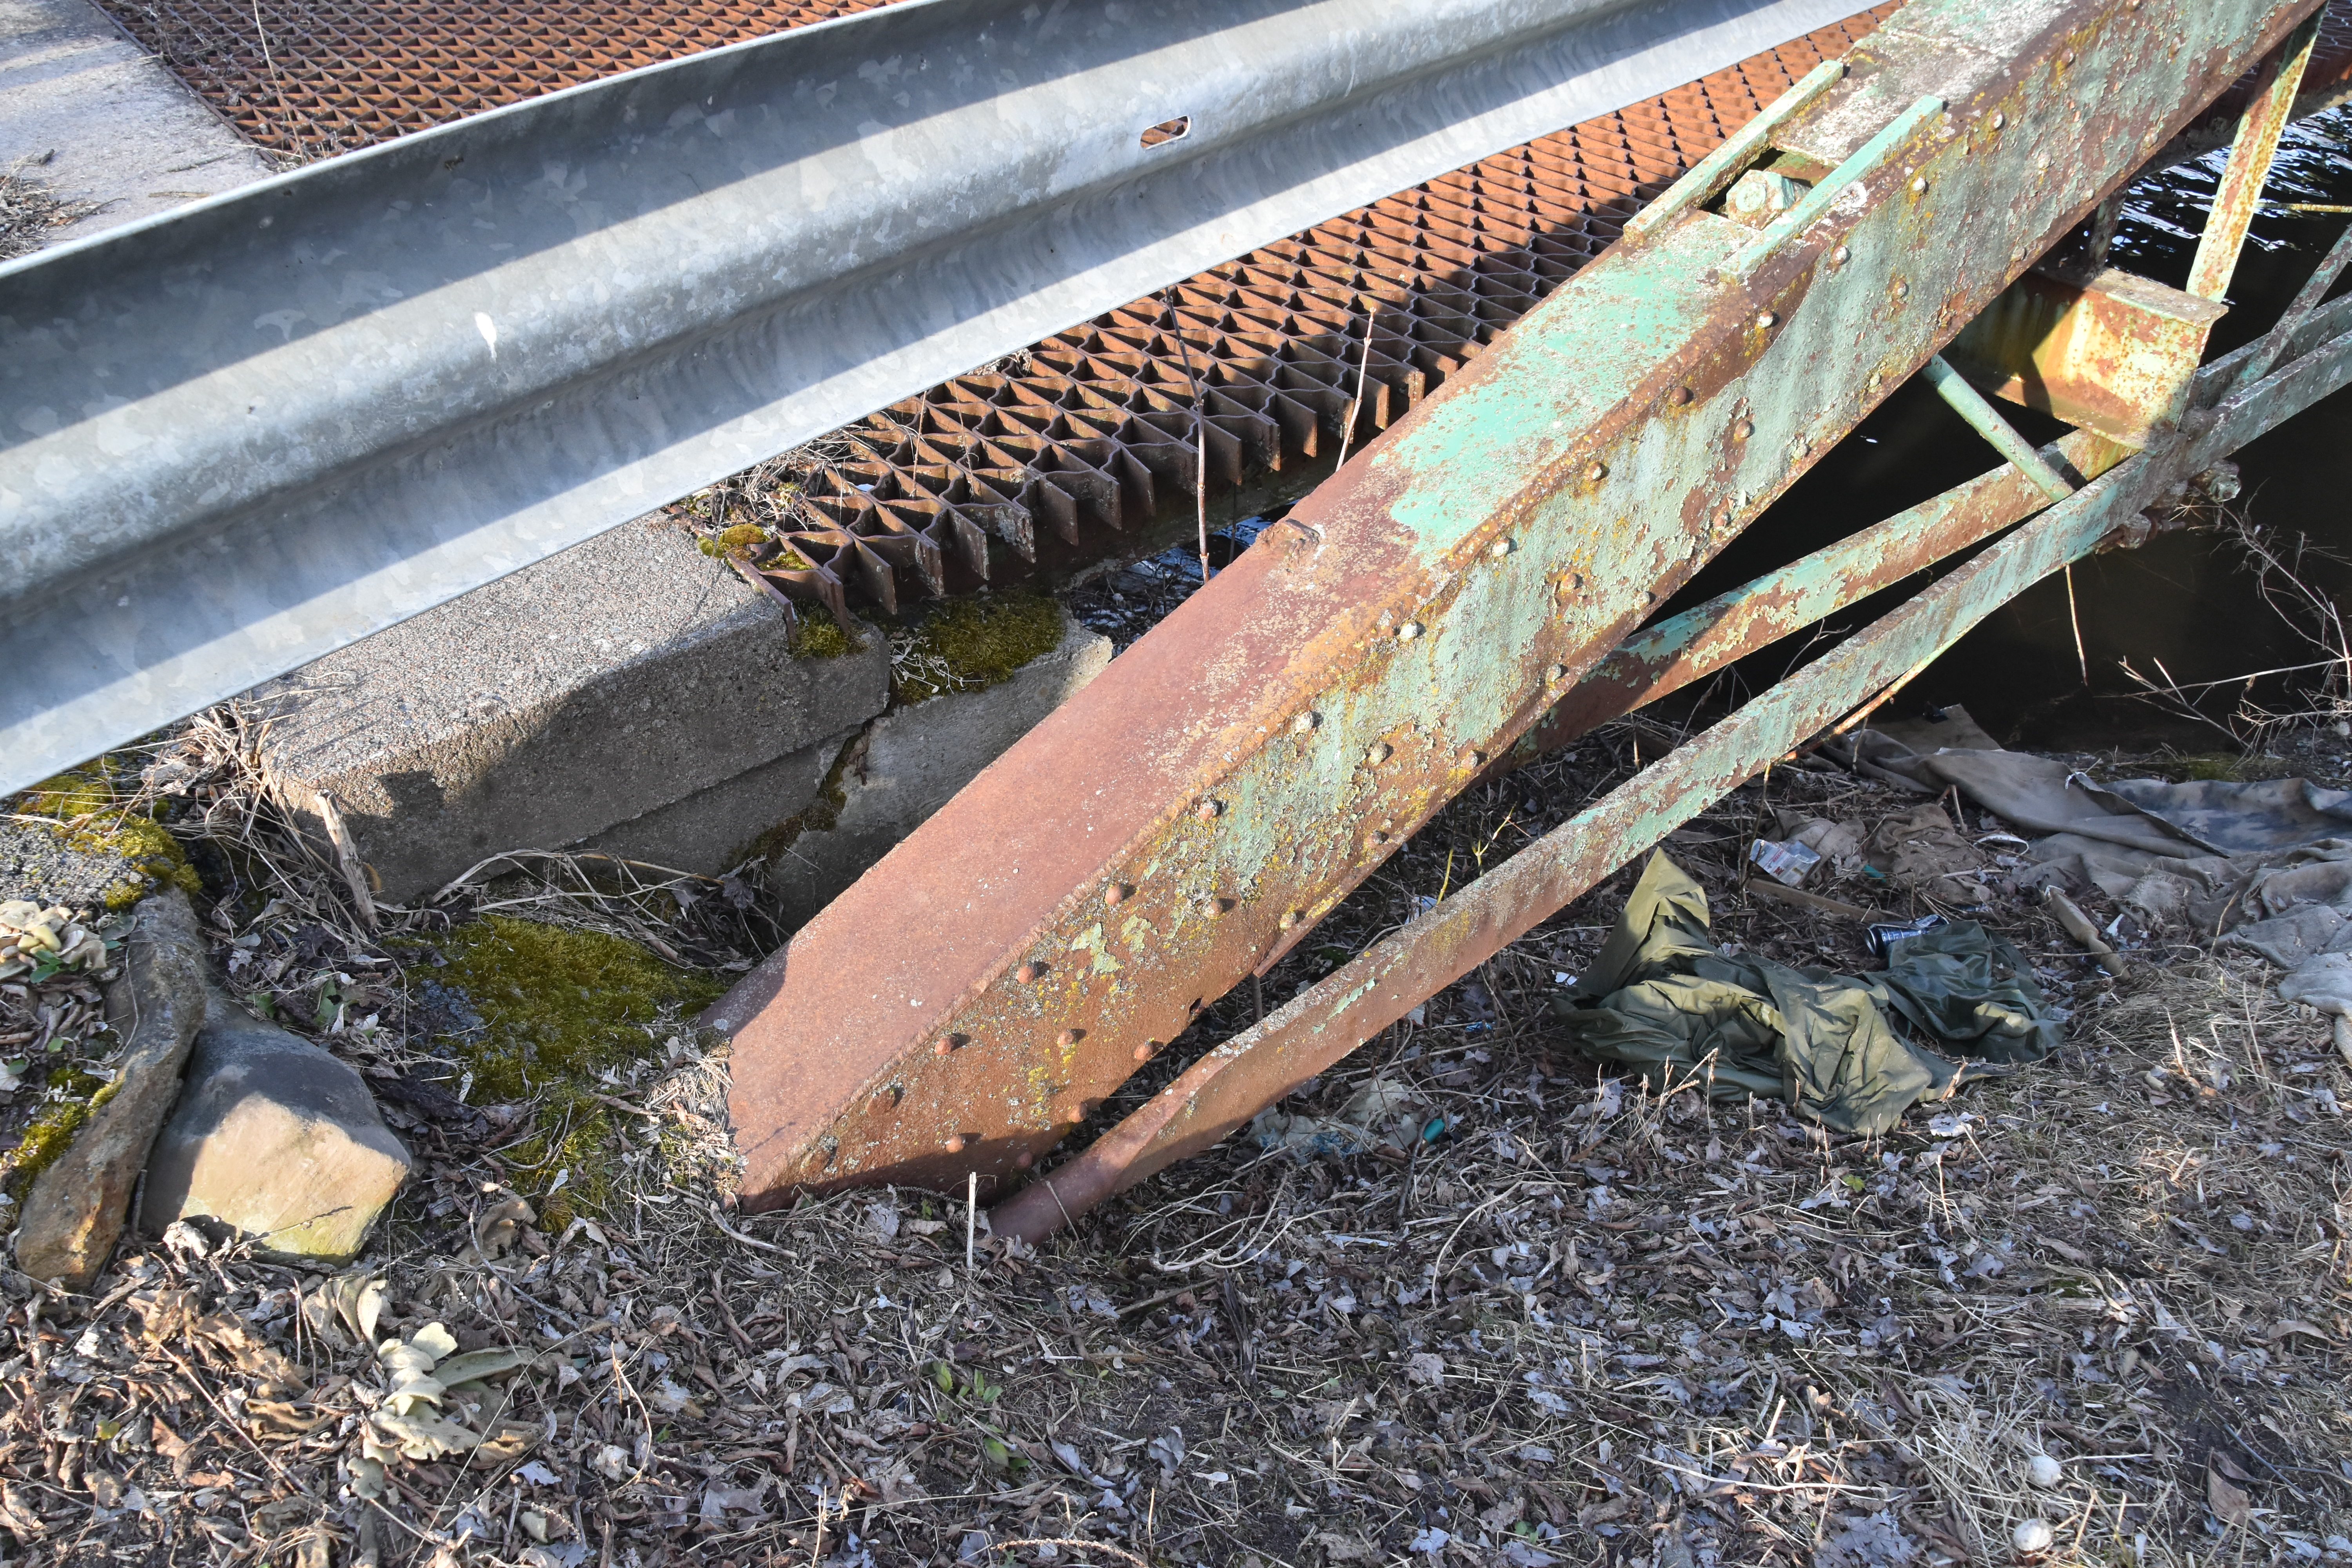
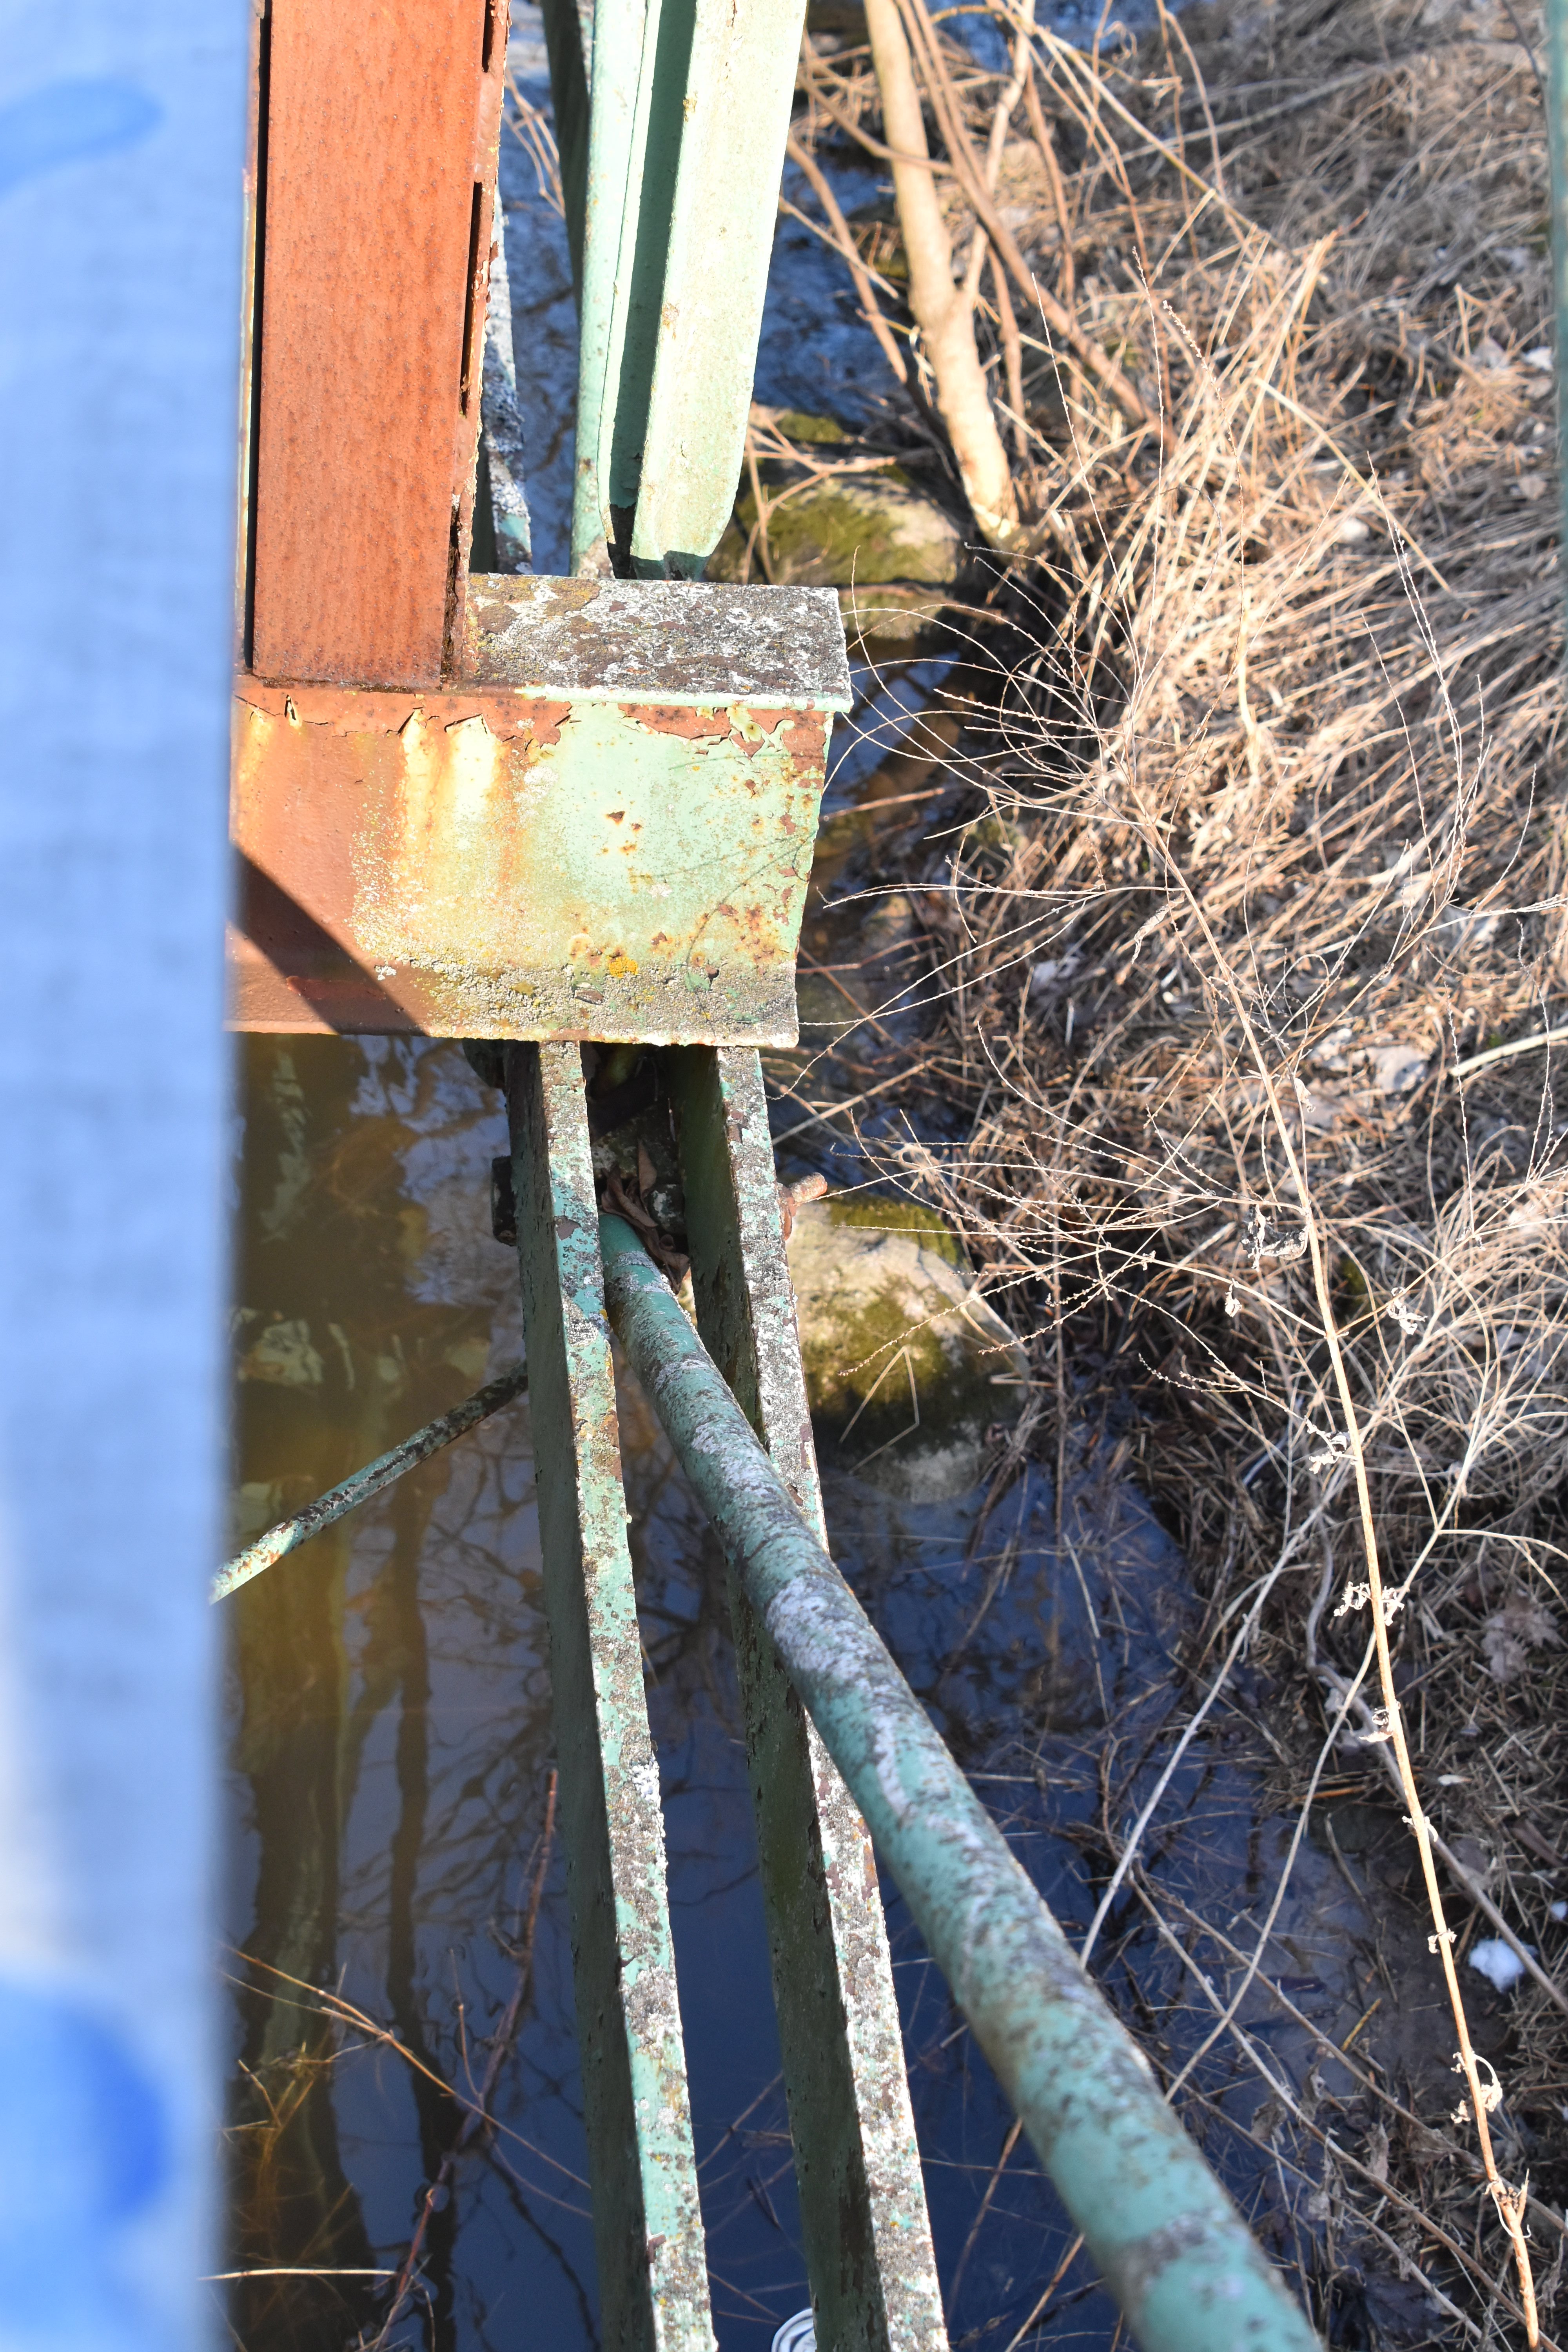
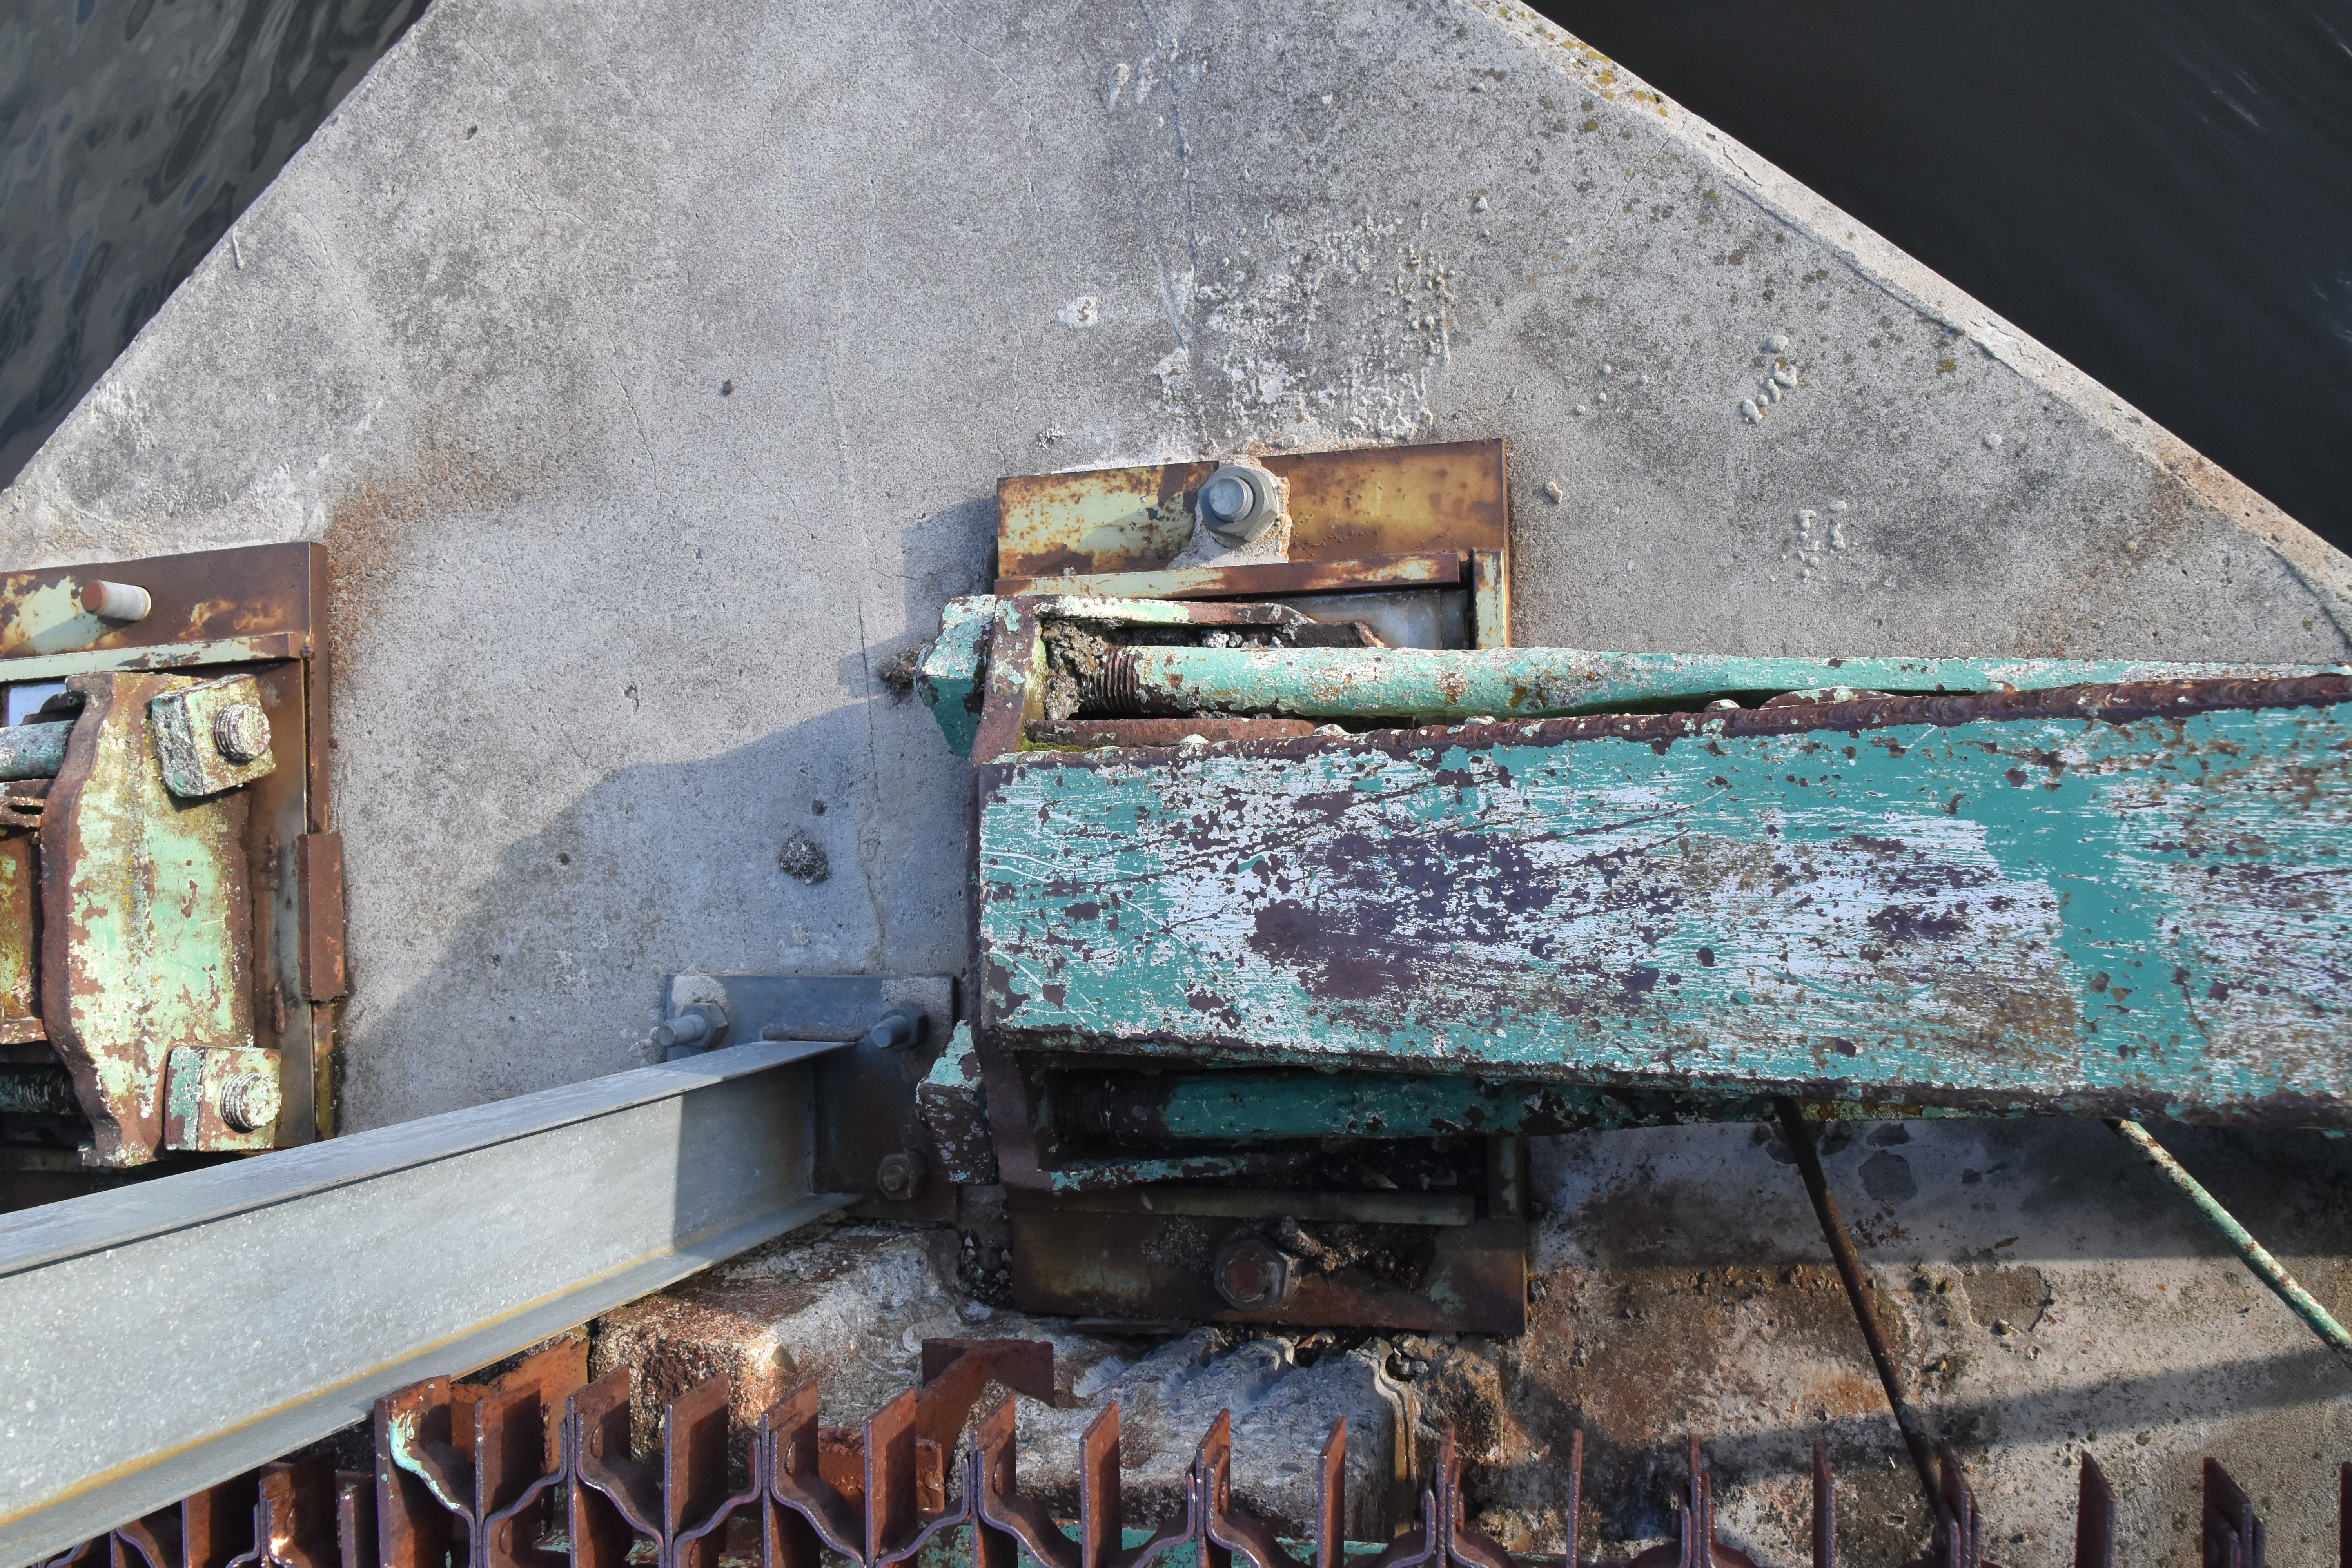
Buried bearing at abutment.
![]()


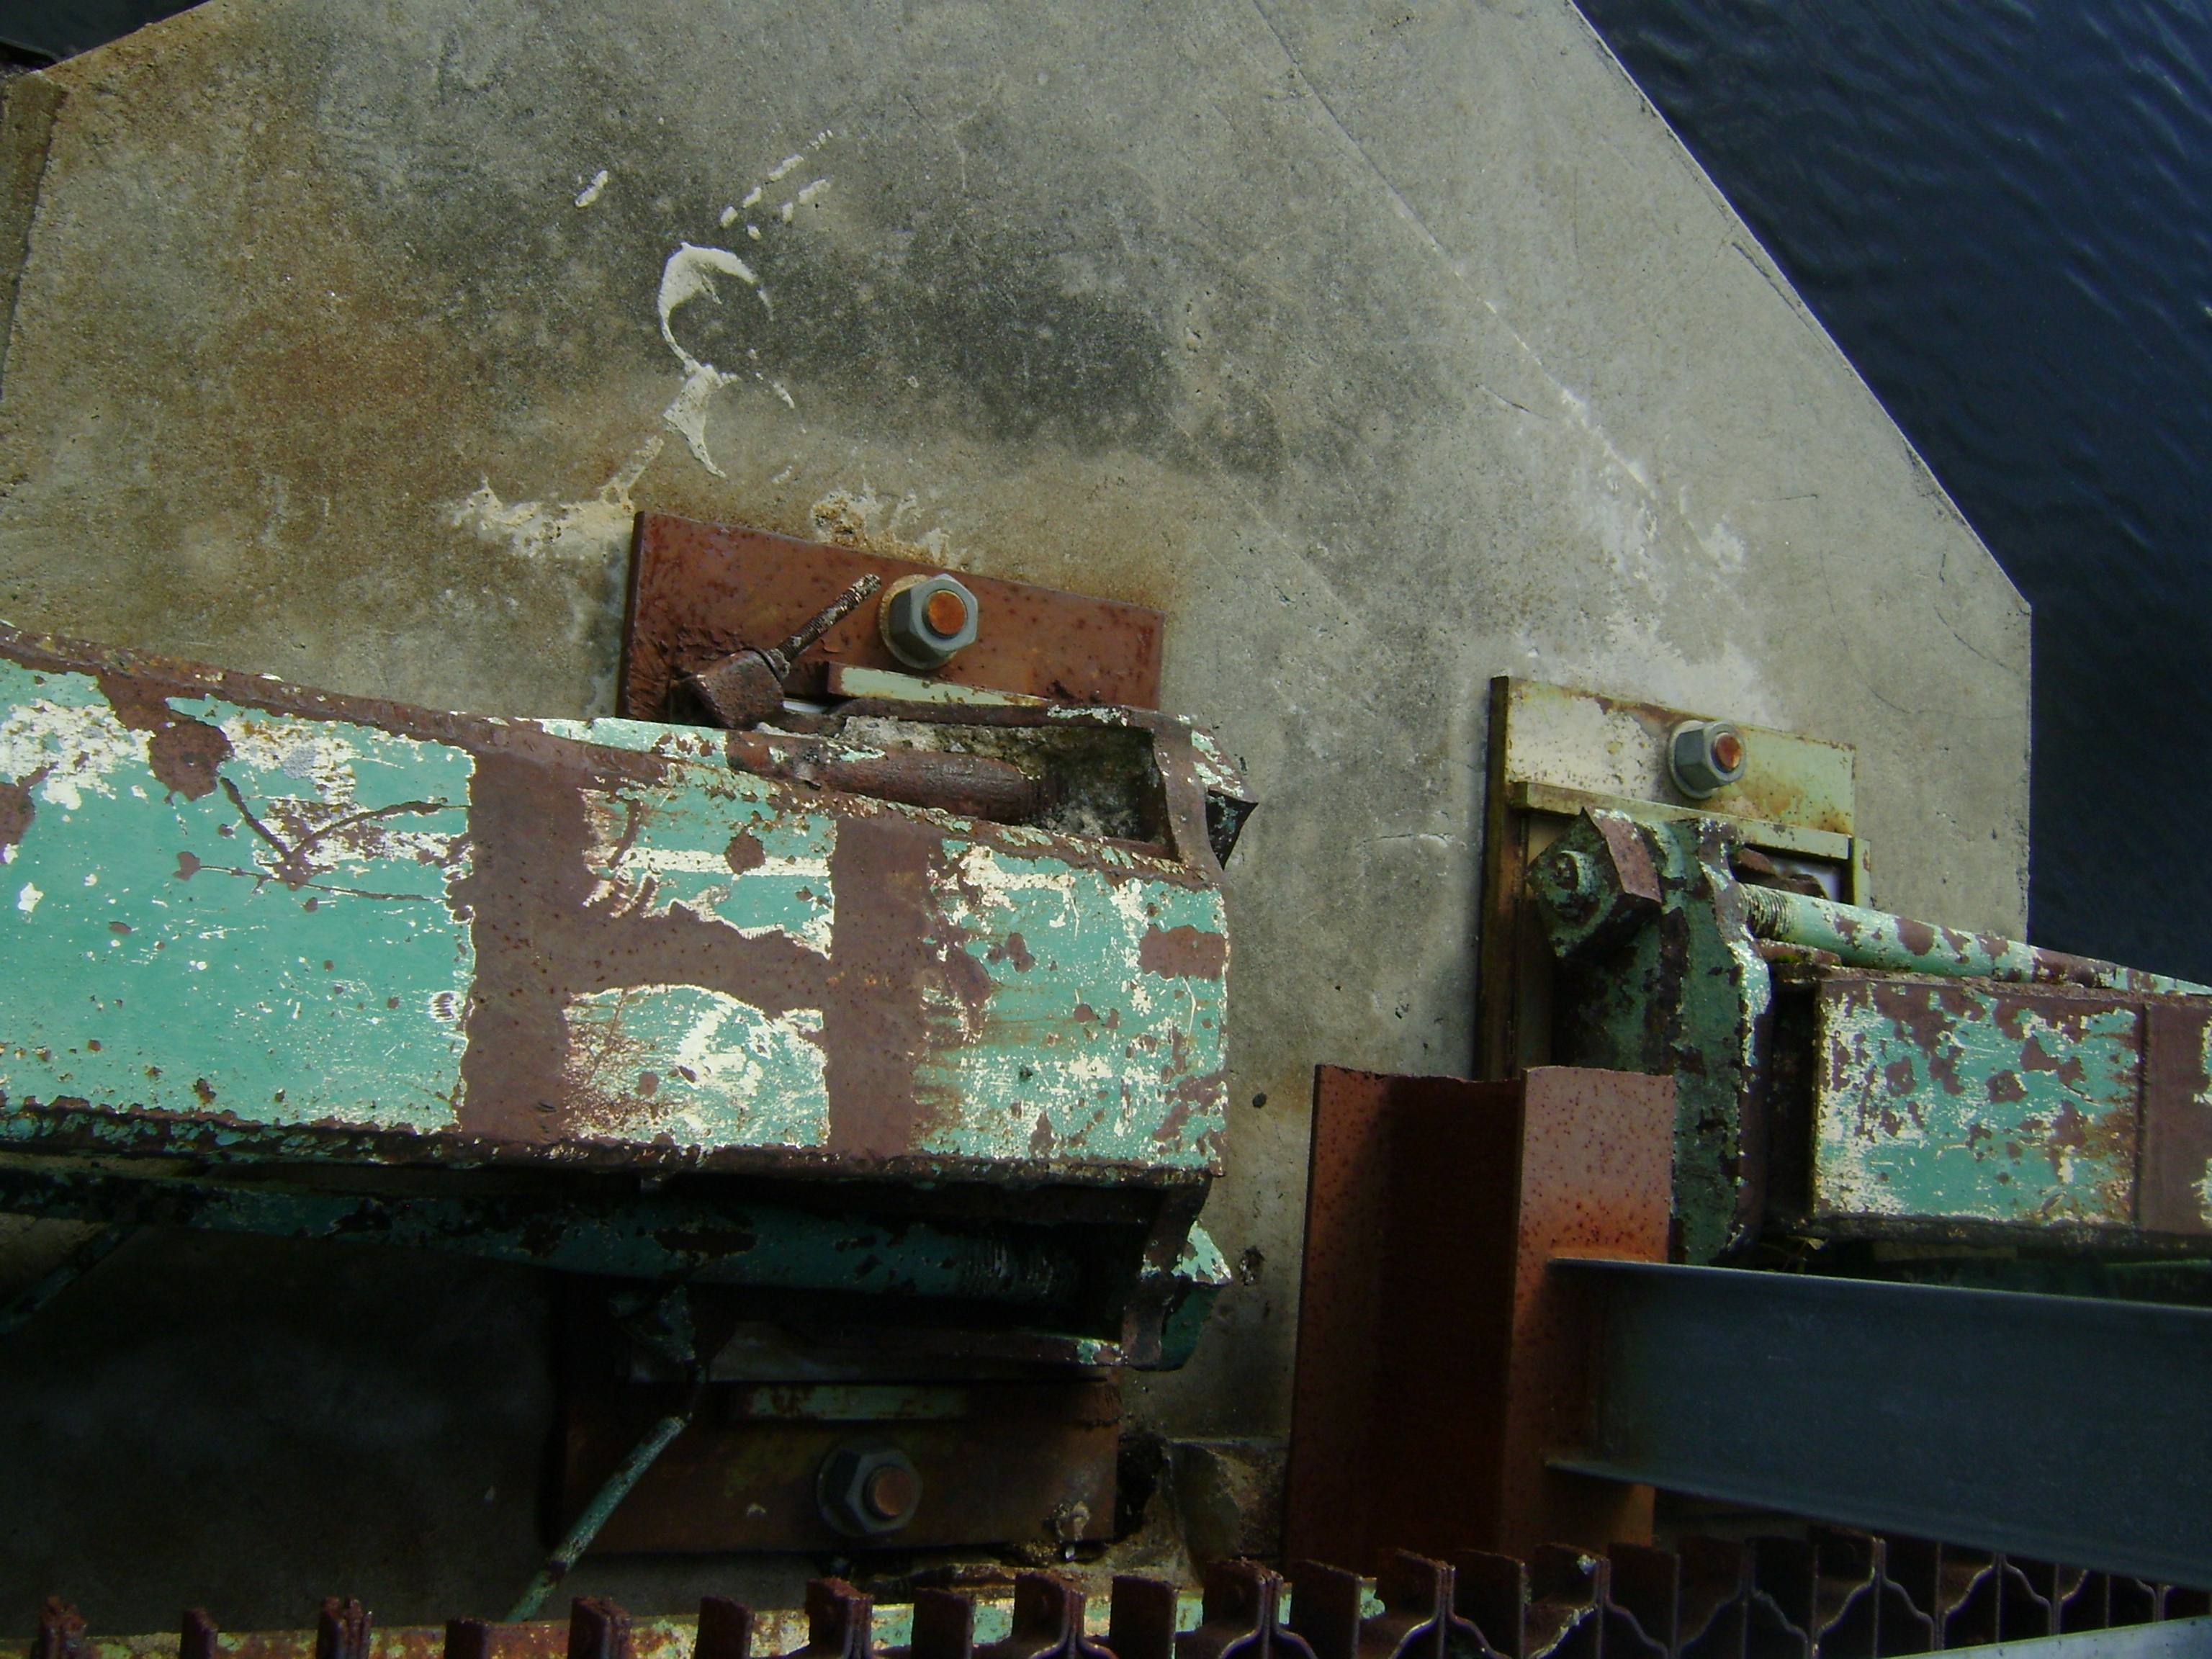

Photo Credit: Marc Scotti
Bearings.
![]()
Photo Credit: Marc Scotti
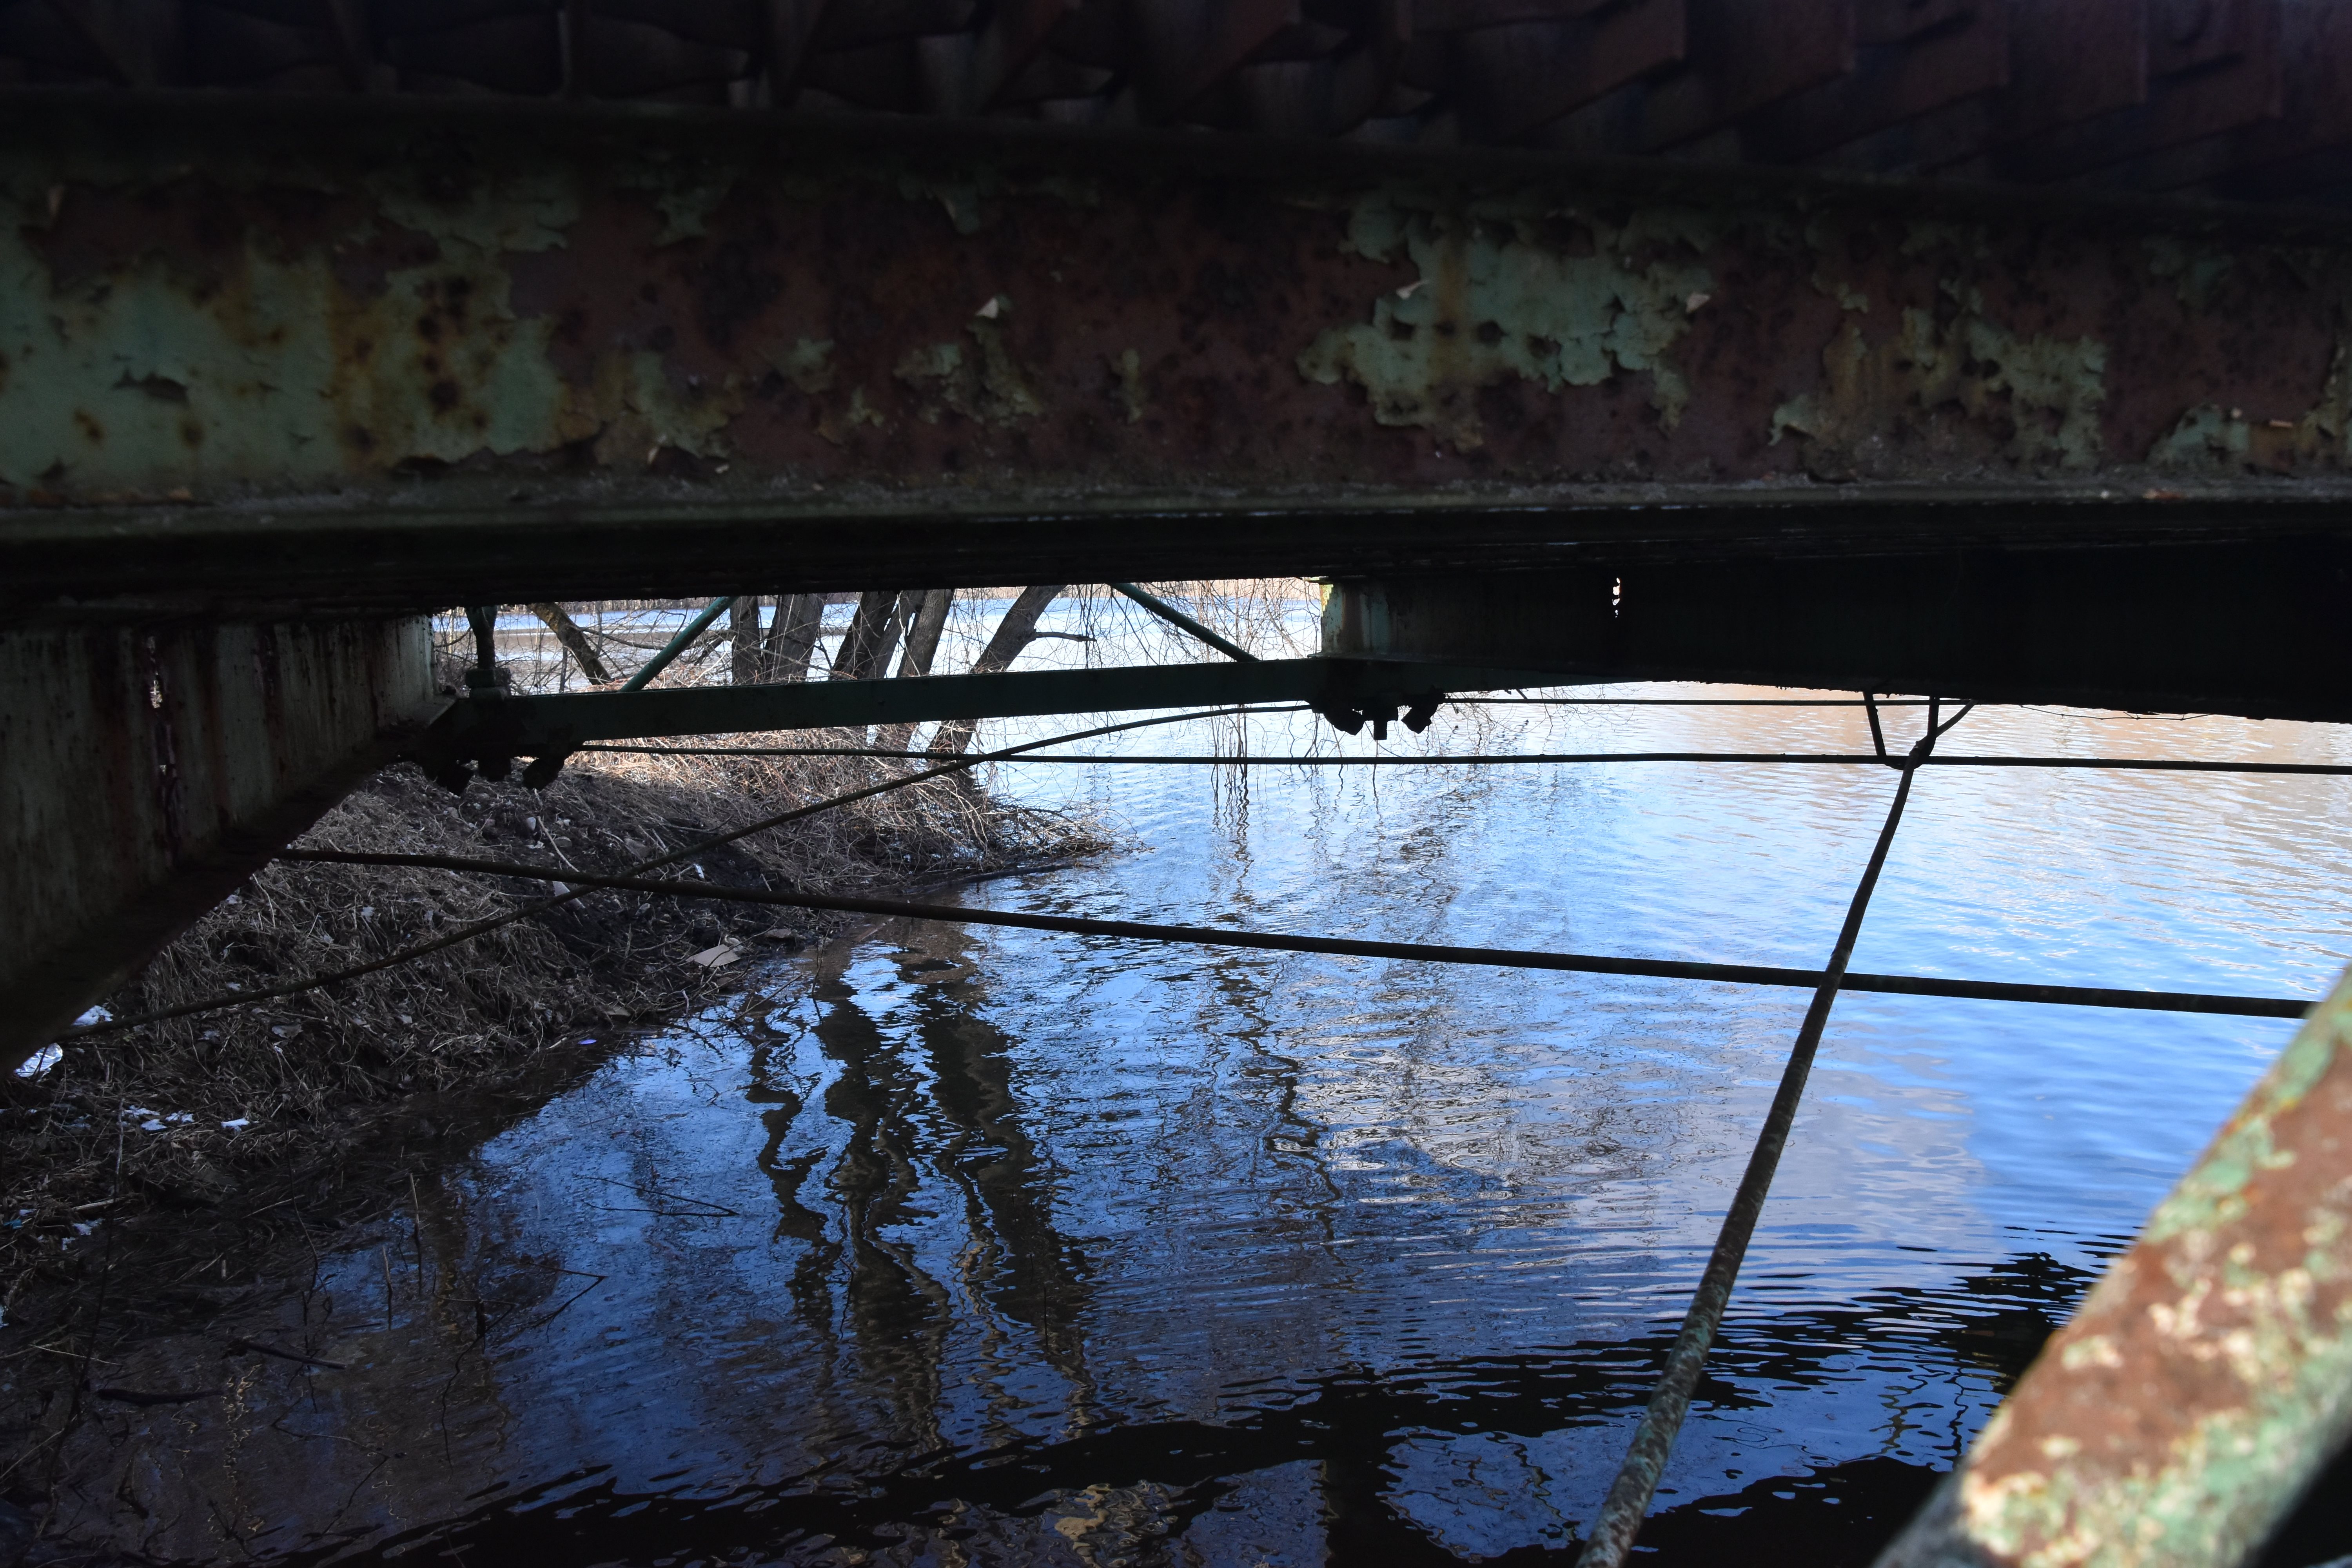
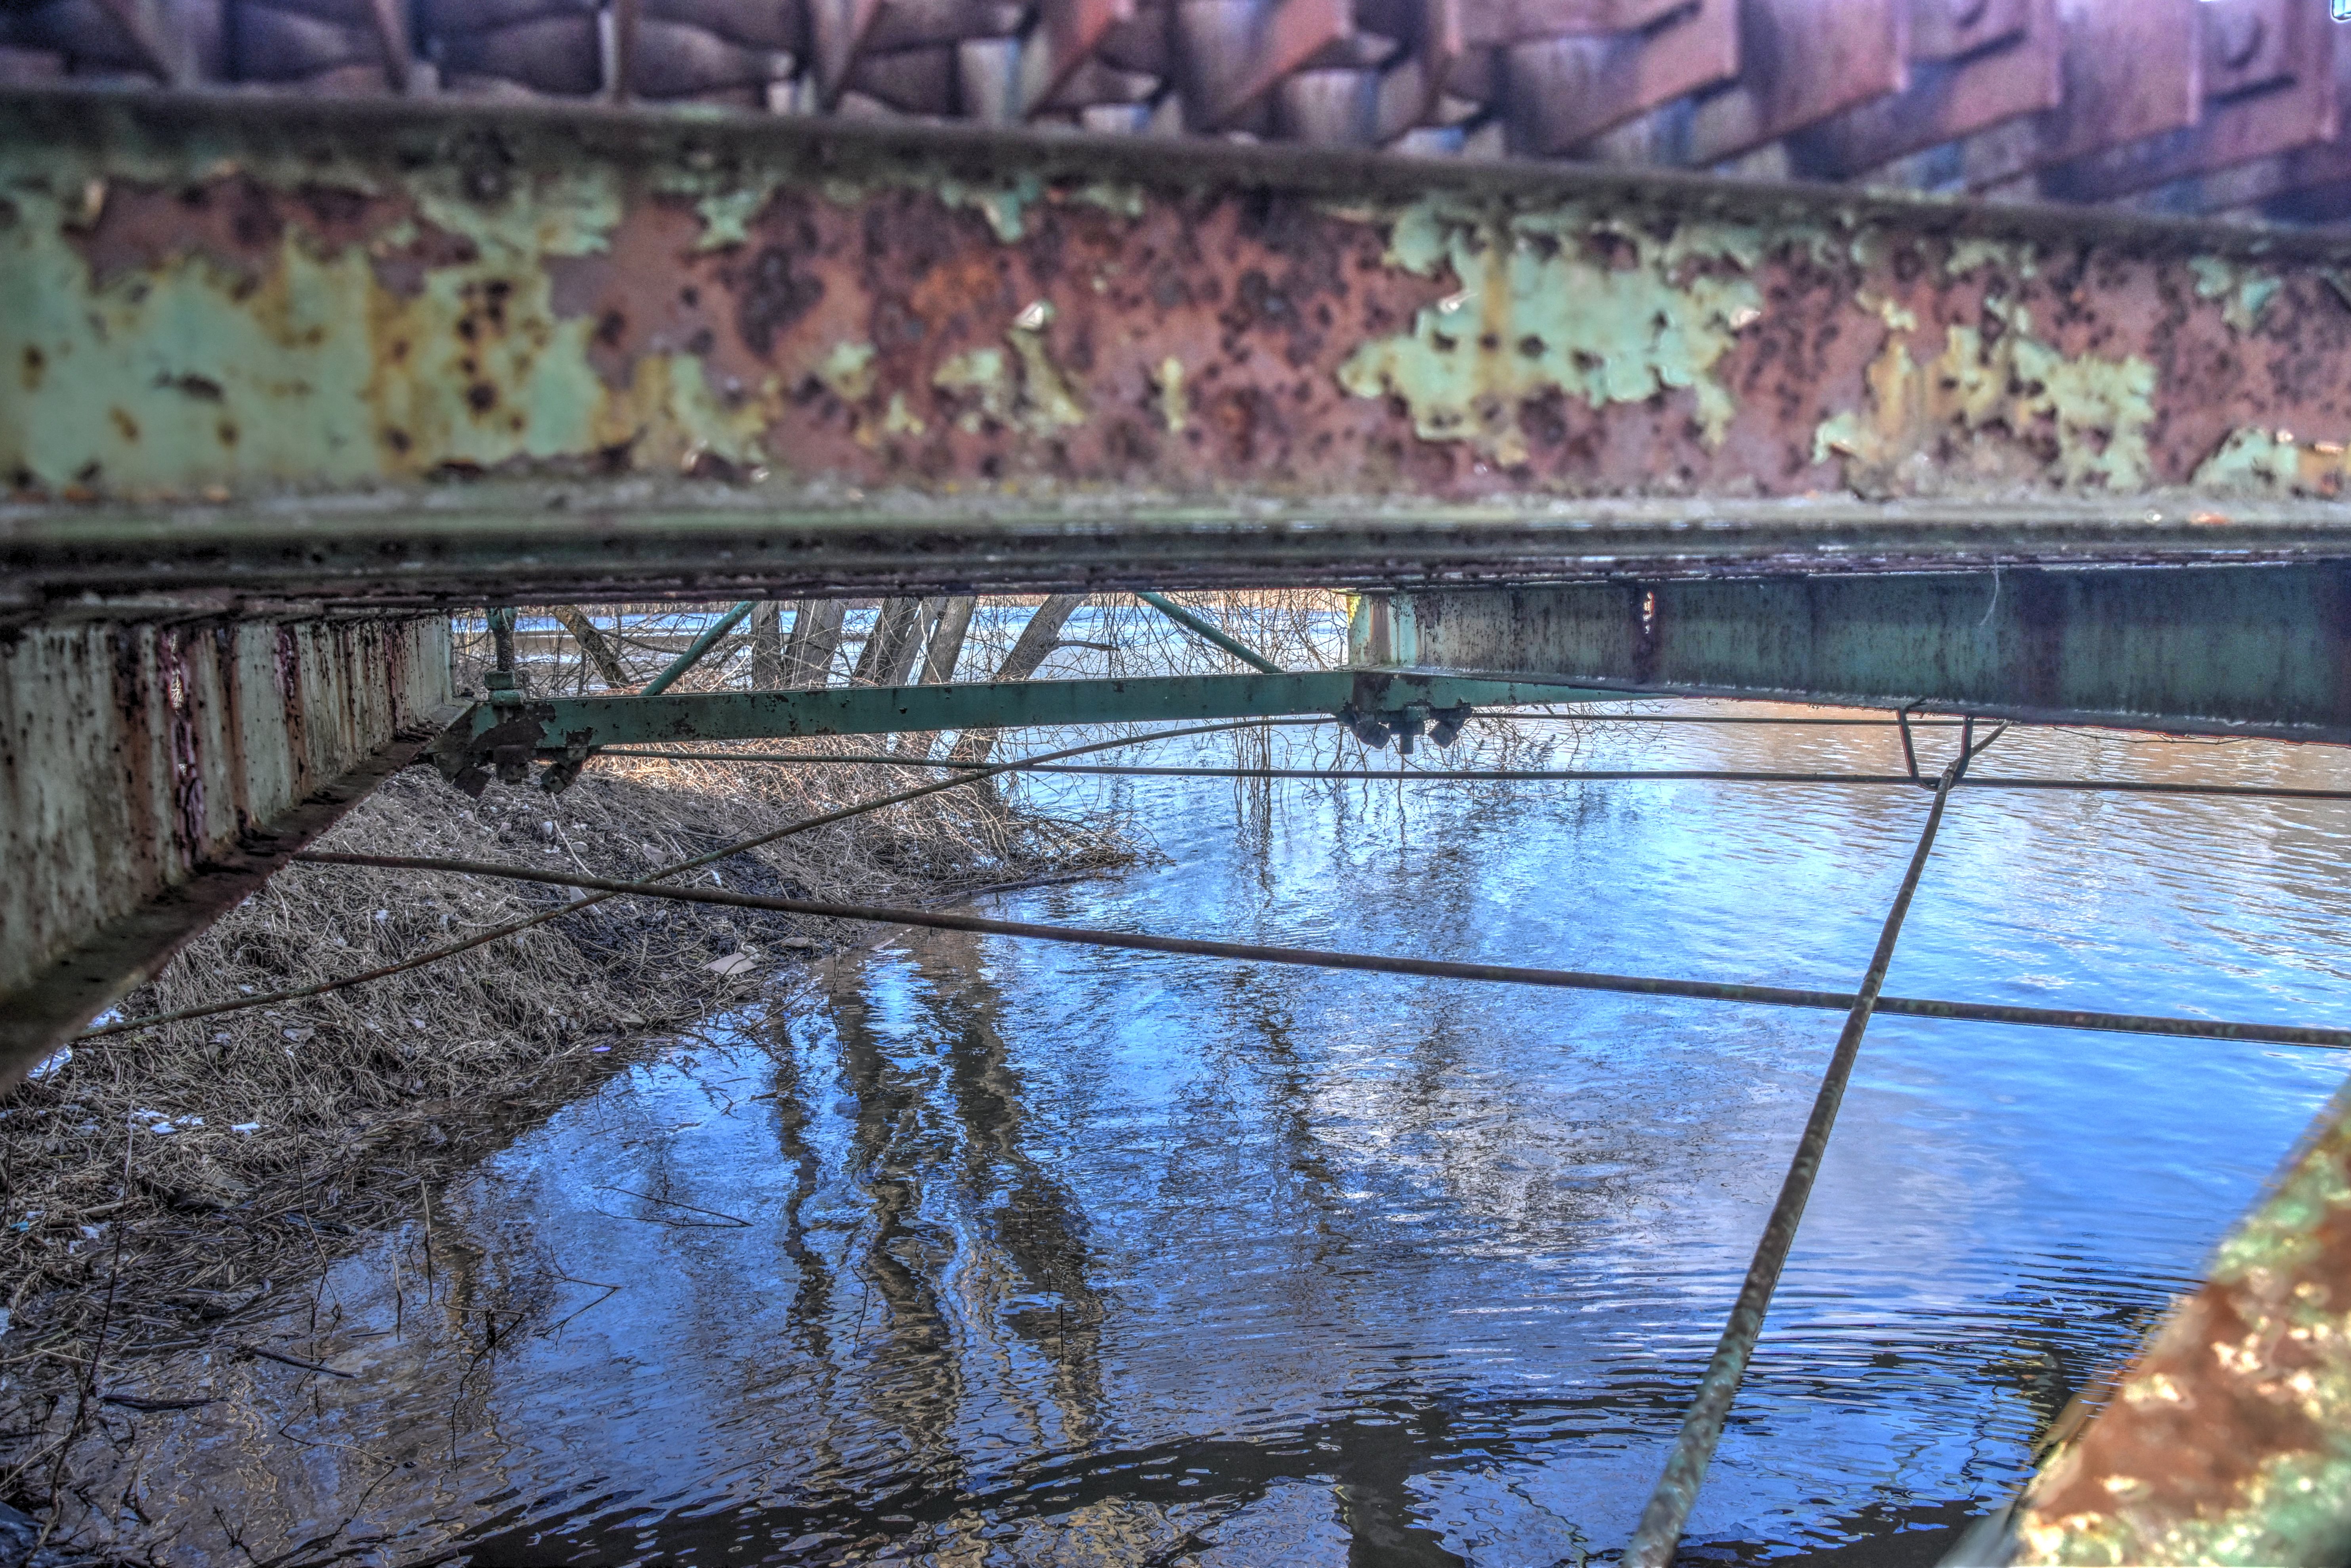
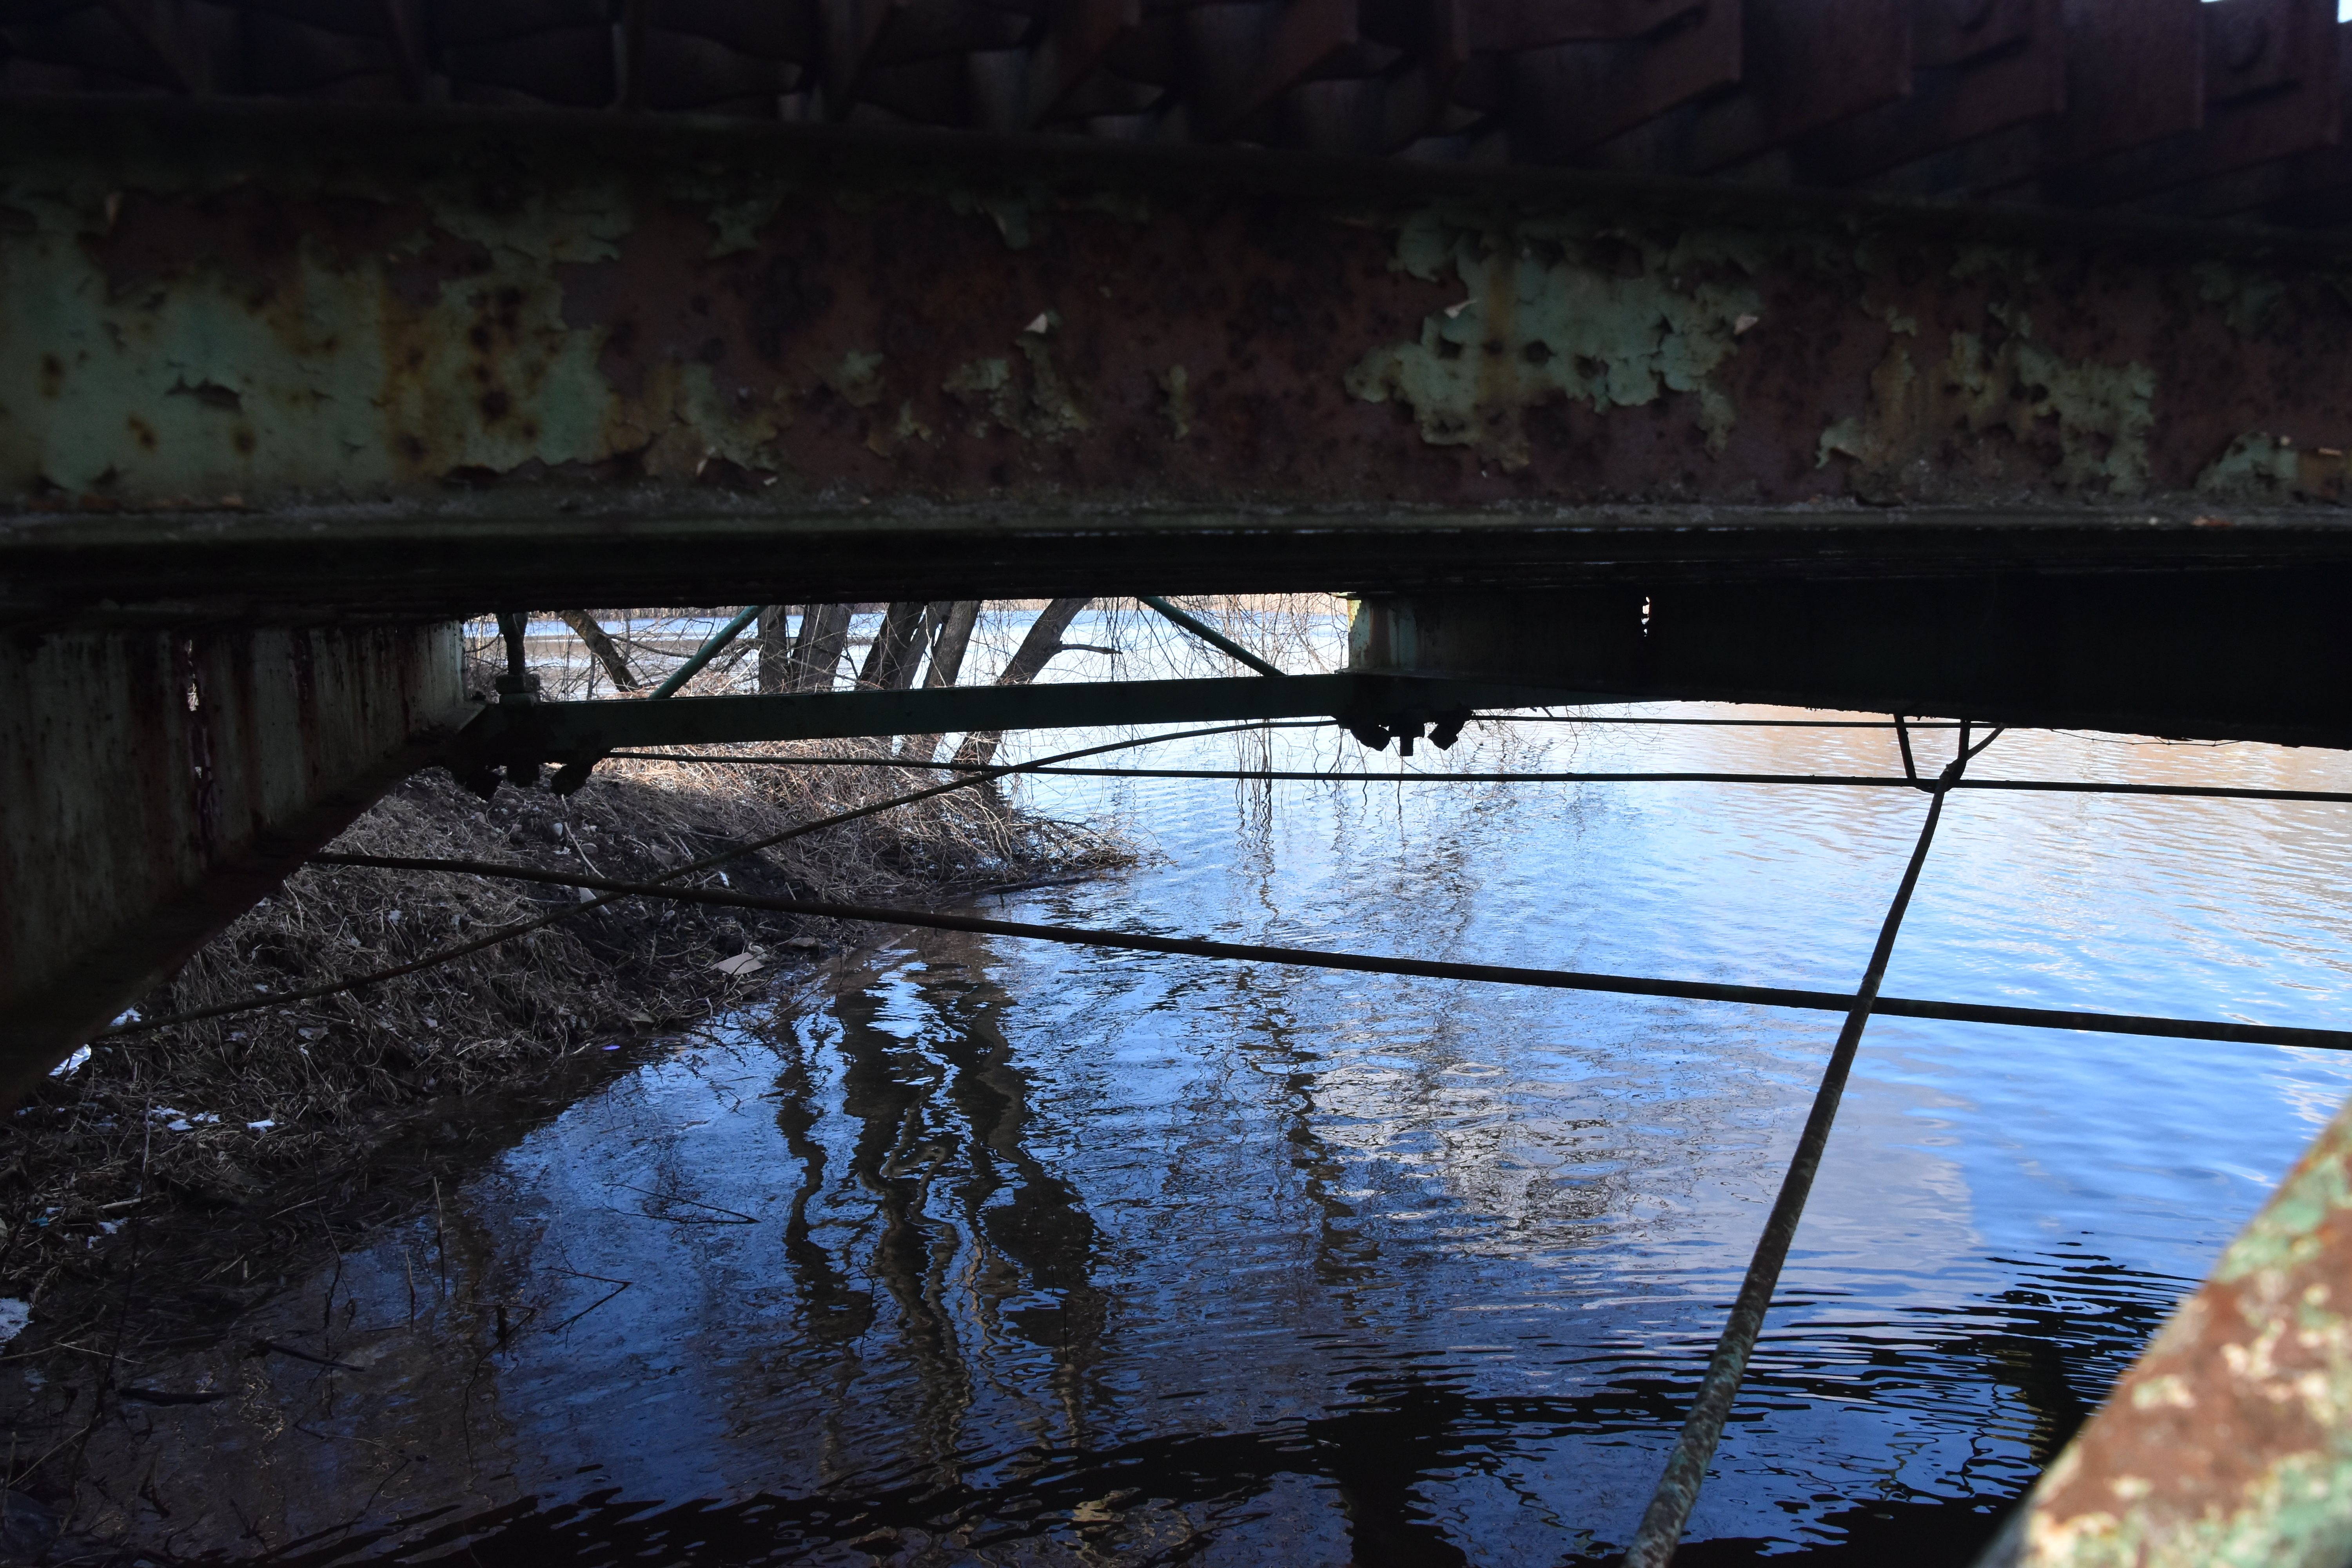
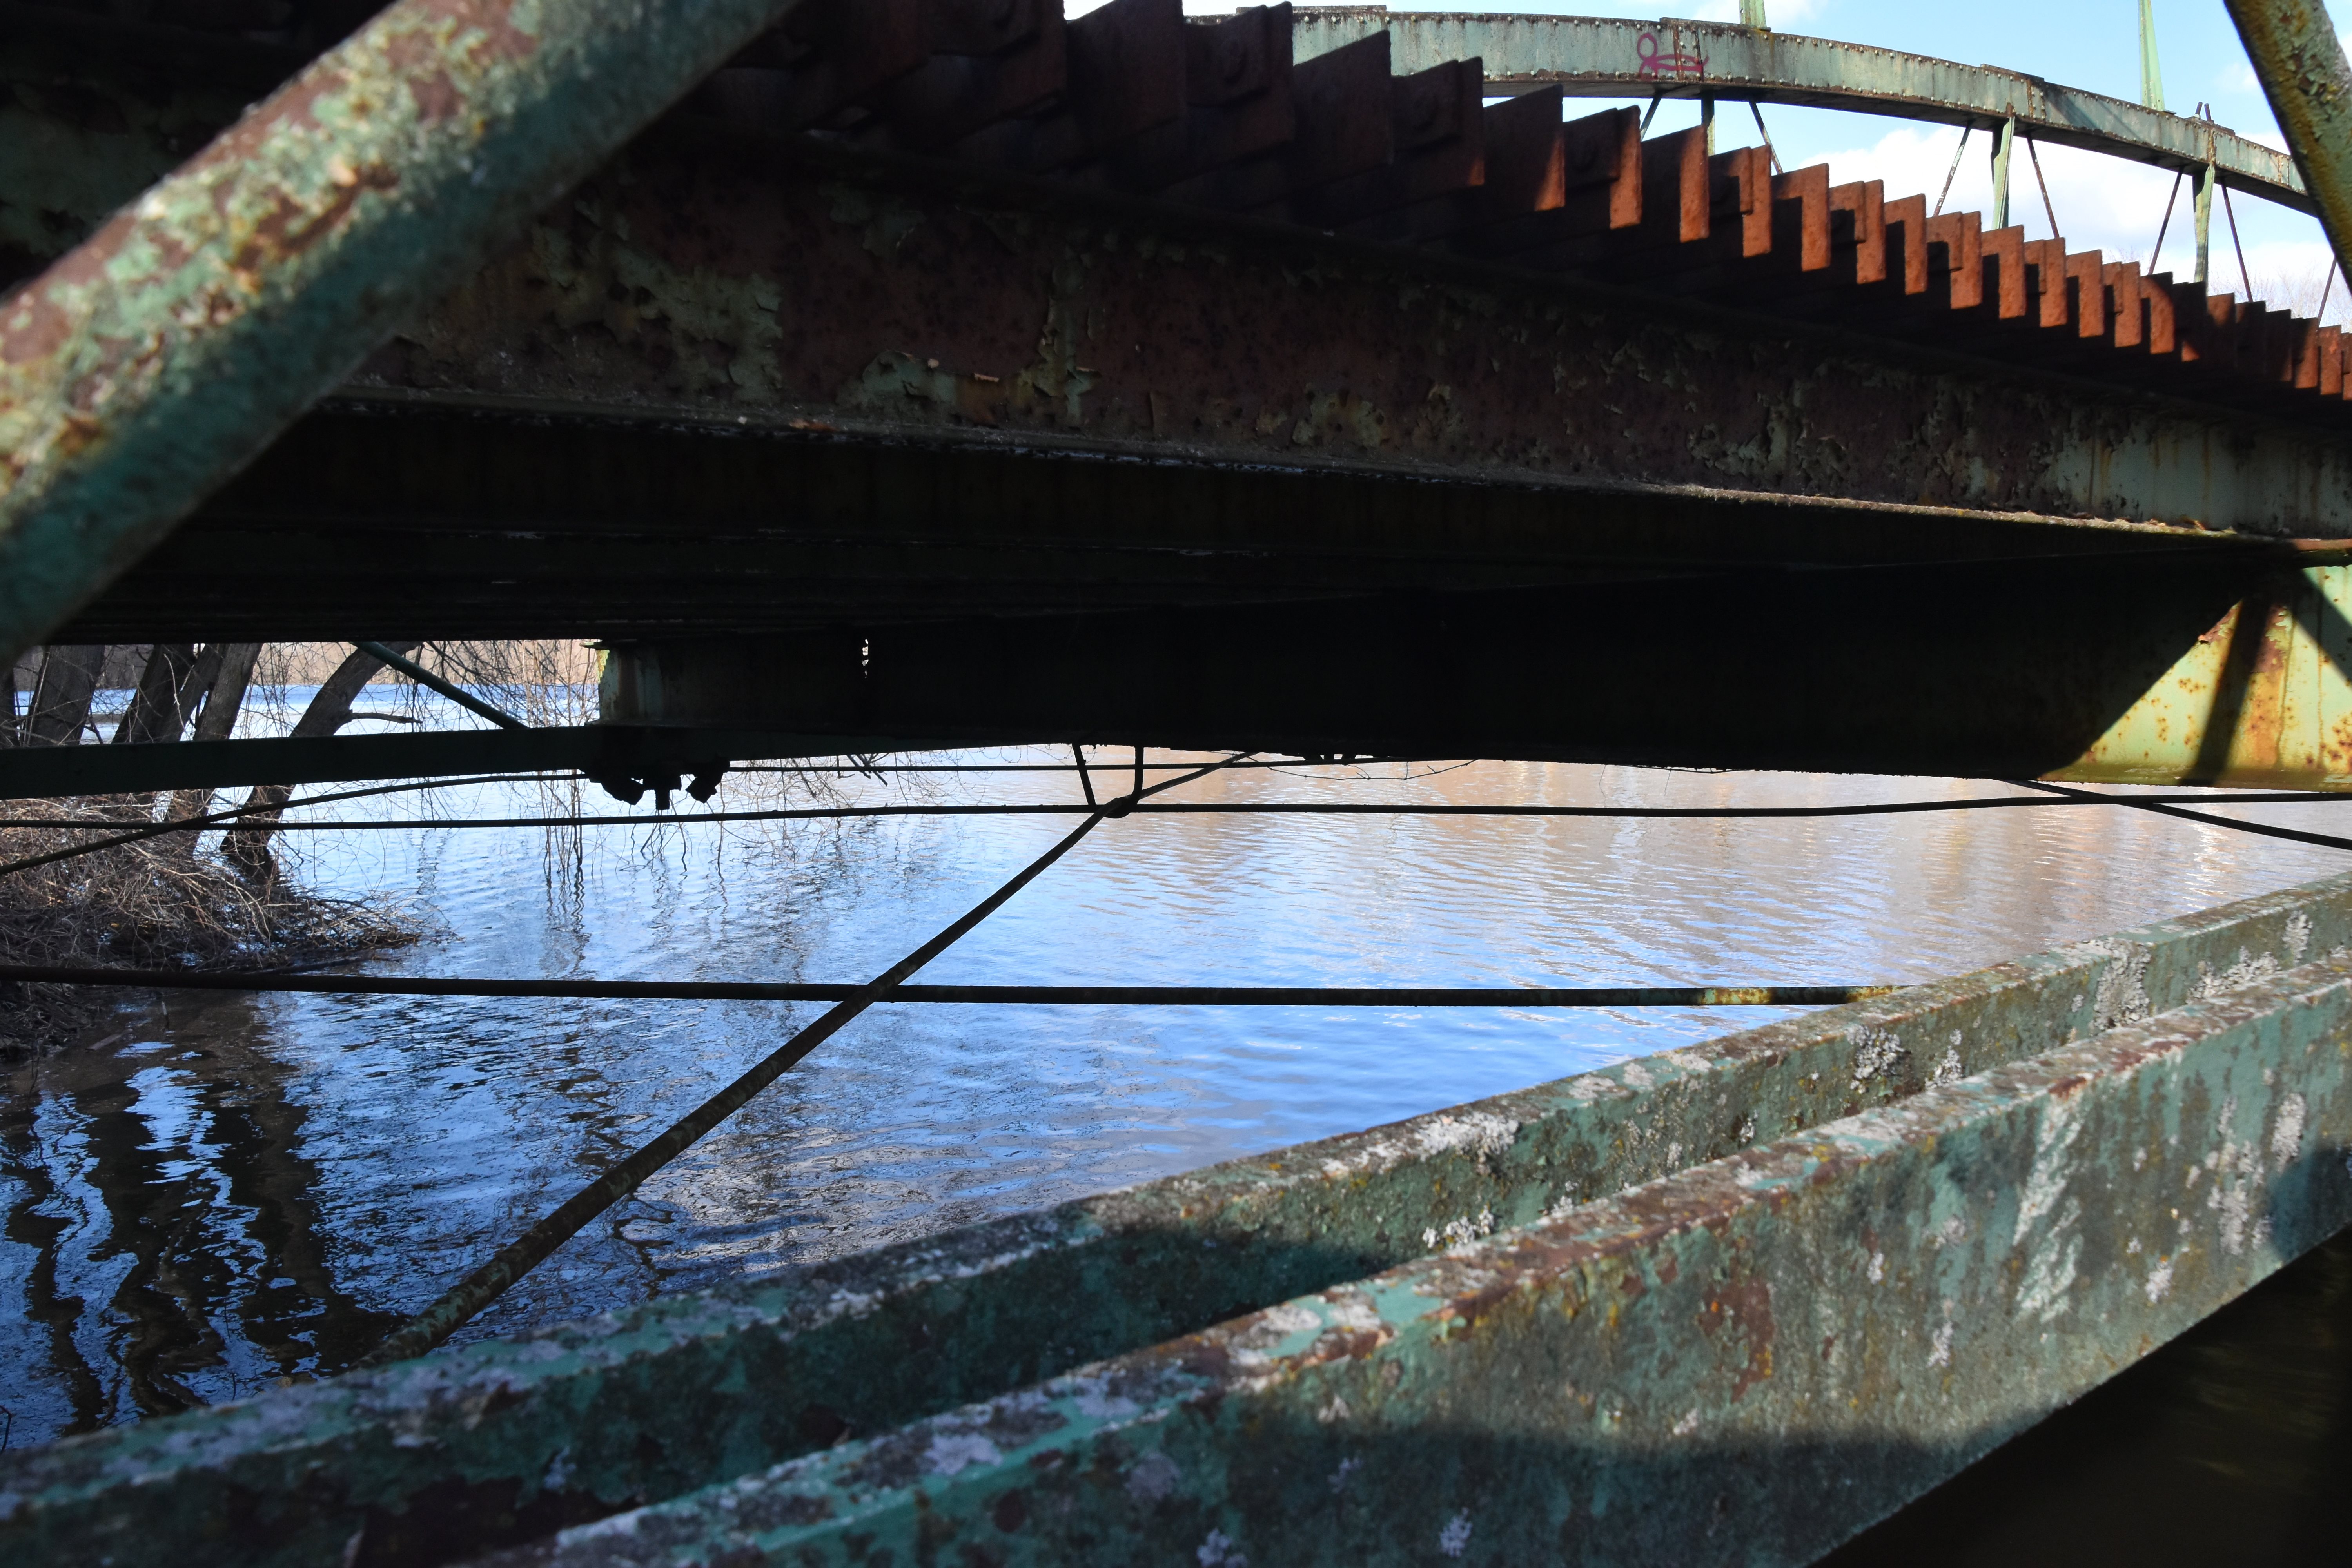
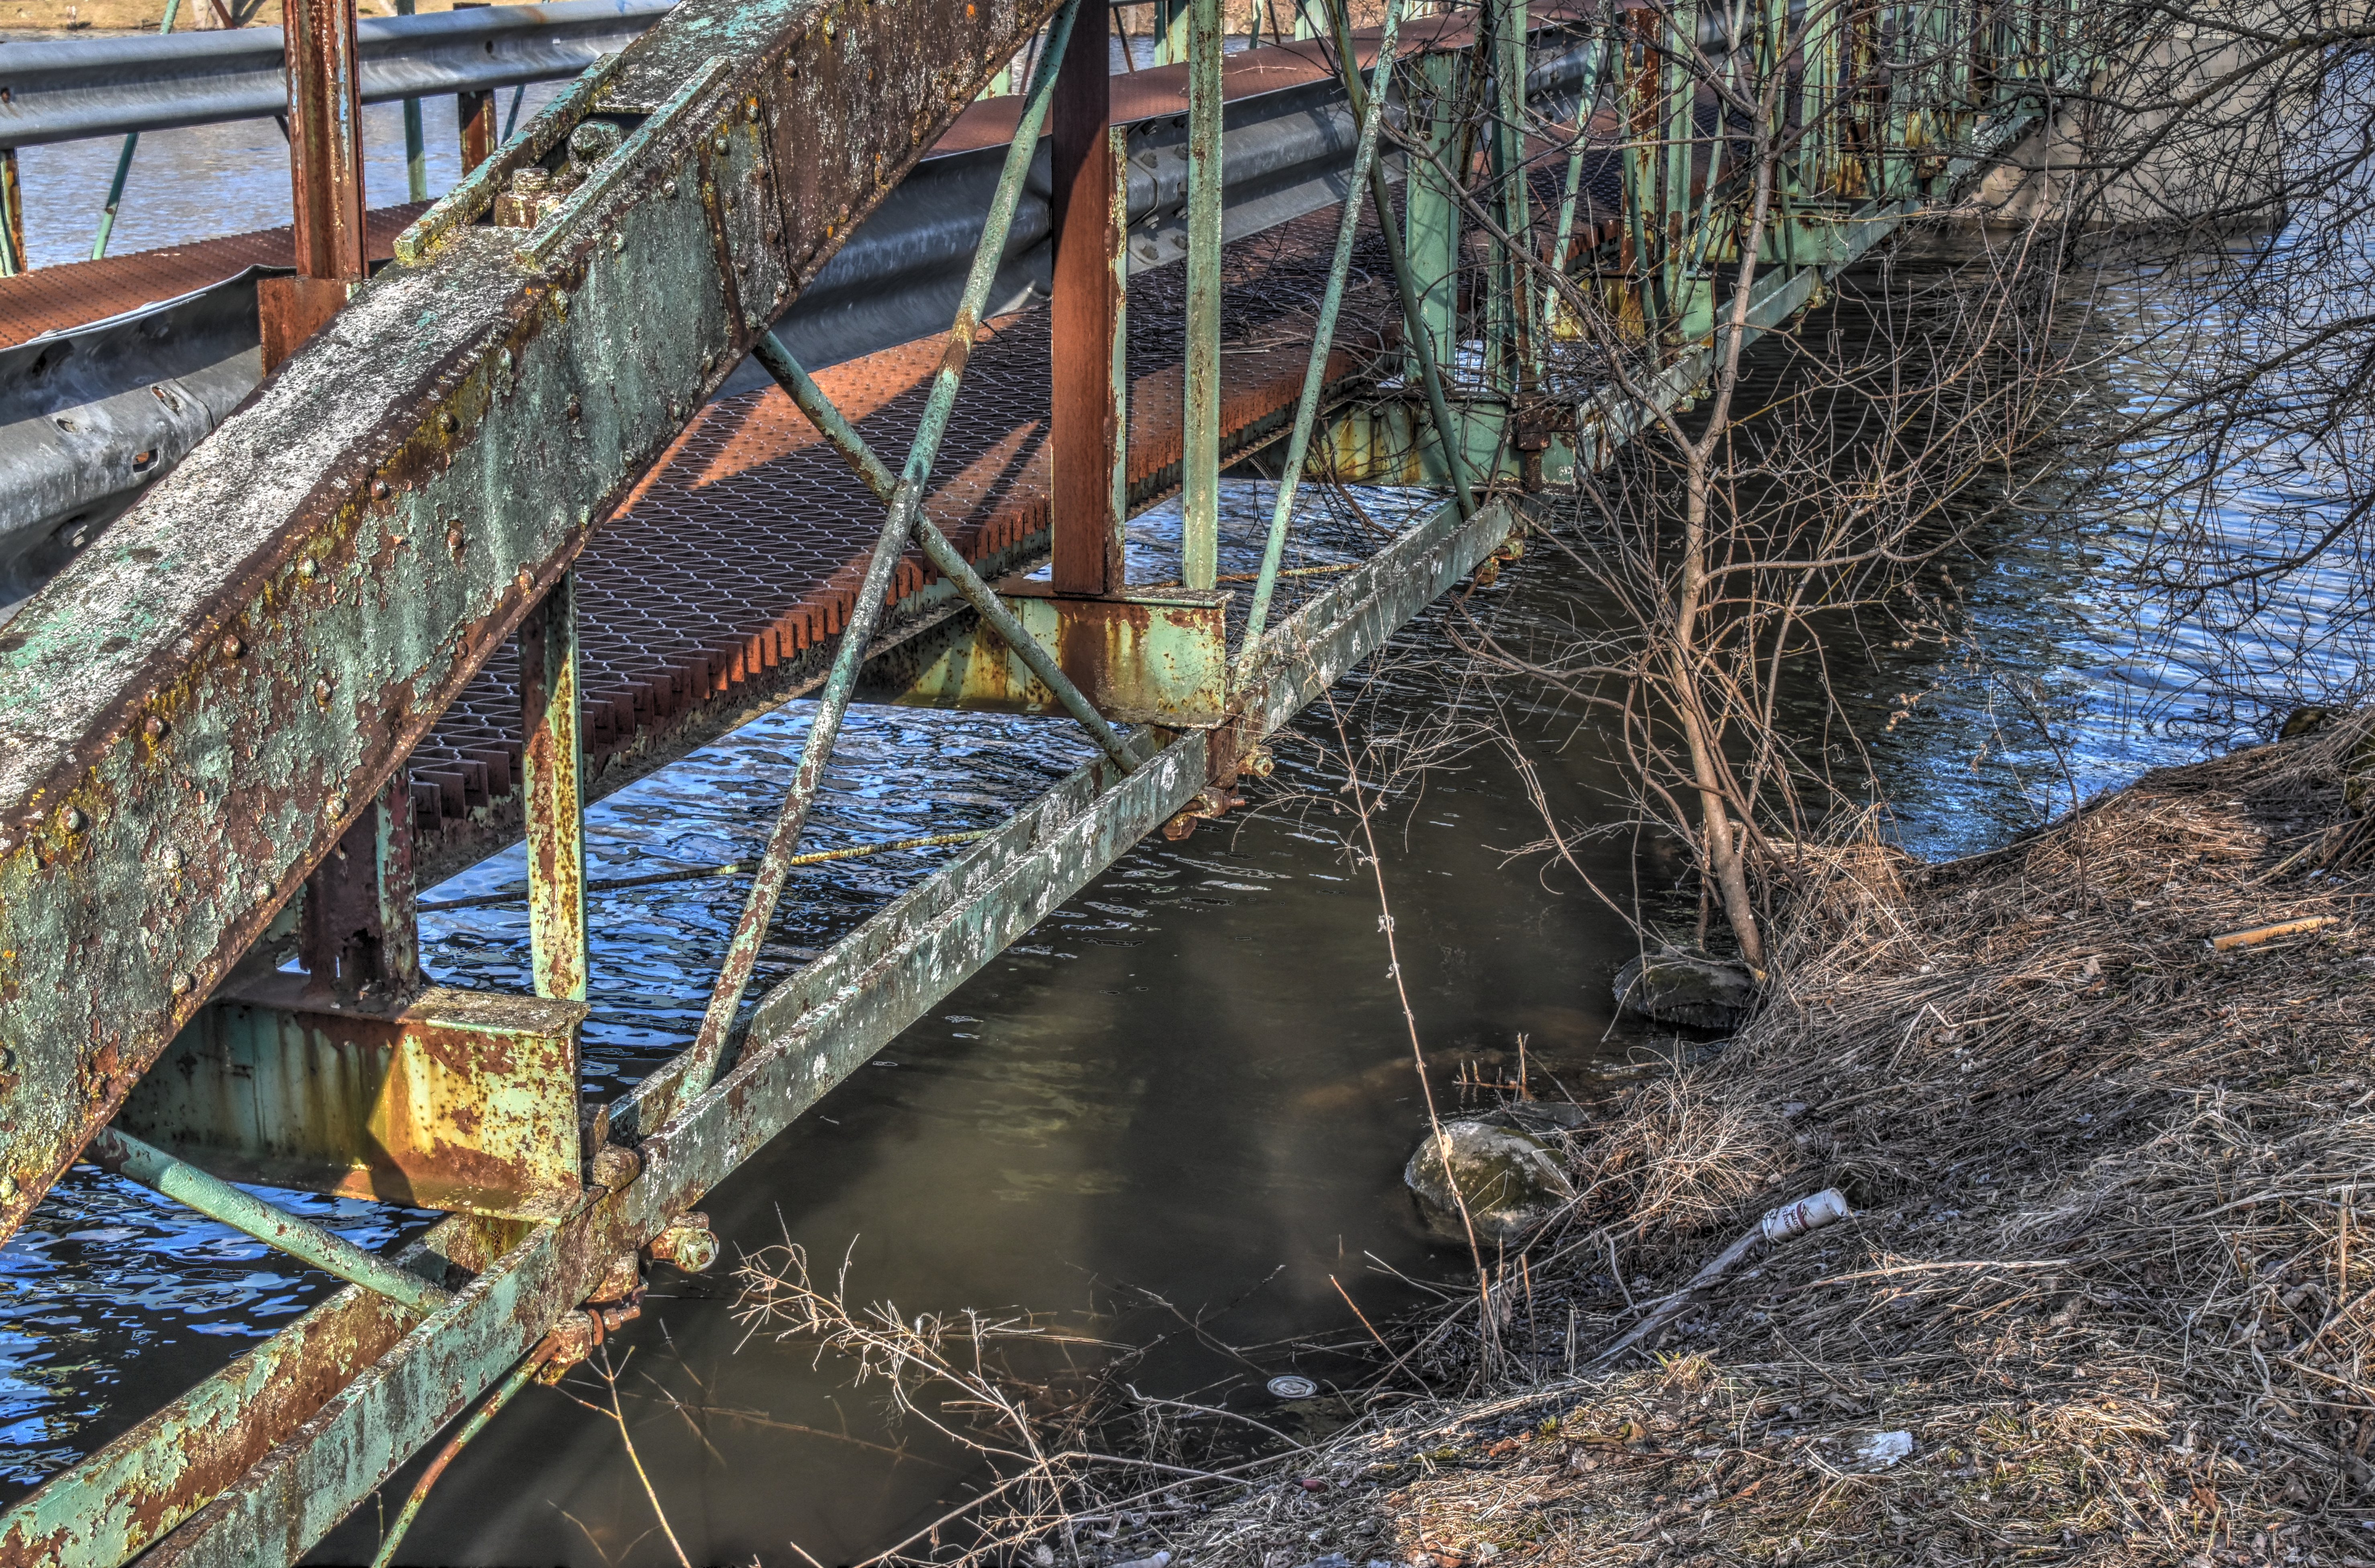
Views under bridge.
![]()

Floorbeam.
![]()


Photo Credit: Marc Scotti
Floorbeam details.
![]()

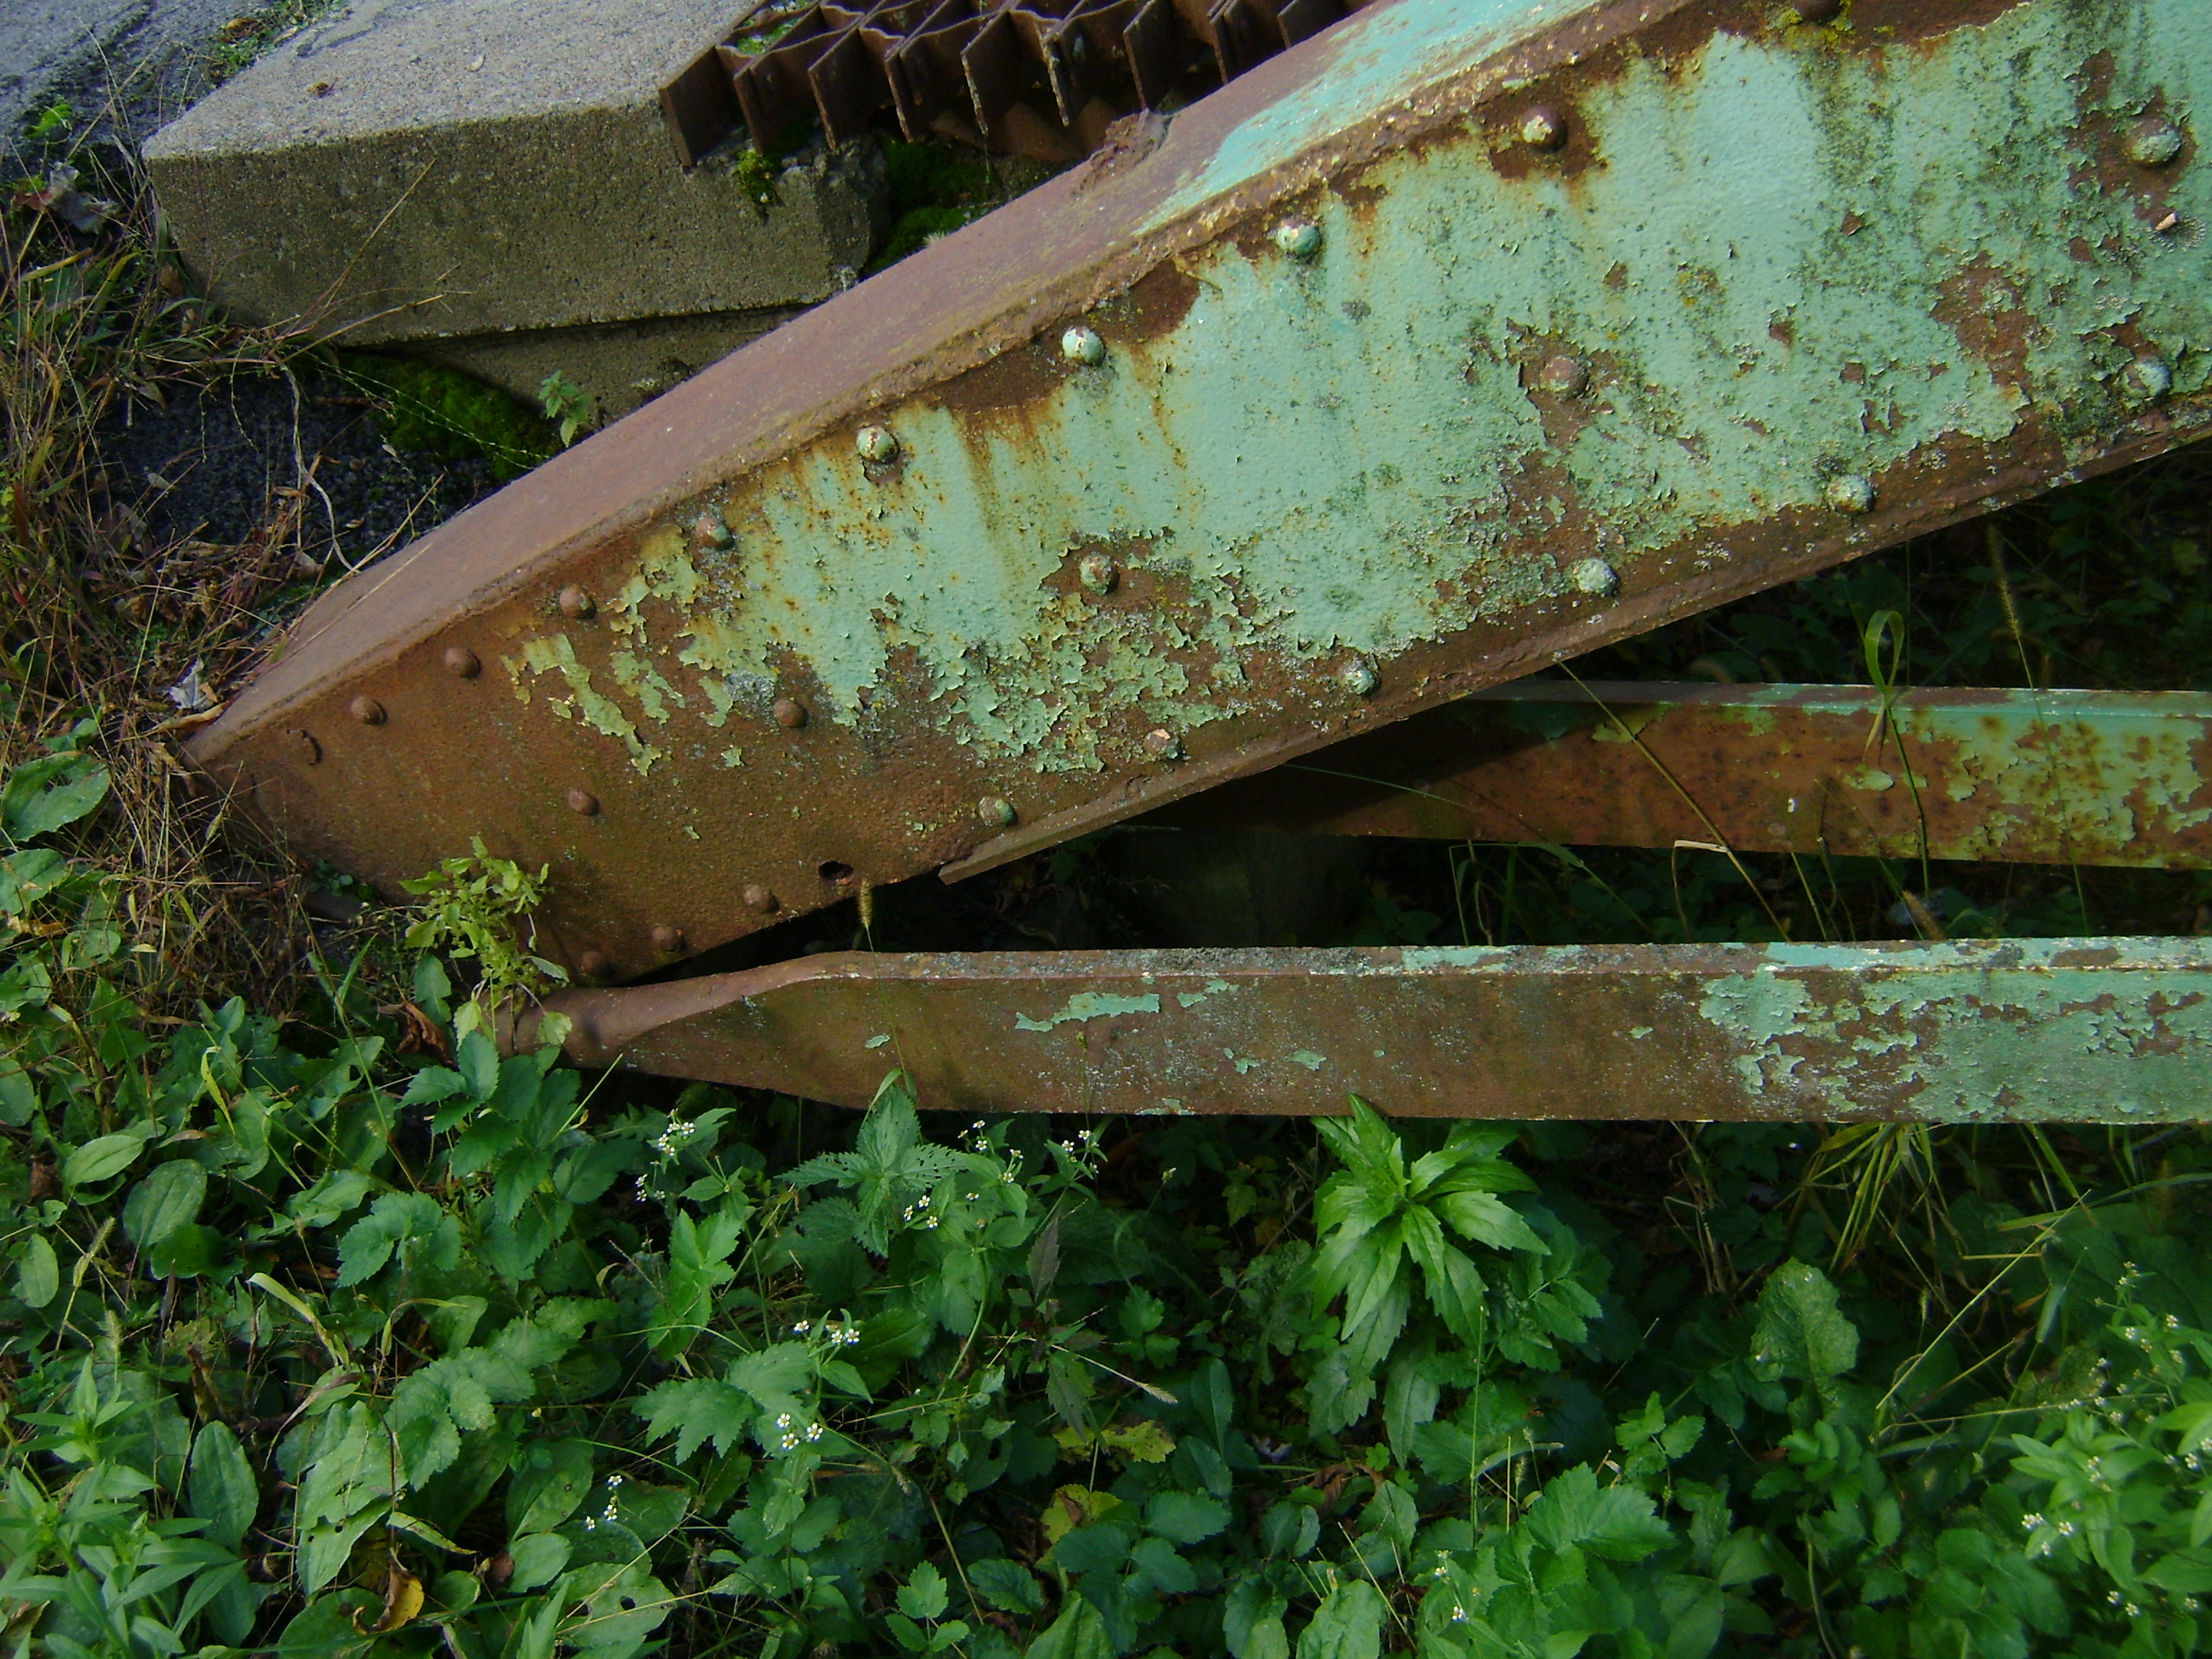
Bottom chord.
![]()
Photo Credit: Marc Scotti
Bottom chord detail.
![]()


Top chord.
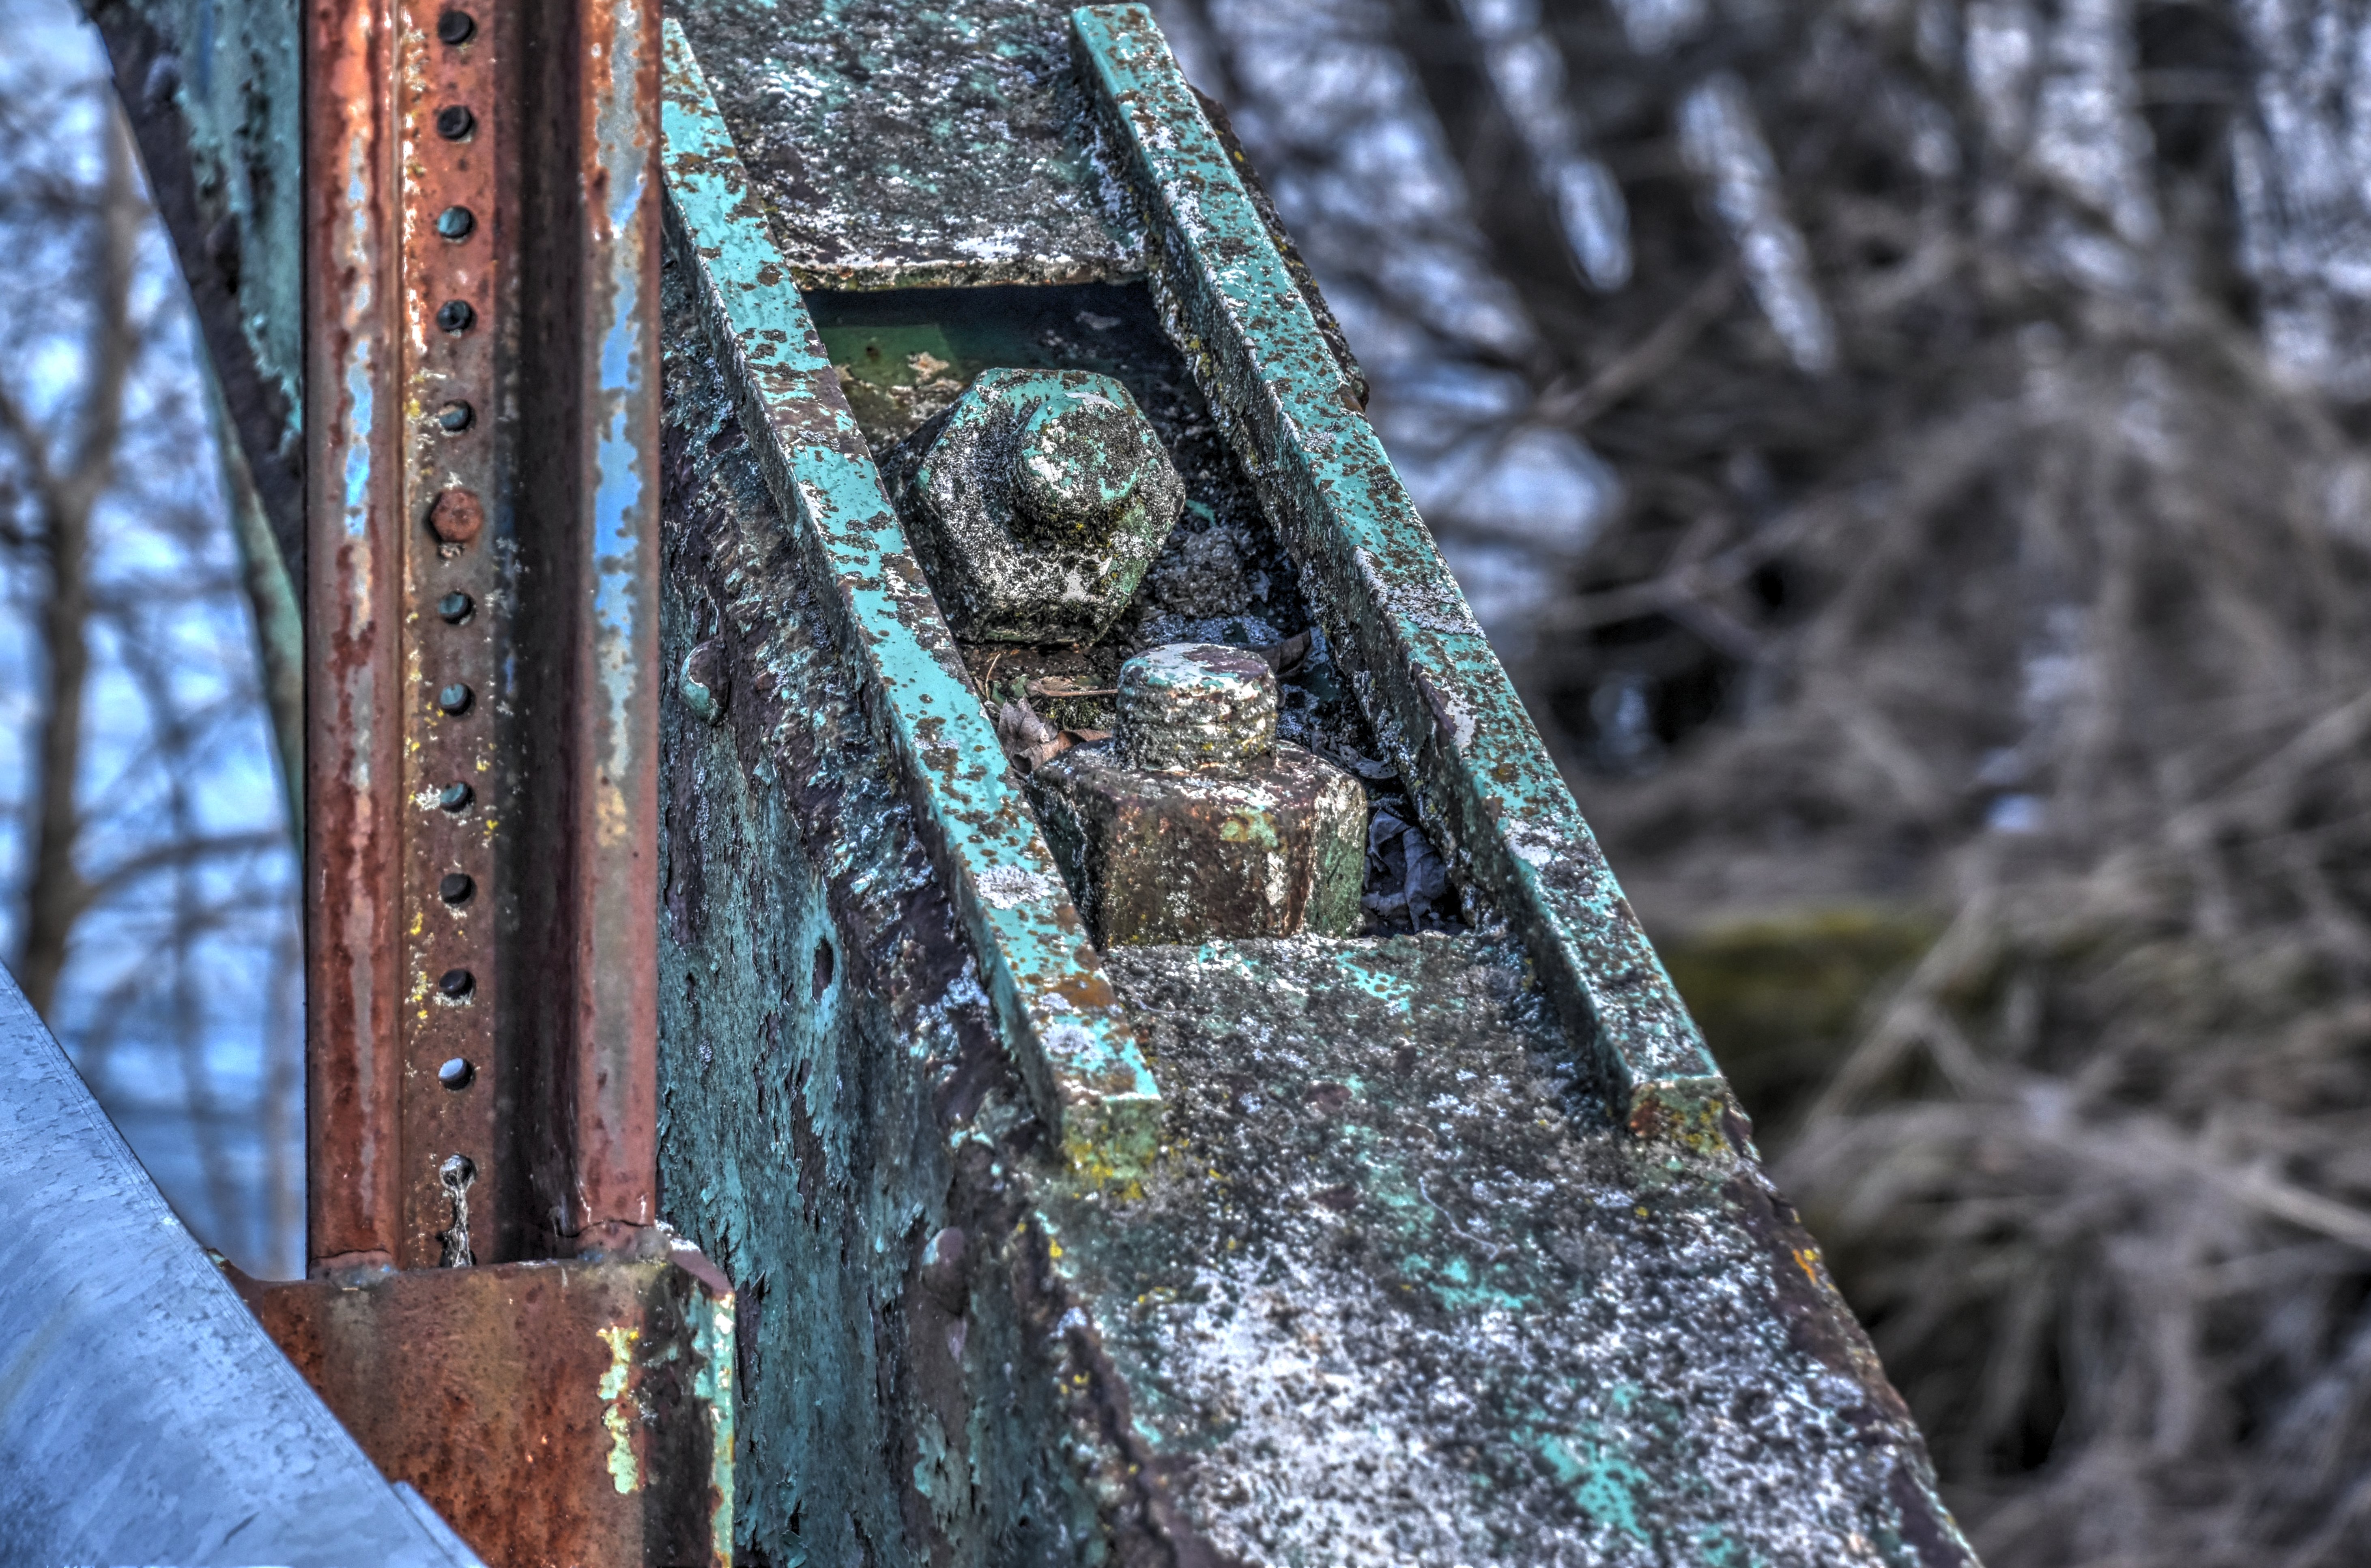
![]()

Top chord splice plate.
![]()


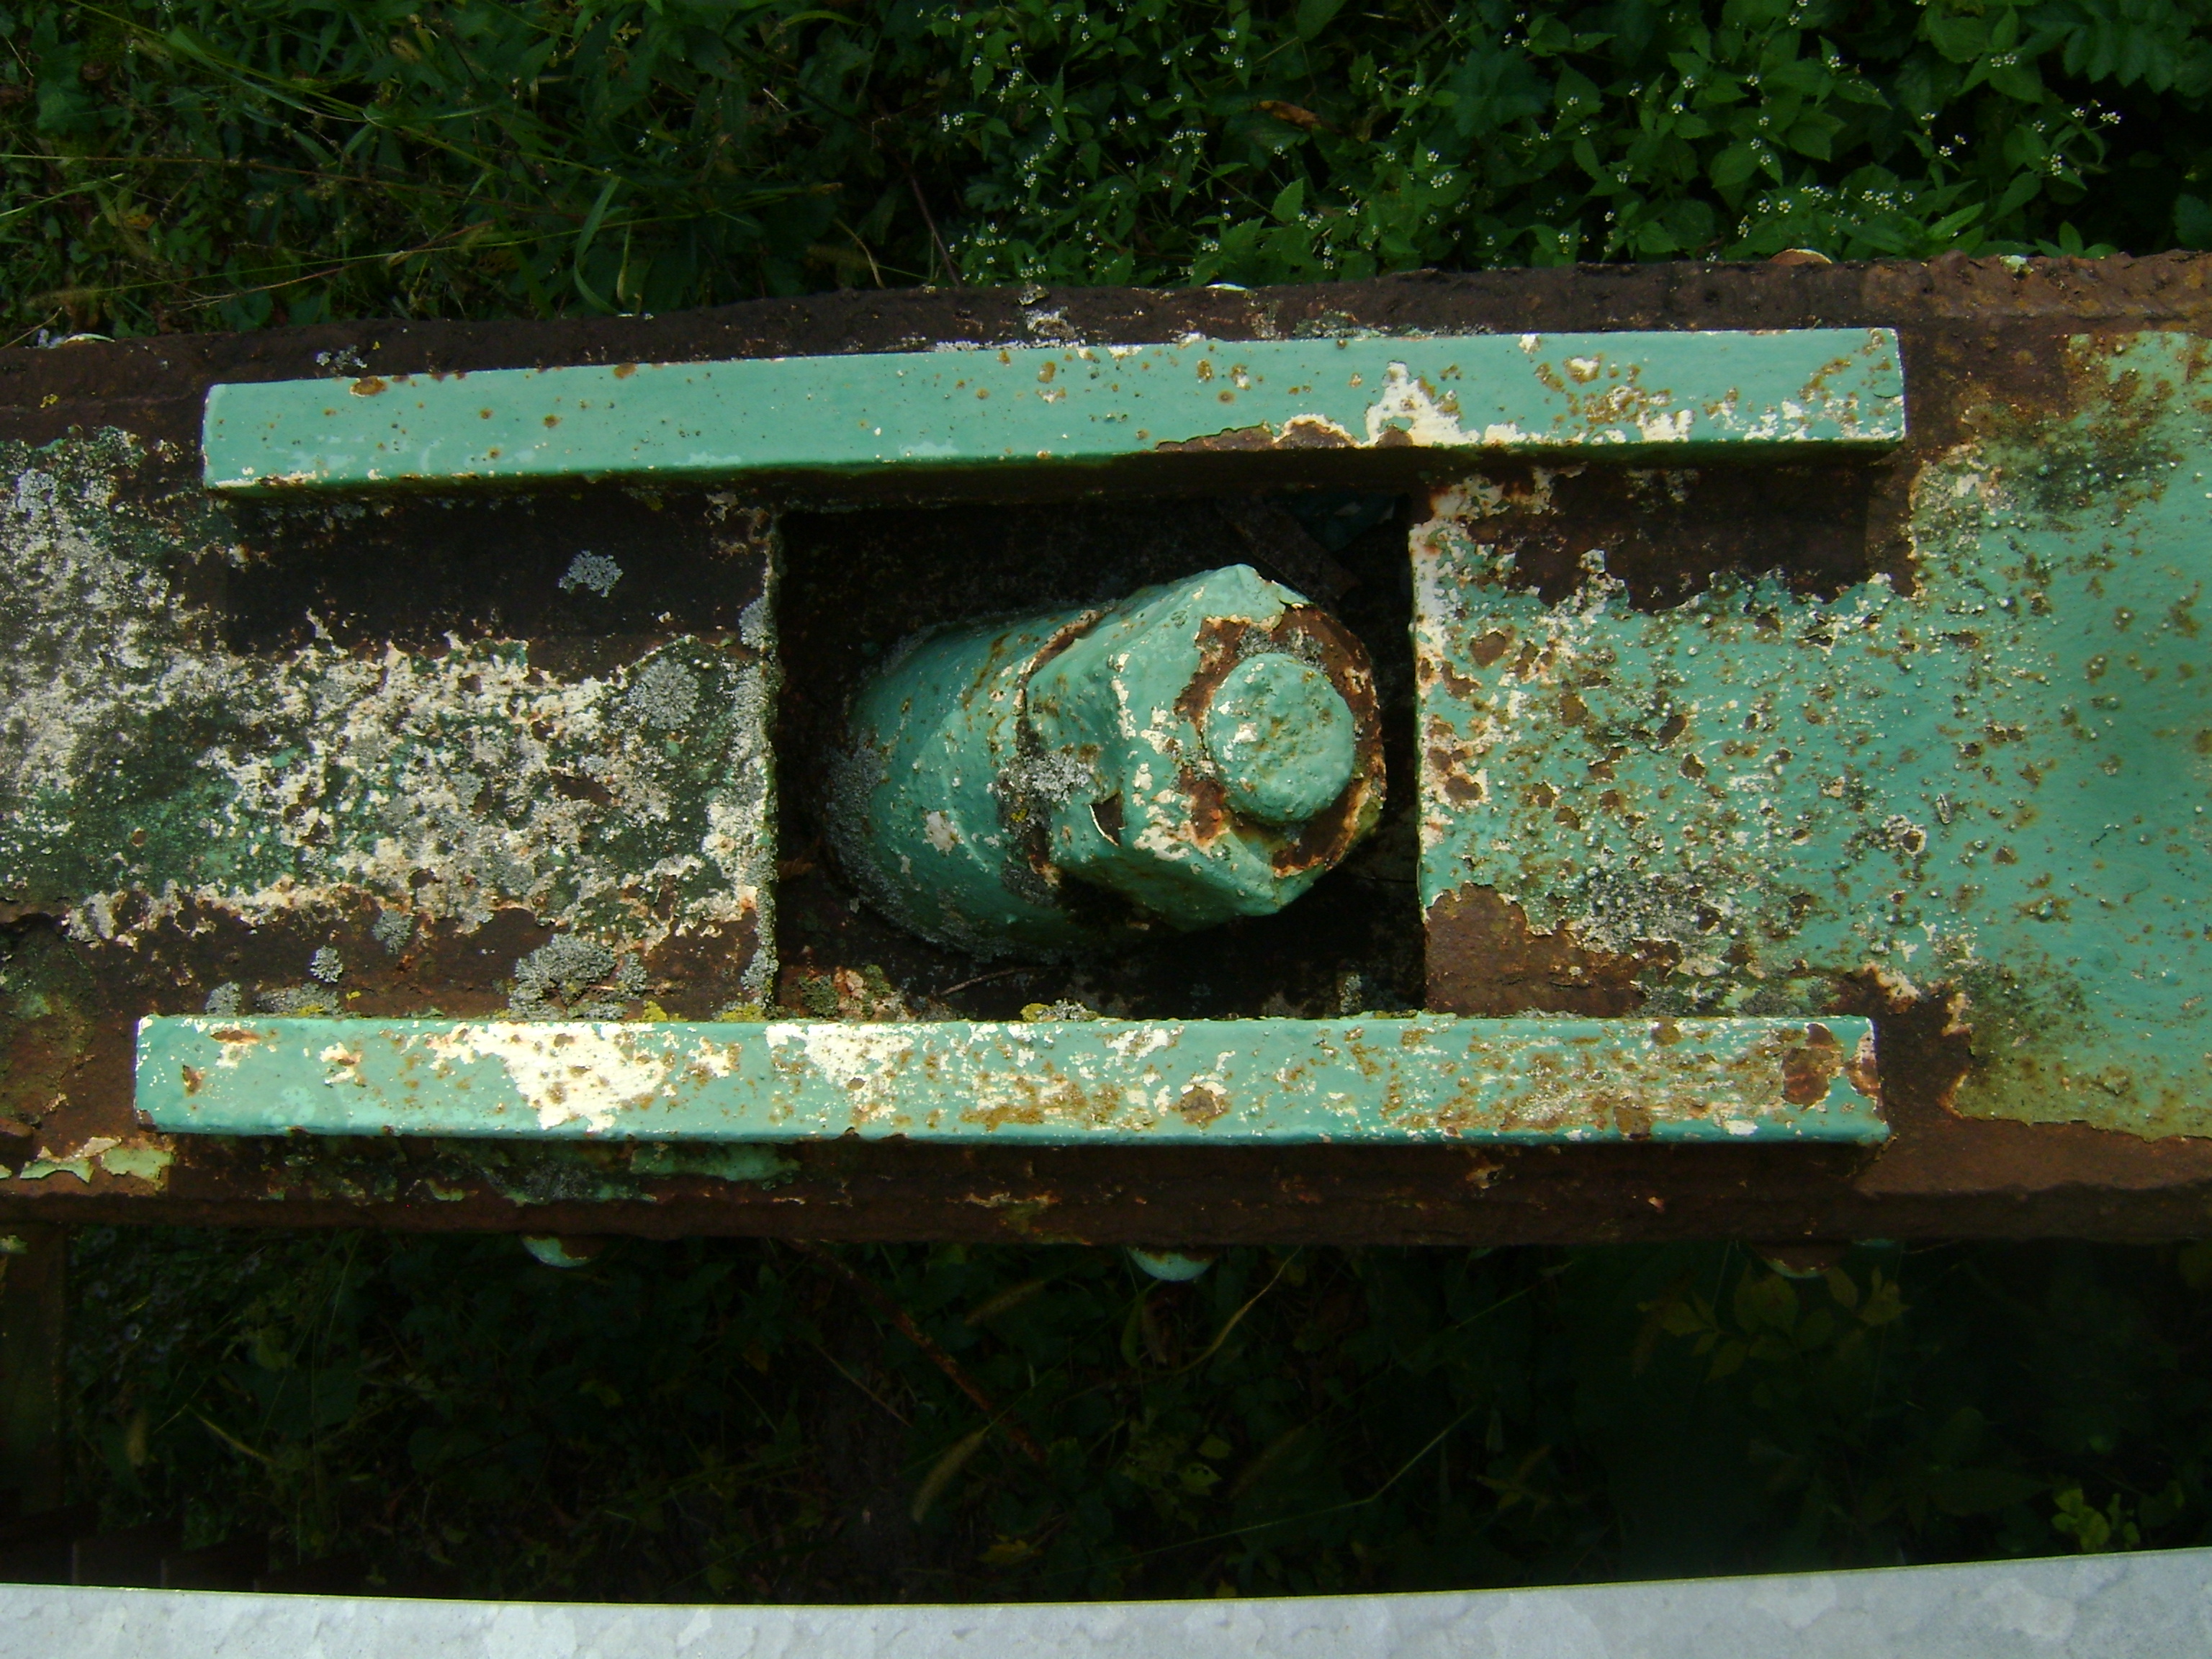
Bottom chord eyebar splice/pin connections.
![]()

Photo Credit: Marc Scotti
Bottom chord eyebar splice/pin connections.
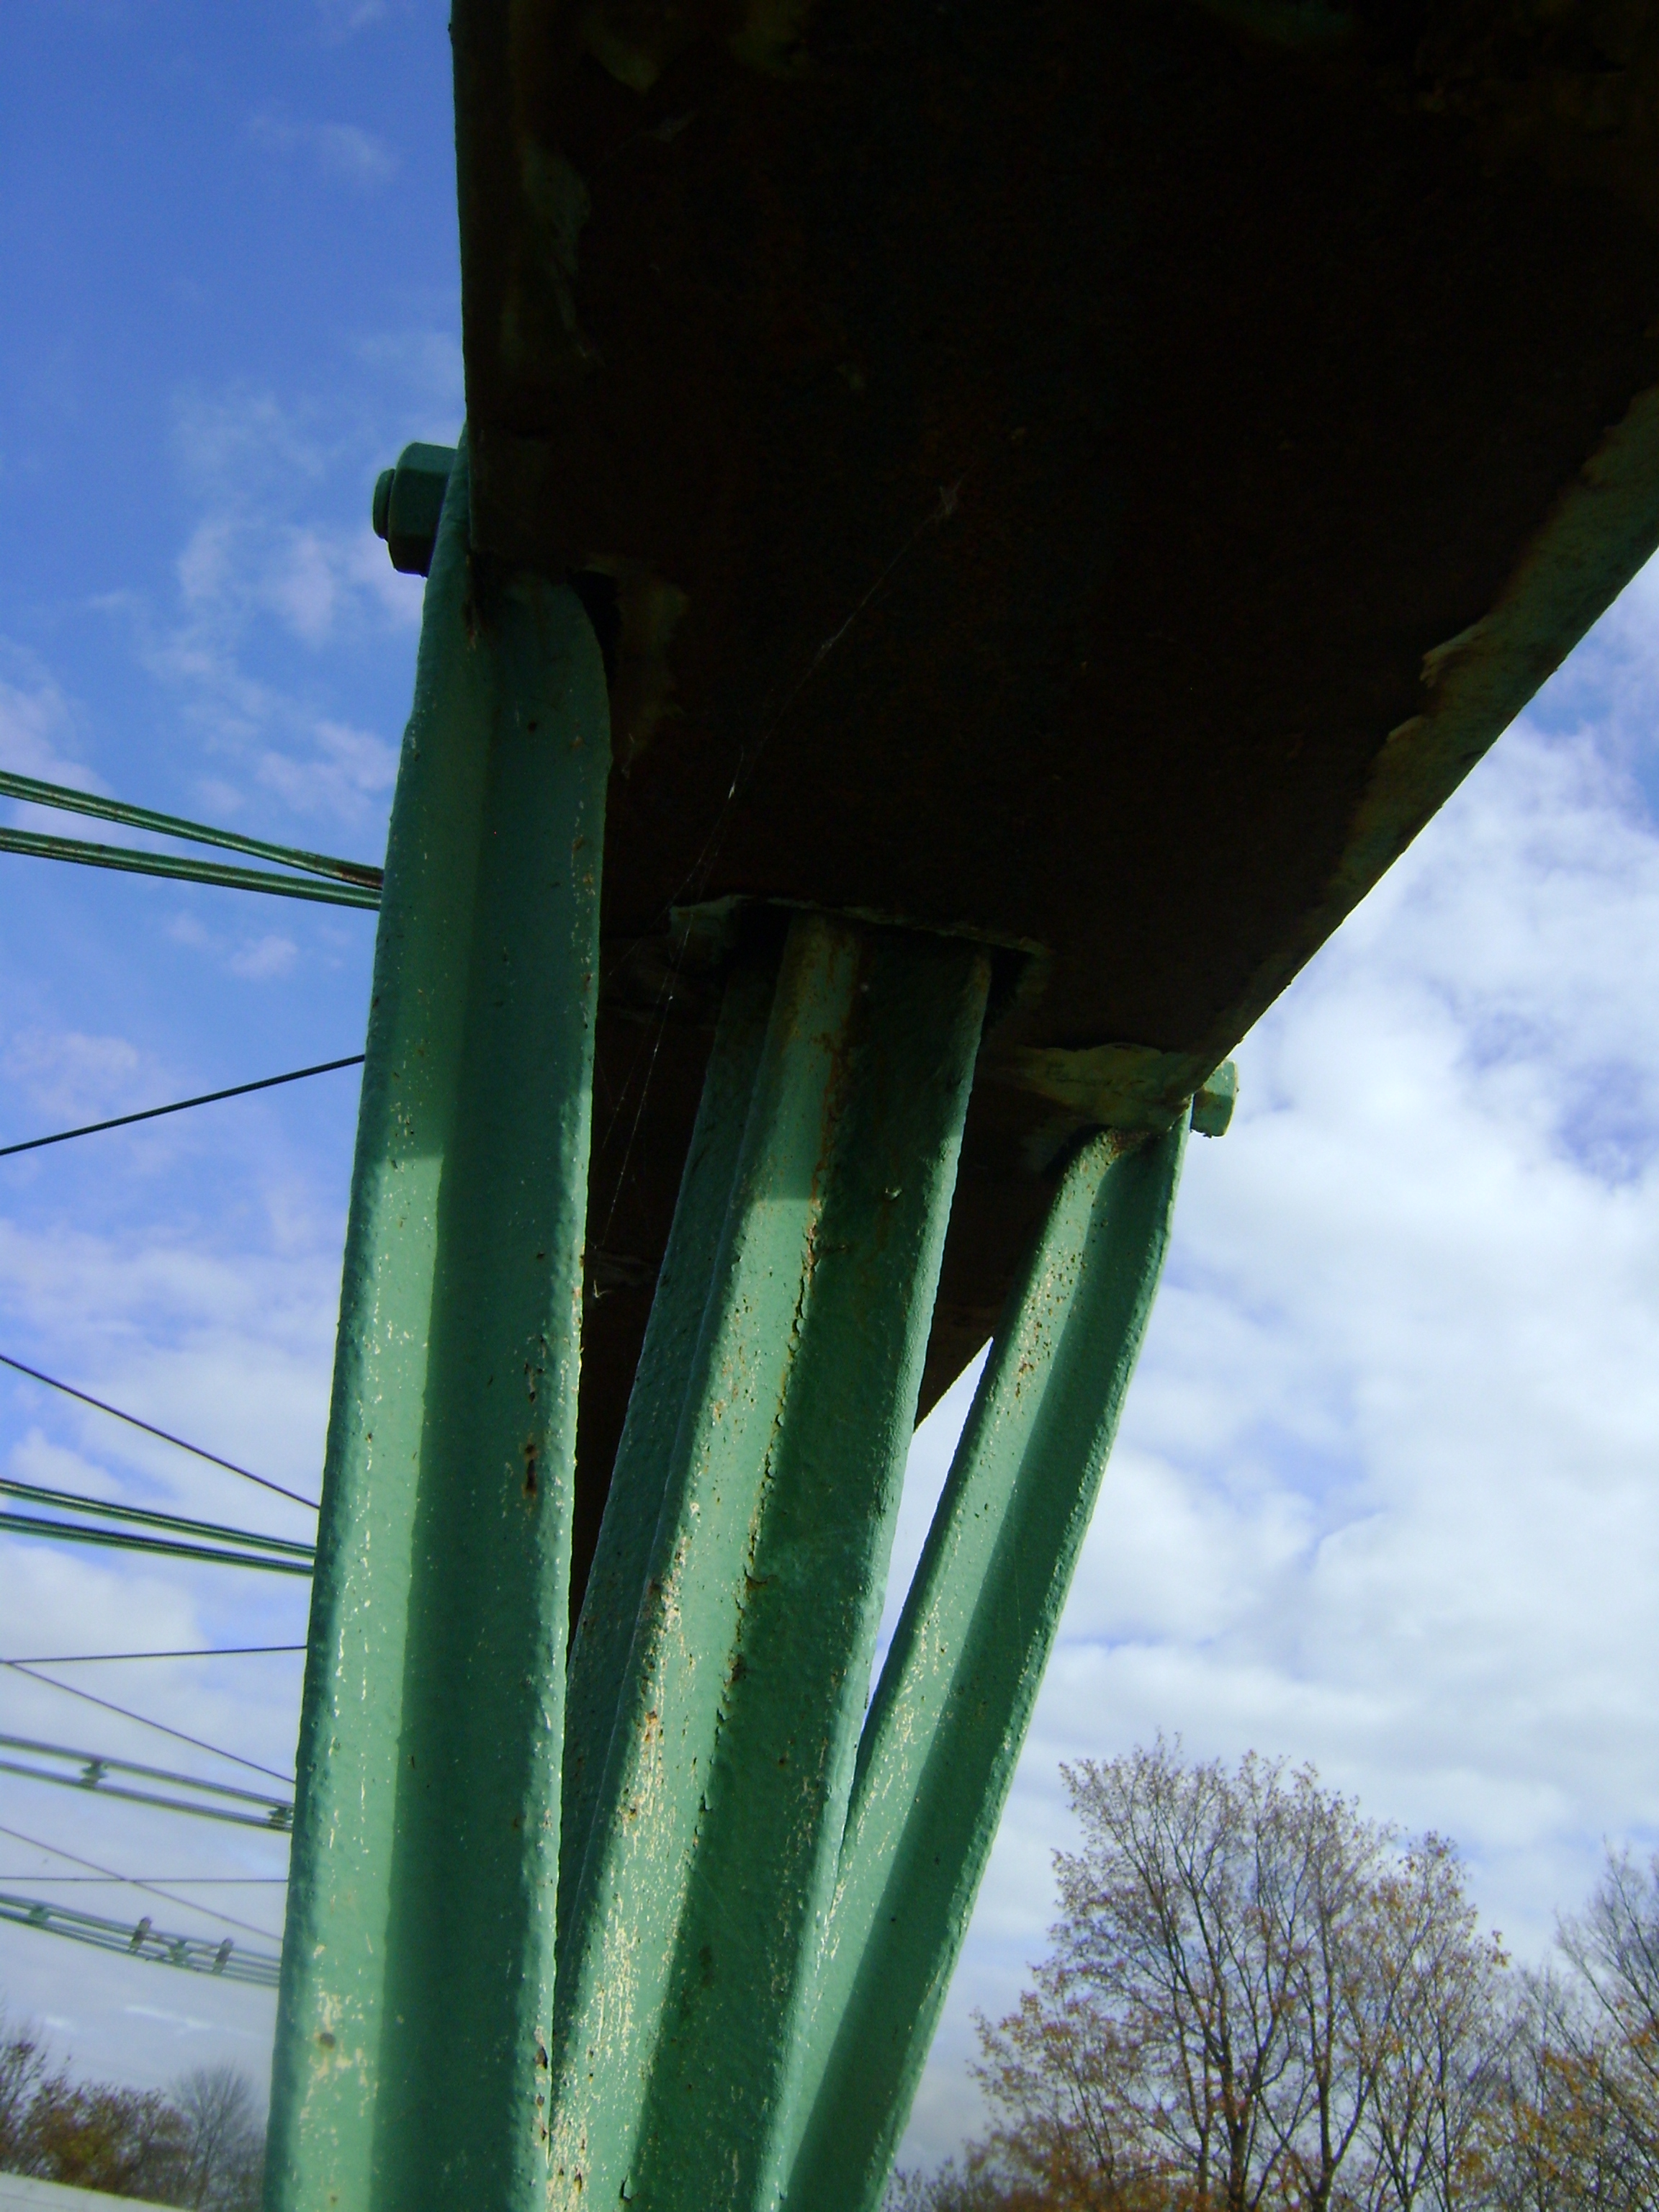
![]()


Vertical members and outriggers.
![]()
Photo Credit: Marc Scotti
Vertical members.
![]()
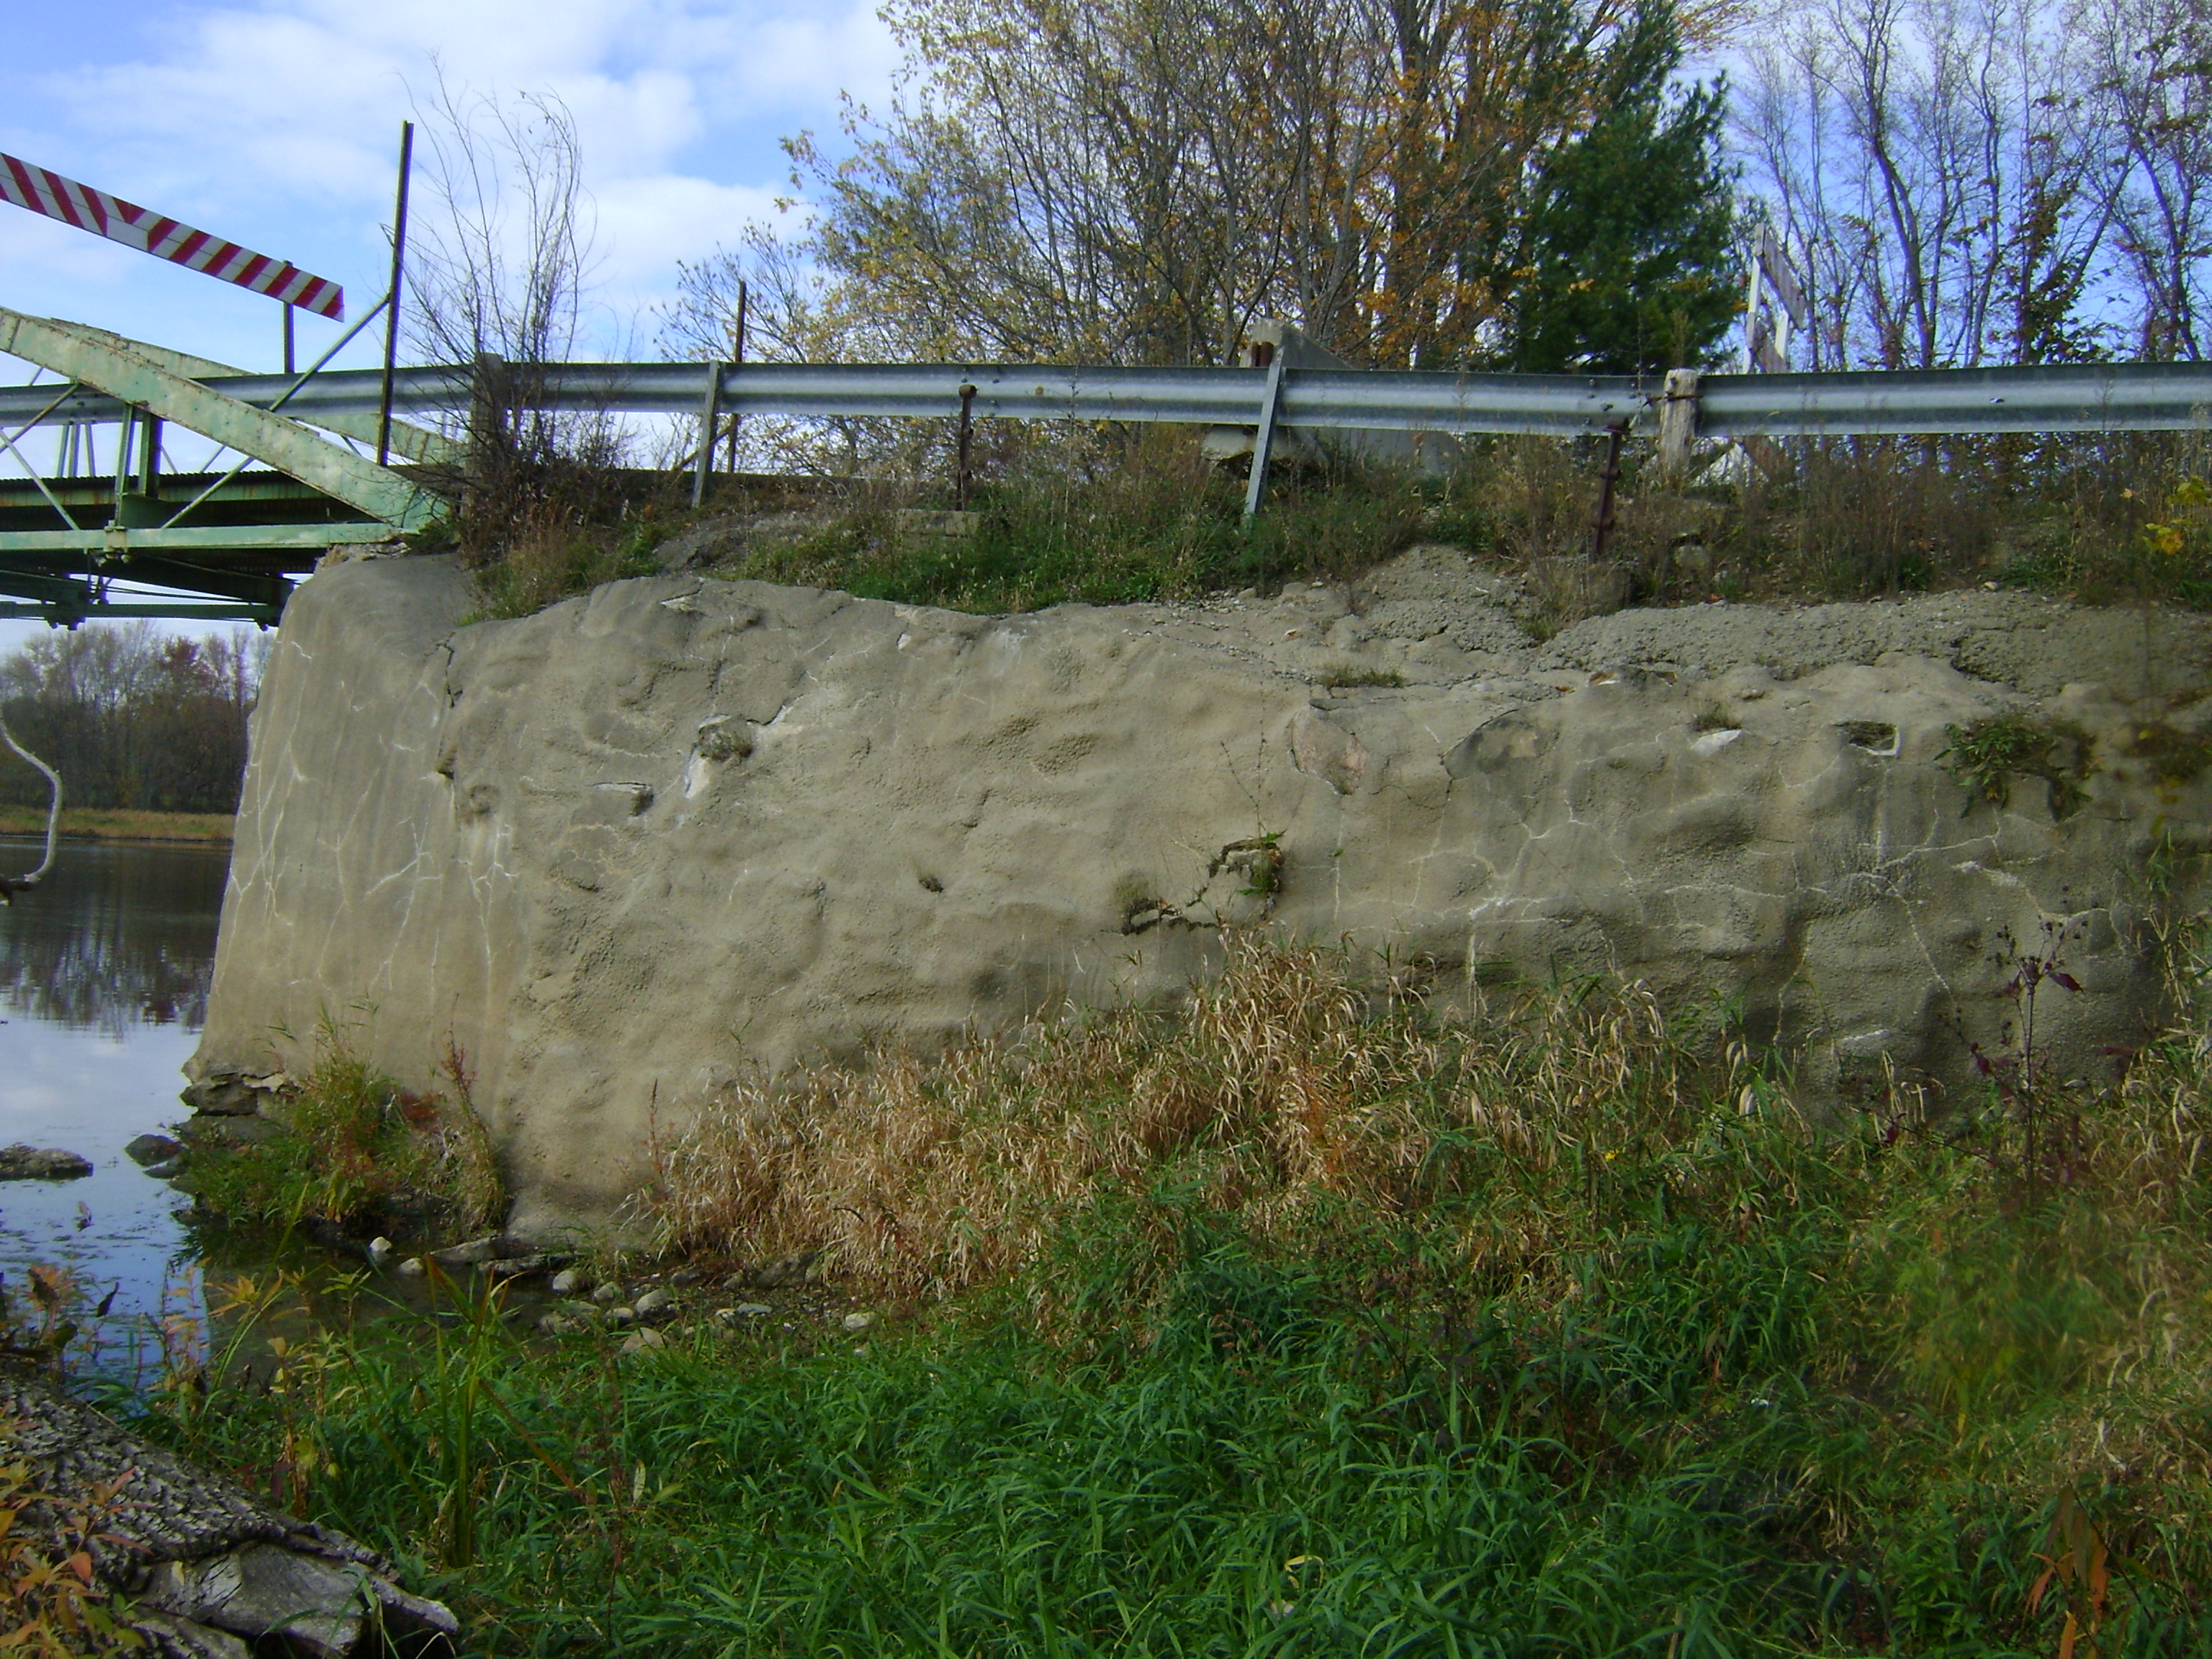
Photo Credit: Marc Scotti
Abutment.
![]()

Remains of old approach railing system.
![]()


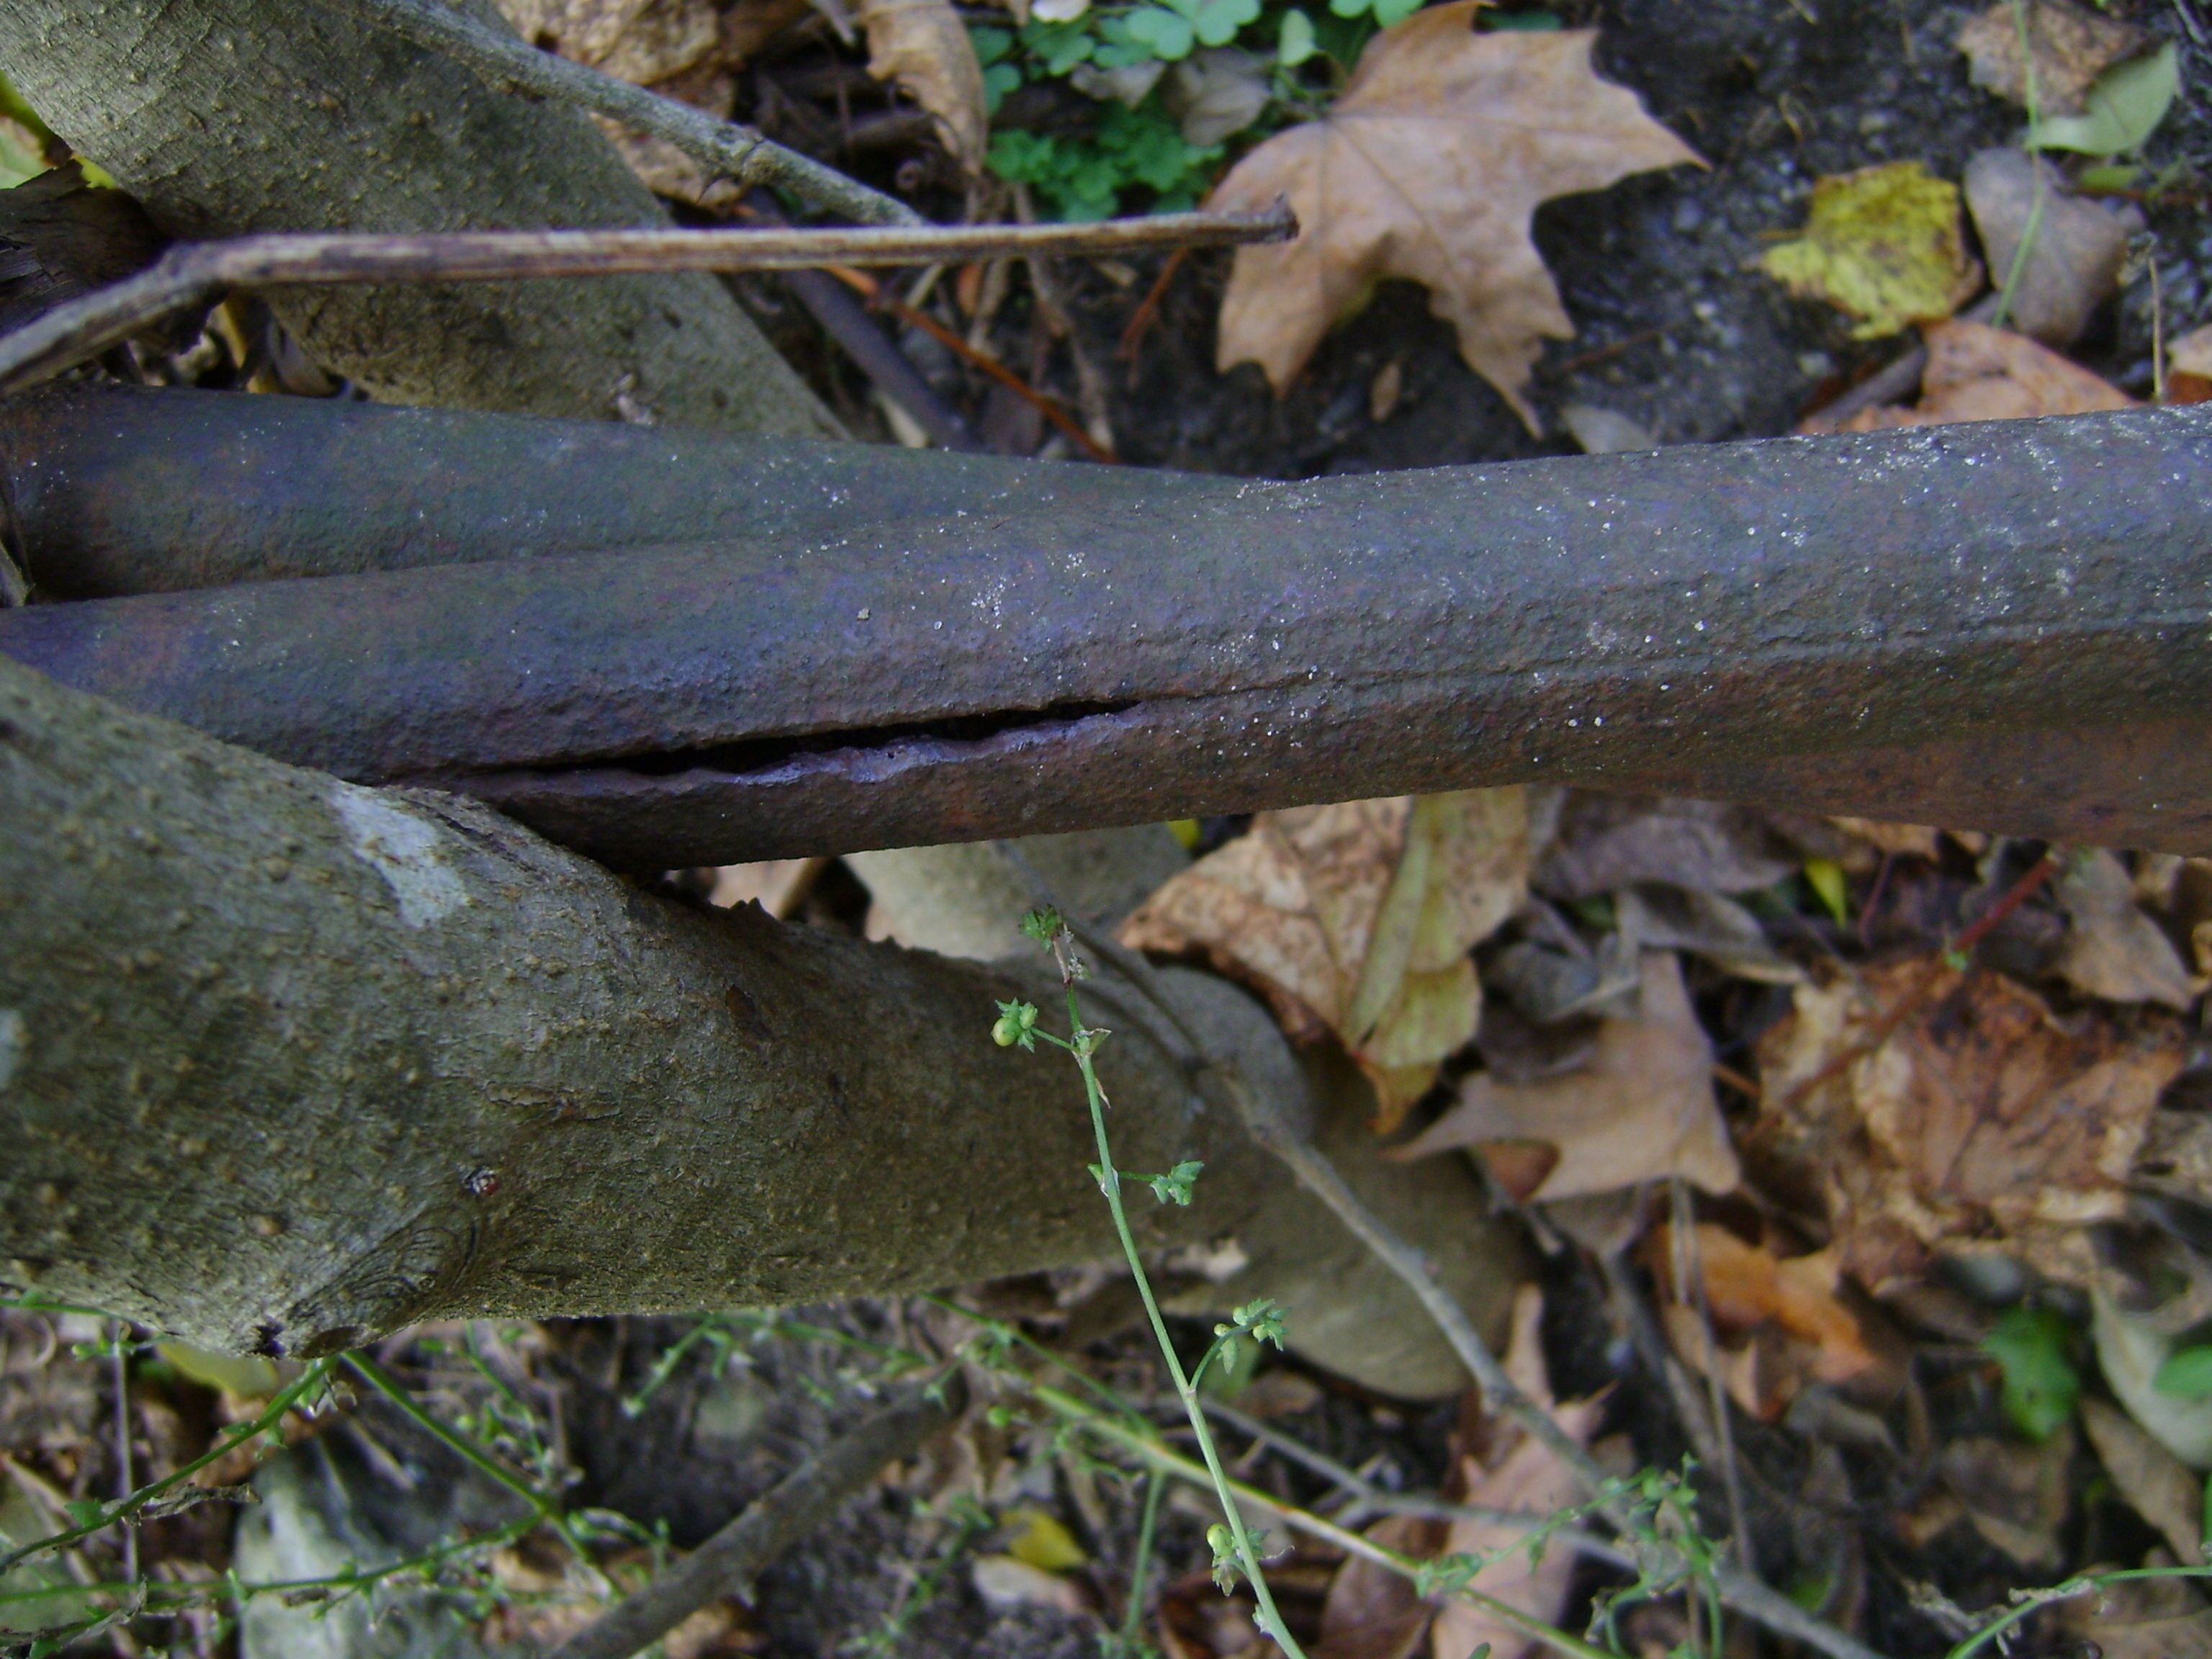


Photo Credit: Marc Scotti
Remains of old approach railing system.
![]()
![]()

![]()