Uncredited photos on this page taken by: Nathan Holth and Rick McOmber. Unless stated in a caption, all photos are Copyright with All Rights Reserved. Learn about reuse of our photos.
![]()


2008 Elevation from Manhattan Bridge.
![]()


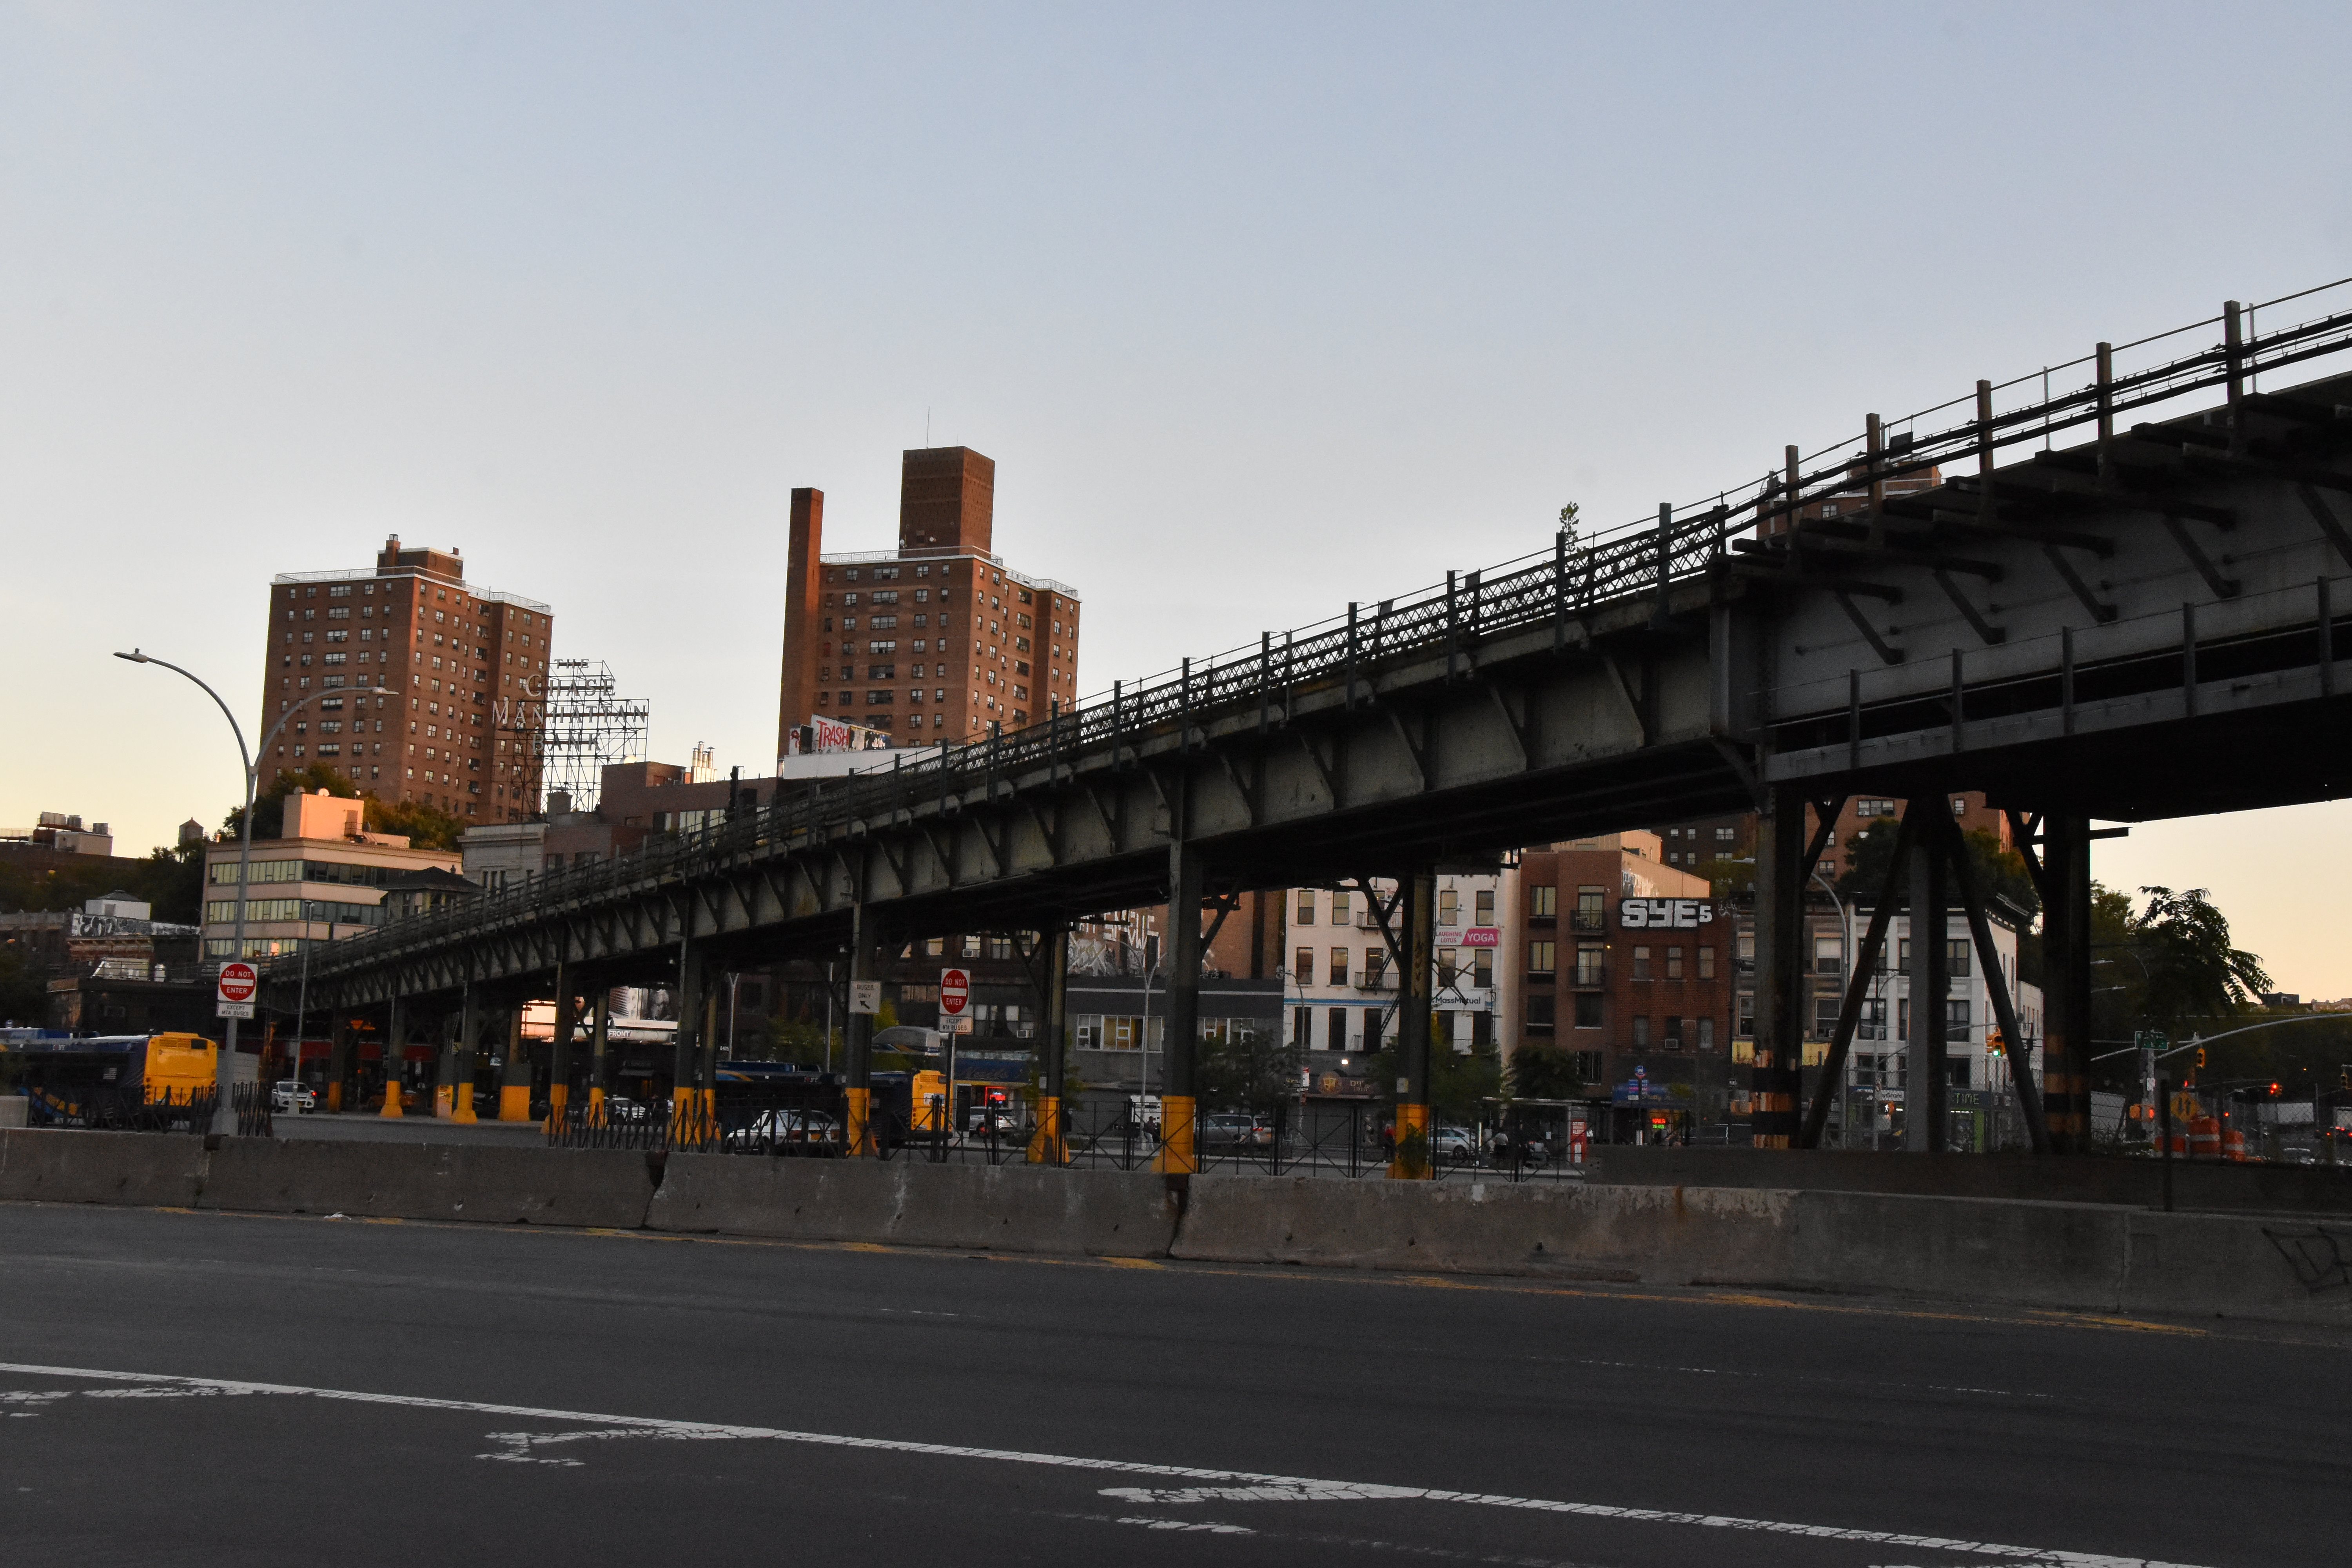
Distant south elevation from Manhattan Bridge.
![]()
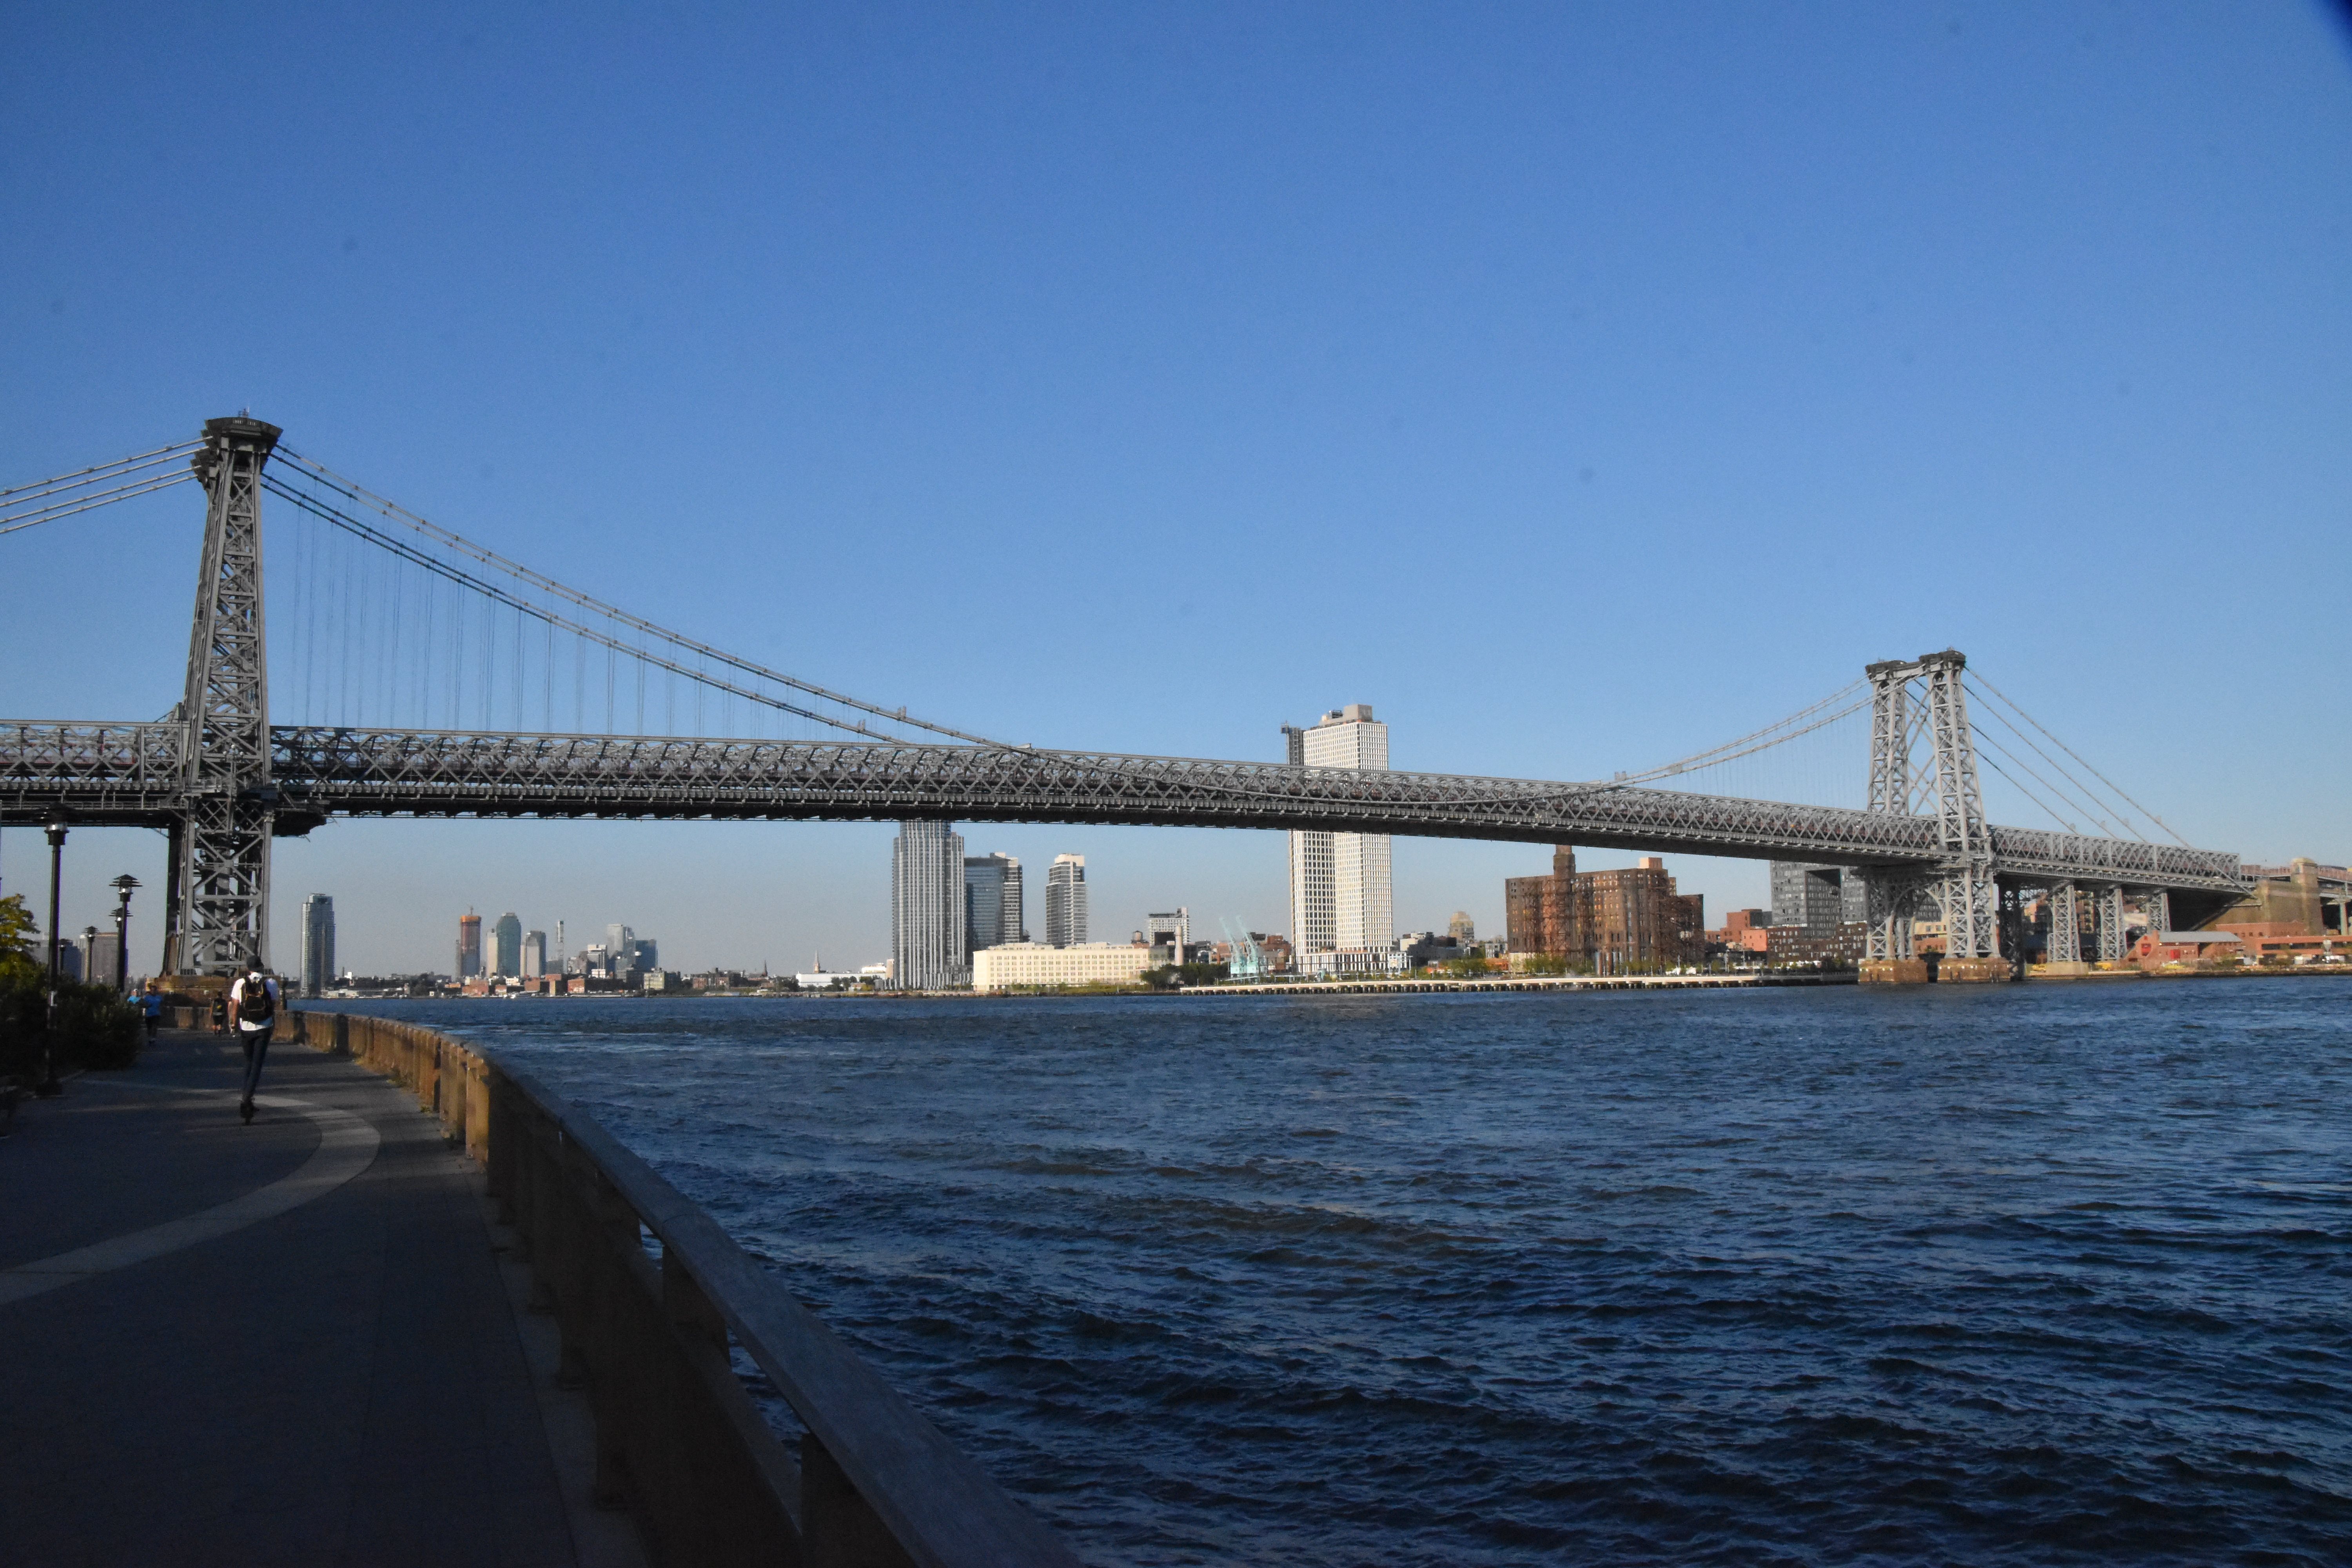
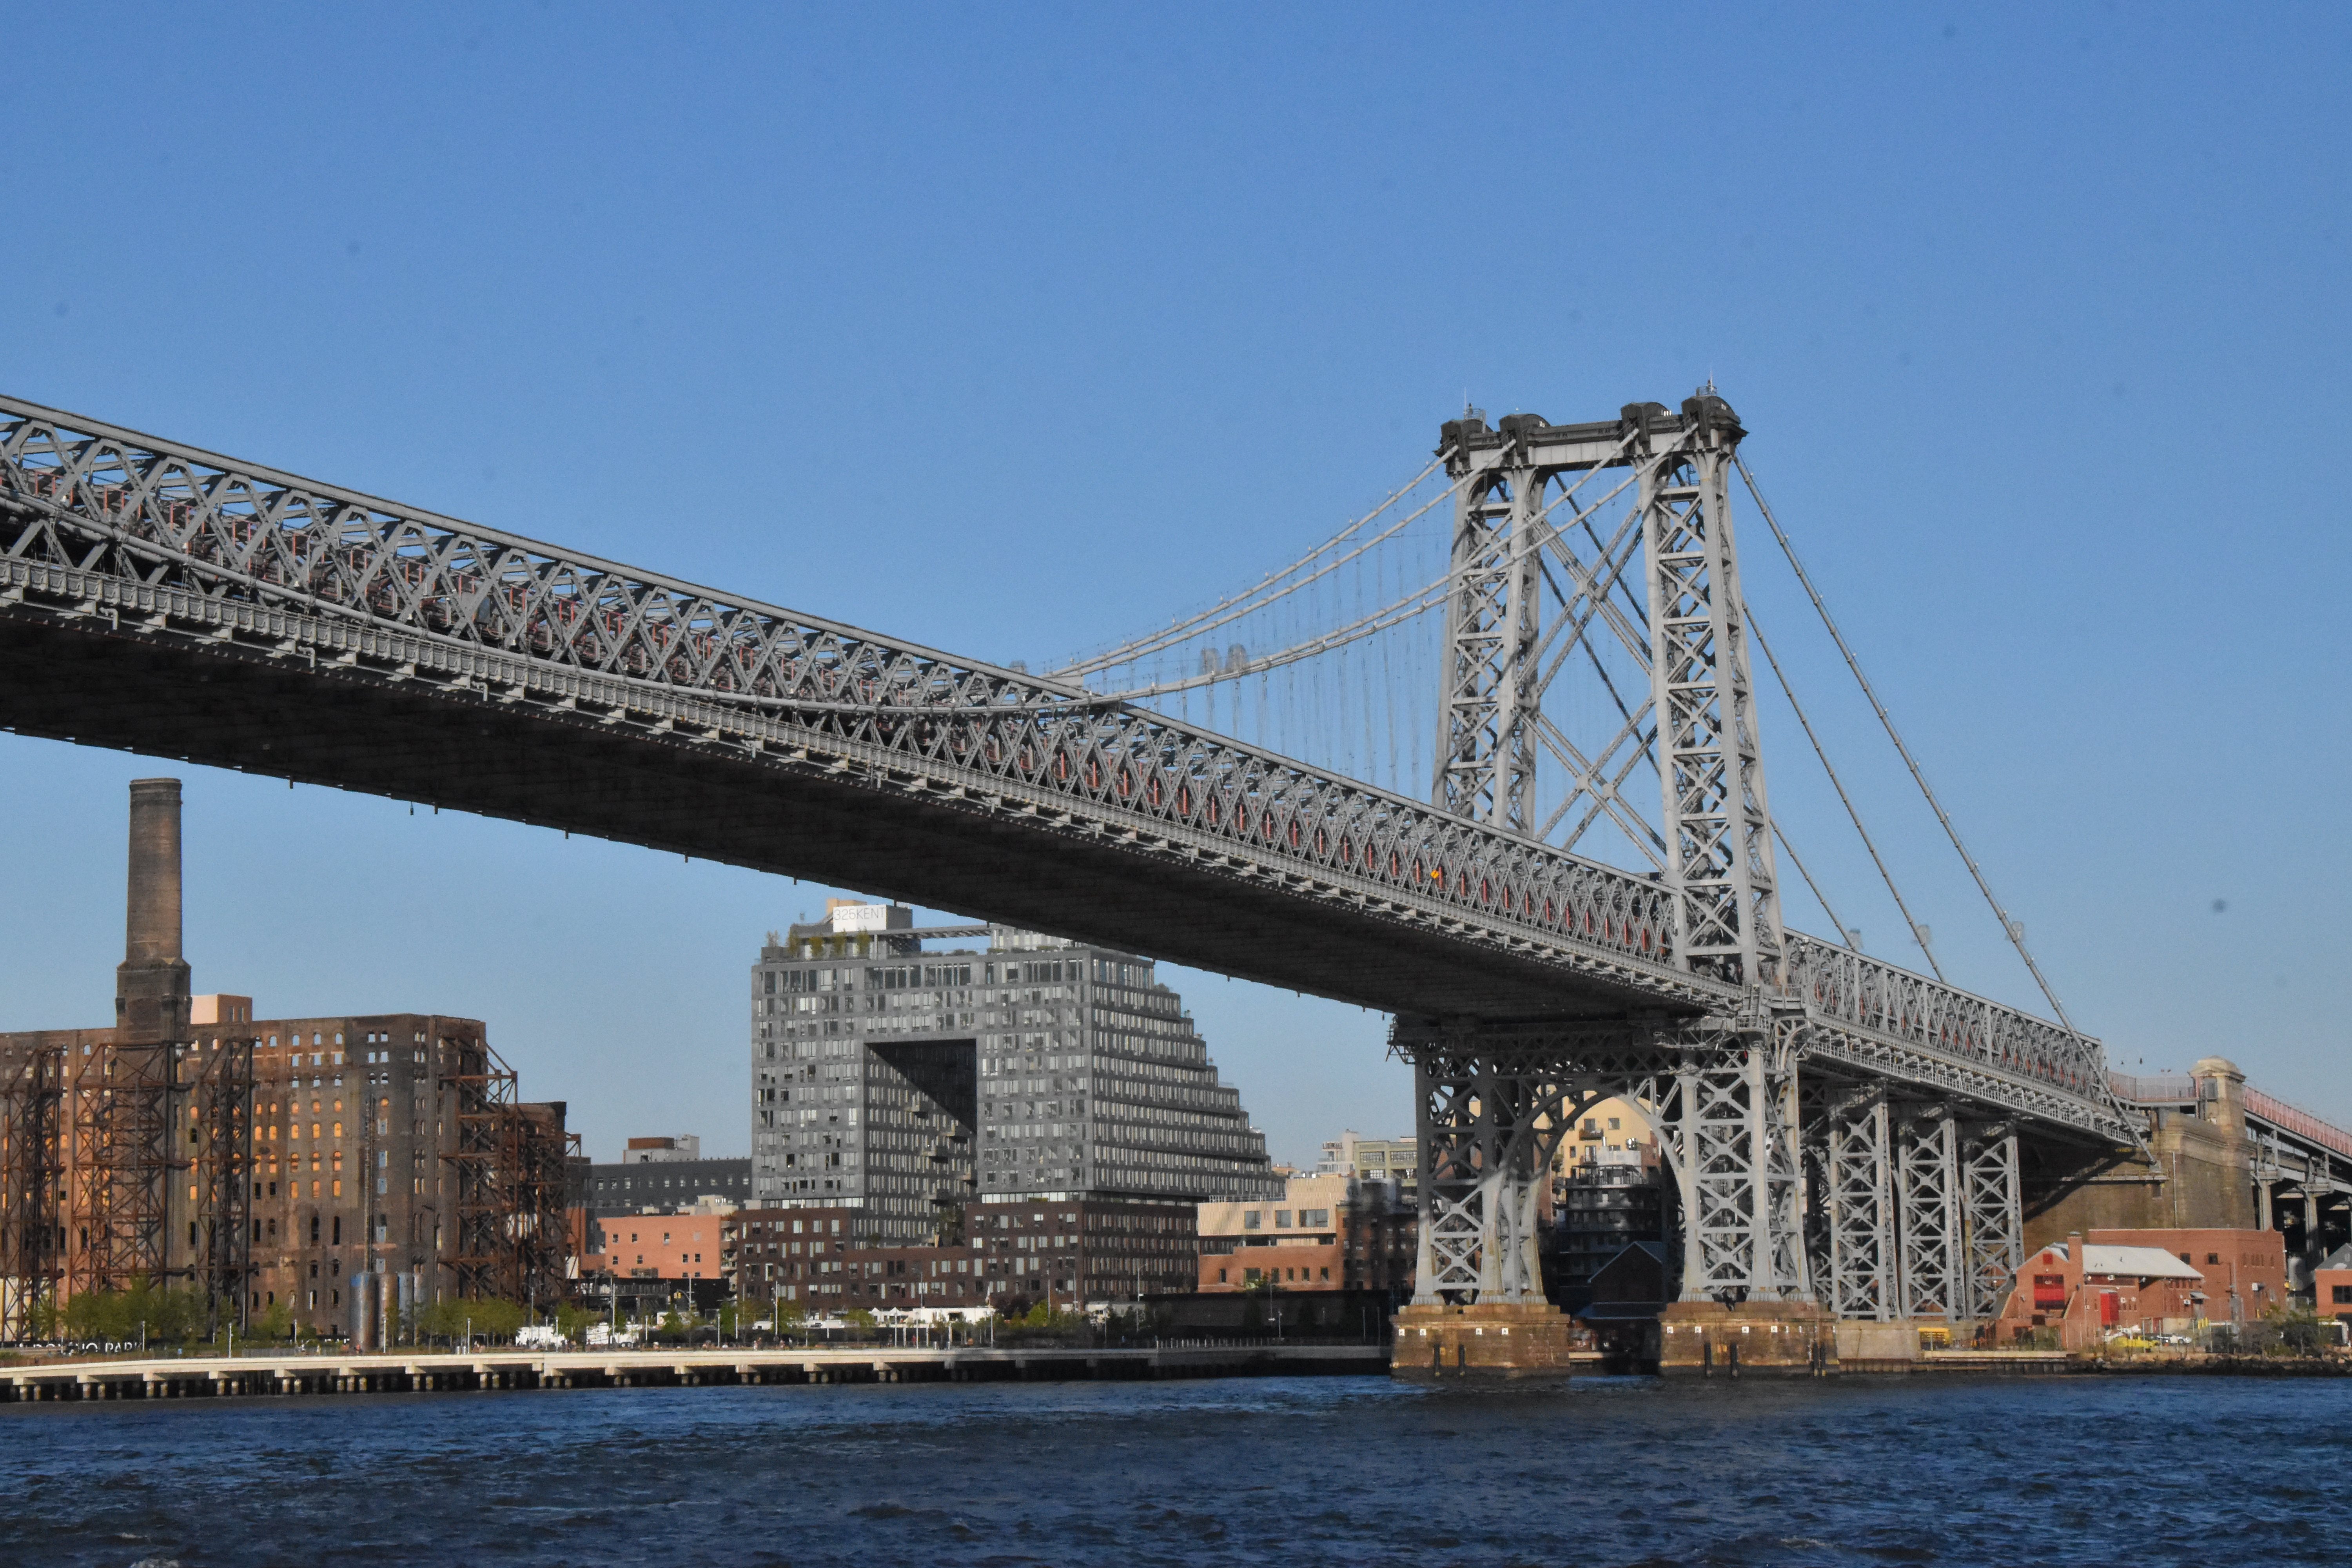
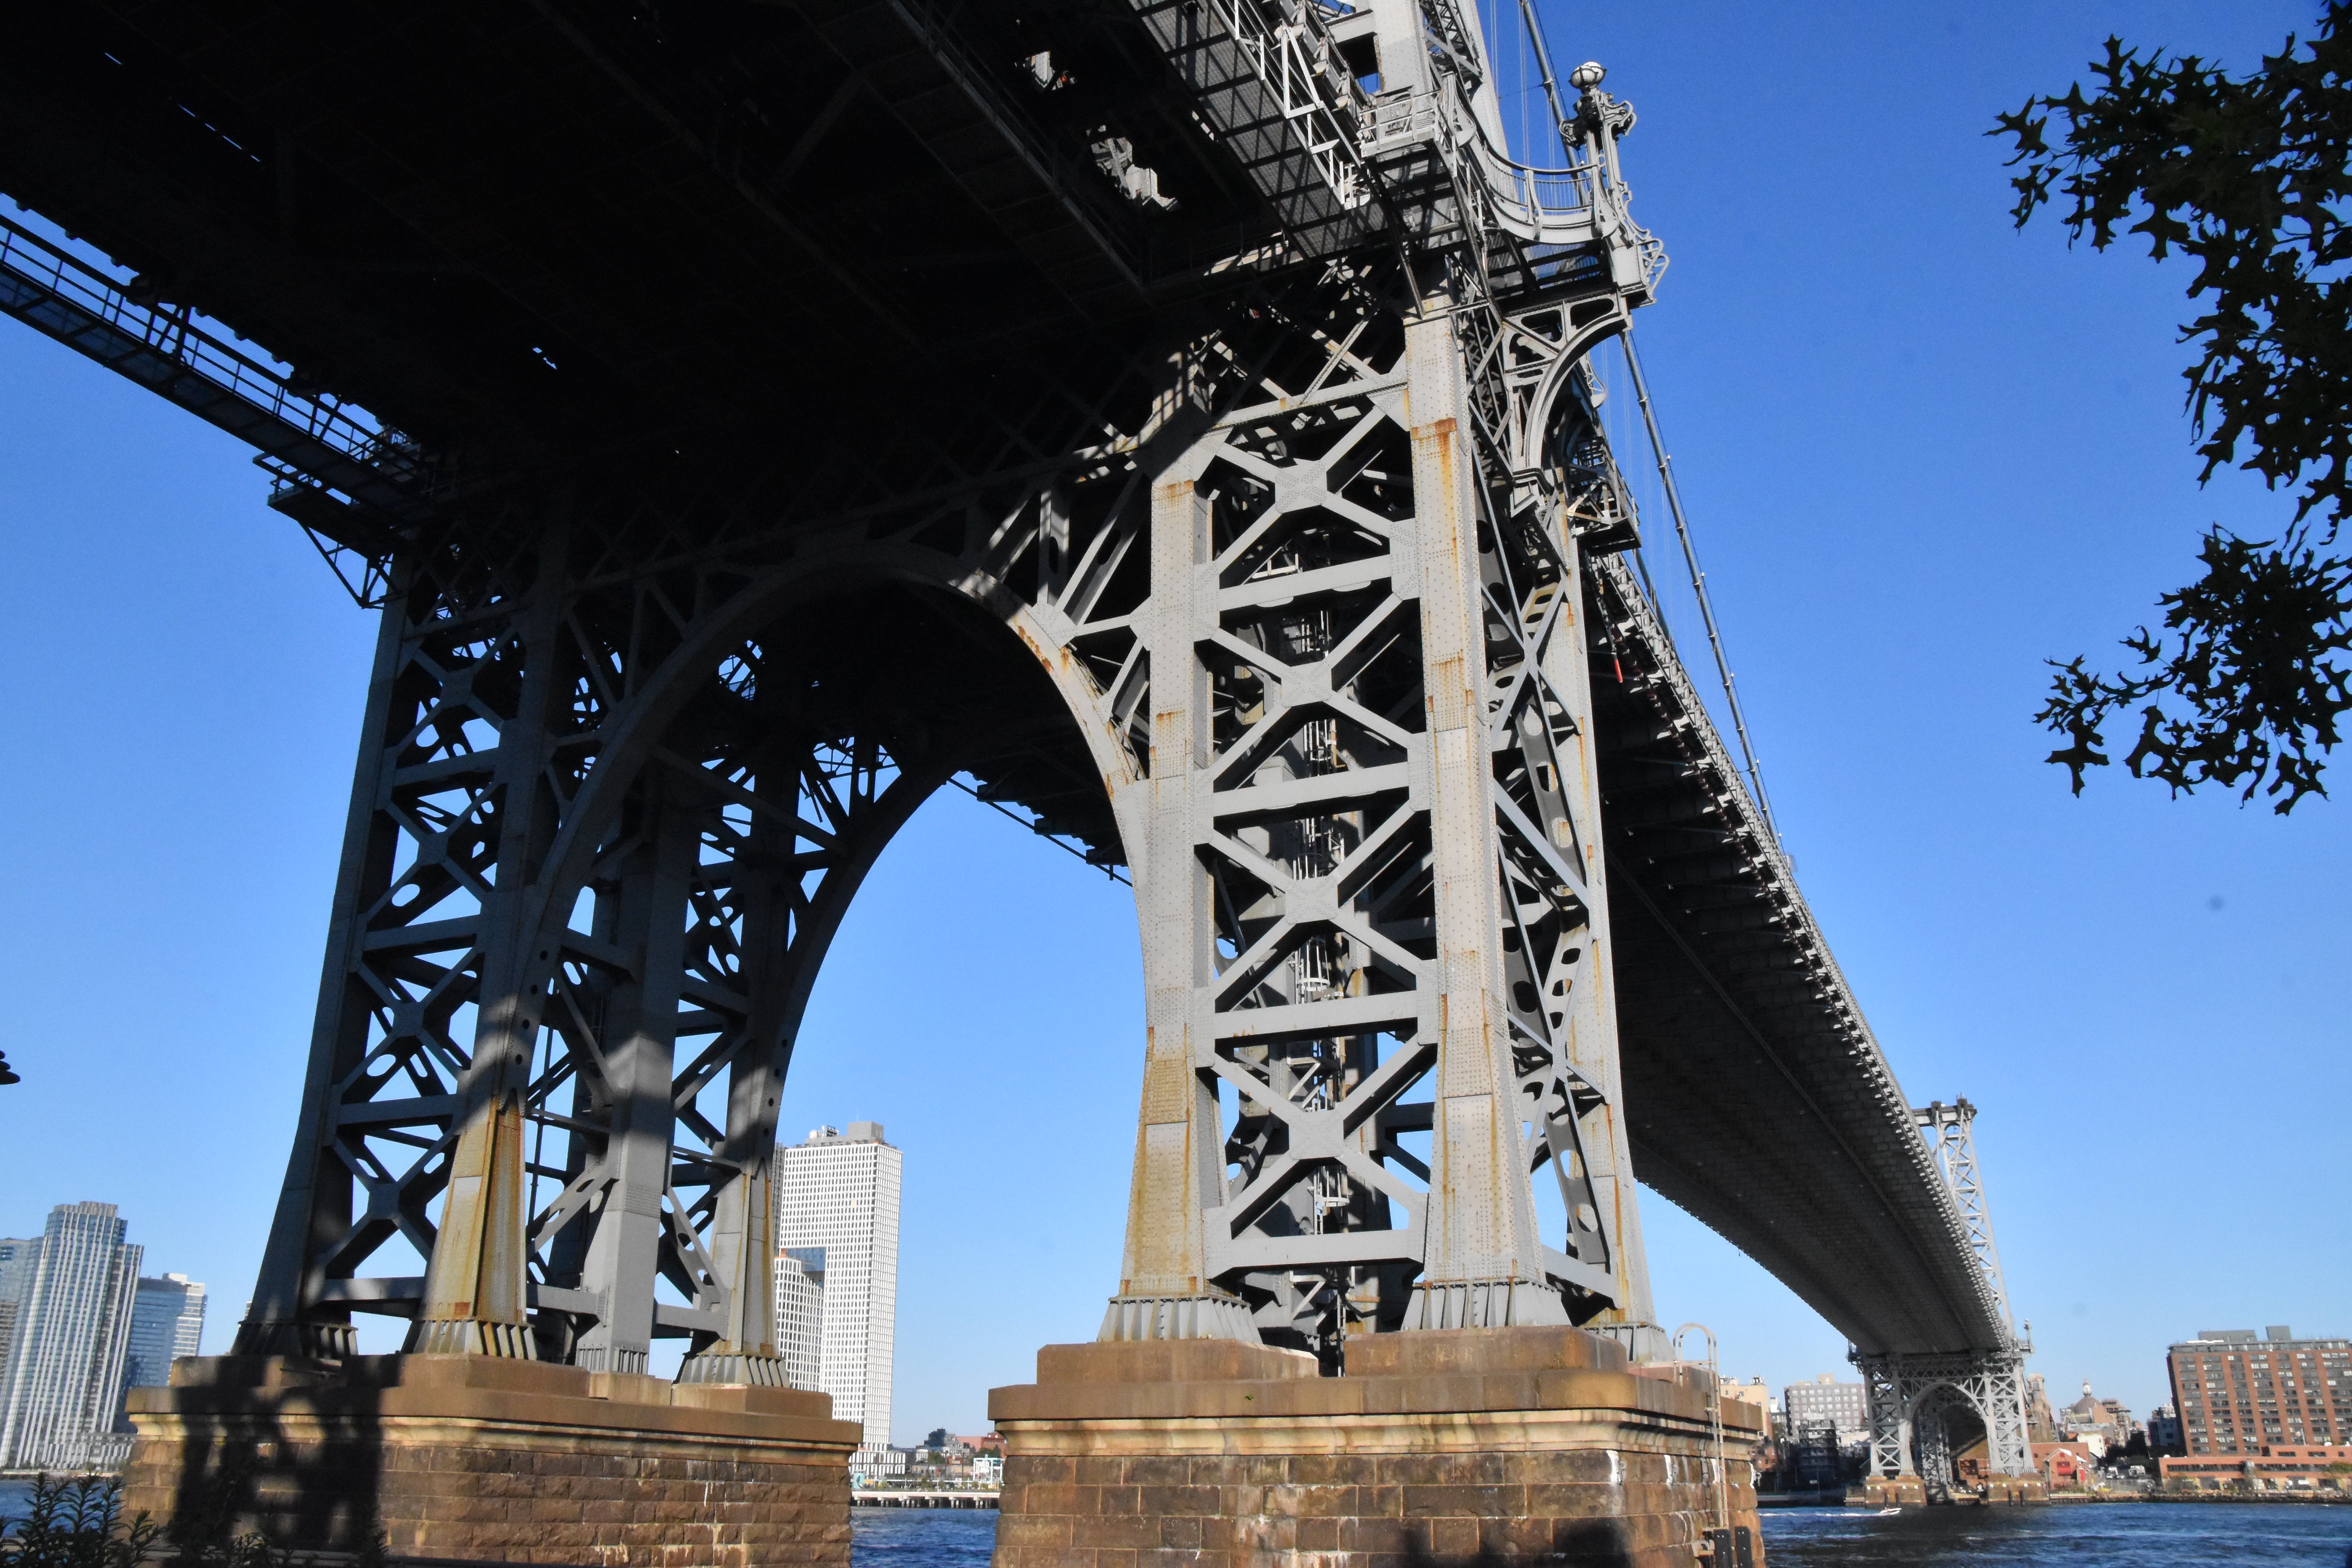
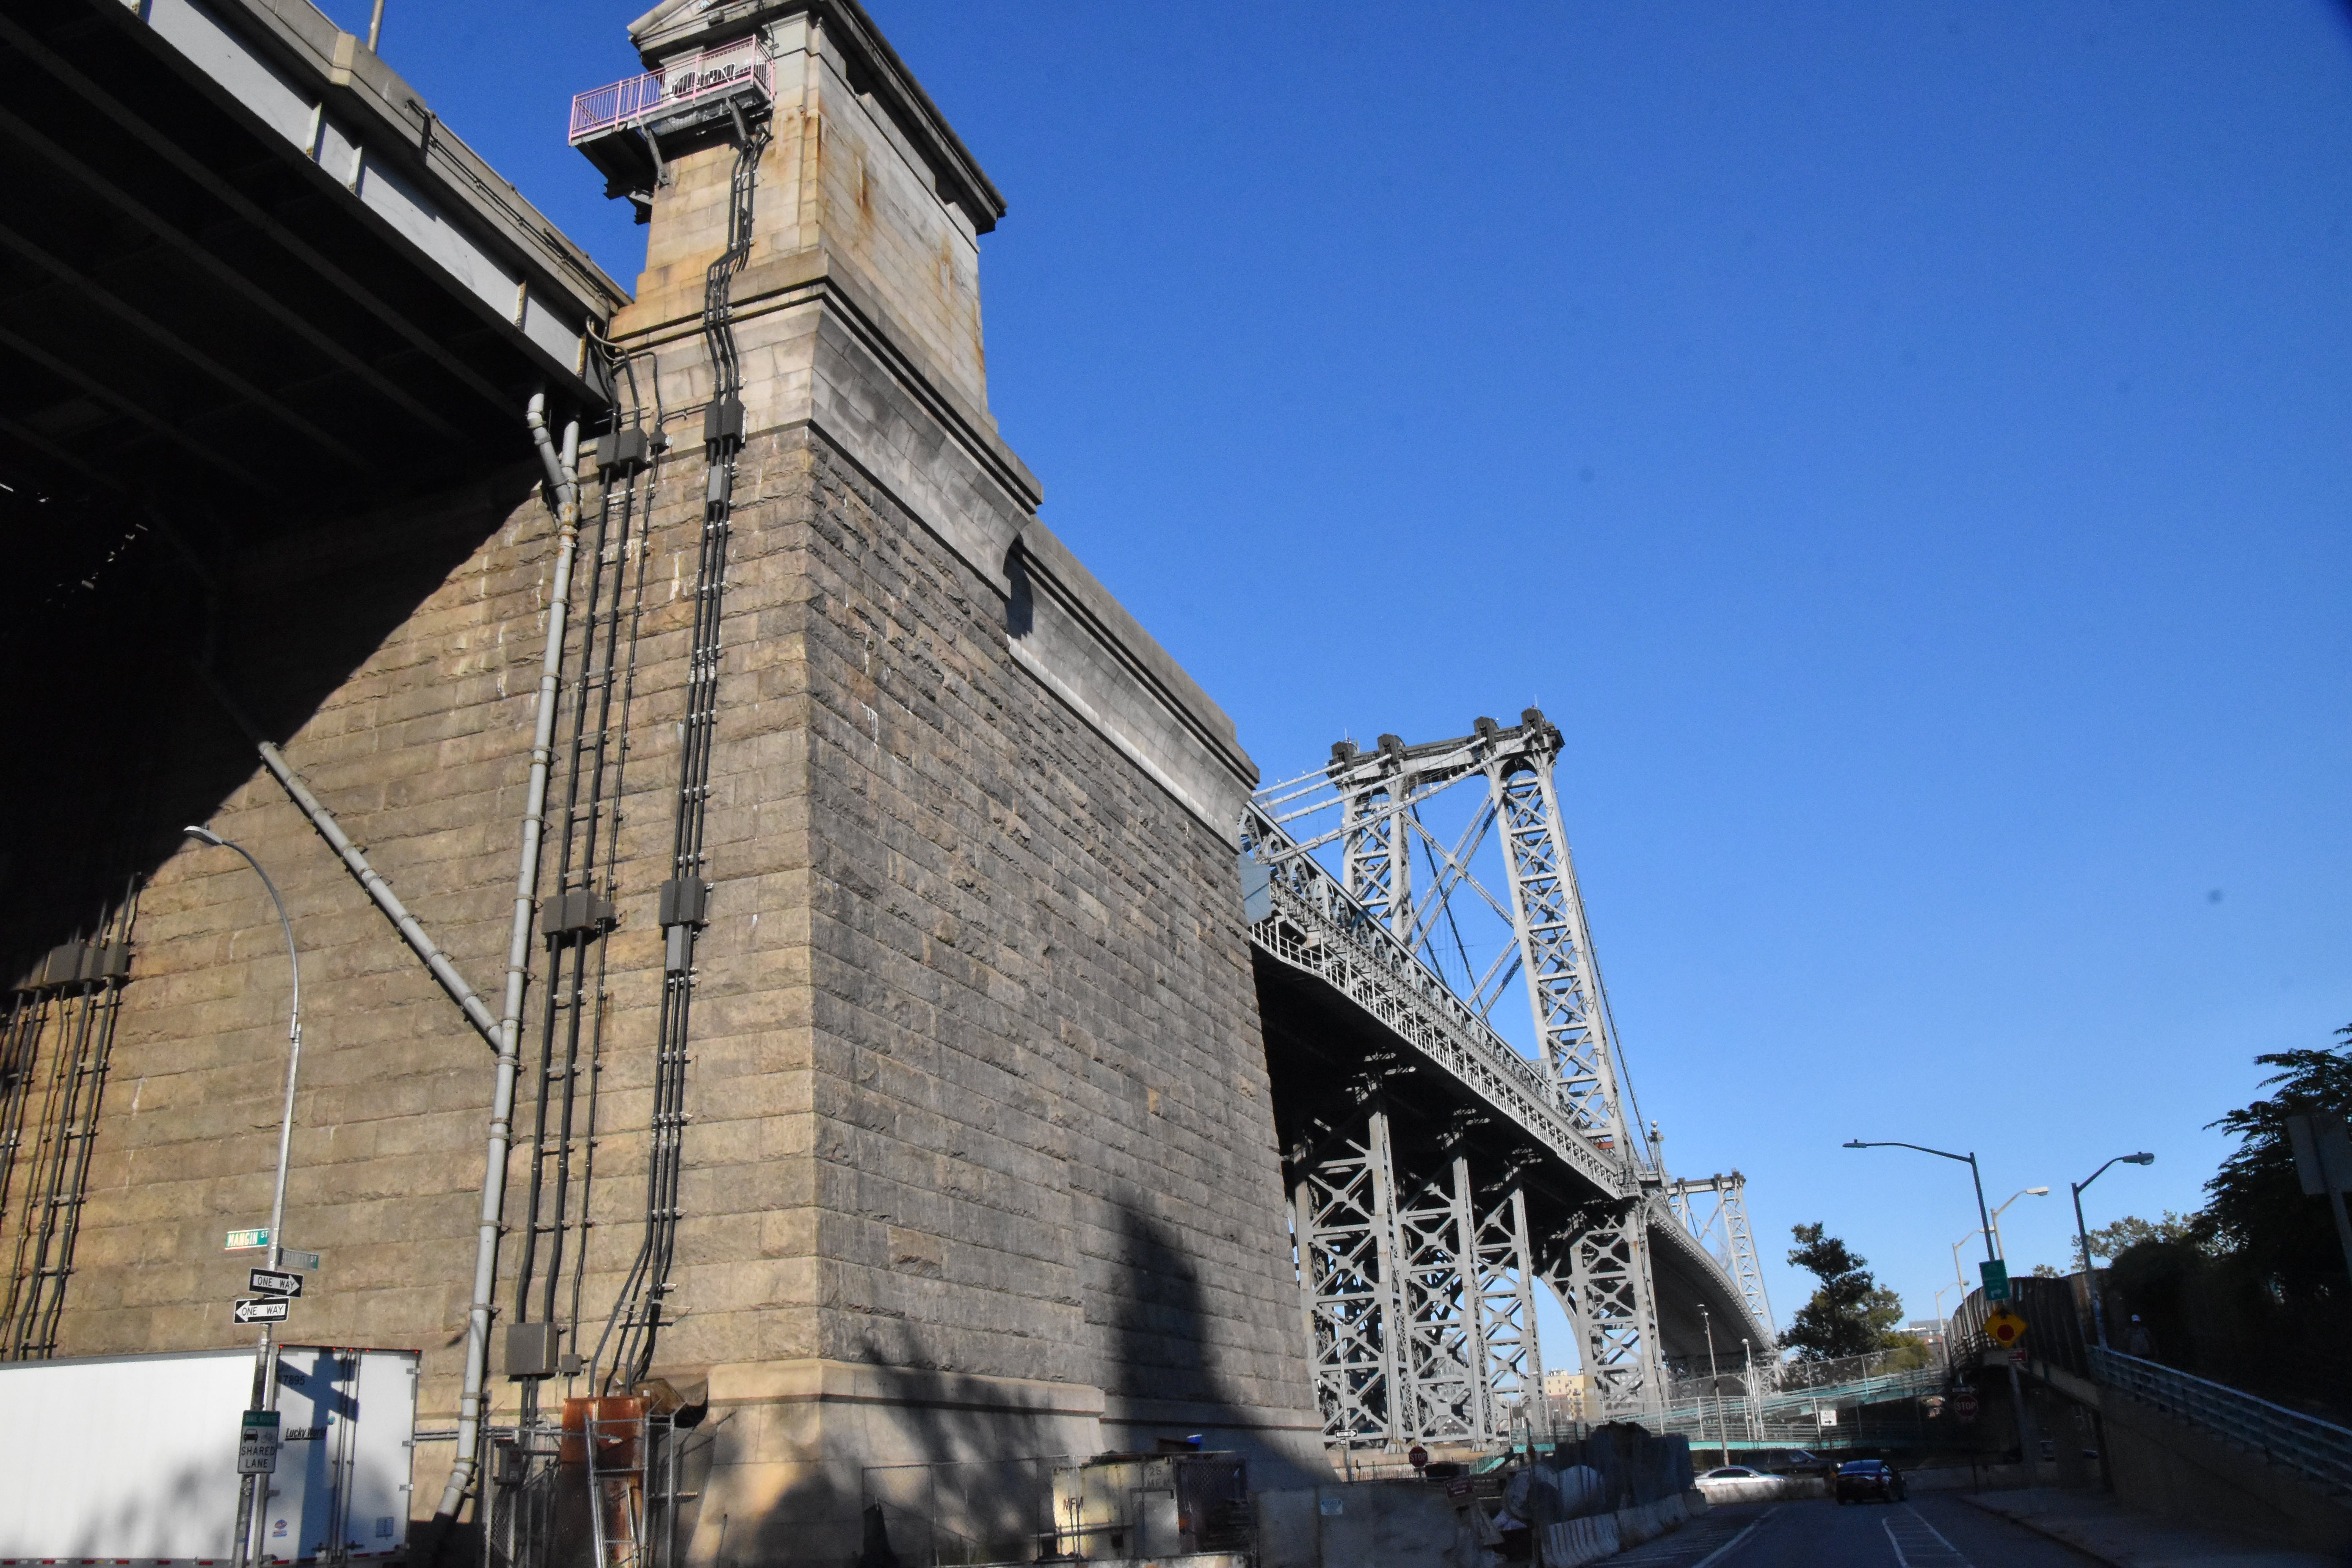
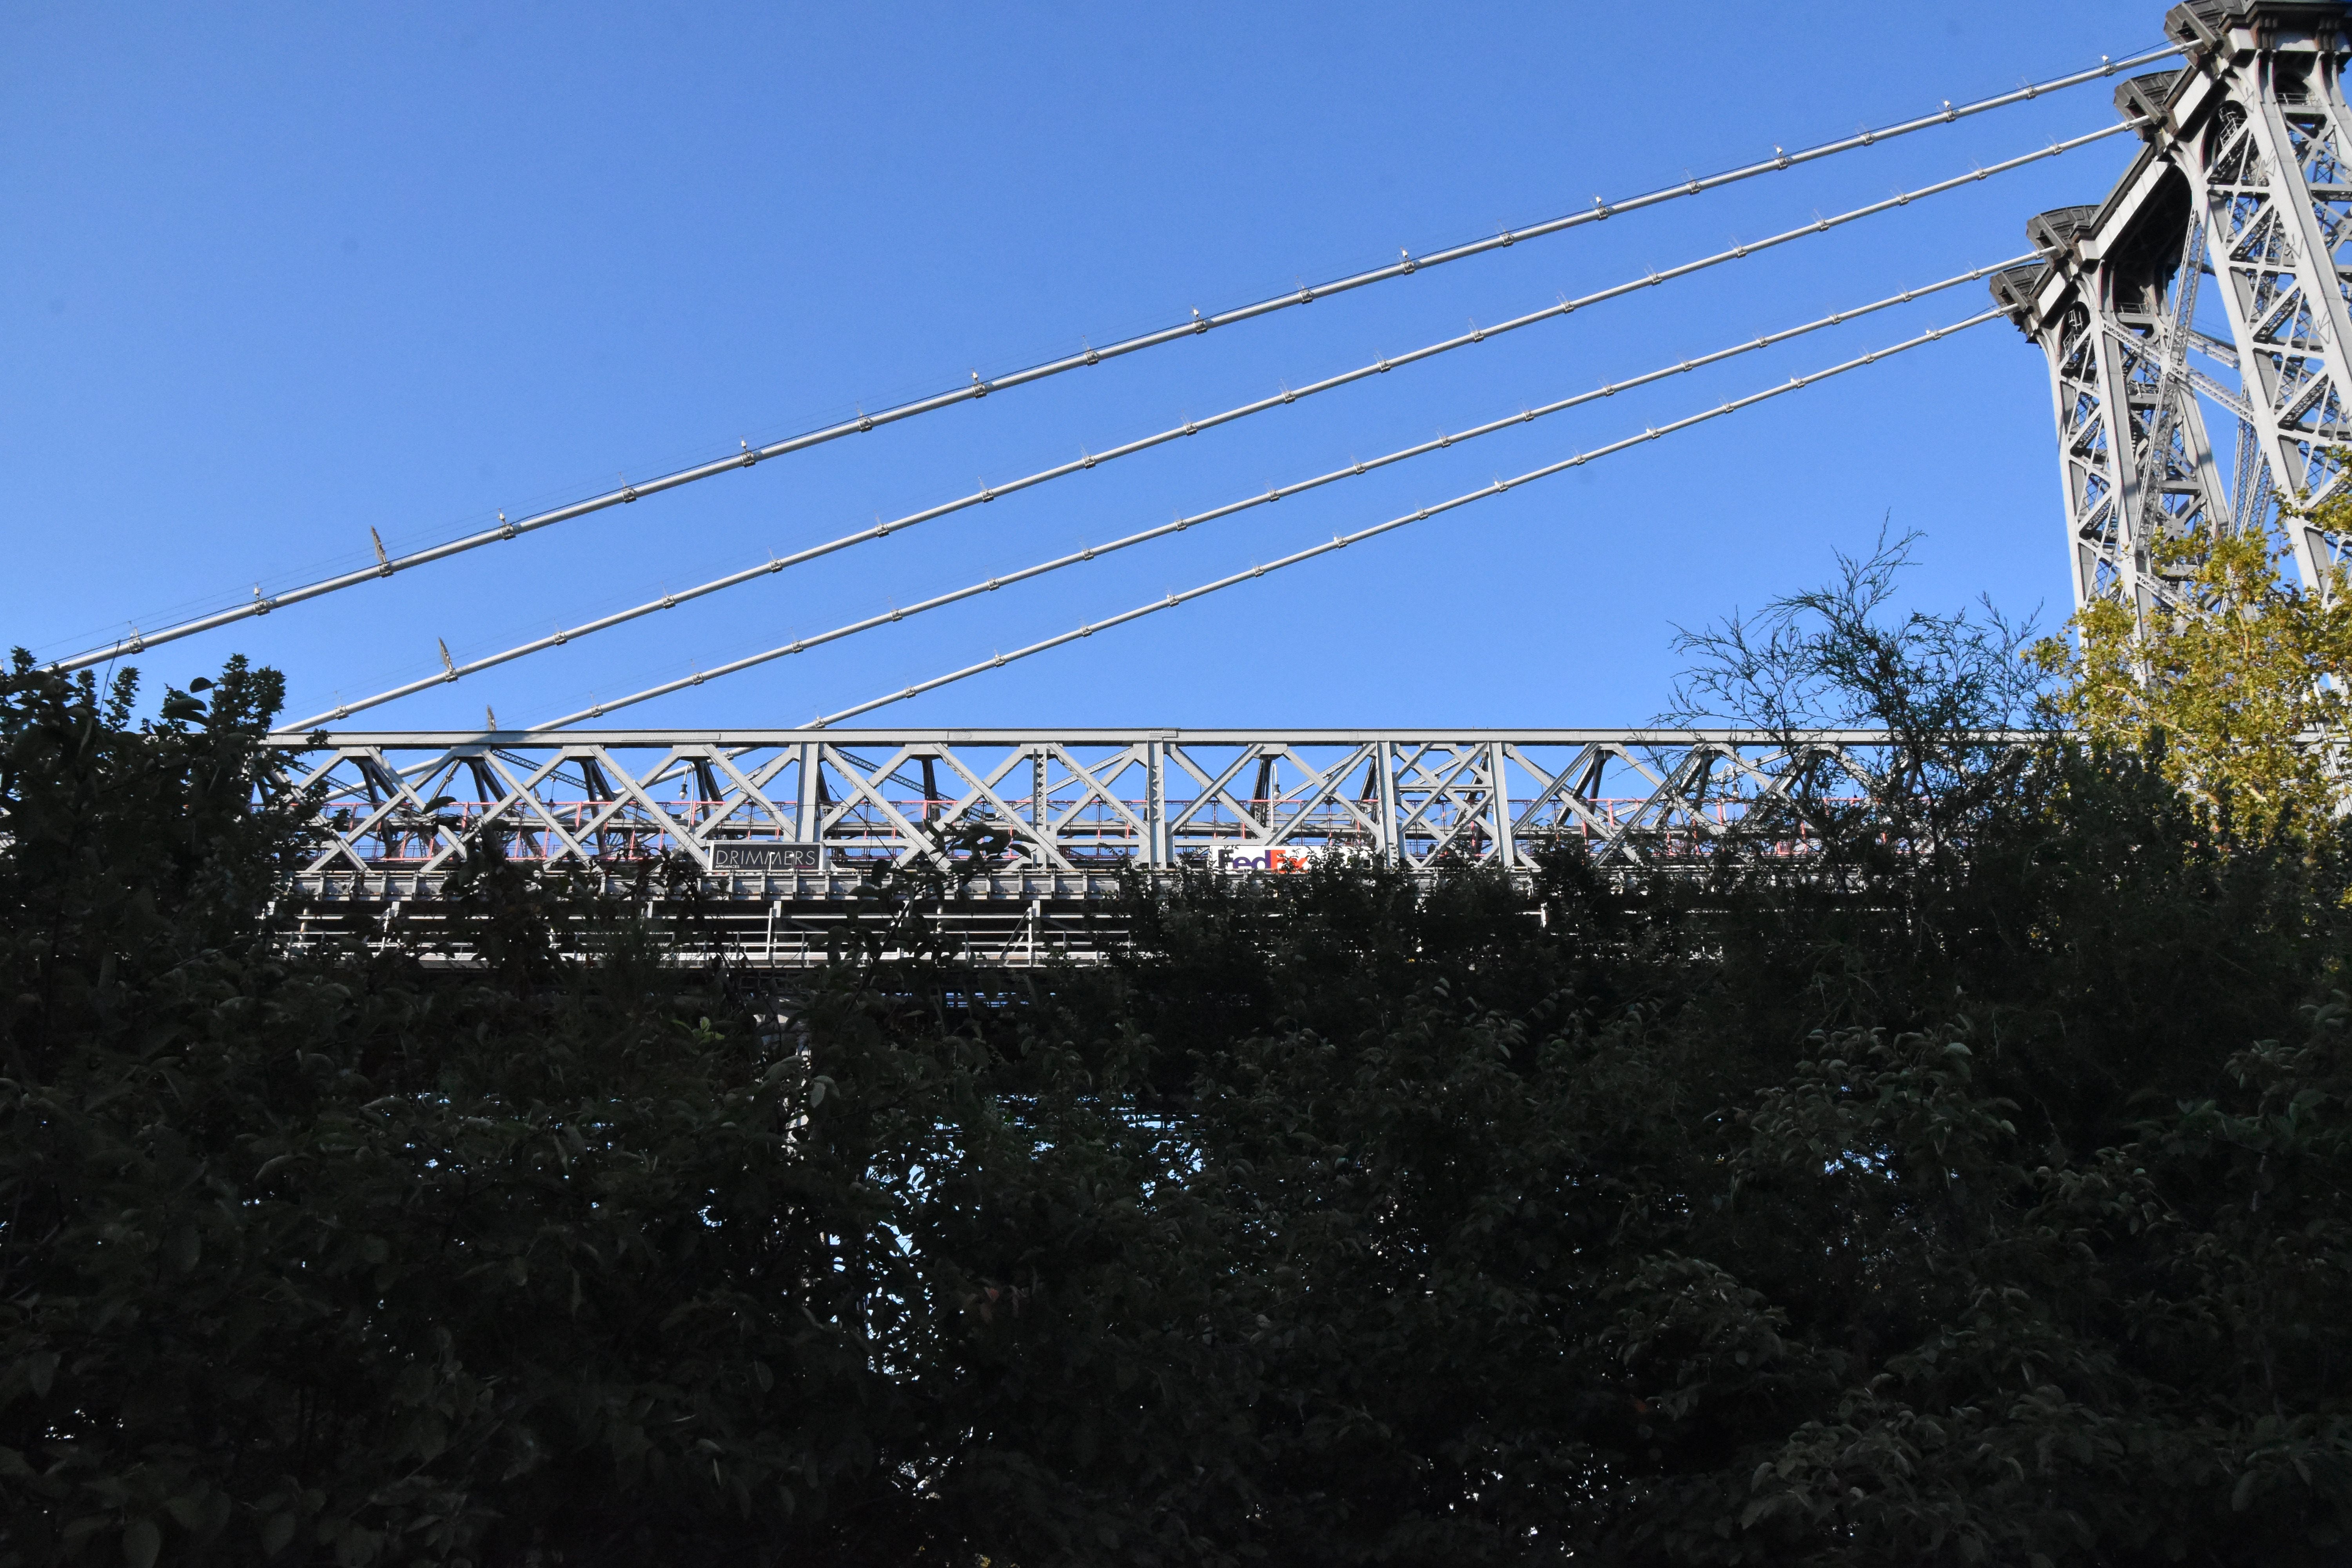
Elevation from southwest quadrant.
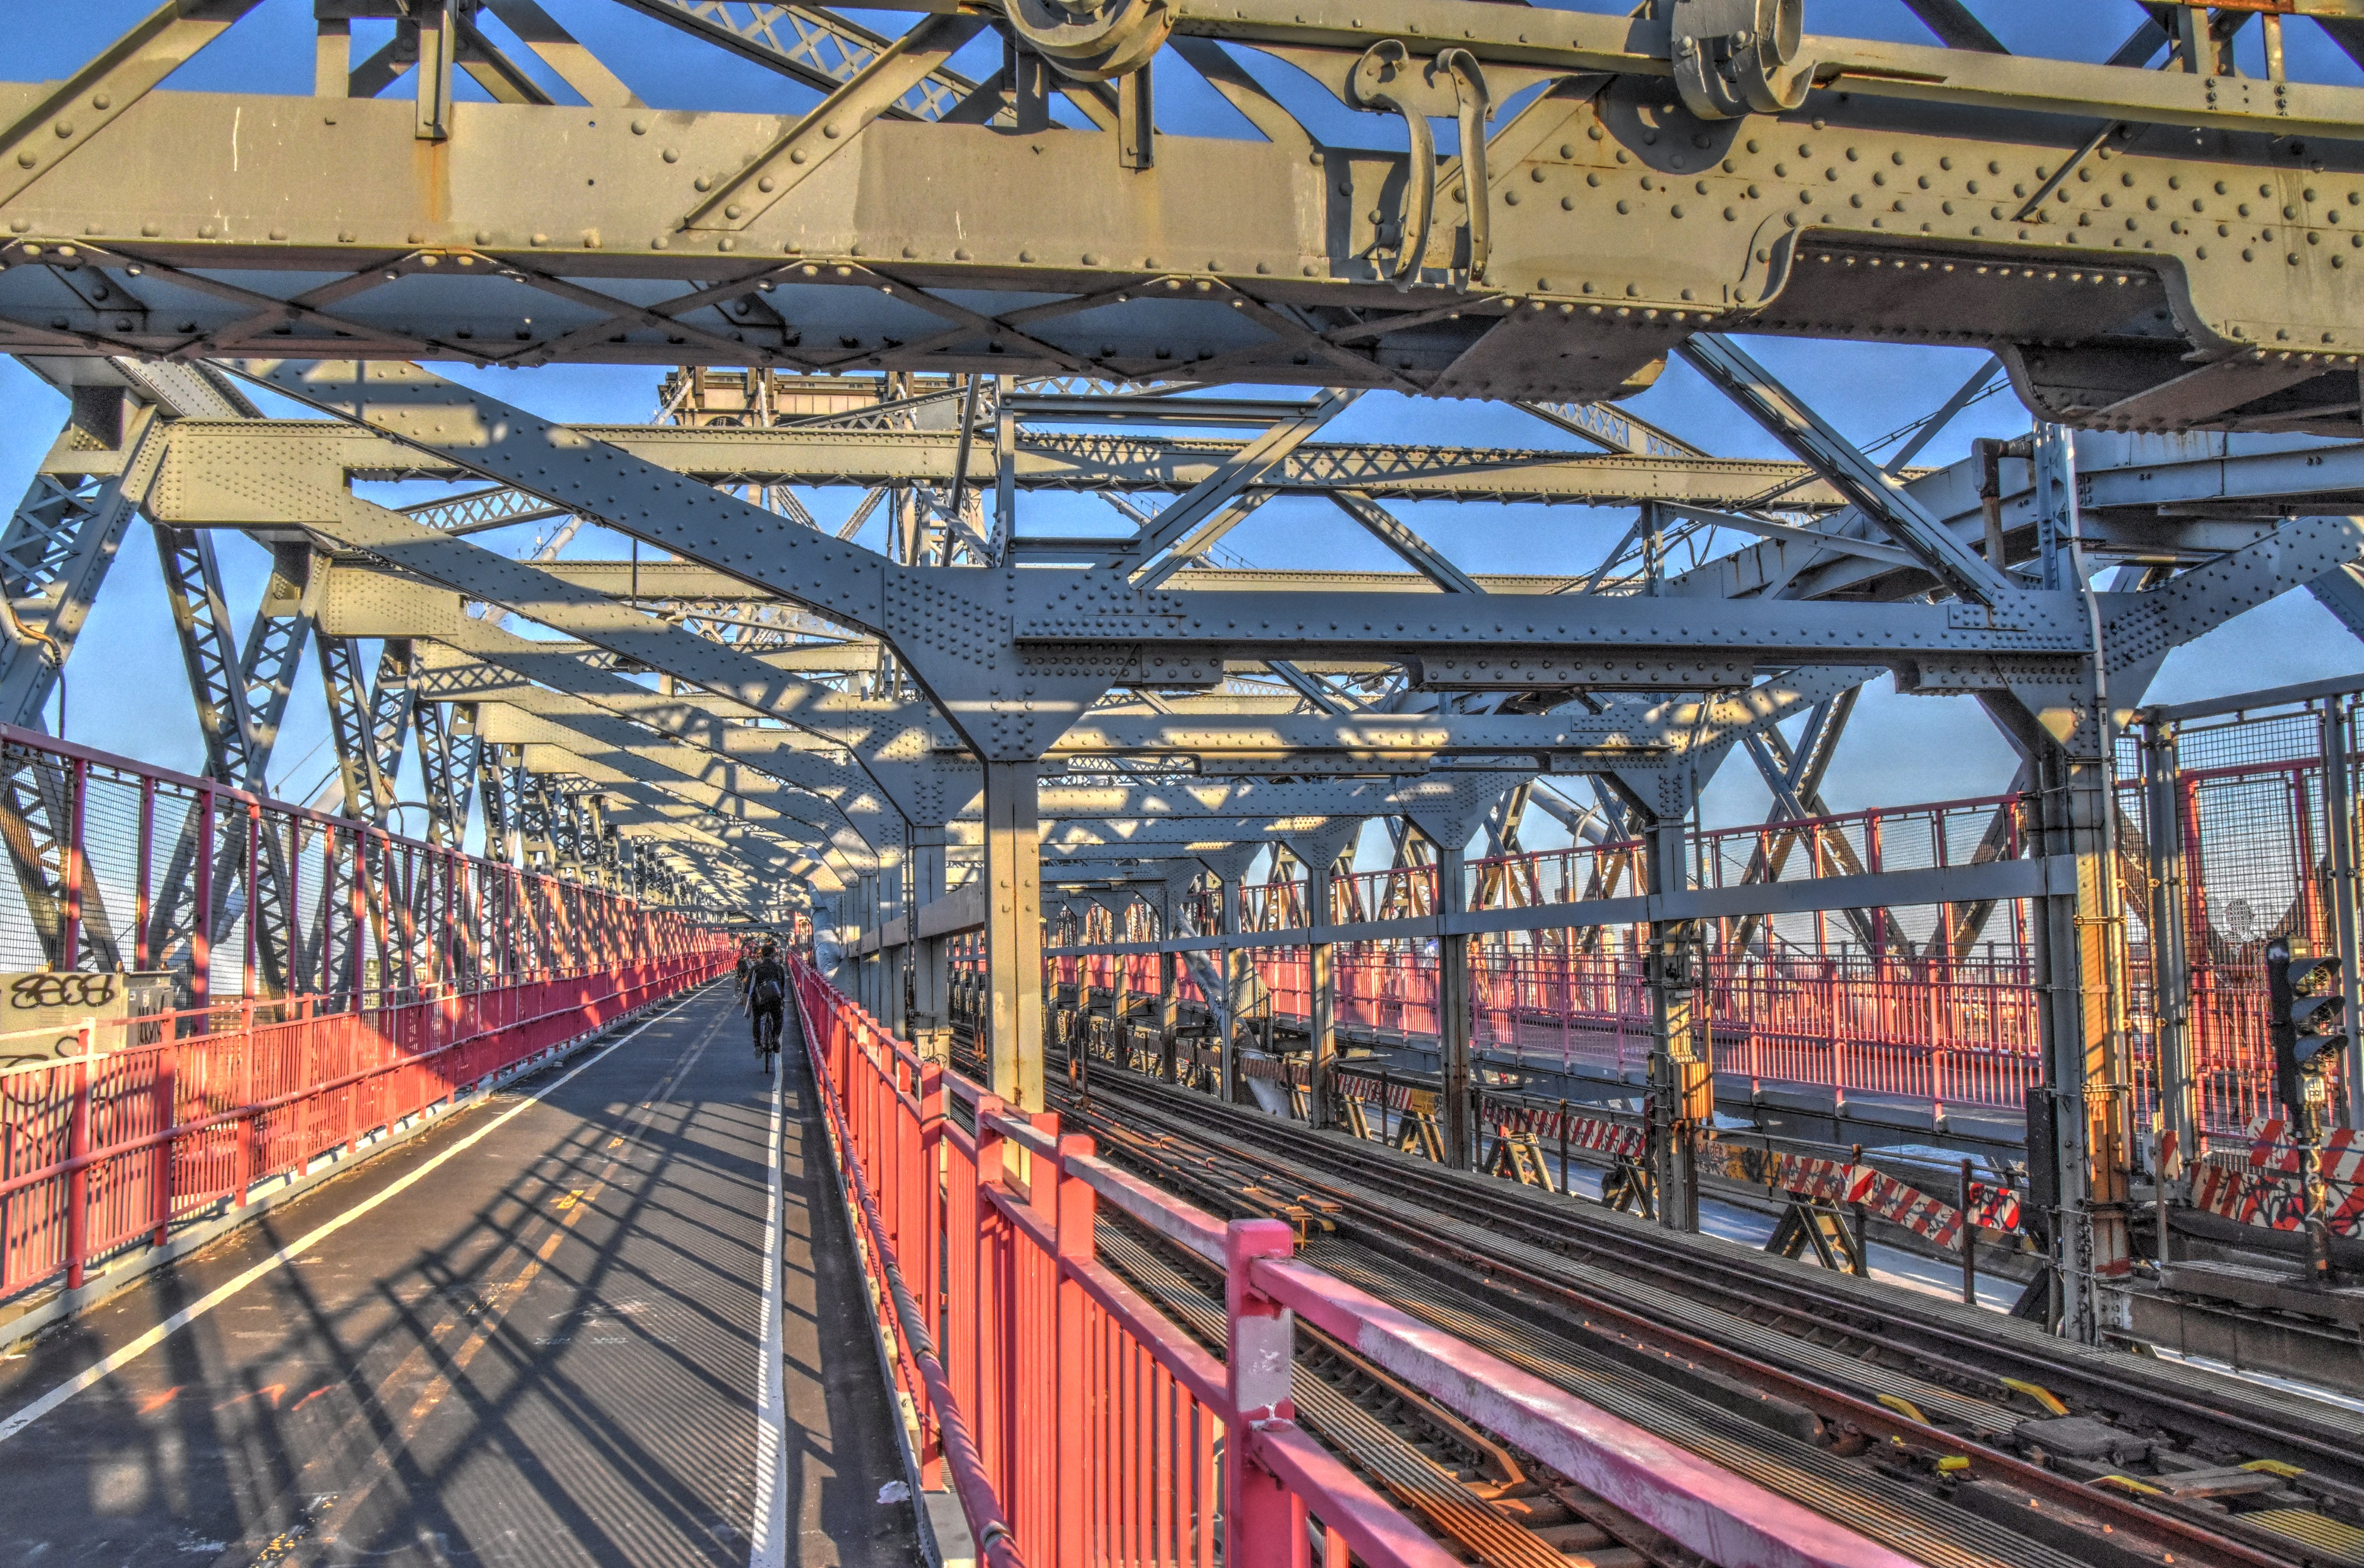
![]()
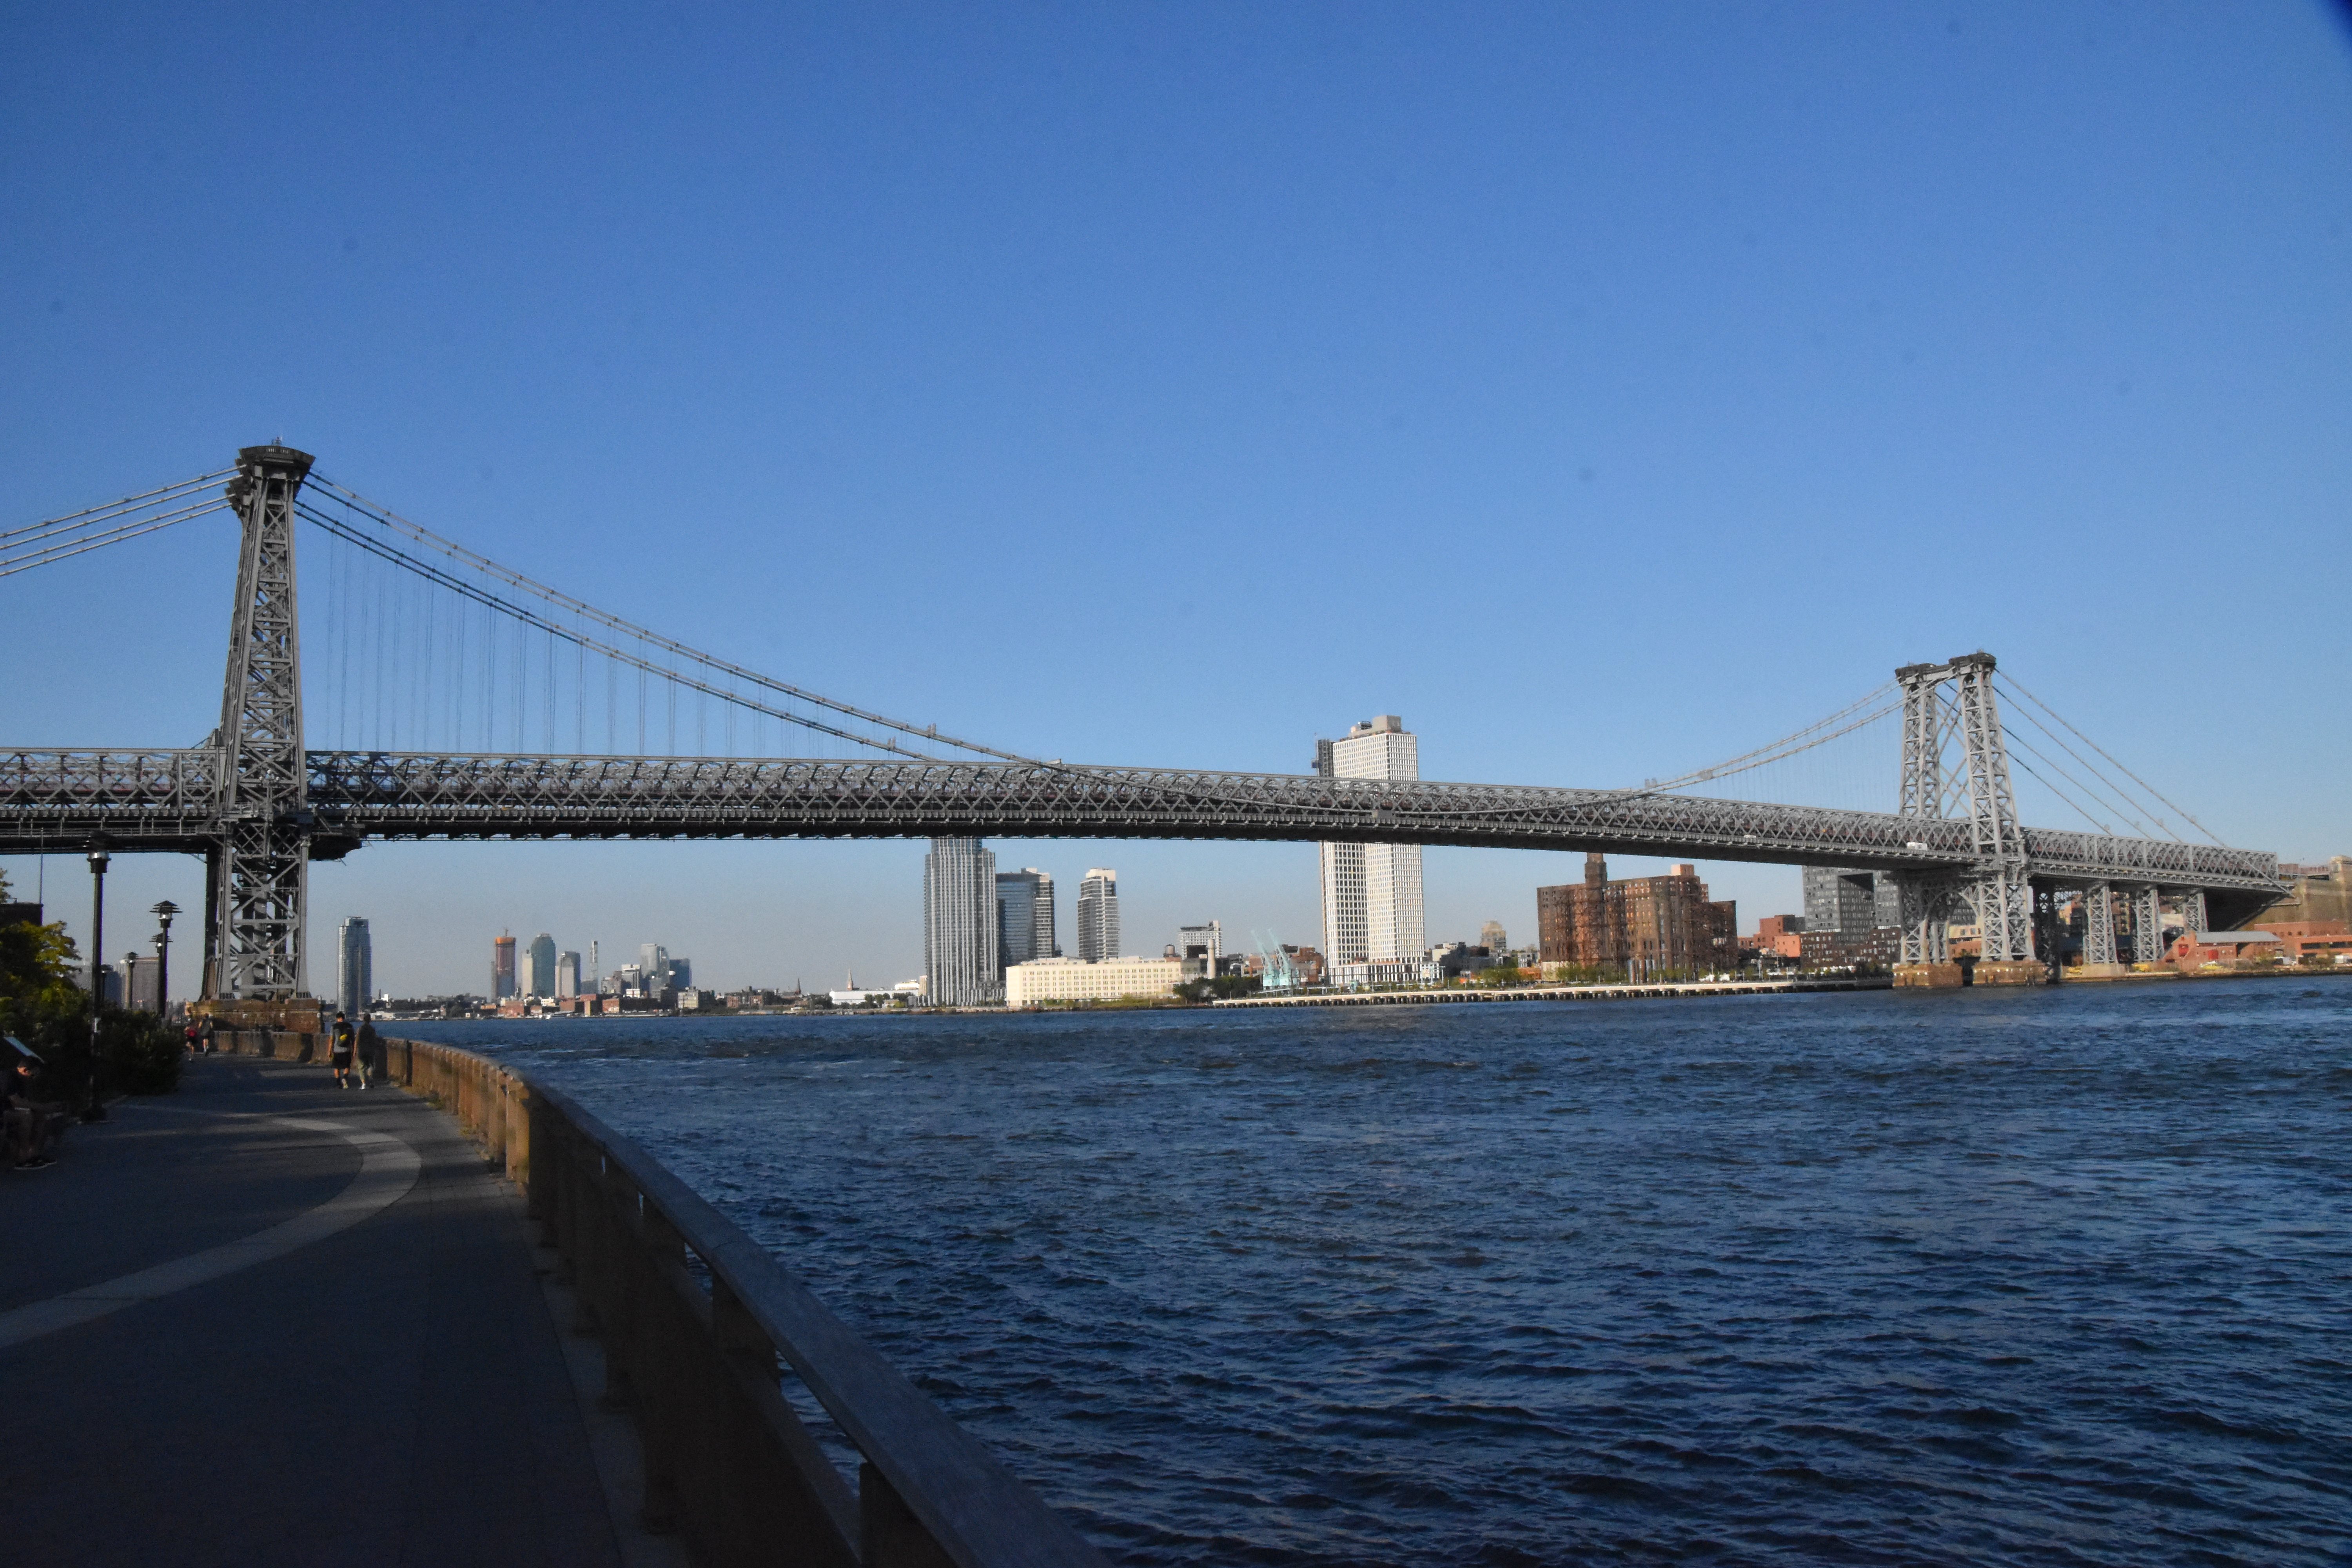
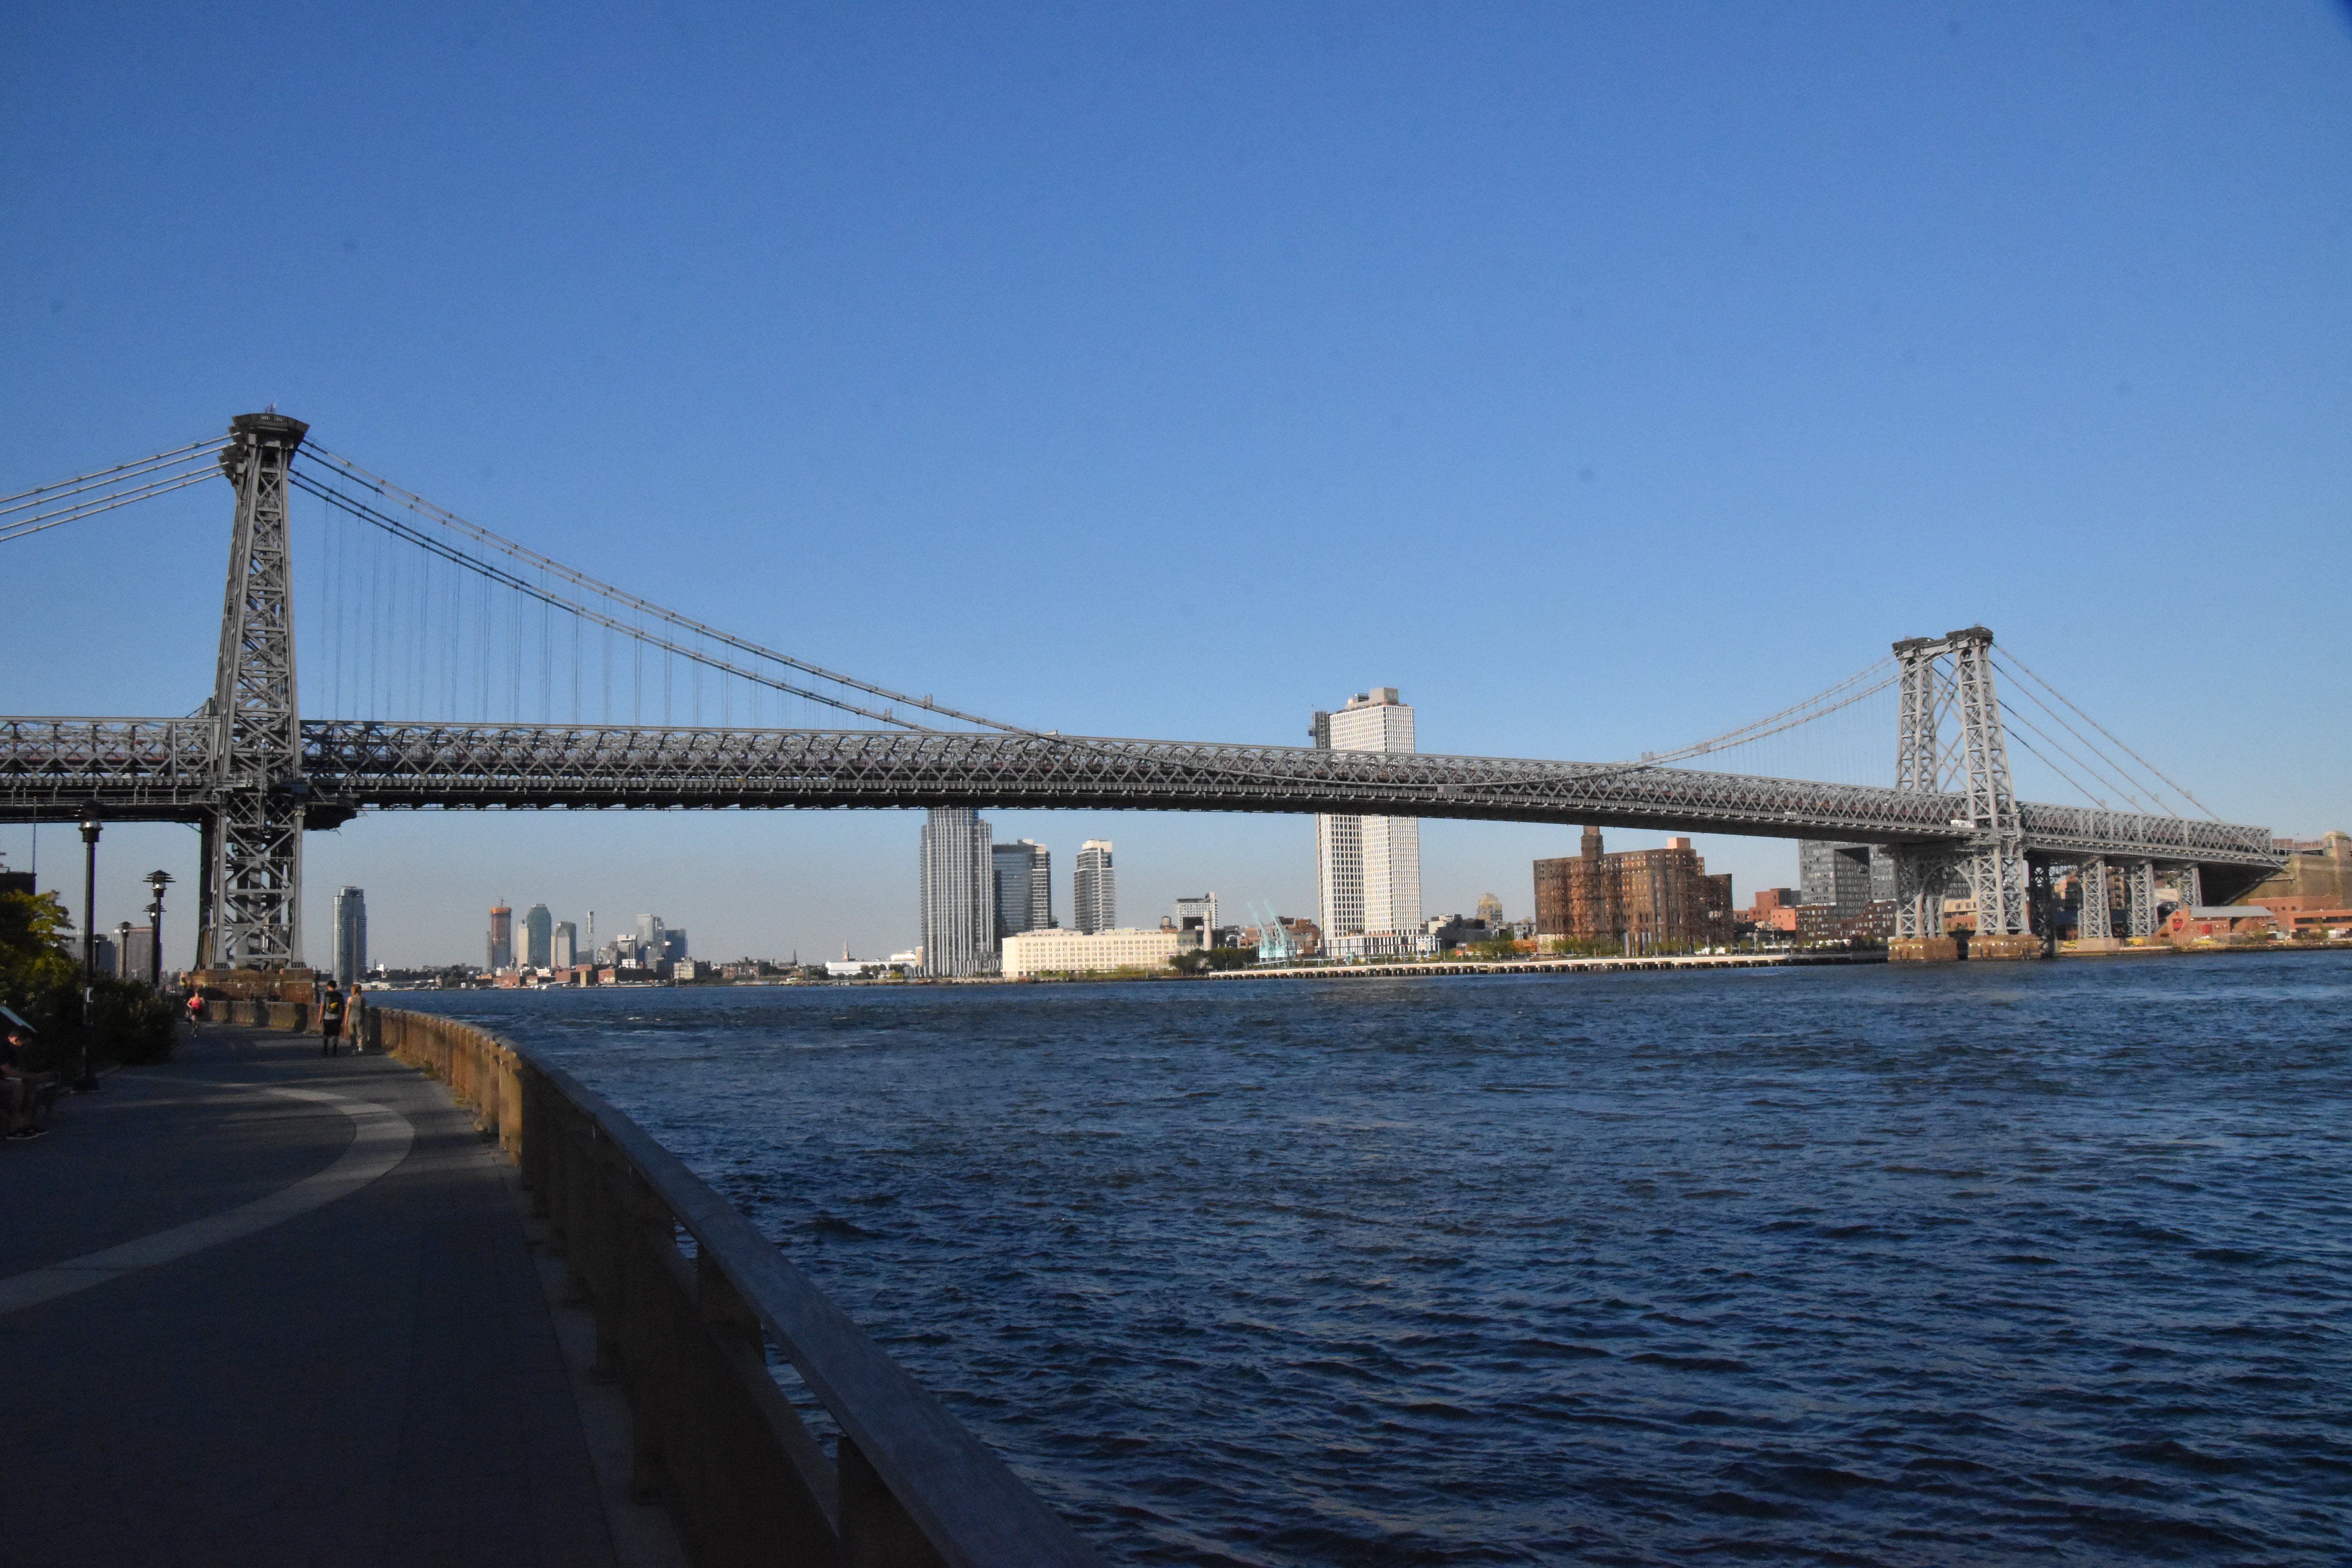
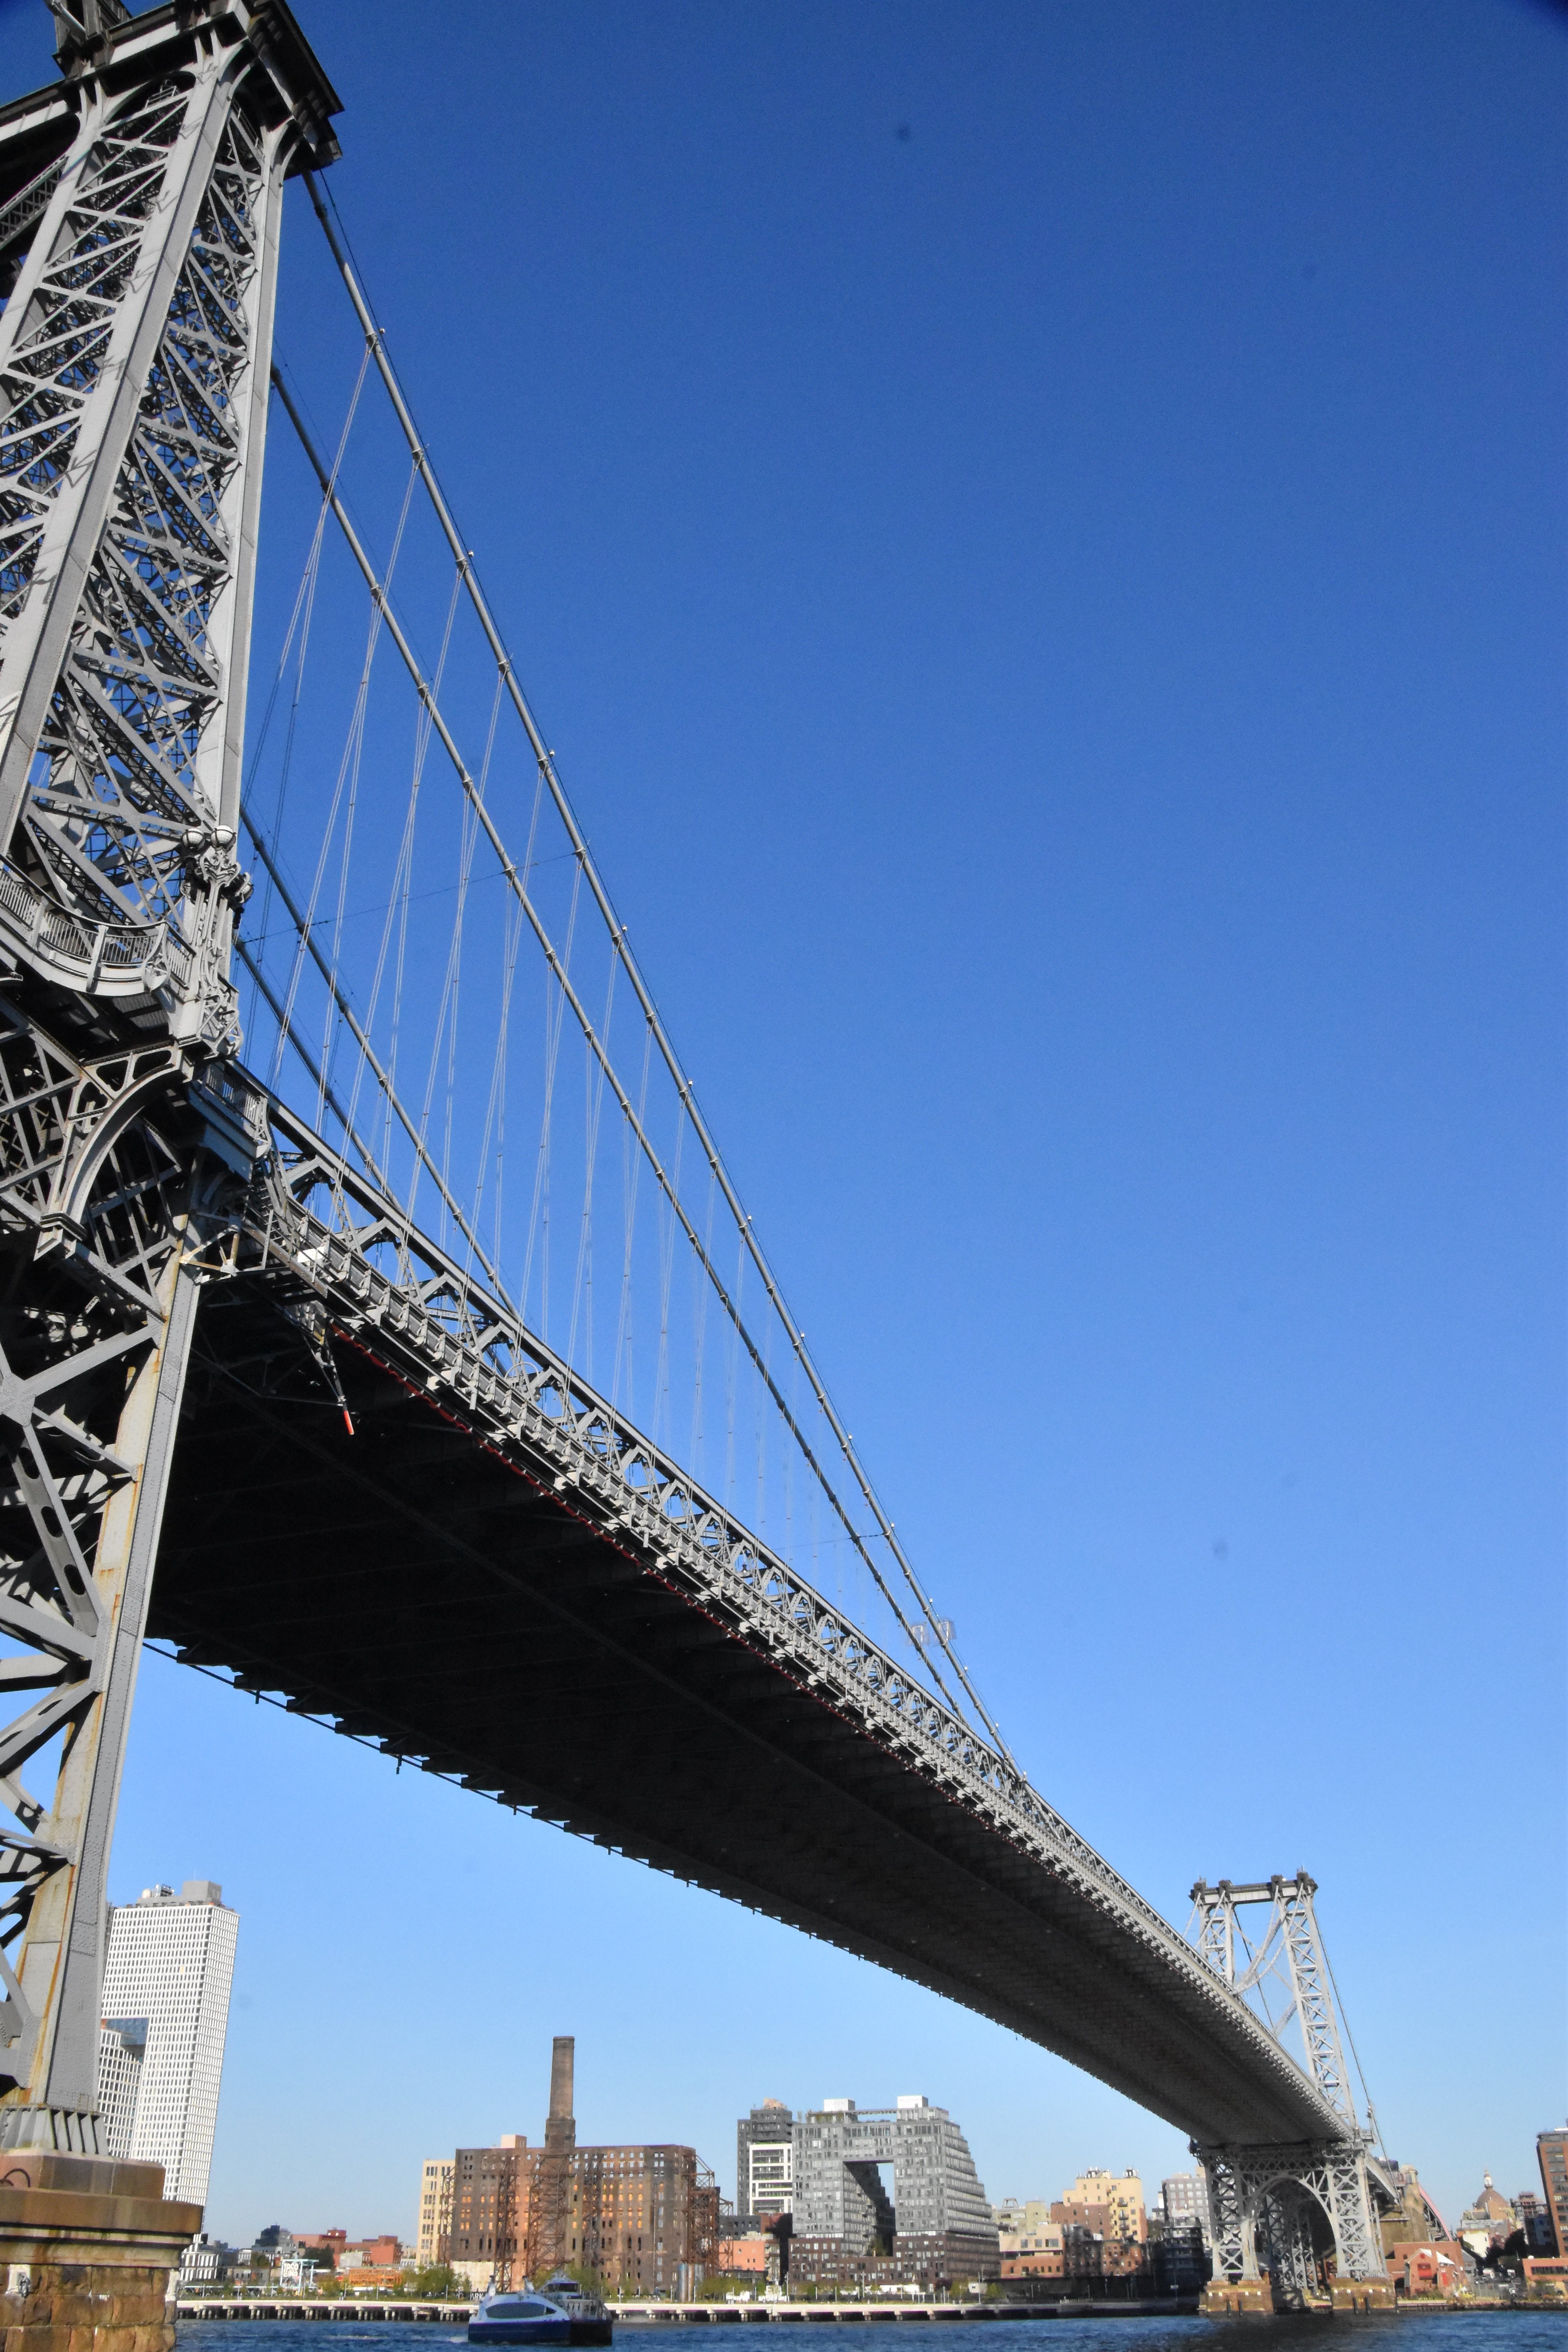
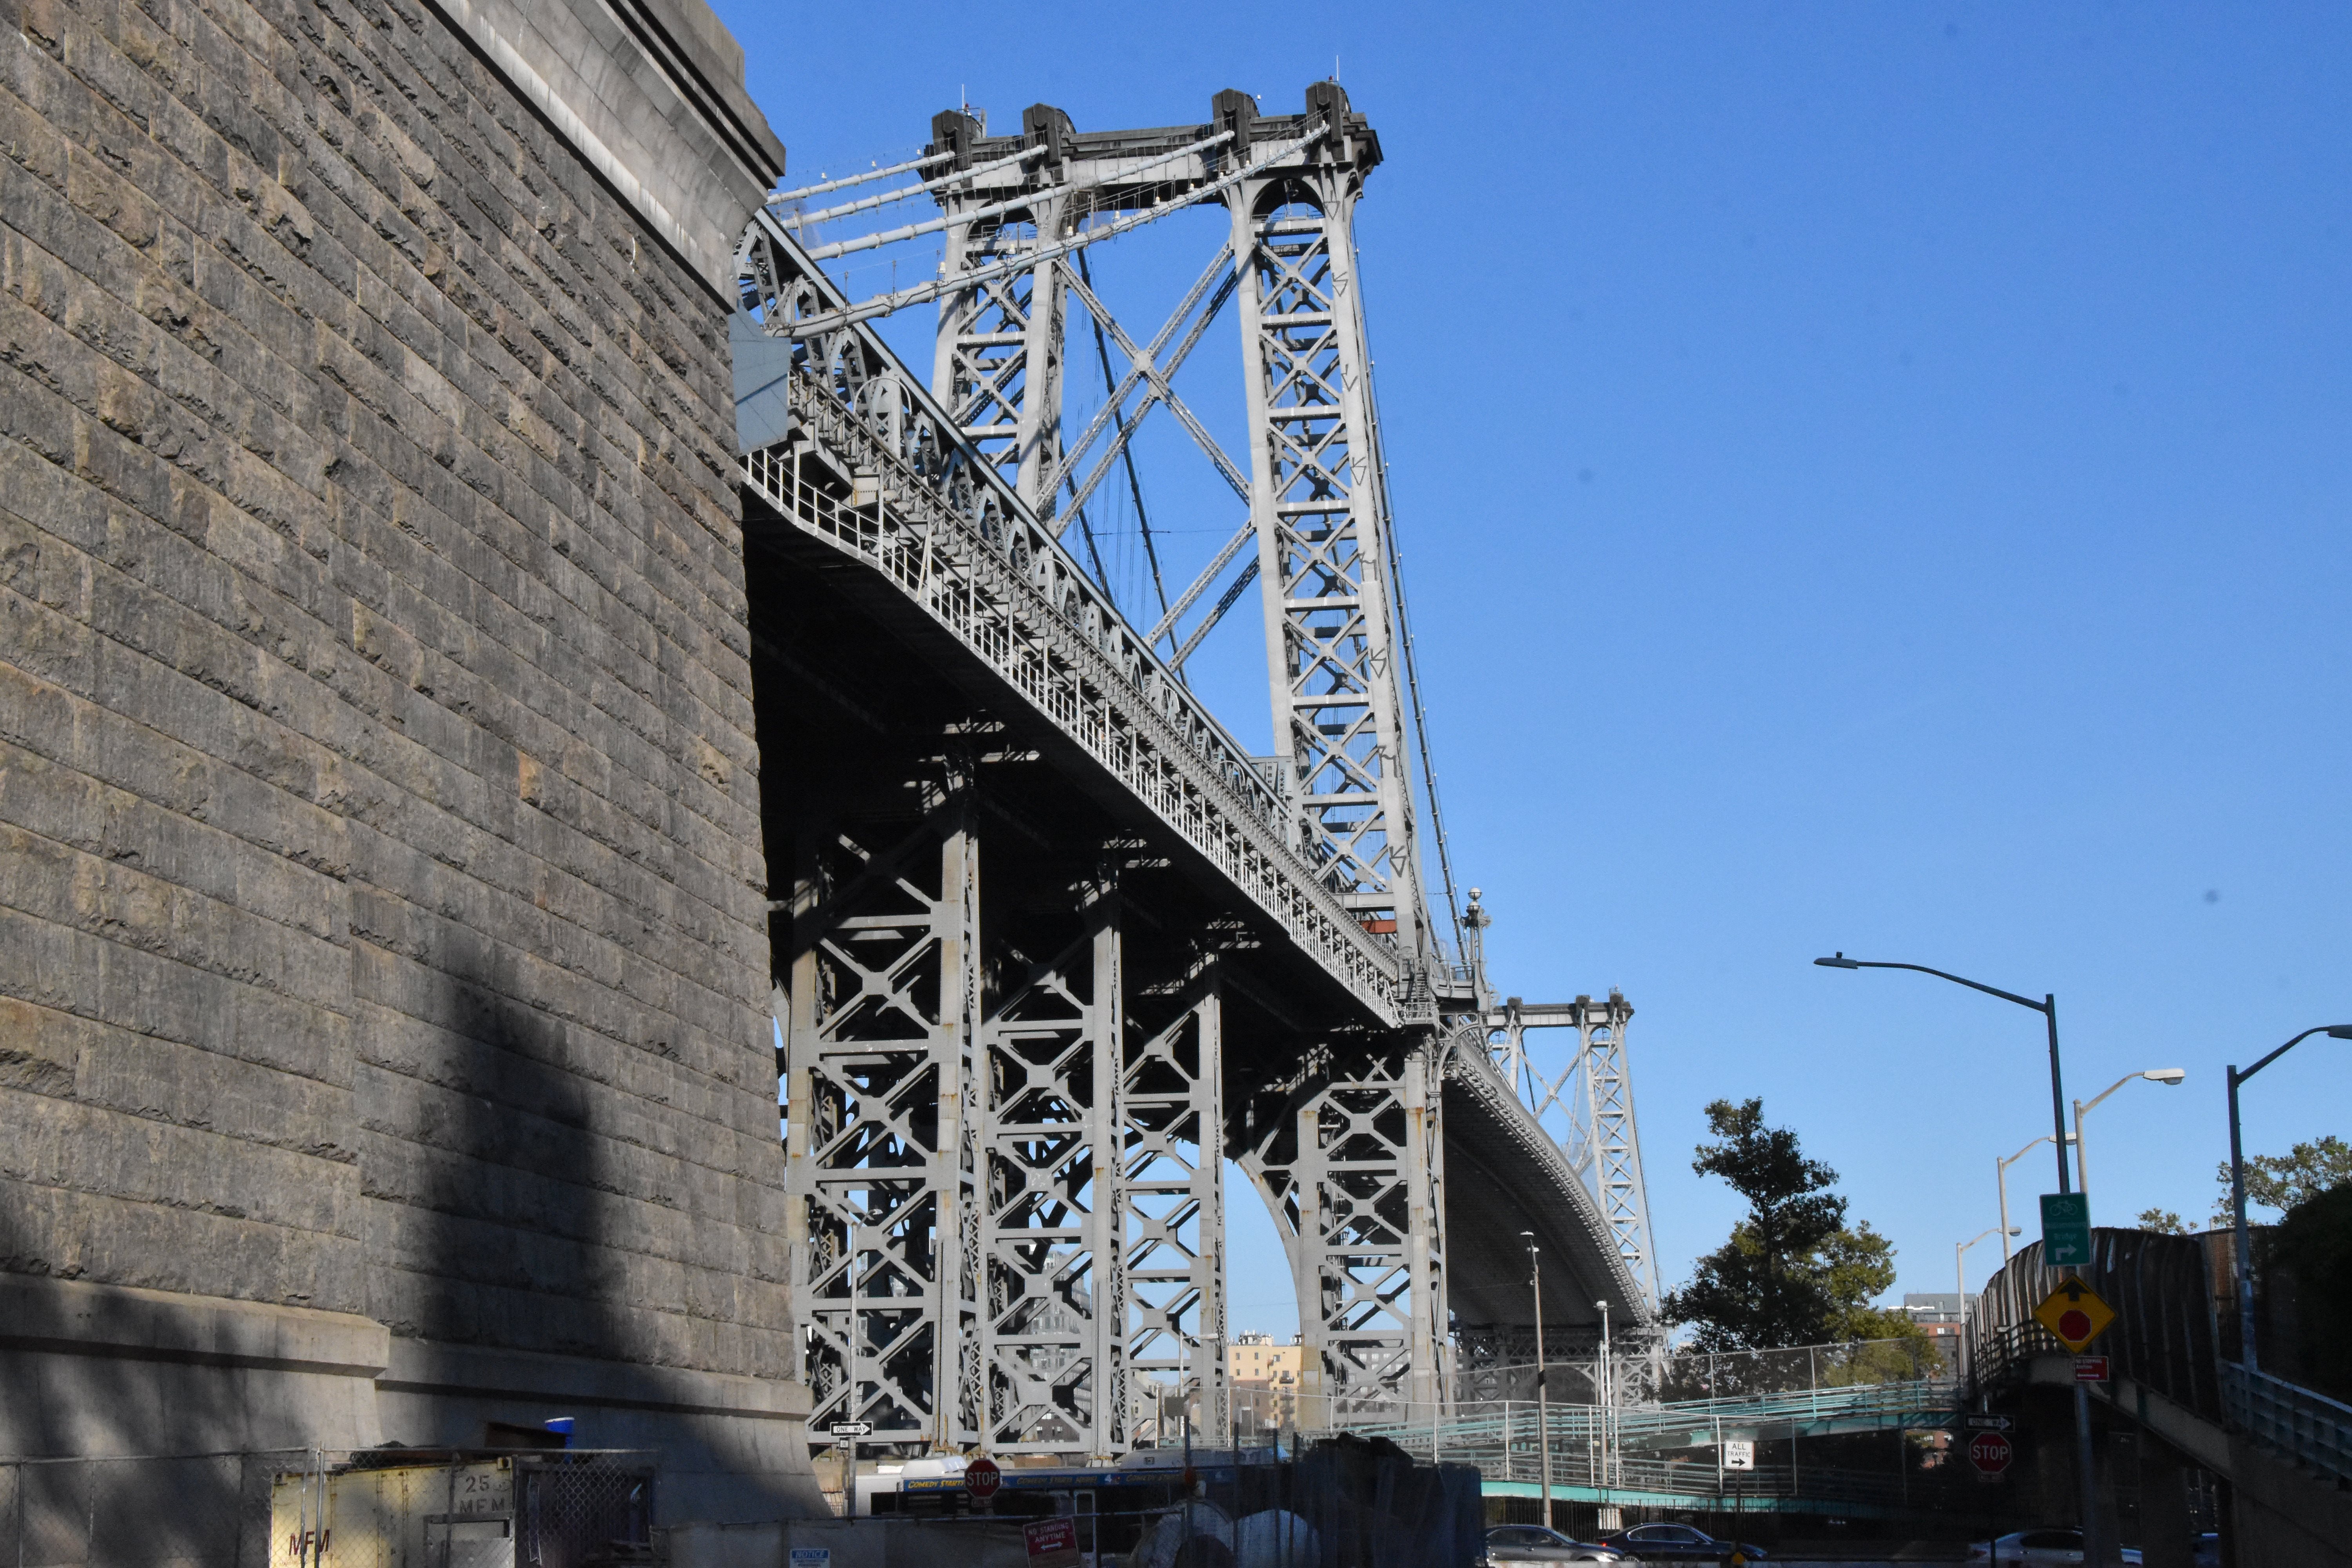
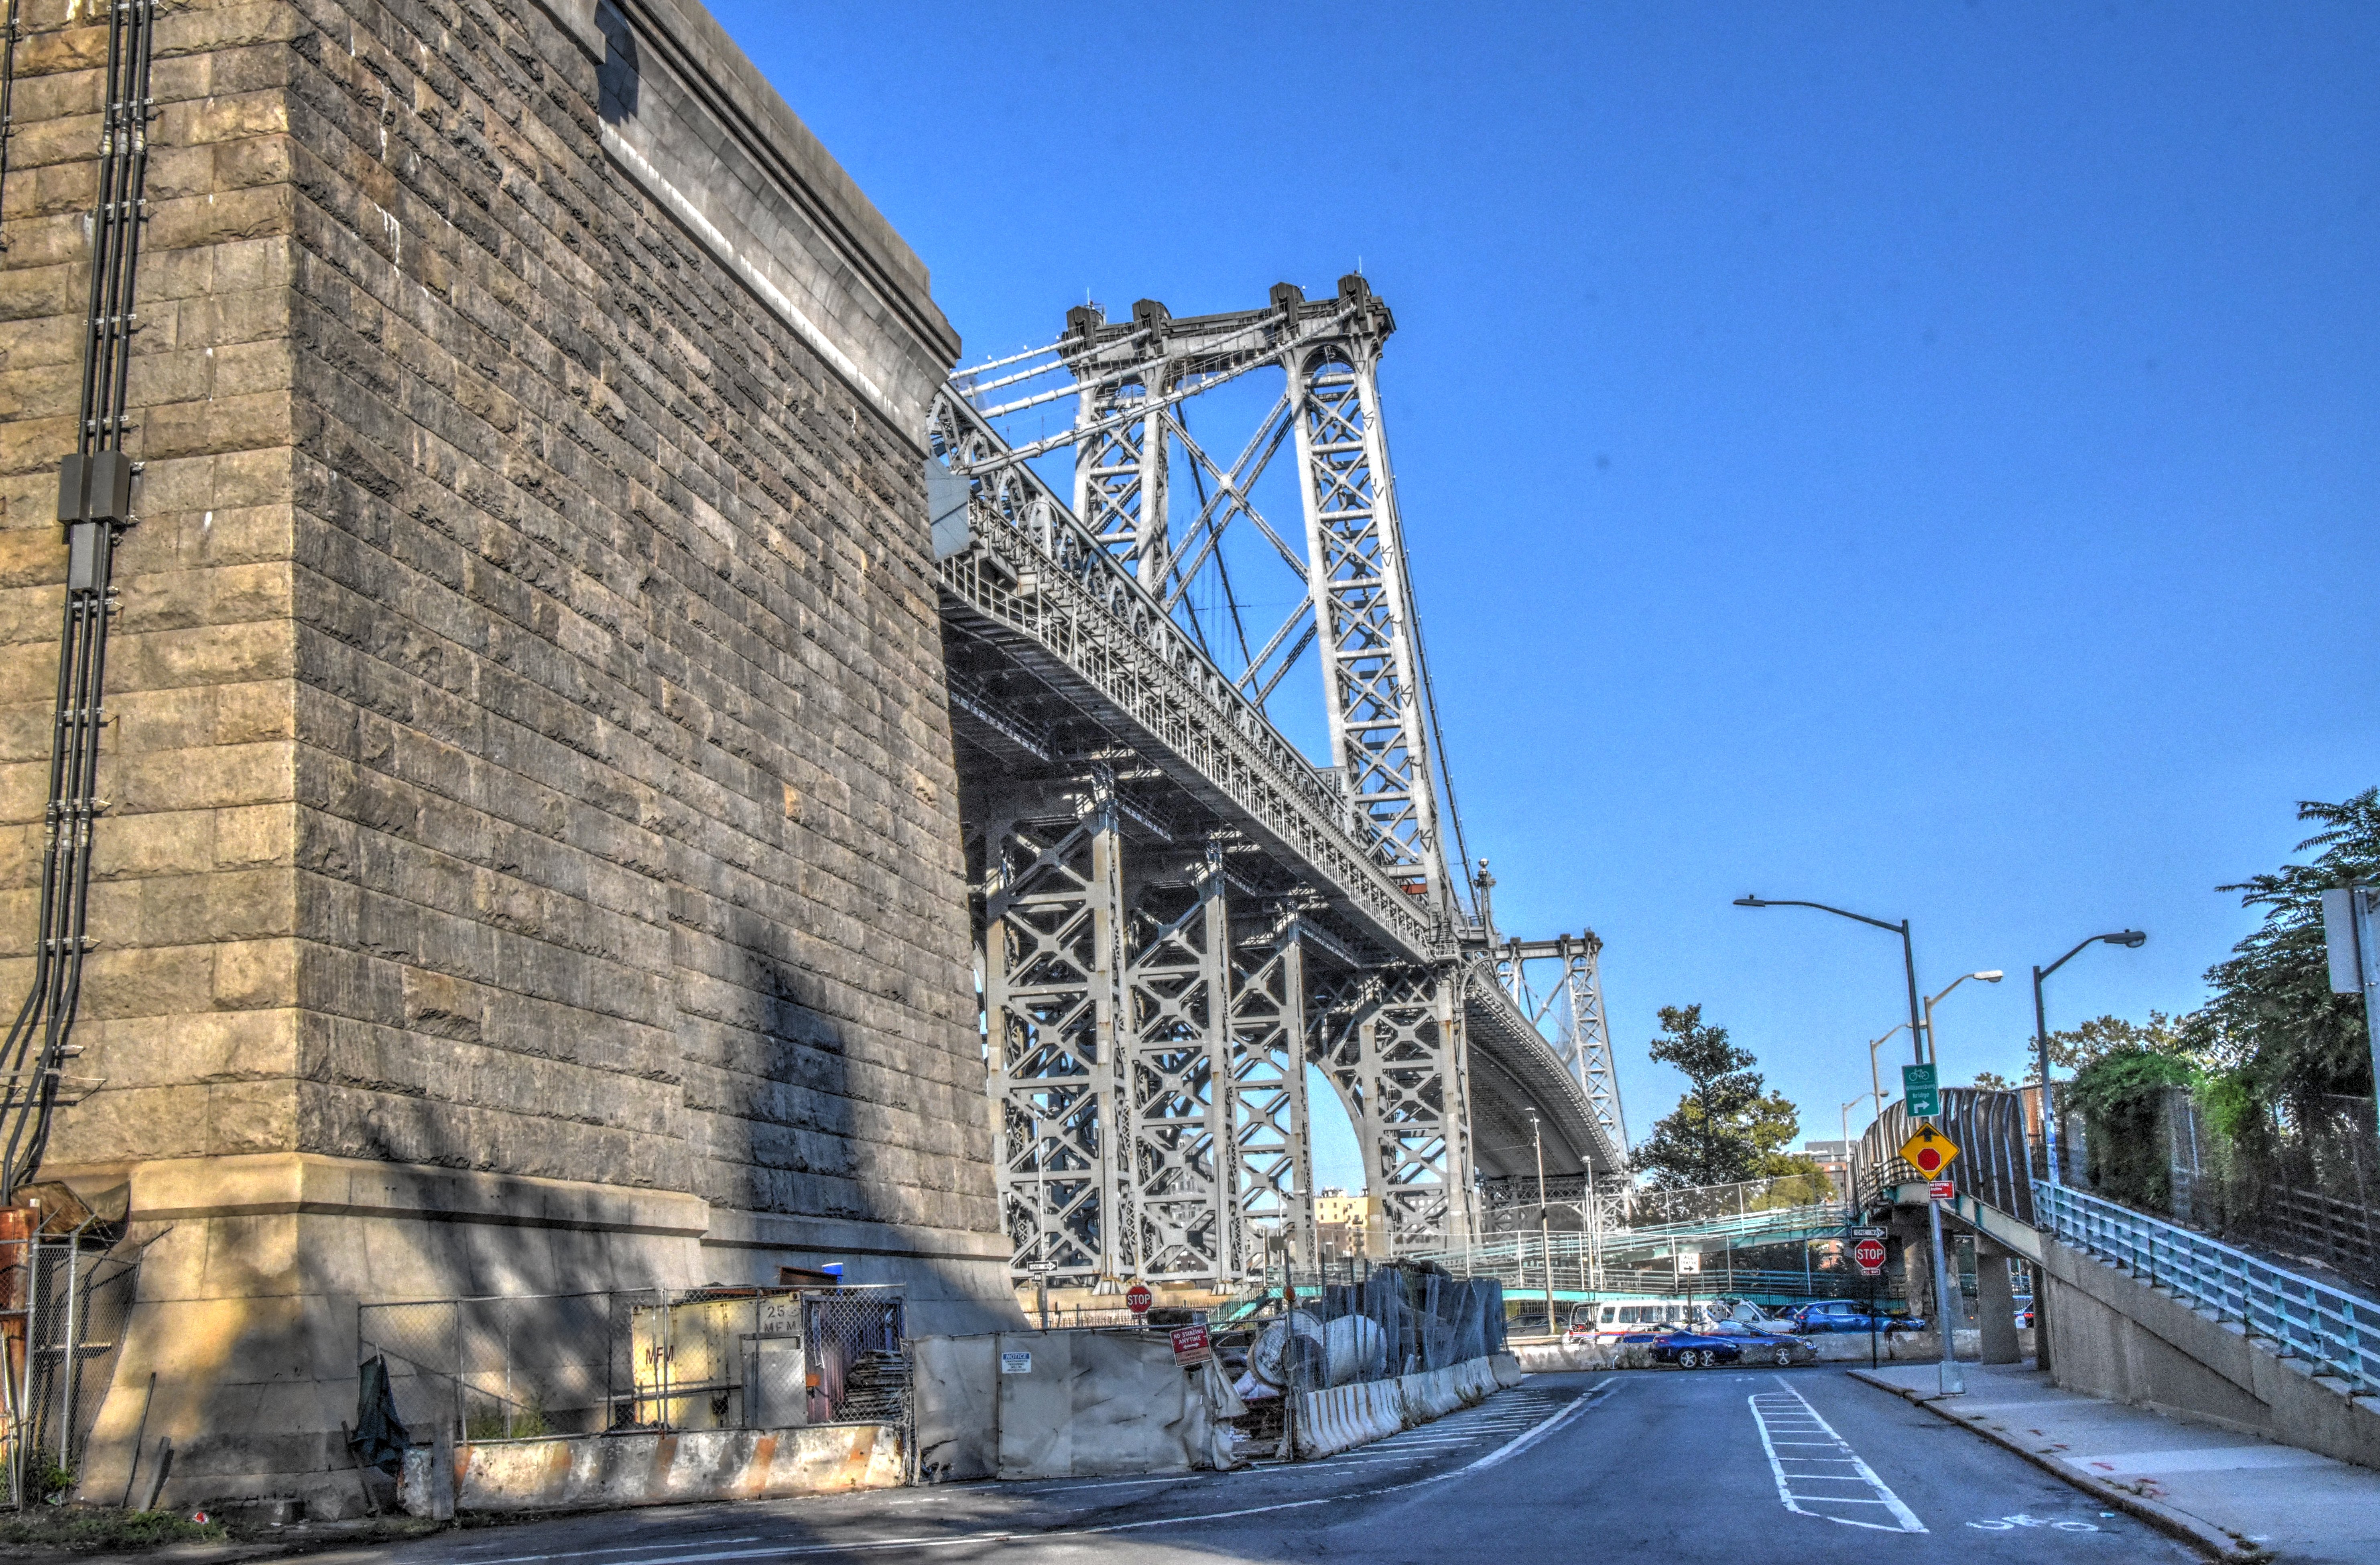
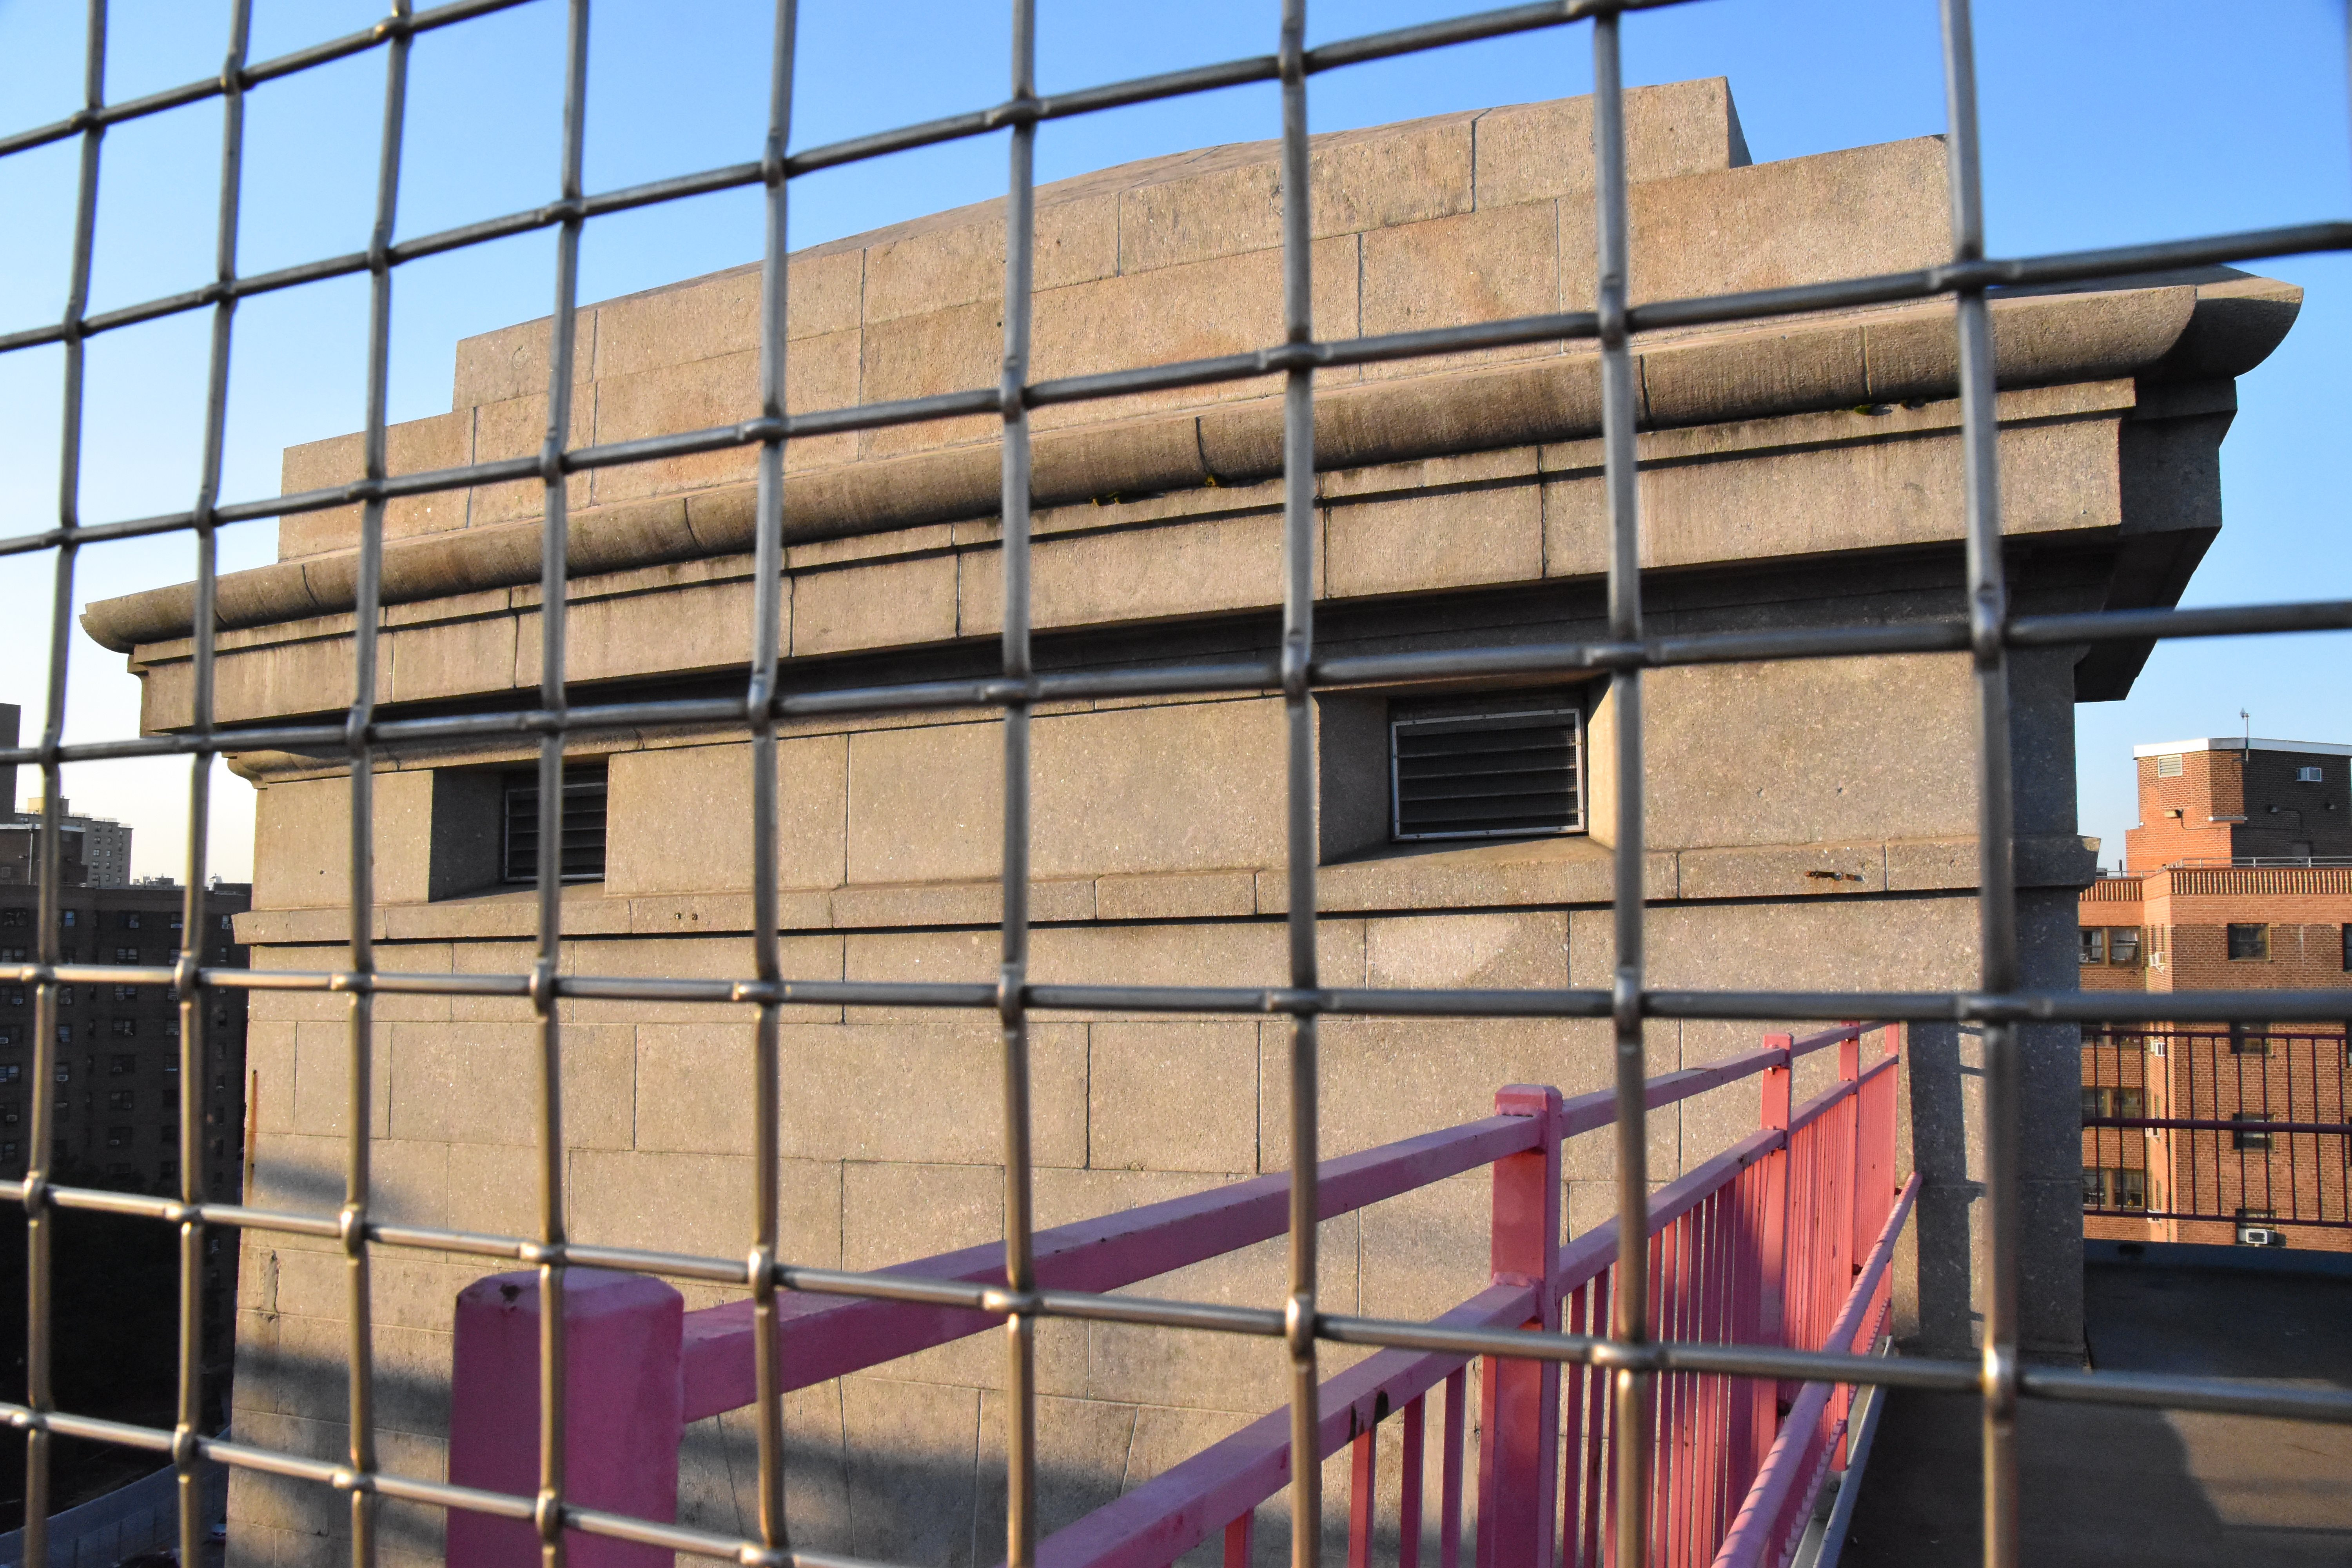
Views beside bridge from southwest quadrant.
![]()
![]()
![]()
![]()
![]()
![]()
![]()
![]()
![]()
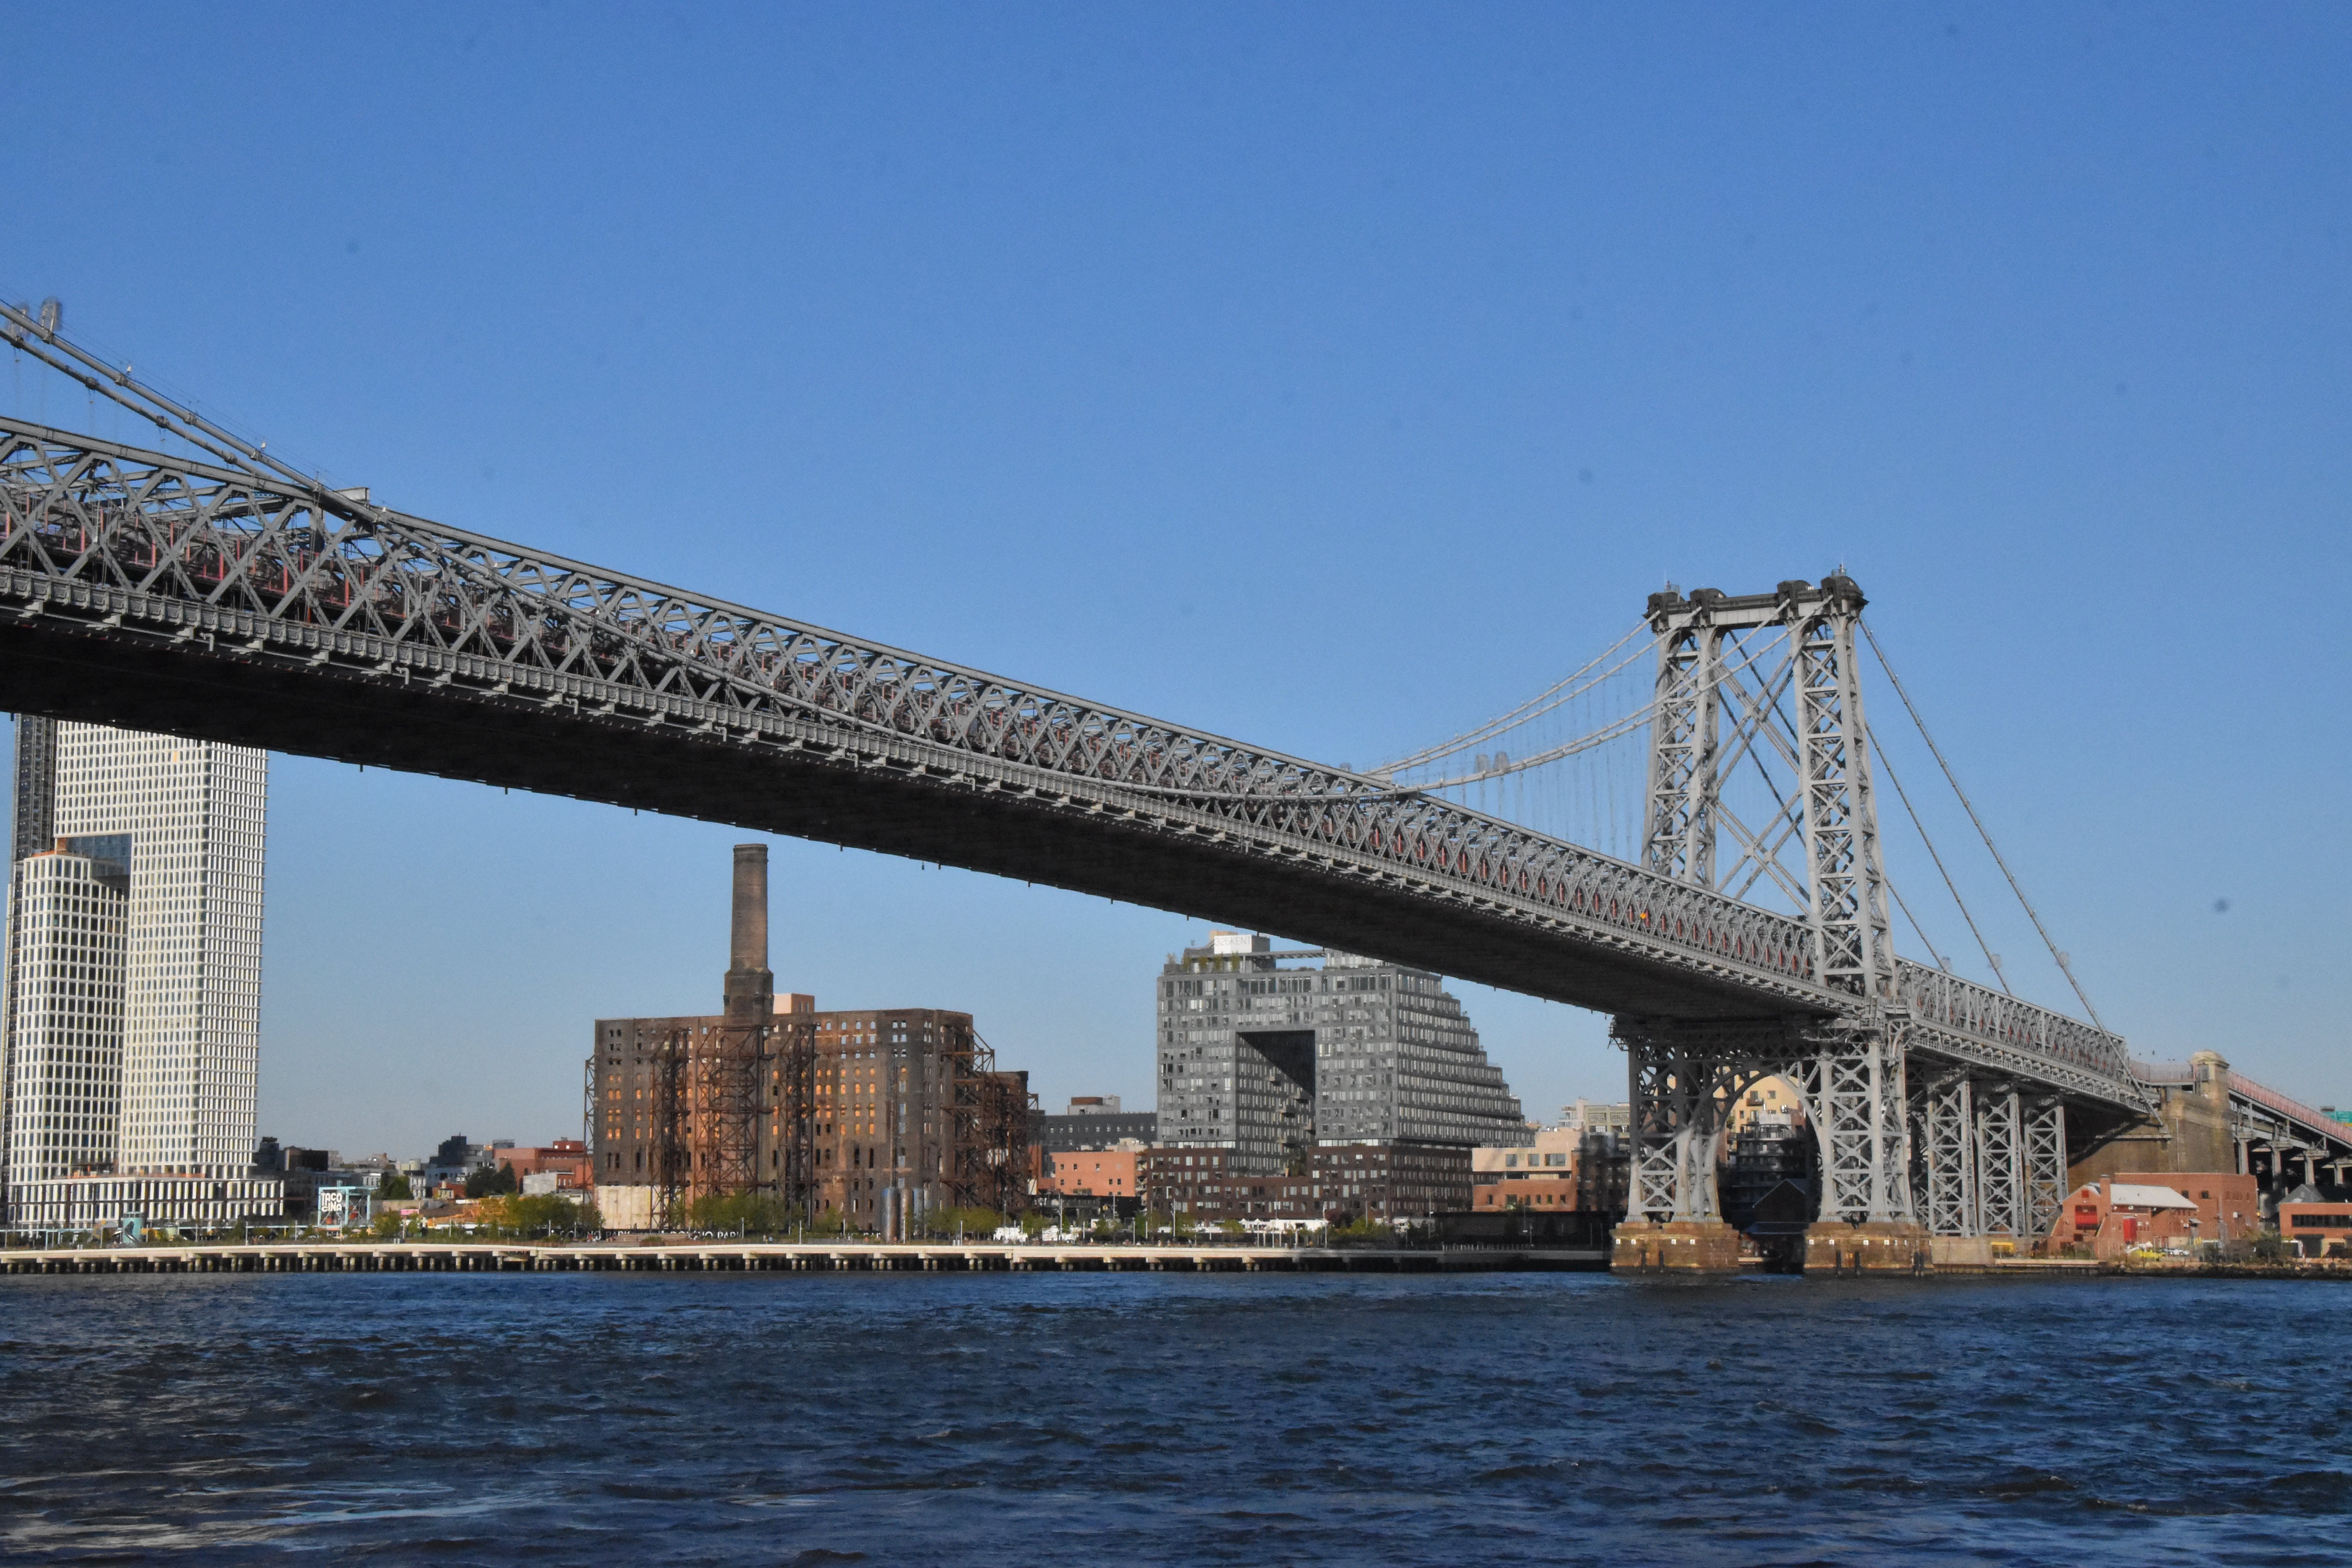
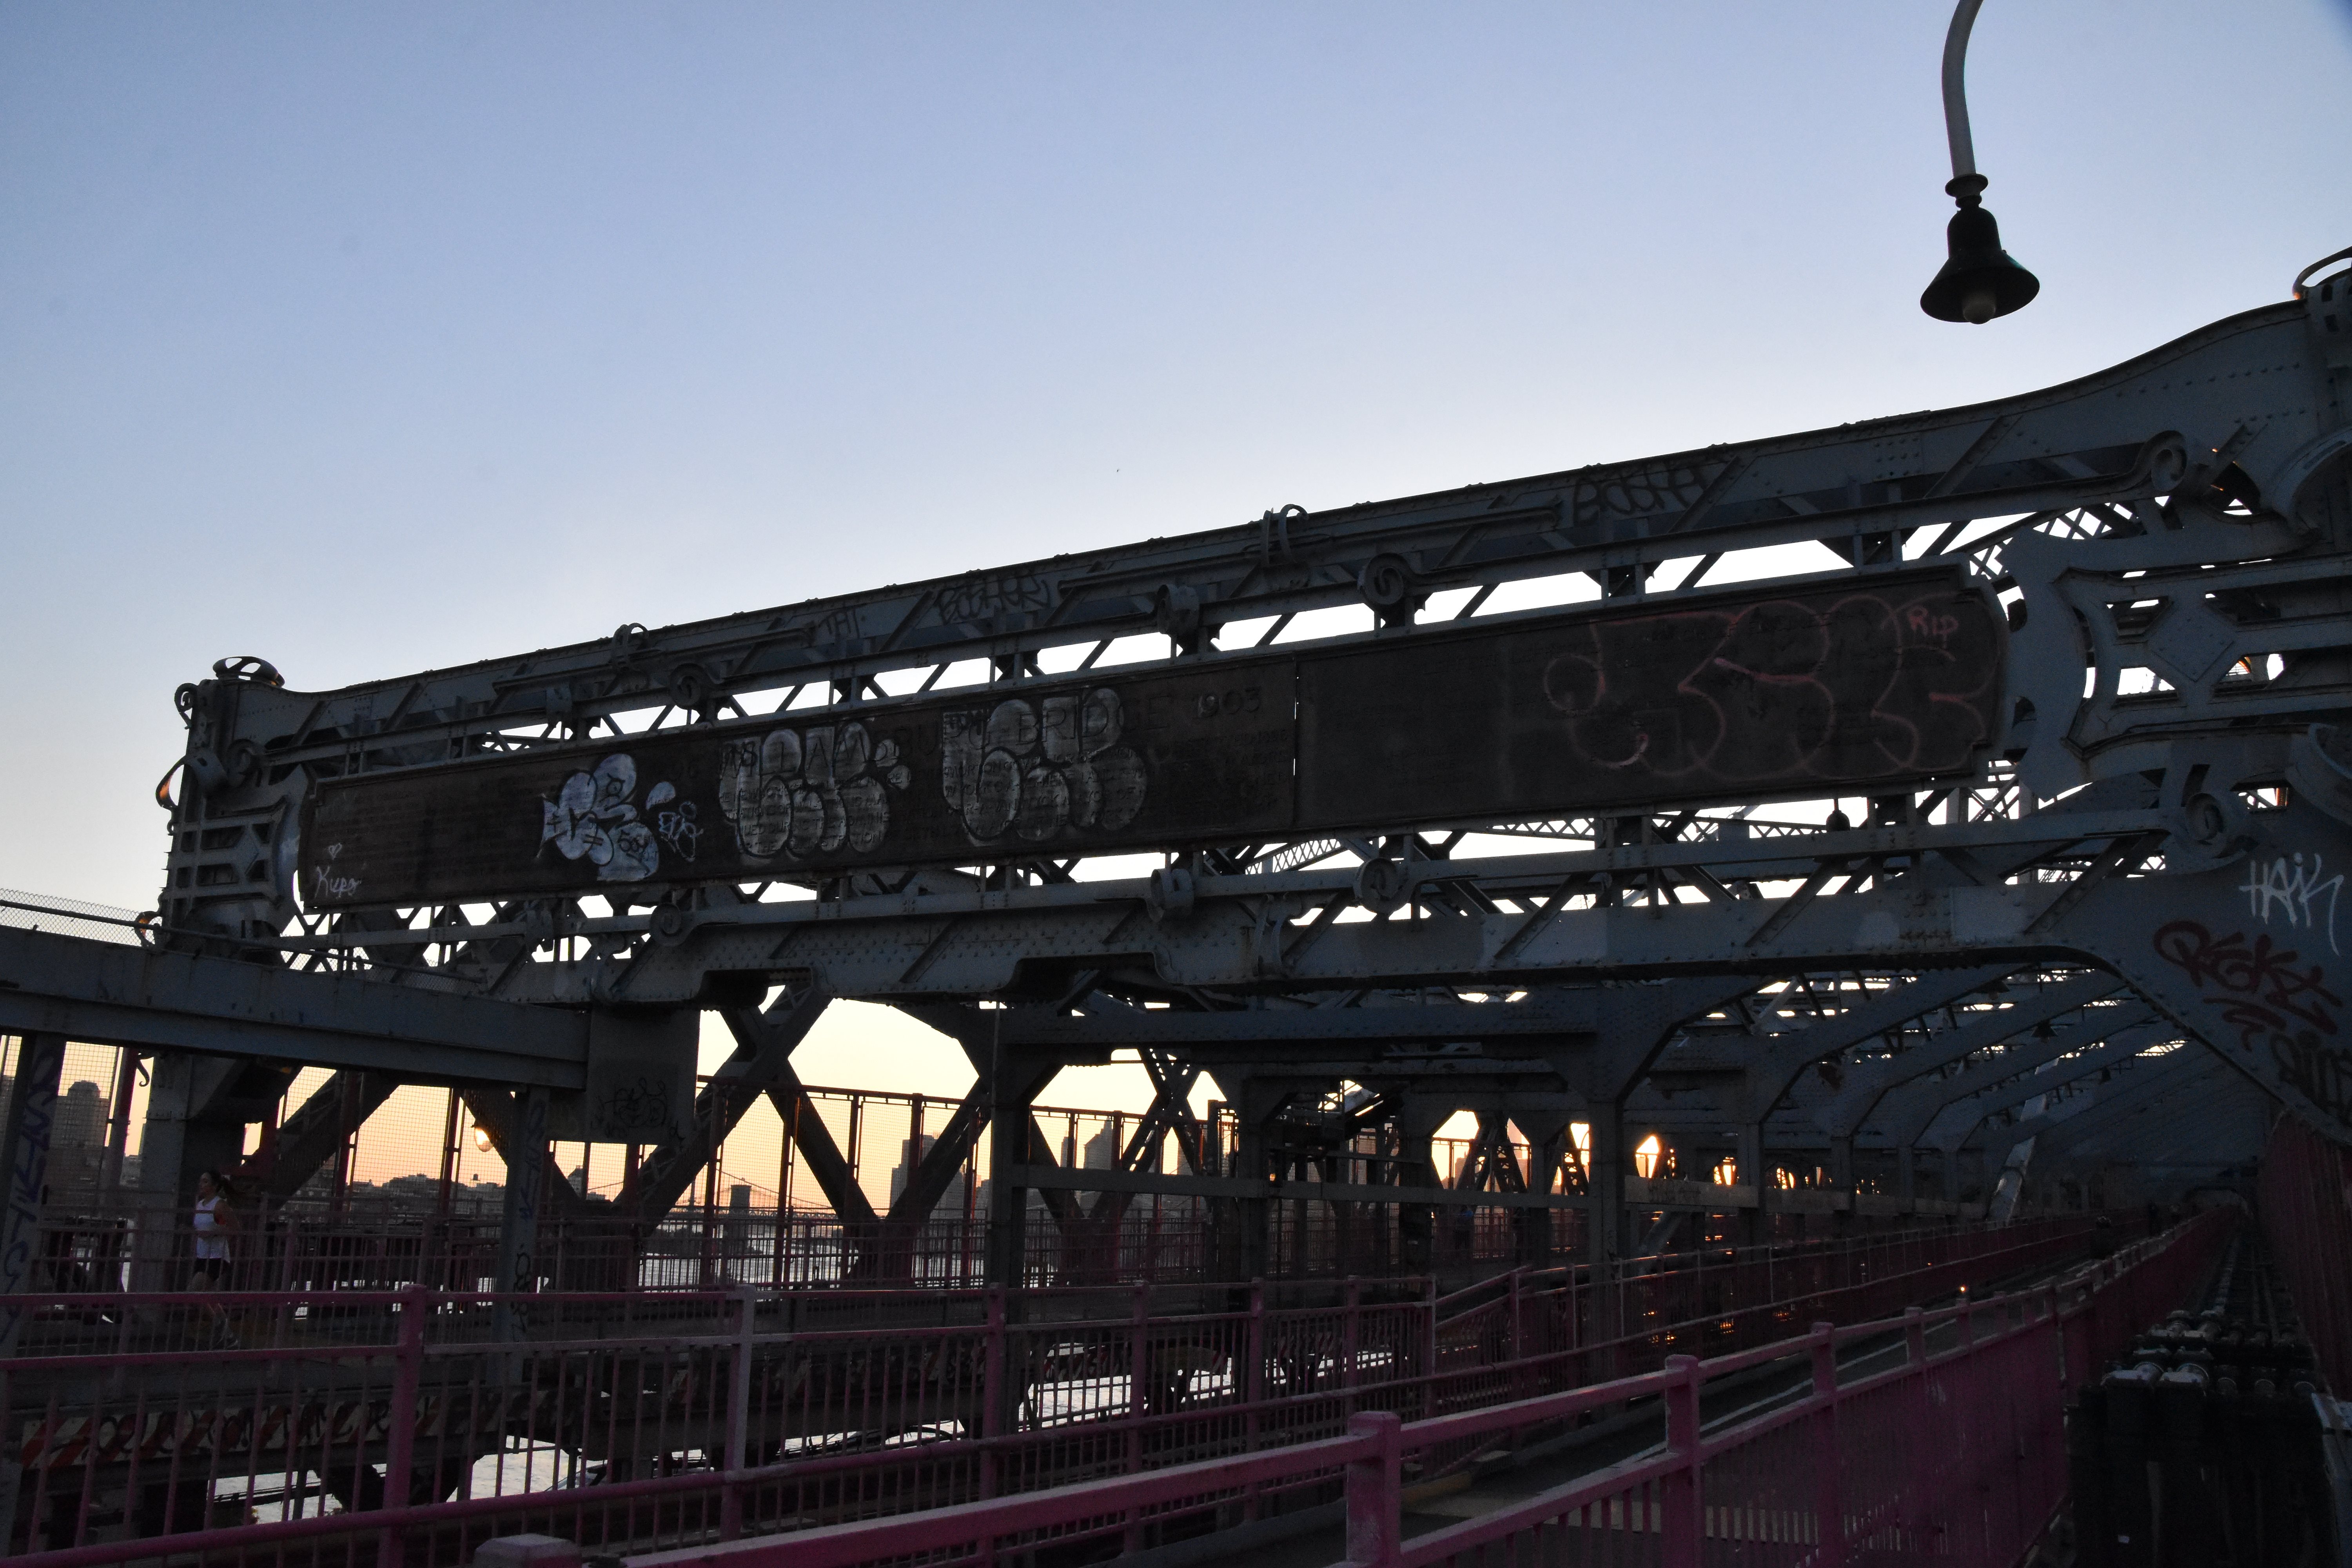
Panoramic elevation from southwest quadrant.
![]()


National Historic Civil Engineering Landmark plaque.
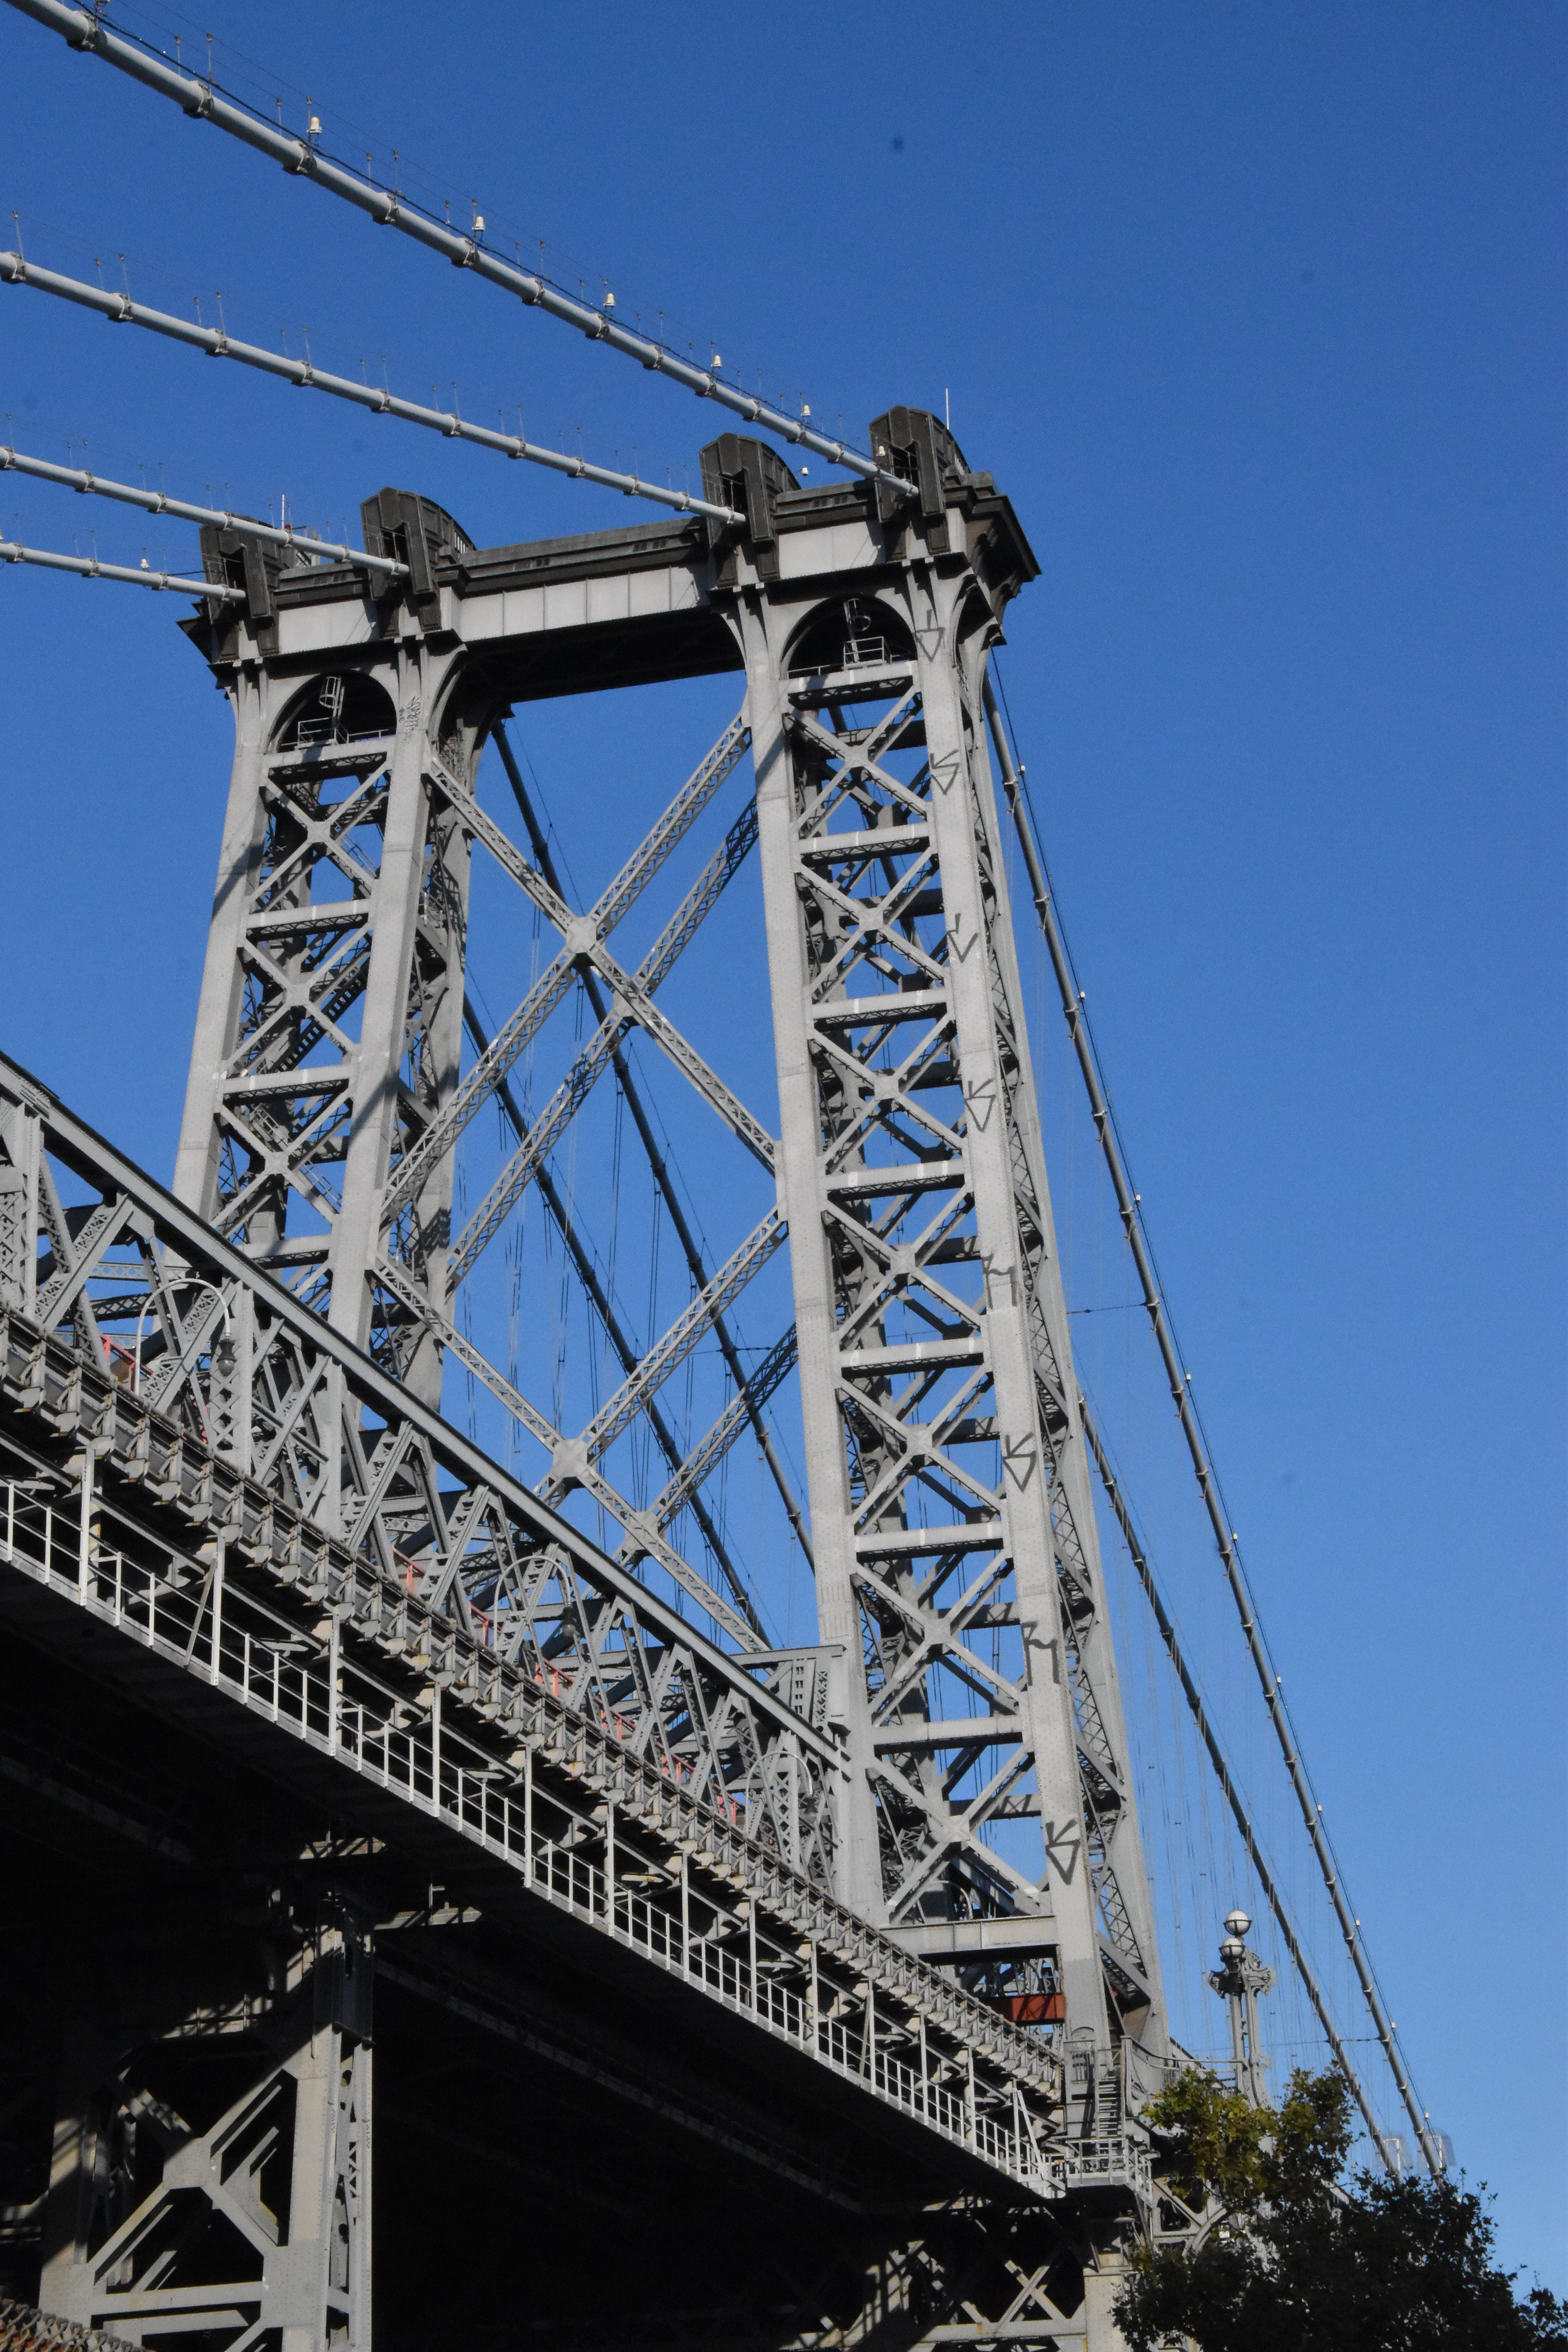
![]()


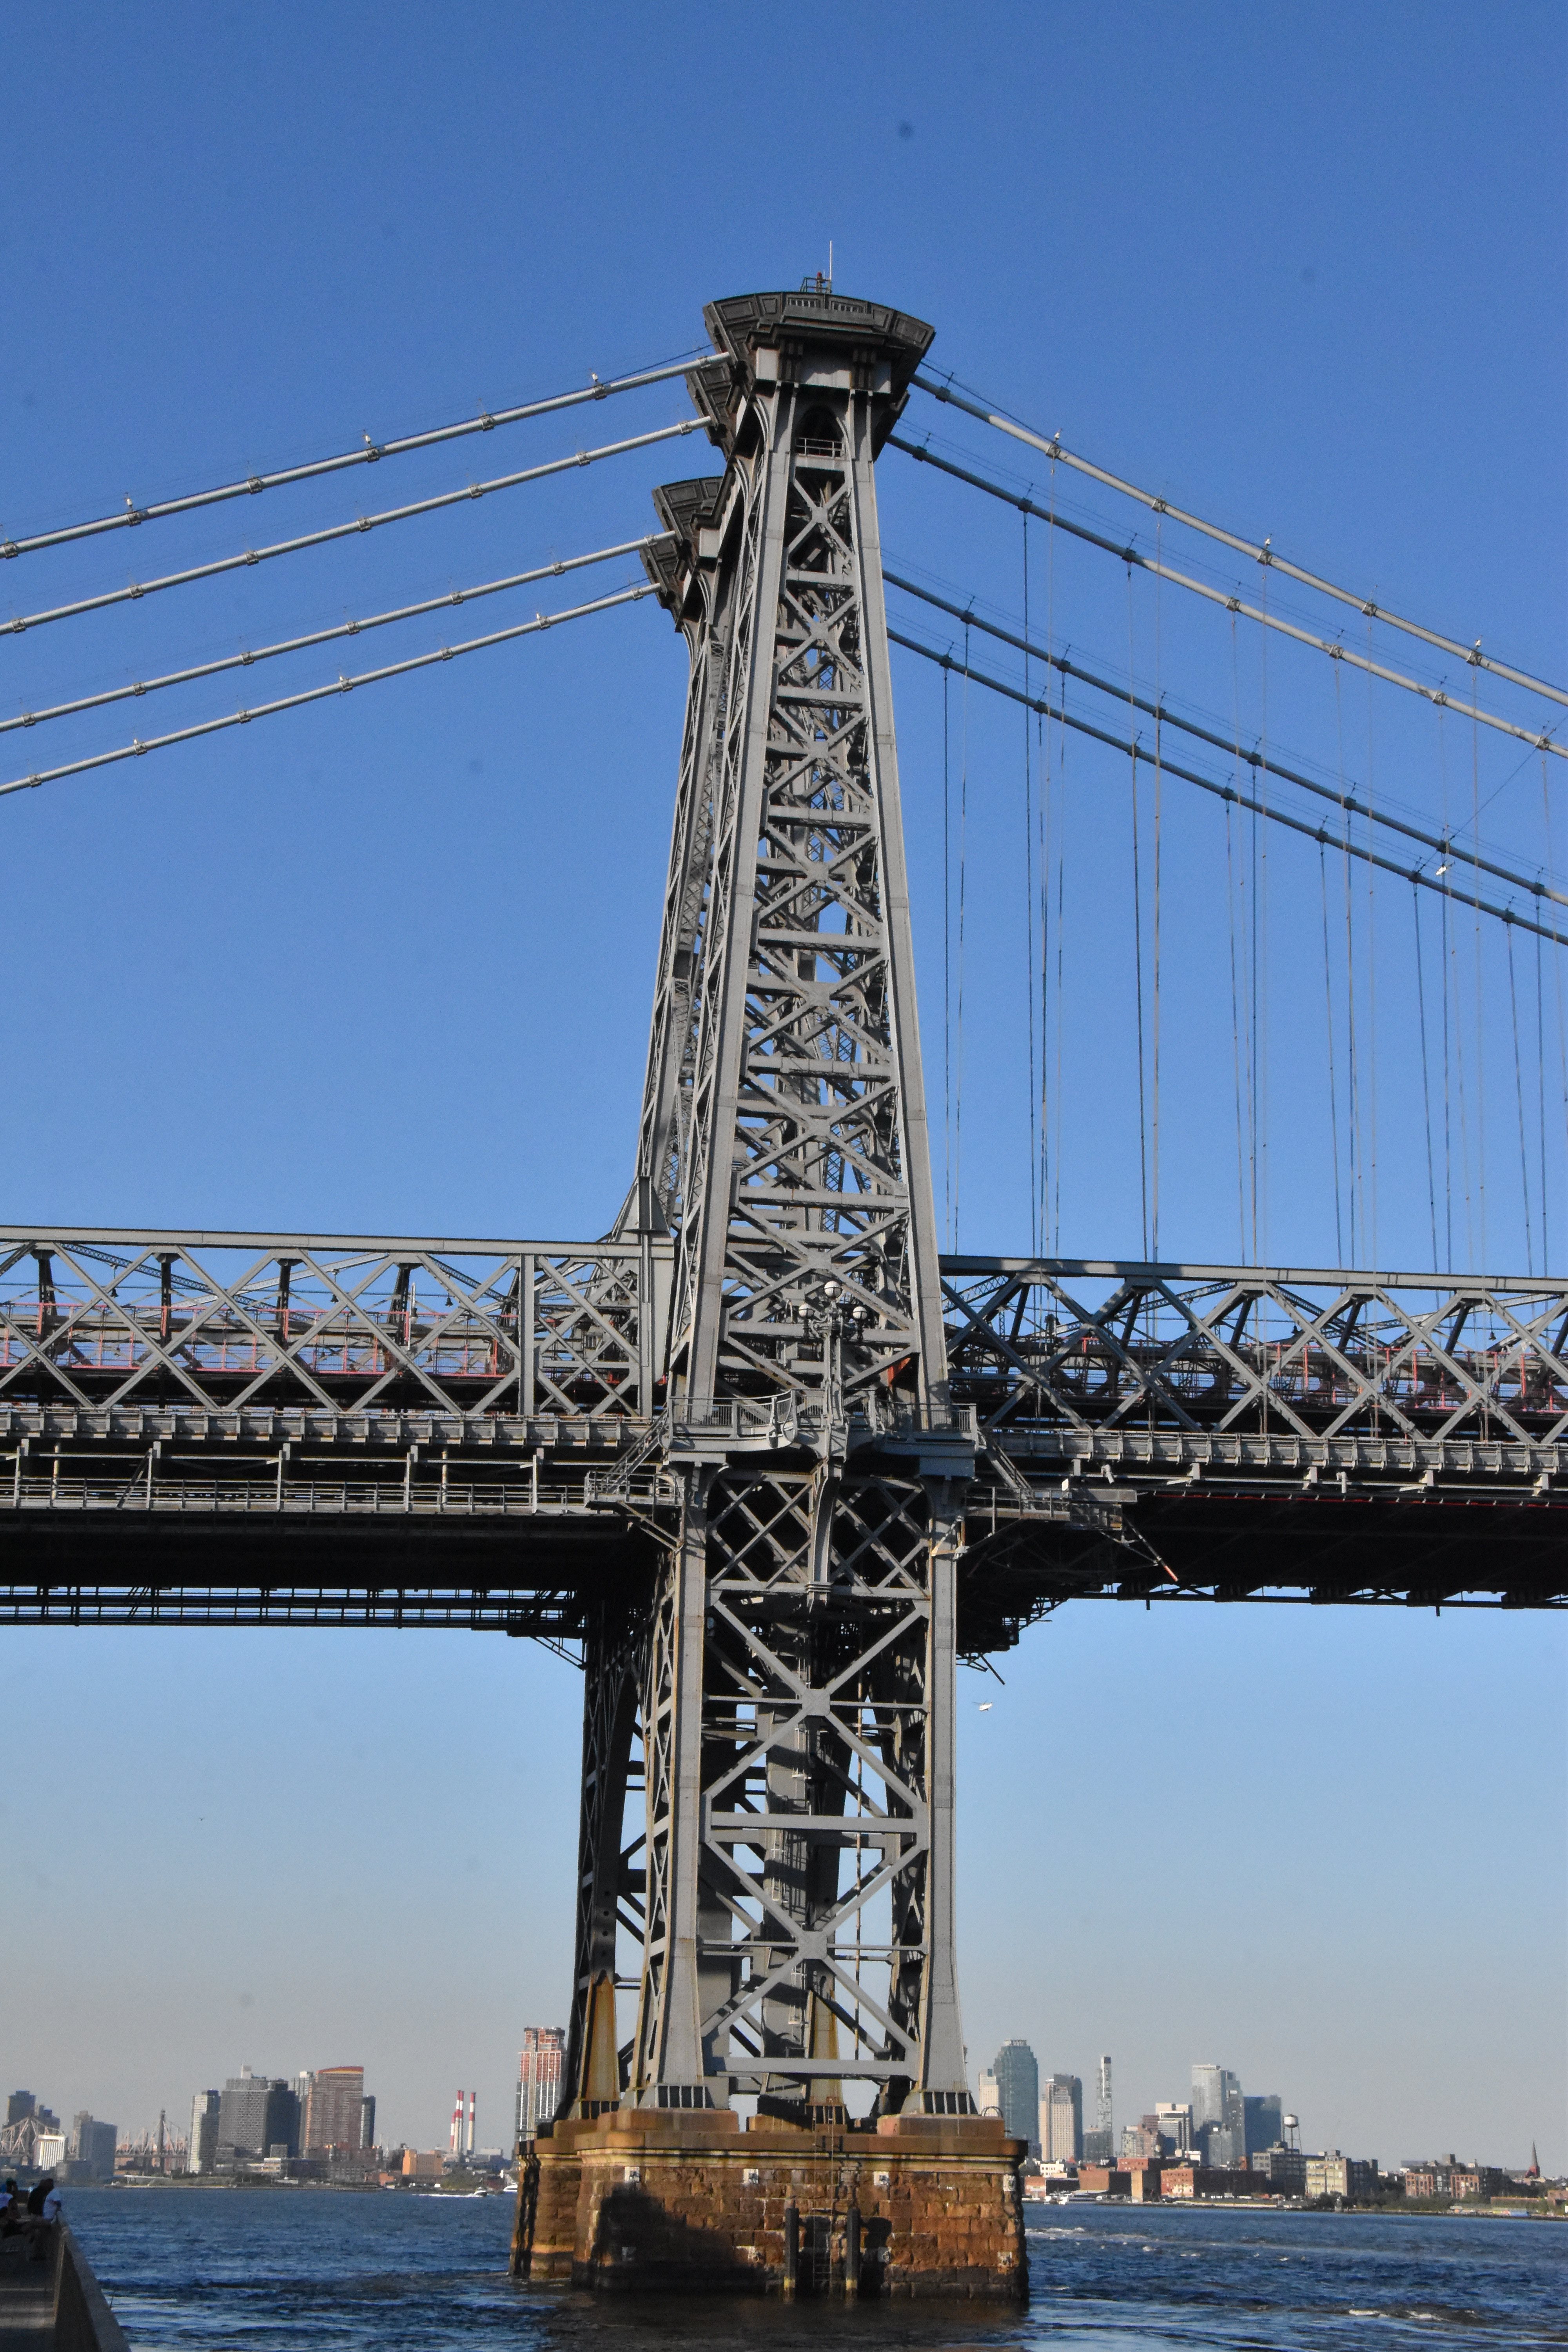


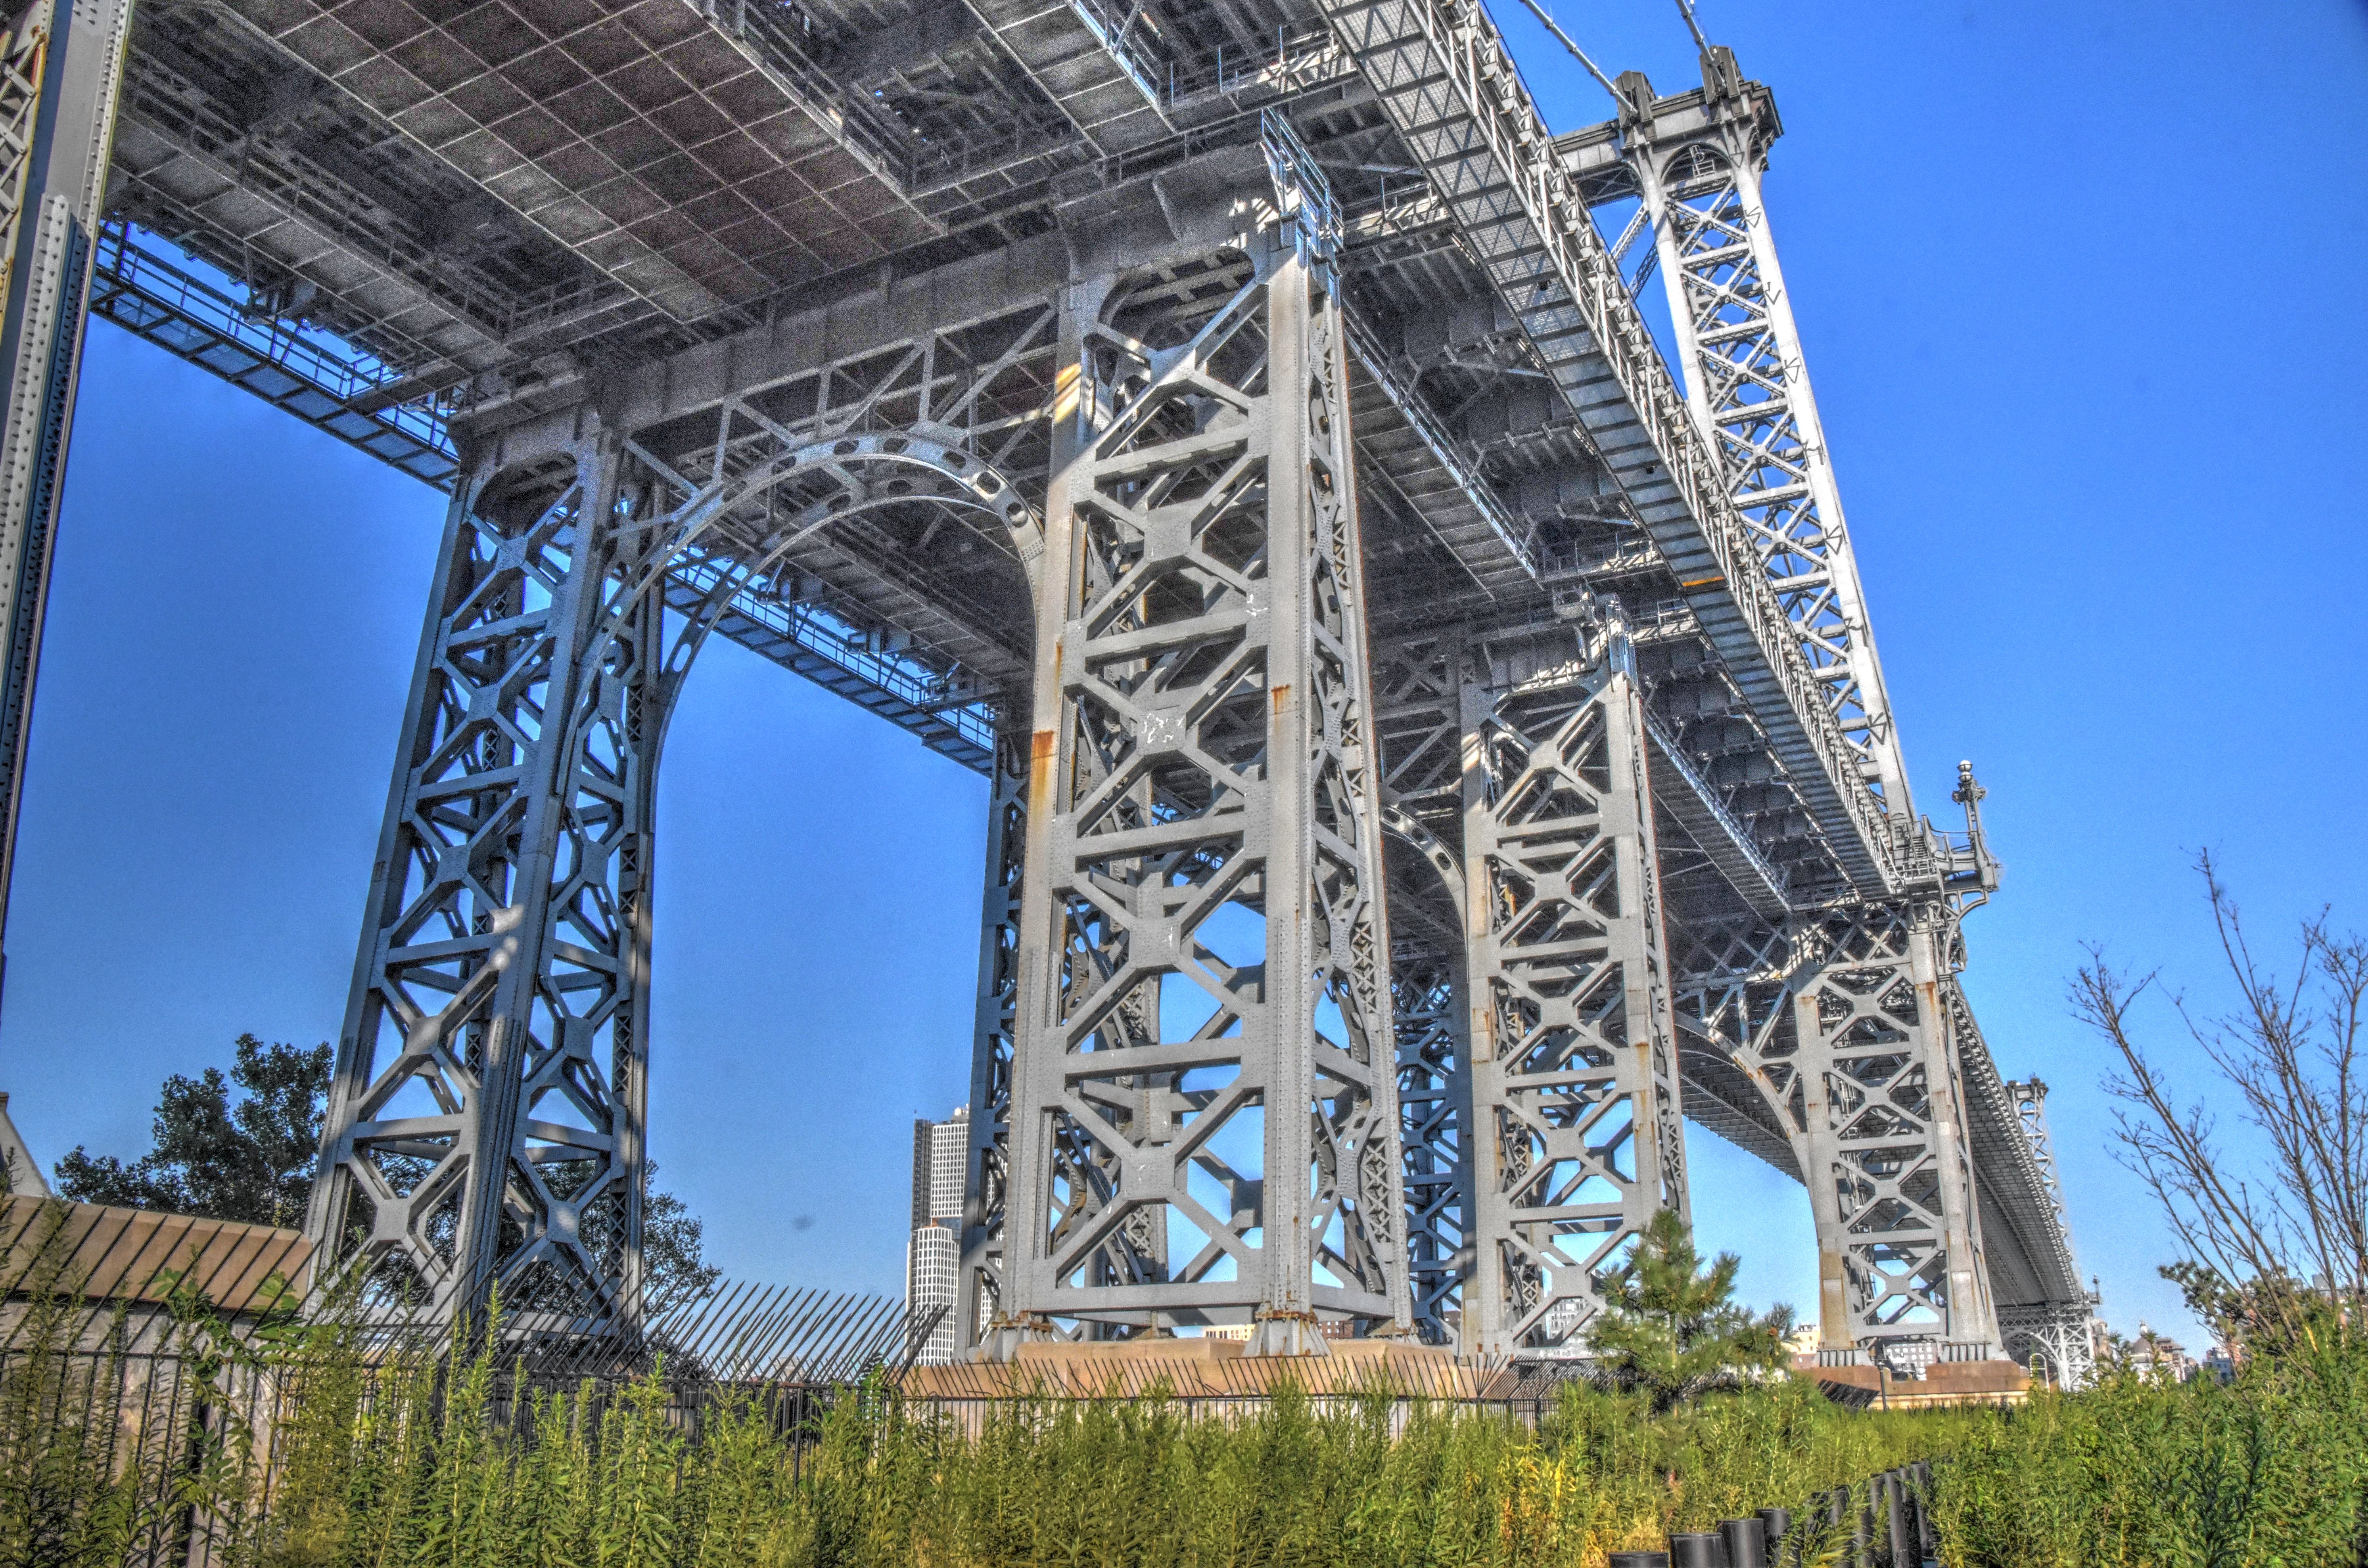
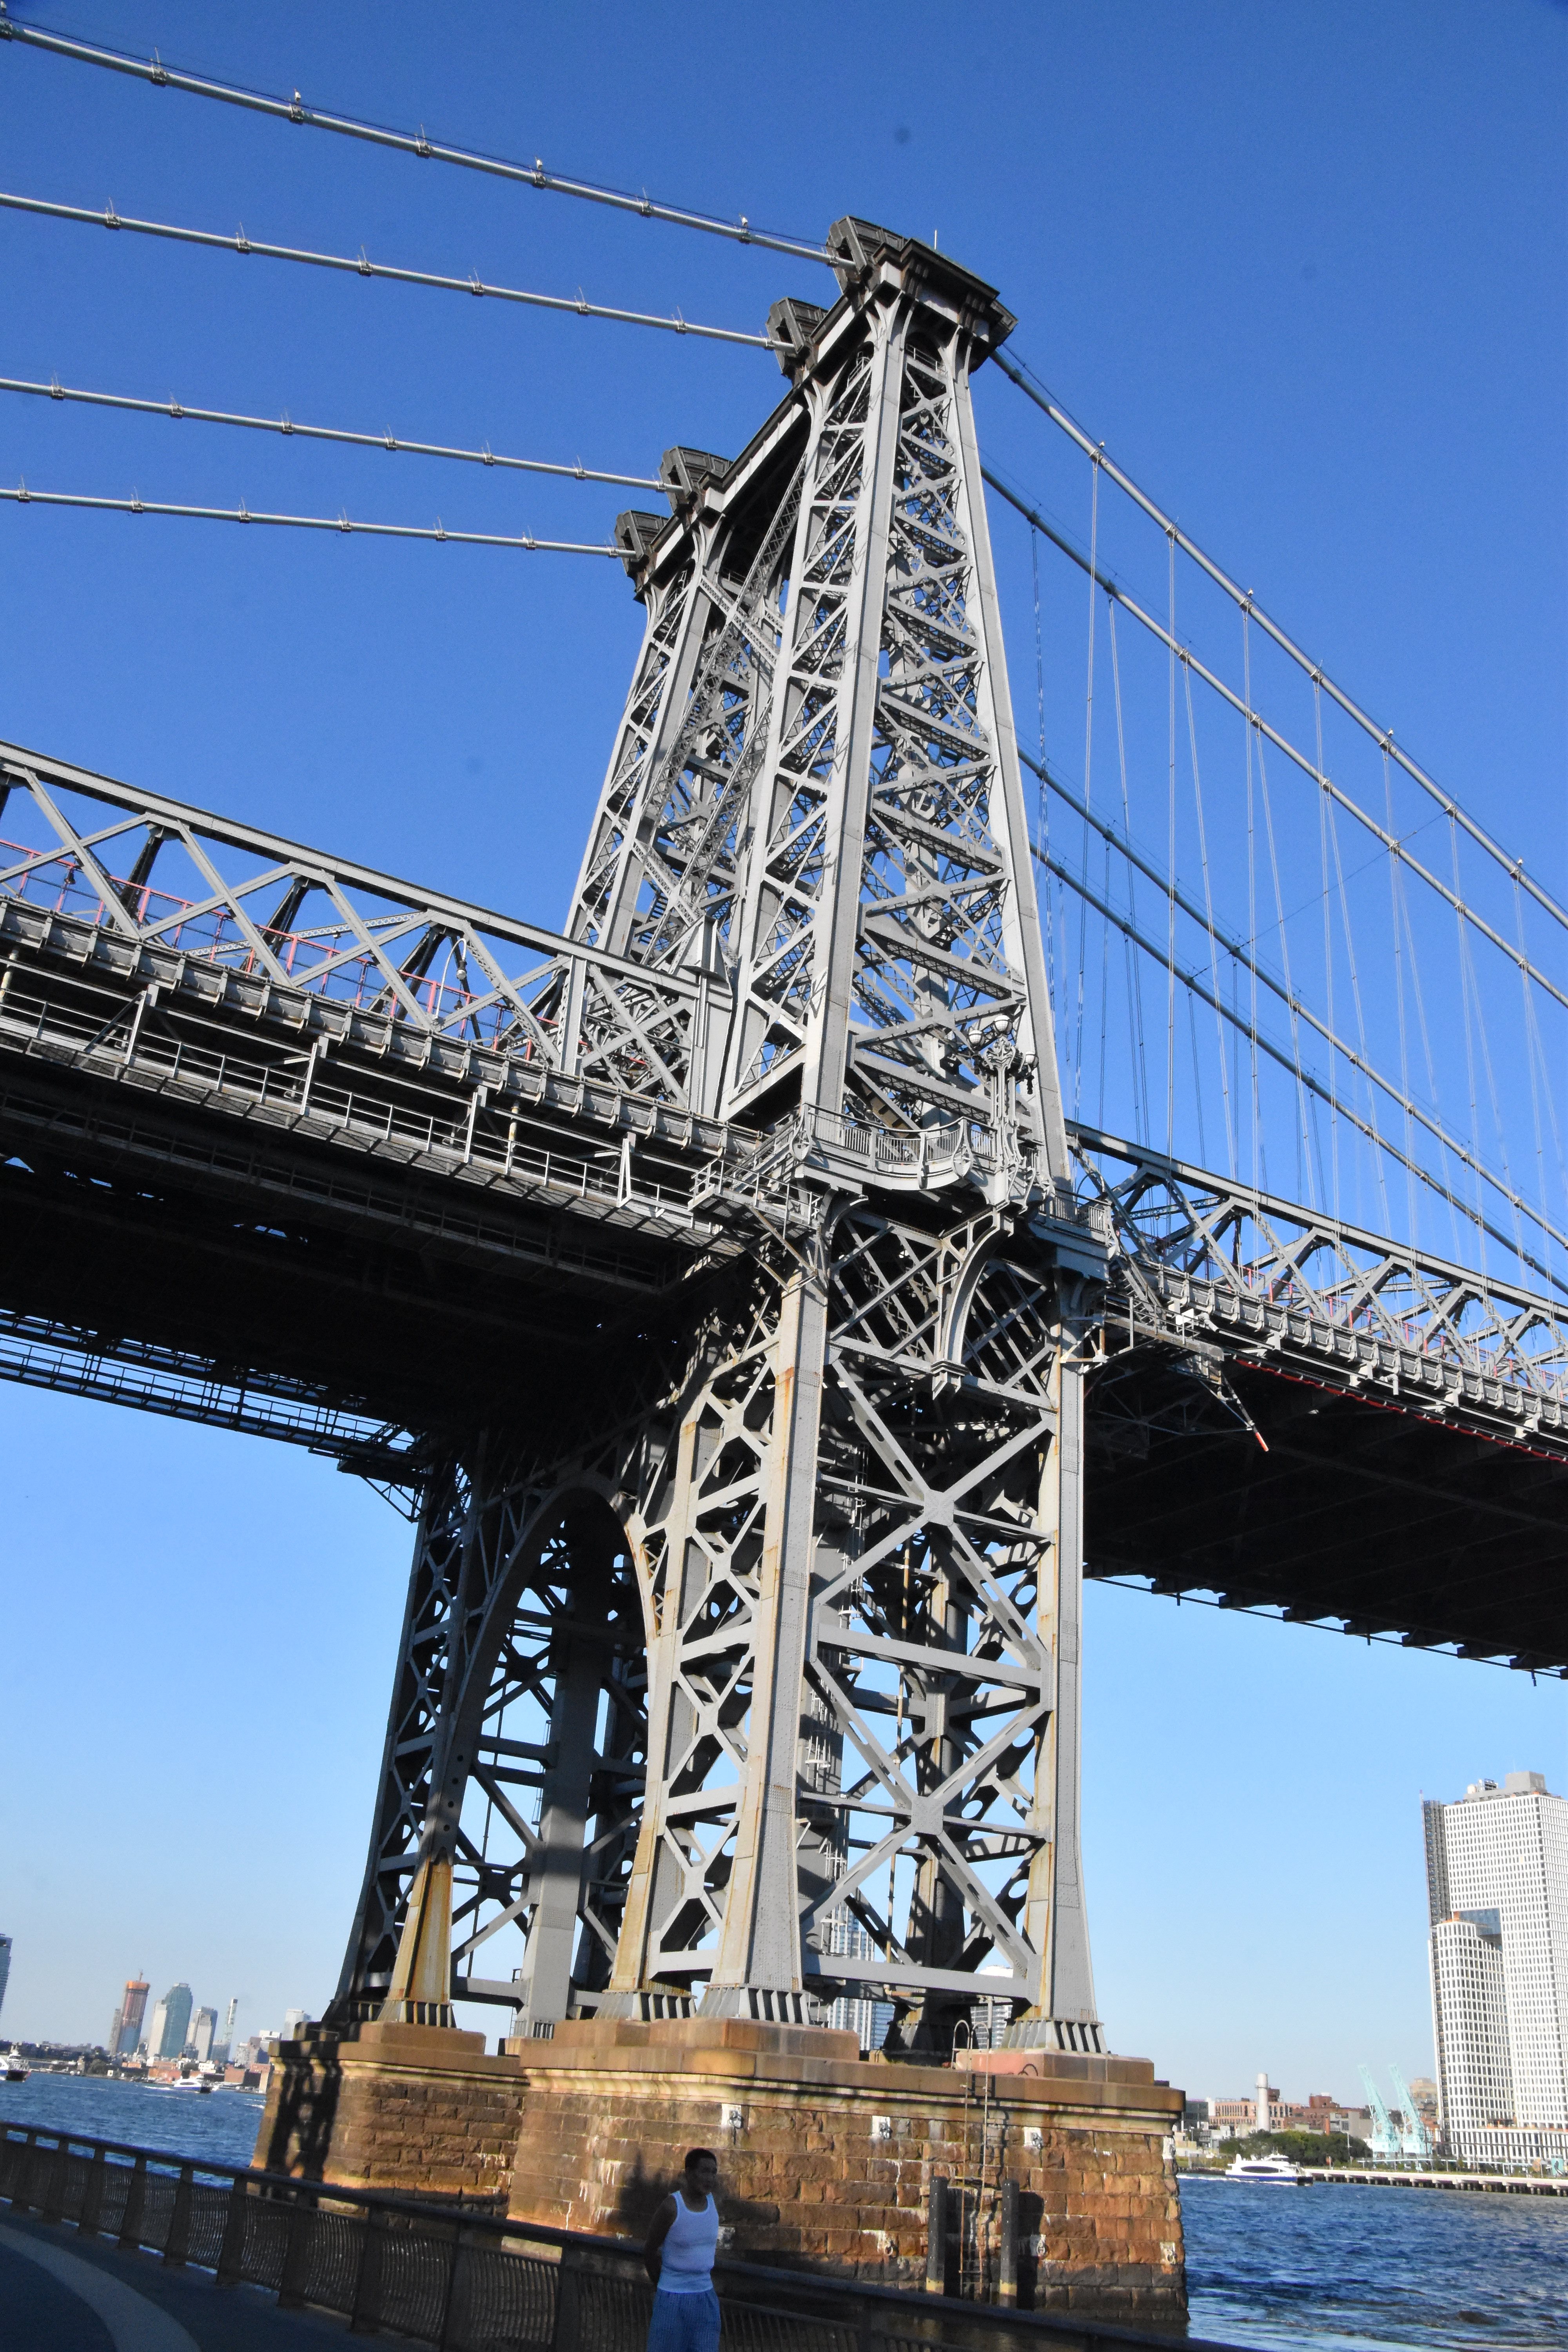
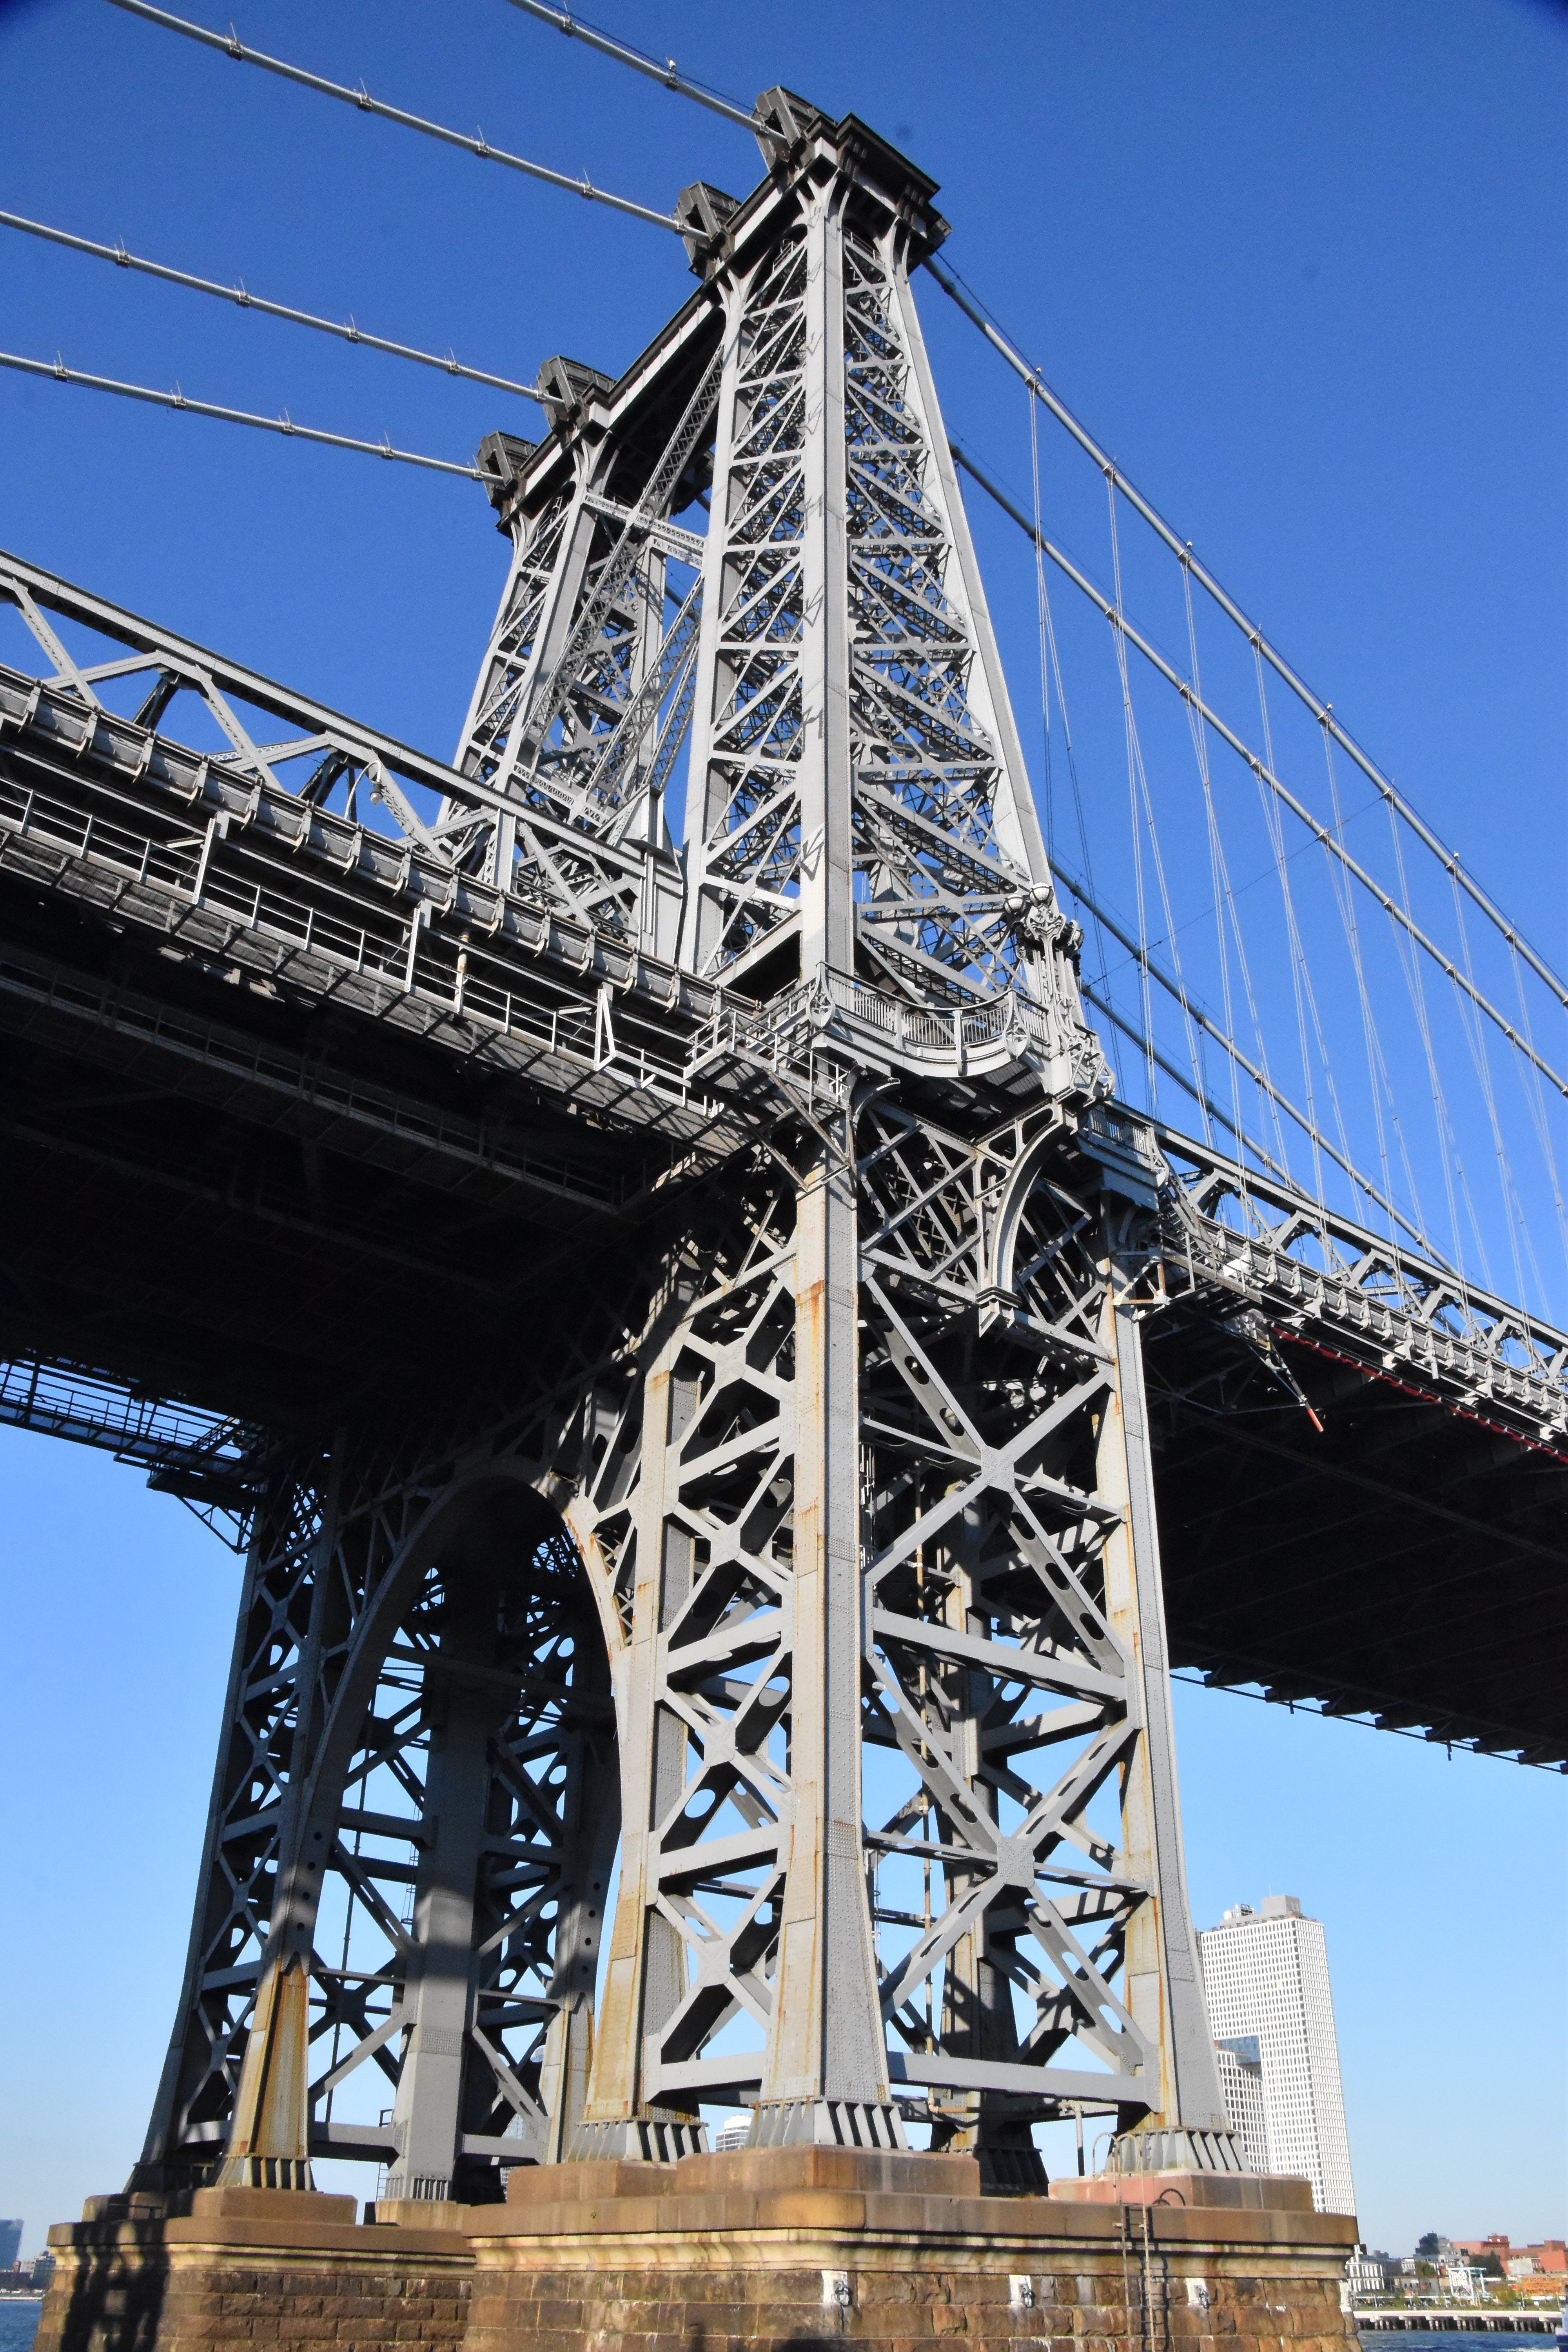
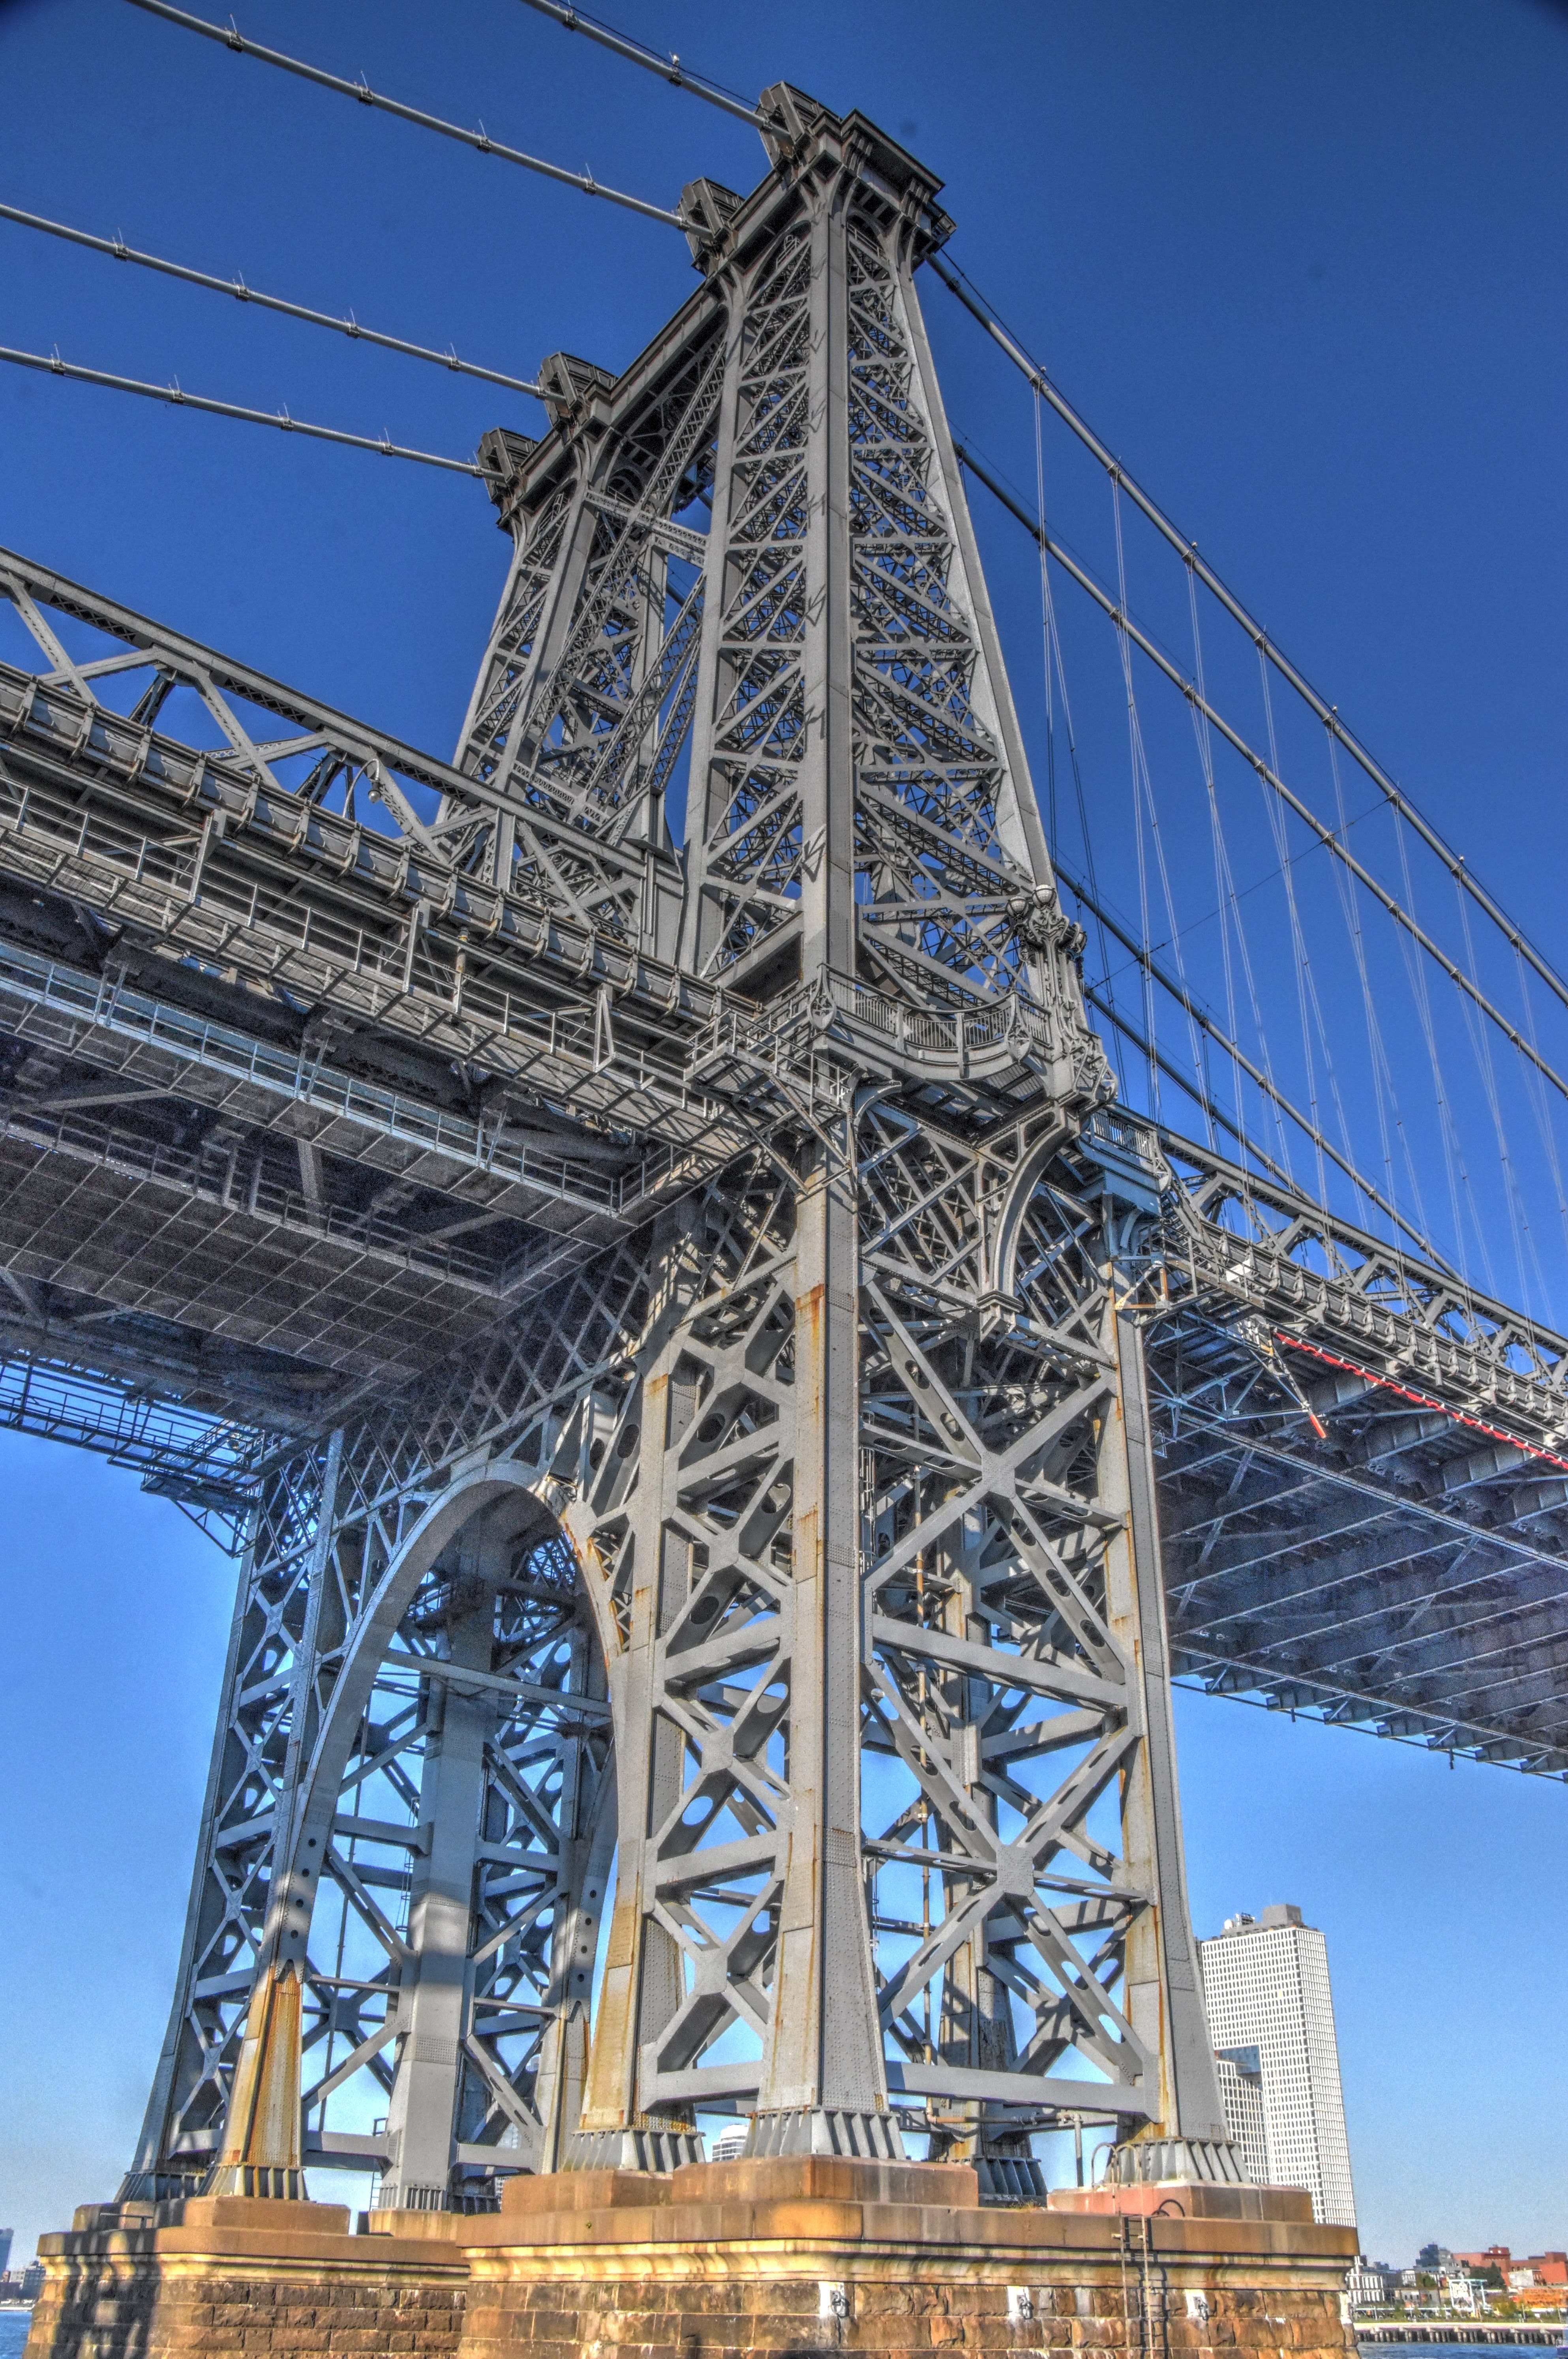
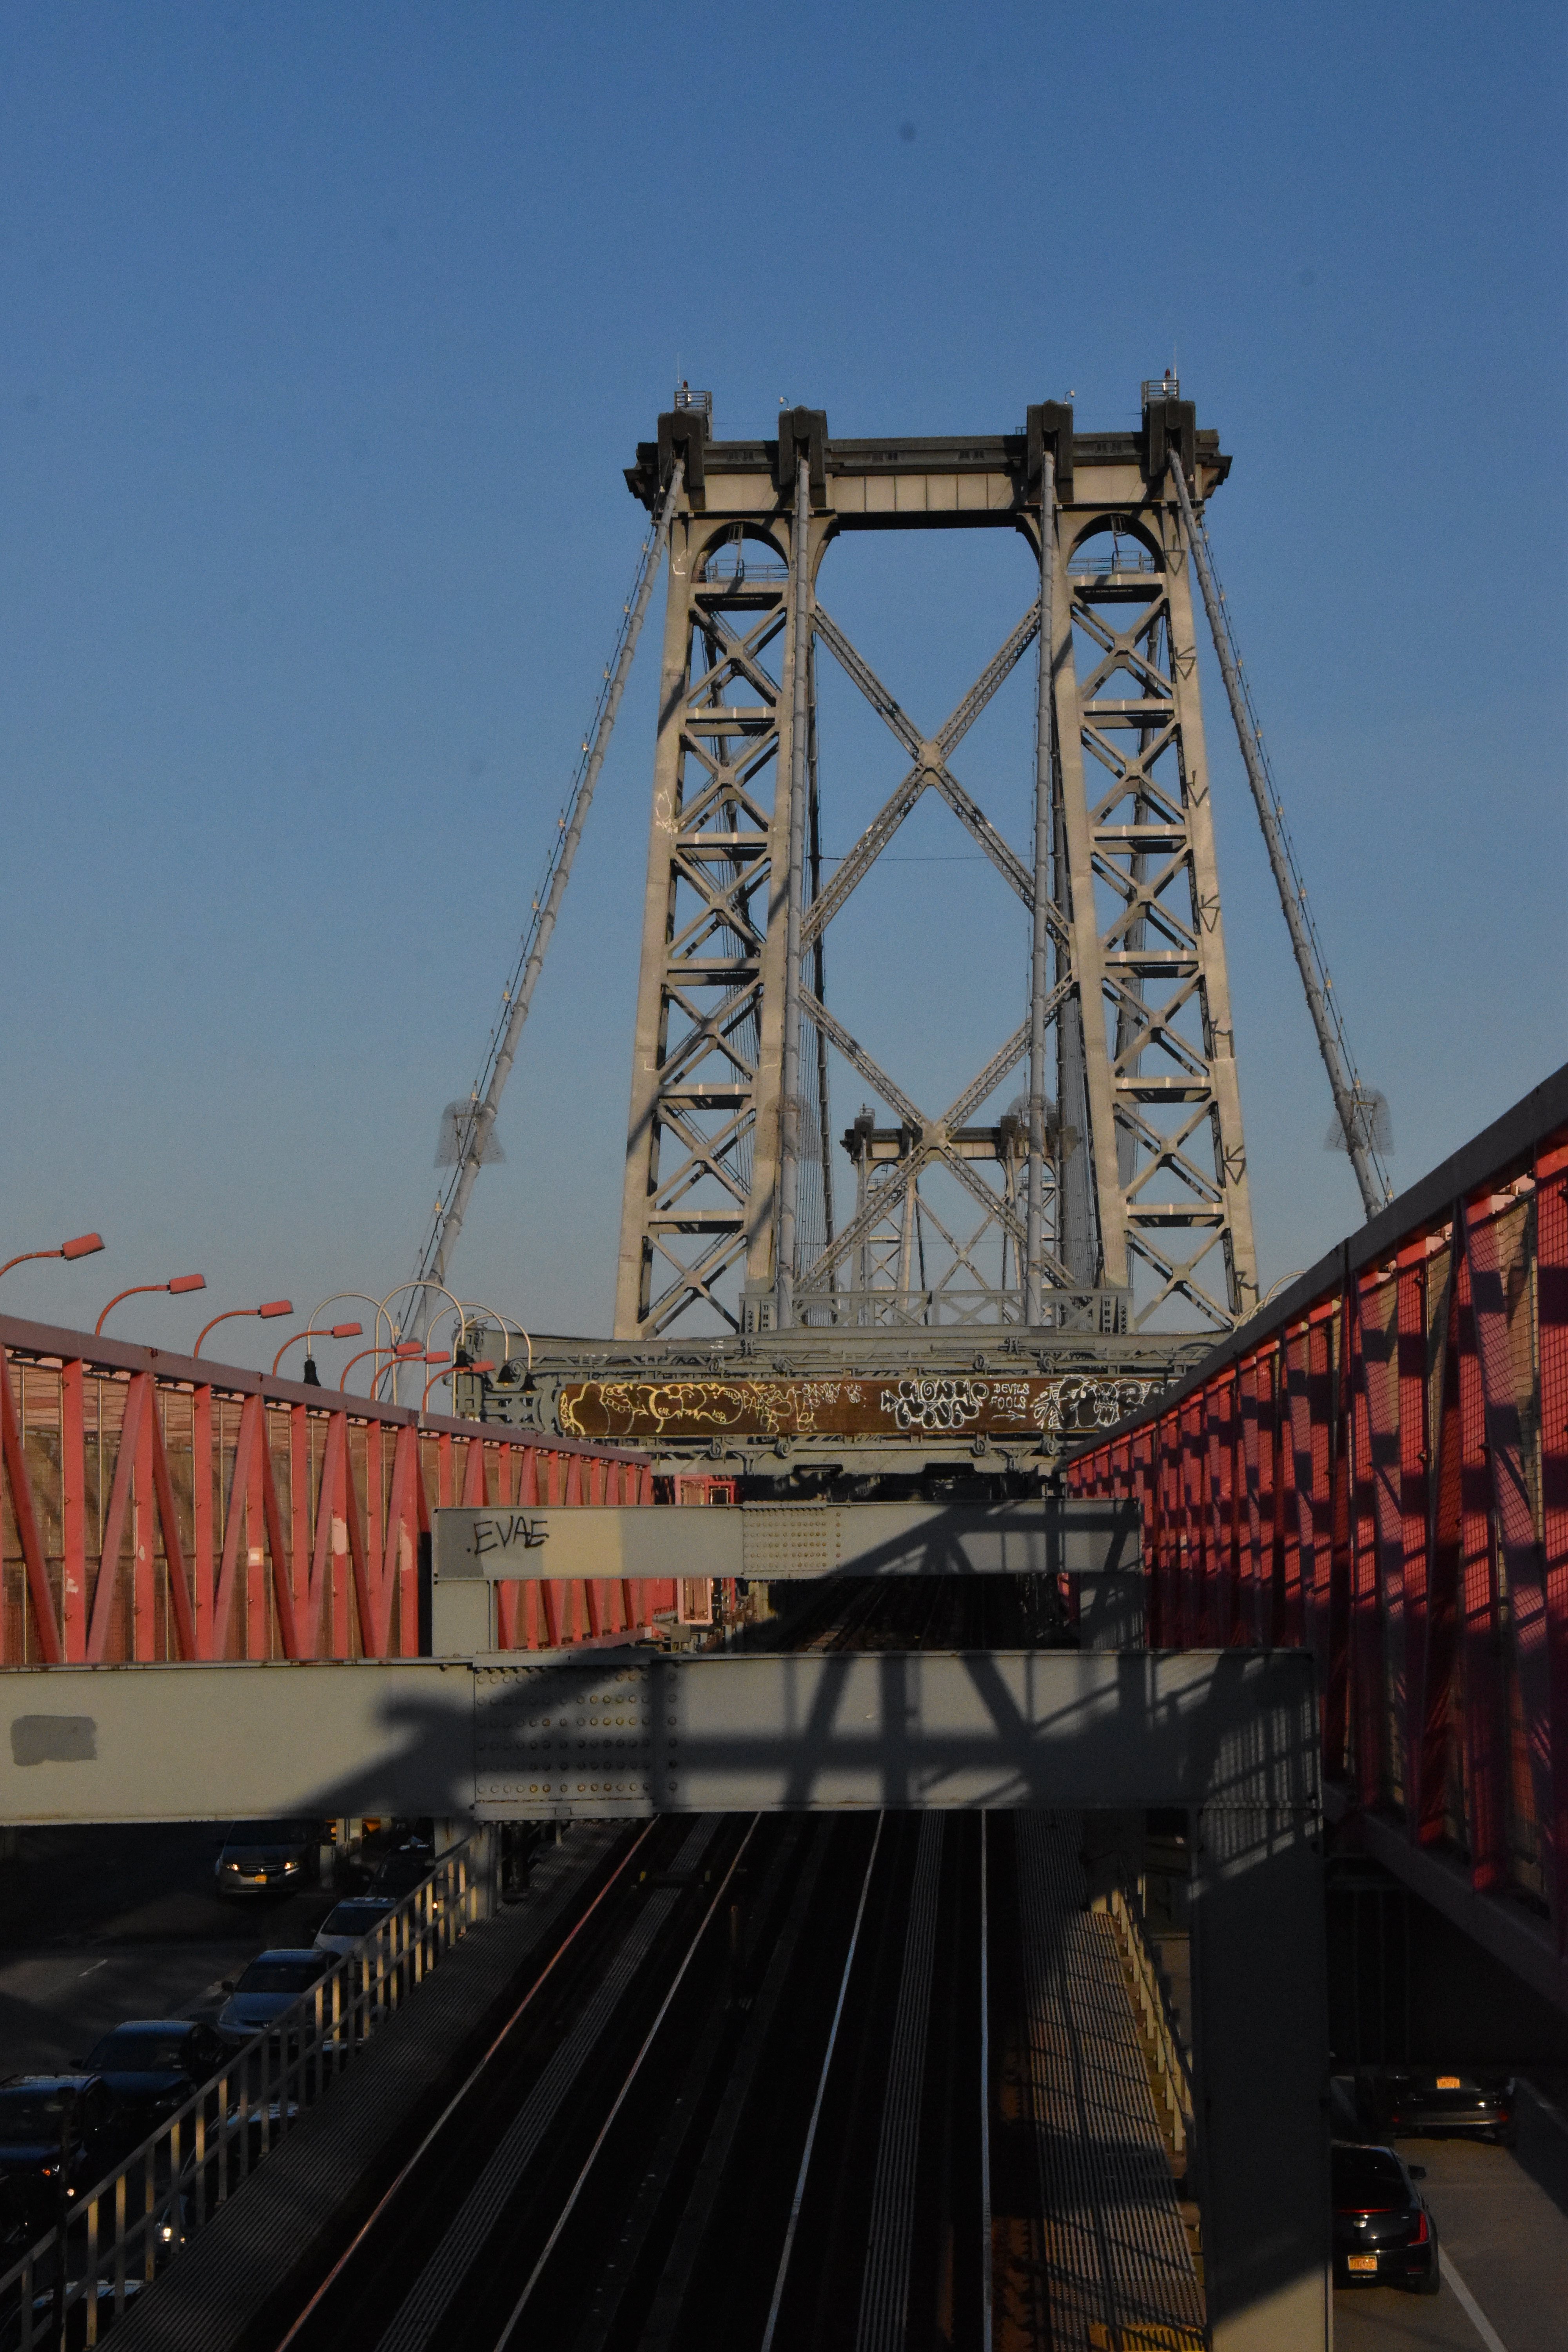
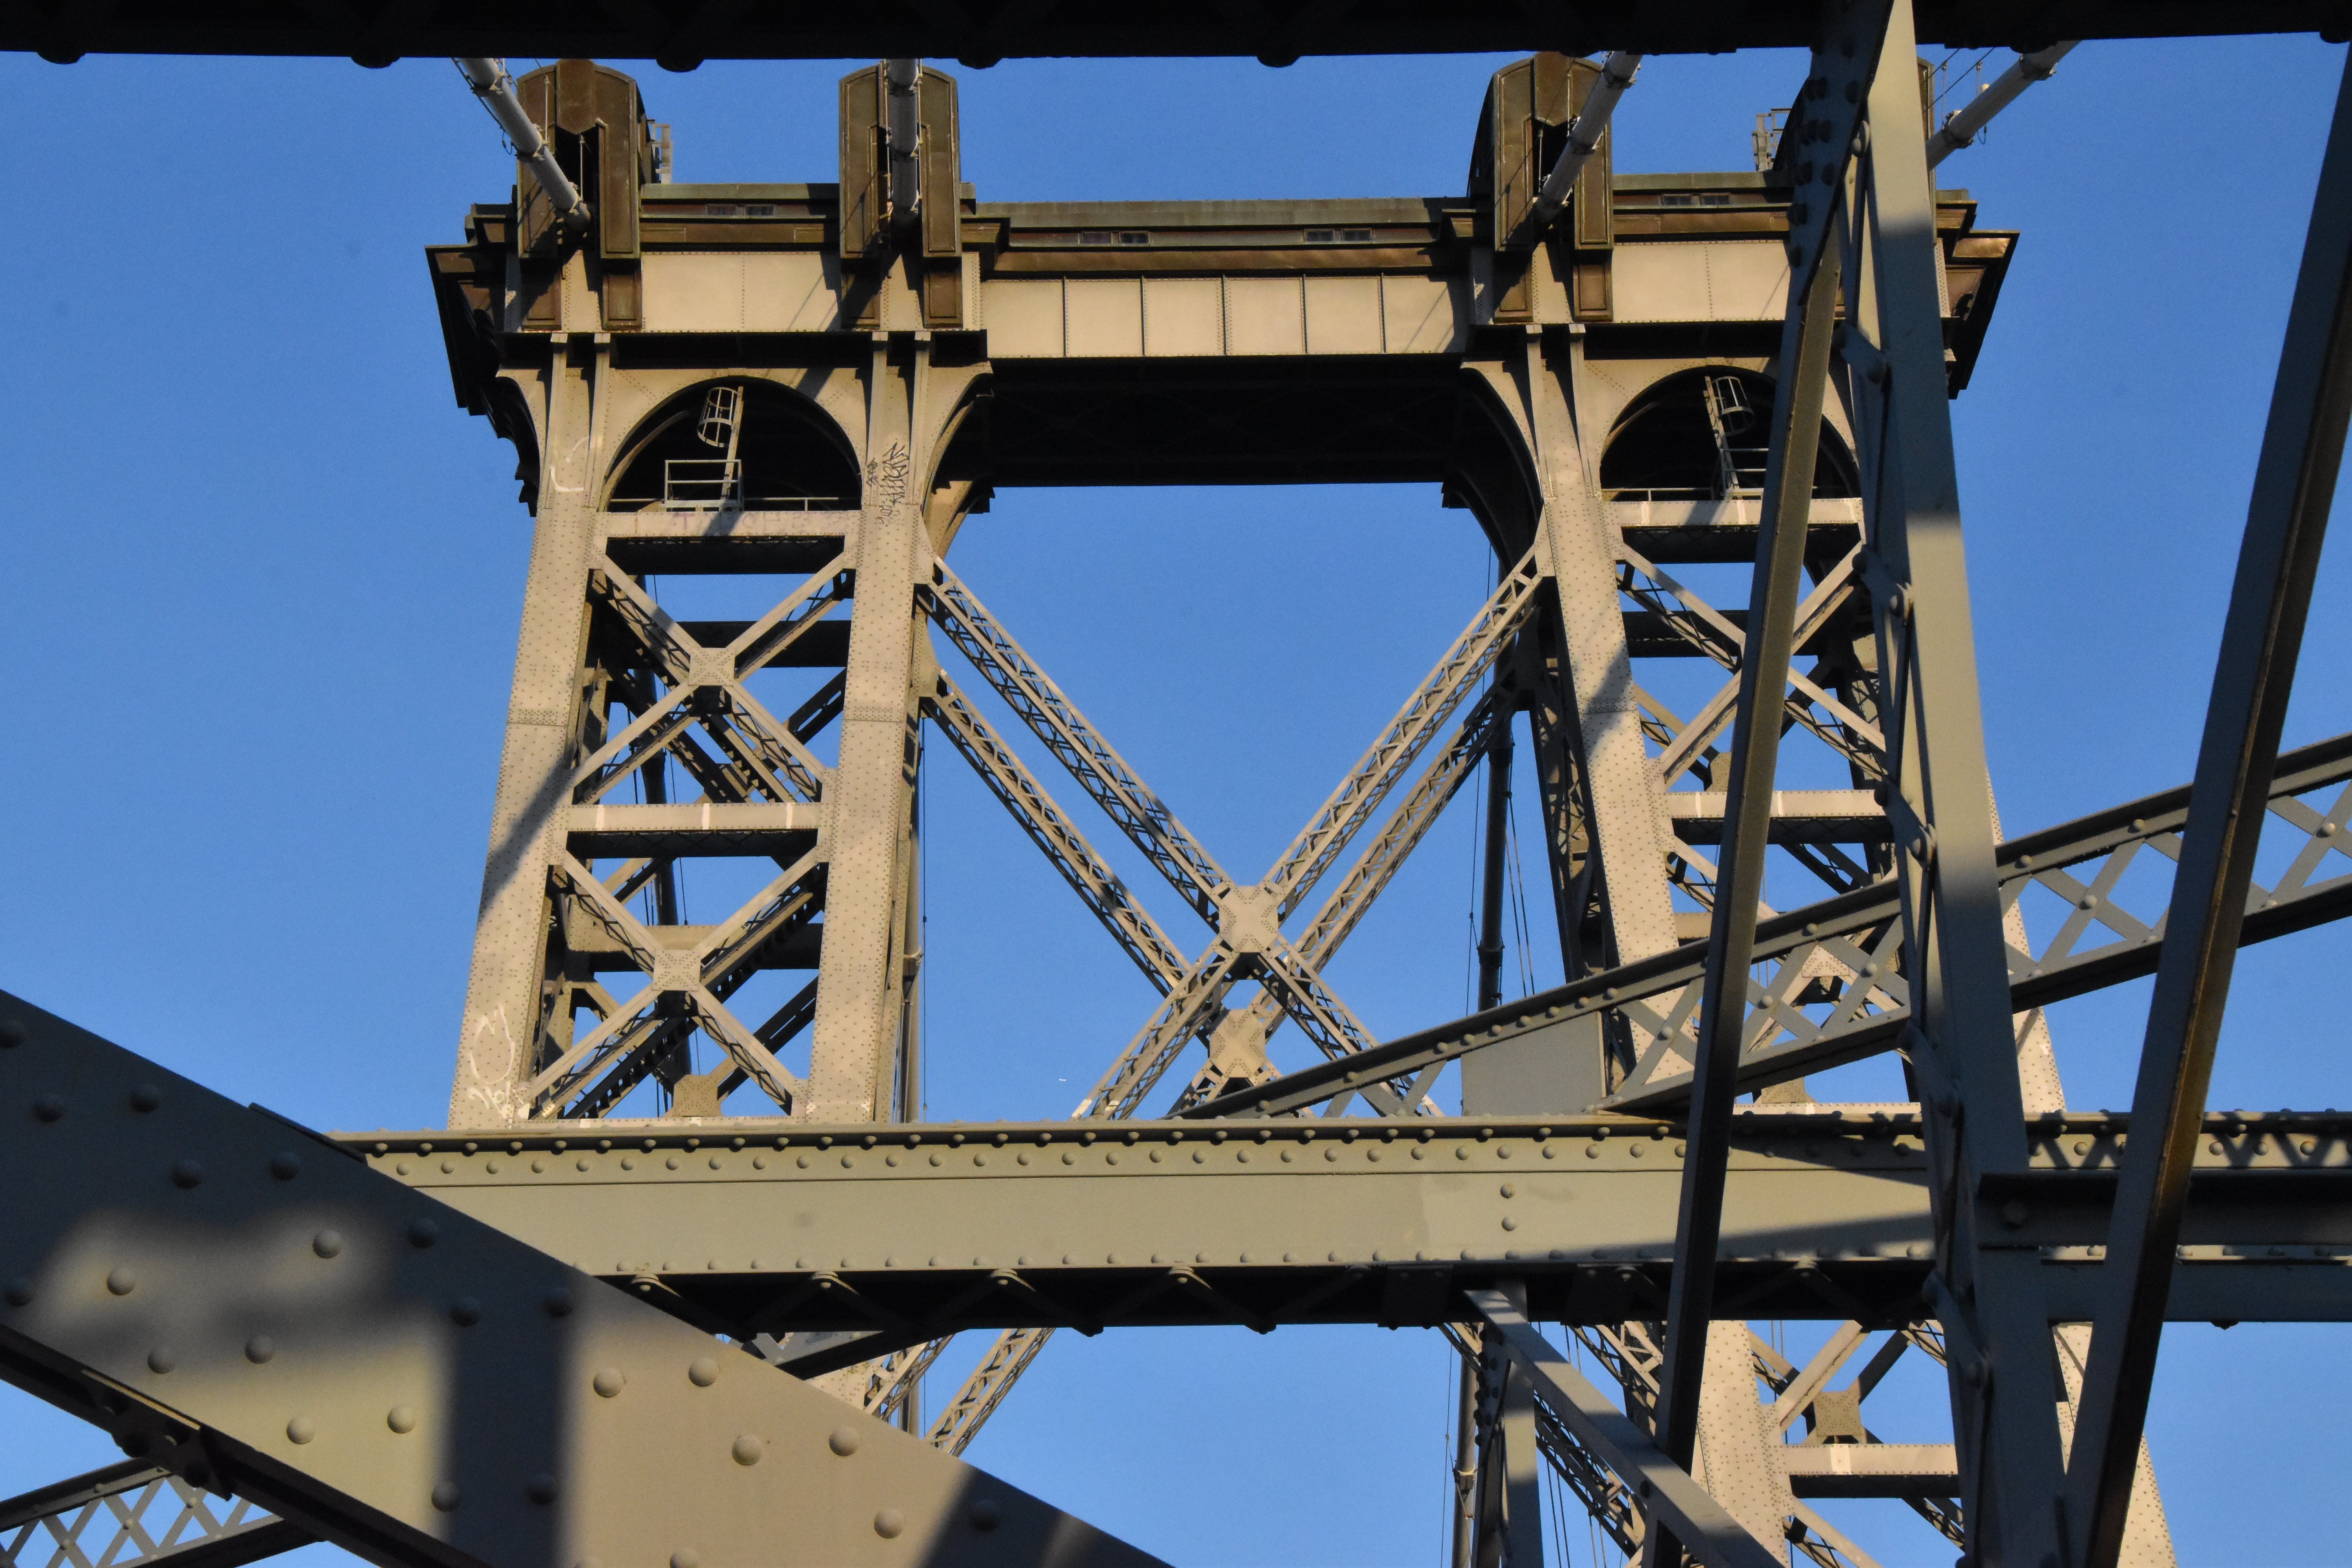
Tower elevation as seen from southwest quadrant.
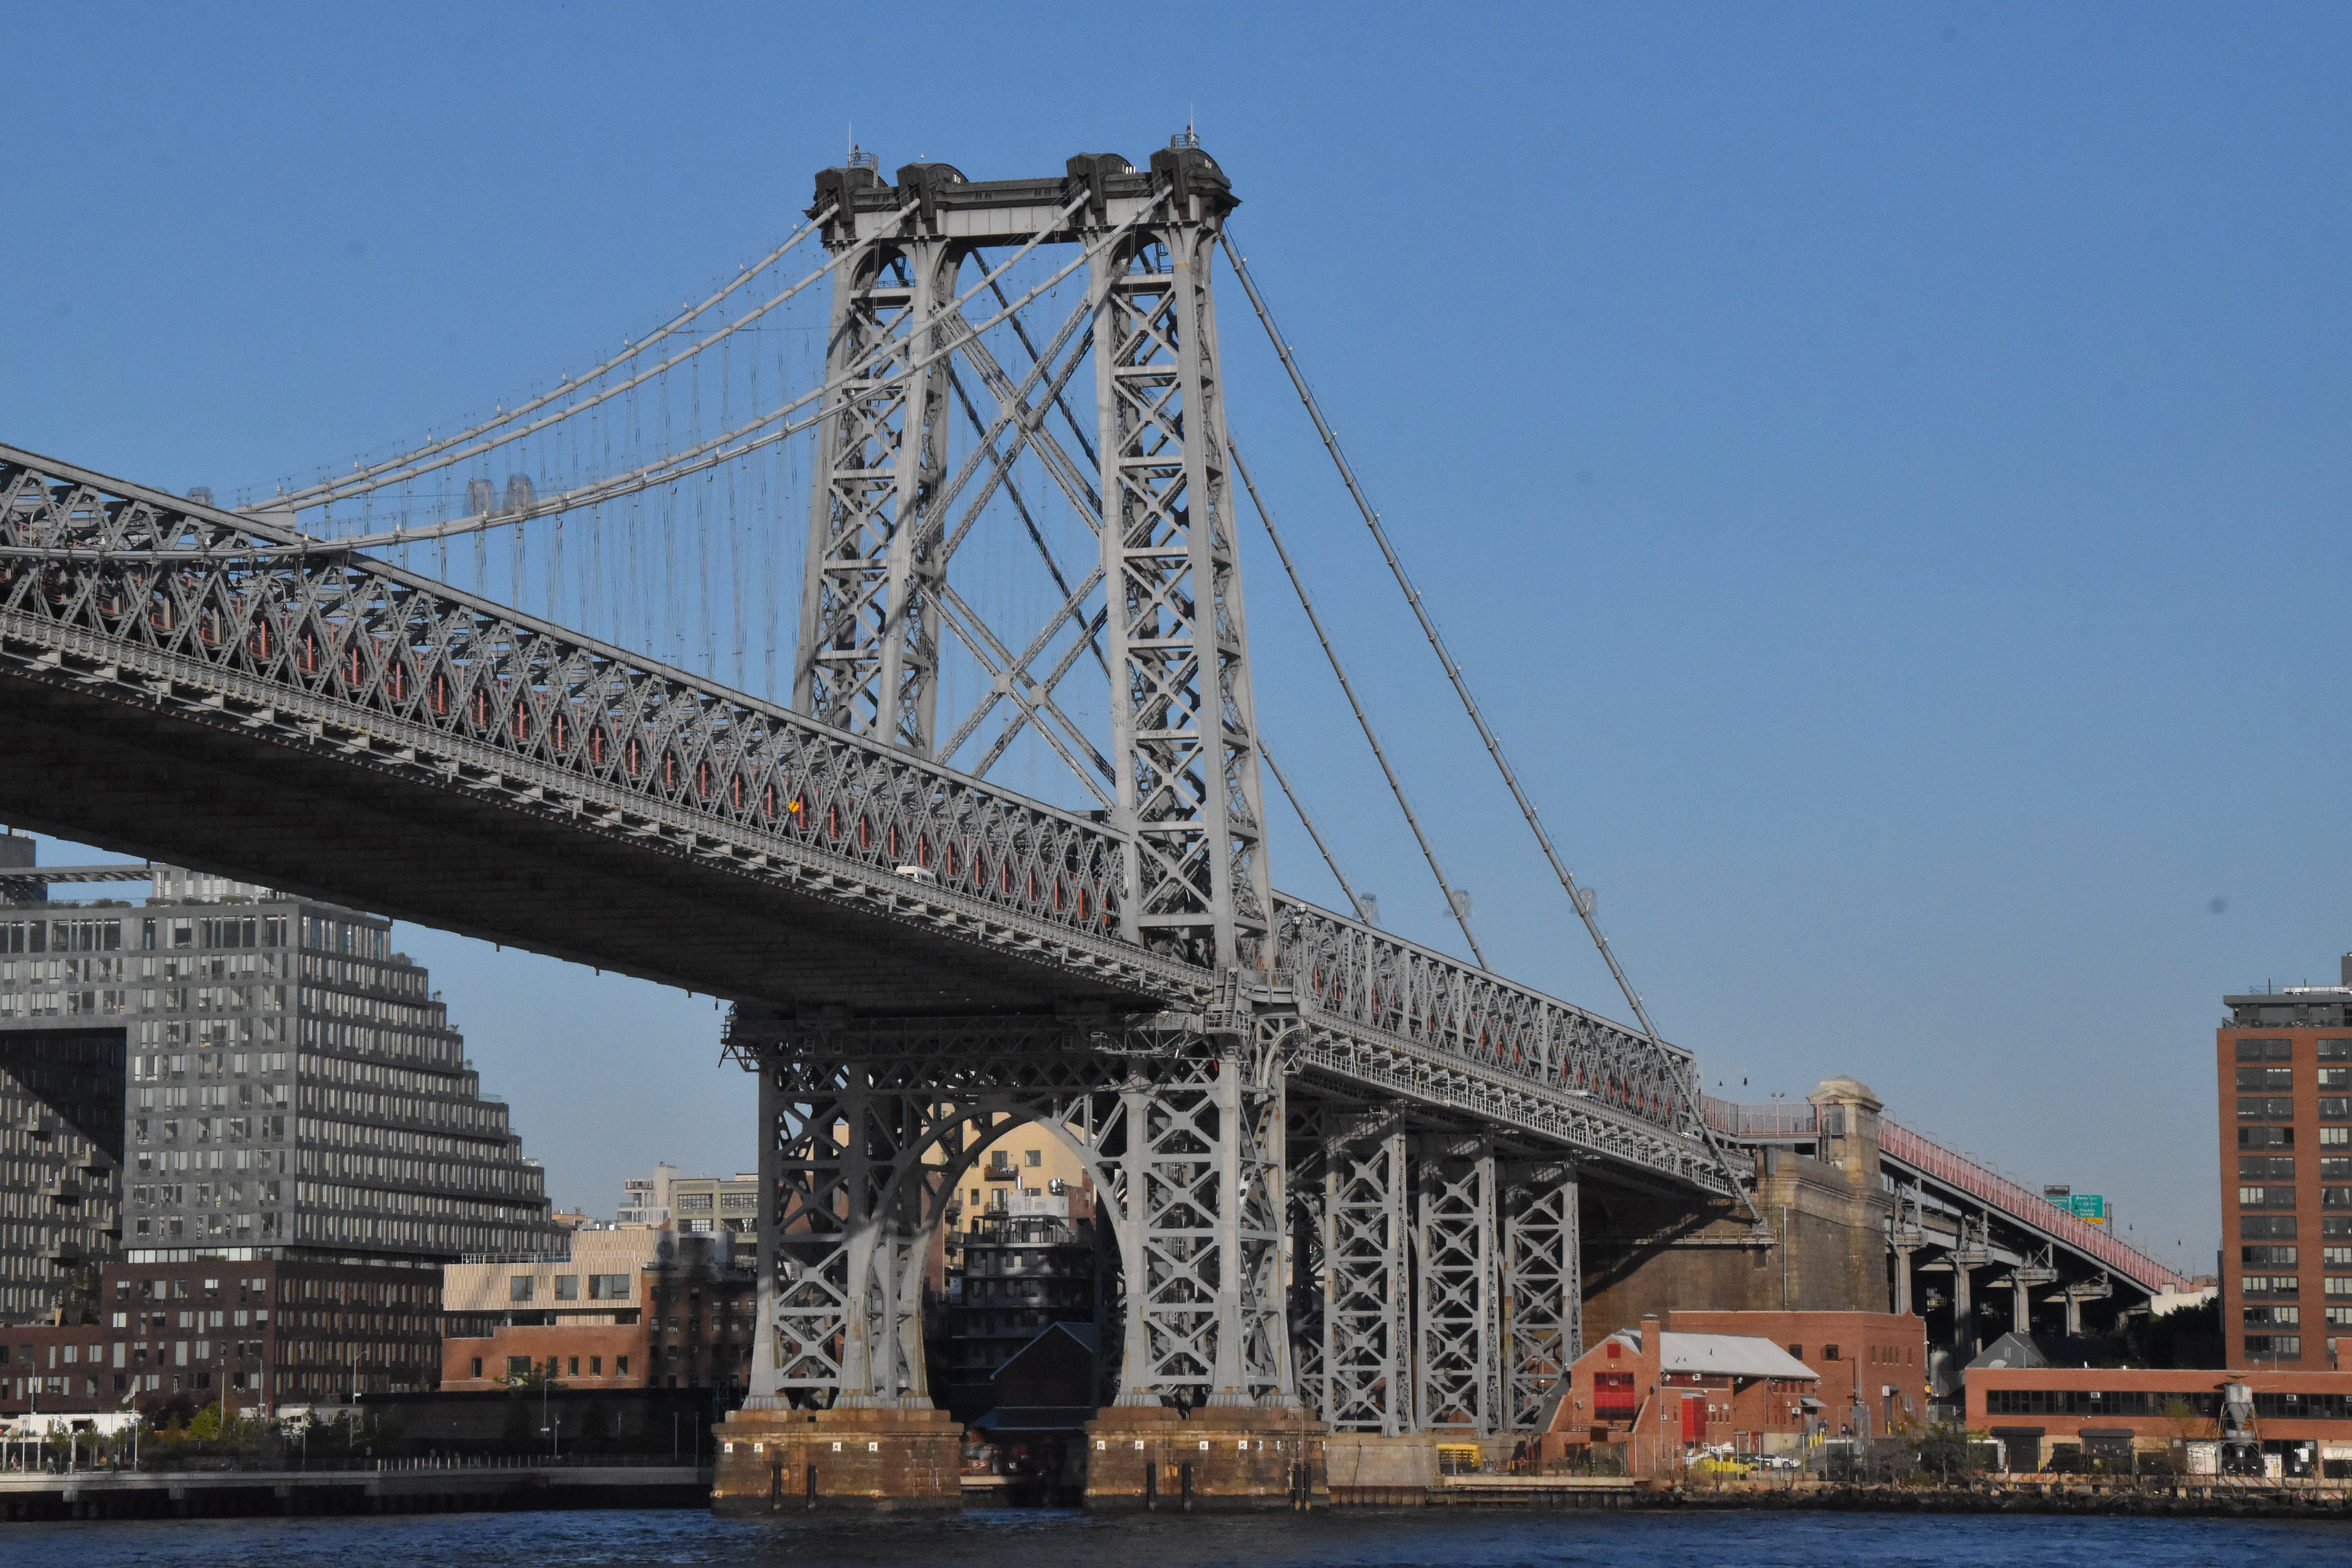
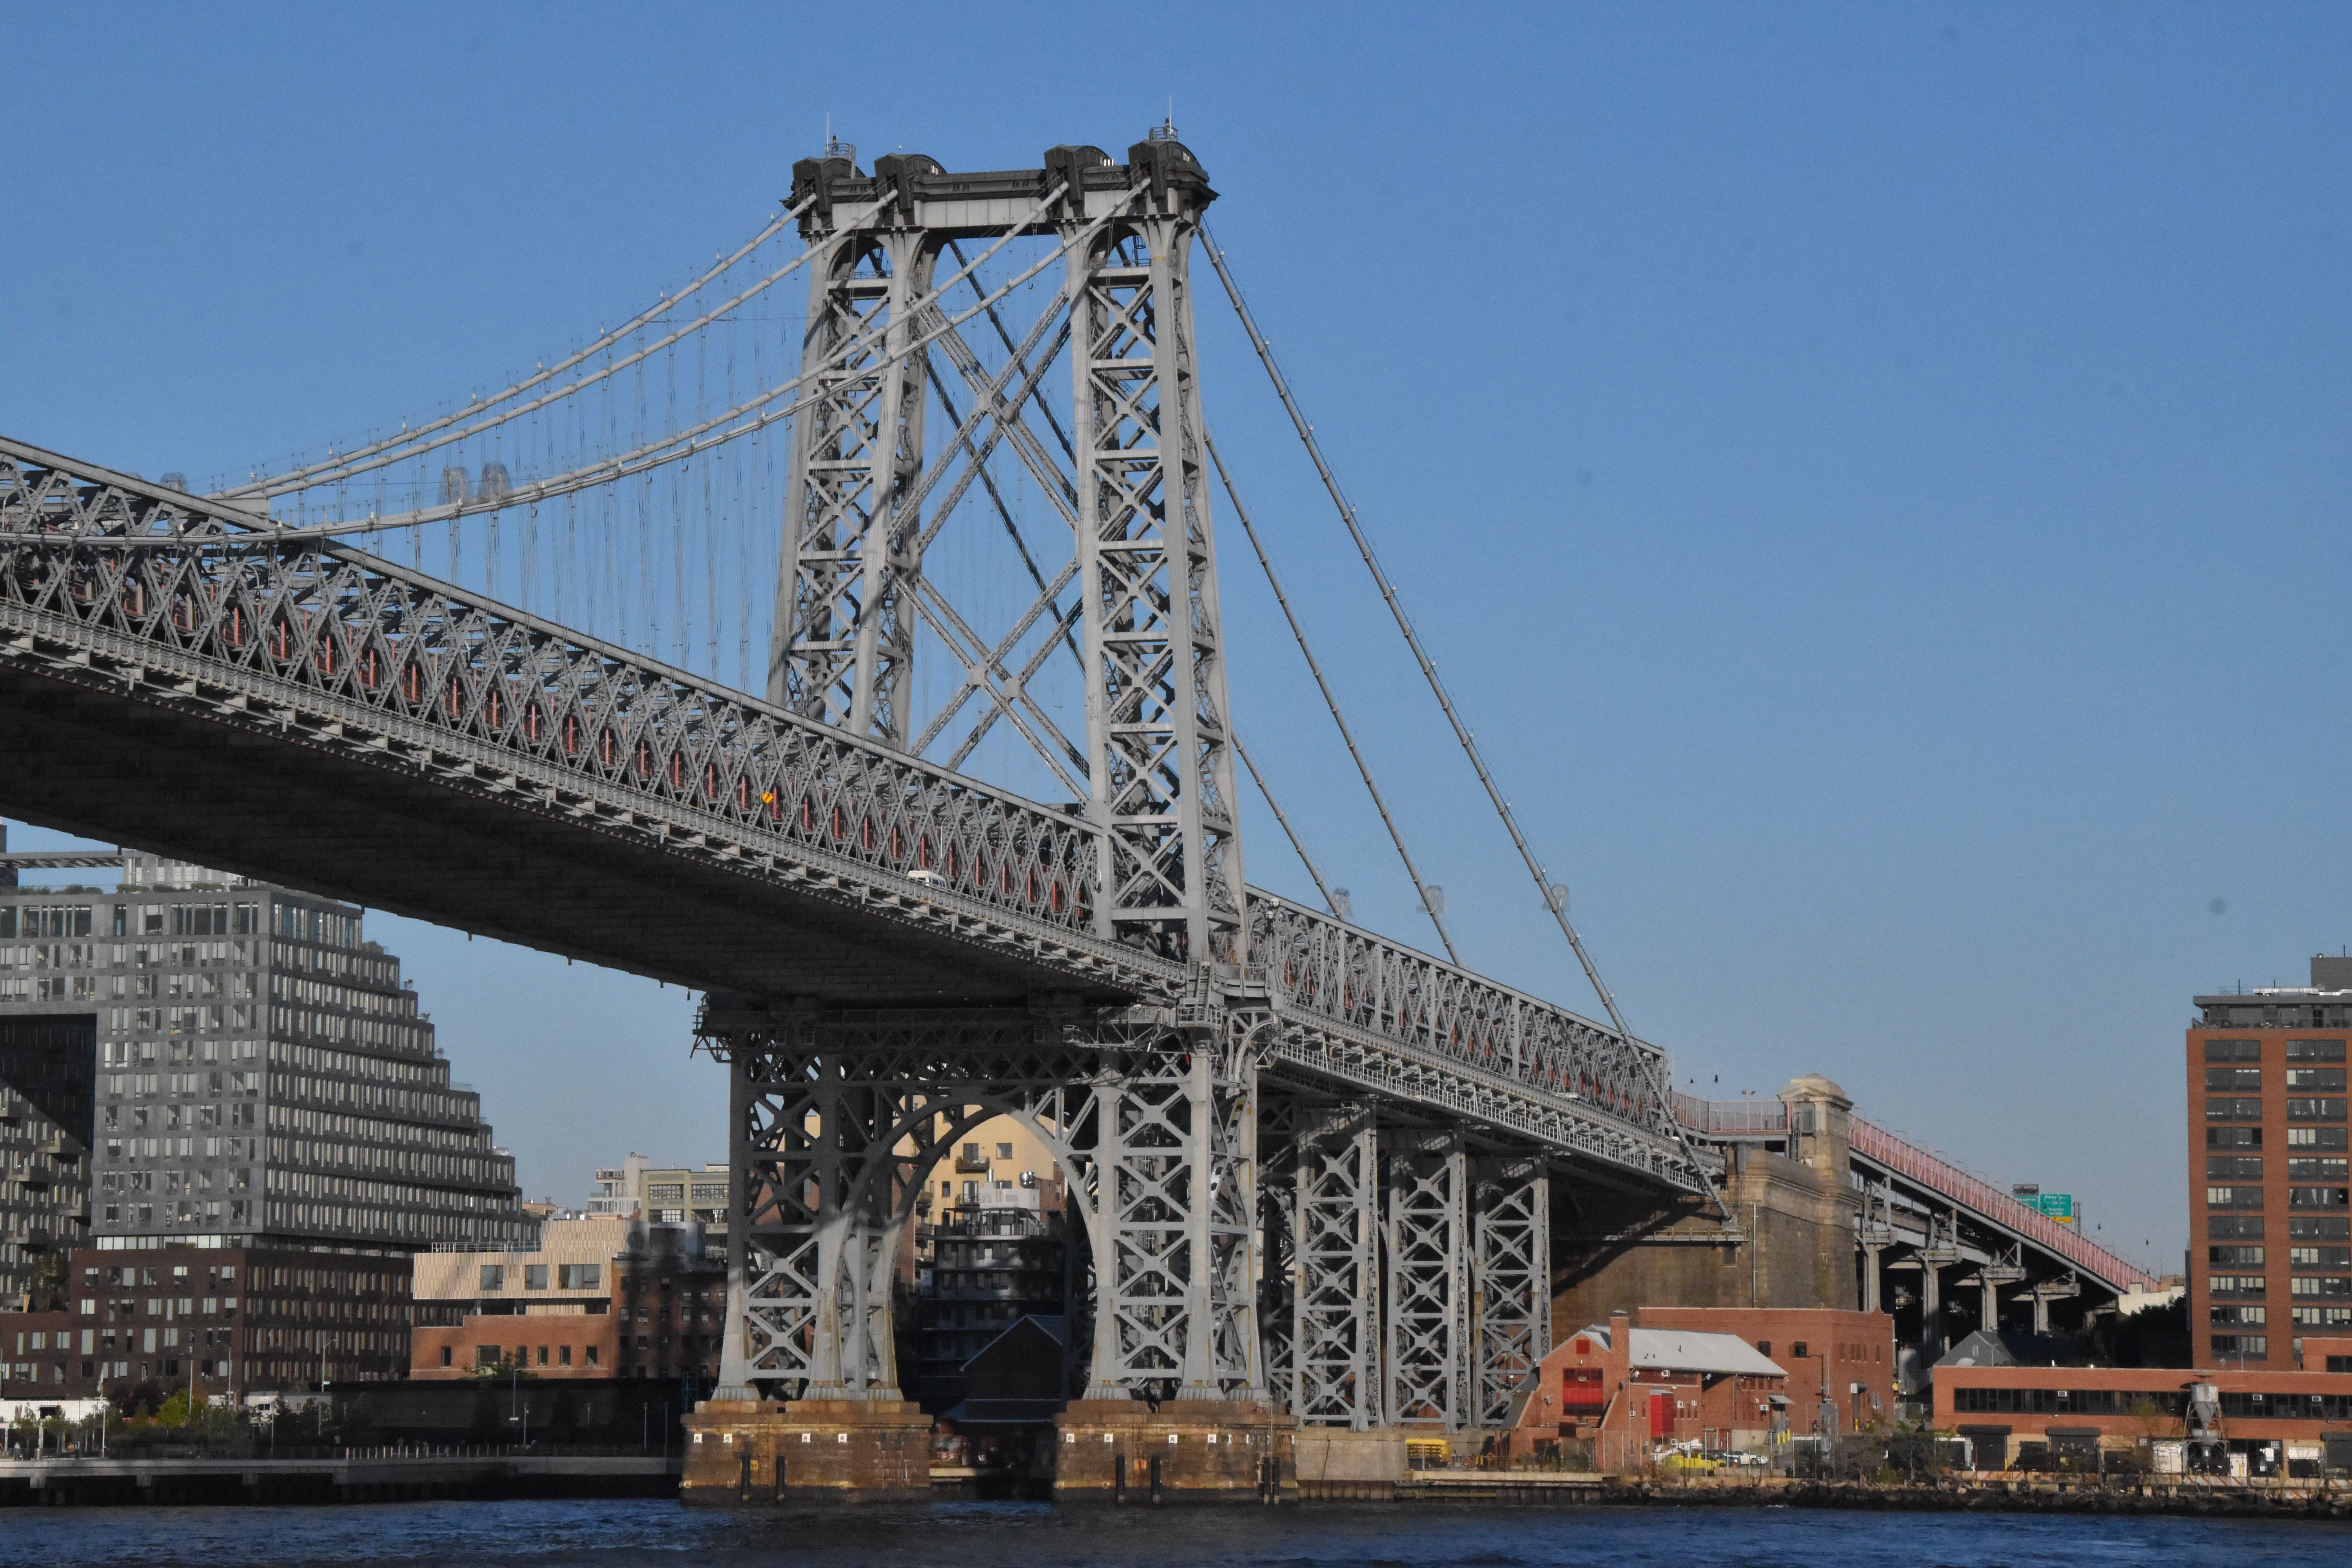
![]()


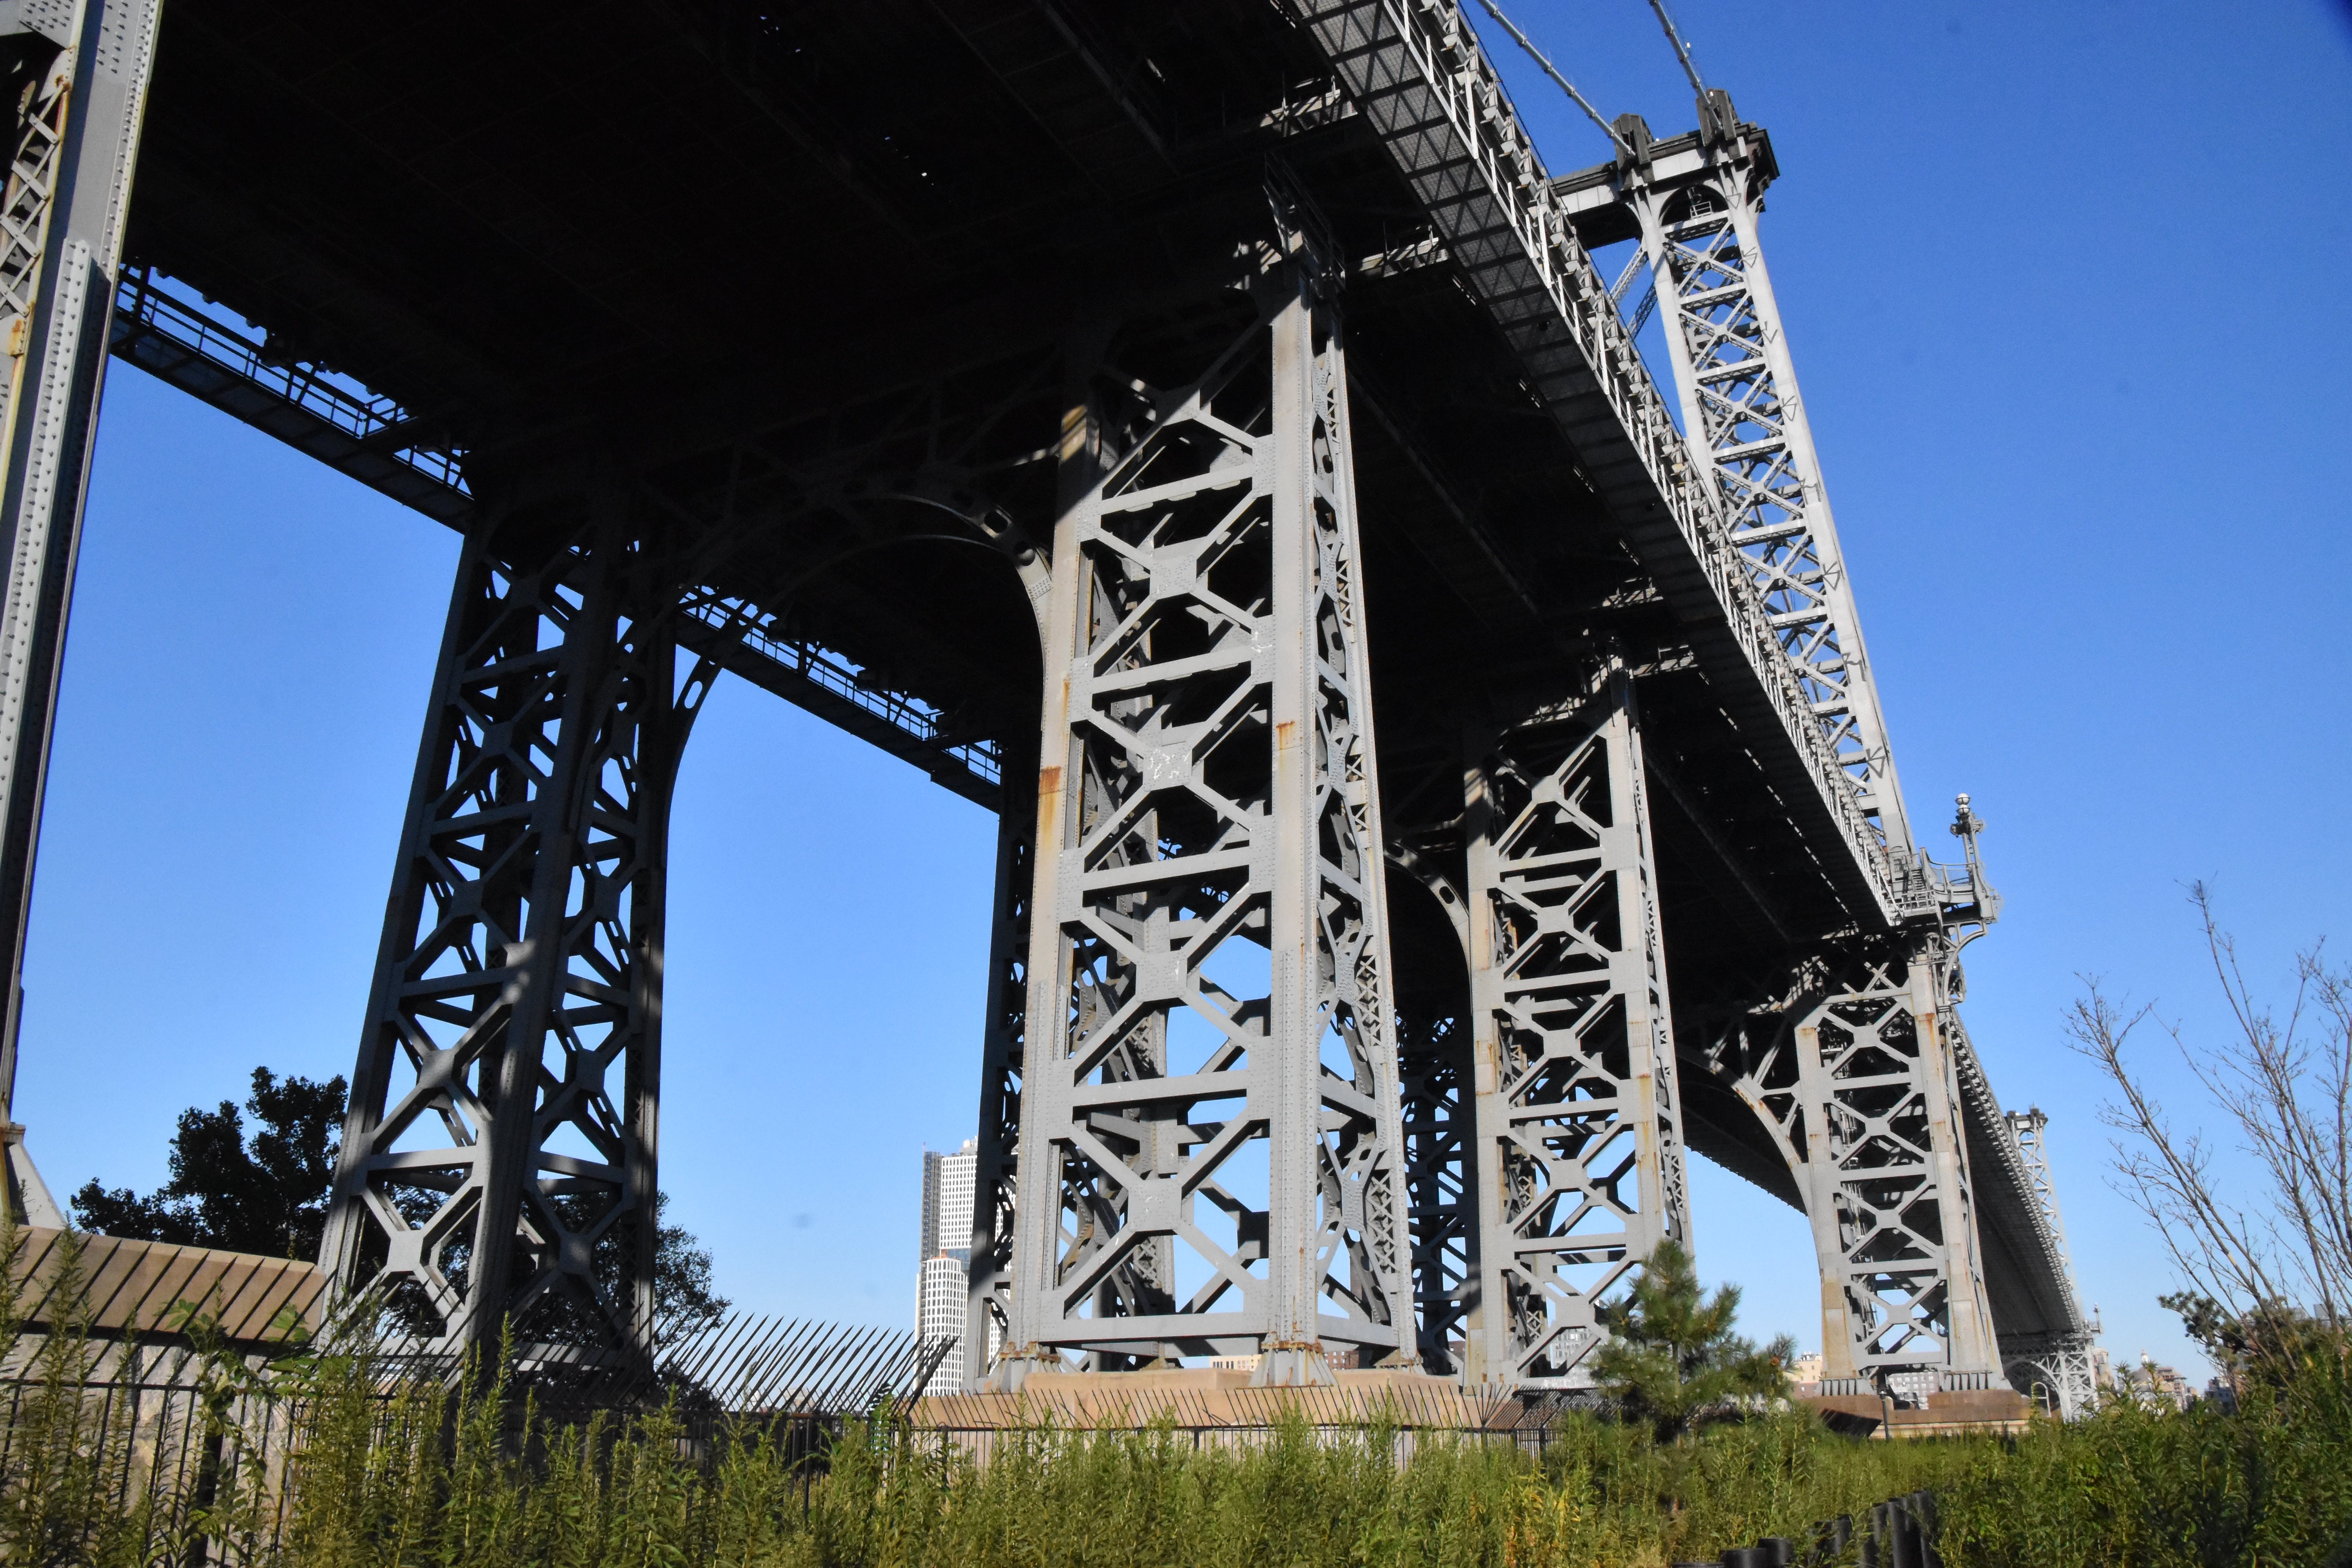
Views beside towers as seen from southwest quadrant.
![]()

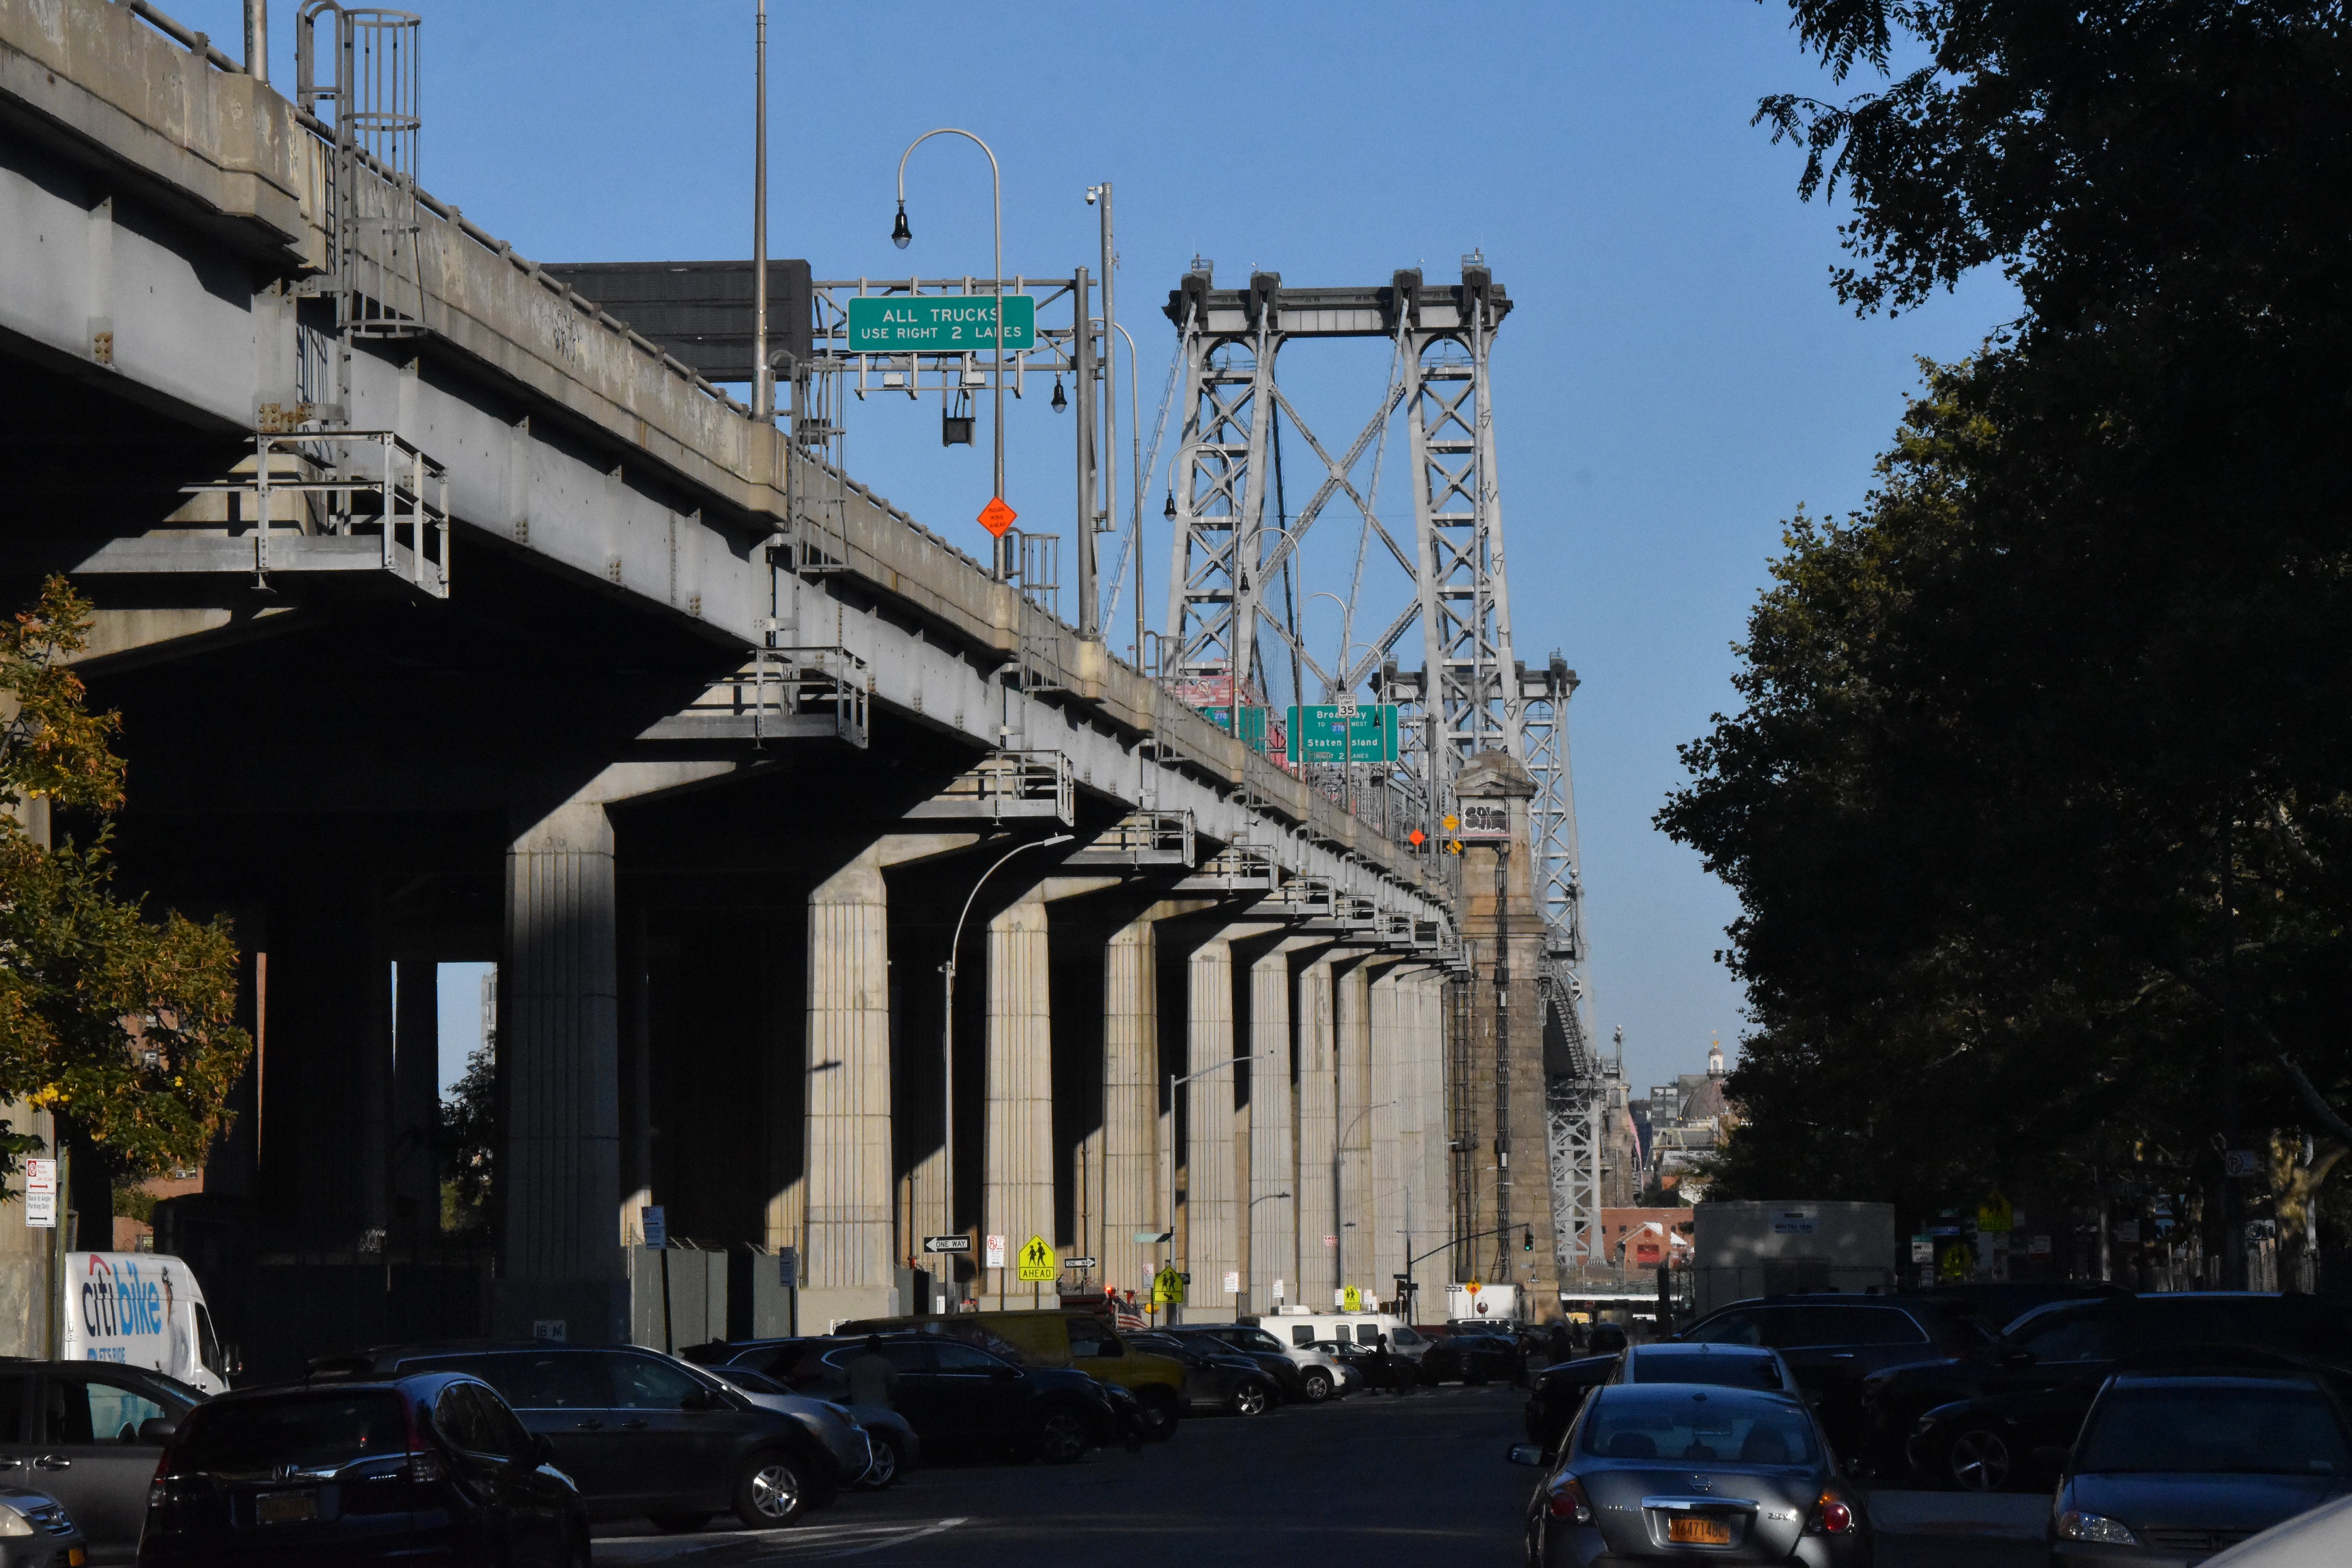
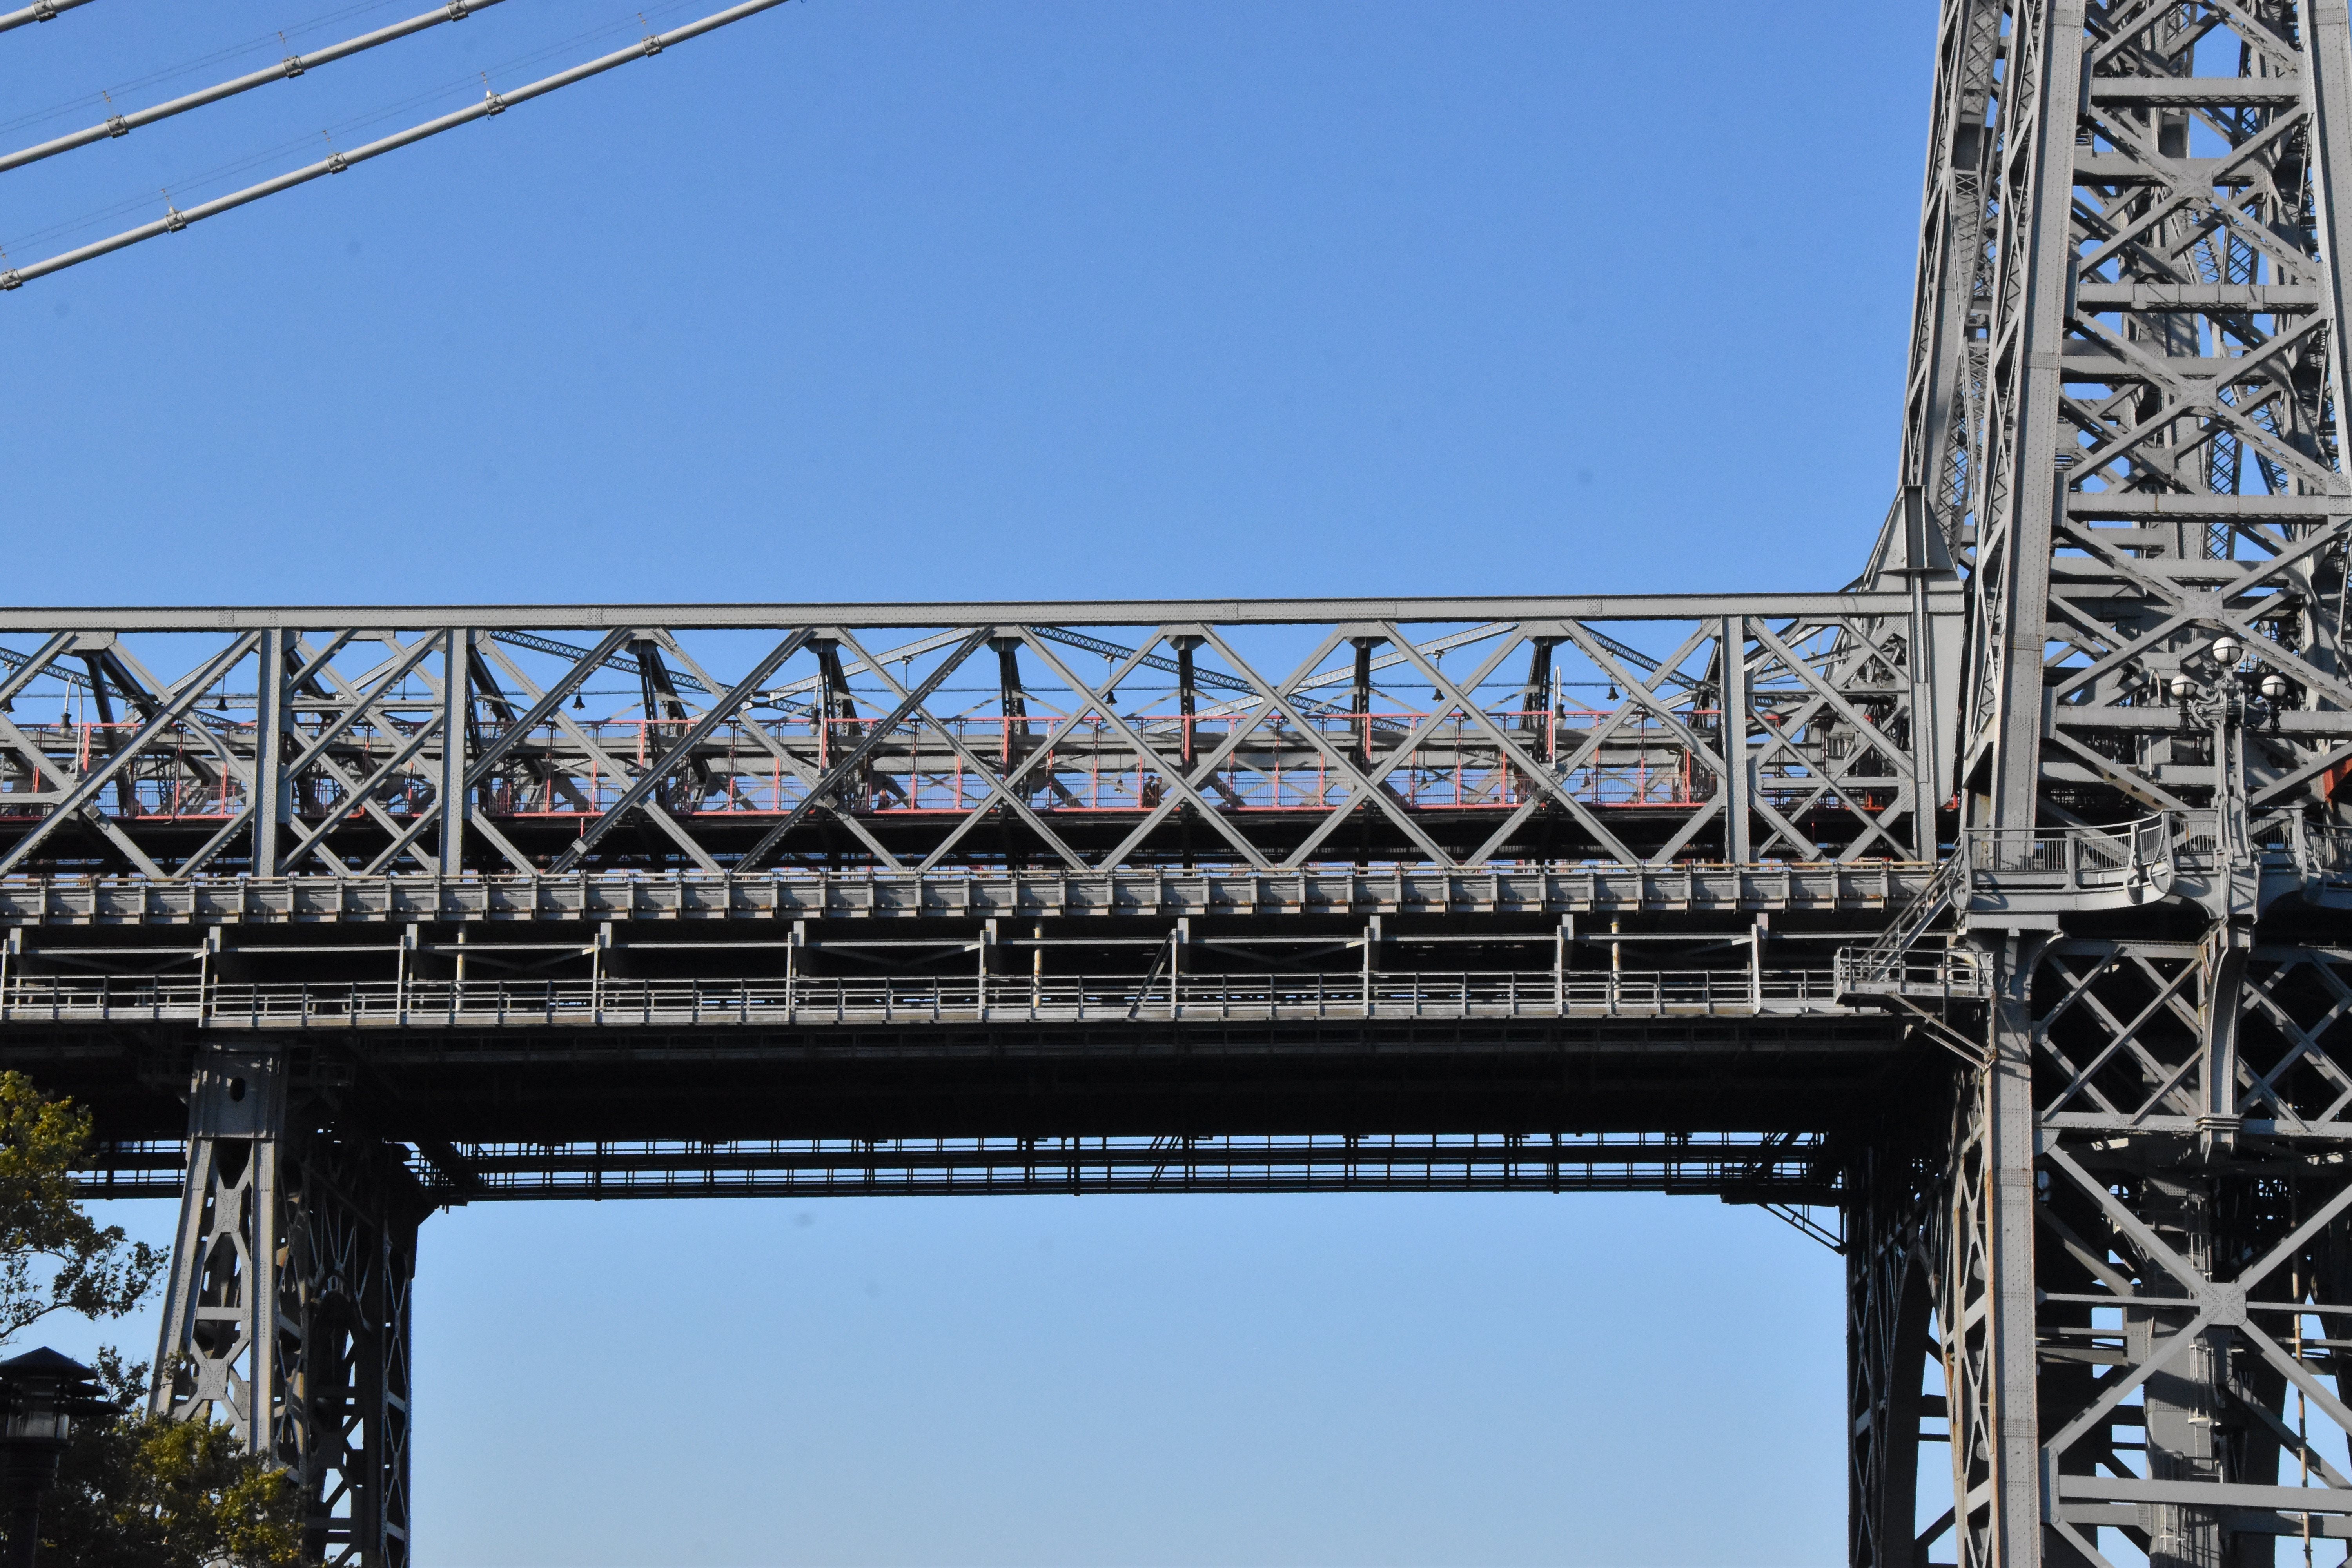
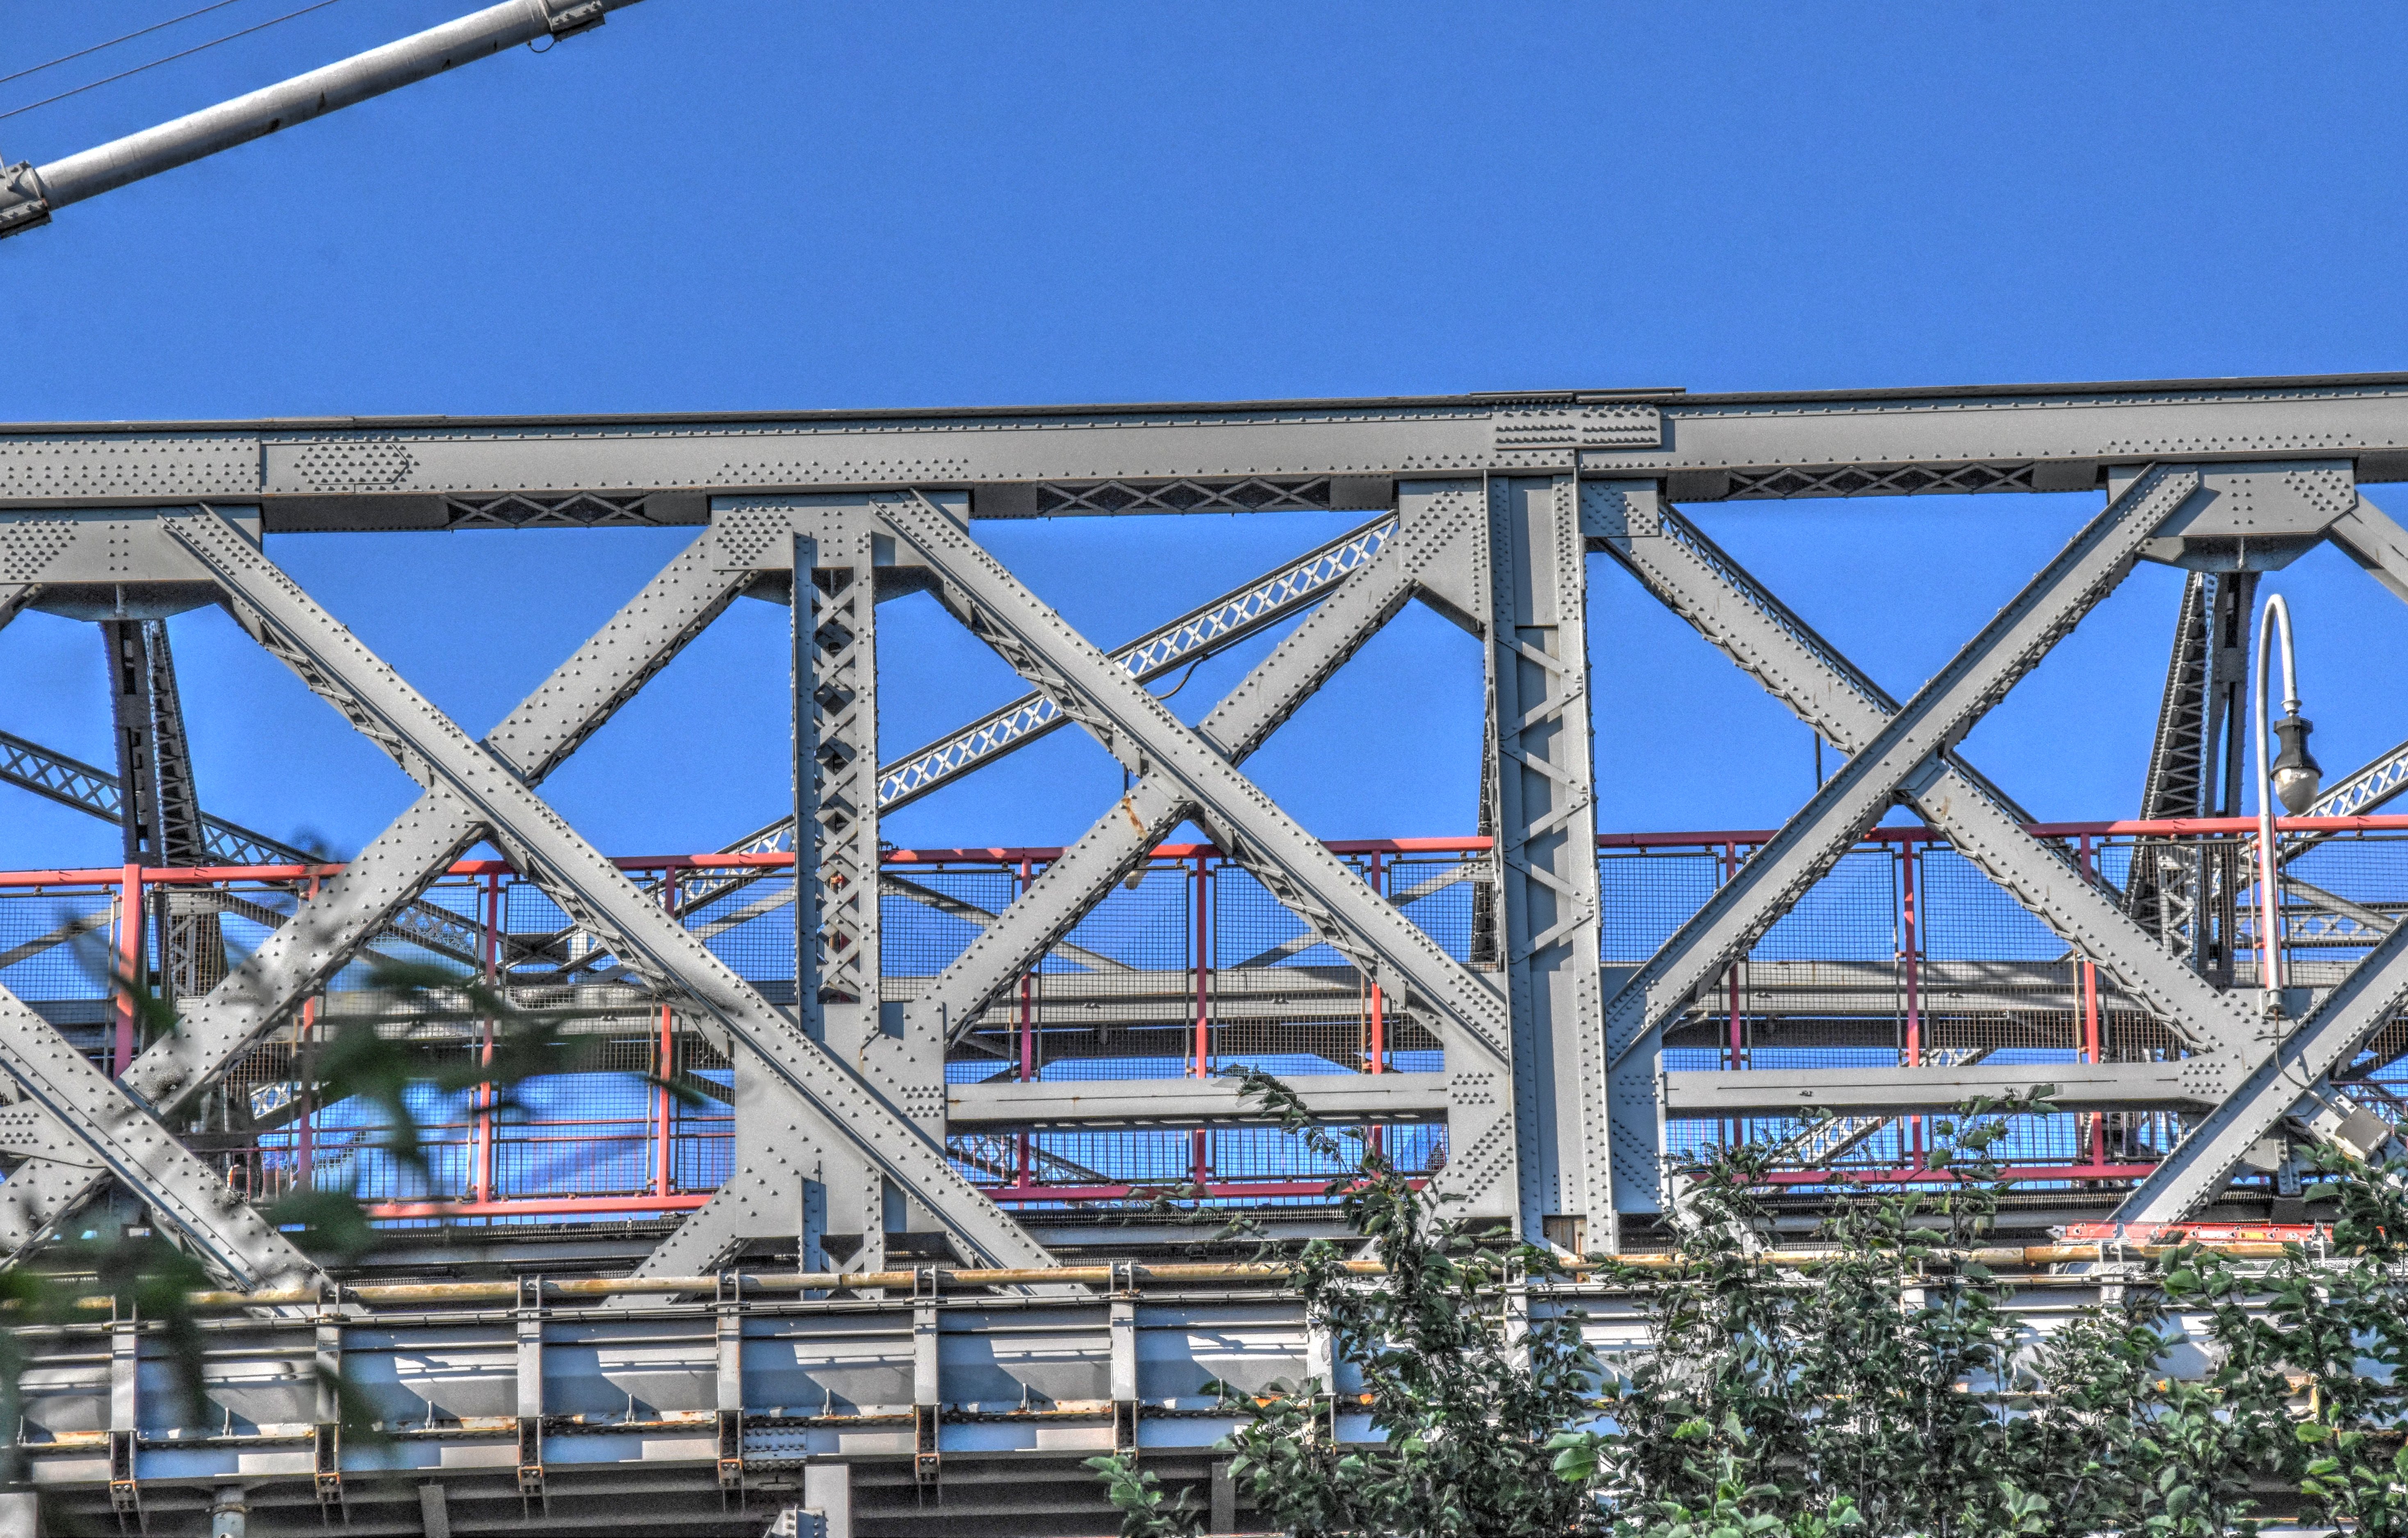
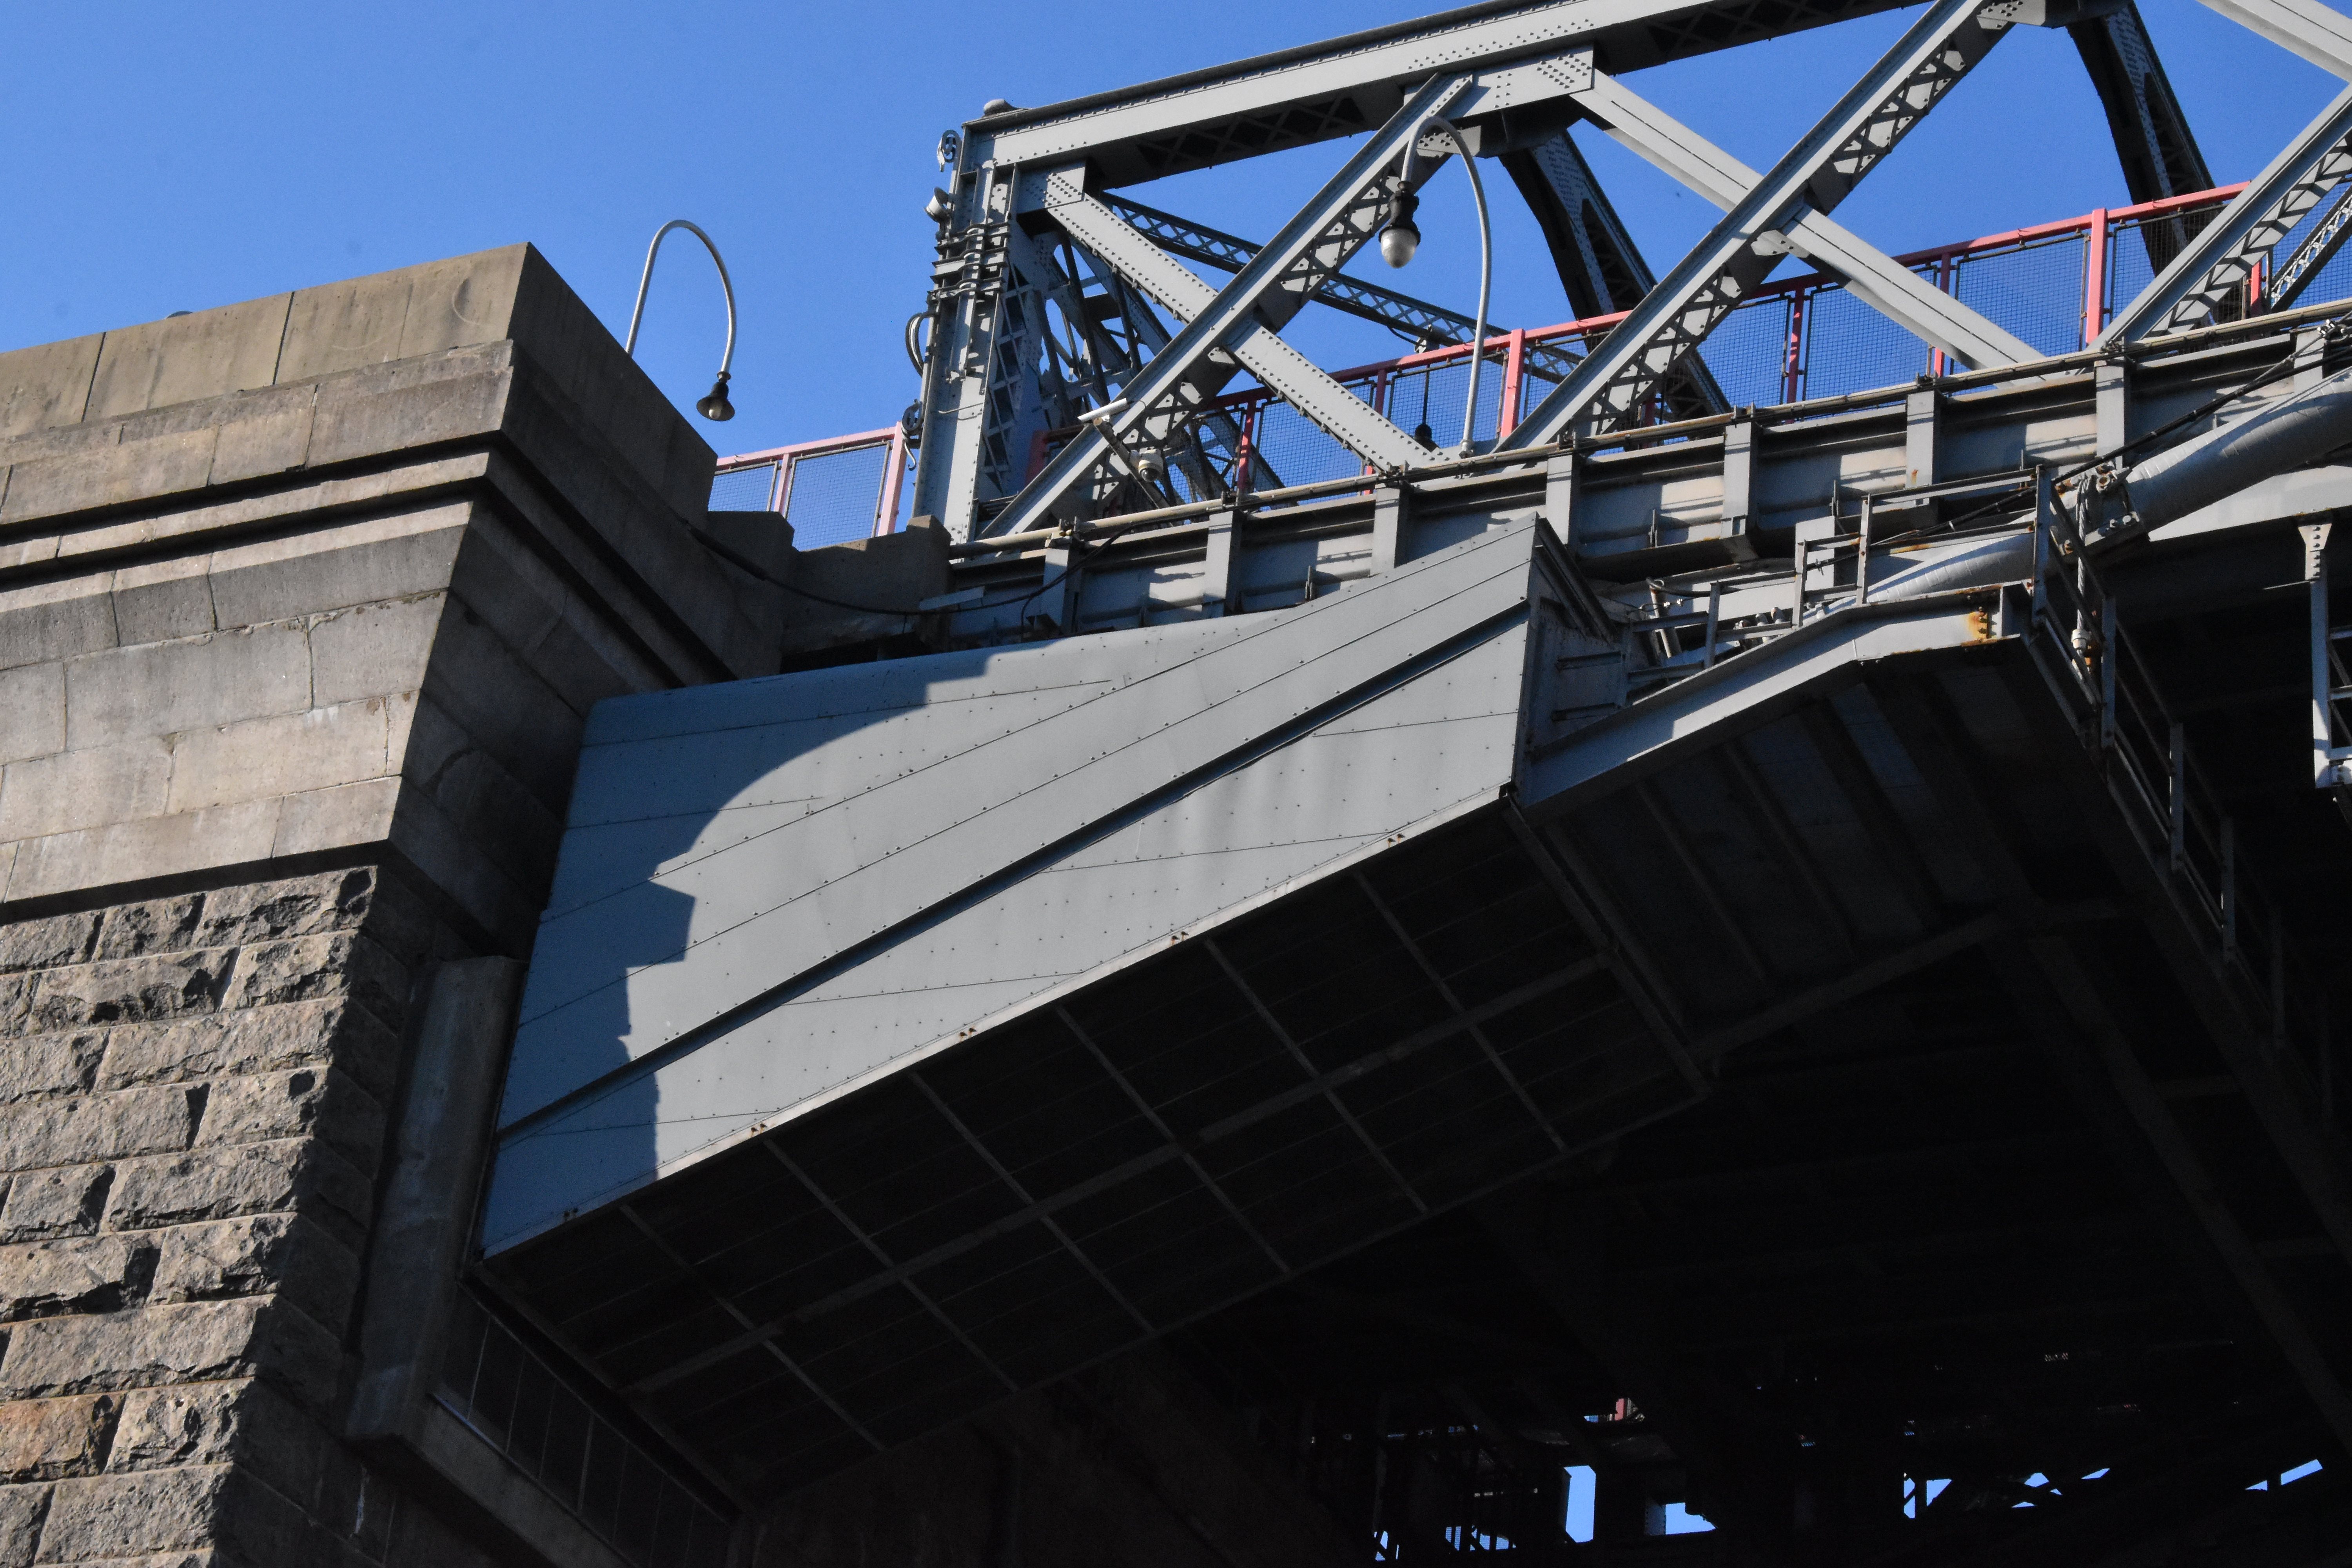
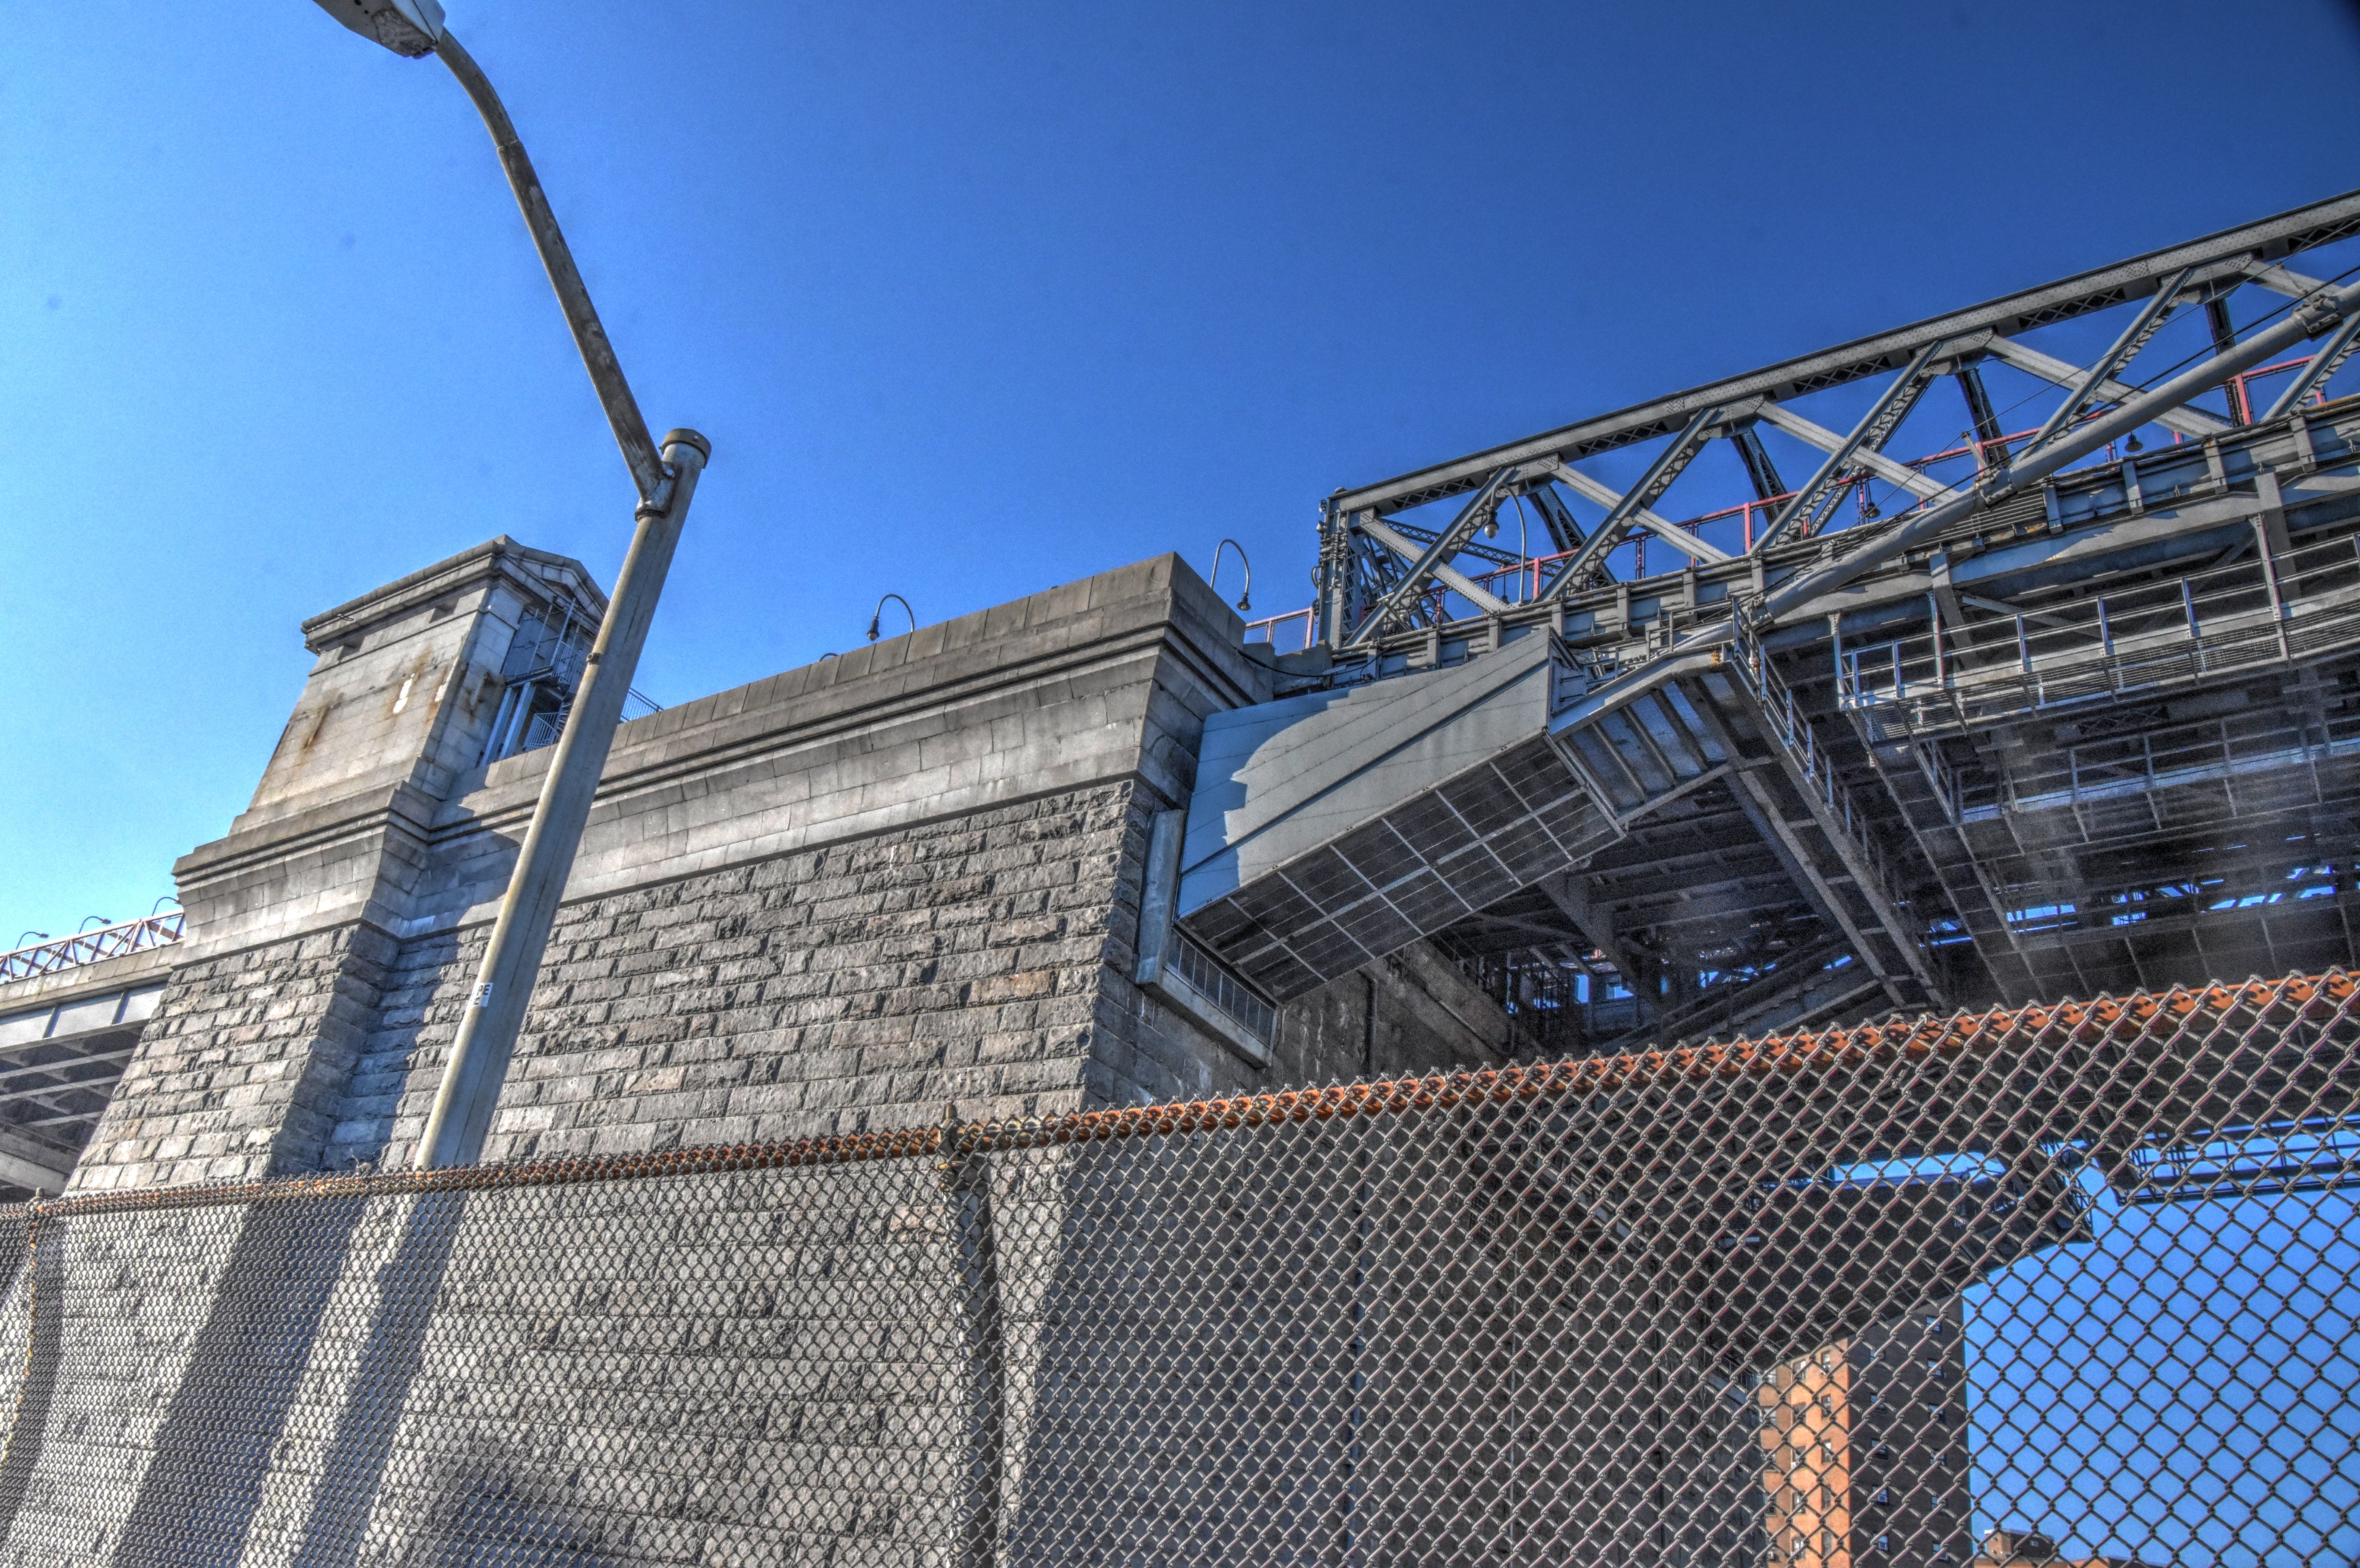
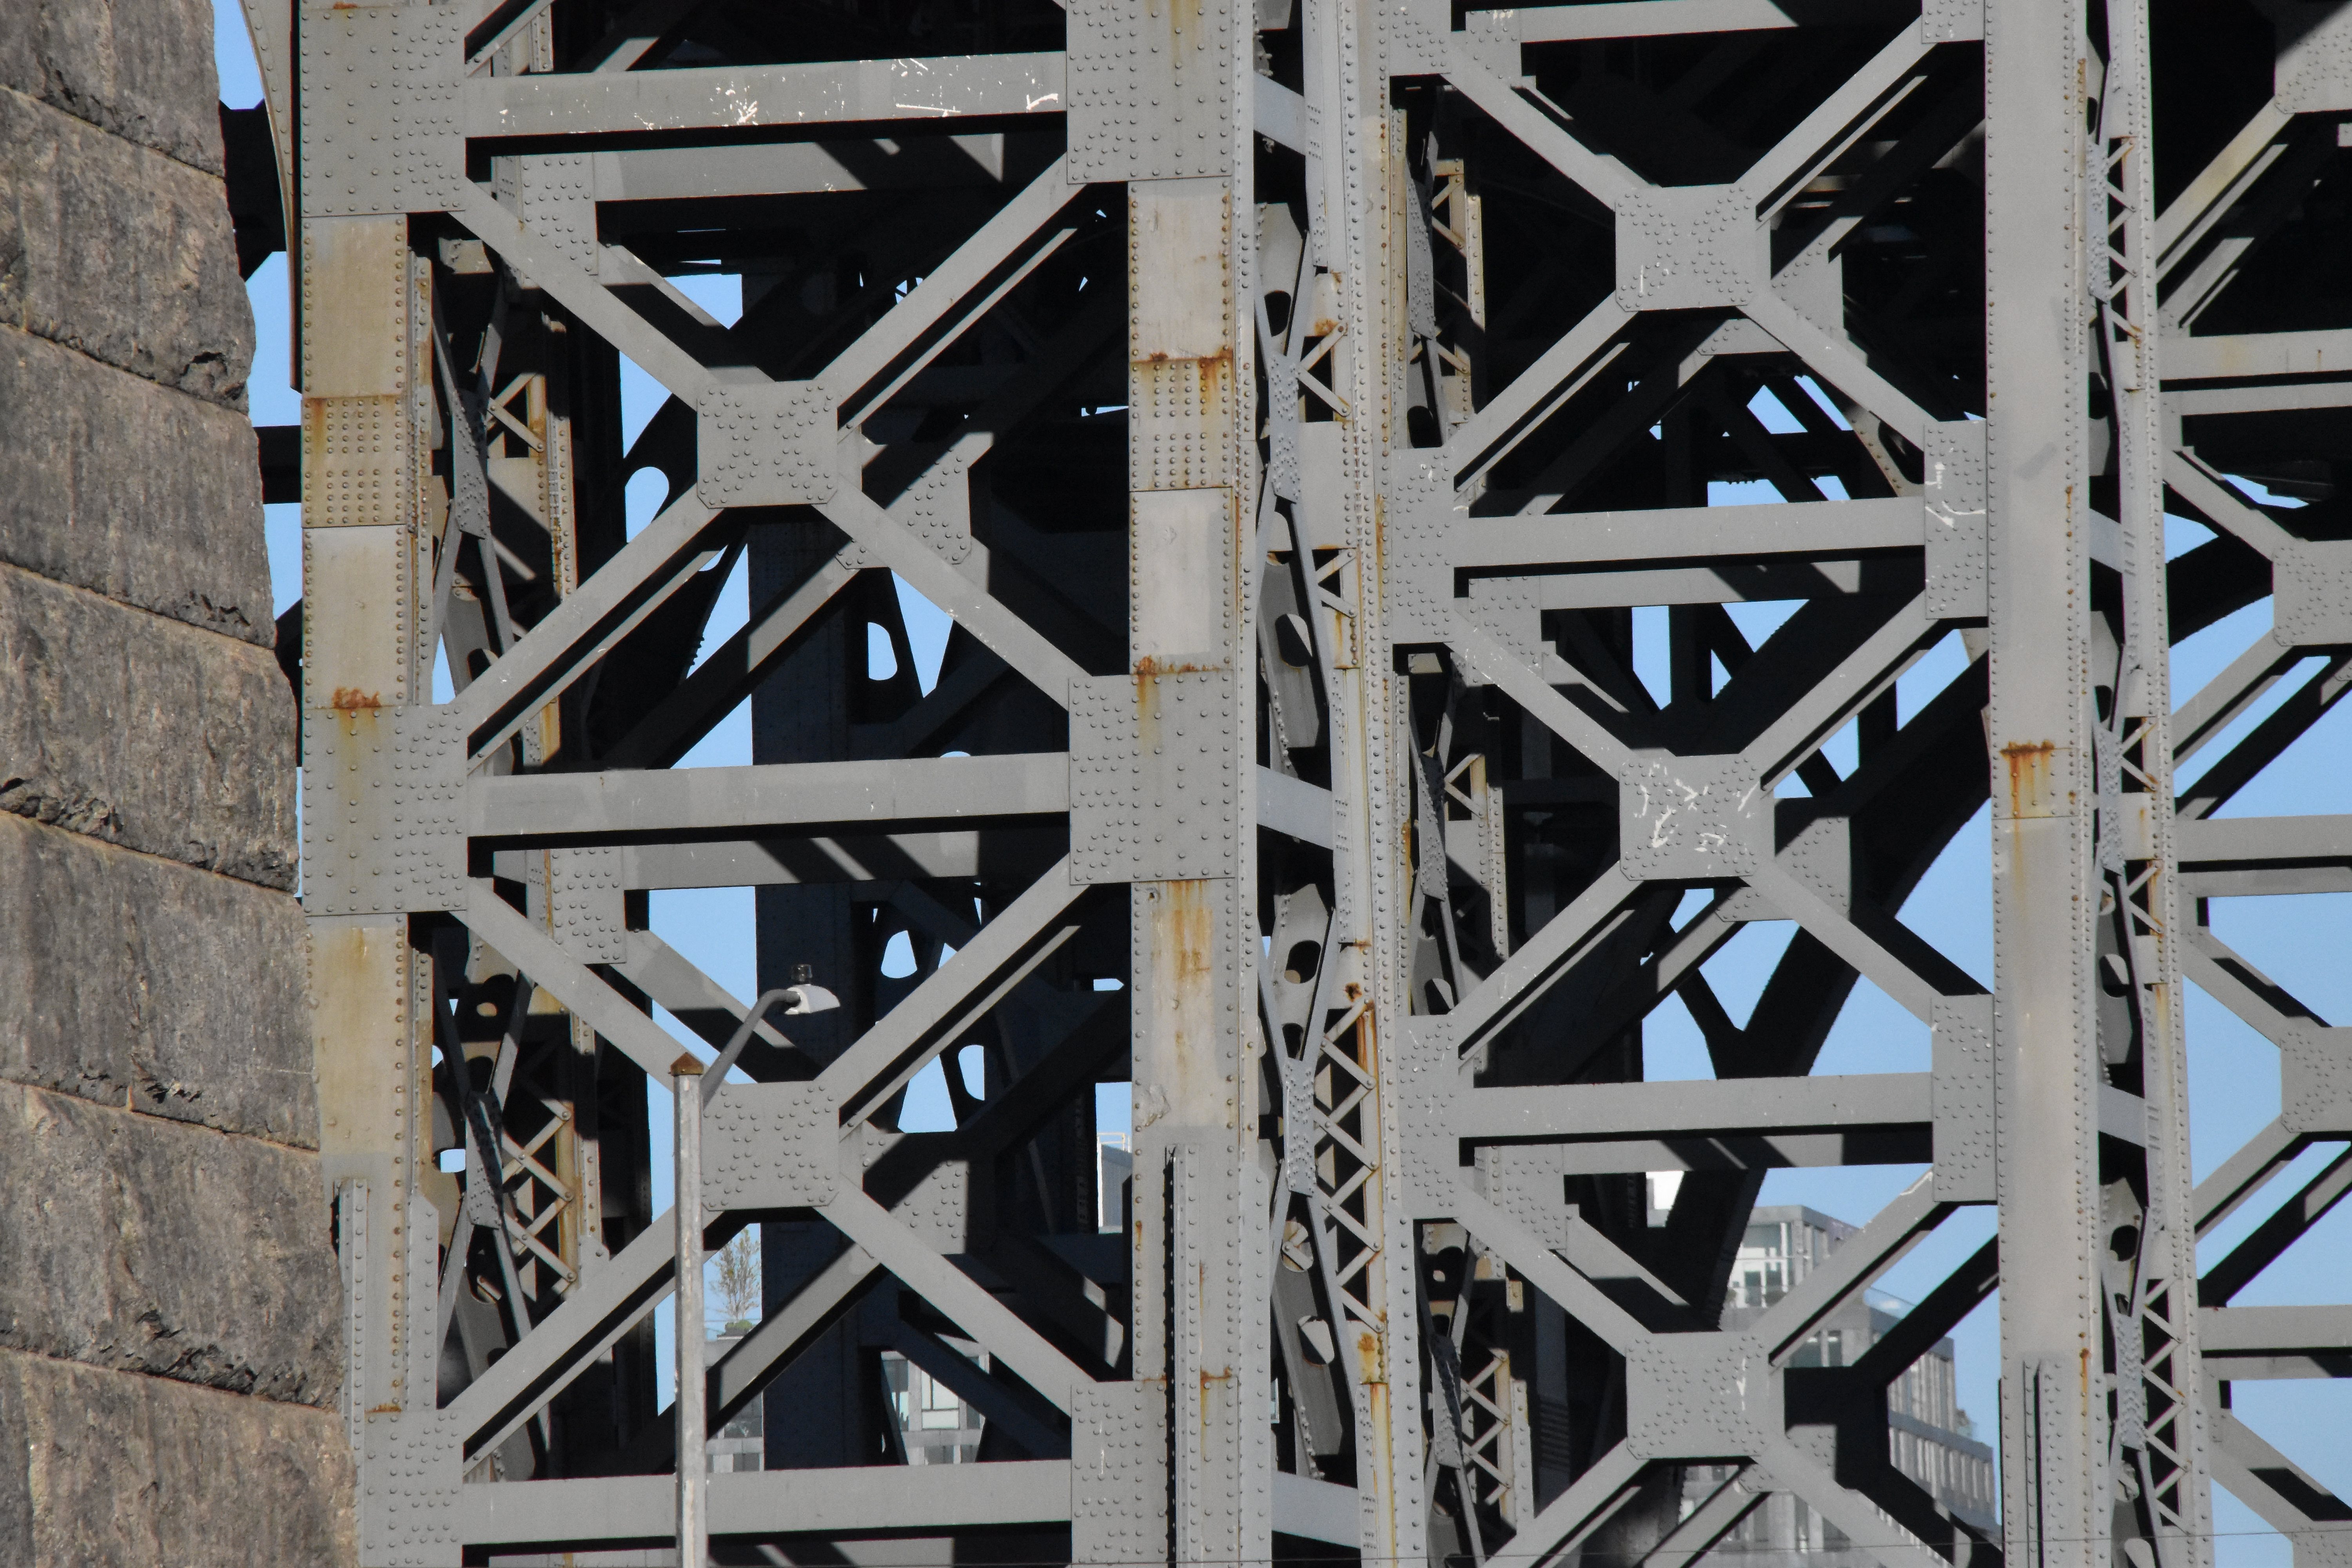
Approach spans elevation.
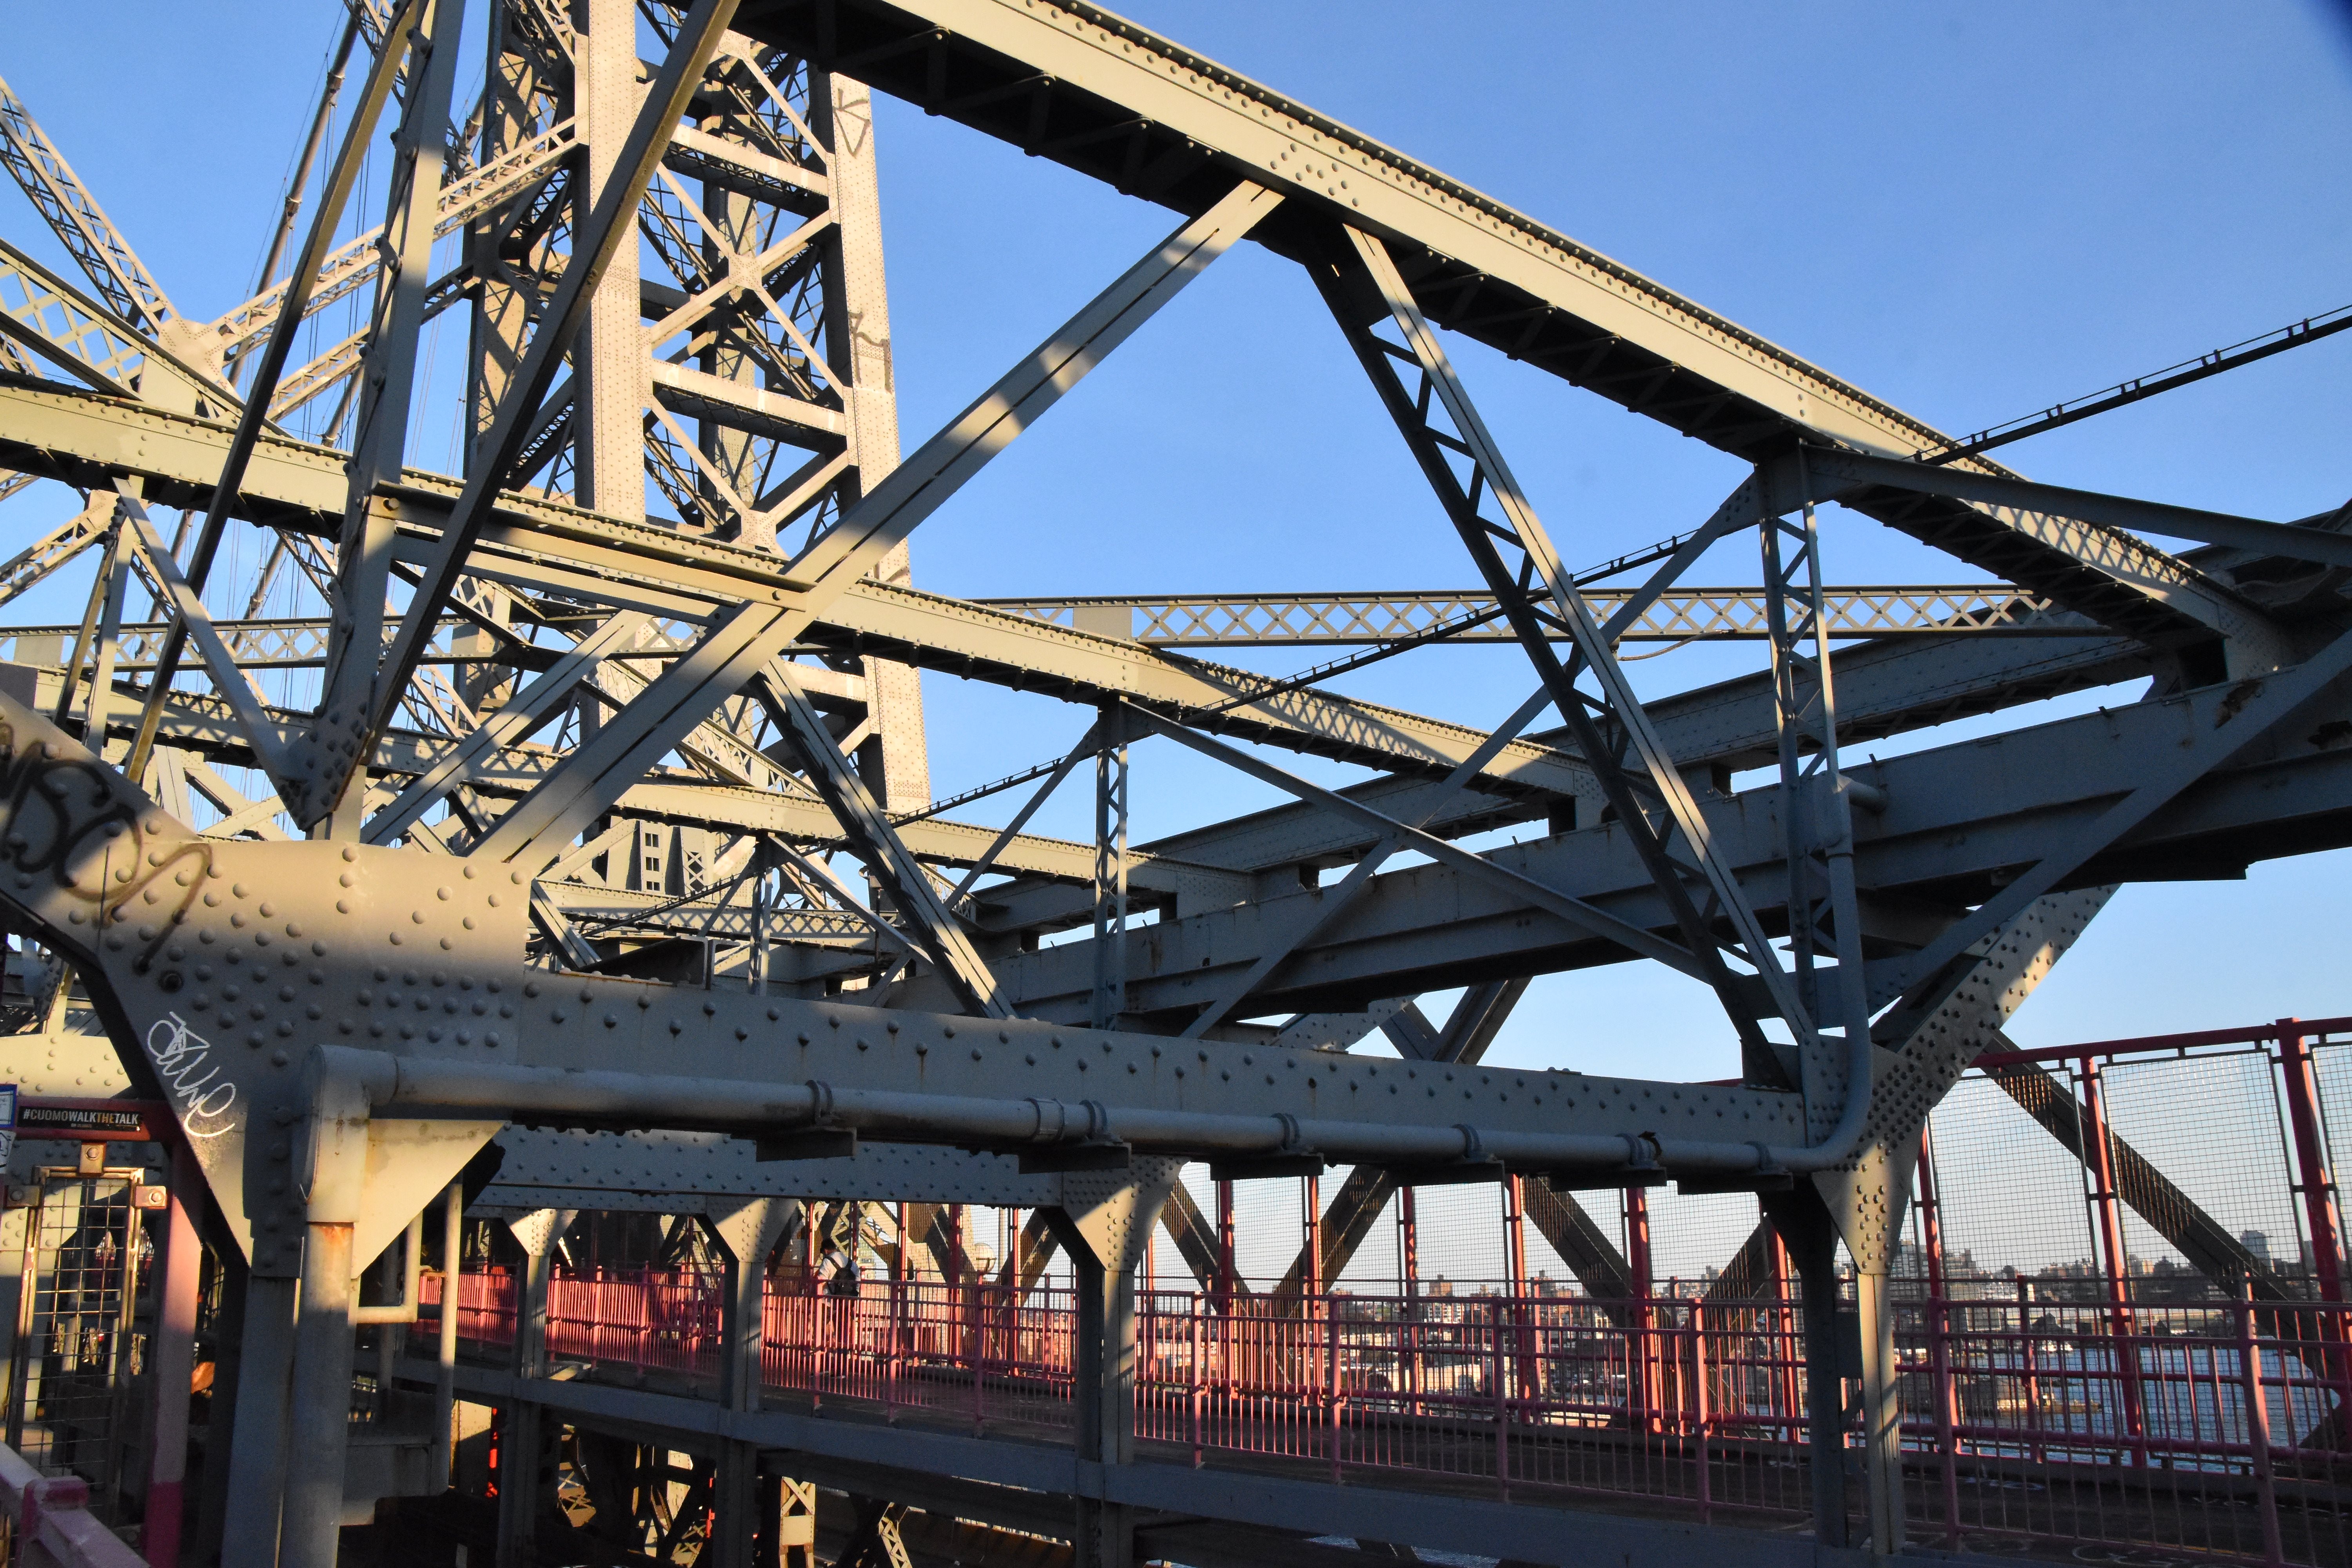
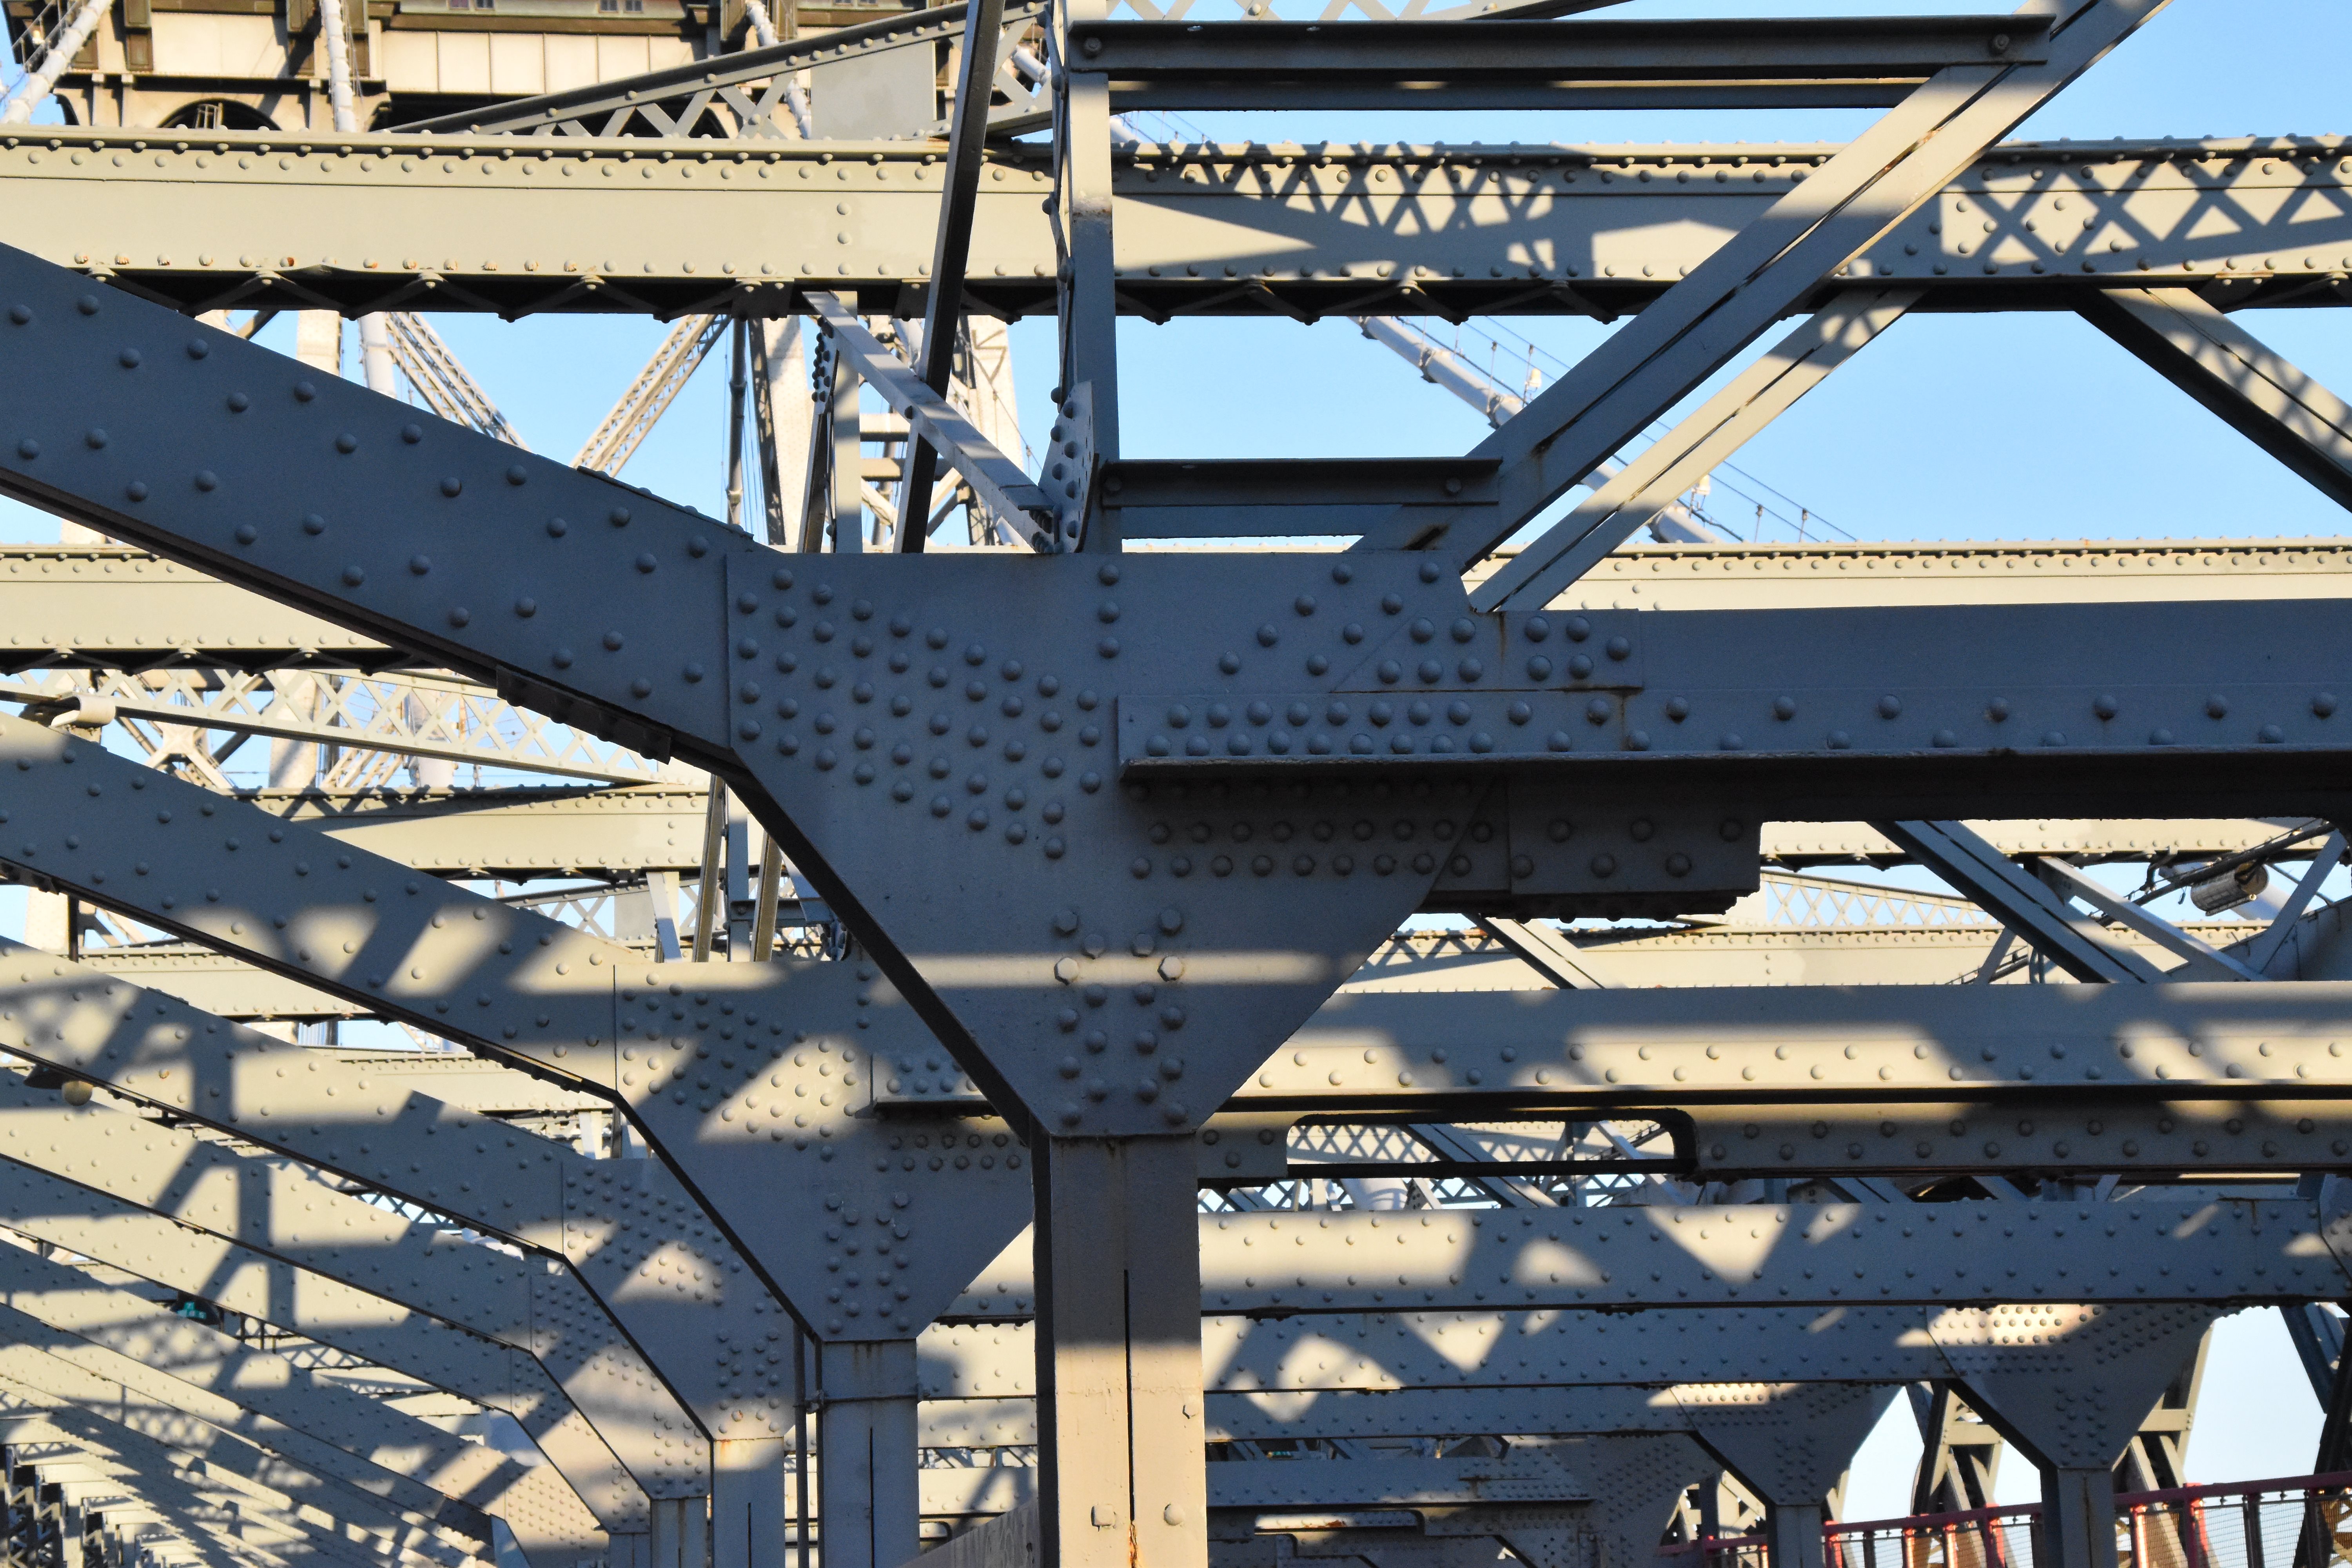
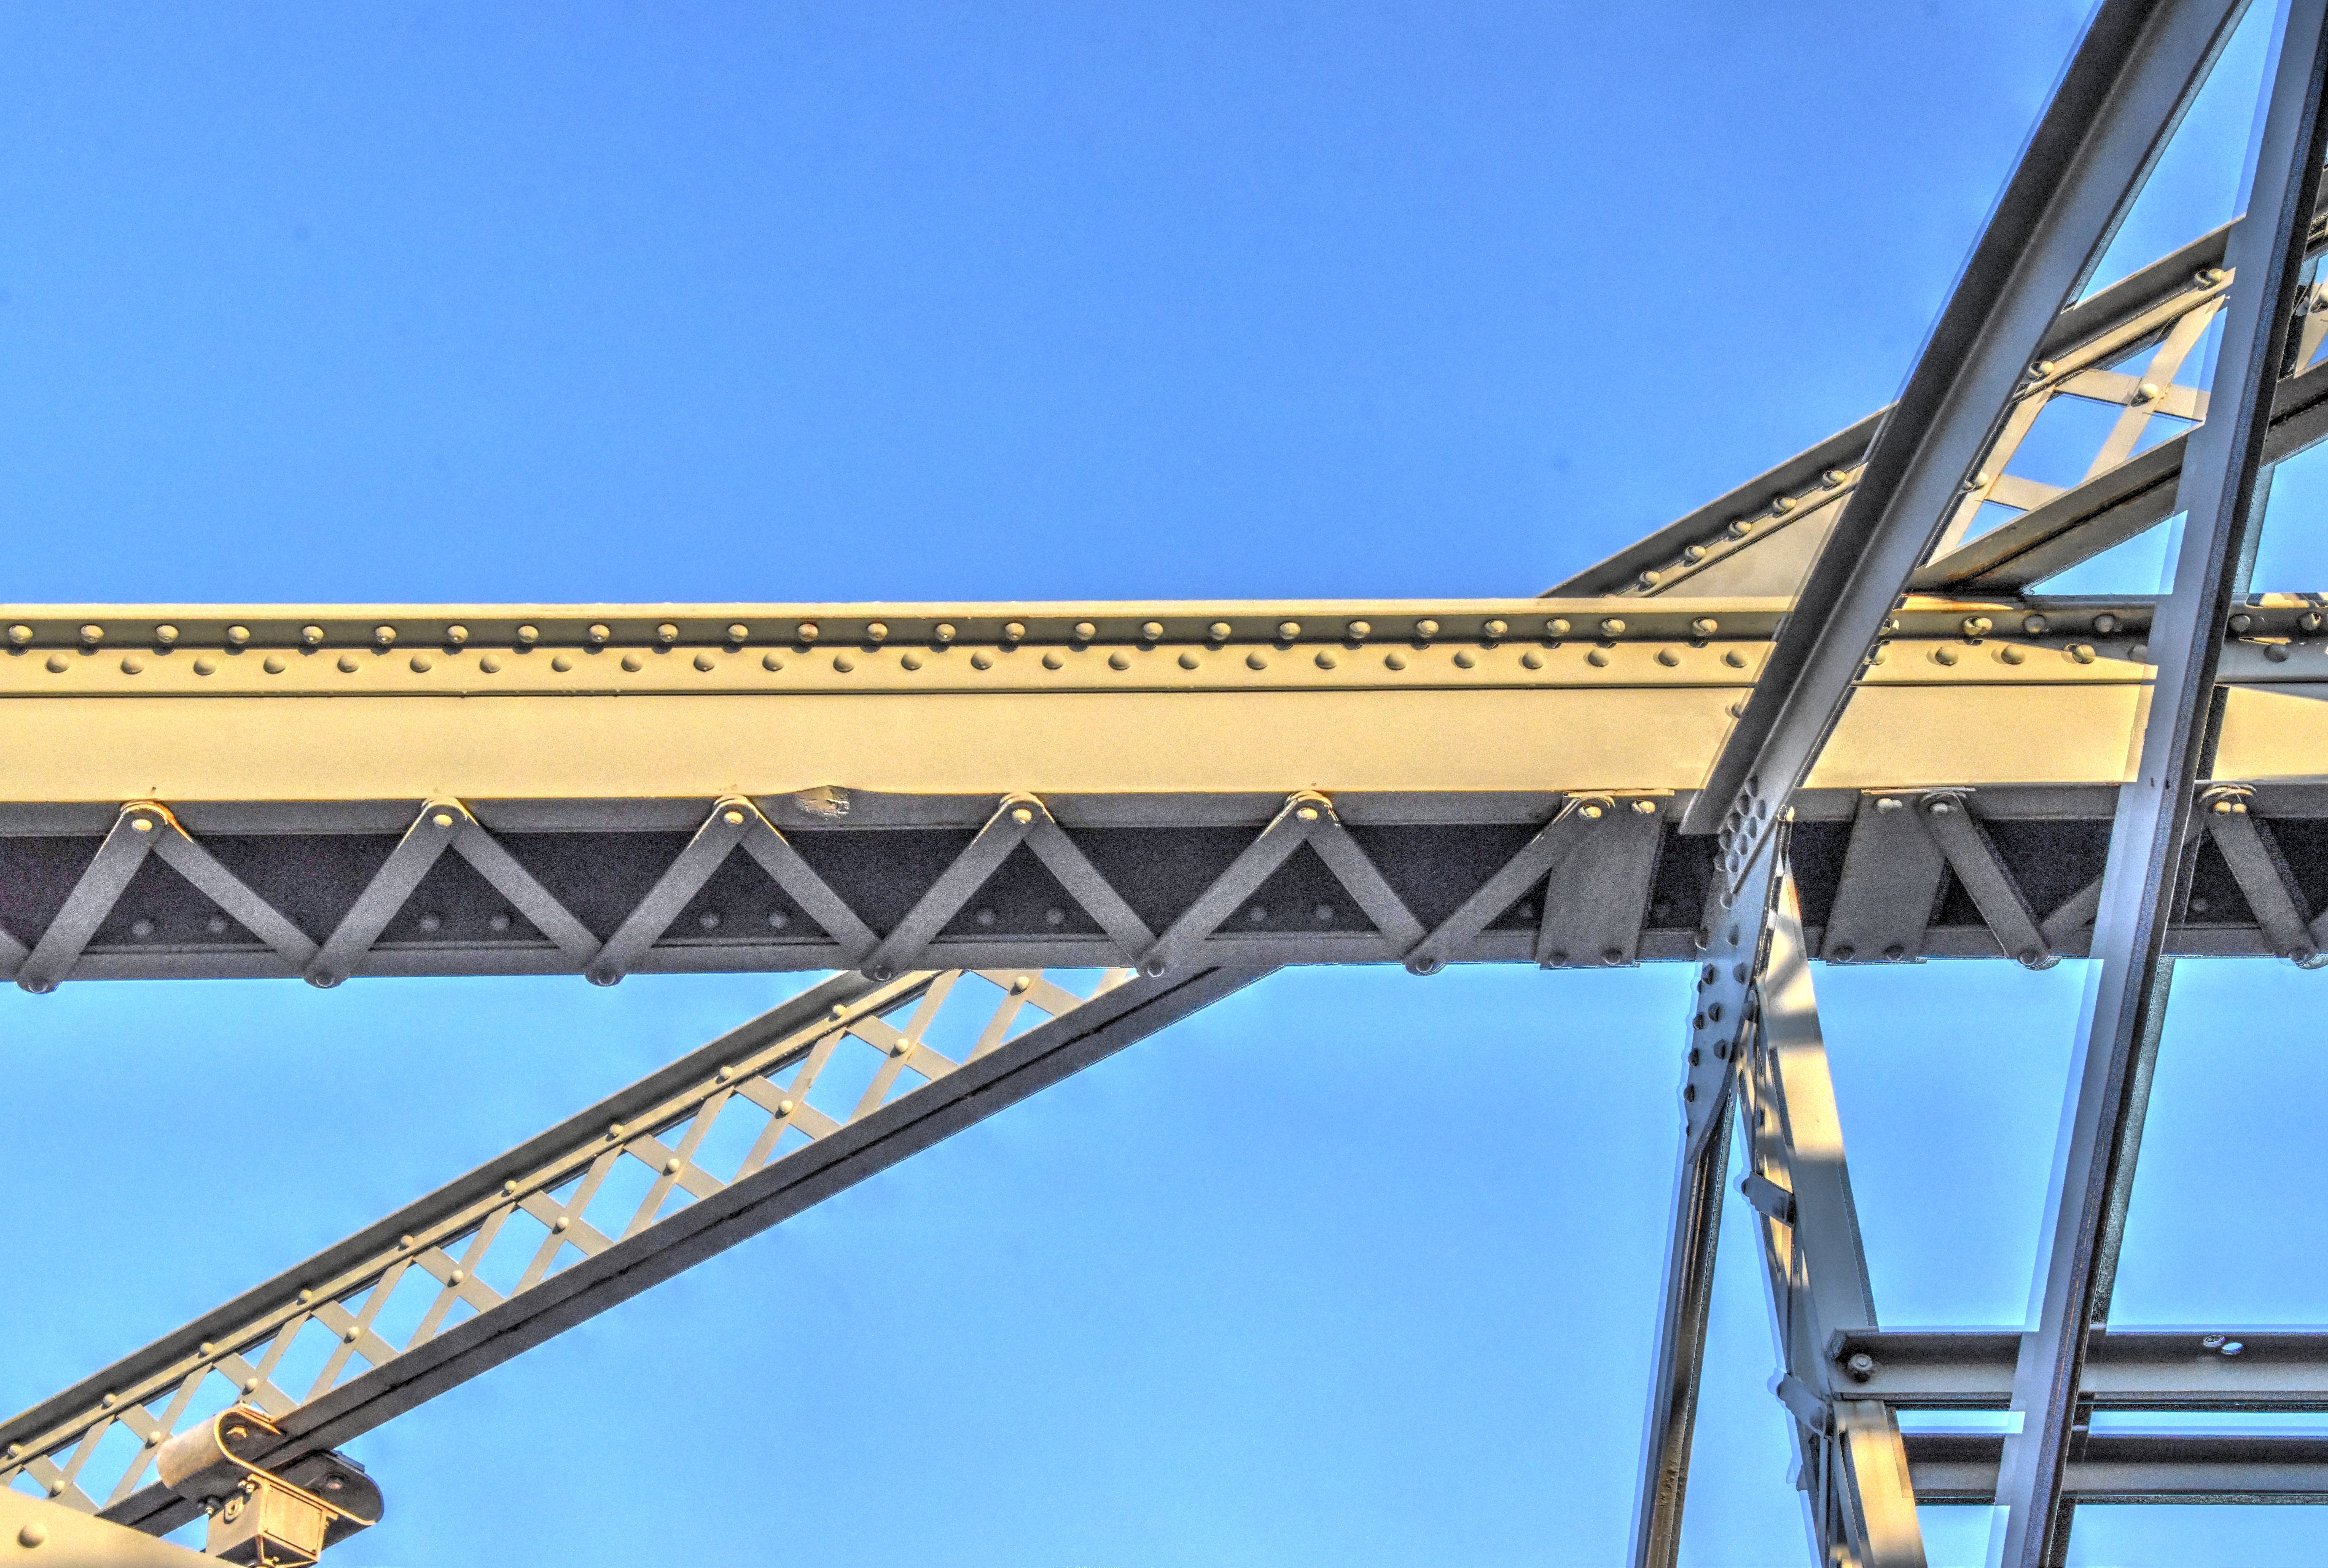
![]()
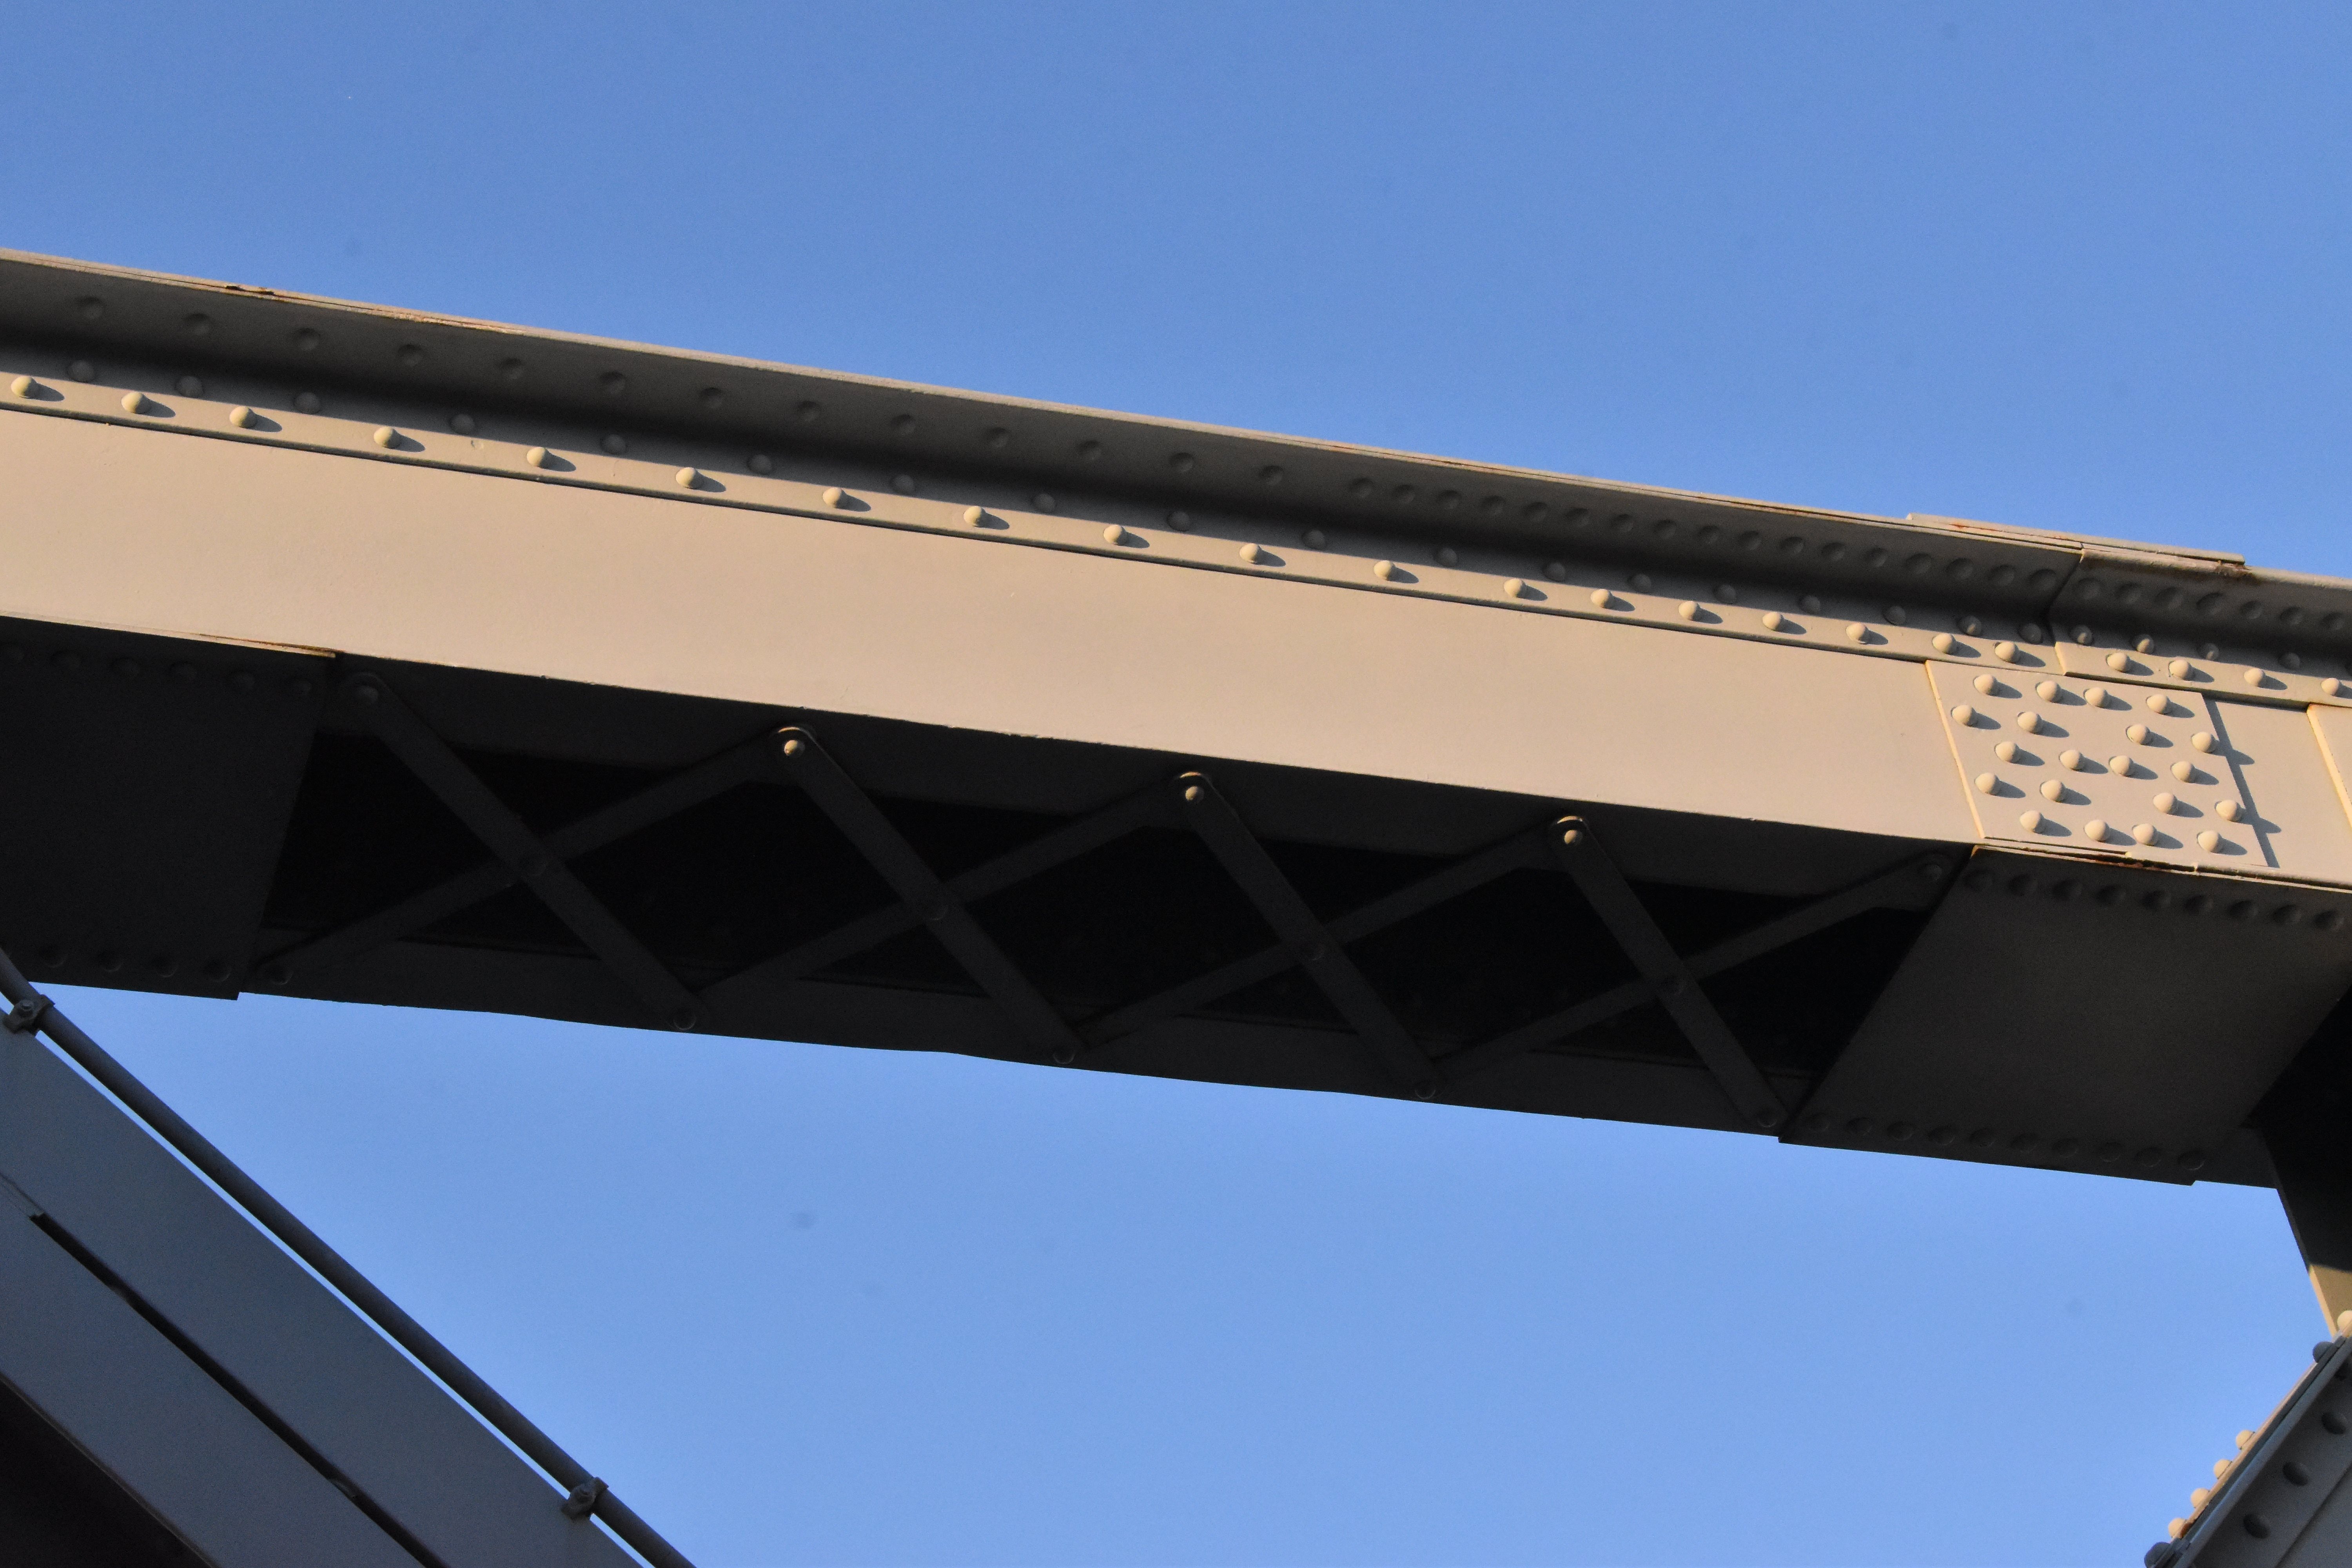
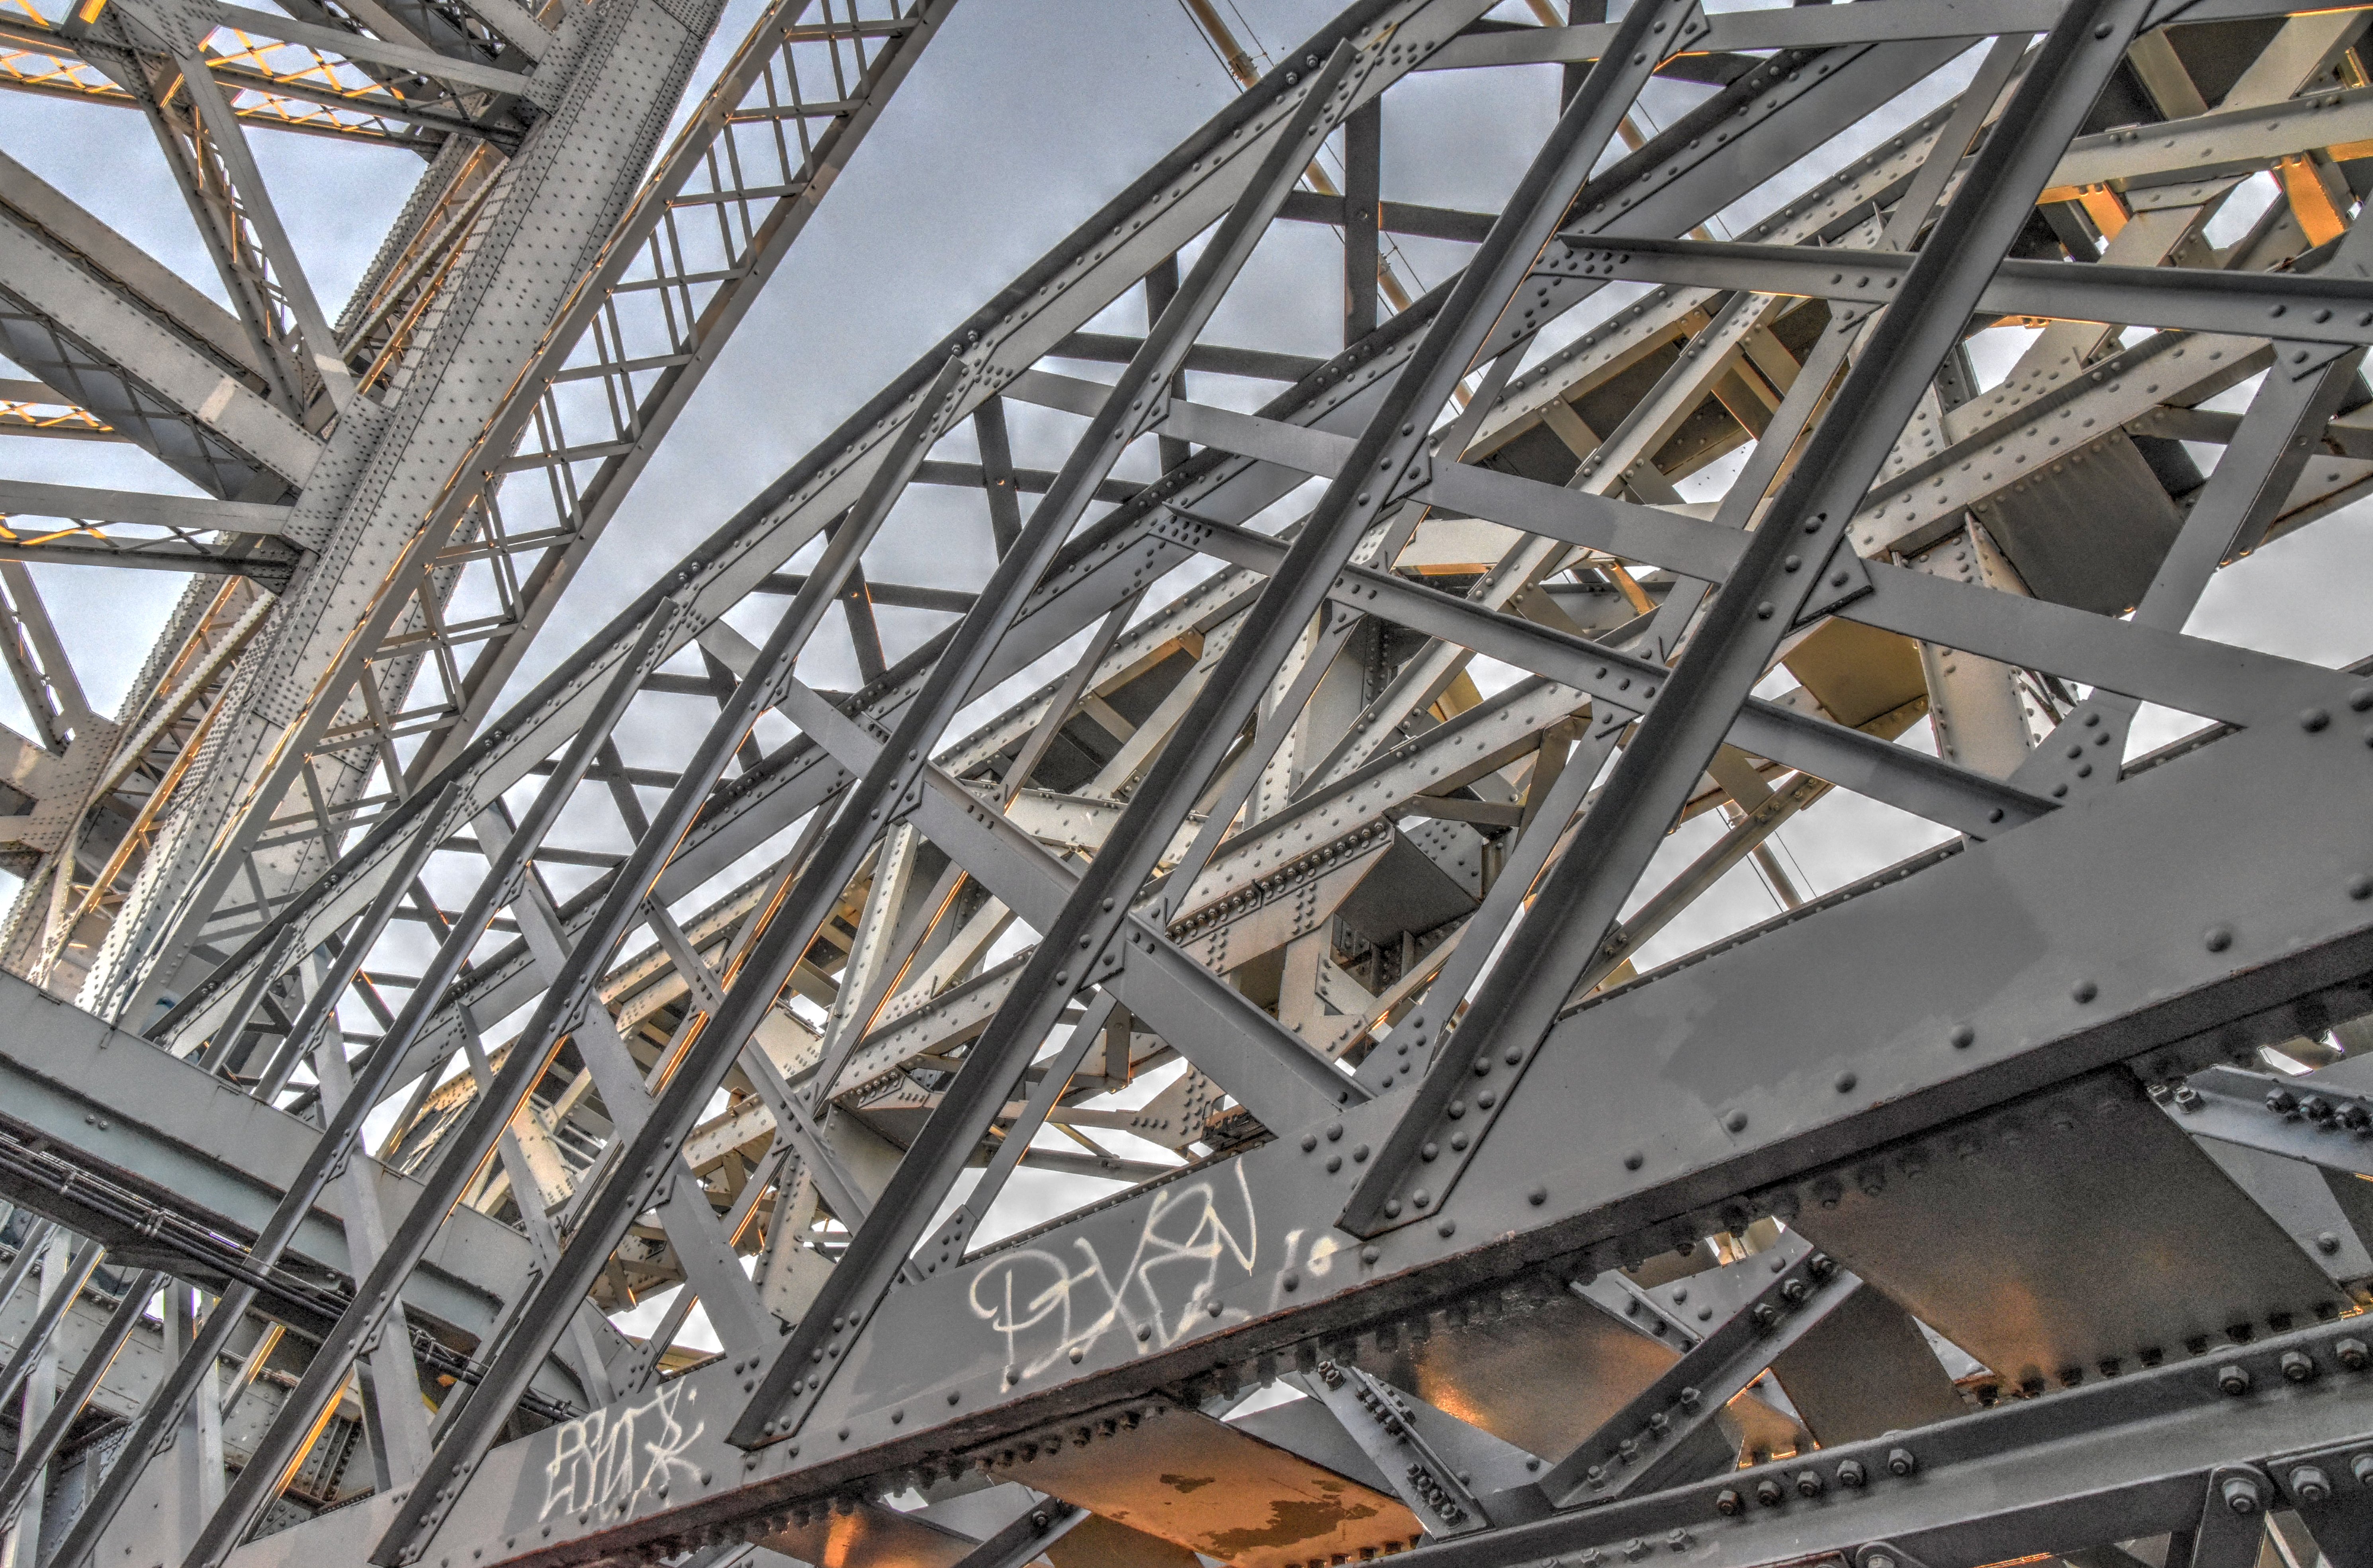
Stiffening truss general views.
![]()


Far eastern railroad approach.
![]()

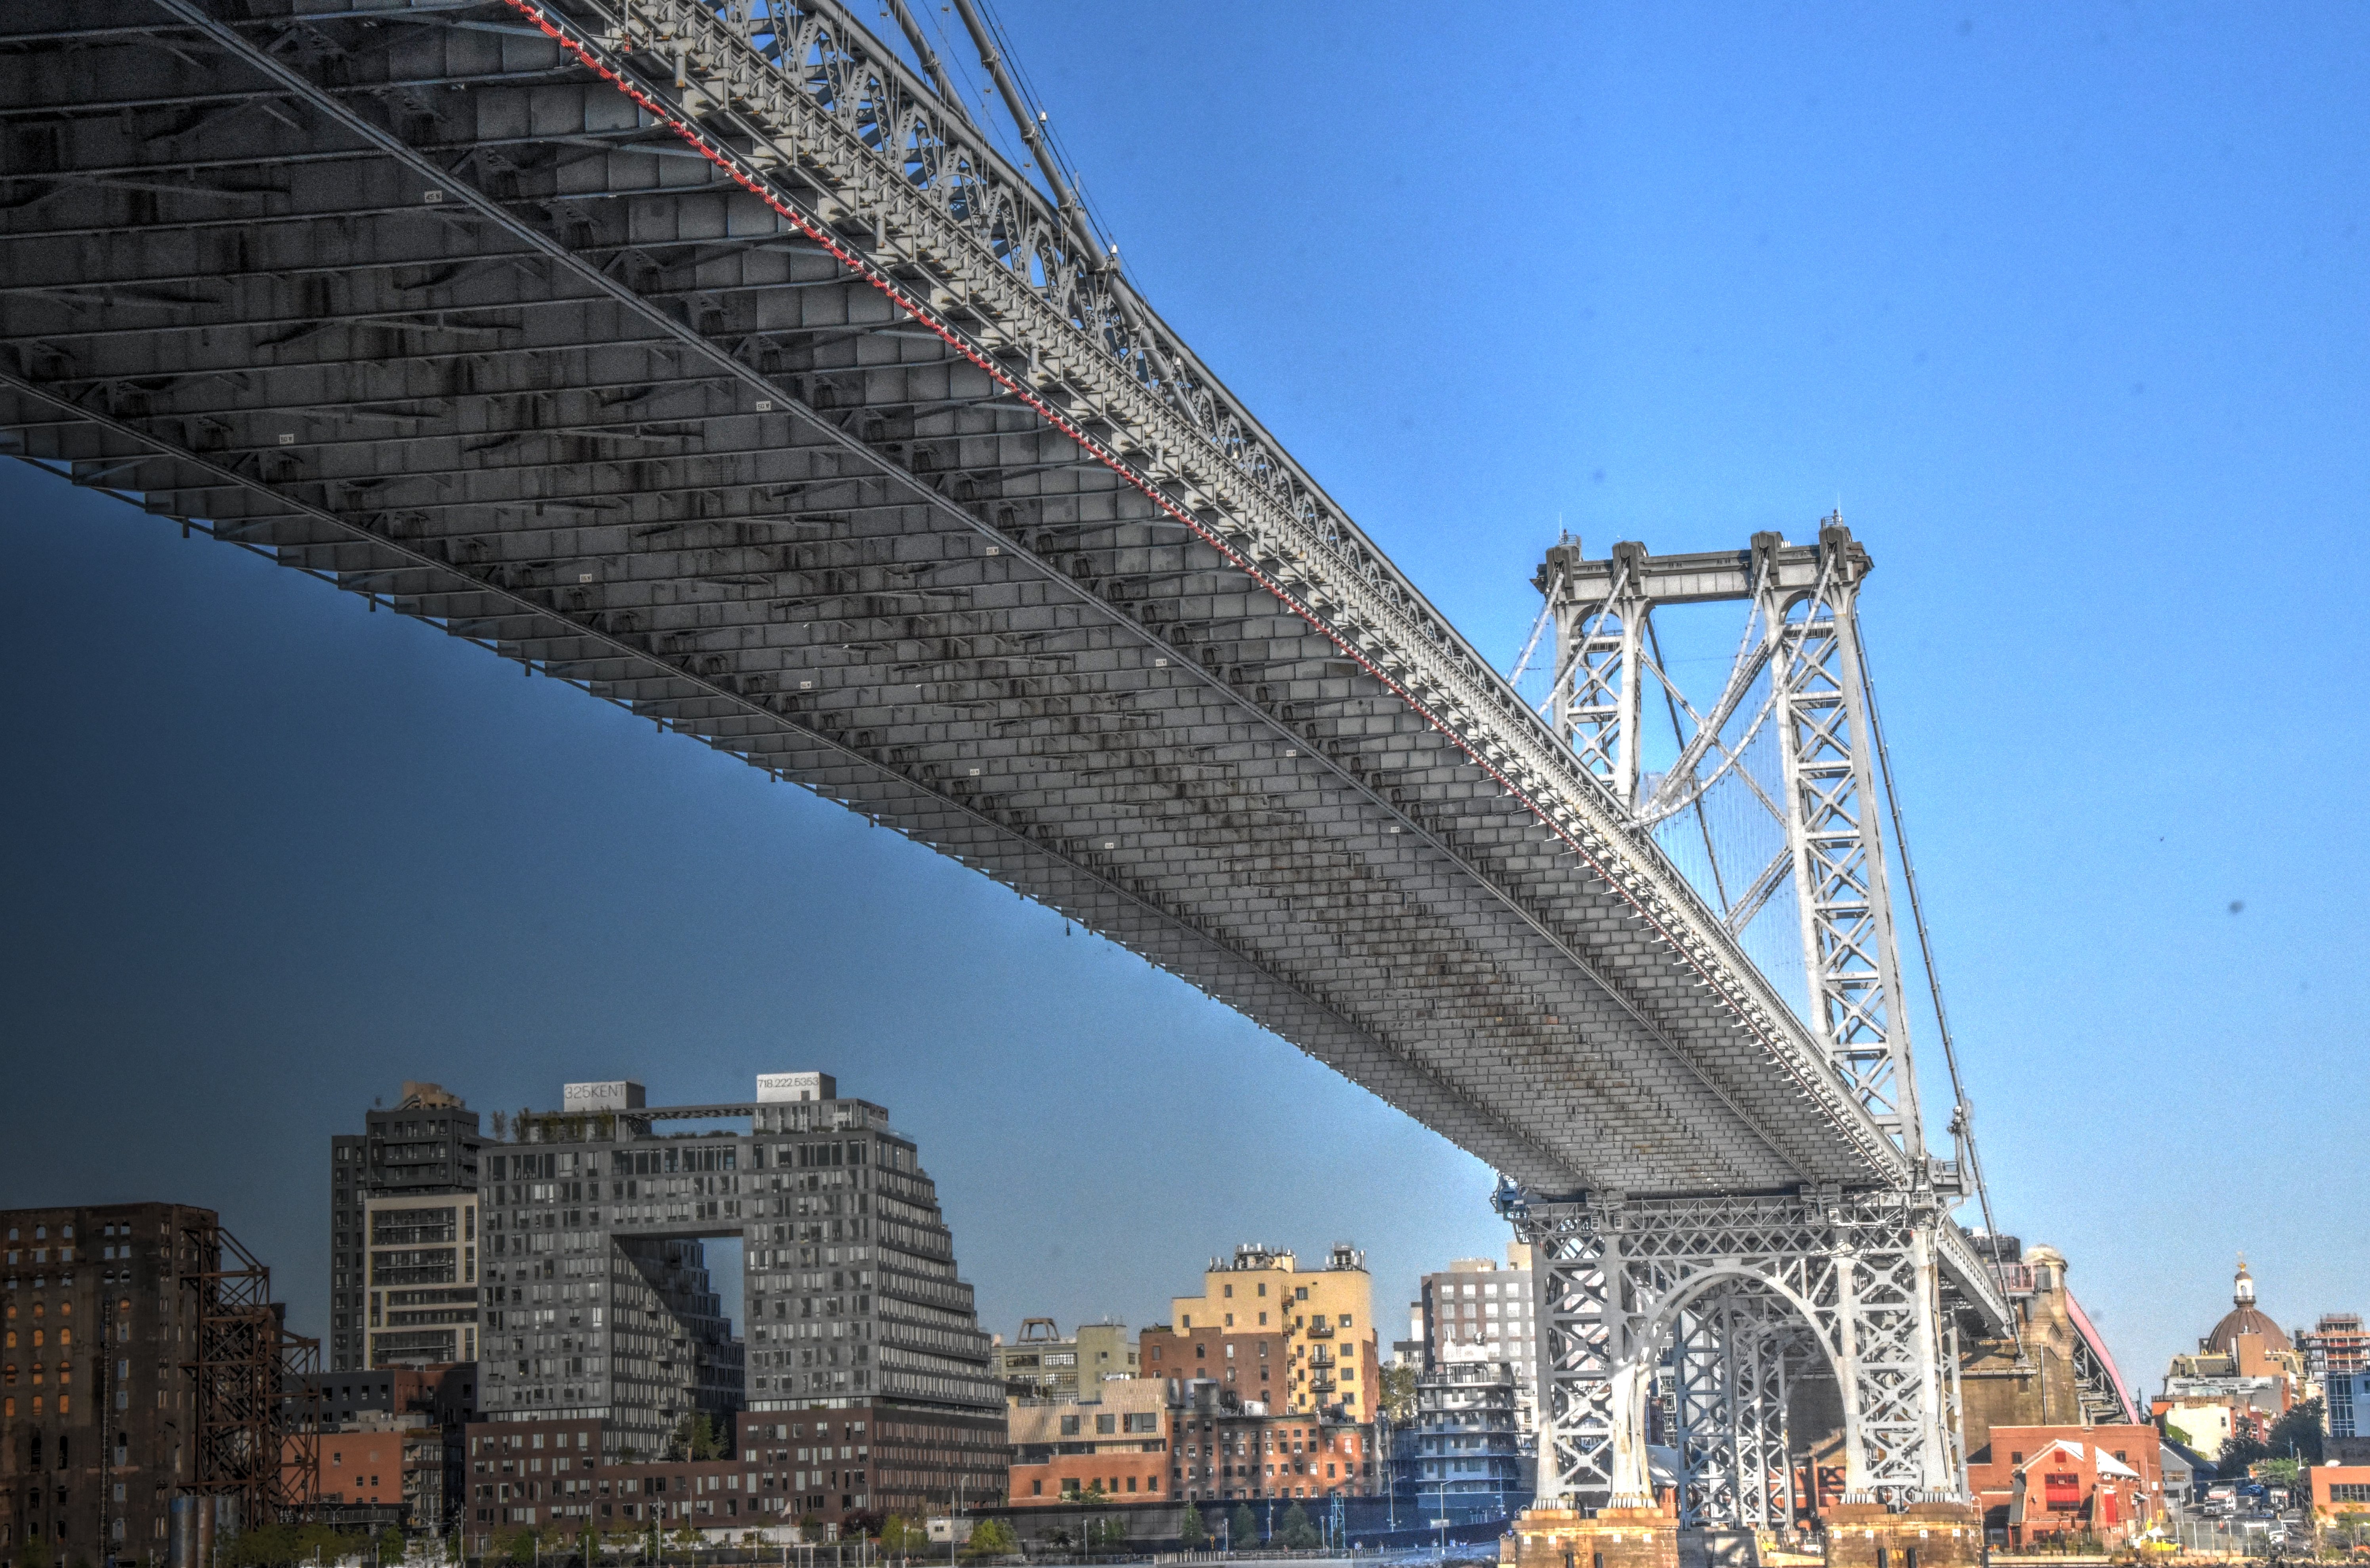
Oblique view from southwest quadrant.
![]()


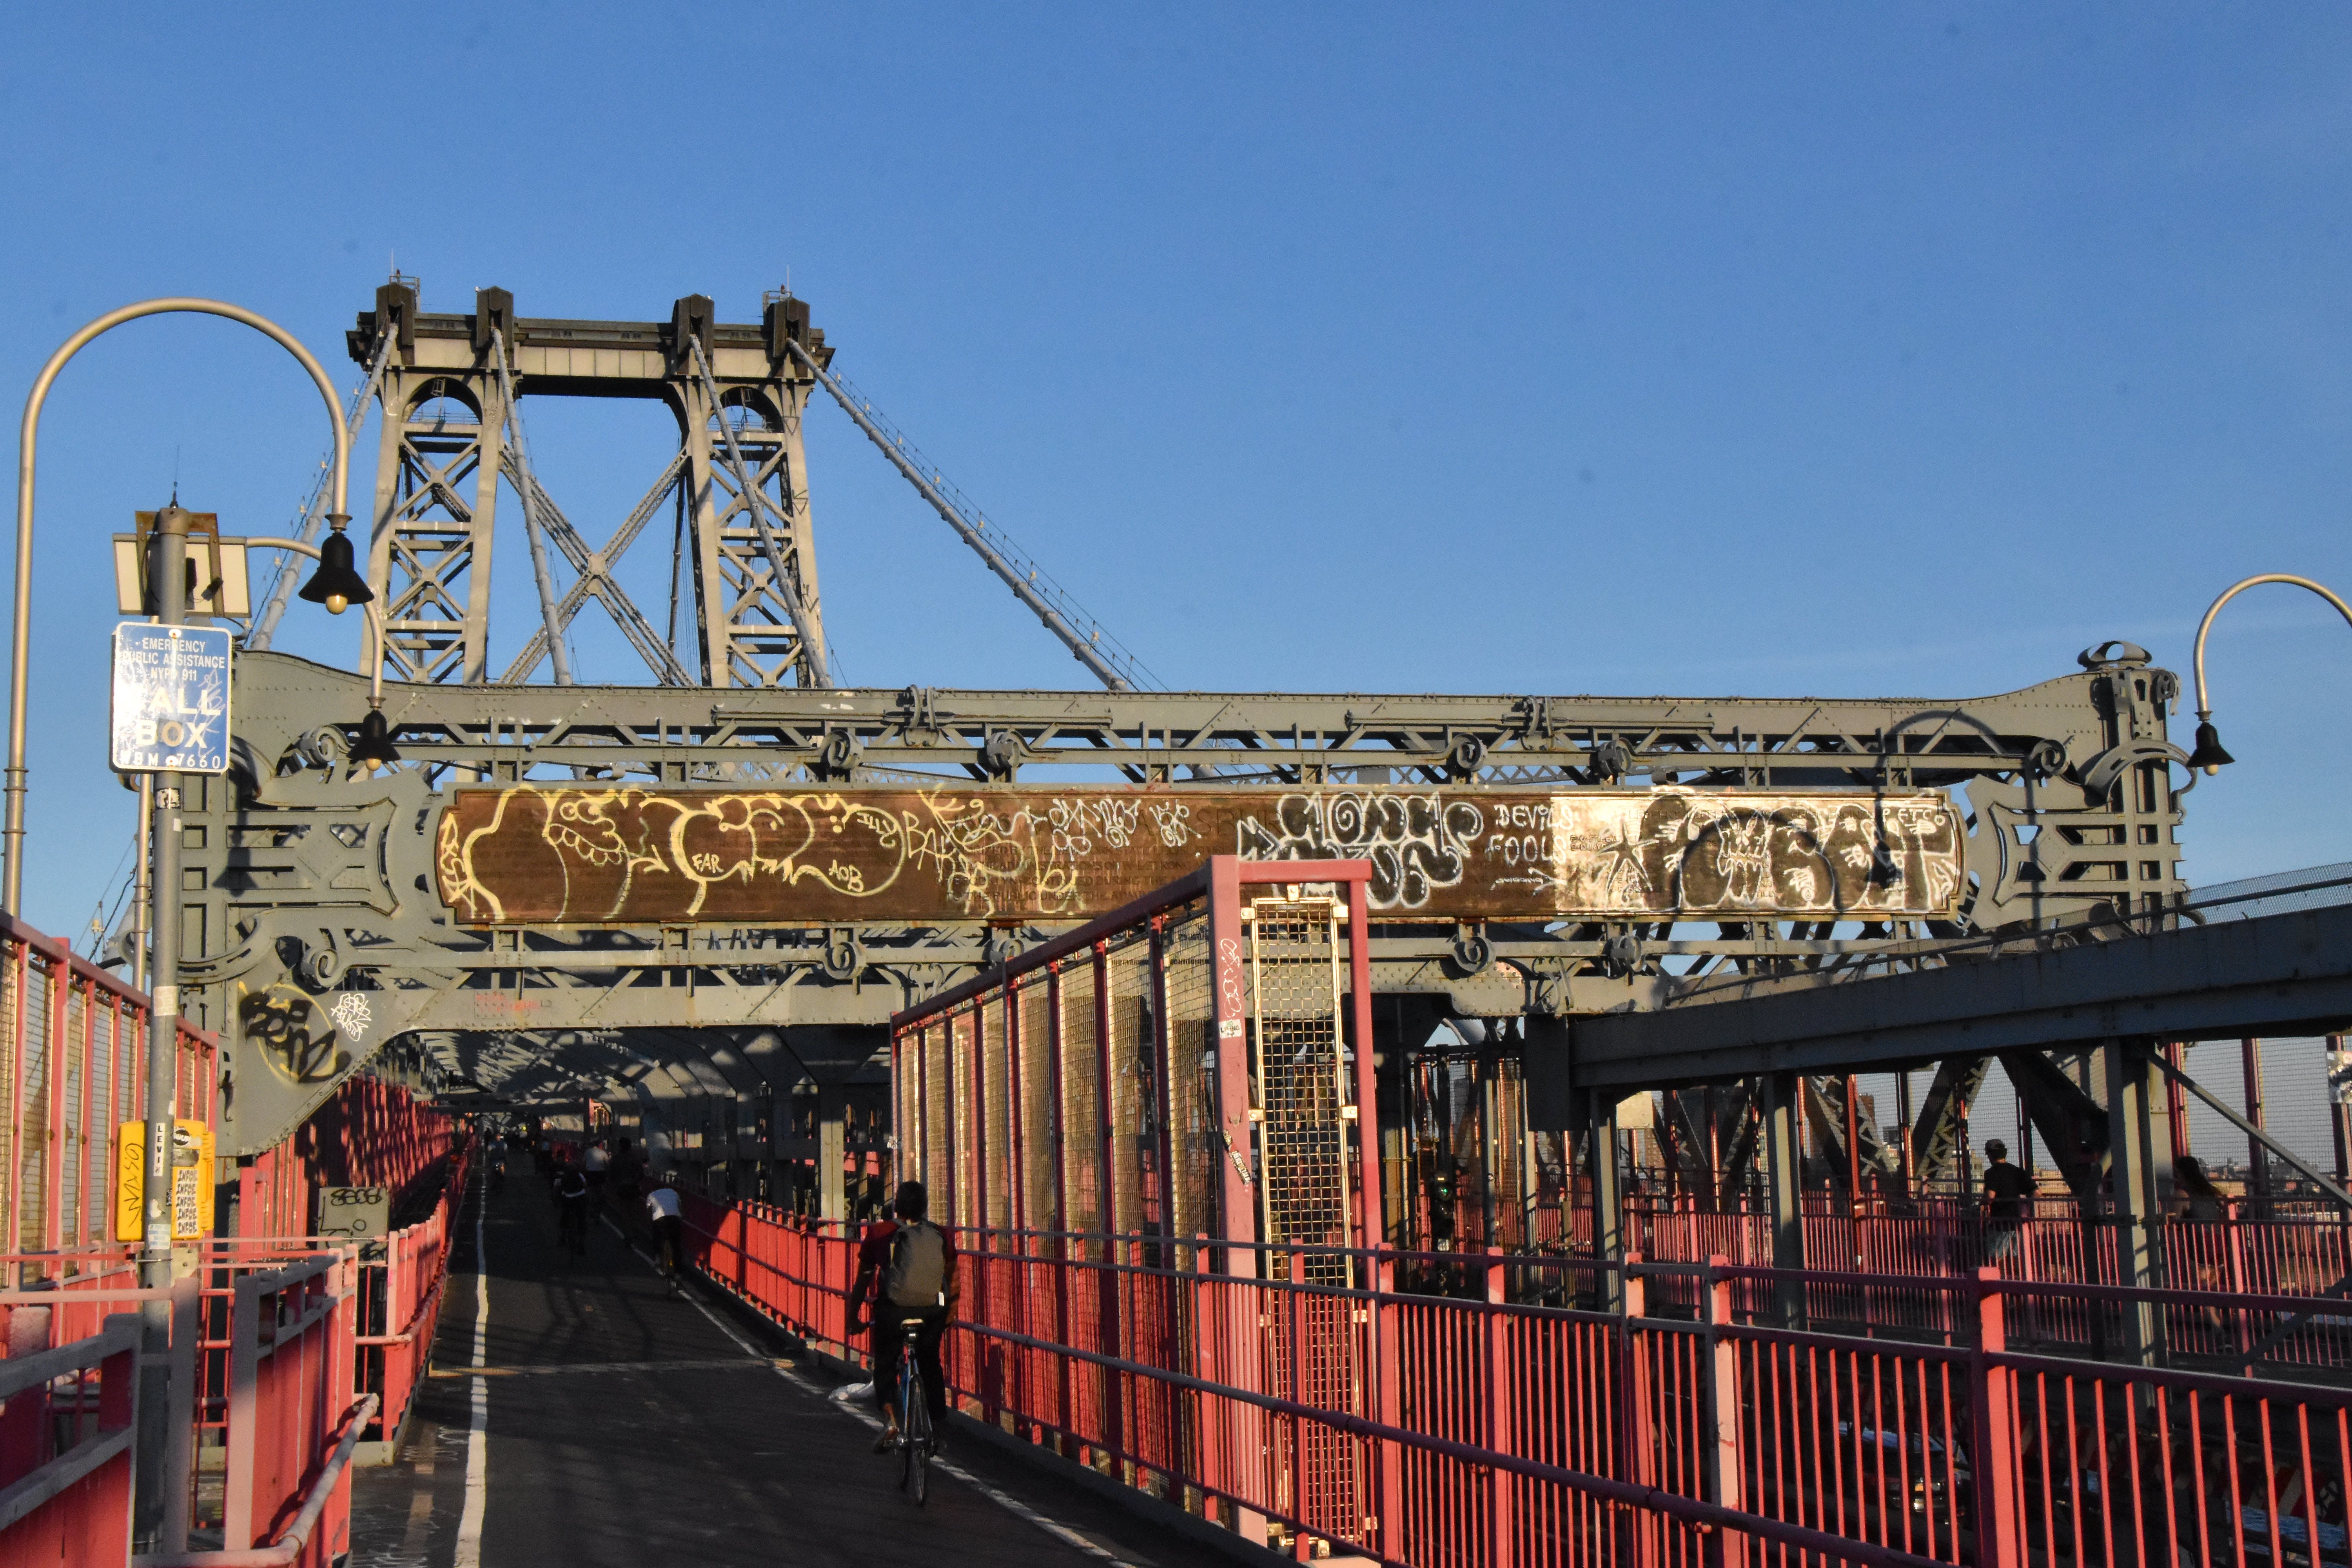
Portal views facing east.
![]()


Portal views at pedestrian split facing east.
![]()


Portal views at pedestrian split facing east, train on tracks.
![]()
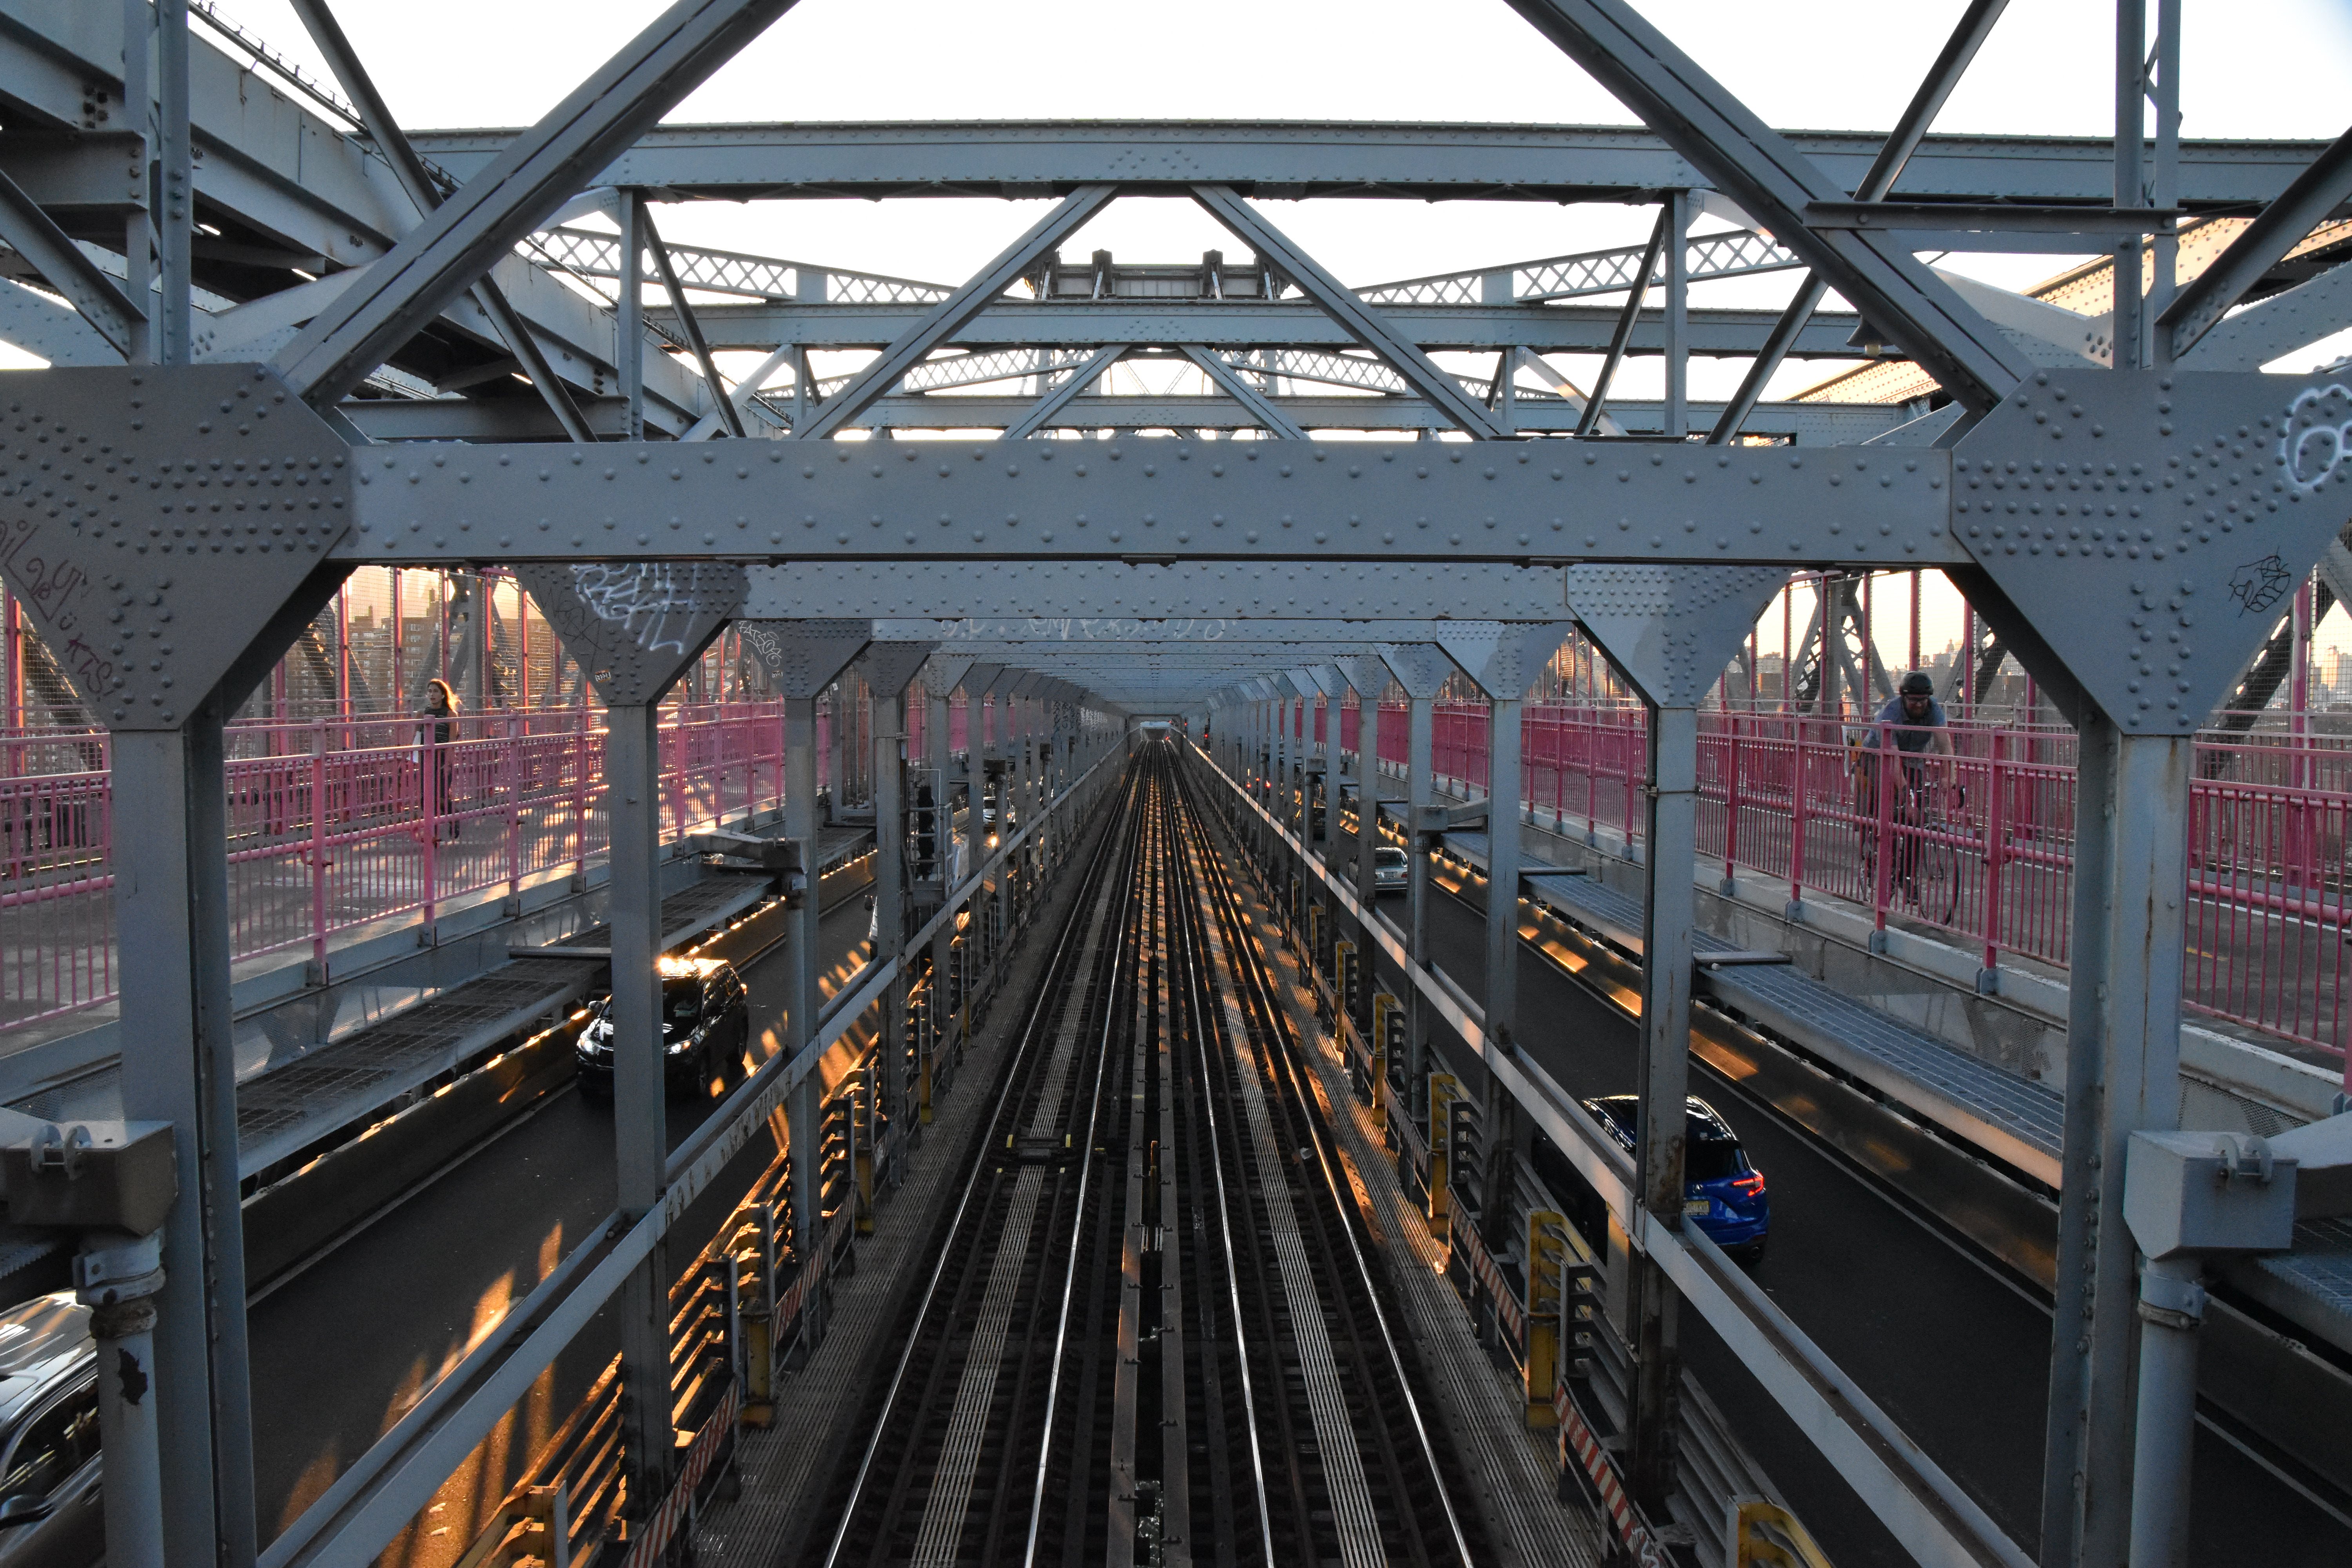


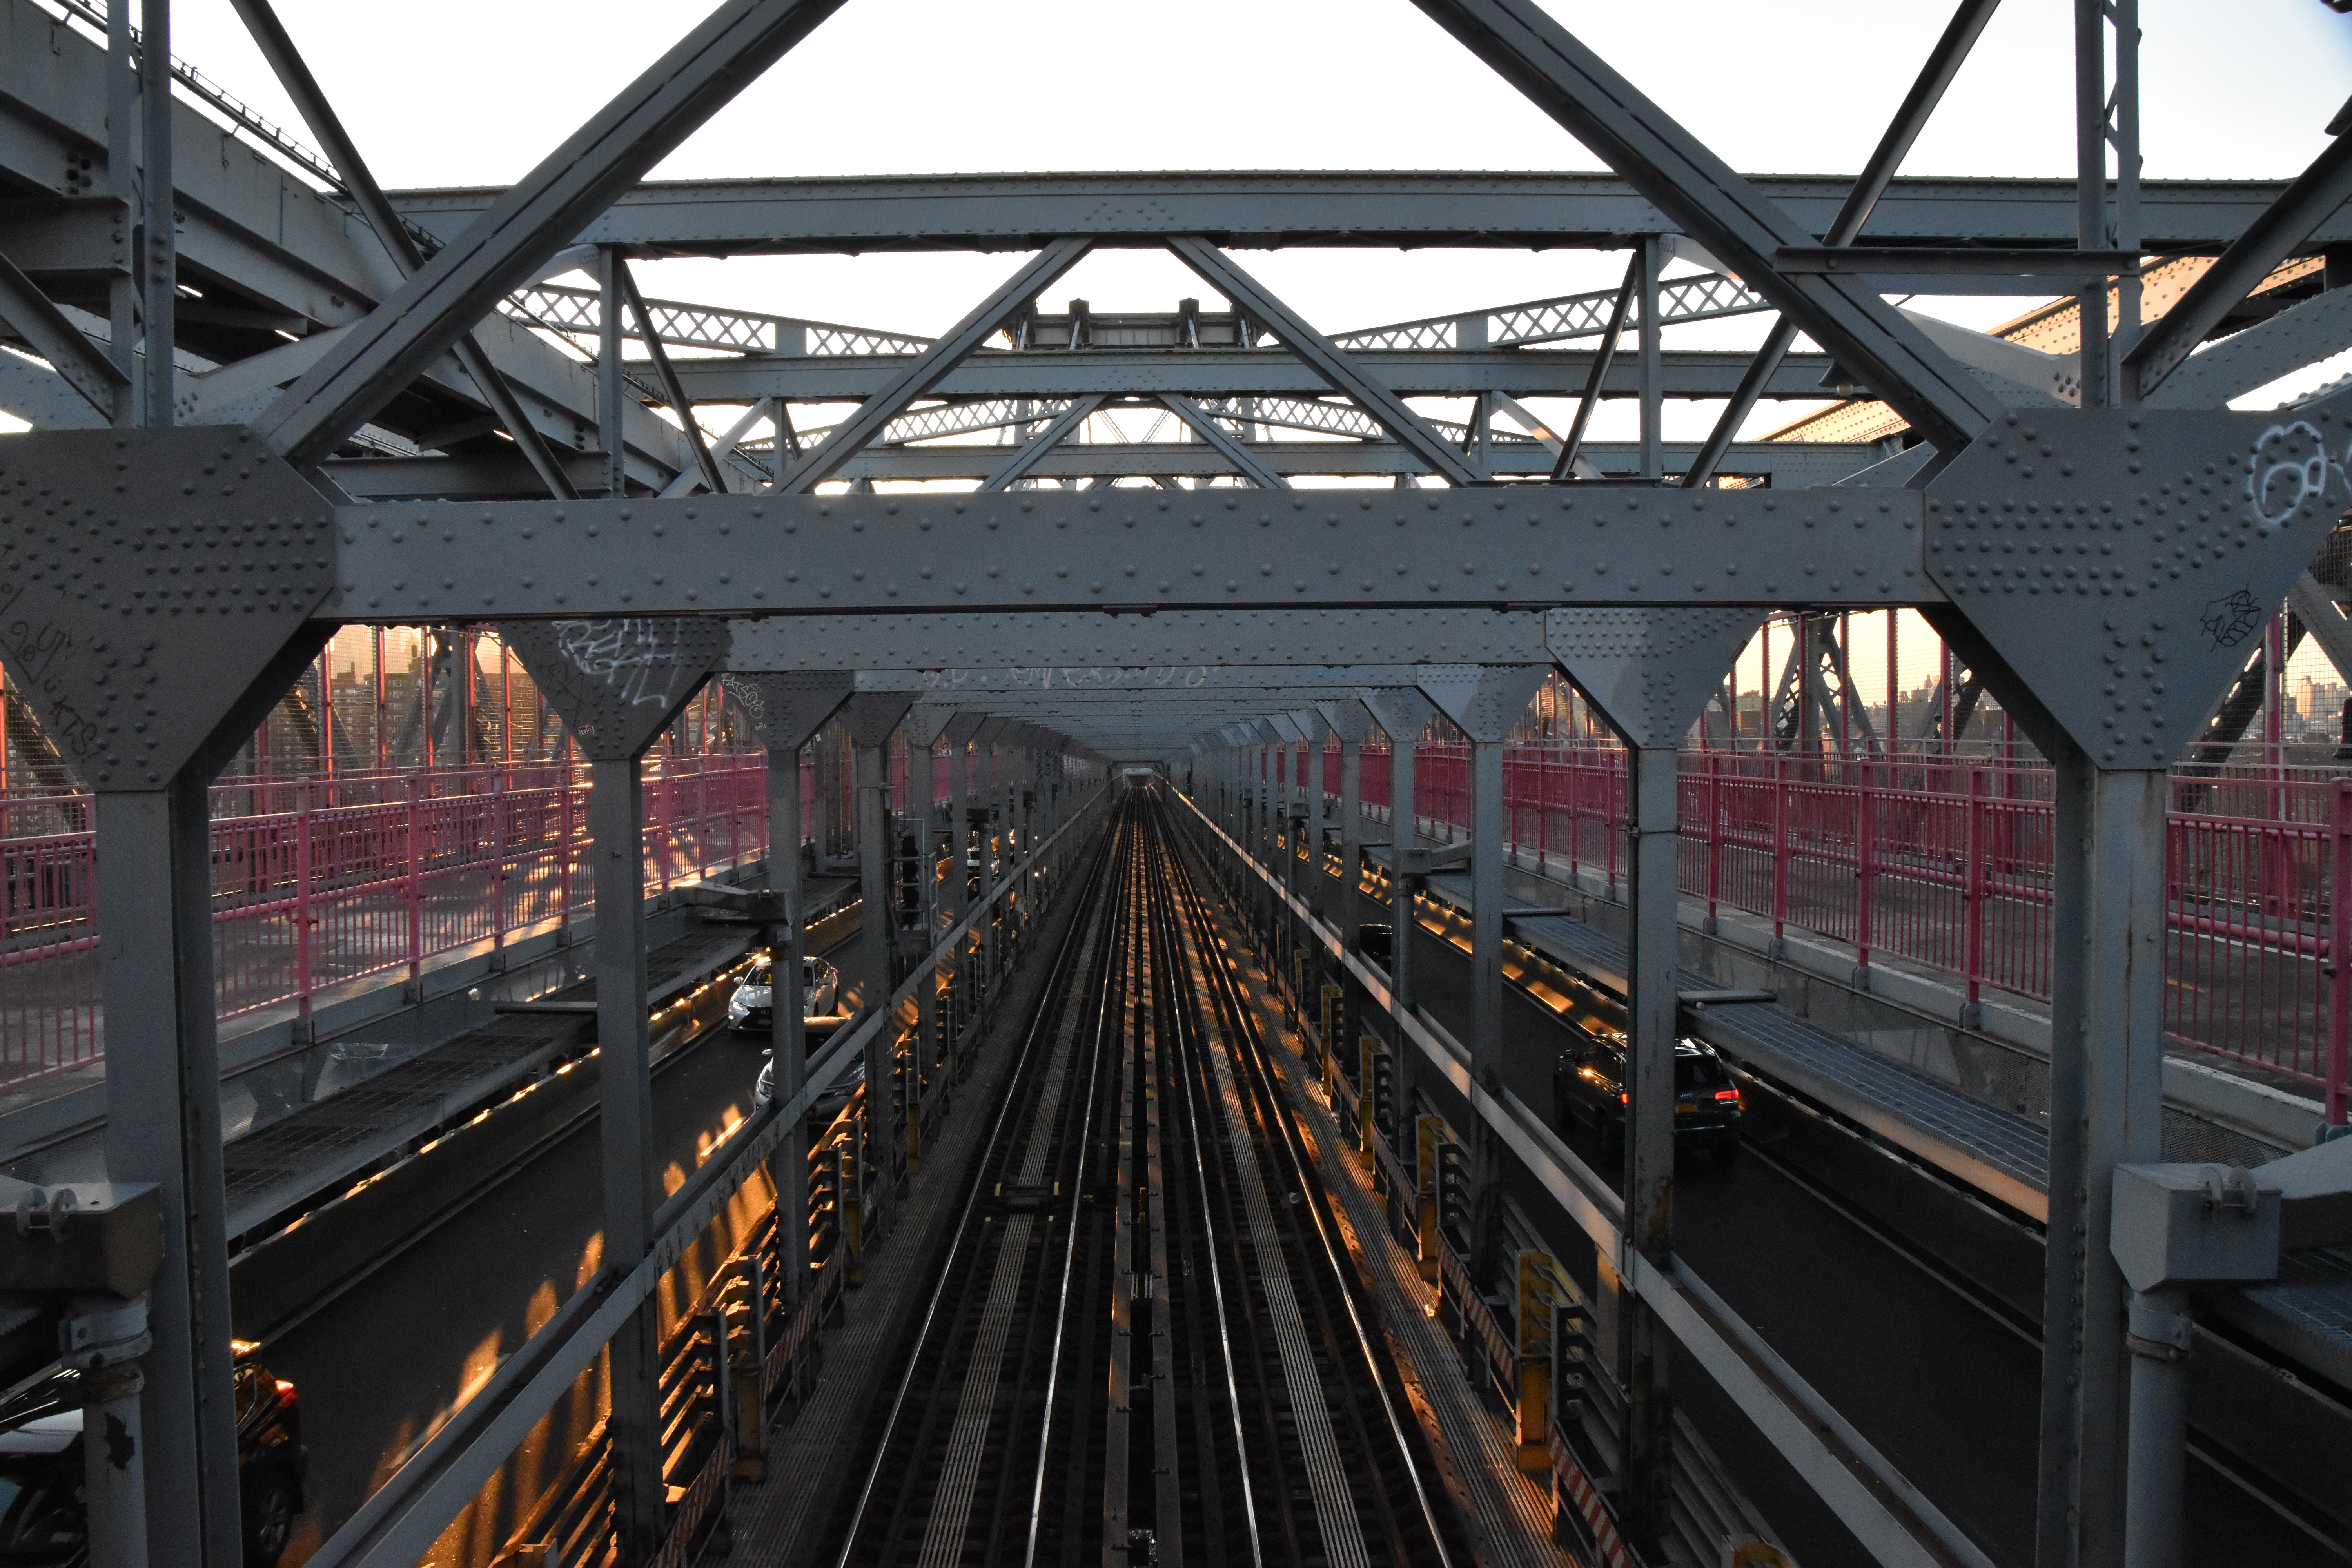


Portal views at pedestrian crossover showing tracks.
![]()


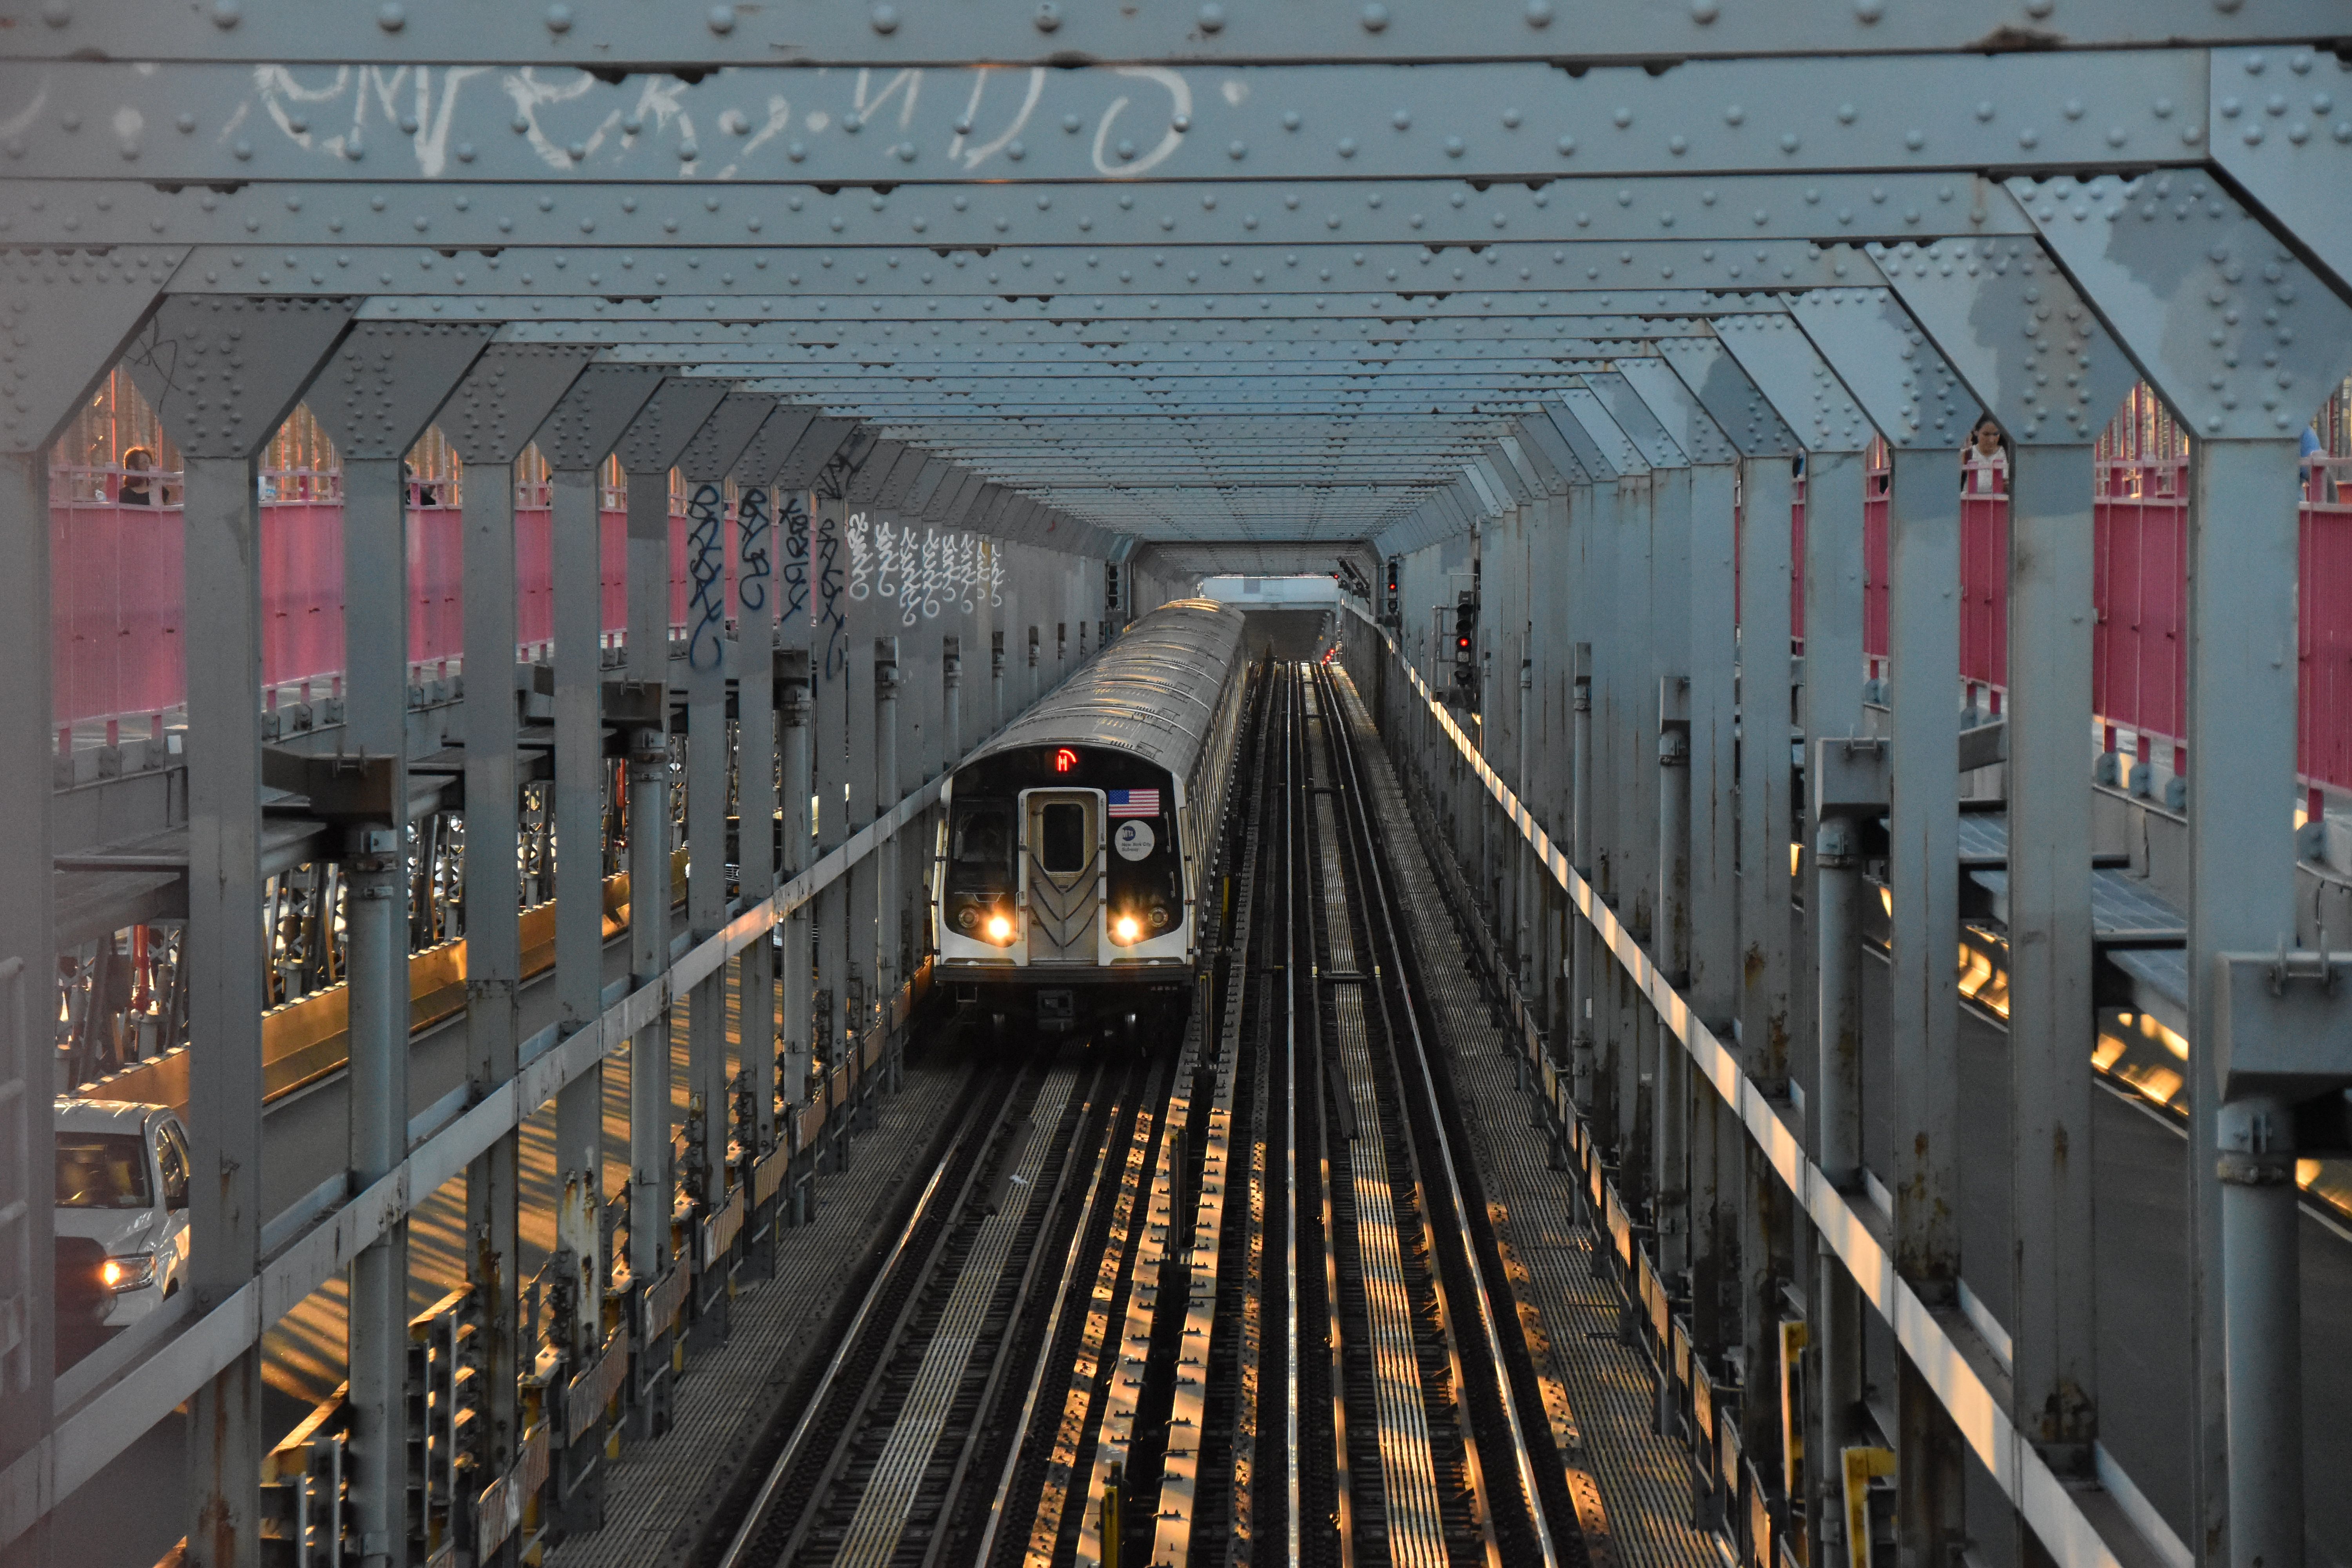


Portal views at pedestrian crossover, train on tracks.
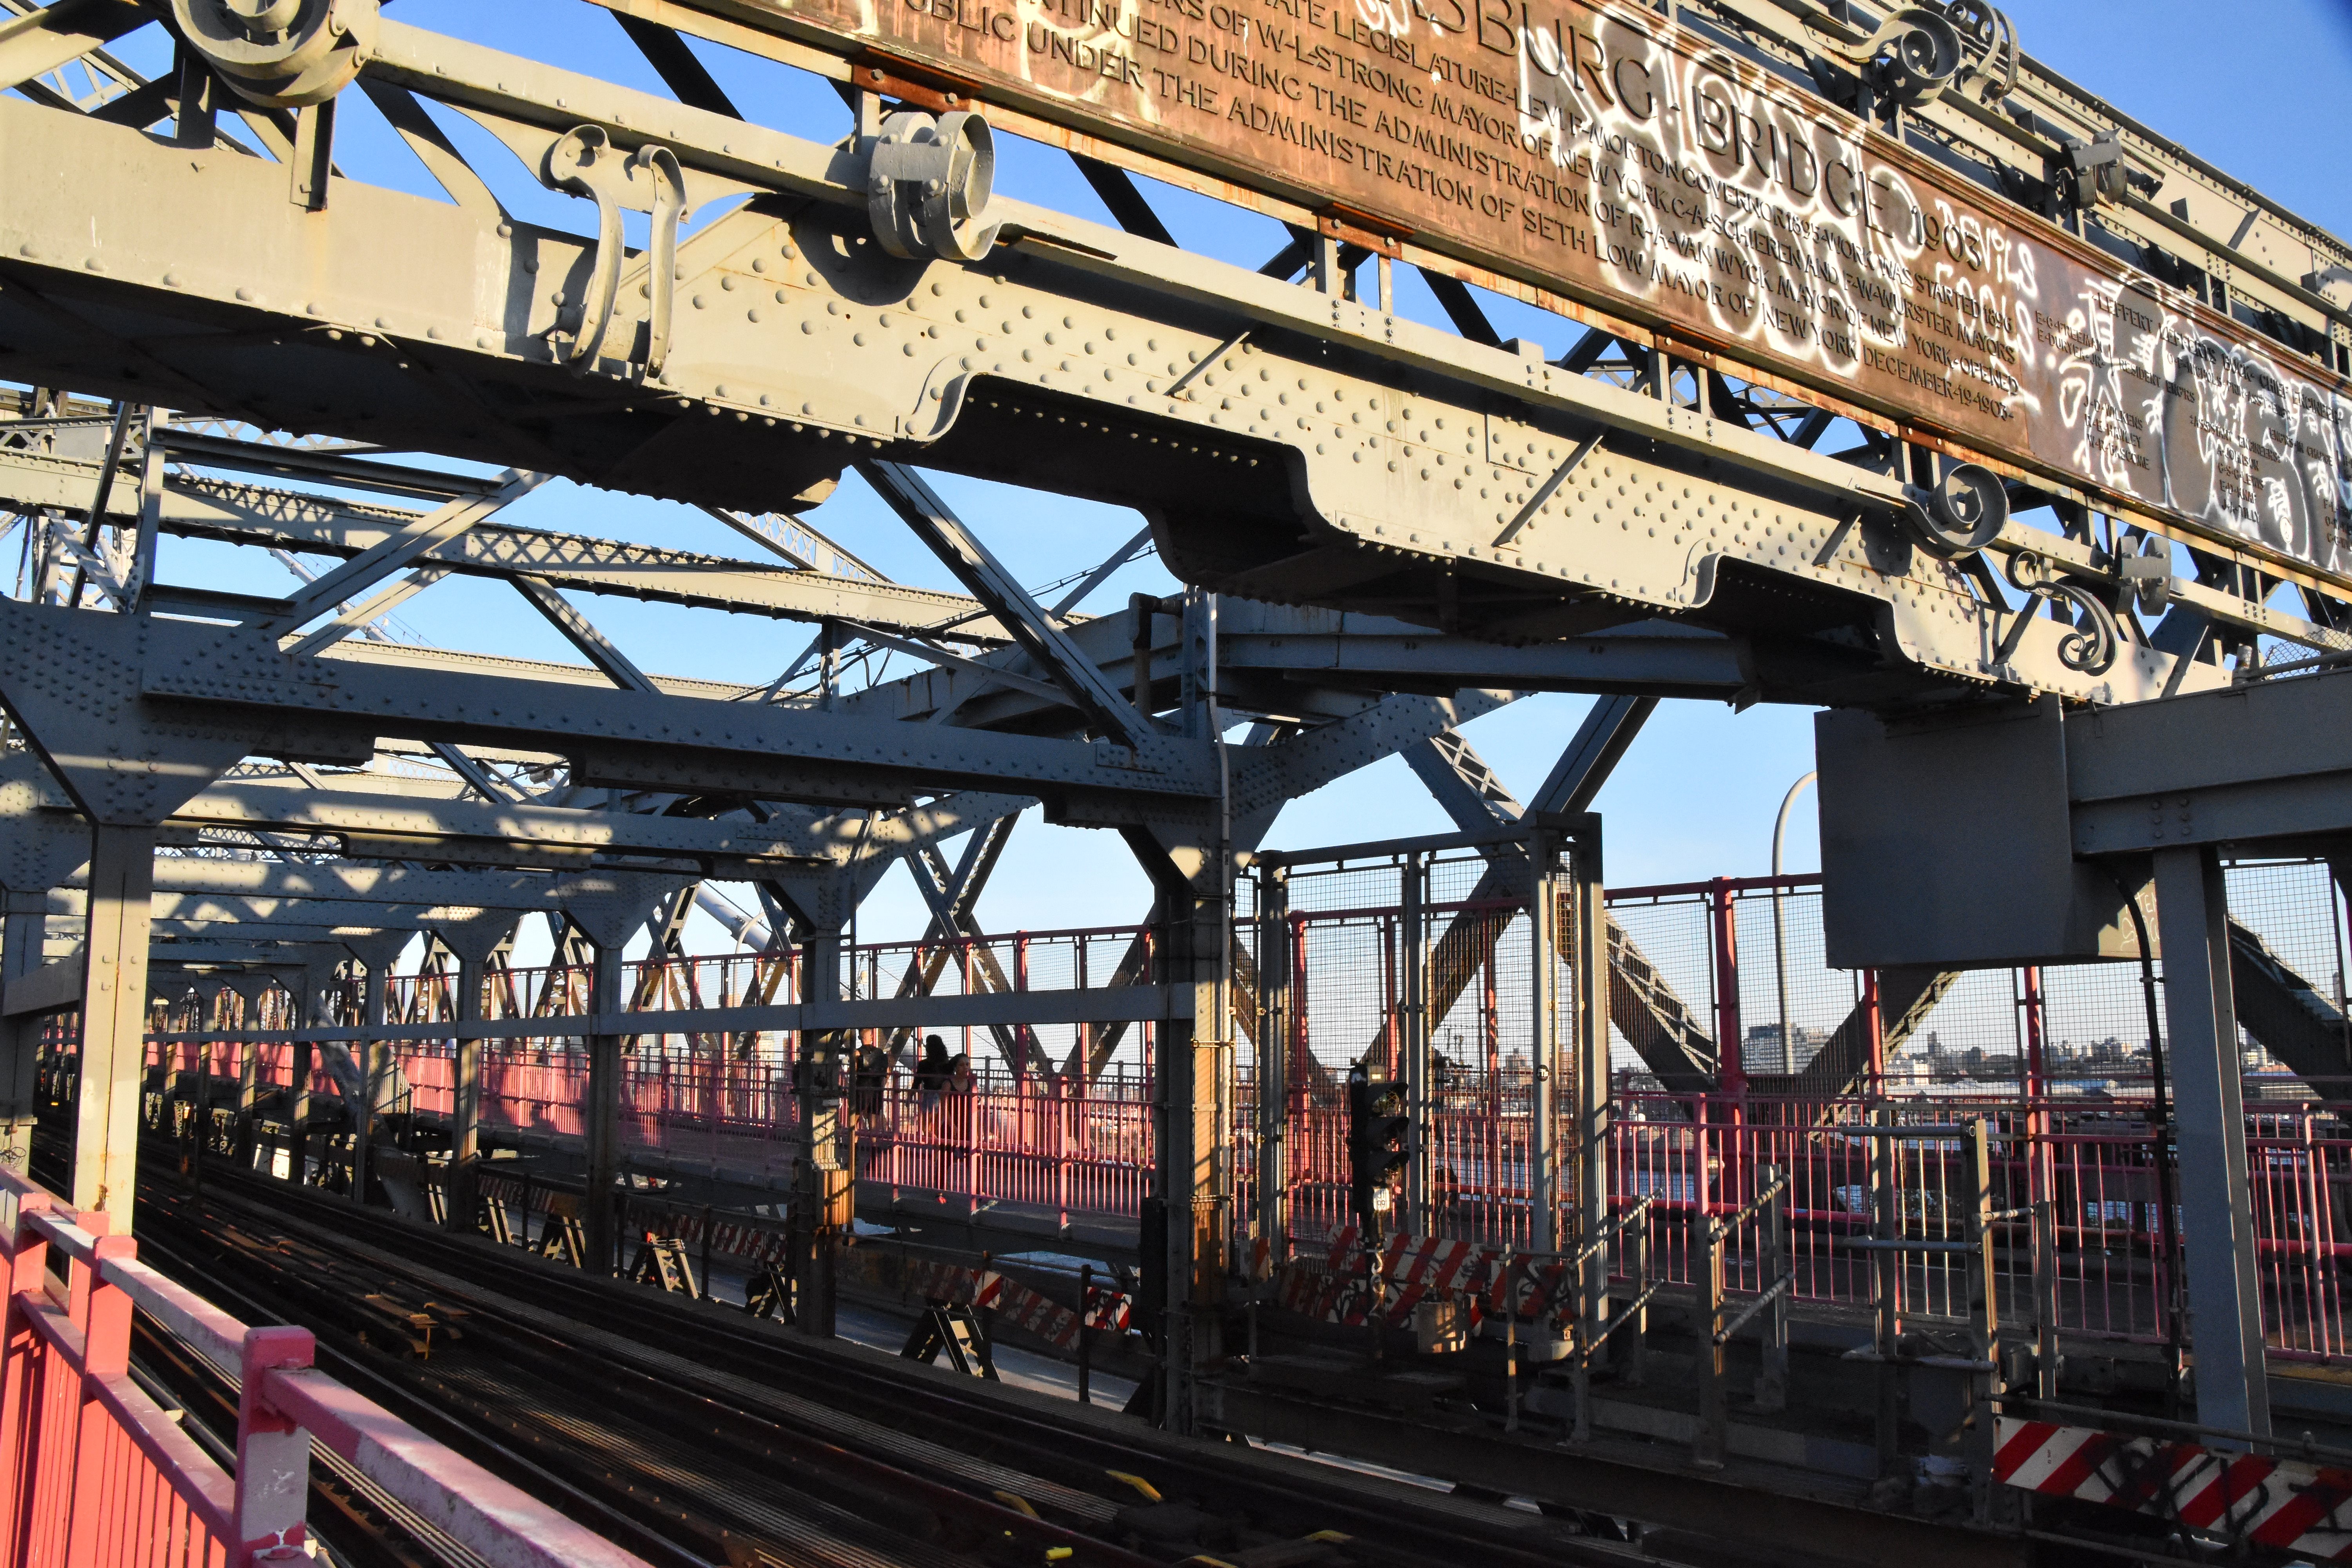
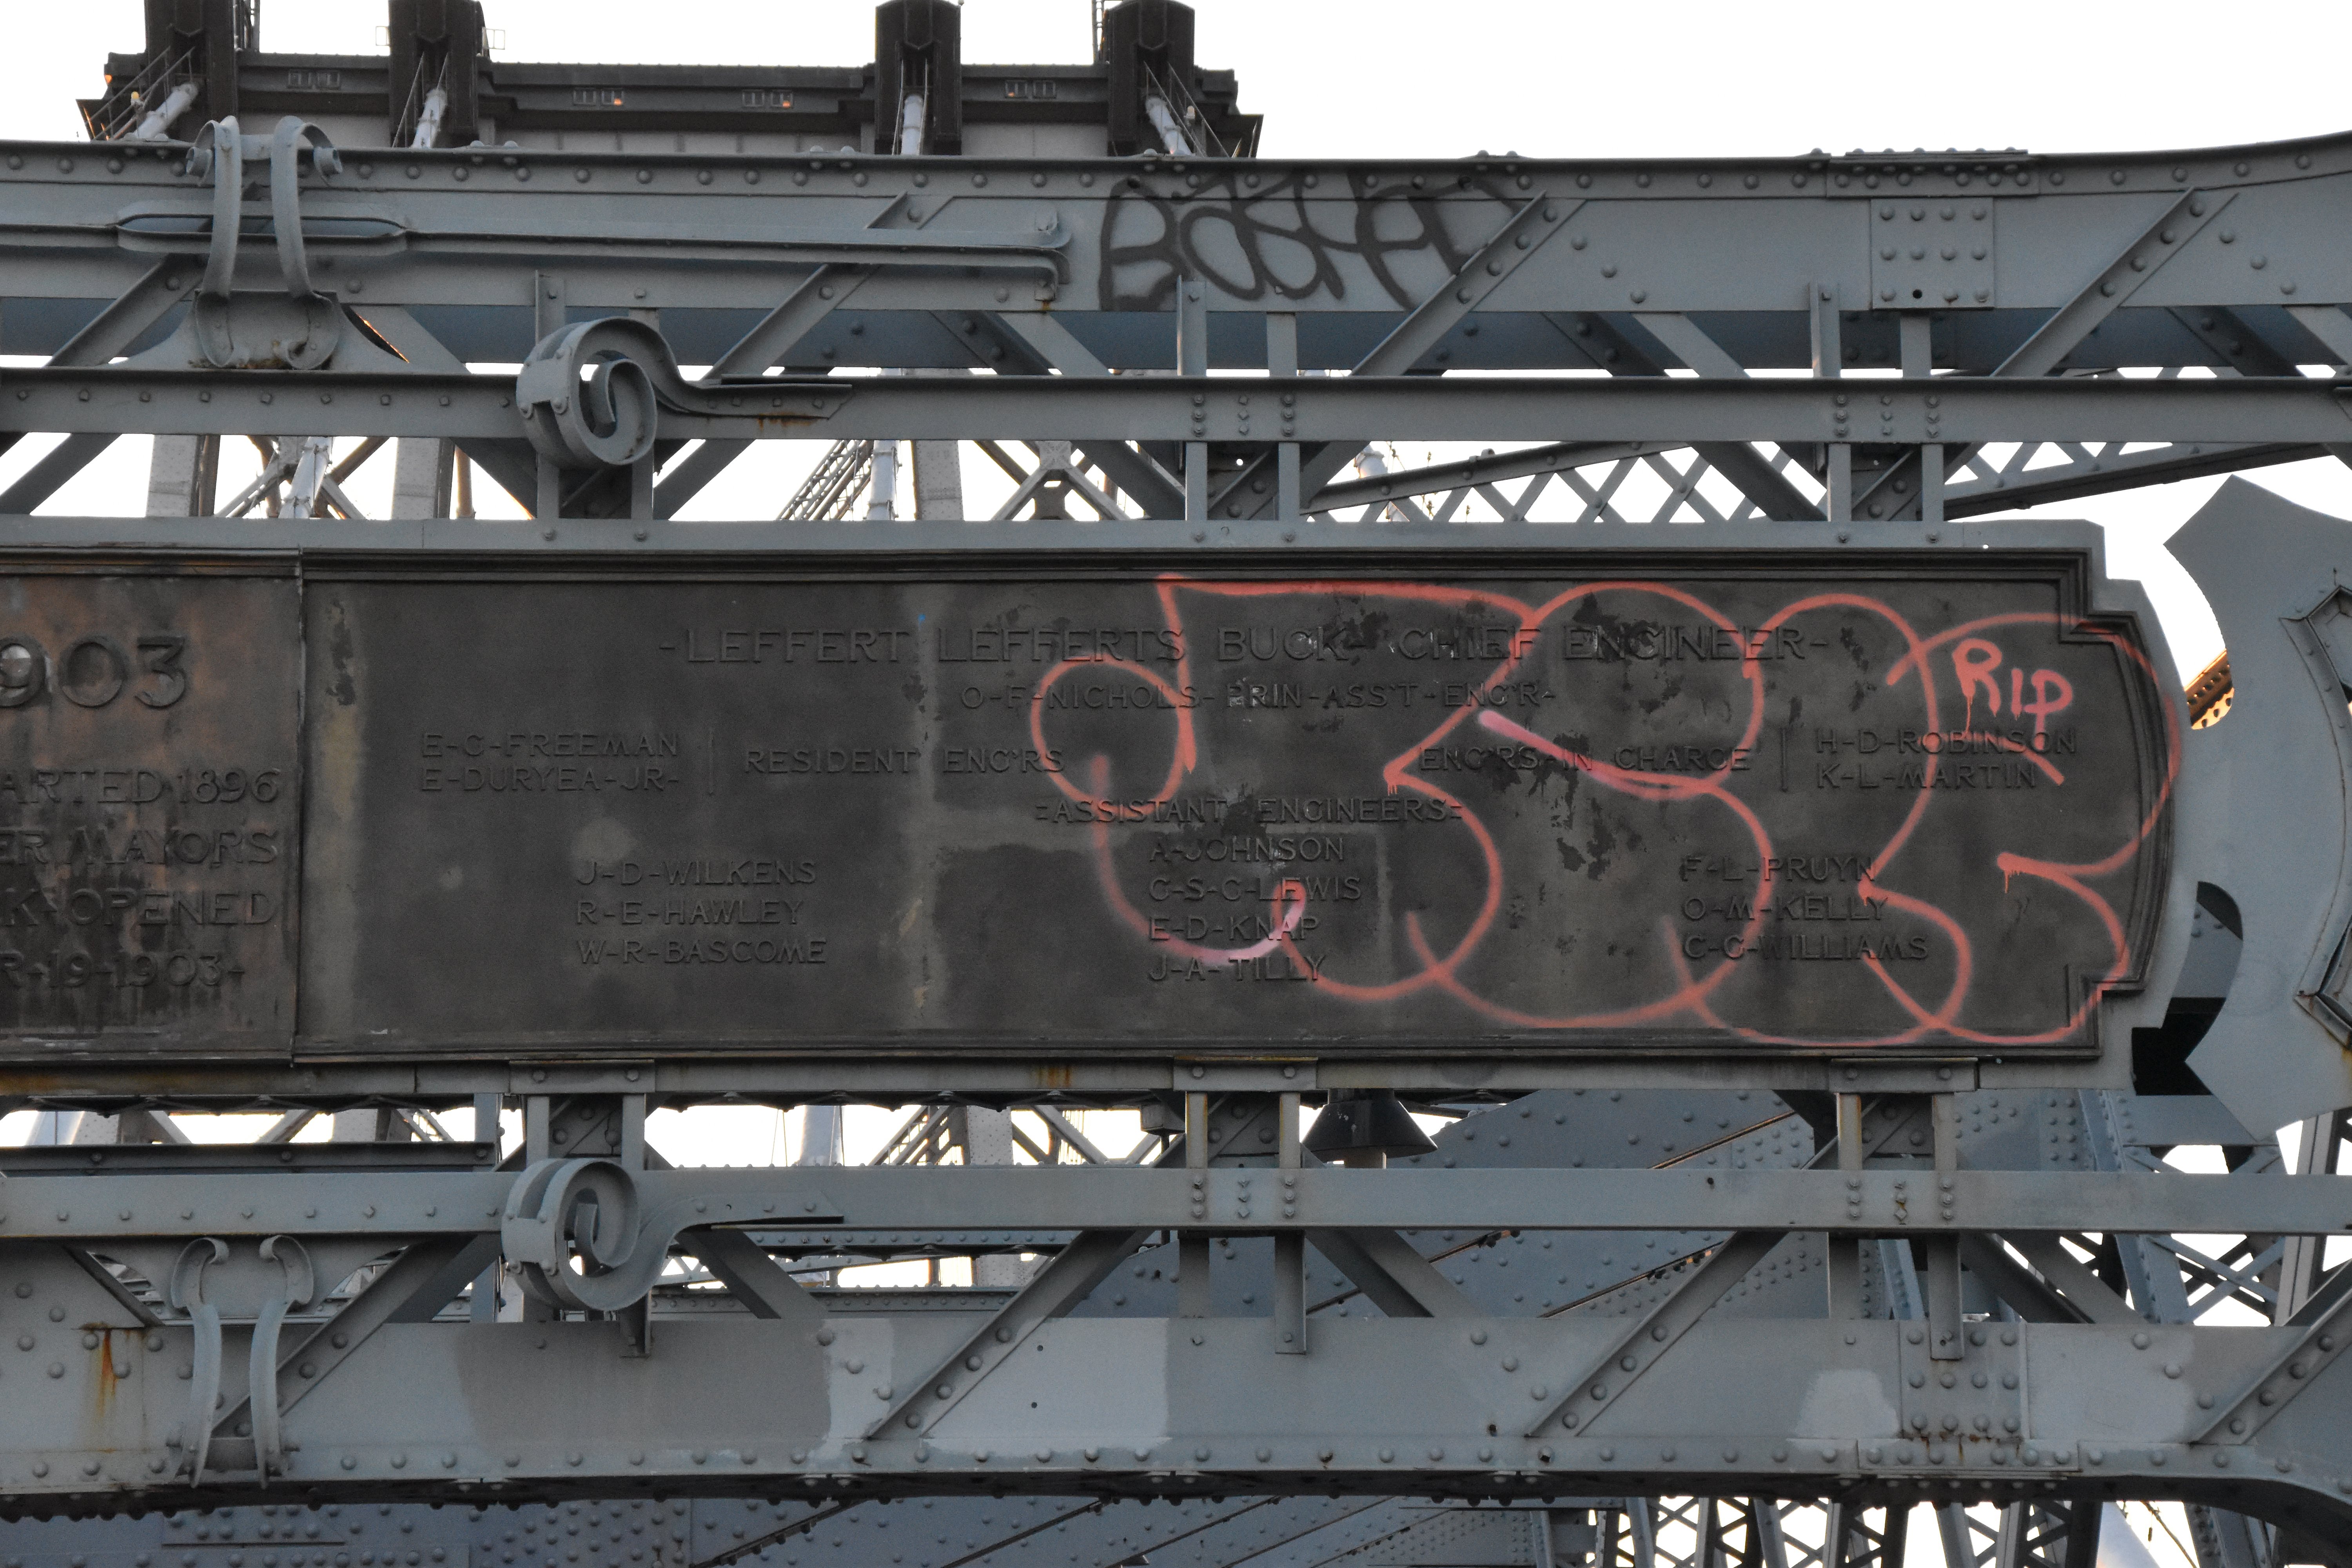
![]()


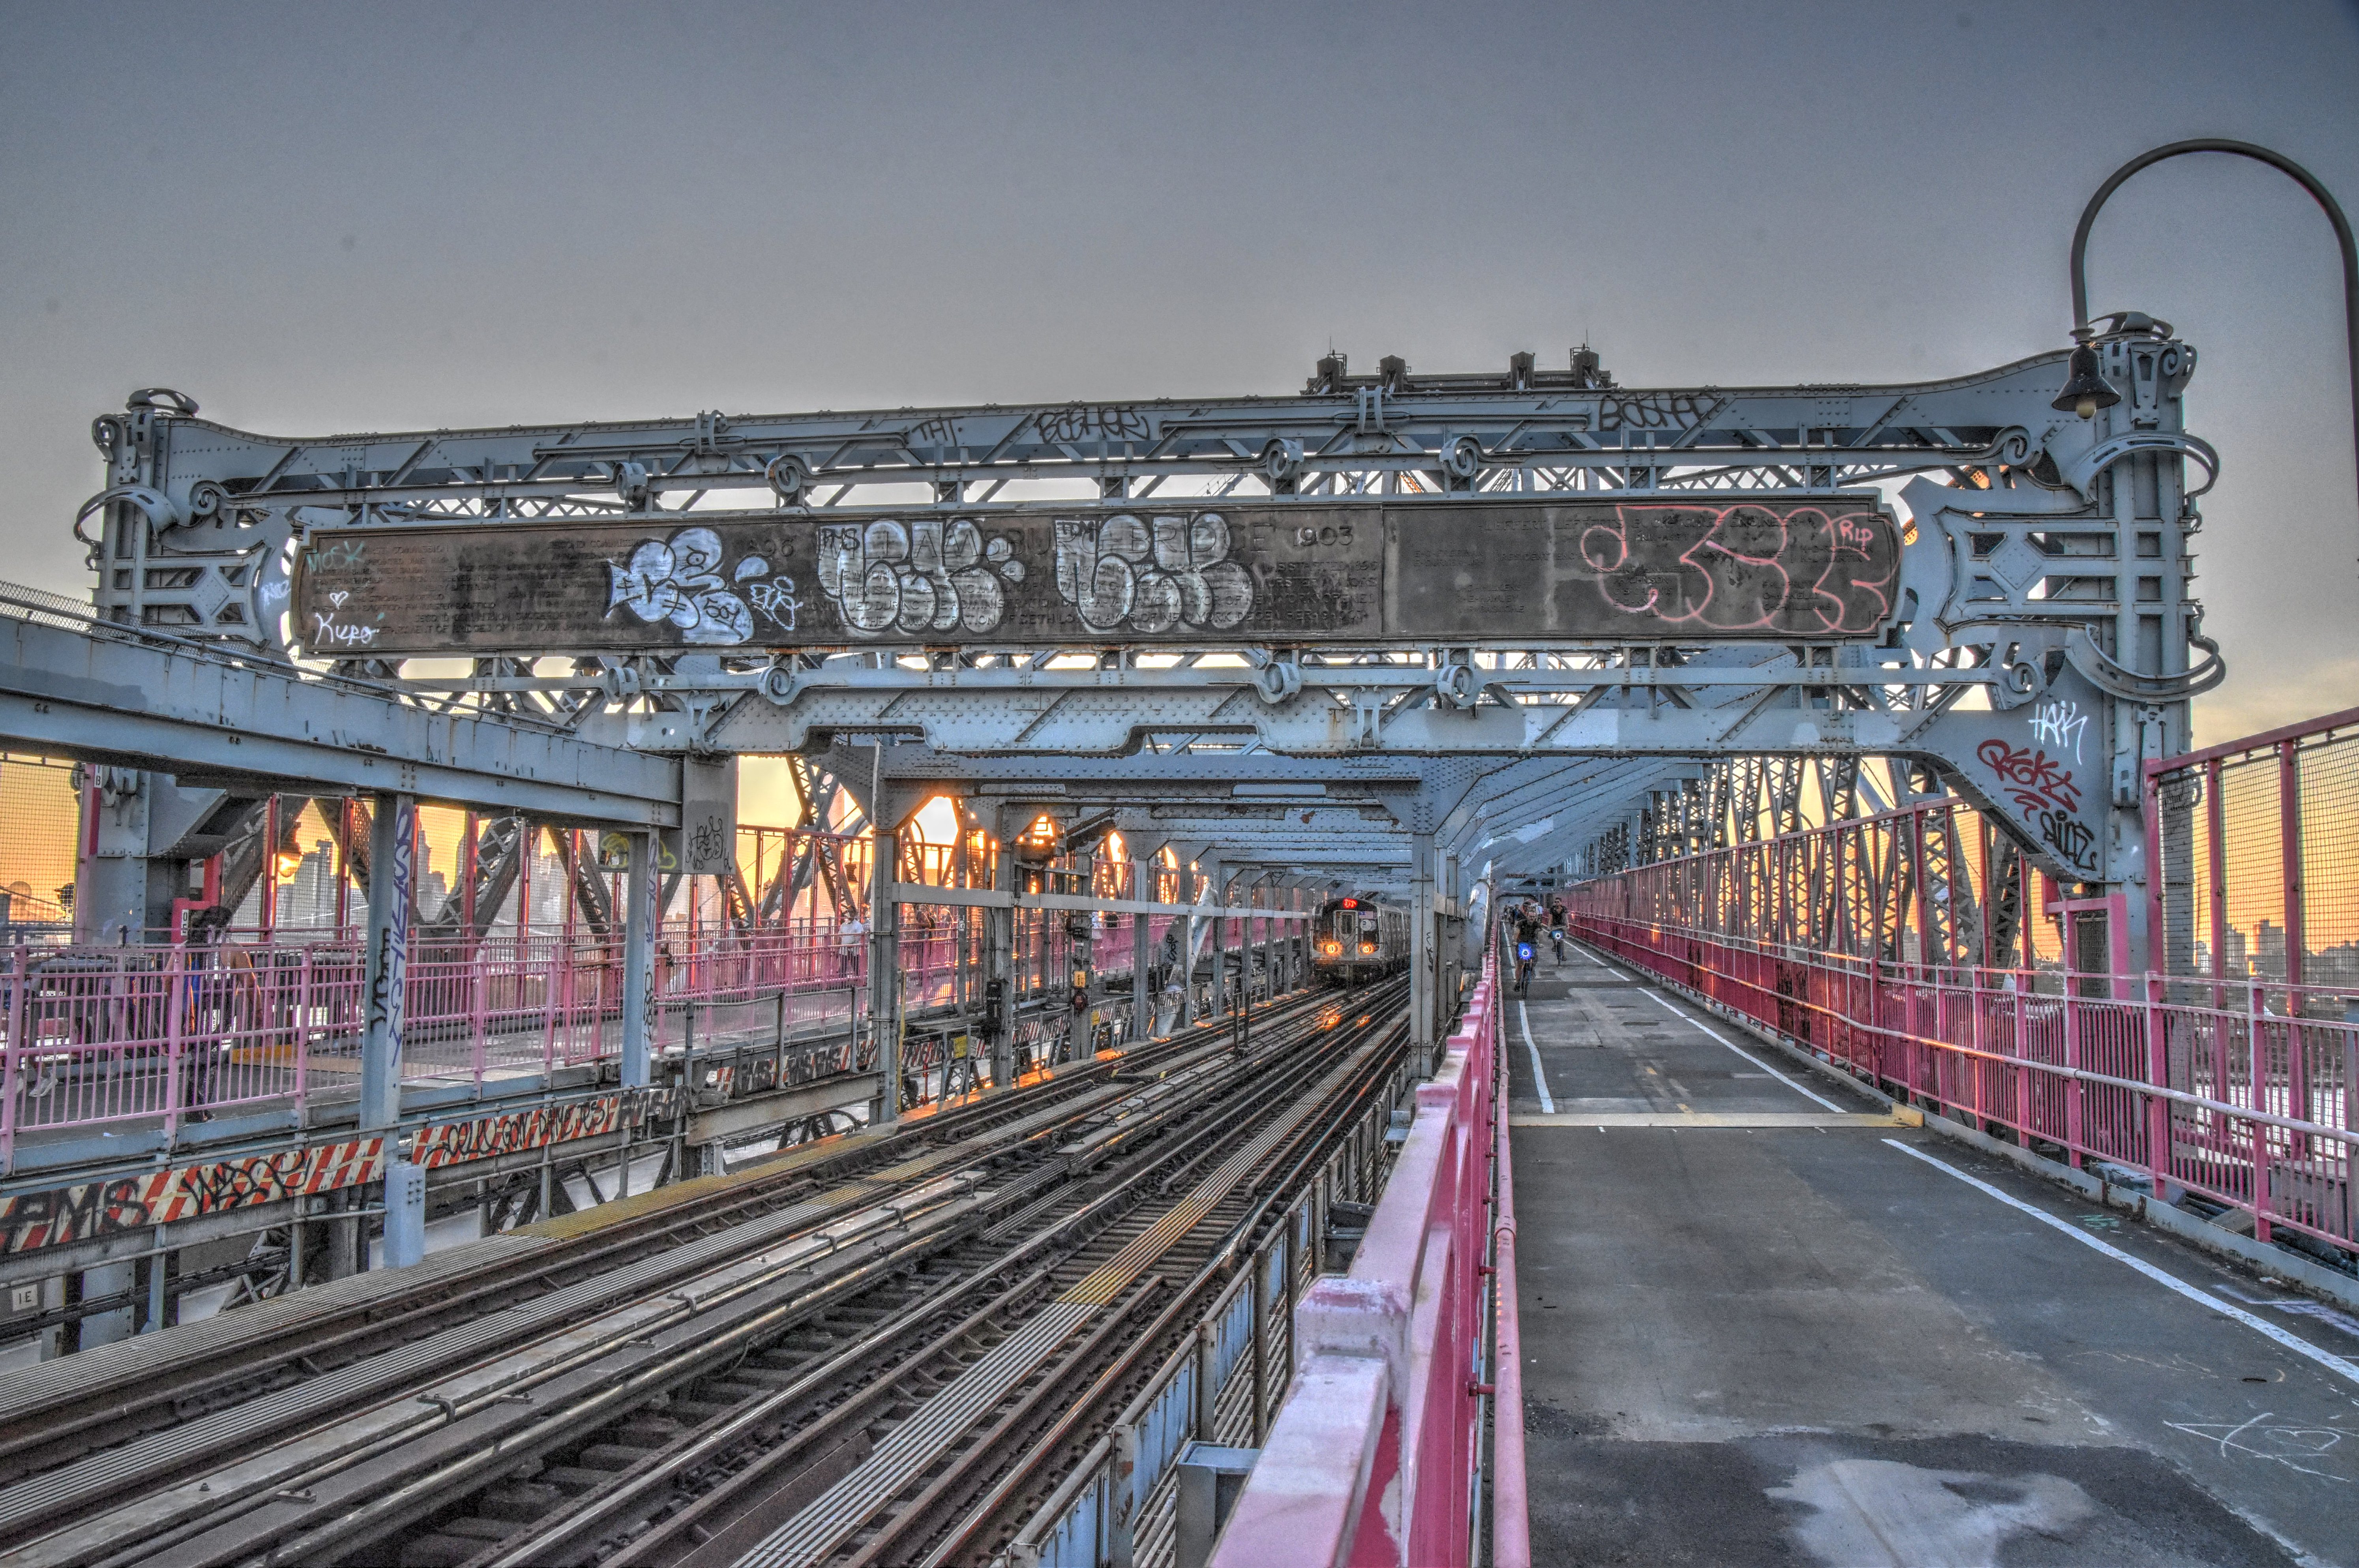
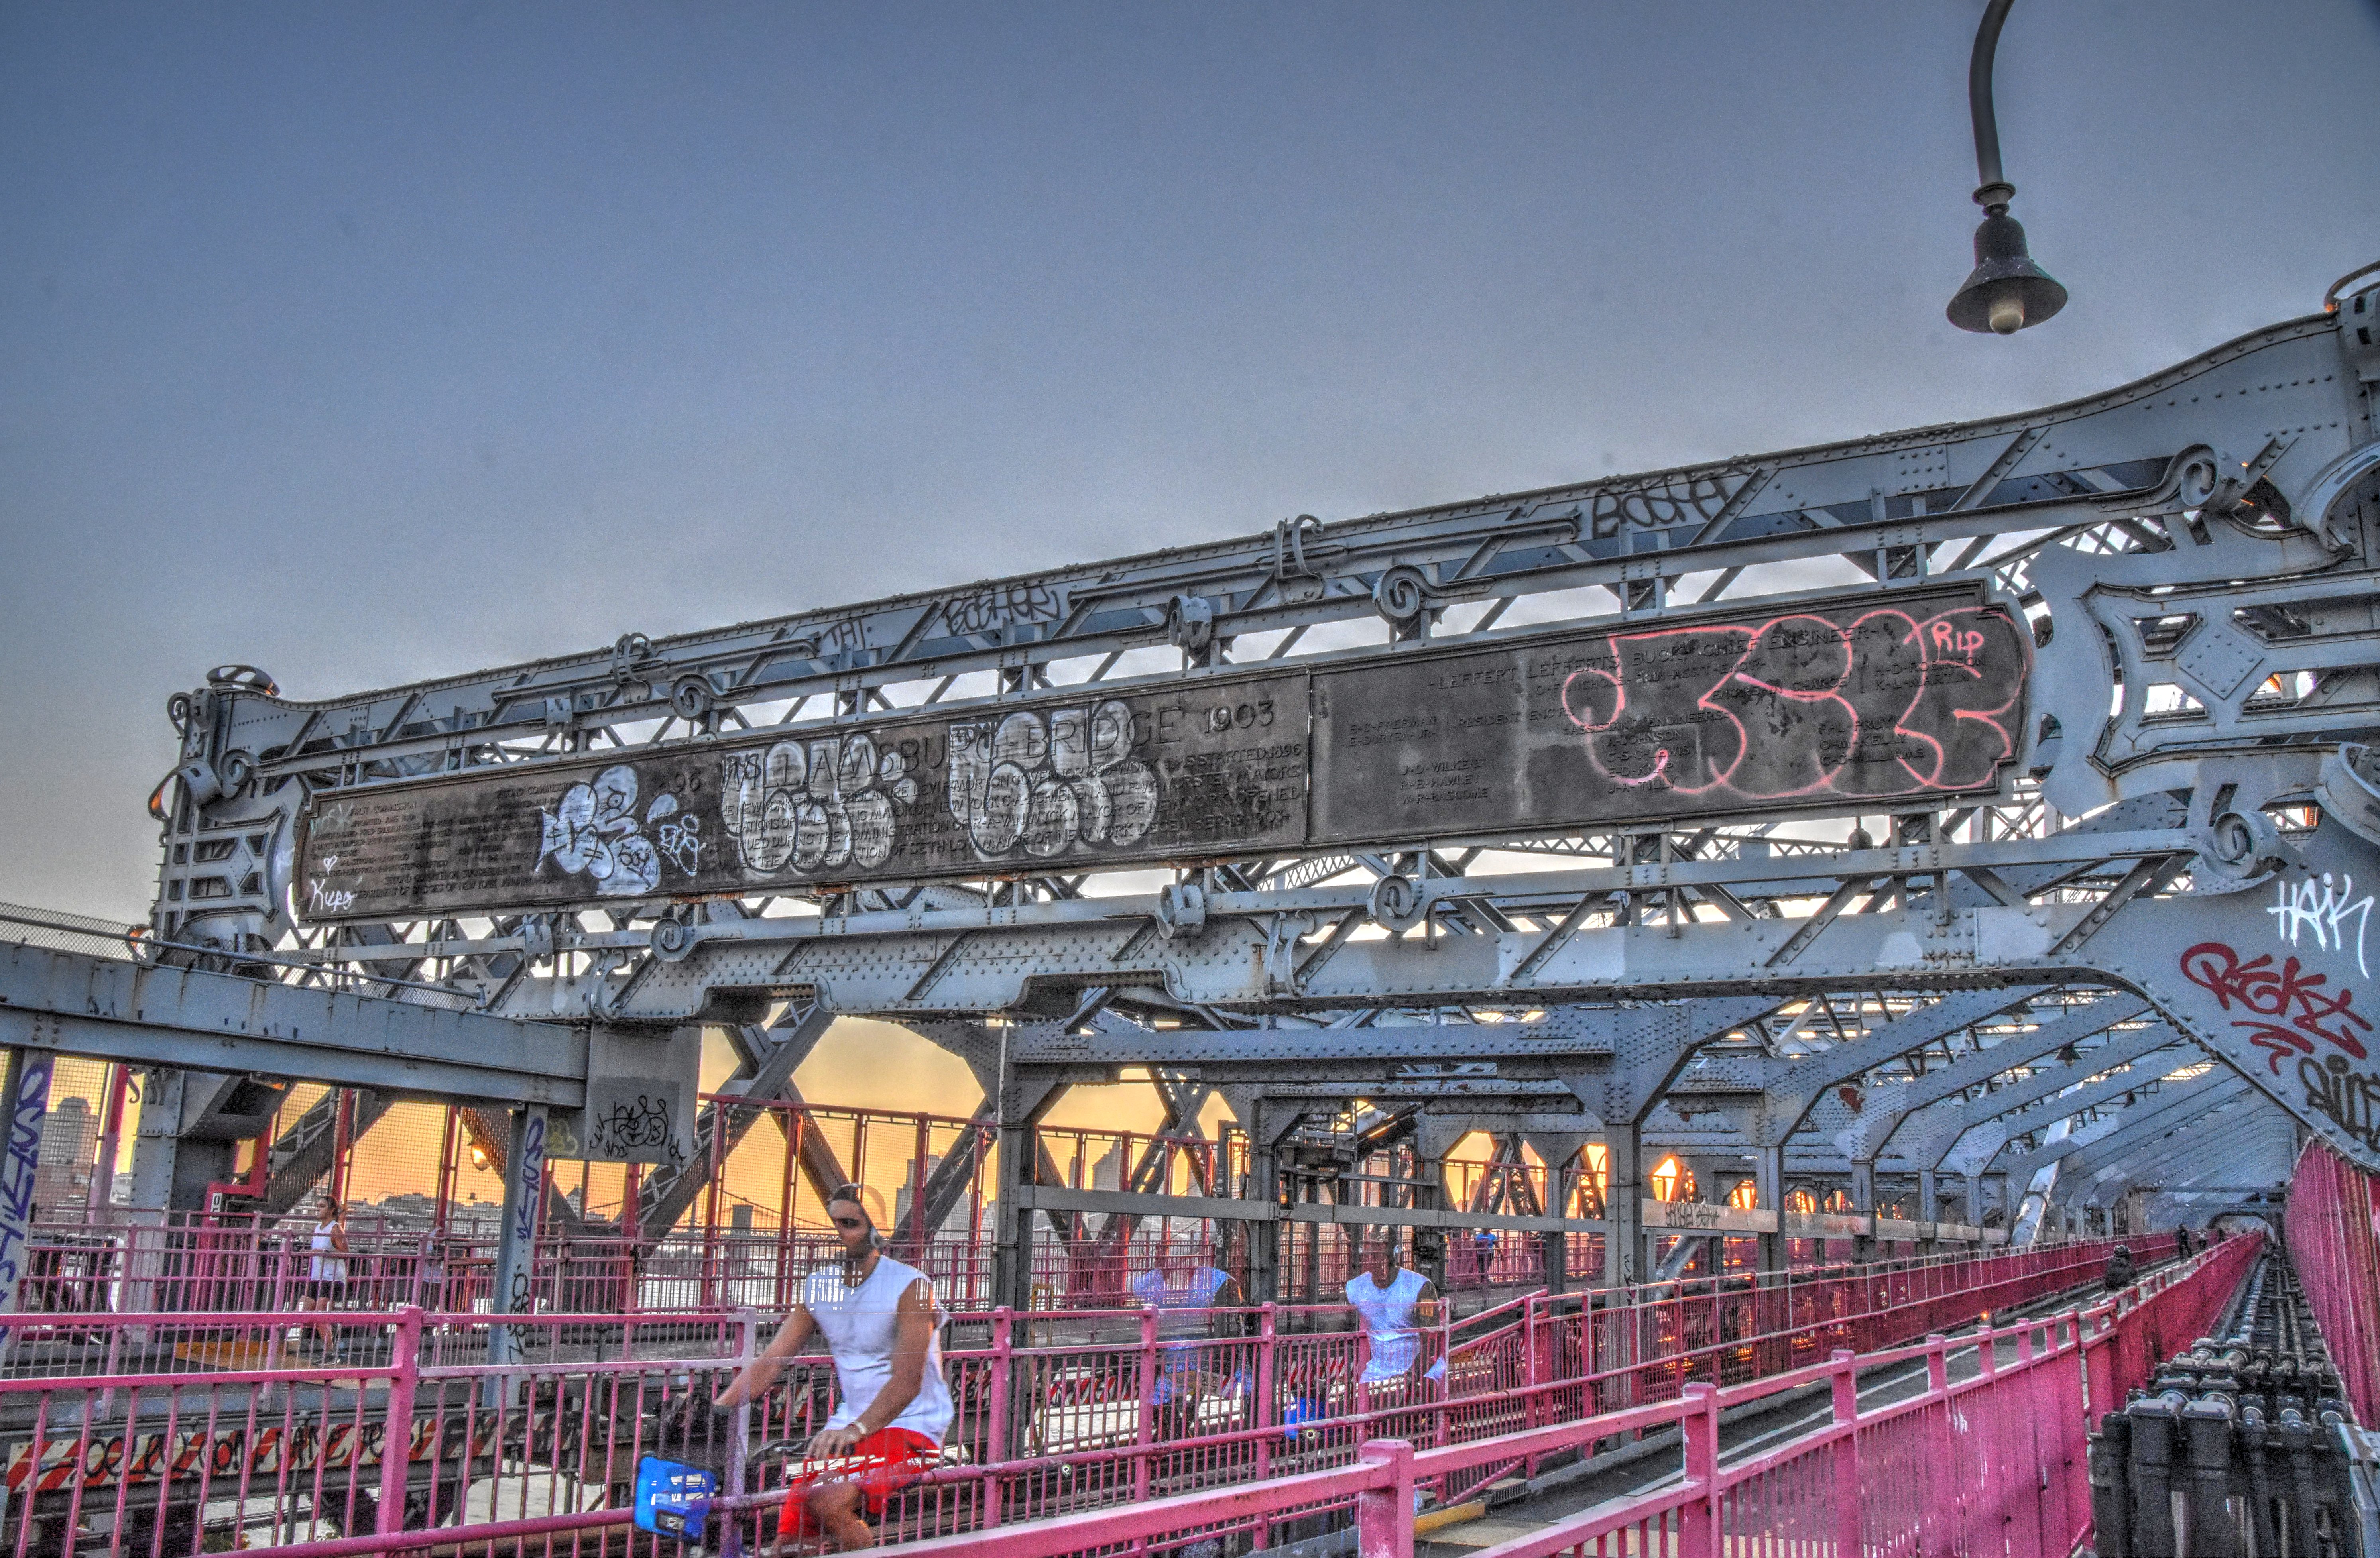
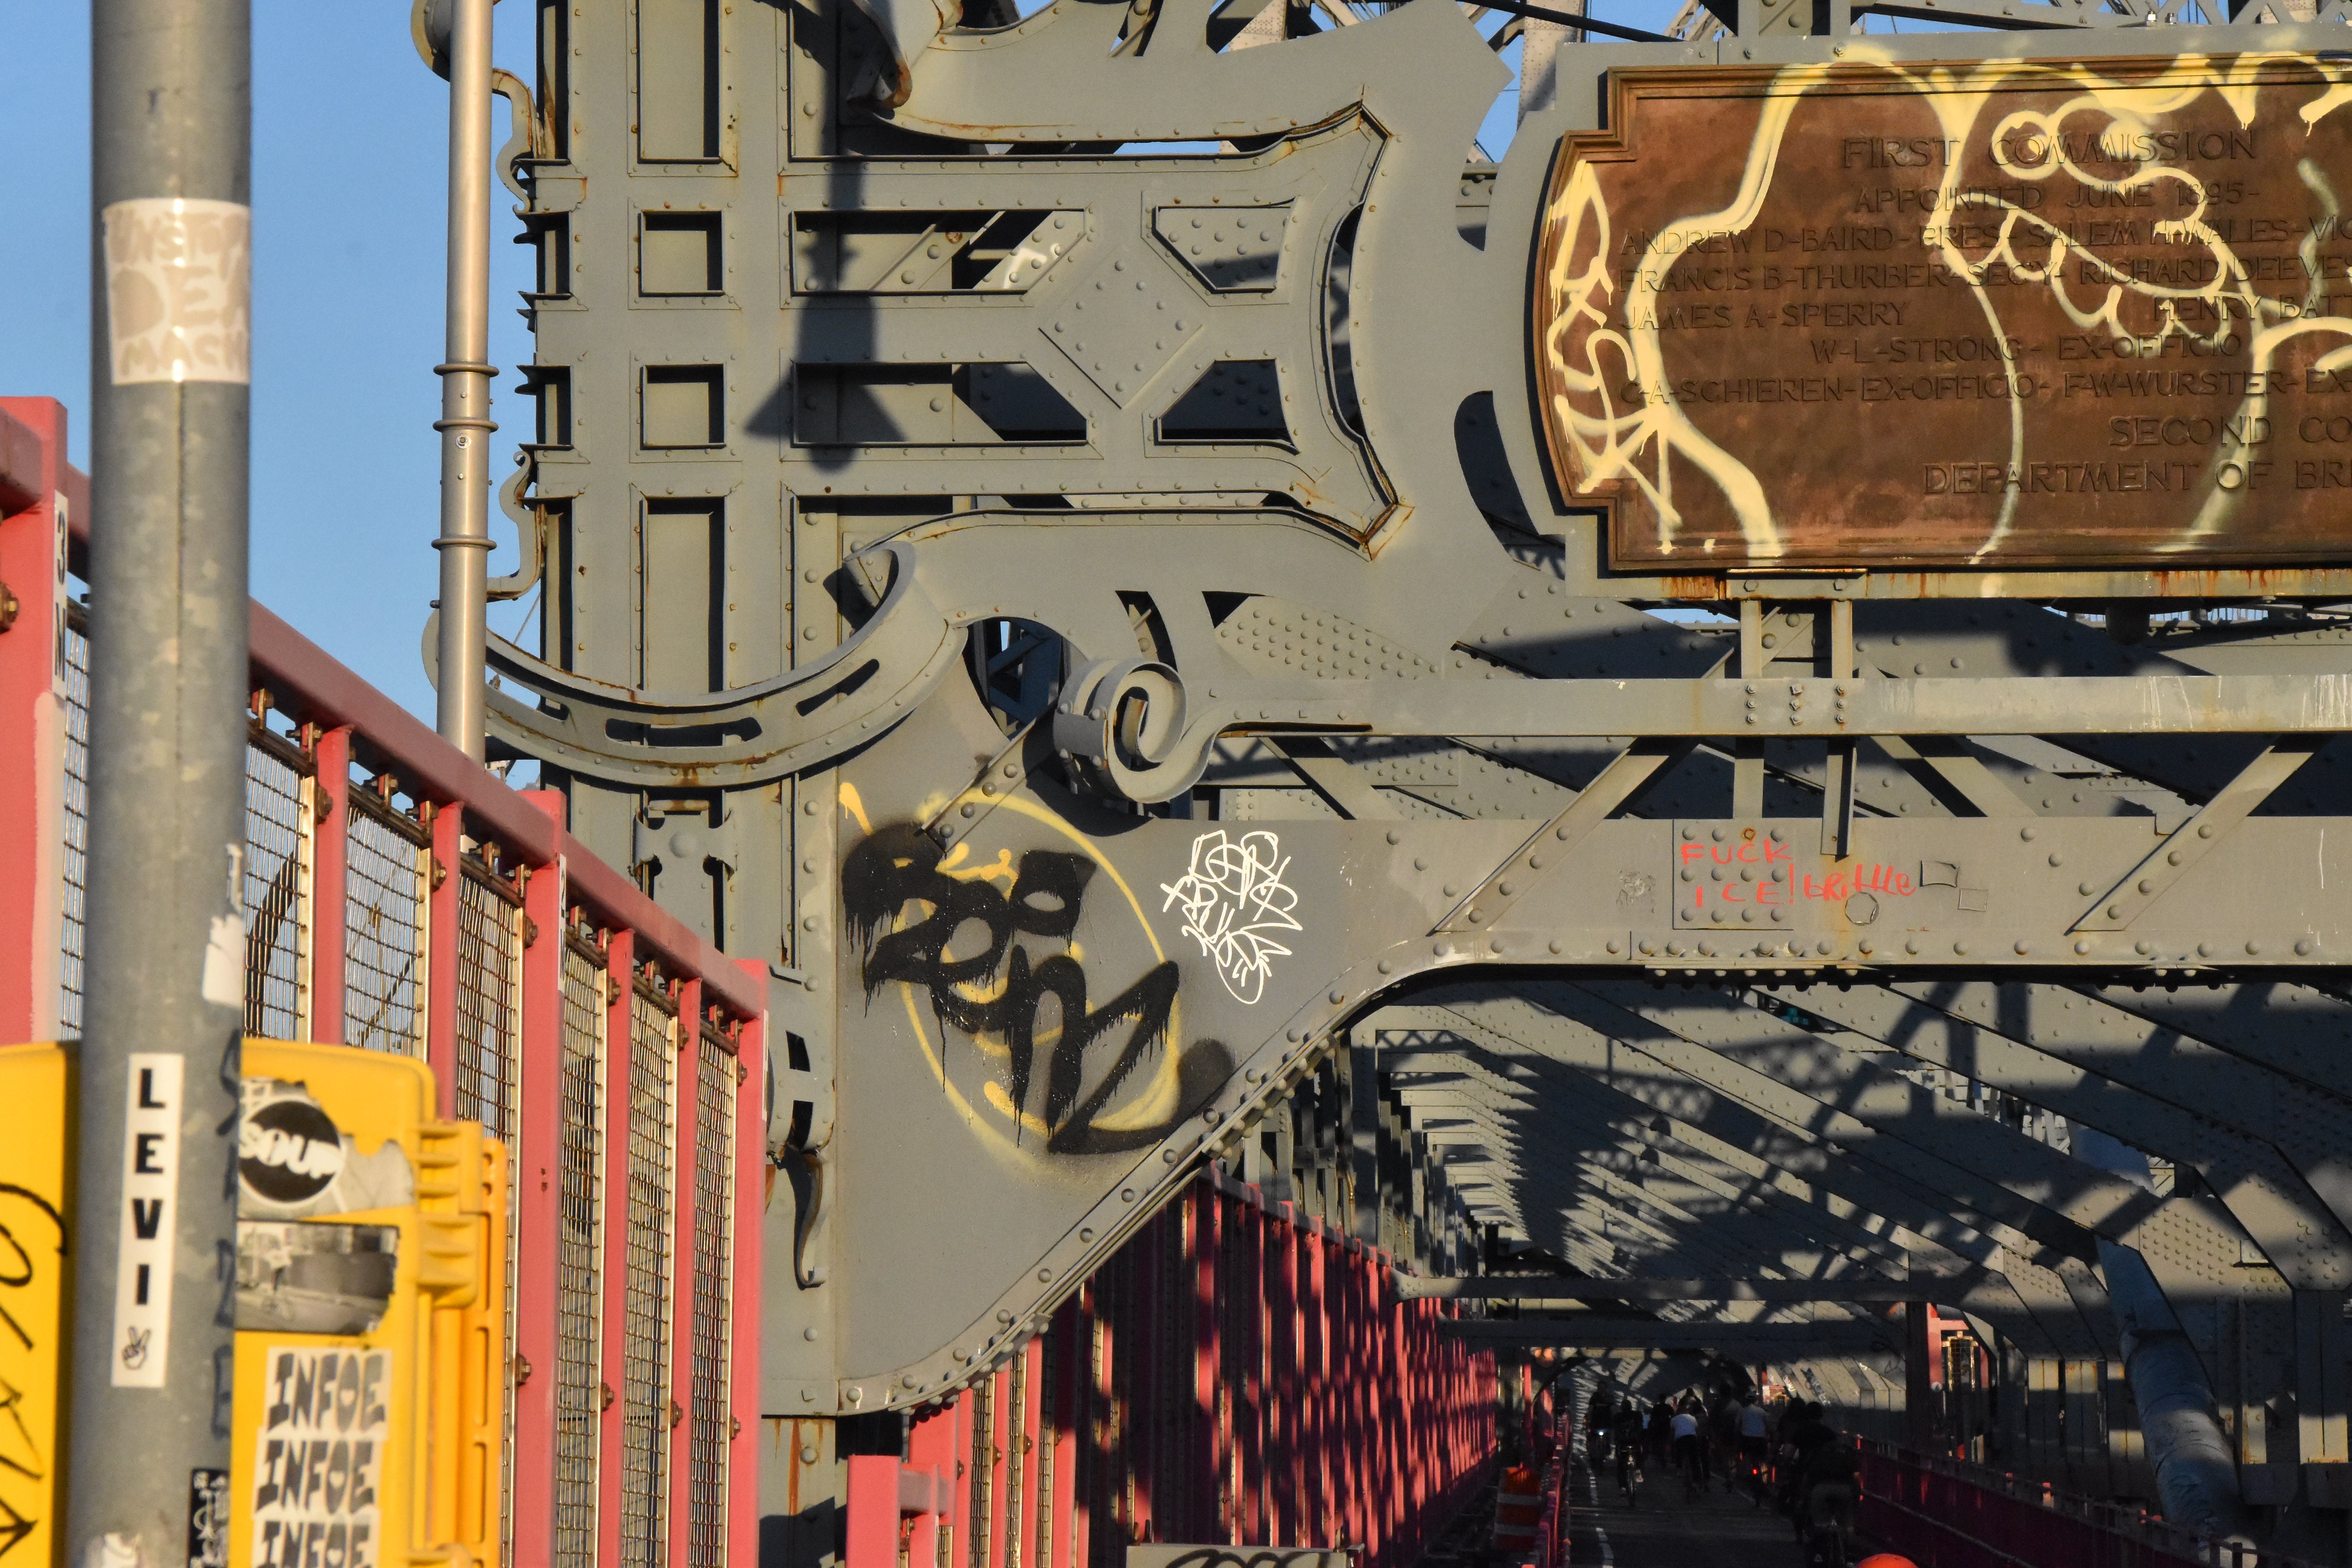
Name plaque.
![]()
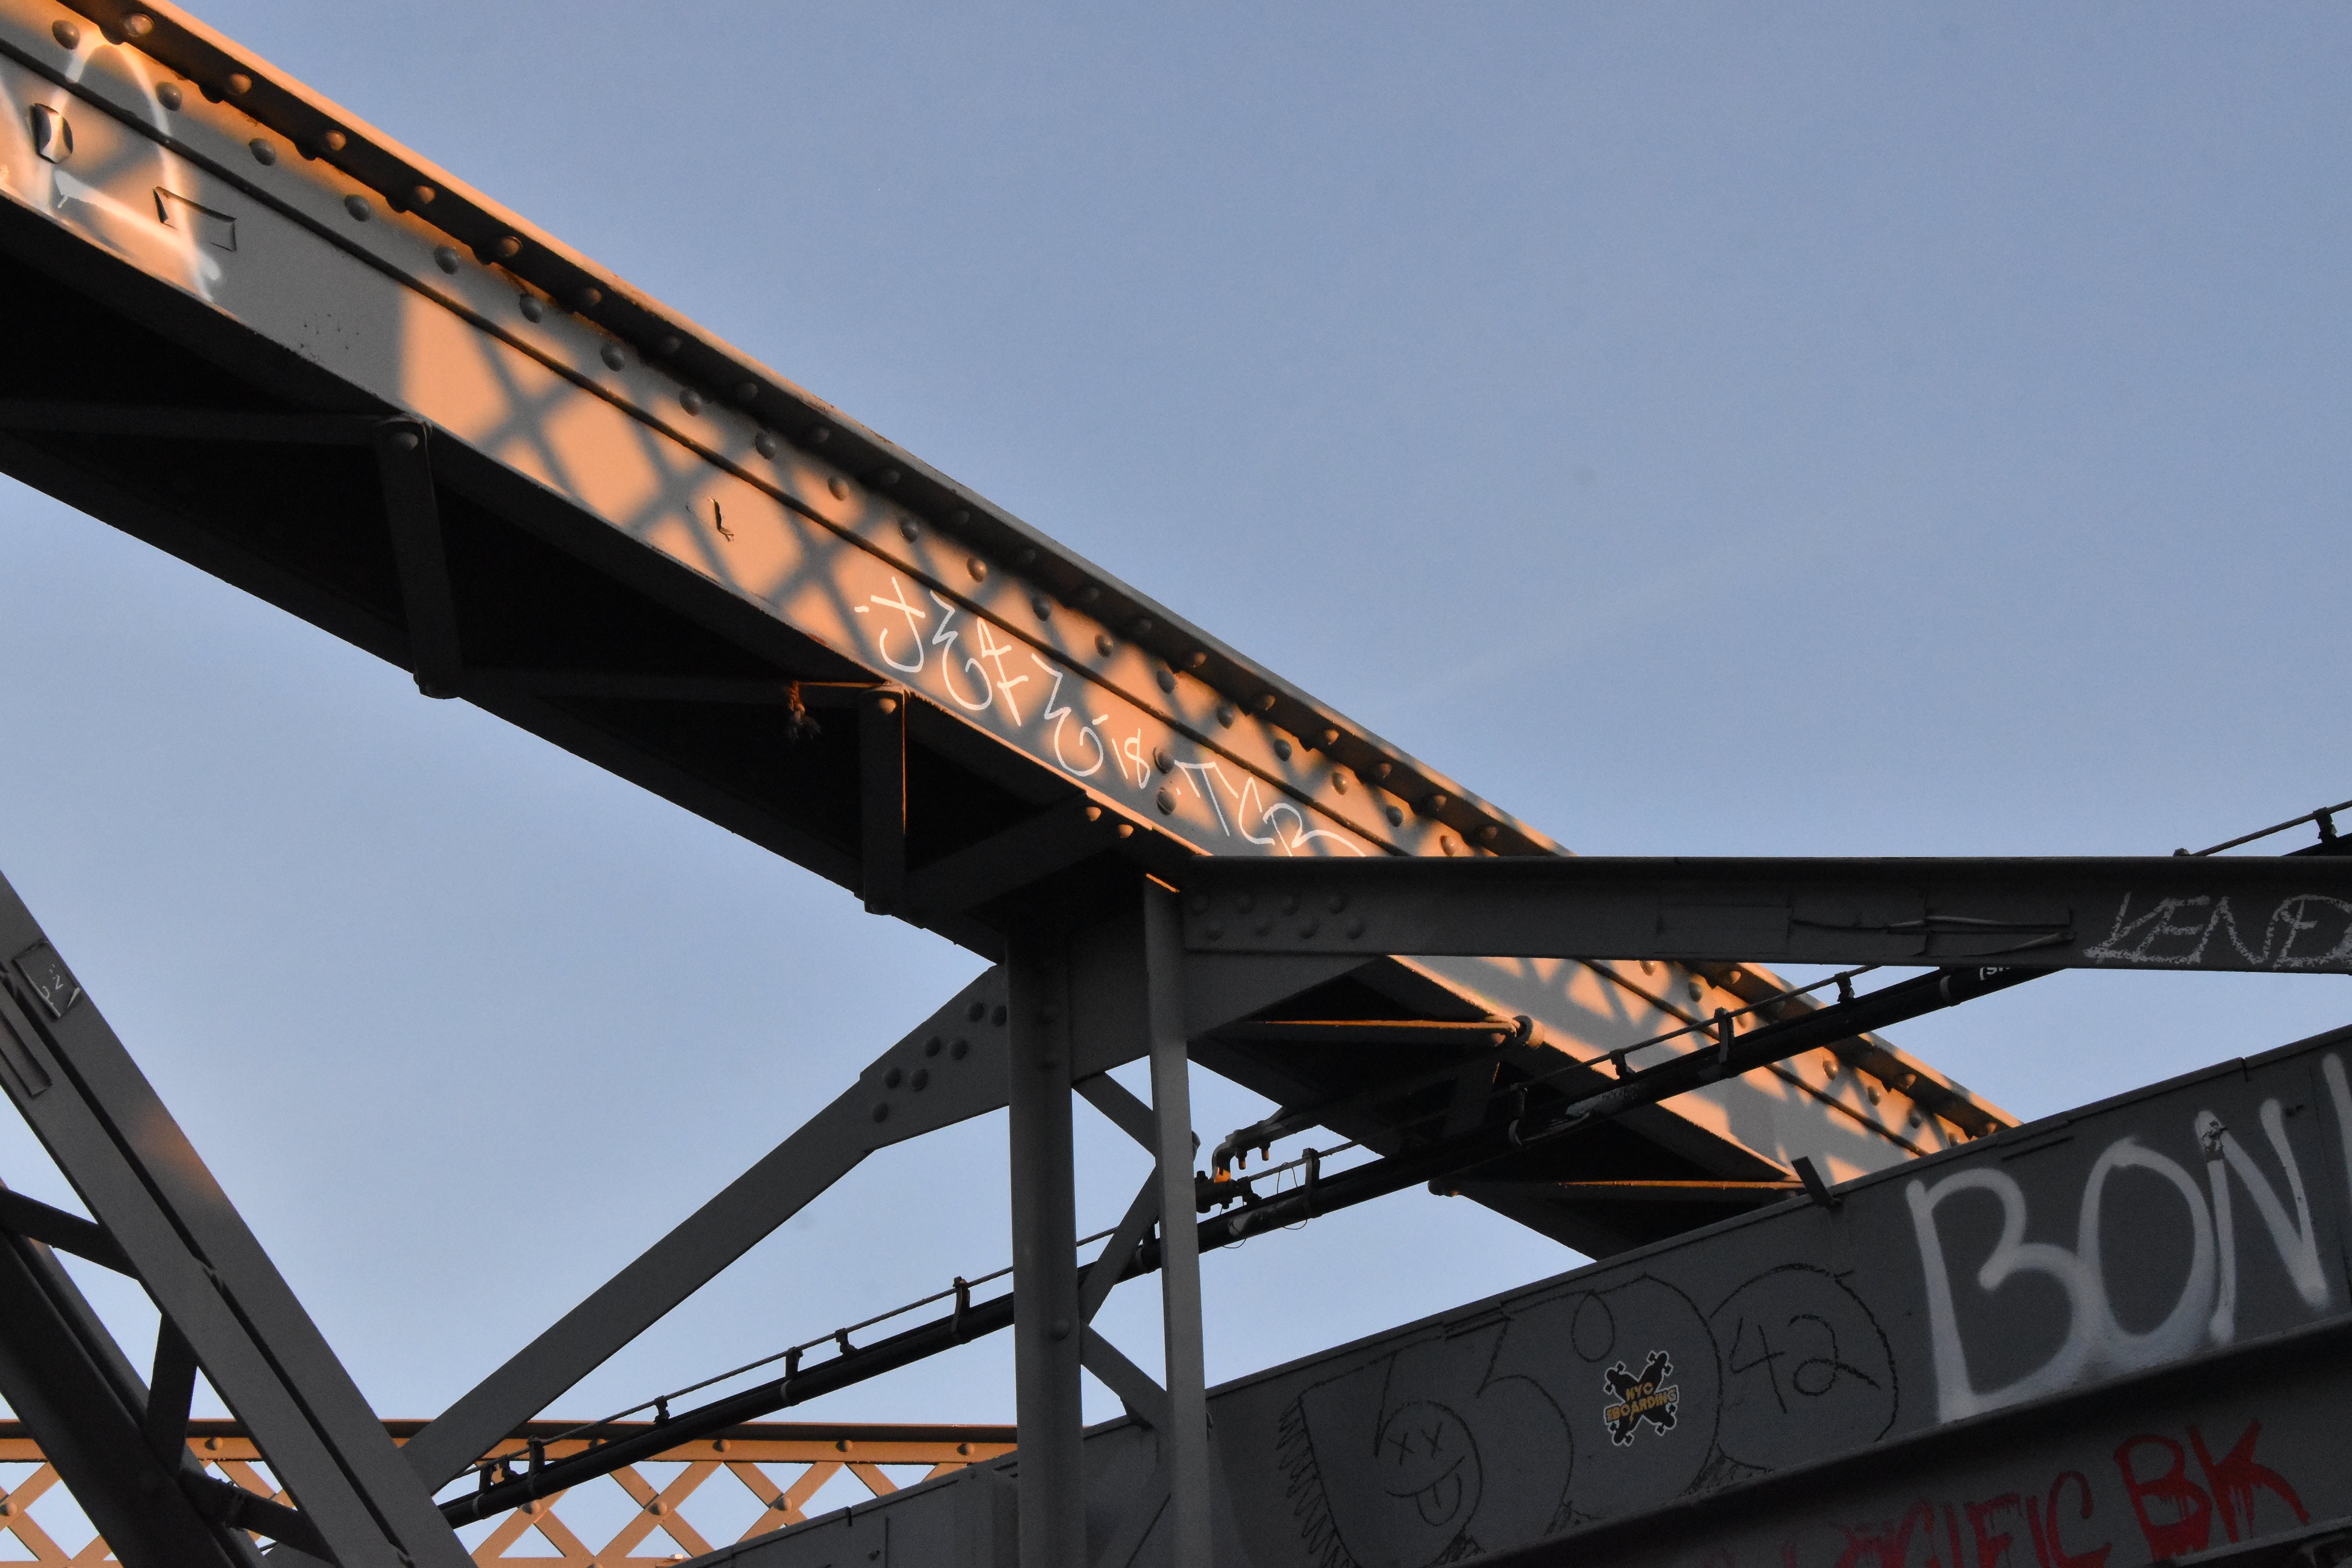
Portal views at portal bracing facing east.
![]()


Portal views at portal bracing facing west.
![]()
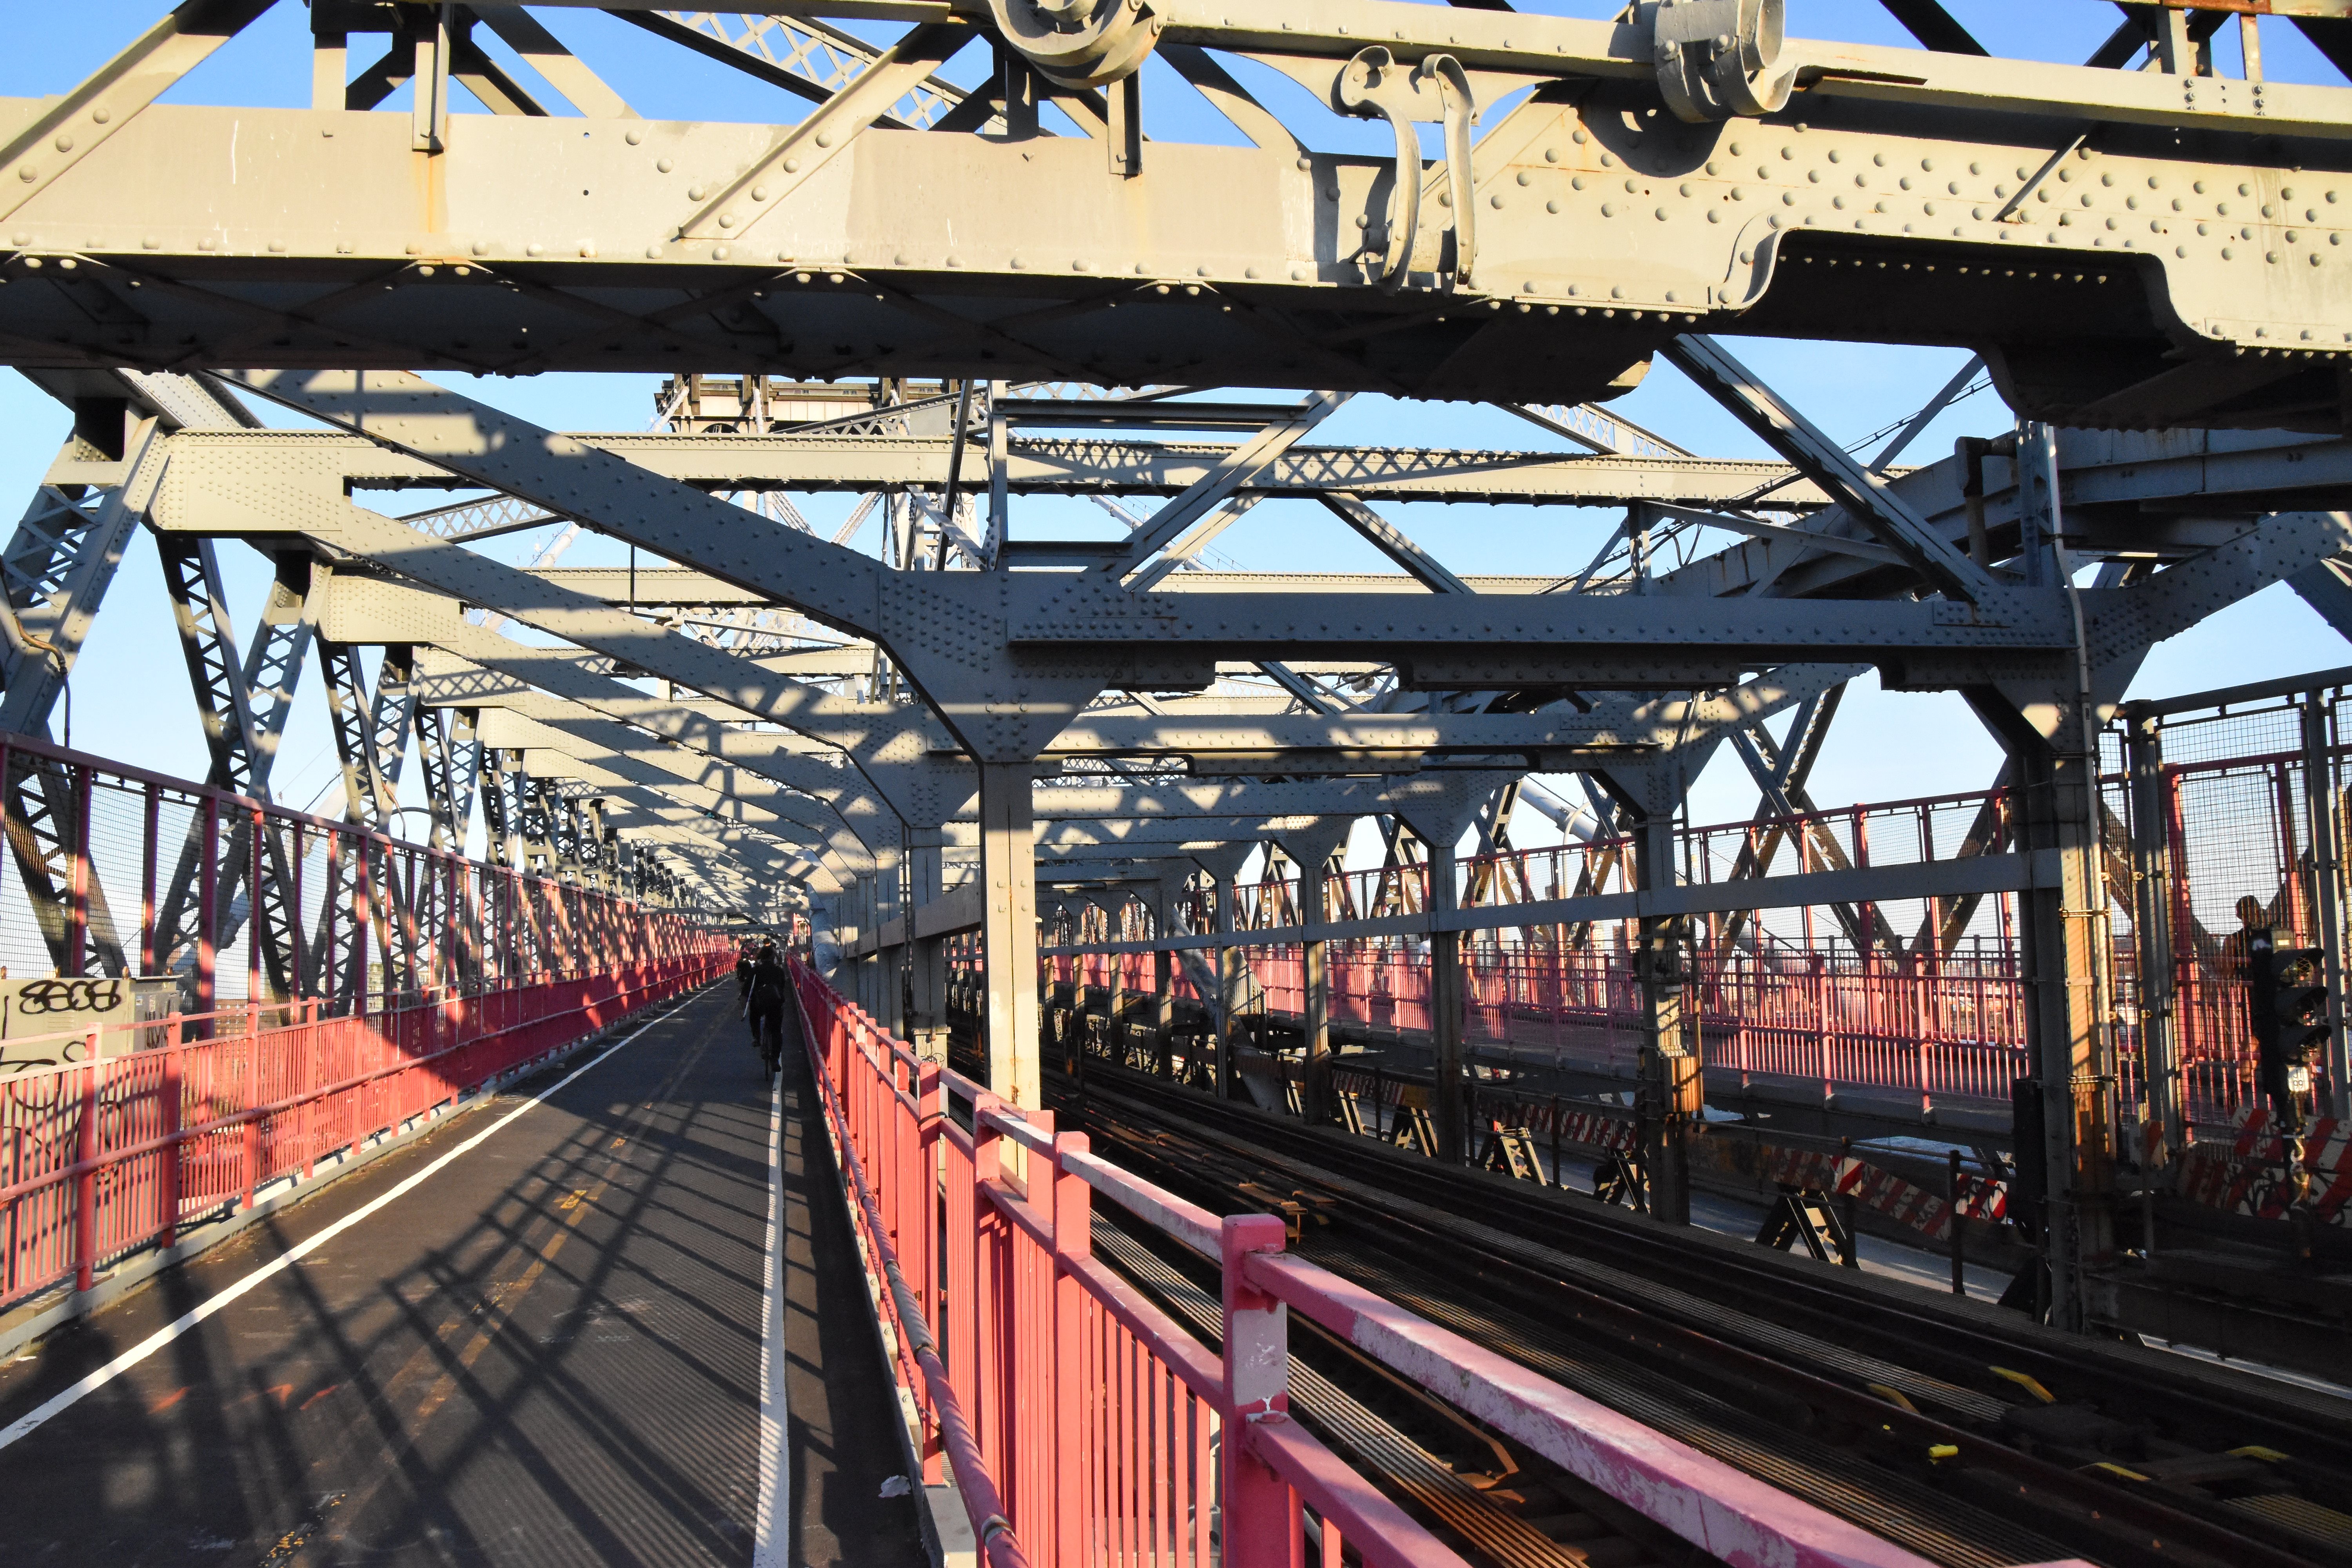
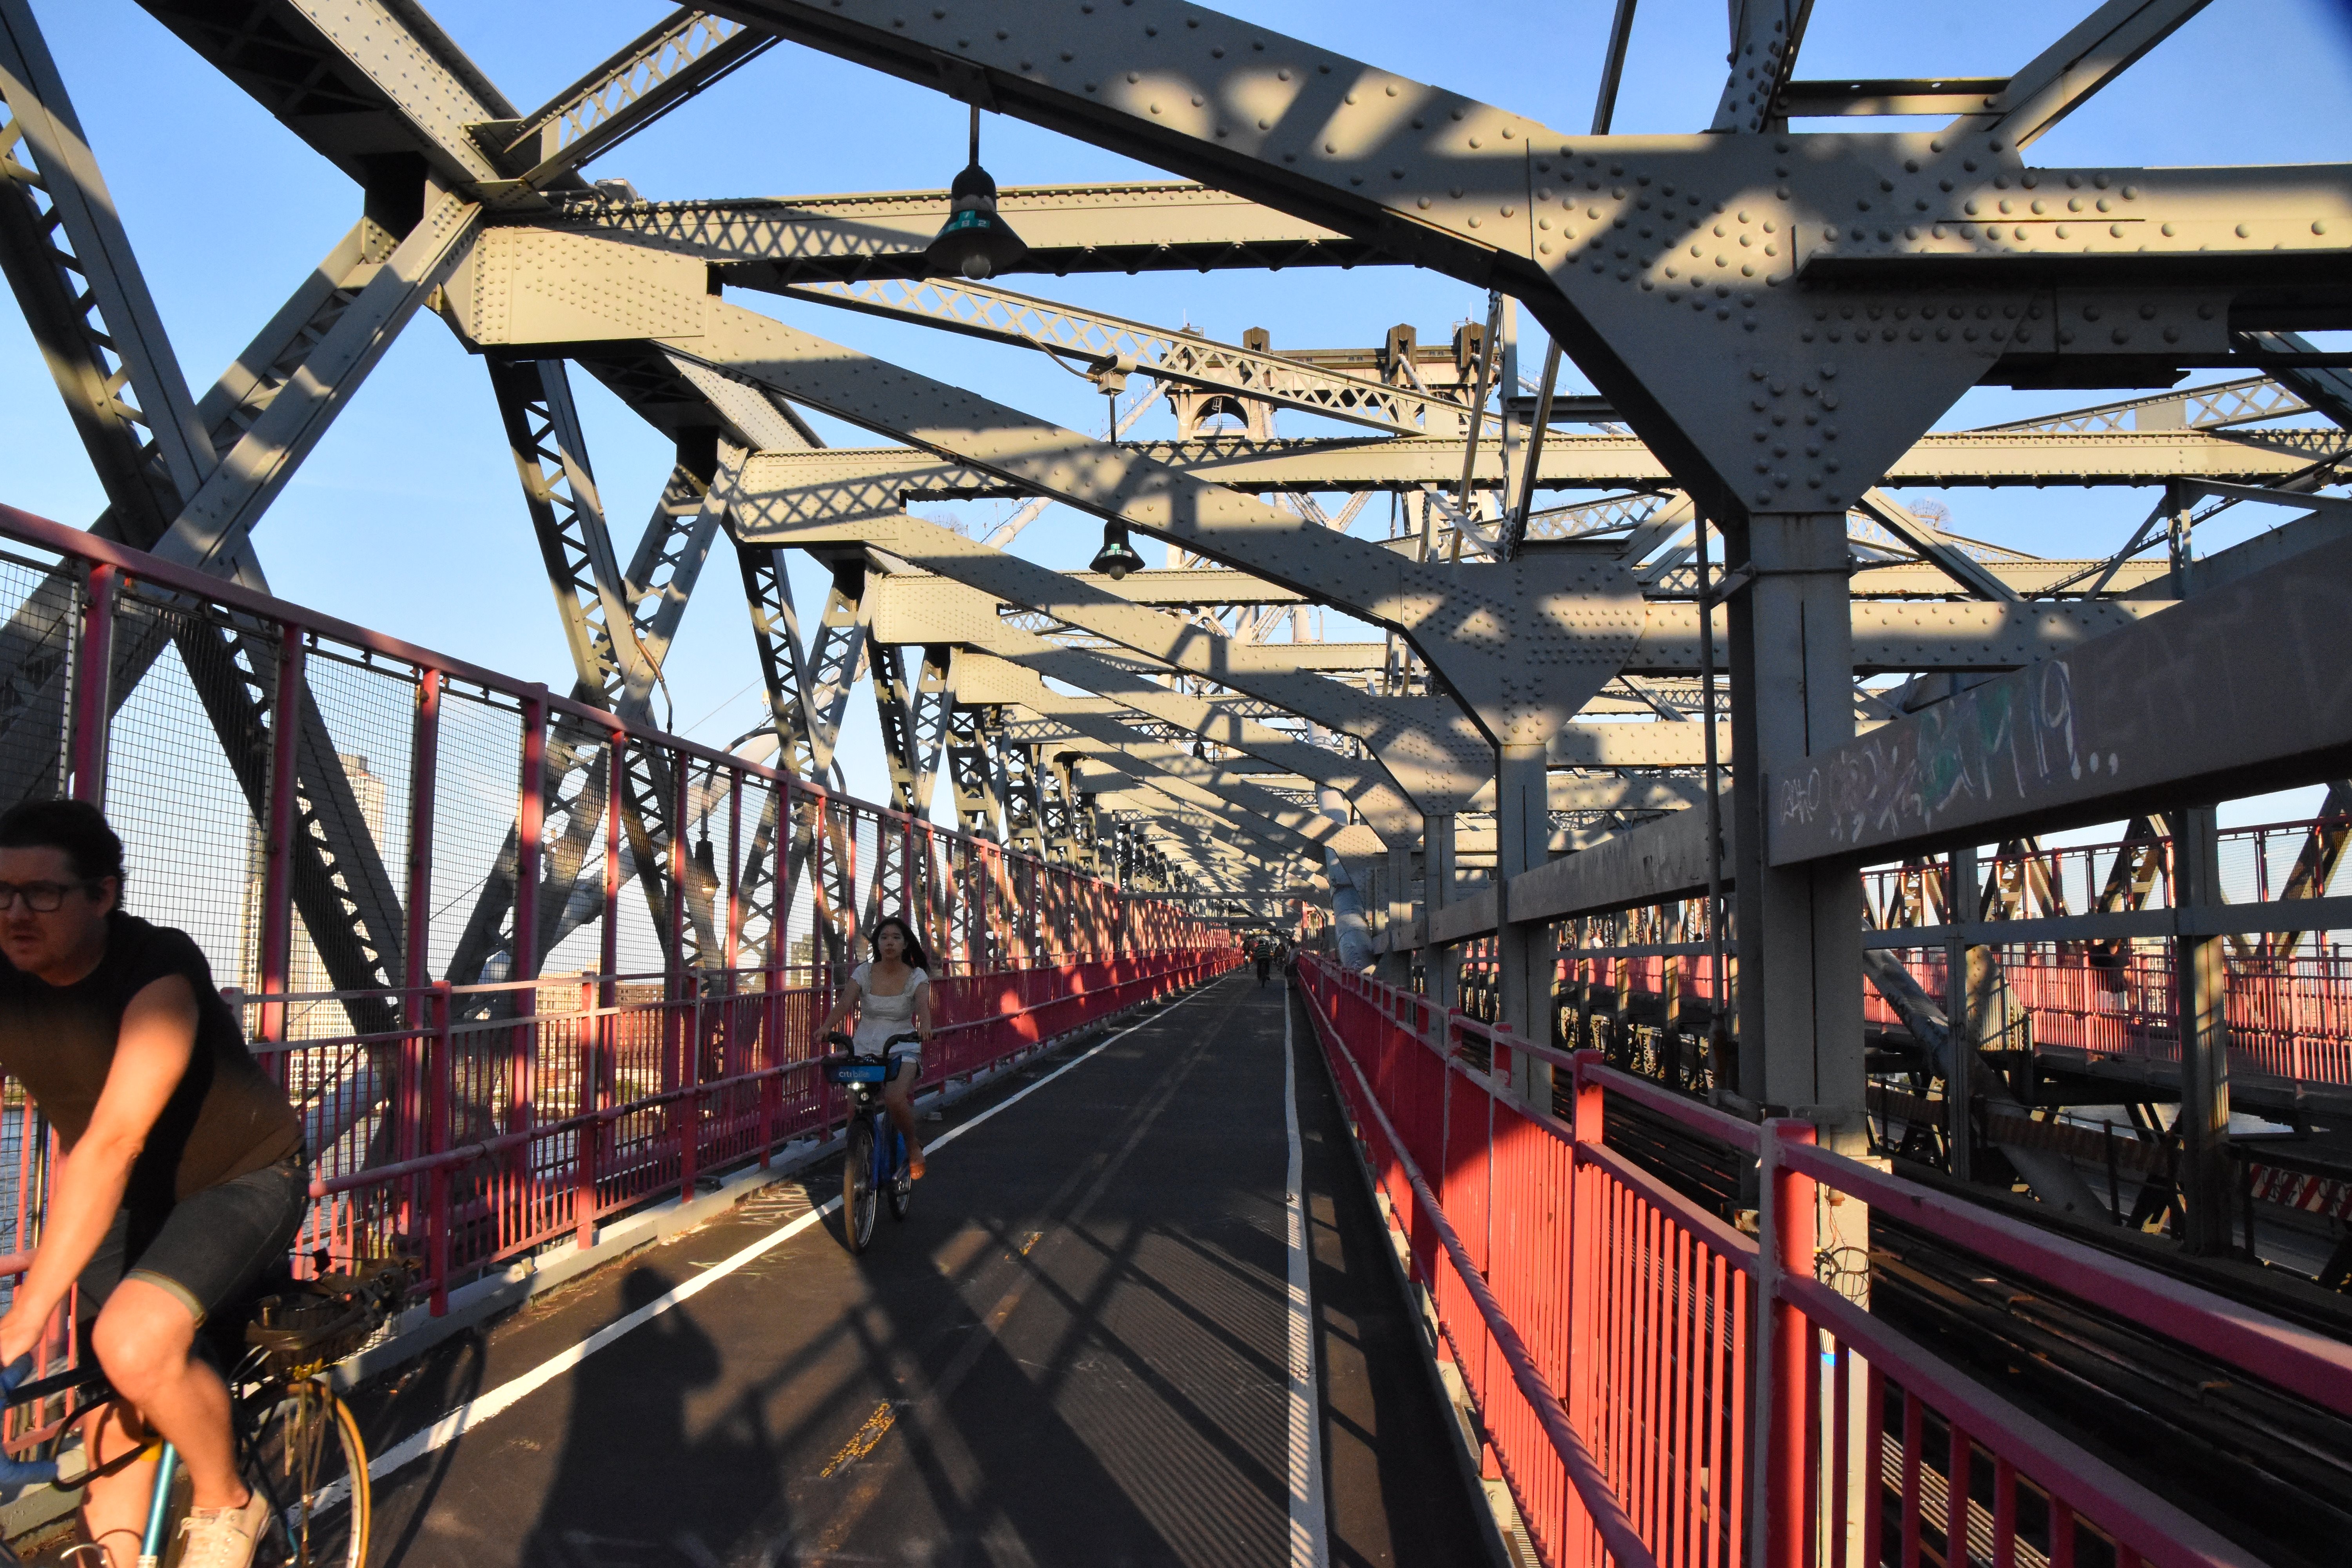
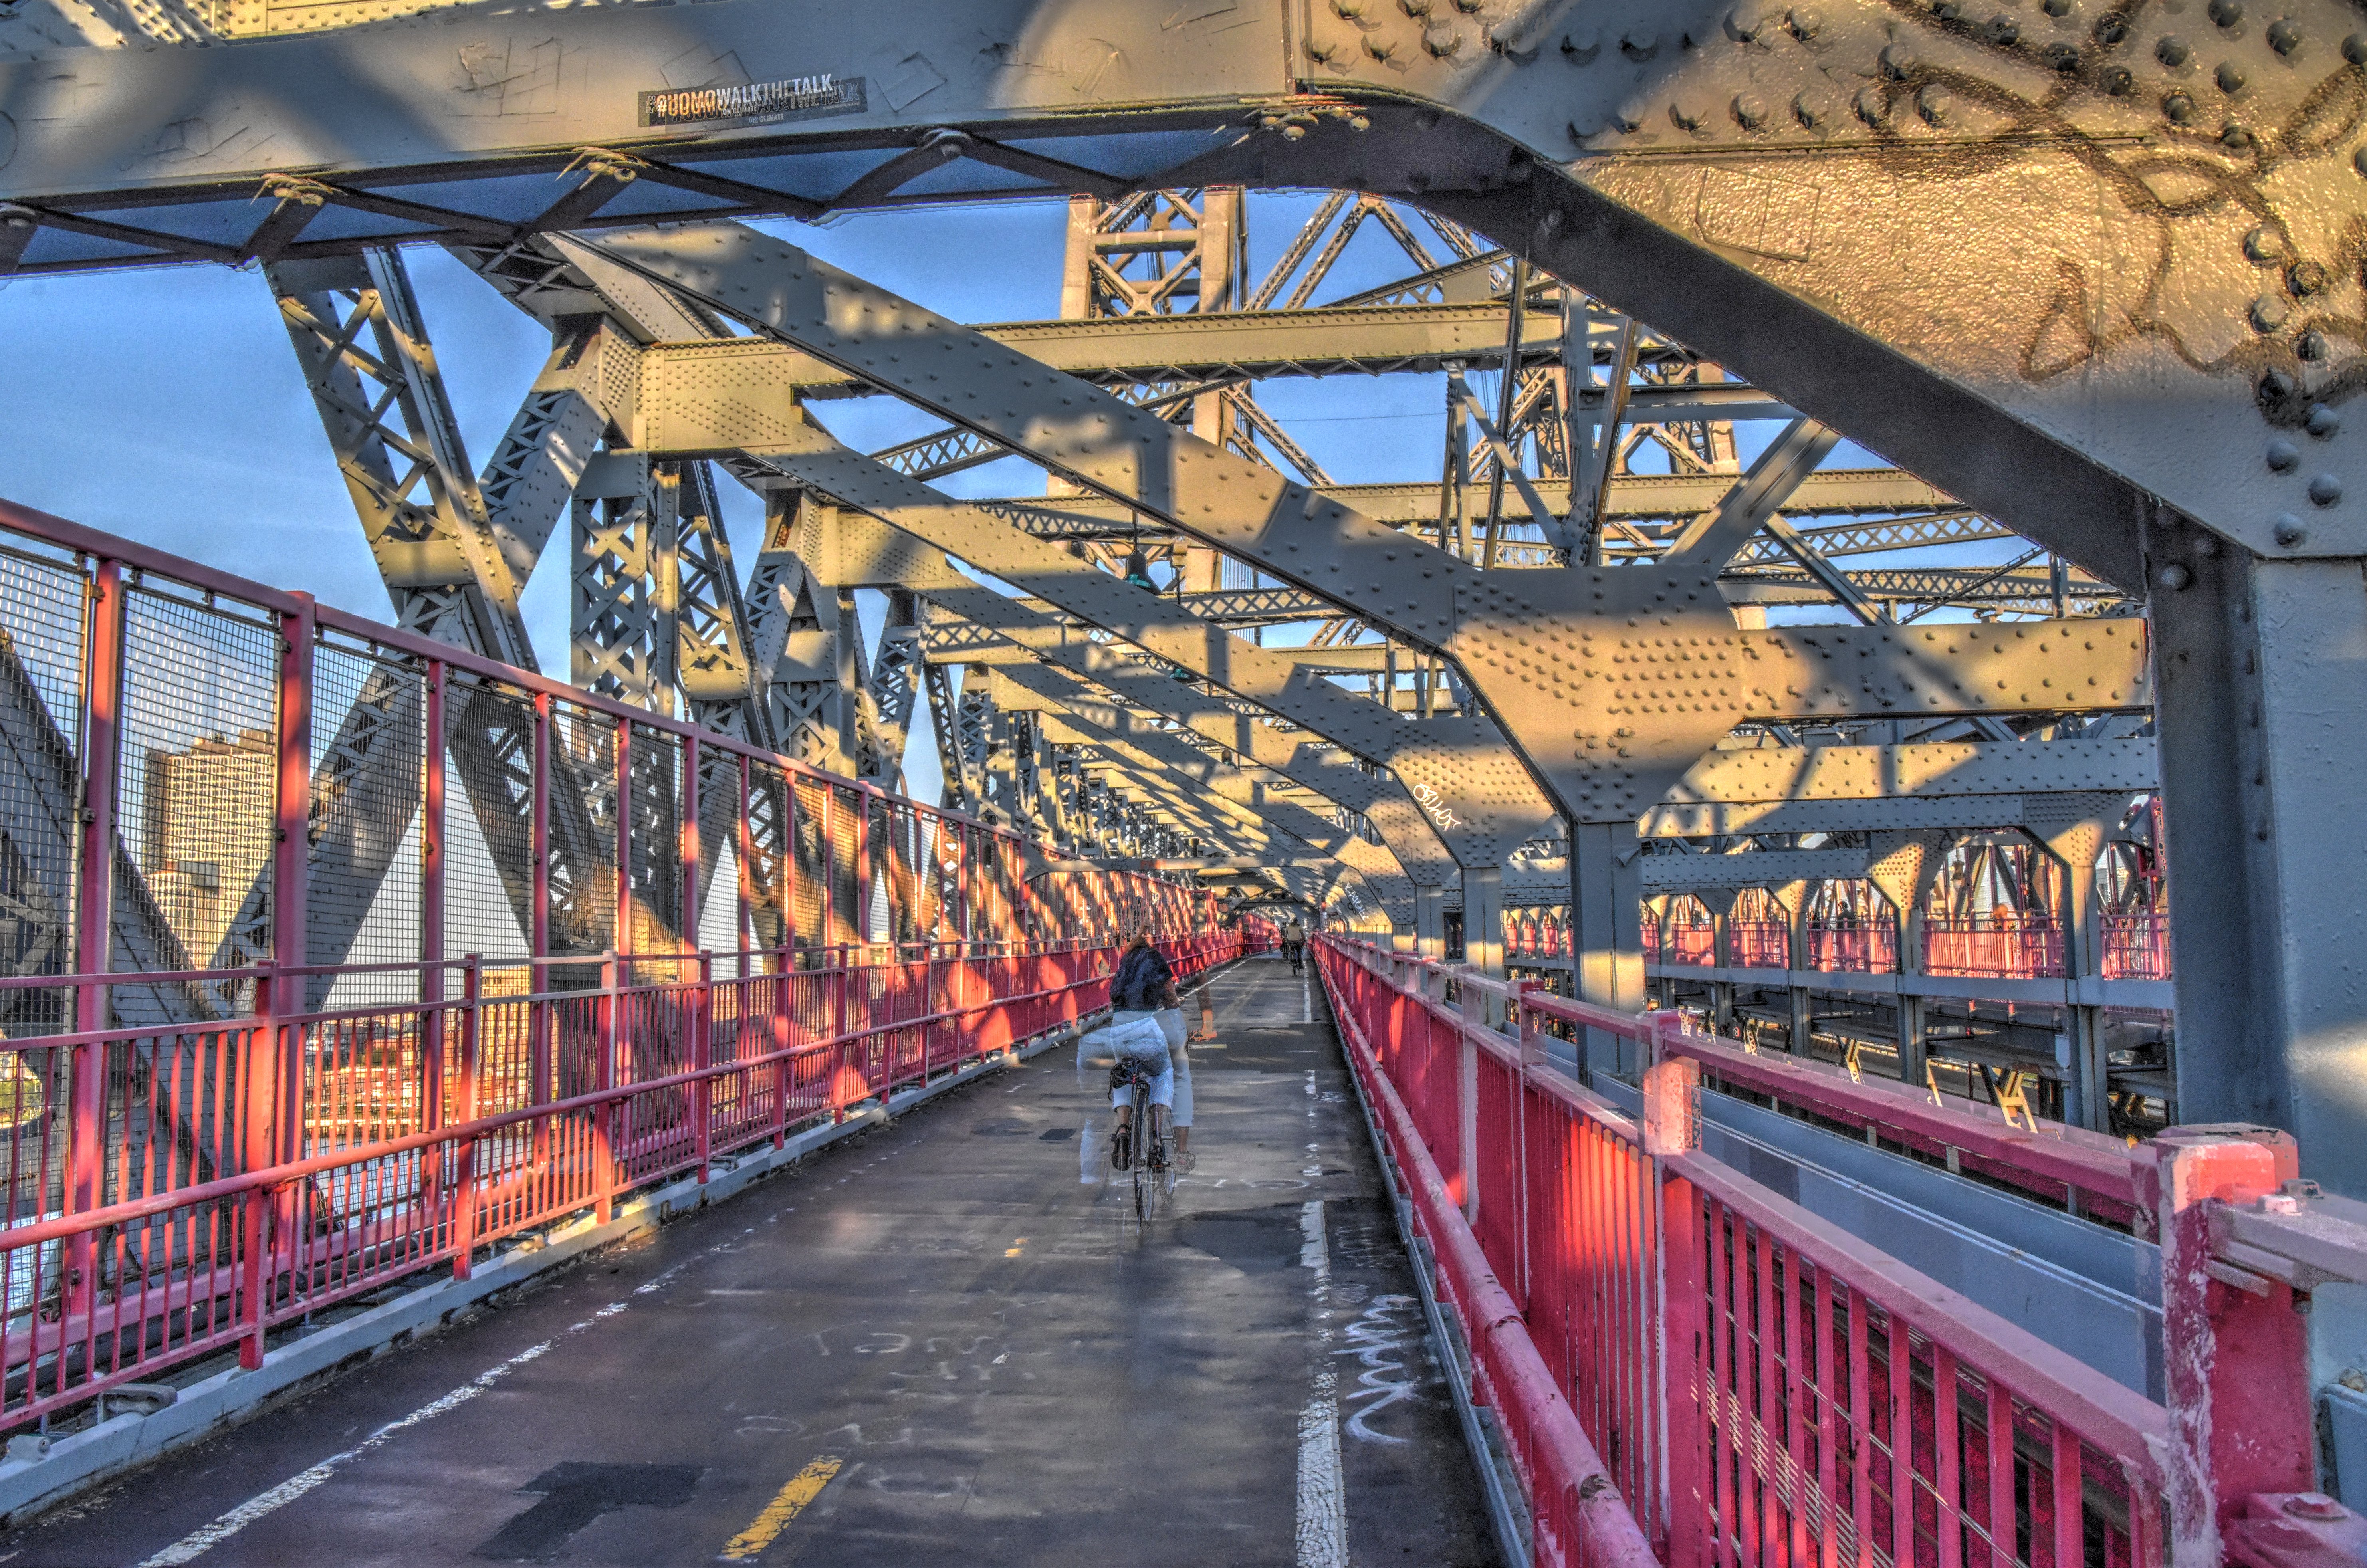
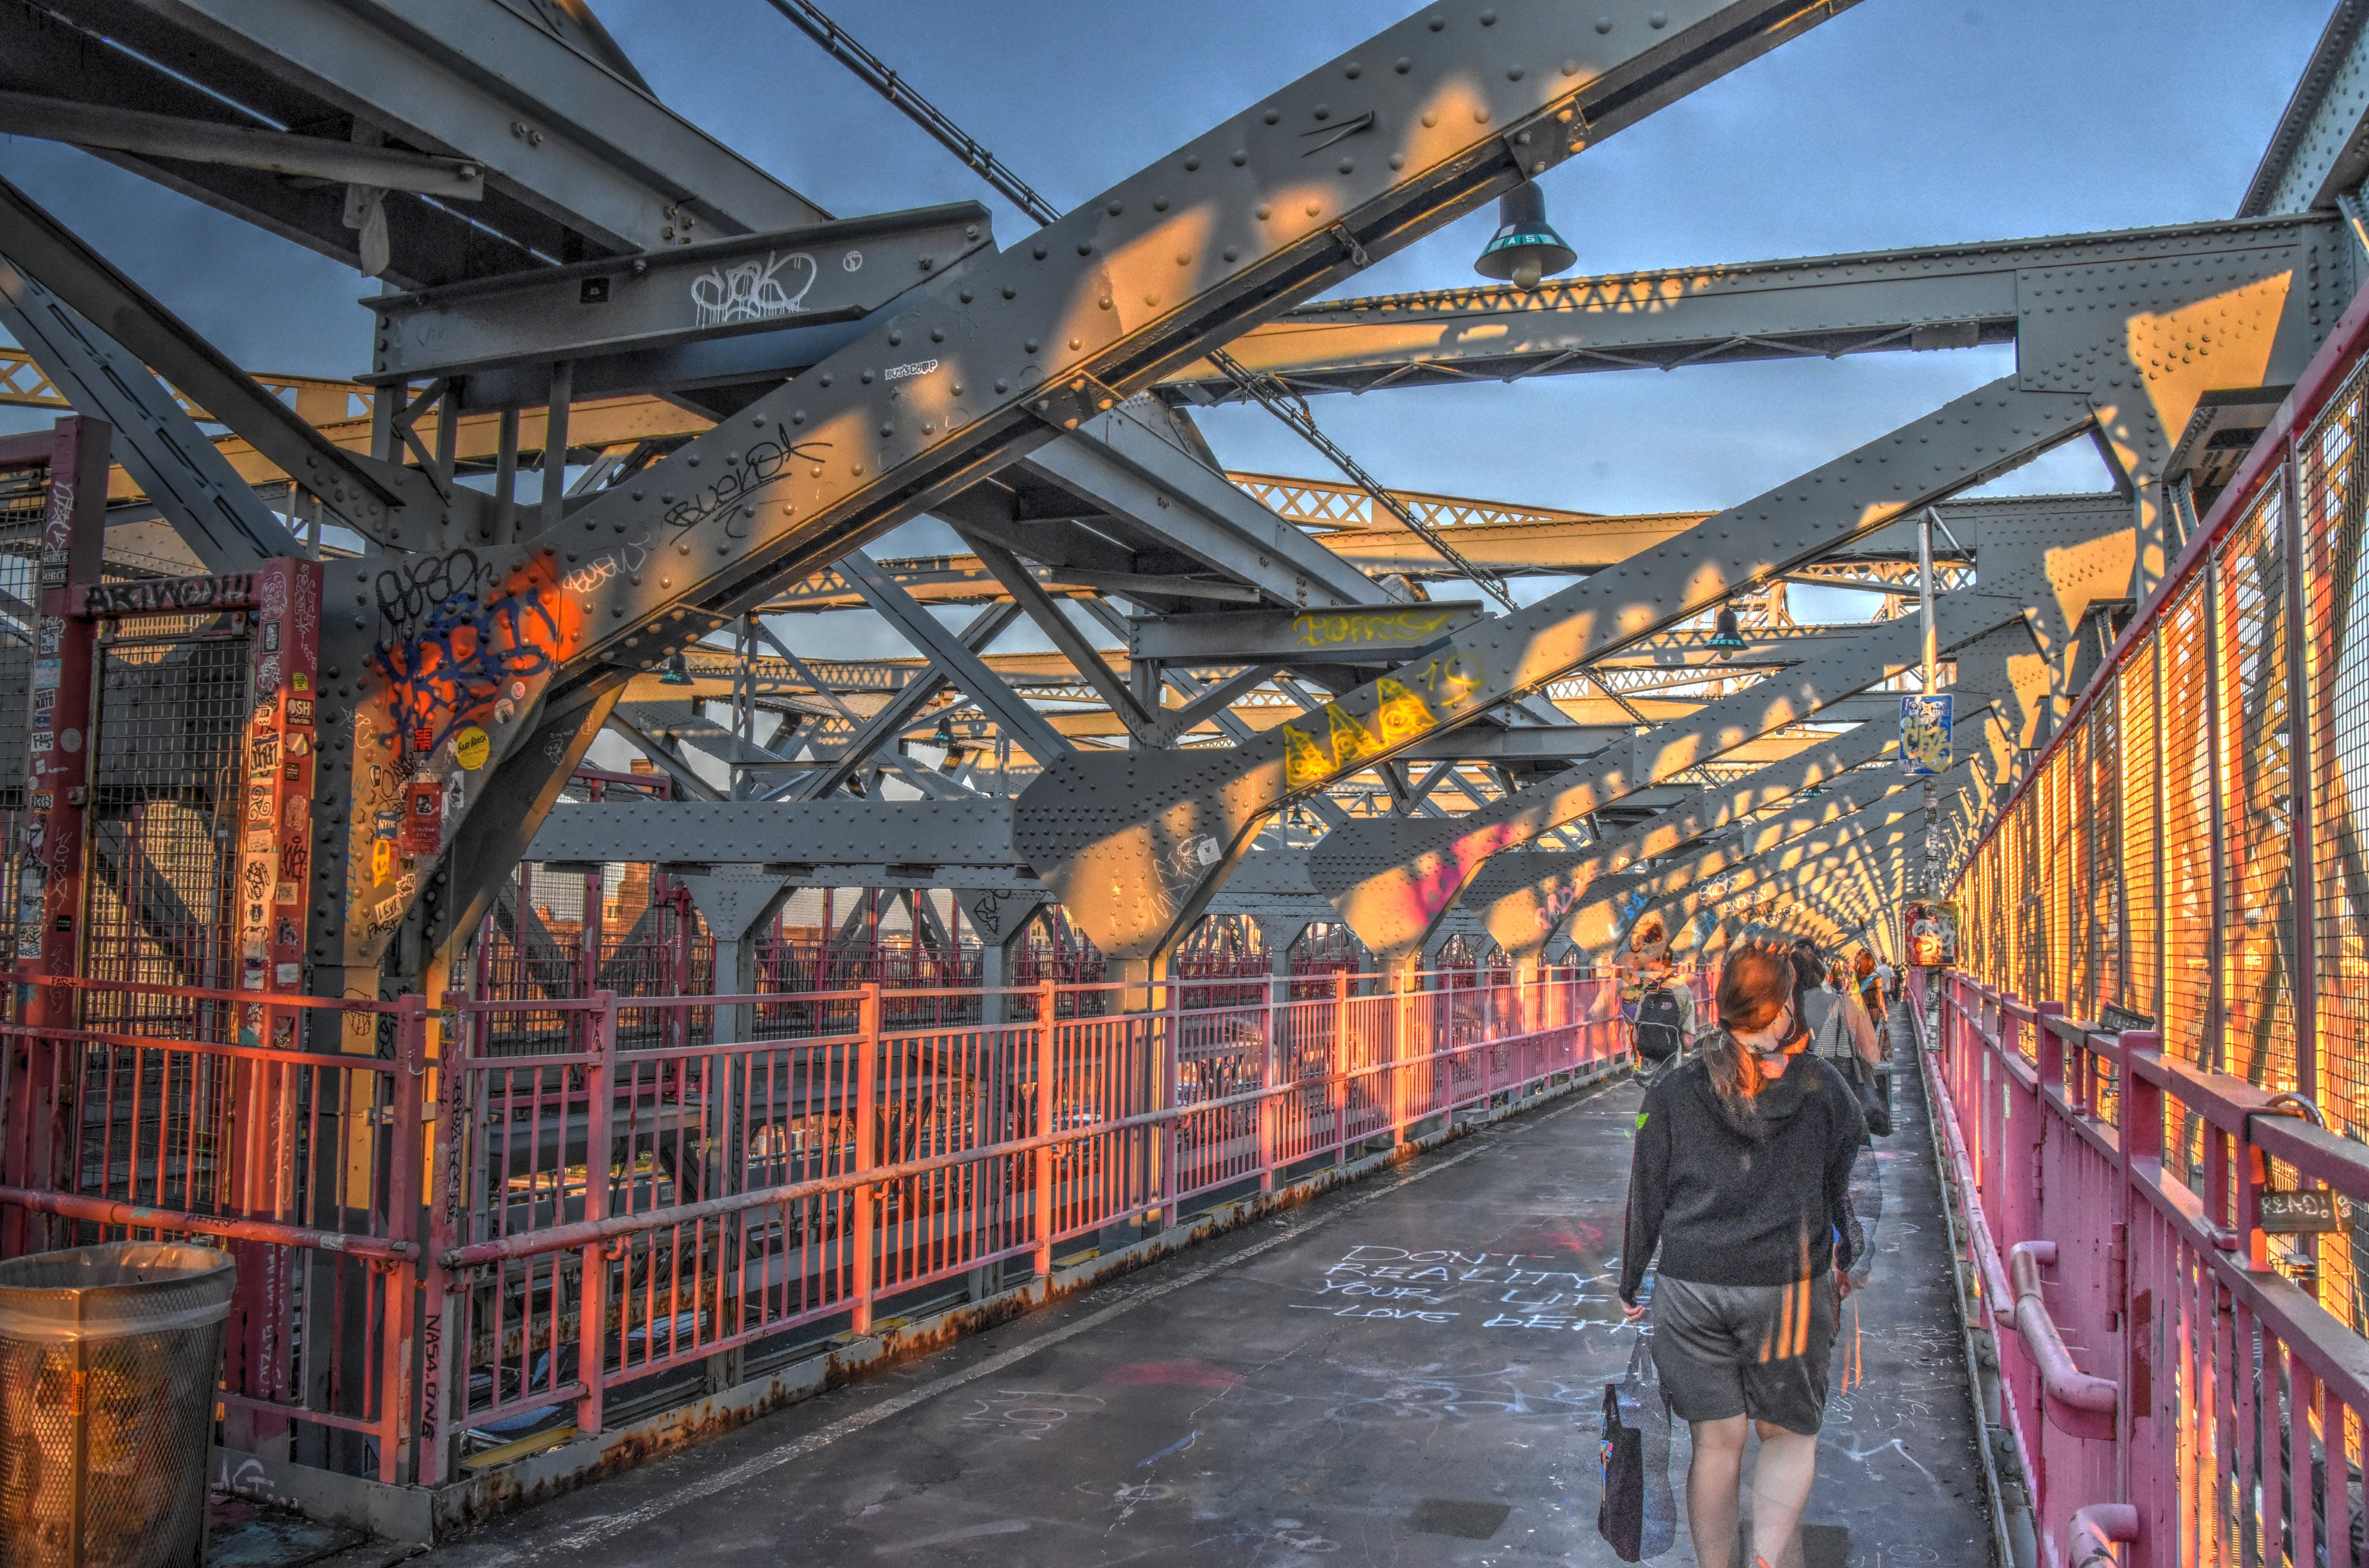
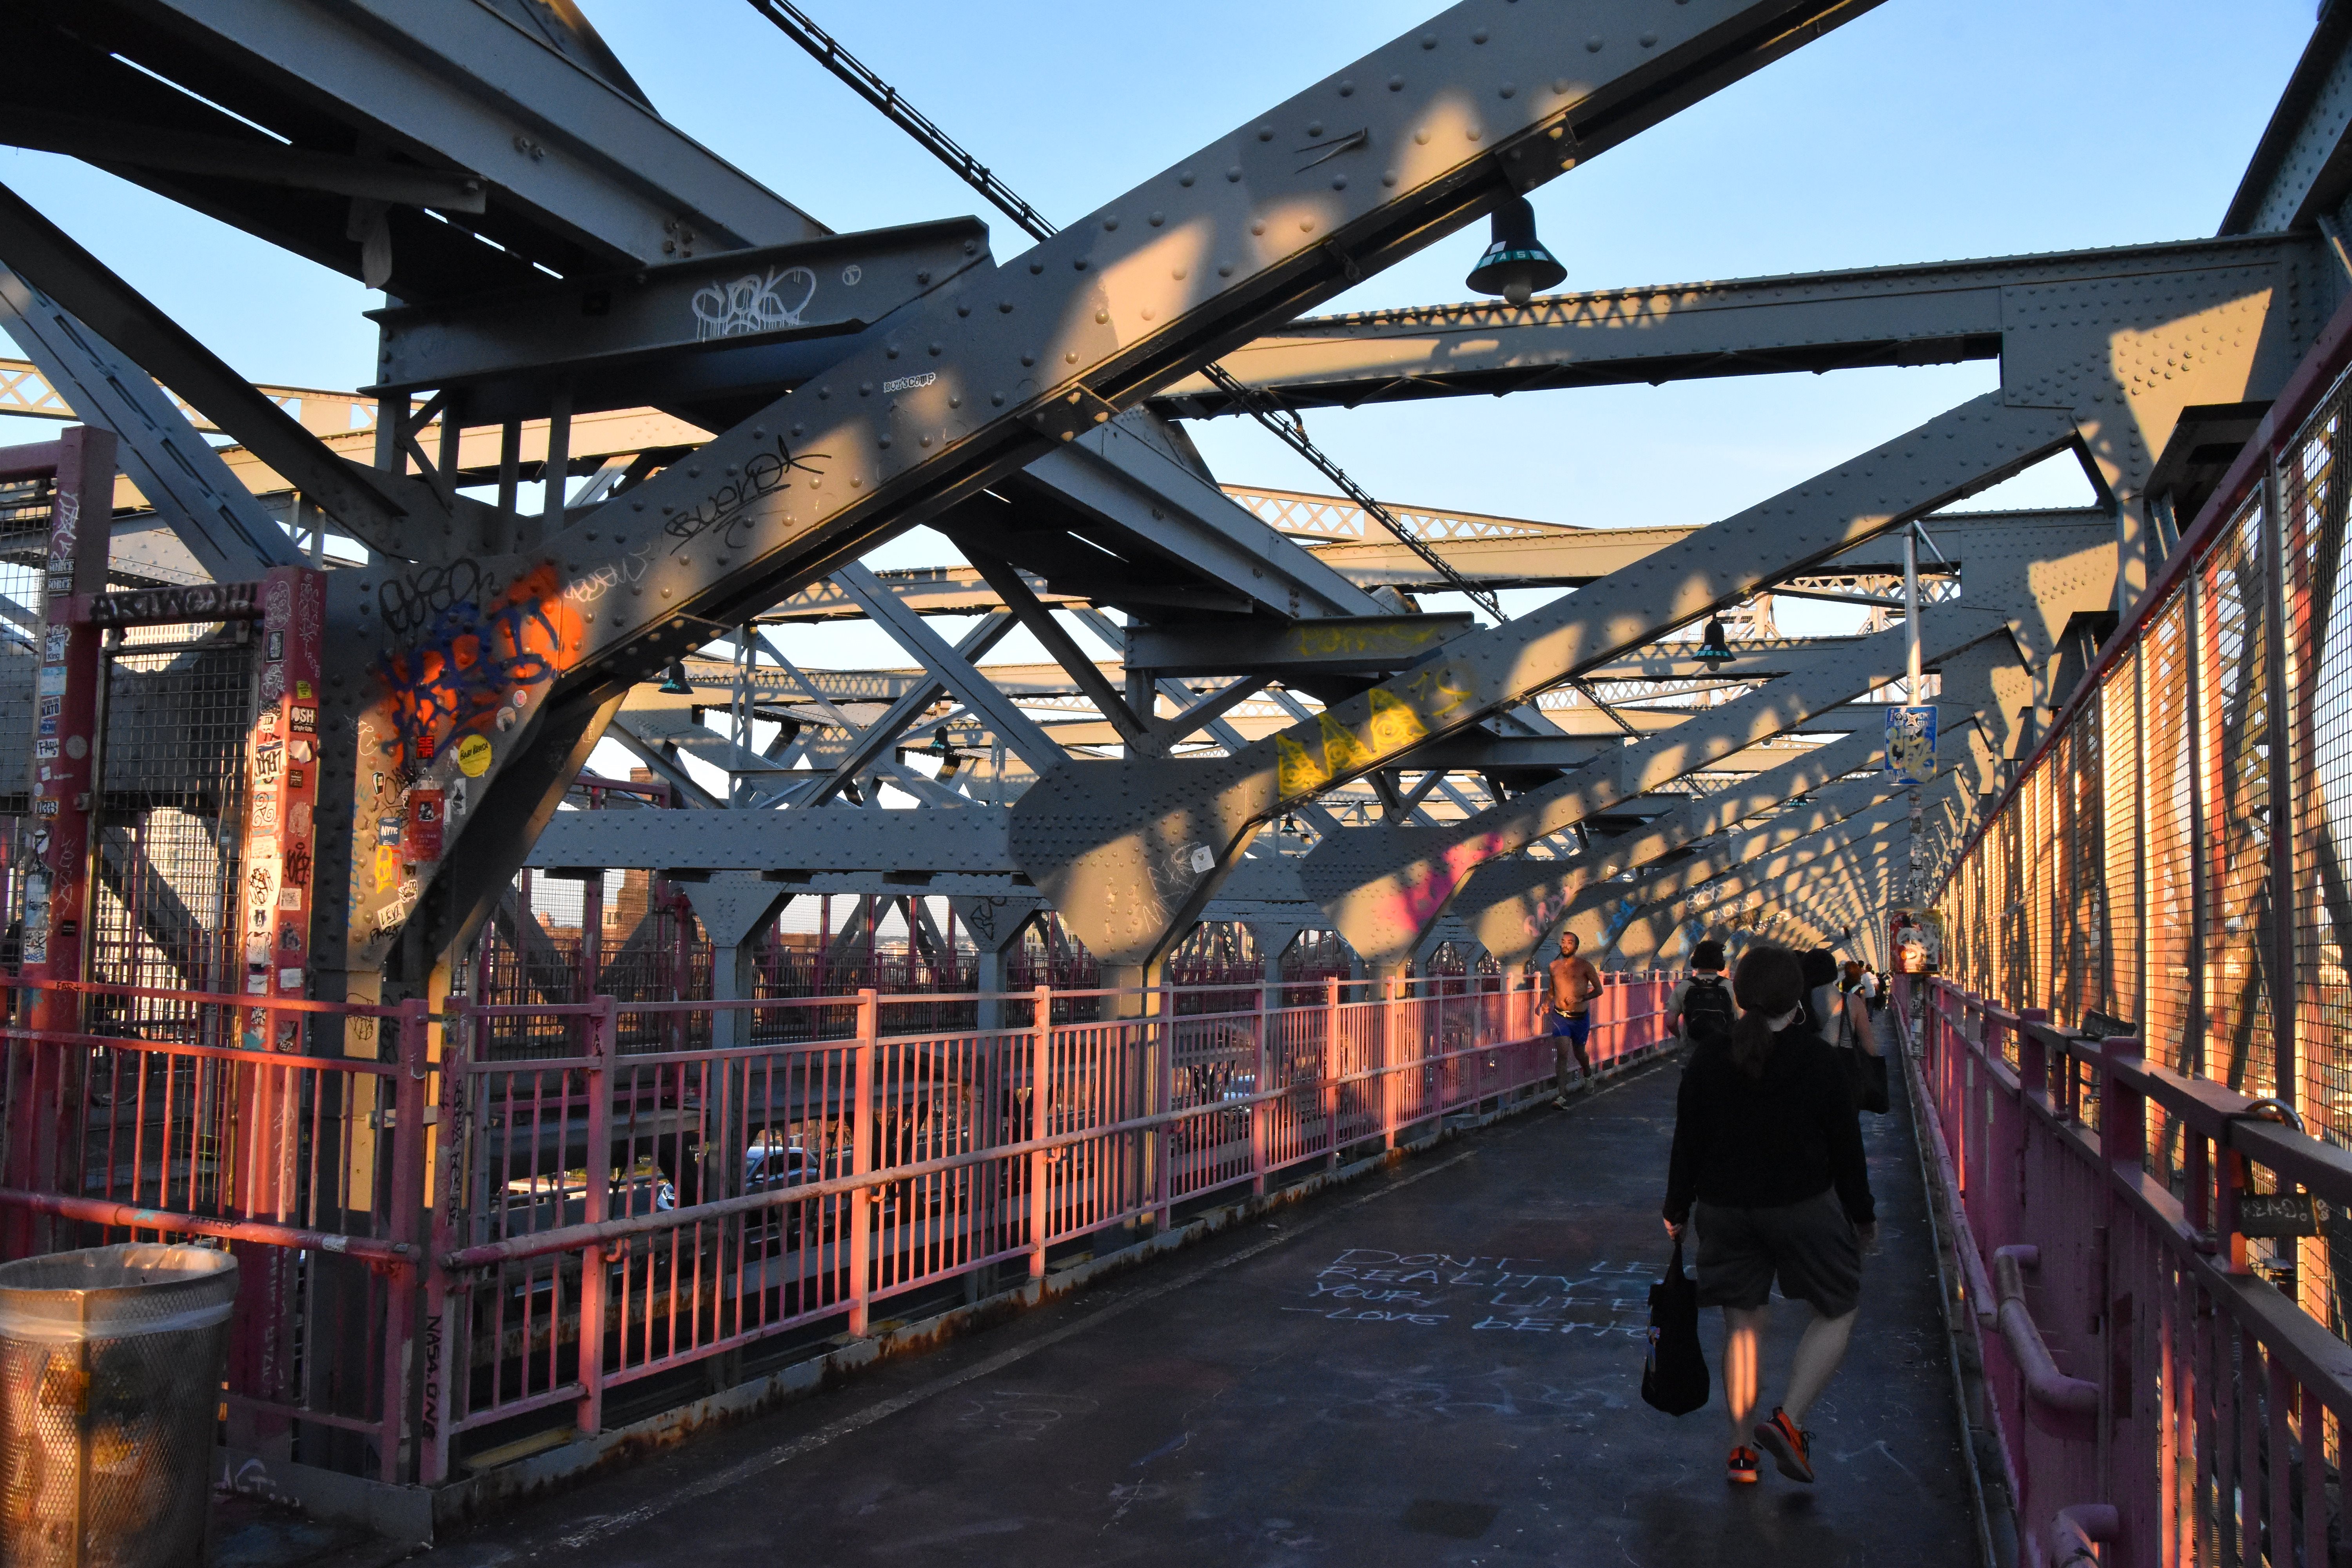
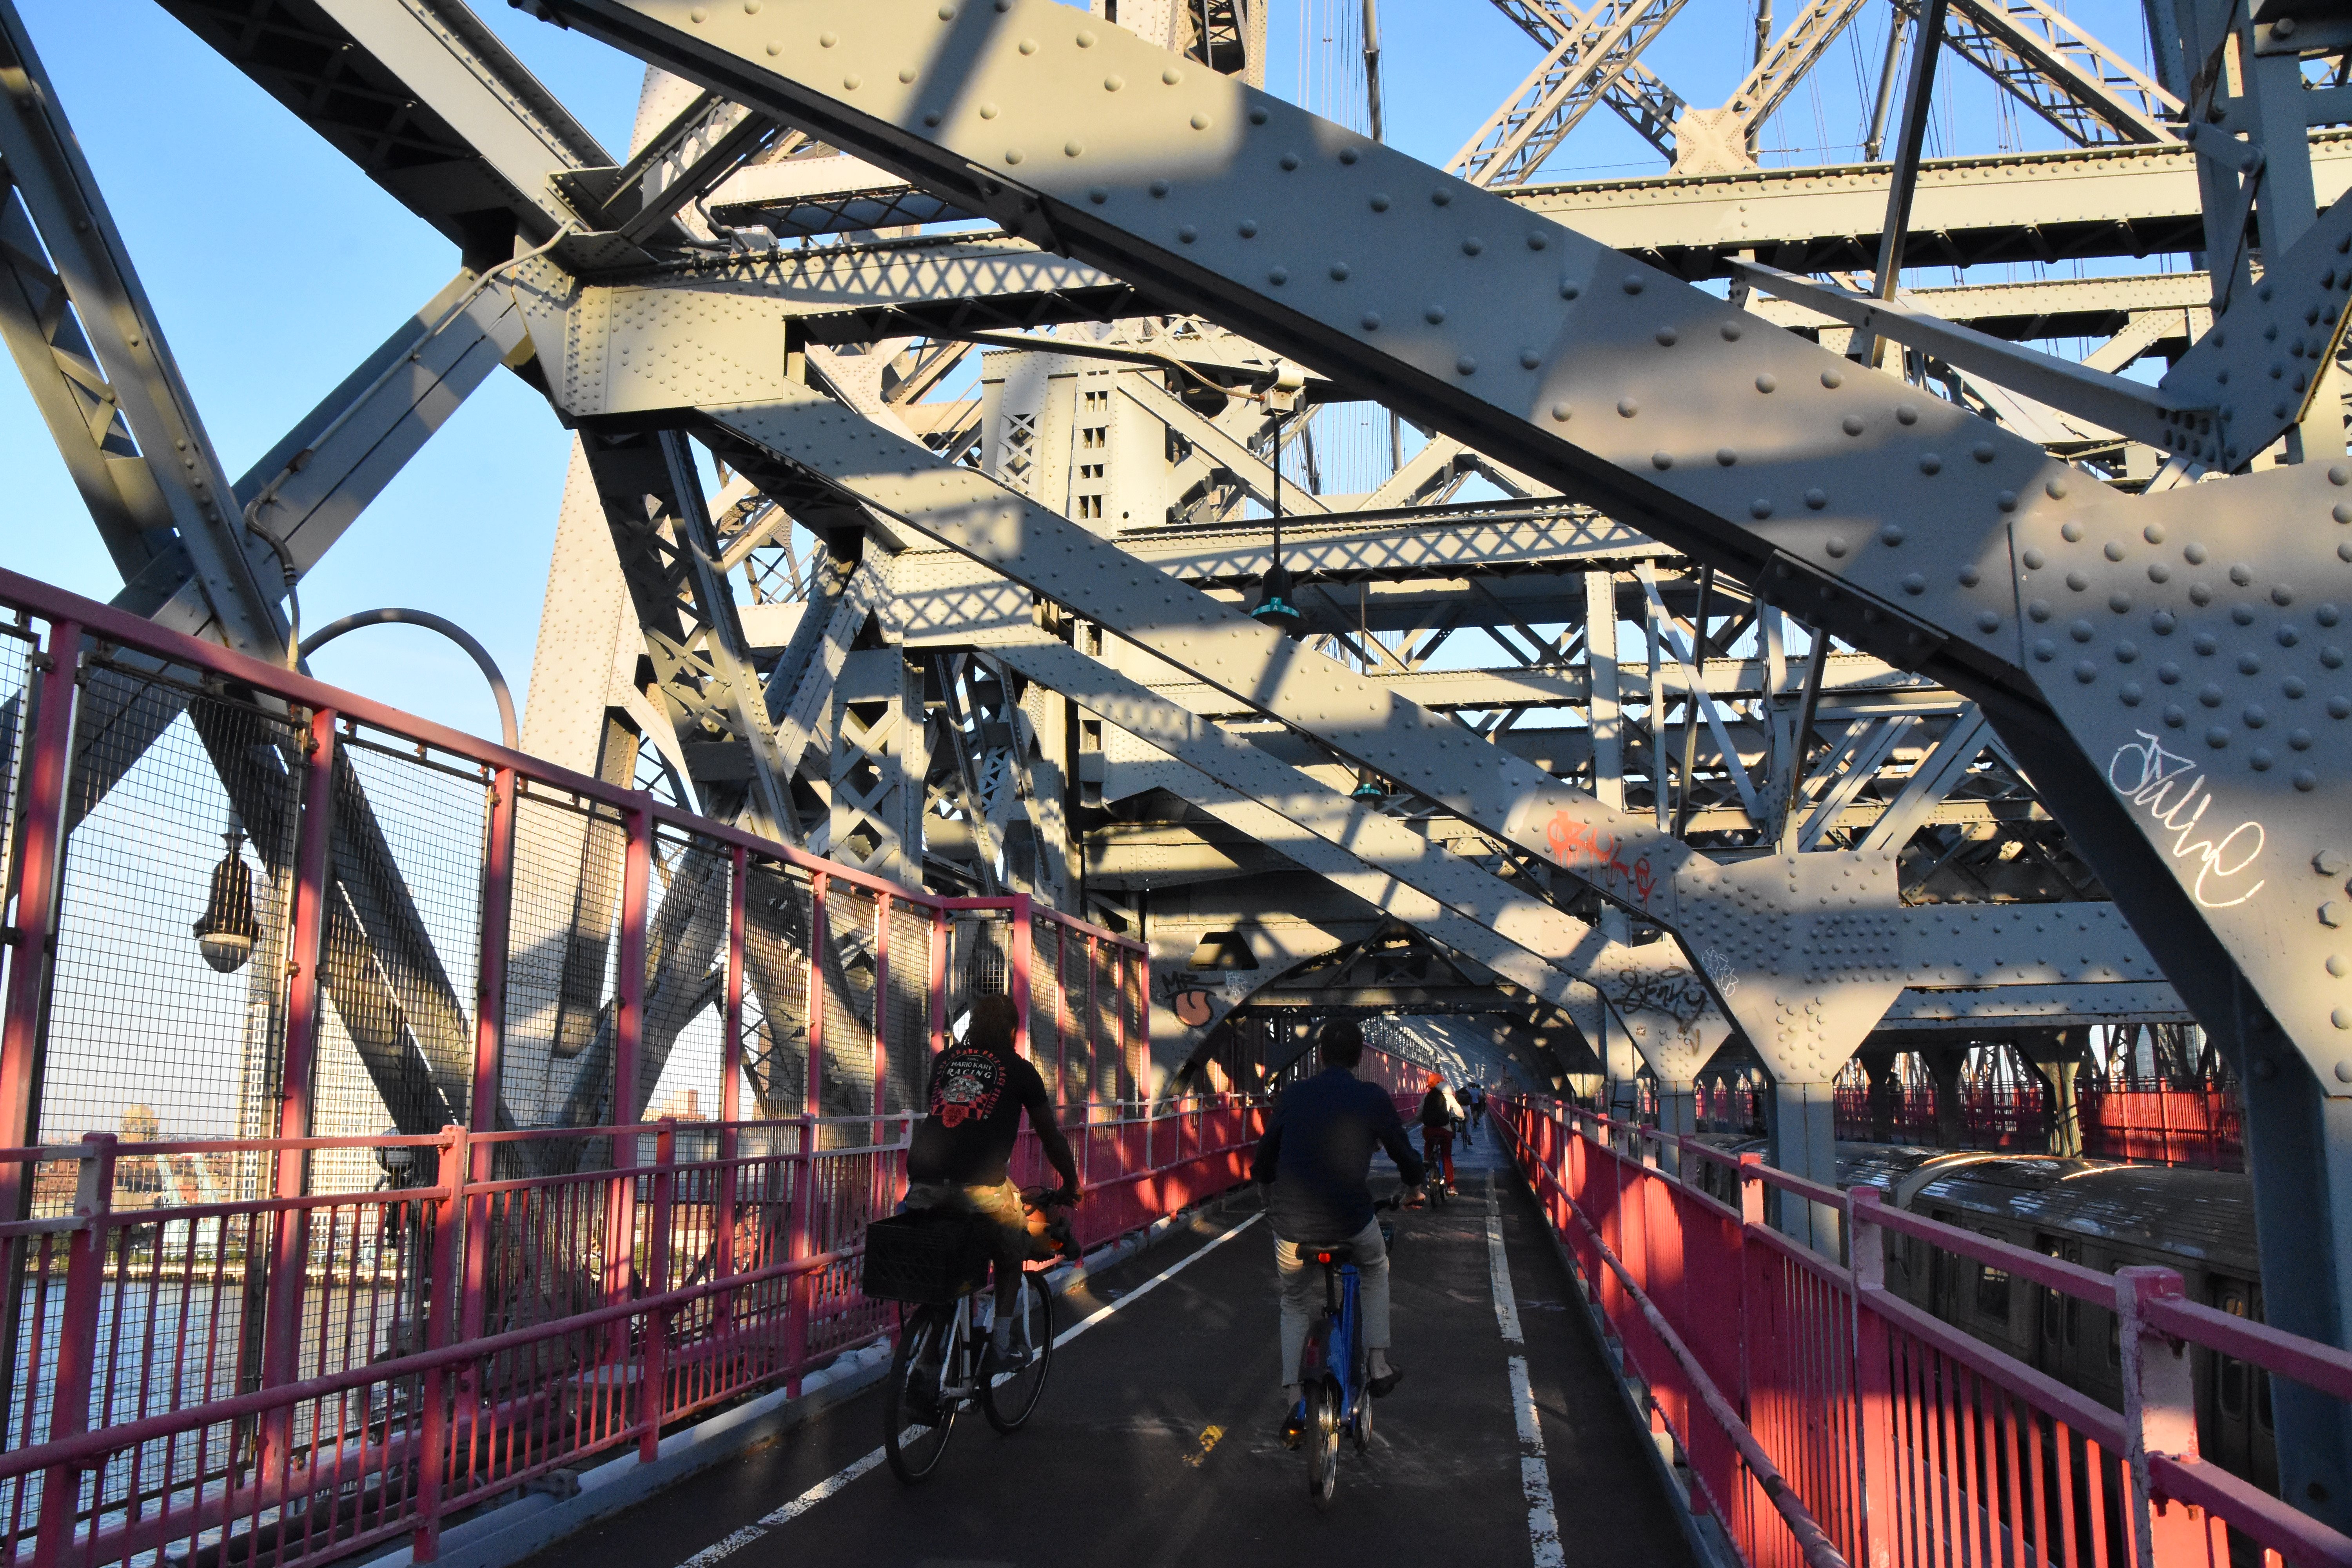
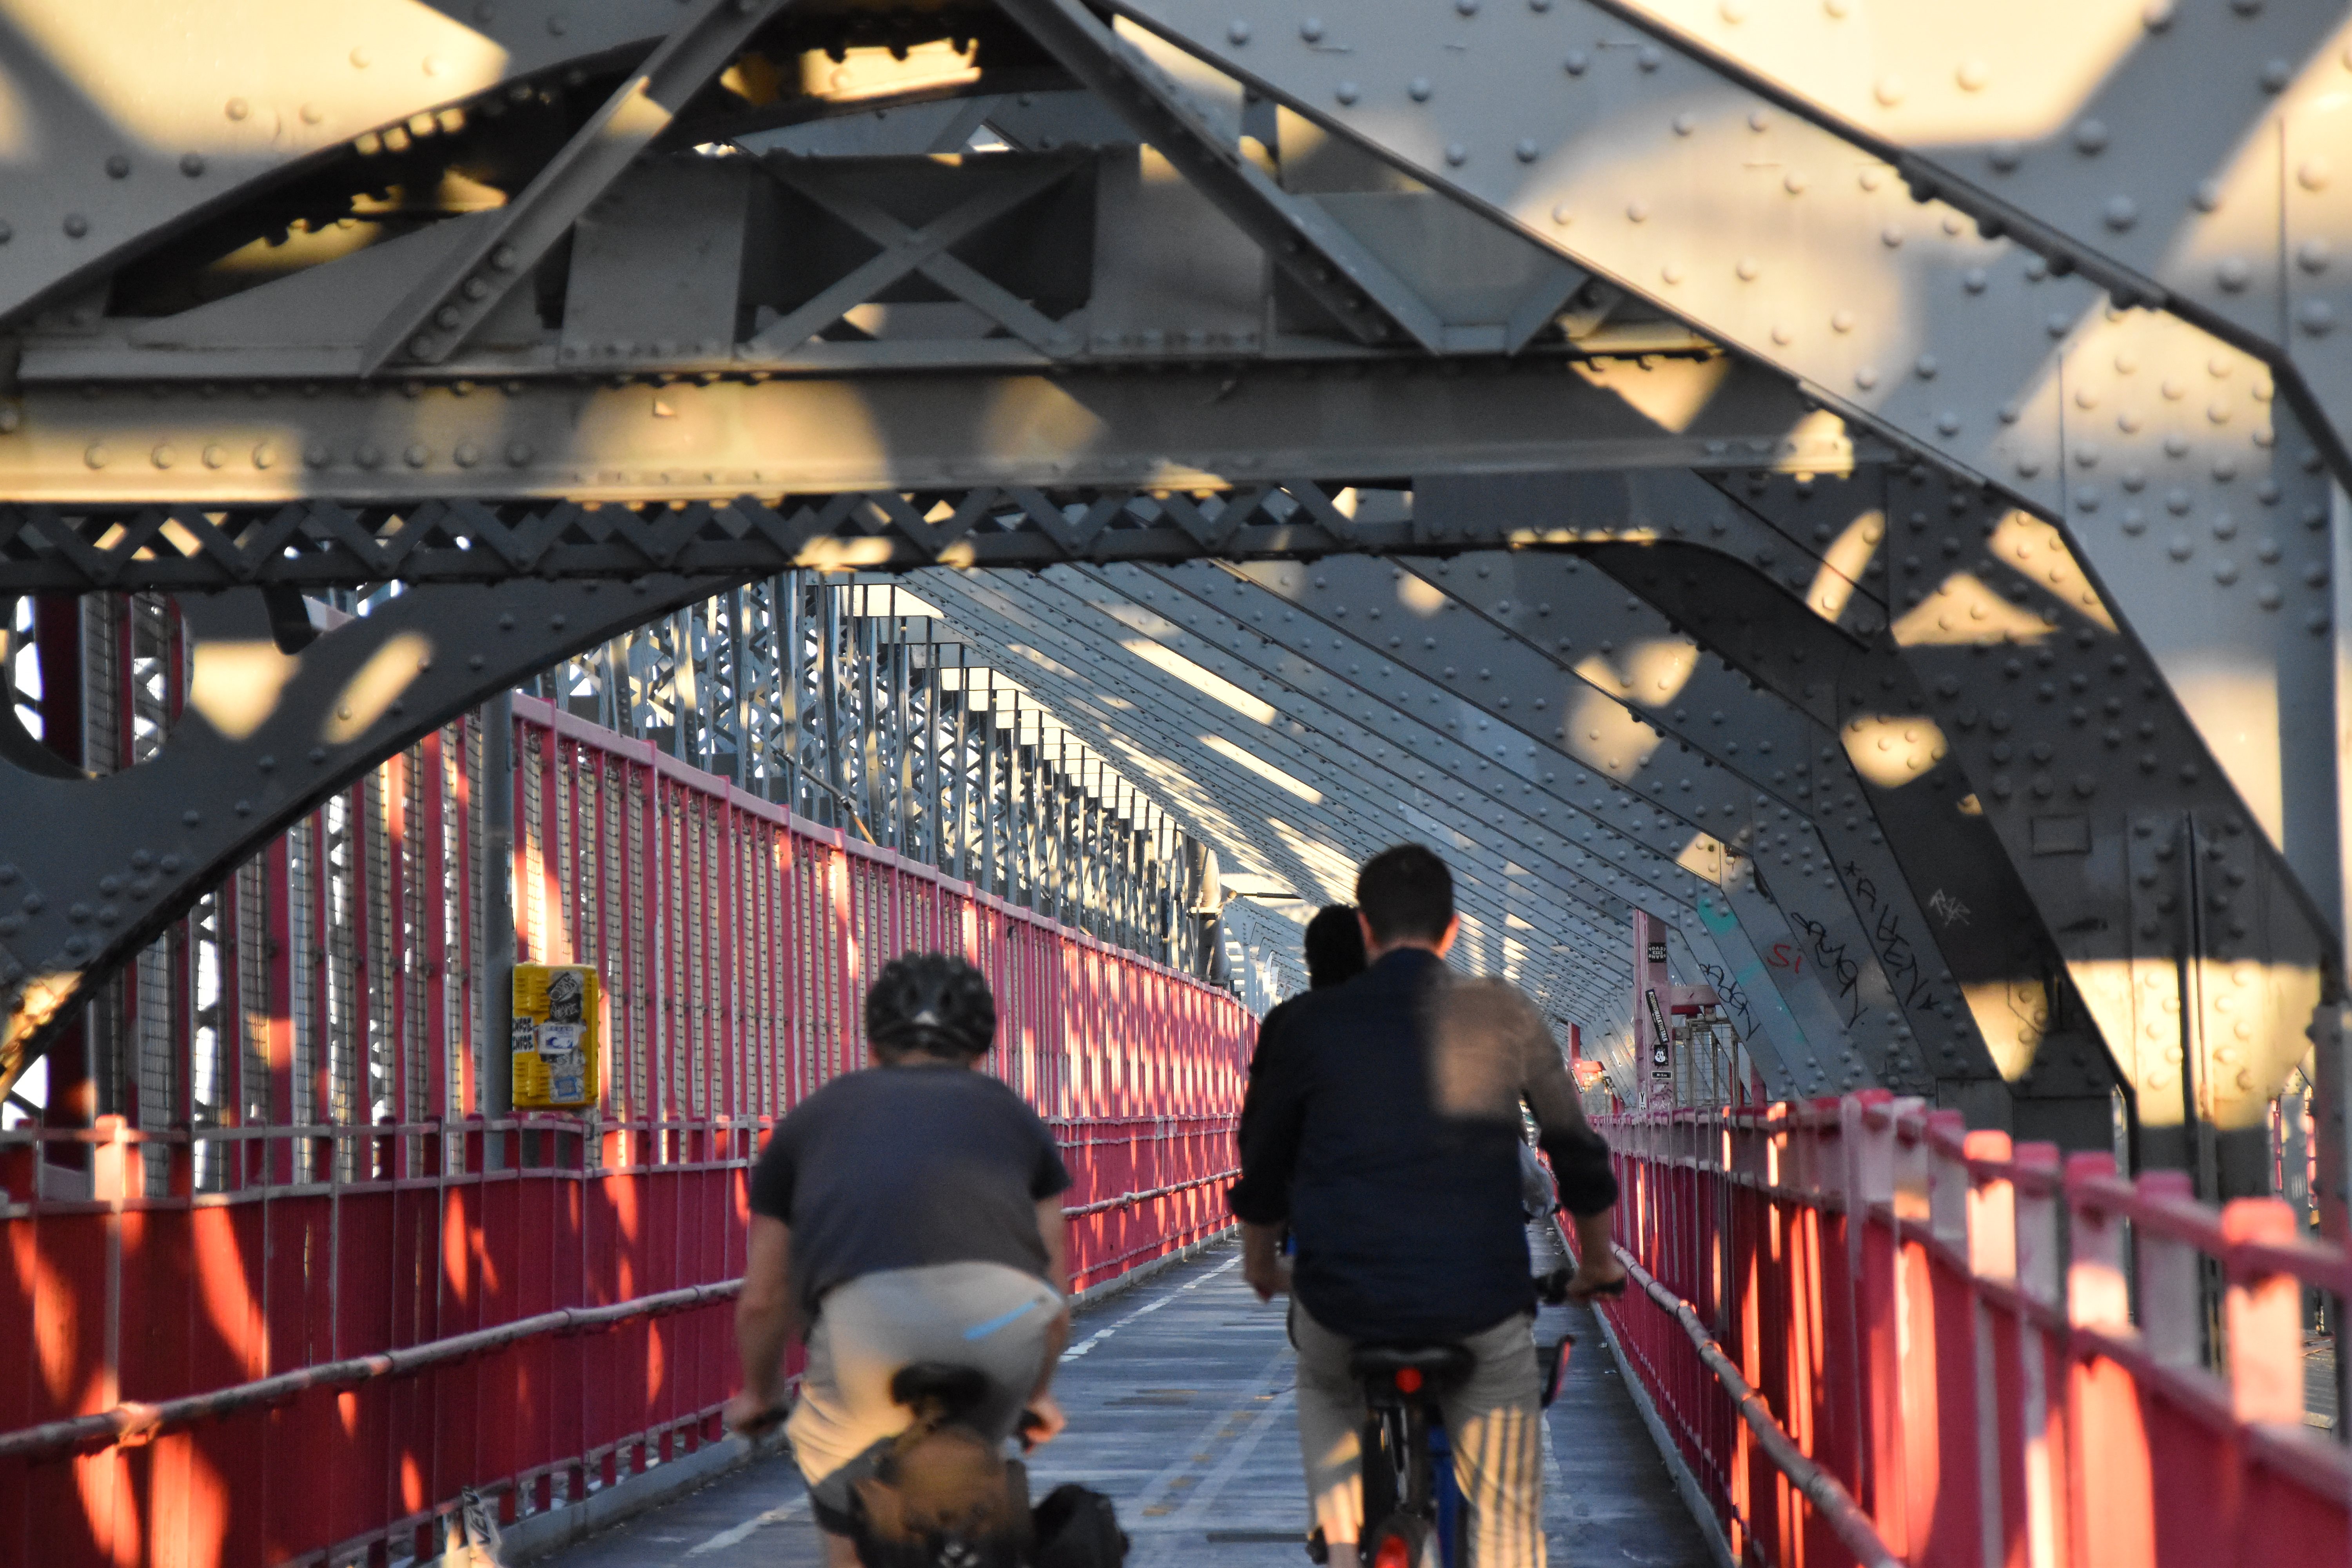
Portal views on walkway facing east.
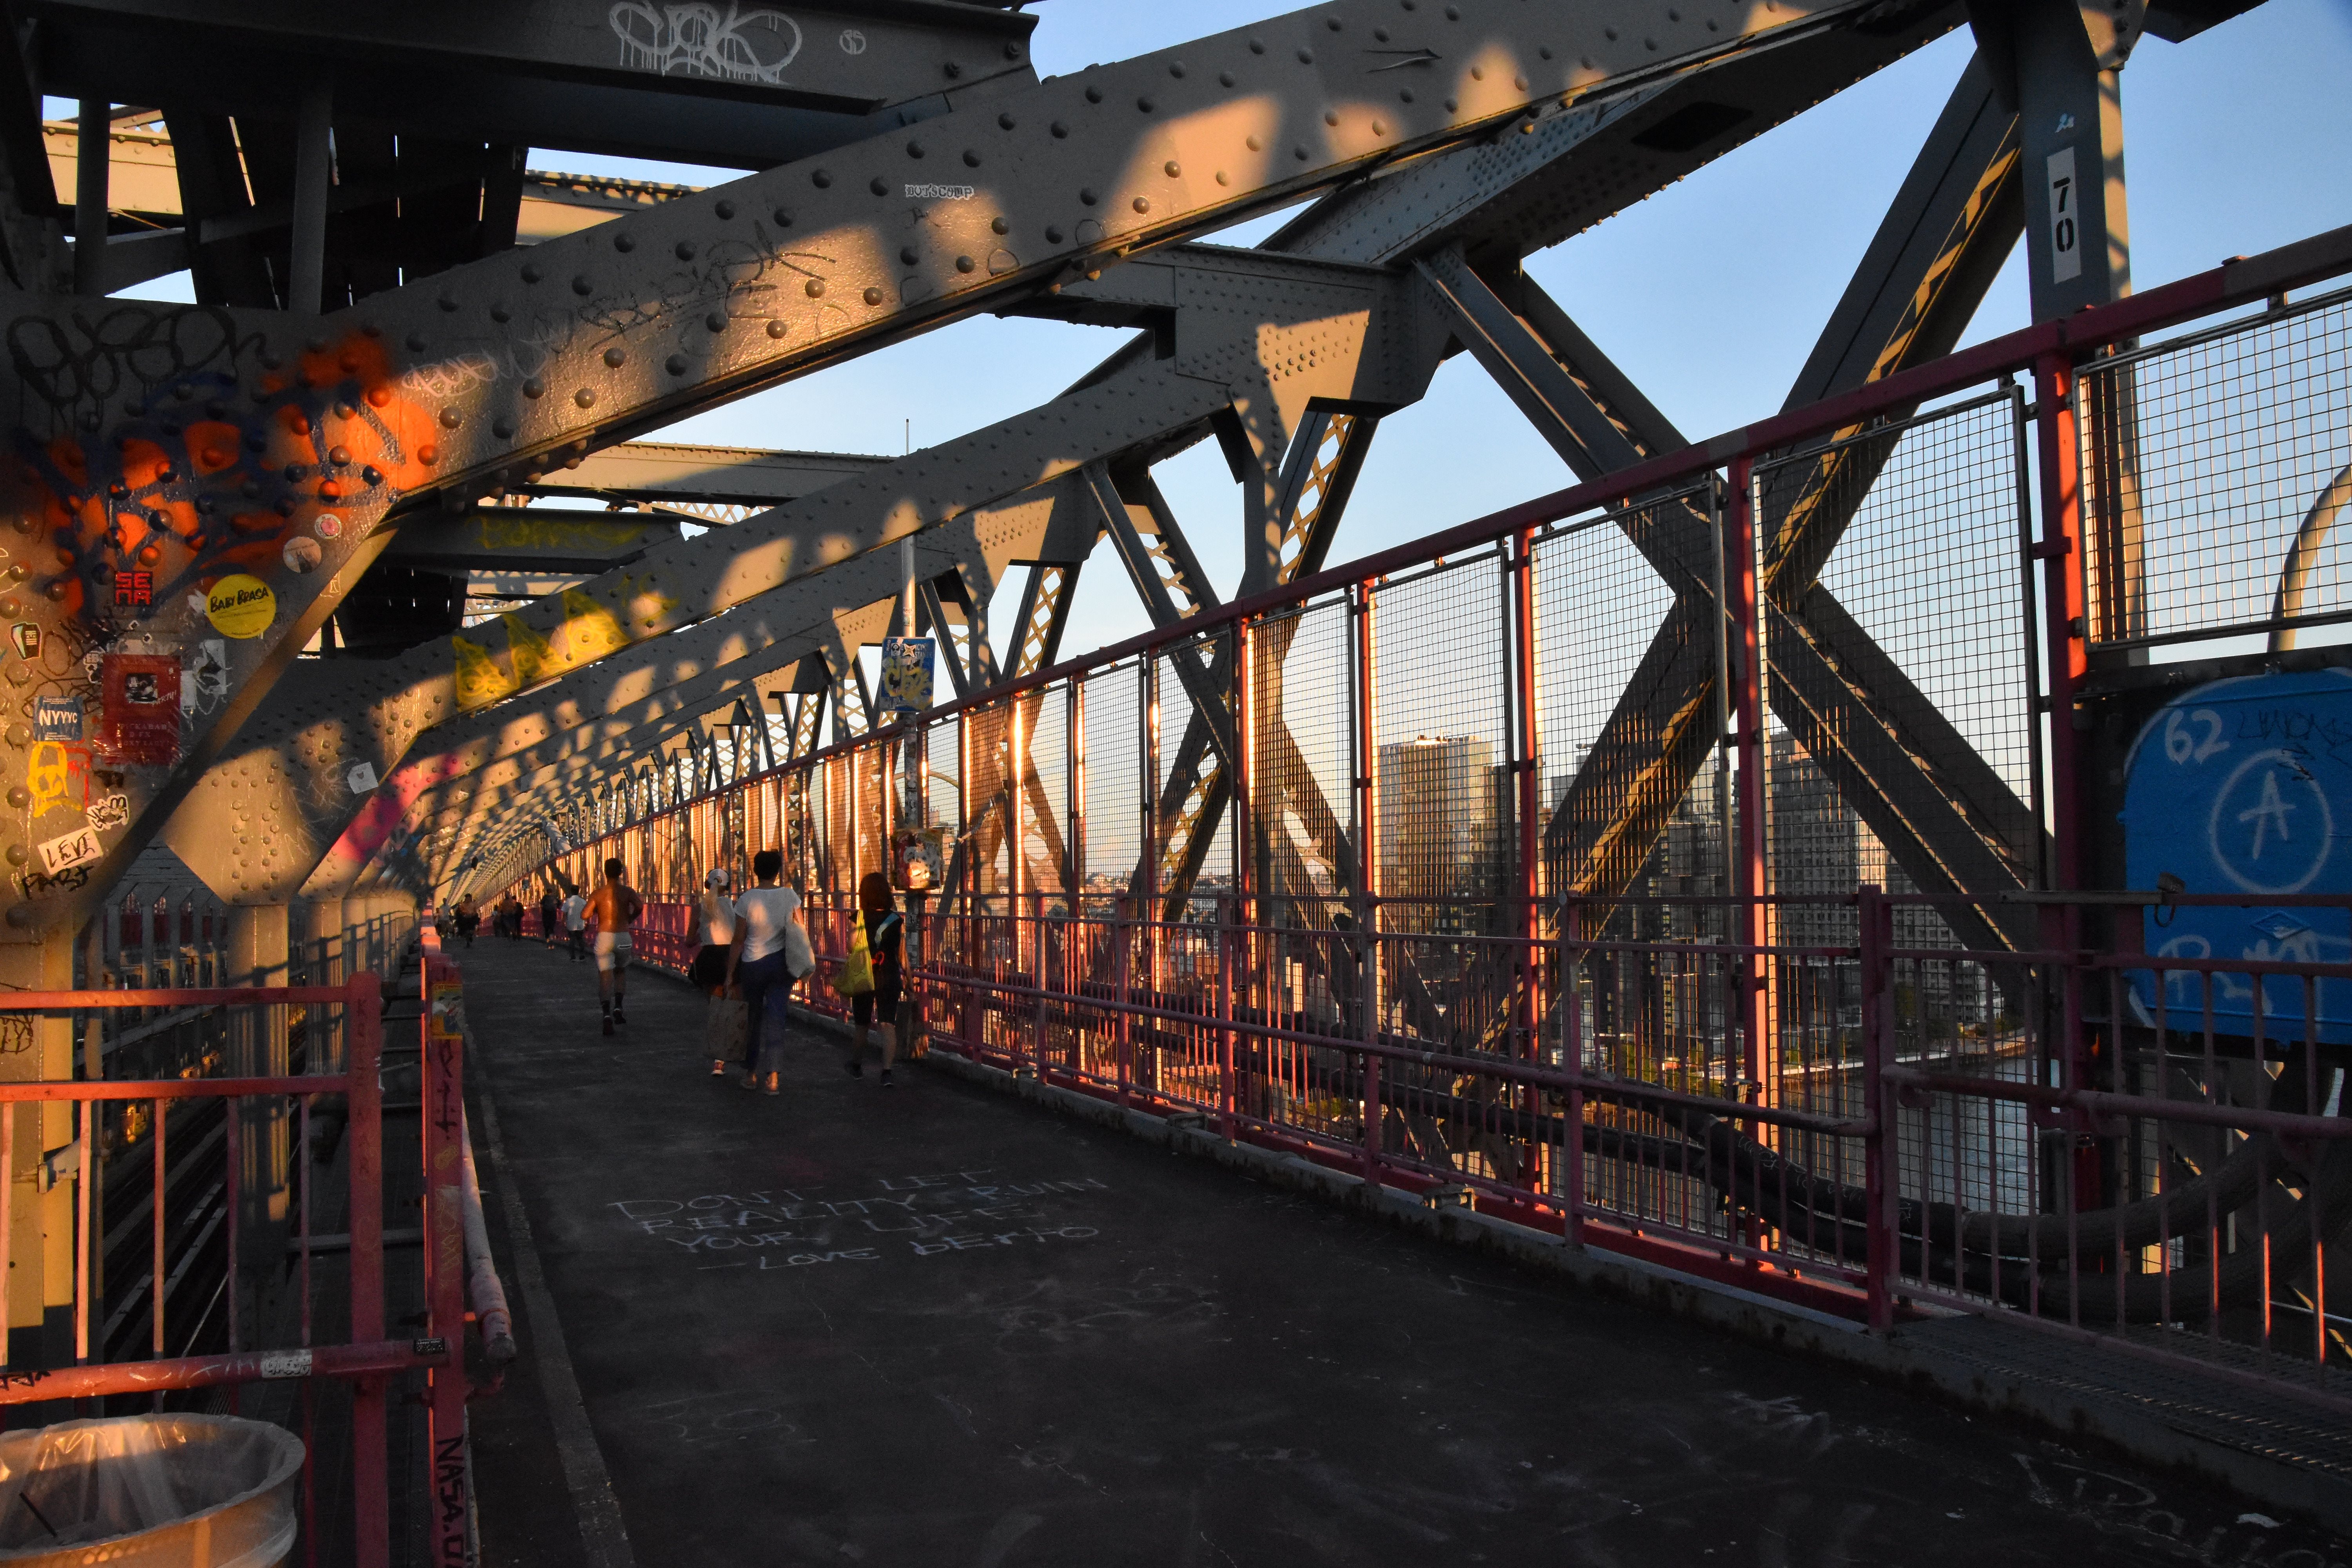
![]()
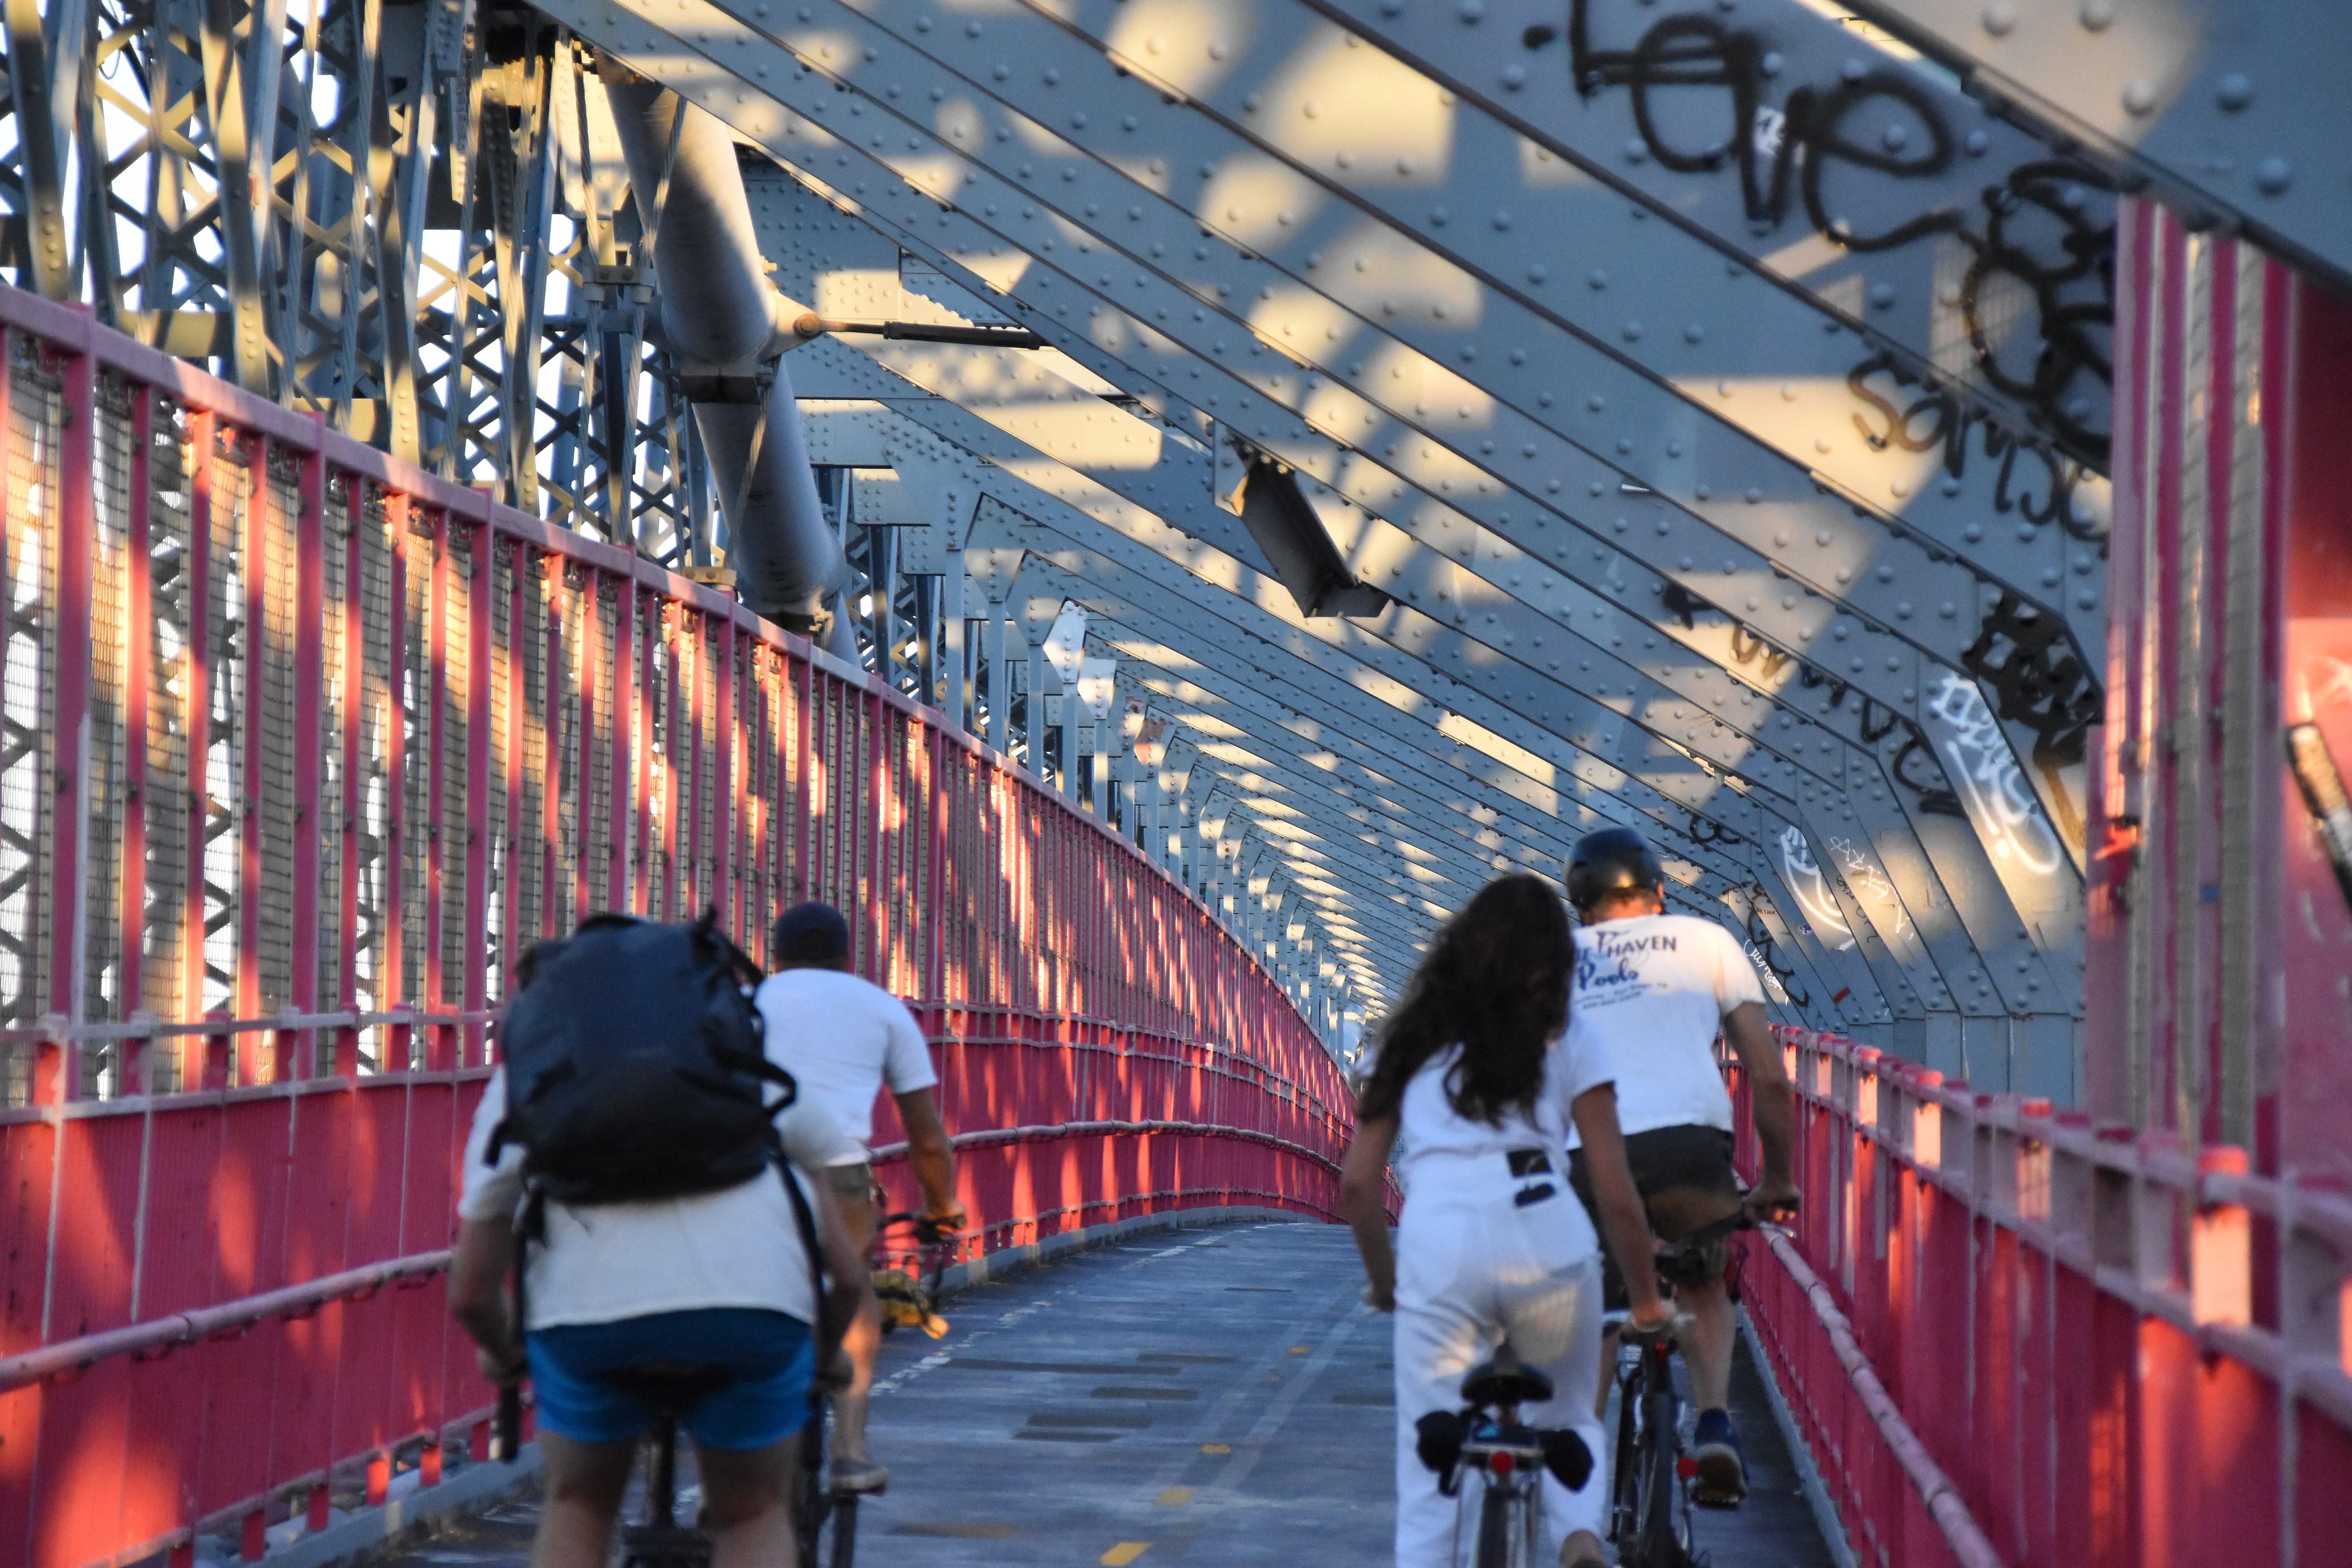


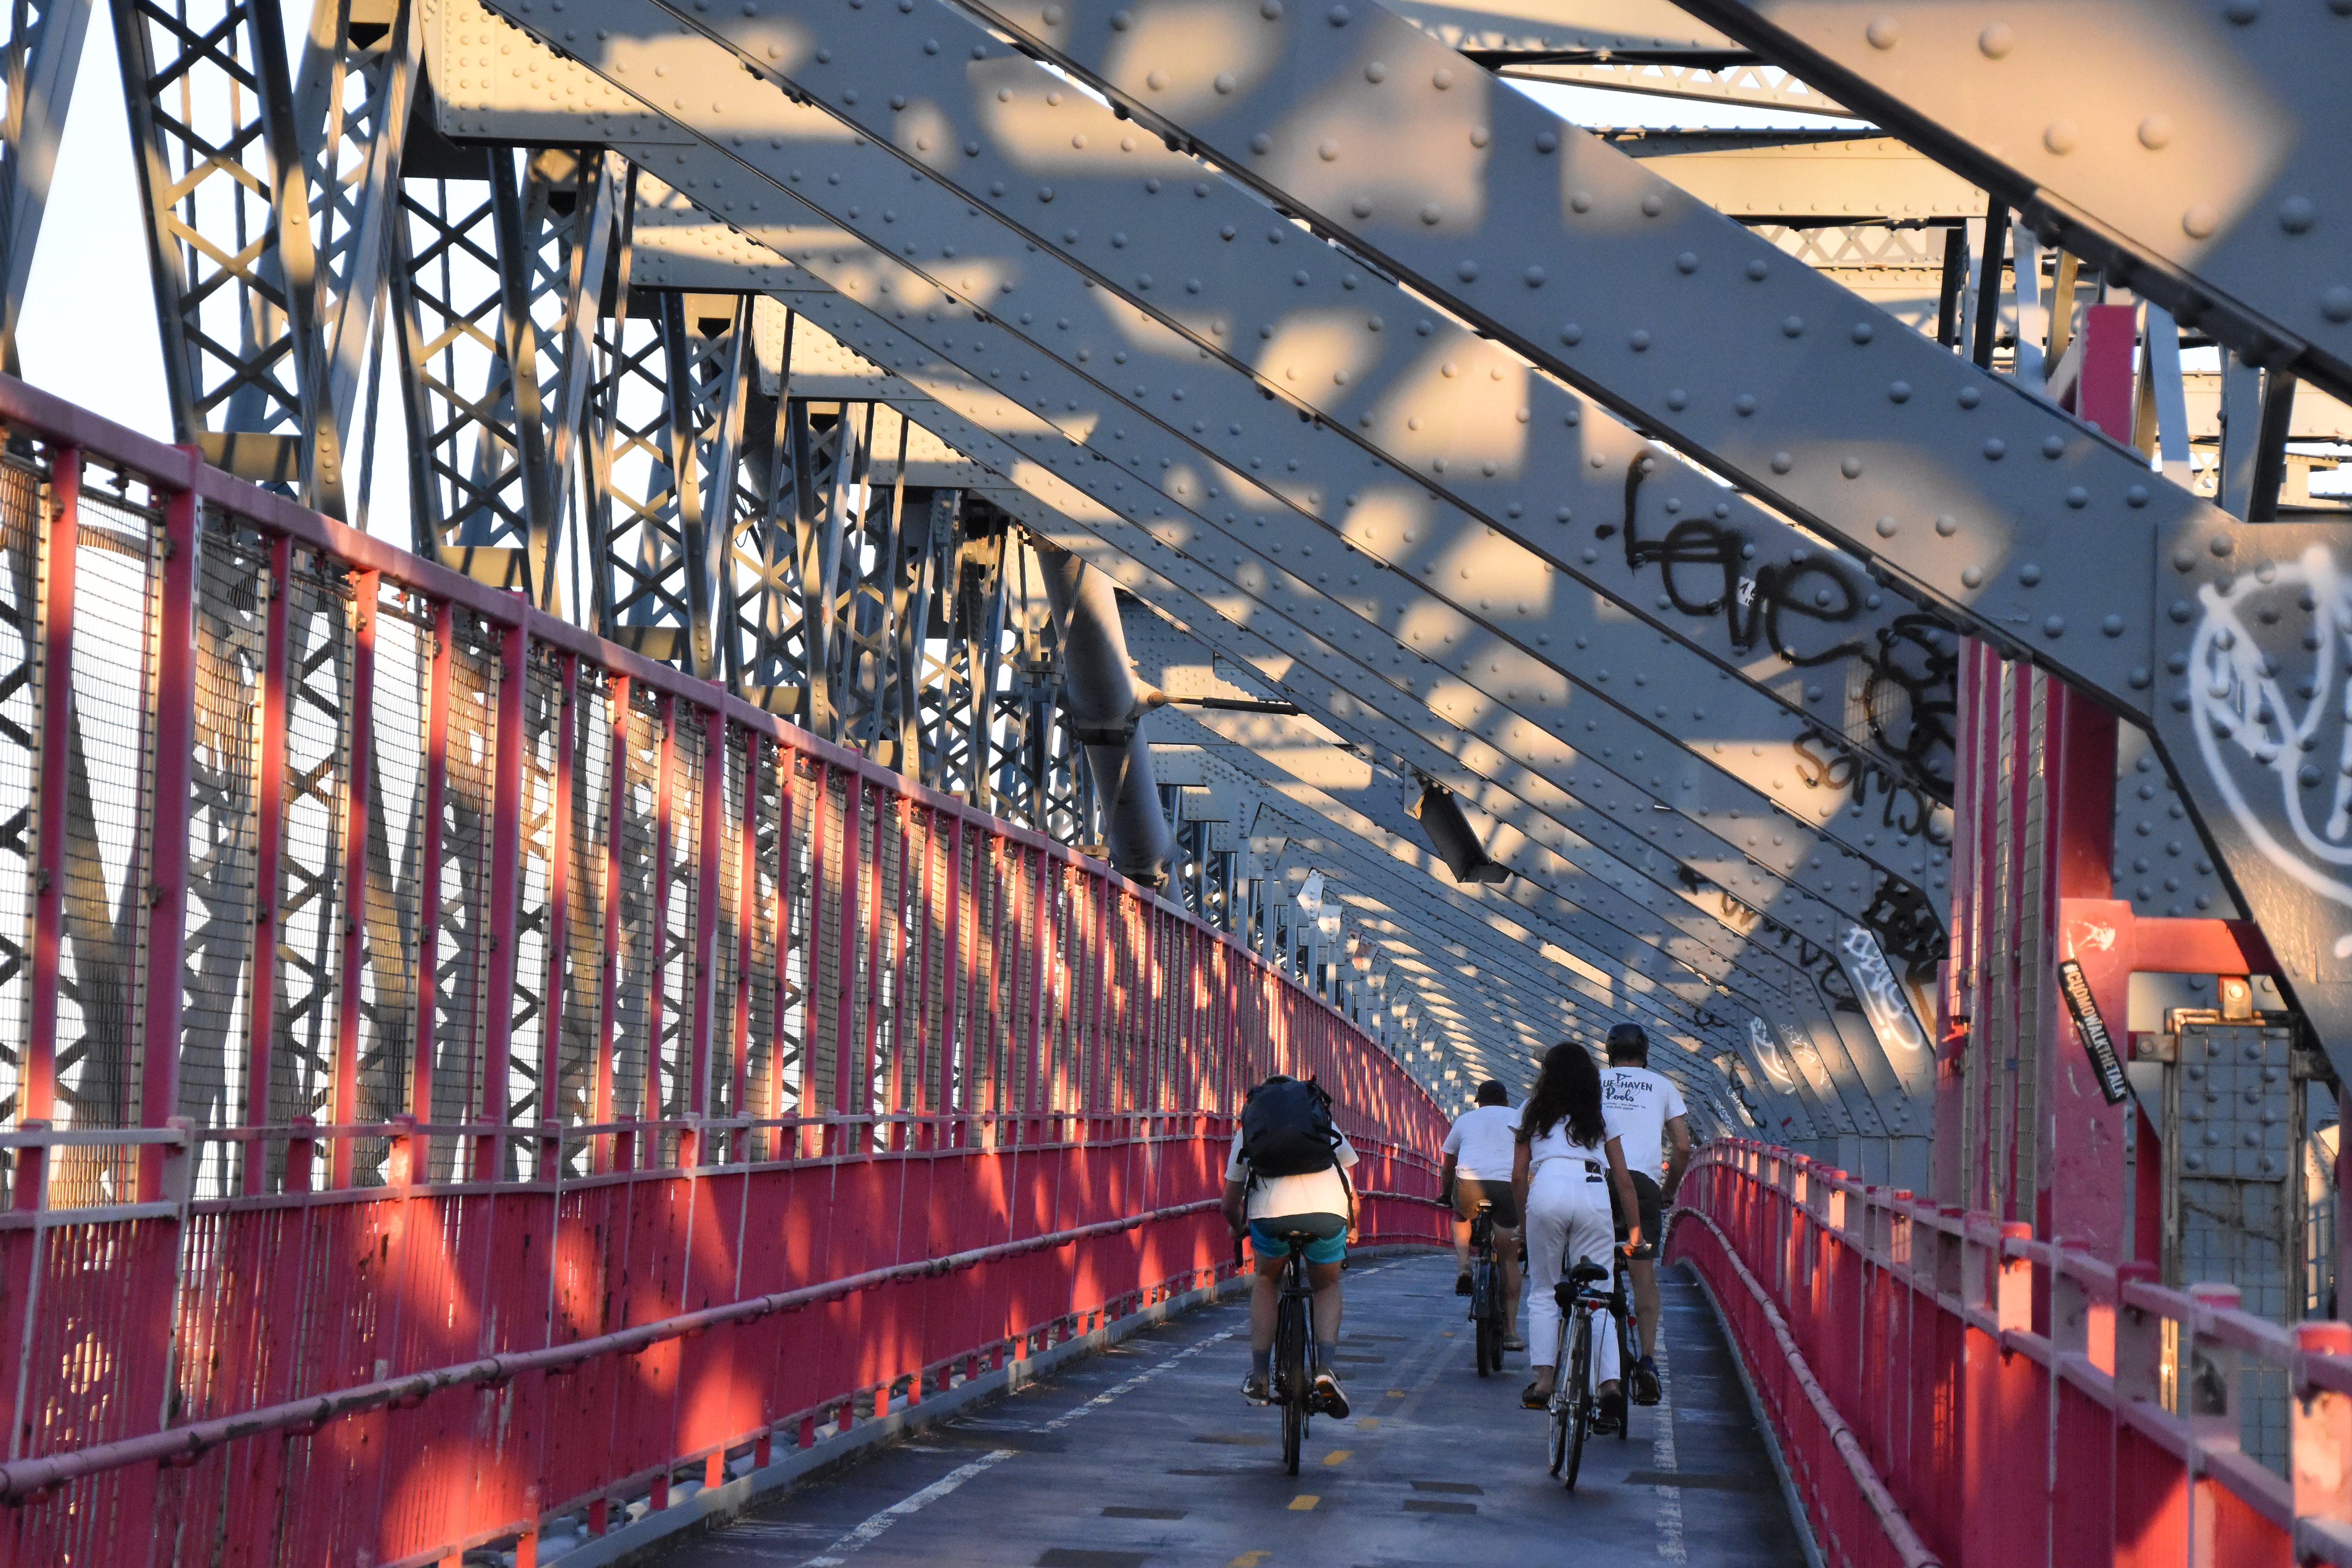


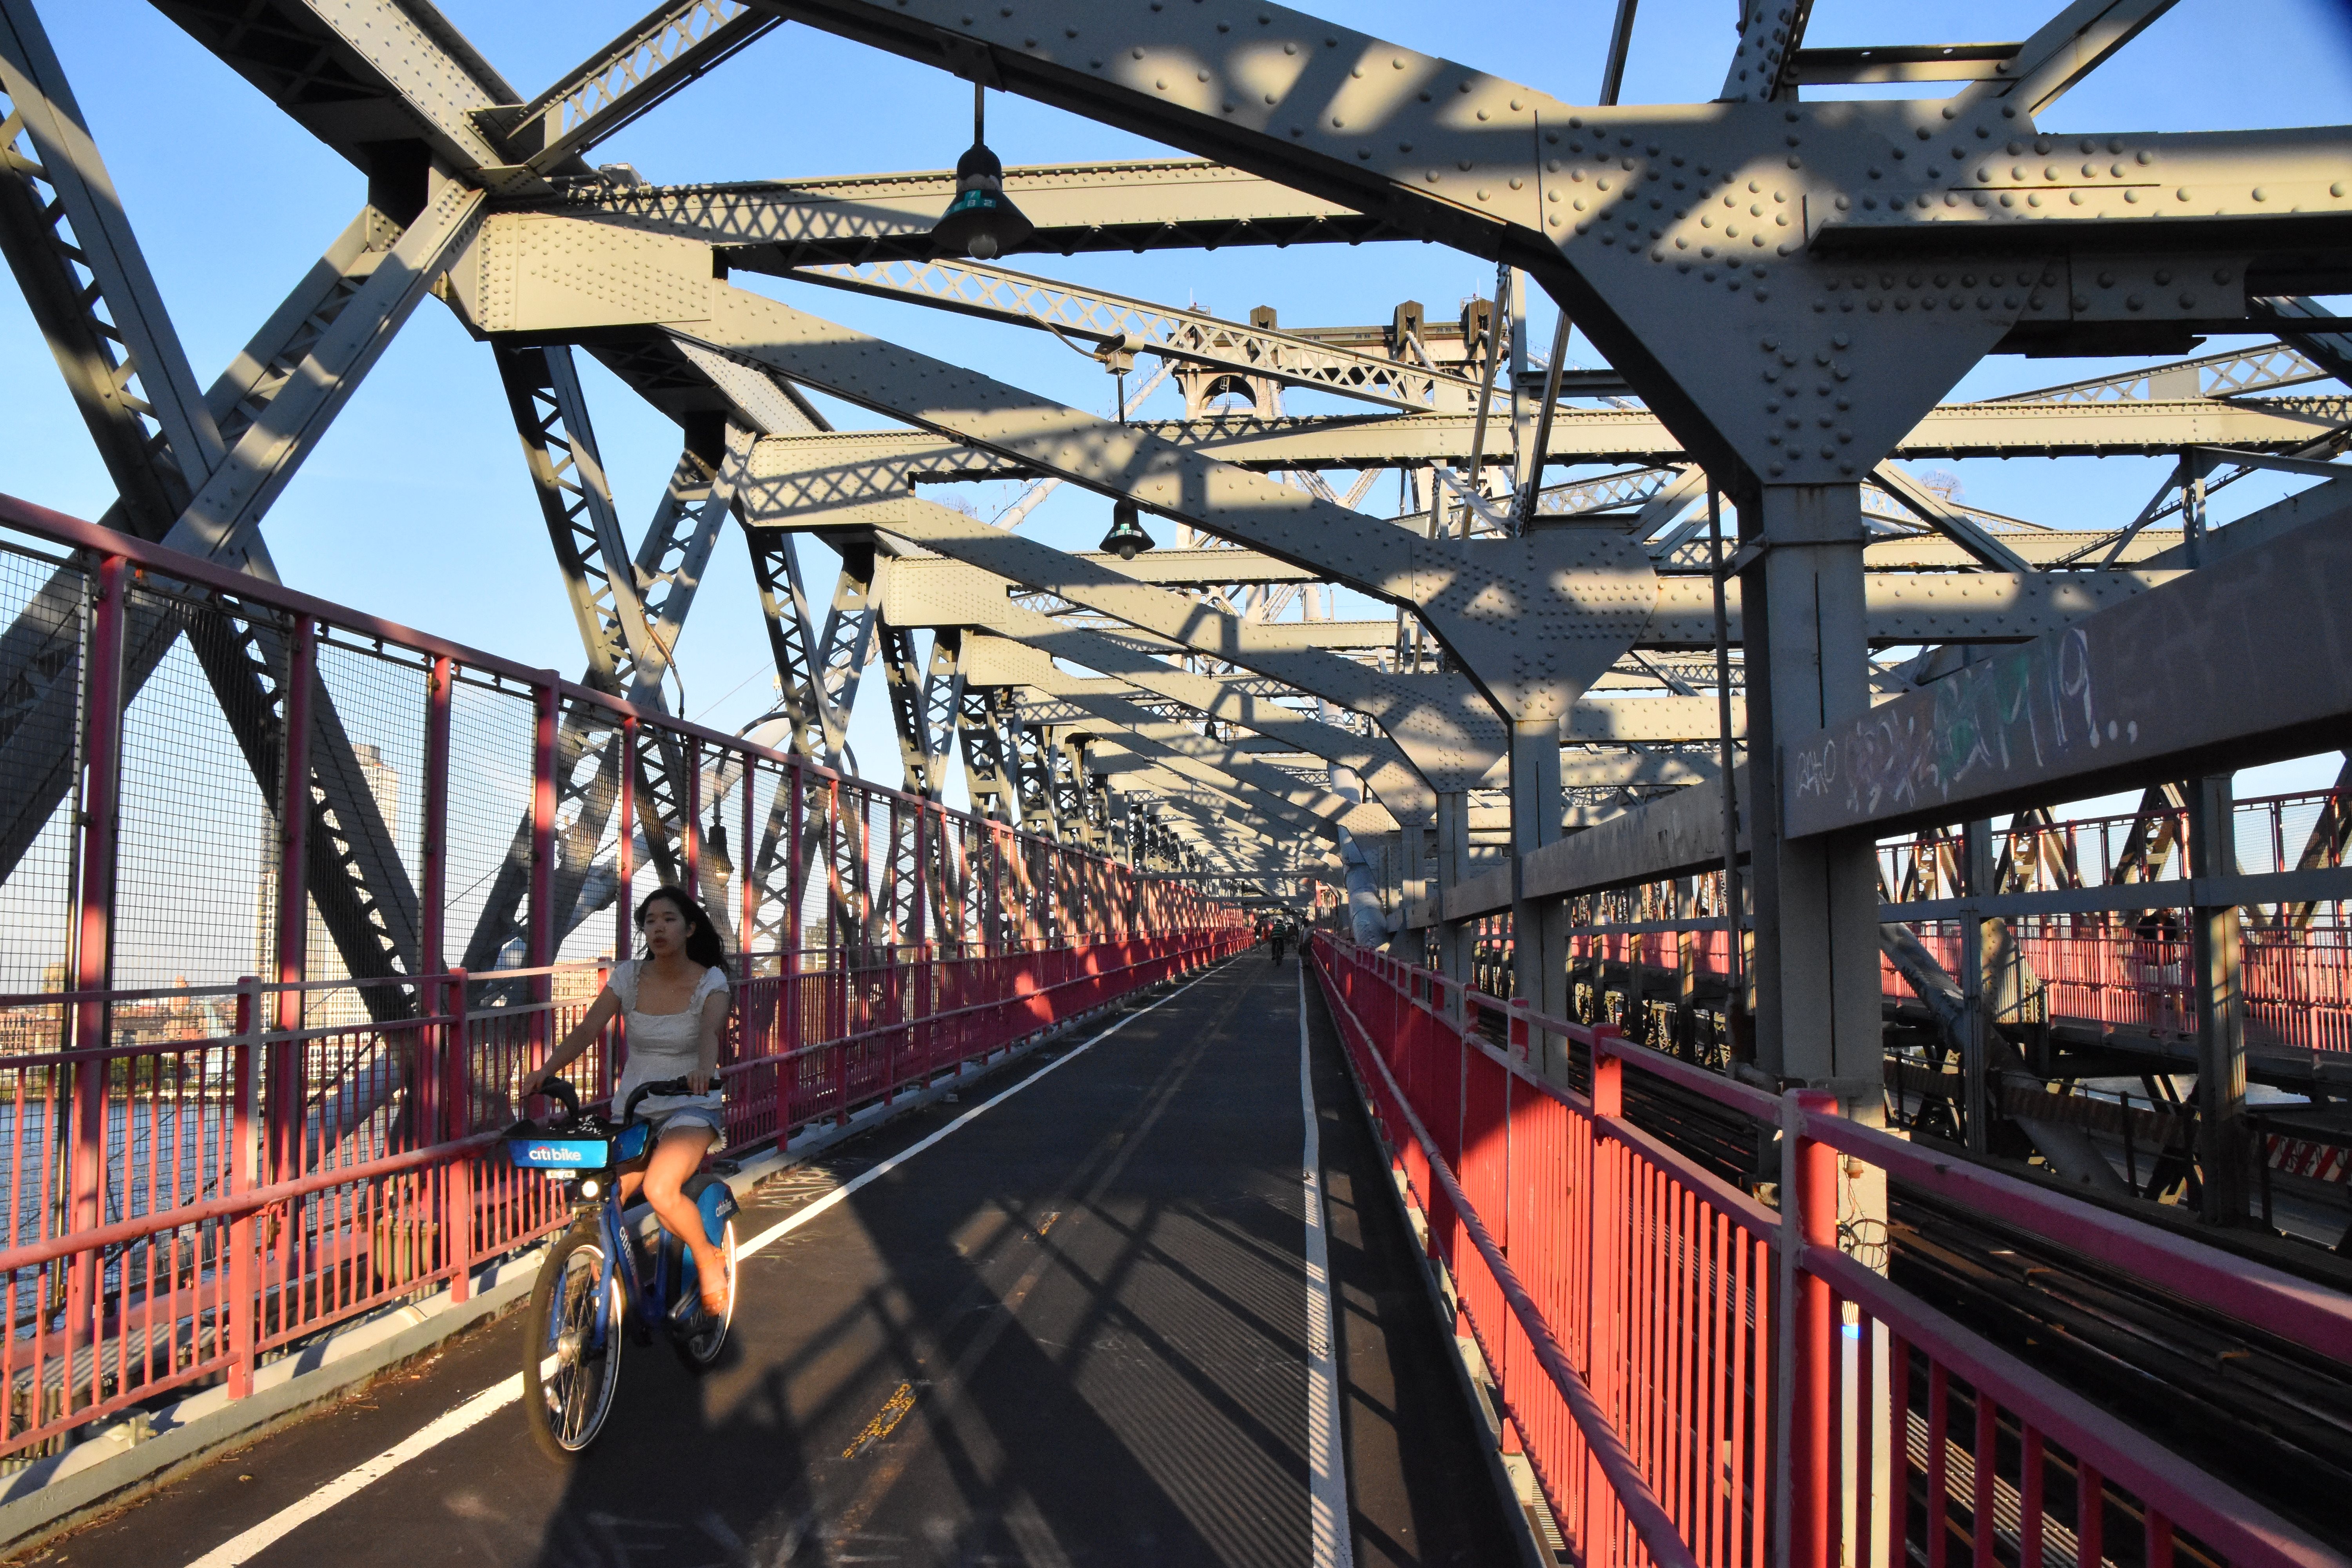
Zoomed portal views on walkway facing east.
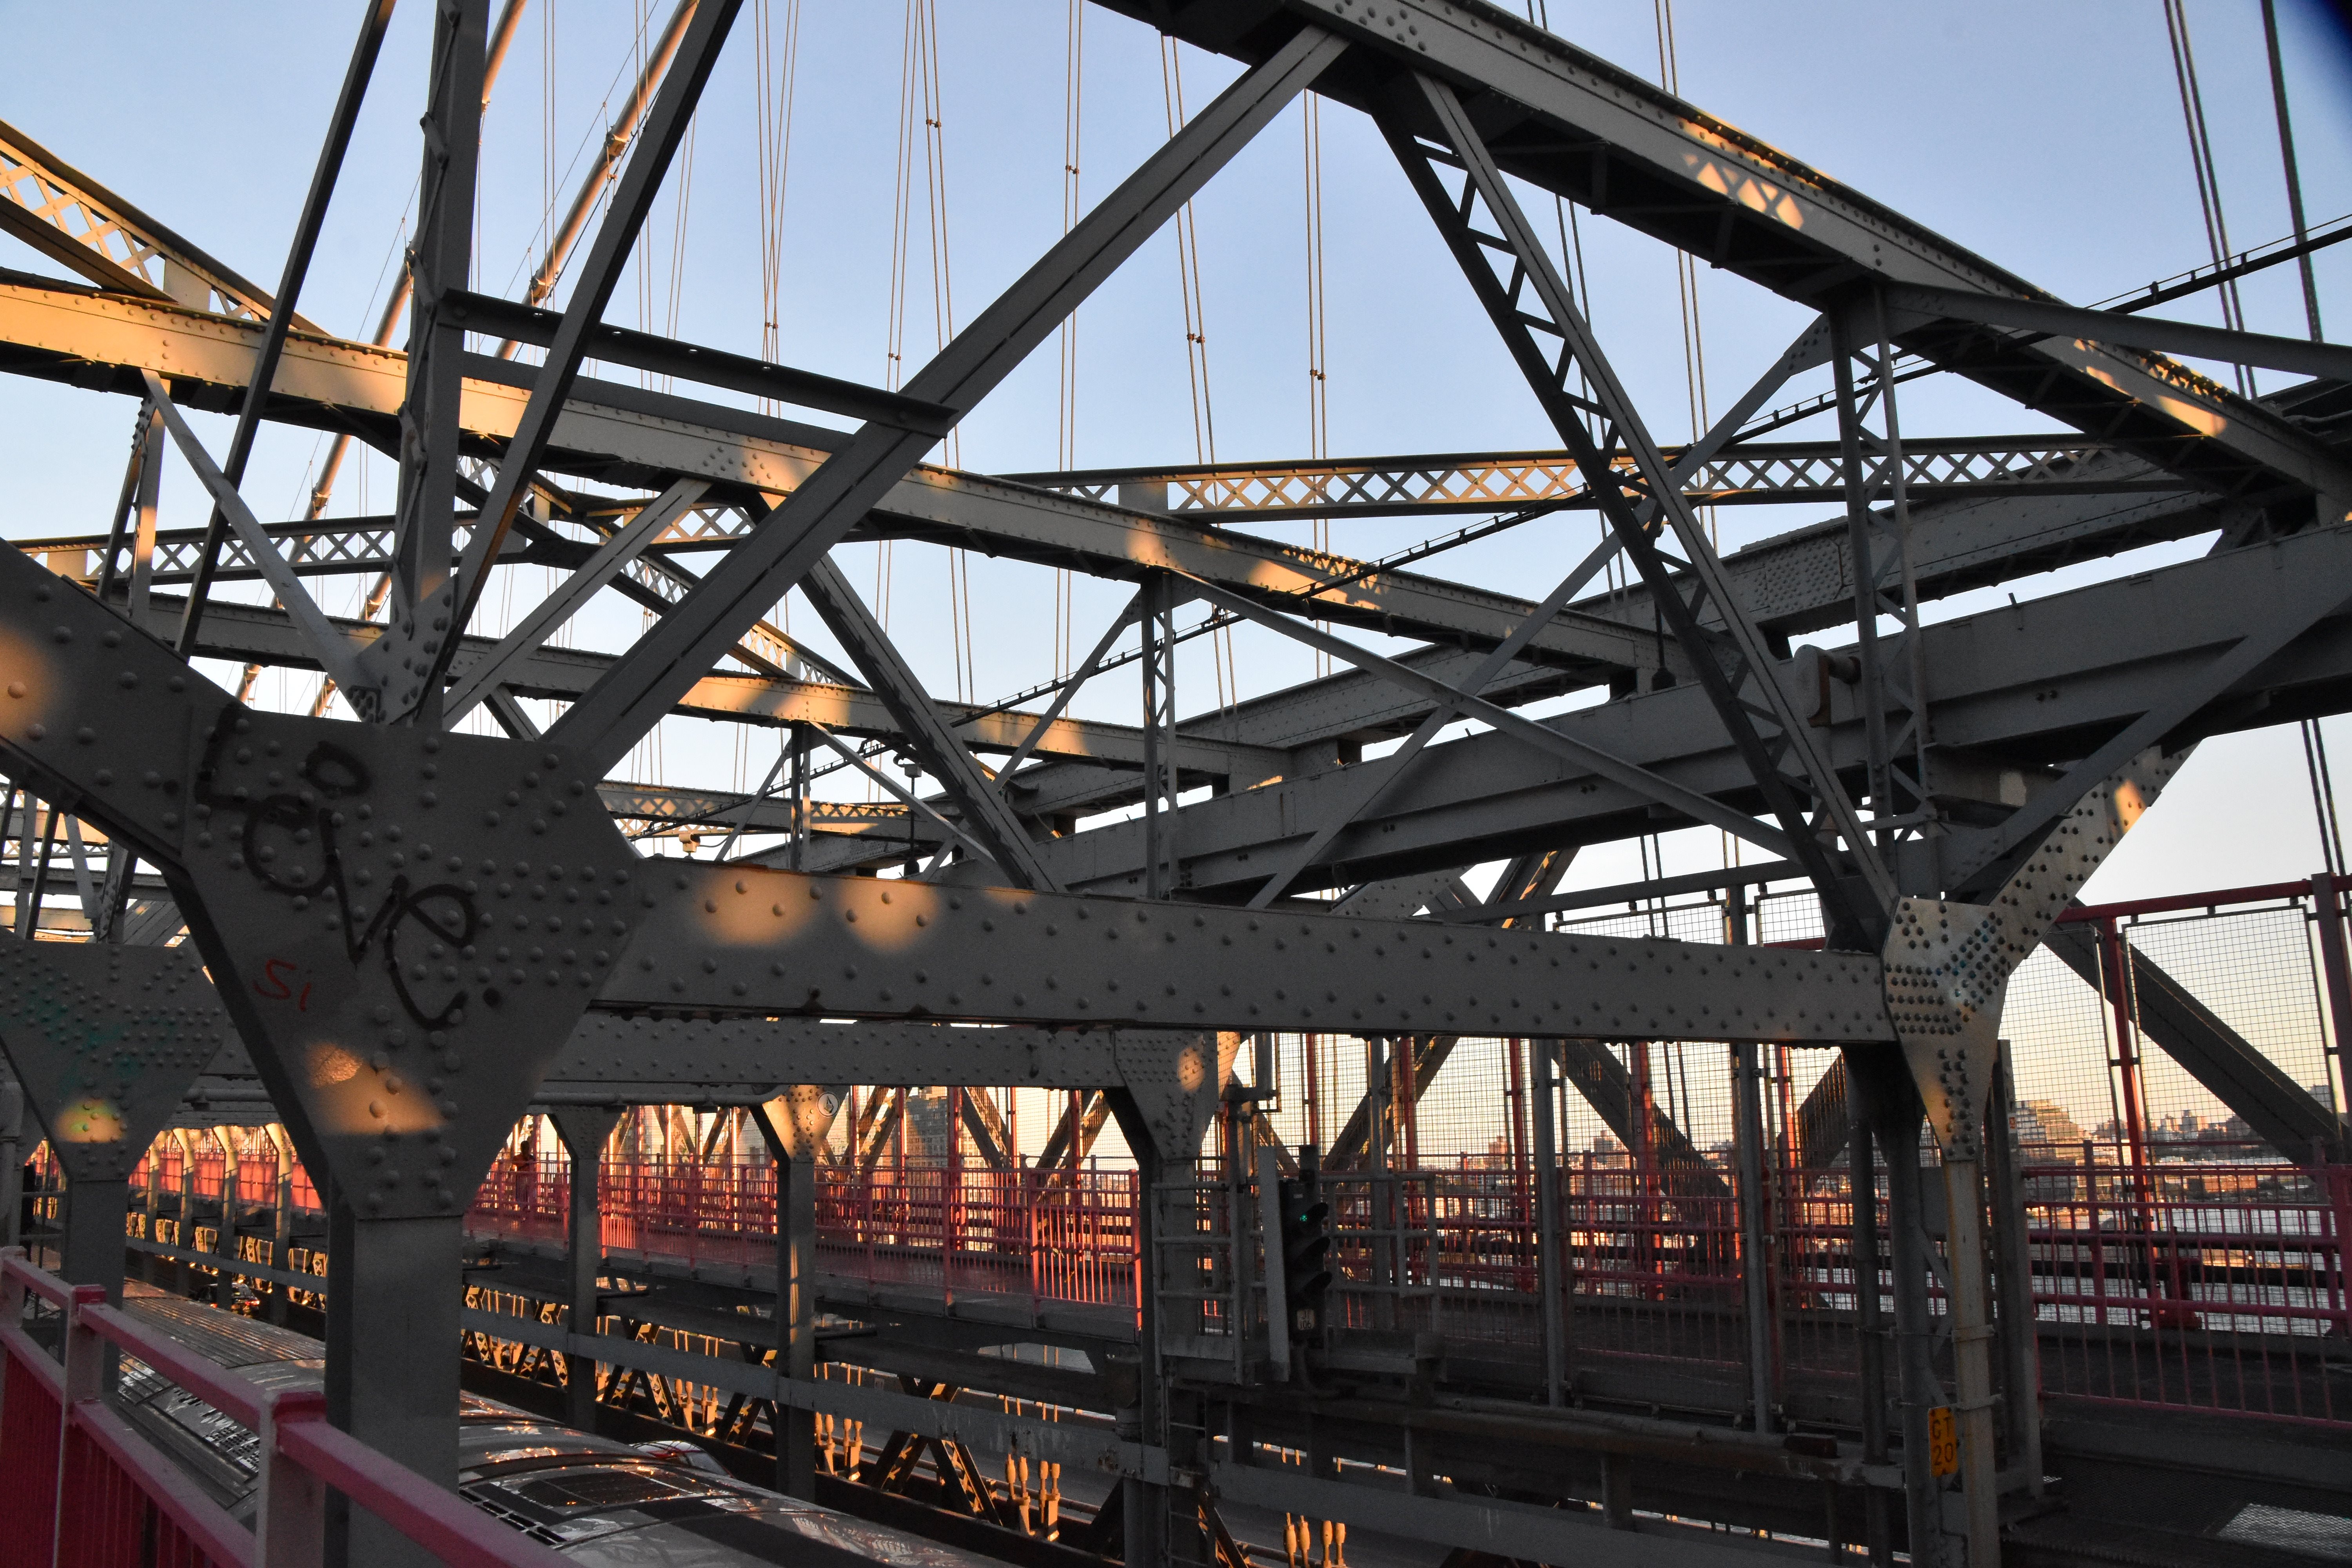
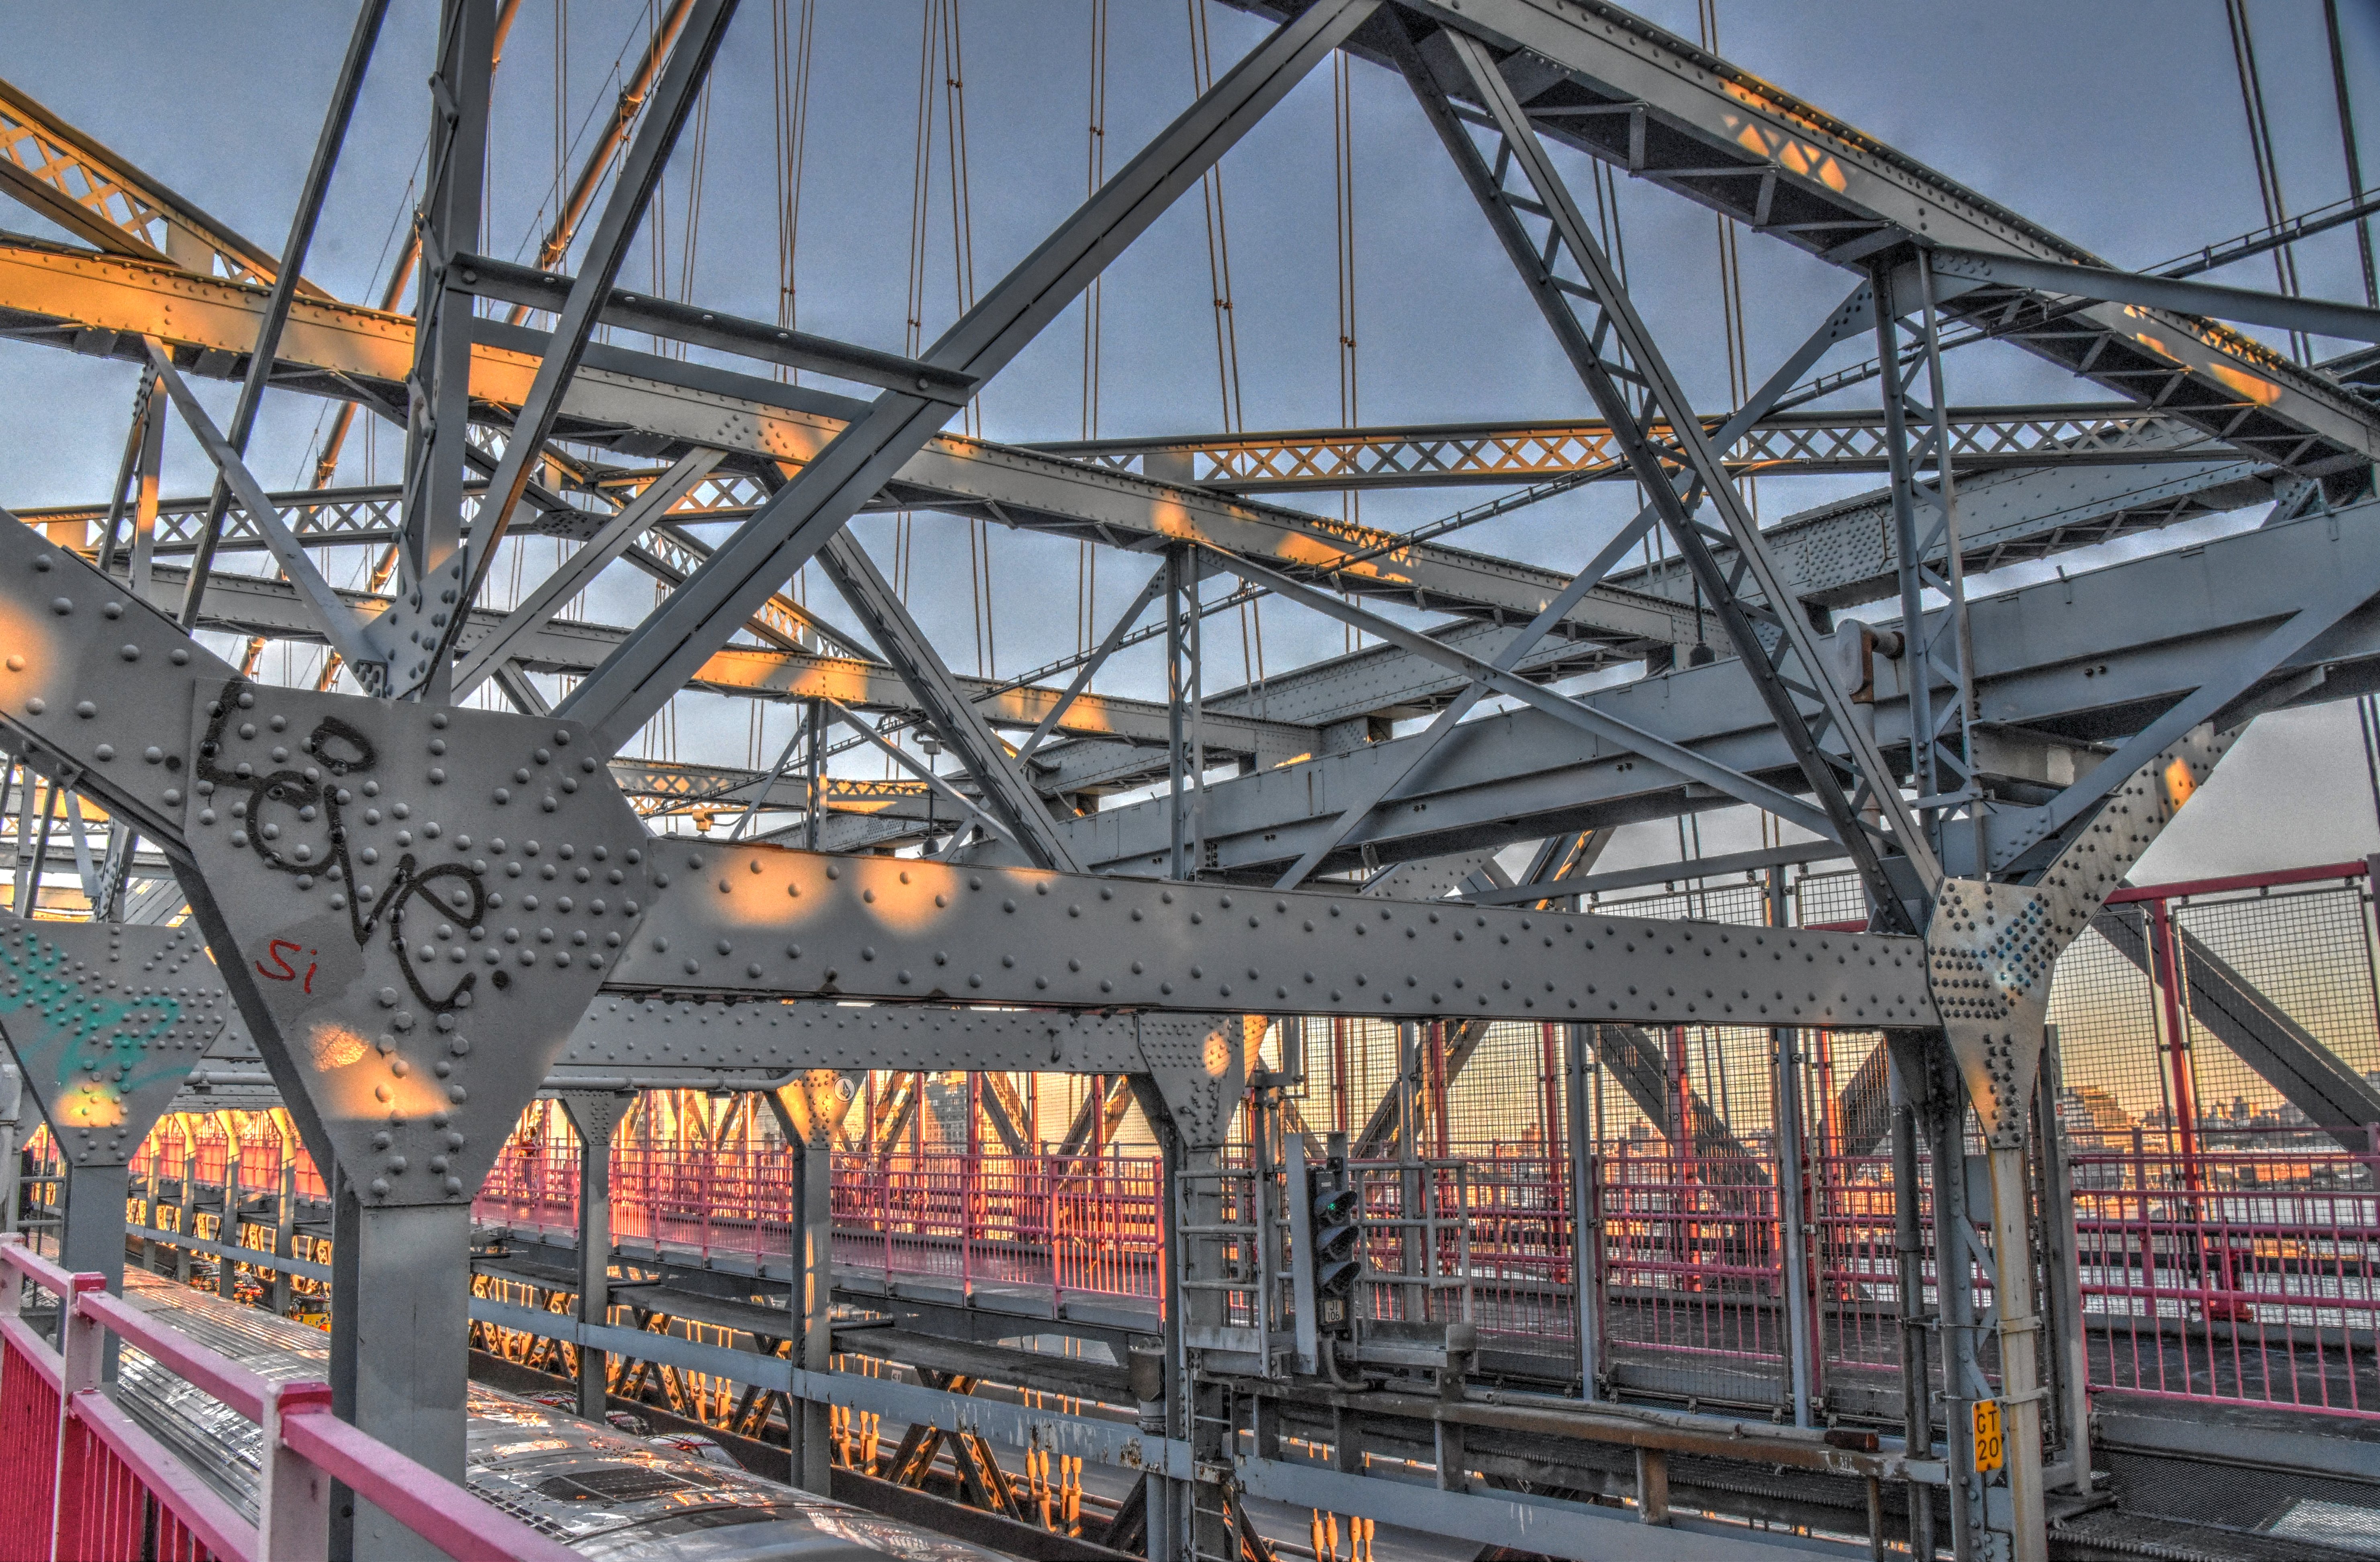
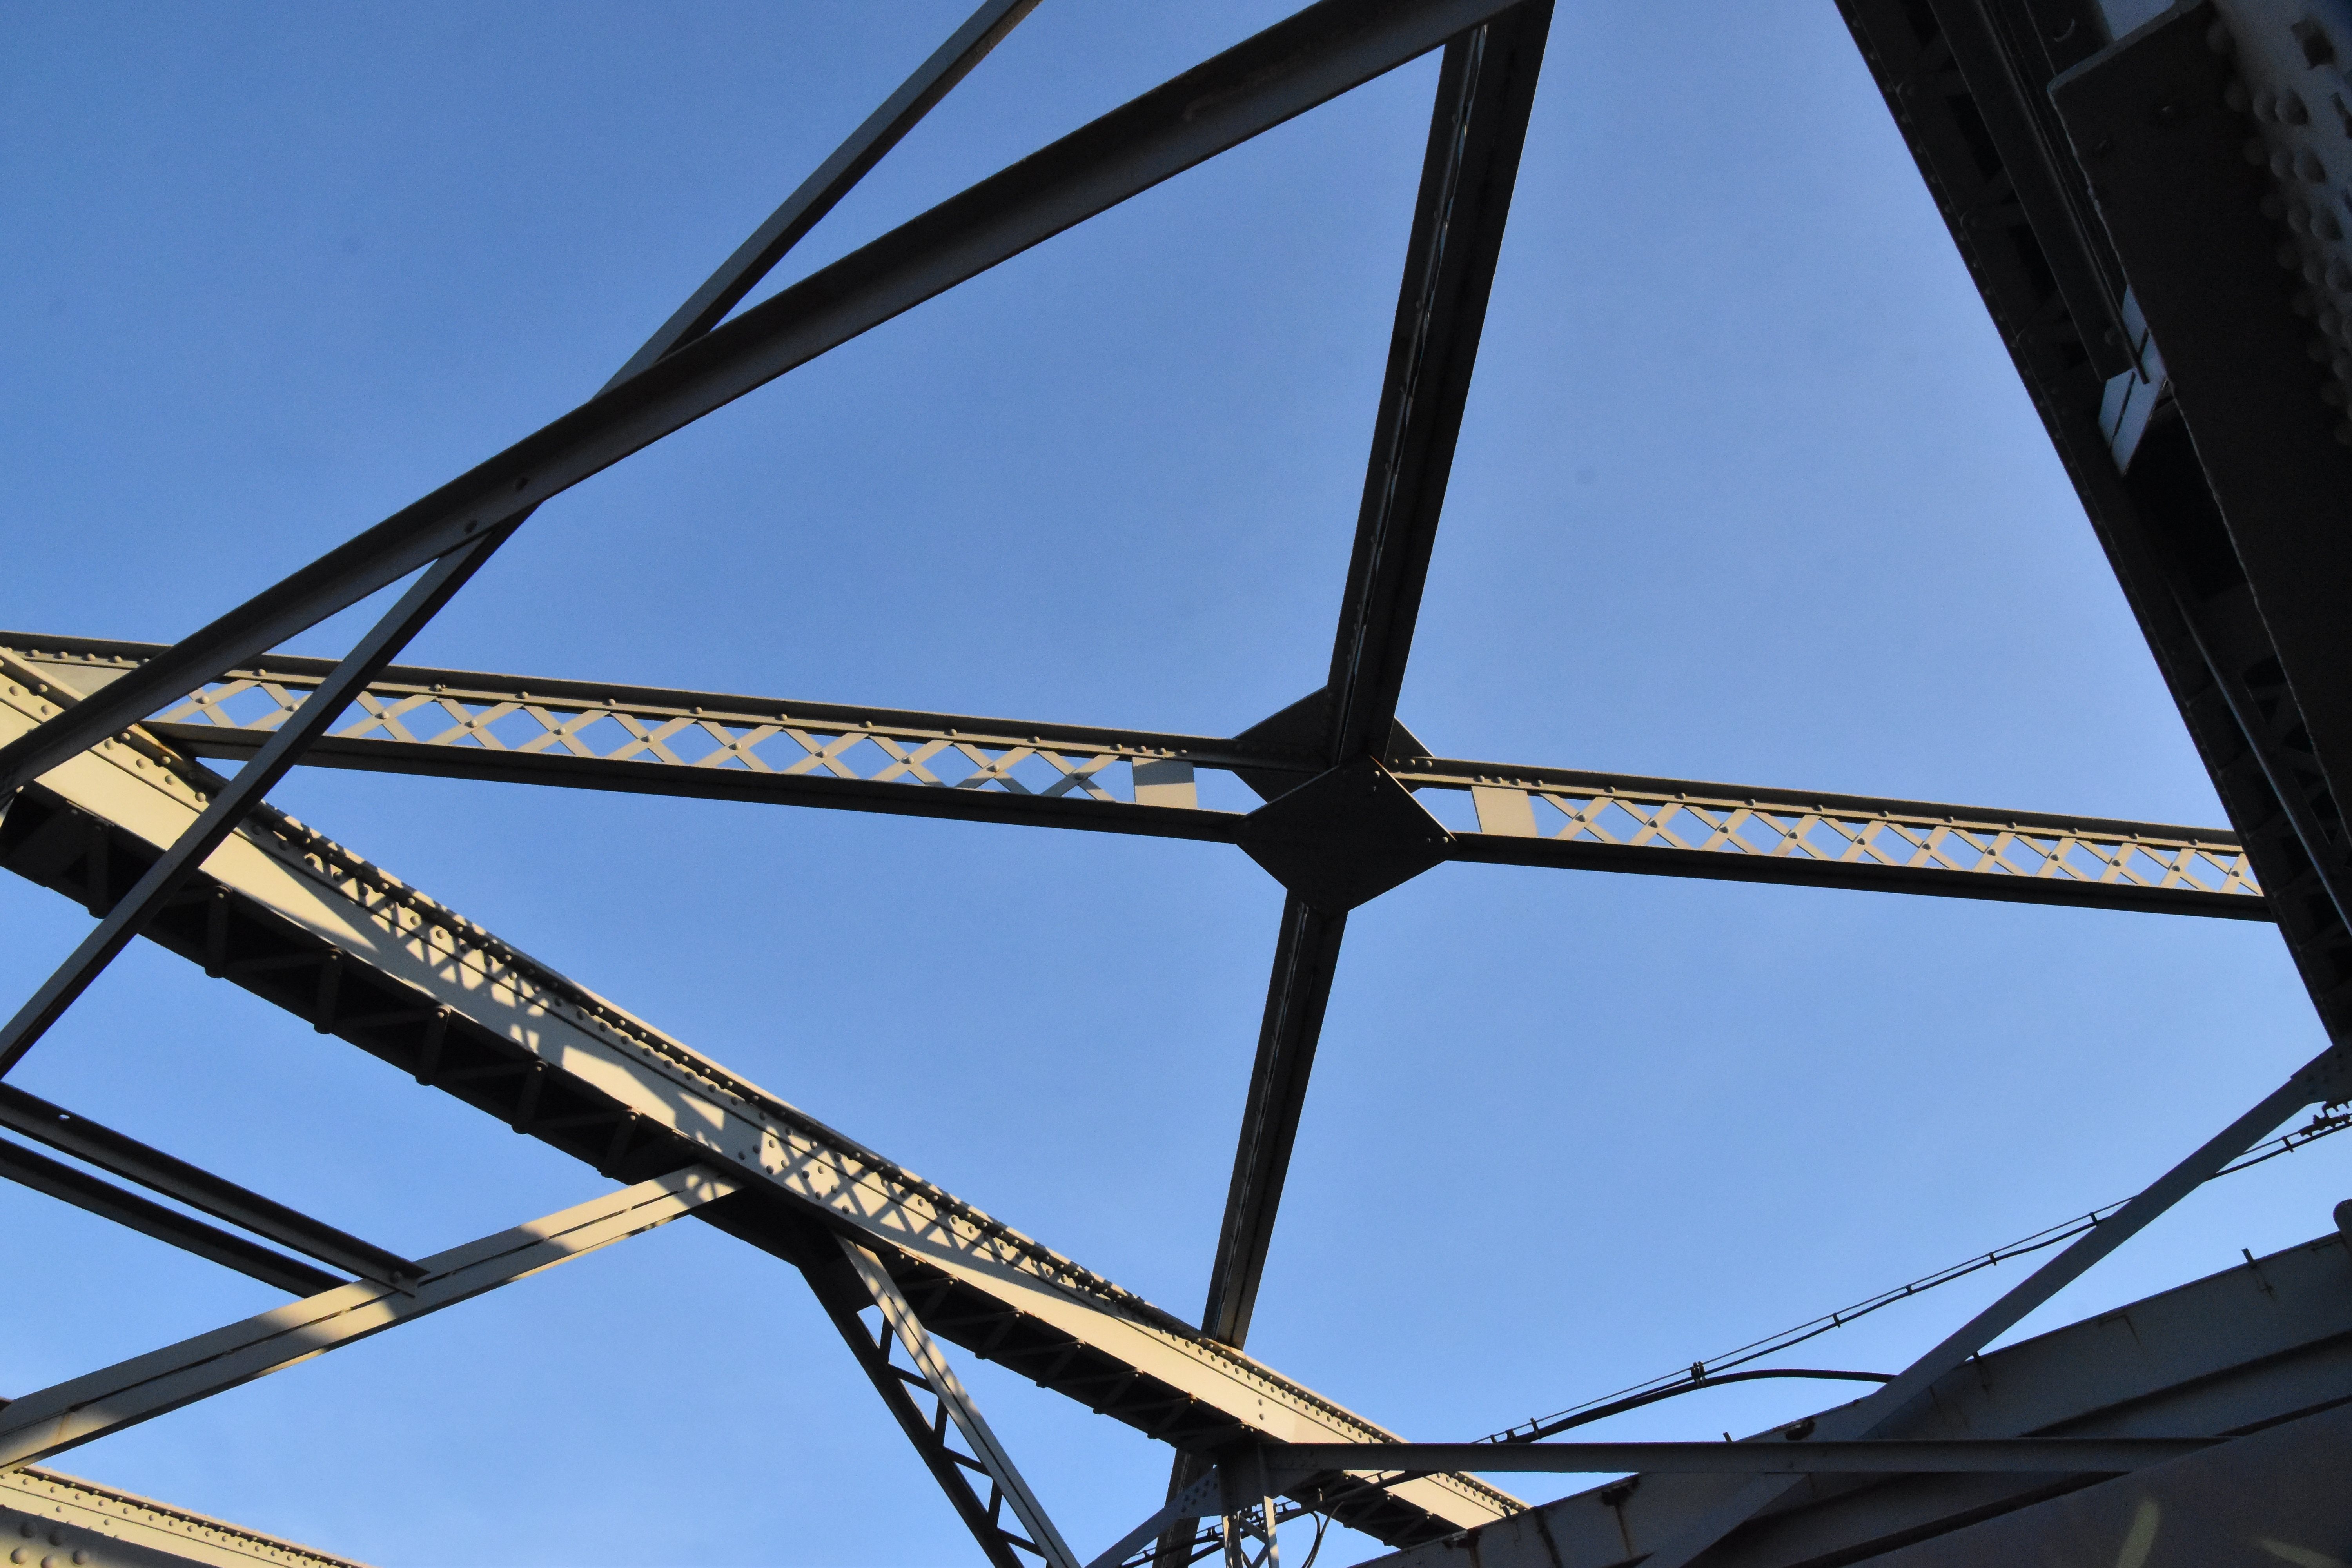
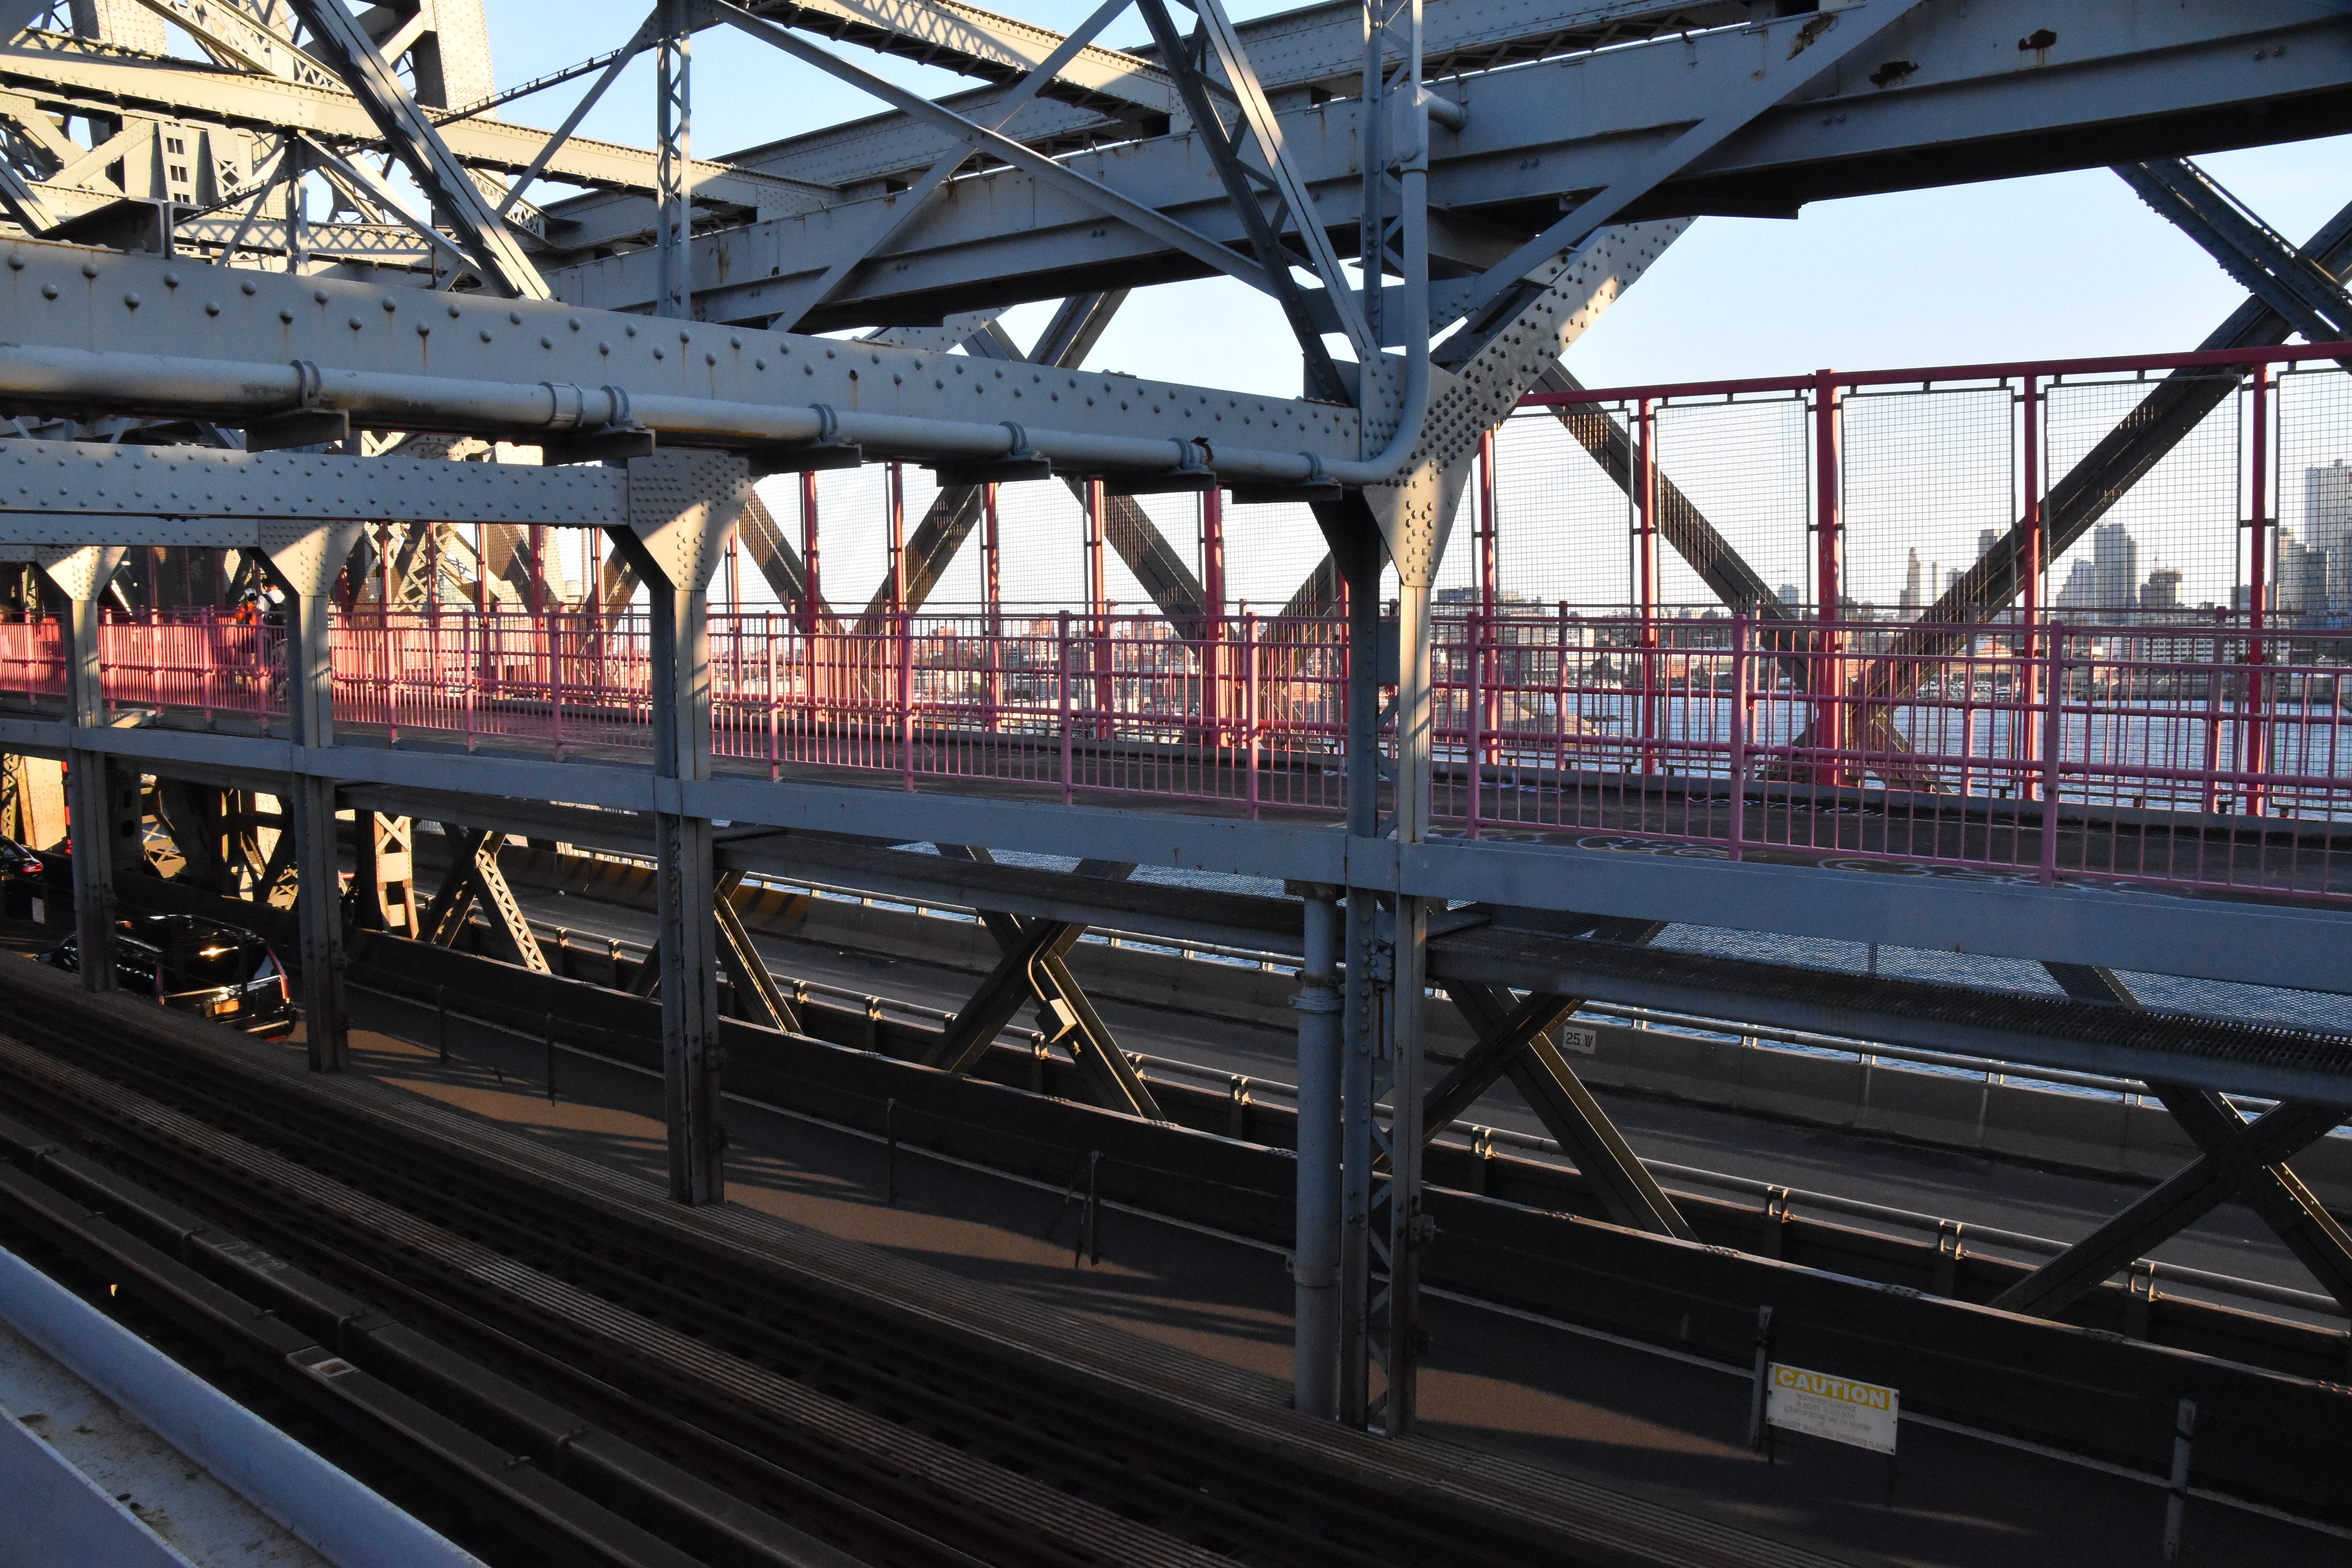
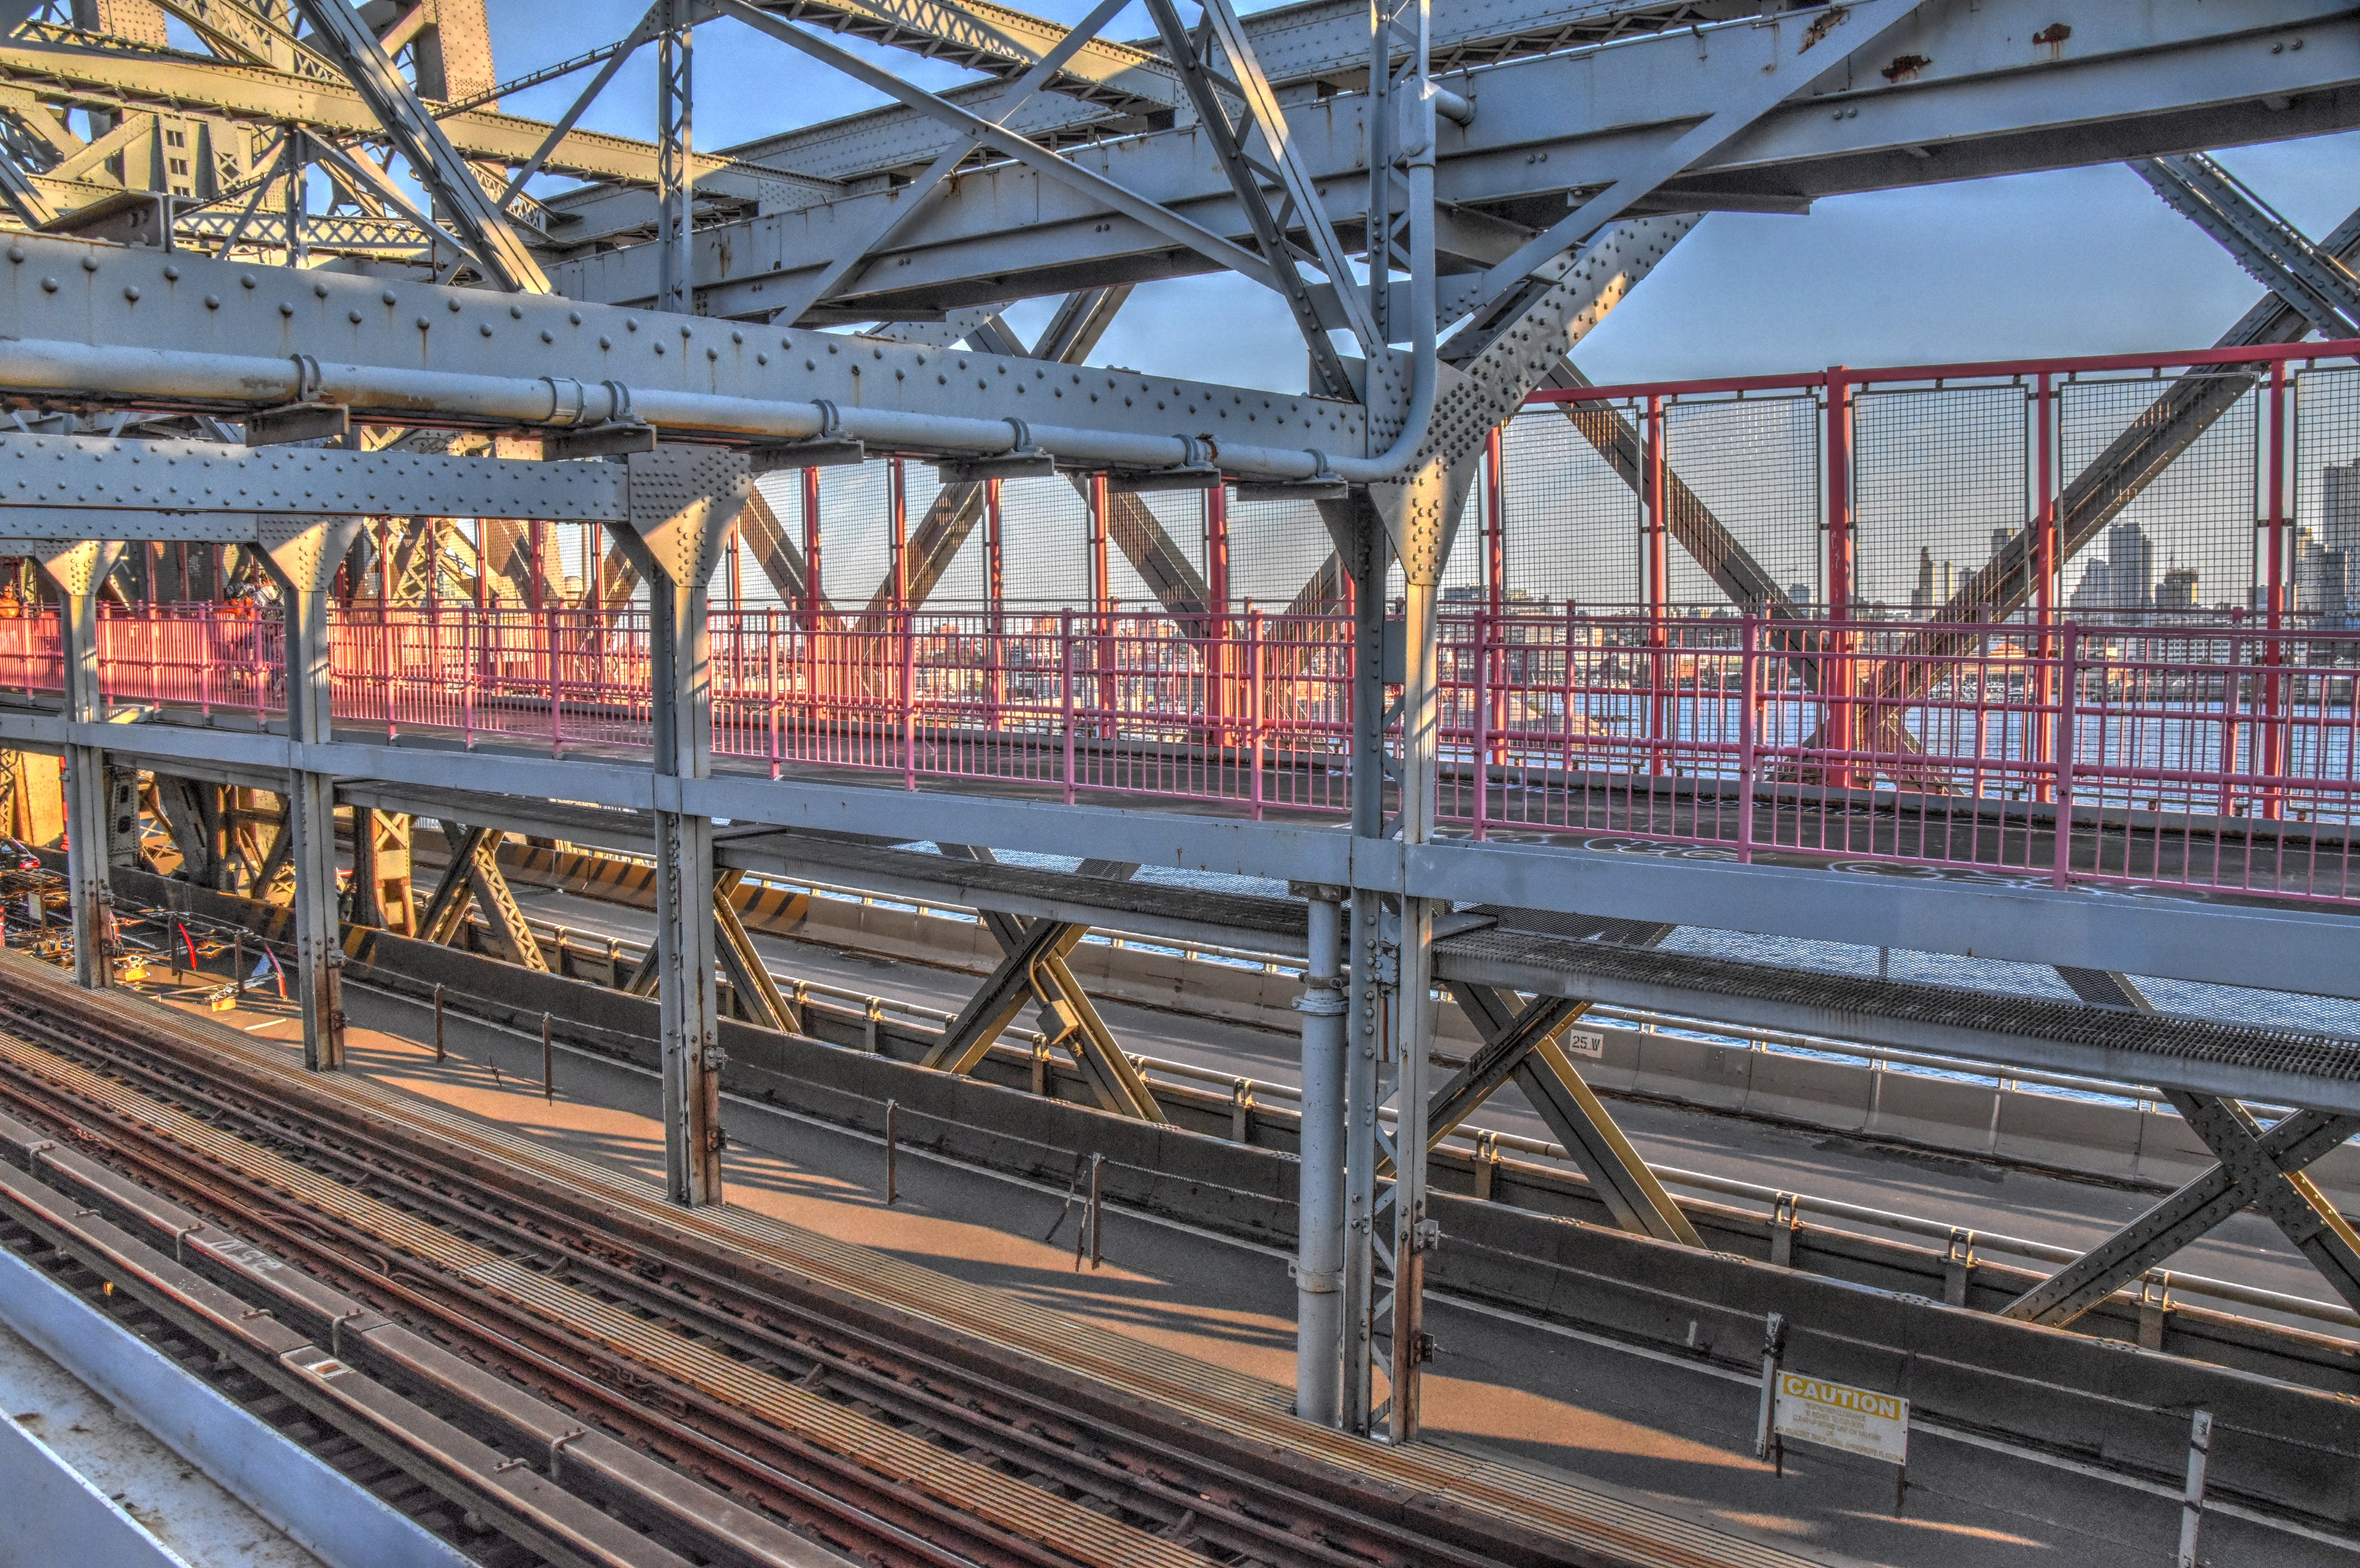
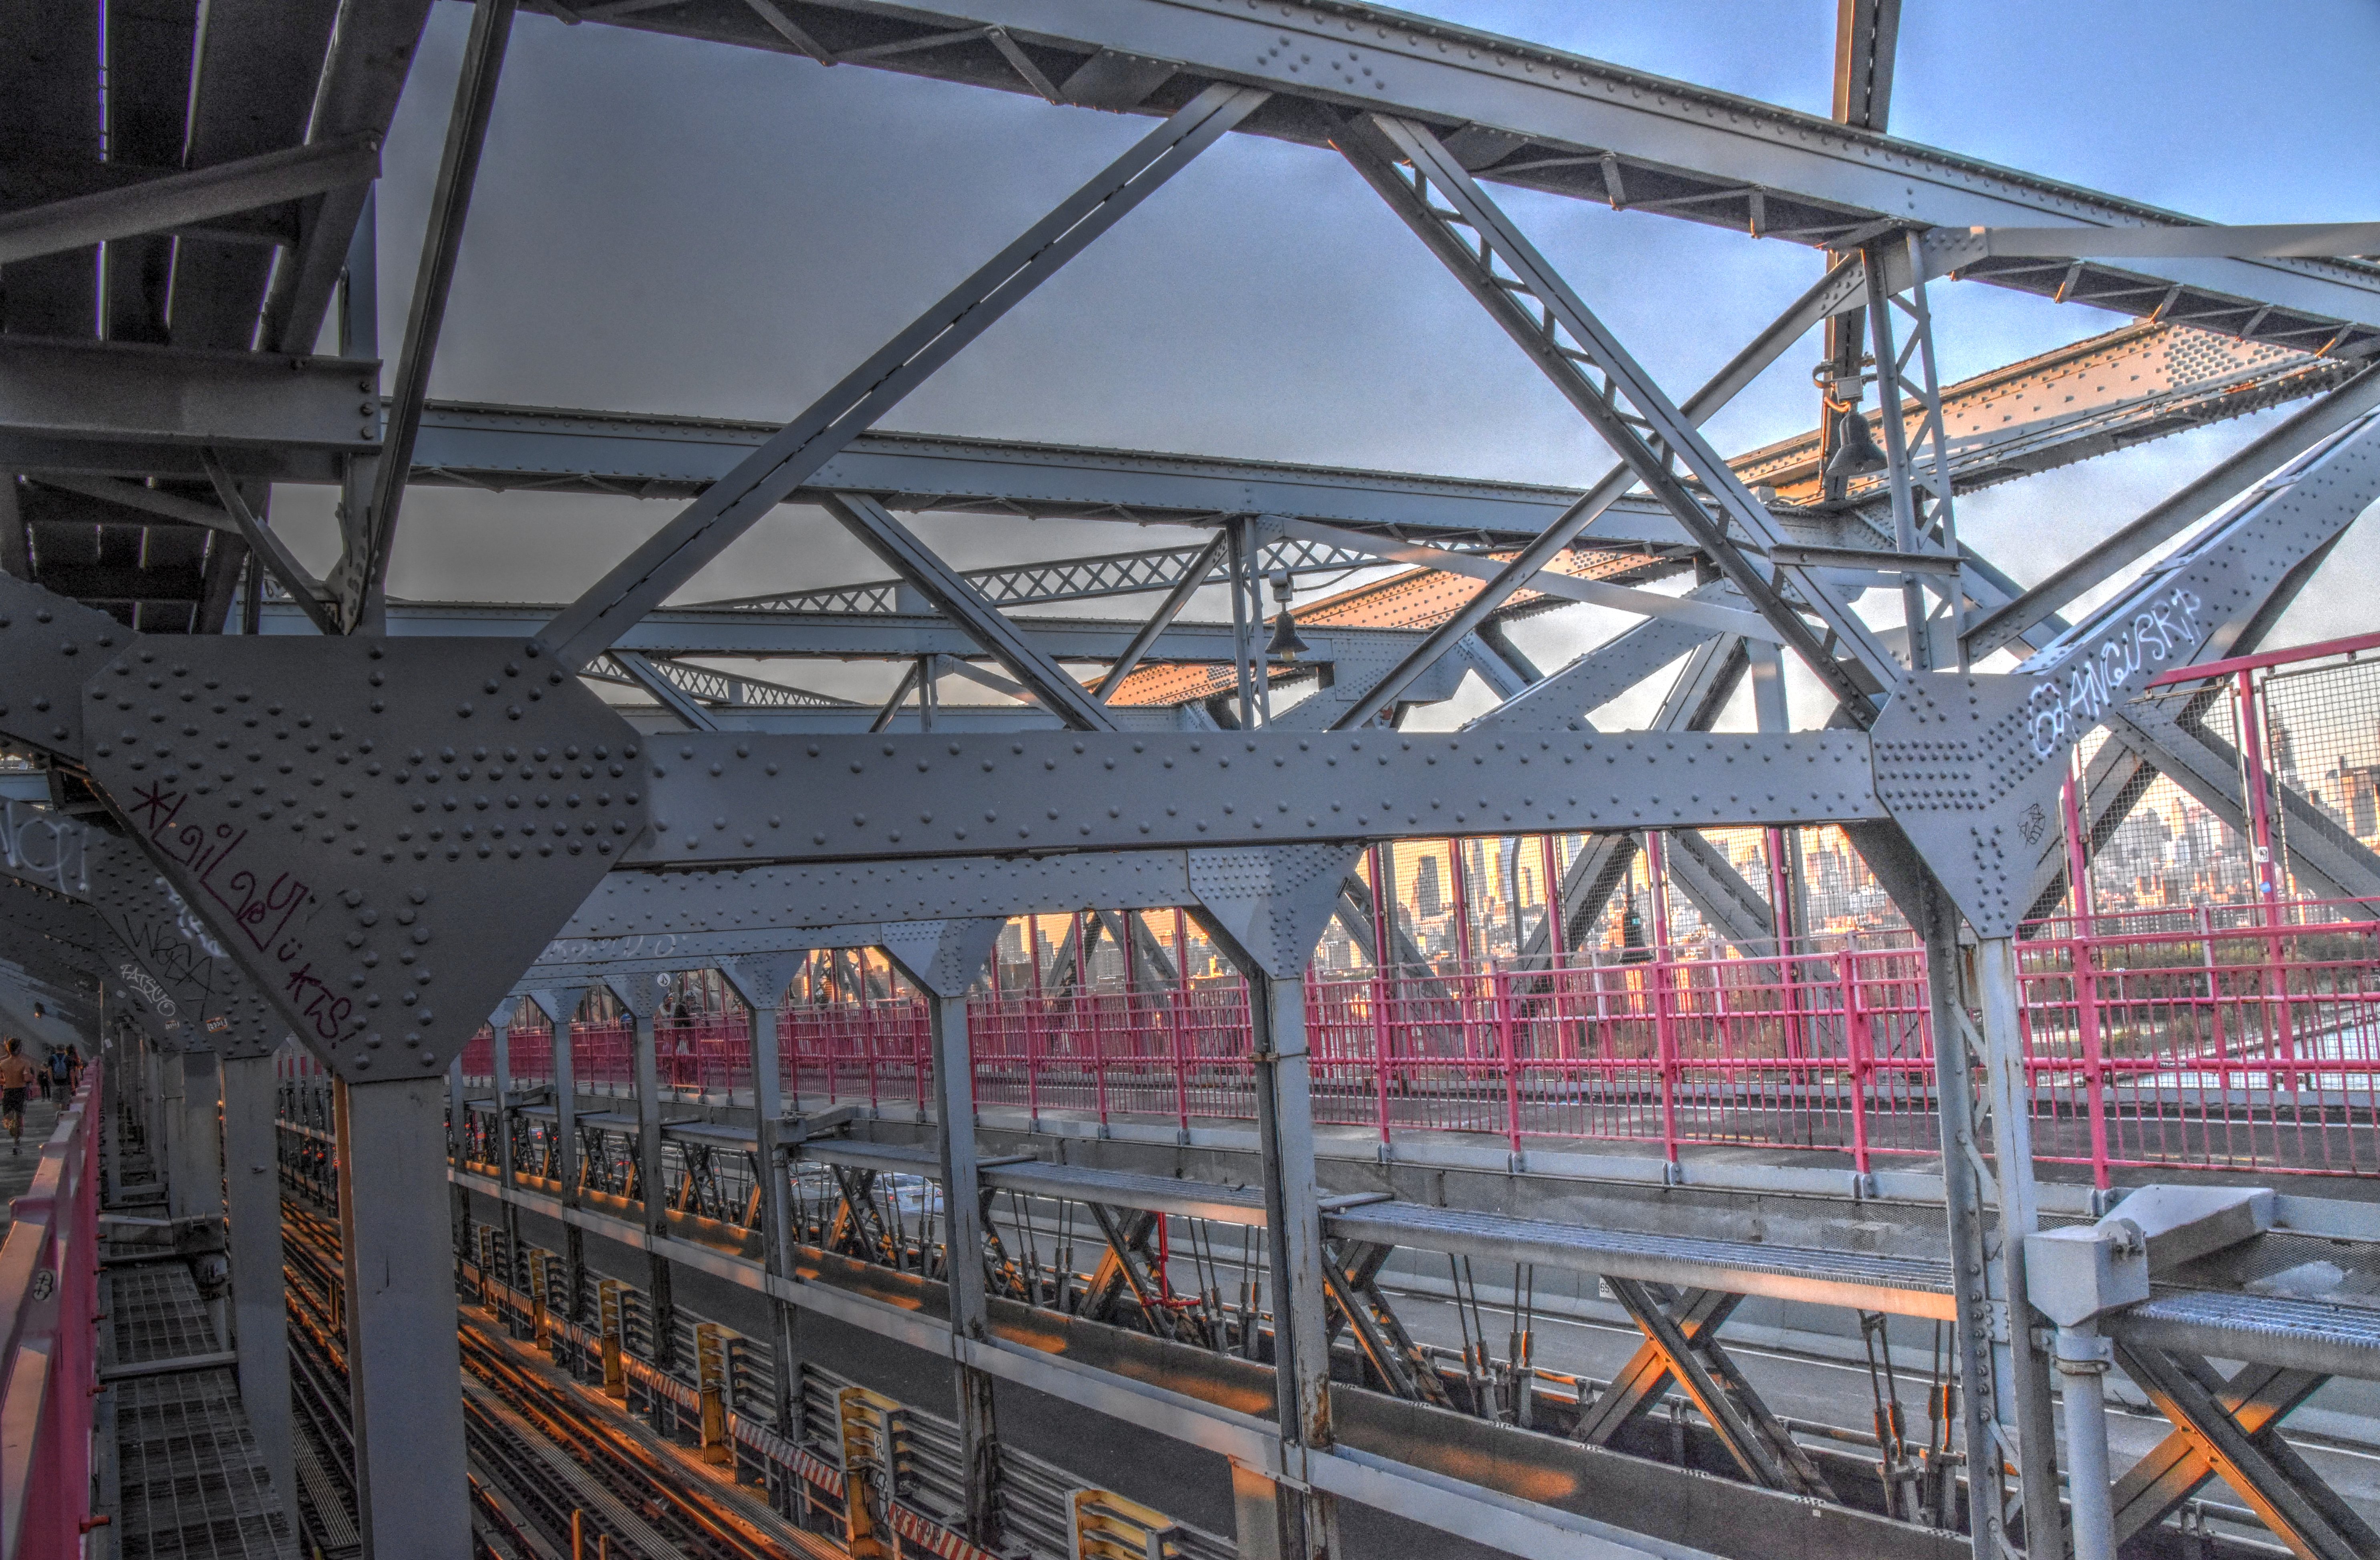
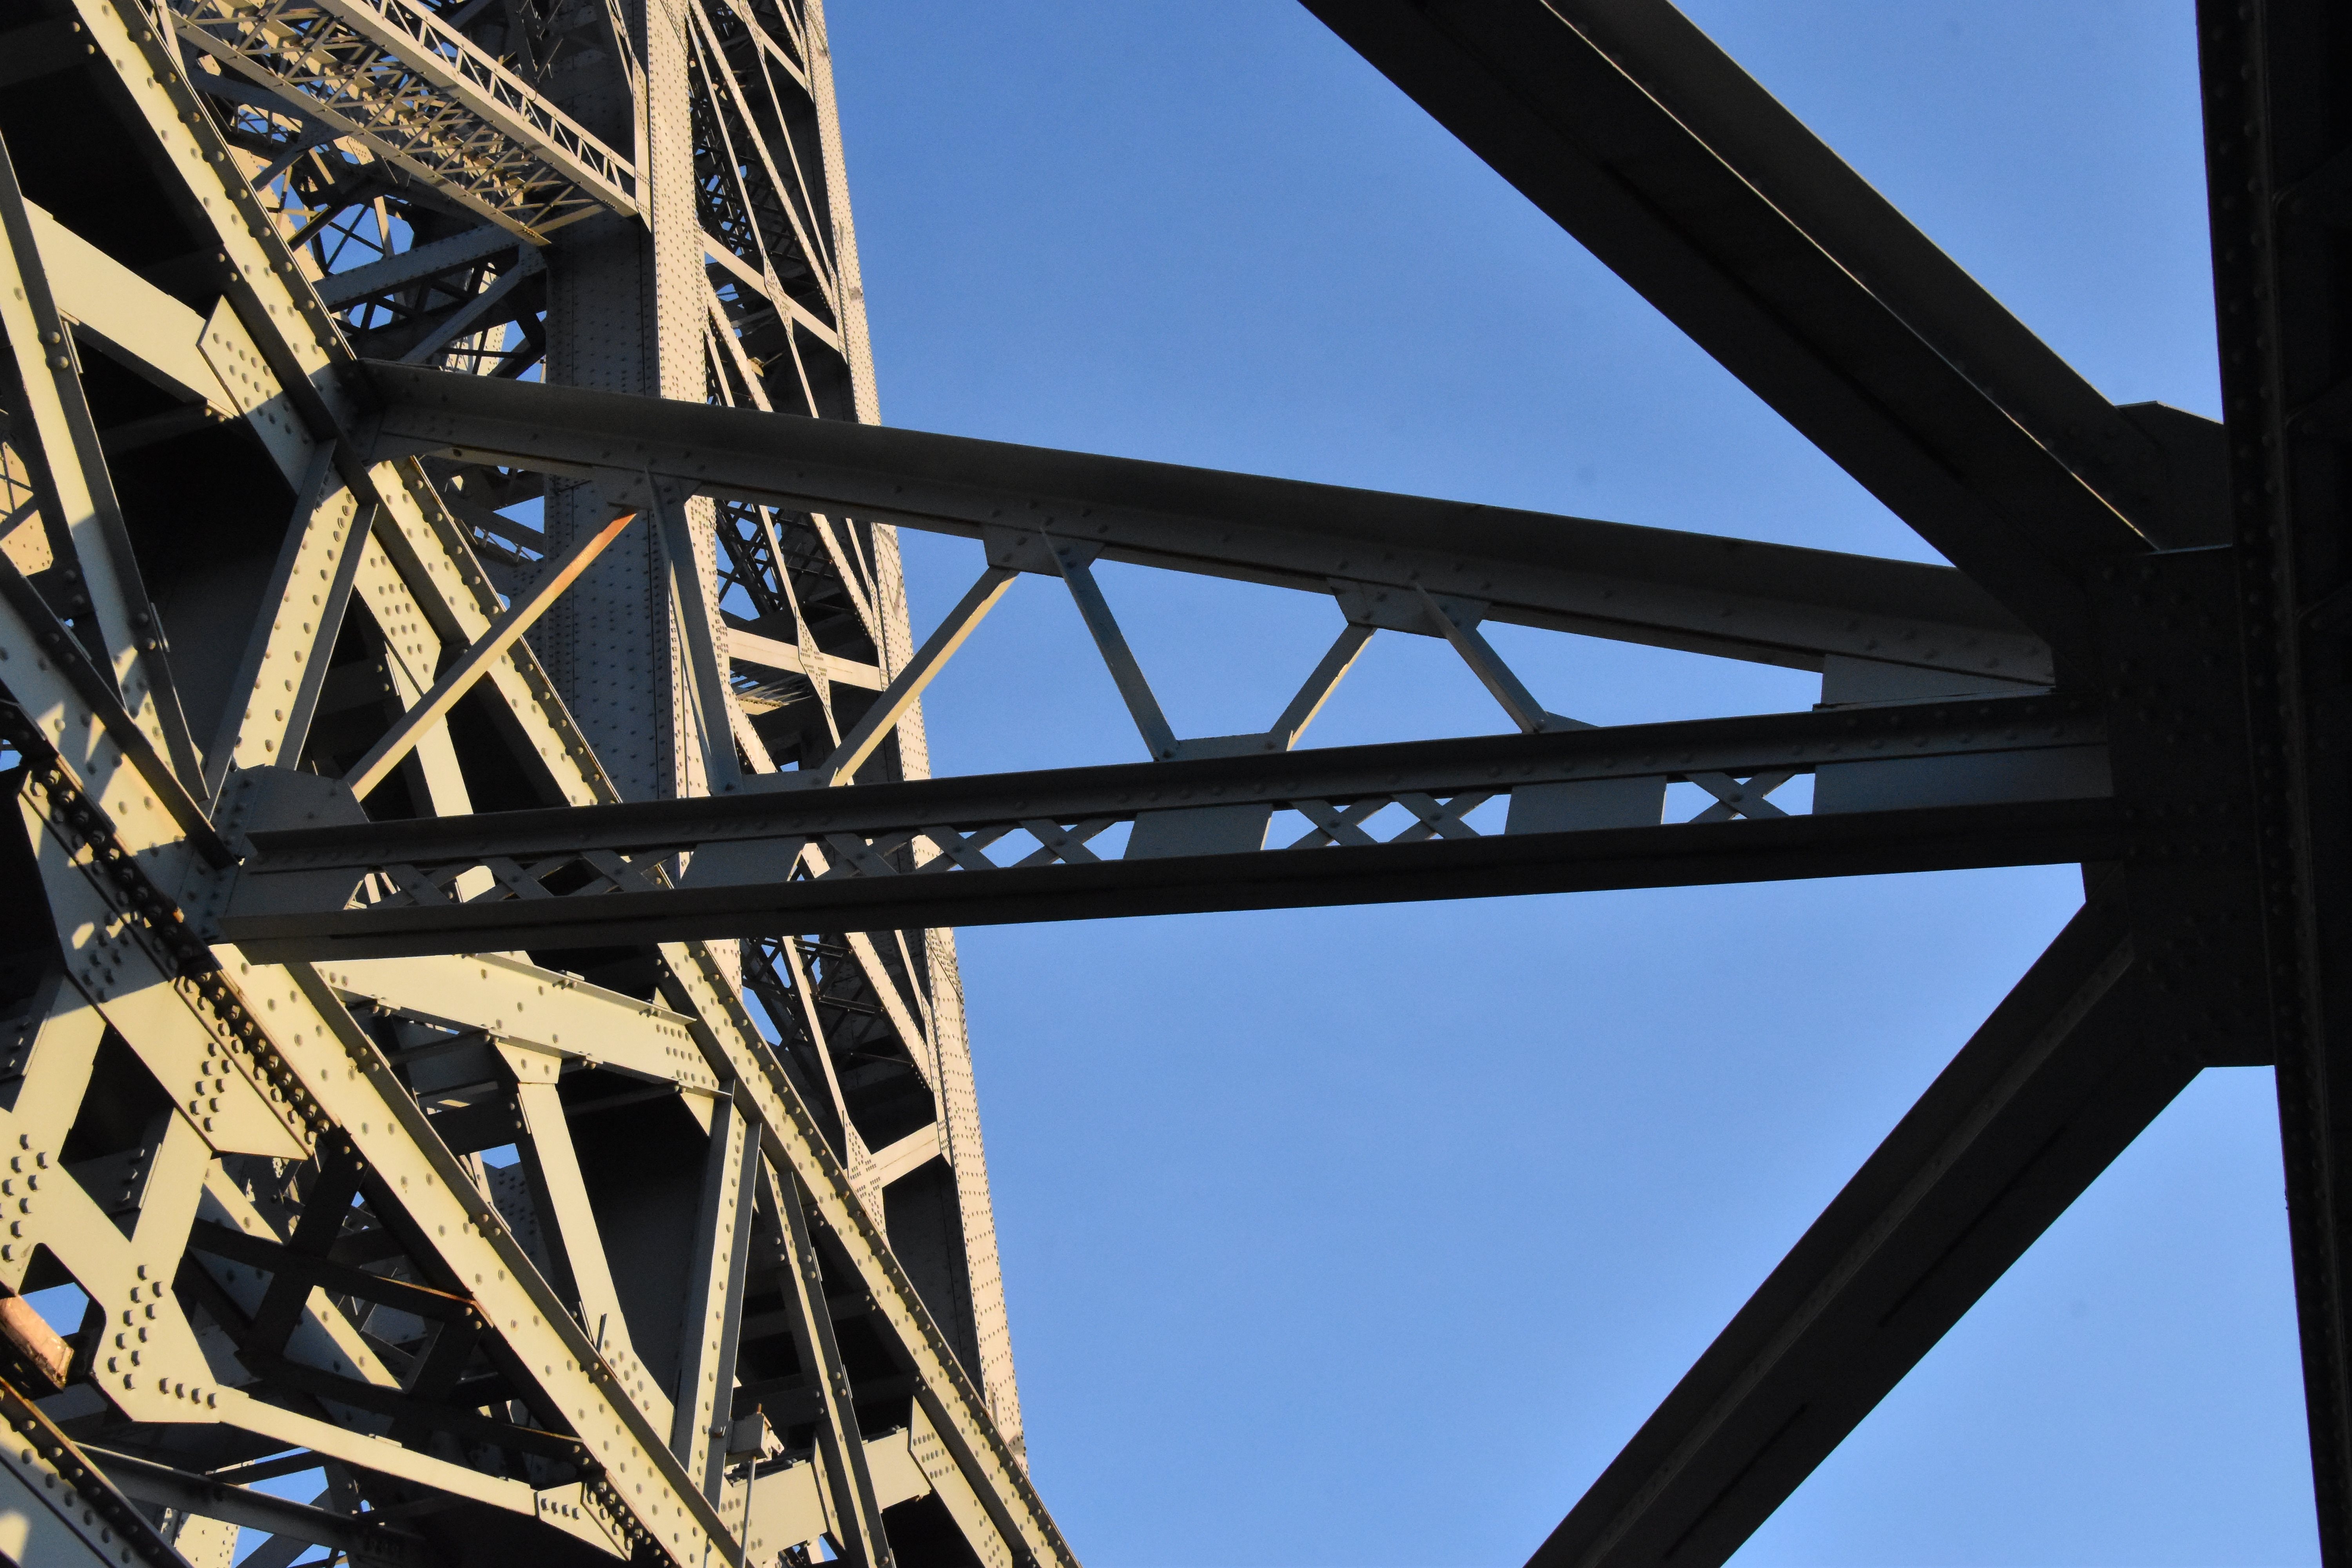
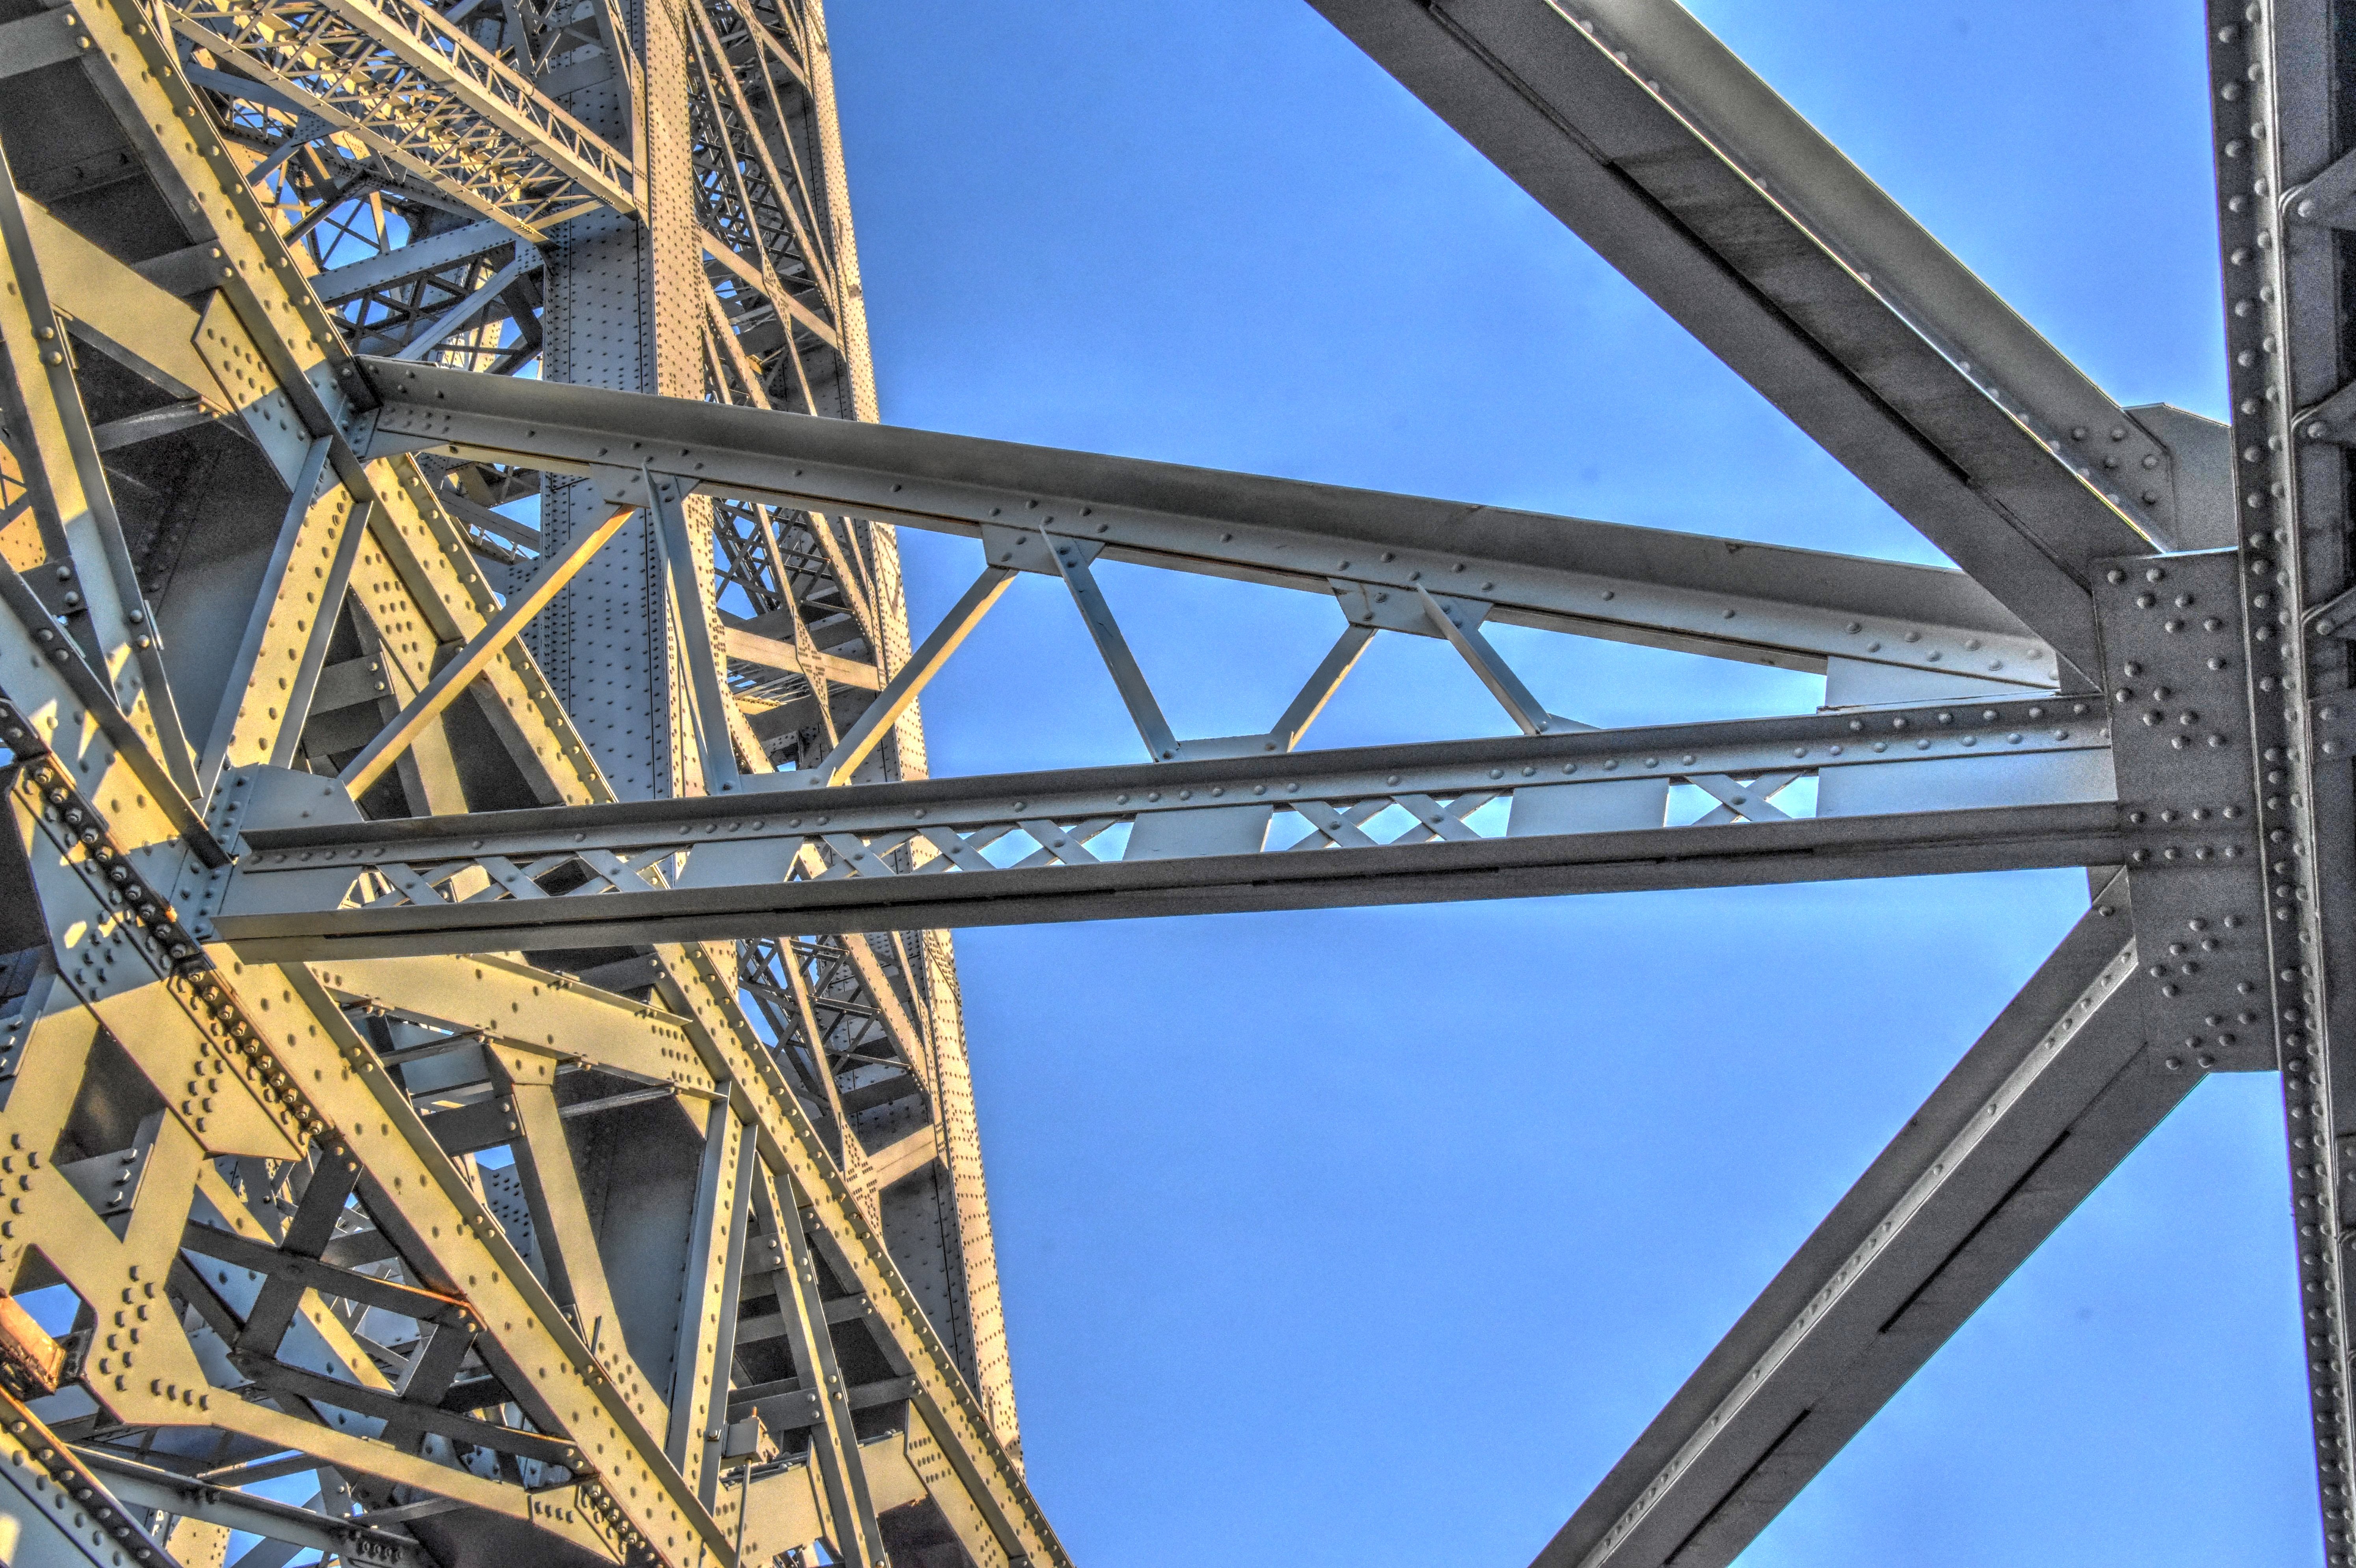
![]()


Views of truss web.
![]()


Columns between truss web and railroad deck.
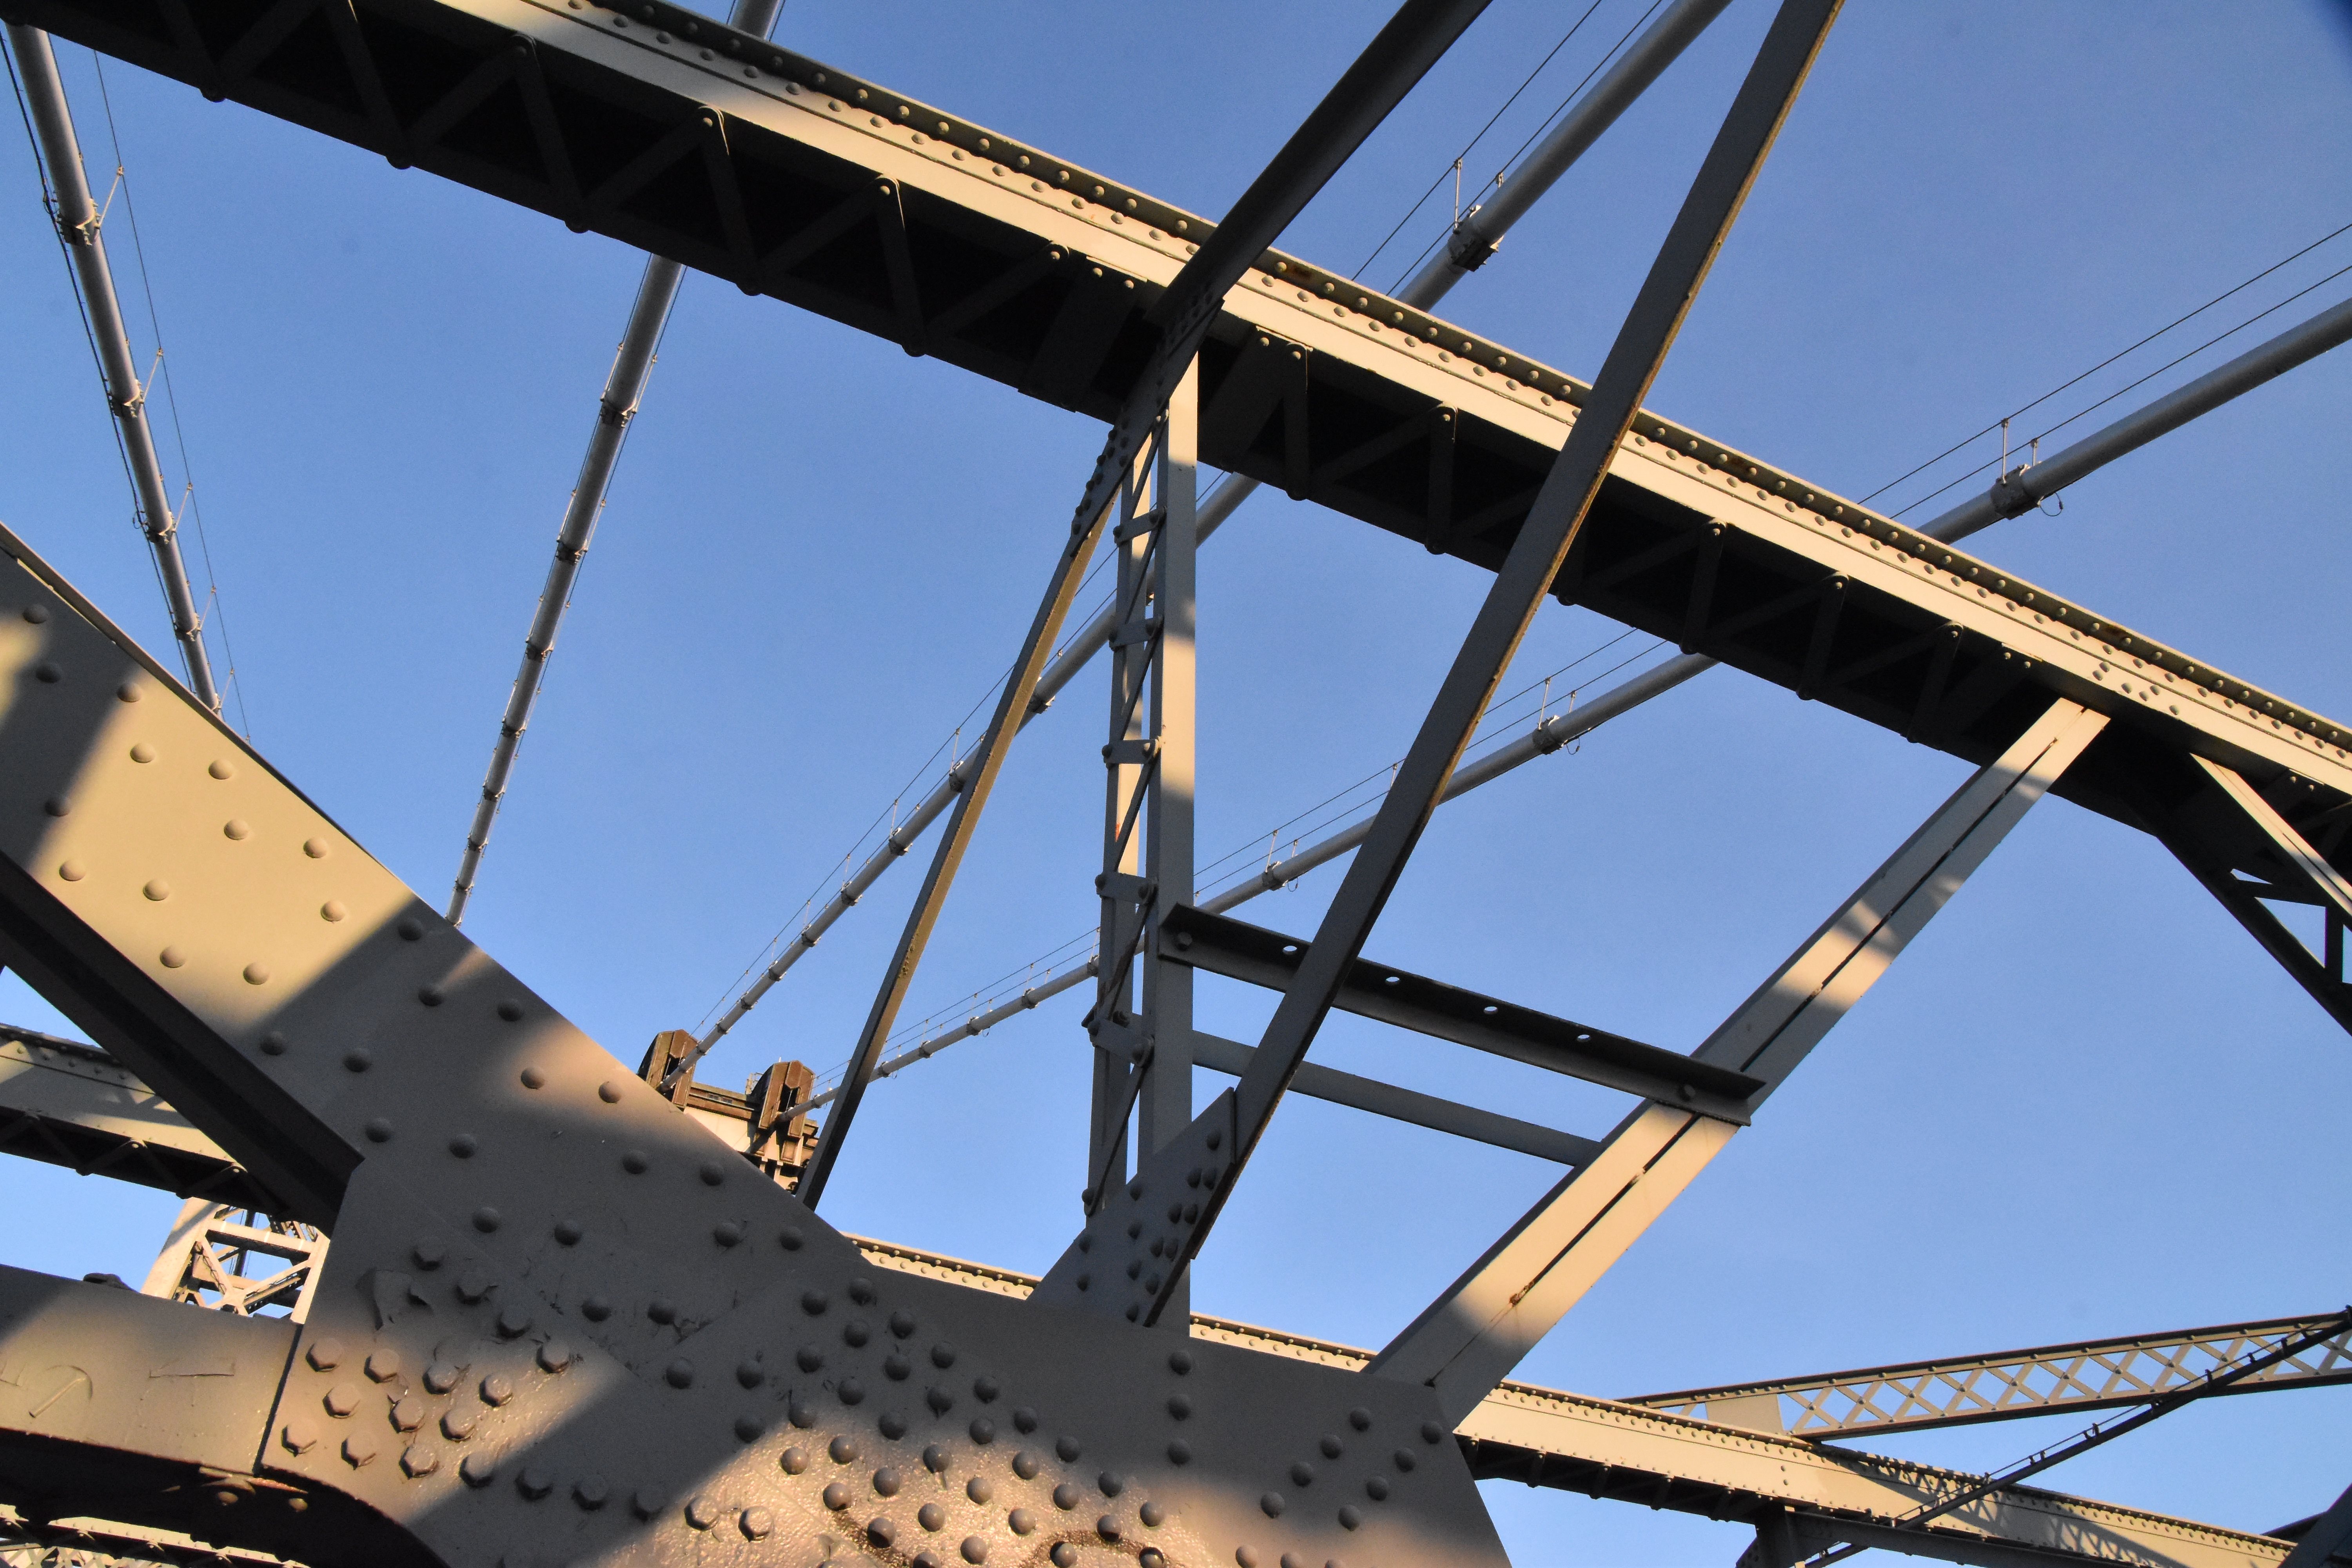
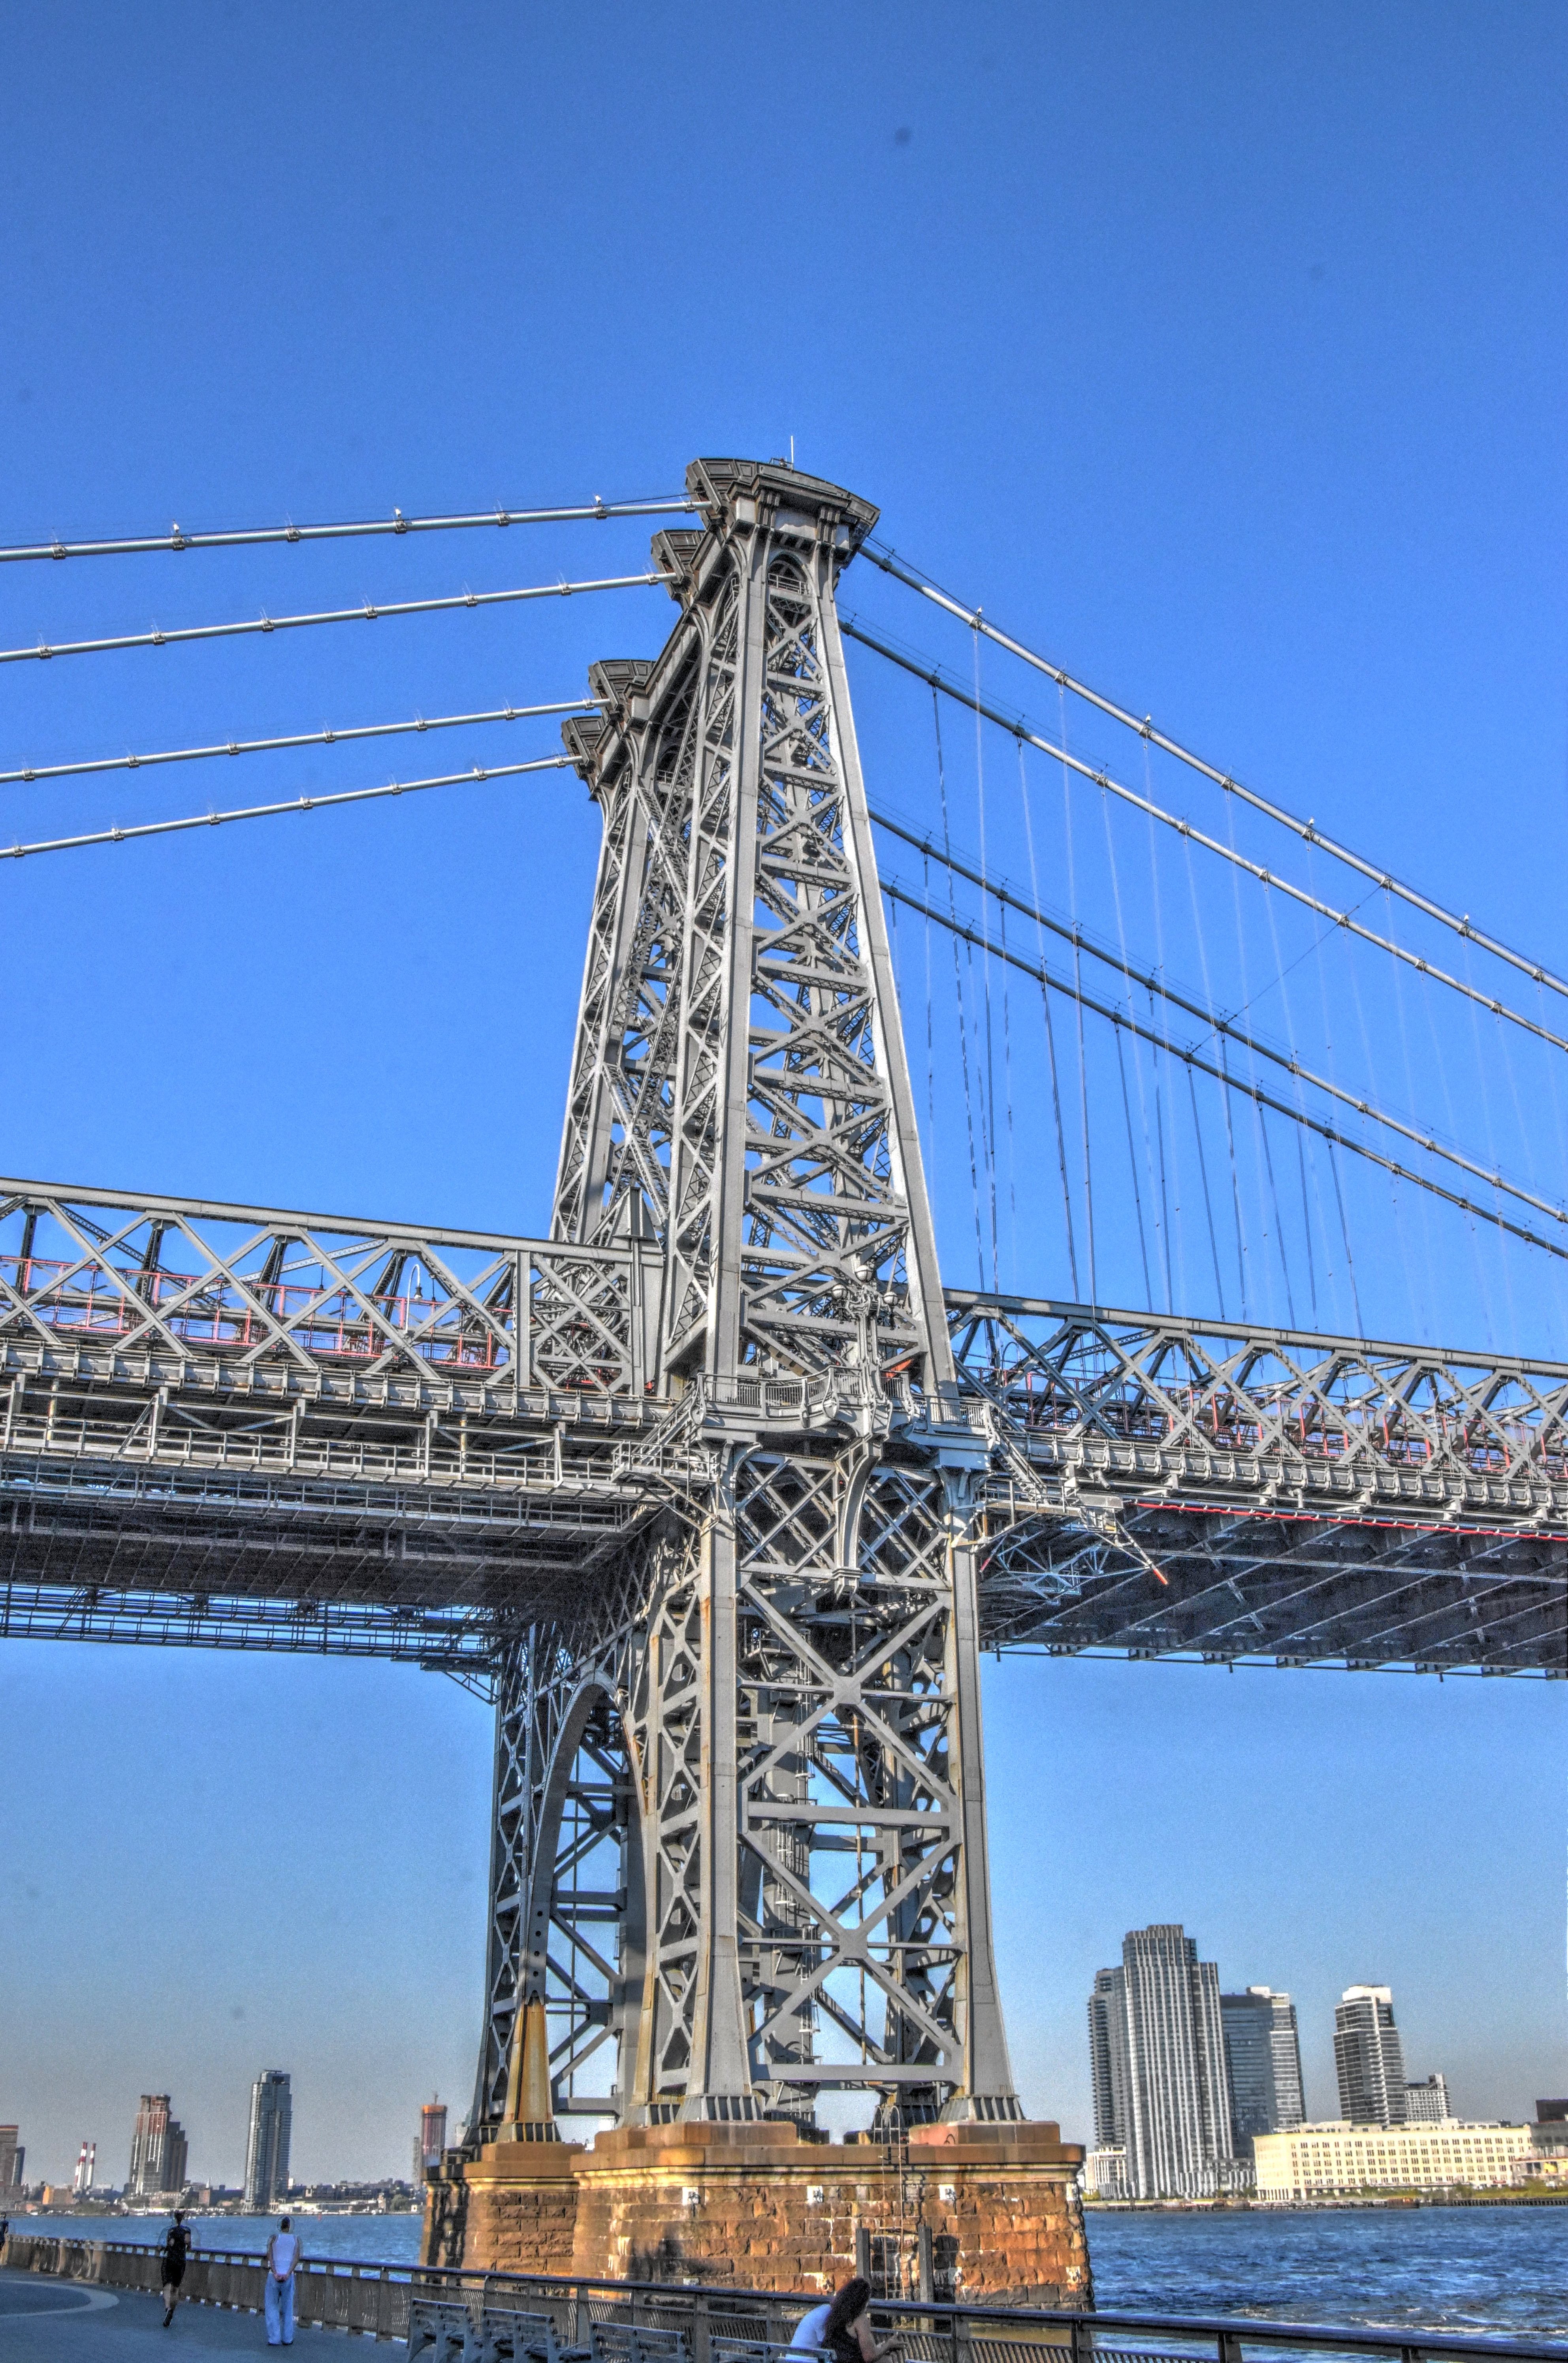
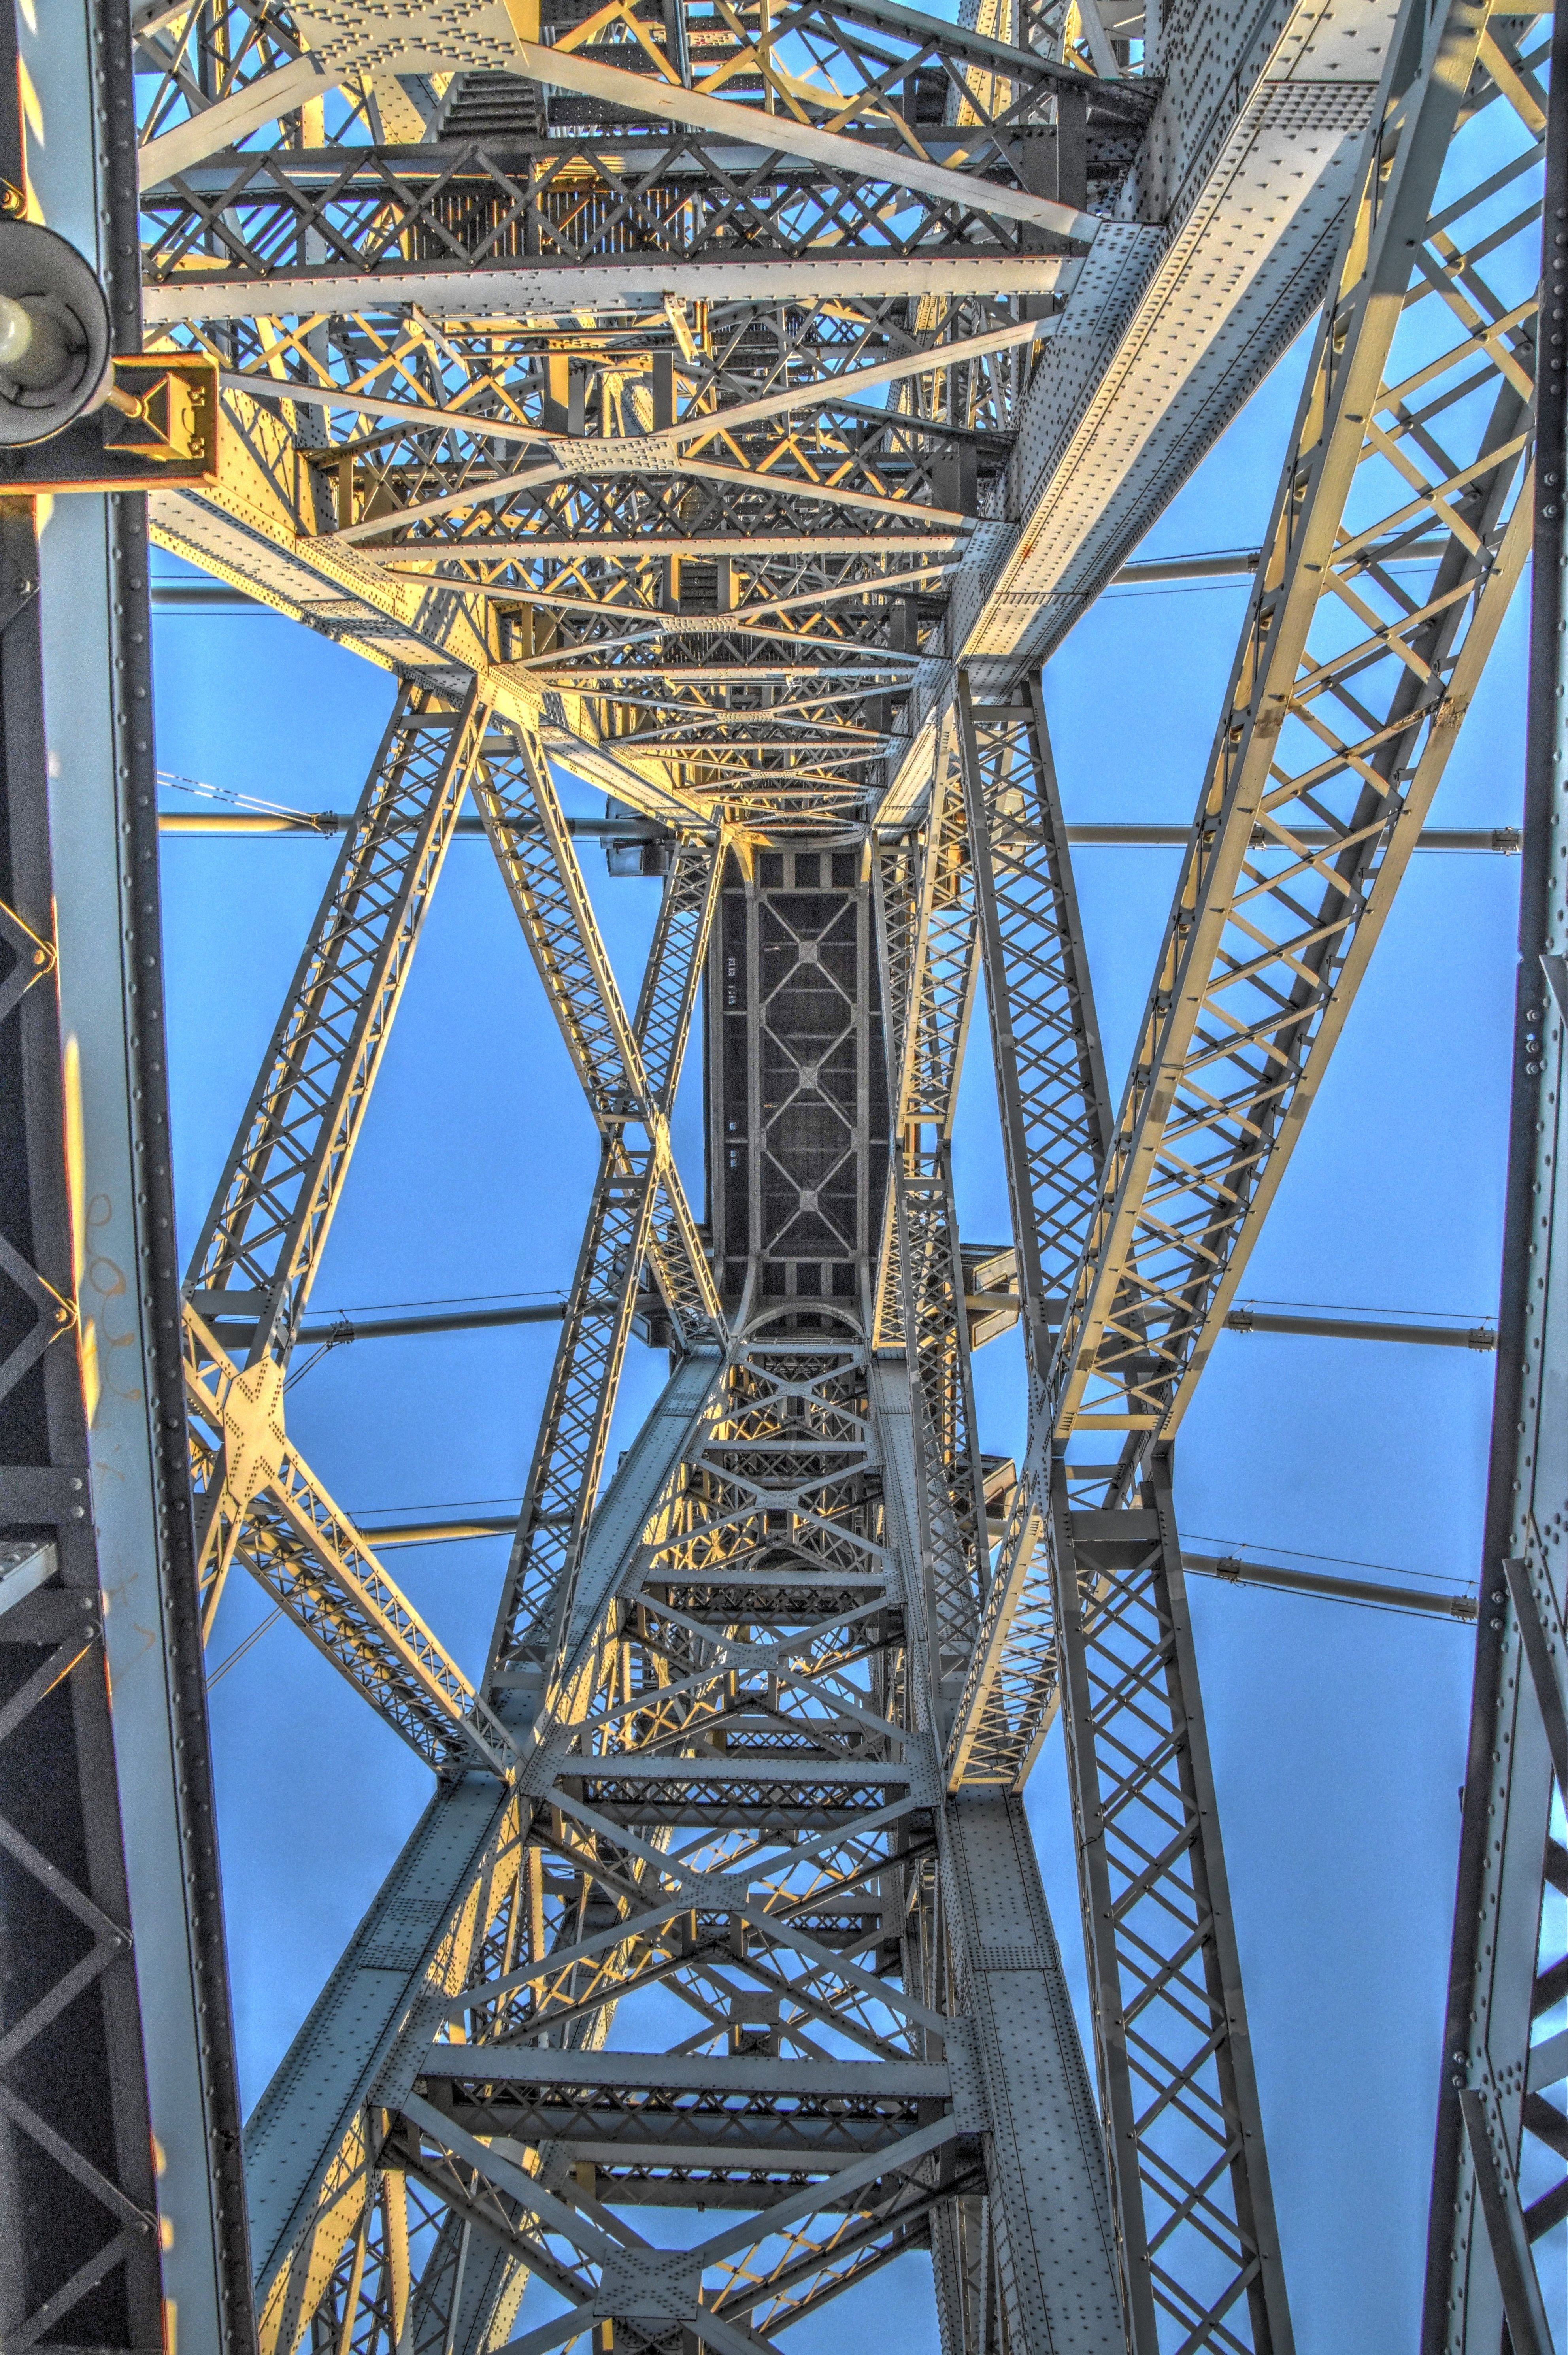
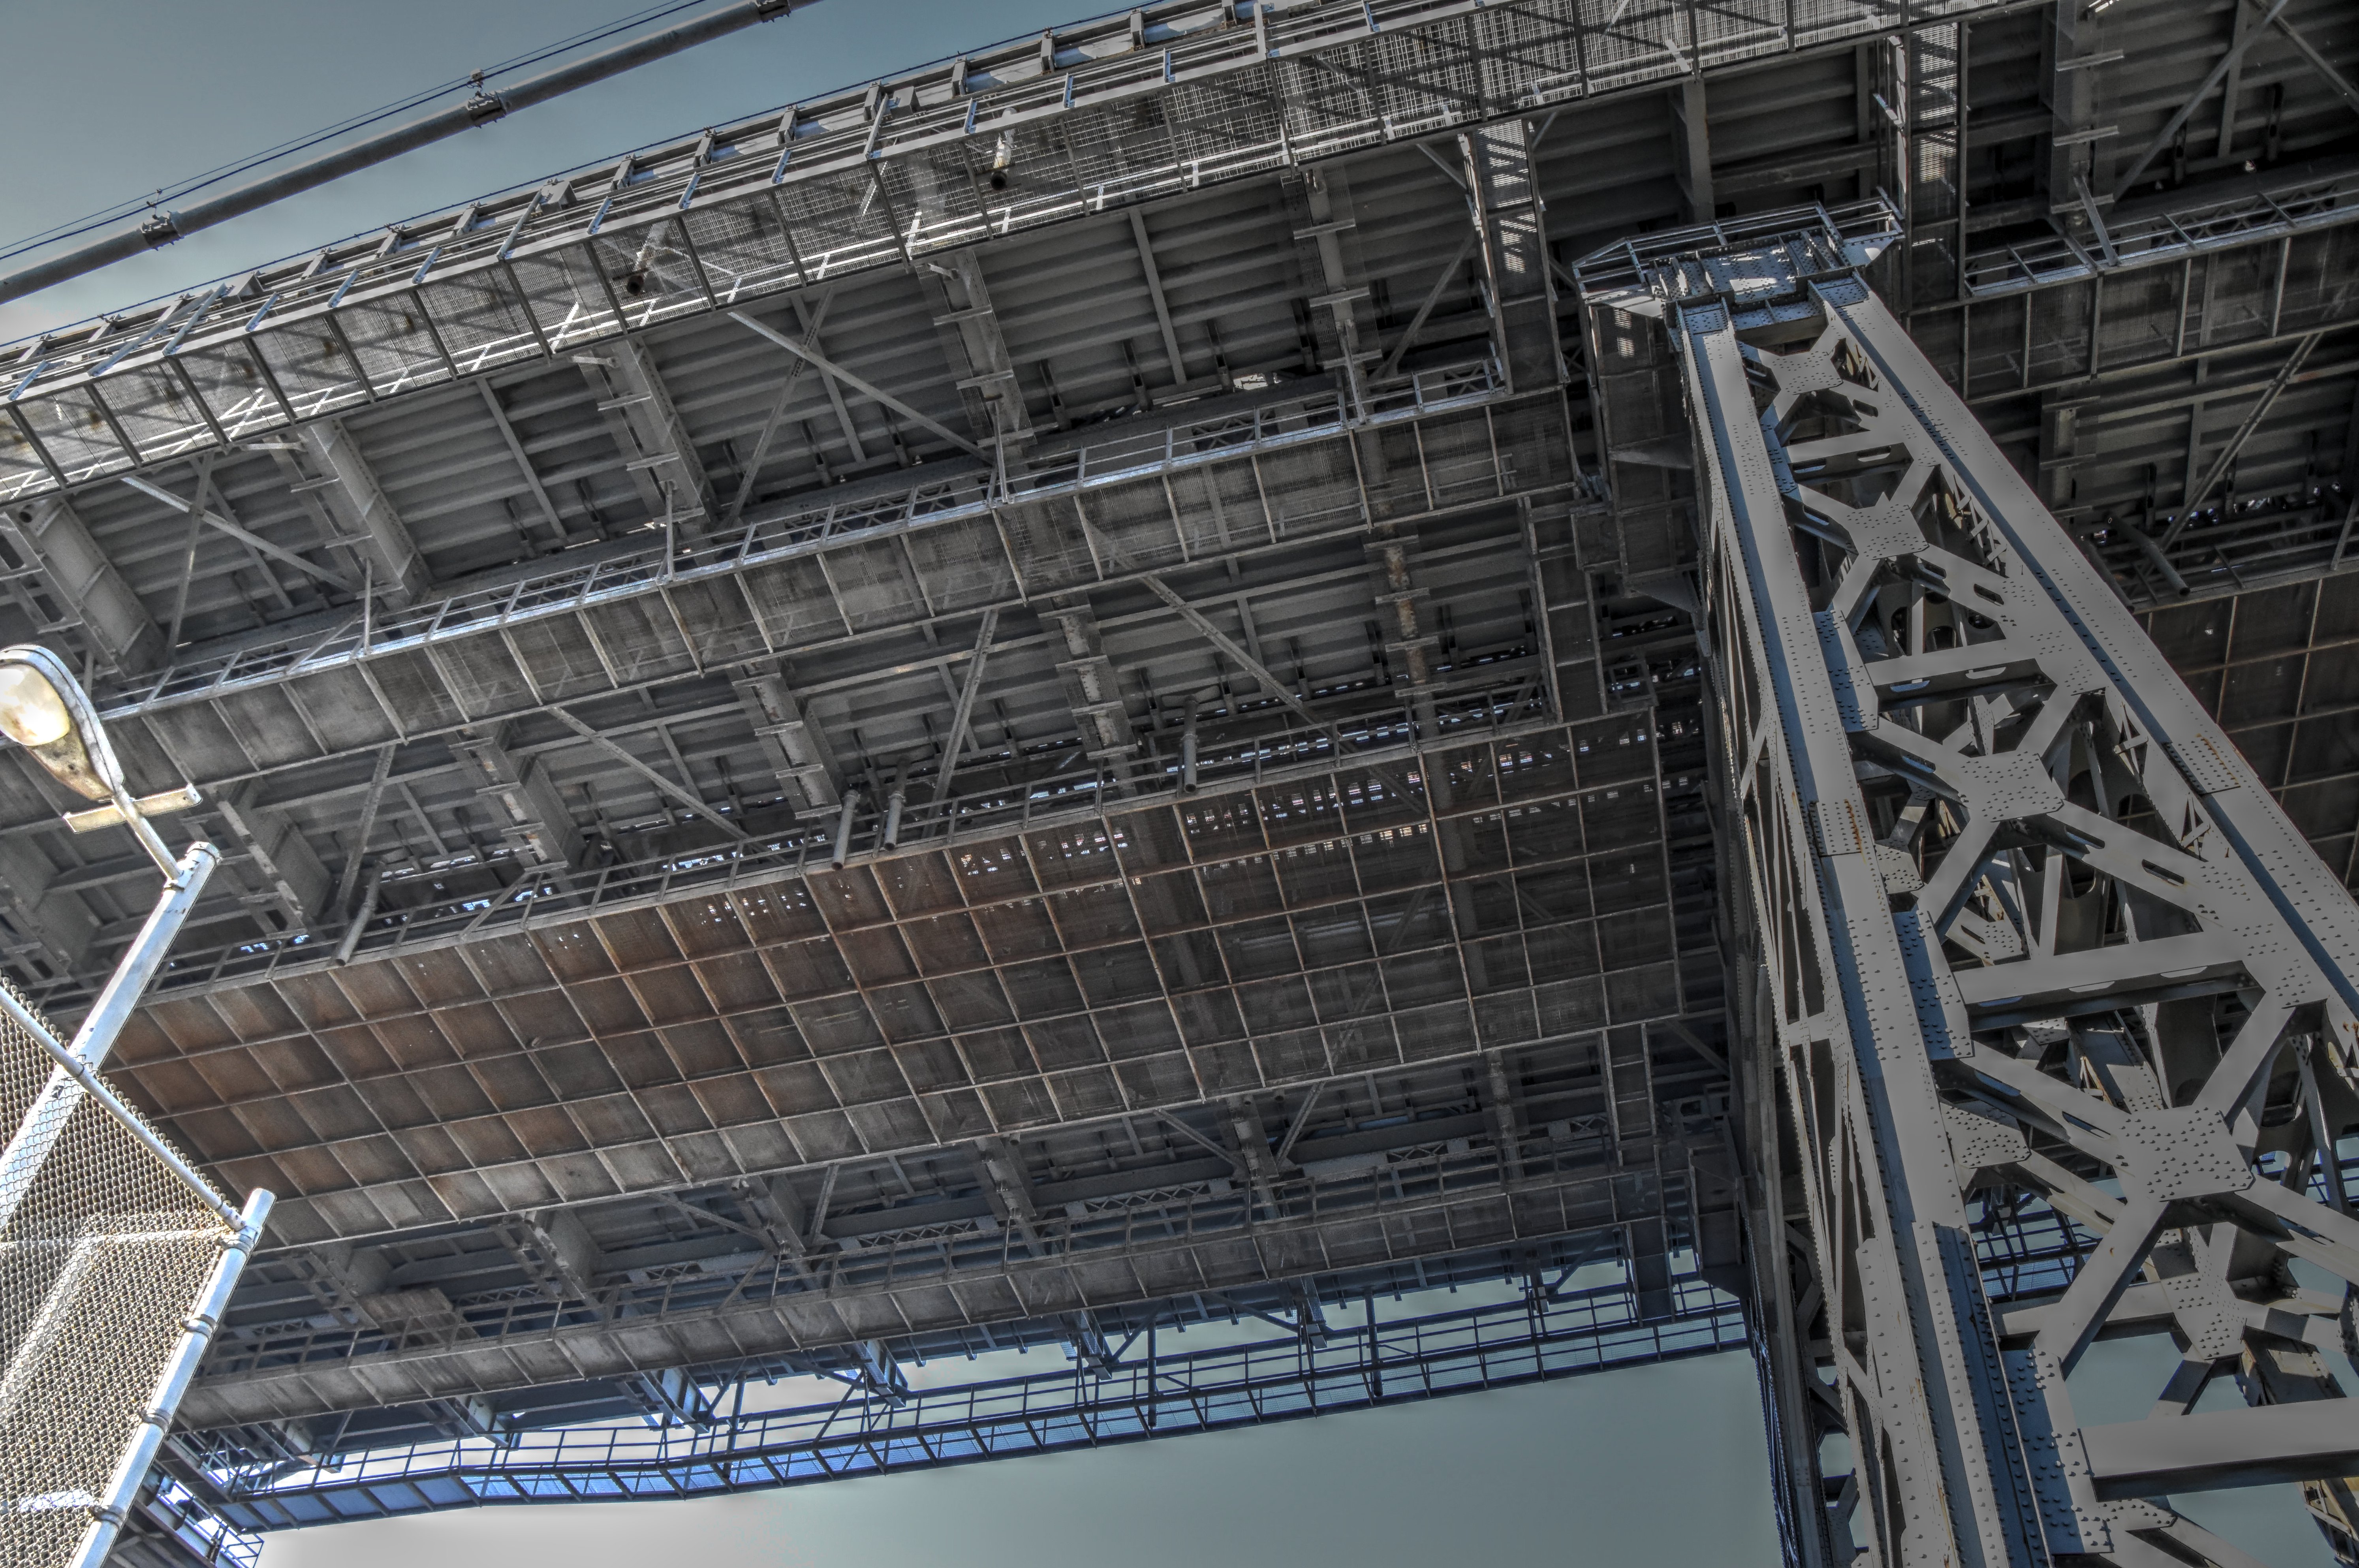
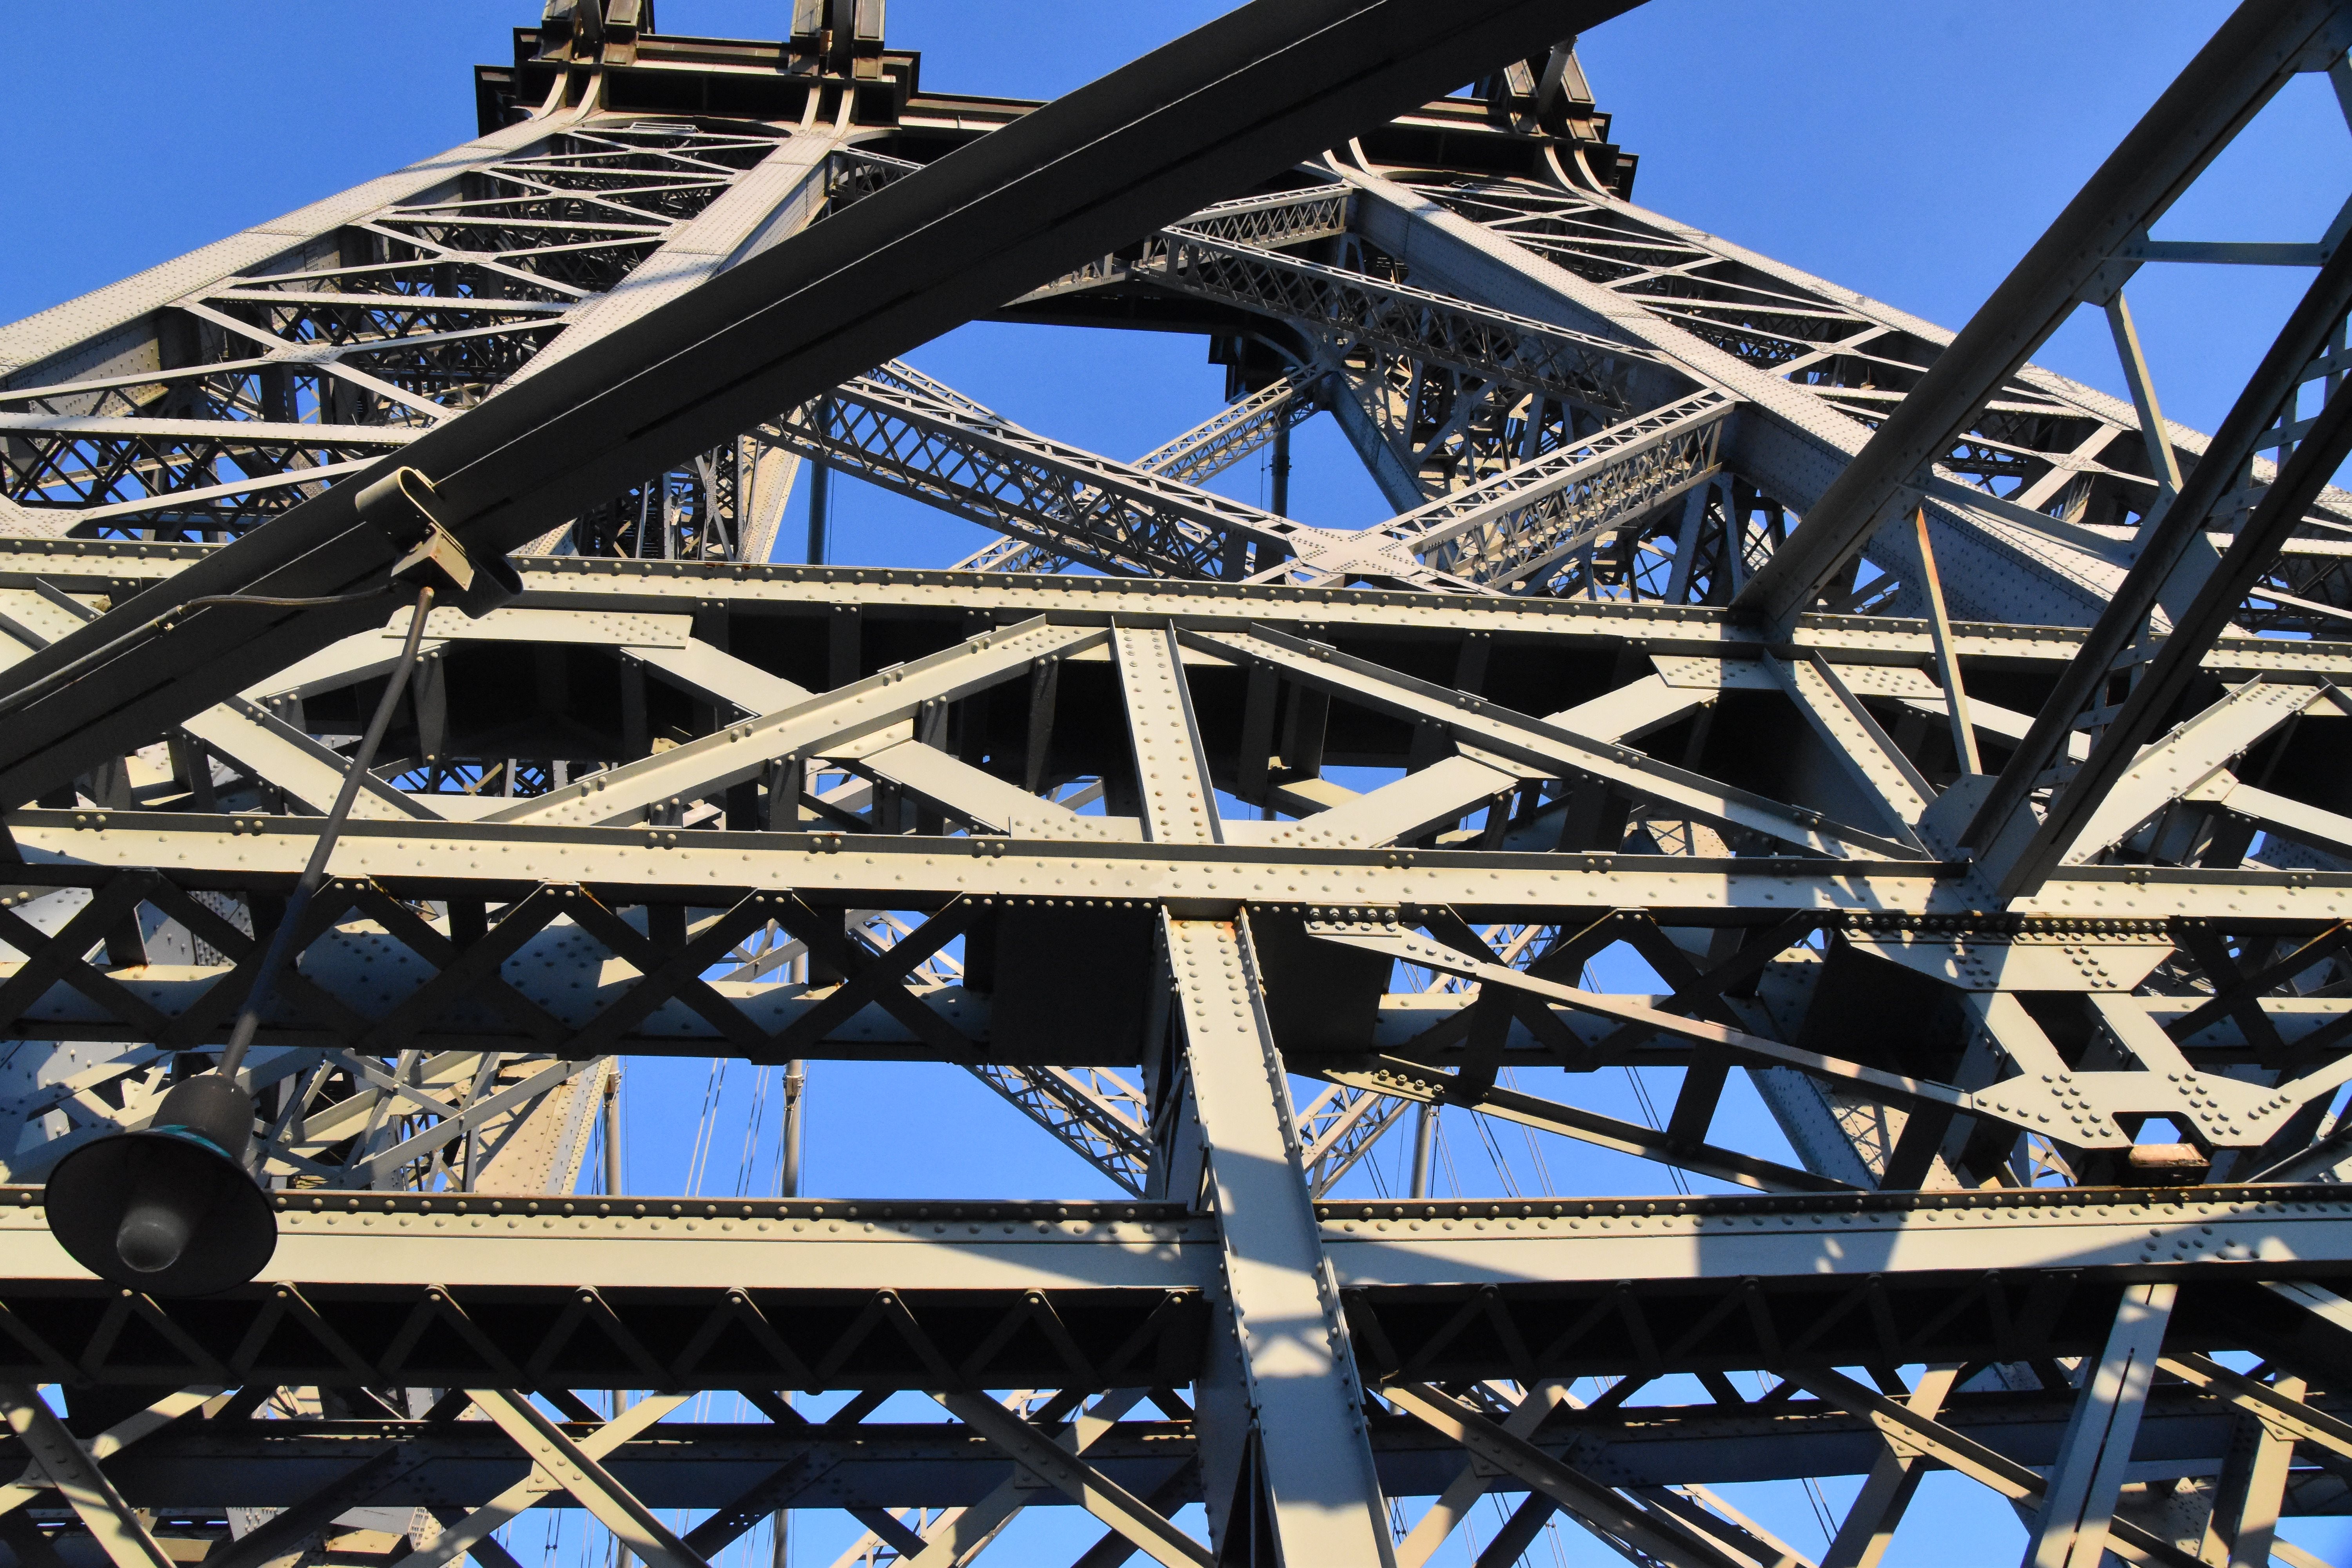
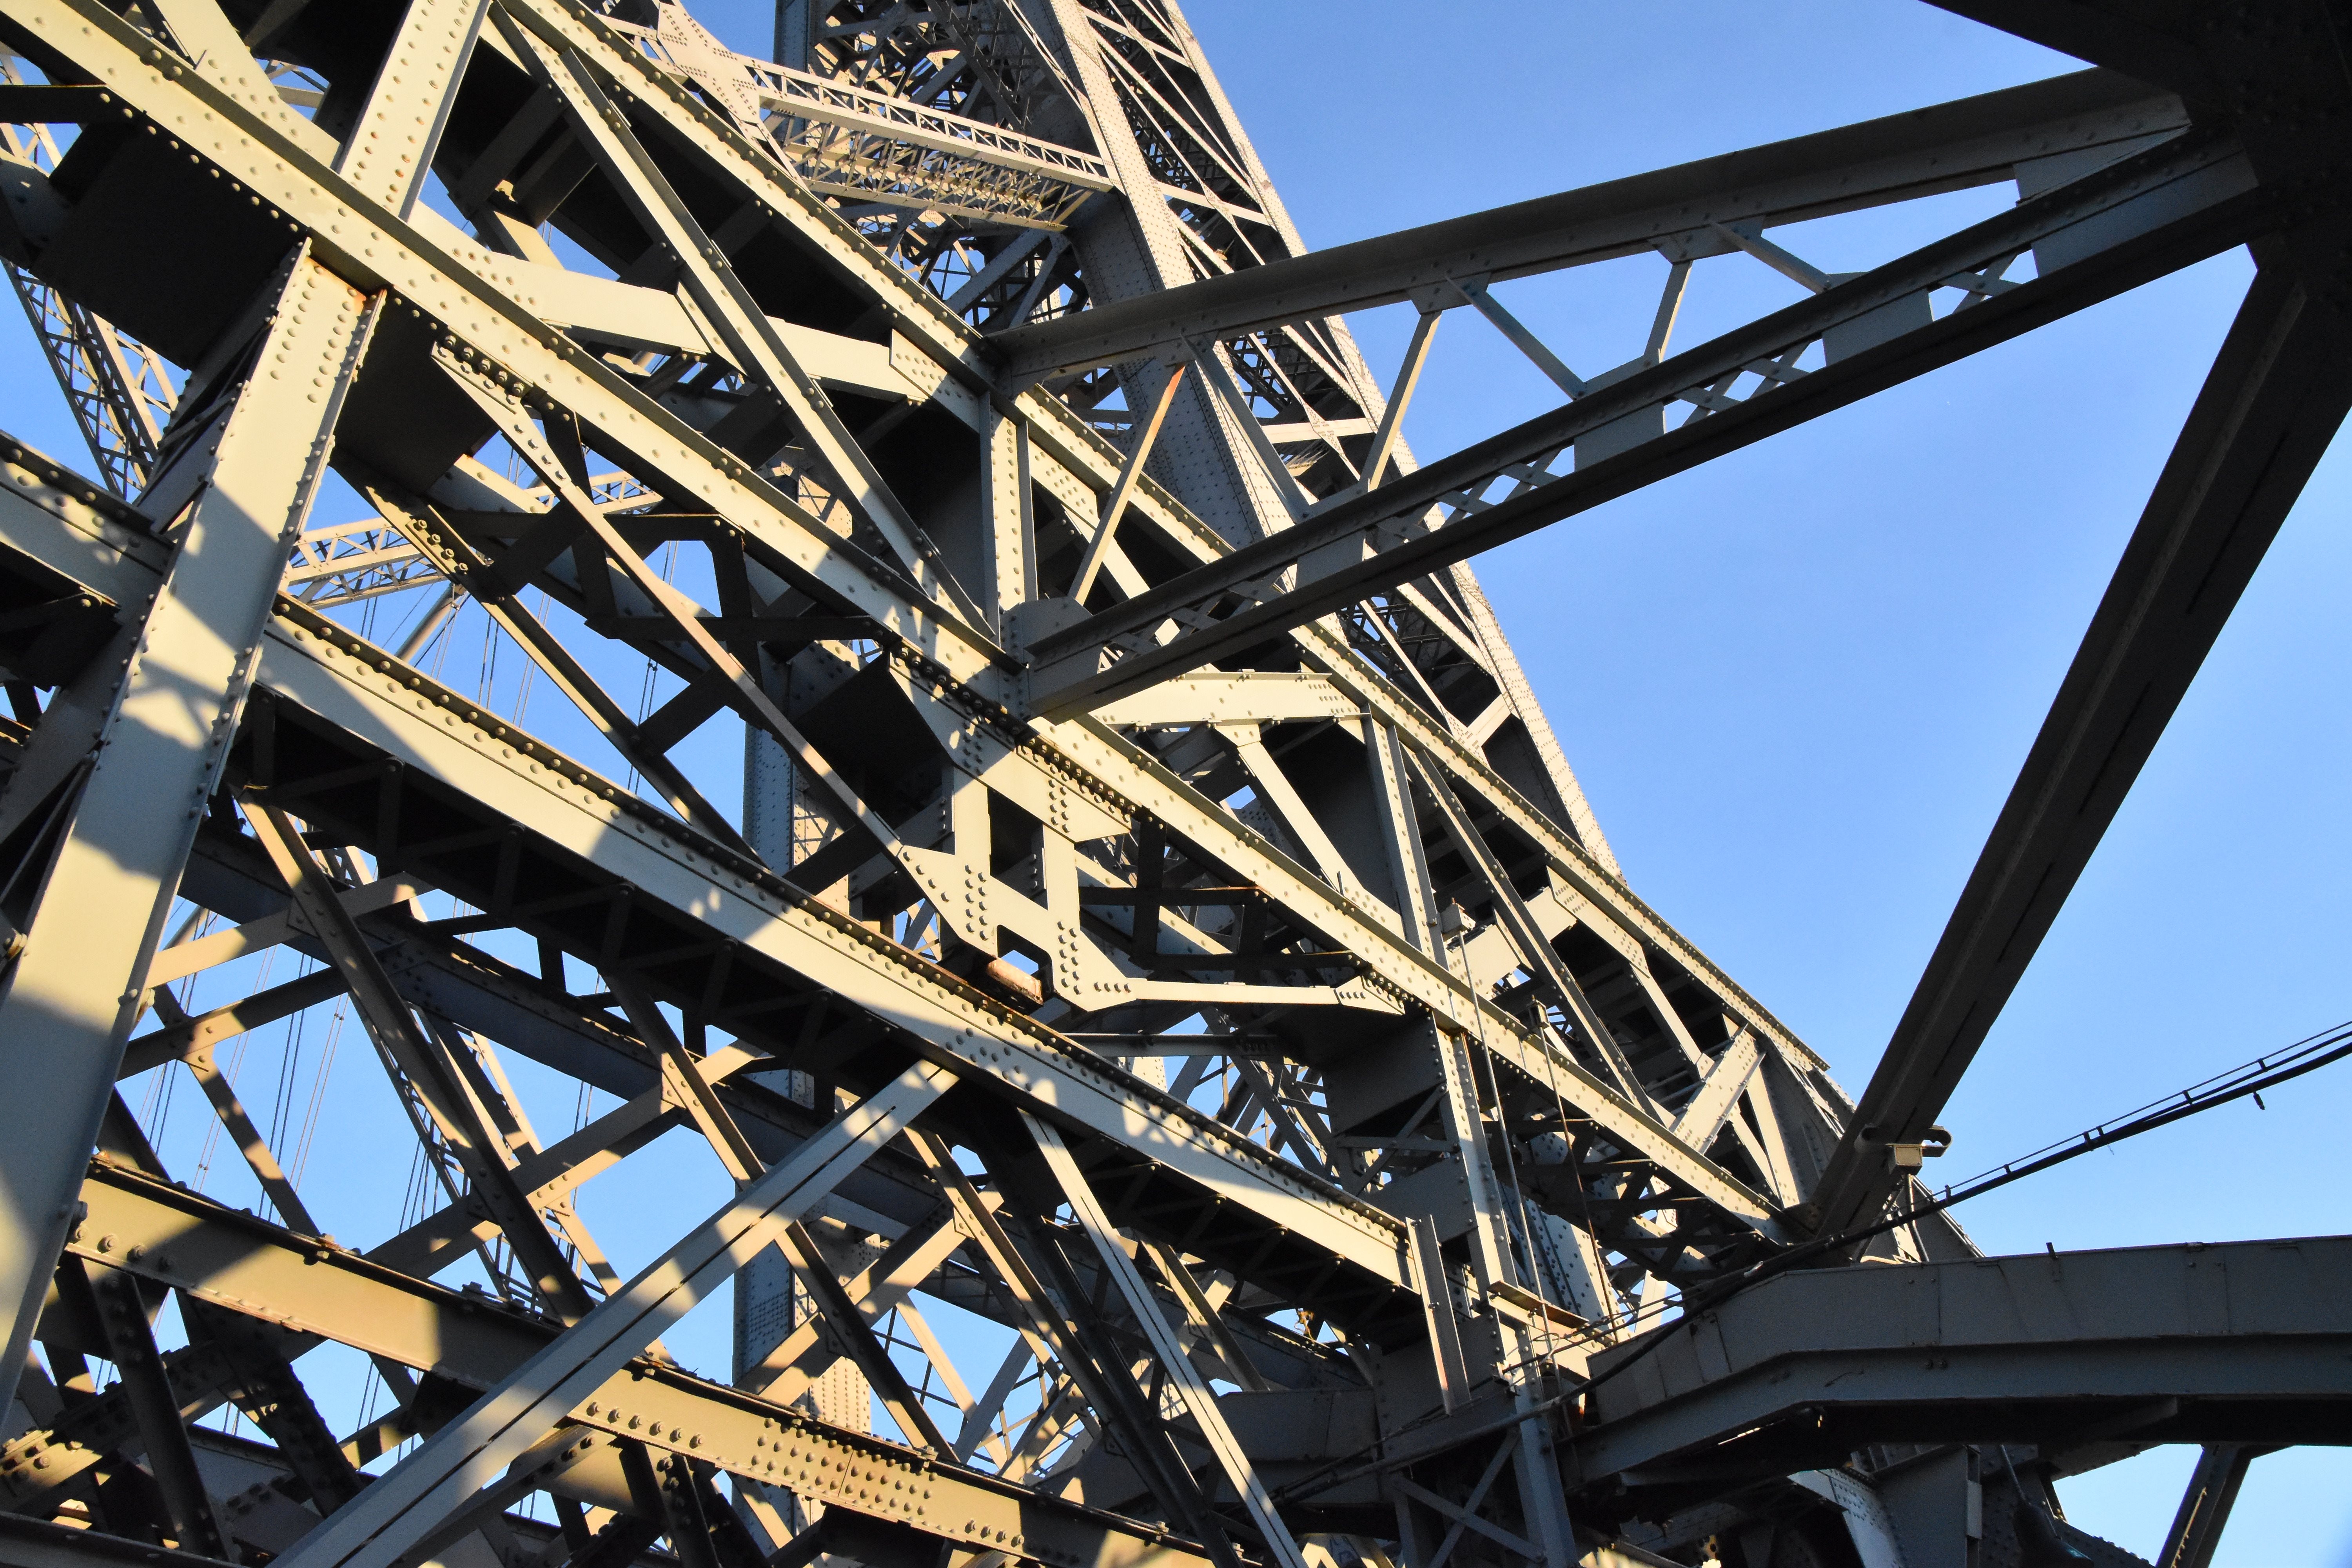
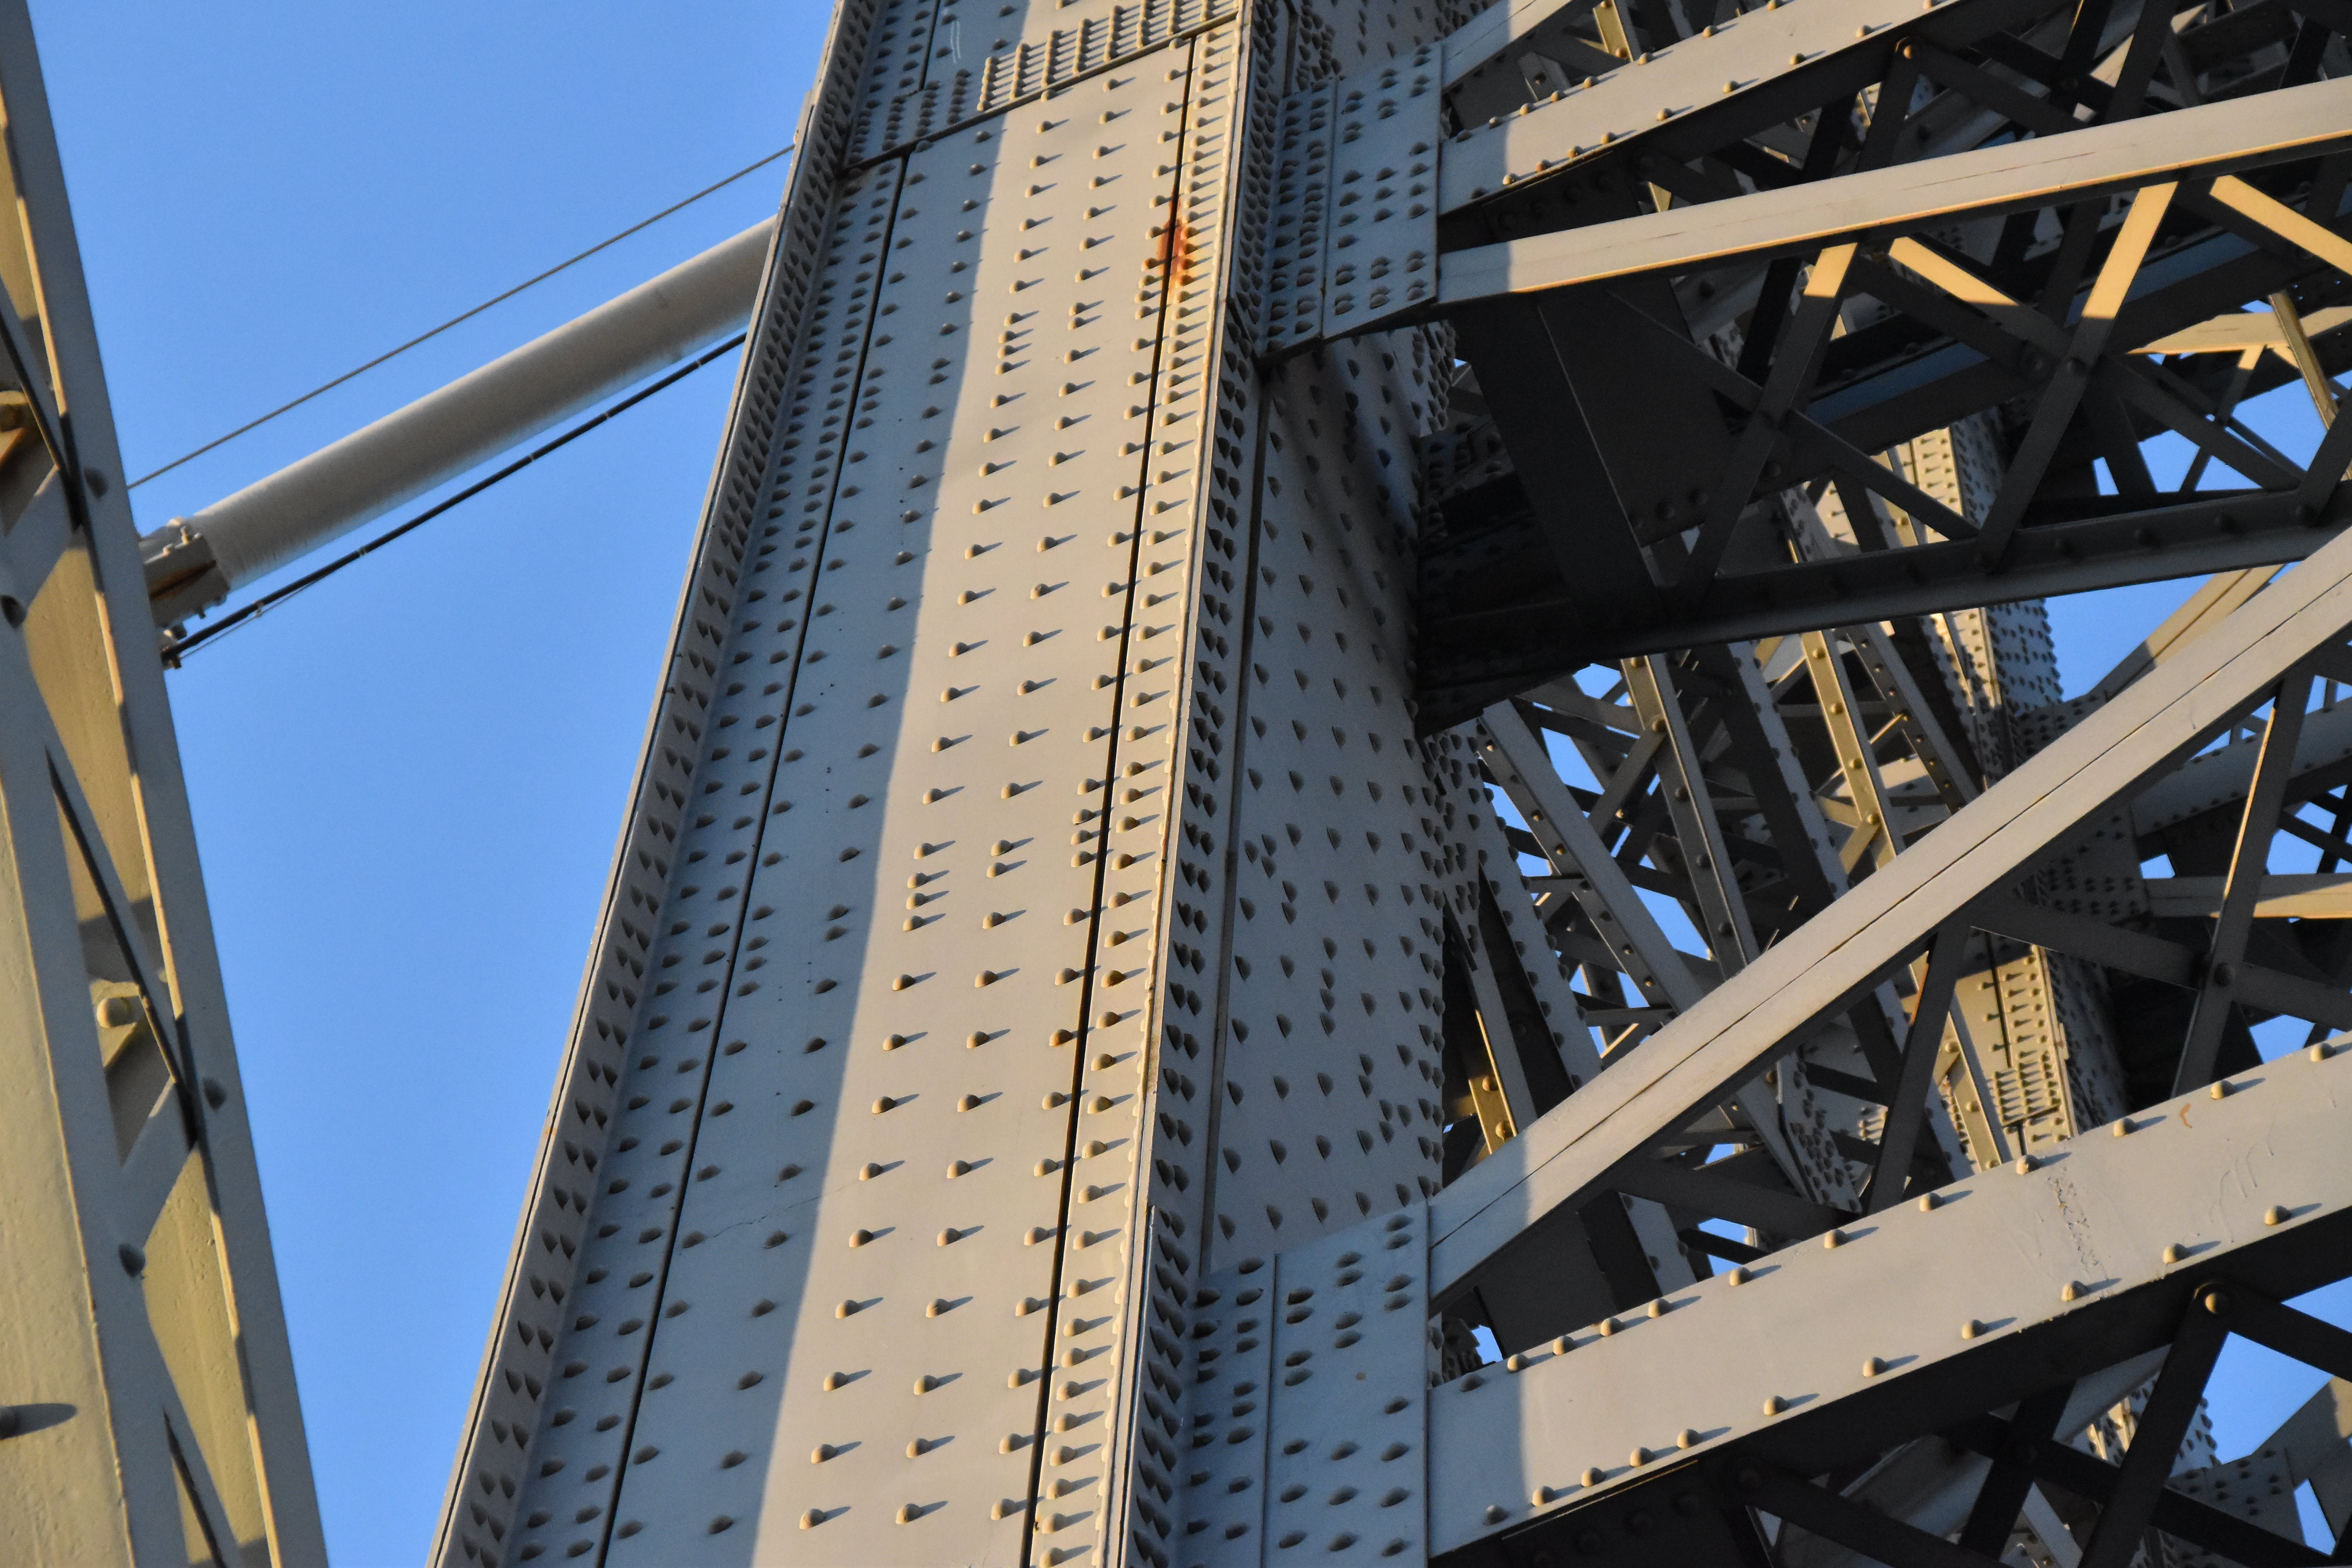
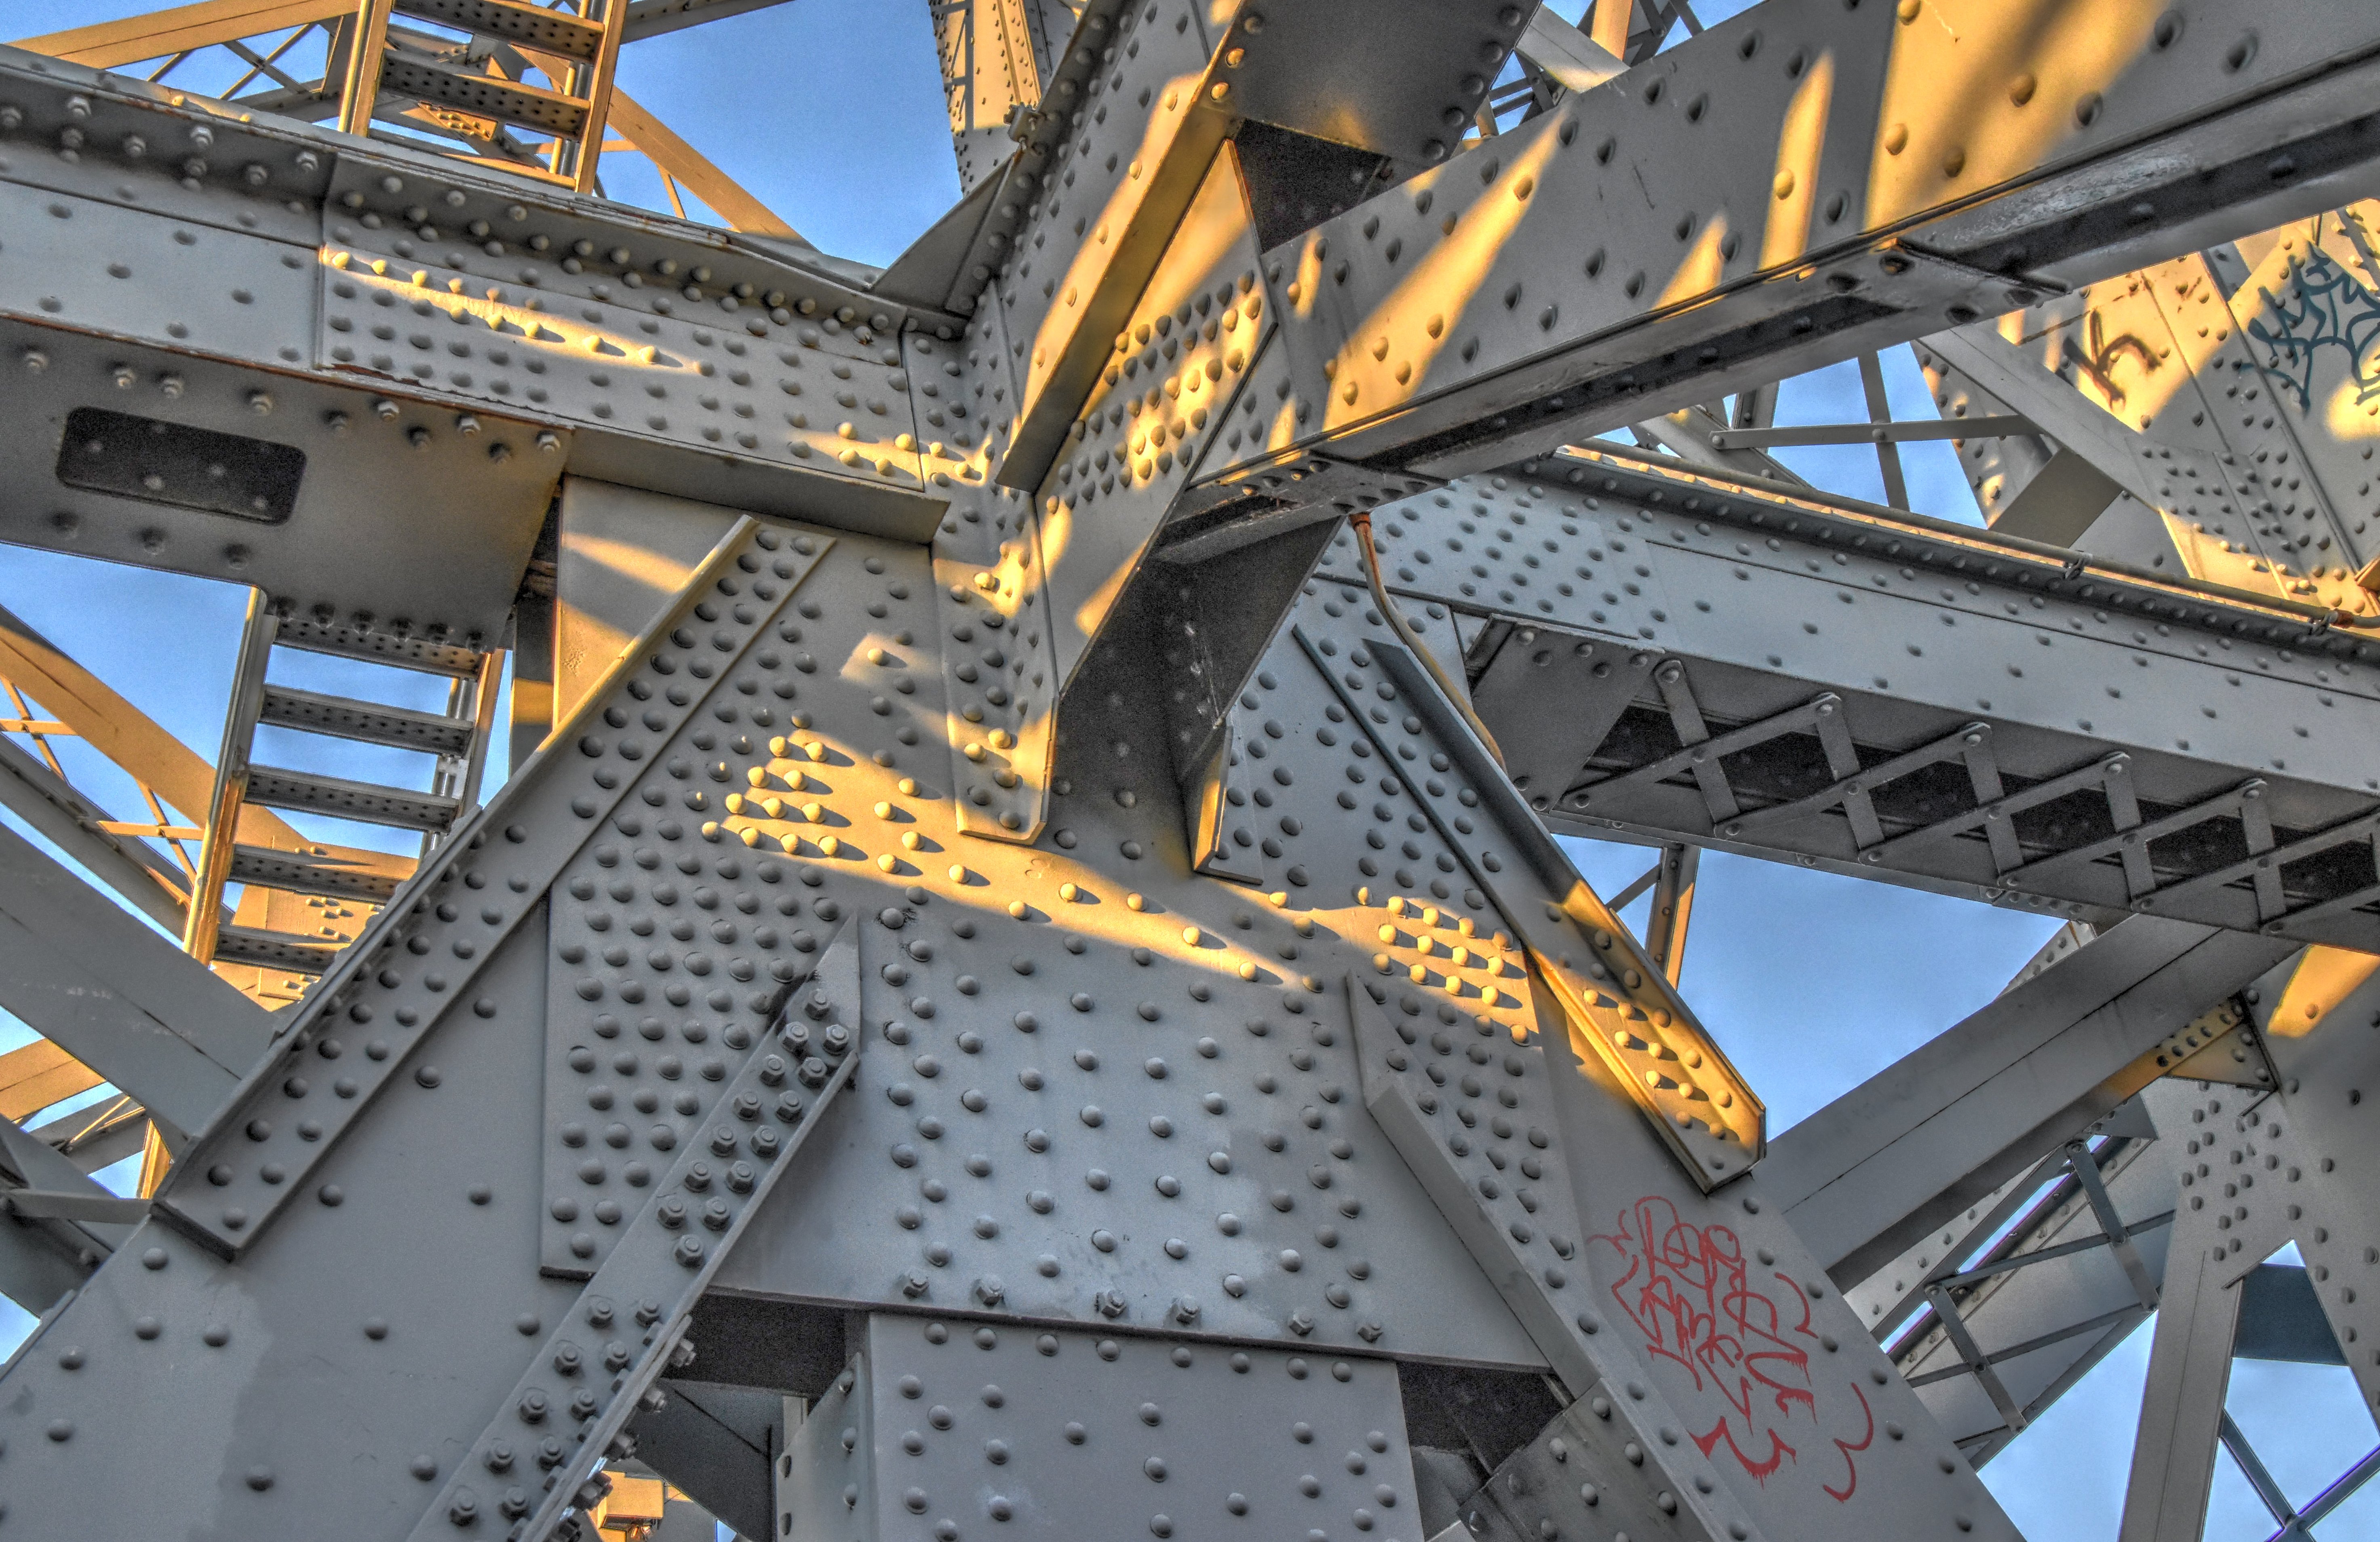
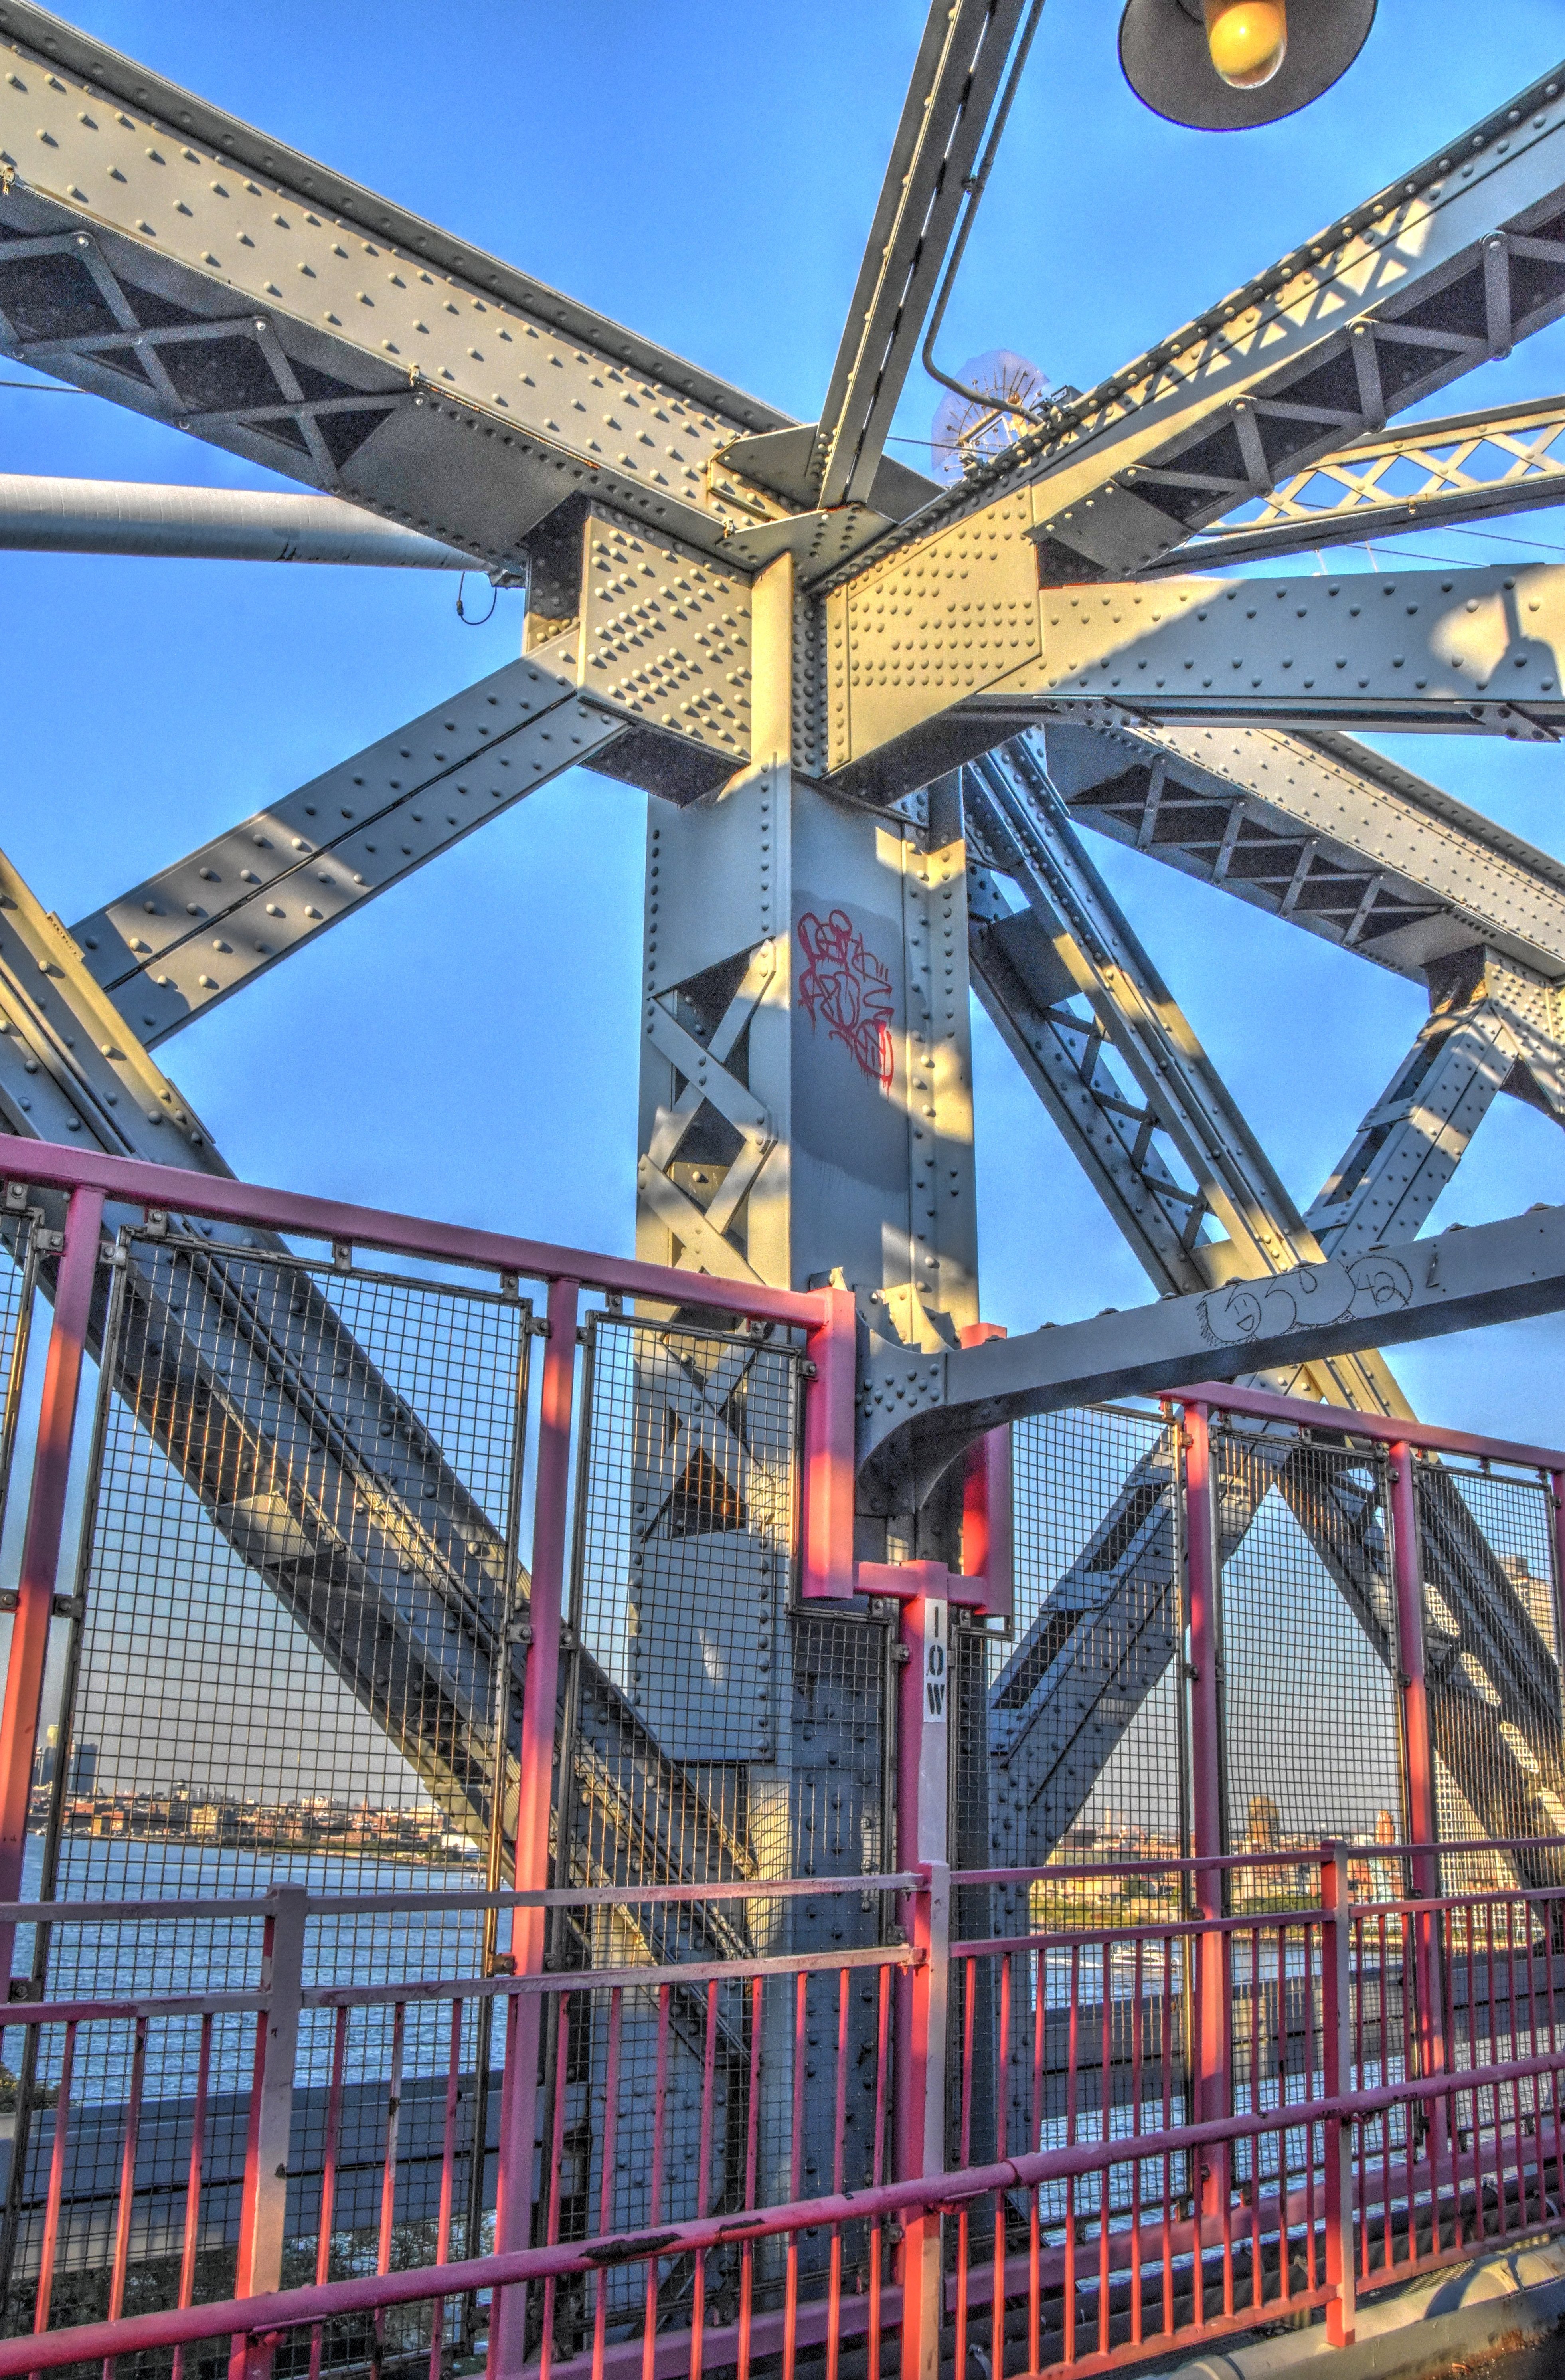
![]()
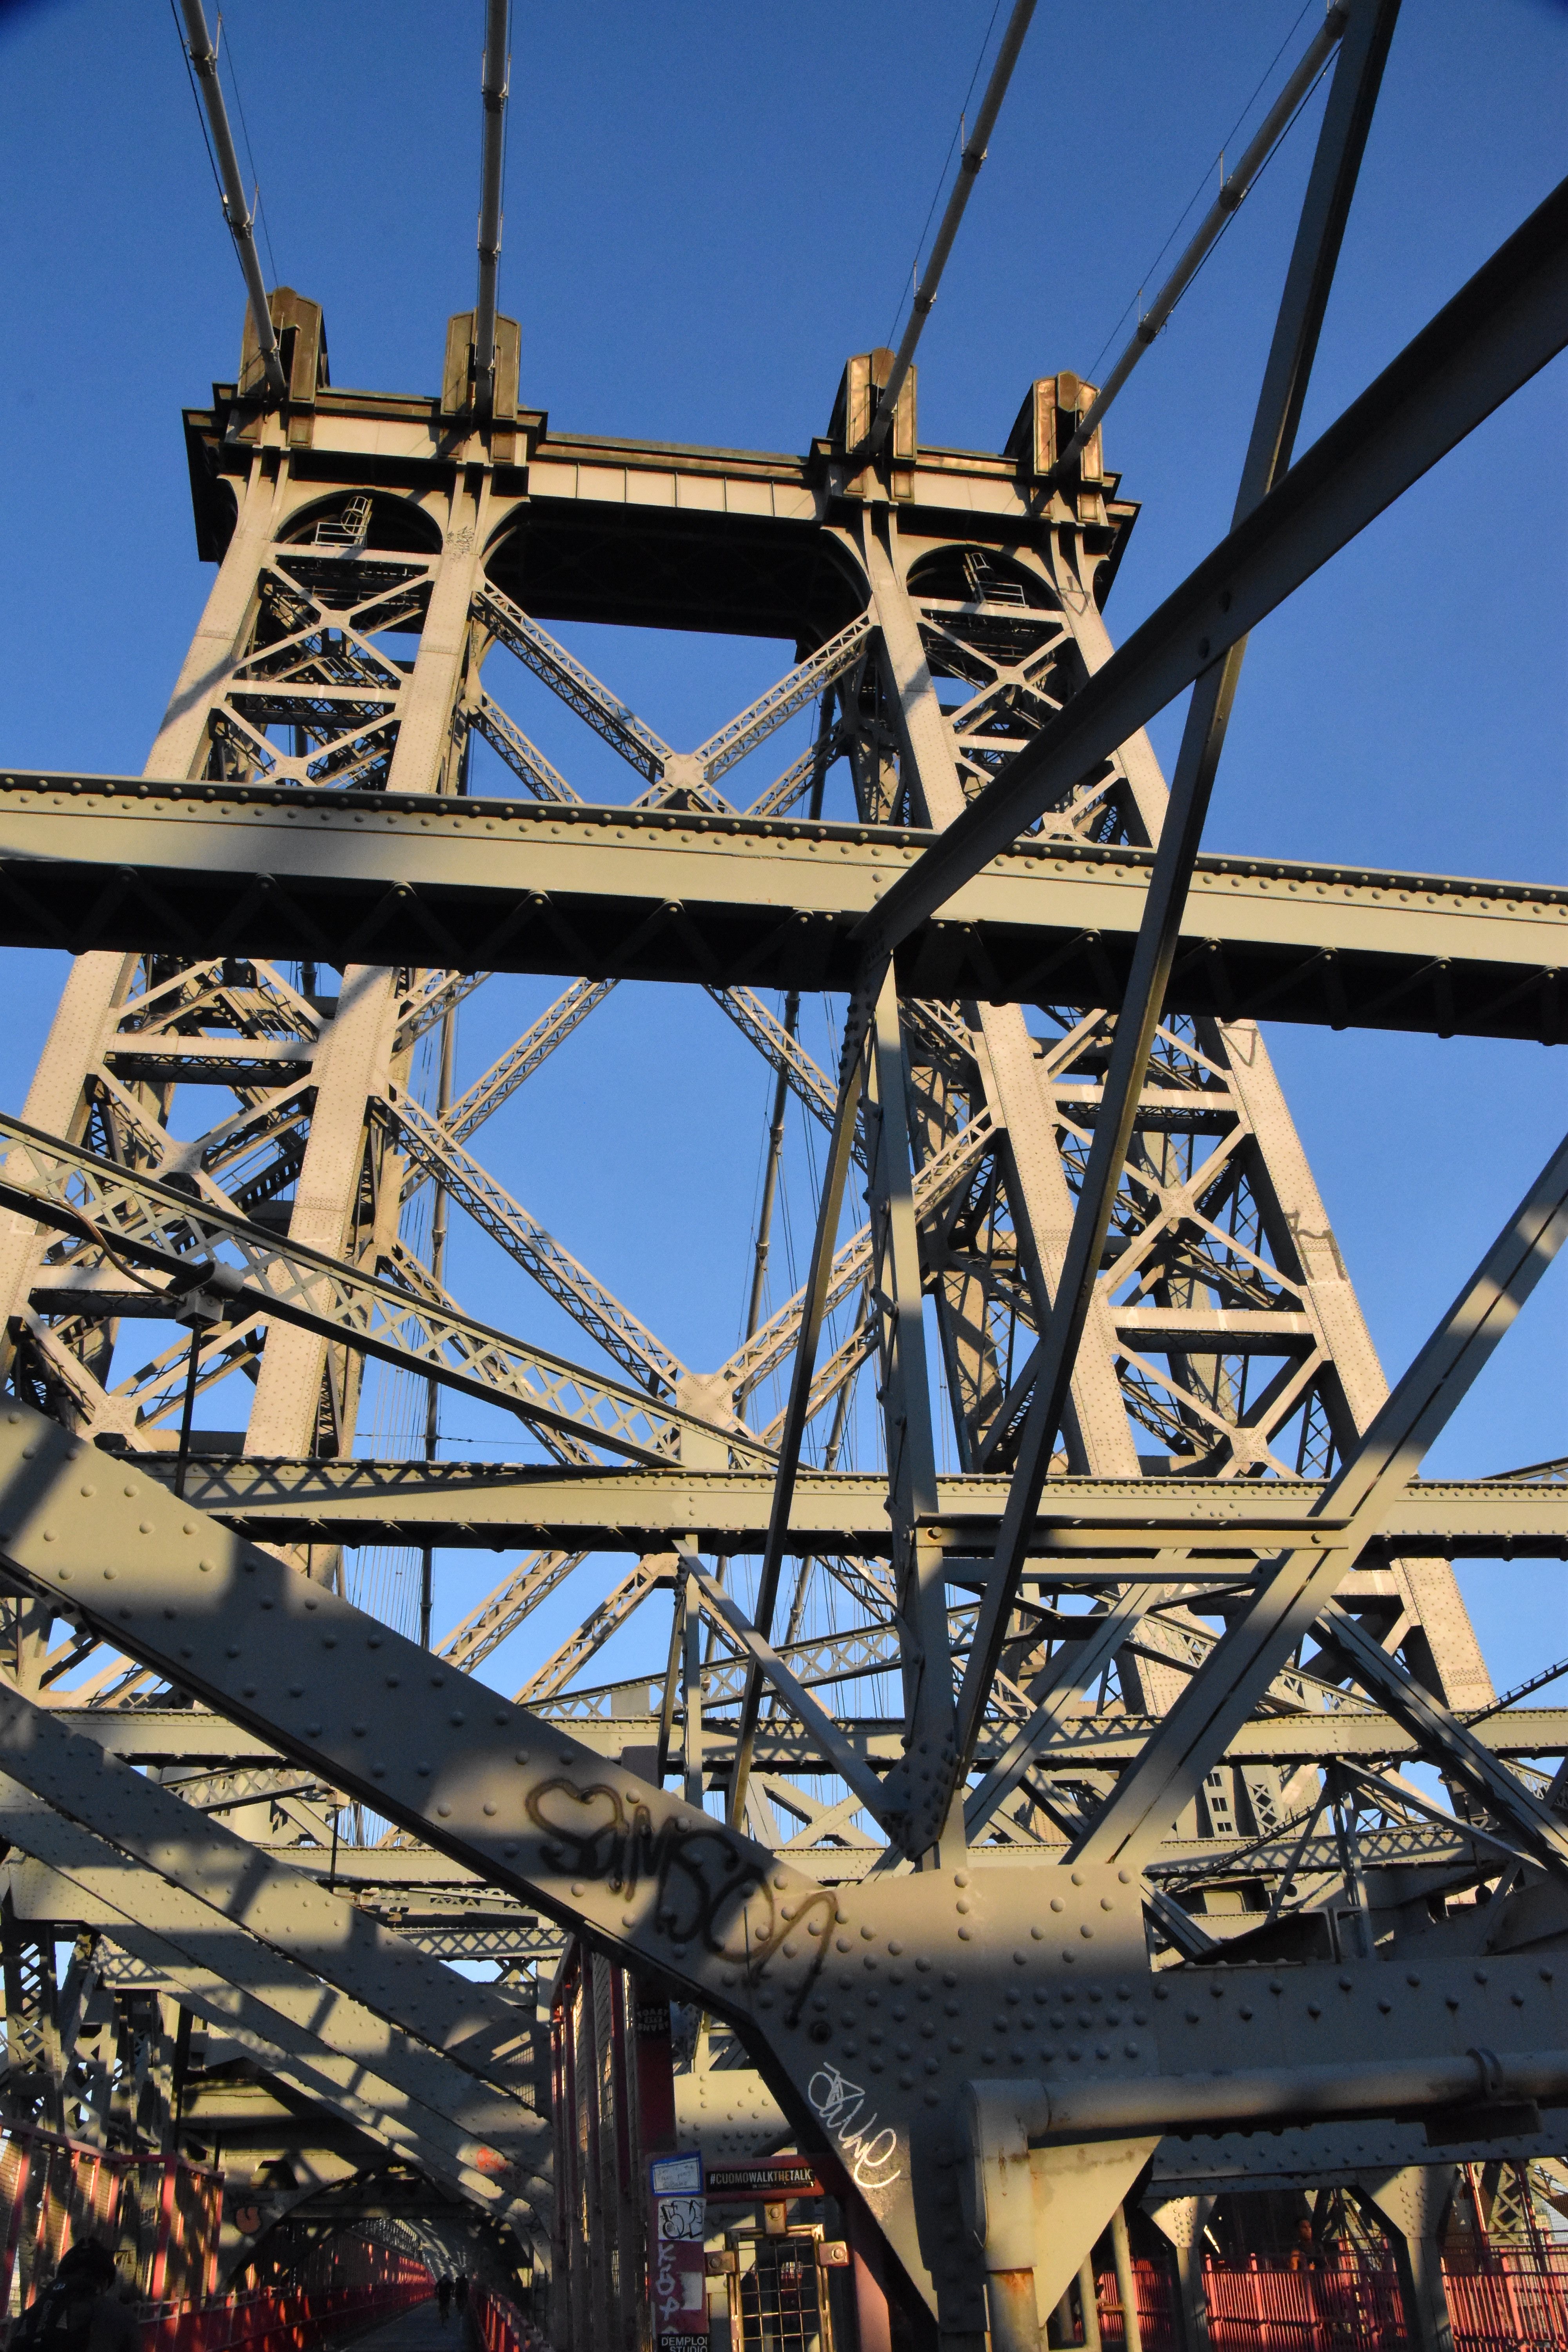


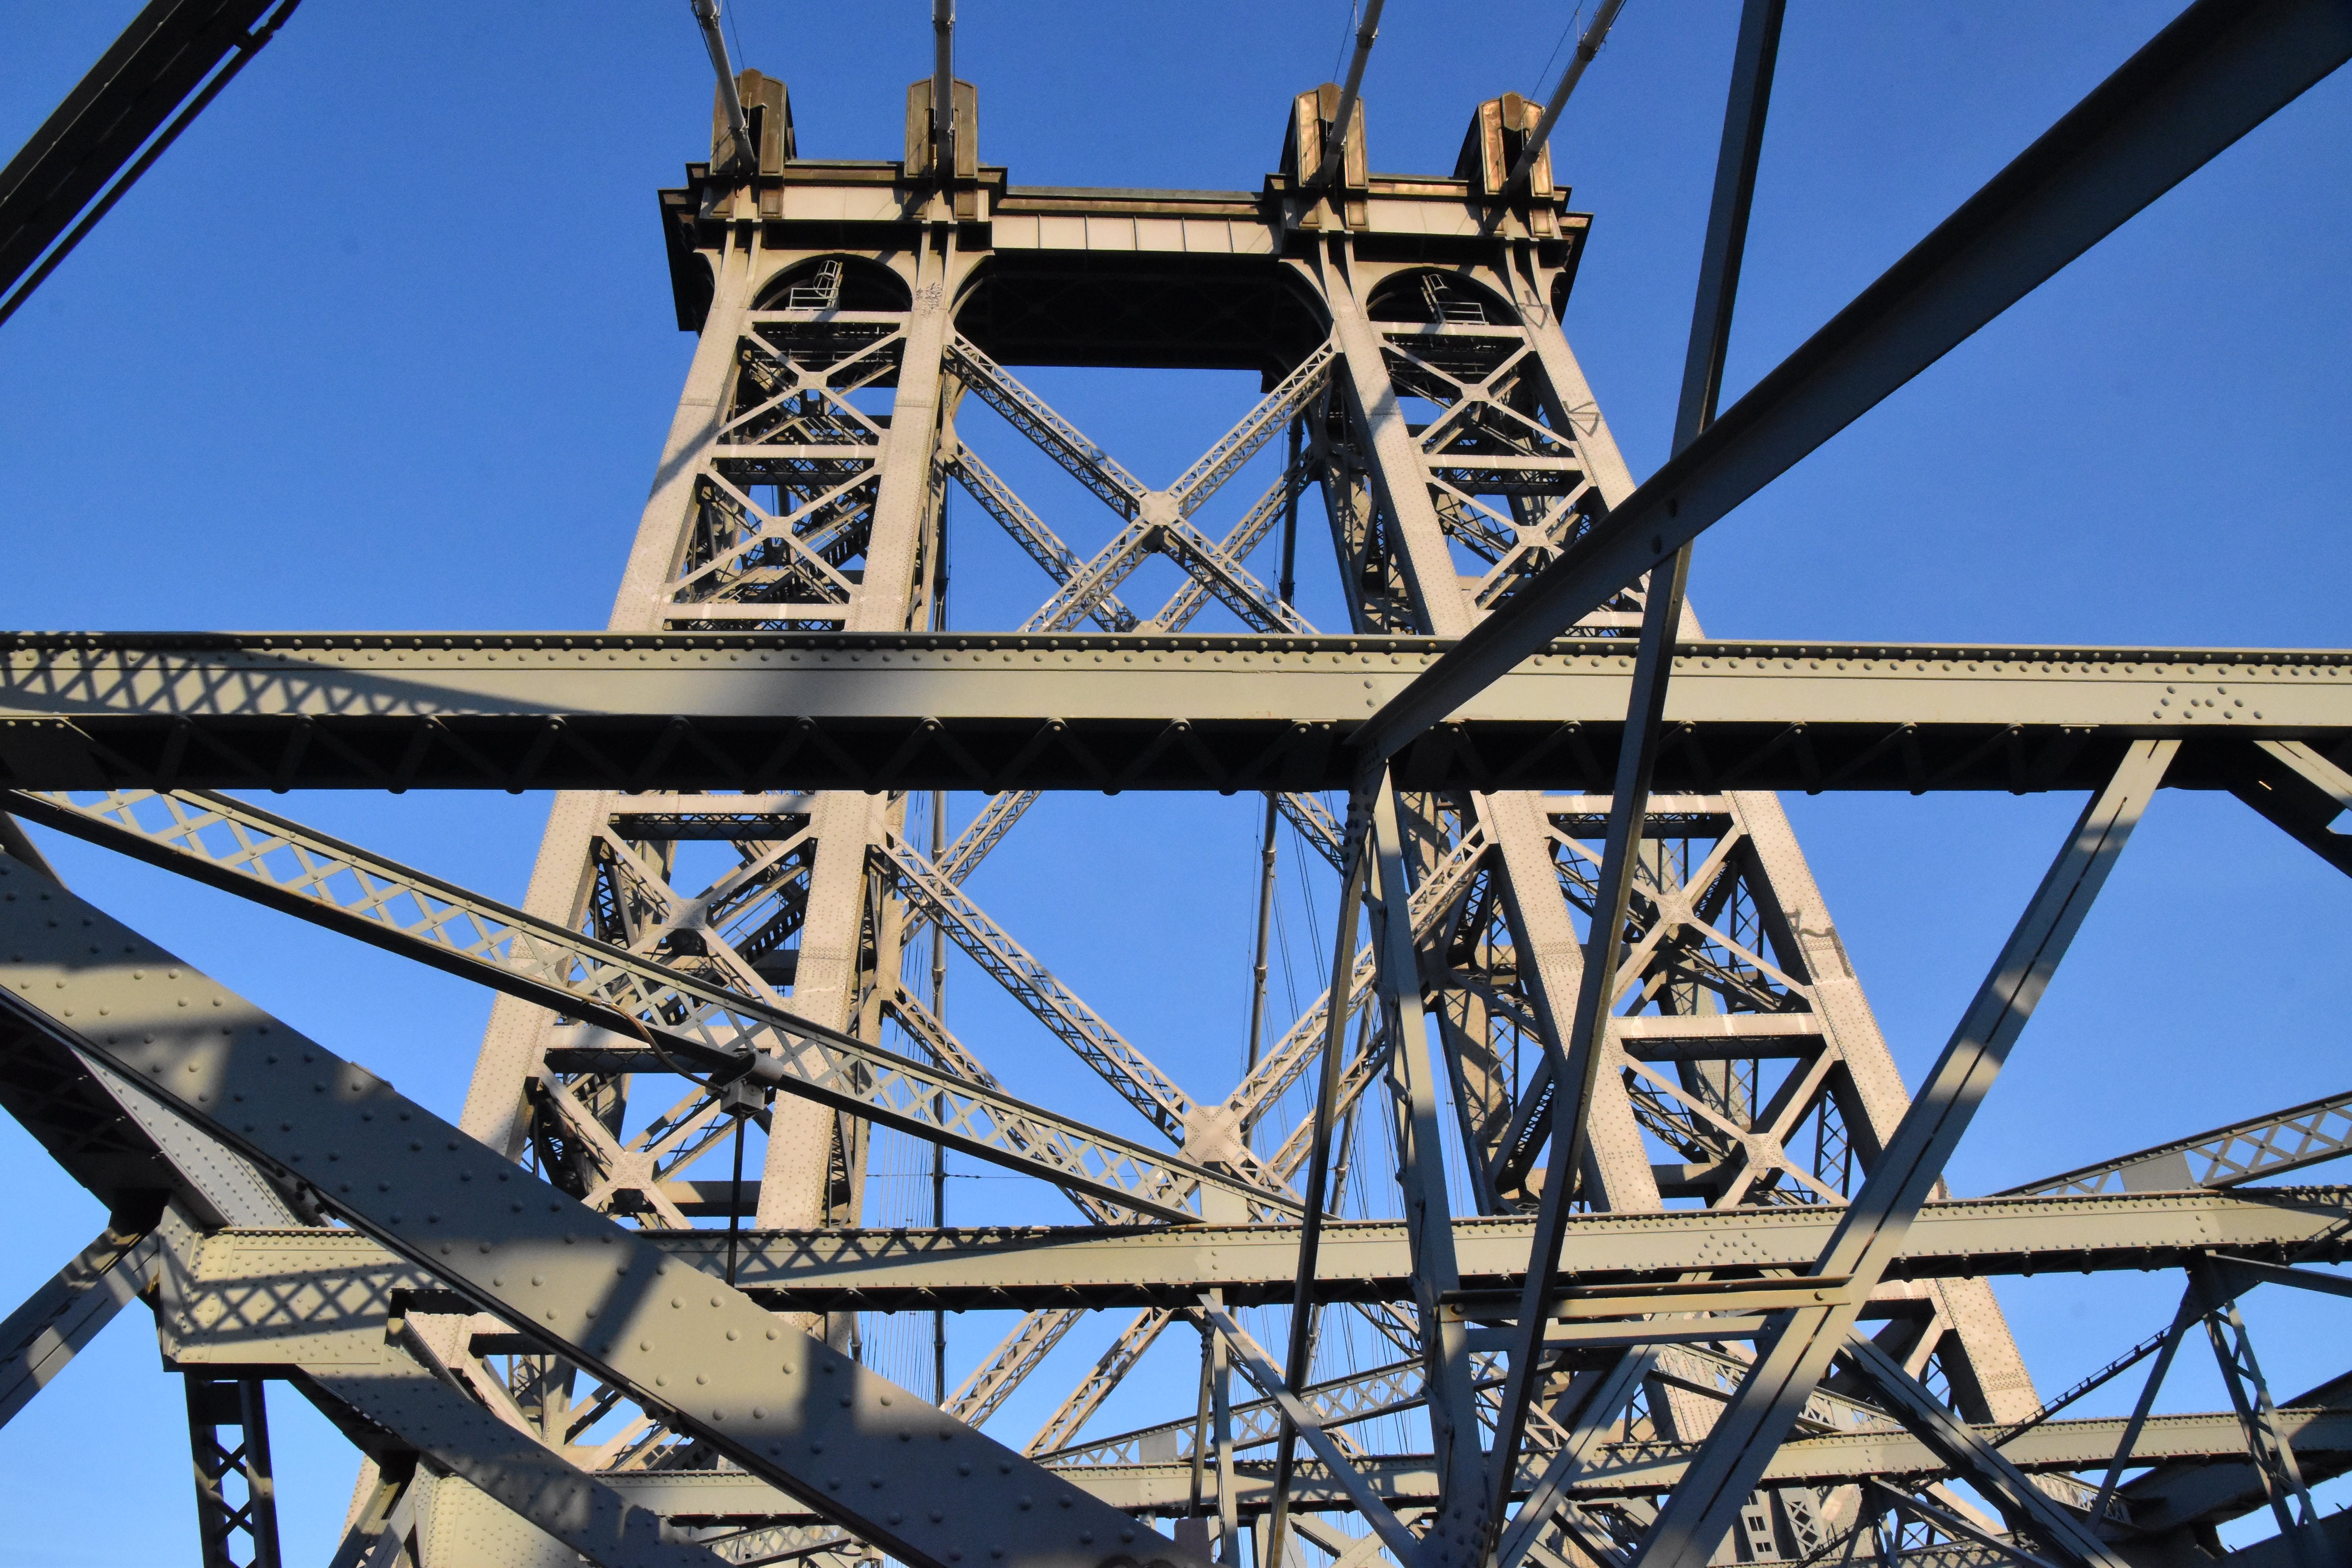
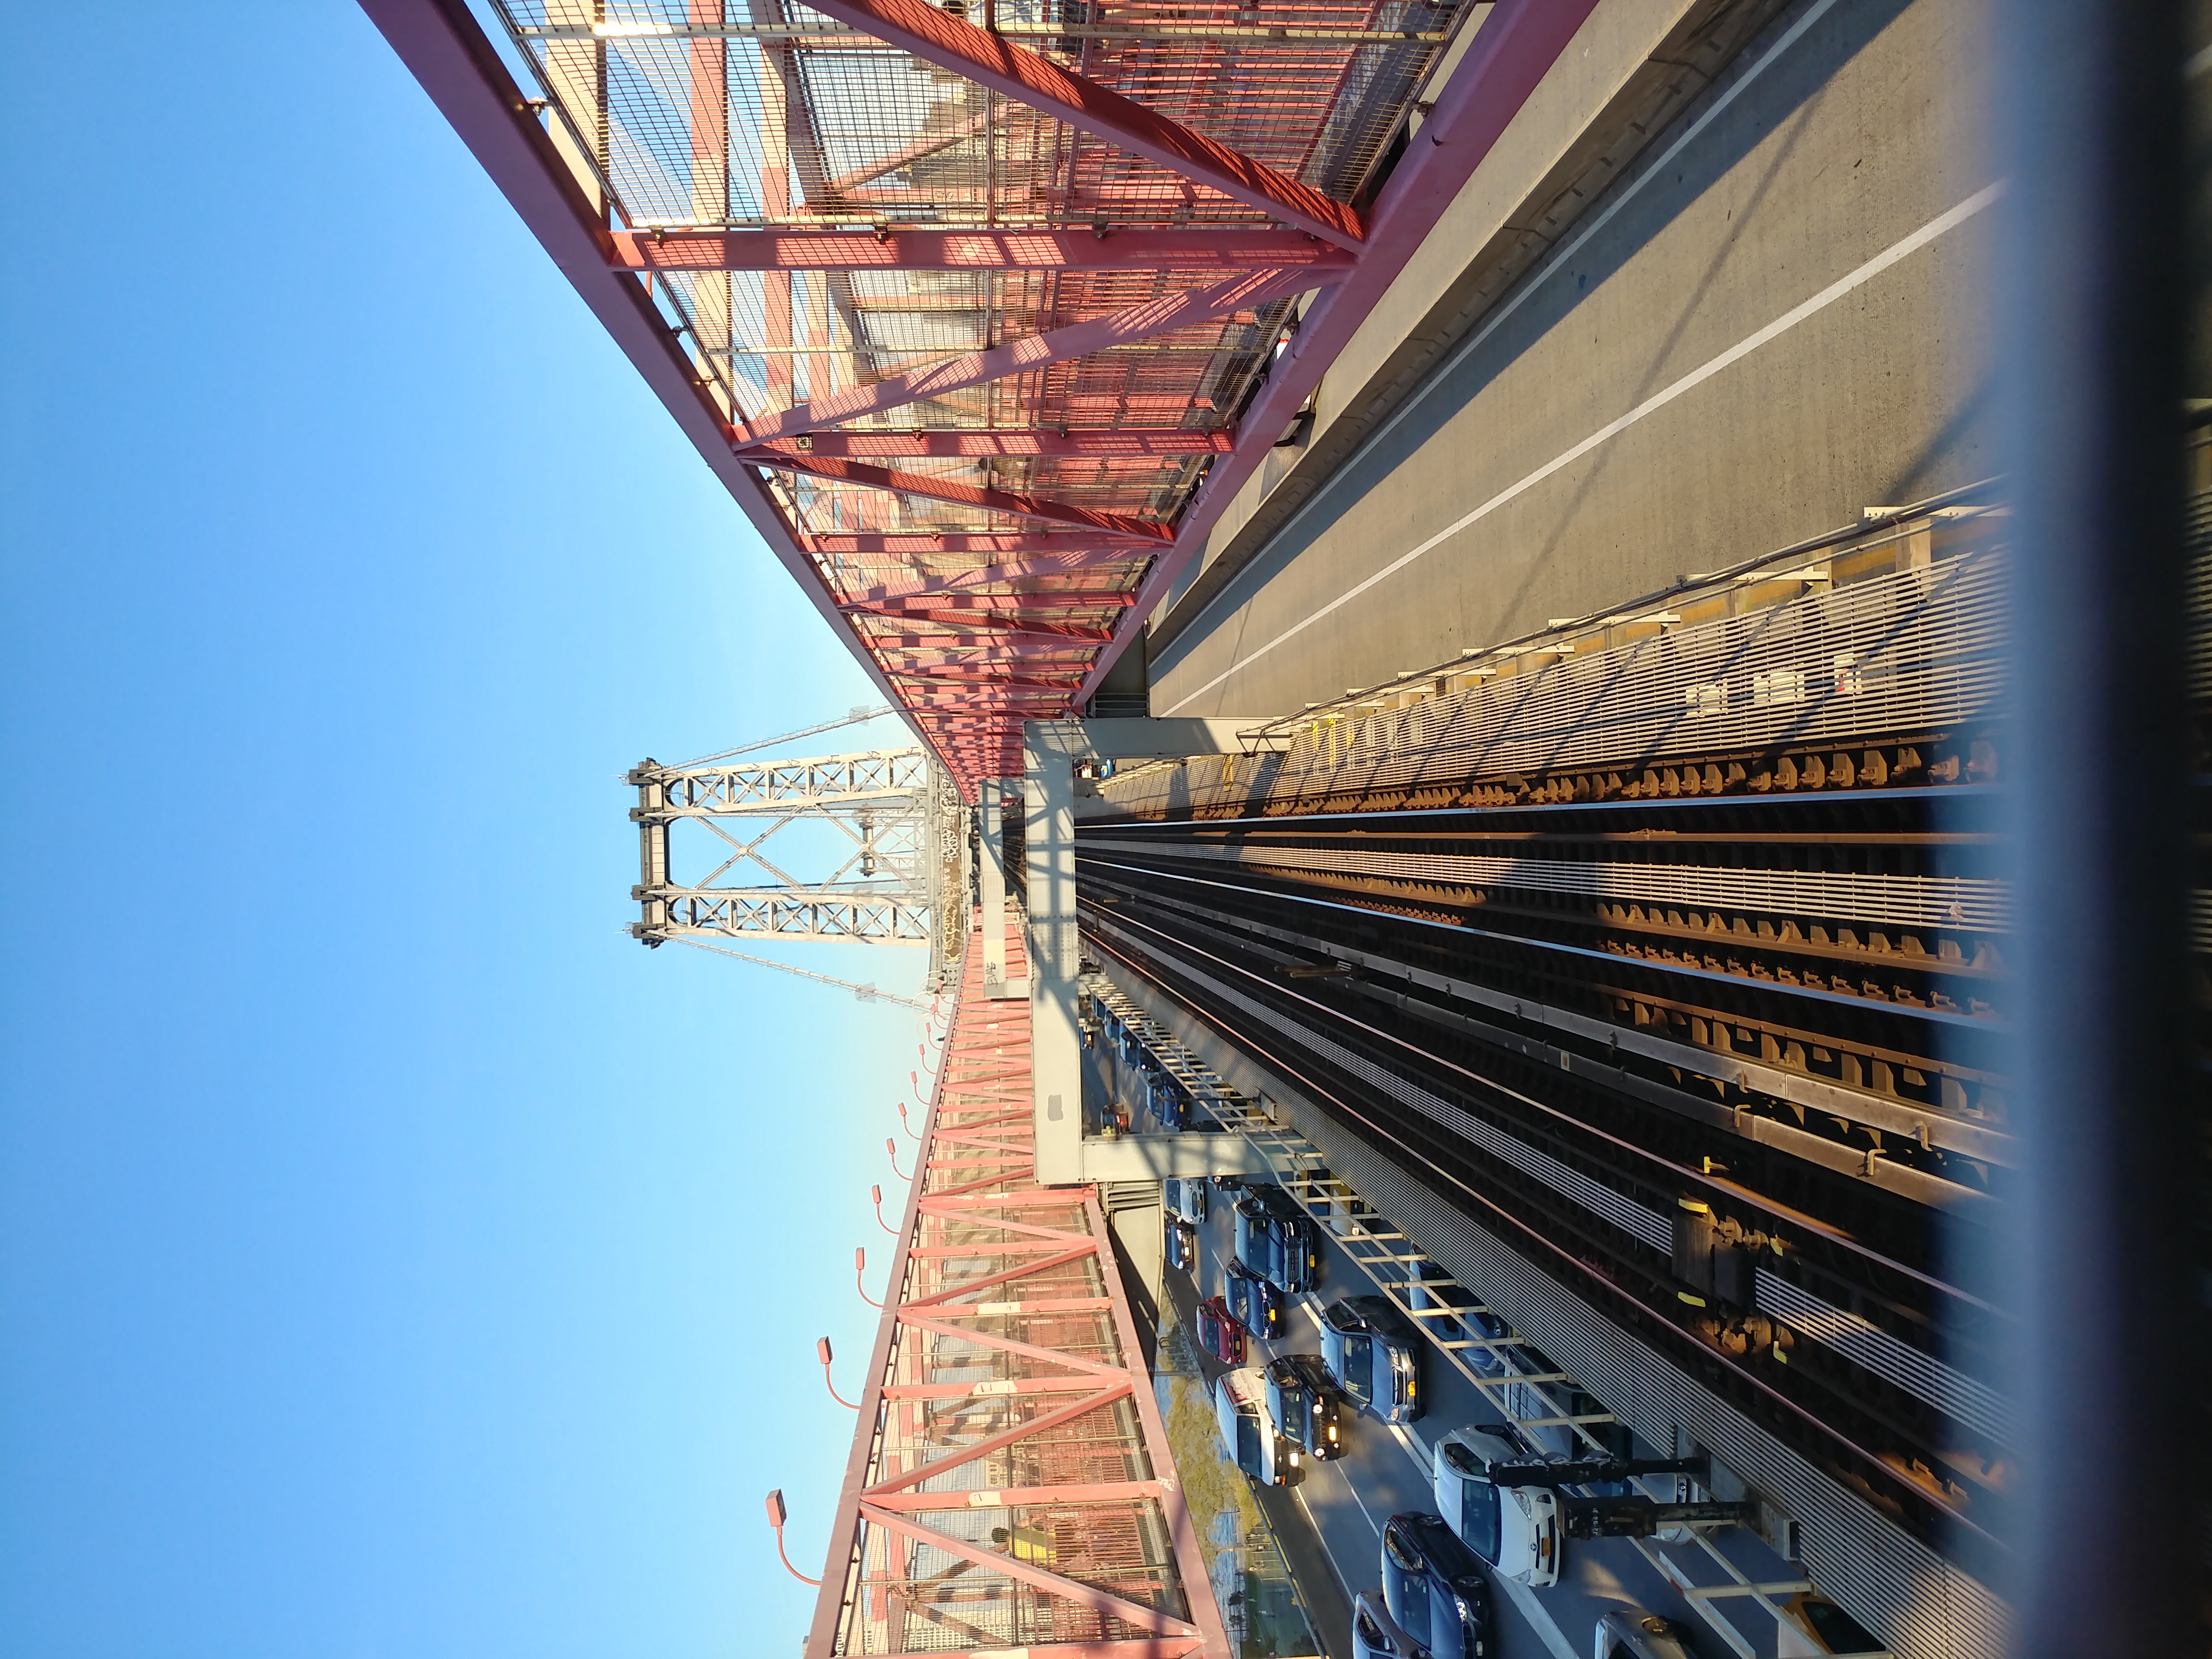
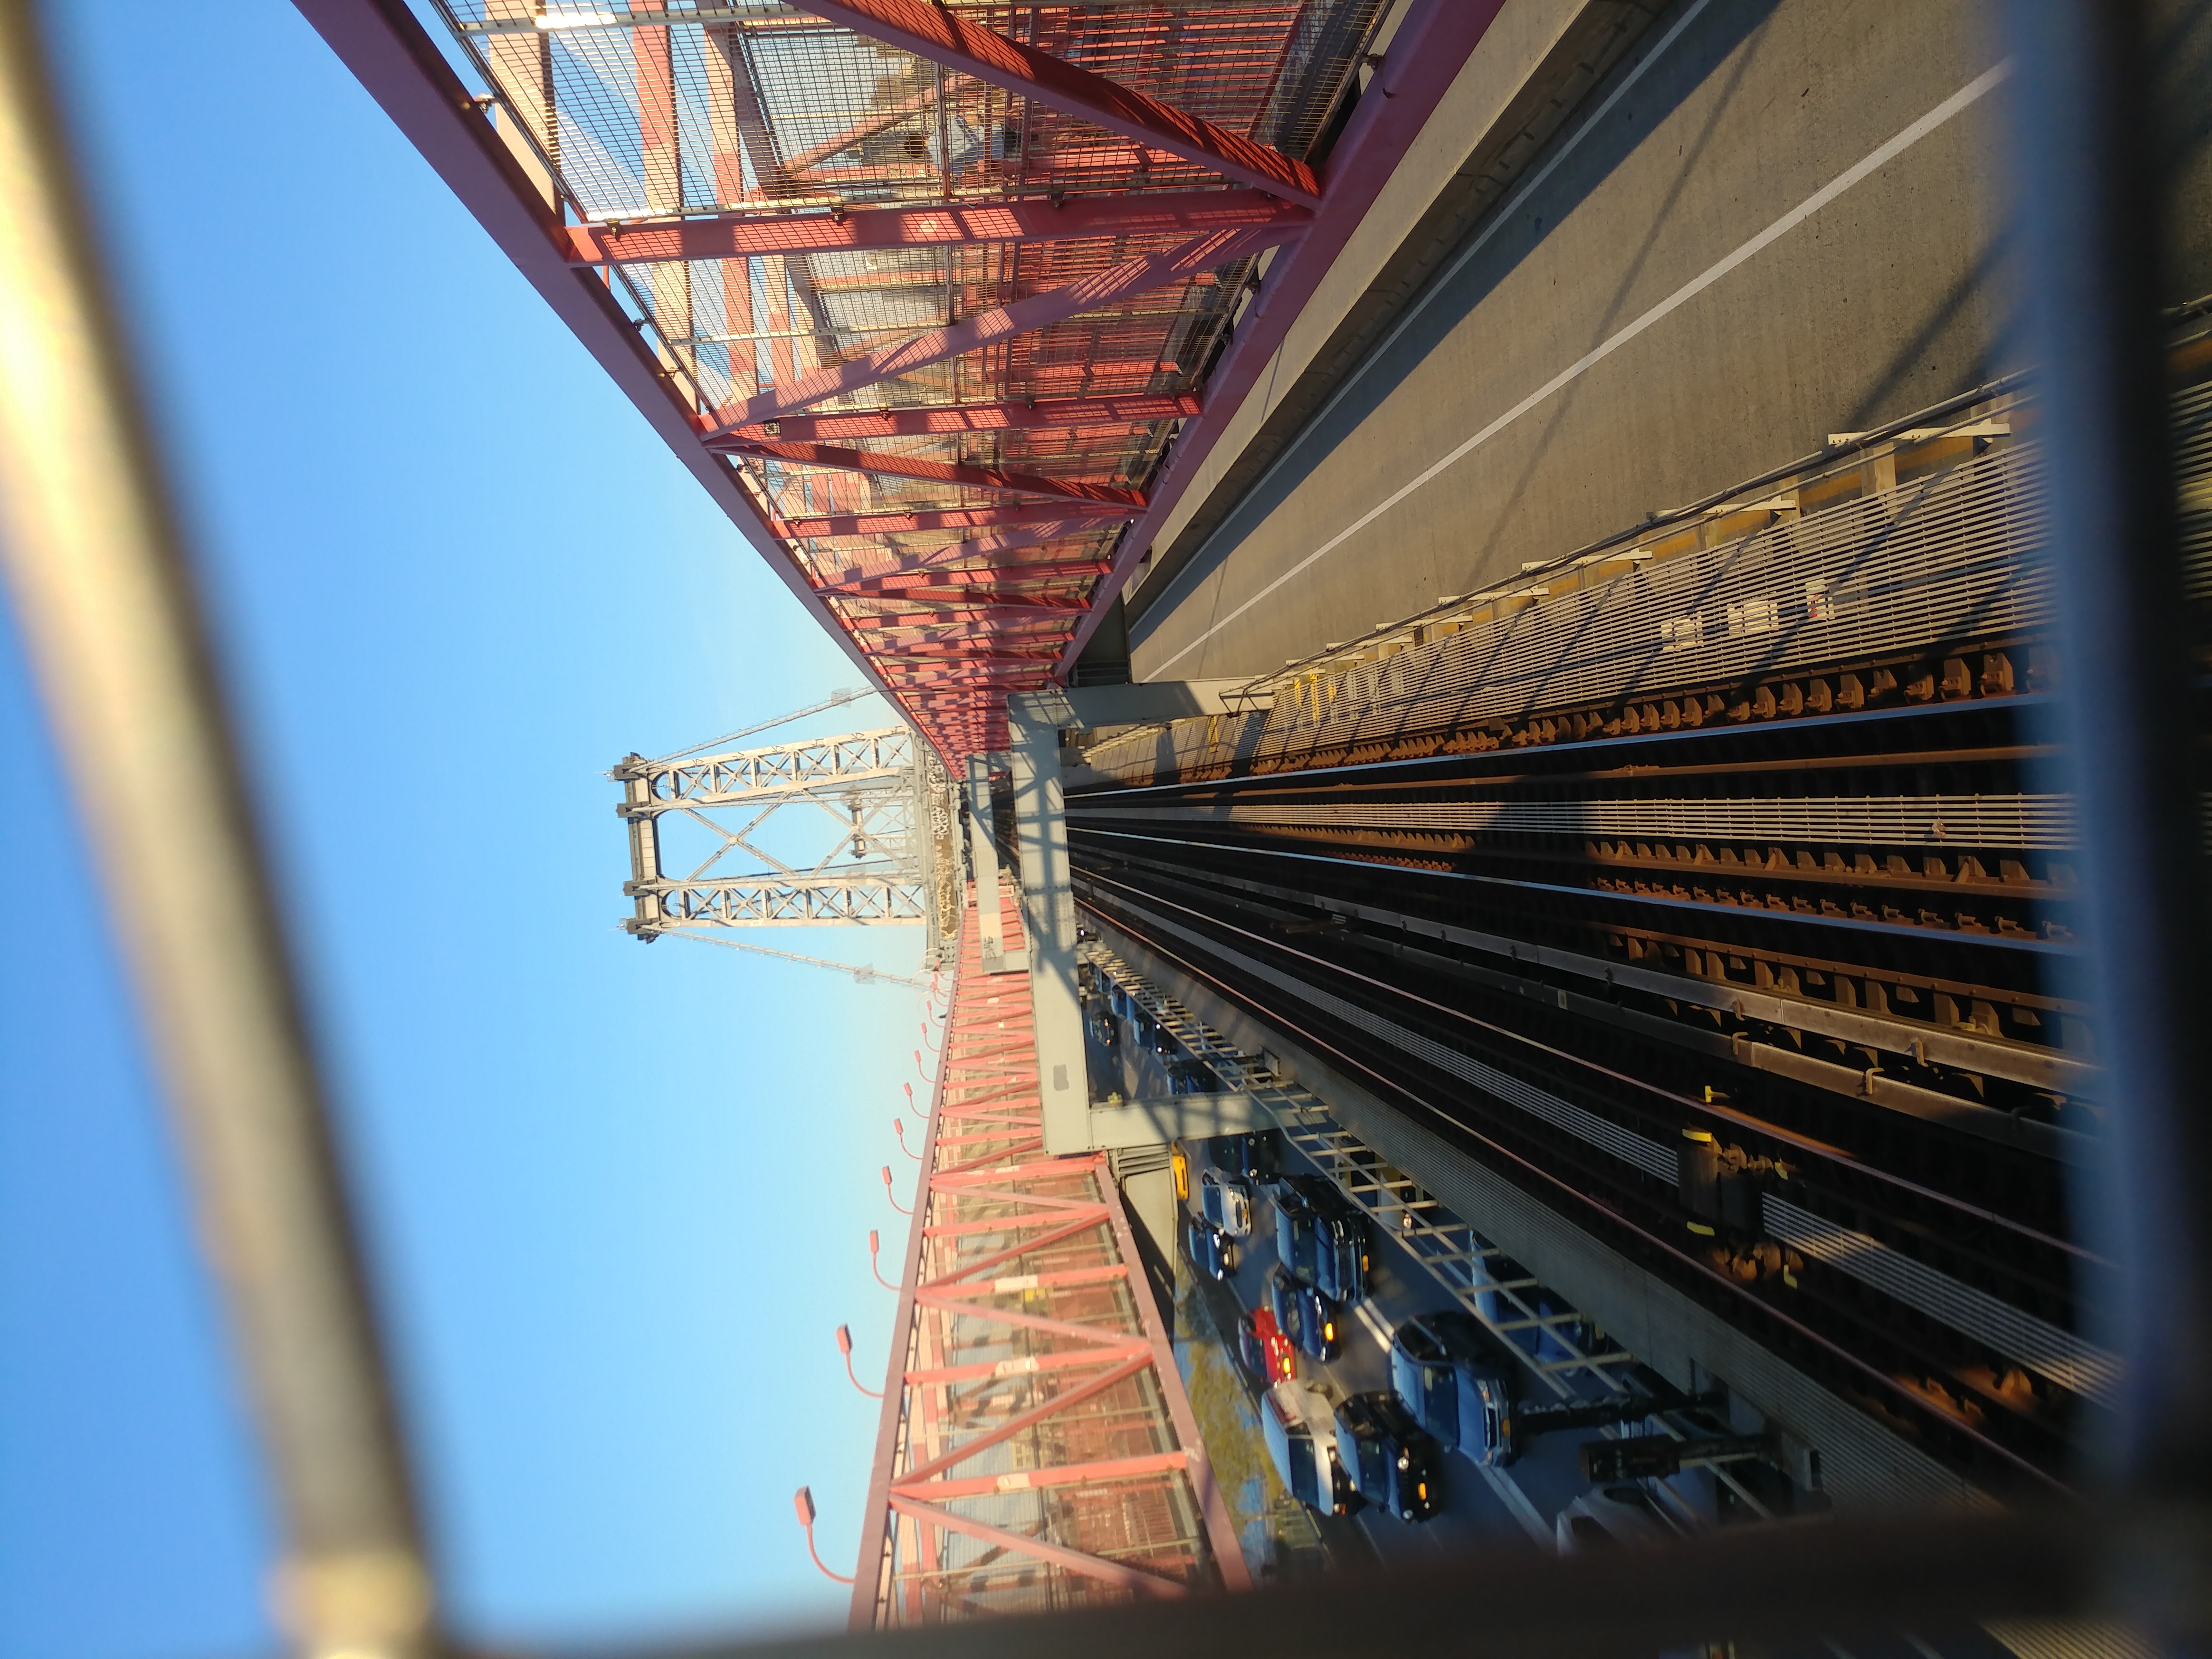
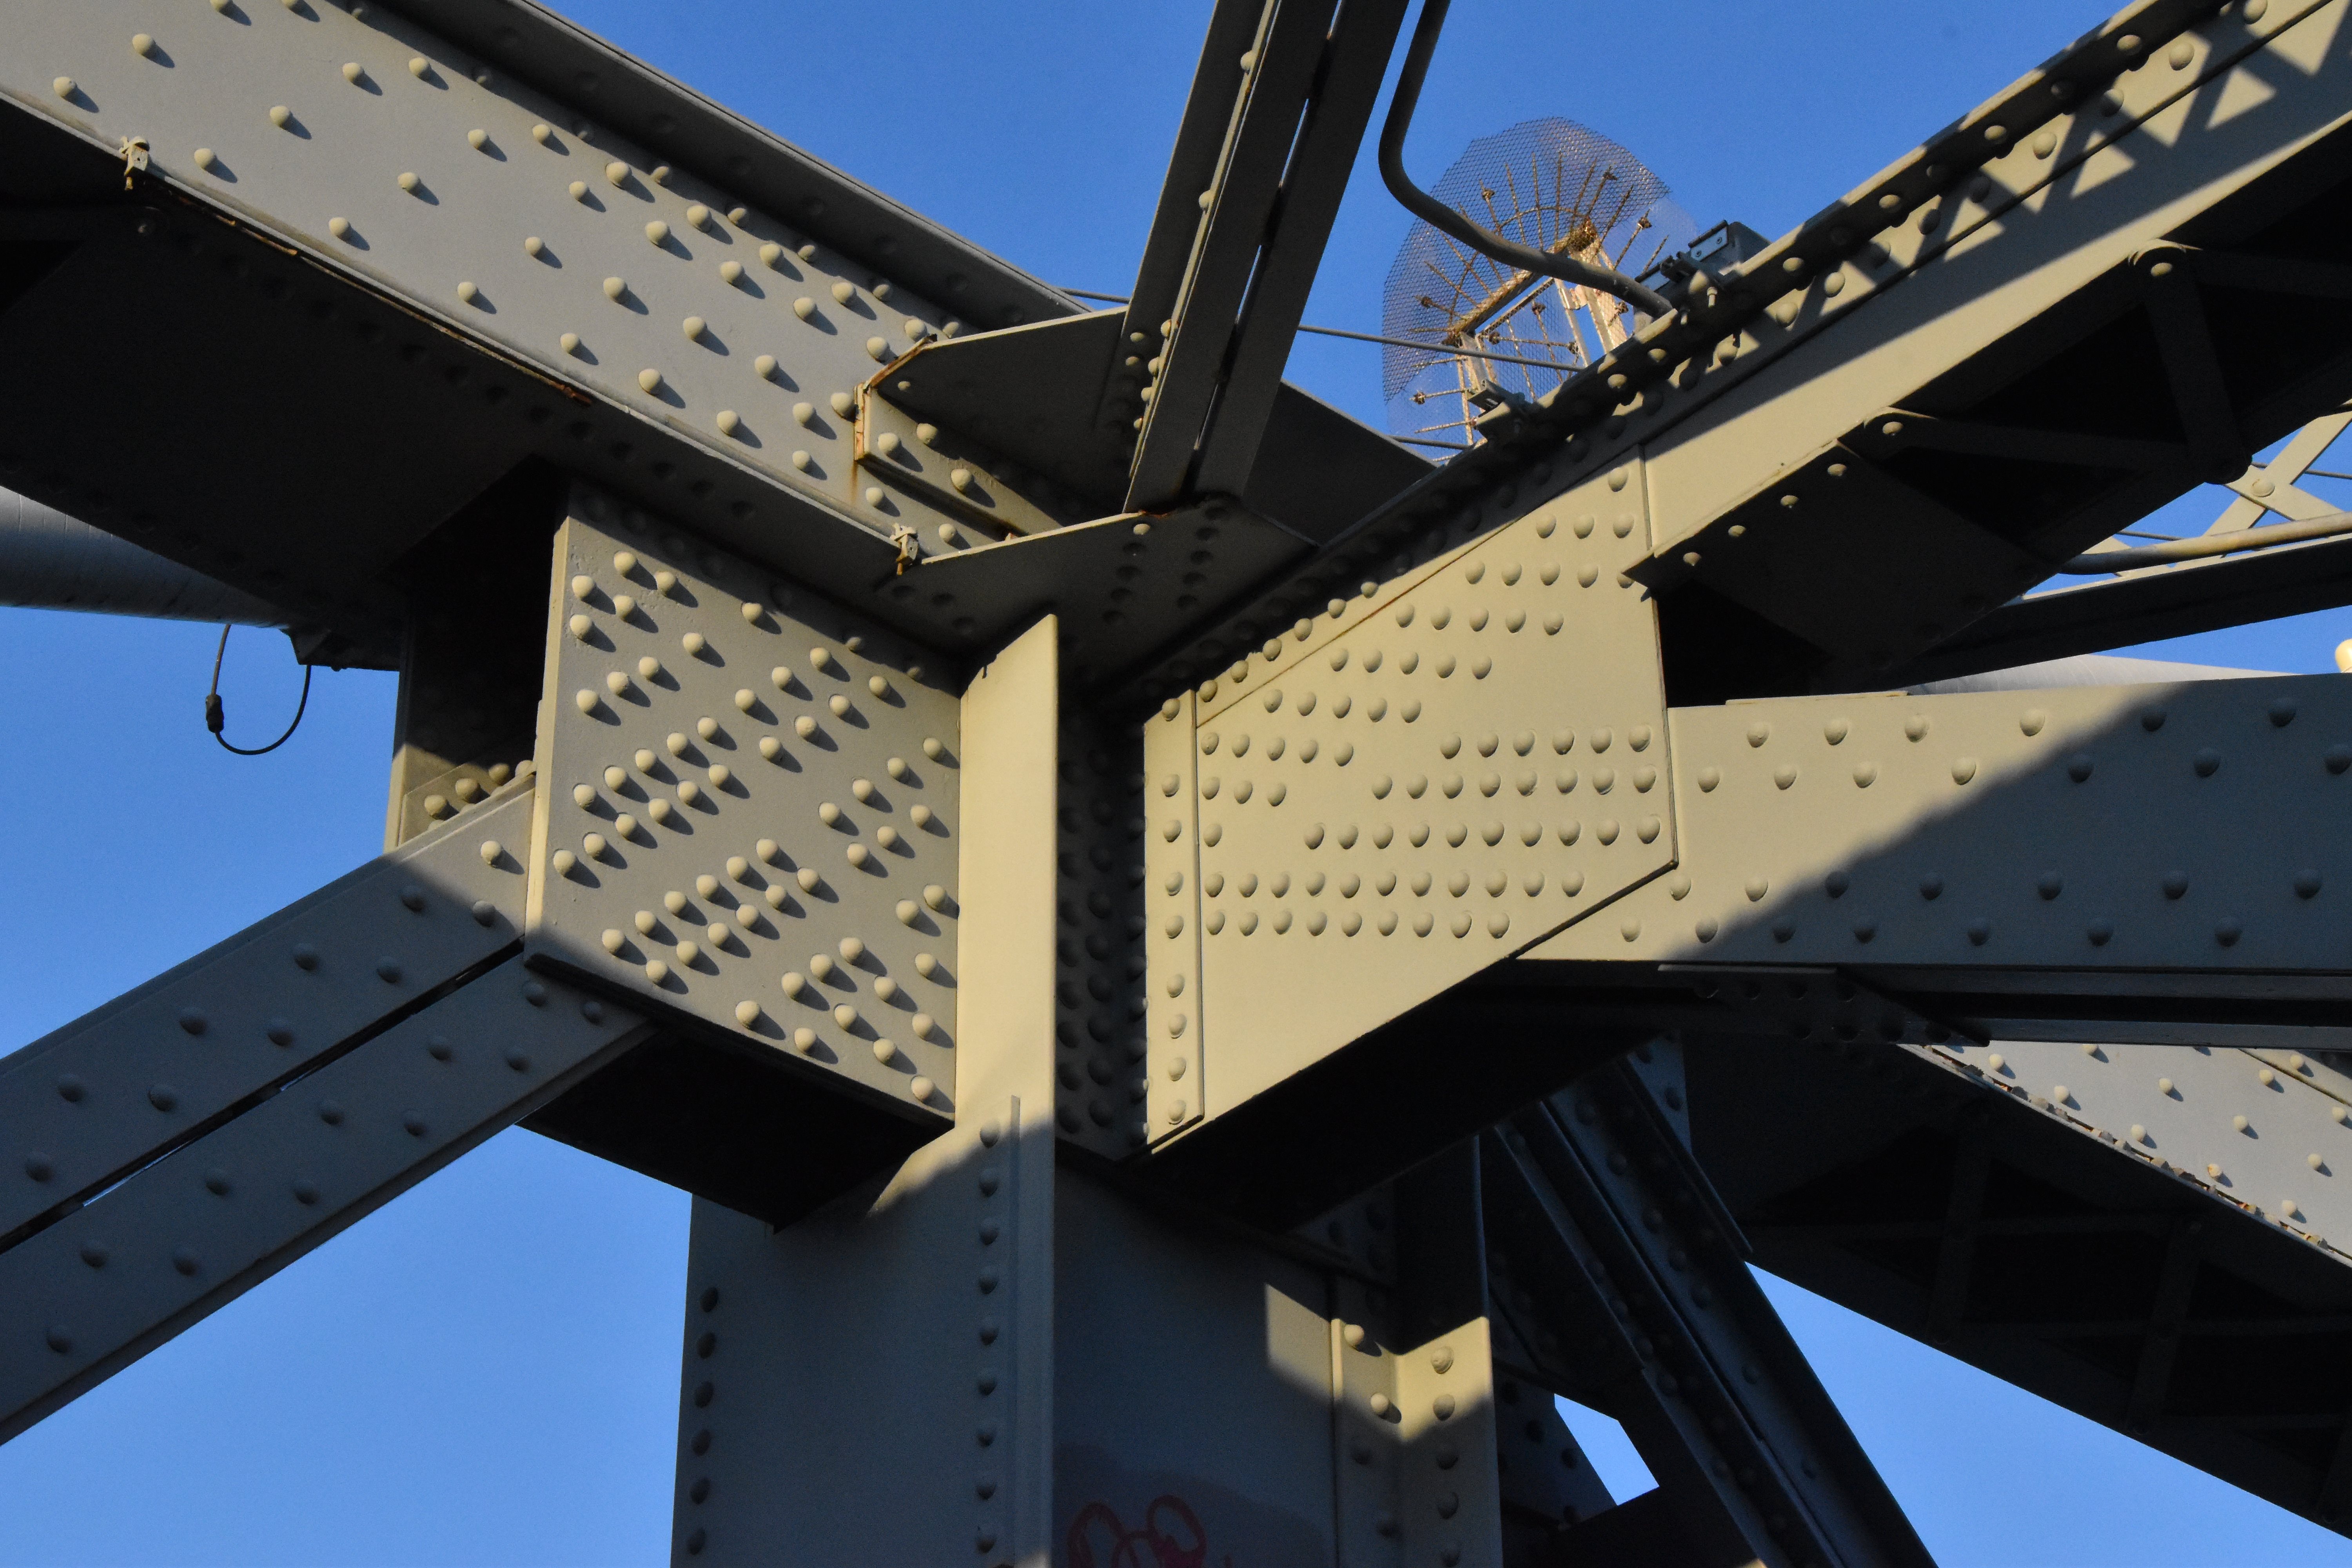
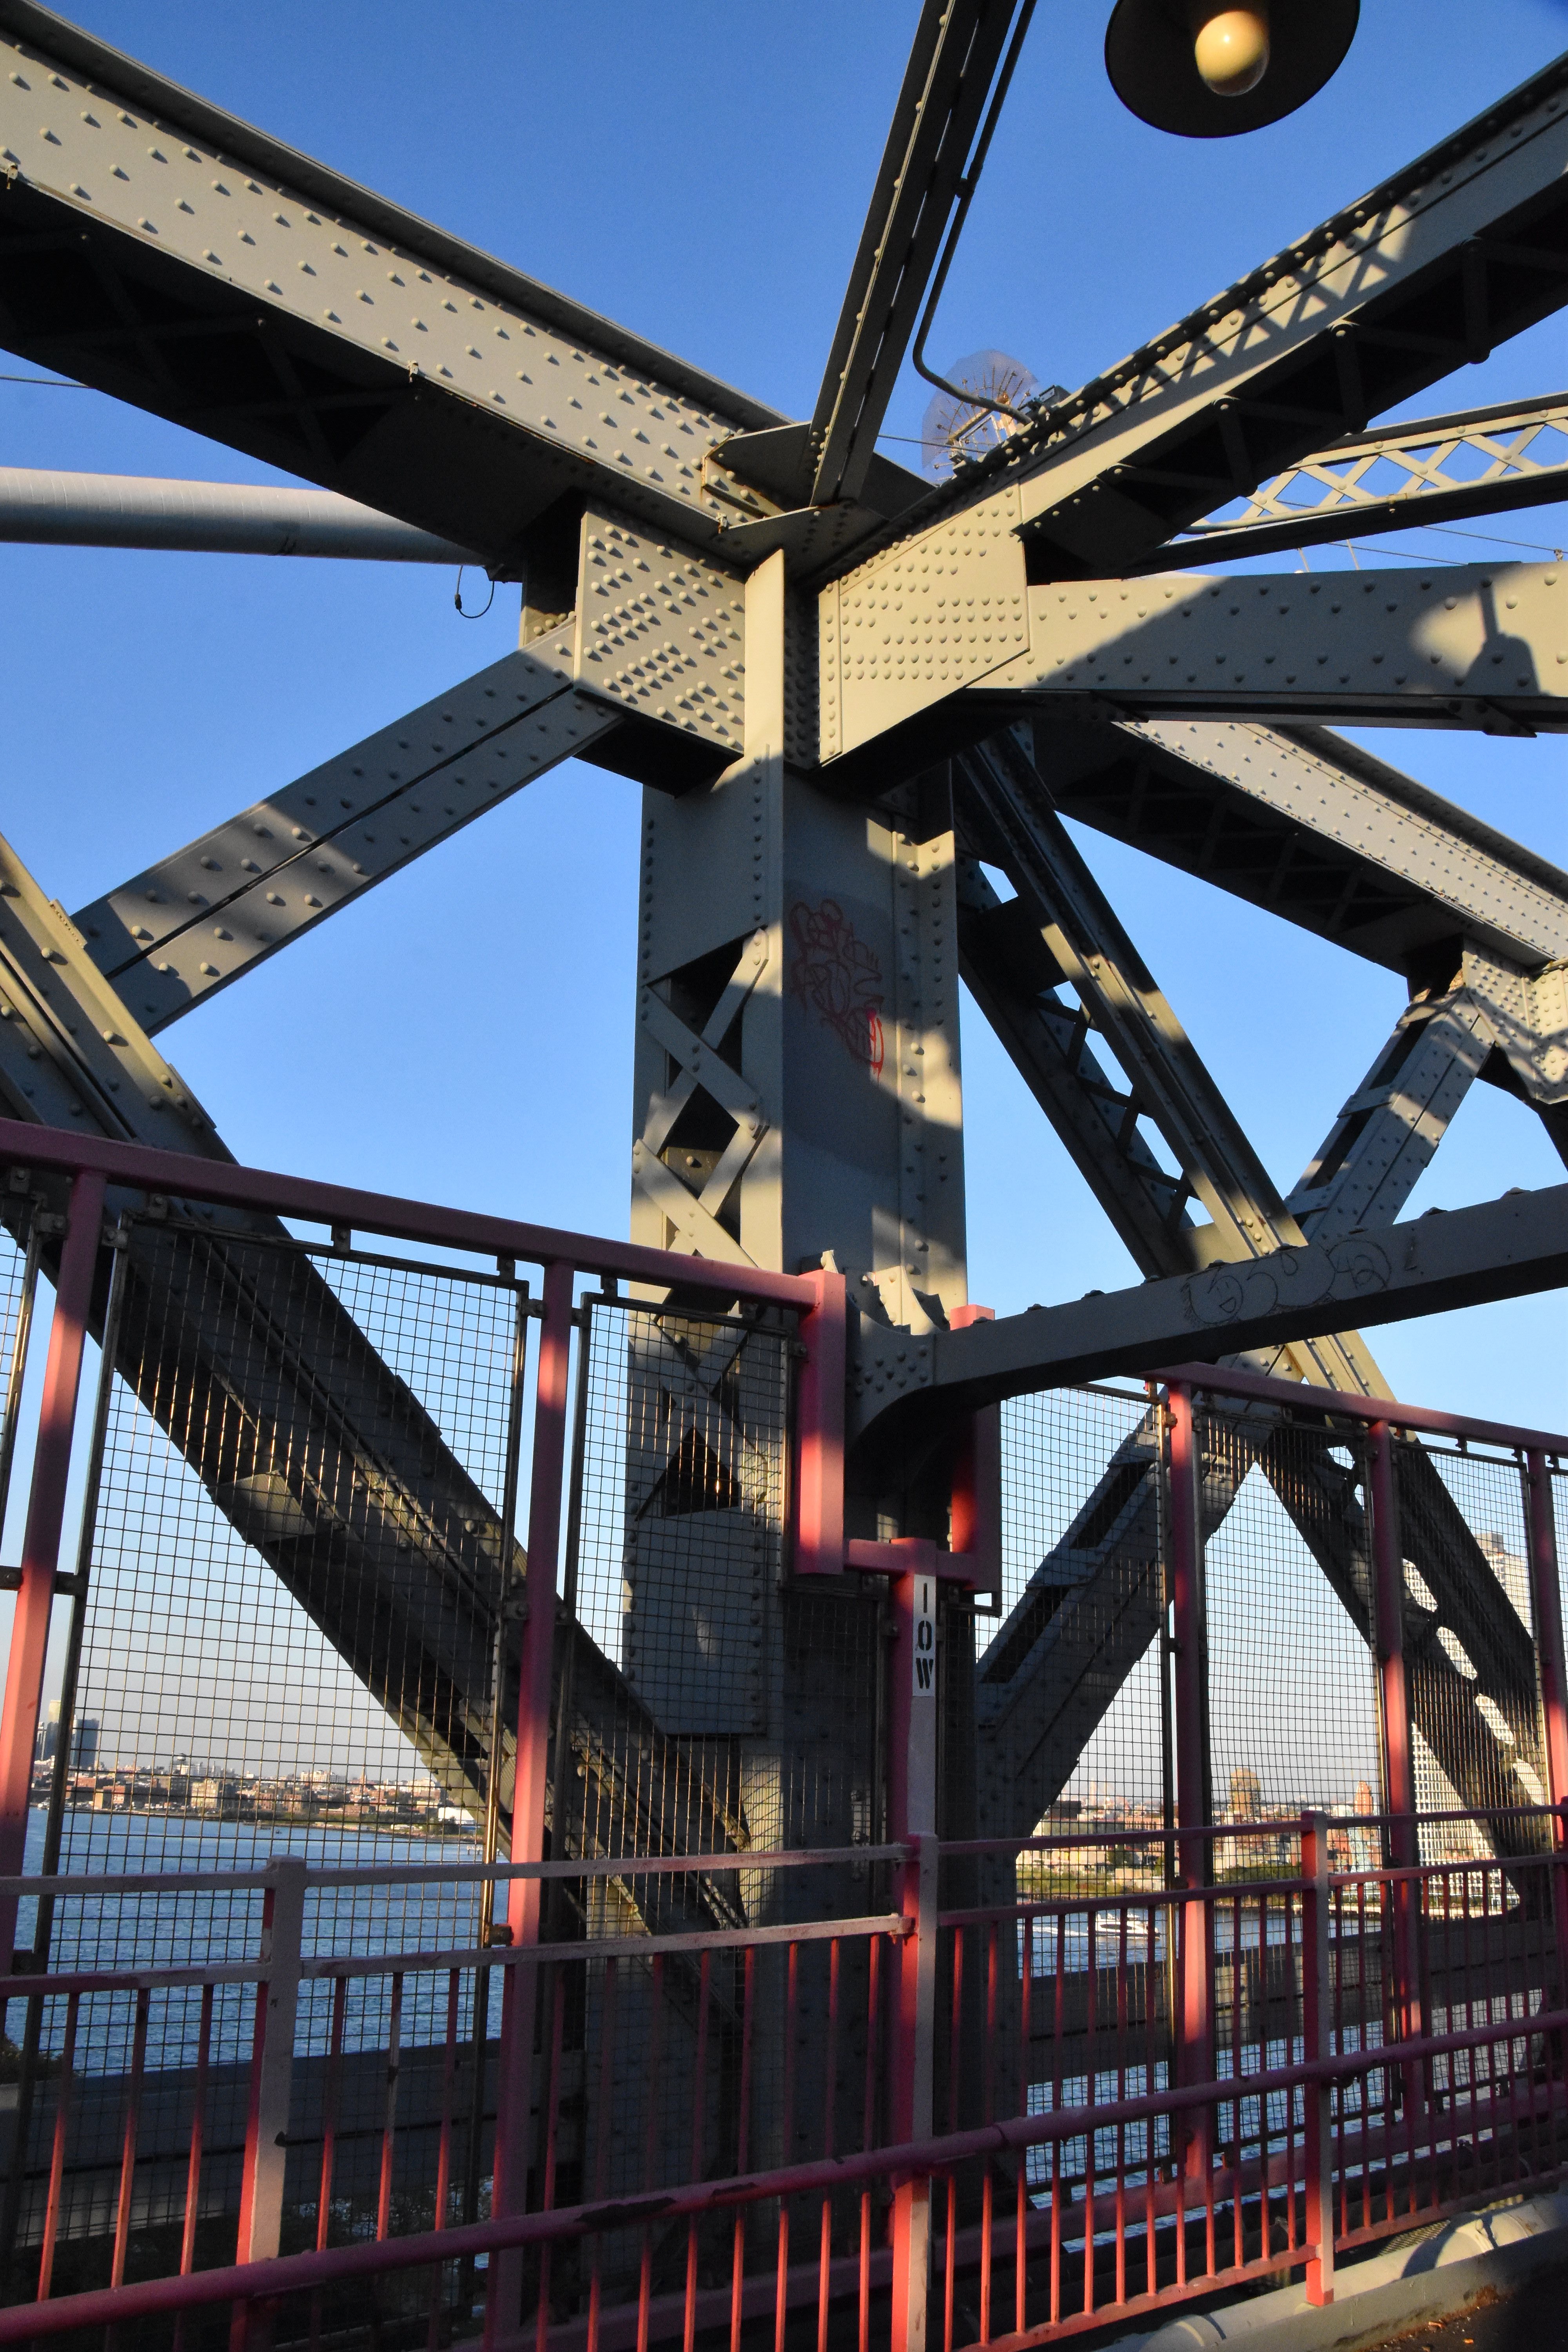
Looking up at tower from walkway.
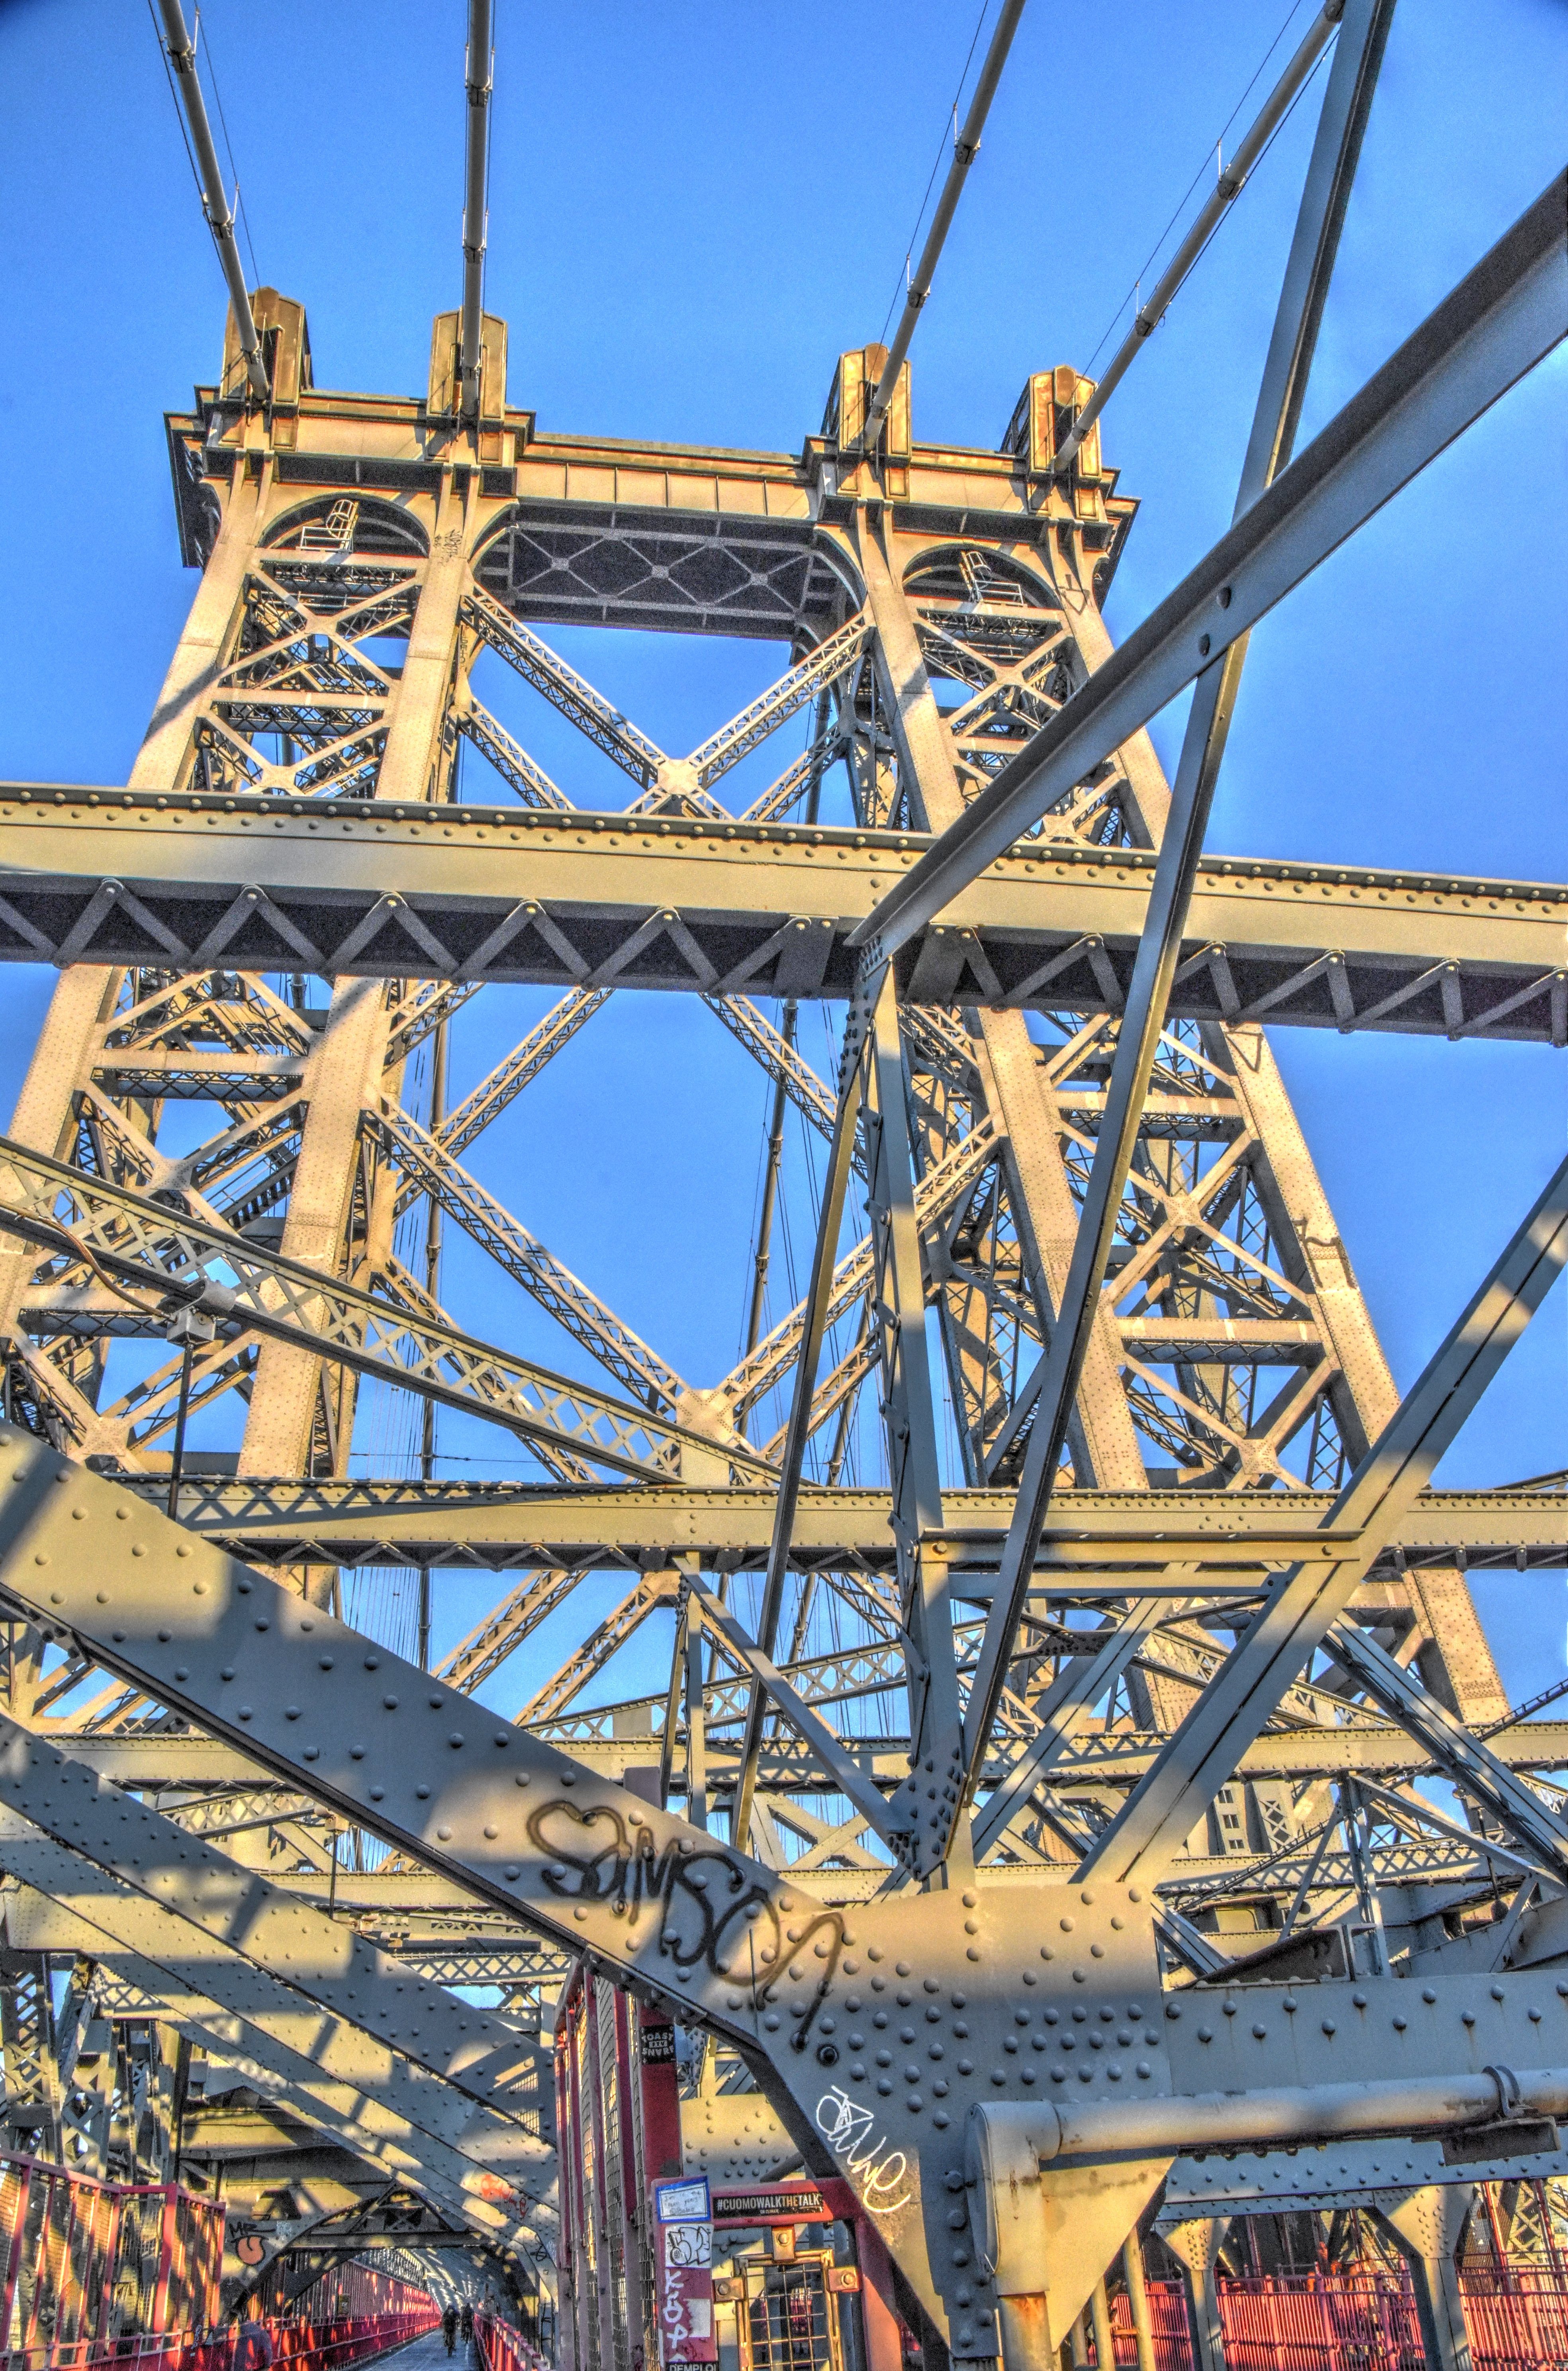
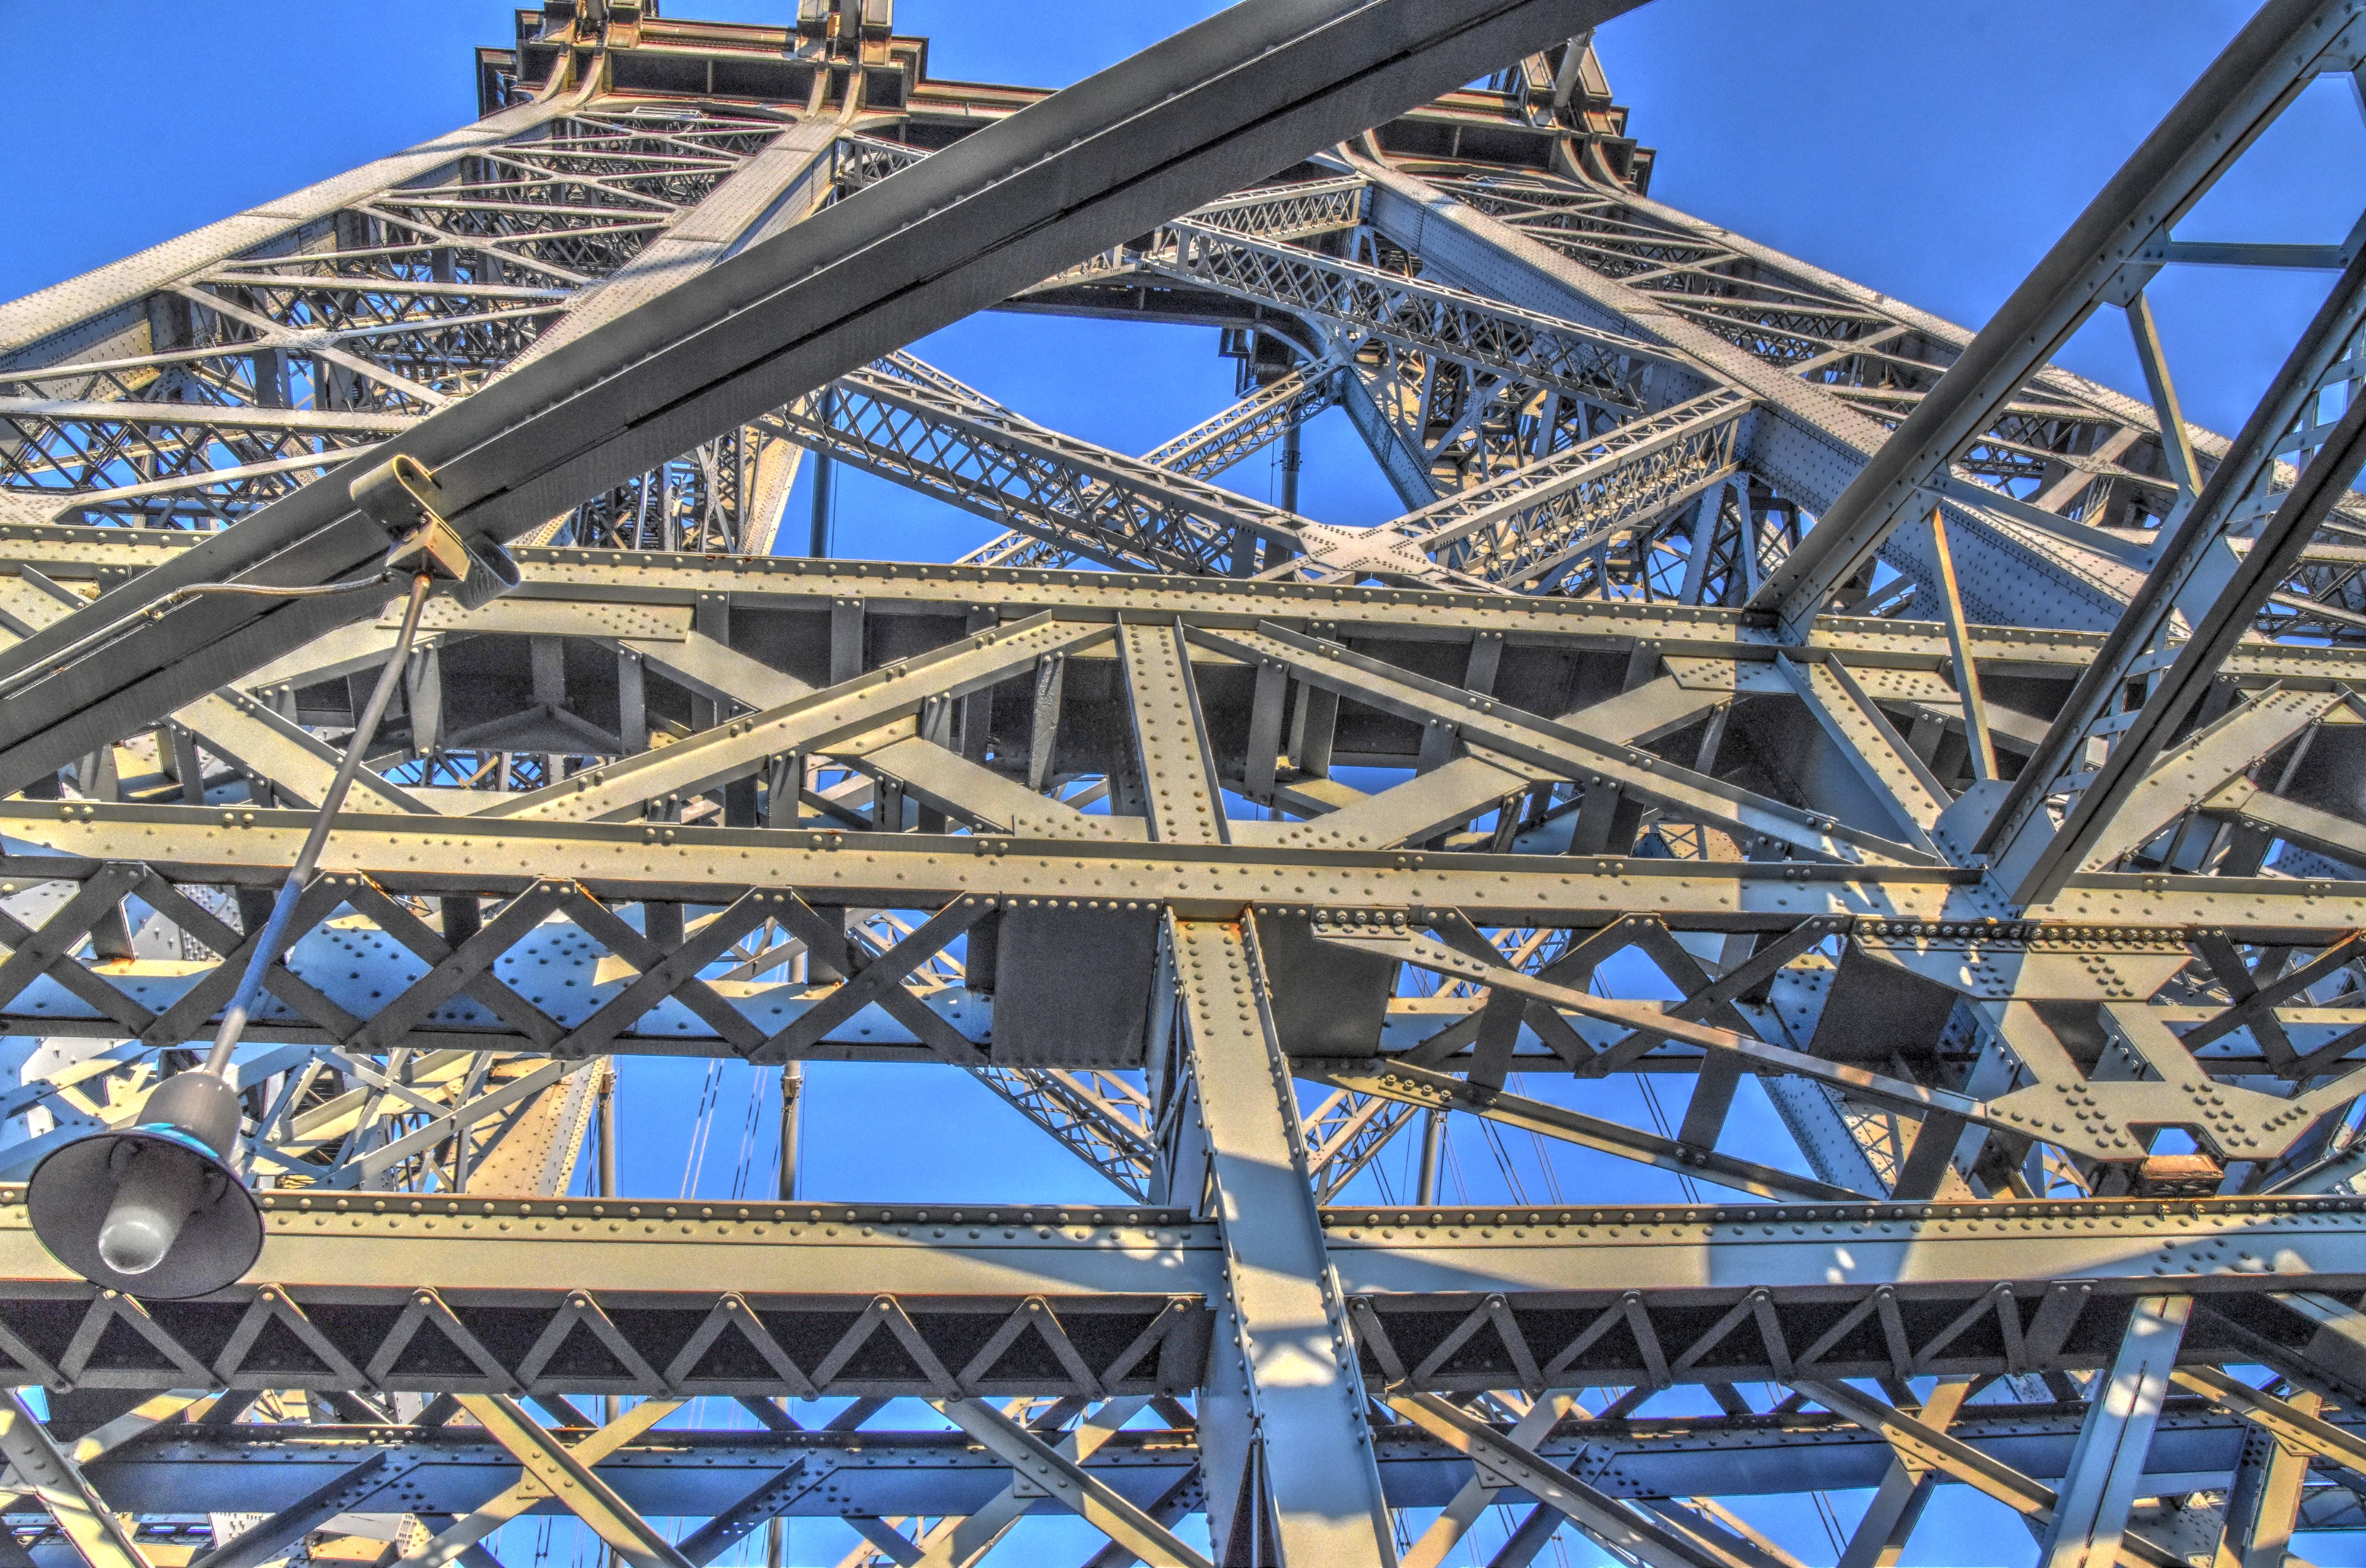
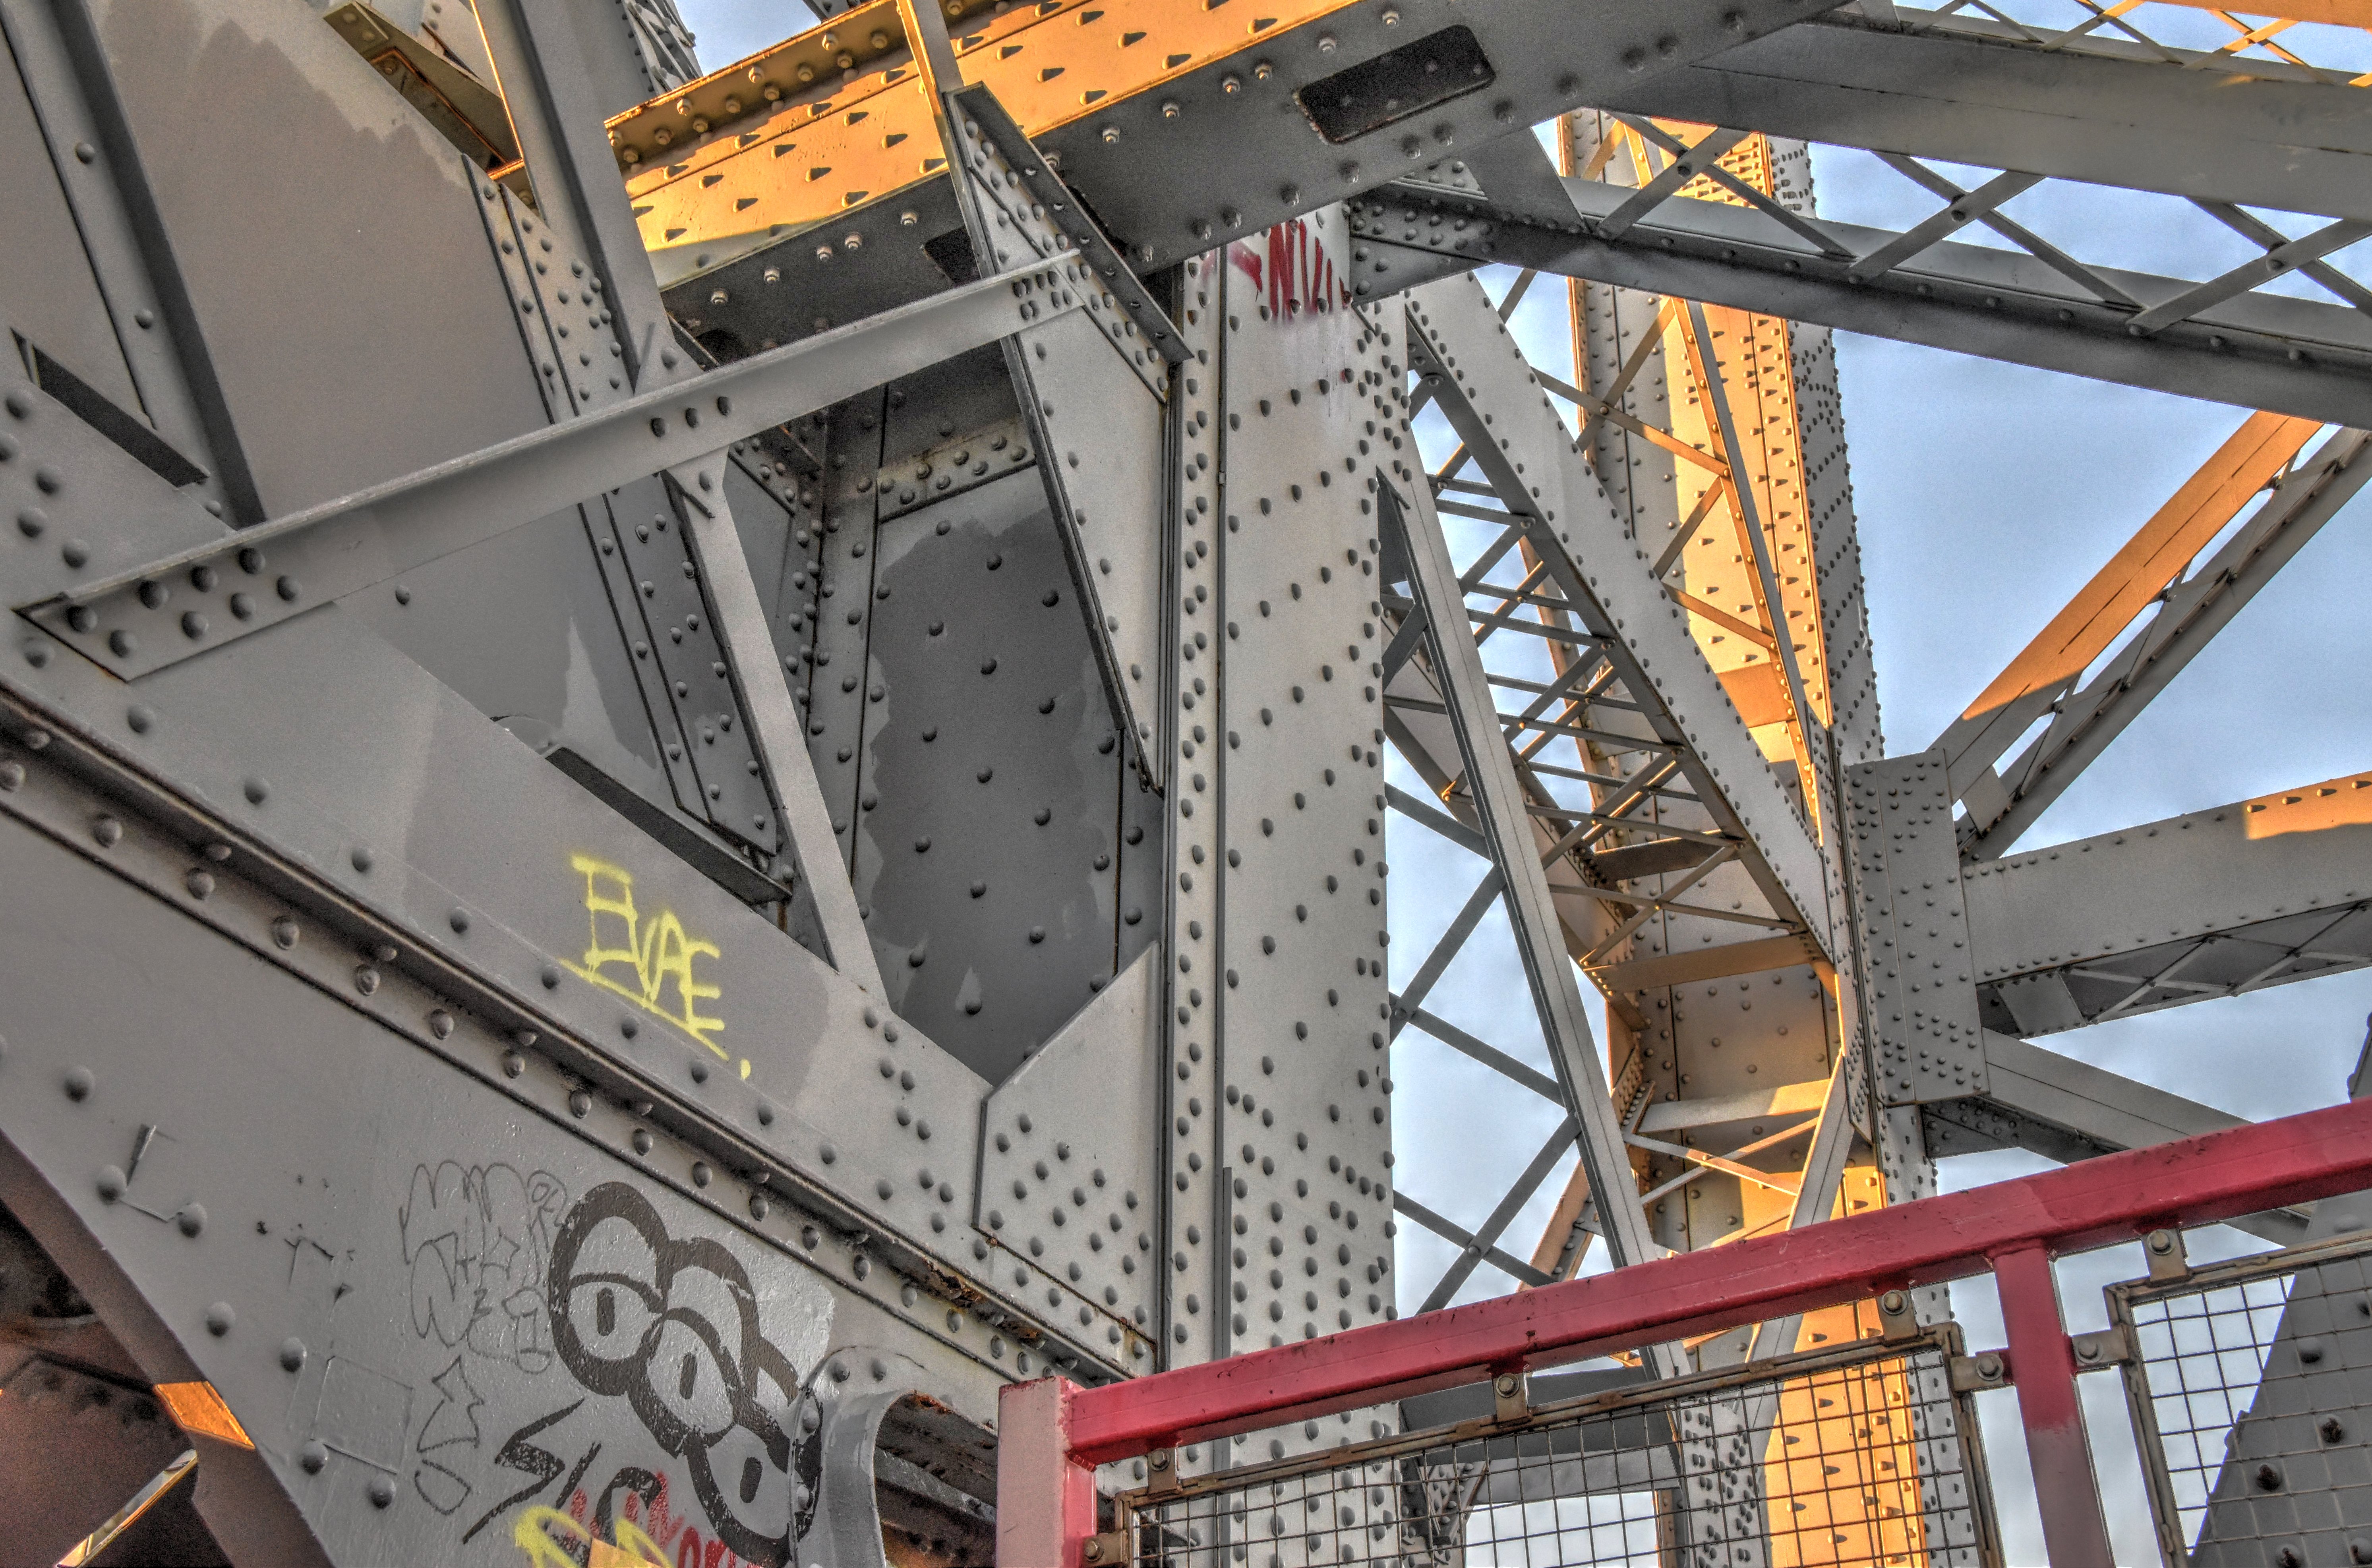
![]()


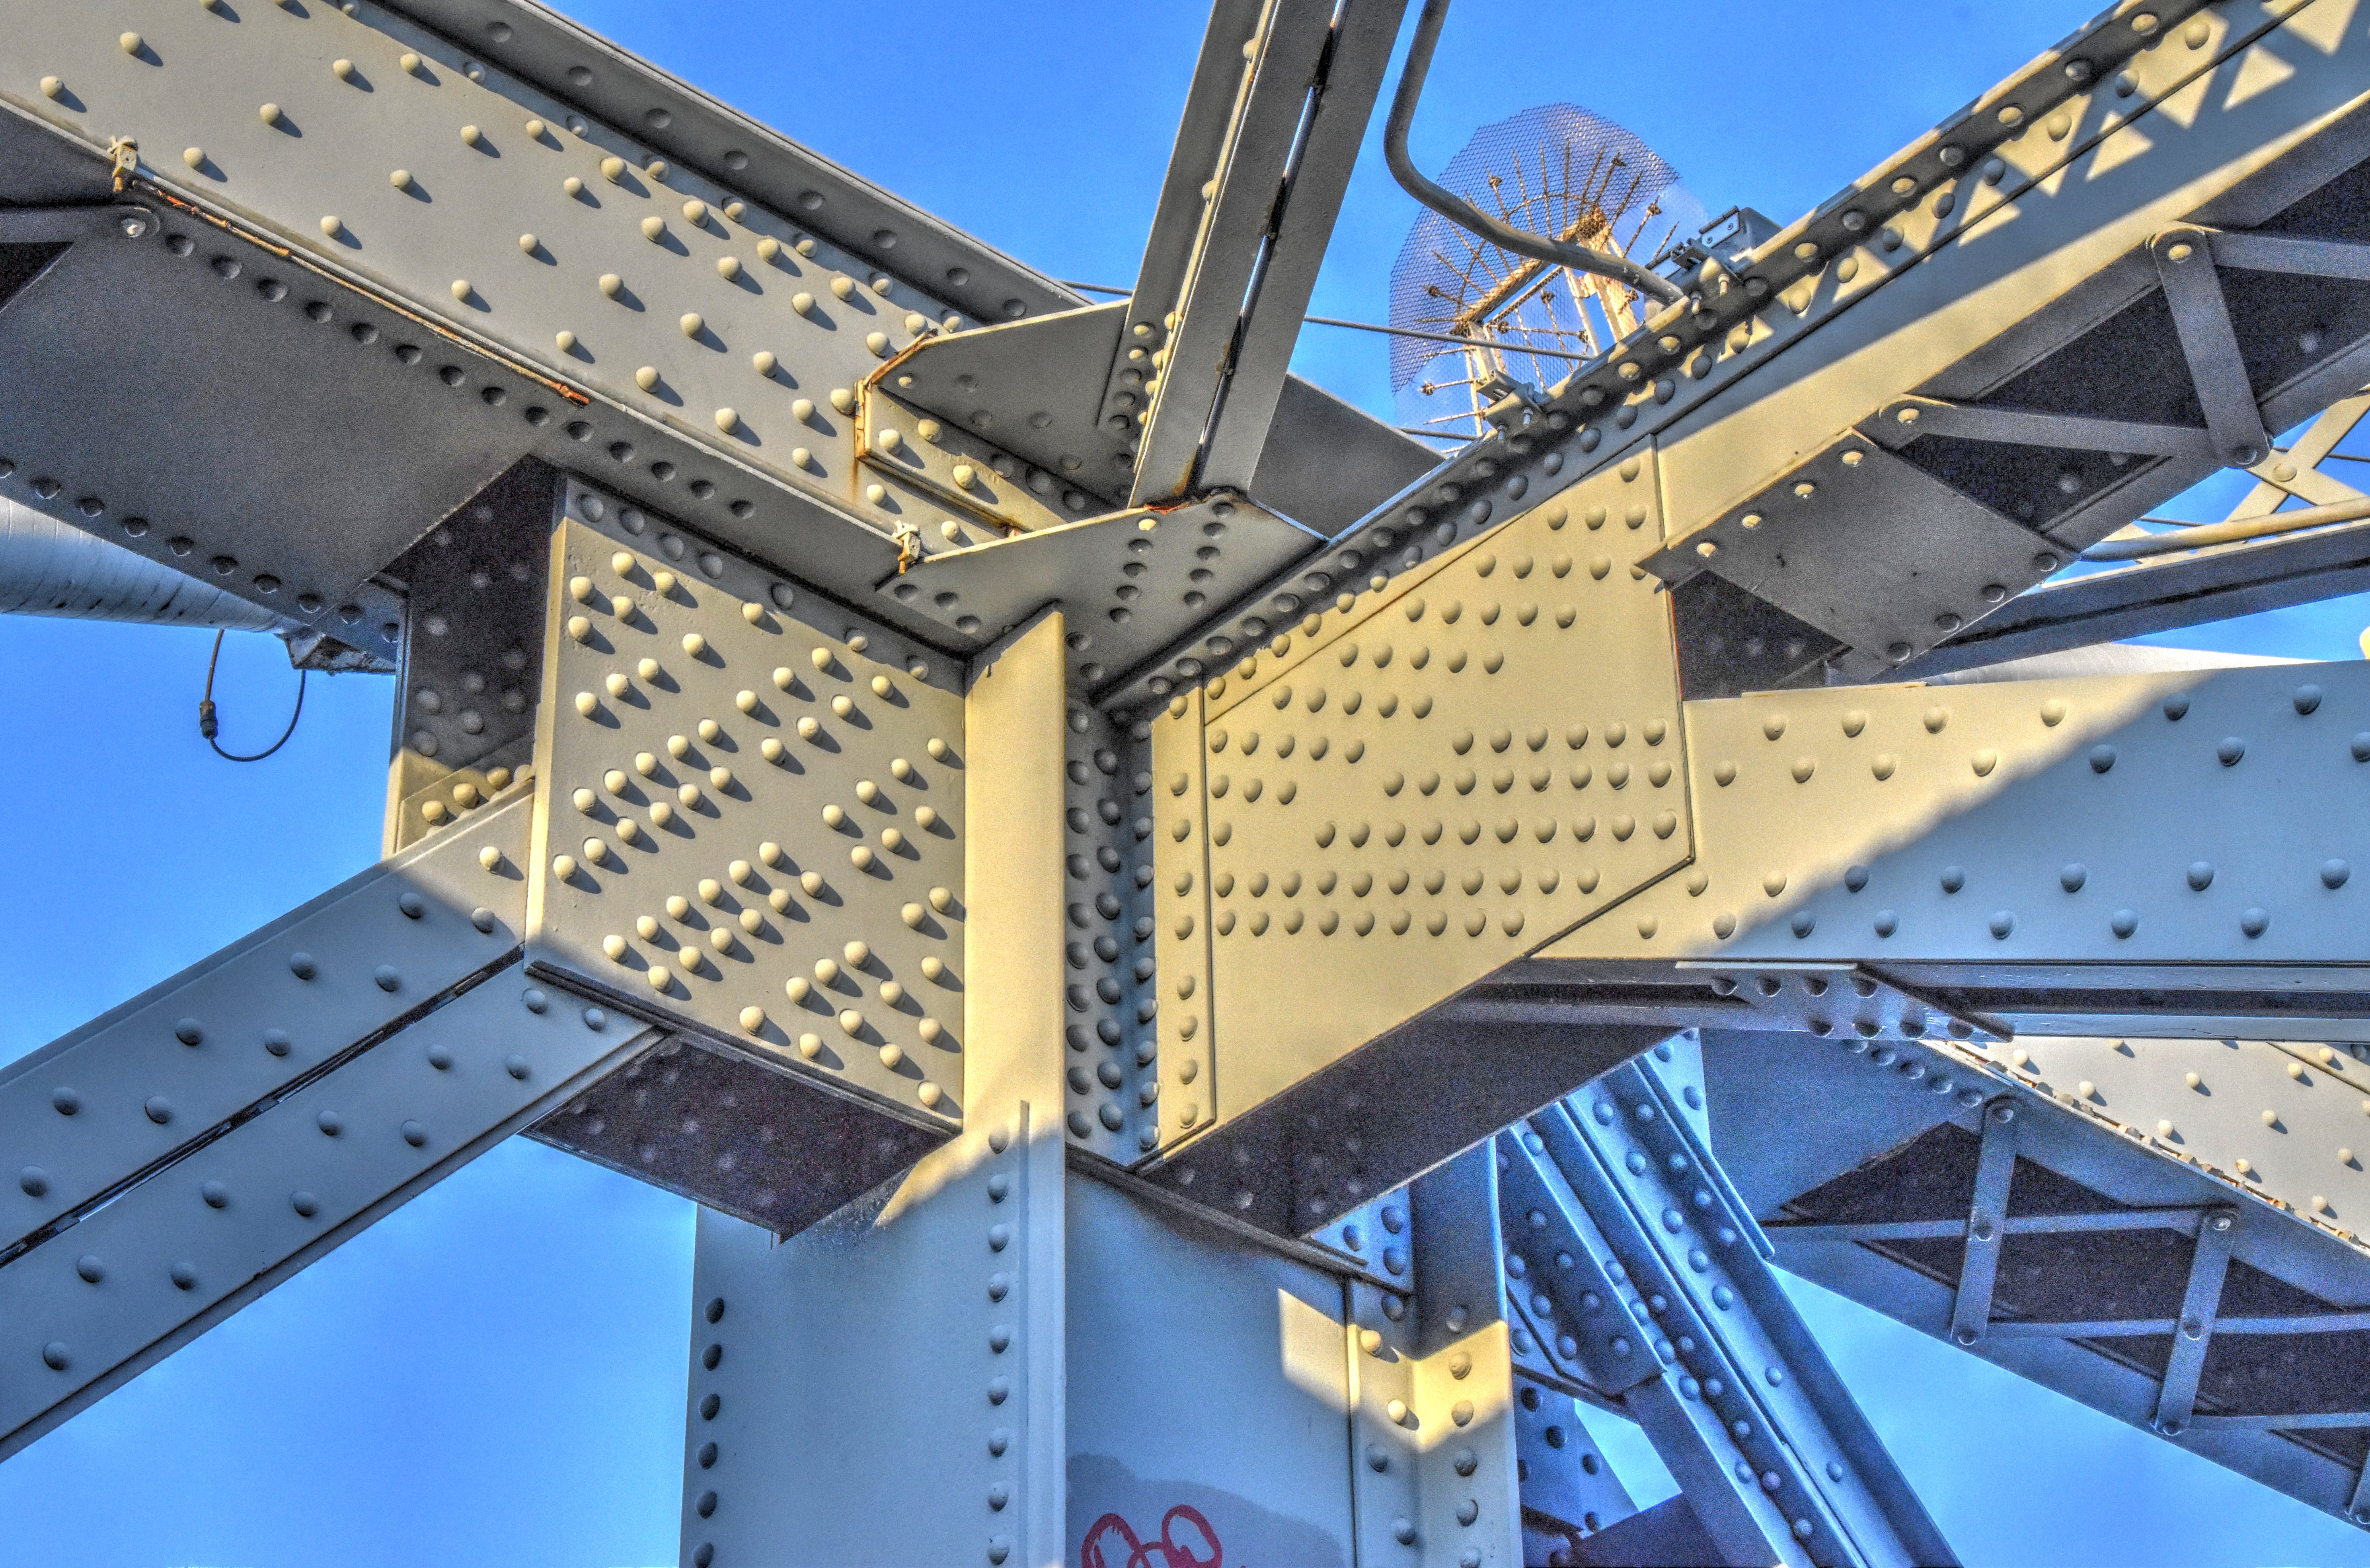
Looking up at tower from inside tower on walkway.
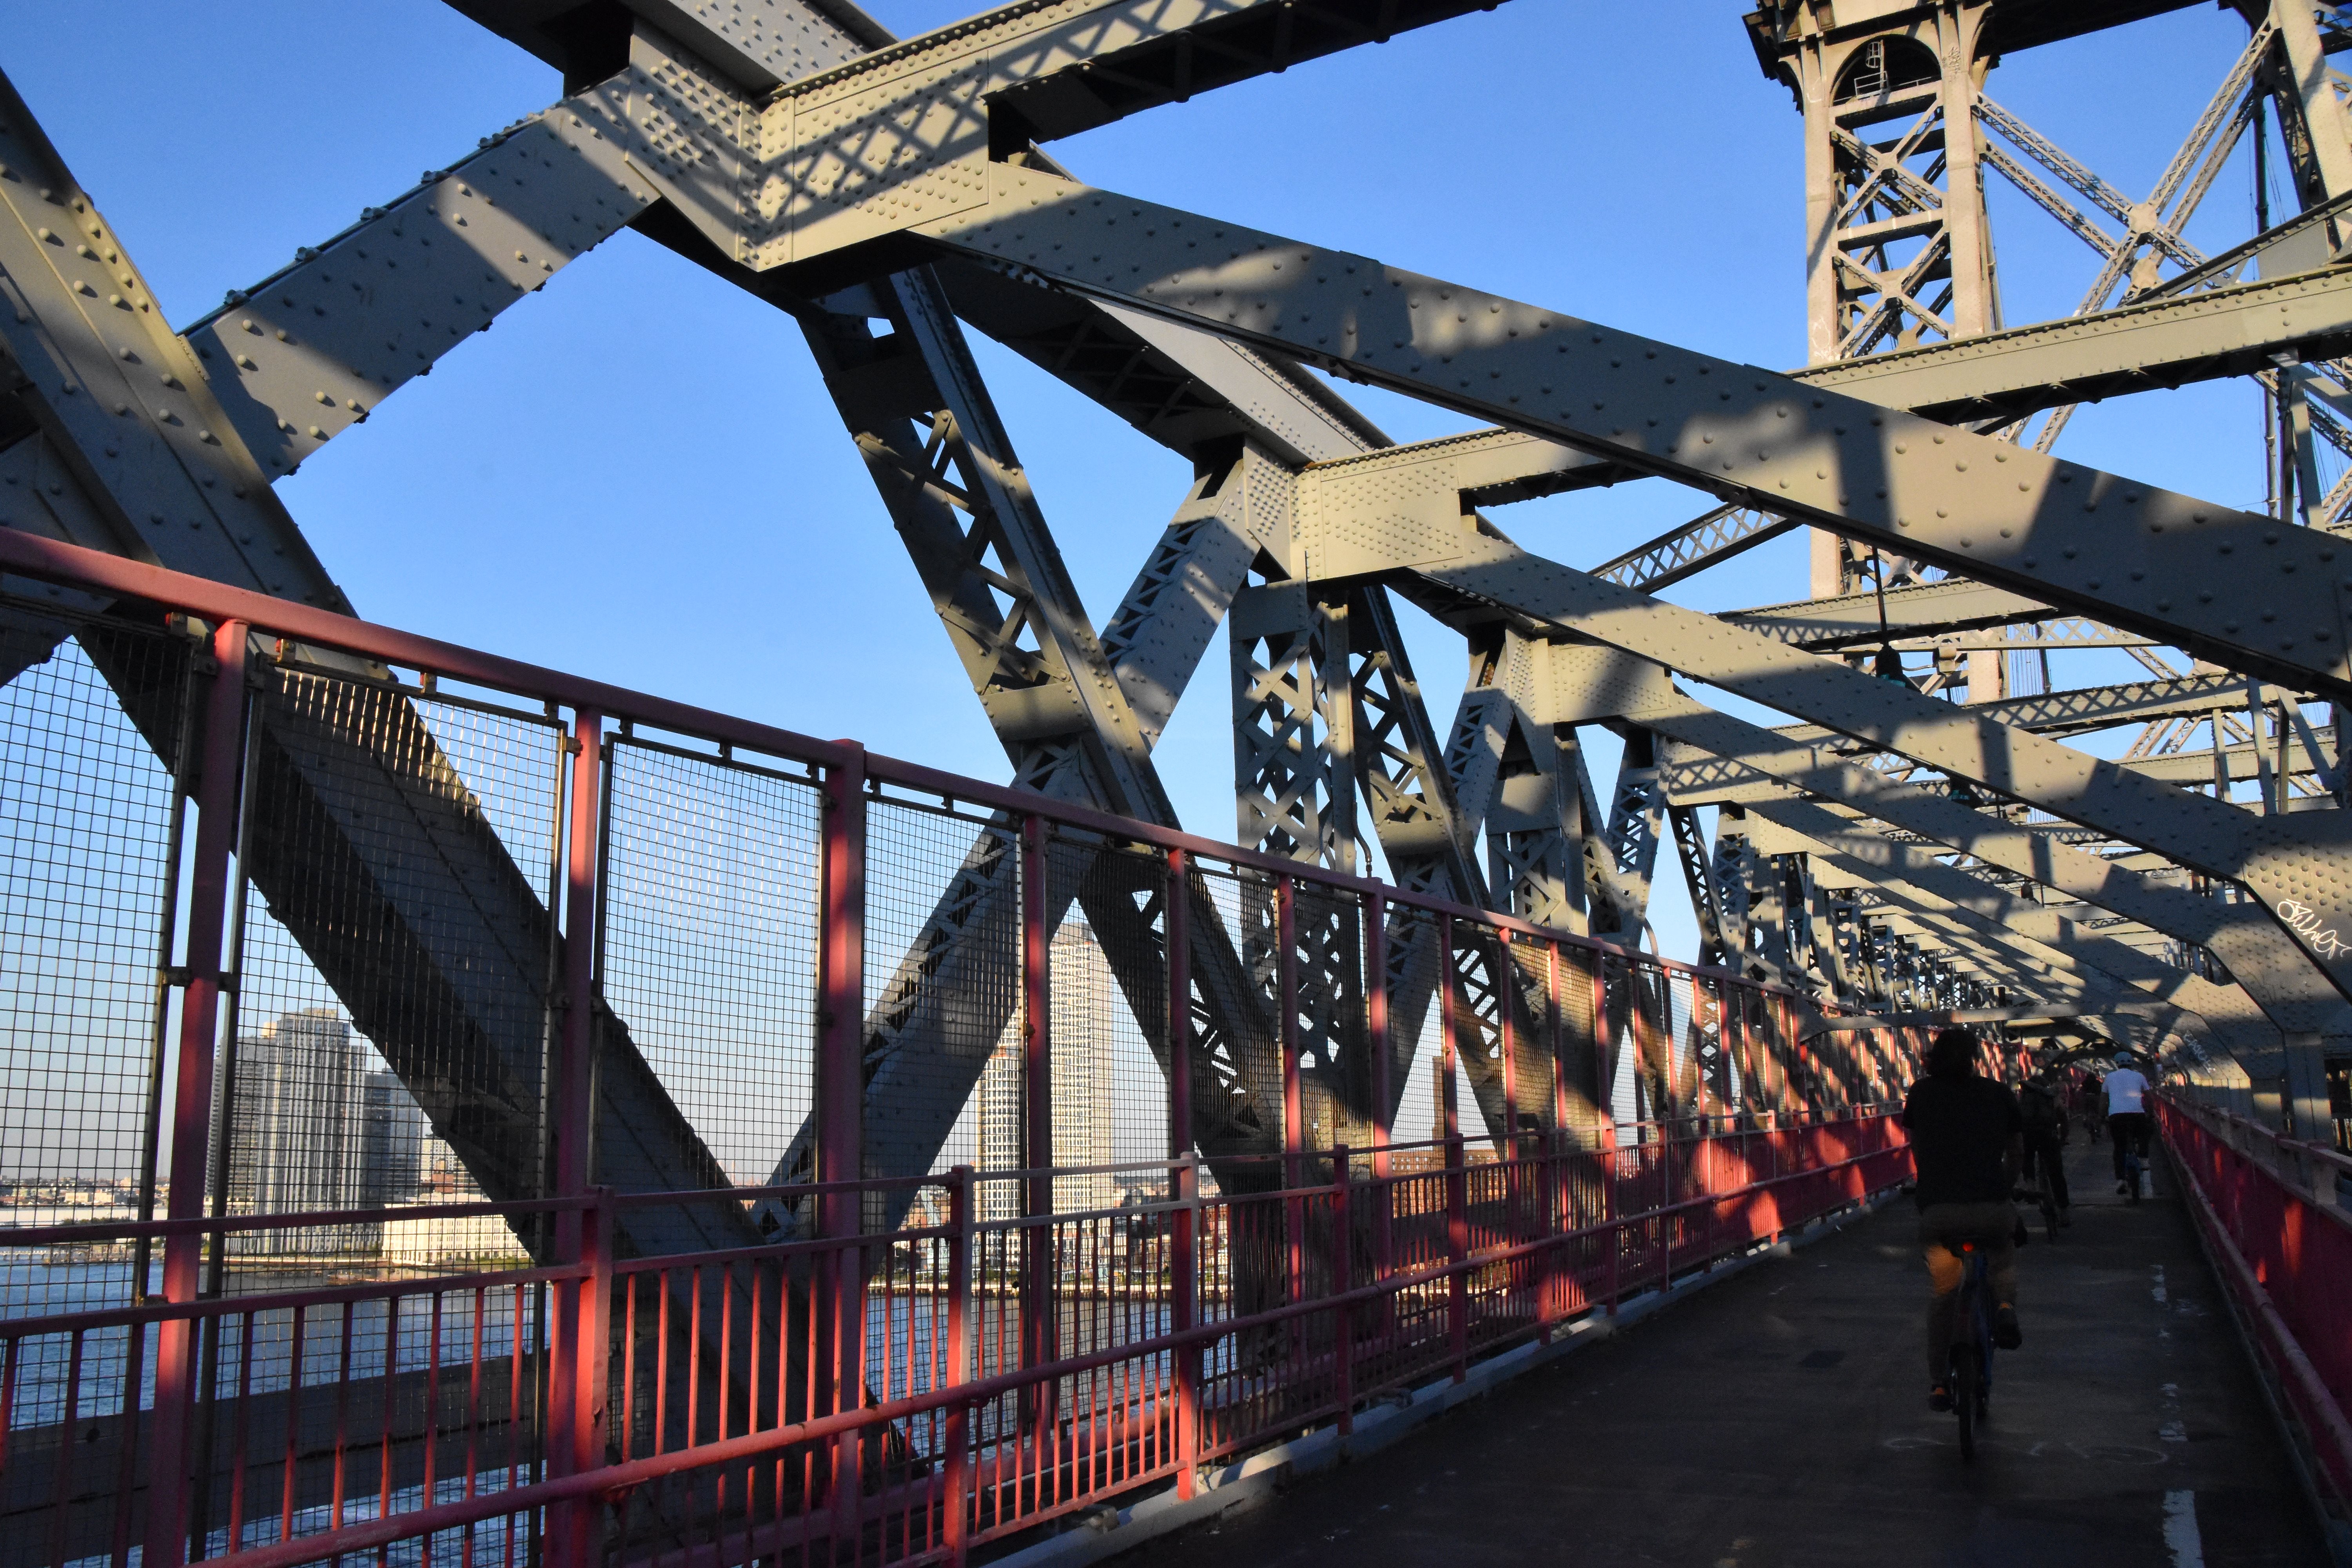
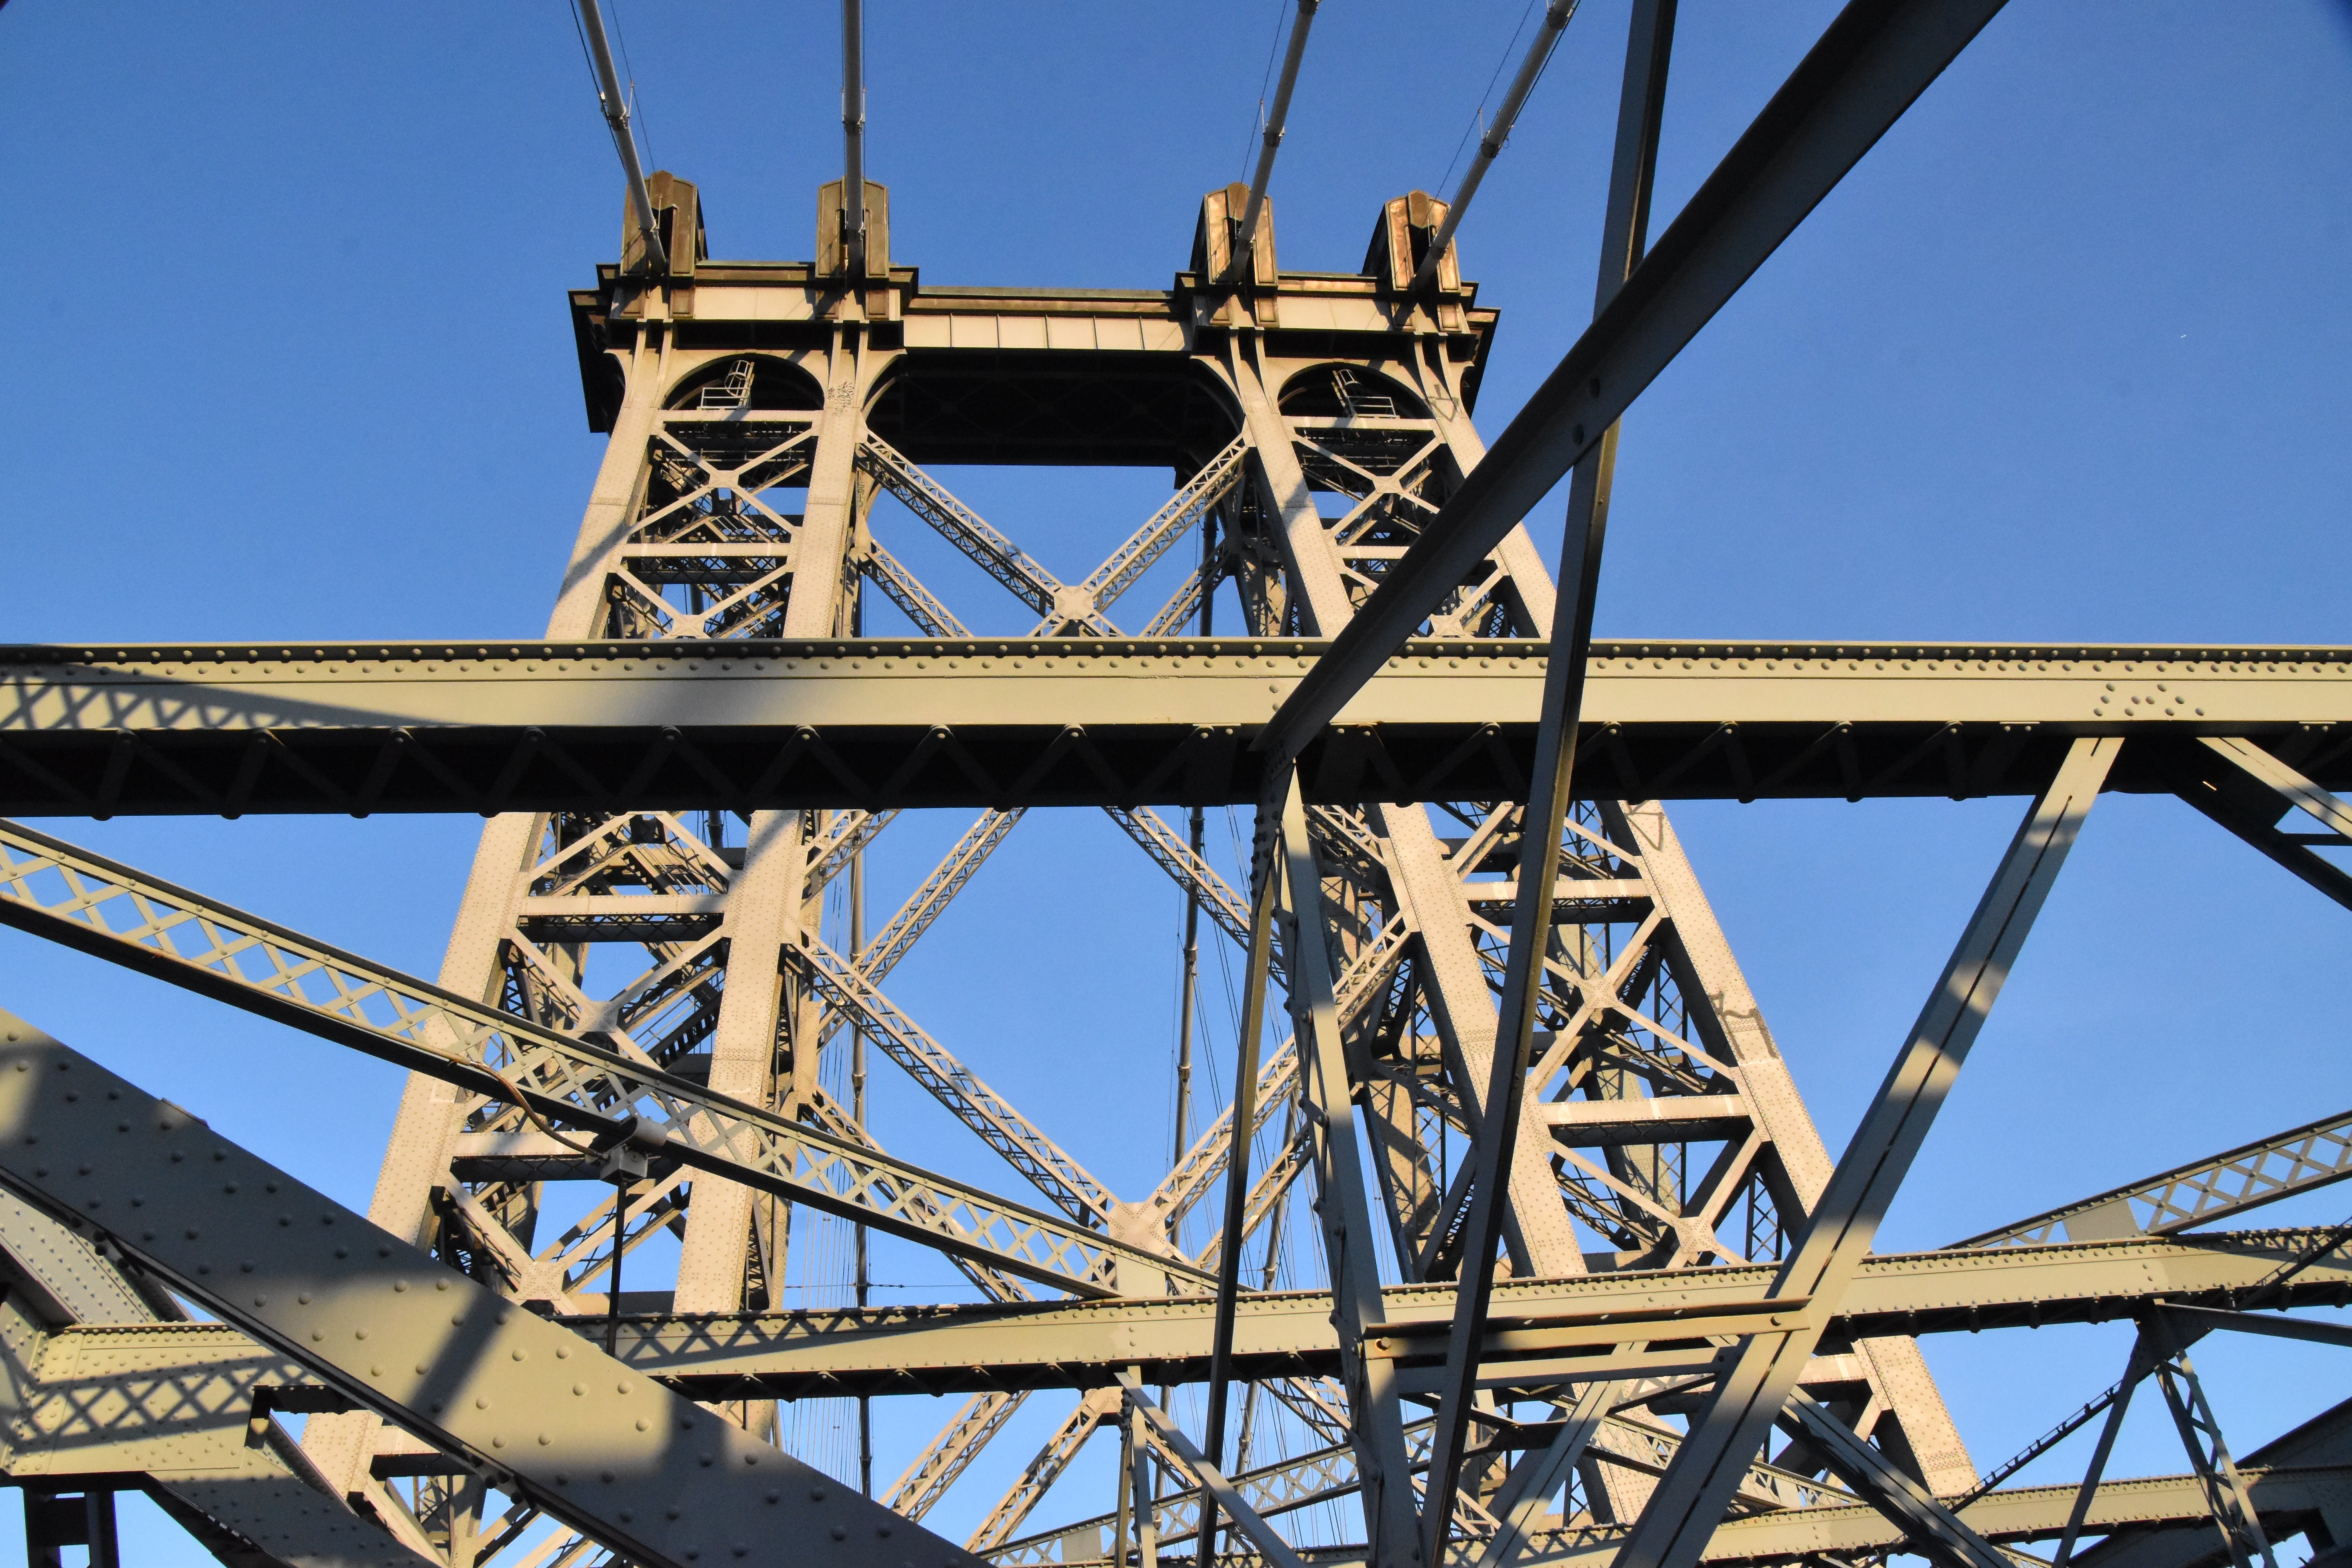
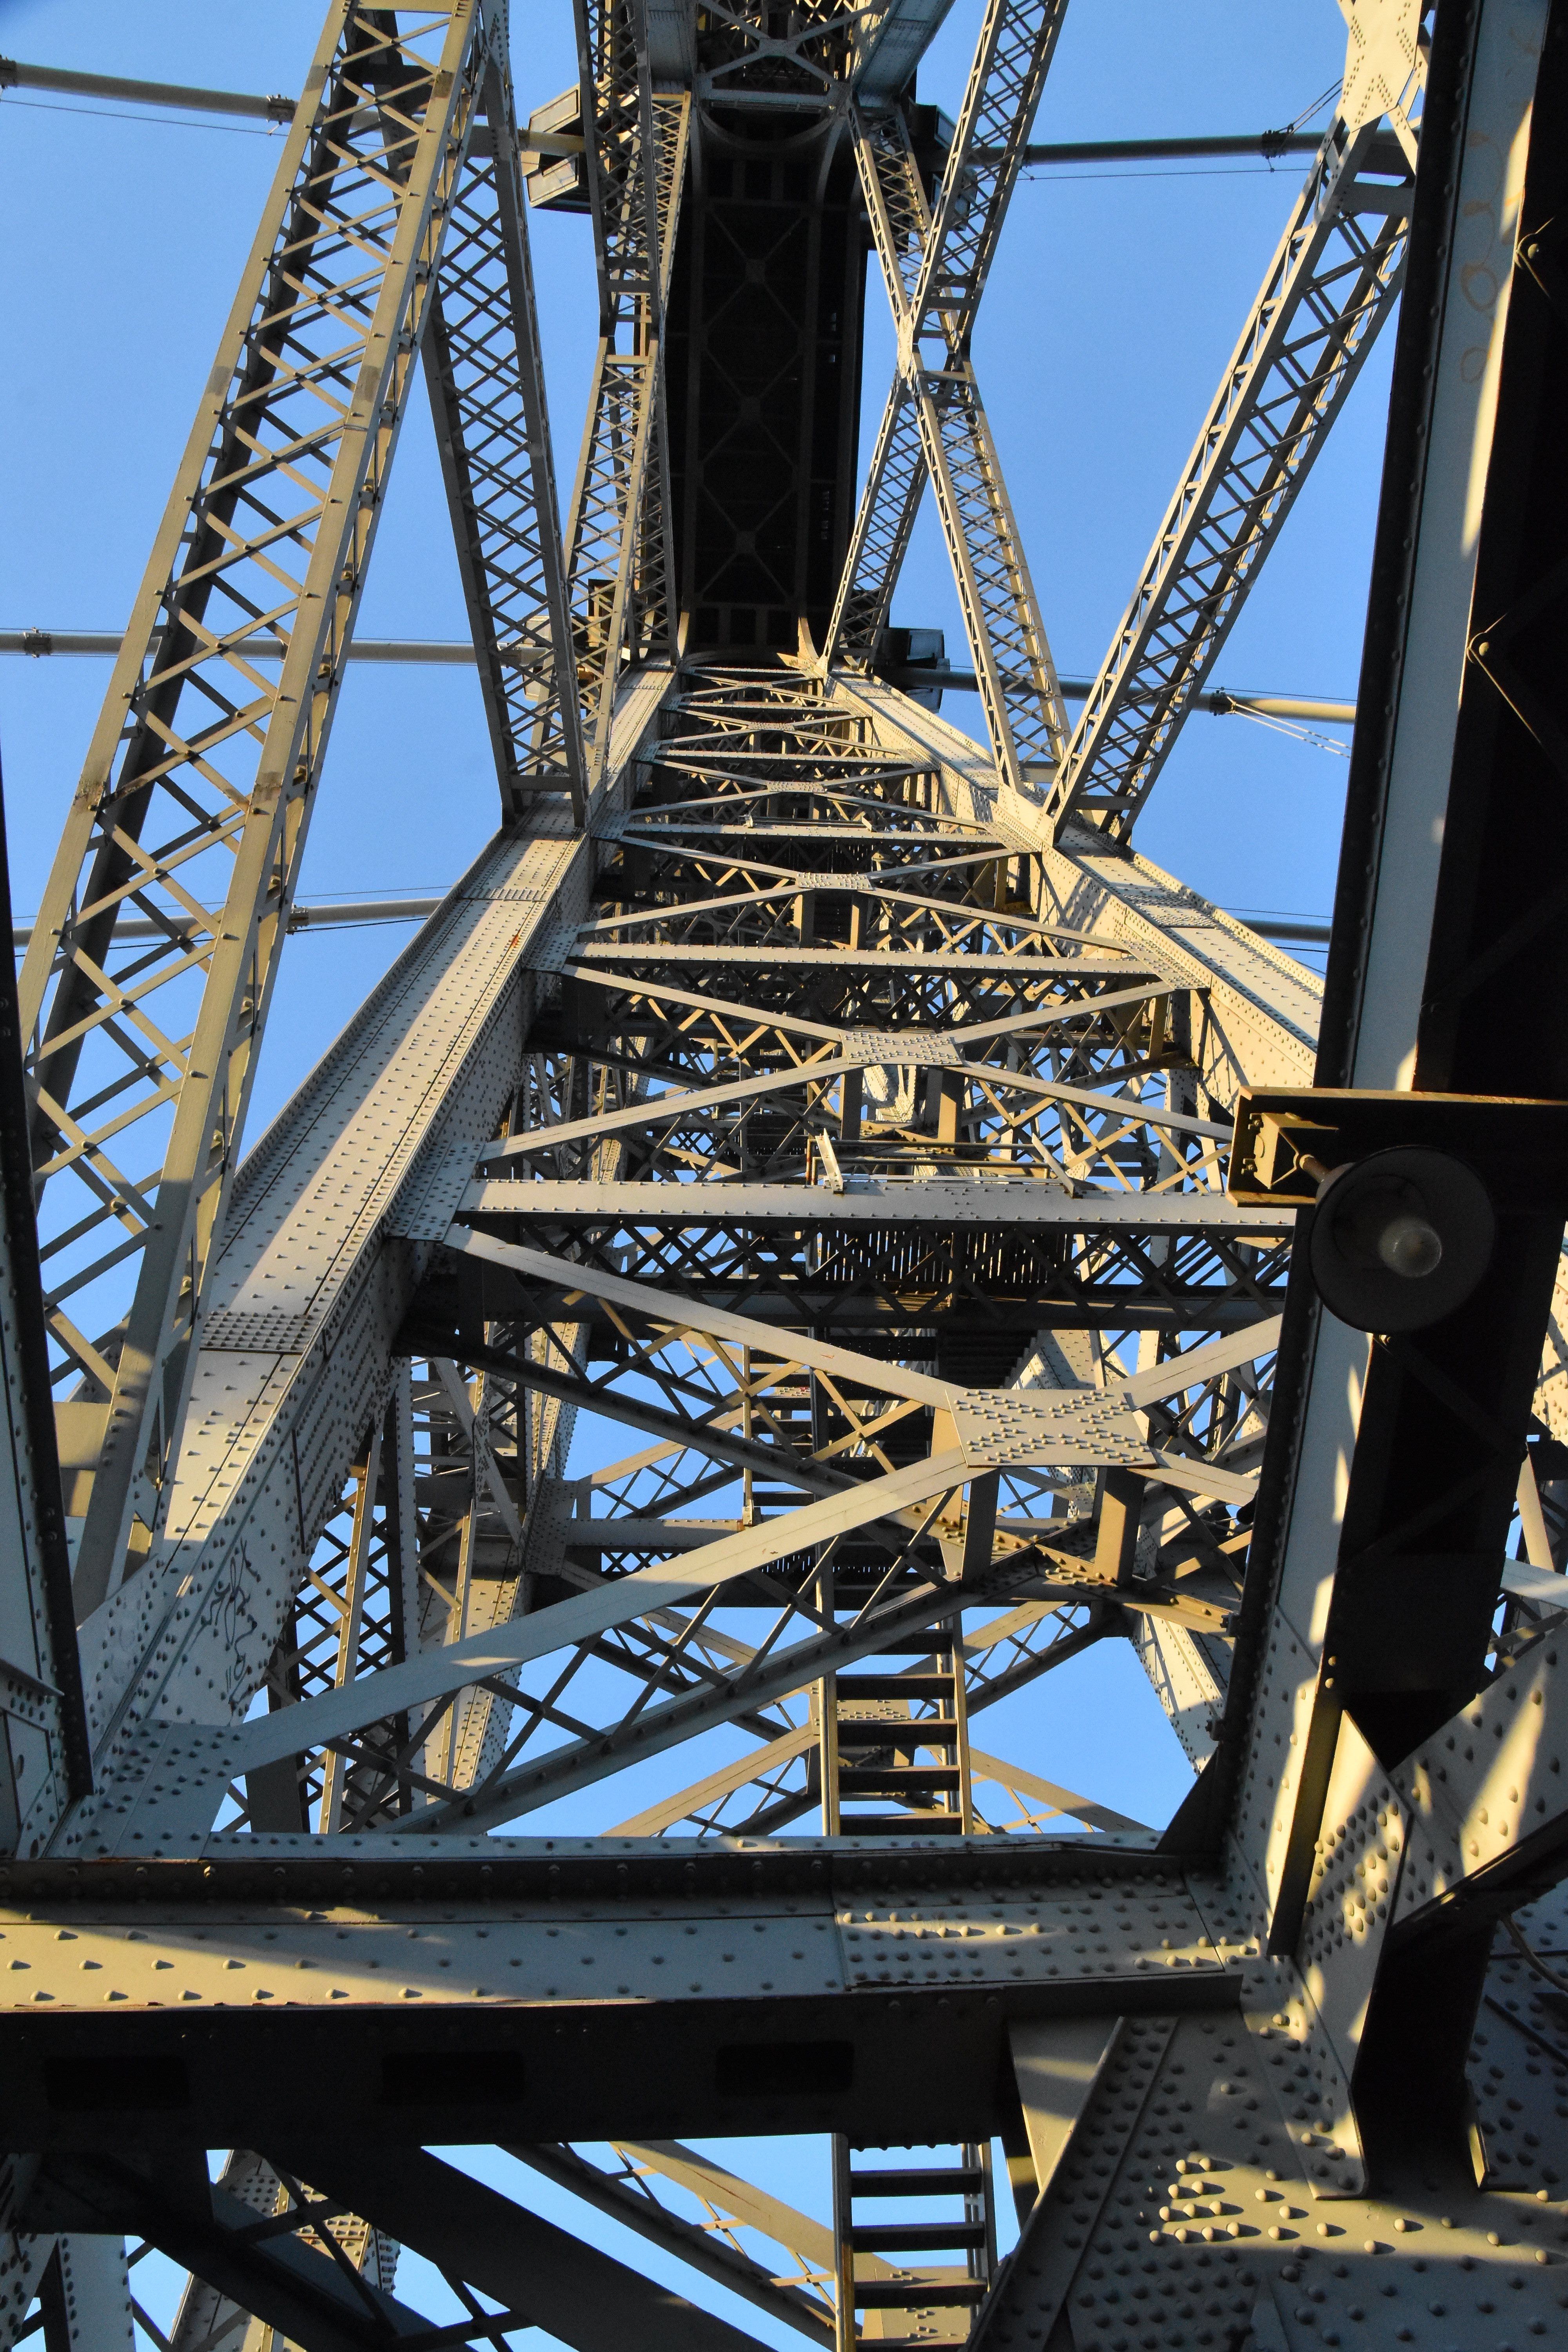
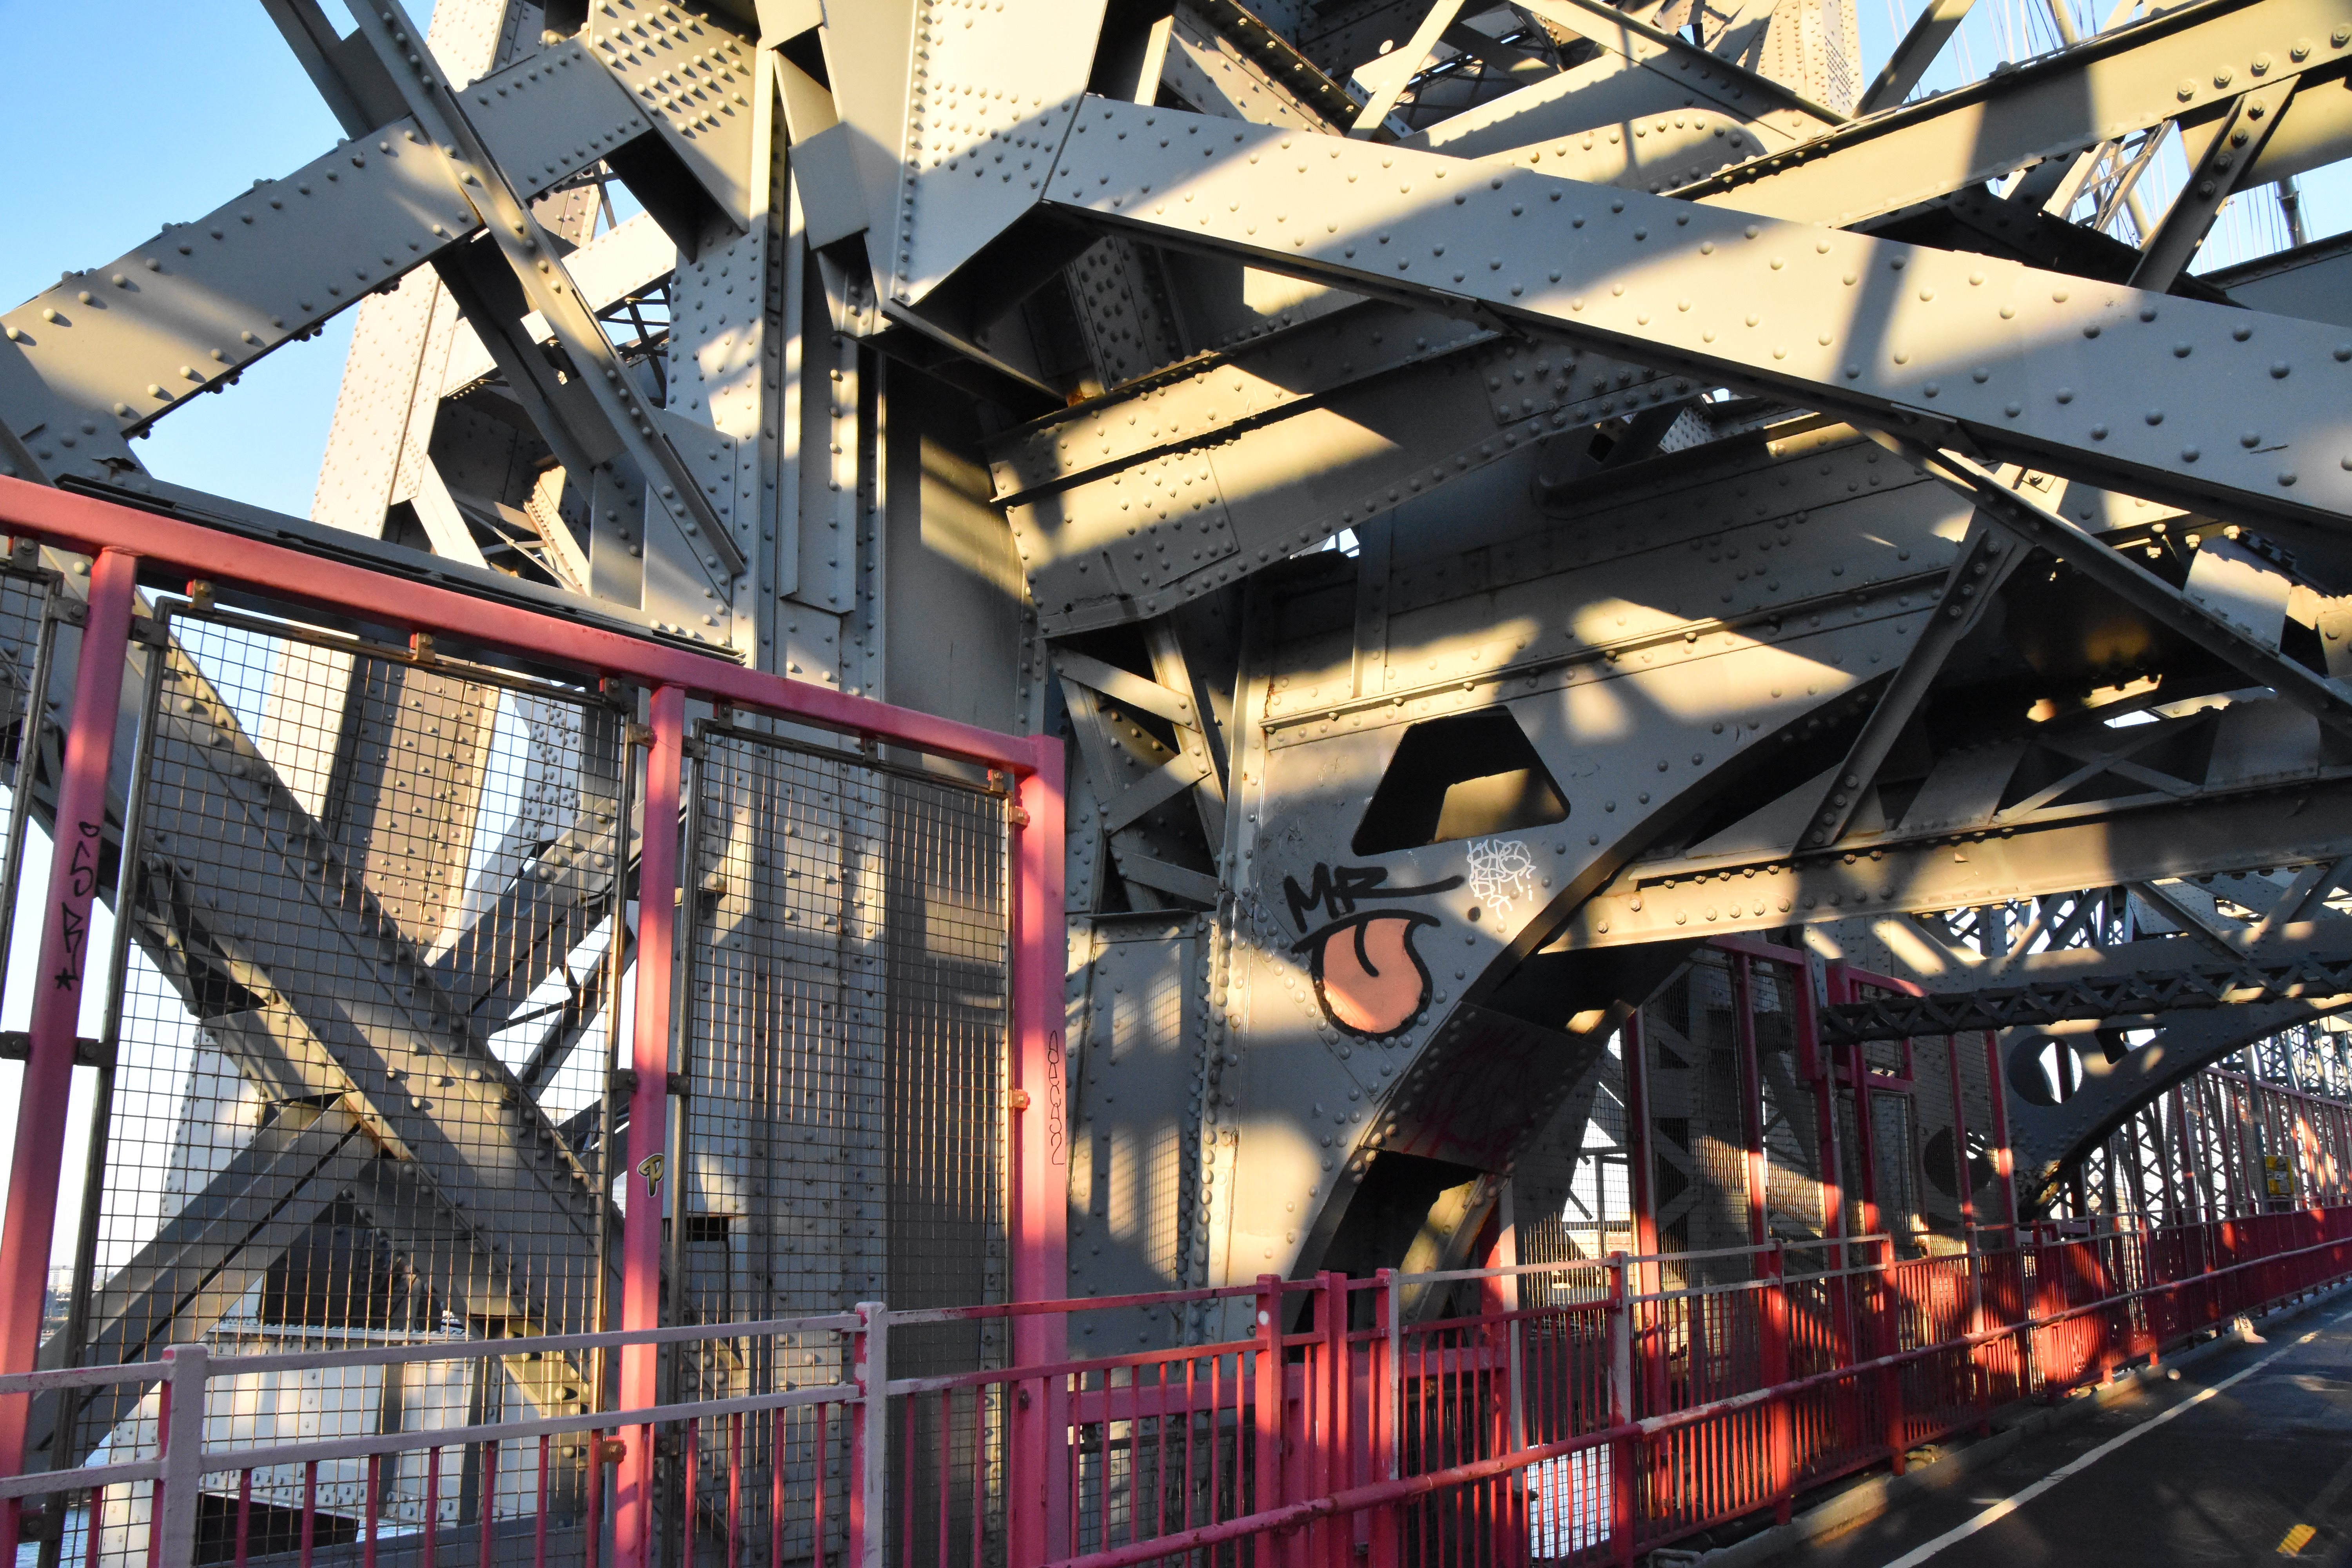
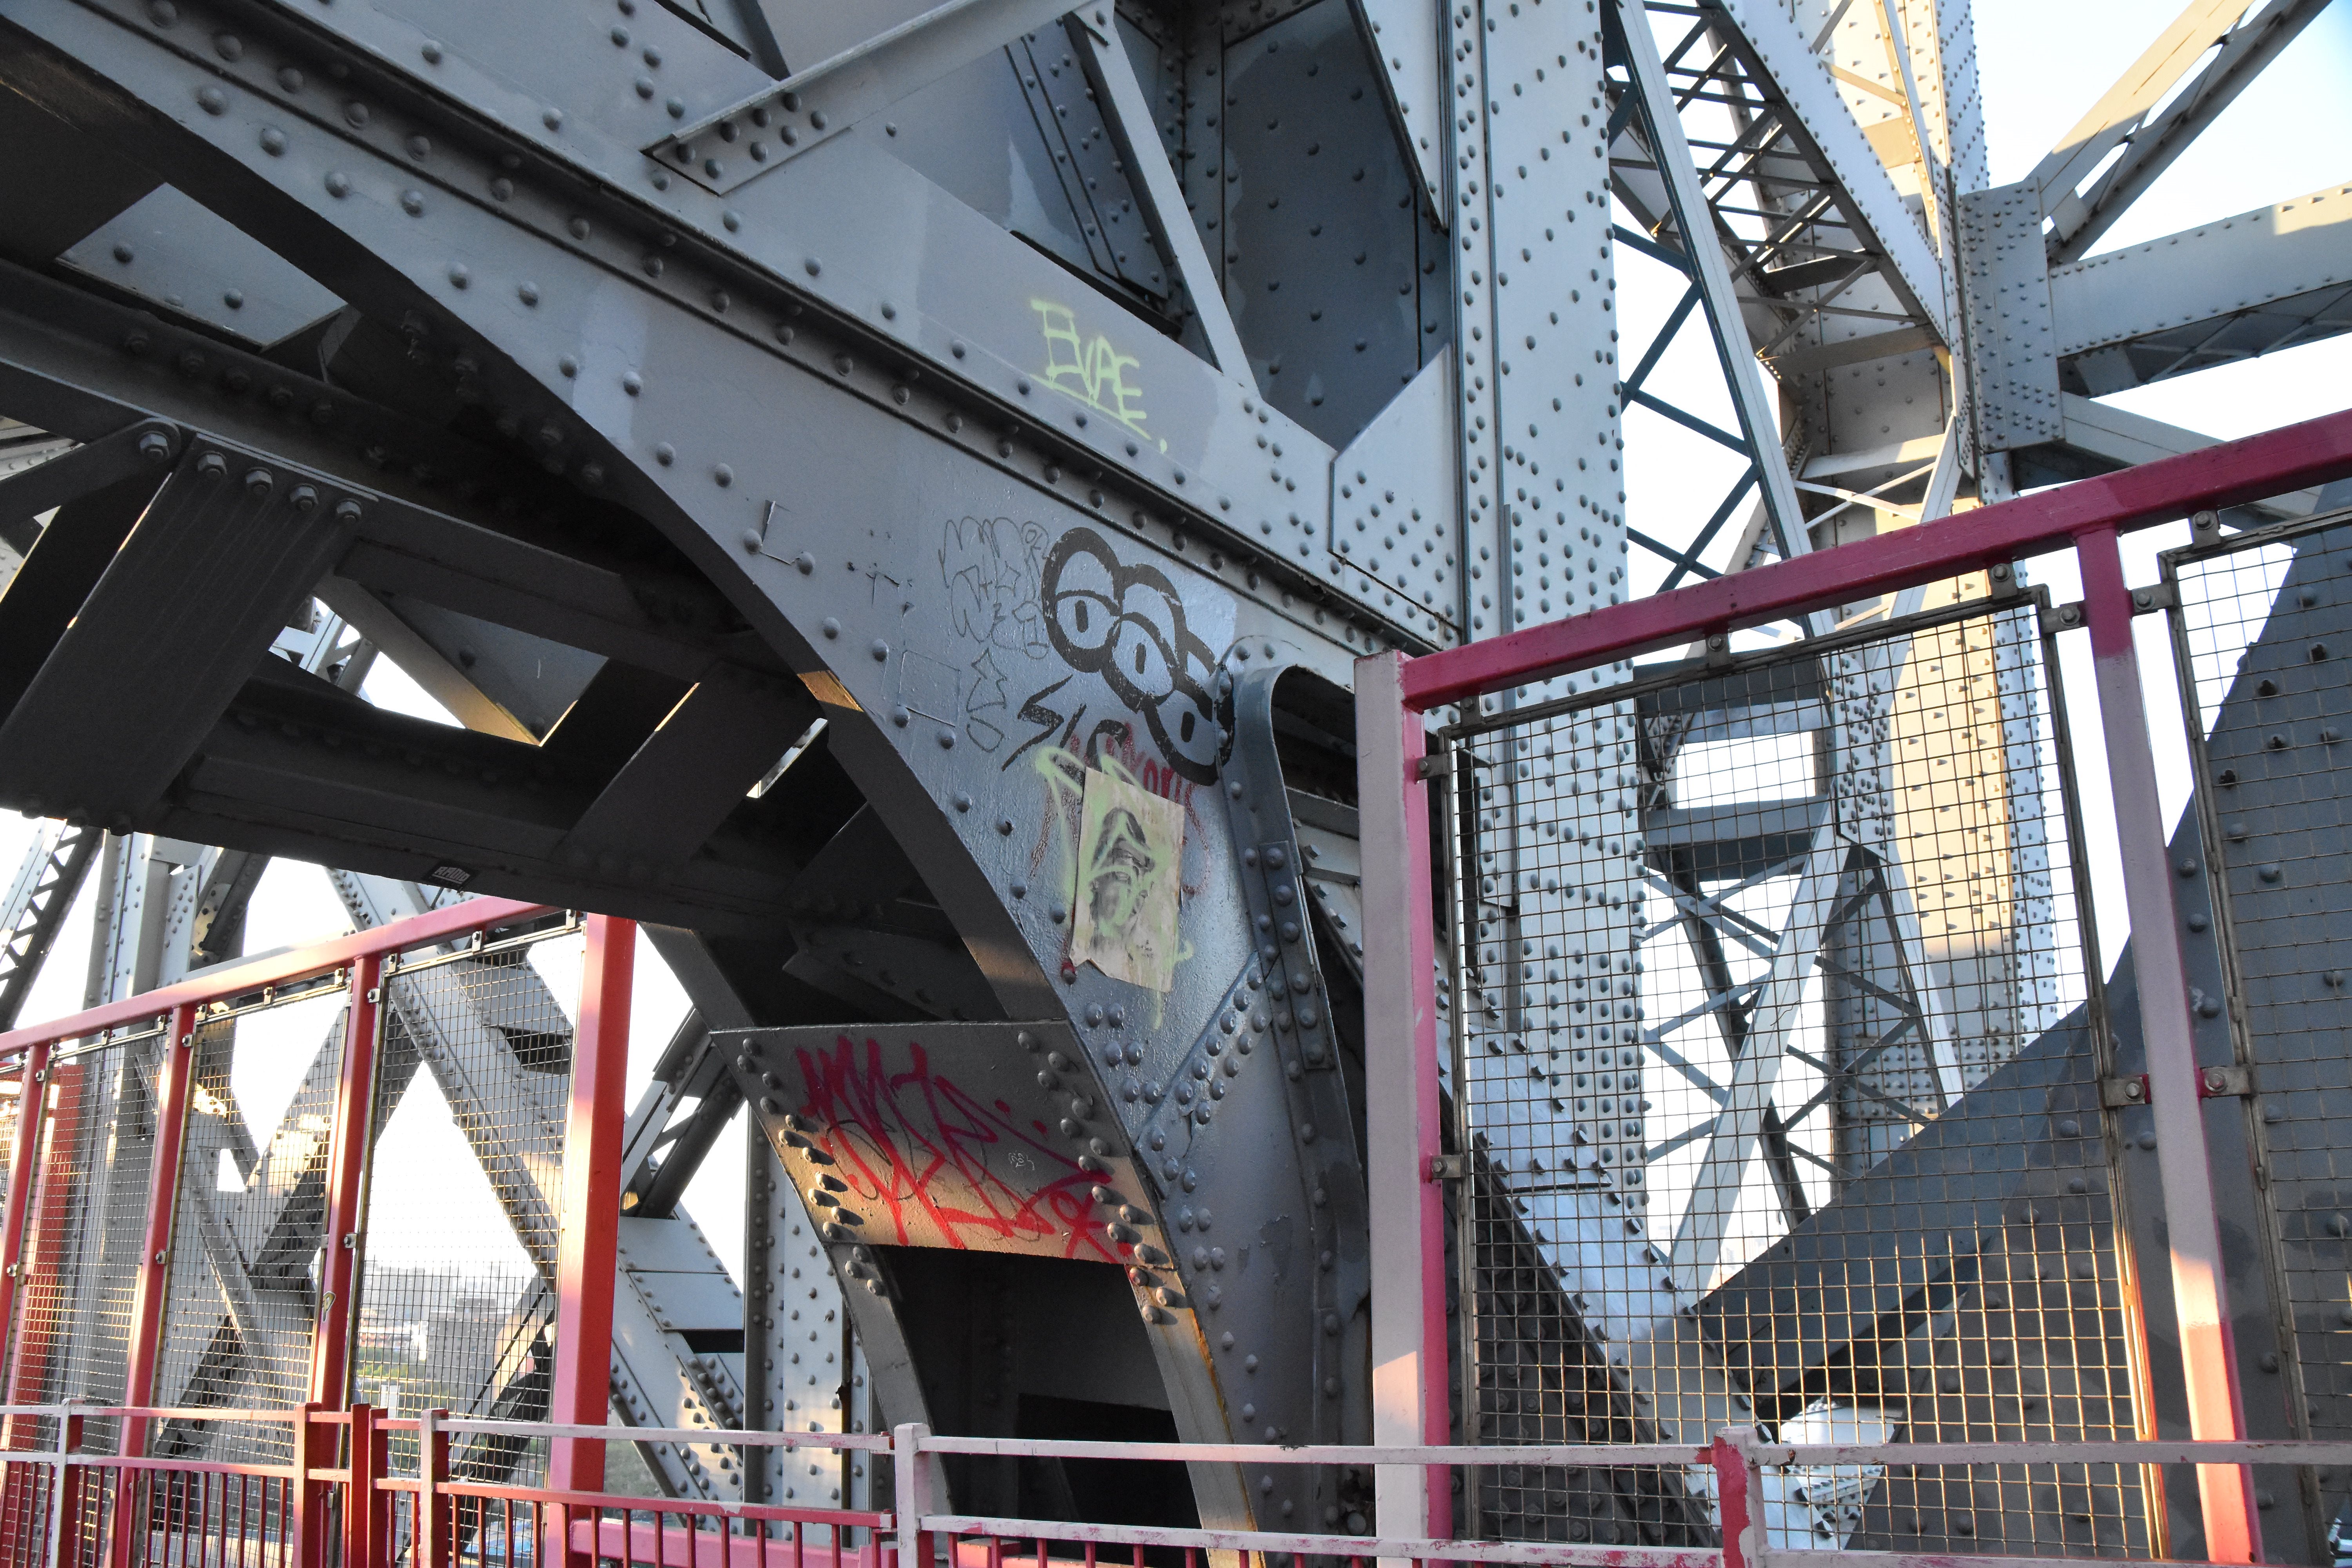
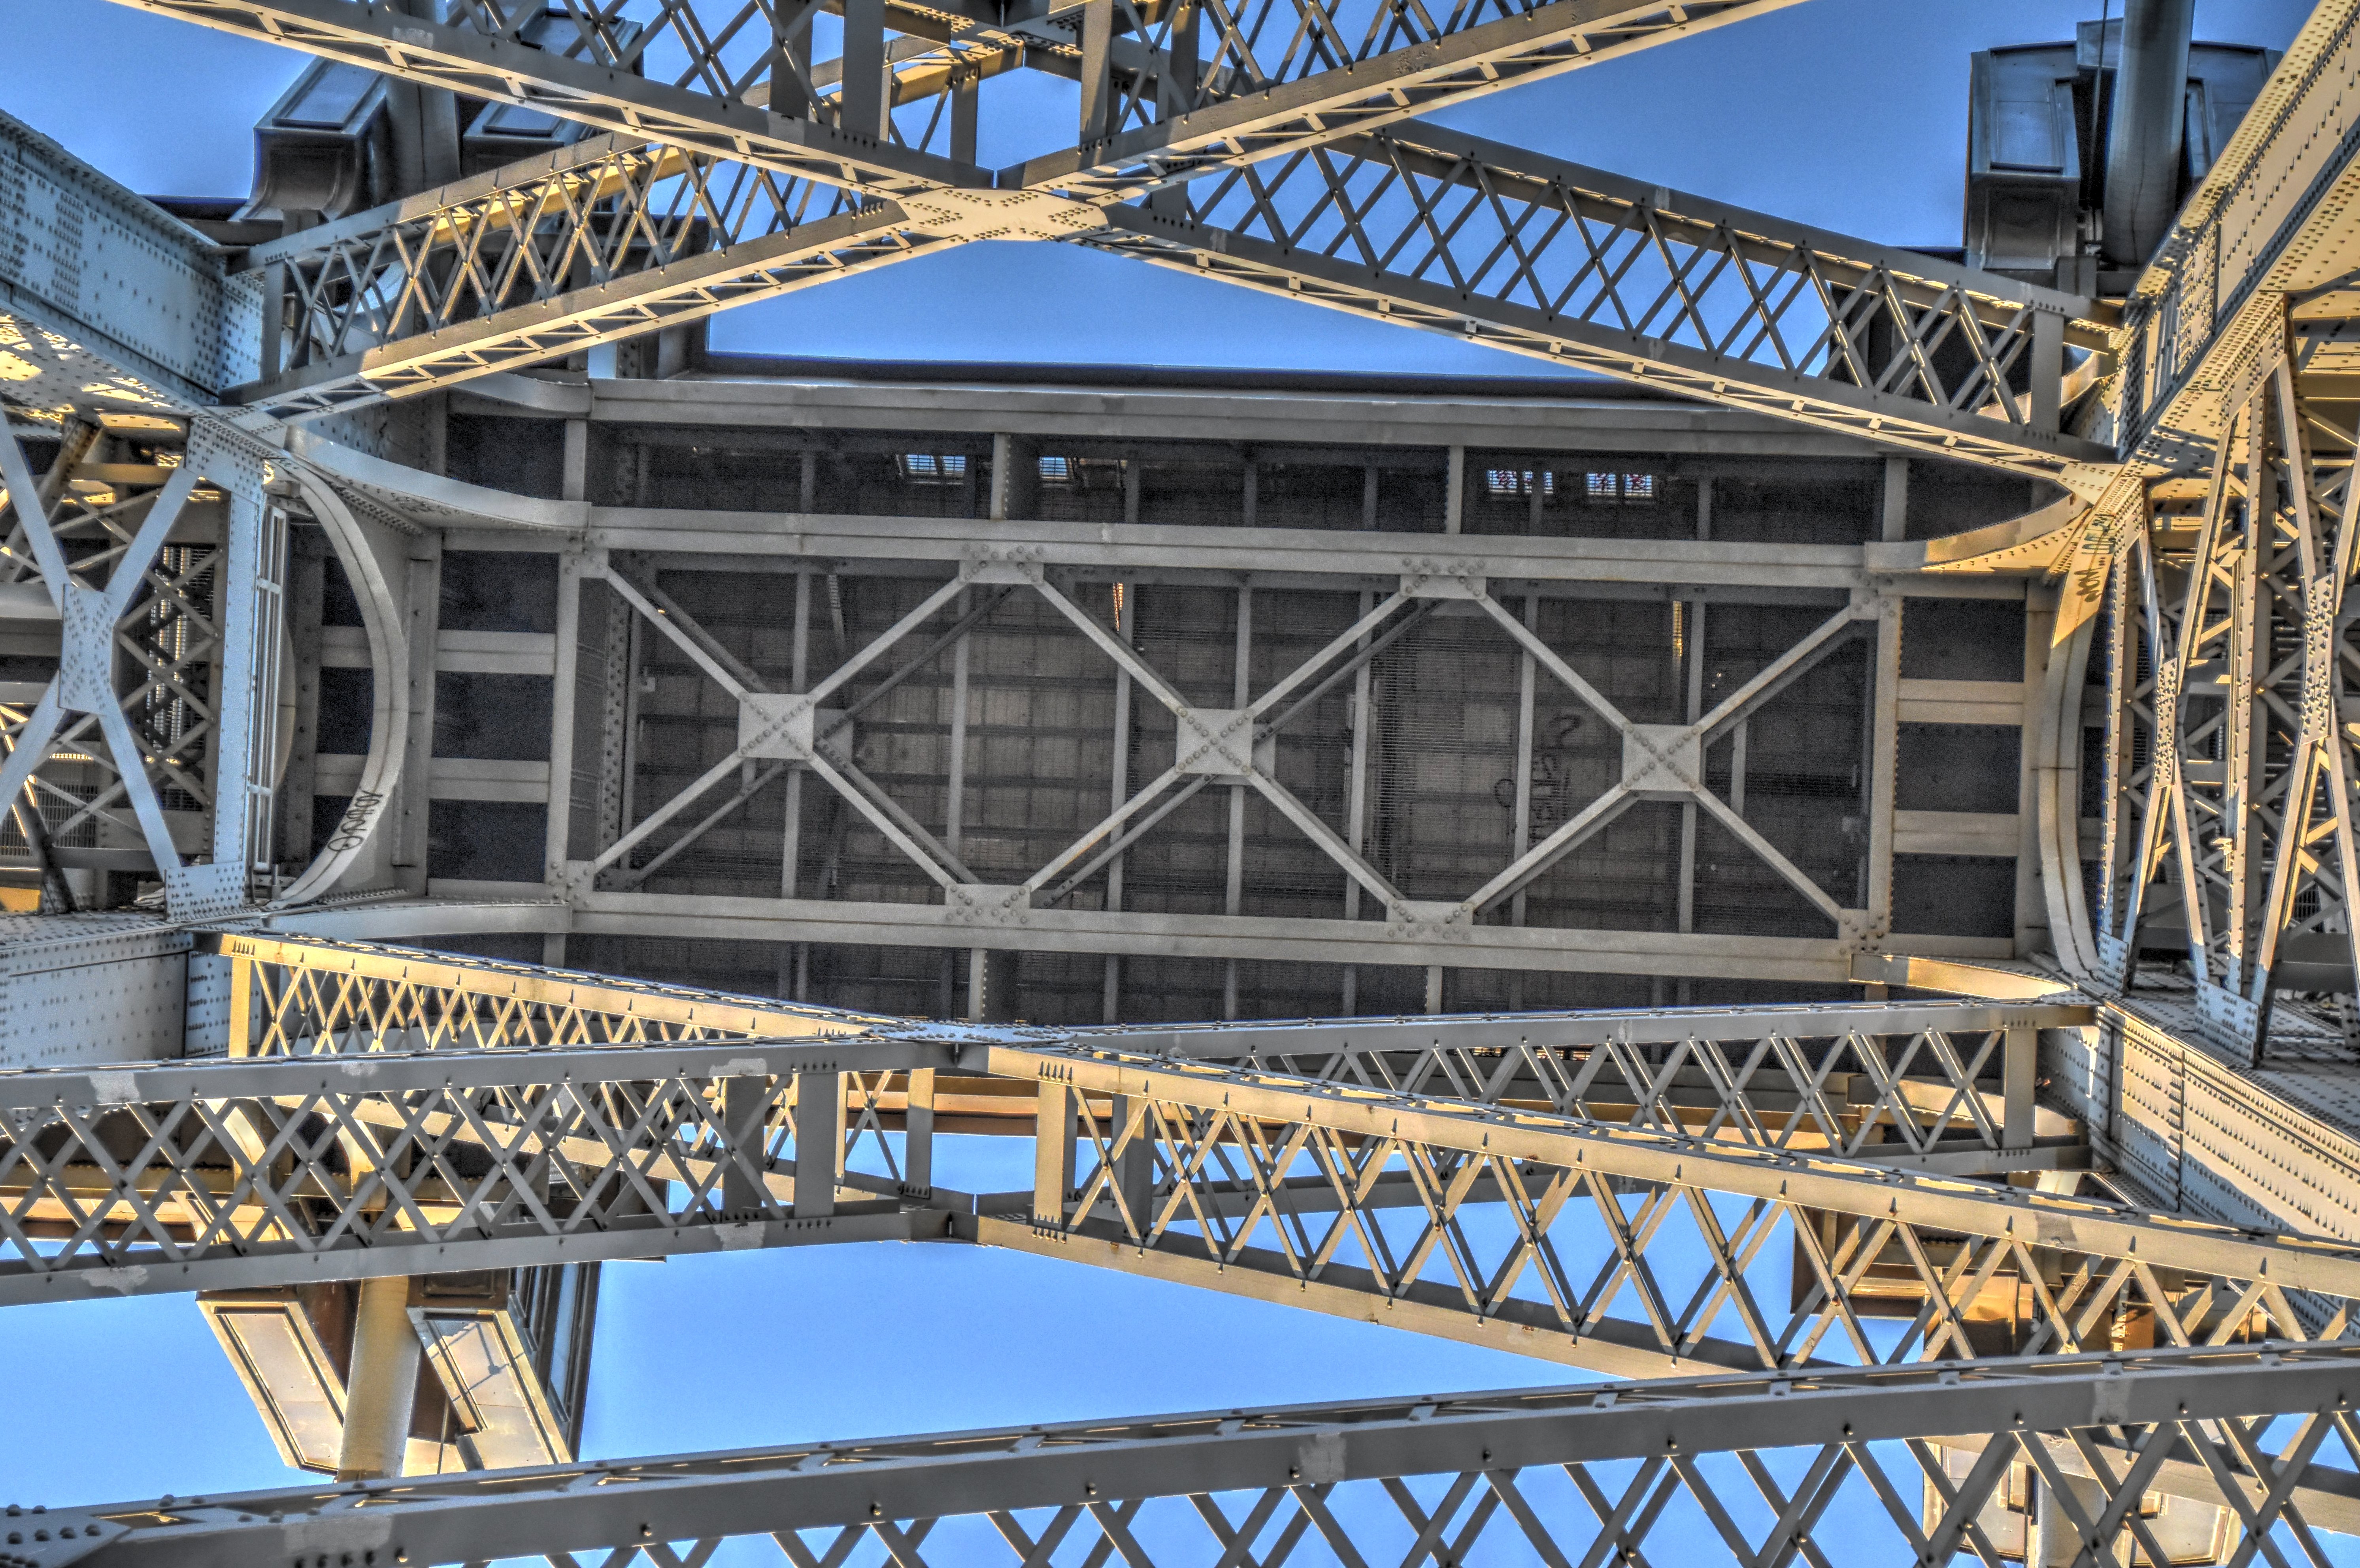
![]()


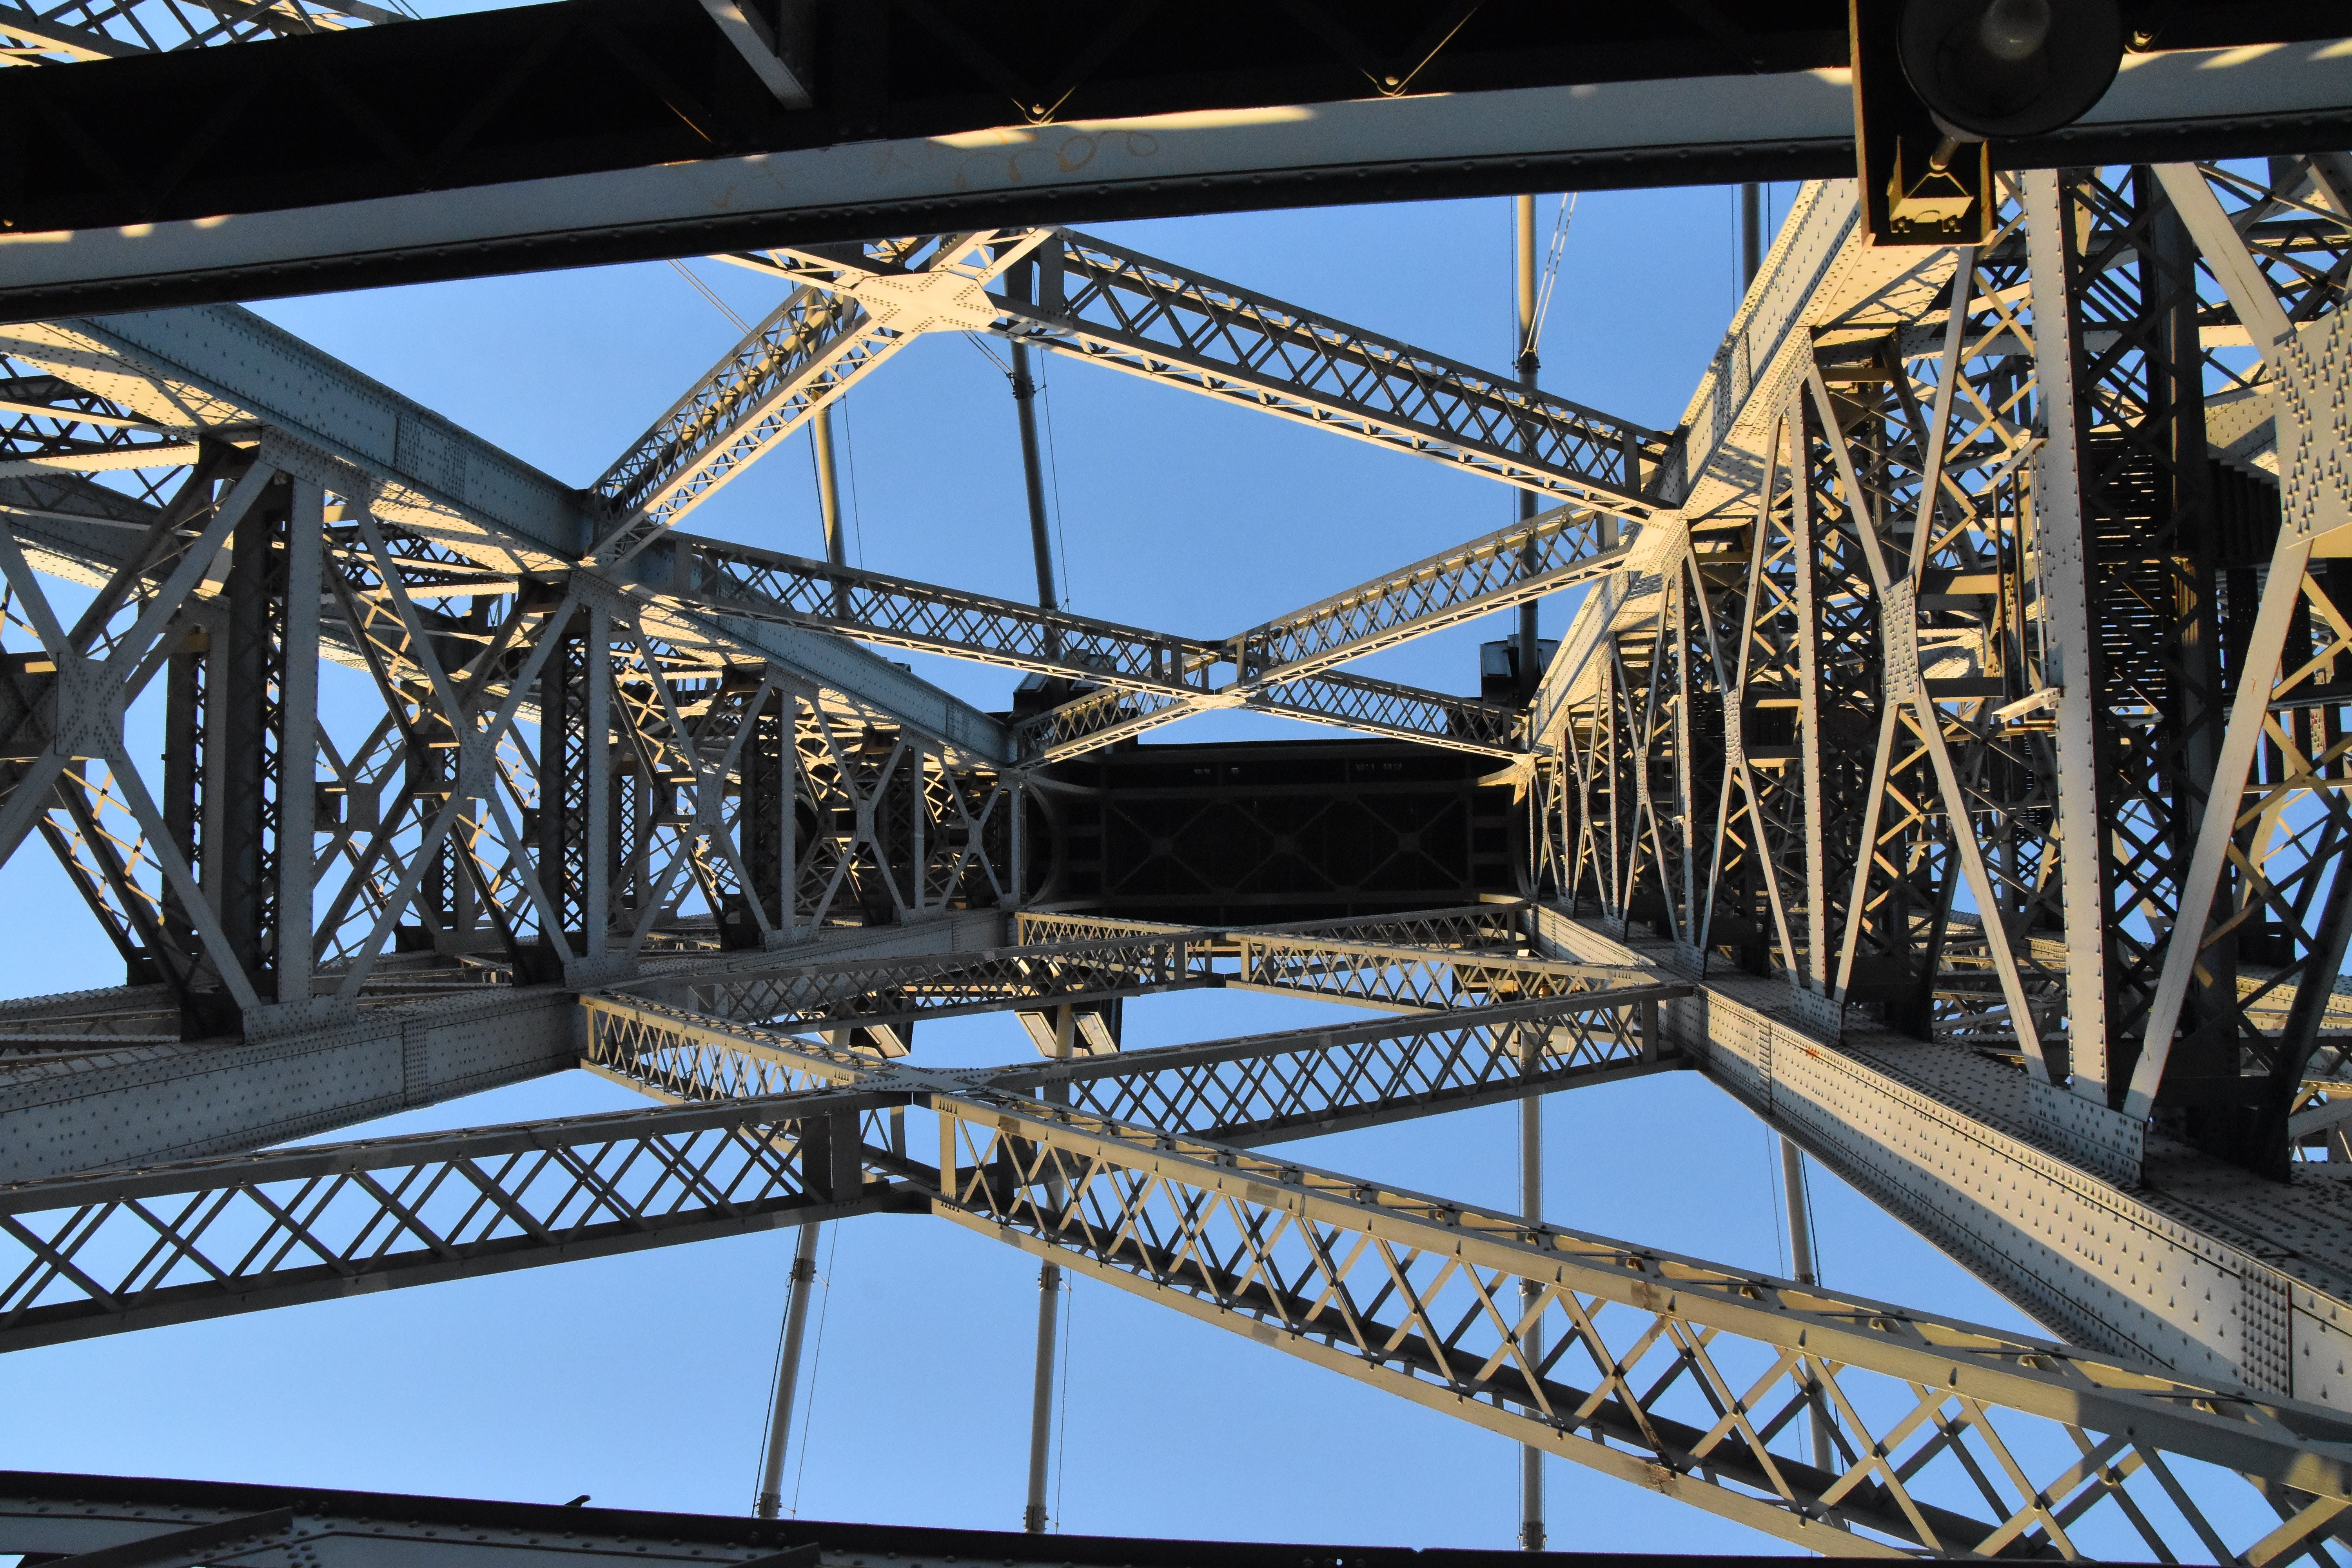
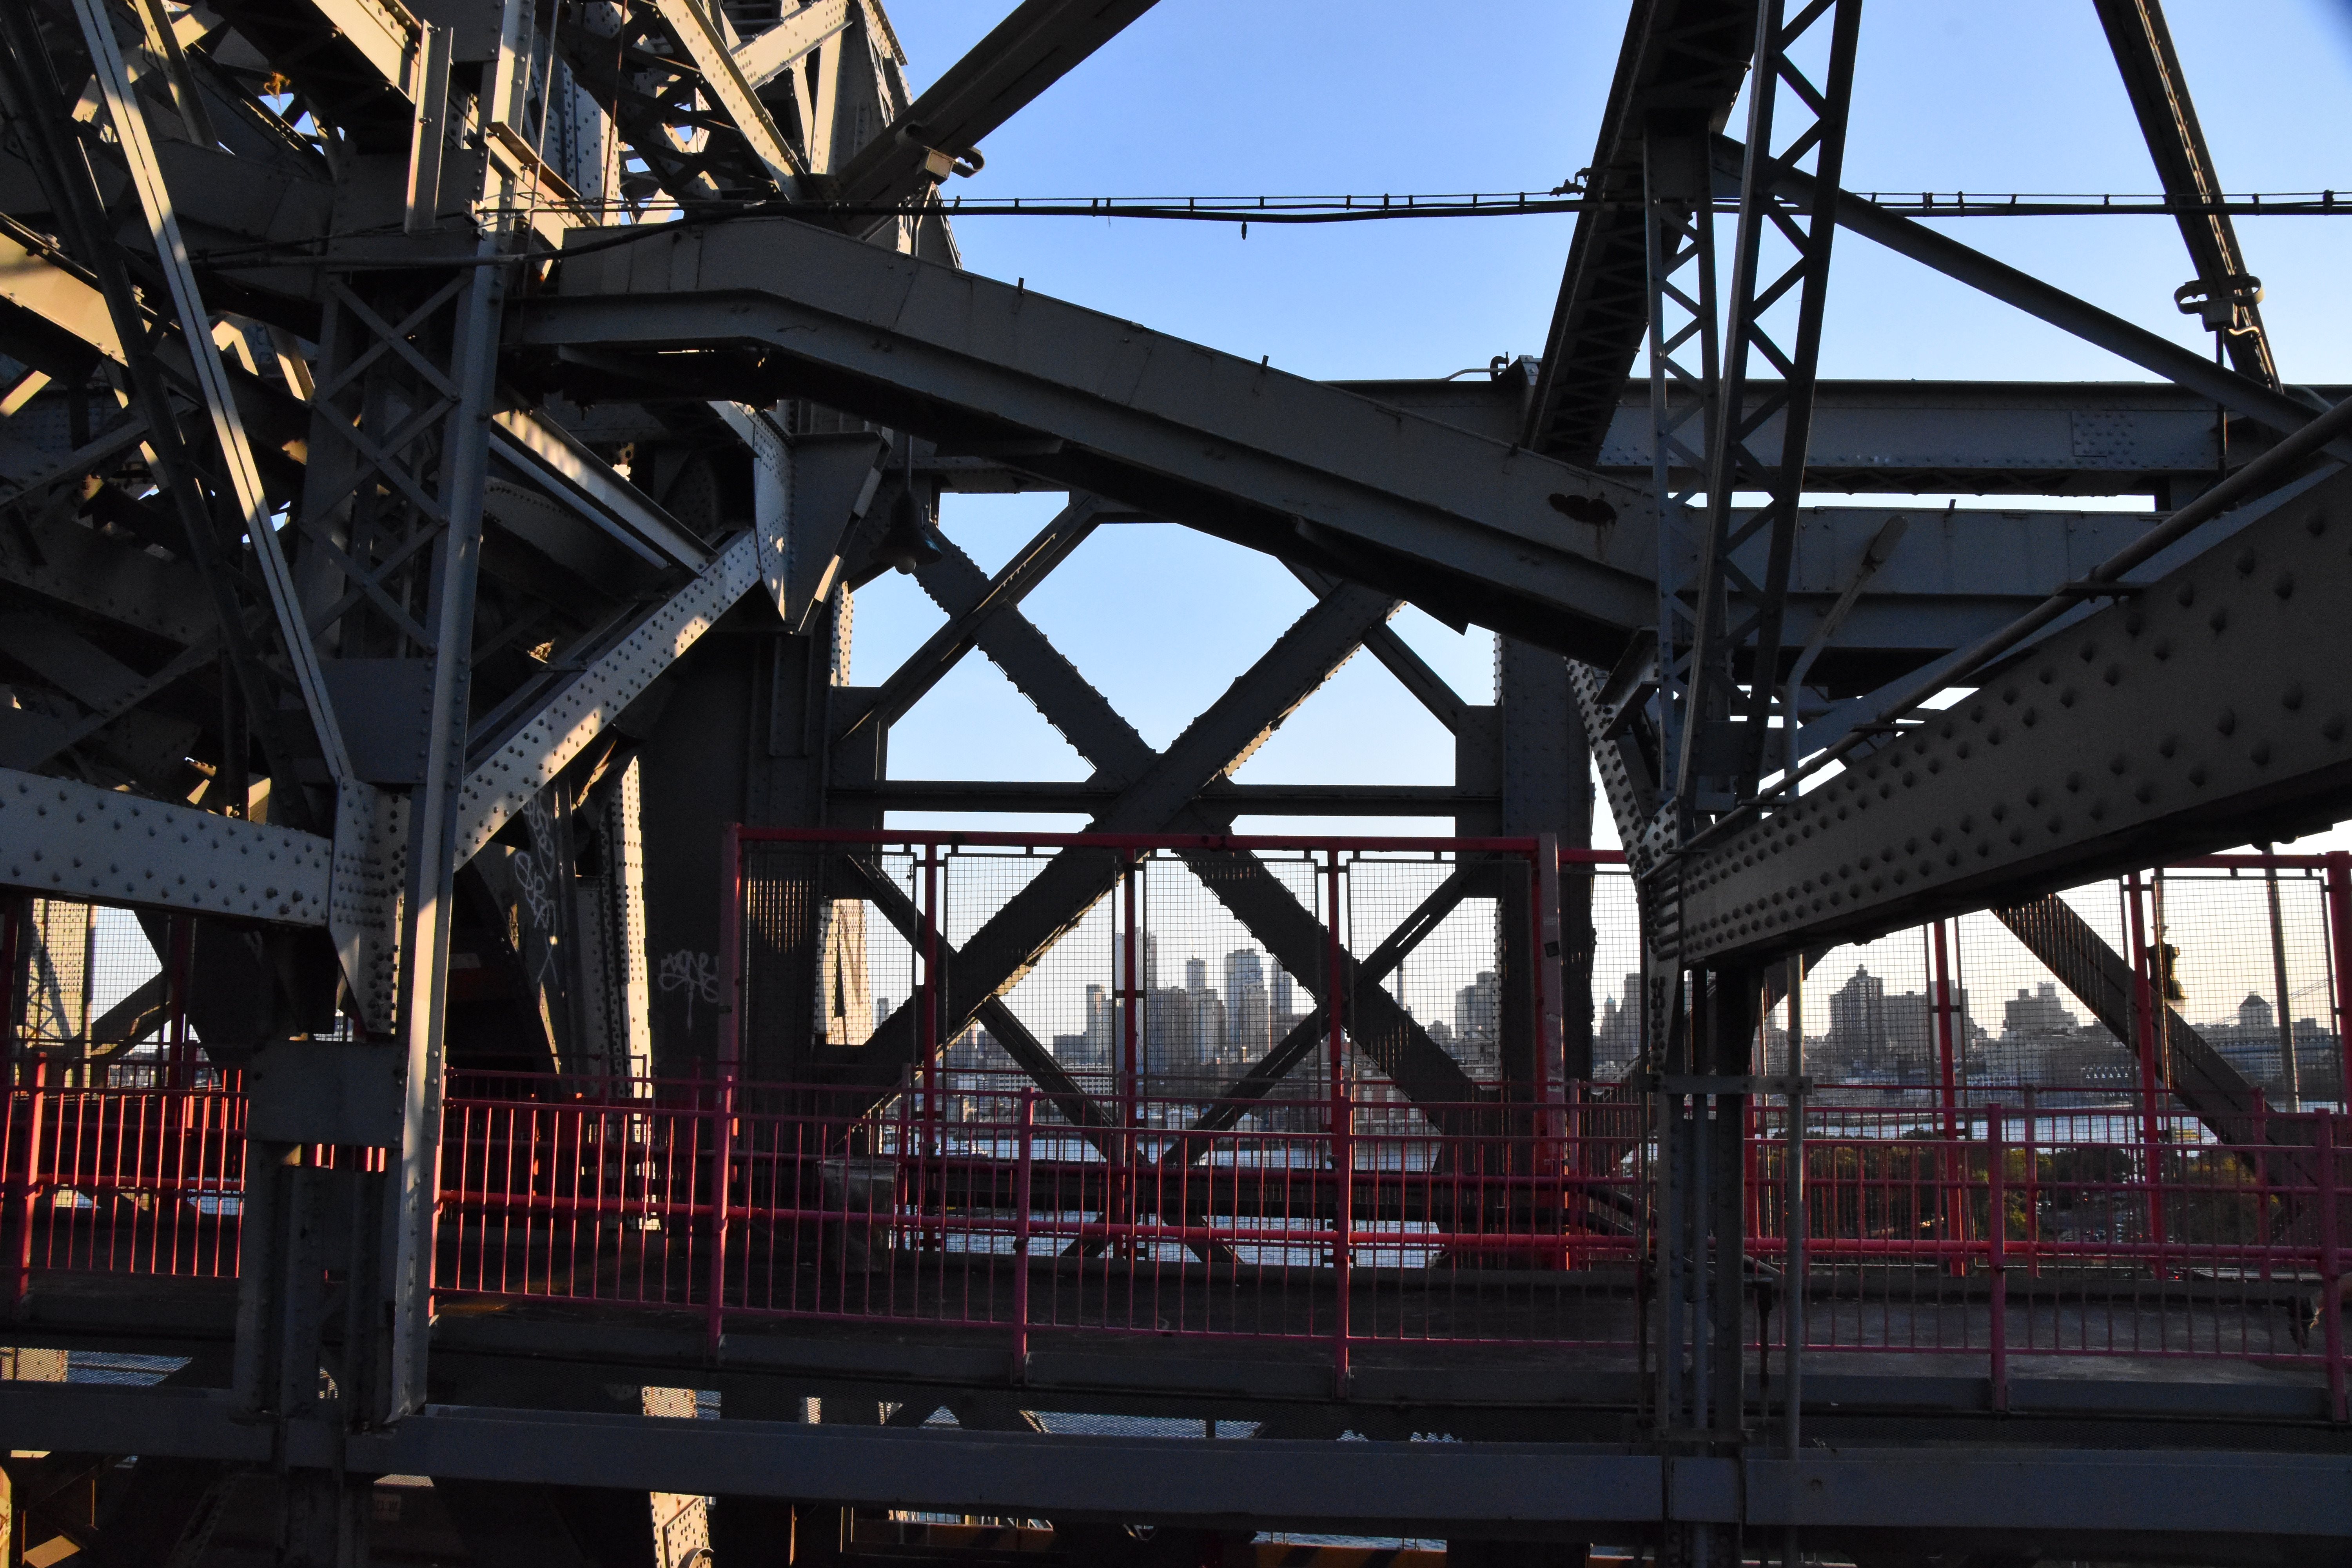
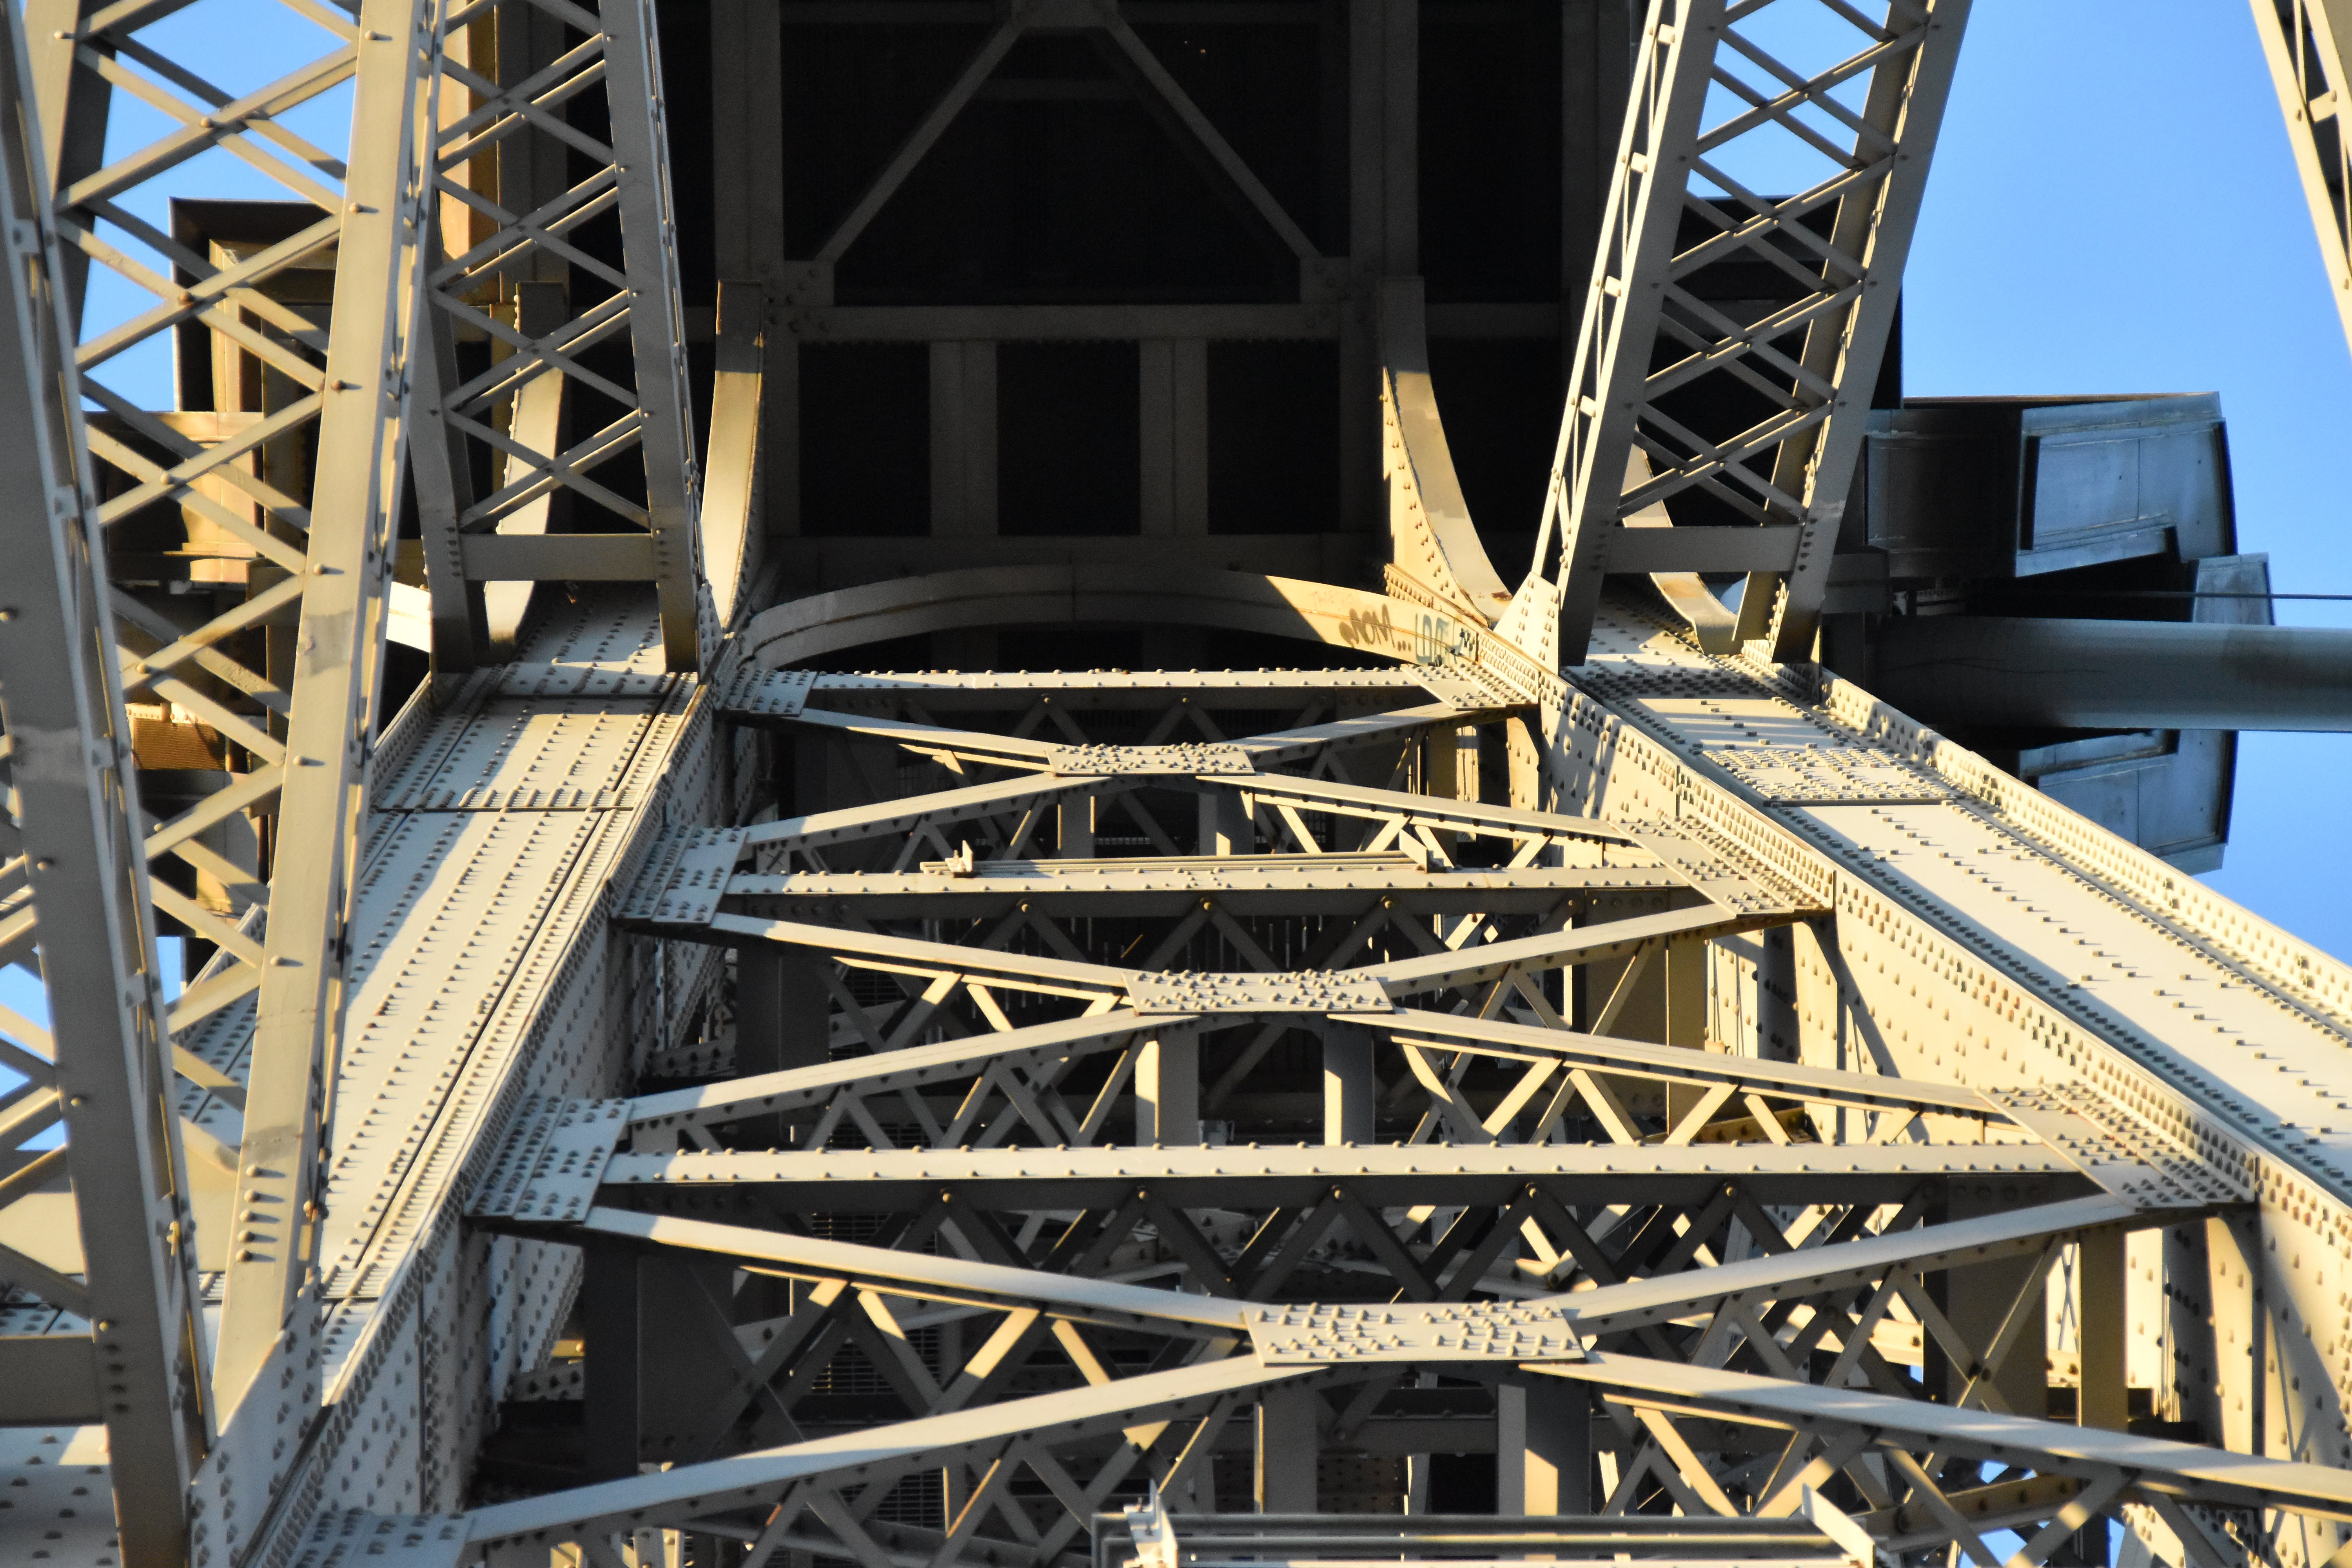
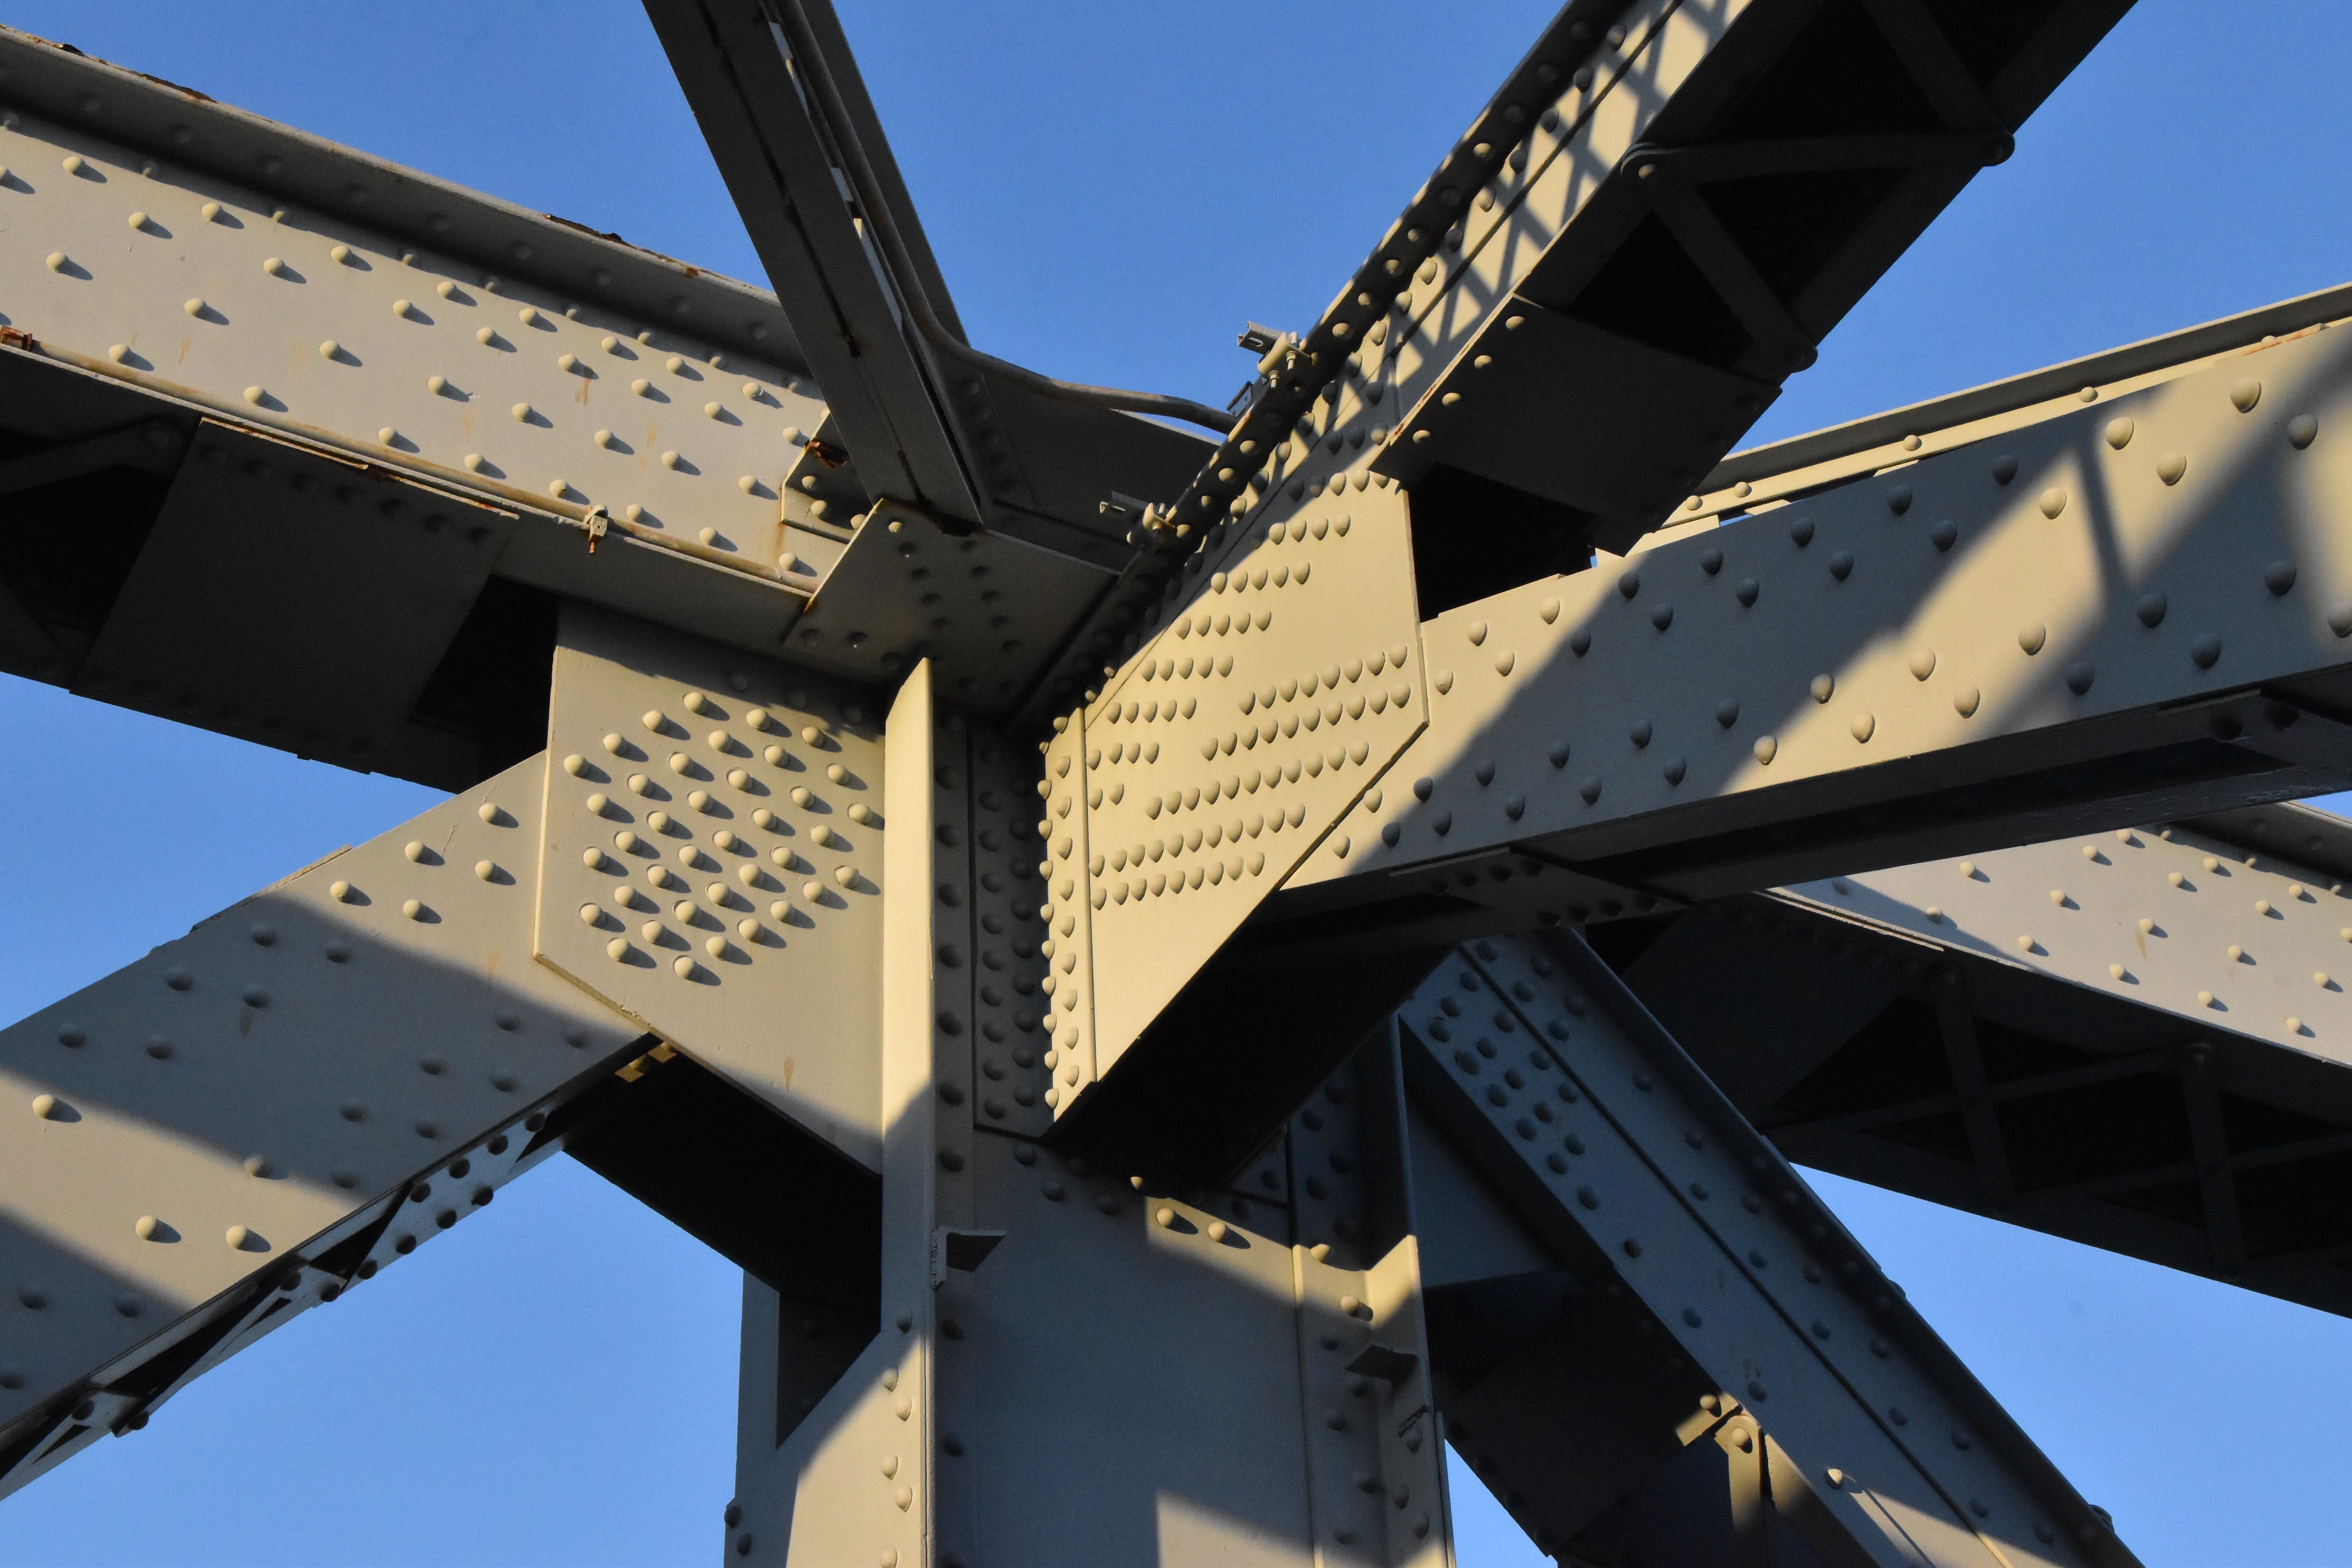
General view at walkway under tower.
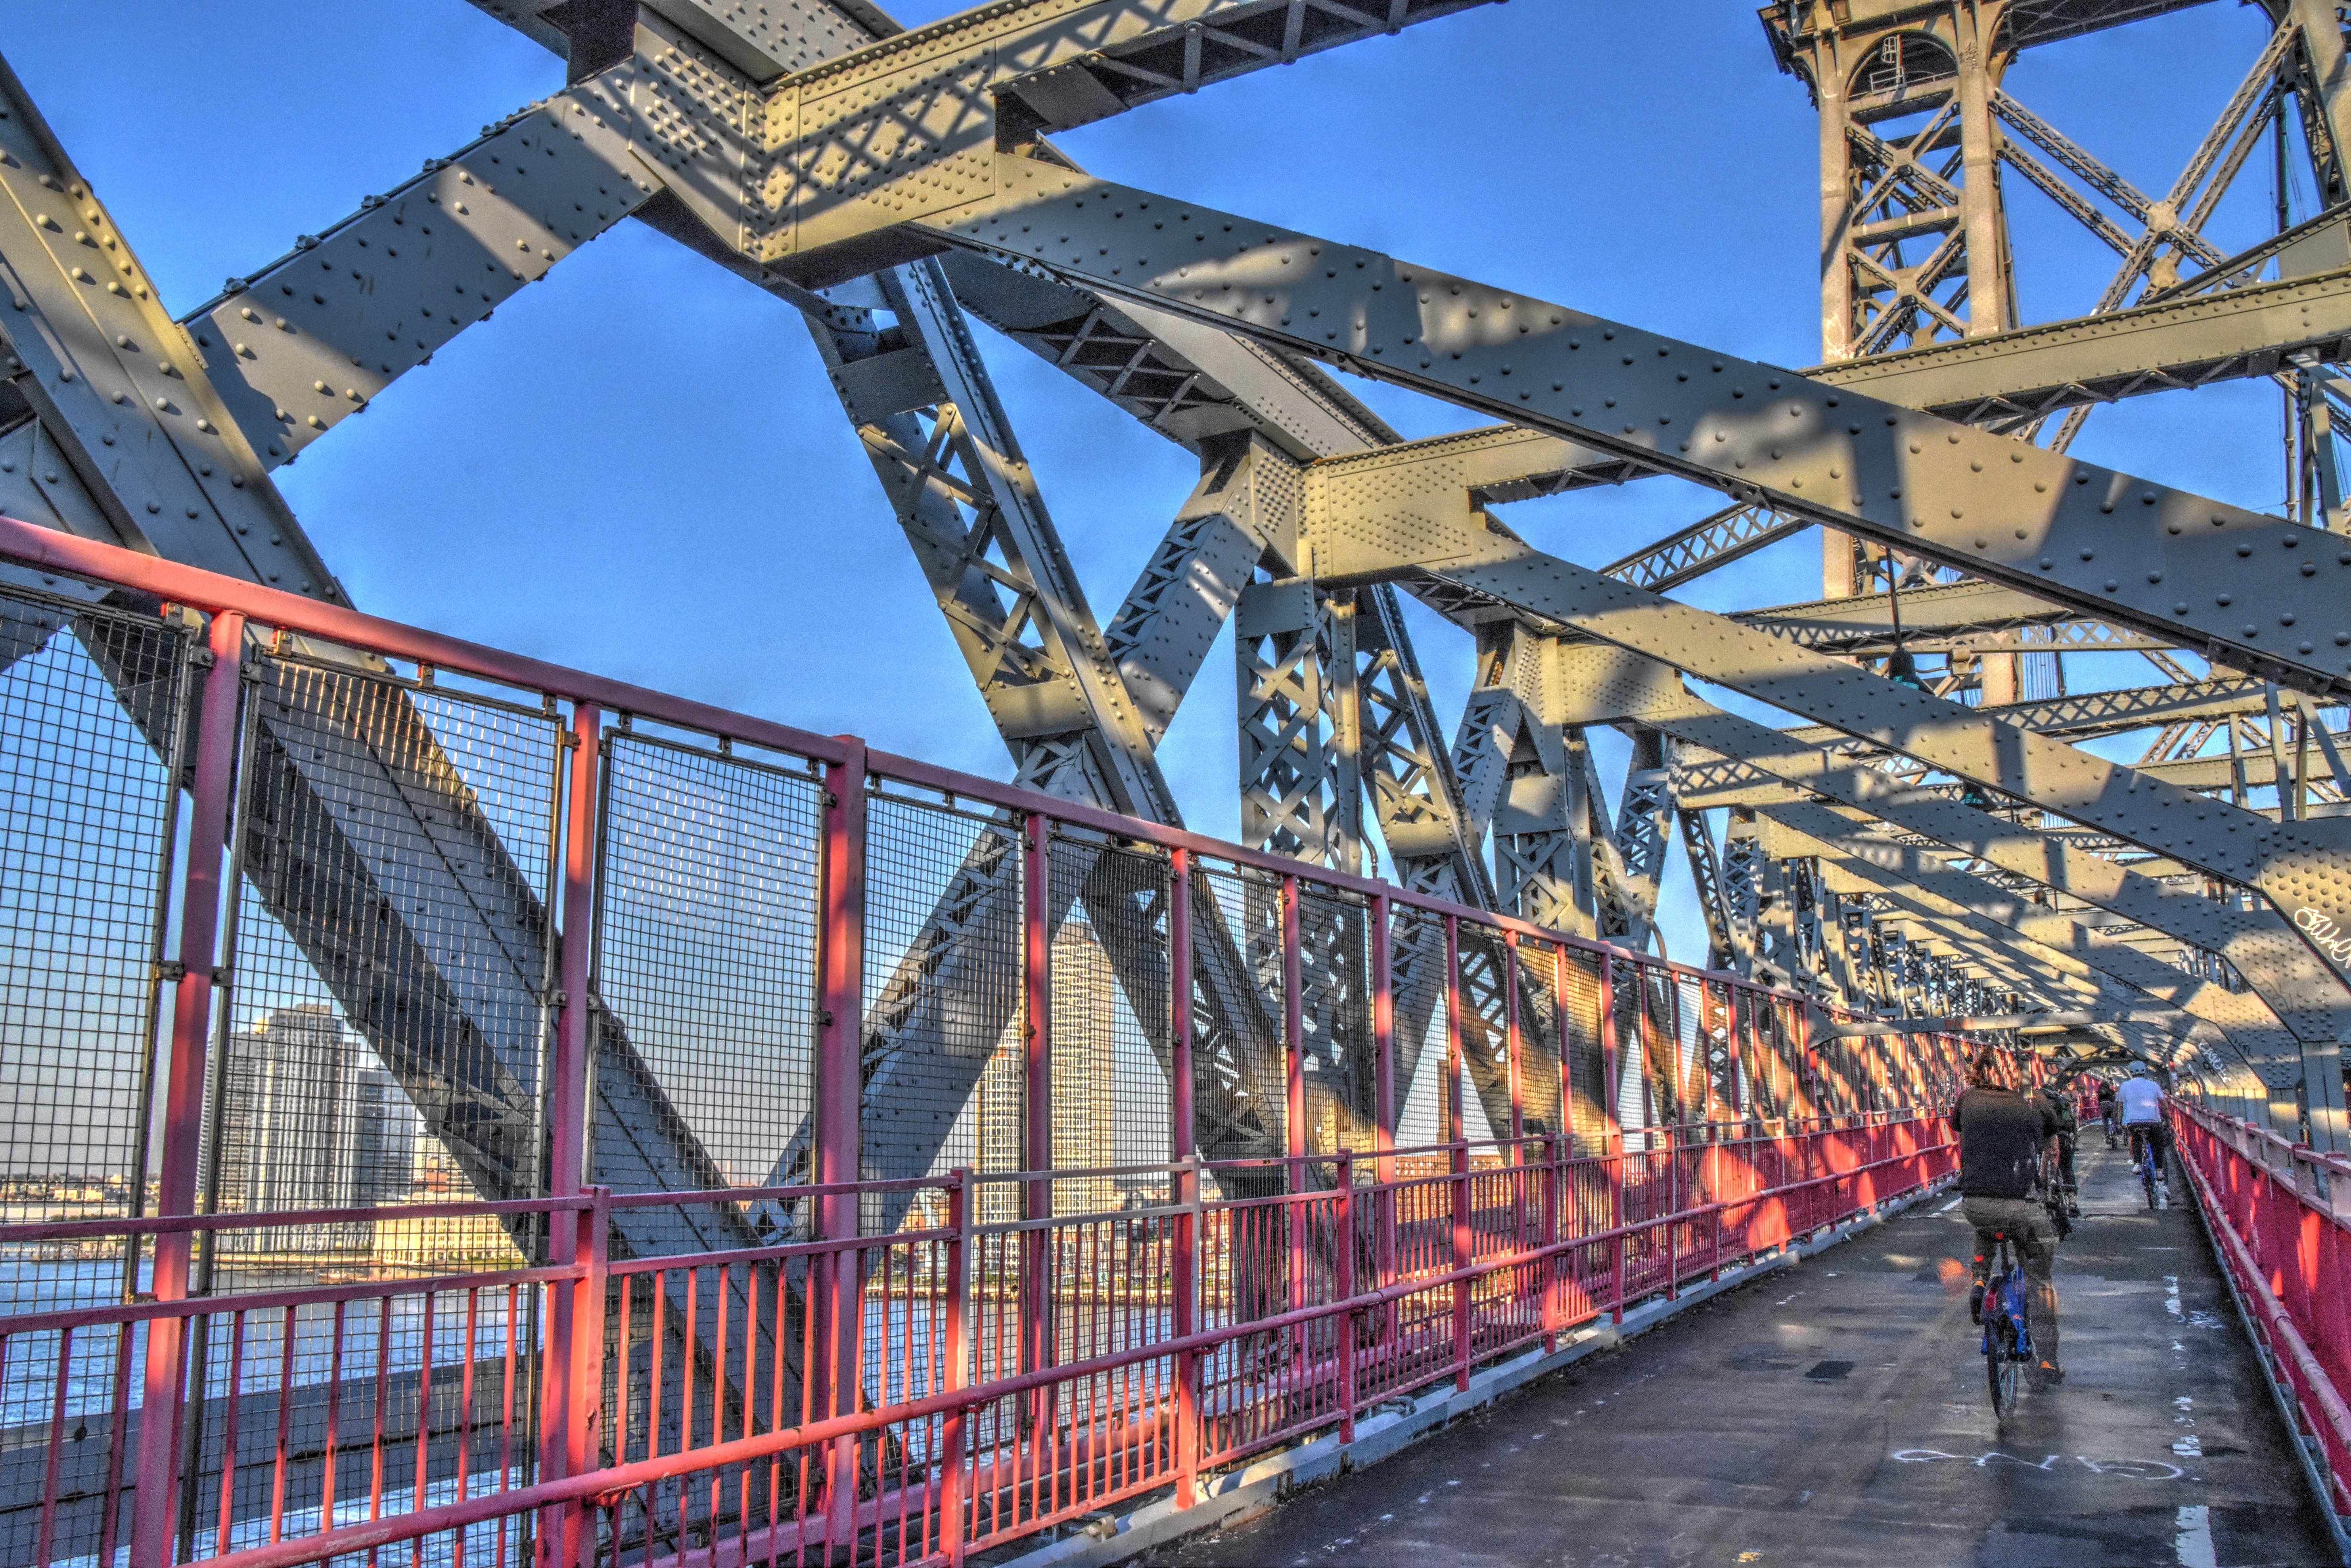
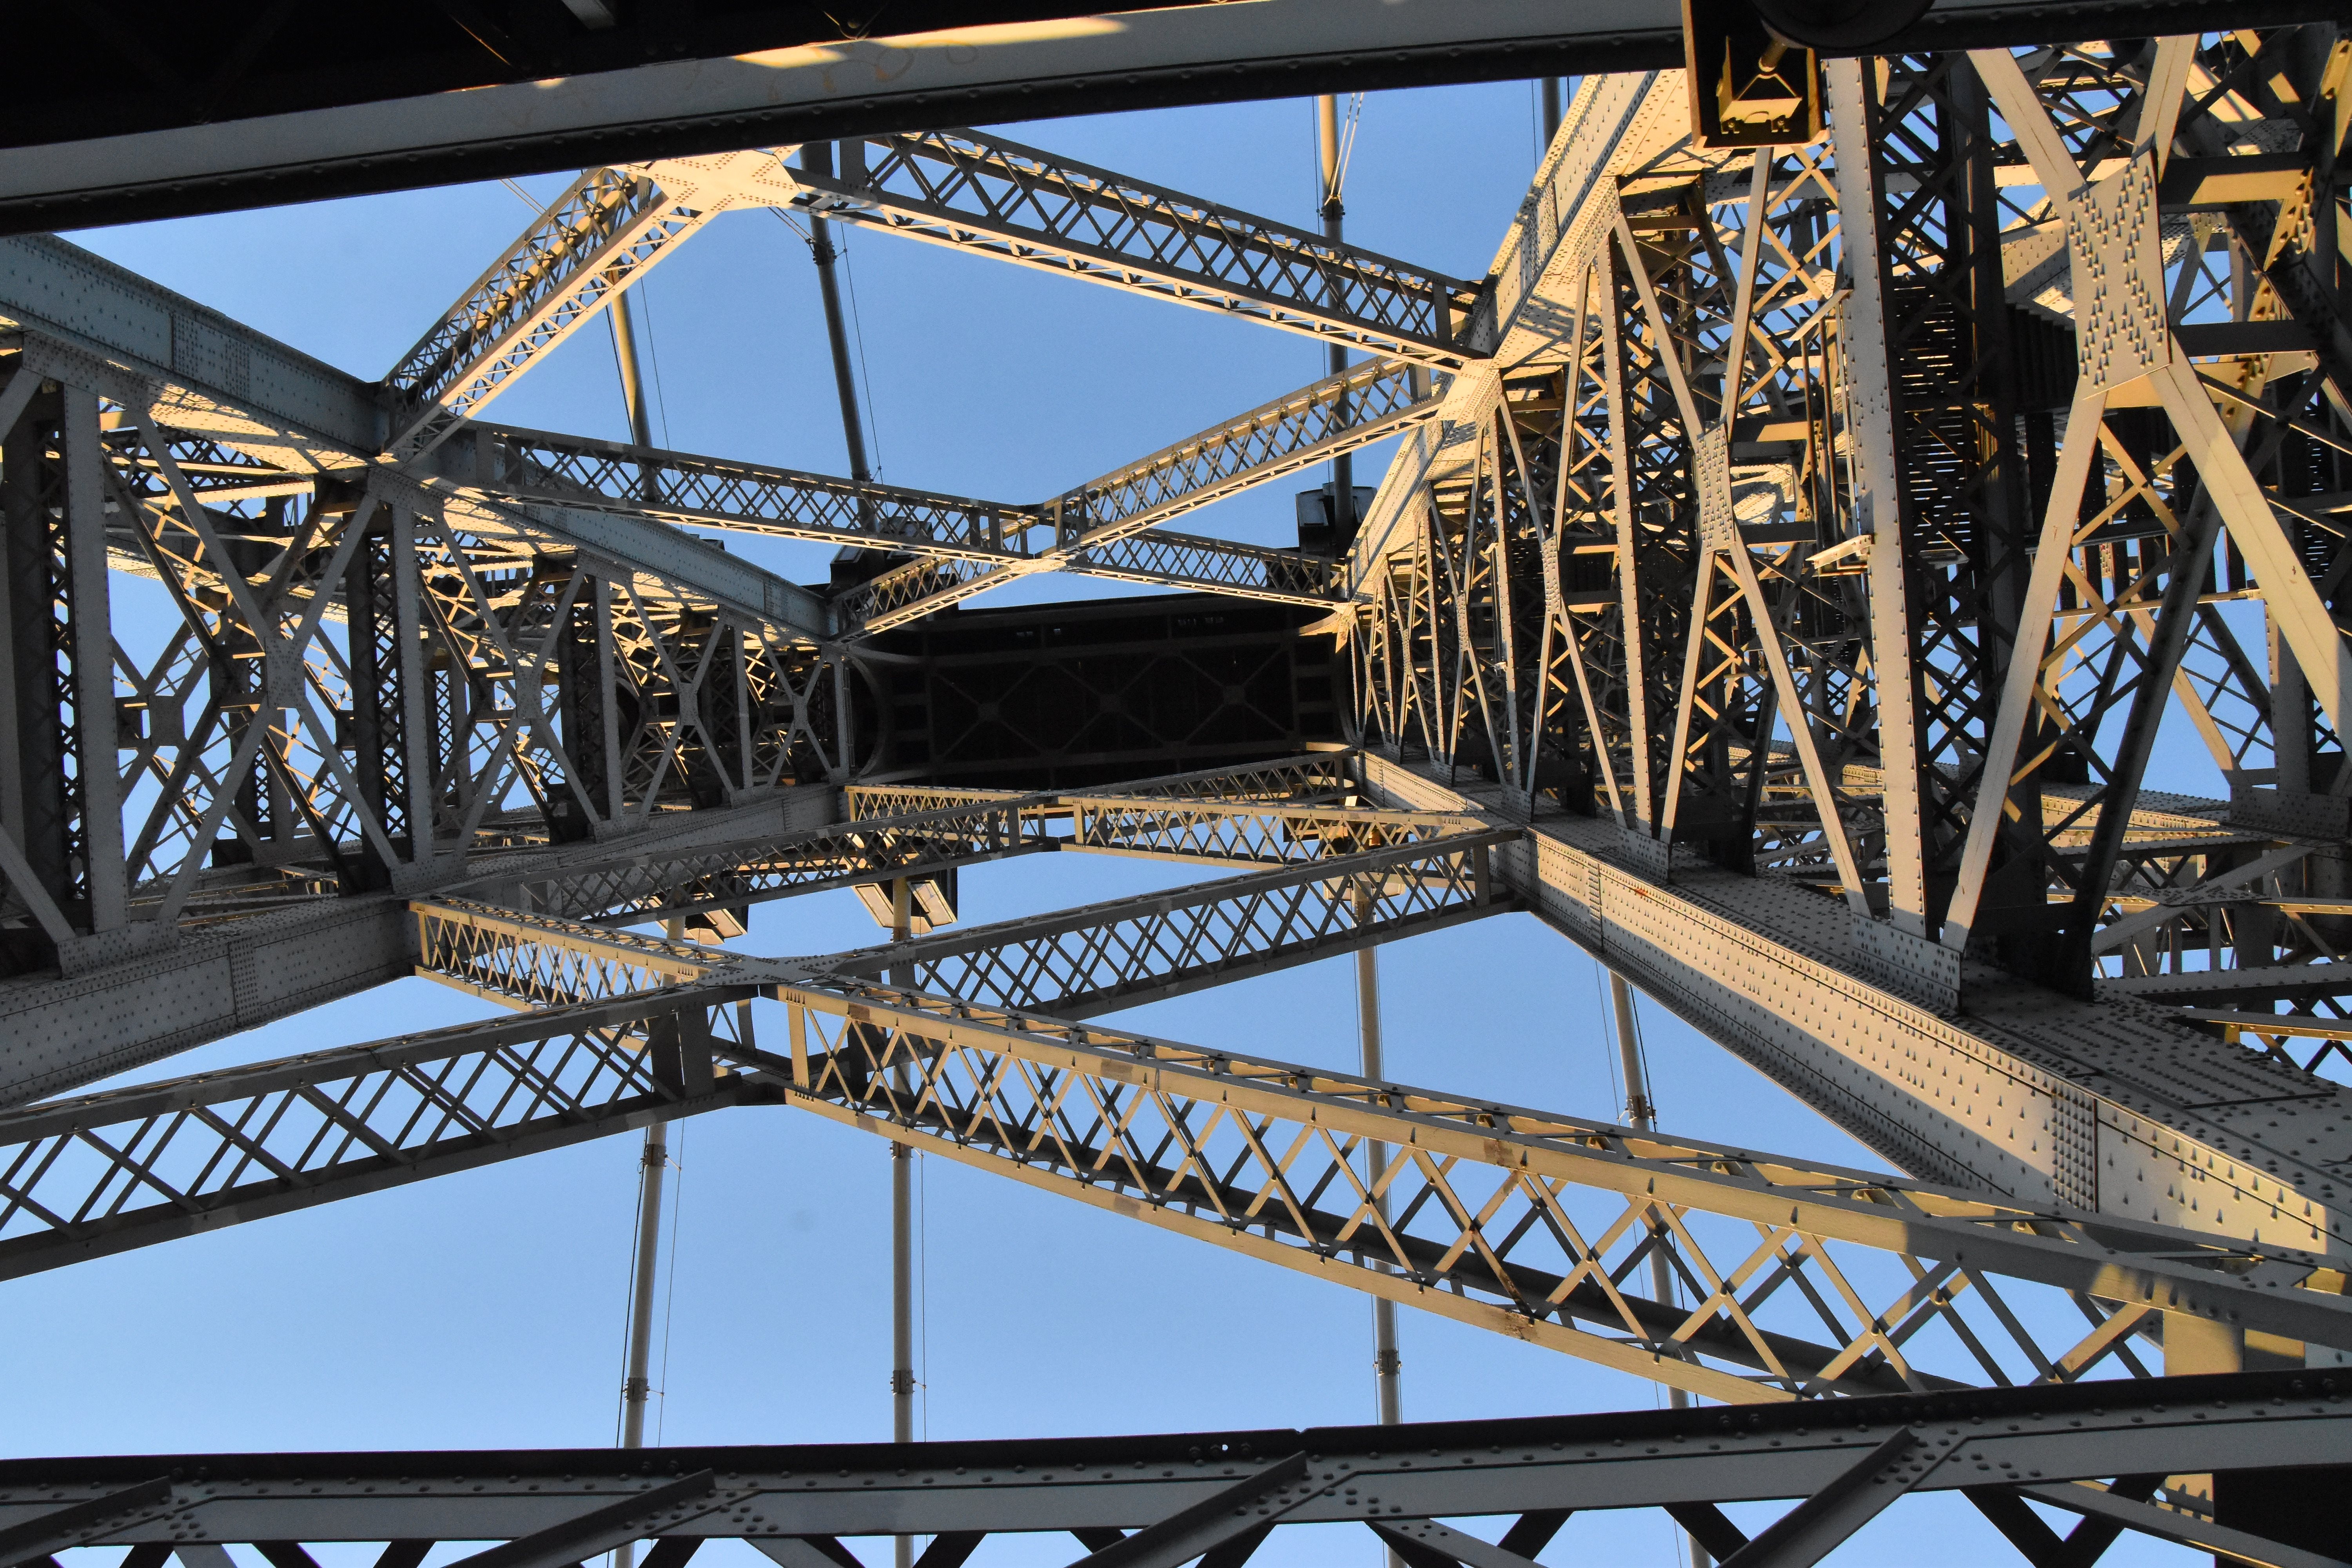
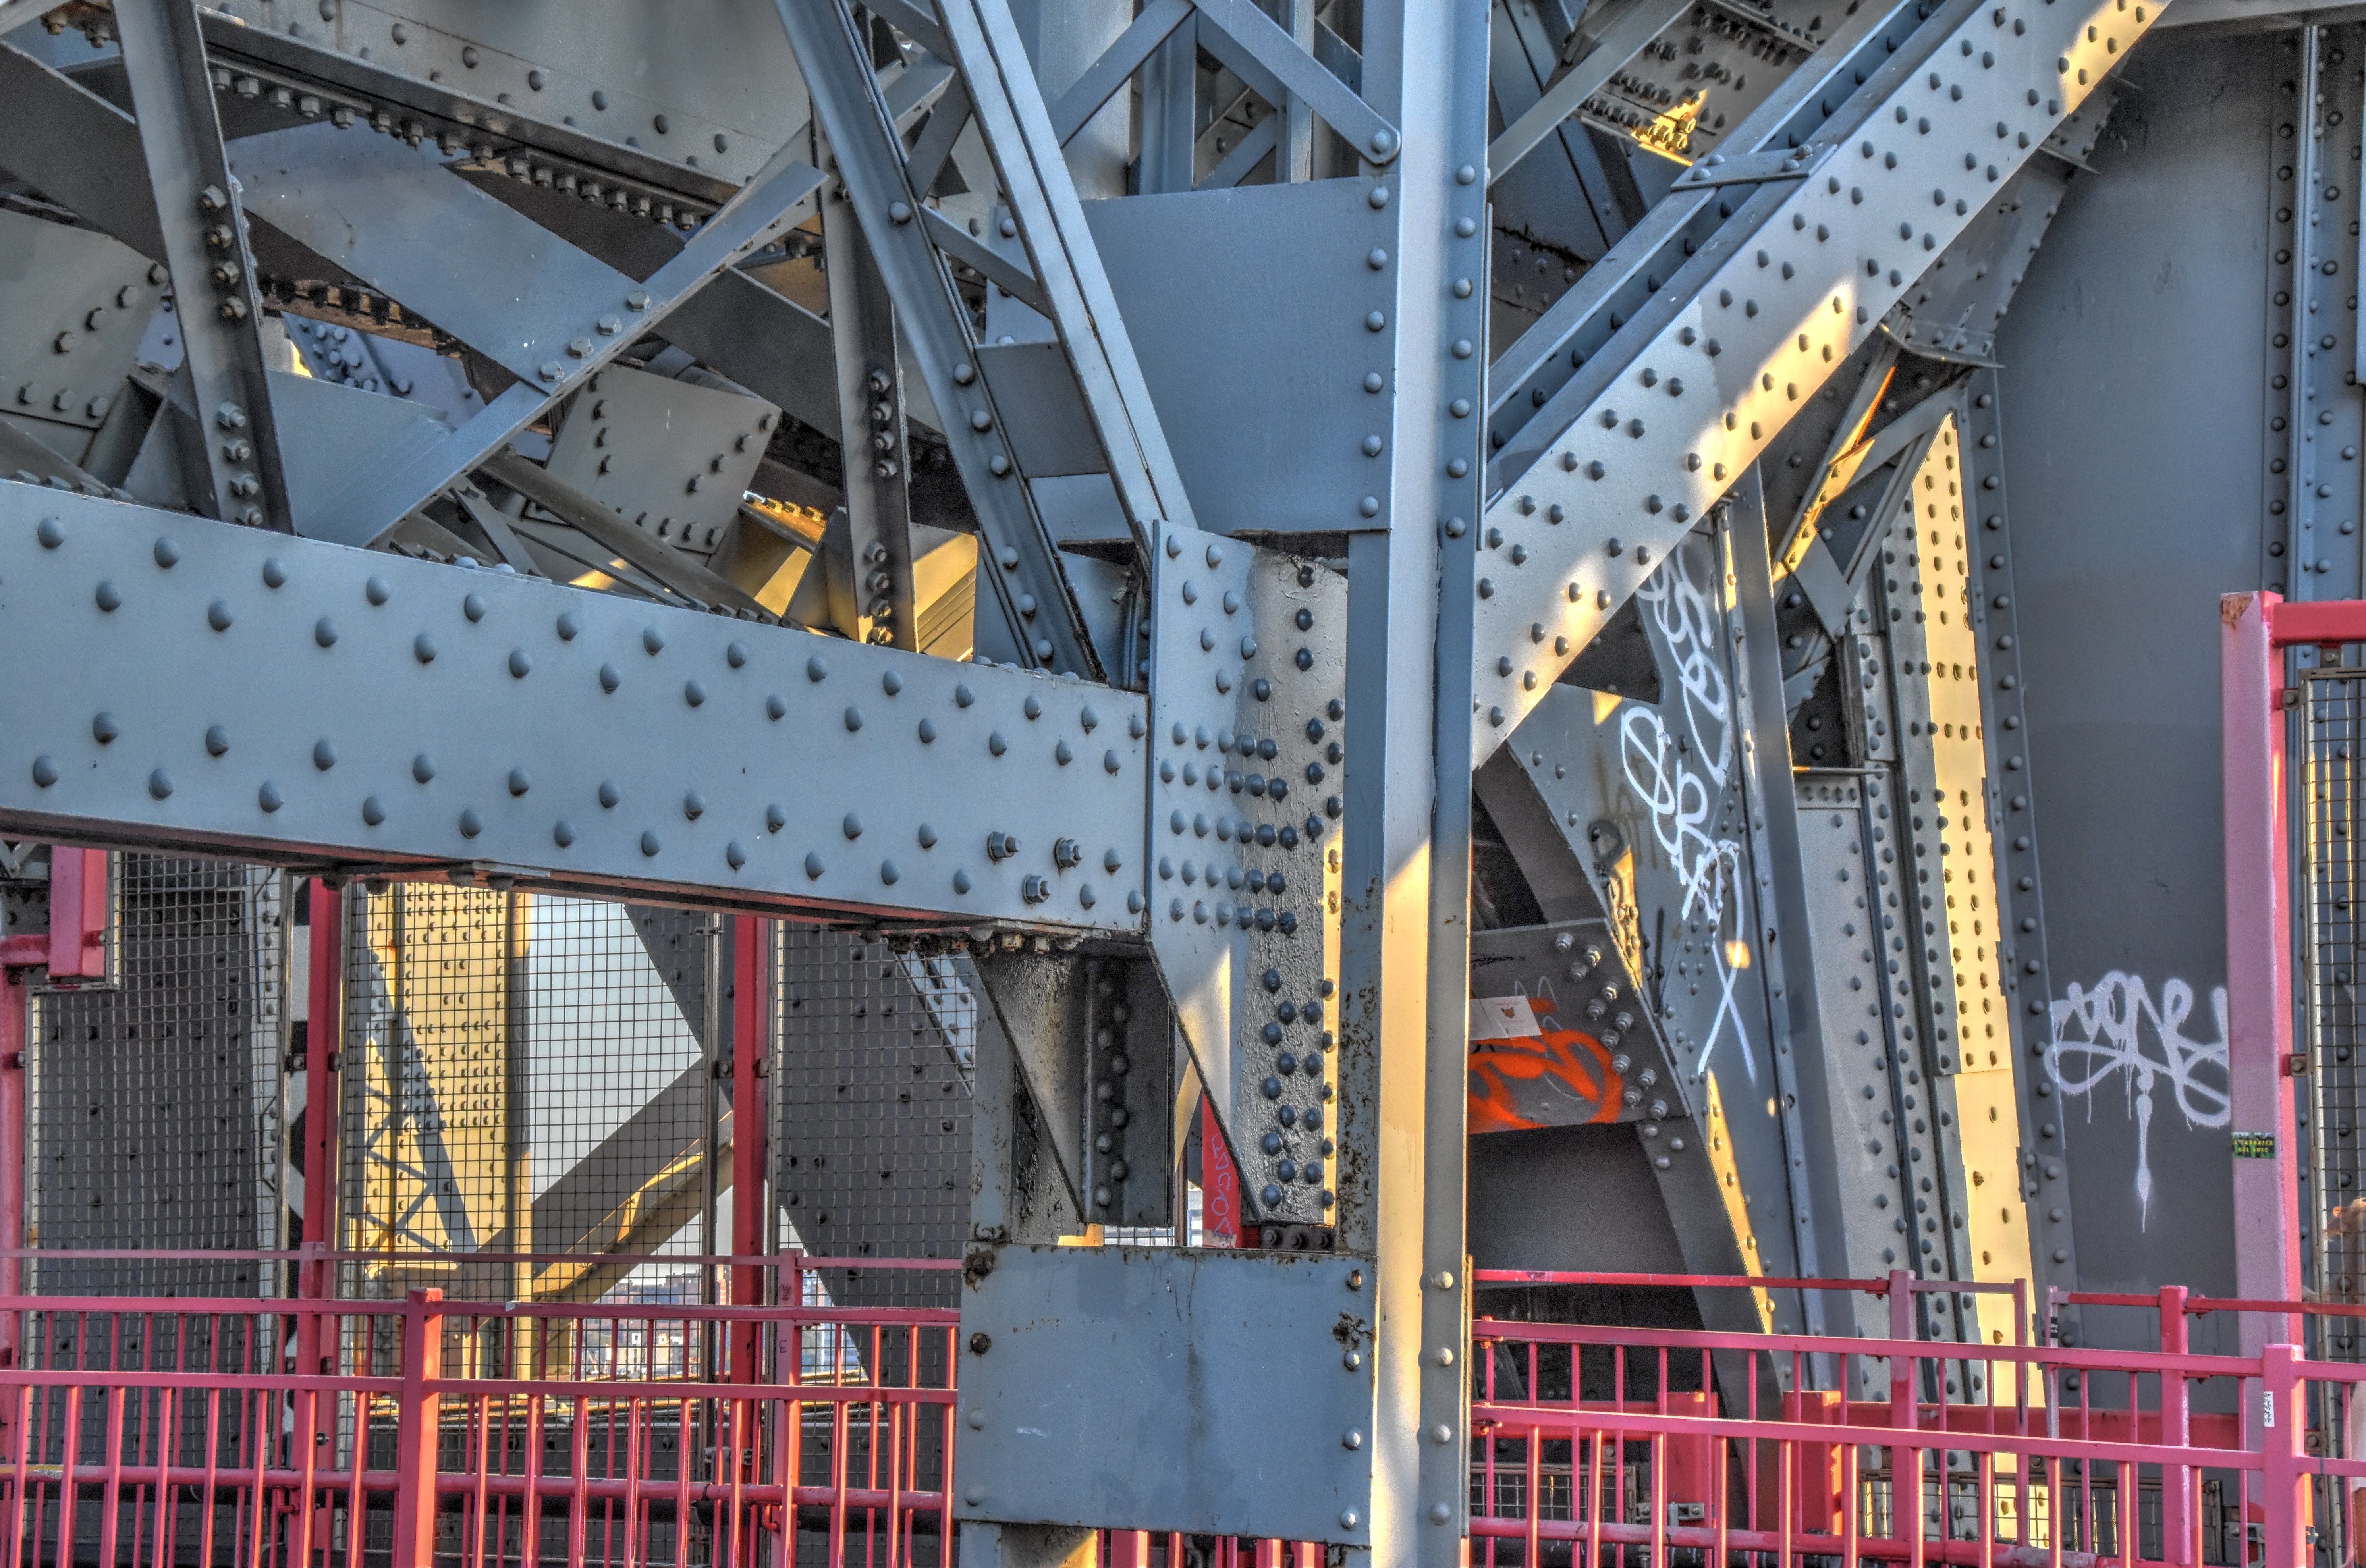
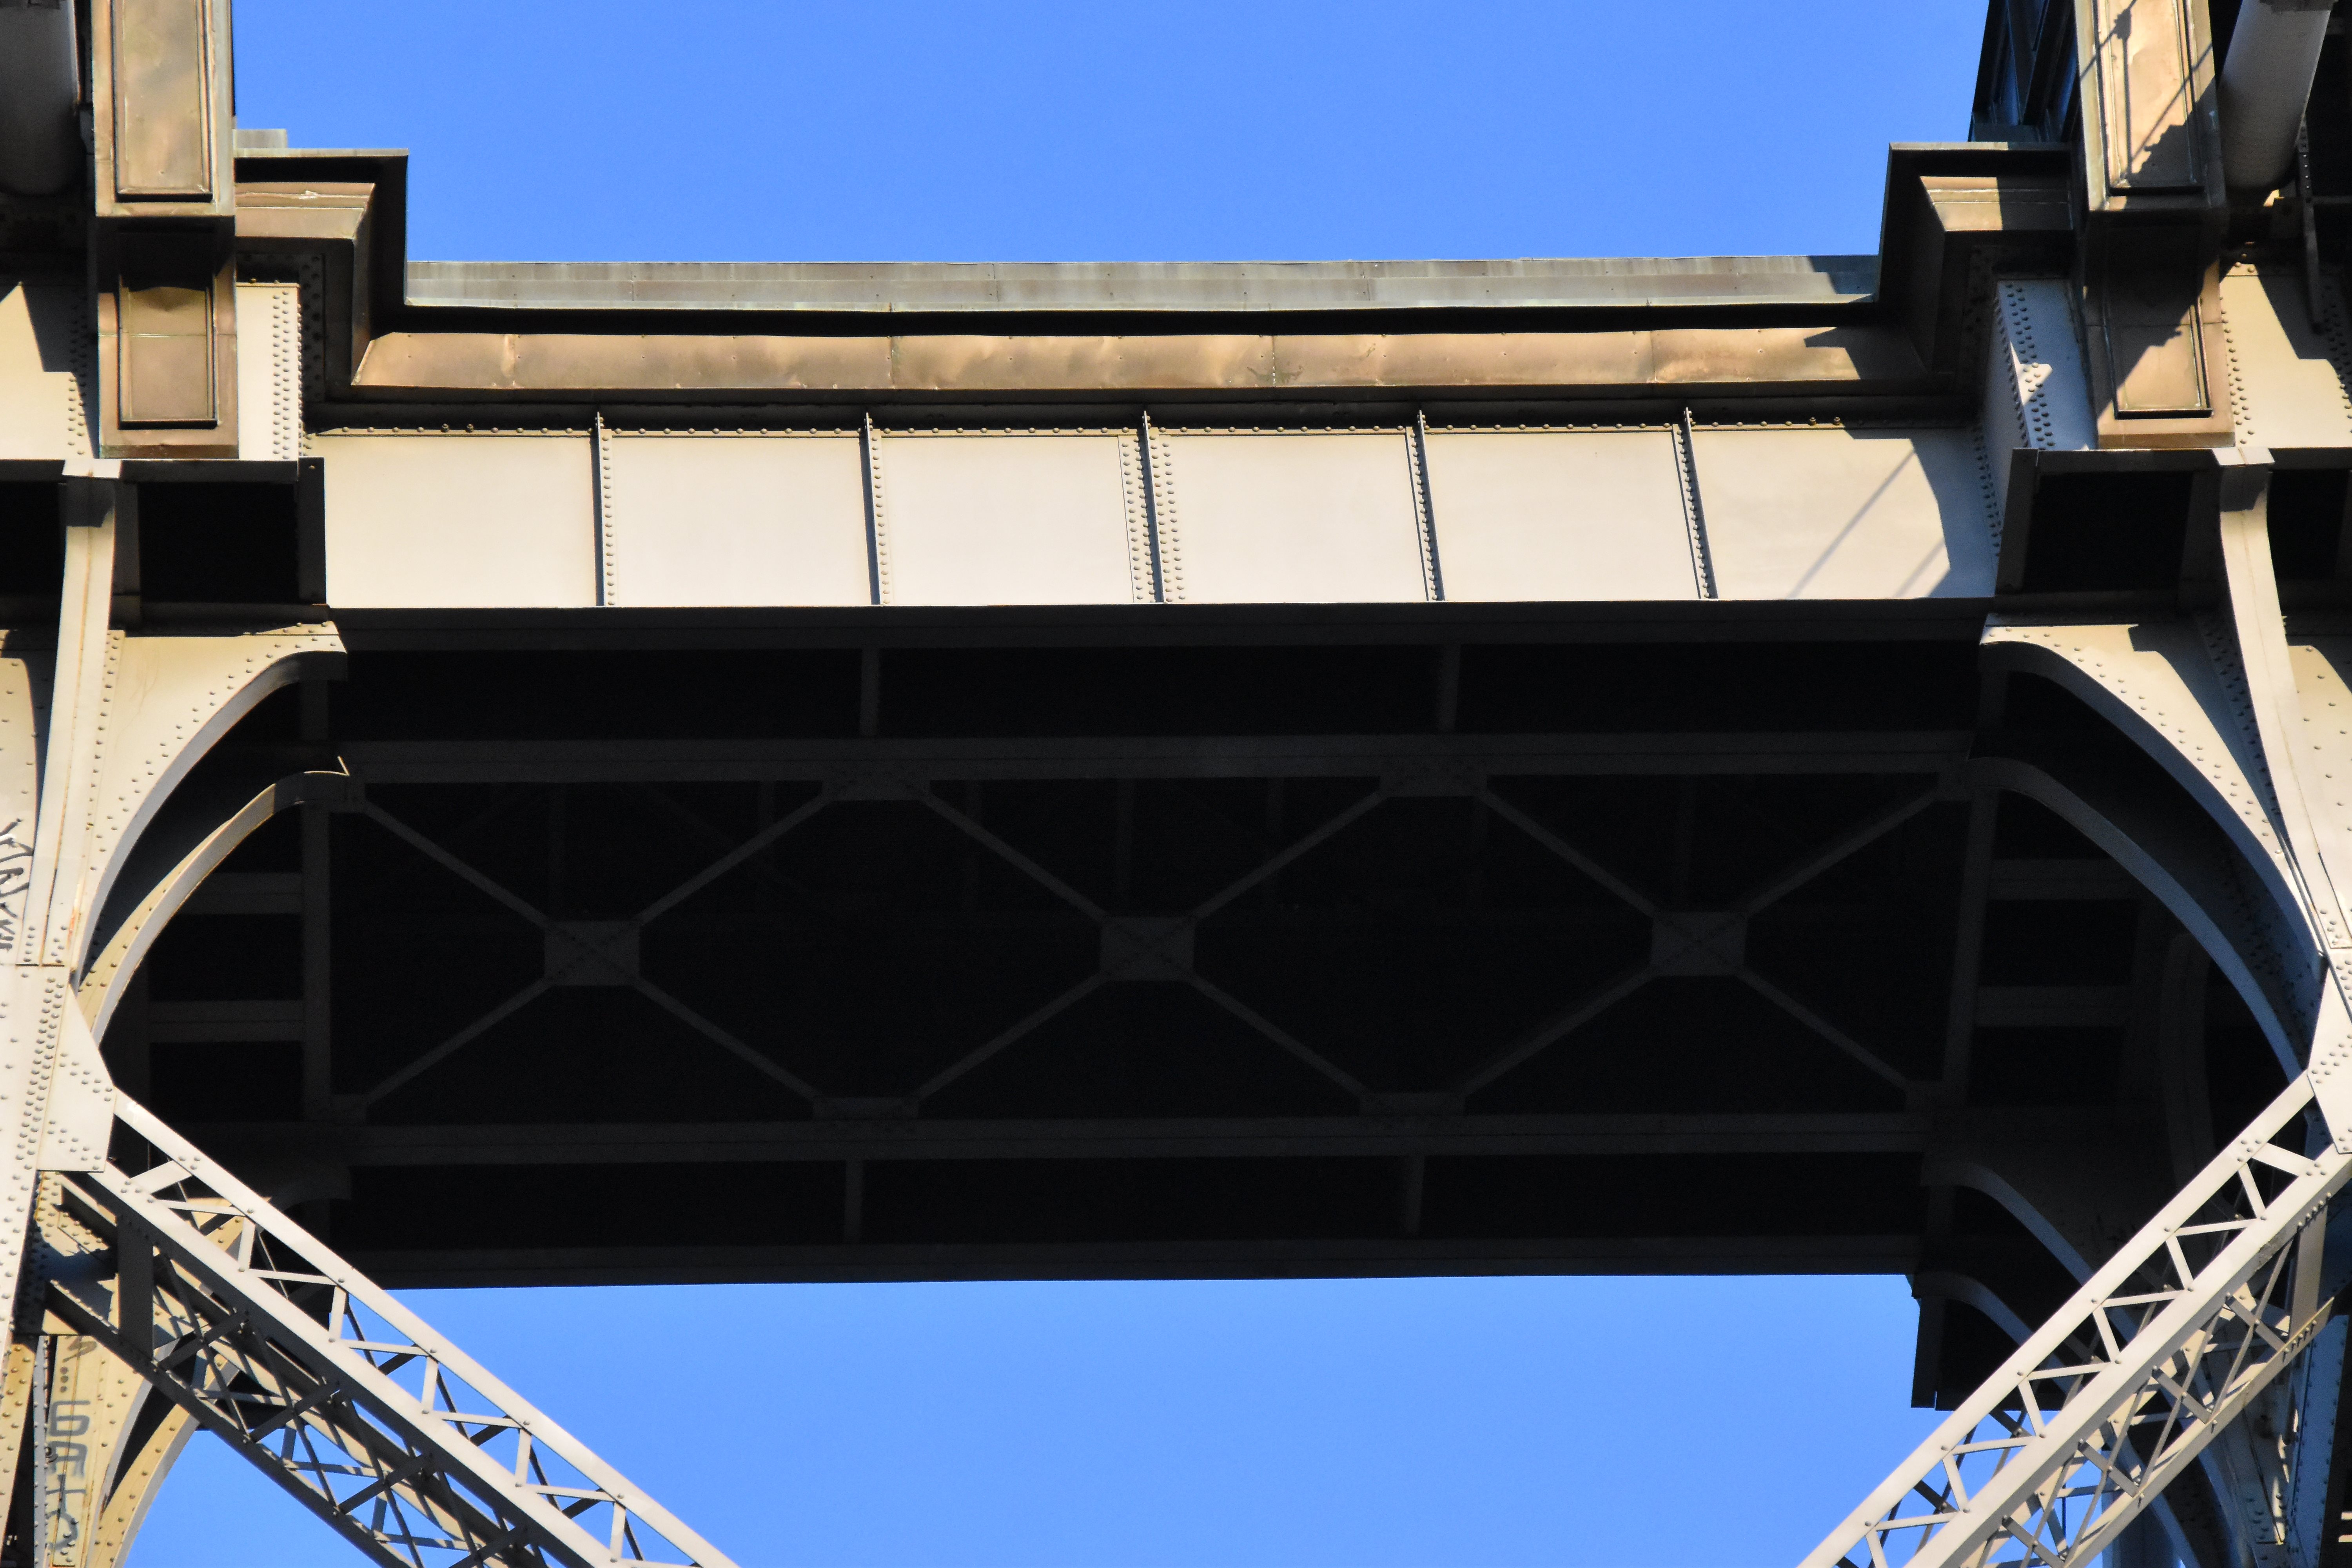
![]()


Views on walkway near bridge tower.
![]()


Views on walkway under bridge tower.
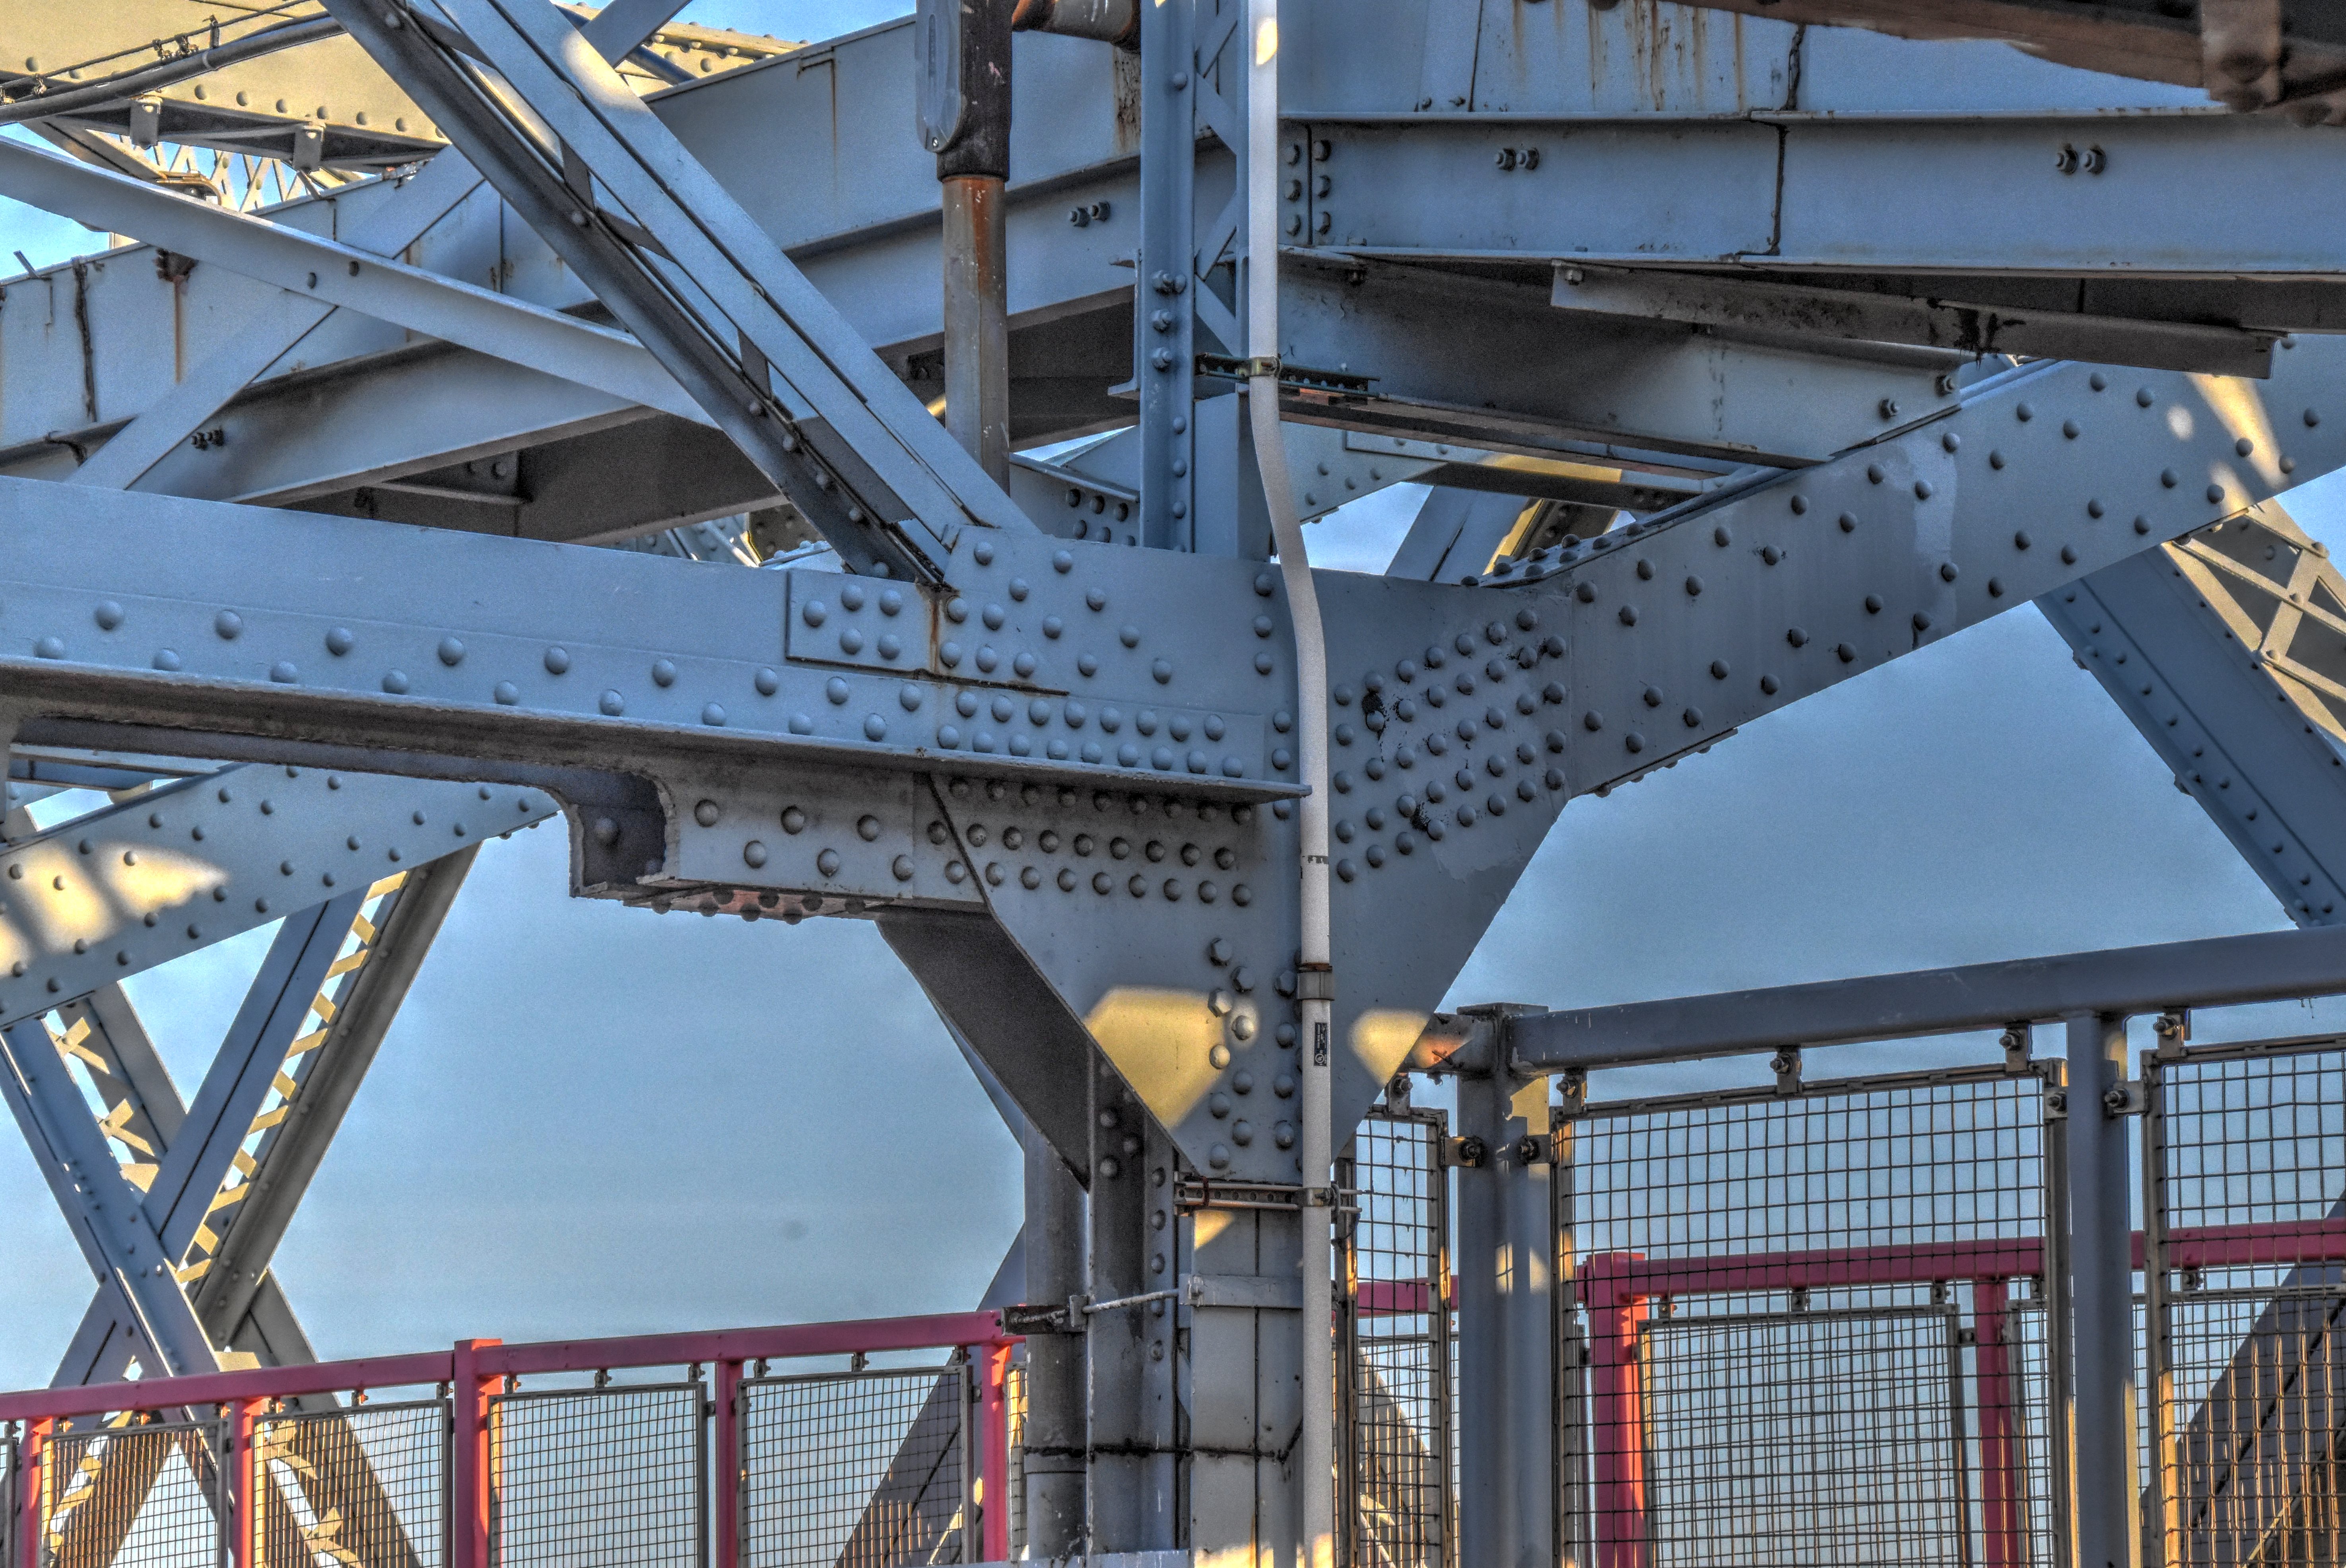
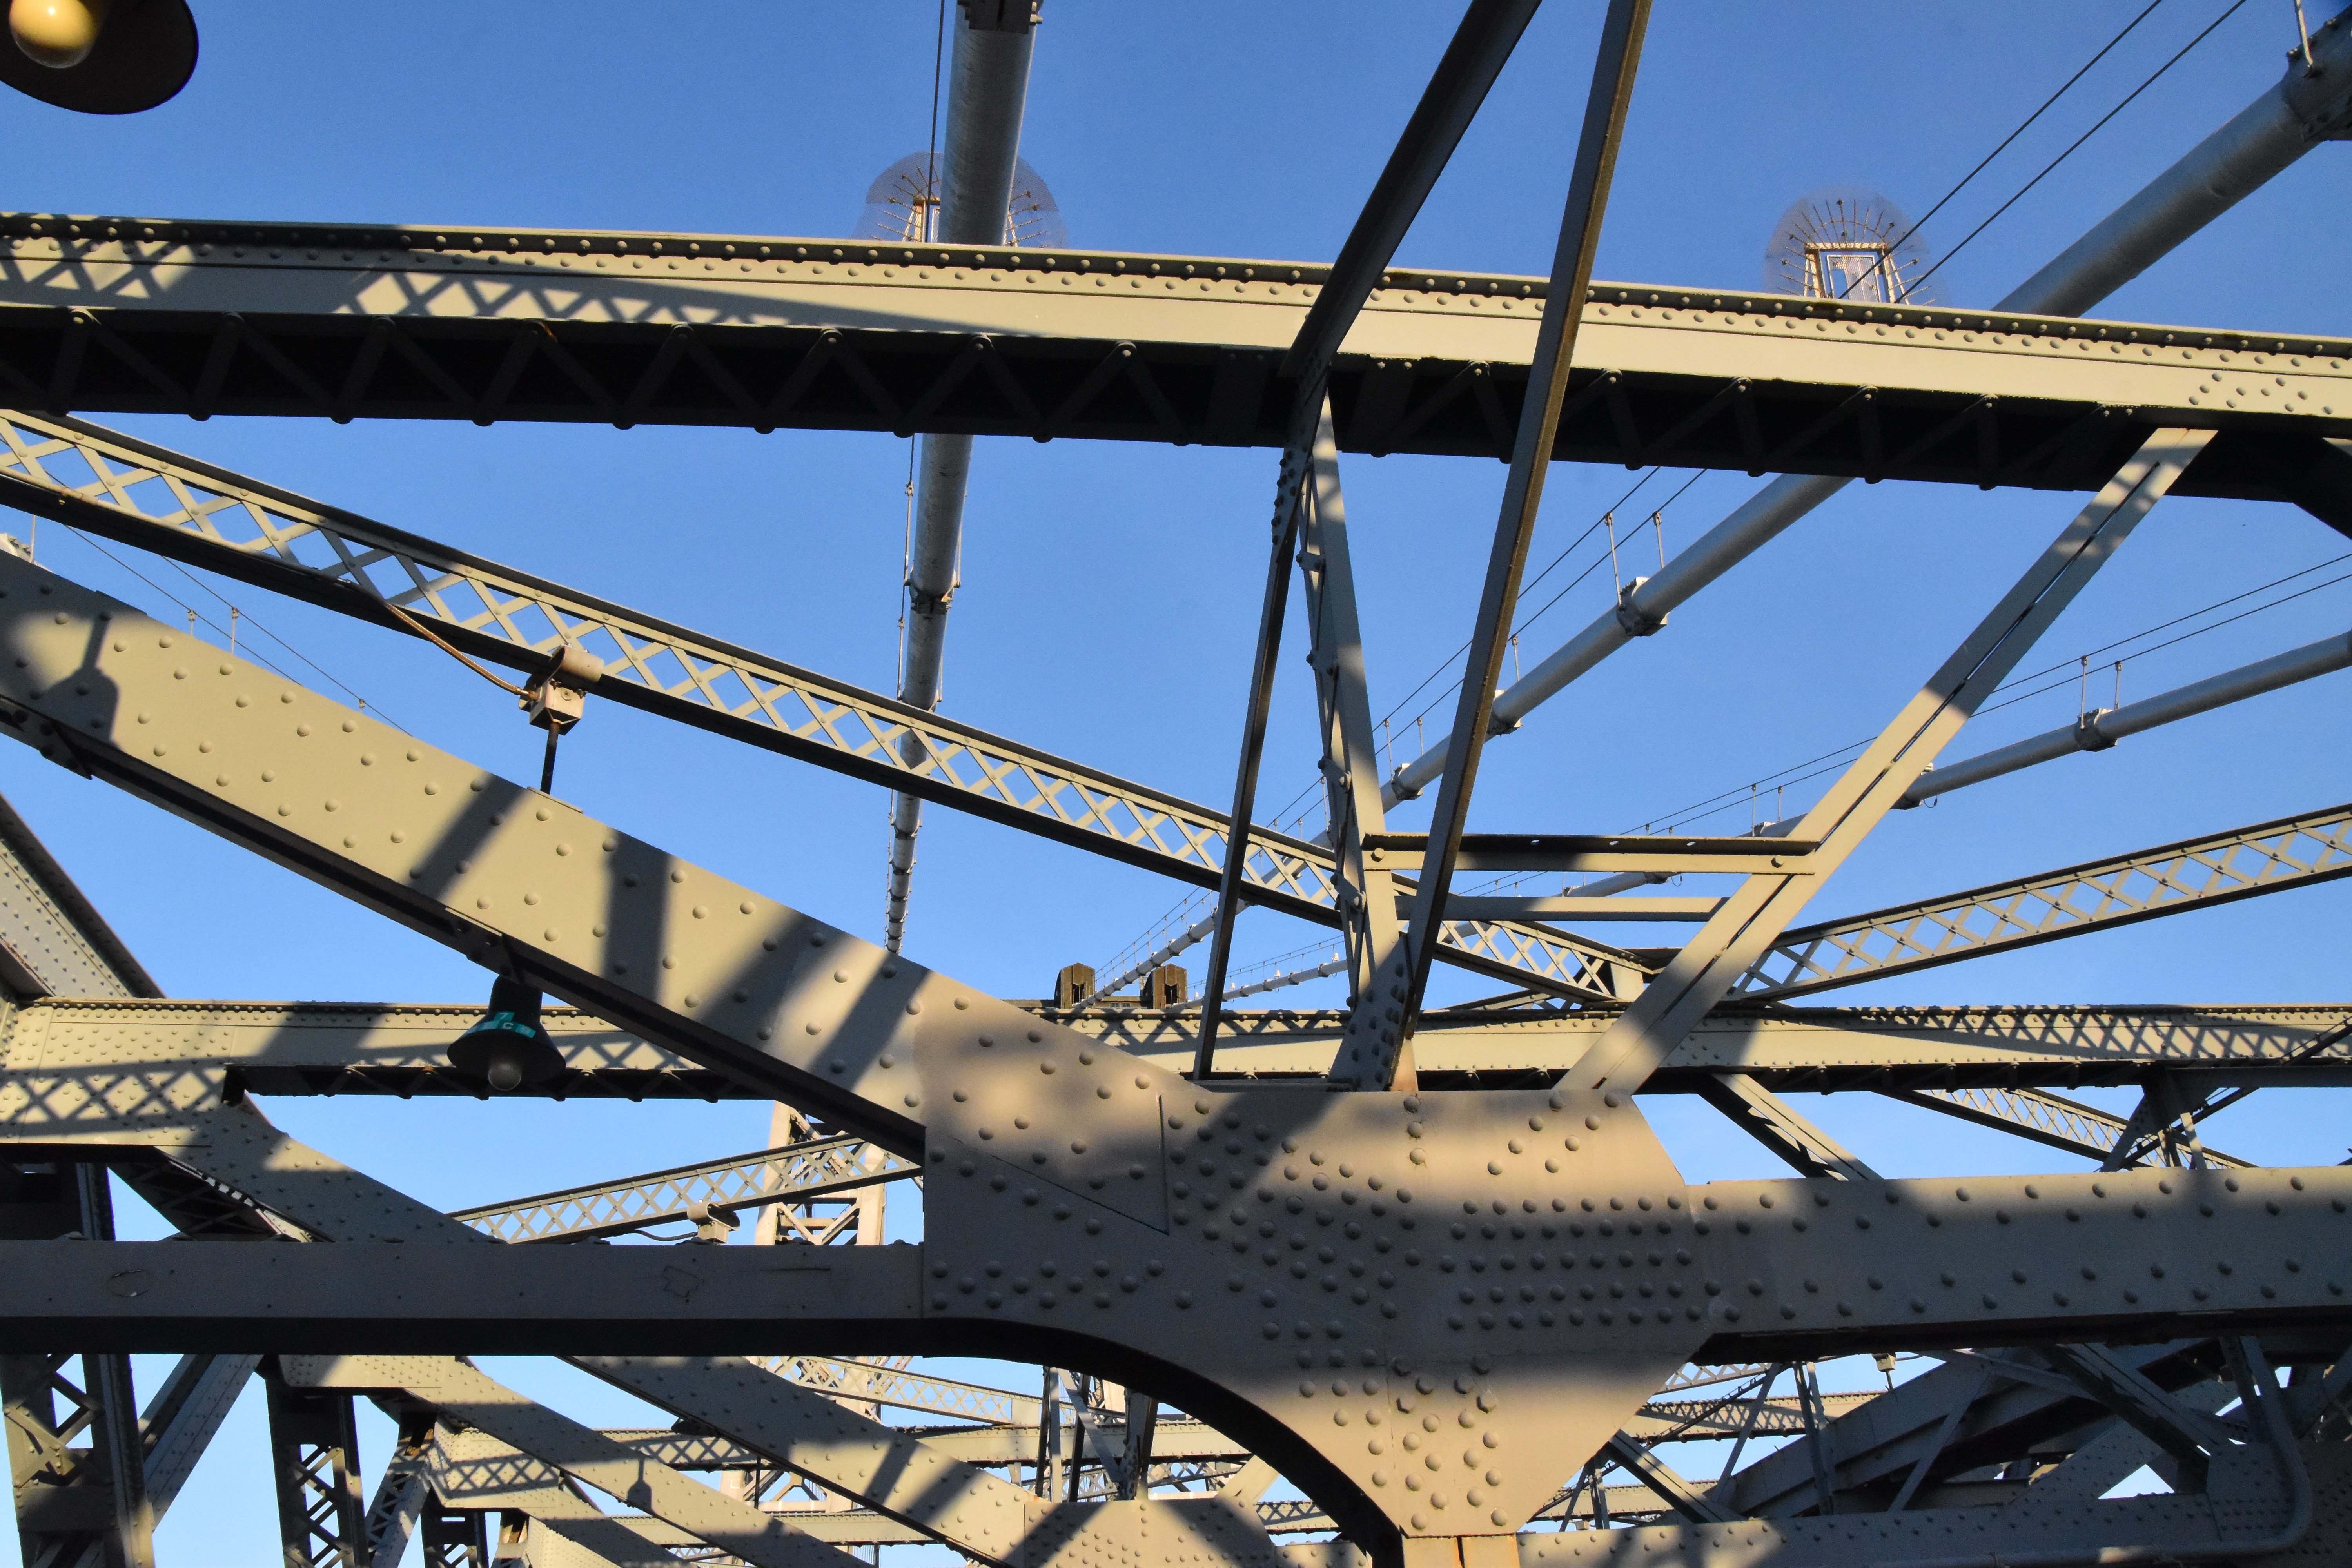
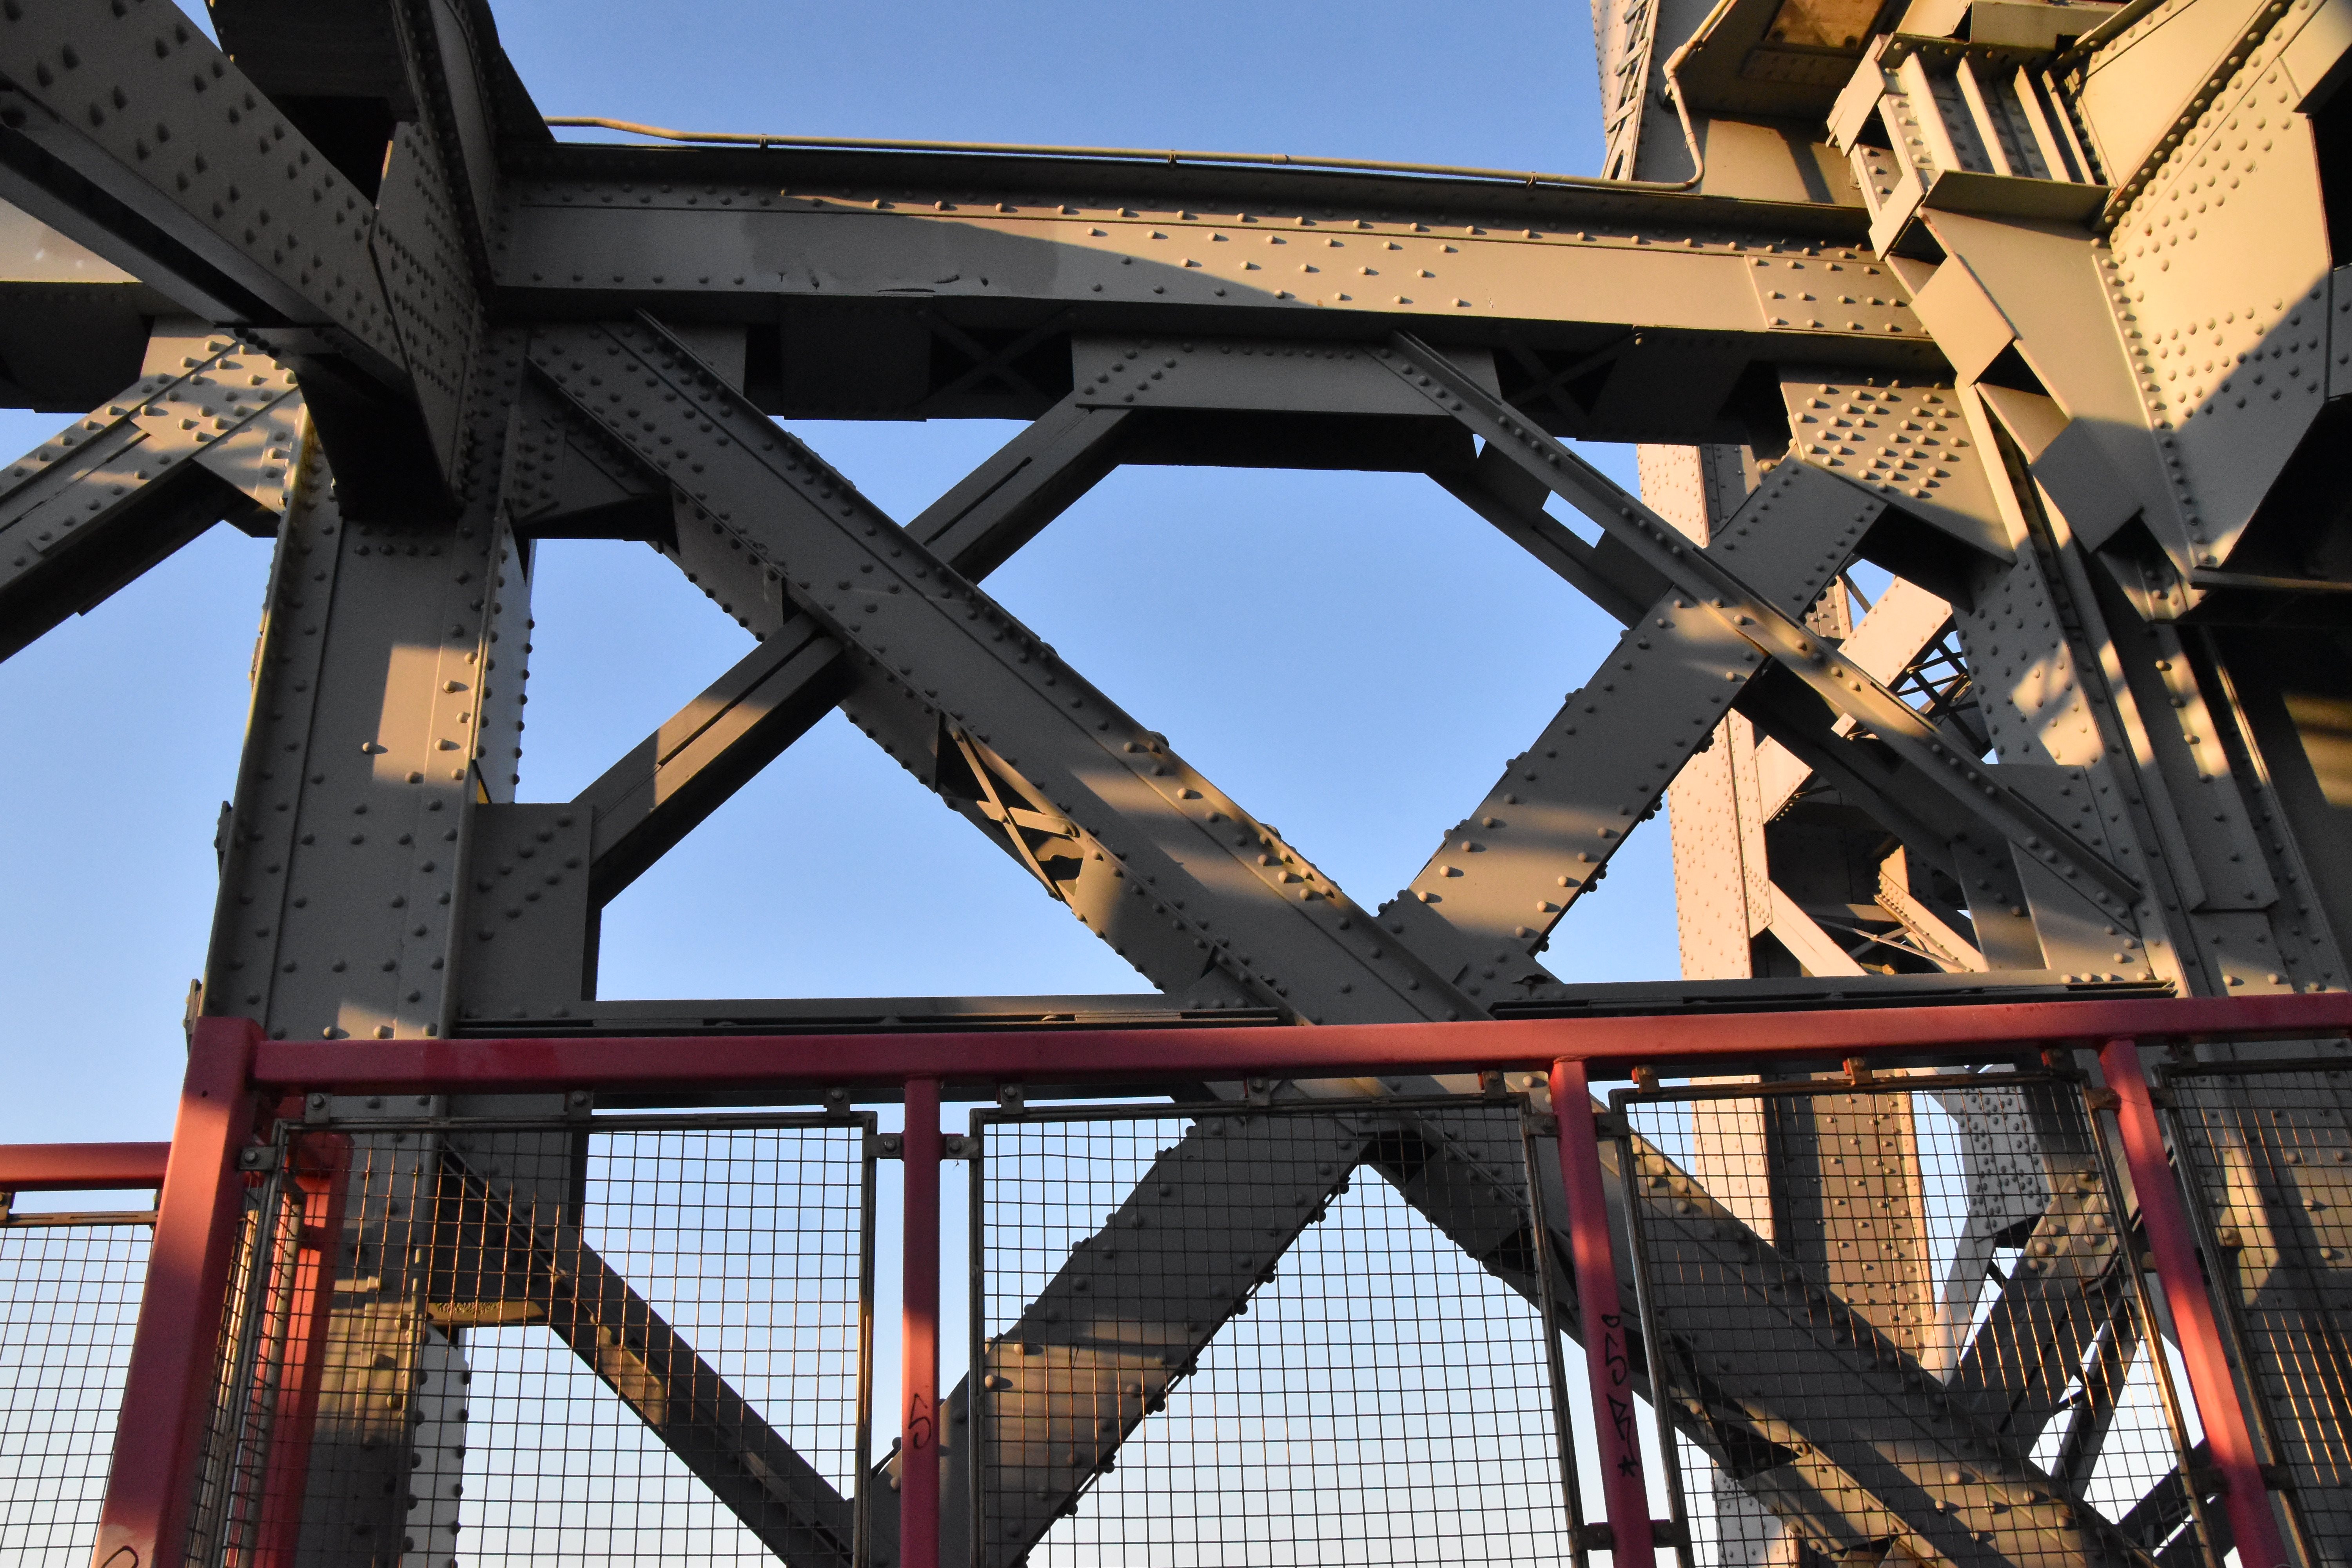
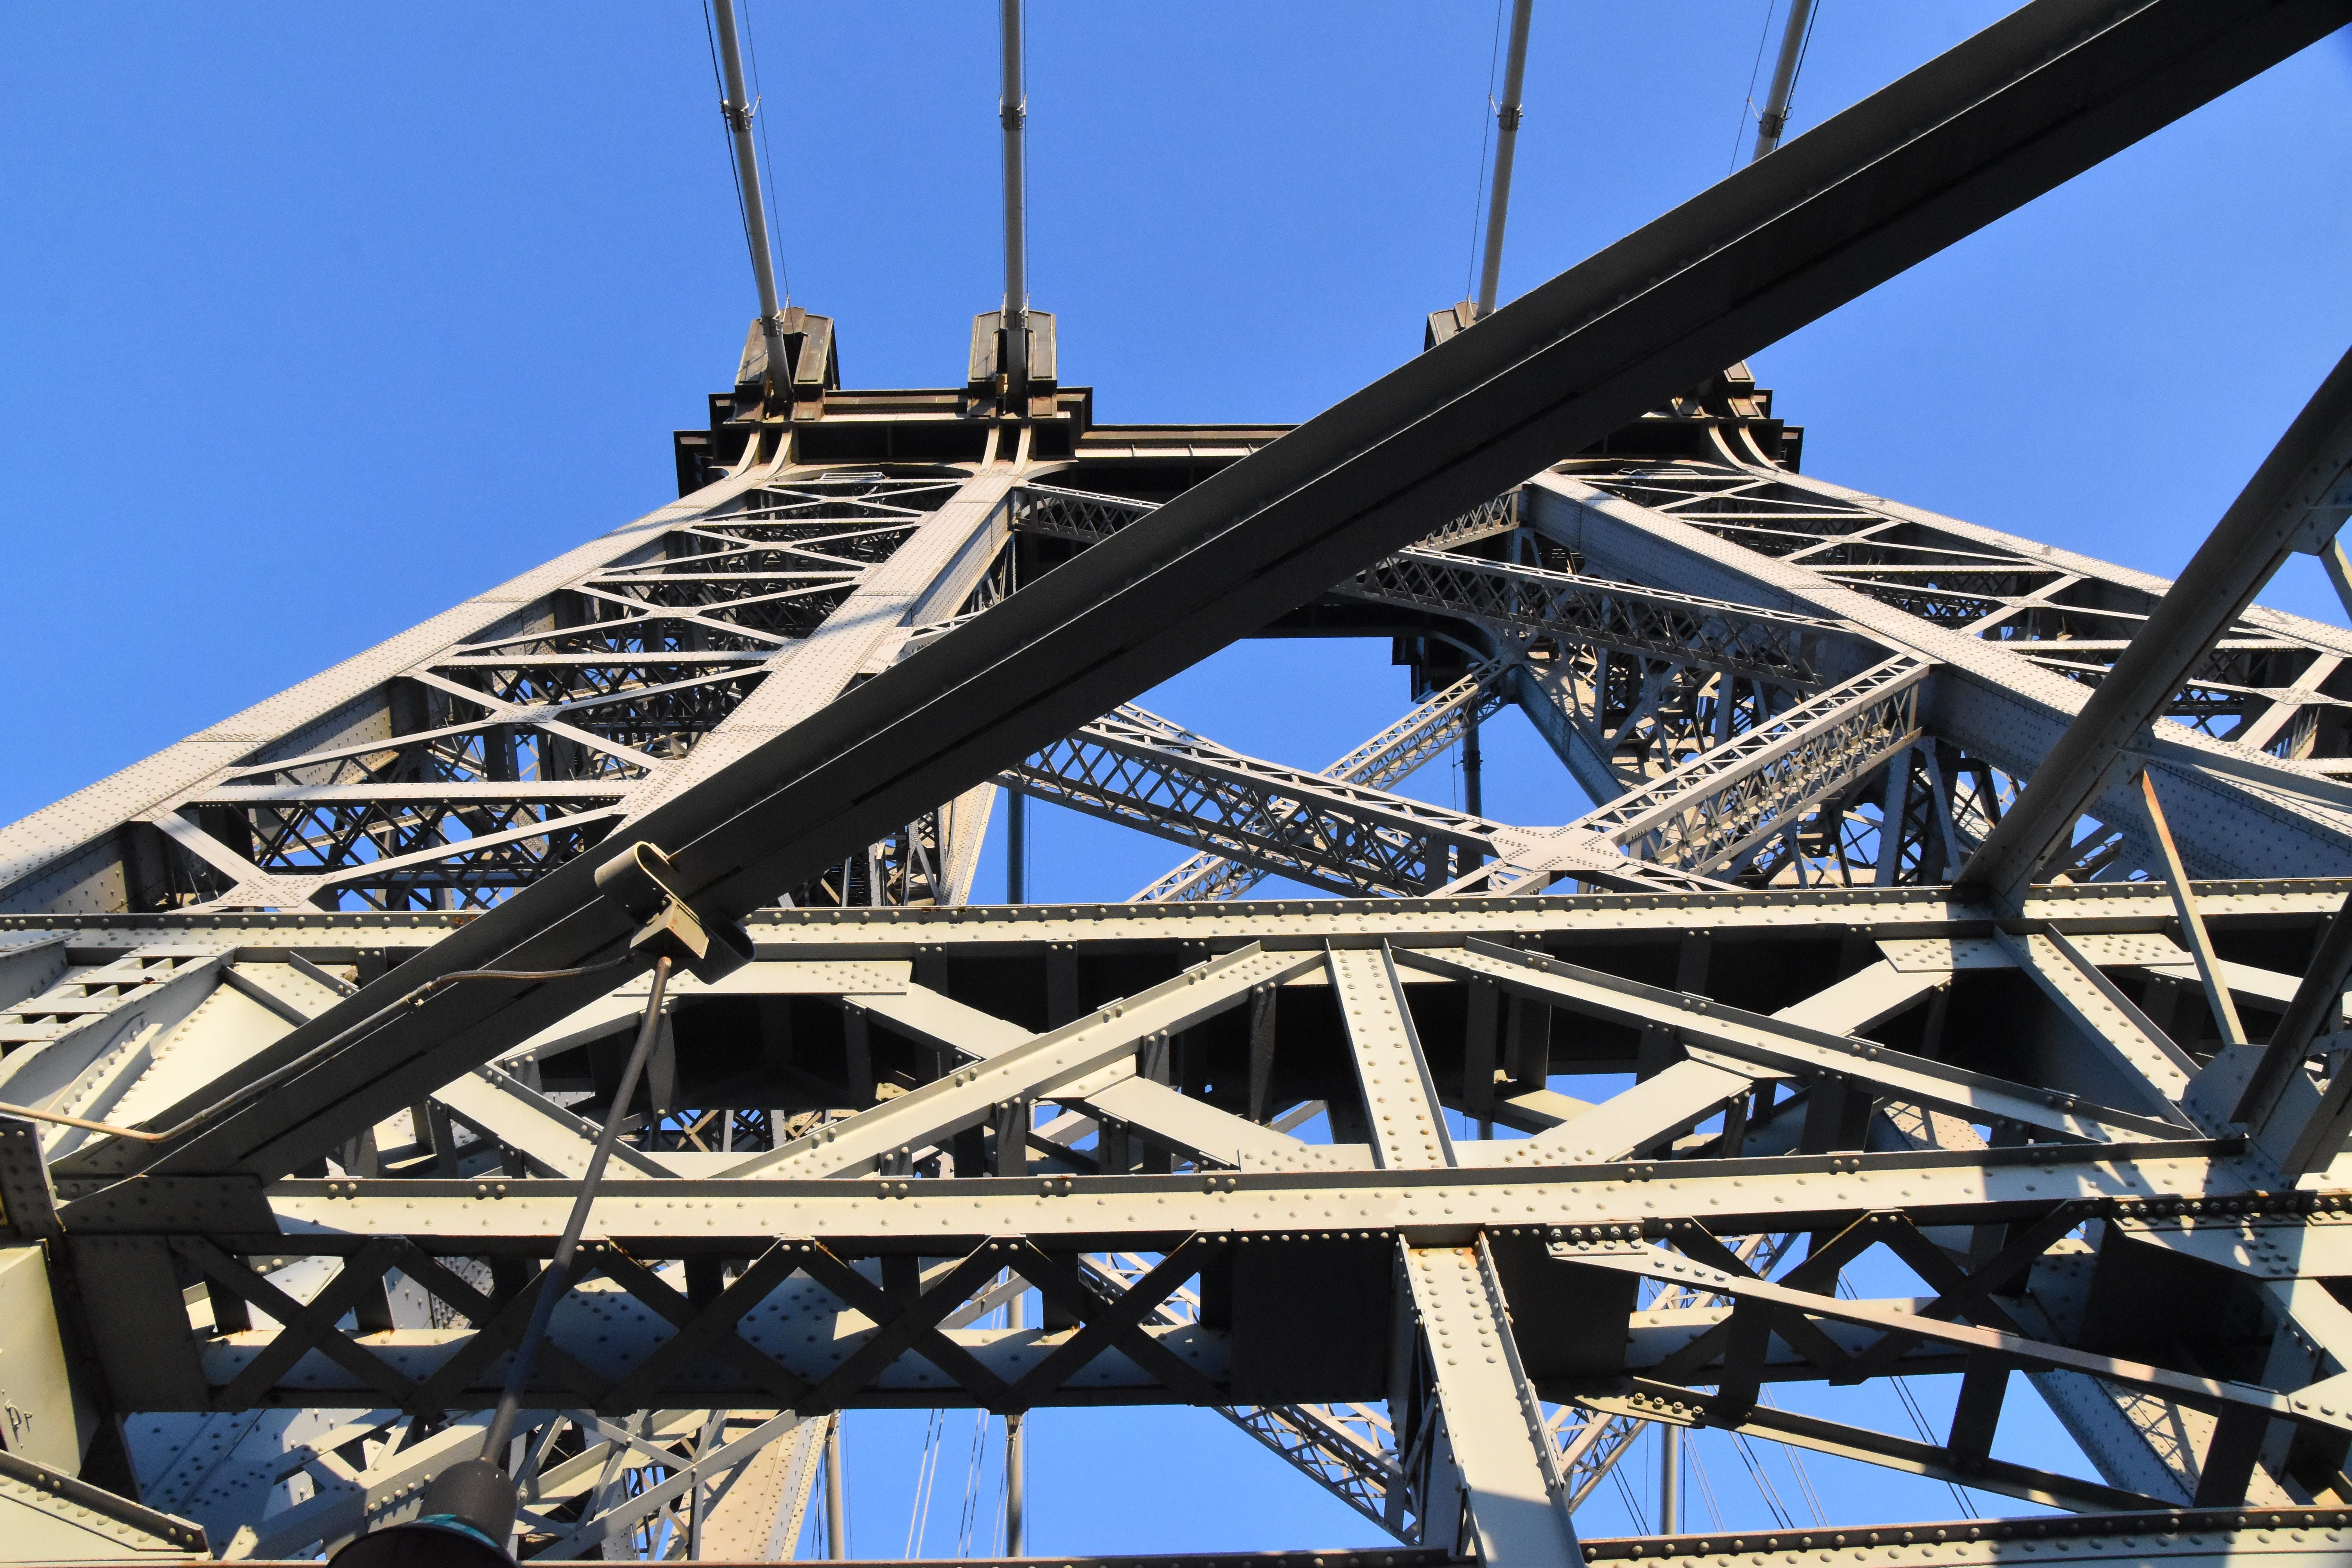
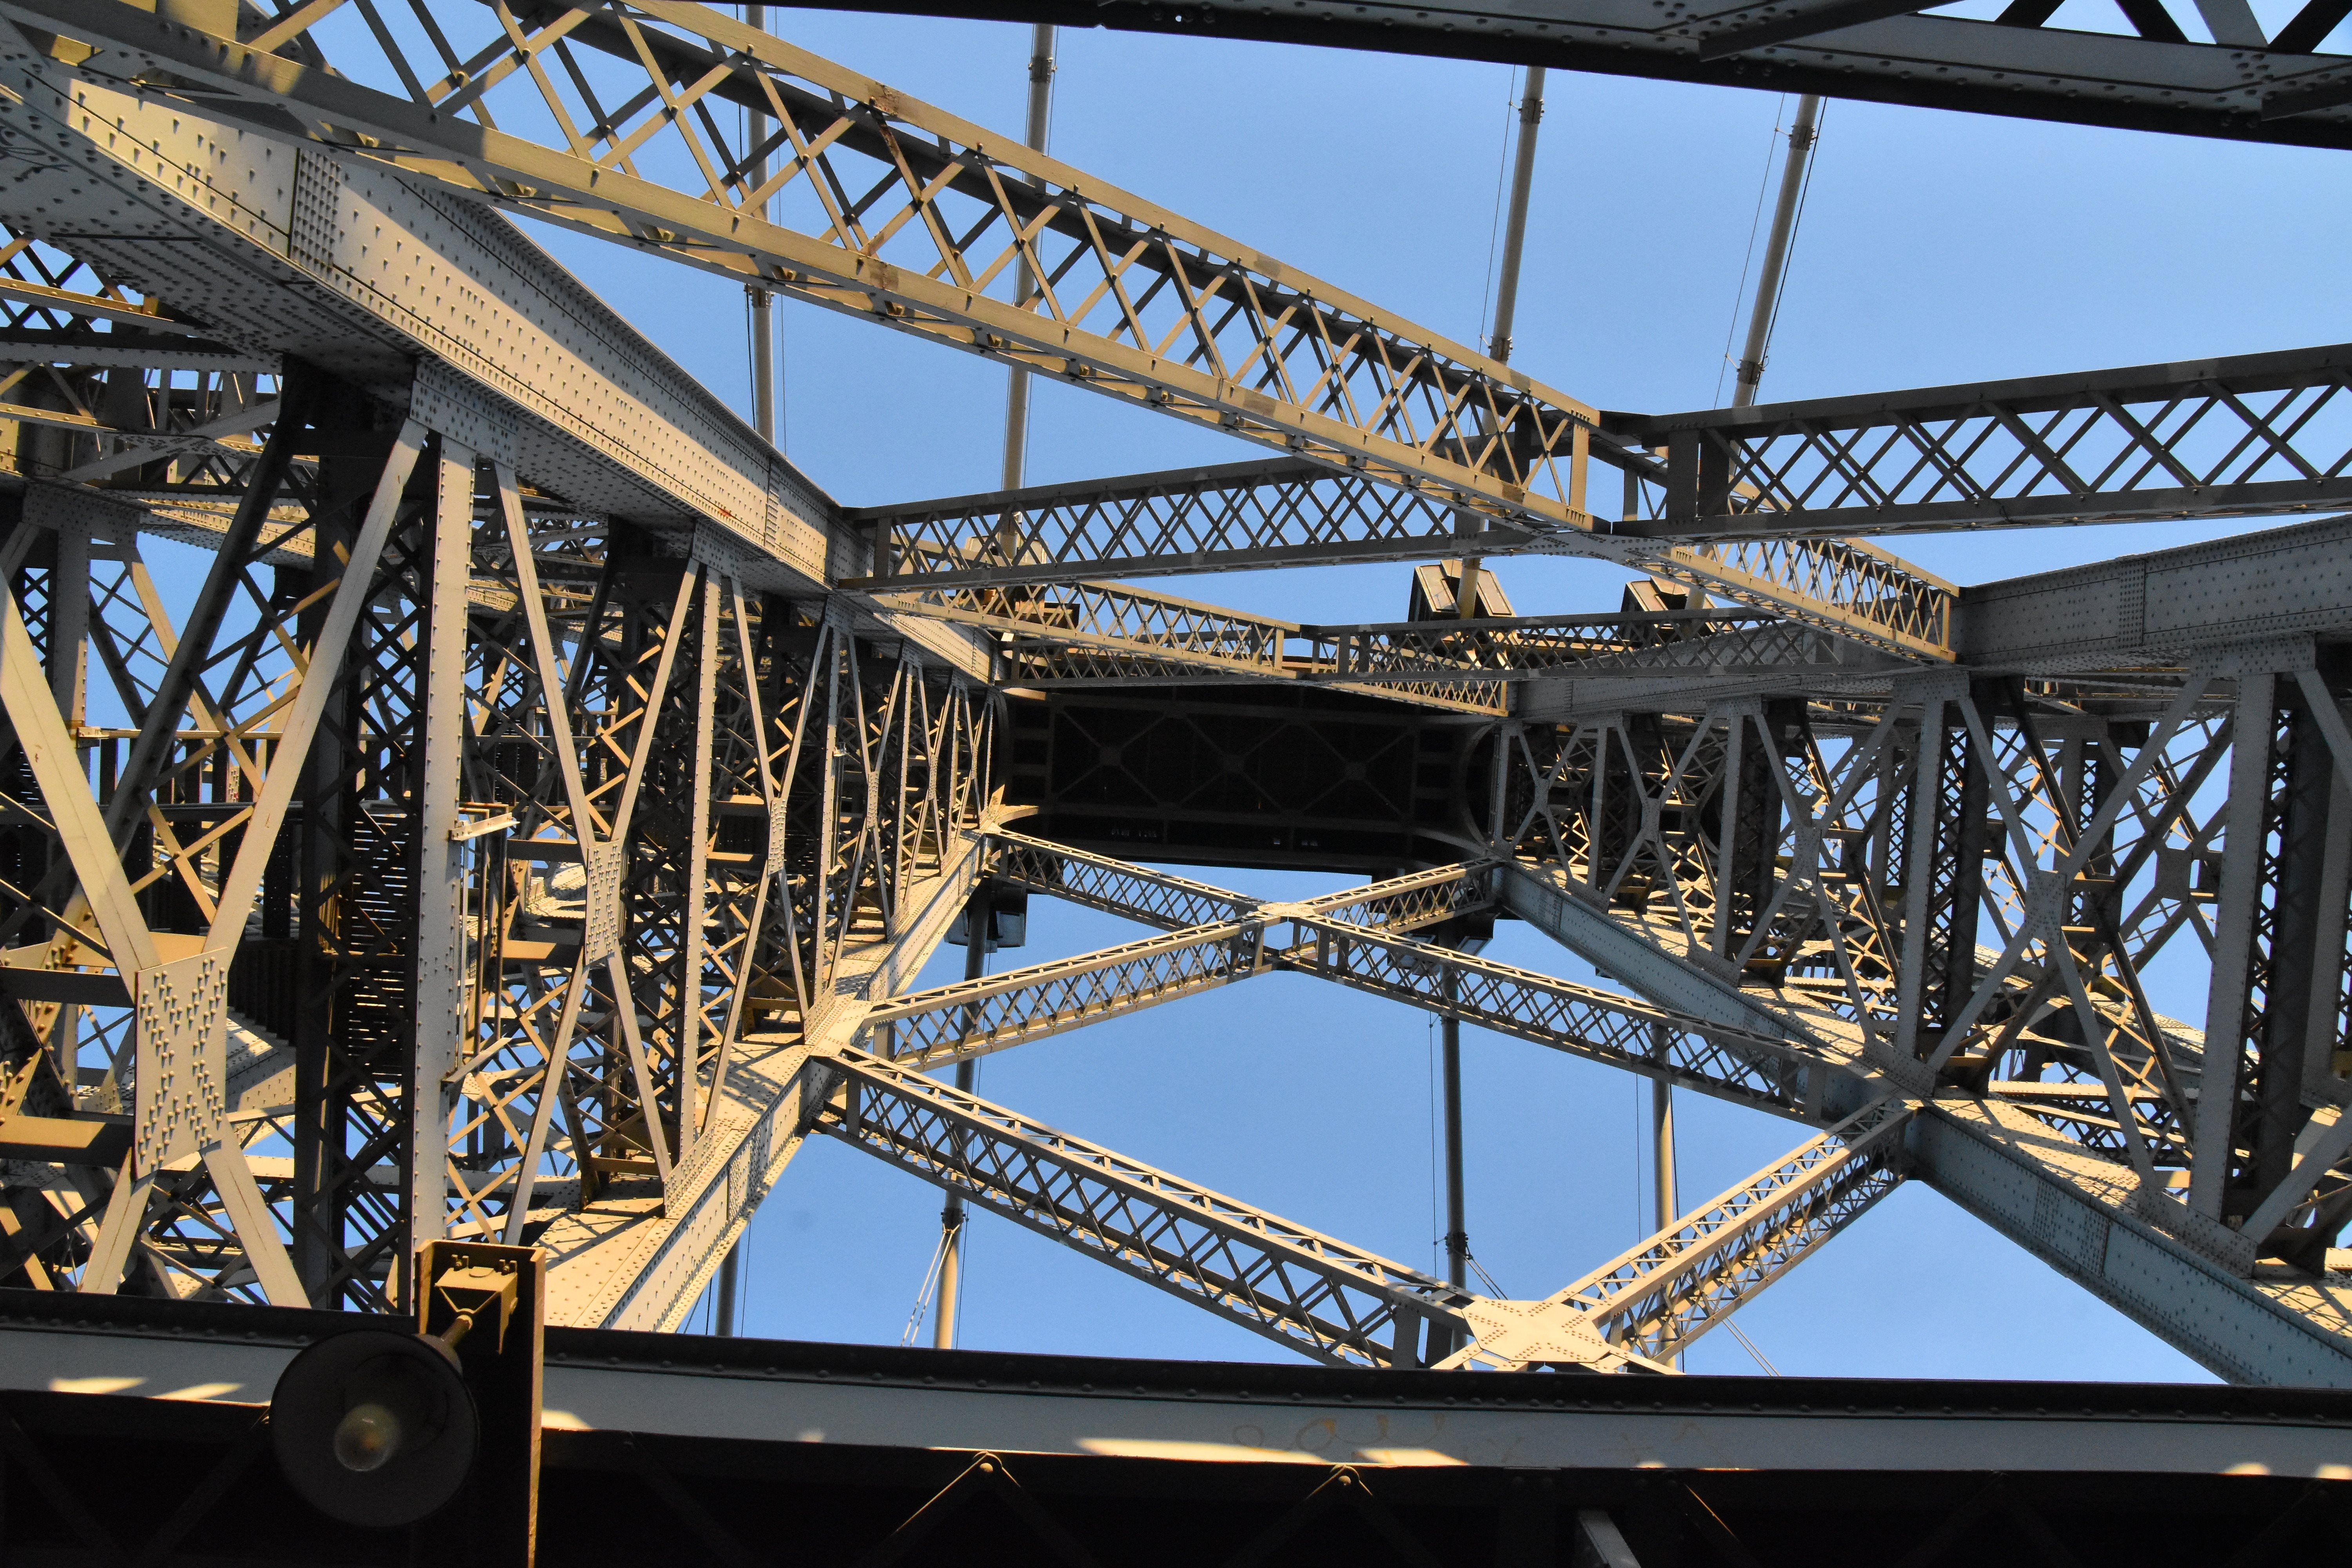
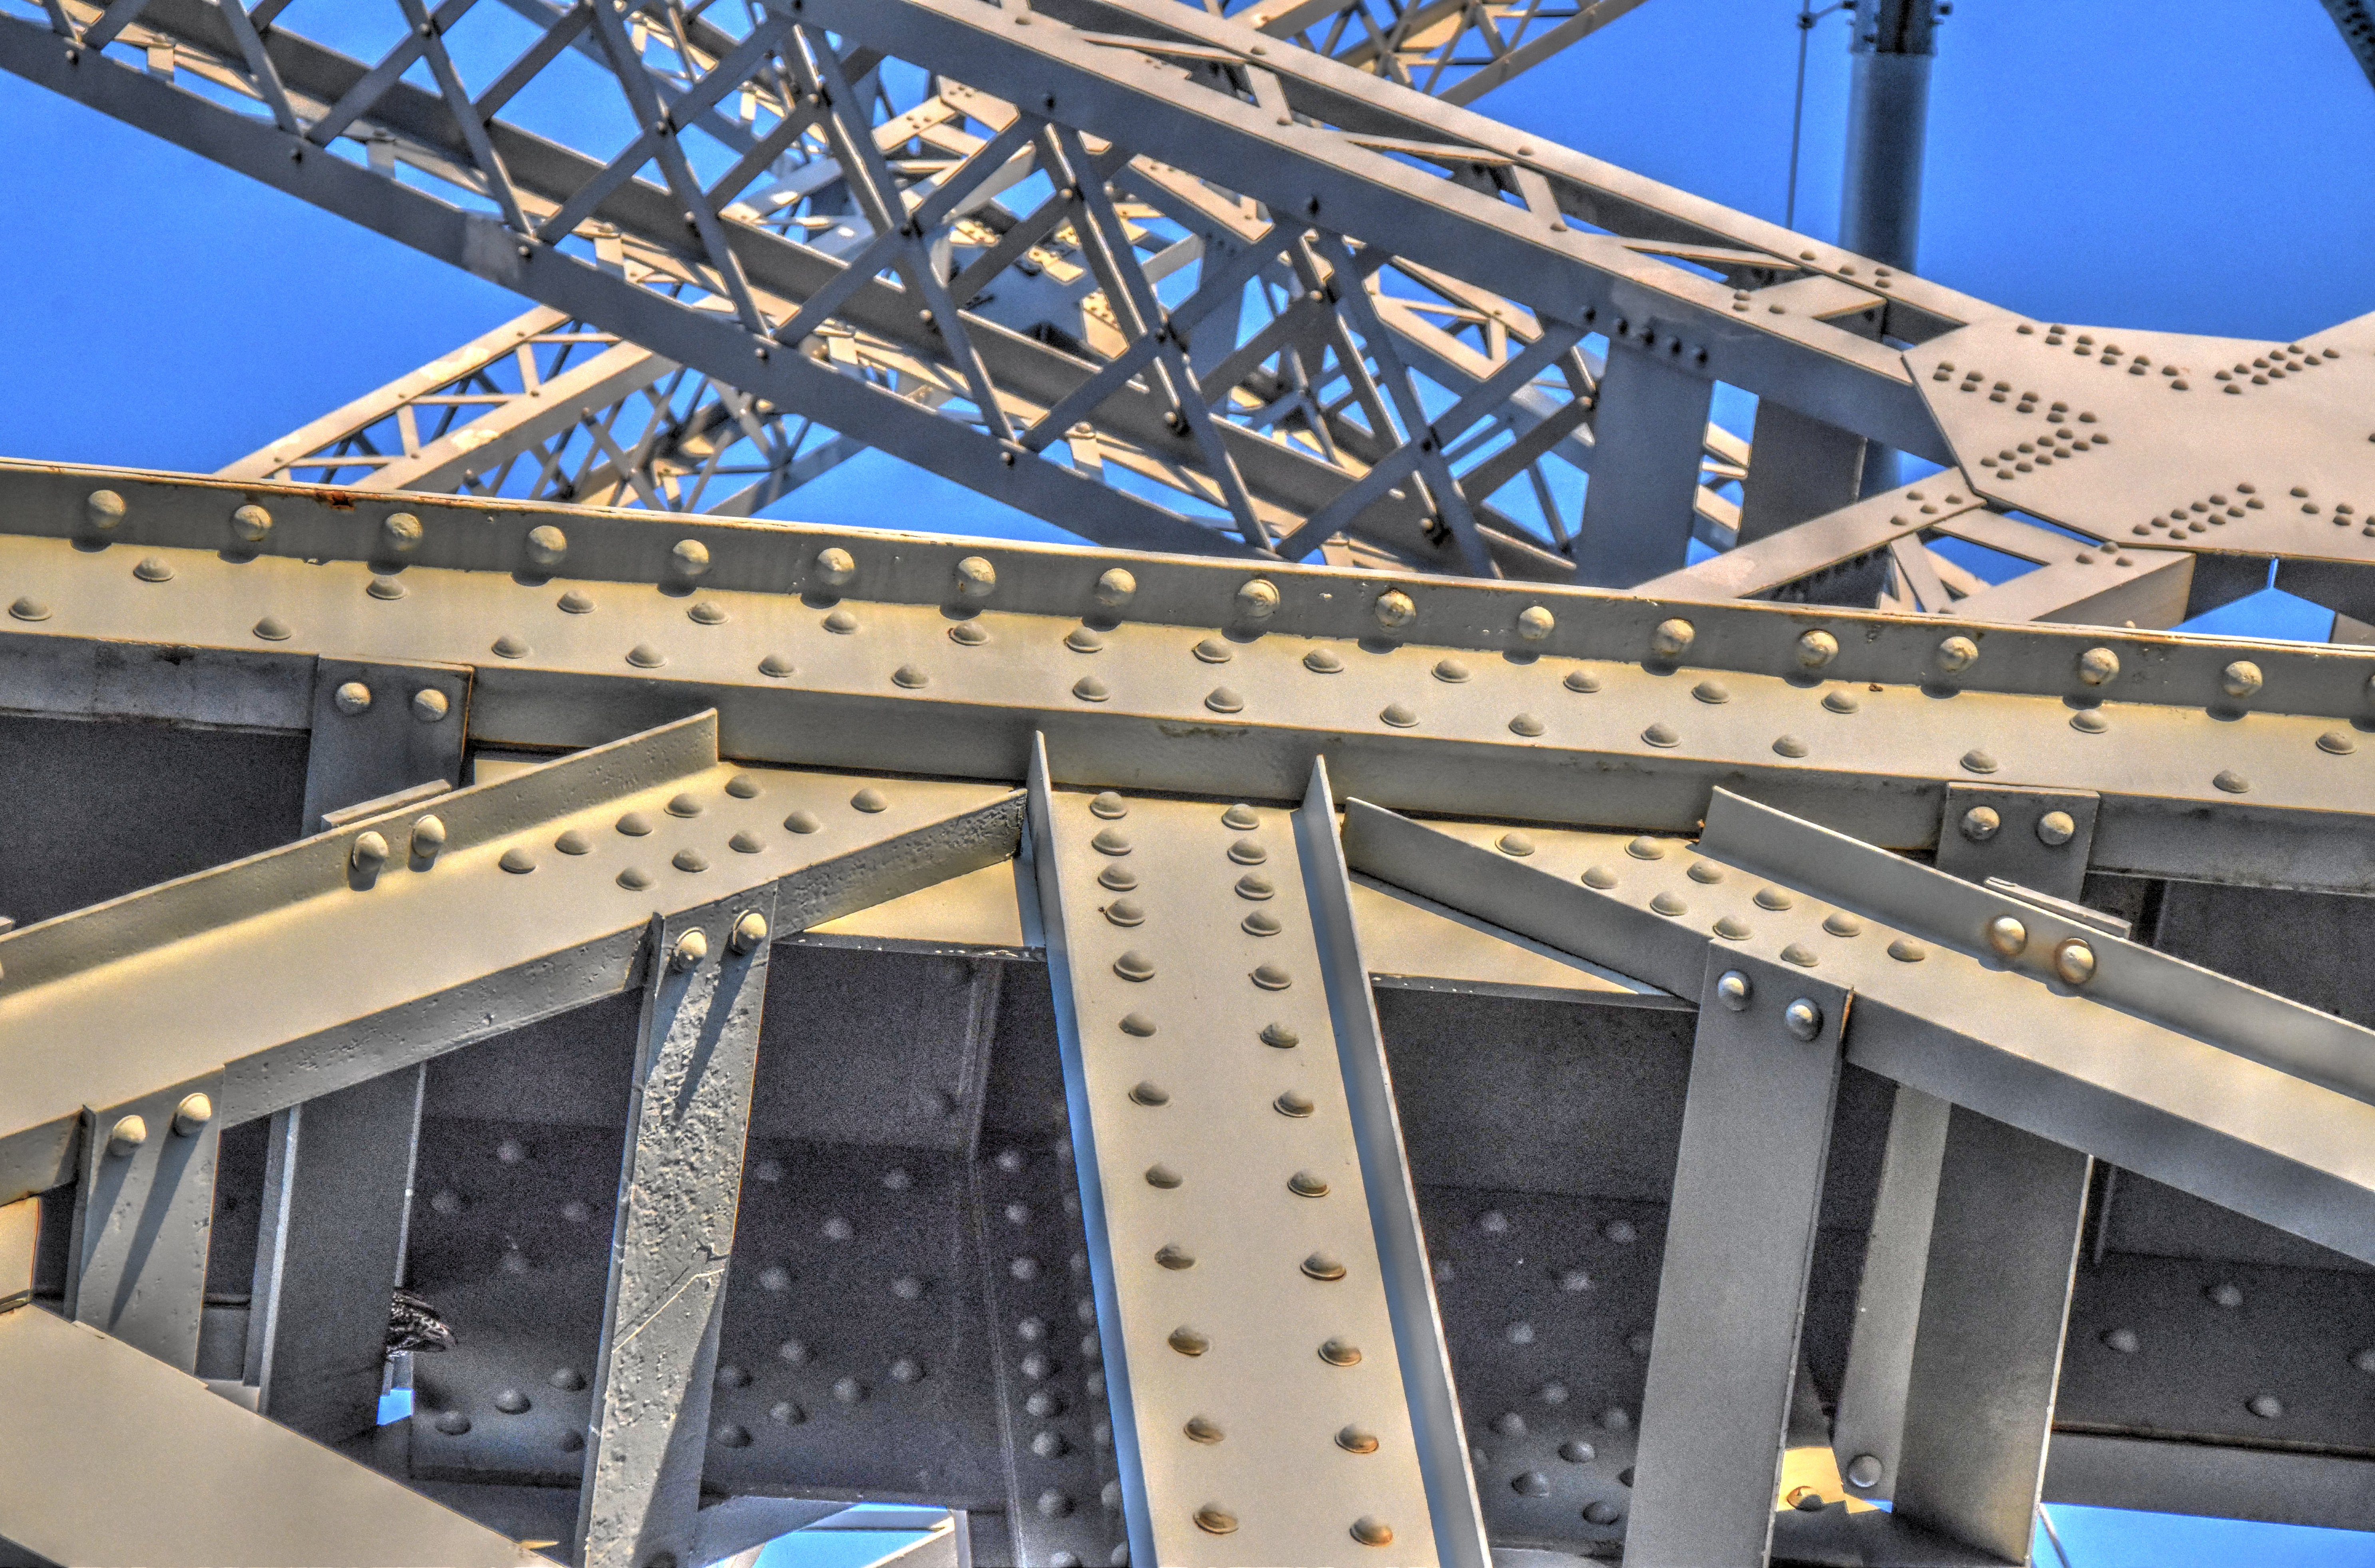
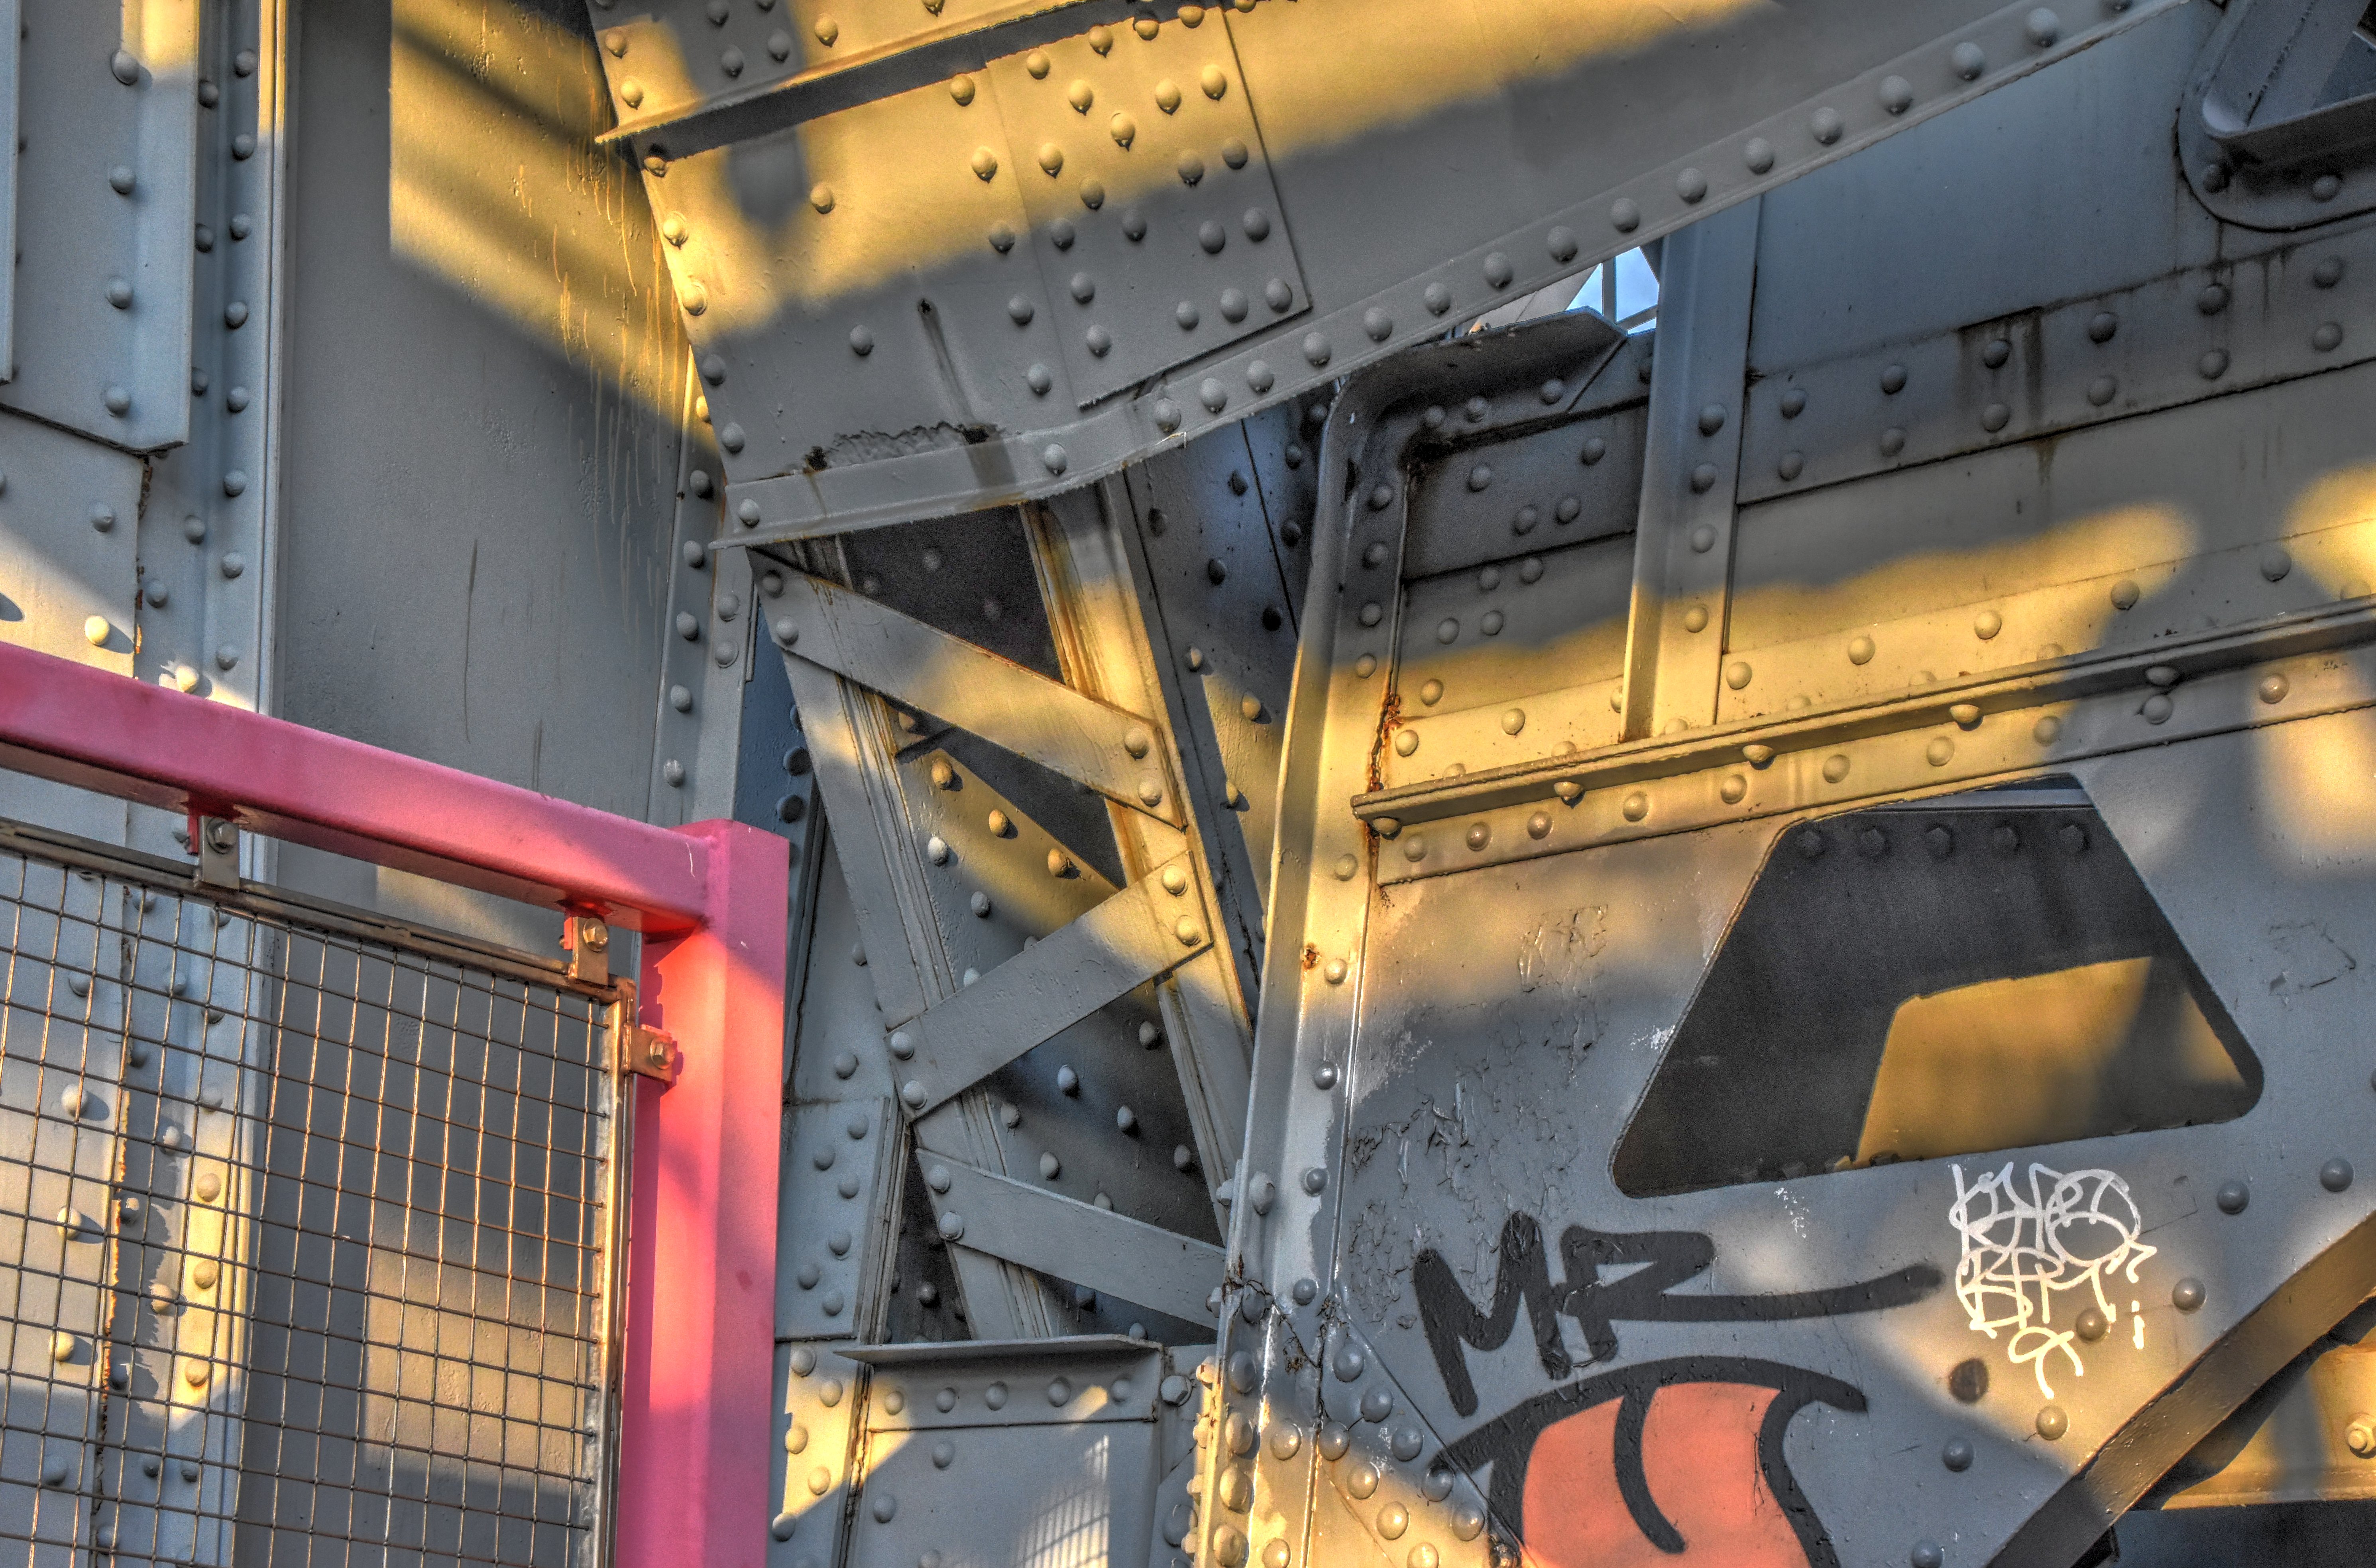
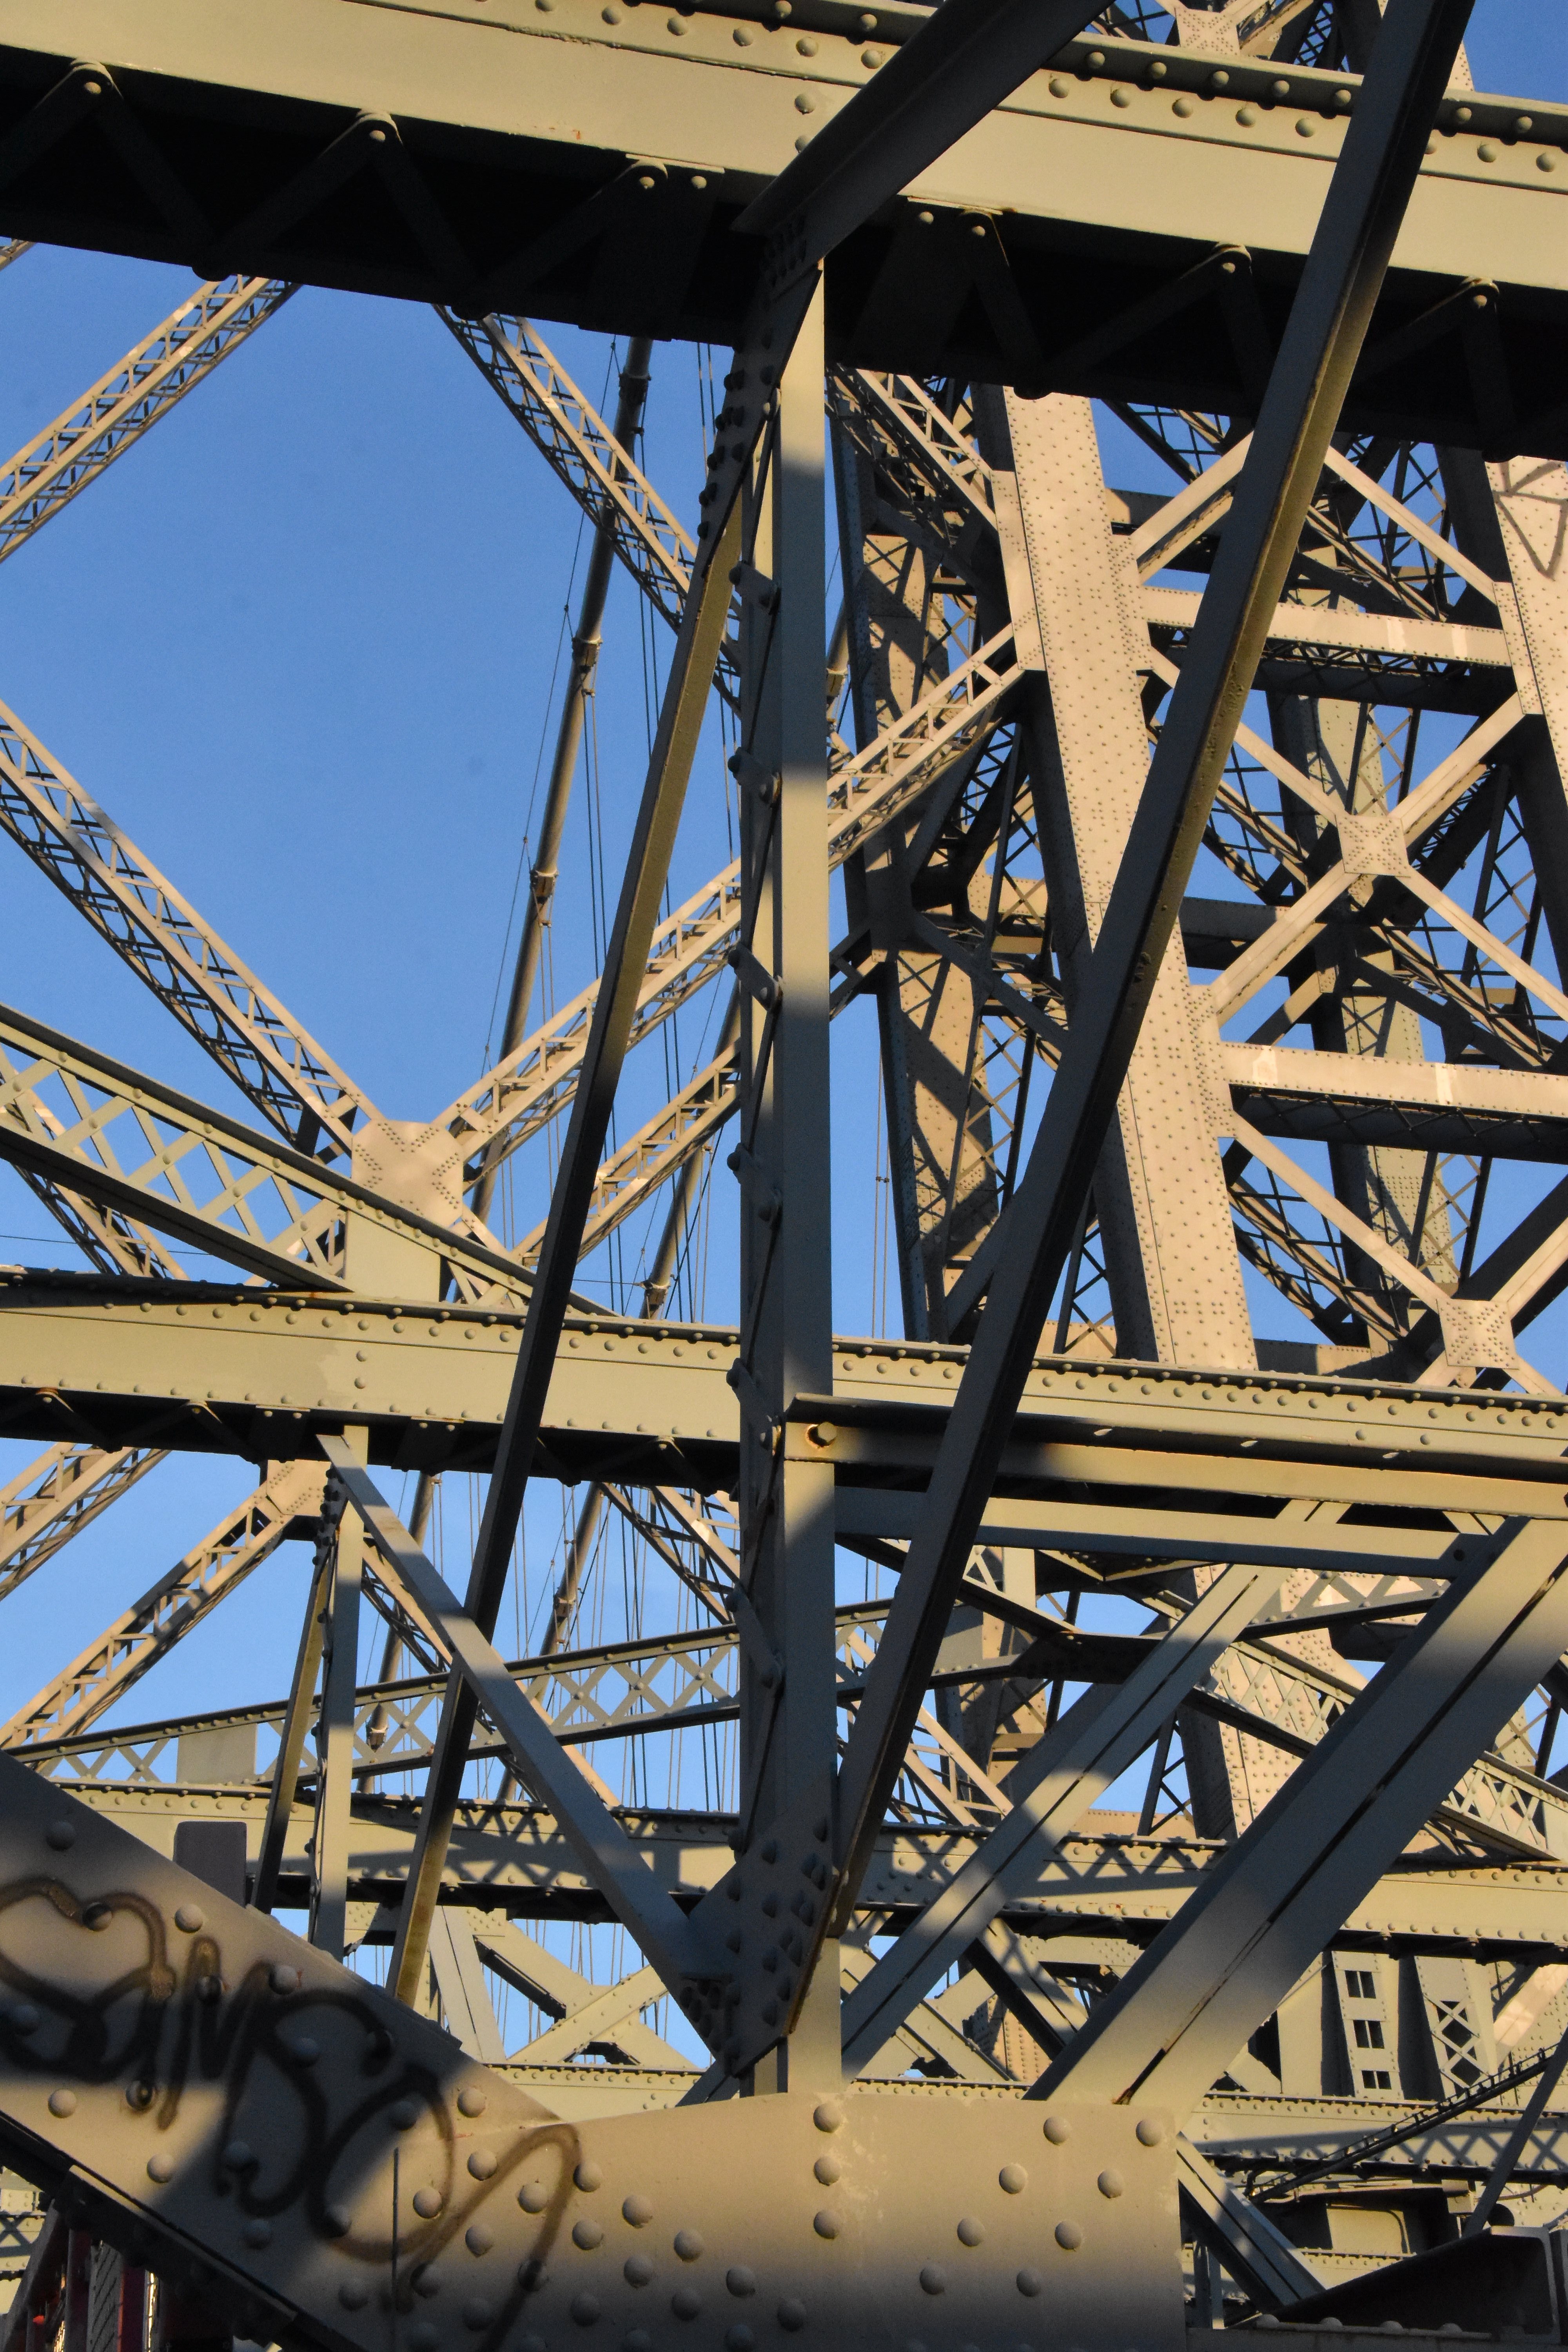
![]()

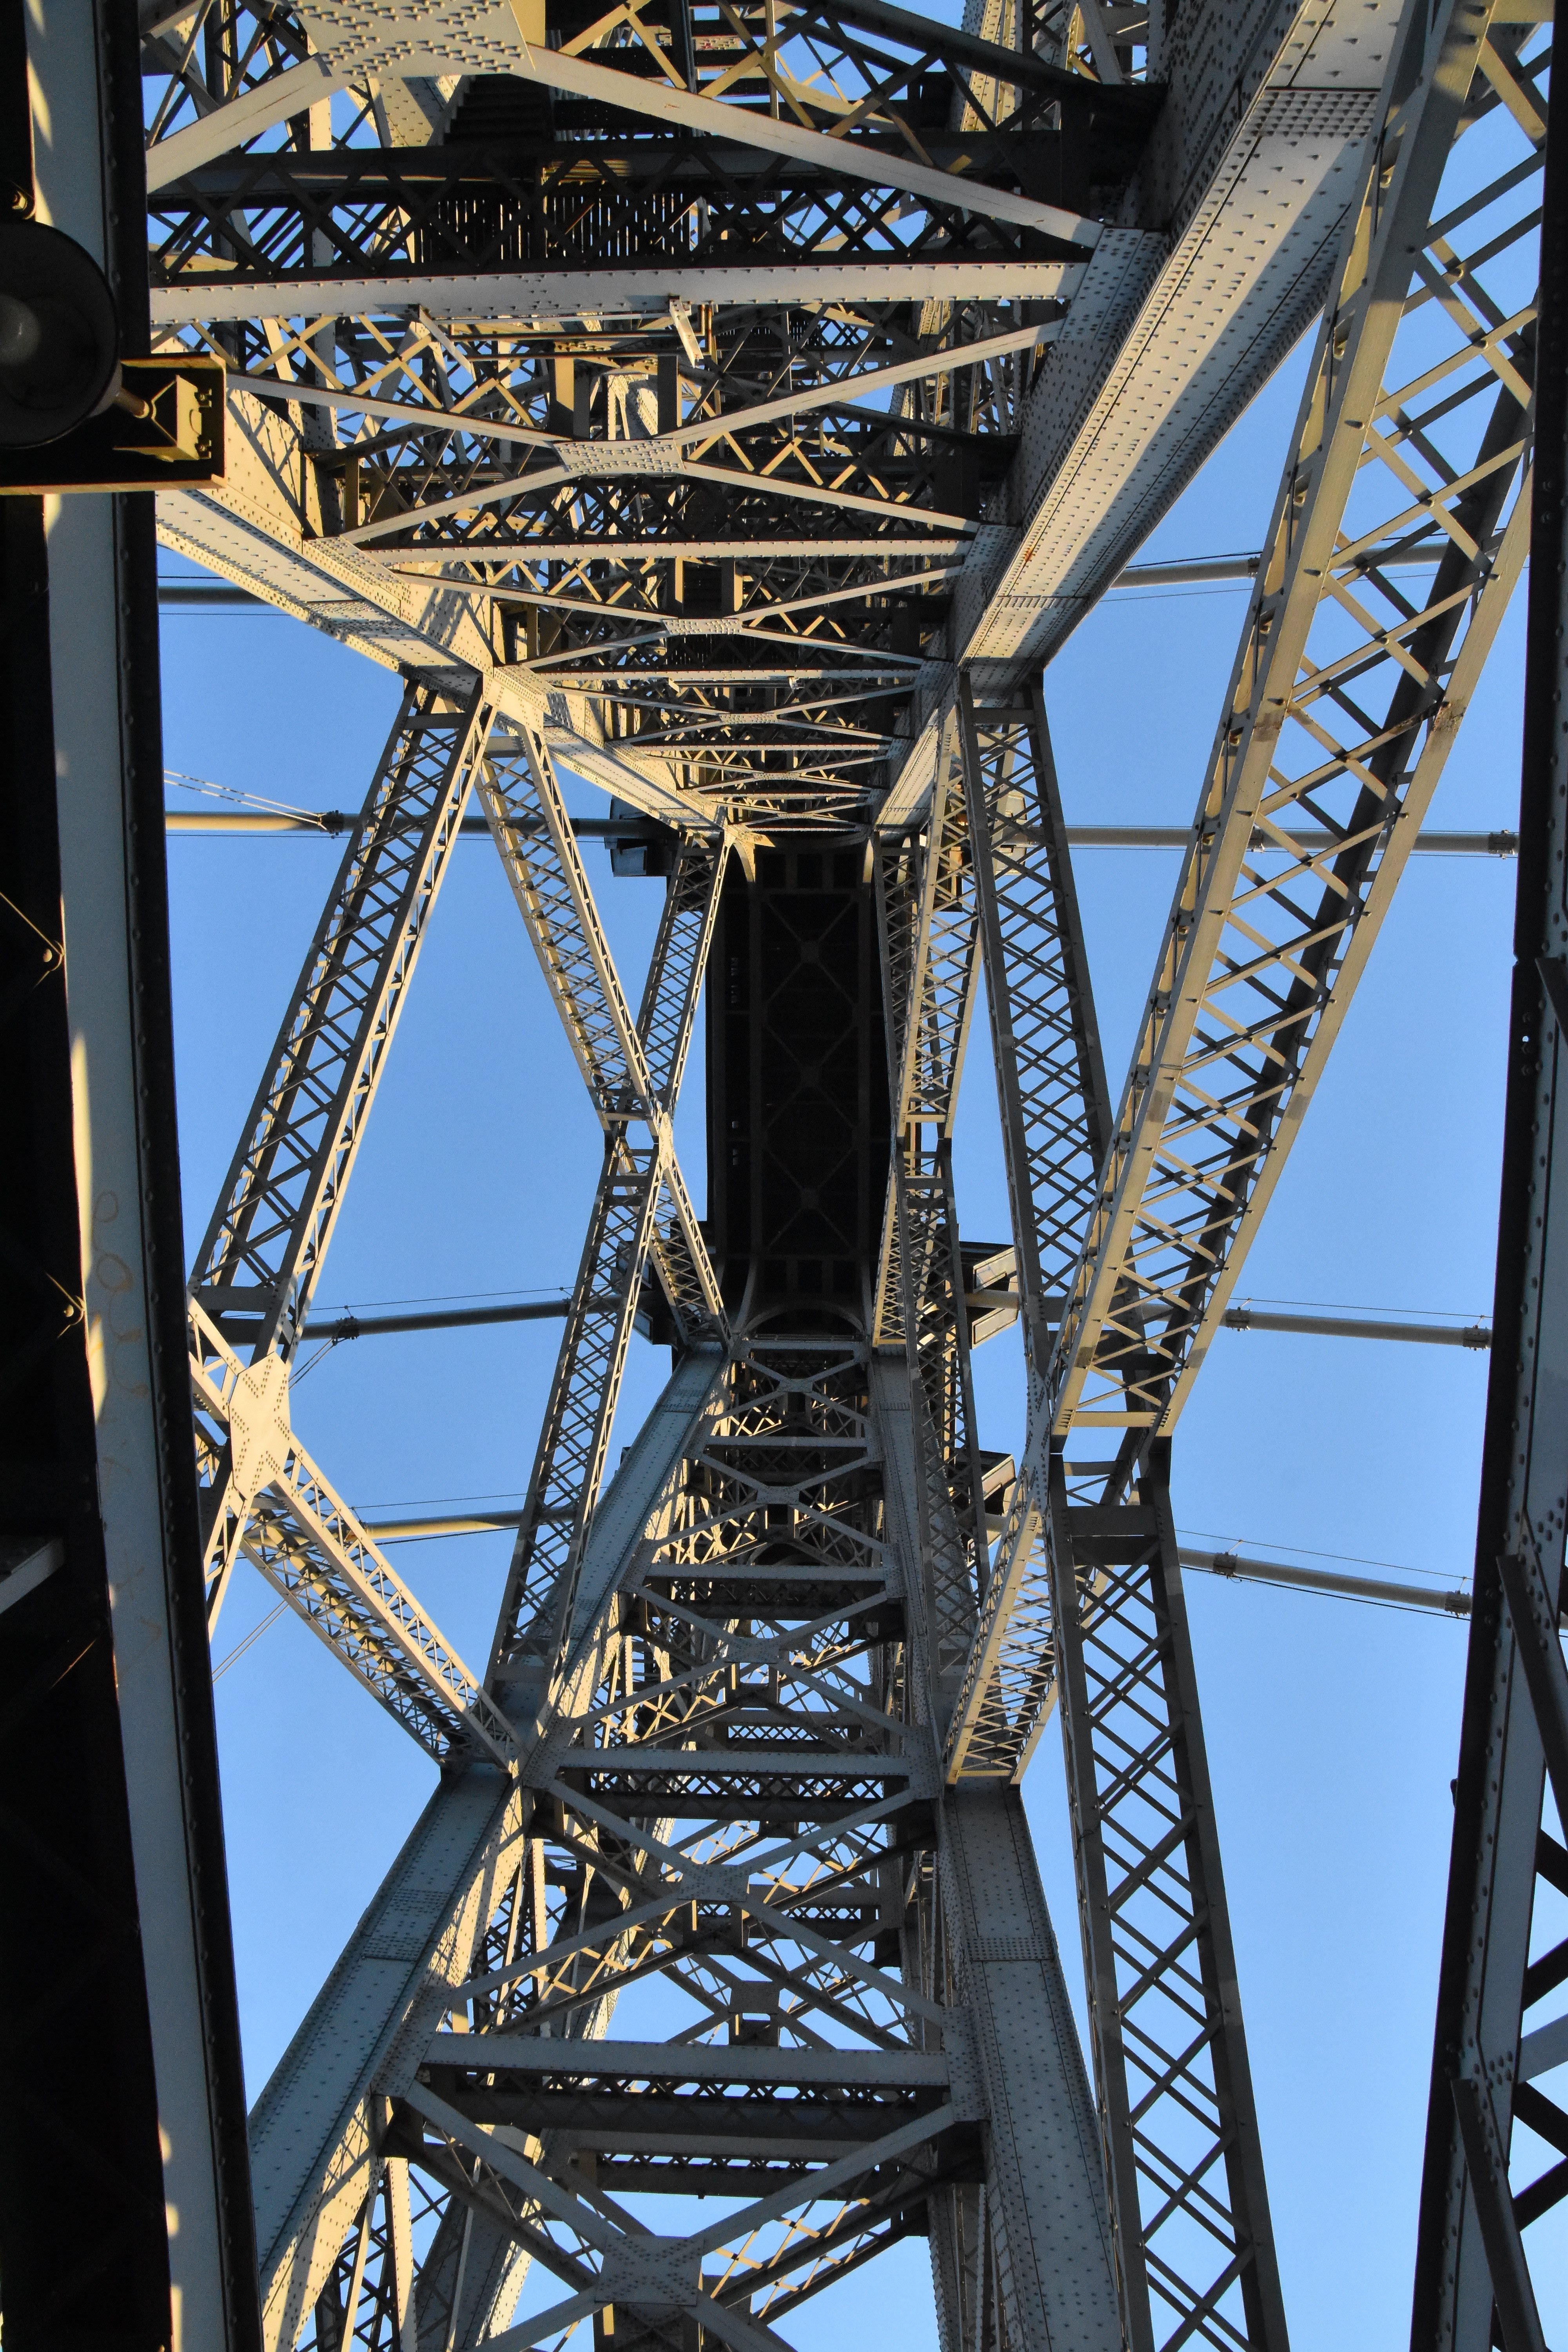
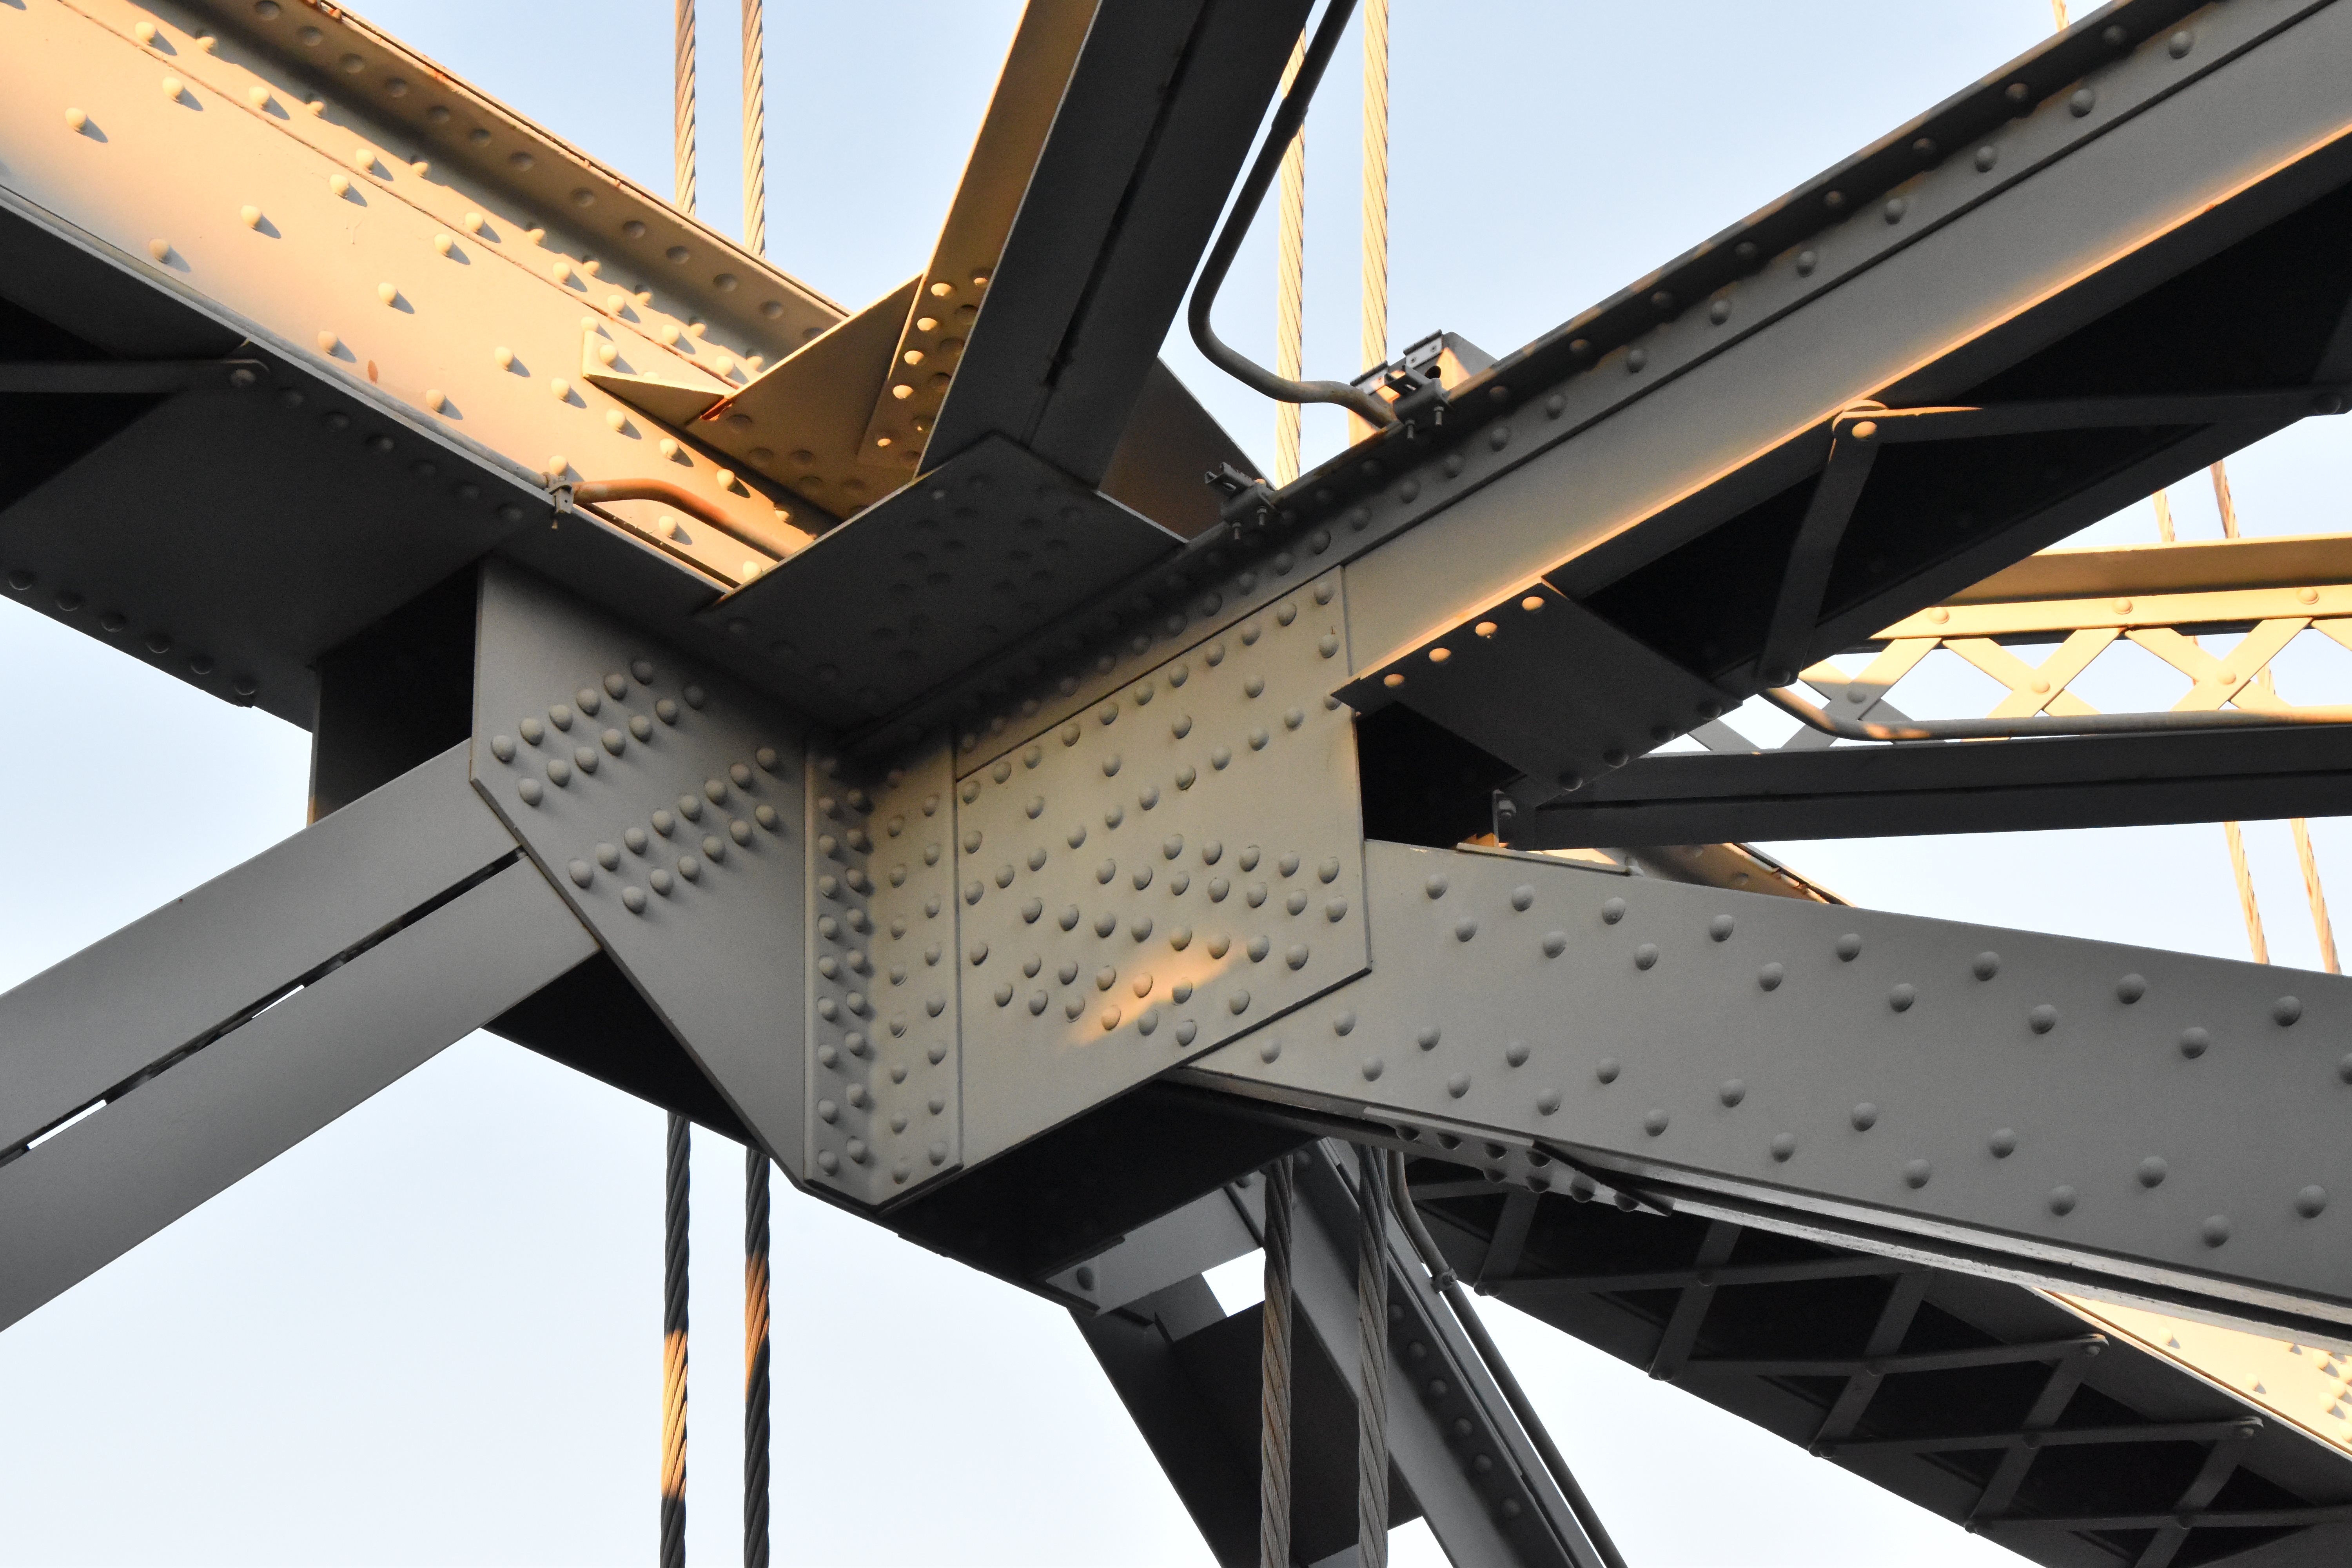
Truss web at tower.
![]()
![]()


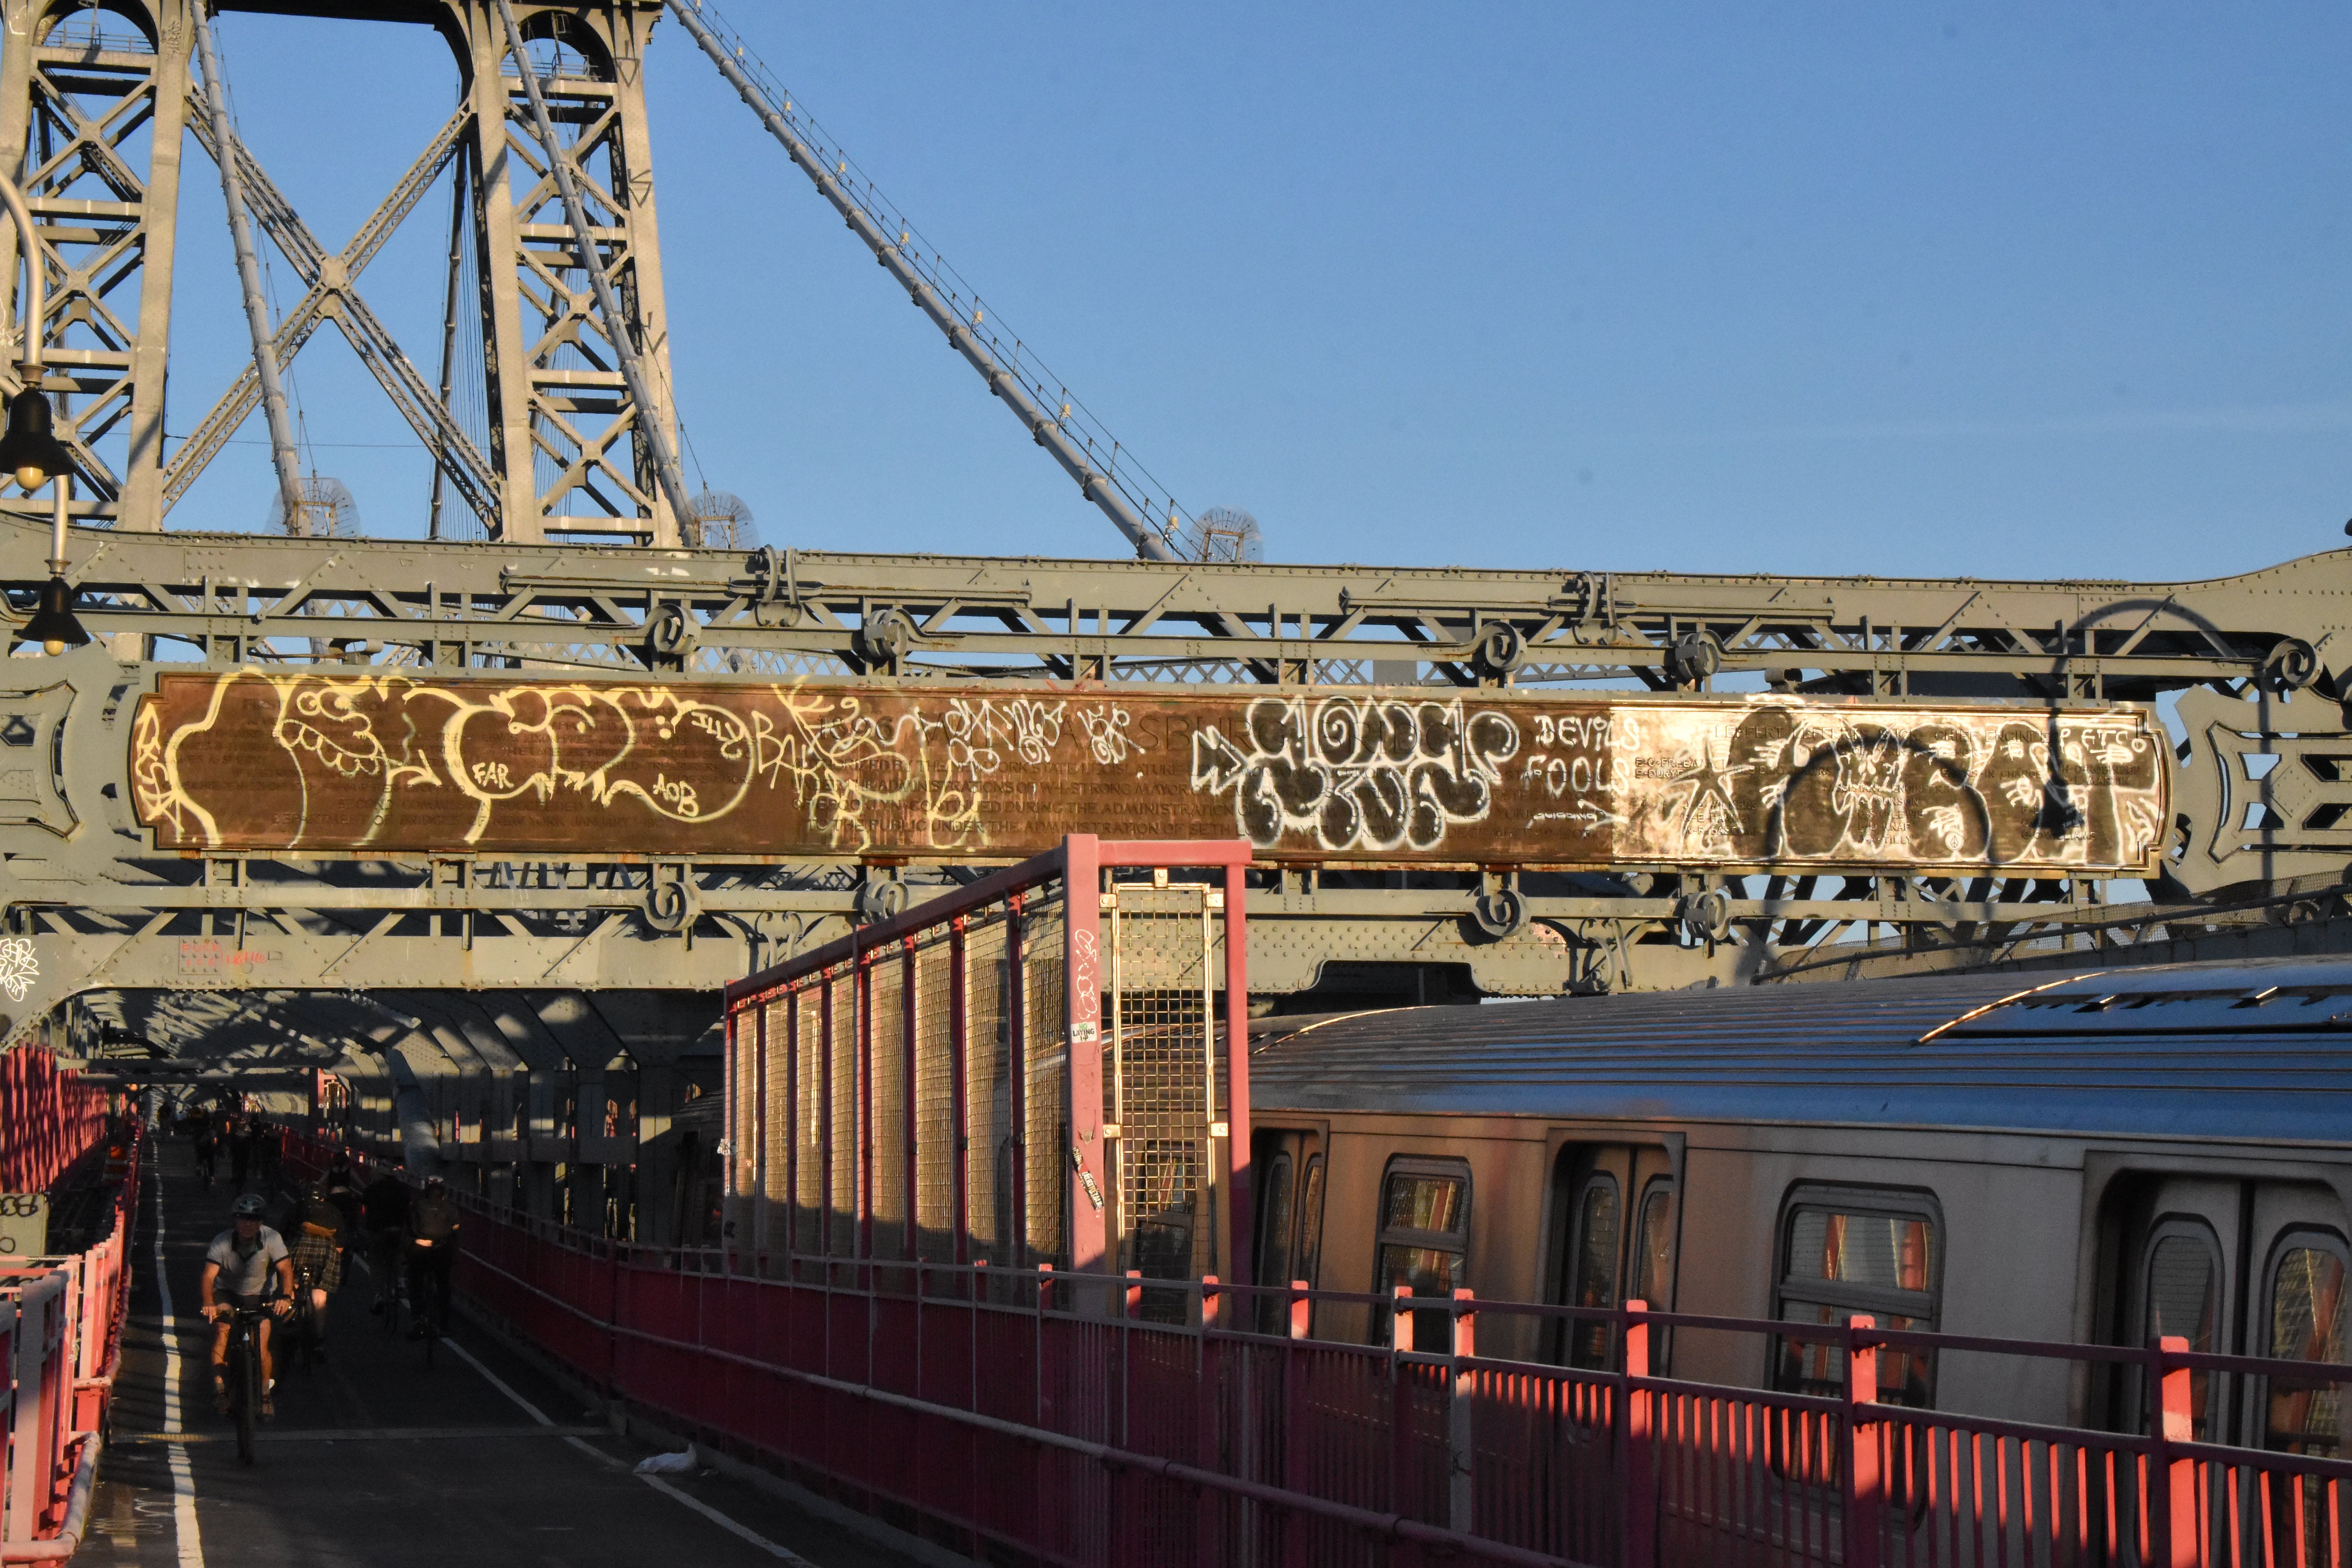
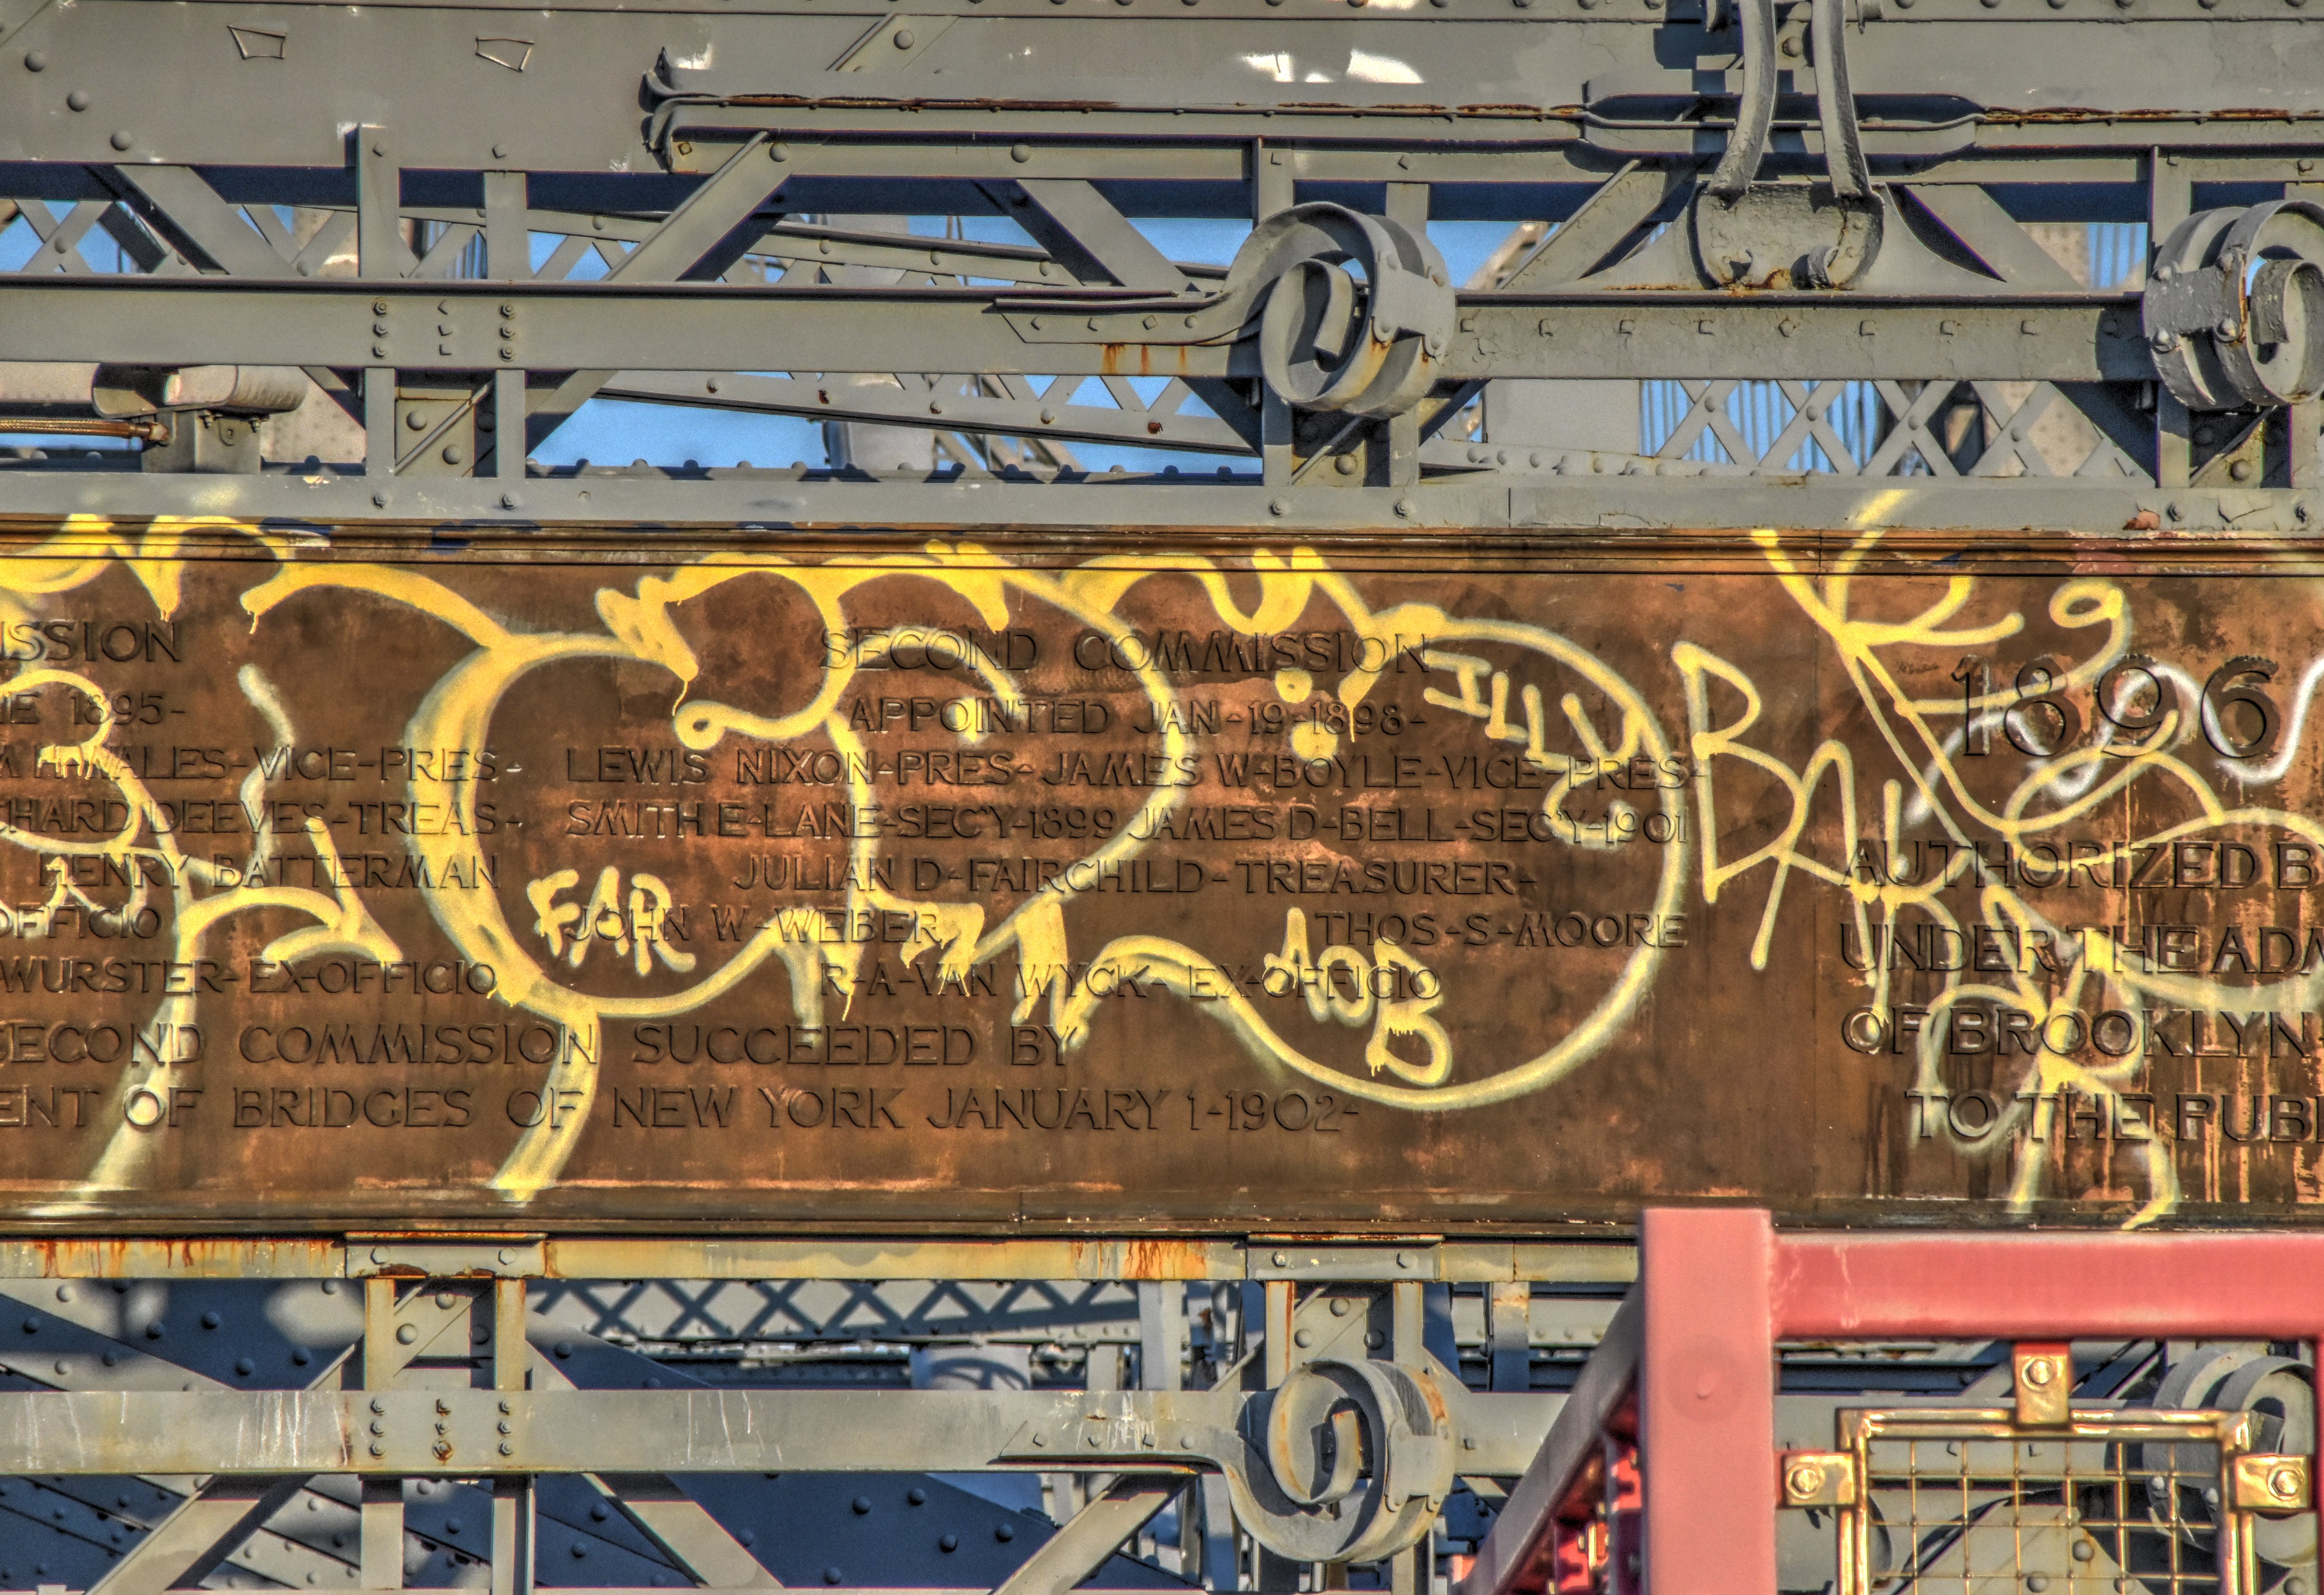
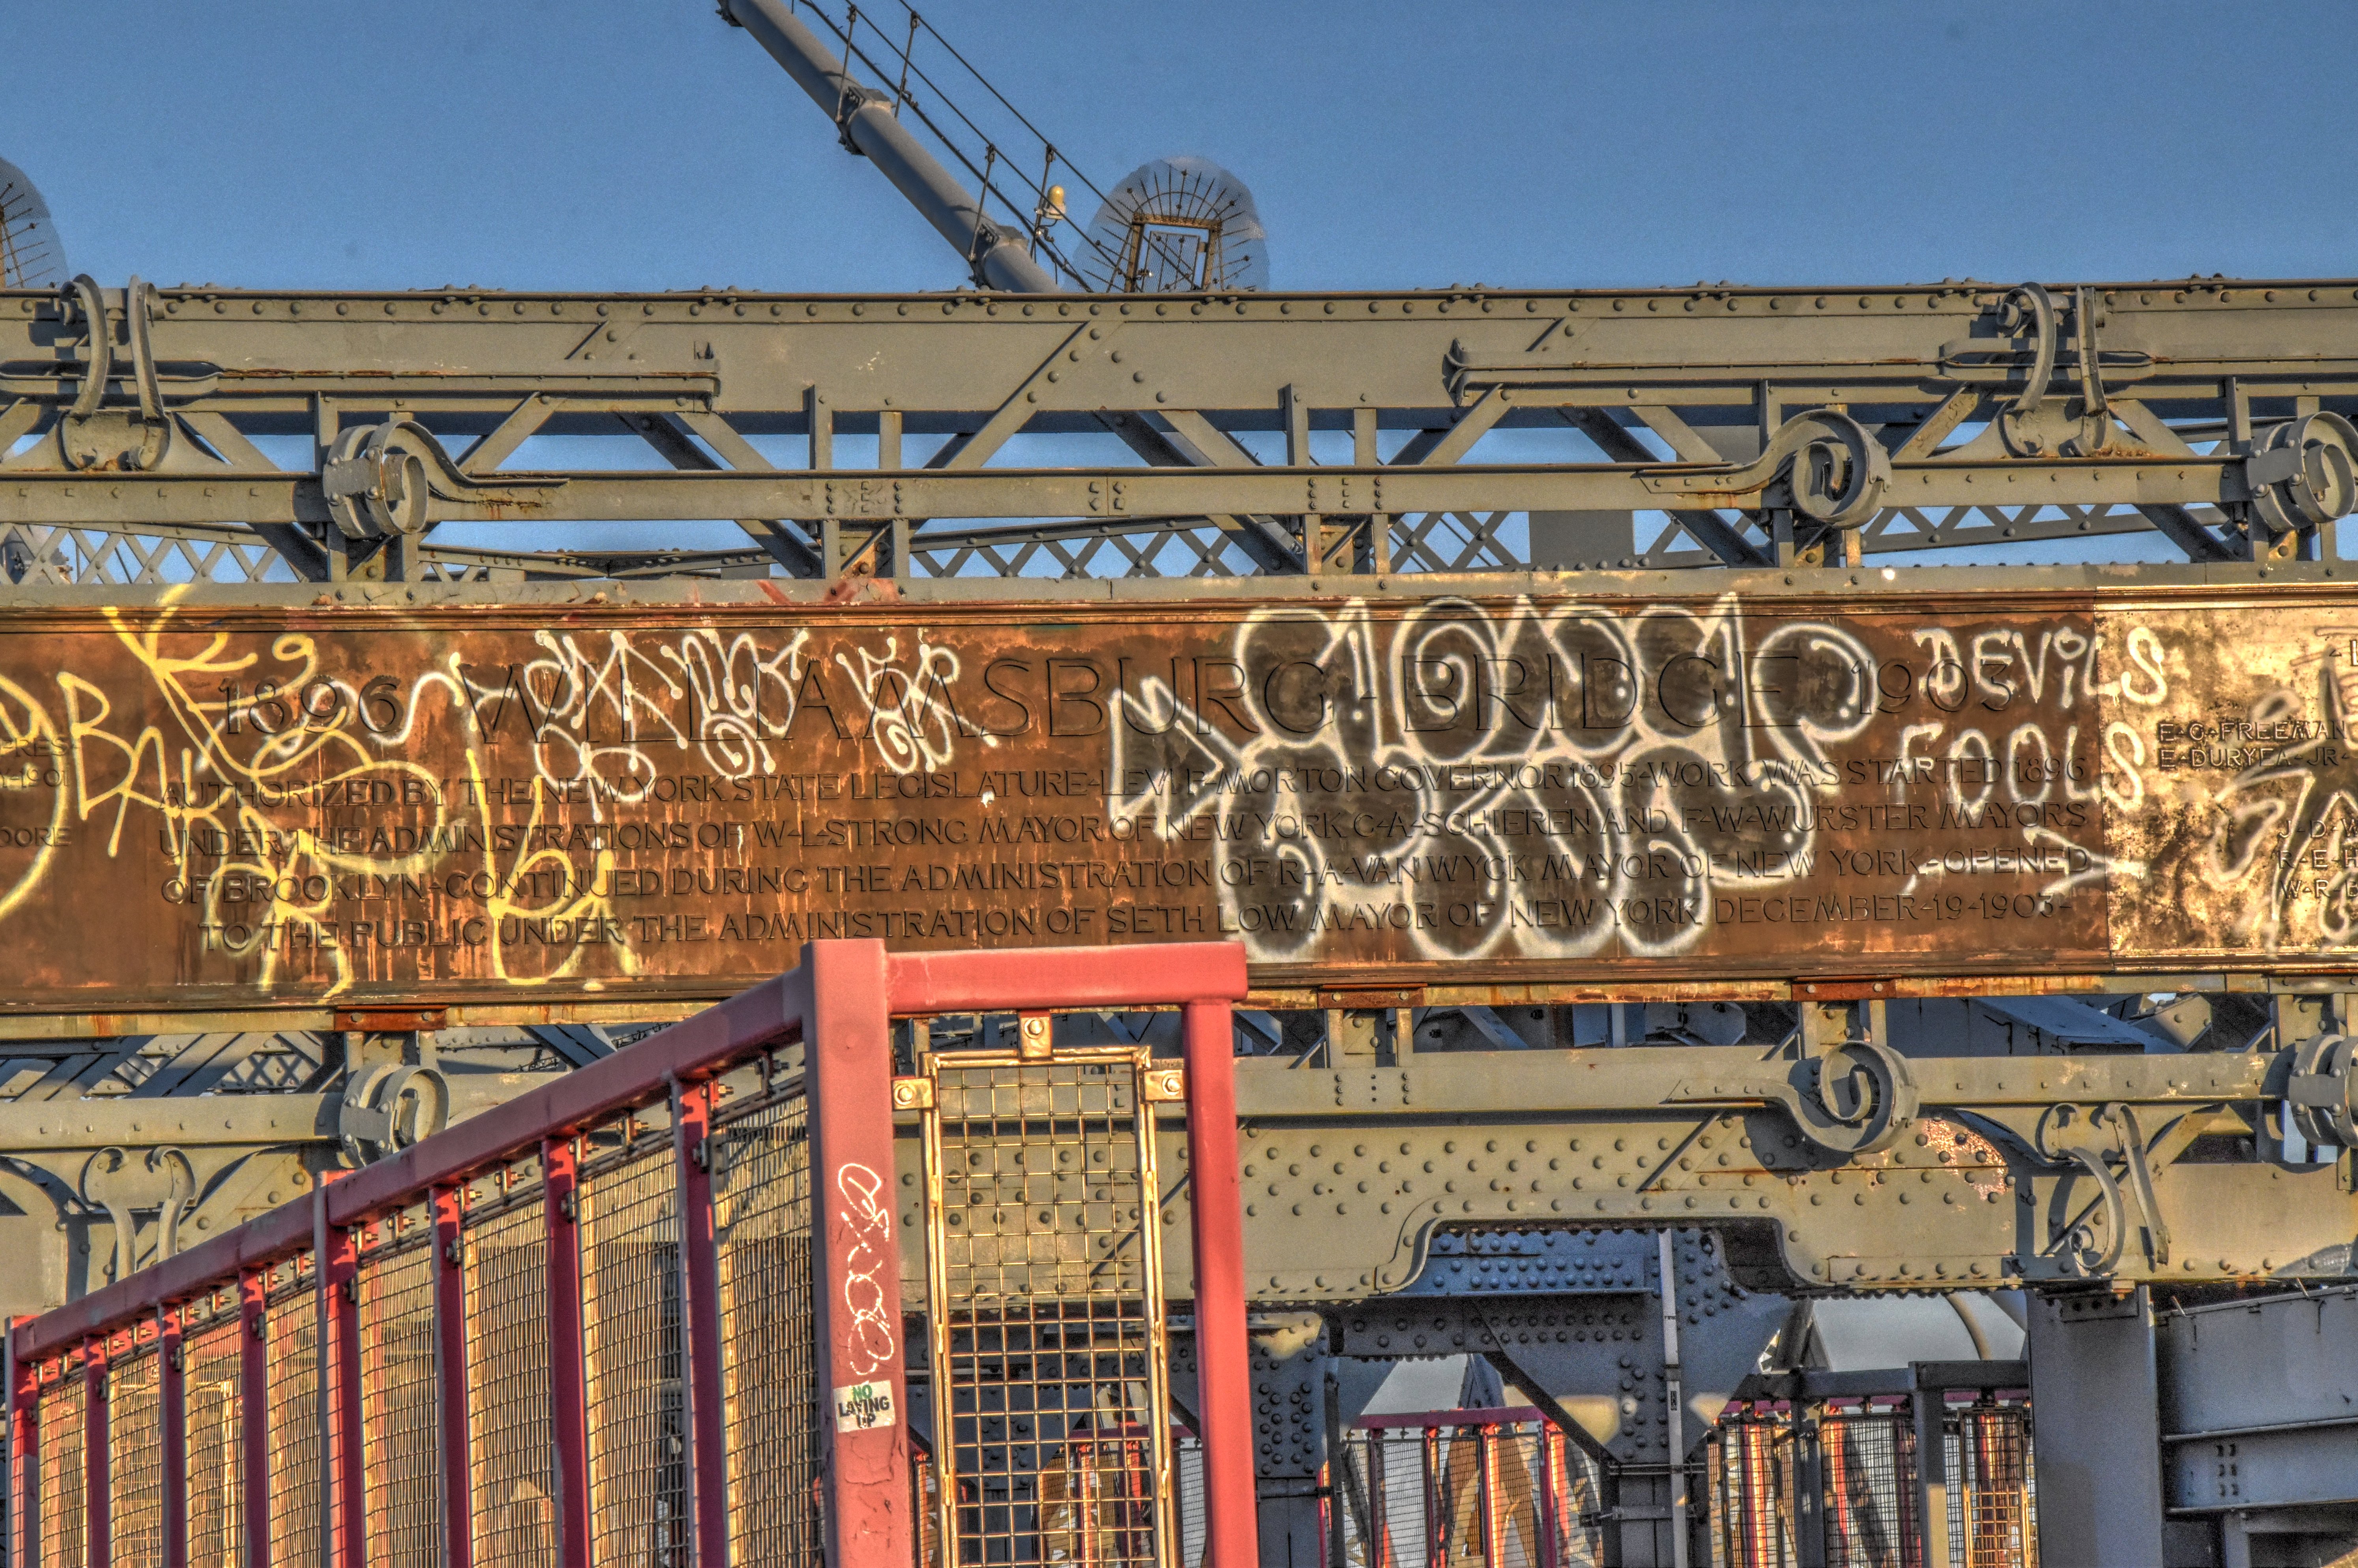
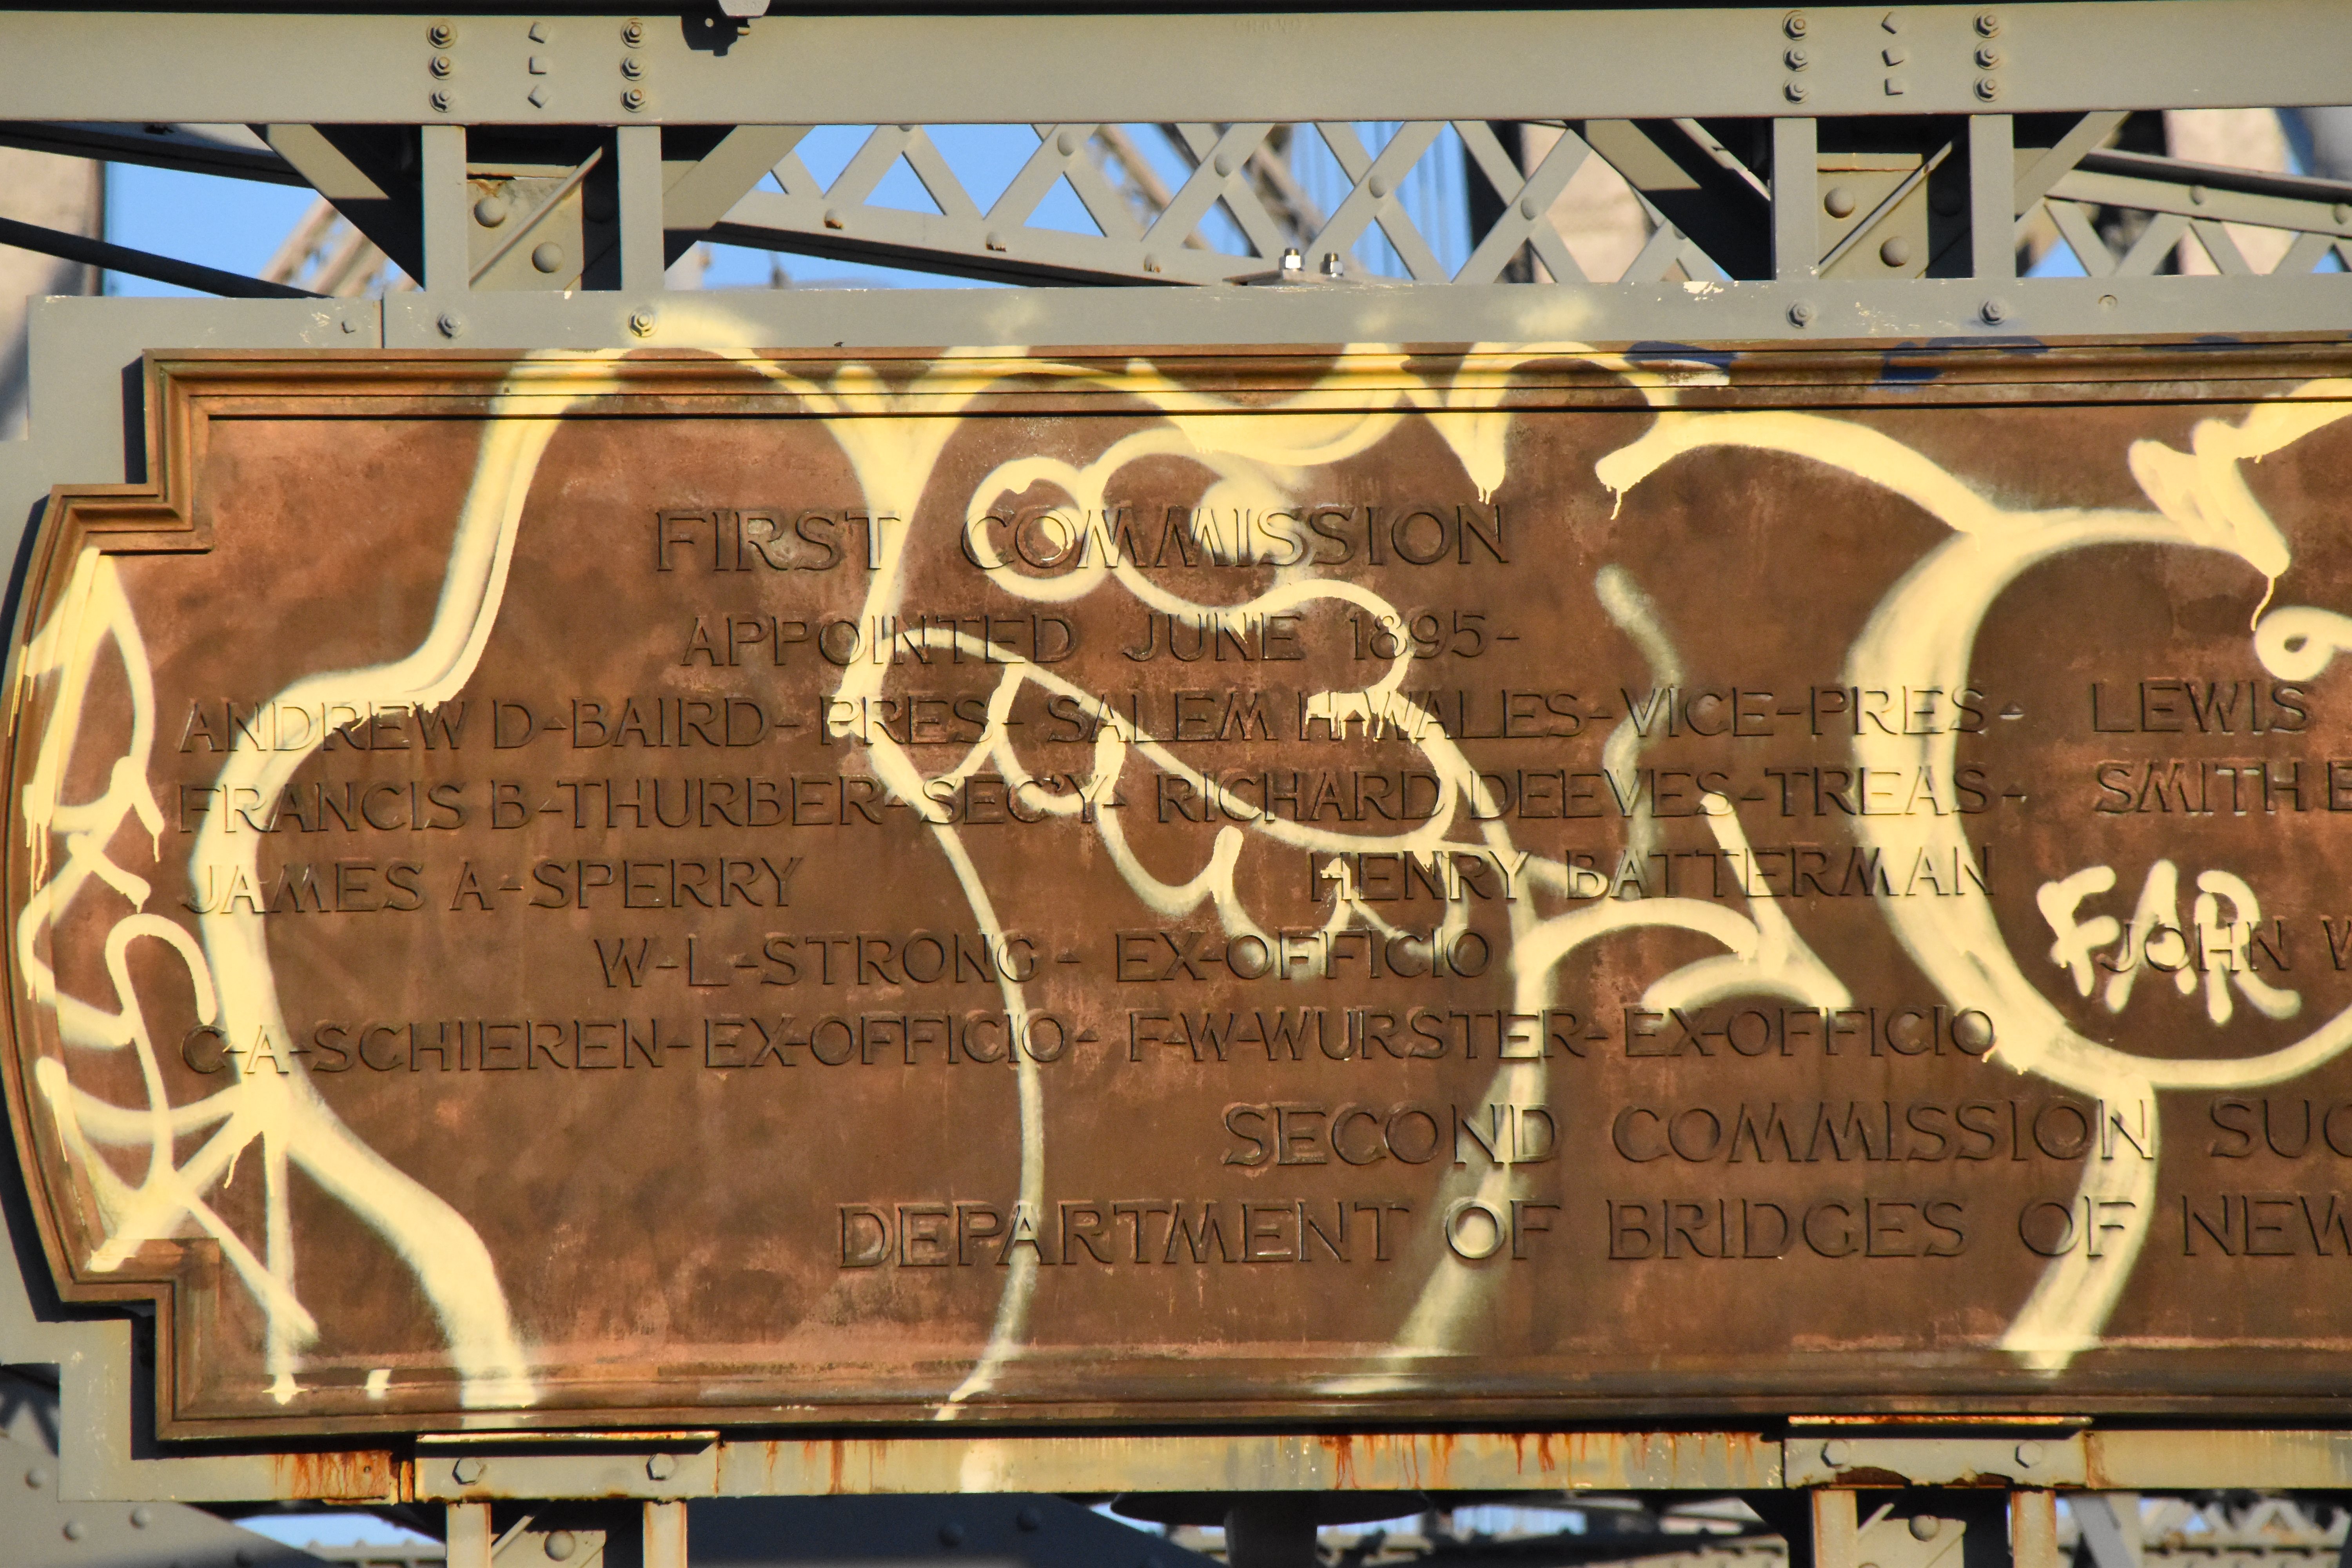
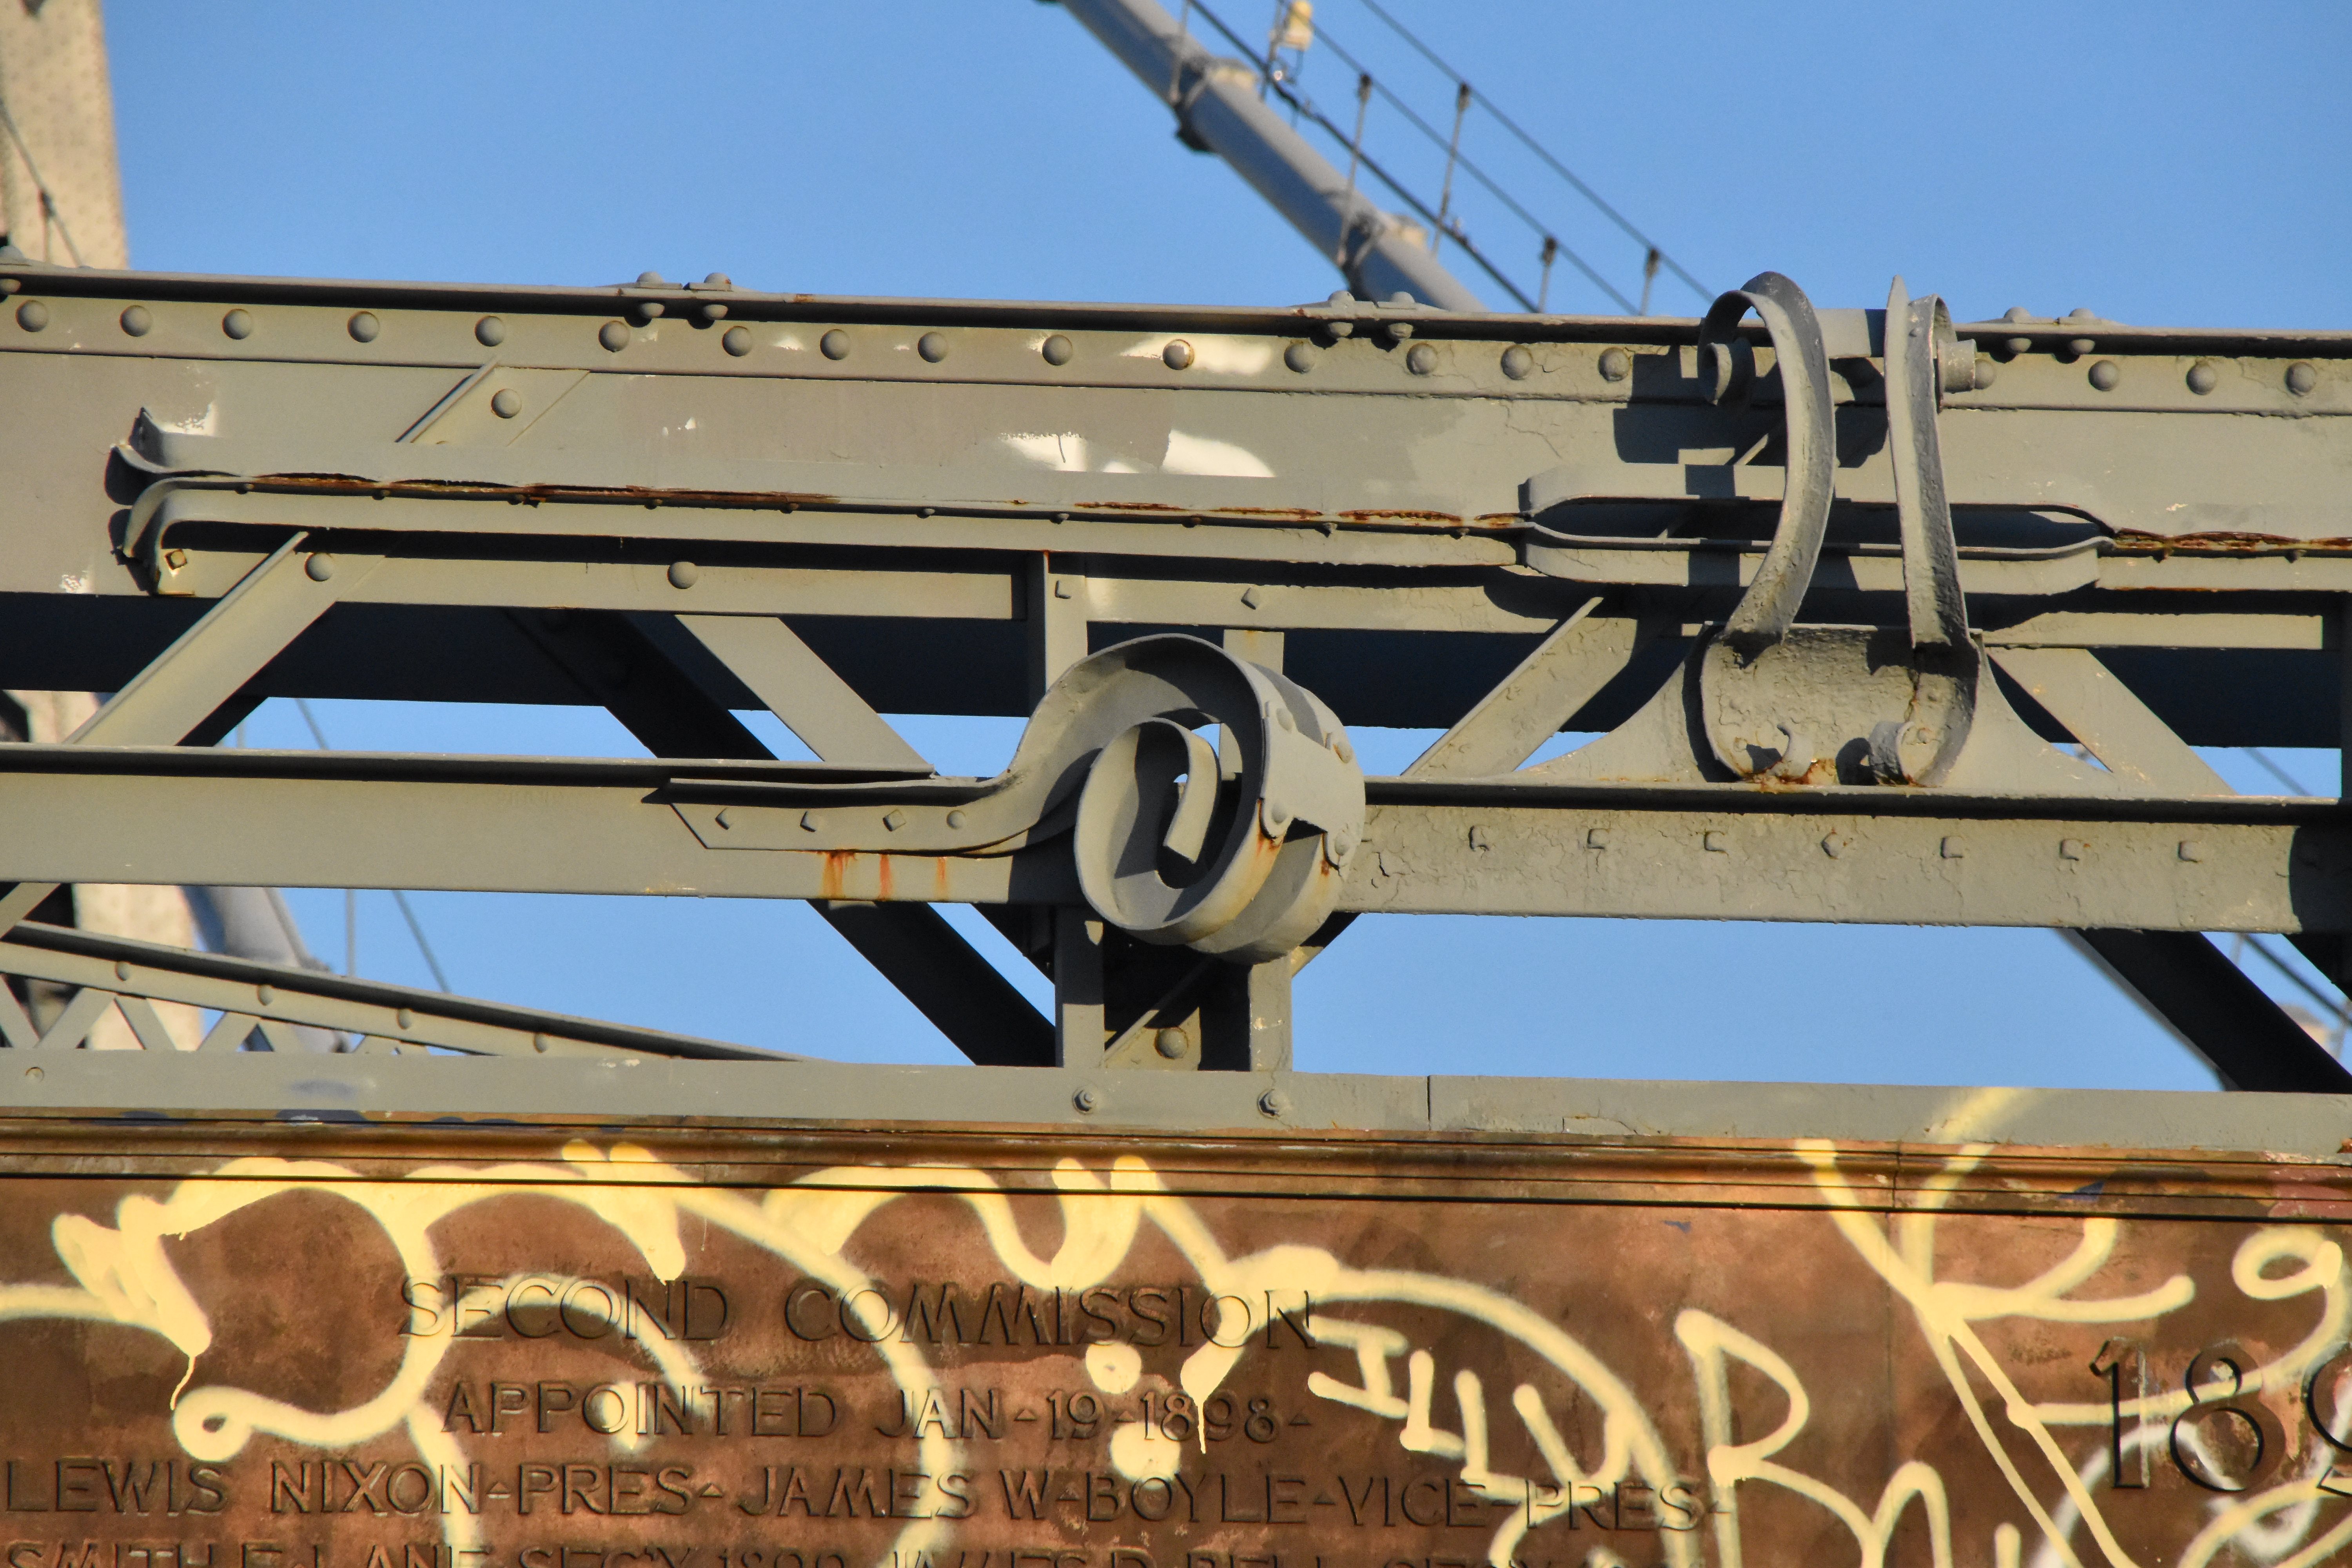
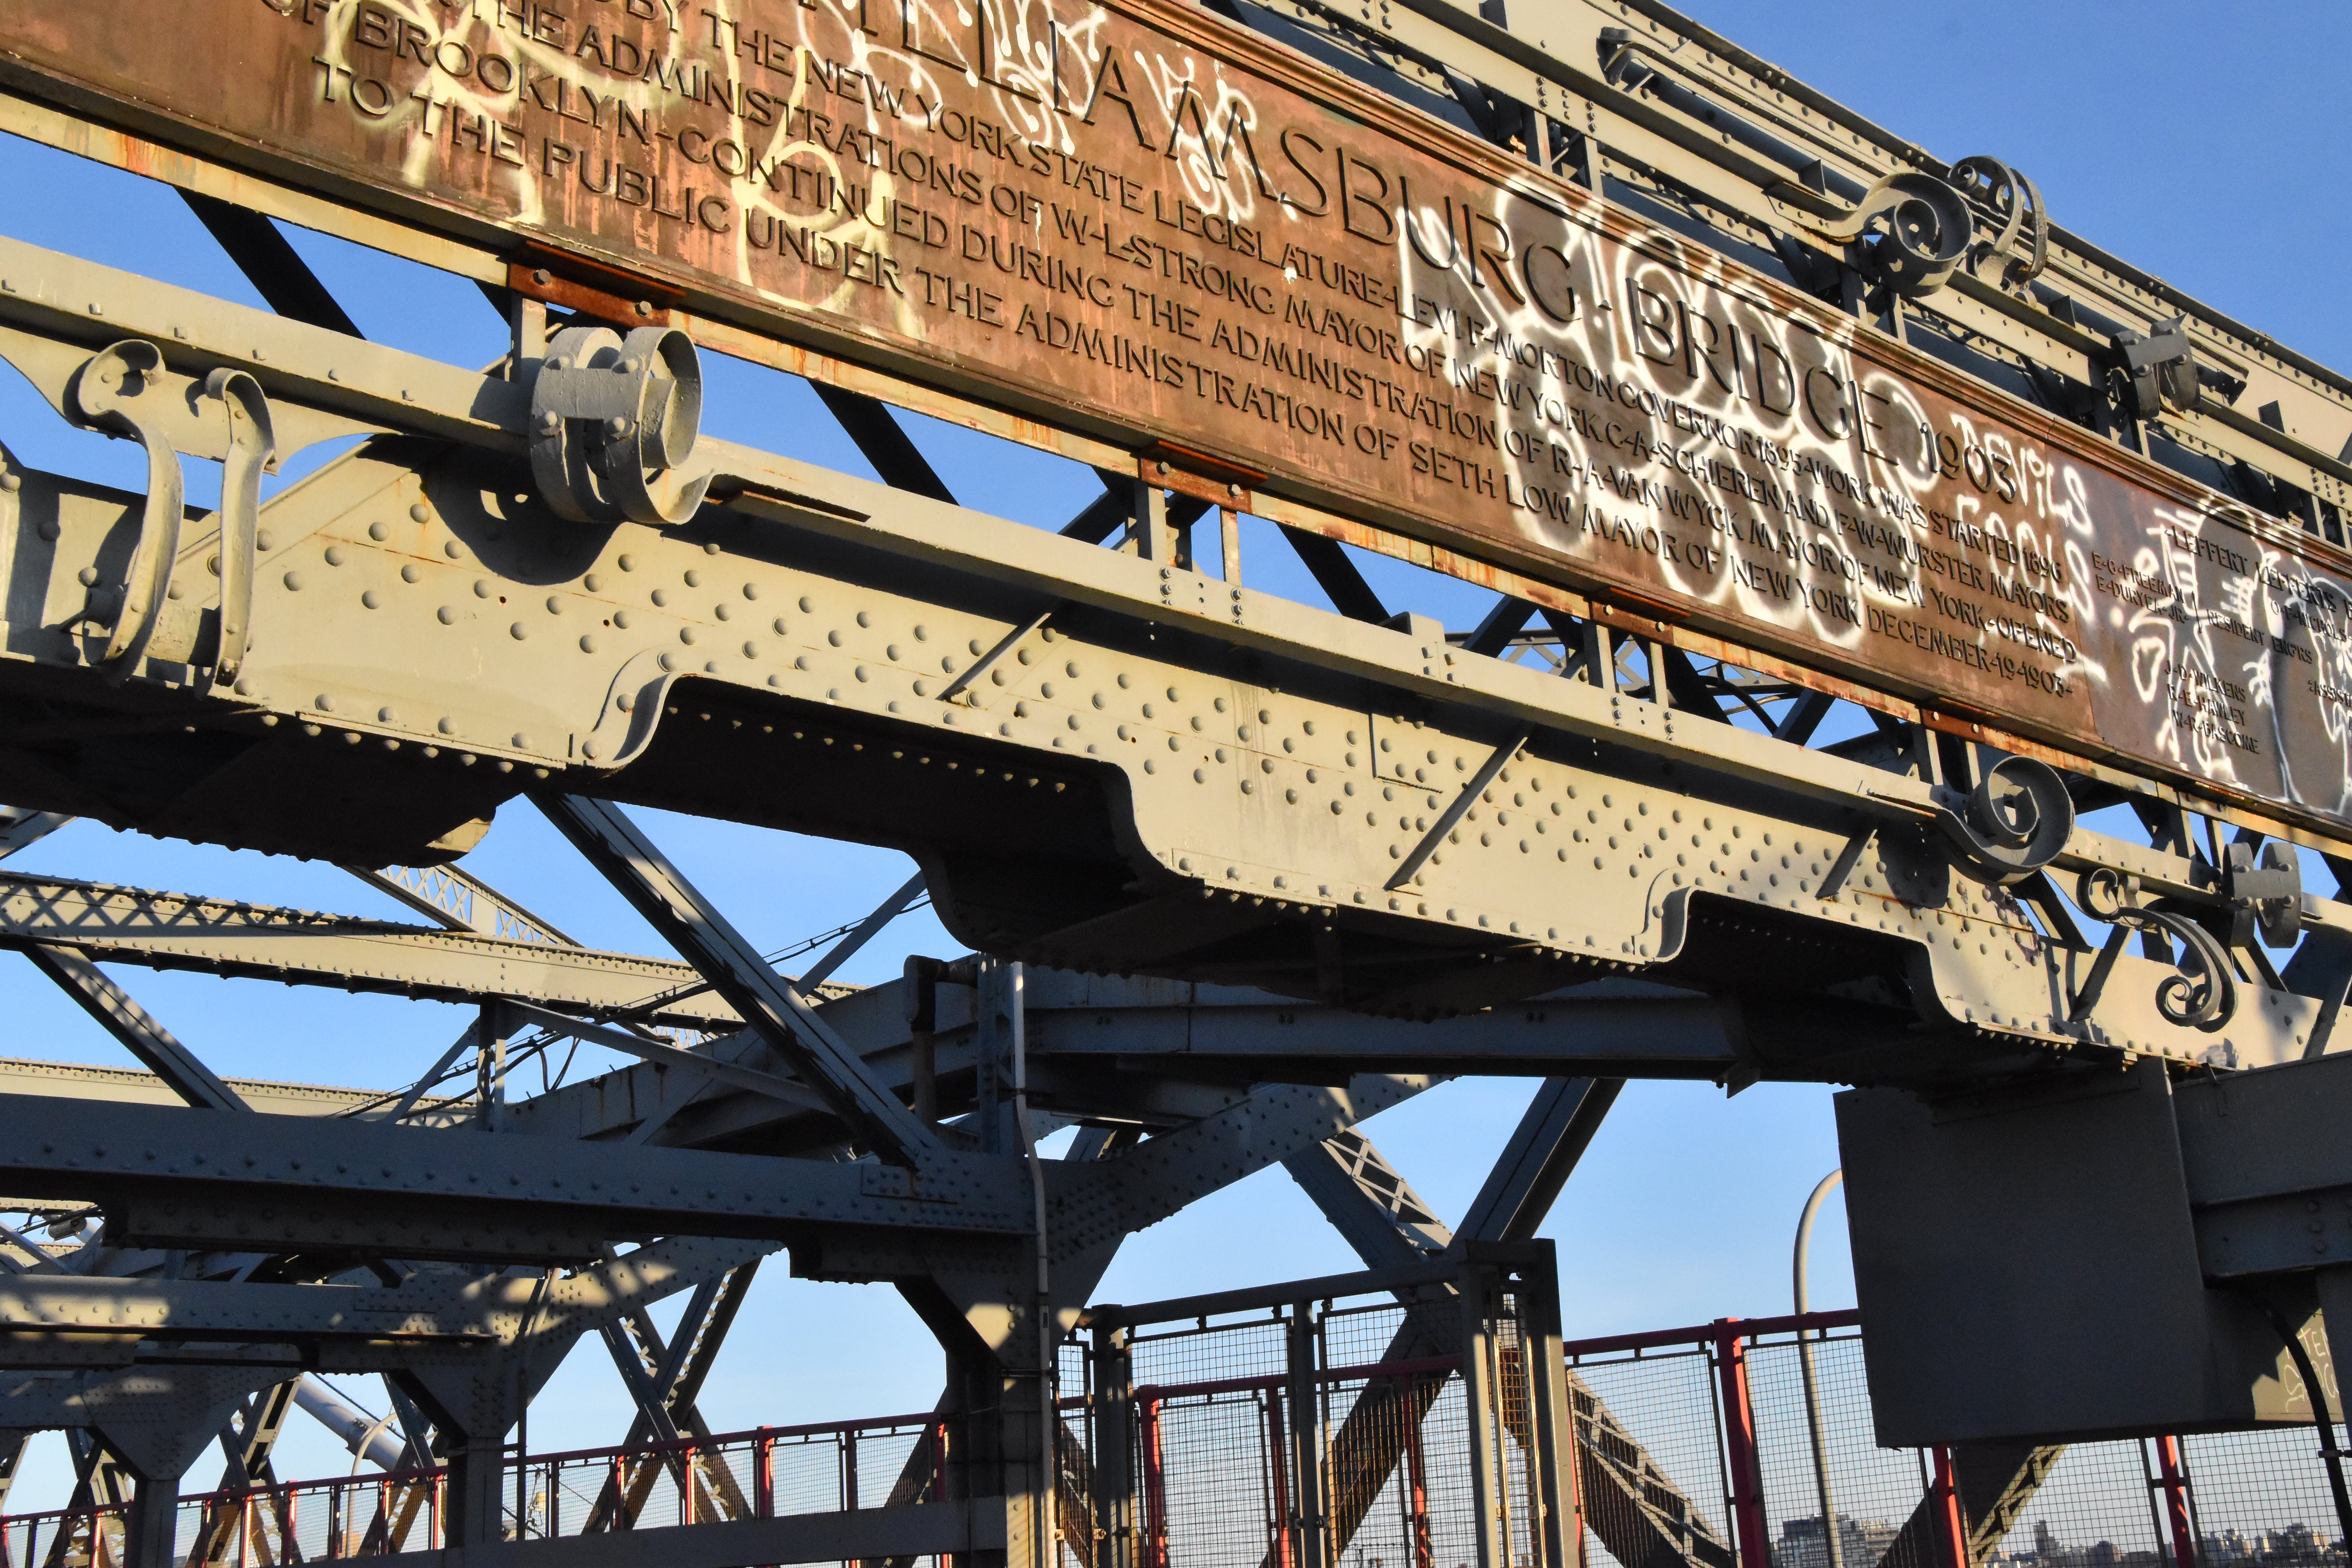
Main plaque, east end.
![]()

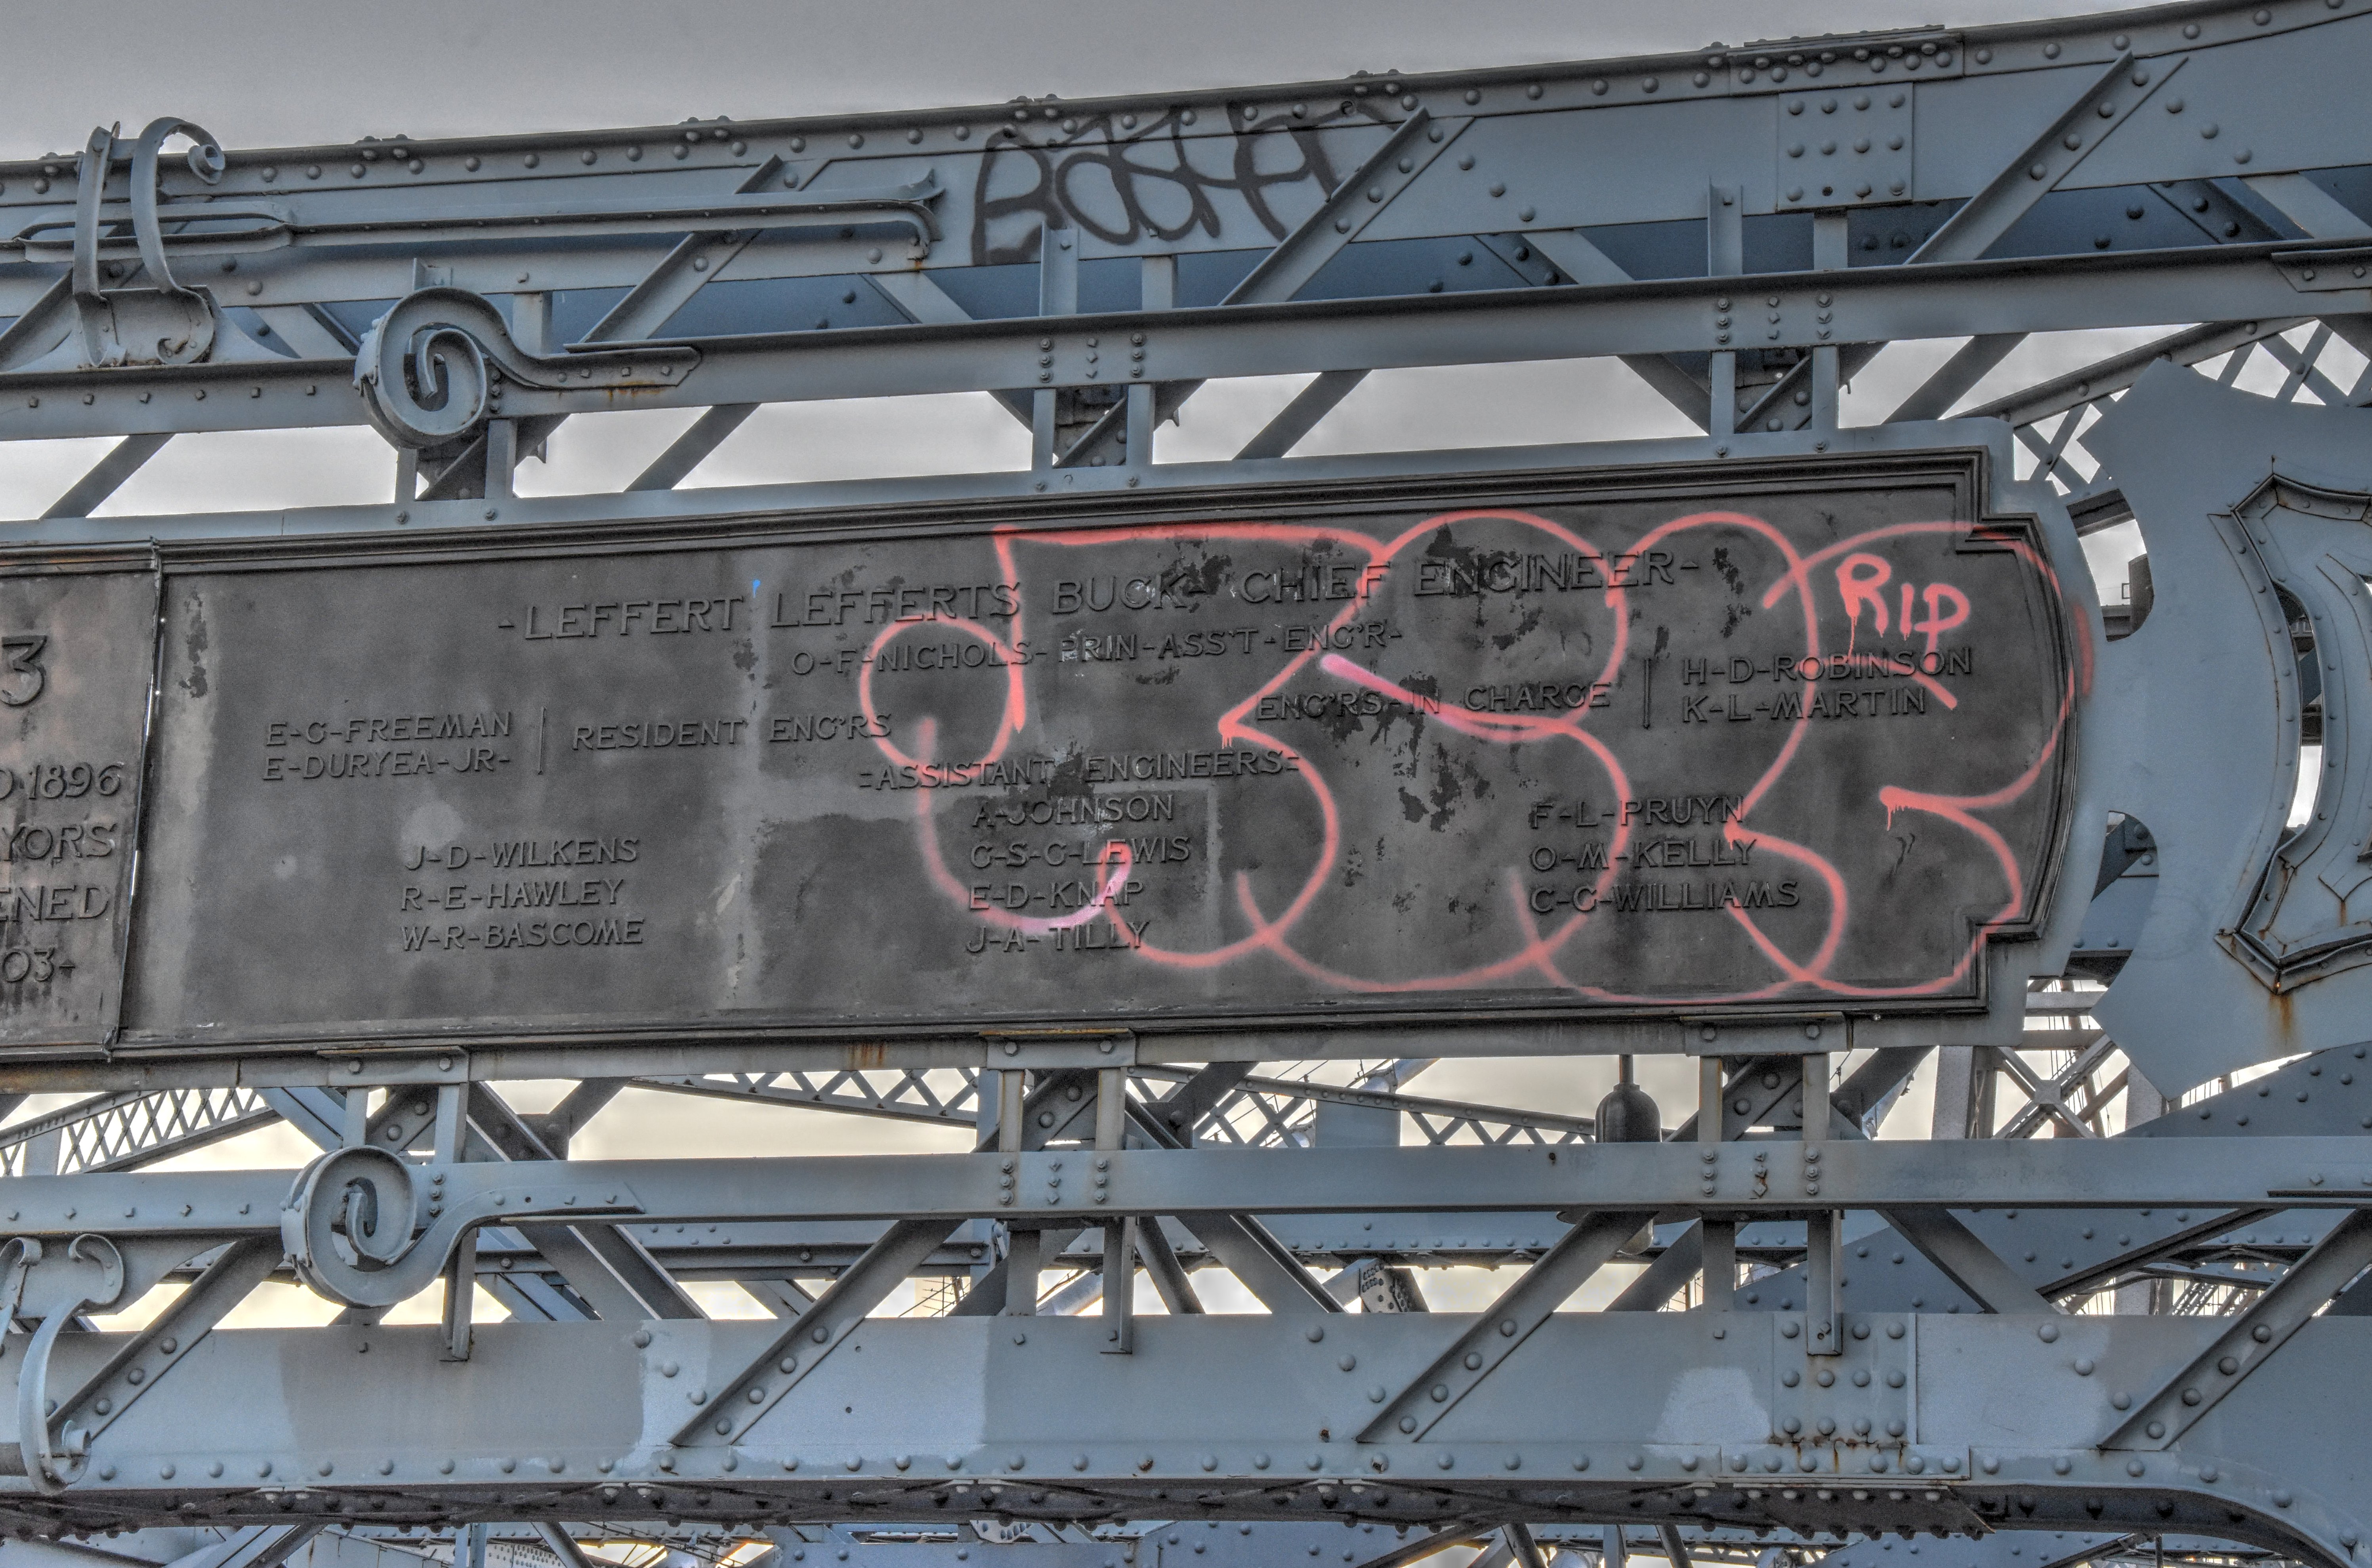


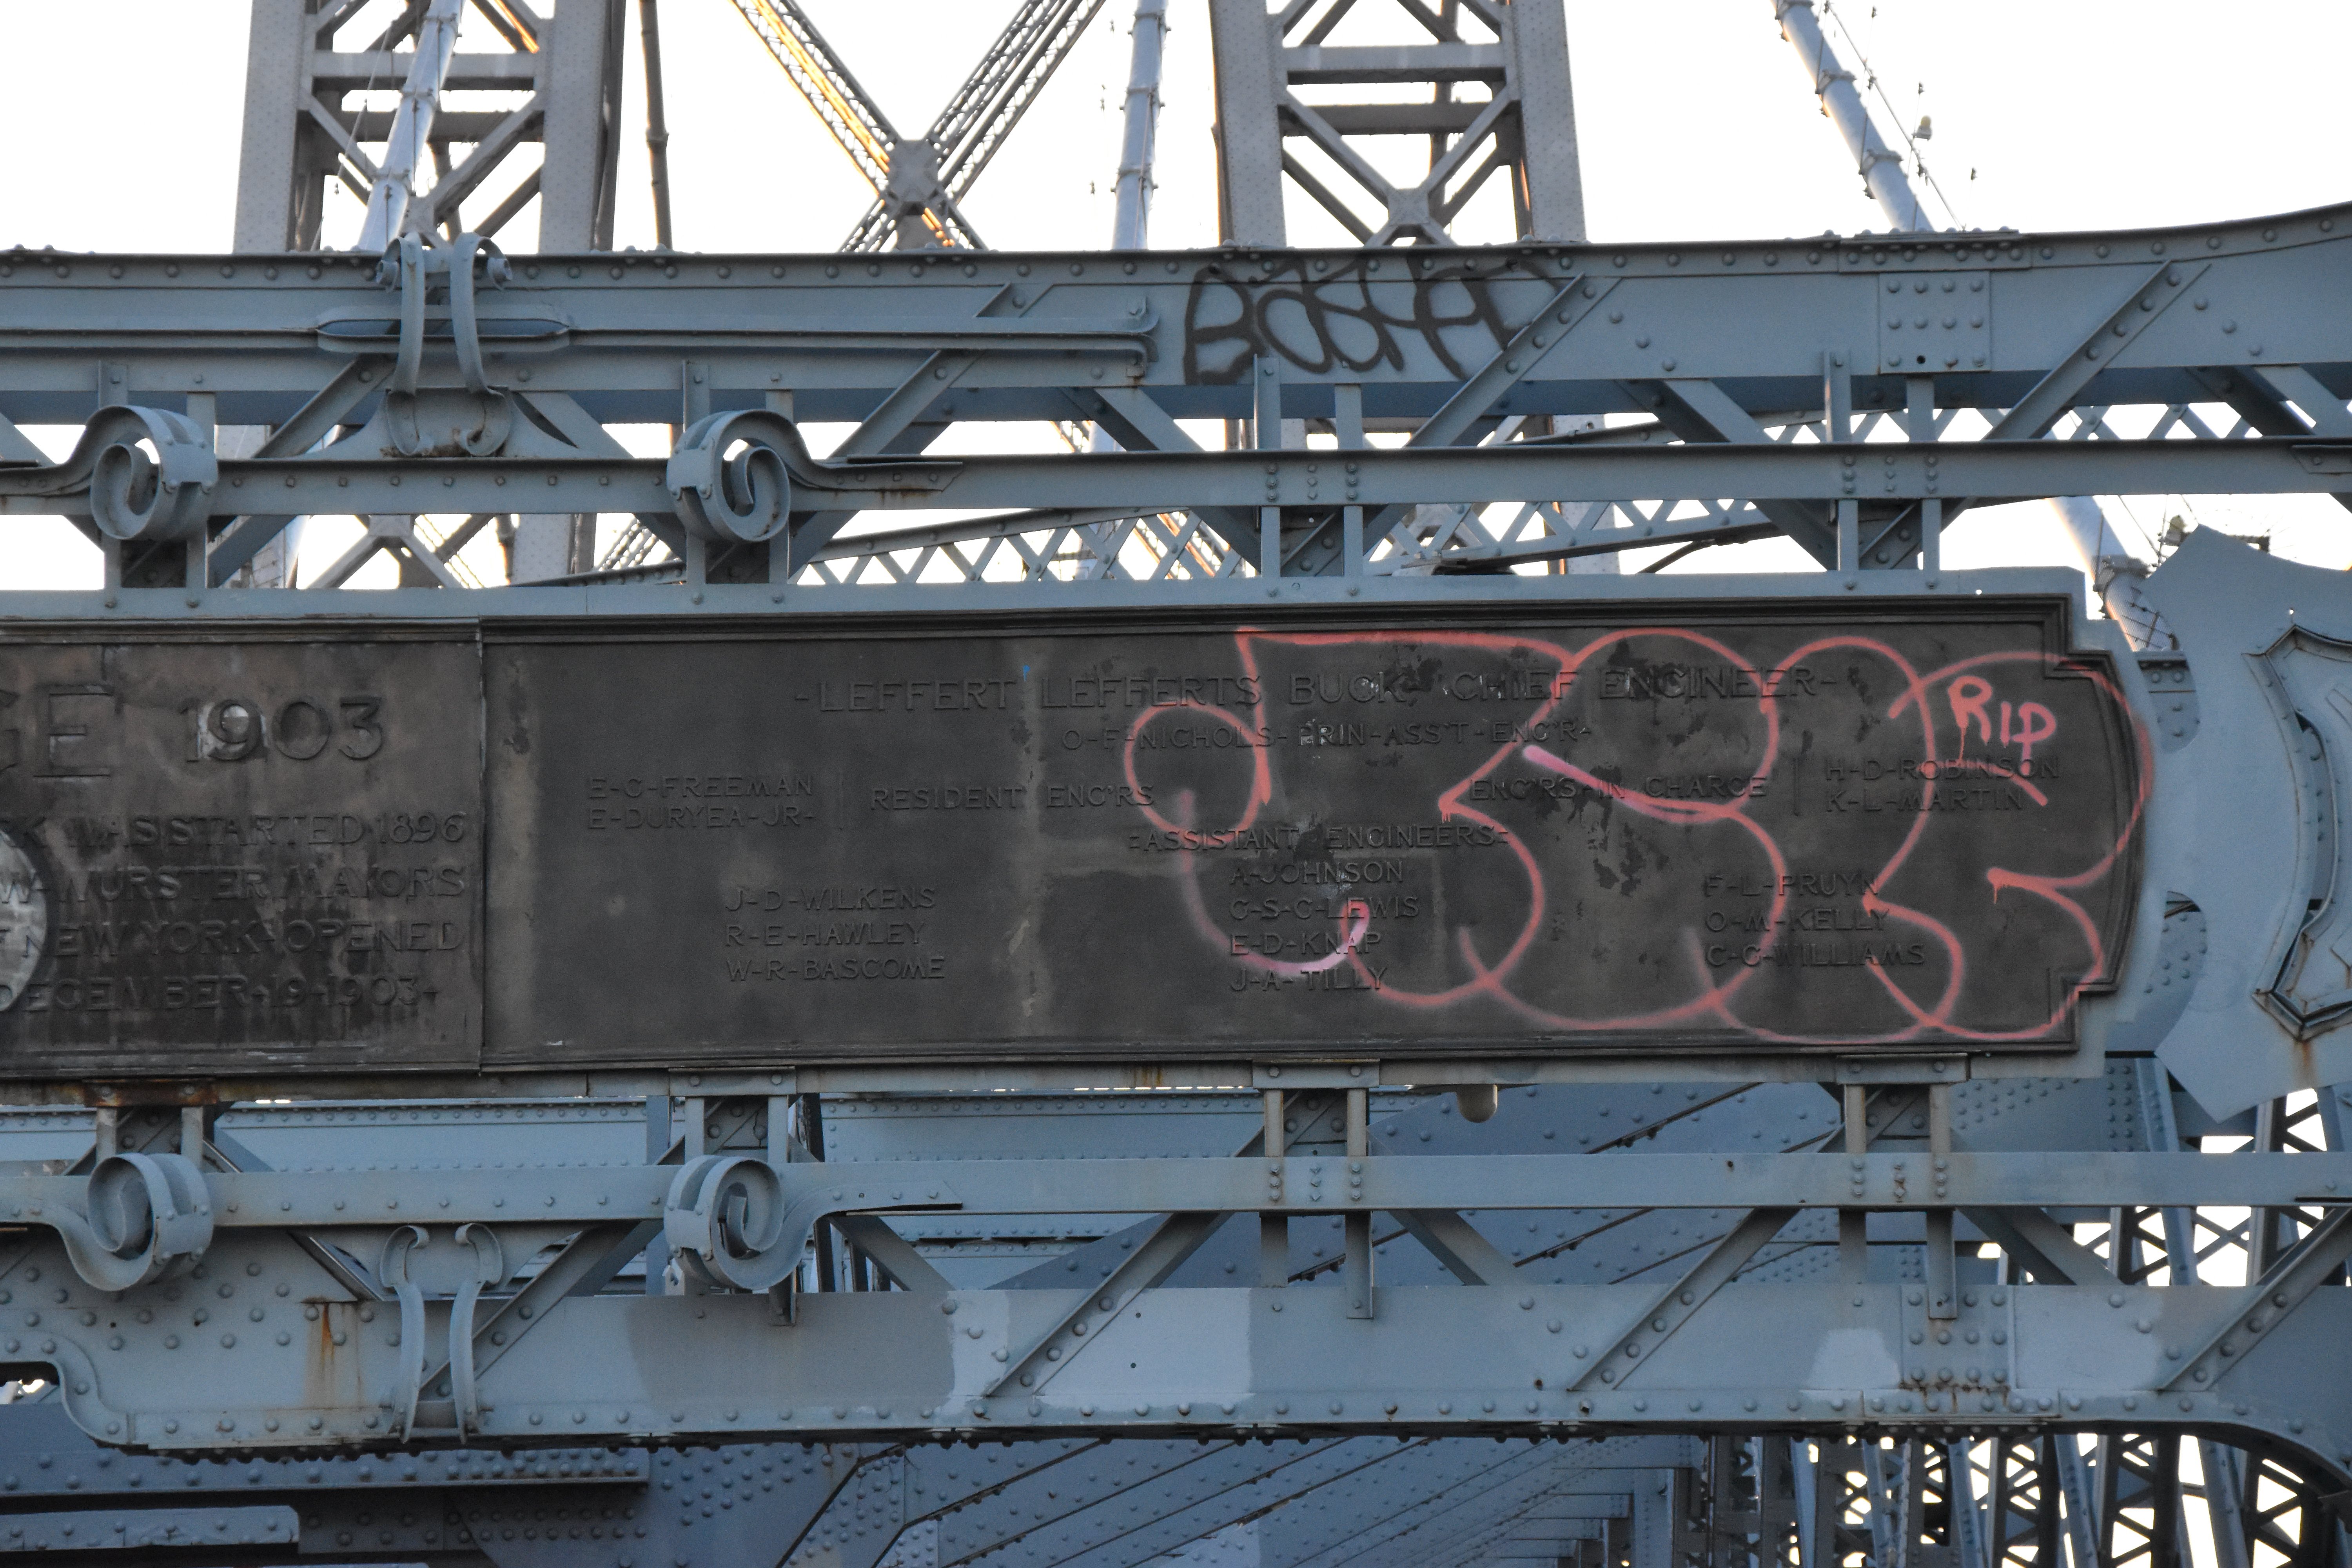
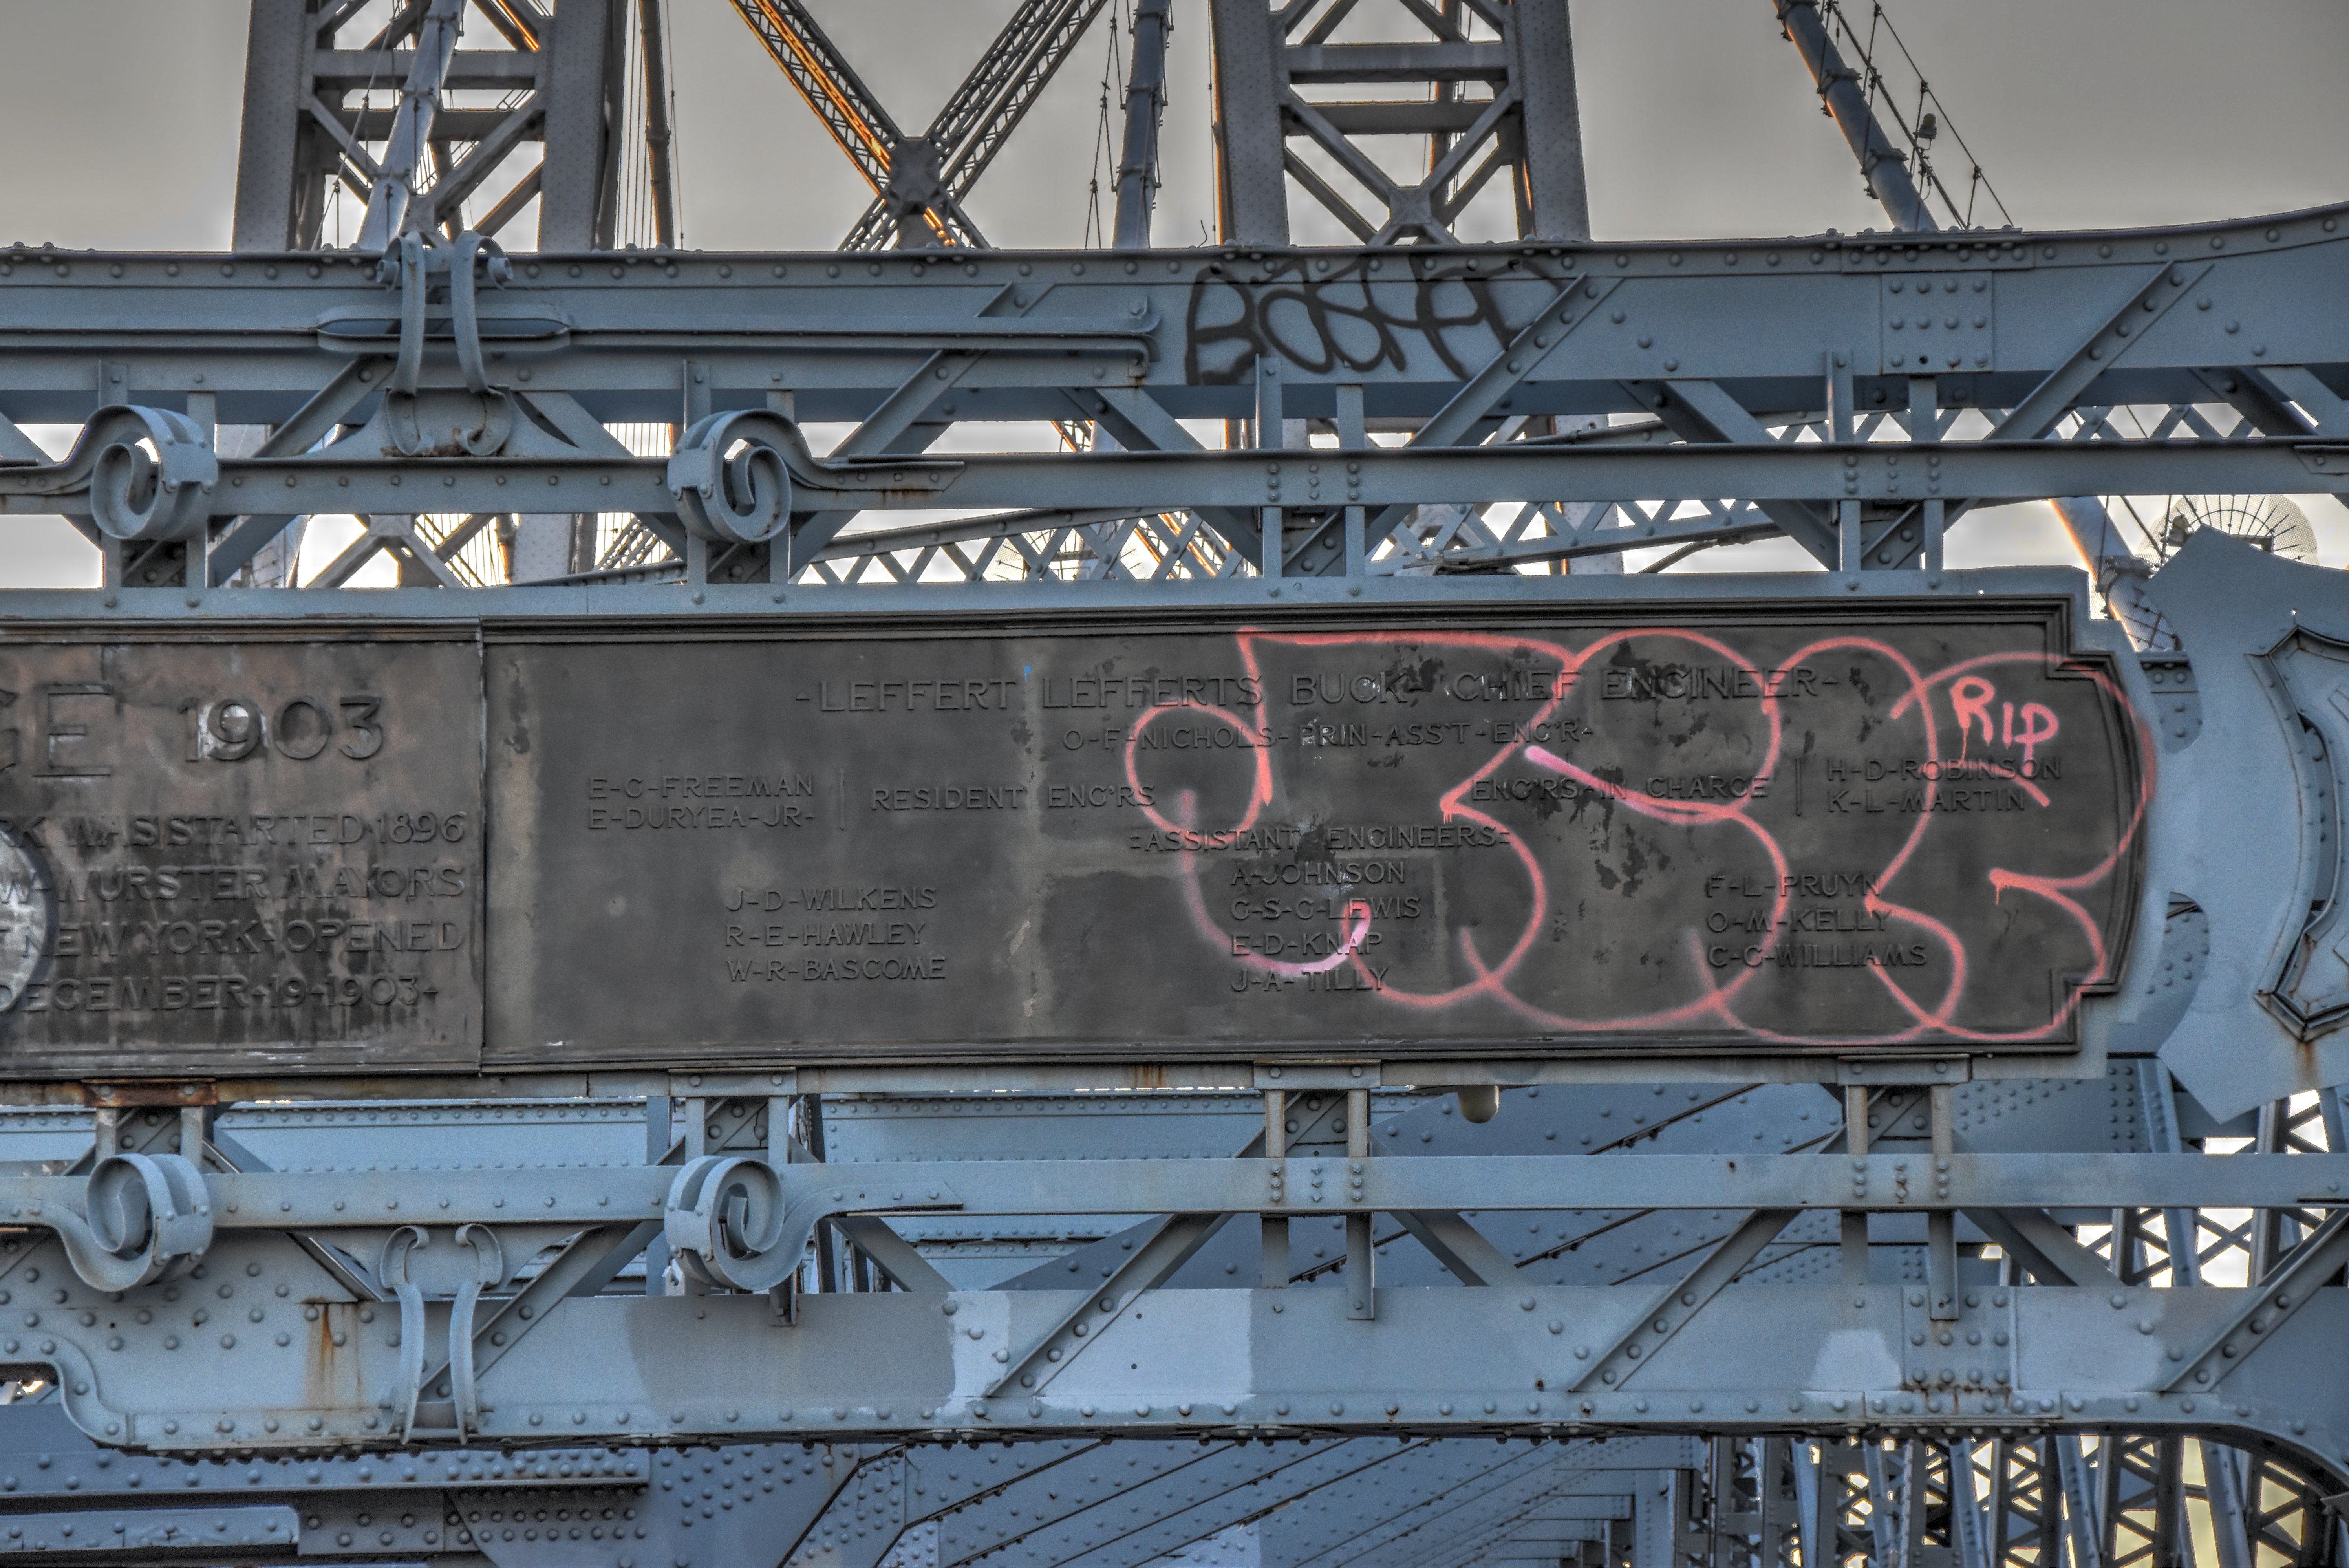


Main plaque, east end, details.
![]()

Main plaque, west end.
![]()


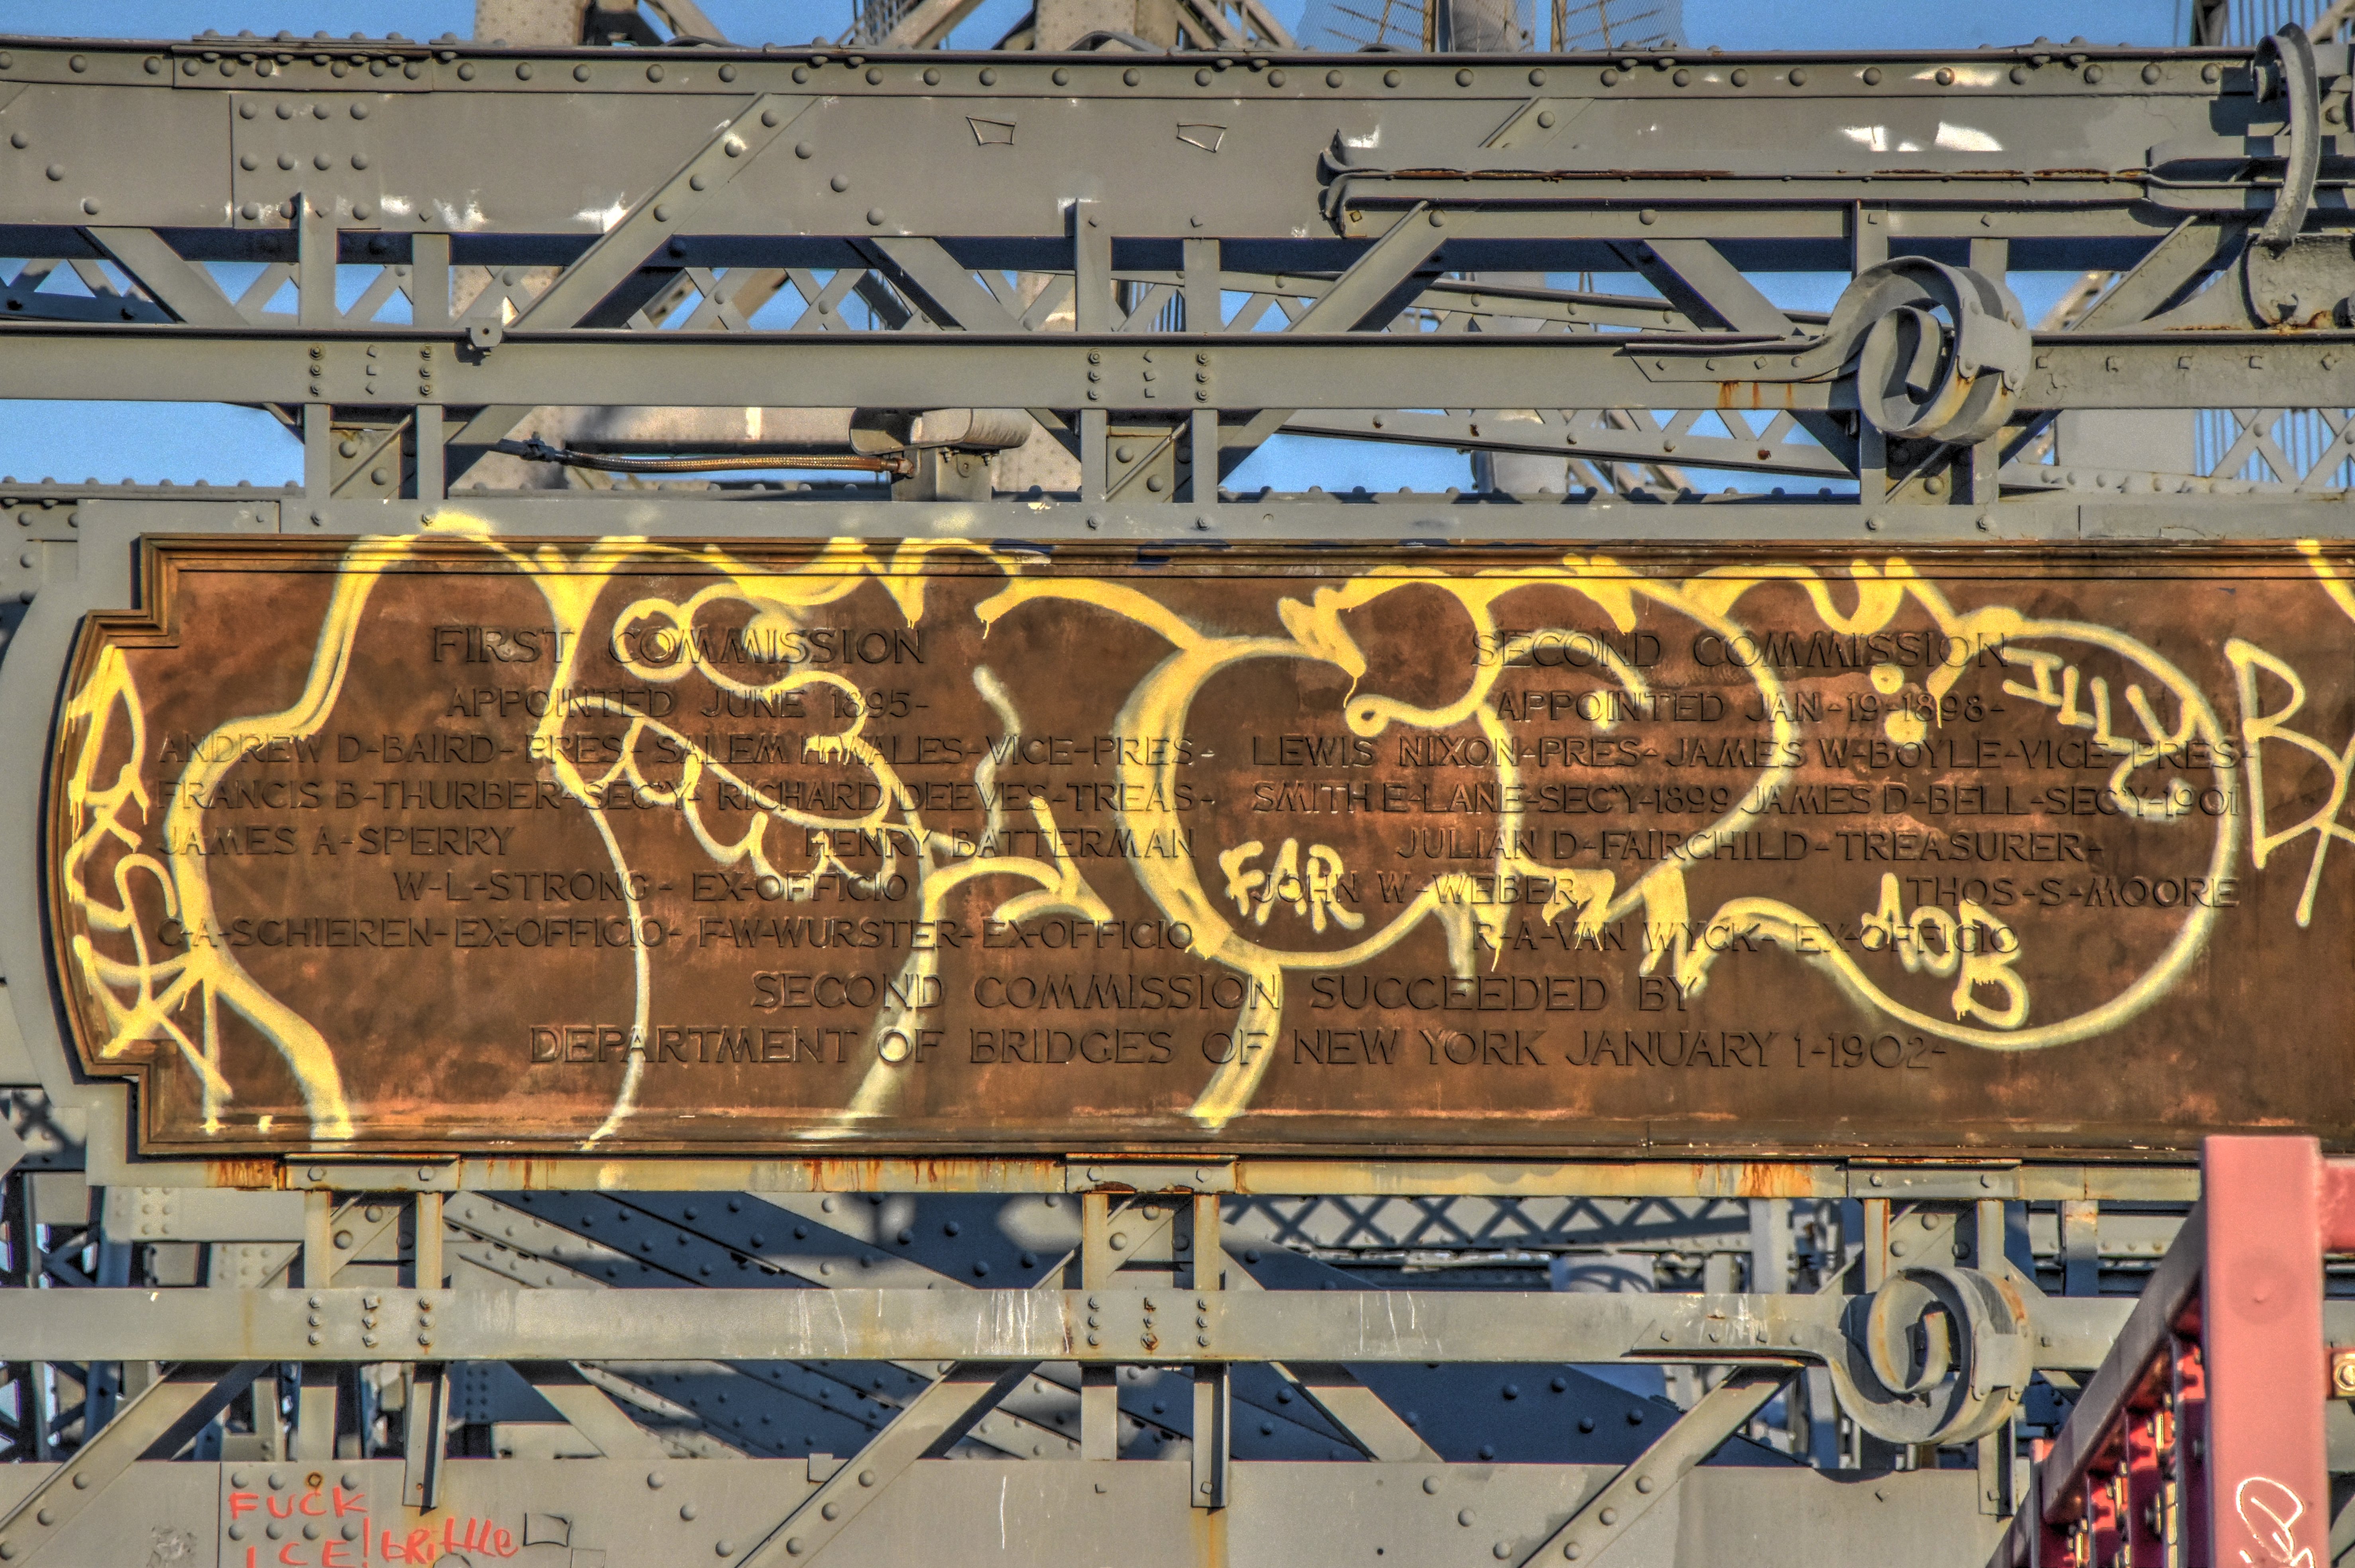

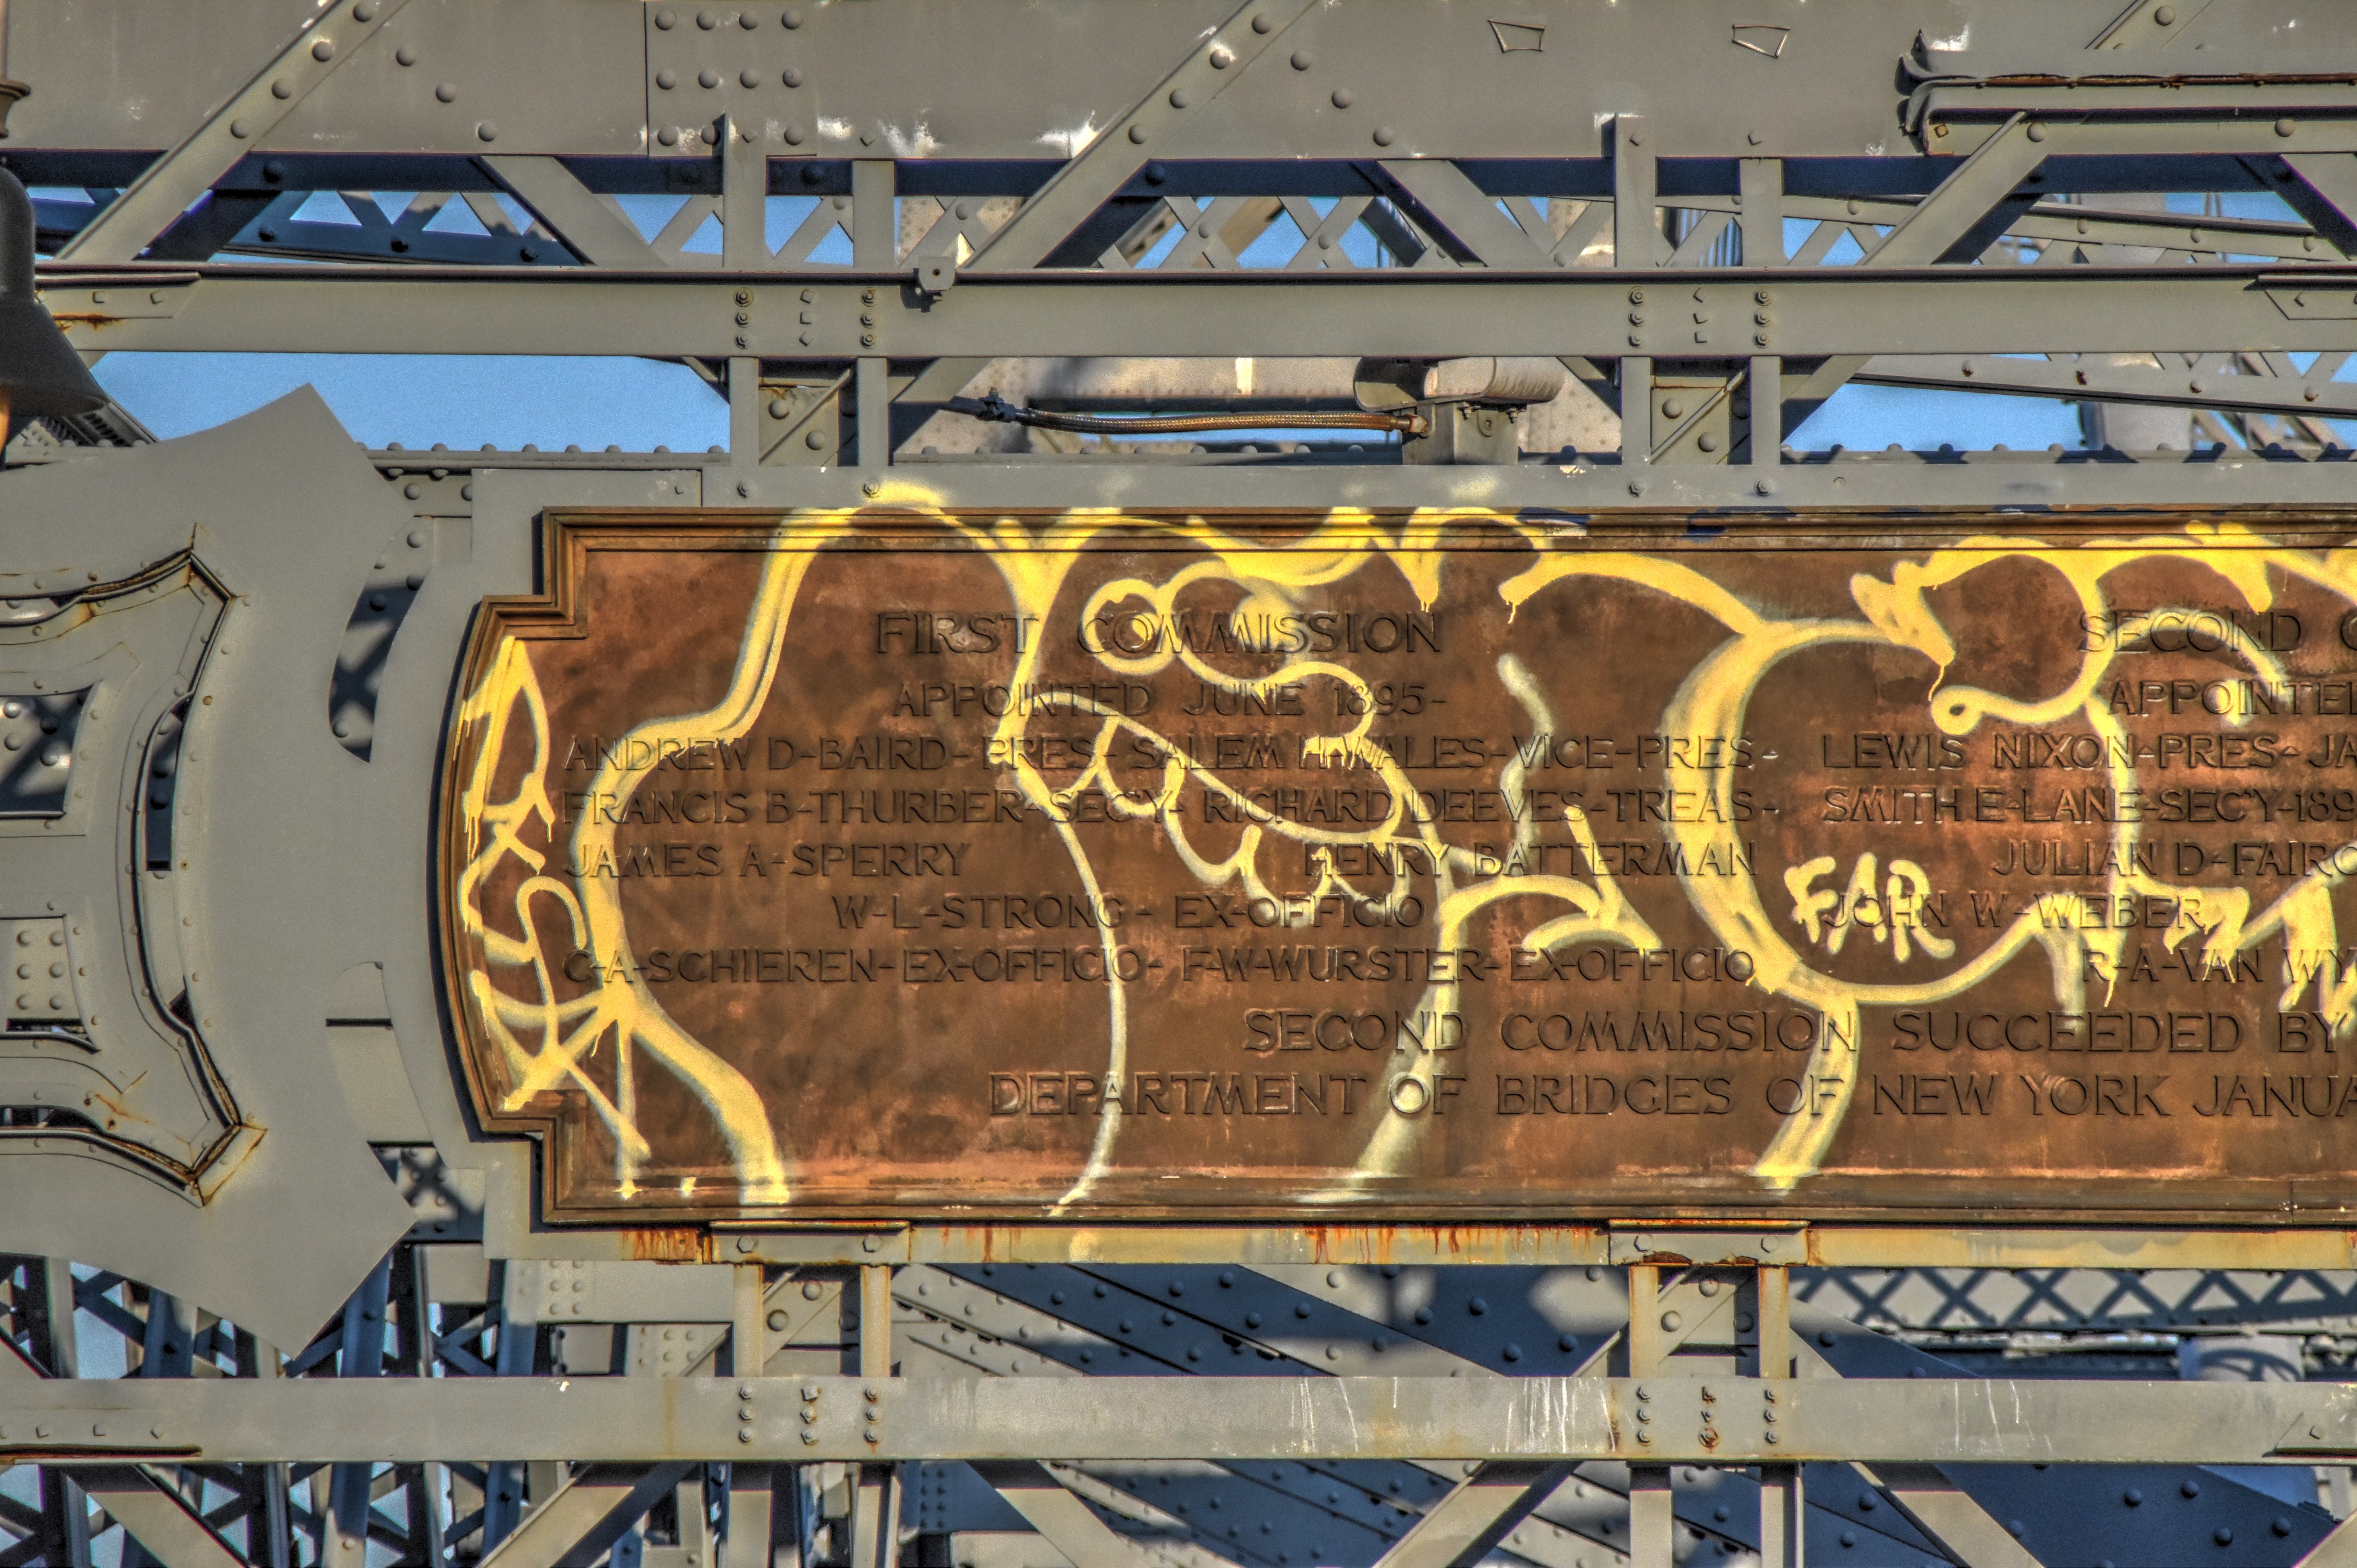

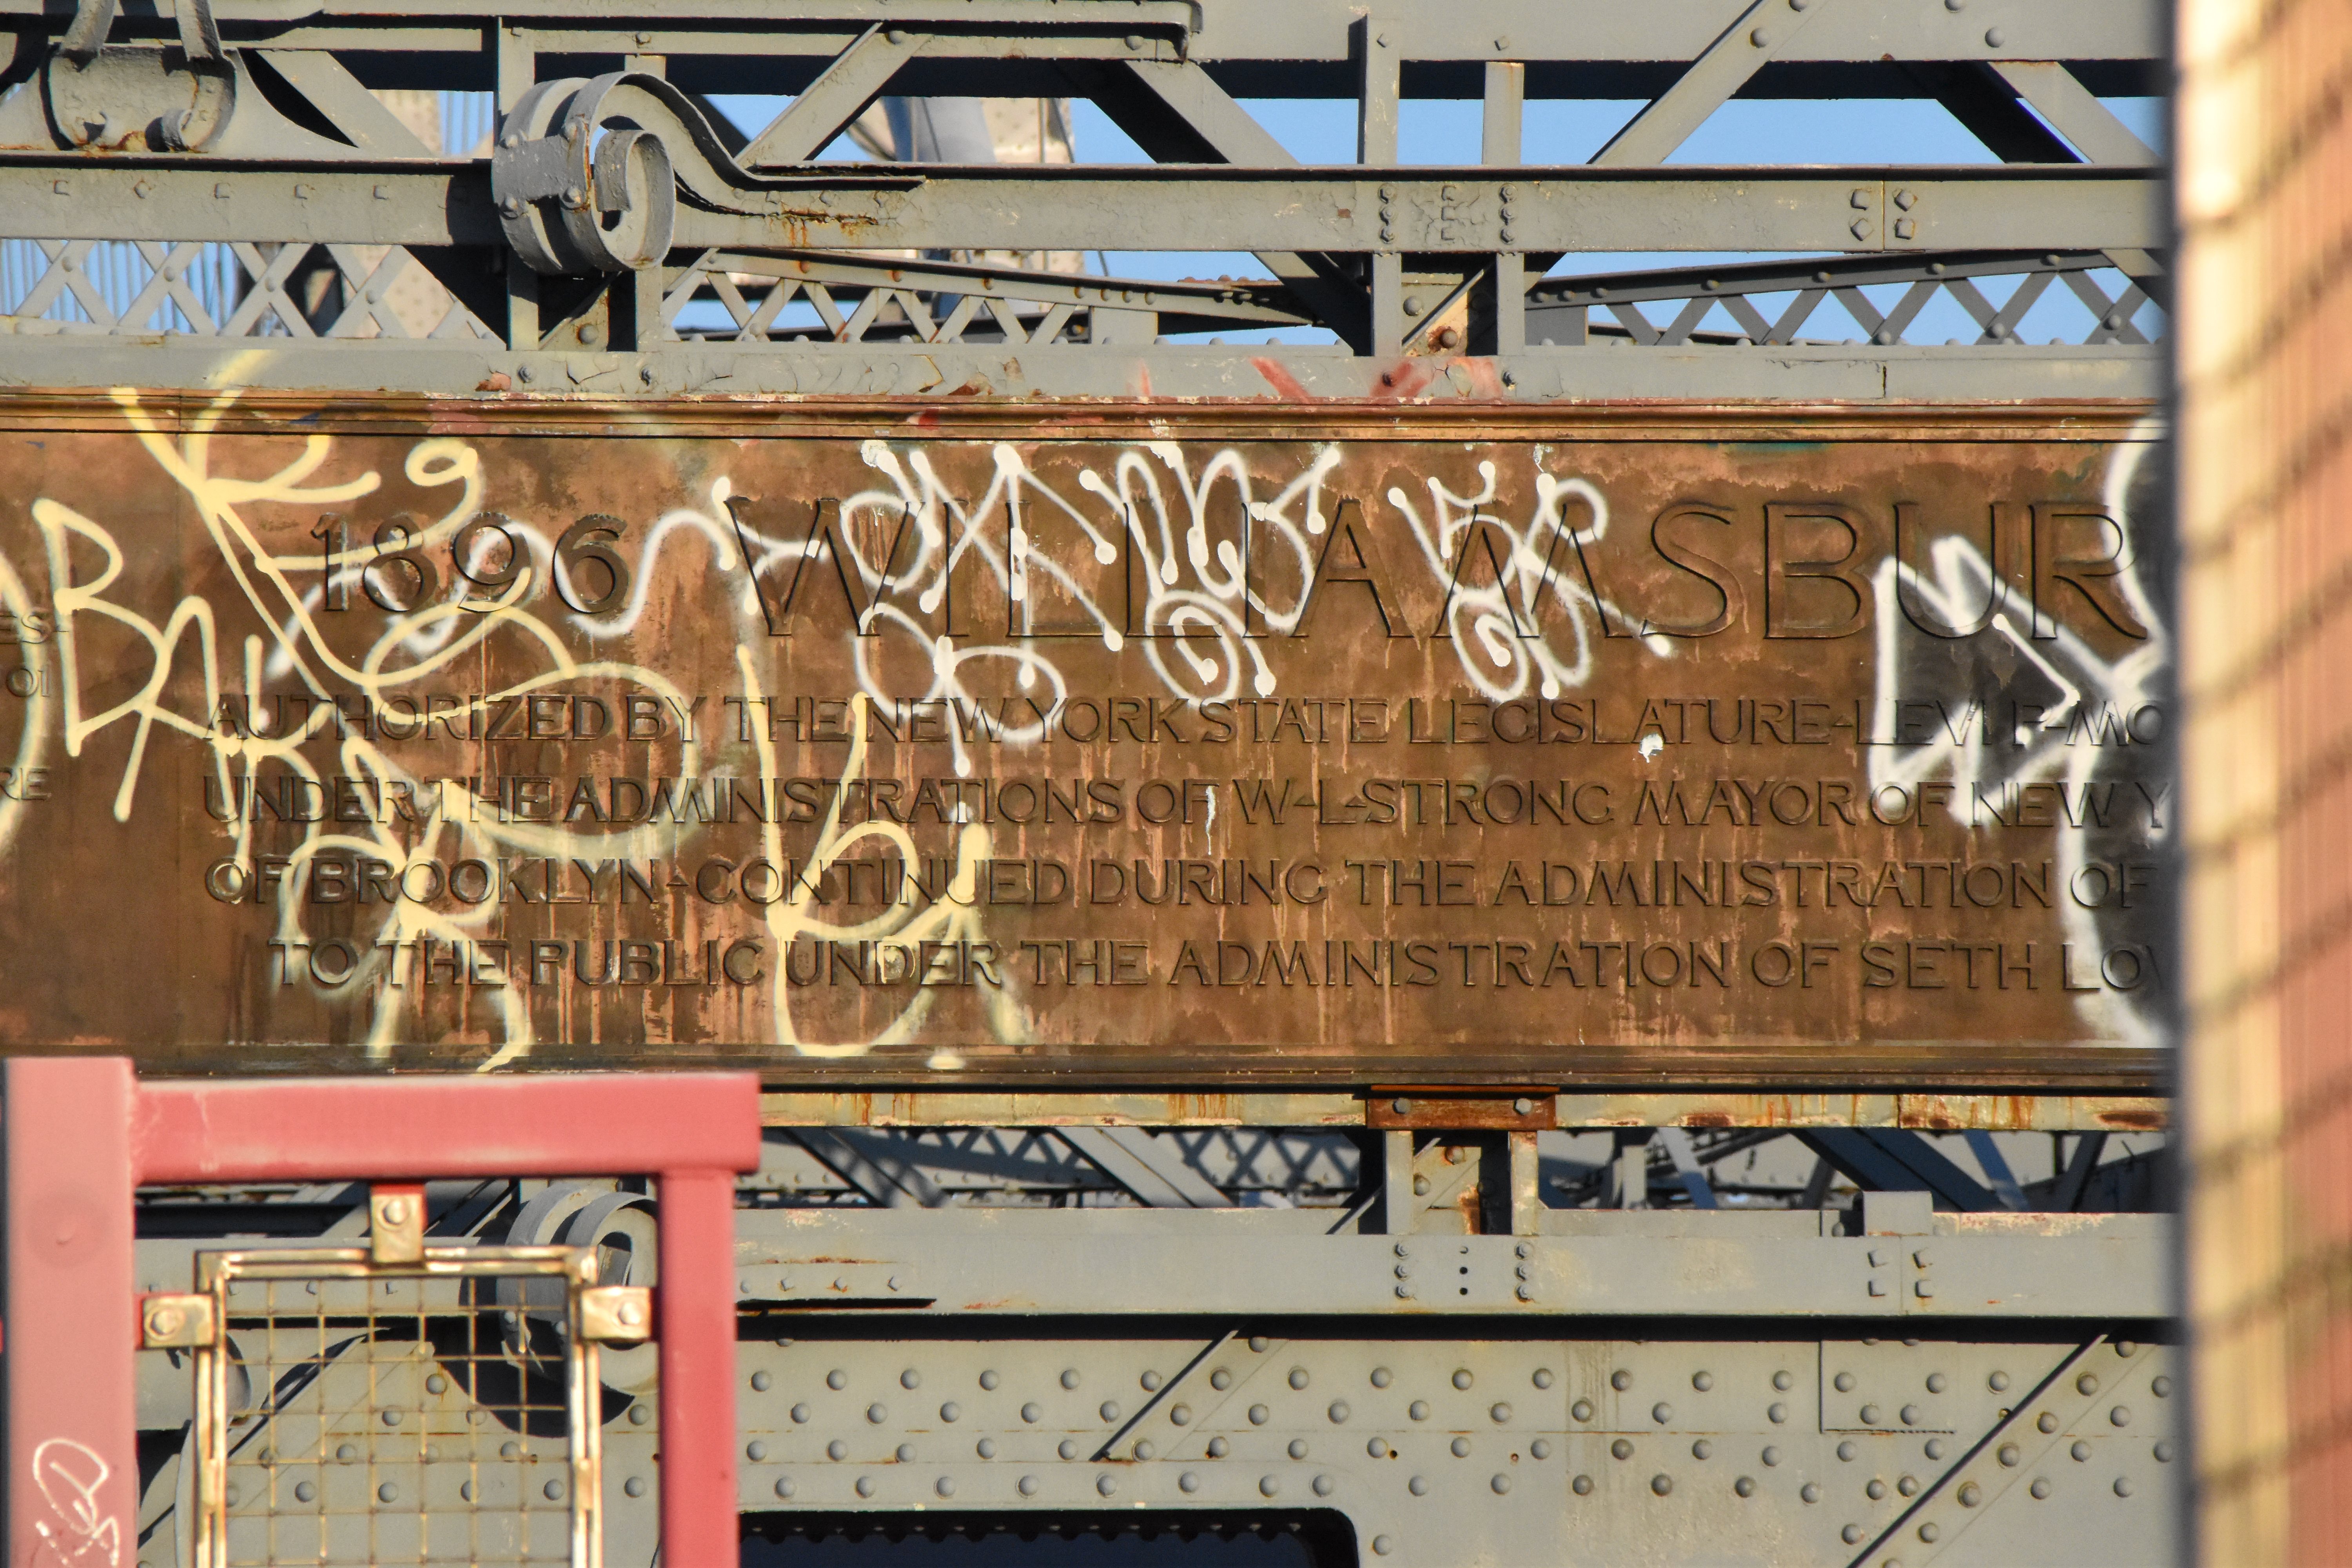


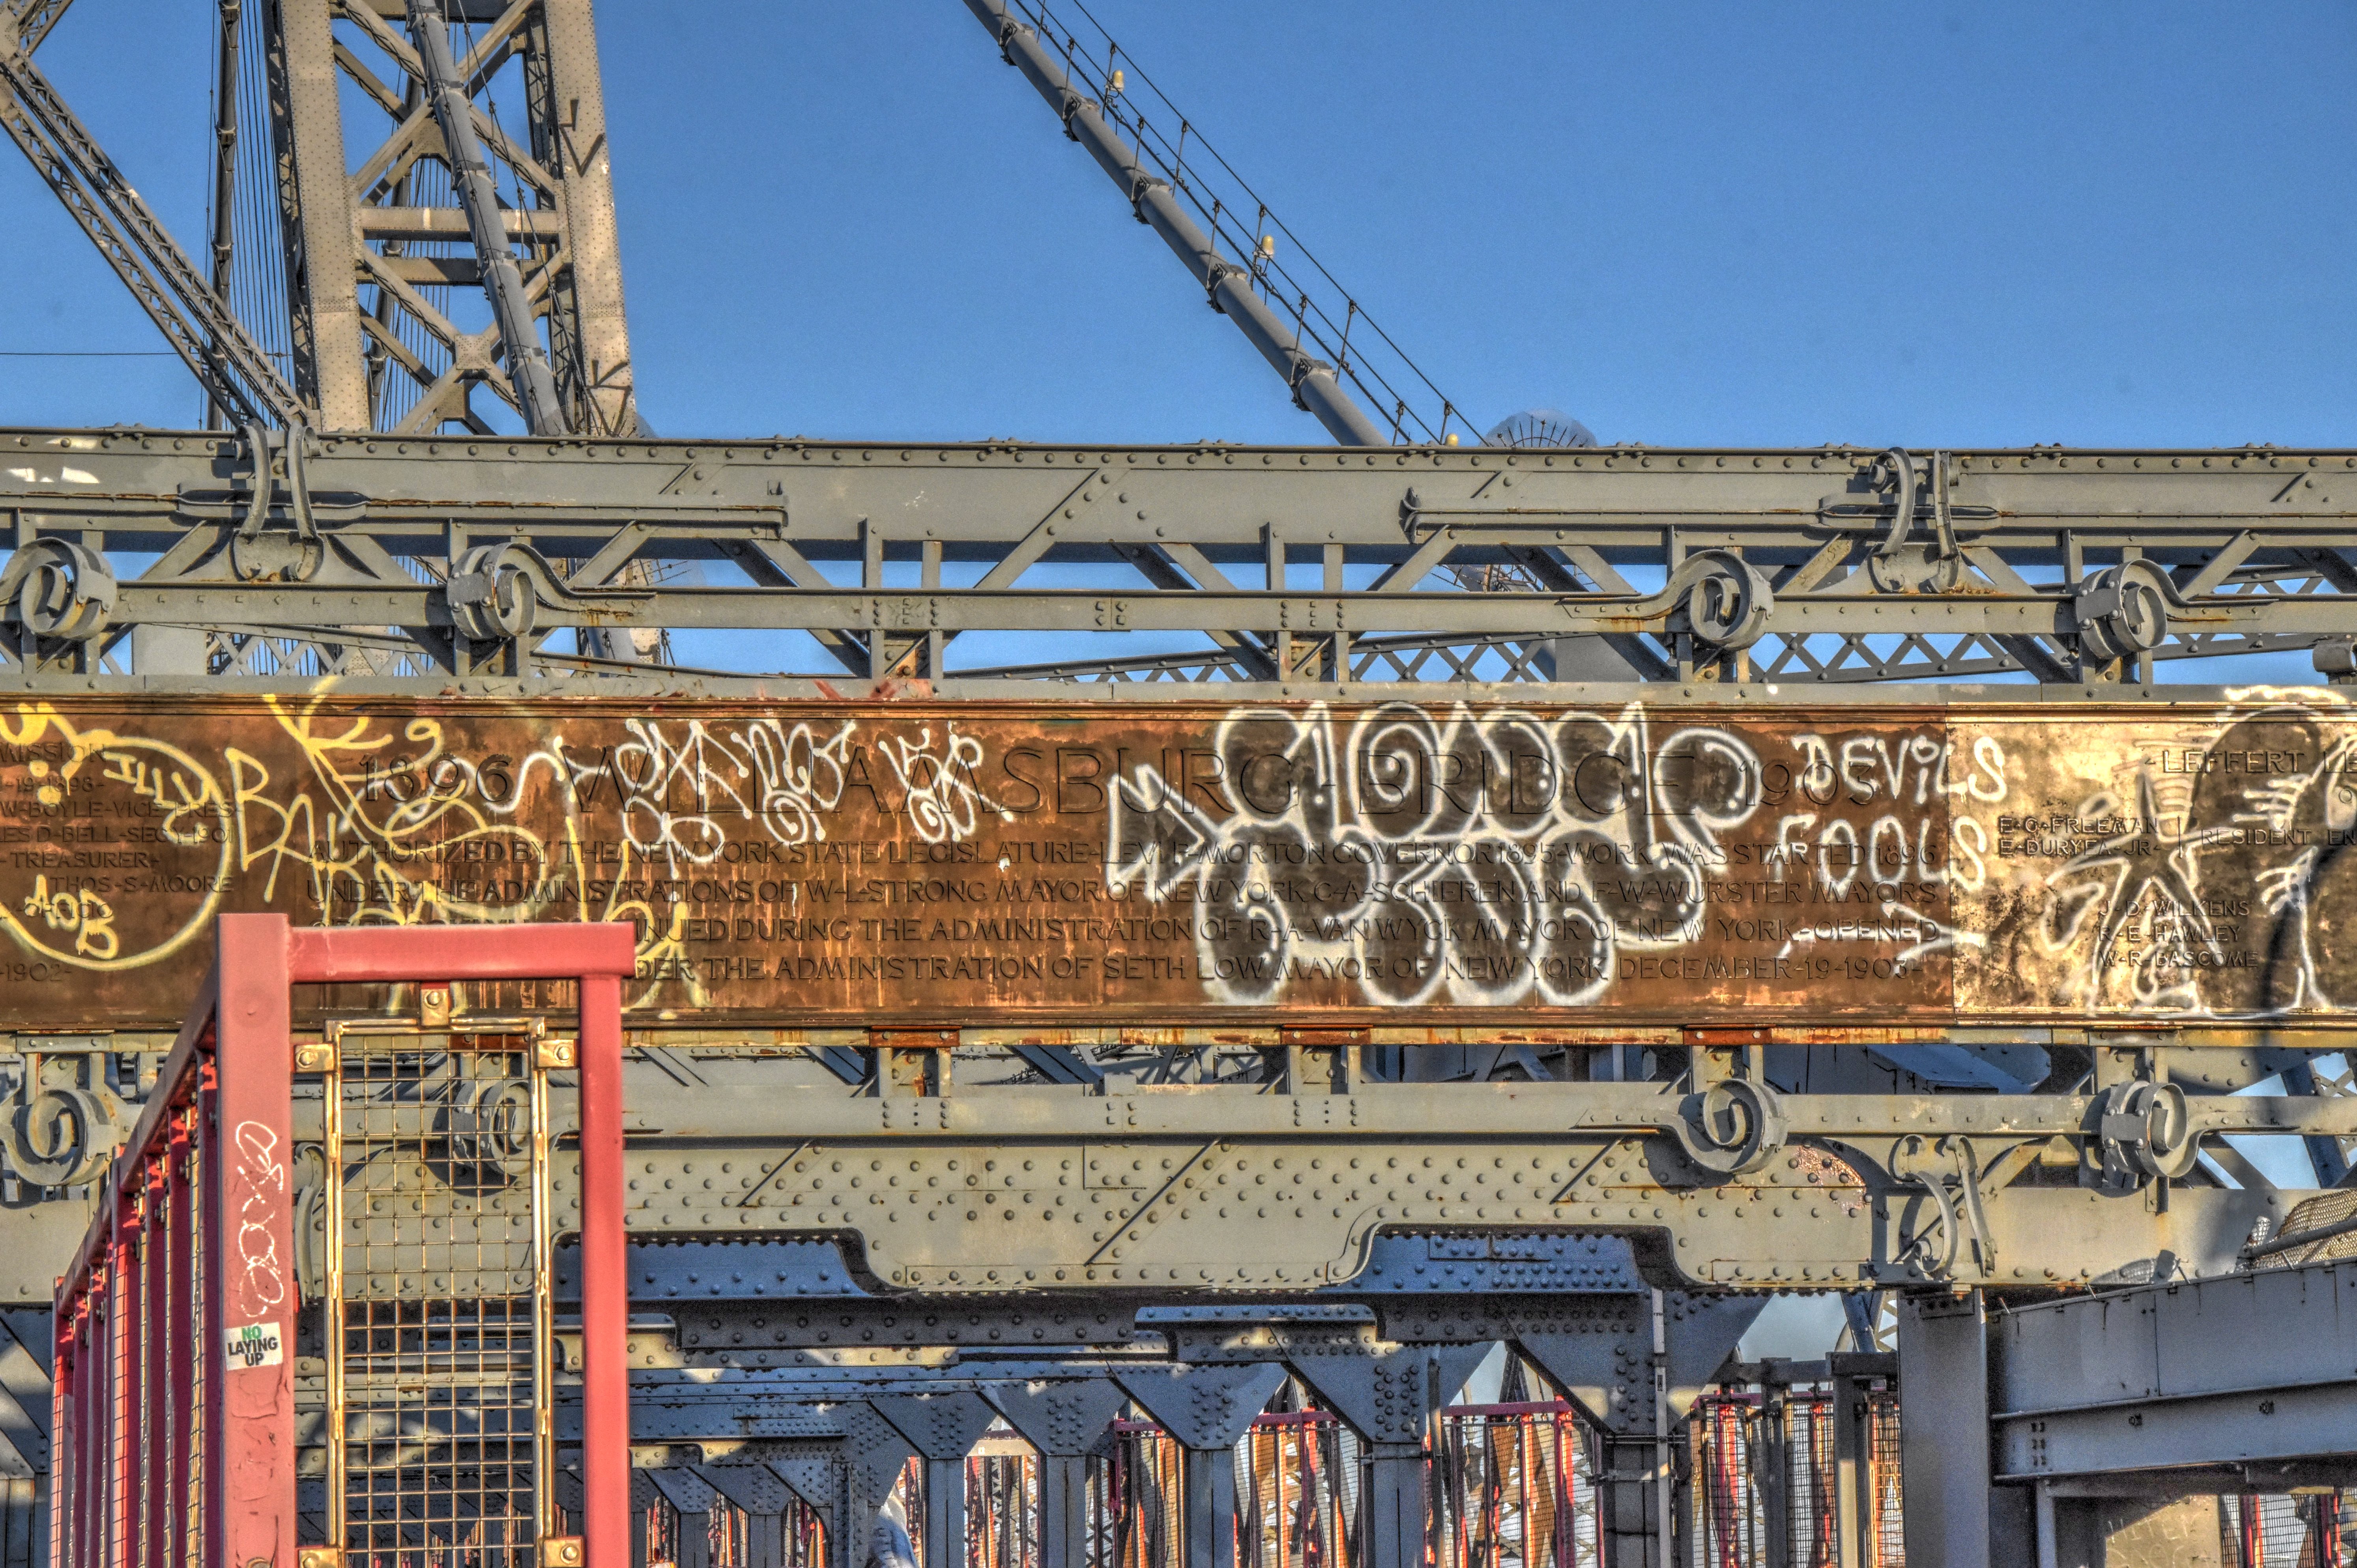


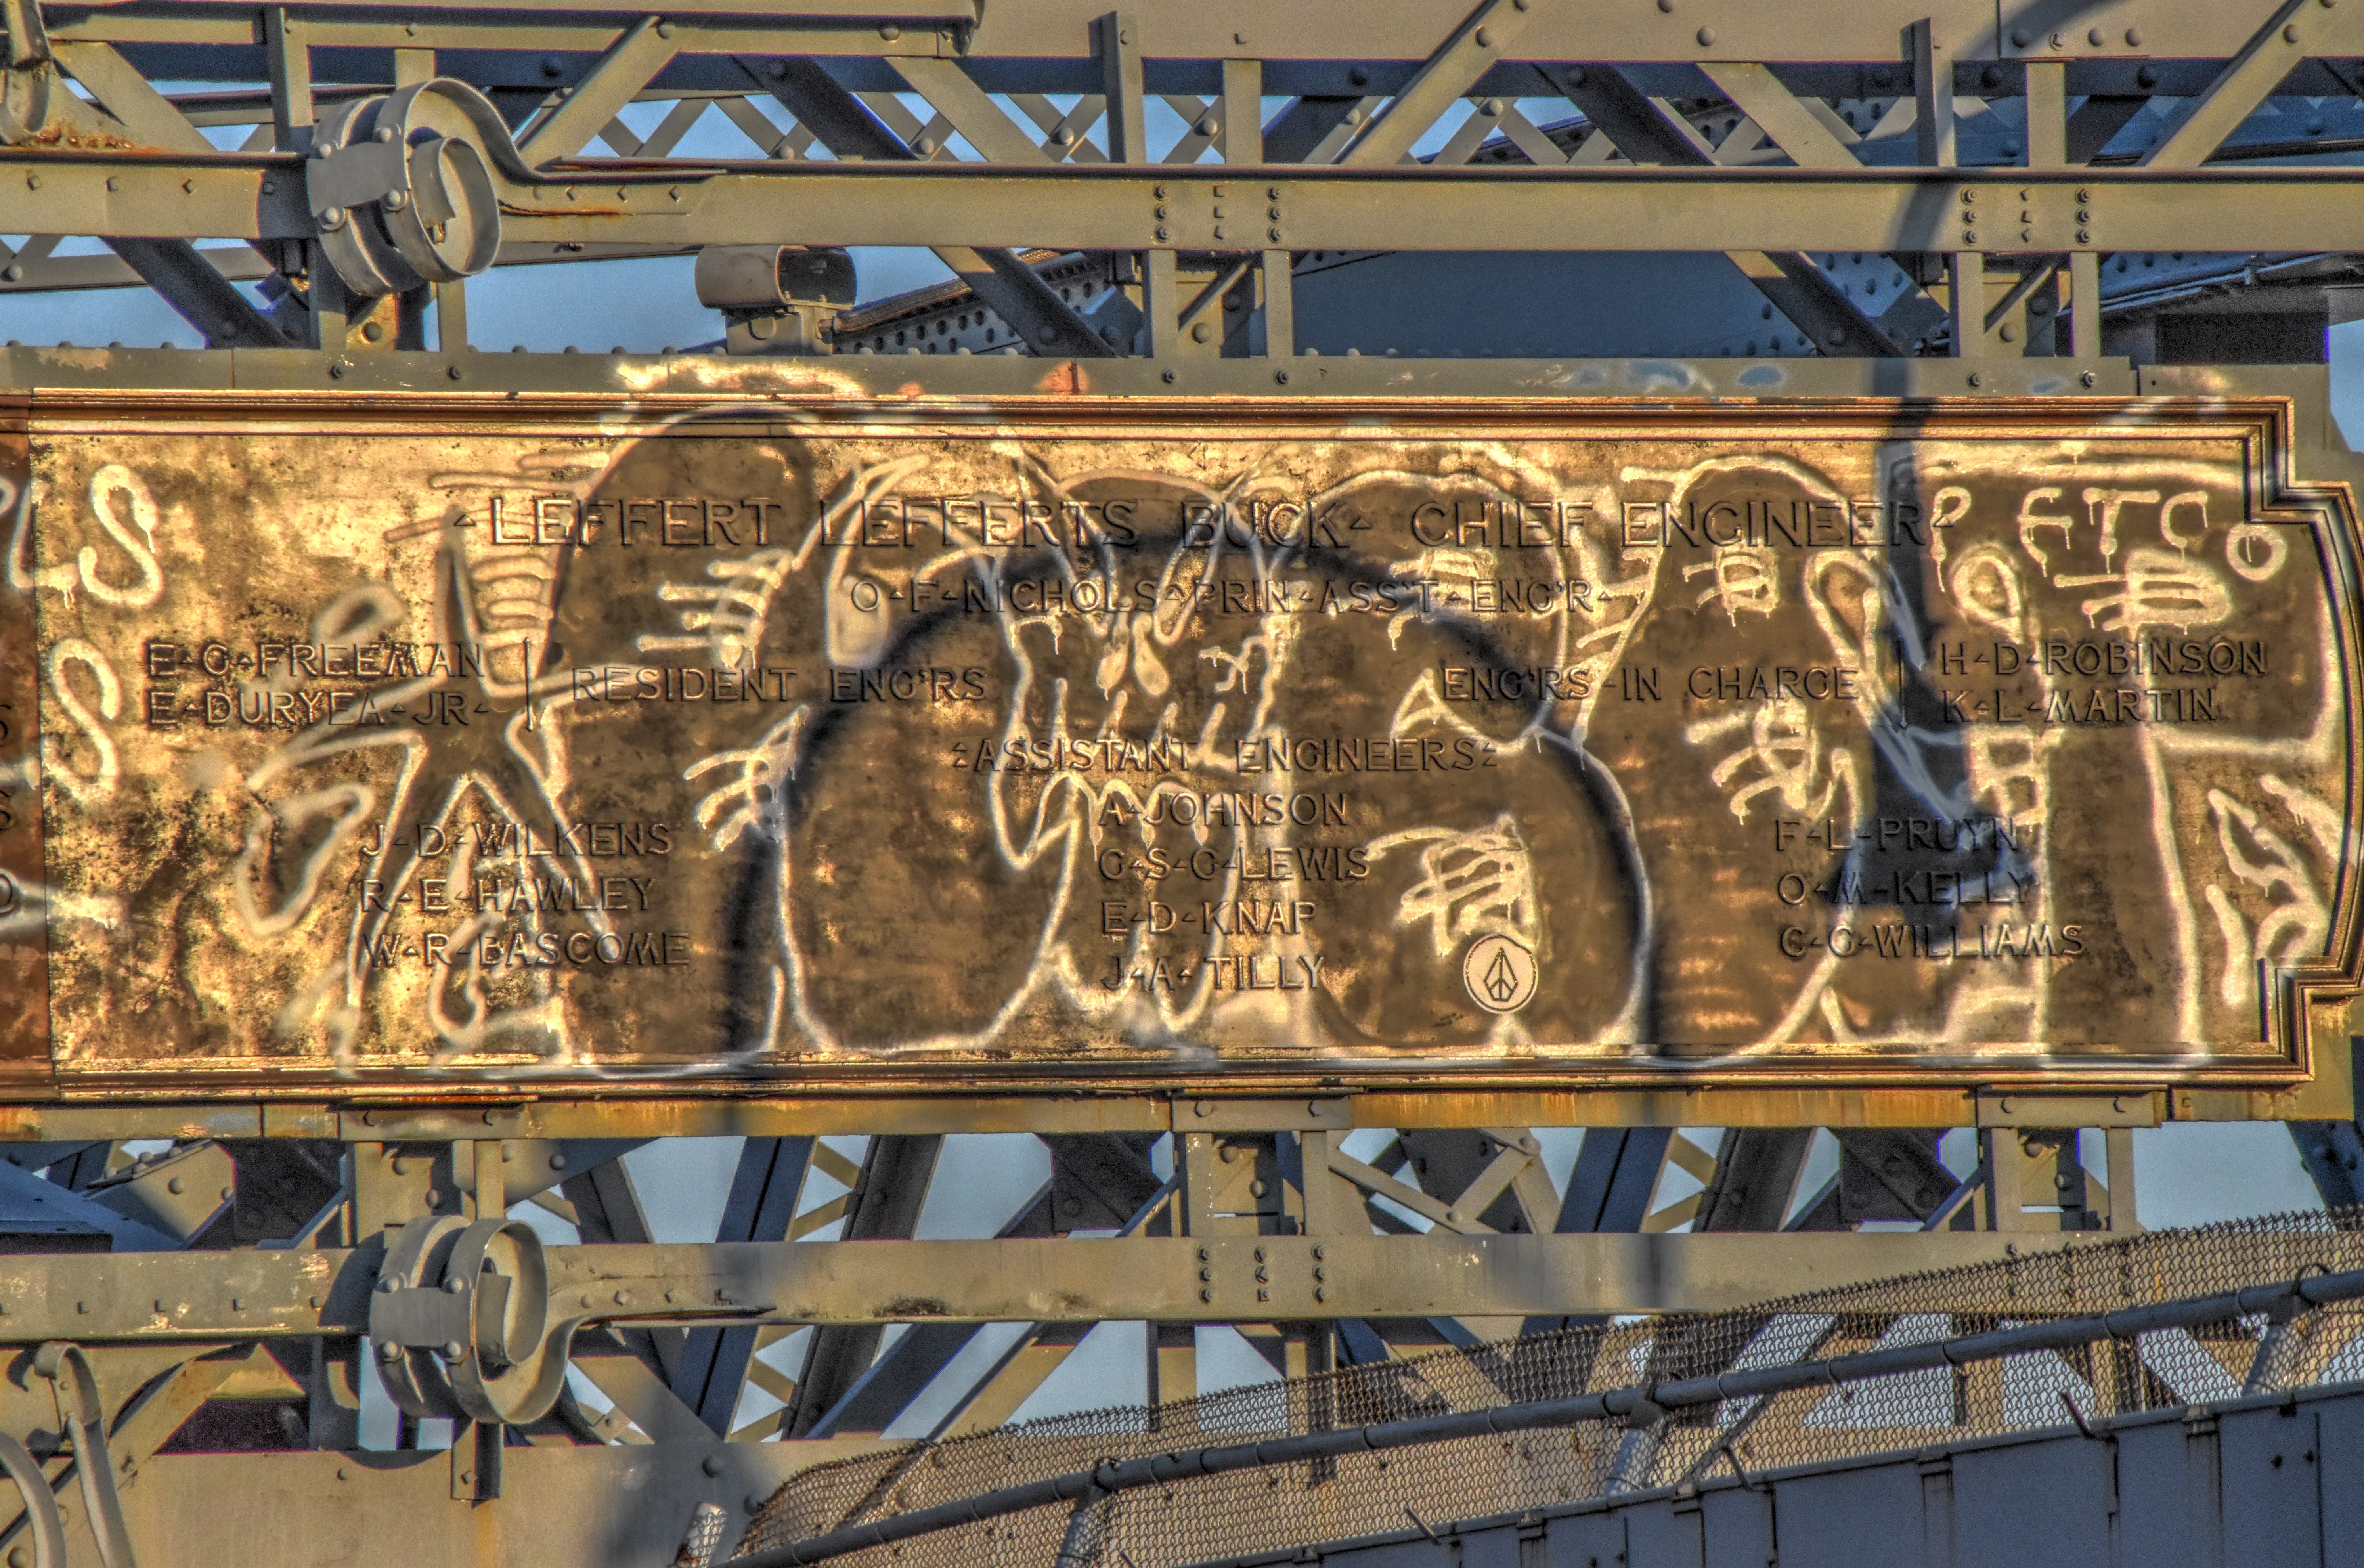


Main plaque, west end, details.
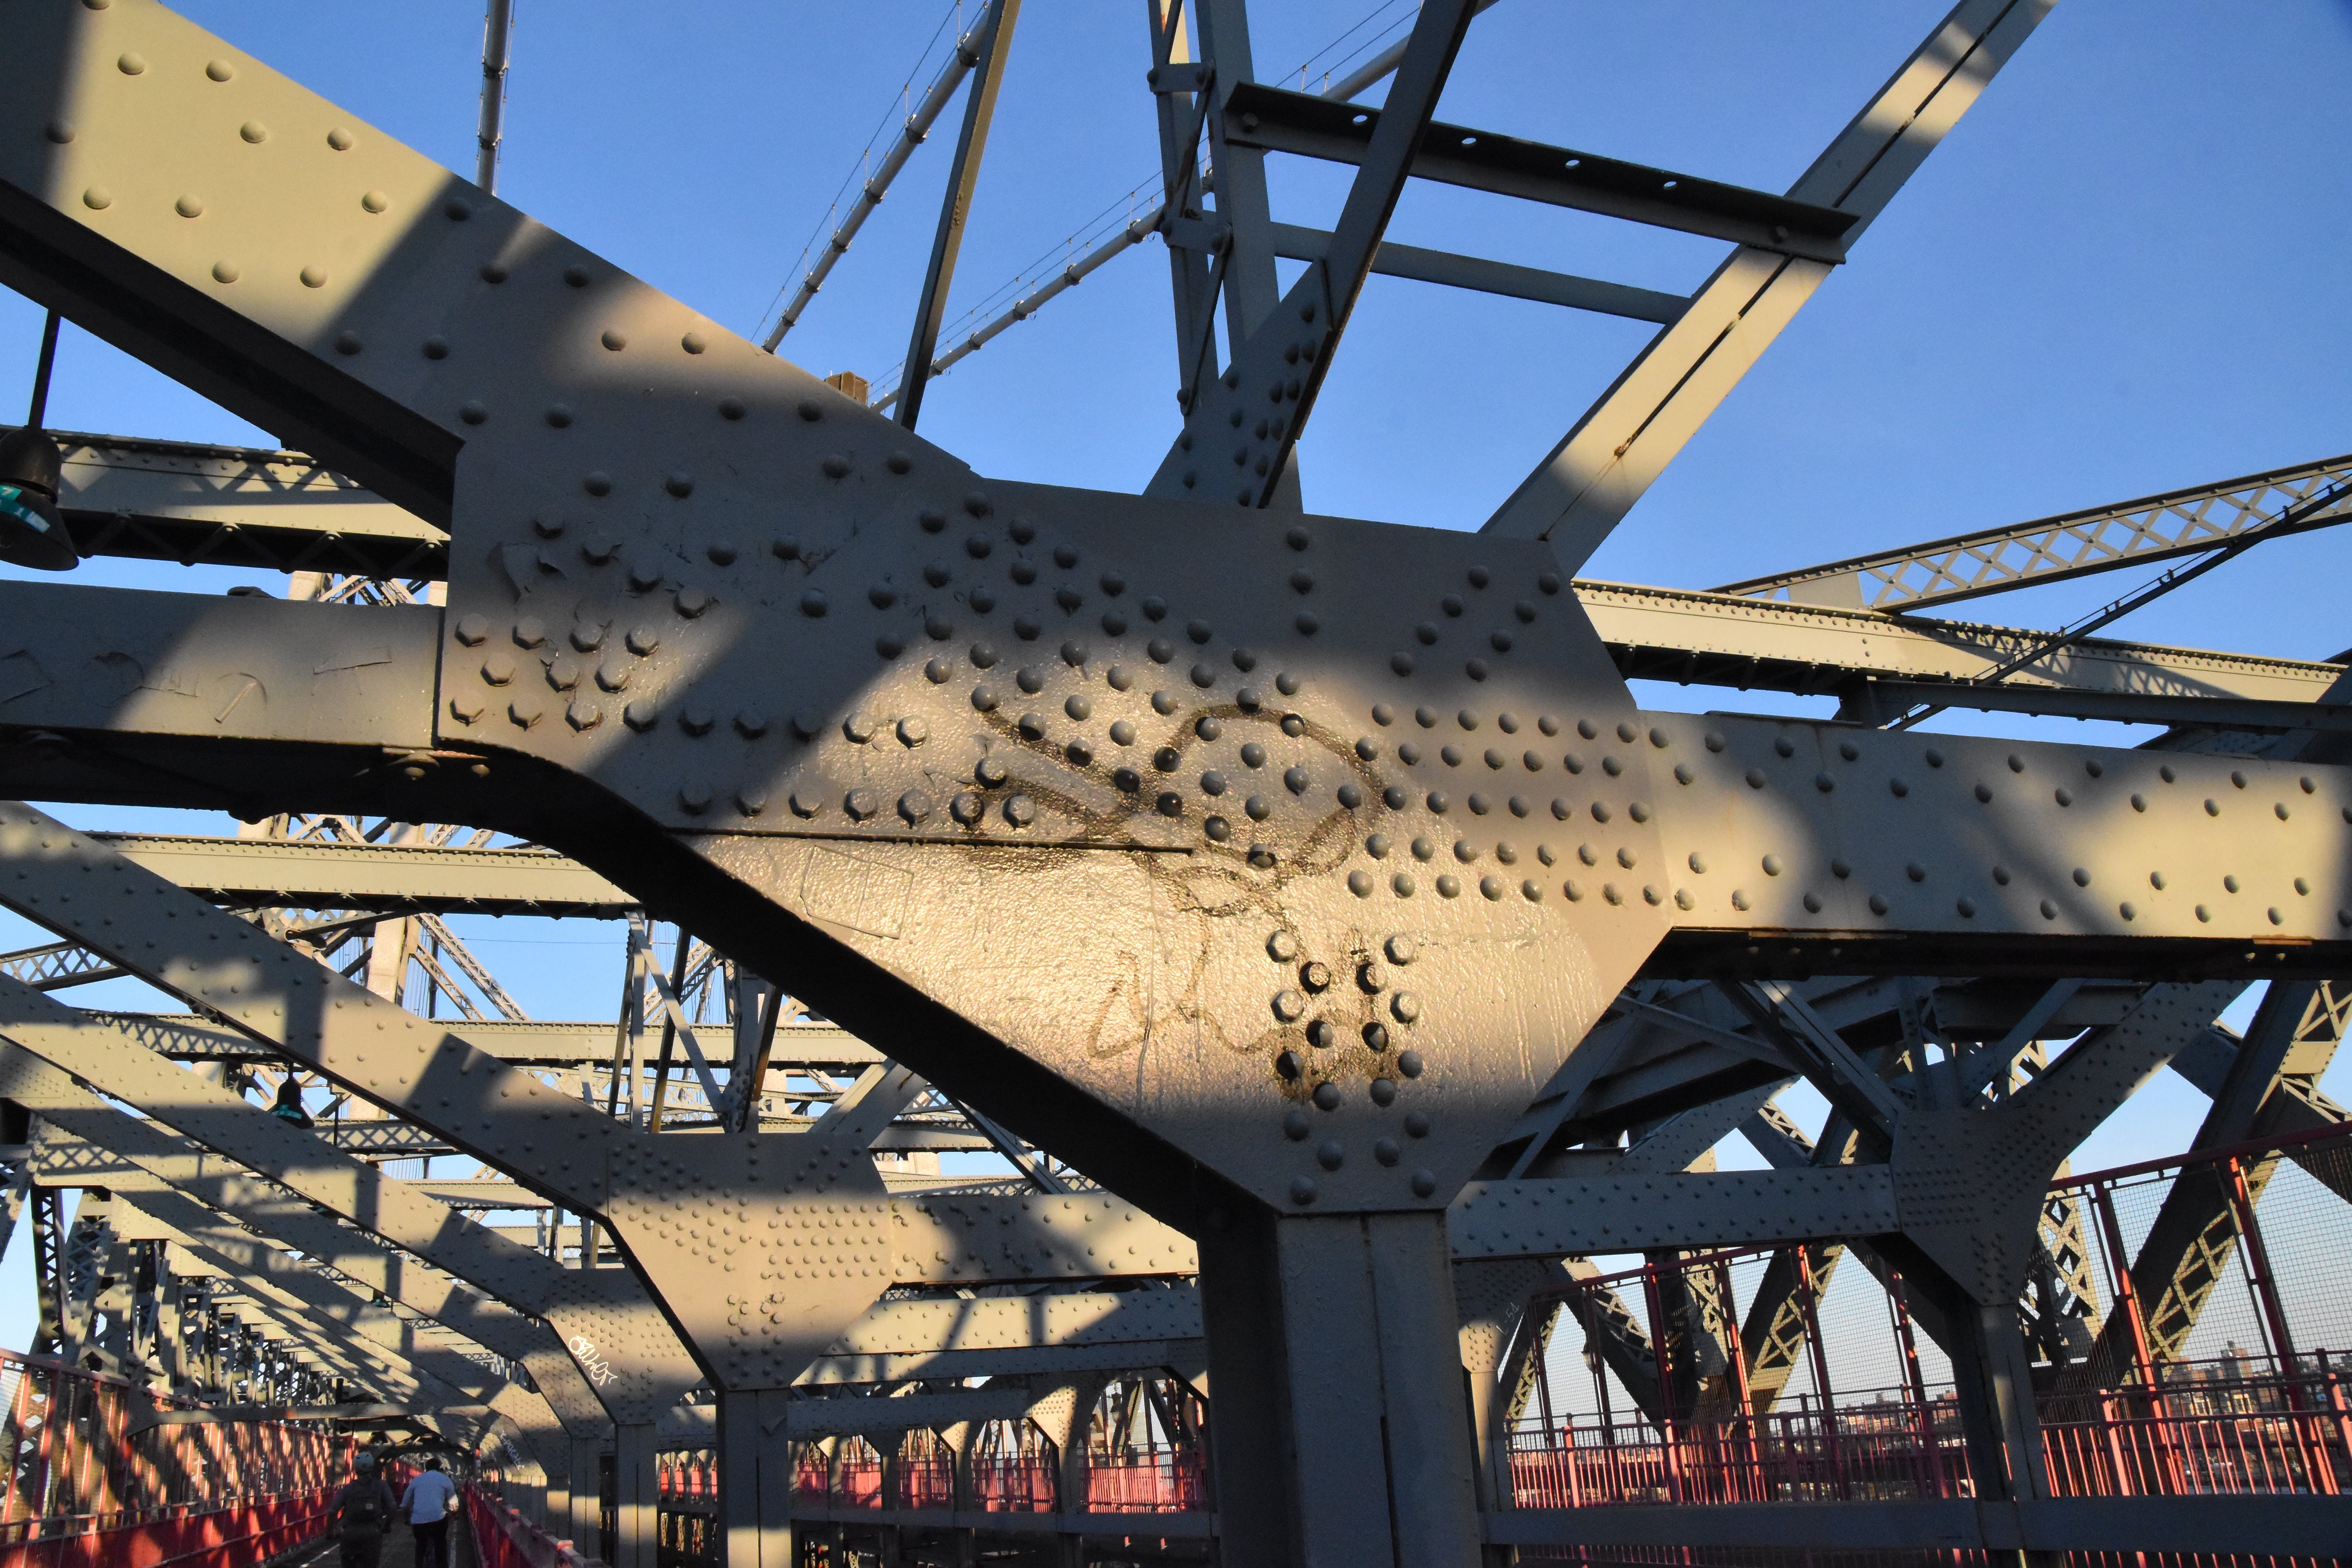
![]()


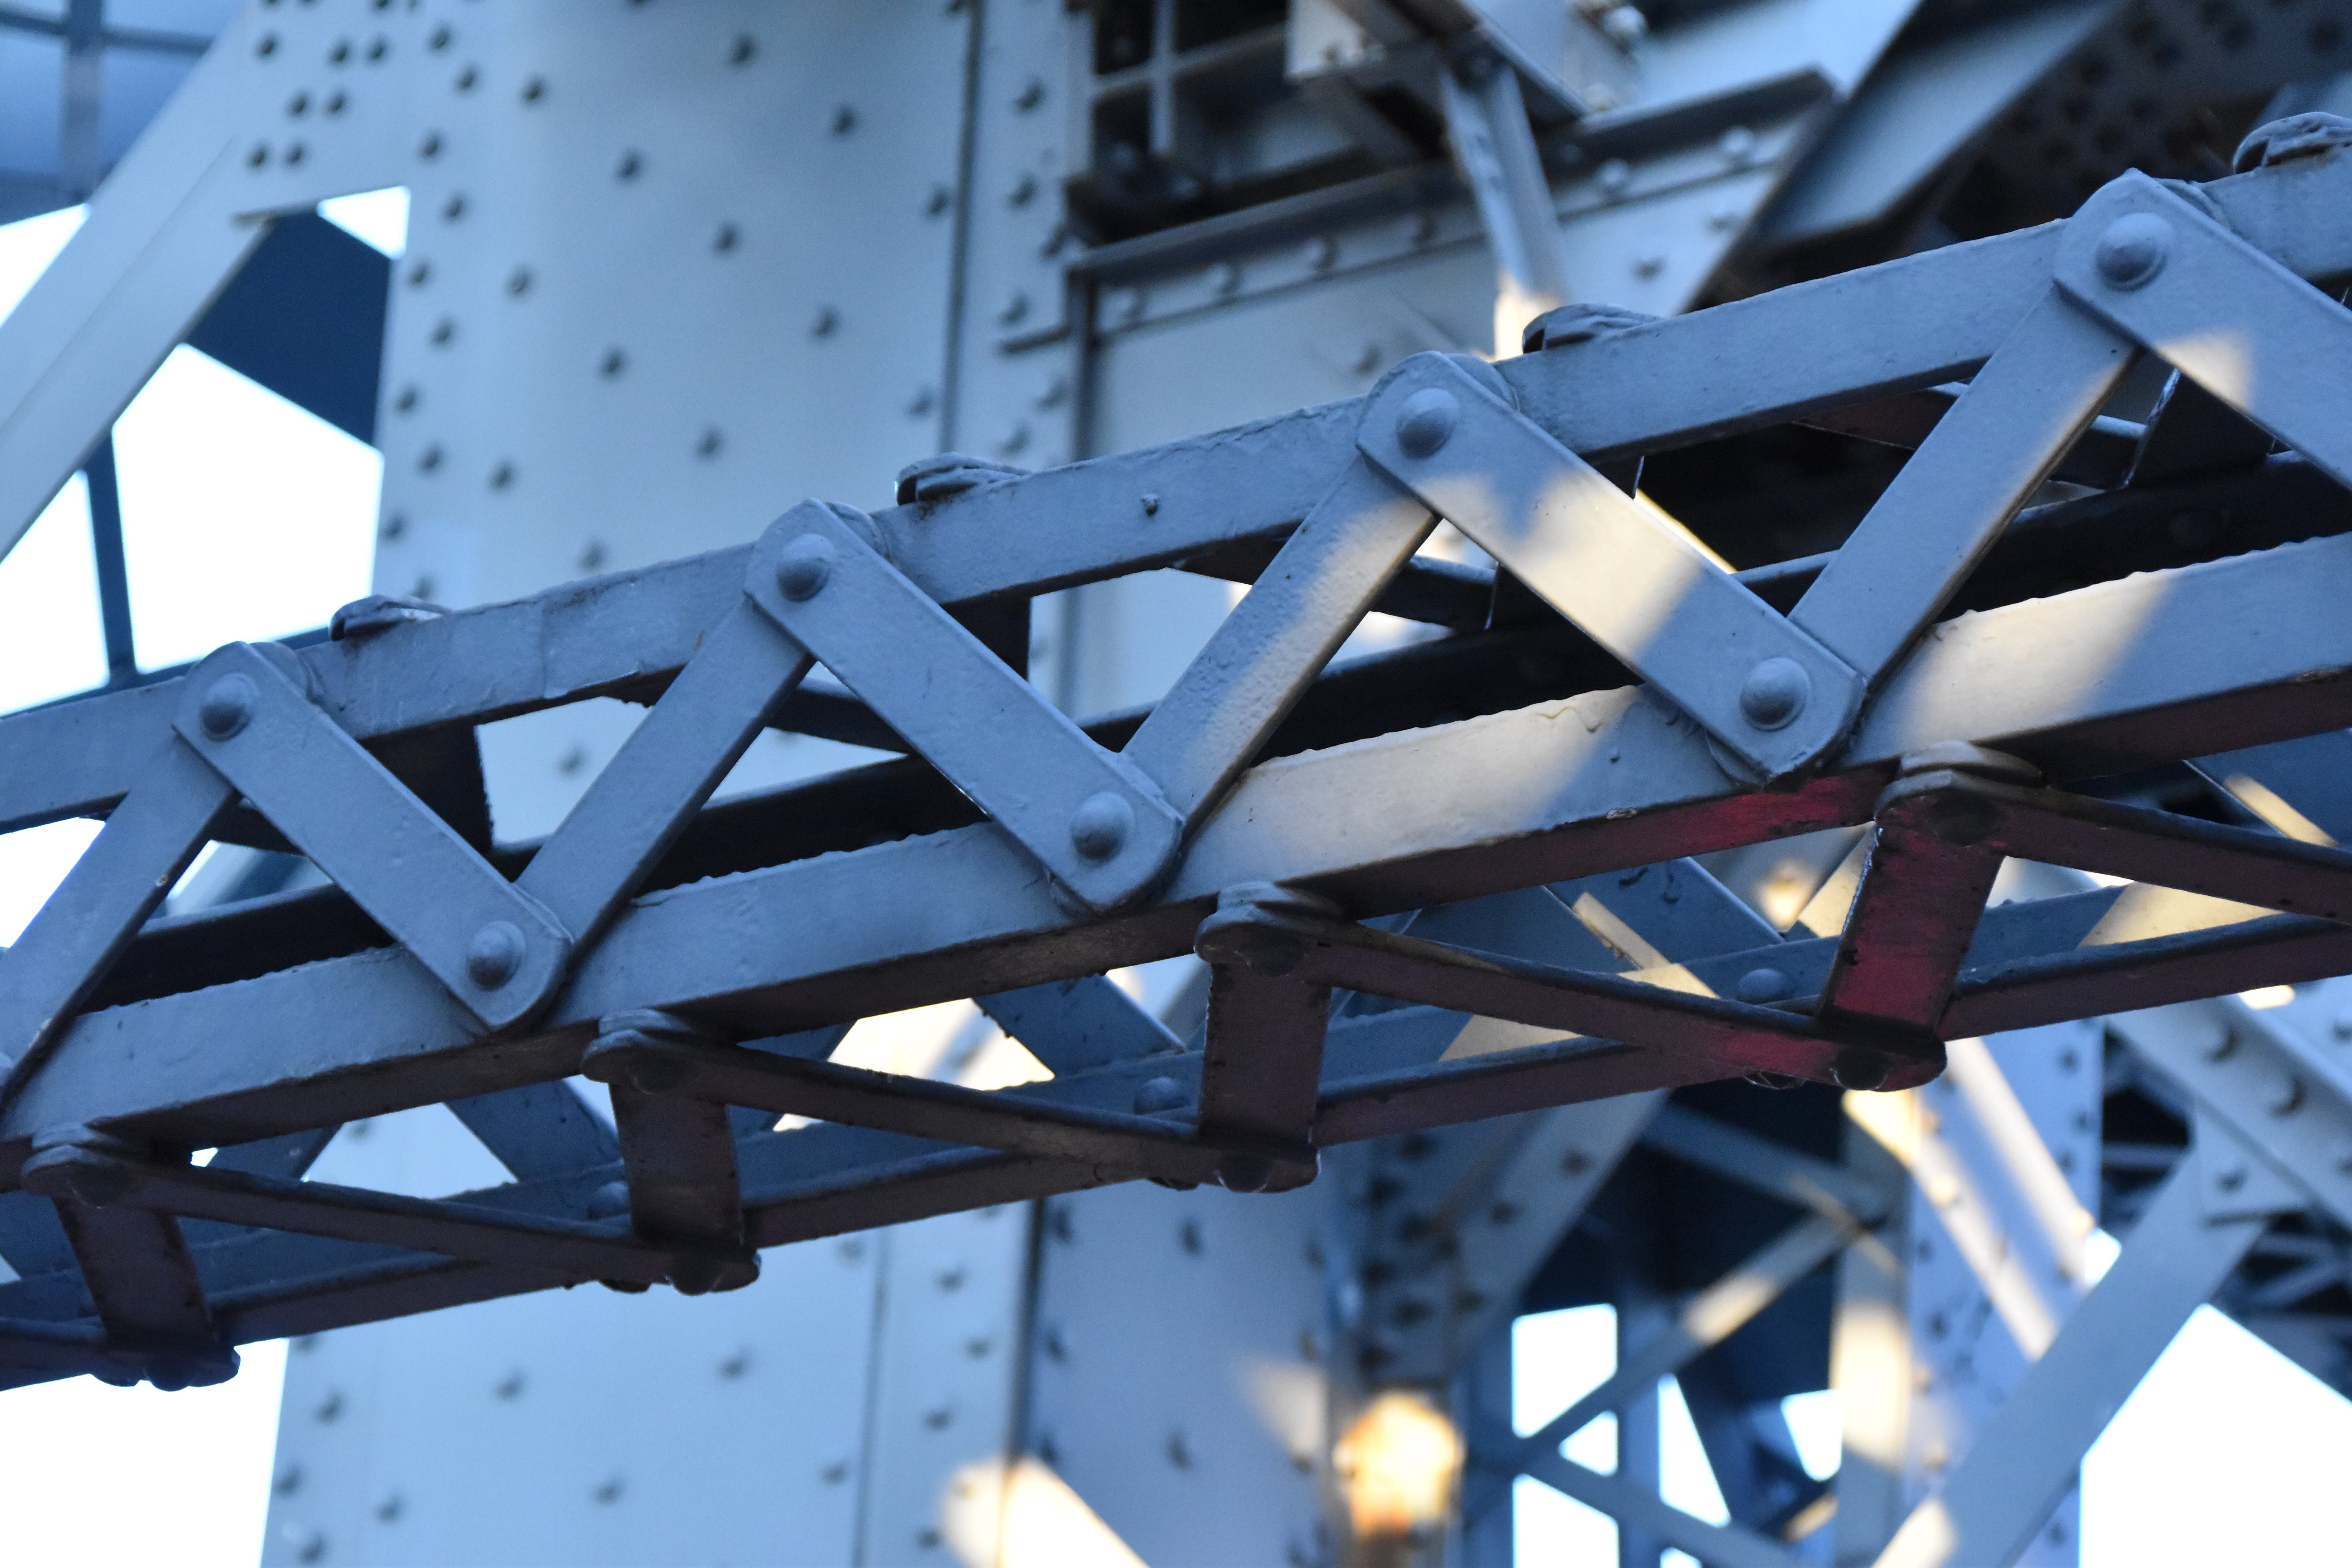
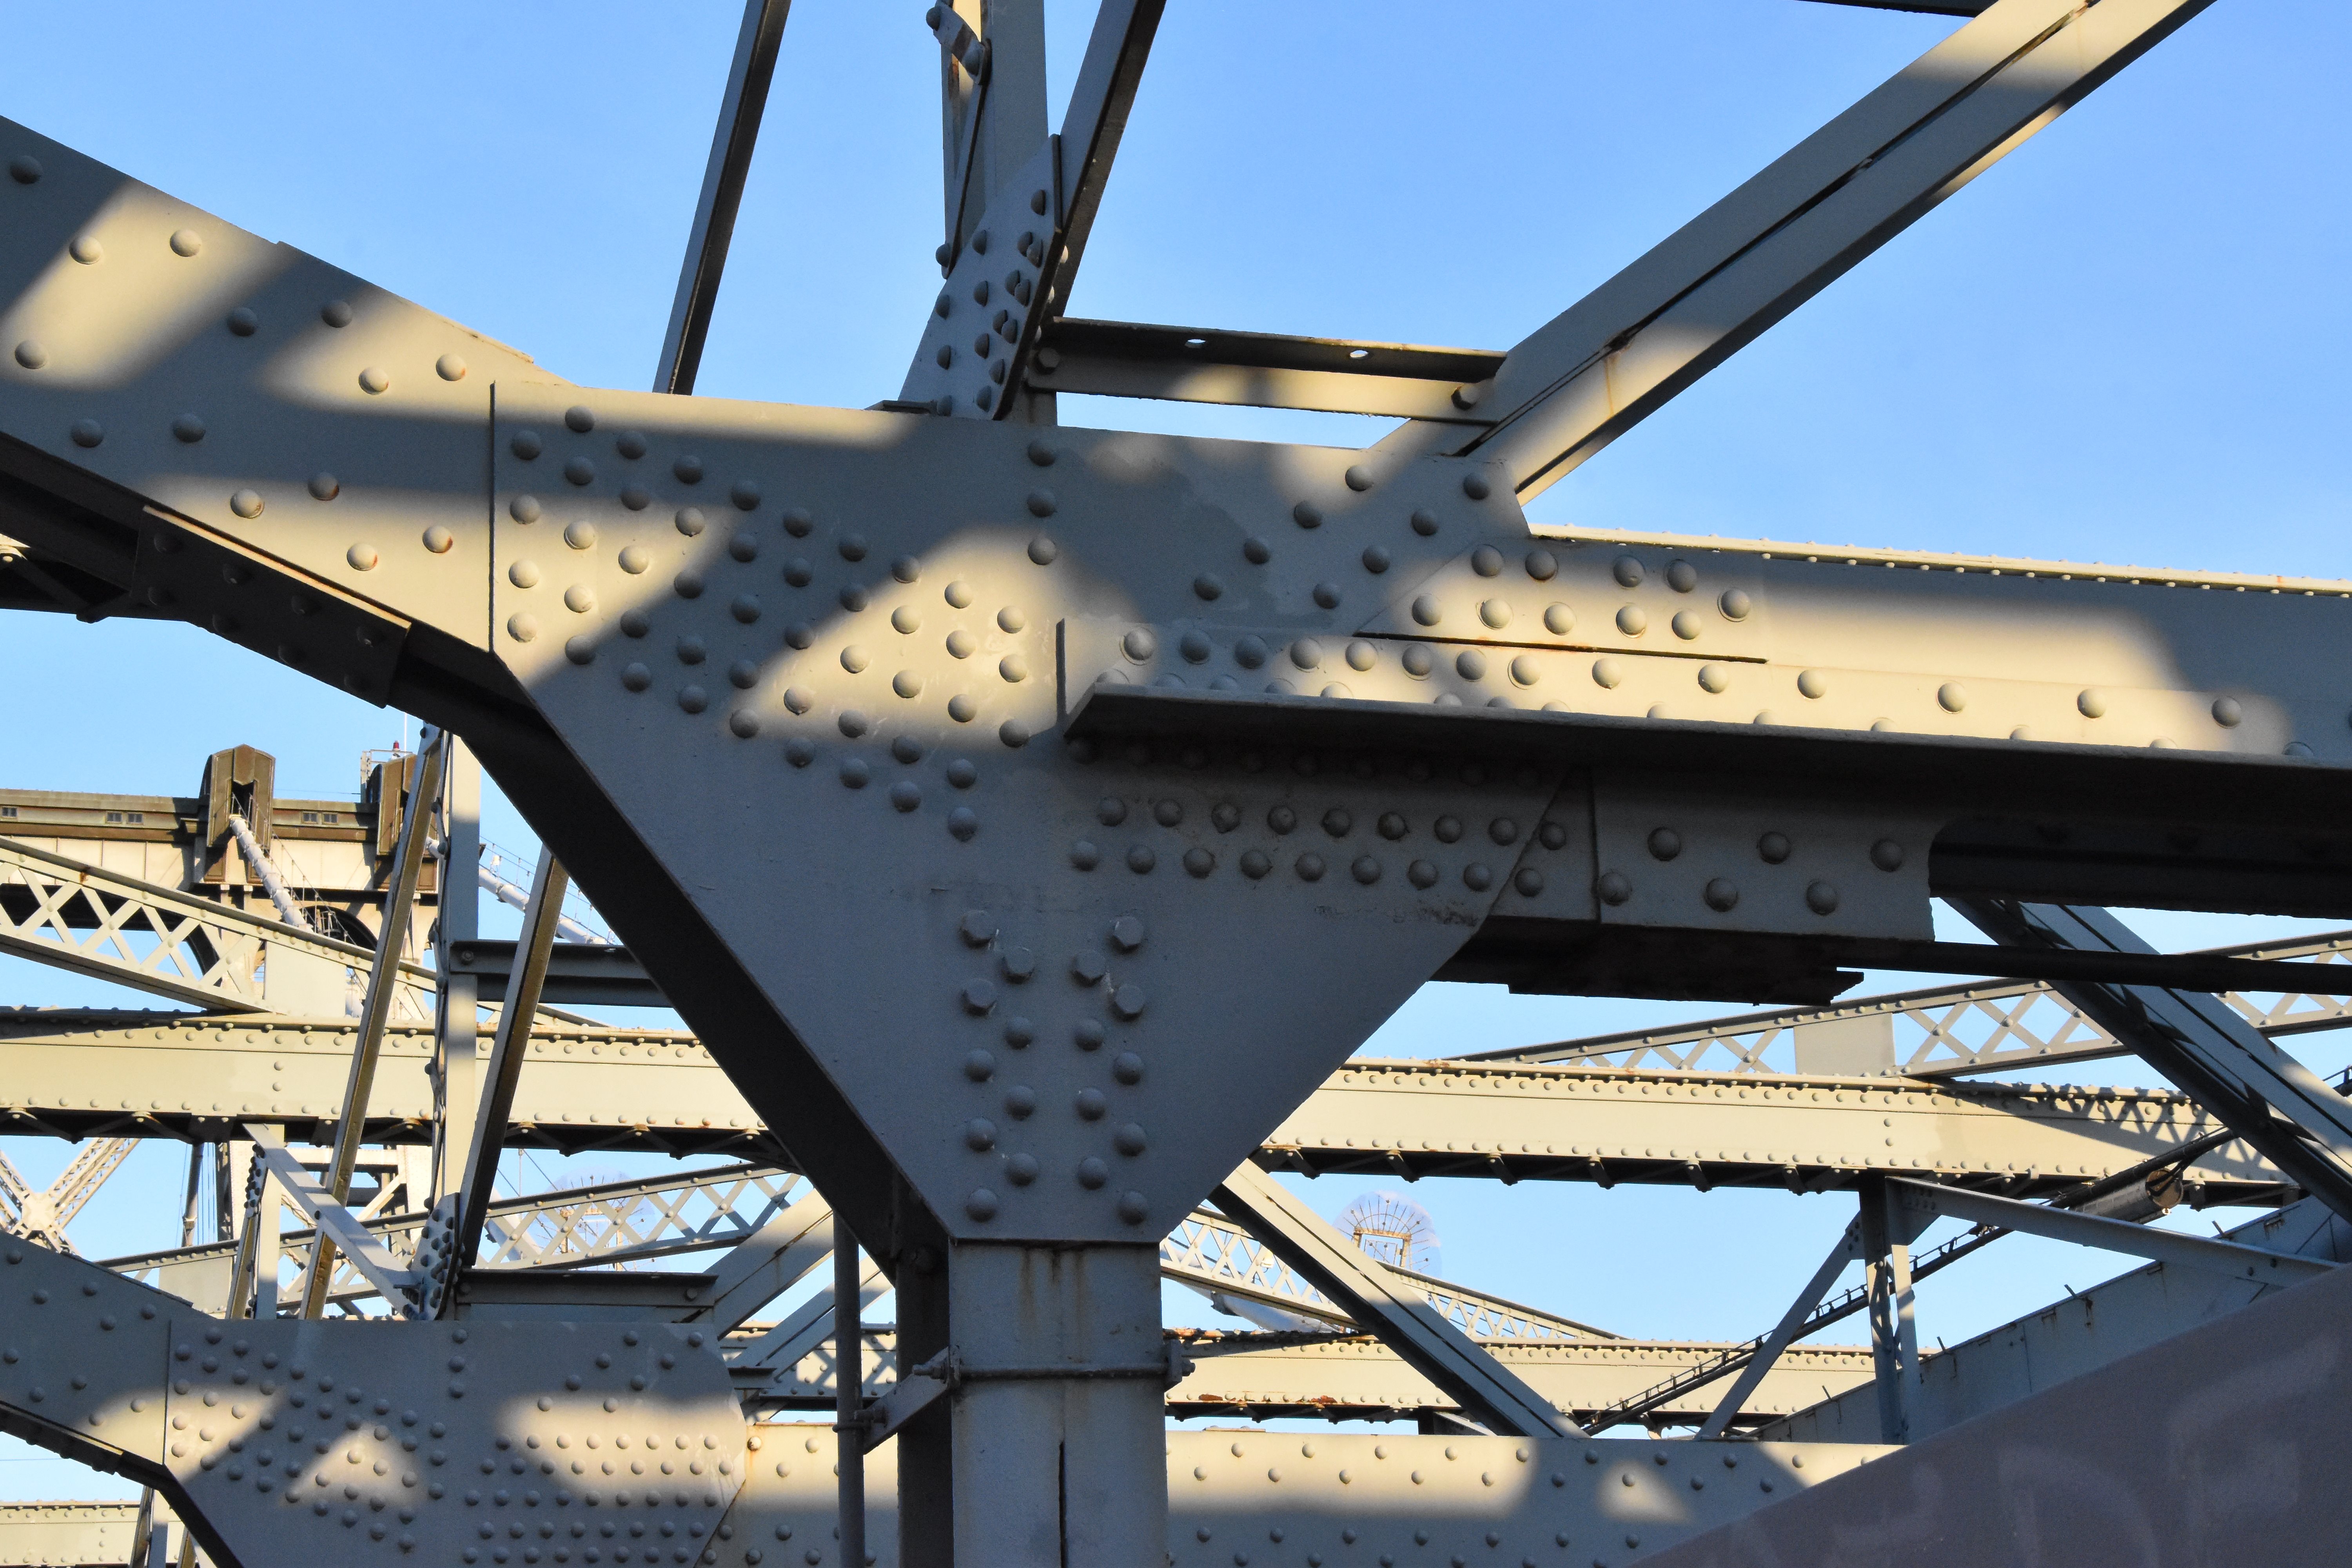
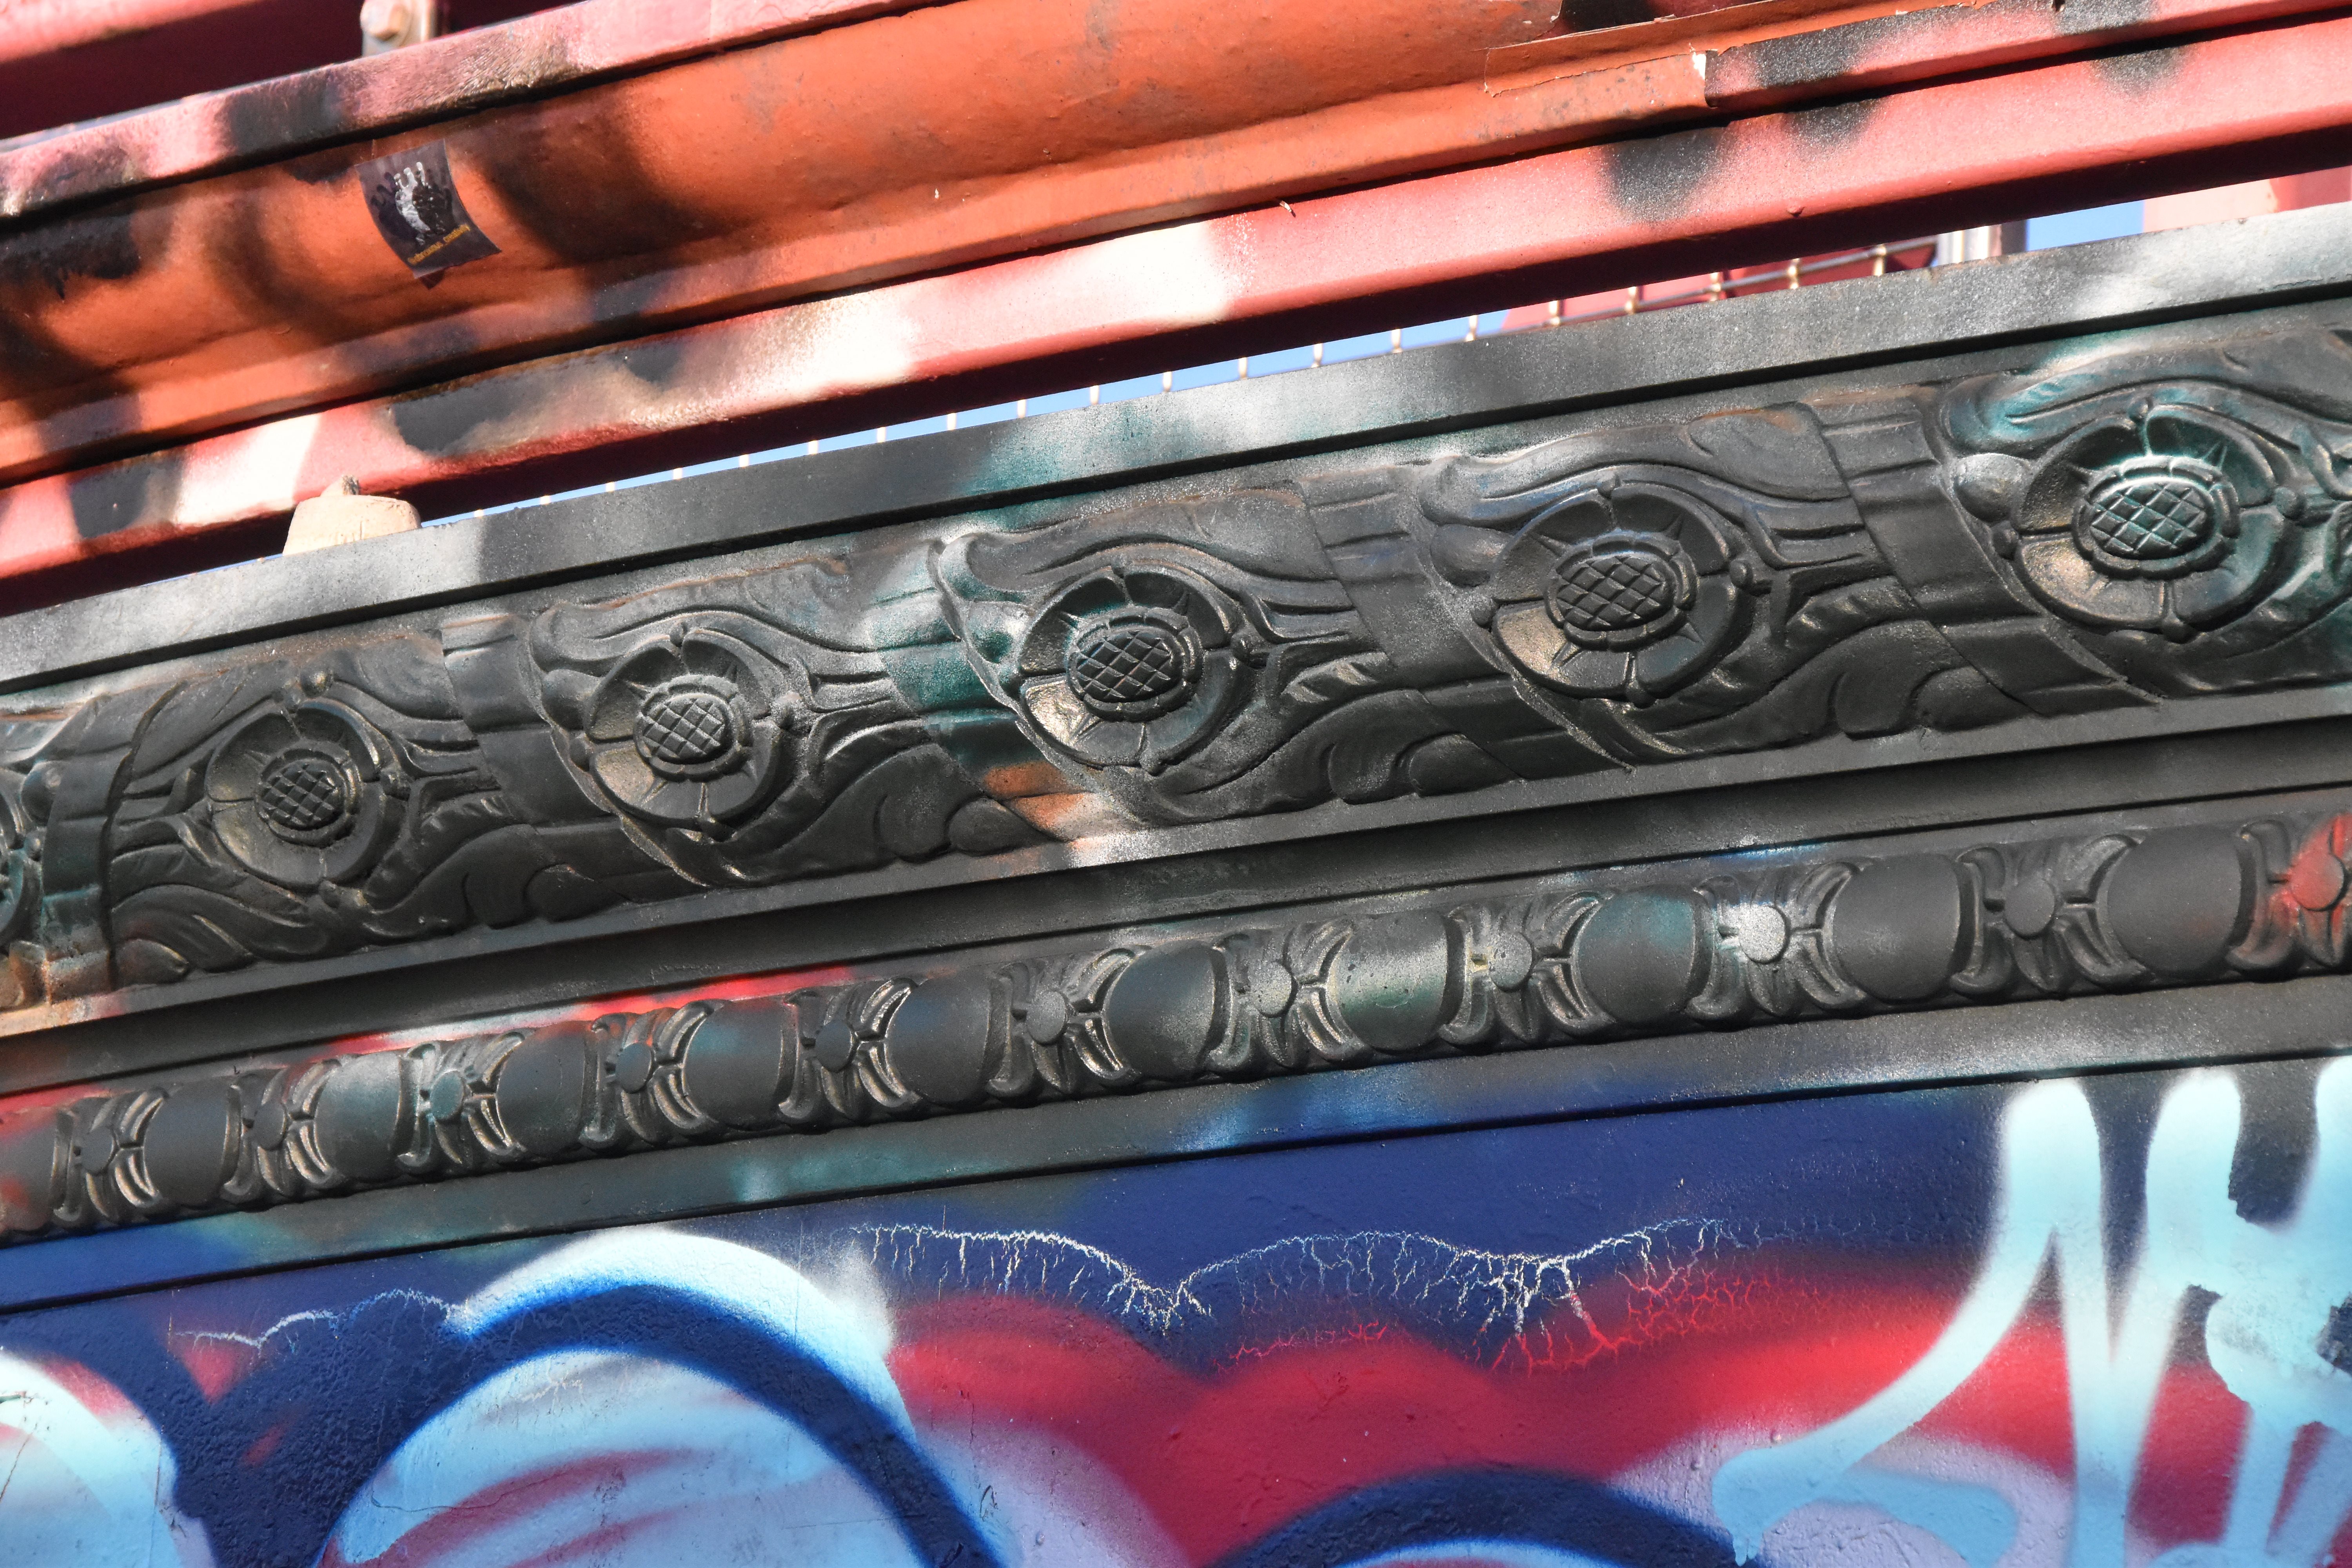
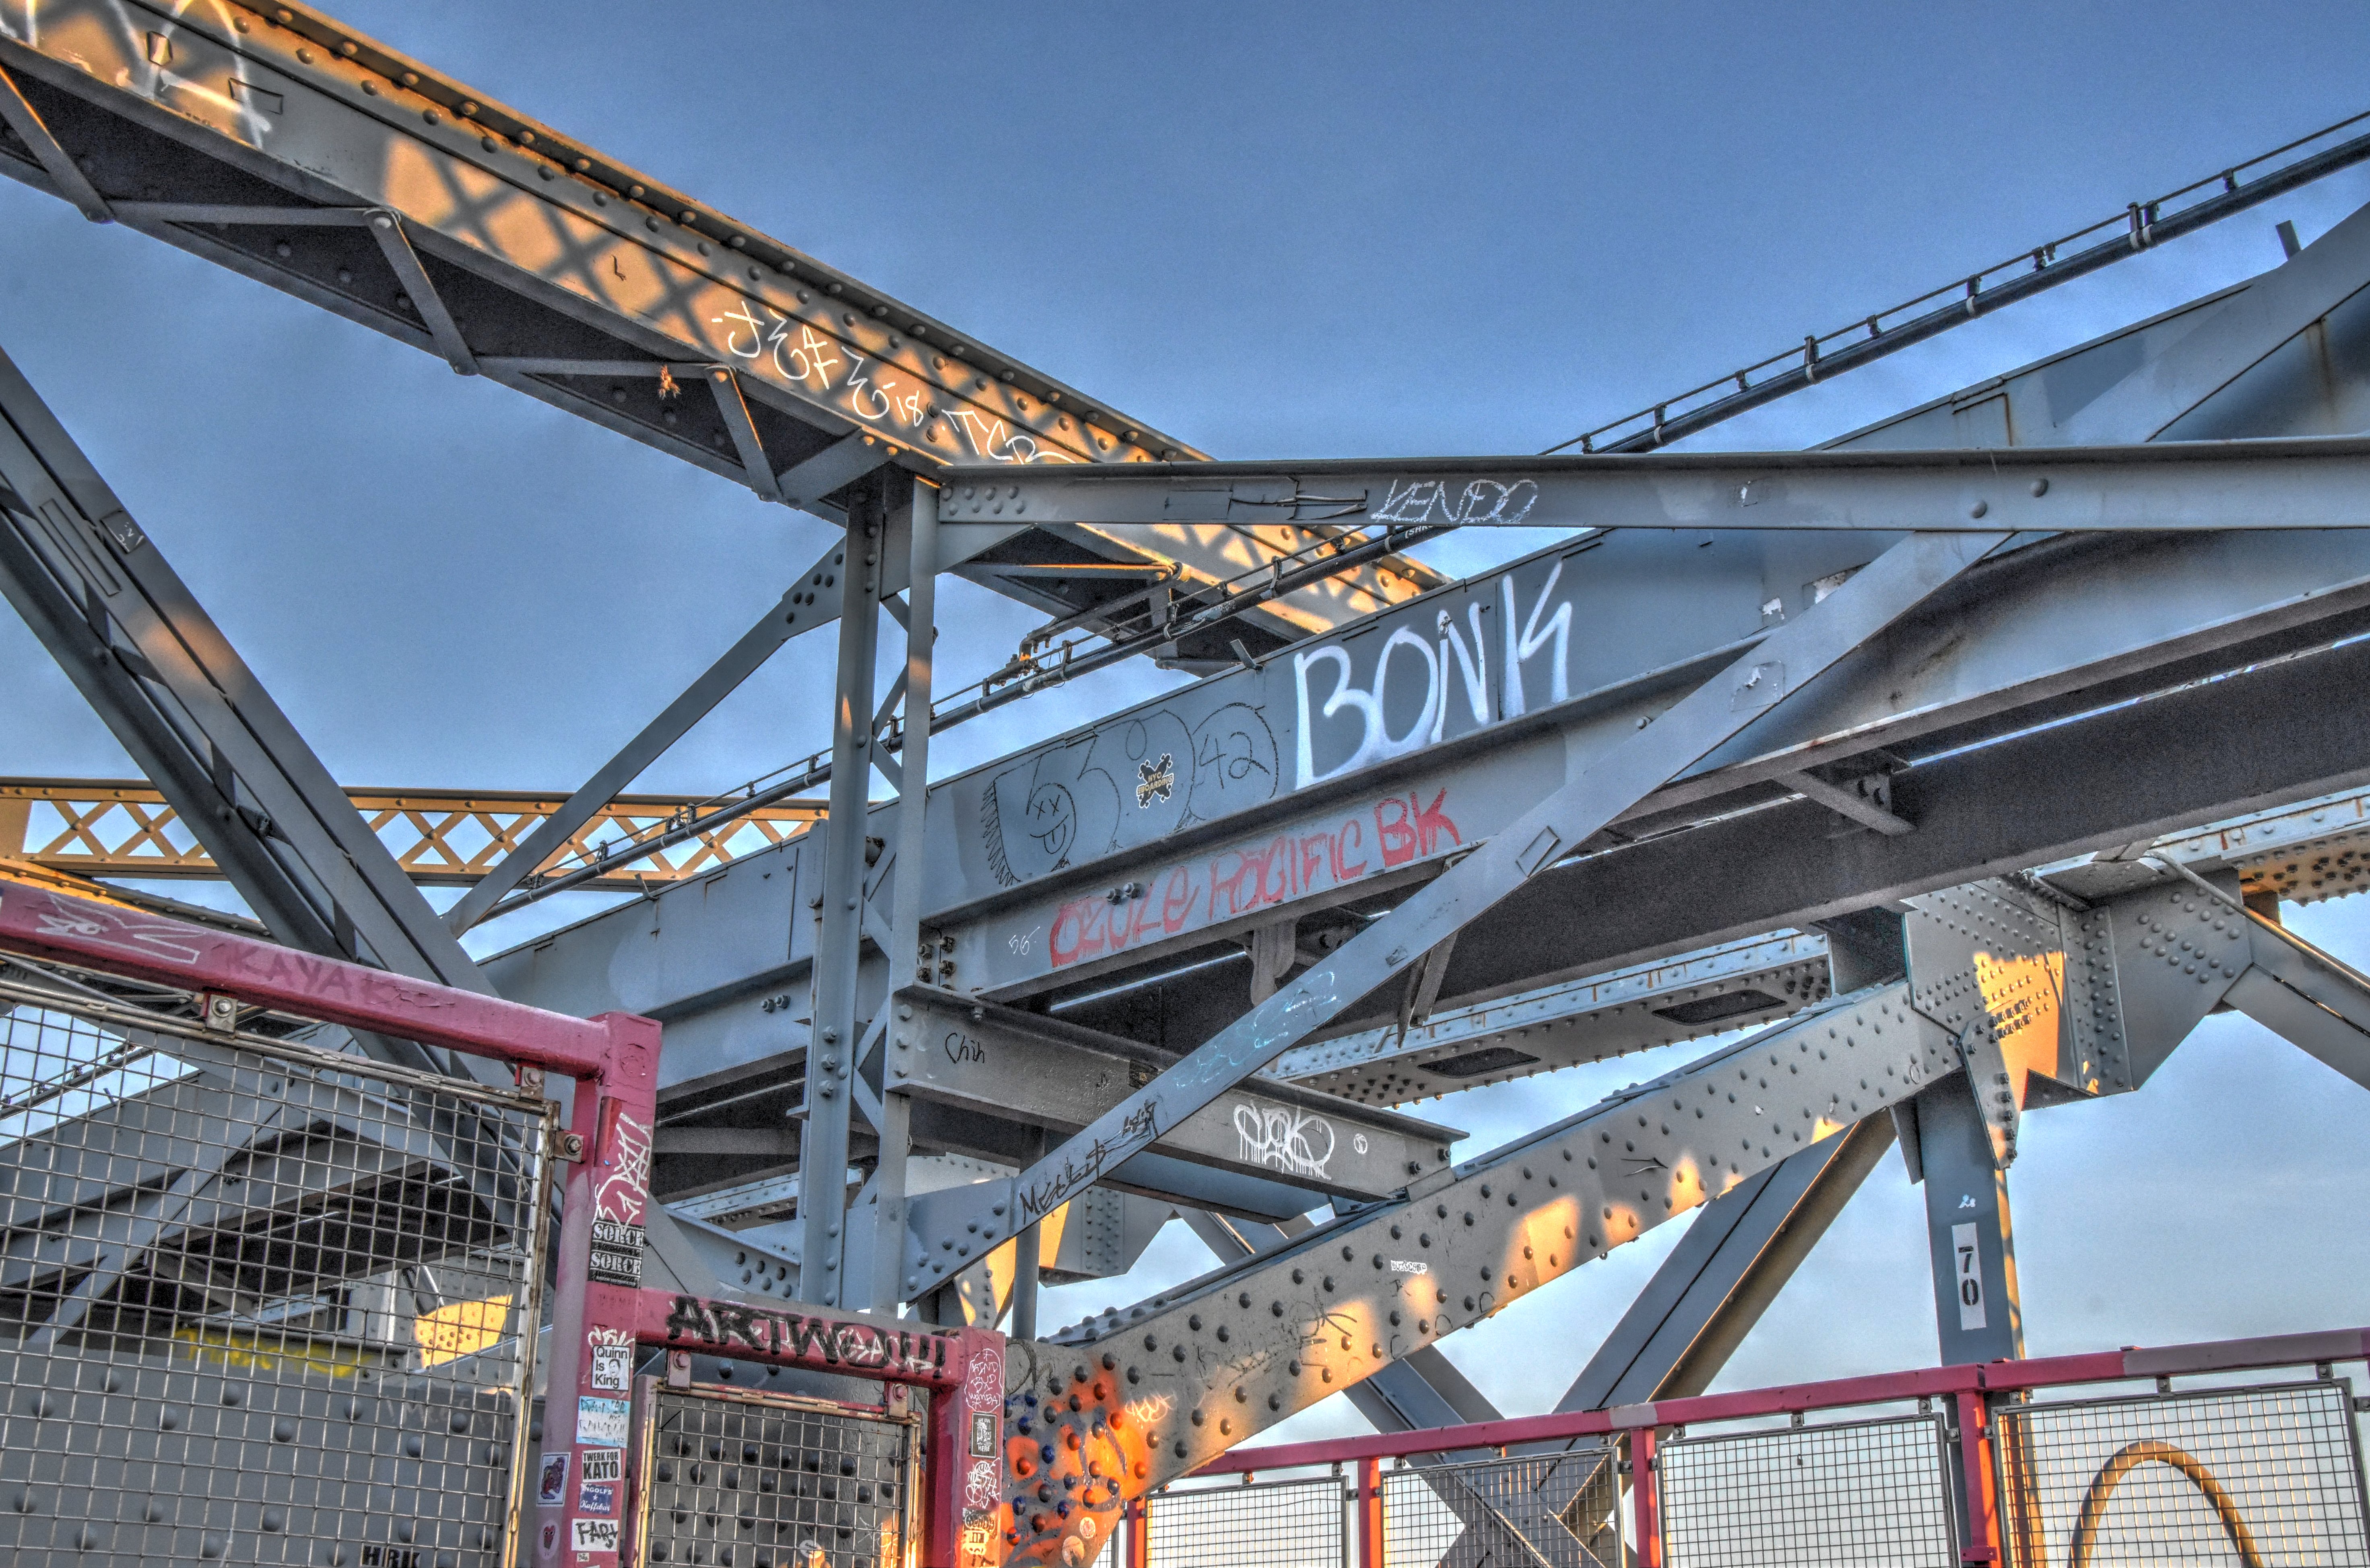
Portal bracing details.
![]()


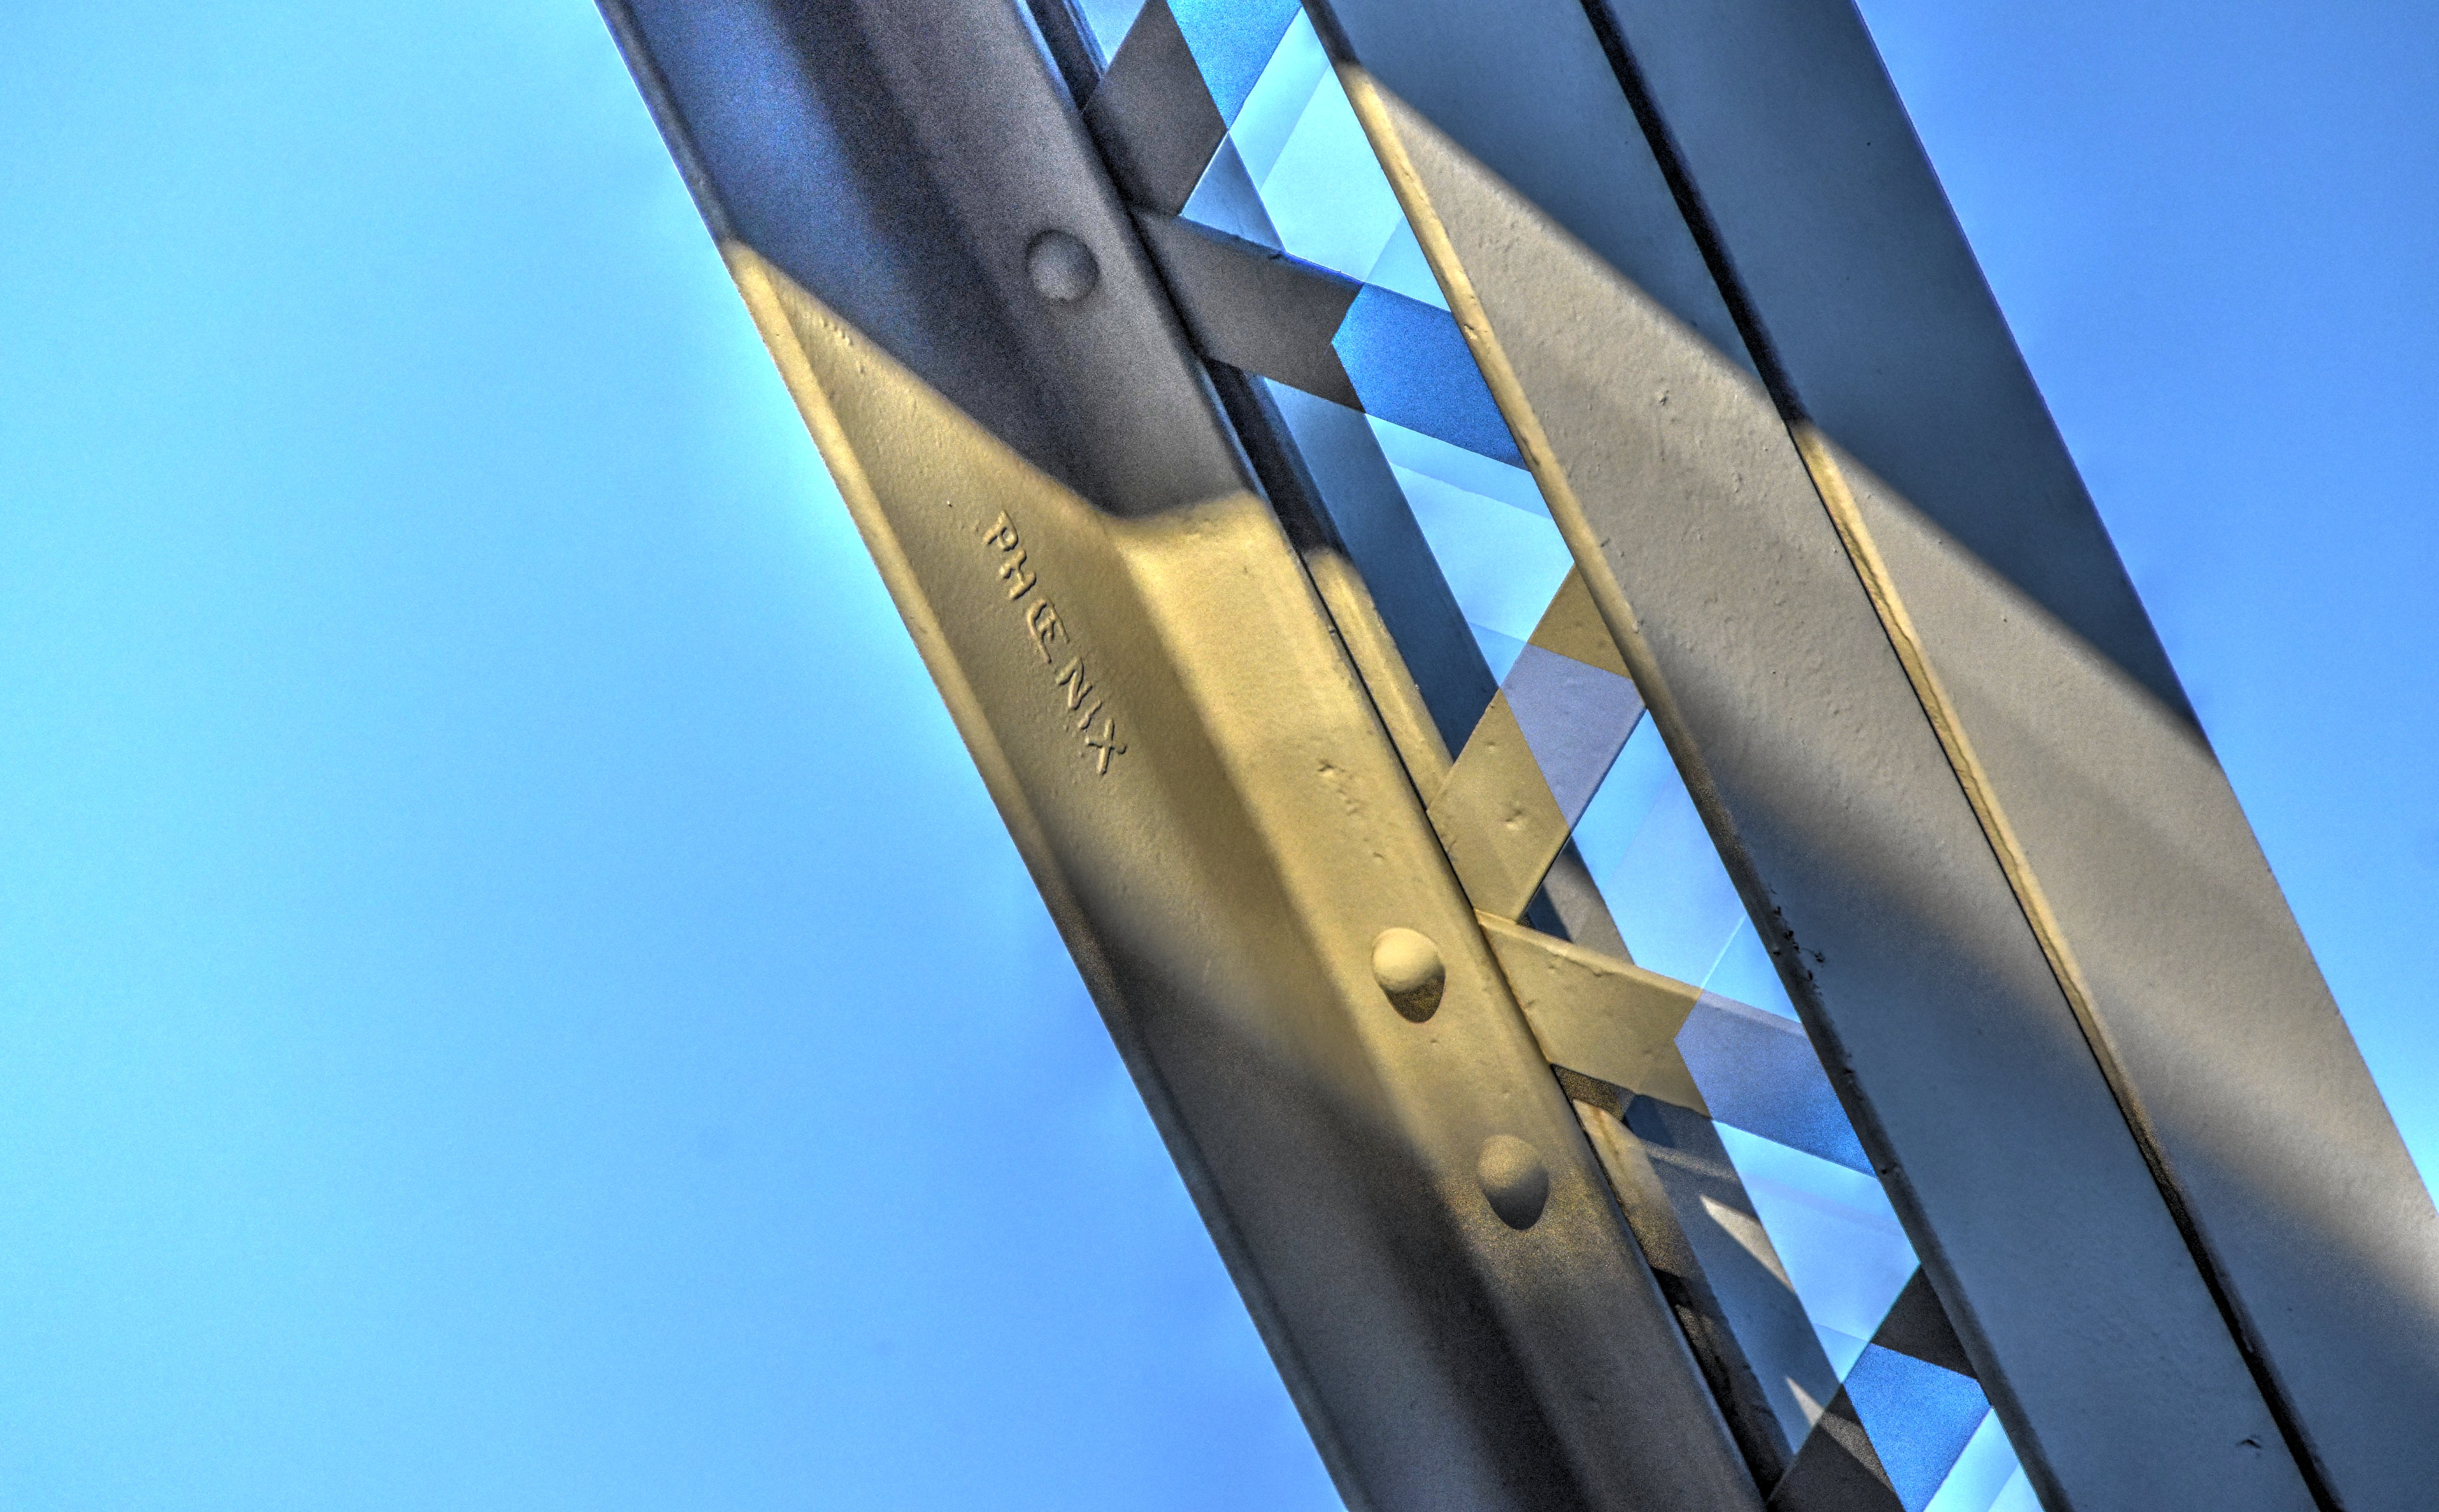
Phoenix brand.
![]()


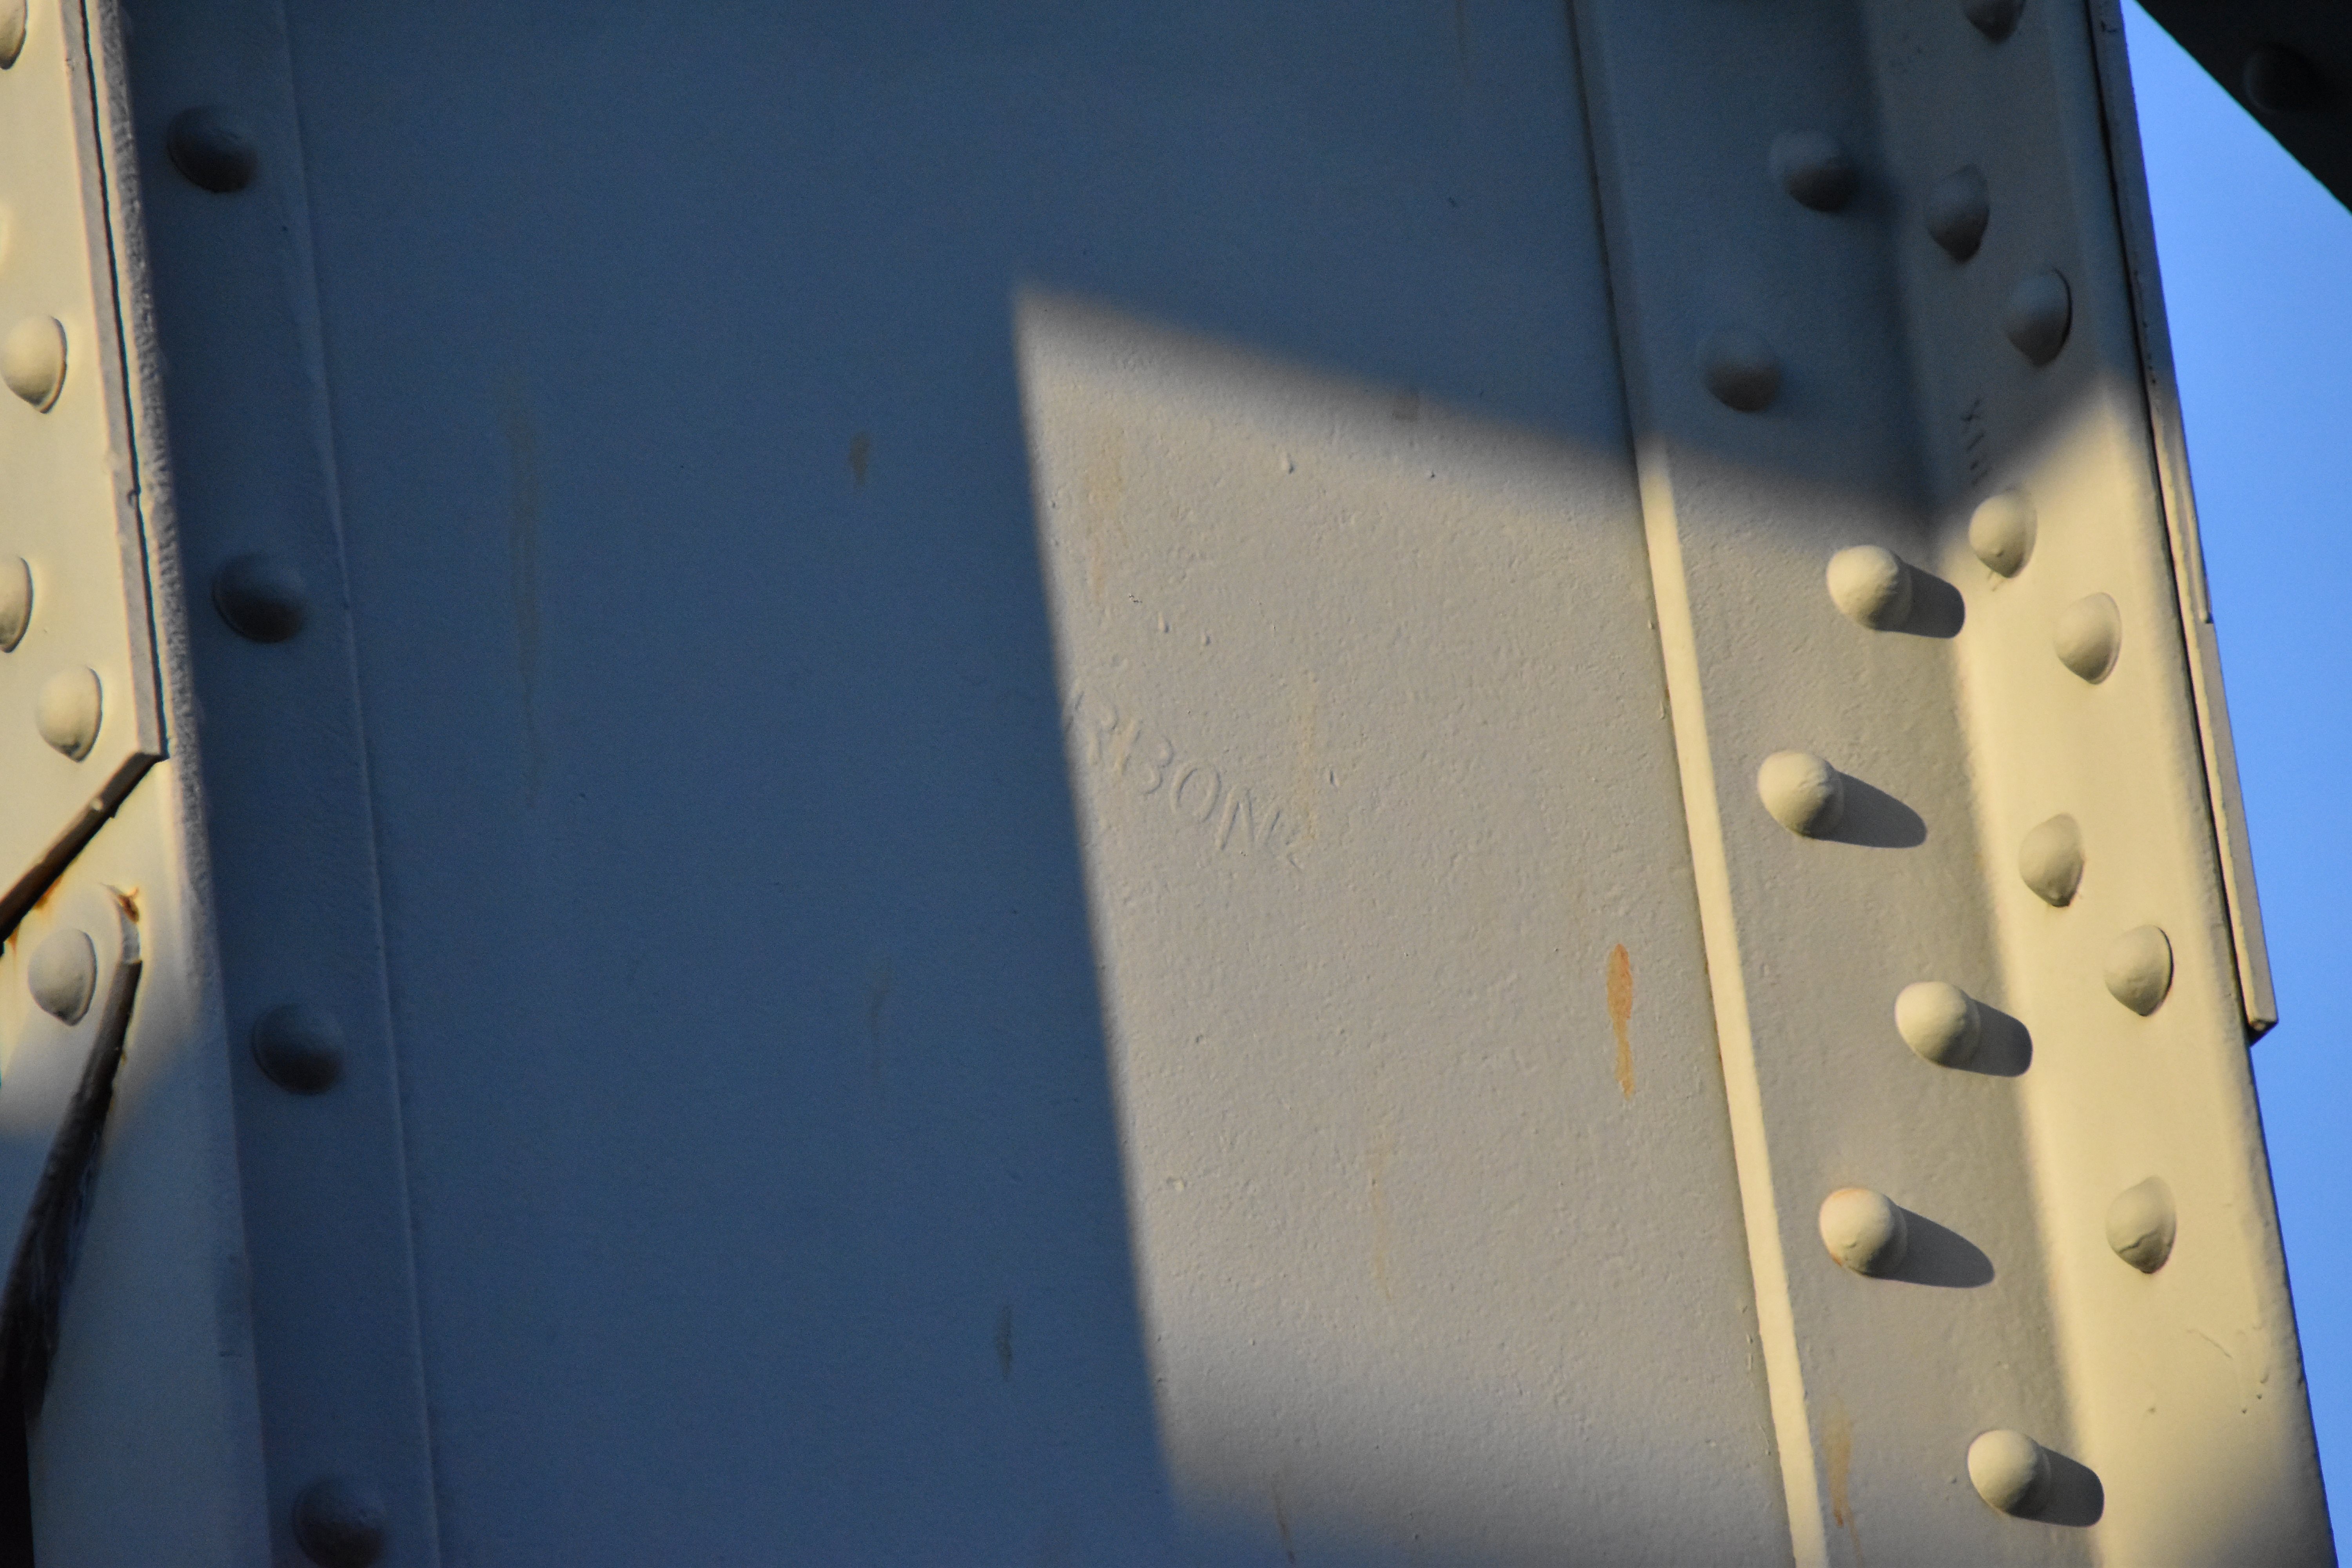

Carbon brand.
![]()
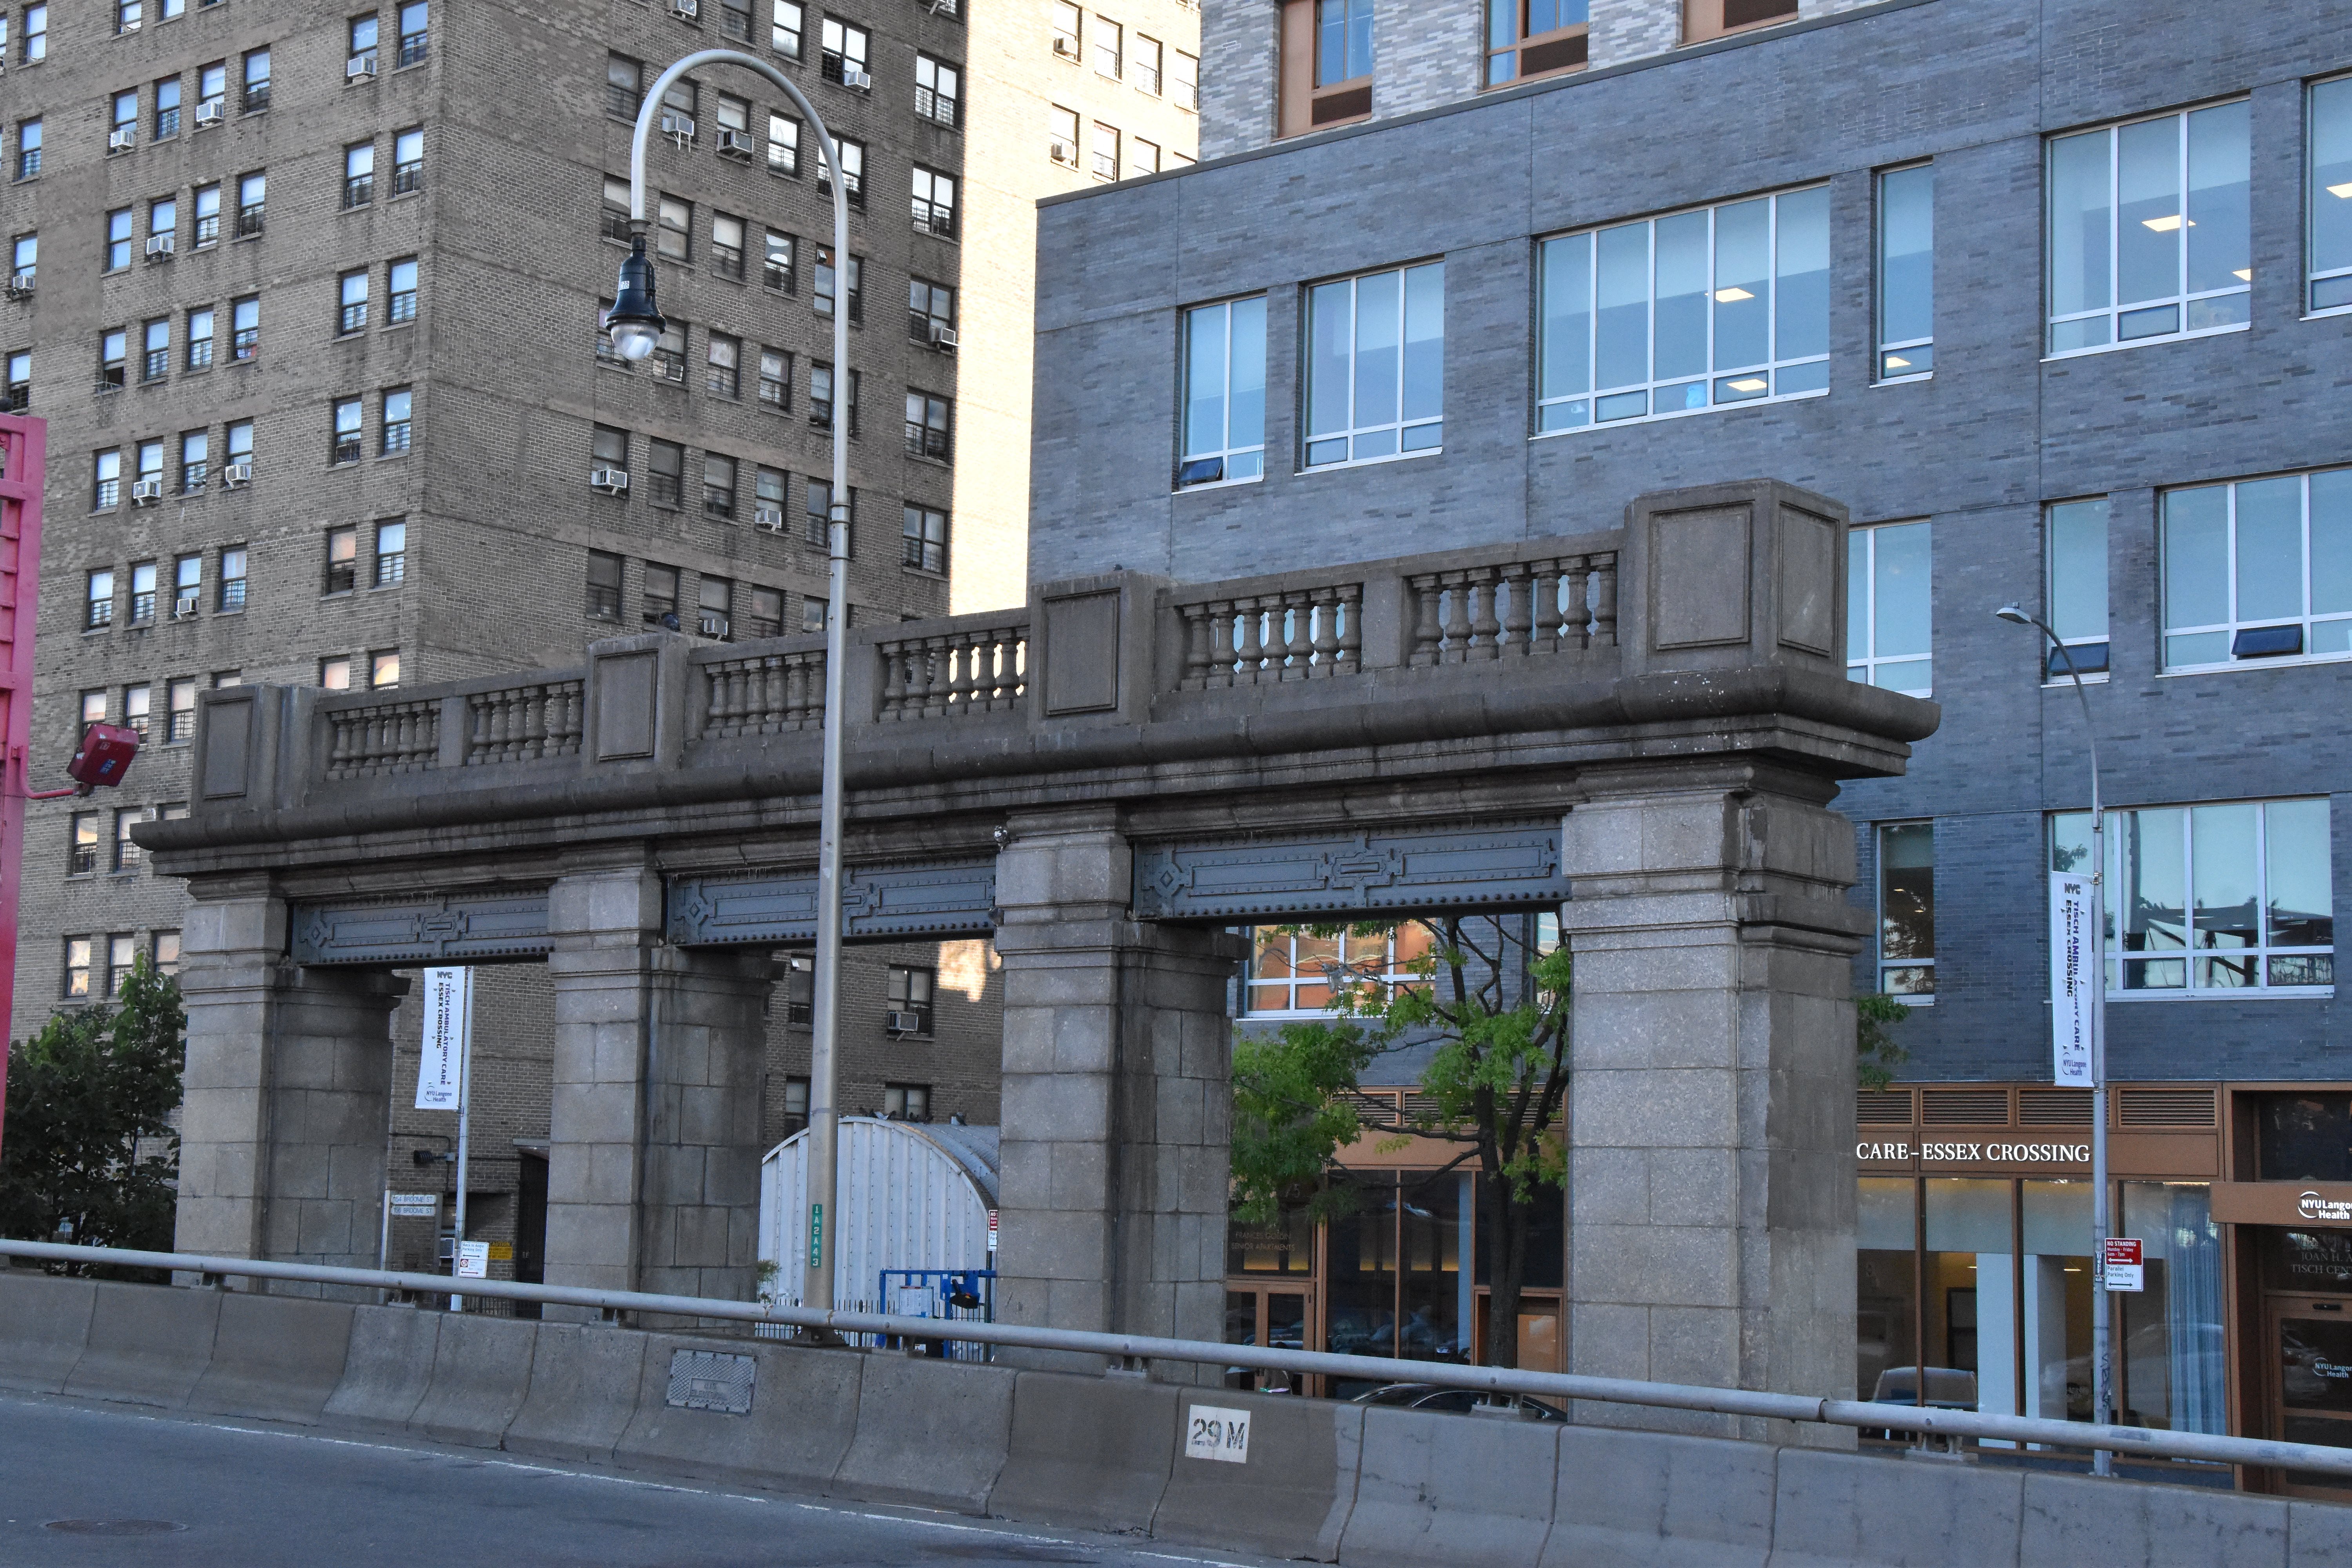
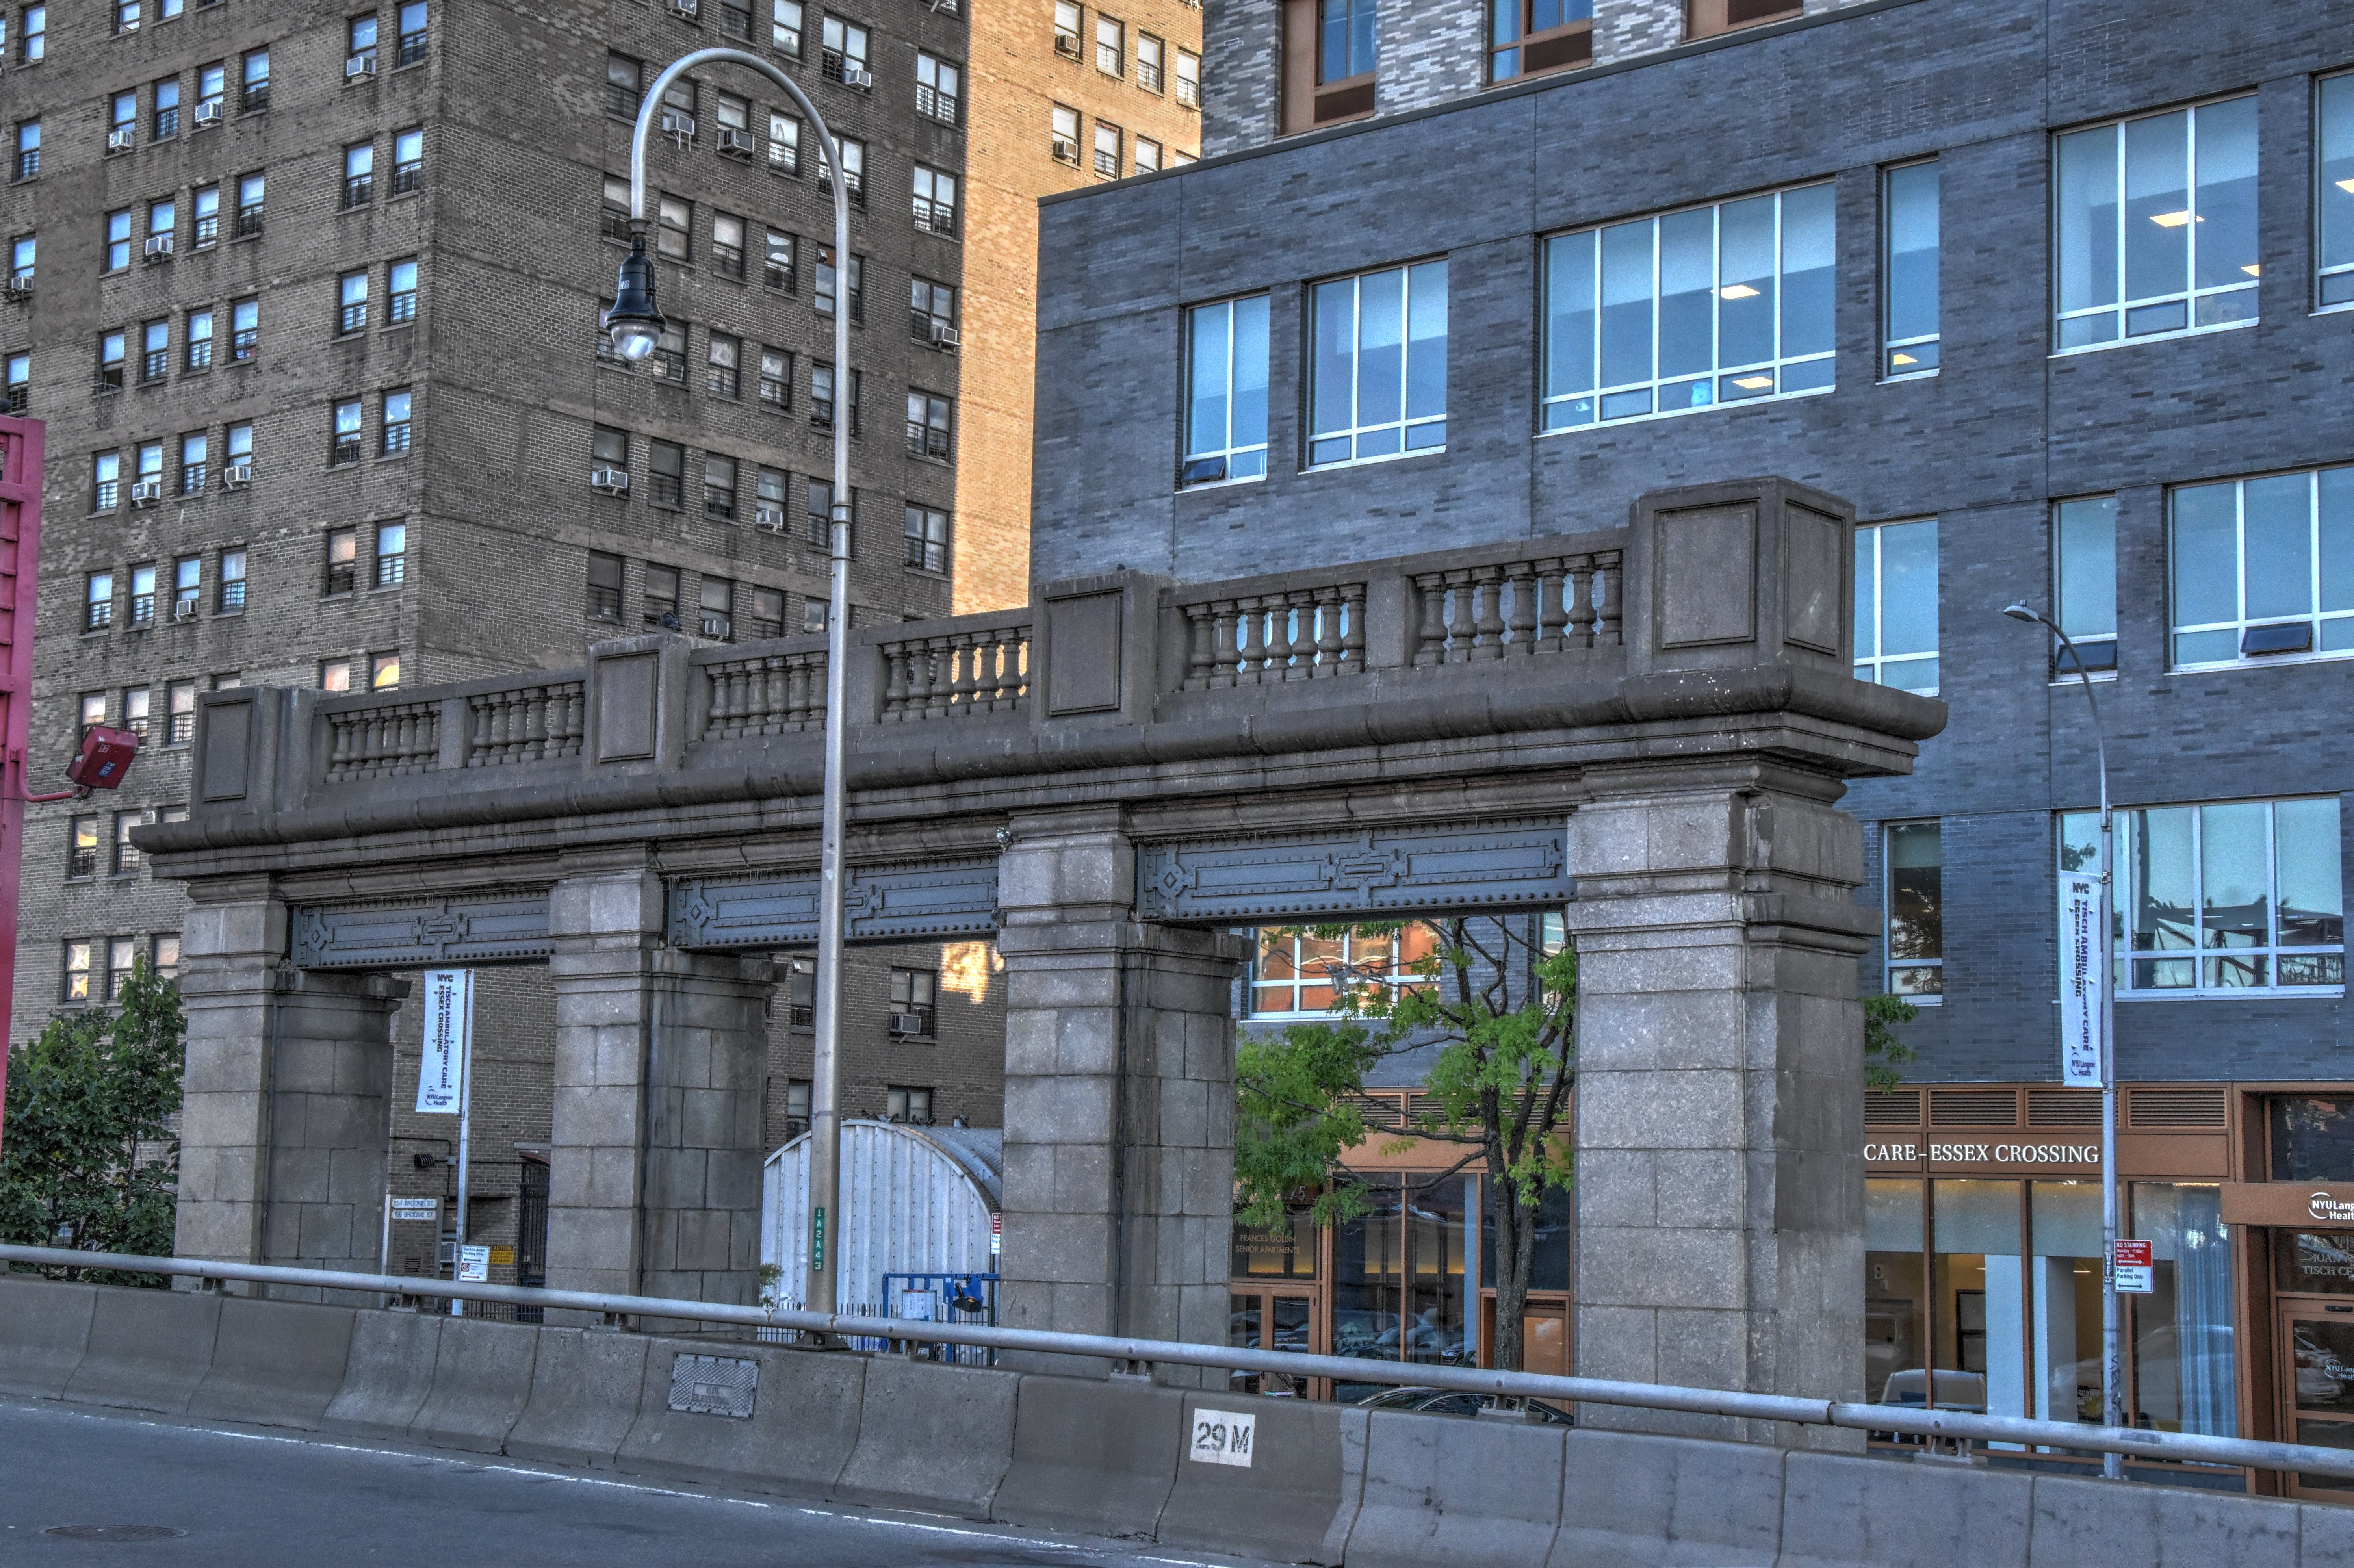
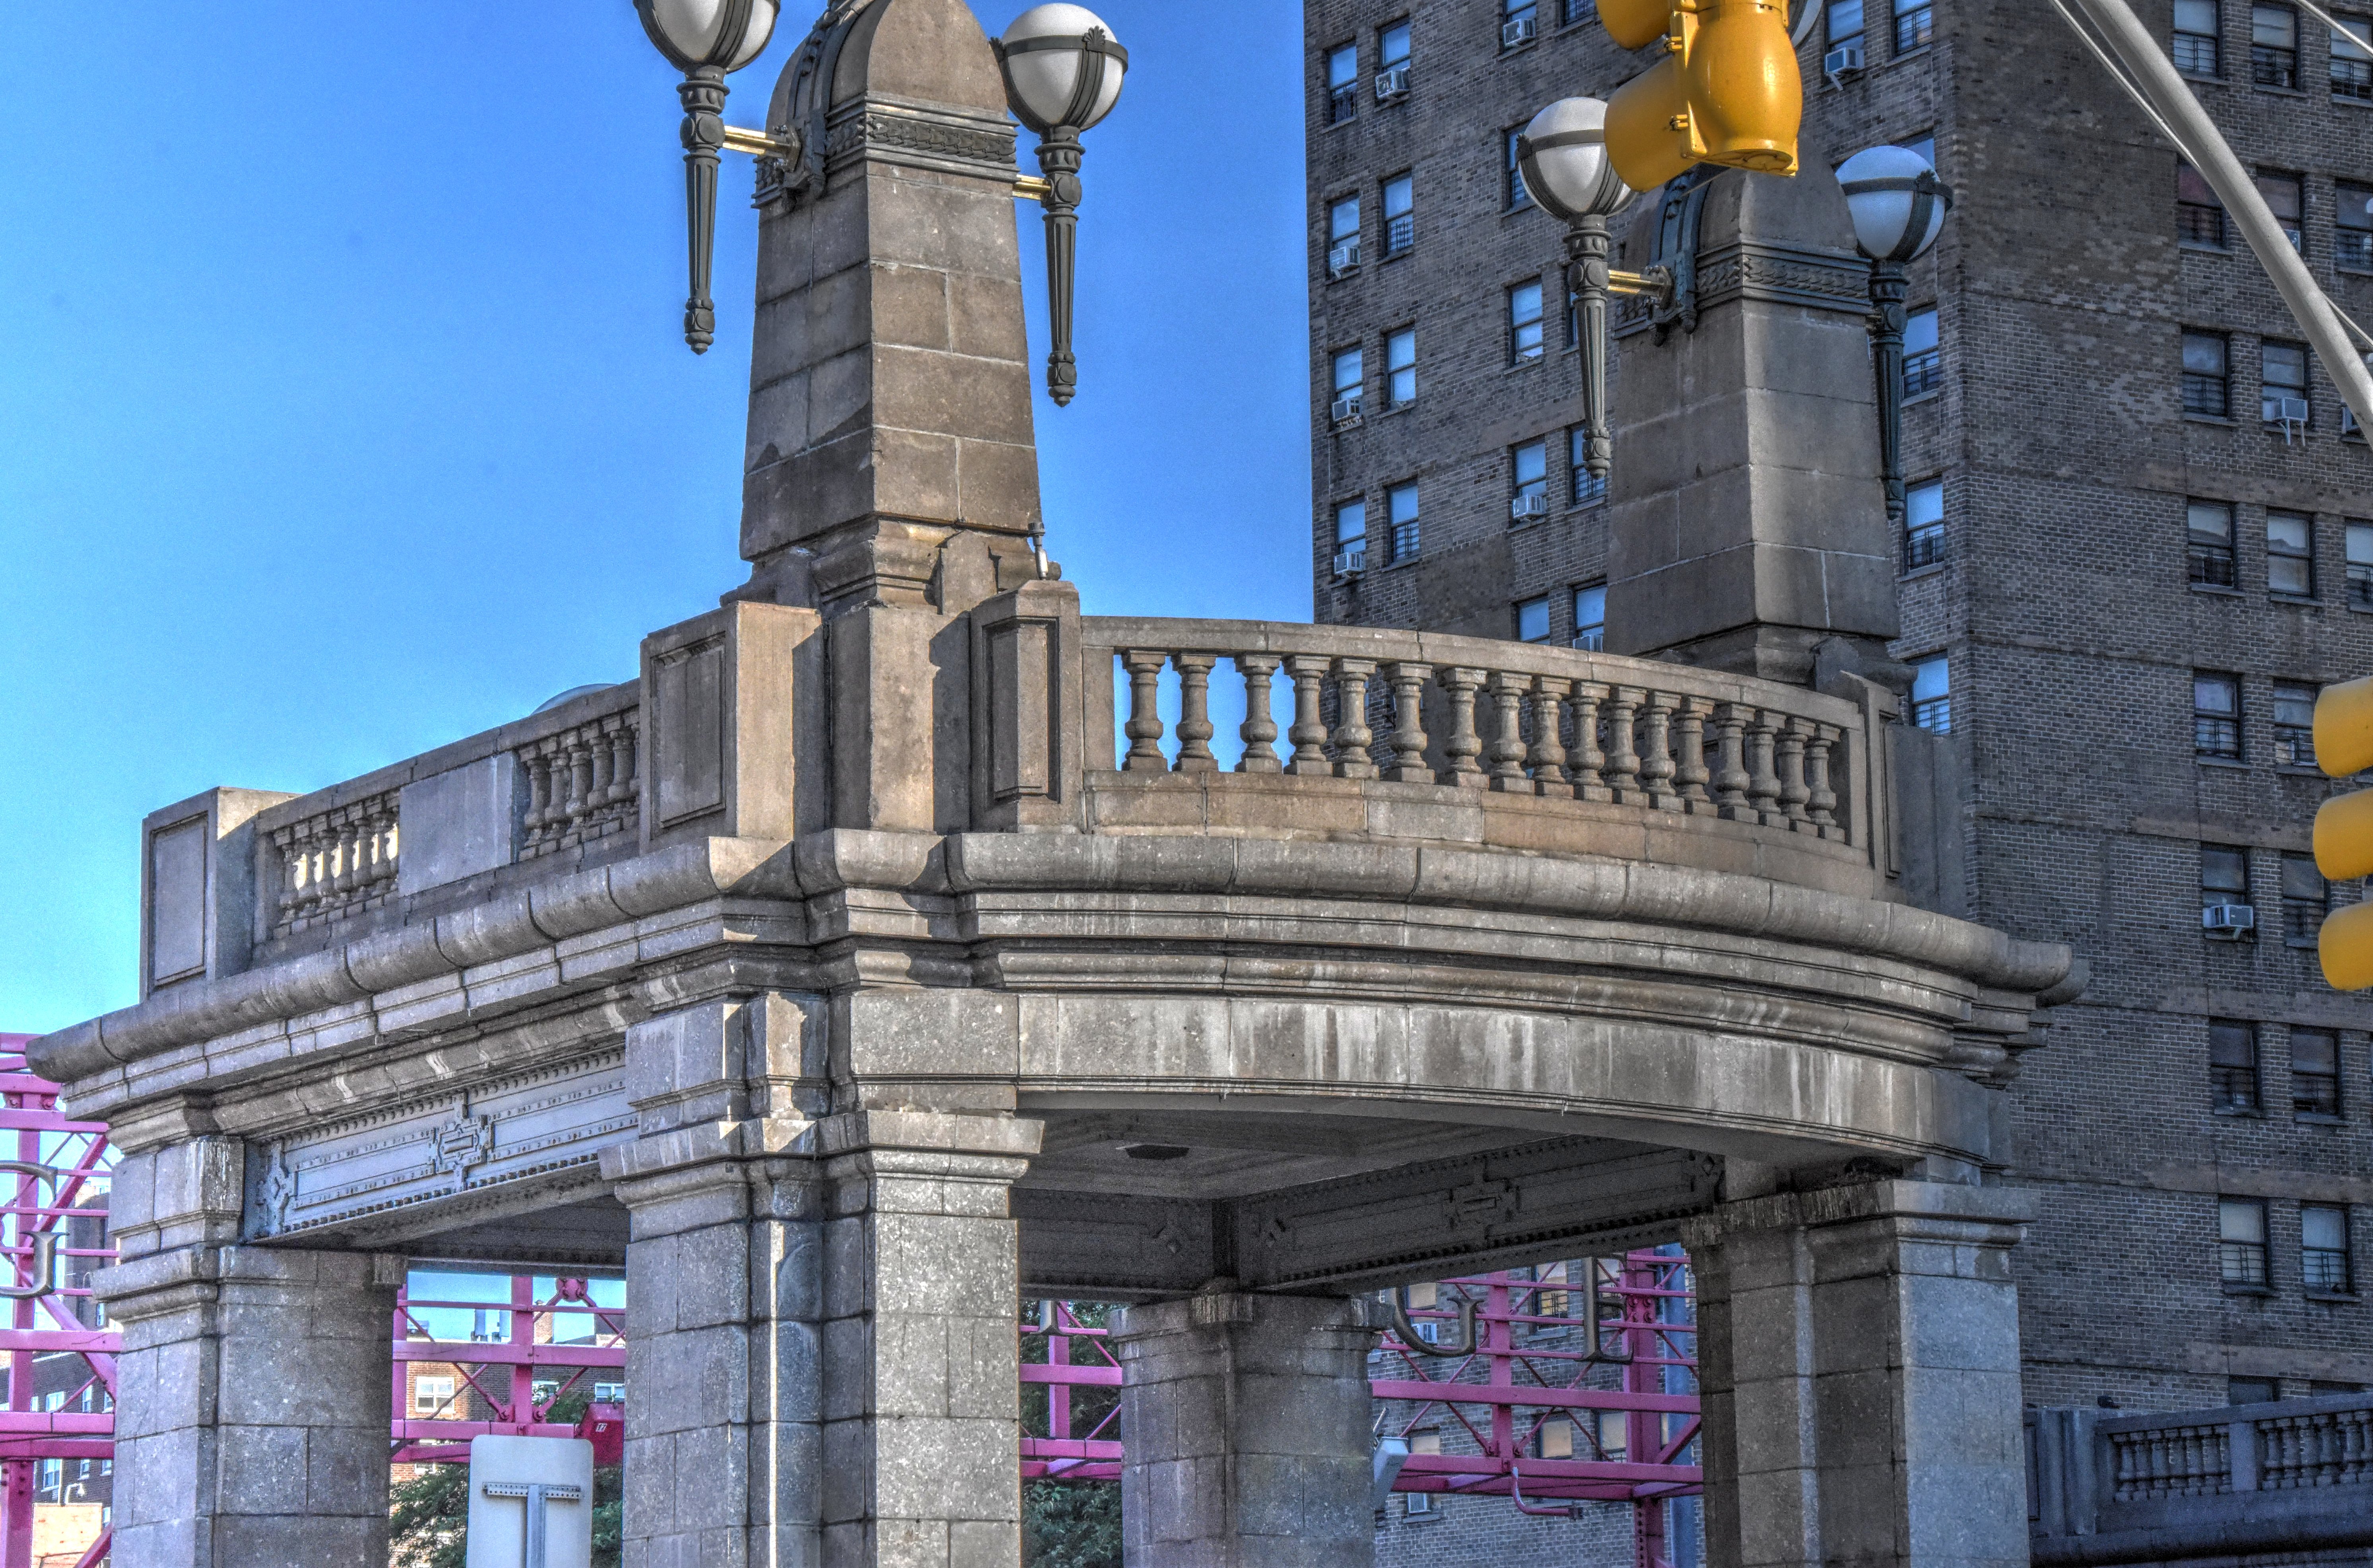
Decorative wall at west entrance to bridge.
![]()


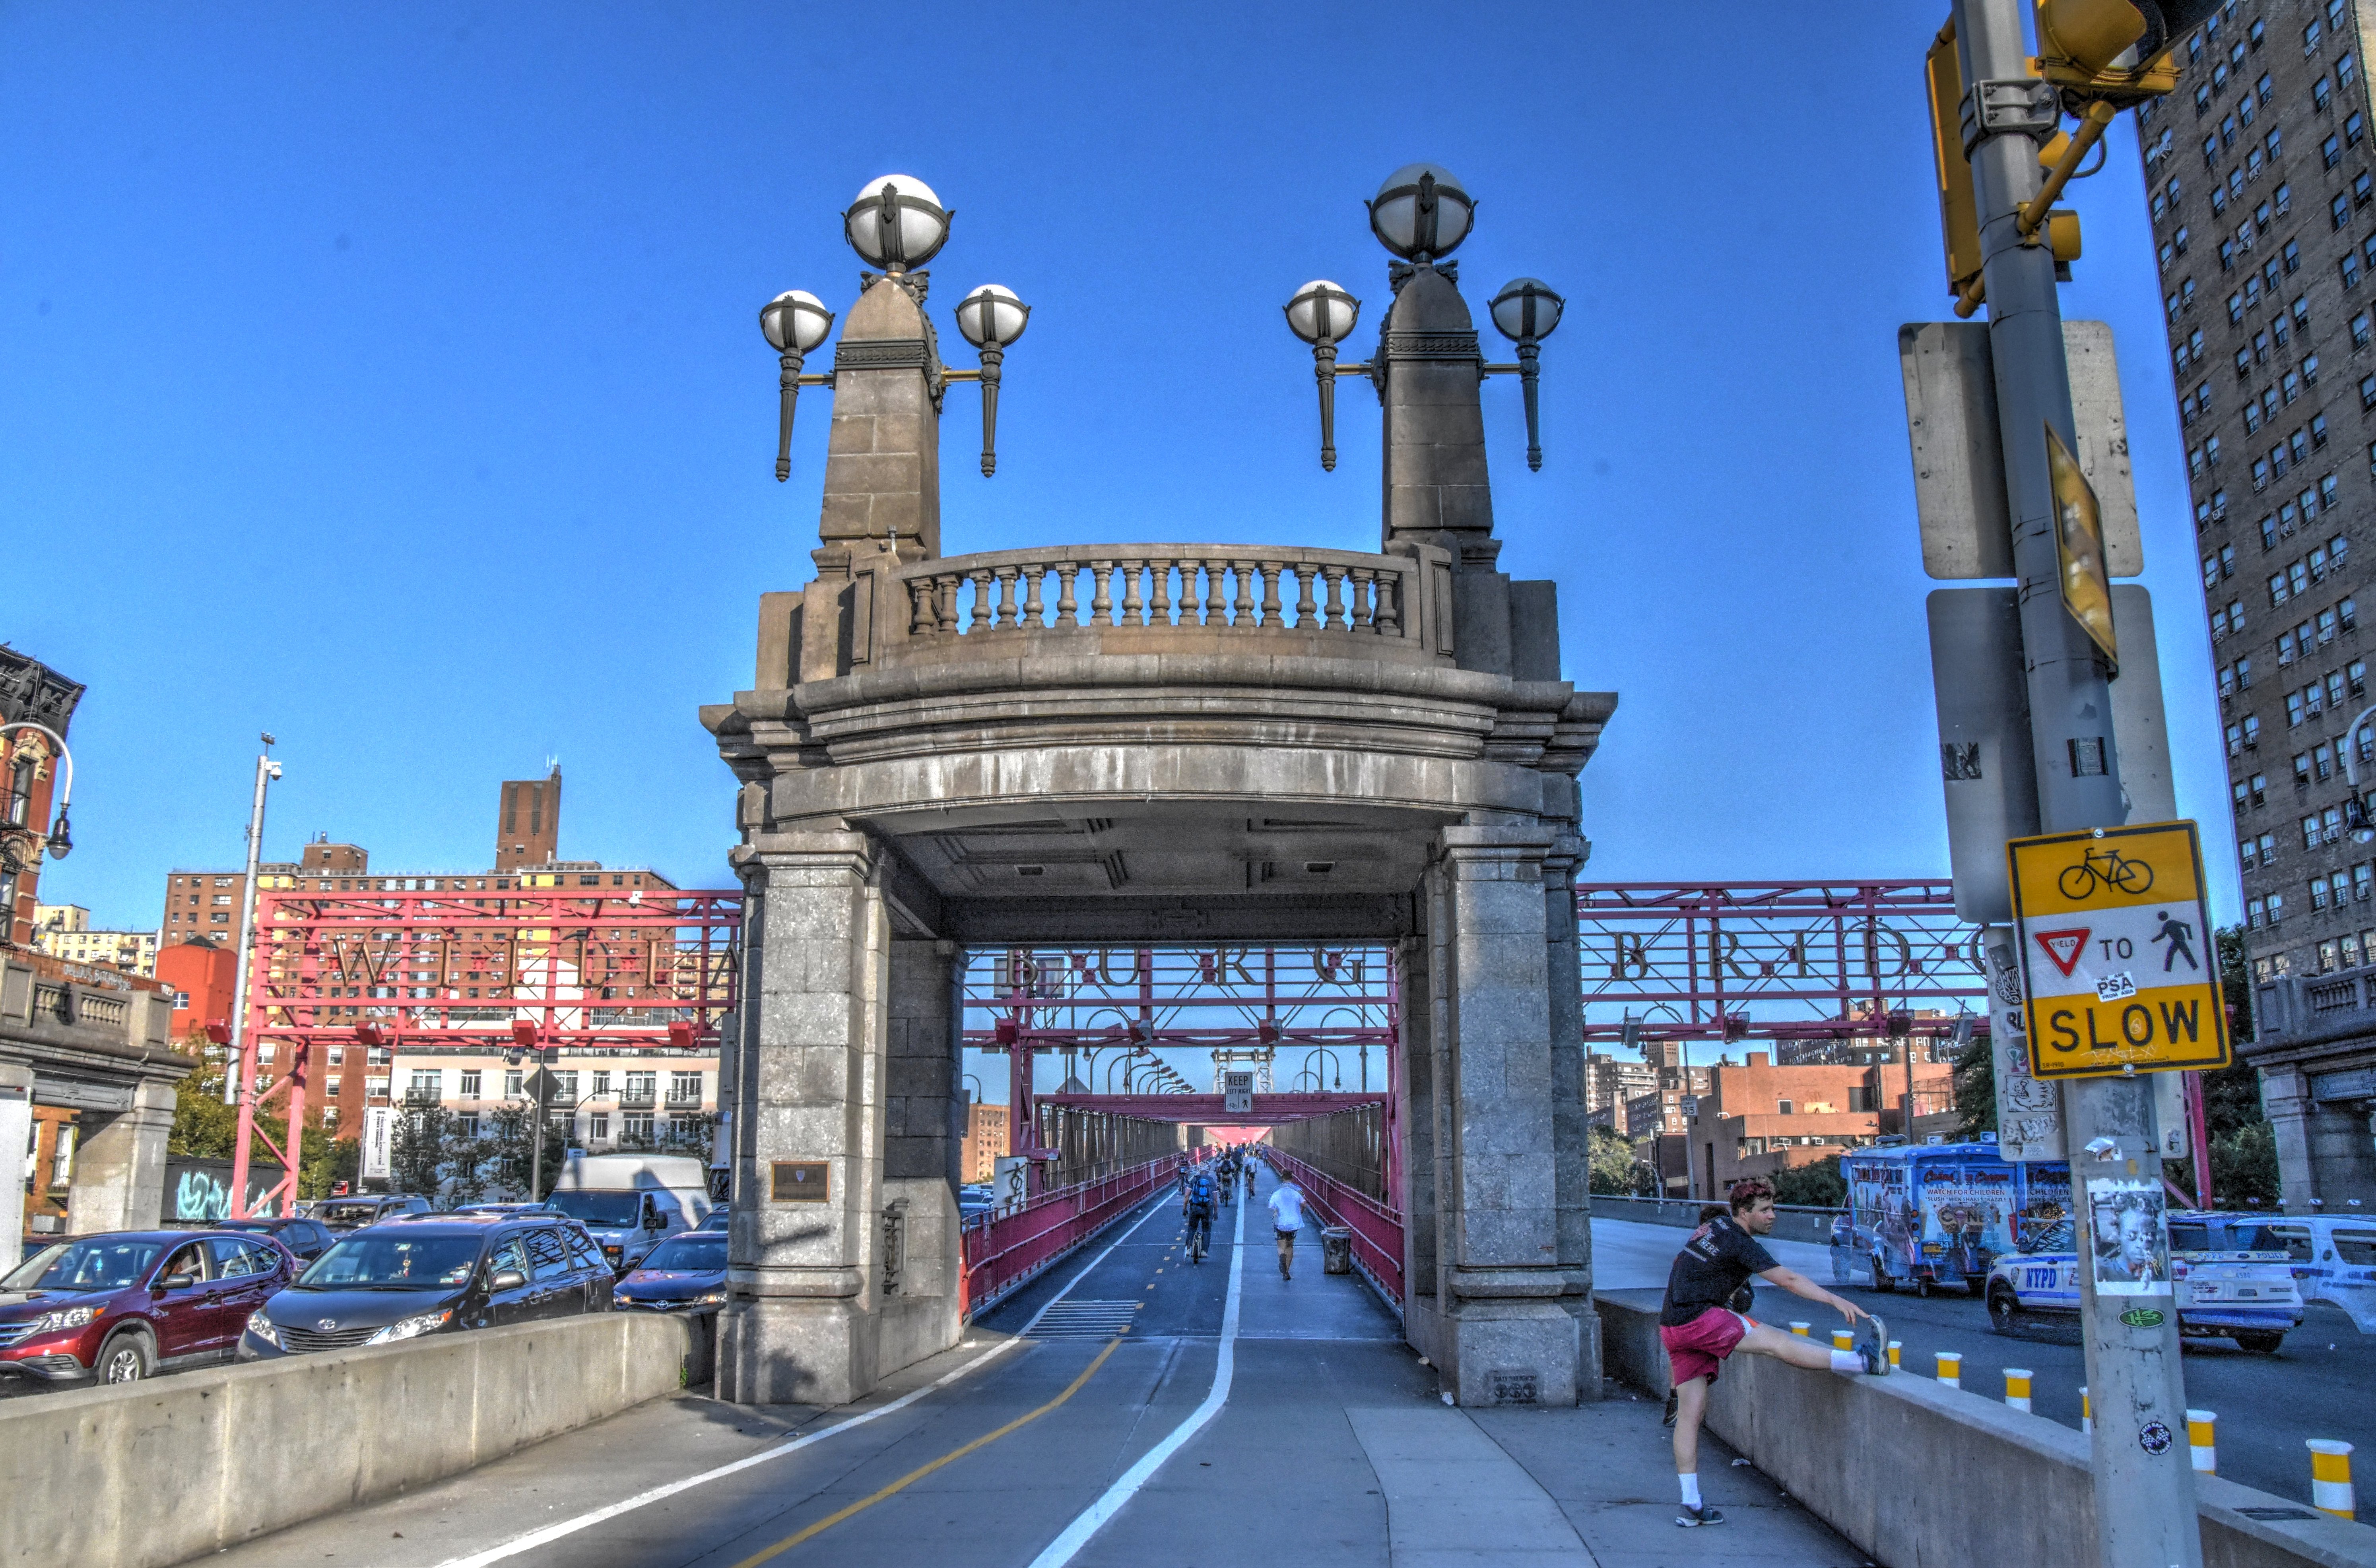


West pedestrian entrance to bridge.
![]()


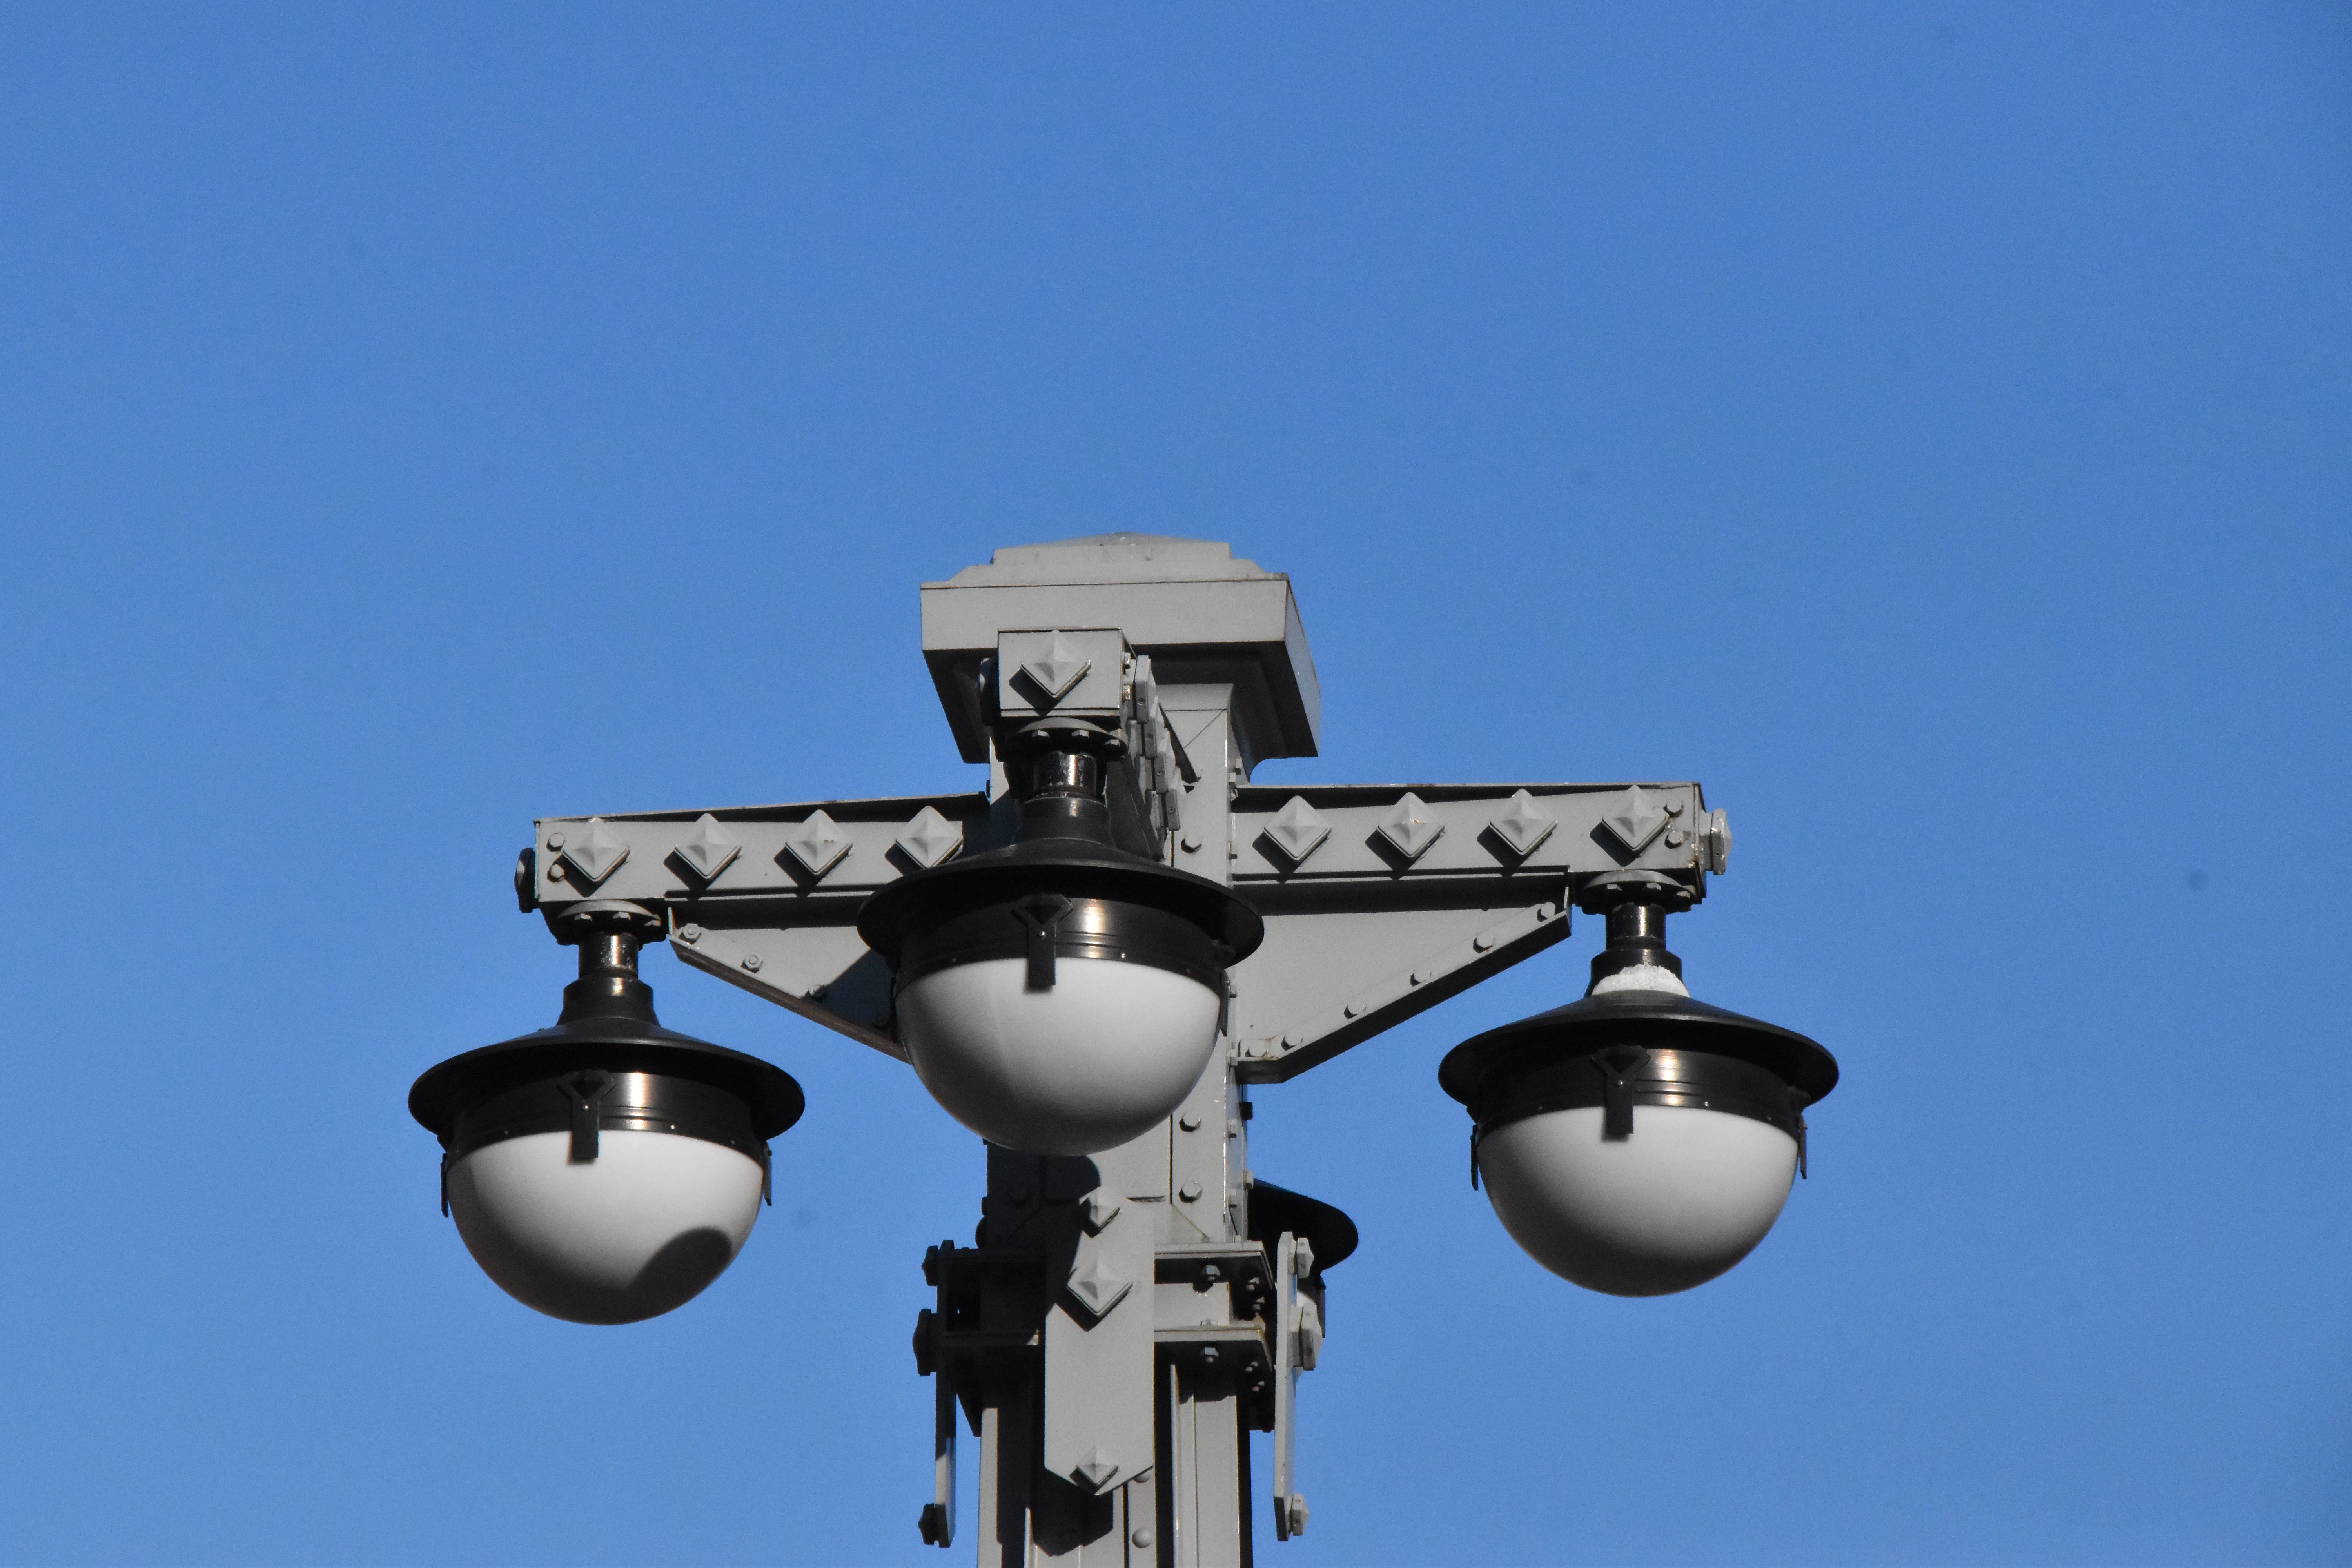


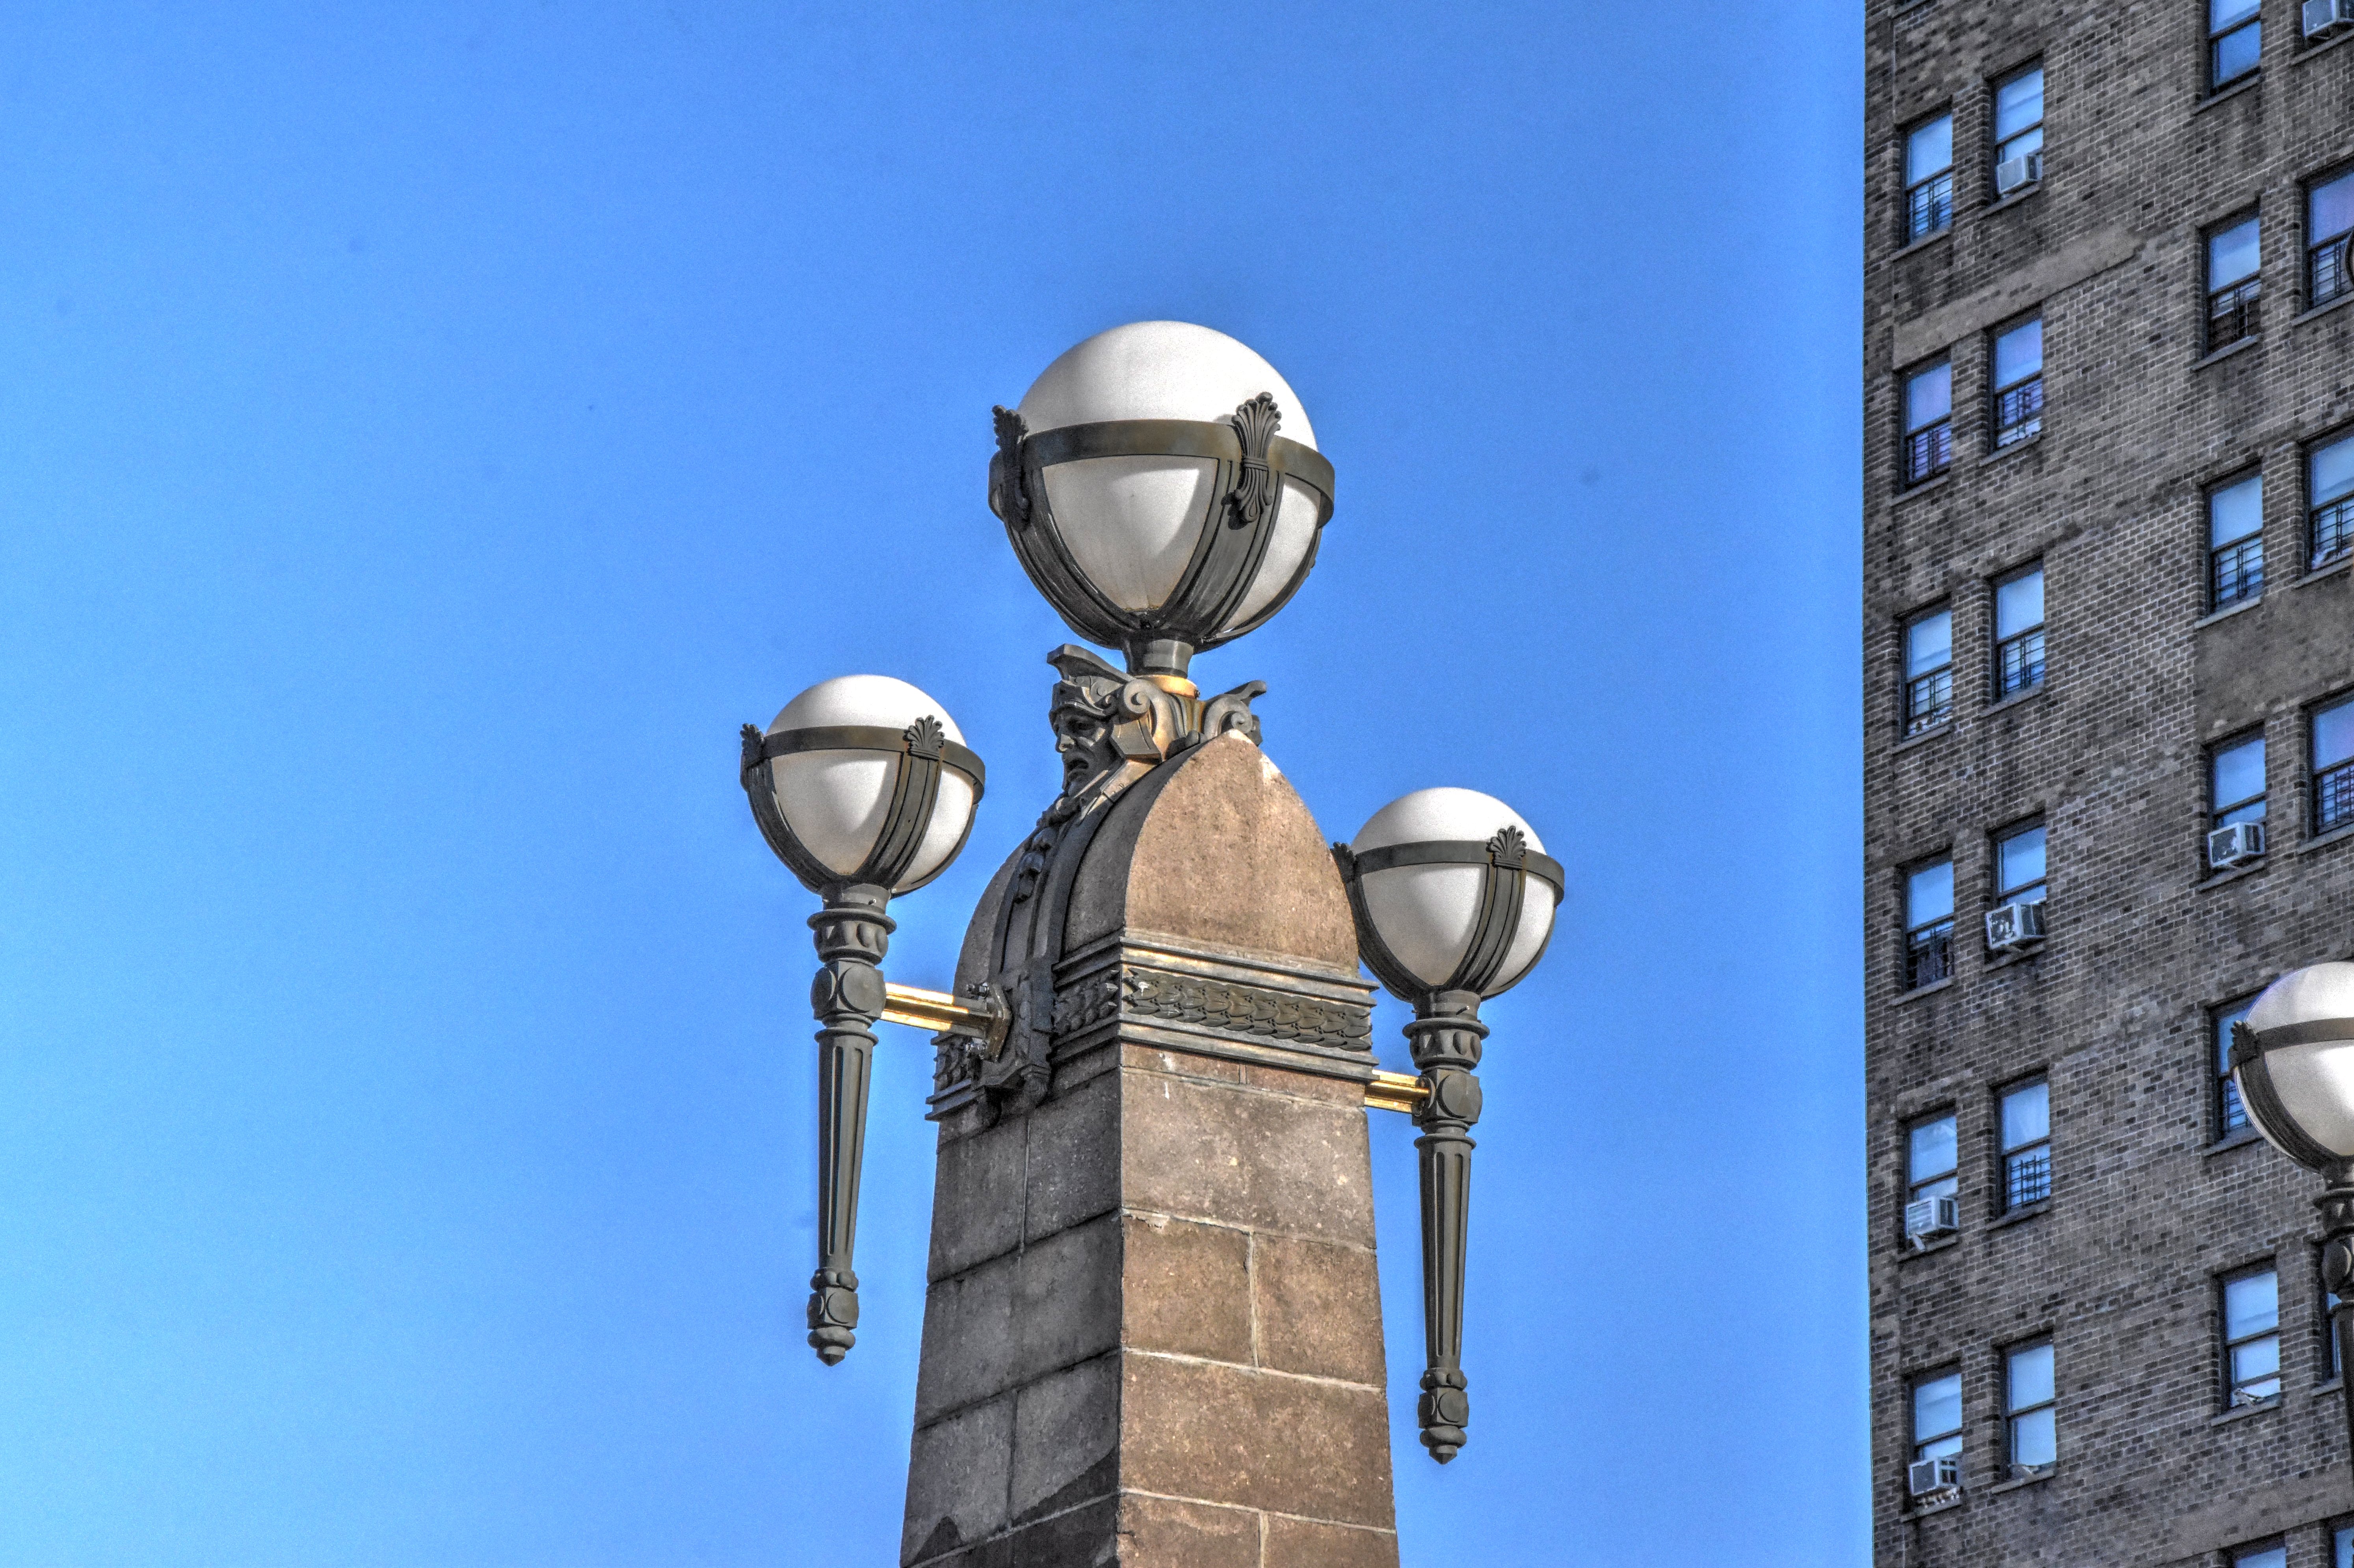
Lighting at end of bridge.
![]()


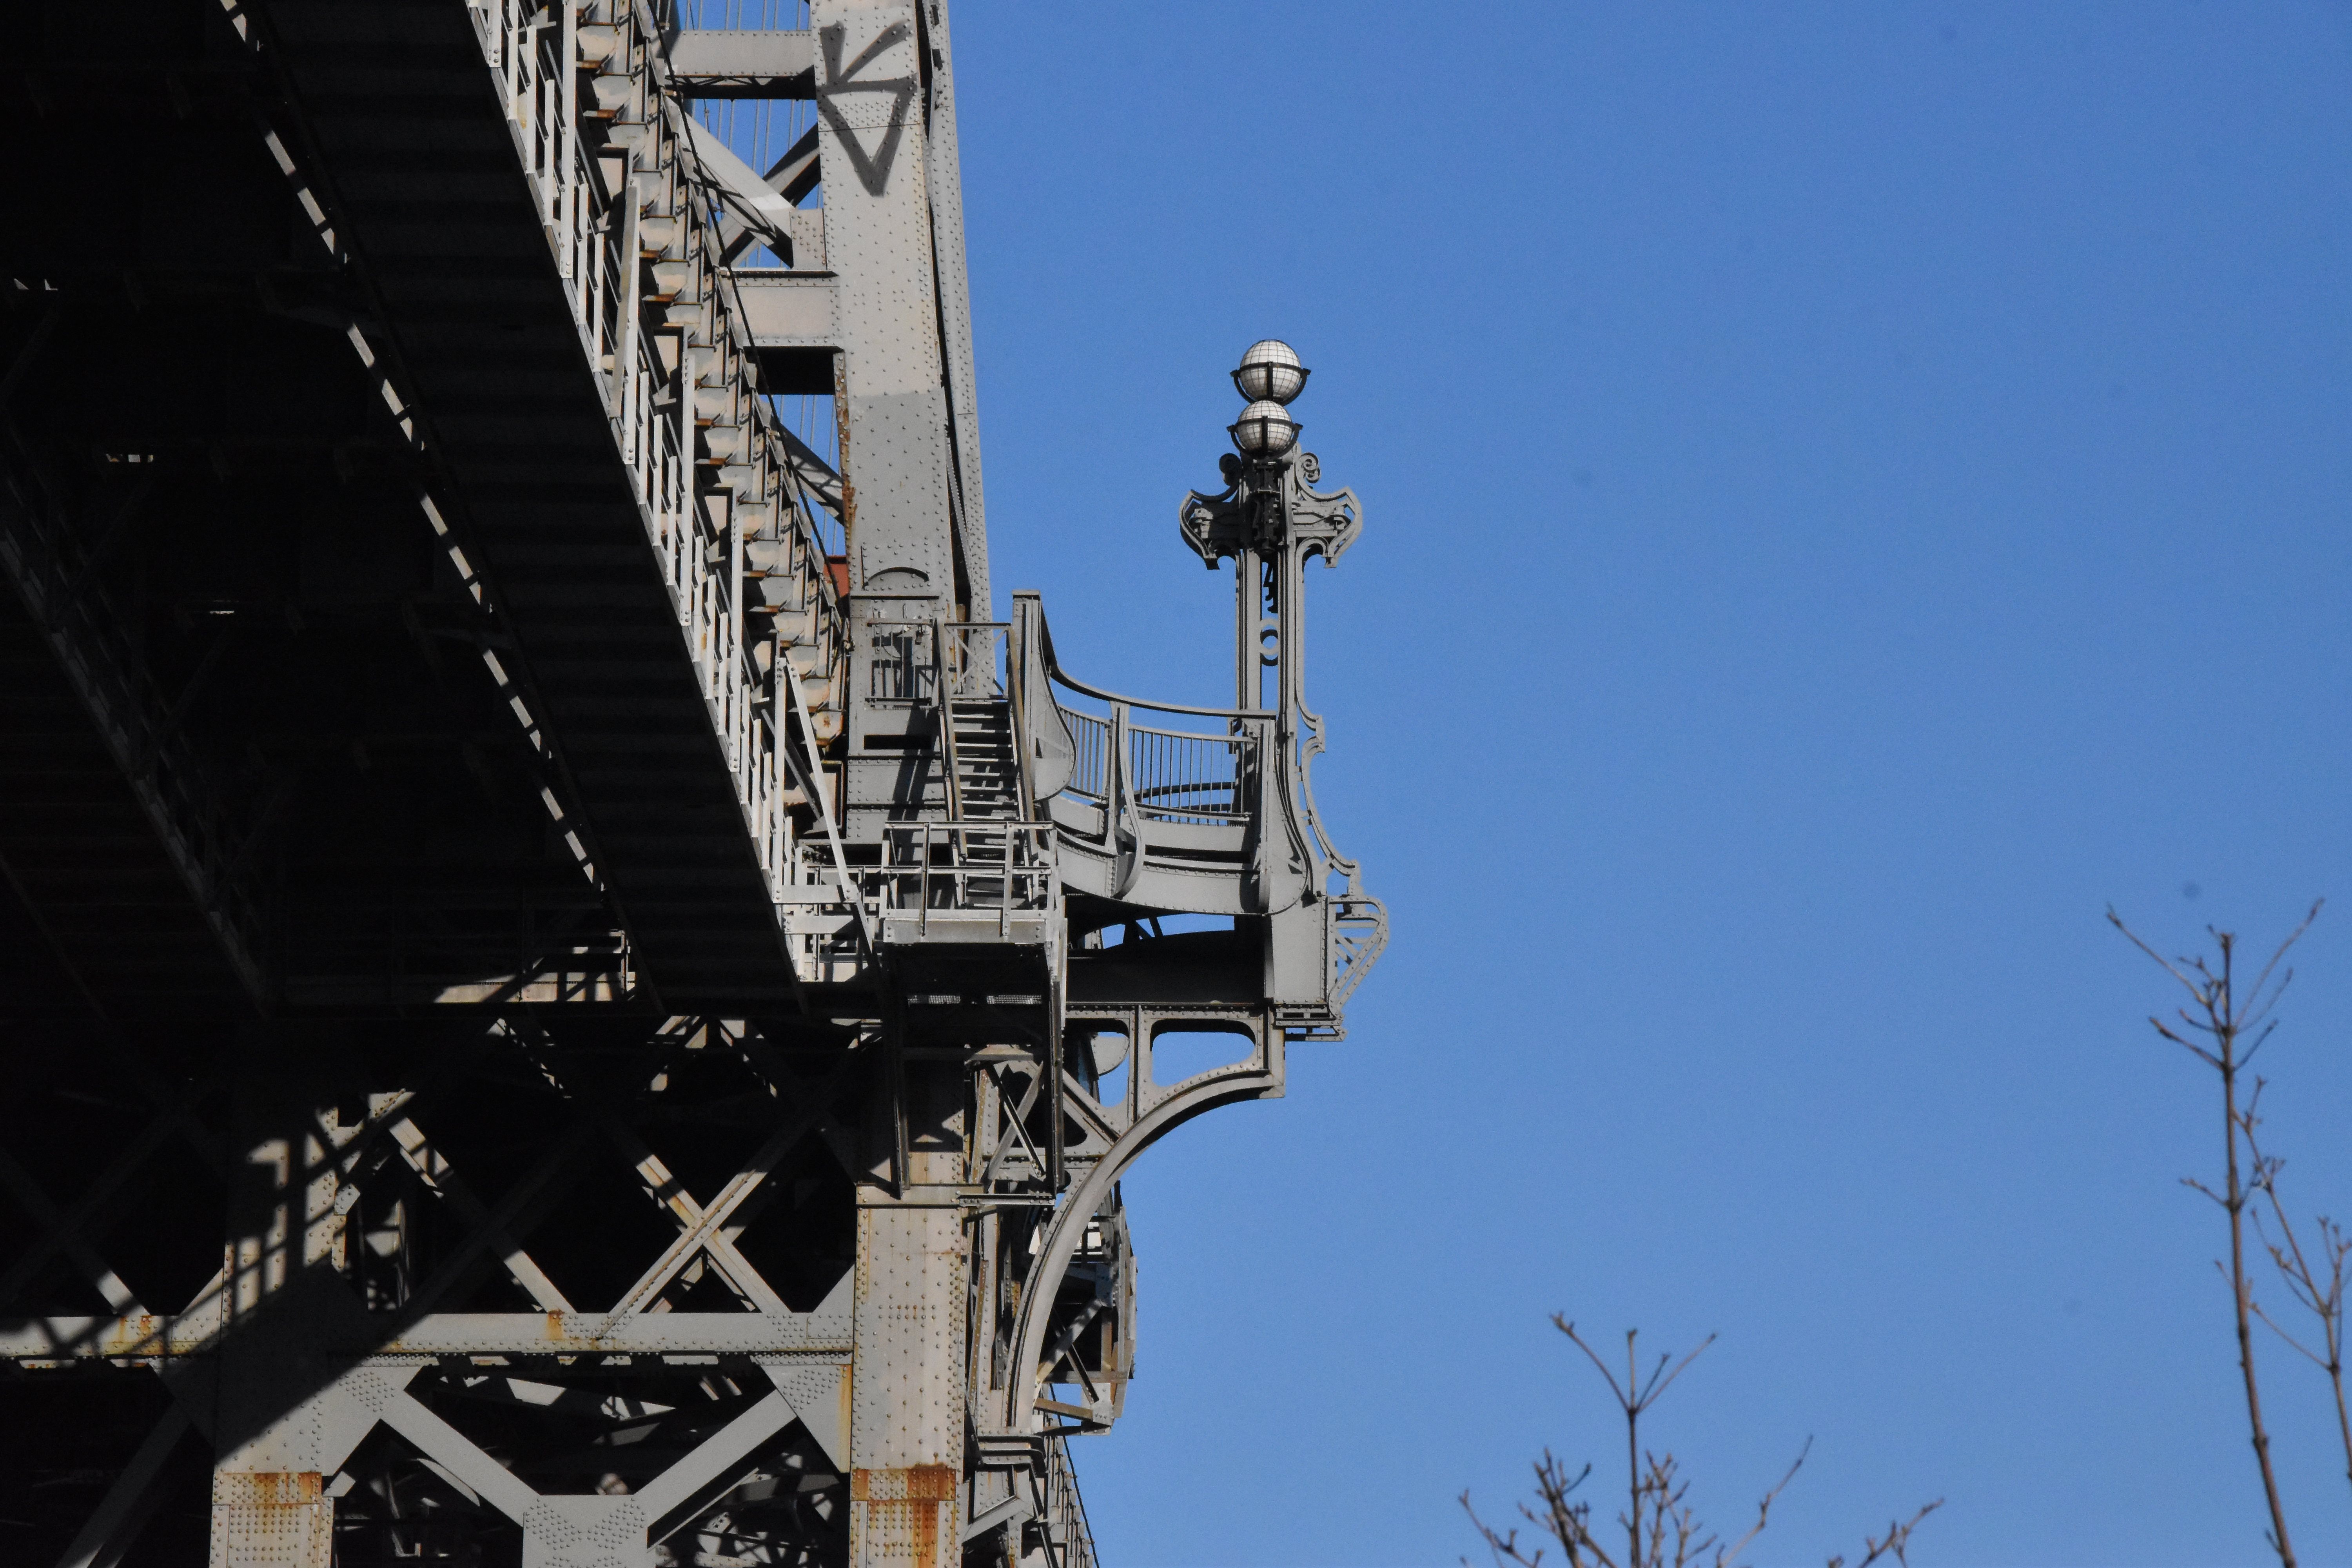
Lighting at tower.
![]()


Anchorage.
![]()

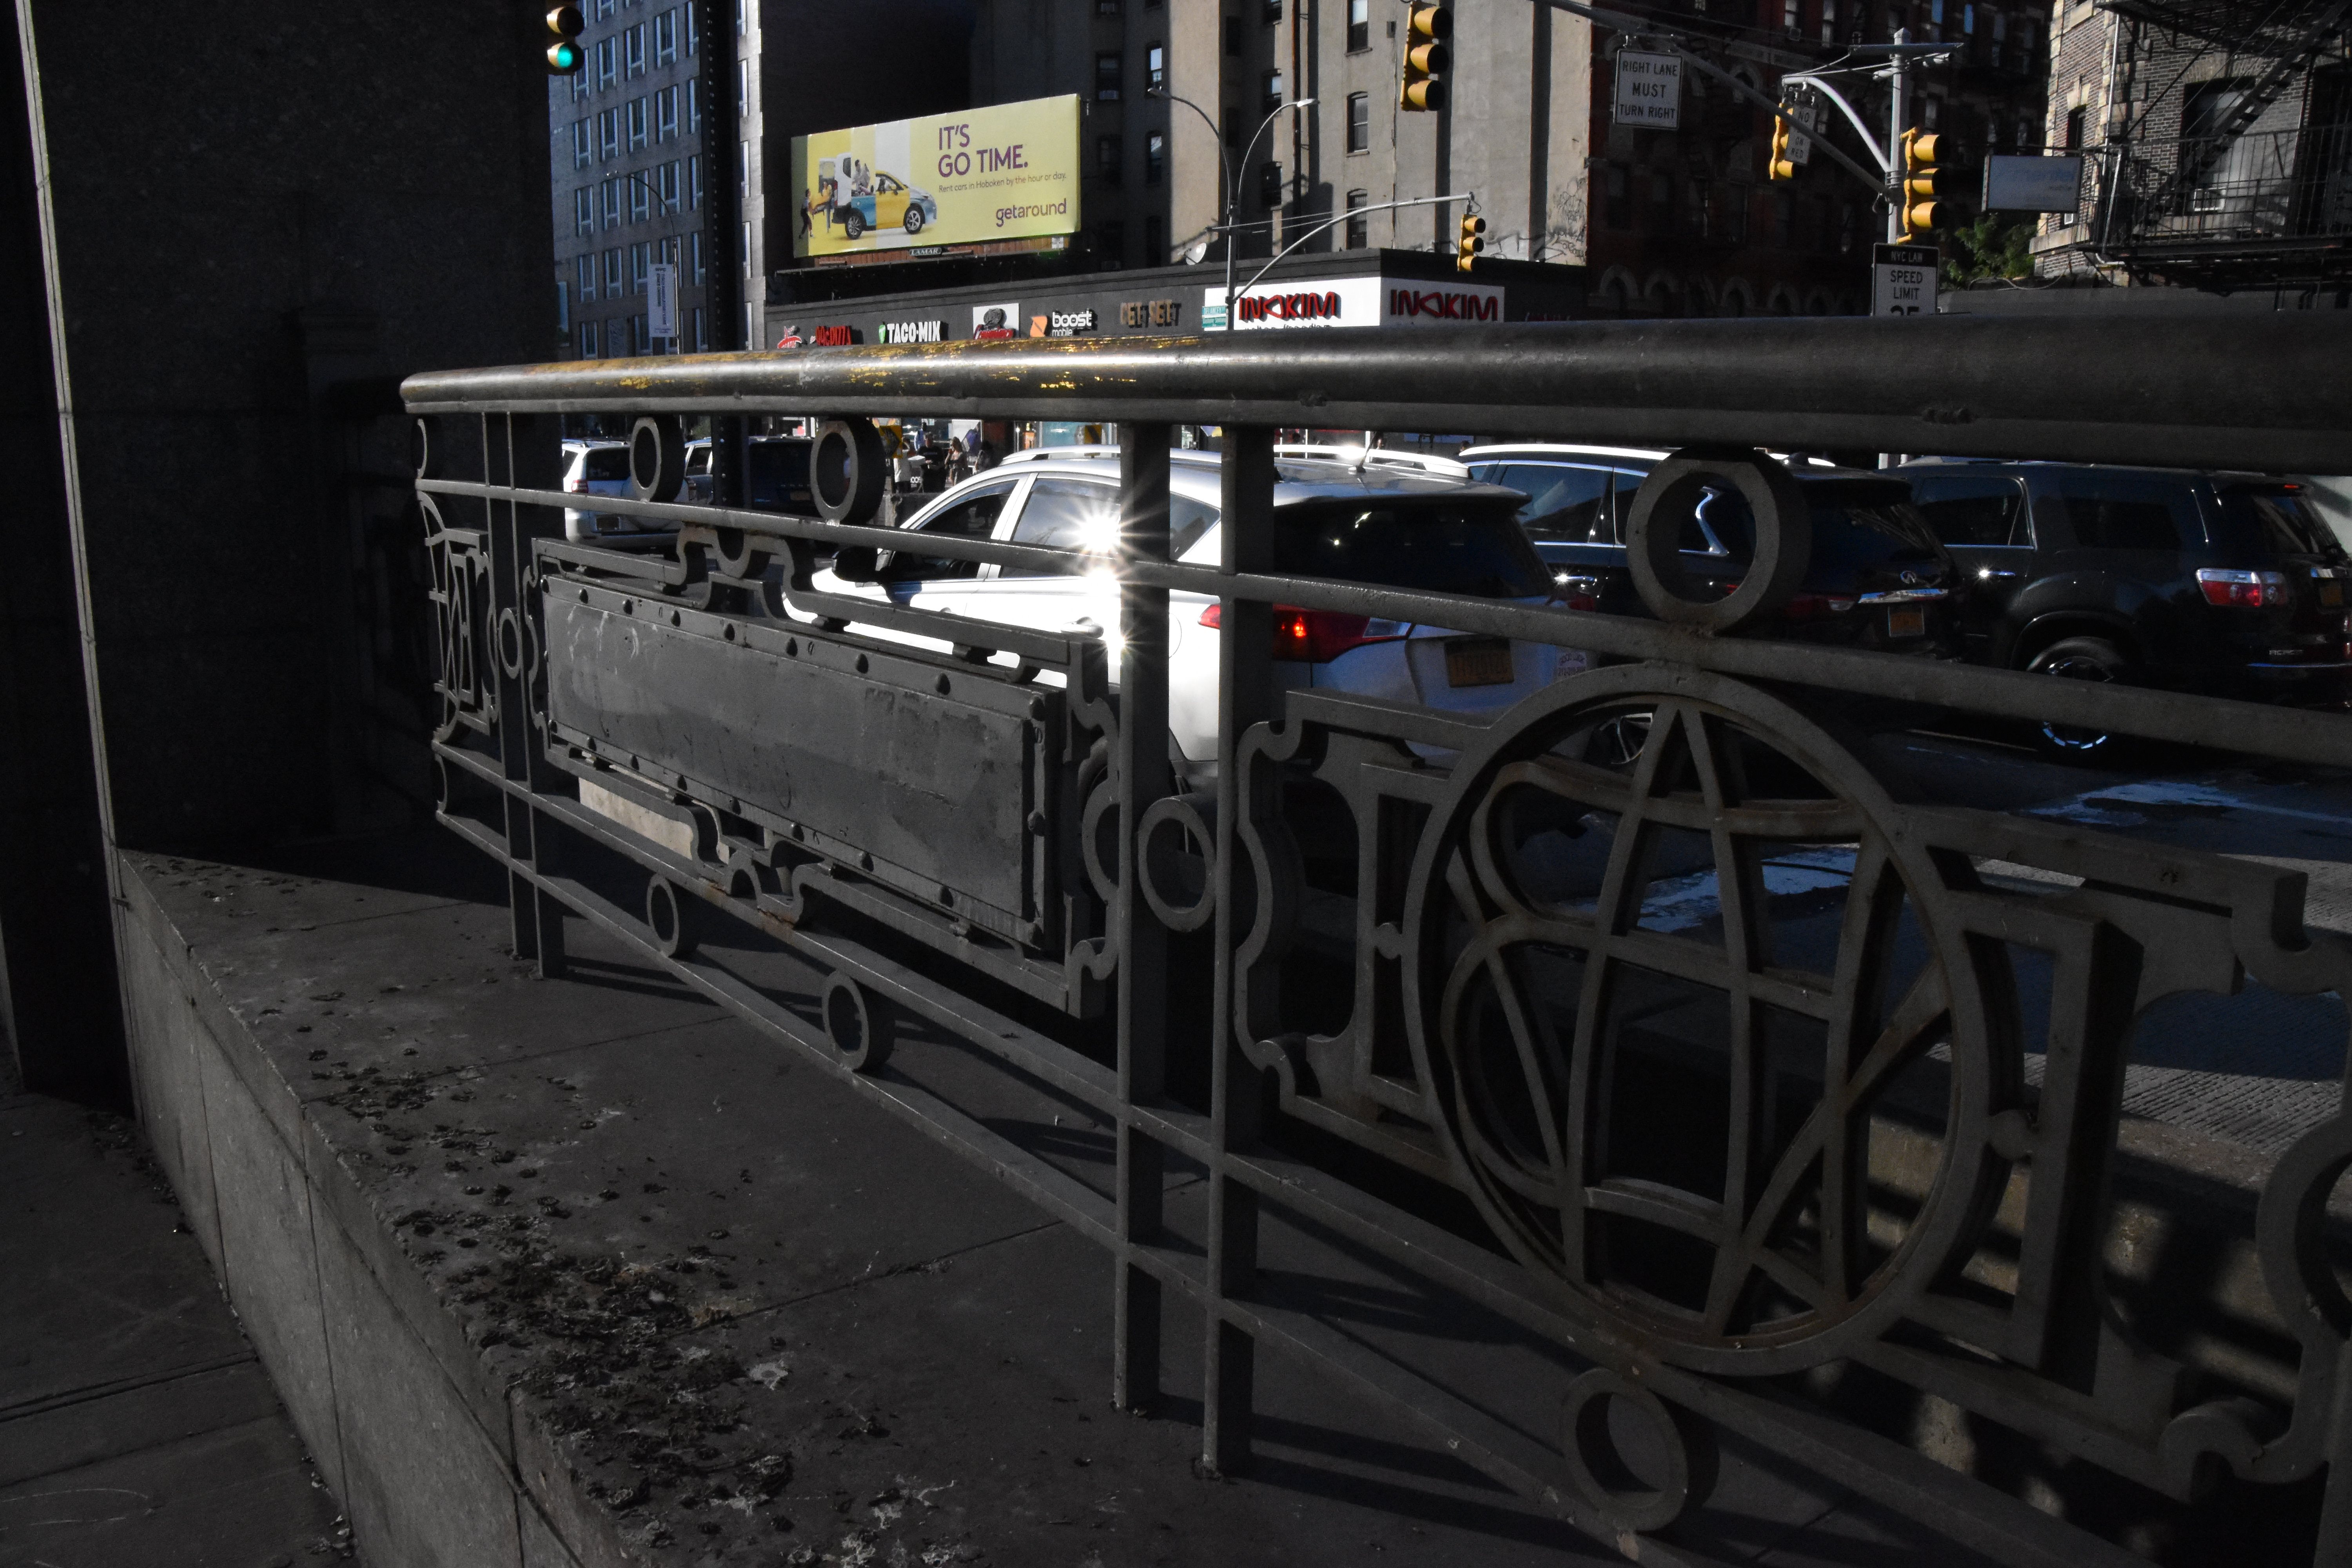
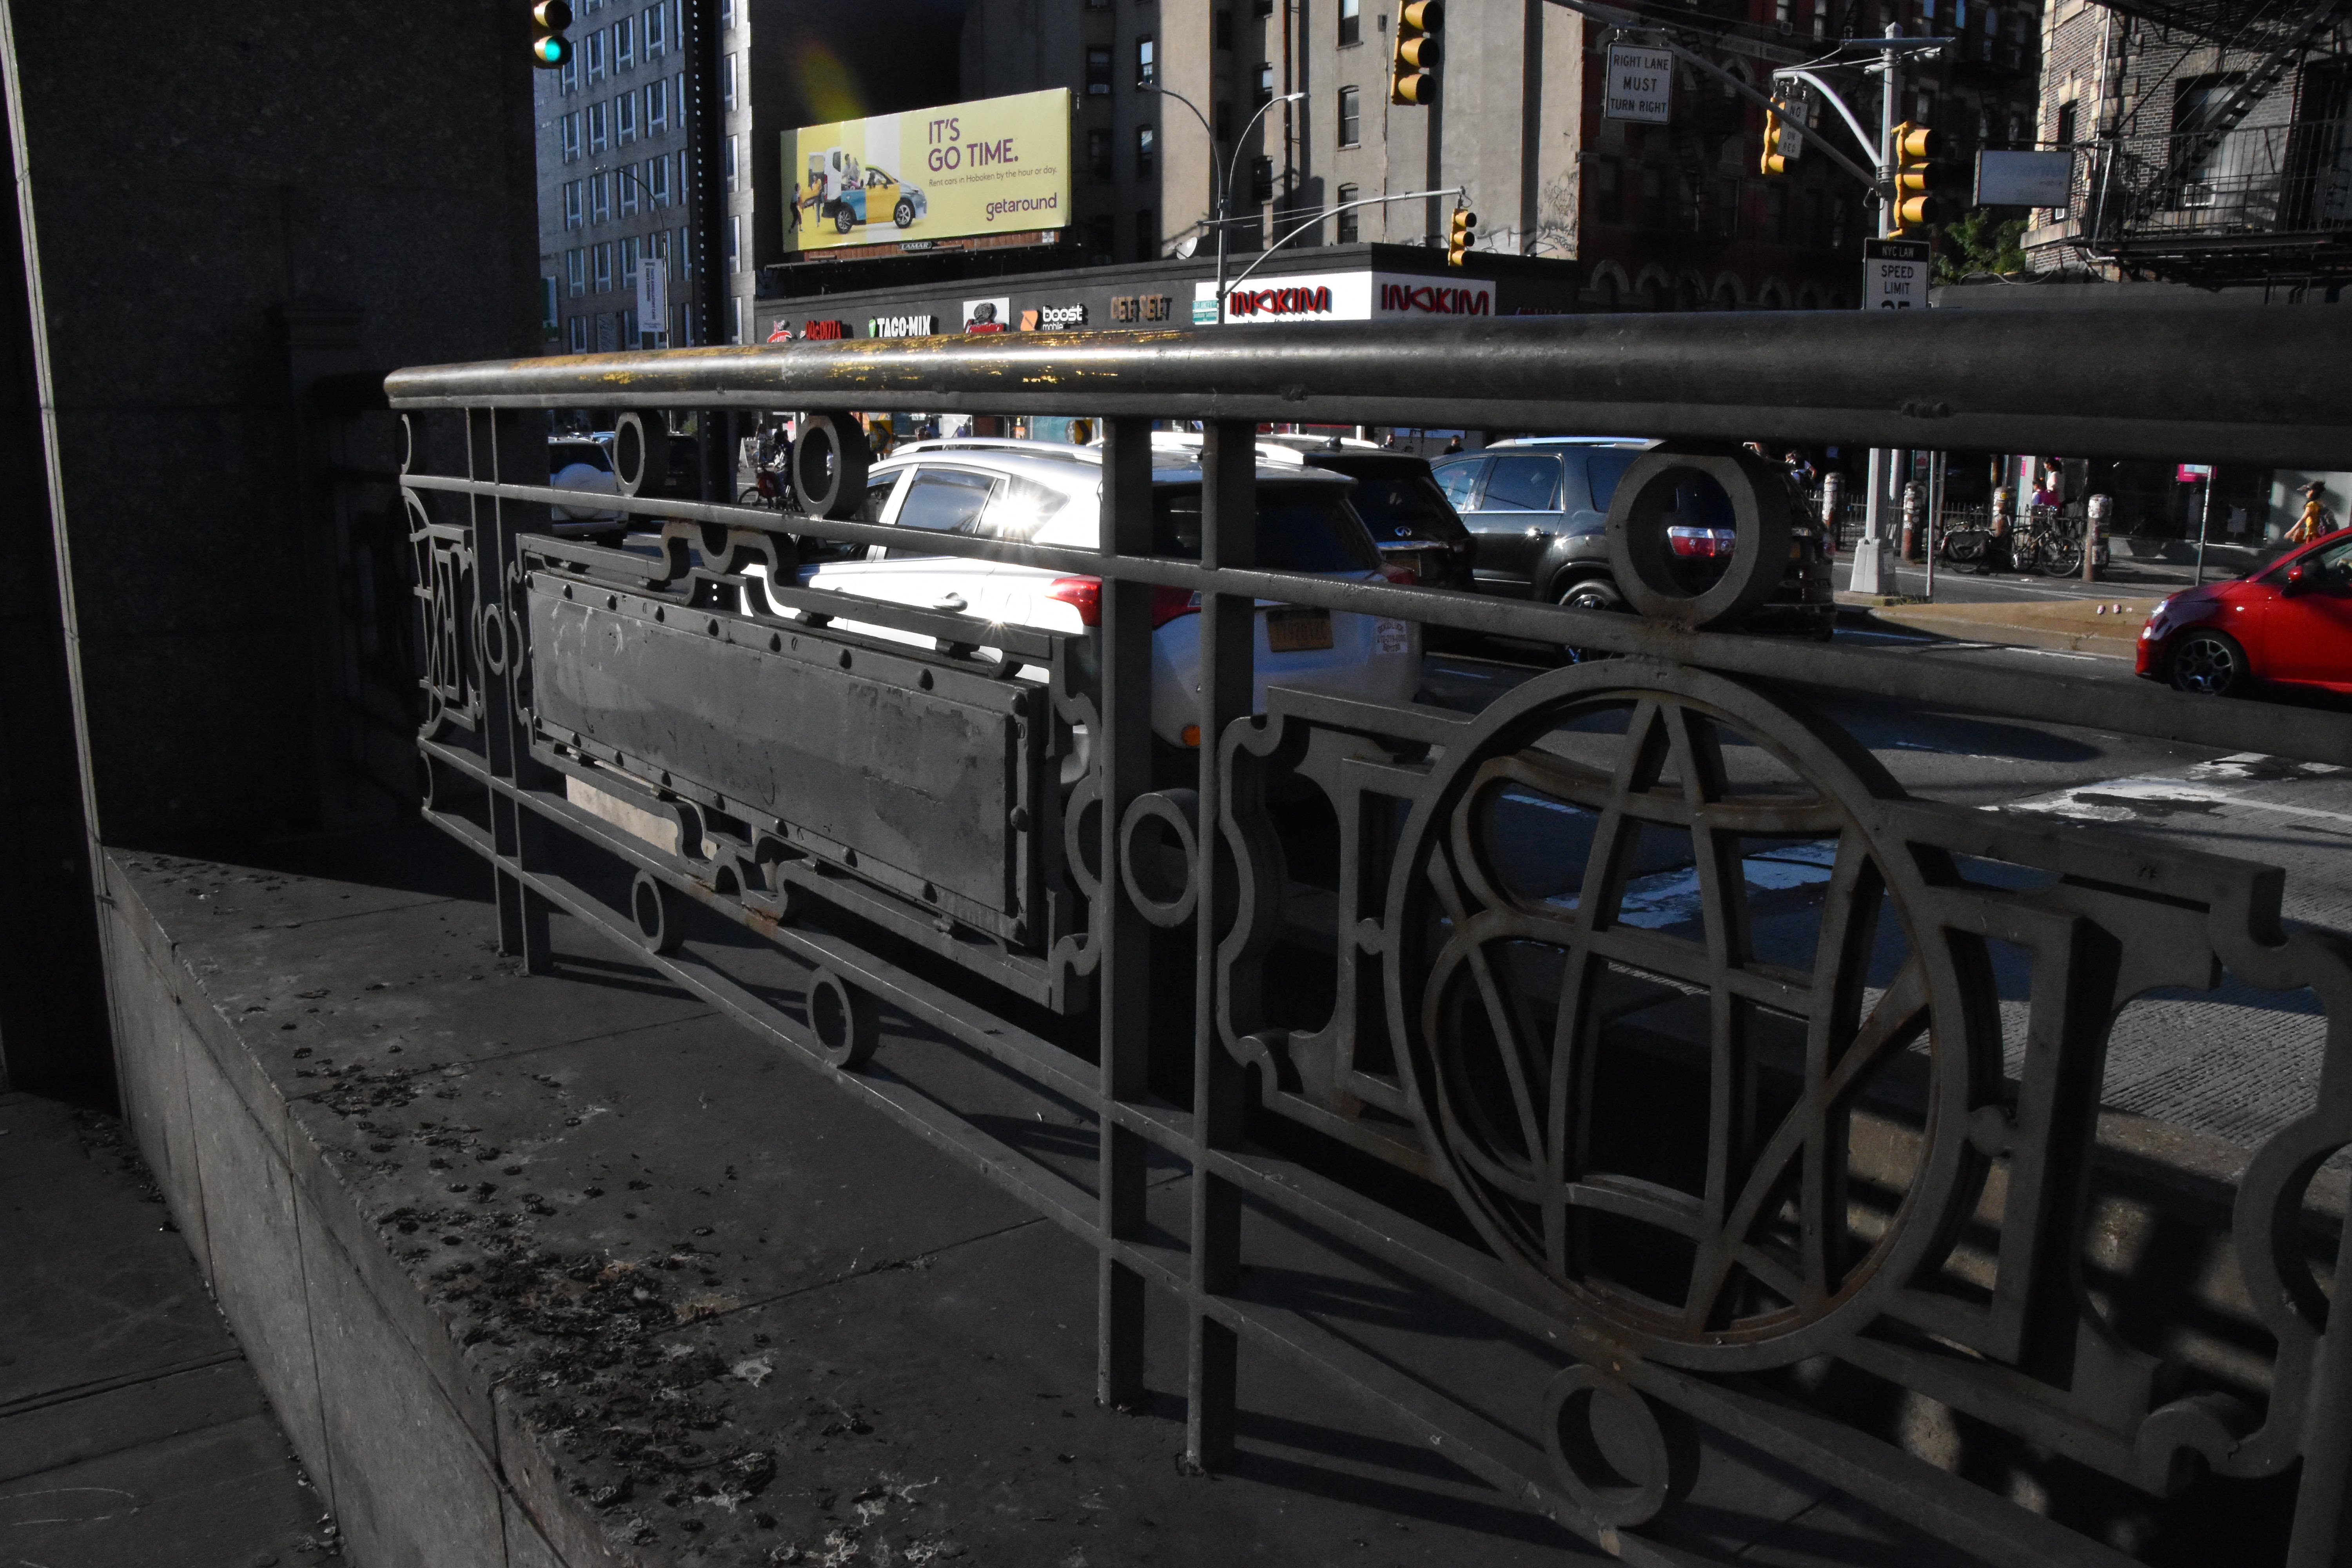
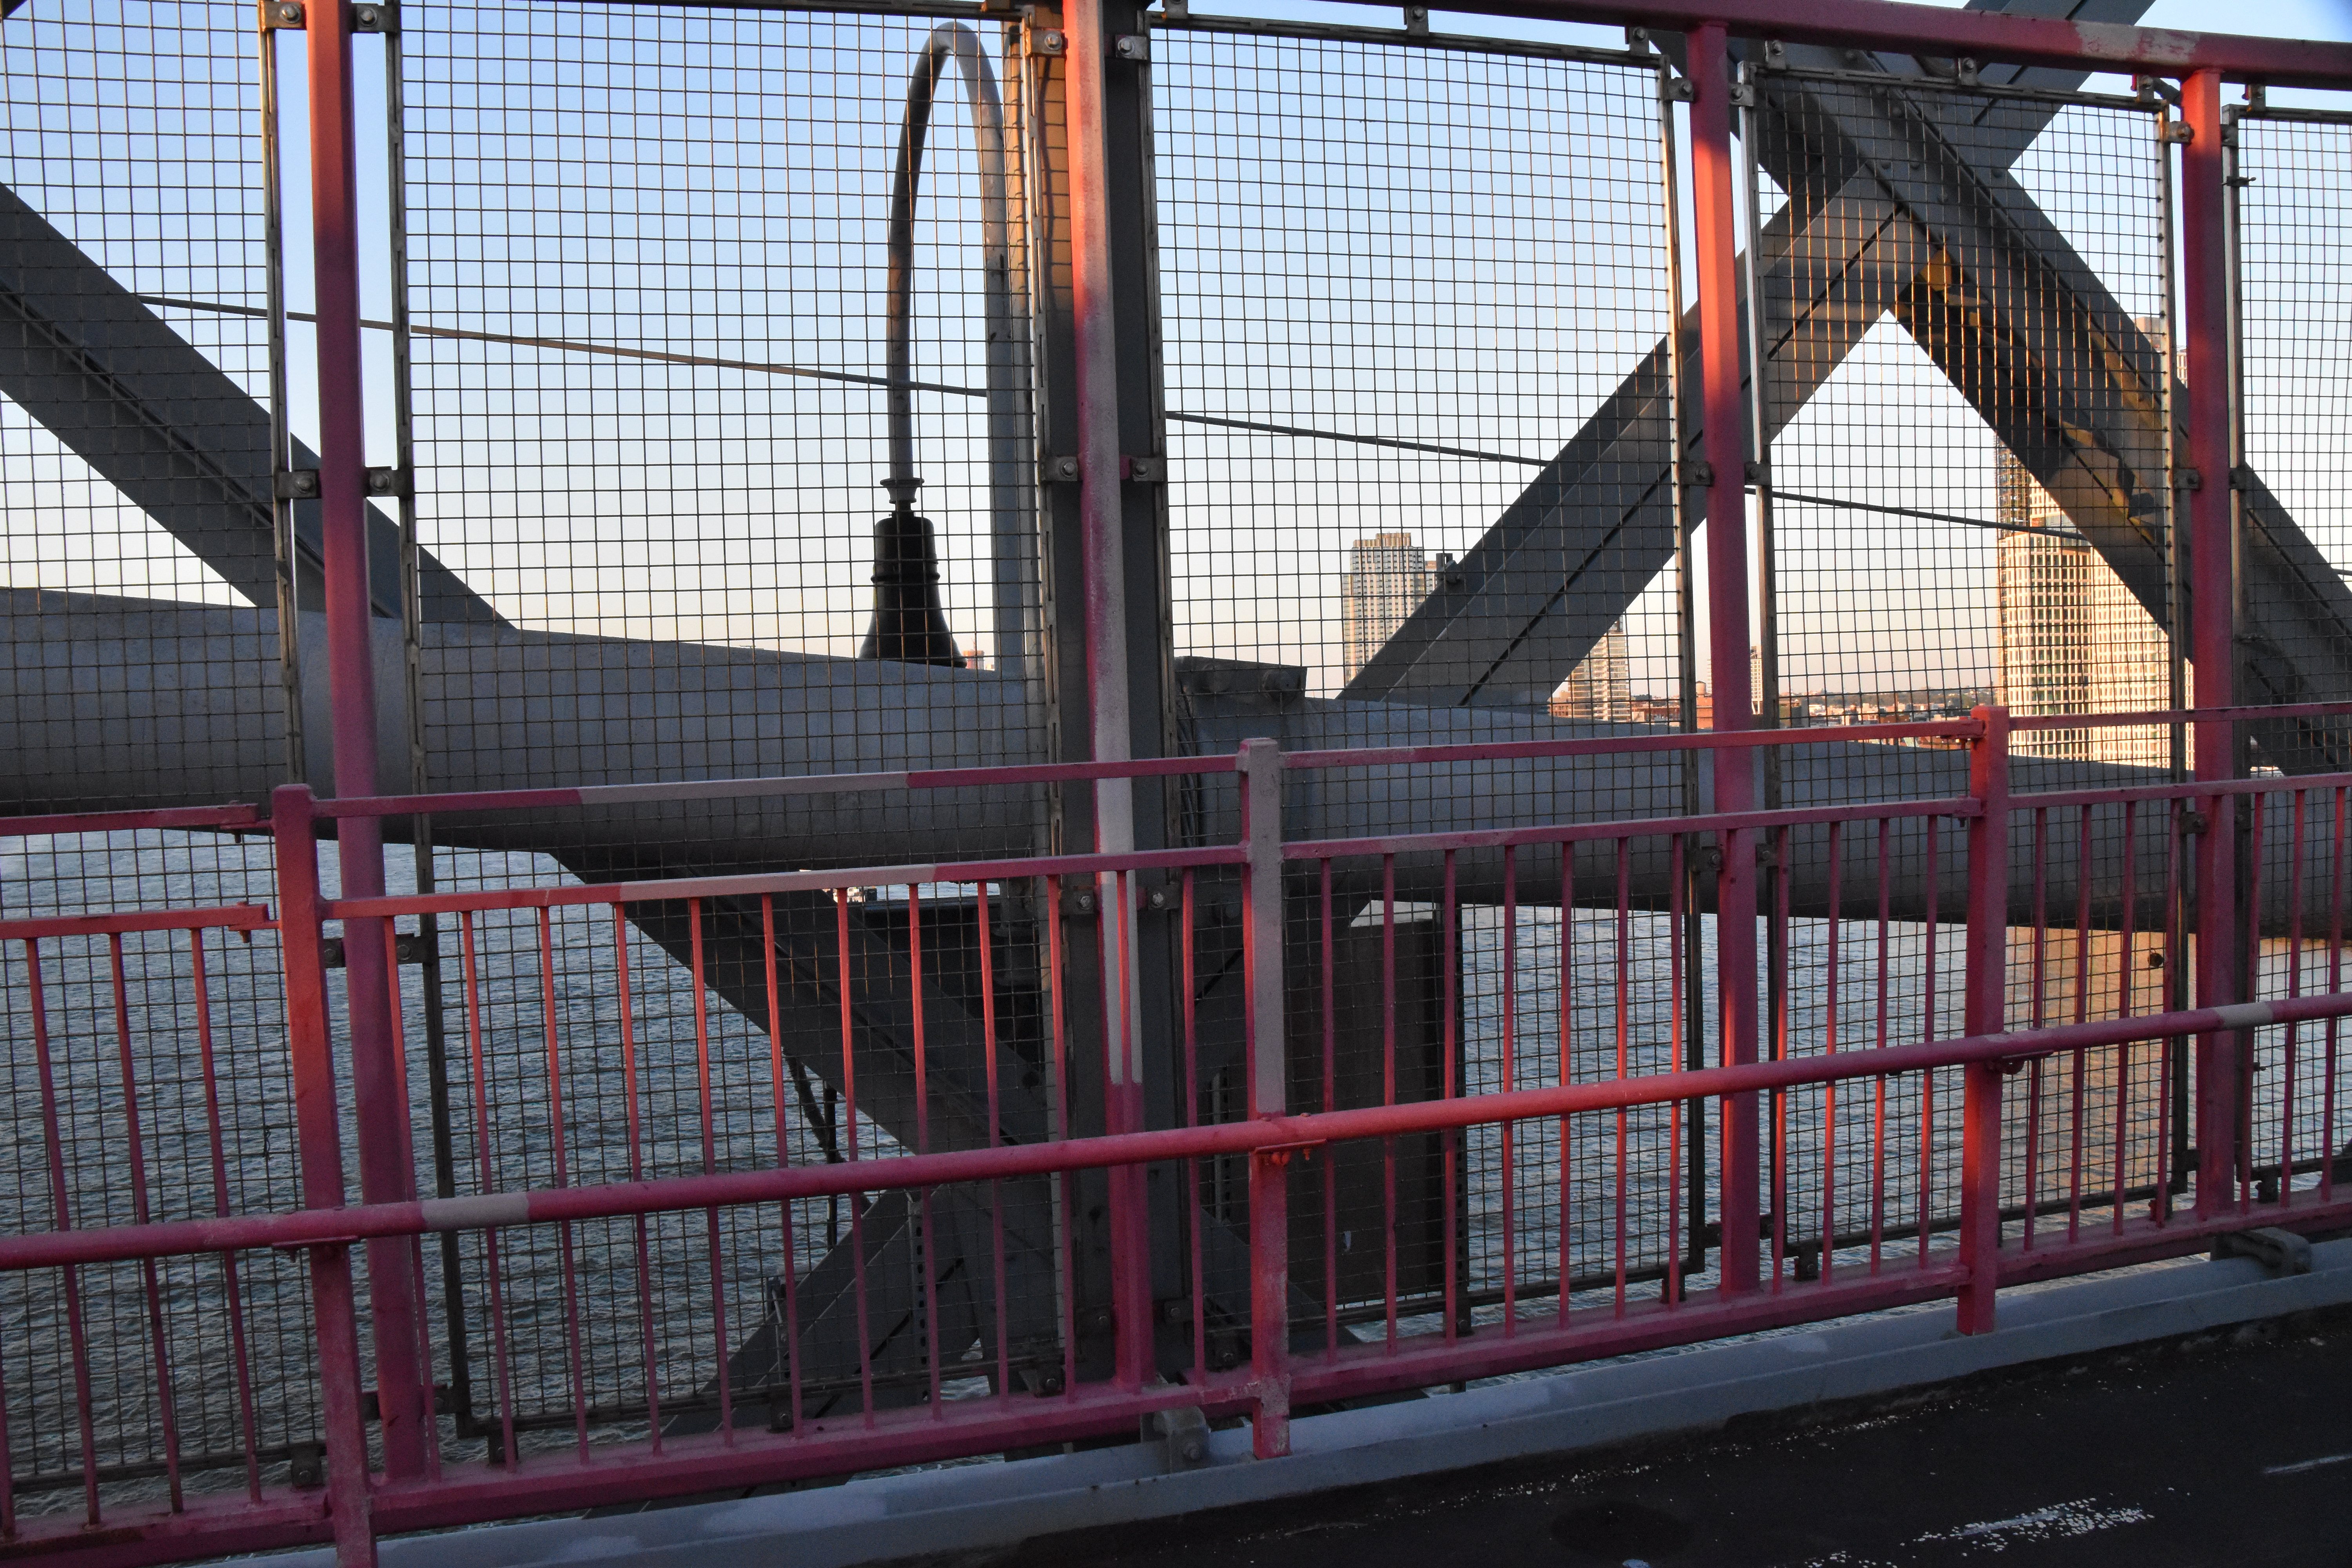
Approach railing.
![]()

Approach bents overview.
![]()


Approach bents details.
![]()


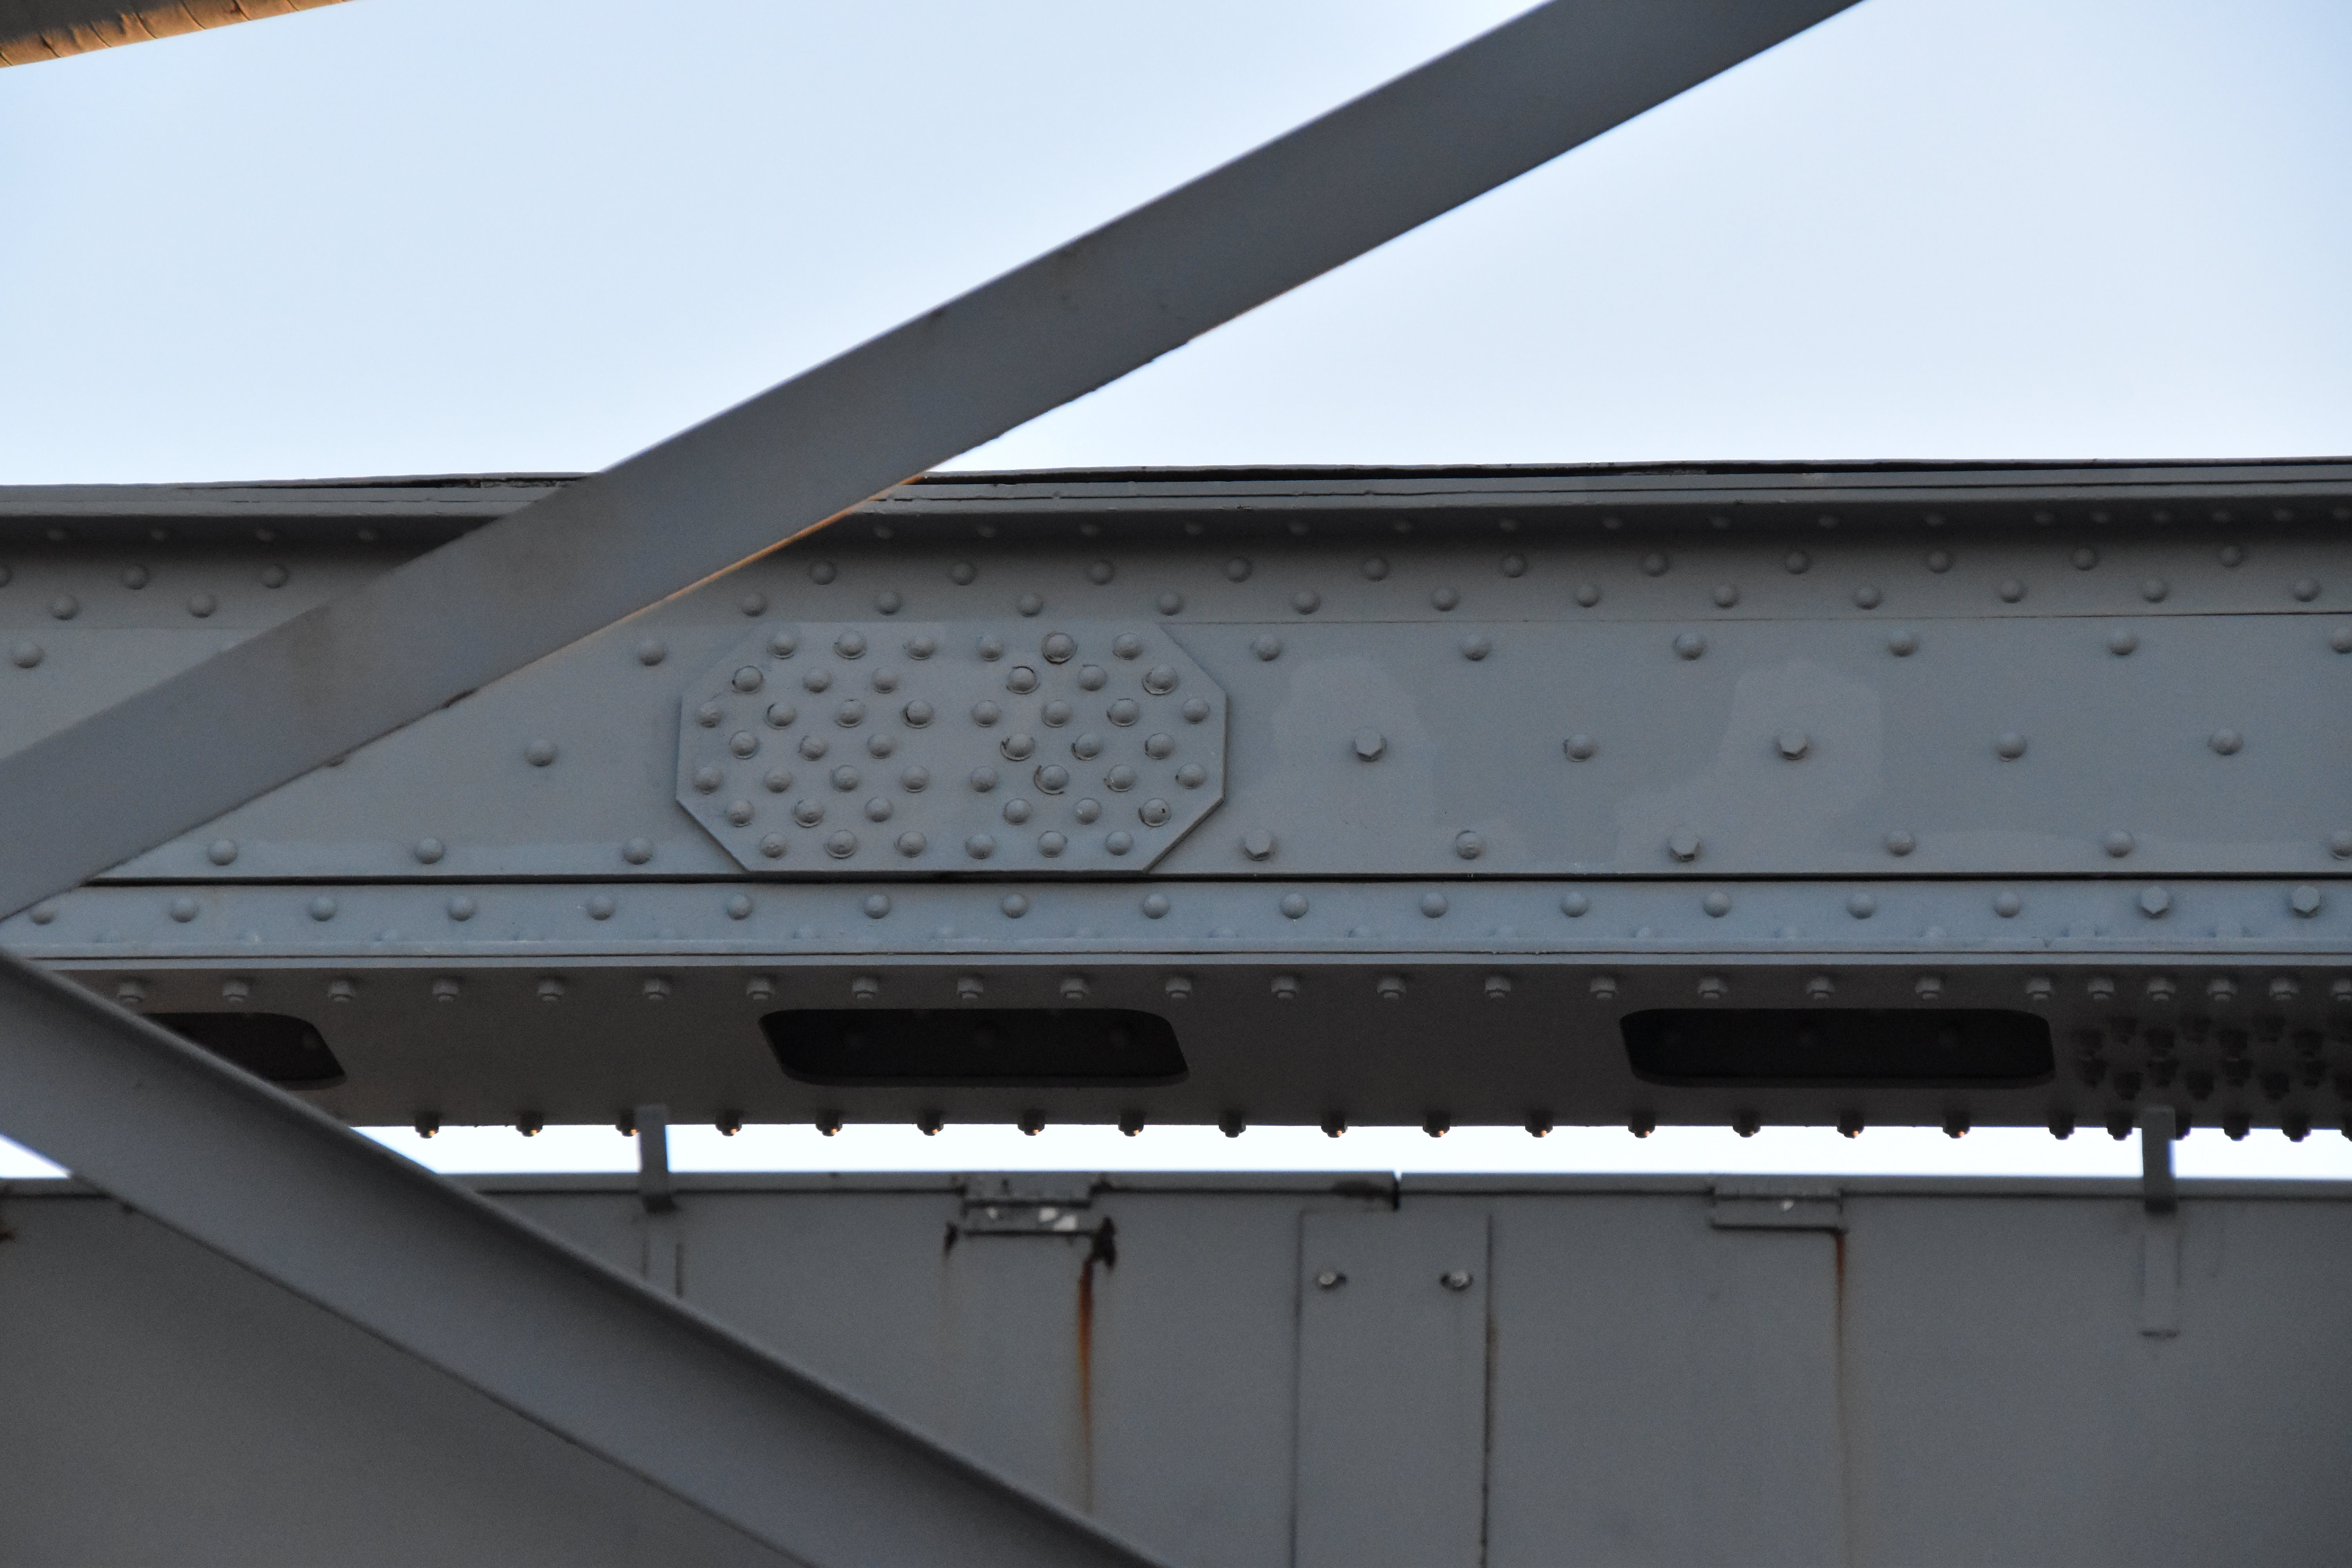
Top chord connections as viewed from beside bridge.
![]()

Intermediate connections as viewed from beside bridge.
![]()
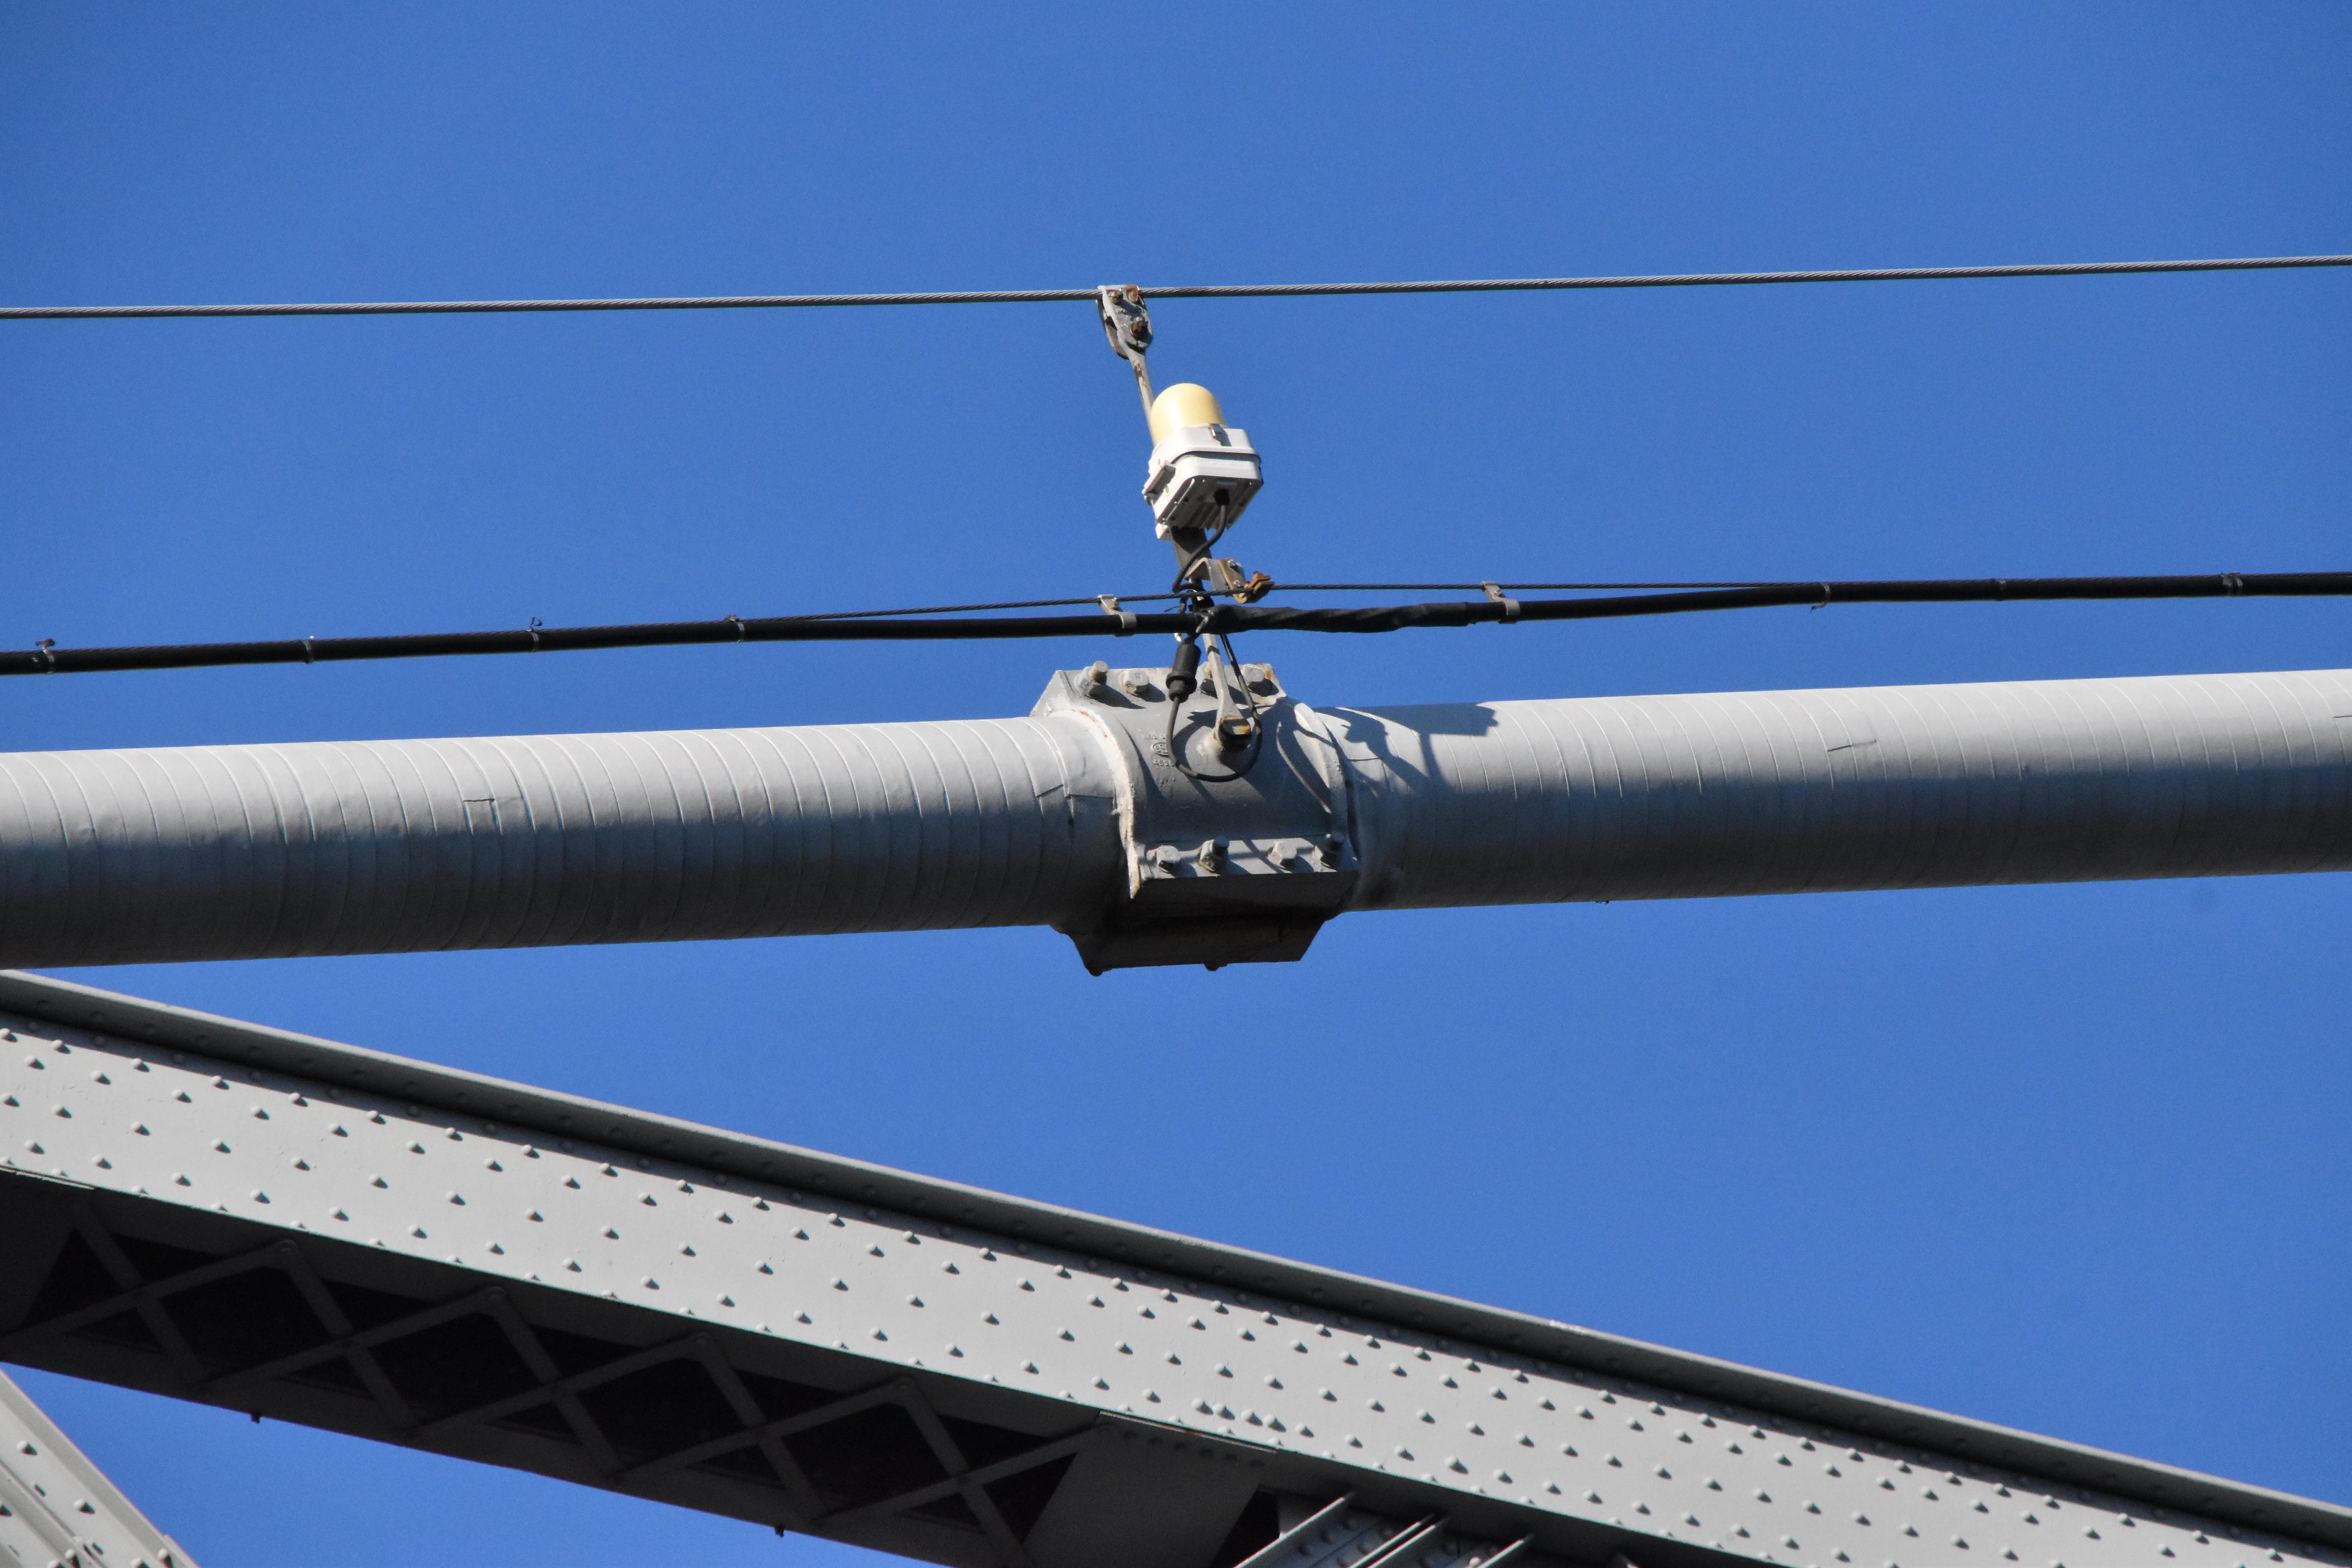
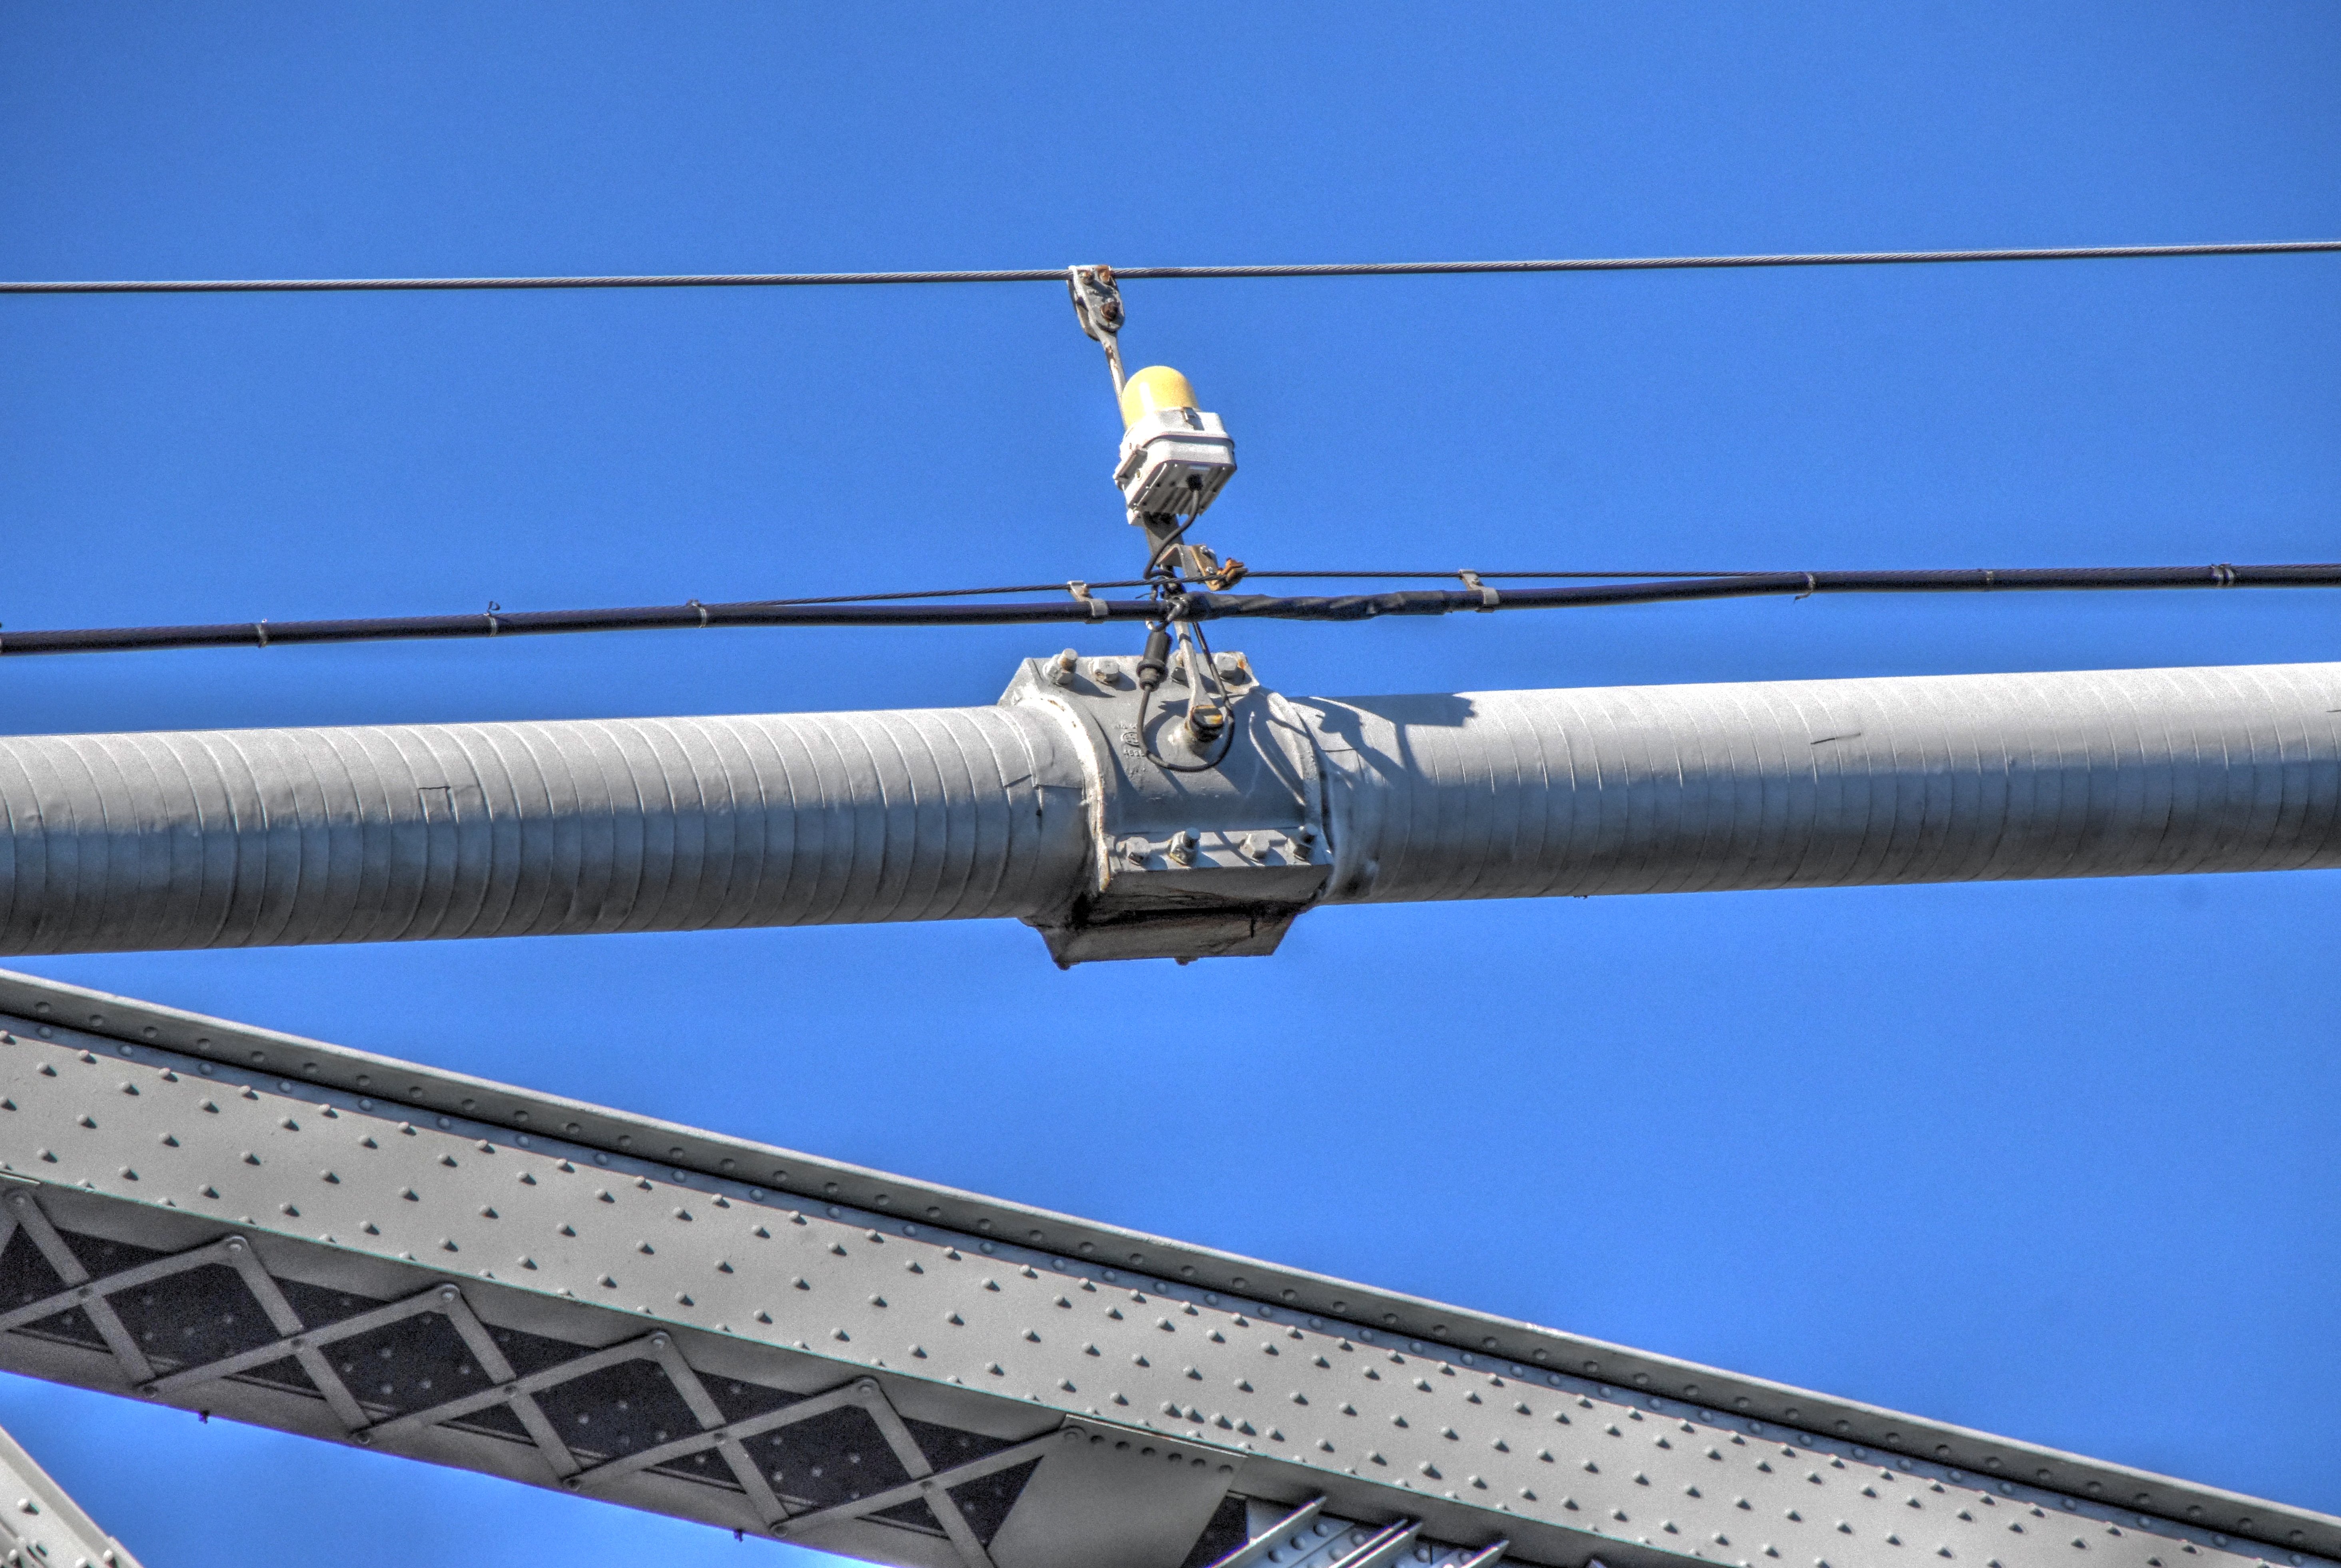
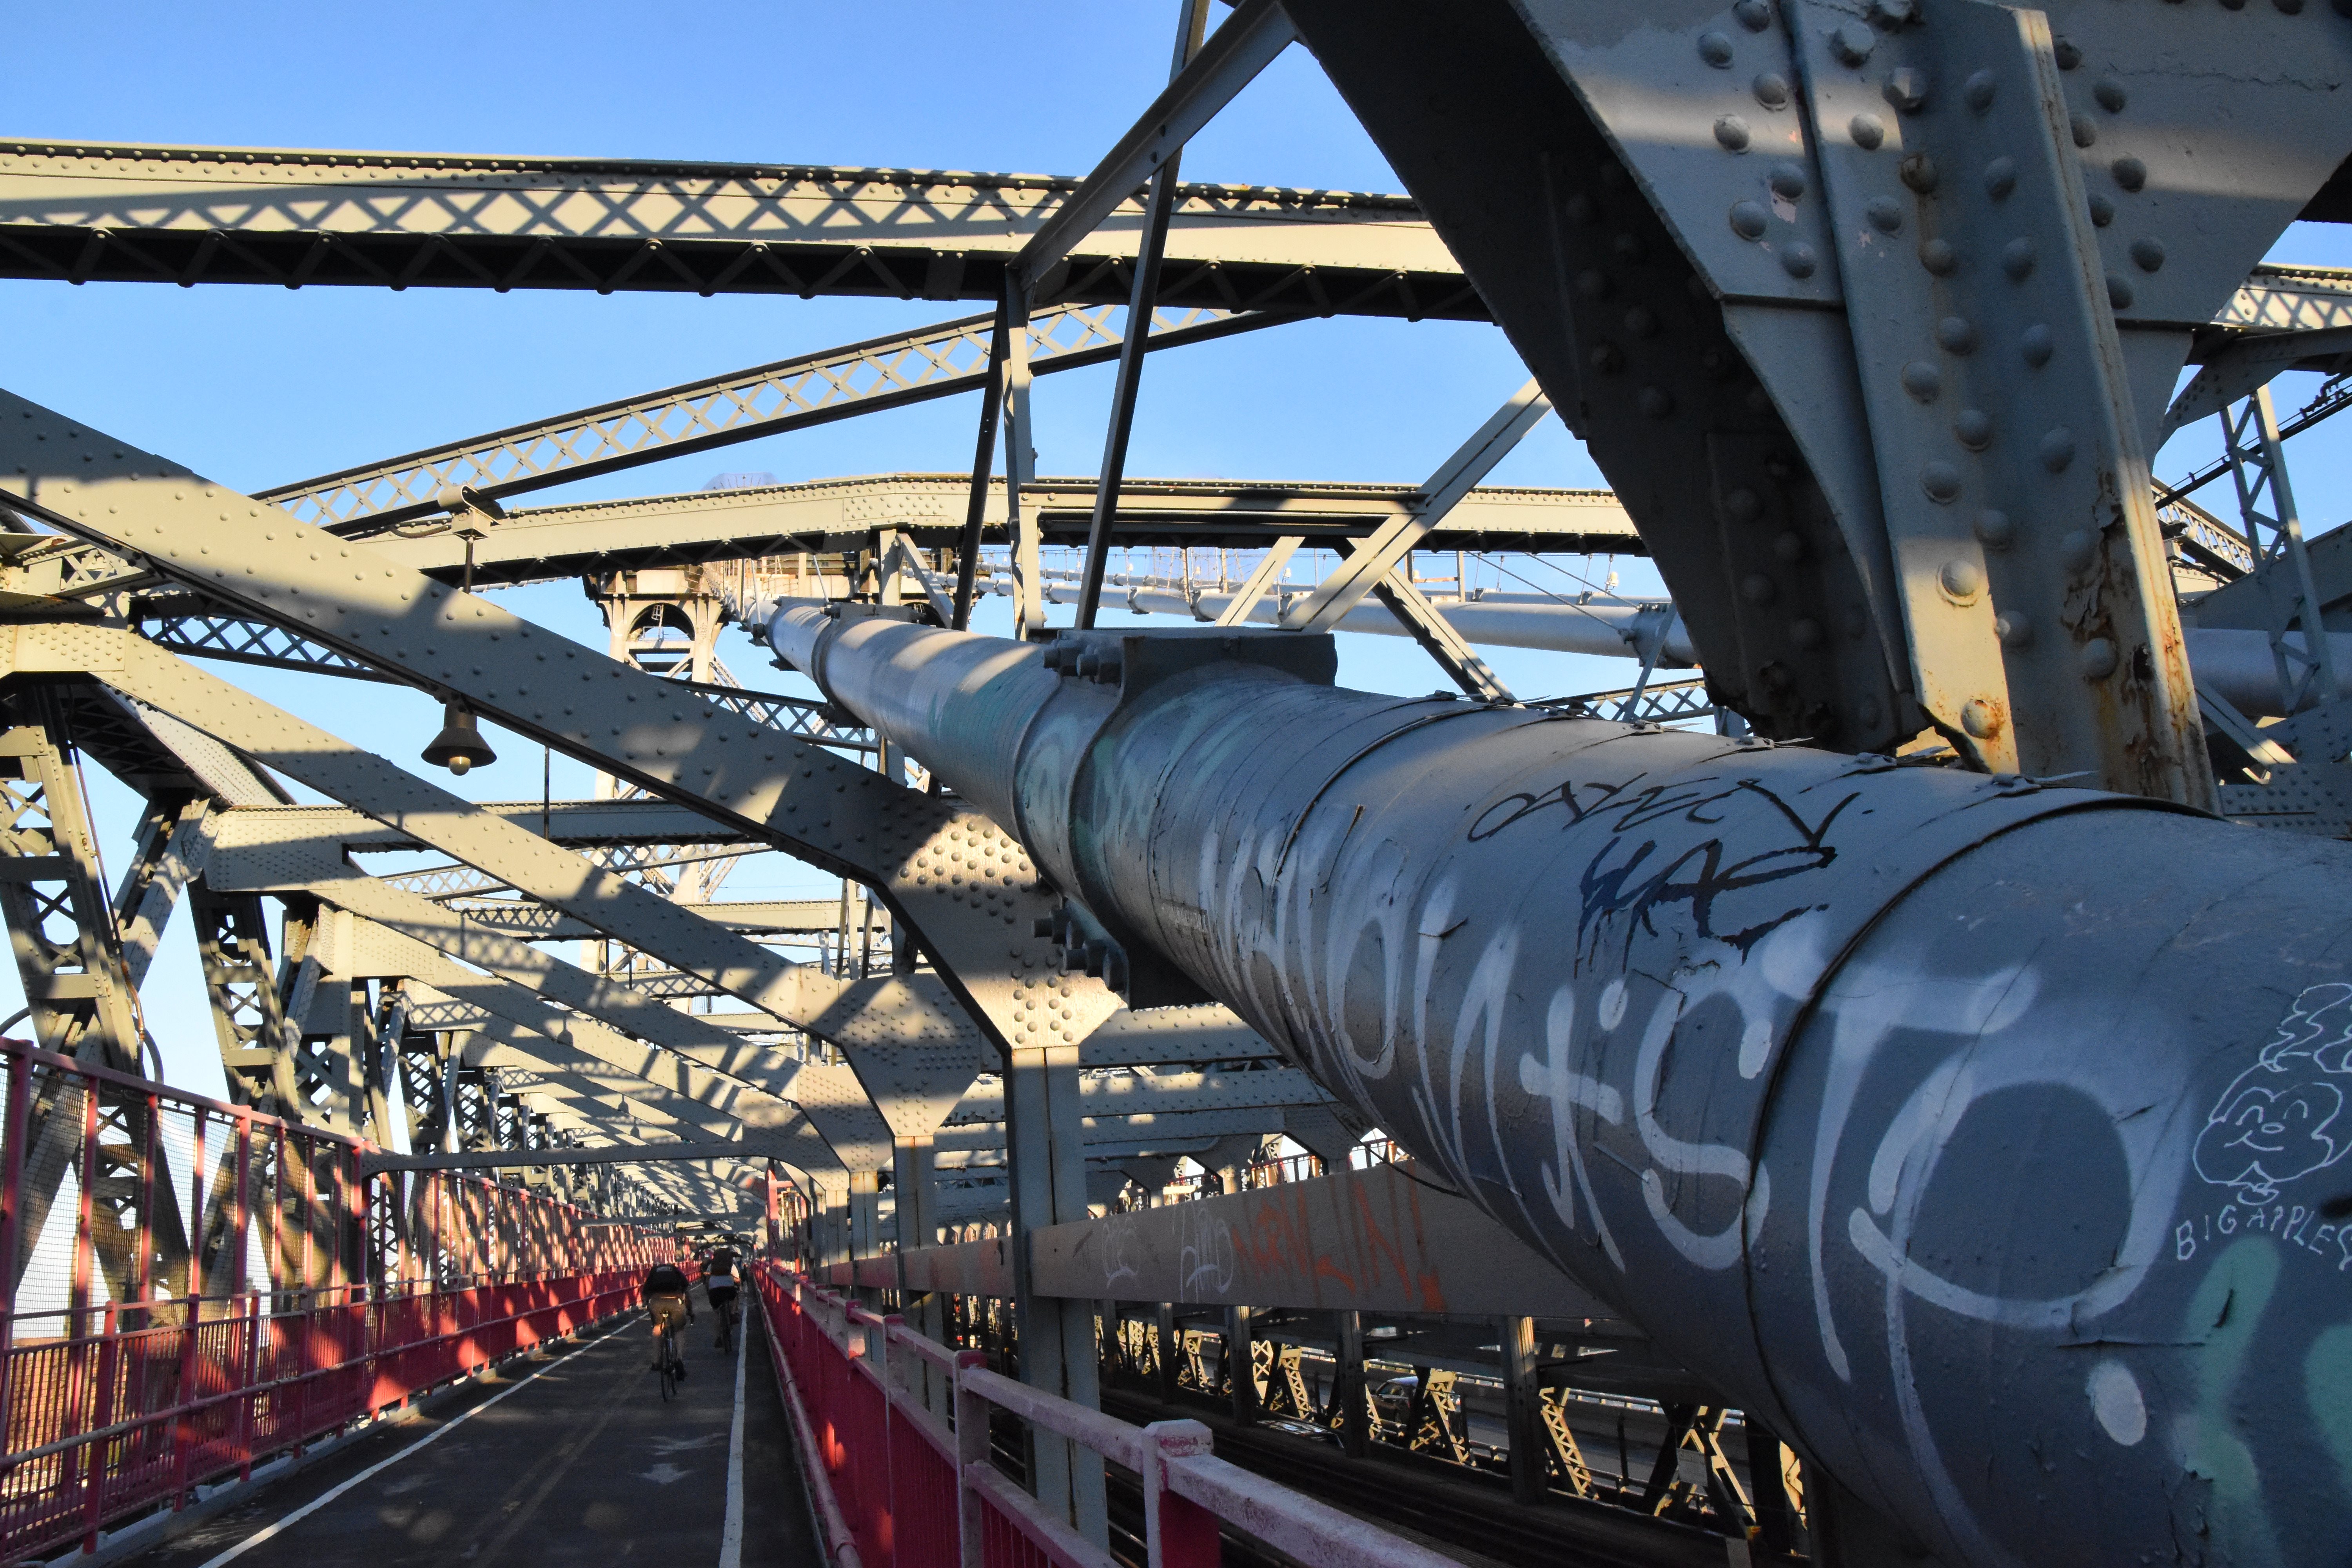
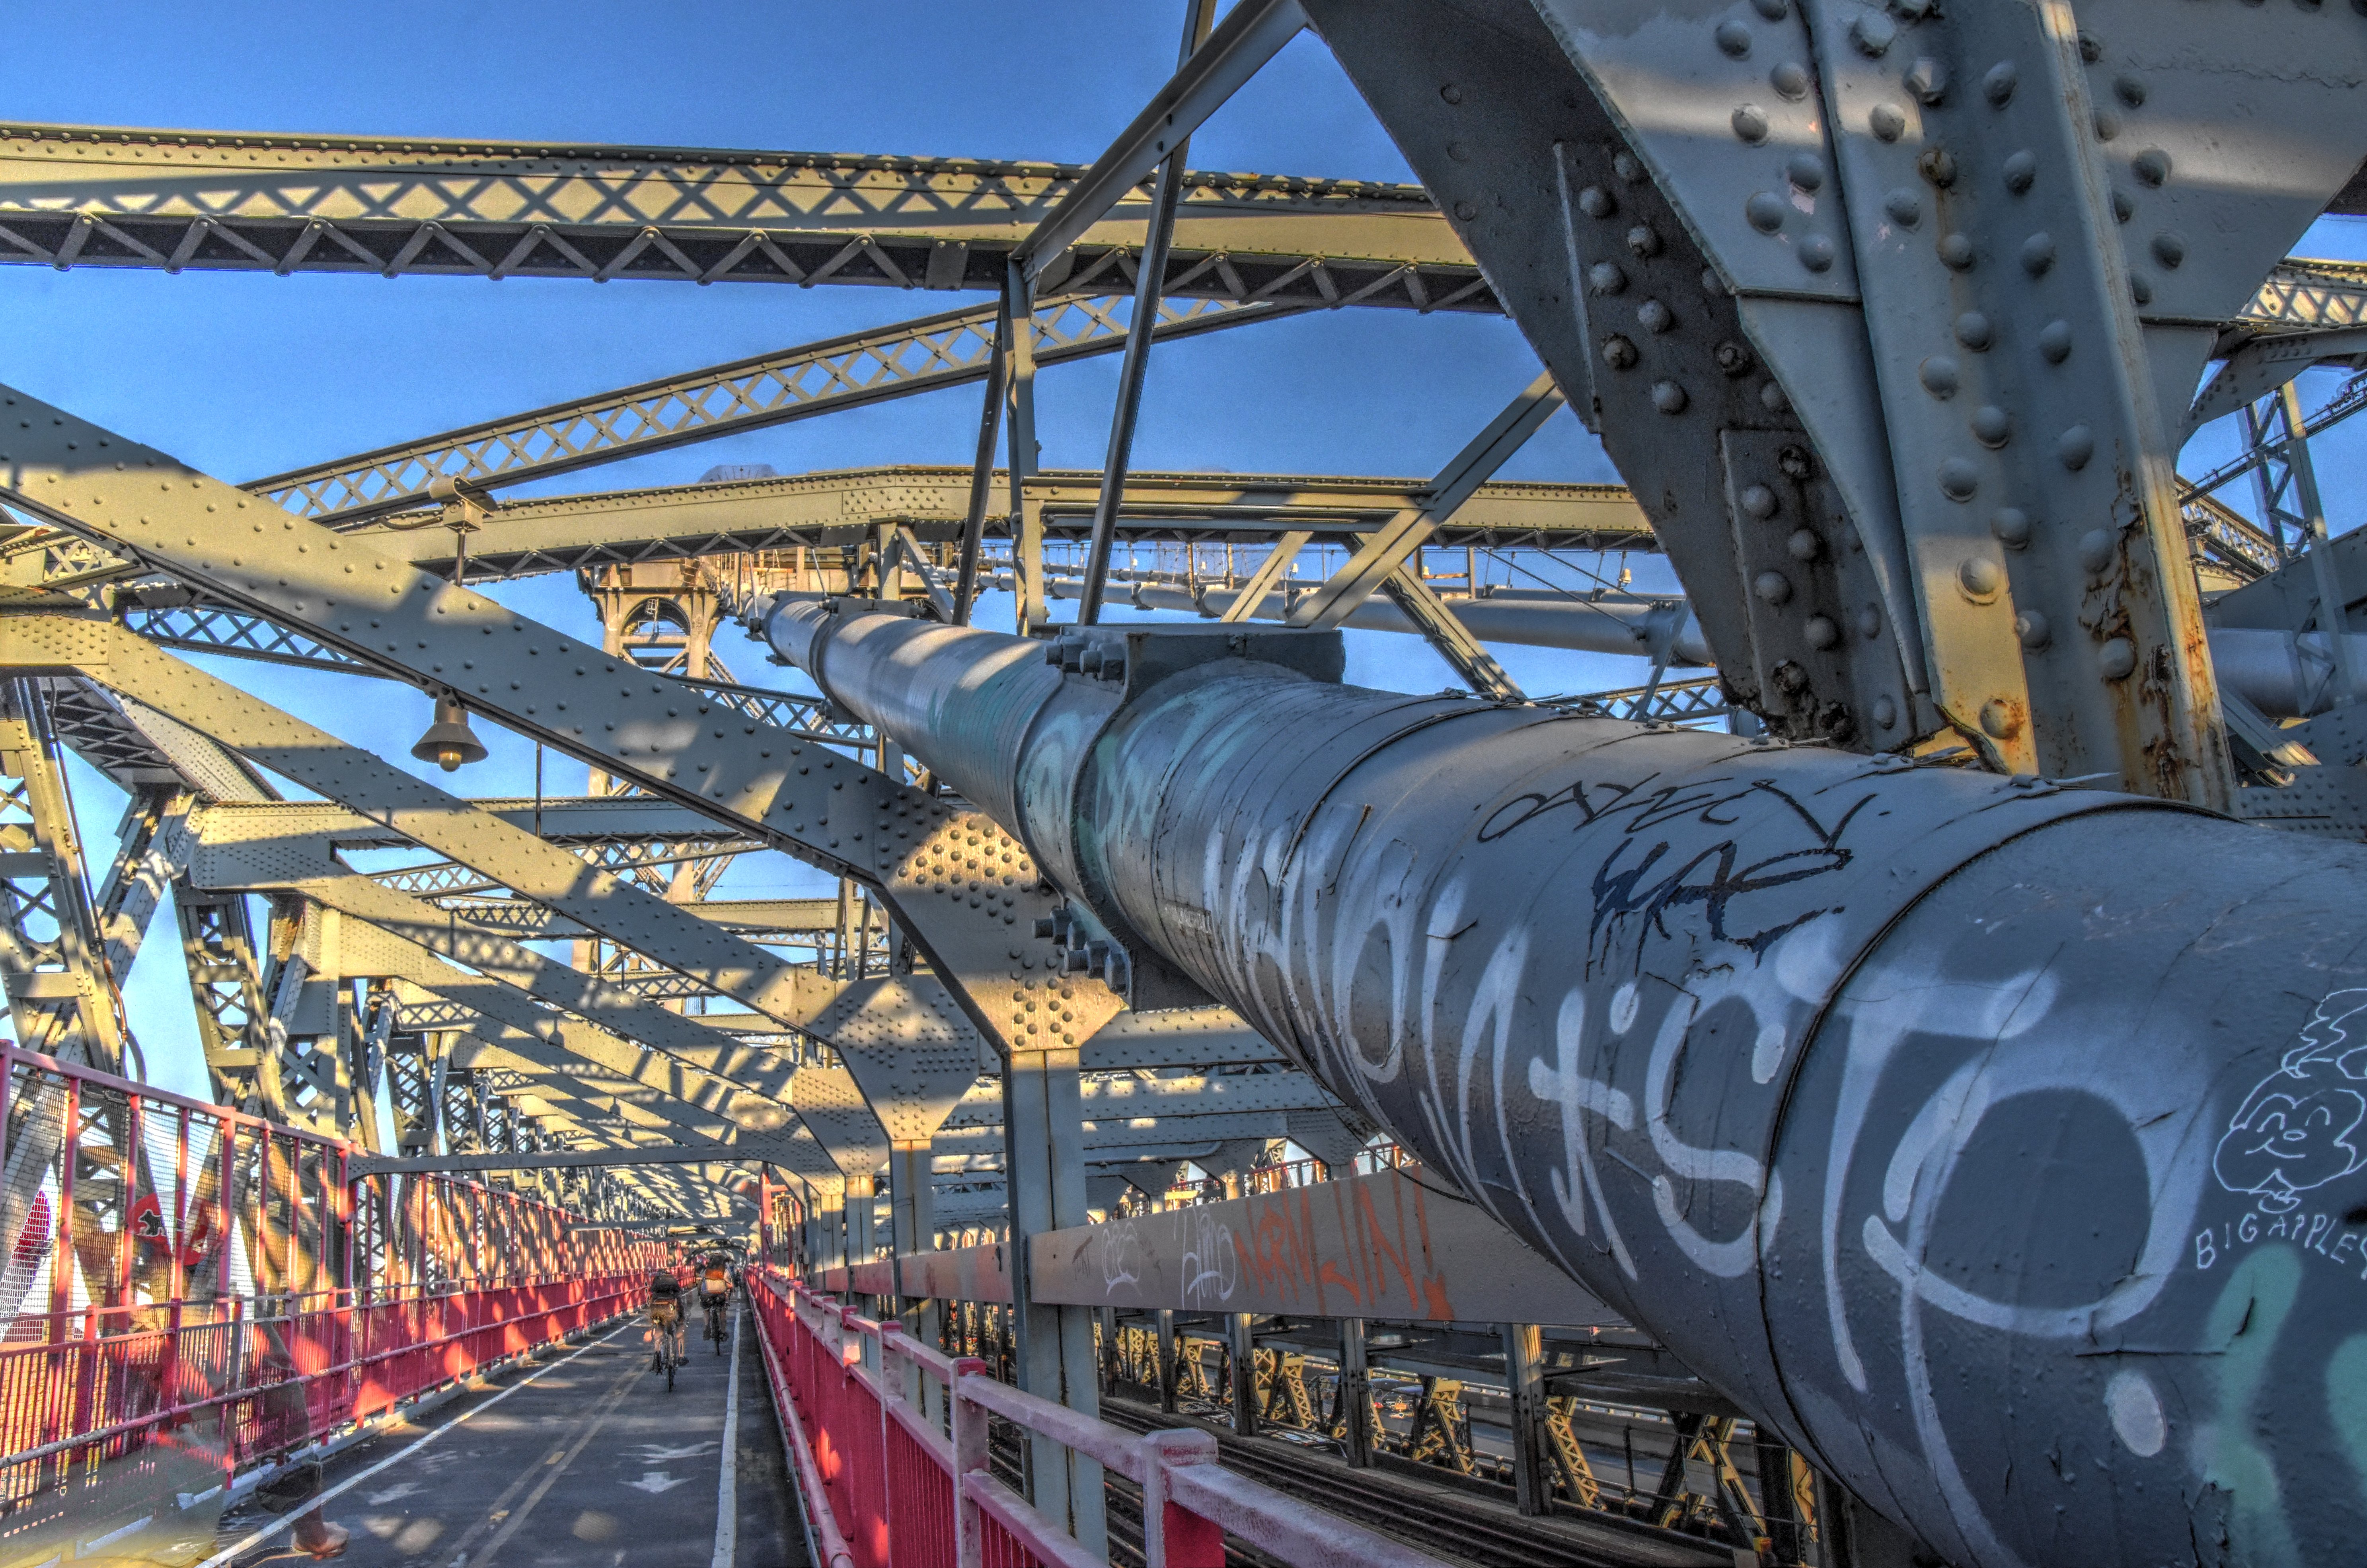
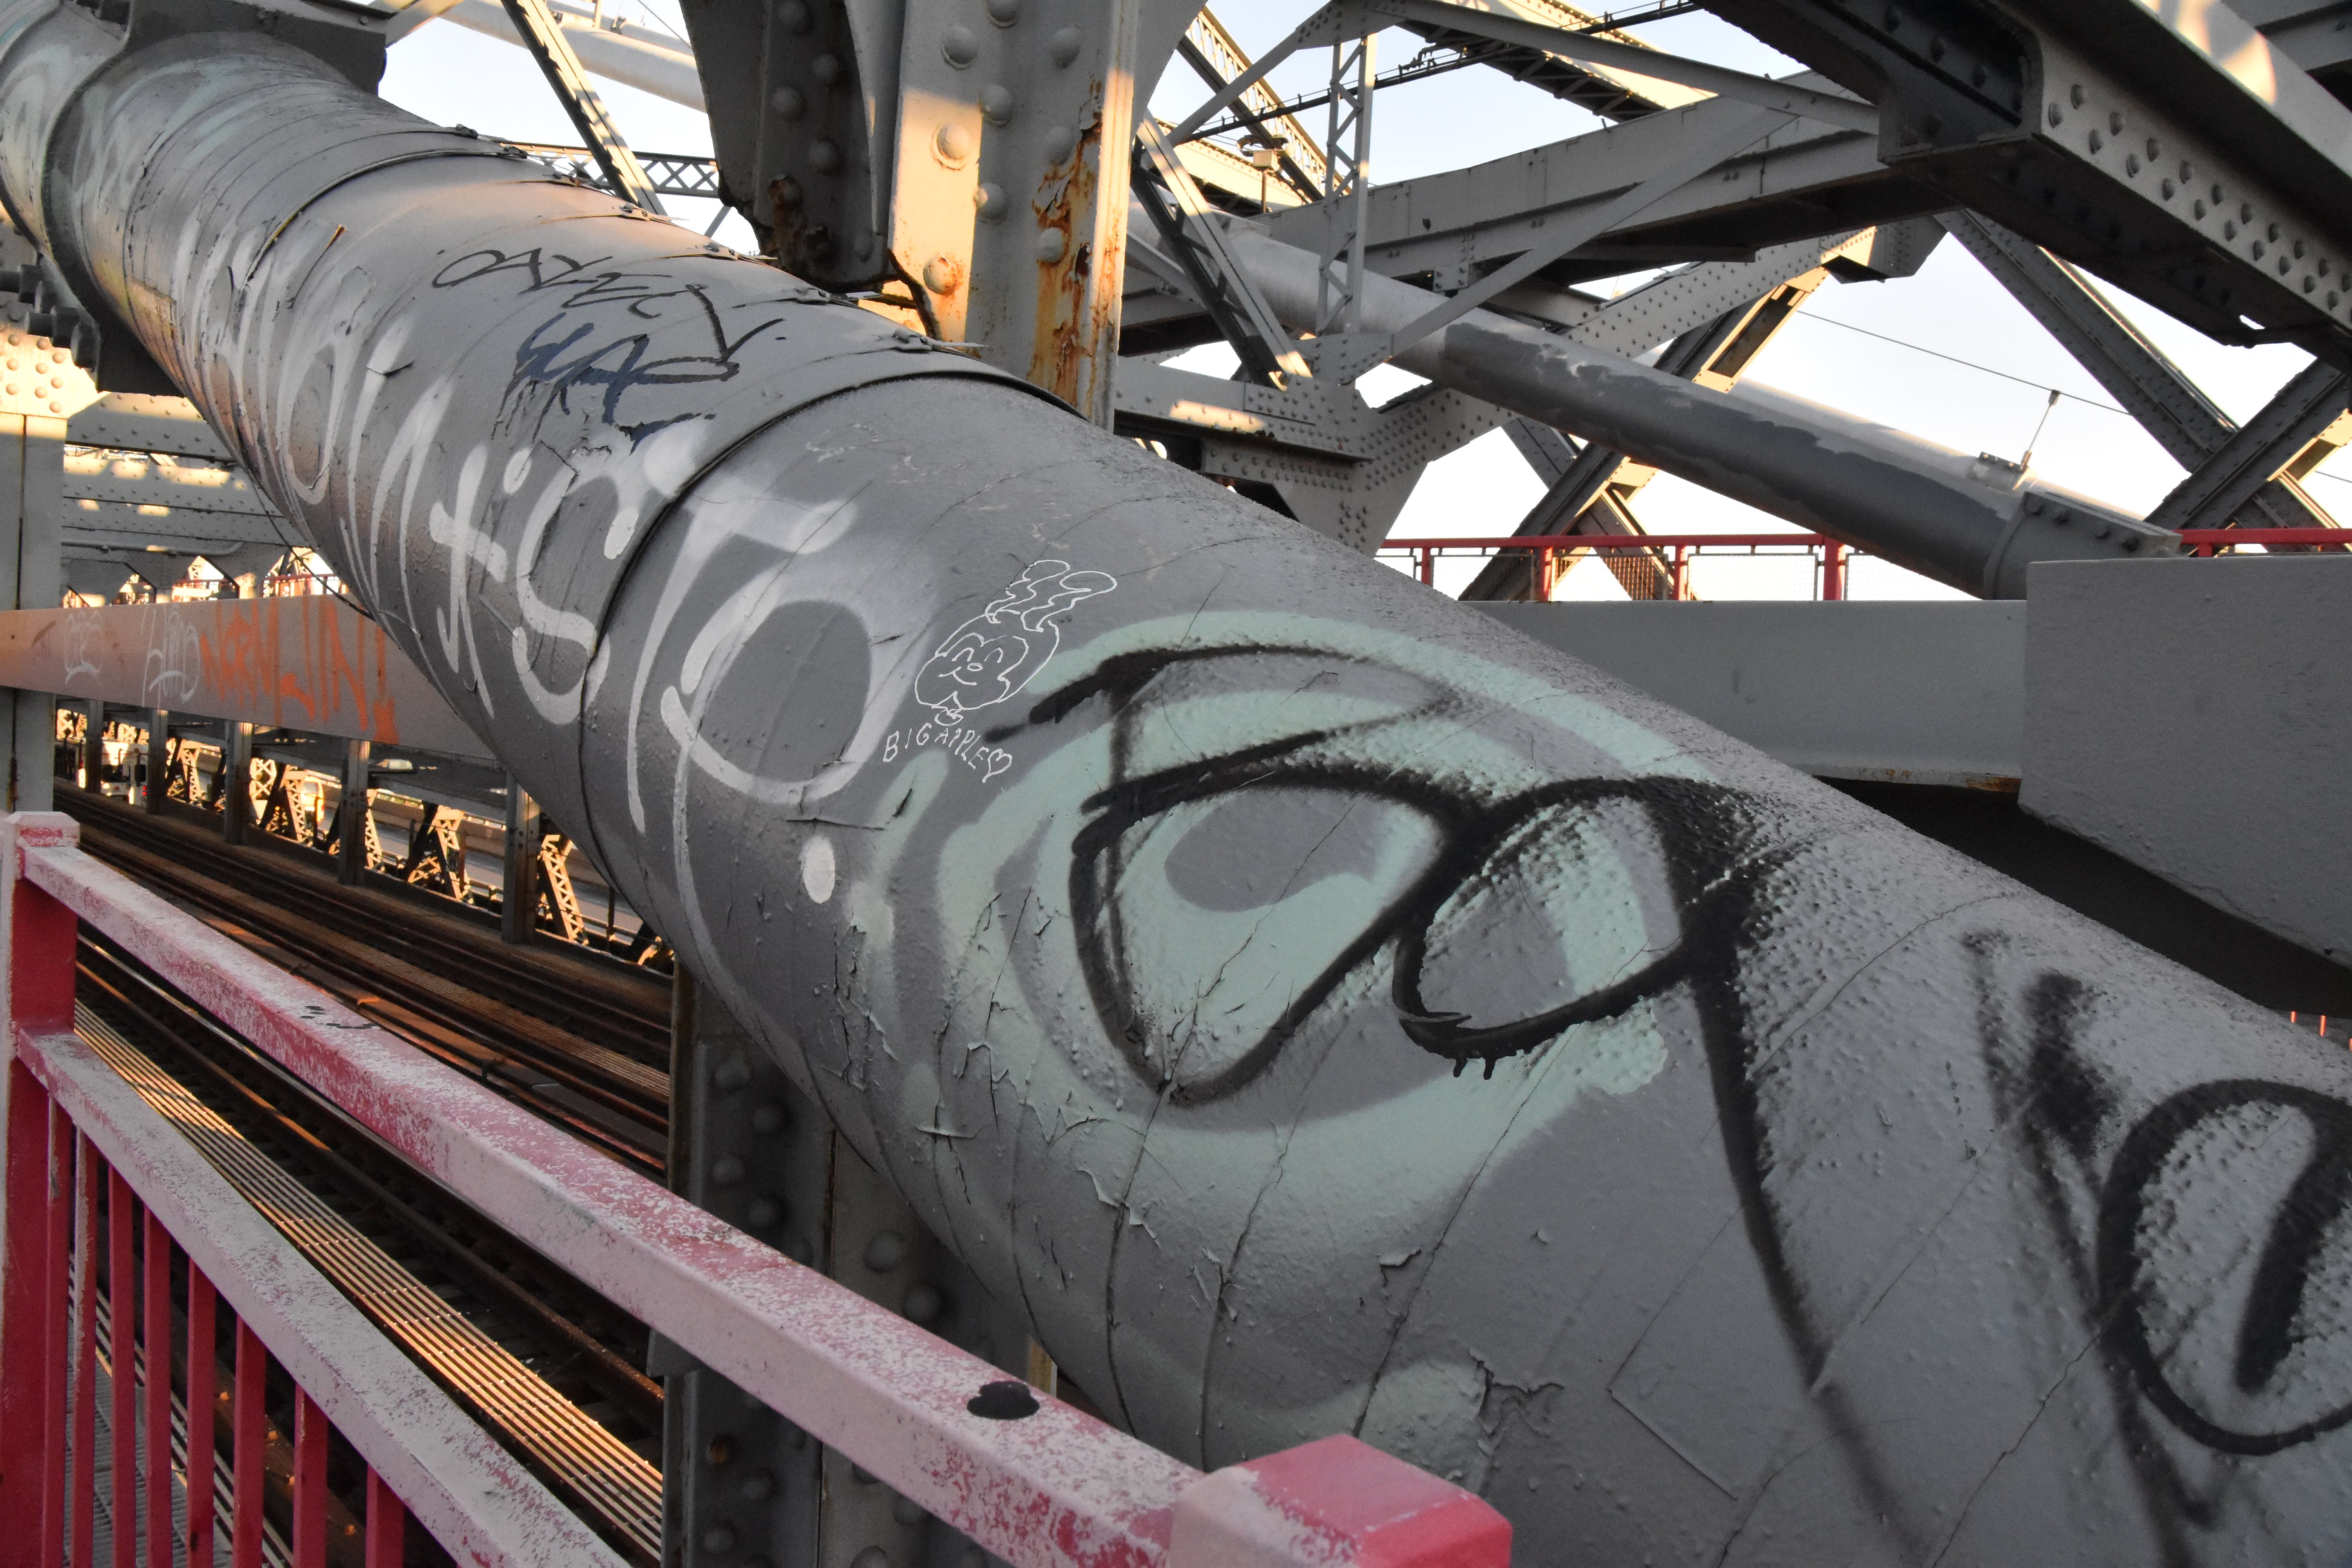
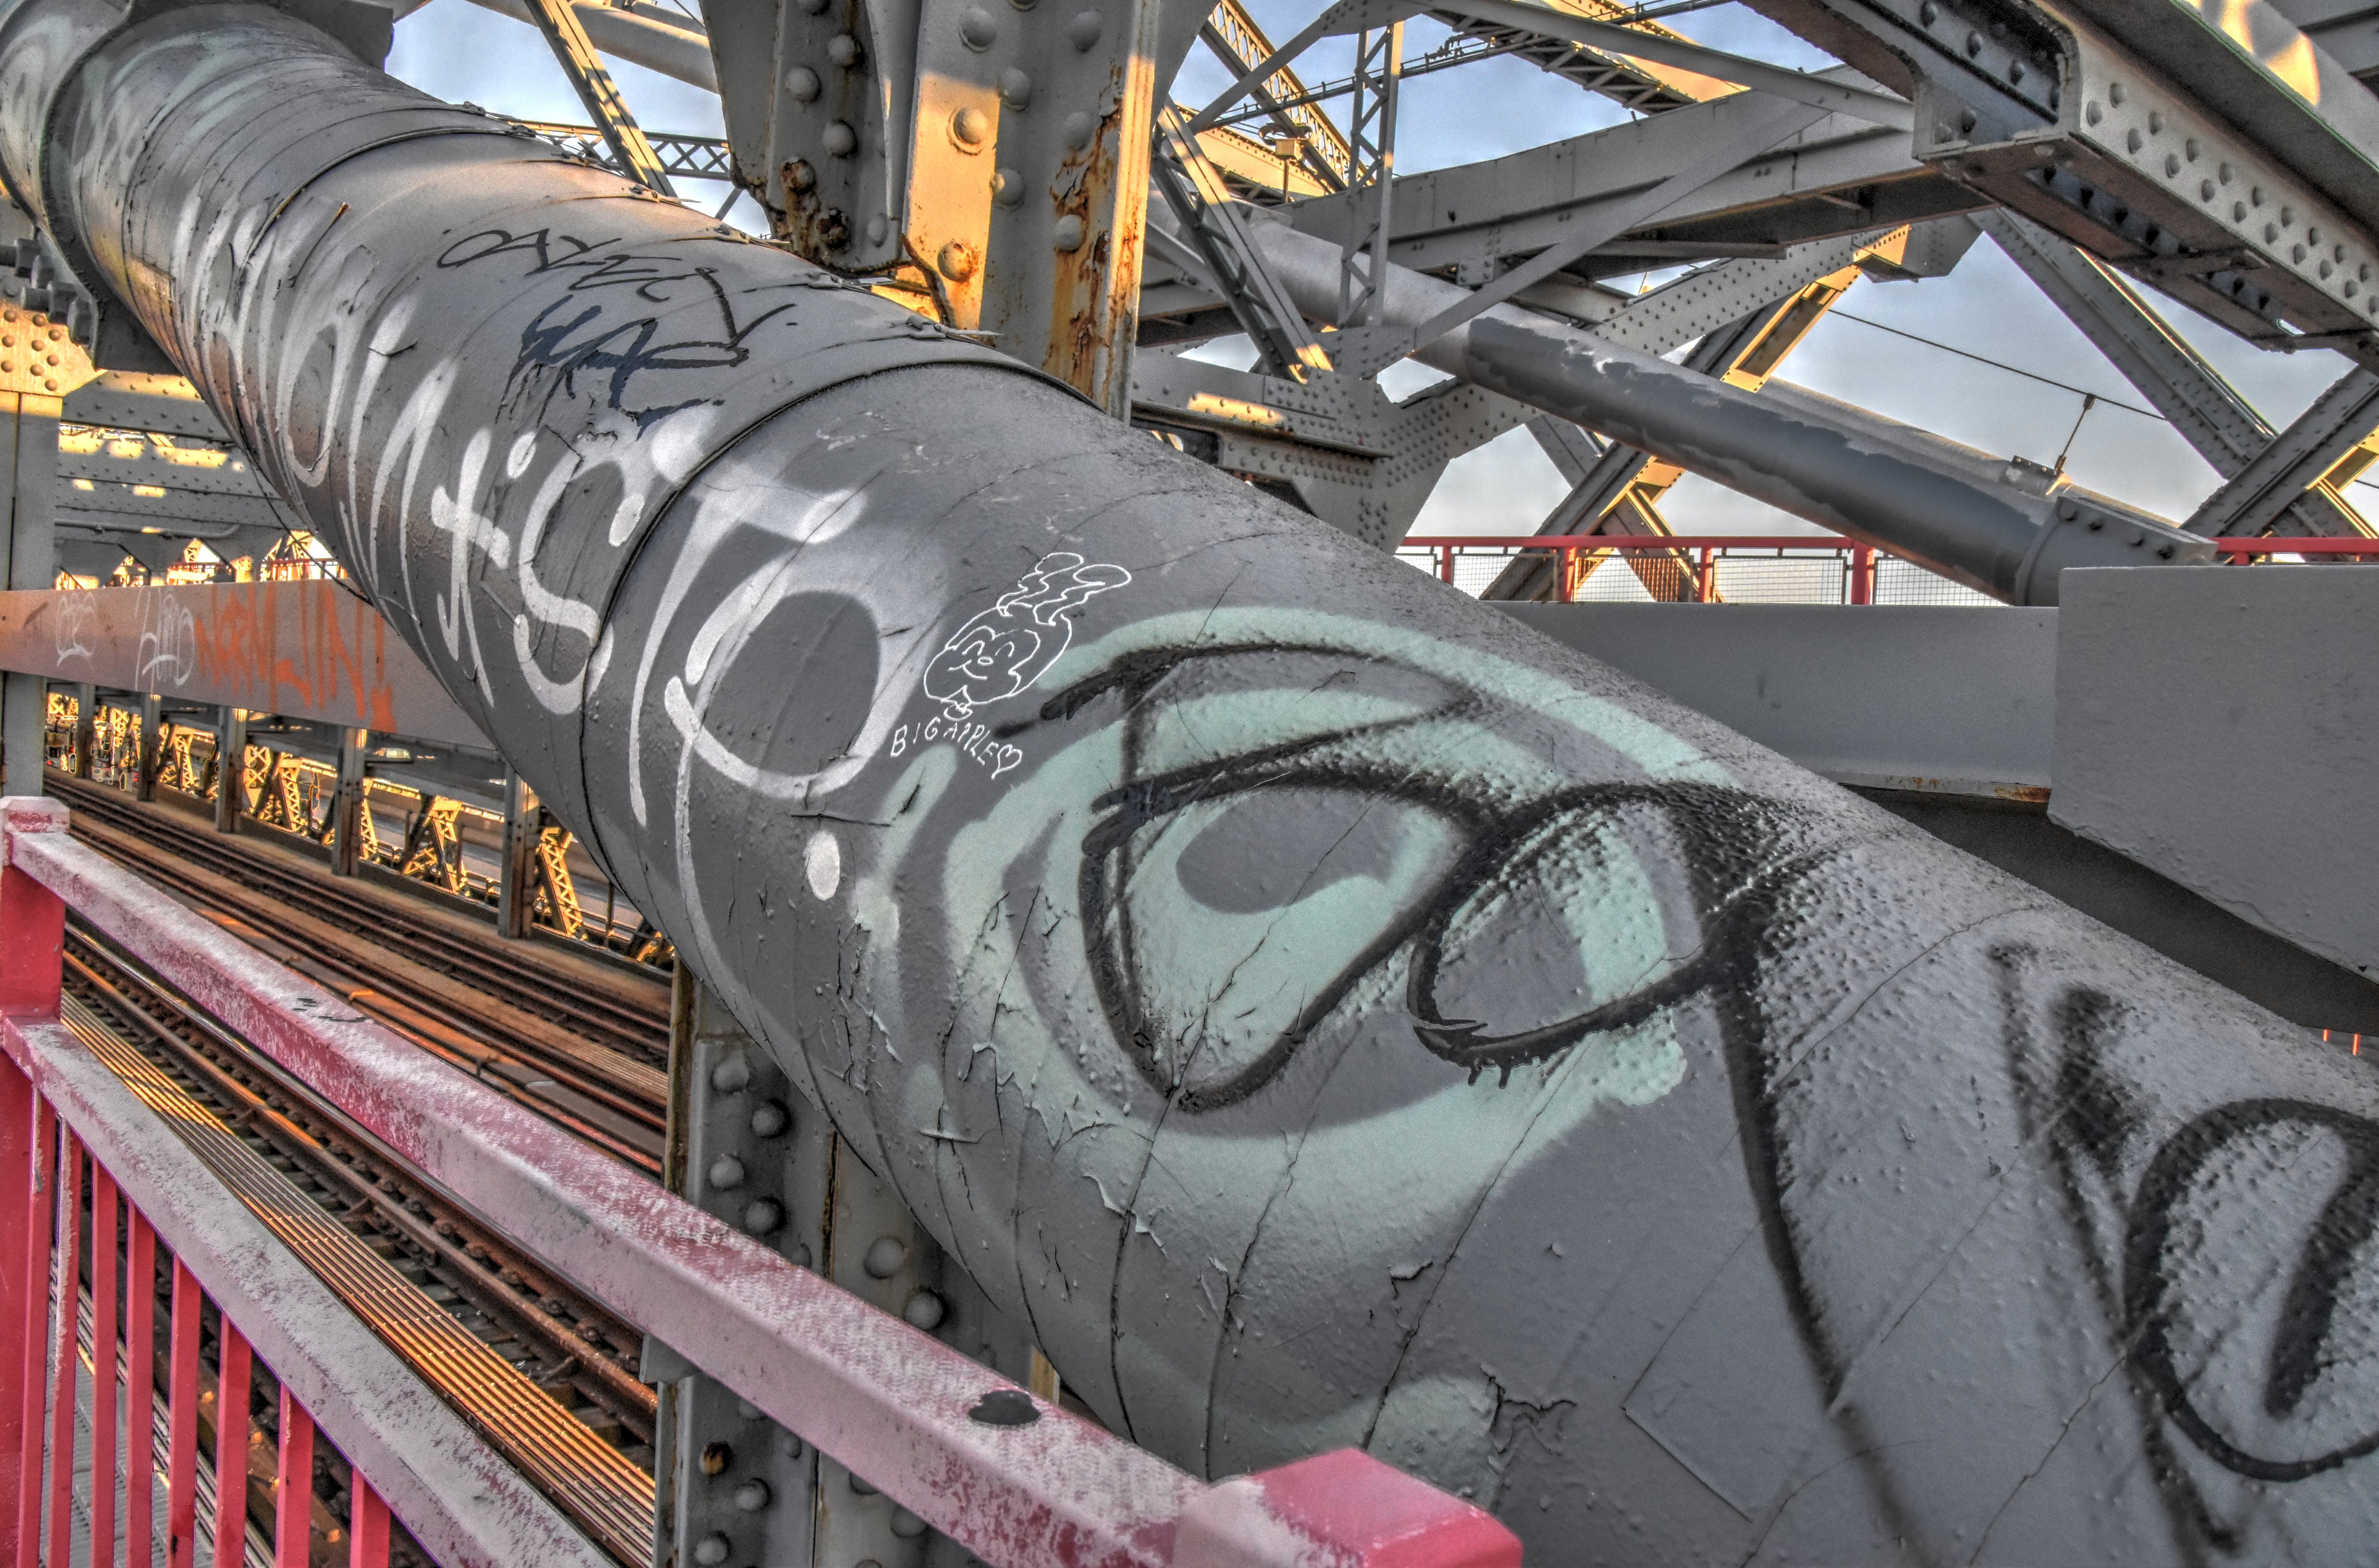
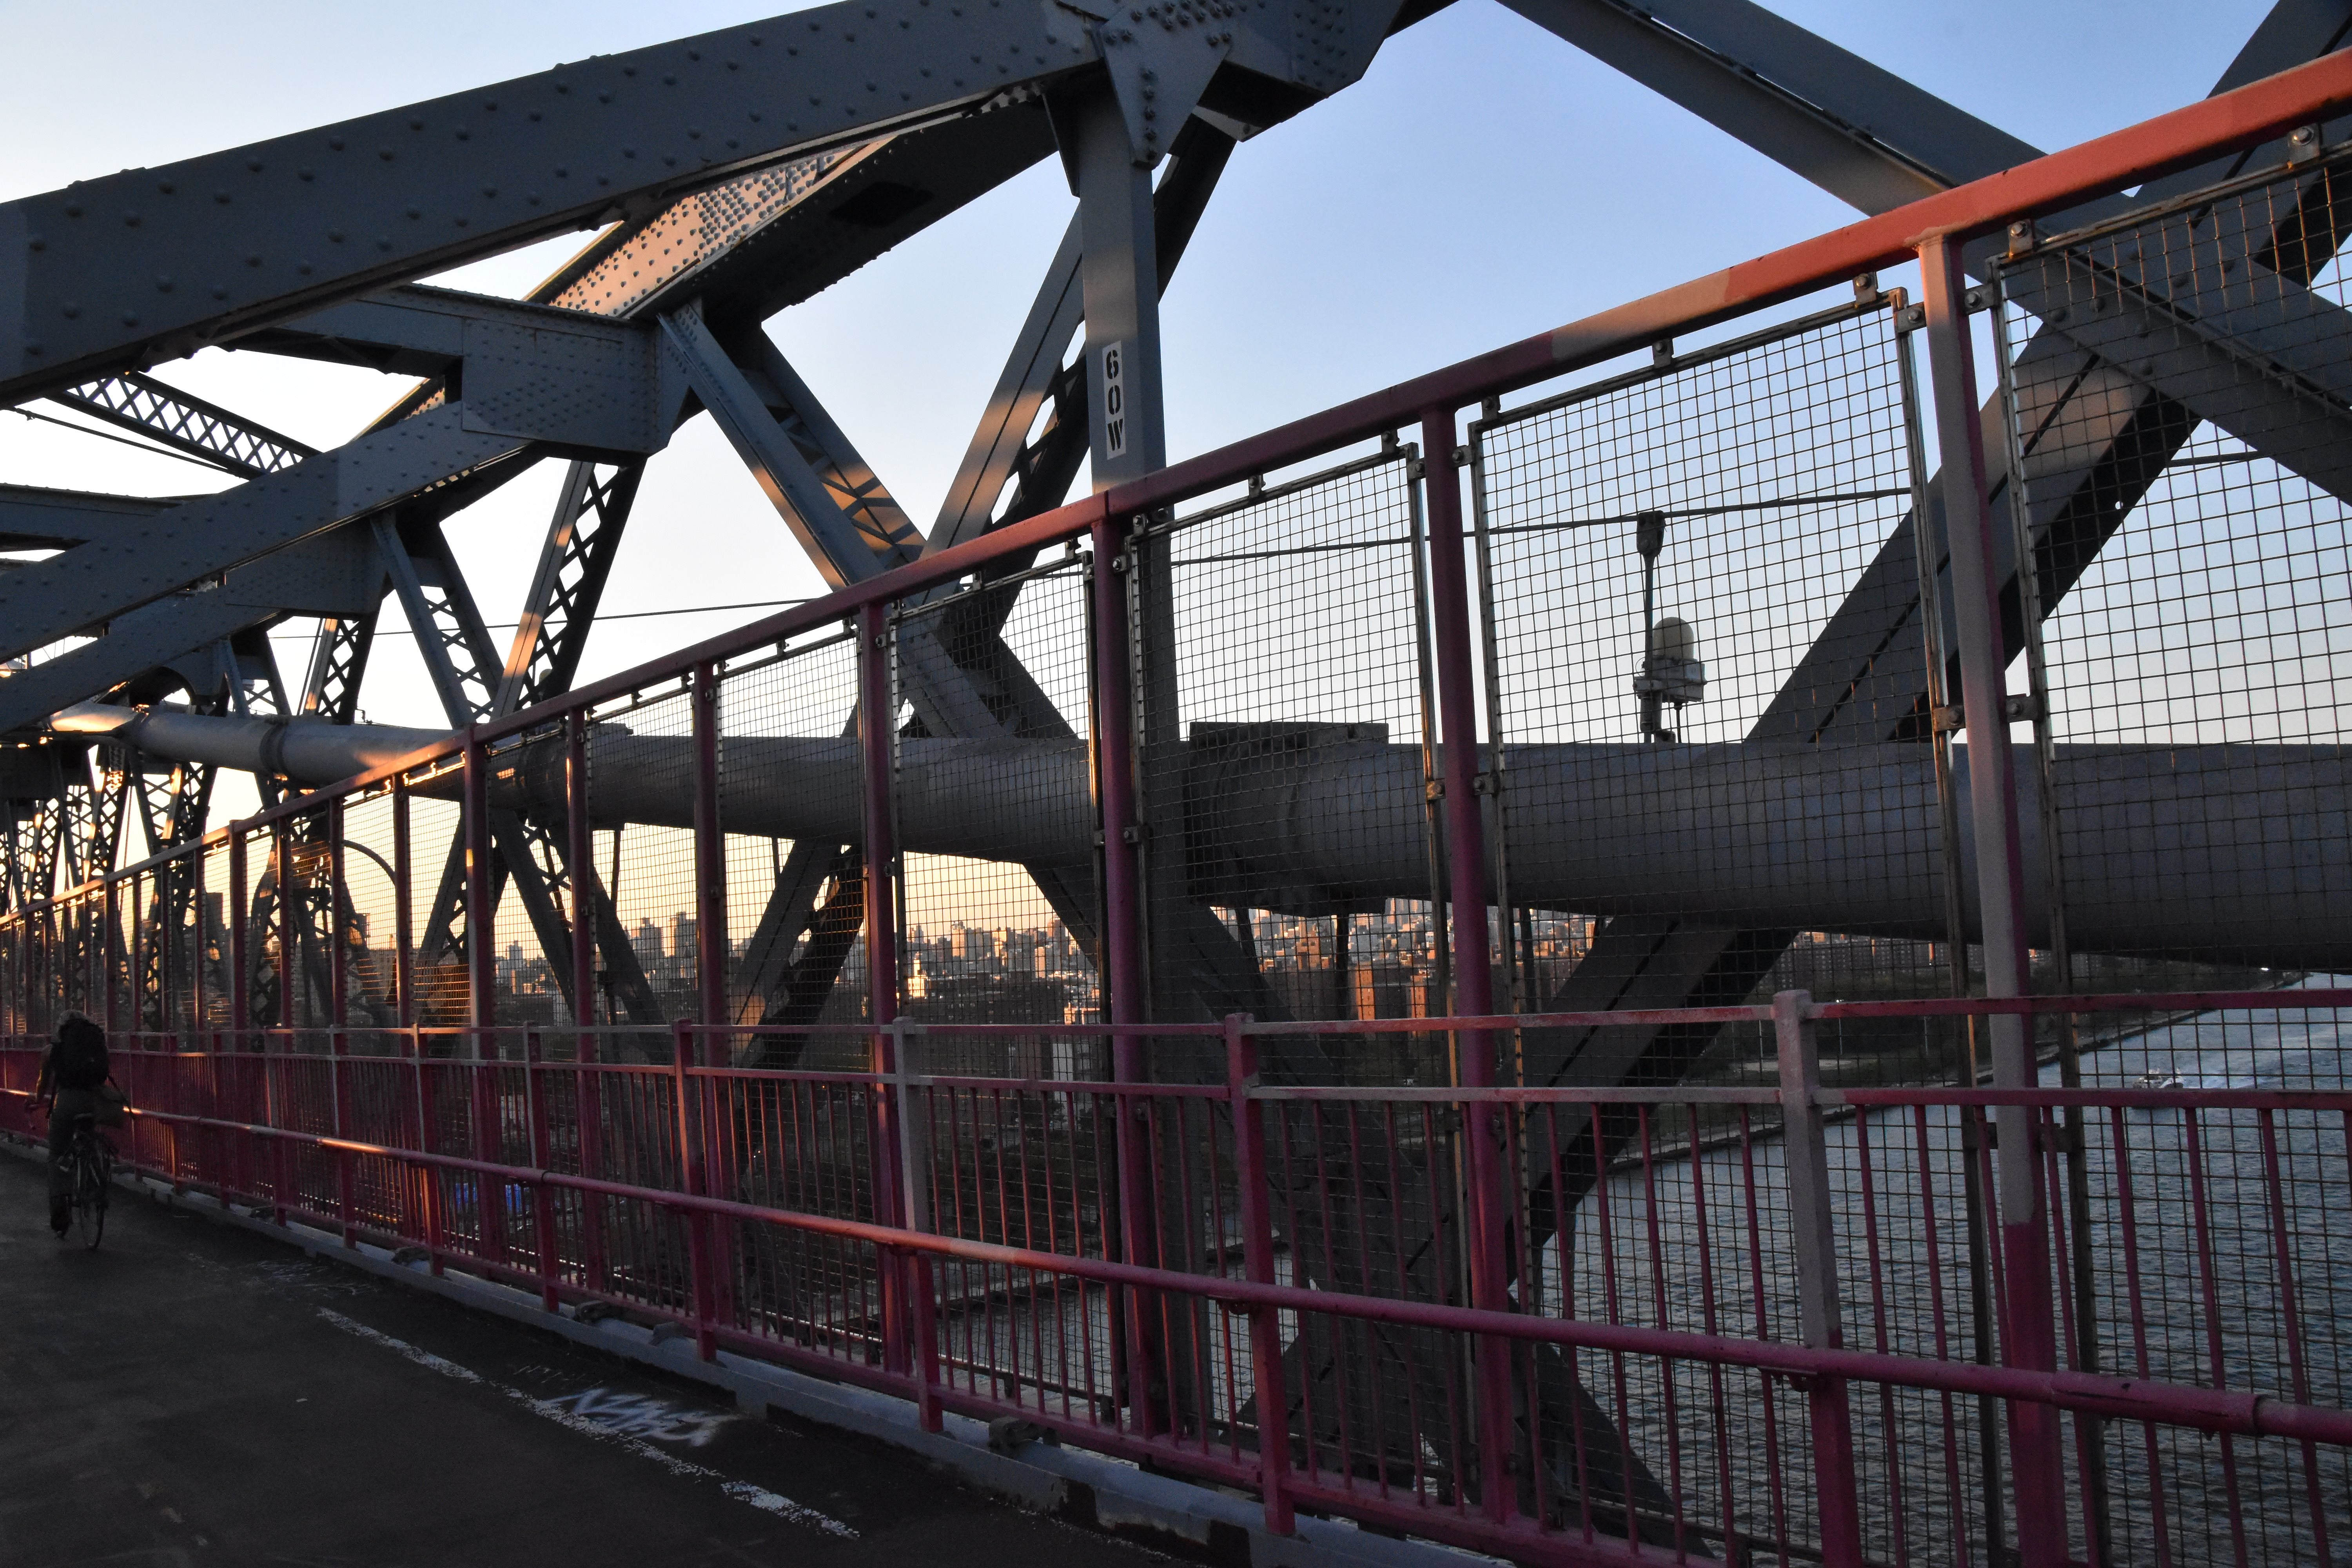
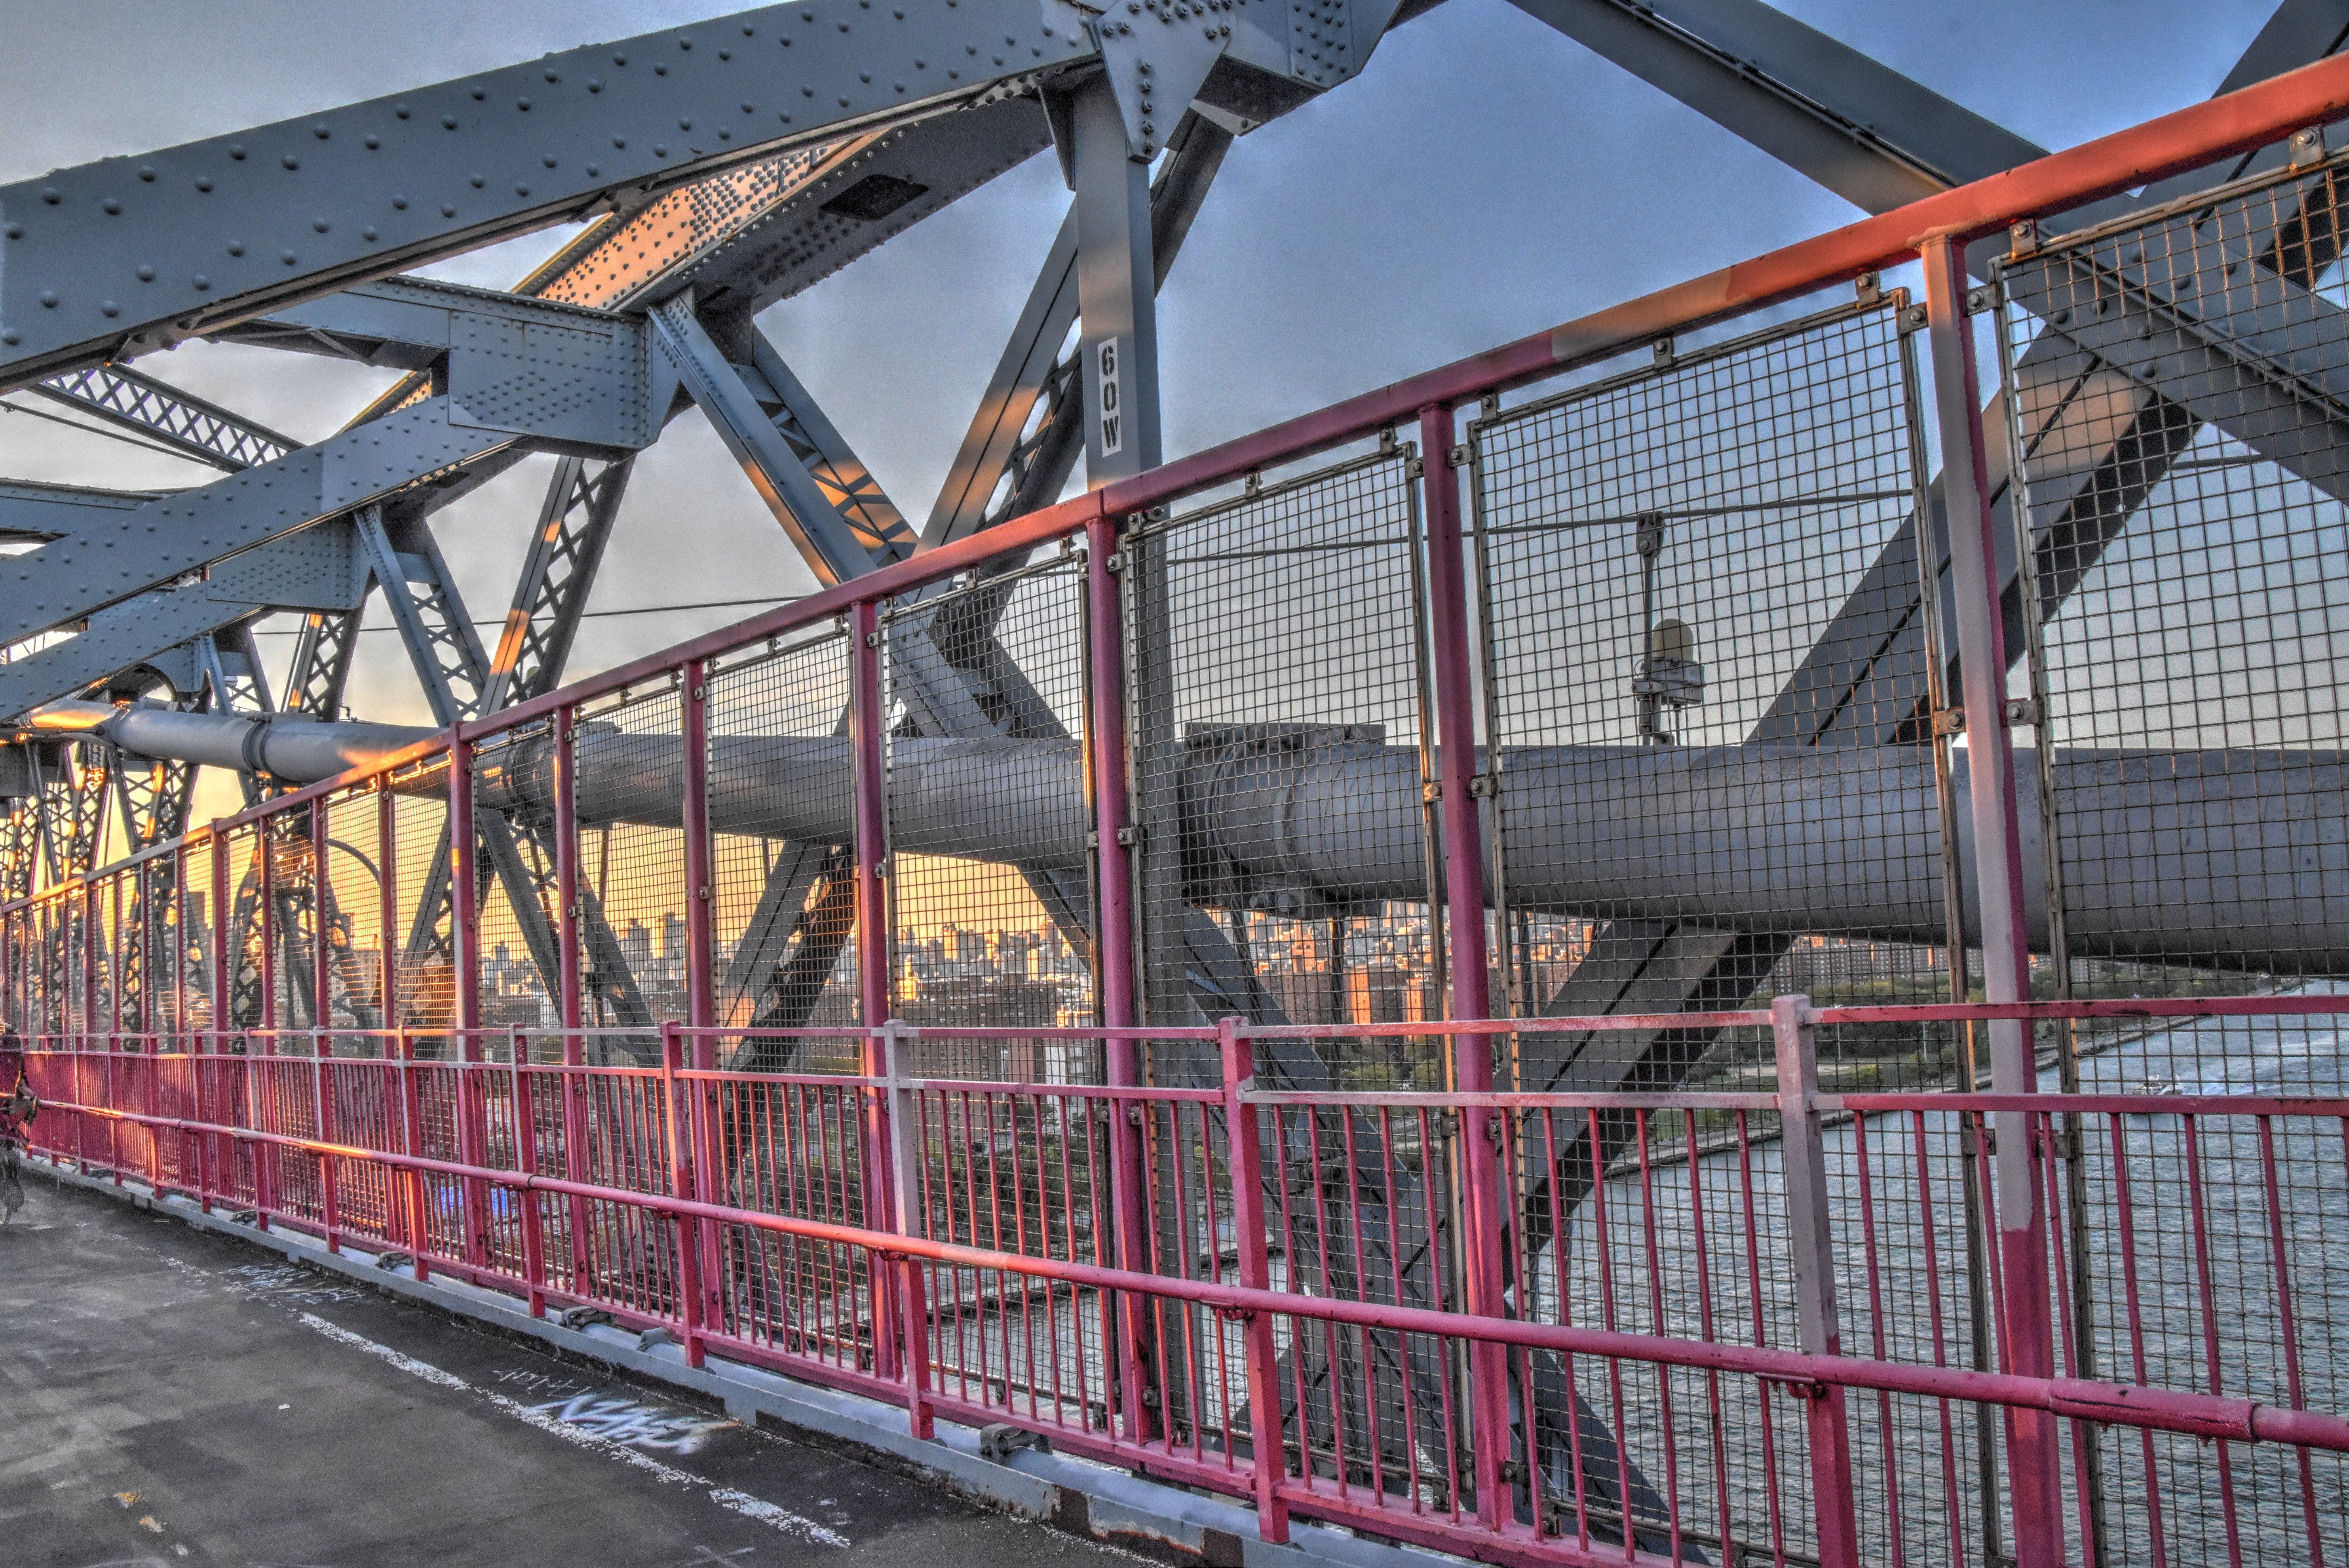
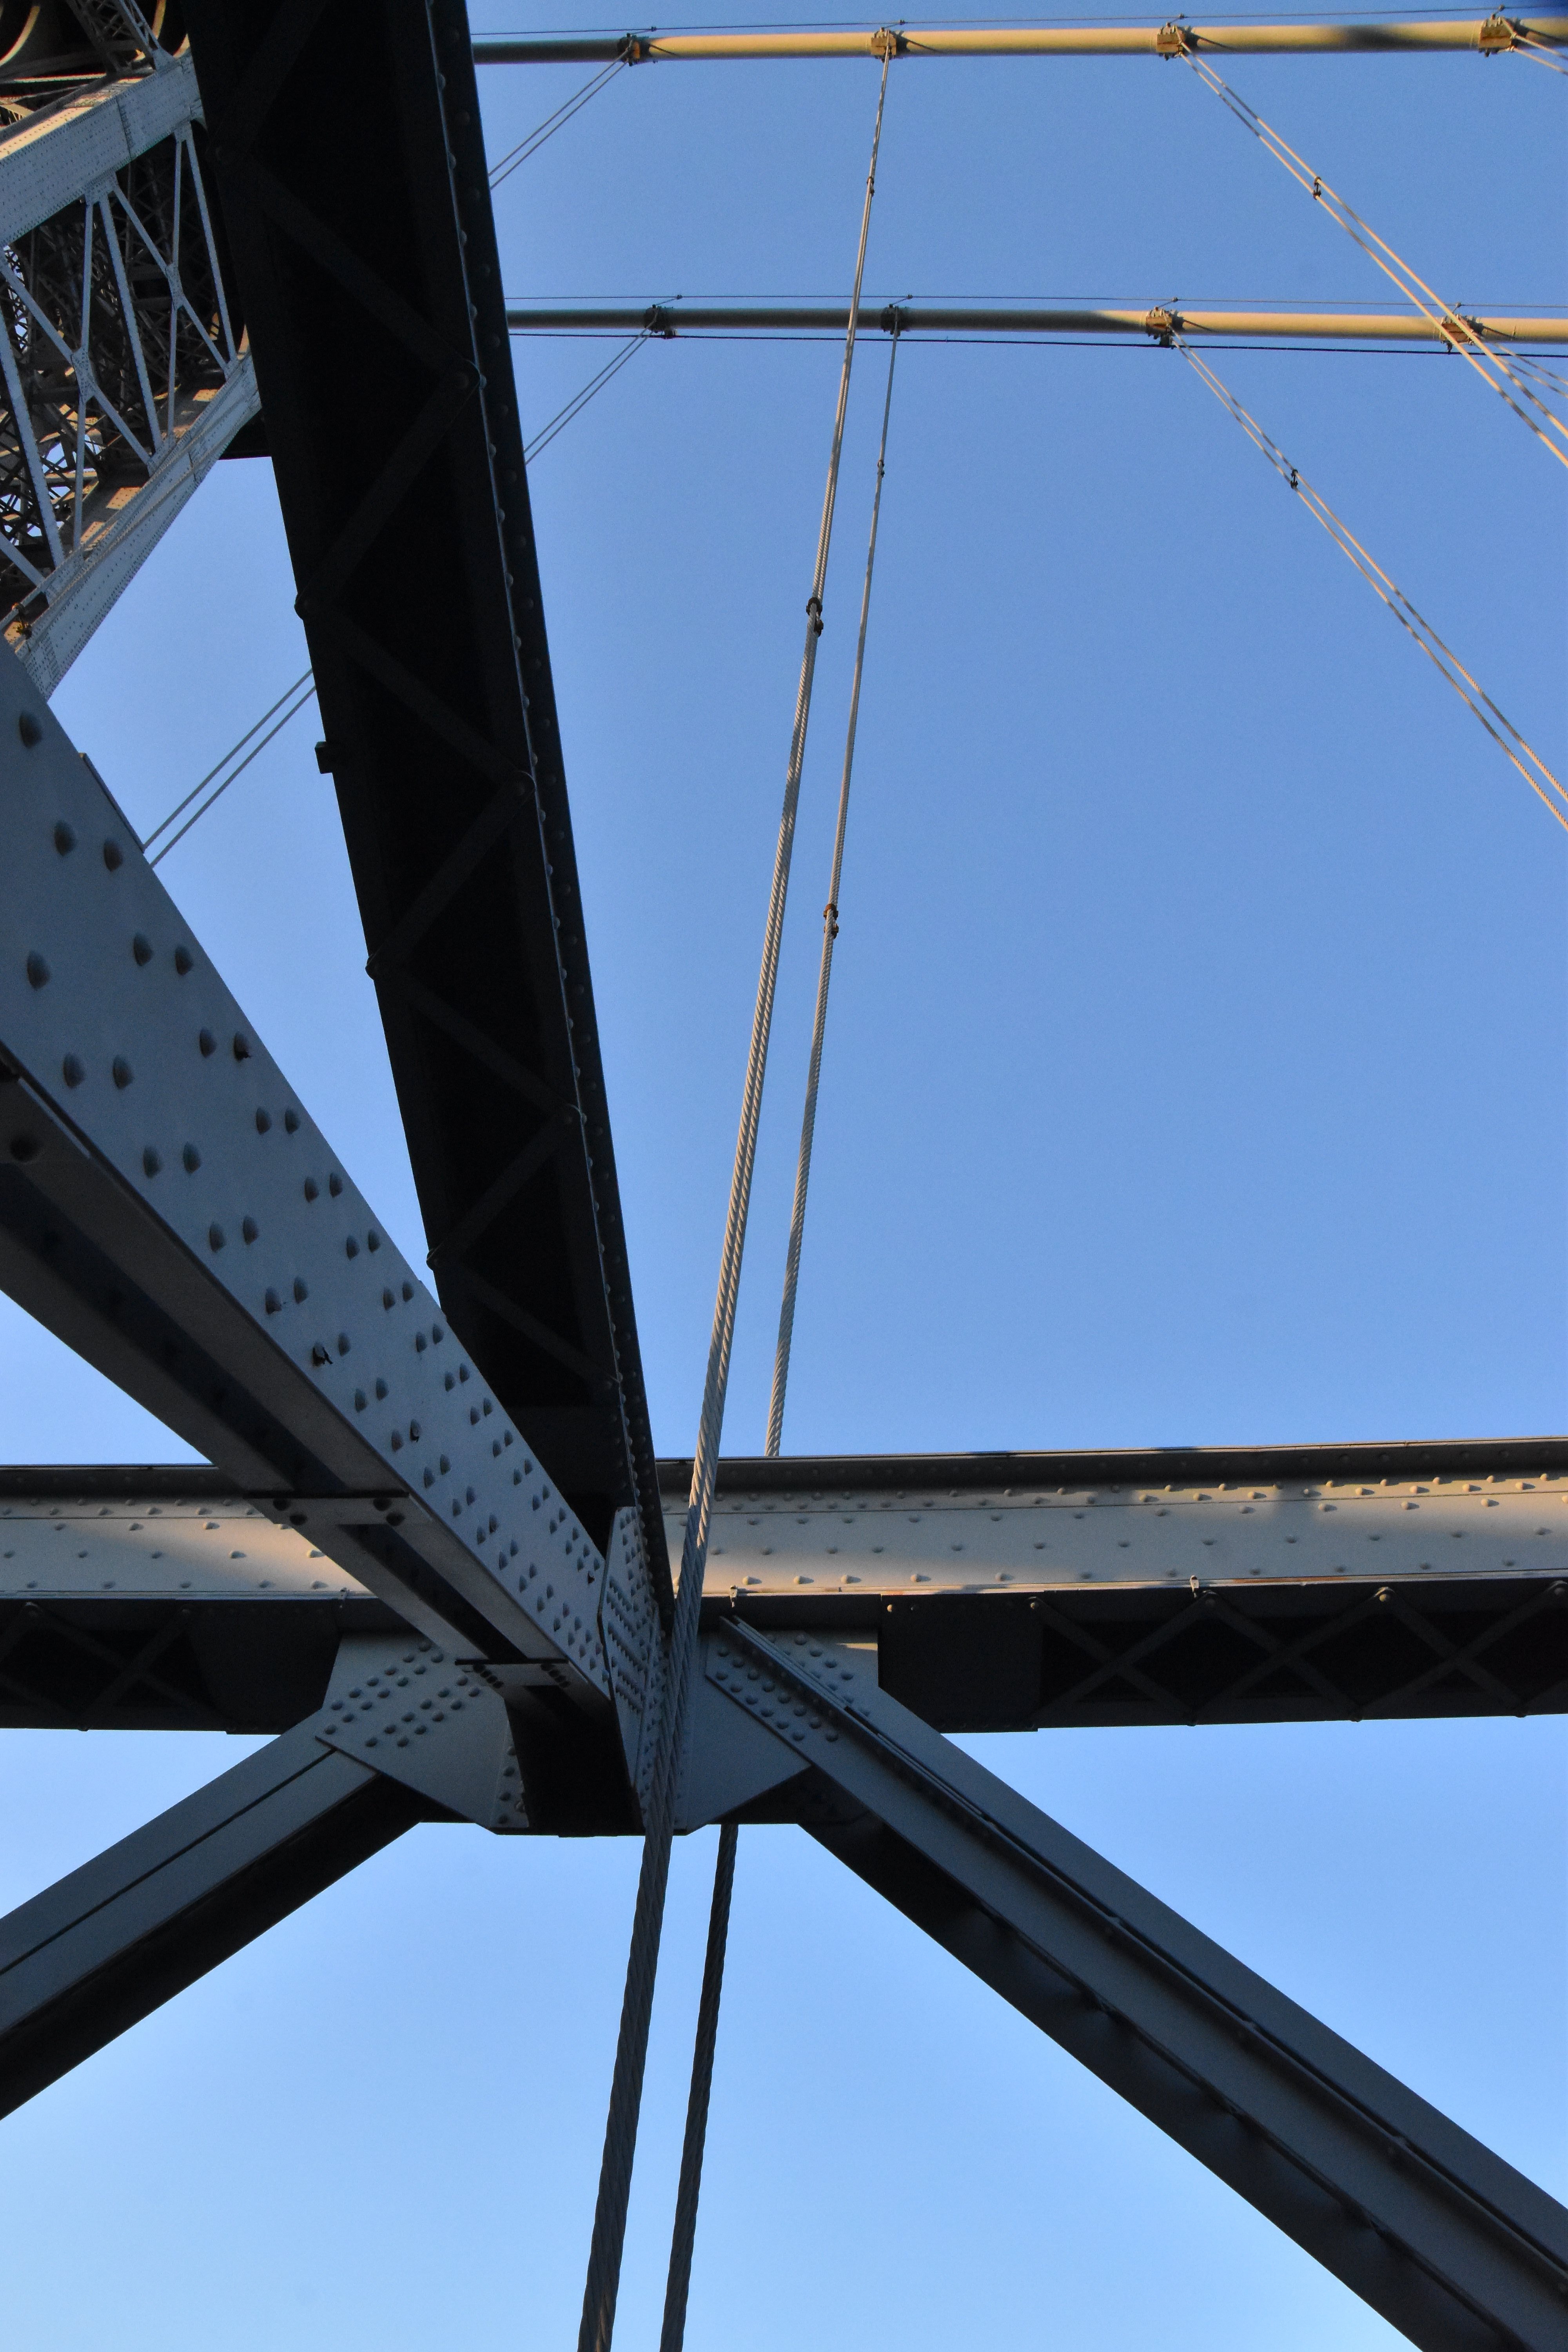
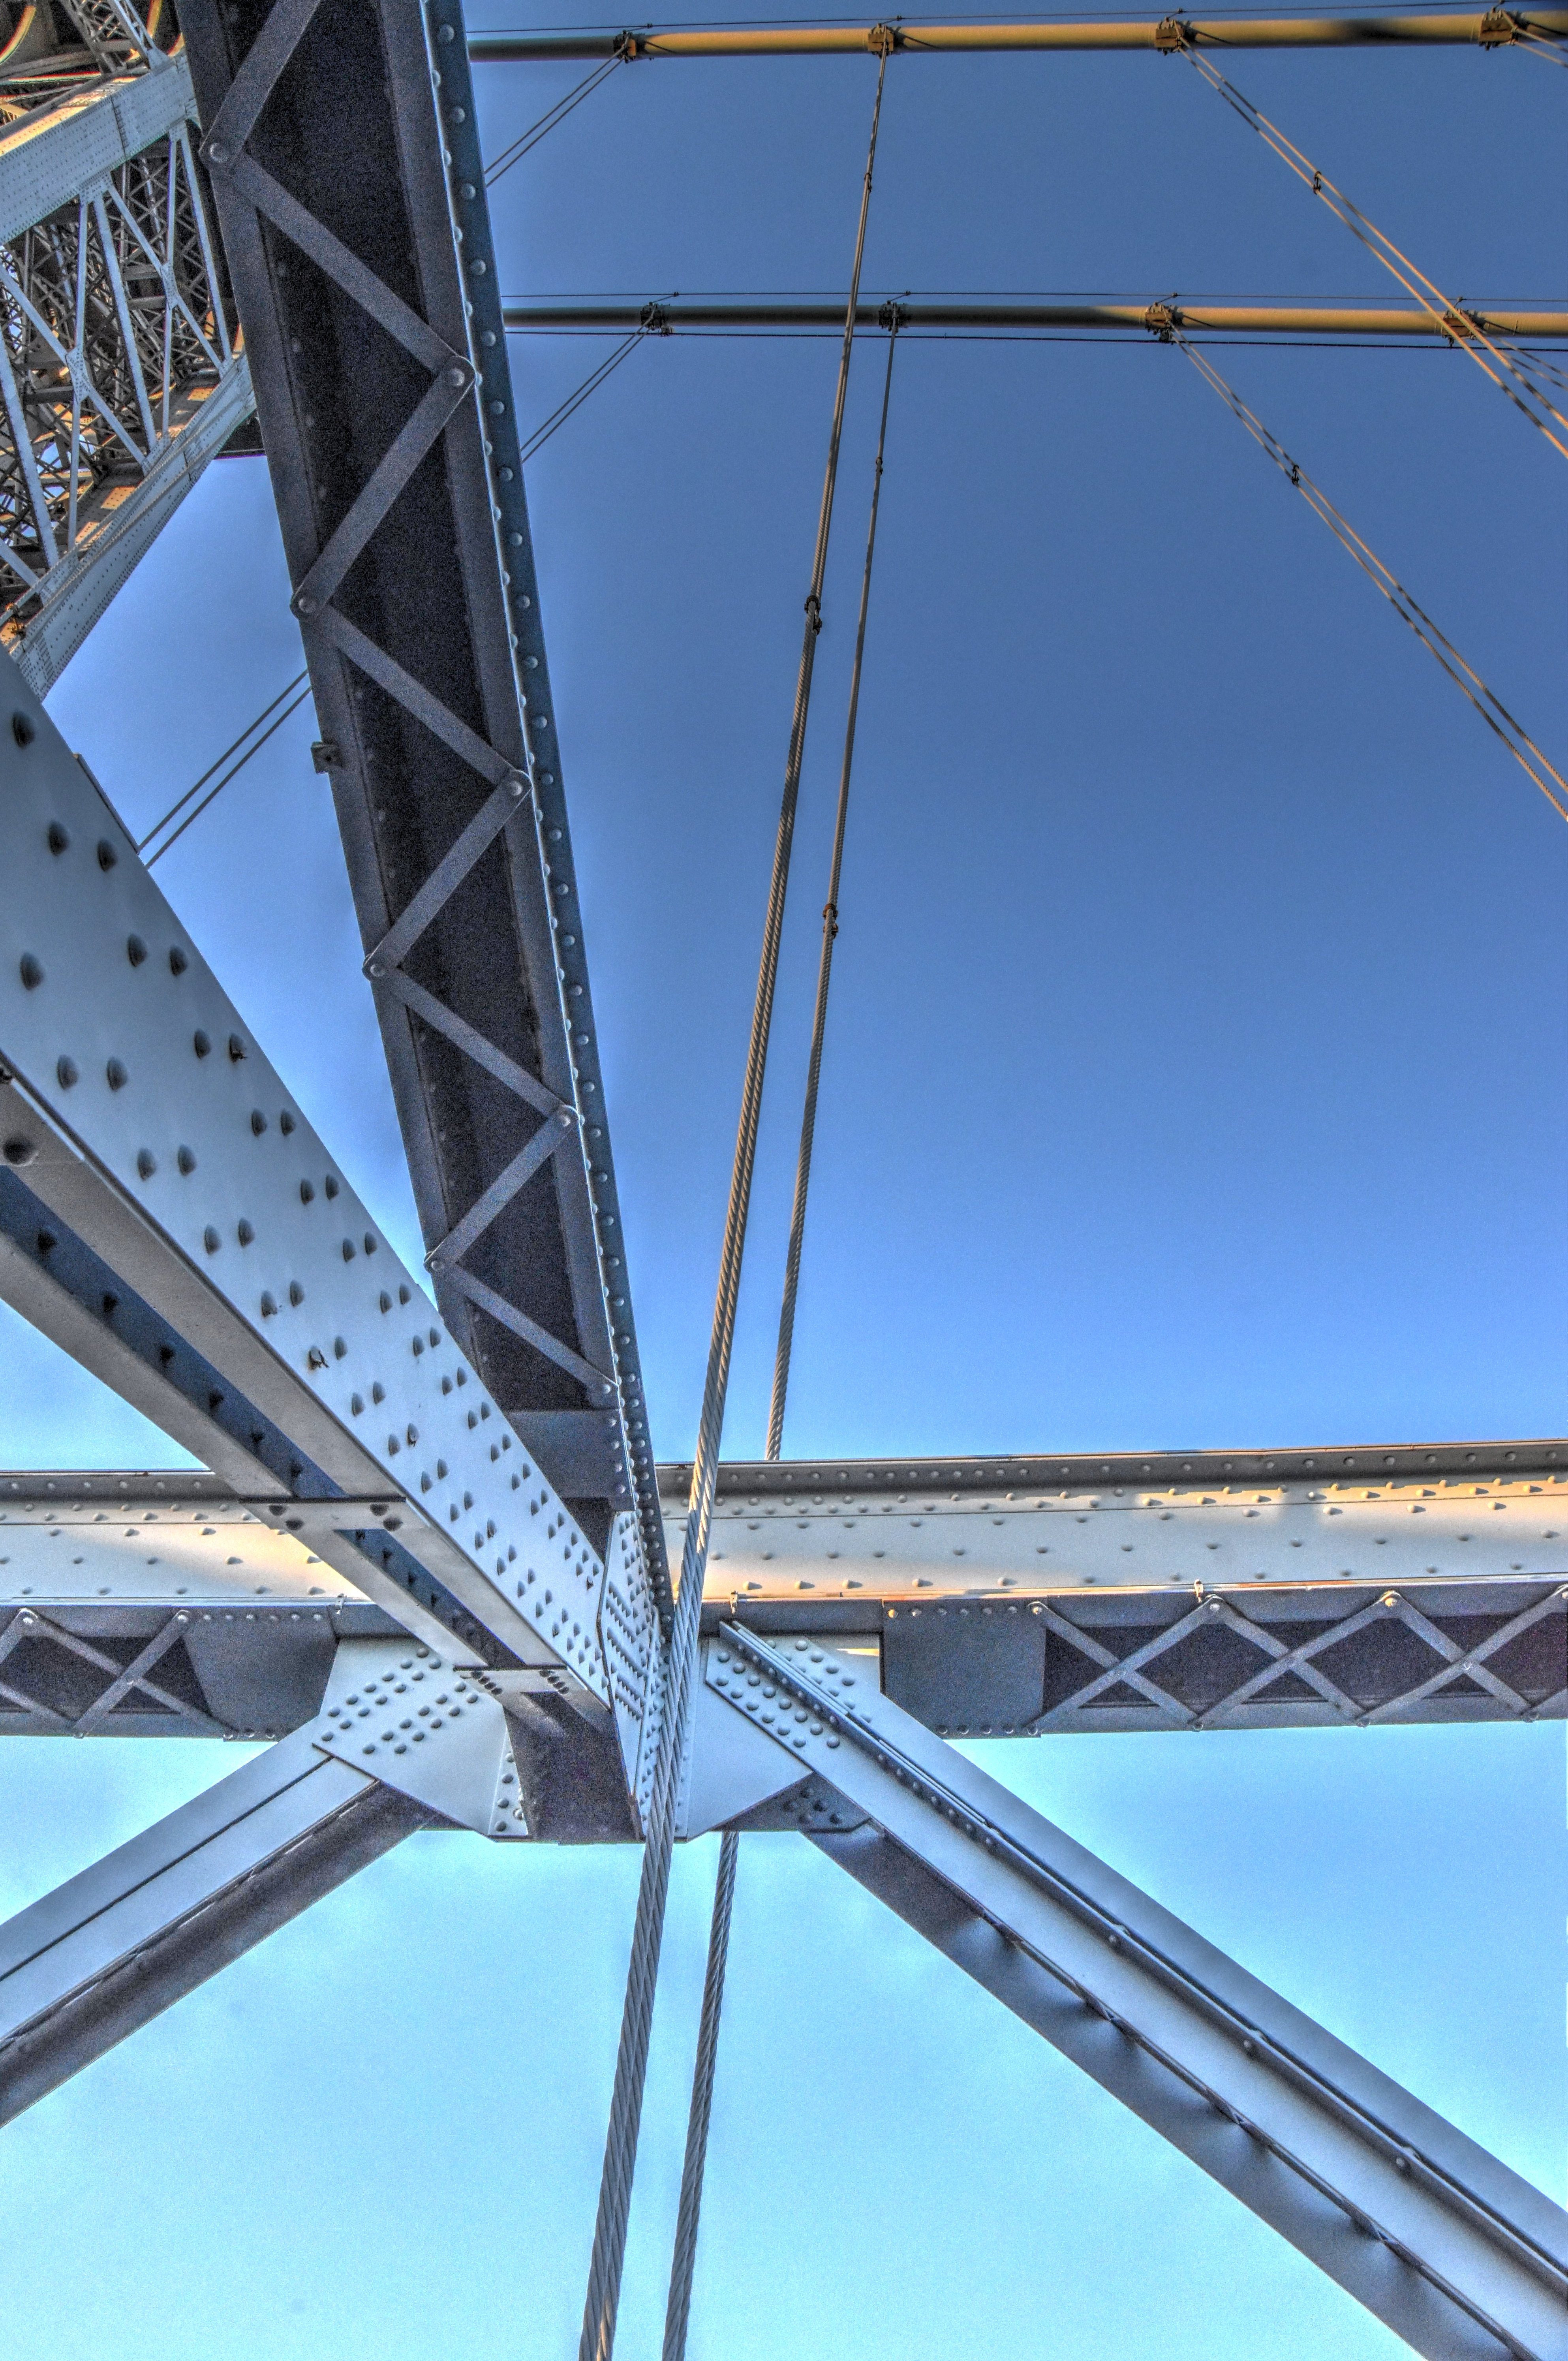
Main cable as viewed from beside bridge.
![]()
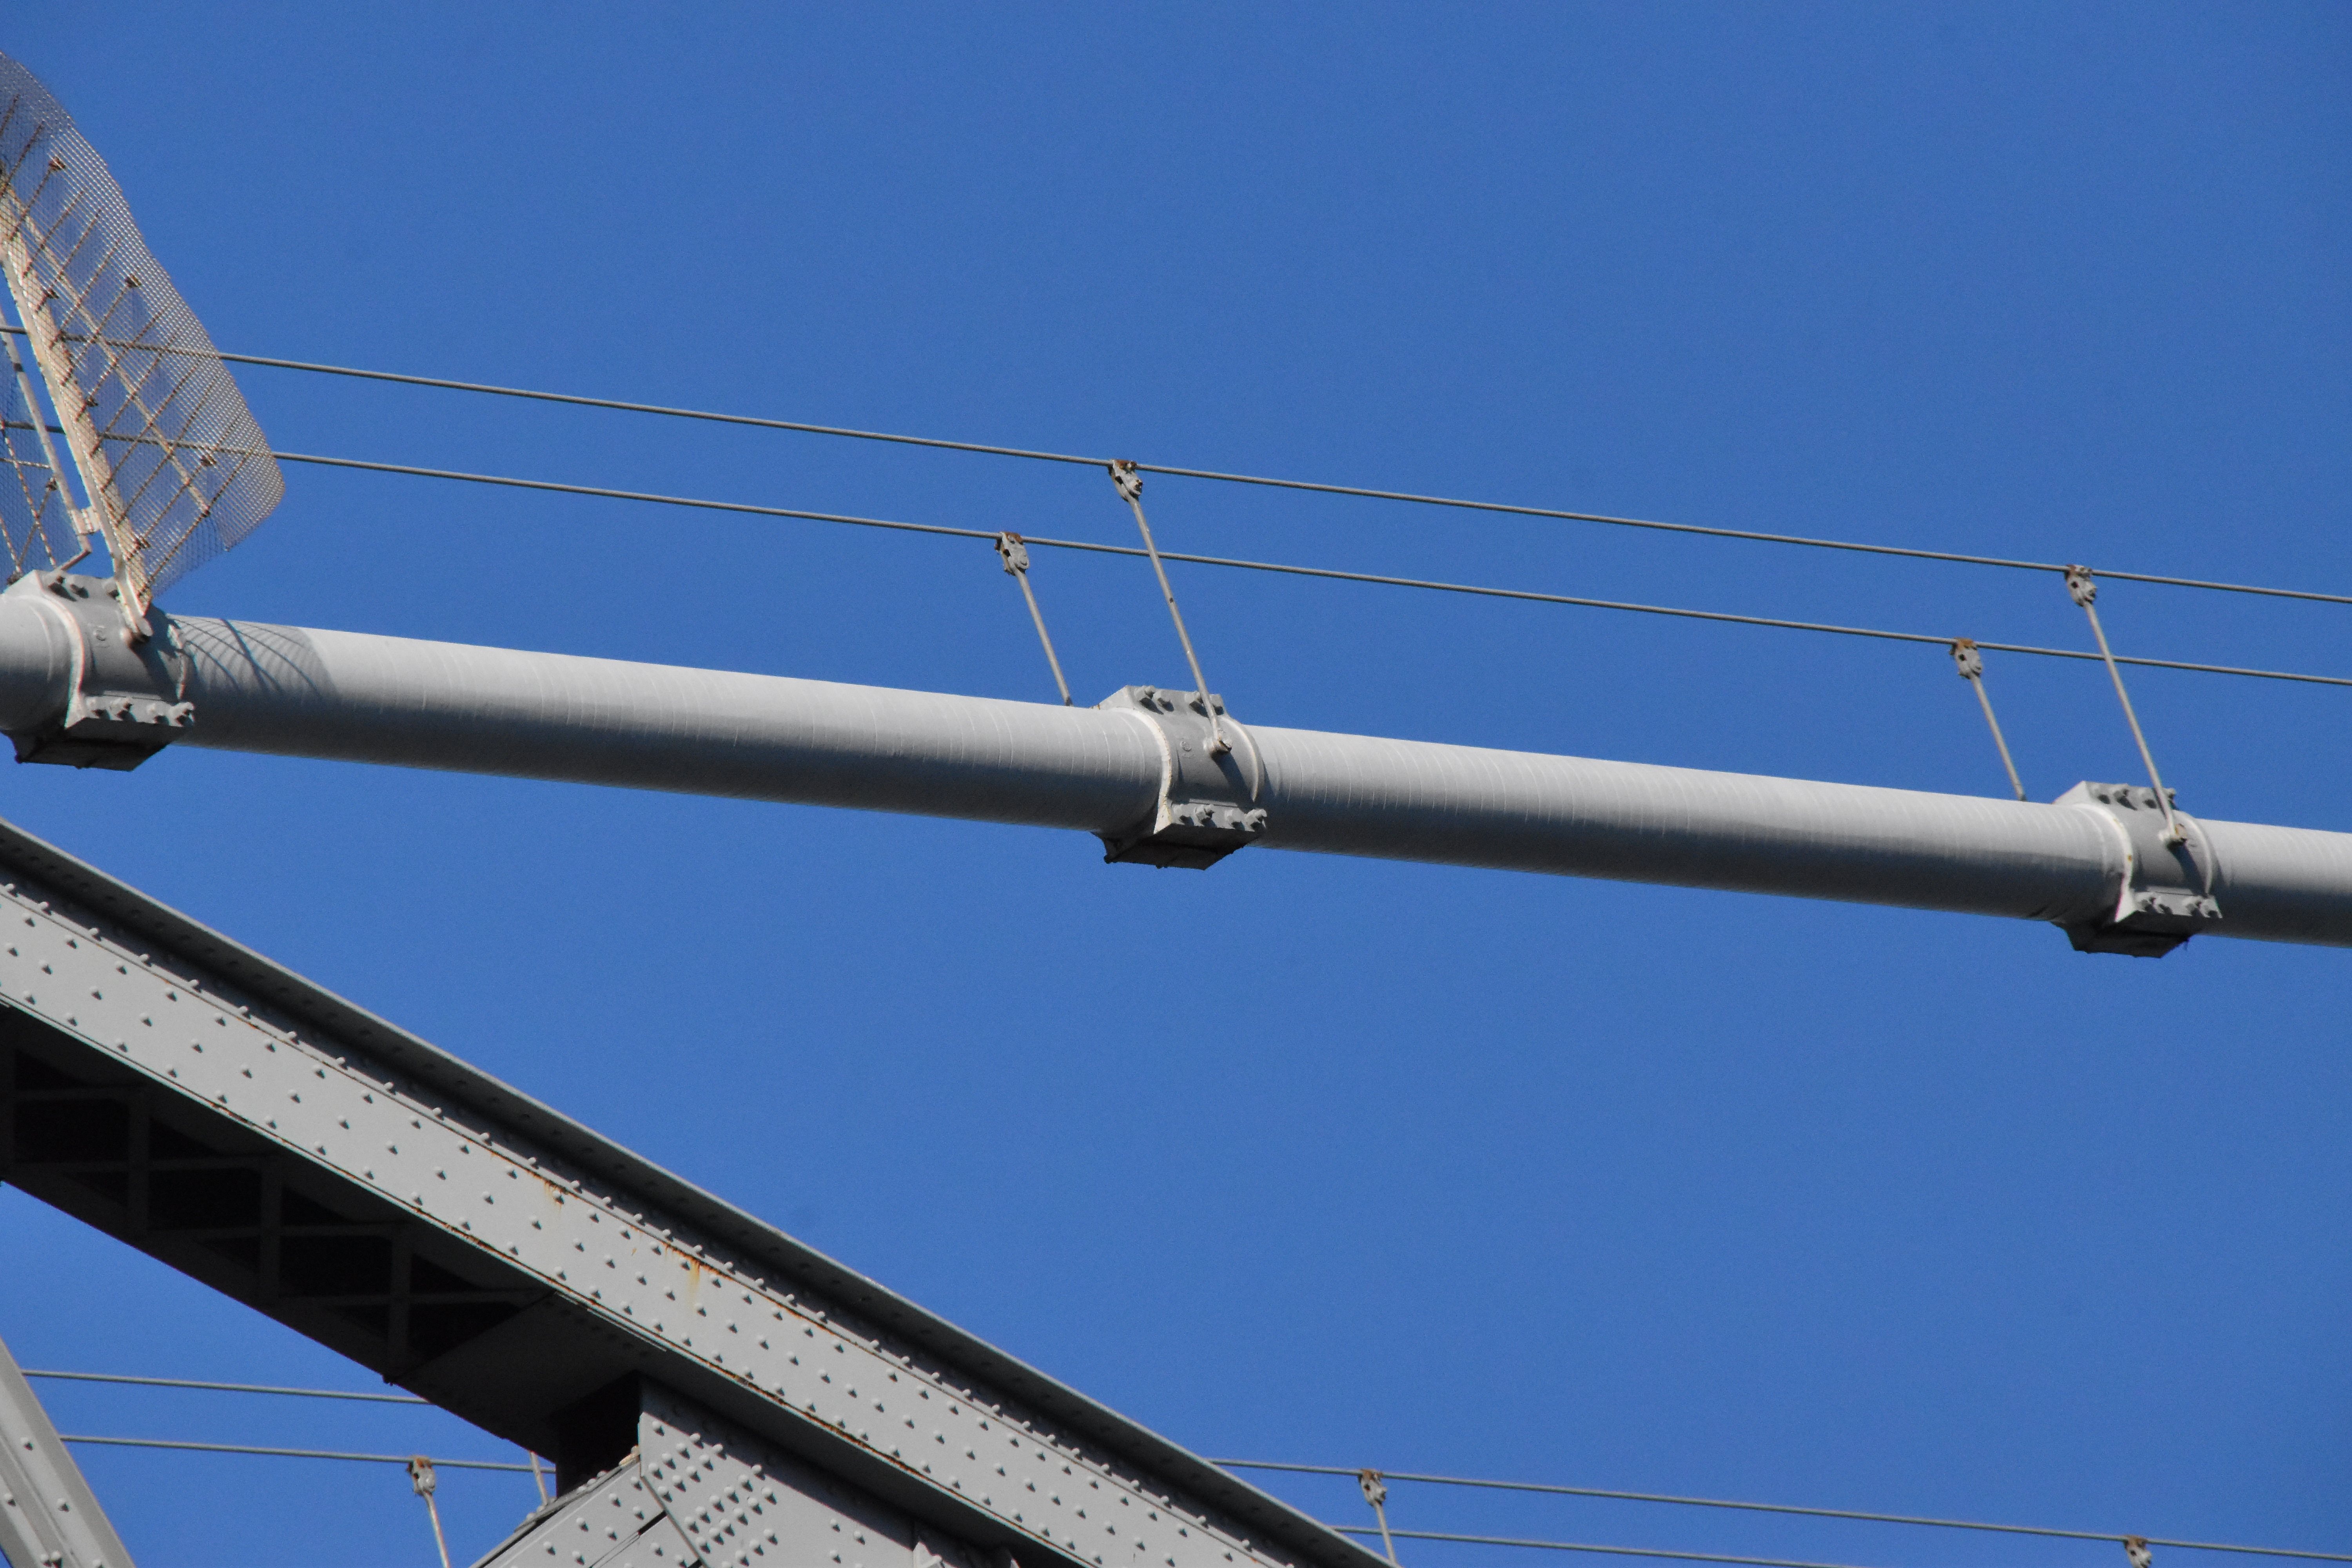
Main cable as viewed from on bridge.
![]()


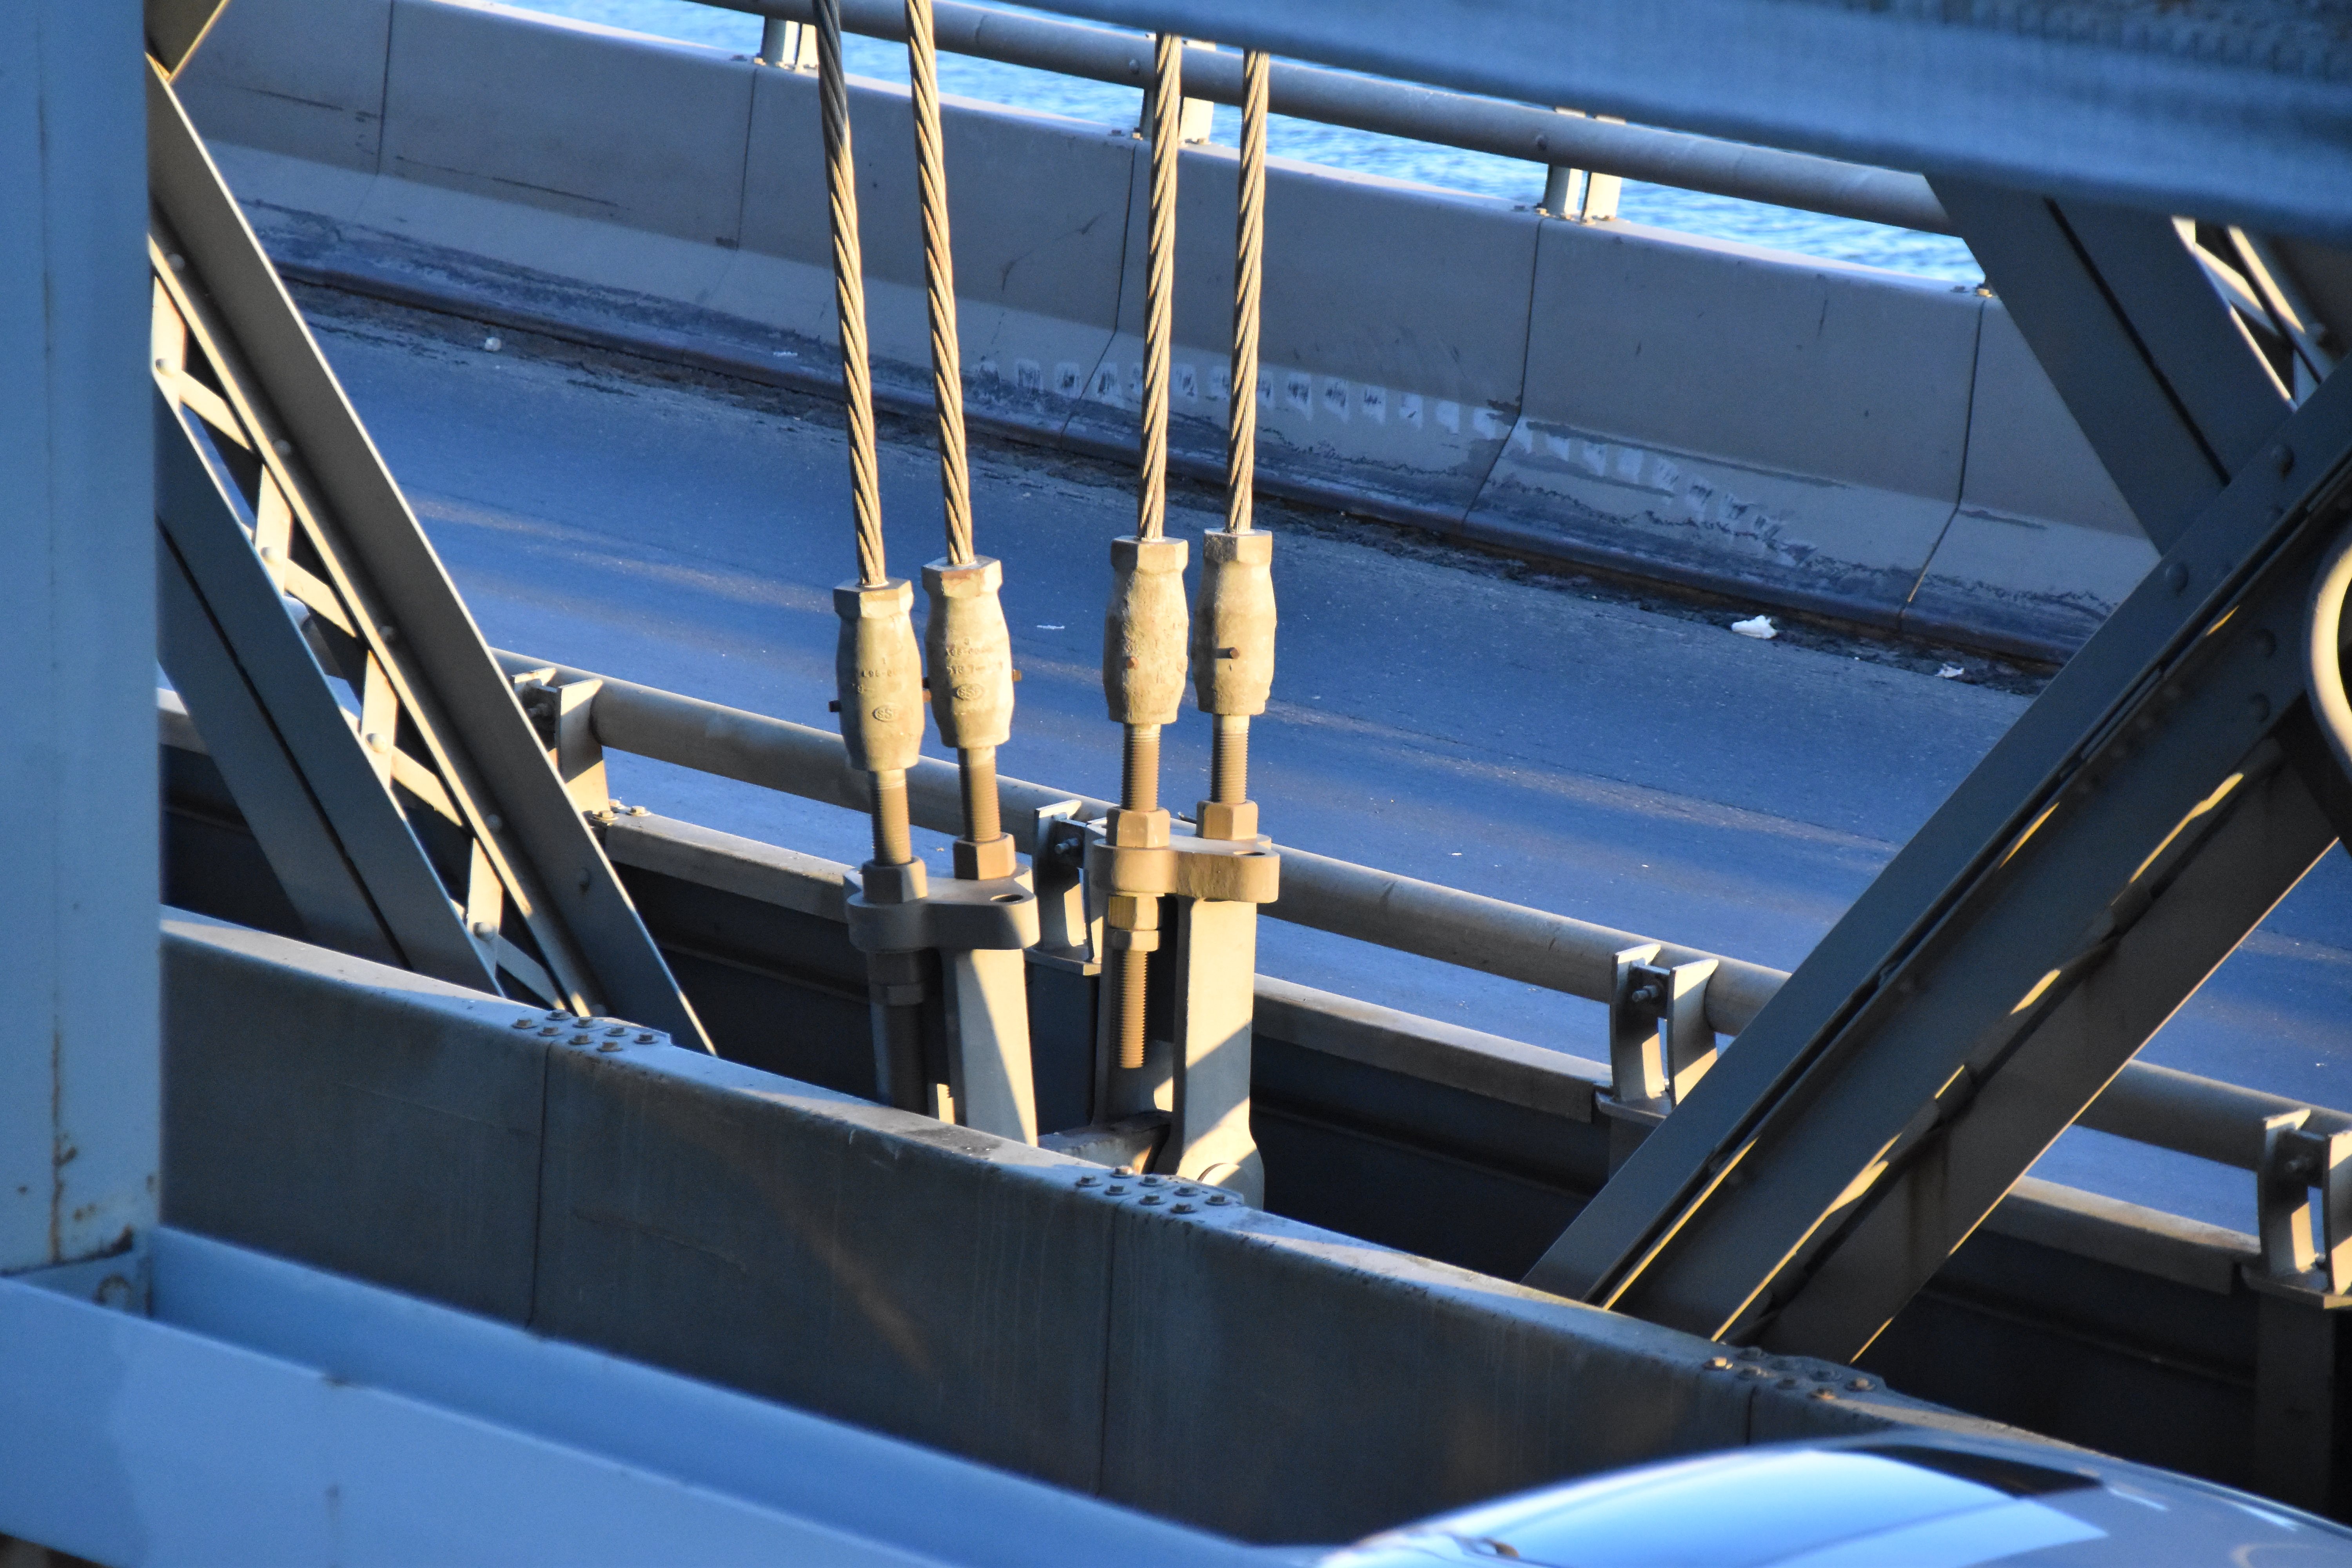
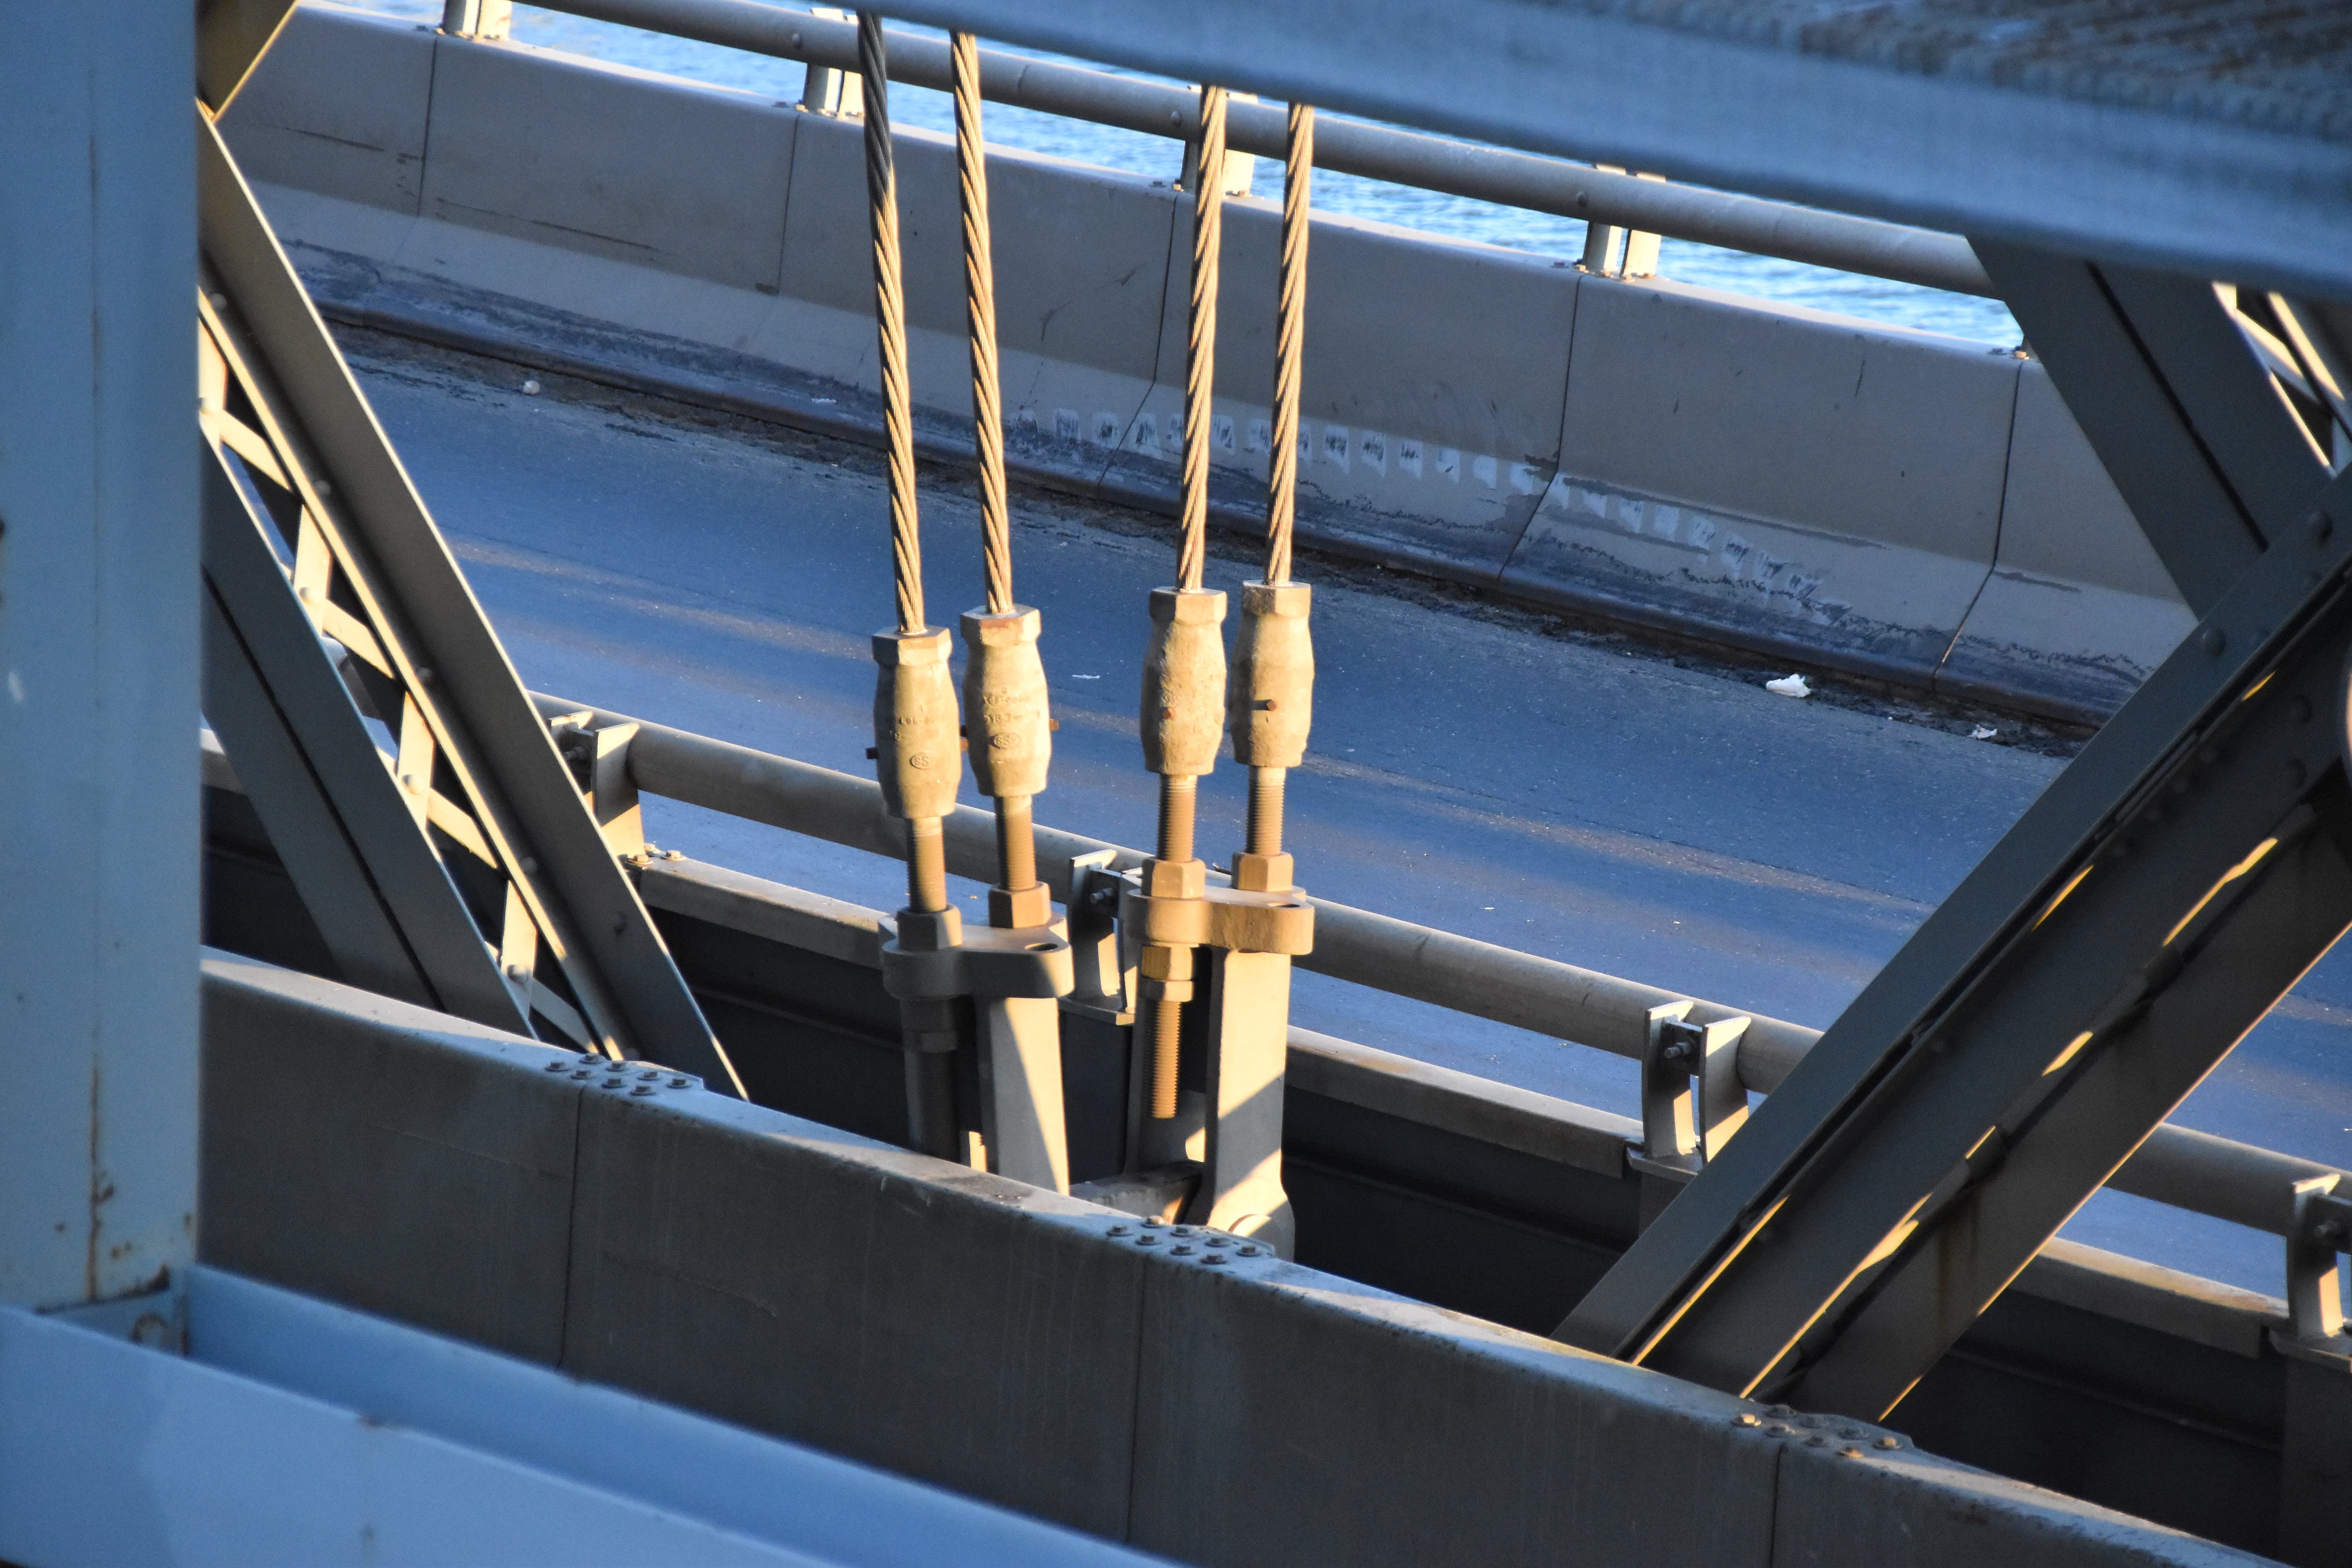
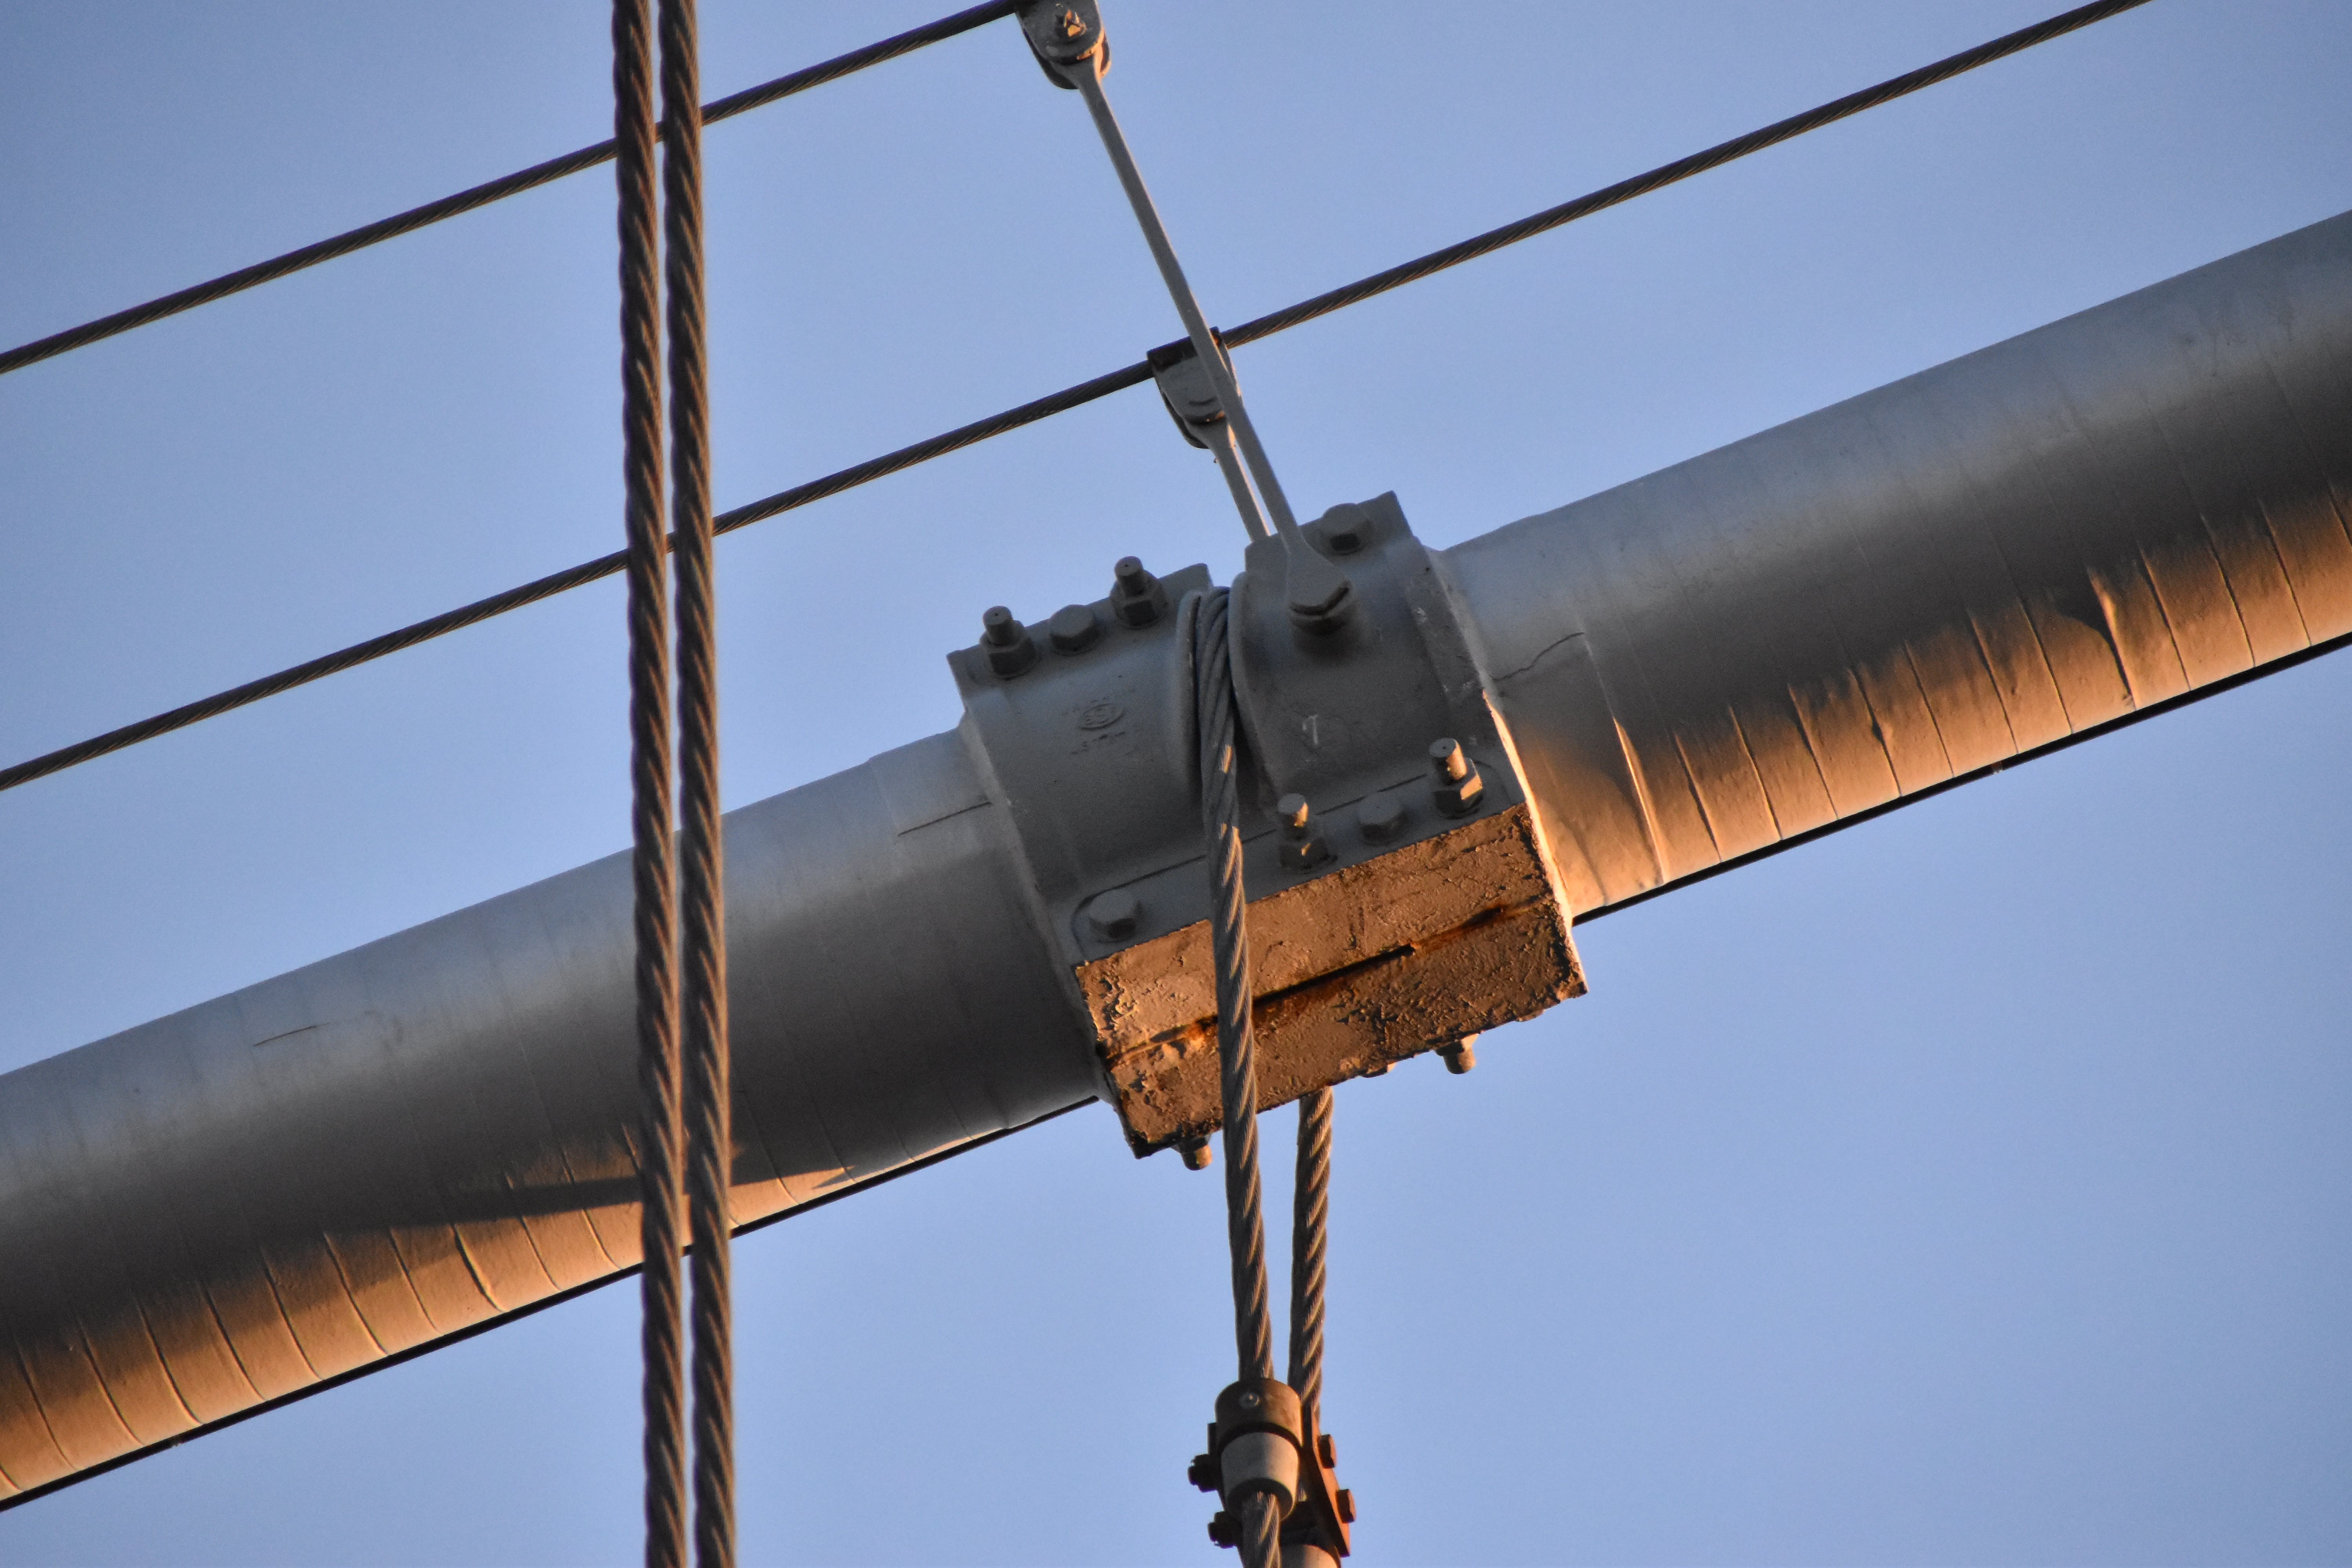
Suspender connection.
![]()


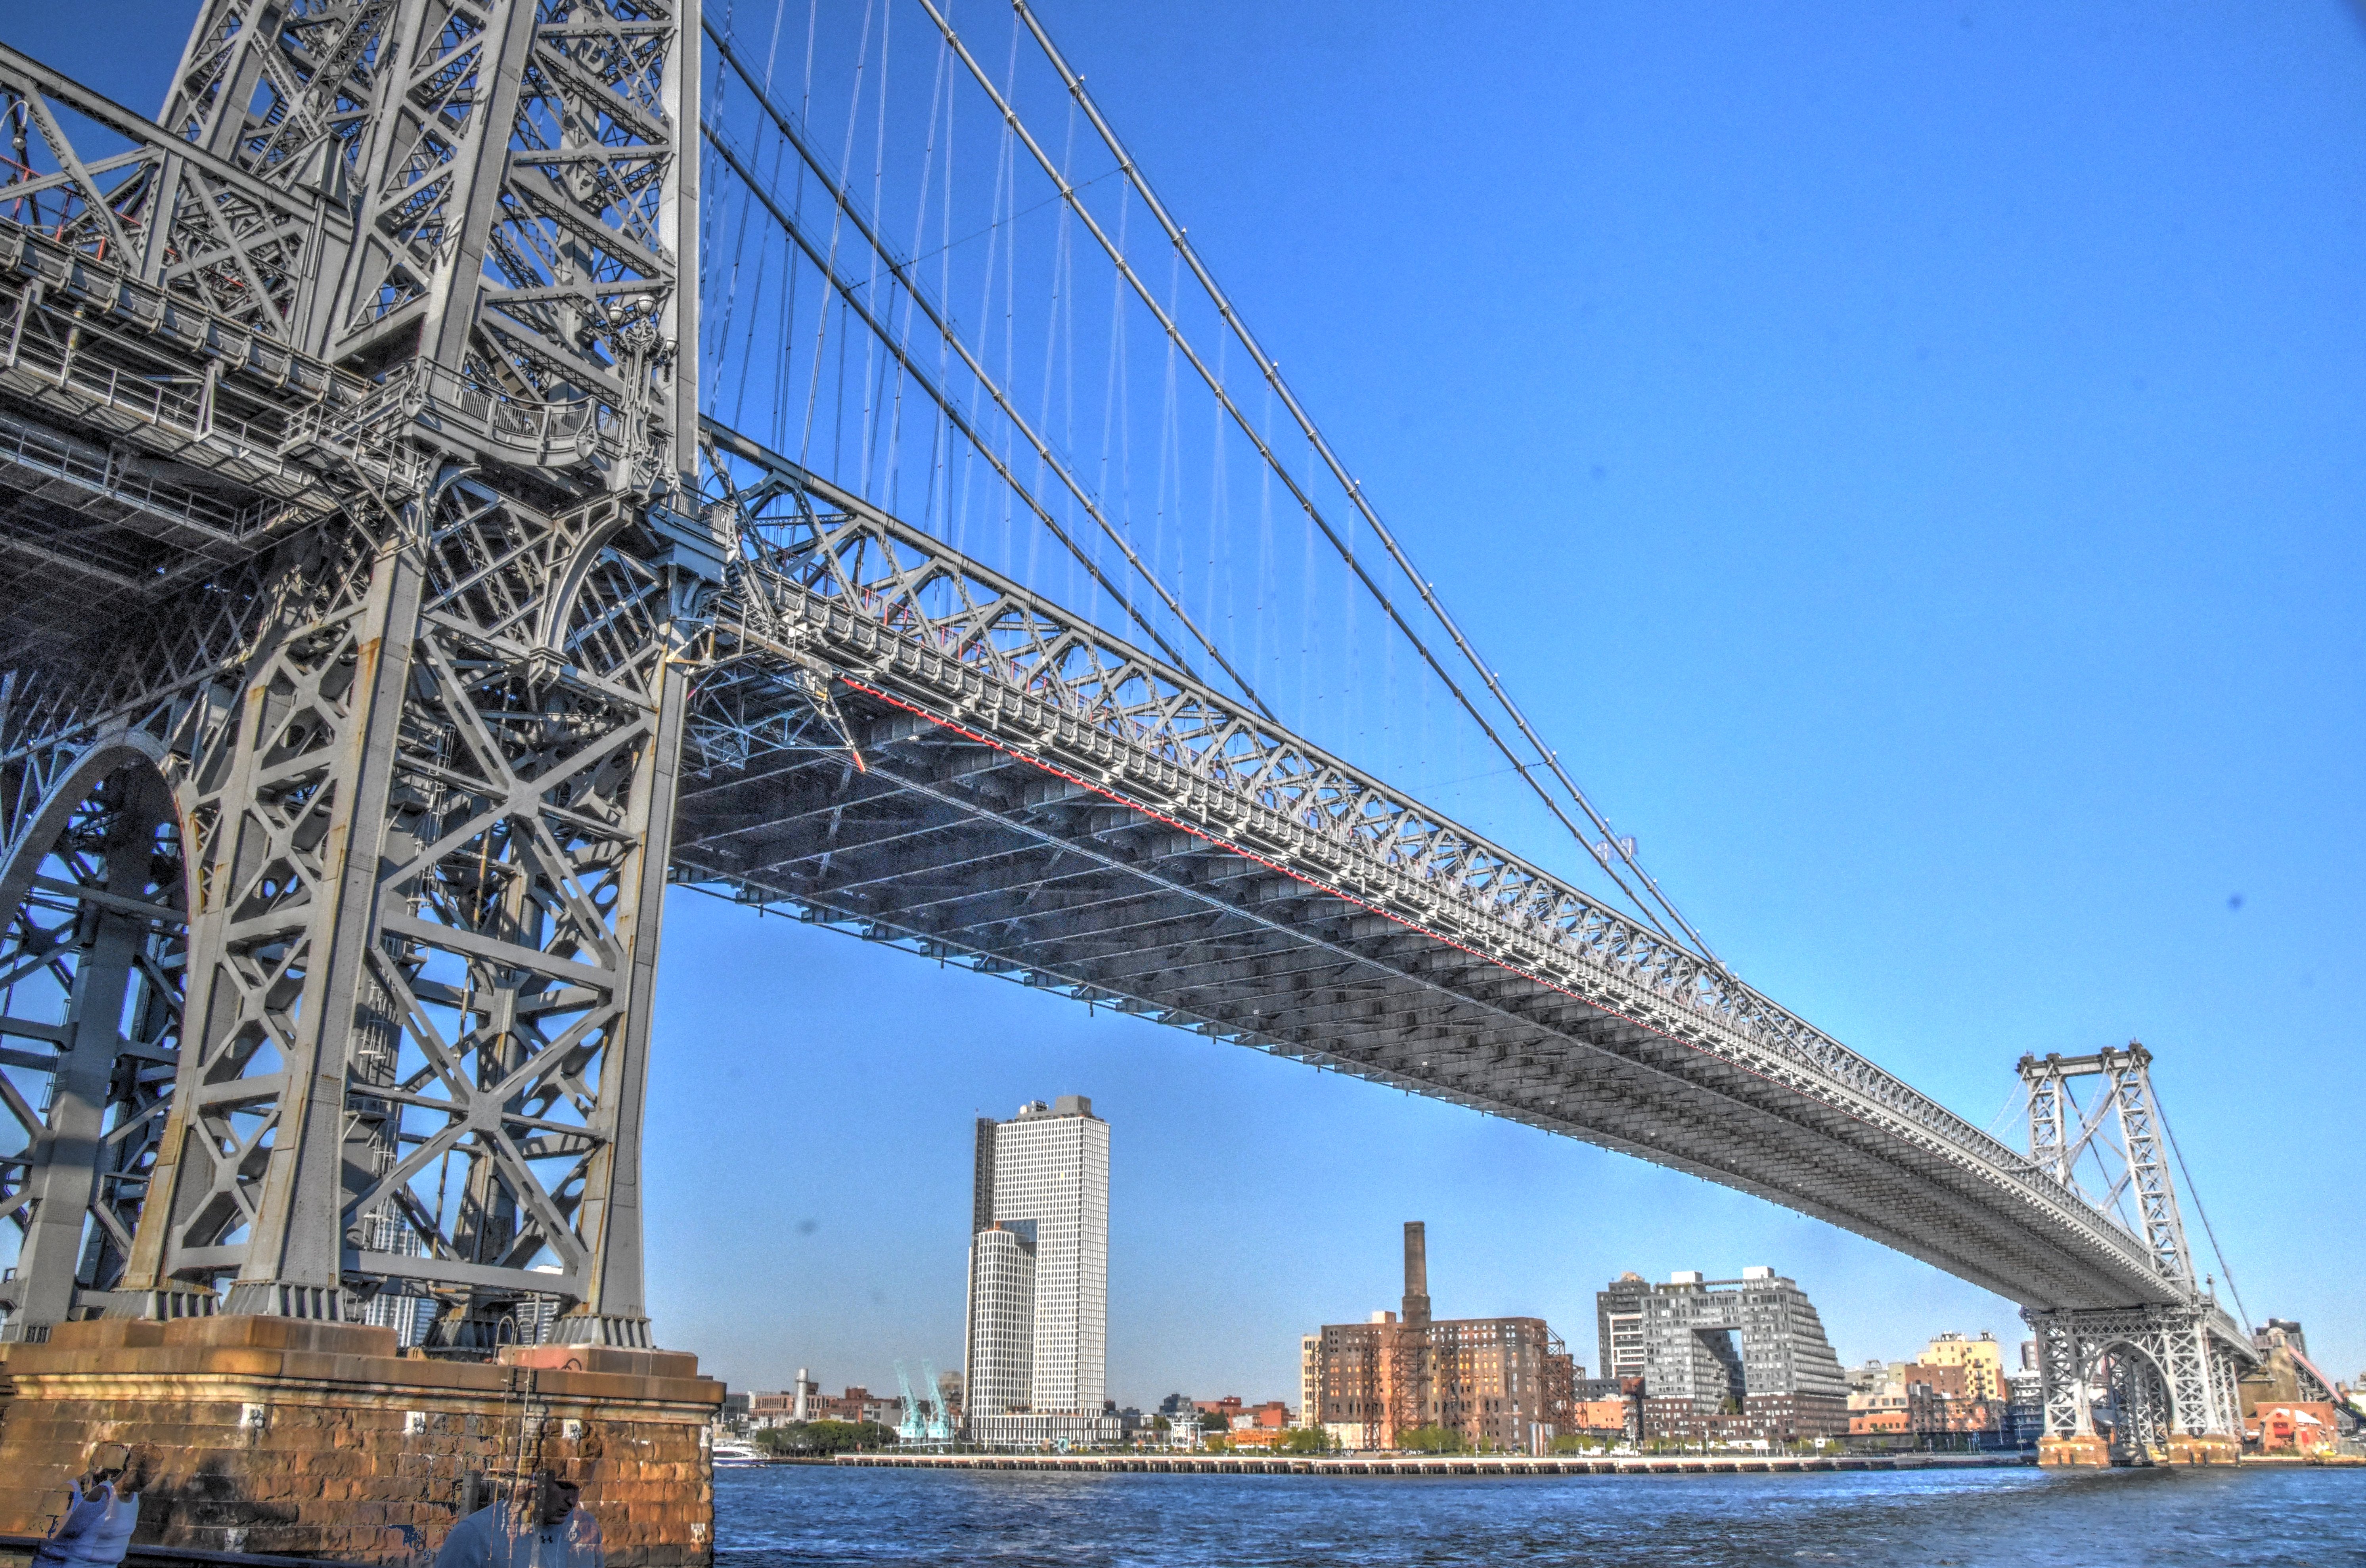
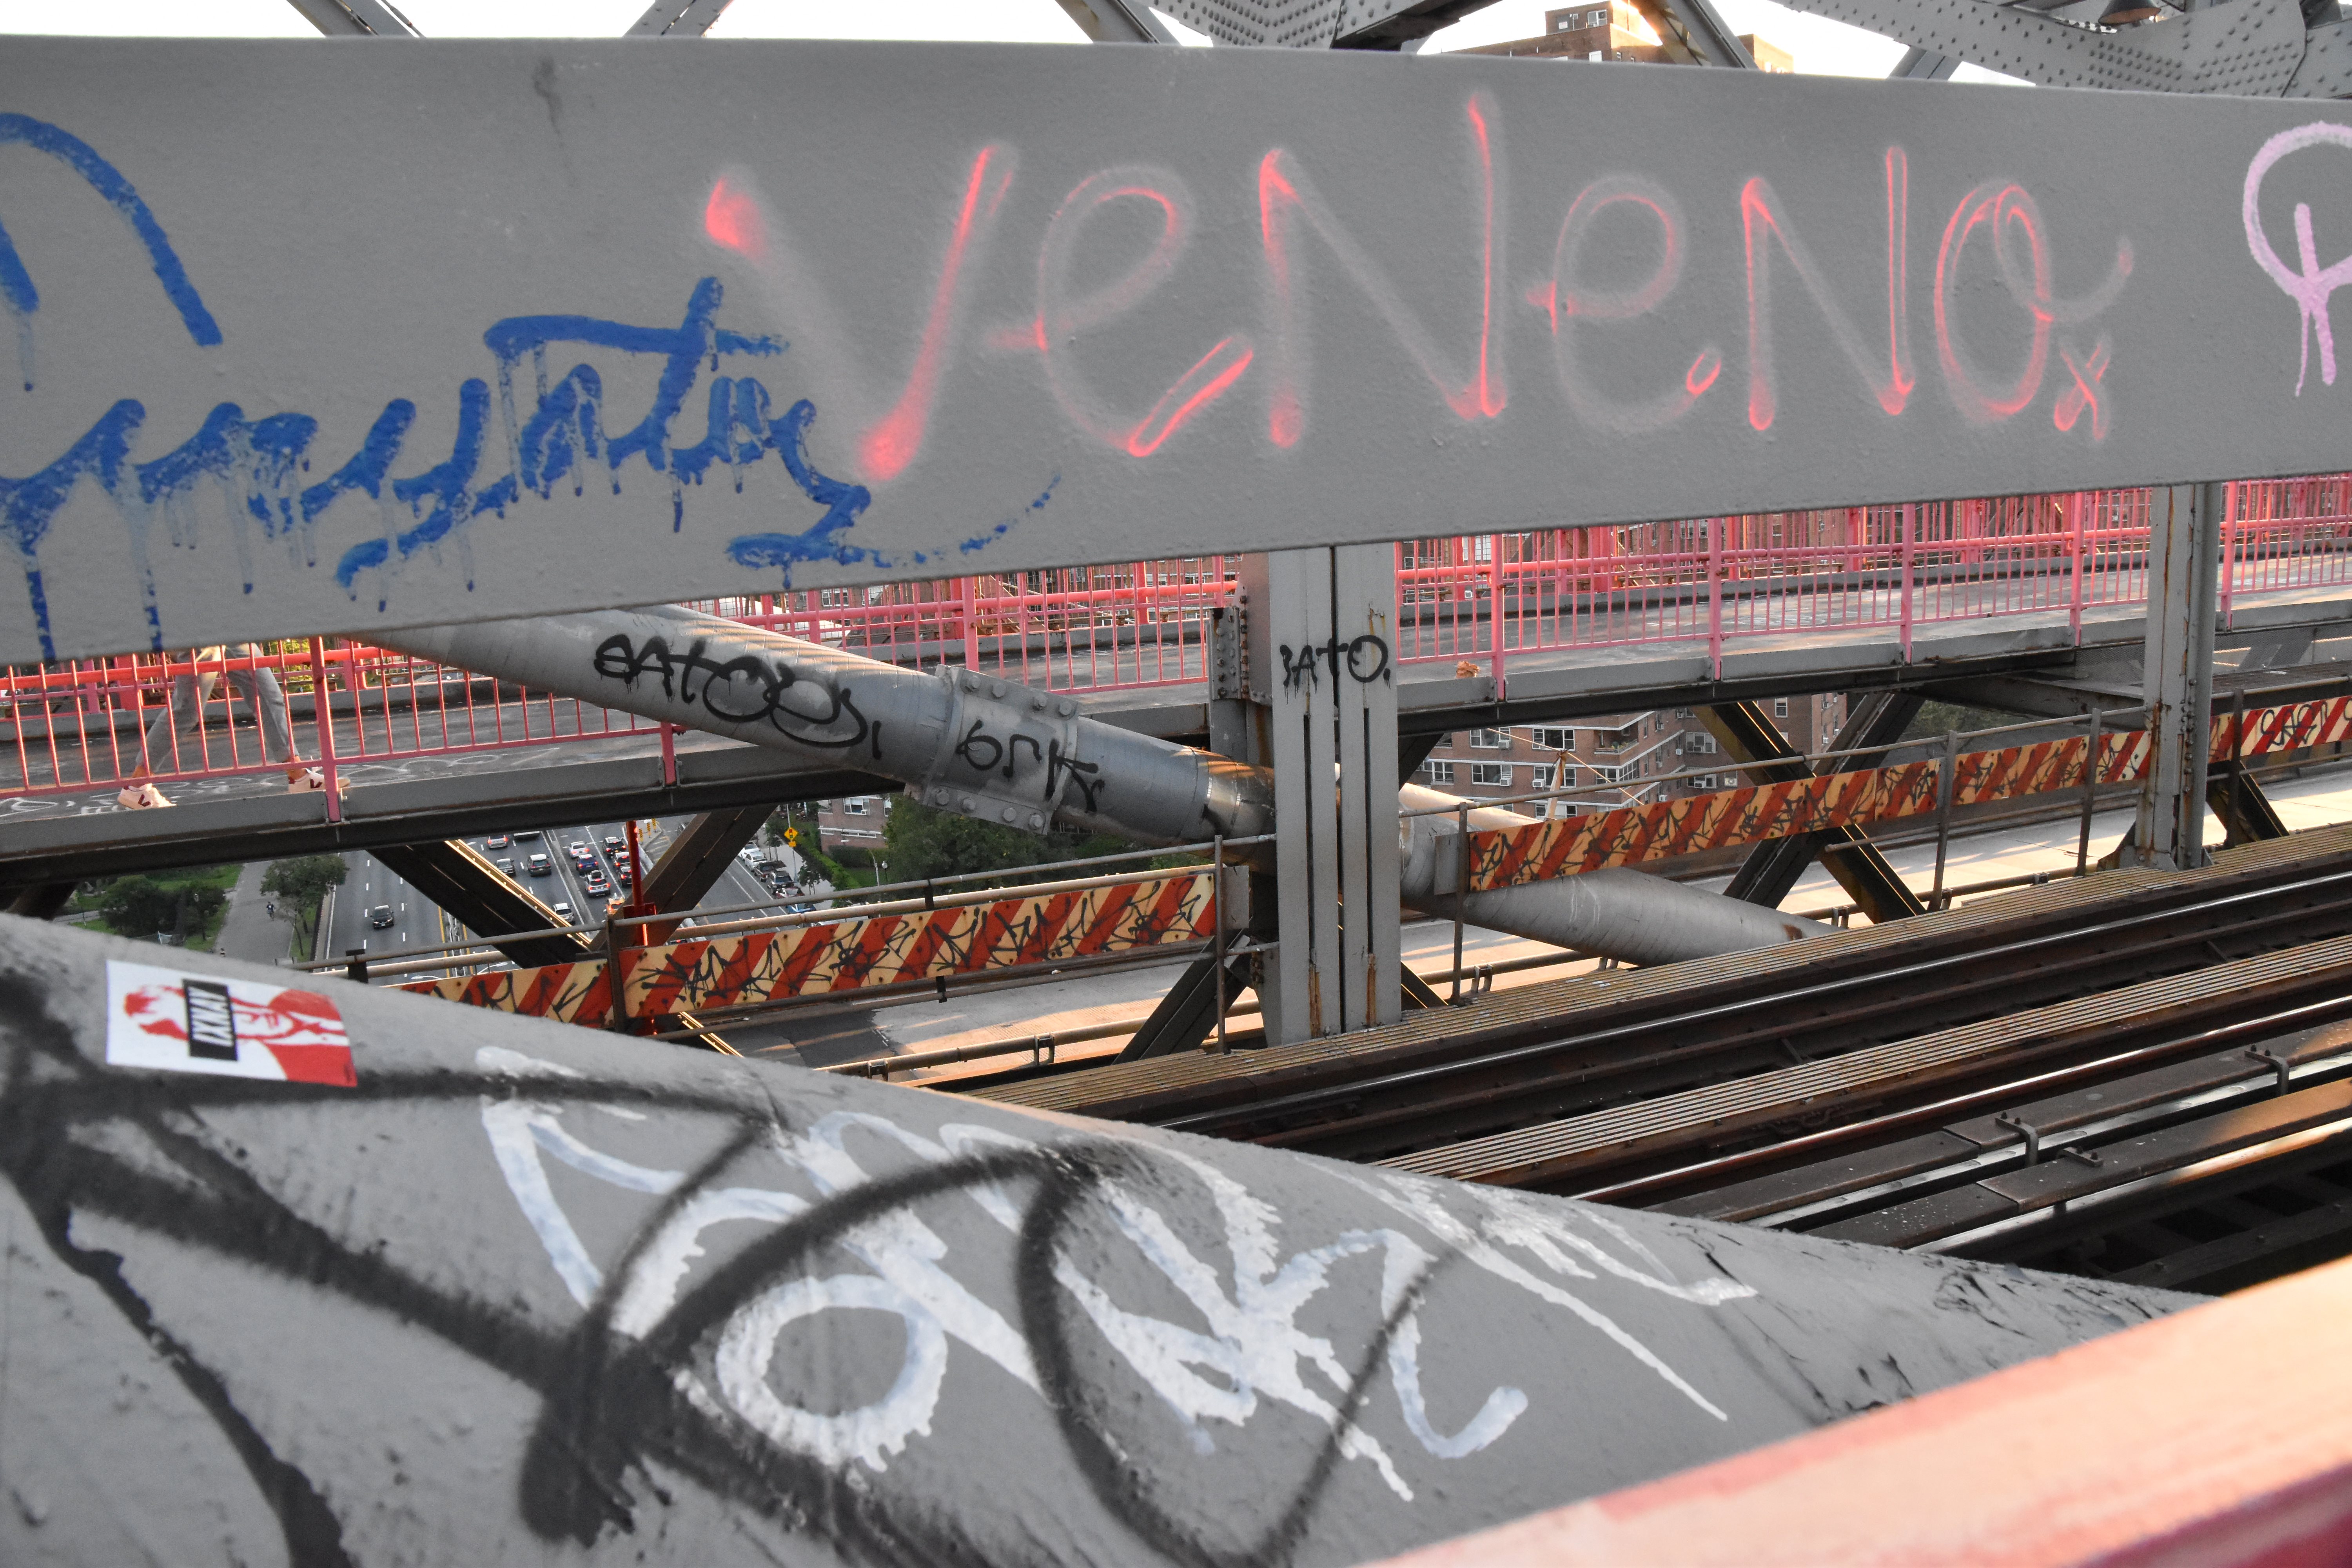
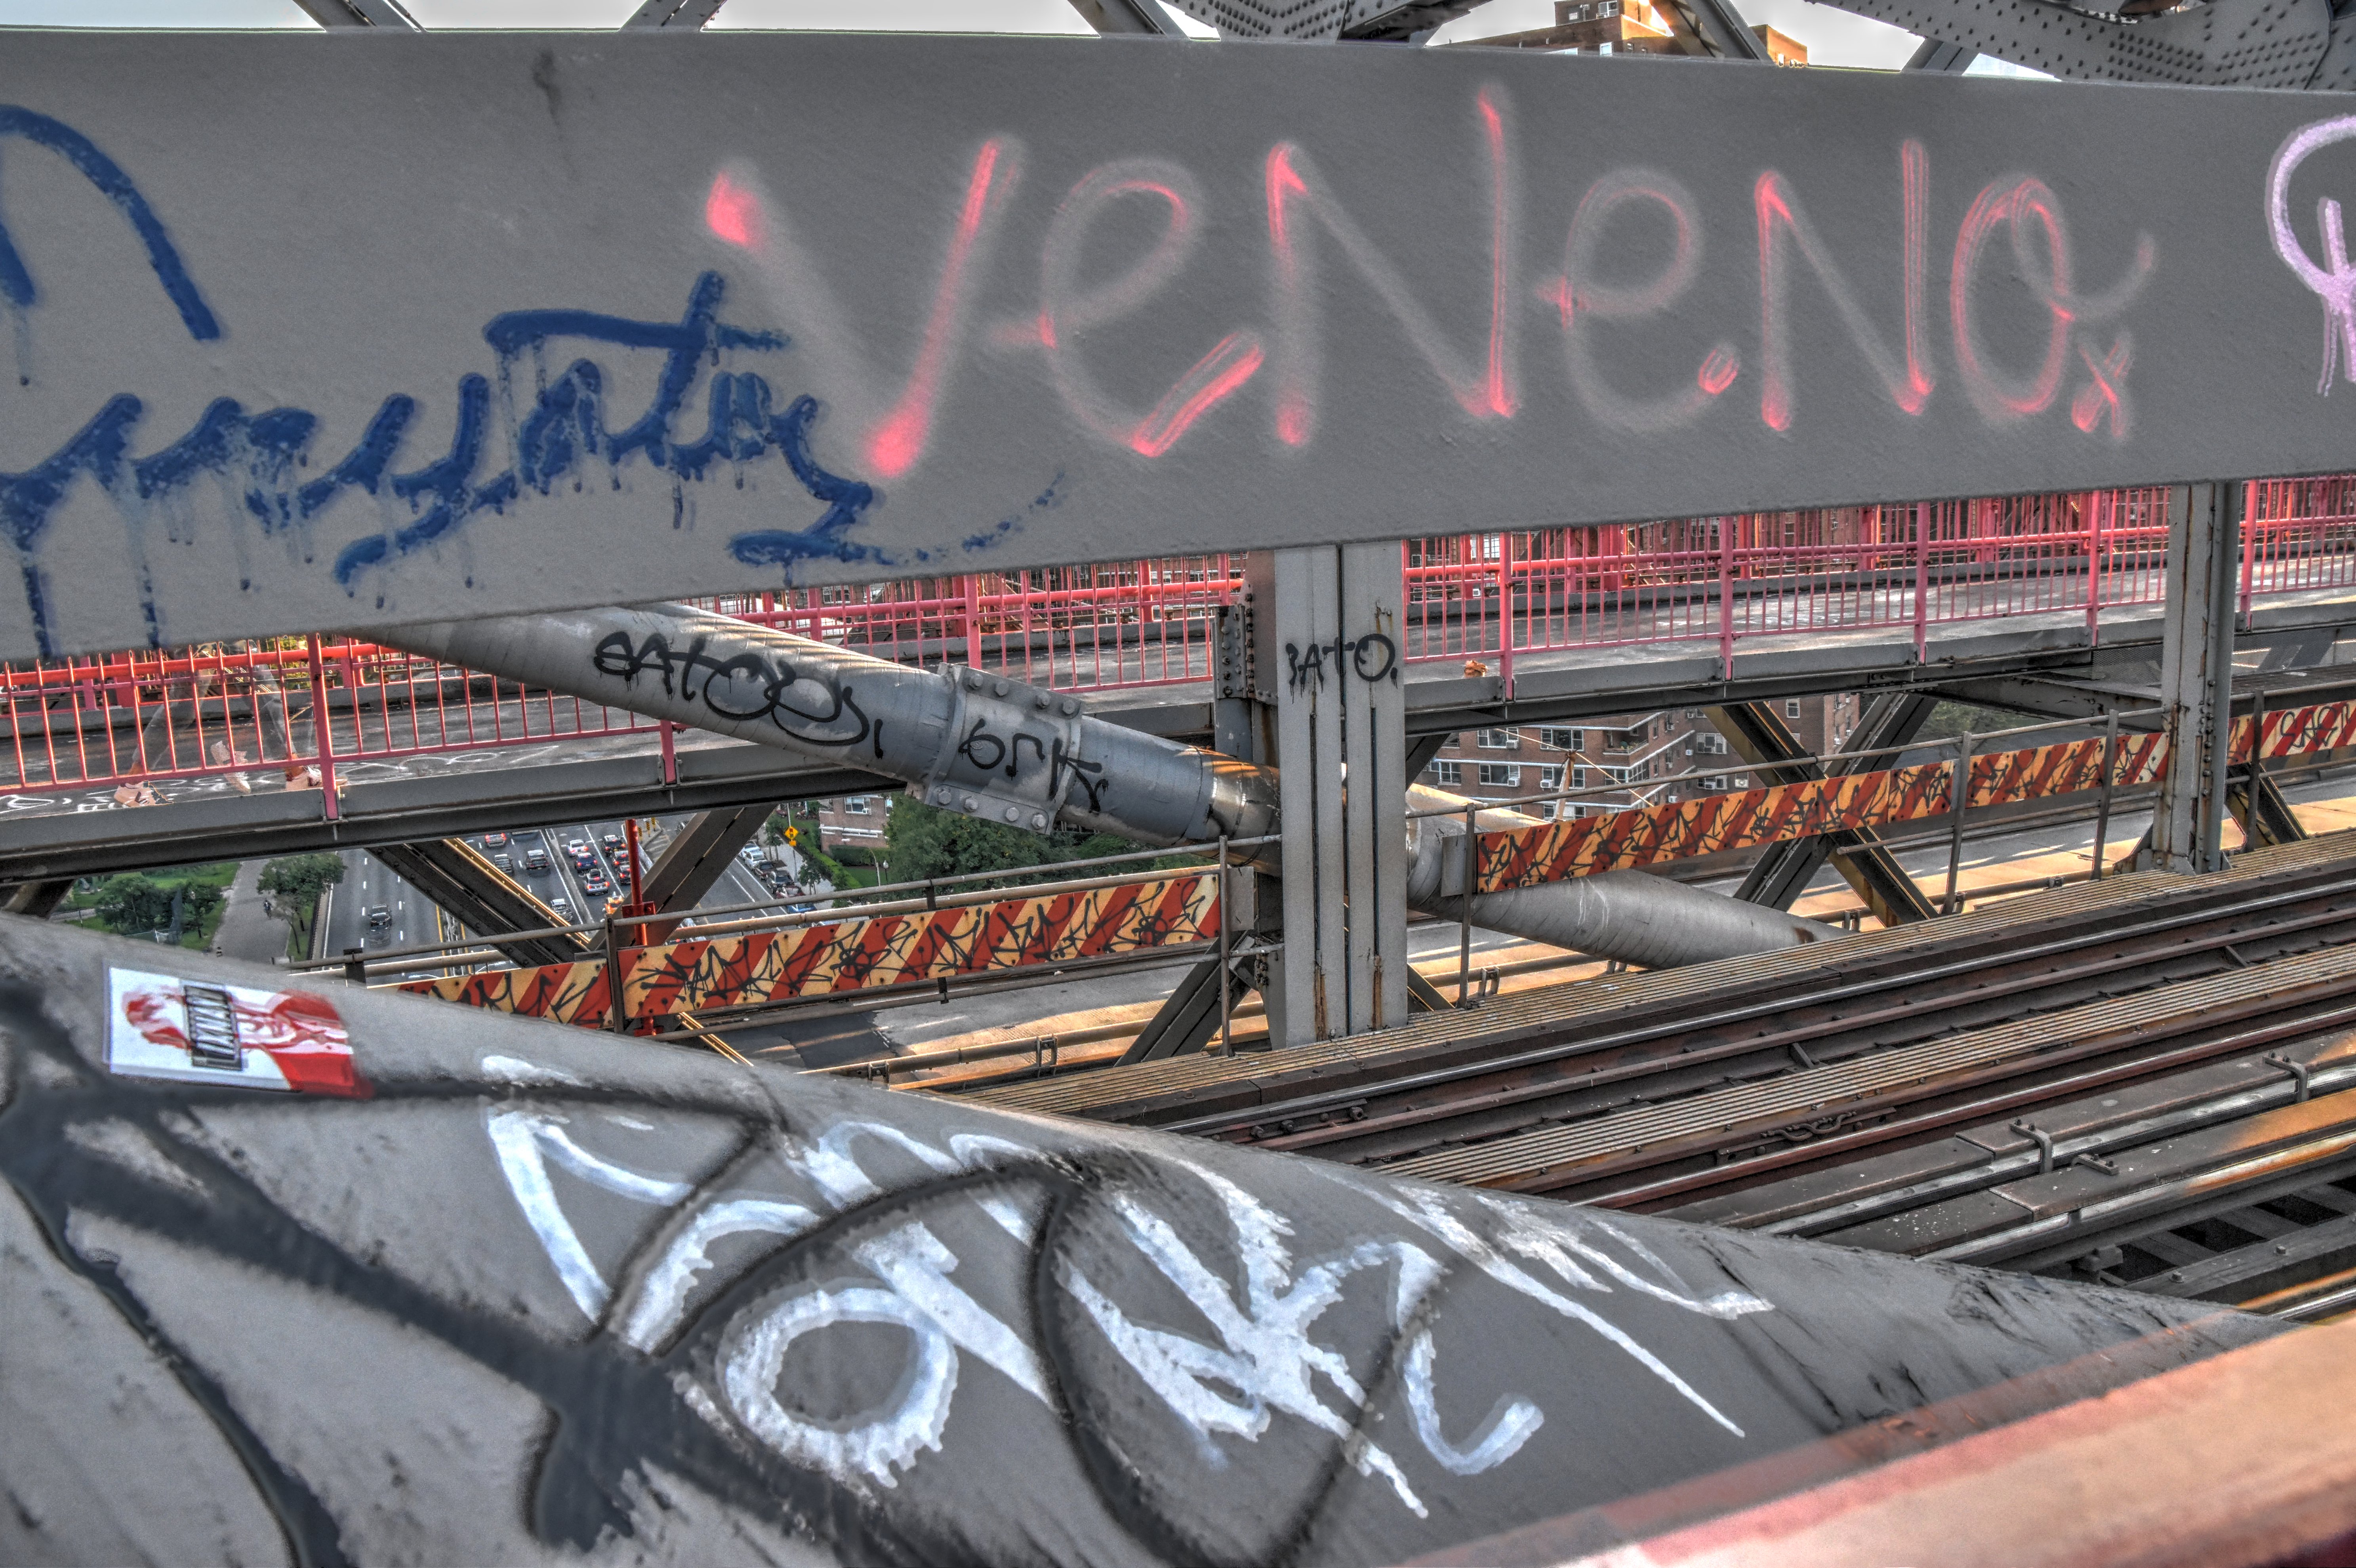
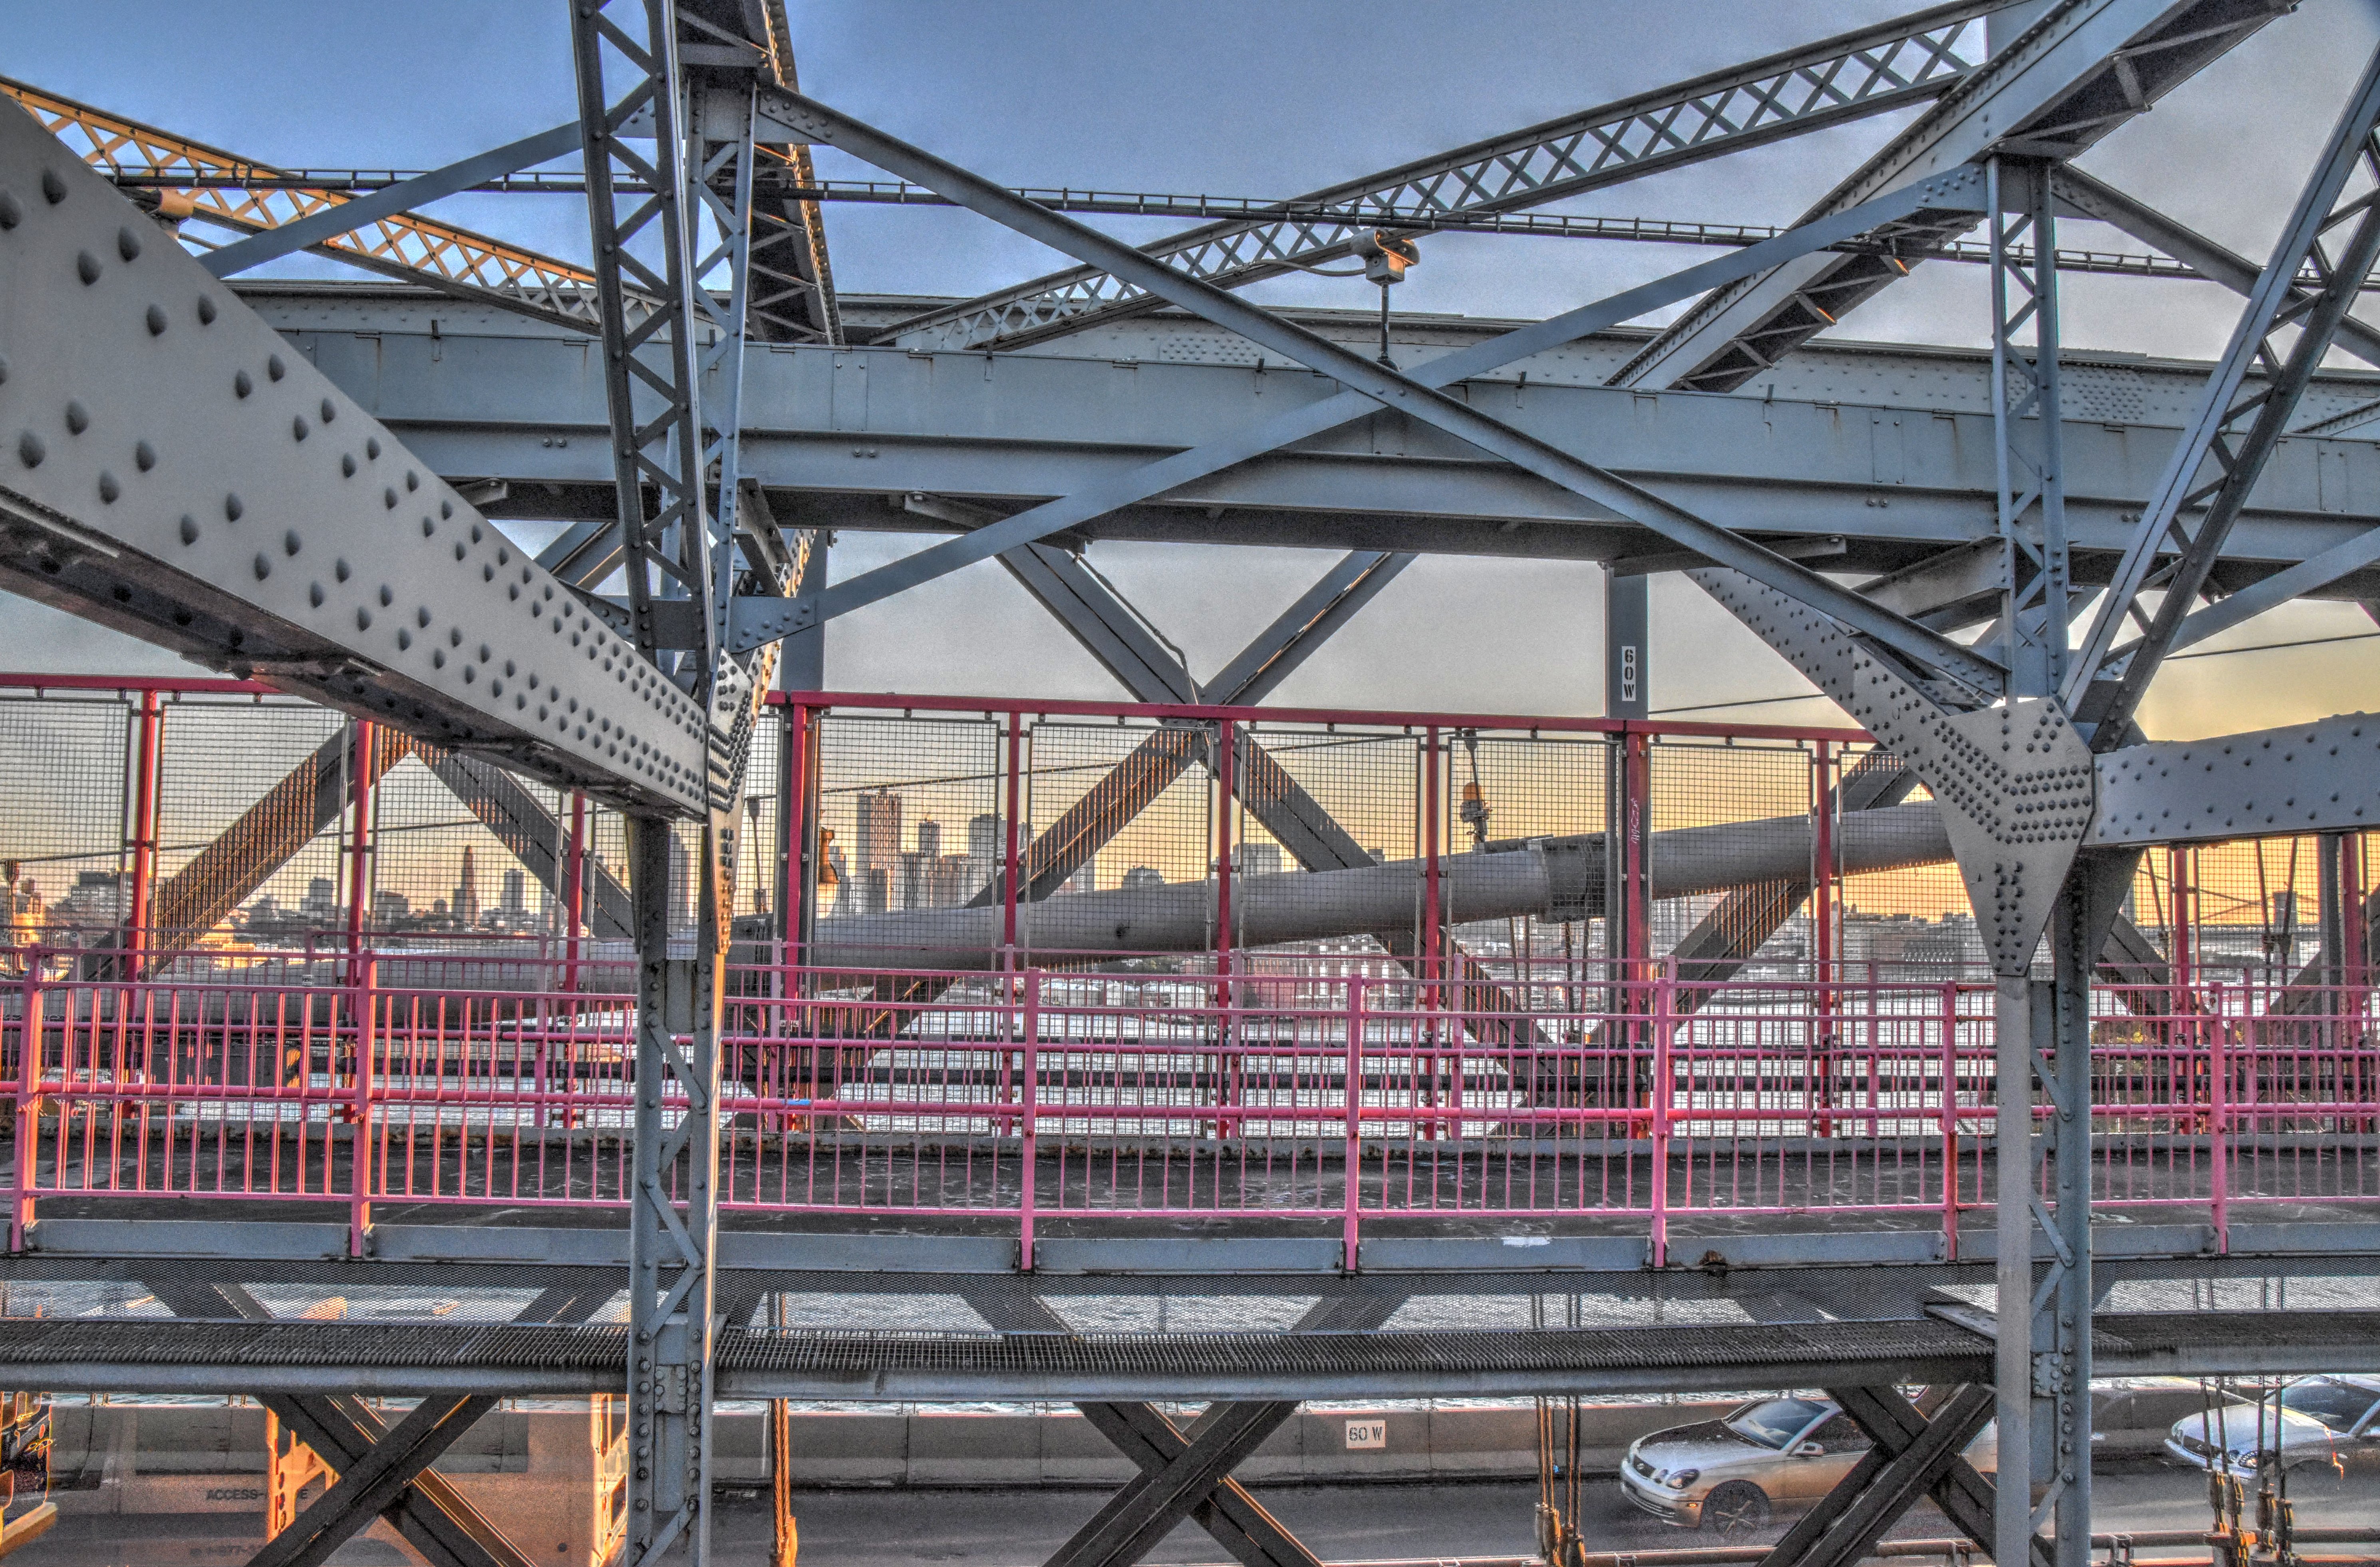
Views under bridge.
![]()


Approach bottom chord.
![]()
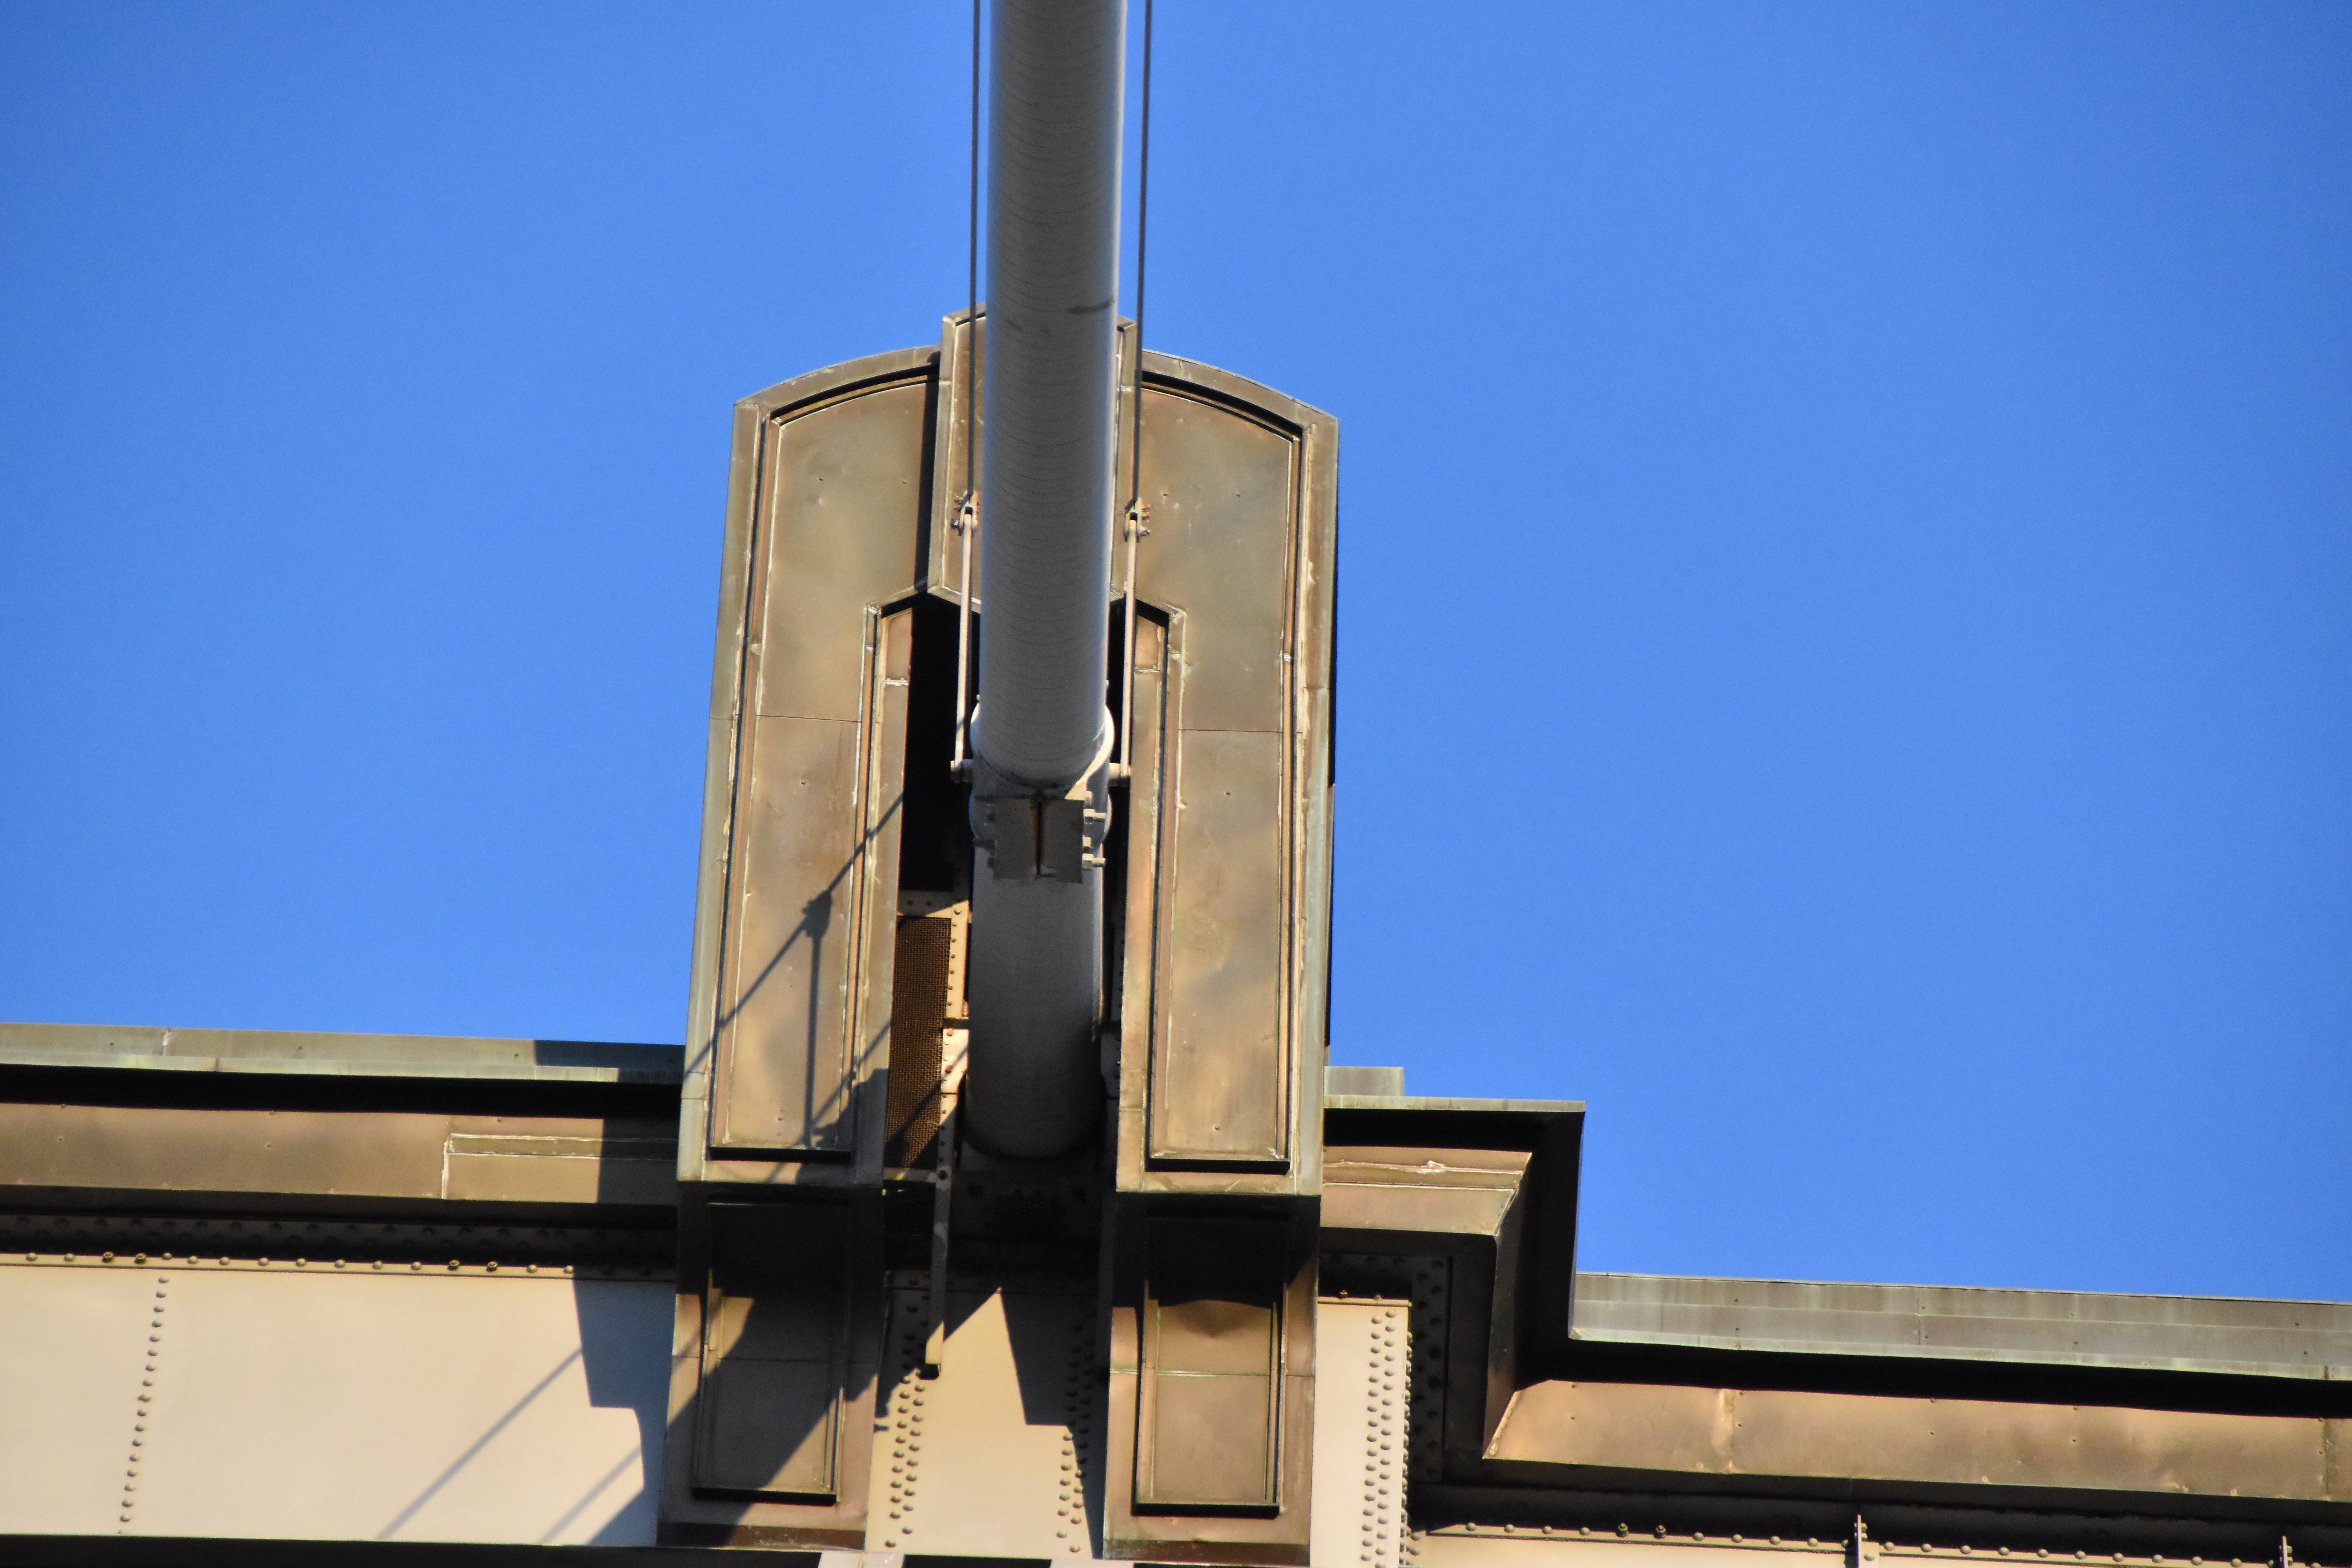
Cable saddle.
![]()
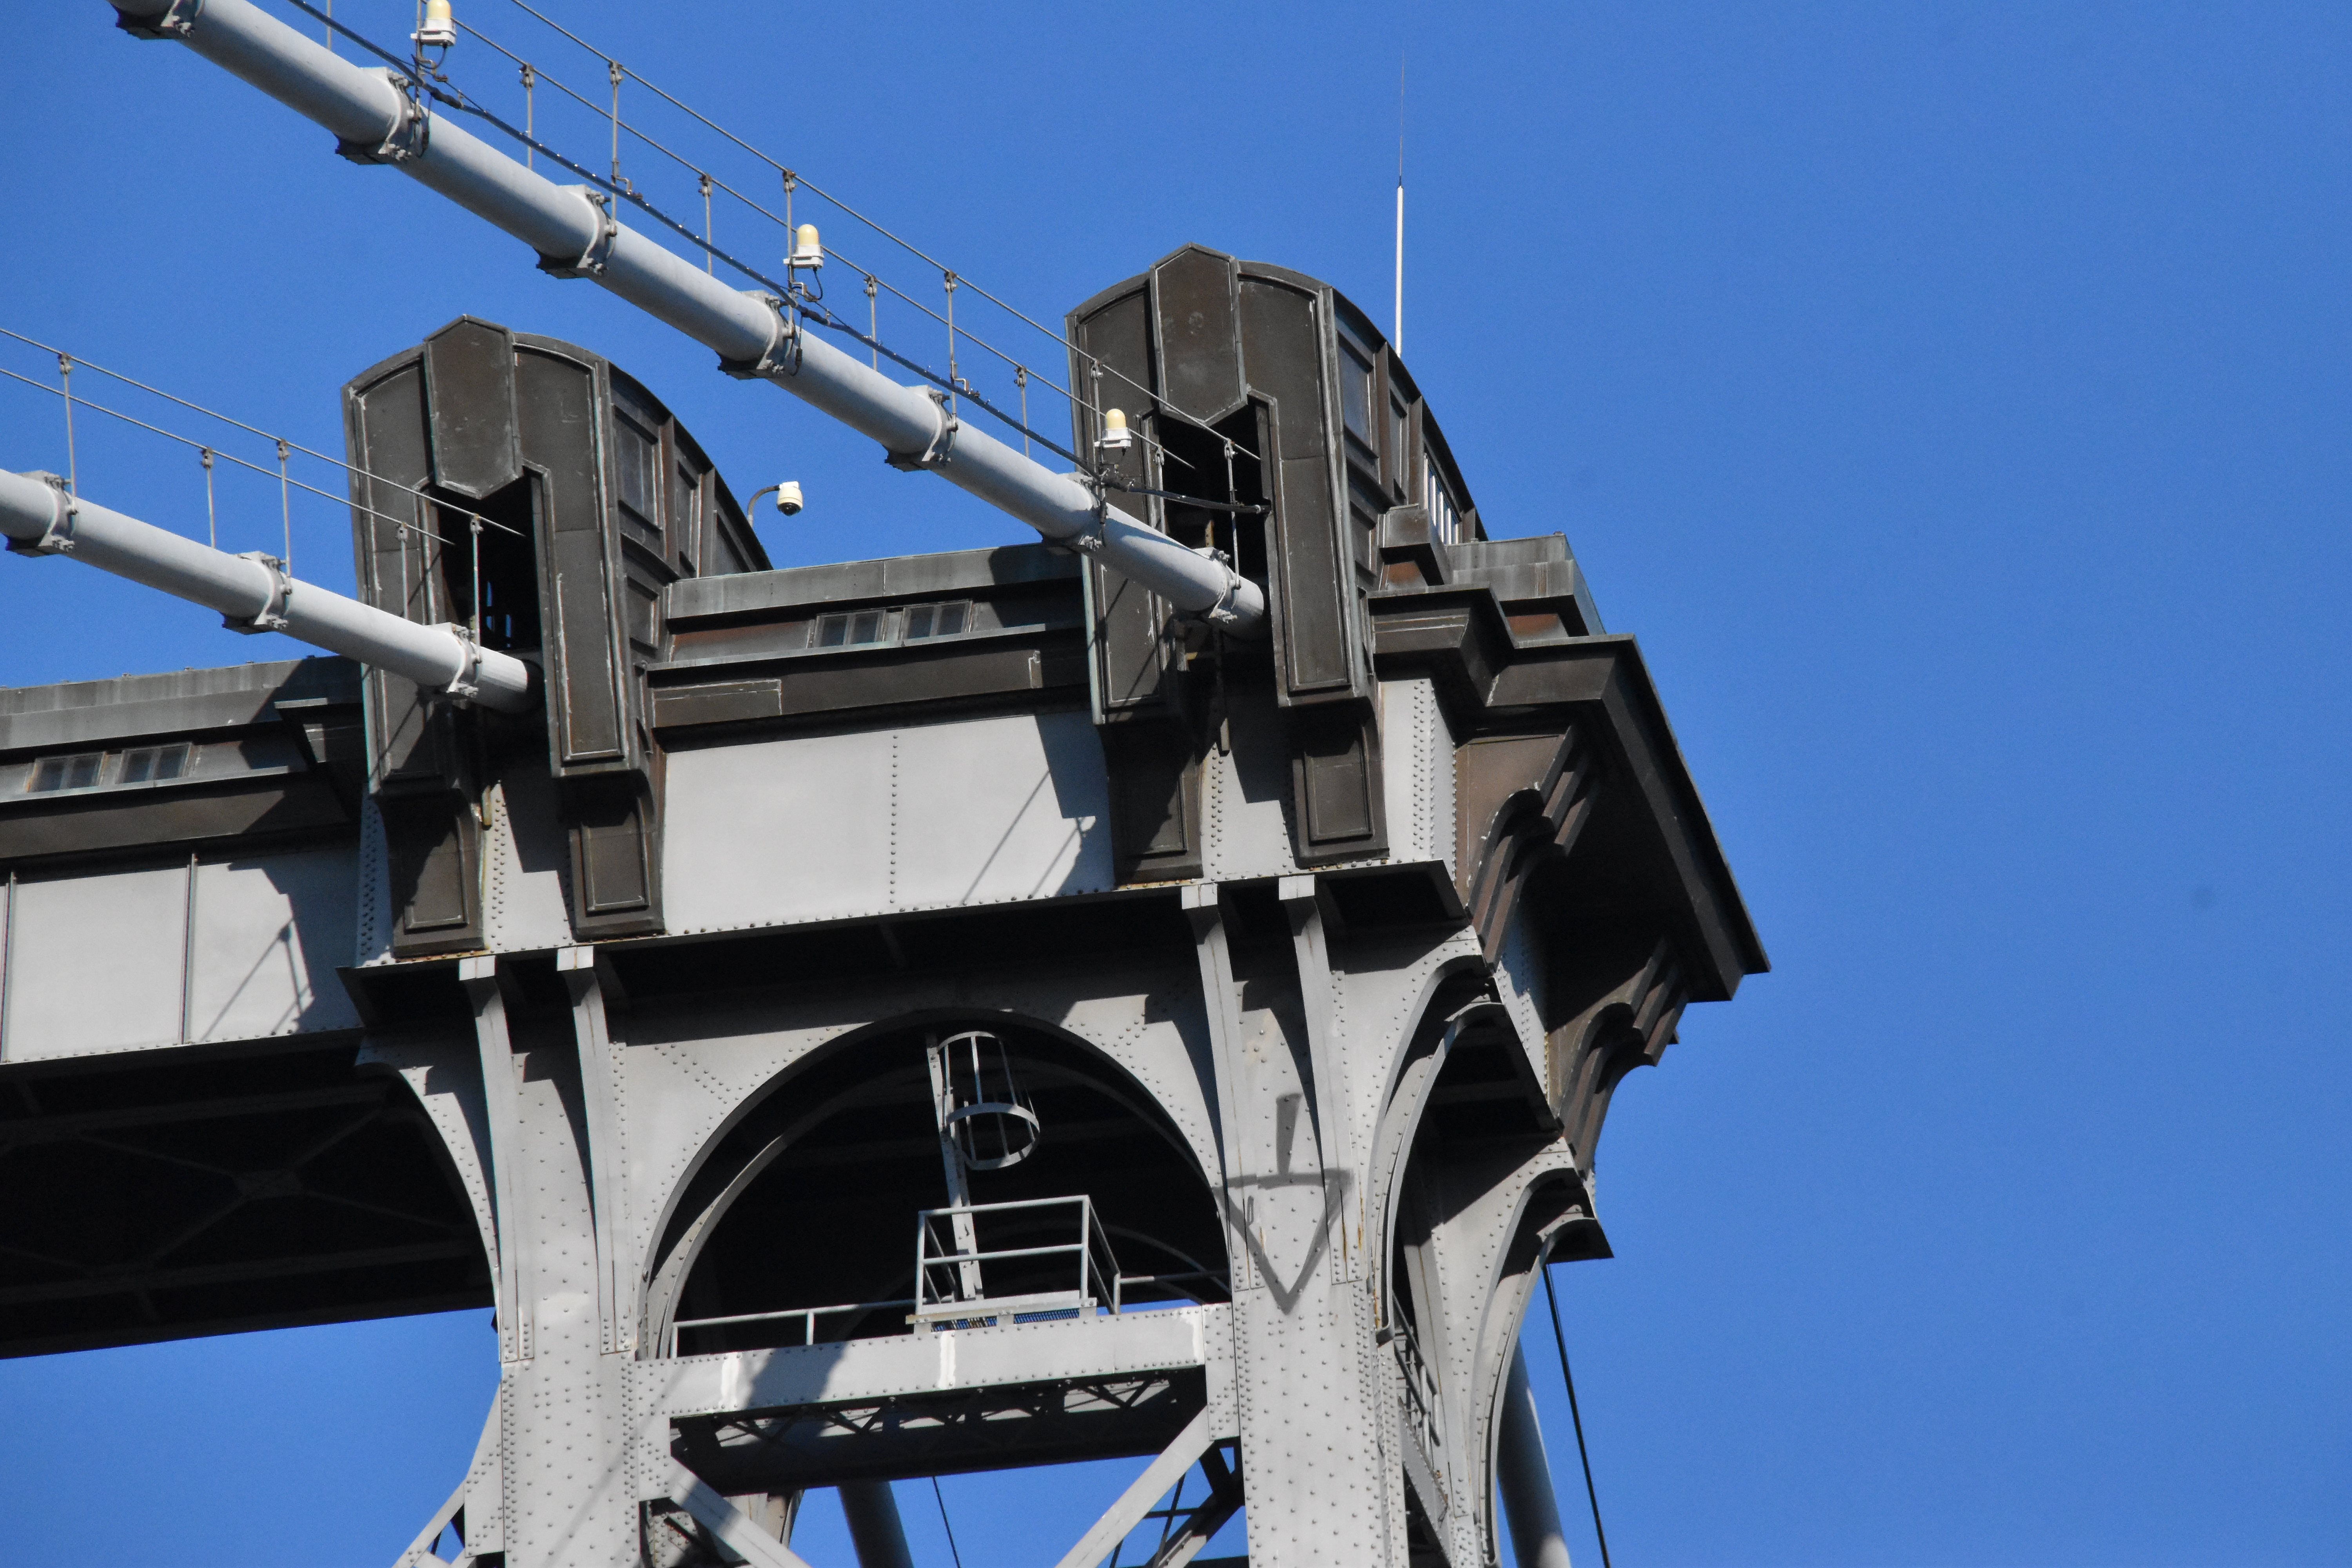
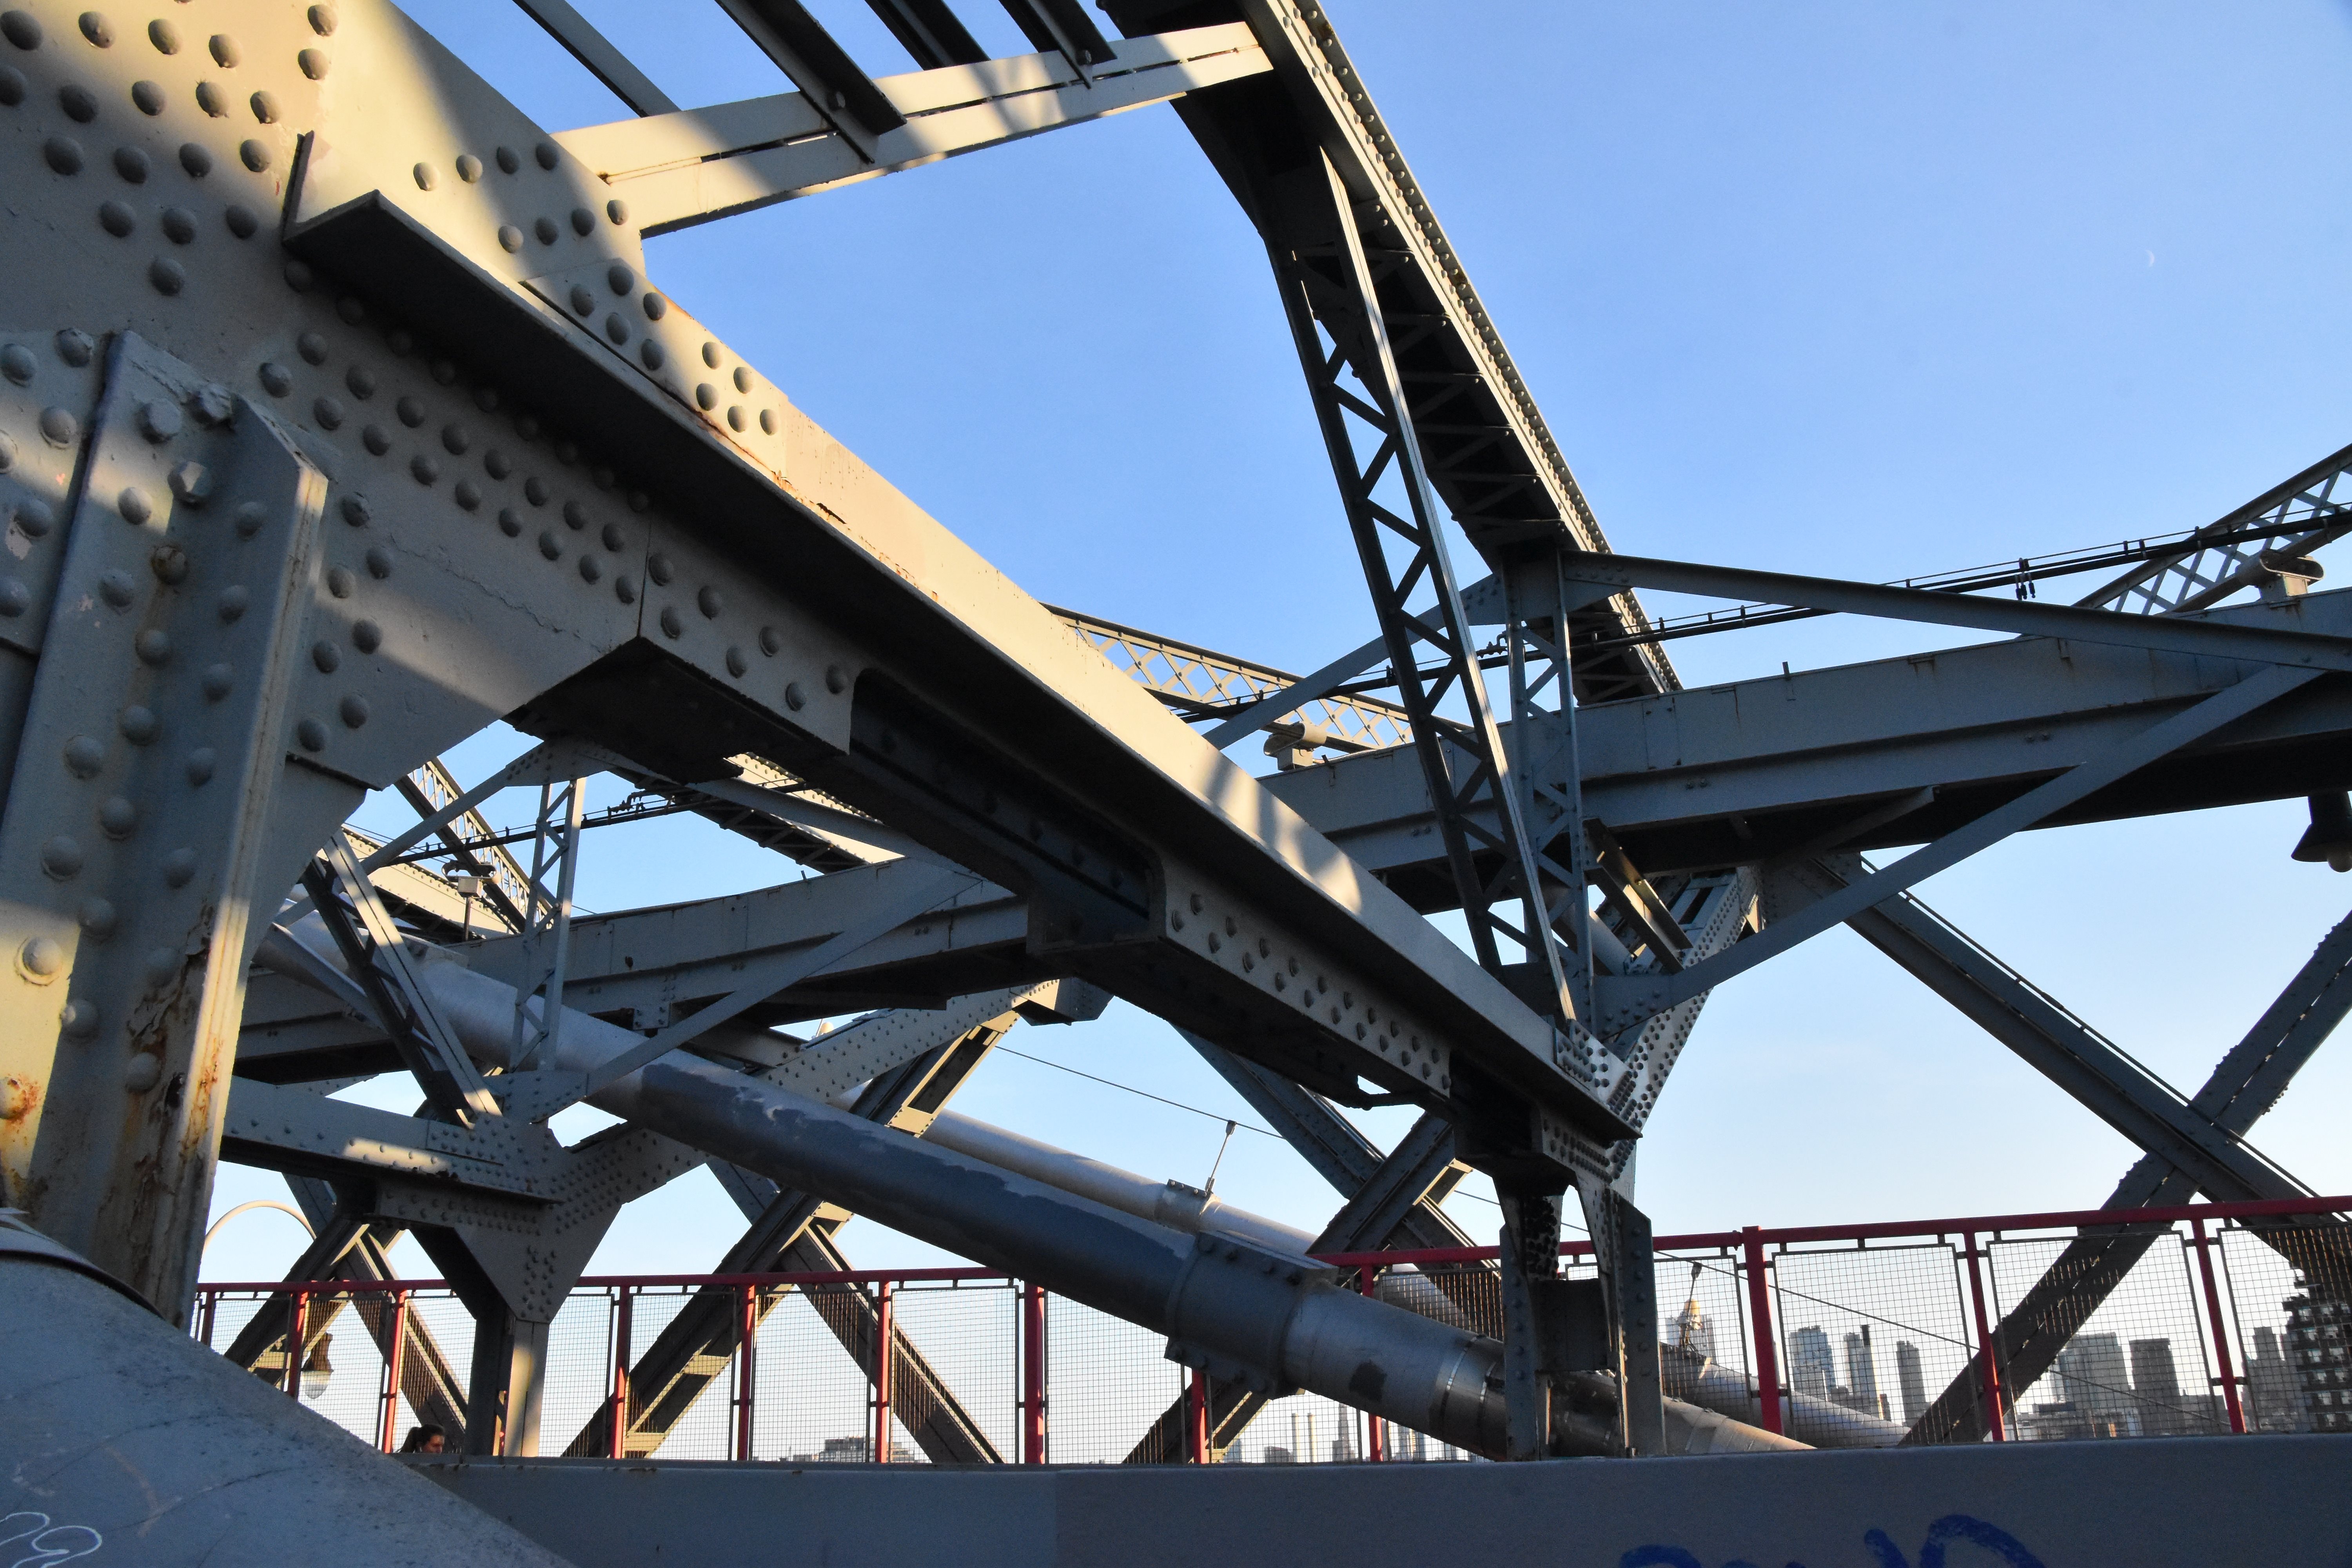
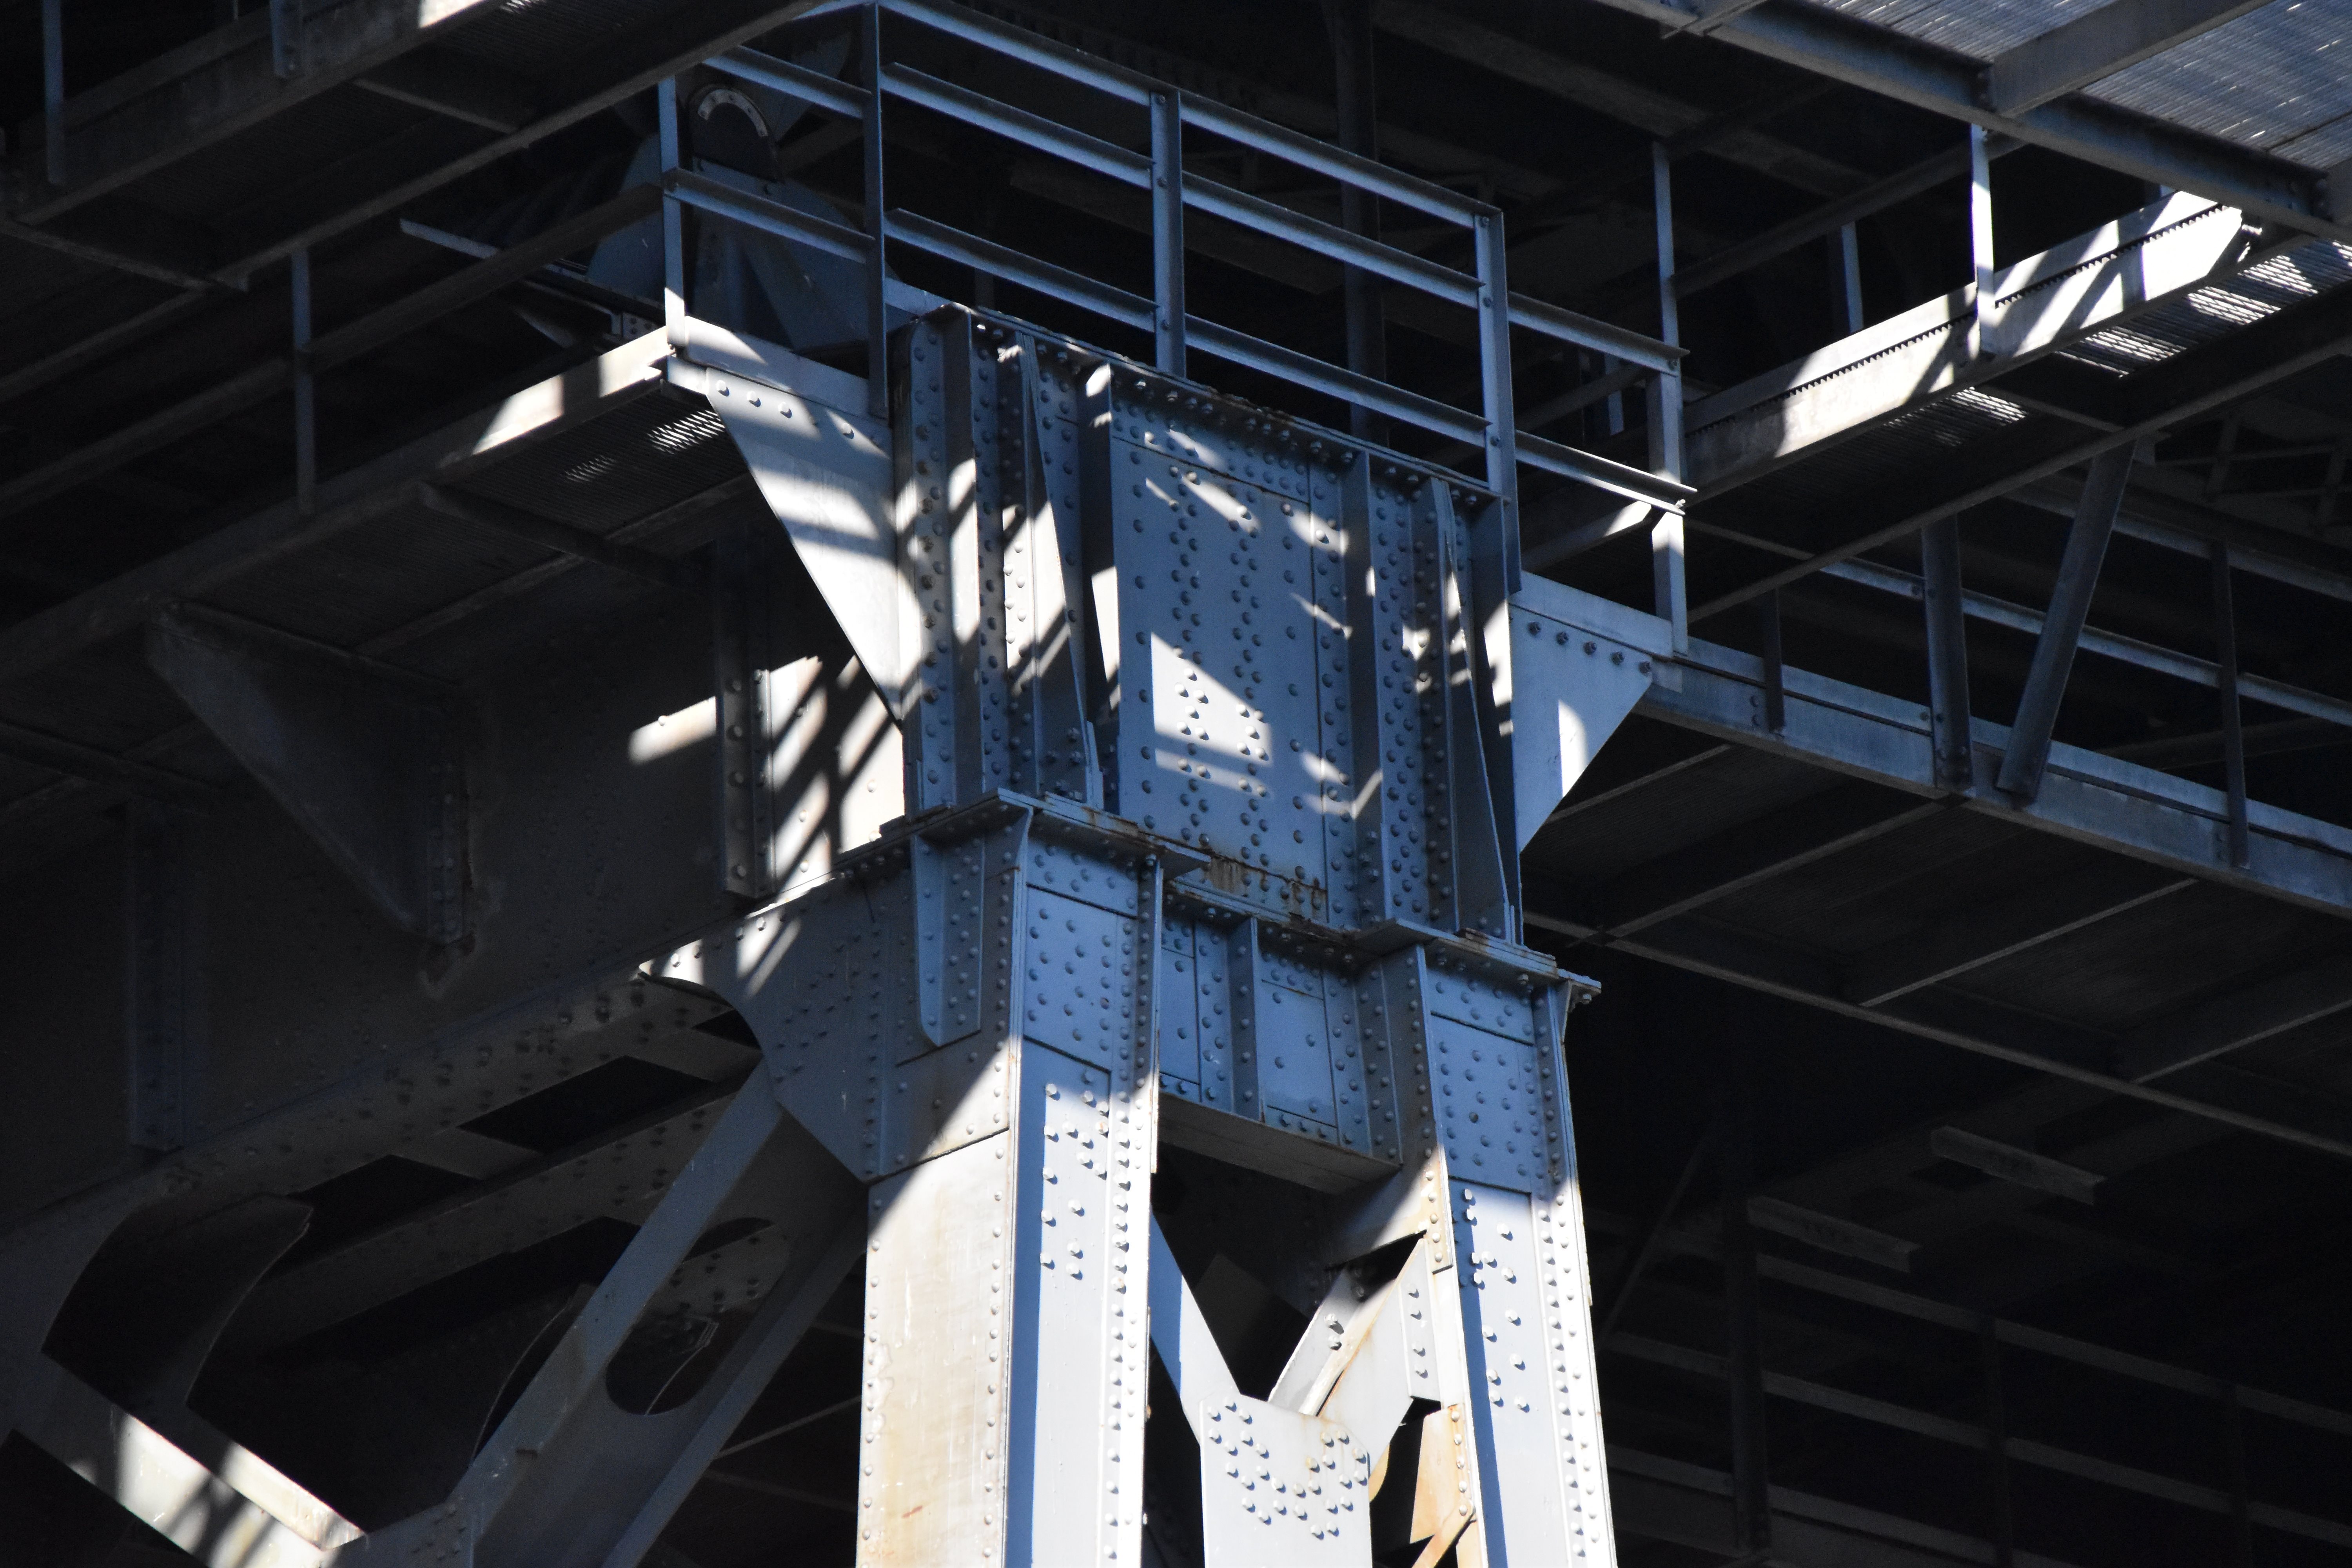
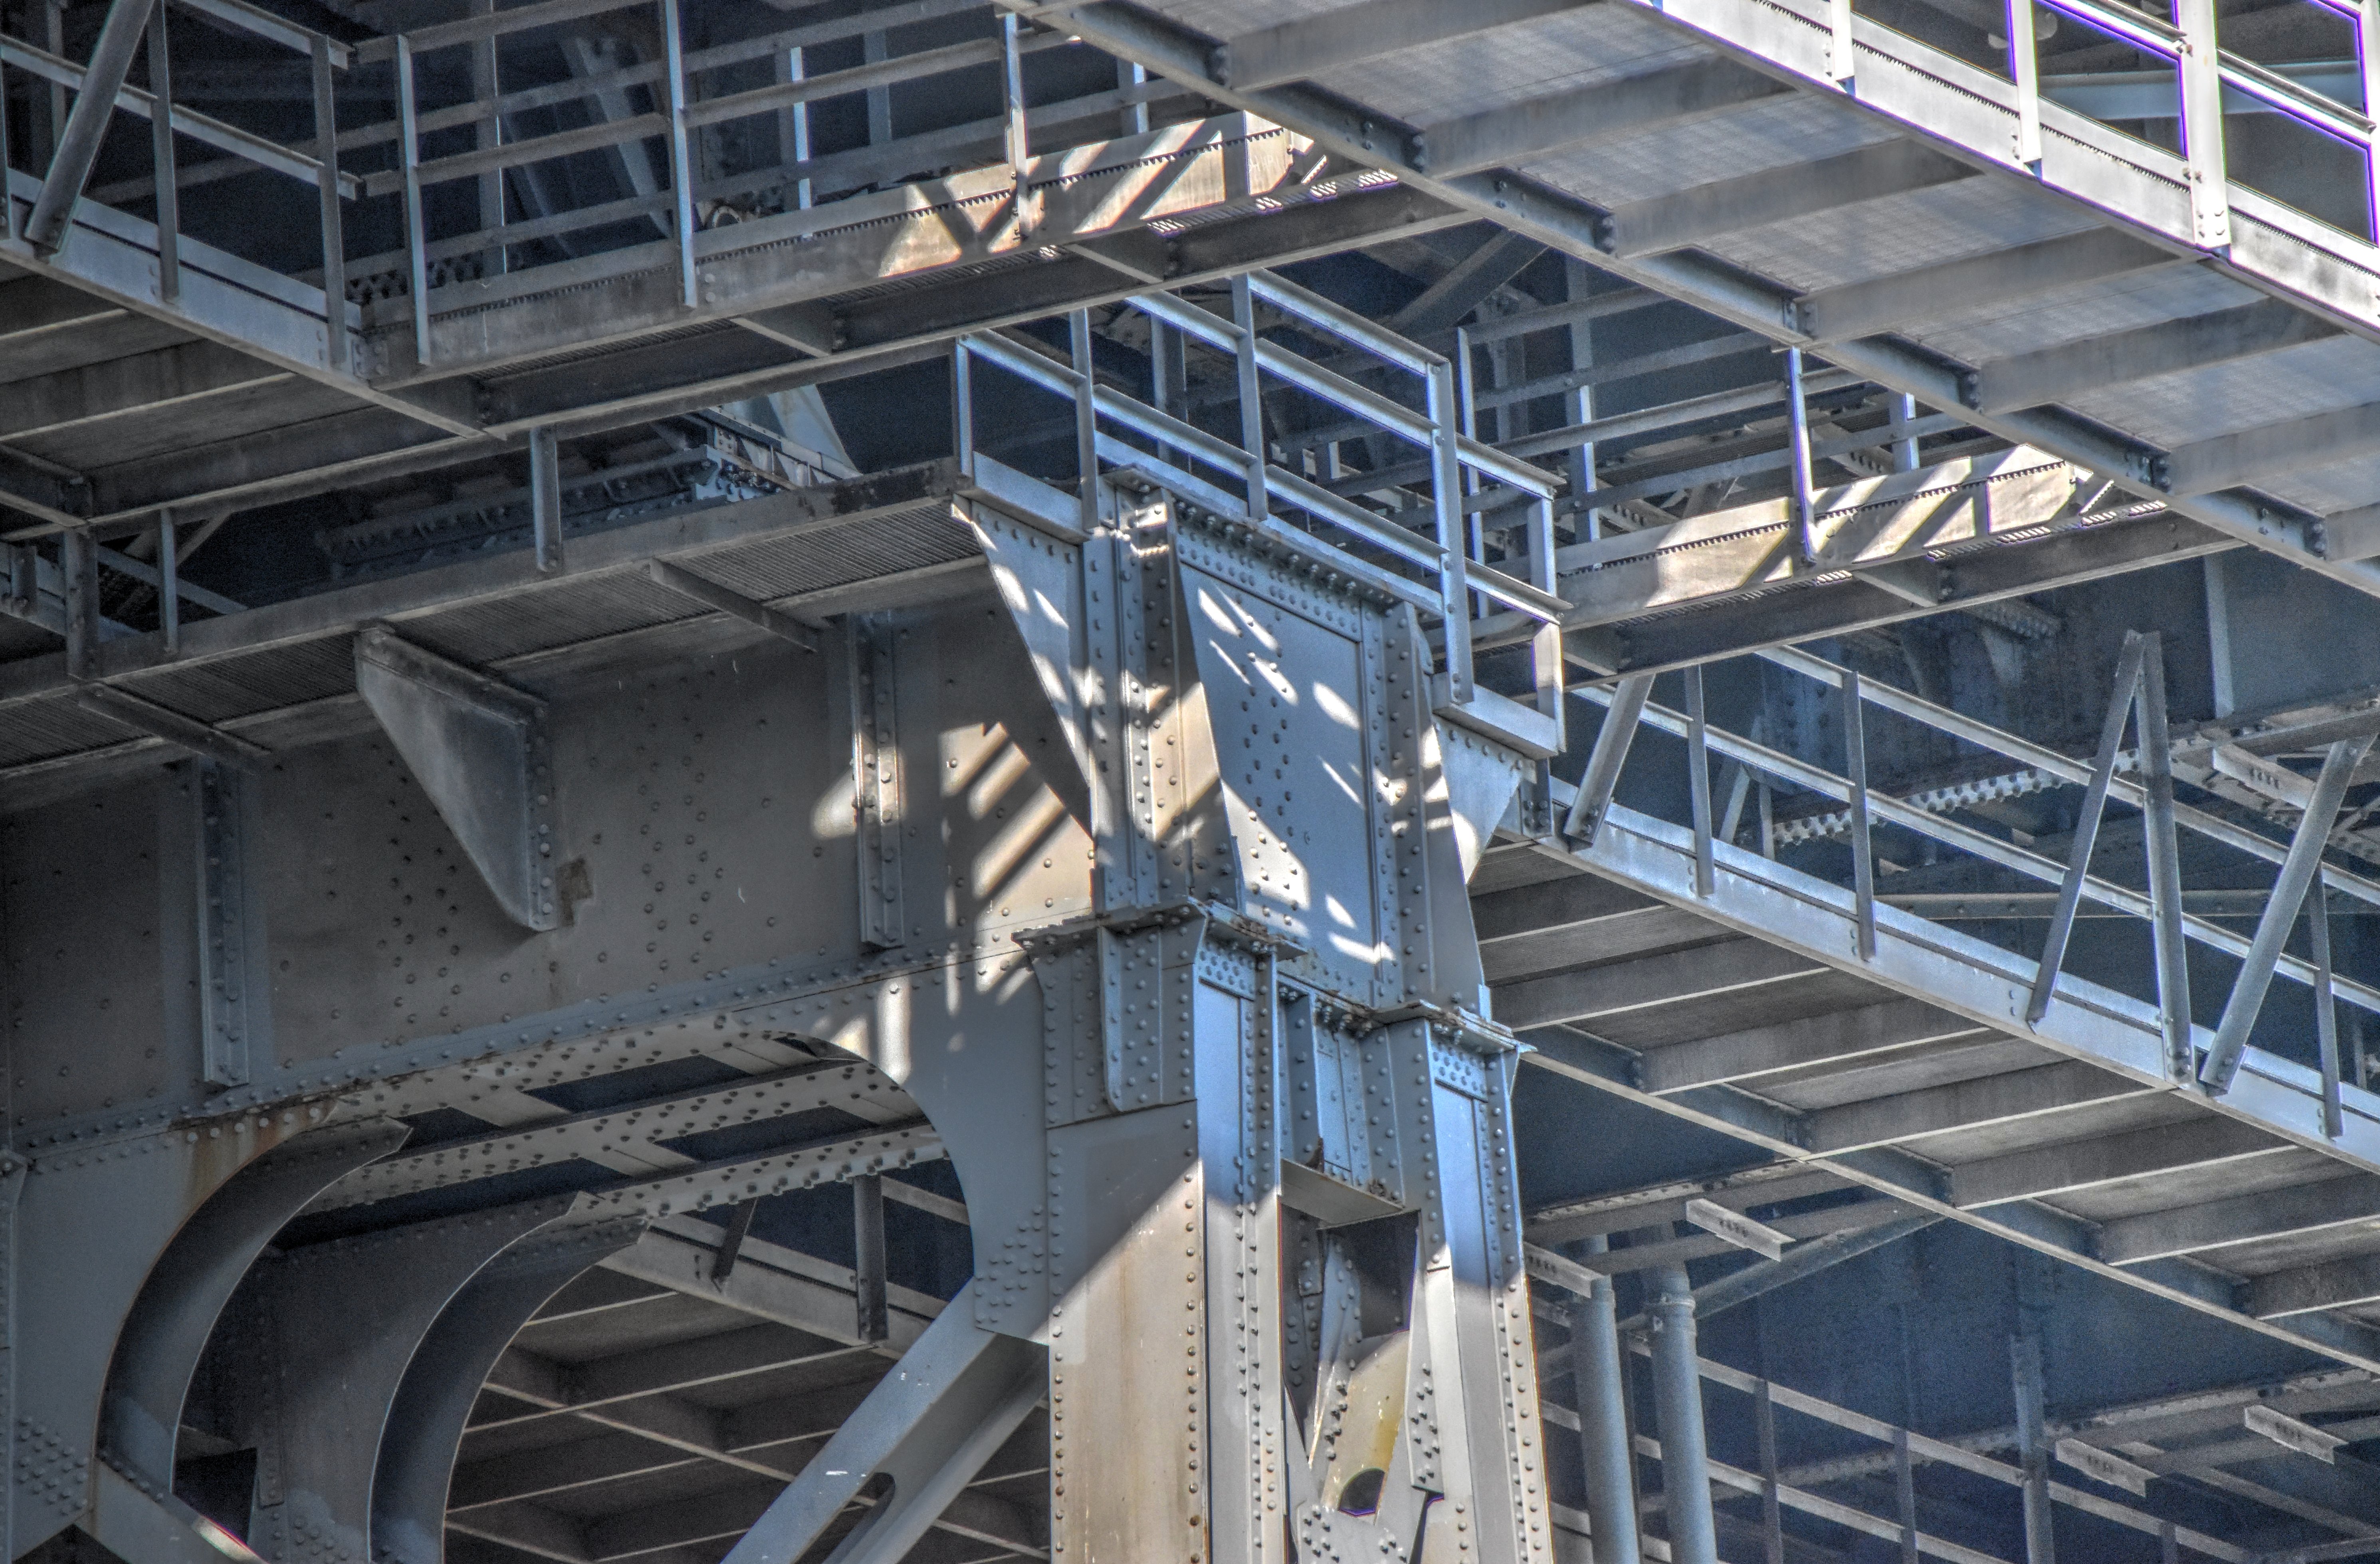
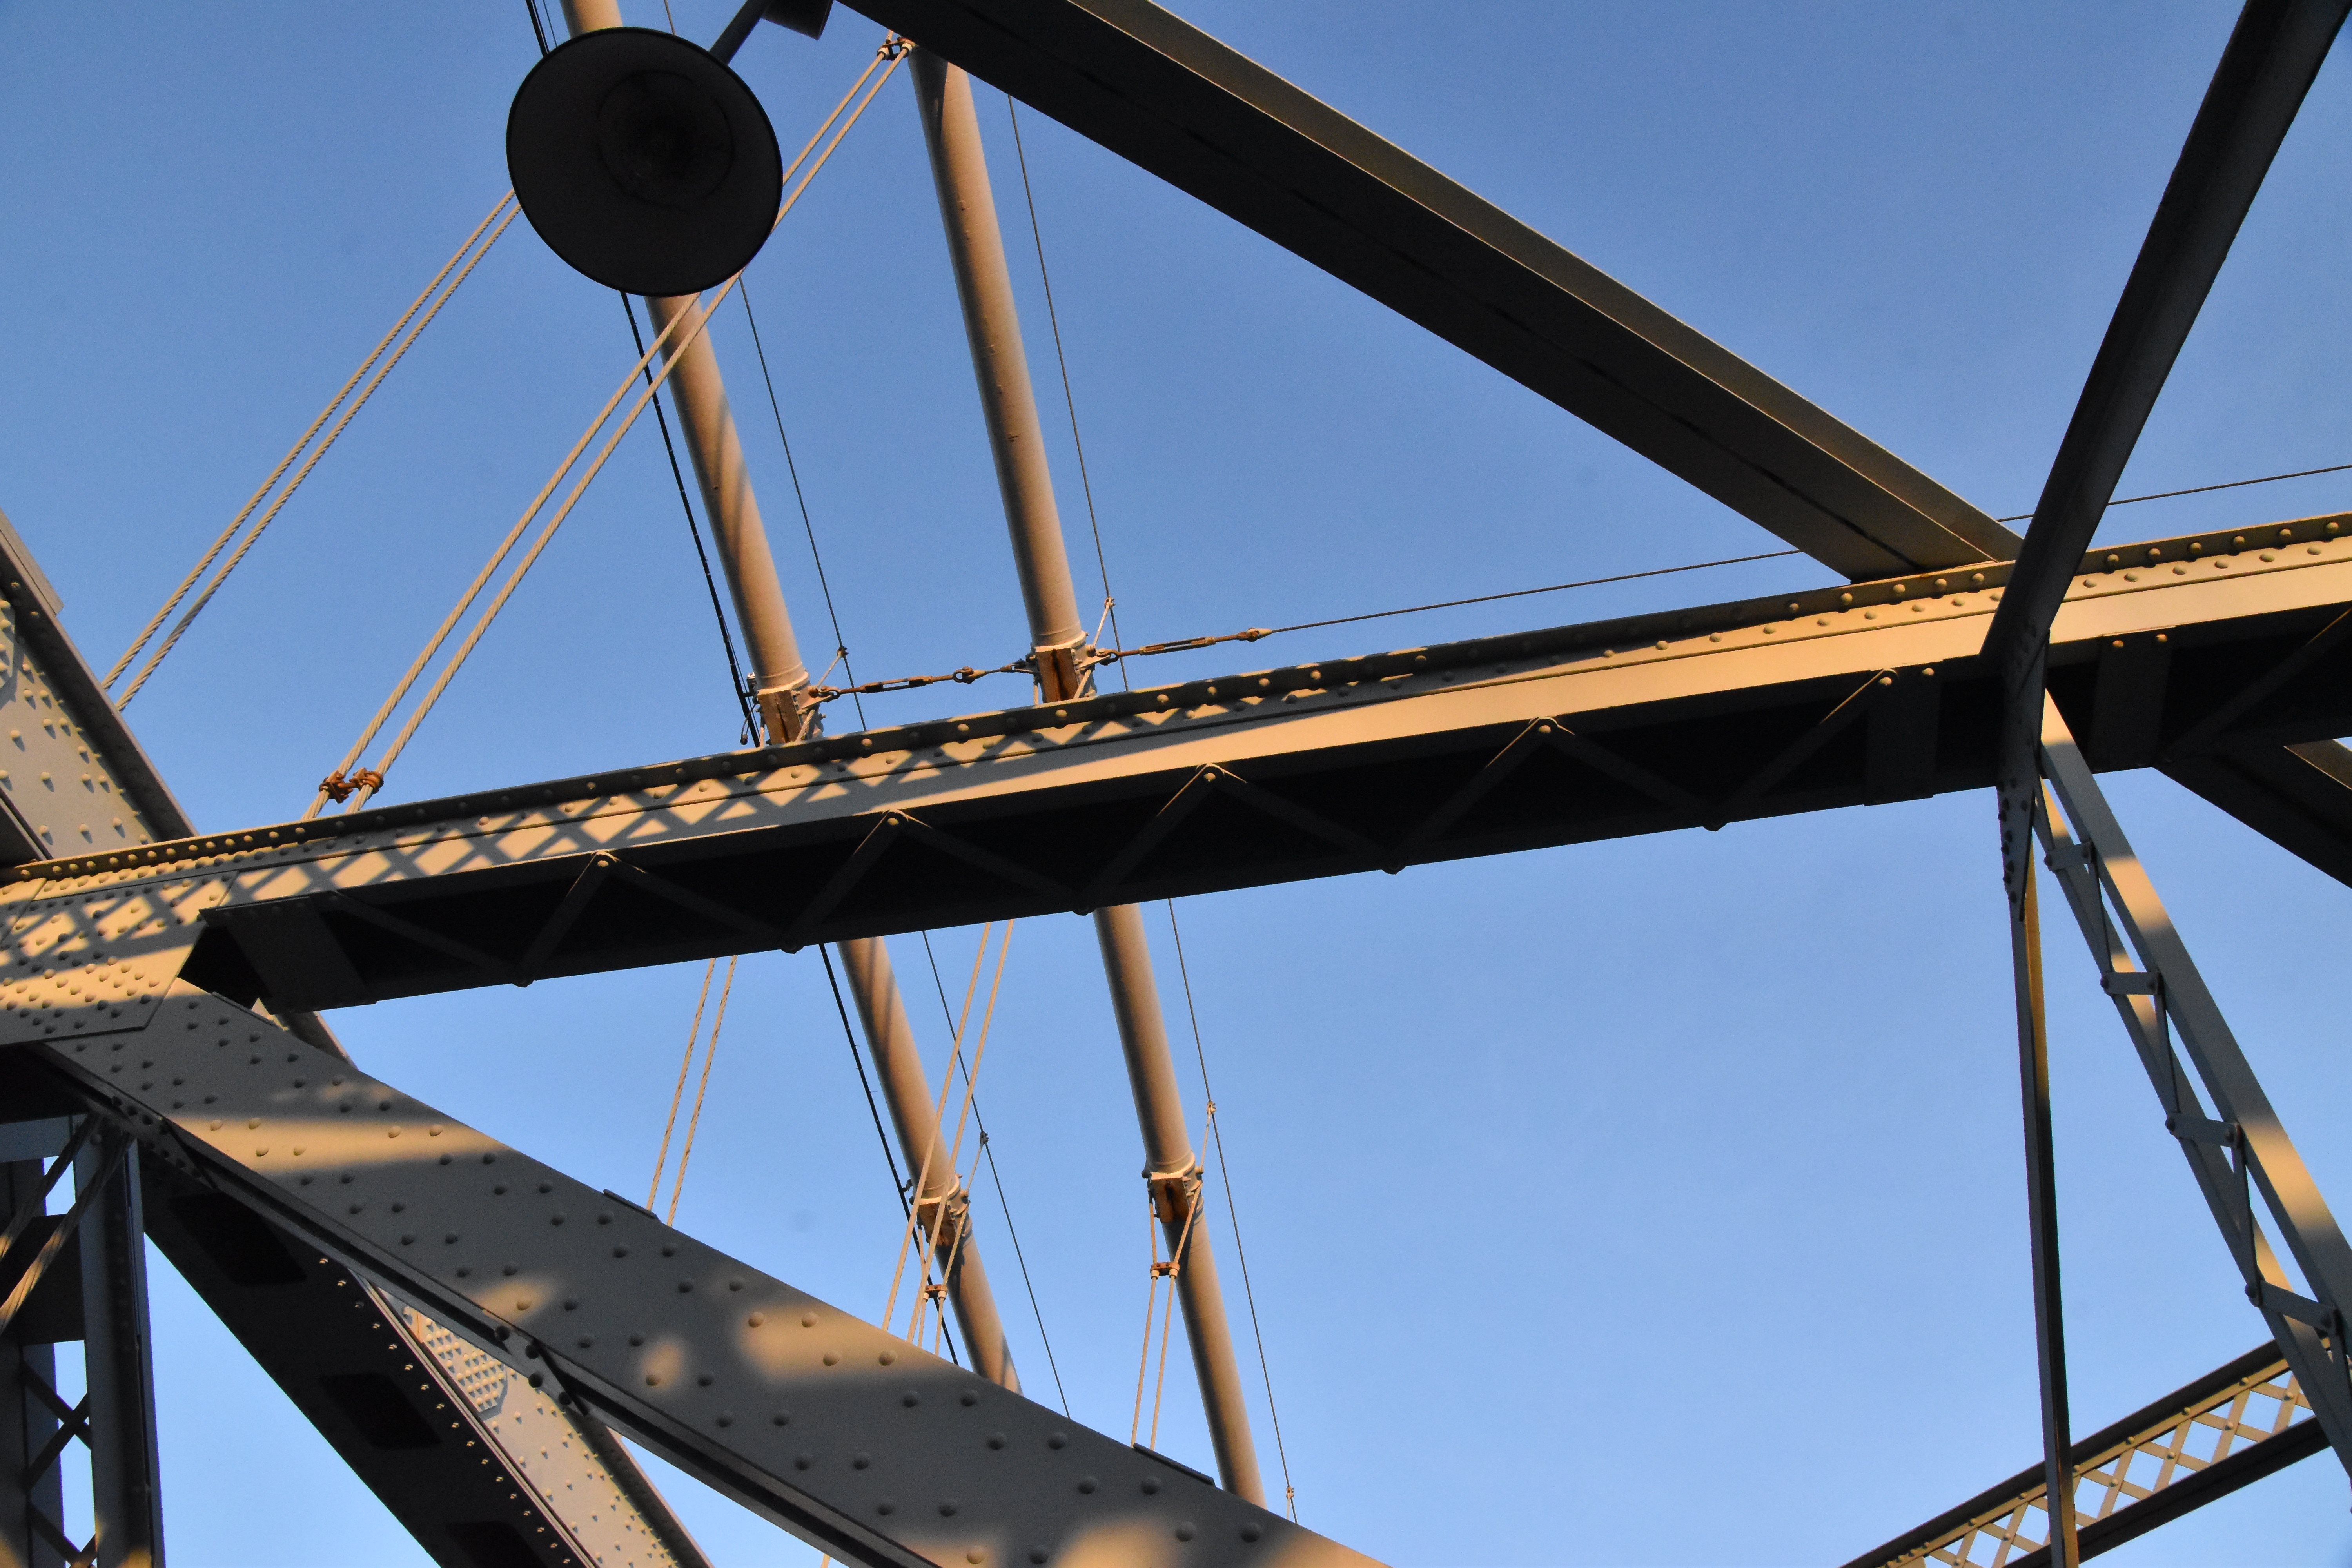
Tower details.
![]()
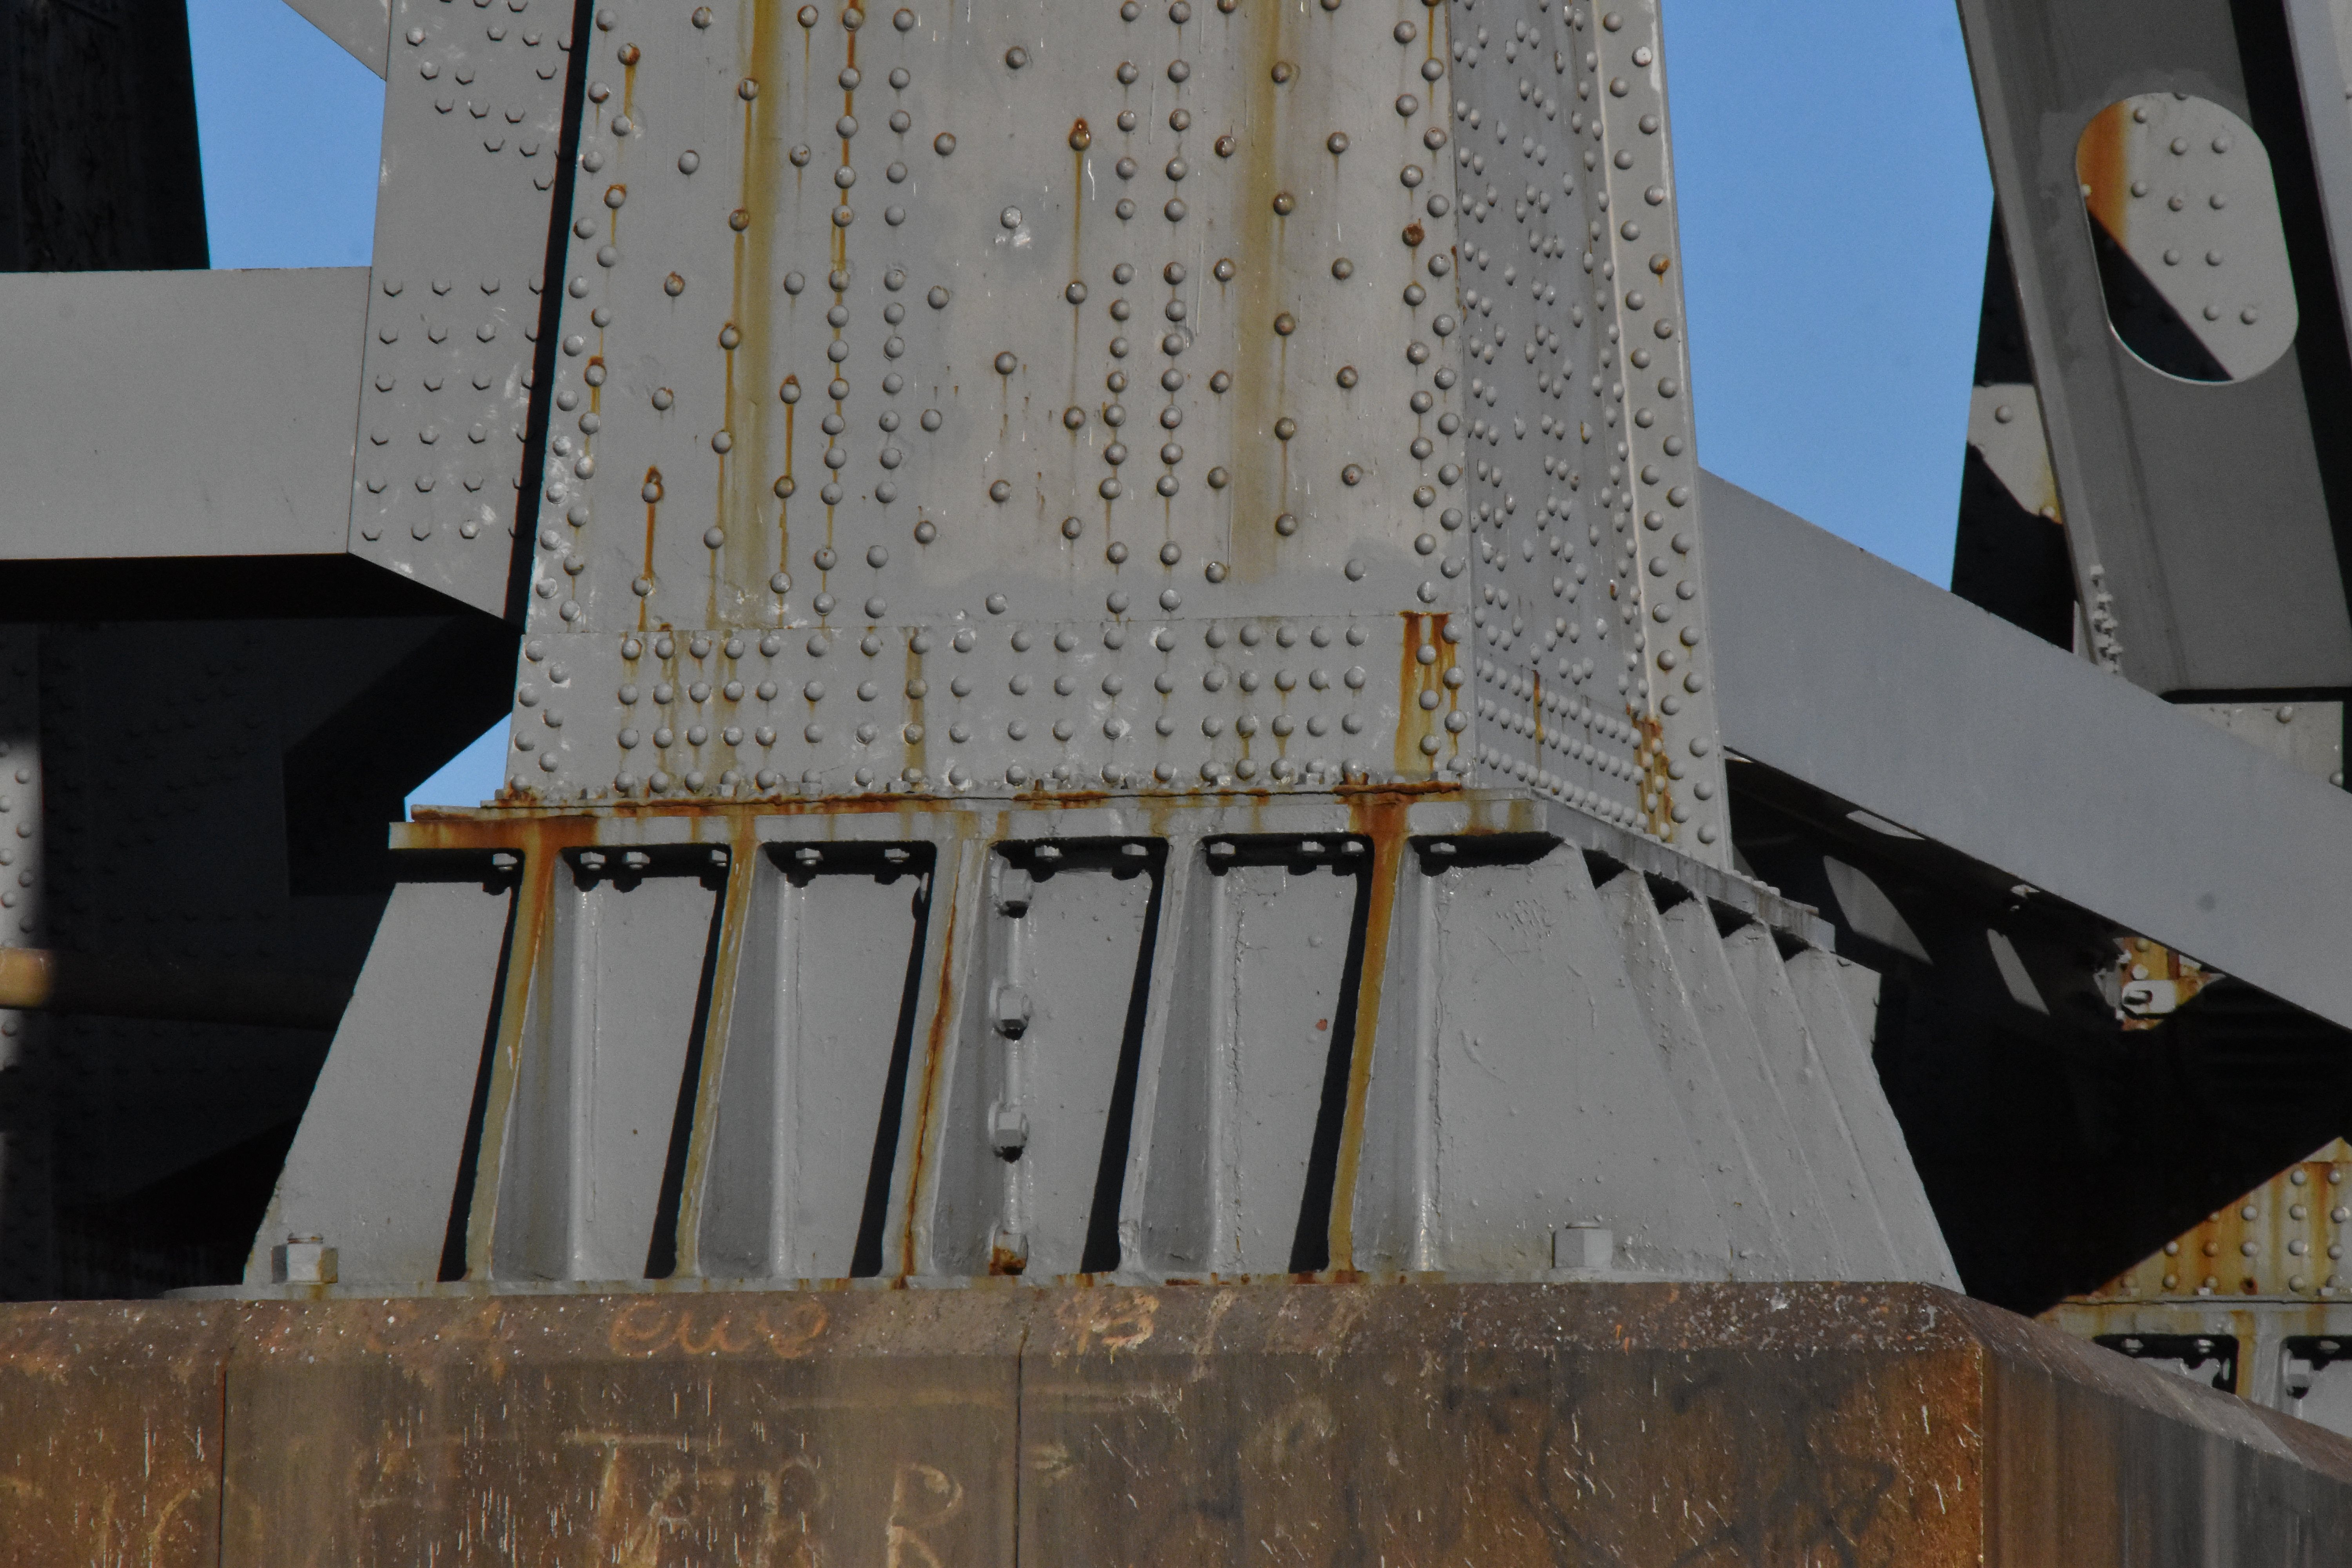


Tower bearing.
![]()

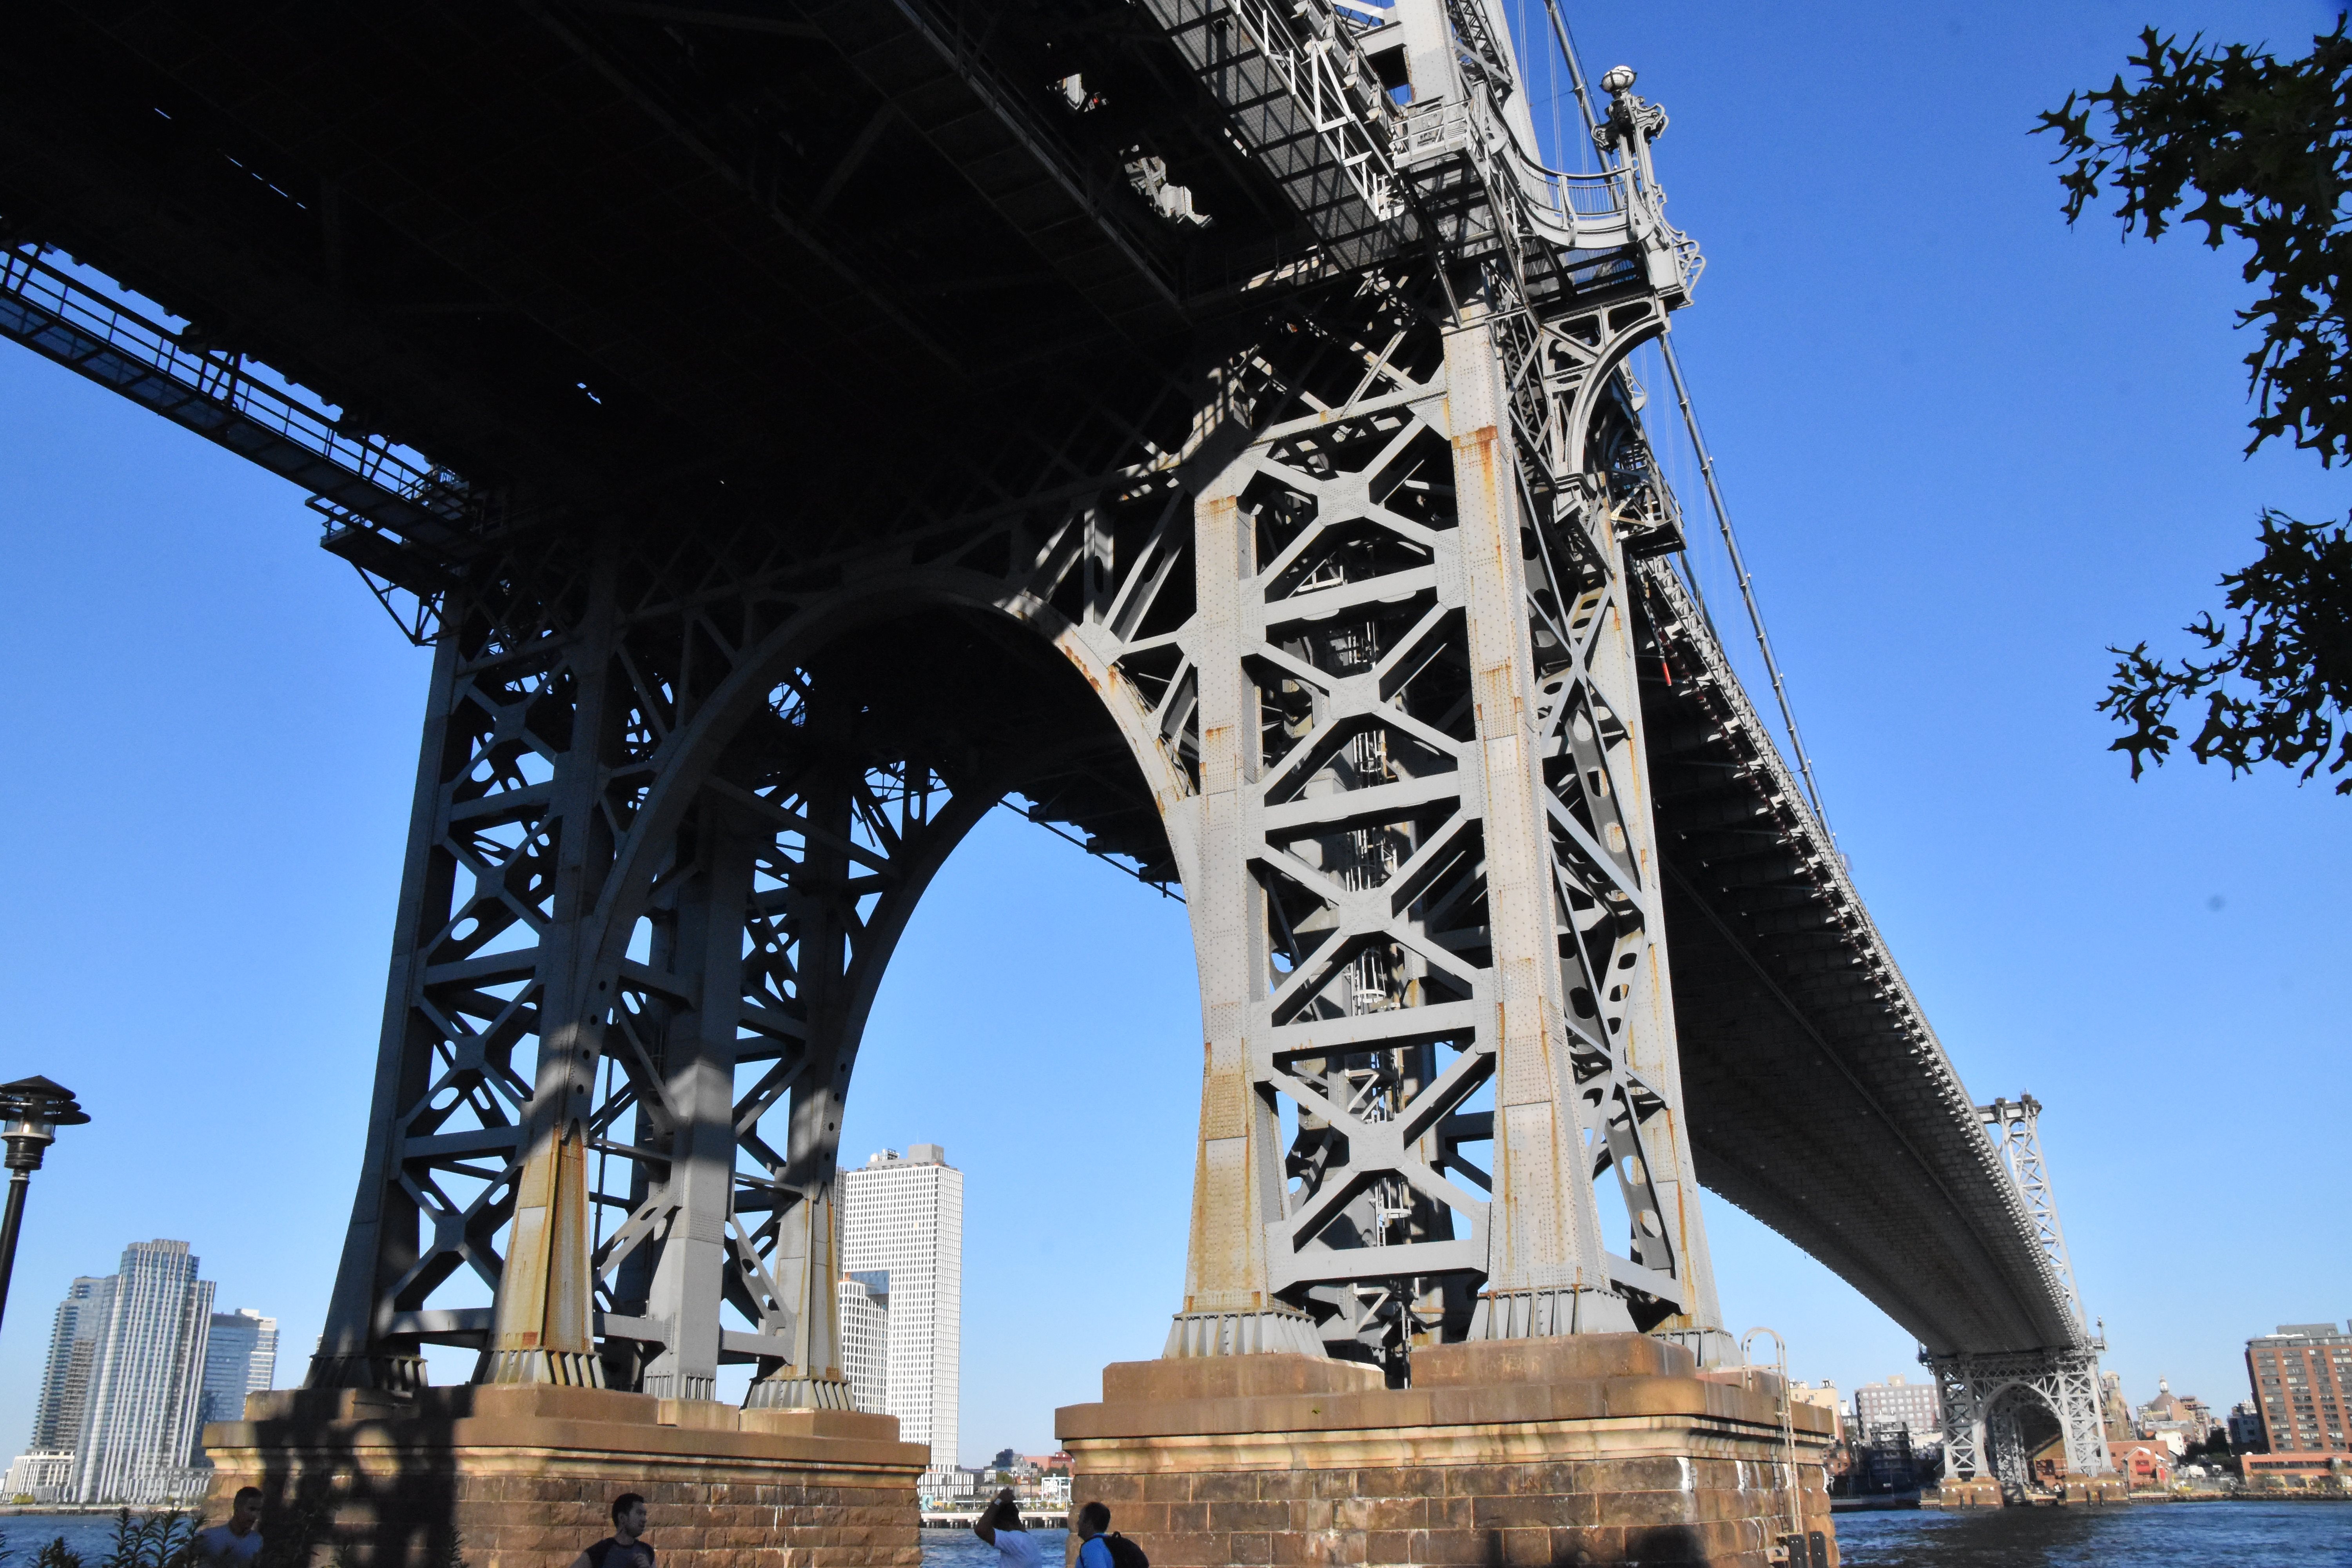
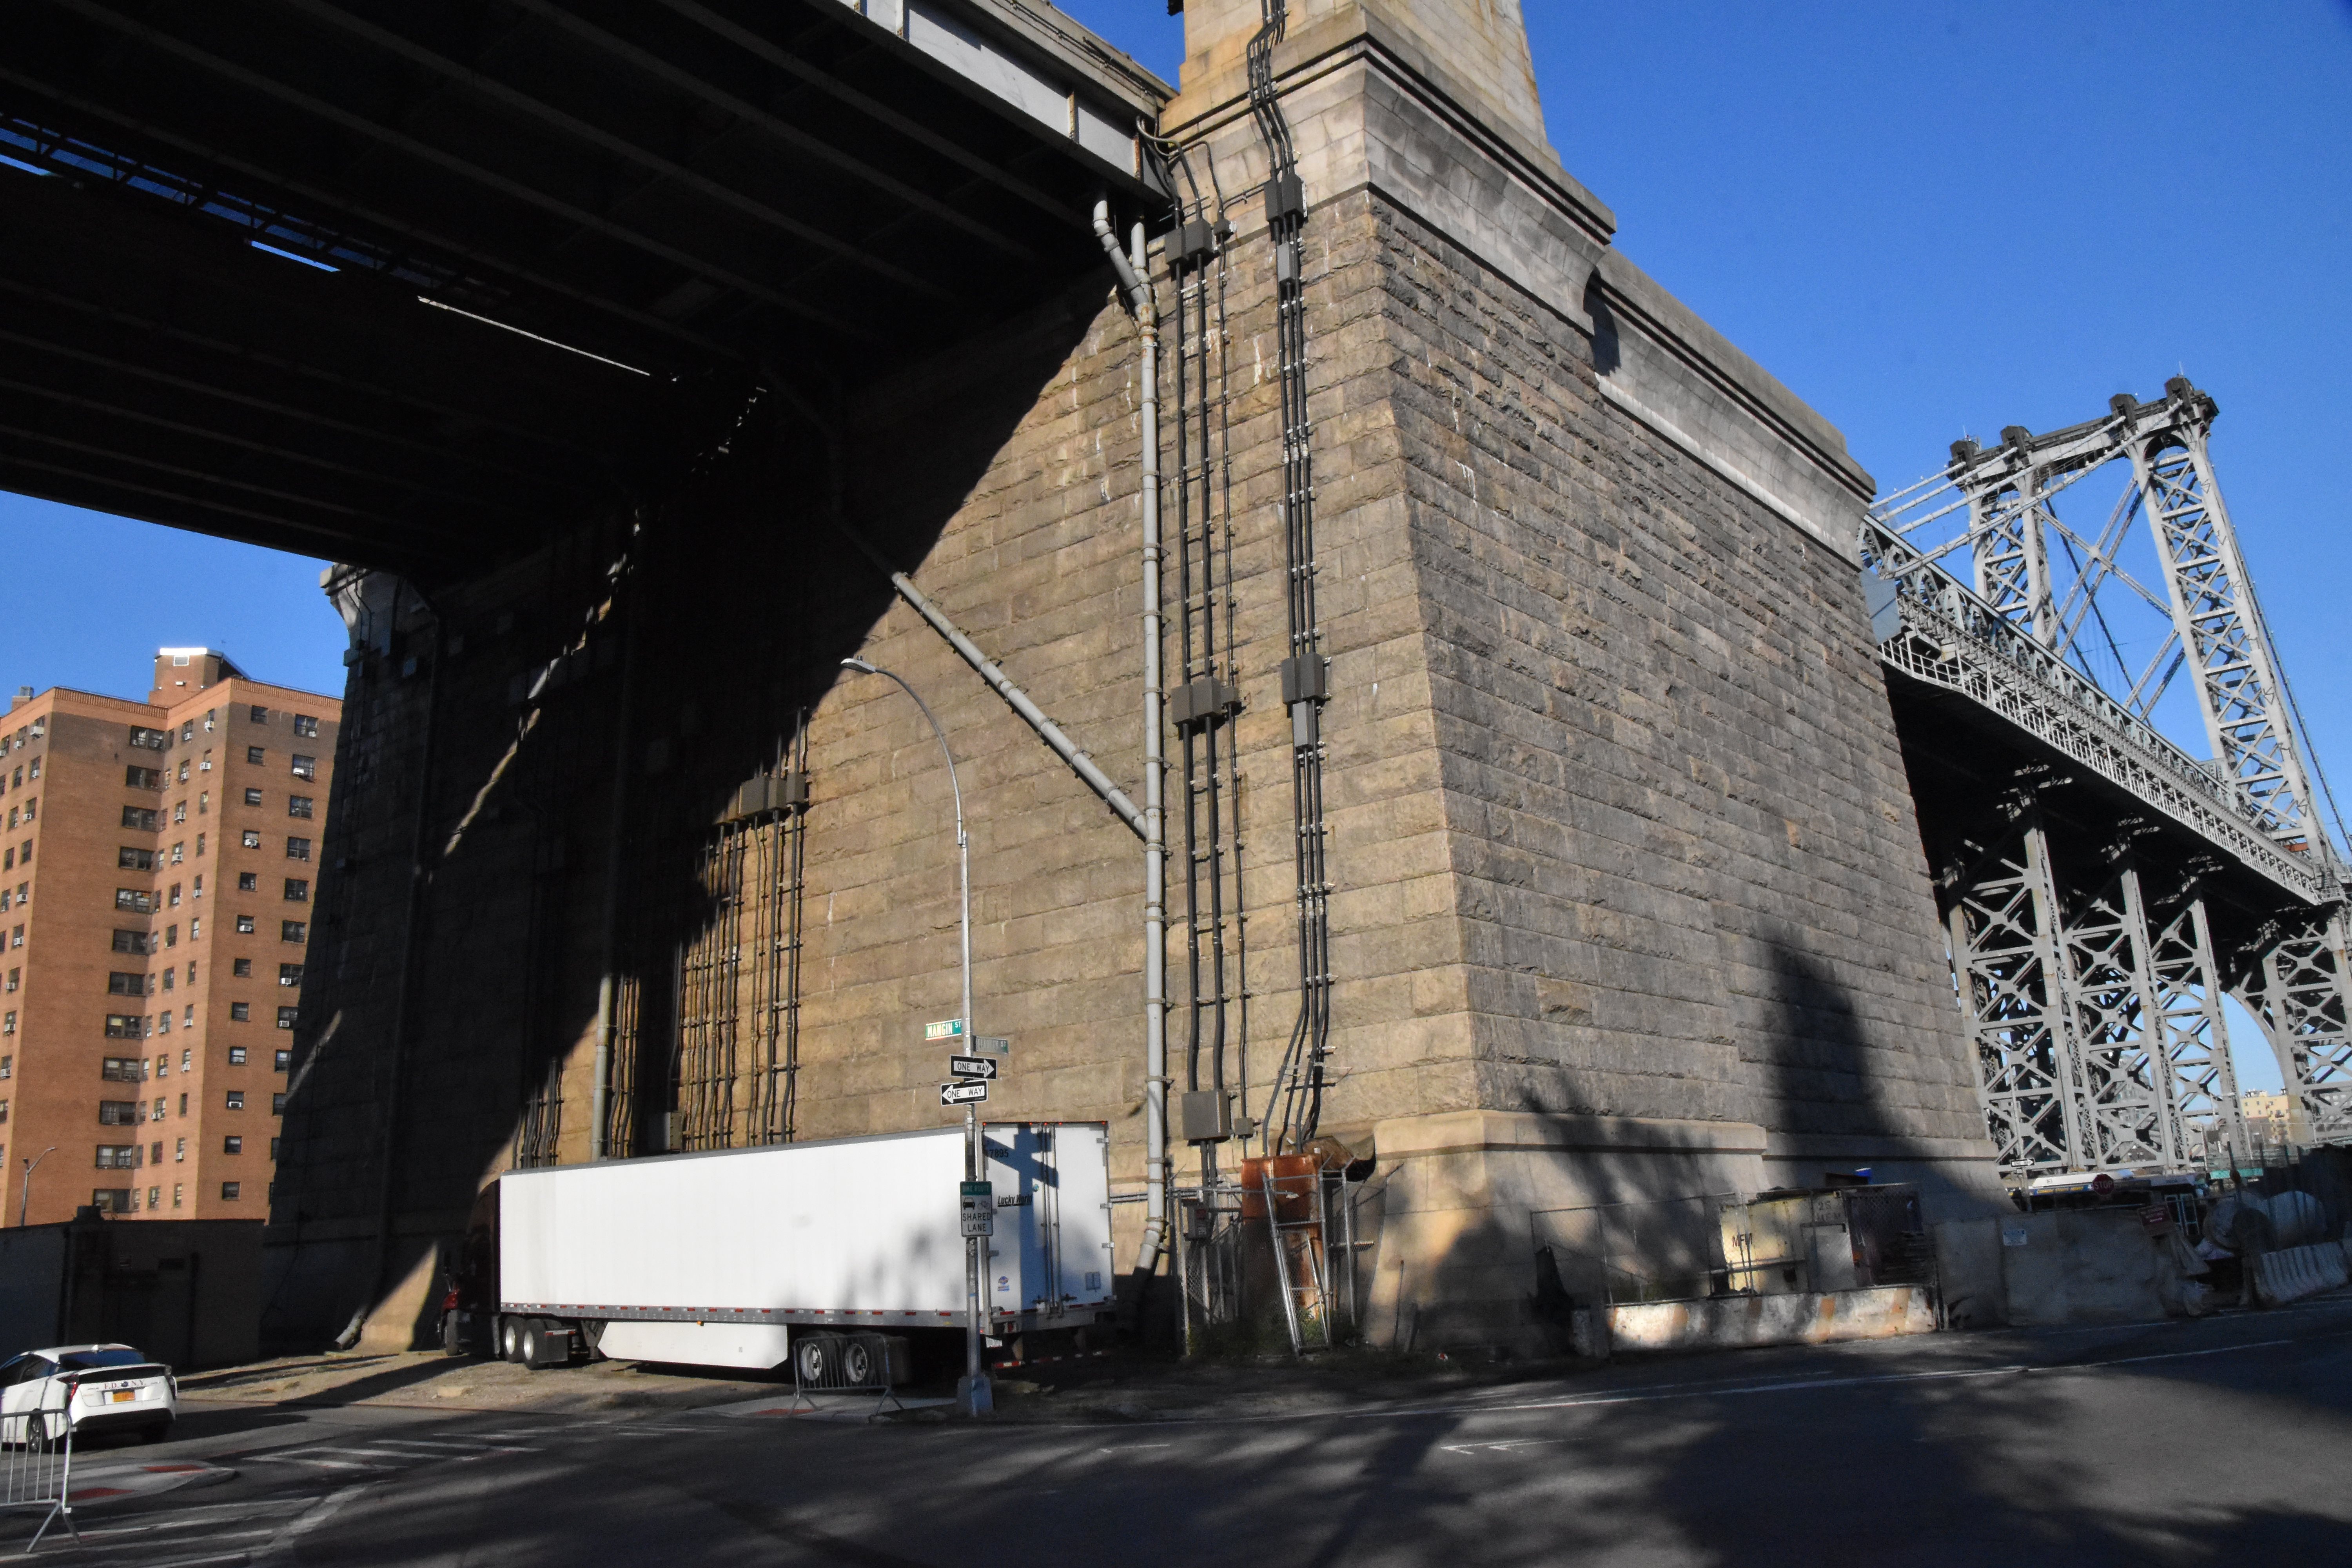
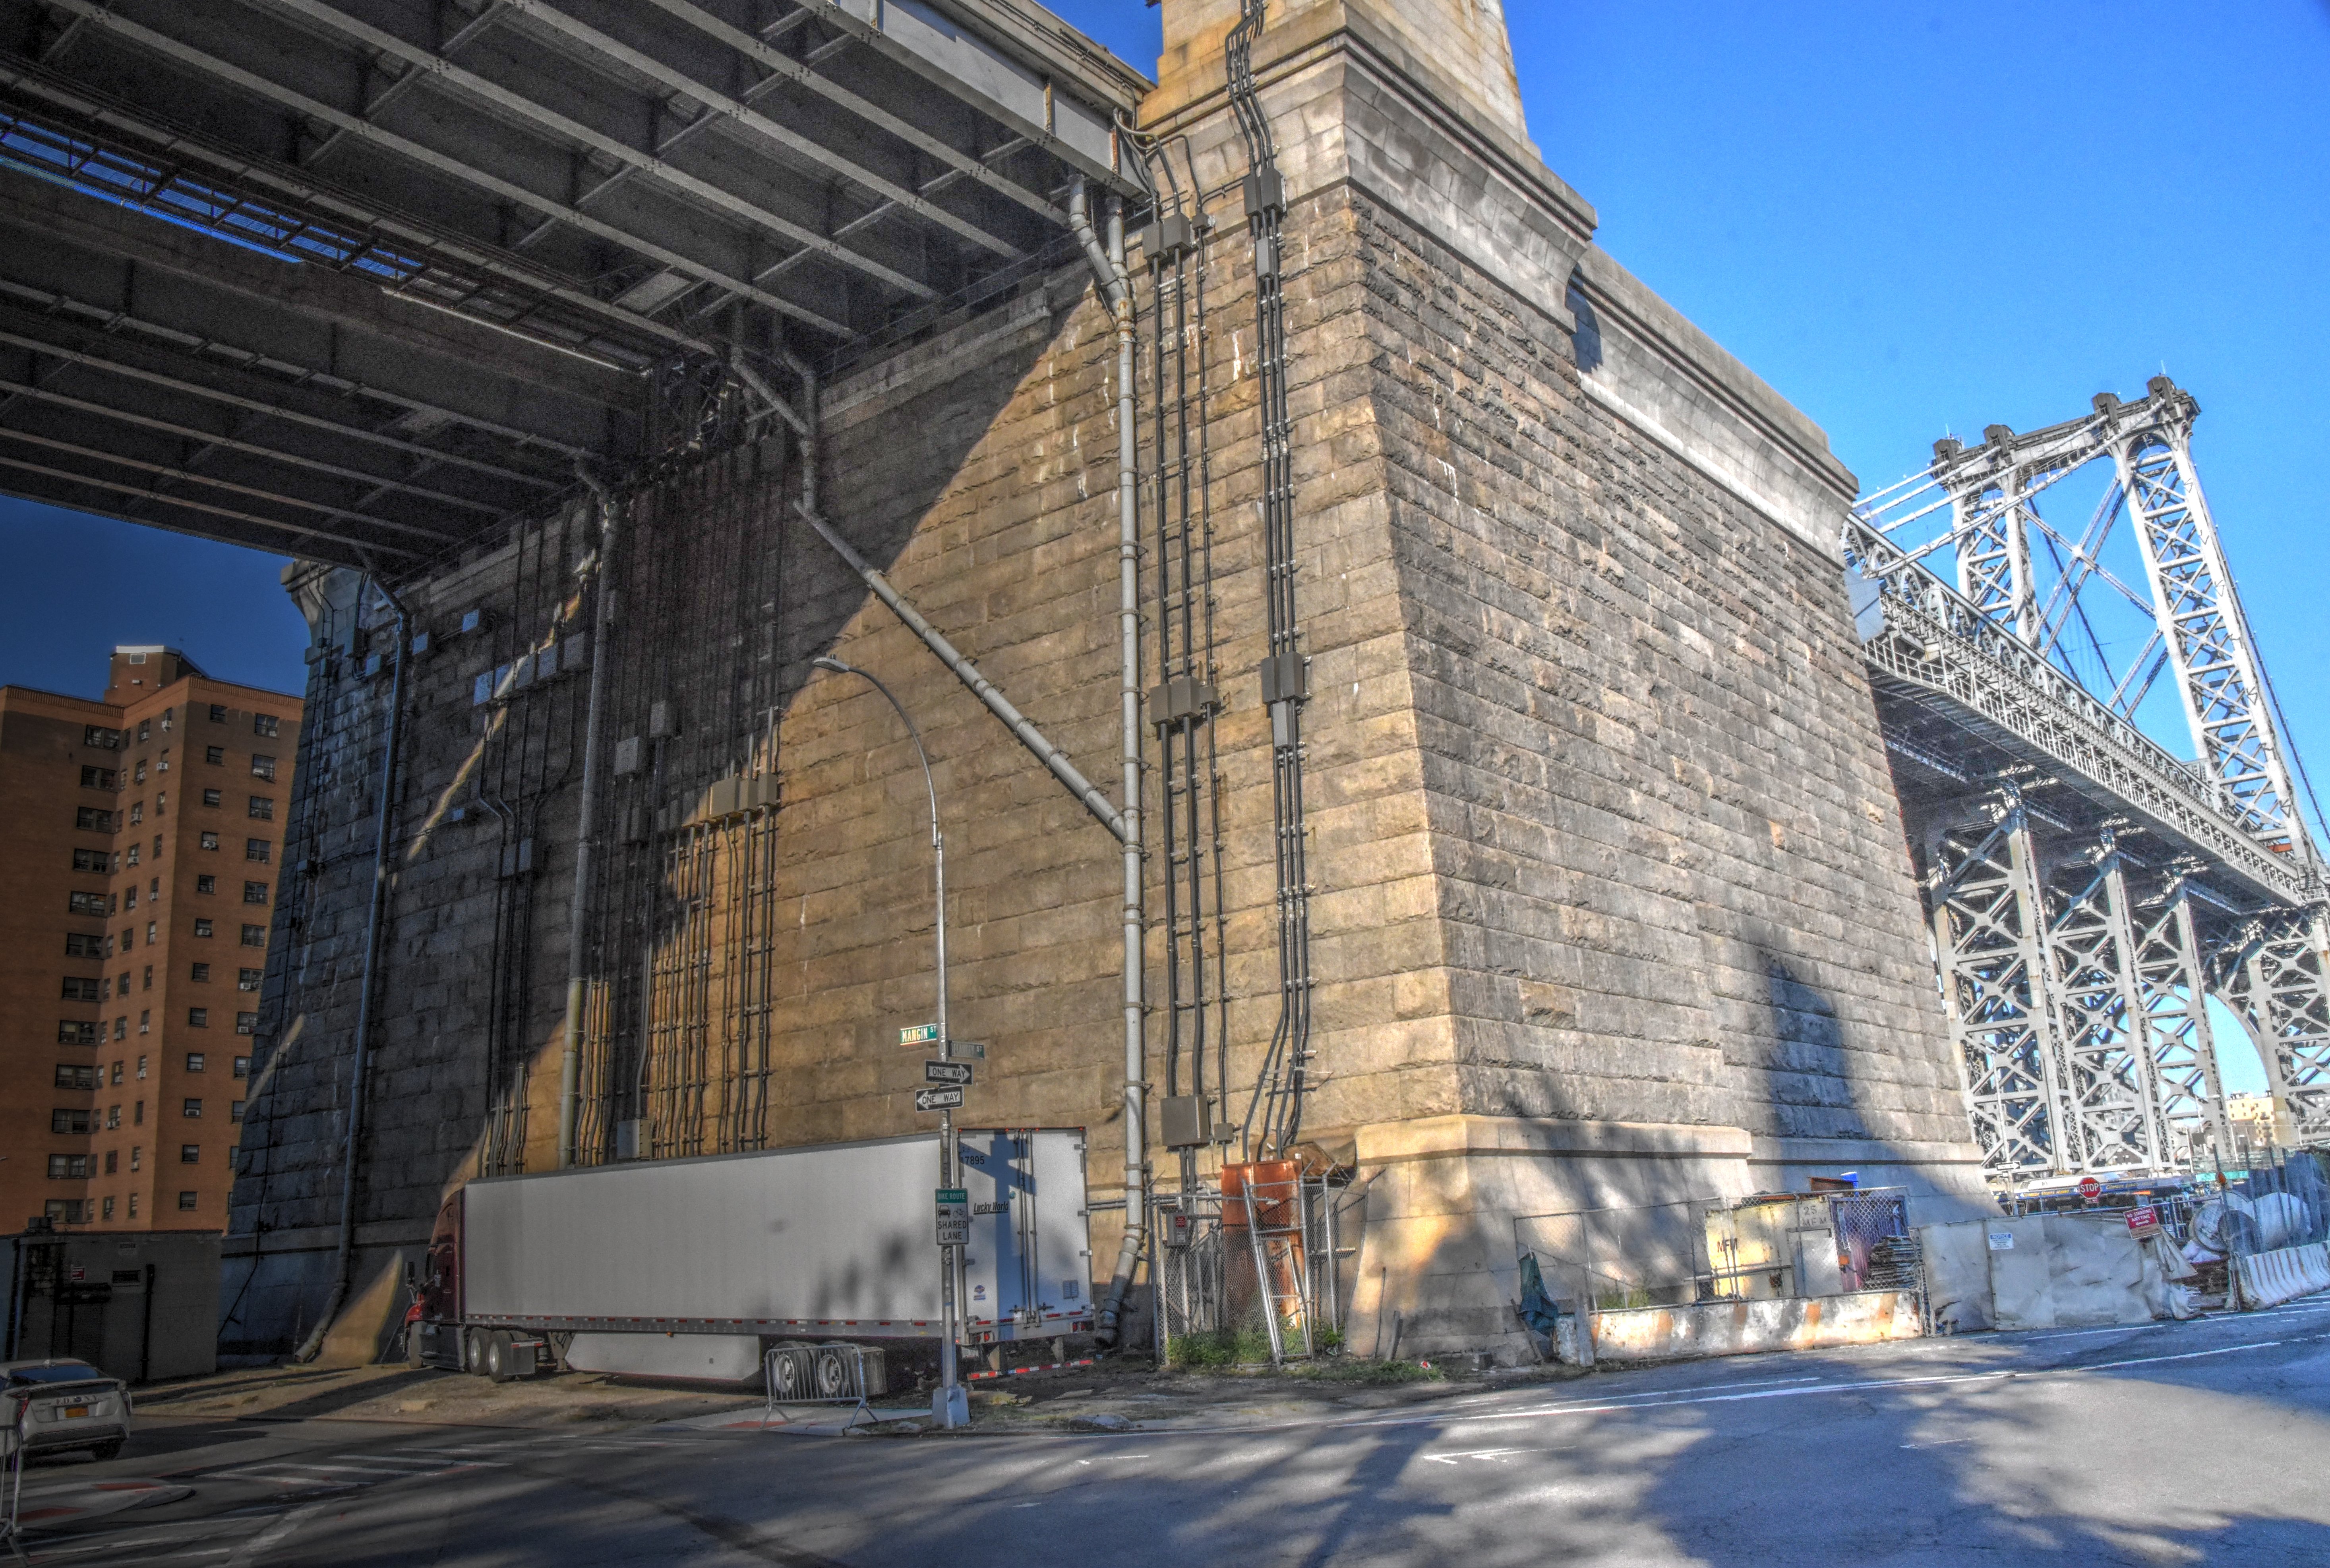
Tower pier.
![]()


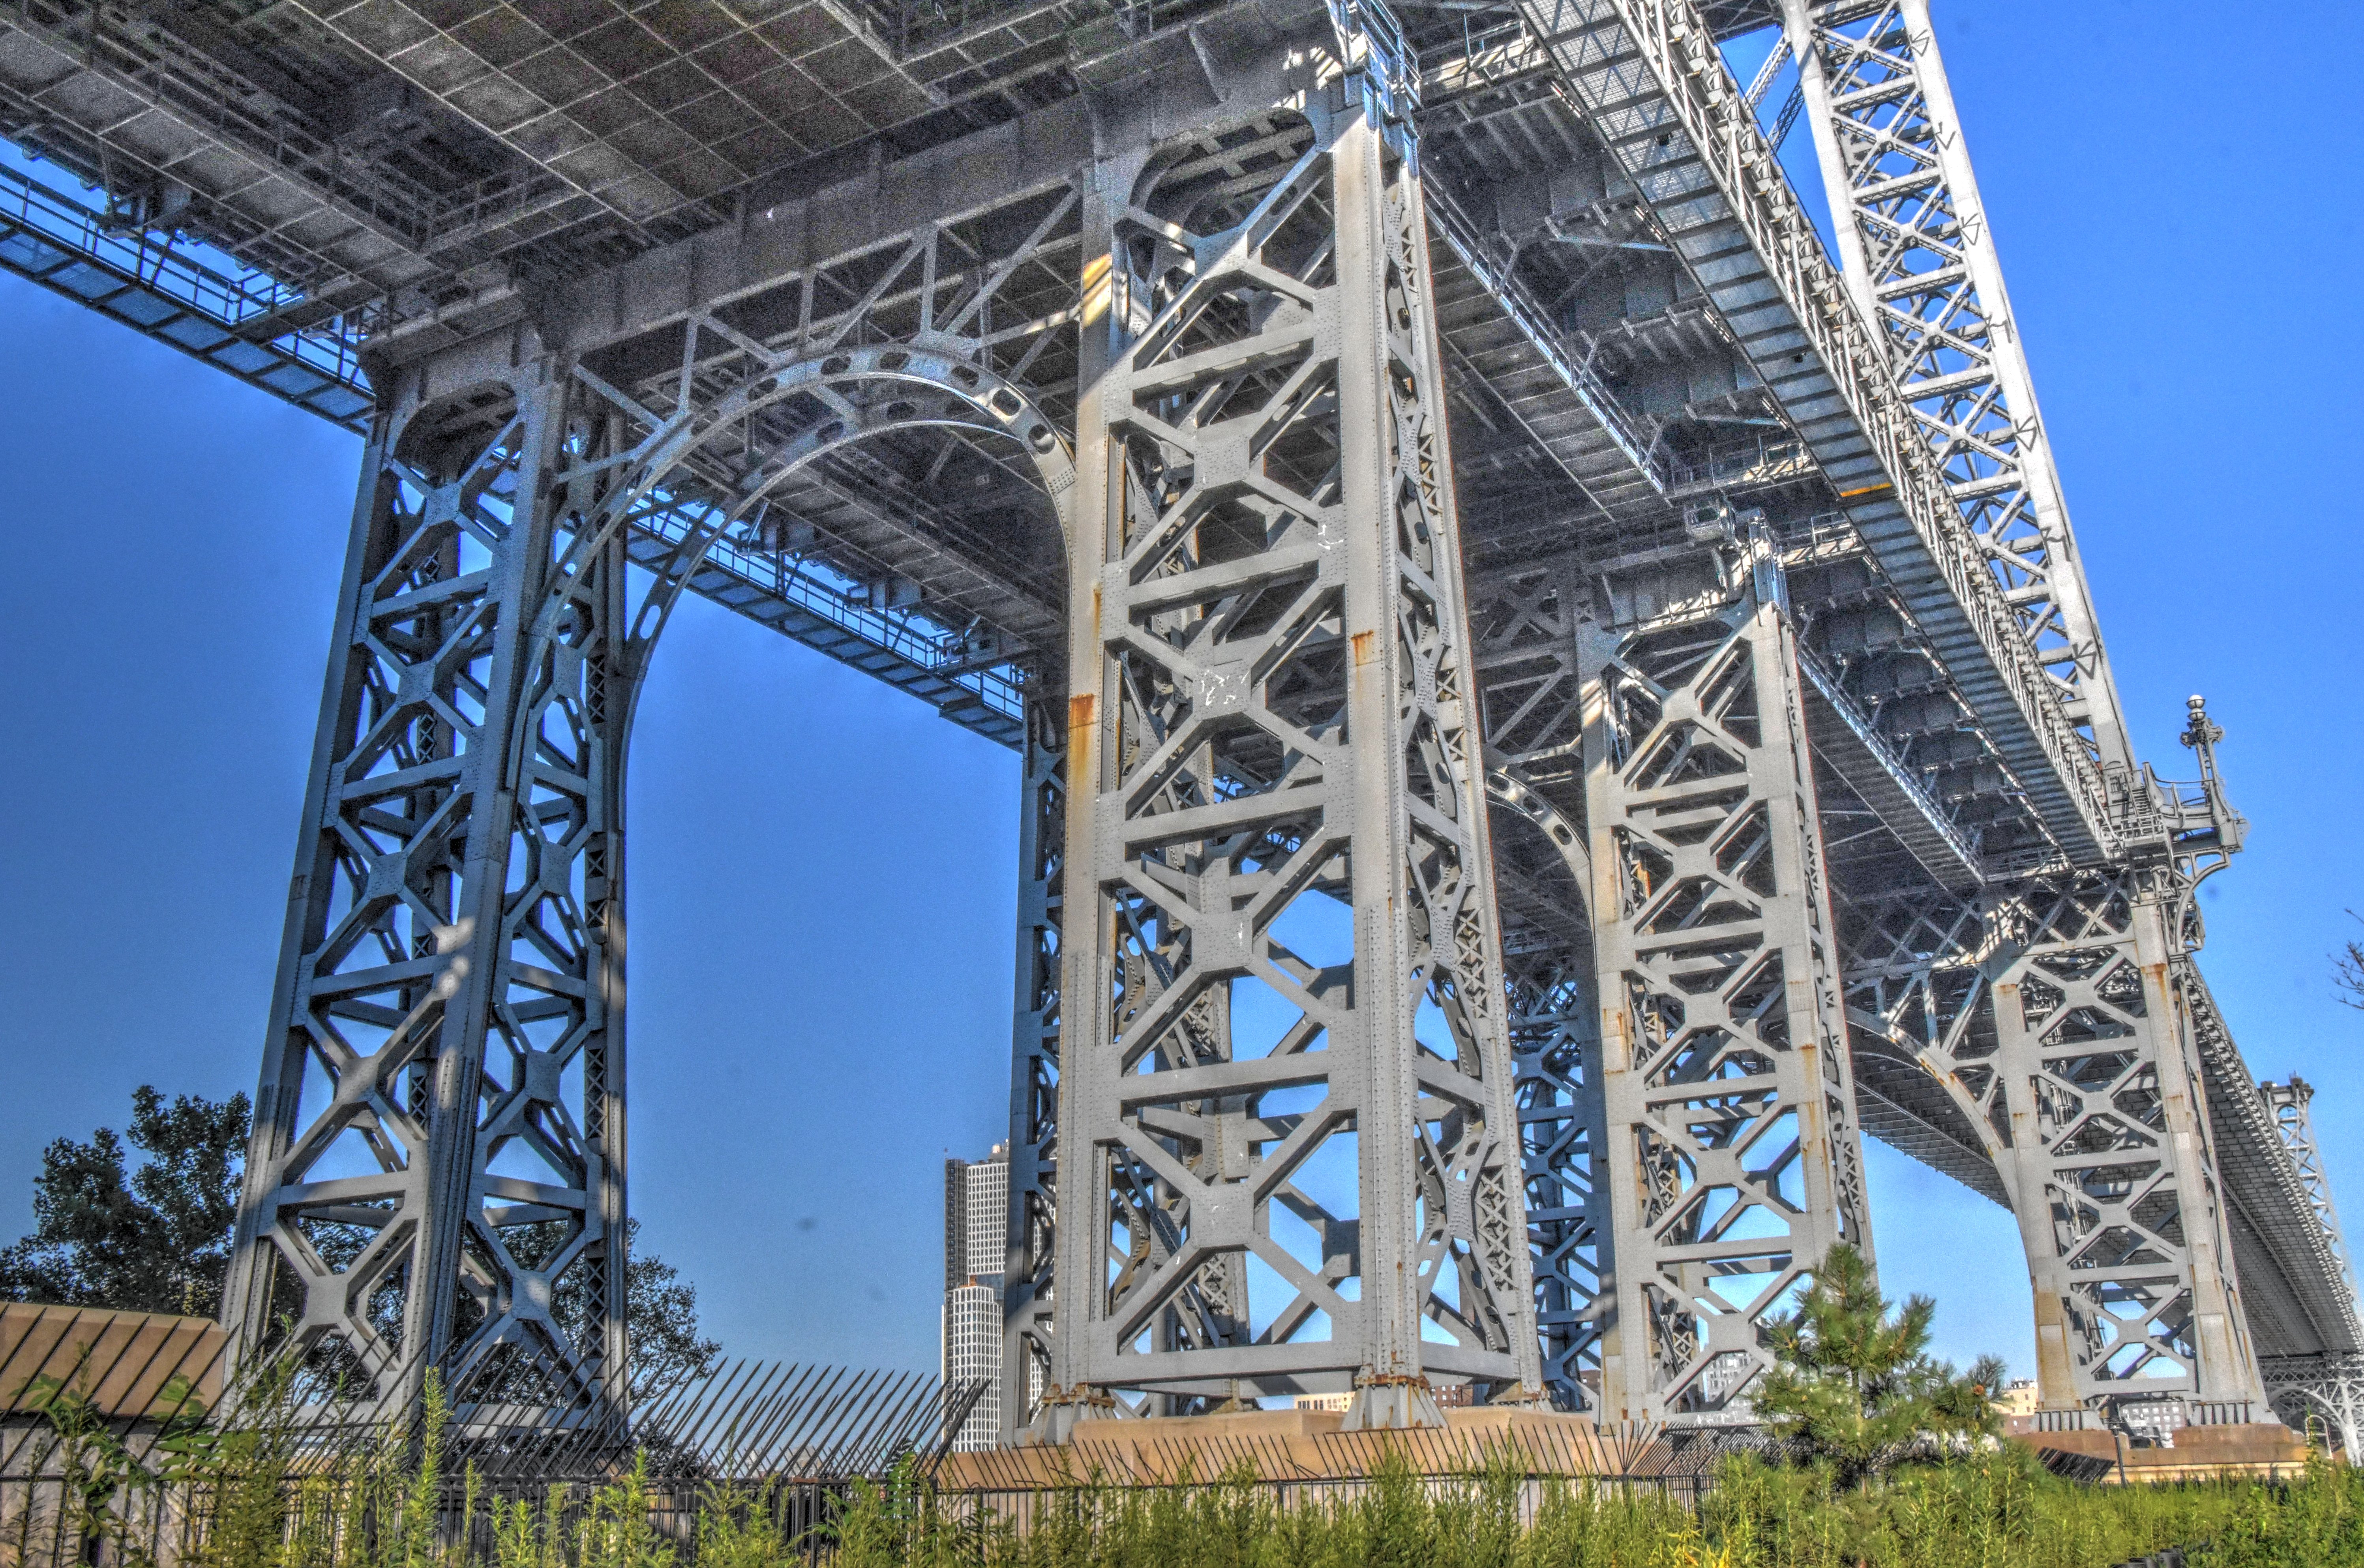
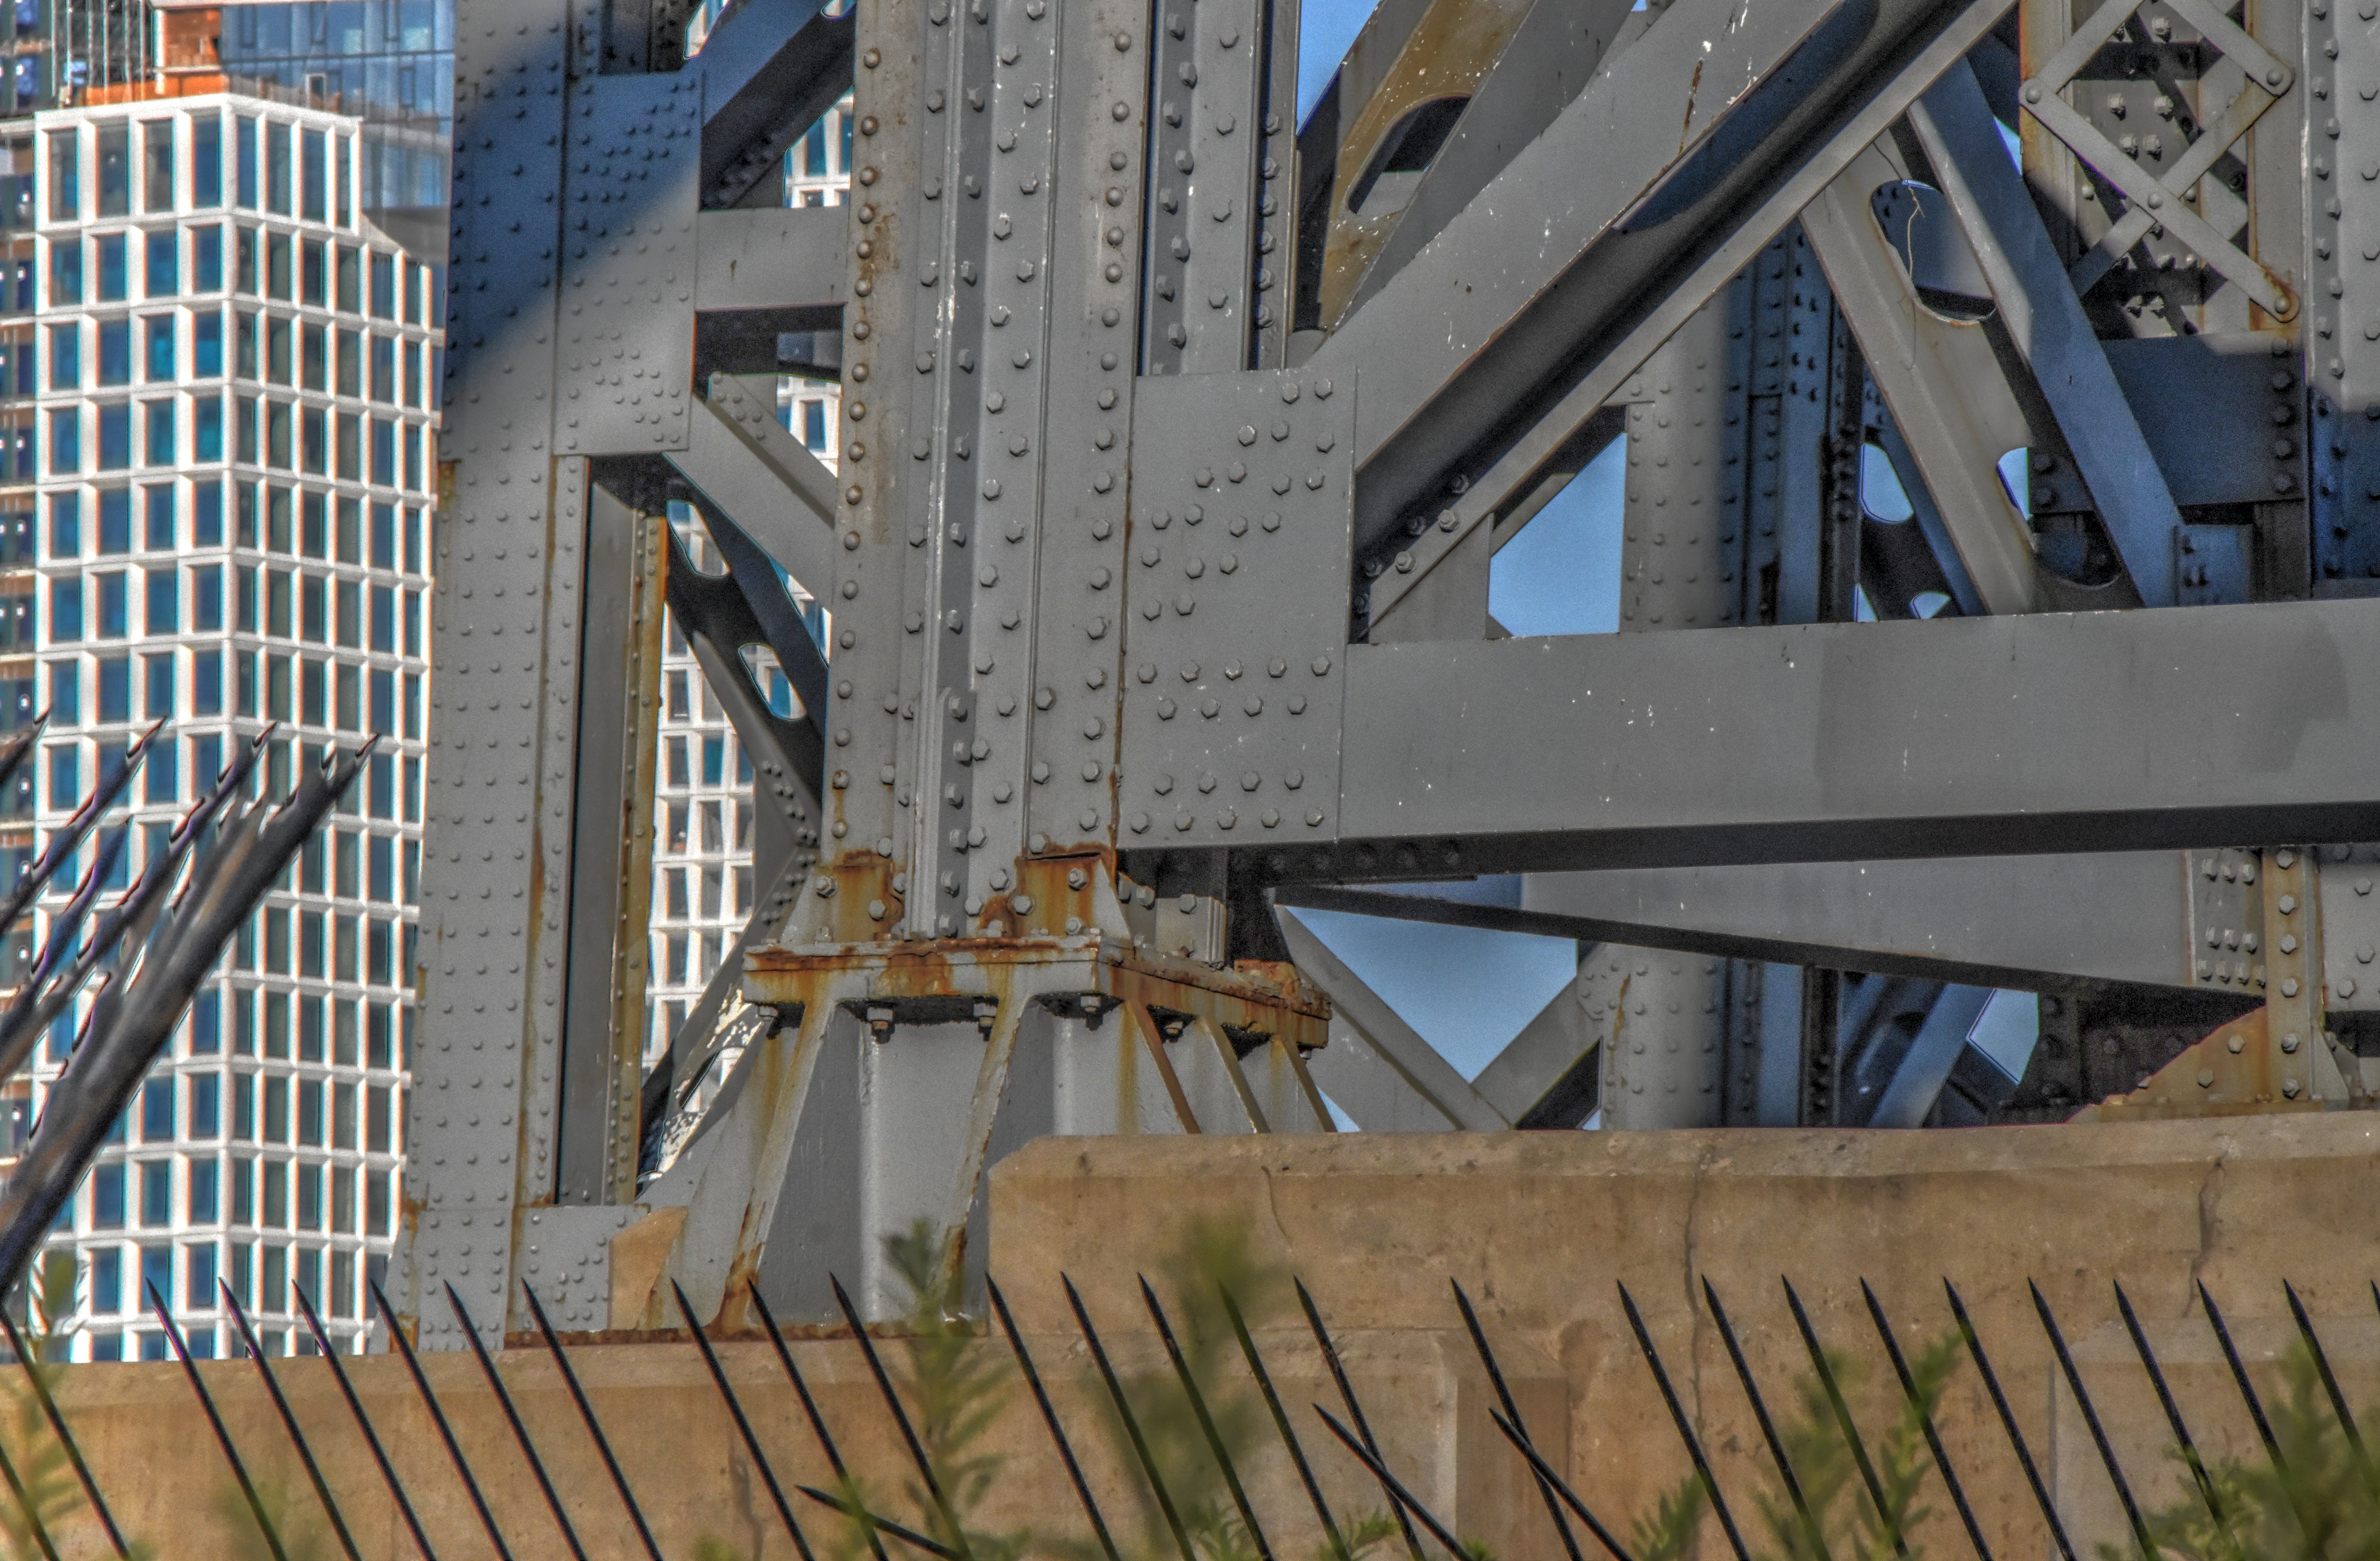
Details of approach bents.
![]()


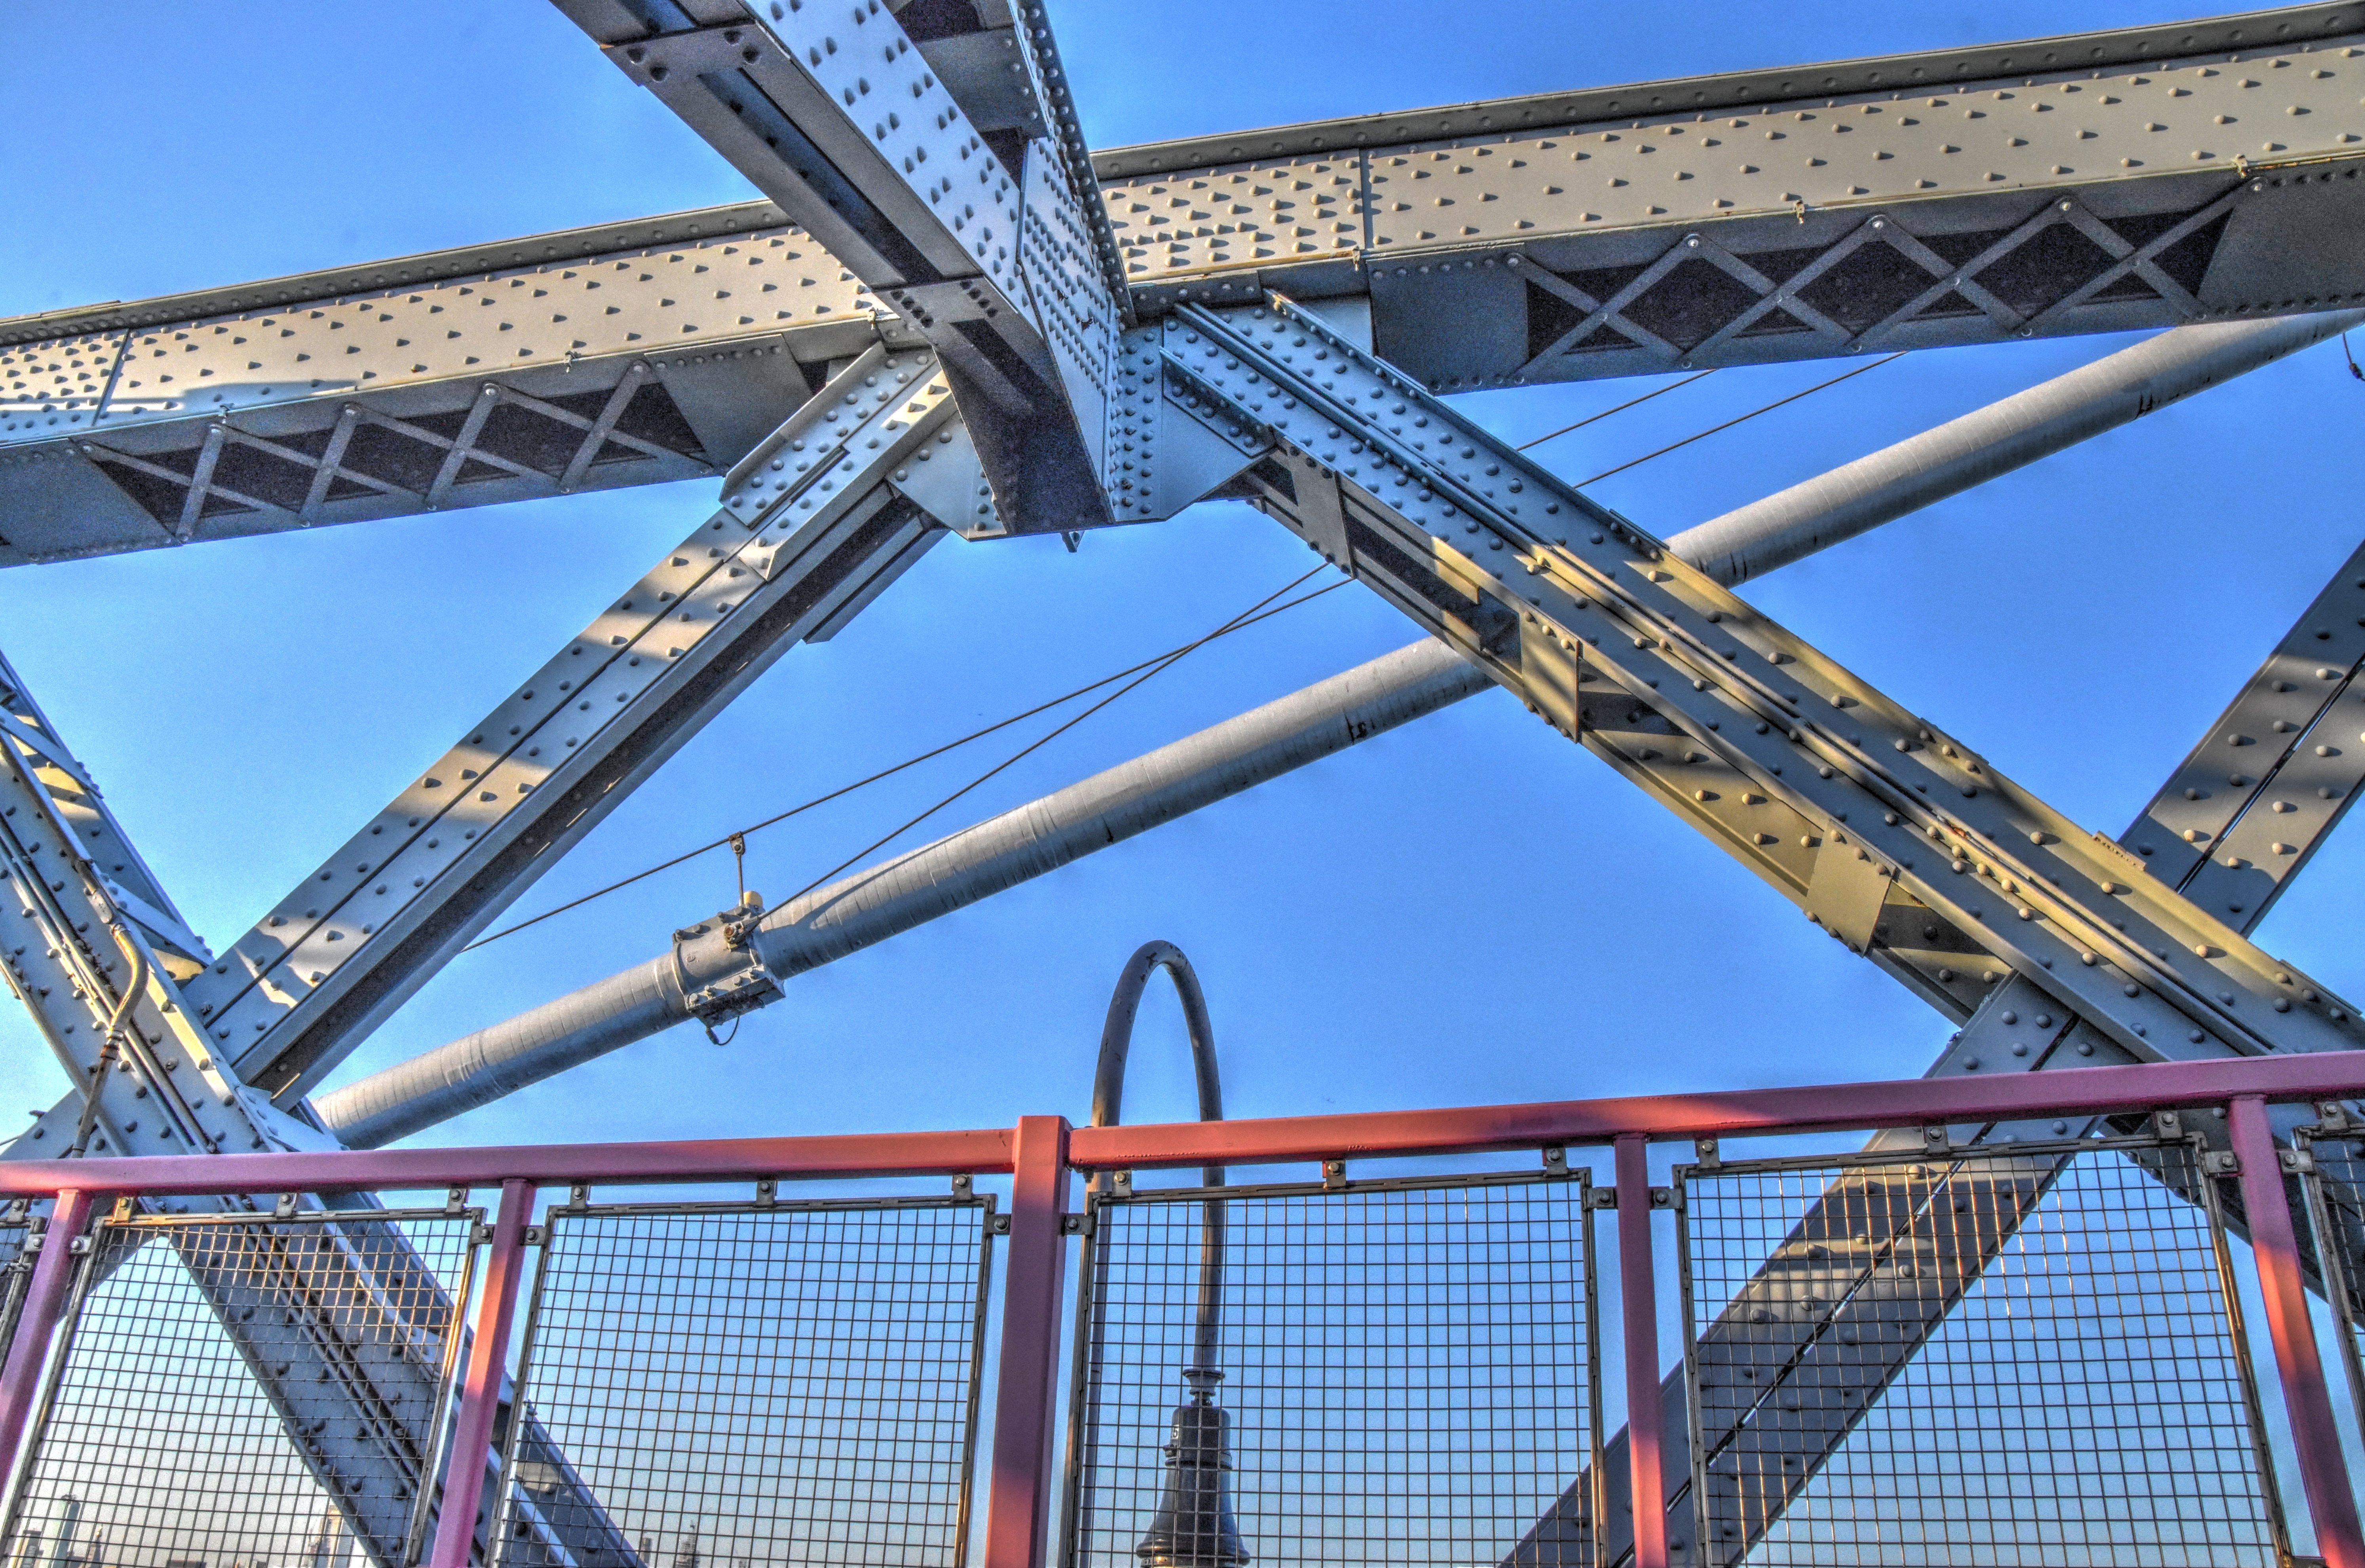
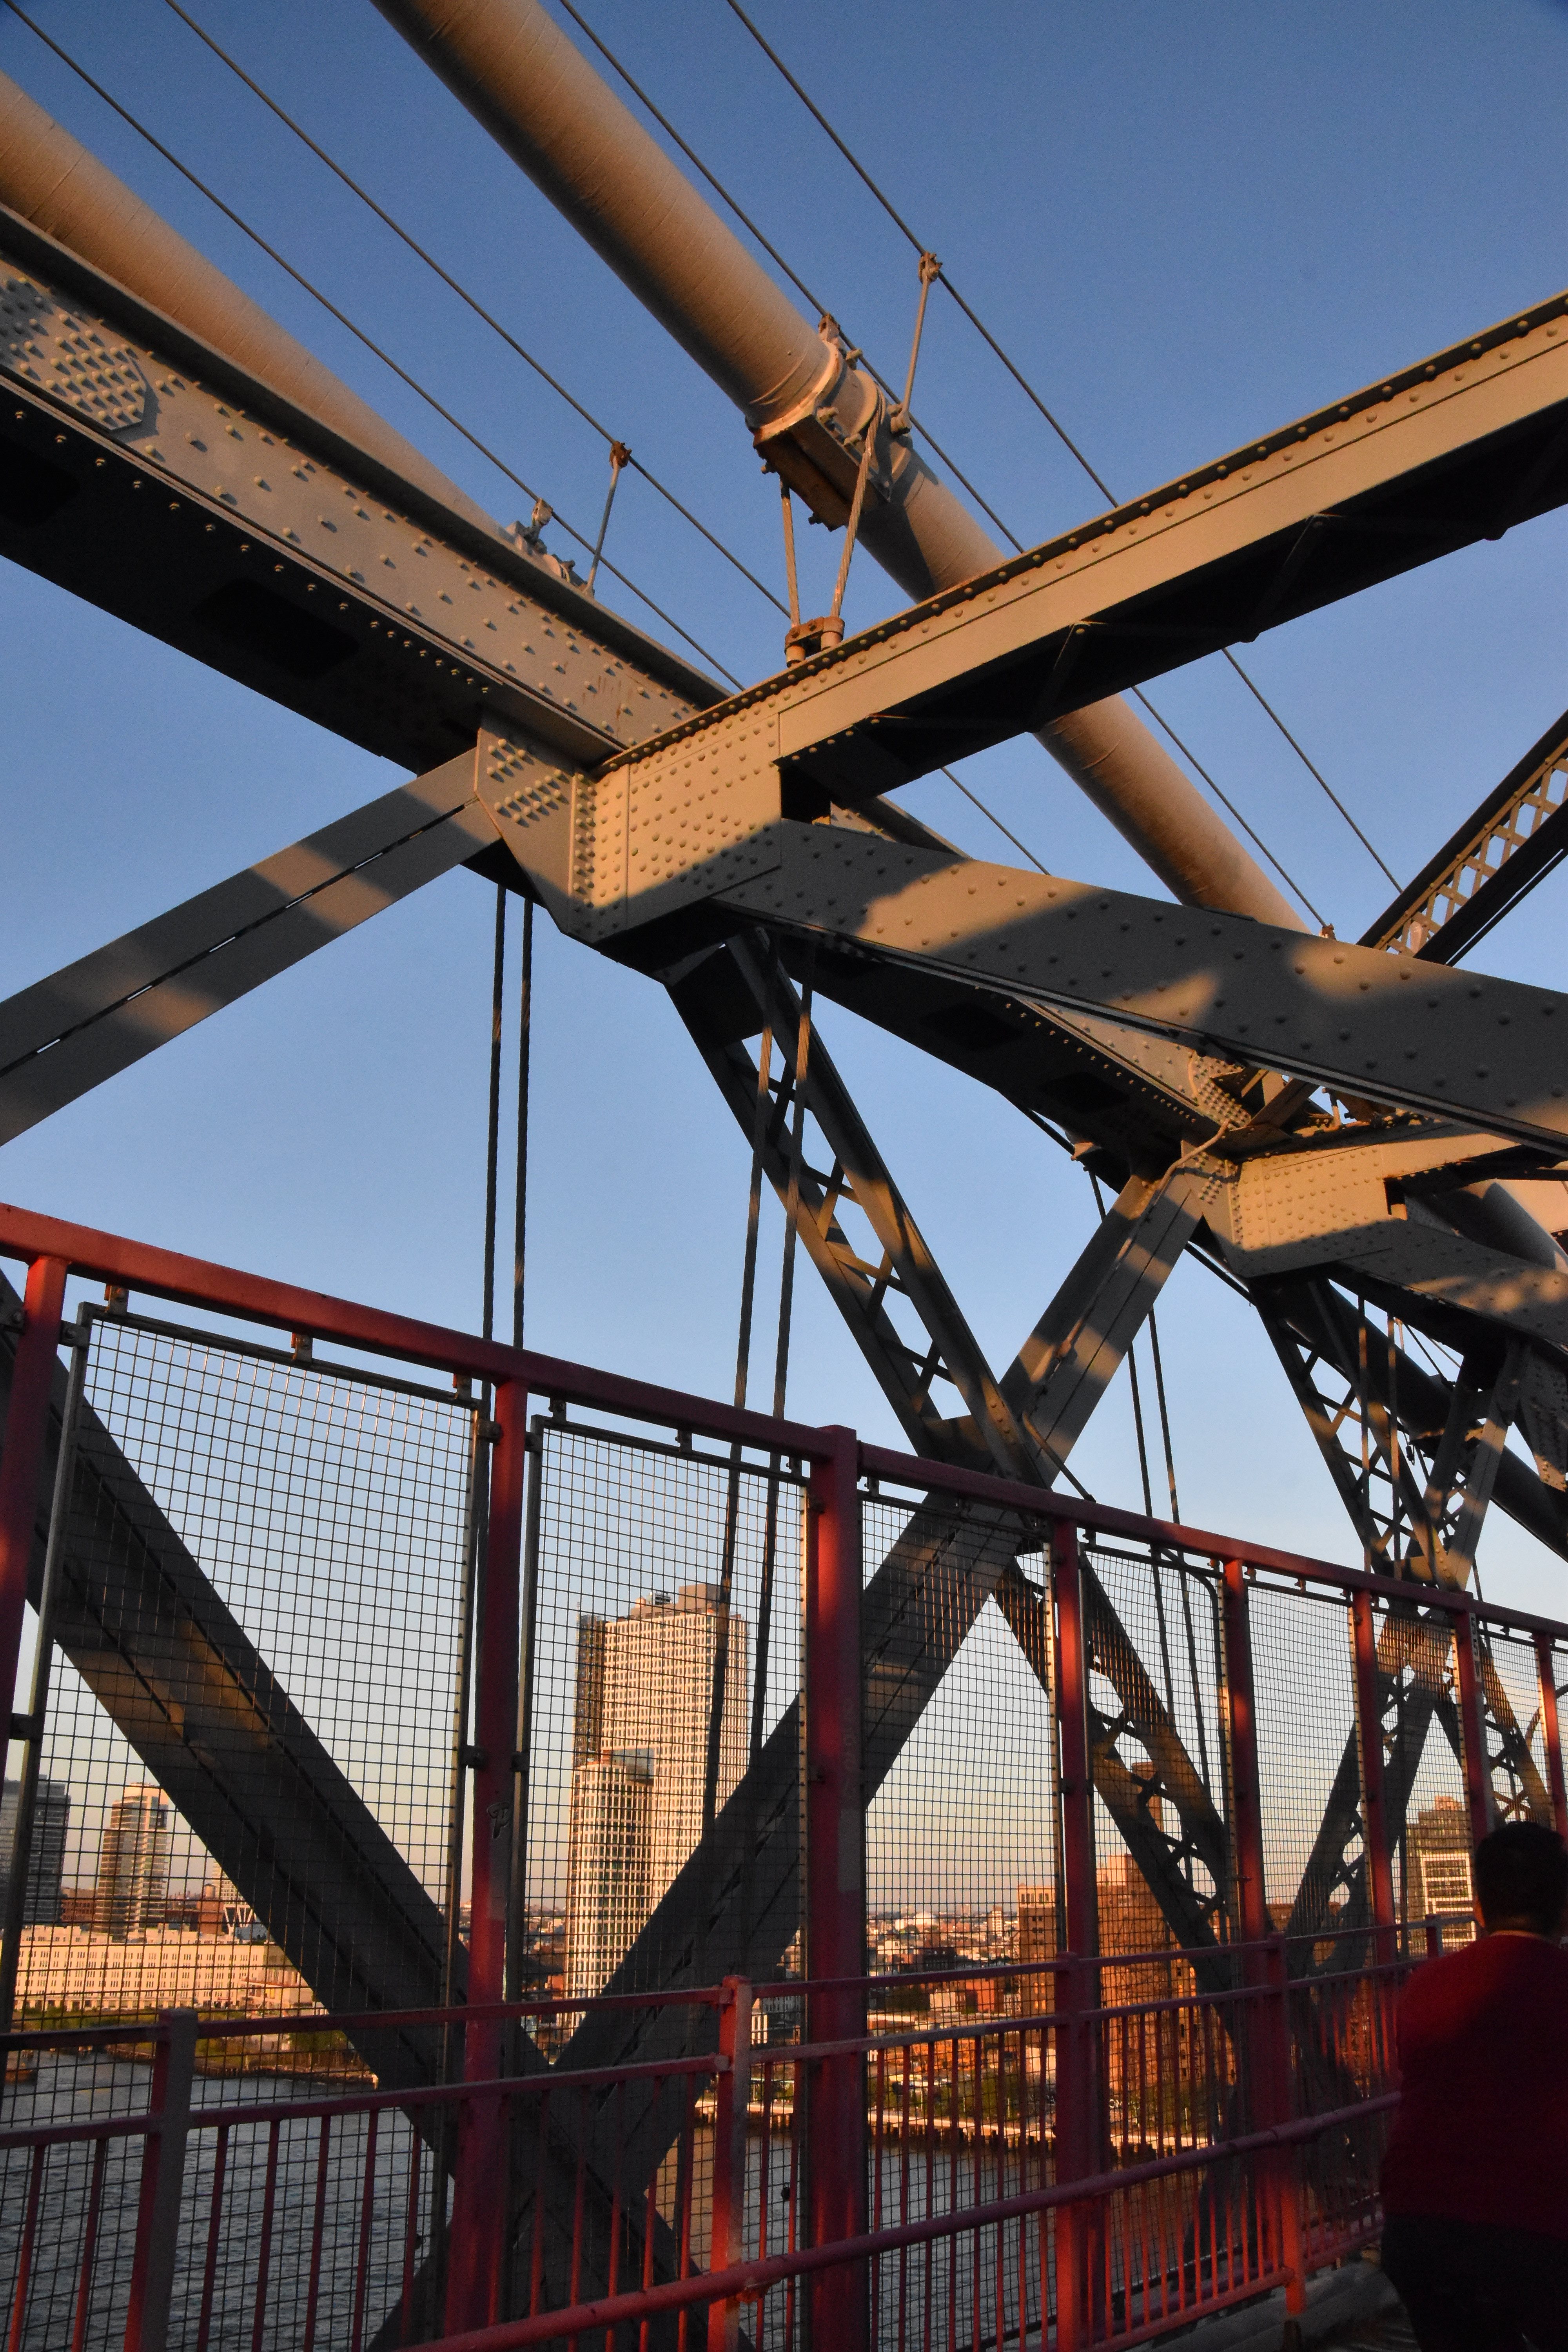
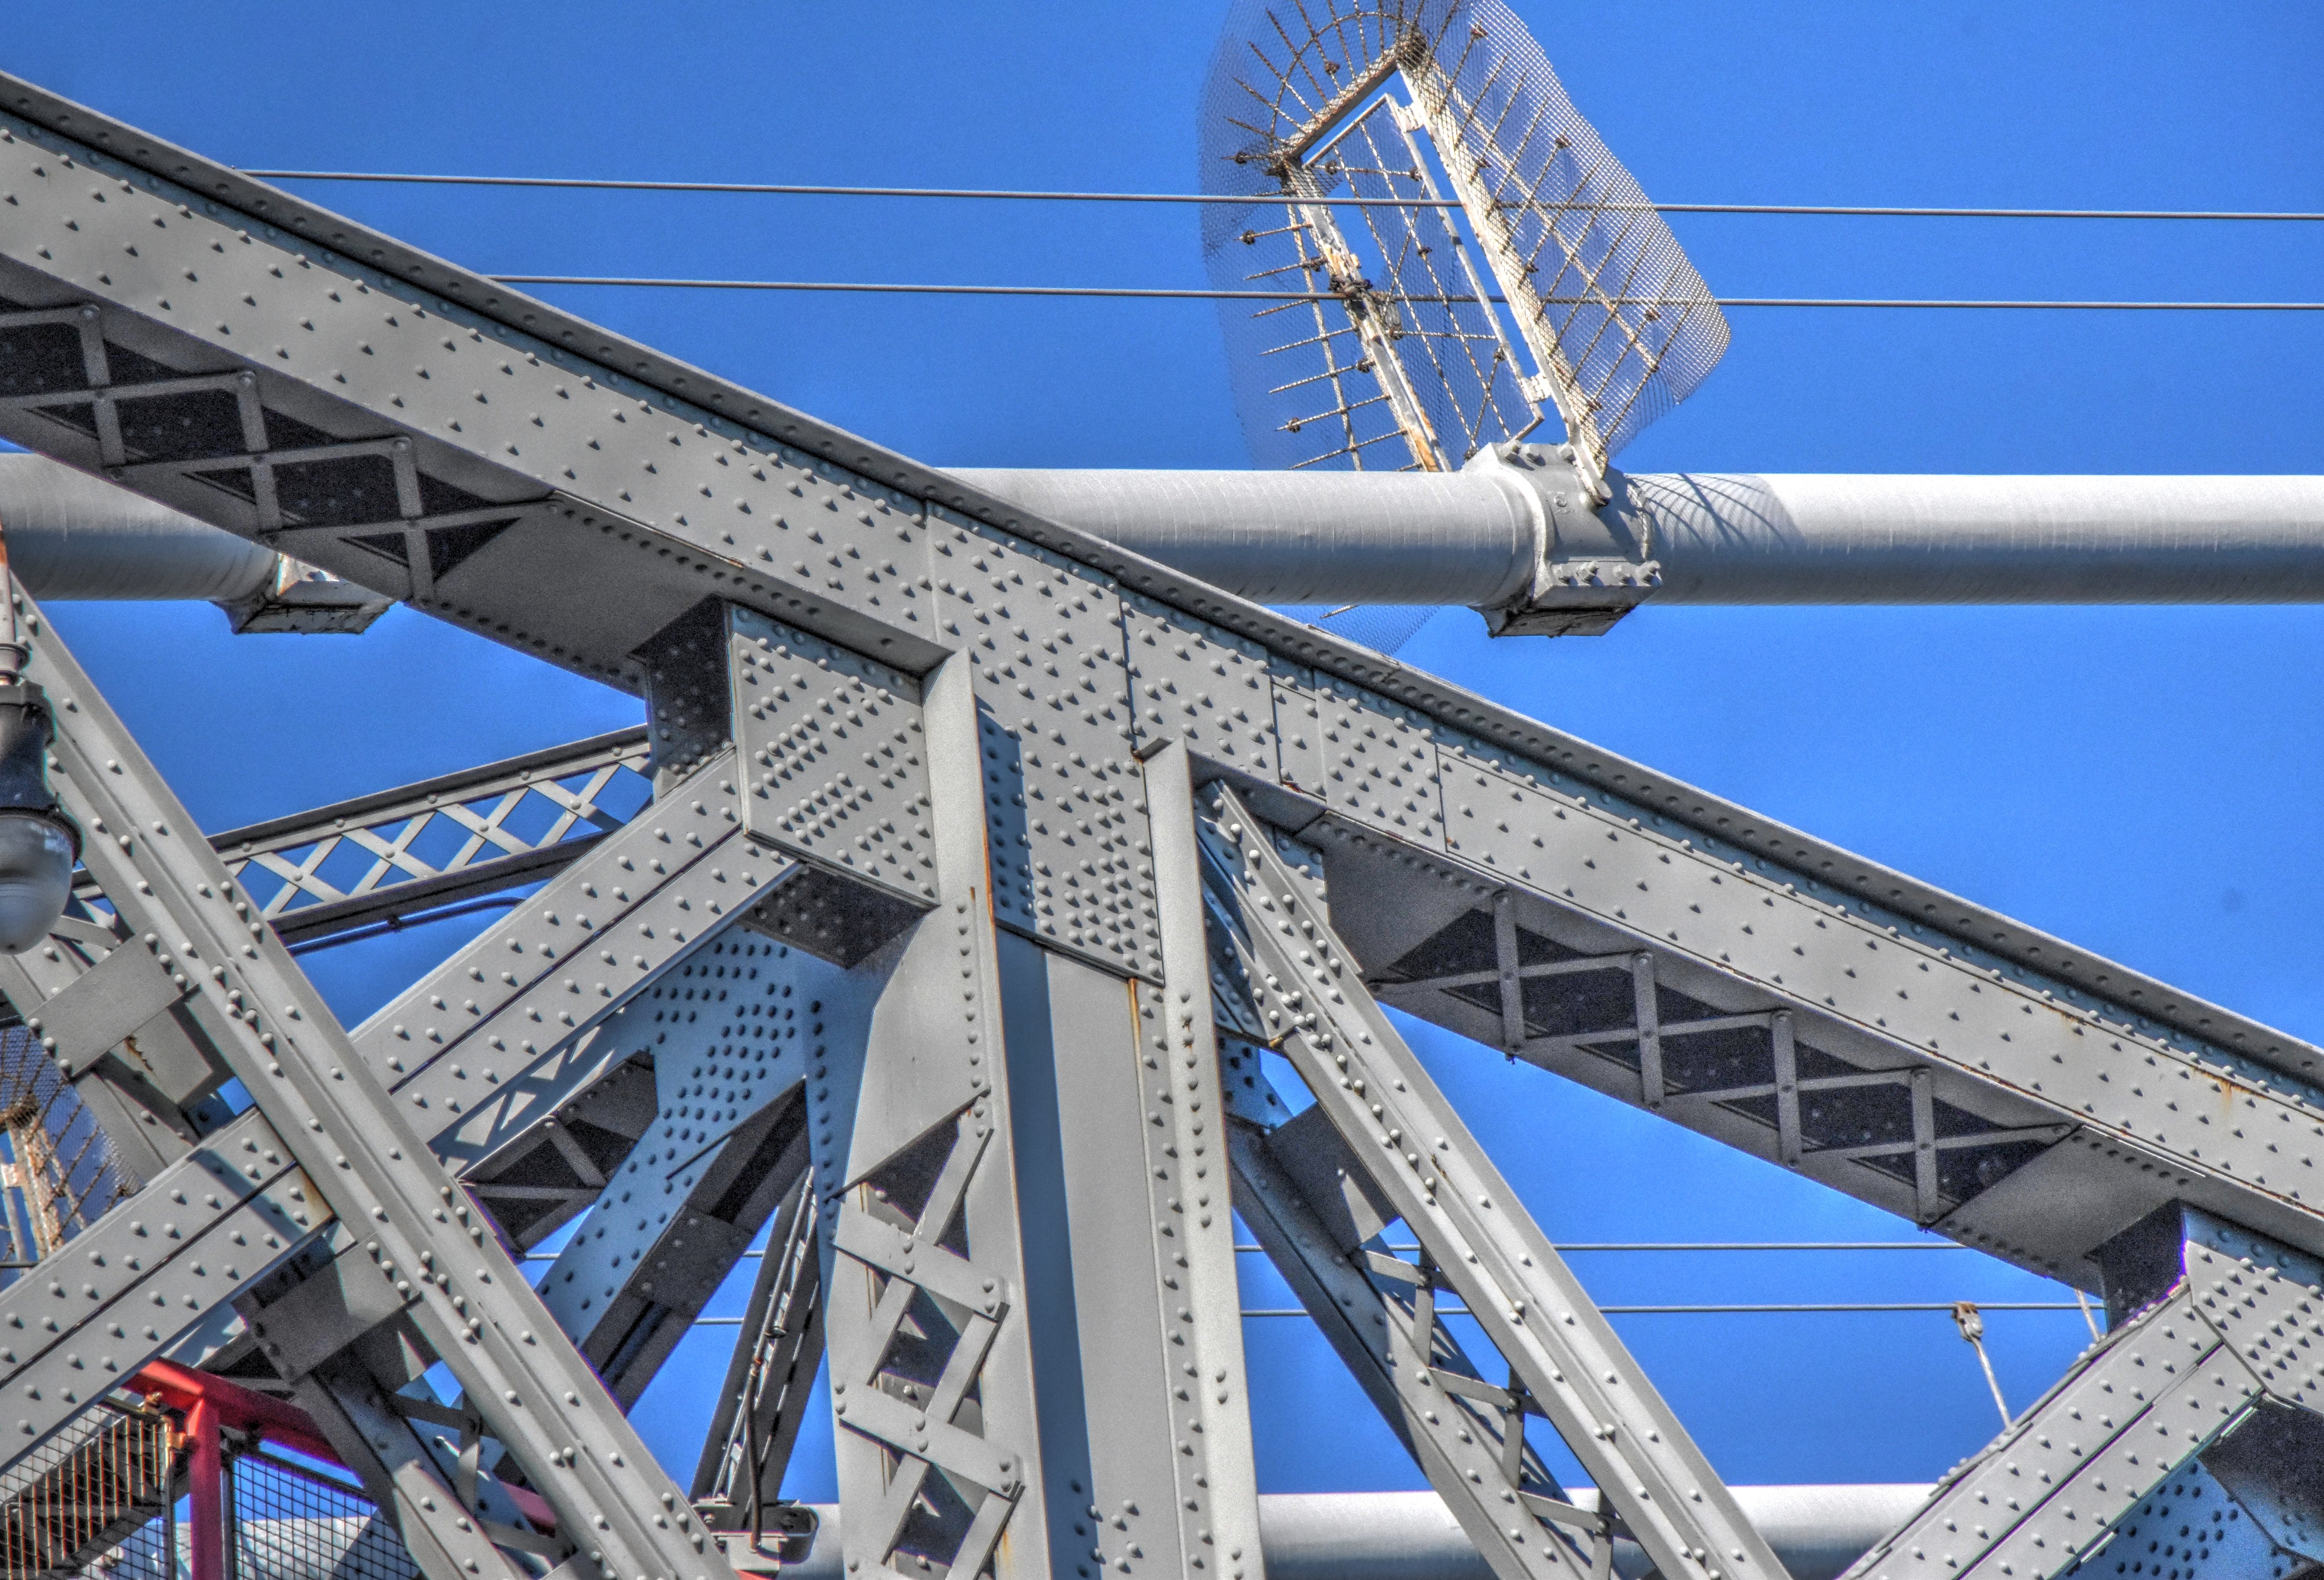
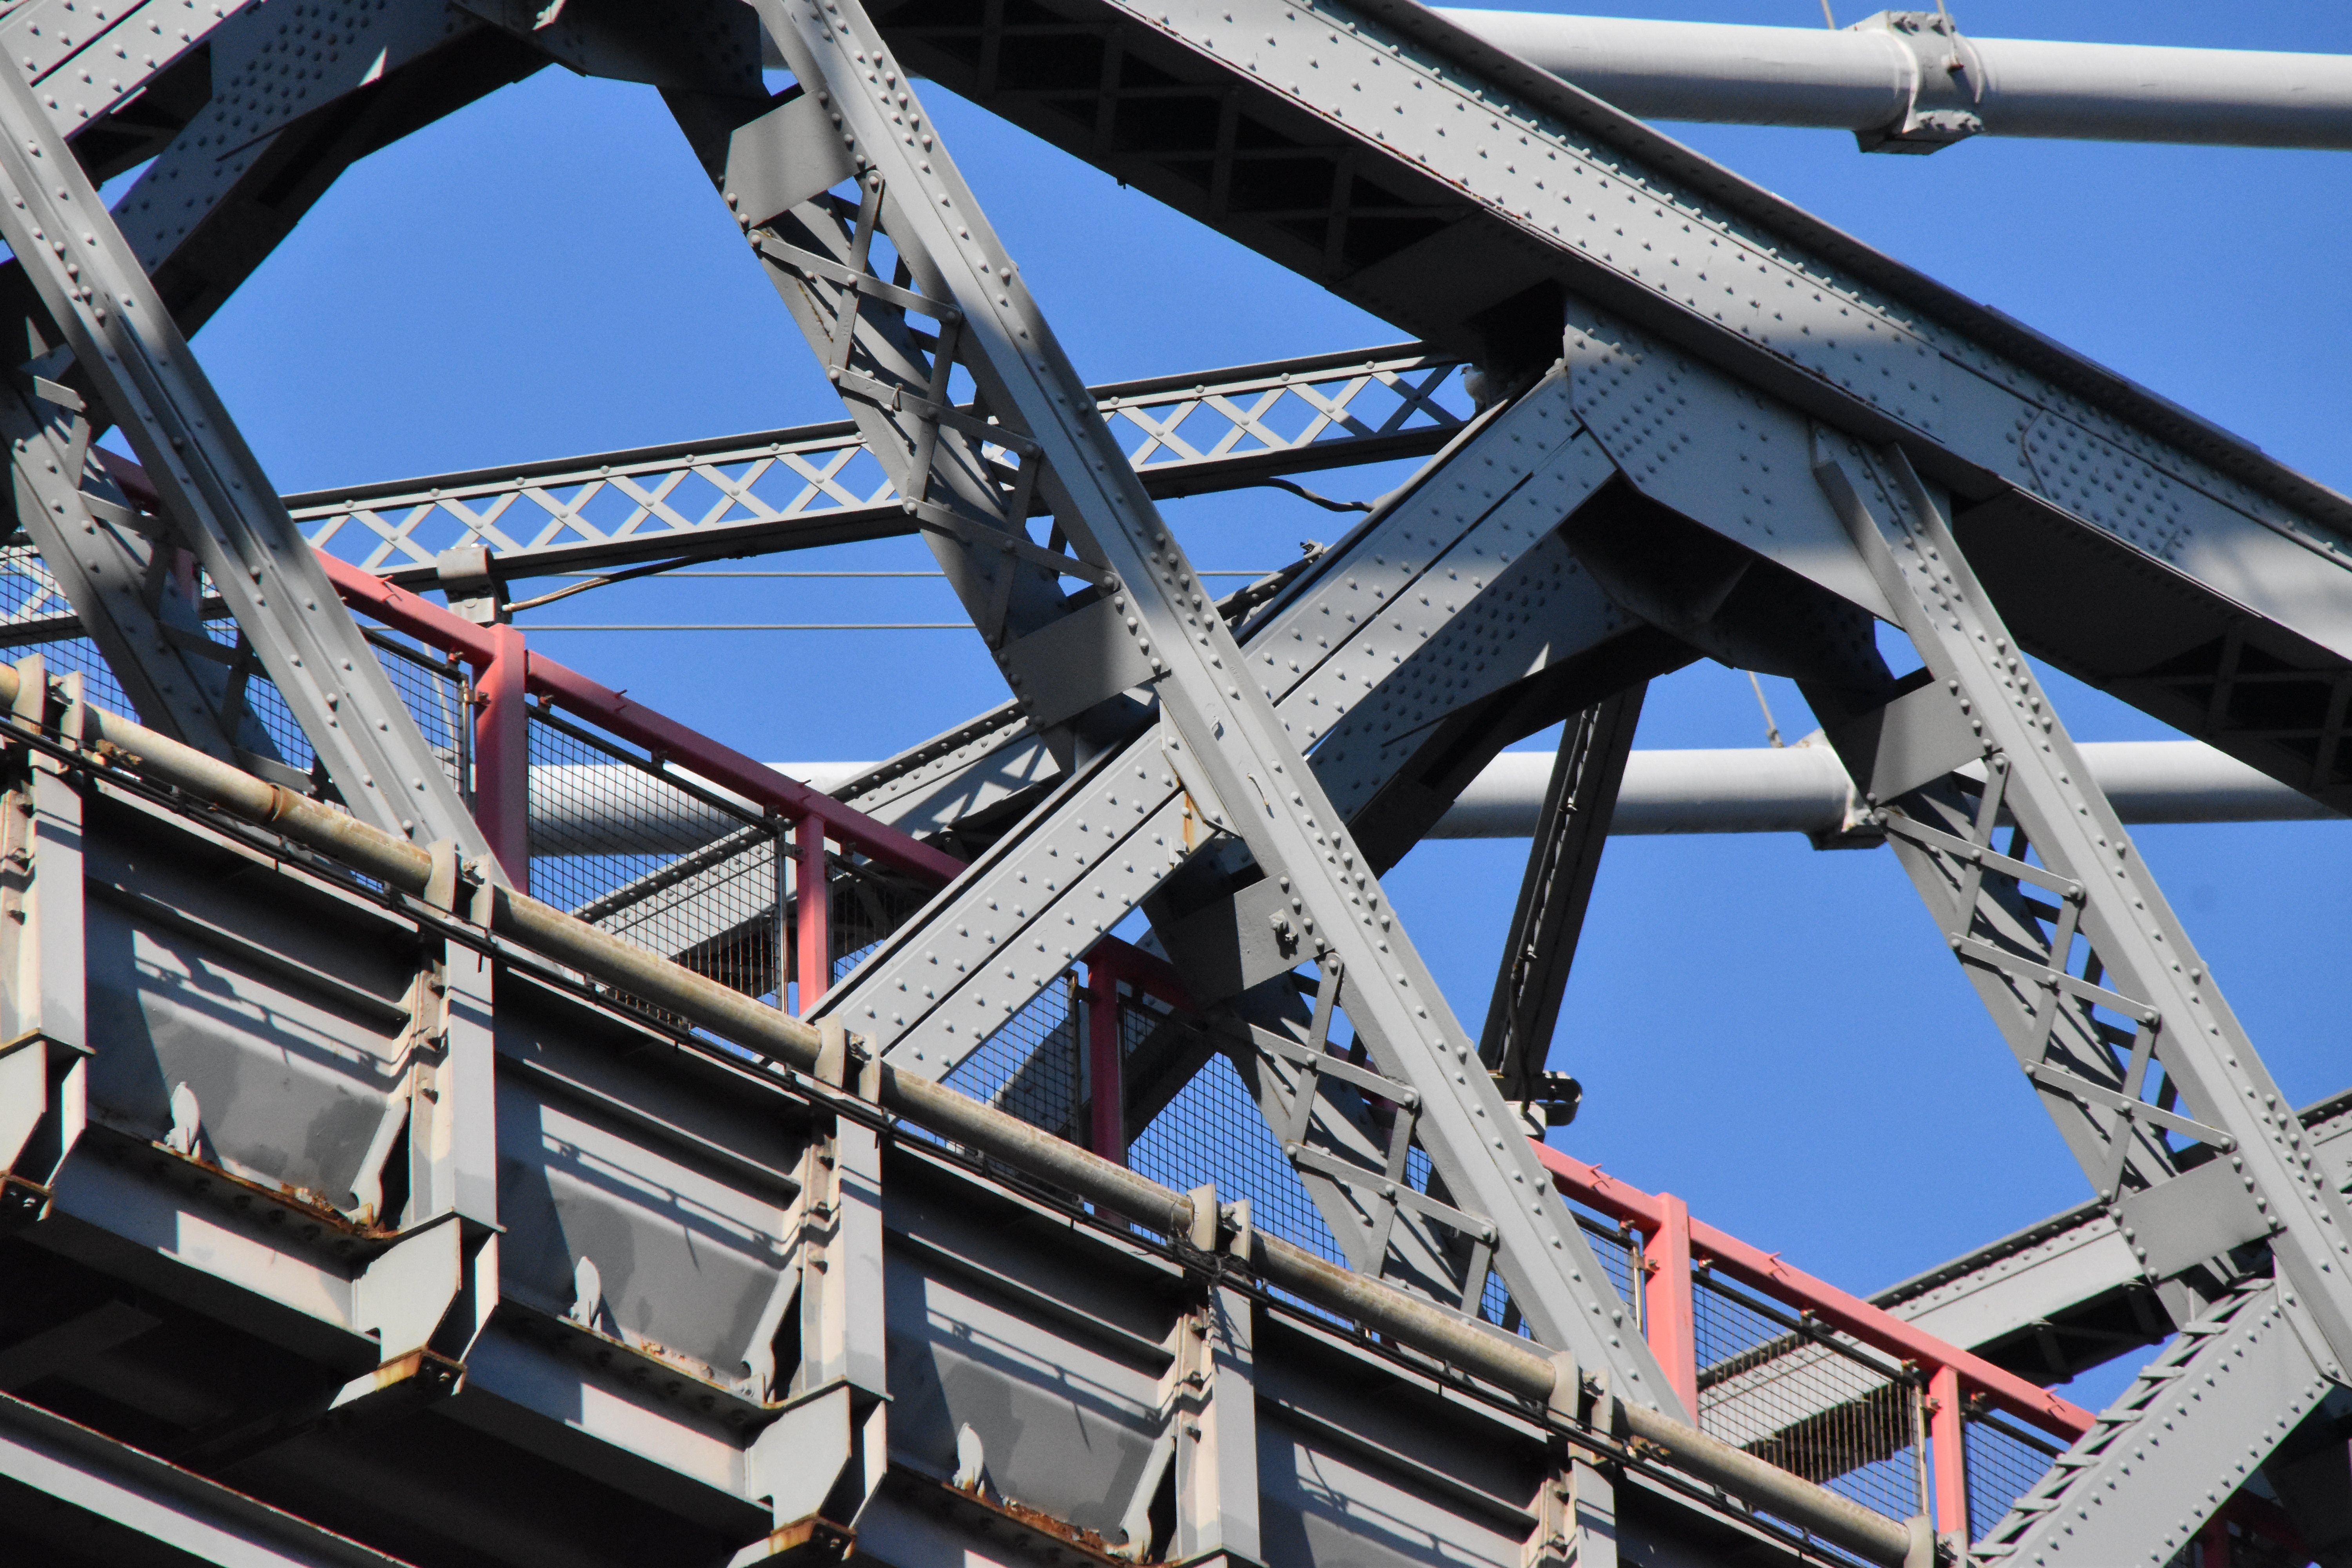
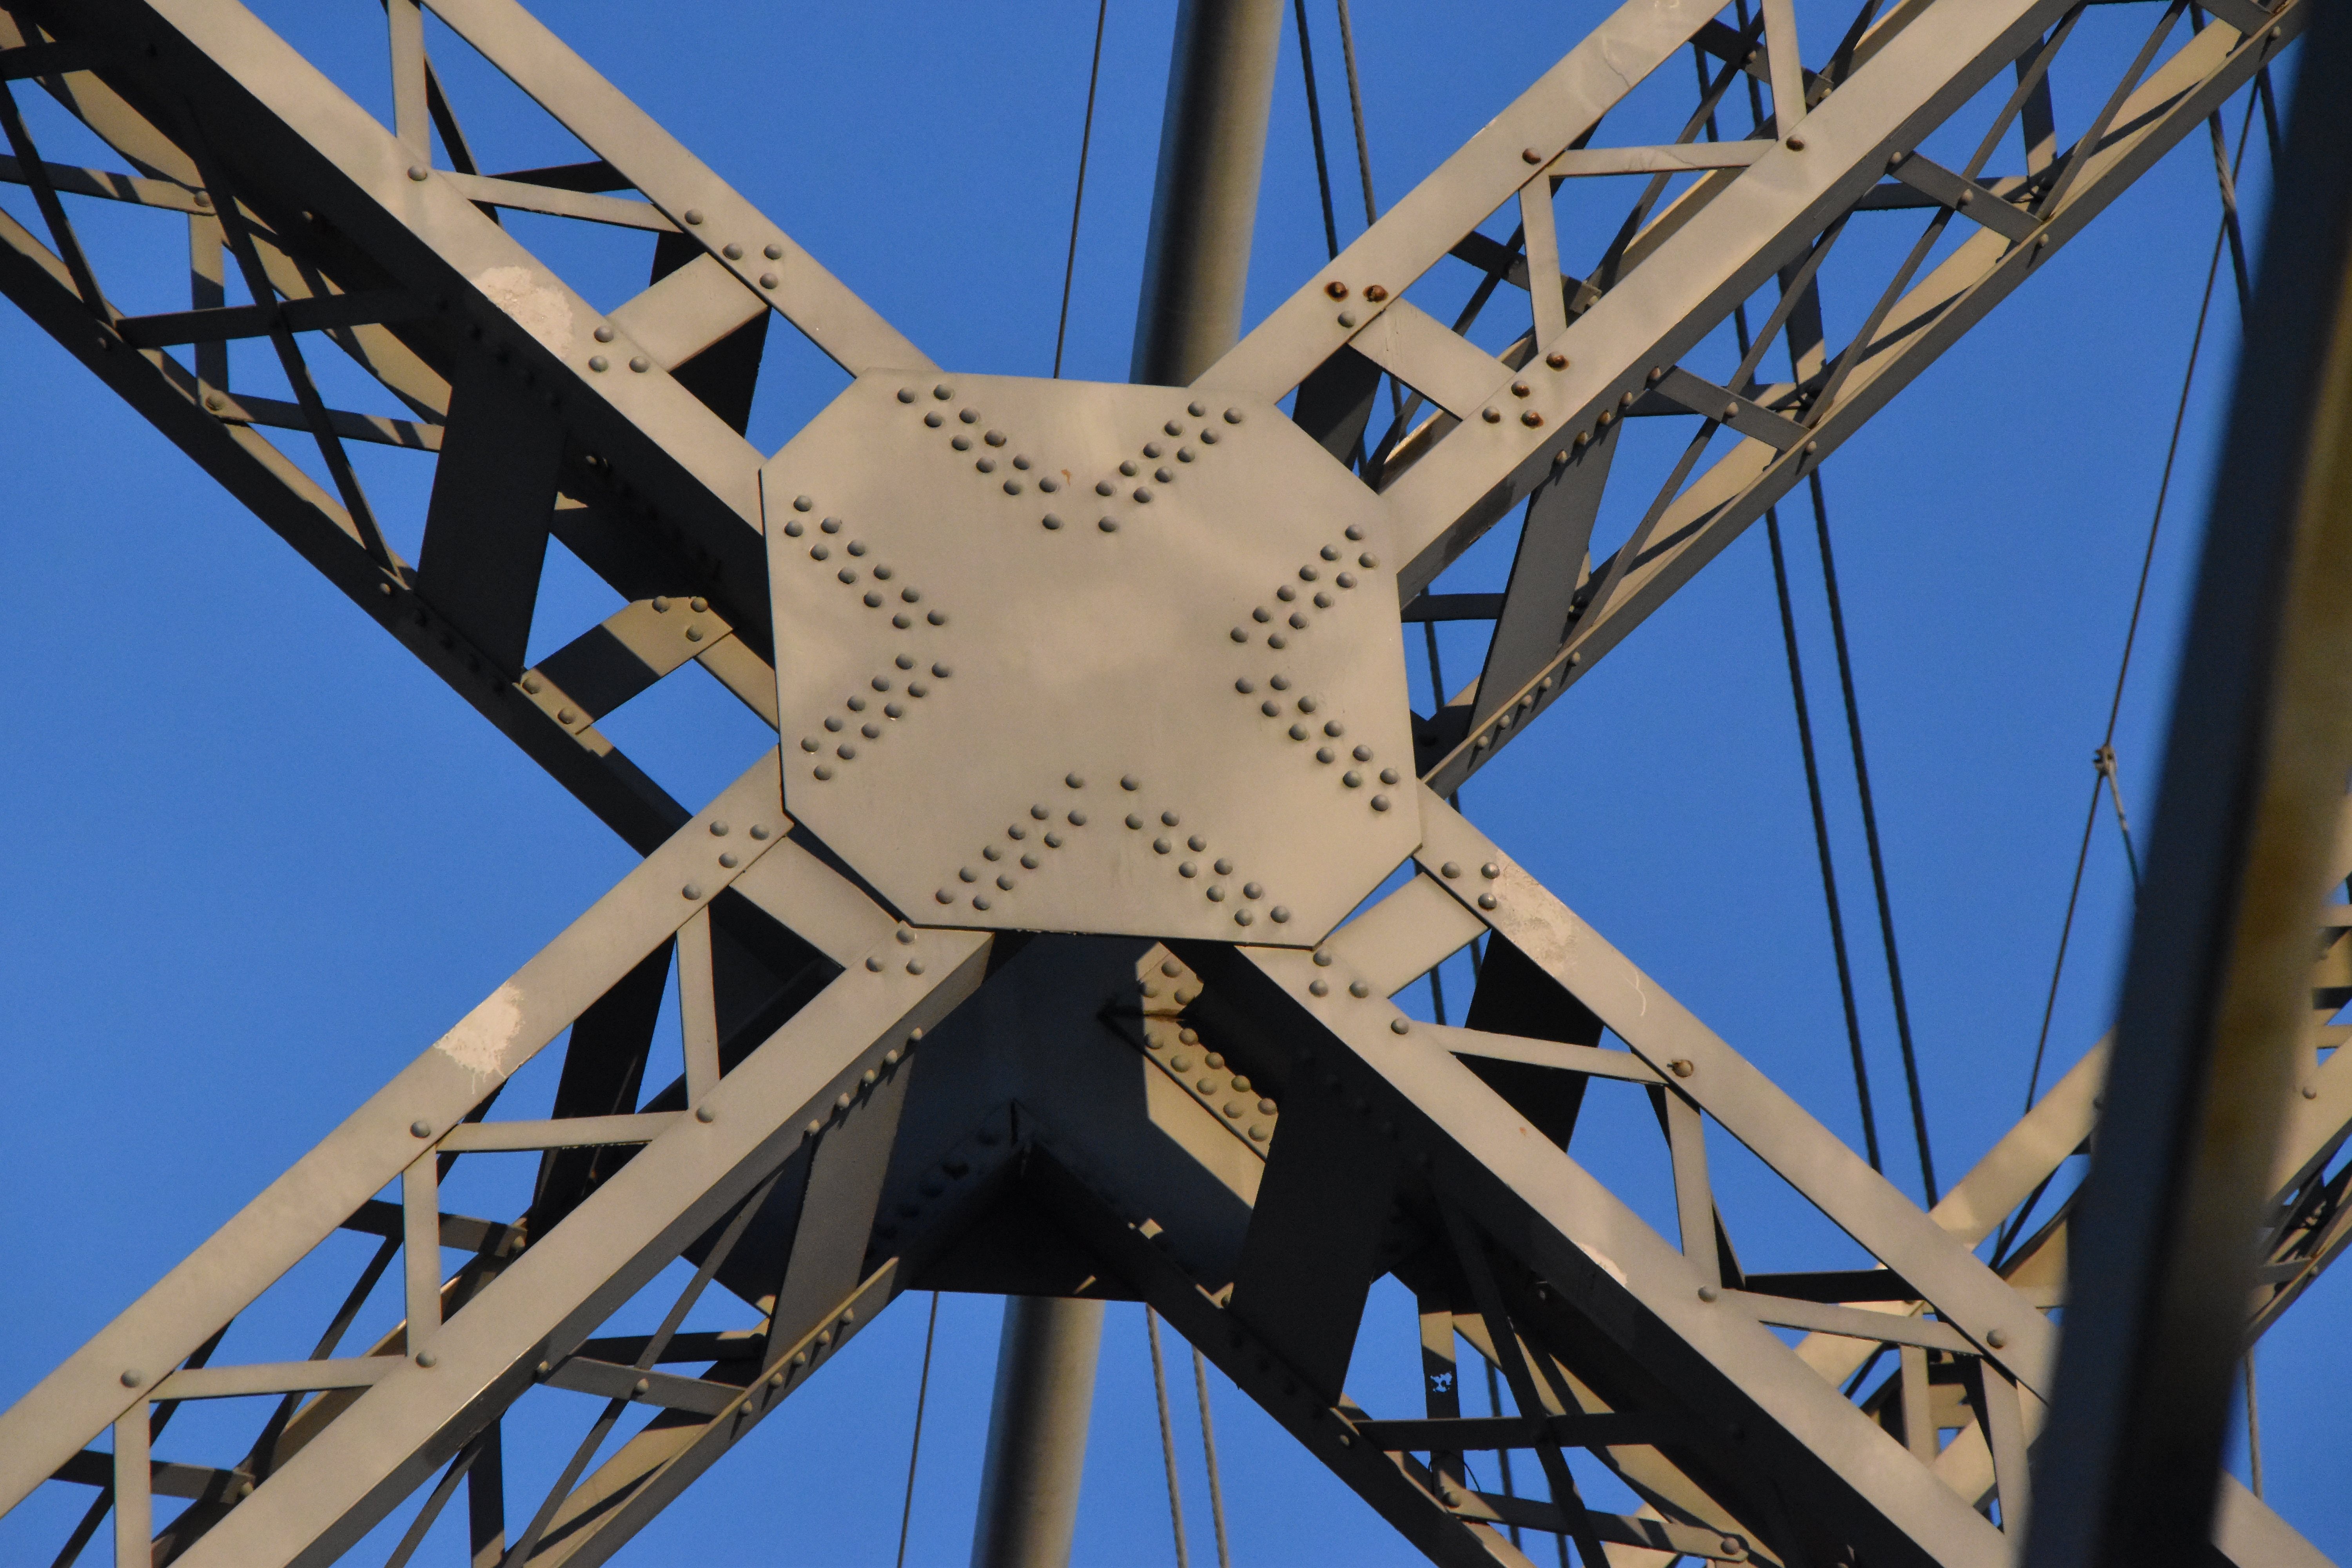
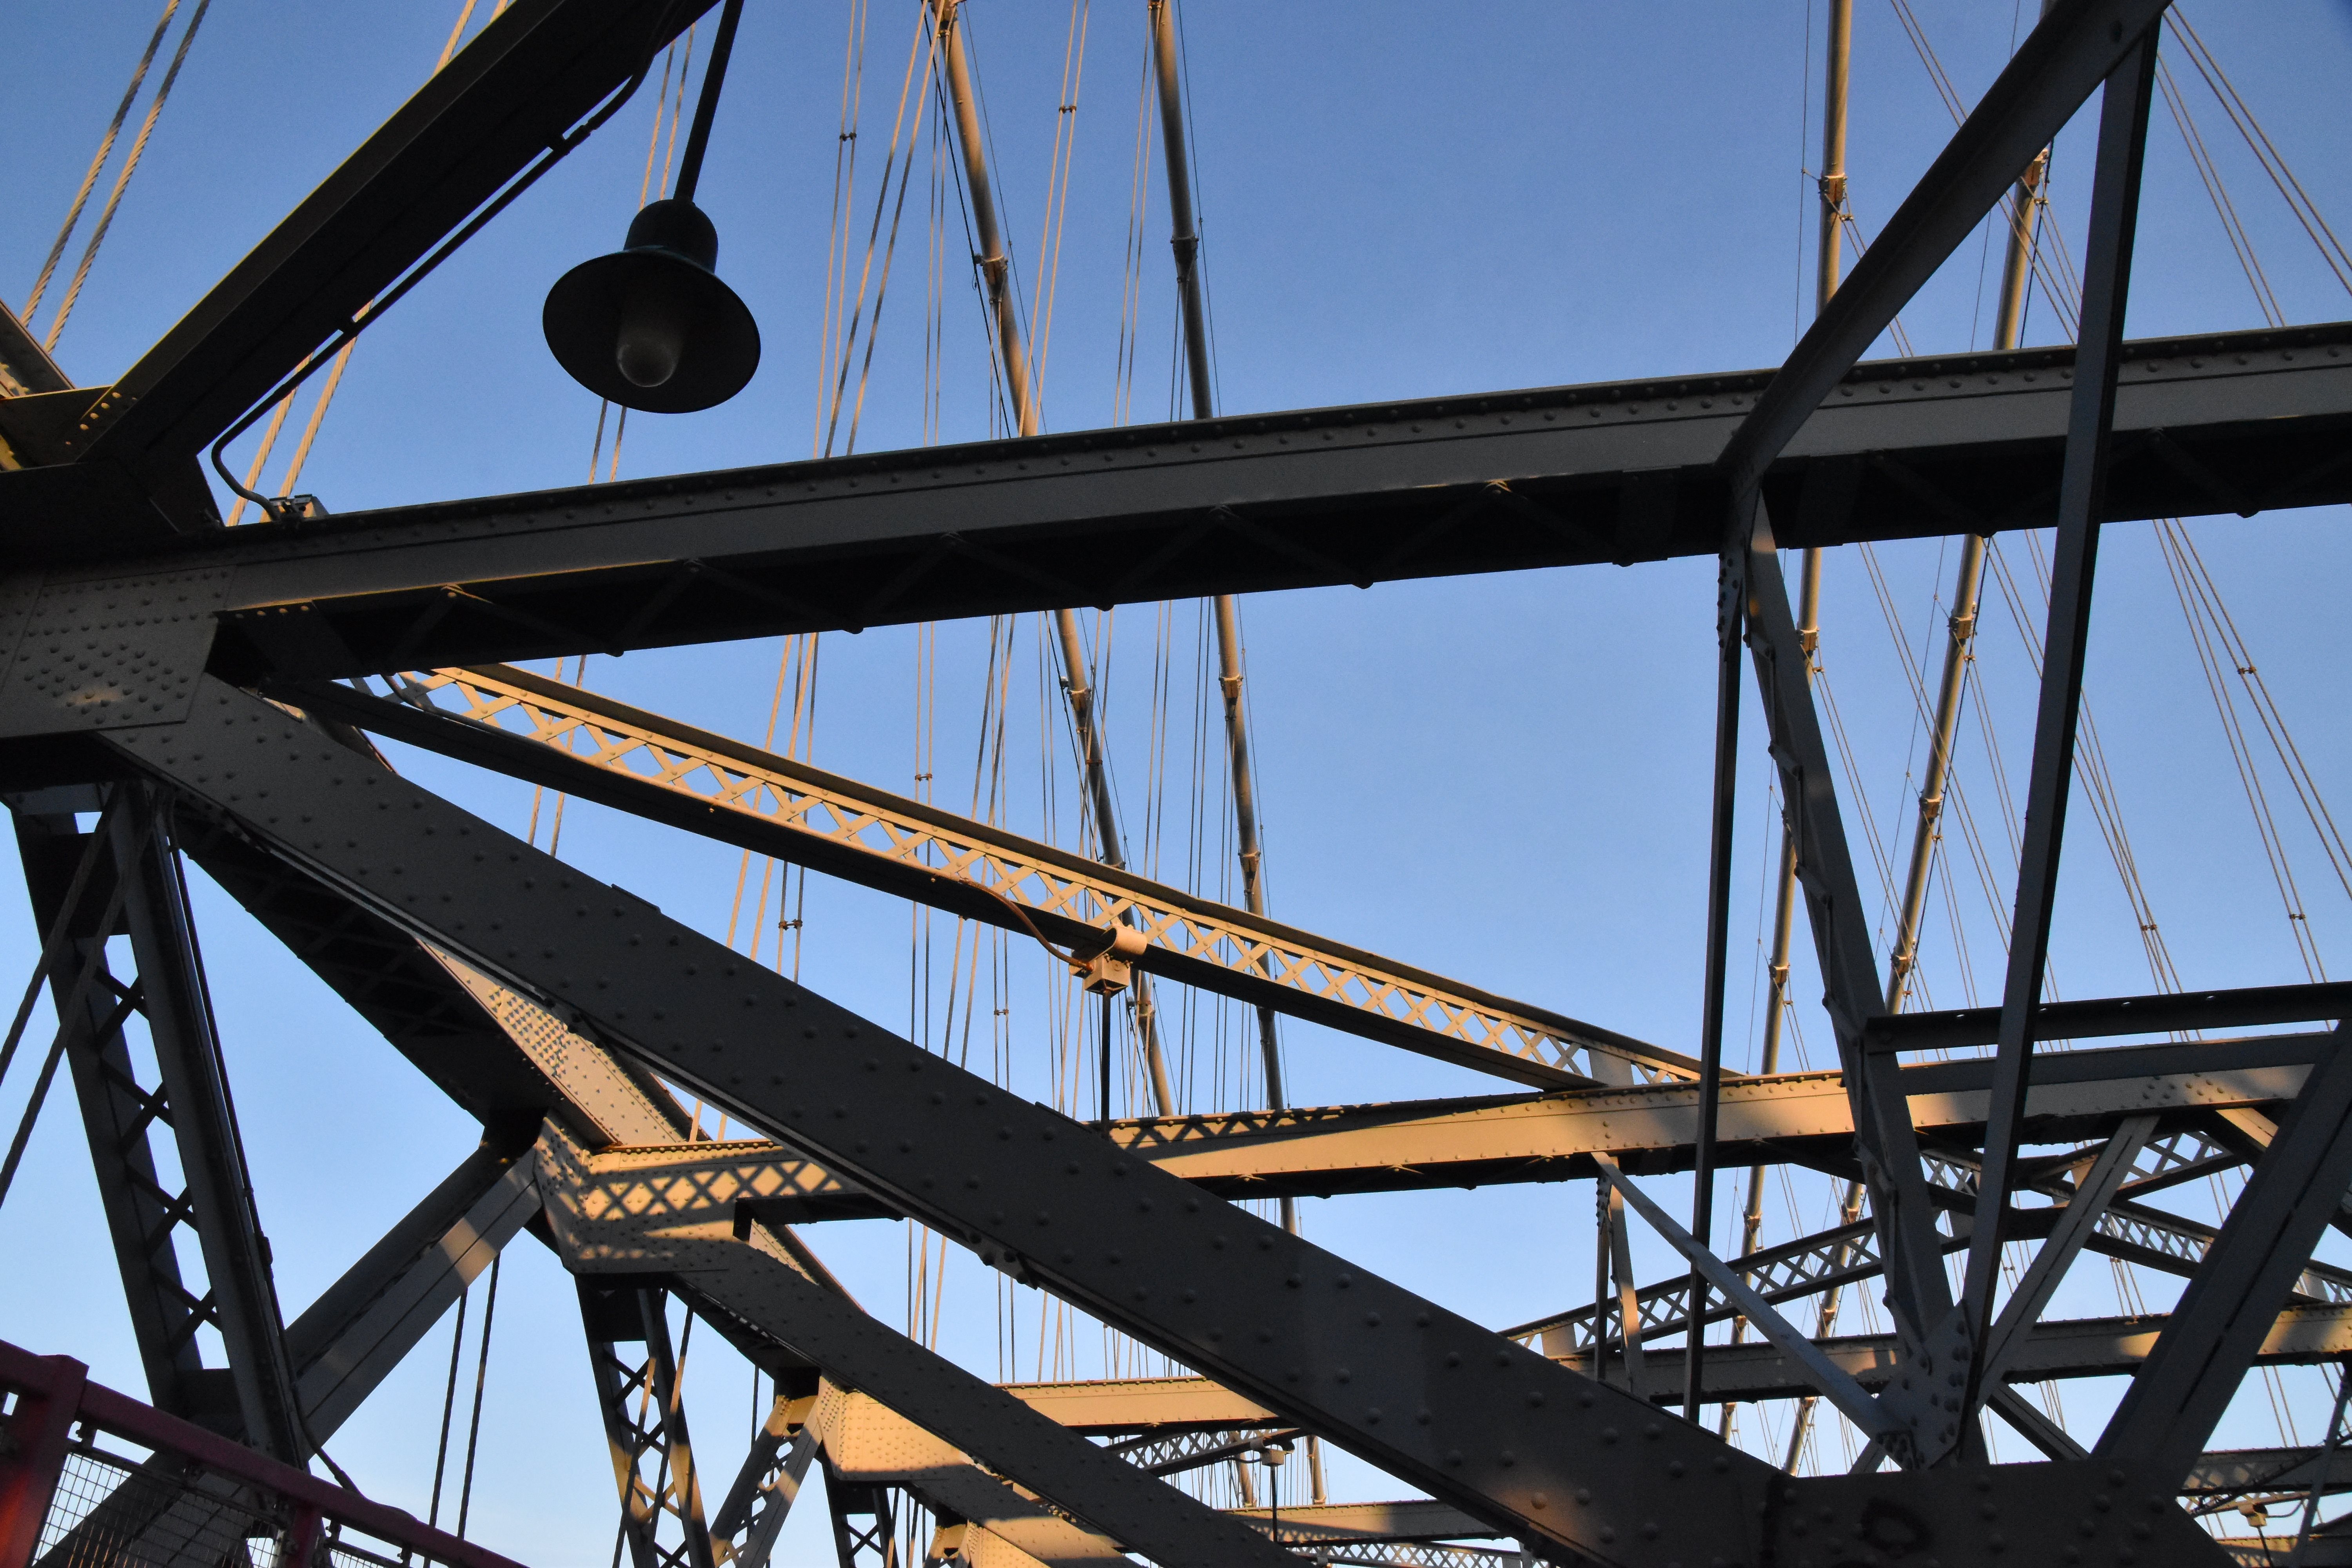
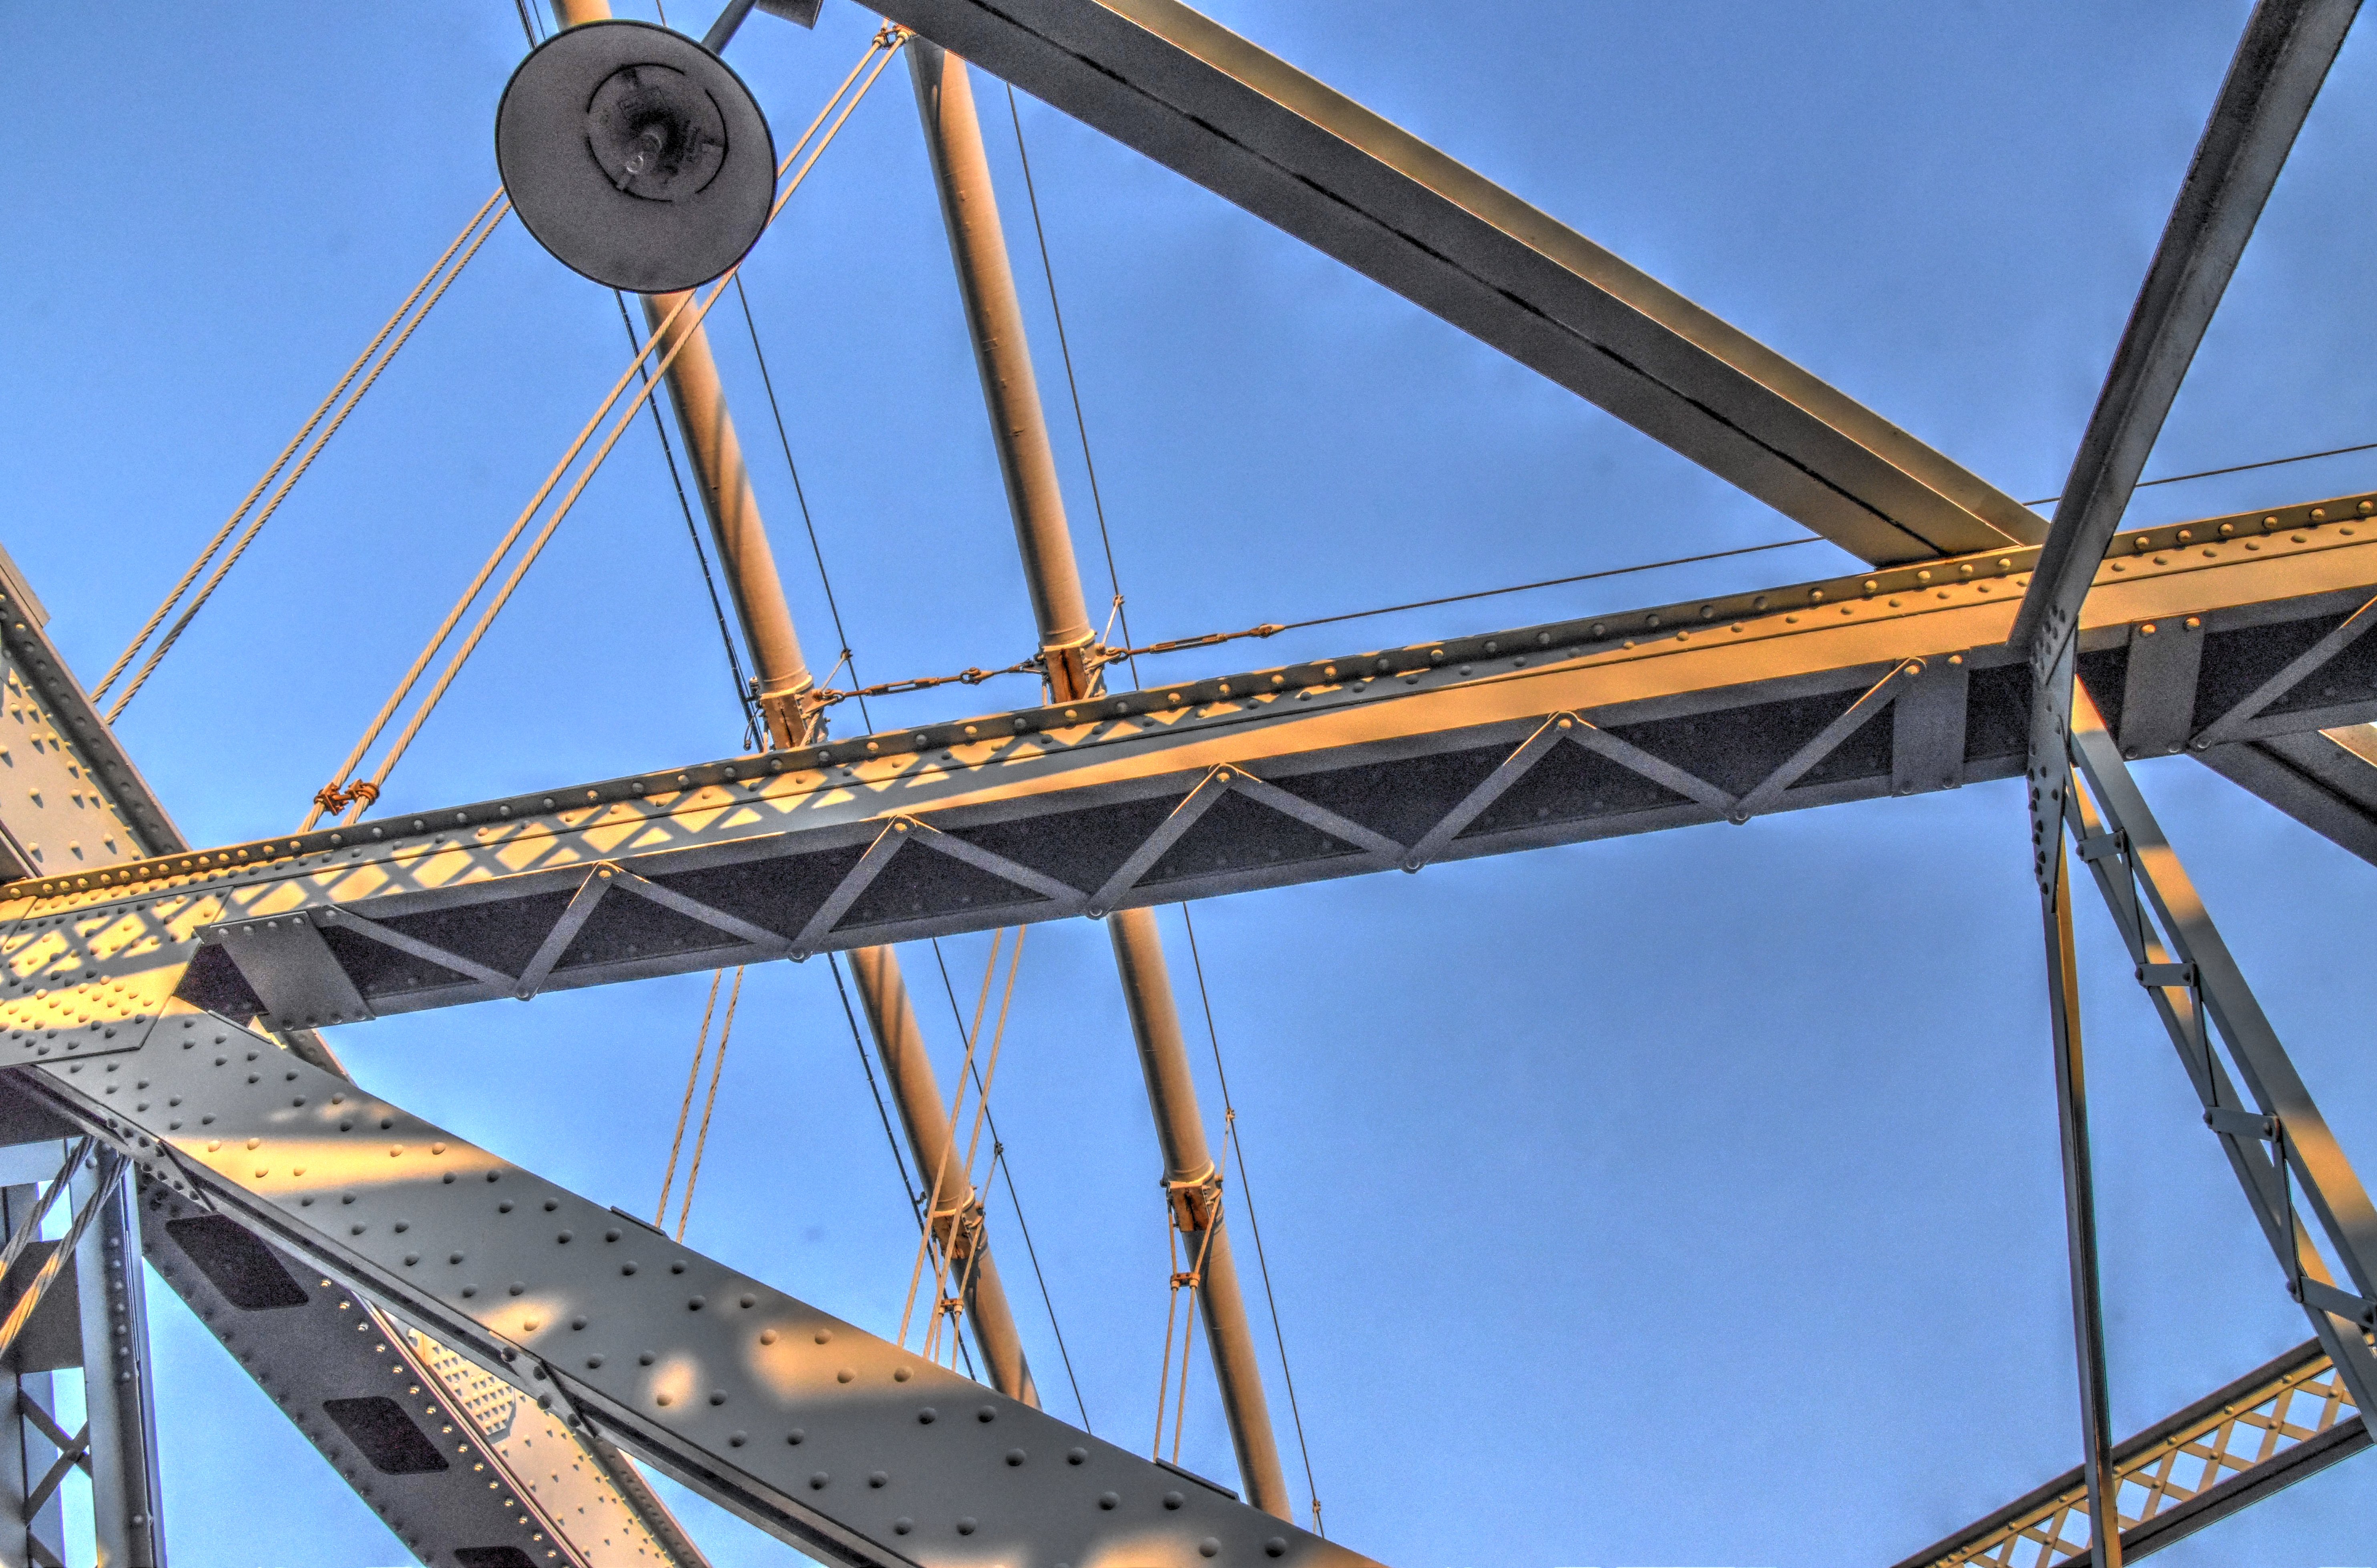
Tower bracing details, showing brace over walkway between the two tower posts.
![]()


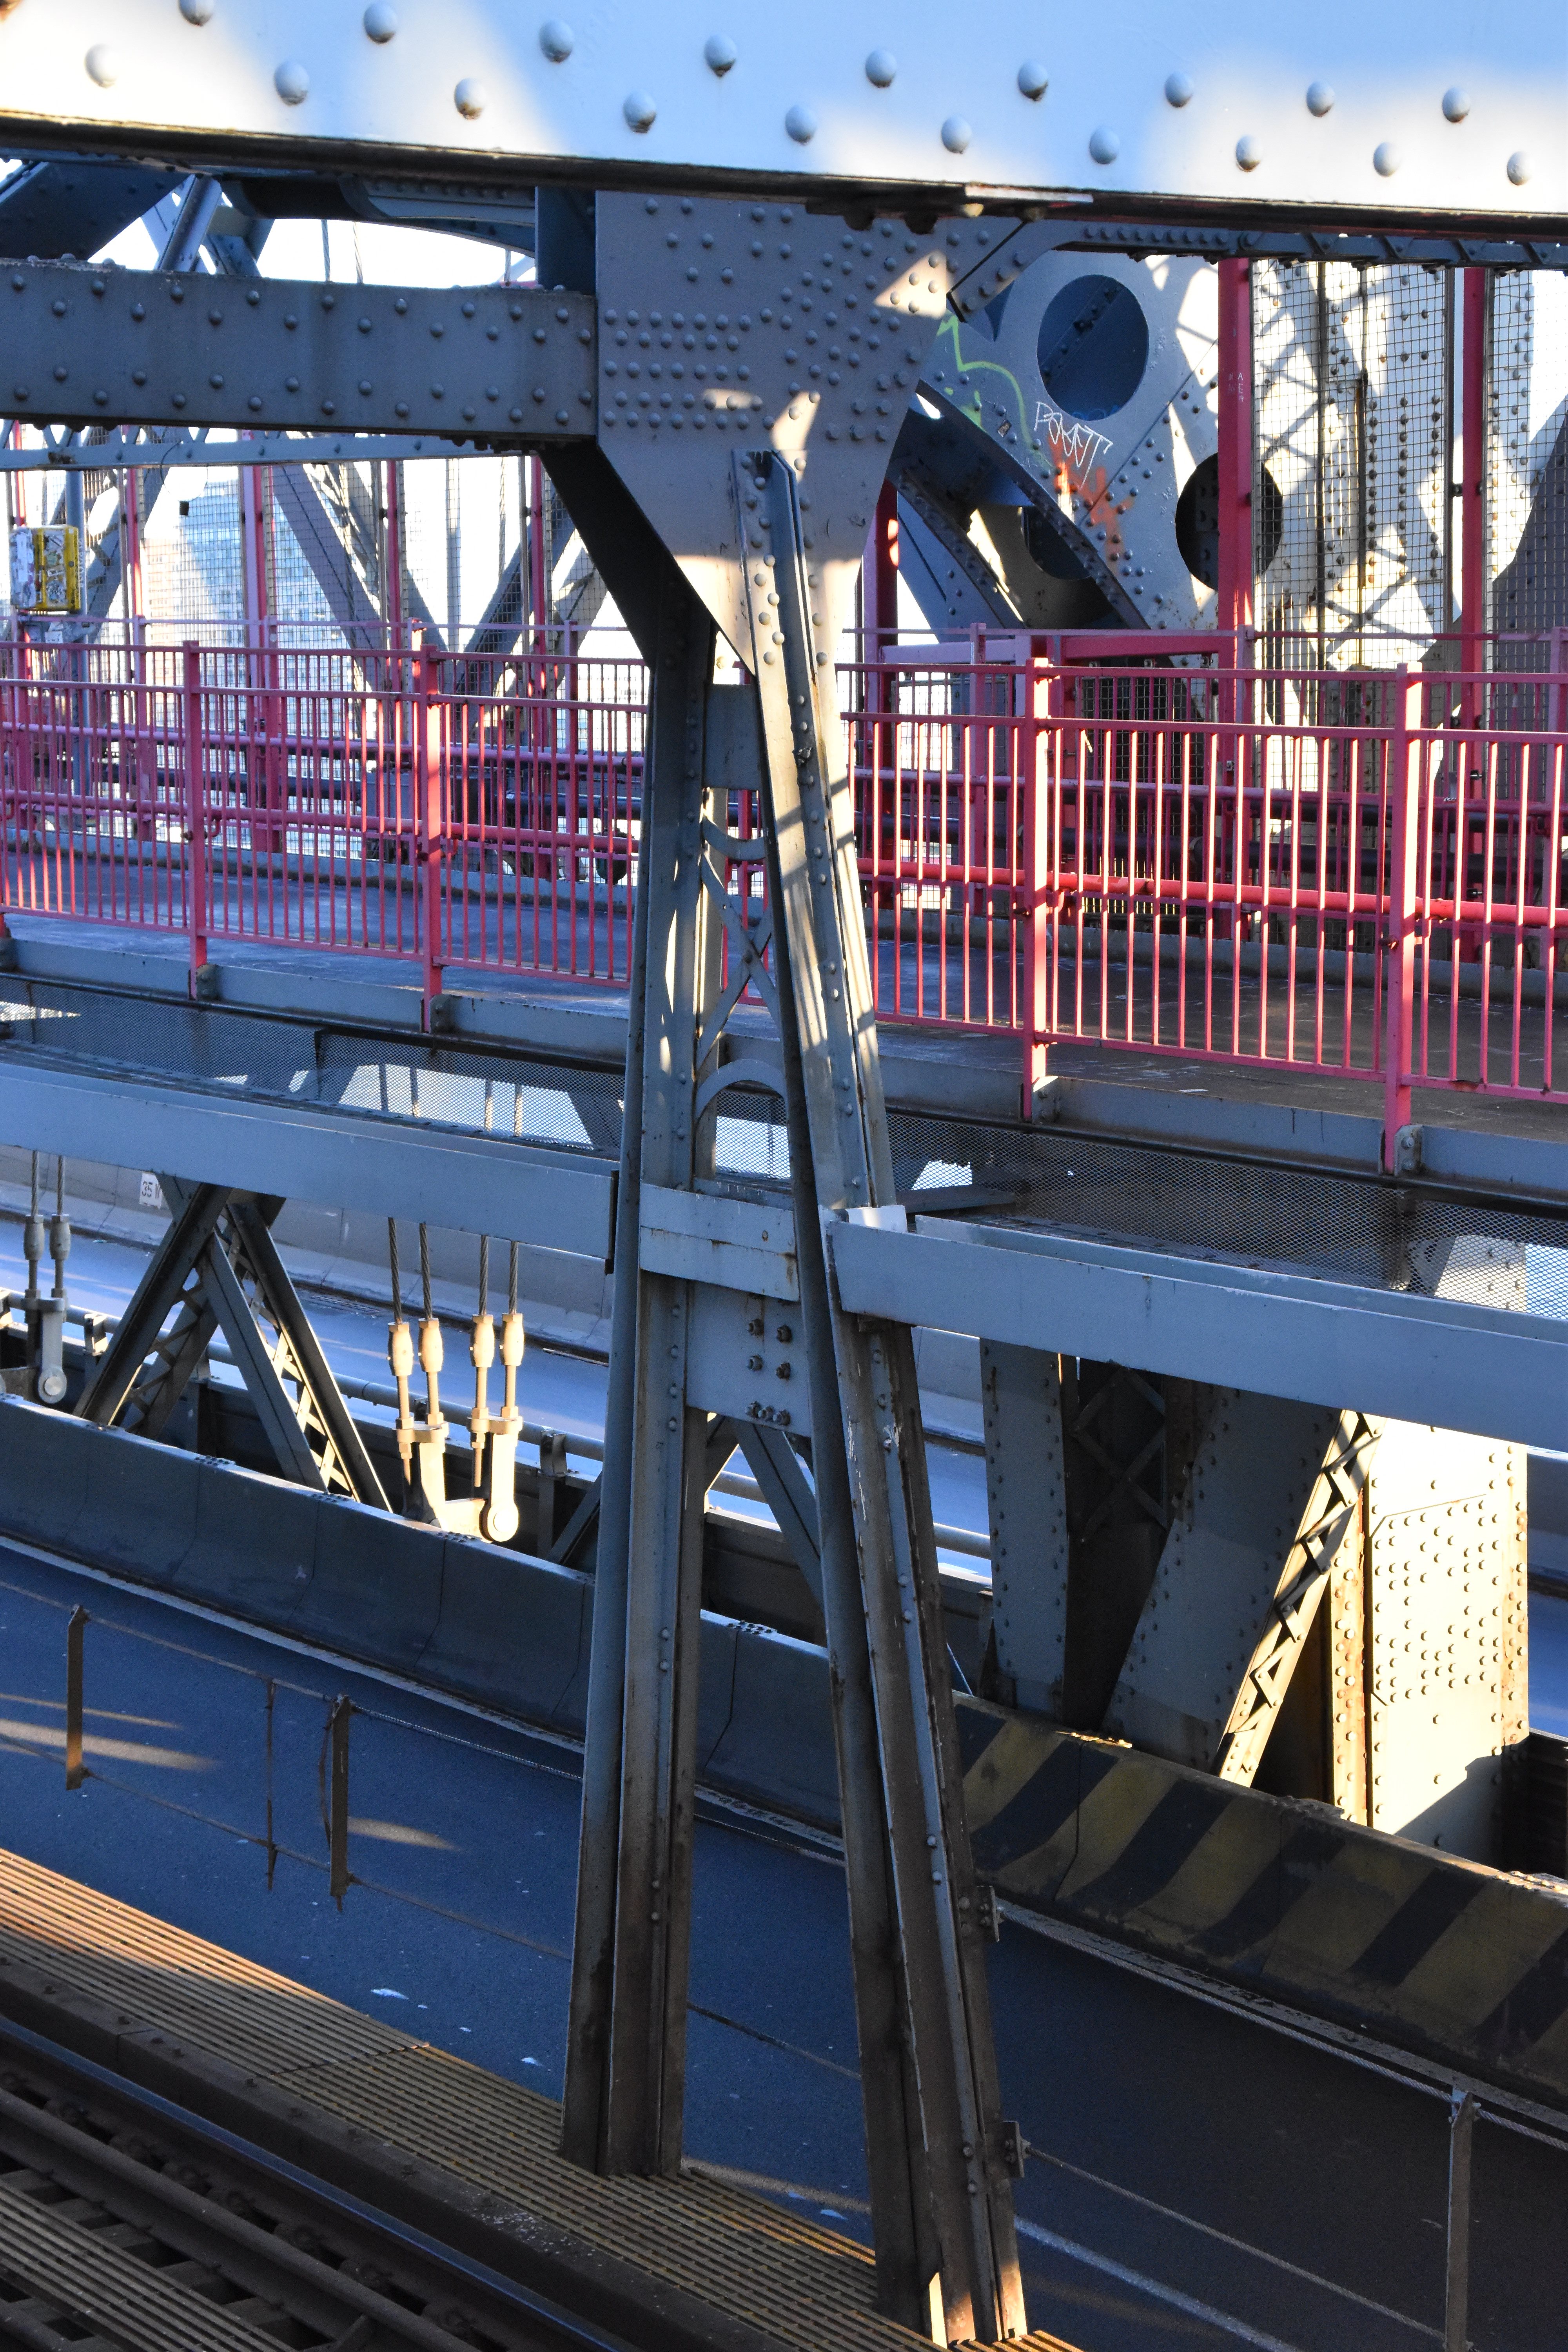
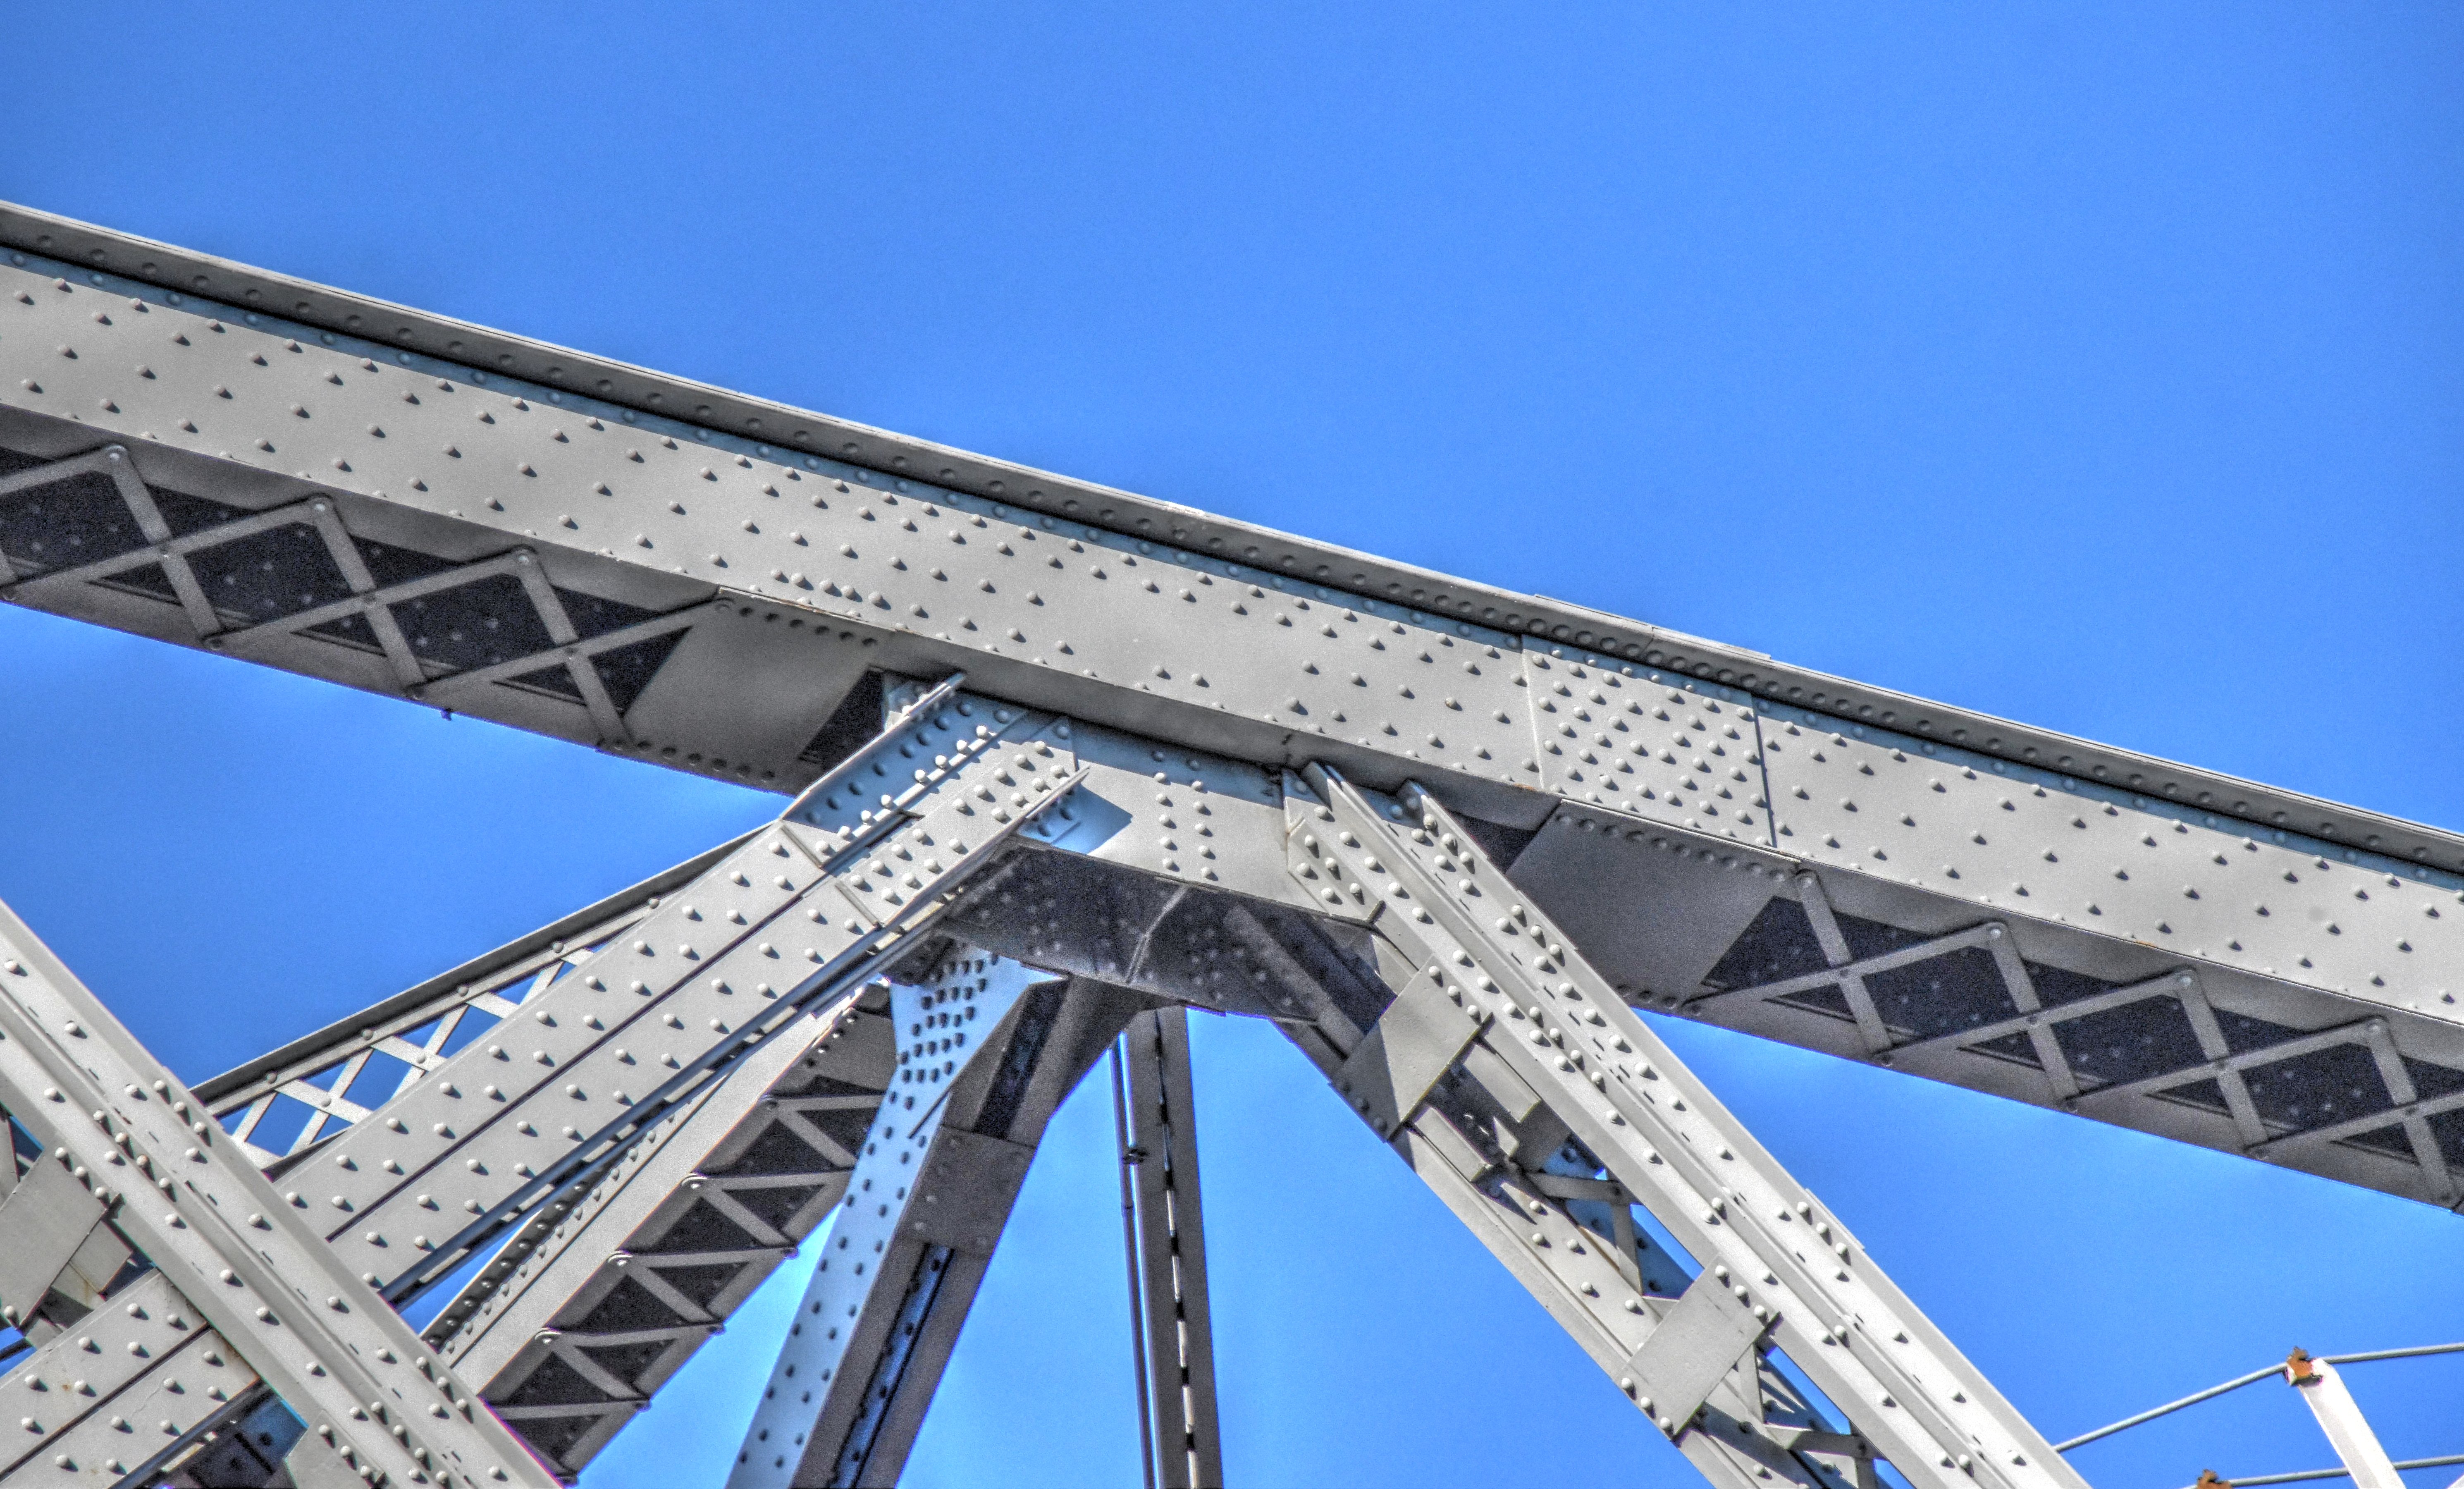
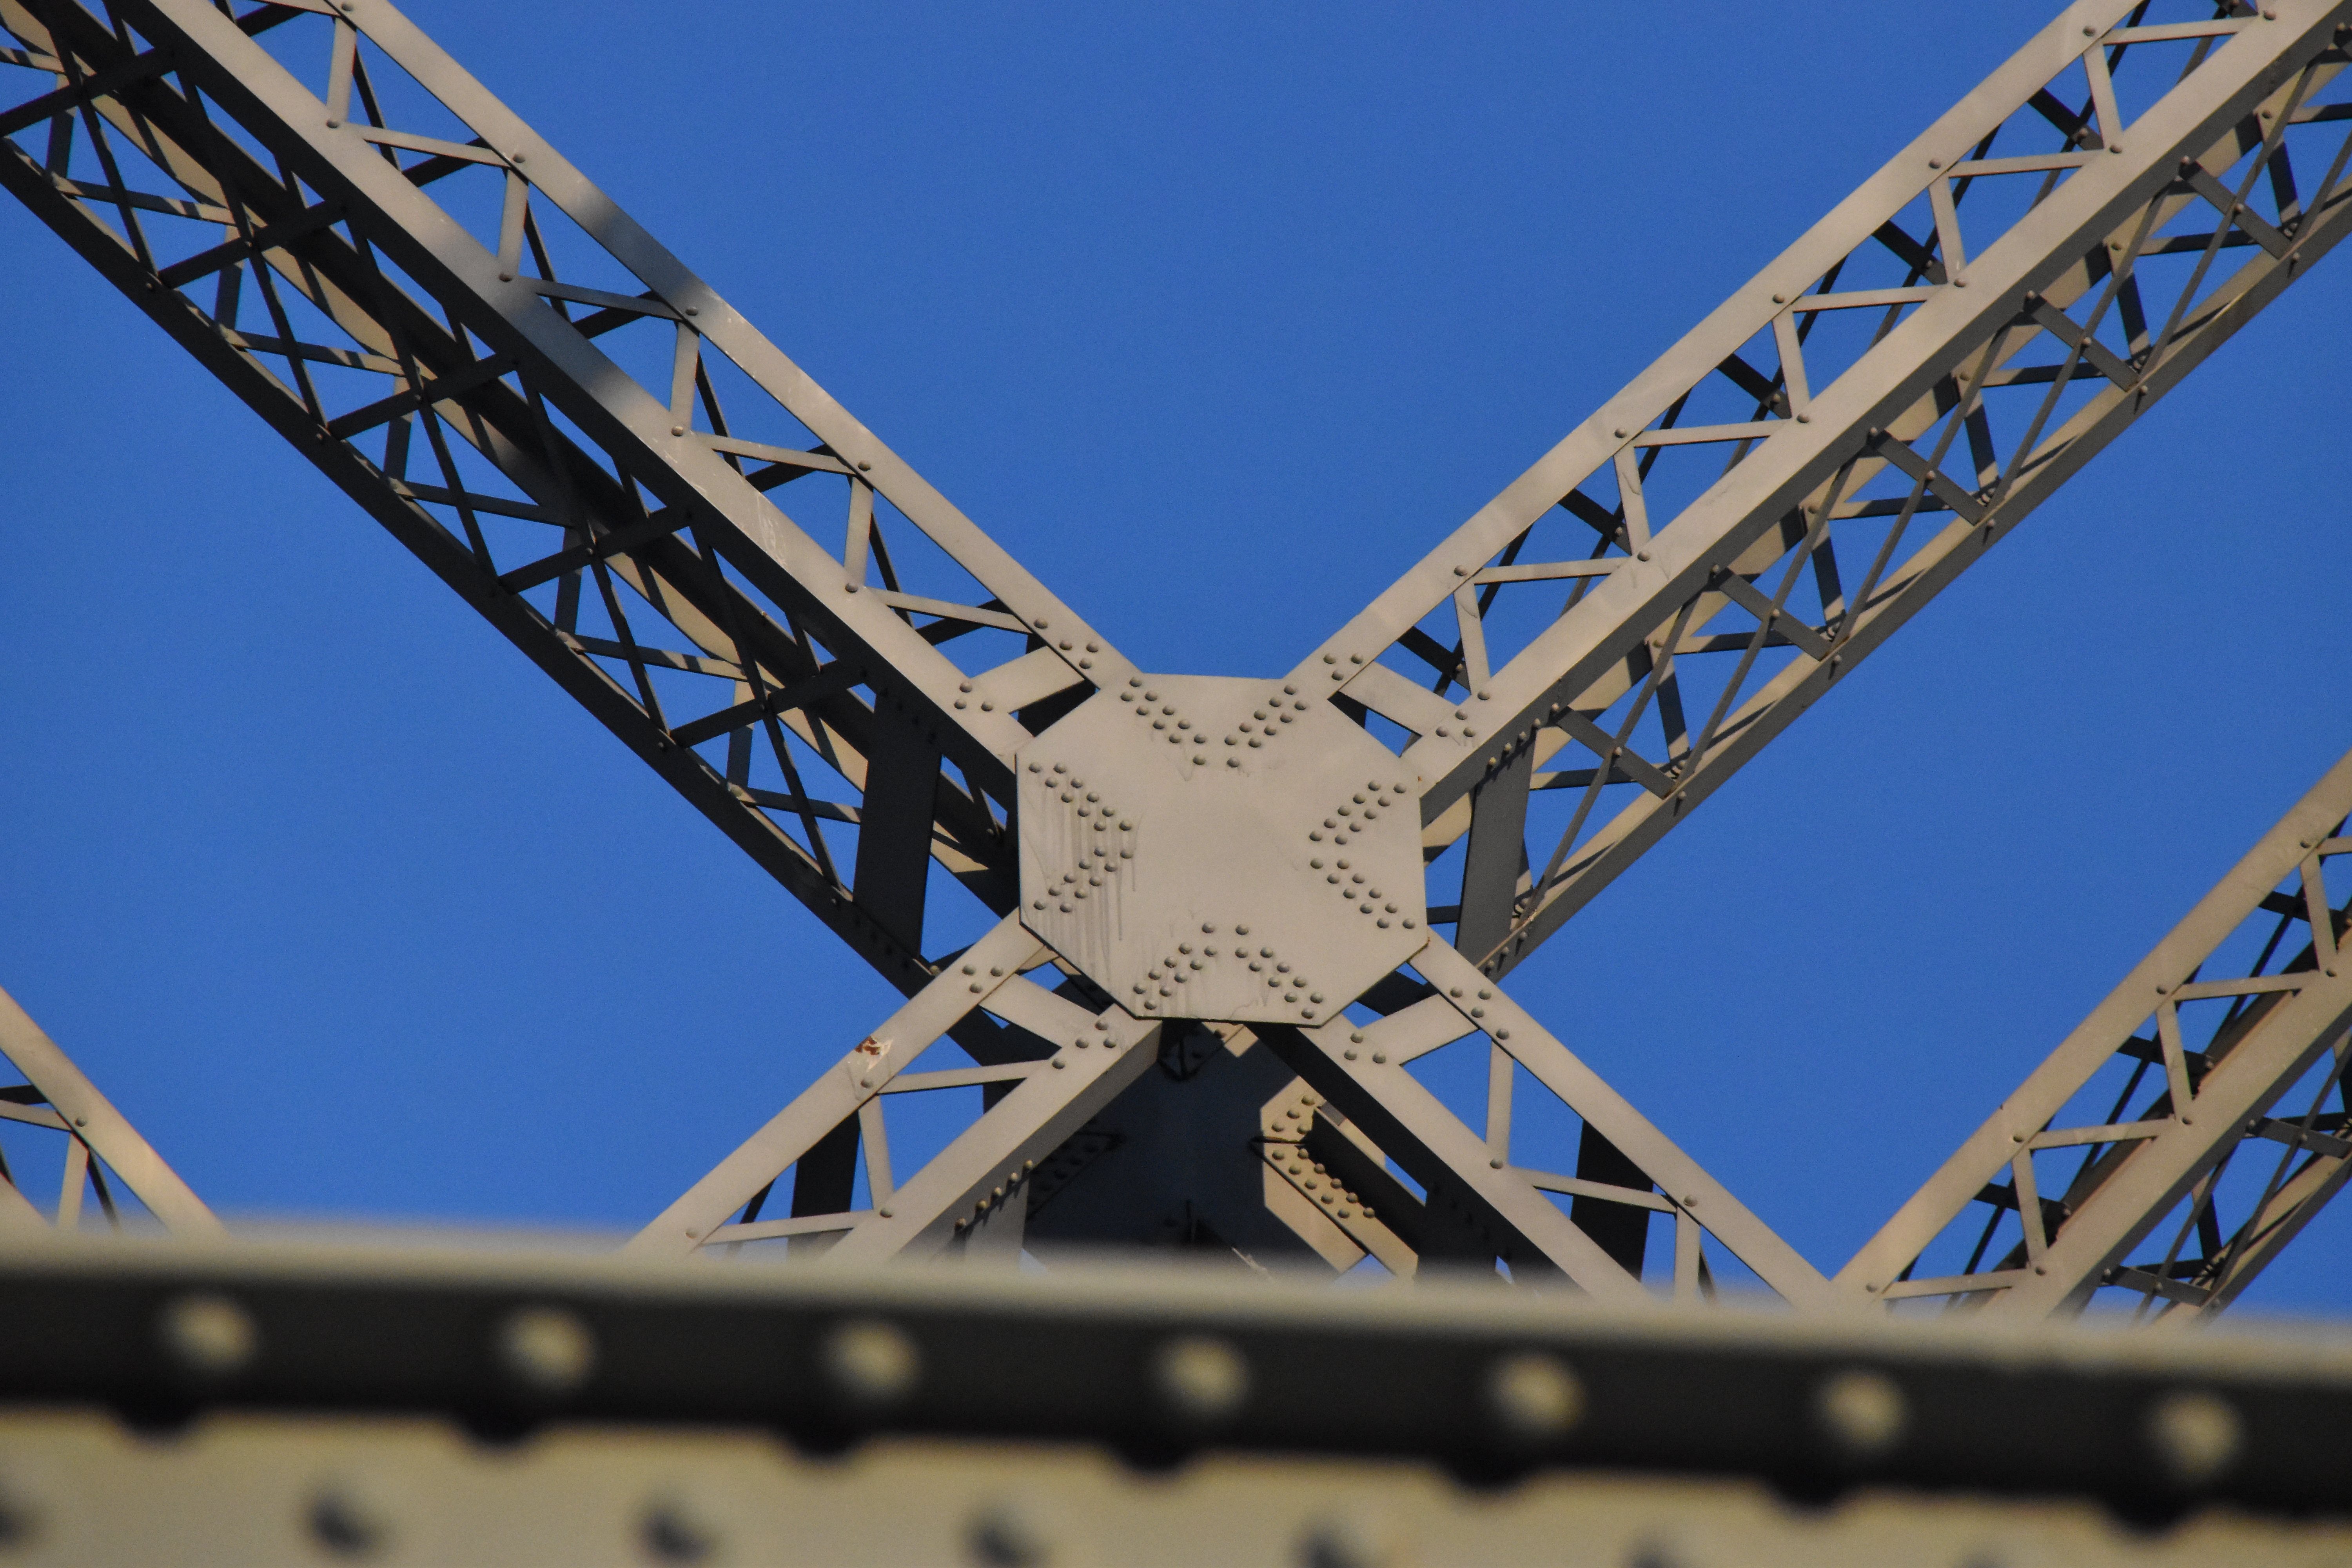
Additional tower bracing details.
![]()


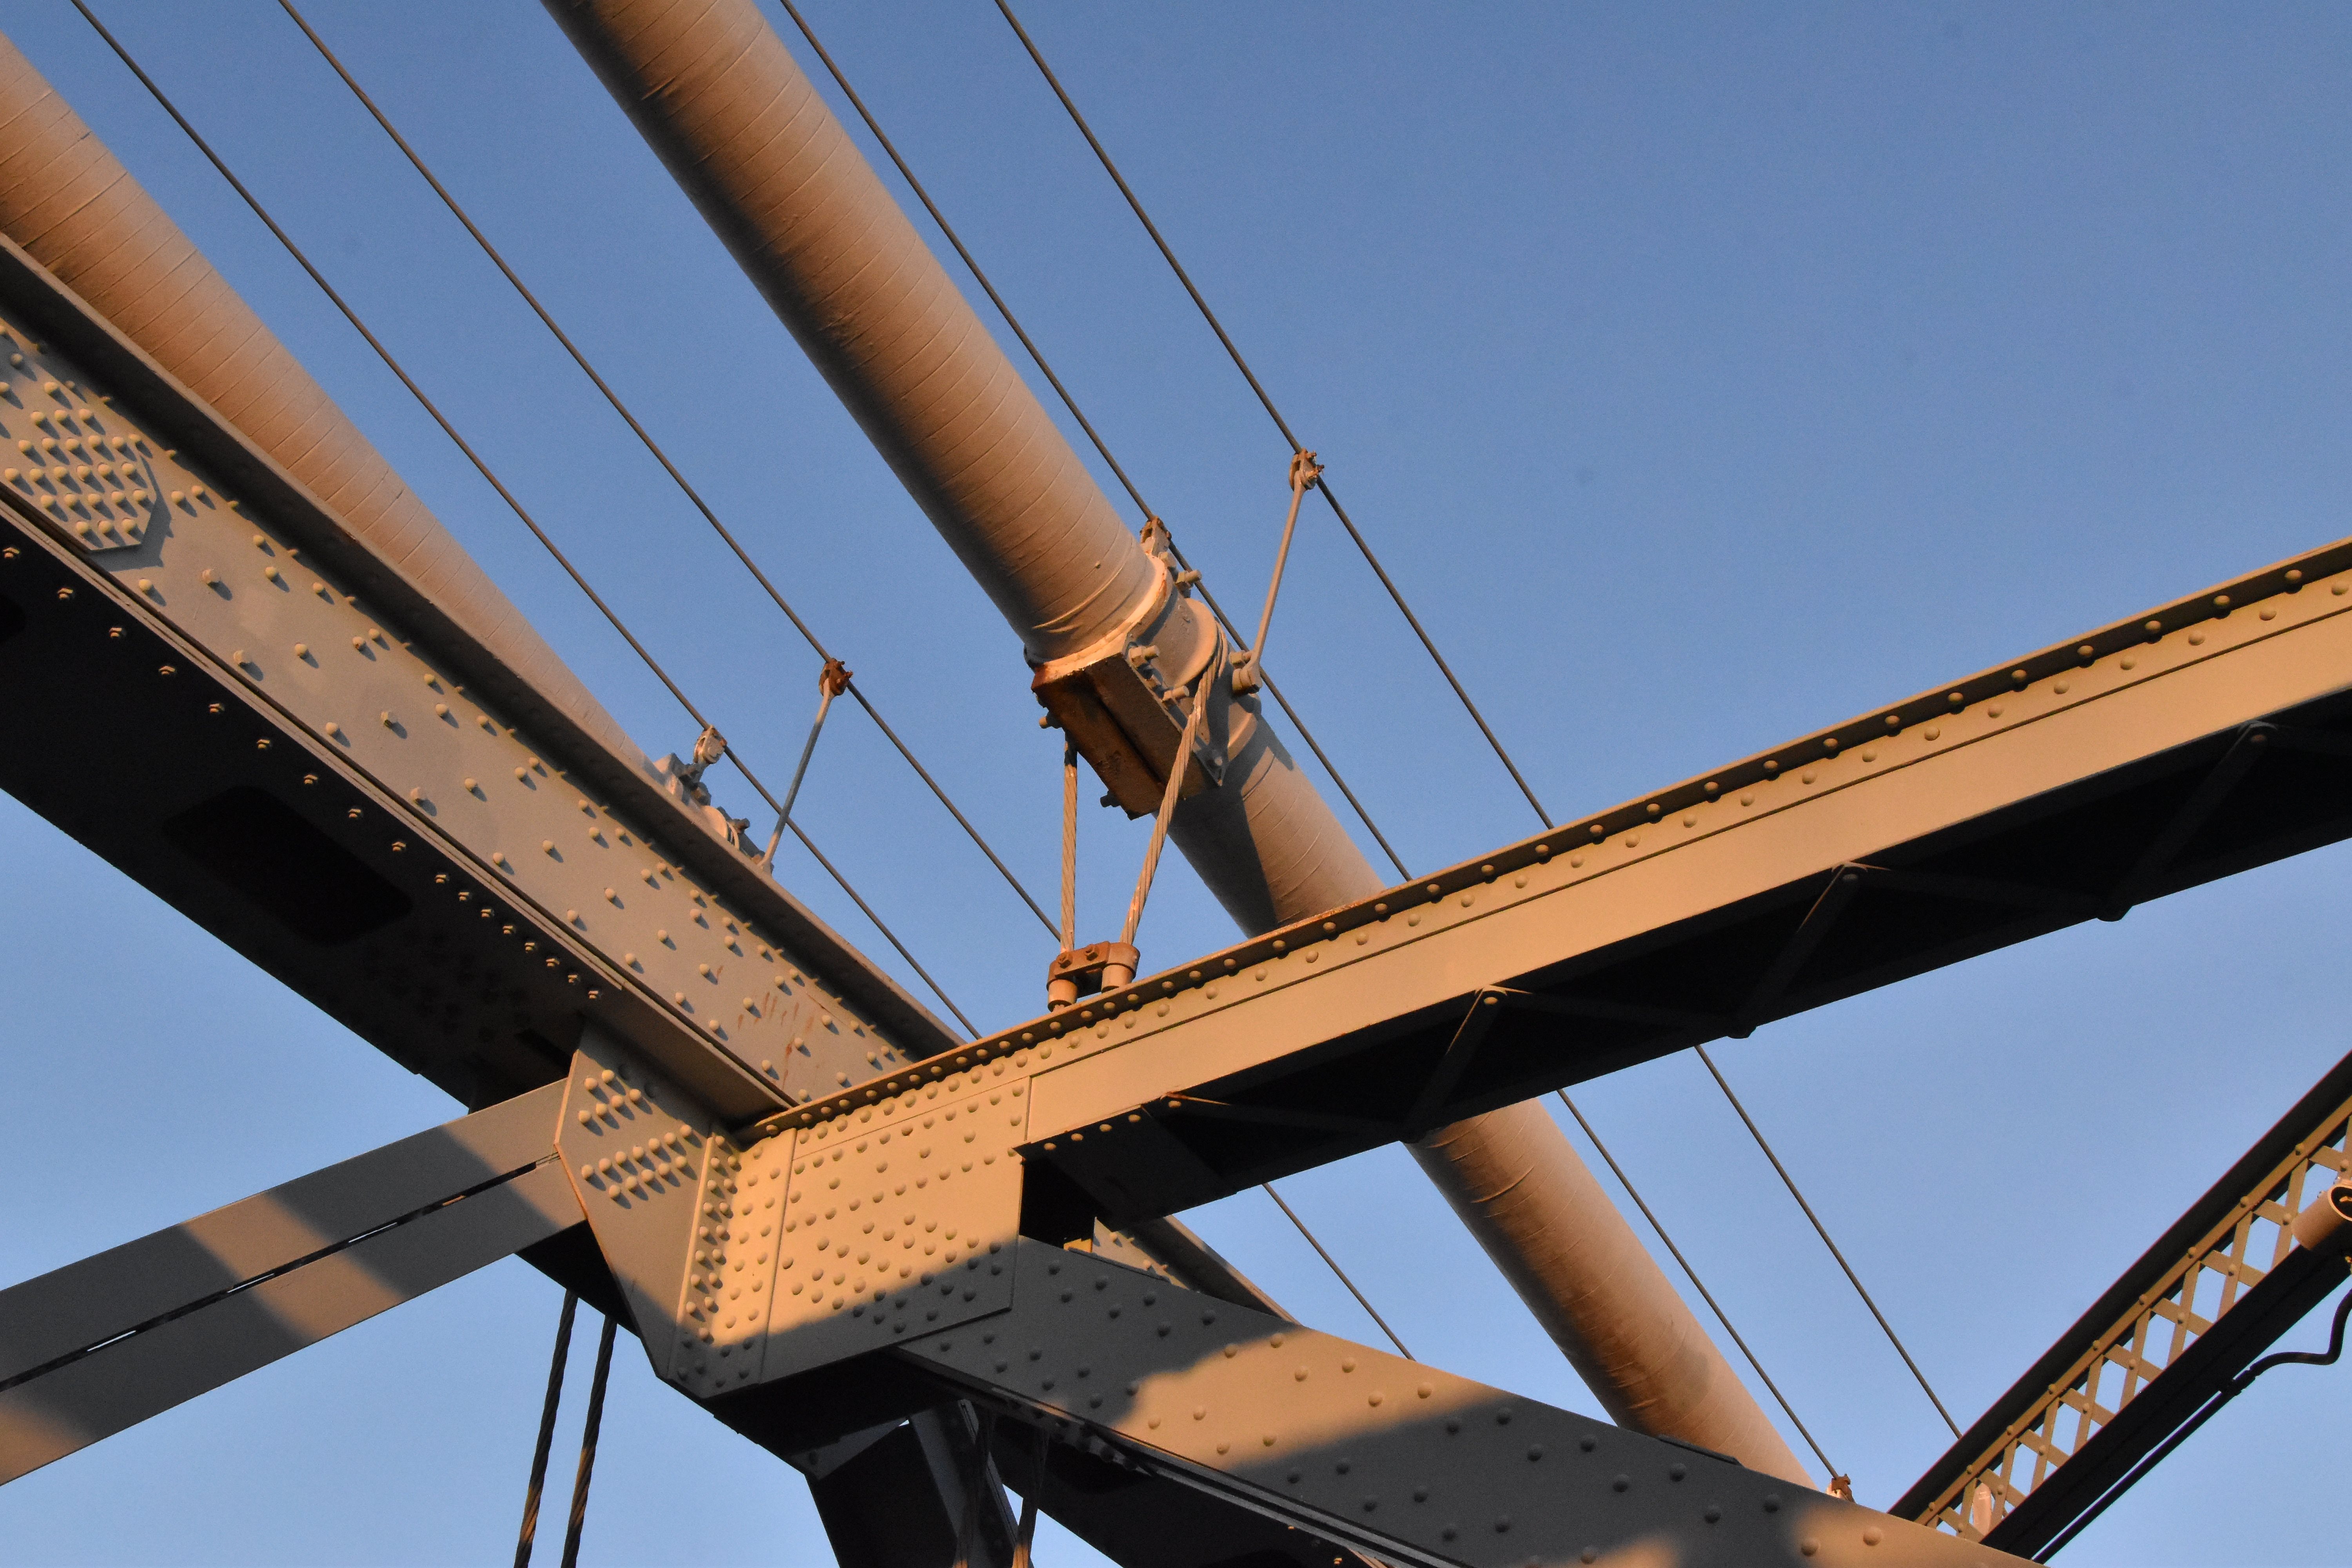
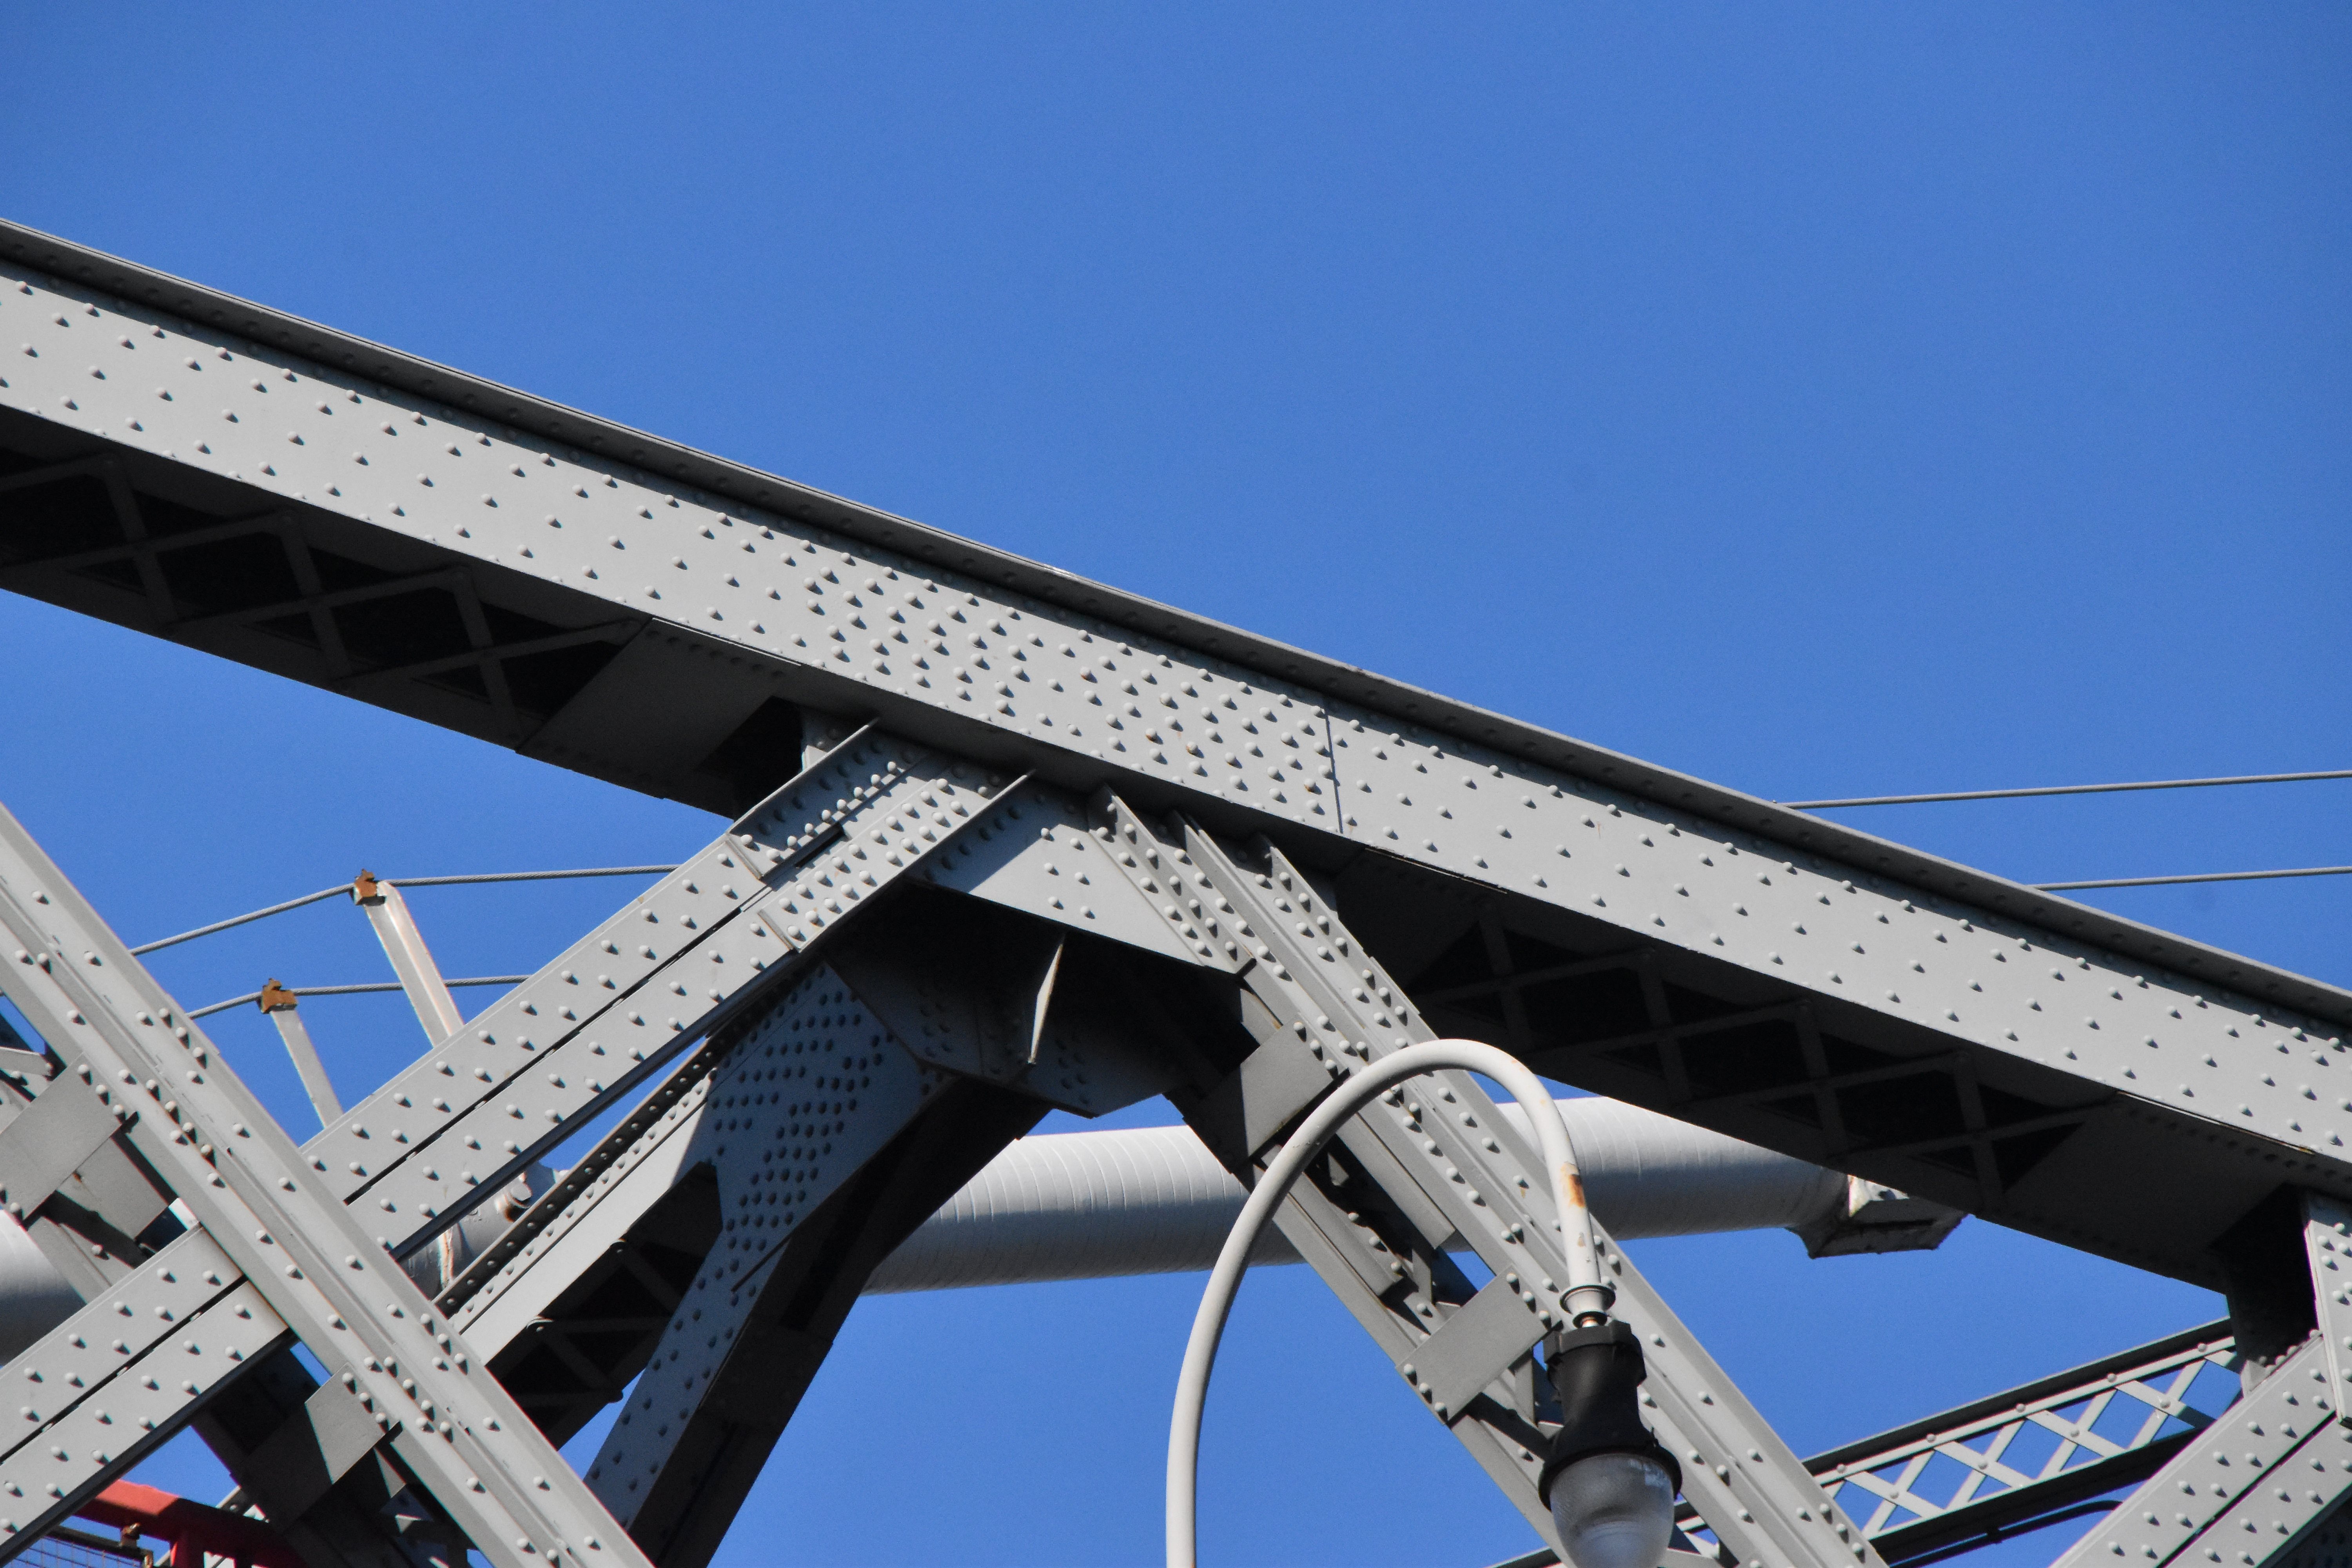
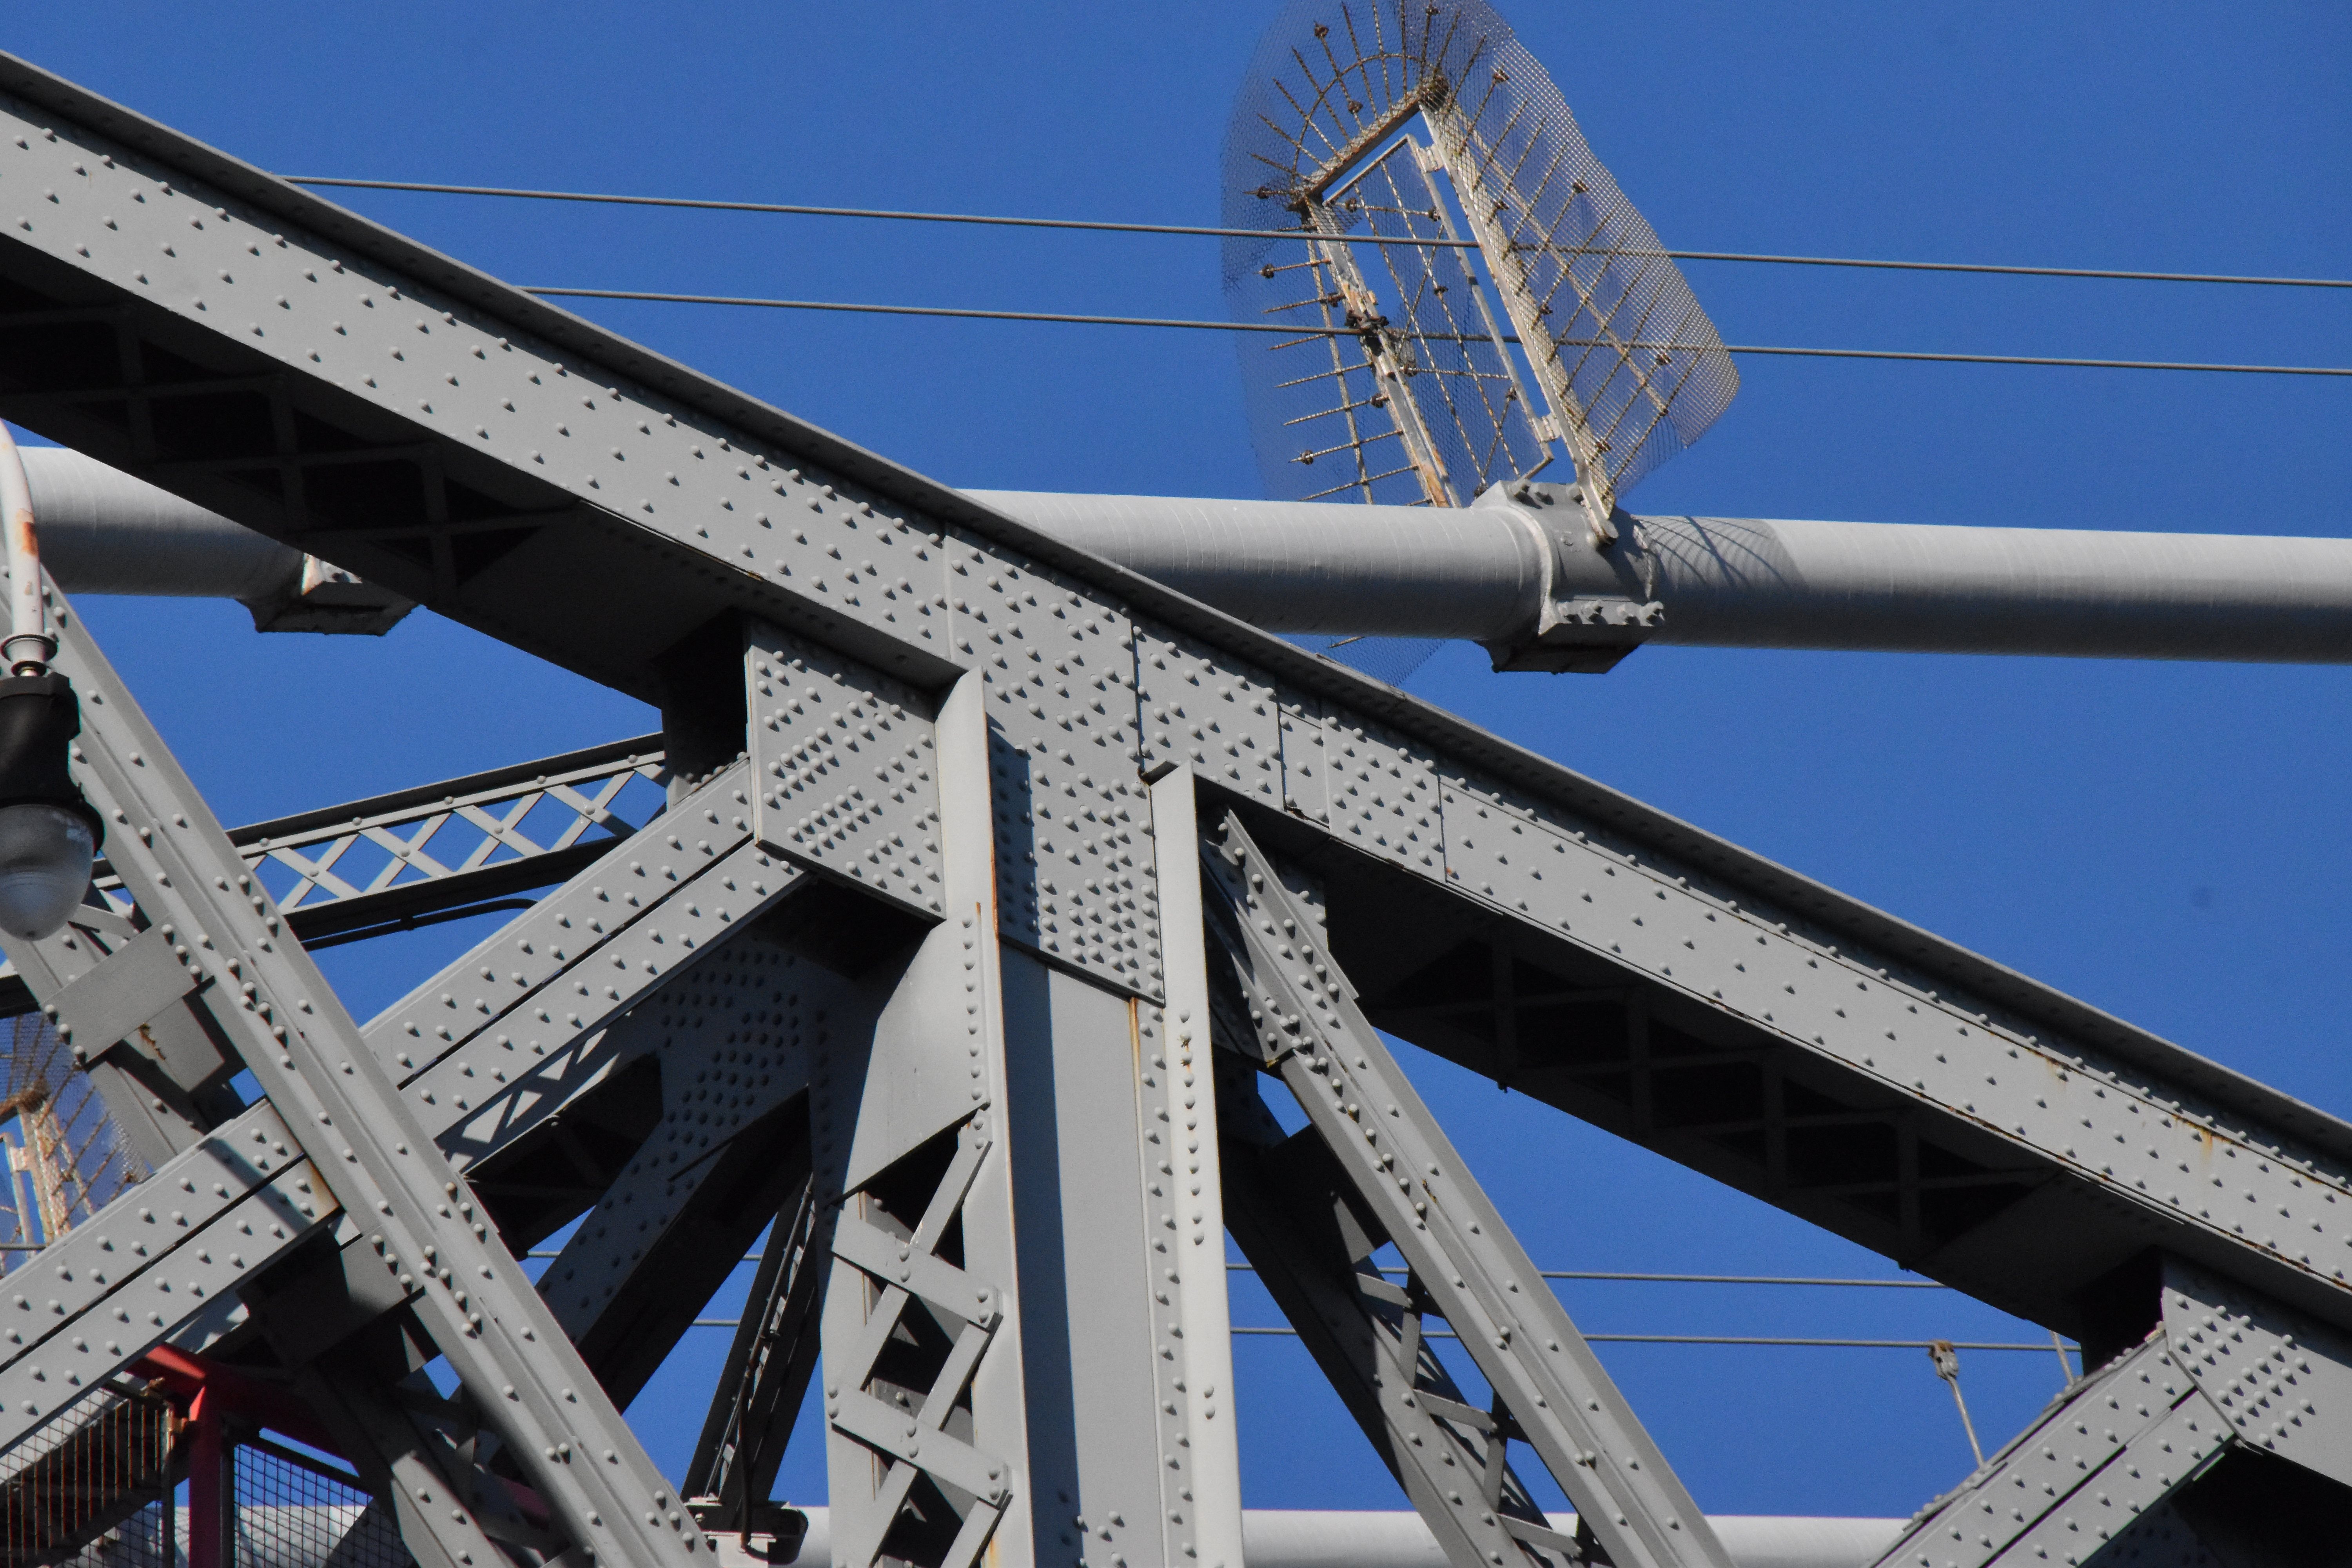
Tower bracing above truss.
![]()


Unusual brace between tower and sway bracing.
![]()


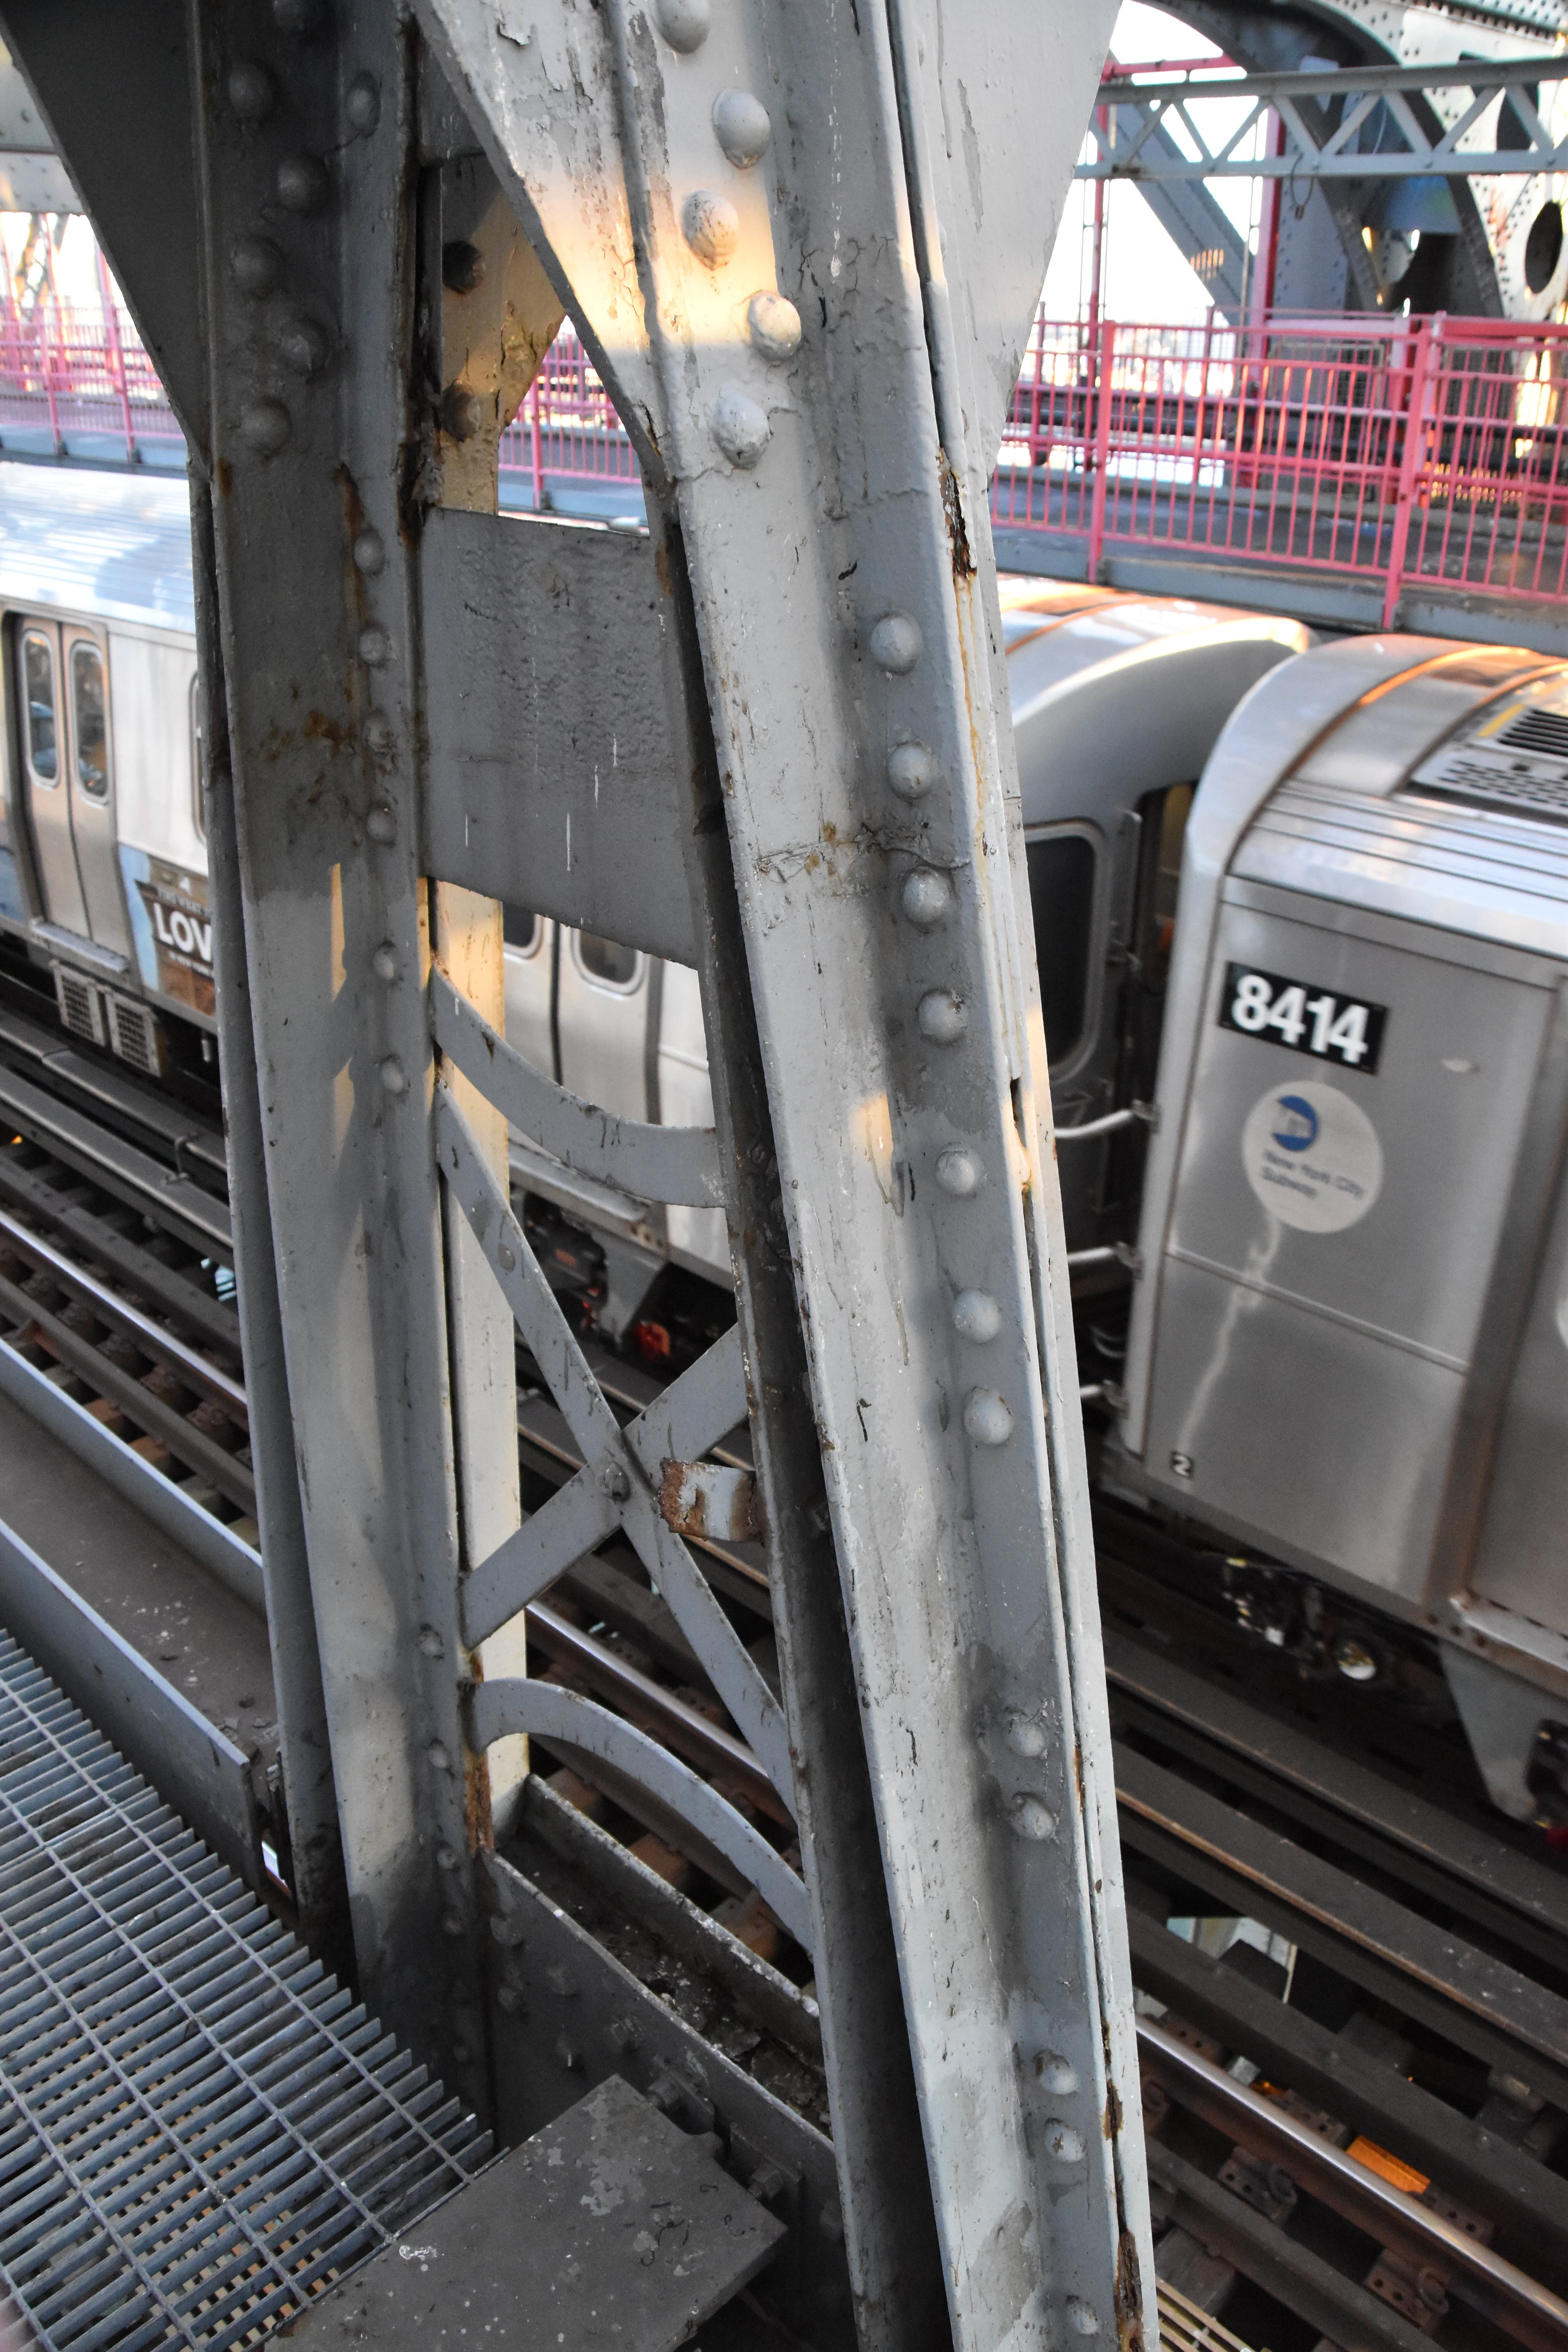
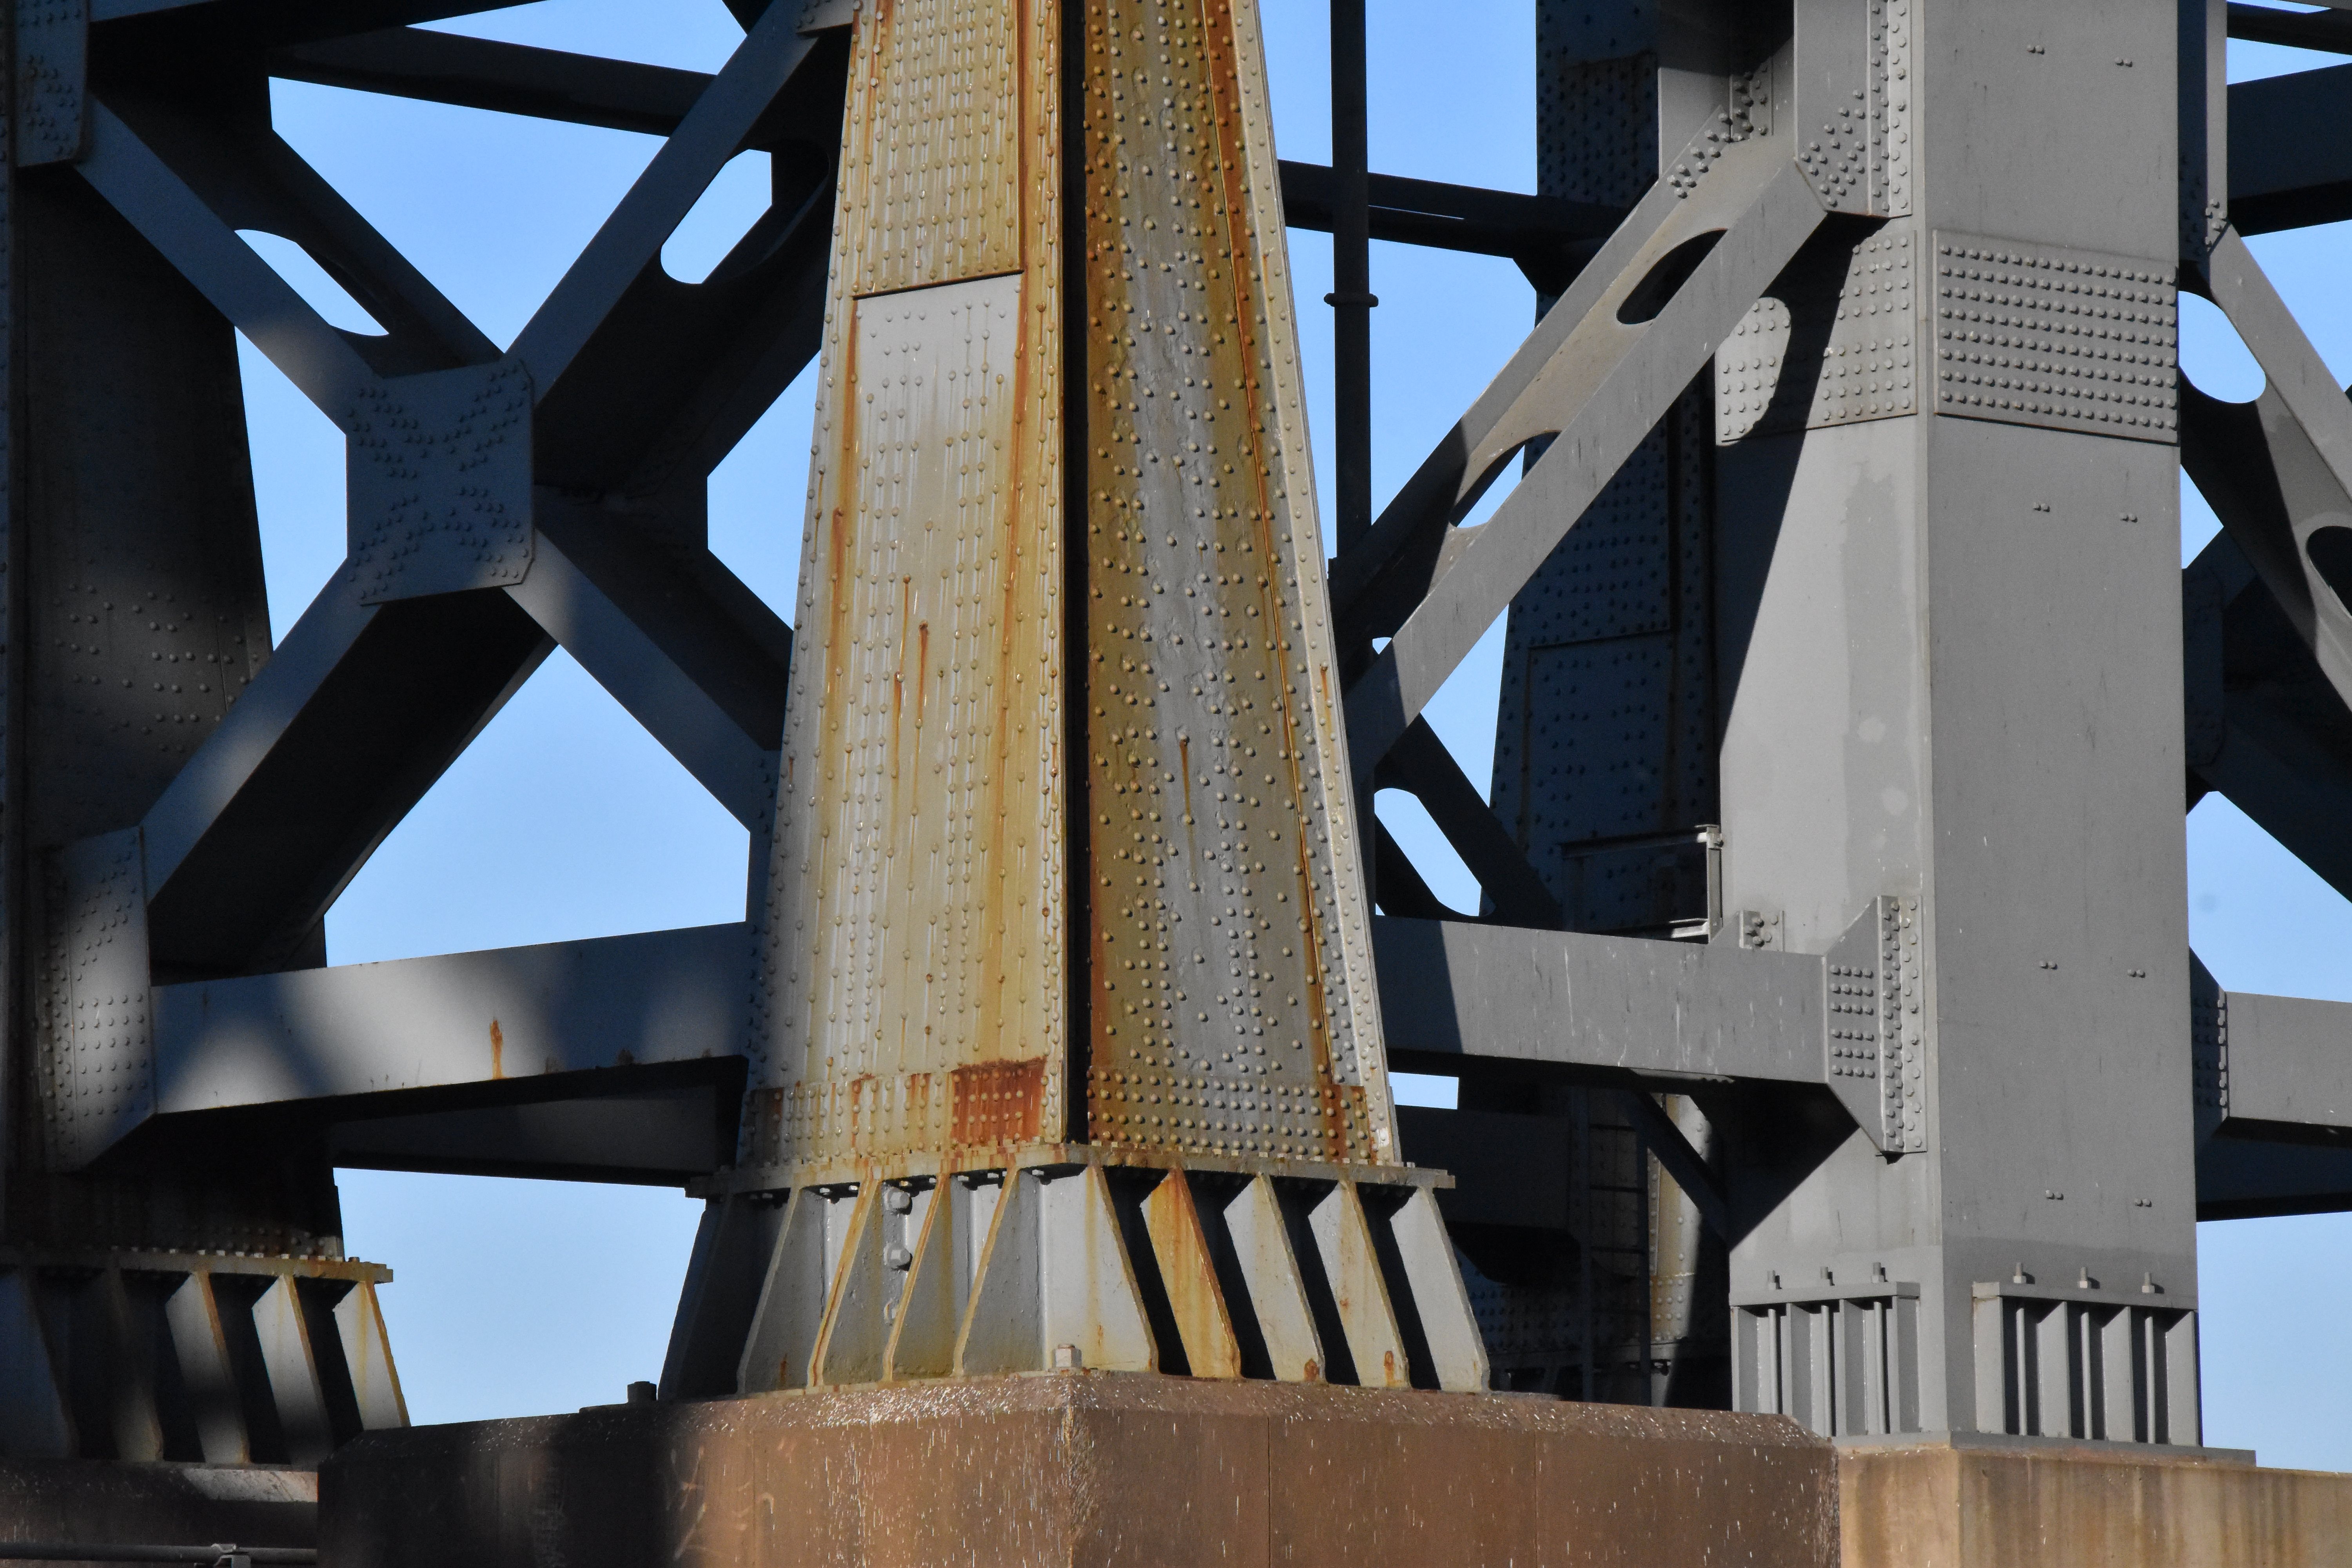
Details of tower post.
![]()


Underside of tower platform.
![]()


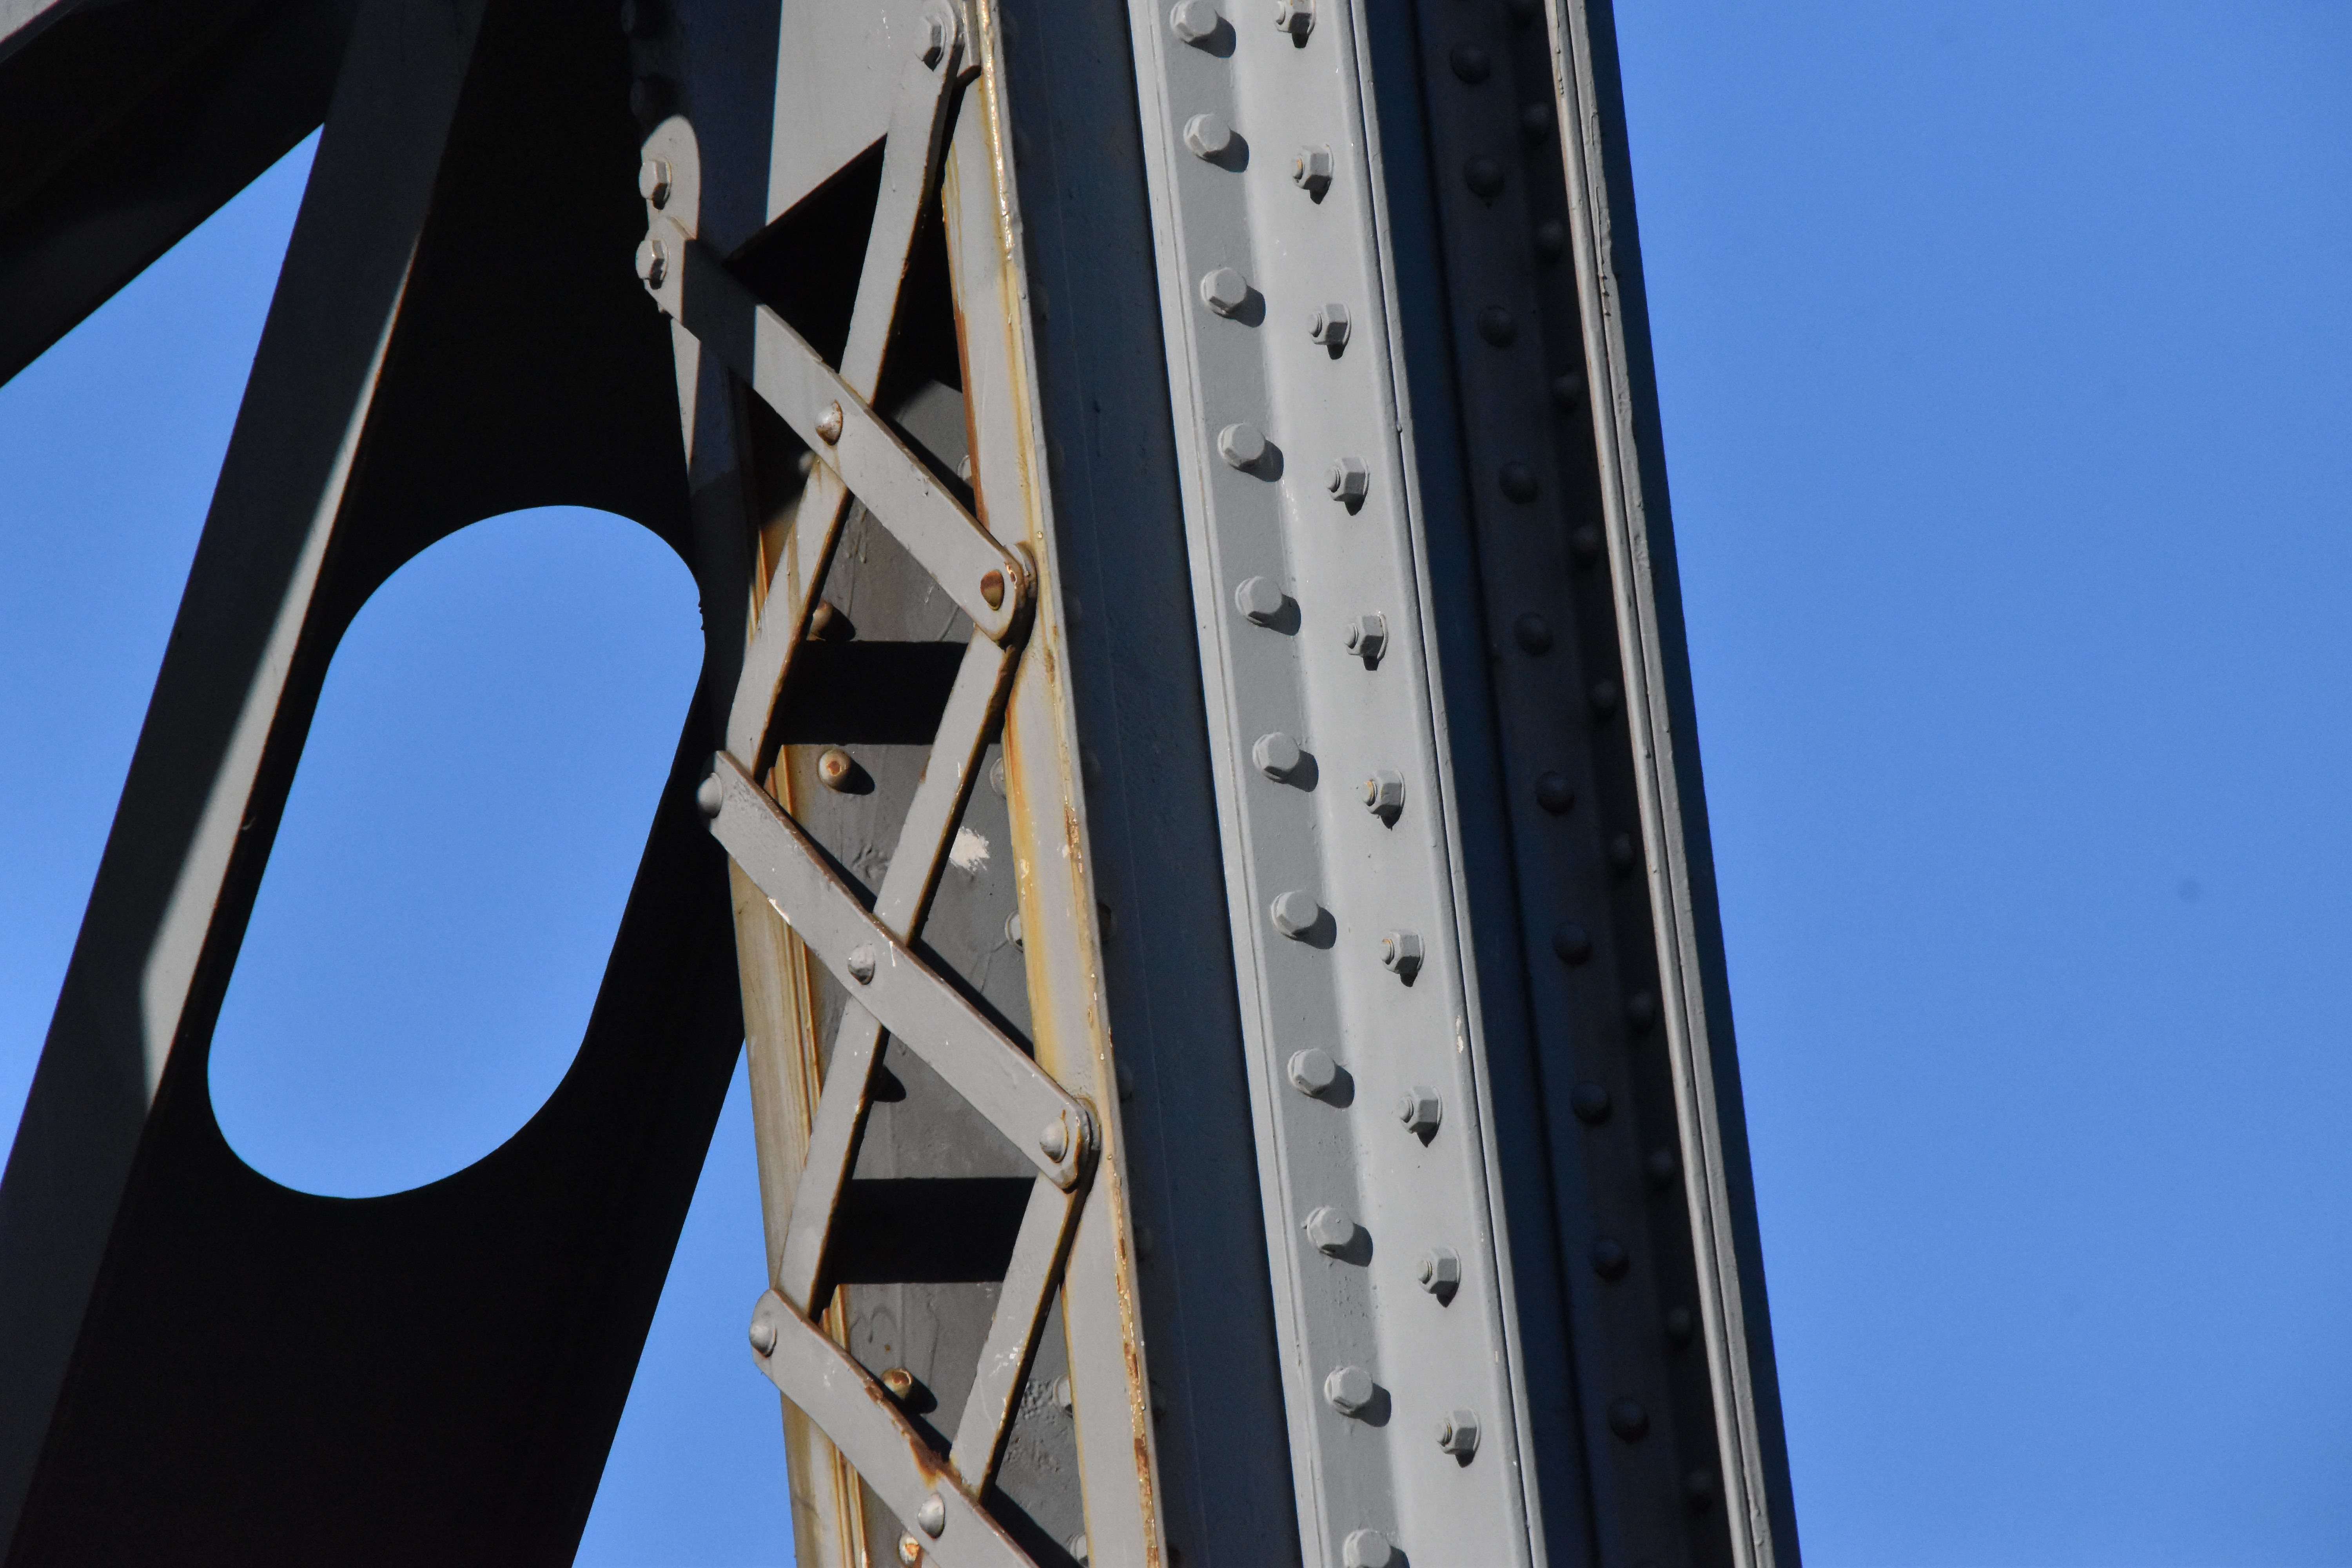
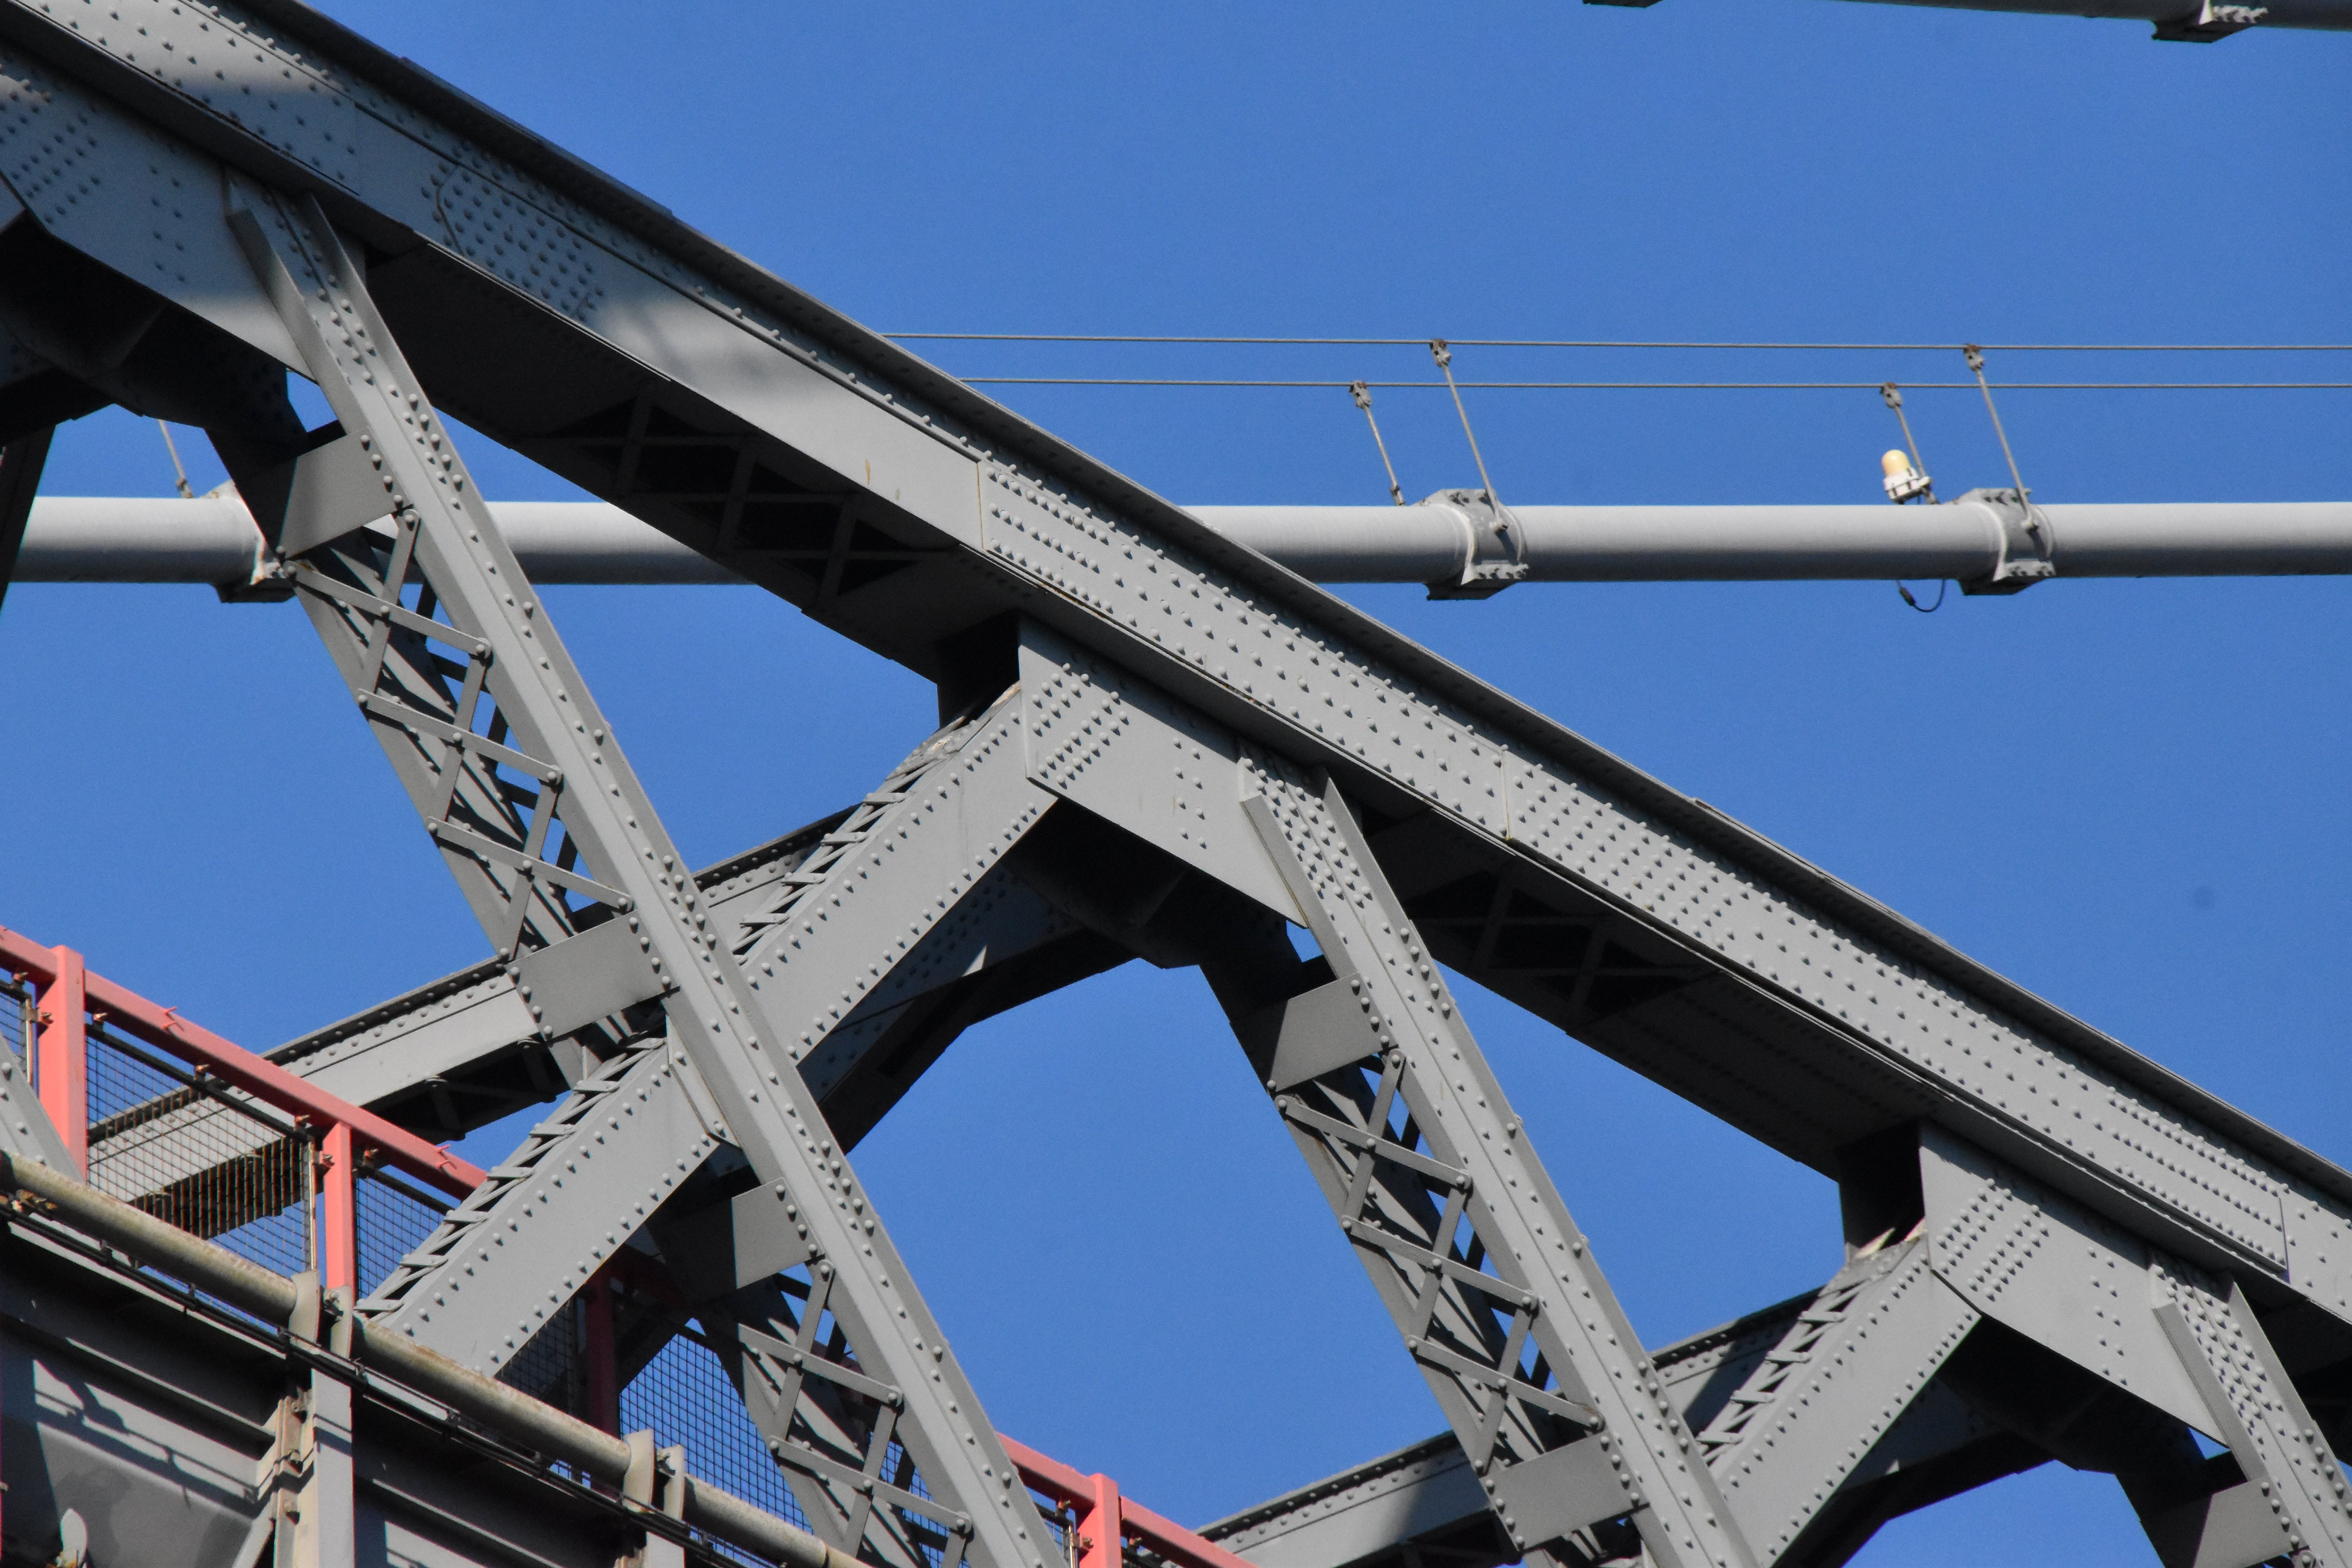
Sway bracing near tower.
![]()
Unusual lightweight sway brace beam under tower over walkway.
![]()
Unusual tapered column directly under the tower.
![]()


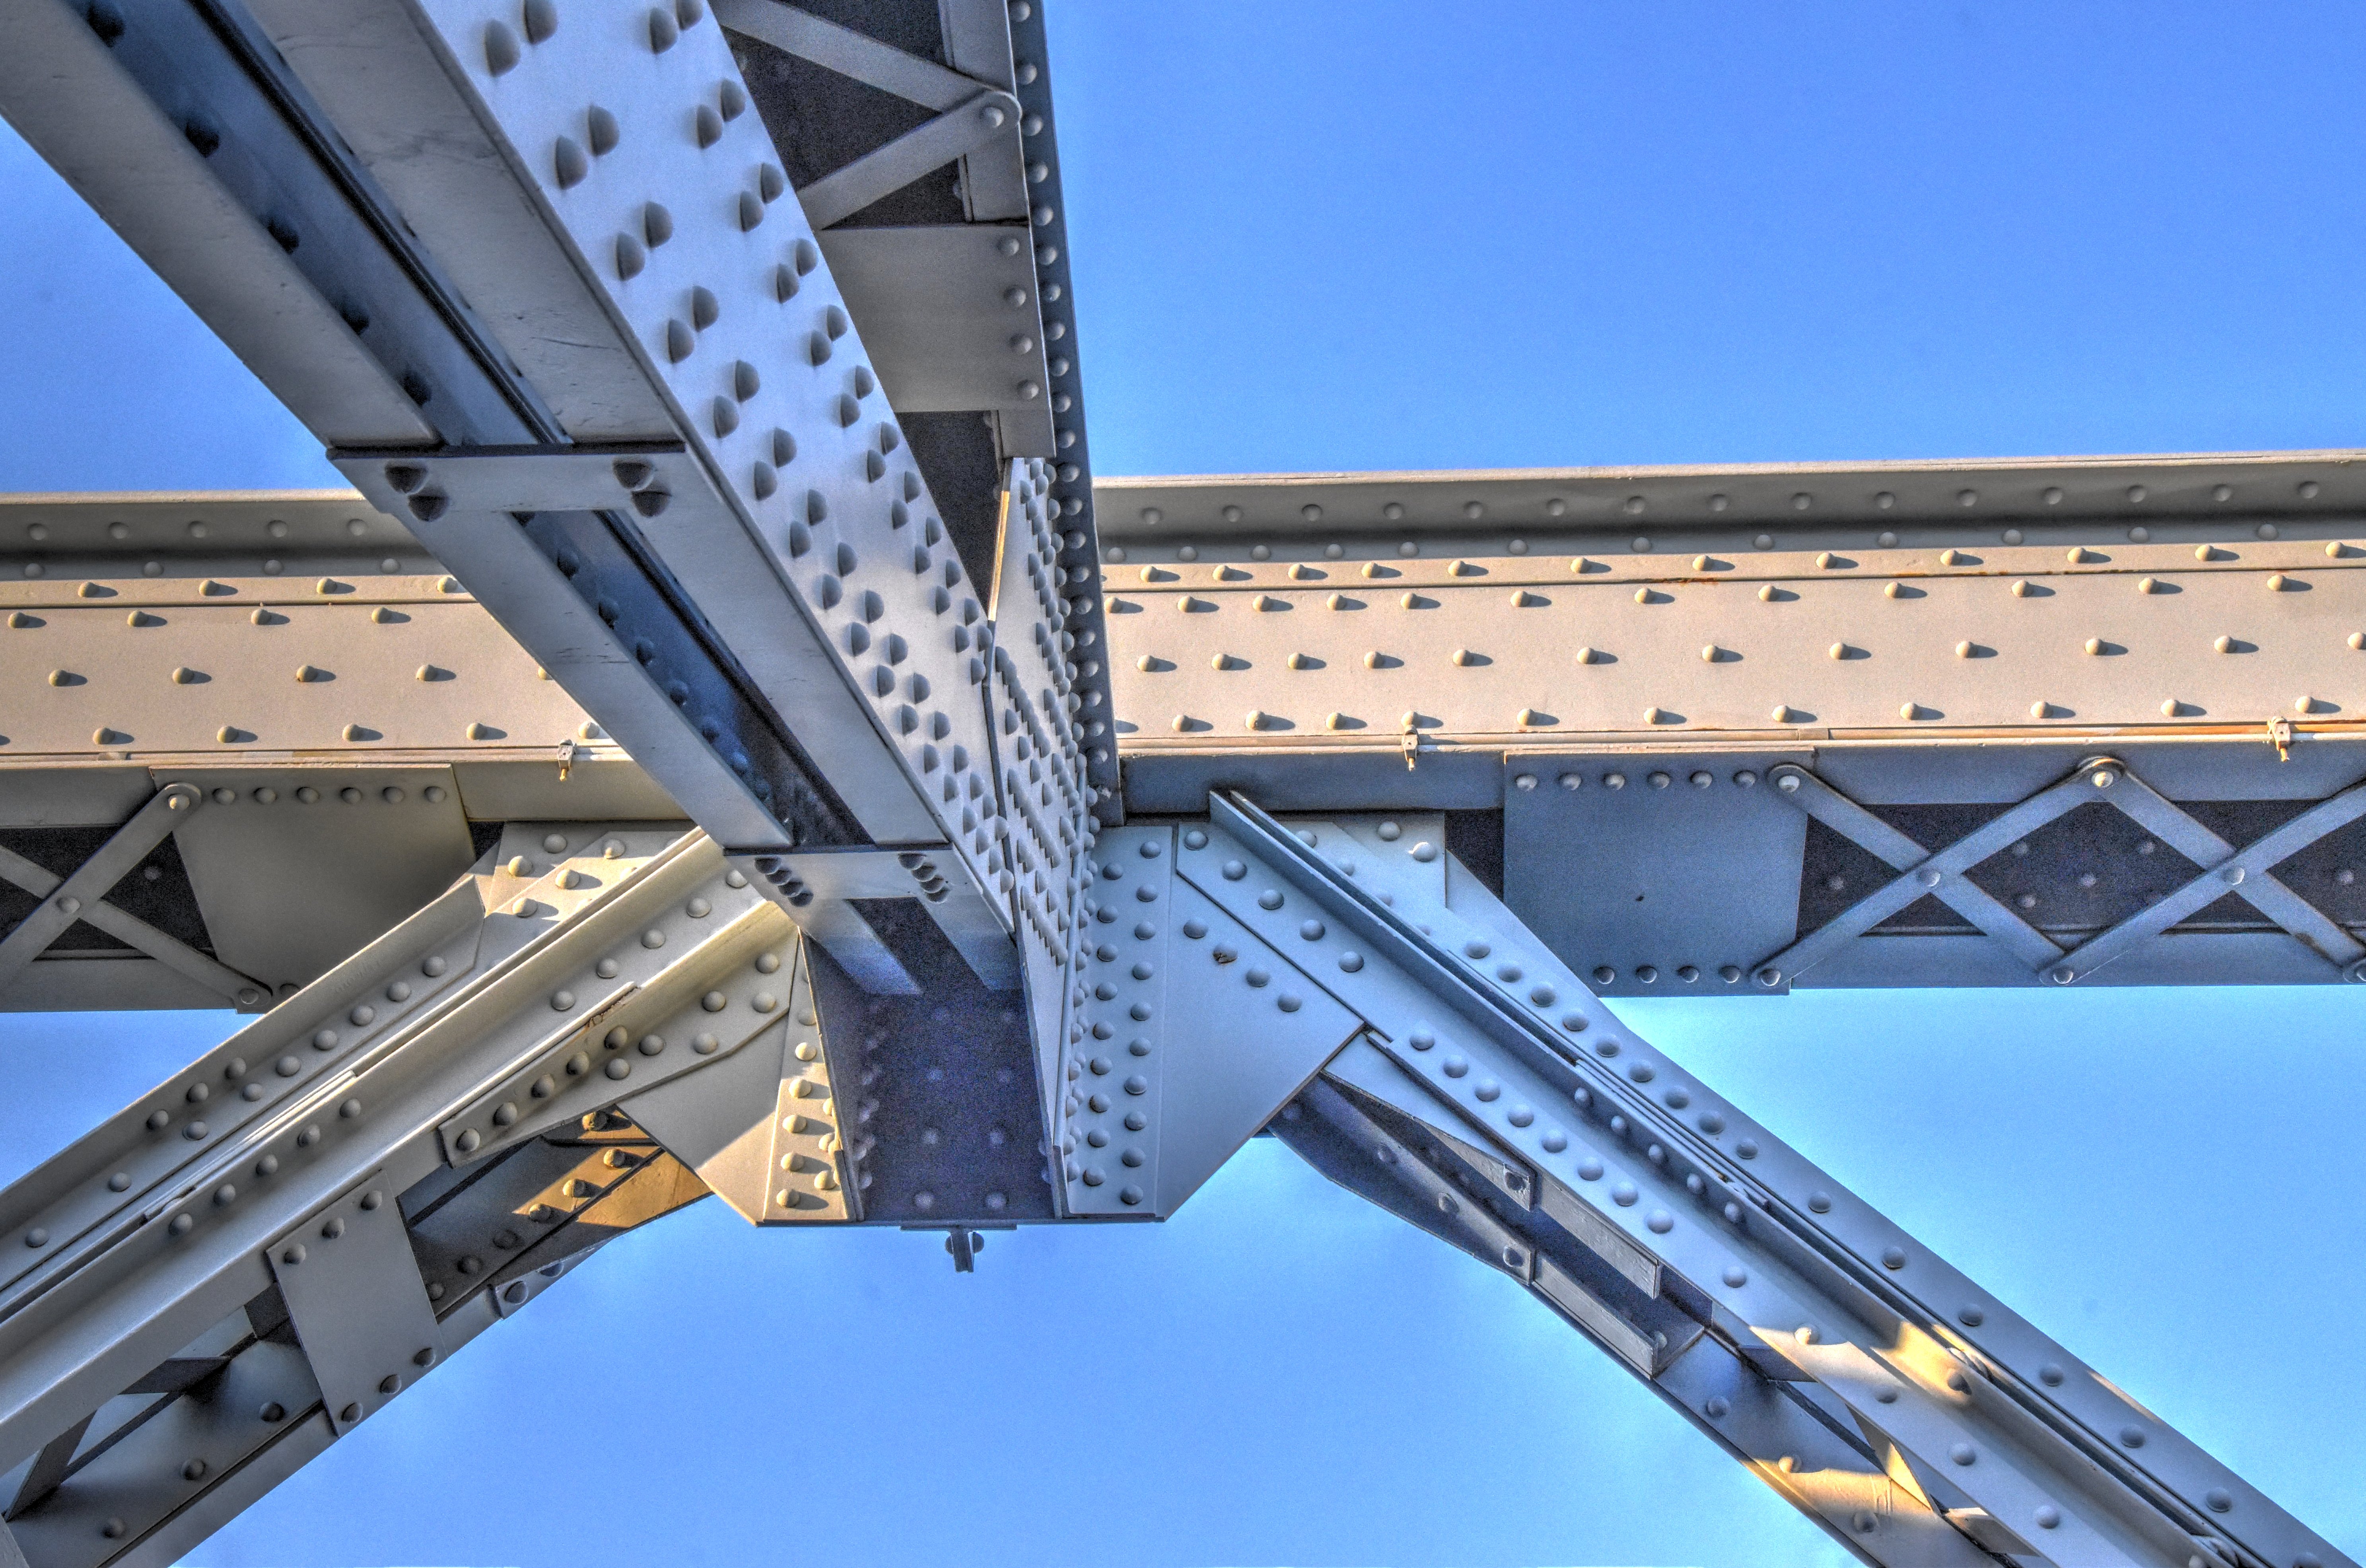


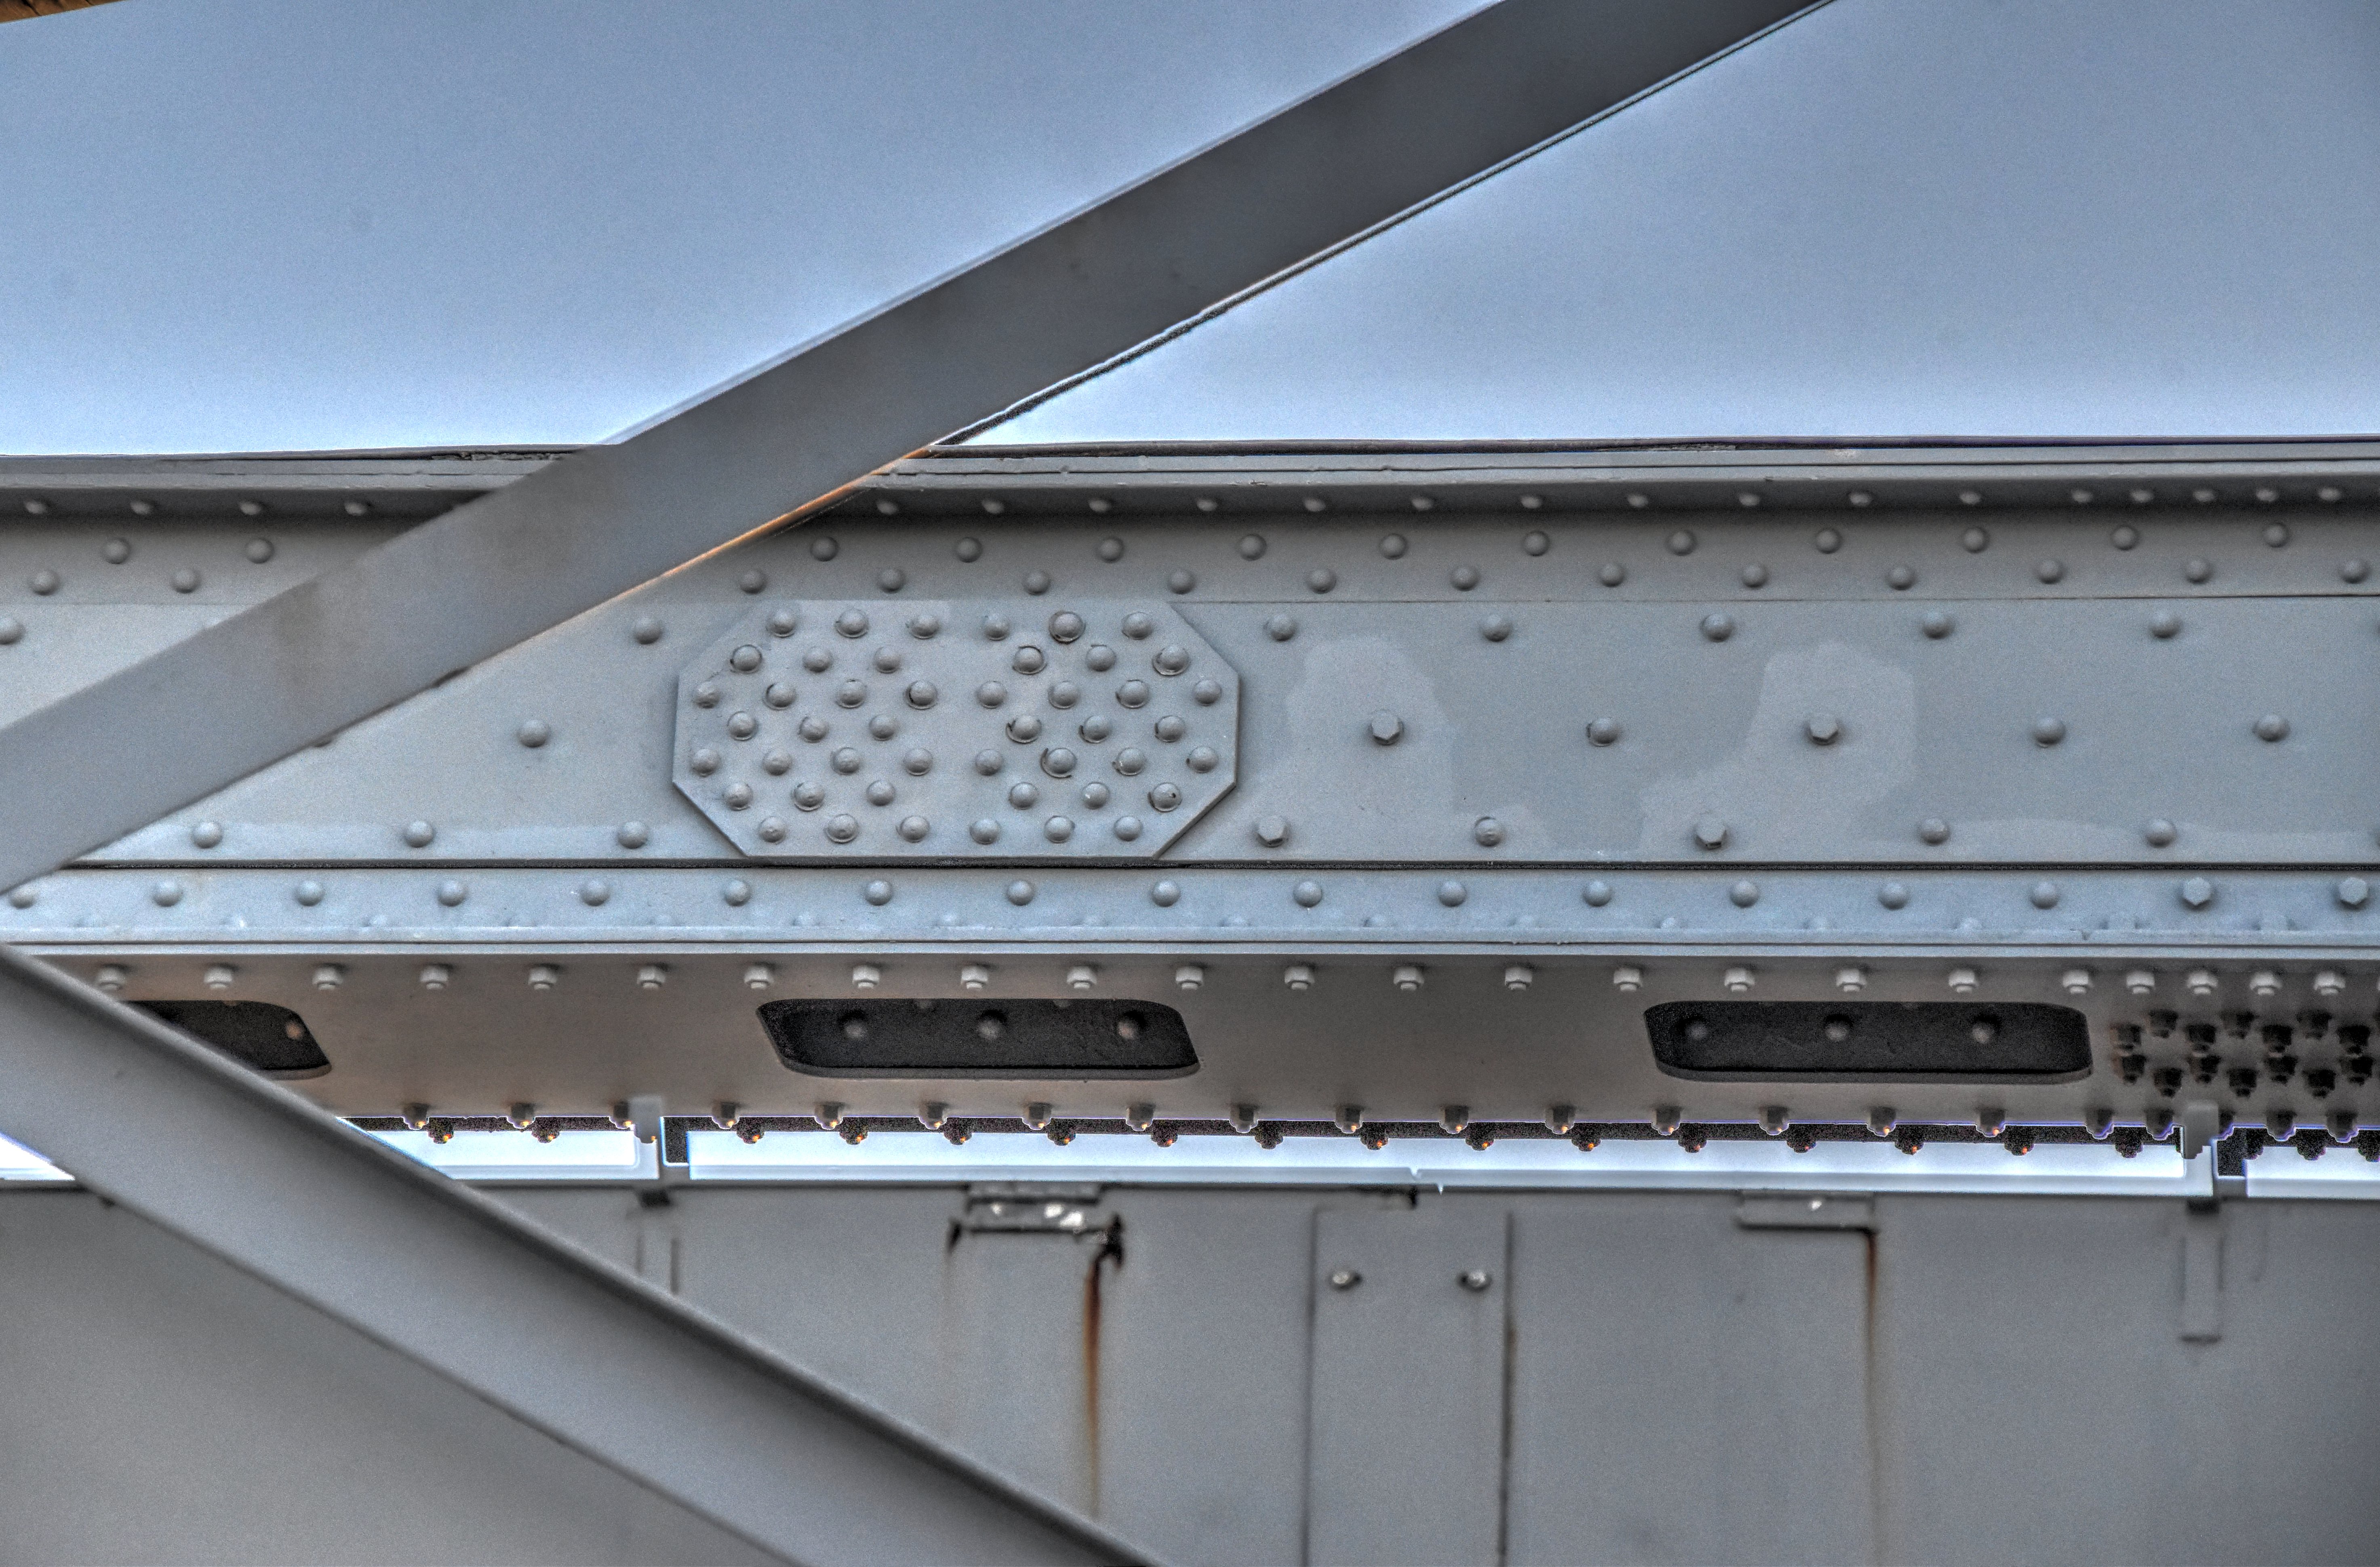
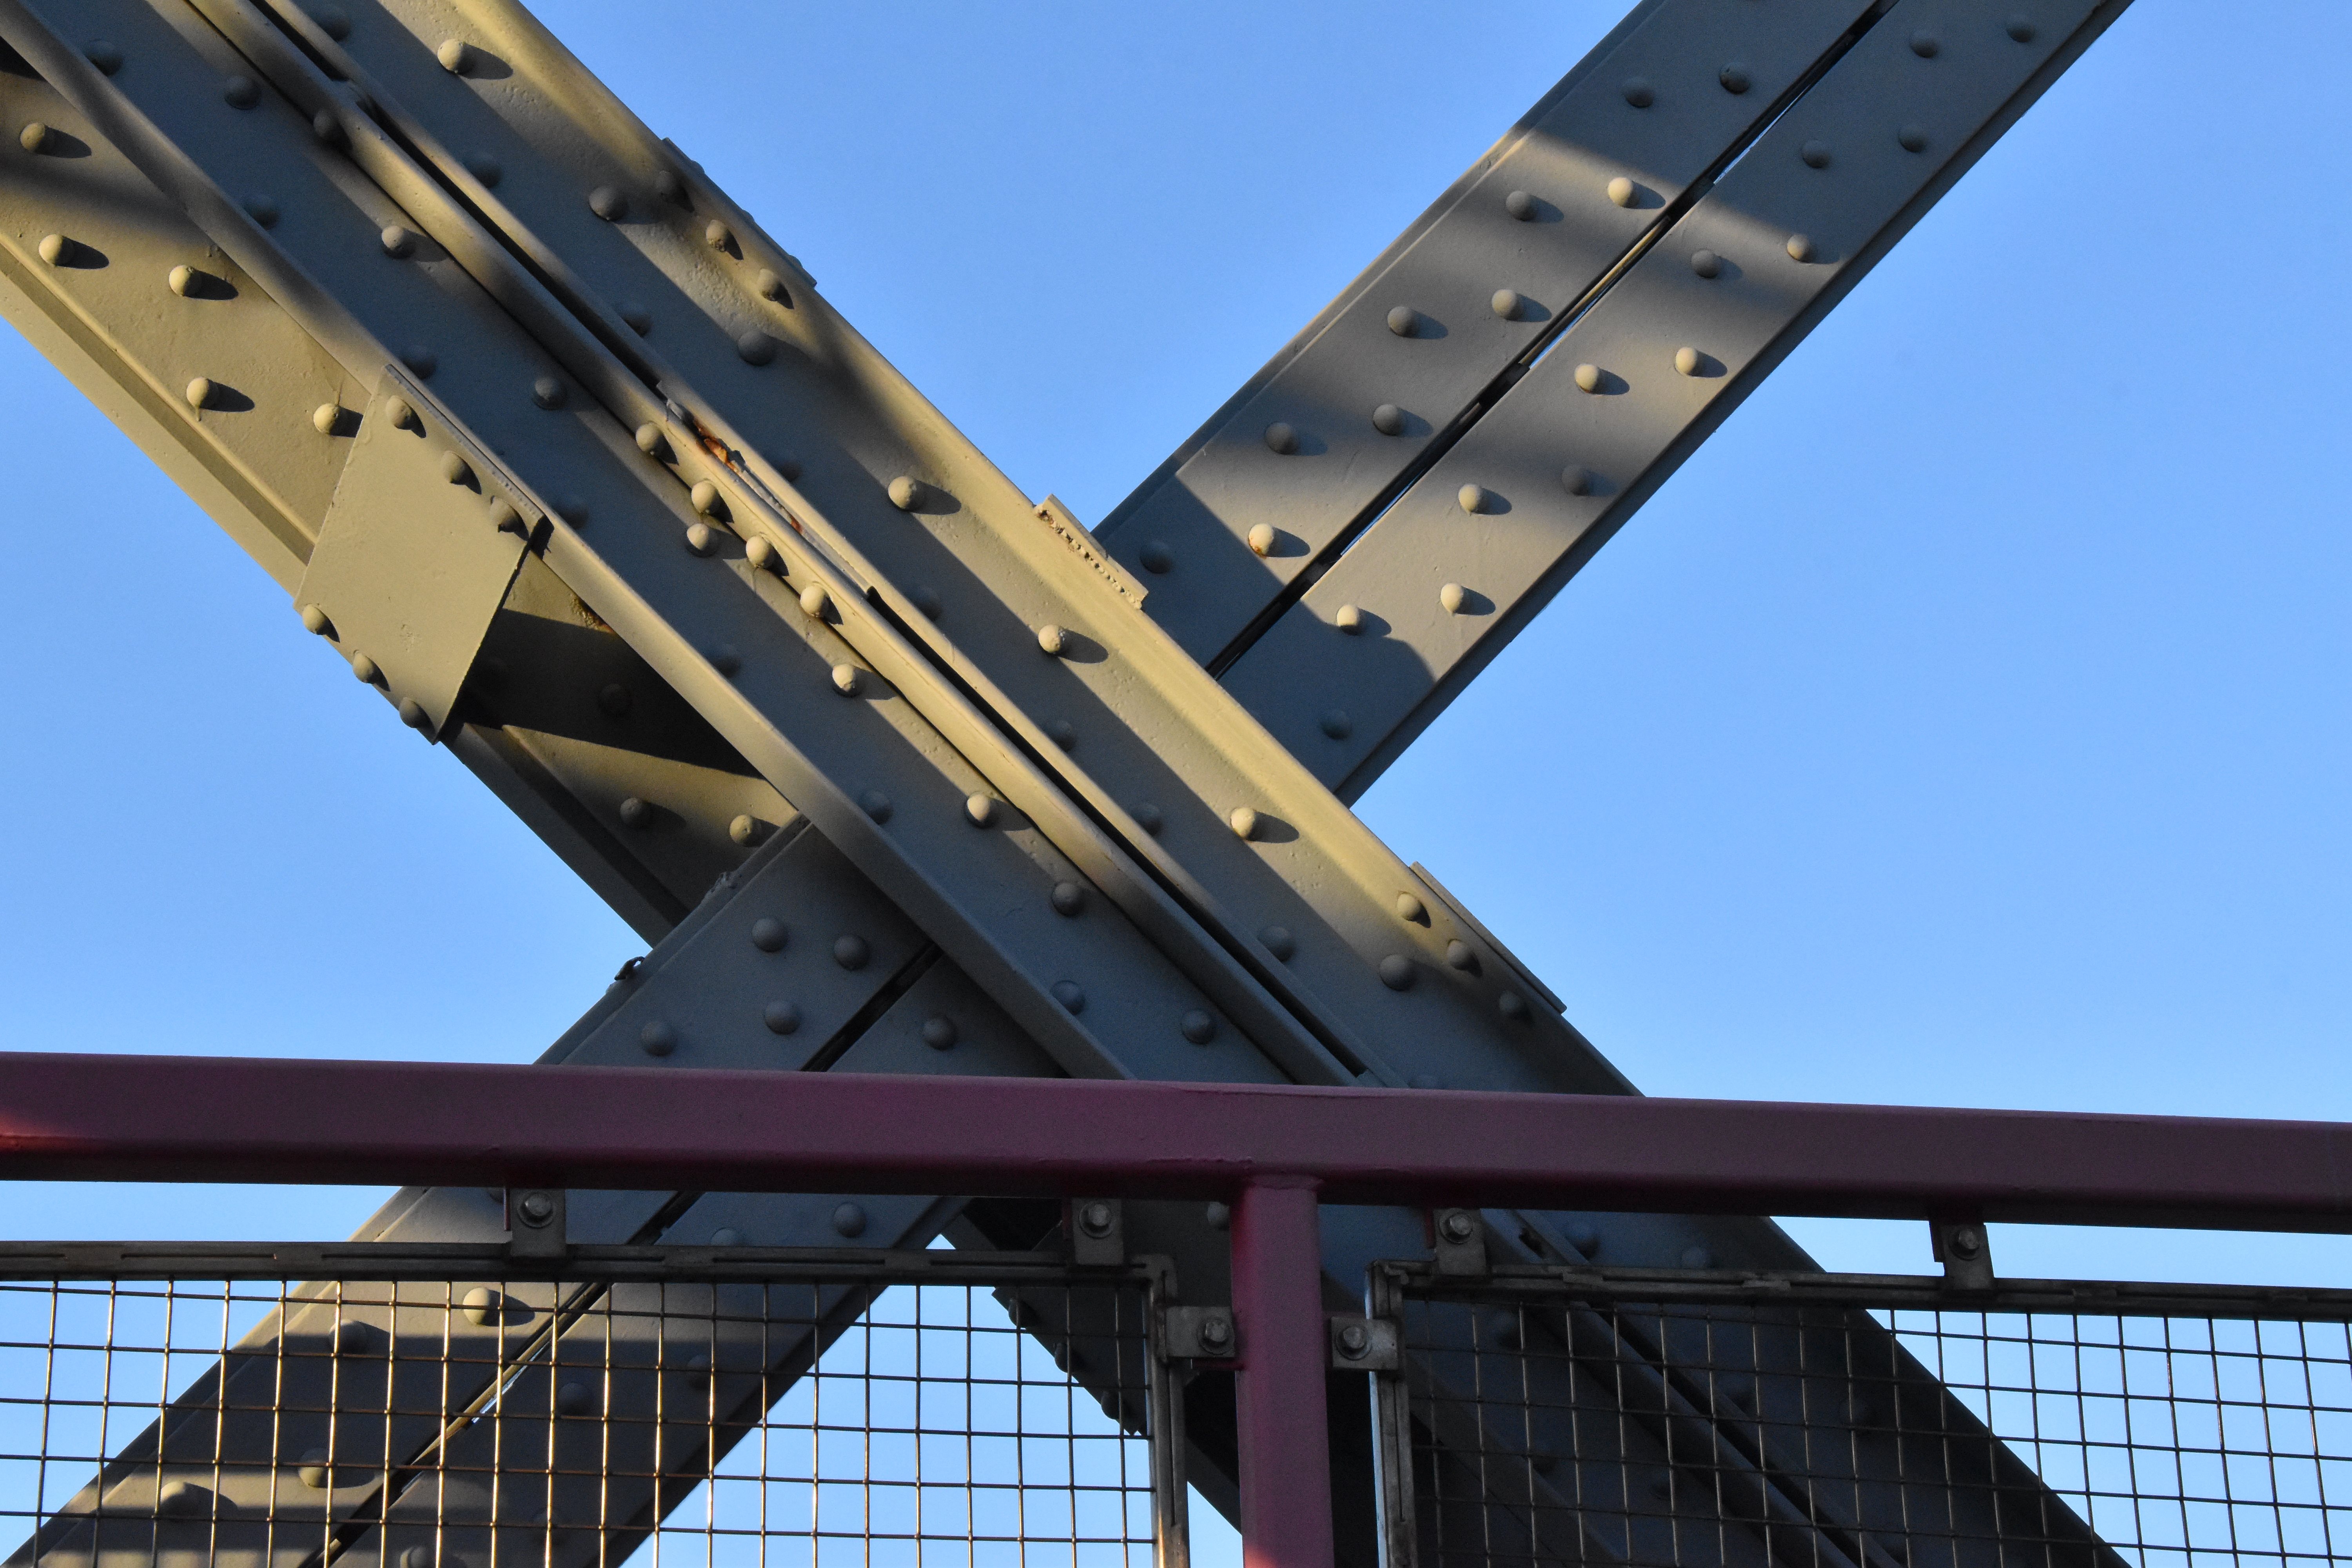
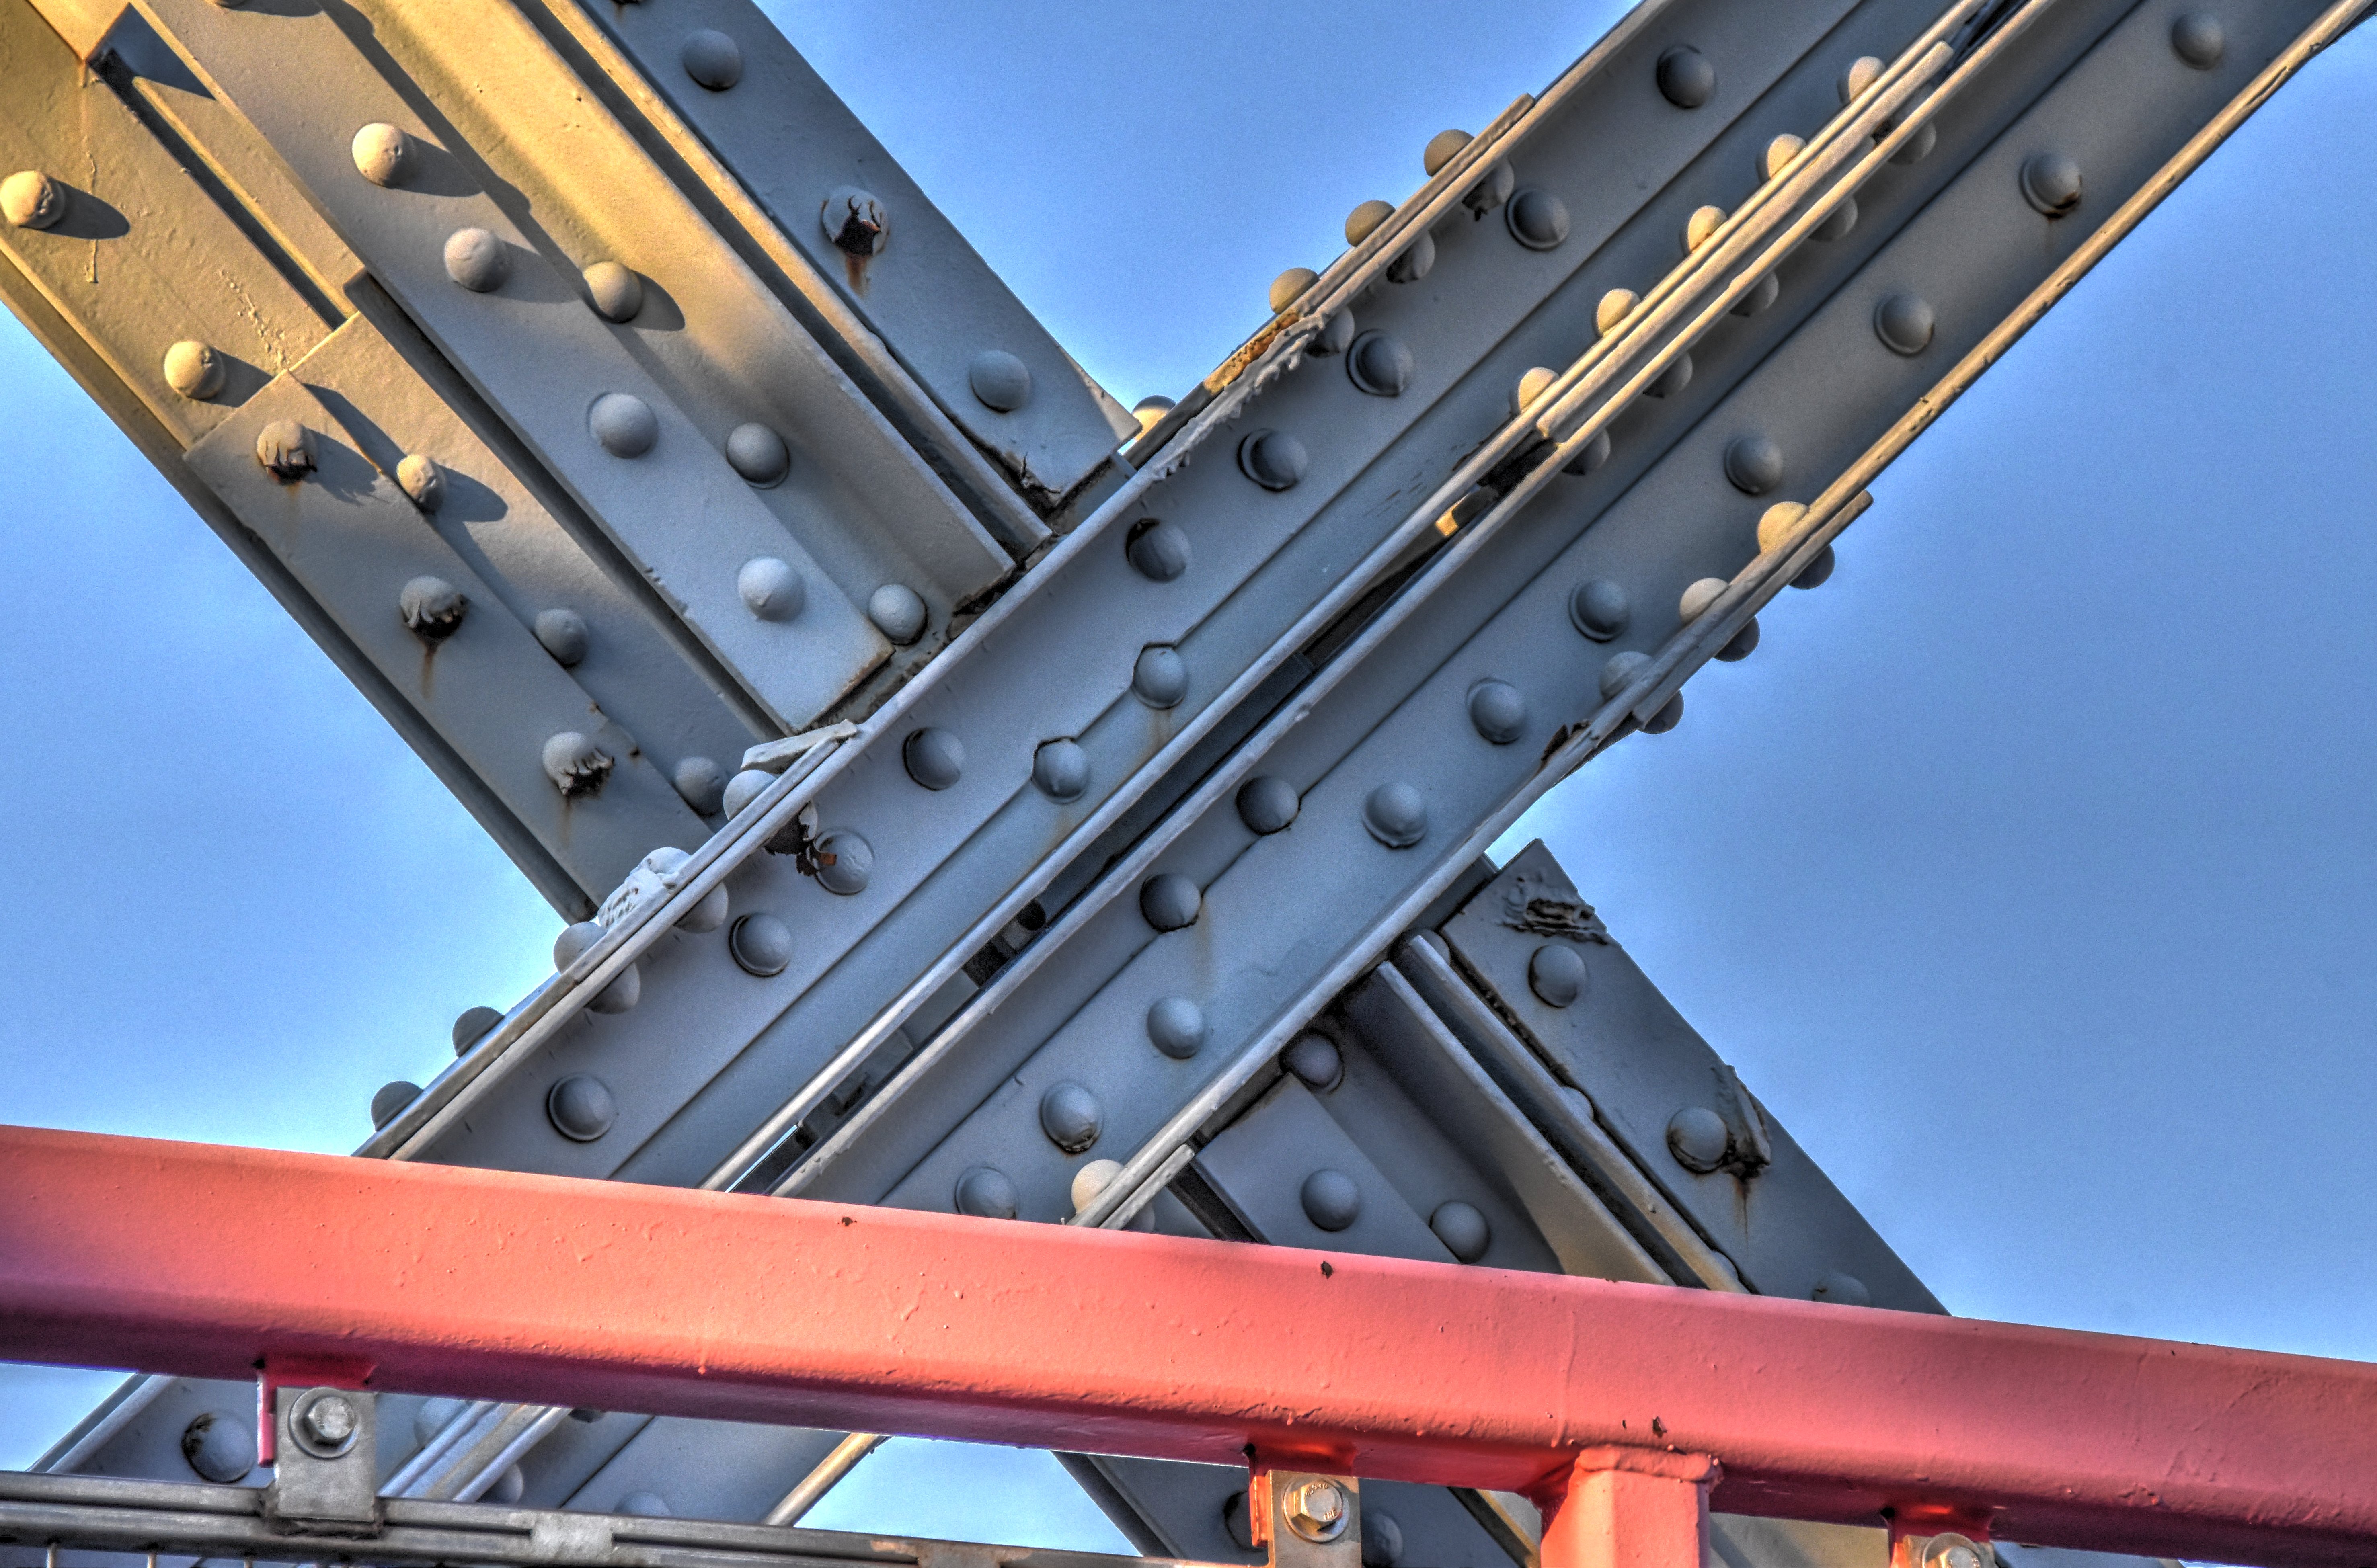
Top chord connections as viewed from on bridge.
![]()


Intermediate connections as viewed from on bridge.
![]()


Diagonal members.
![]()
Vertical post.
![]()
Top chord.
![]()
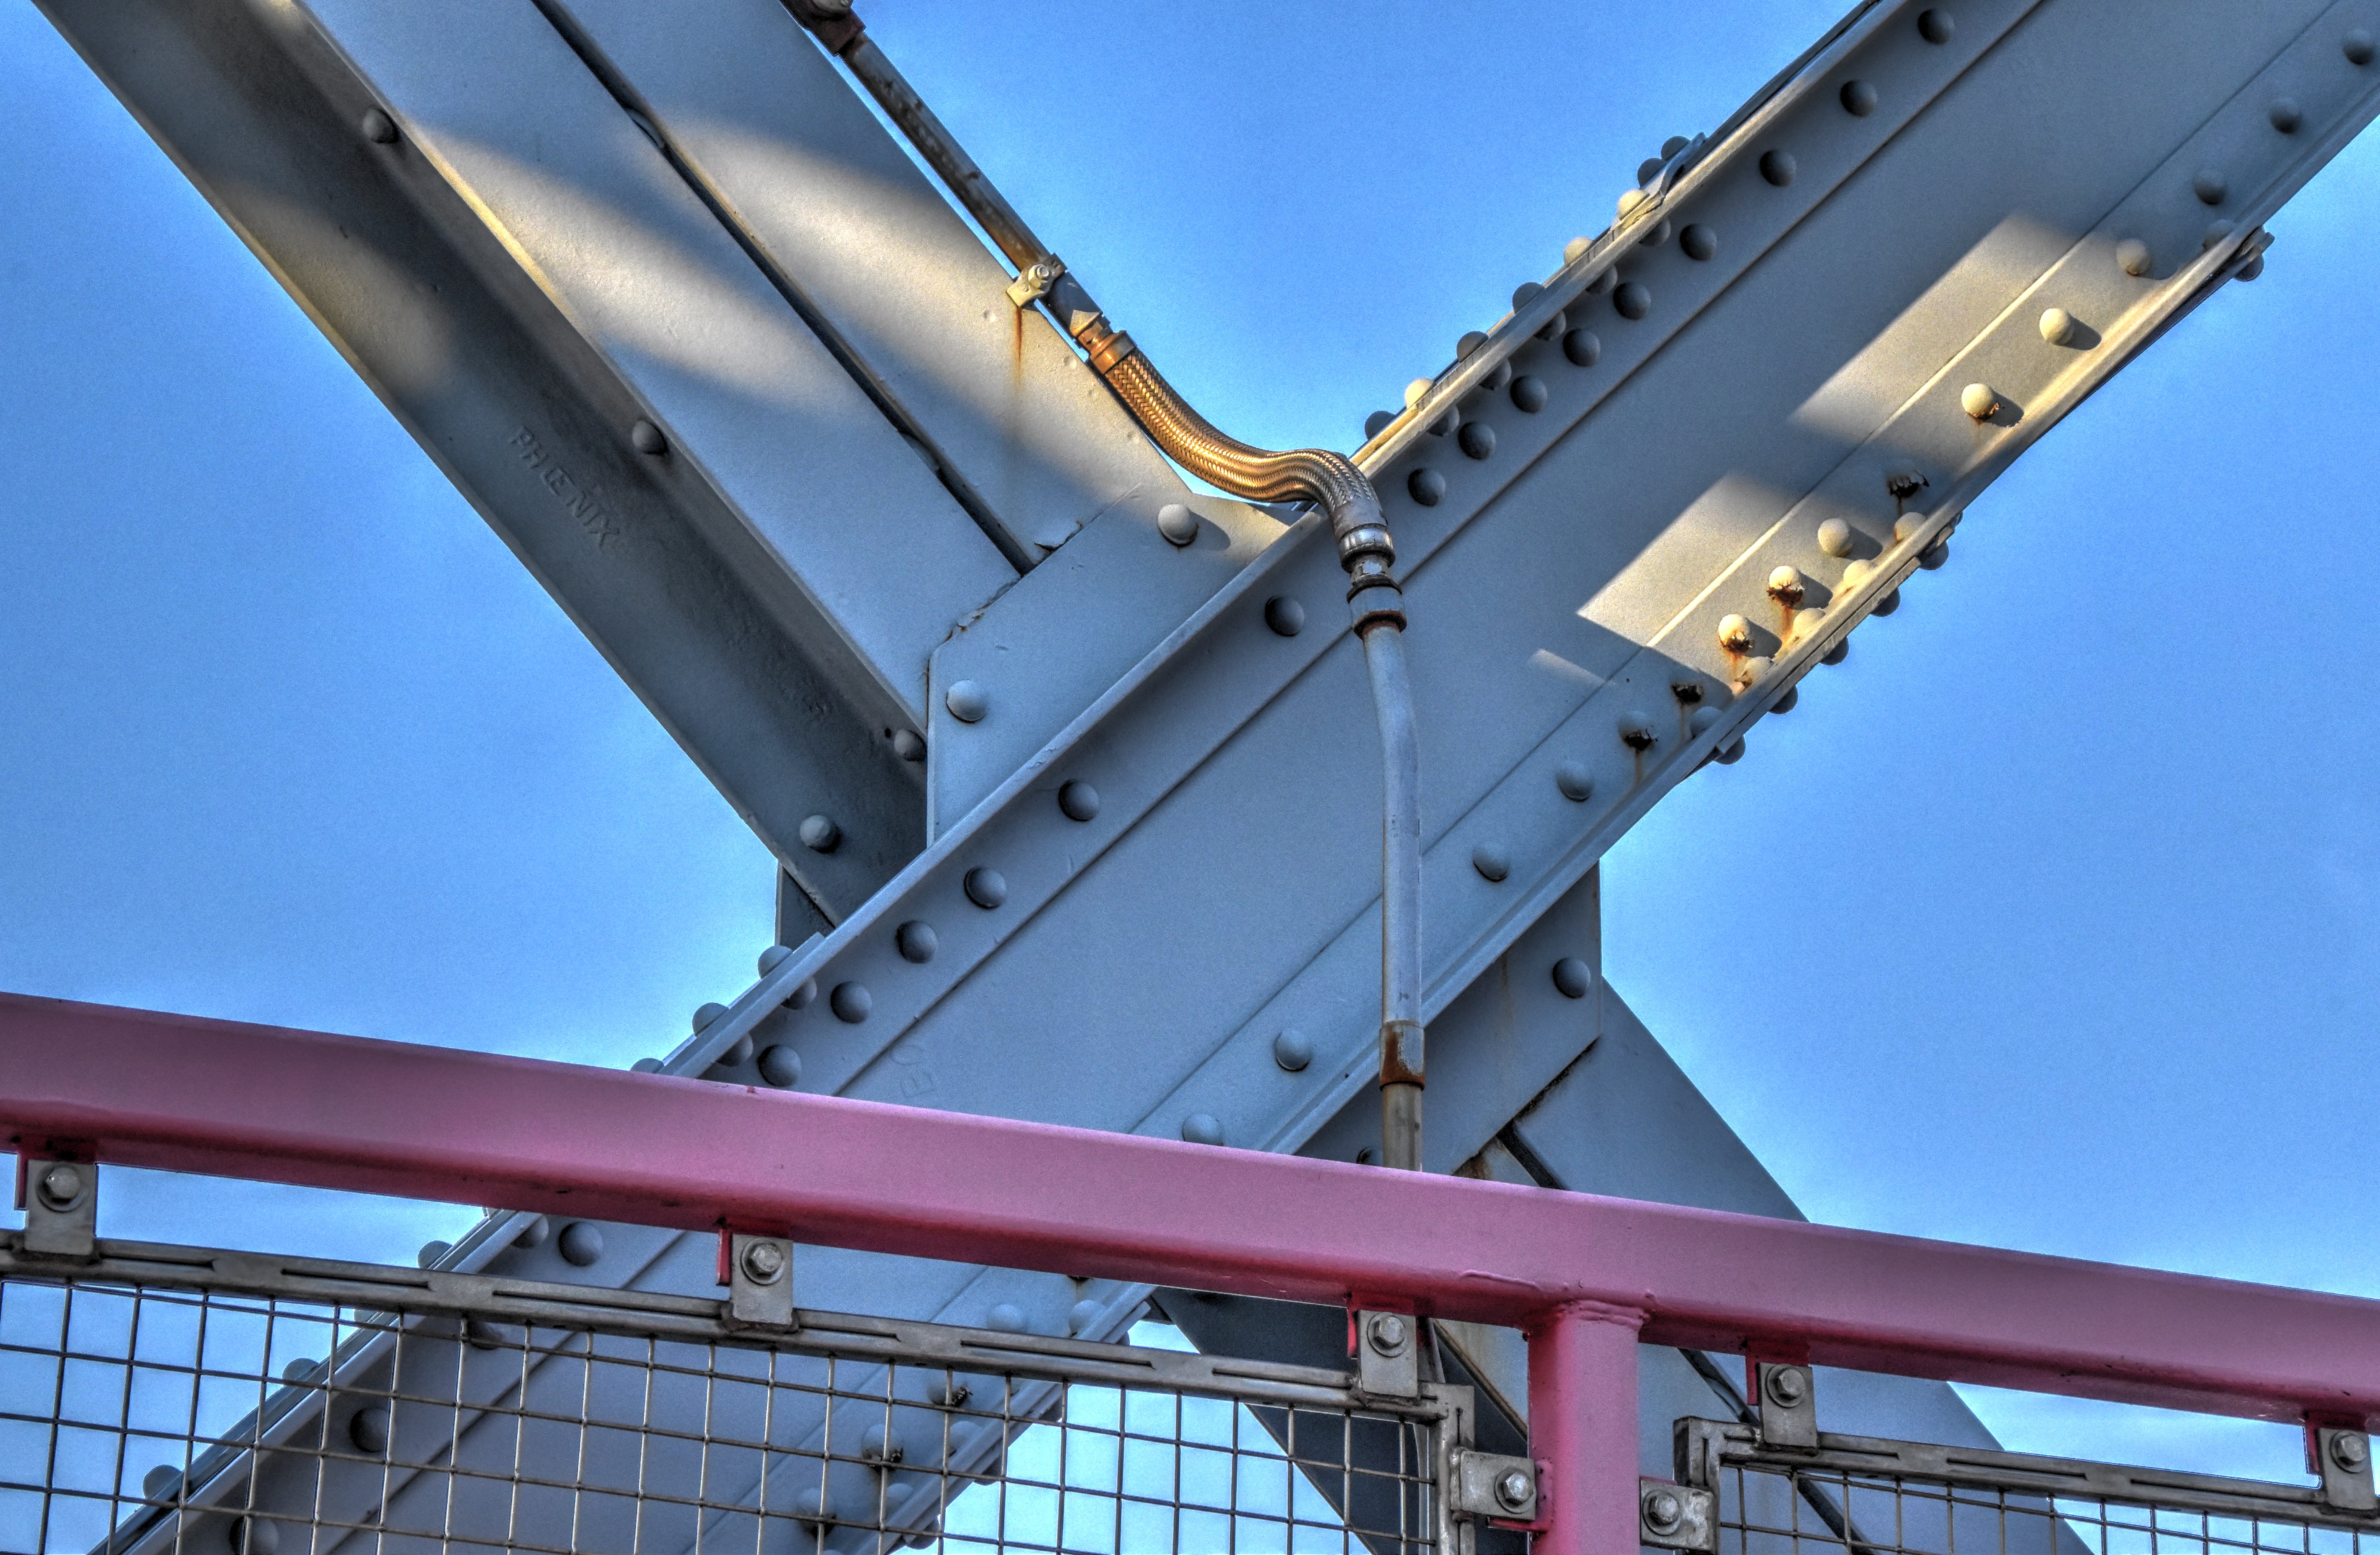
Sway bracing.
![]()


Strut (sway bracing).
![]()
Sway bracing details.
![]()
Upper lateral bracing.
![]()


Lightweight, longitudinal bracing.
![]()


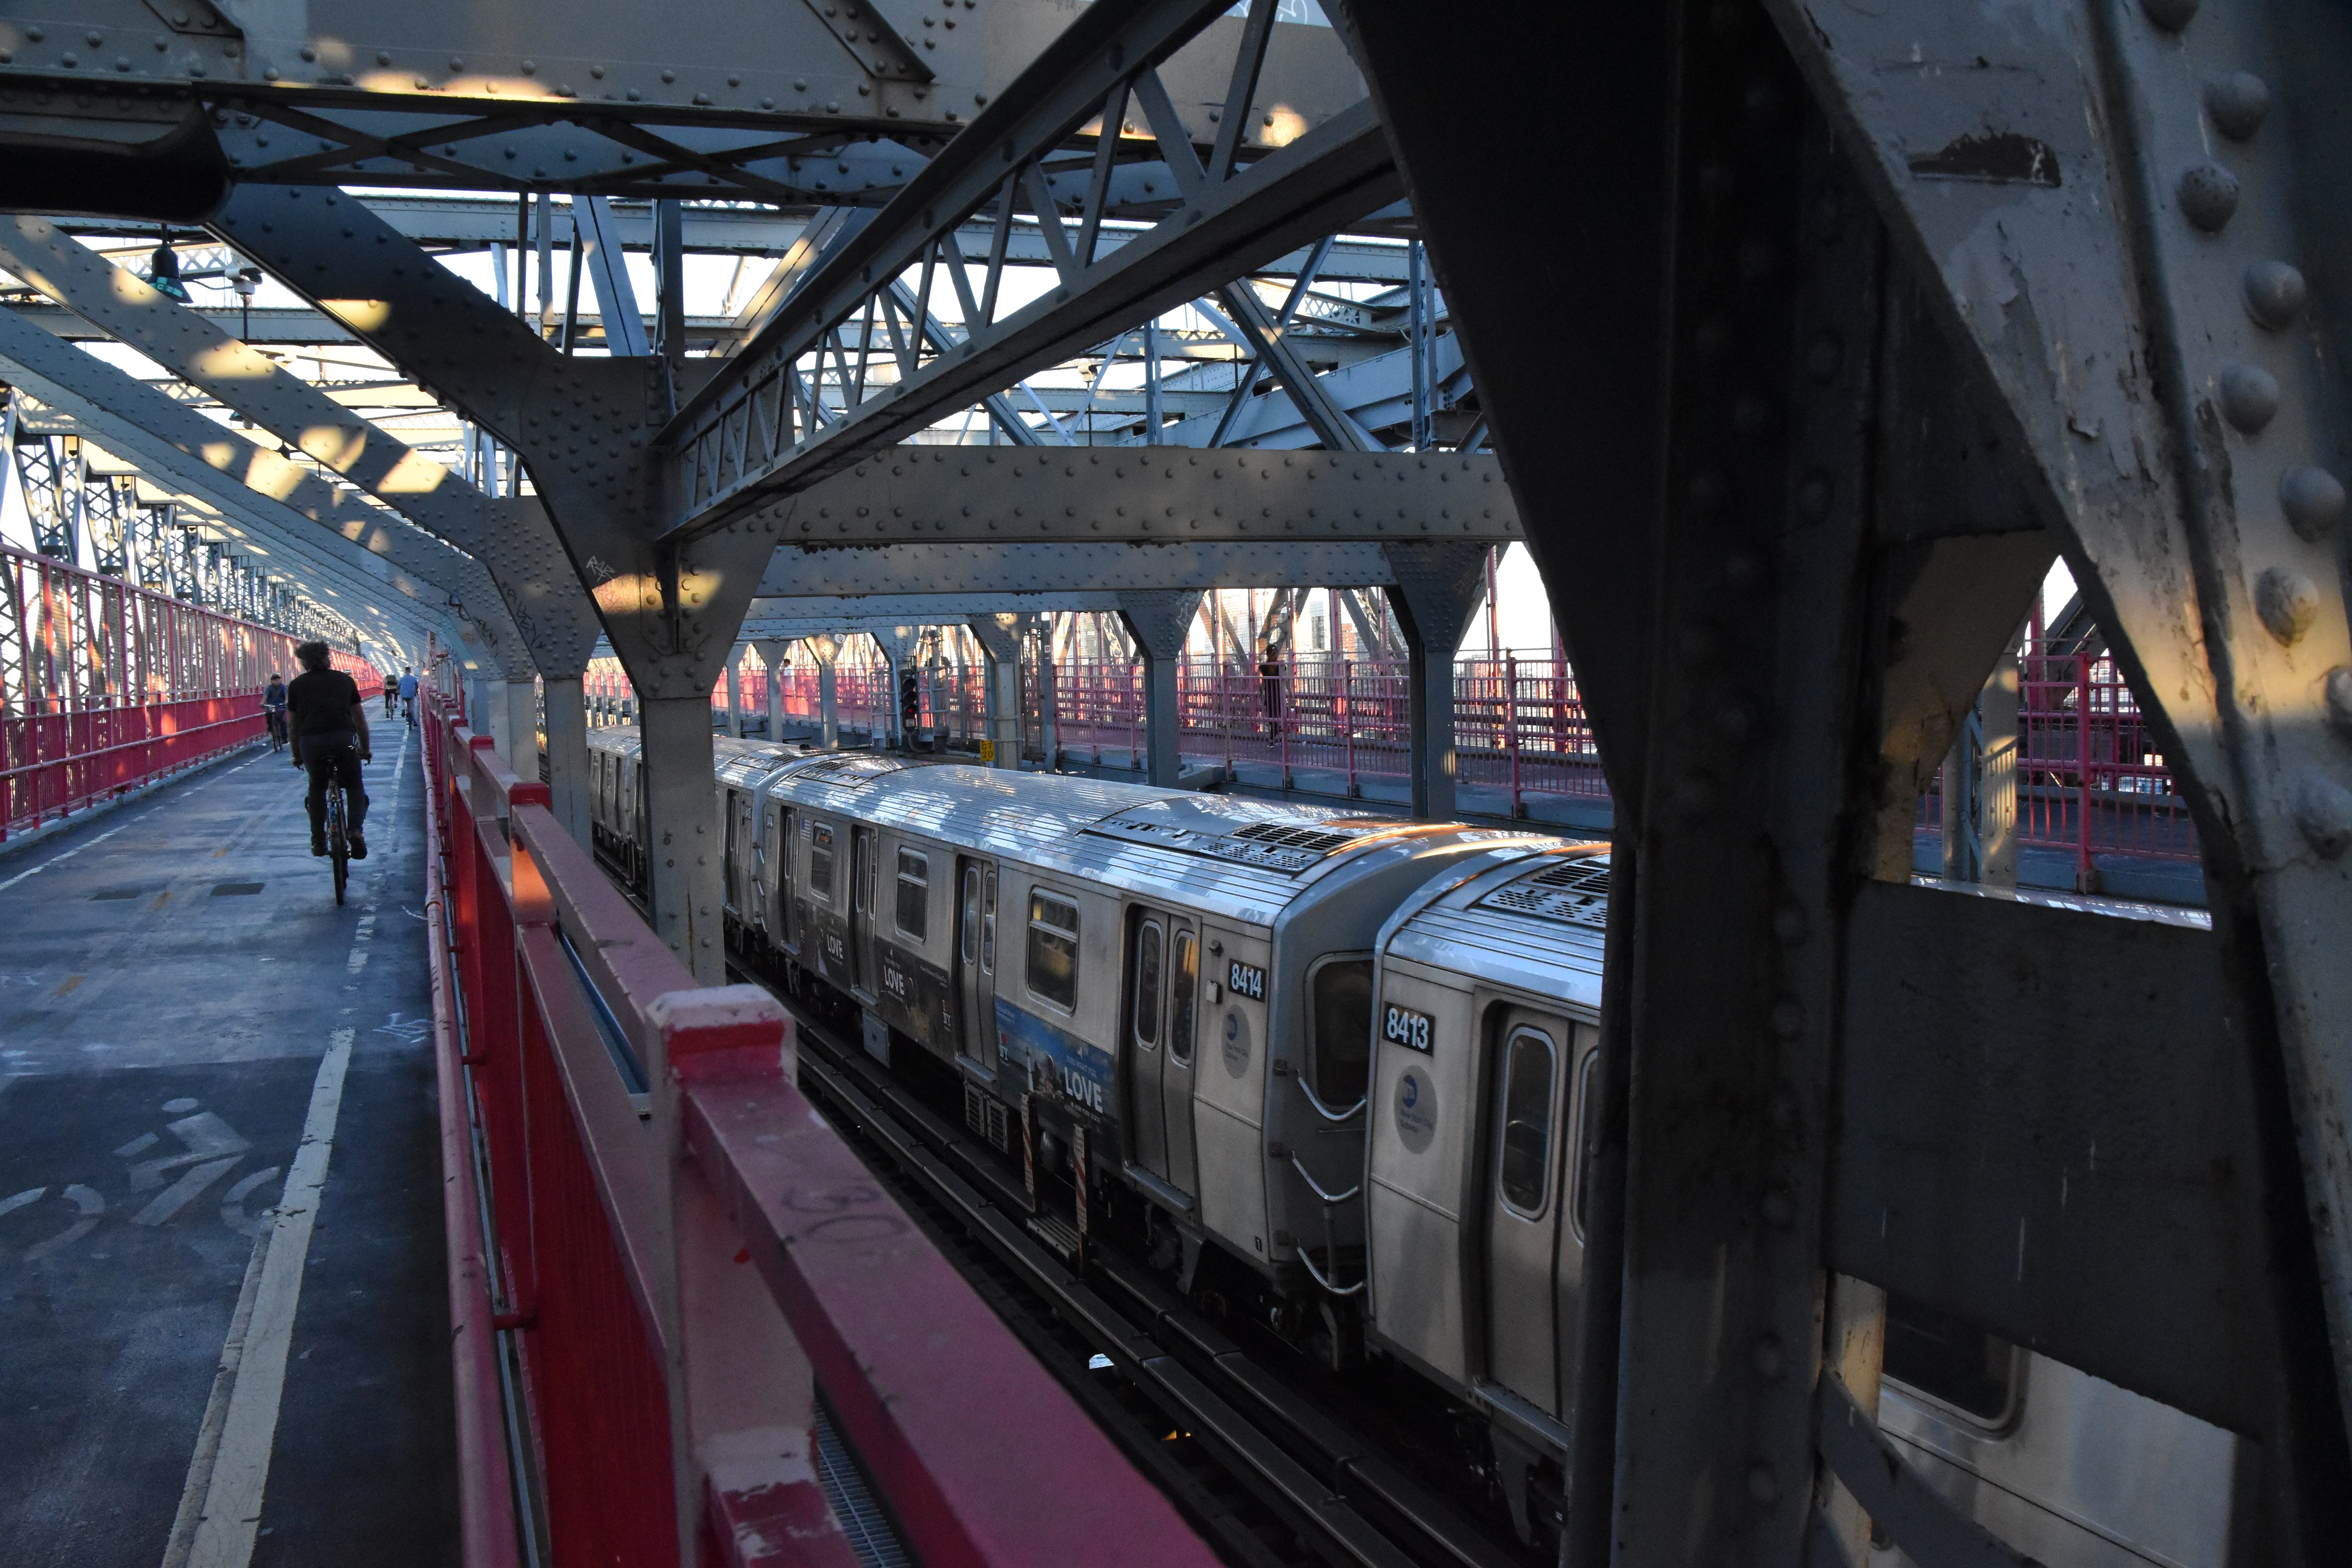
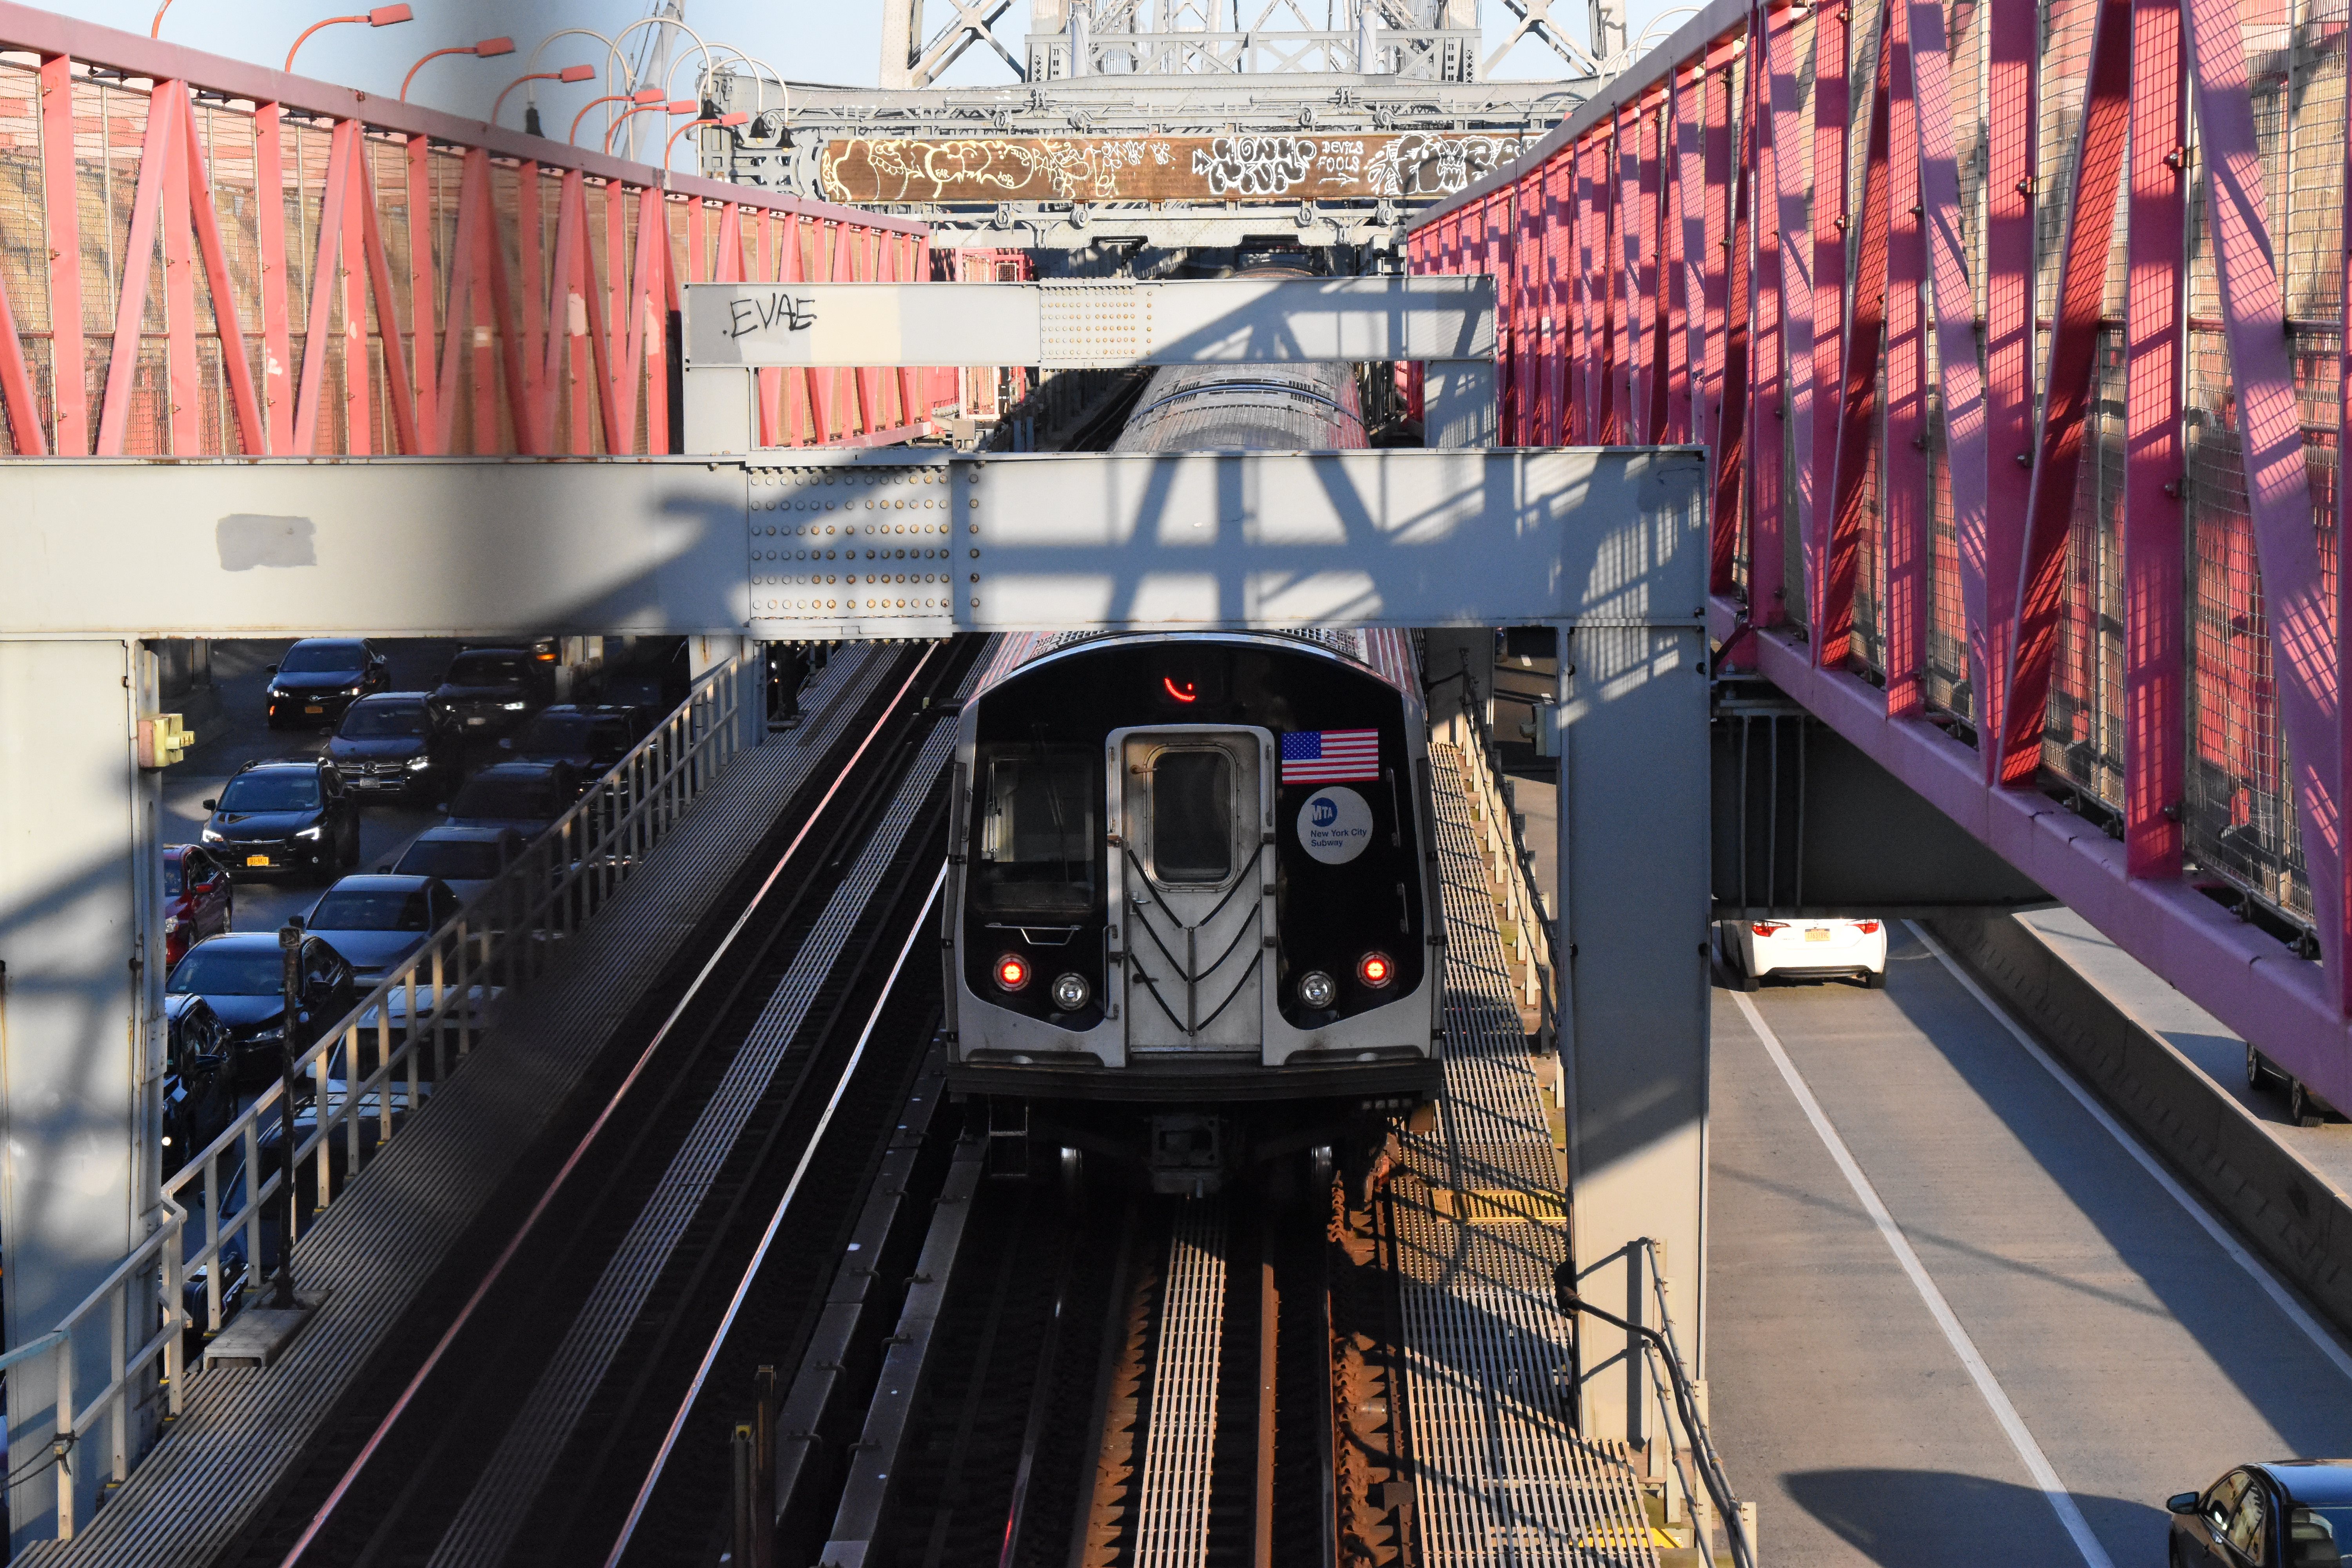
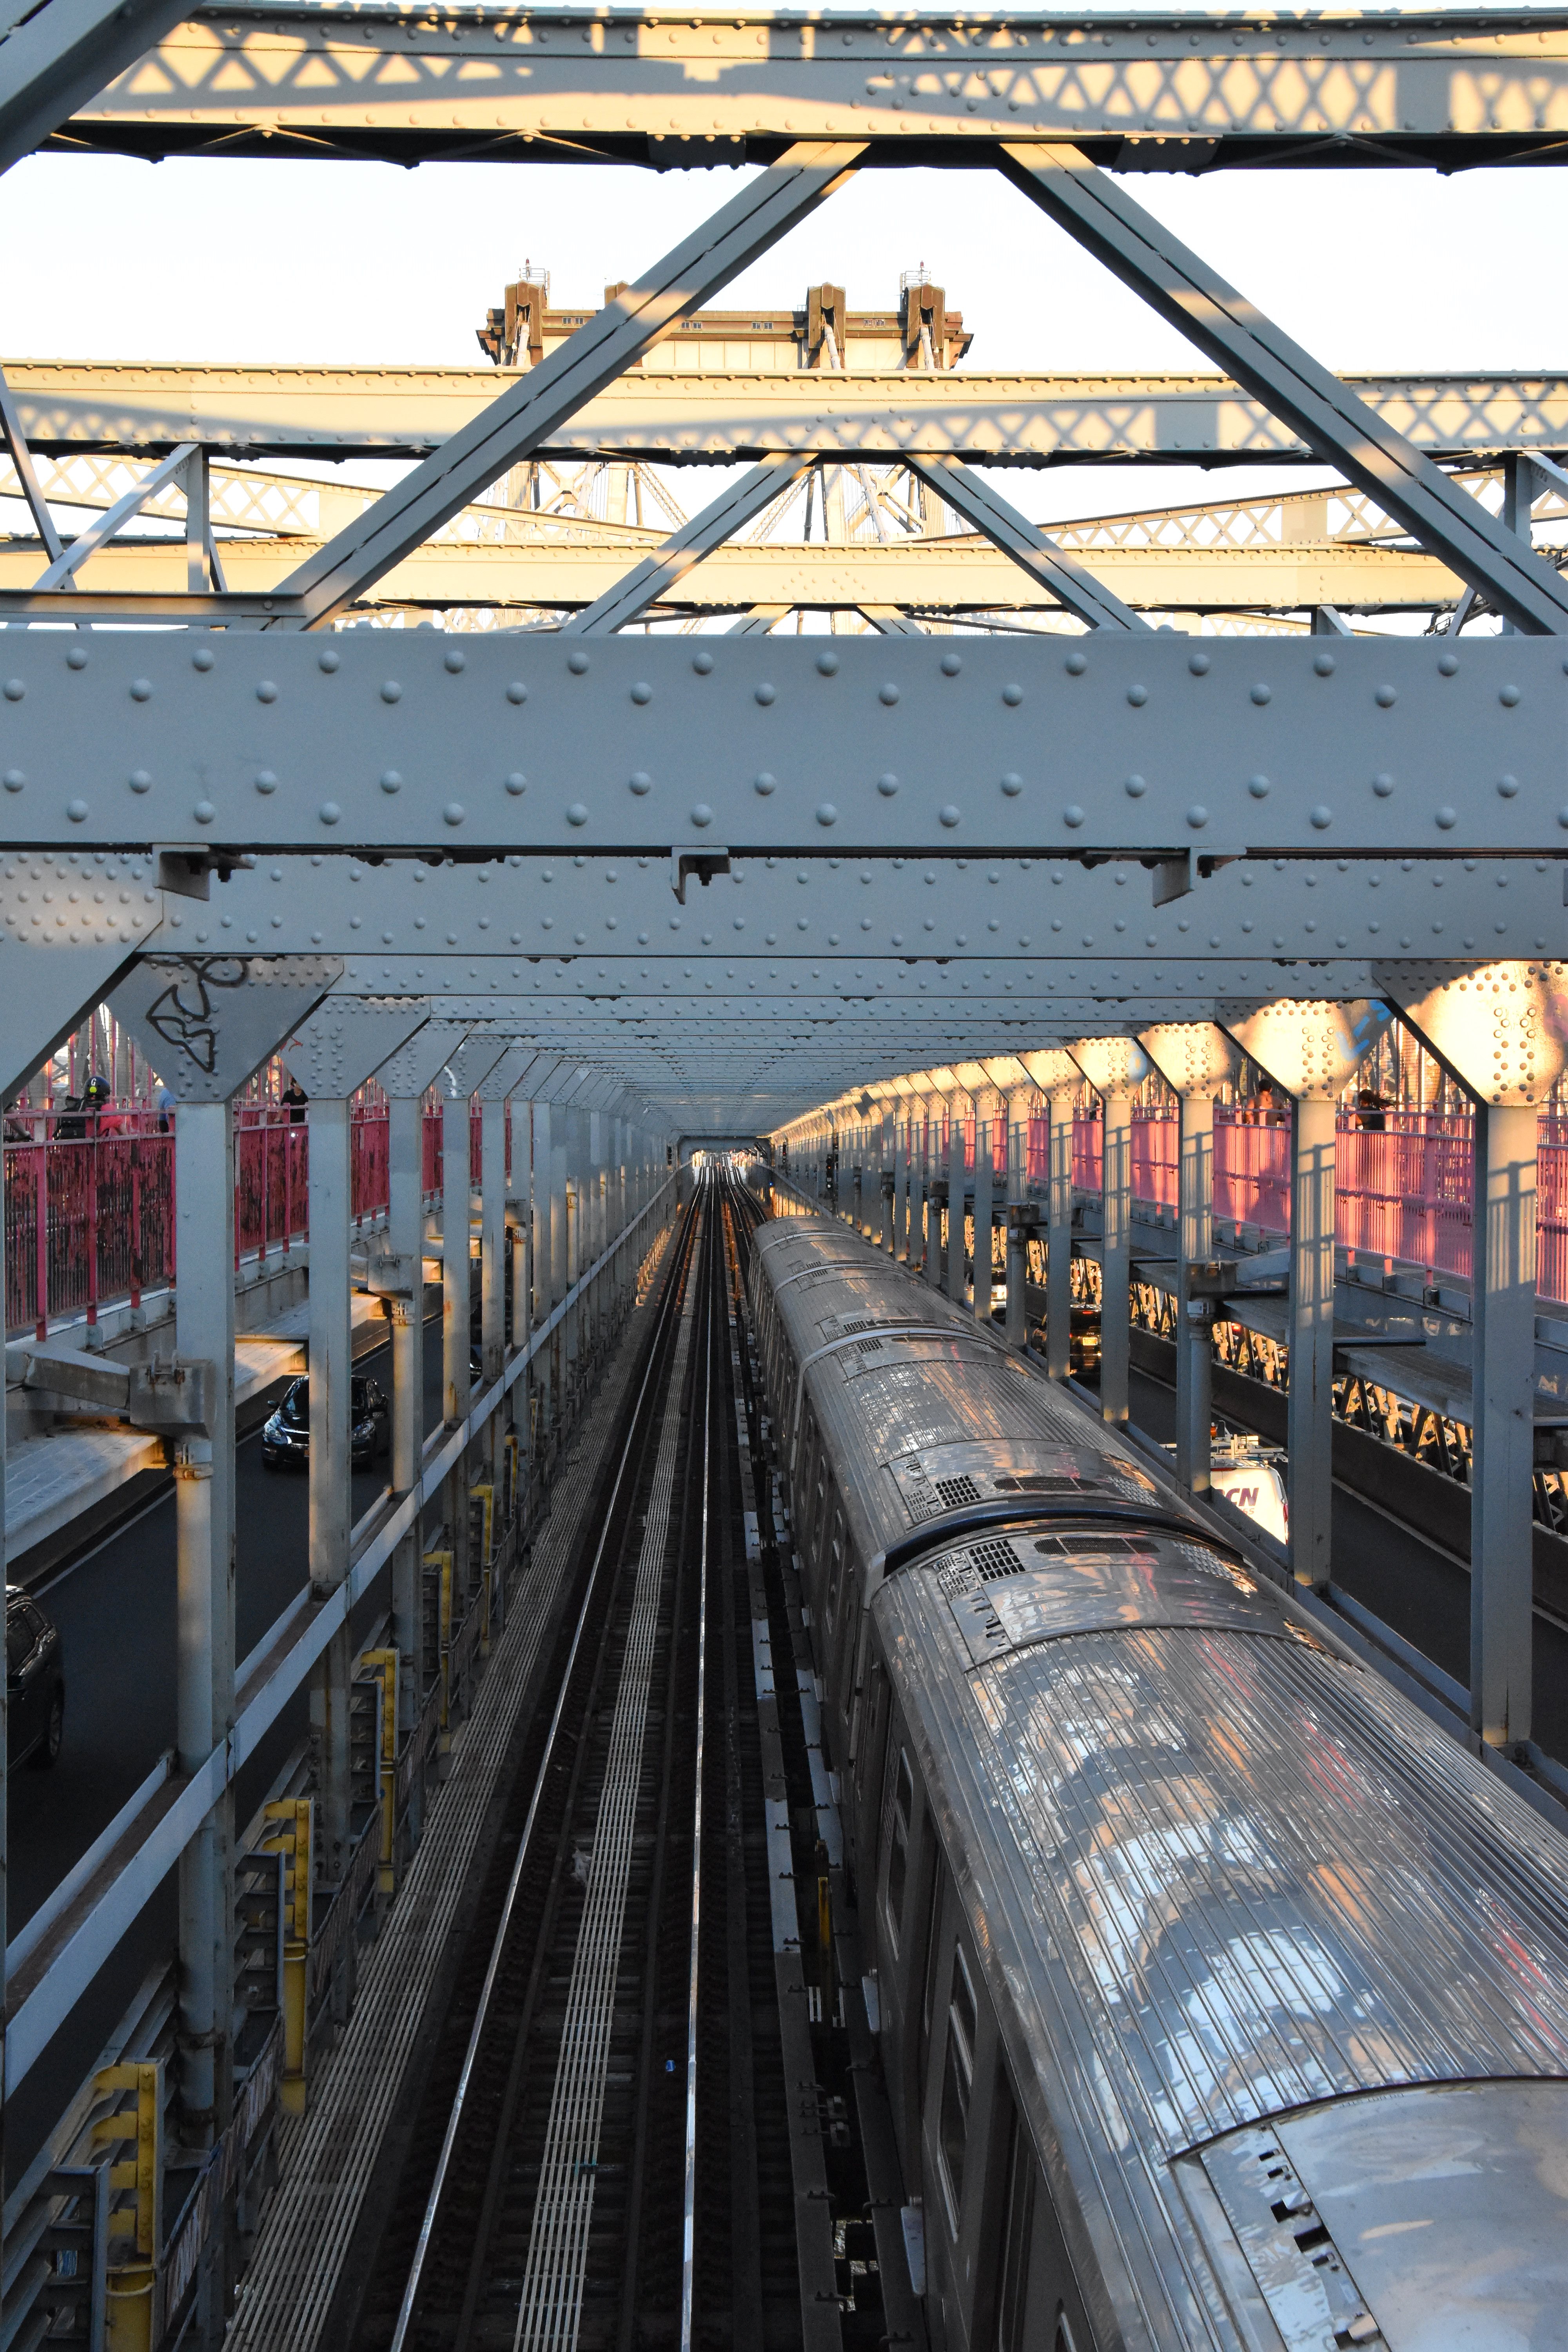
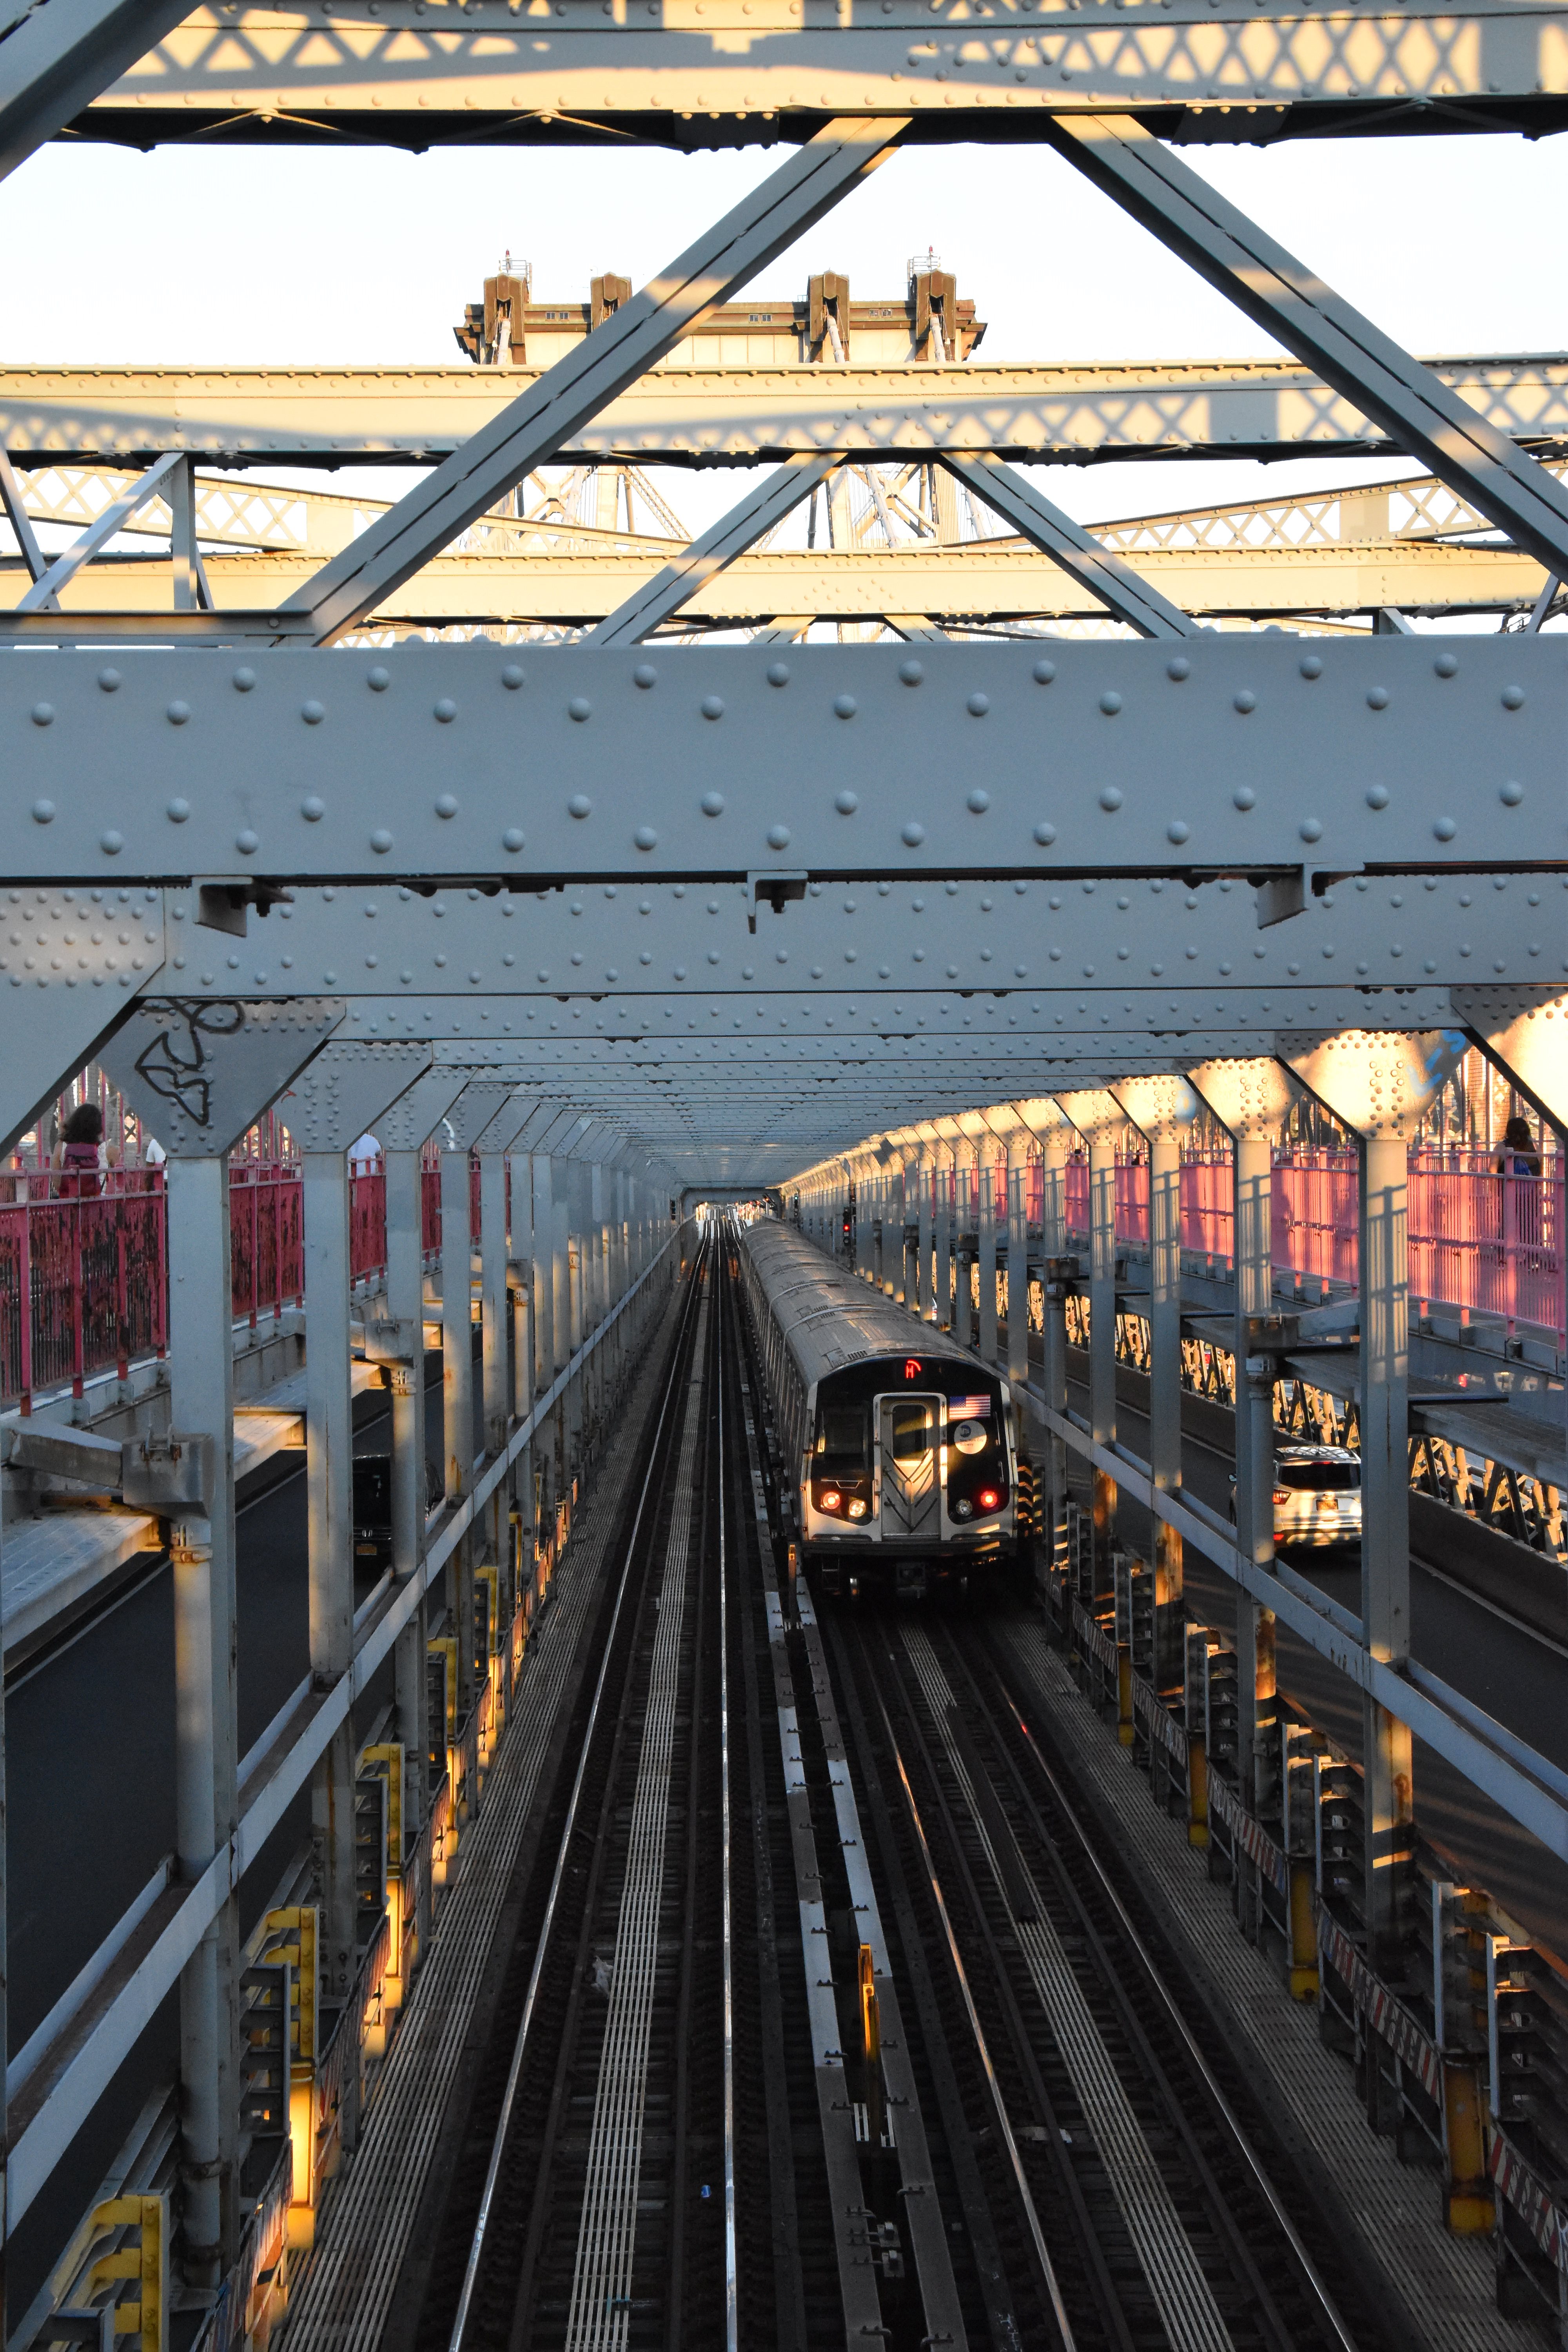
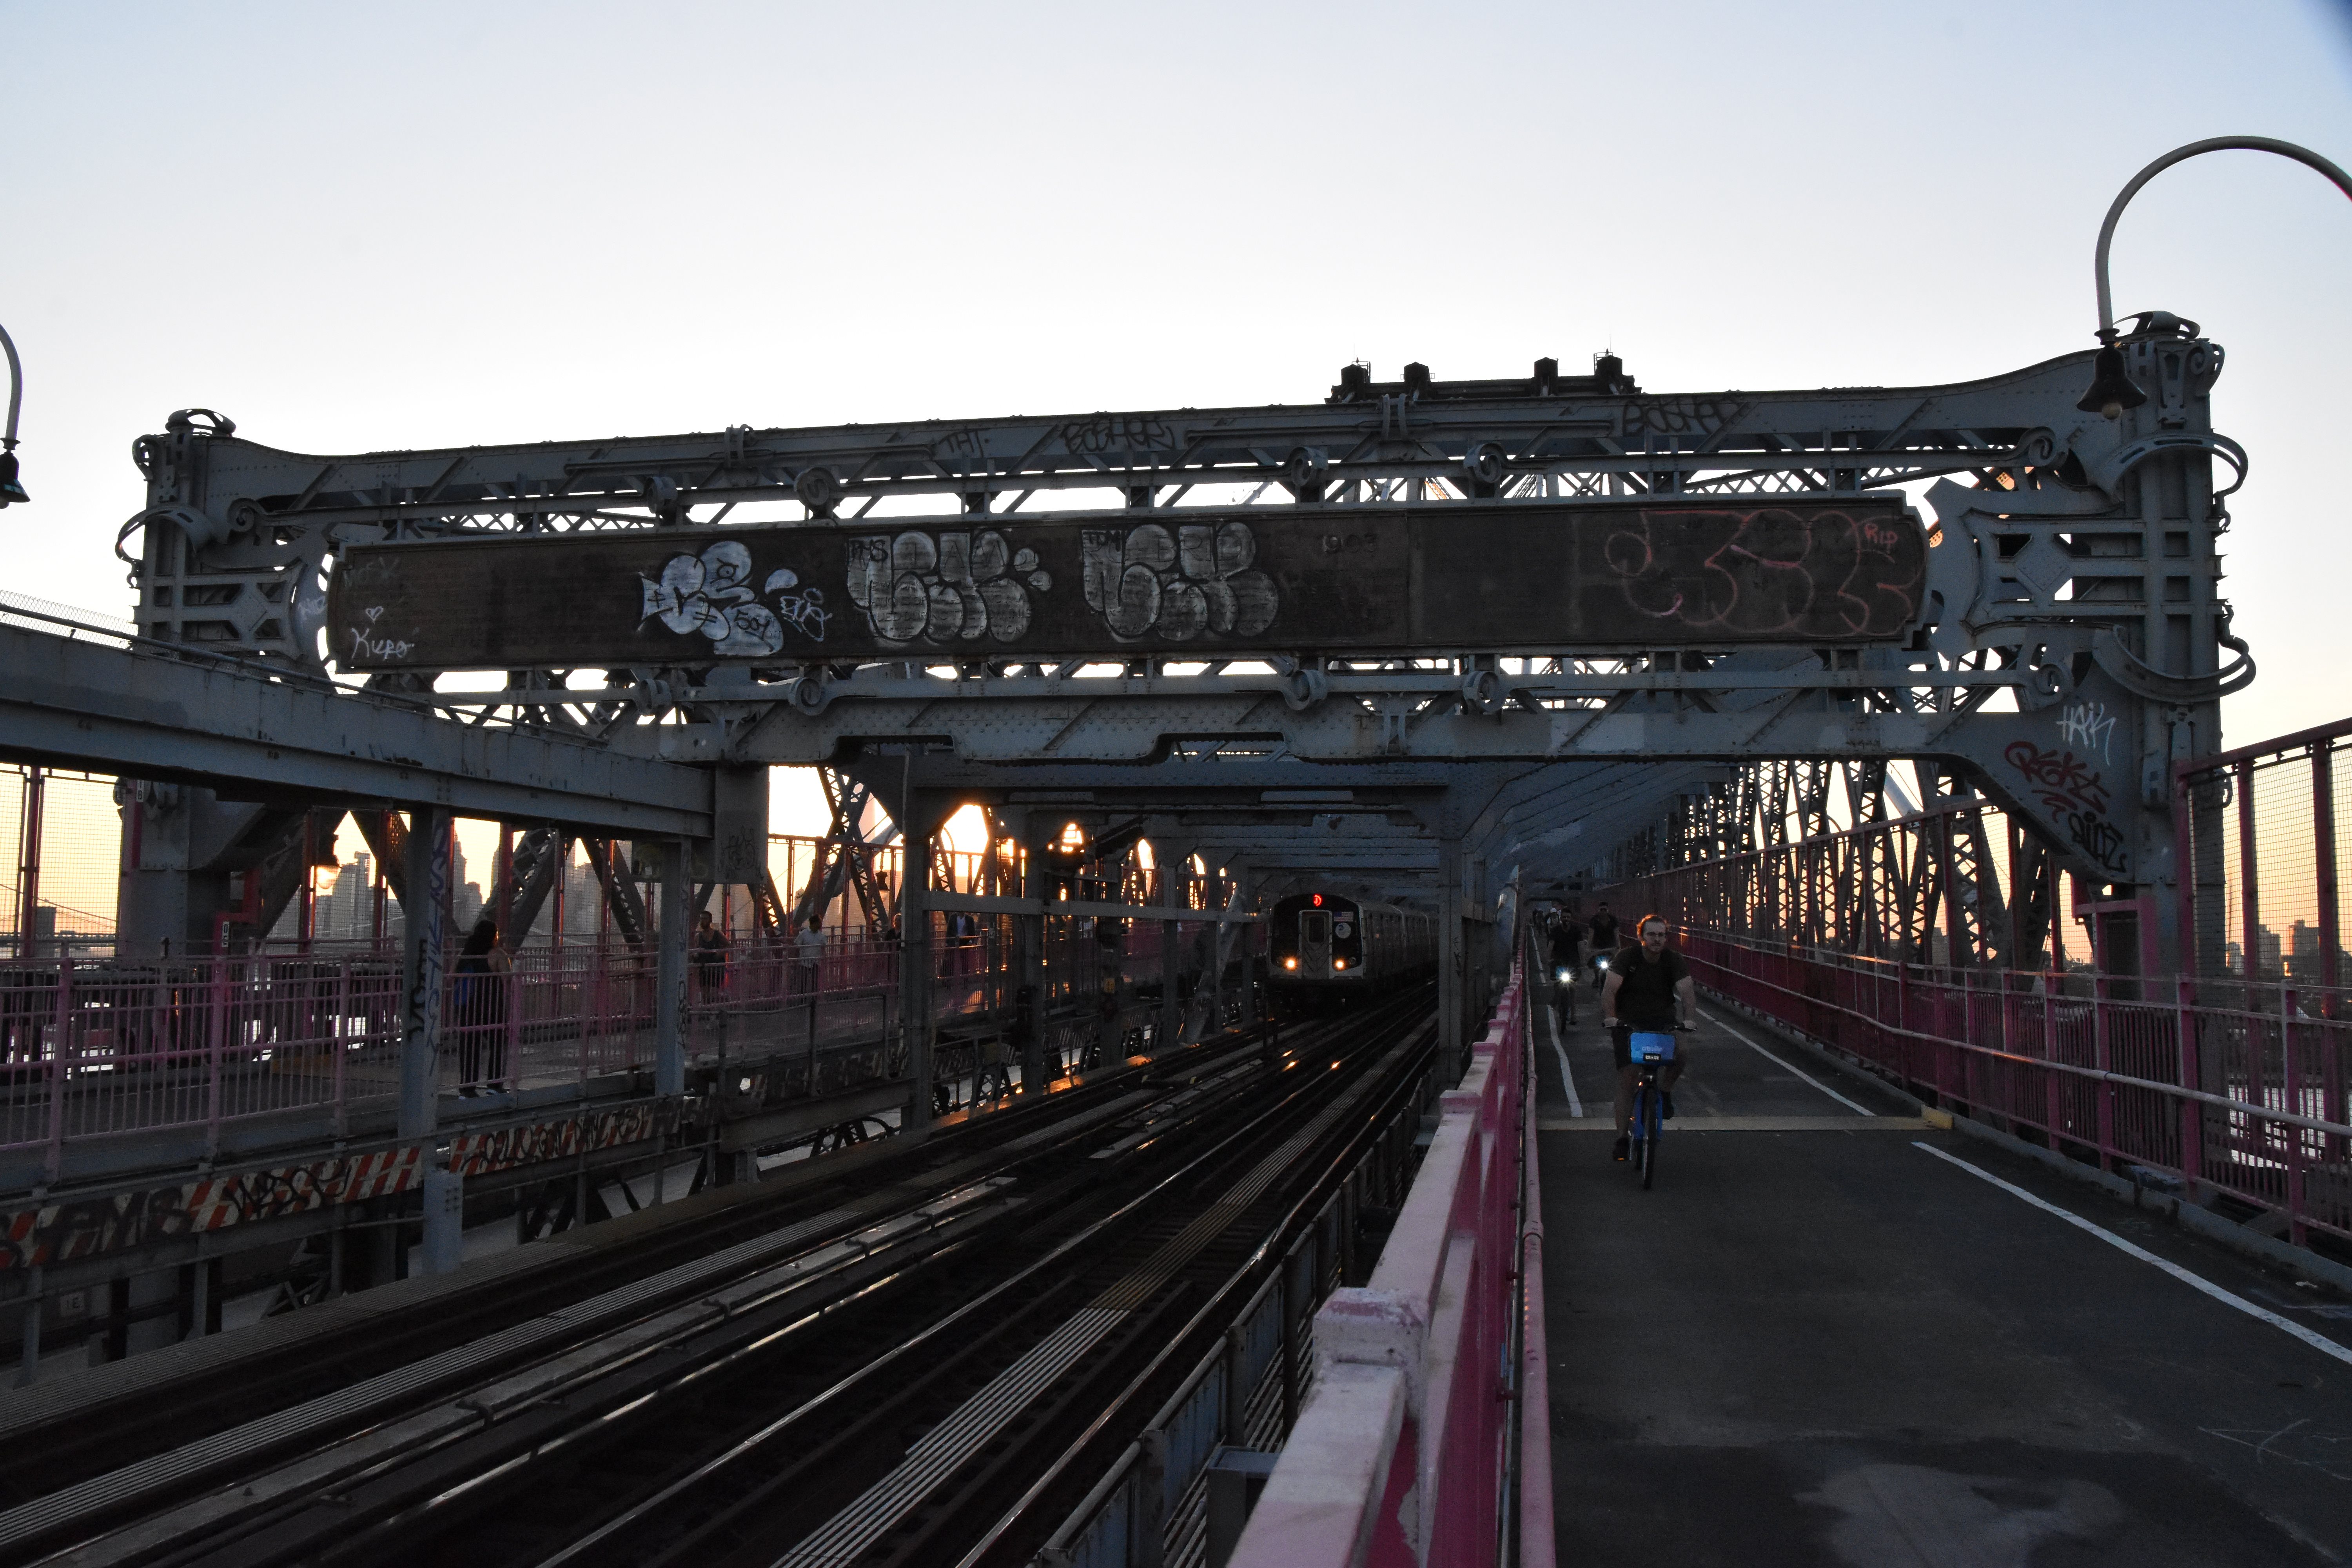
Train on bridge.
![]()


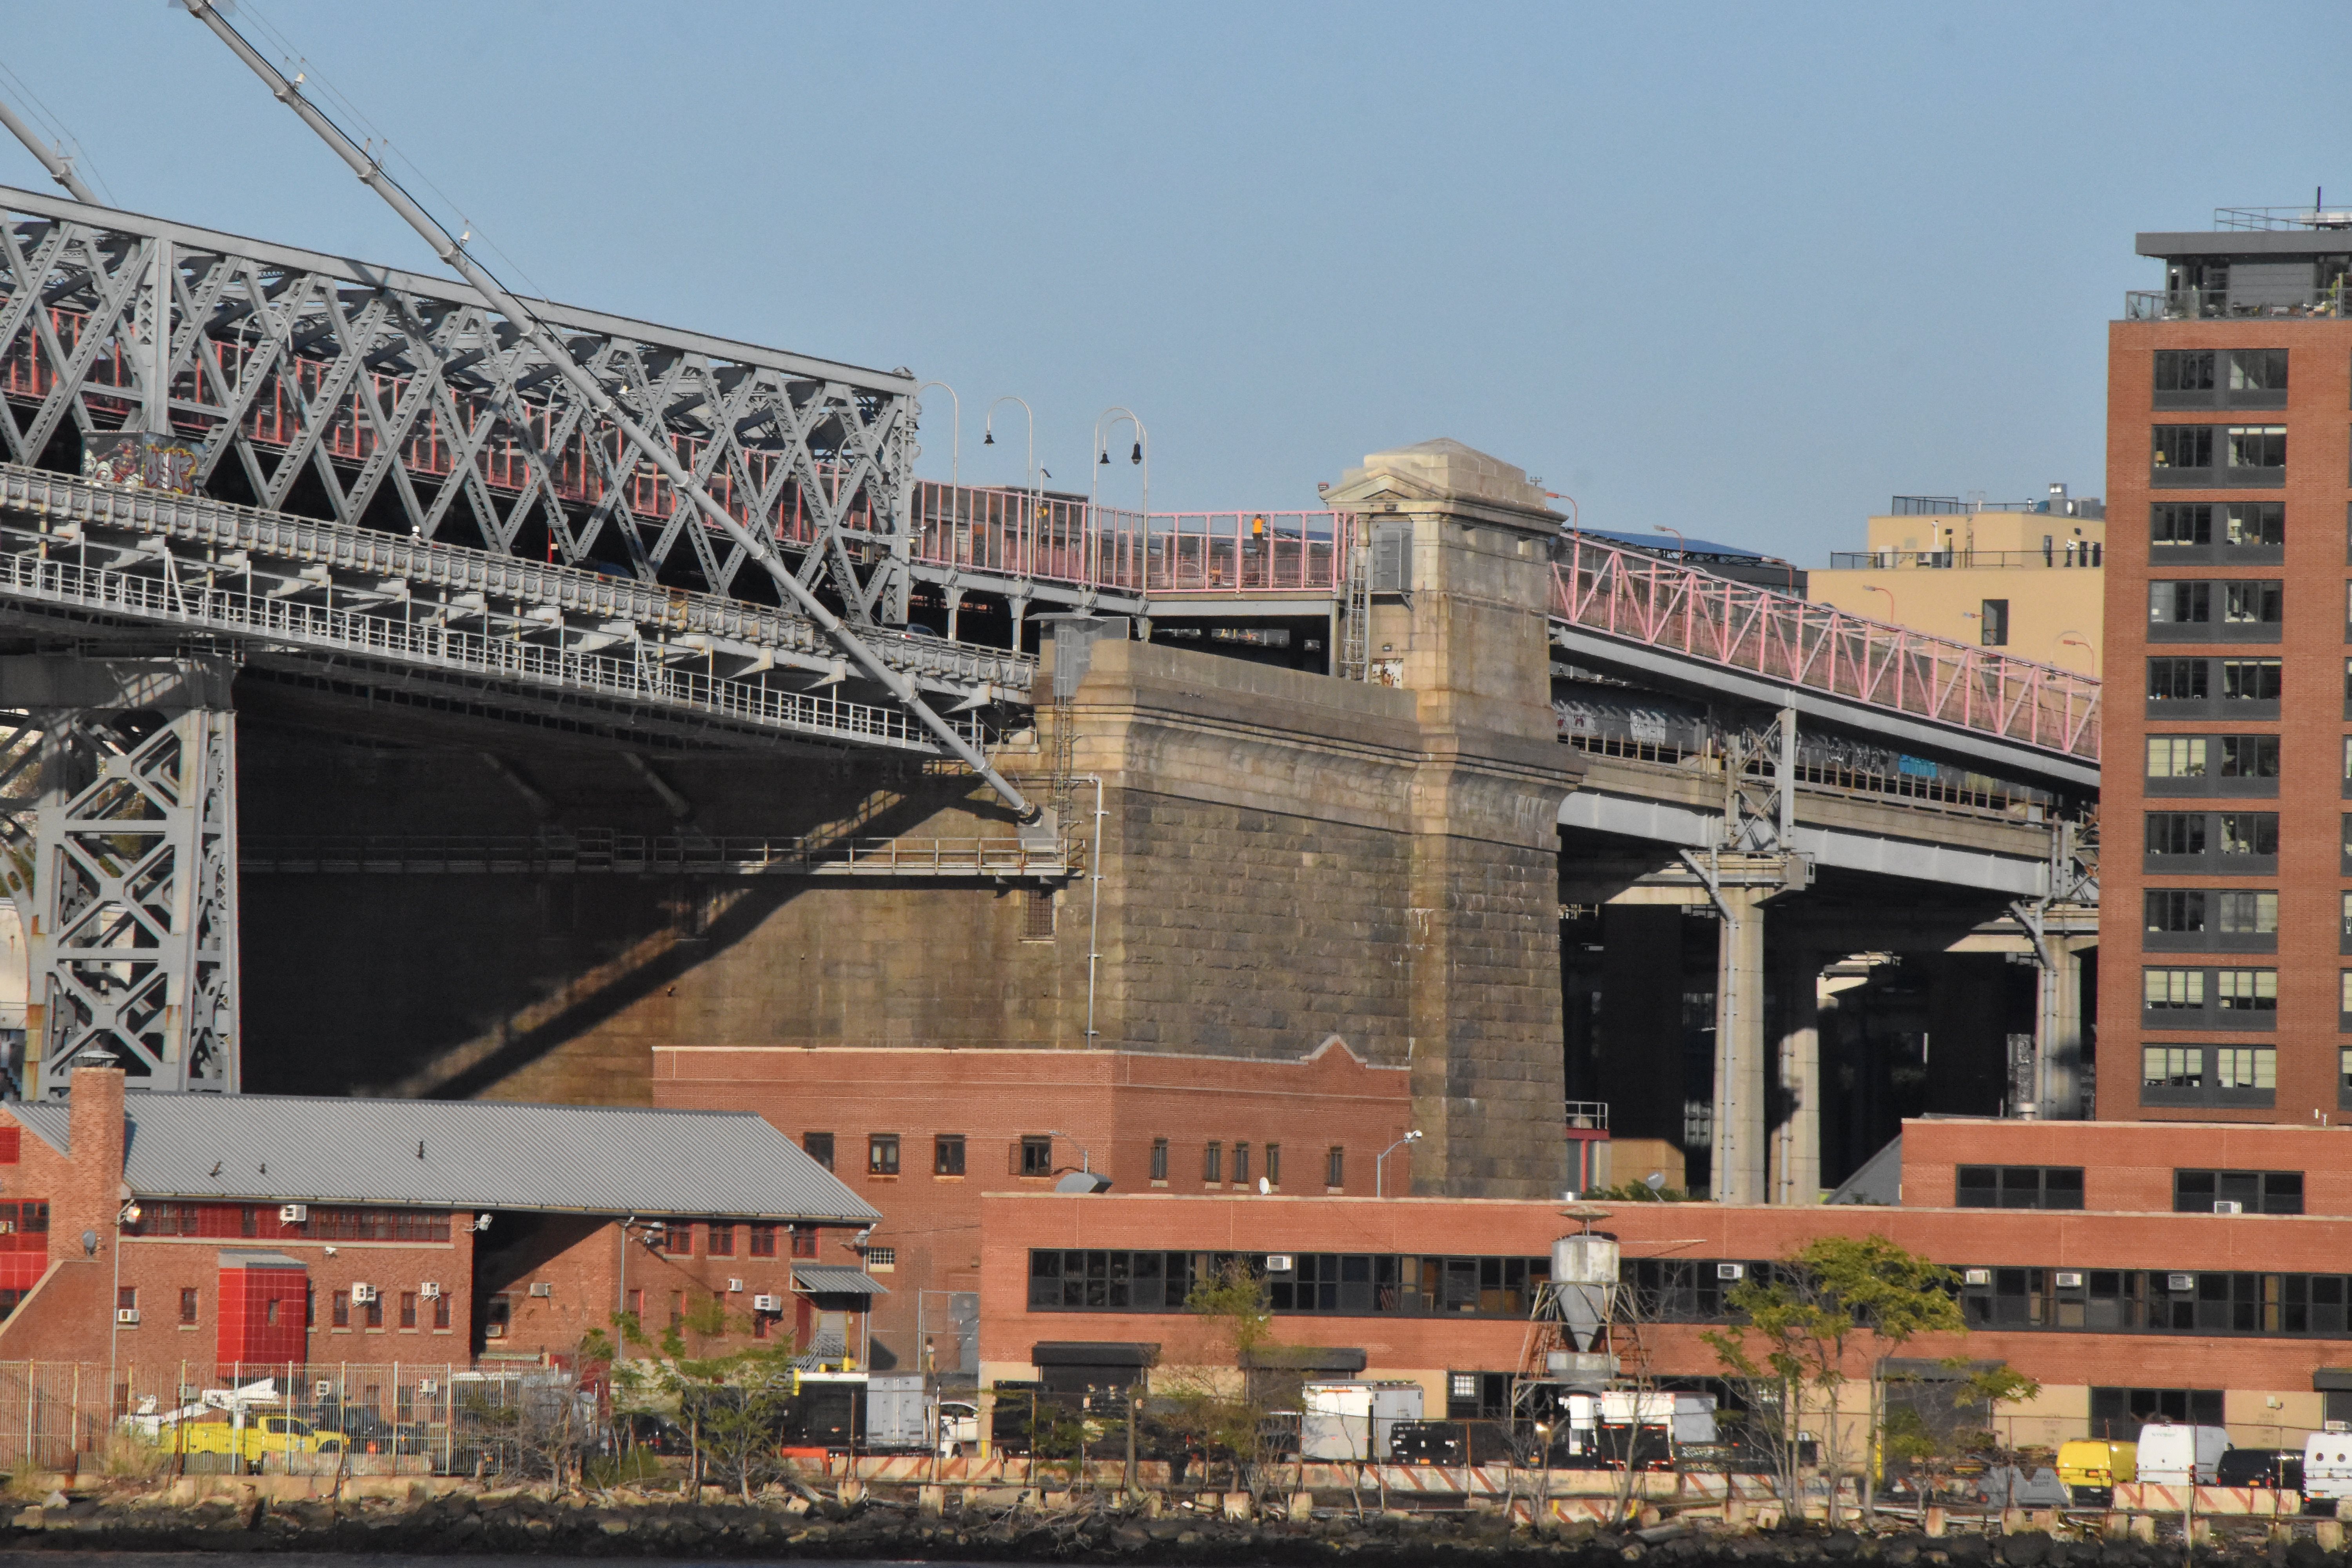
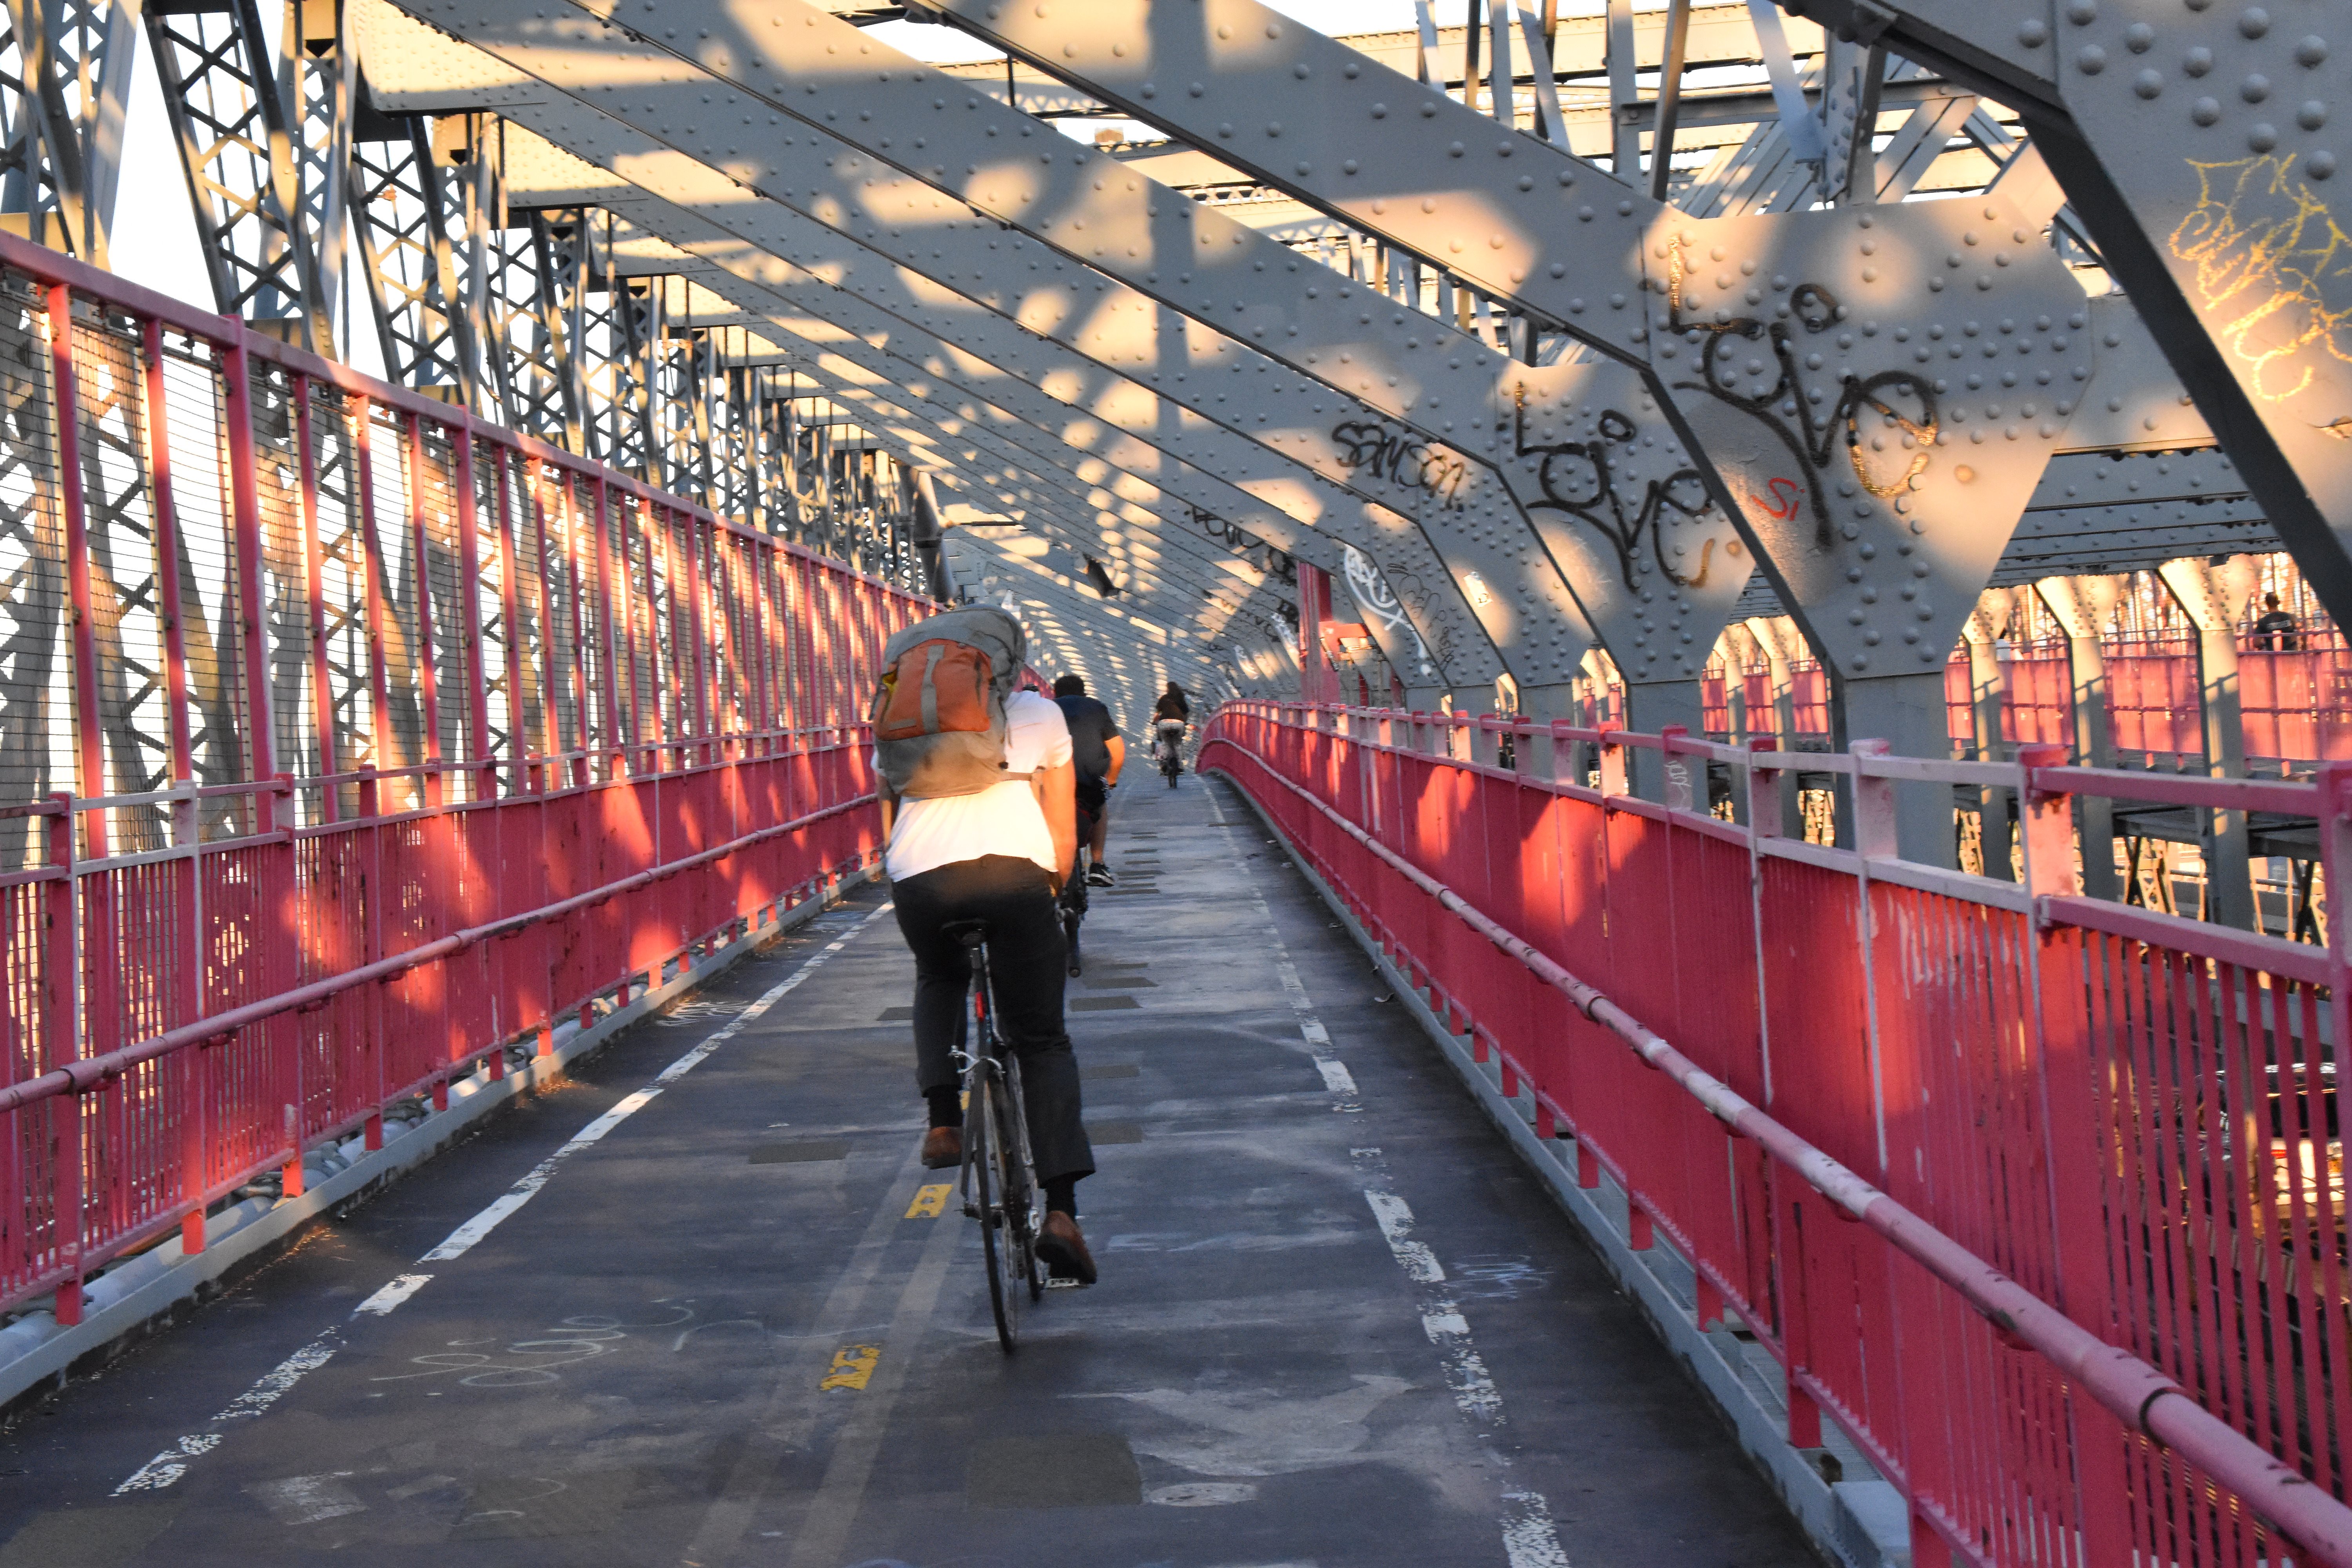
Surrounding area.
![]()
![]()

![]()