
Uncredited photos on this page taken by: Nathan Holth. Unless stated in a caption, all photos are Copyright with All Rights Reserved. Learn about reuse of our photos.
![]()


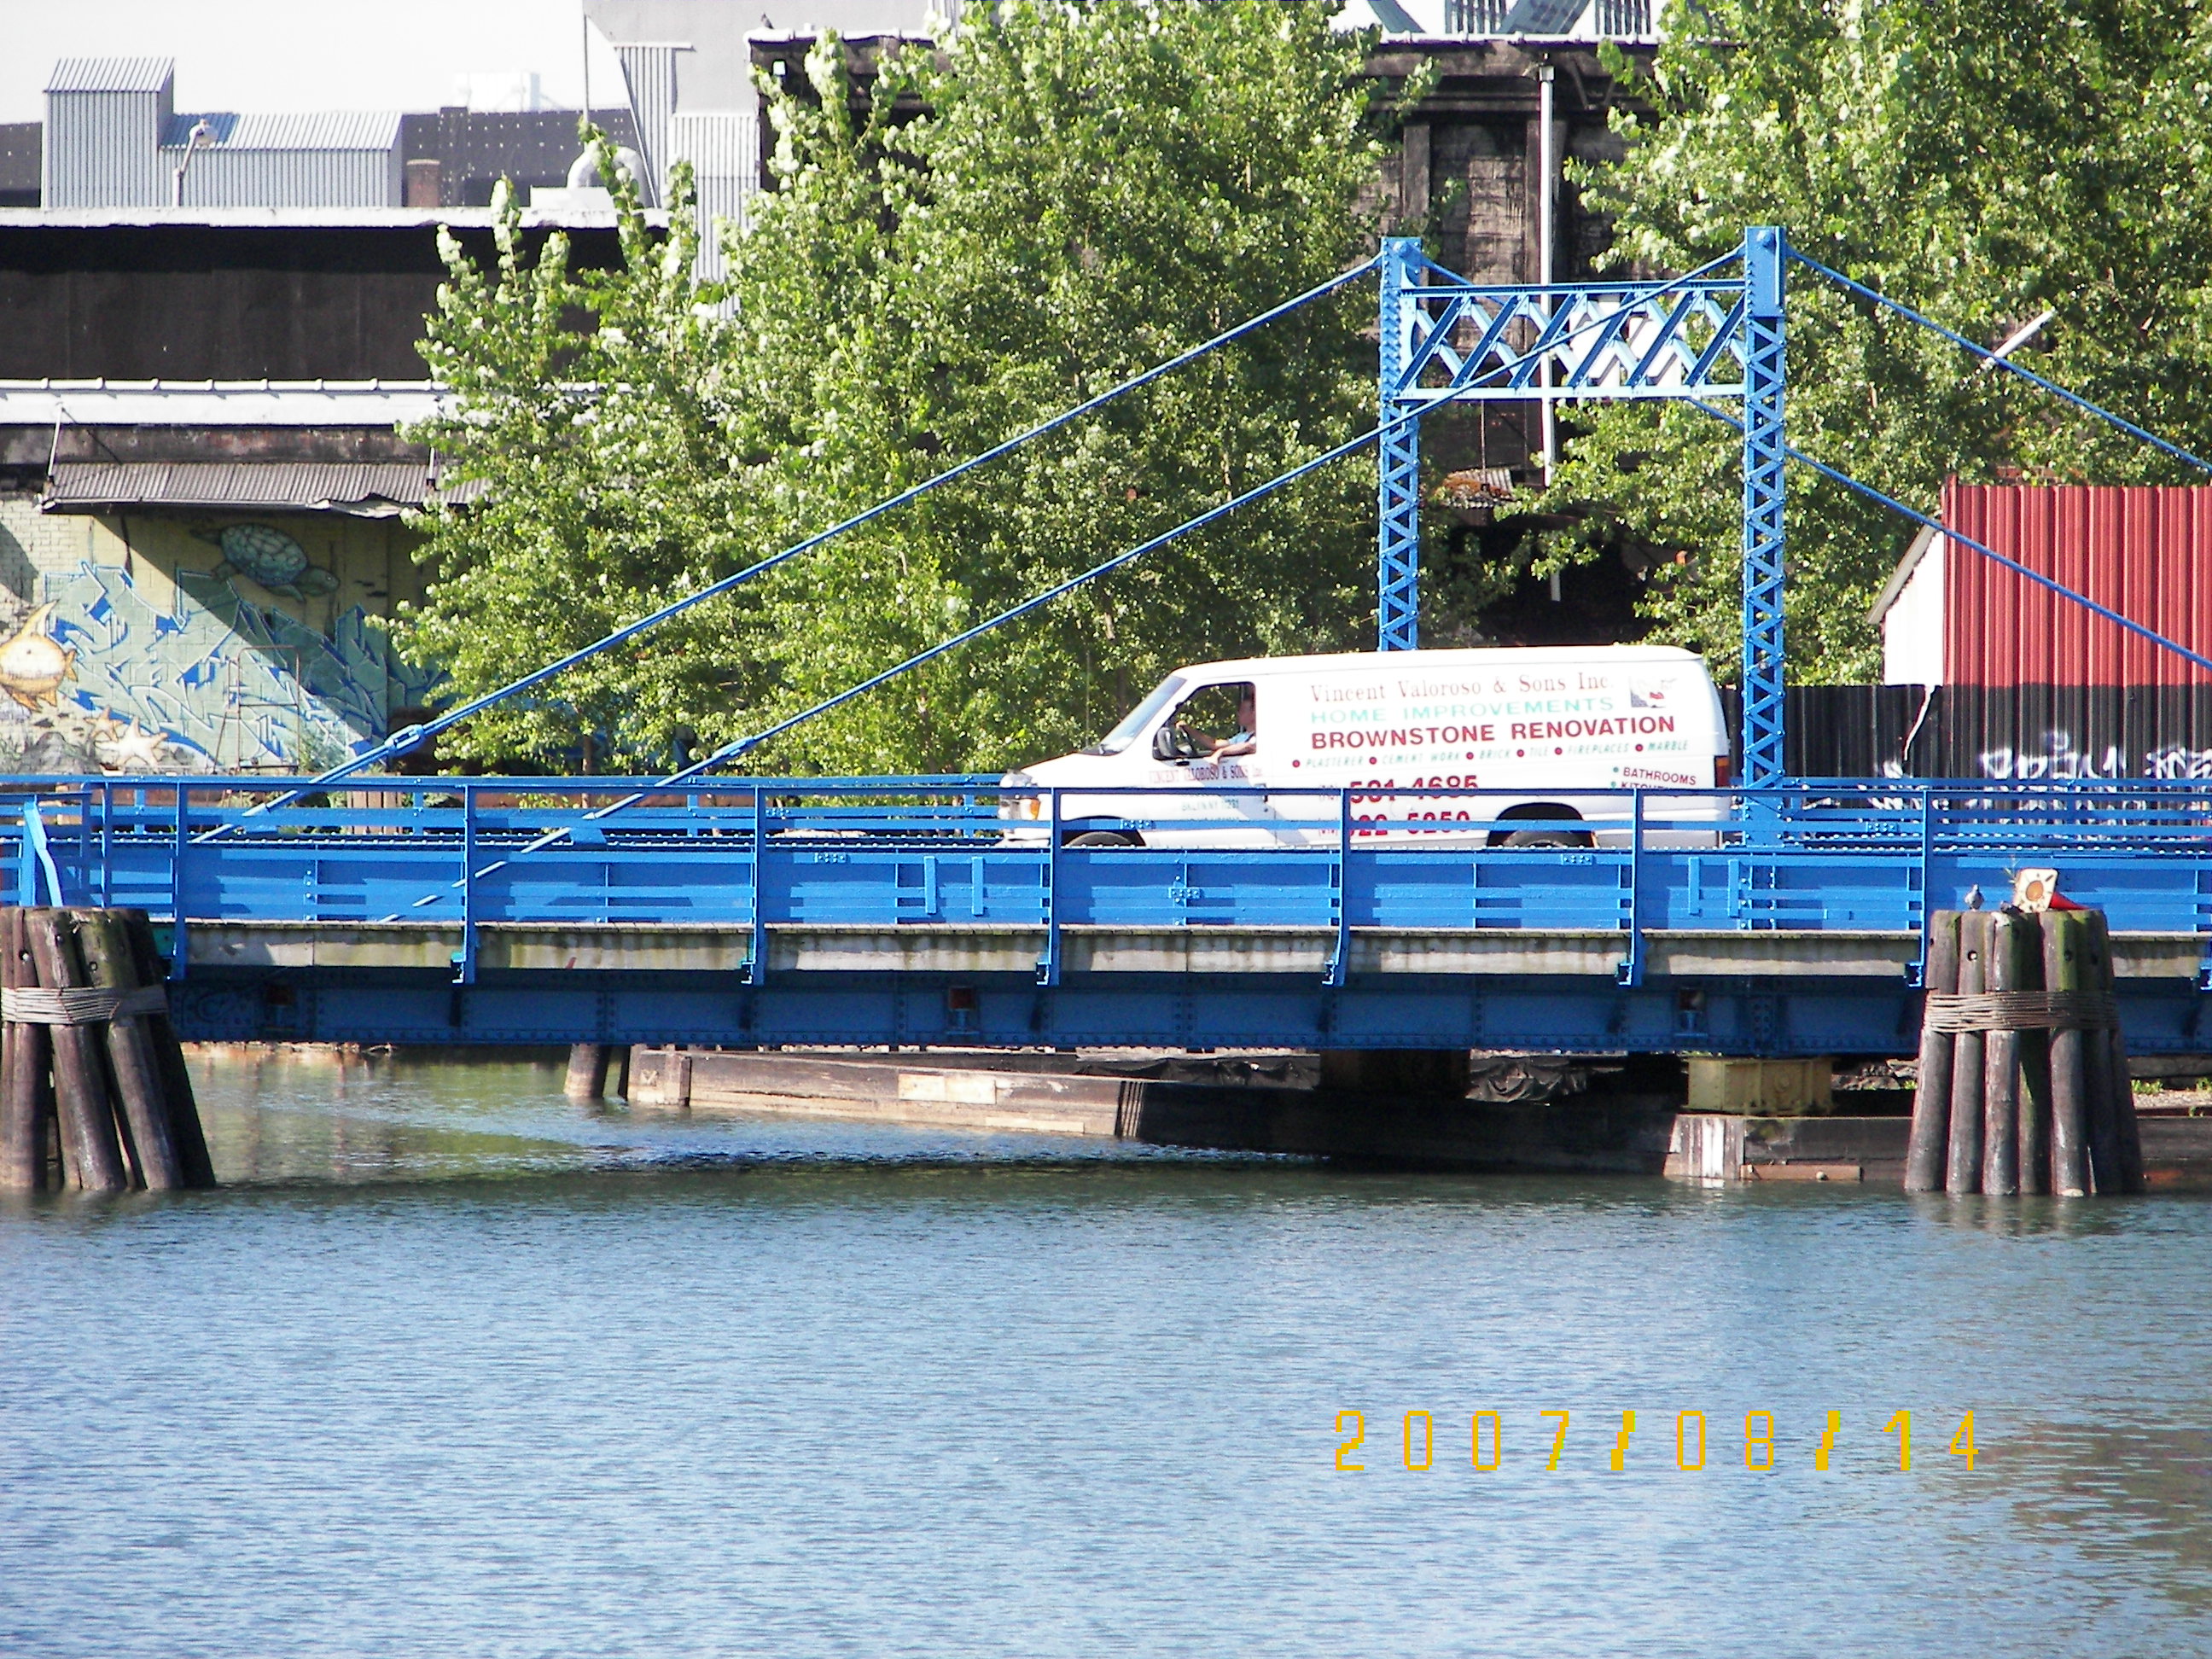

Photo Credit: Norm Ishler
Elevation from Union Street Bridge. From this angle, the bridge moves away from the camera, and to the right as it opens. (View is looking South/Southwest, and the bridge traverses West/Southwest to open.)
![]()

Photo Credit: Norm Ishler
Portal view facing East/Southeast. Bridgetender building is to the extreme right.
![]()

Photo Credit: Norm Ishler
South side of the west end of the bridge. View standing against the control house. The nearer of the two tracks in the picture supports the girder on the north side of the bridge (it has 2 rails). The other more distant track supports the south (near side) girder with 3 rails. The south side of the bridge is quite a bit longer and heavier than the north side.
![]()

Photo Credit: Norm Ishler
Looking West from near the center of the south side of the bridge toward the control house. The near track is the 3 rail track for the south side, the next track is the 2 rail one for the north side girder, and the single rail track against the house supports both sides of the west end of the bridge.
![]()
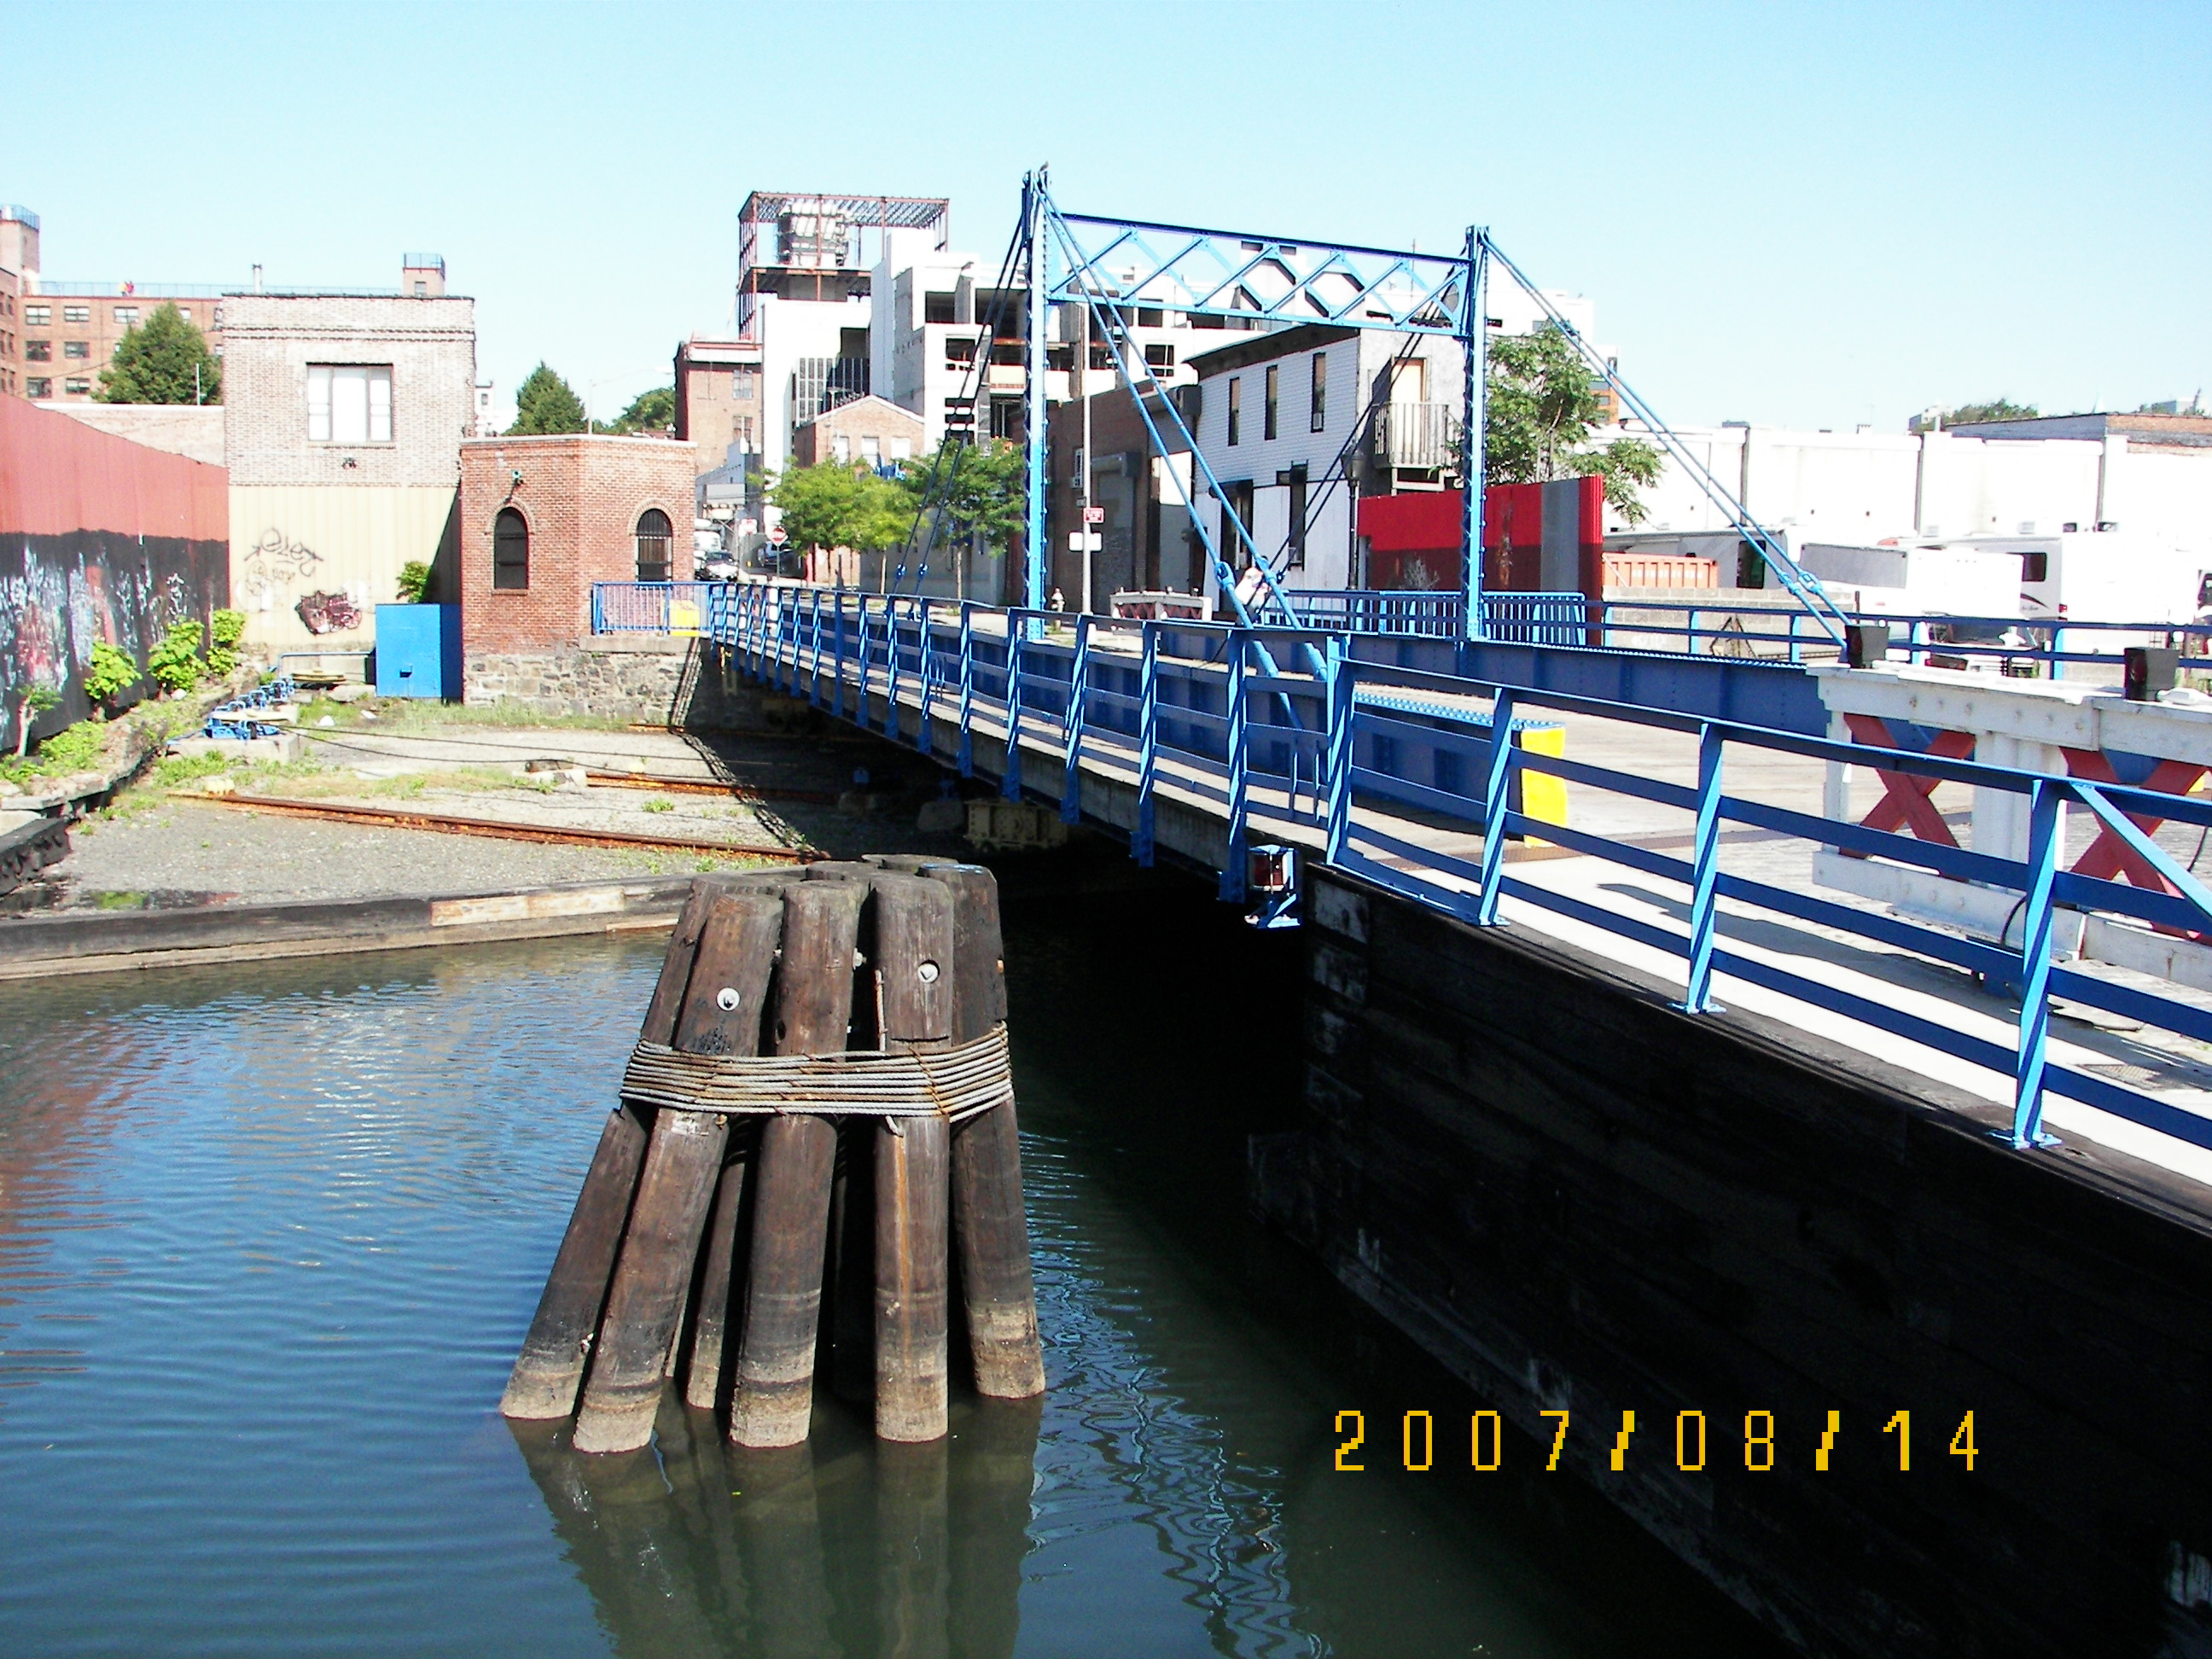
Photo Credit: Norm Ishler
Looking west across the channel from the east embankment. The gravel bed where the bridge retracts is flooded (about 6" deep) at high tide).
![]()
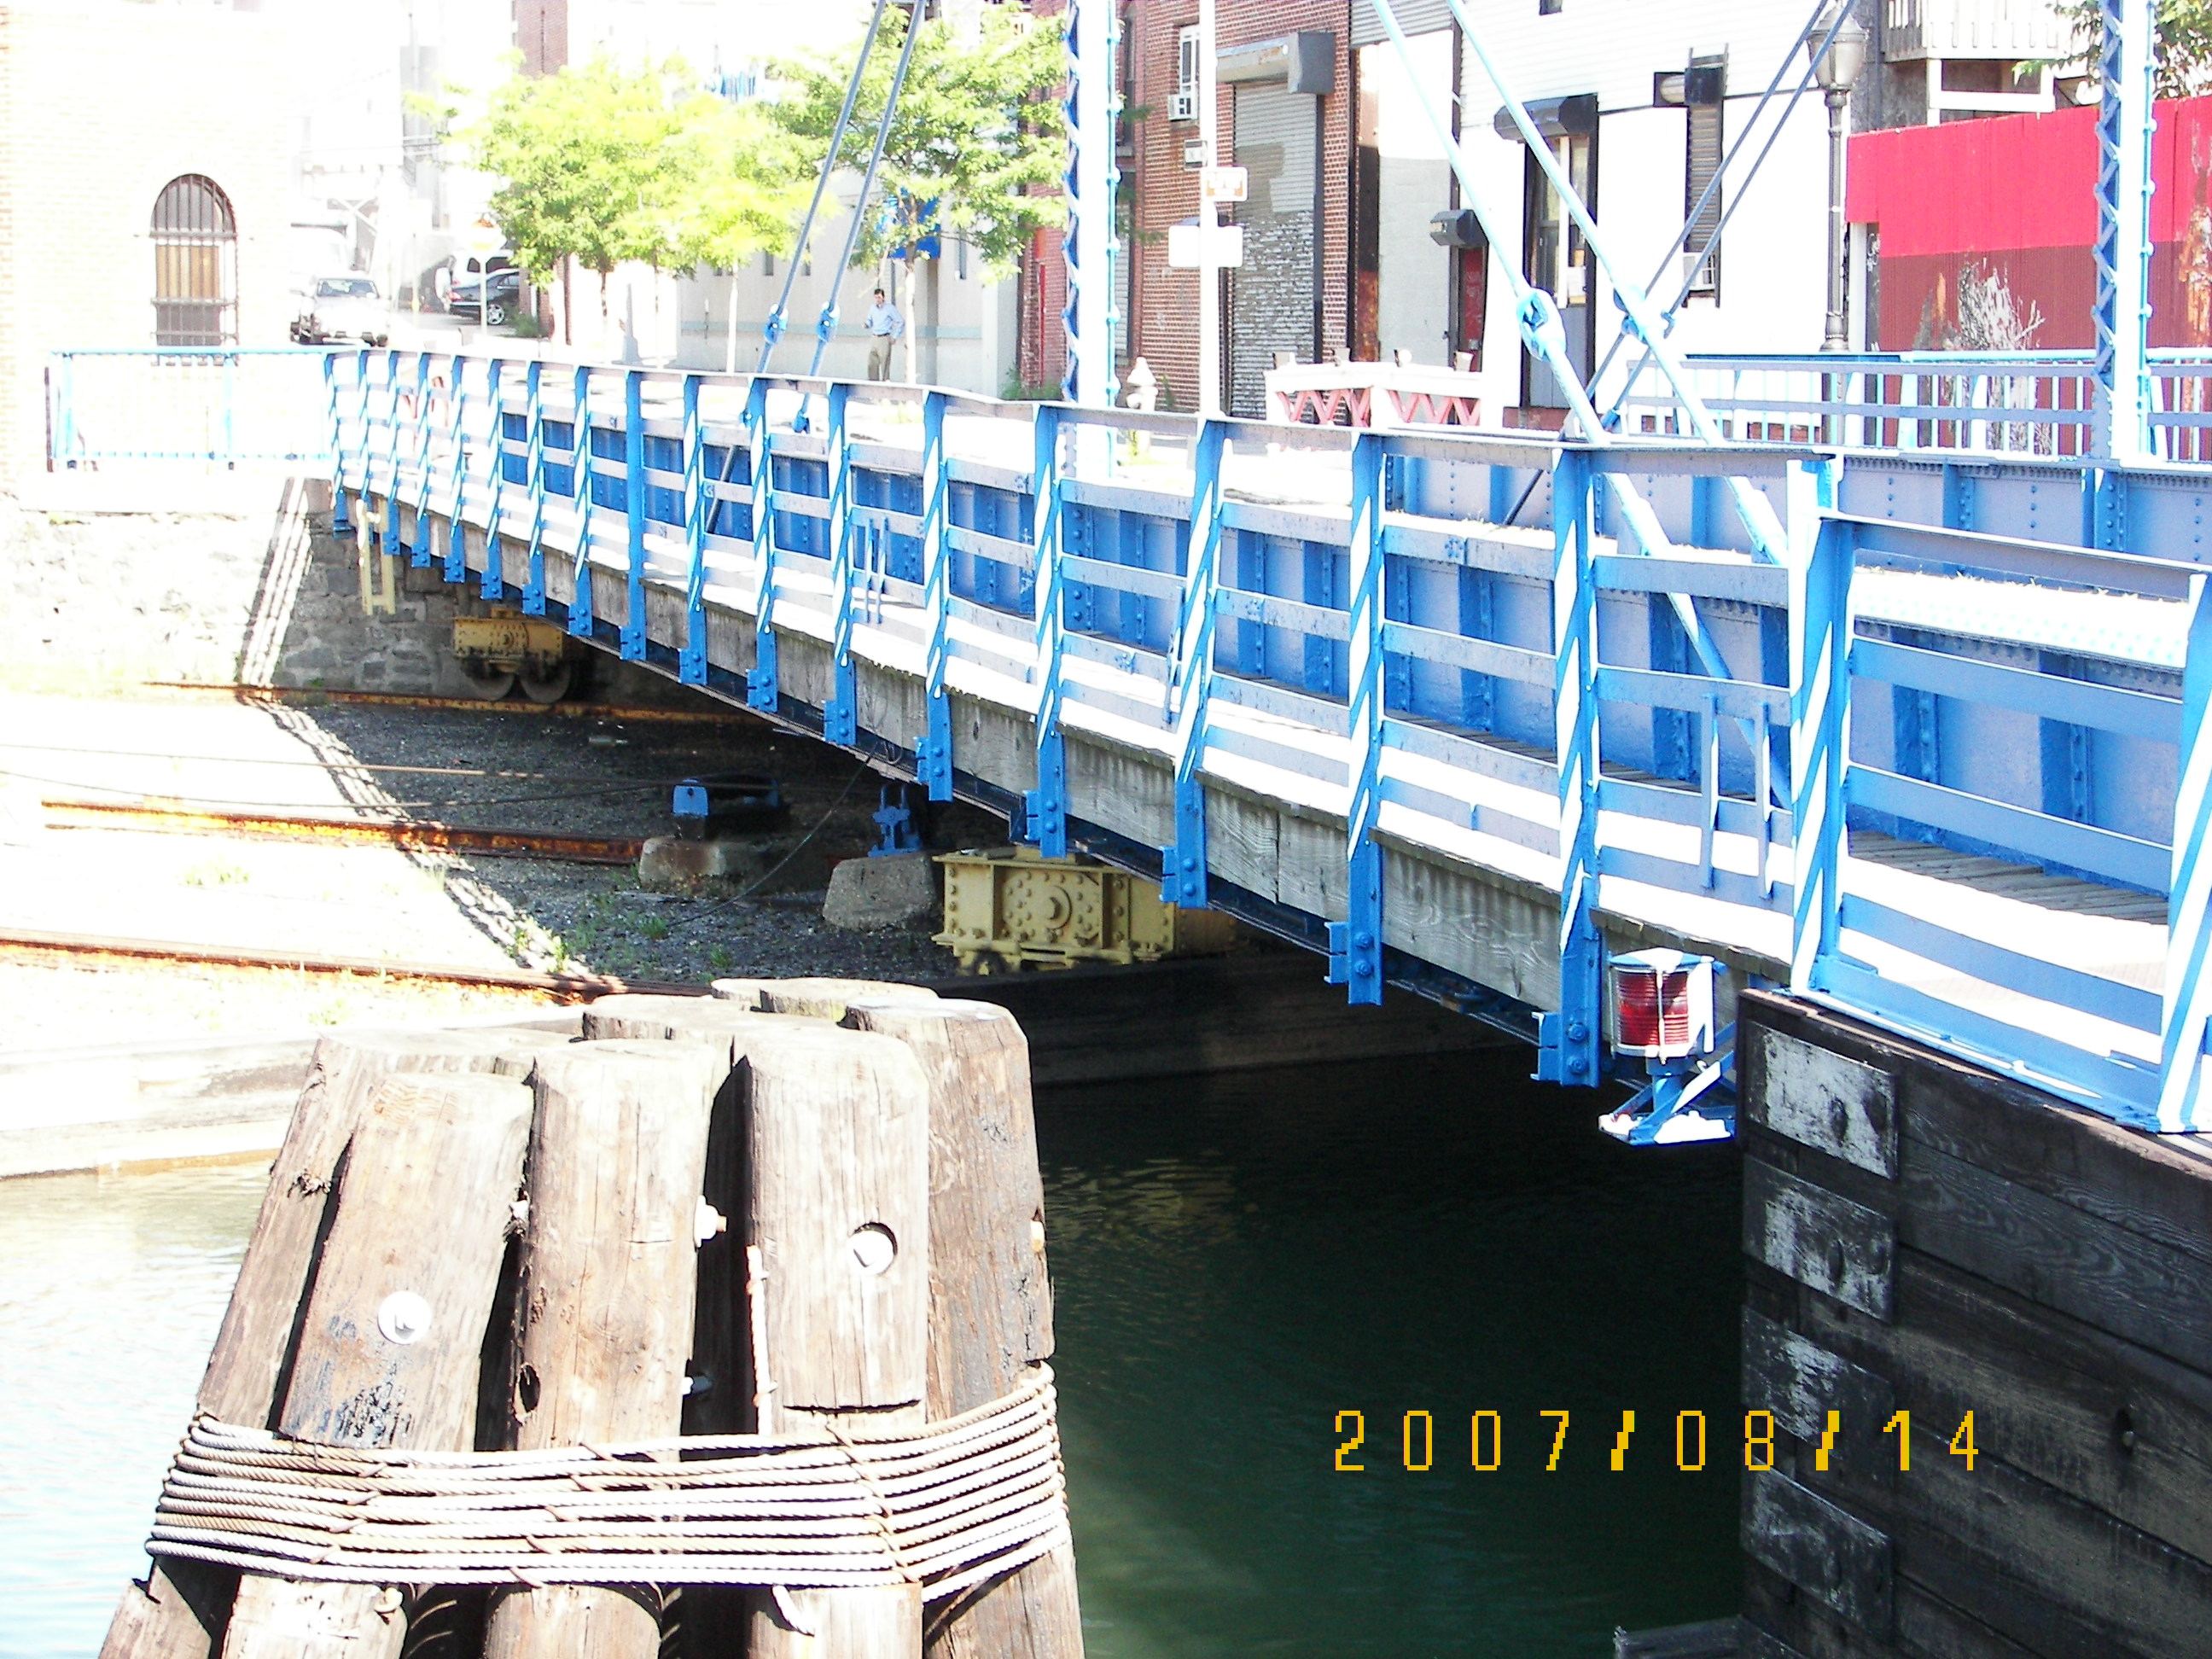
Photo Credit: Norm Ishler
Looking west across the channel from the east embankment. Detail showing the two trucks under the south side of the bridge. The near one (under the south girder) has 6 wheels, 2 on each of the 3 rails, and the far one (under the west end of the bridge) has 2 wheels on the single rail.
![]()

Photo Credit: Norm Ishler
View of the north side of the bridge from the east abutment. The ends of the north girder truck and the north side truck are visible at the west end of the bridge.
![]()

Photo Credit: Norm Ishler
Detail of the northwest truck (west end of bridge, north side). This one carries the least weight, and needs only one wheel.
![]()
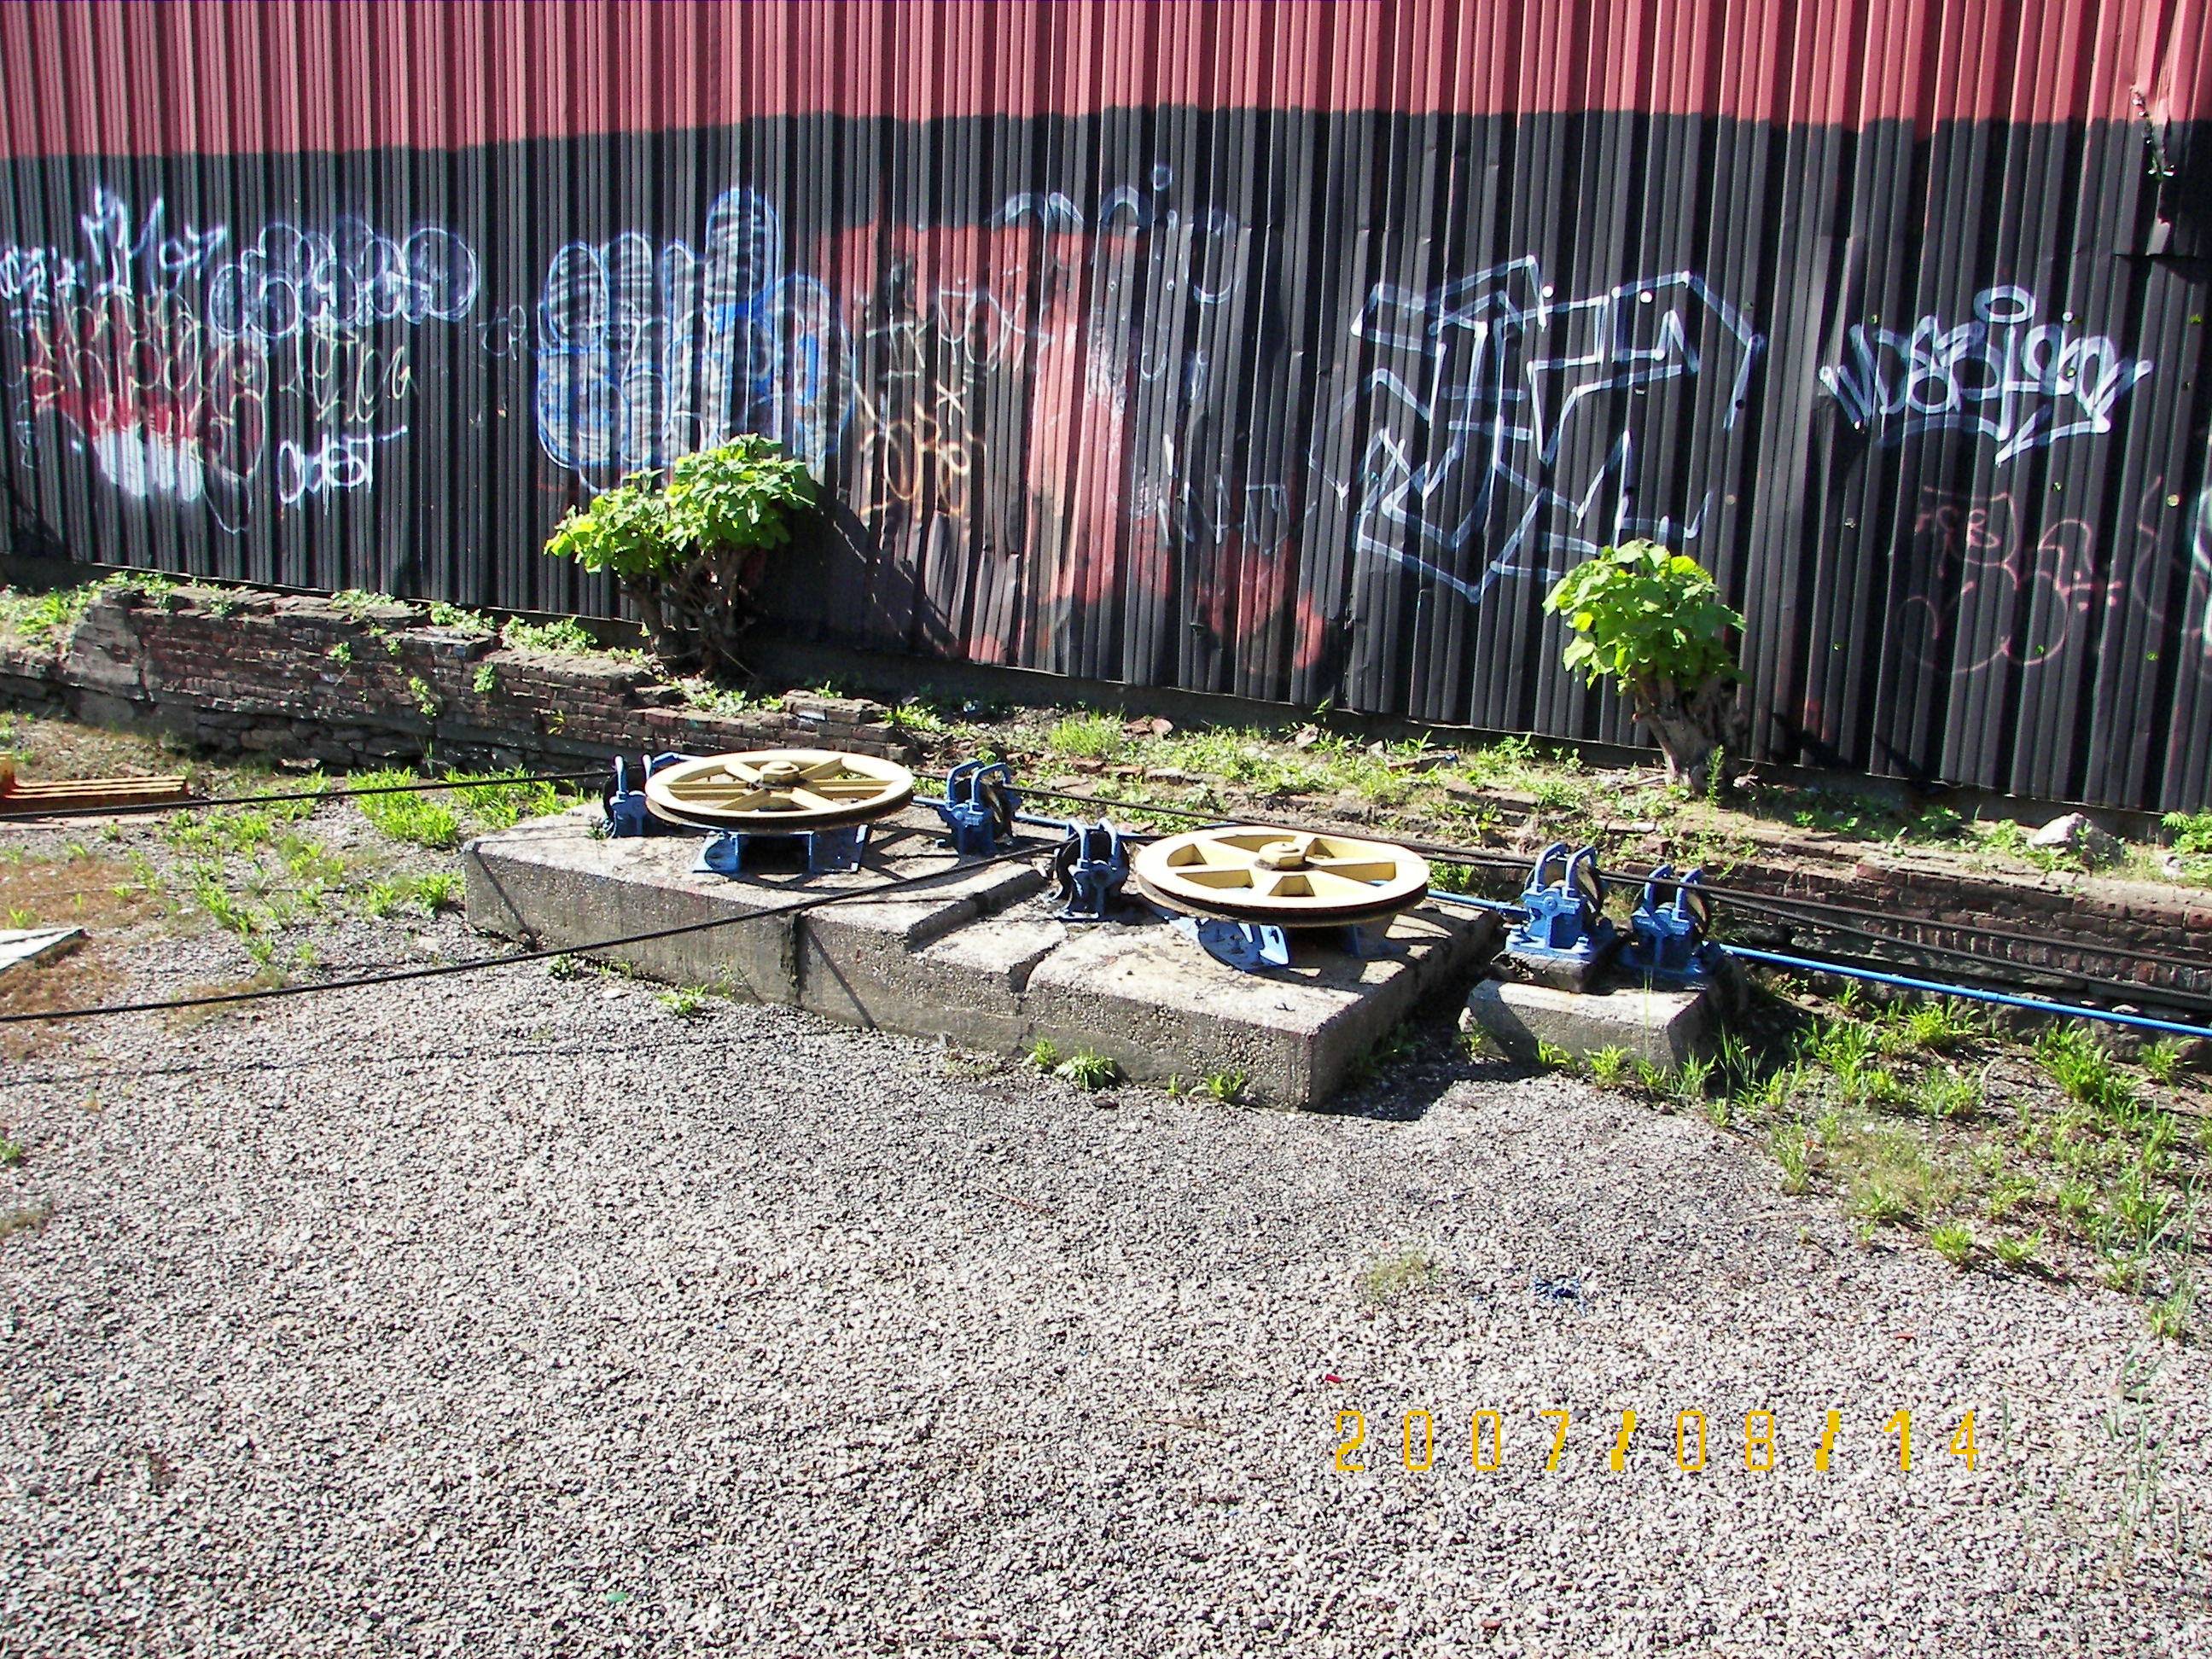

Photo Credit: Norm Ishler
Views showing sheaves for the cables which pull the bridge open and closed.
![]()
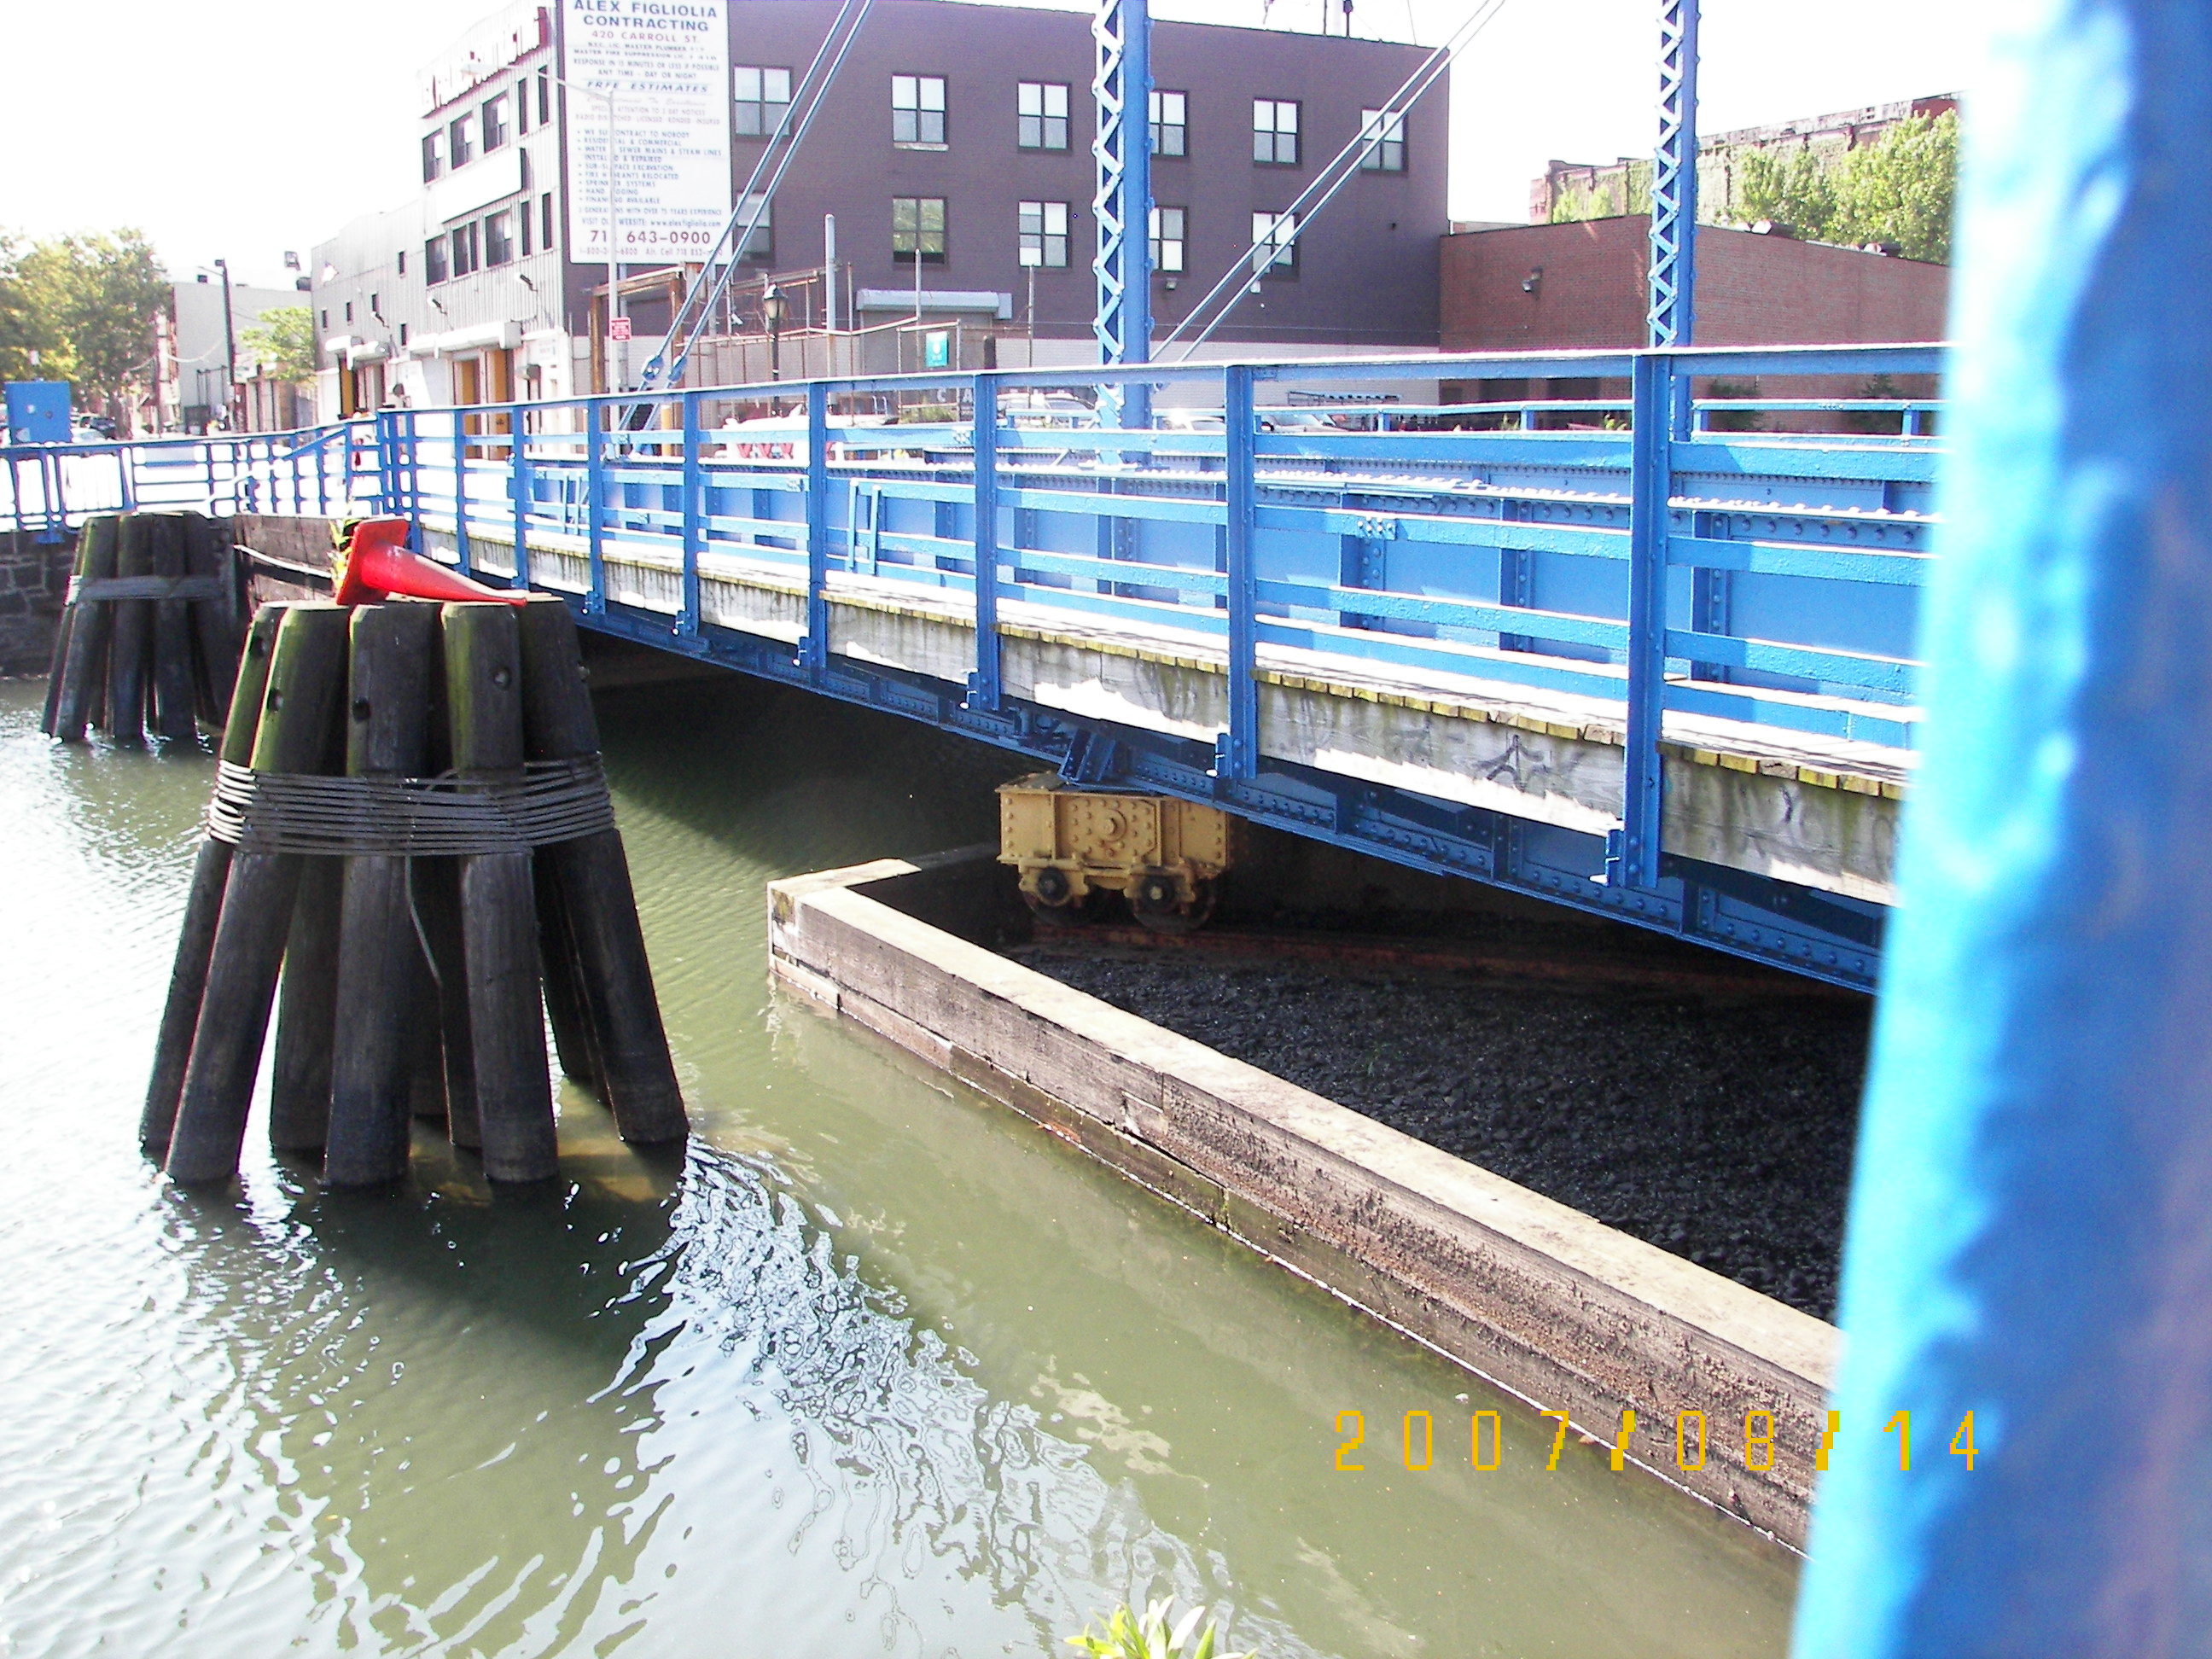
Photo Credit: Norm Ishler
North girder truck from the west abutment.
![]()

Photo Credit: Norm Ishler
Bridgetender building.
![]()

Photo Credit: Norm Ishler
Interpretive plaque.
![]()

Photo Credit: Norm Ishler
View showing the bridge in open (retracted) position, from the north side of the west abutment Visible is the truck under the north girder and at the northeast corner of the bridge one of the shoes that supports the east end of the bridge when it is closed is also visible.
![]()

Photo Credit: Norm Ishler
View inside bridgetender building: Electrical panel.
![]()
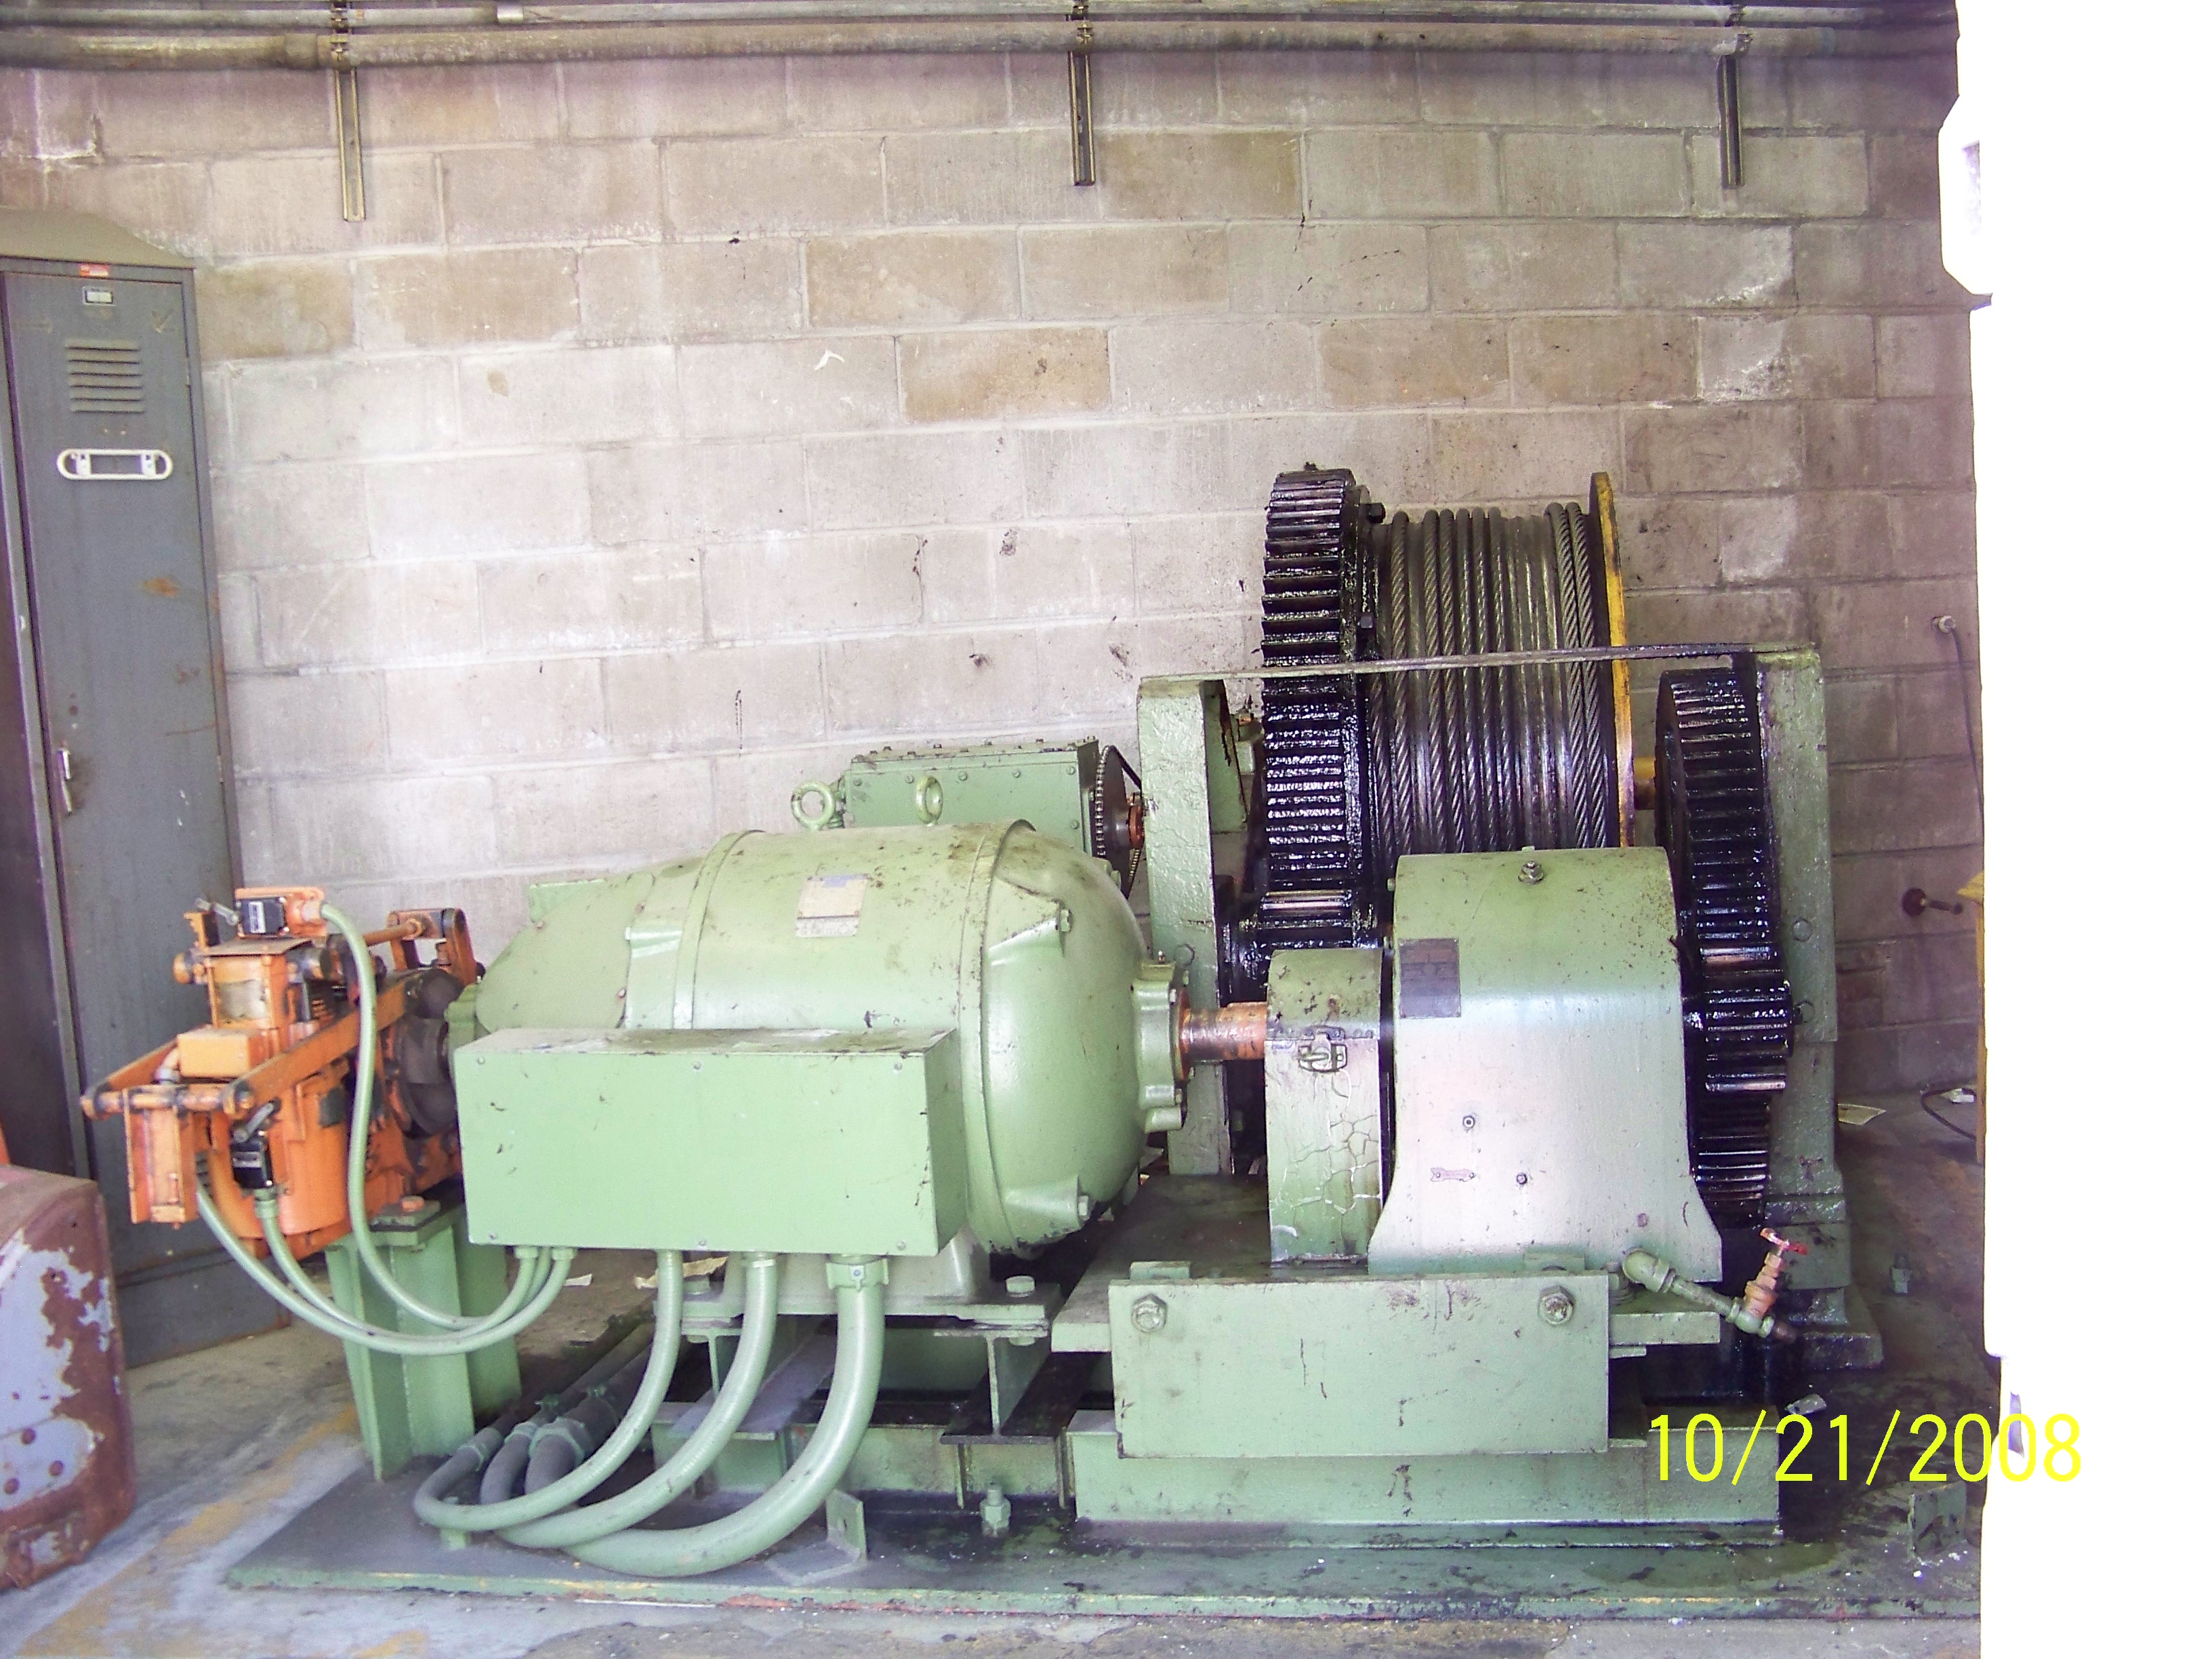
Photo Credit: Norm Ishler
View inside bridgetender building: Motor and winch for bridge.
![]()
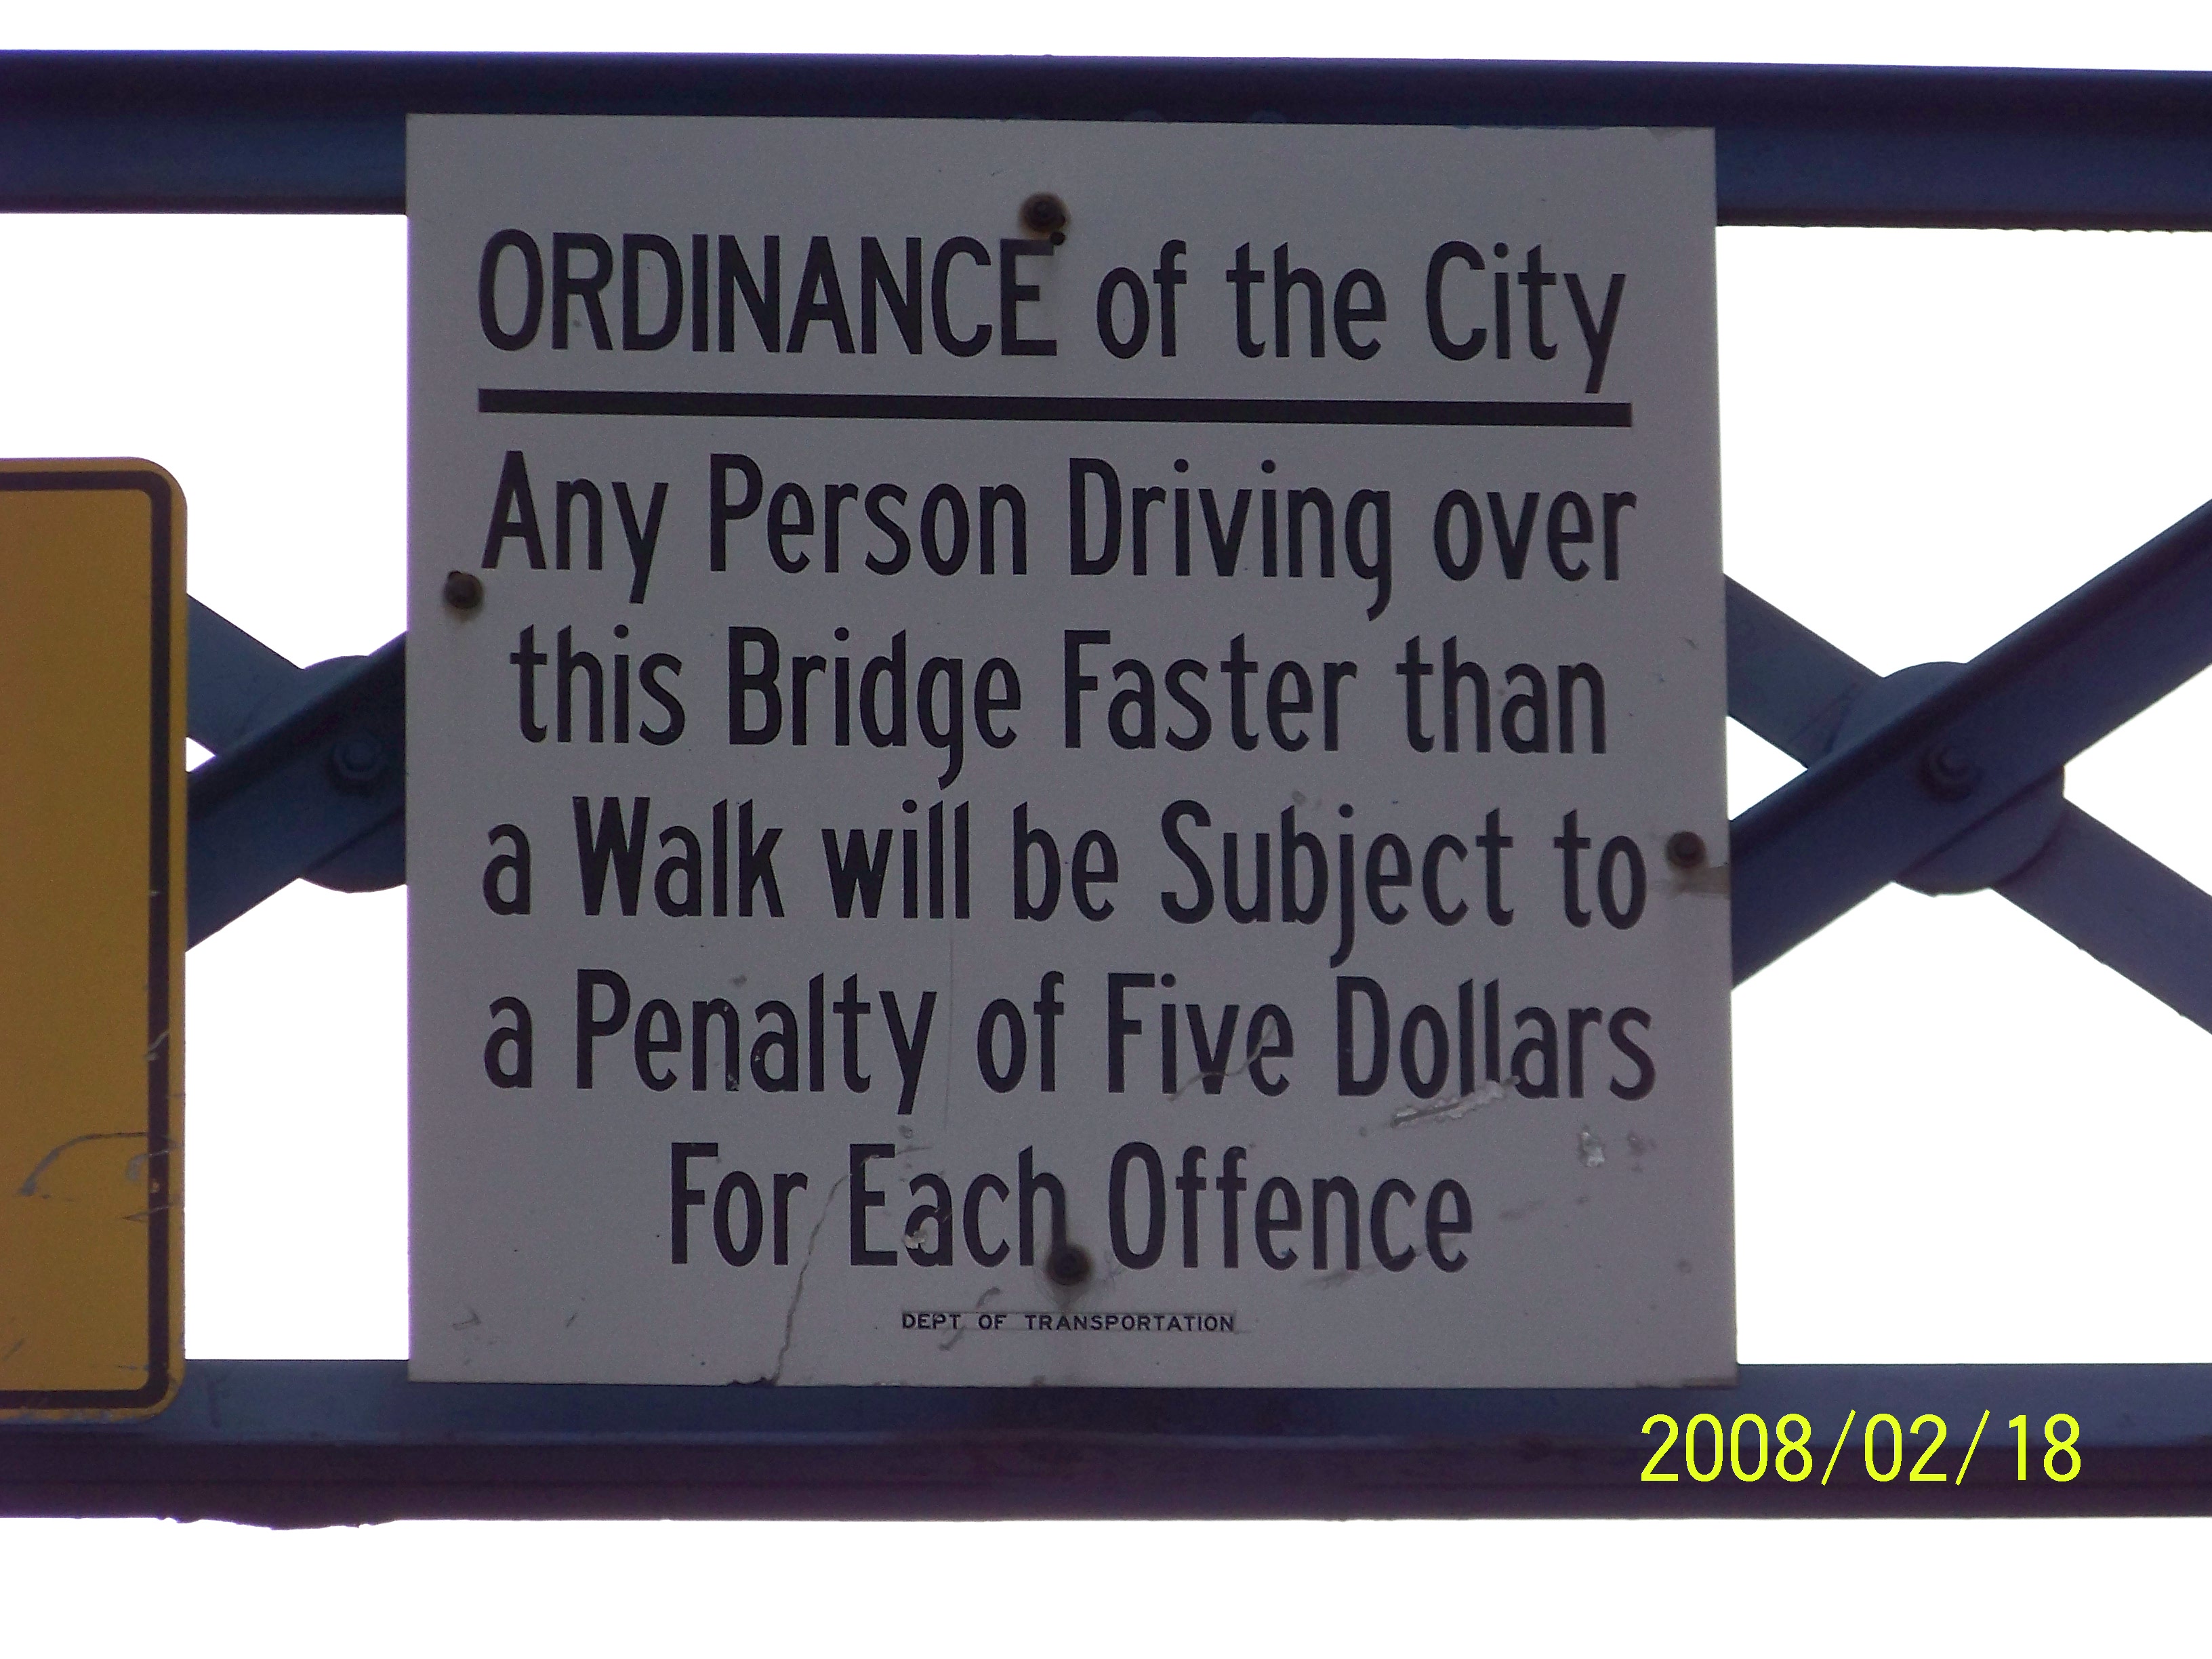
Photo Credit: Norm Ishler
"Speed Limit" Sign posted on bridge portal bracing. The sign is based off of language commonly used on pre-1900 bridges during that period in history. Such signs often threatened fines from $5-$10 for moving across the bridge "faster than a walk." The sign is likely more for entertainment than to be taken seriously.
![]()

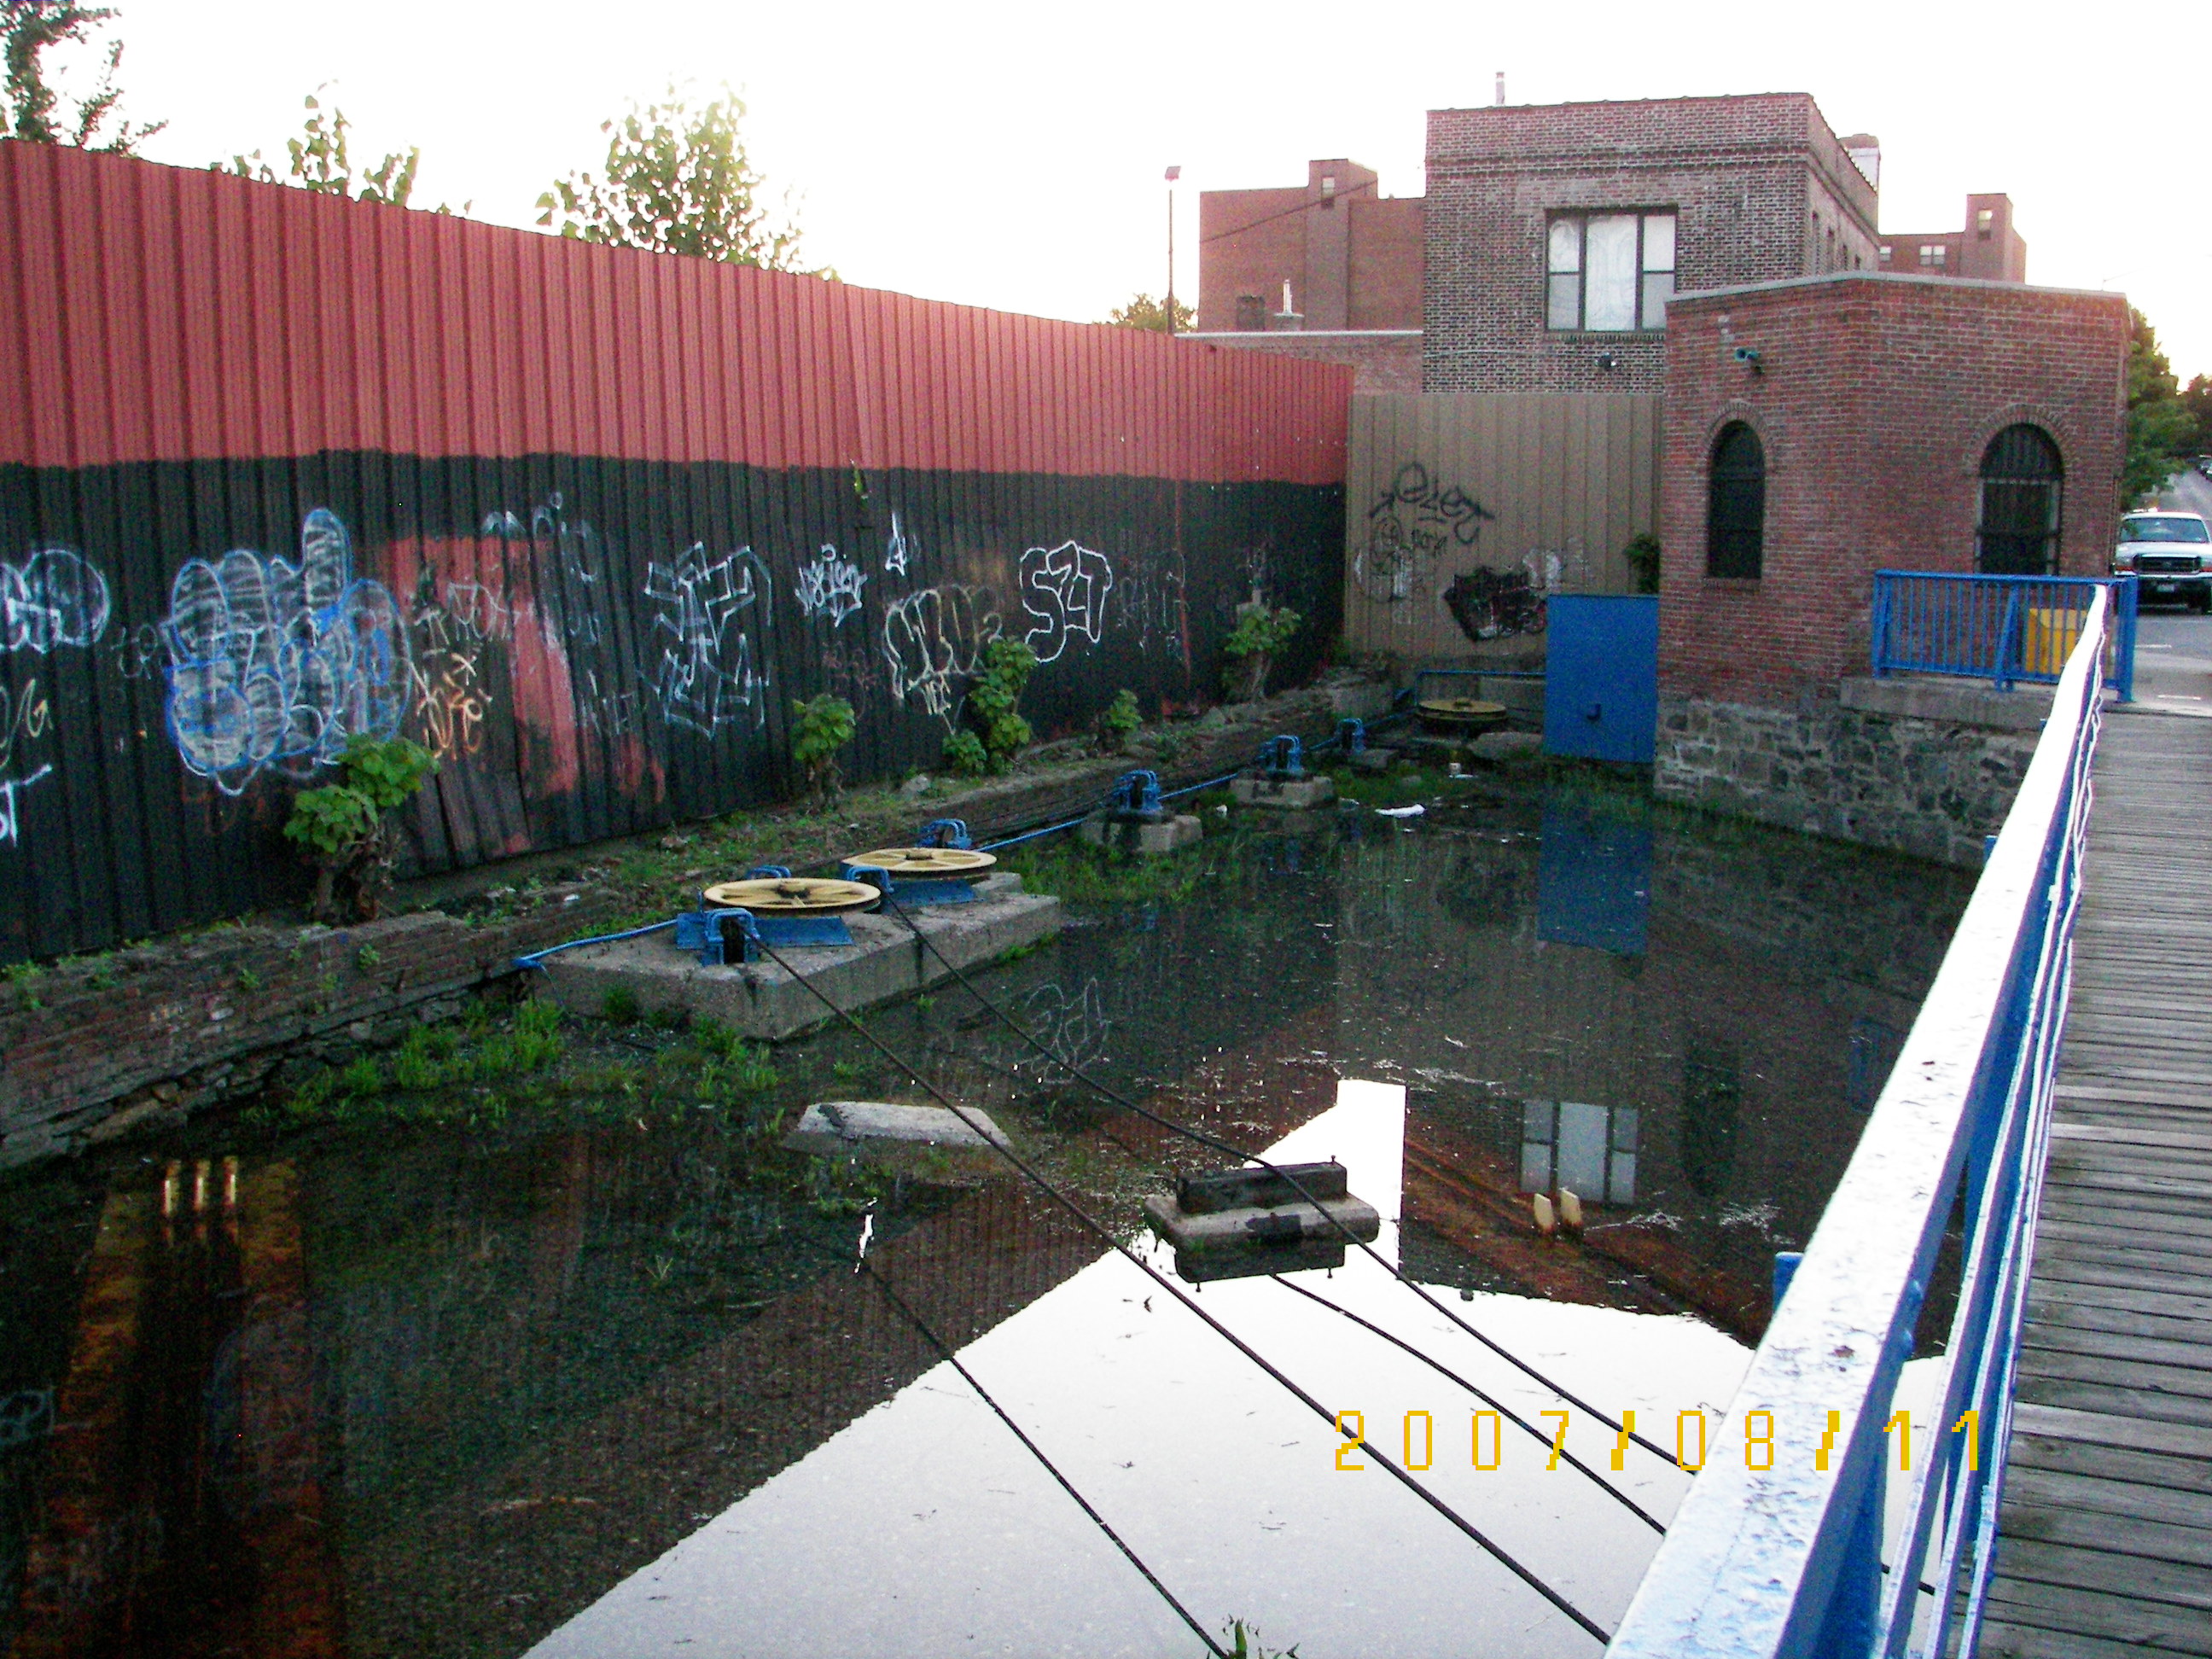
Photo Credit: Norm Ishler
The area the bridge moves into when open. Flooded at high tide. The rails are completely covered, though the stop blocks stick up above the water surface.
![]()

Photo Credit: Norm Ishler
Portal view looking east showing the deck which revealed the skewed design which is needed due to the manner in which the bridge retracts.
![]()
![]()

![]()