Uncredited photos on this page taken by: Nathan Holth and Rick McOmber. Unless stated in a caption, all photos are Copyright with All Rights Reserved. Learn about reuse of our photos.
![]()
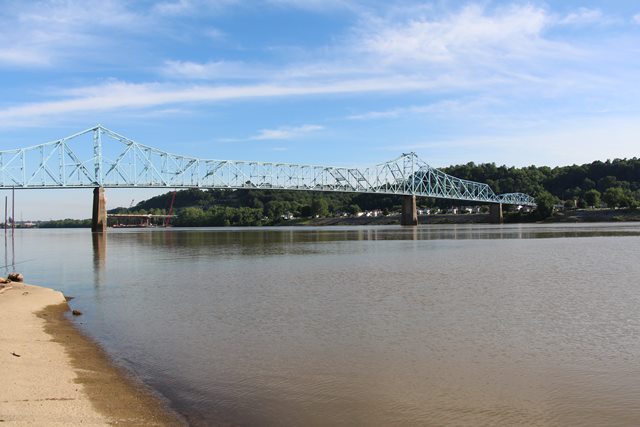
Note: For clarity, directions given assume an east-west alignment of the bridge, east being in Ohio and west being in Kentucky.
![]()
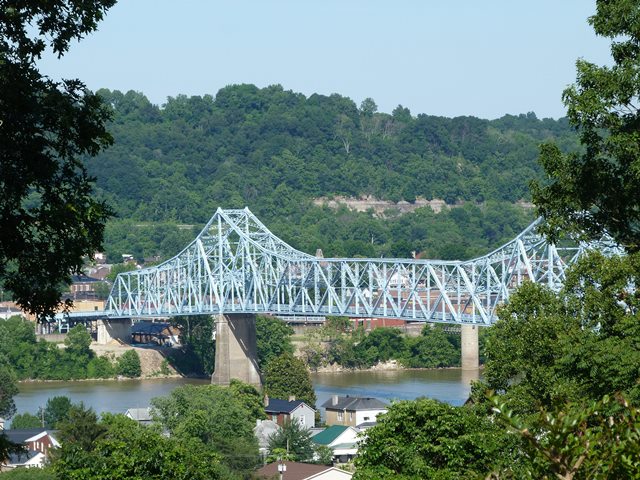


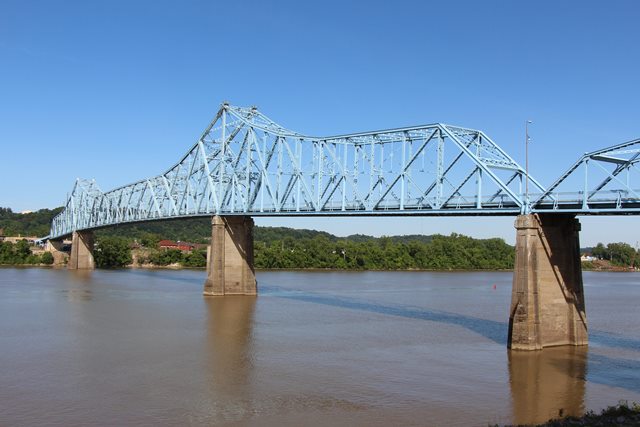
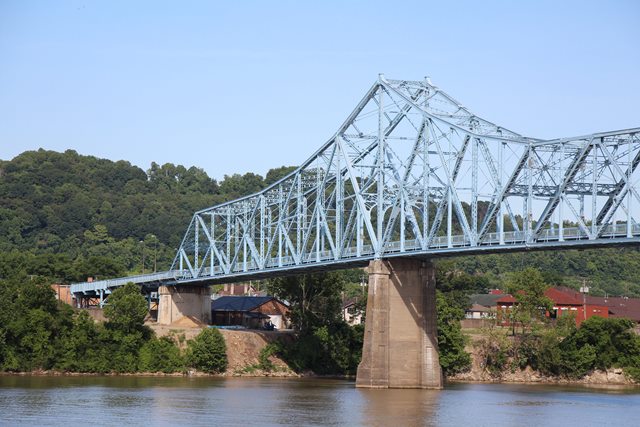
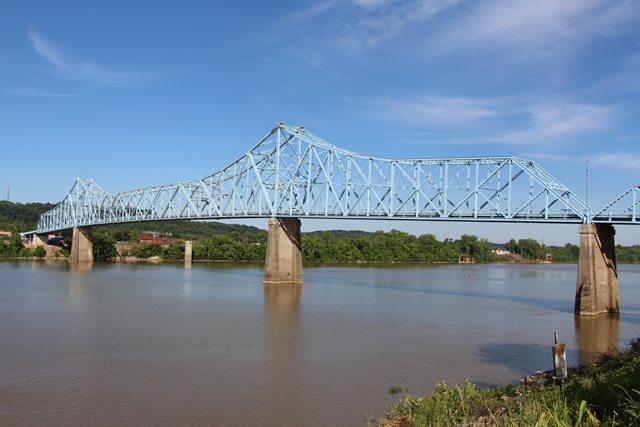
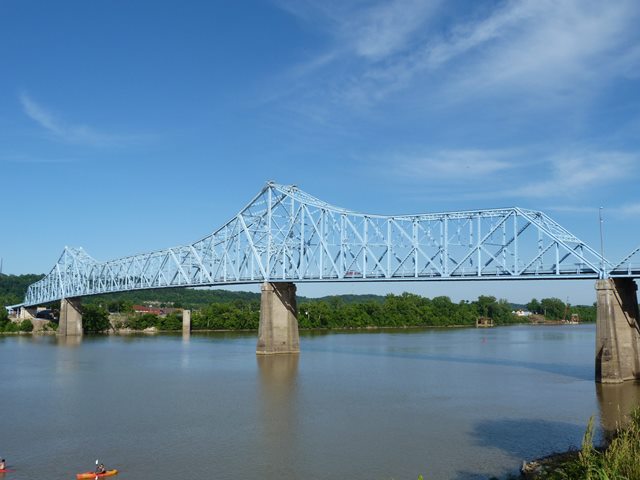
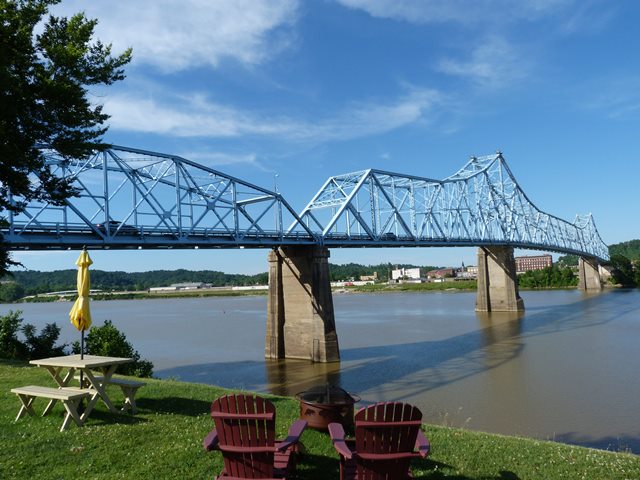
Elevated view from northwest quadrant, from Ridge Avenue.
![]()
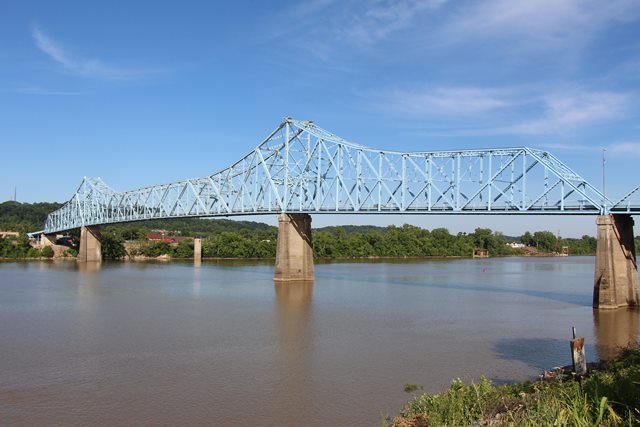
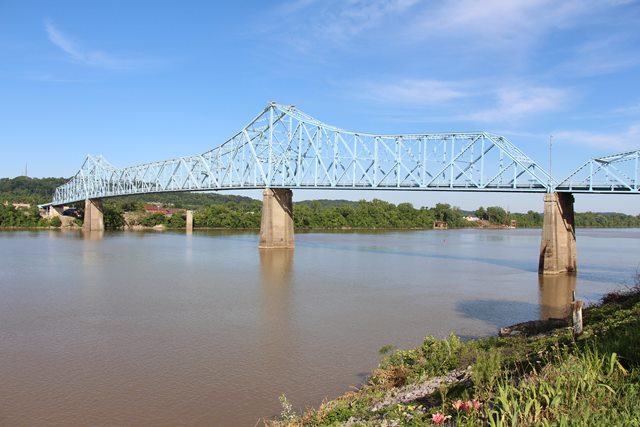


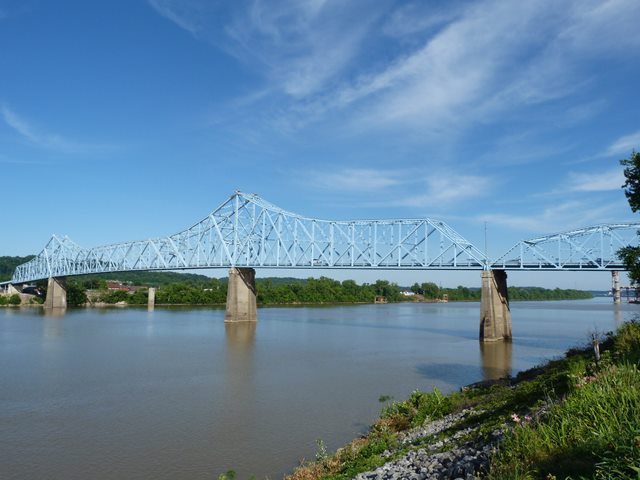


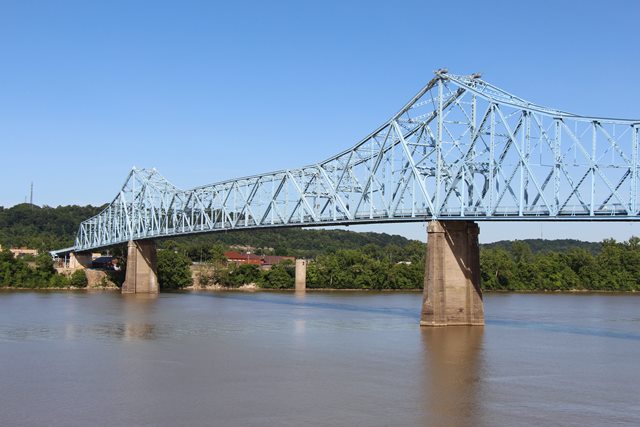
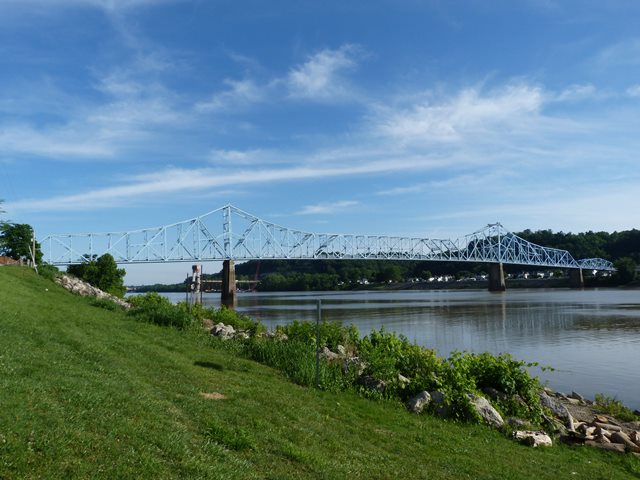
Elevation from northwest quadrant.
![]()
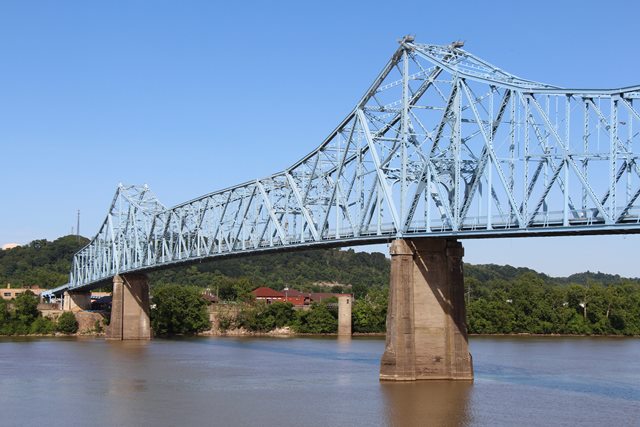
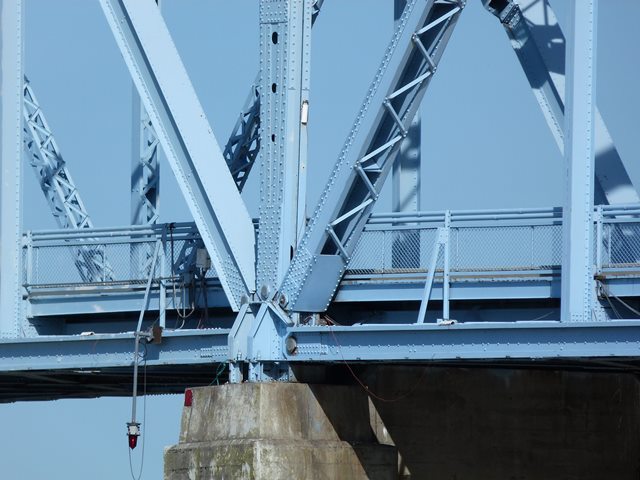
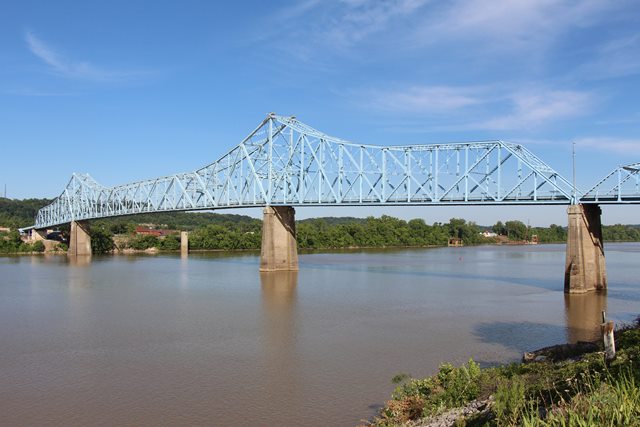
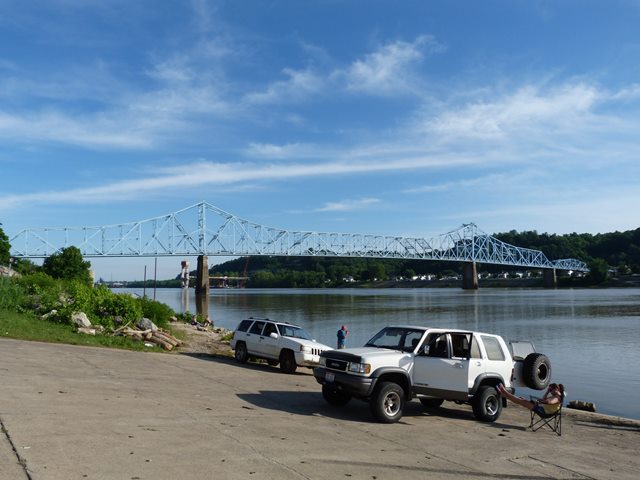
Views beside bridge from northwest quadrant.
![]()


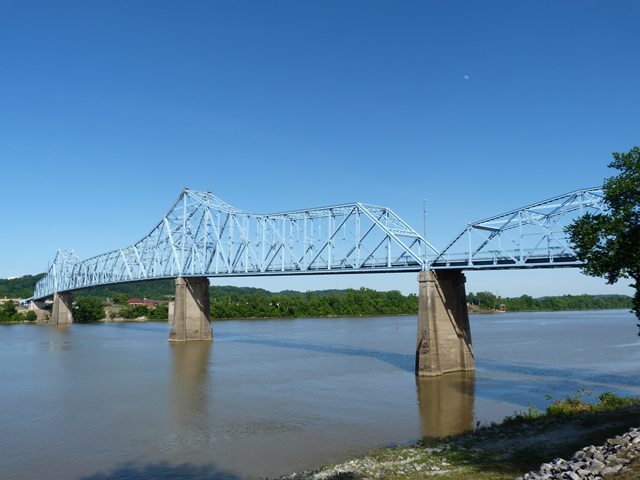
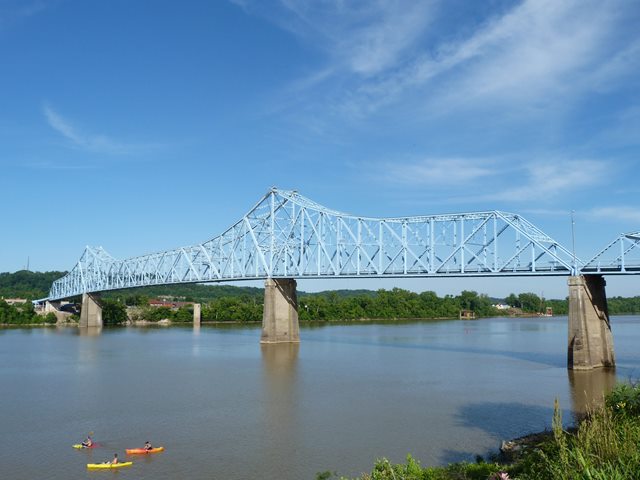
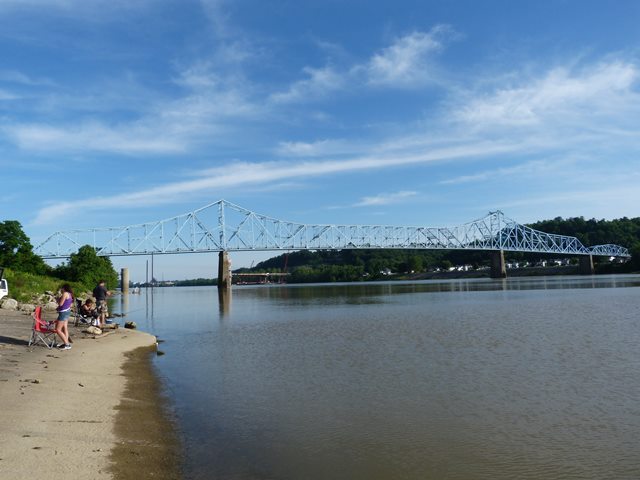
Views beside bridge from southwest quadrant.
![]()


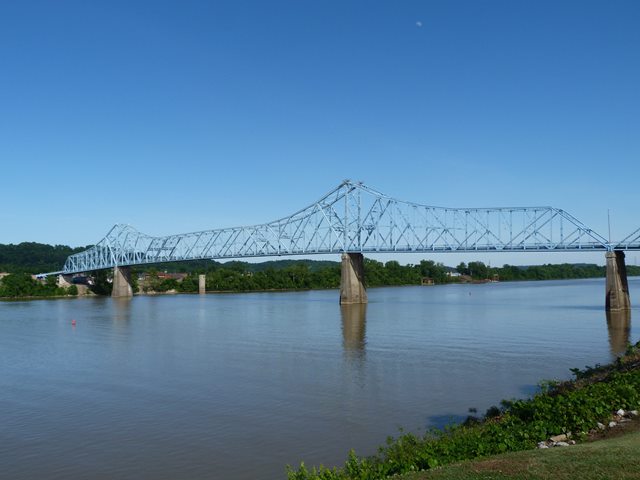
Elevation from northeast quadrant.
![]()

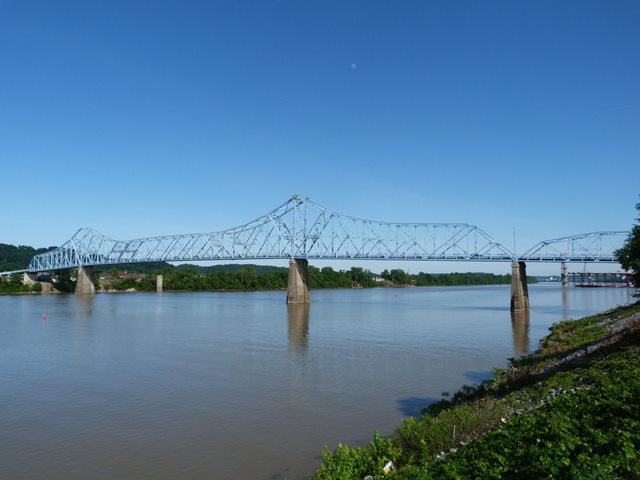
View beside bridge from northeast quadrant.
![]()
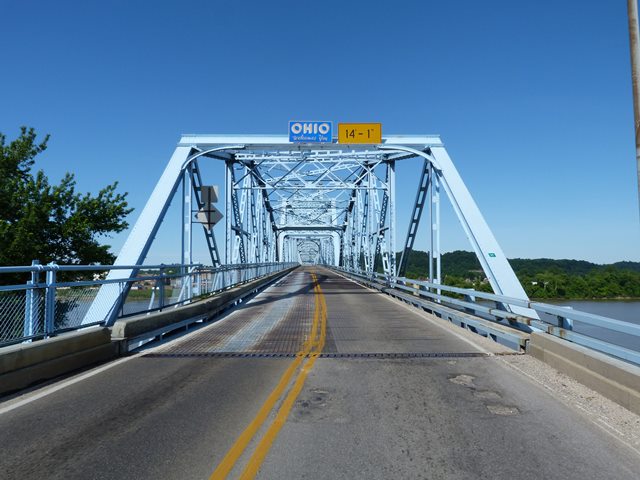
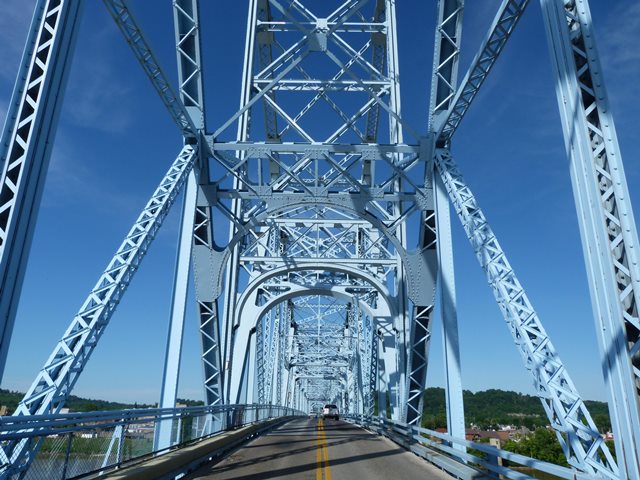
Portal view of Camelback span facing east.
![]()
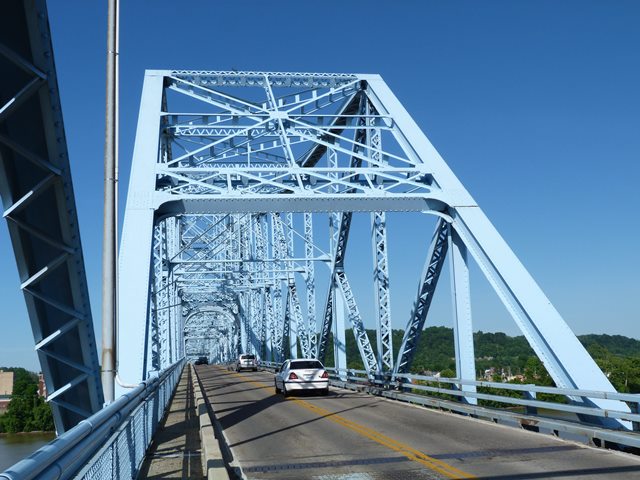
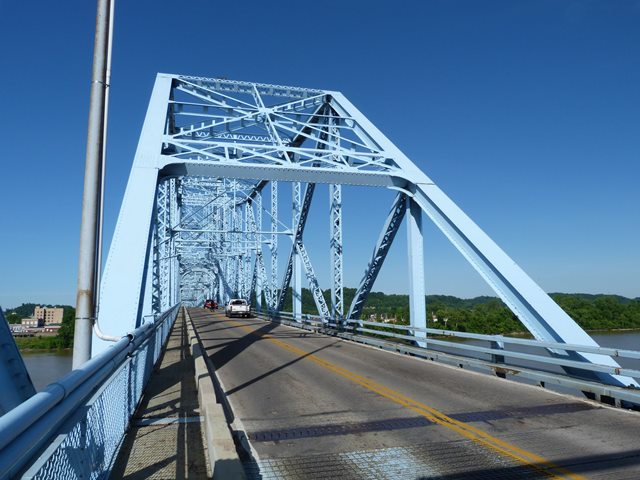
Portal views of cantilever spans facing east.
![]()
Portal views on cantilever spans facing east.
![]()
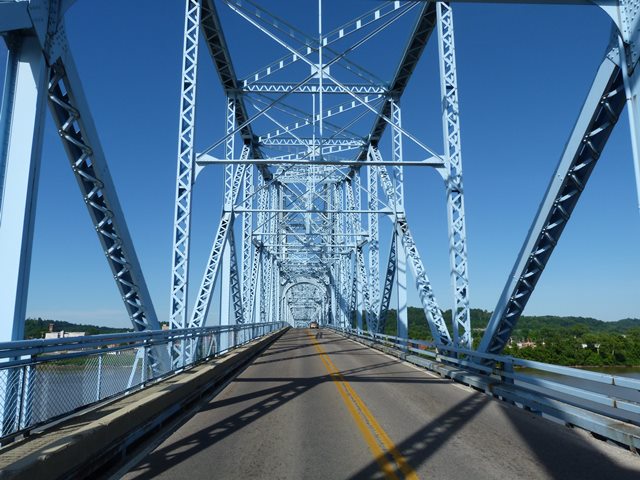
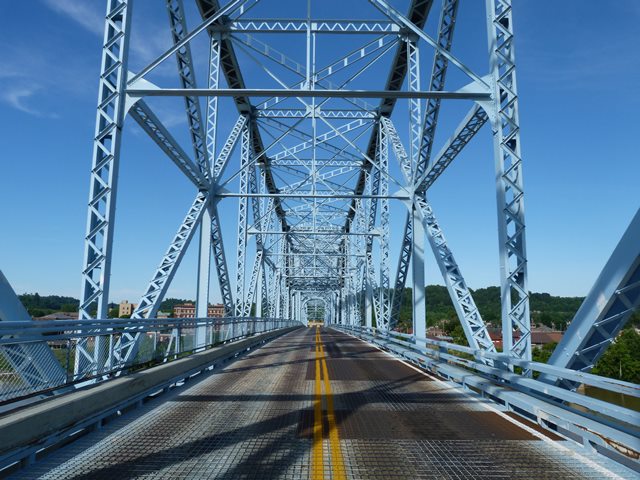
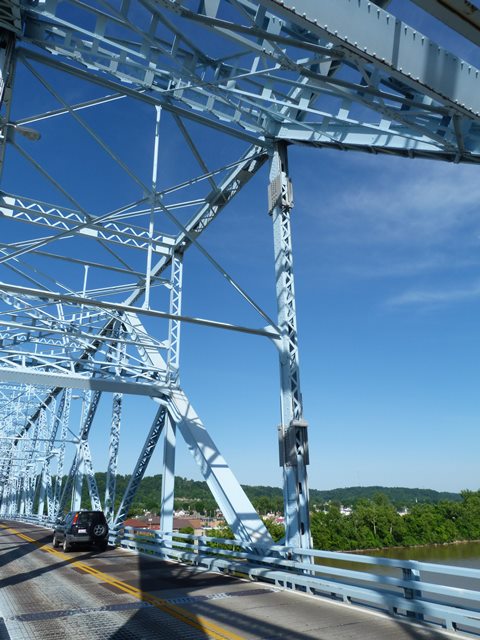
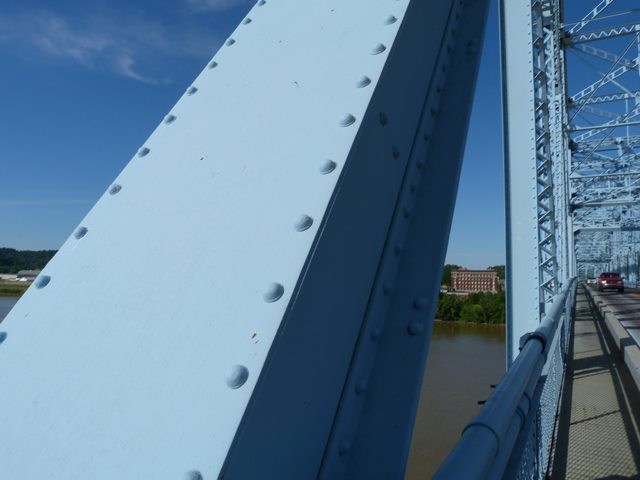
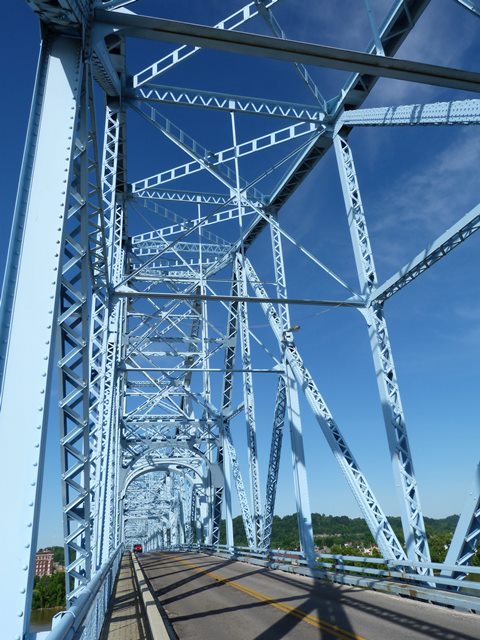
Views on sidewalk facing east.
![]()


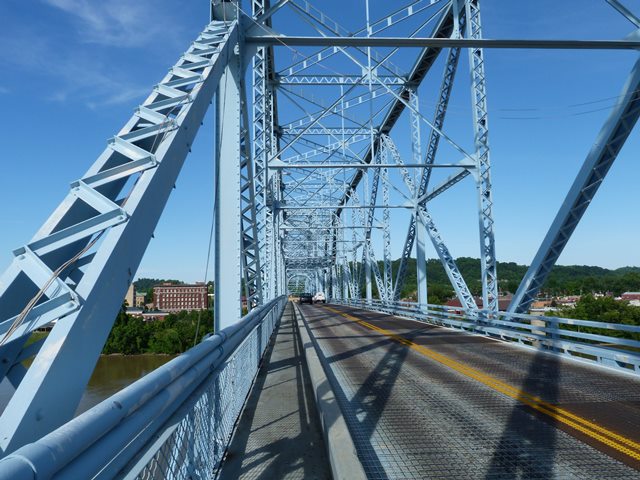
Oblique views from on bridge approach from northwest quadrant.
![]()
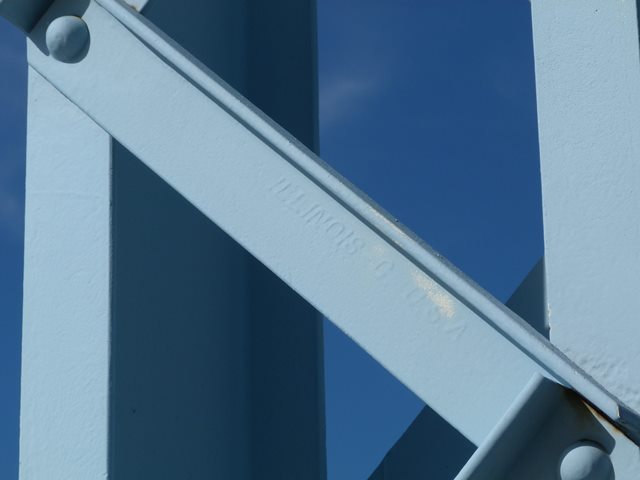
Illinois brand.
![]()


Inland brand.
![]()
View of camelback span from northeast quadrant.
![]()

View of camelback span from northwest quadrant.
![]()
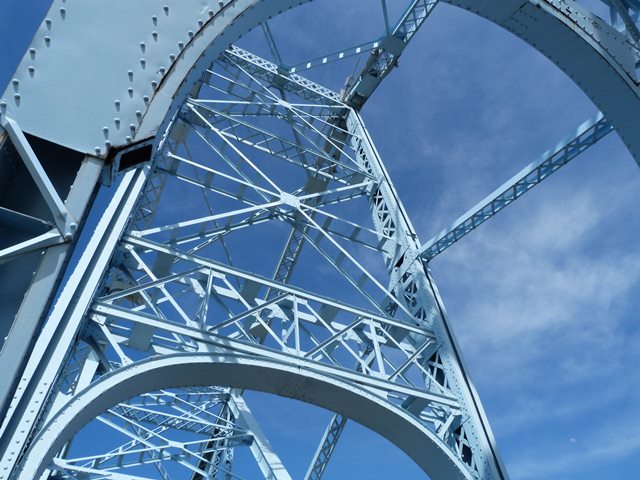
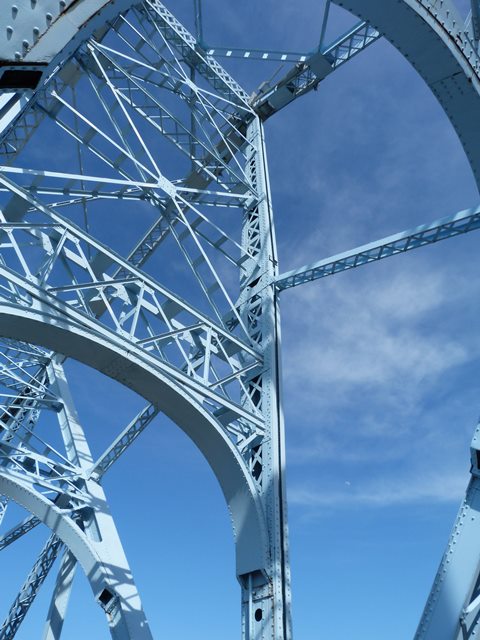
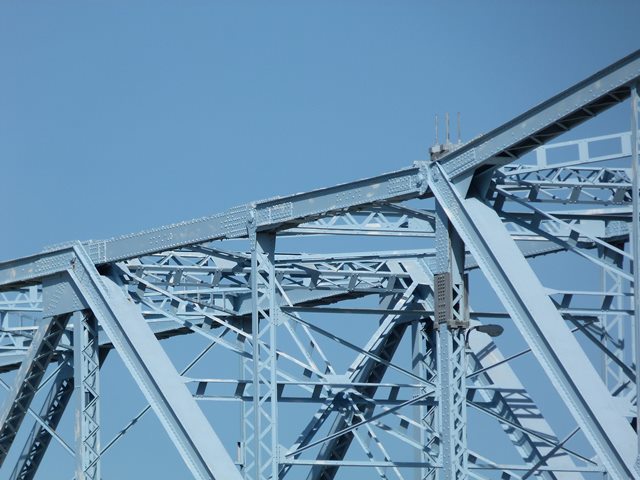
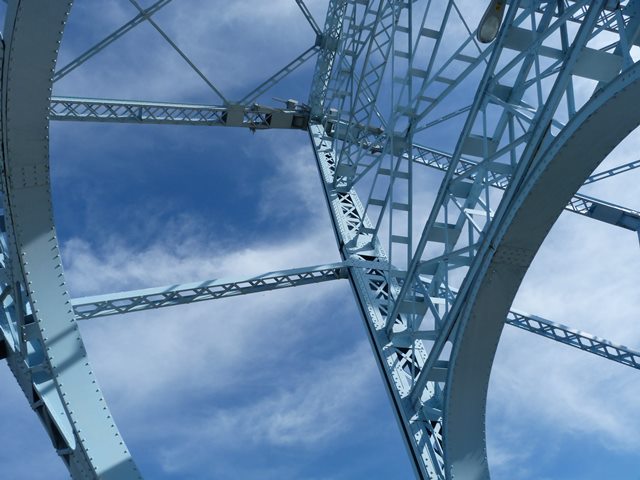
Views showing cantilever towers.
![]()

View of anchor arm.
![]()

View of cantilever arm.
![]()
Views showing suspended span.
![]()
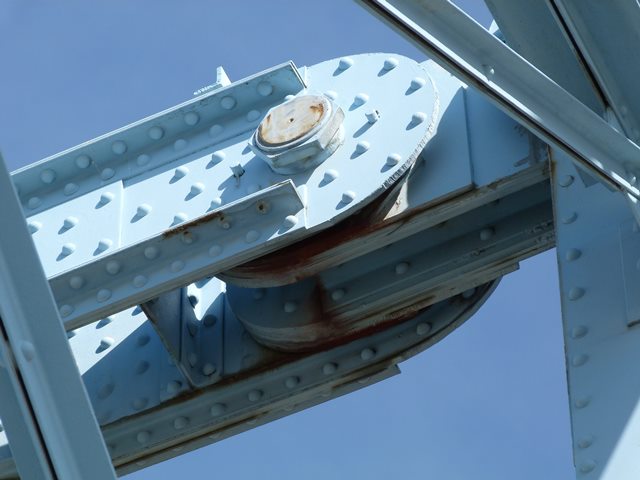
Hanger System Details
![]()
View showing hanger system for suspended span as seen from beside bridge. The suspended span is to the left in the photo.
![]()

View showing hanger system for suspended span as seen from beside bridge. The suspended span is to the right in the photo.
![]()


Top chord links between cantilever arm to the right and suspended span to the left.
![]()

Top chord connection at end of cantilever arm as viewed from beside bridge.
![]()
Top chord connection at end of suspended span as viewed from beside bridge.
![]()

Intermediate hanger connection to suspended span end post as viewed from beside bridge.
![]()

Hanger connection to end of suspended span bottom chord as viewed from beside bridge.
![]()
Hangers and associated sway bracing for the hanger that connects halfway up the suspended span end post.
![]()
Overhead lateral bracing between the top chord links between the cantilever arm and the suspended span.
![]()
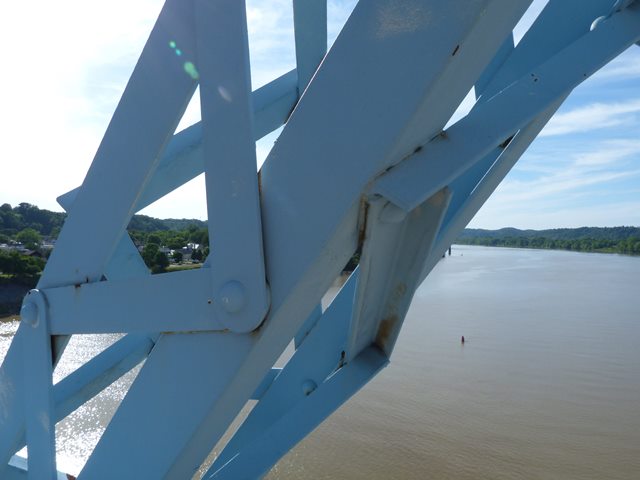
Suspended span hanger detail showing alteration.
![]()


Suspended span hanger connection to end post of suspended span.
![]()


Suspended span hanger connection to bottom chord of suspended span.
![]()

Connection of the hanger to the top chord. This is the hanger that is located halfway up the end post of the suspended span.
![]()
Top chord connection at end of cantilever arm, where the hanger that runs down to the suspended span bottom chord is located.
![]()
Cantilever and Anchor Arm Details
![]()
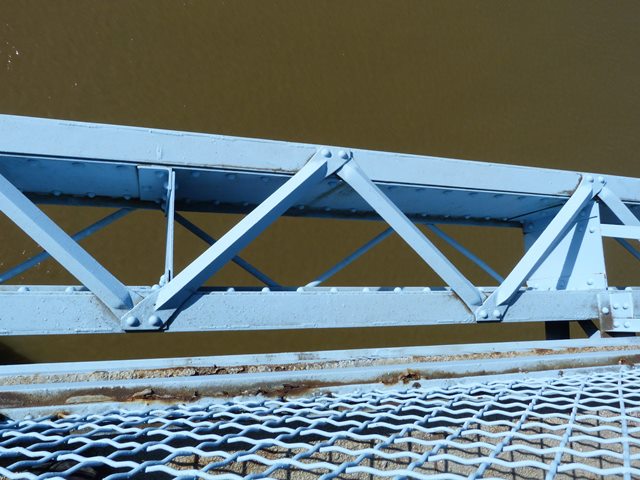
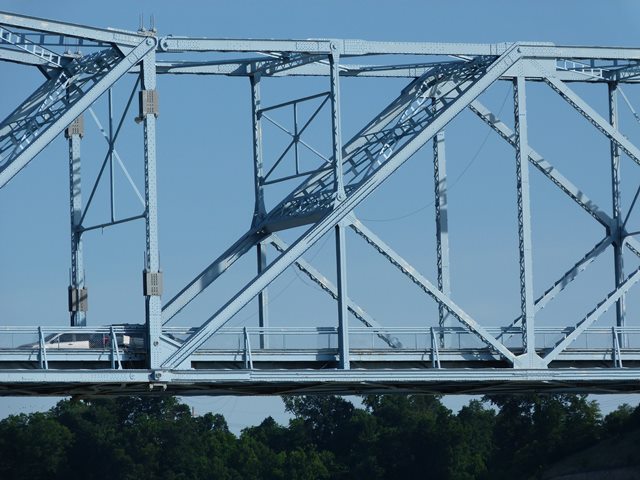
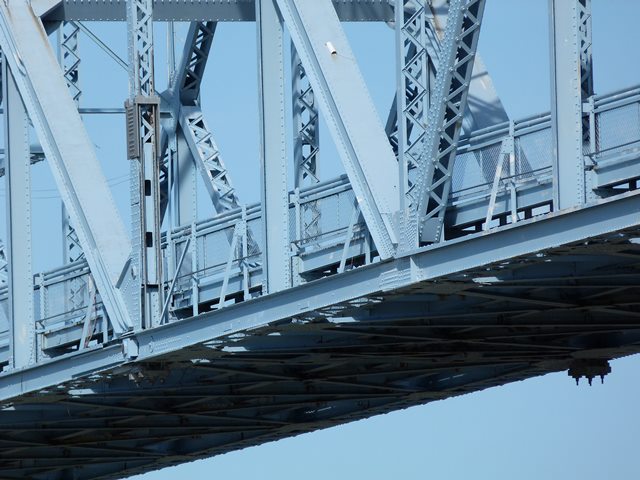
Views of truss web.
![]()
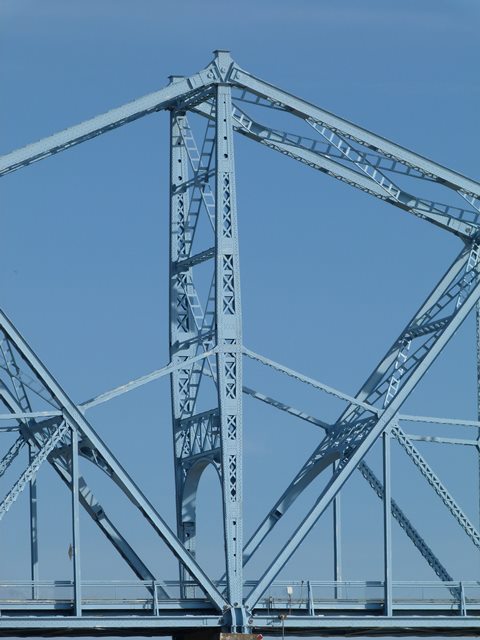

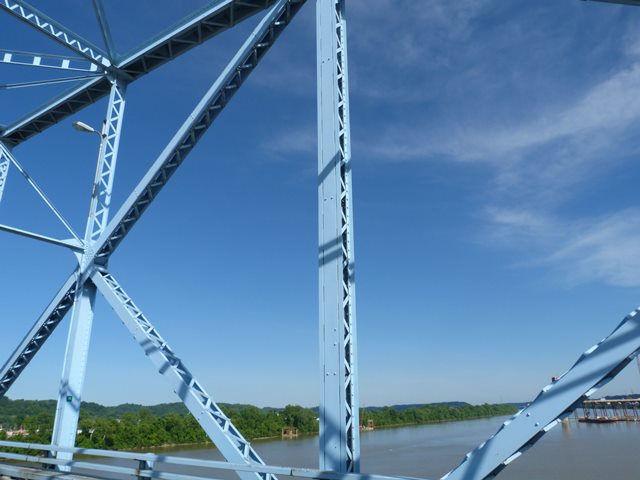
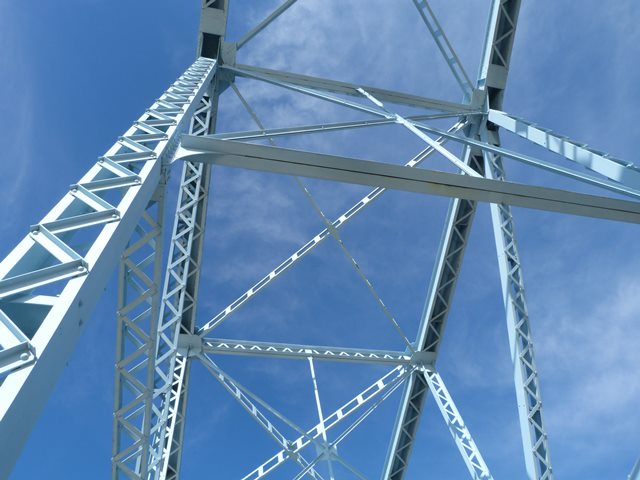
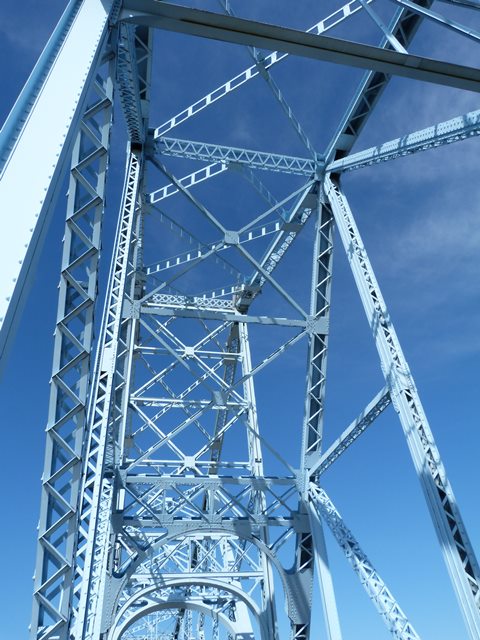
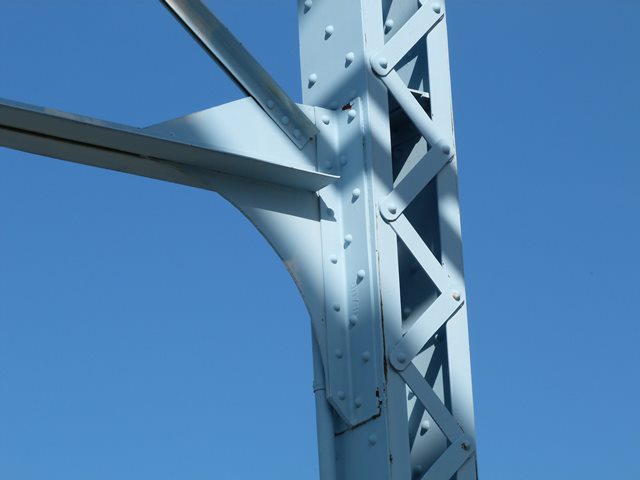
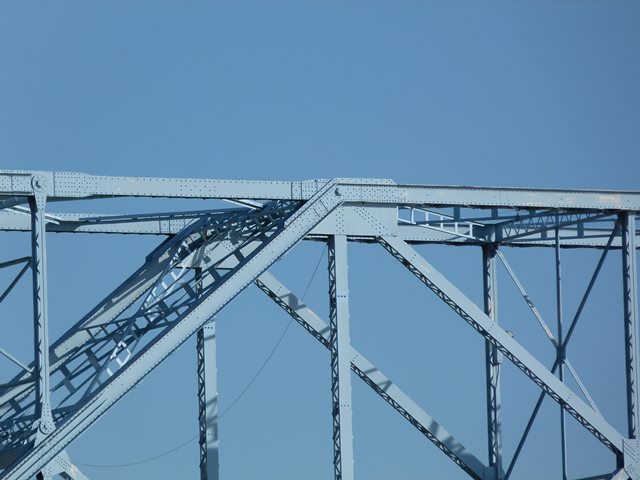
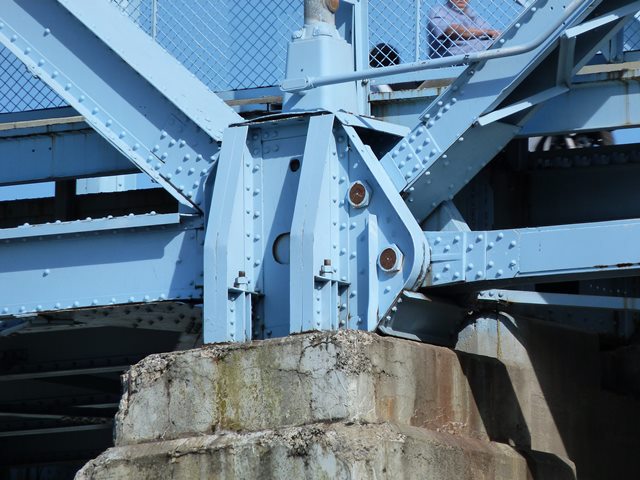
Views showing main post from beside bridge.
![]()


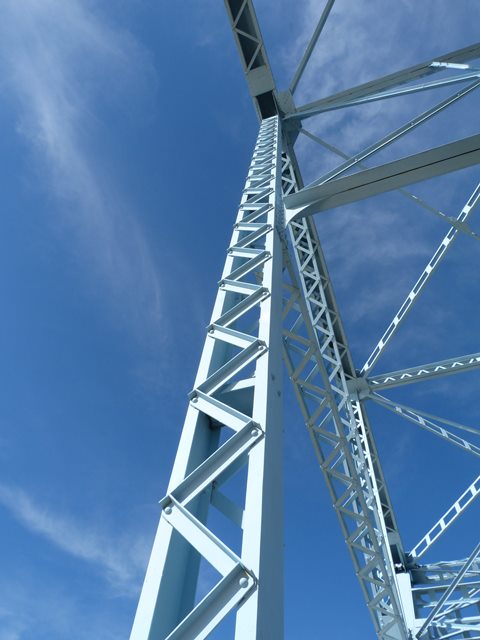
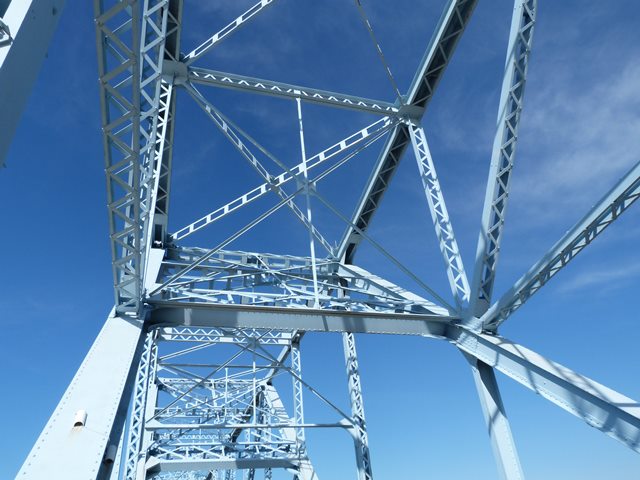
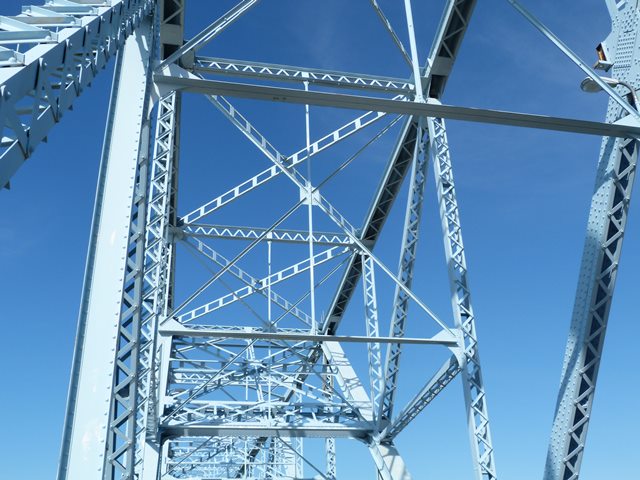
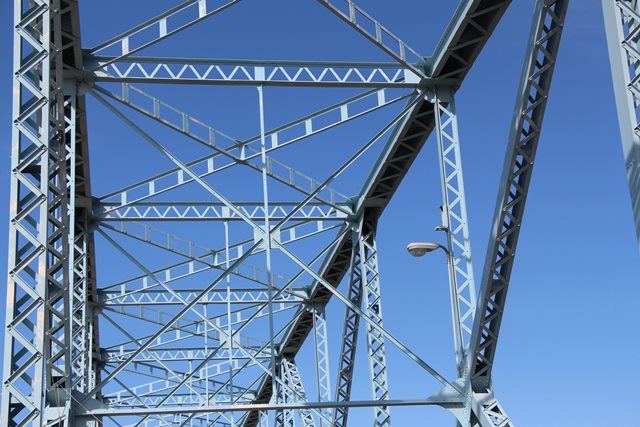
Views showing main post from on bridge.
![]()
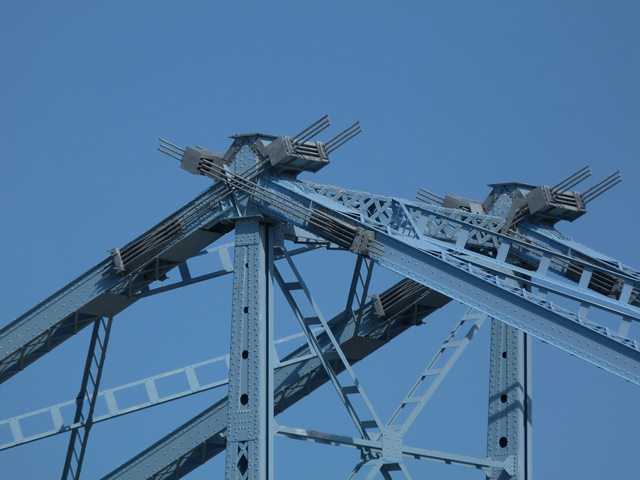
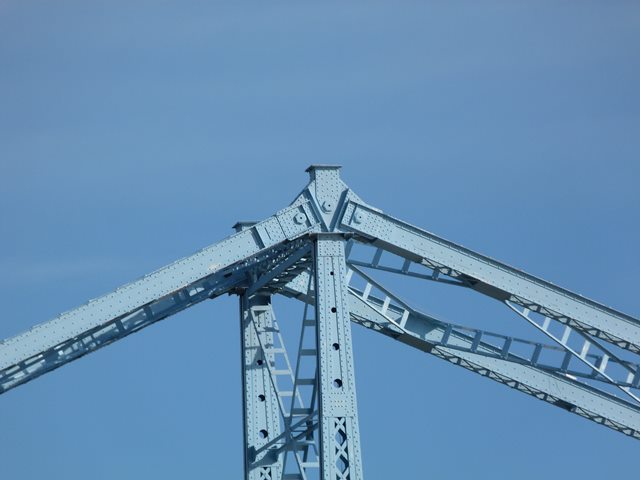
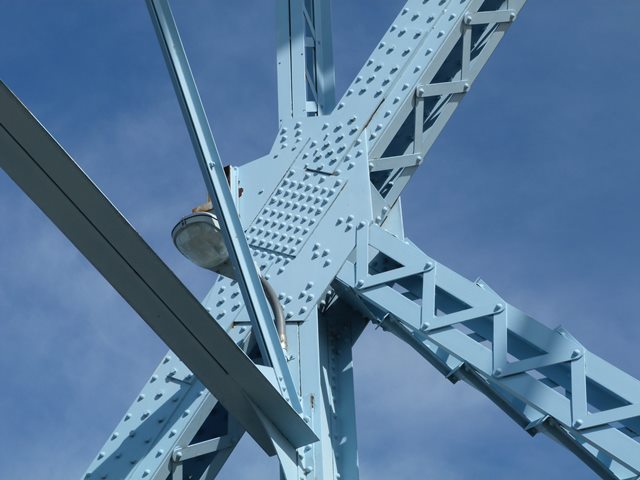
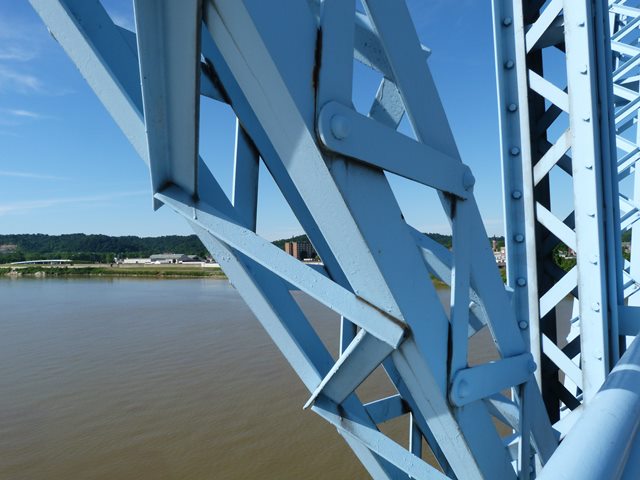
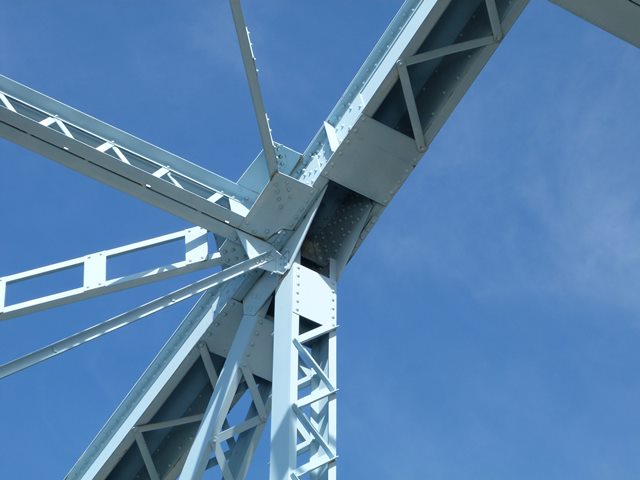
Details of main post.
![]()
Sway bracing at main post.
![]()
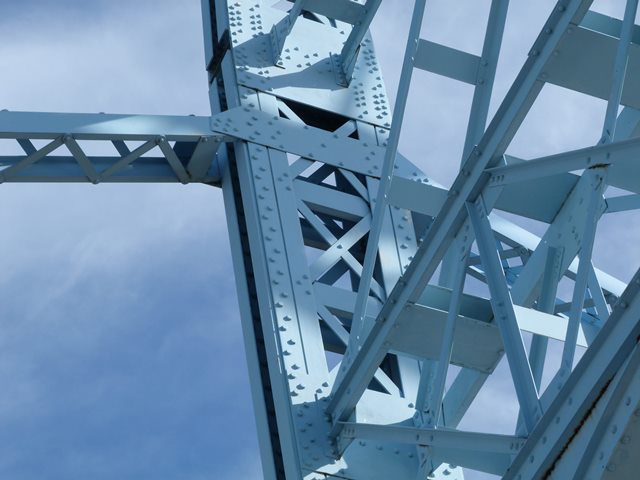
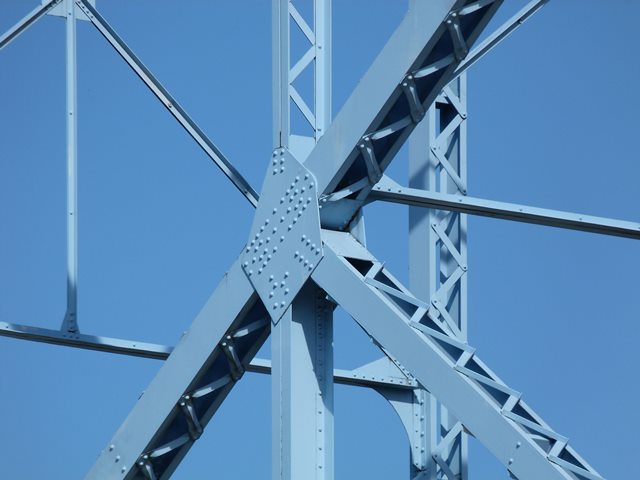
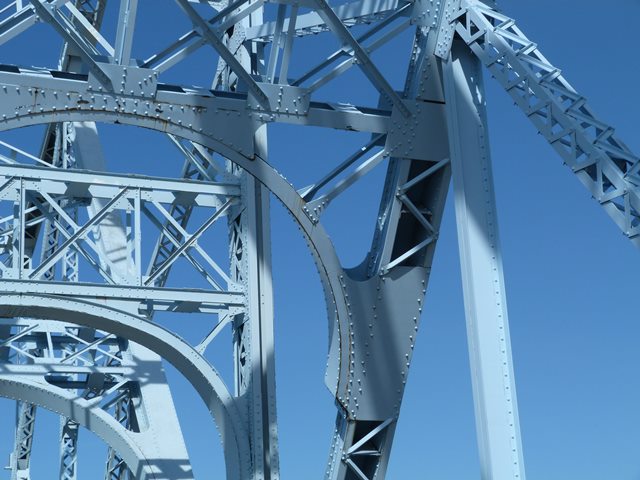
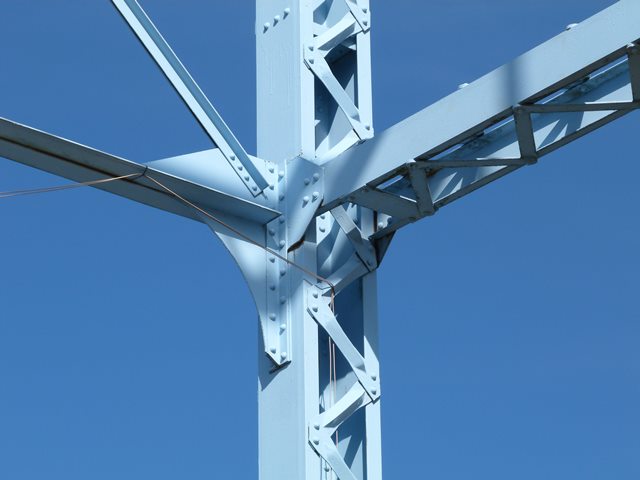
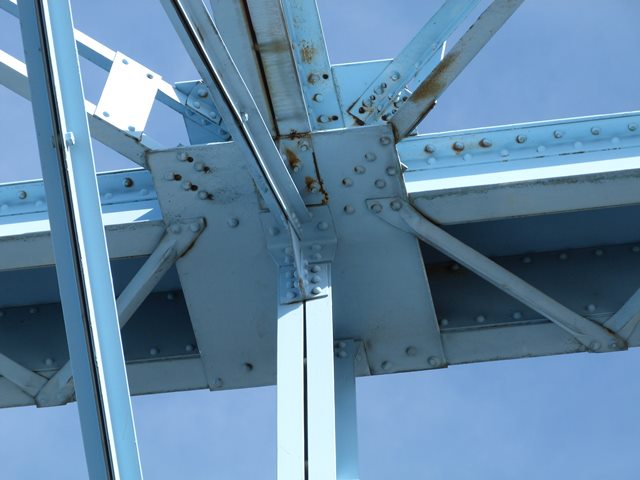
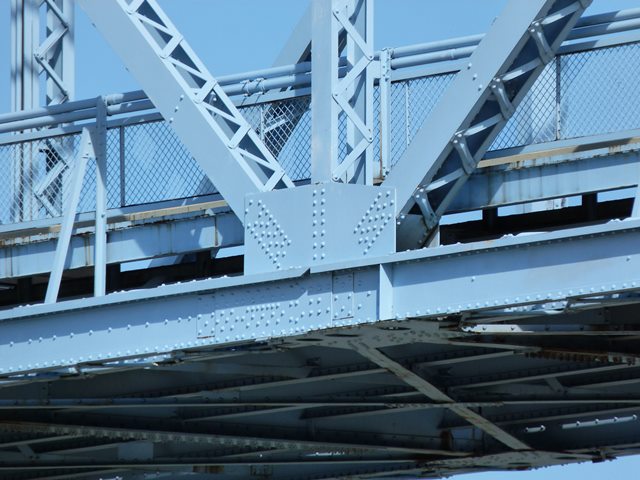
Top chord connection at main post as viewed from beside bridge.
![]()

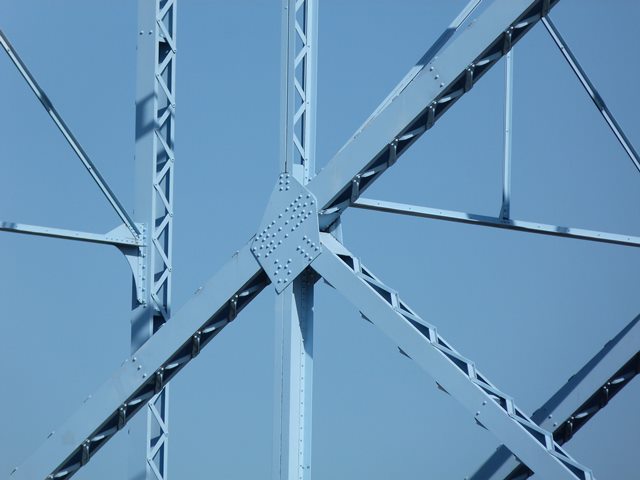
Top chord connection at main post as viewed from on bridge.
![]()
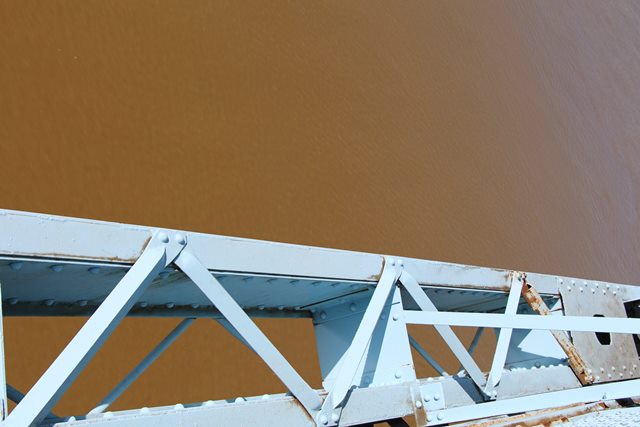
Bottom chord connection at main post as viewed from beside bridge.
![]()


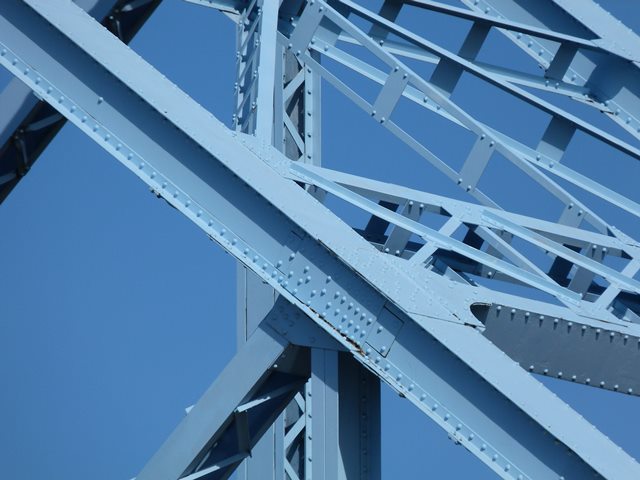
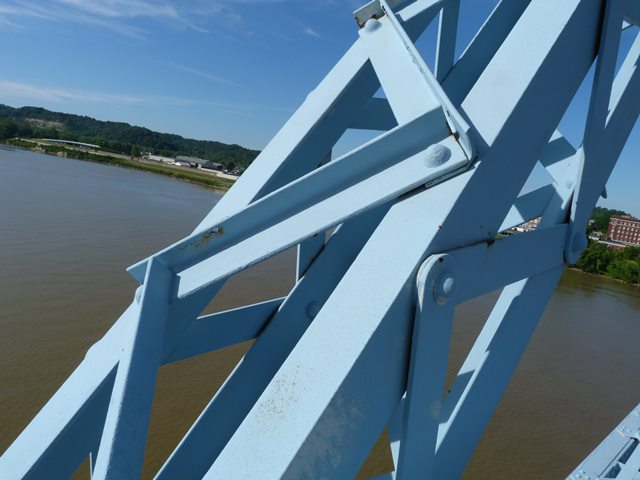
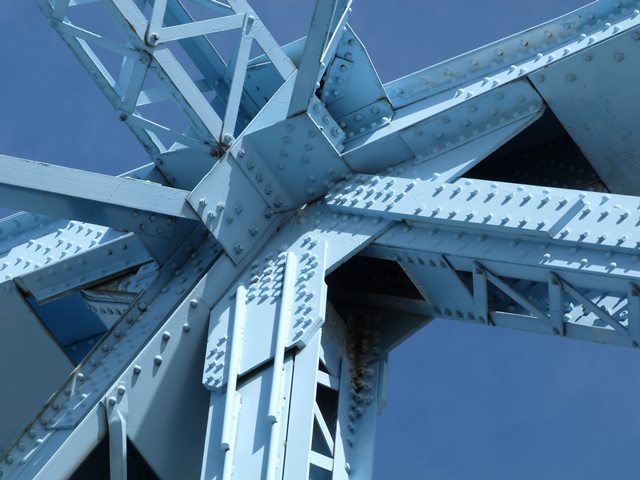
Top chord connections as viewed from beside bridge.
![]()


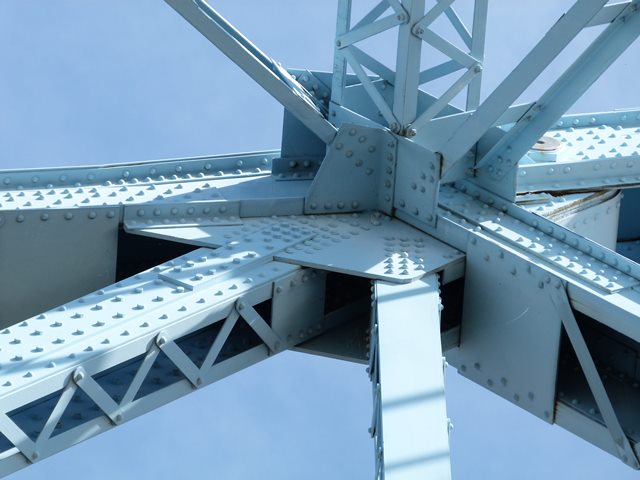


Top chord connections as viewed from on bridge.
![]()
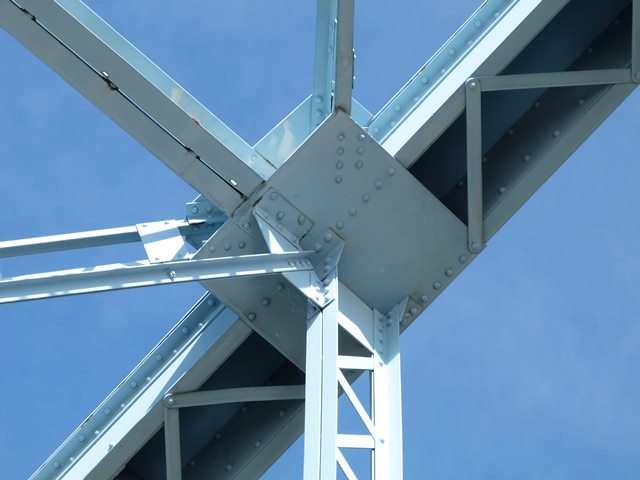
Intermediate connections as viewed from beside bridge.
![]()
Intermediate connections as viewed from on bridge.
![]()


Bottom chord connections as viewed from beside bridge.
![]()


Bottom chord connections as viewed from on bridge.
![]()

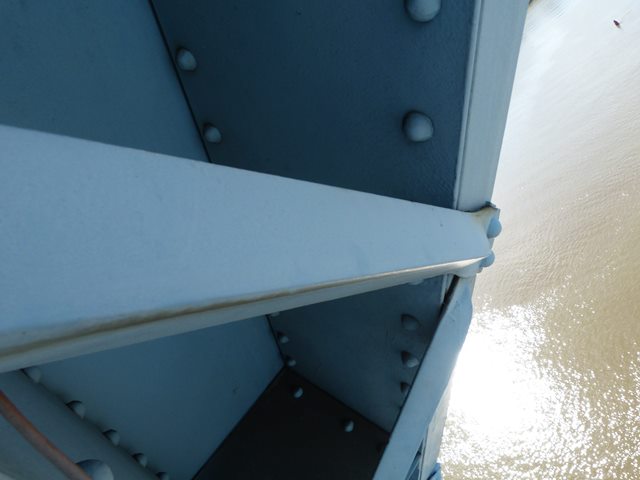
Top chord.
![]()
Bottom chord.
![]()
Vertical members.
![]()
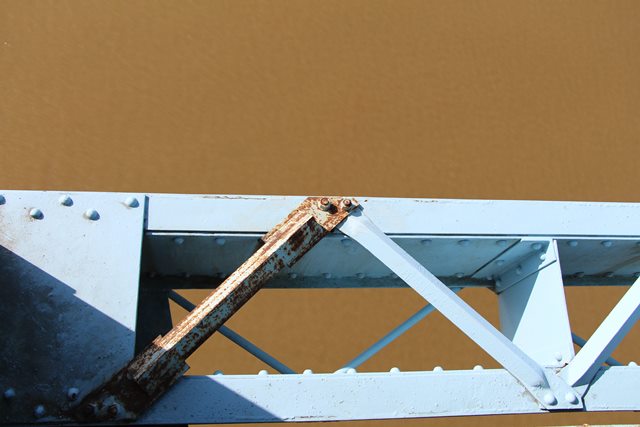
Diagonal members.
![]()


Portal bracing.
![]()
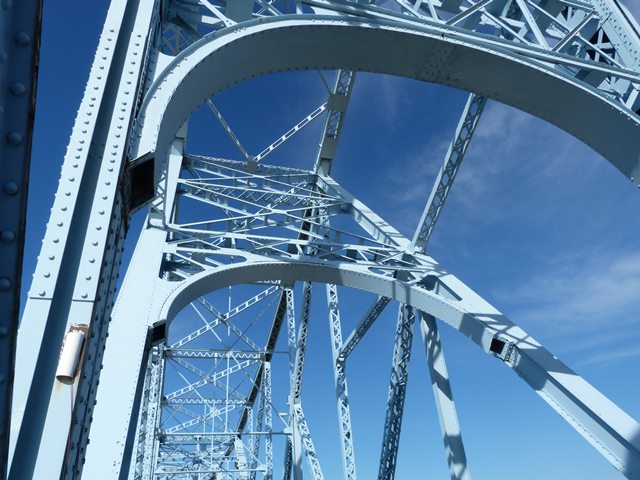
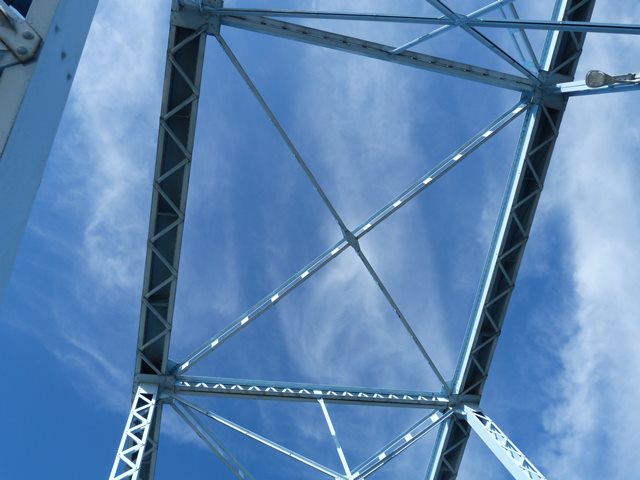
Sway bracing.
![]()
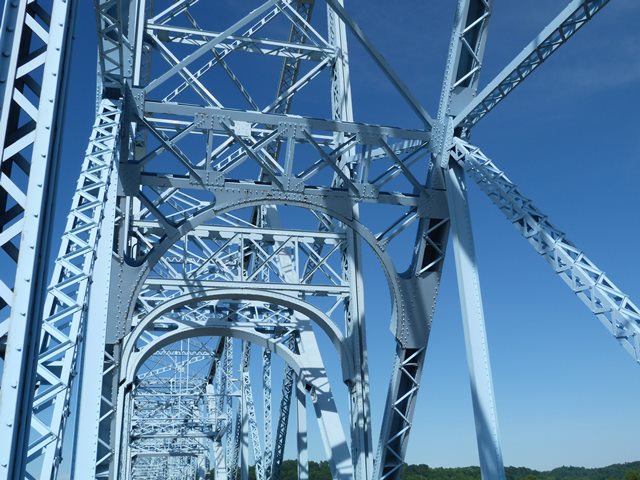
Arched detail on sway bracing near main post.
![]()
Sway bracing connection to vertical member.
![]()

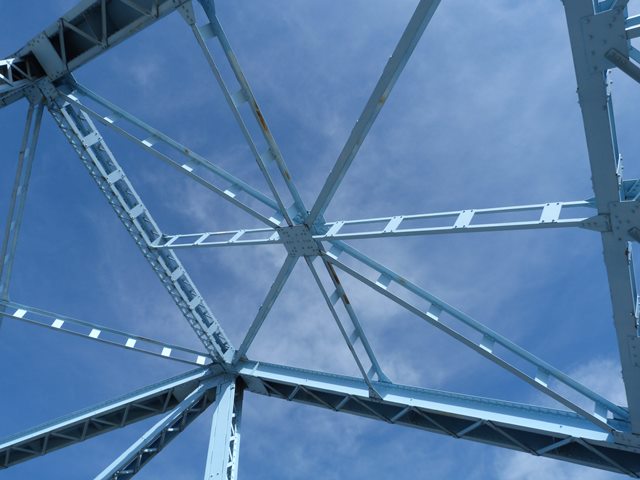
Sway bracing details.
![]()

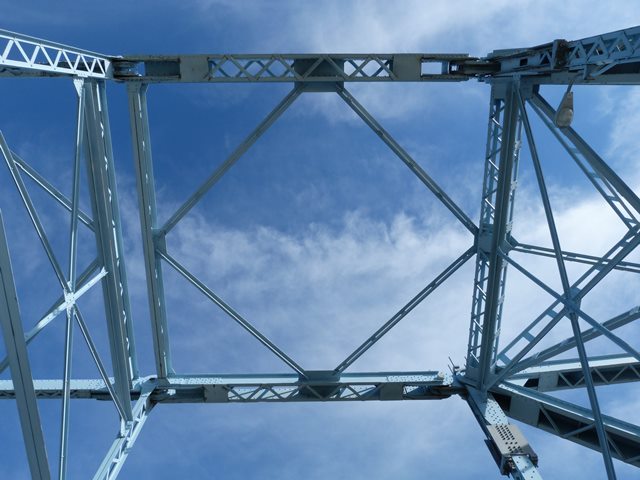
Overhead lateral bracing.
![]()

Expansion joint.
![]()

Deck detail.
![]()


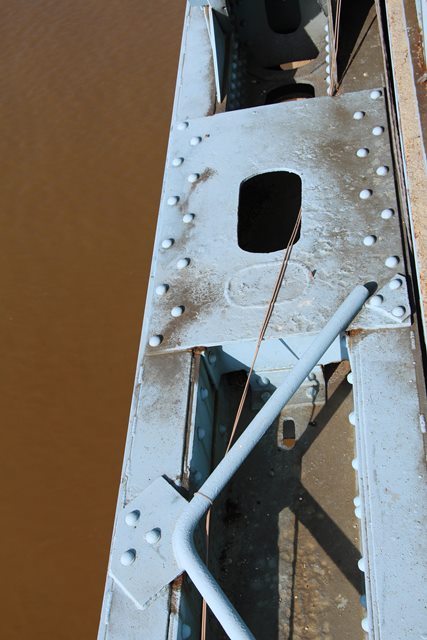
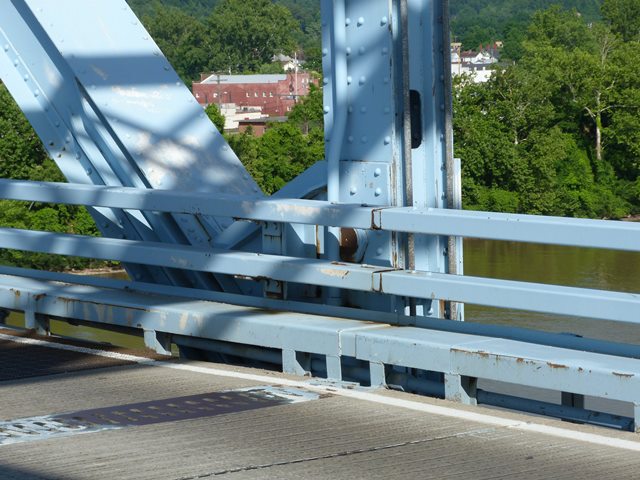
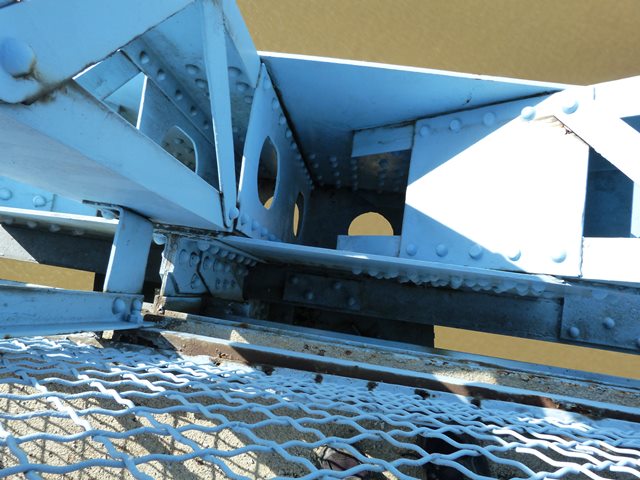
Rivet detail and details of built-up beams.
![]()

Peregrine falcon.
![]()
![]()

![]()