
Uncredited photos on this page taken by: Nathan Holth and Rick McOmber. Unless stated in a caption, all photos are Copyright with All Rights Reserved. Learn about reuse of our photos.
![]()


Photo Credit: Travis Kranek
2011 Post-rehab oblique views.
![]()
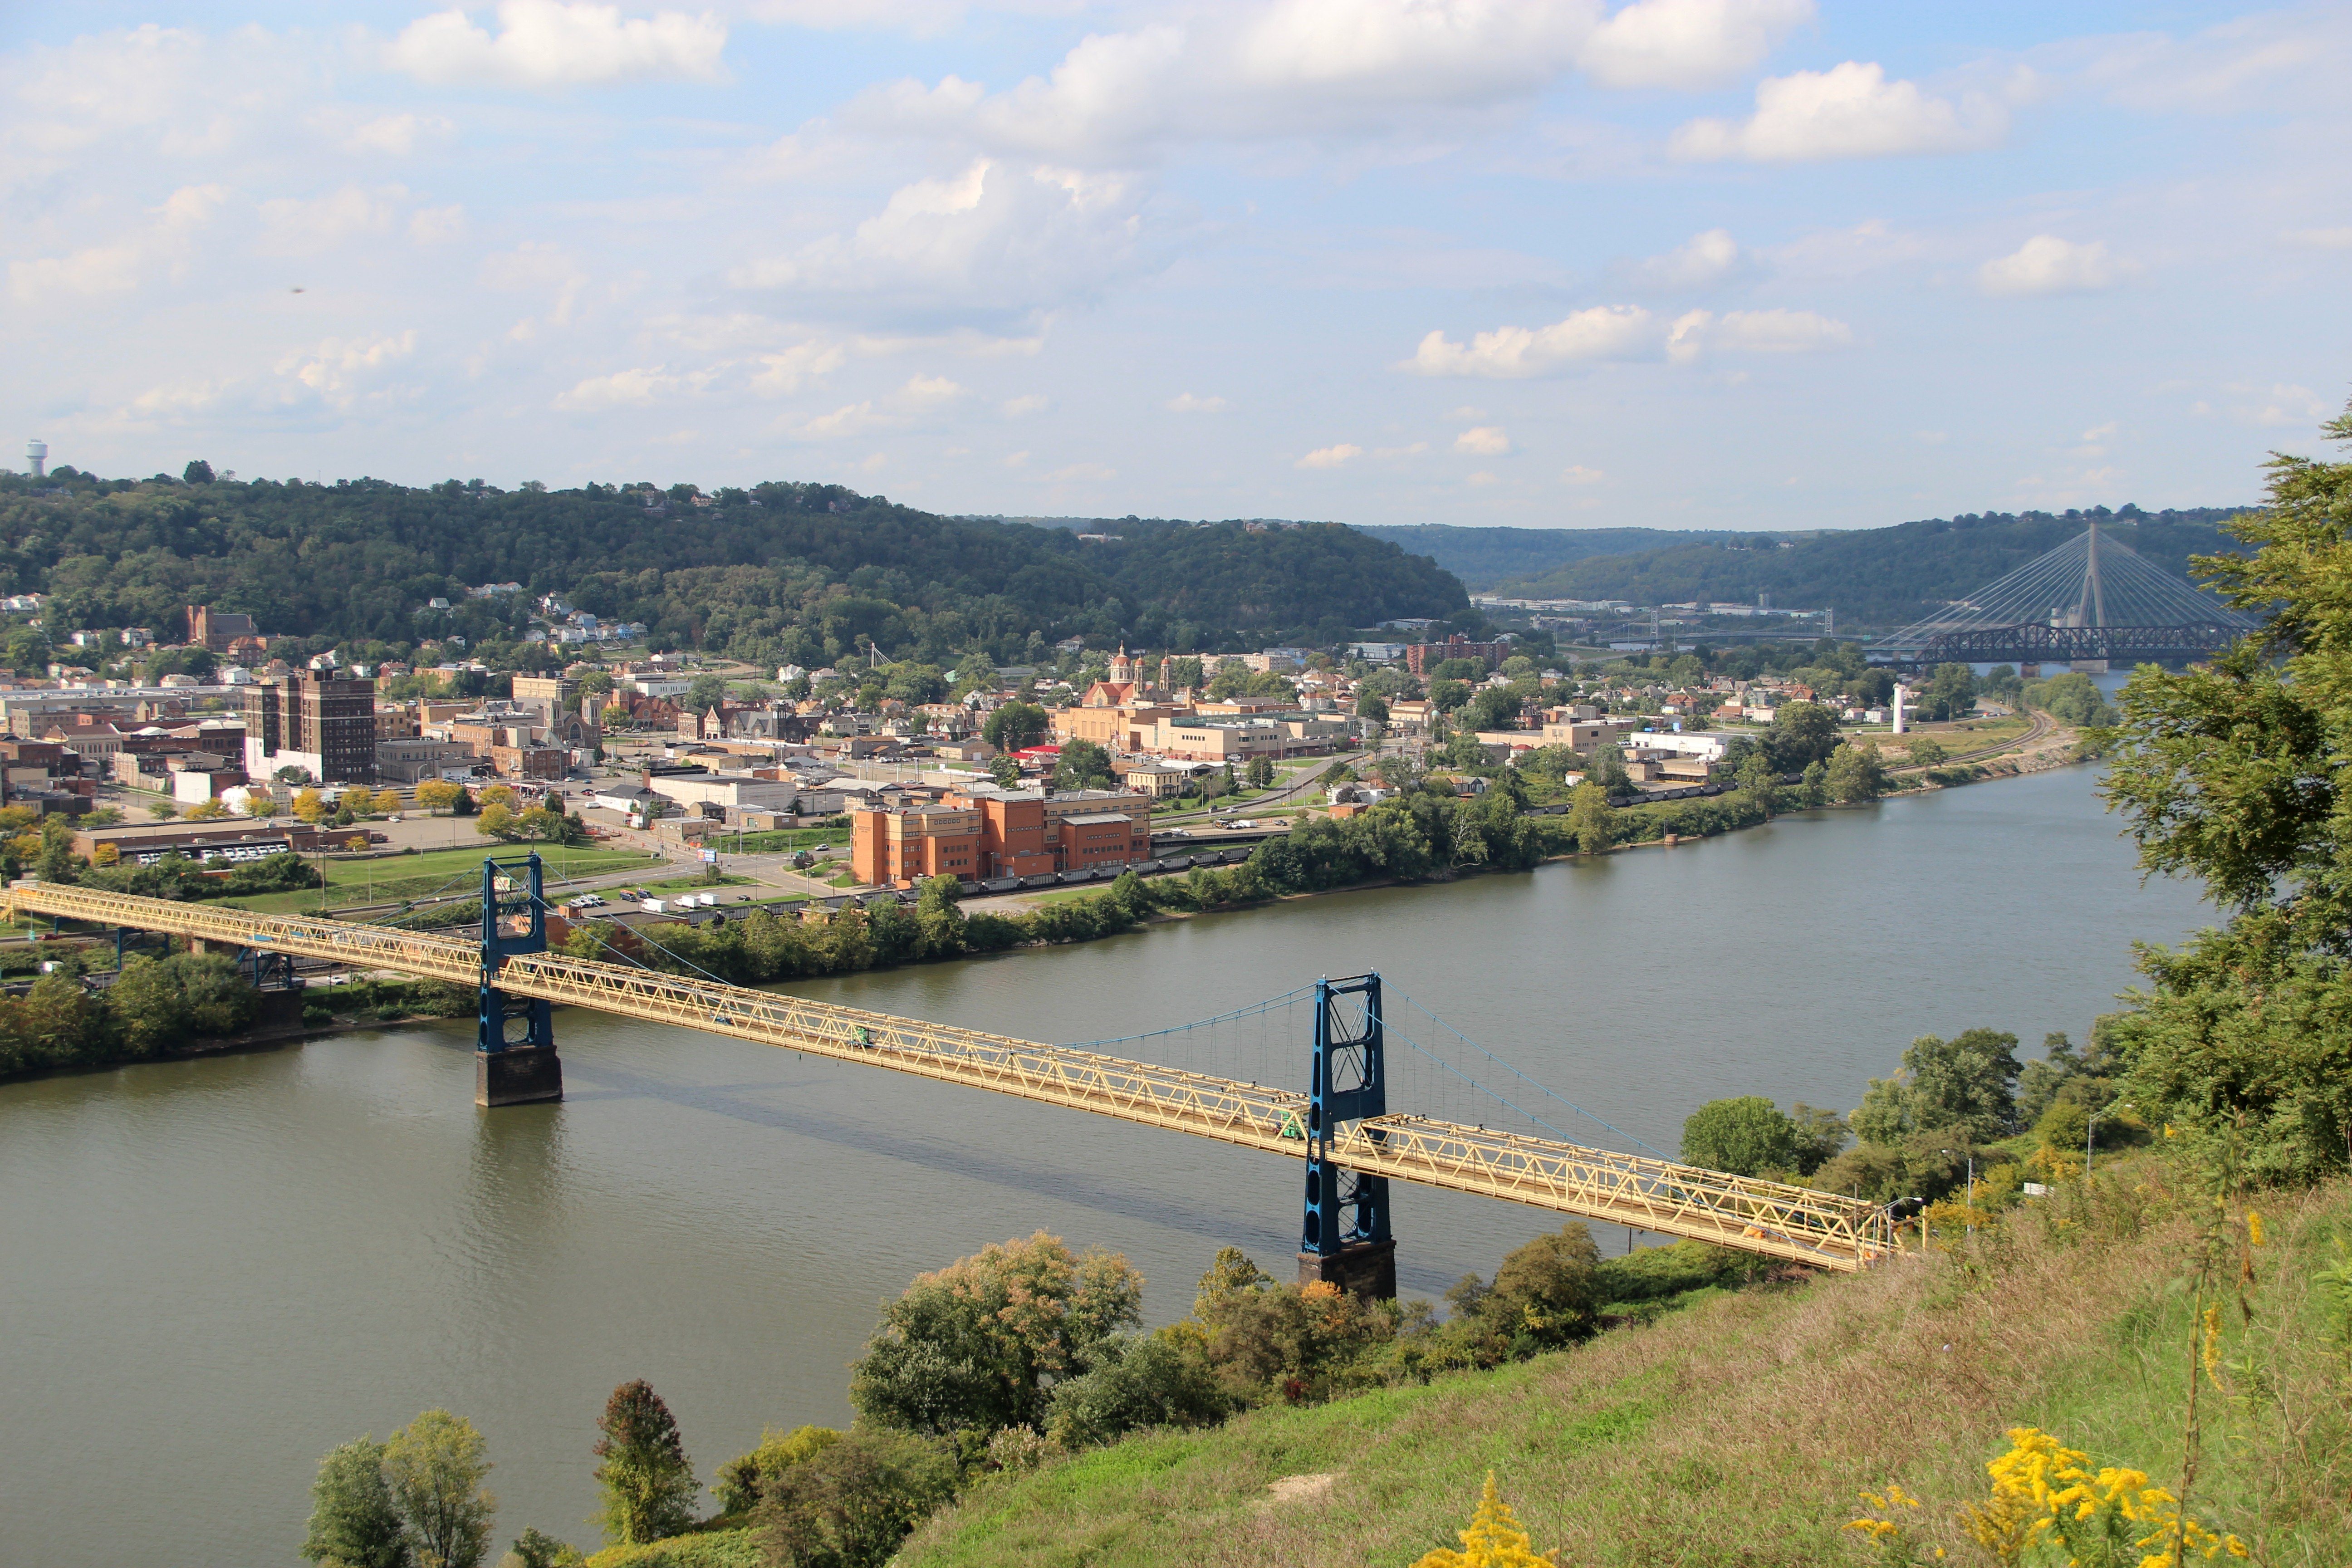

Photo Credit: Travis Kranek
2011 Post-rehab elevated view.
![]()


Photo Credit: C. Hanchey, CC BY-NC 2.0, http://www.flickr.com/photos/21953562@N07/
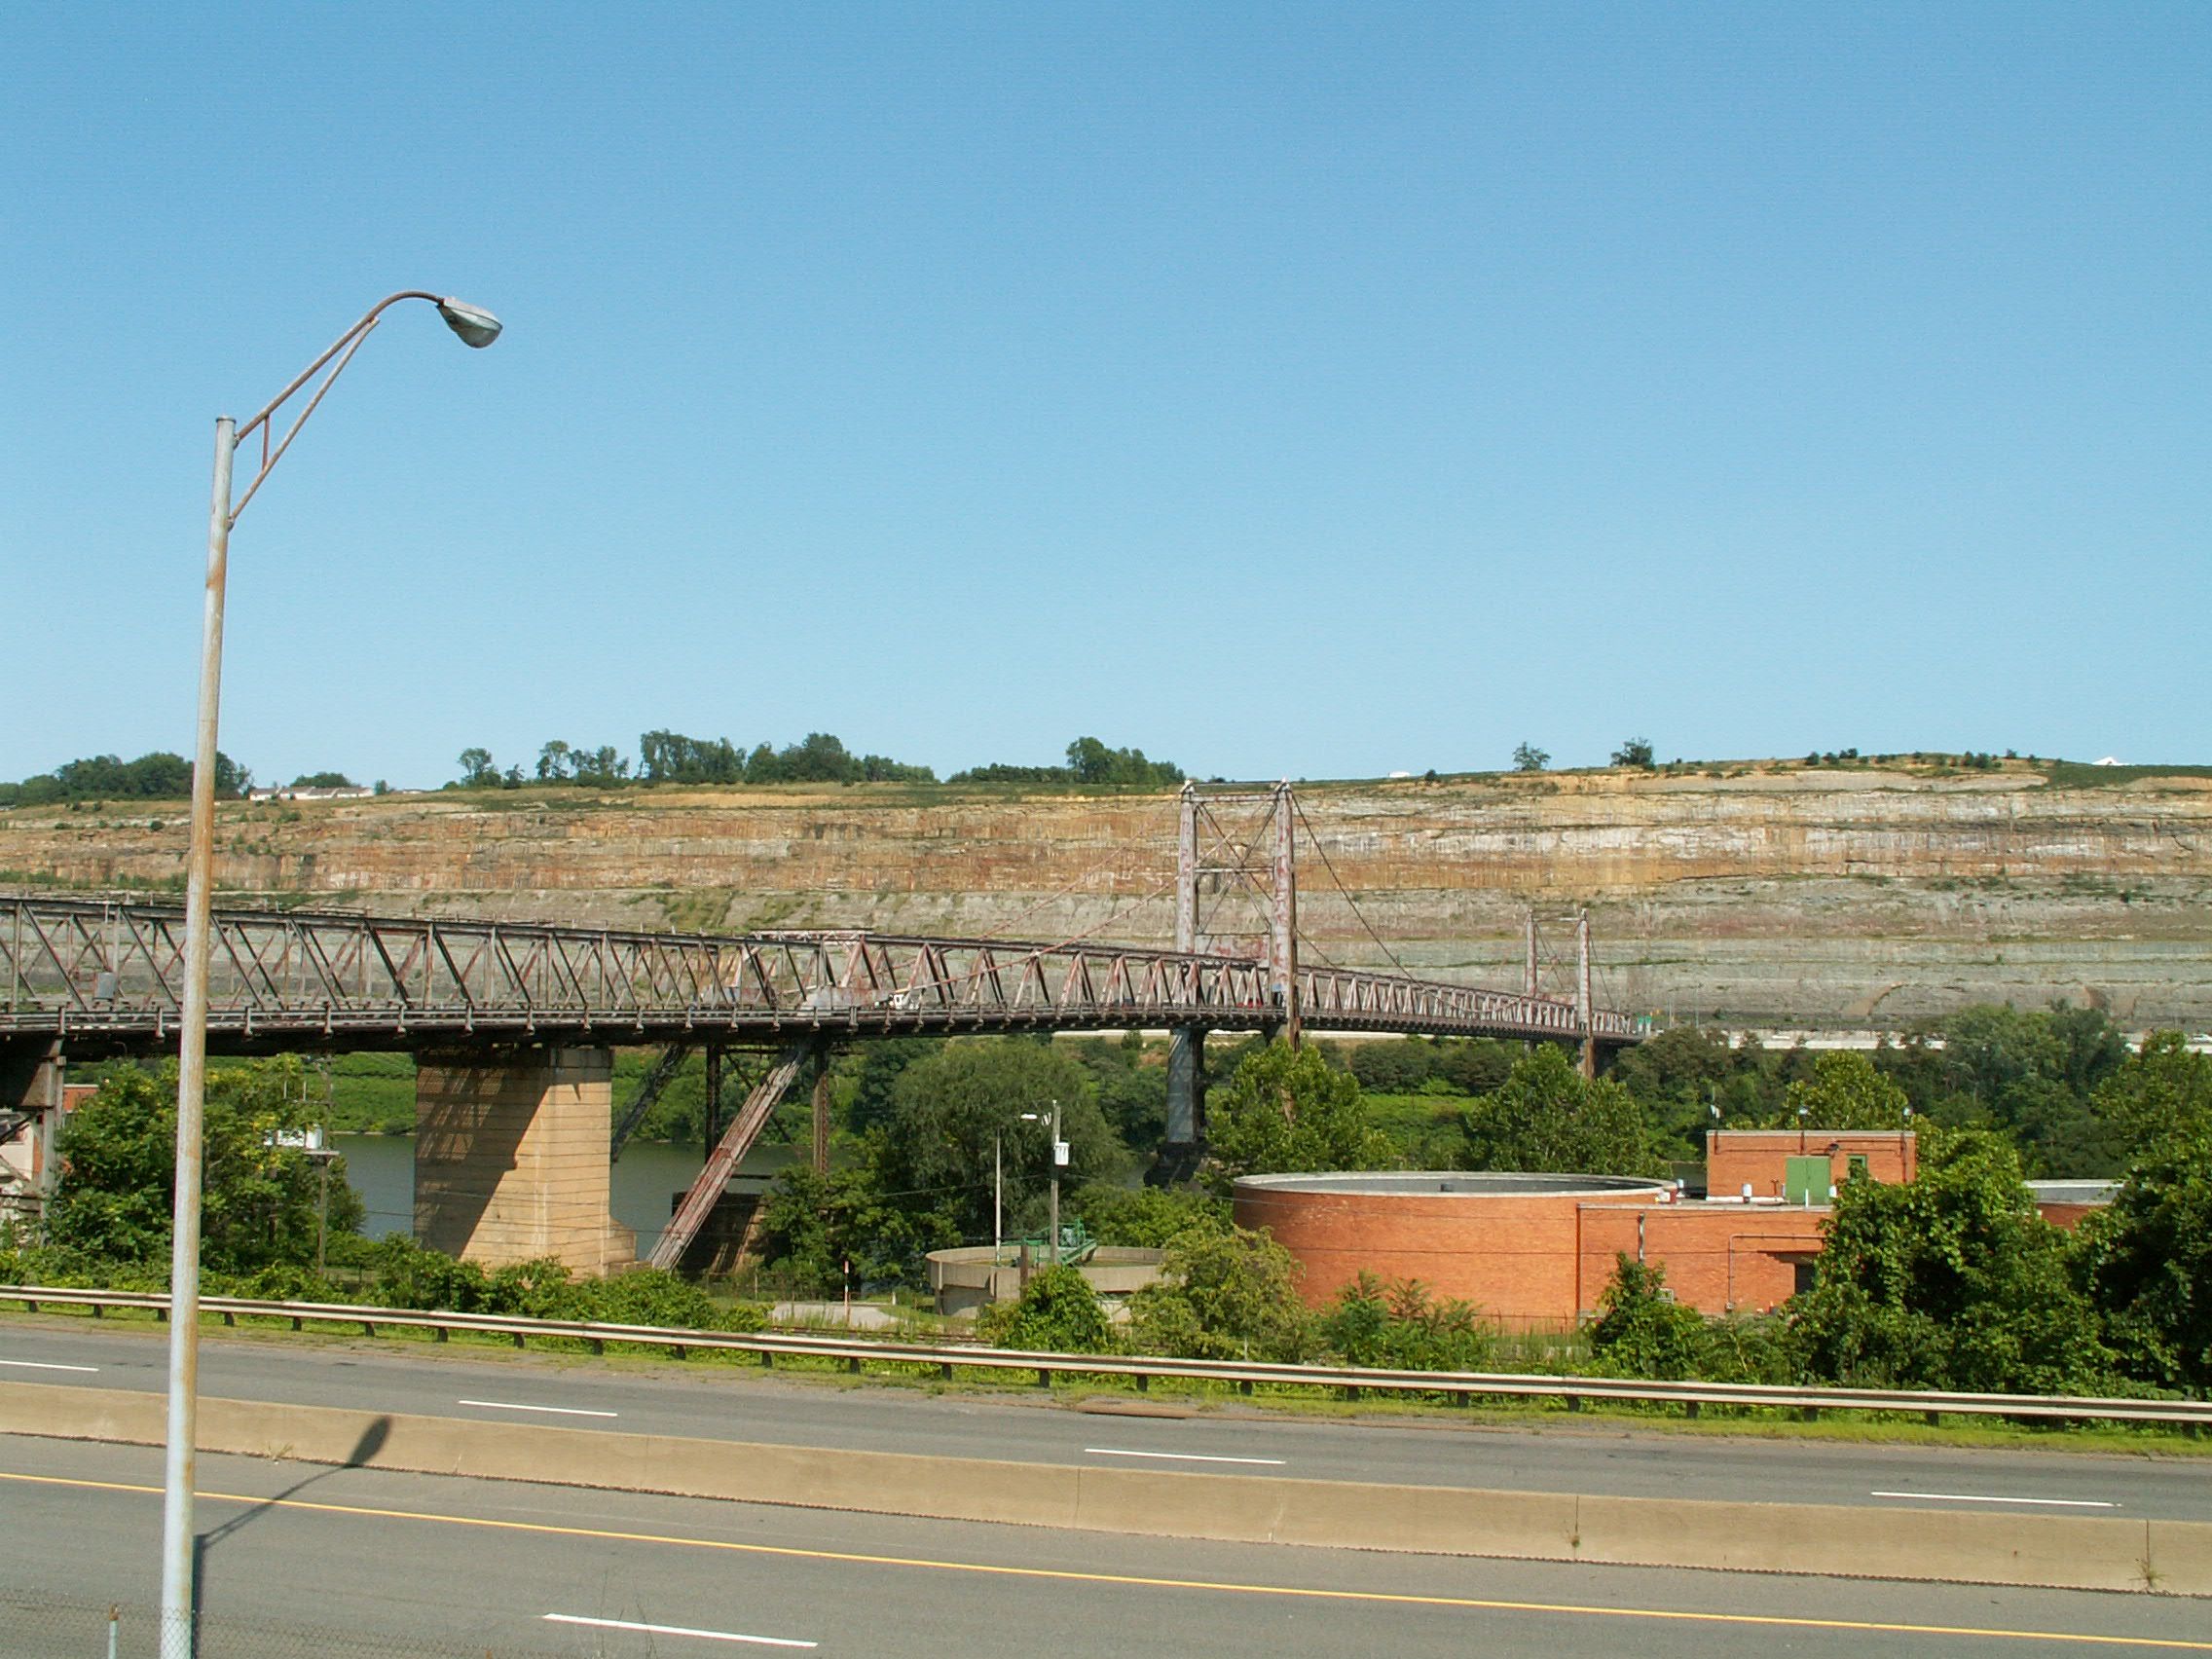
2011 Post-rehab views beside bridge.
![]()

Photo Credit: C. Hanchey, CC BY-NC 2.0, http://www.flickr.com/photos/21953562@N07/
2011 Post-rehab portal view.
![]()
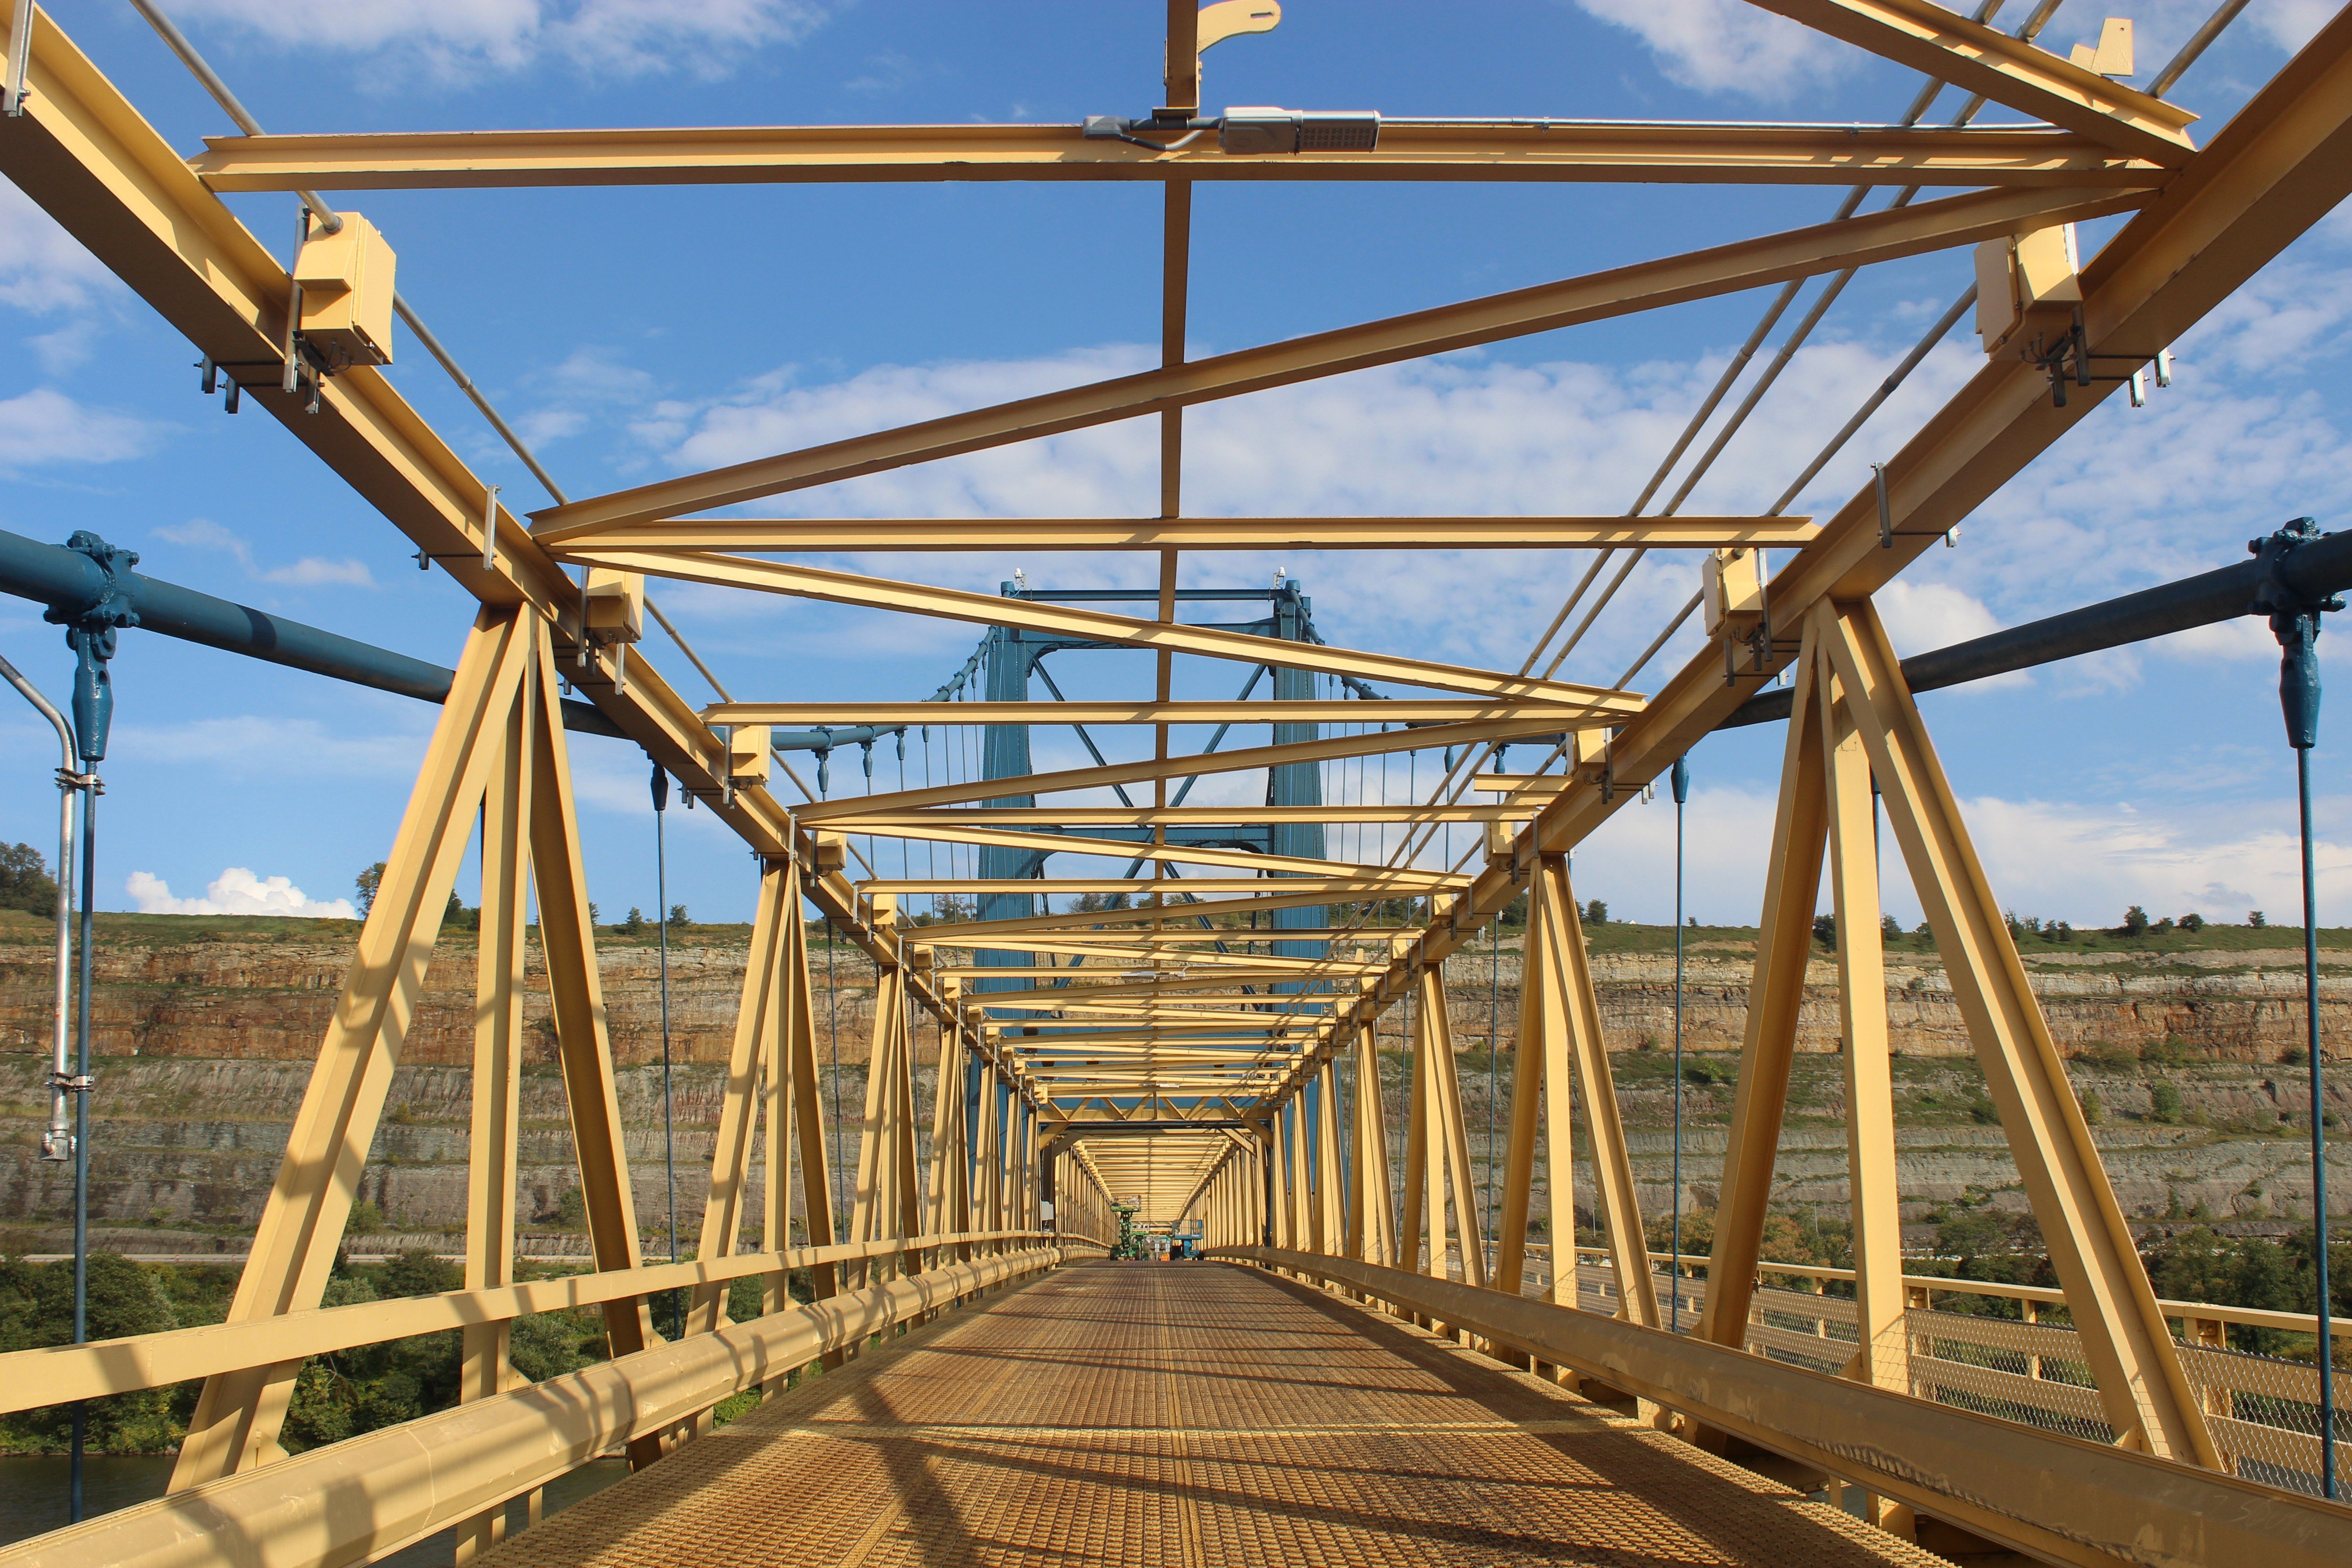

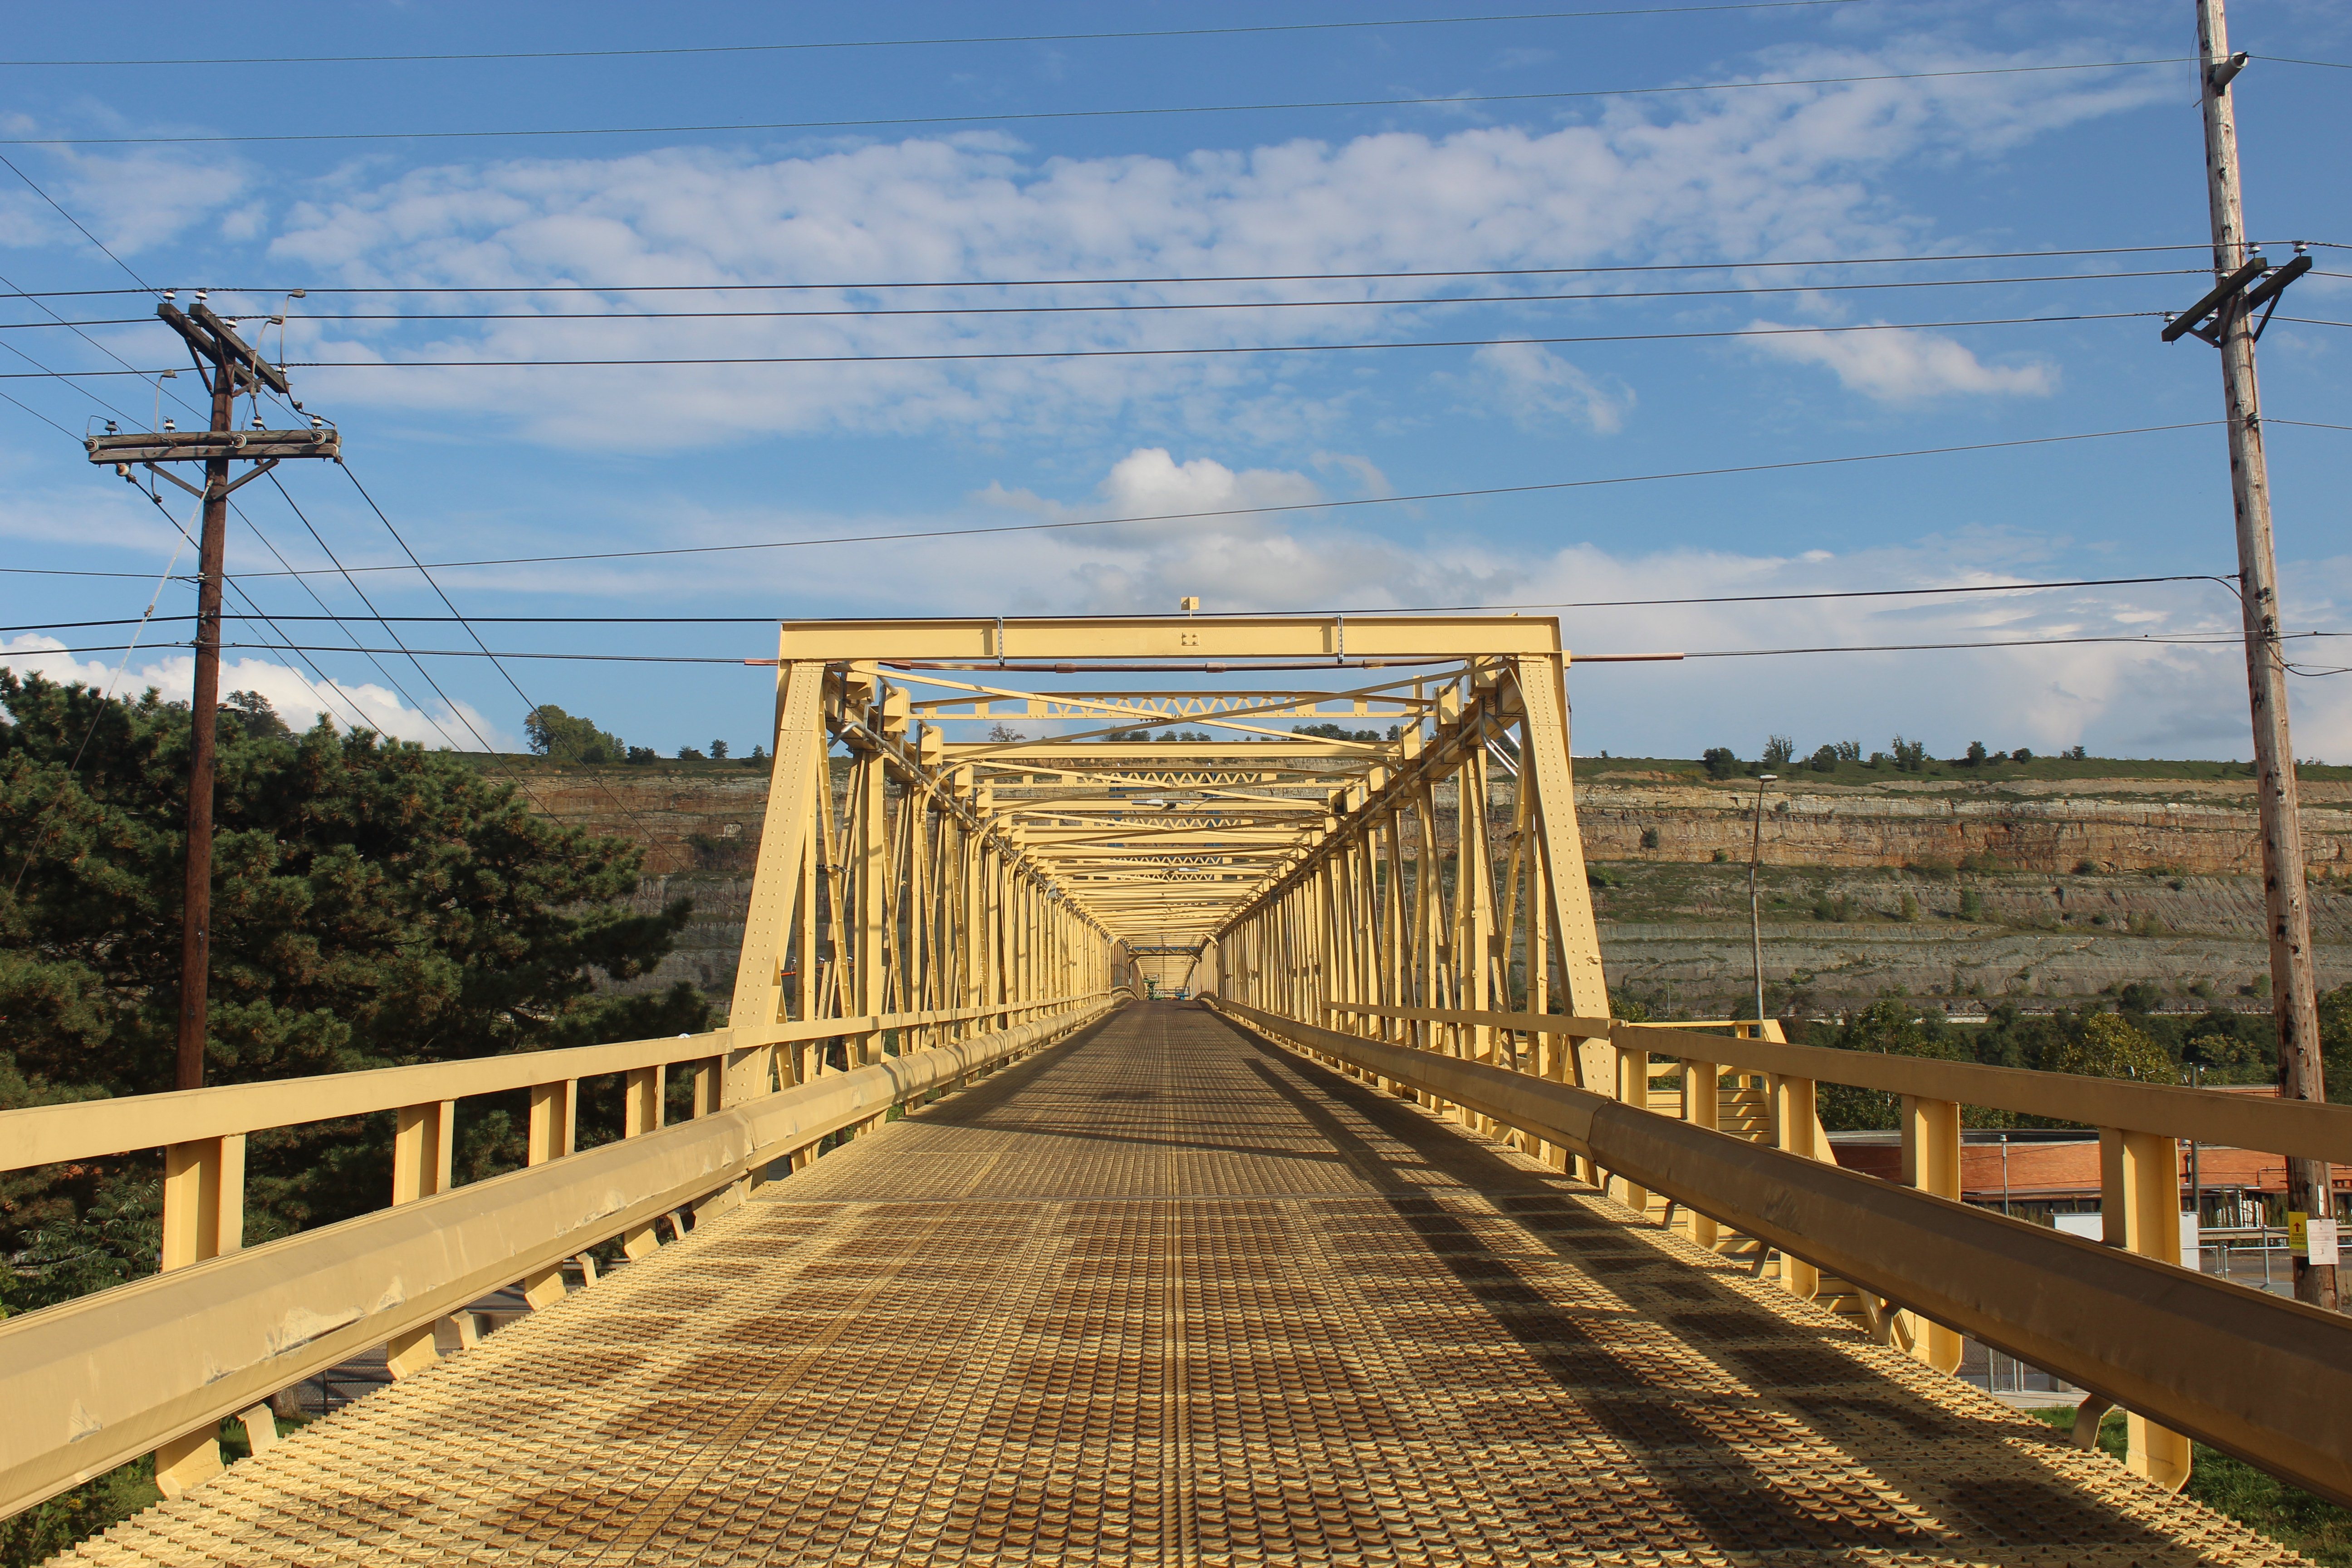
Photo Credit: C. Hanchey, CC BY-NC 2.0, http://www.flickr.com/photos/21953562@N07/
2011 Post-rehab portal views on bridge.
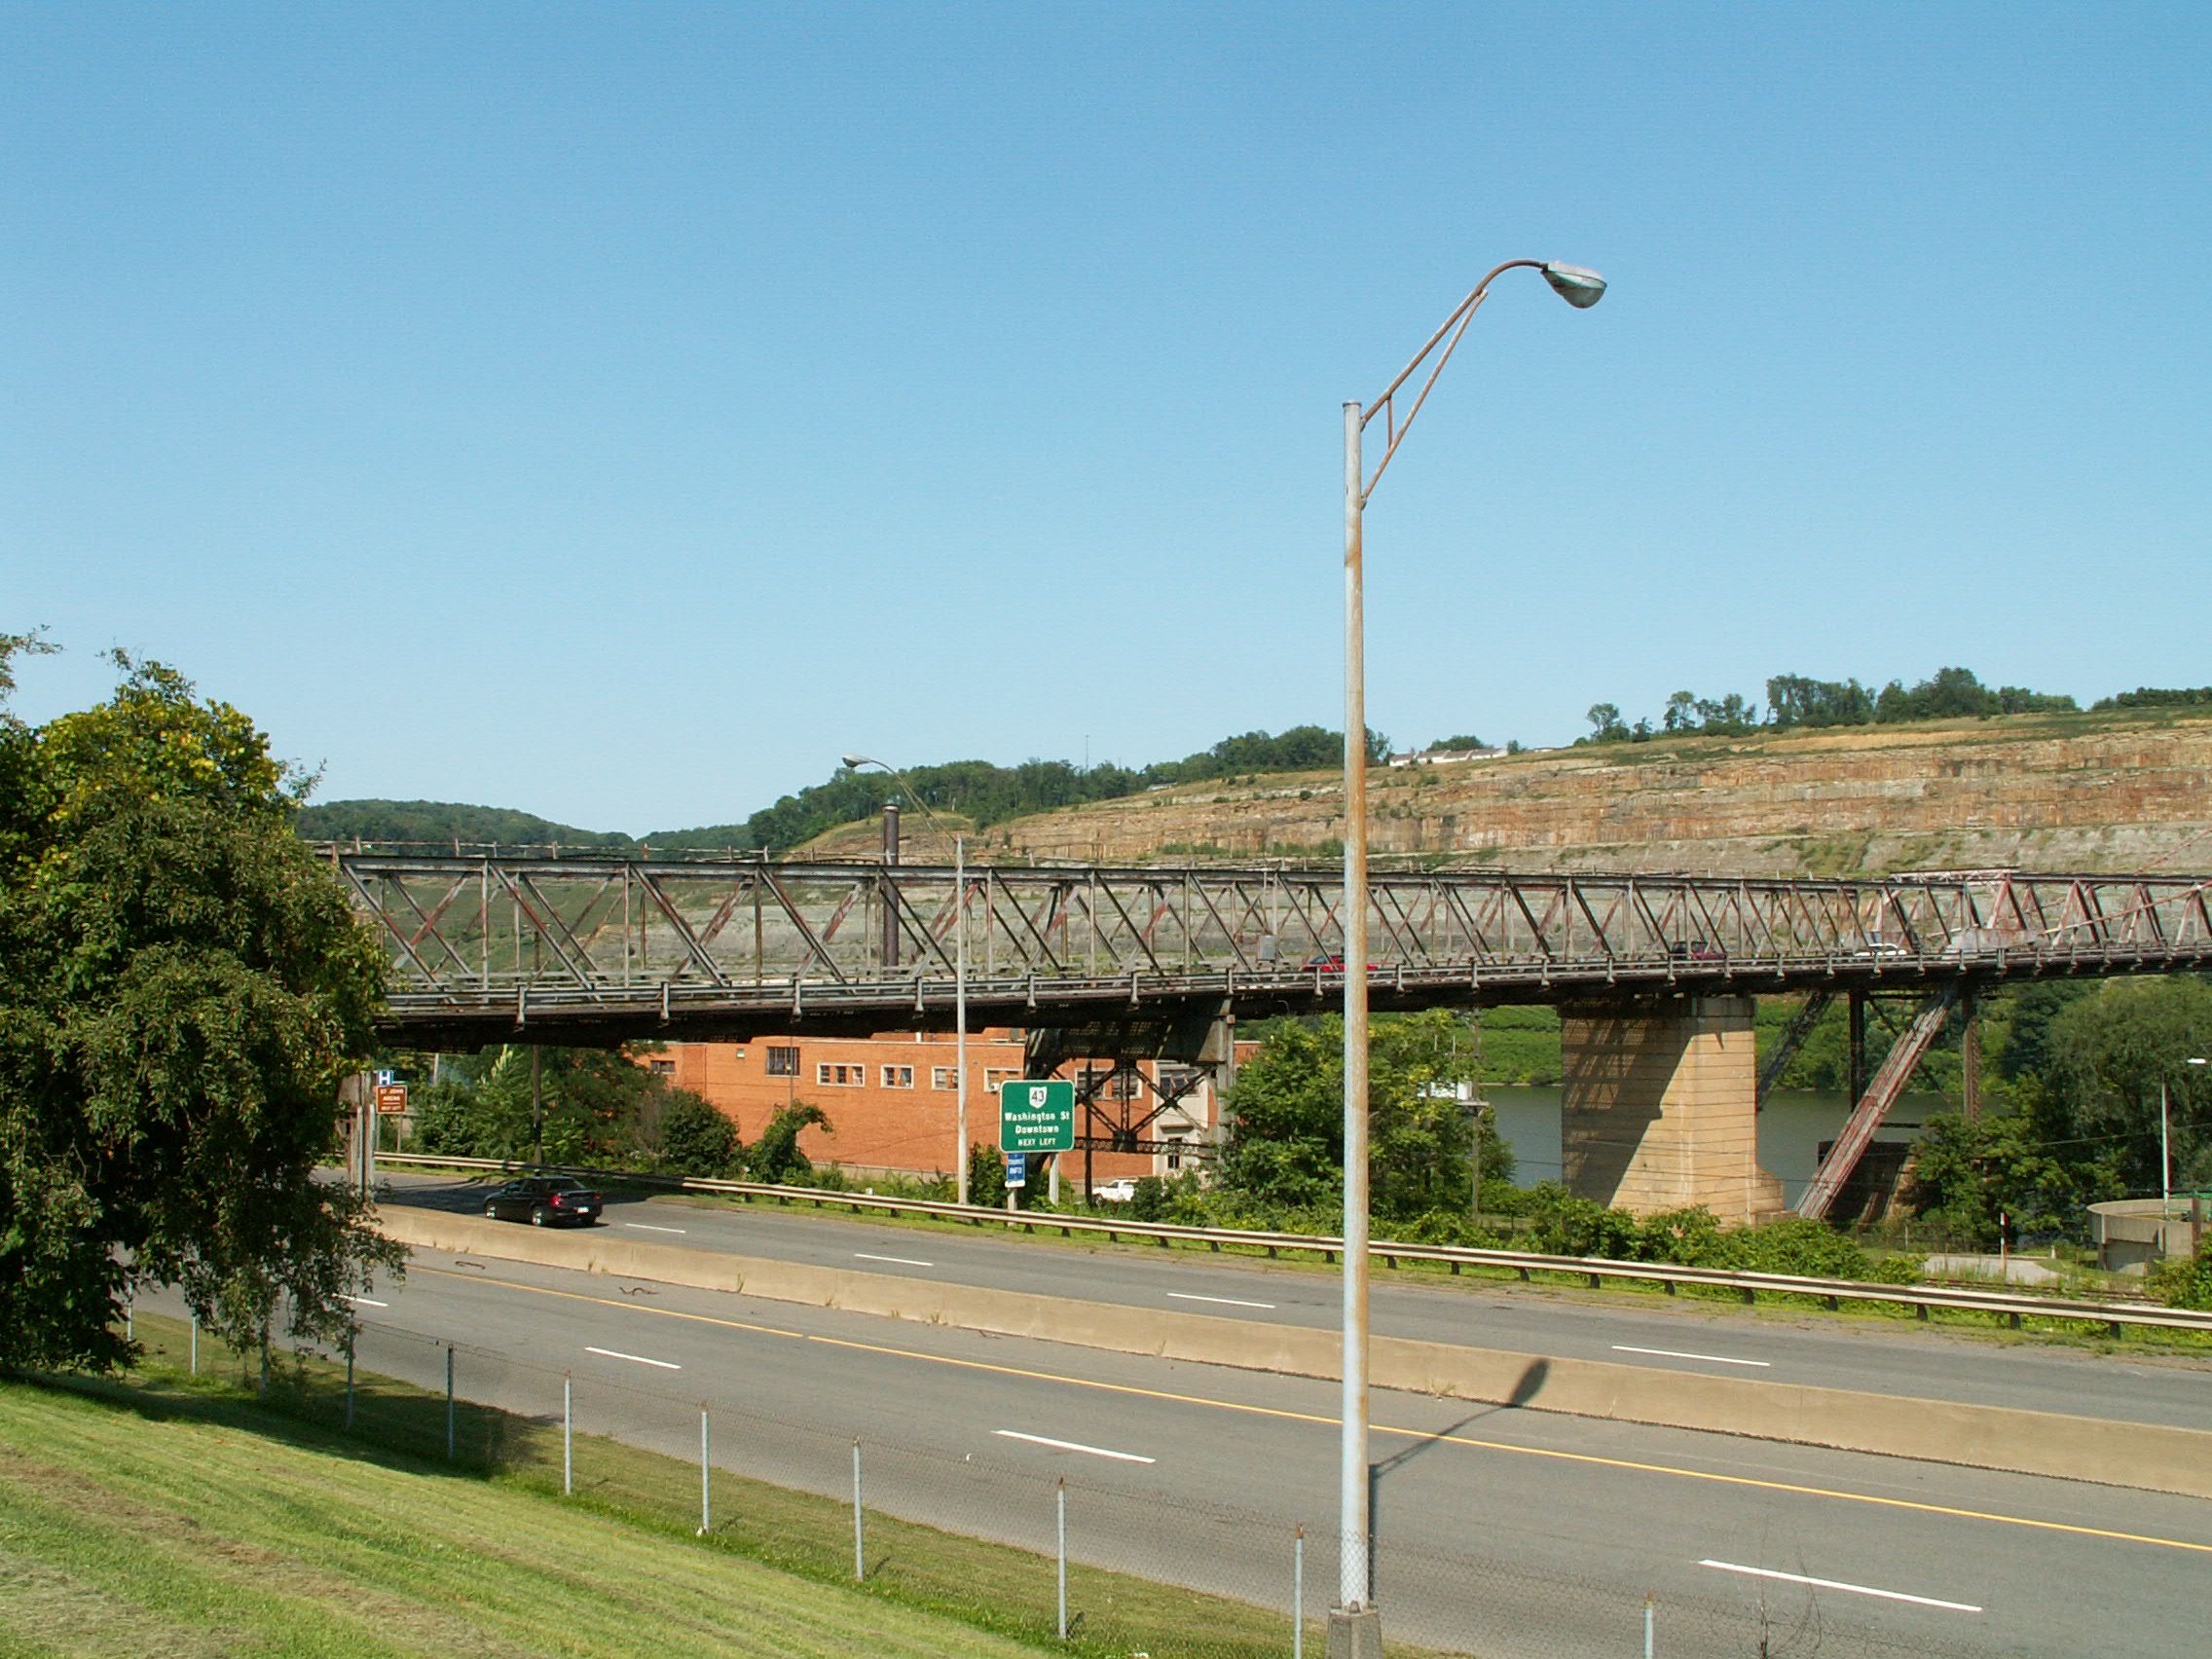
![]()


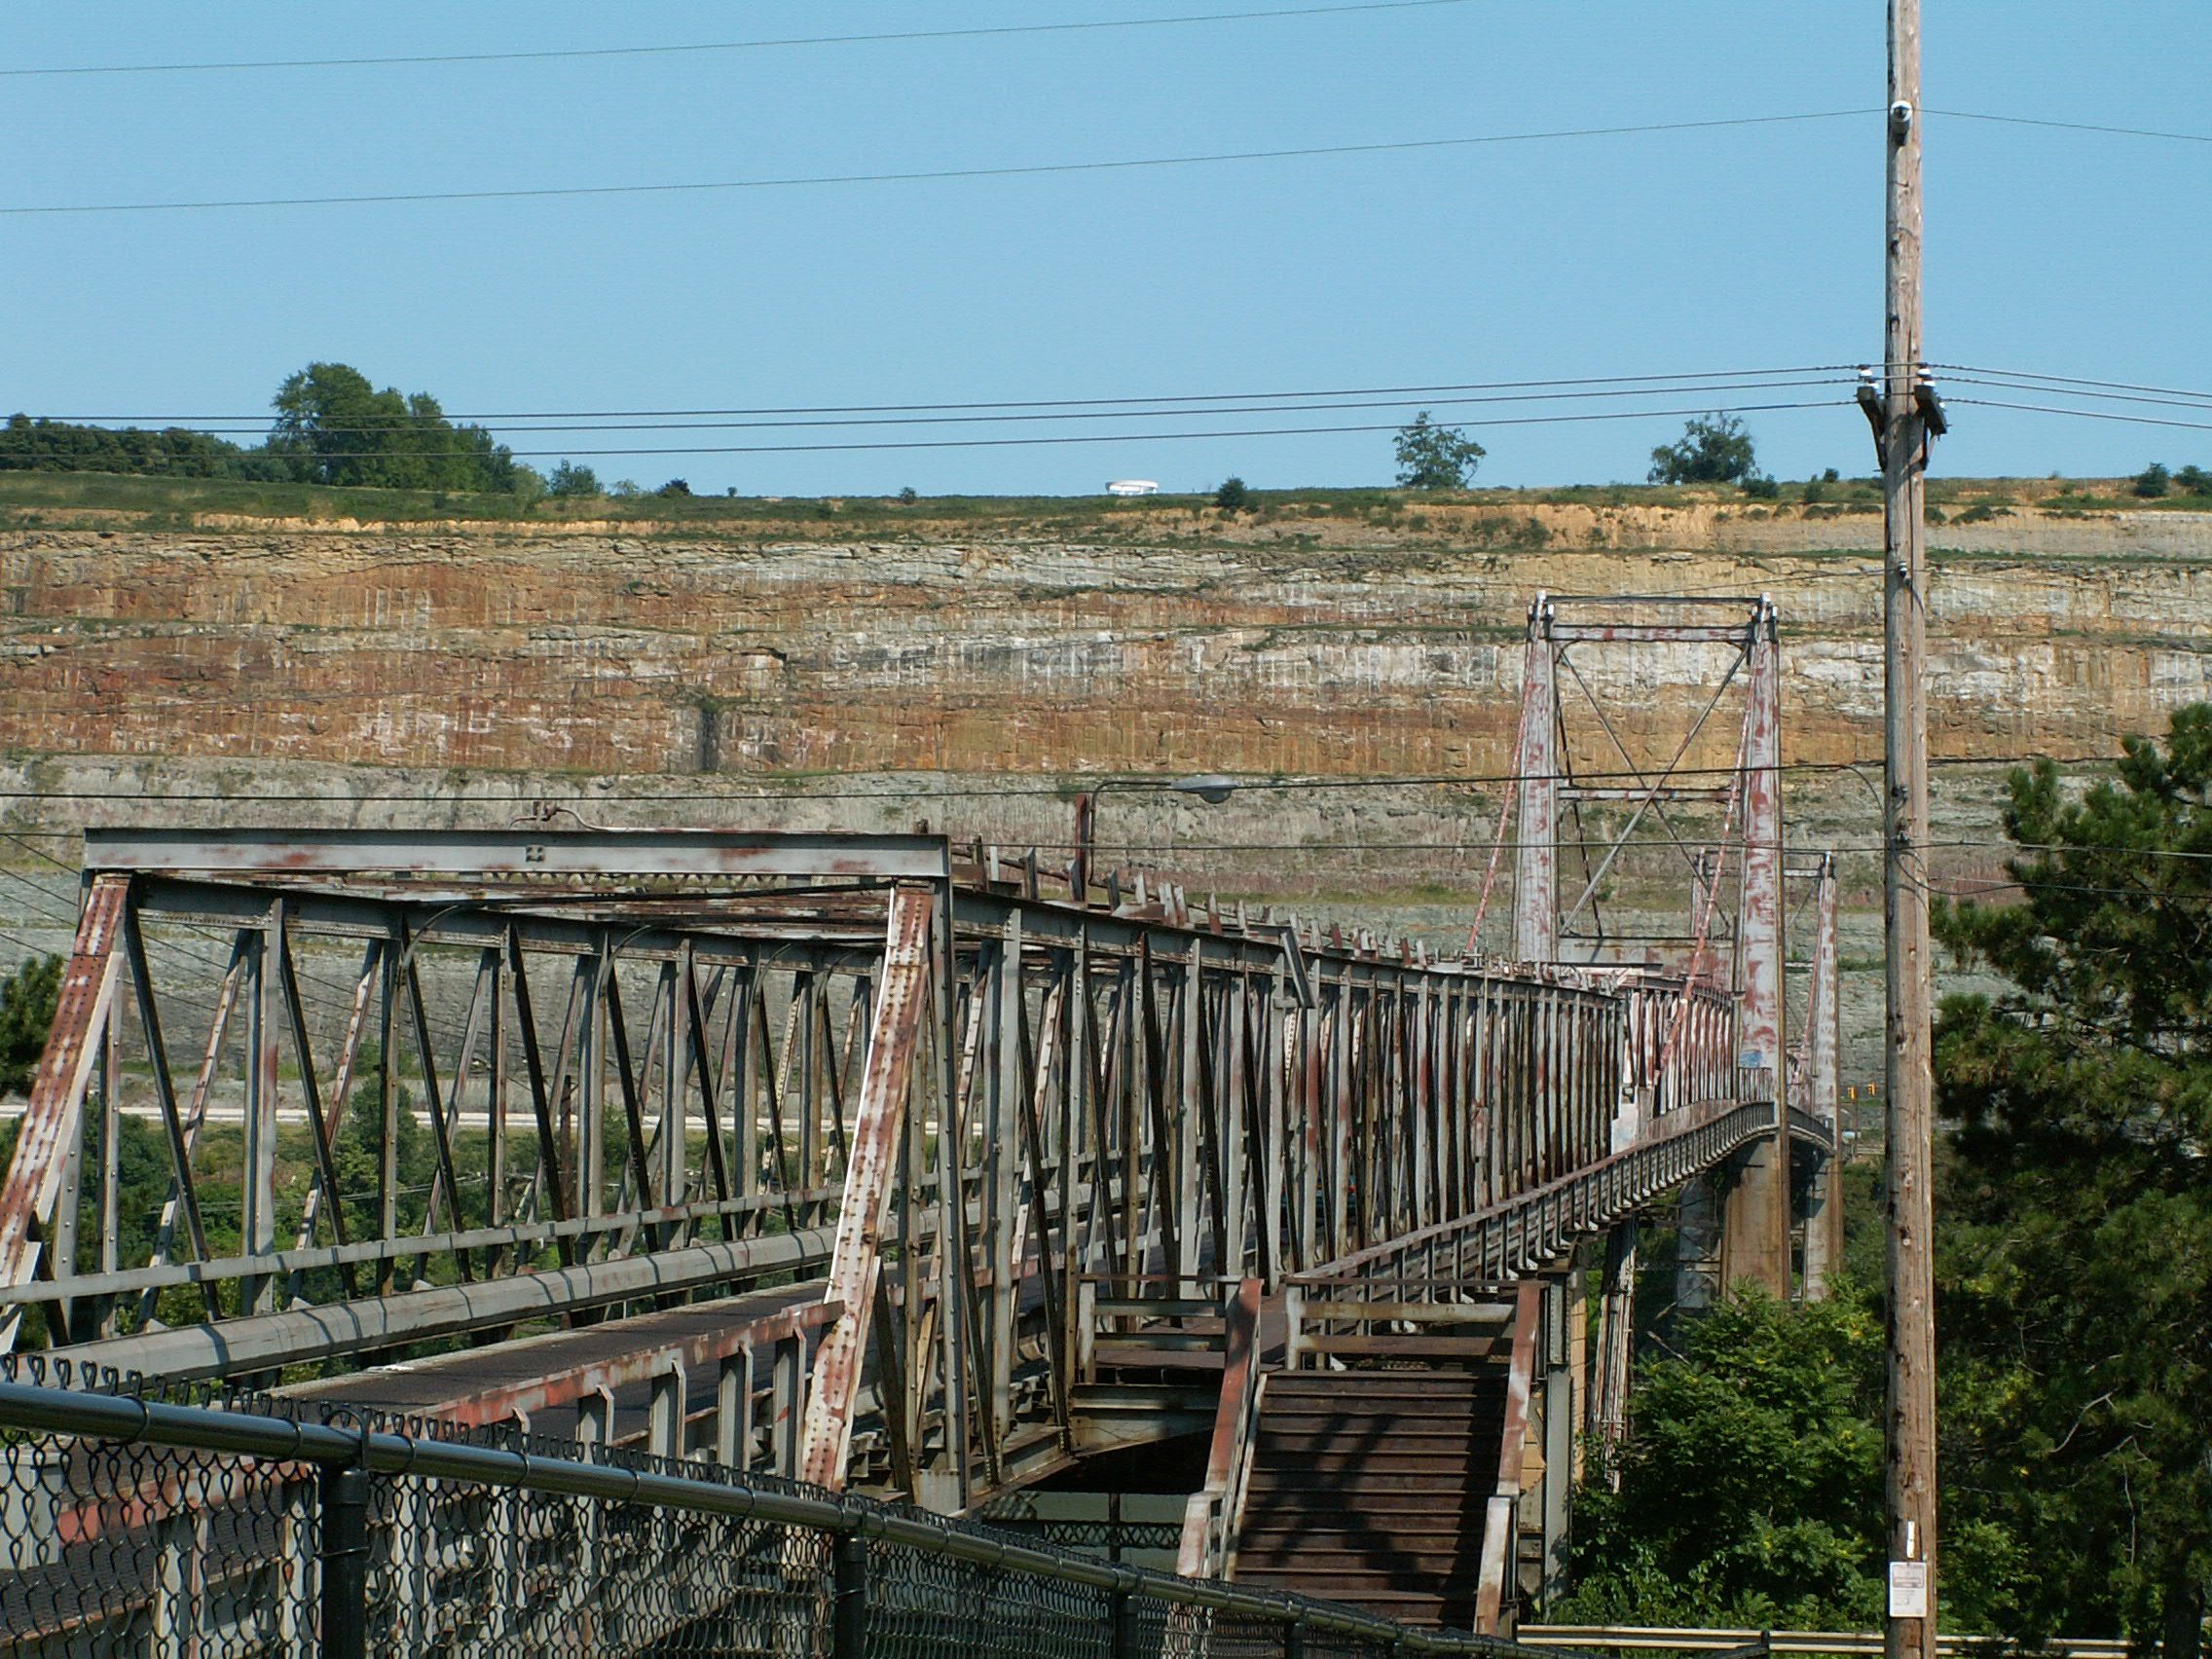

Views beside bridge from southwest quadrant.
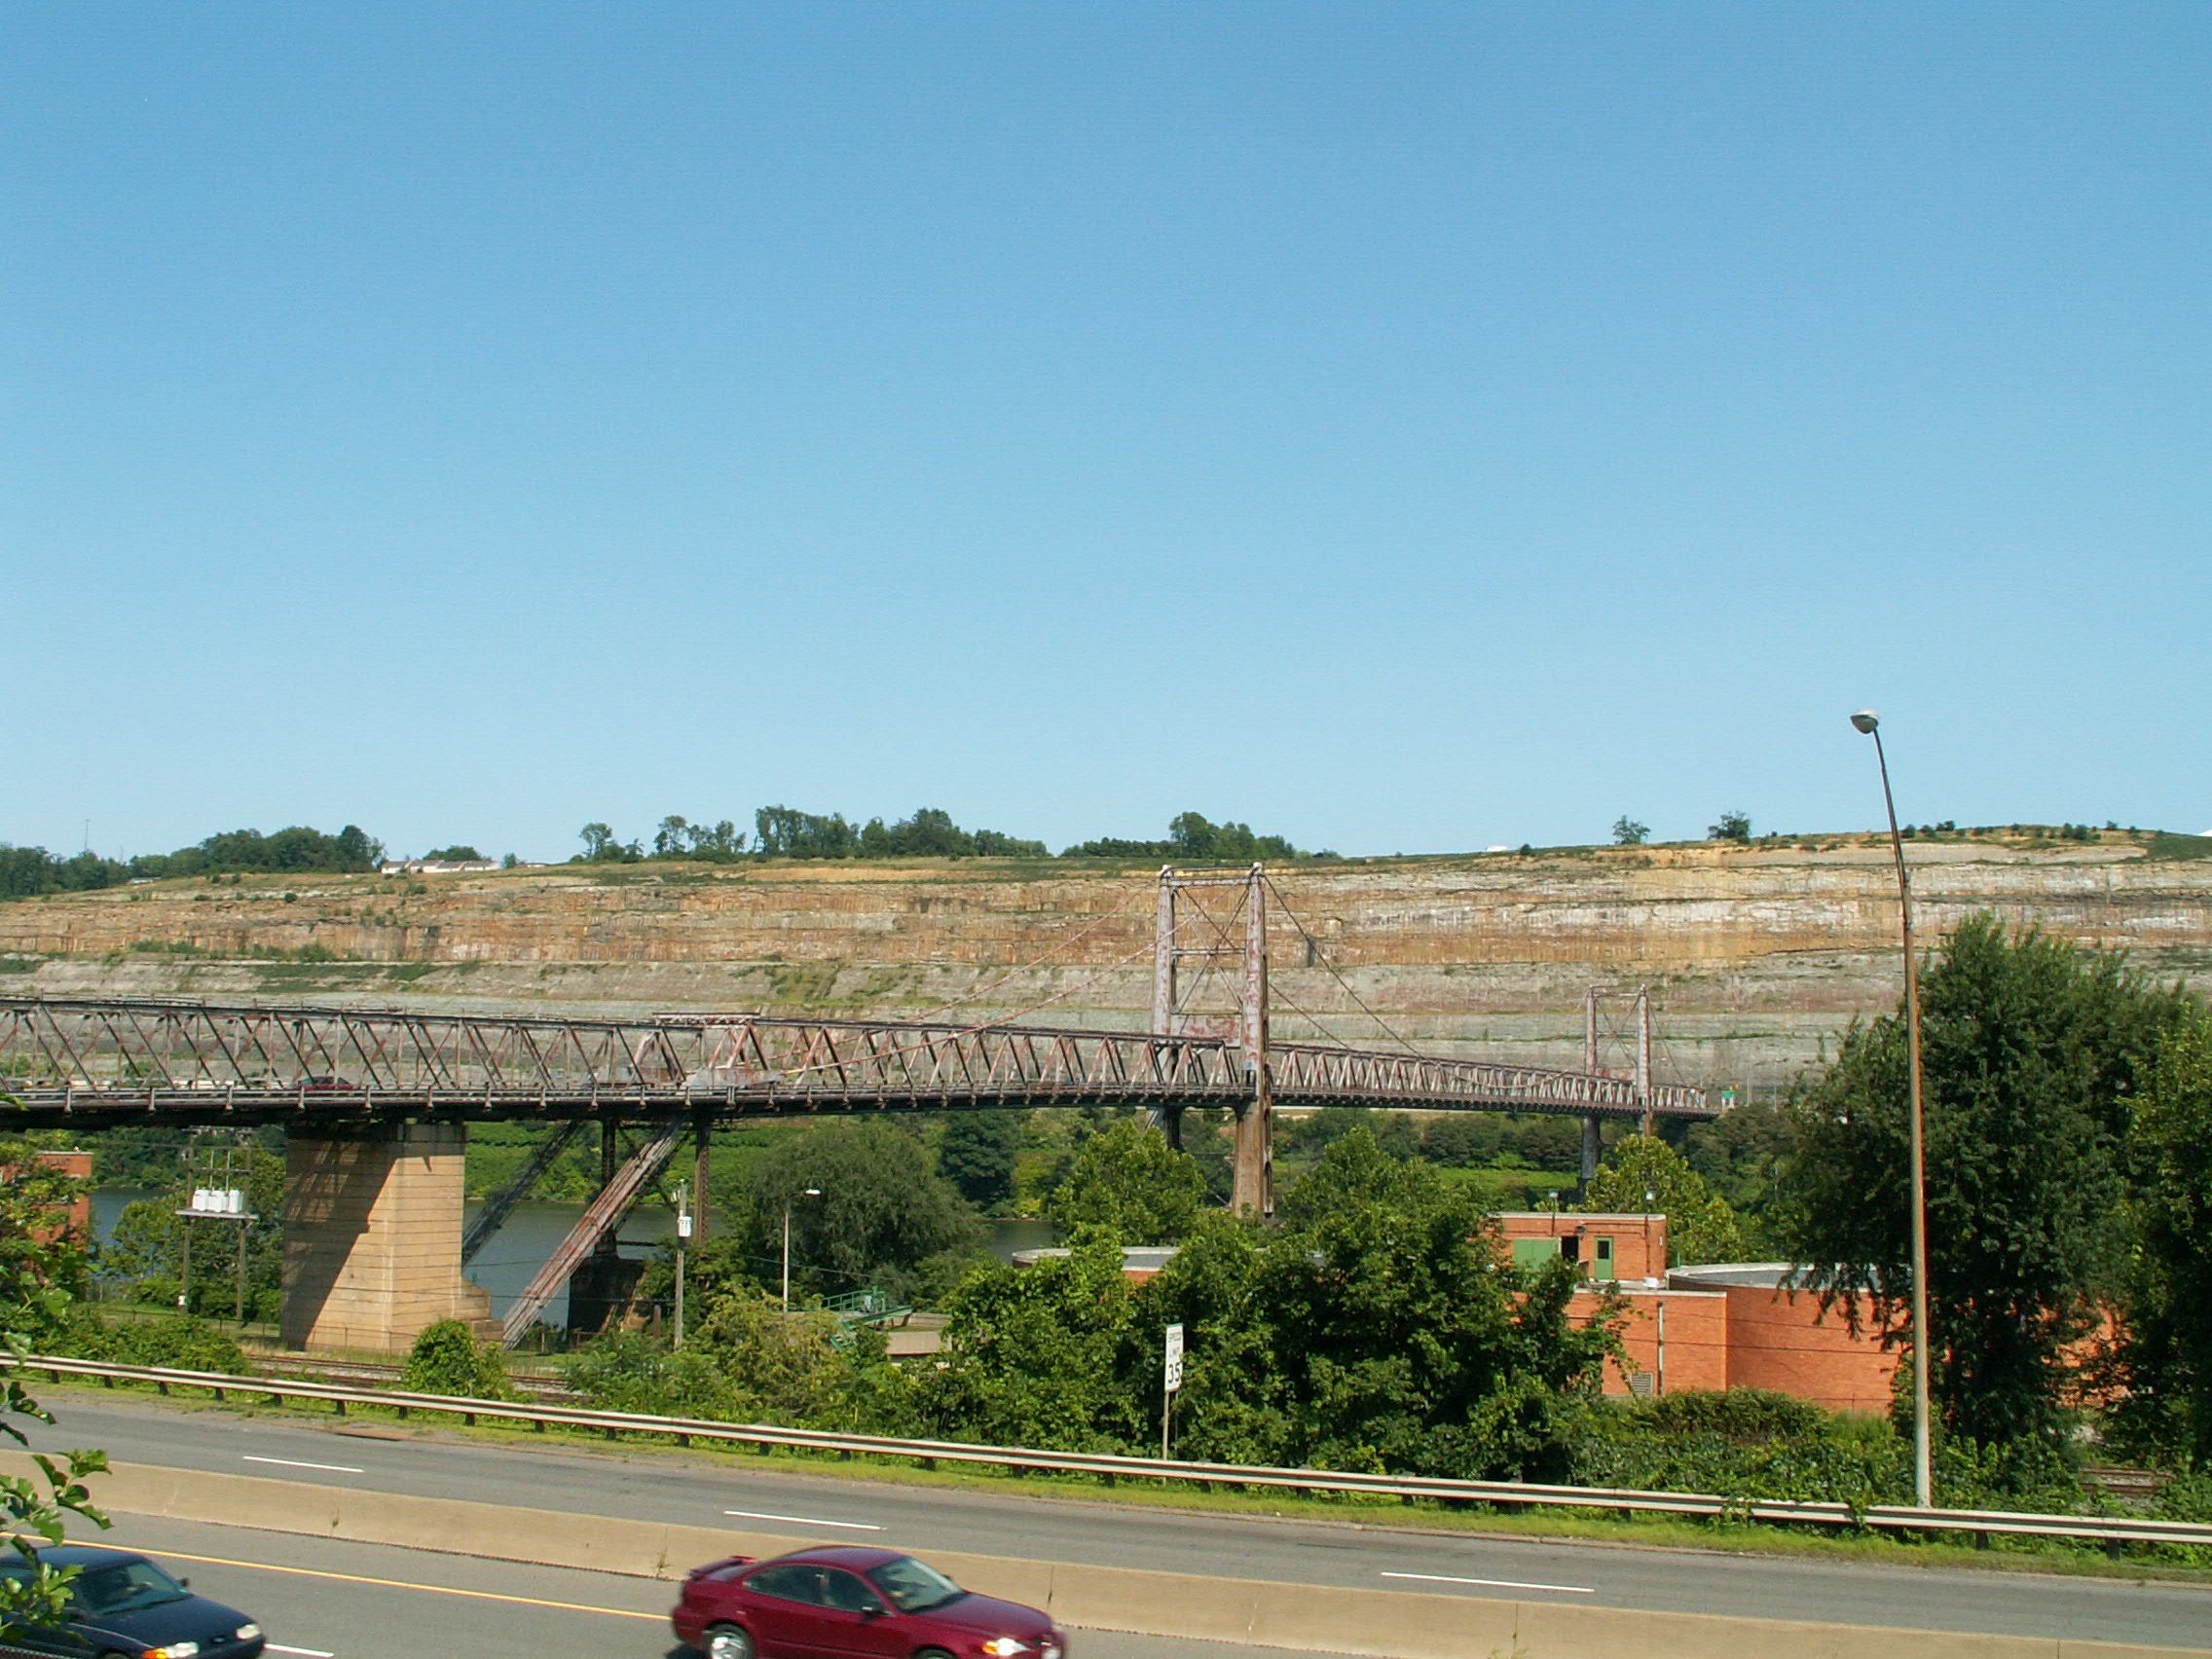
![]()


Views from southwest quadrant.
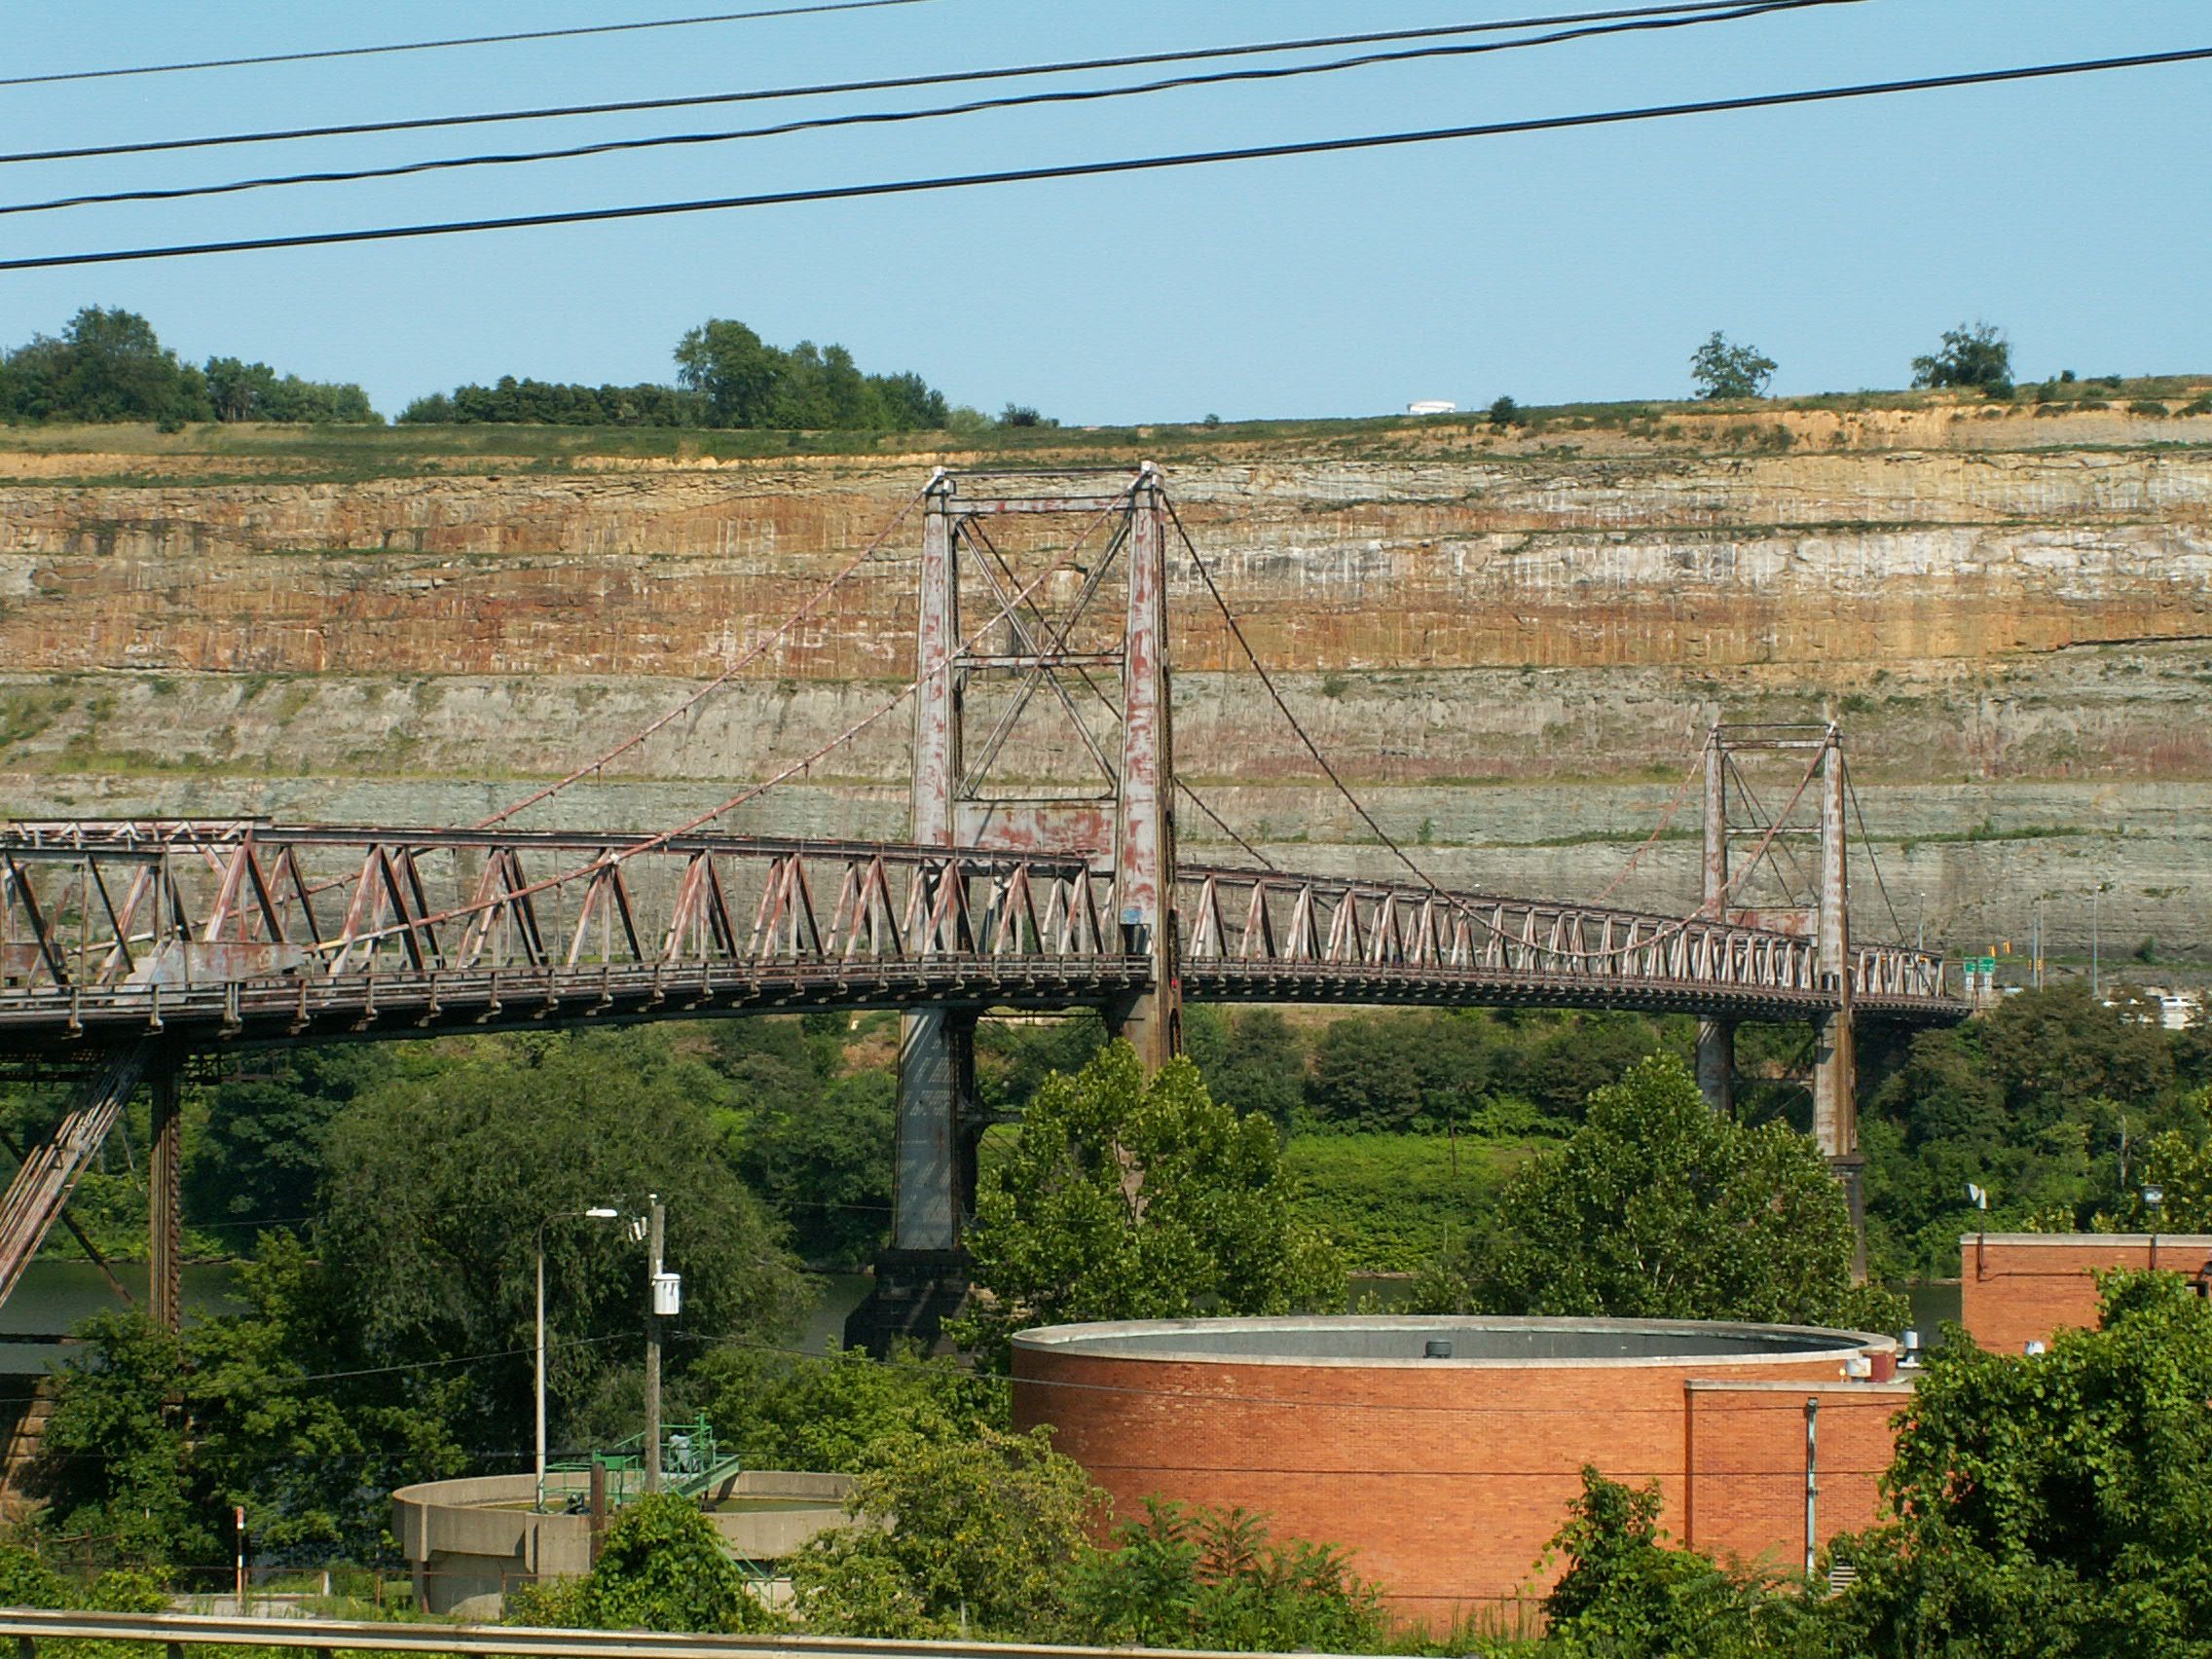
![]()

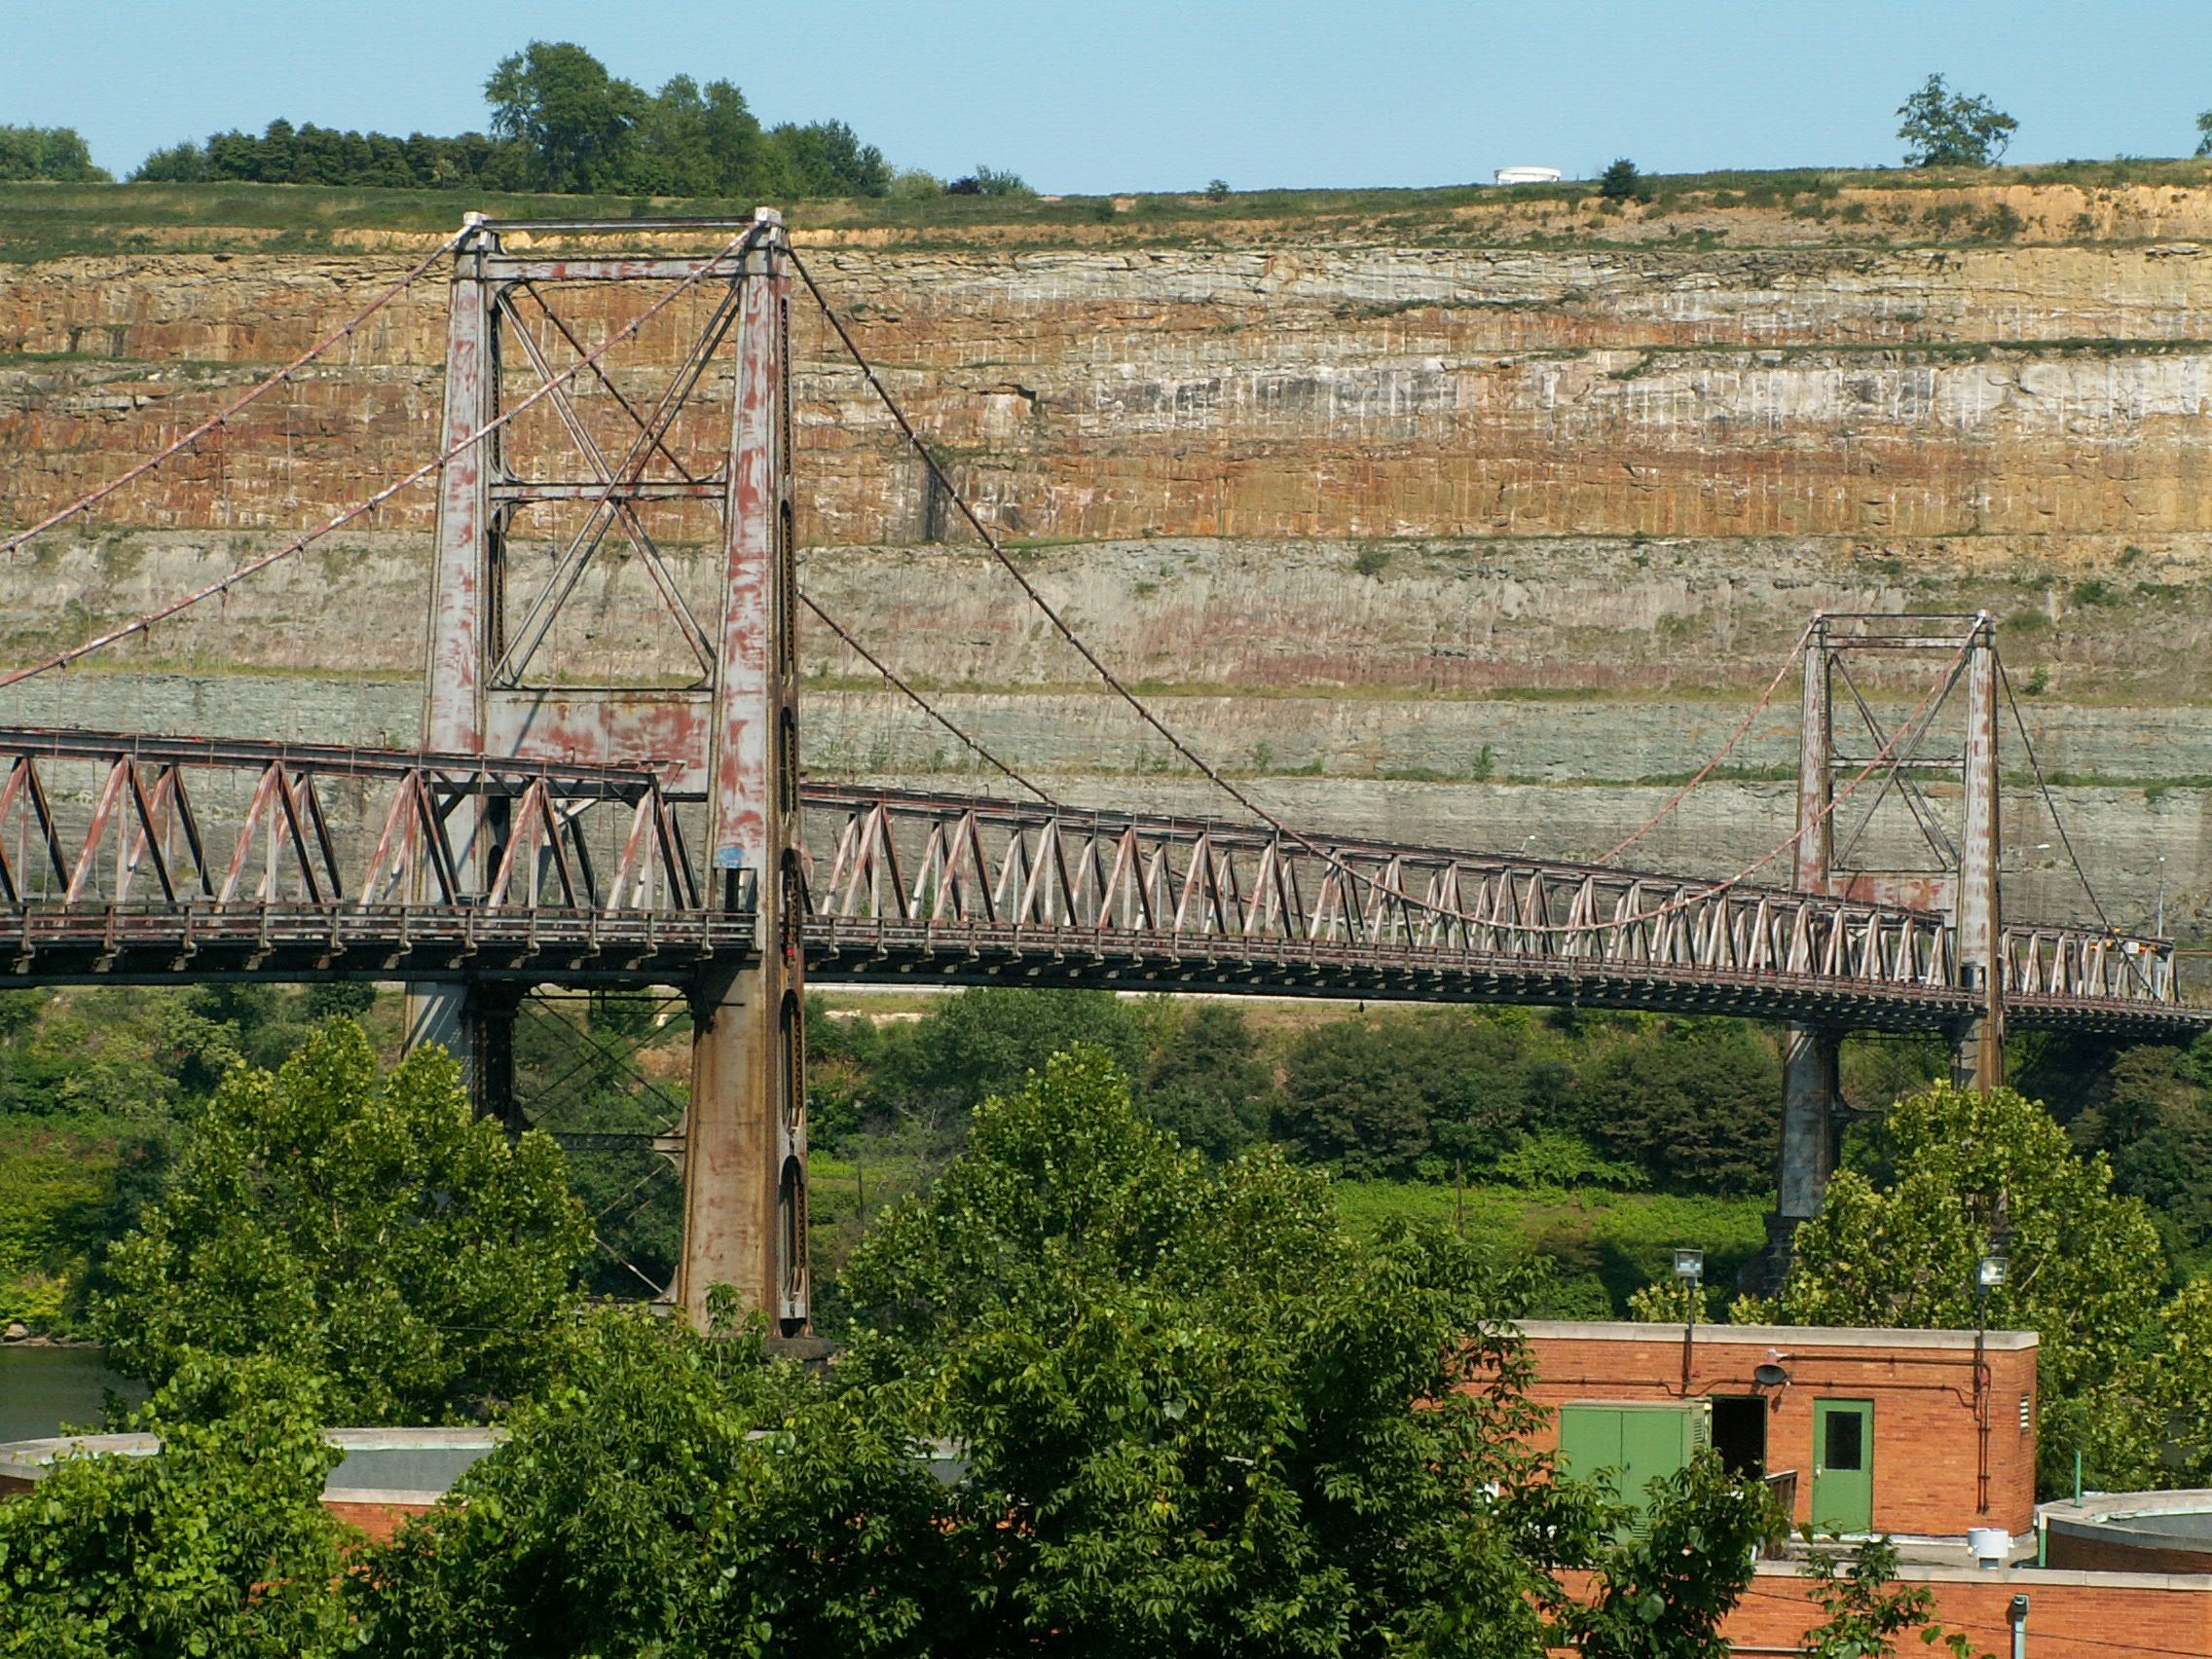
Overview of approach and main bridge from southwest quadrant.
![]()


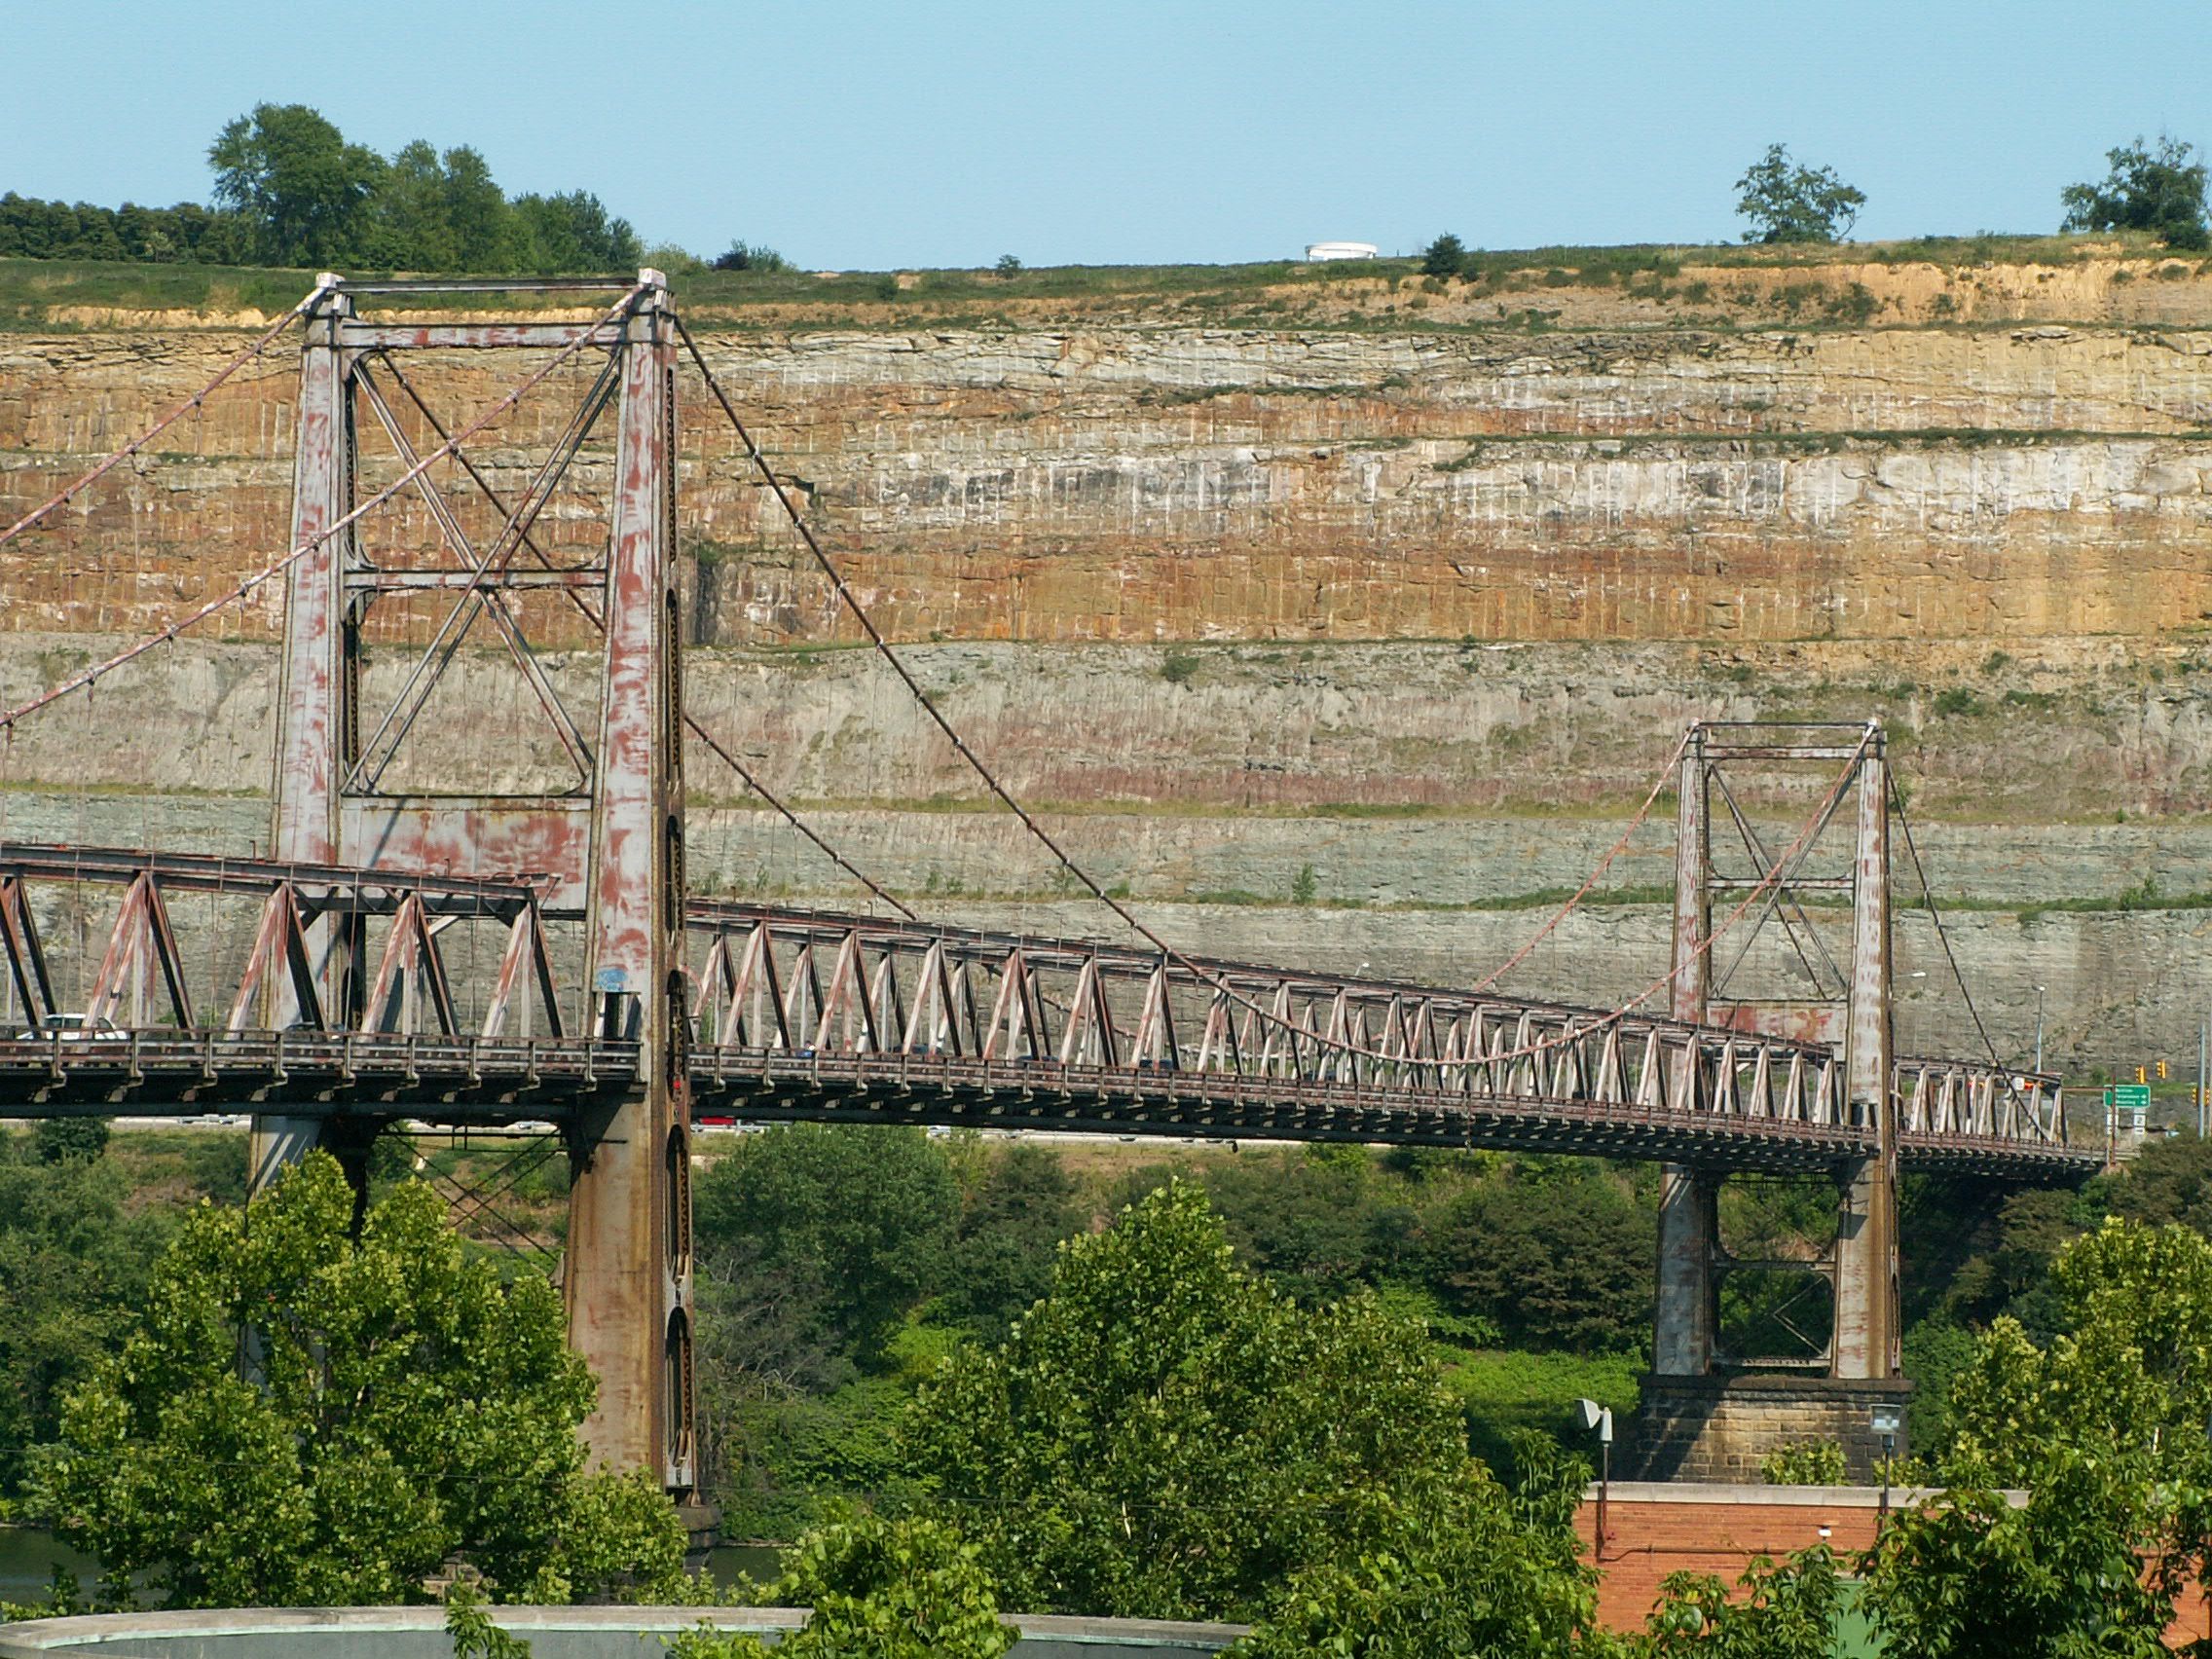

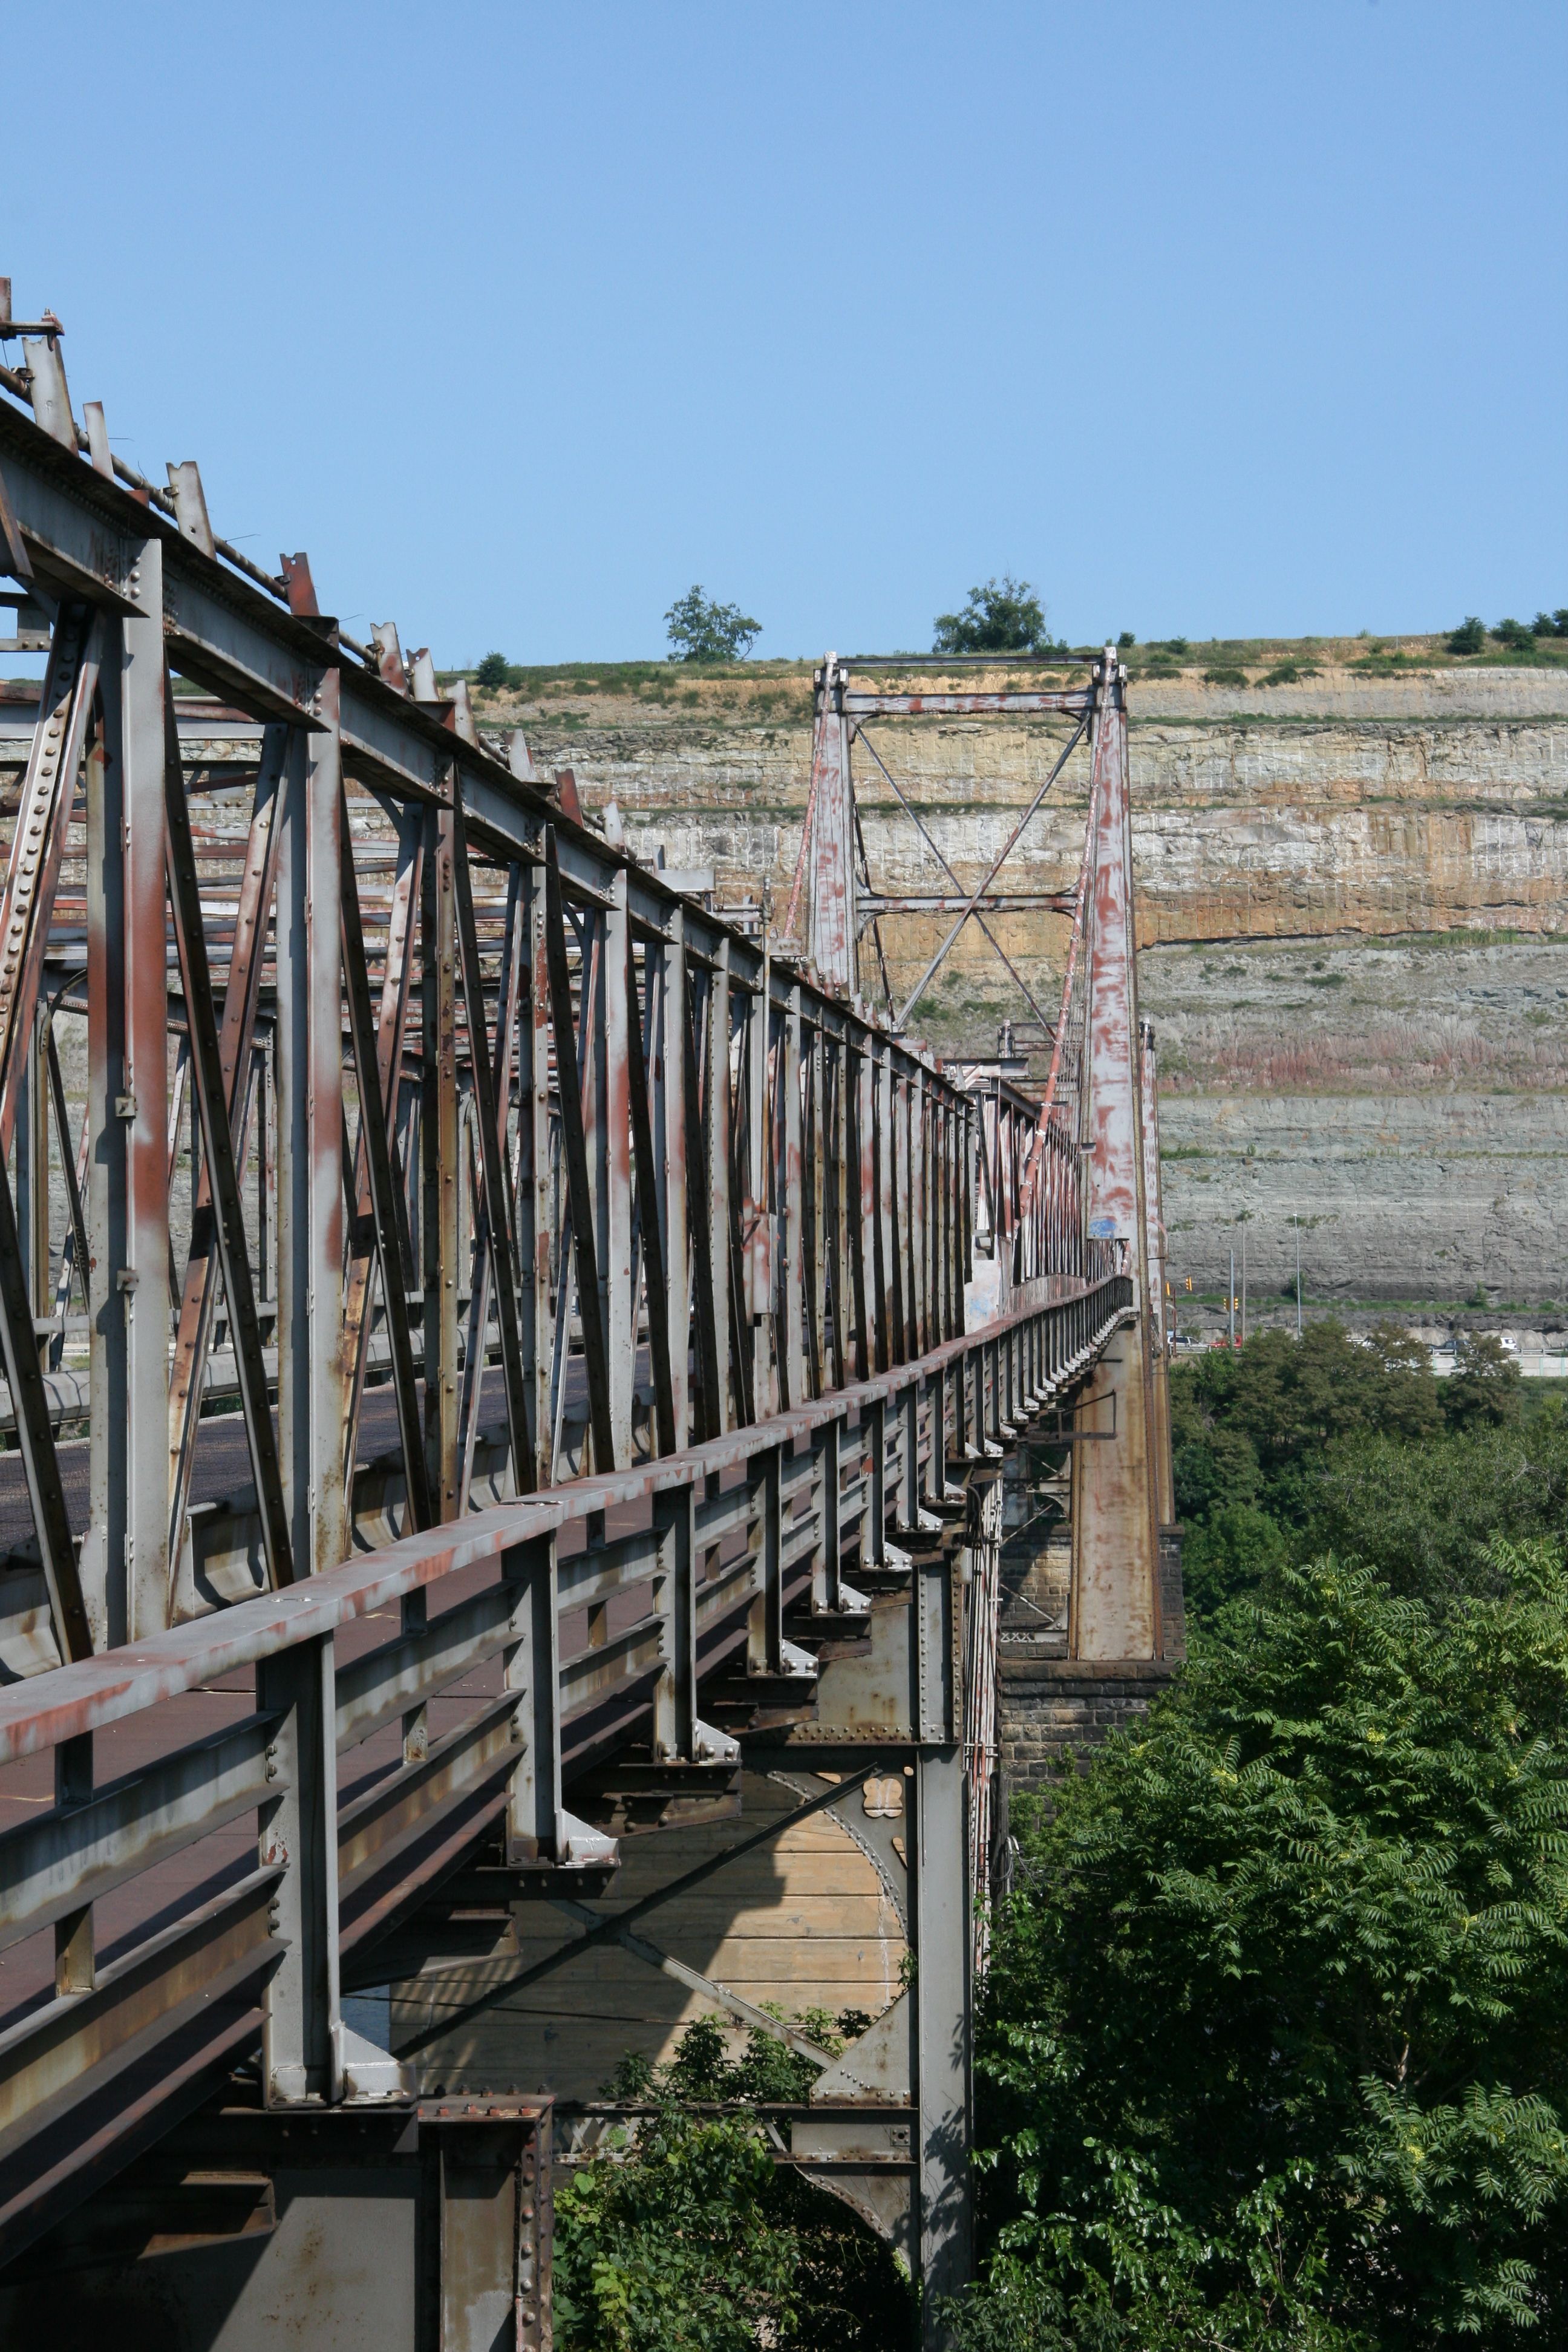
Views of main span from southwest quadrant.
![]()


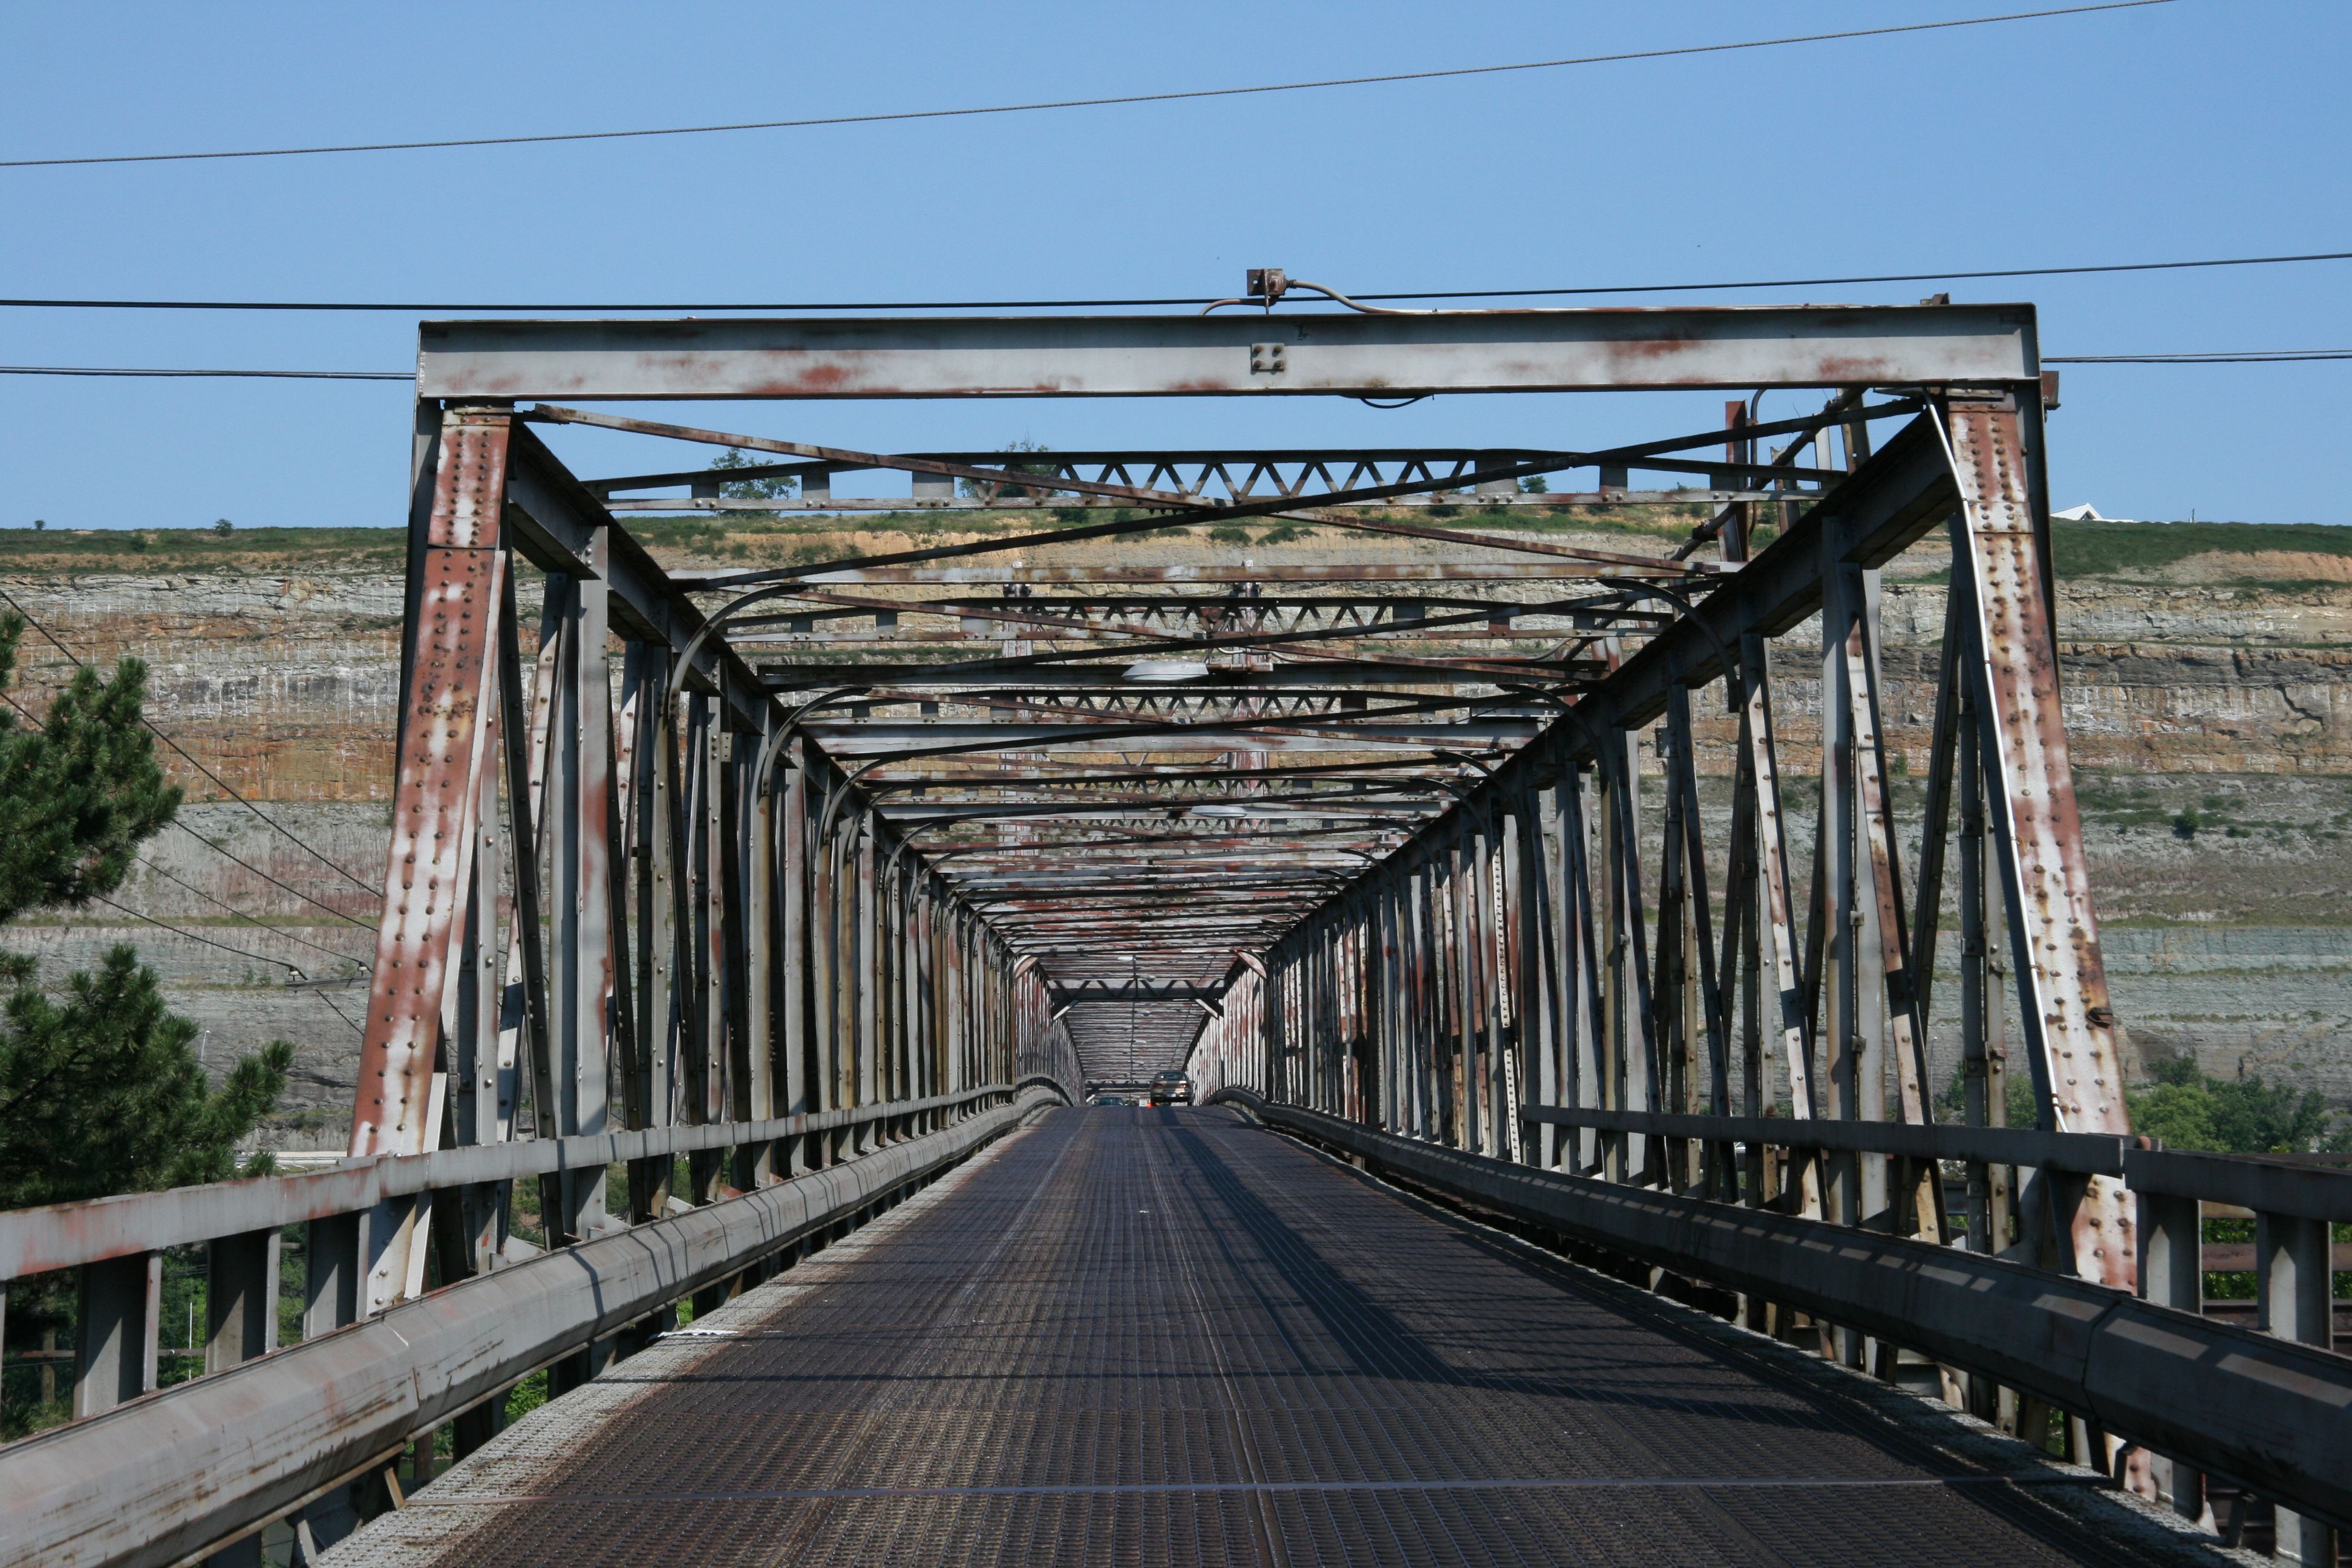

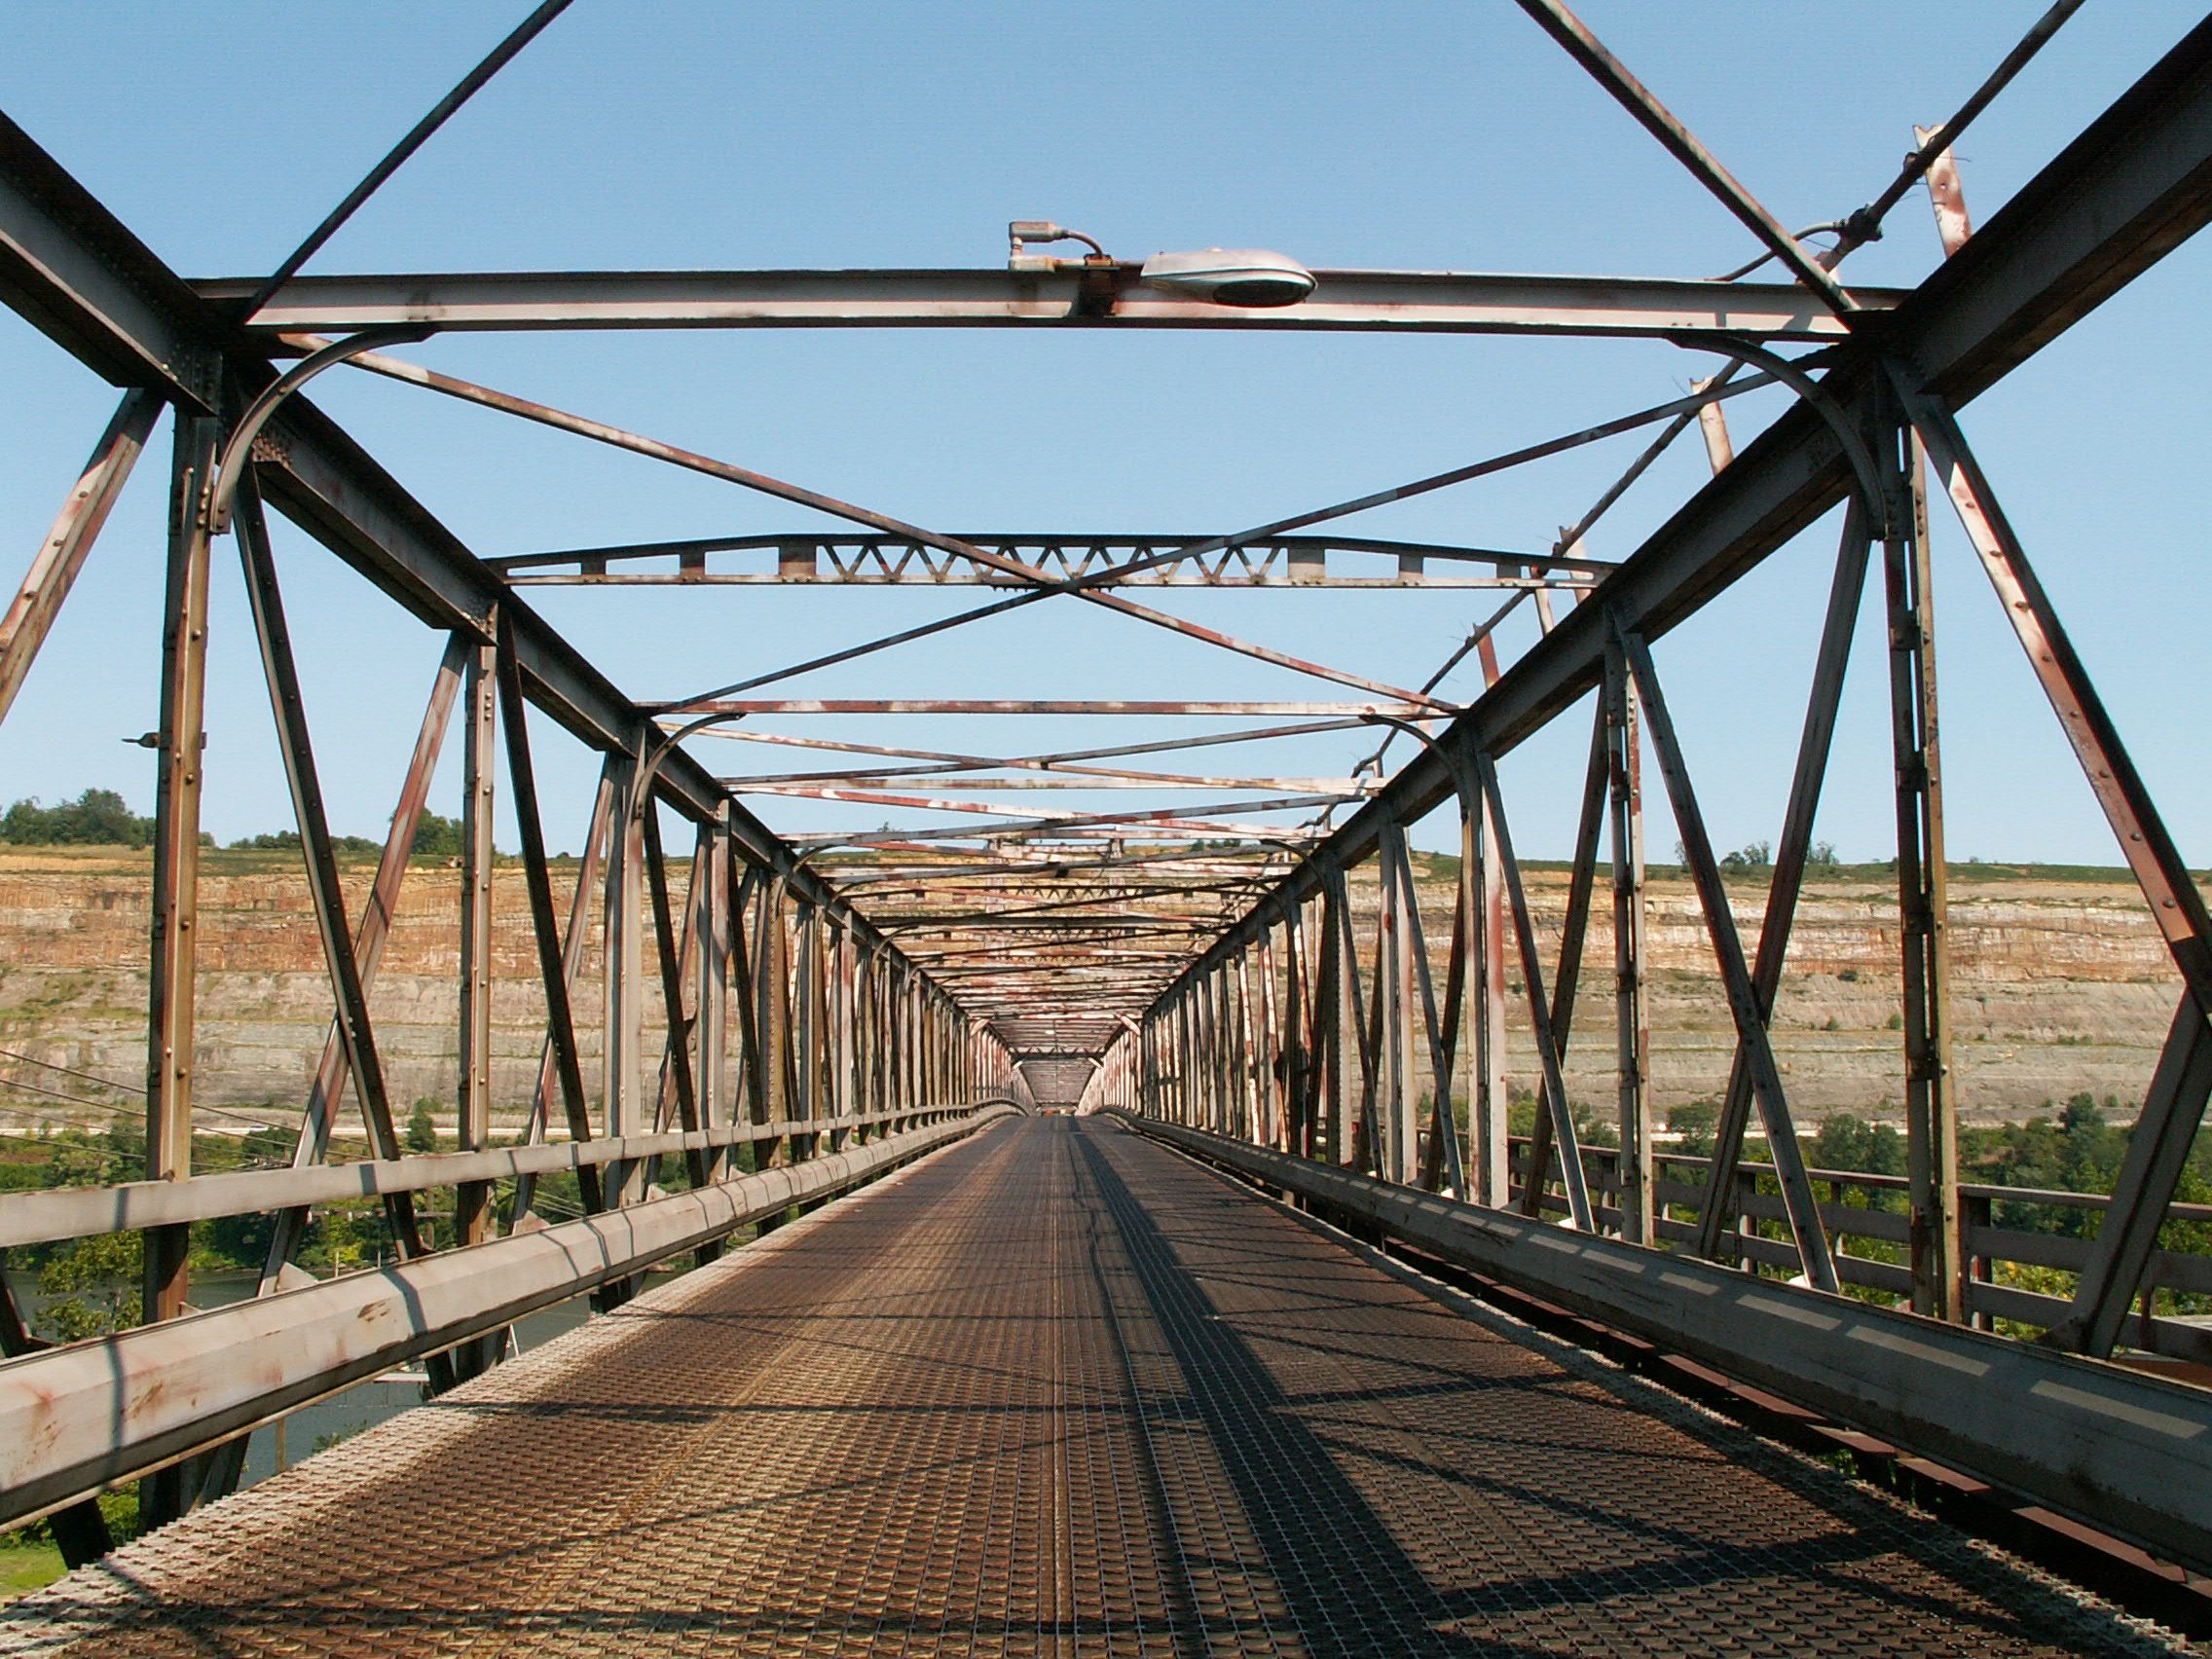


Various portal views facing east.
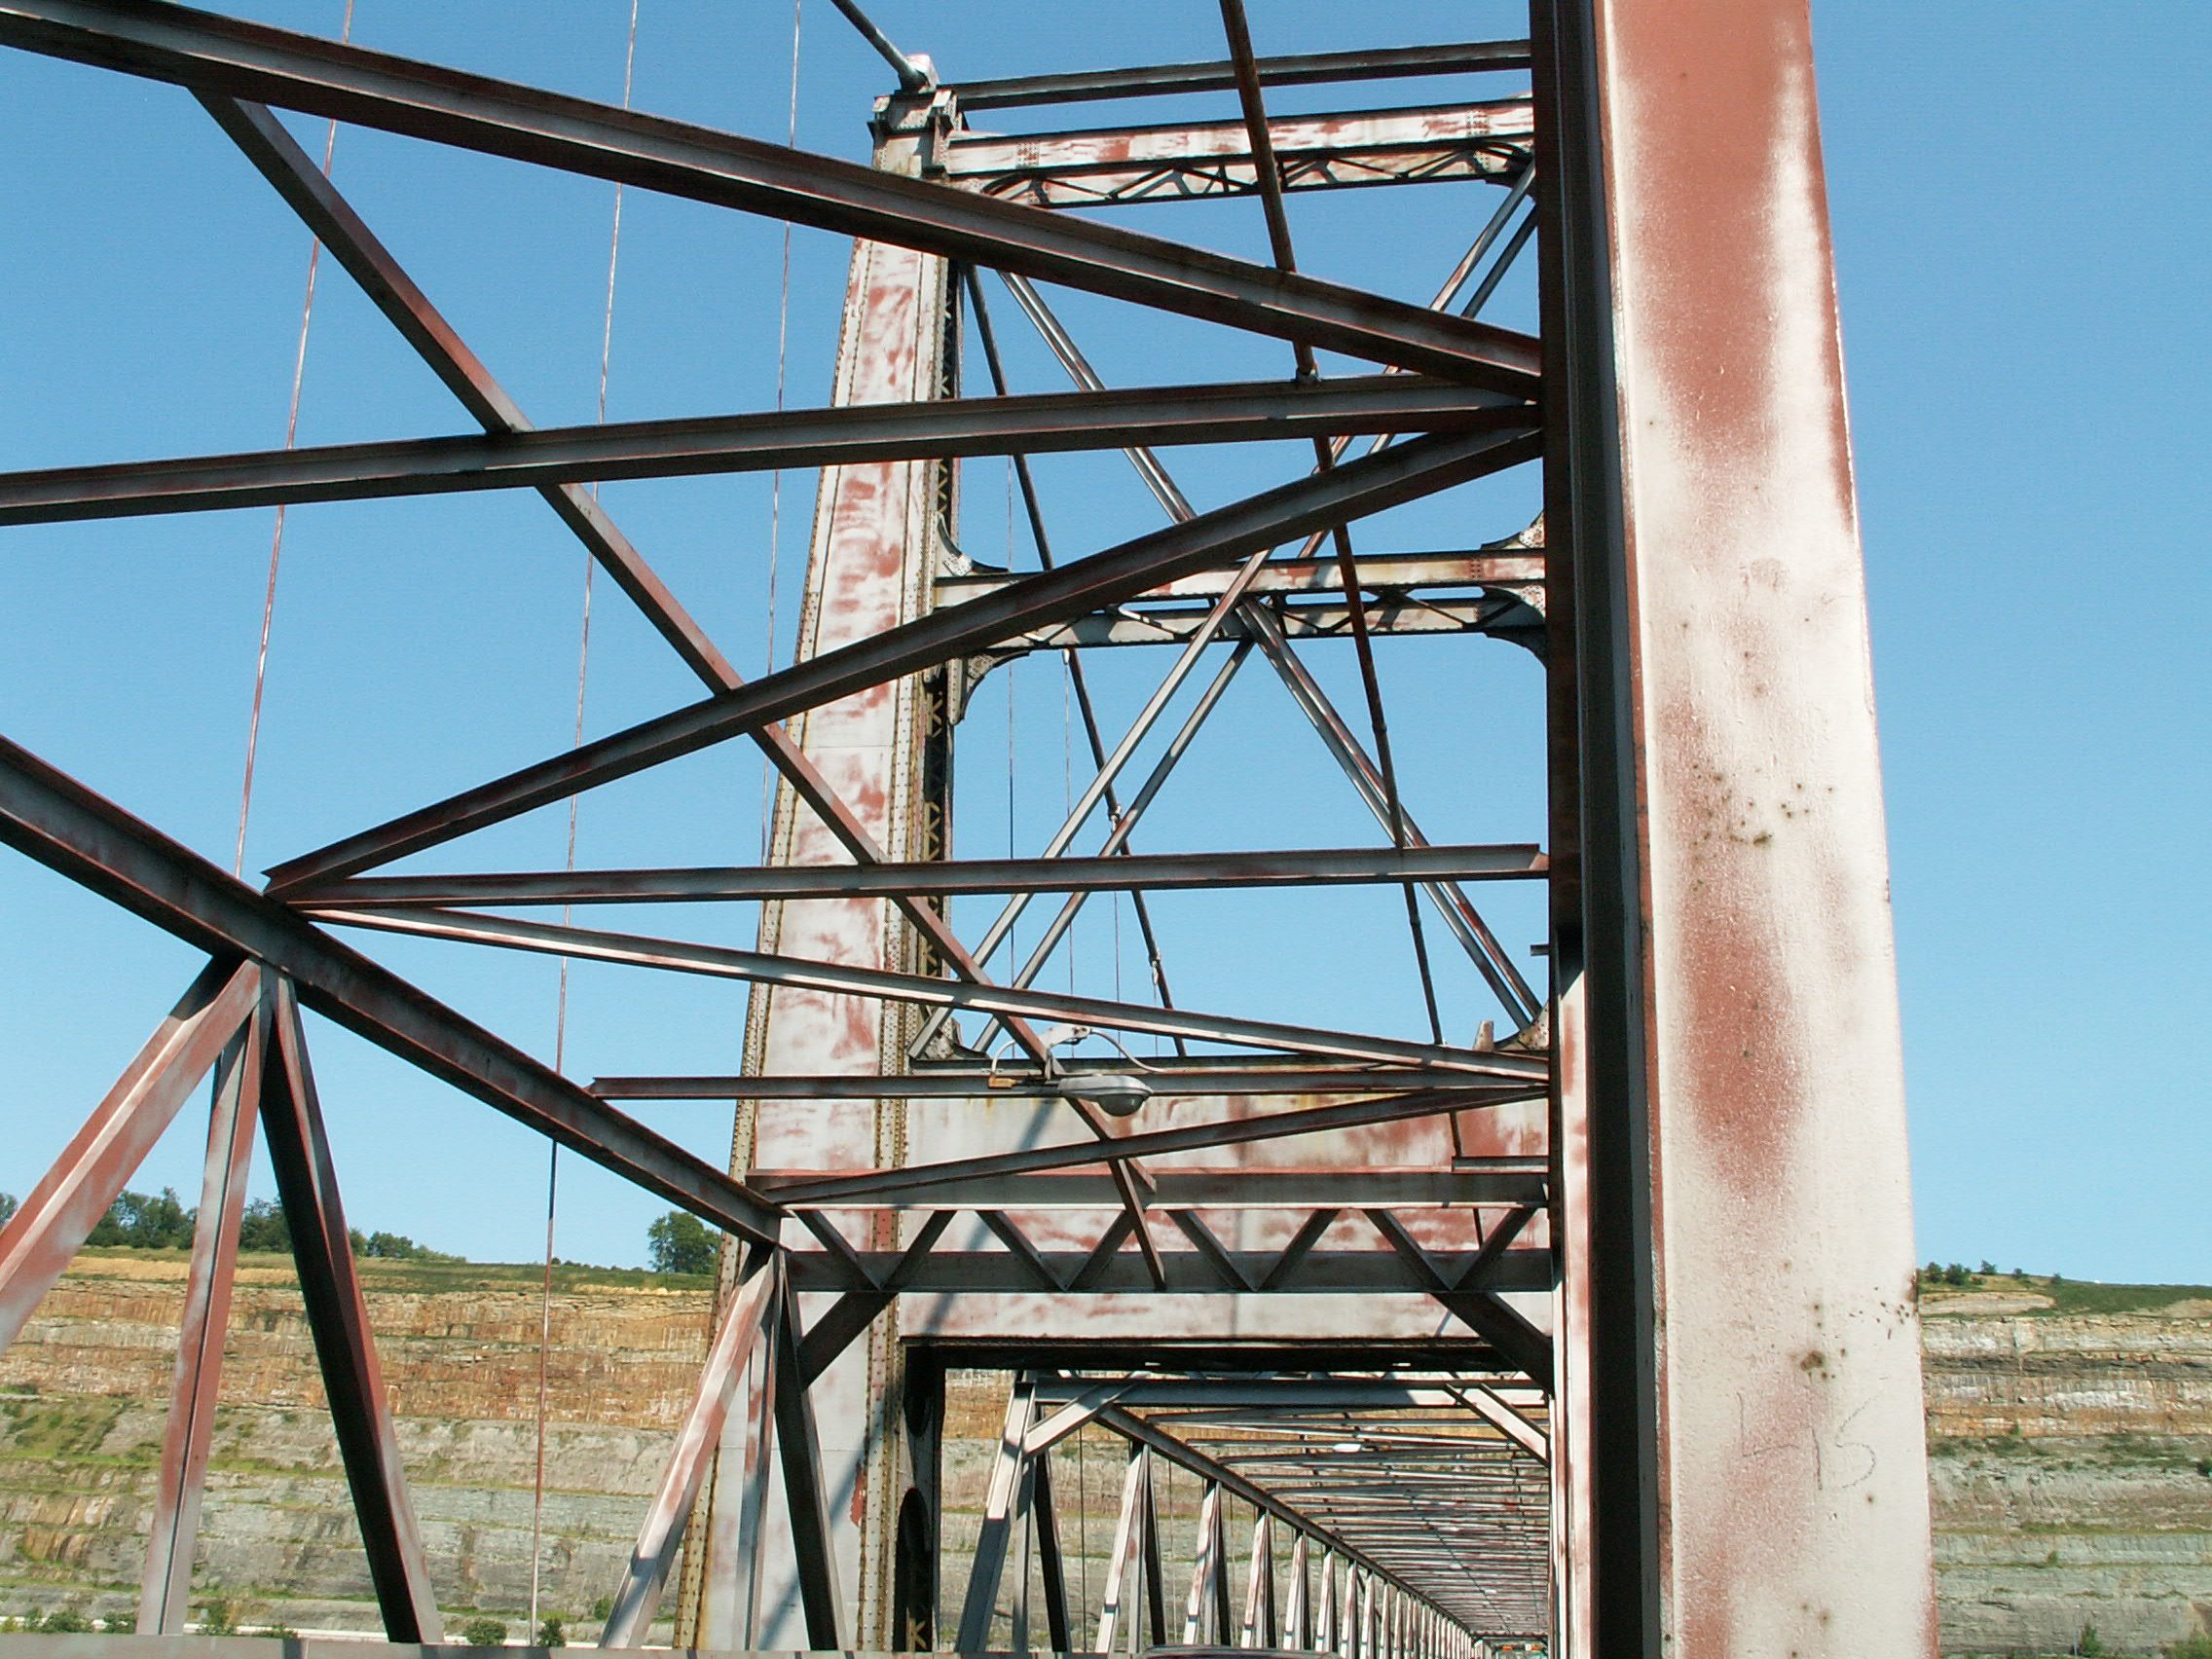
![]()


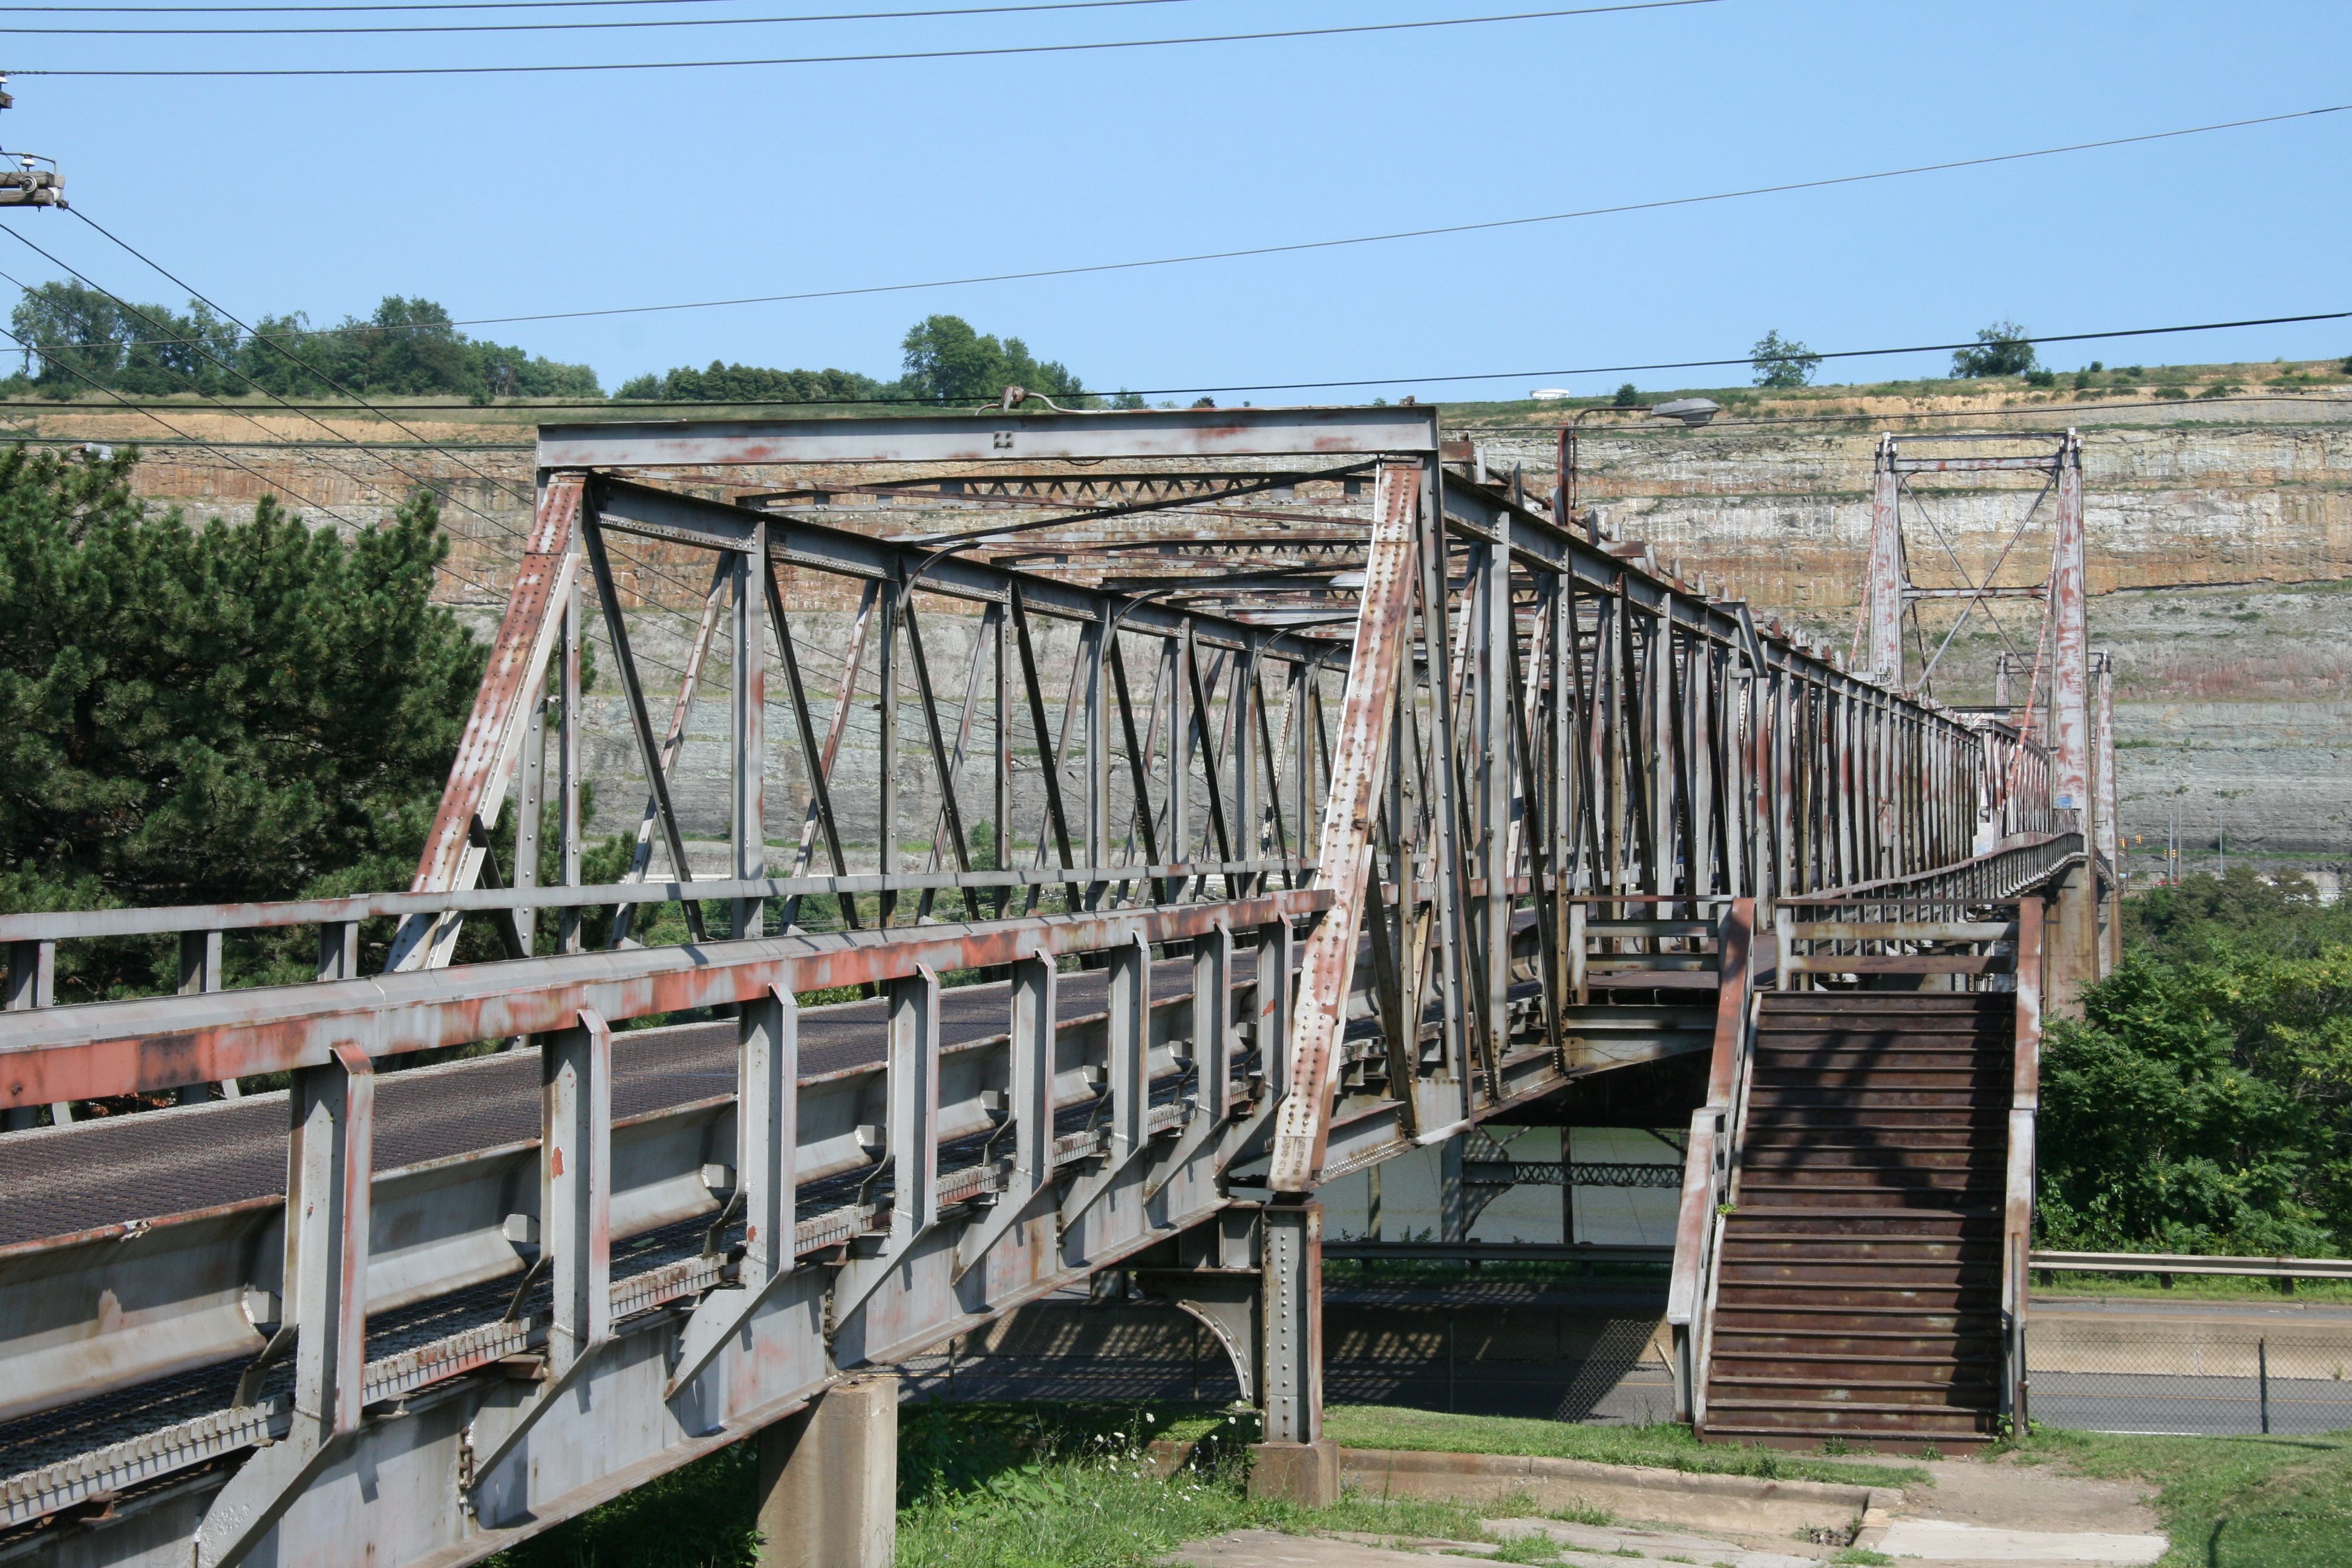
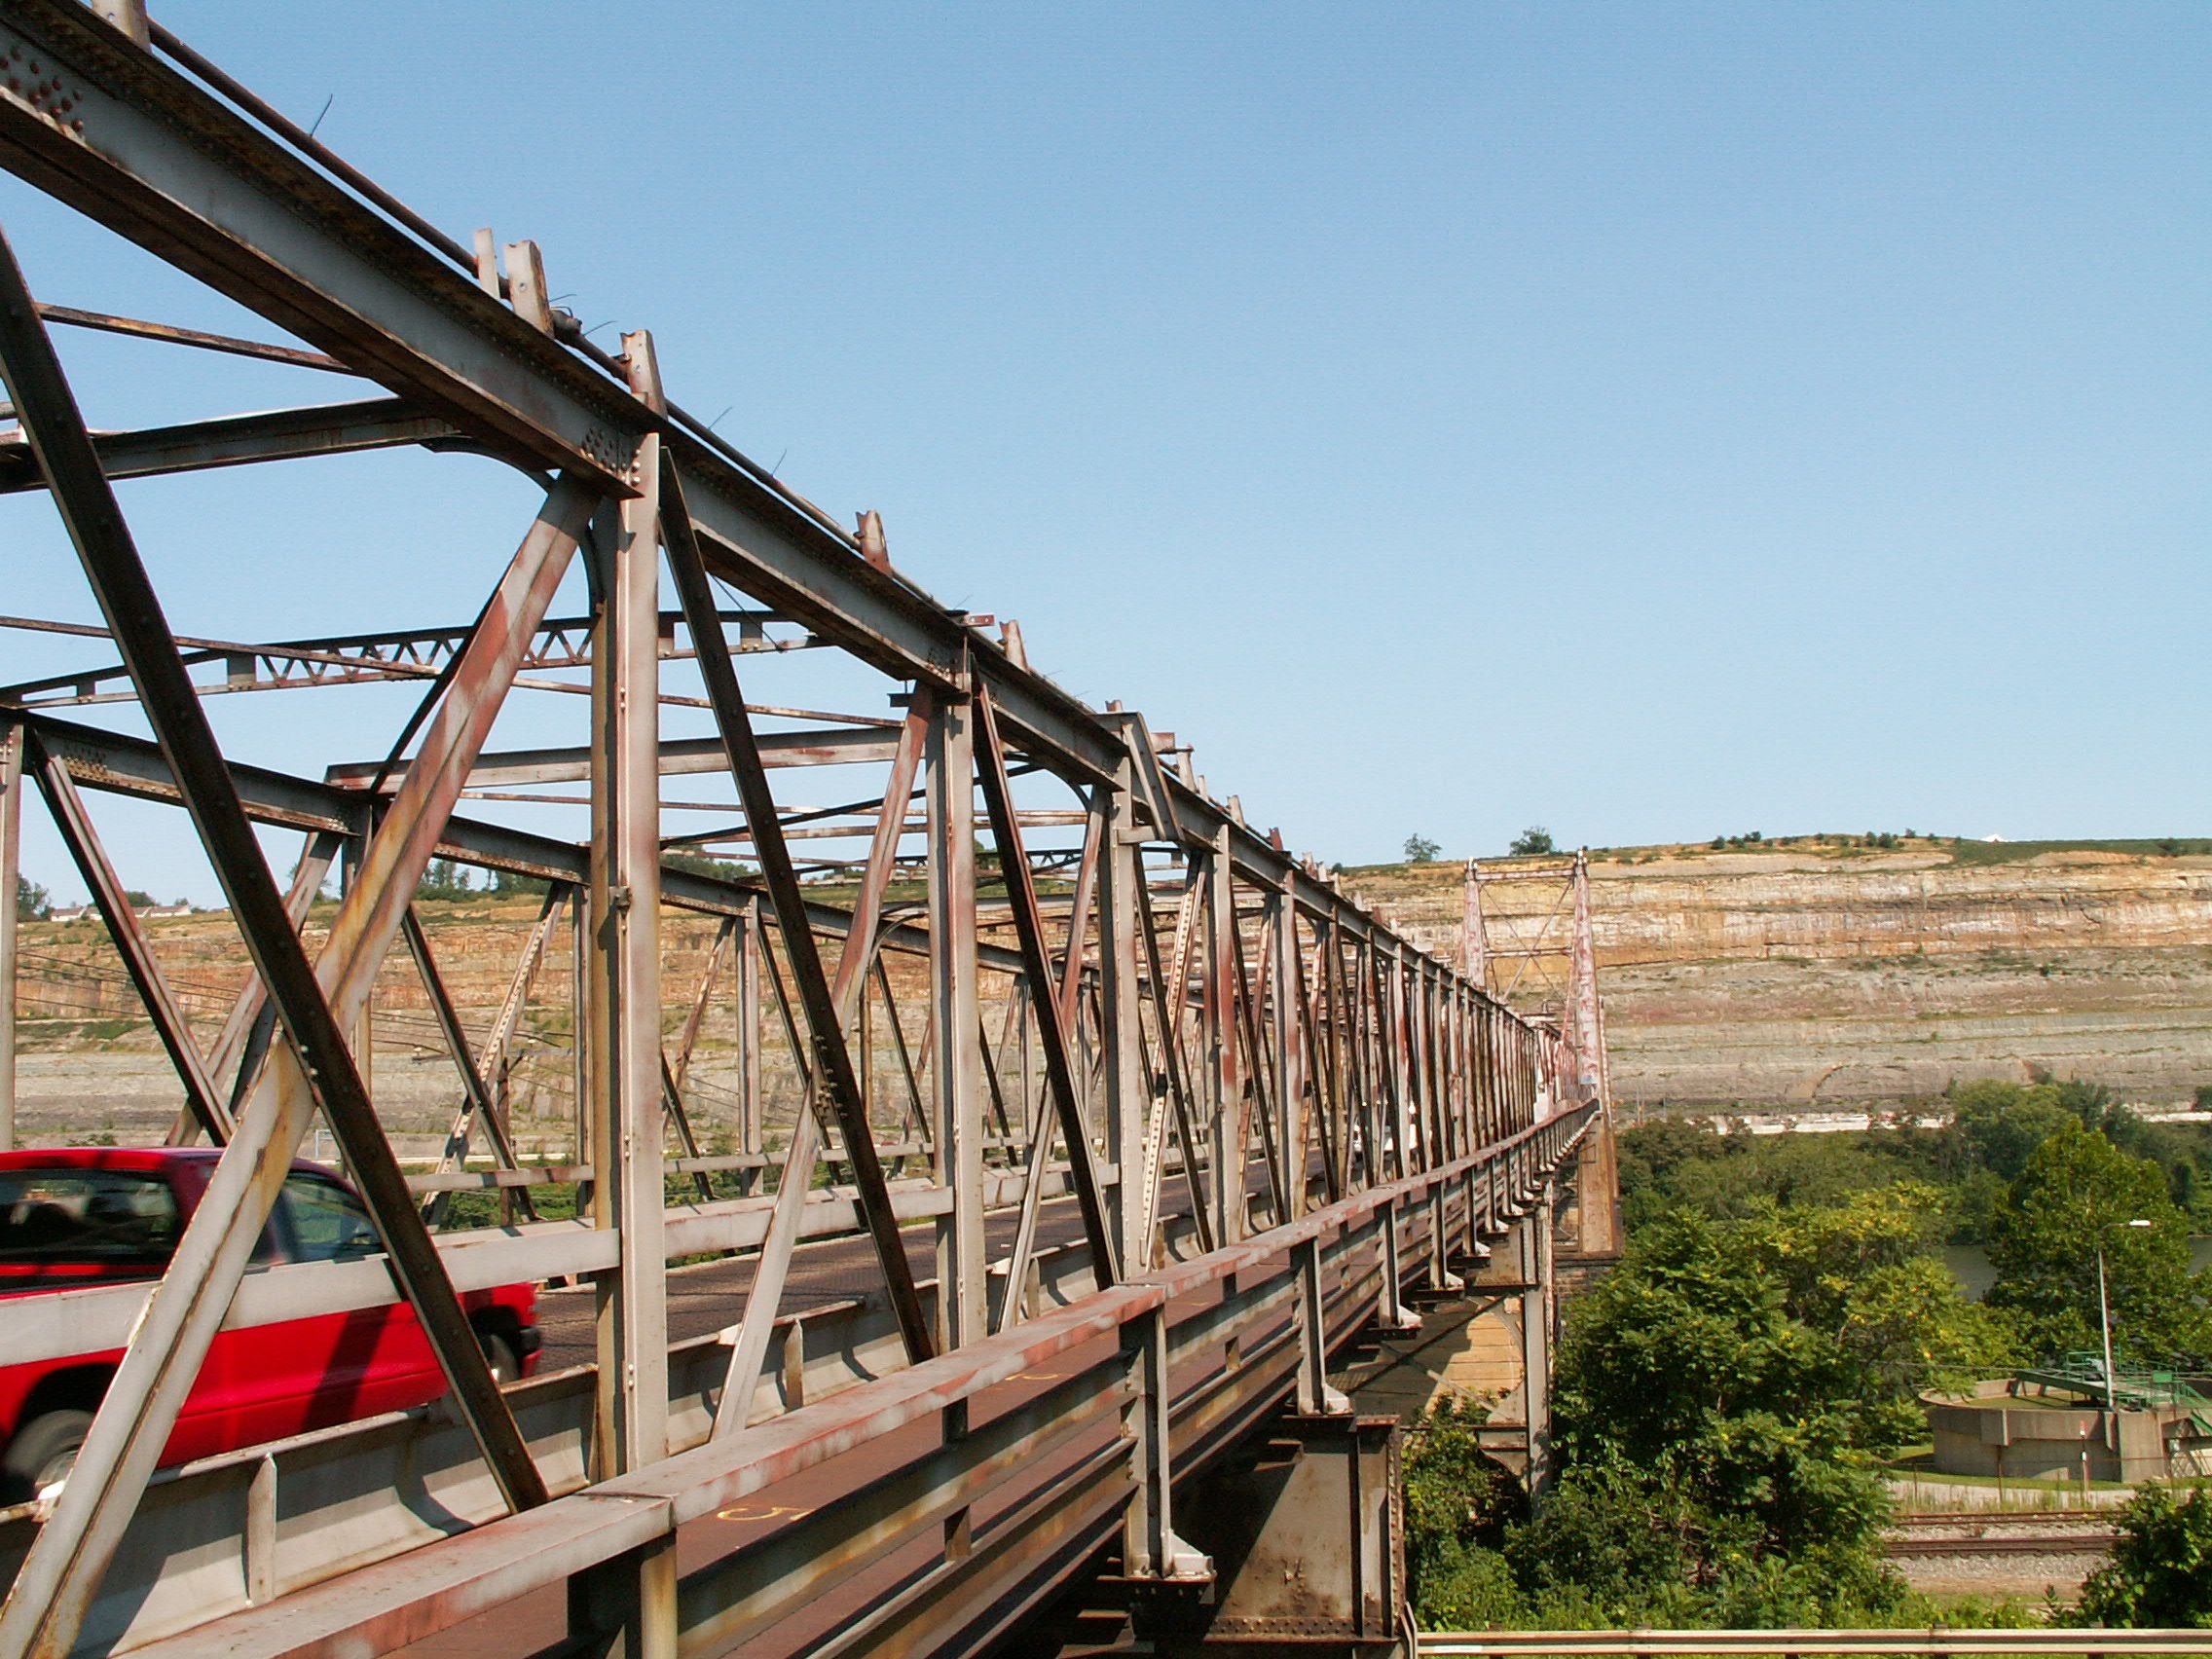
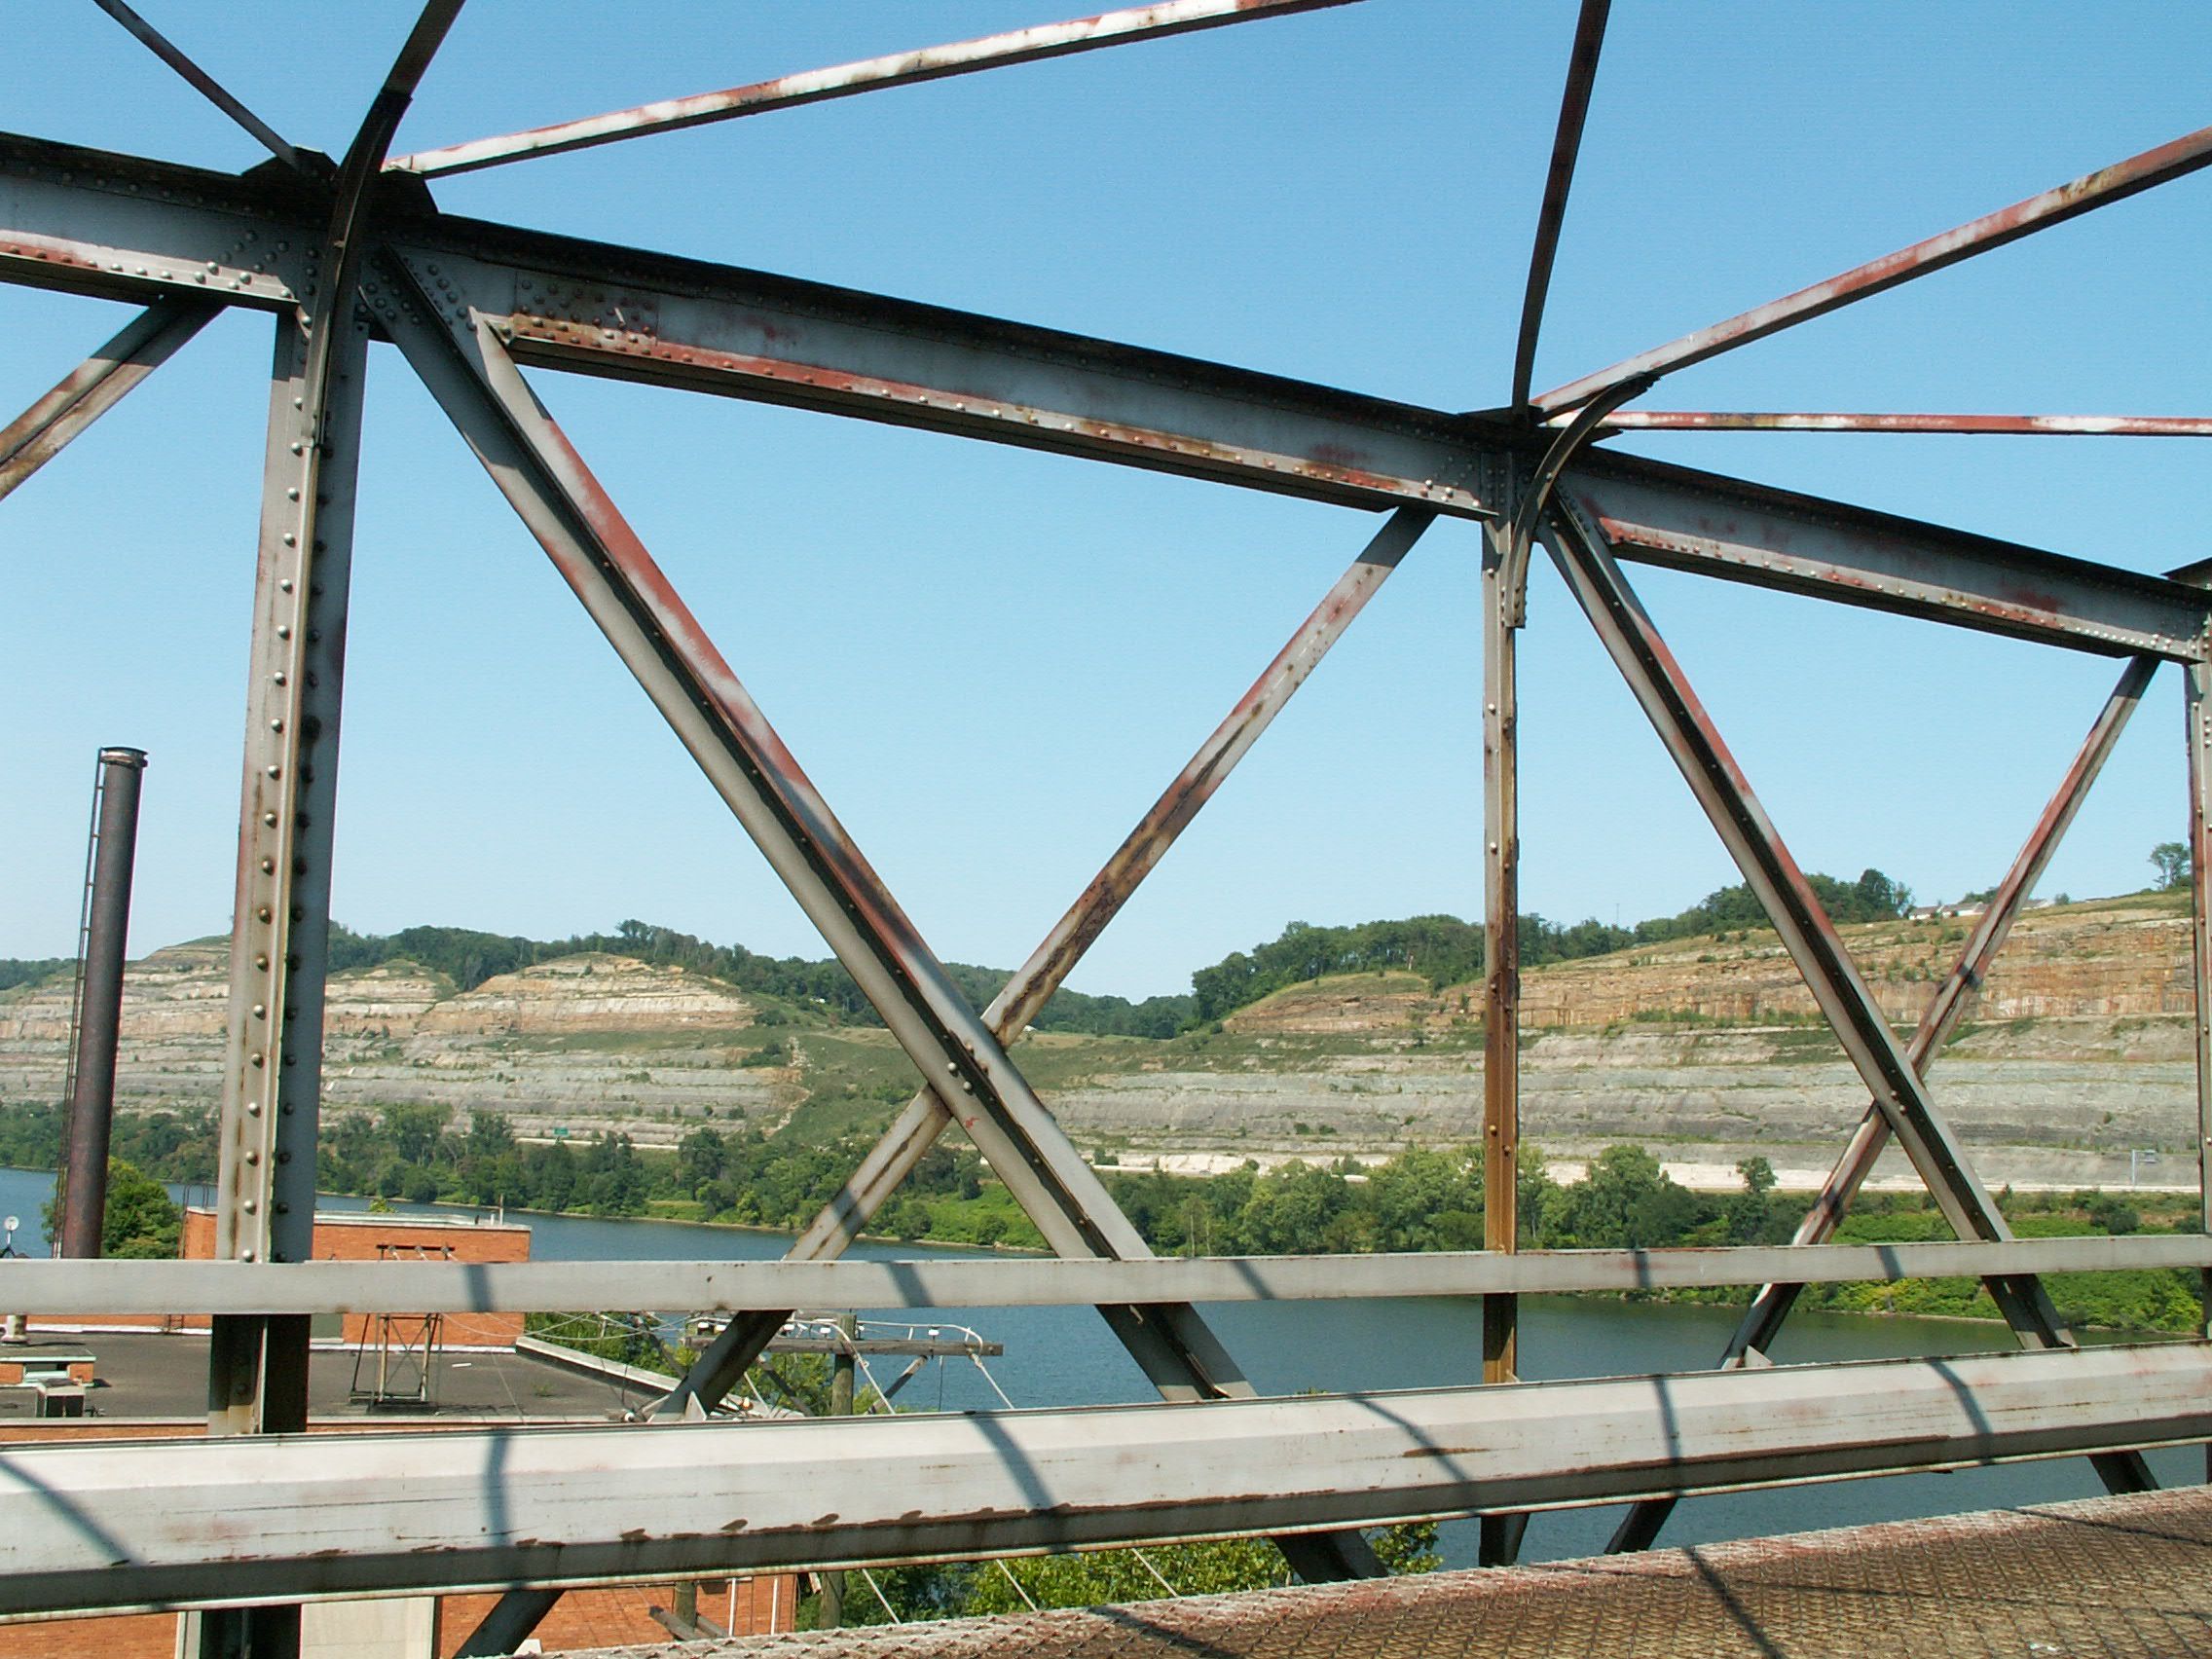
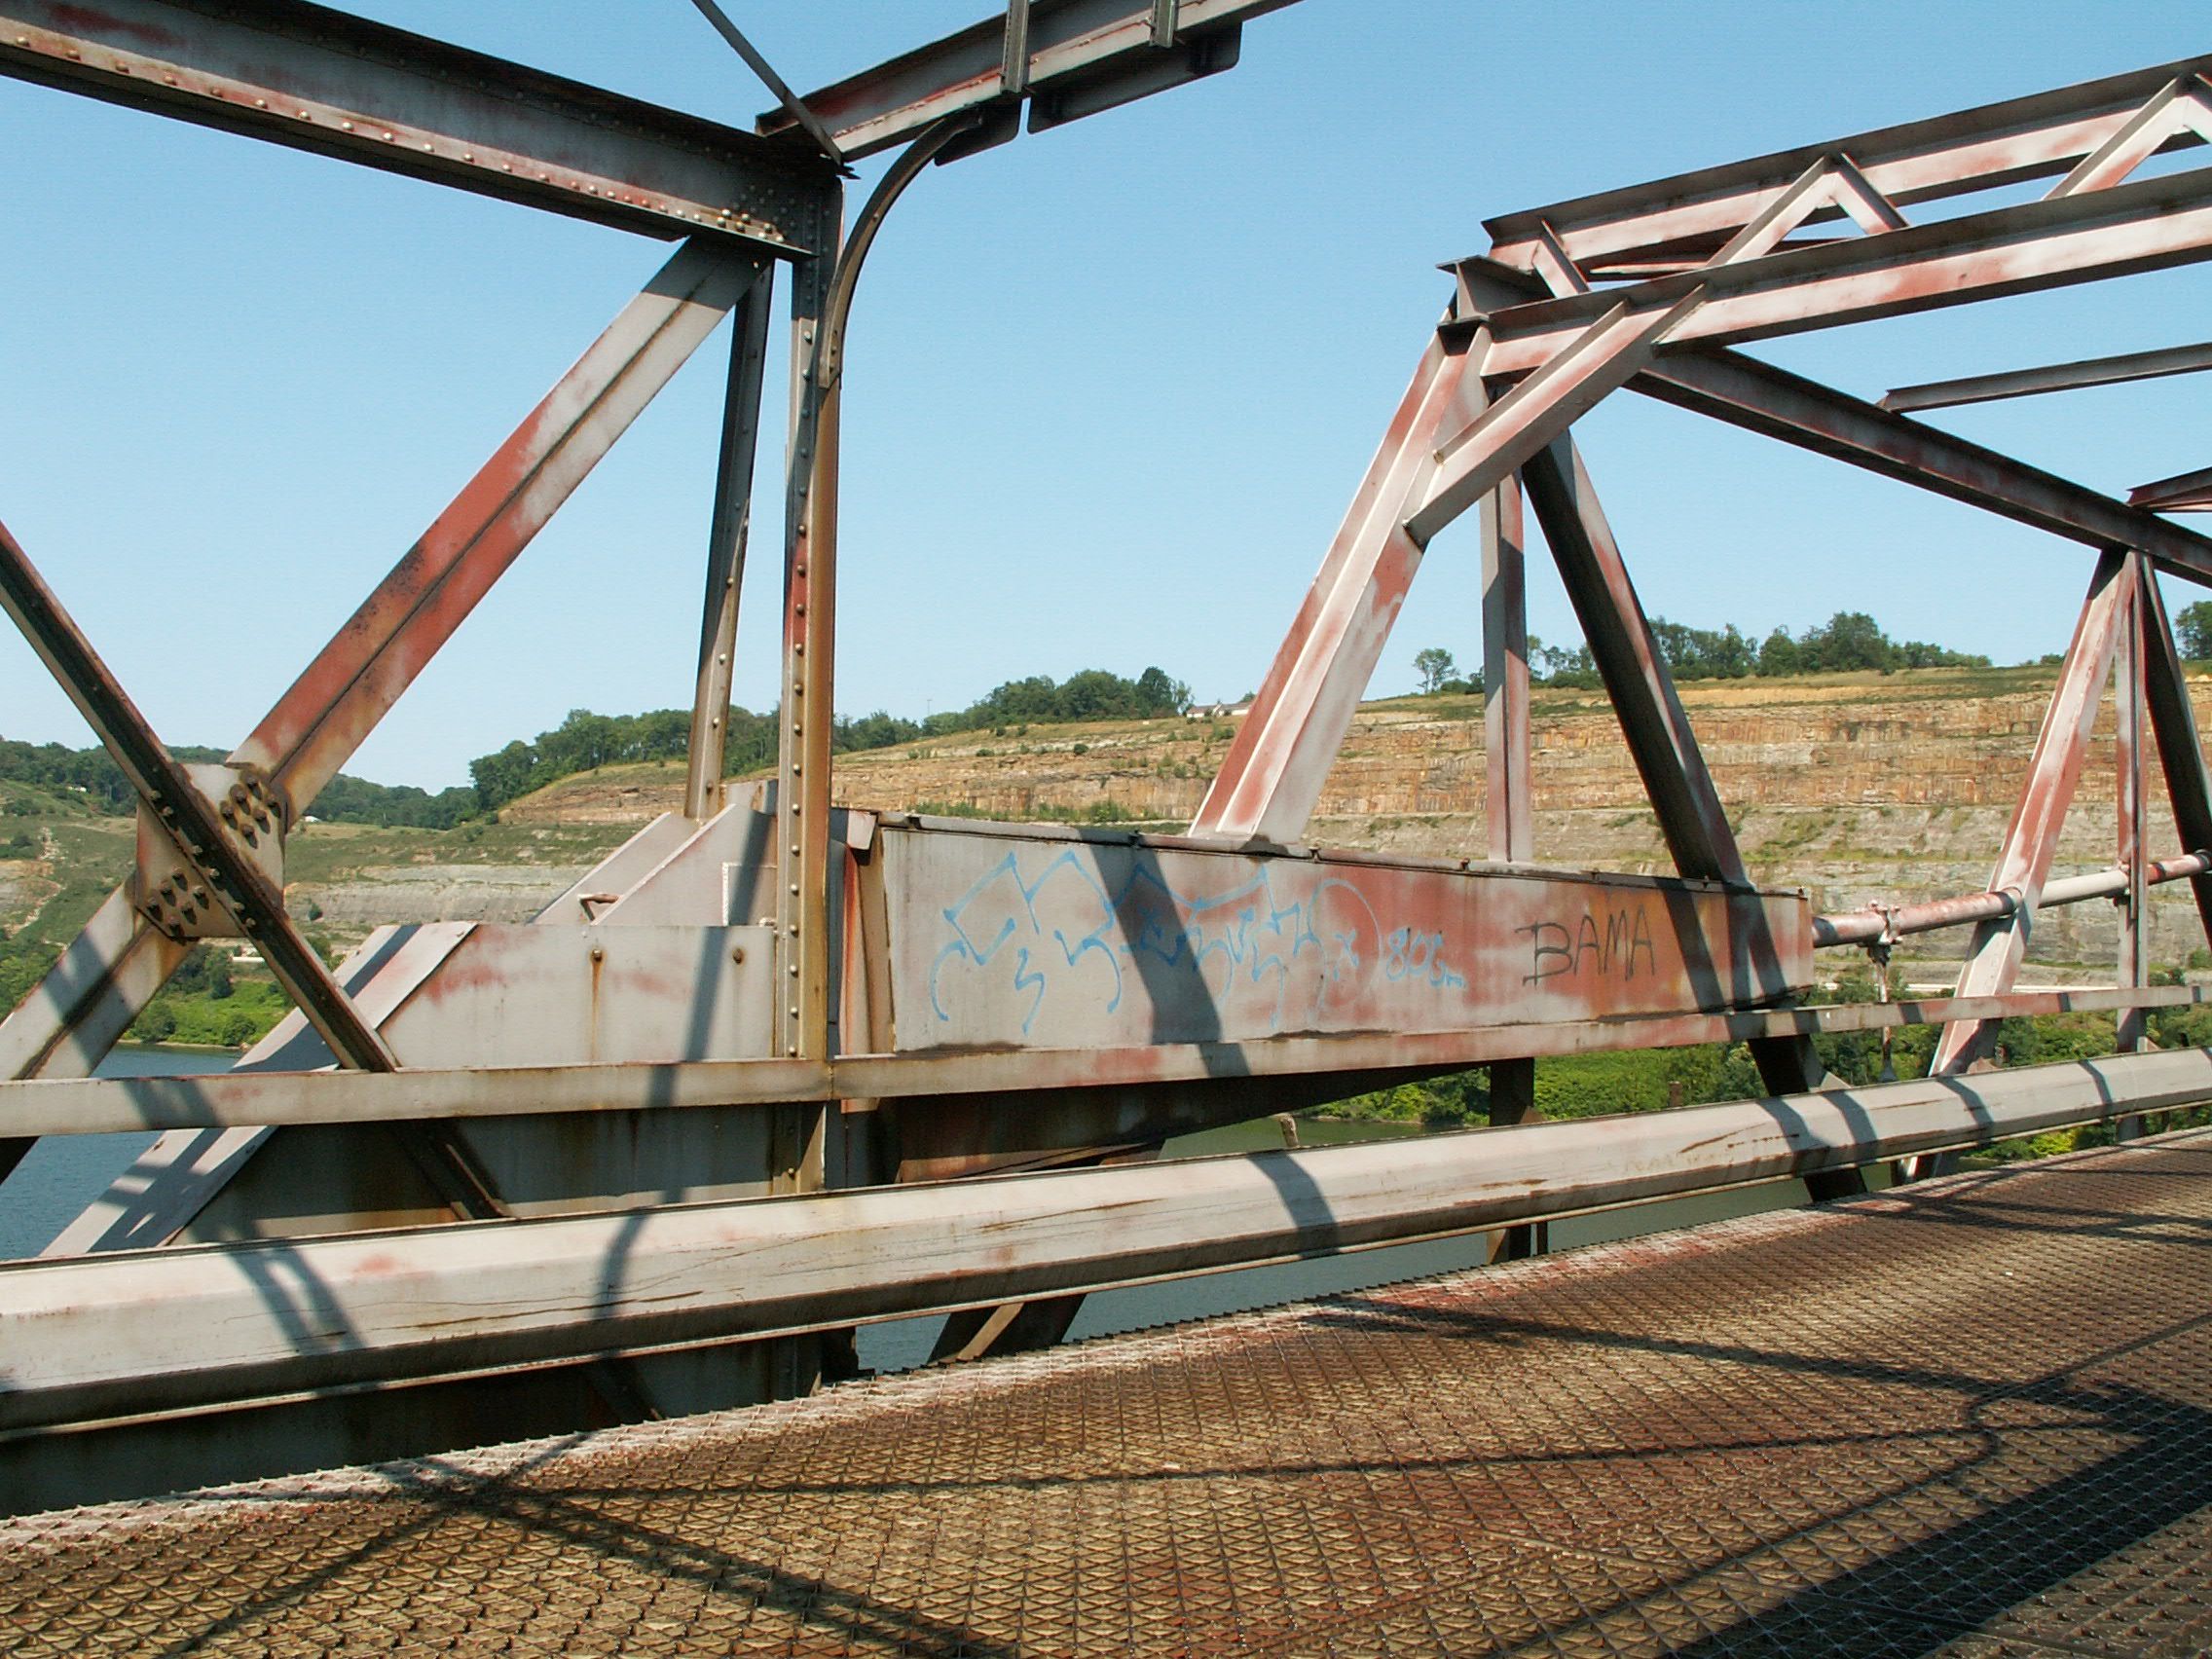
Views of sections of the bridge.
![]()
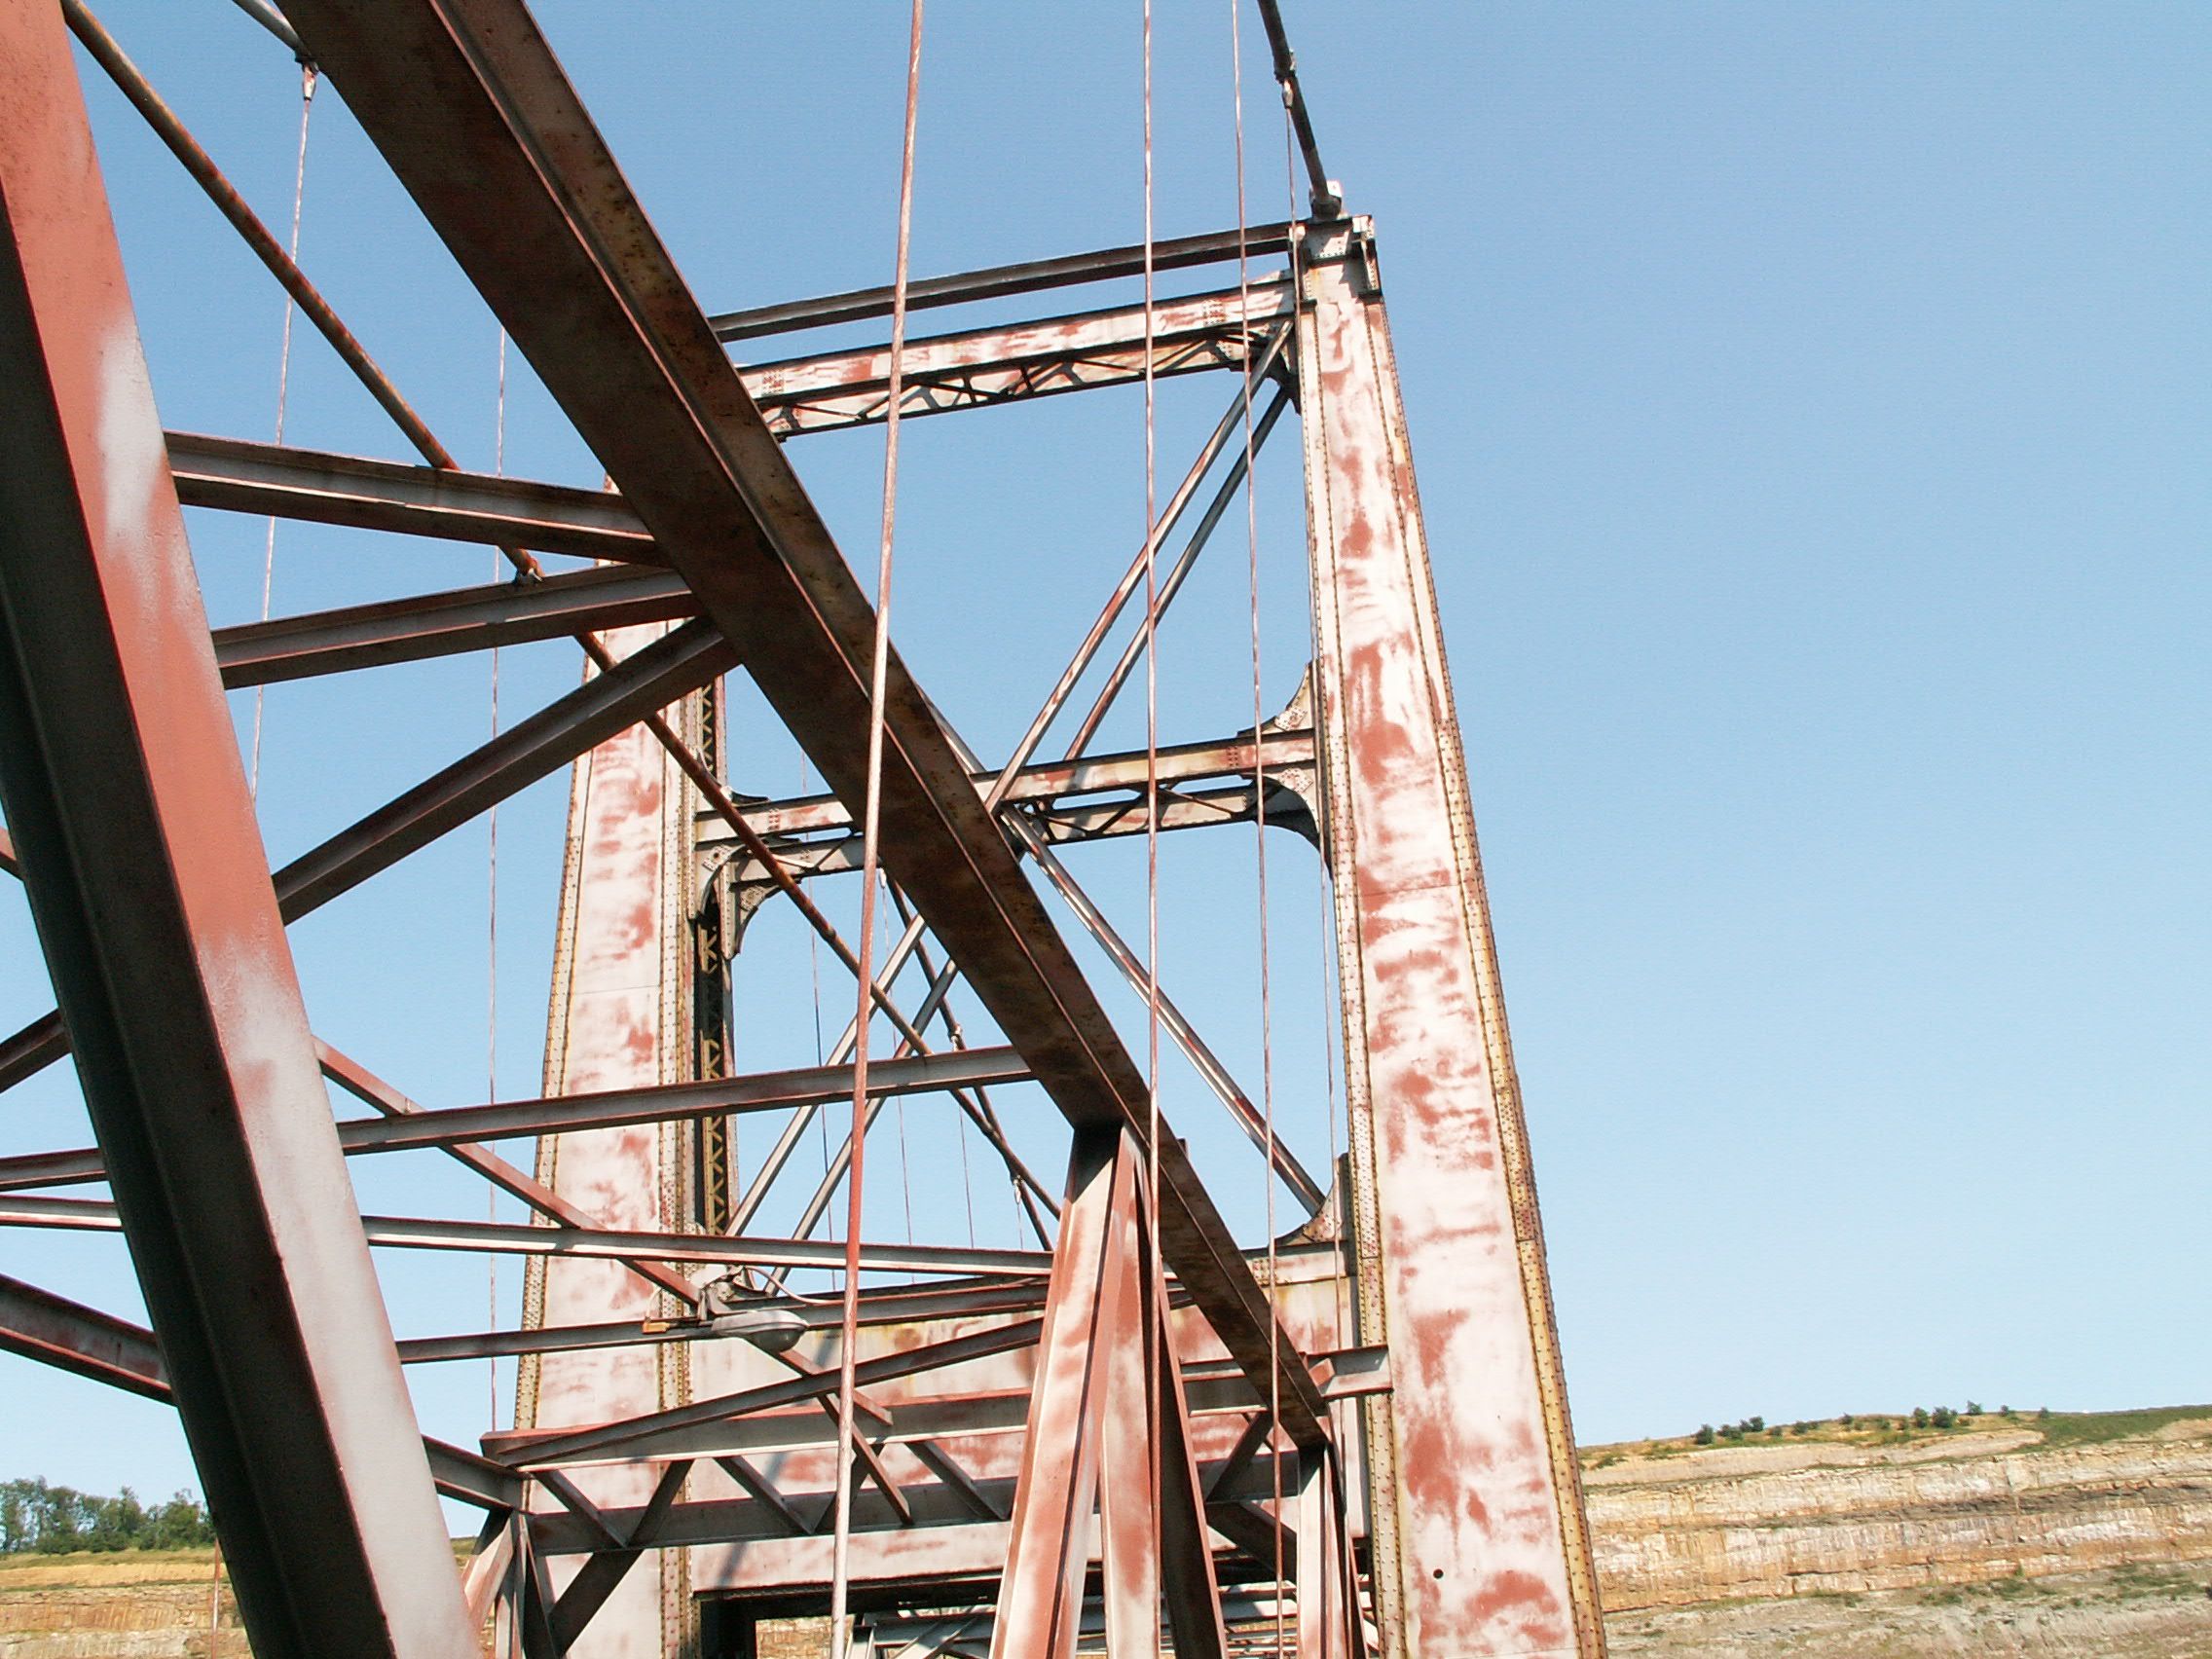


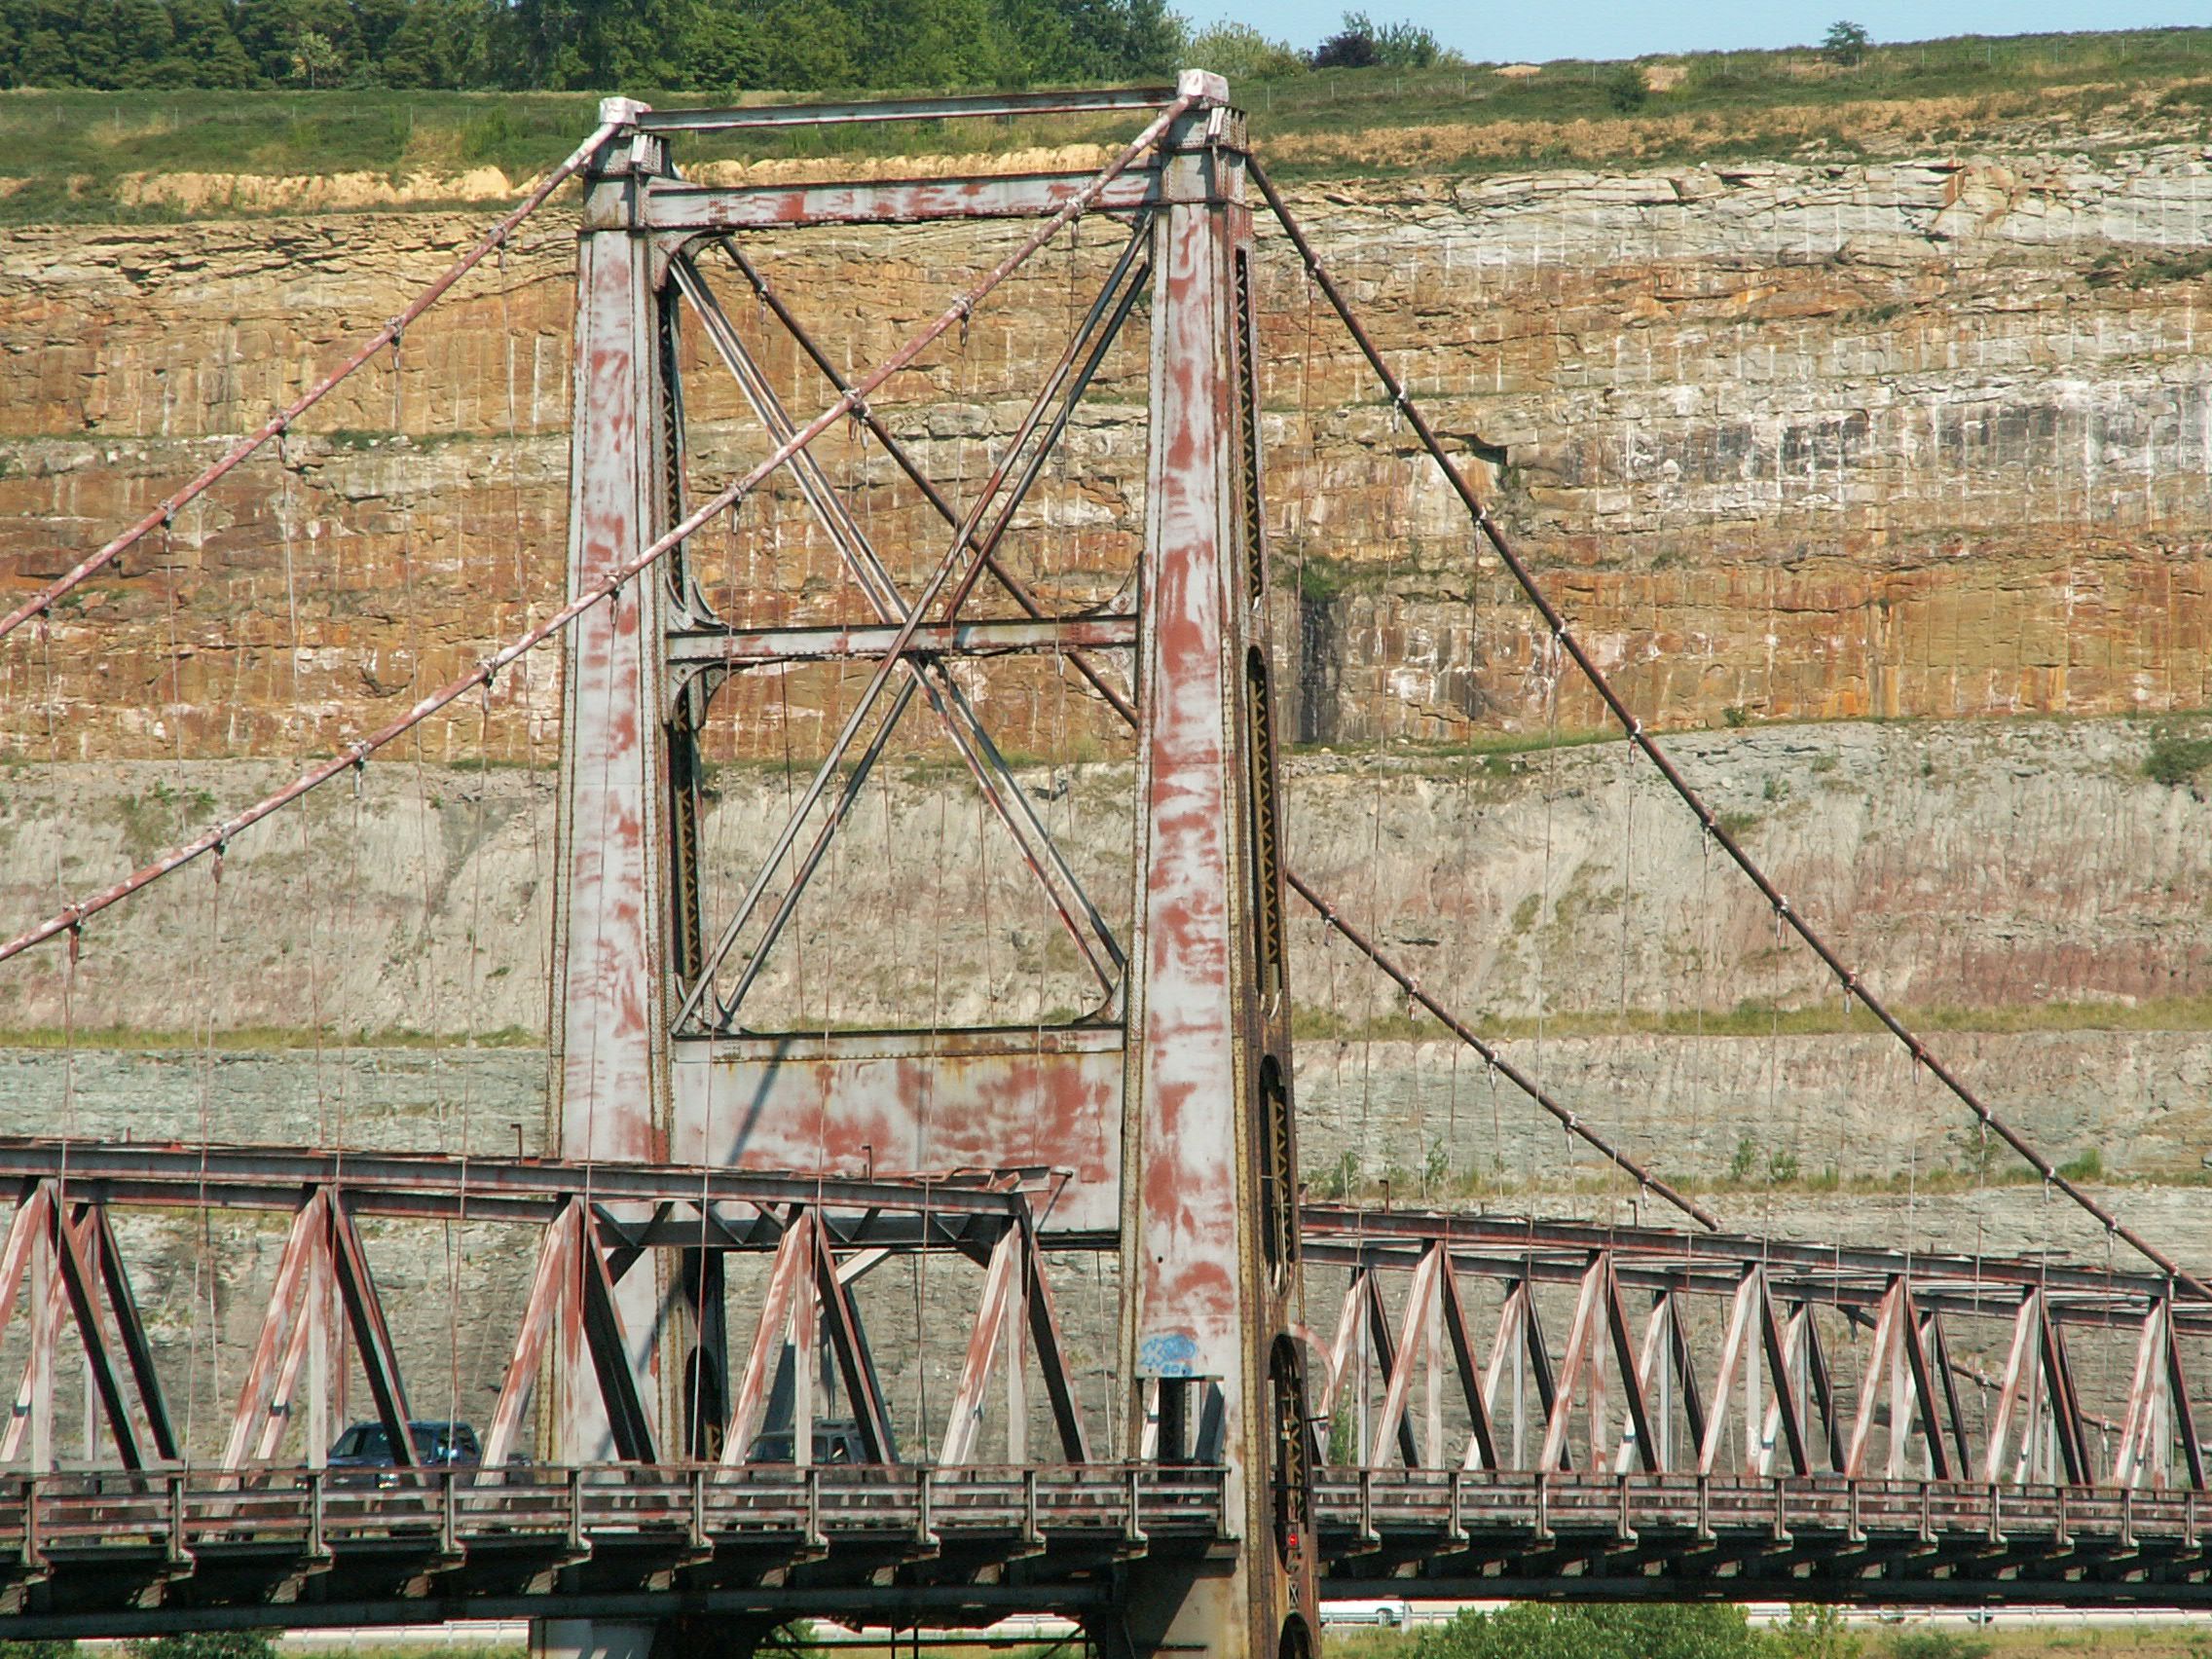
Looking up at the tower.
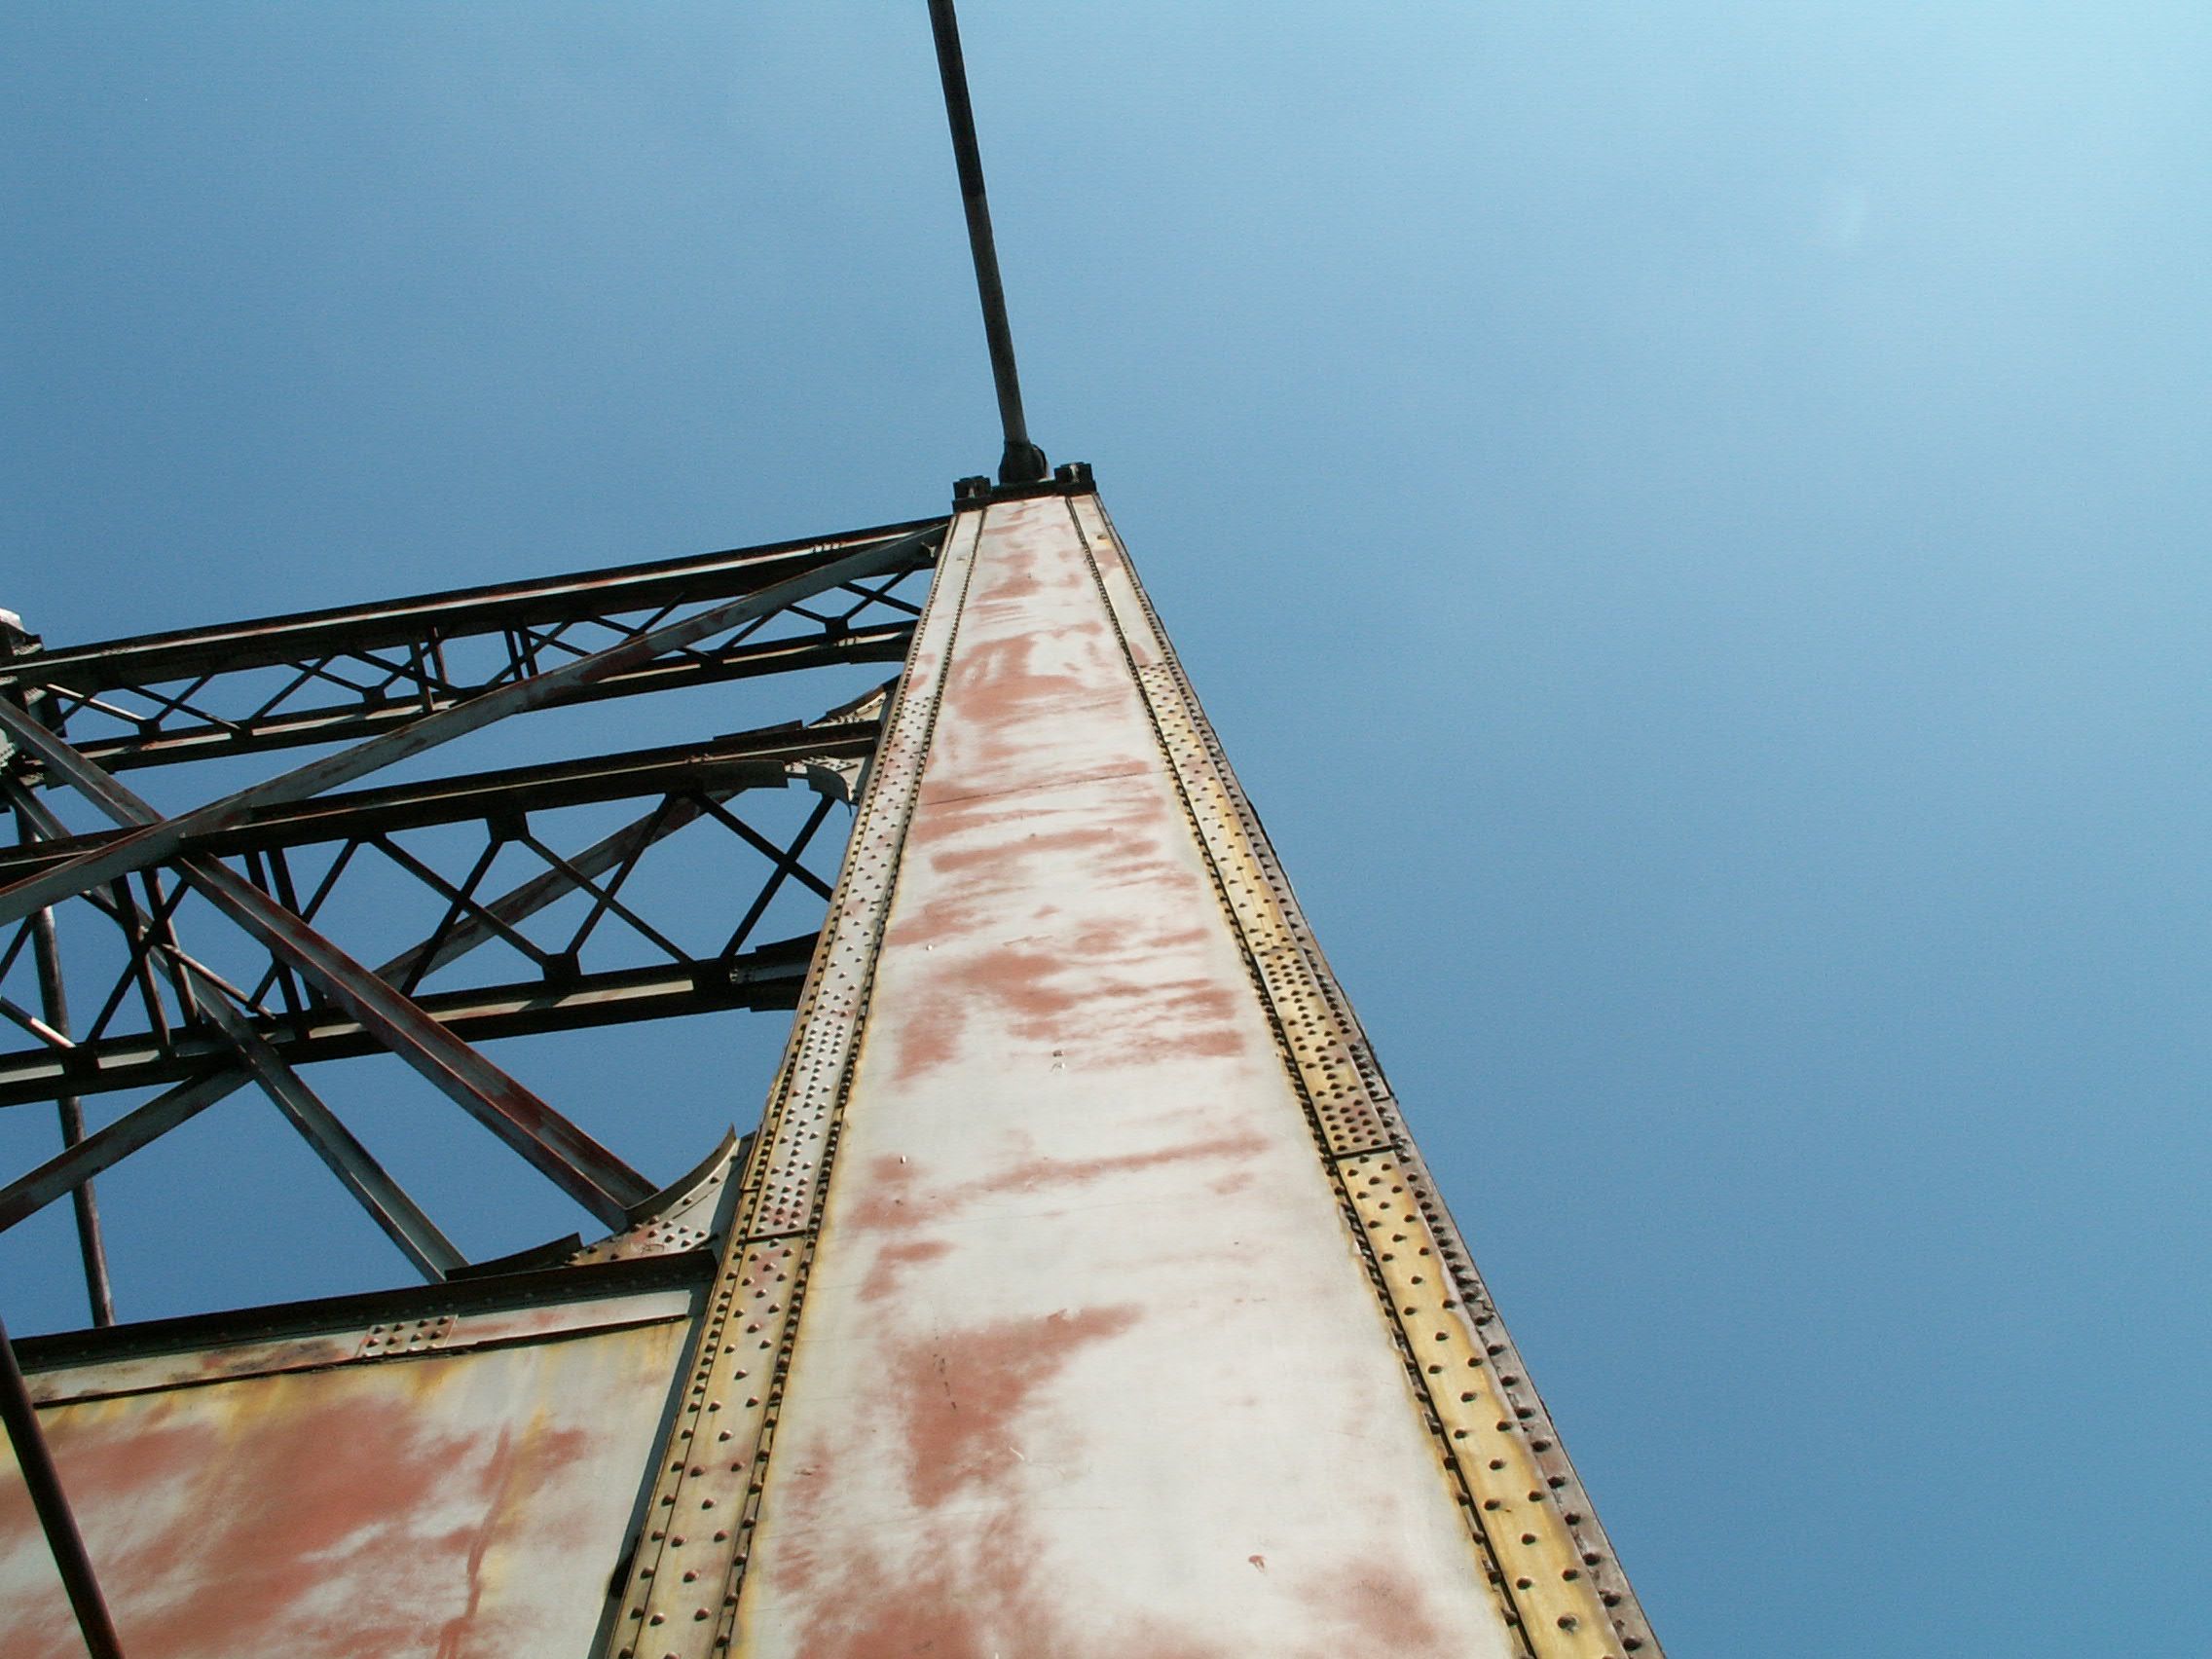
![]()
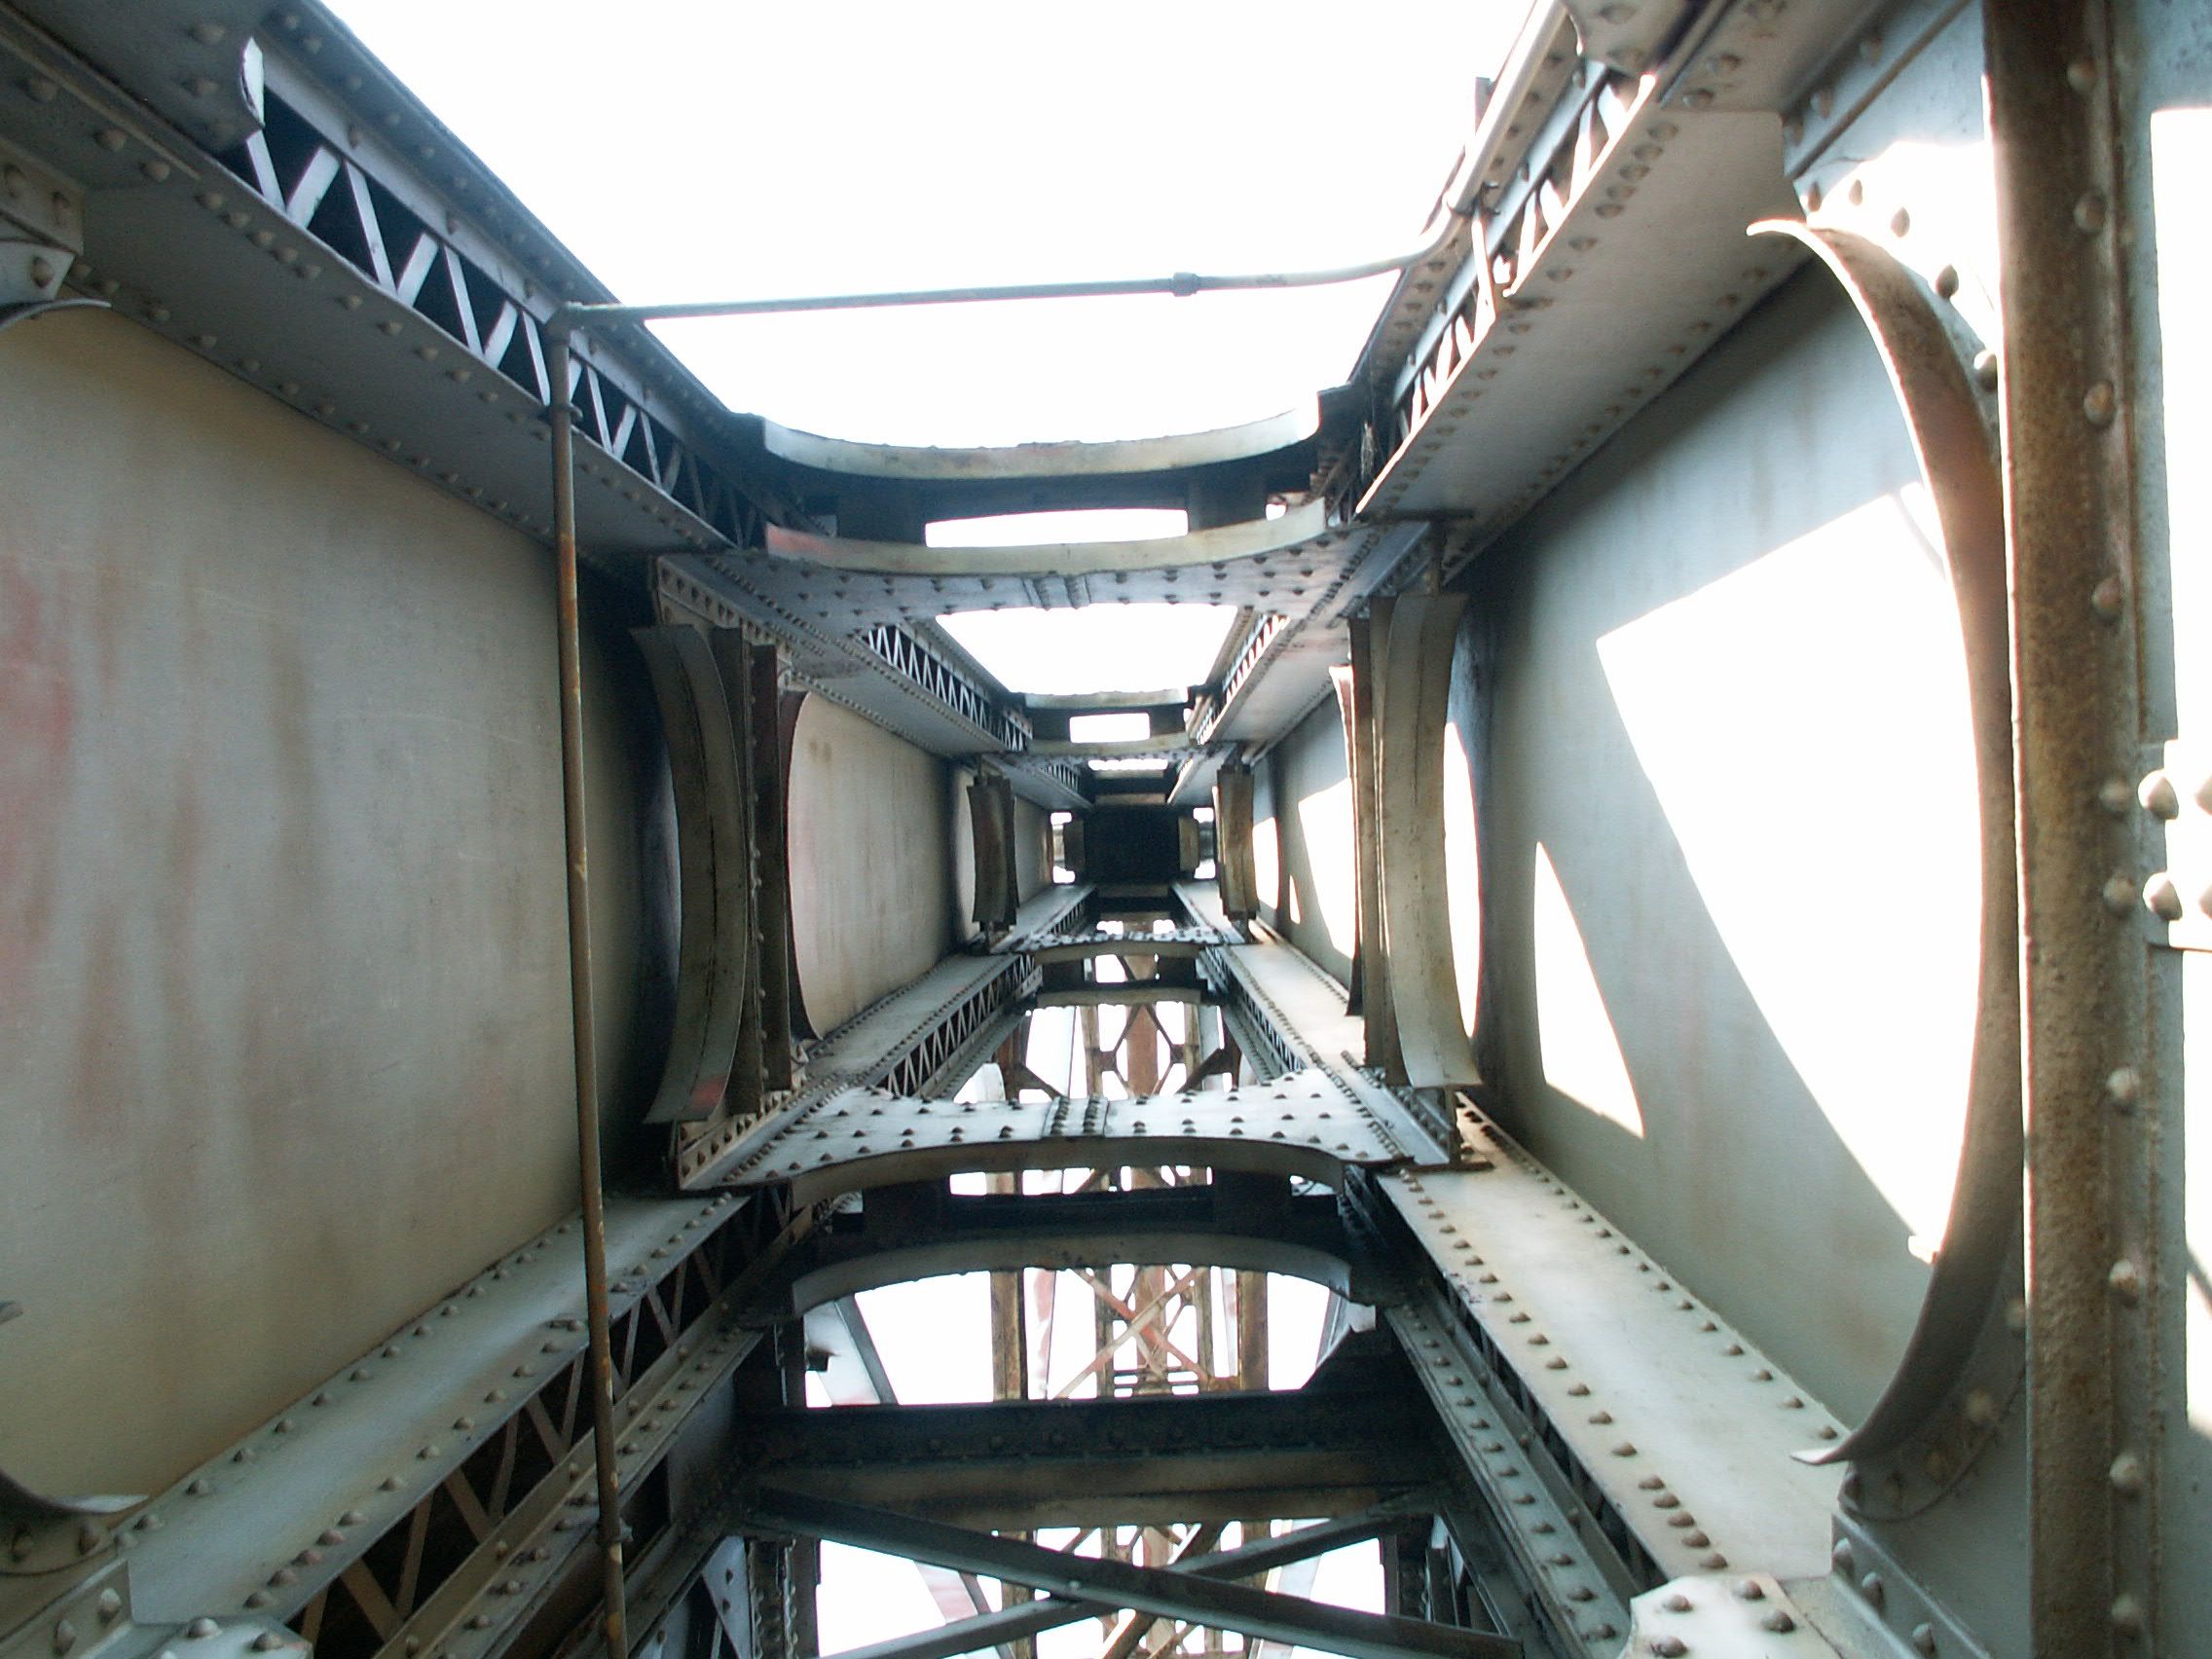

Looking up inside the tower.
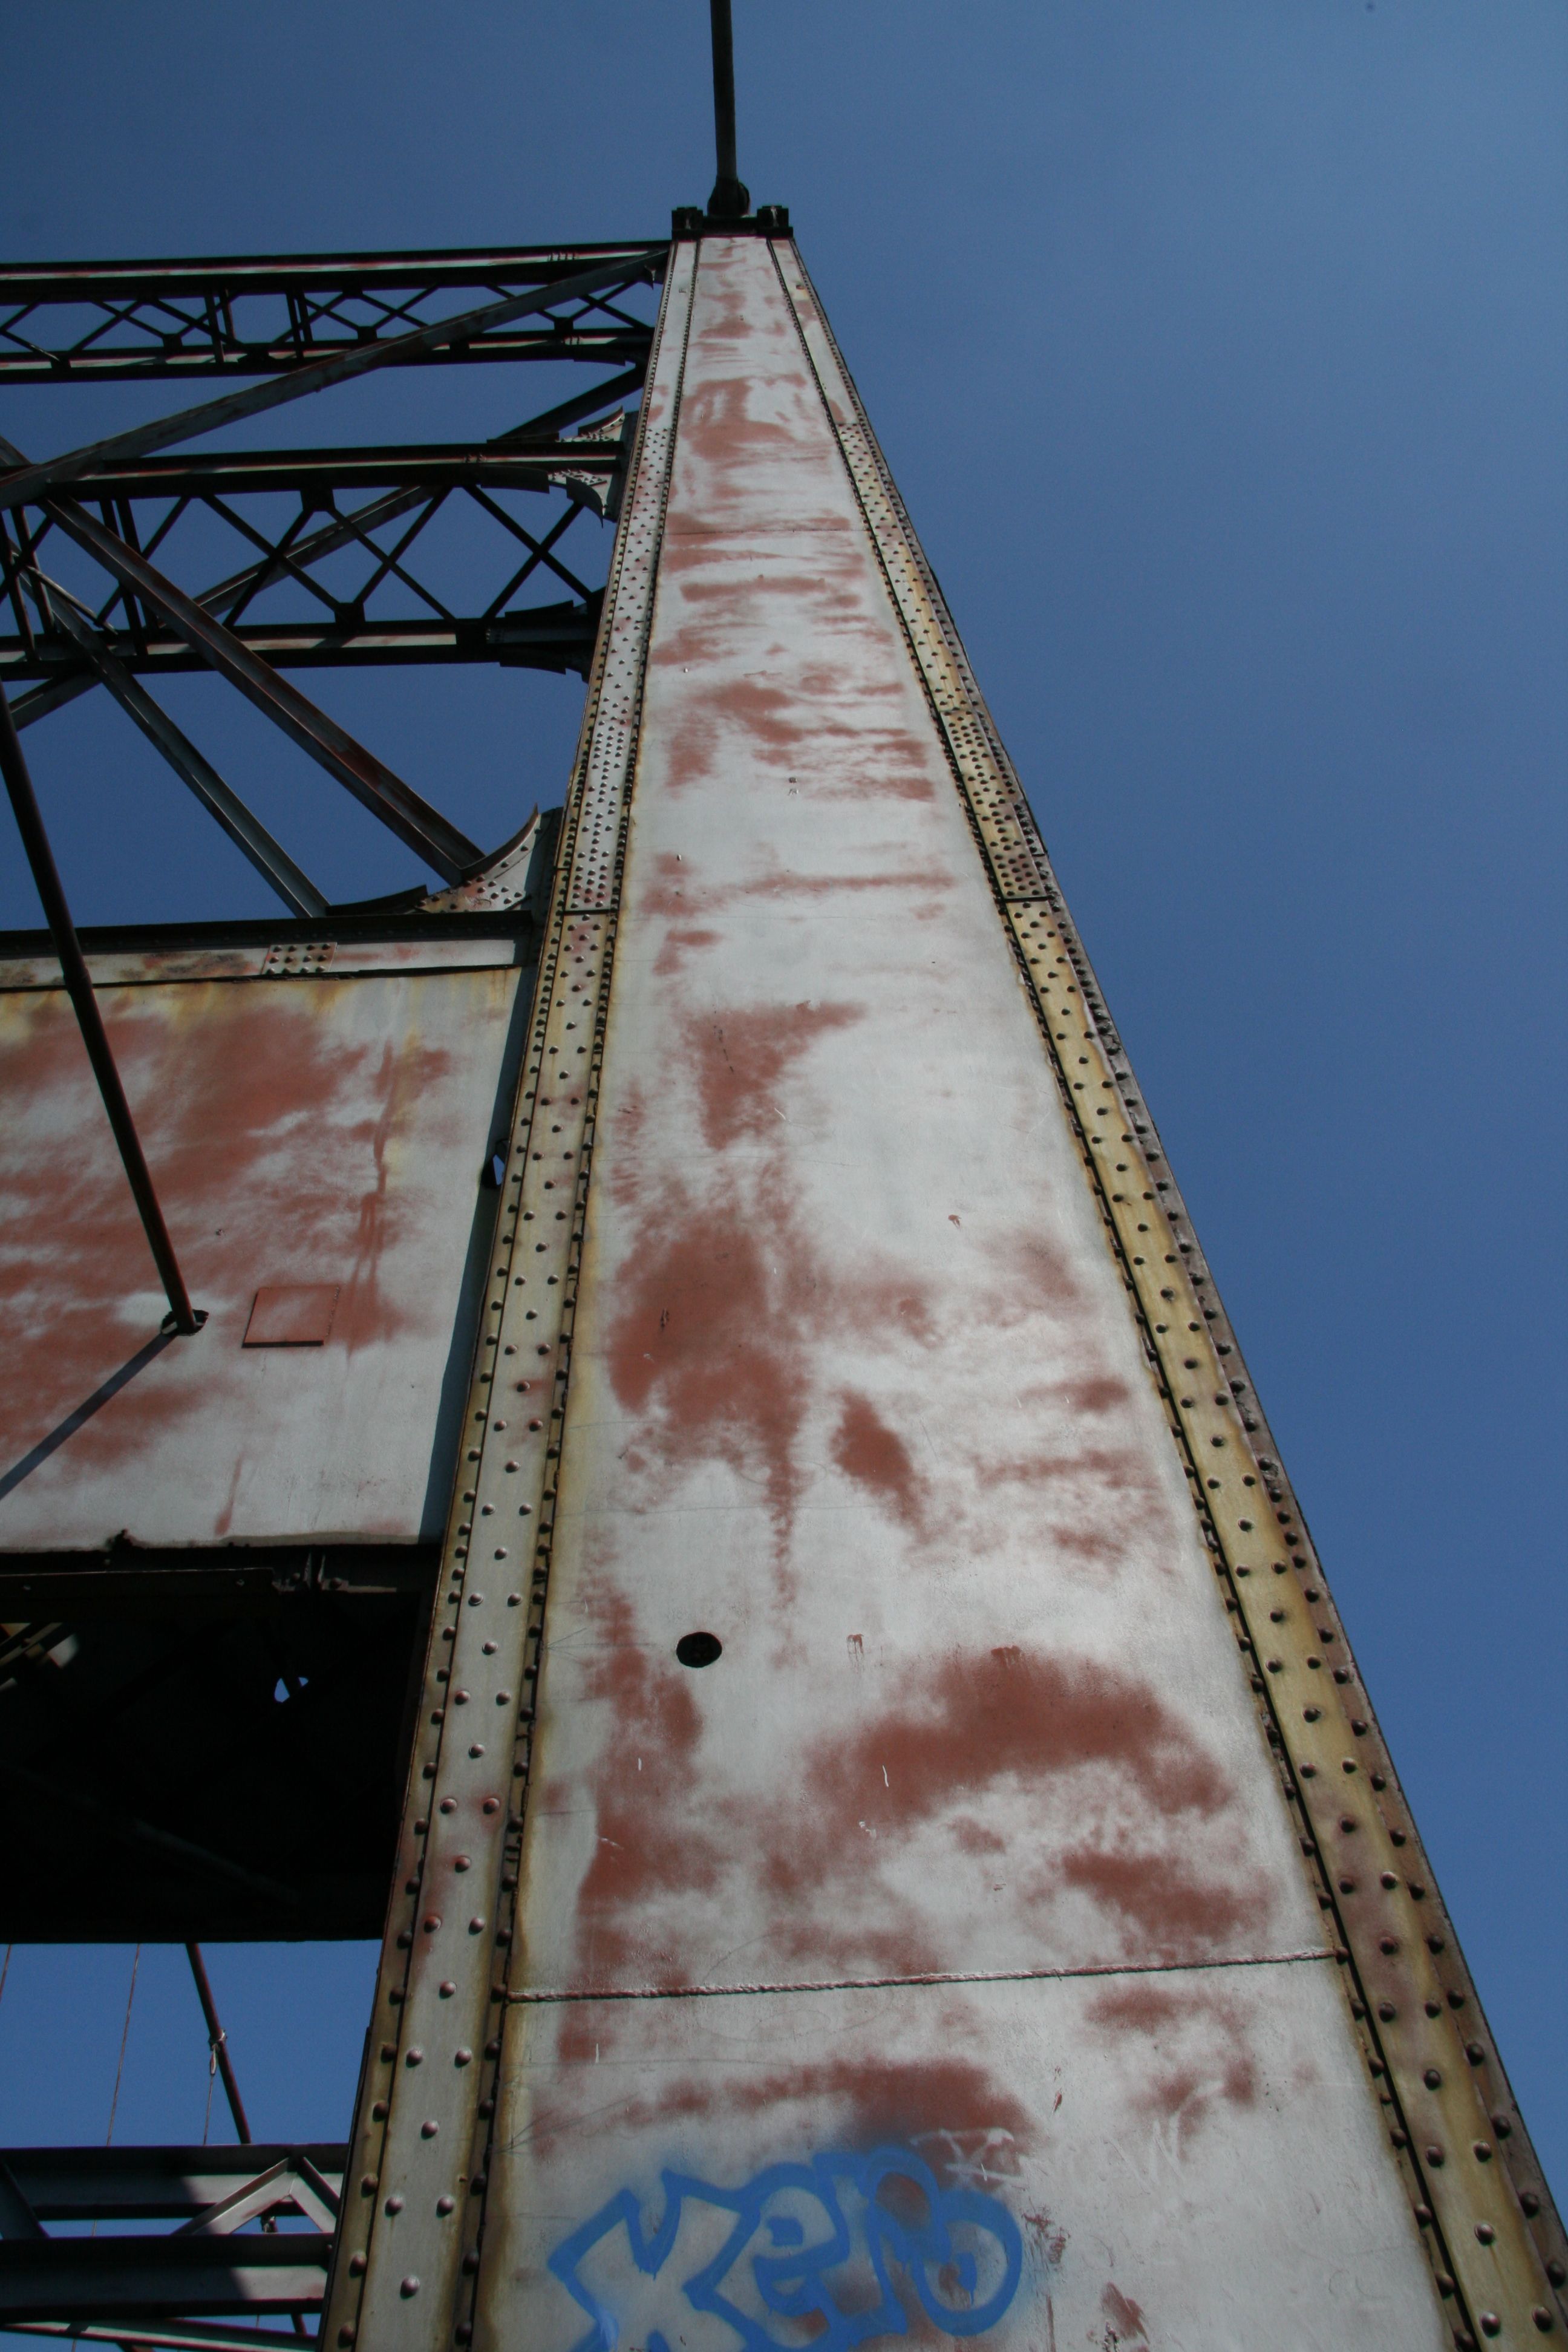
![]()


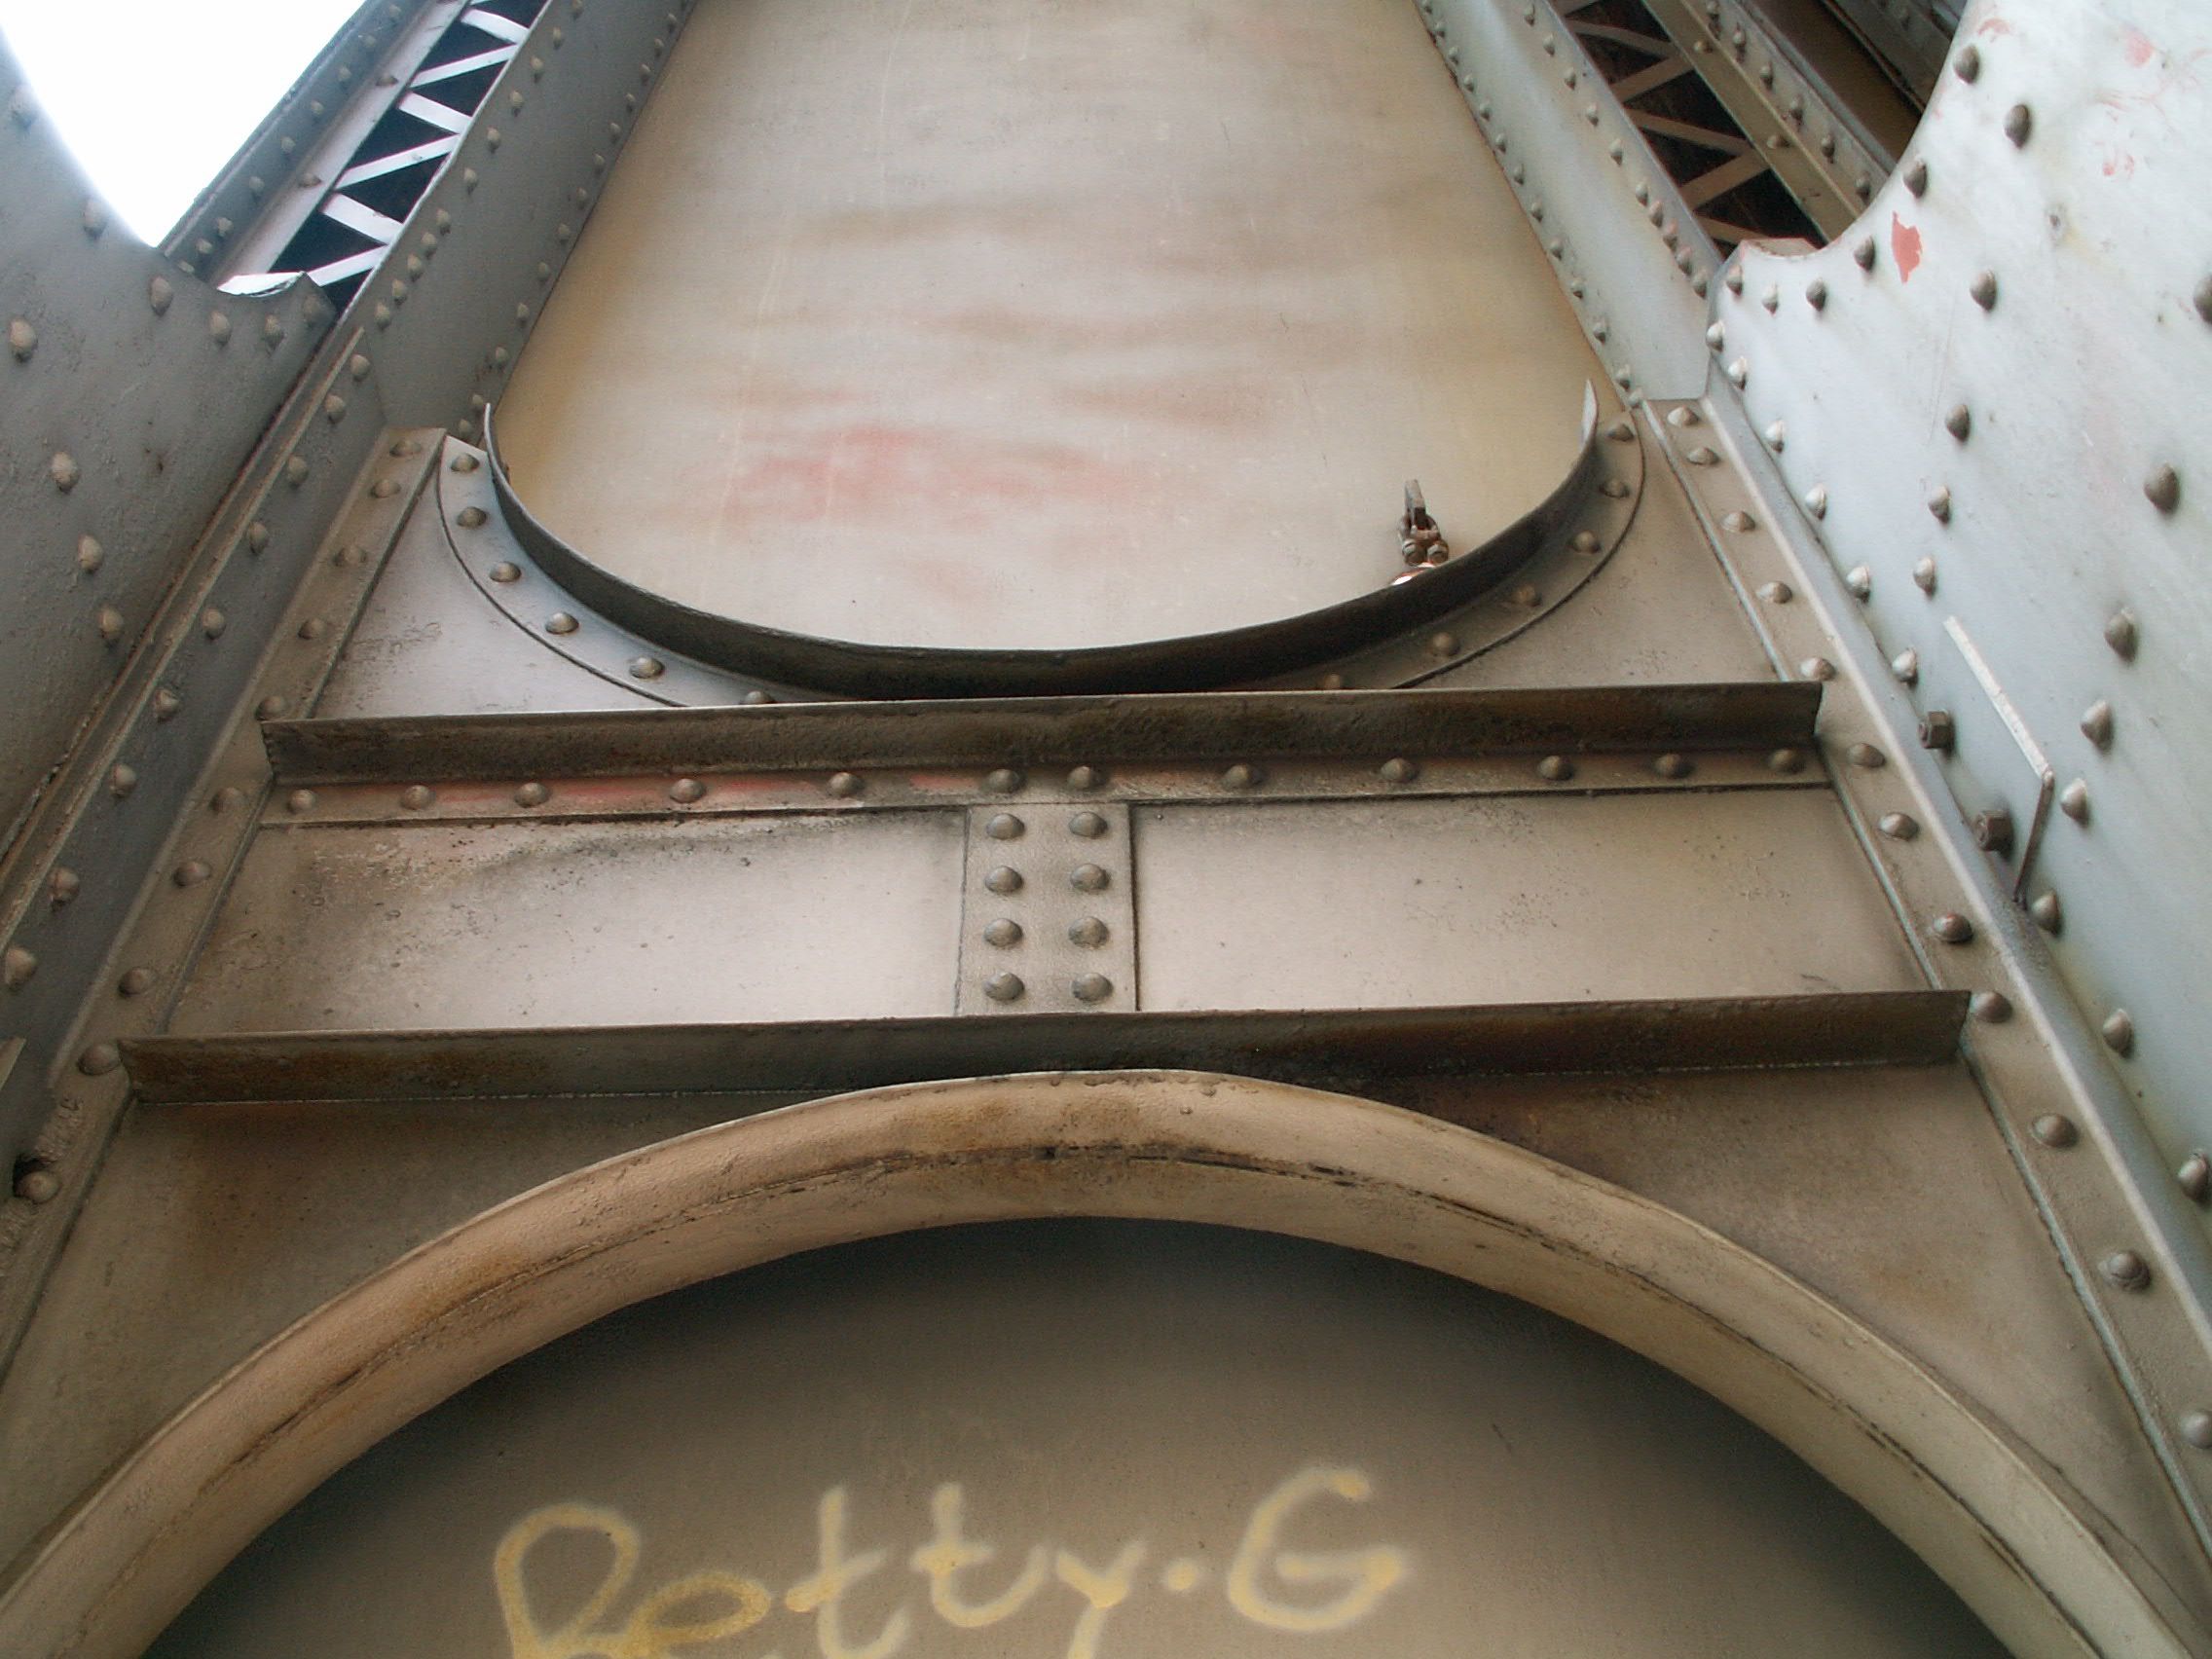

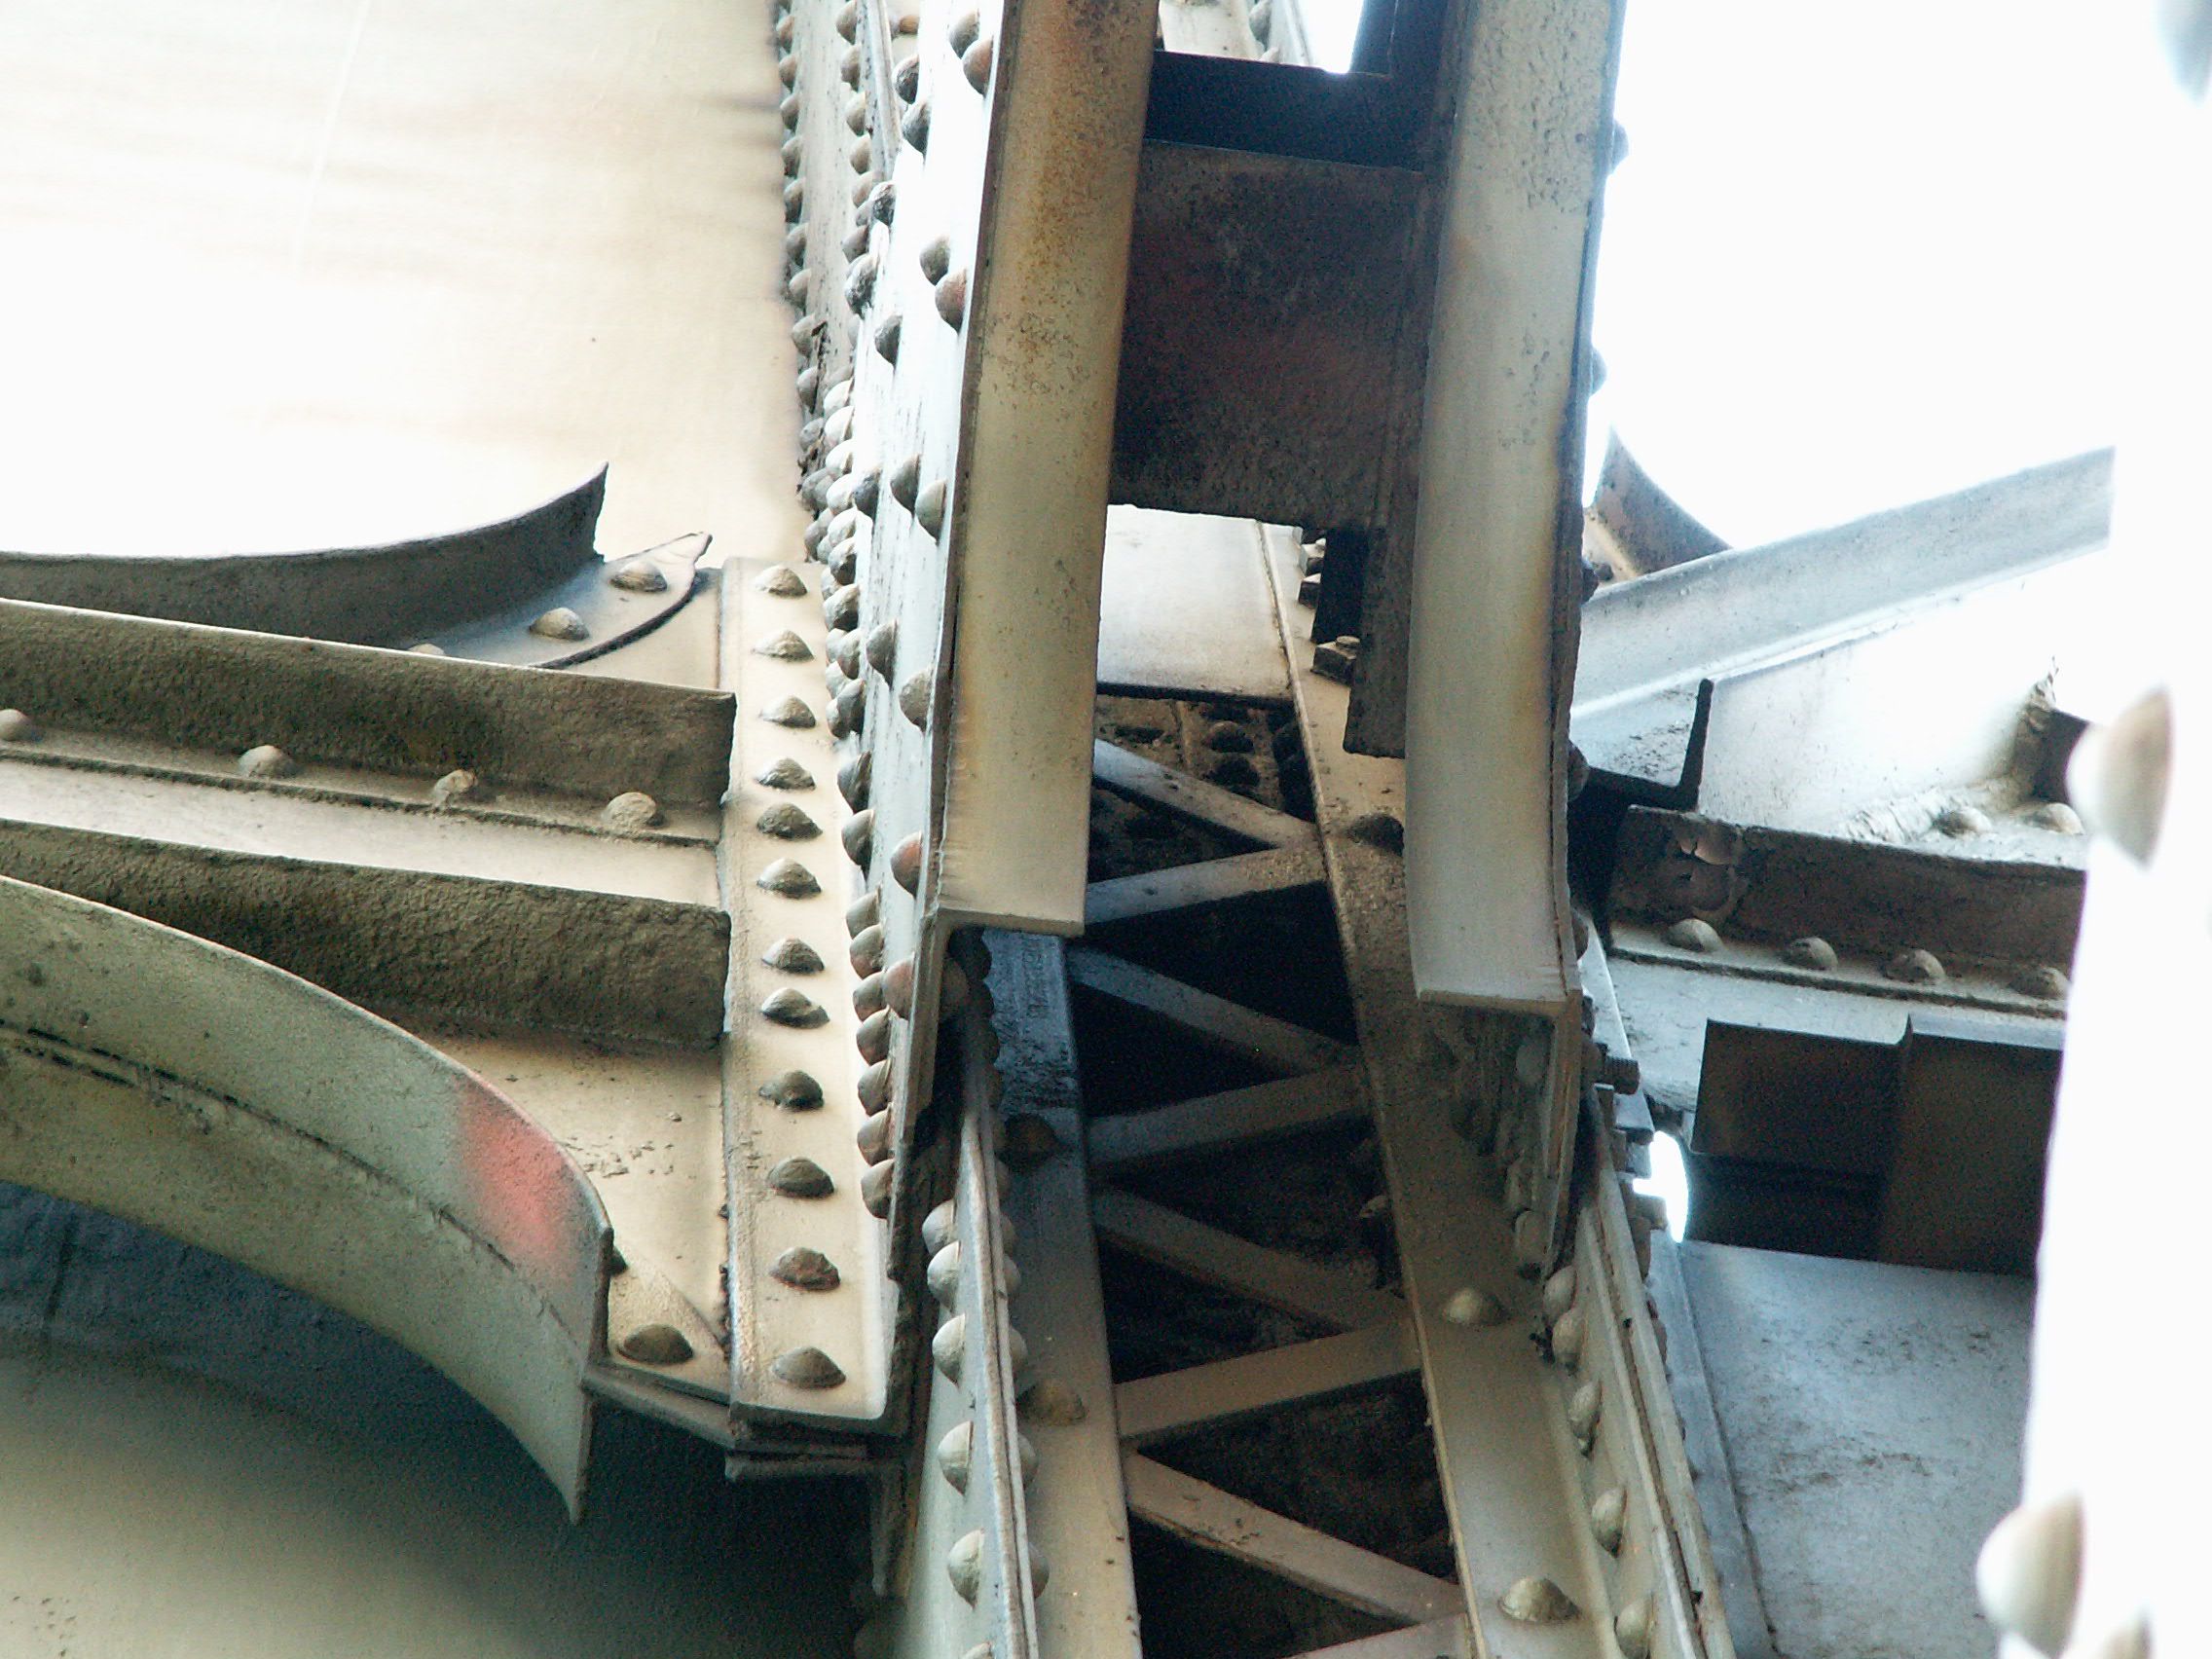
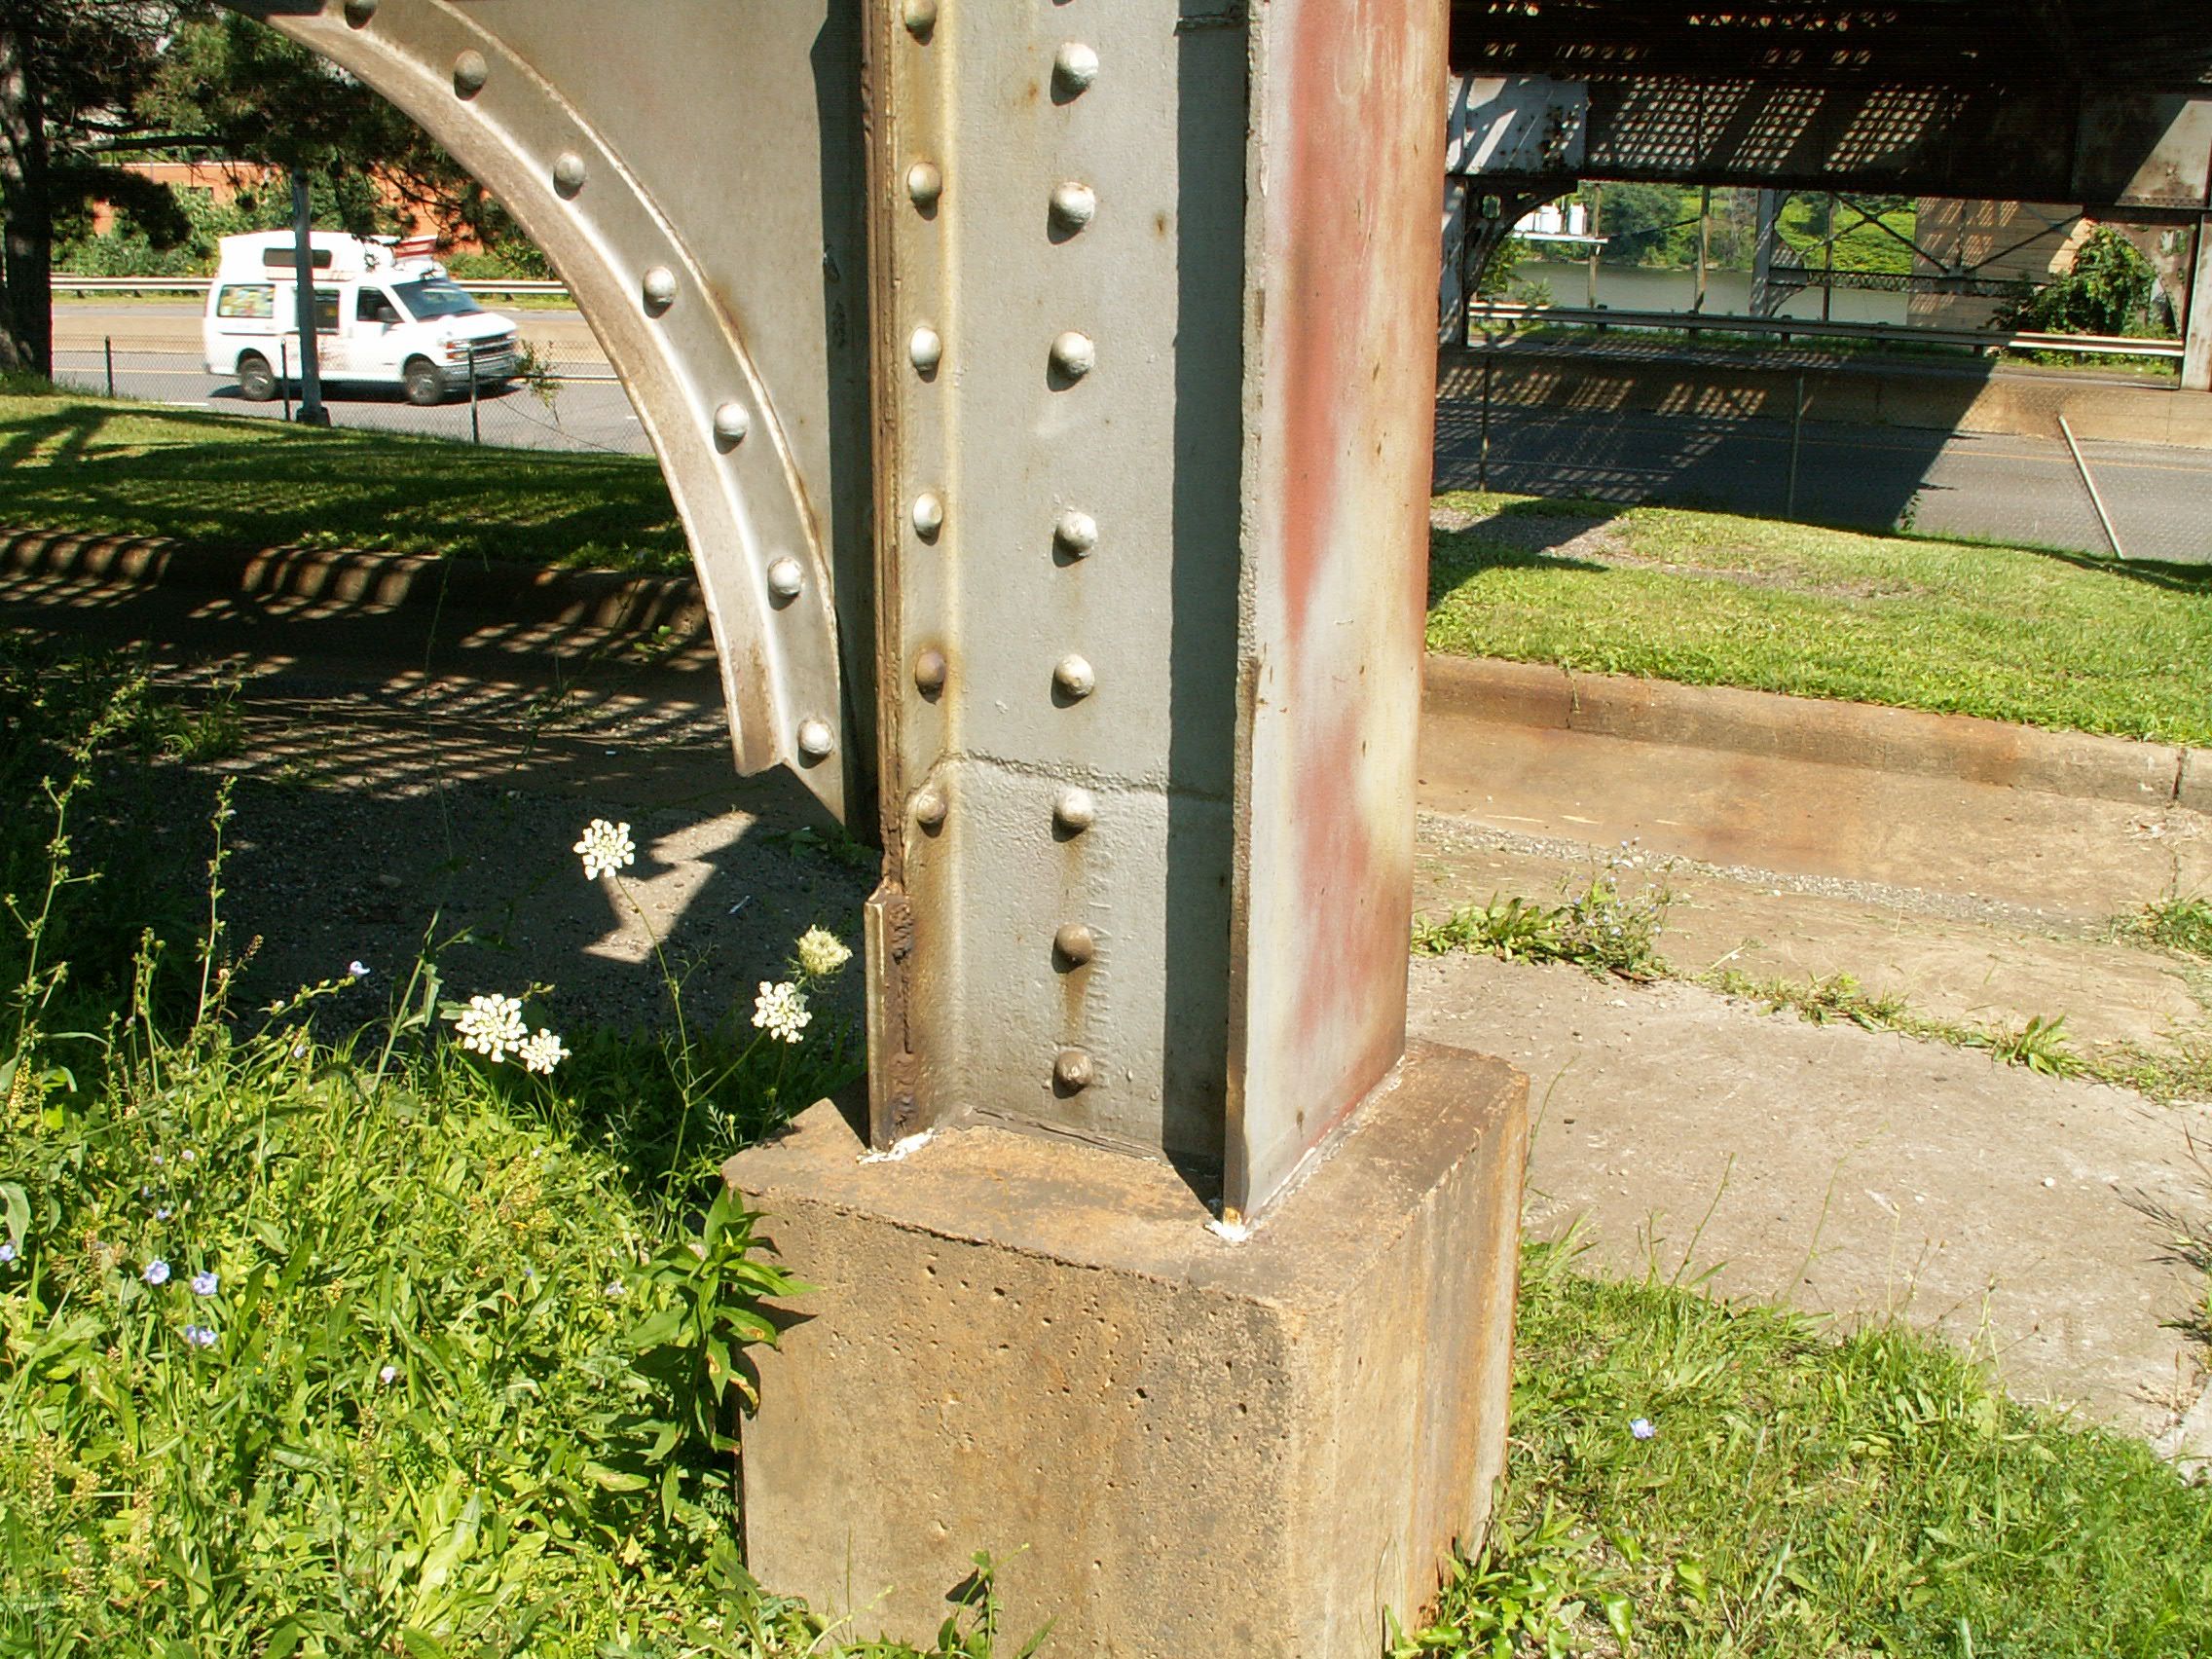
Tower details.
![]()
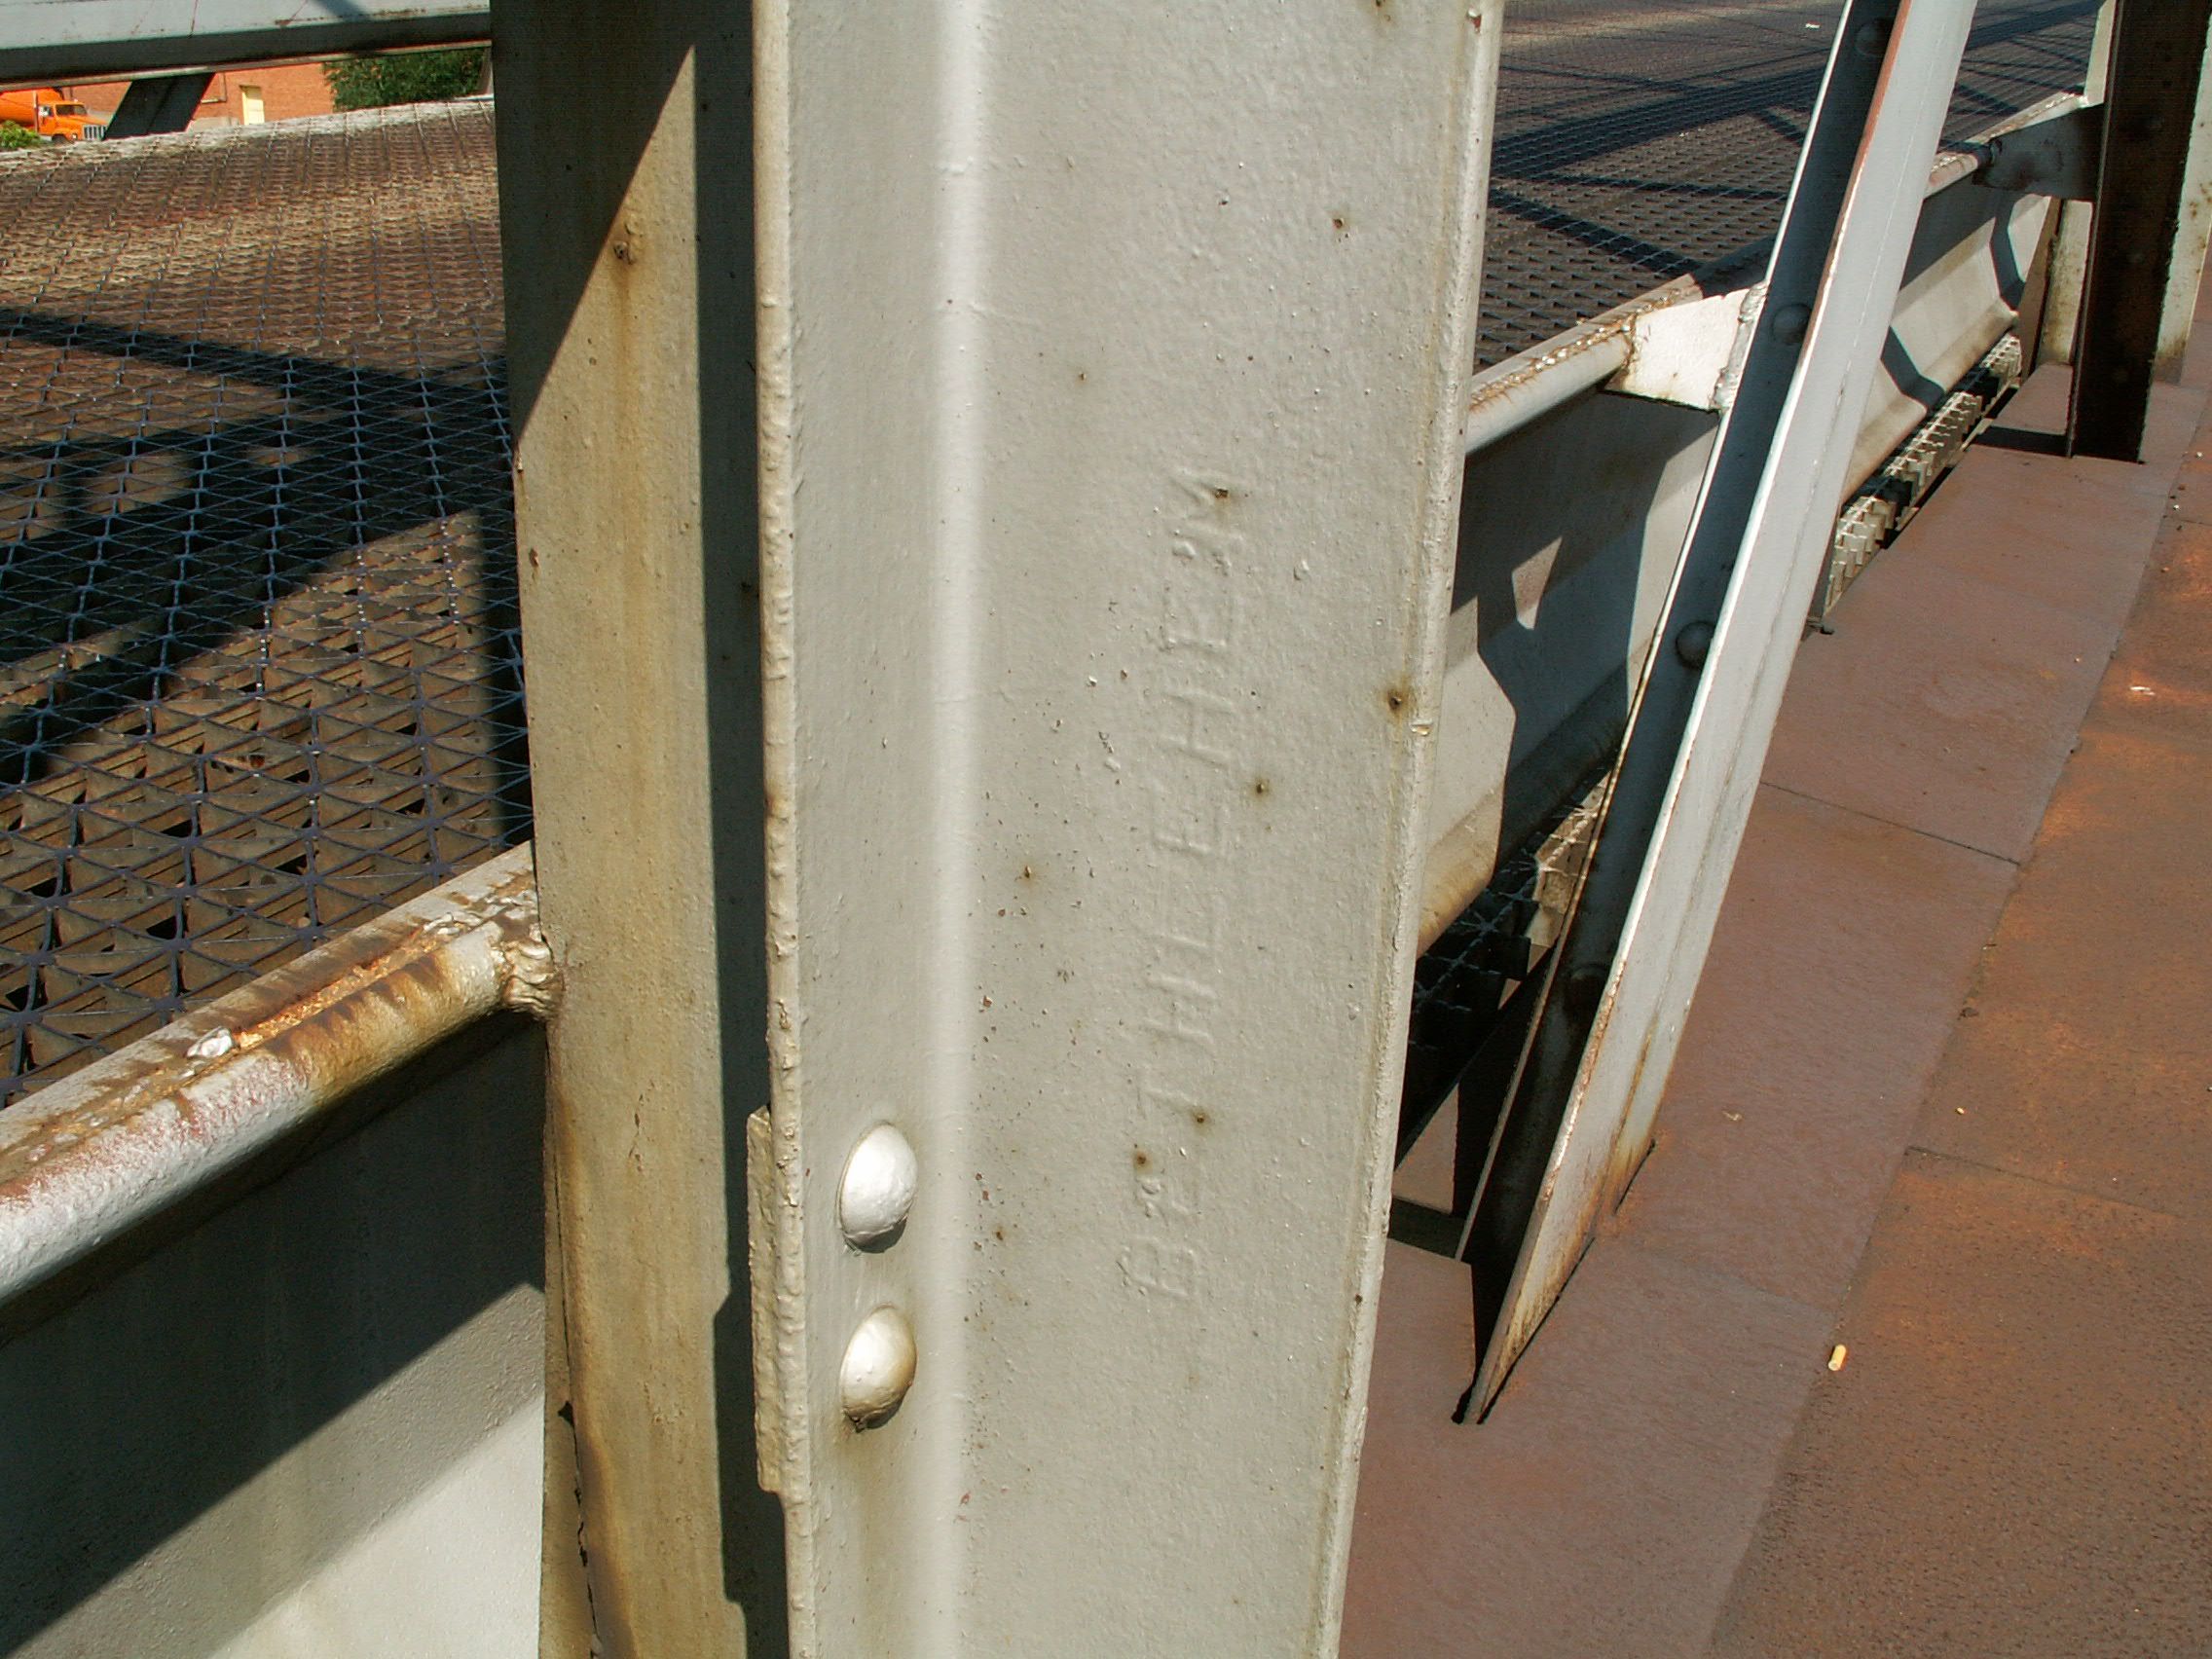


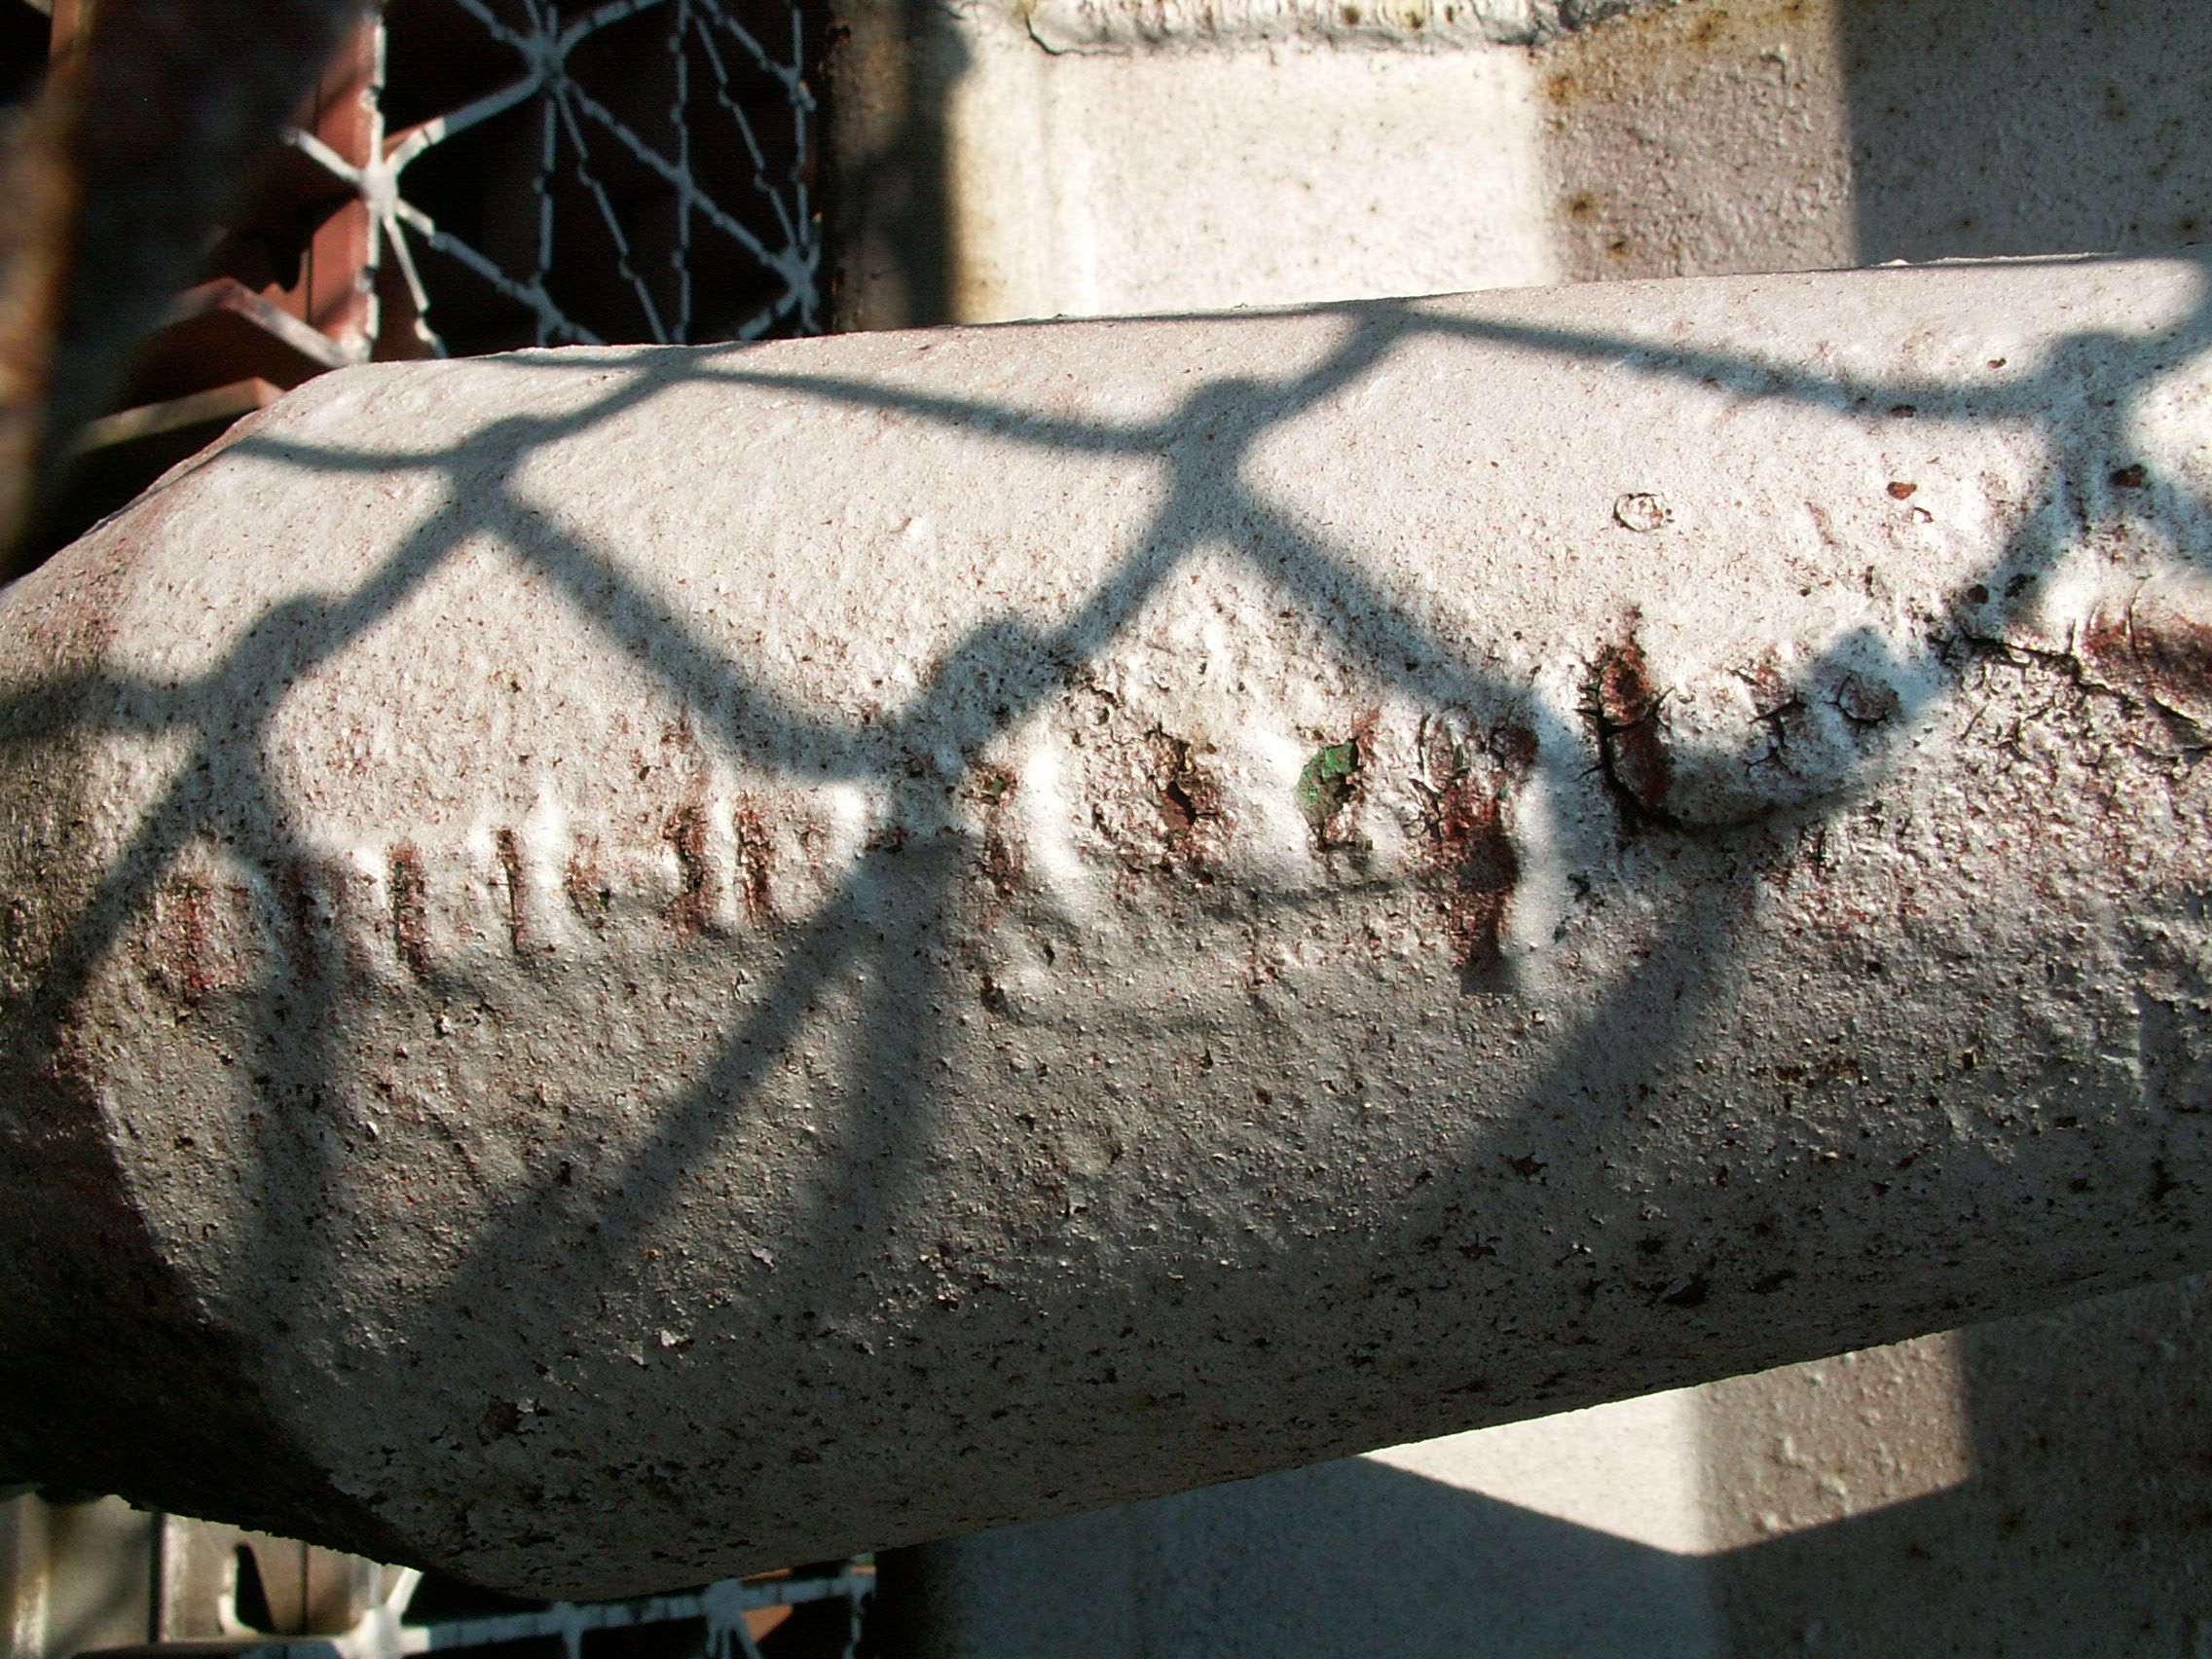
Jones and Laughlins and Bethlehem.
![]()

Sway bracing.
![]()

Truss web.
![]()
Original truss to left, replaced truss to right.
![]()

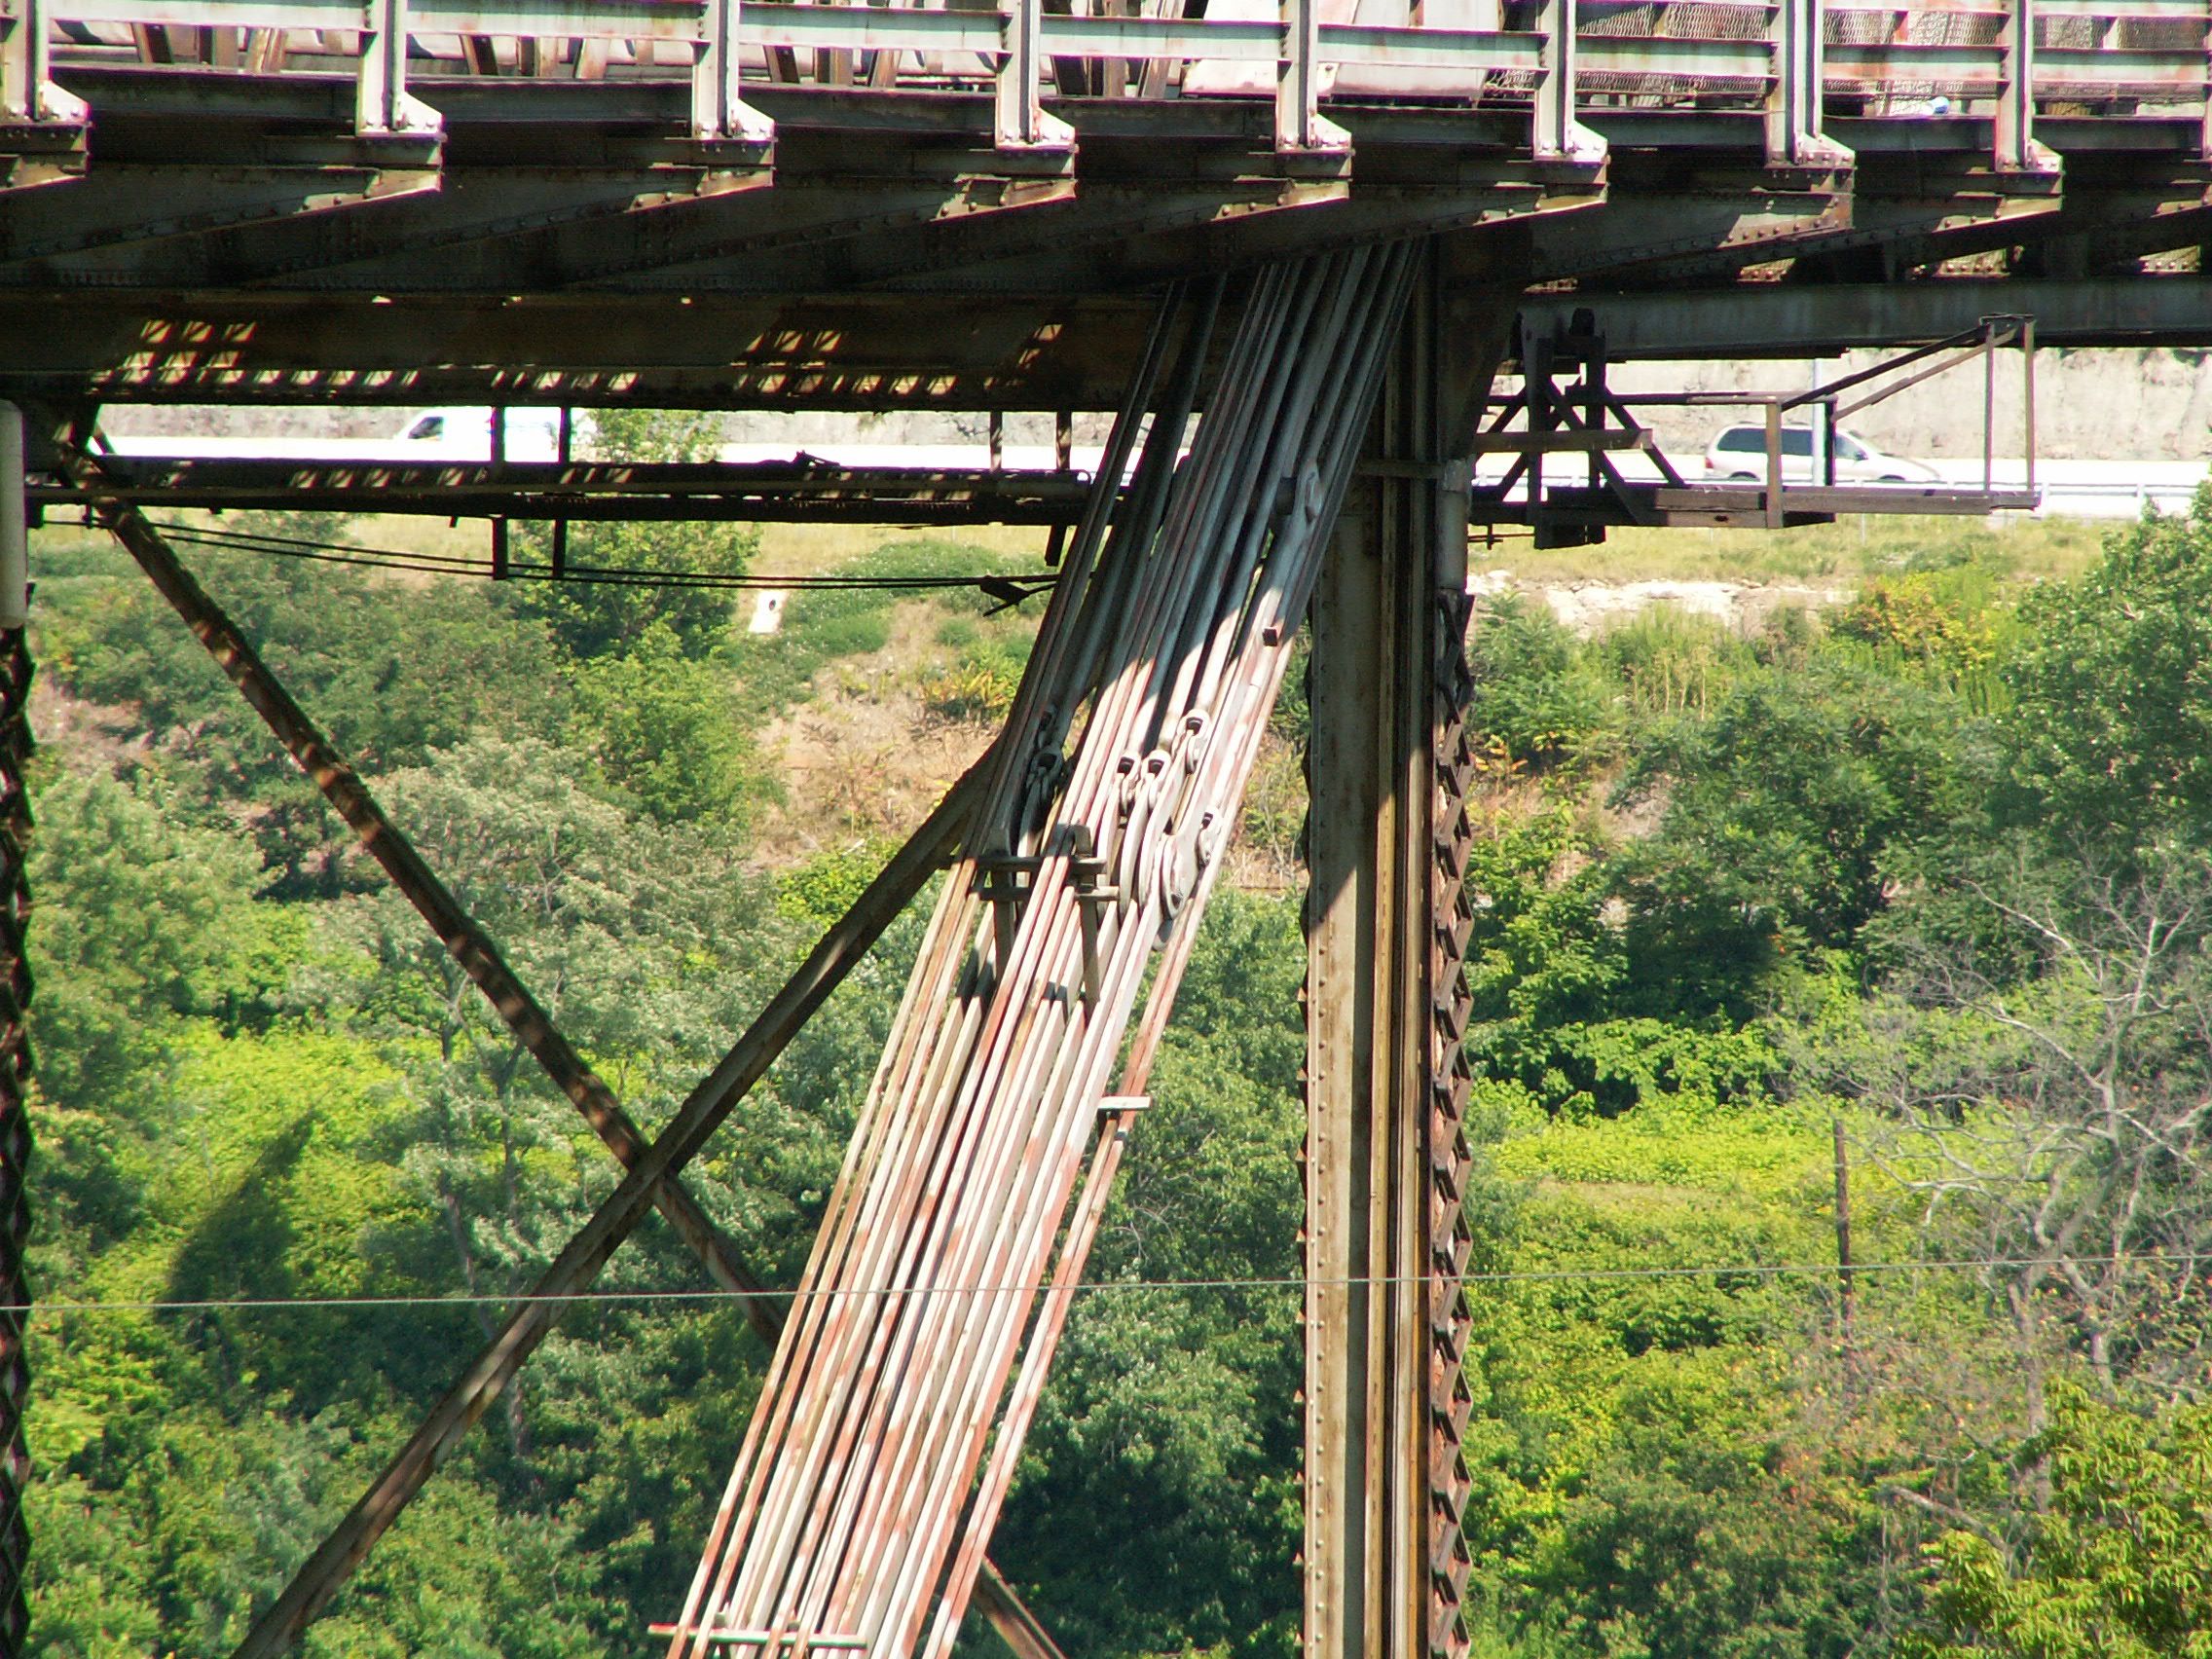
Replaced truss web, also showing main cable and suspender.
![]()
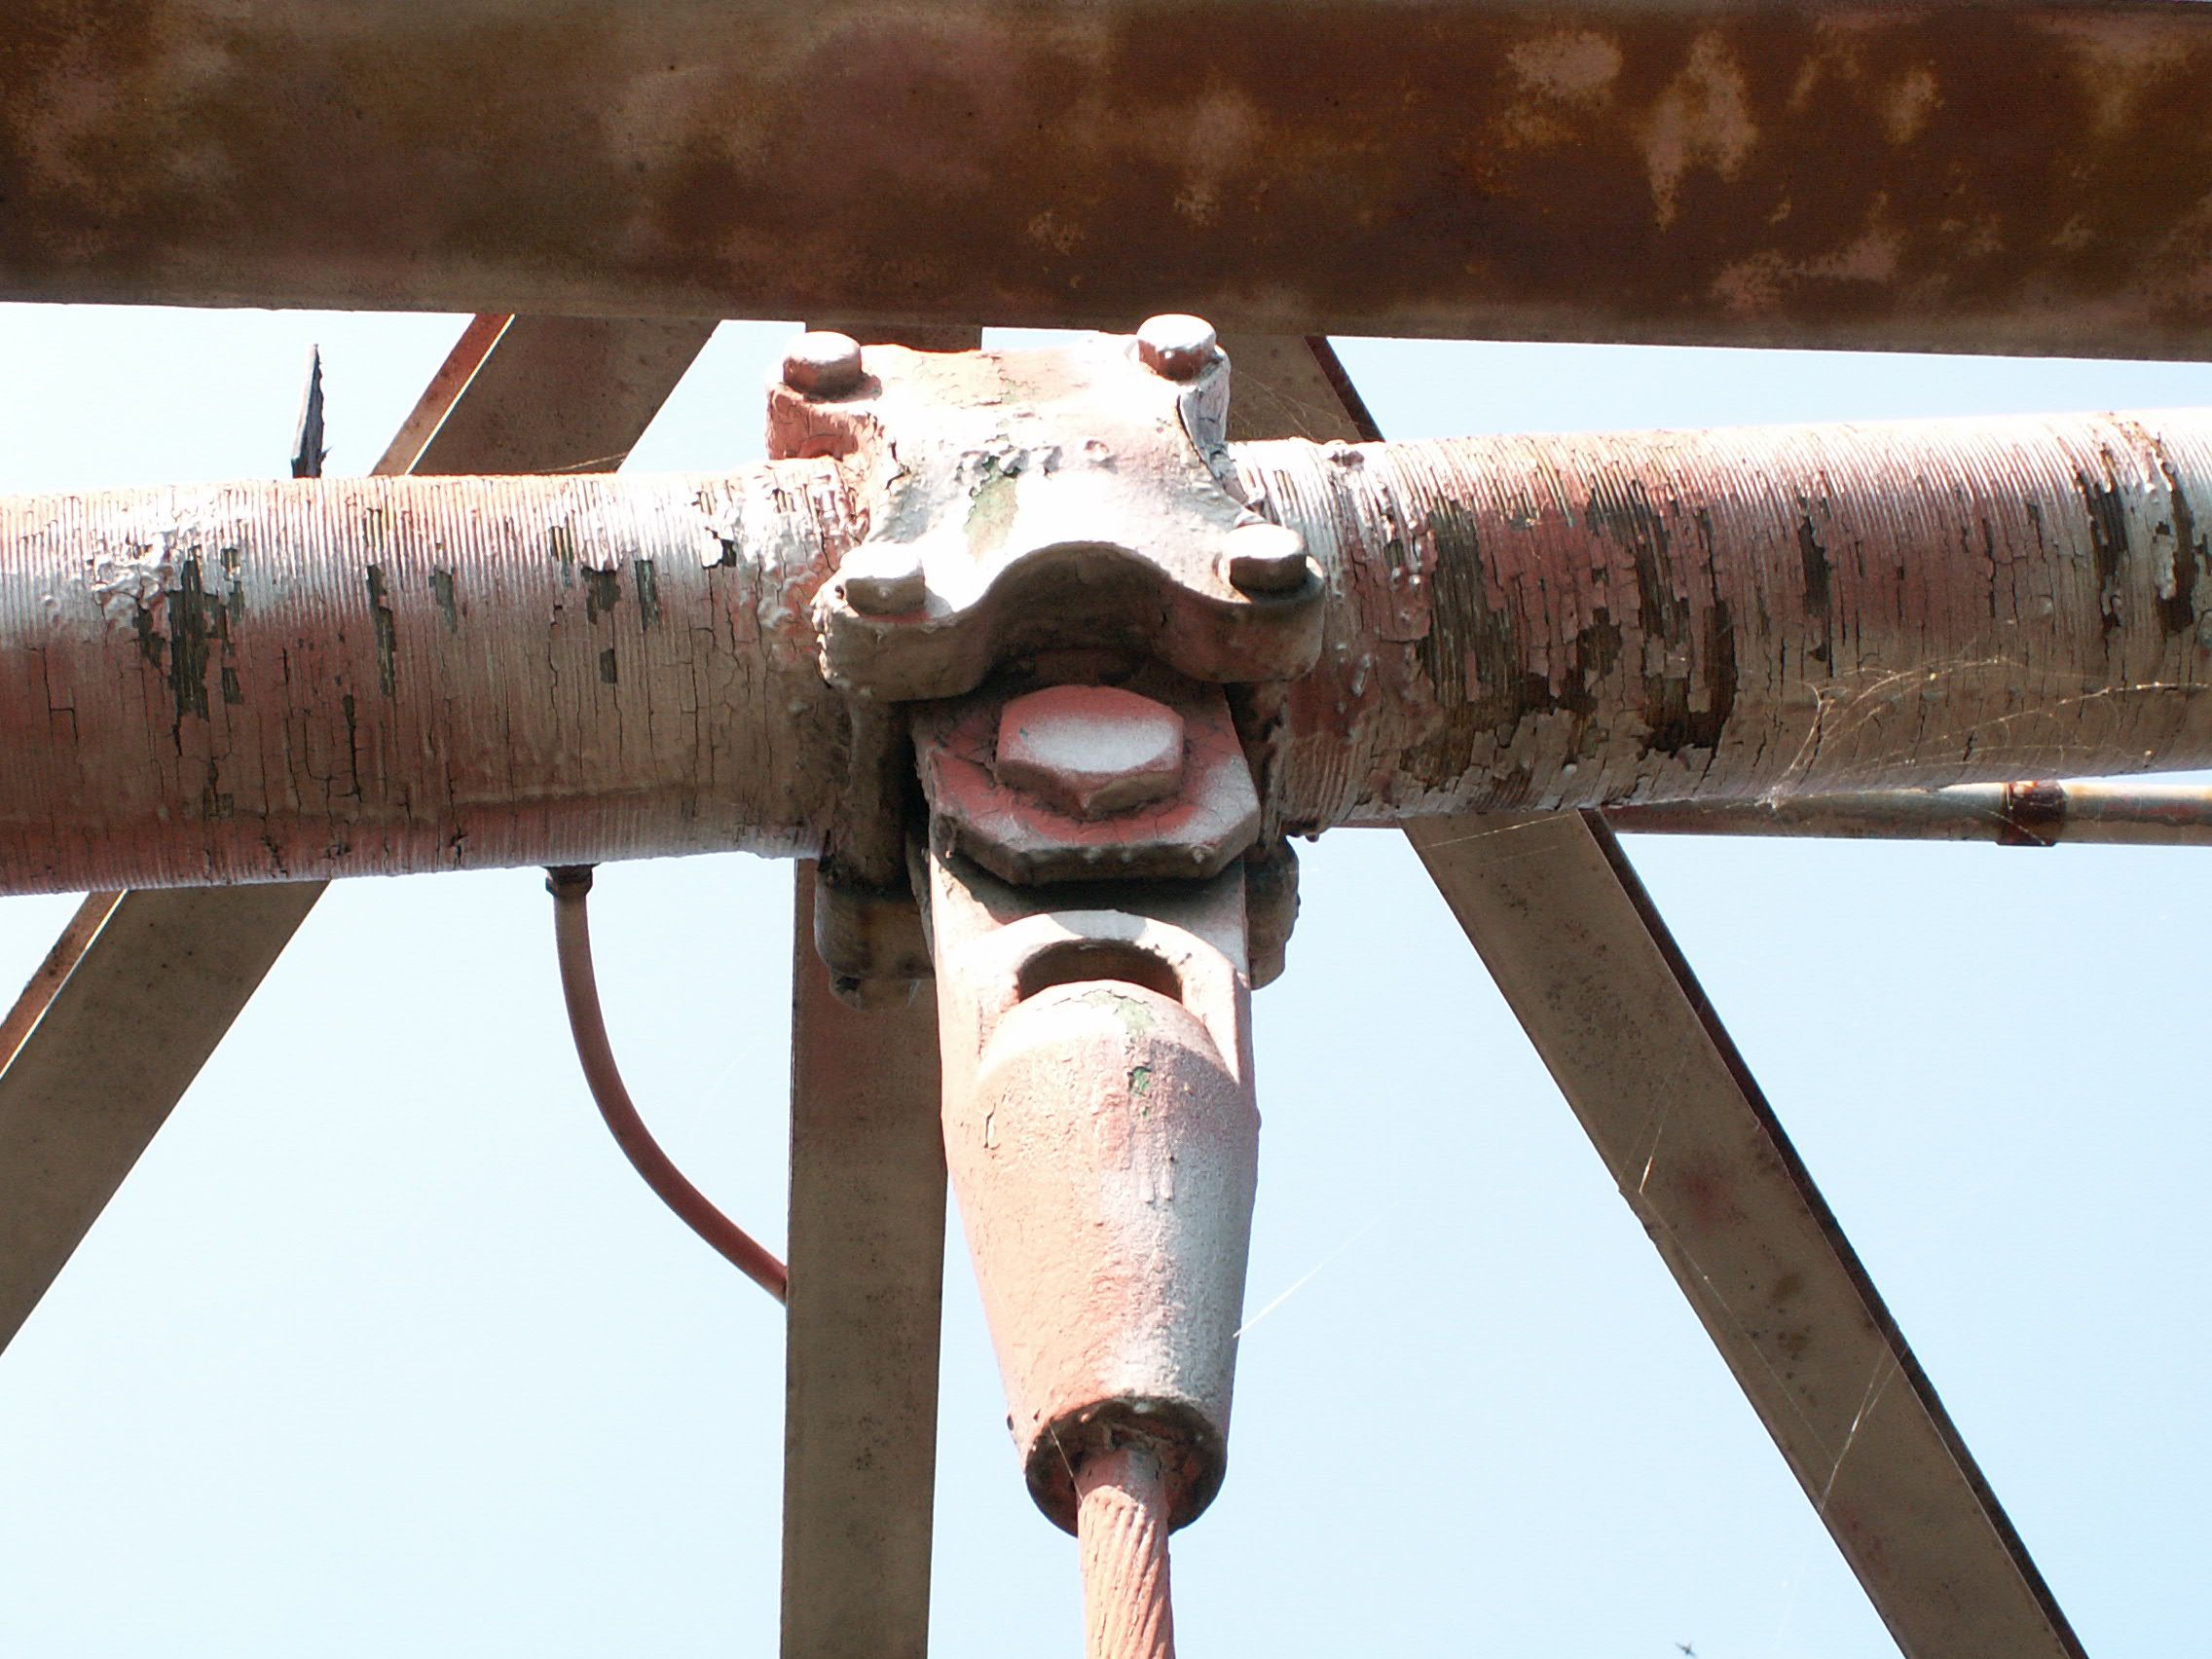


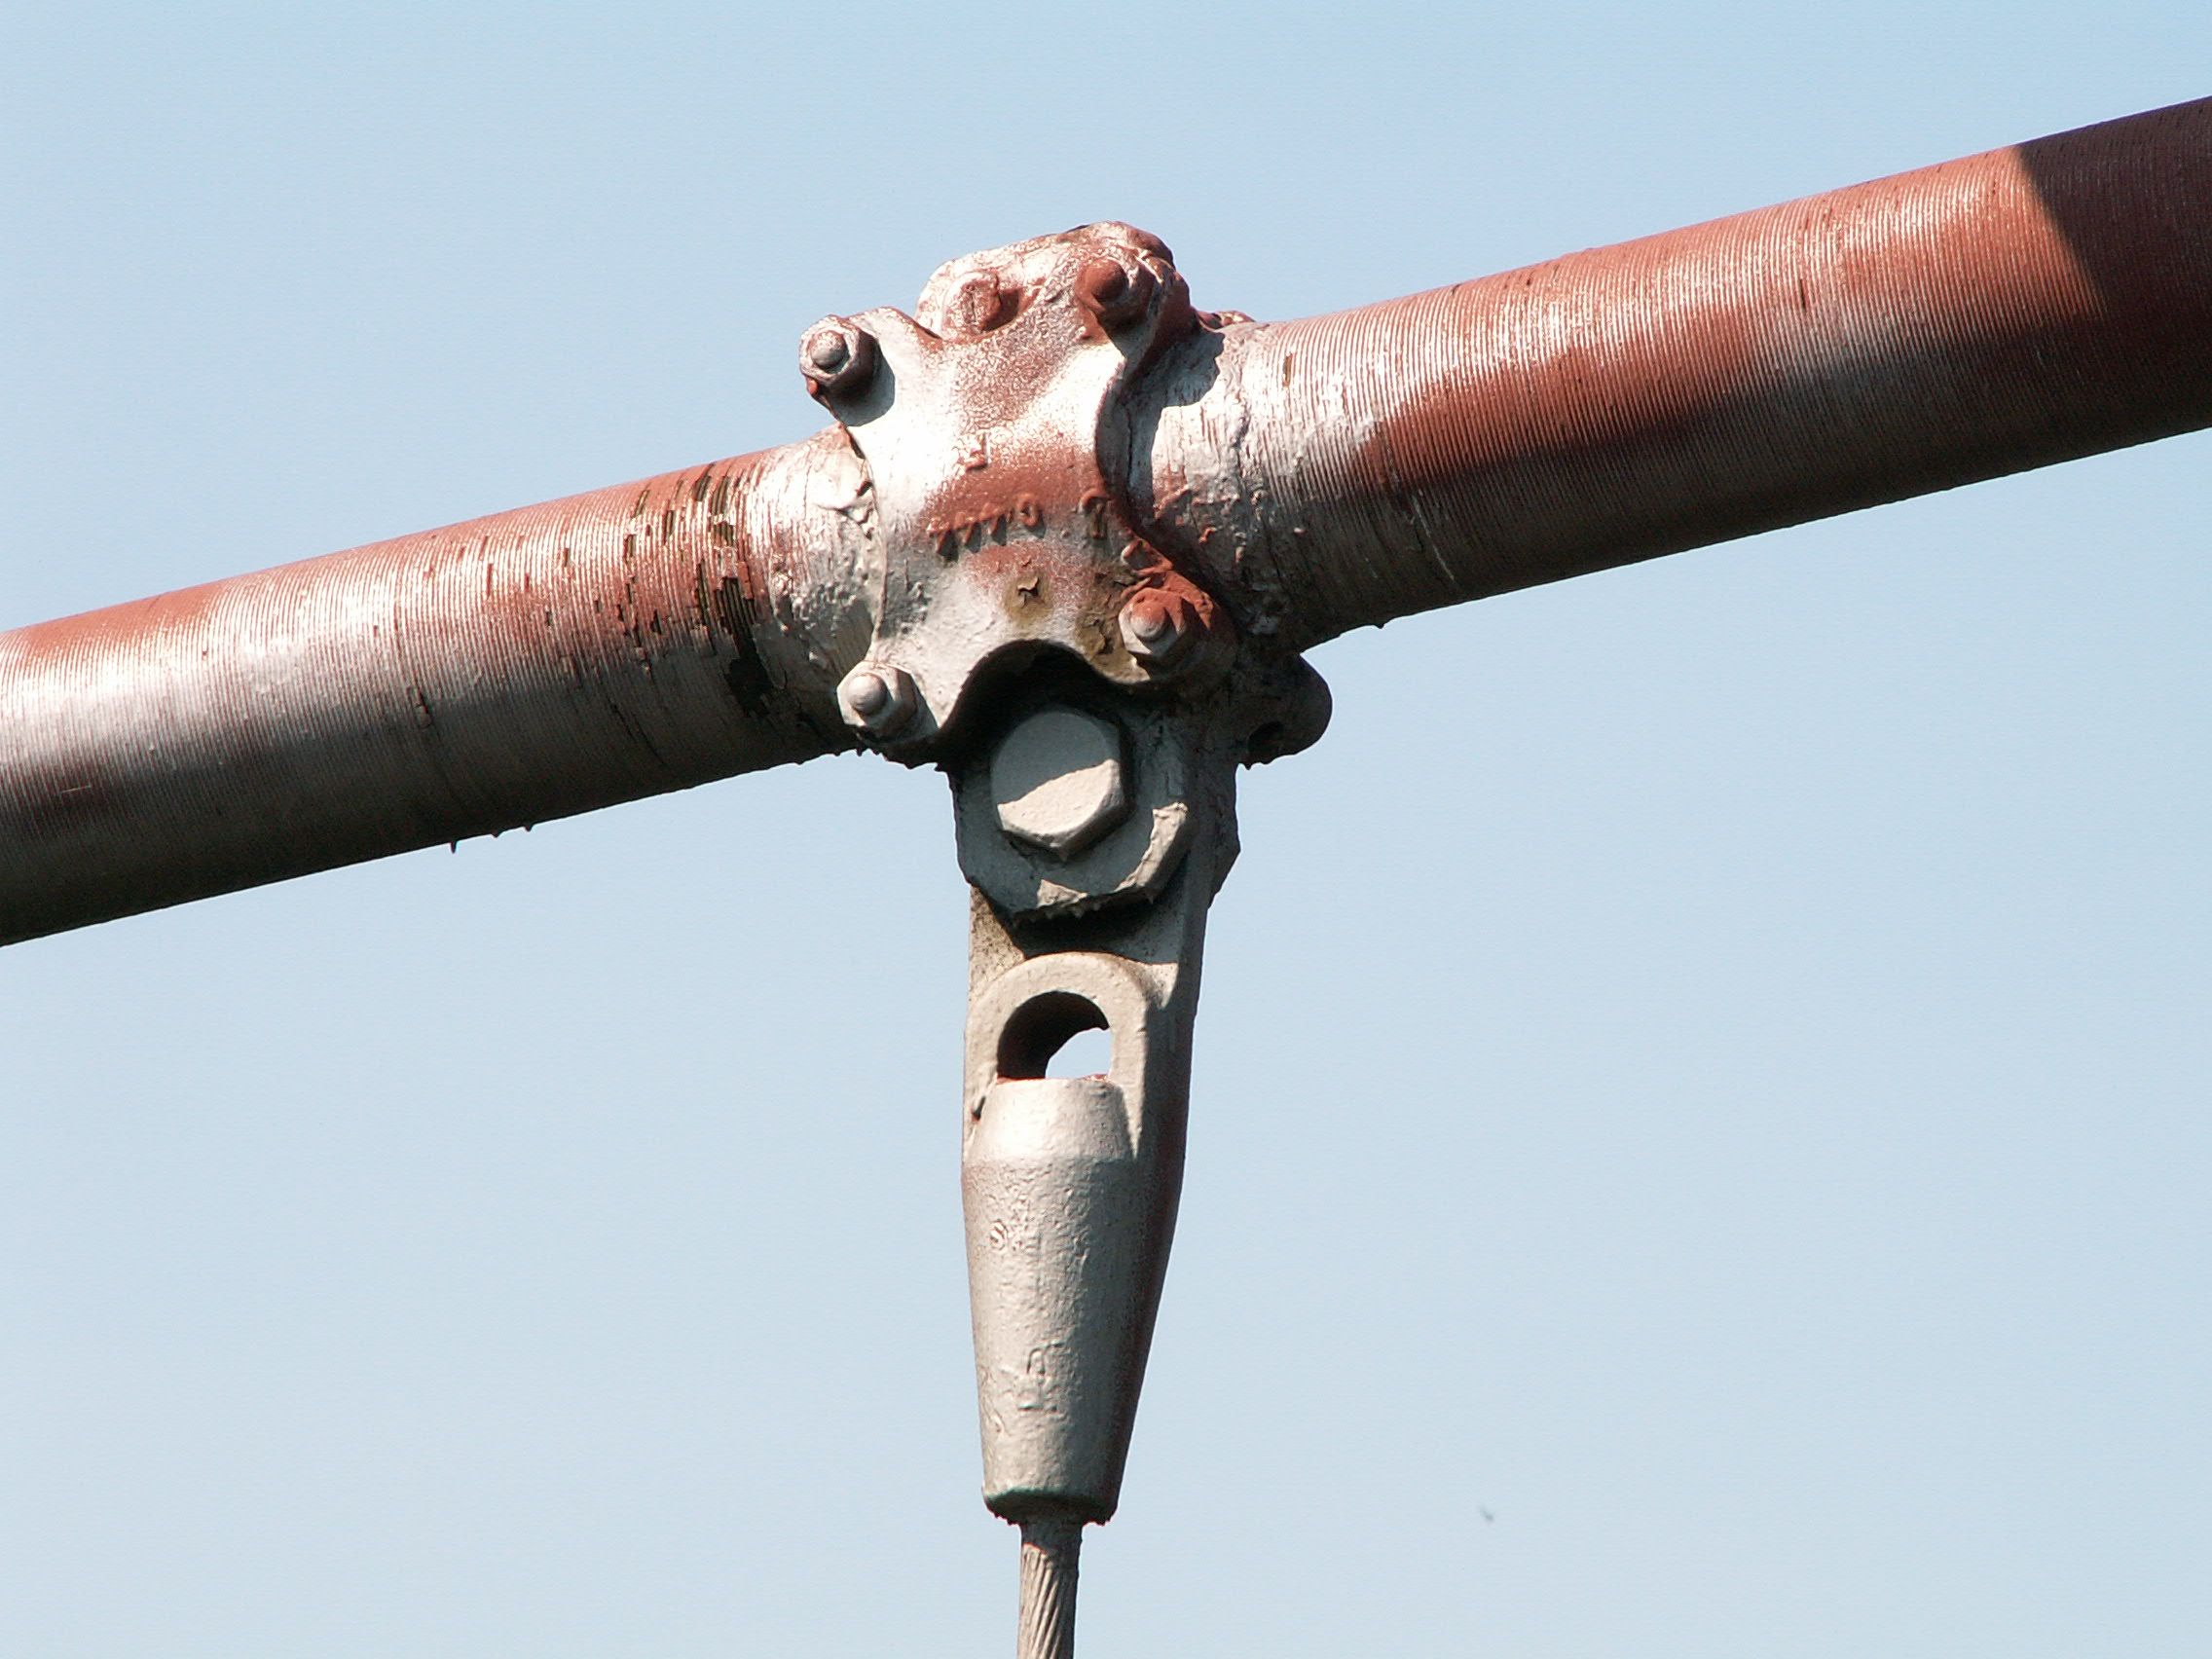
Suspender / main cable connection details.
![]()

Turnbuckle on suspender cable.
![]()


Cable details at base.
![]()

Main cable saddle.
![]()

Eyebar.
![]()

Exansion joint.
![]()
Eyebars connecting main cable to anchorage.
![]()

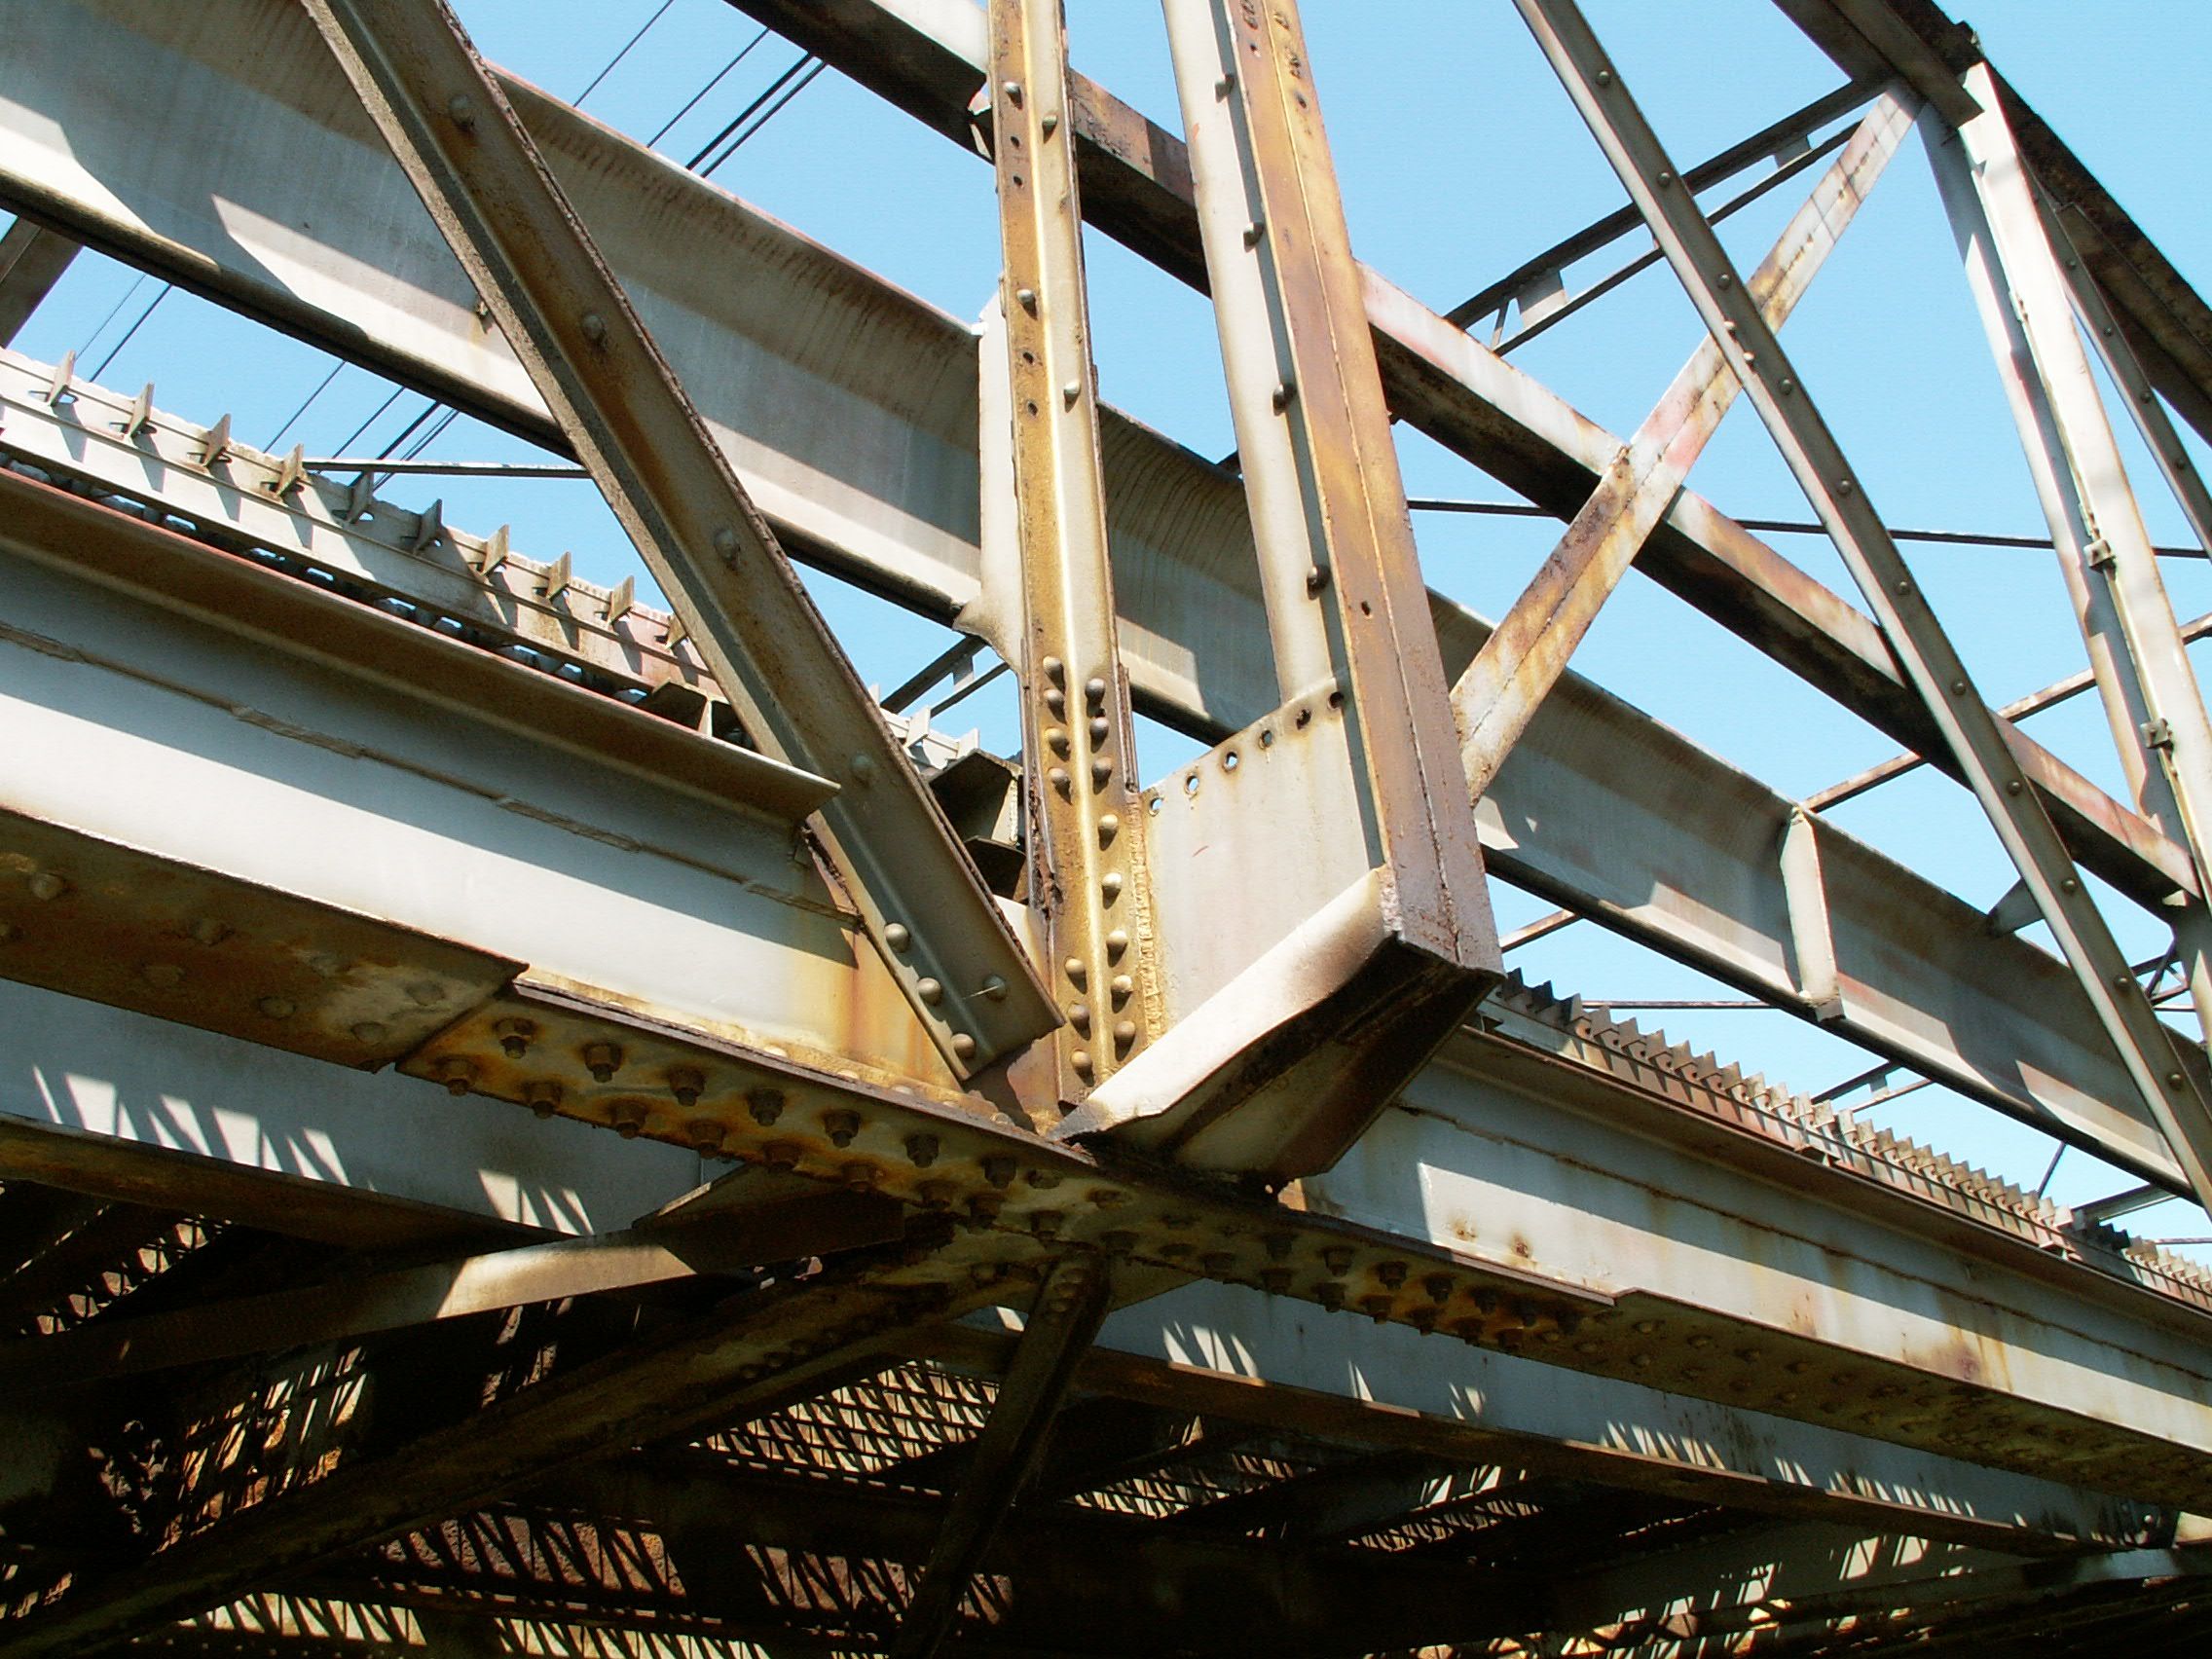
Bottom chord connections.
![]()


Support connections.
![]()
![]()
| Back |
| Home |
| Top |

![]()