
Uncredited photos on this page taken by: Nathan Holth. Unless stated in a caption, all photos are Copyright with All Rights Reserved. Learn about reuse of our photos.
![]()
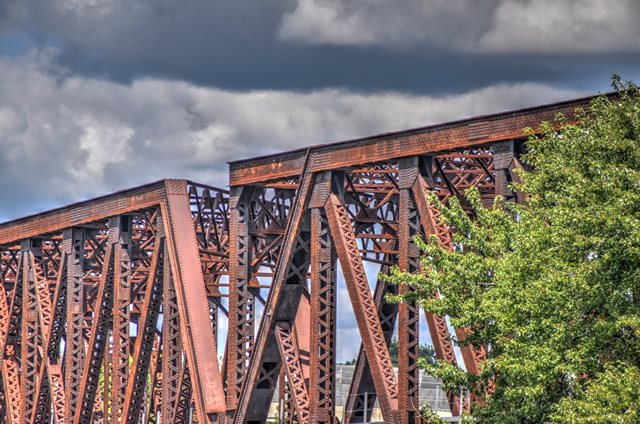
Directions assume a north-south bridge alignment.
![]()


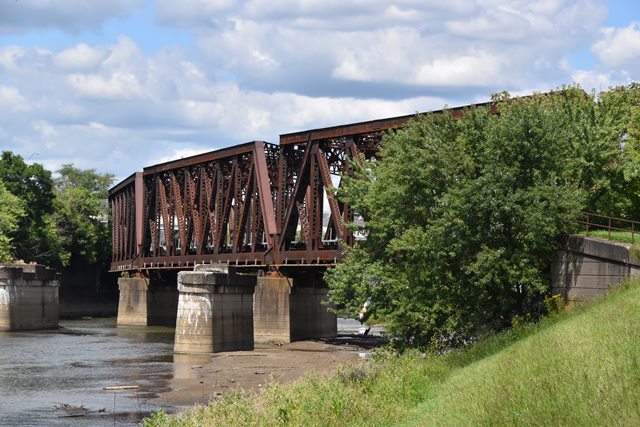


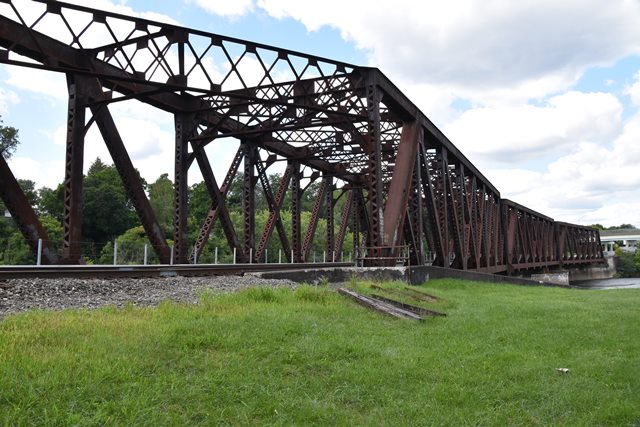
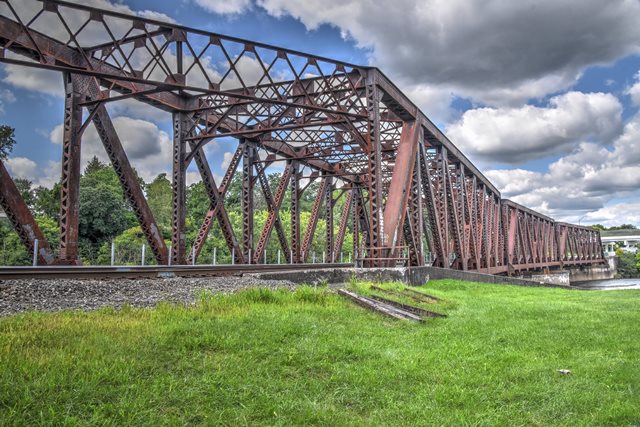
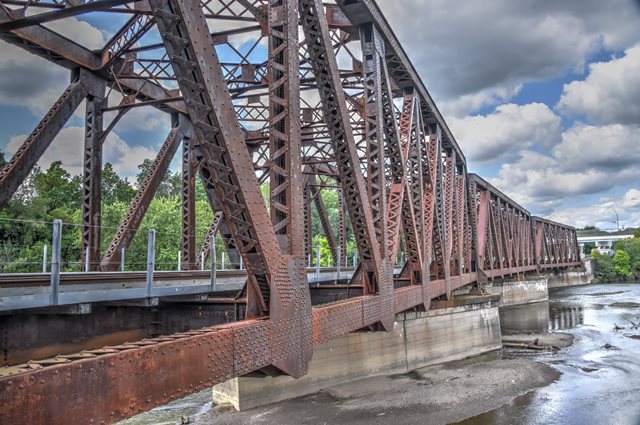
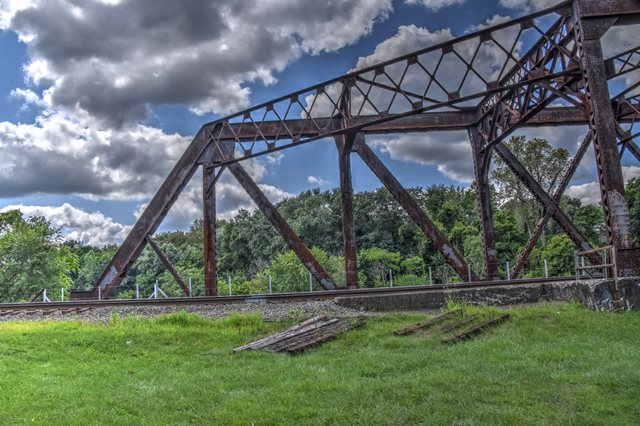
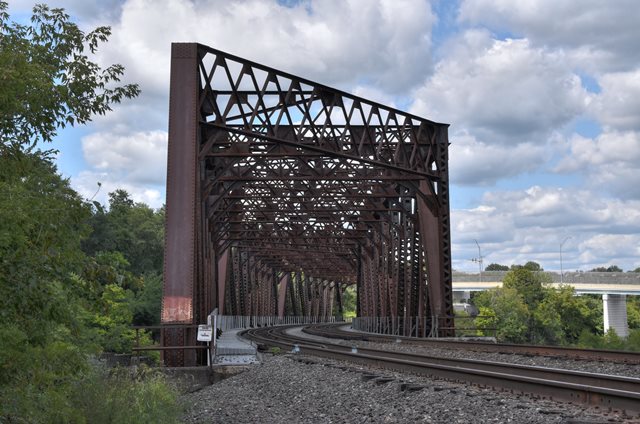
Views beside bridge from southwest quadrant.
![]()


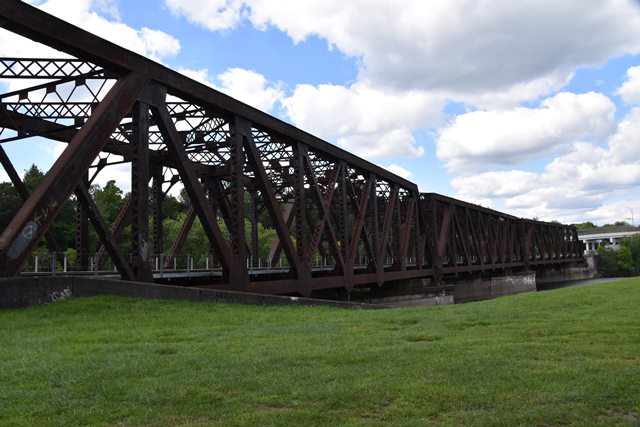
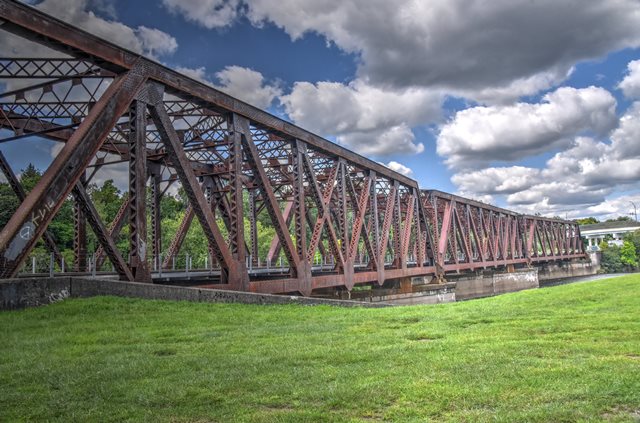


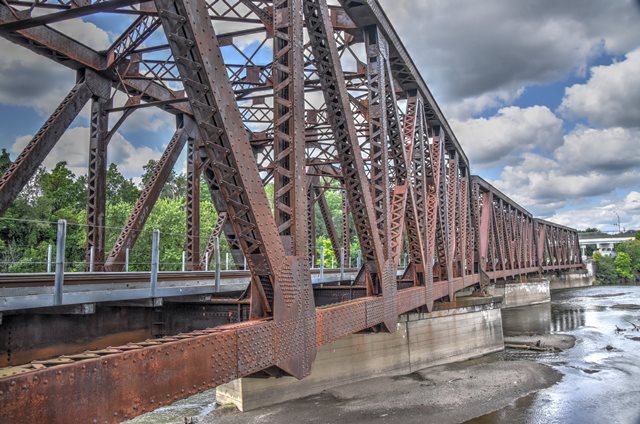
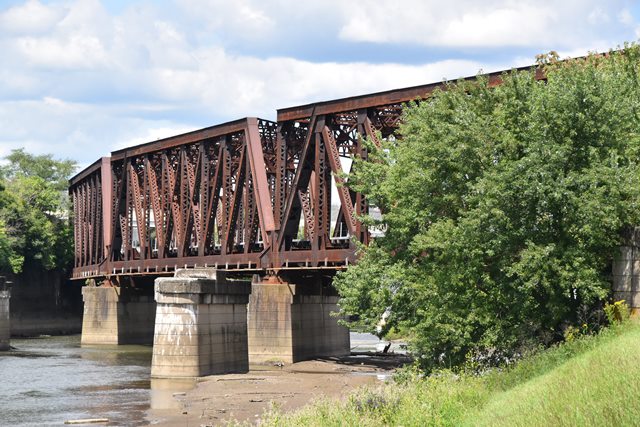
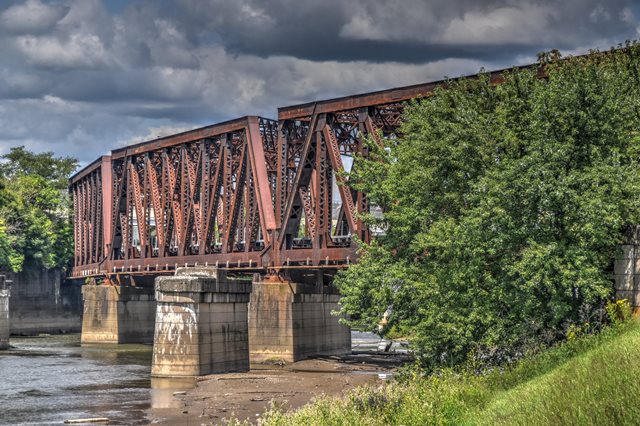
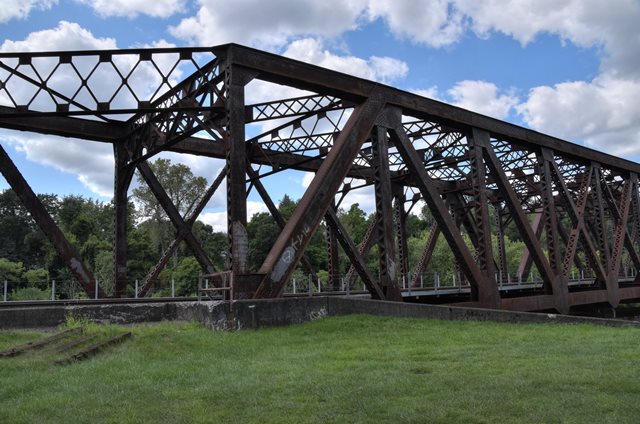
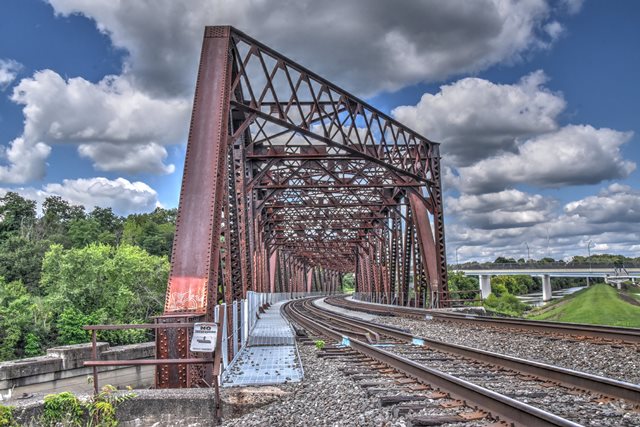
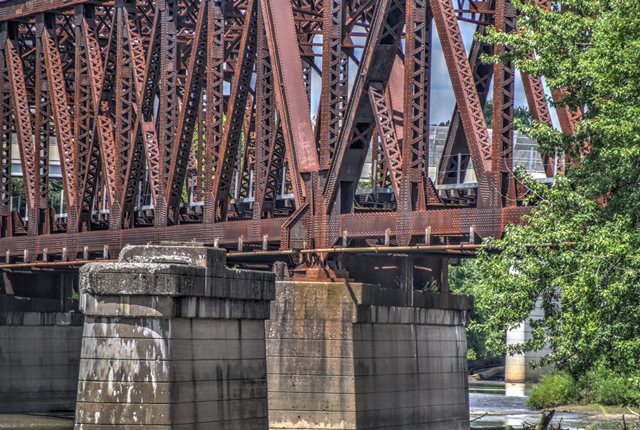
Views beside bridge from southeast quadrant.
![]()

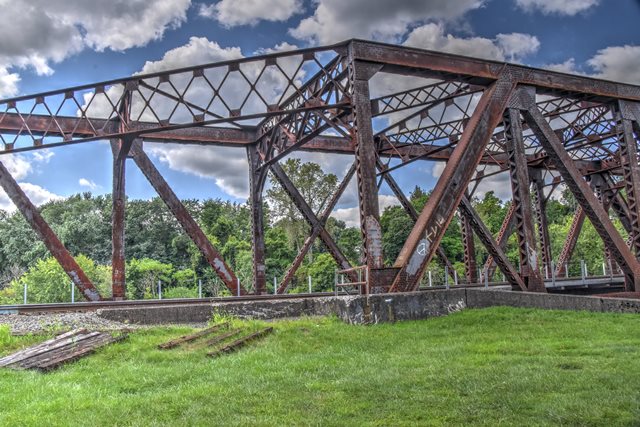


South end of bridge.
![]()
![]()
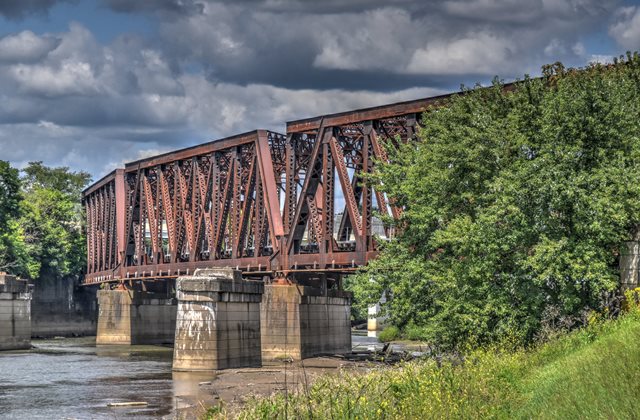
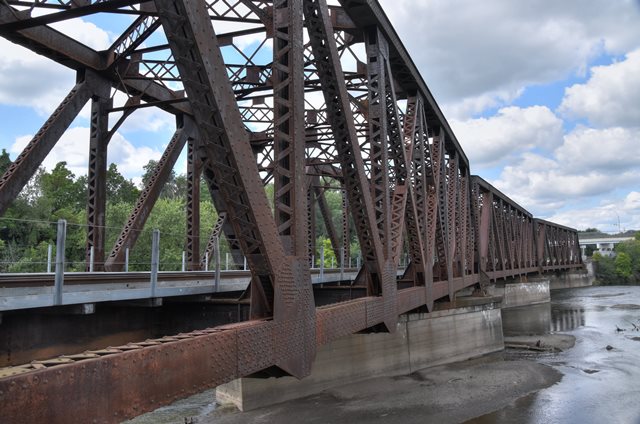
Panoramic view beside bridge from southeast quadrant.
![]()


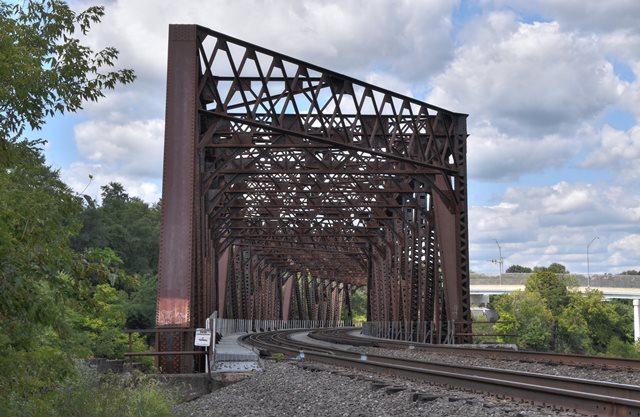
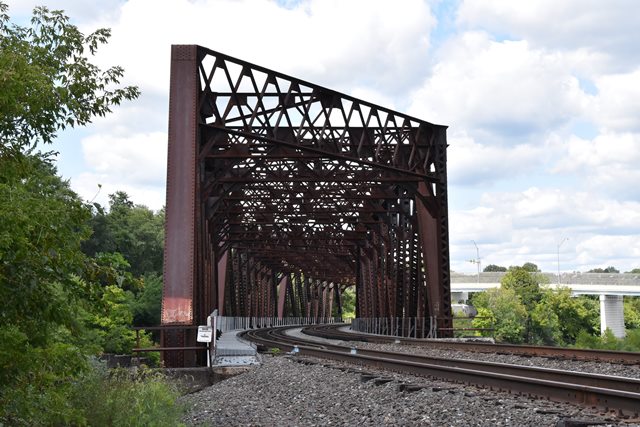


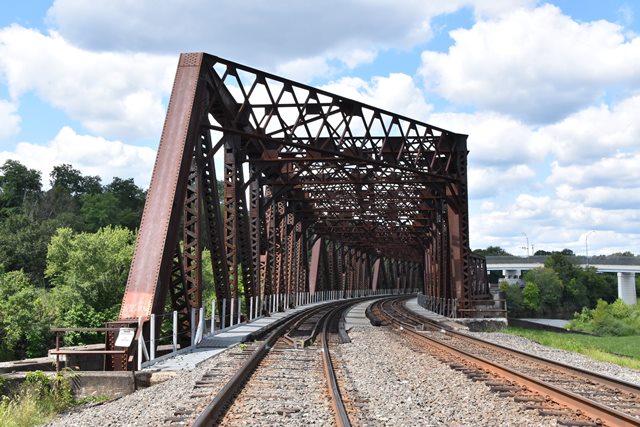


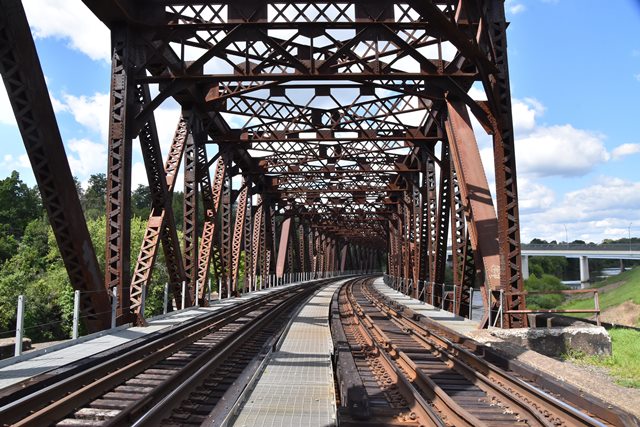
Portal views facing north.
![]()
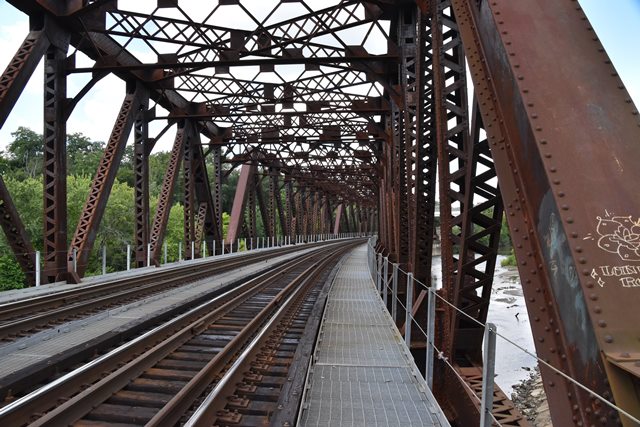


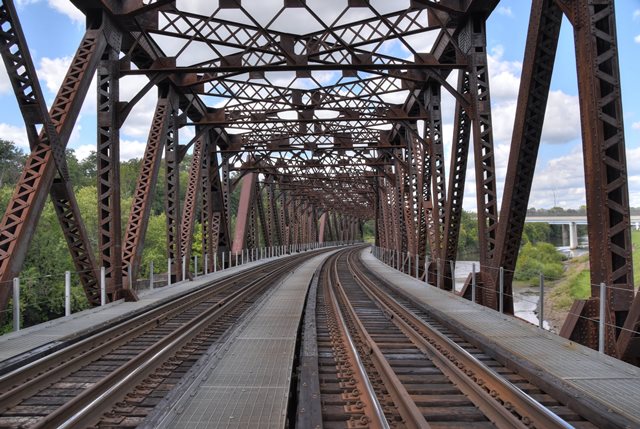


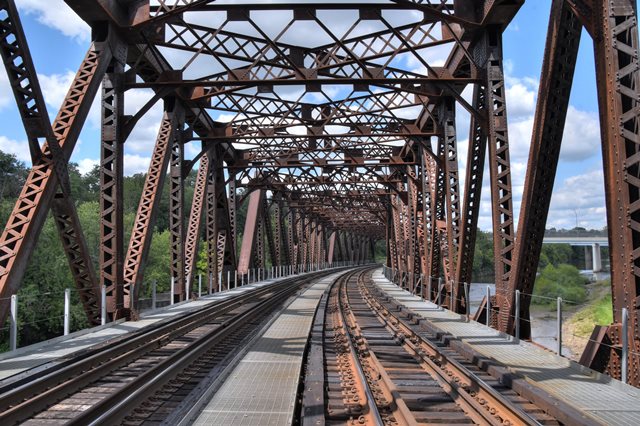

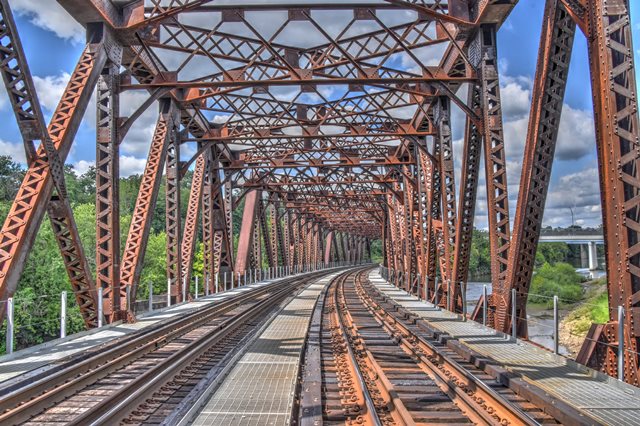
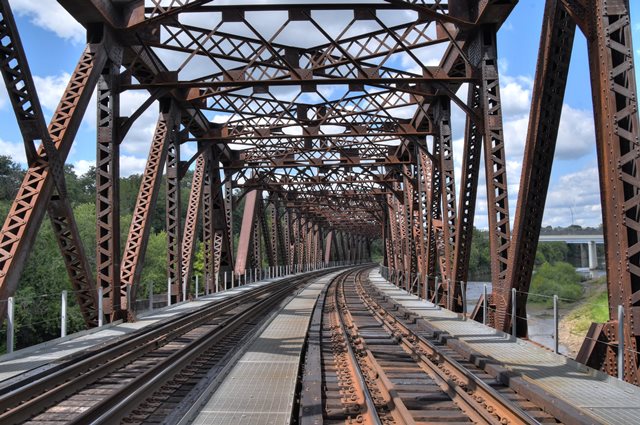


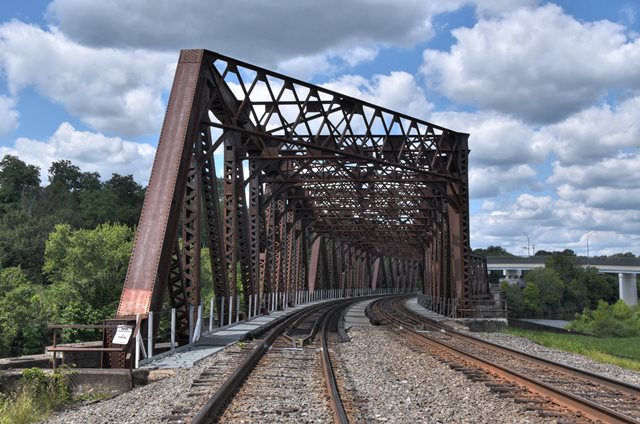
Portal views on bridge facing north.
![]()

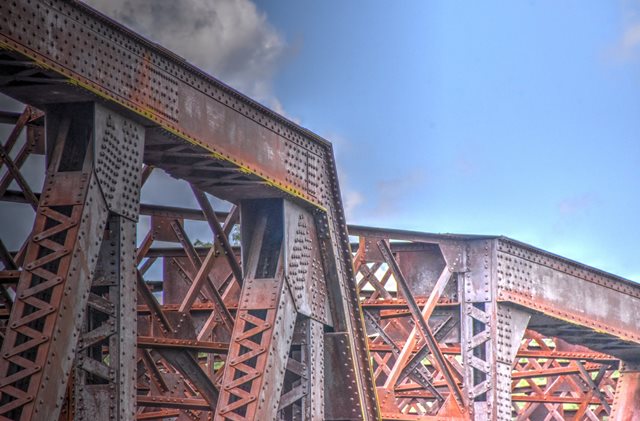
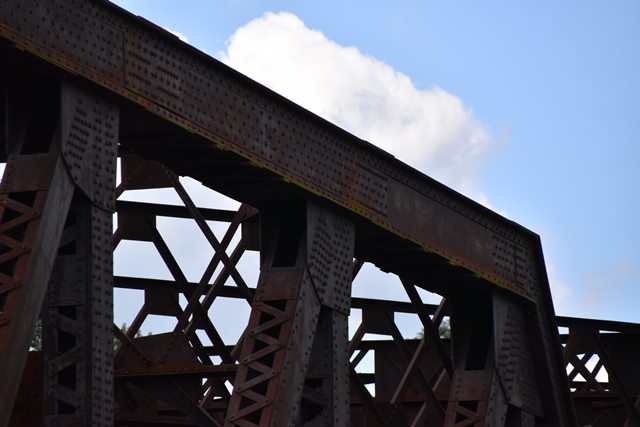

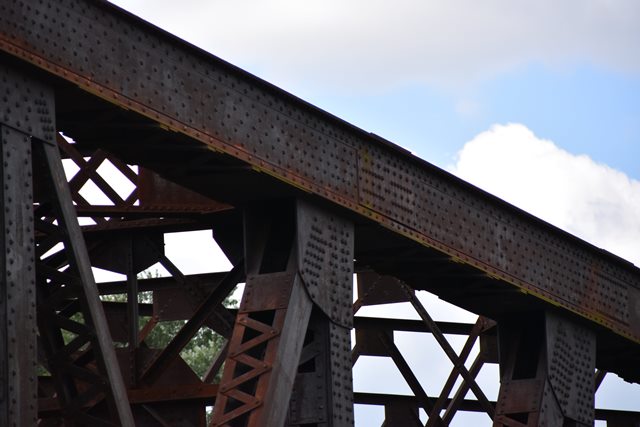


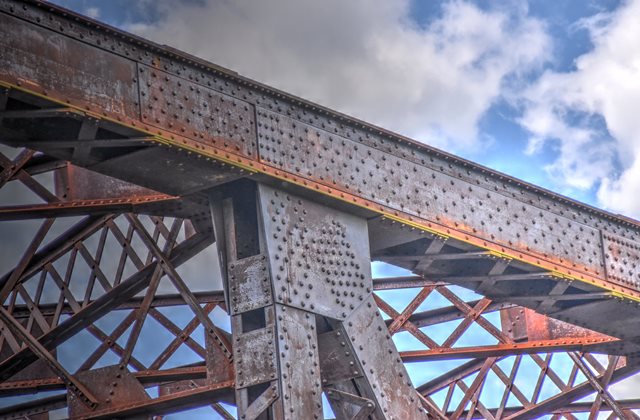

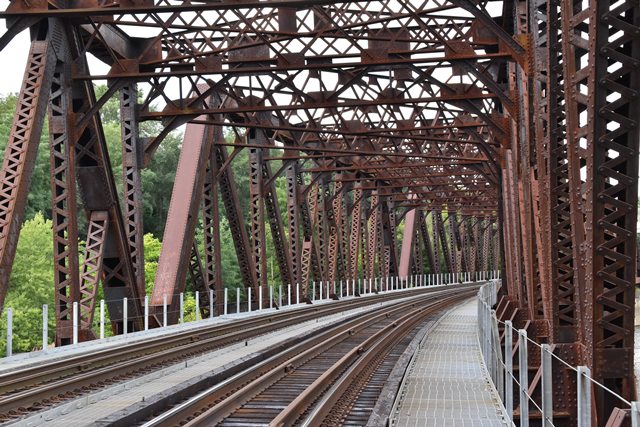
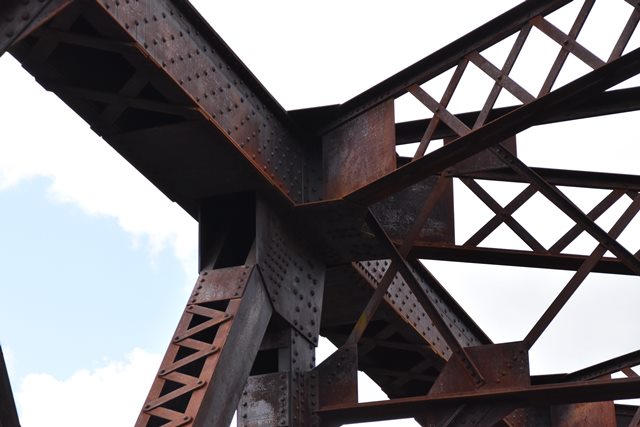
Top chord connections as viewed from beside bridge.
![]()


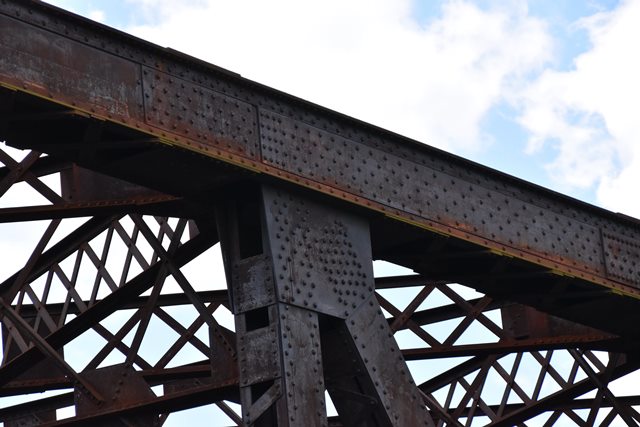
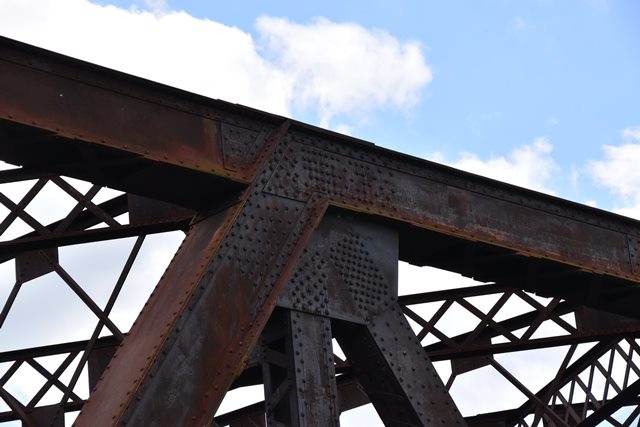
Top chord connections as viewed from on bridge.
![]()
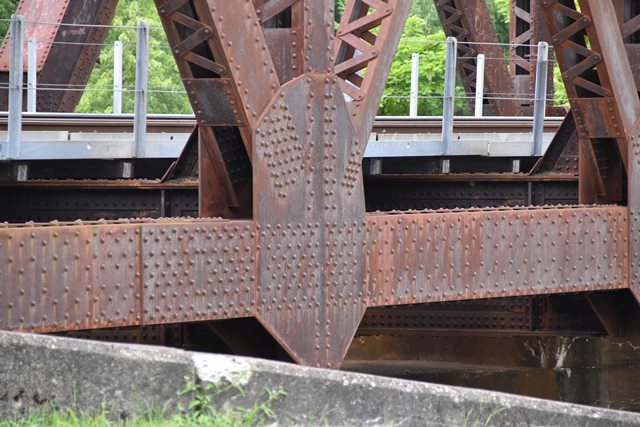

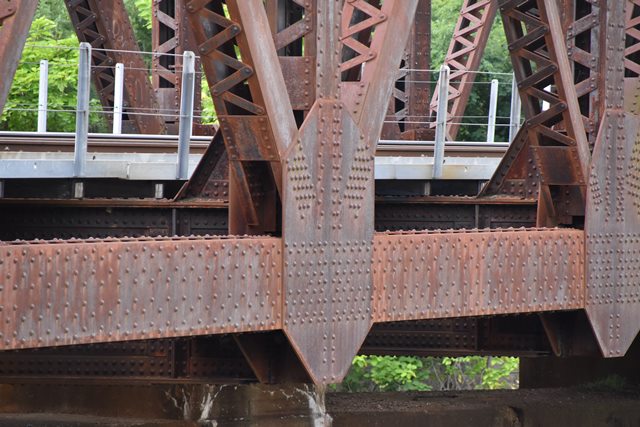


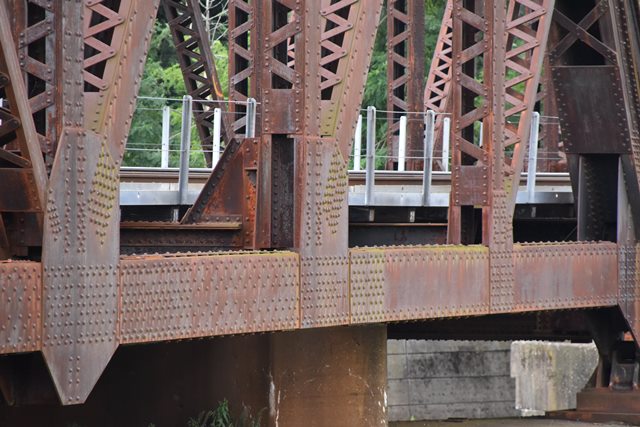

Bottom chord connections as viewed from beside bridge.
![]()

Bottom chord connection as viewed from on bridge.
![]()


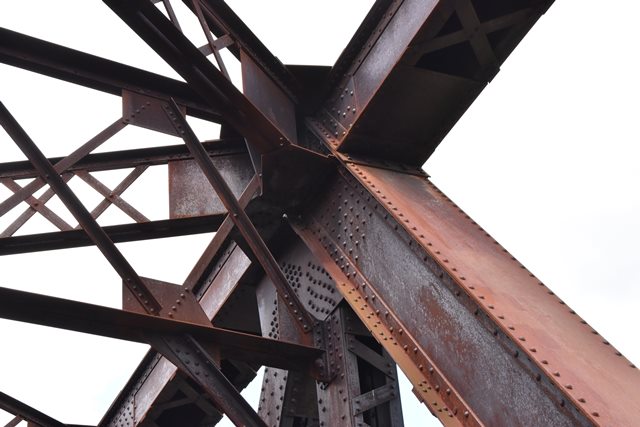
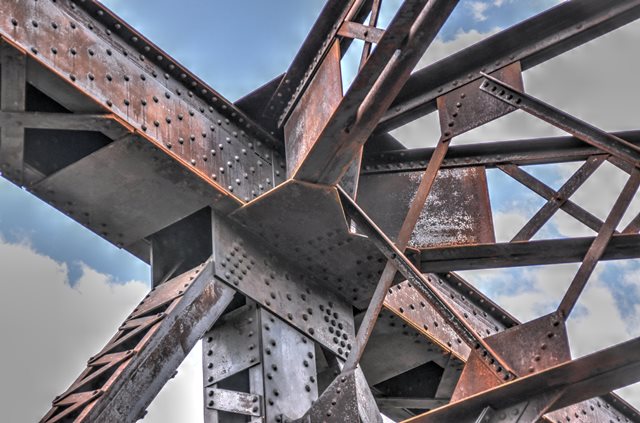
Intermediate connections.
![]()

Sway bracing.
![]()

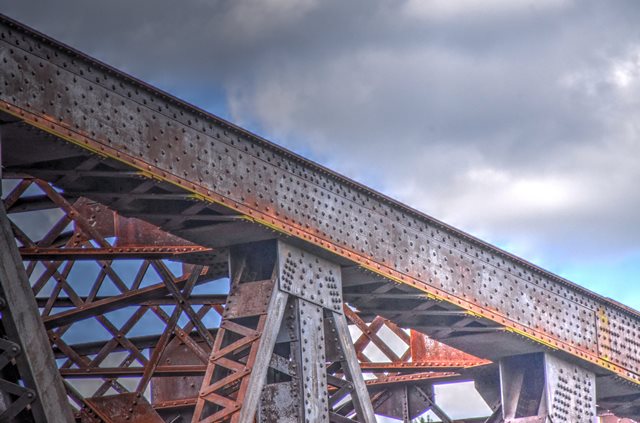
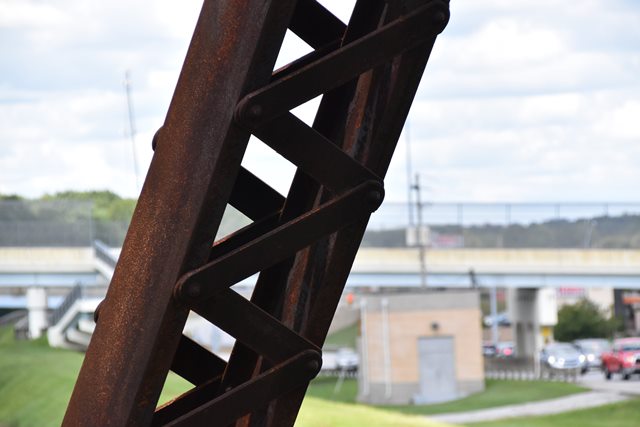
Top chord.
![]()

Bottom chord.
![]()


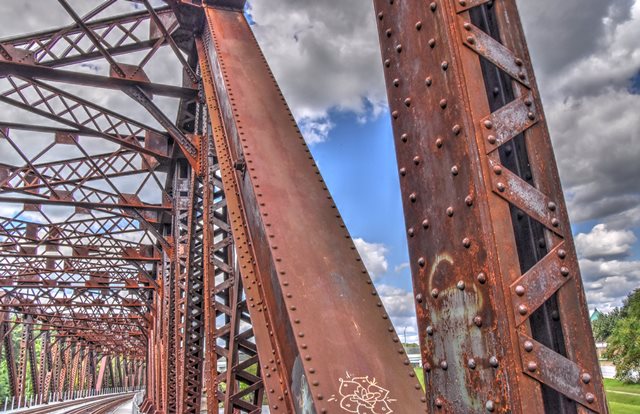
Detail showing end post and vertical post for sway bracing.
![]()

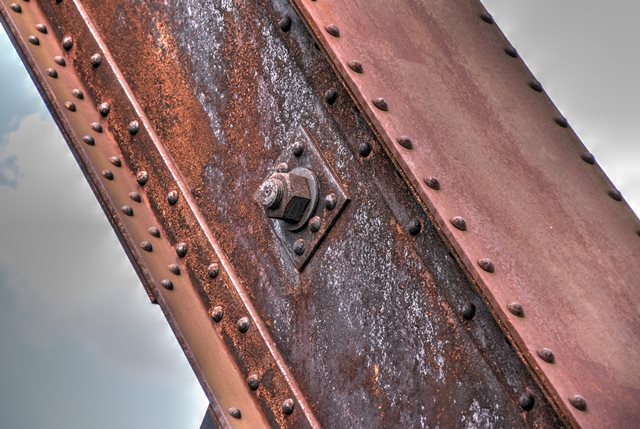


End post.
![]()


Vertical members.
![]()


Diagonal members.
![]()


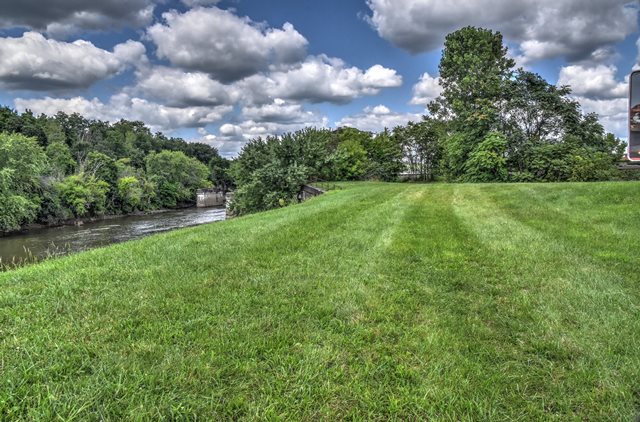
Area south of bridge.
![]()


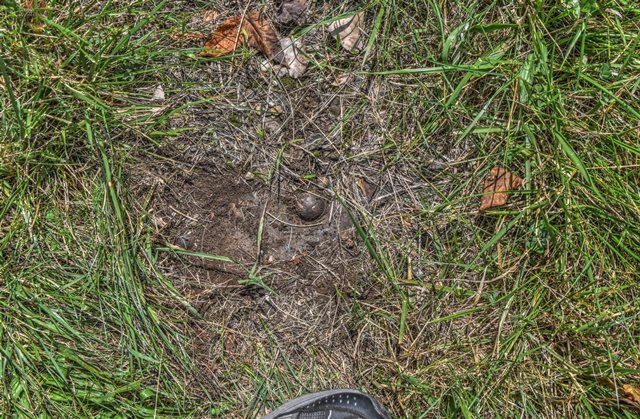
Riveted steel plate buried near bridge.
![]()


Abutment of former railroad line to the south where it passed over nearby highway.
![]()
![]()
| Back |
| Home |
| Top |

![]()