Uncredited photos on this page taken by: Nathan Holth. Unless stated in a caption, all photos are Copyright with All Rights Reserved. Learn about reuse of our photos.
![]()
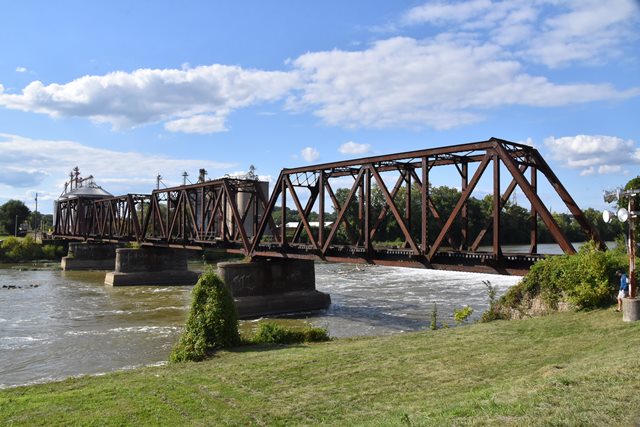
Truss elevation from northwest quadrant.
![]()


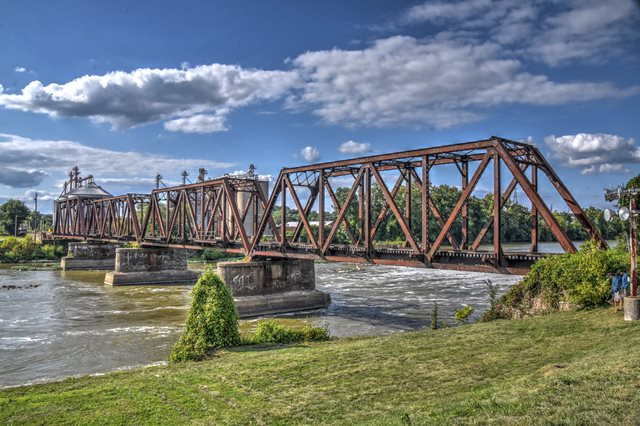


Truss elevation from southeast quadrant.
![]()


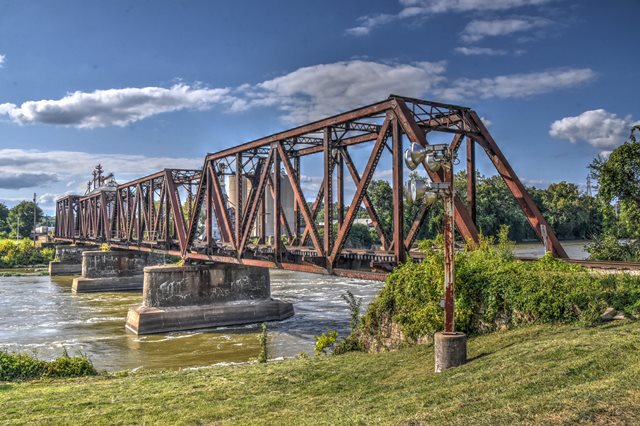
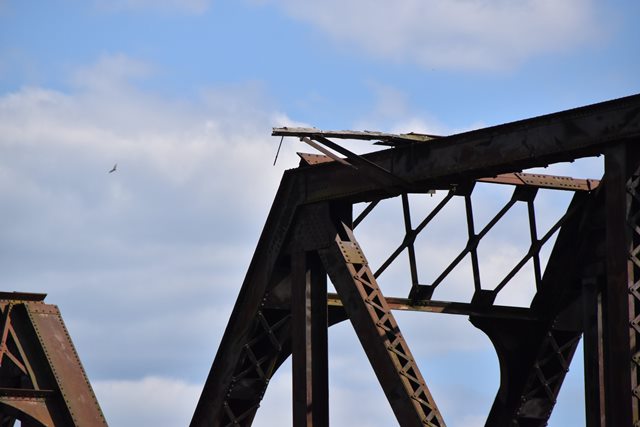
Truss oblique views from northwest quadrant.
![]()


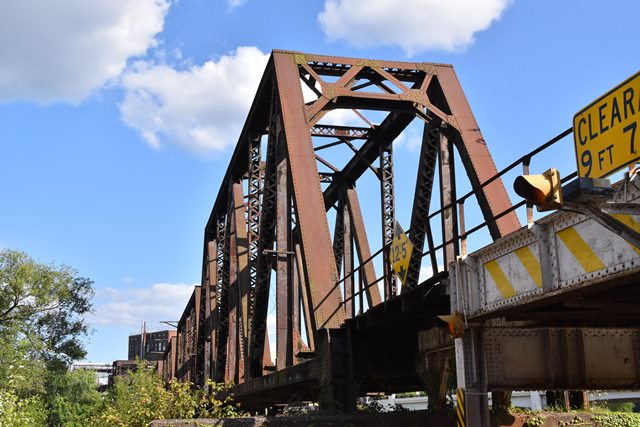
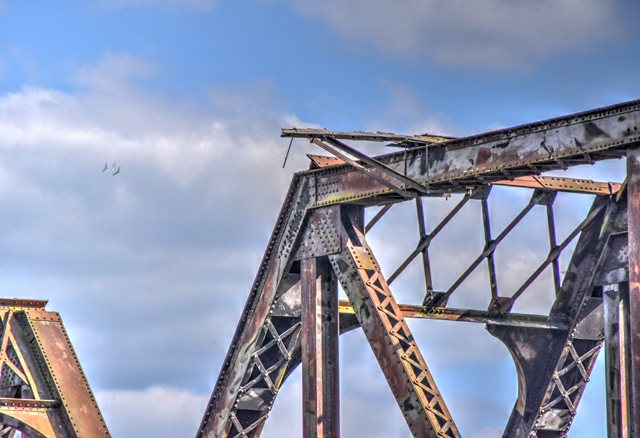
Truss portal views facing west.
![]()

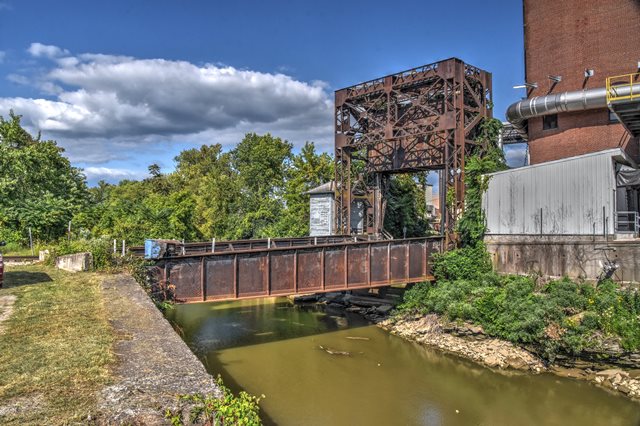


Bascule elevation from southwest quadrant.
![]()


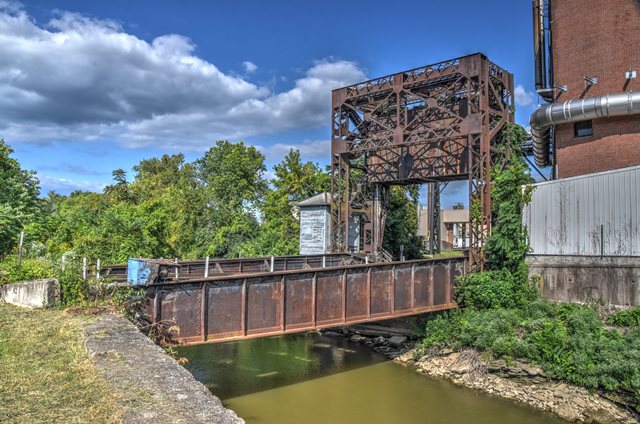
Bascule portal views facing east.
![]()


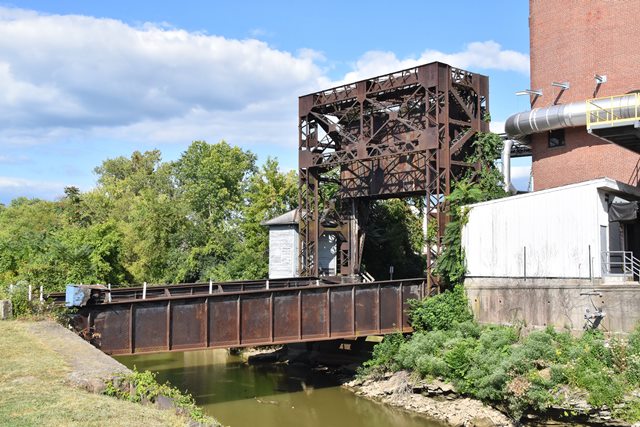
Oblique views of bascule from southwest quadrant.
![]()
![]()
![]()
![]()
Panoramic south elevation.
![]()


South elevation of land between bascule and truss spans.
![]()


South elevation of truss spans.
![]()


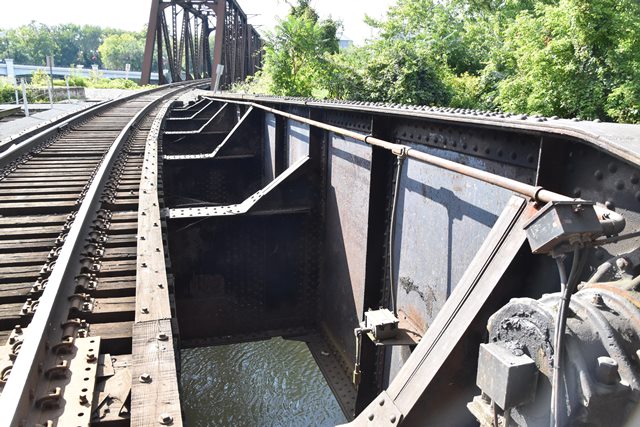
South elevation of individual truss spans.
![]()


Plate girder overpass span.
![]()
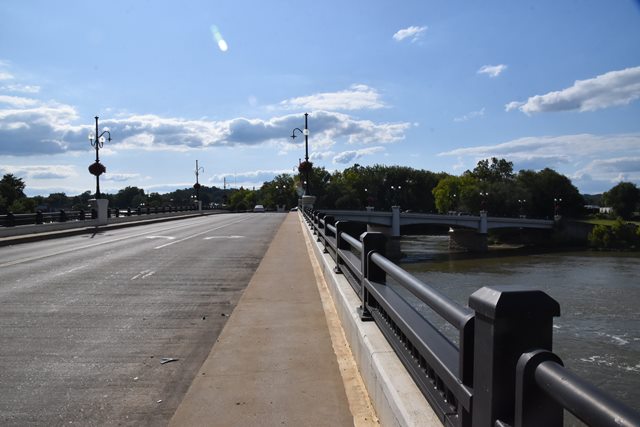
Signage and views about the famous "Y" bridge. The bridge today is modern and not historic, as it replaced a historic concrete arch "Y" bridge.
![]()
Bascule Details
![]()
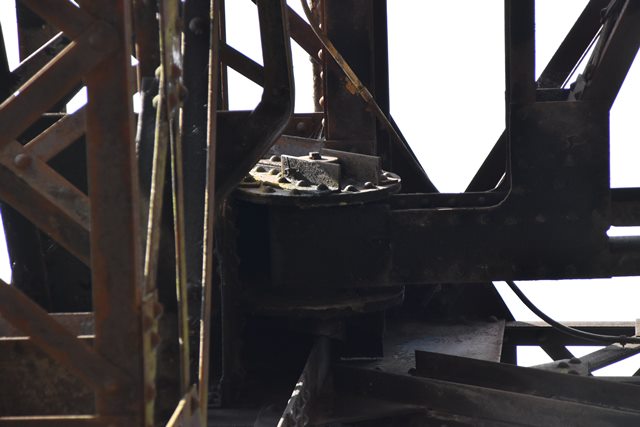
Main trunnion.
![]()


Counterweight trunnion.
![]()


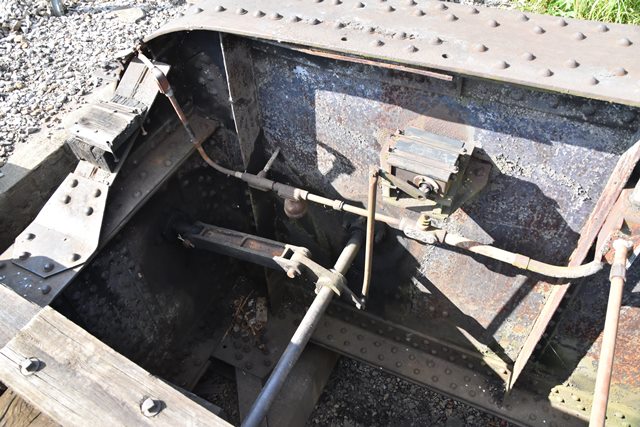
Details near link pin.
![]()
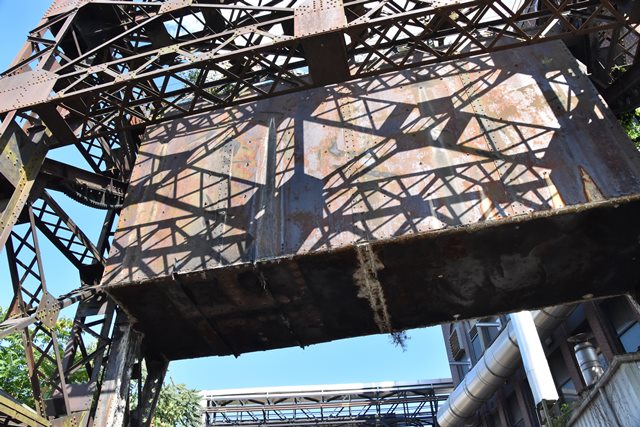


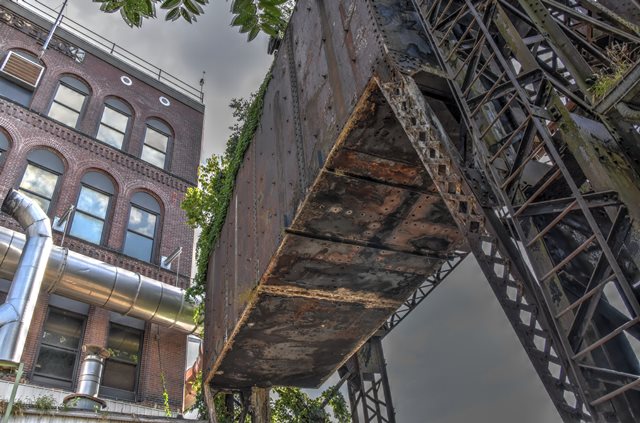

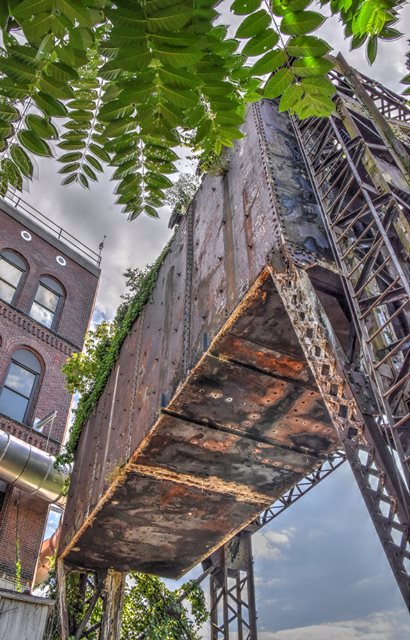
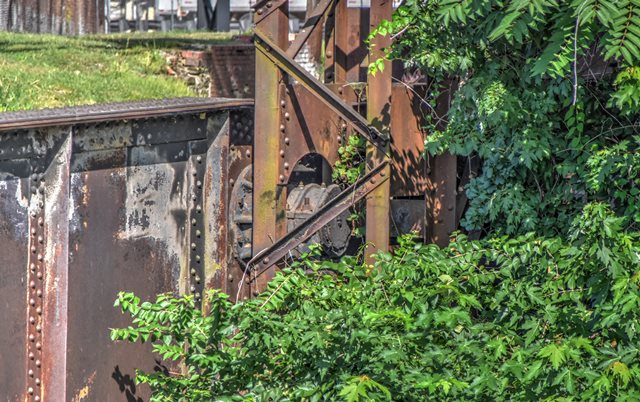
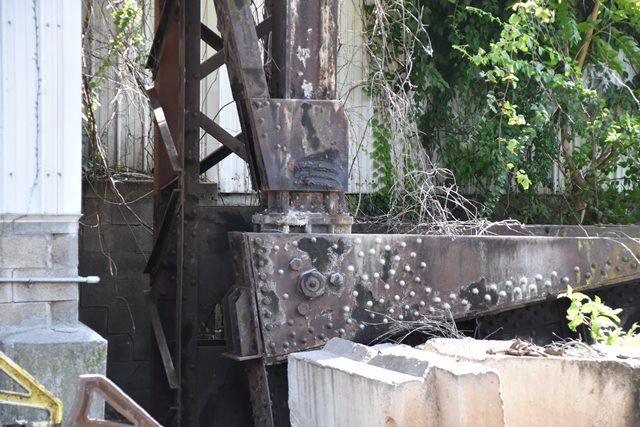
Counterweight.
![]()
Counterweight frame details.
![]()


Operating rack.
![]()


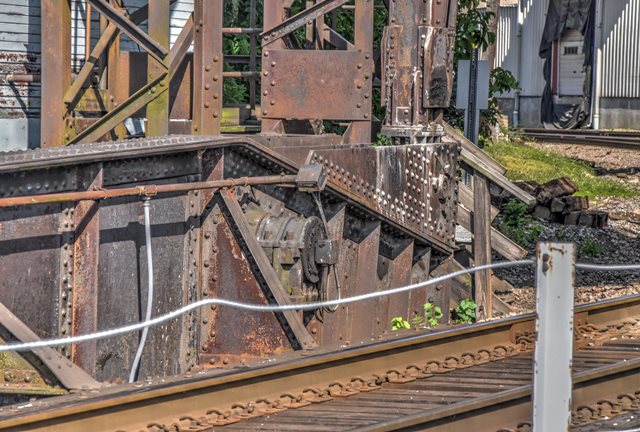
Details at tail lock.
![]()


Tail lock motor.
![]()


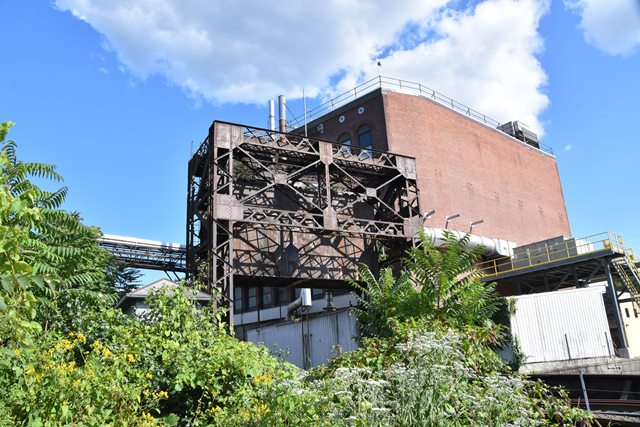
Bridgetender house.
![]()


Leaf girder.
![]()


Leaf girder details.
![]()

Girder under counterweight.
![]()


Abutment.
![]()
Through Truss Details
![]()


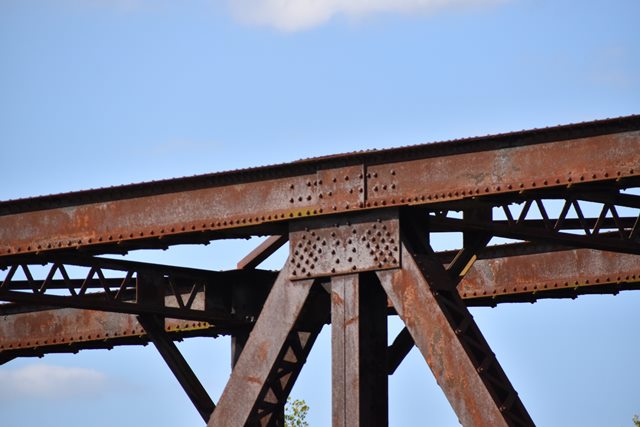


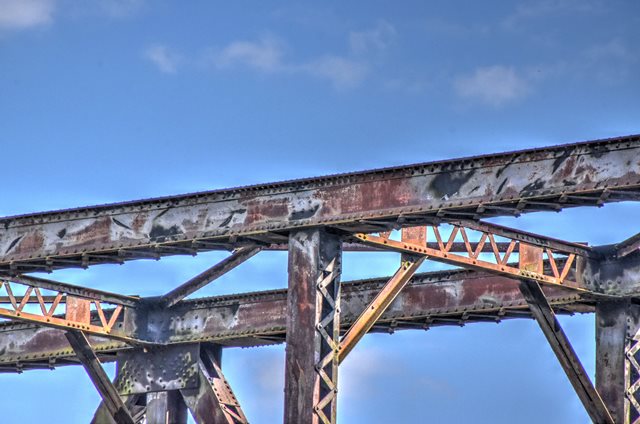


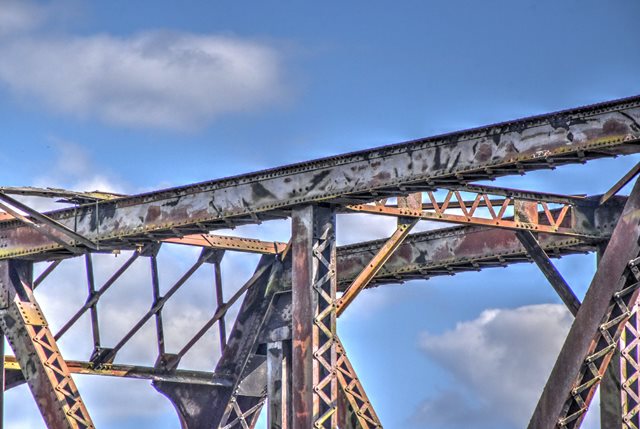
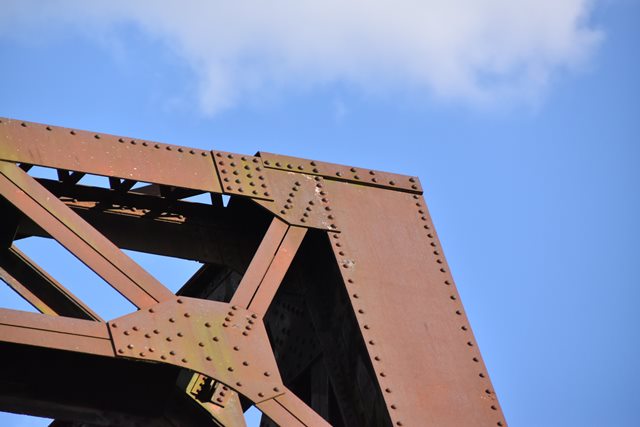
Top chord connections as viewed from beside bridge.
![]()


Bottom chord connections as viewed from beside bridge.
![]()


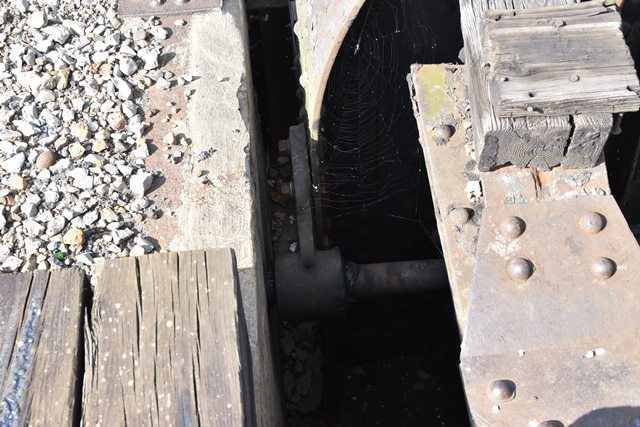
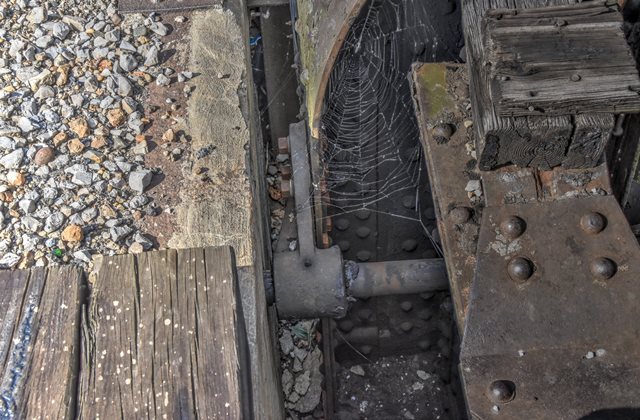
Bearings.
![]()


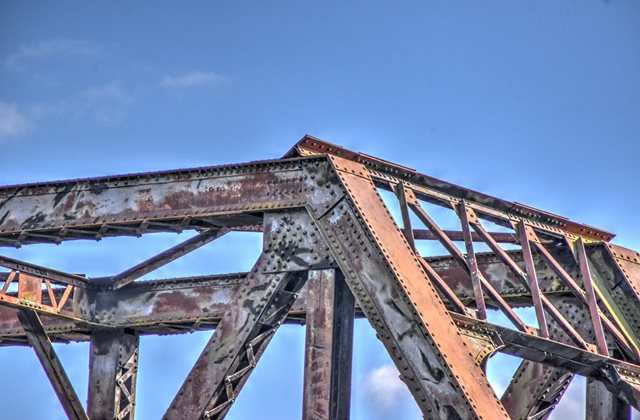
Portal bracing.
![]()


Piers.
![]()

West abutment.
![]()


Surrounding area.
![]()
![]()
| Back |
| Home |
| Top |

![]()