
Uncredited photos on this page taken by: Nathan Holth and Rick McOmber. Unless stated in a caption, all photos are Copyright with All Rights Reserved. Learn about reuse of our photos.
![]()


Original / Full Size
Portal views.
![]()


Original / Full Size
Portal views on bridge.
![]()


Original / Full Size
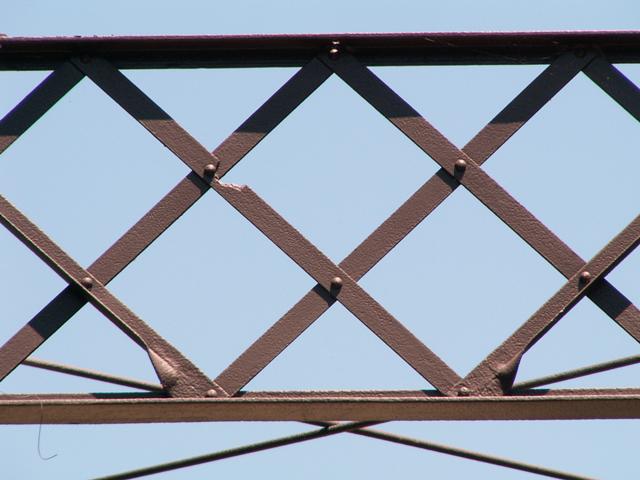
Views of truss web.
![]()


Original / Full Size
Oblique views.
![]()


Original / Full Size
Plaques.
![]()

Original / Full Size
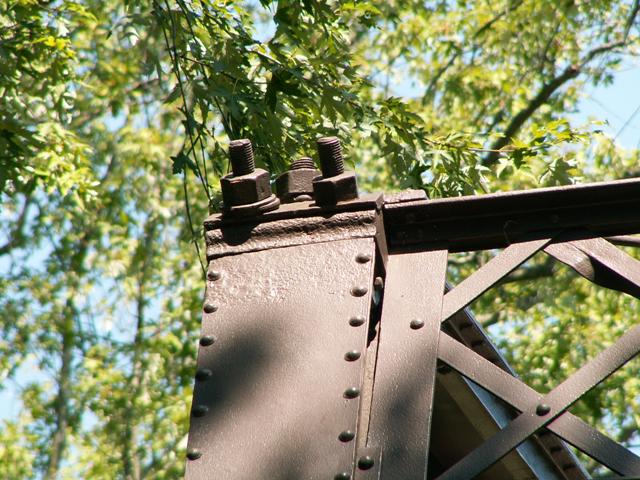
Vertical member.
![]()

Original / Full Size
Information on area history.
![]()
Lattice sway bracing. If you look closely, you can see that some of the lattice is made of angles, and where they end, they were bent and flattened to fit in between back-to-back angles.
![]()


Plaques.
![]()

Carnegie brand.
![]()


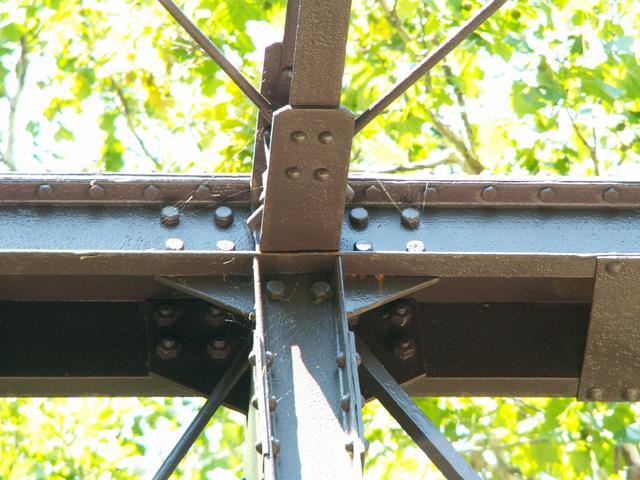
Top chord connections as viewed from beside bridge.
![]()


Top chord connections as viewed from on bridge.
![]()


Bottom chord connections as viewed from on bridge.
![]()


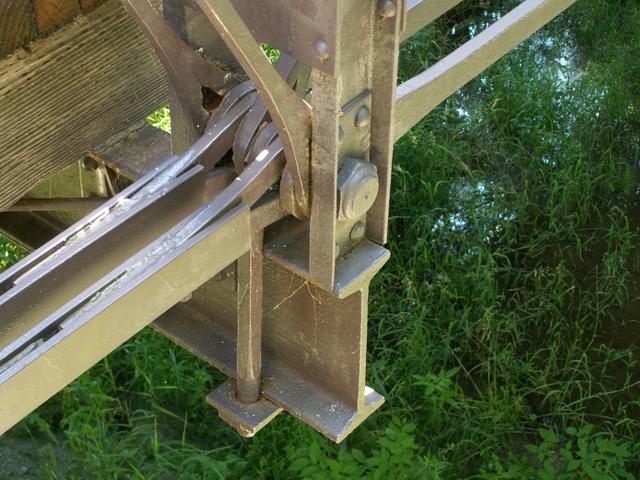
Bottom chord connections as viewed from beside bridge.
![]()


Vertical members.
![]()

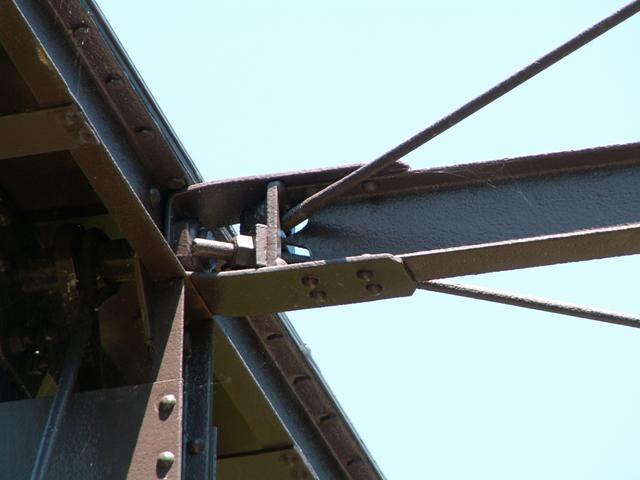
Turnbuckle.
![]()

Bottom chord section that is a compression design built-up beam rather than the usual tension eye bar.
![]()
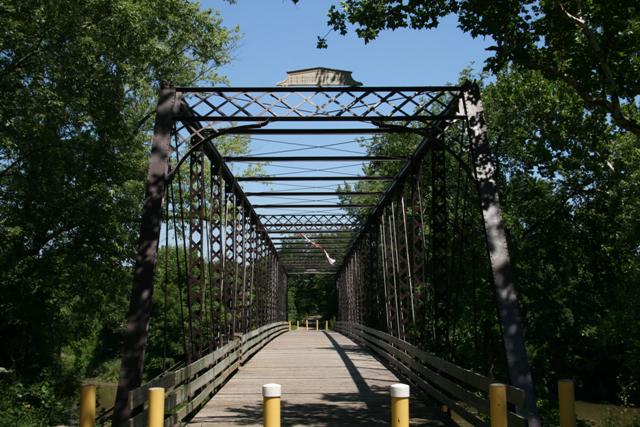
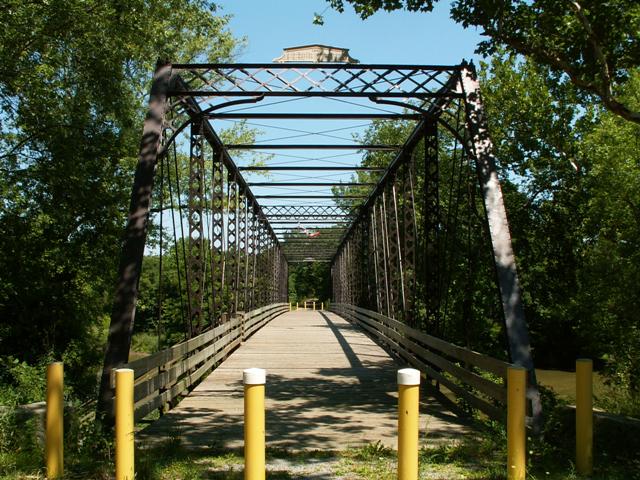

Portal views.
![]()


Oblique views.
![]()


Portal views on bridge.
![]()


Views of truss web.
![]()

Information on area history.
![]()
![]()
| Back |
| Home |
| Top |

![]()