Uncredited photos on this page taken by: Nathan Holth. Unless stated in a caption, all photos are Copyright with All Rights Reserved. Learn about reuse of our photos.
![]()


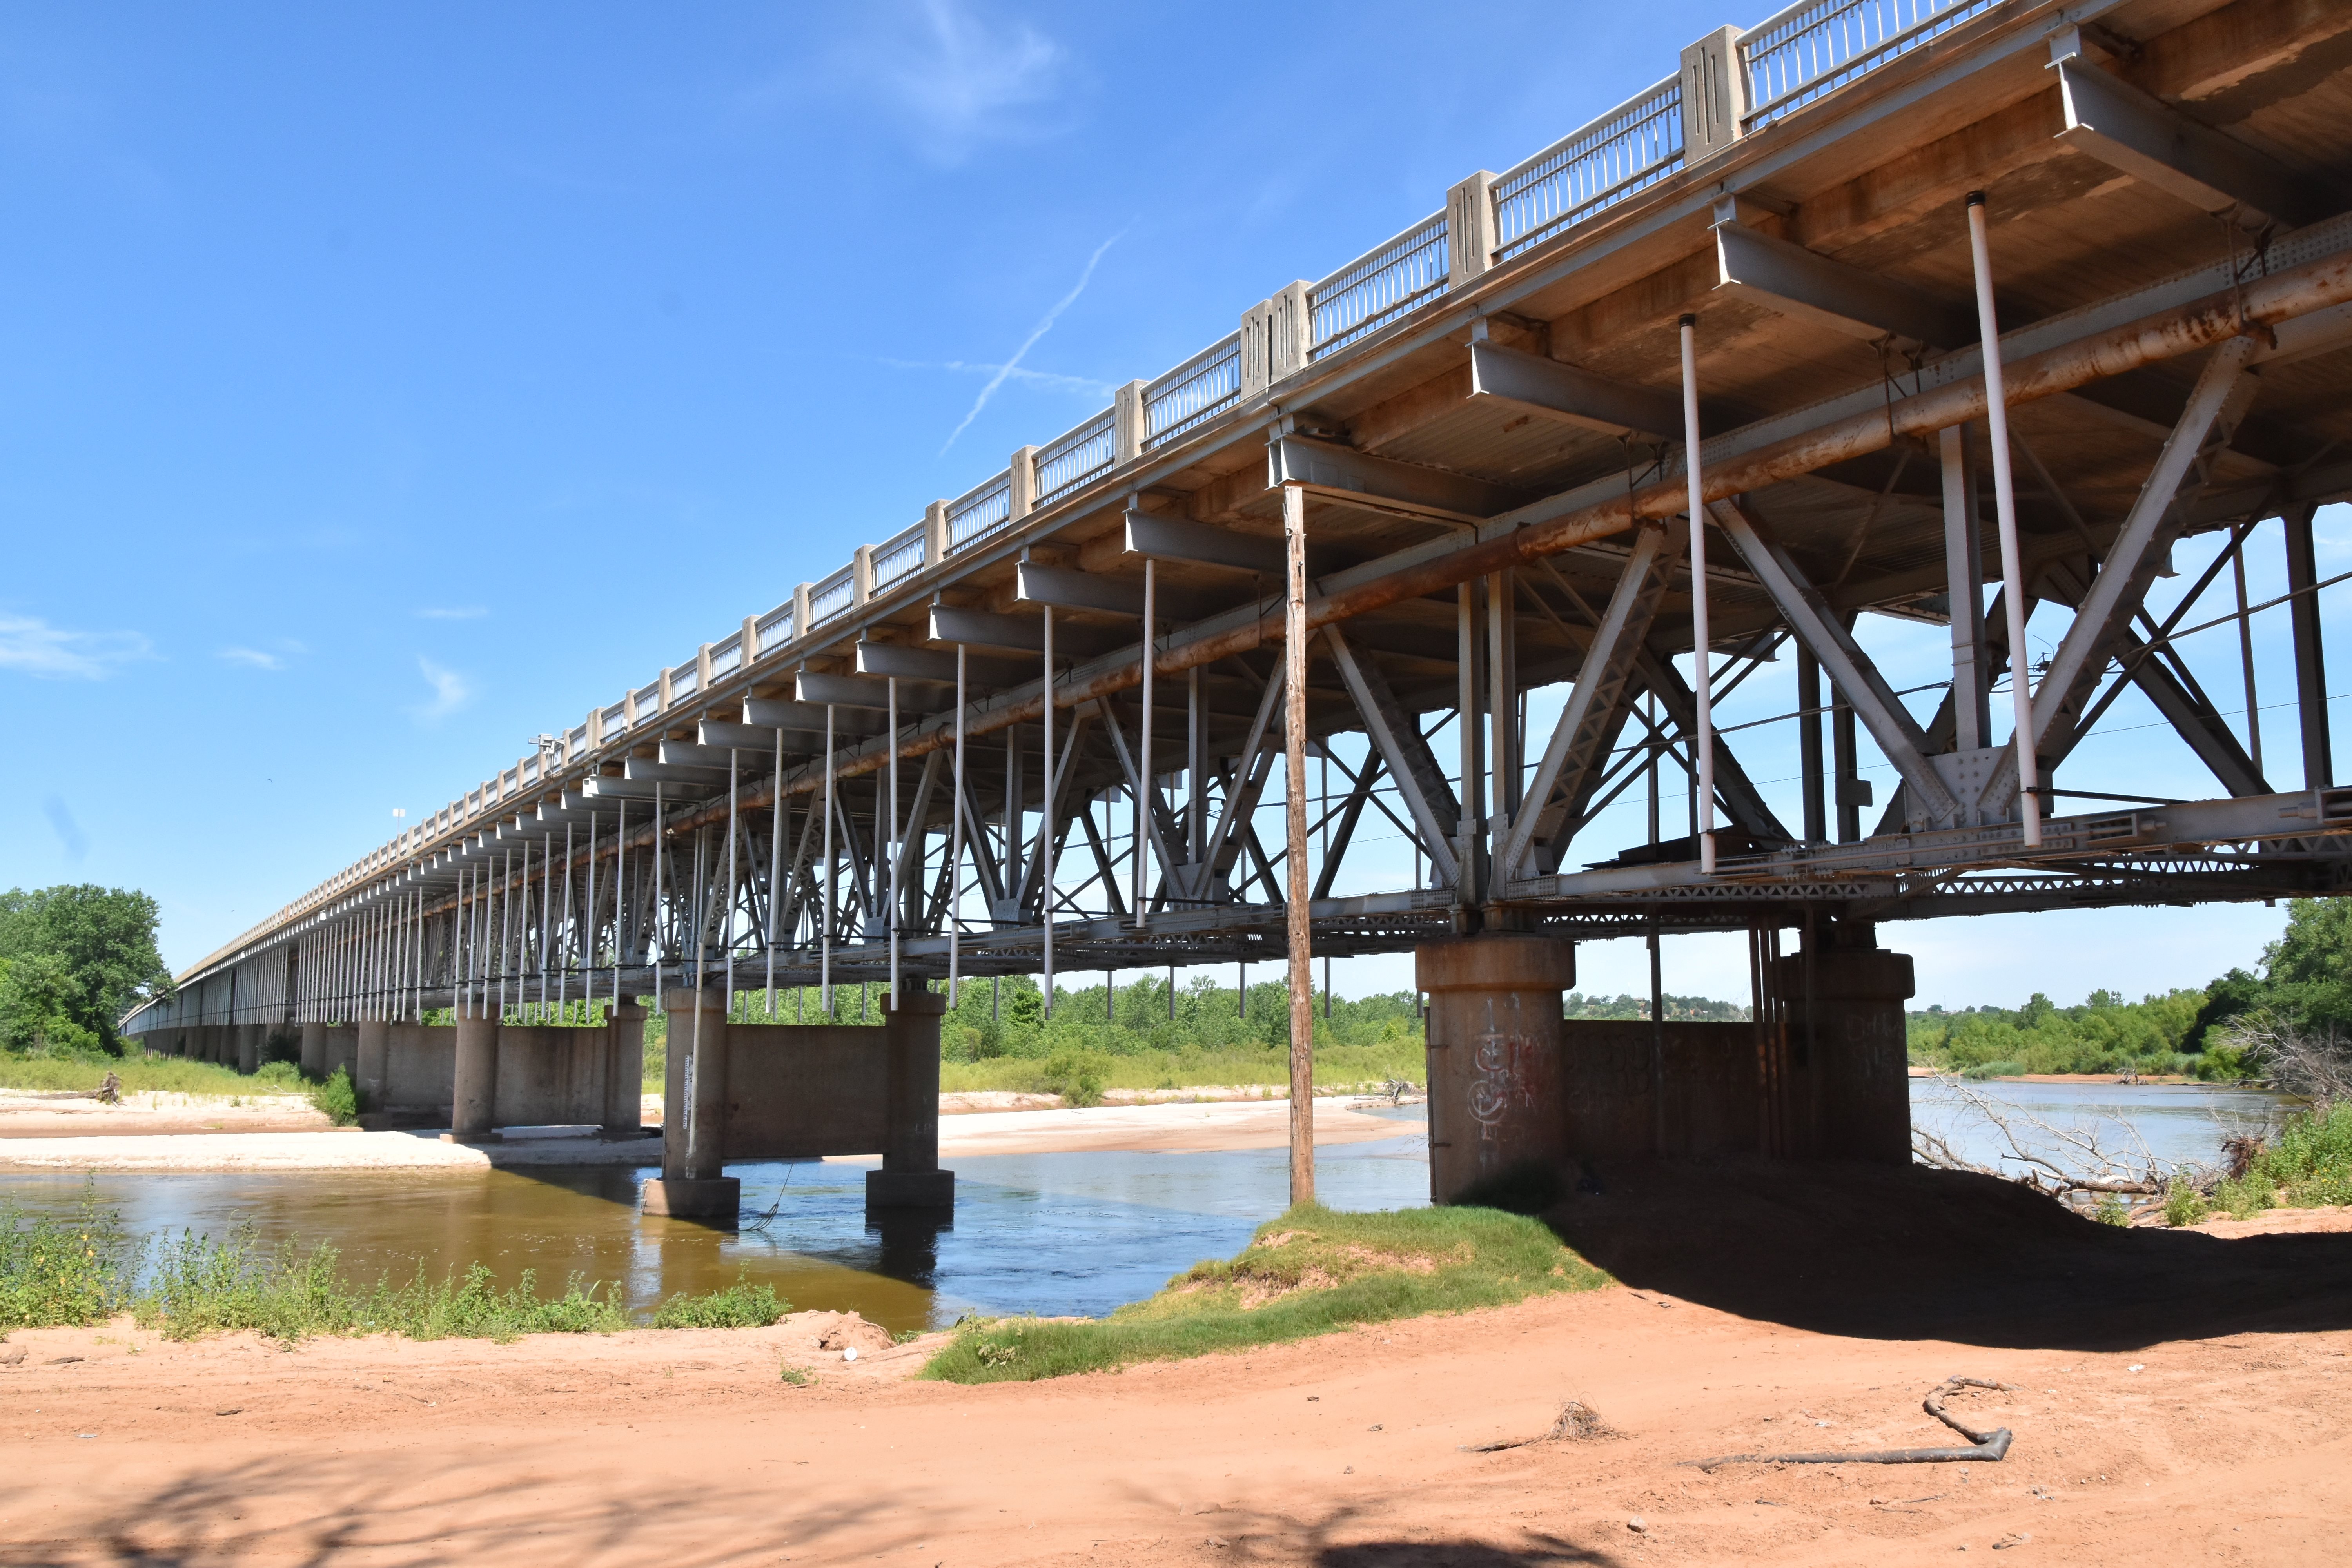
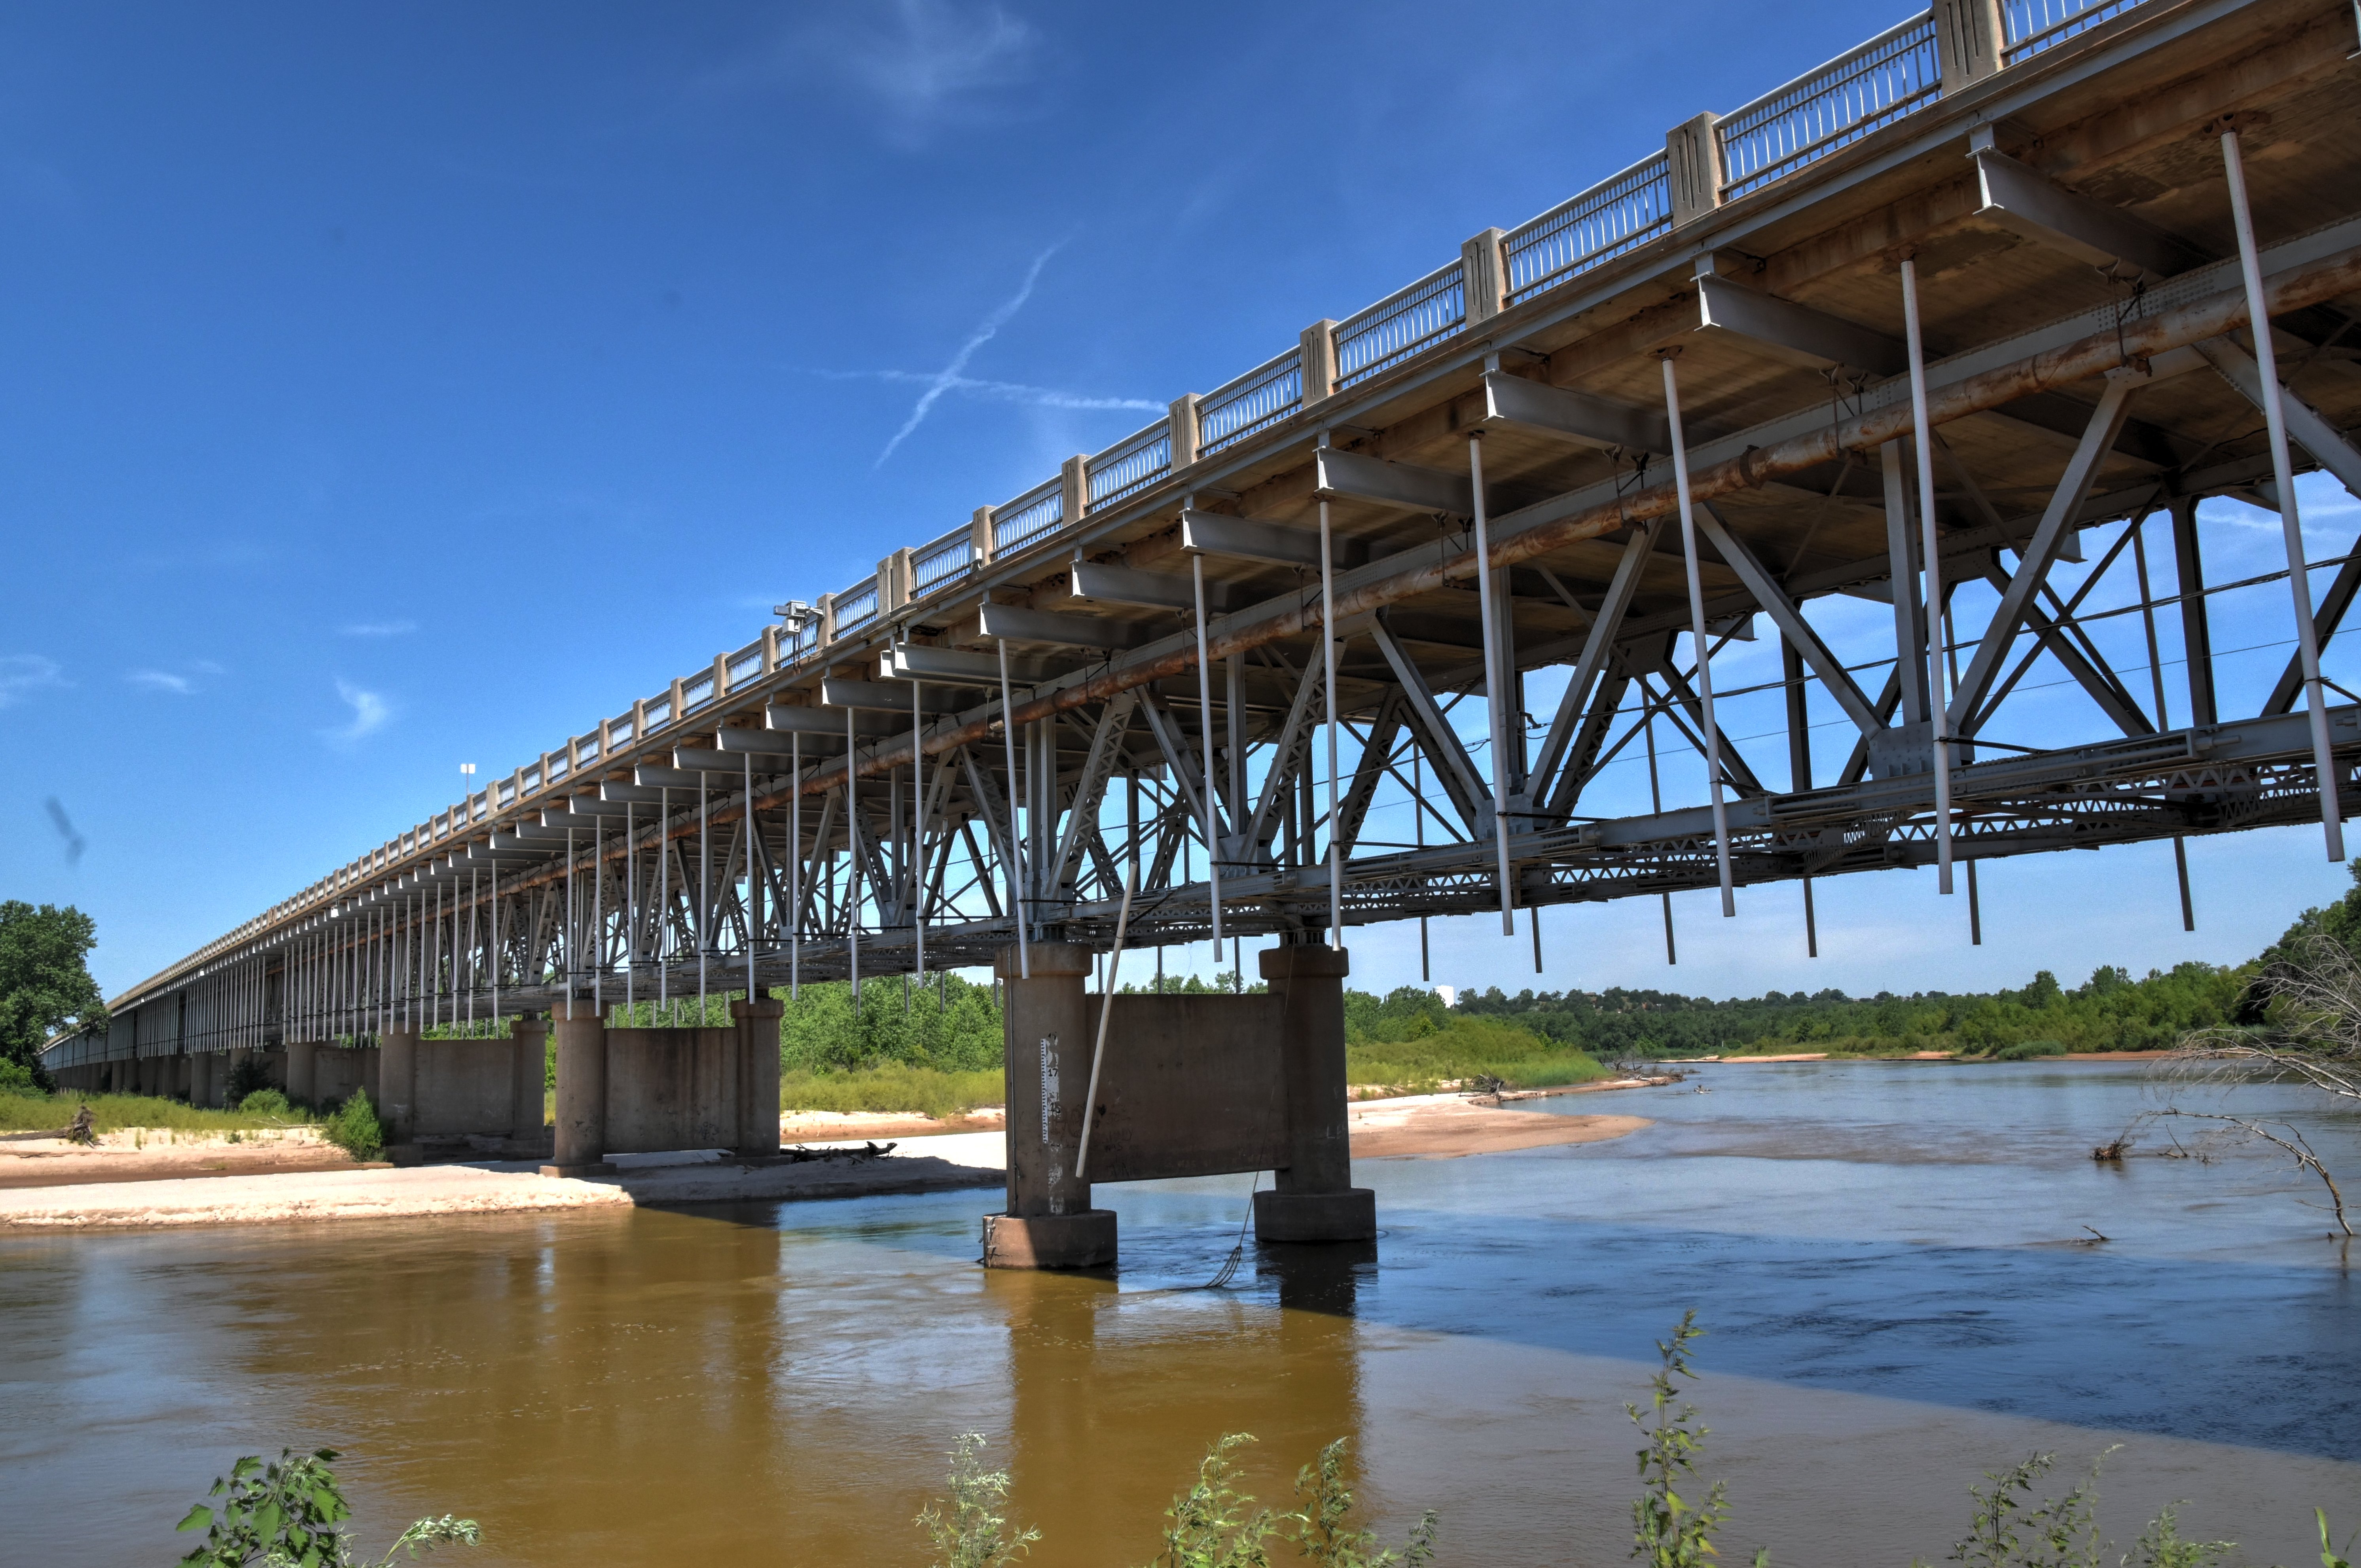
Views beside bridge from northeast quadrant.
![]()
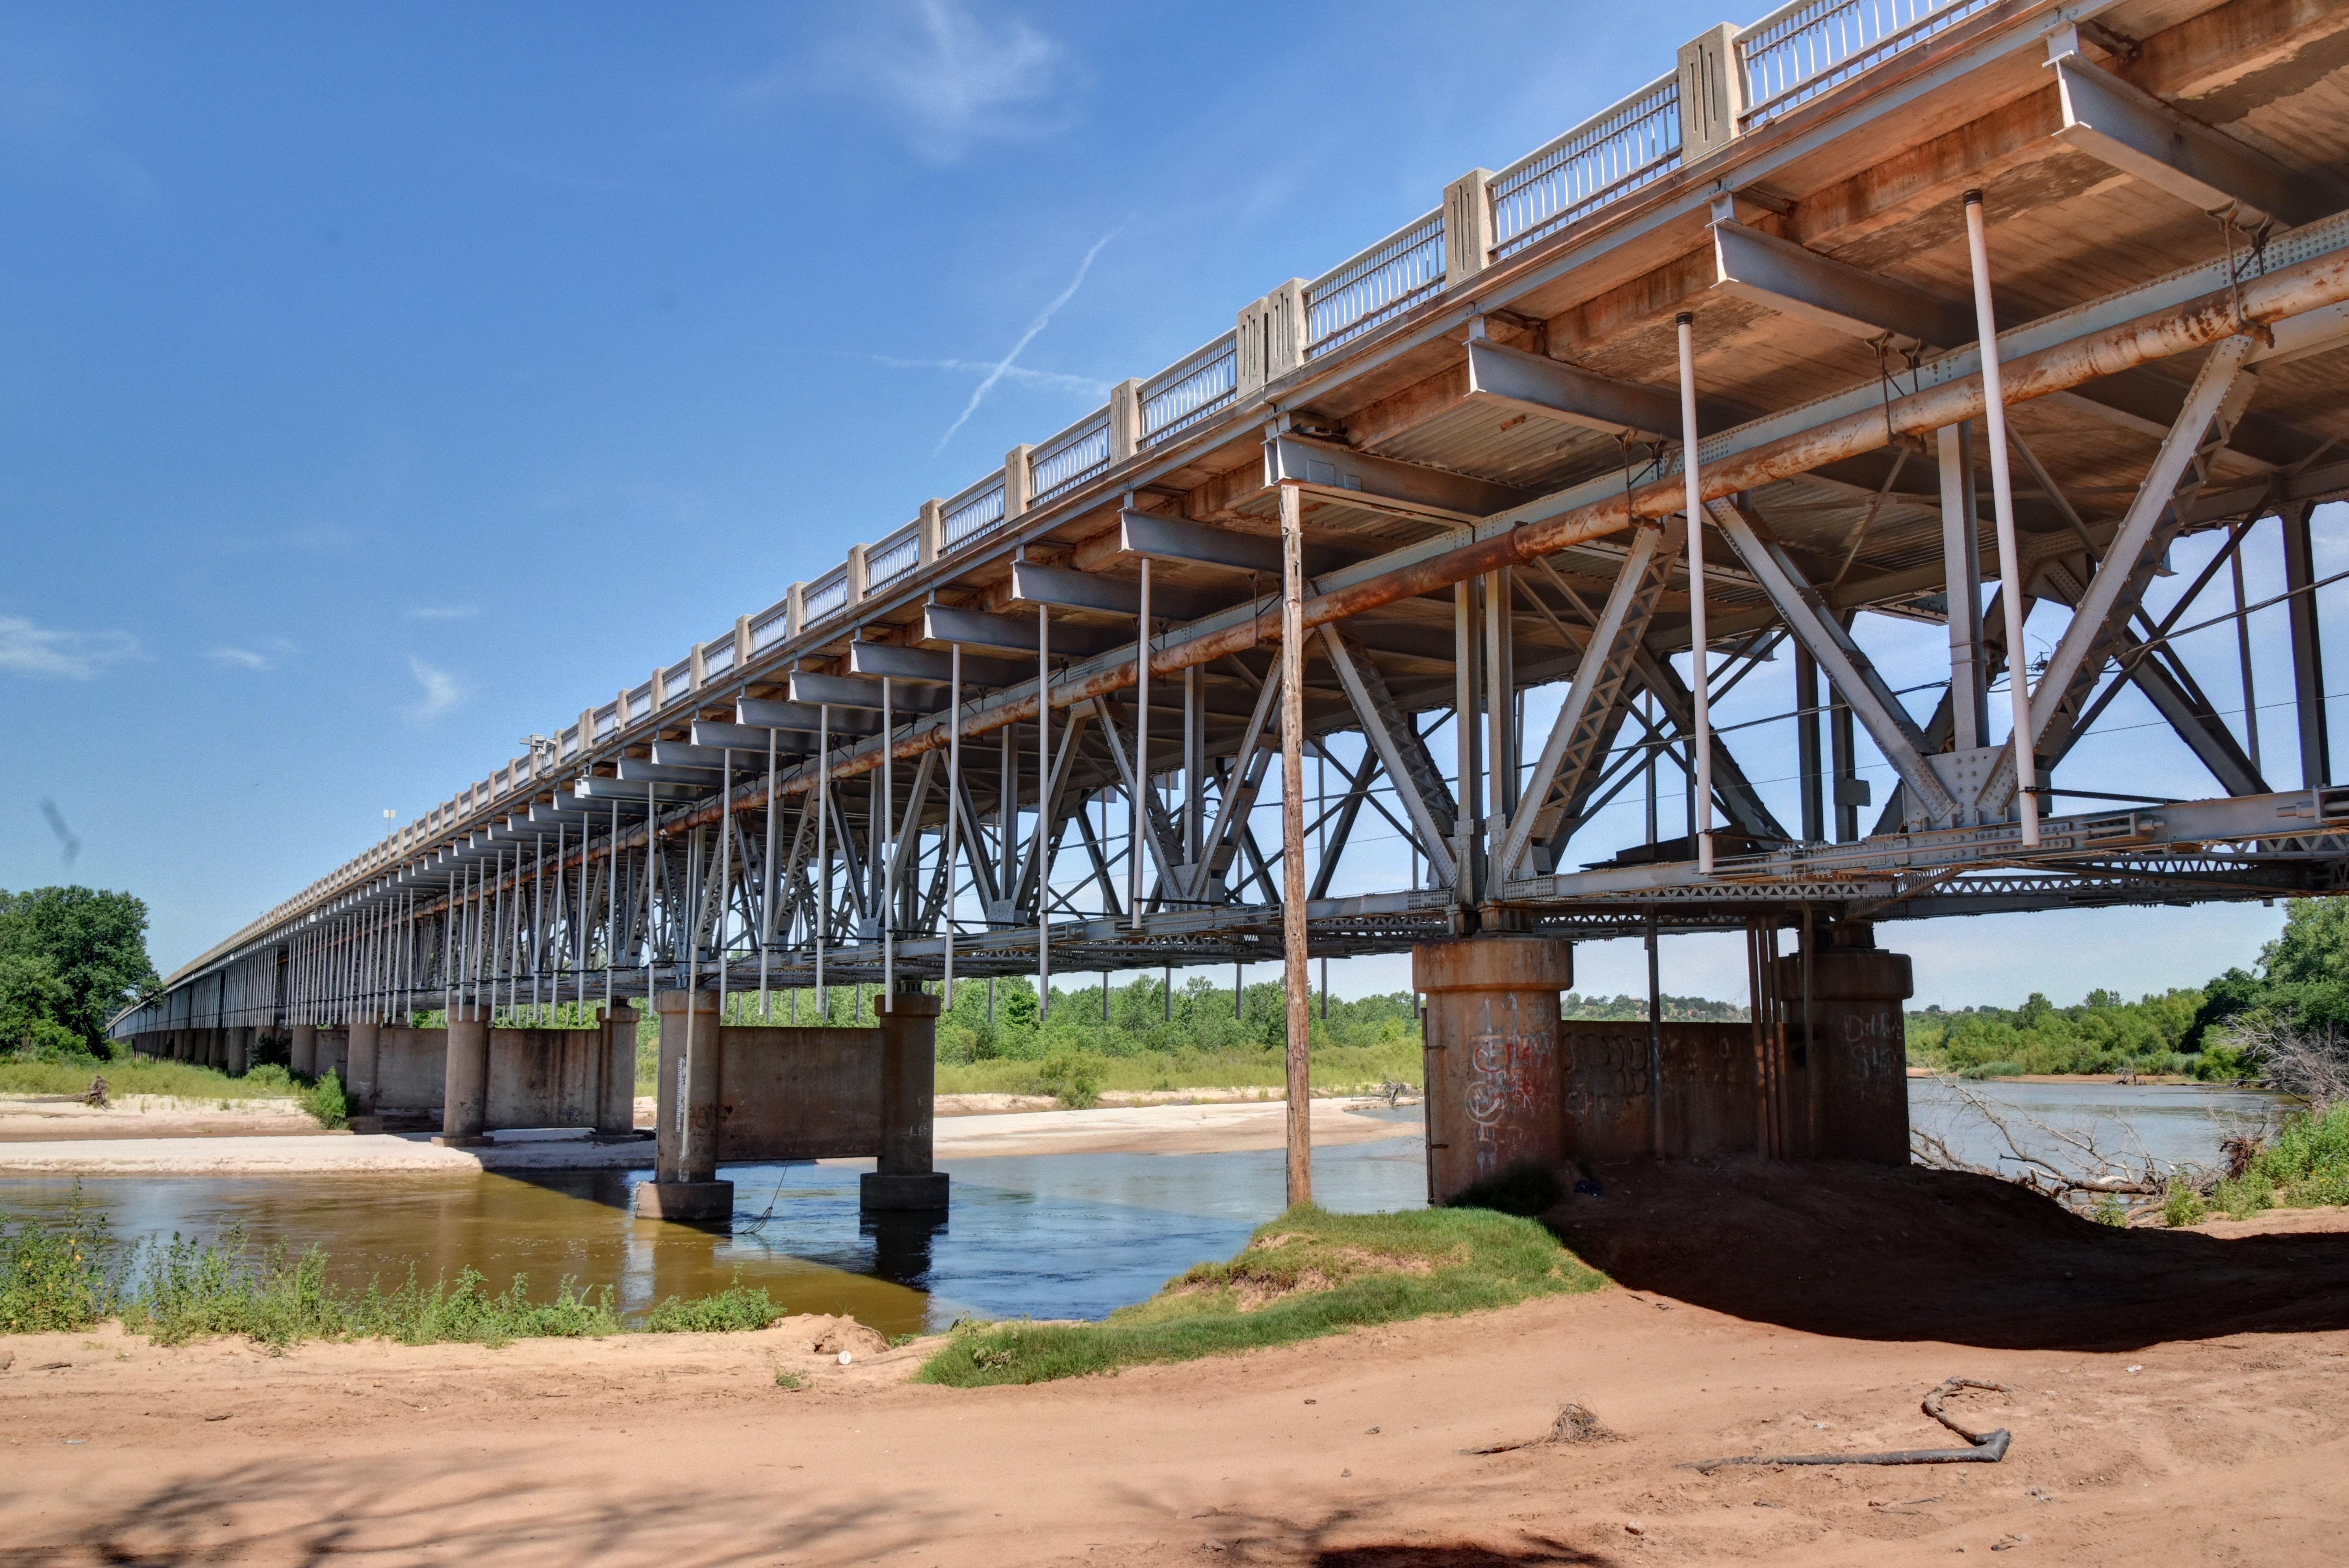
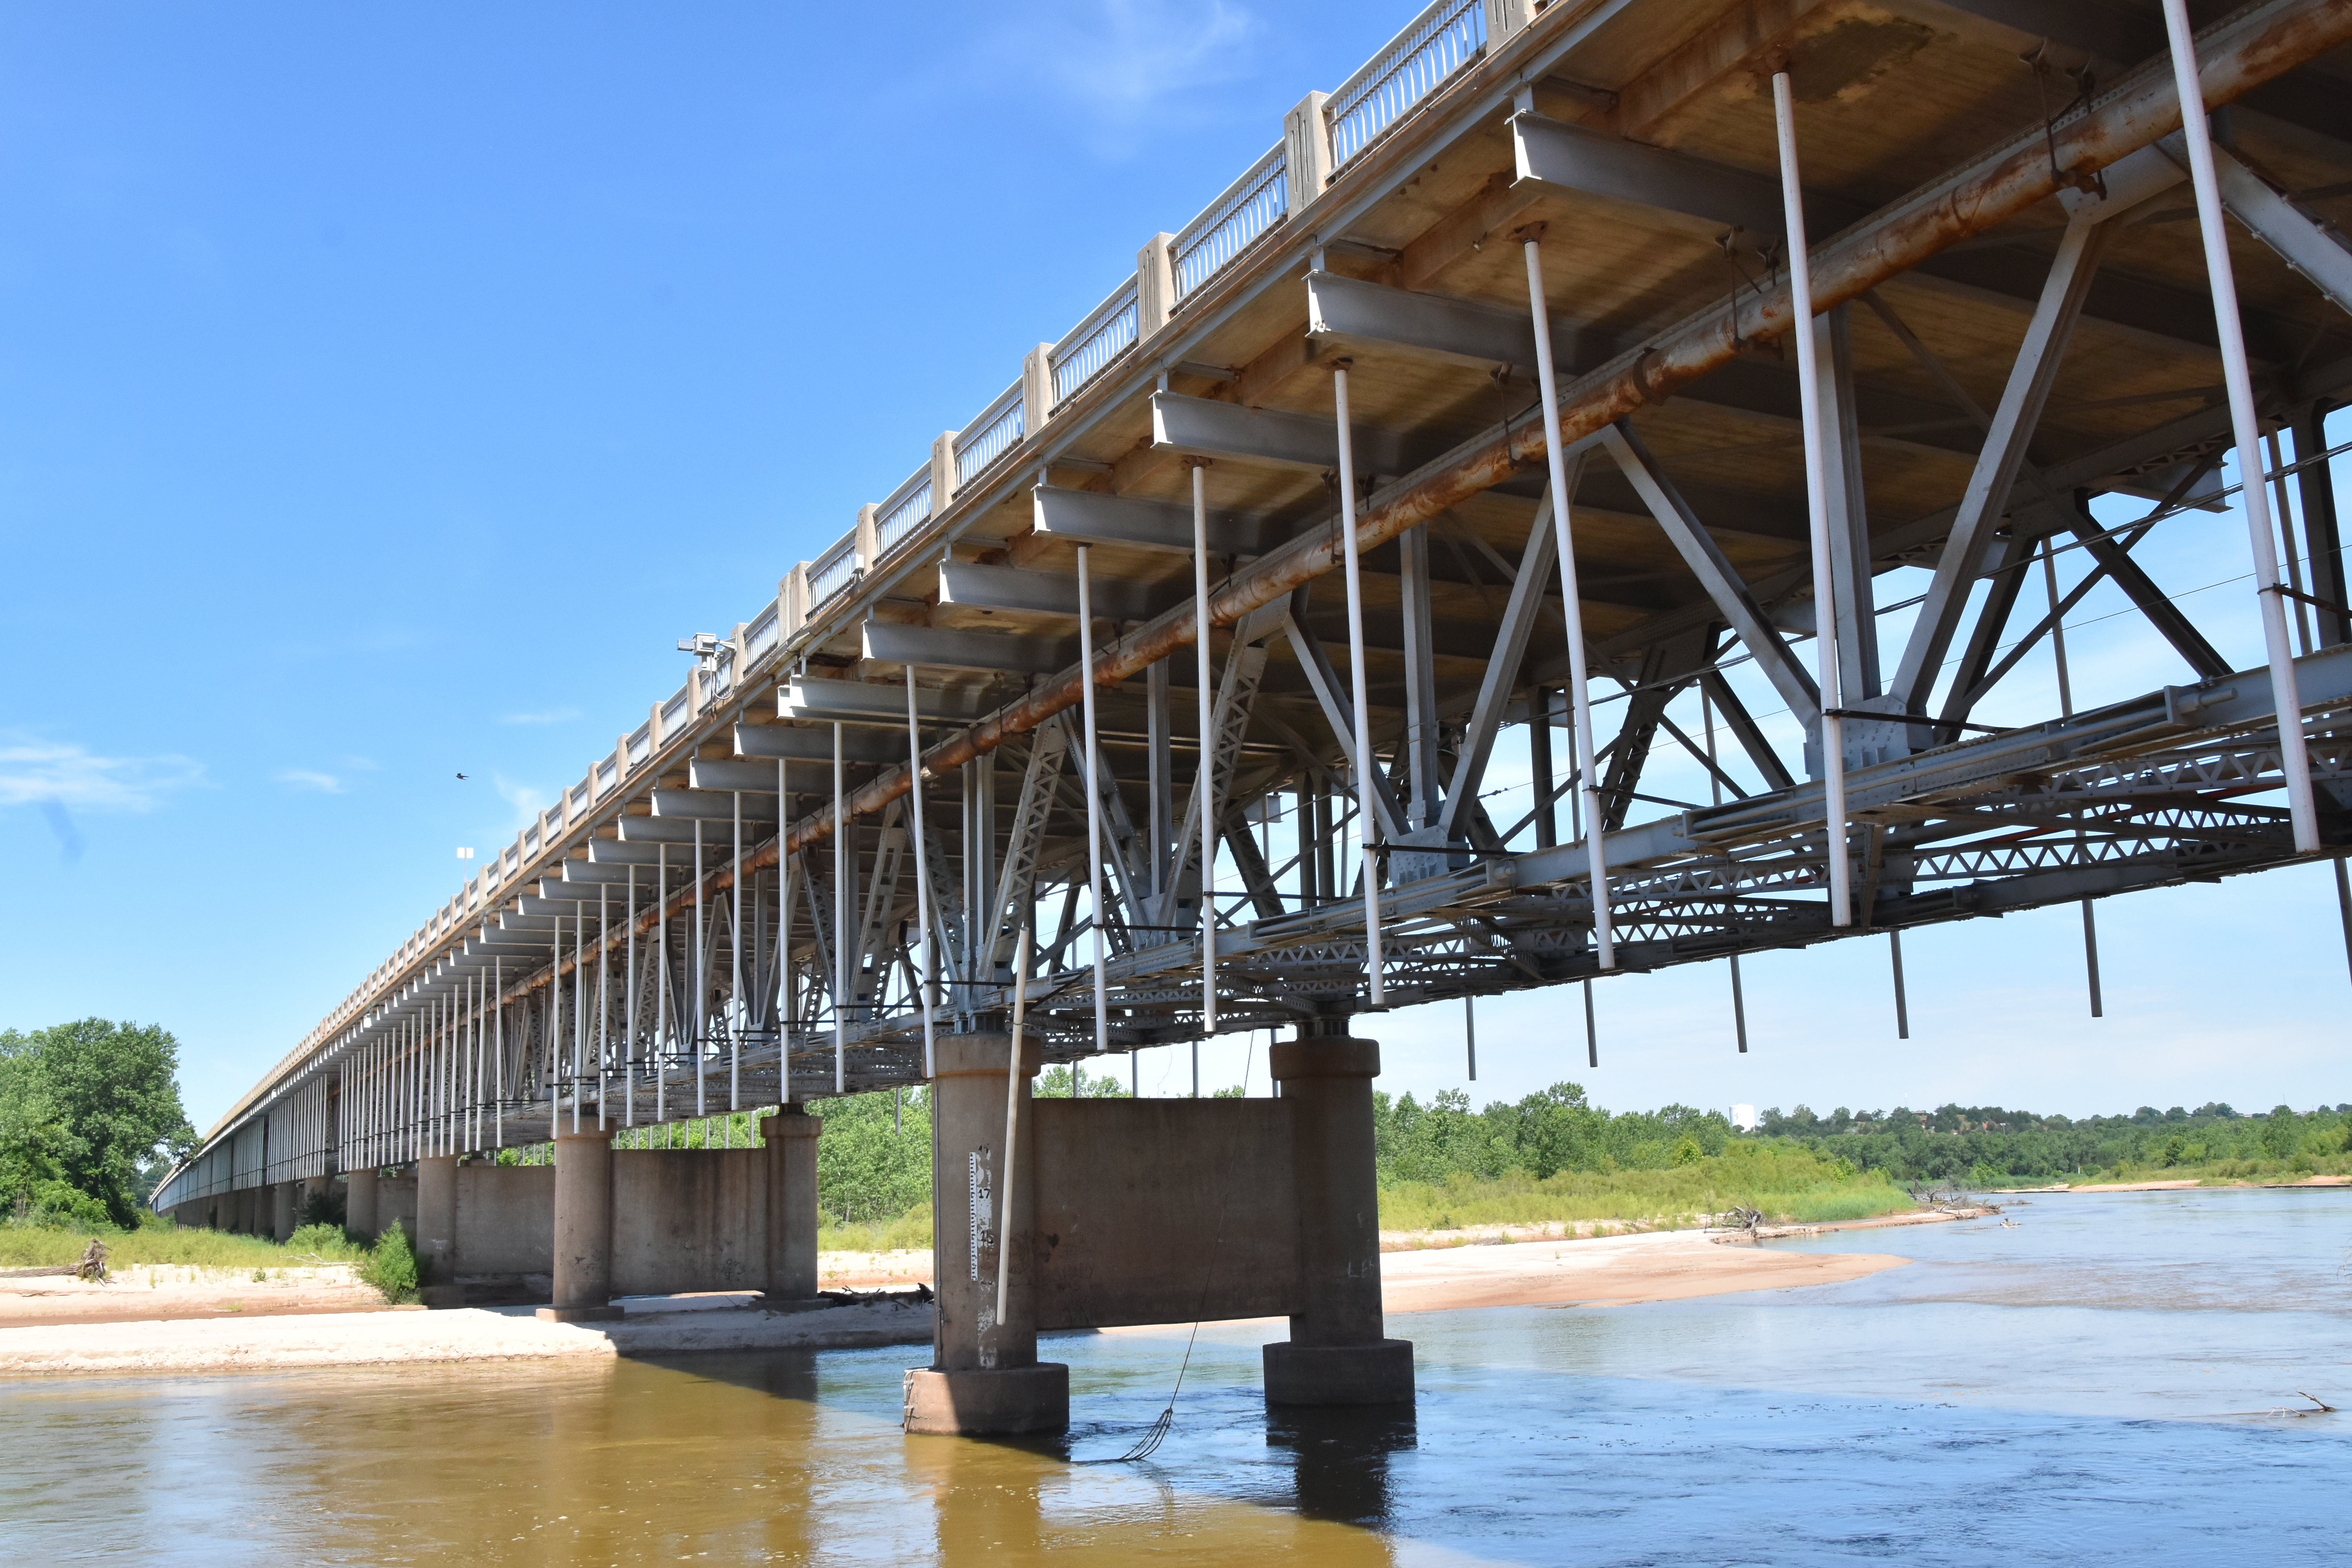
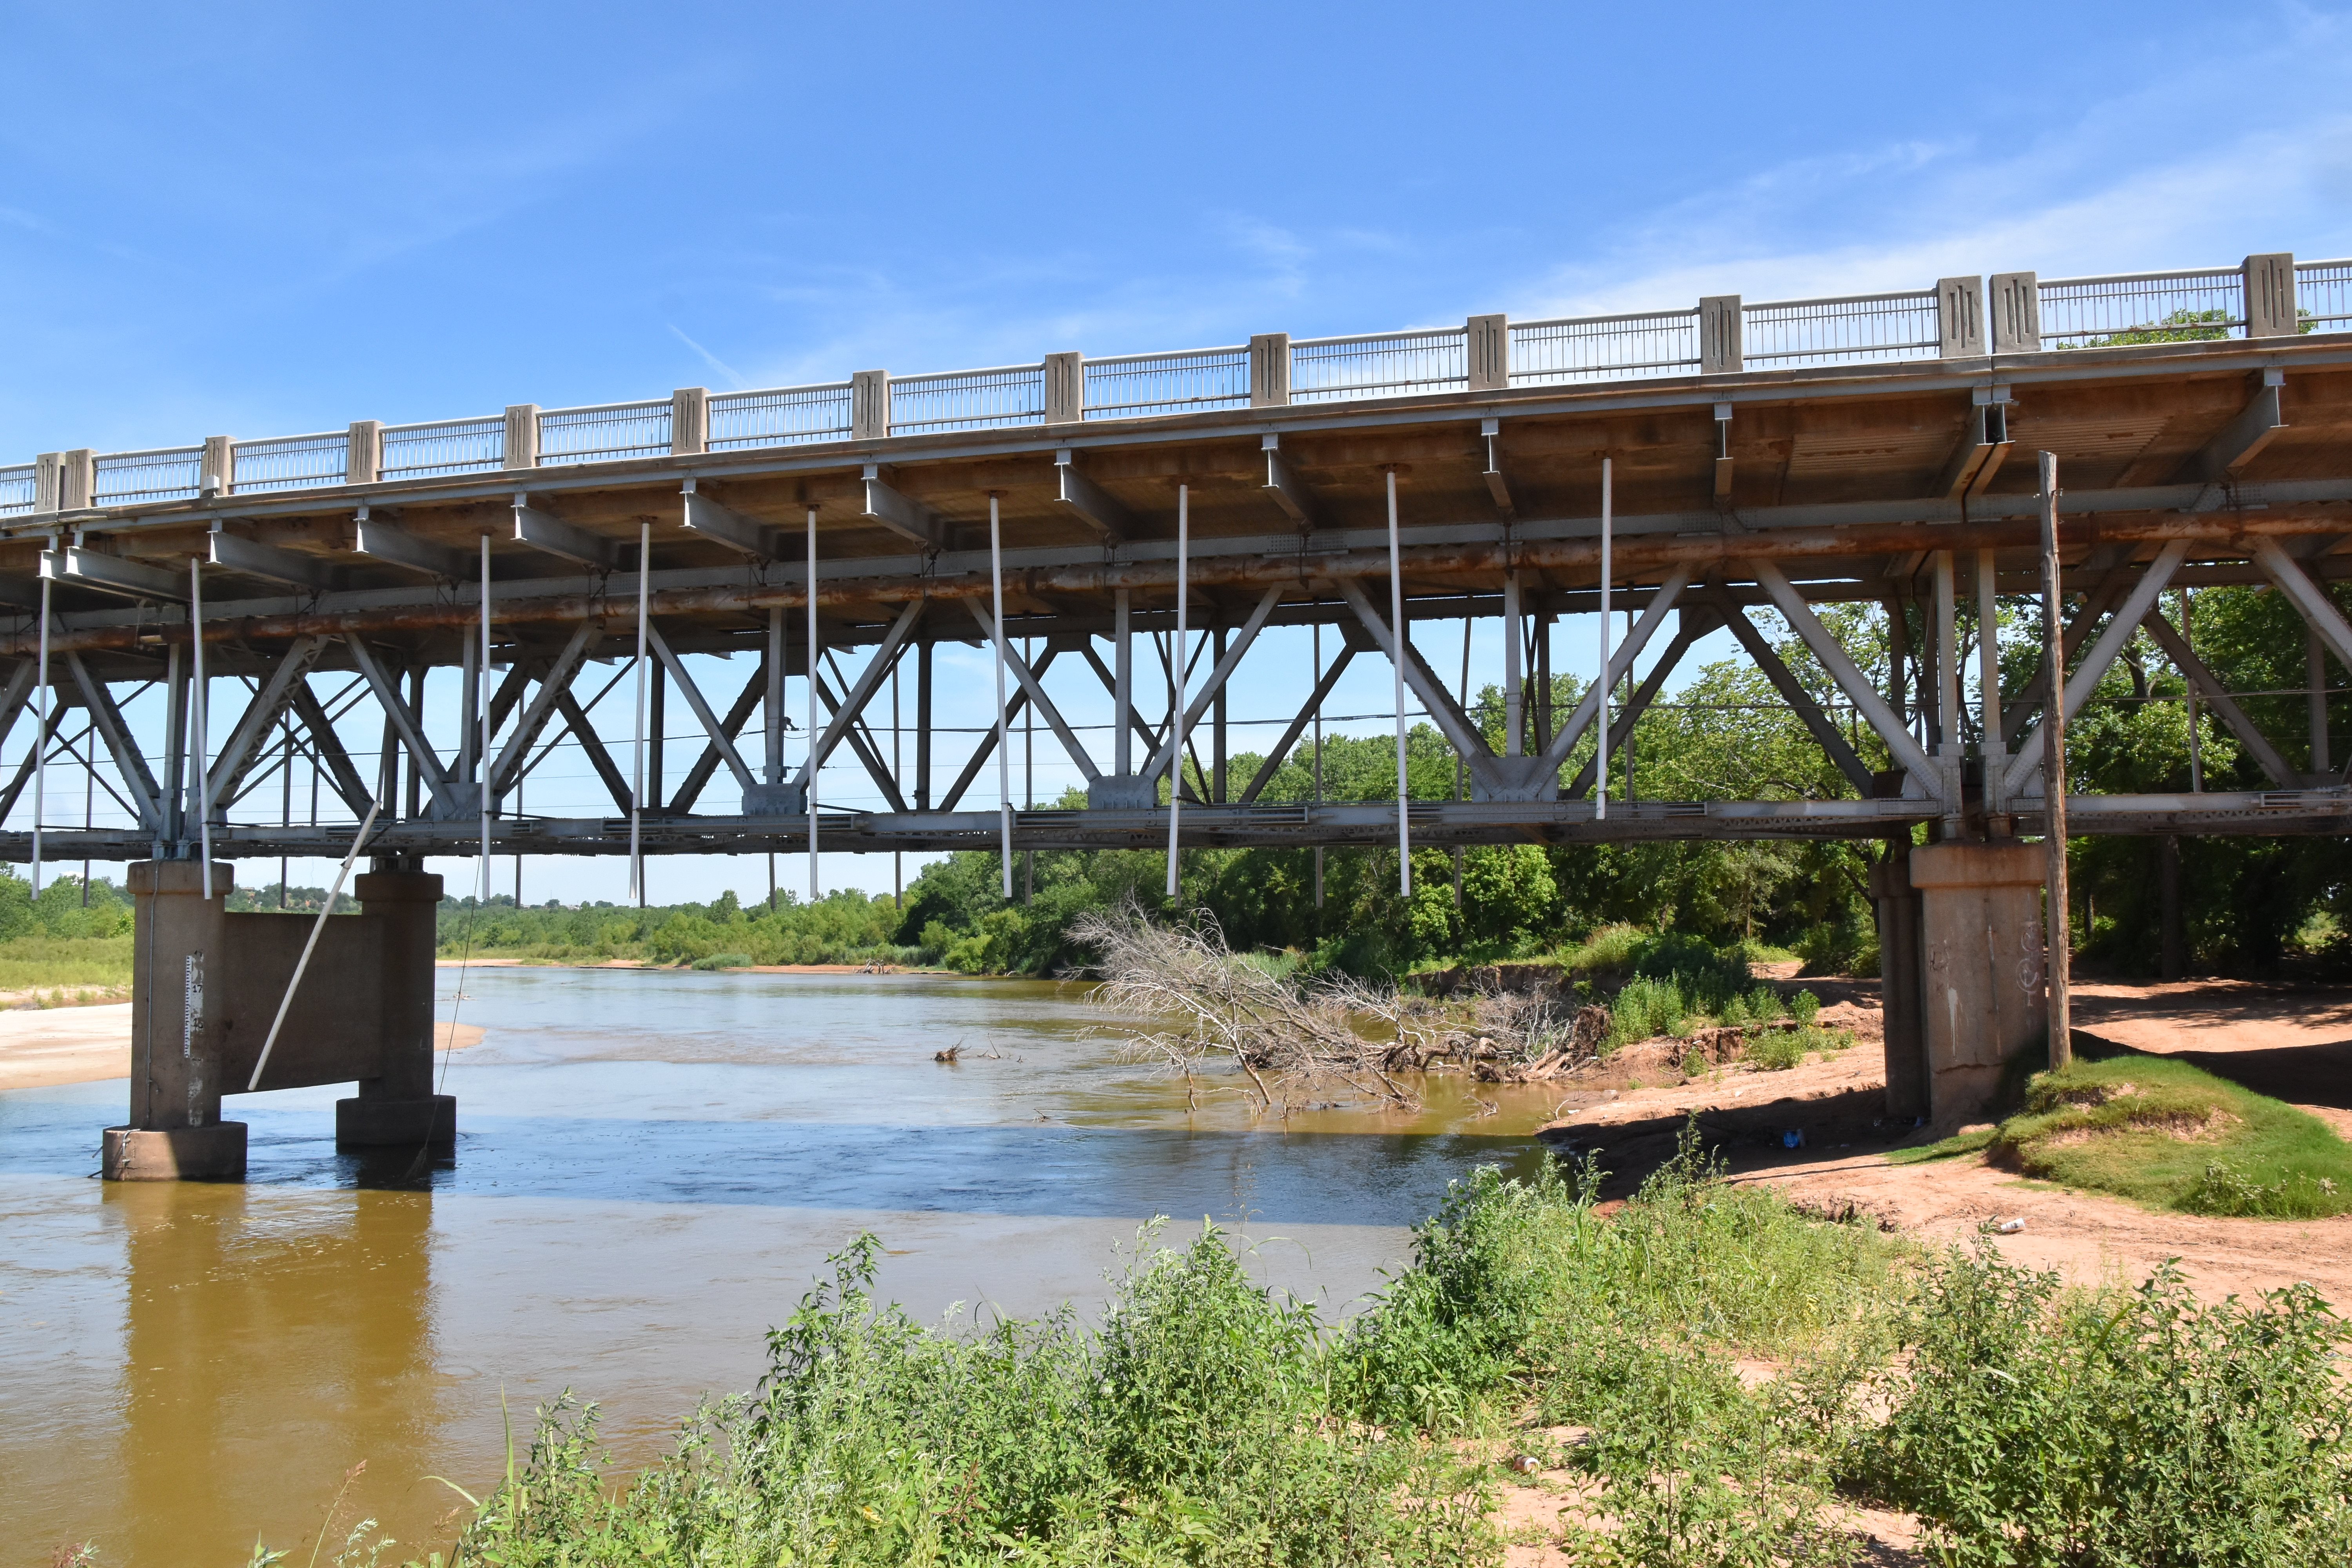
Views beside bridge from southeast quadrant.
![]()


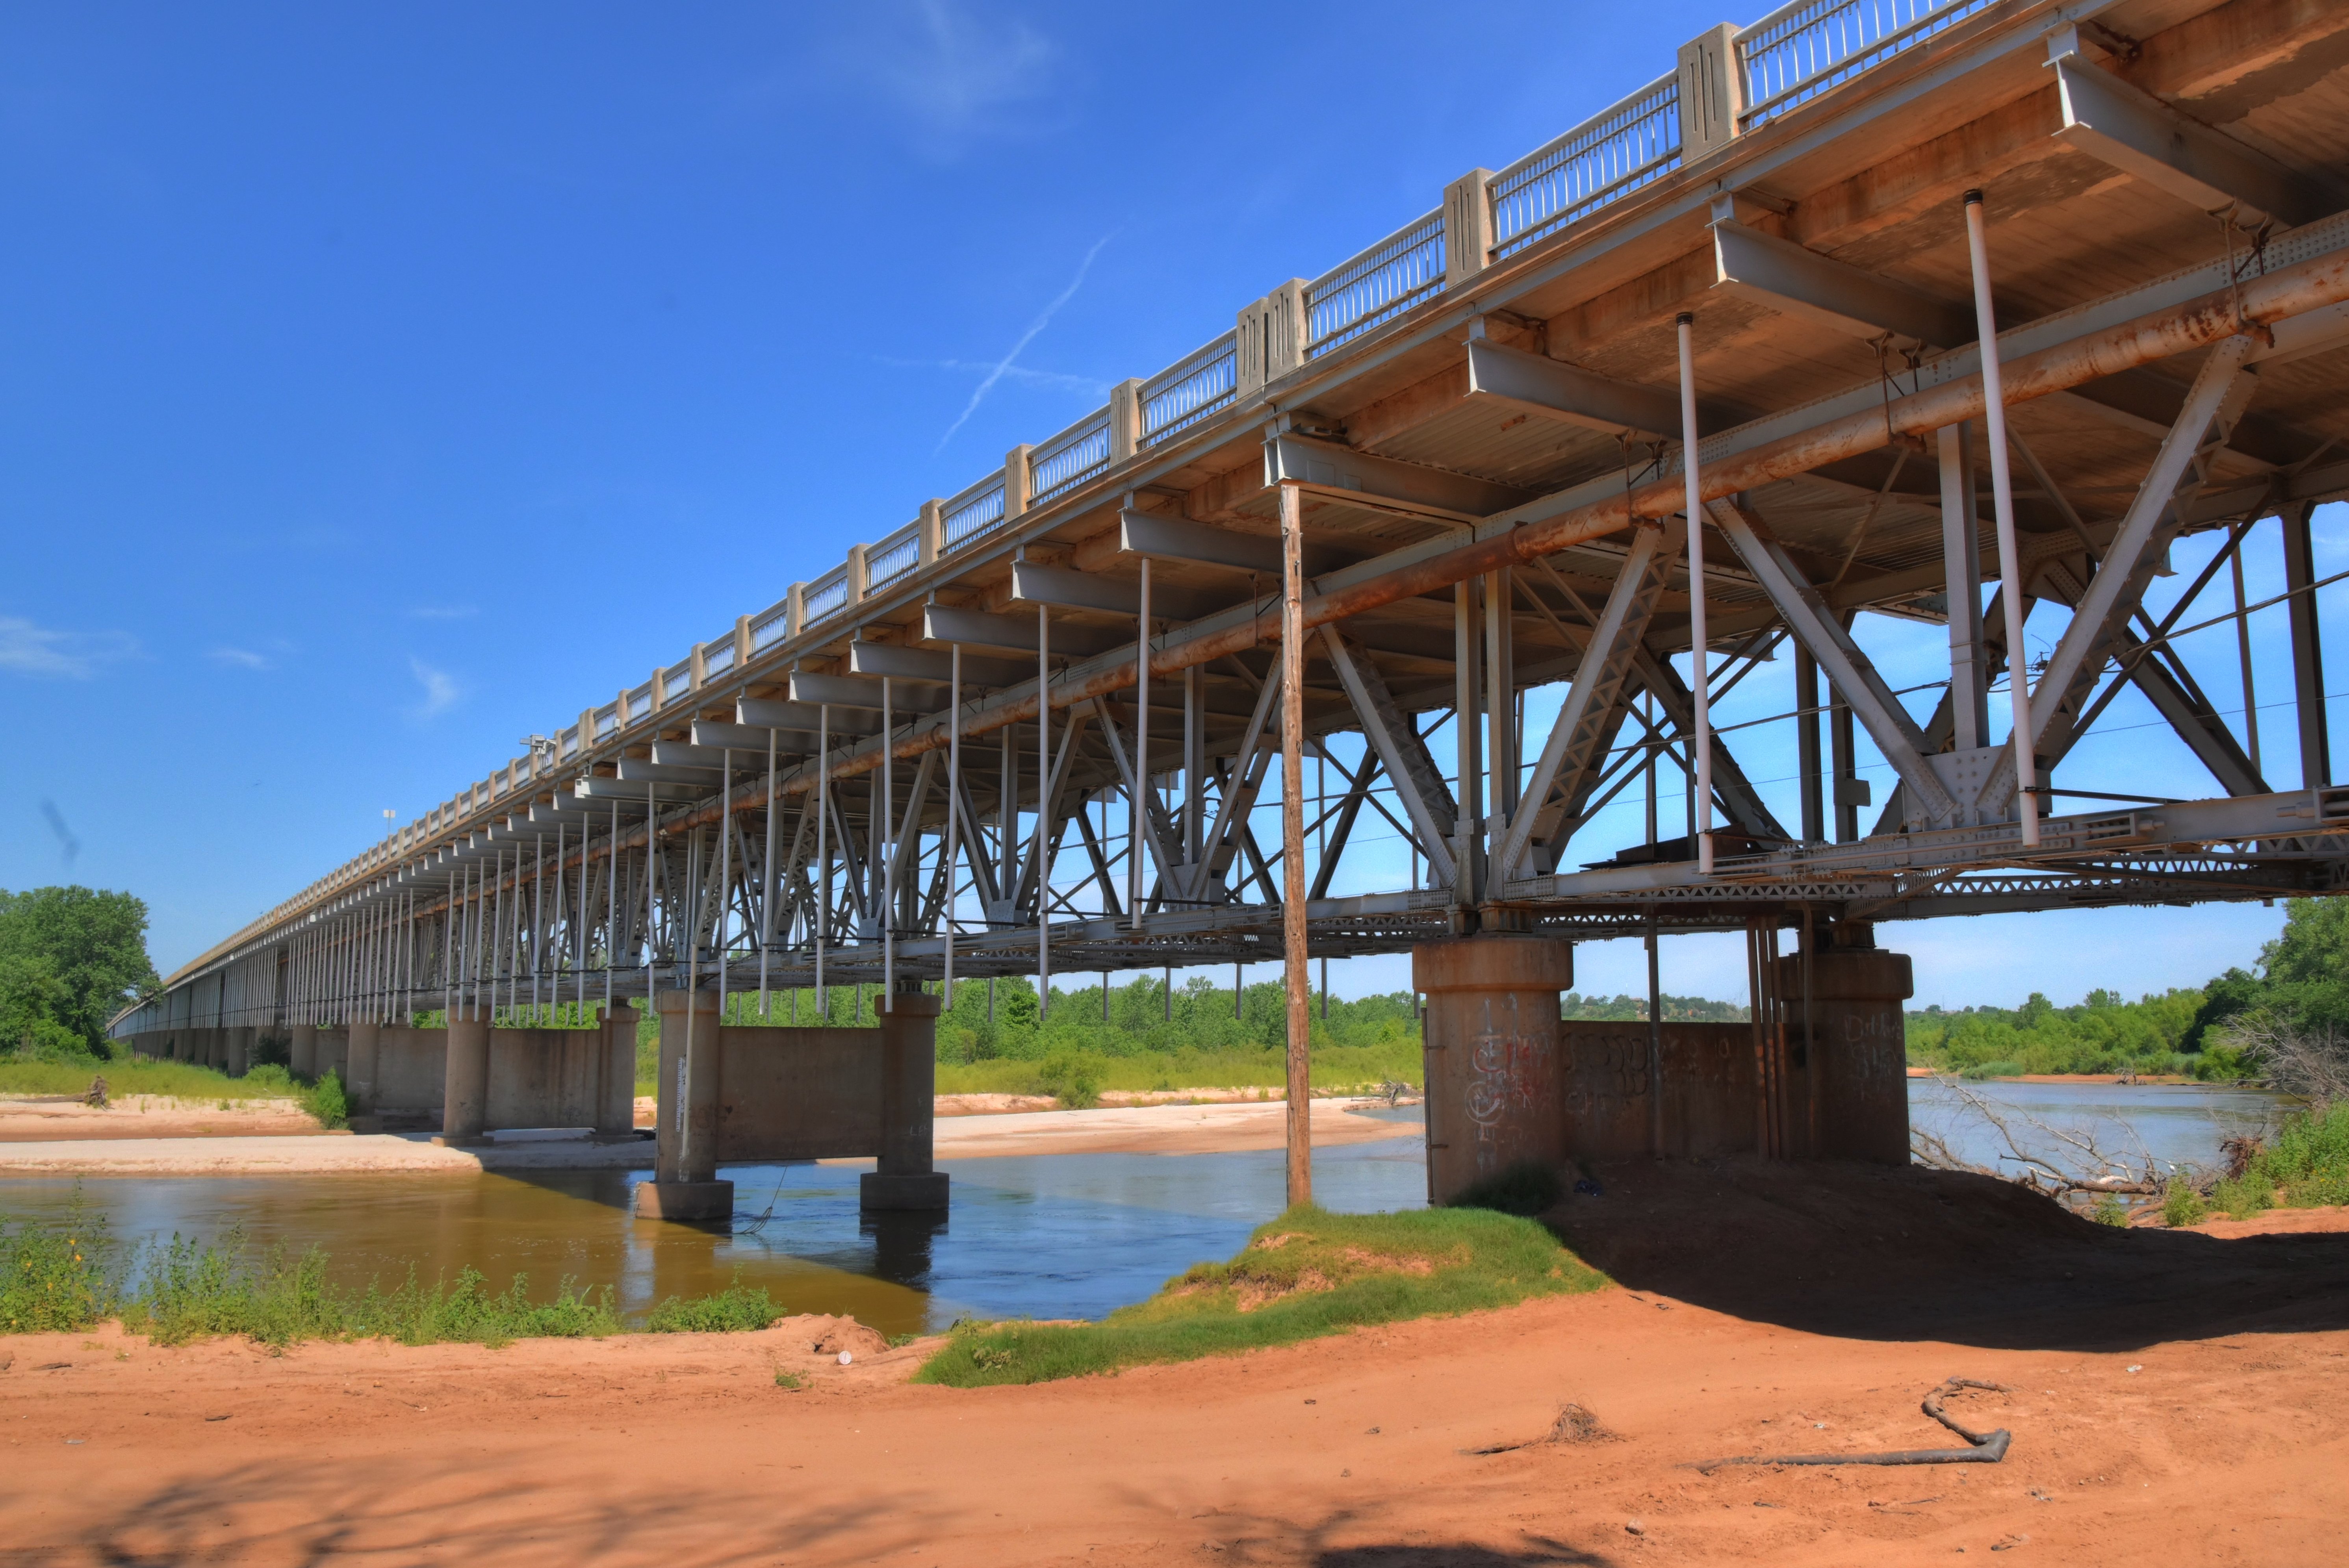
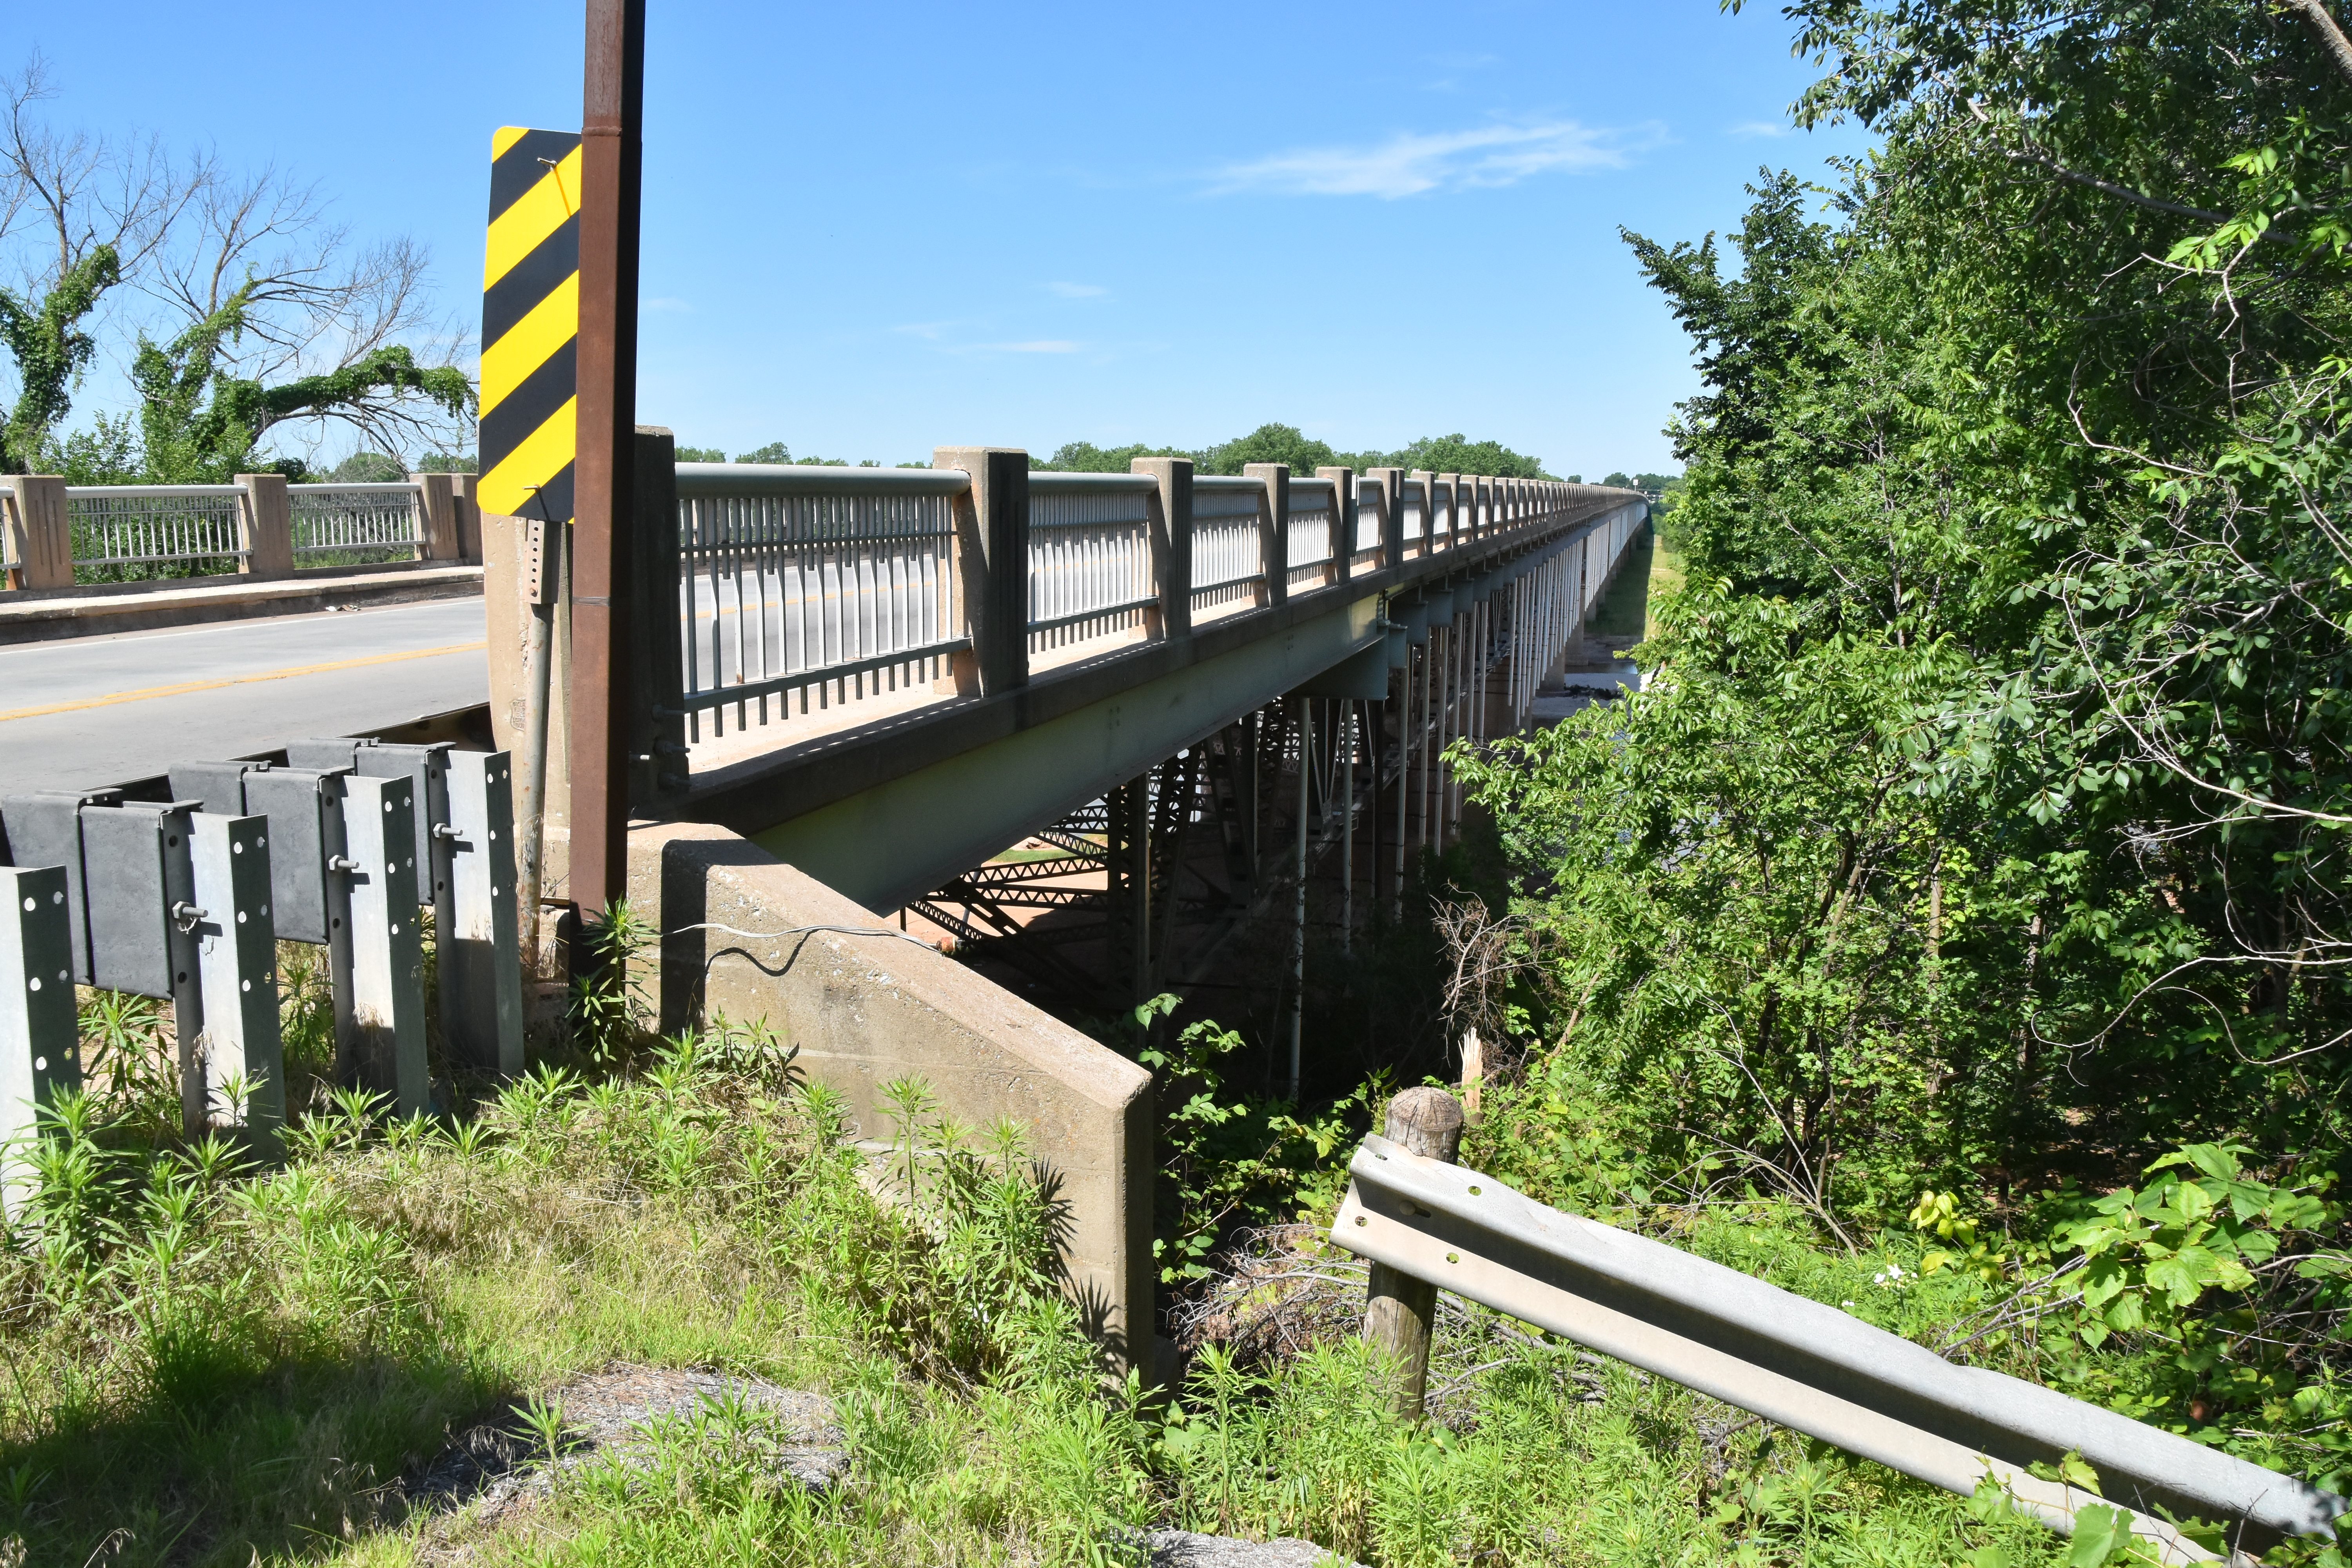
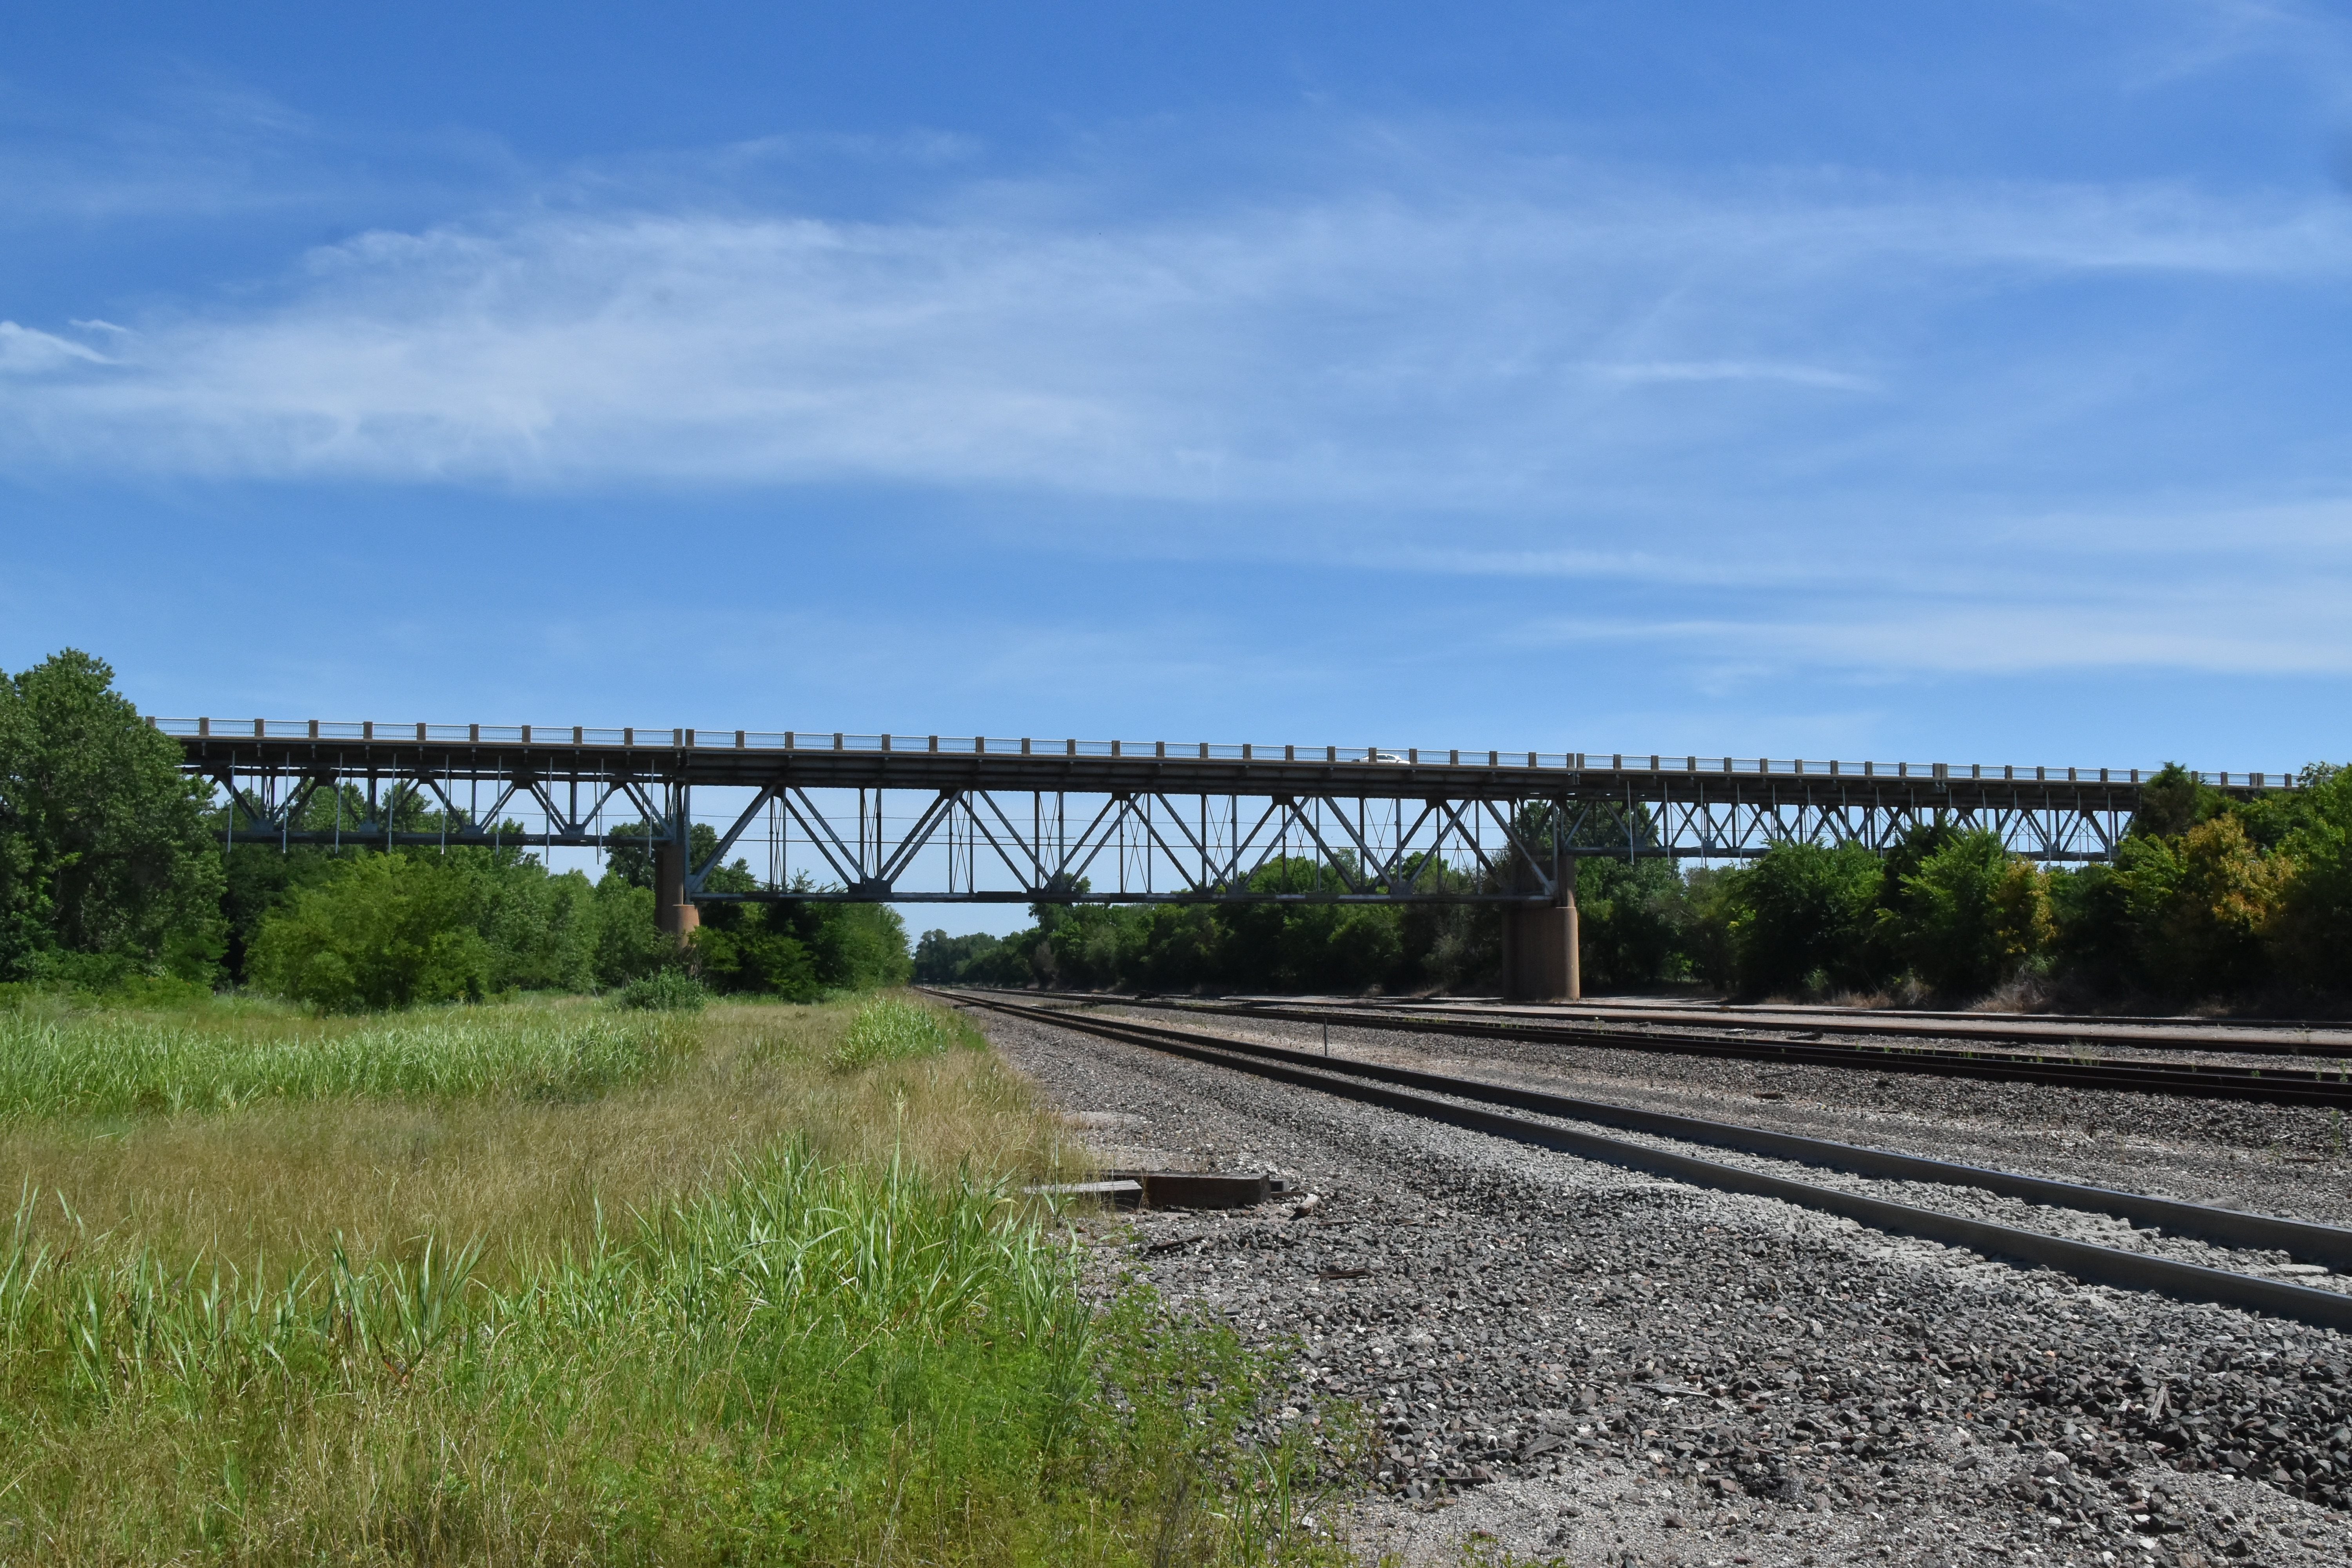
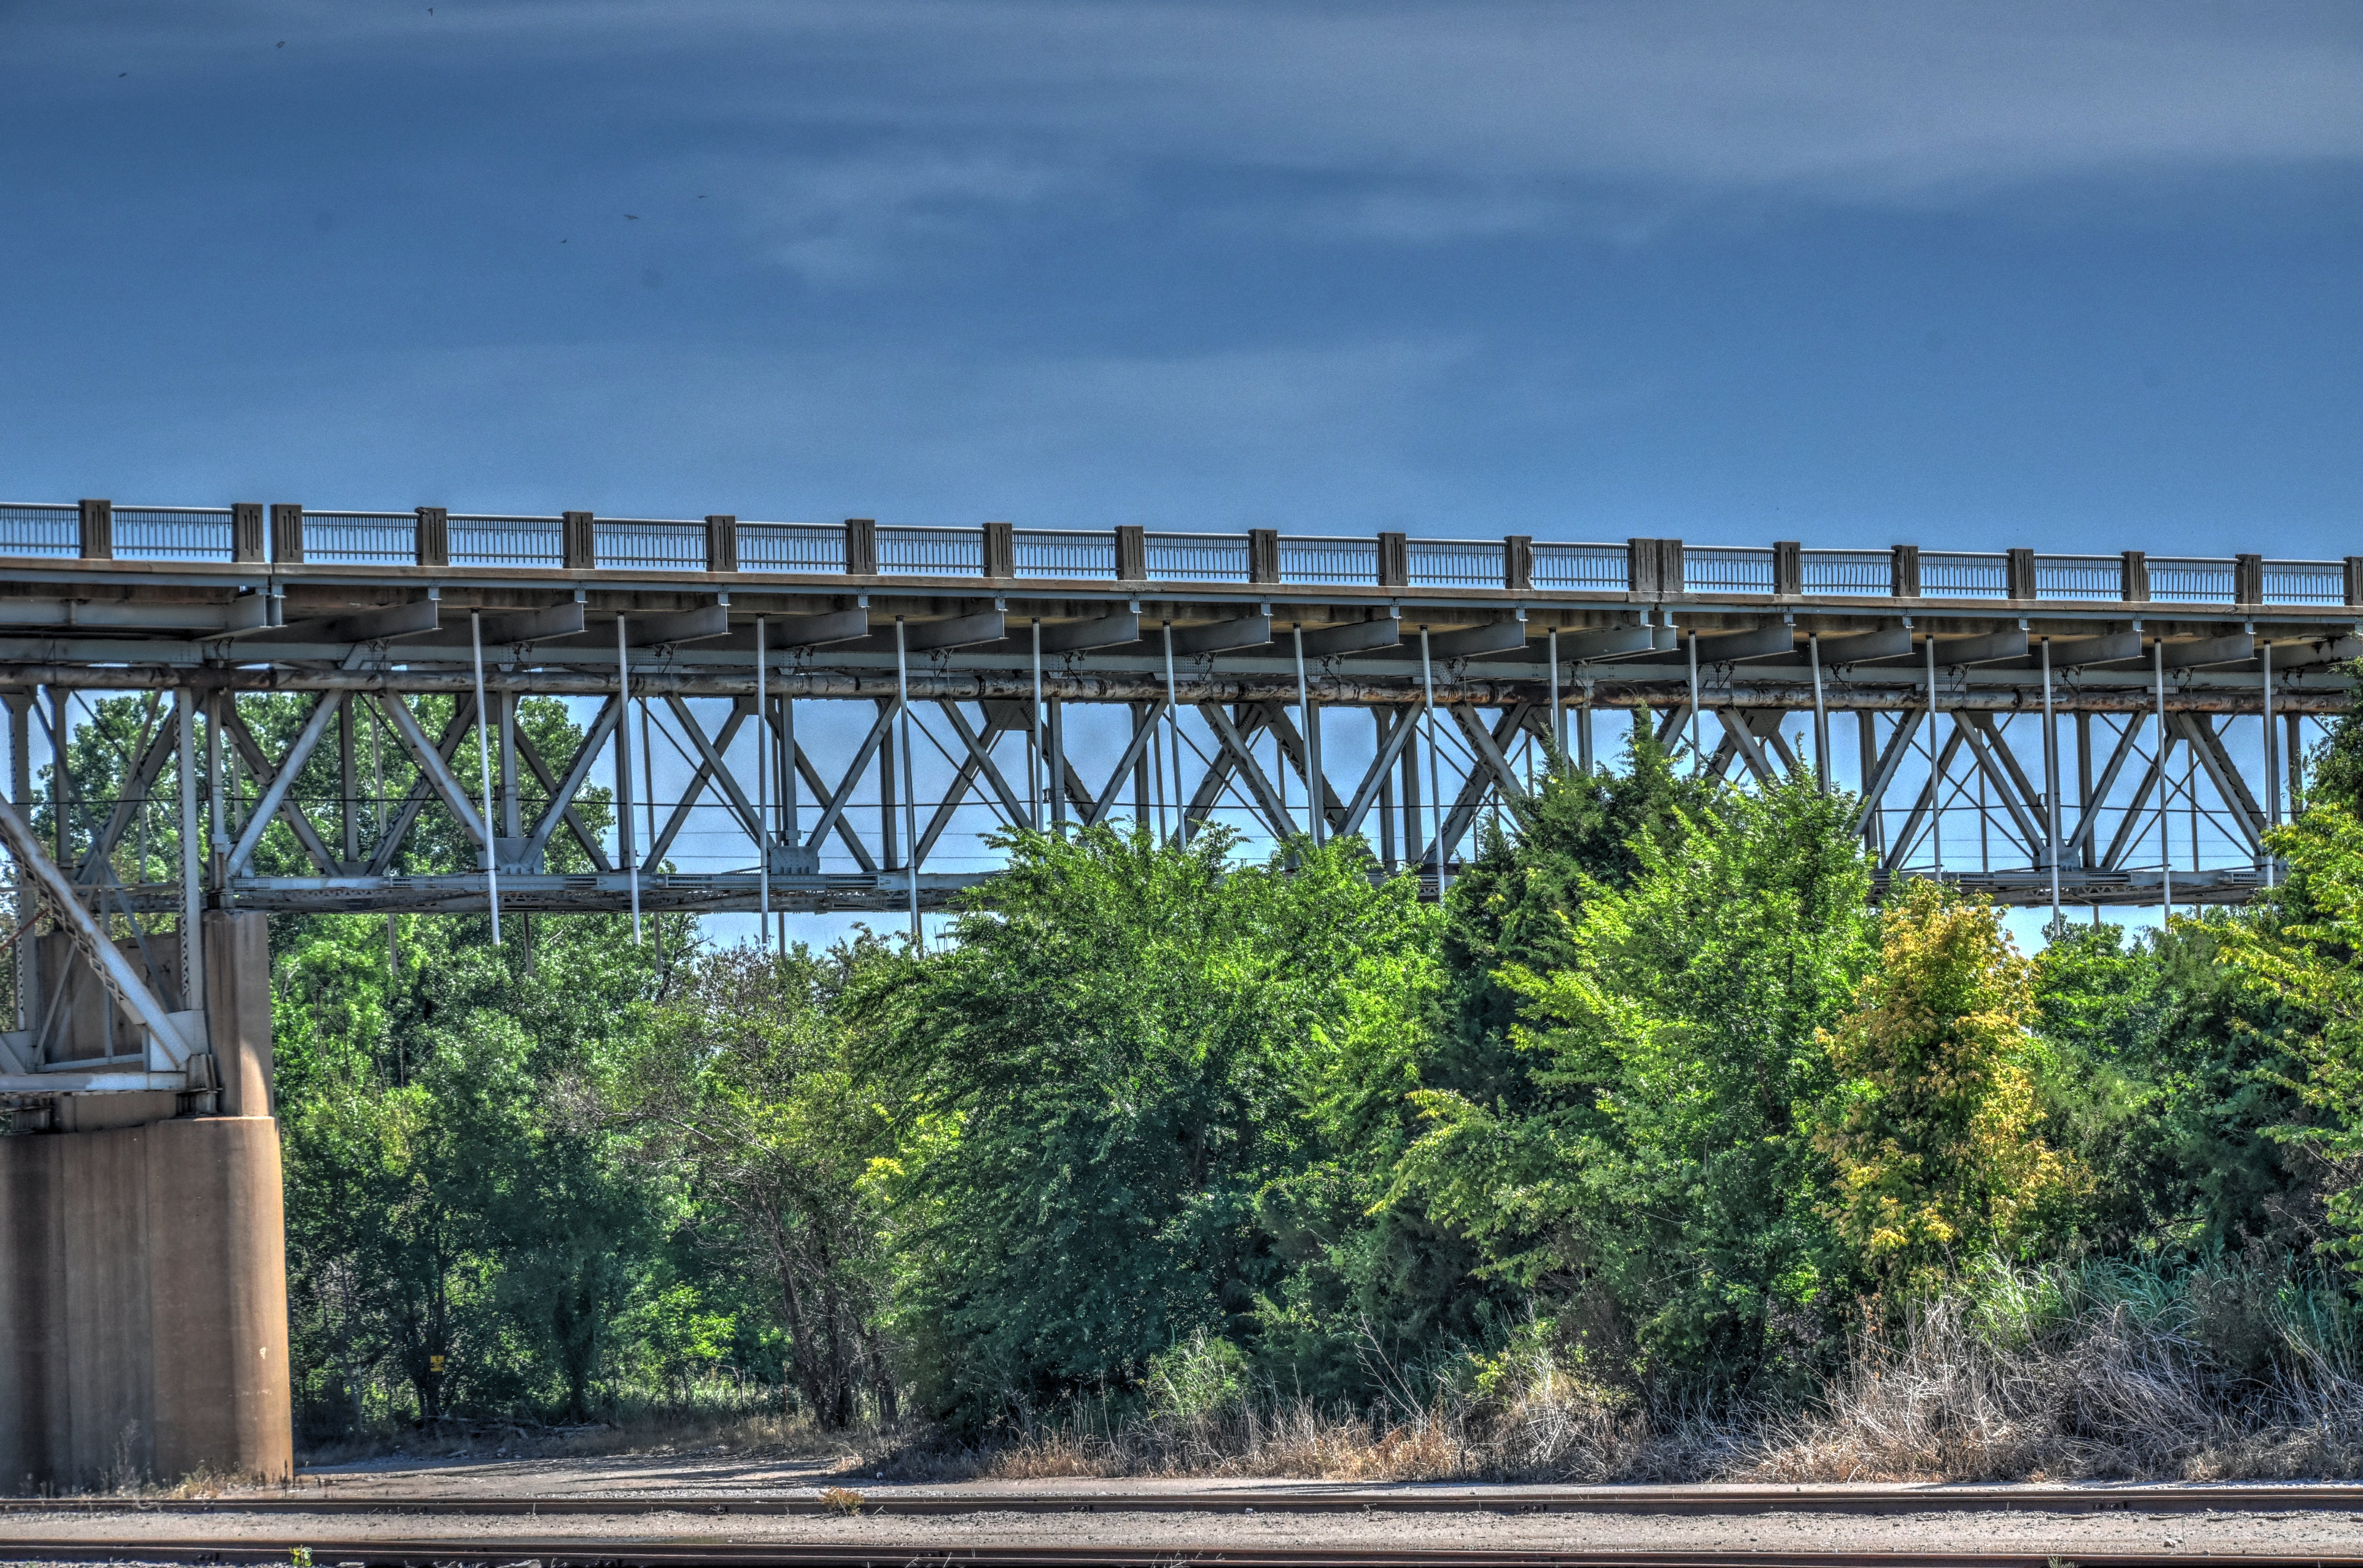
Elevation from southeast quadrant.
![]()


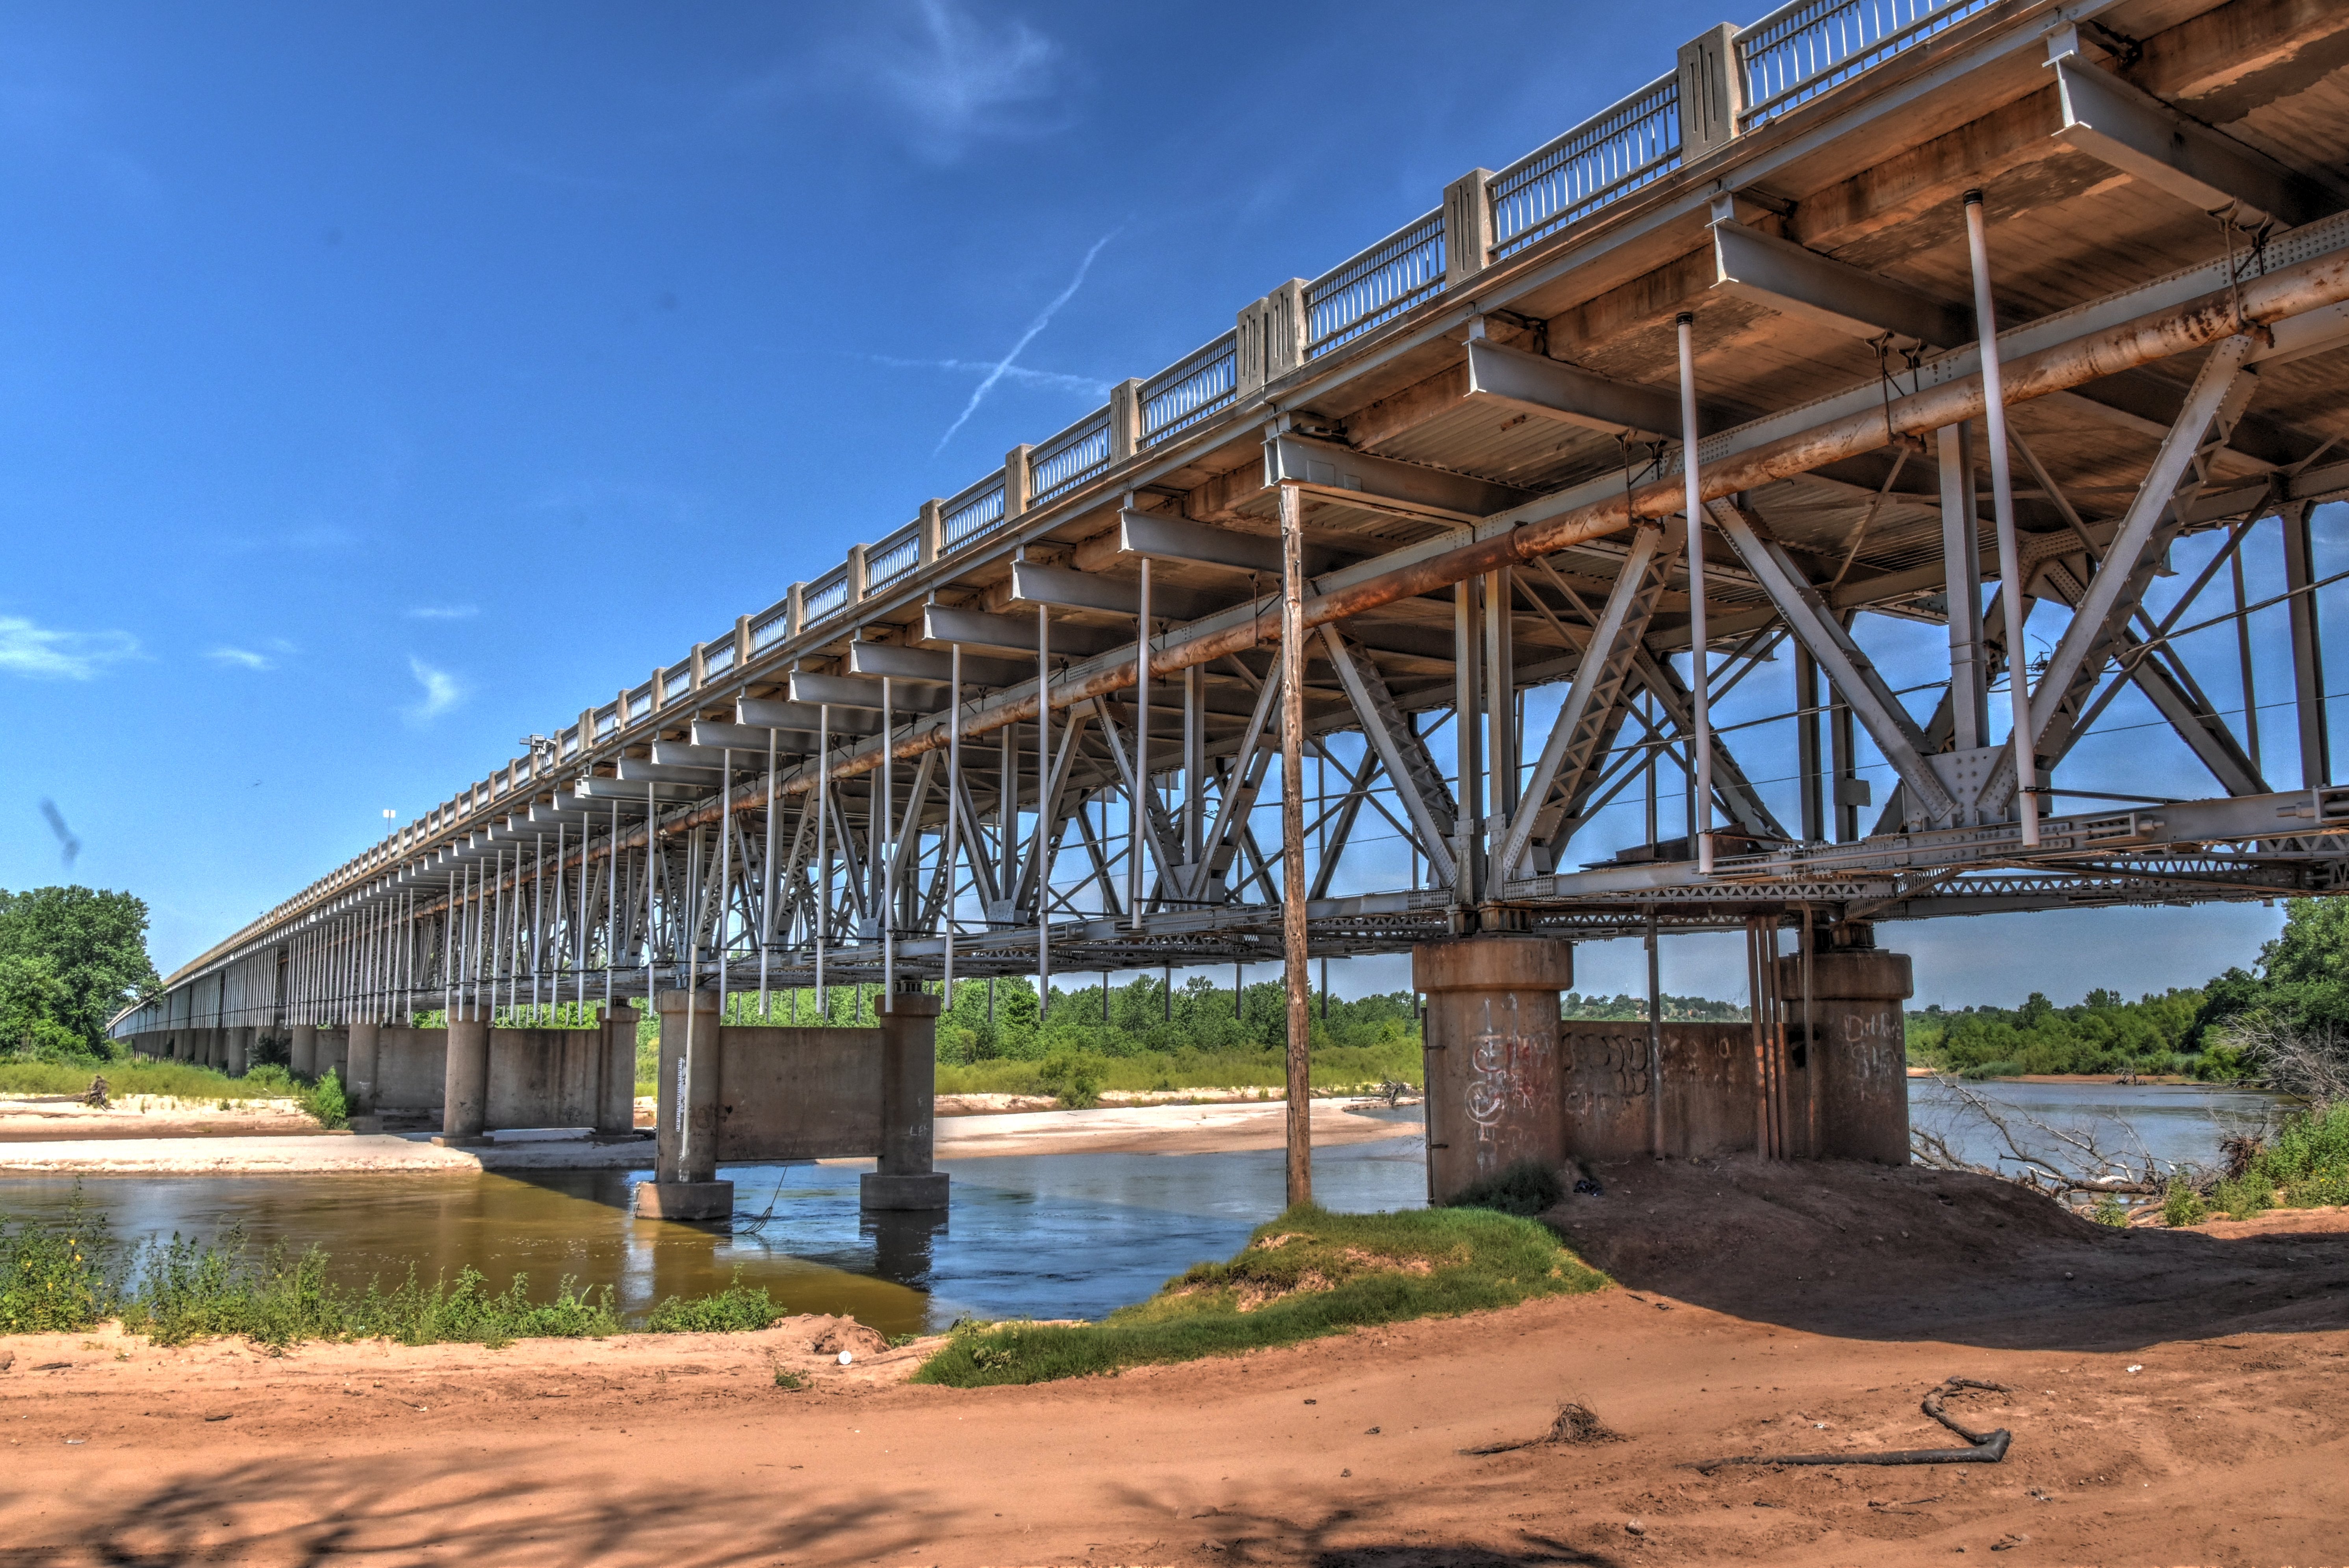
Elevation of individual span from southeast quadrant.
![]()


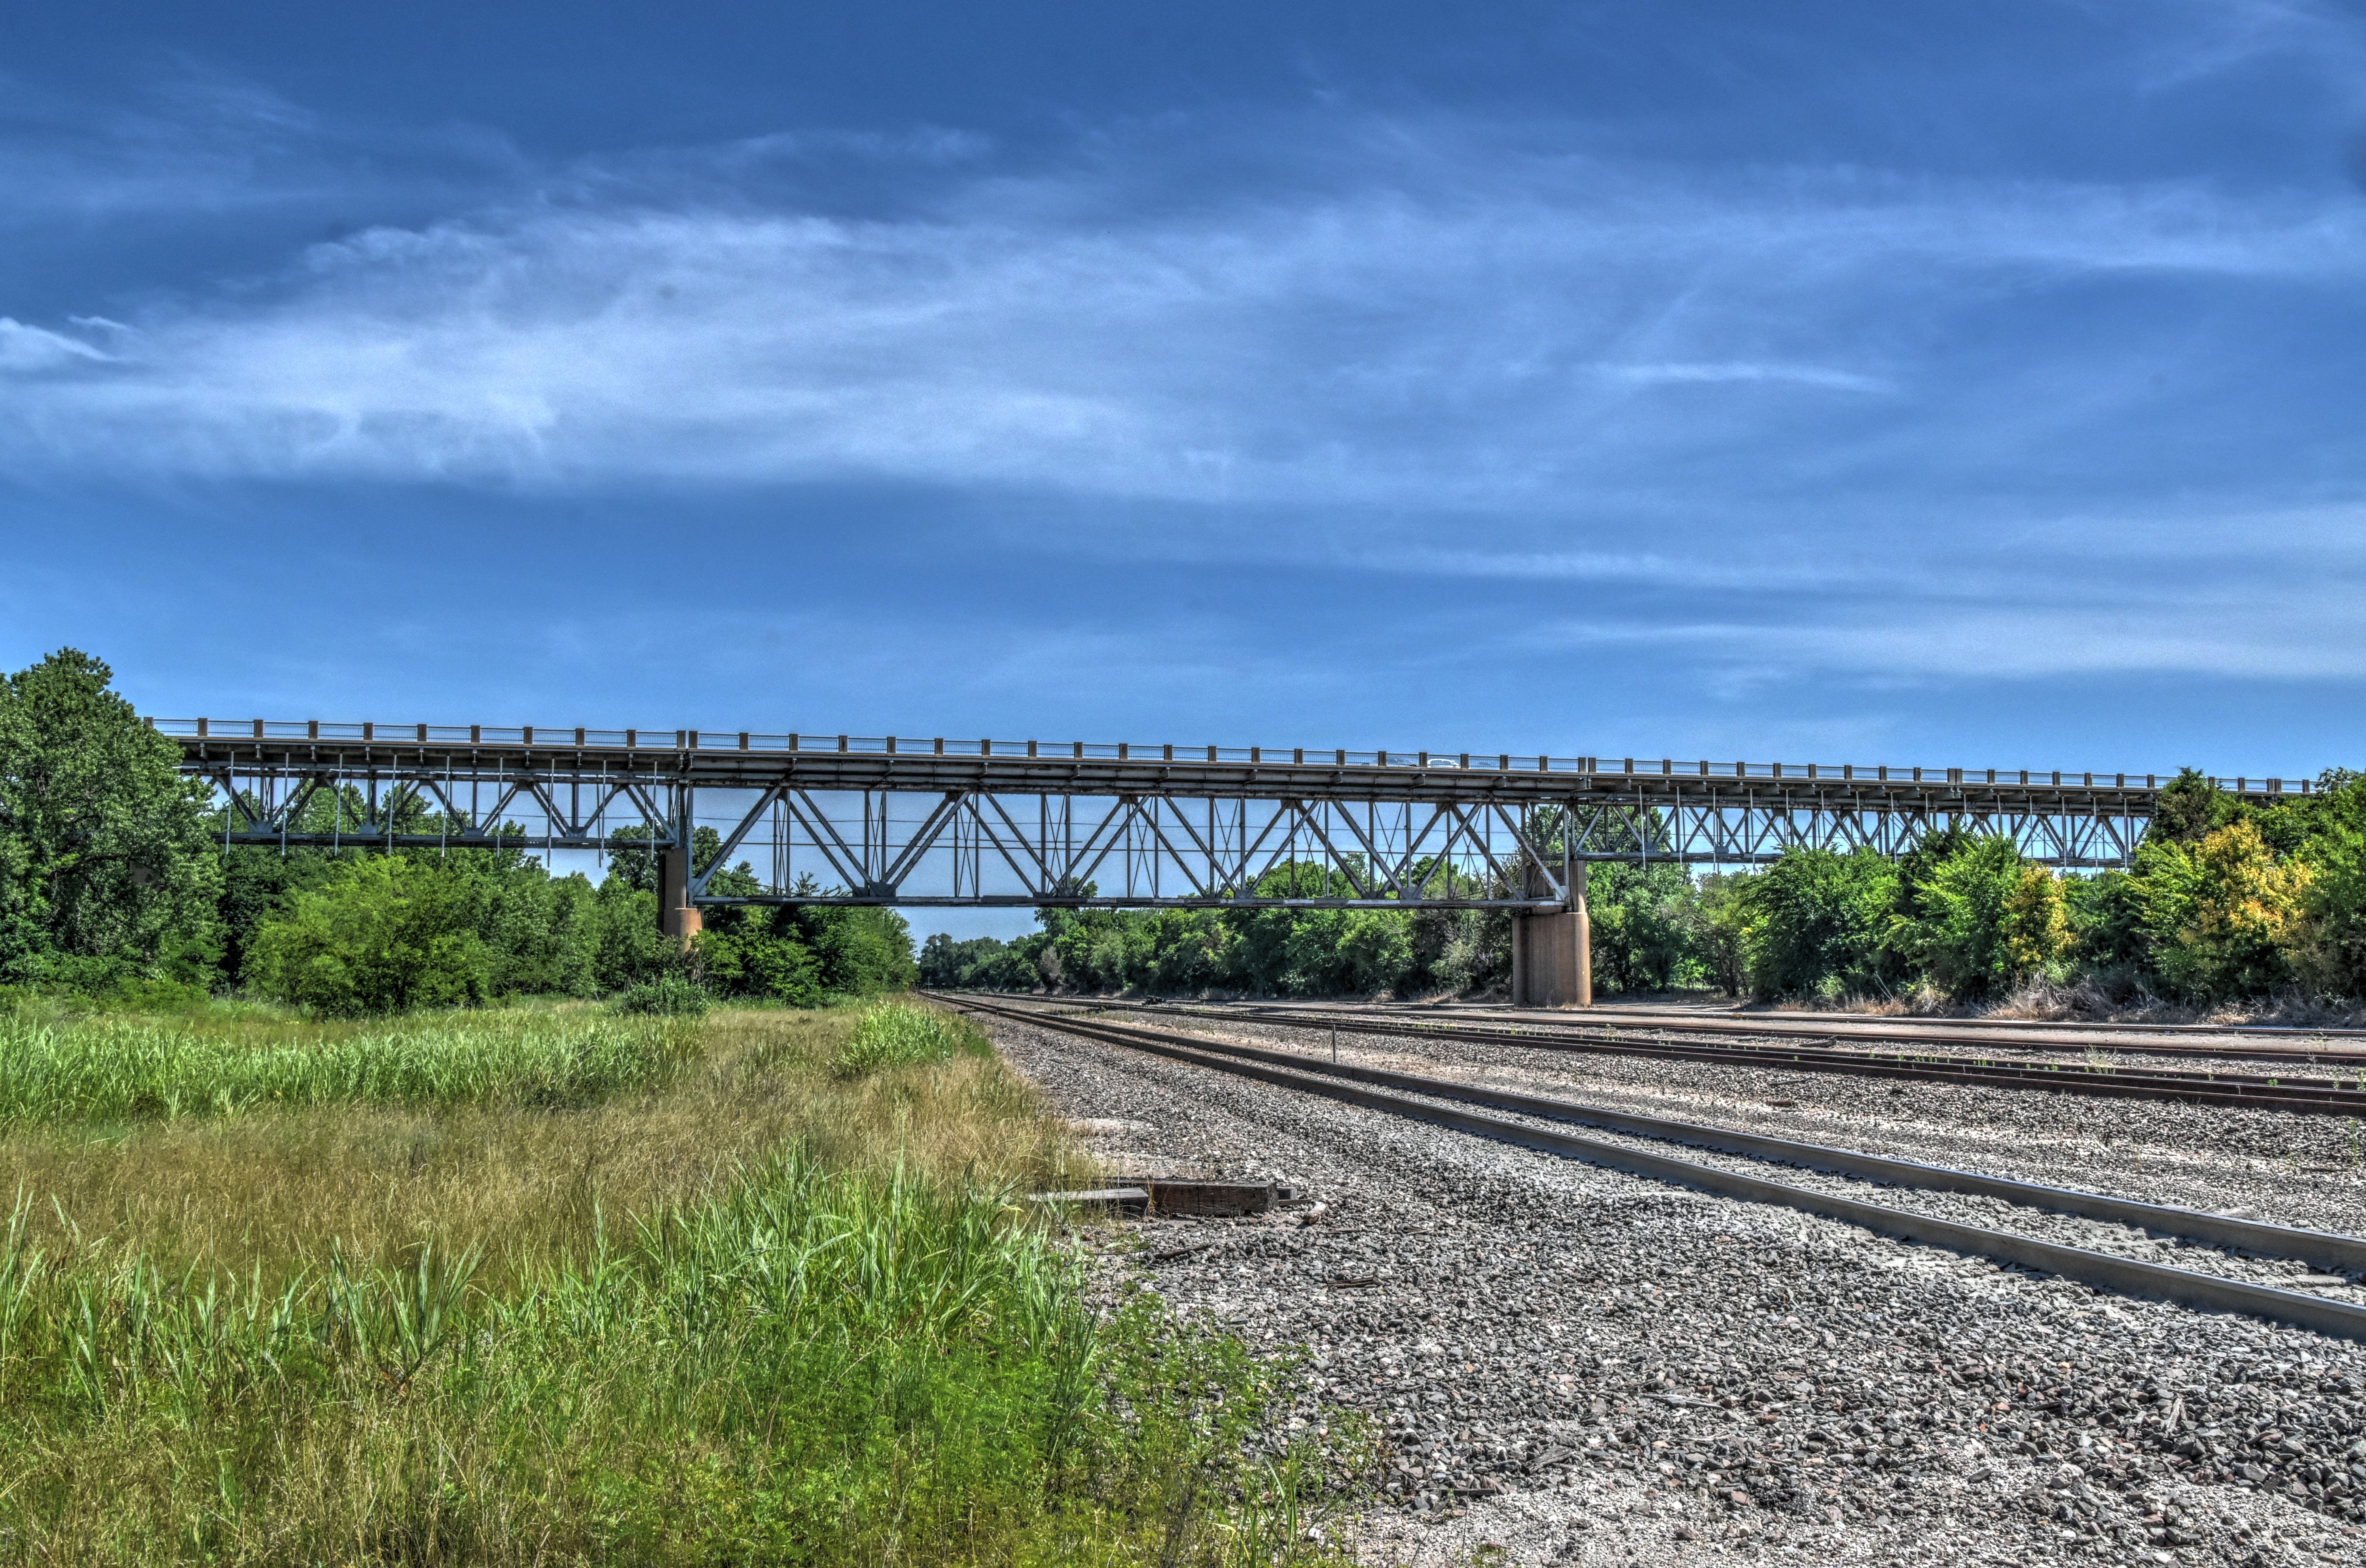
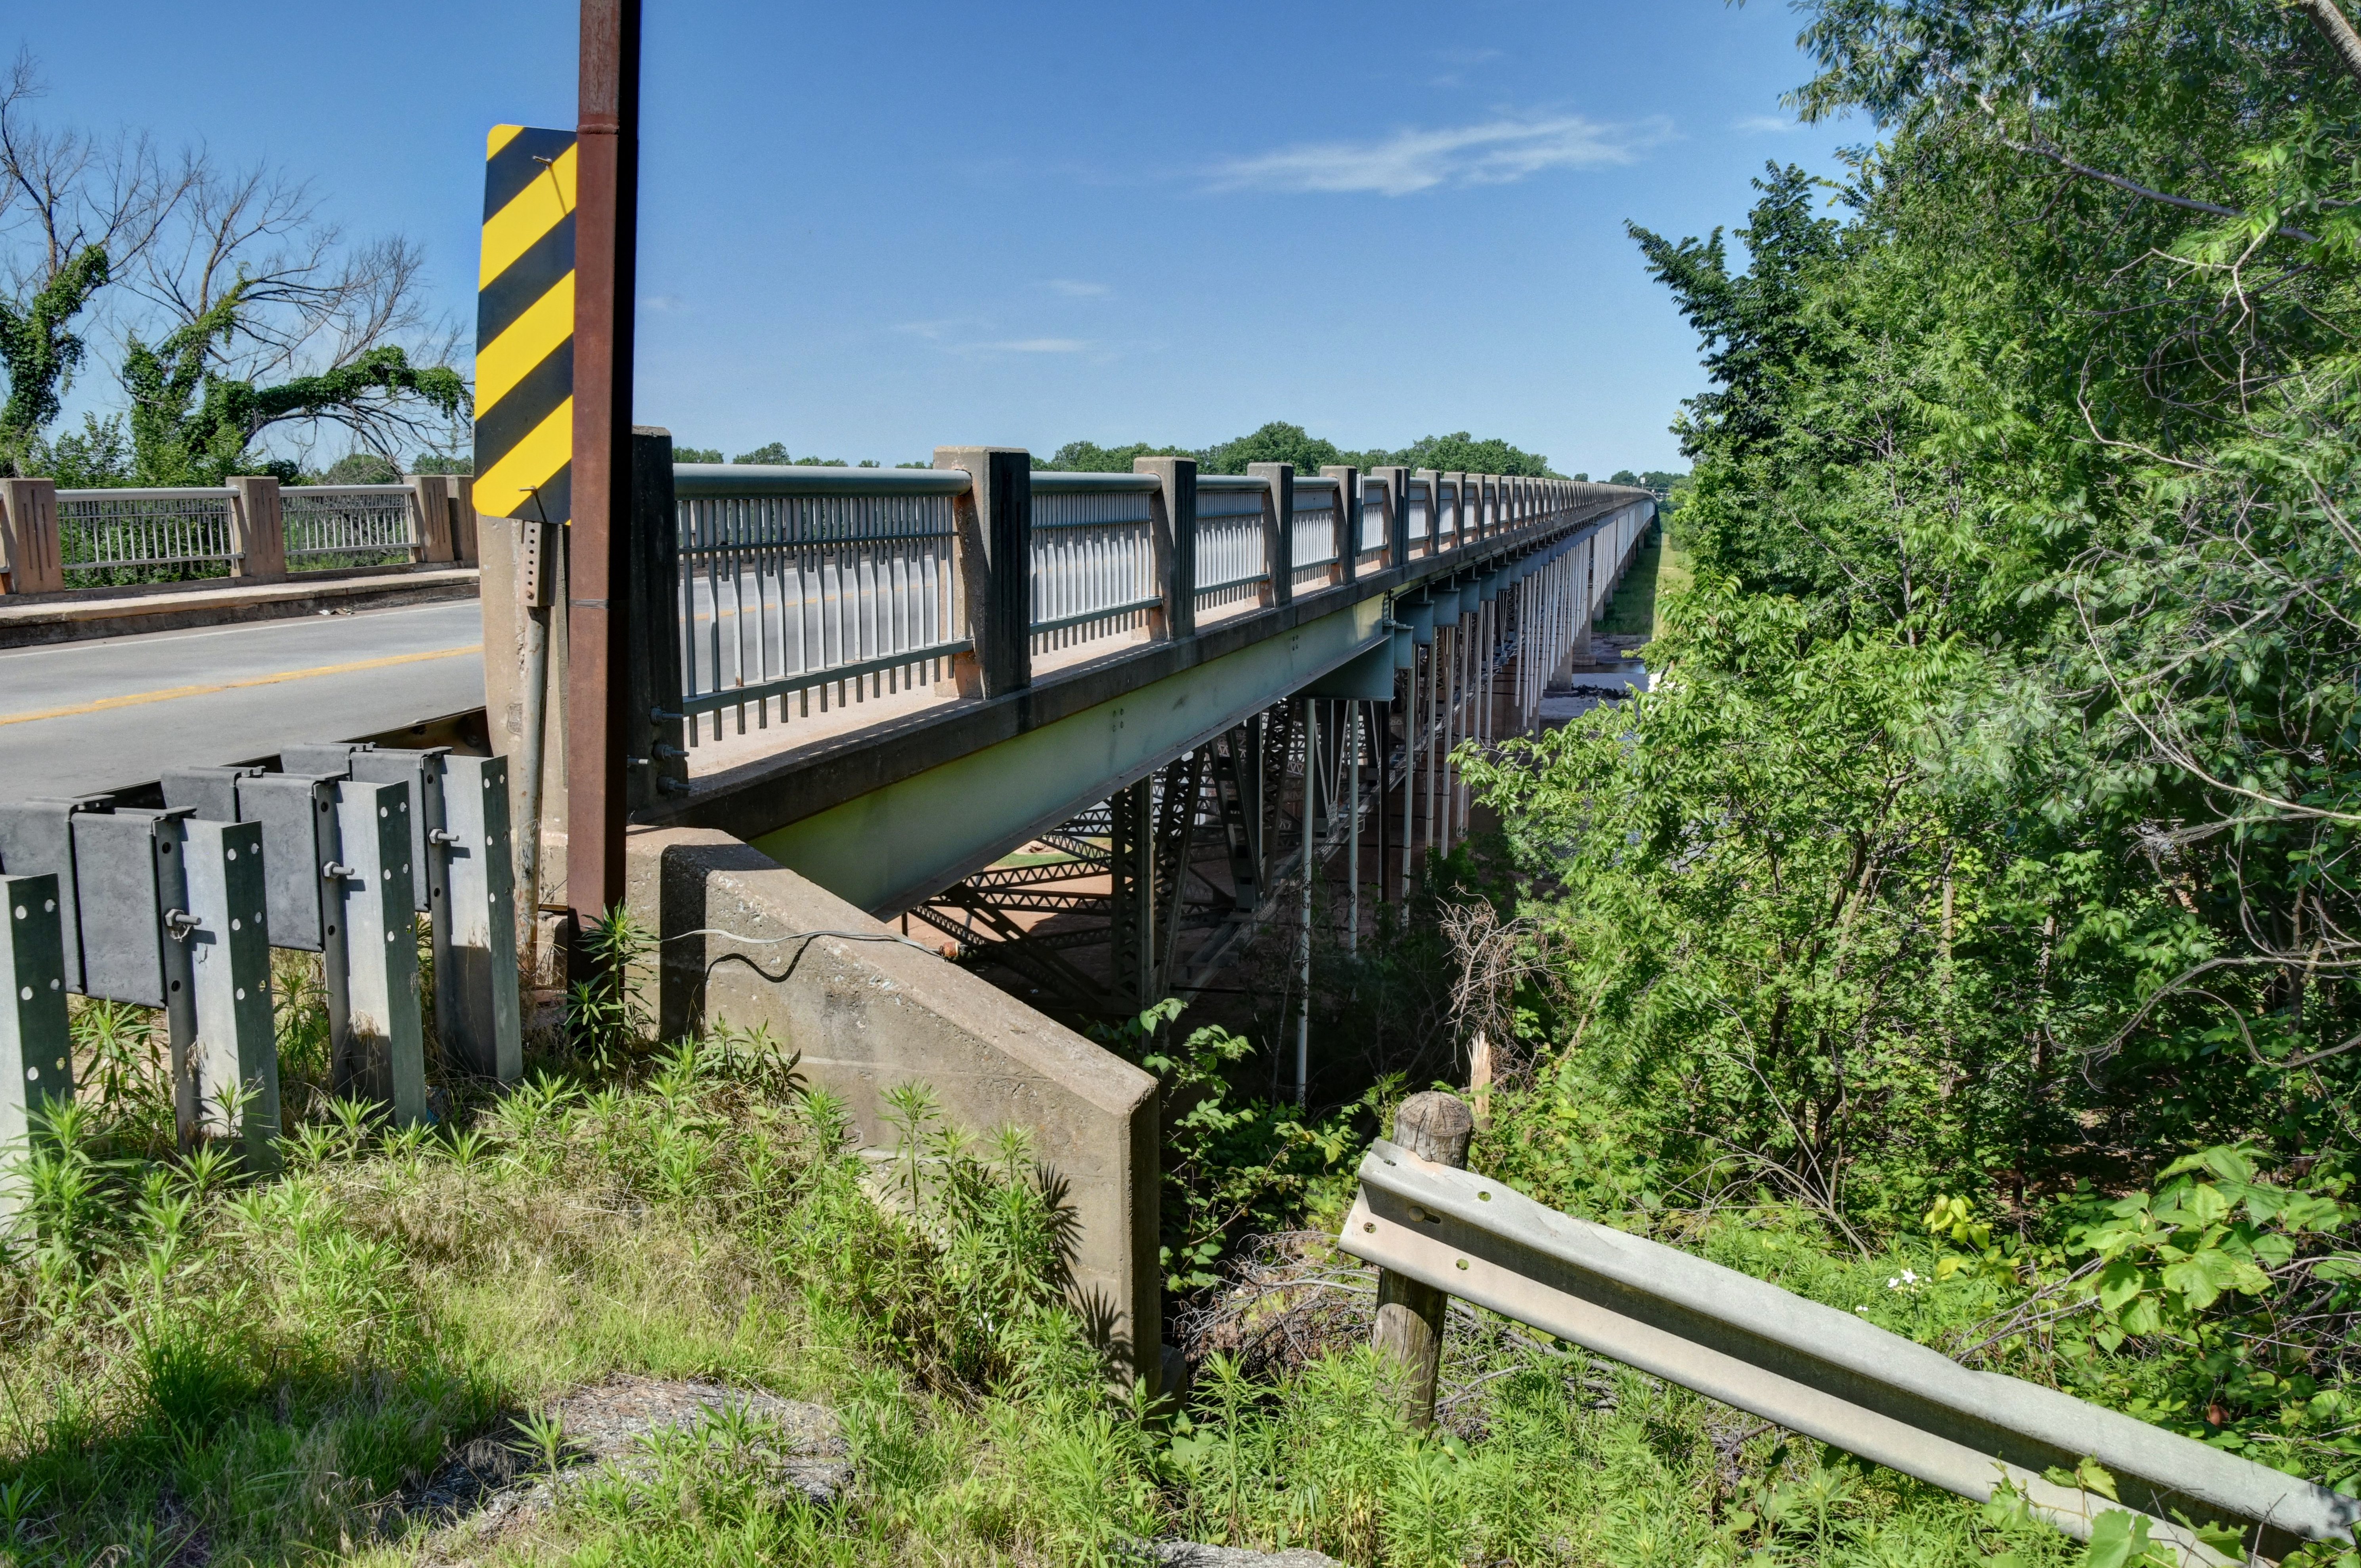
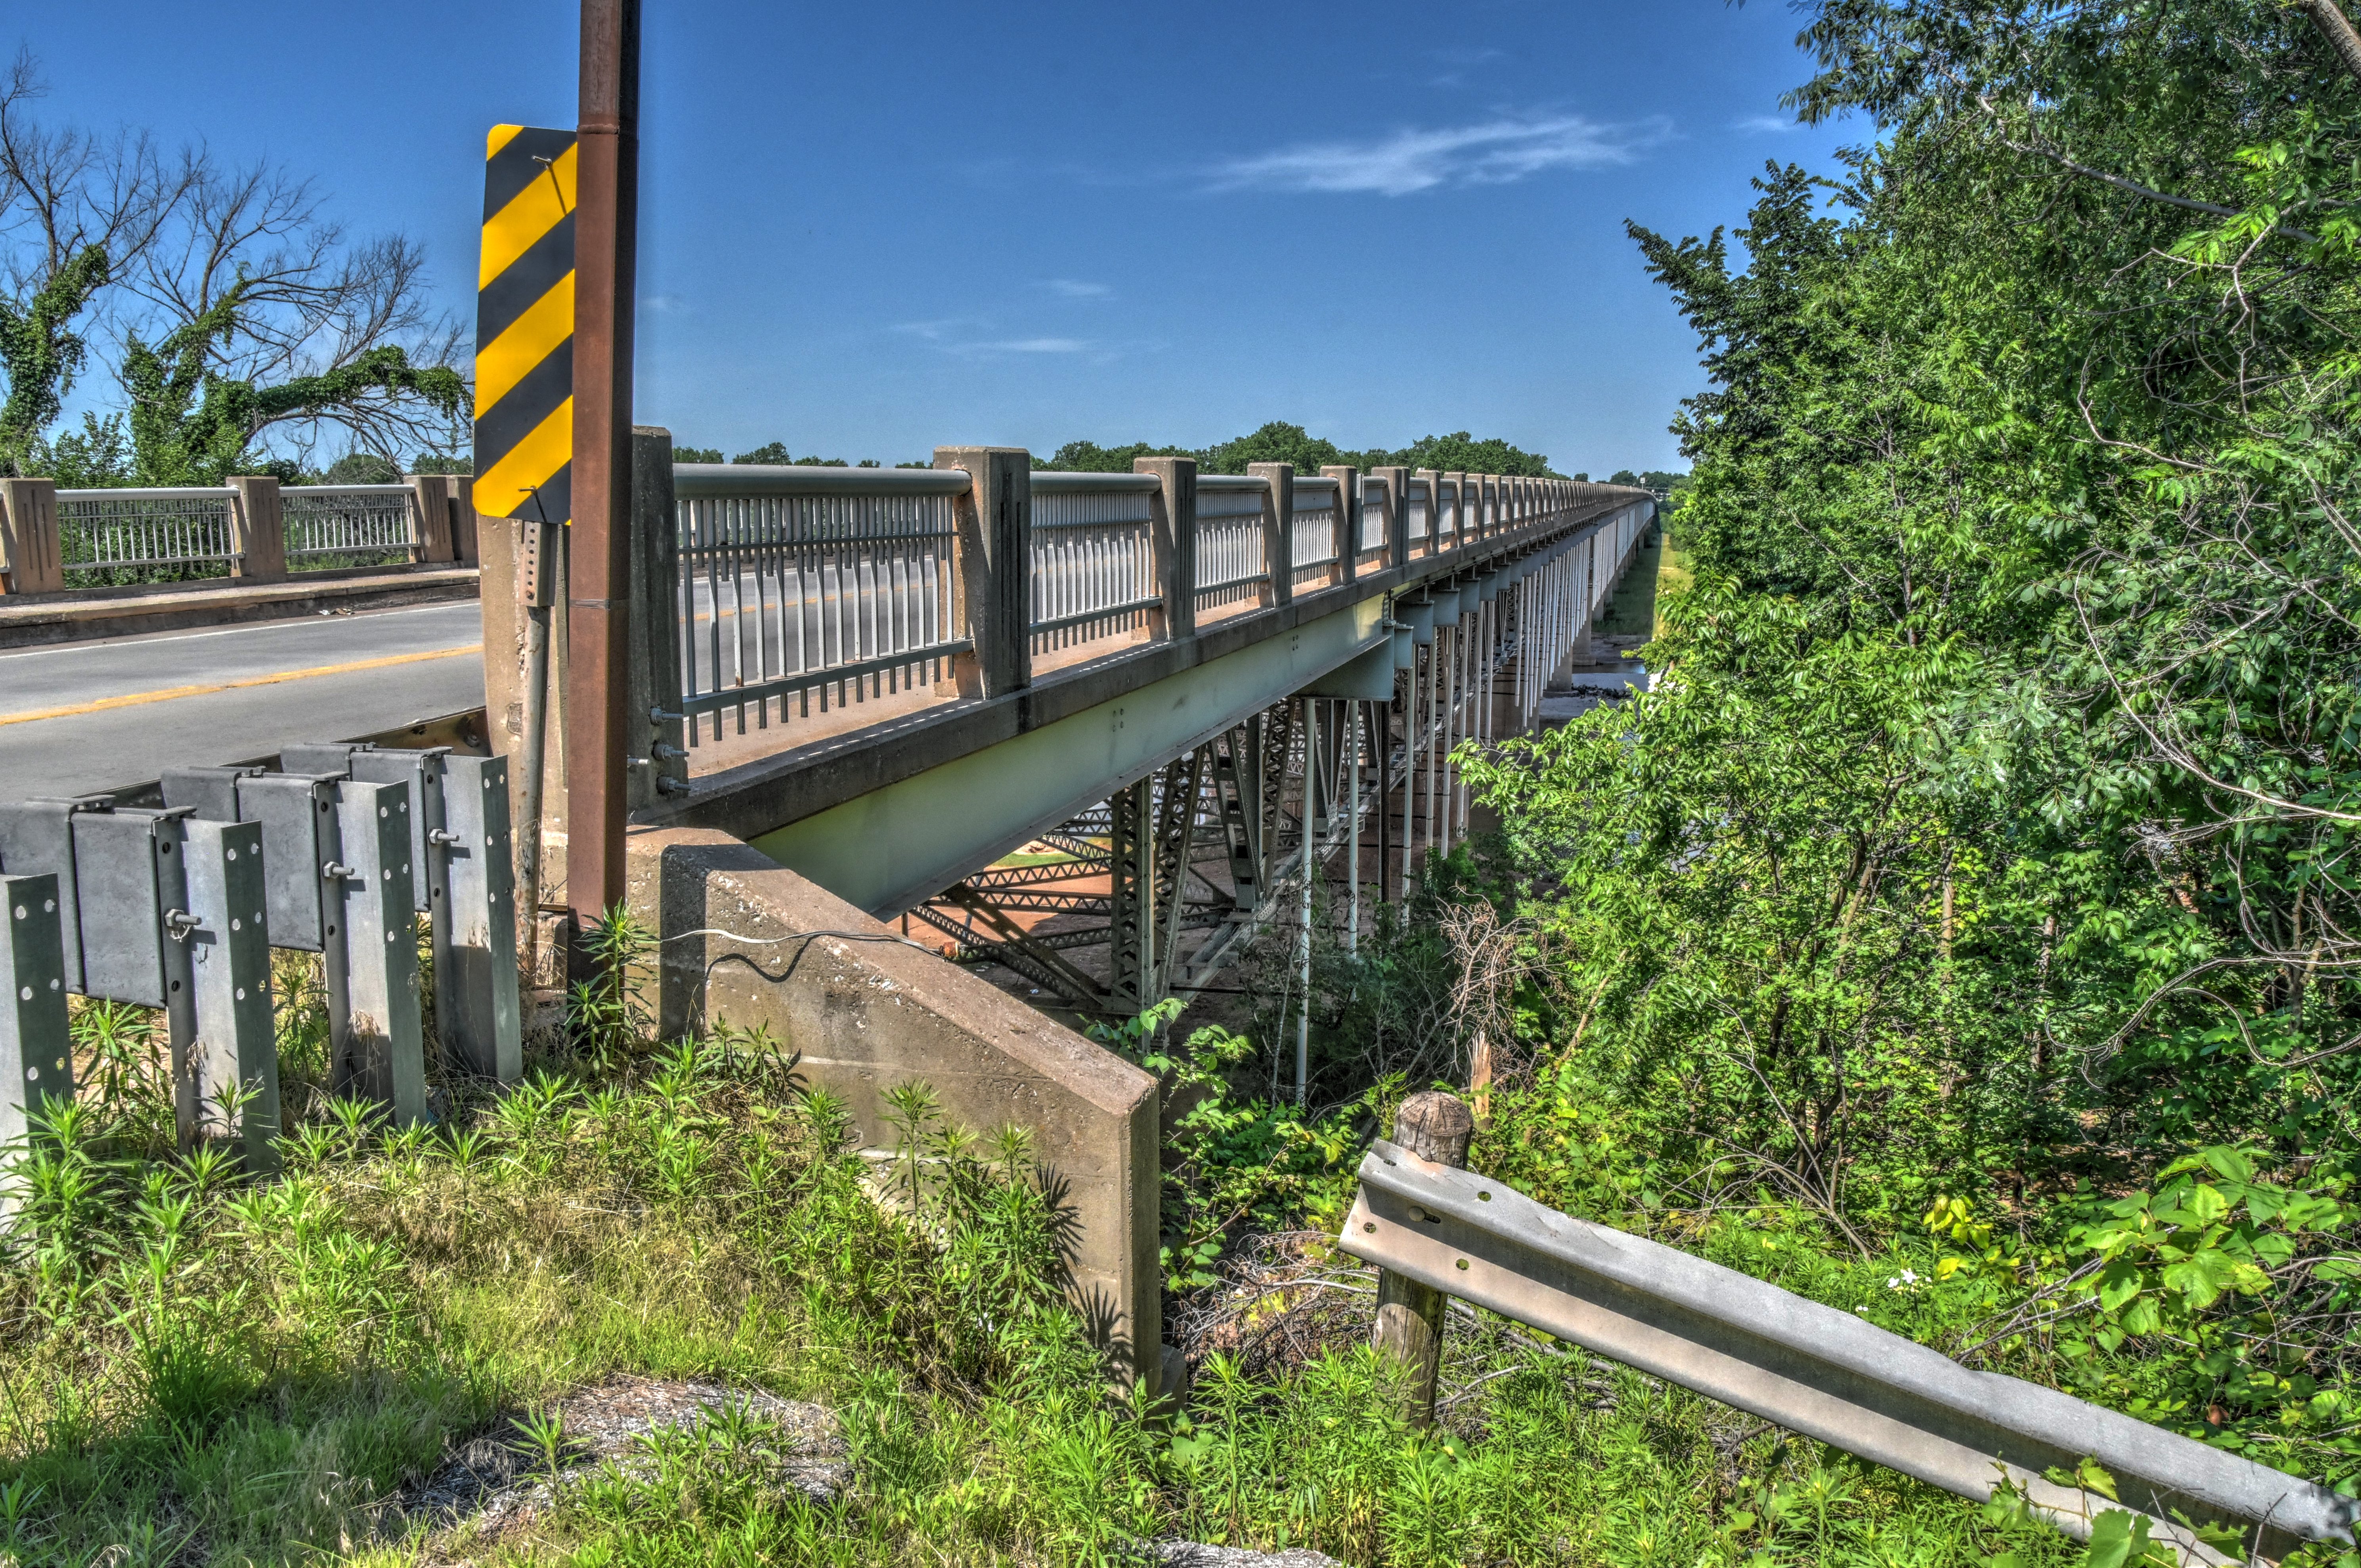
Elevation from southwest quadrant.
![]()

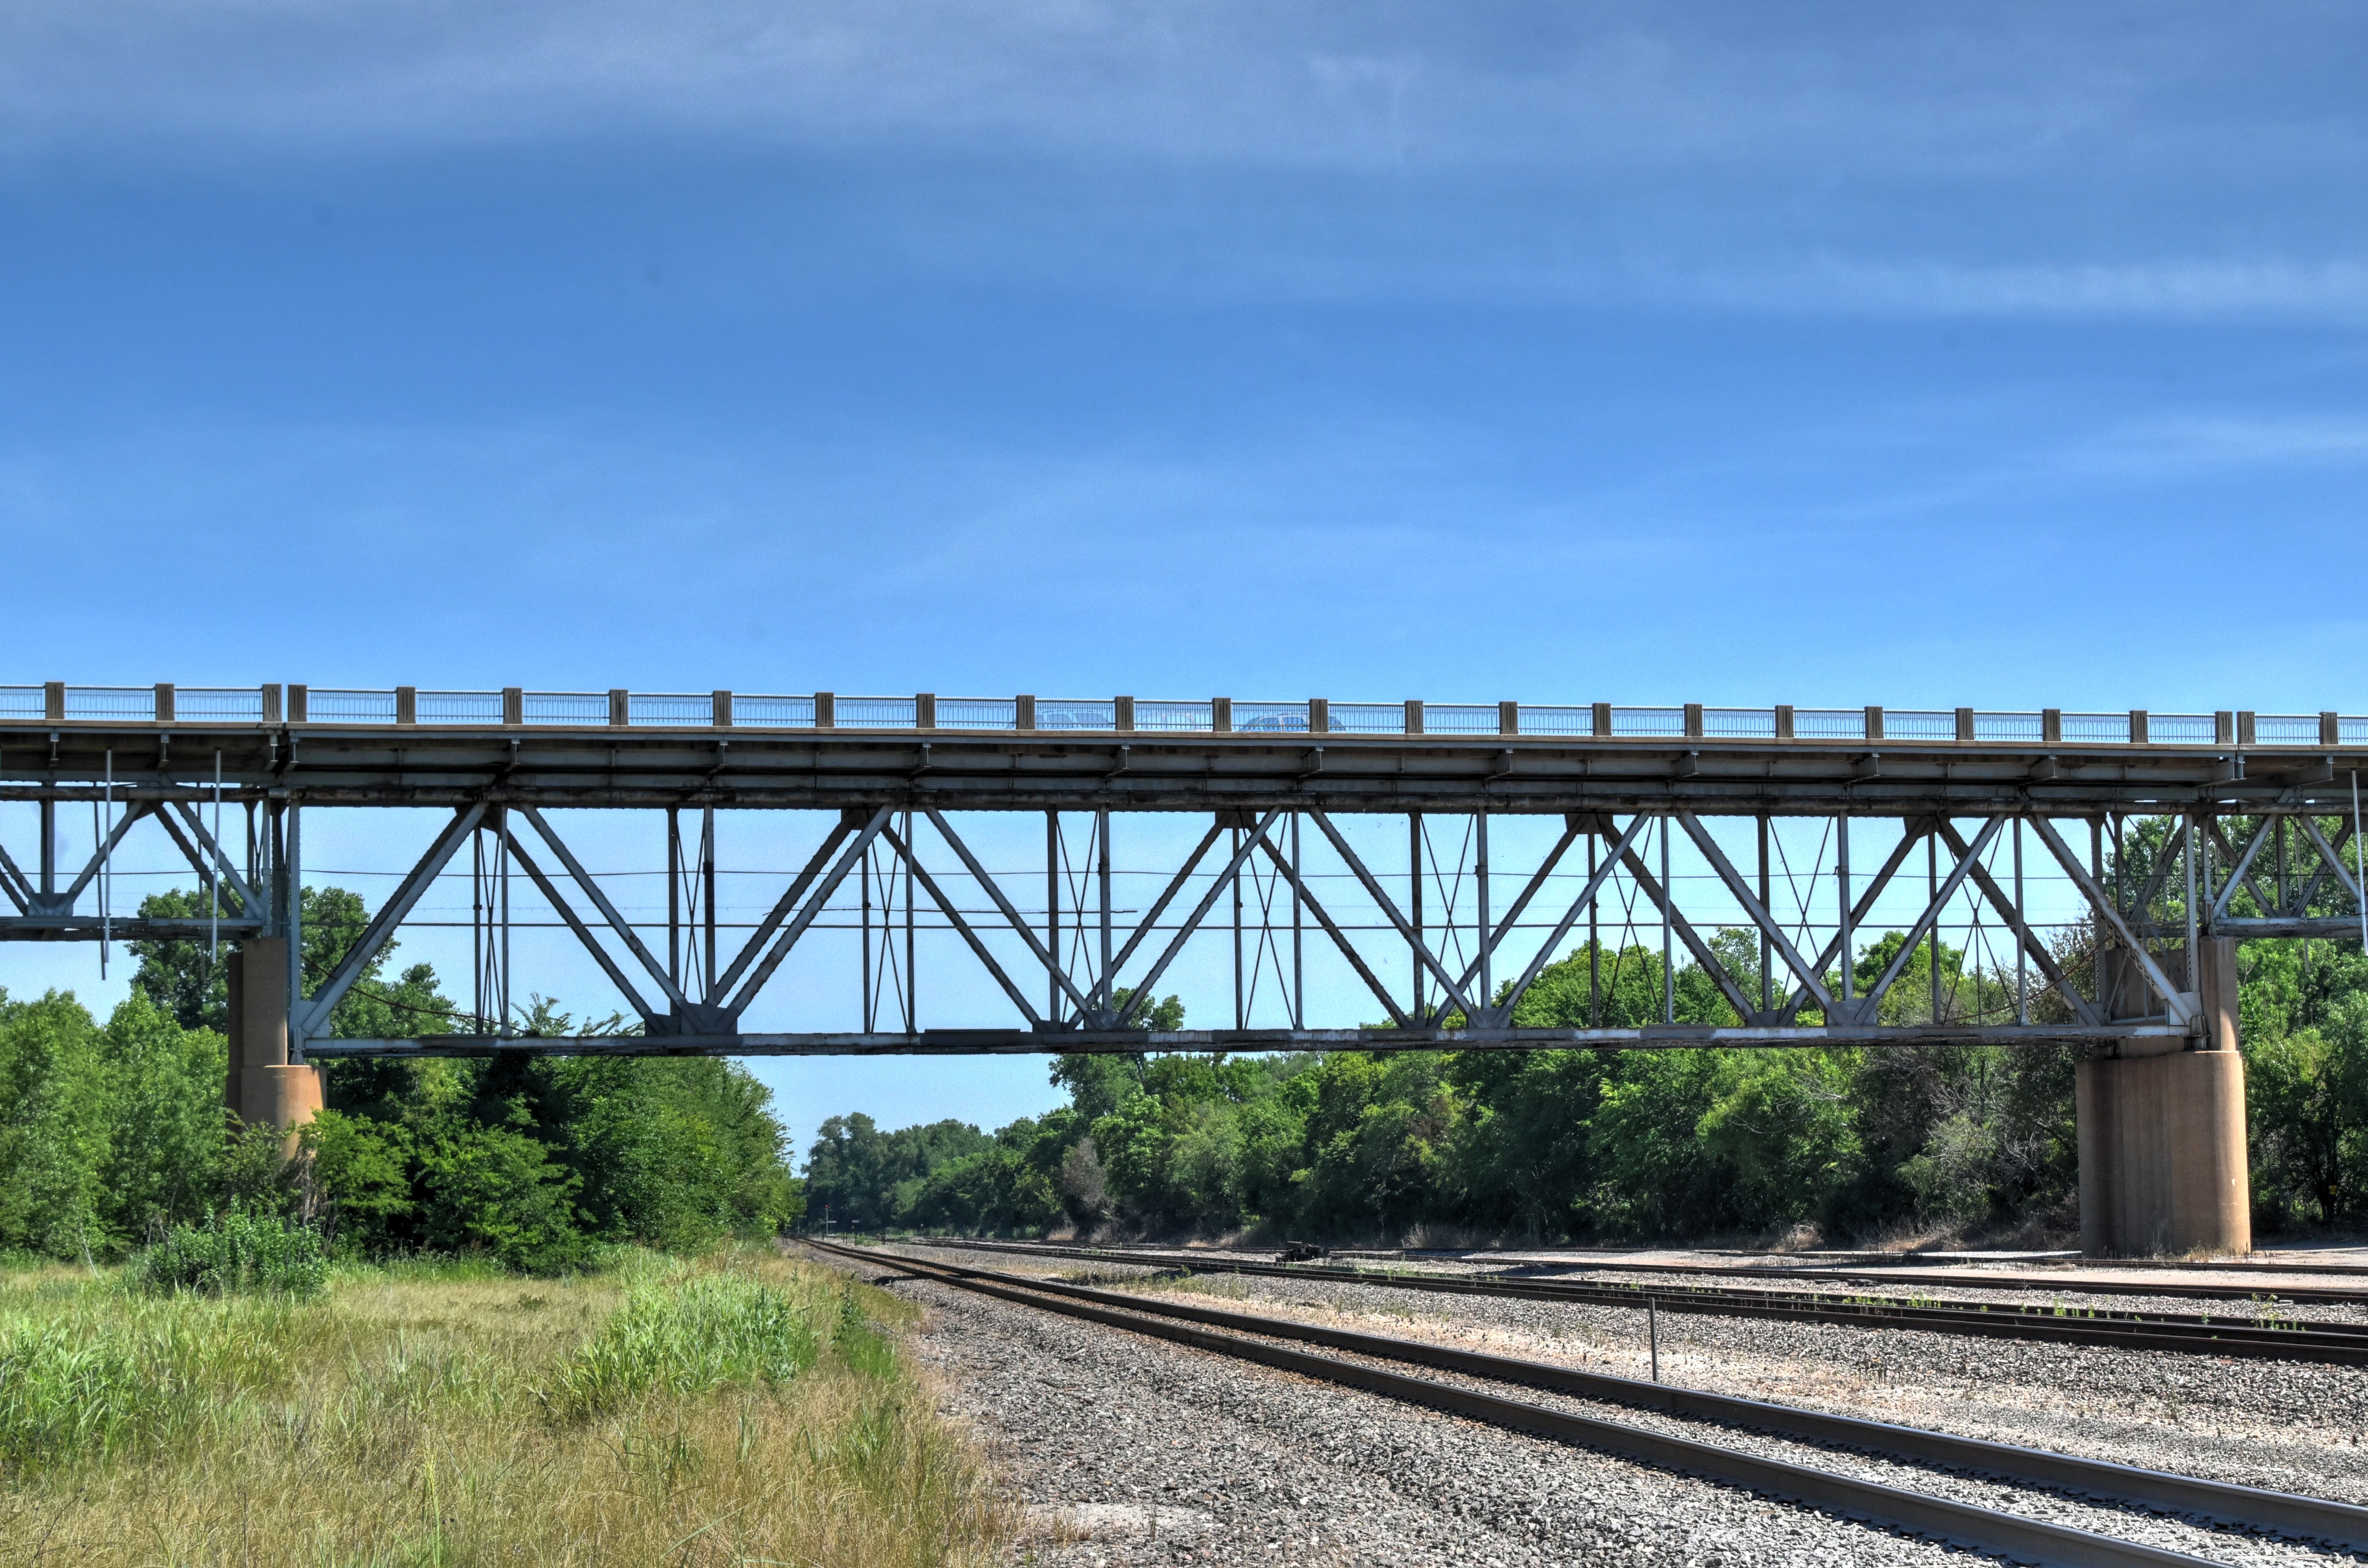


Elevation of the railroad span from southwest quadrant.
![]()


Elevation of individual spans from southwest quadrant.
![]()
Portal views facing west.
![]()


Views on sidewalk facing west.
![]()
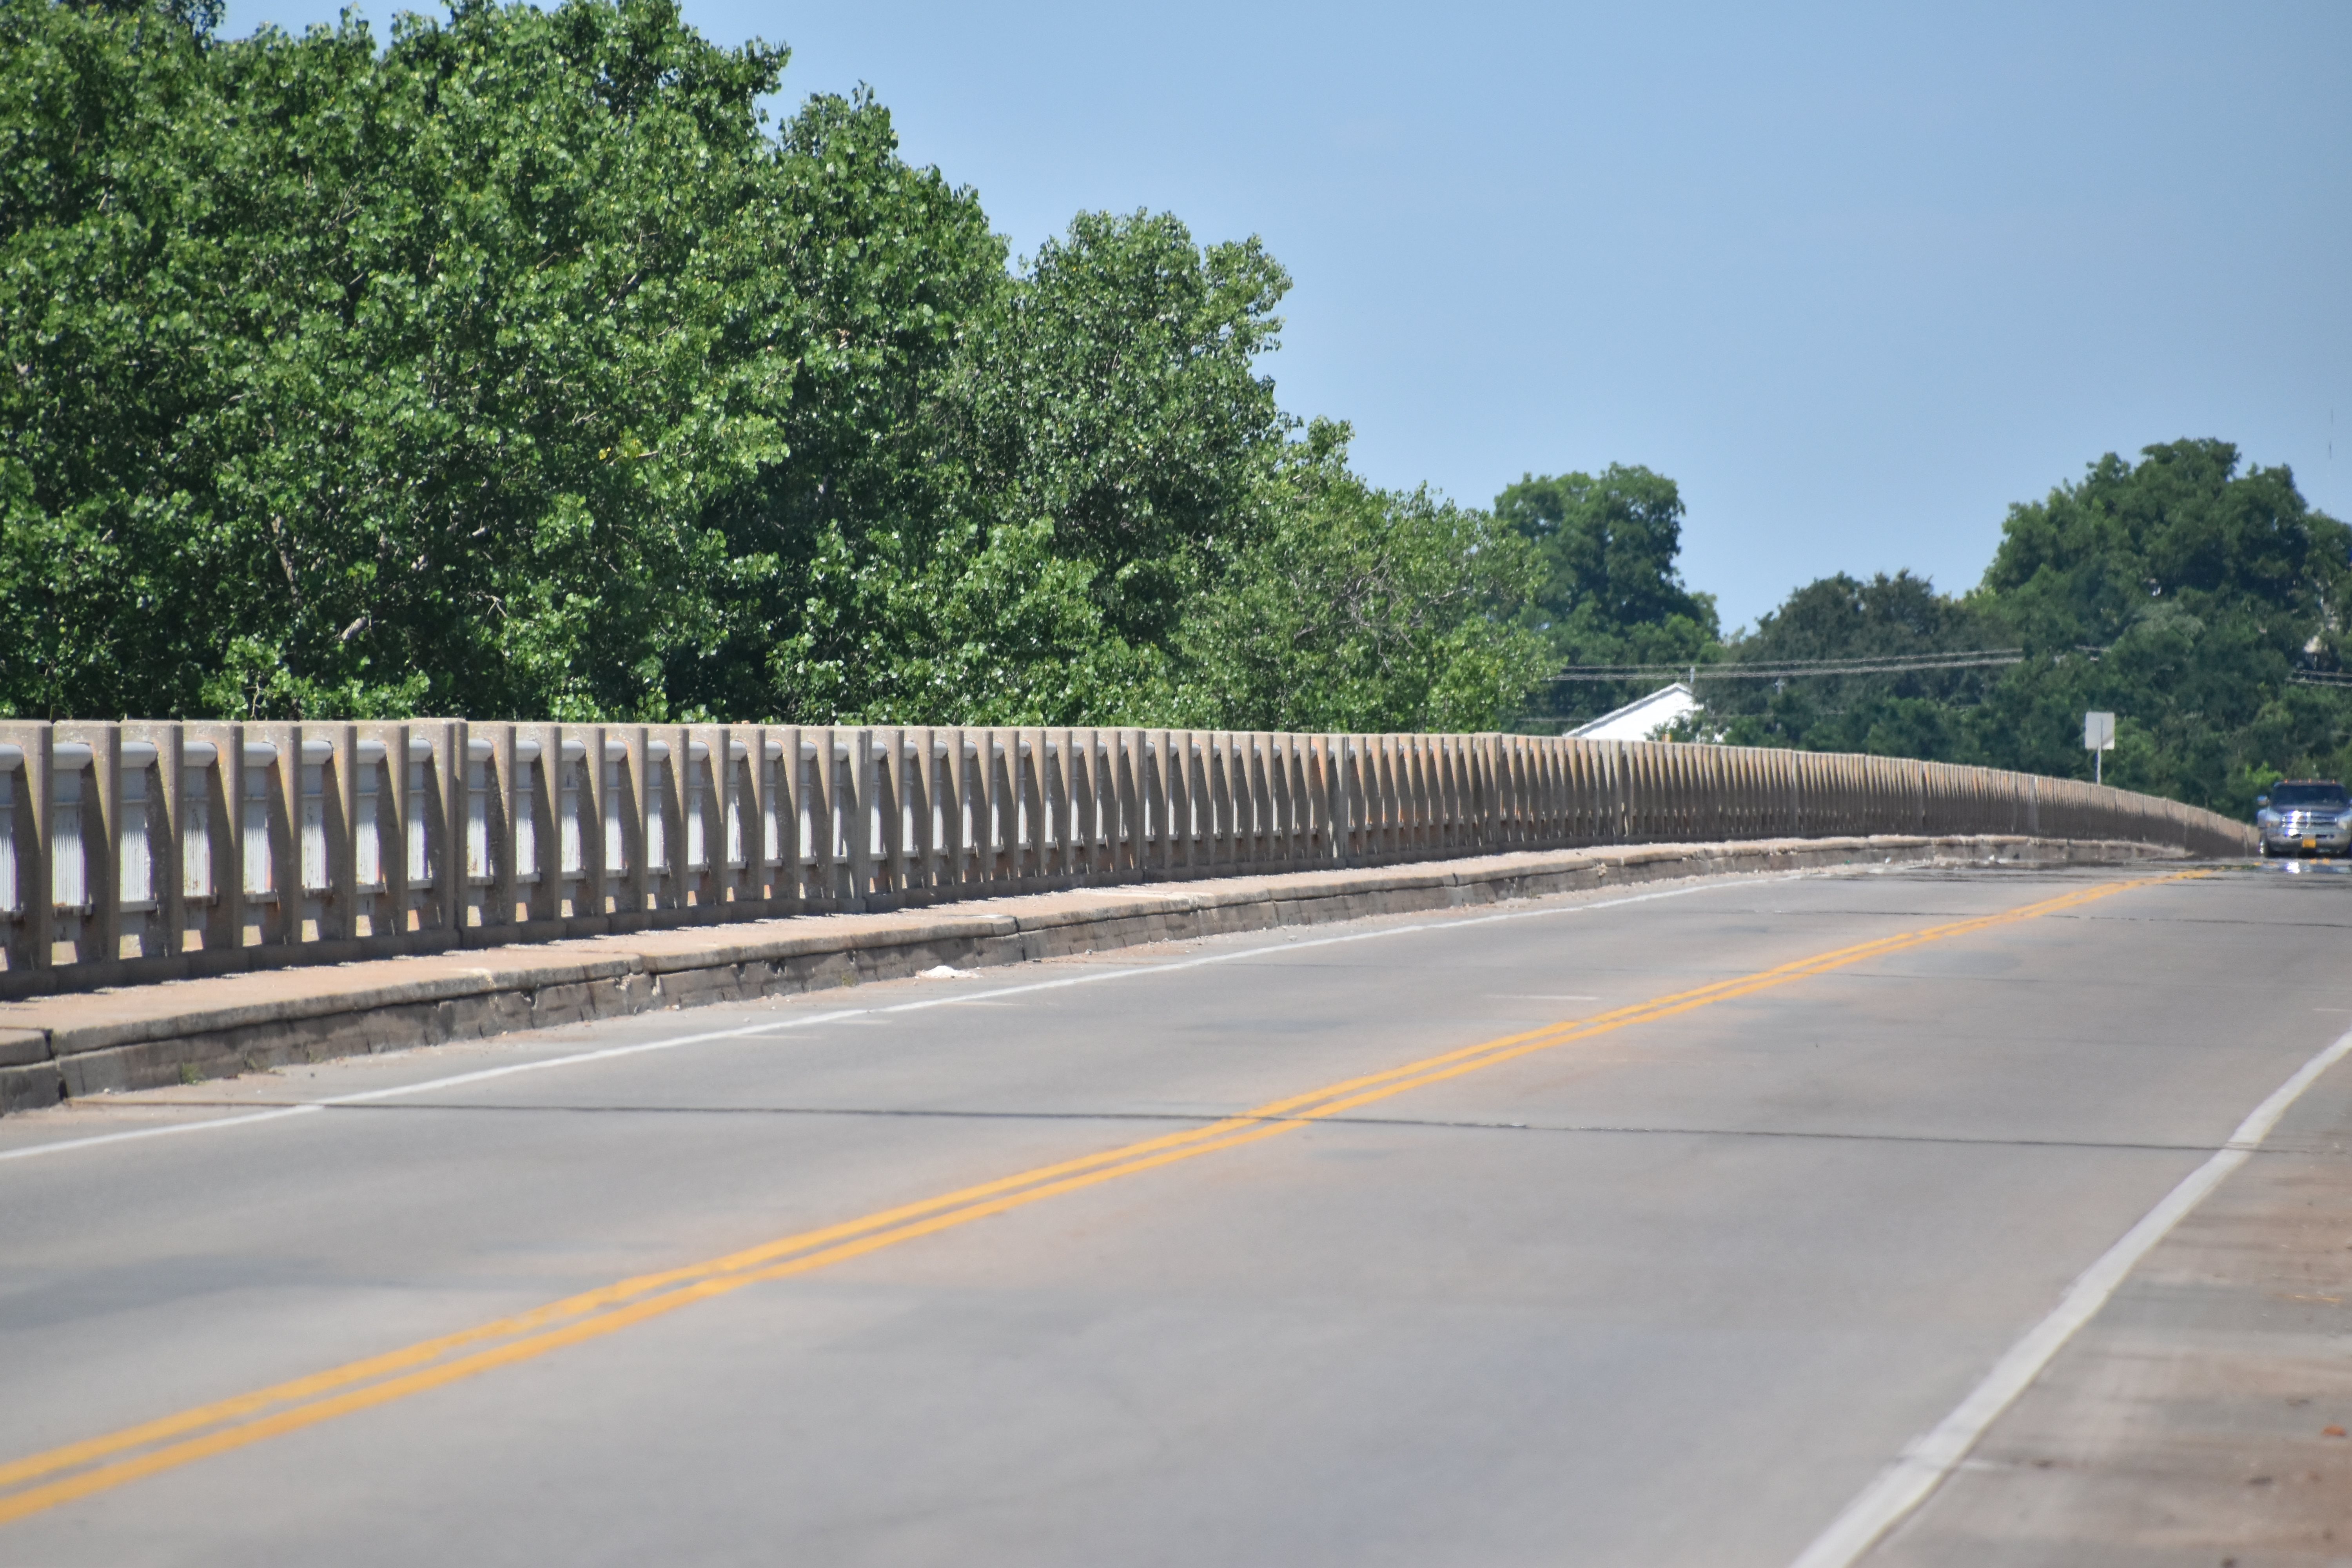

Deck and railing overview.
![]()


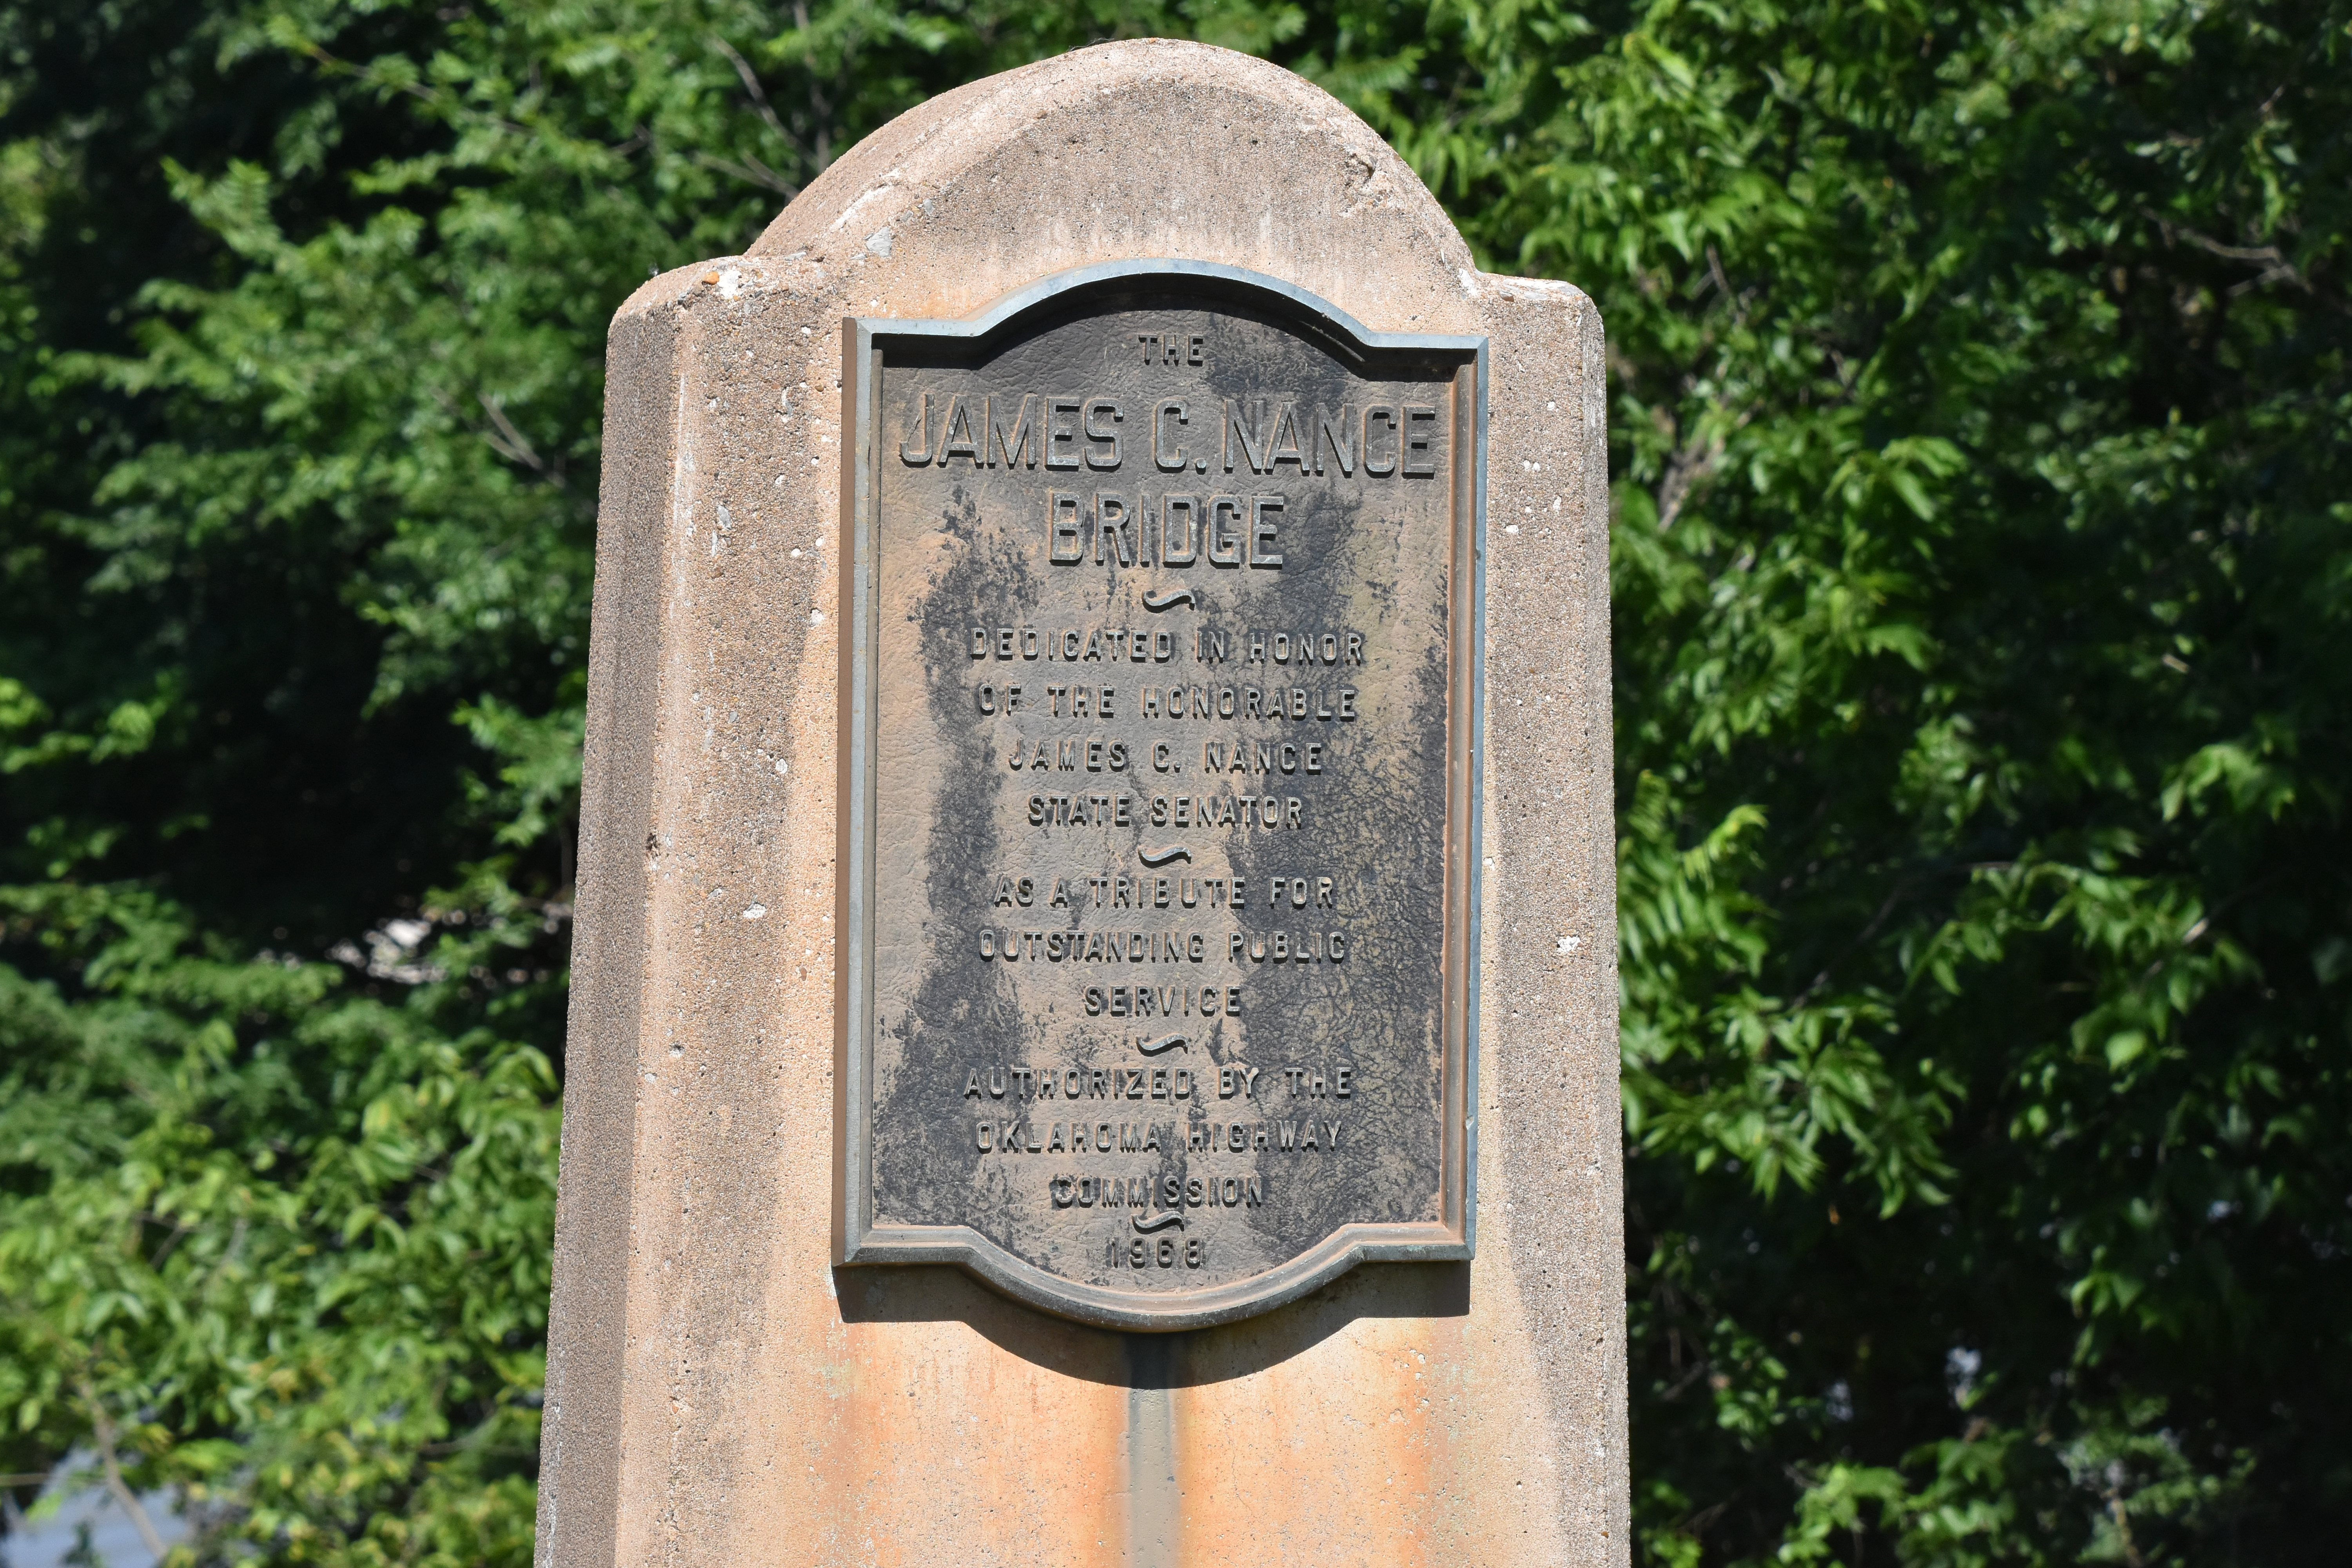
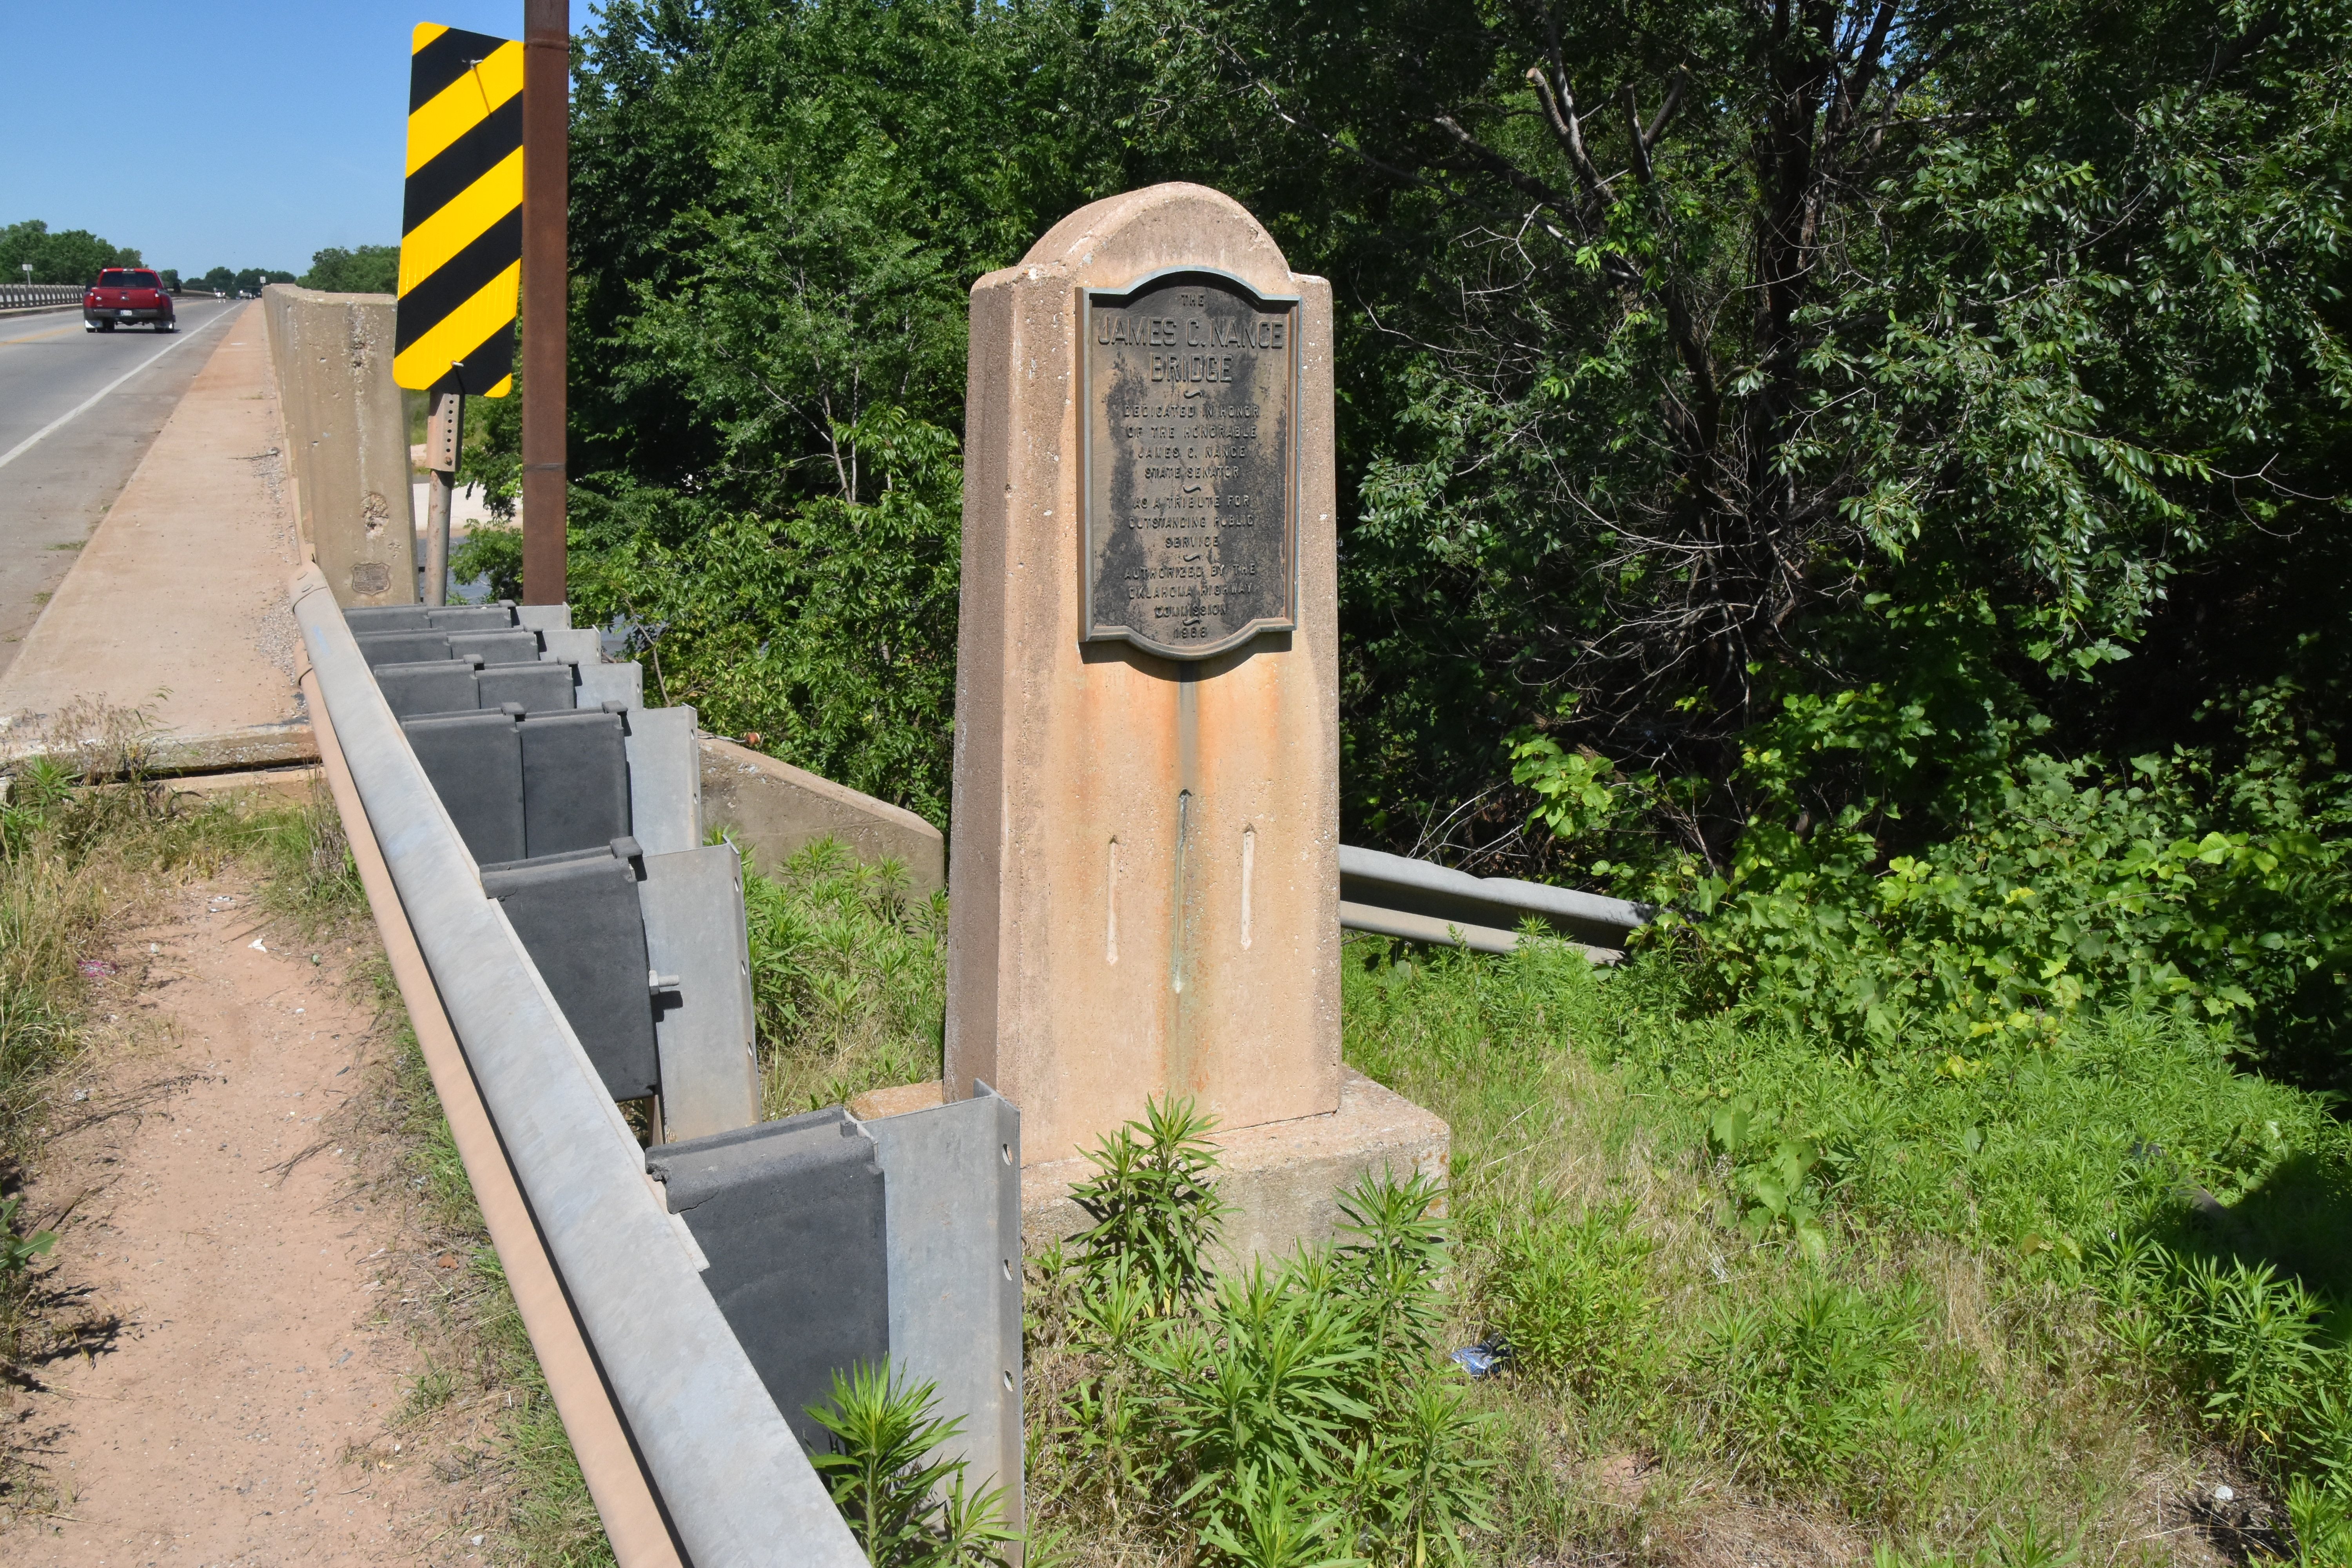
Original plaque.
![]()
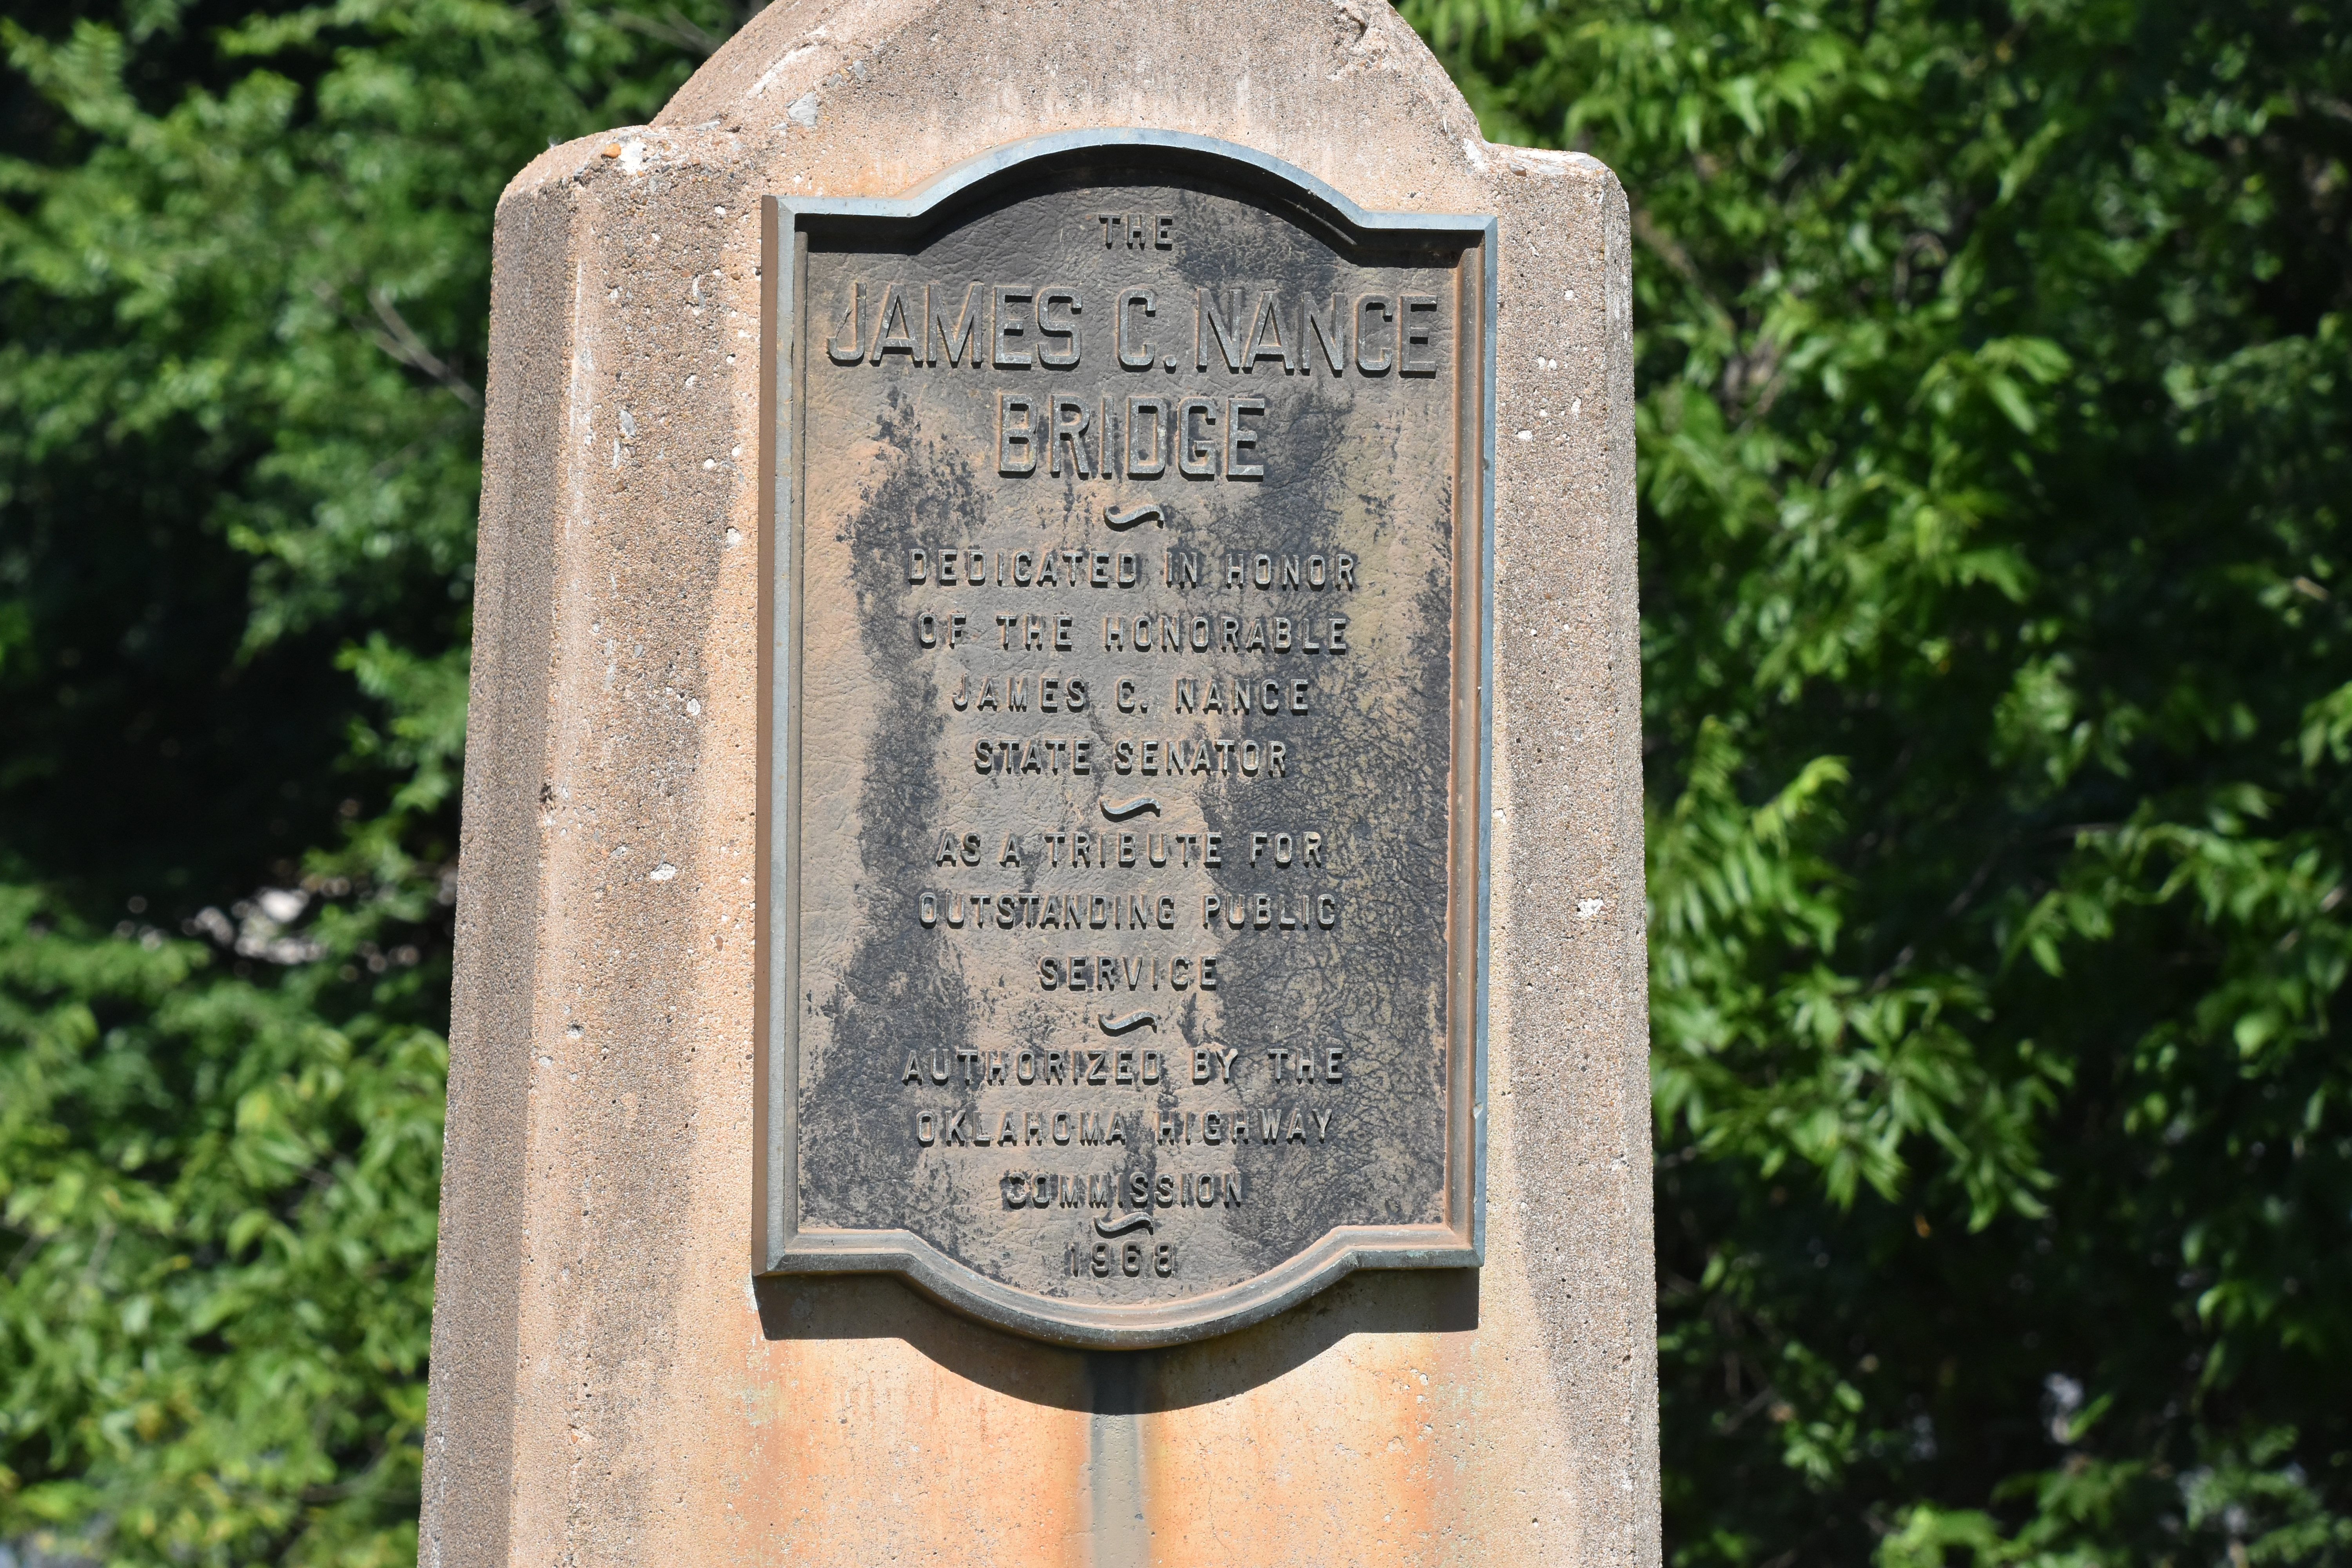
Dedication plaque.
![]()


View directly beside trusses, drainpipes to left.
![]()


Zoomed view directly beside trusses, drainpipes to left.
![]()

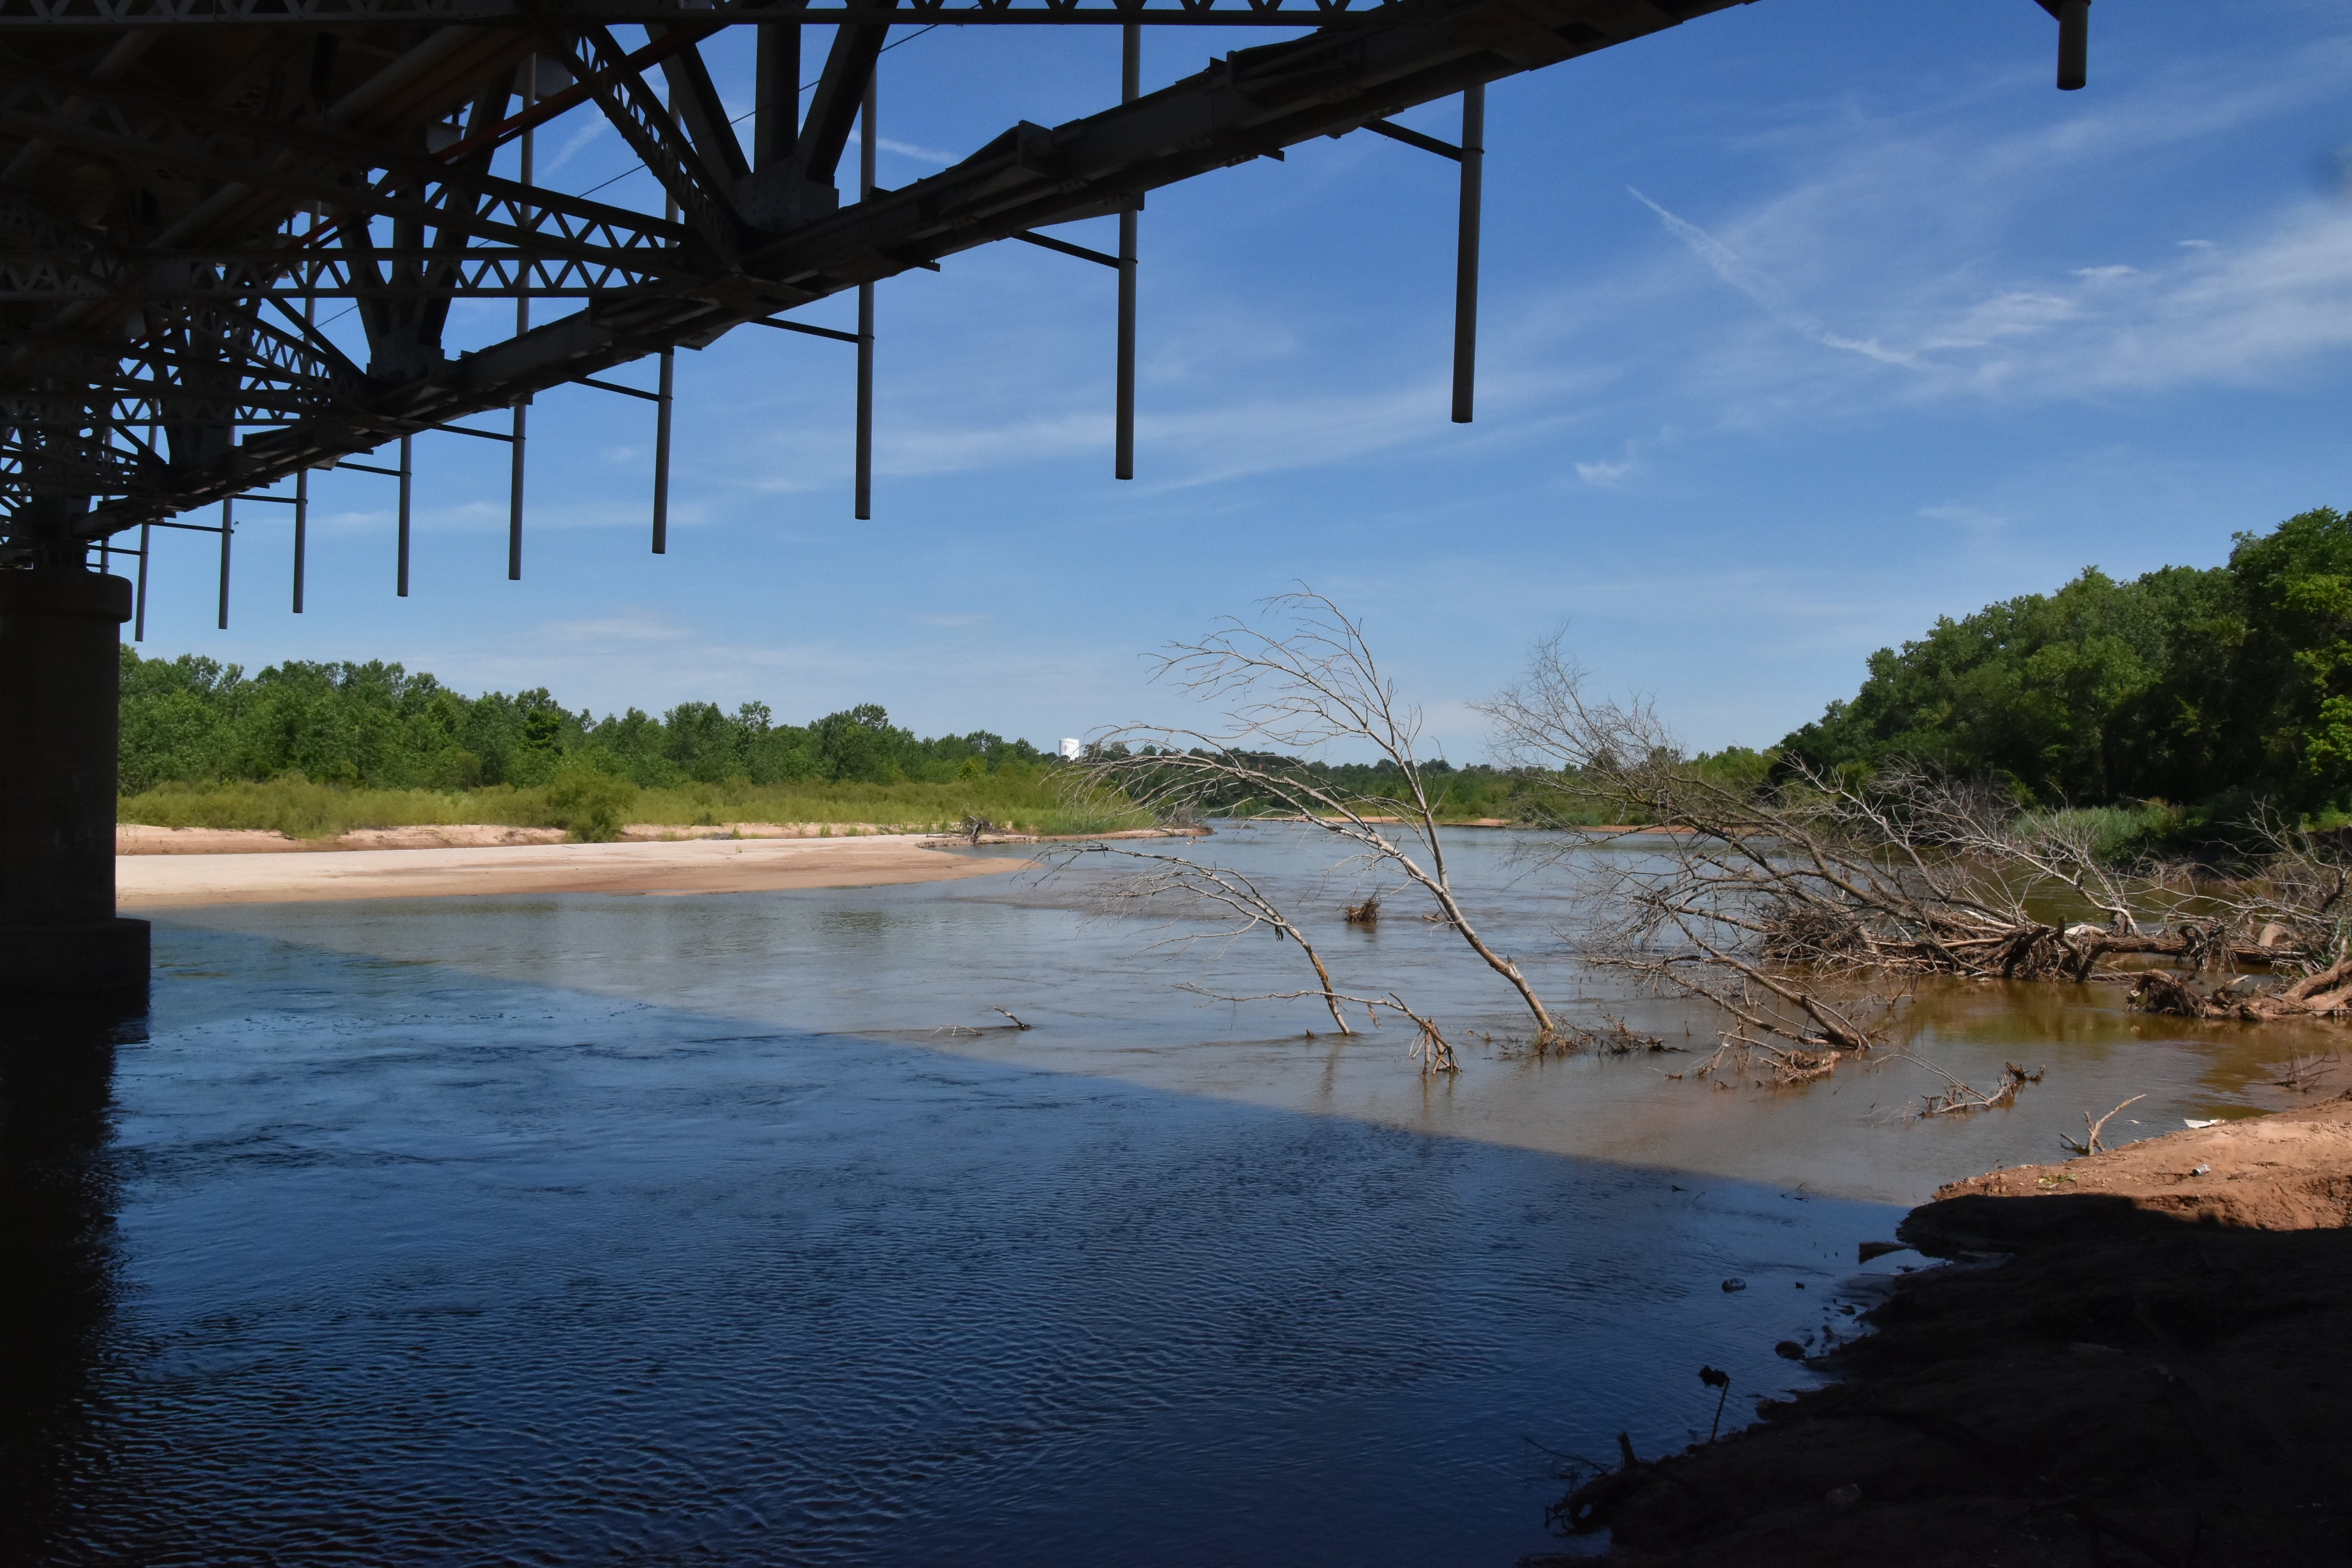
Views under east approach span.
![]()


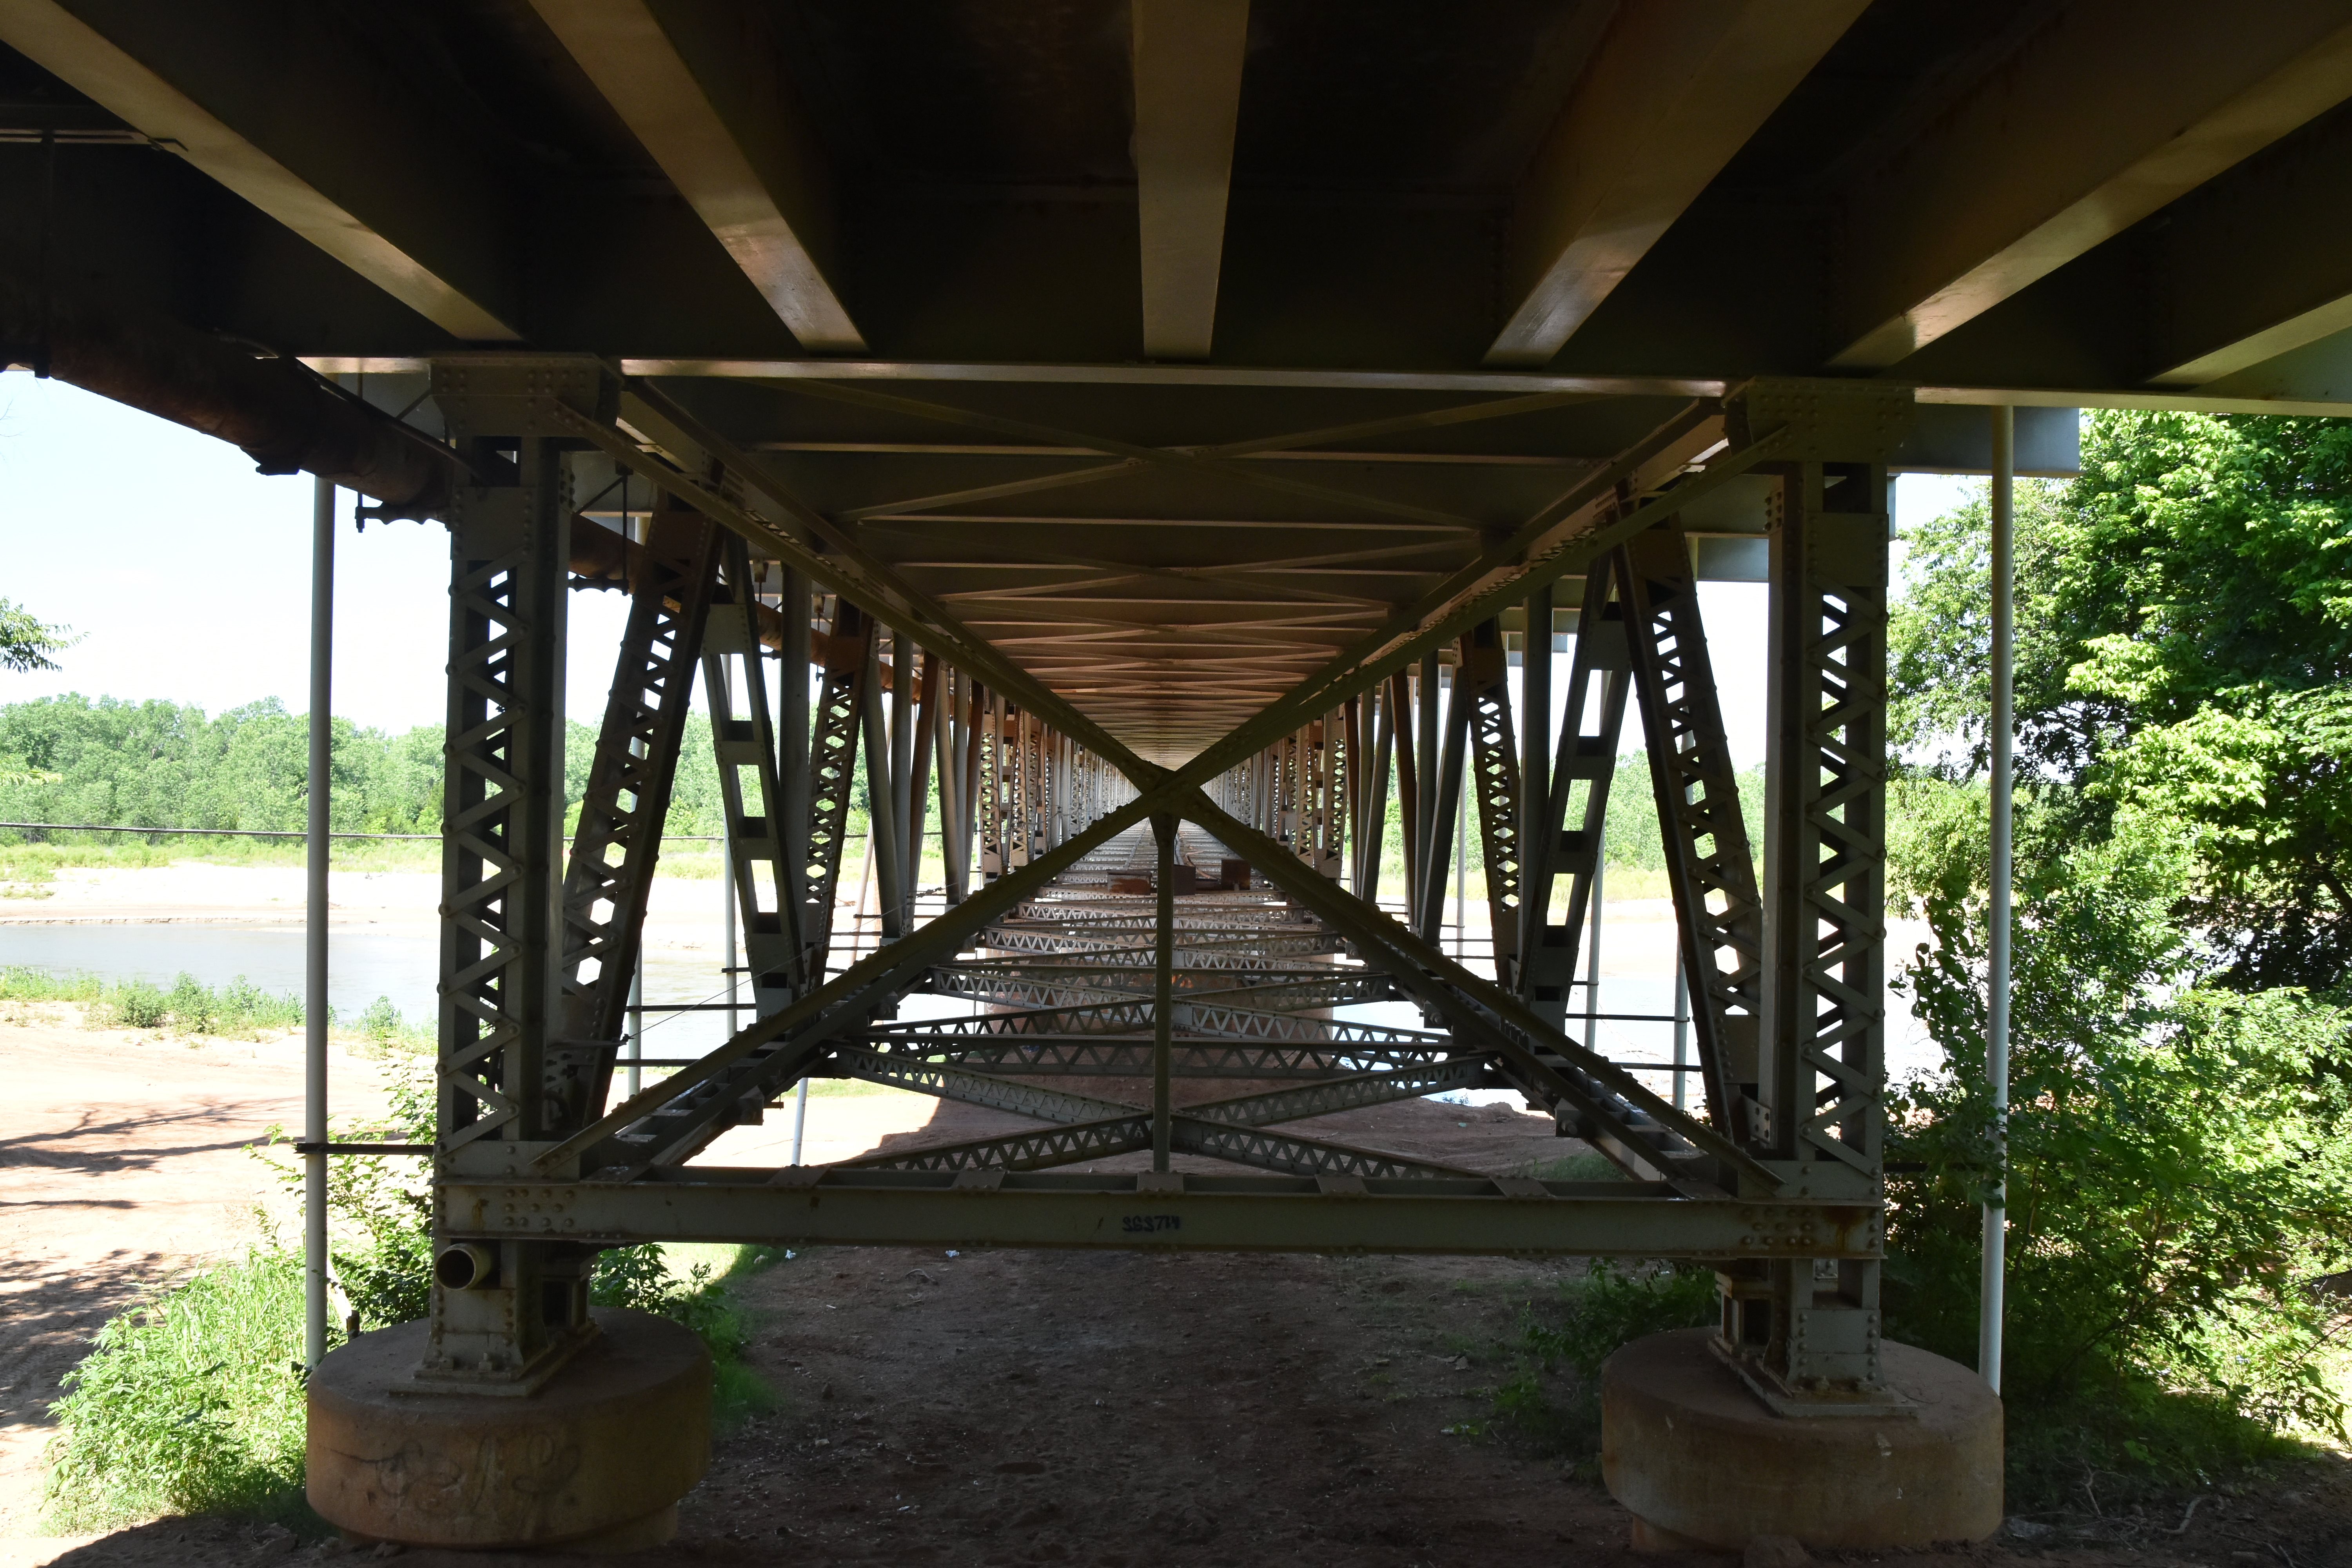
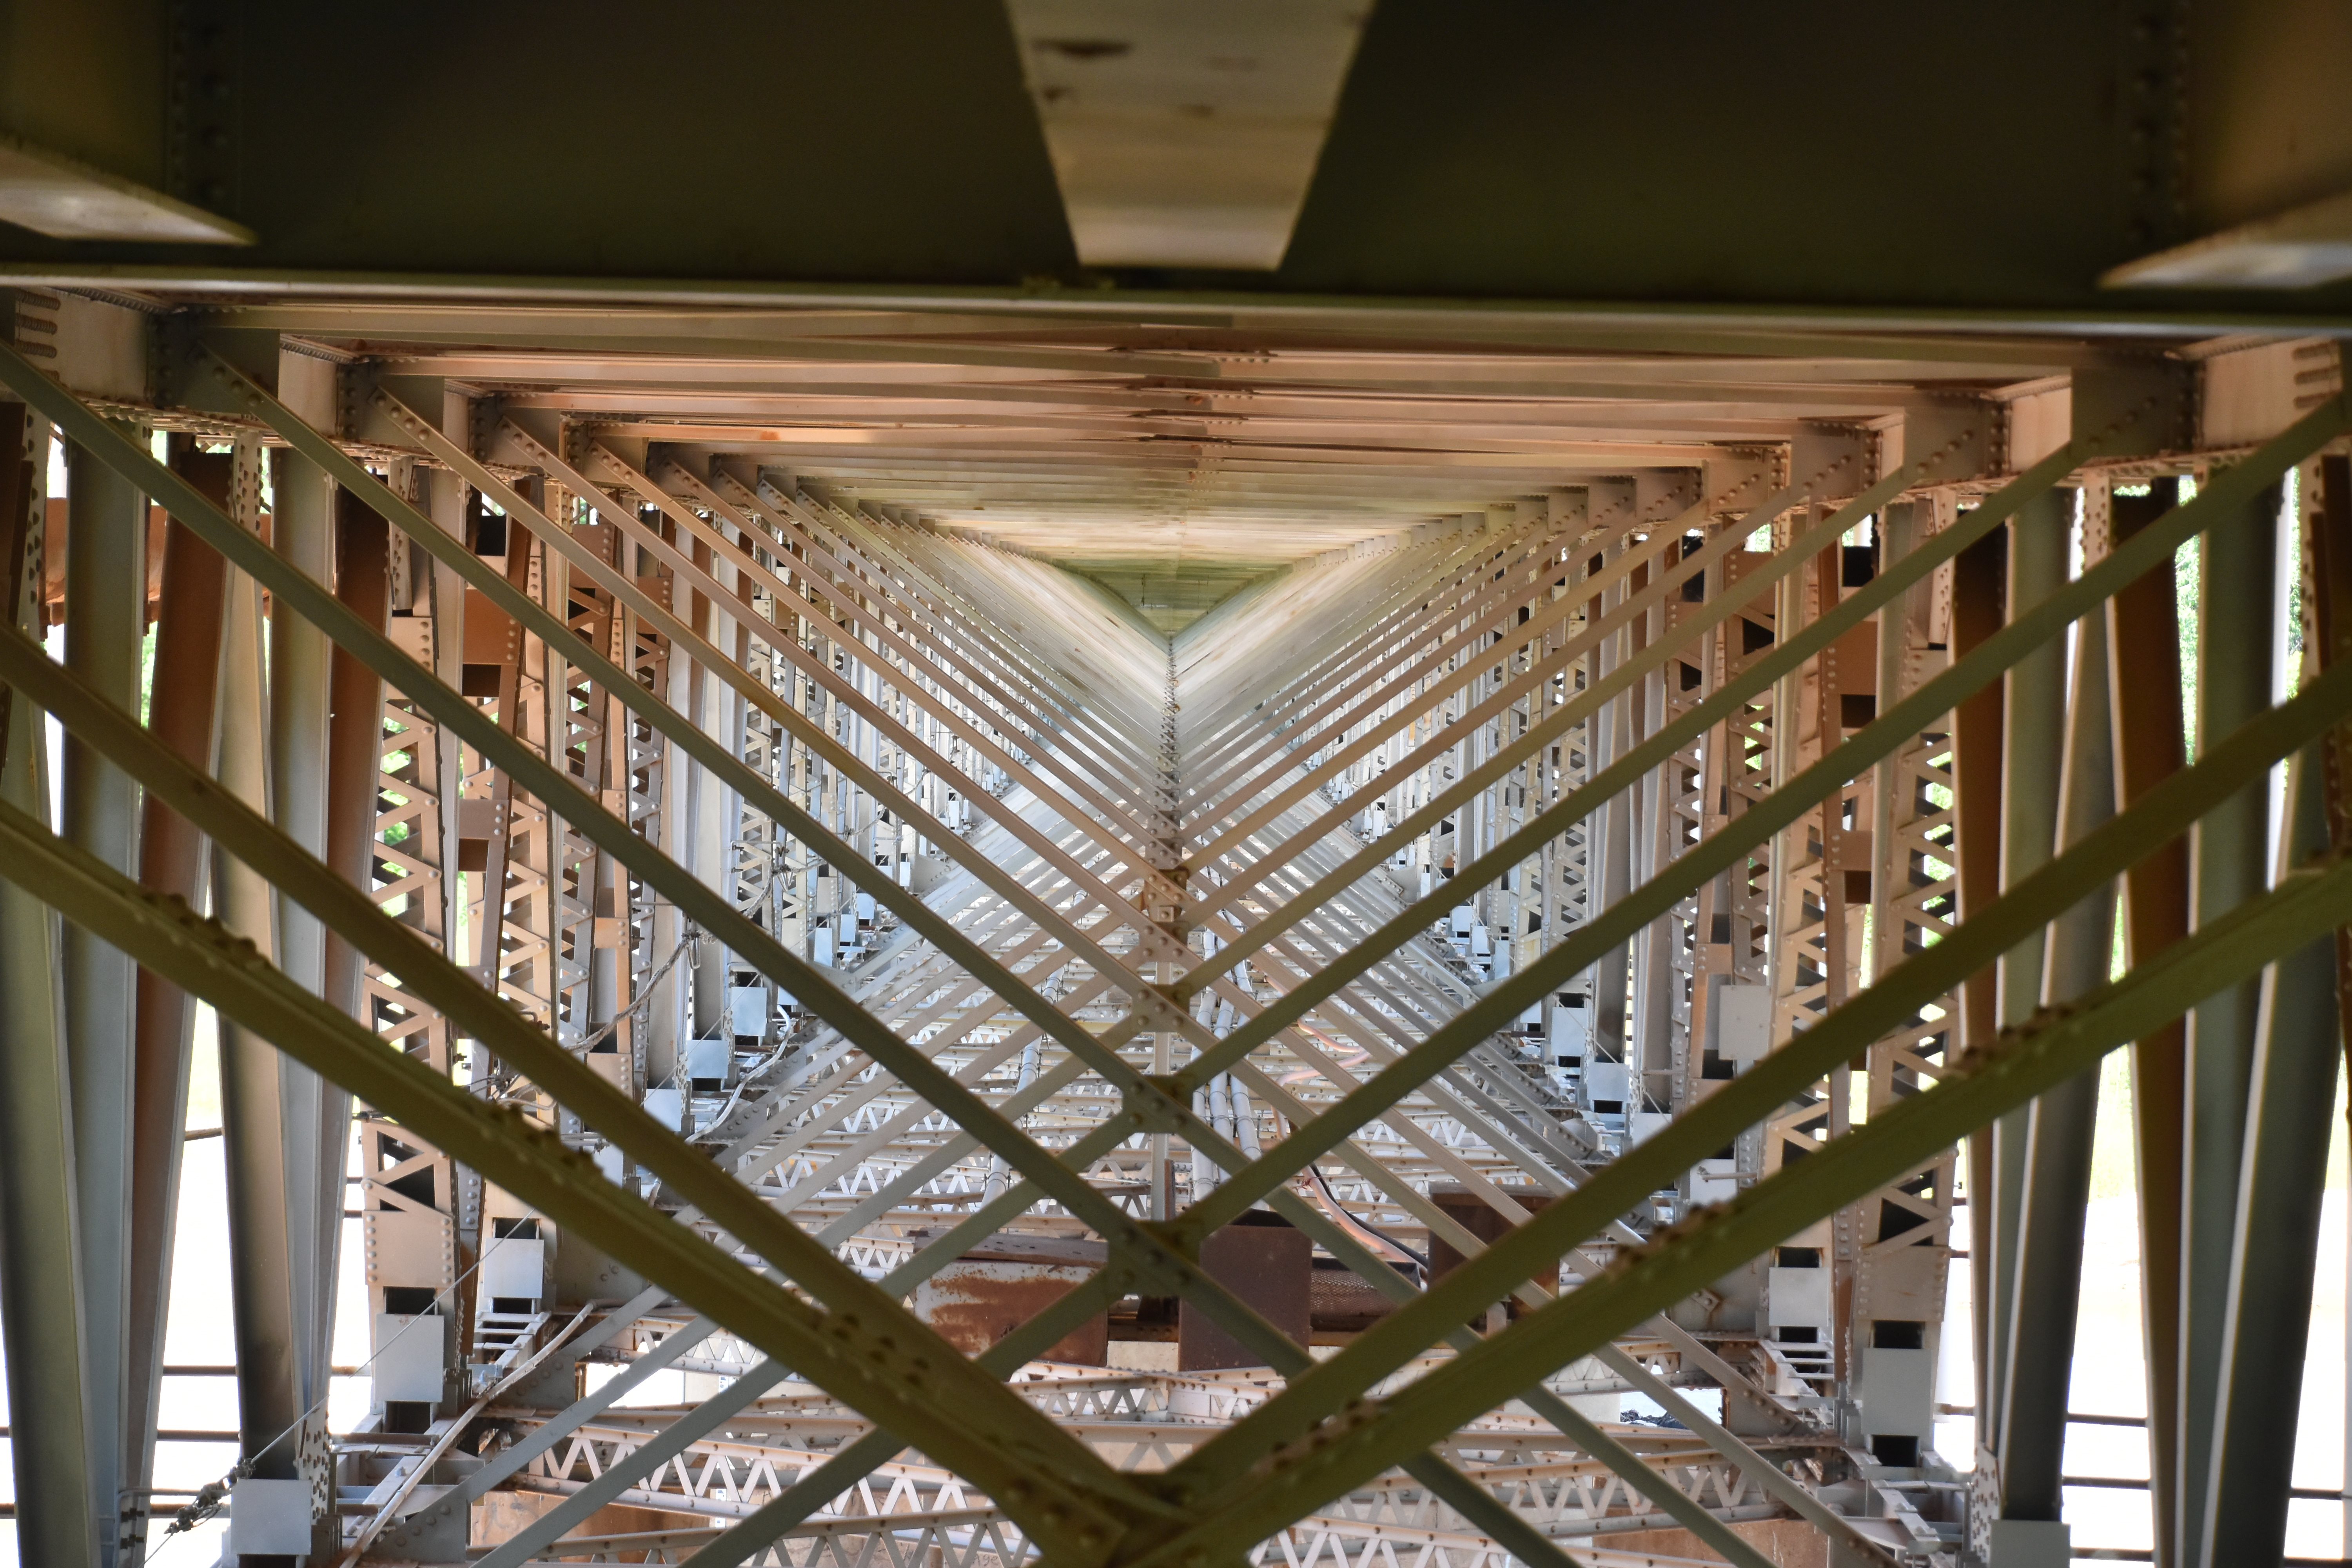
View under truss span.
![]()


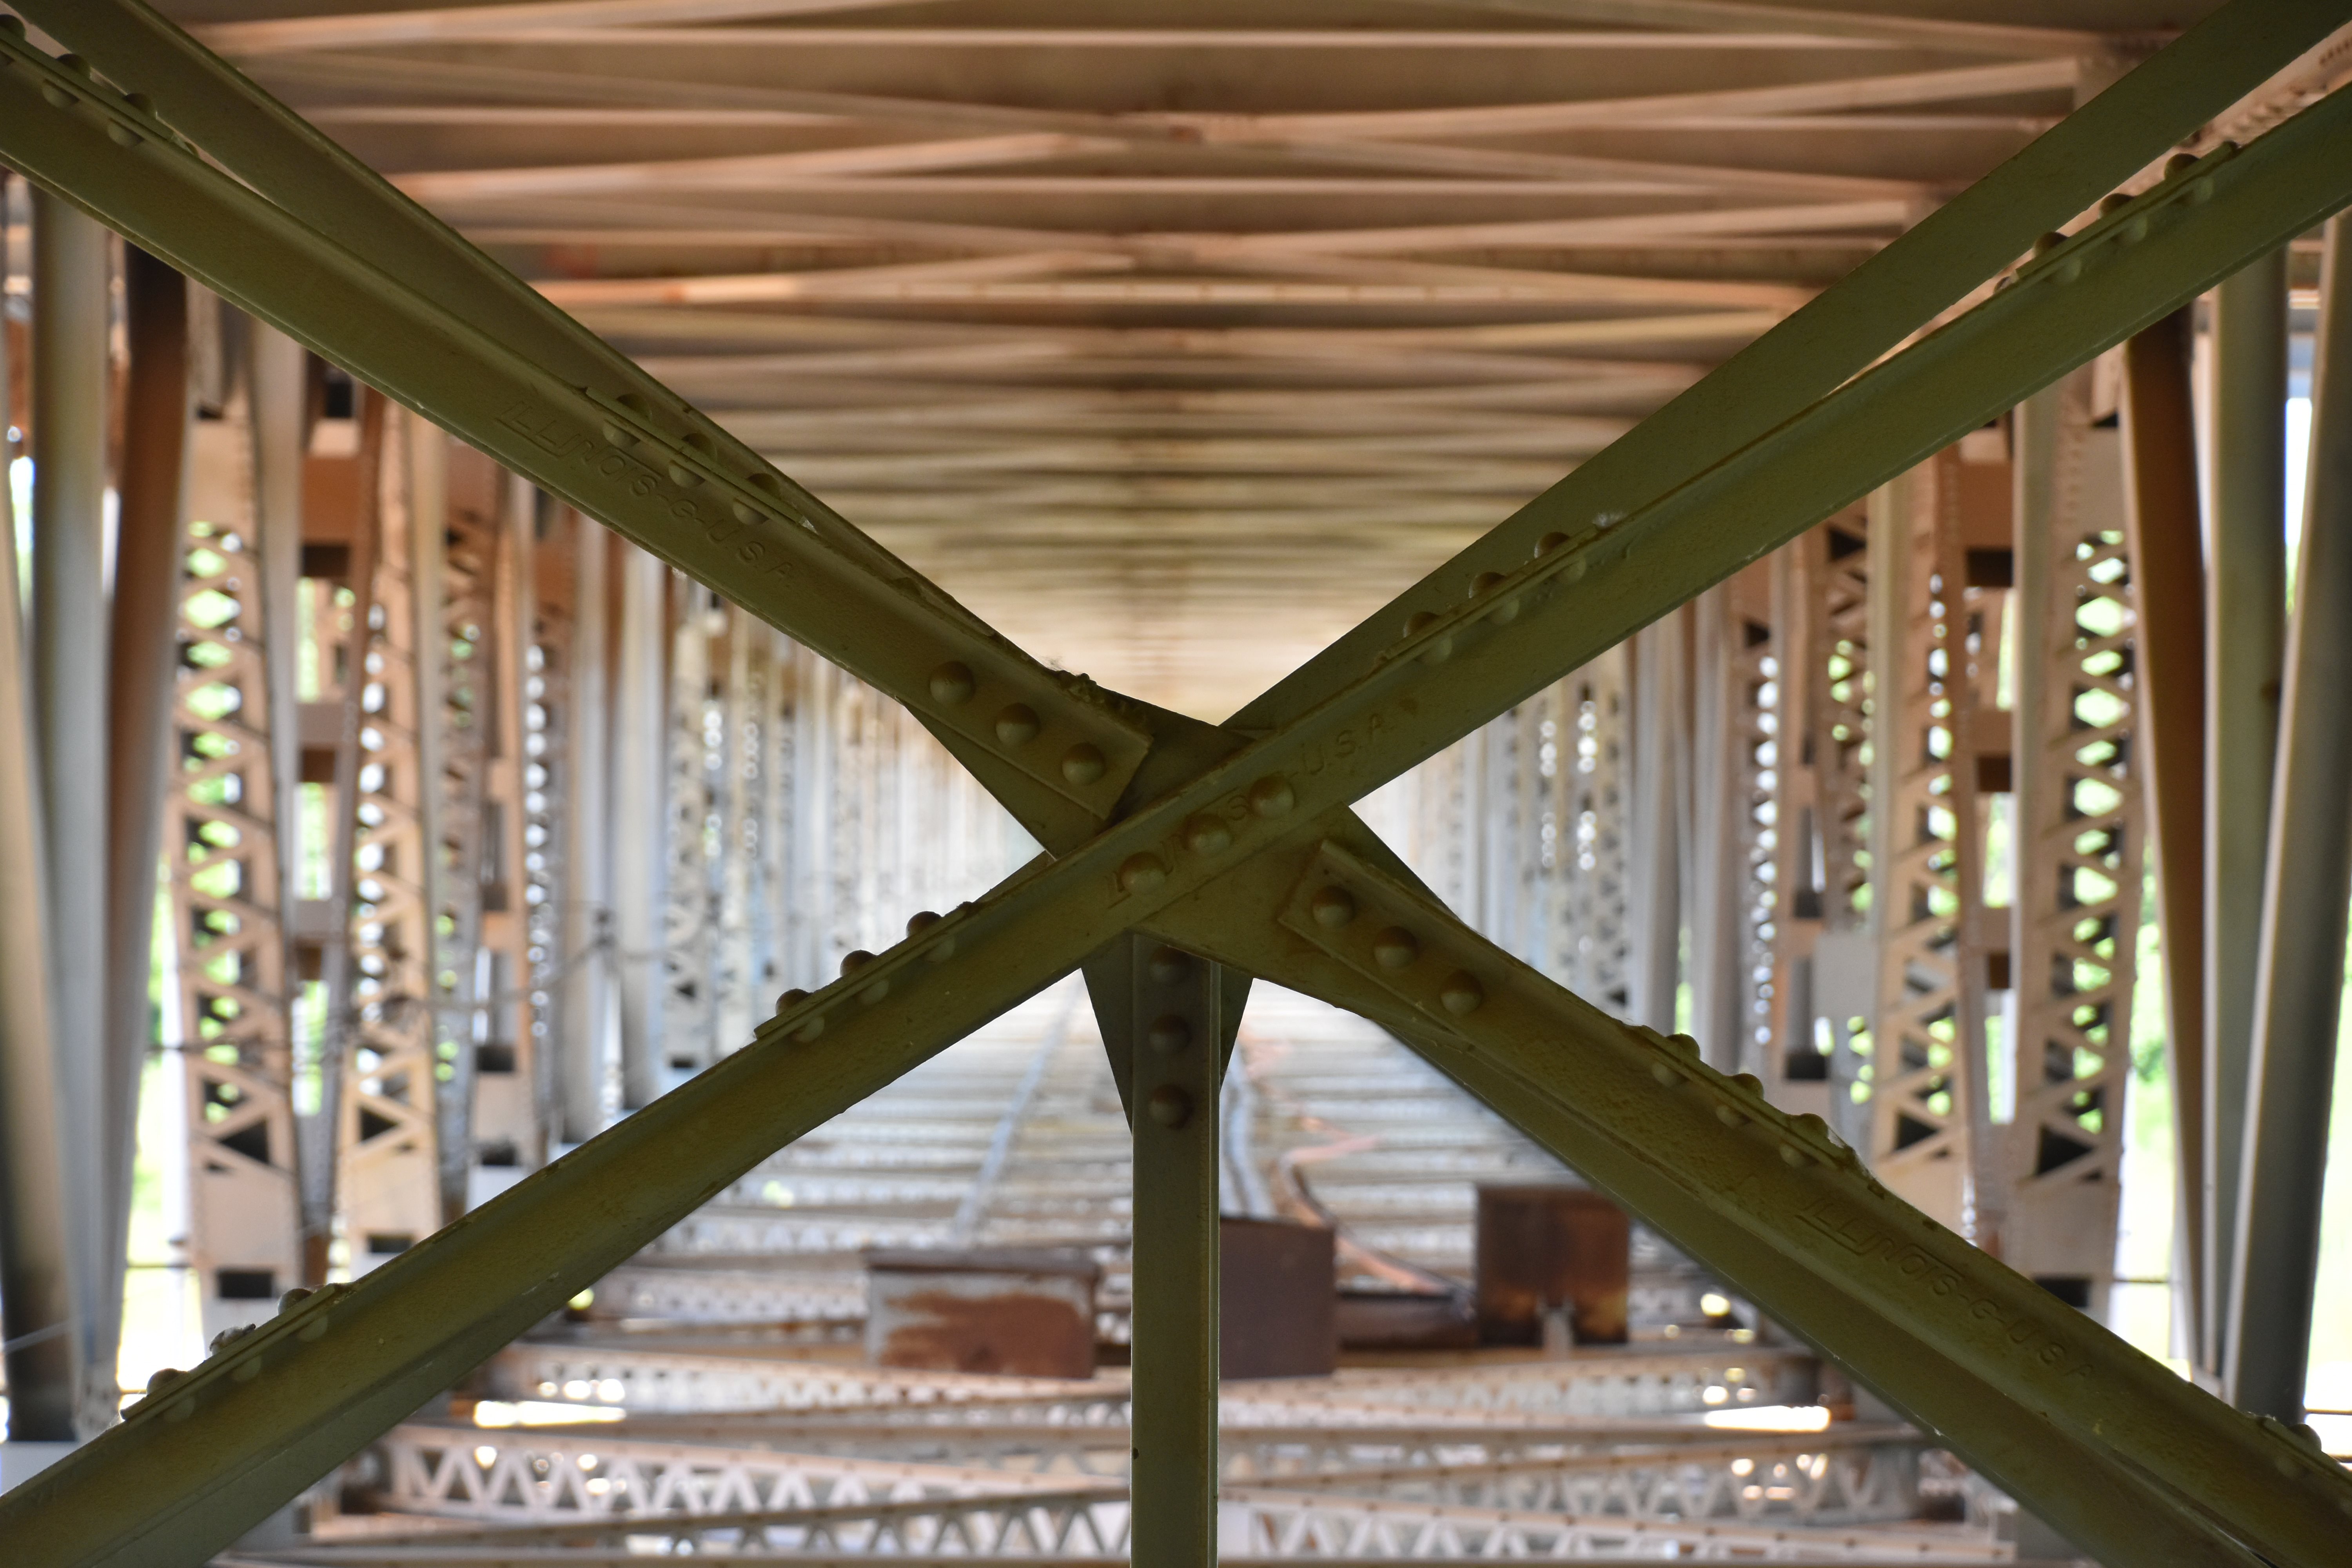
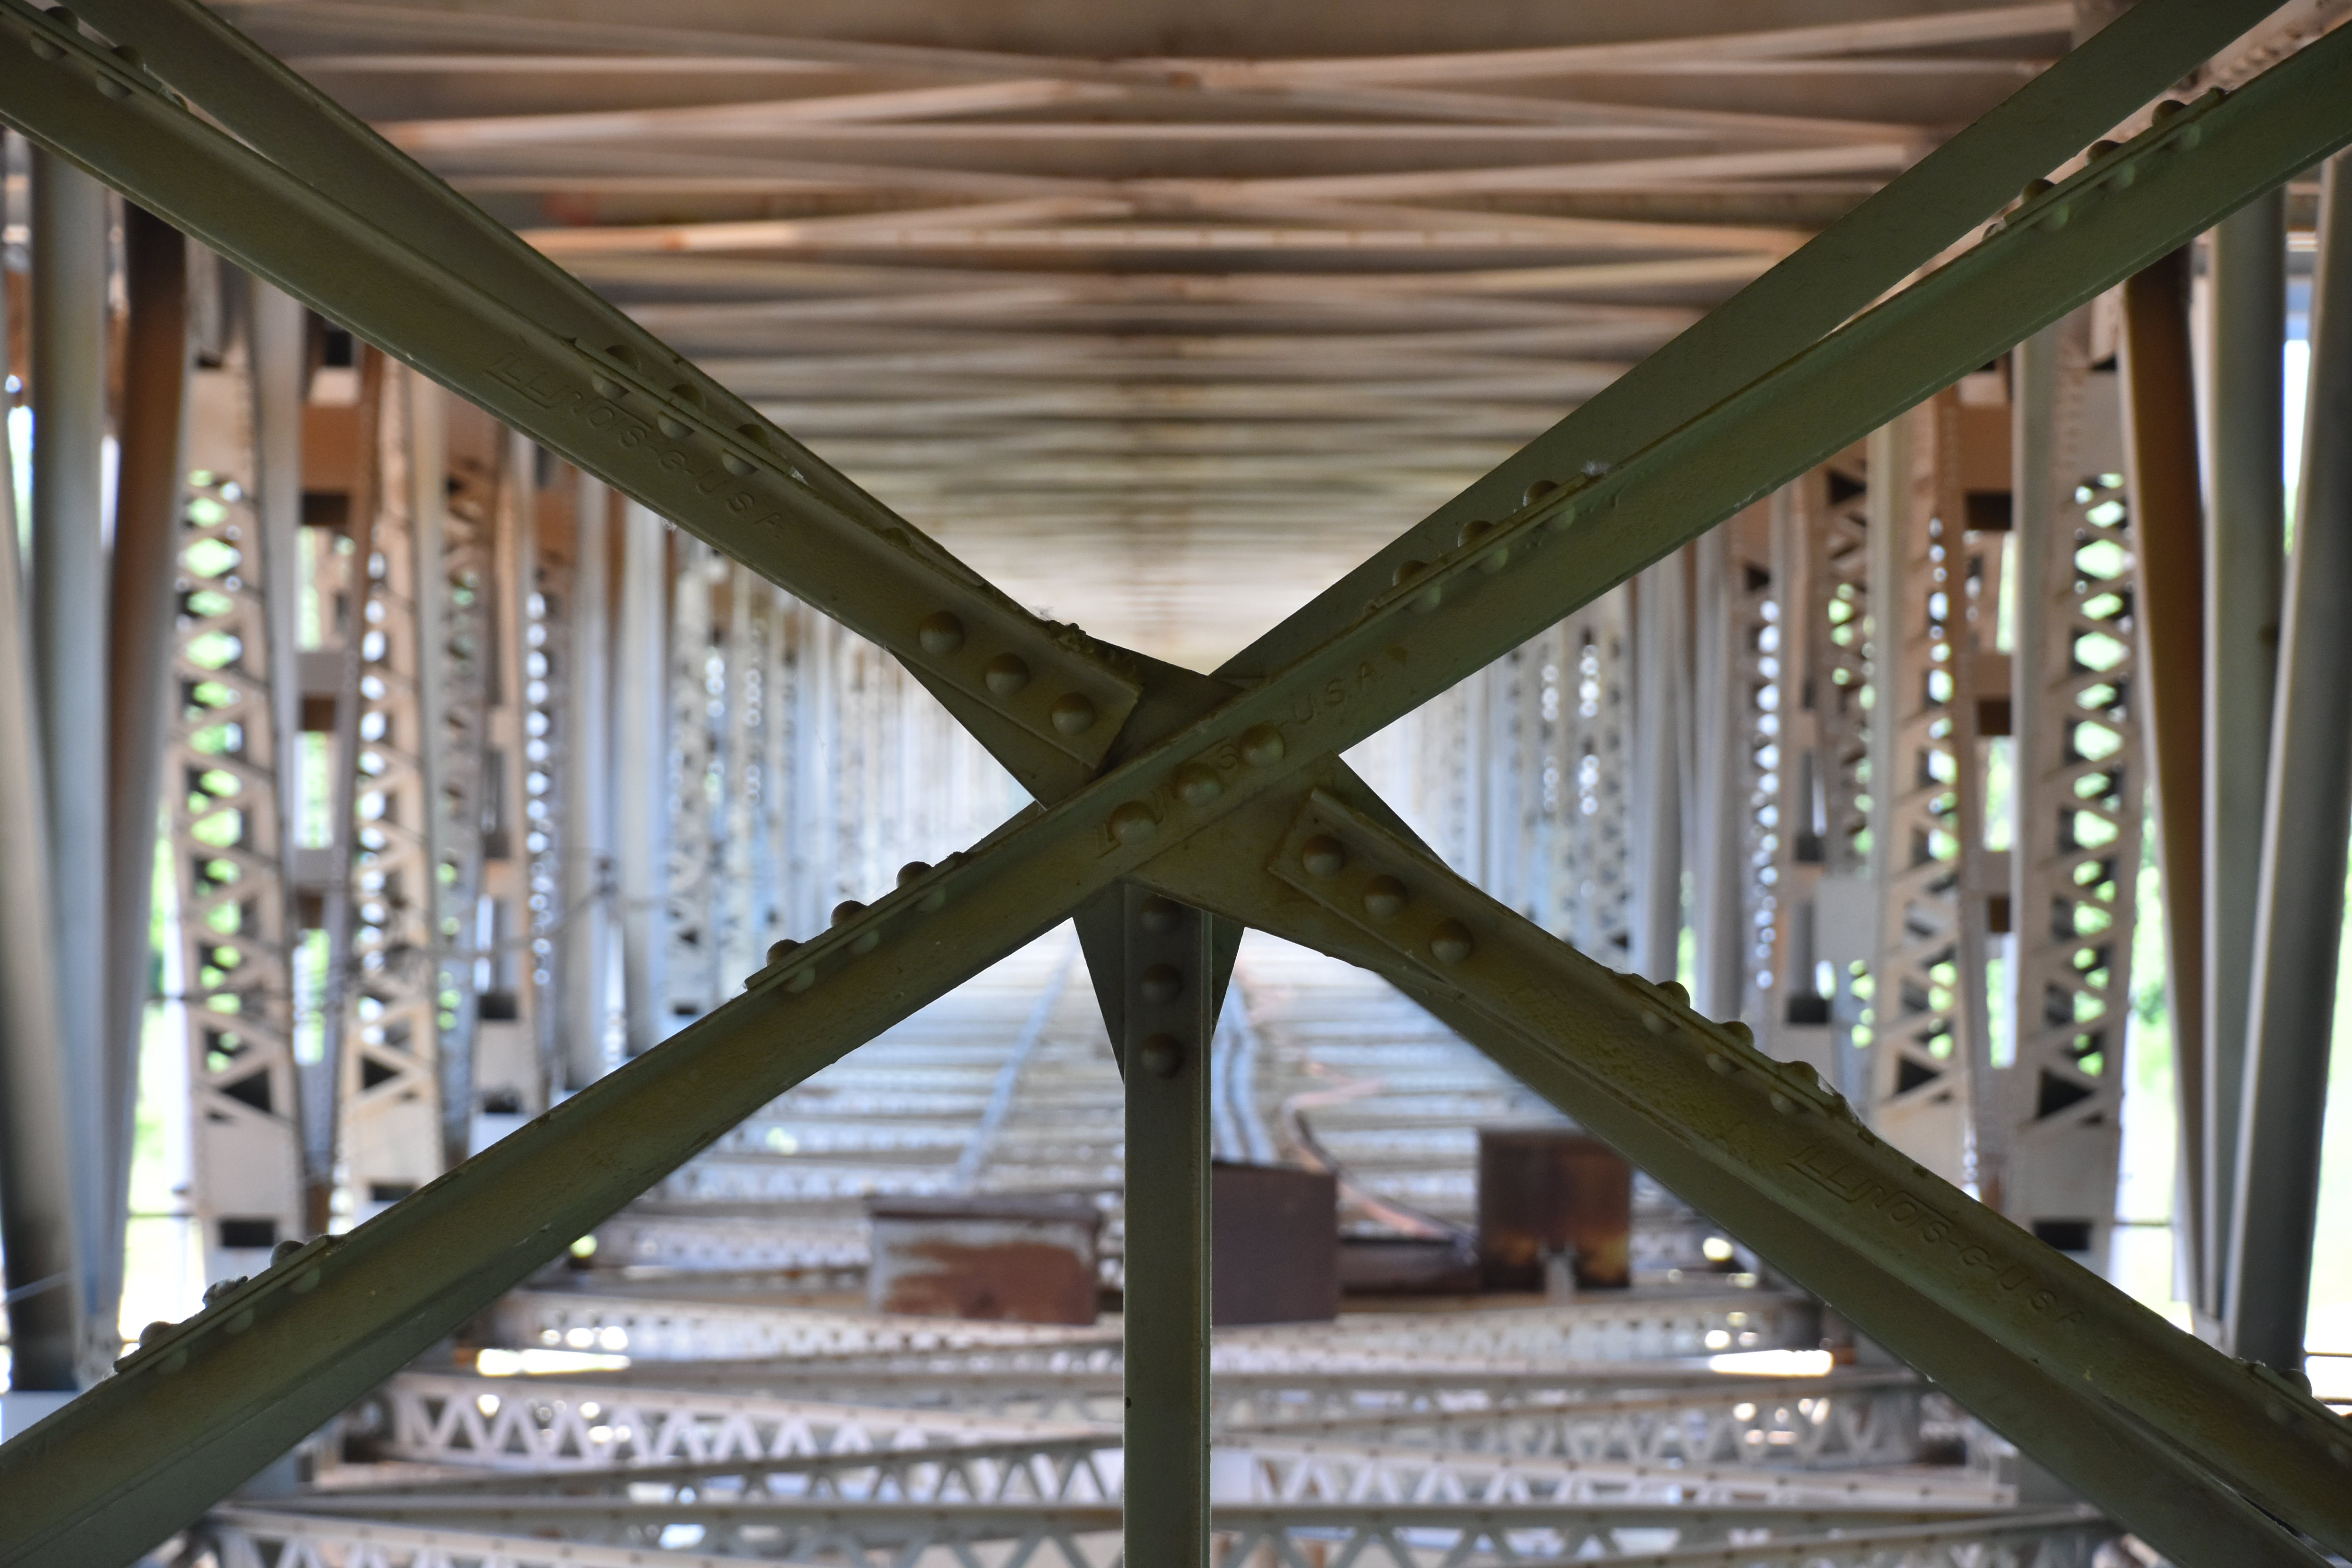


Views looking through the bracing.
![]()


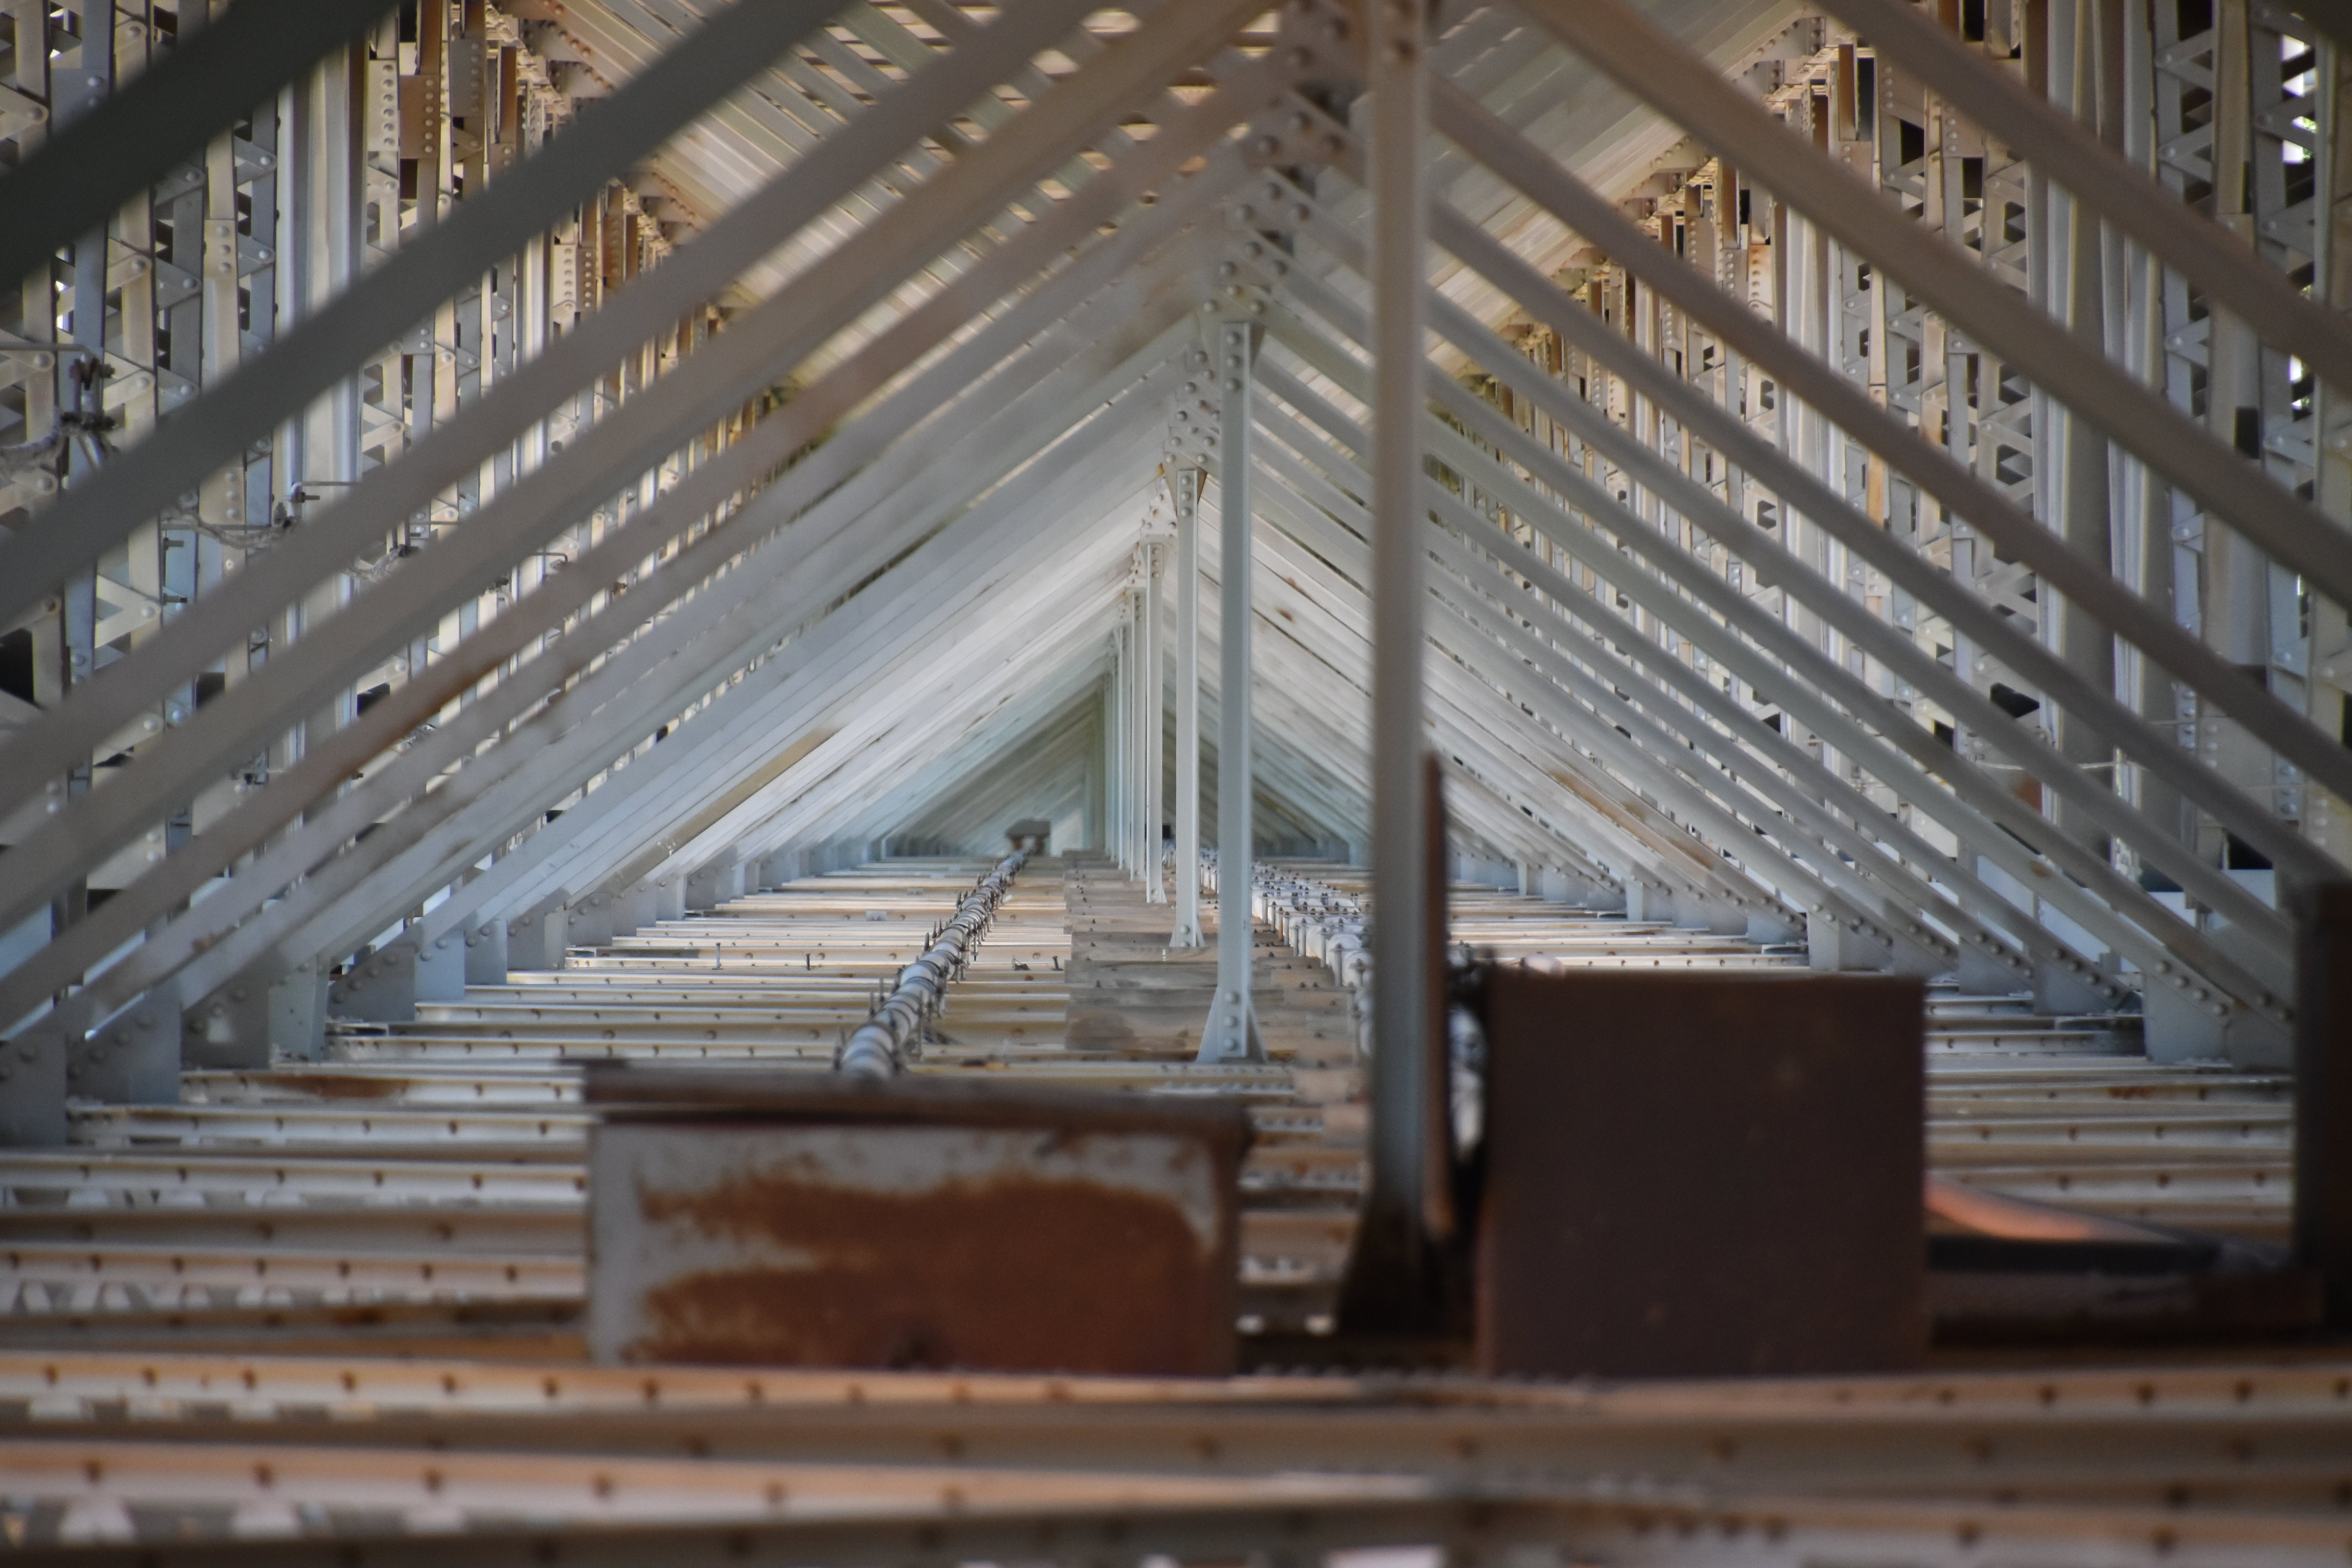
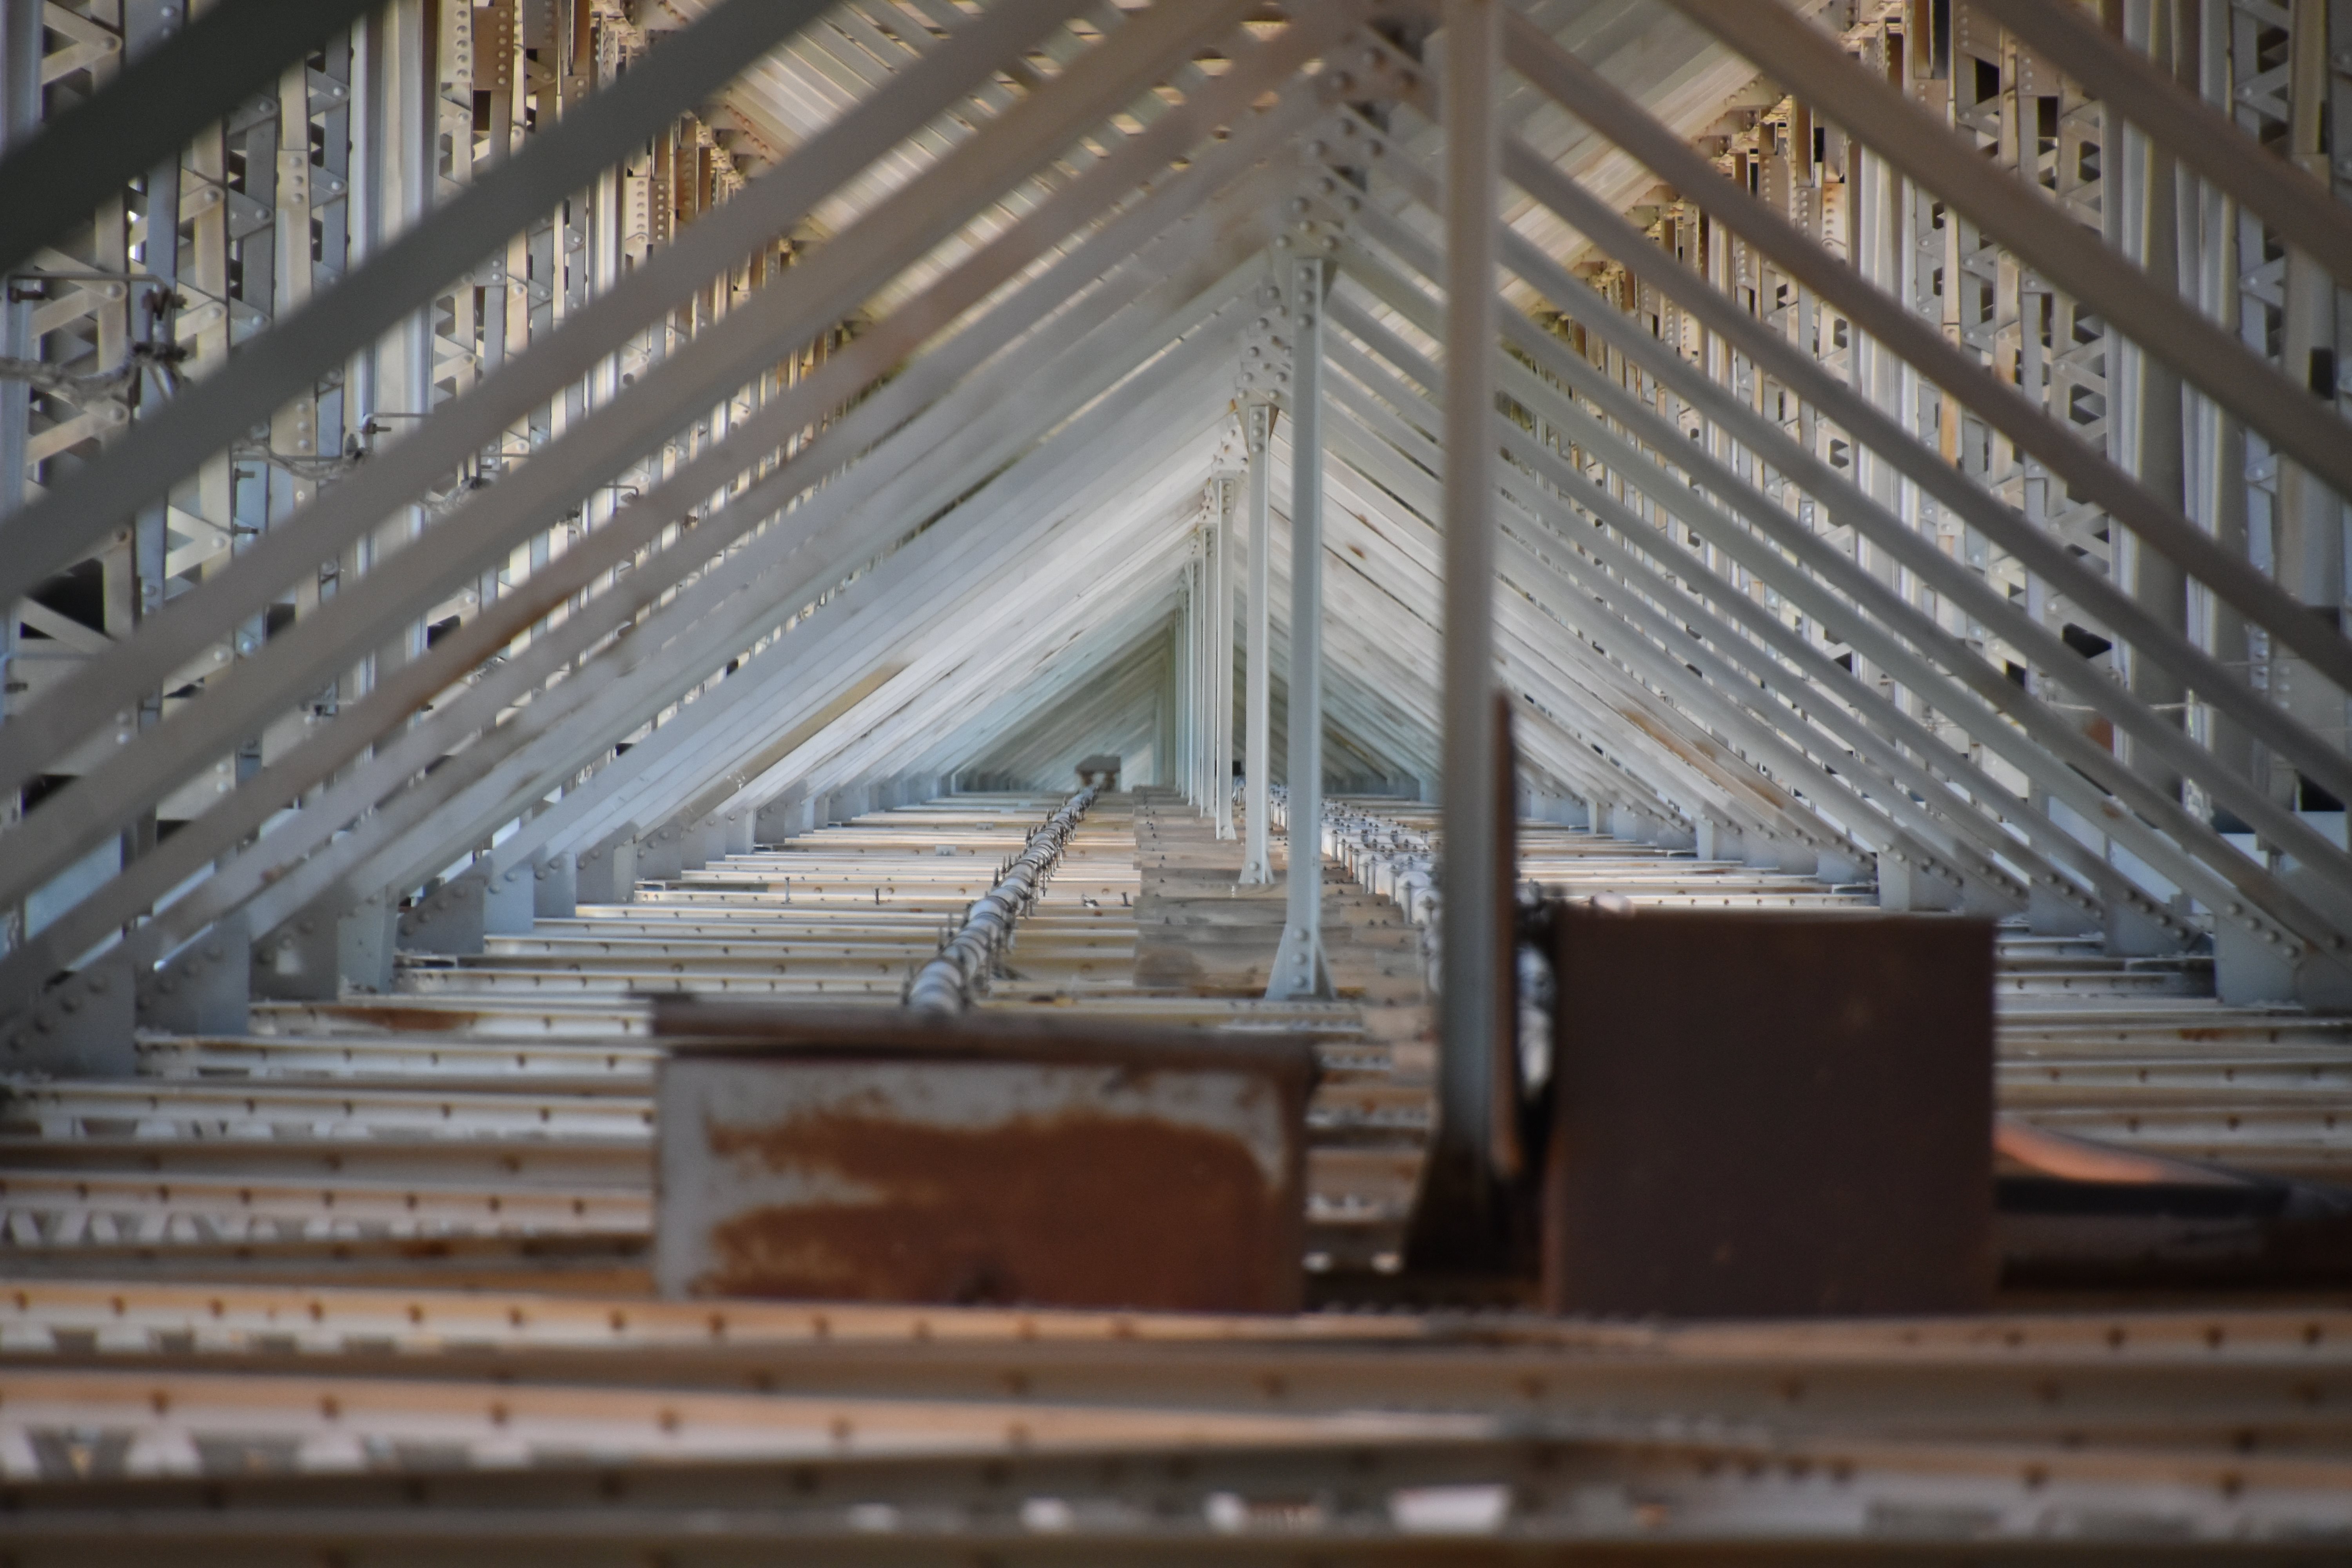


Zoomed views looking through the bracing, which provide a unique illustration of how long this bridge is.
![]()


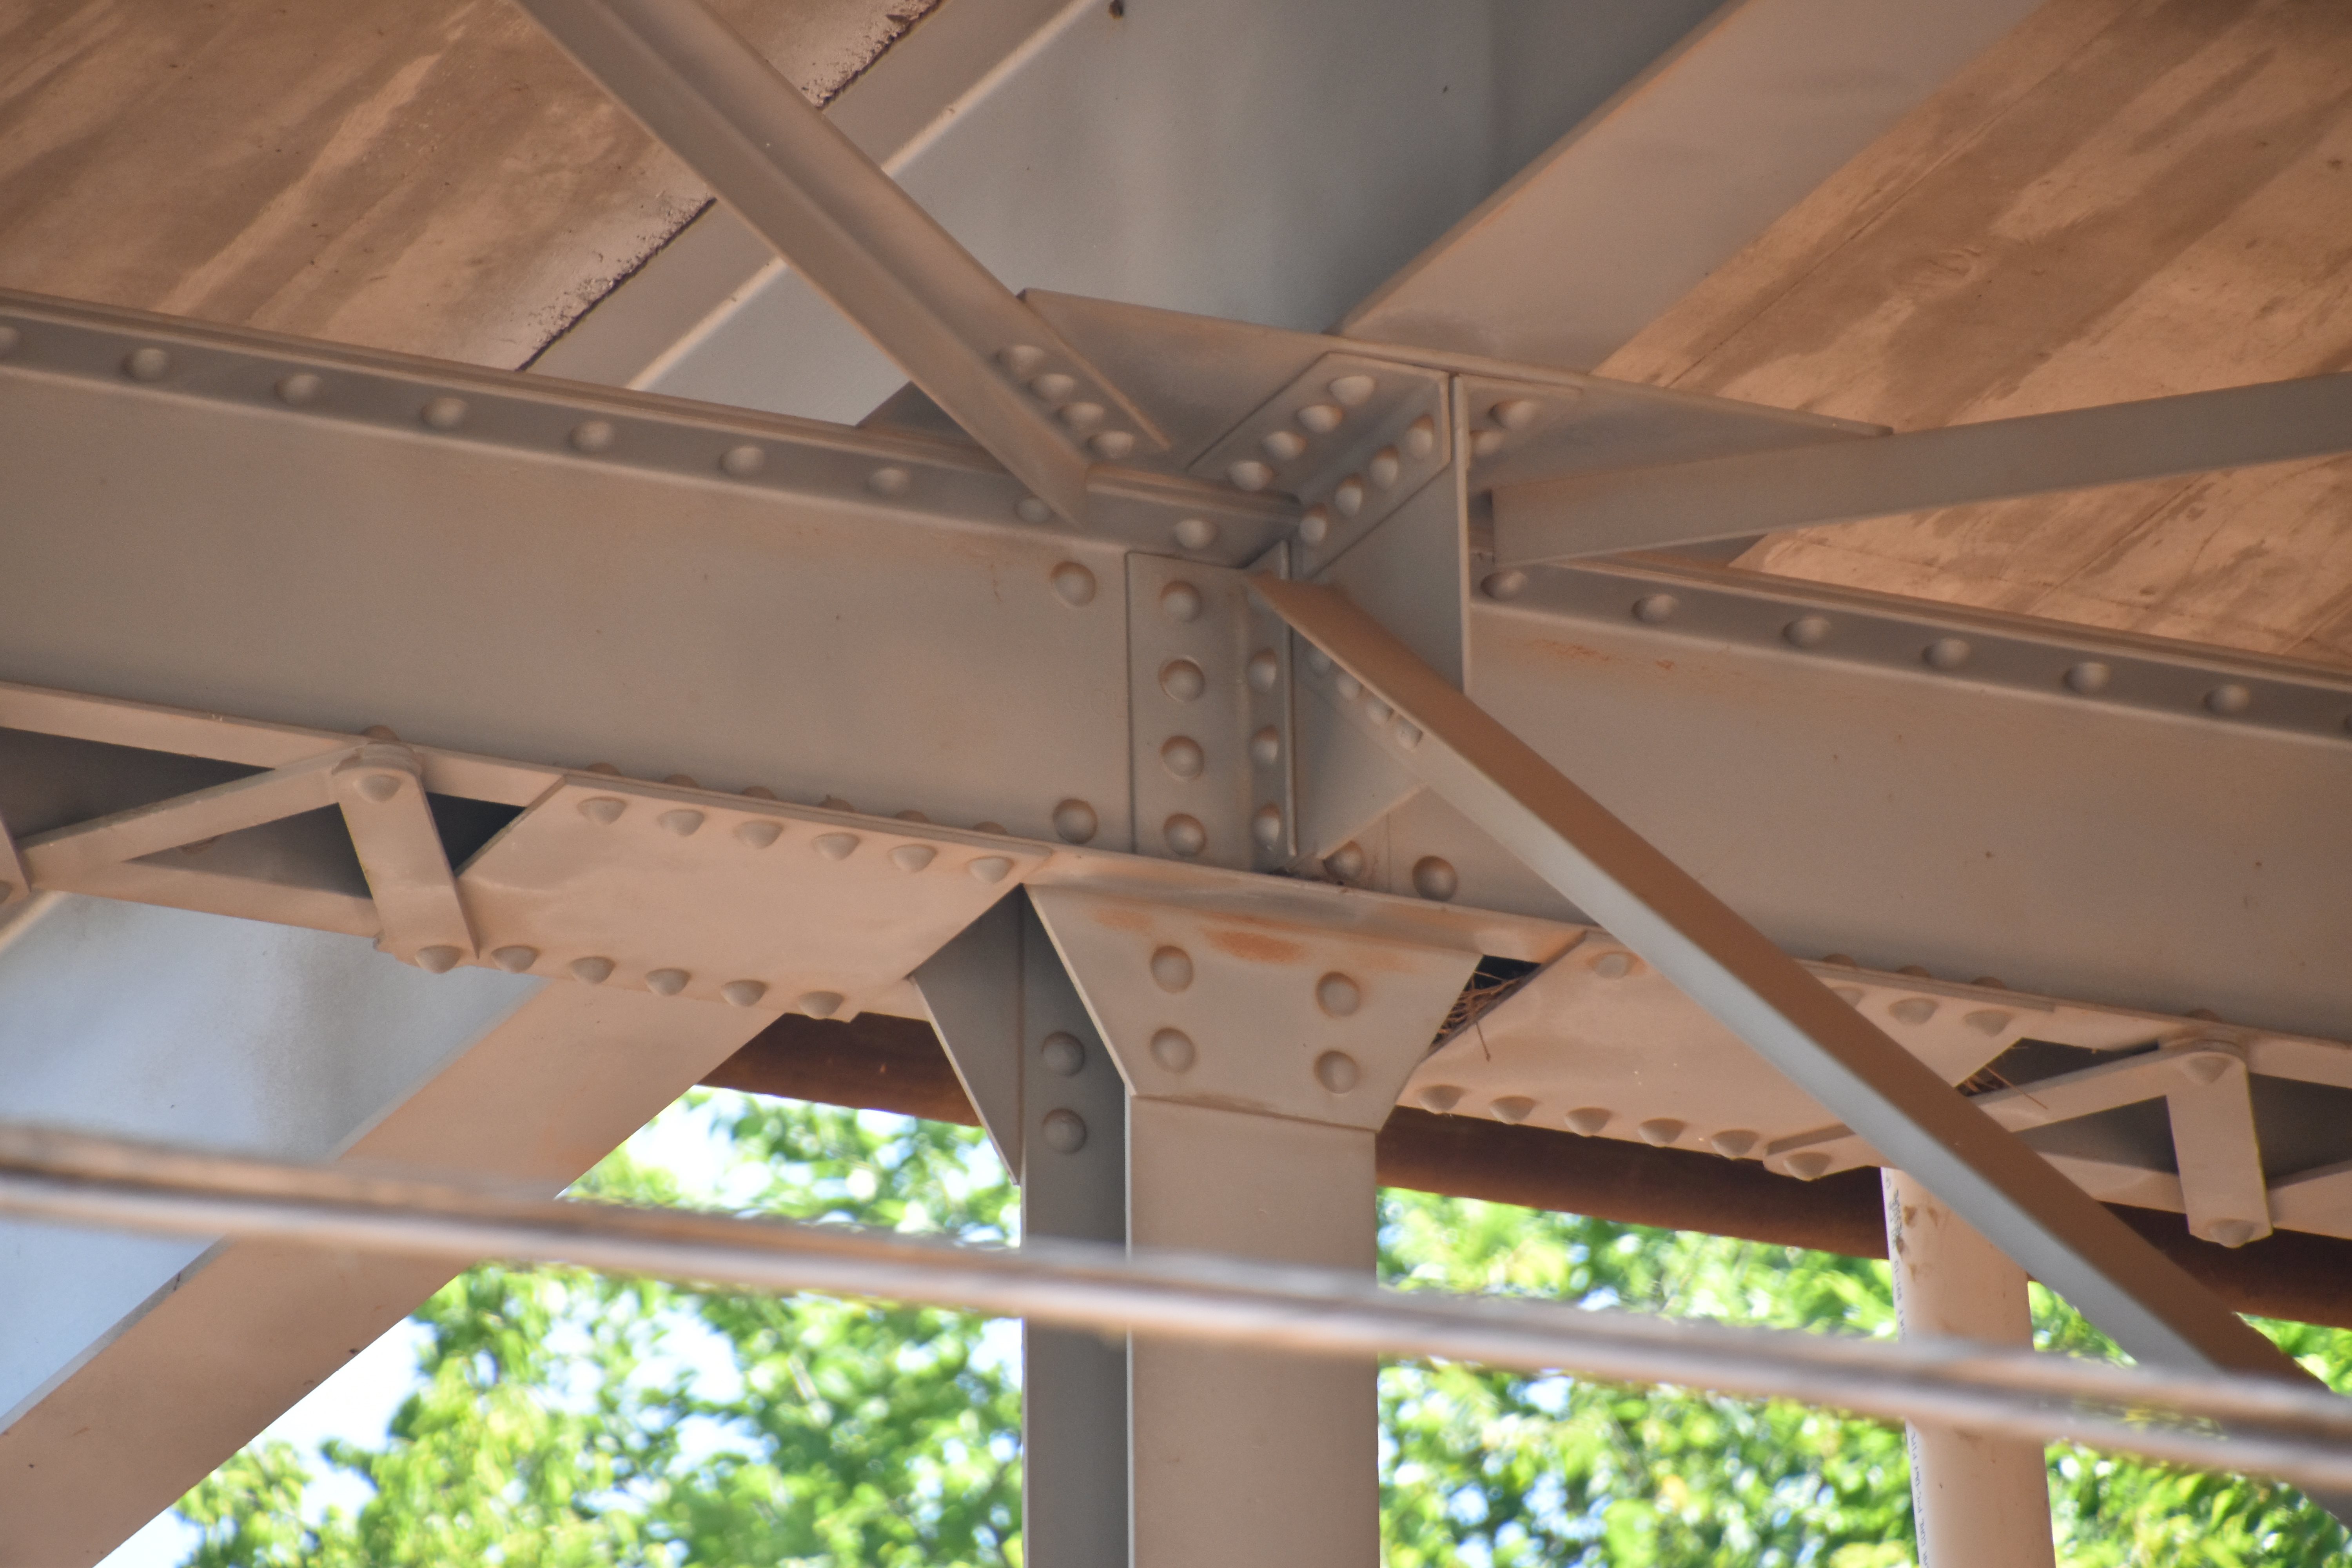


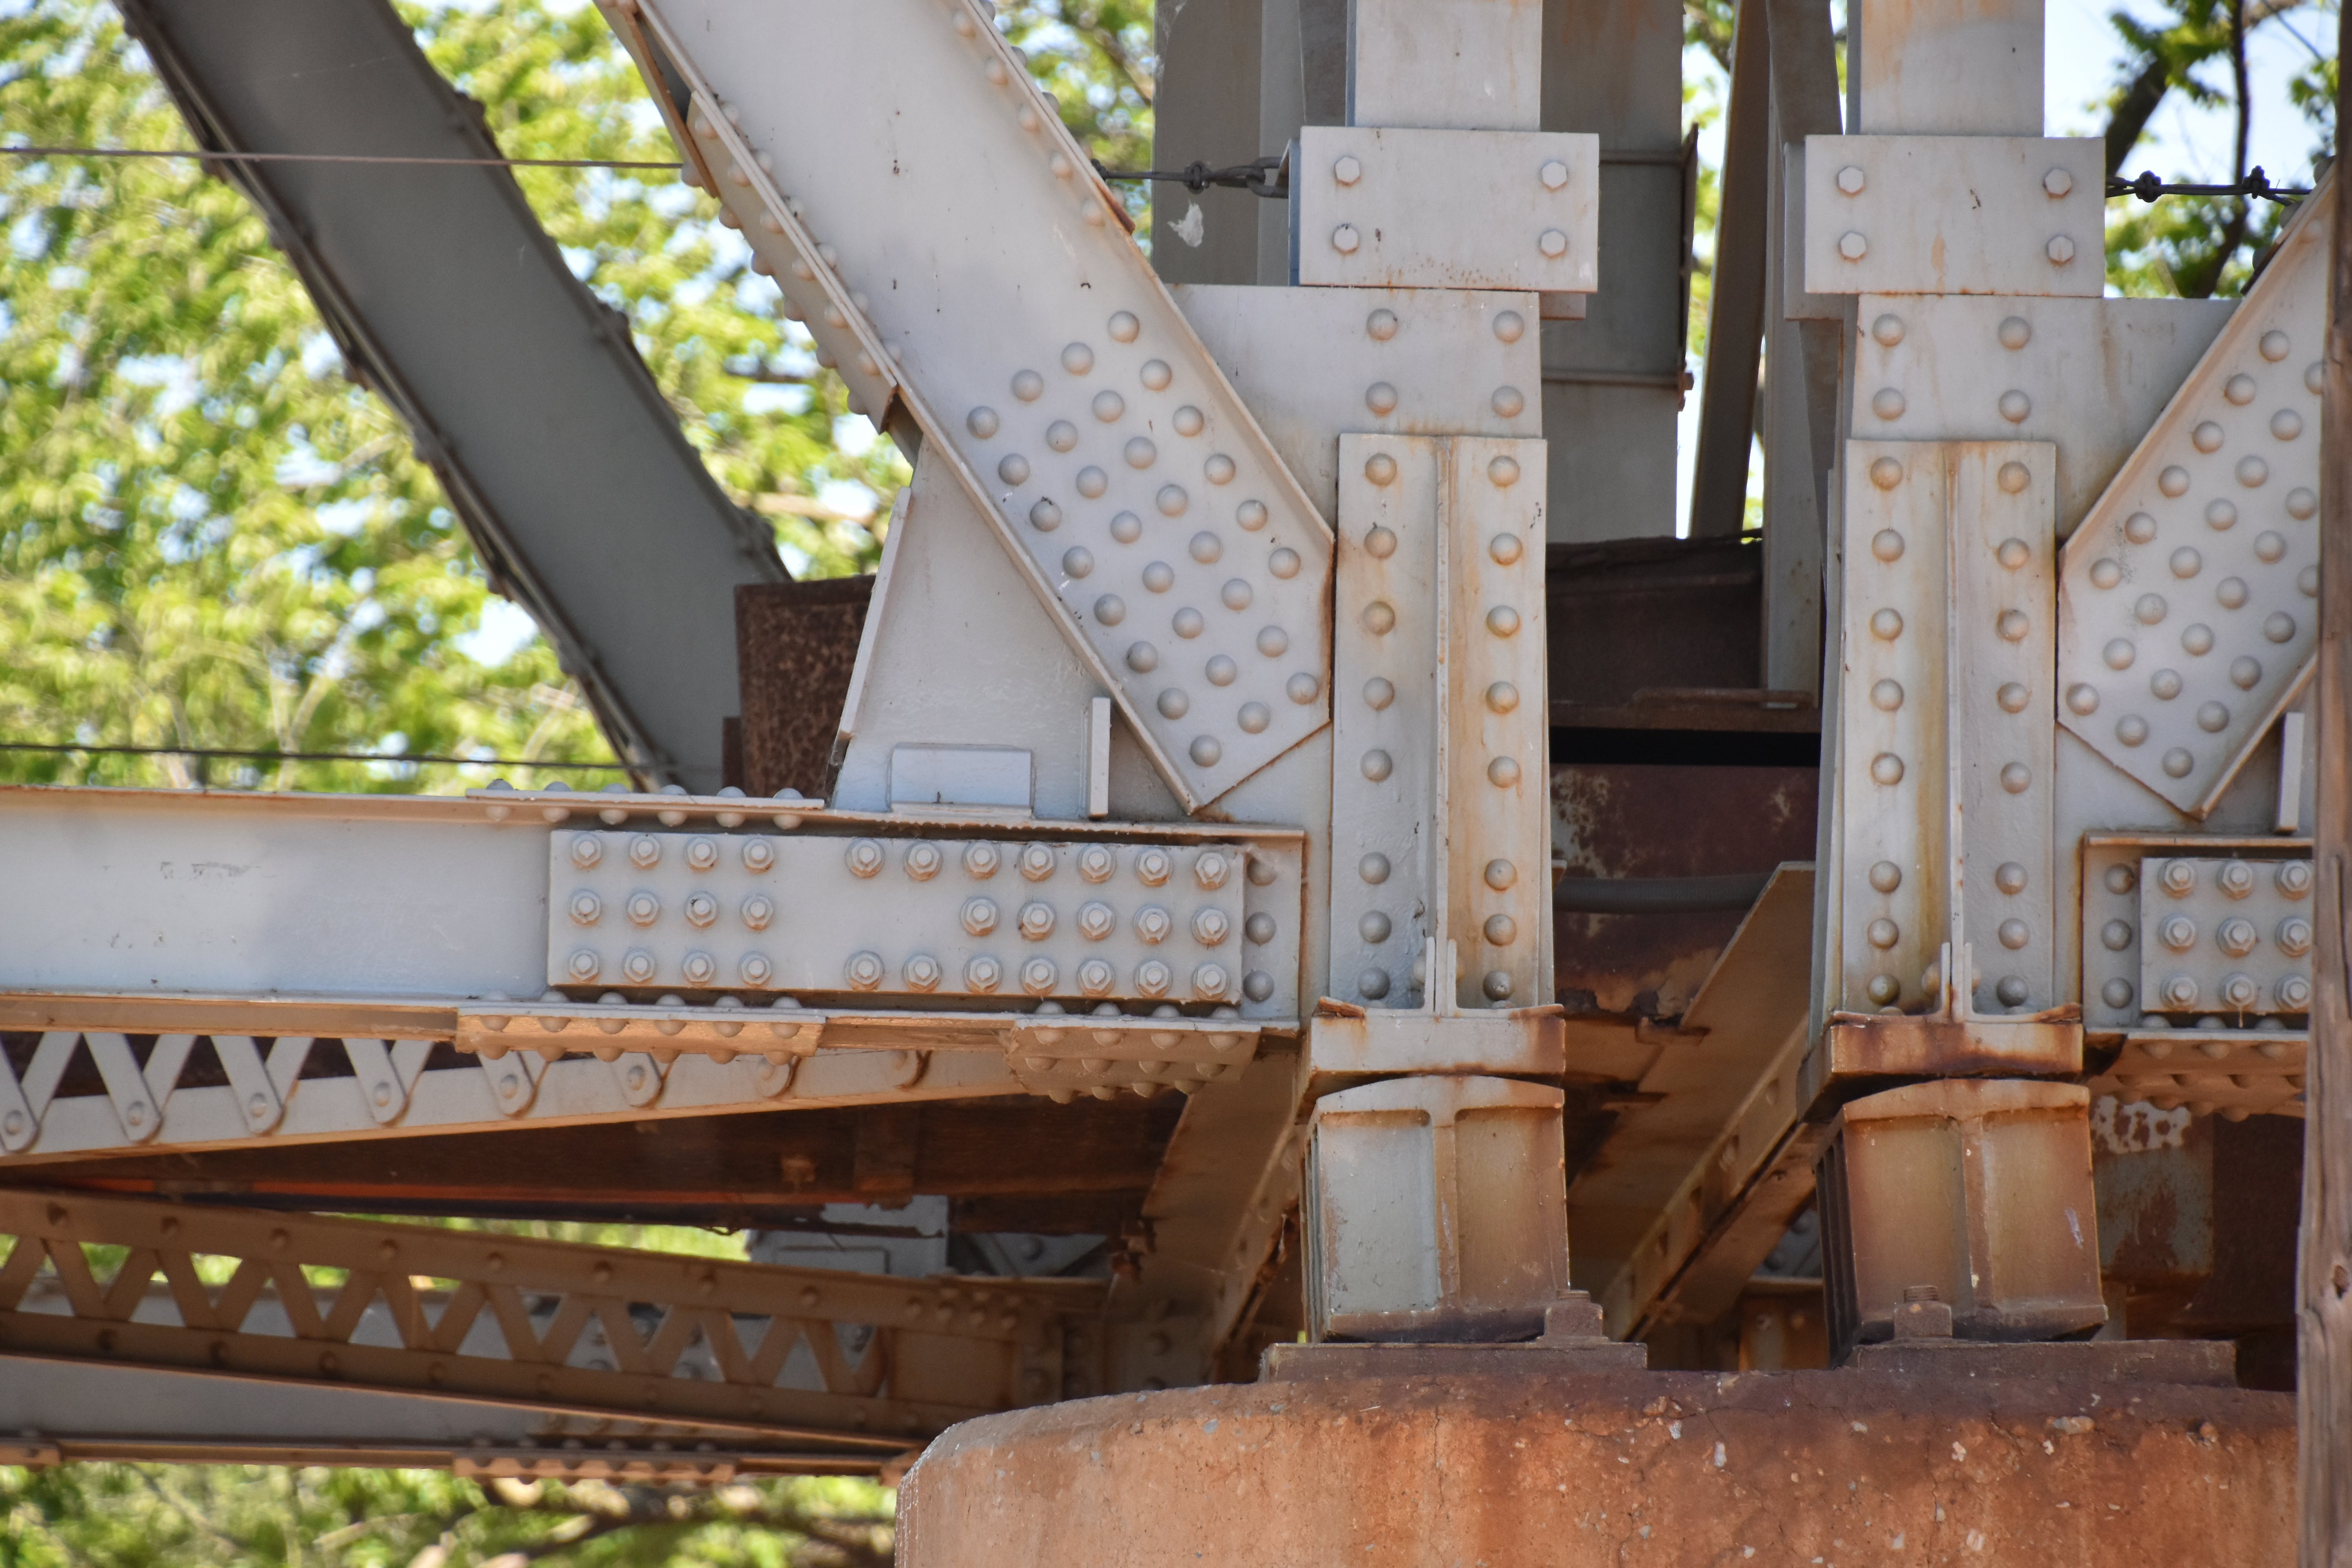
Top chord connections.
![]()


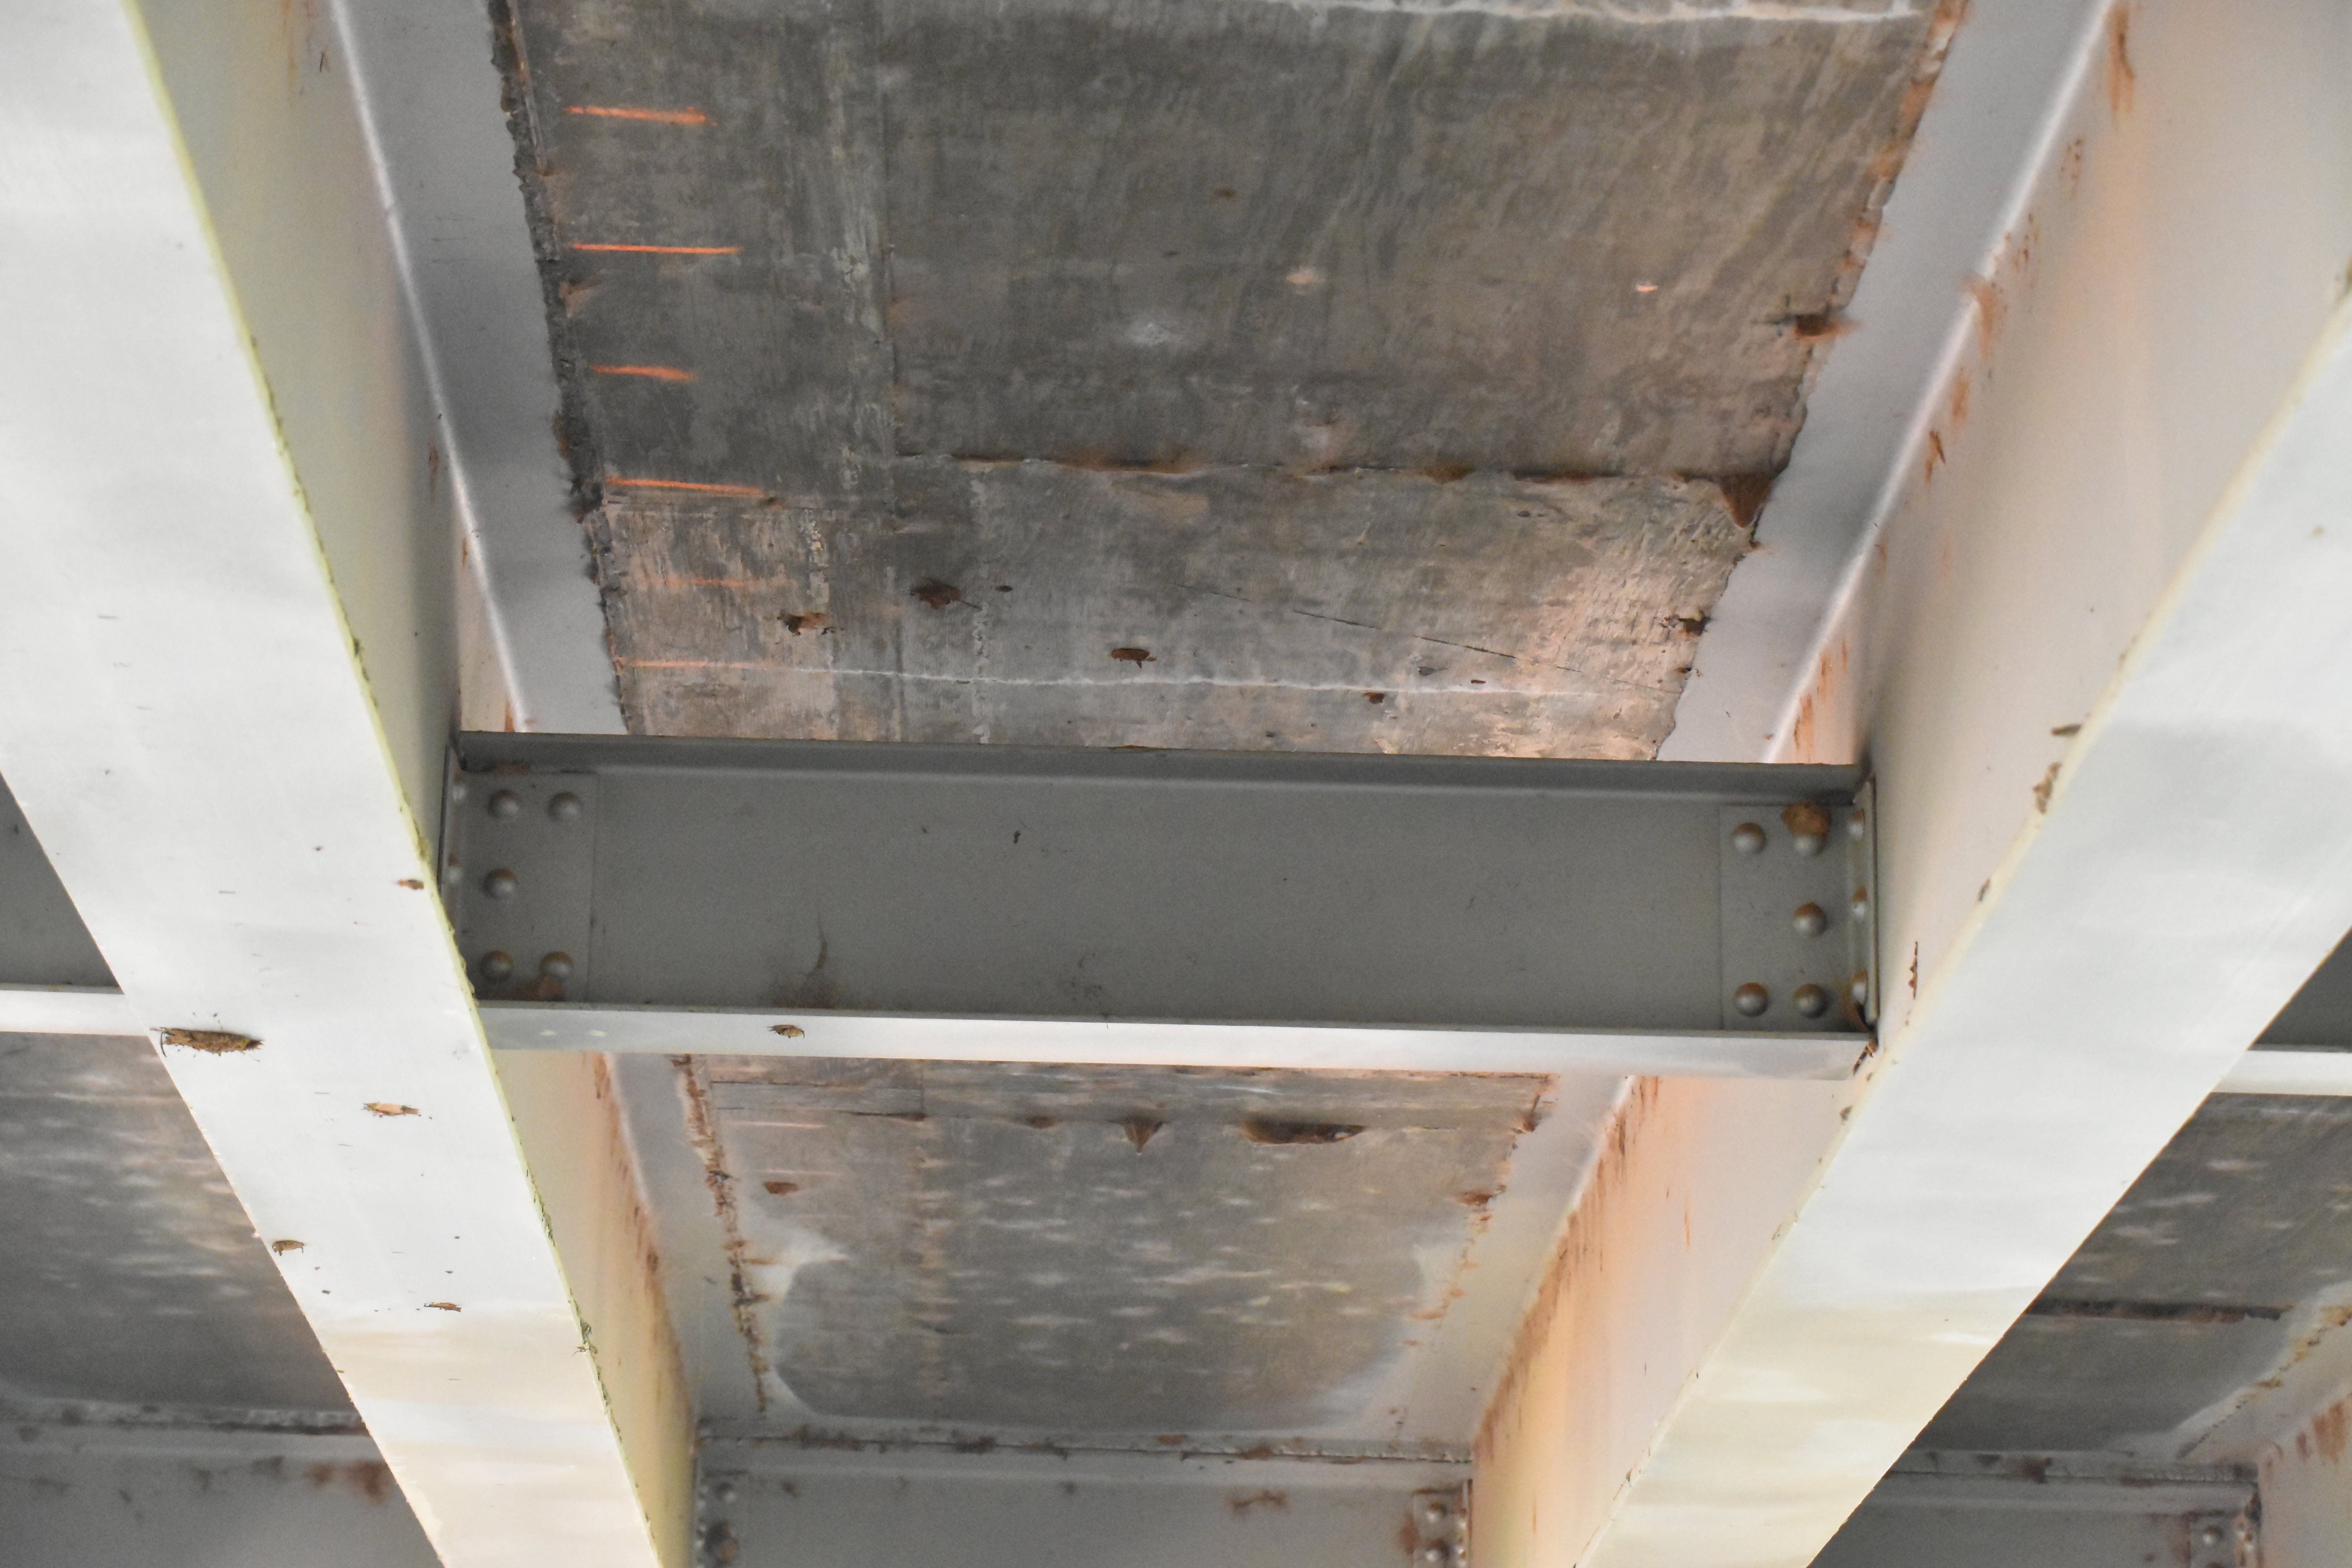
Bottom chord connections.
![]()

Top chord.
![]()


Bottom chord.
![]()


Bottom chord post-tension retrofit.
![]()


Diagonal members.
![]()

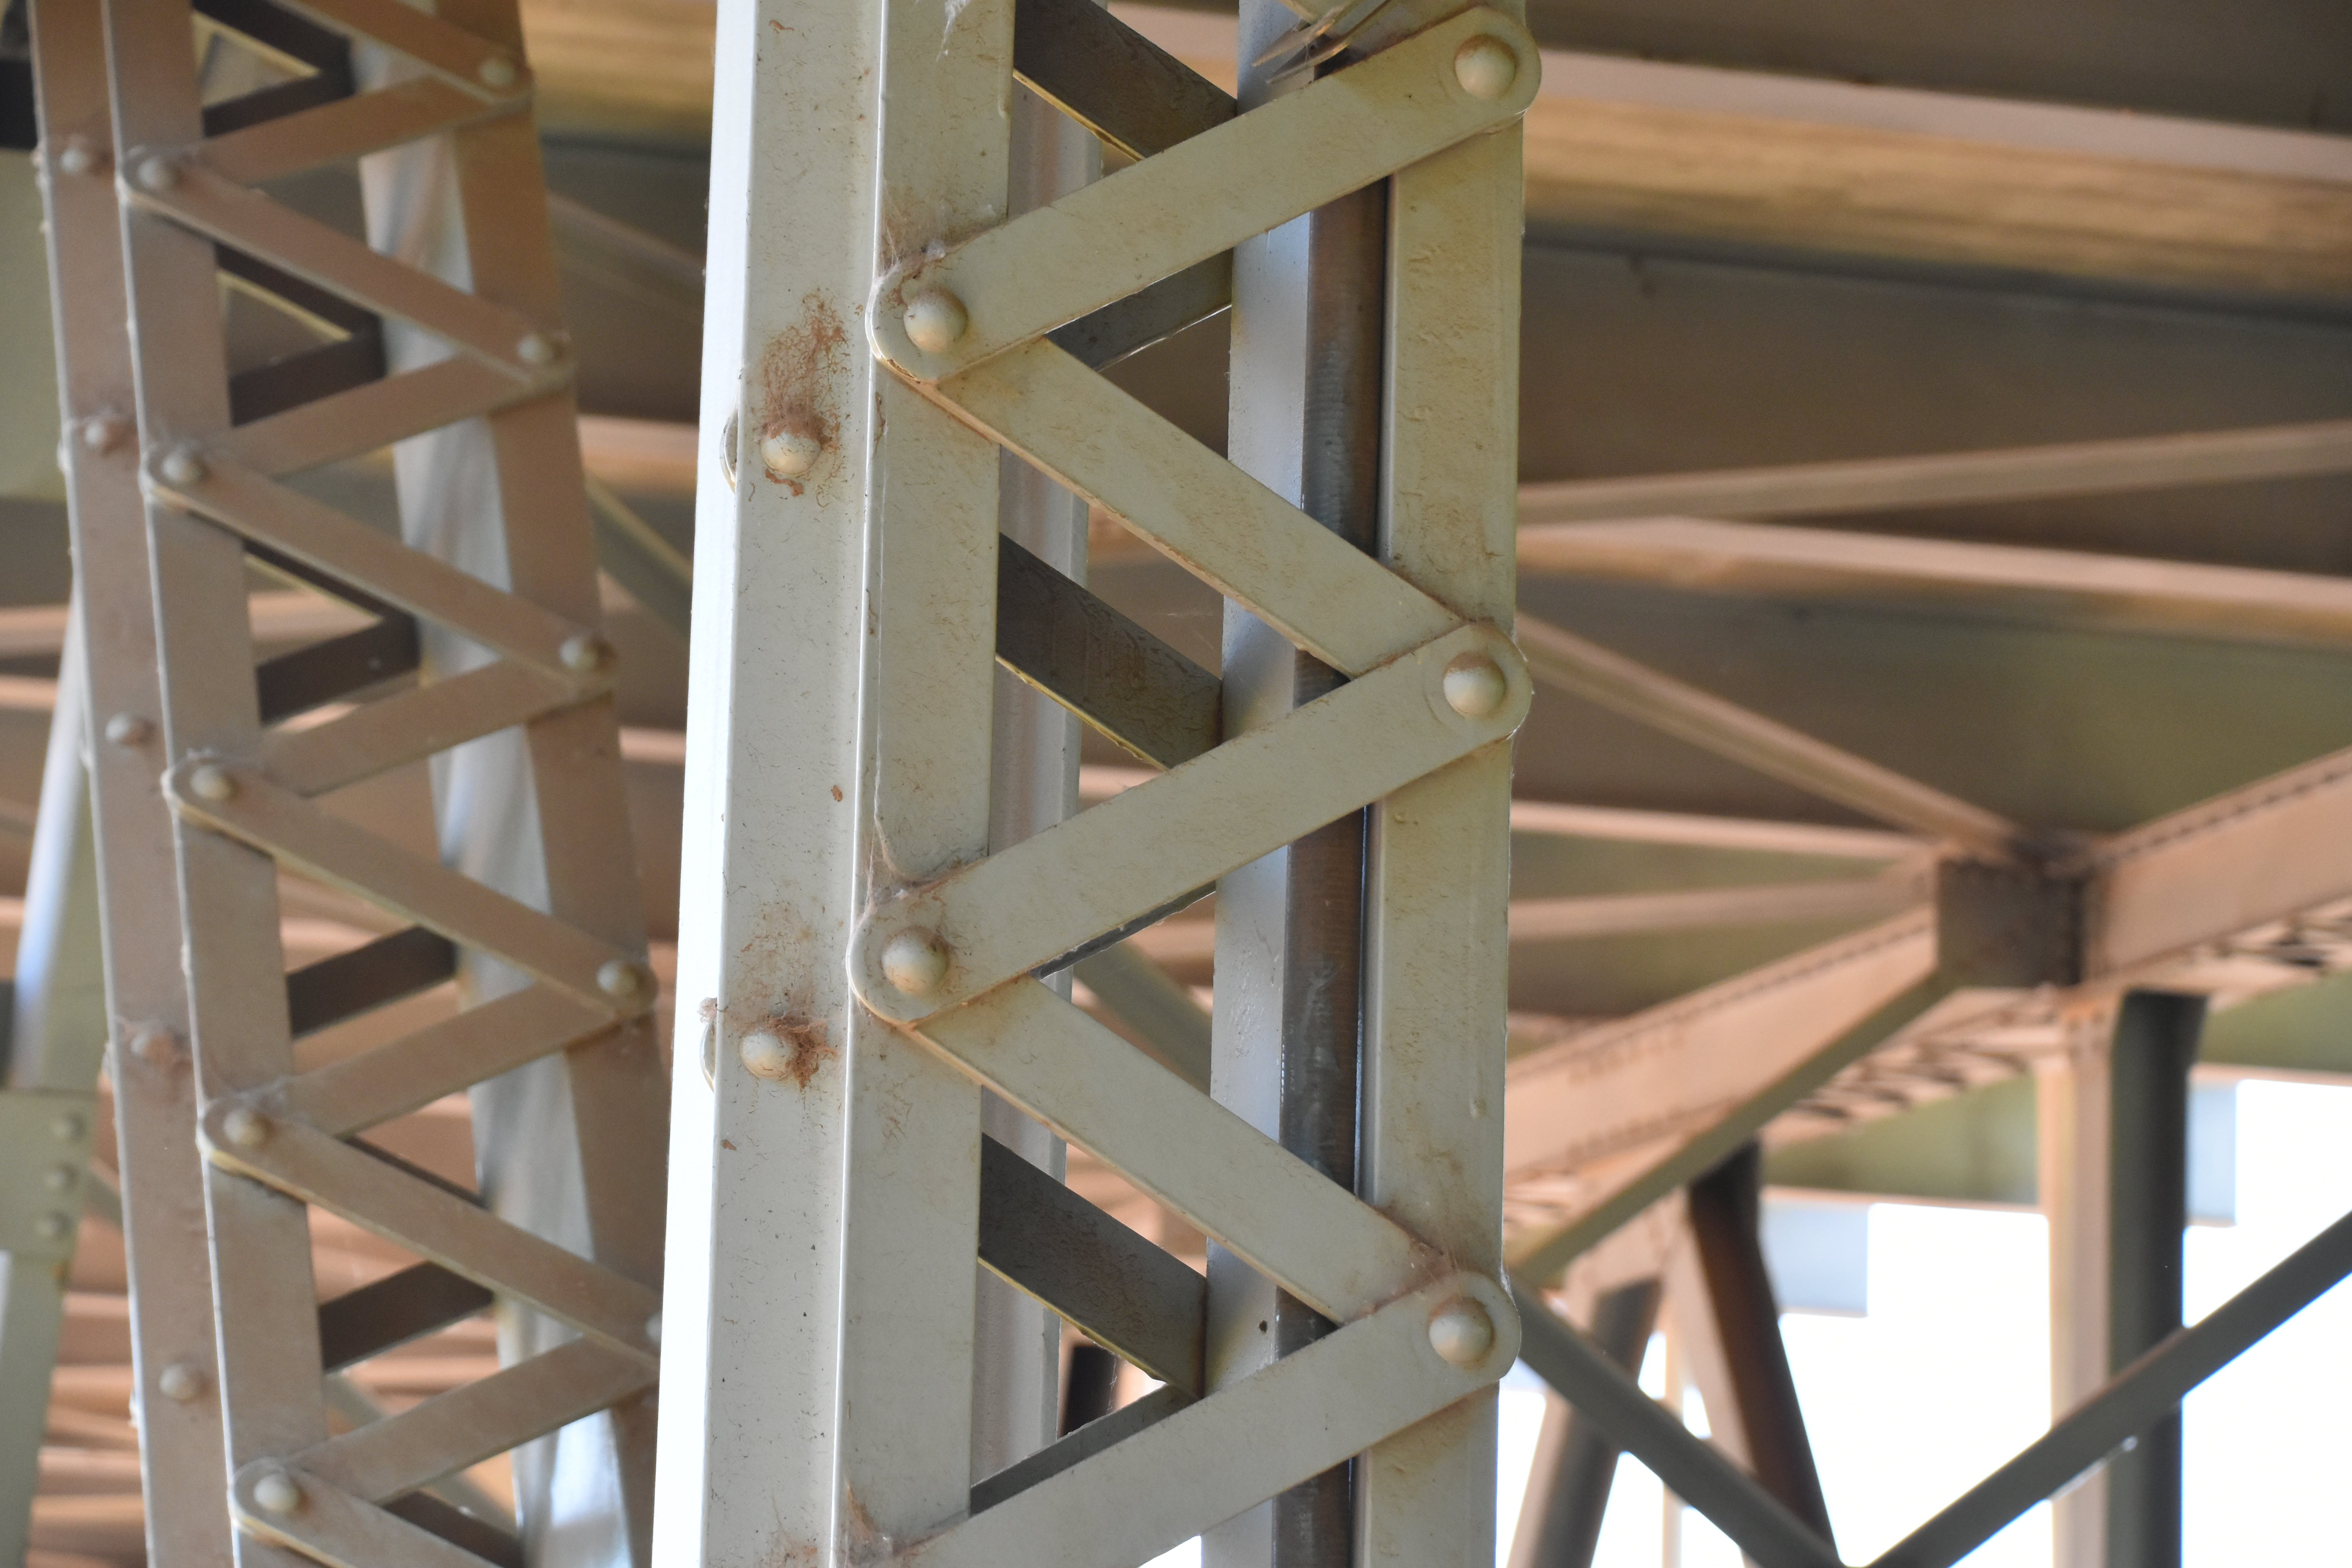
Vertical members.
![]()


Bracing details.
![]()

Deck drain detail.
![]()
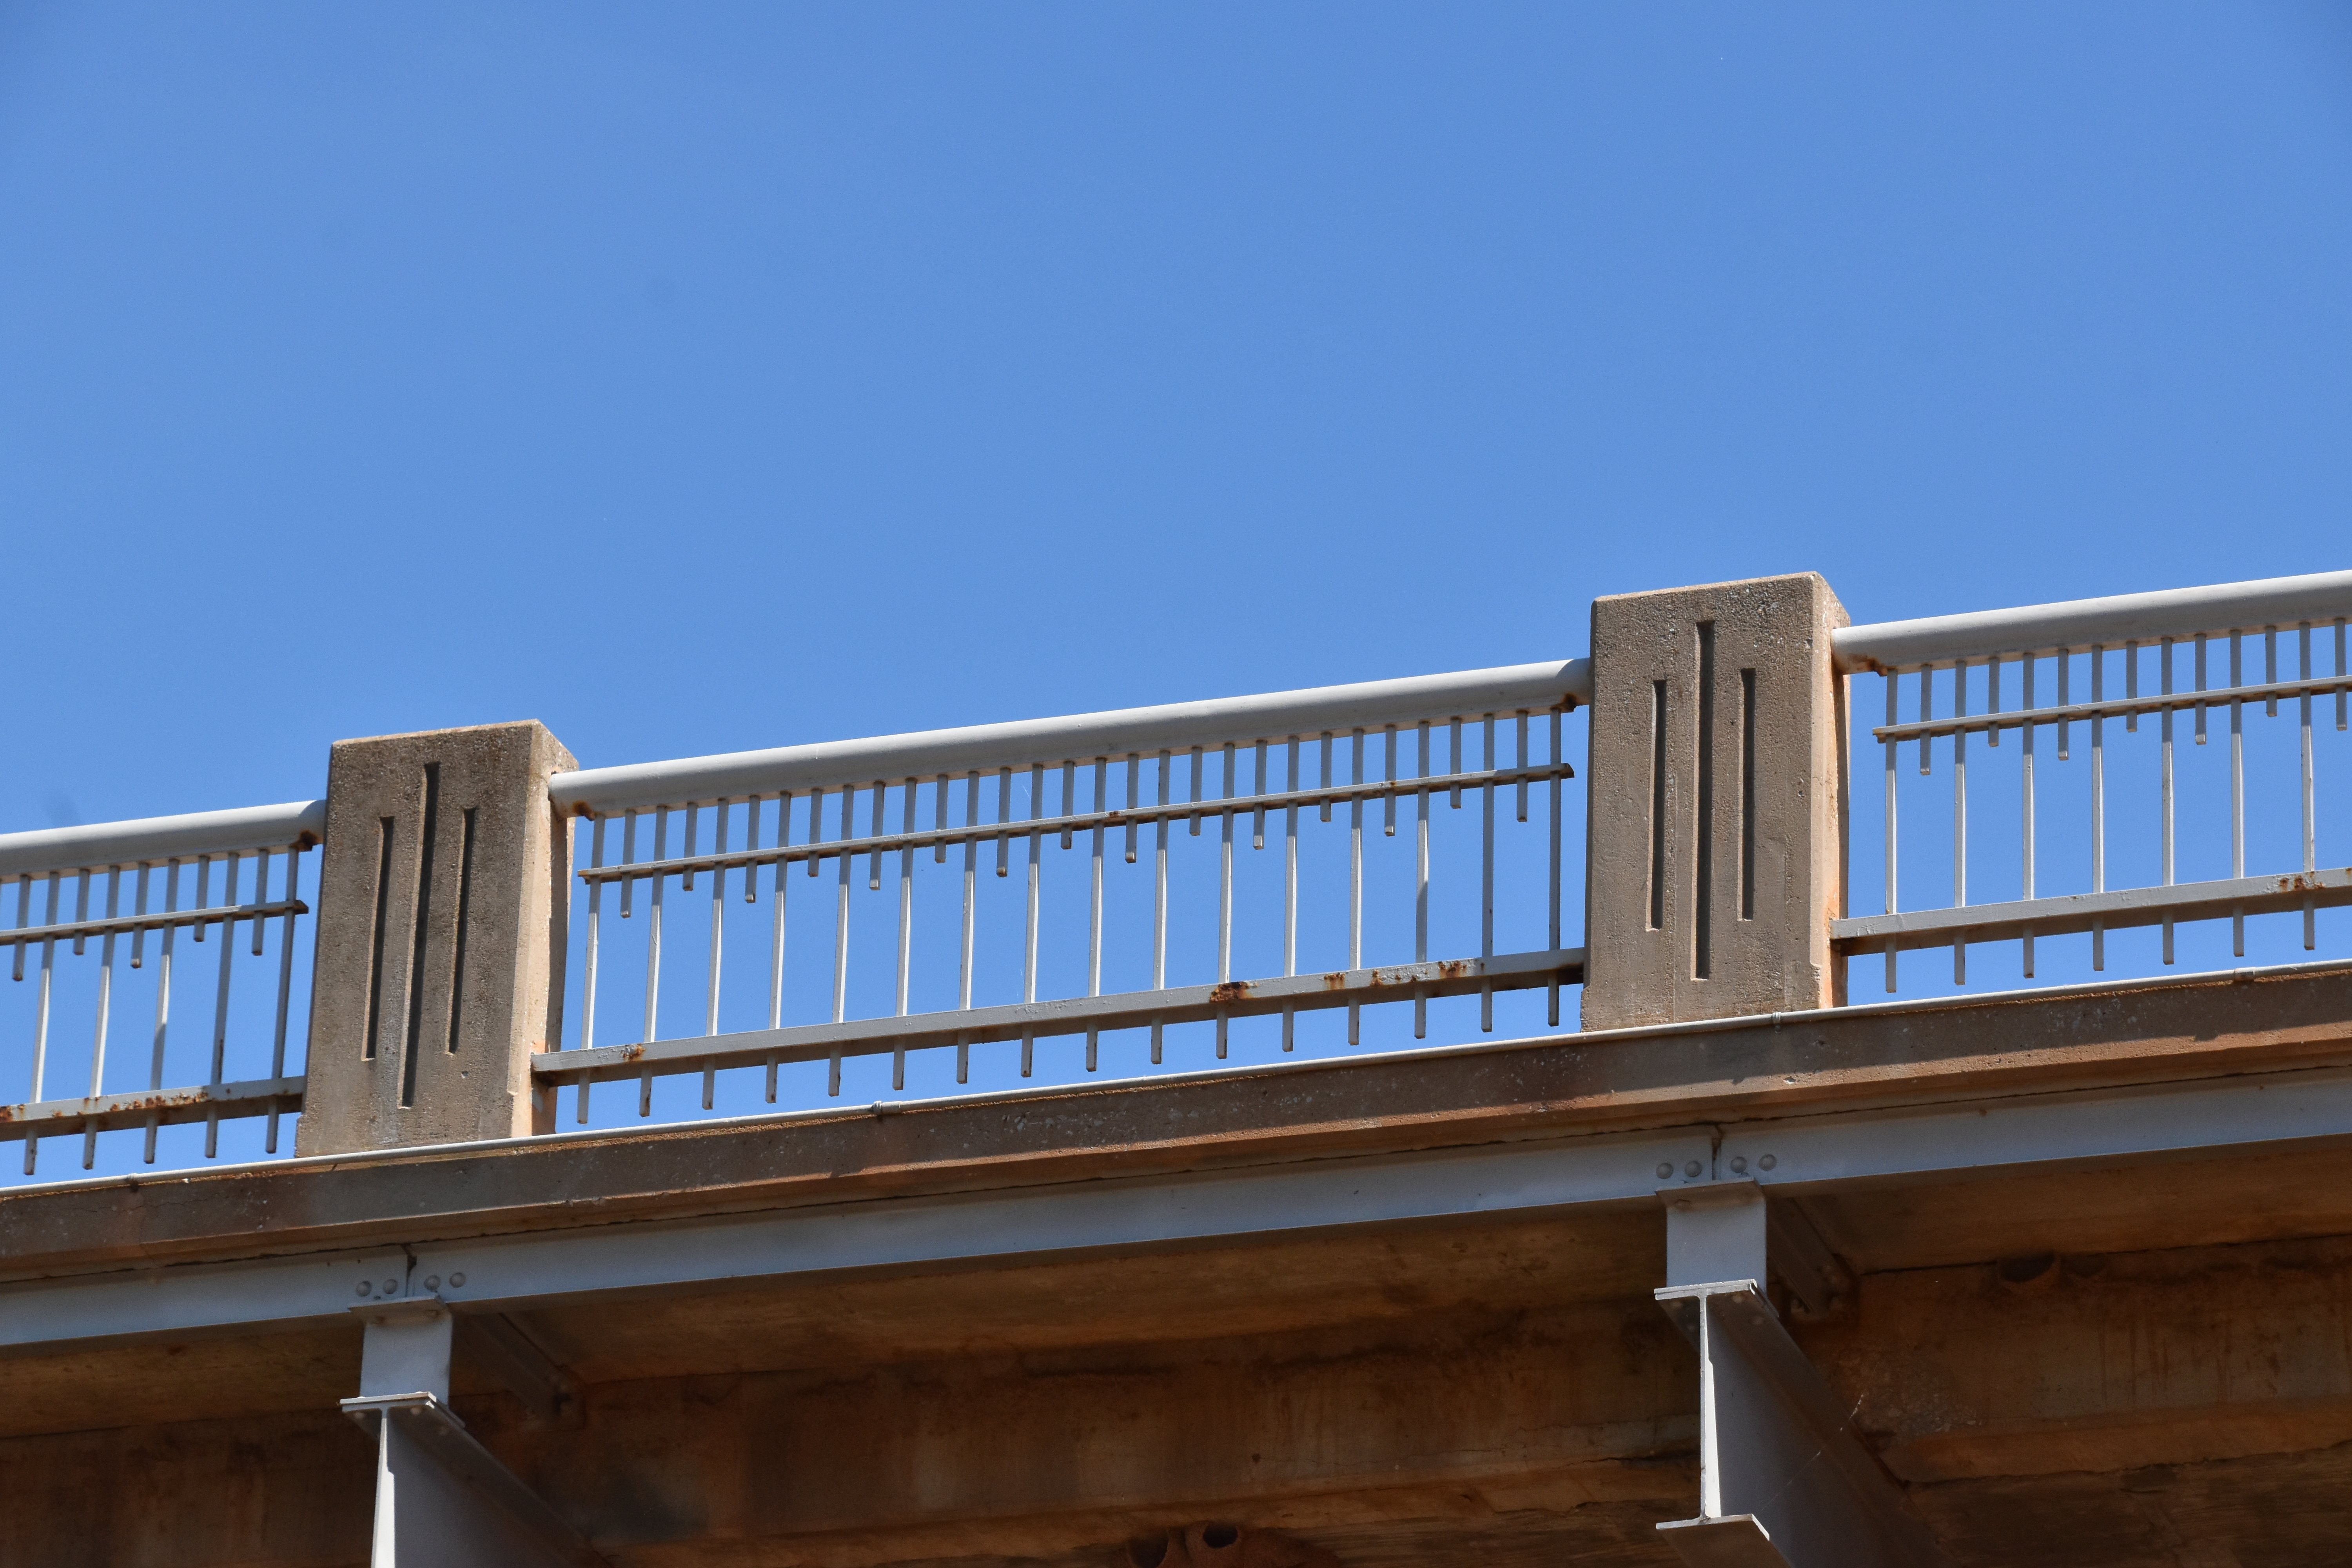
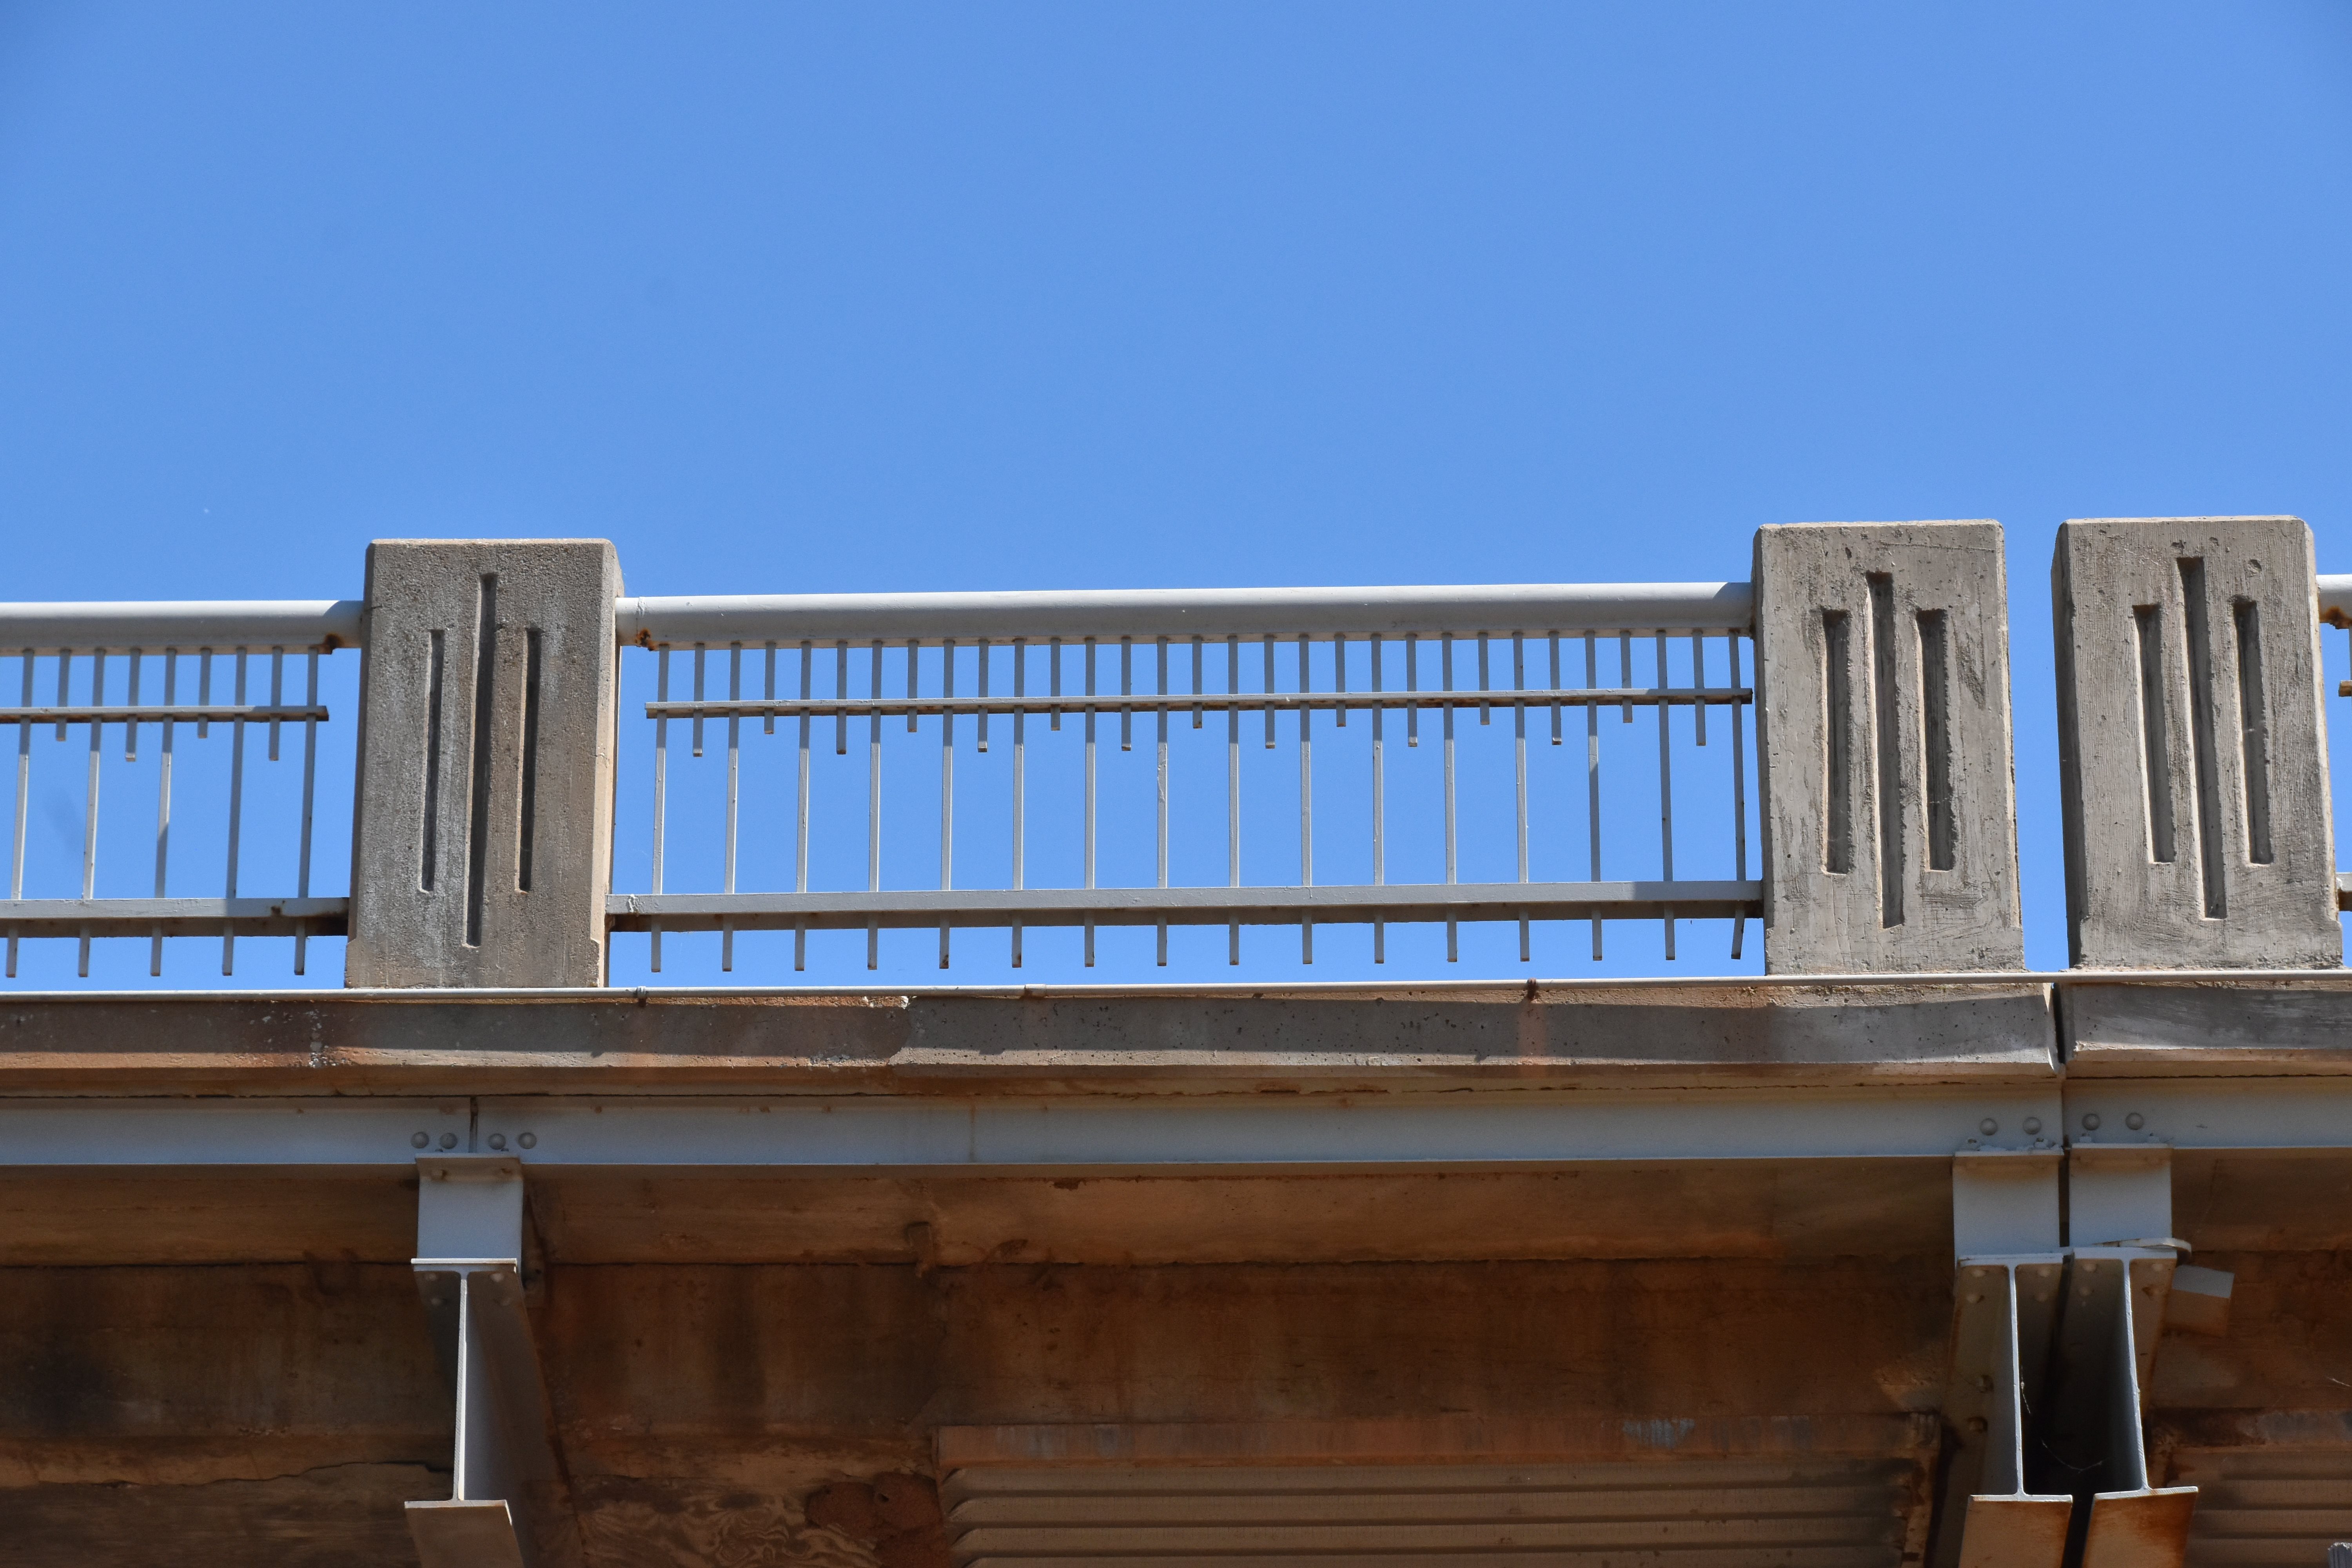
Railing.
![]()


Railing details.
![]()
Piers.
![]()
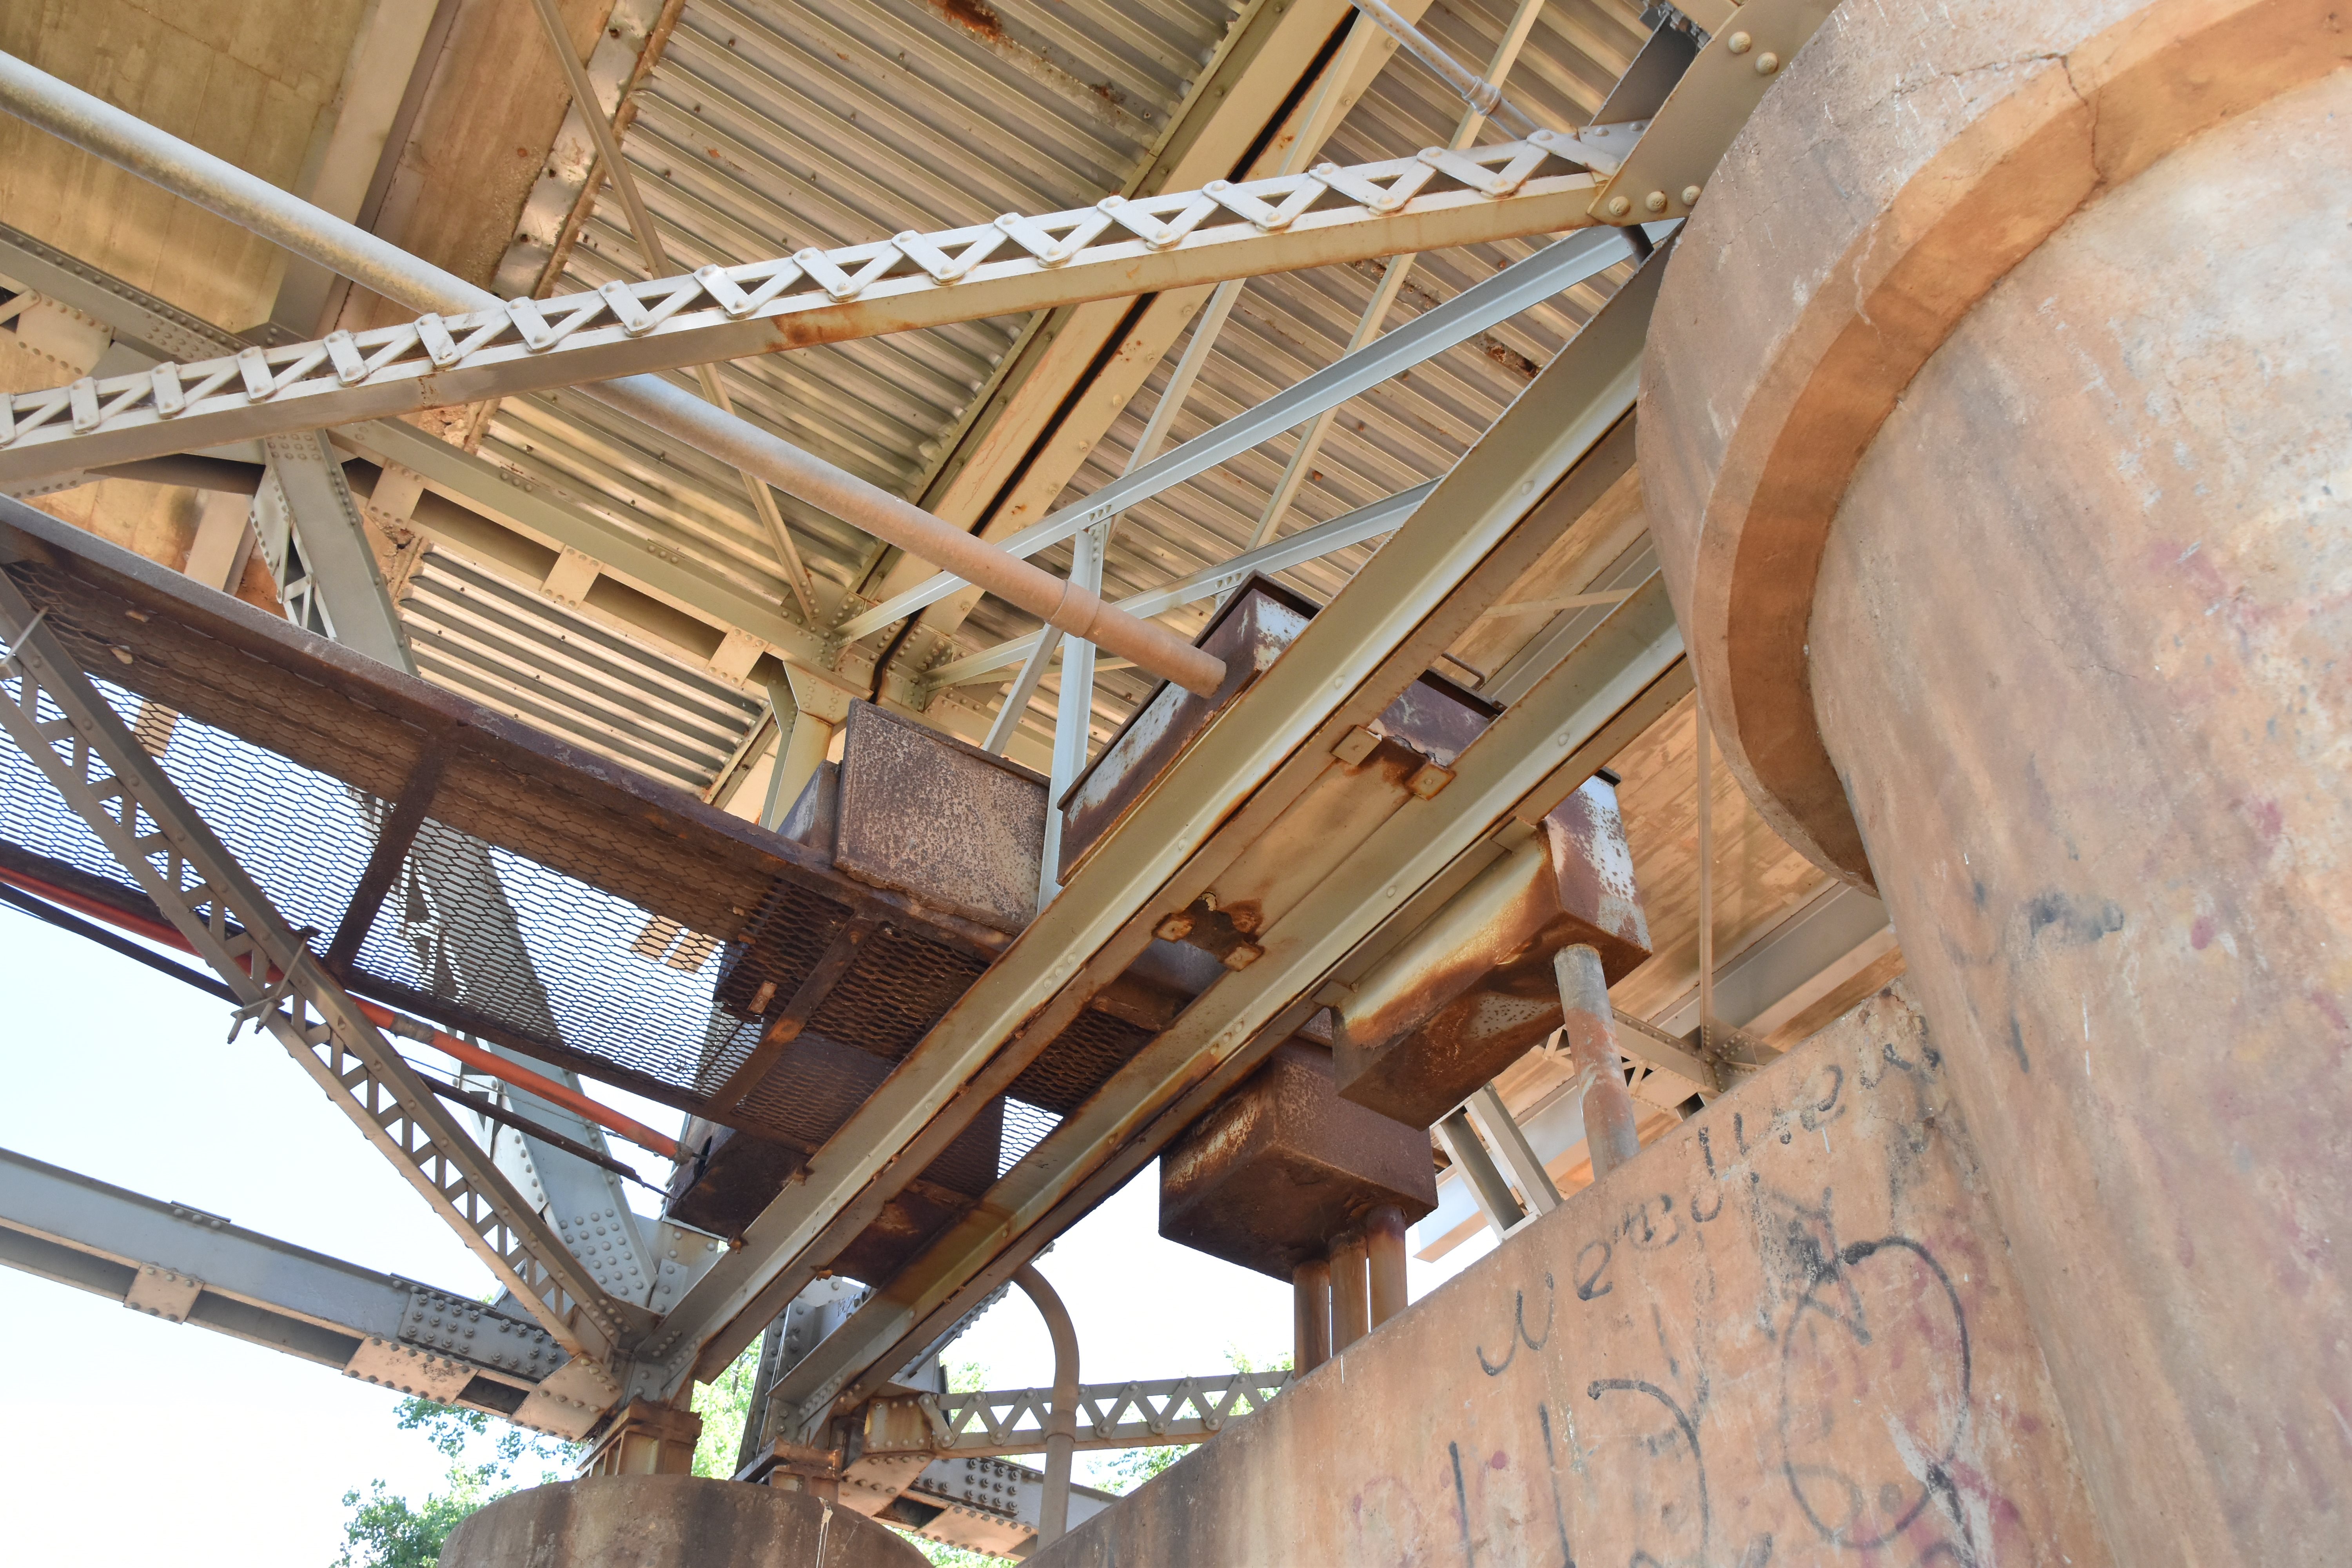
Bracing at pier.
![]()
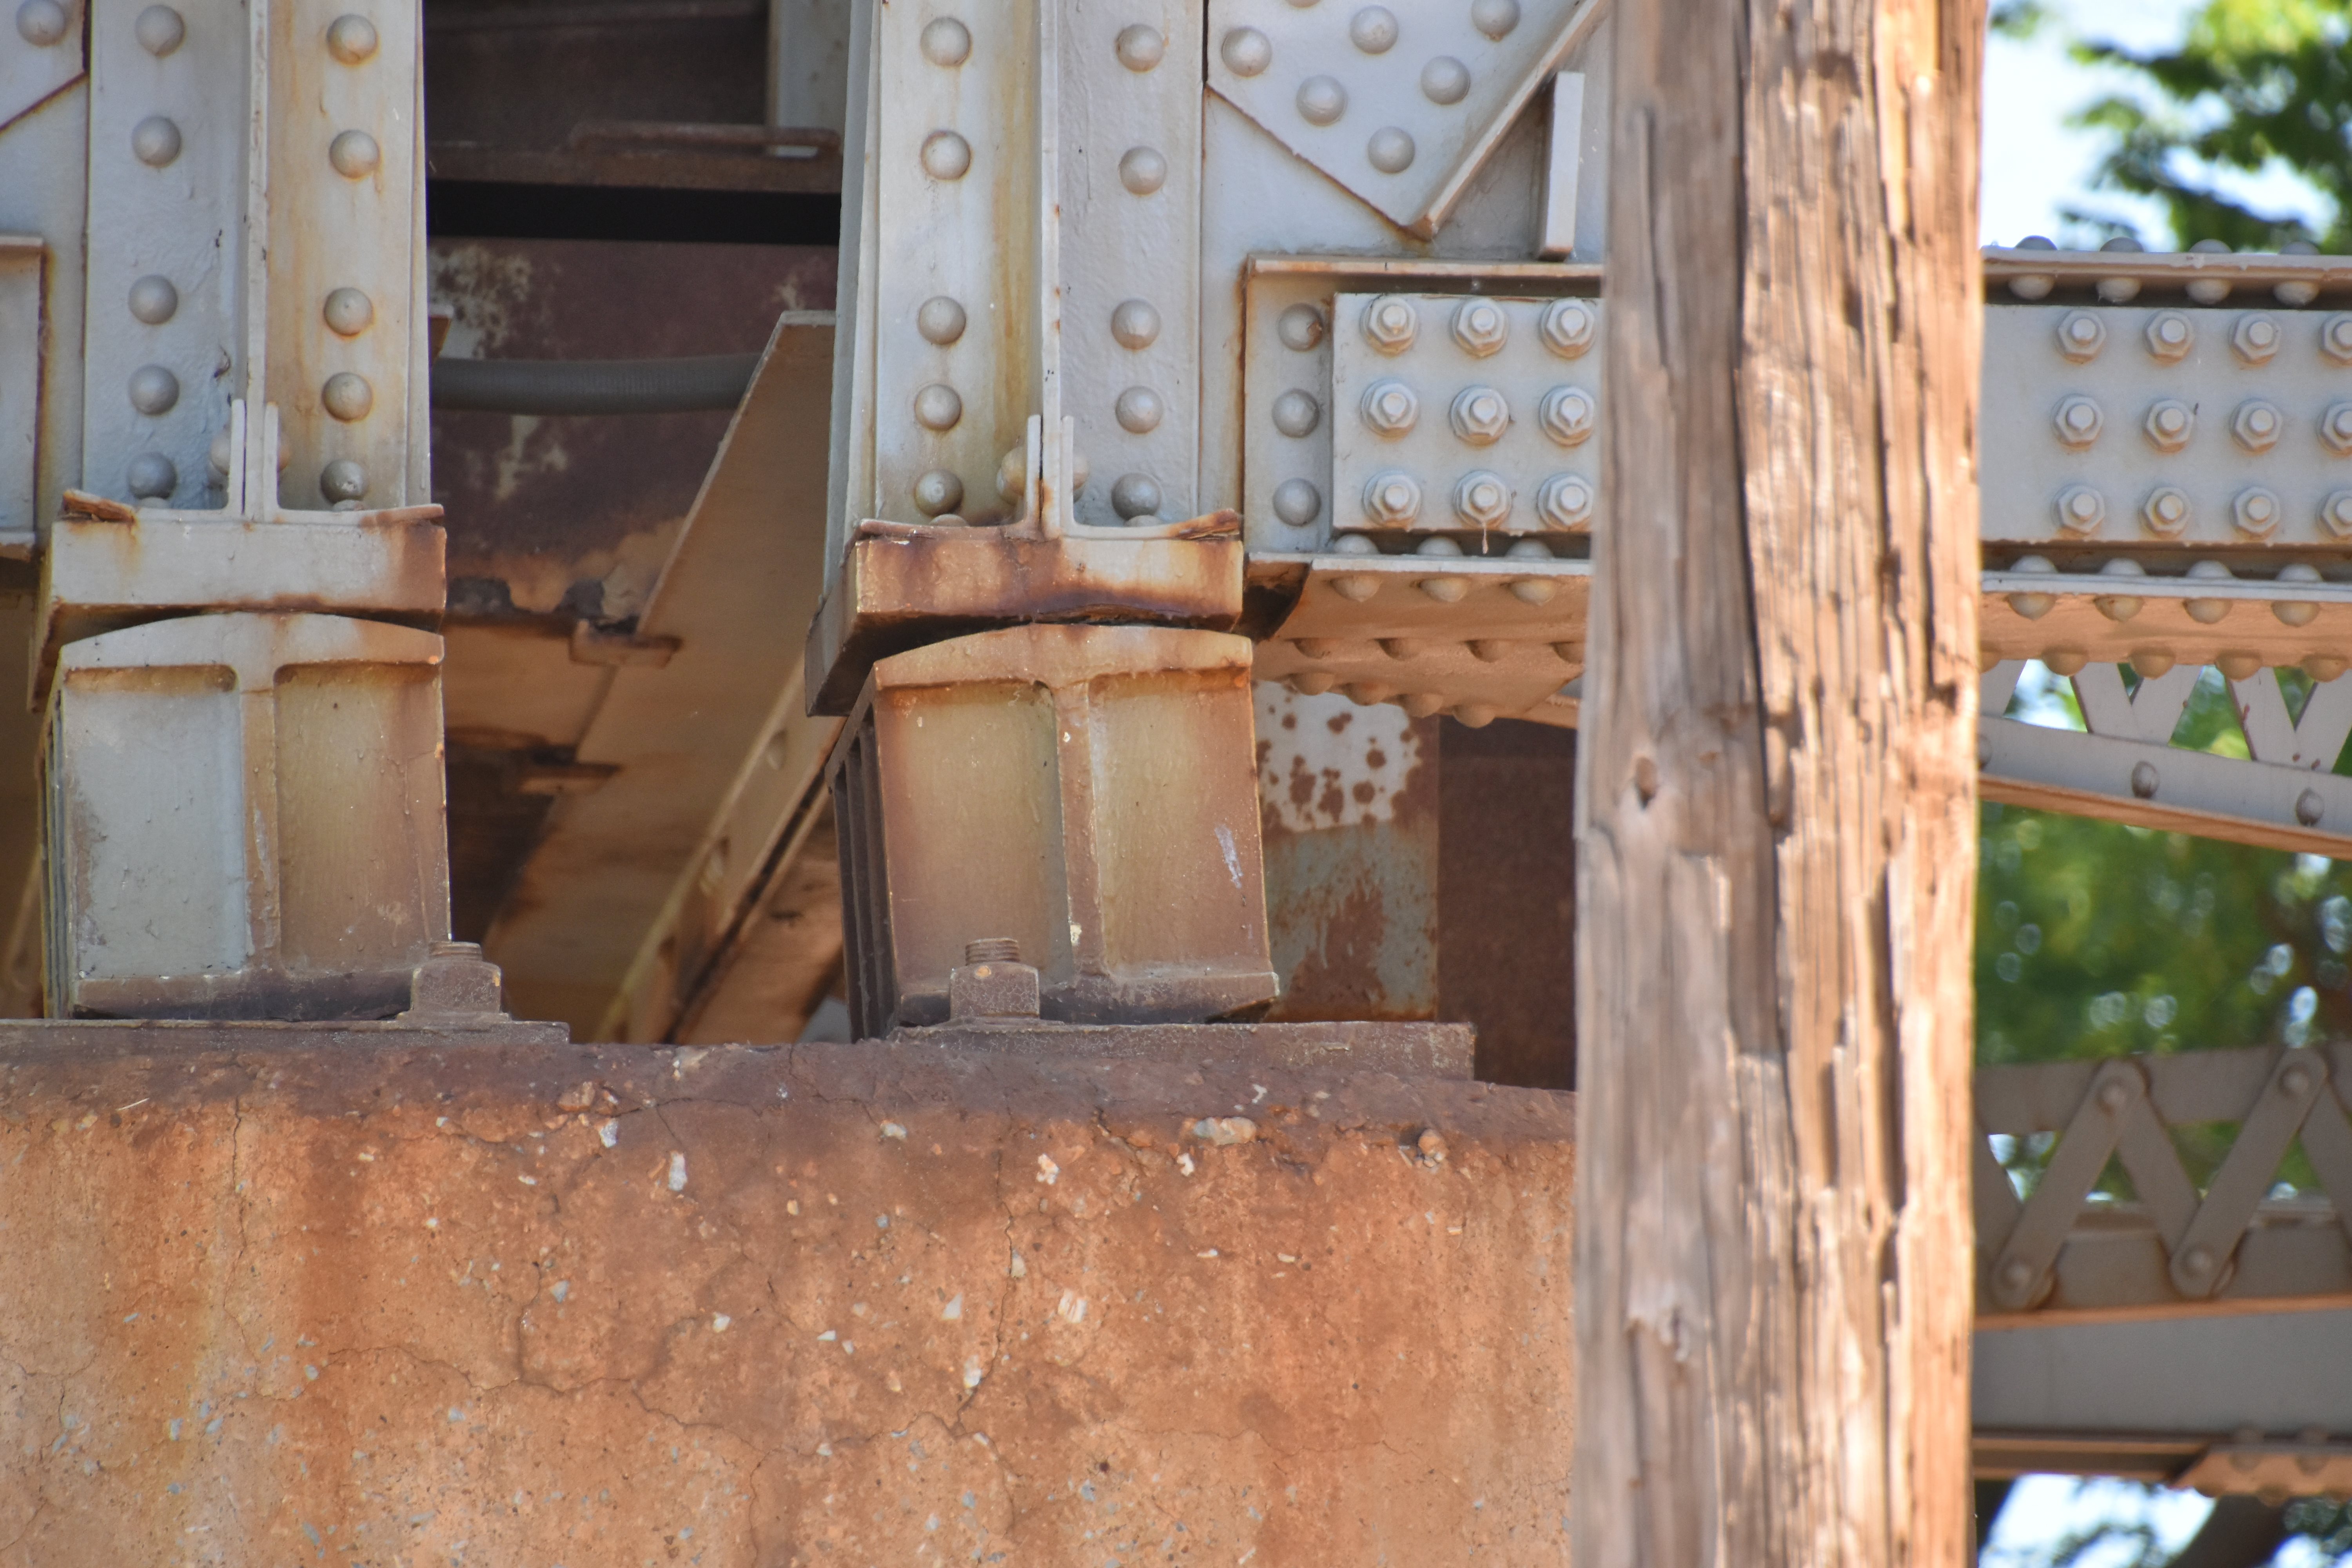
Typical bearings.
![]()

Abutment and view under approach span.
![]()


Approach span details.
![]()


Approach span bearing at abutment.
![]()

Approach span bearing at truss span.
![]()


Railroad span bearings.
![]()

View from bridge.
![]()
![]()
| Back |
| Home |
| Top |

![]()