
Uncredited photos on this page taken by: Nathan Holth and Rick McOmber. Unless stated in a caption, all photos are Copyright with All Rights Reserved. Learn about reuse of our photos.
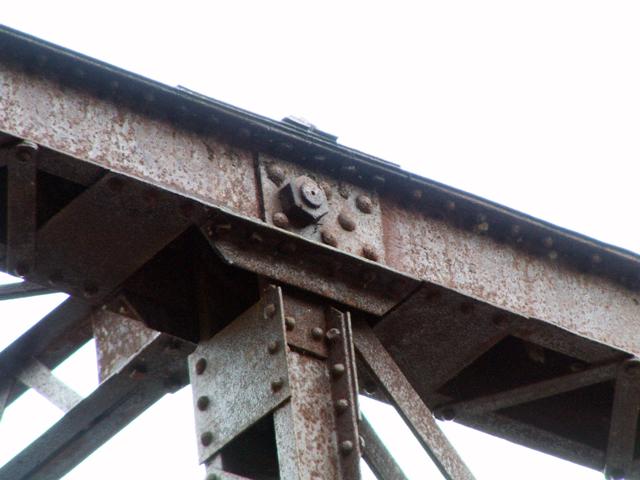
![]()
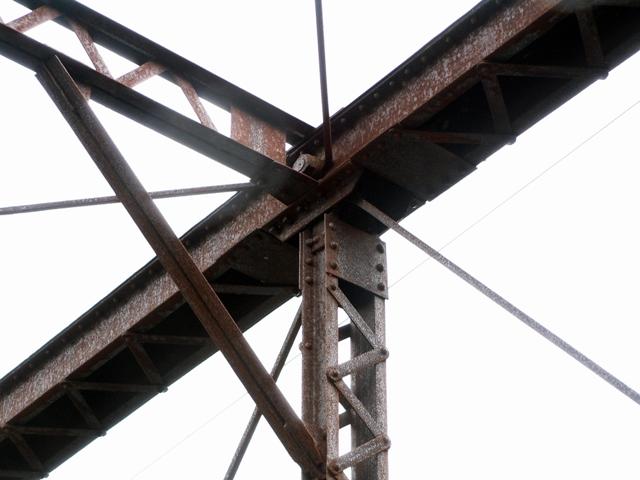


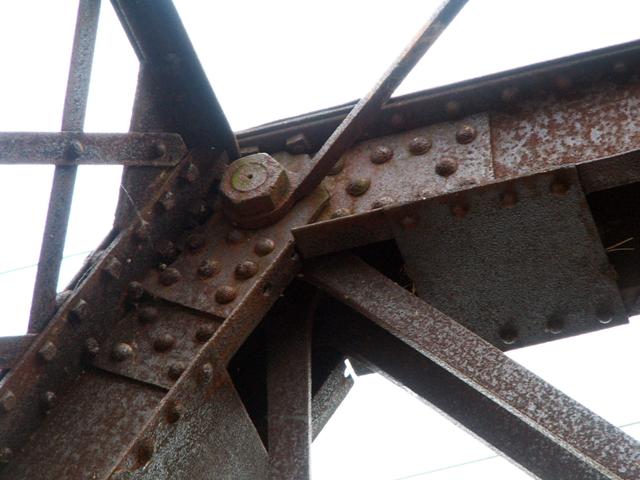
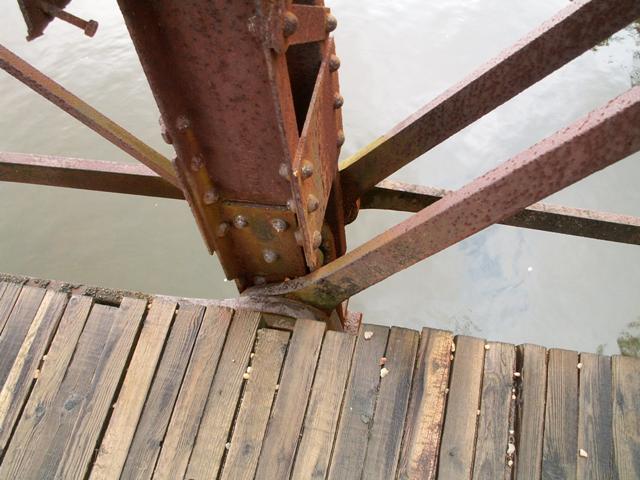
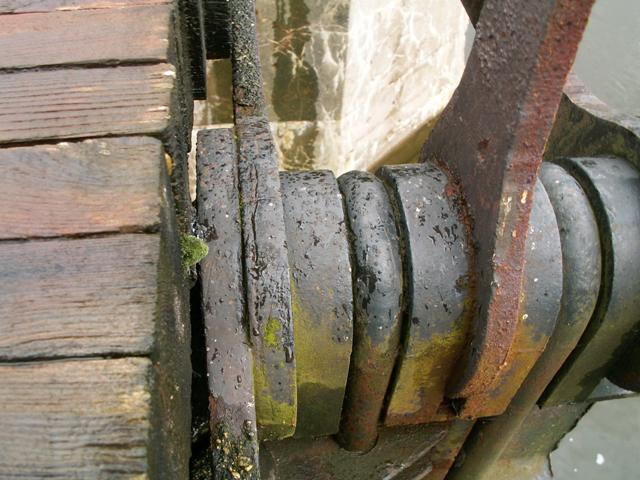
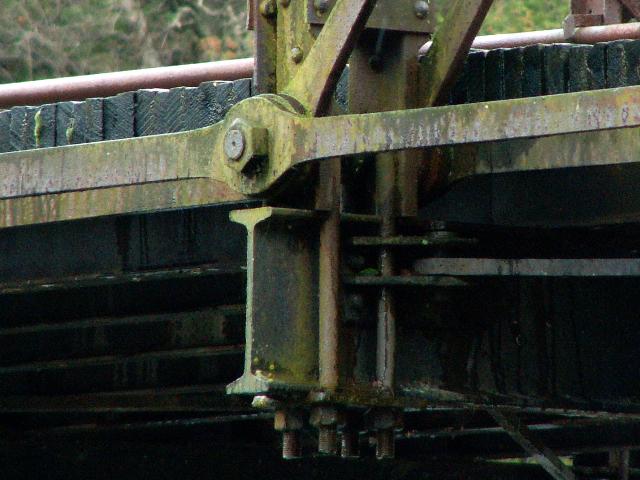
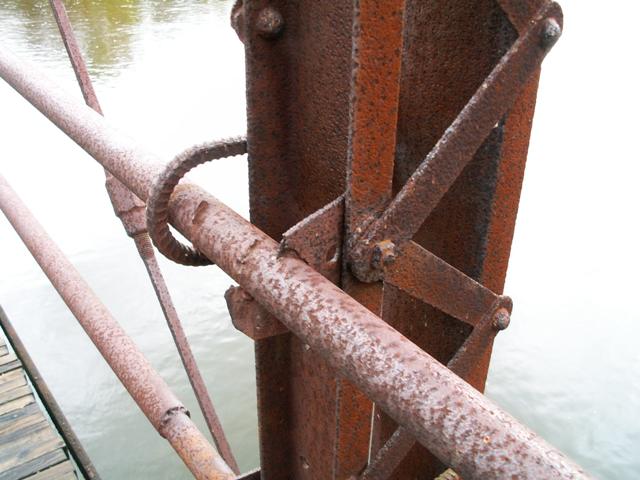
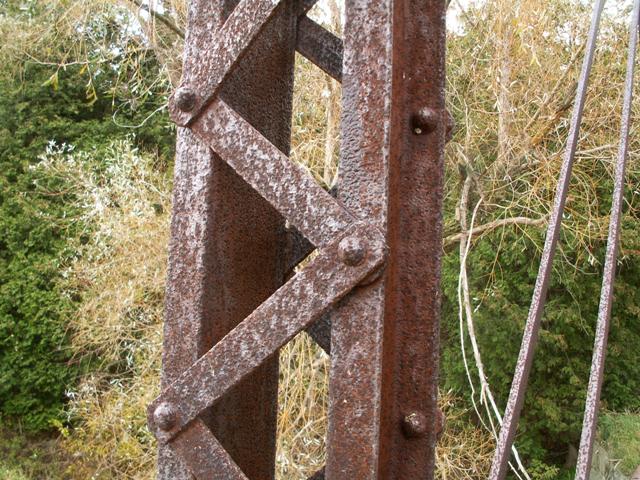
Upper chord connections as viewed from on bridge.
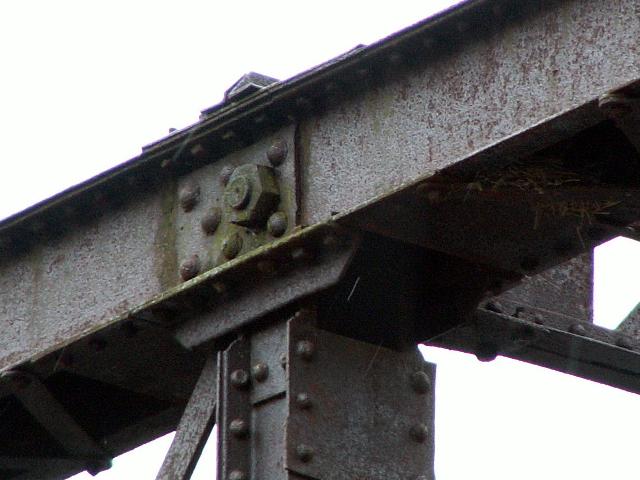
![]()
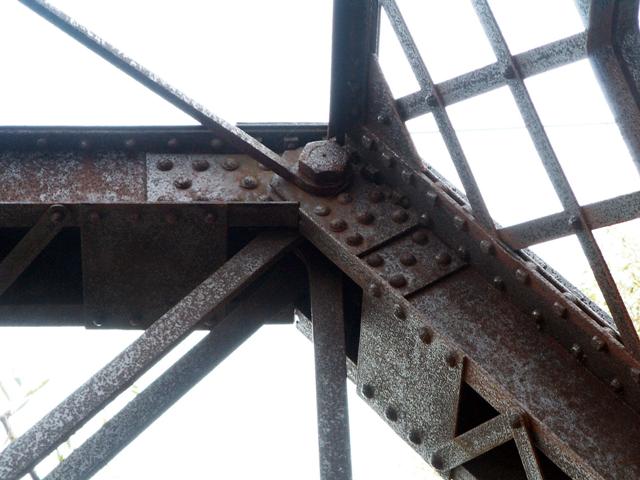
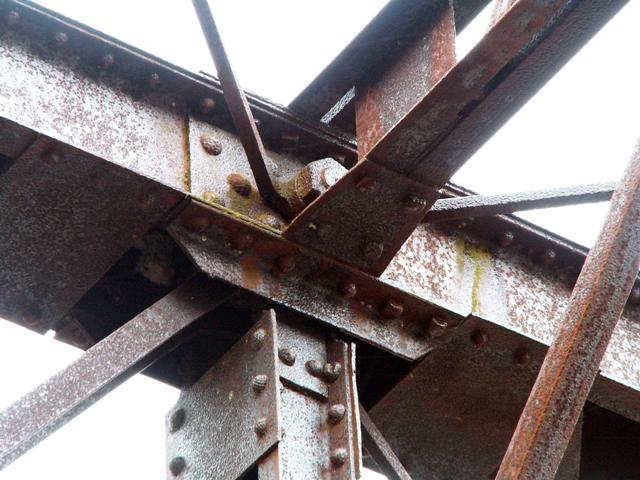
Upper chord connections at the hip vertical as viewed from on bridge.
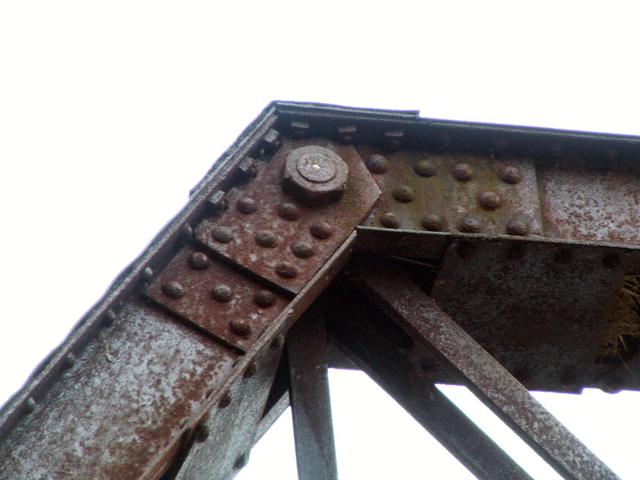
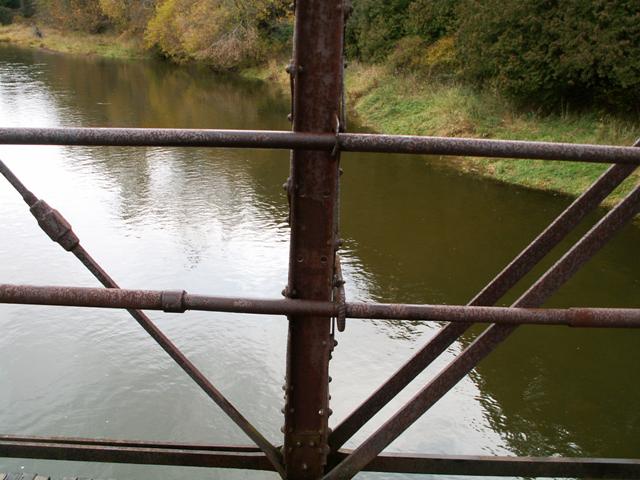
![]()

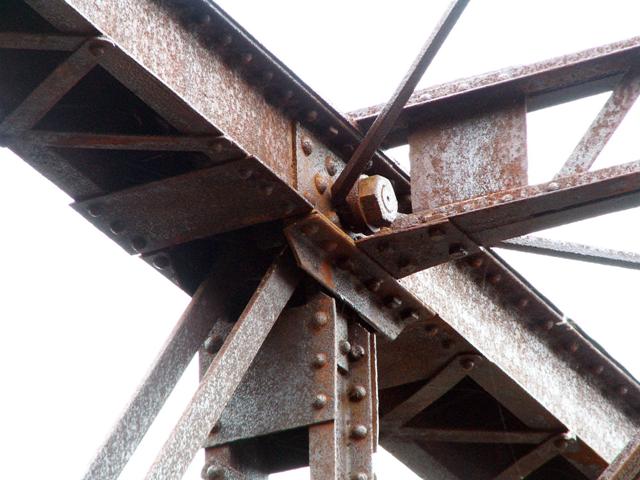
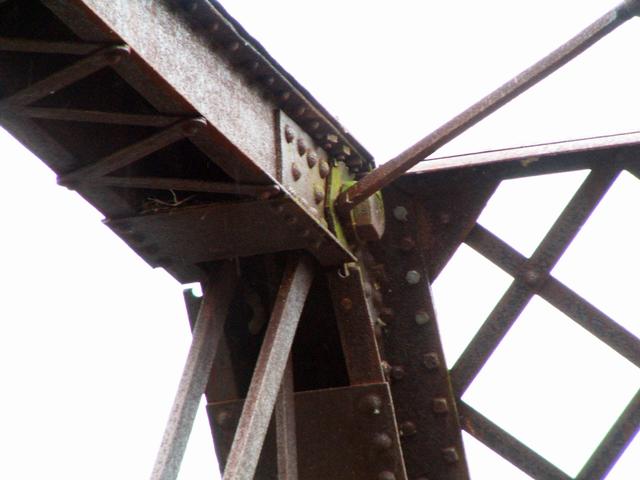
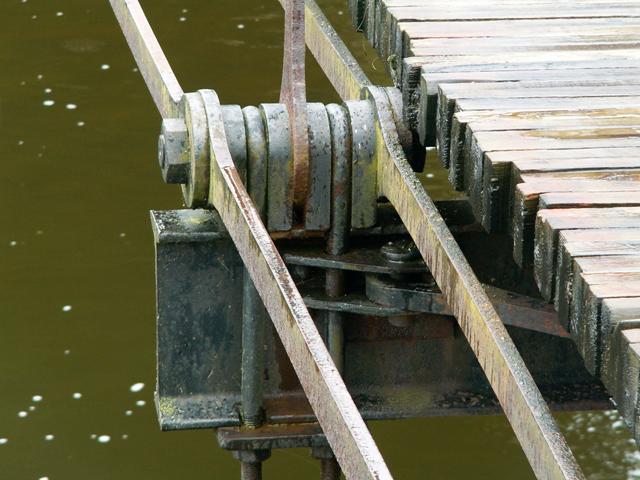
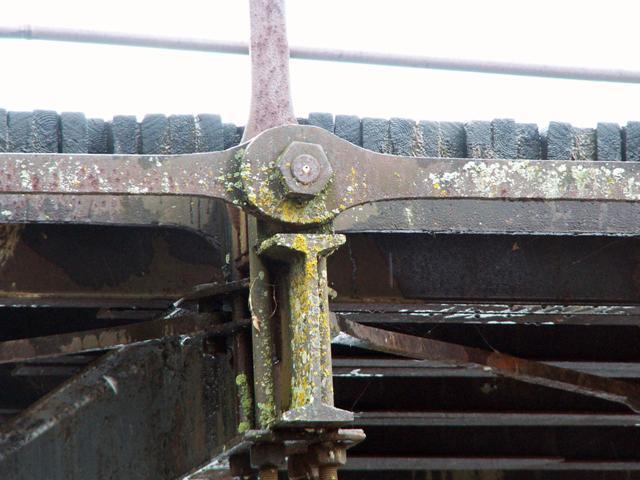
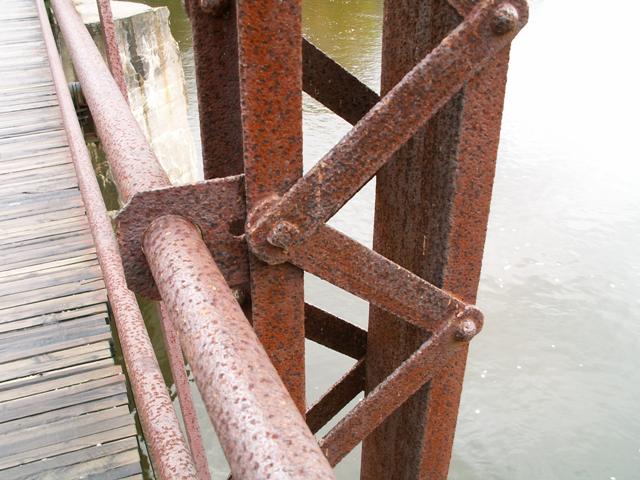
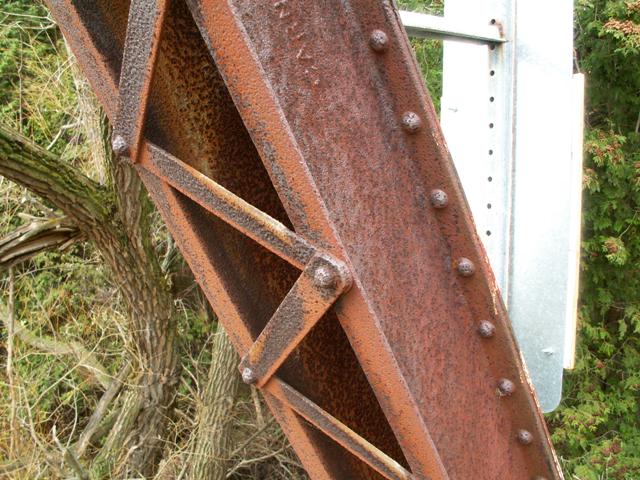
Upper chord connections as viewed from beside the bridge.
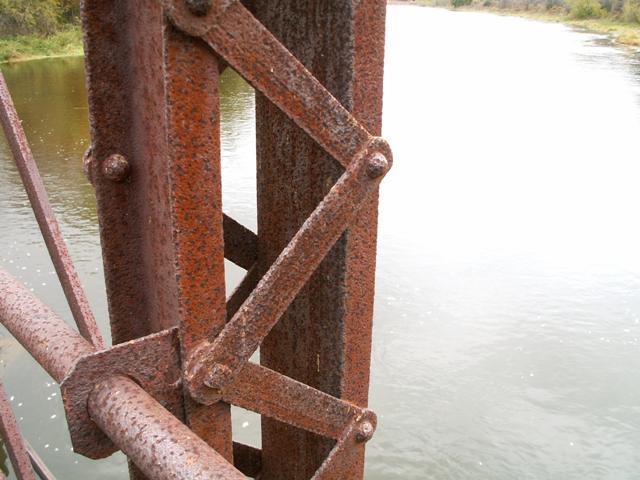
![]()
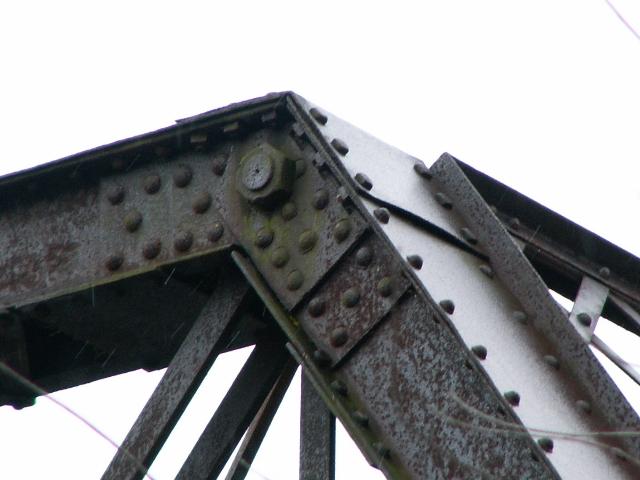
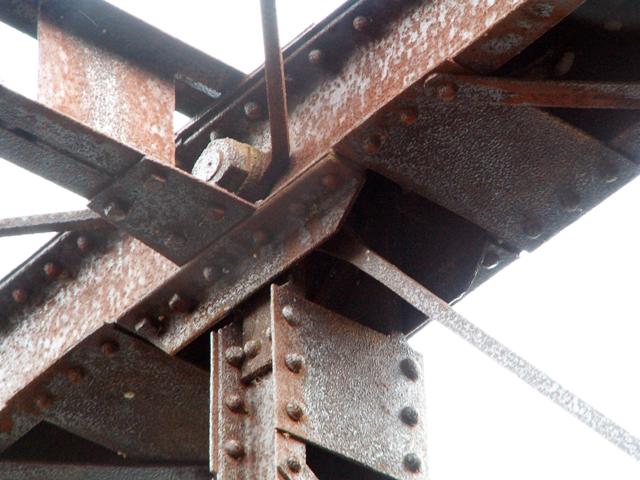
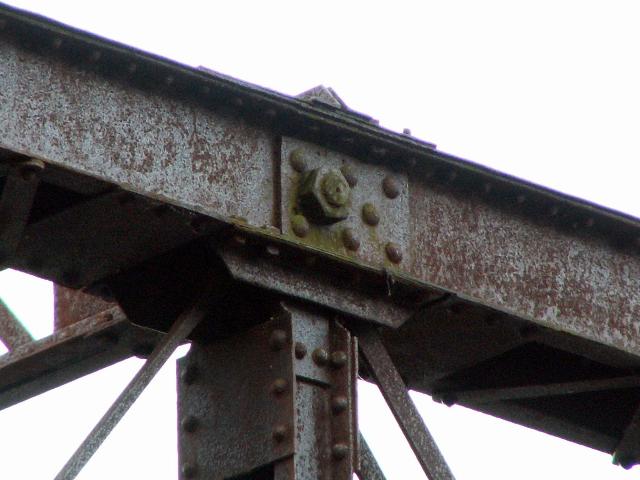
Upper chord connections at the hip vertical as viewed from beside the bridge.
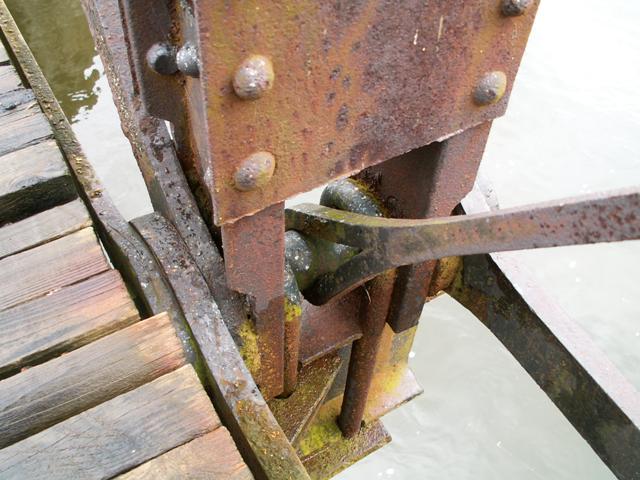
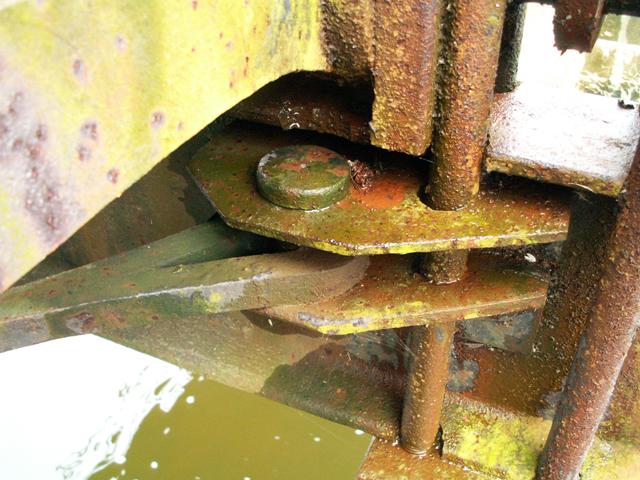
![]()
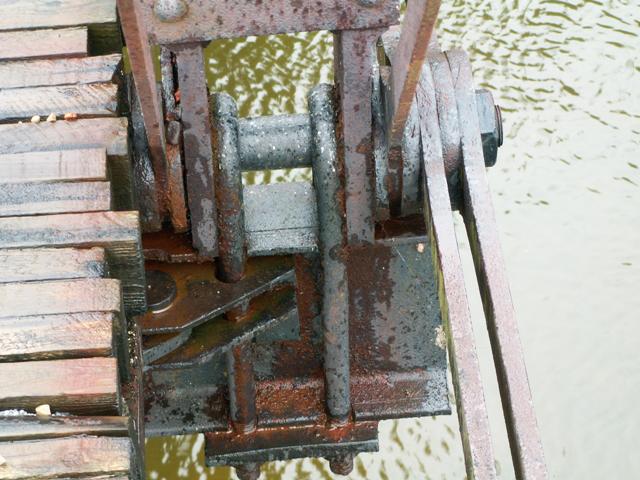
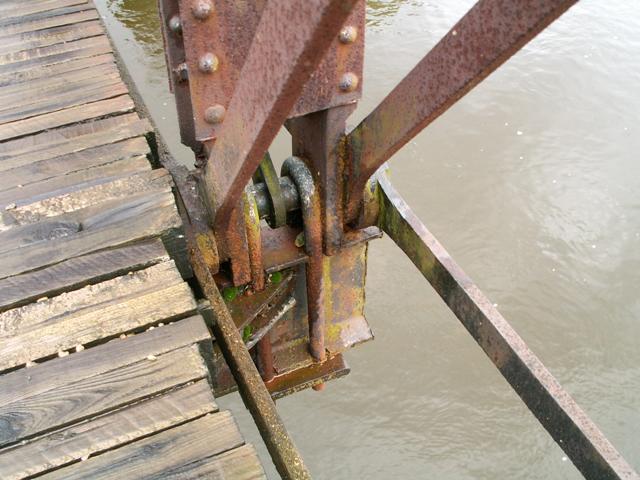
Lower chord connections as viewed from on the bridge.
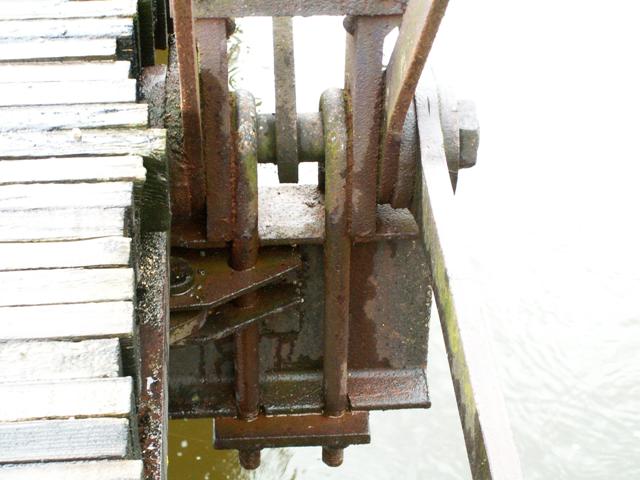
![]()
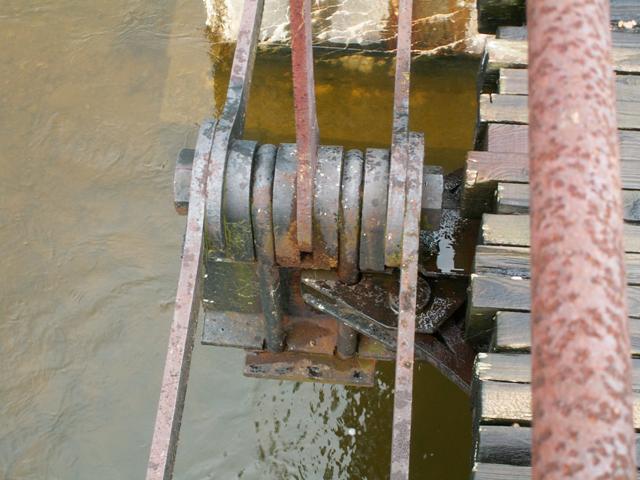

Lower chord connections at the hip vertical as viewed from on the bridge.
![]()
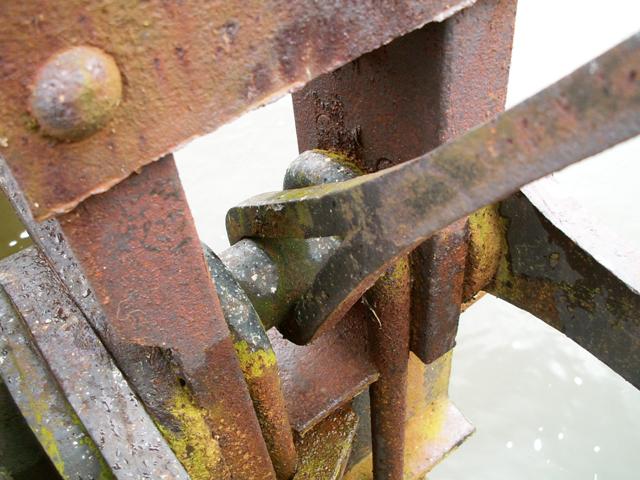

Close-up details of a lower chord connection showing the lack of deterioration around the pin and diagonal.
![]()
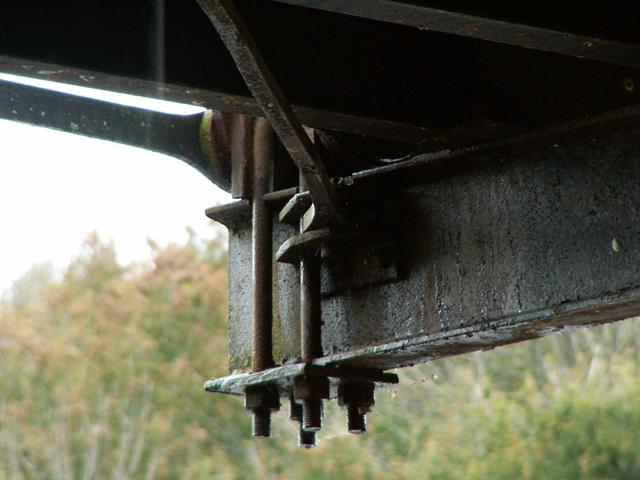
Details of a lateral bracing rod connection under the deck below lower chord connection.
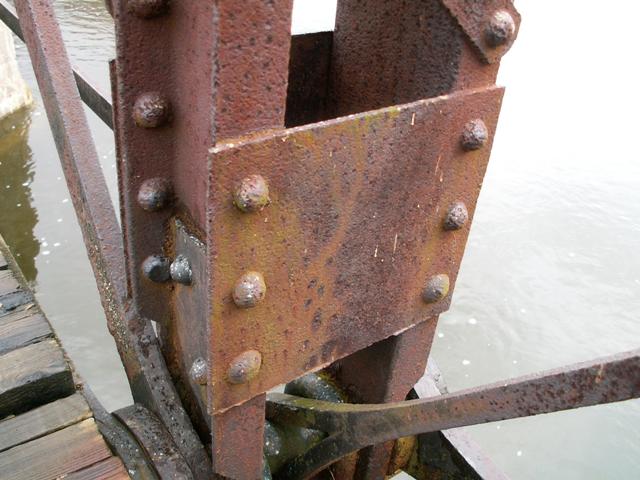
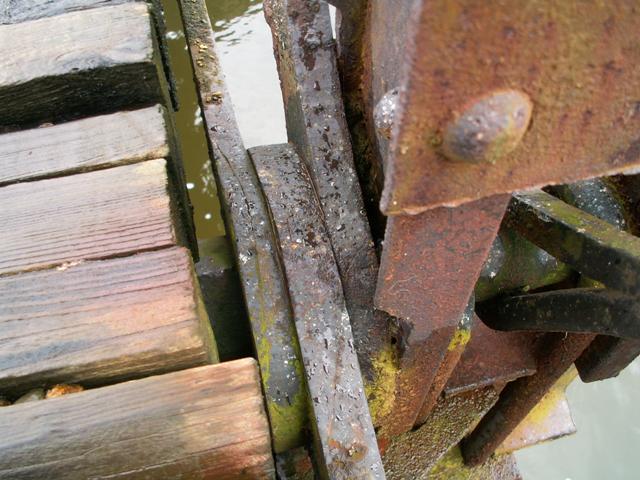
![]()
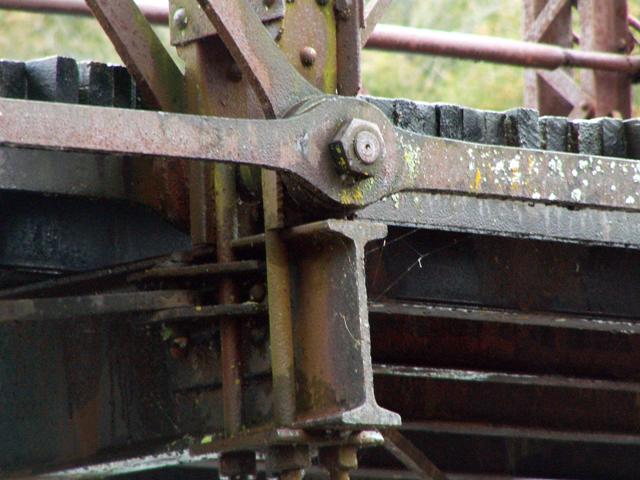
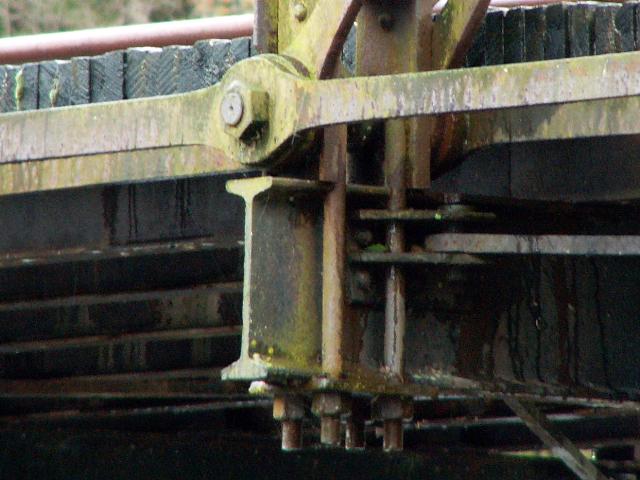
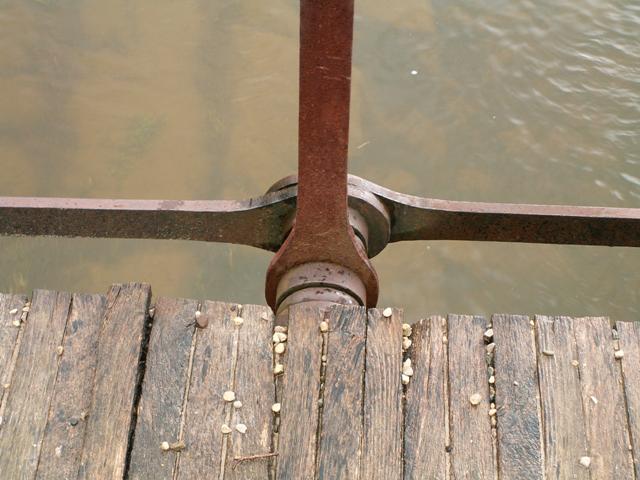
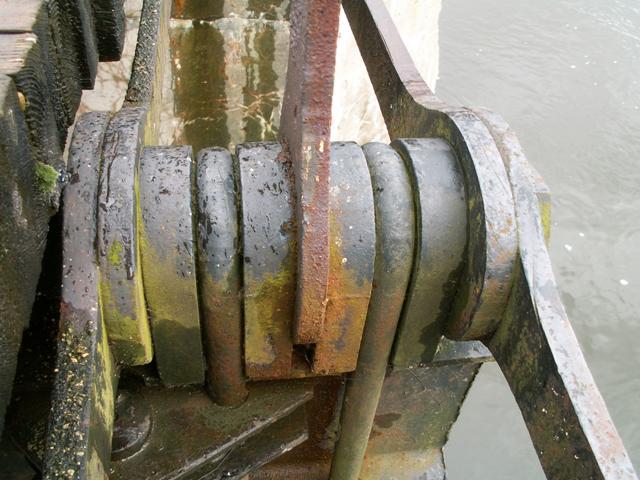
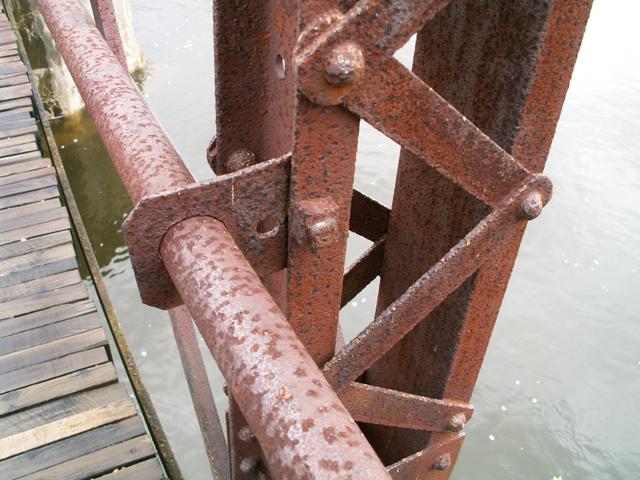
Lower chord connections as viewed from beside the bridge.
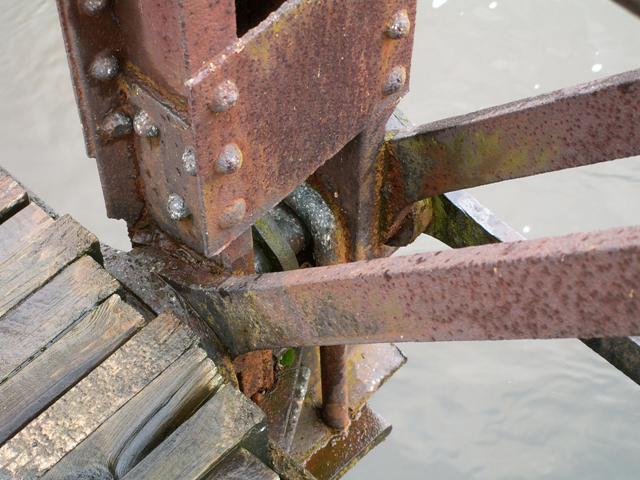
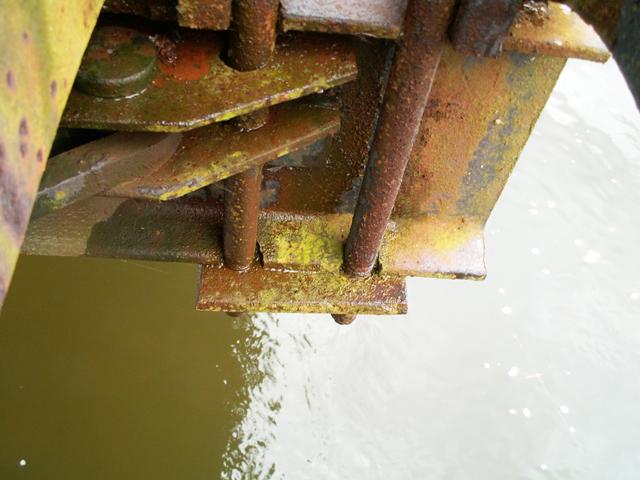
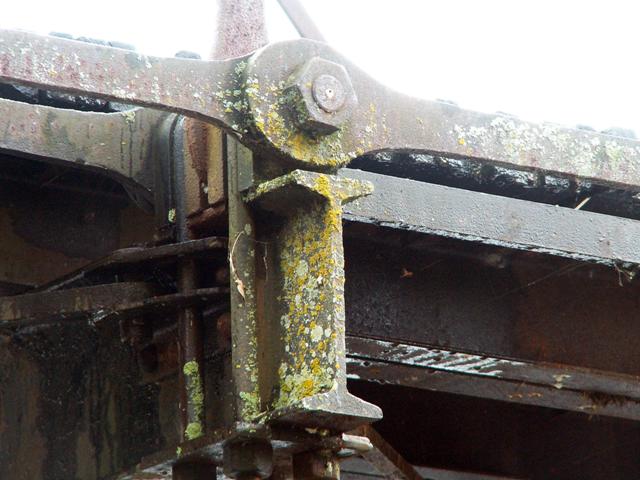
![]()
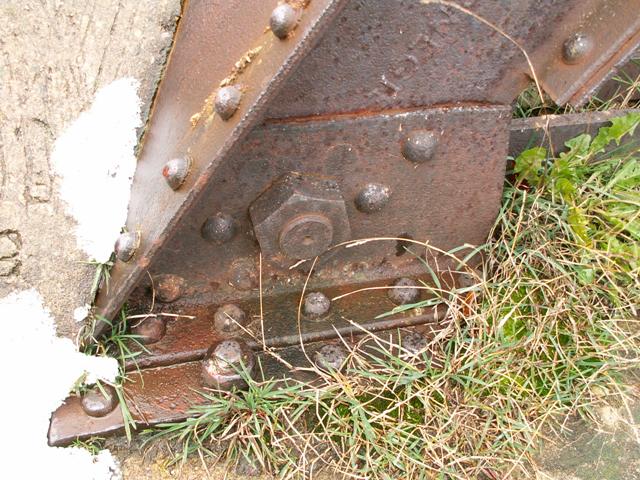
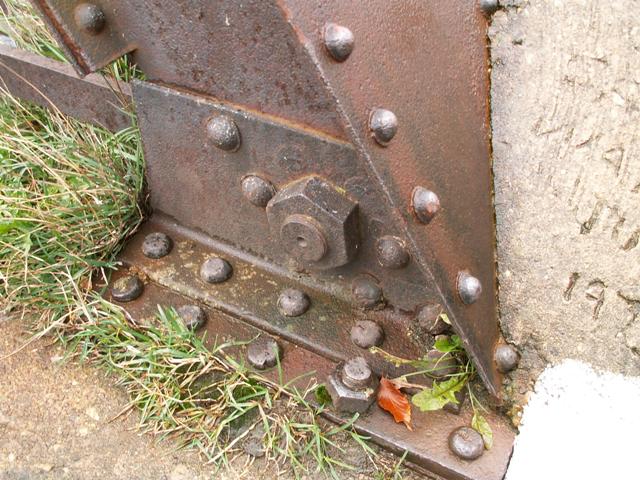
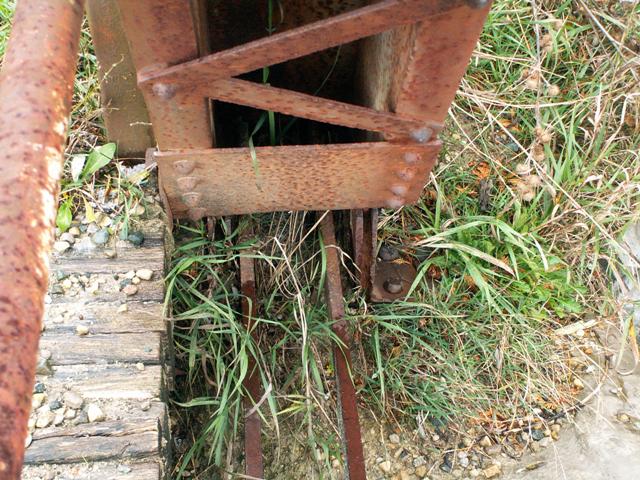
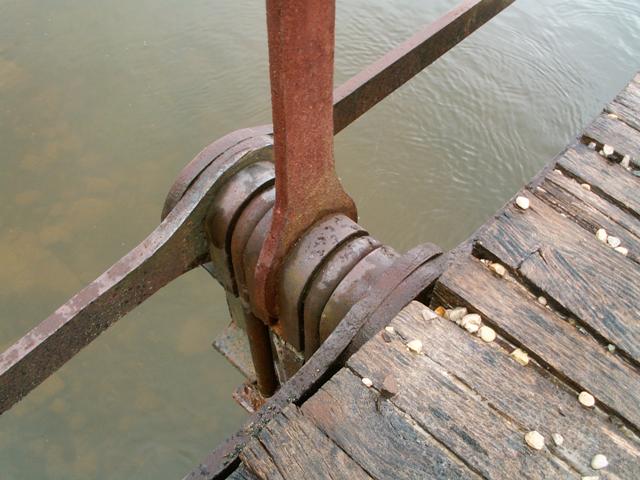
Lower chord connections bridge foot as viewed from the abutment.
![]()
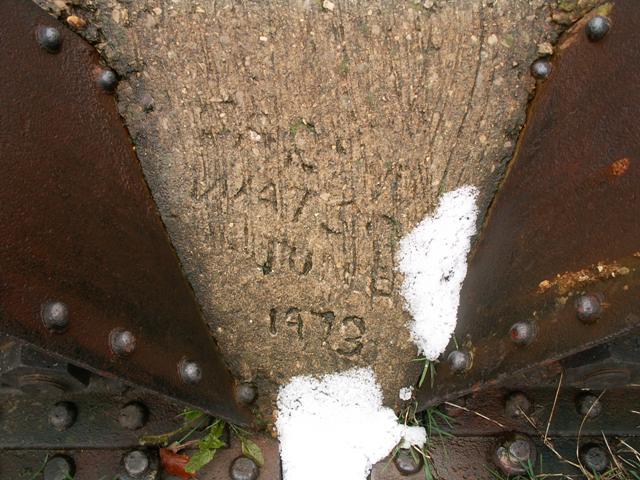
Looks like it says ??? Watson, June 1973. This is some concrete poured at the center of the bridge on the deck between the two spans.
![]()
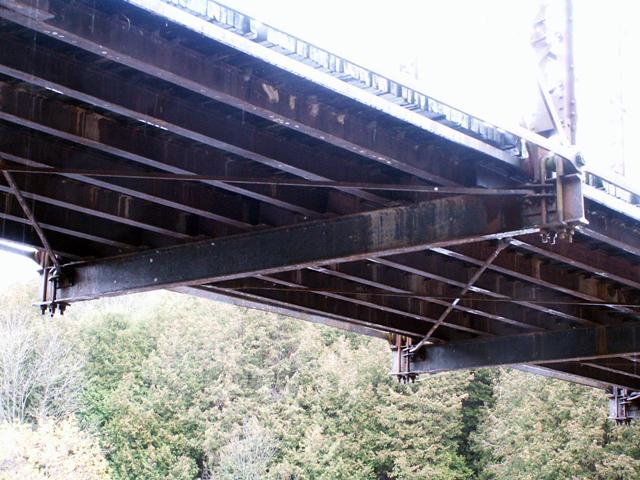
Views under the deck.
![]()


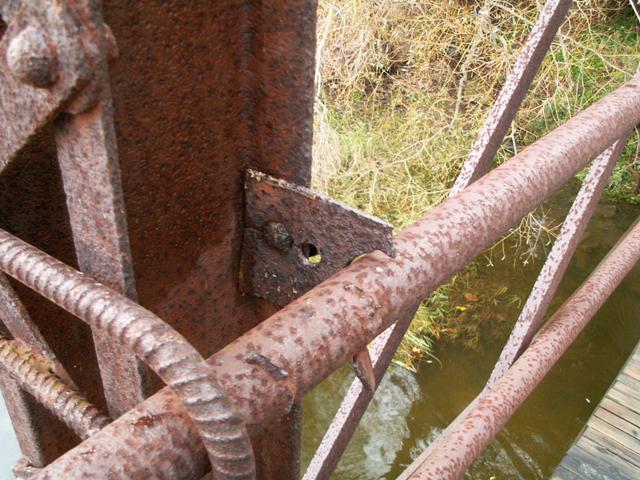

Details of the pole railing system. Note that some of the original railing attachments have been replaced with a make-shift attachment made of concrete reinforcing rods.
![]()


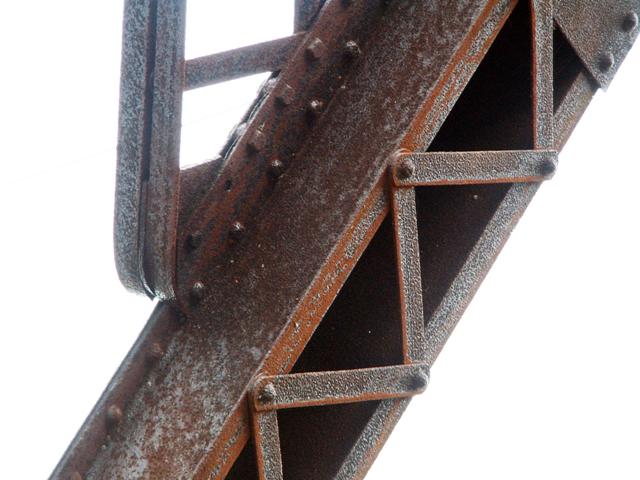
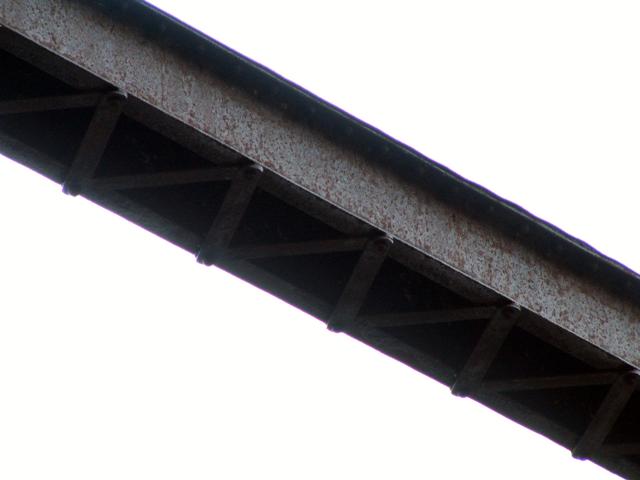
Views of the verticals and chords on the bridge, showing their built-up construction, which includes v-lacing.
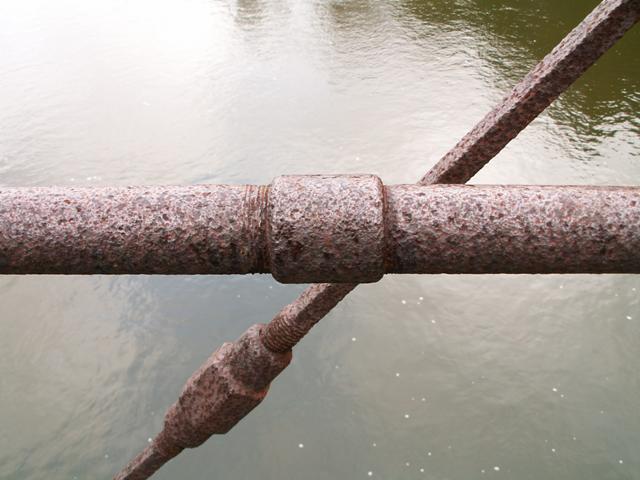
![]()
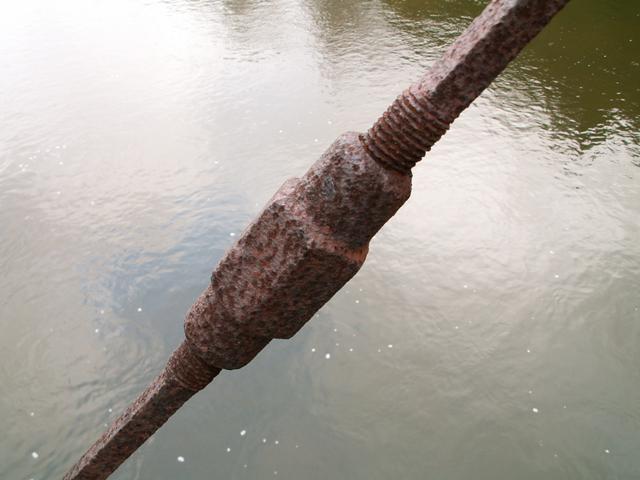
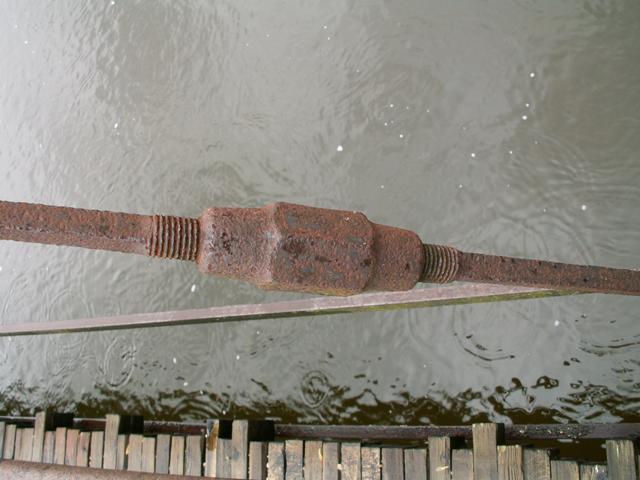
Turnbuckles on the bridge's diagonal members.
![]()
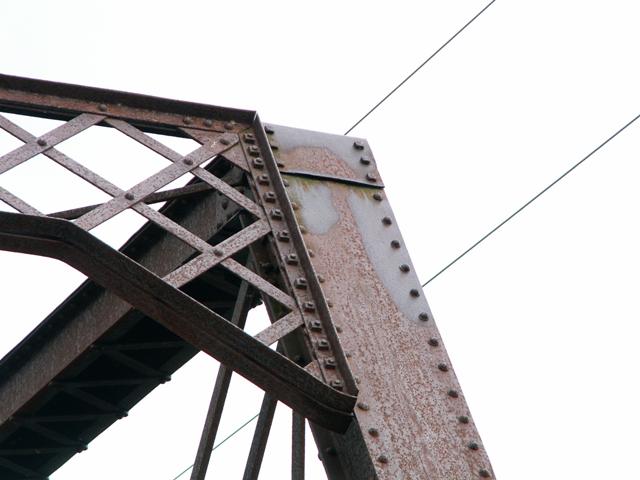
Detail of the portal bracing.
![]()
![]()
| Back |
| Home |
| Top |

![]()